Roll Call '26 Game Four: Venetians Abroad versus Ayyubids
/So it was on to the final game at this year’s Medieval Madness competition at Roll Call.
At least six of us were in contention for the title: Peter, Dene, Mark, Tim, Si and Yours Truly…with Mark and I, and Peter and Dene, playing each other in this final match up. Not difficult to see that in order to secure overall victory, I needed to beat Mark and see Dene beat Peter. Exciting stuff!
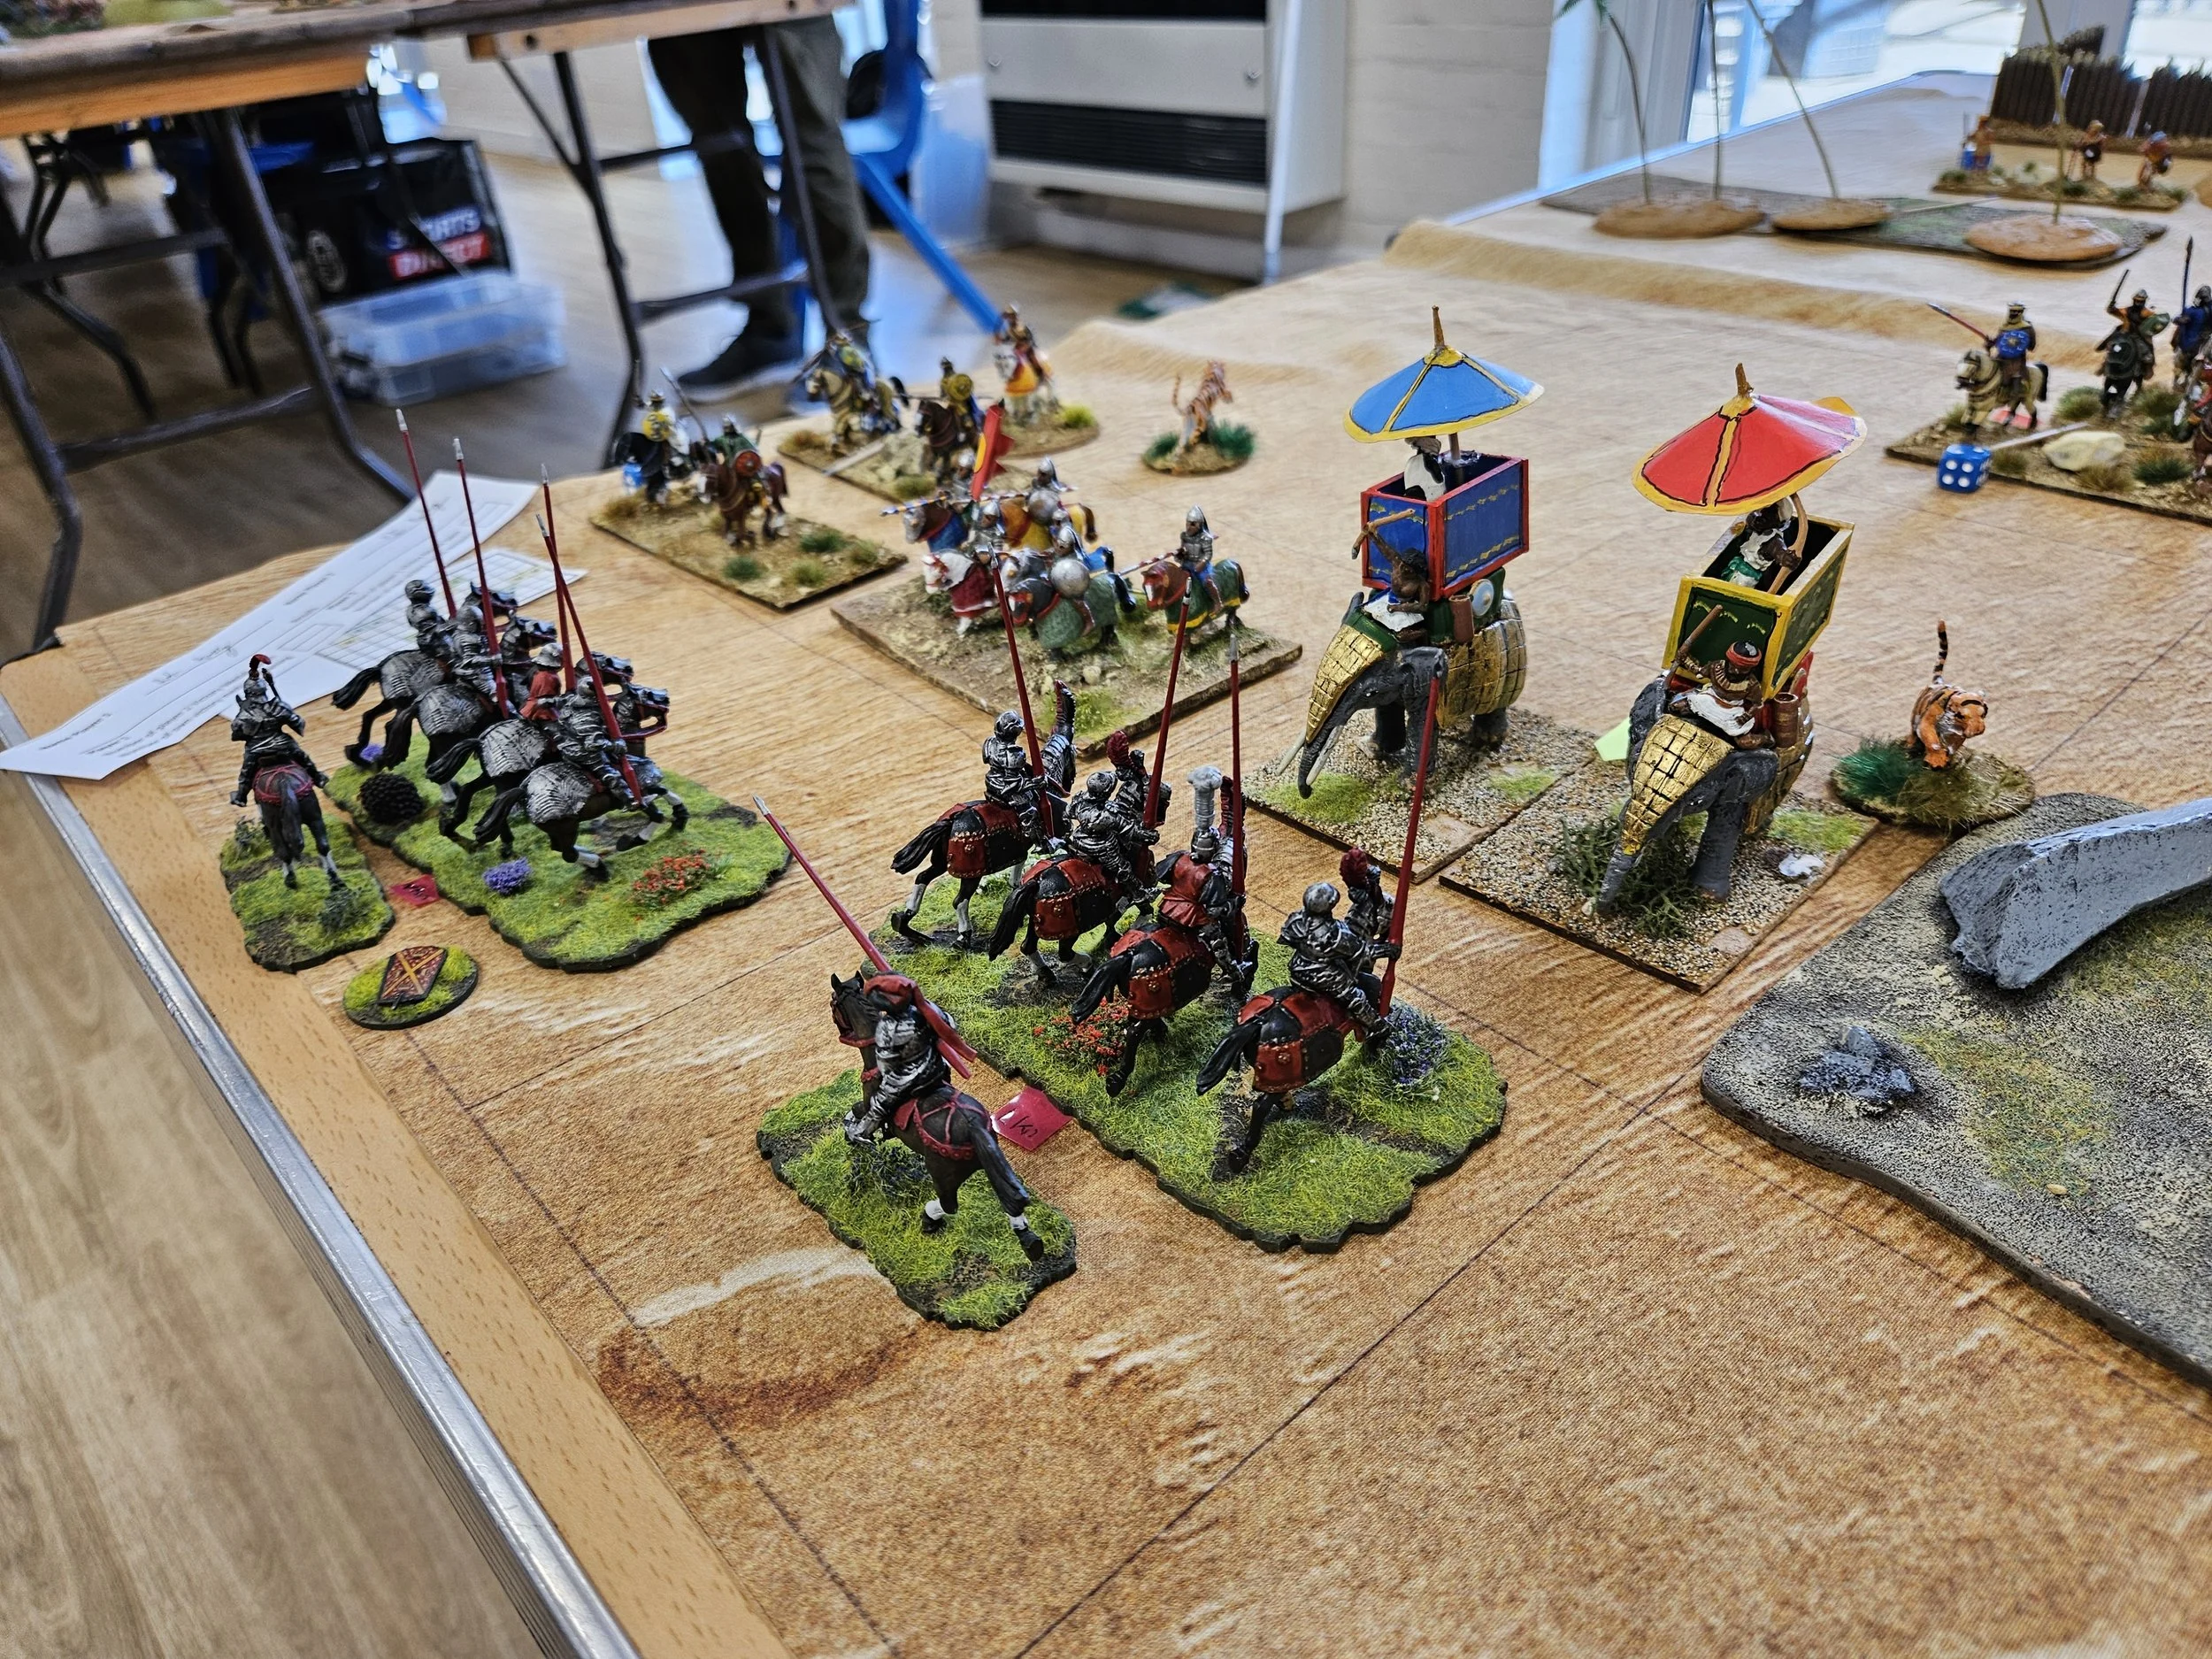
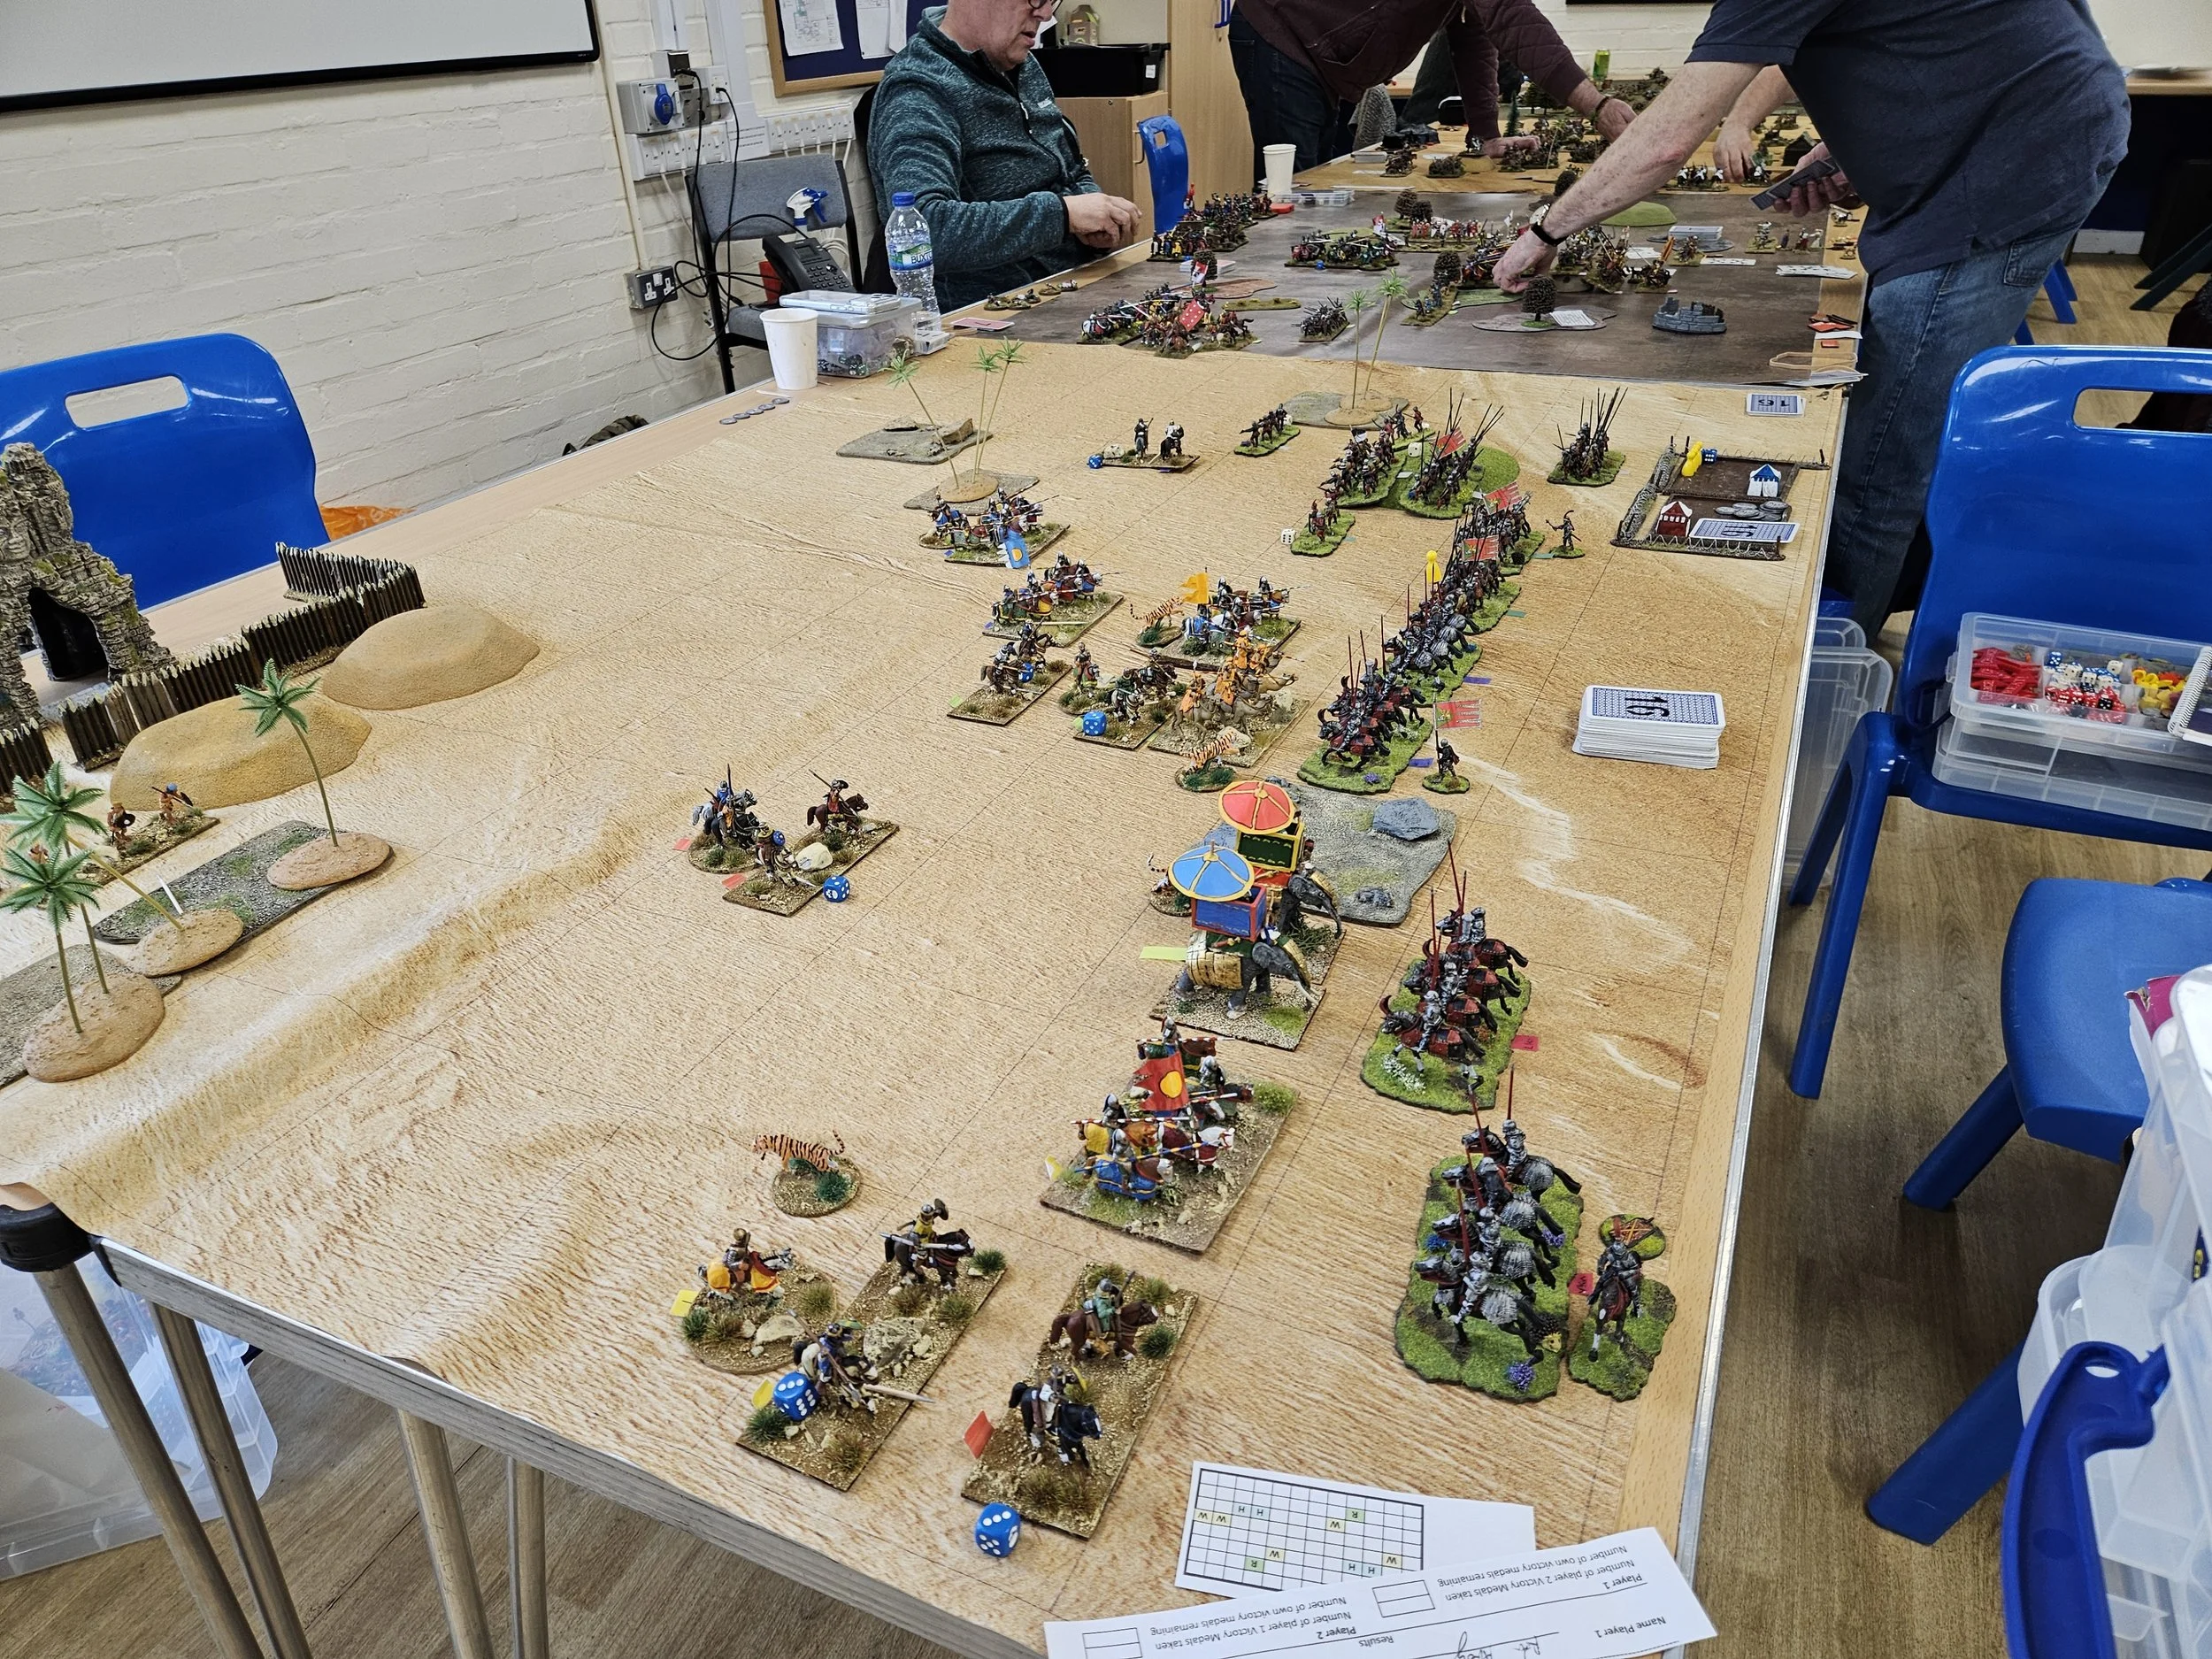
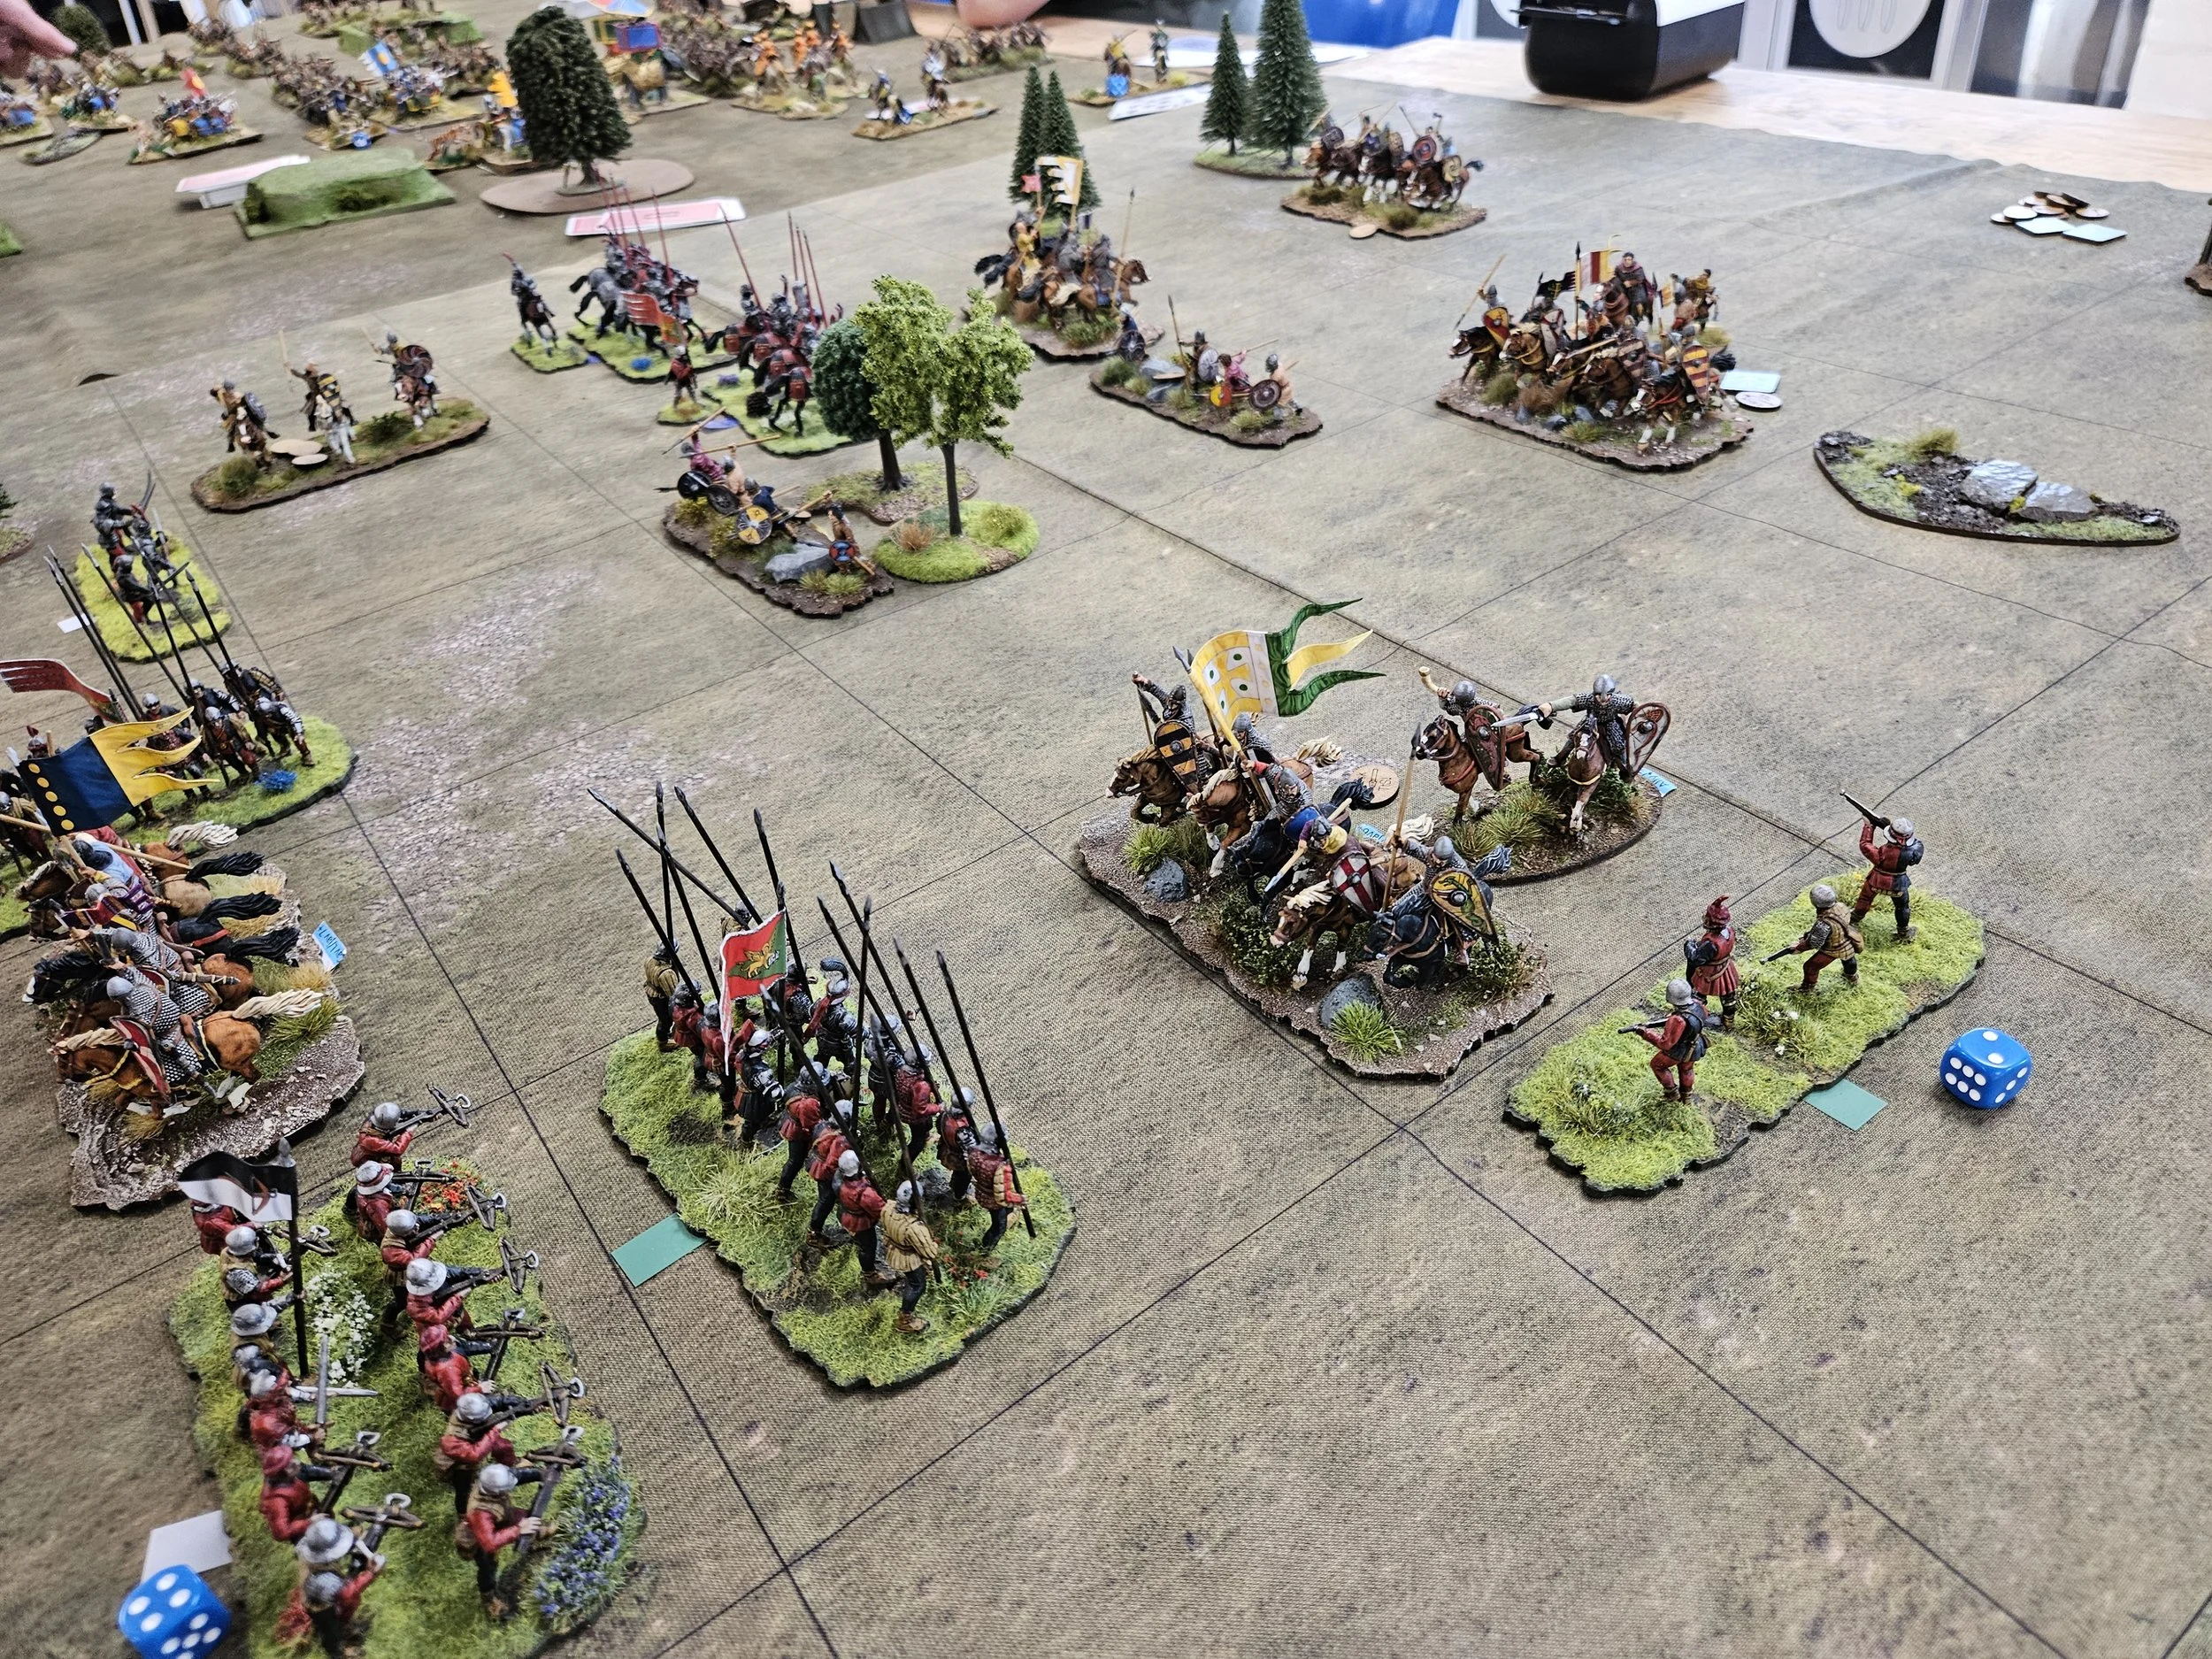
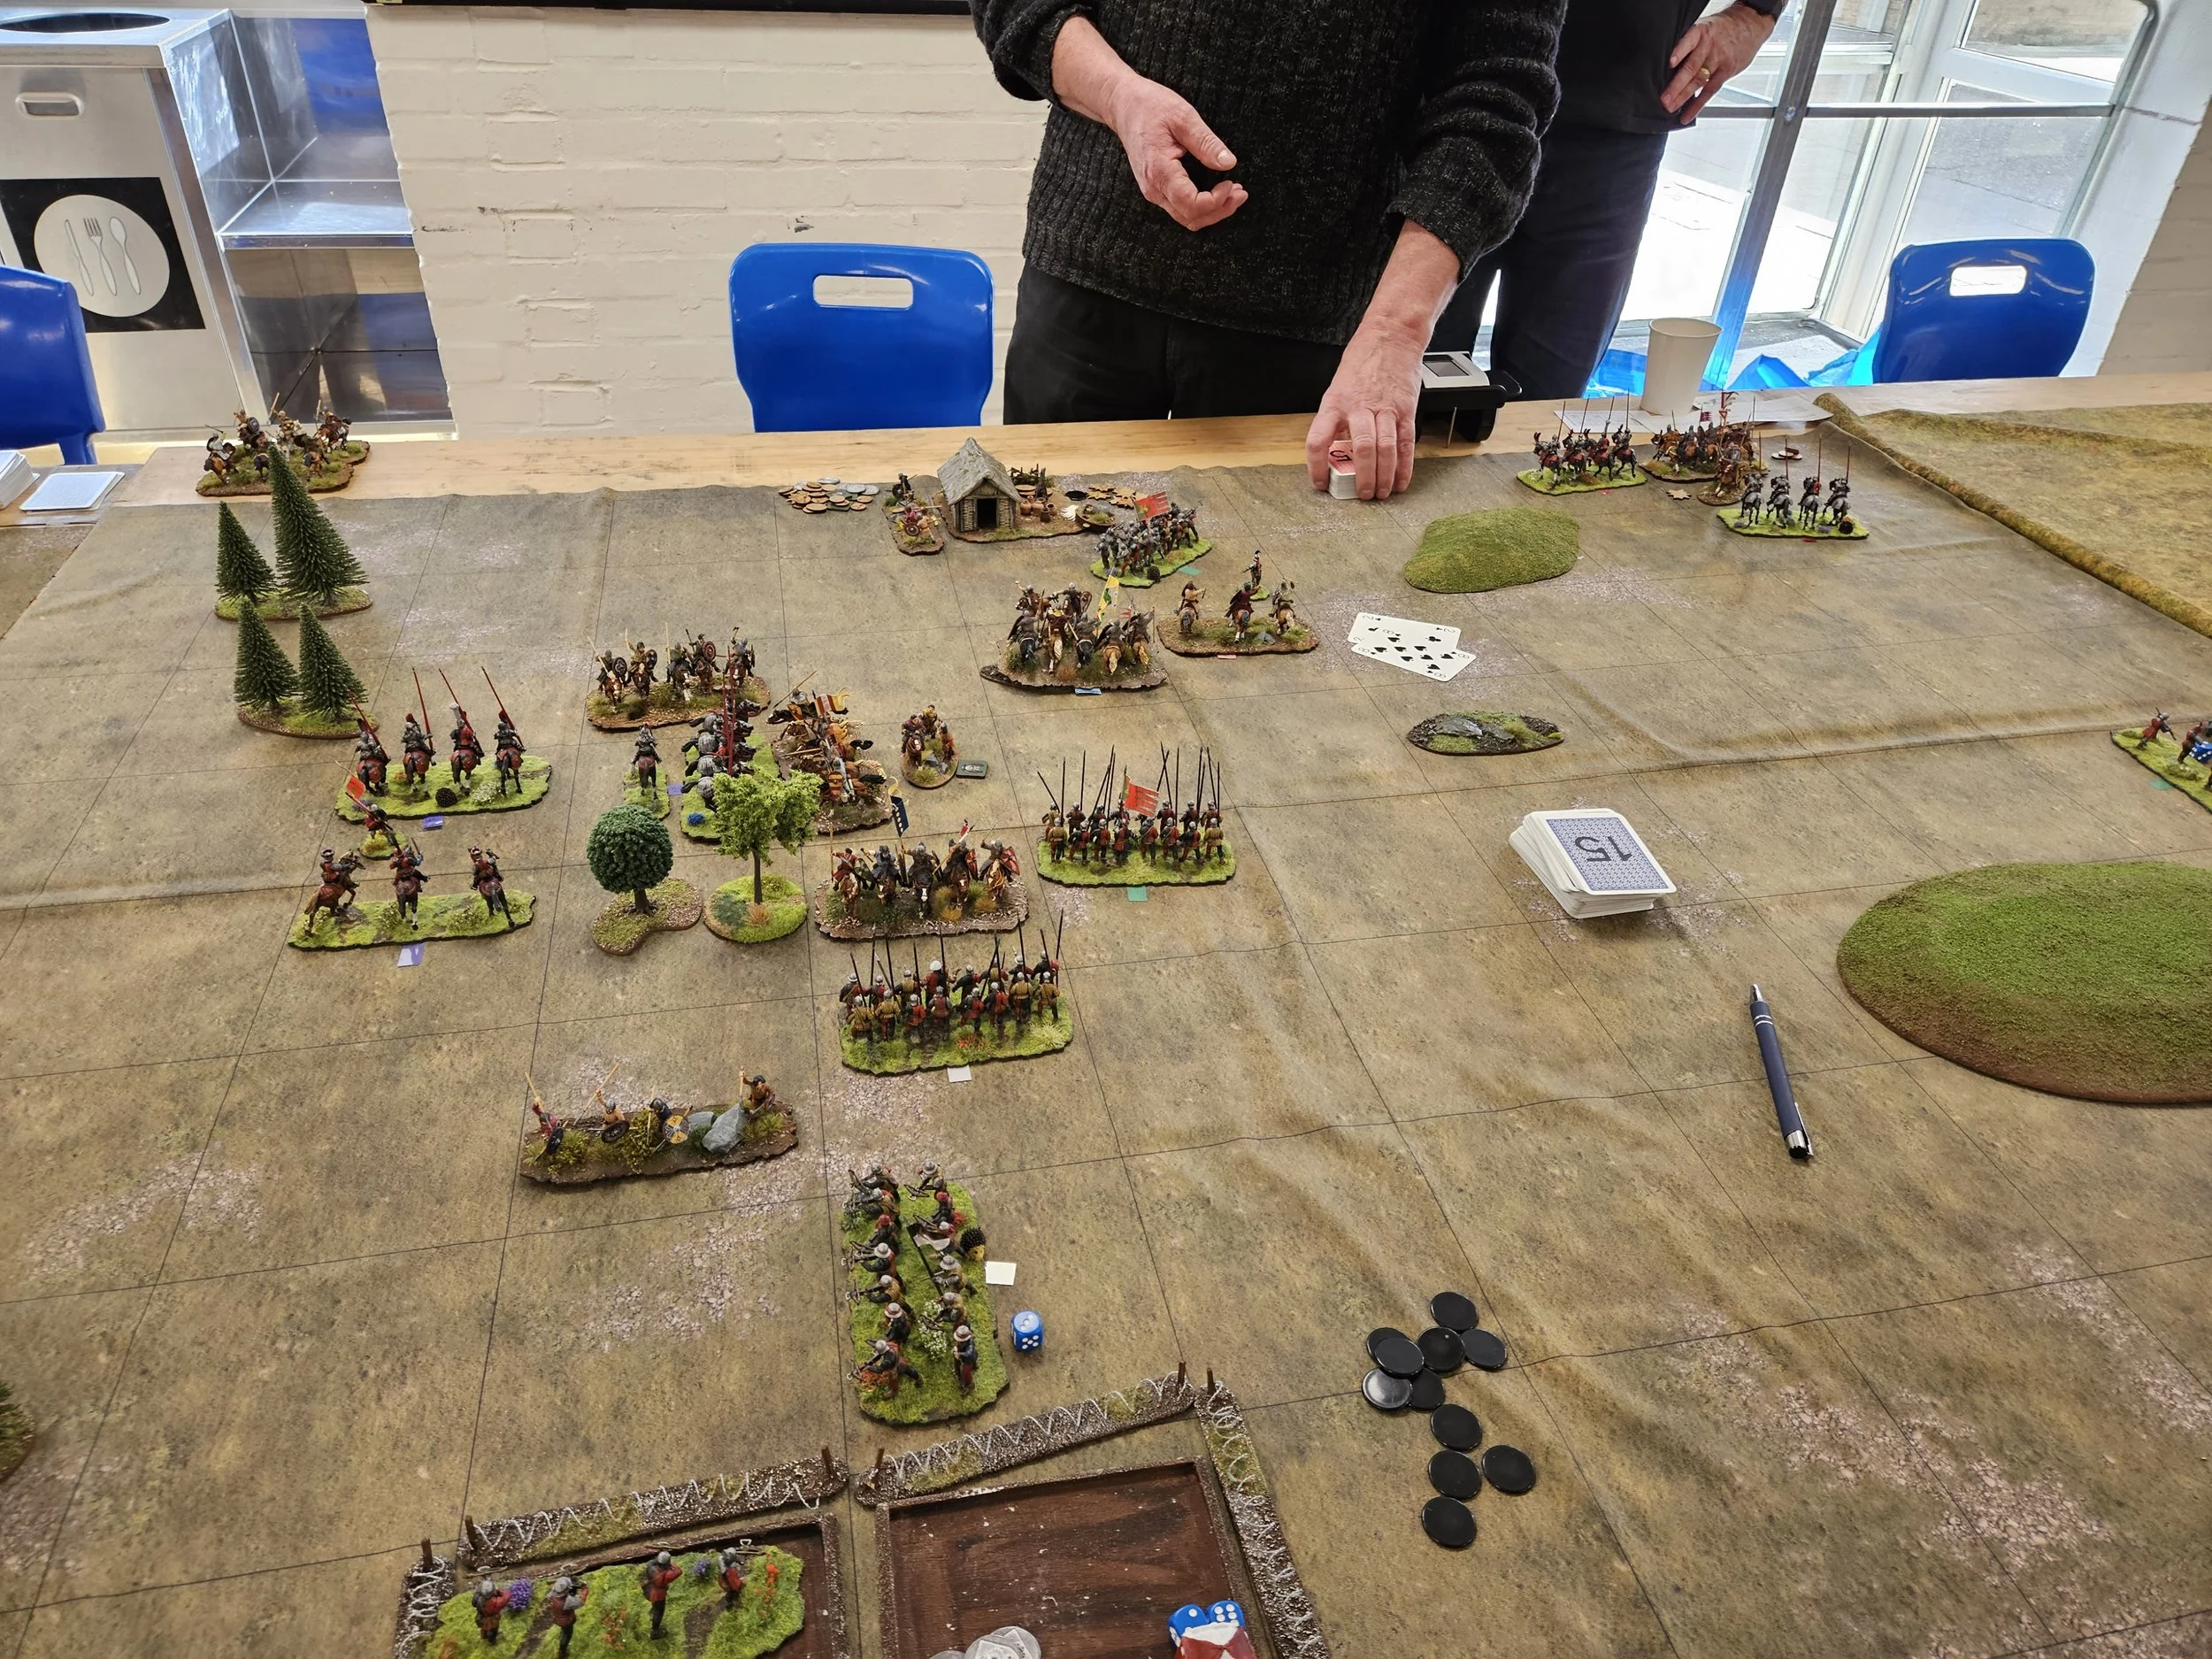
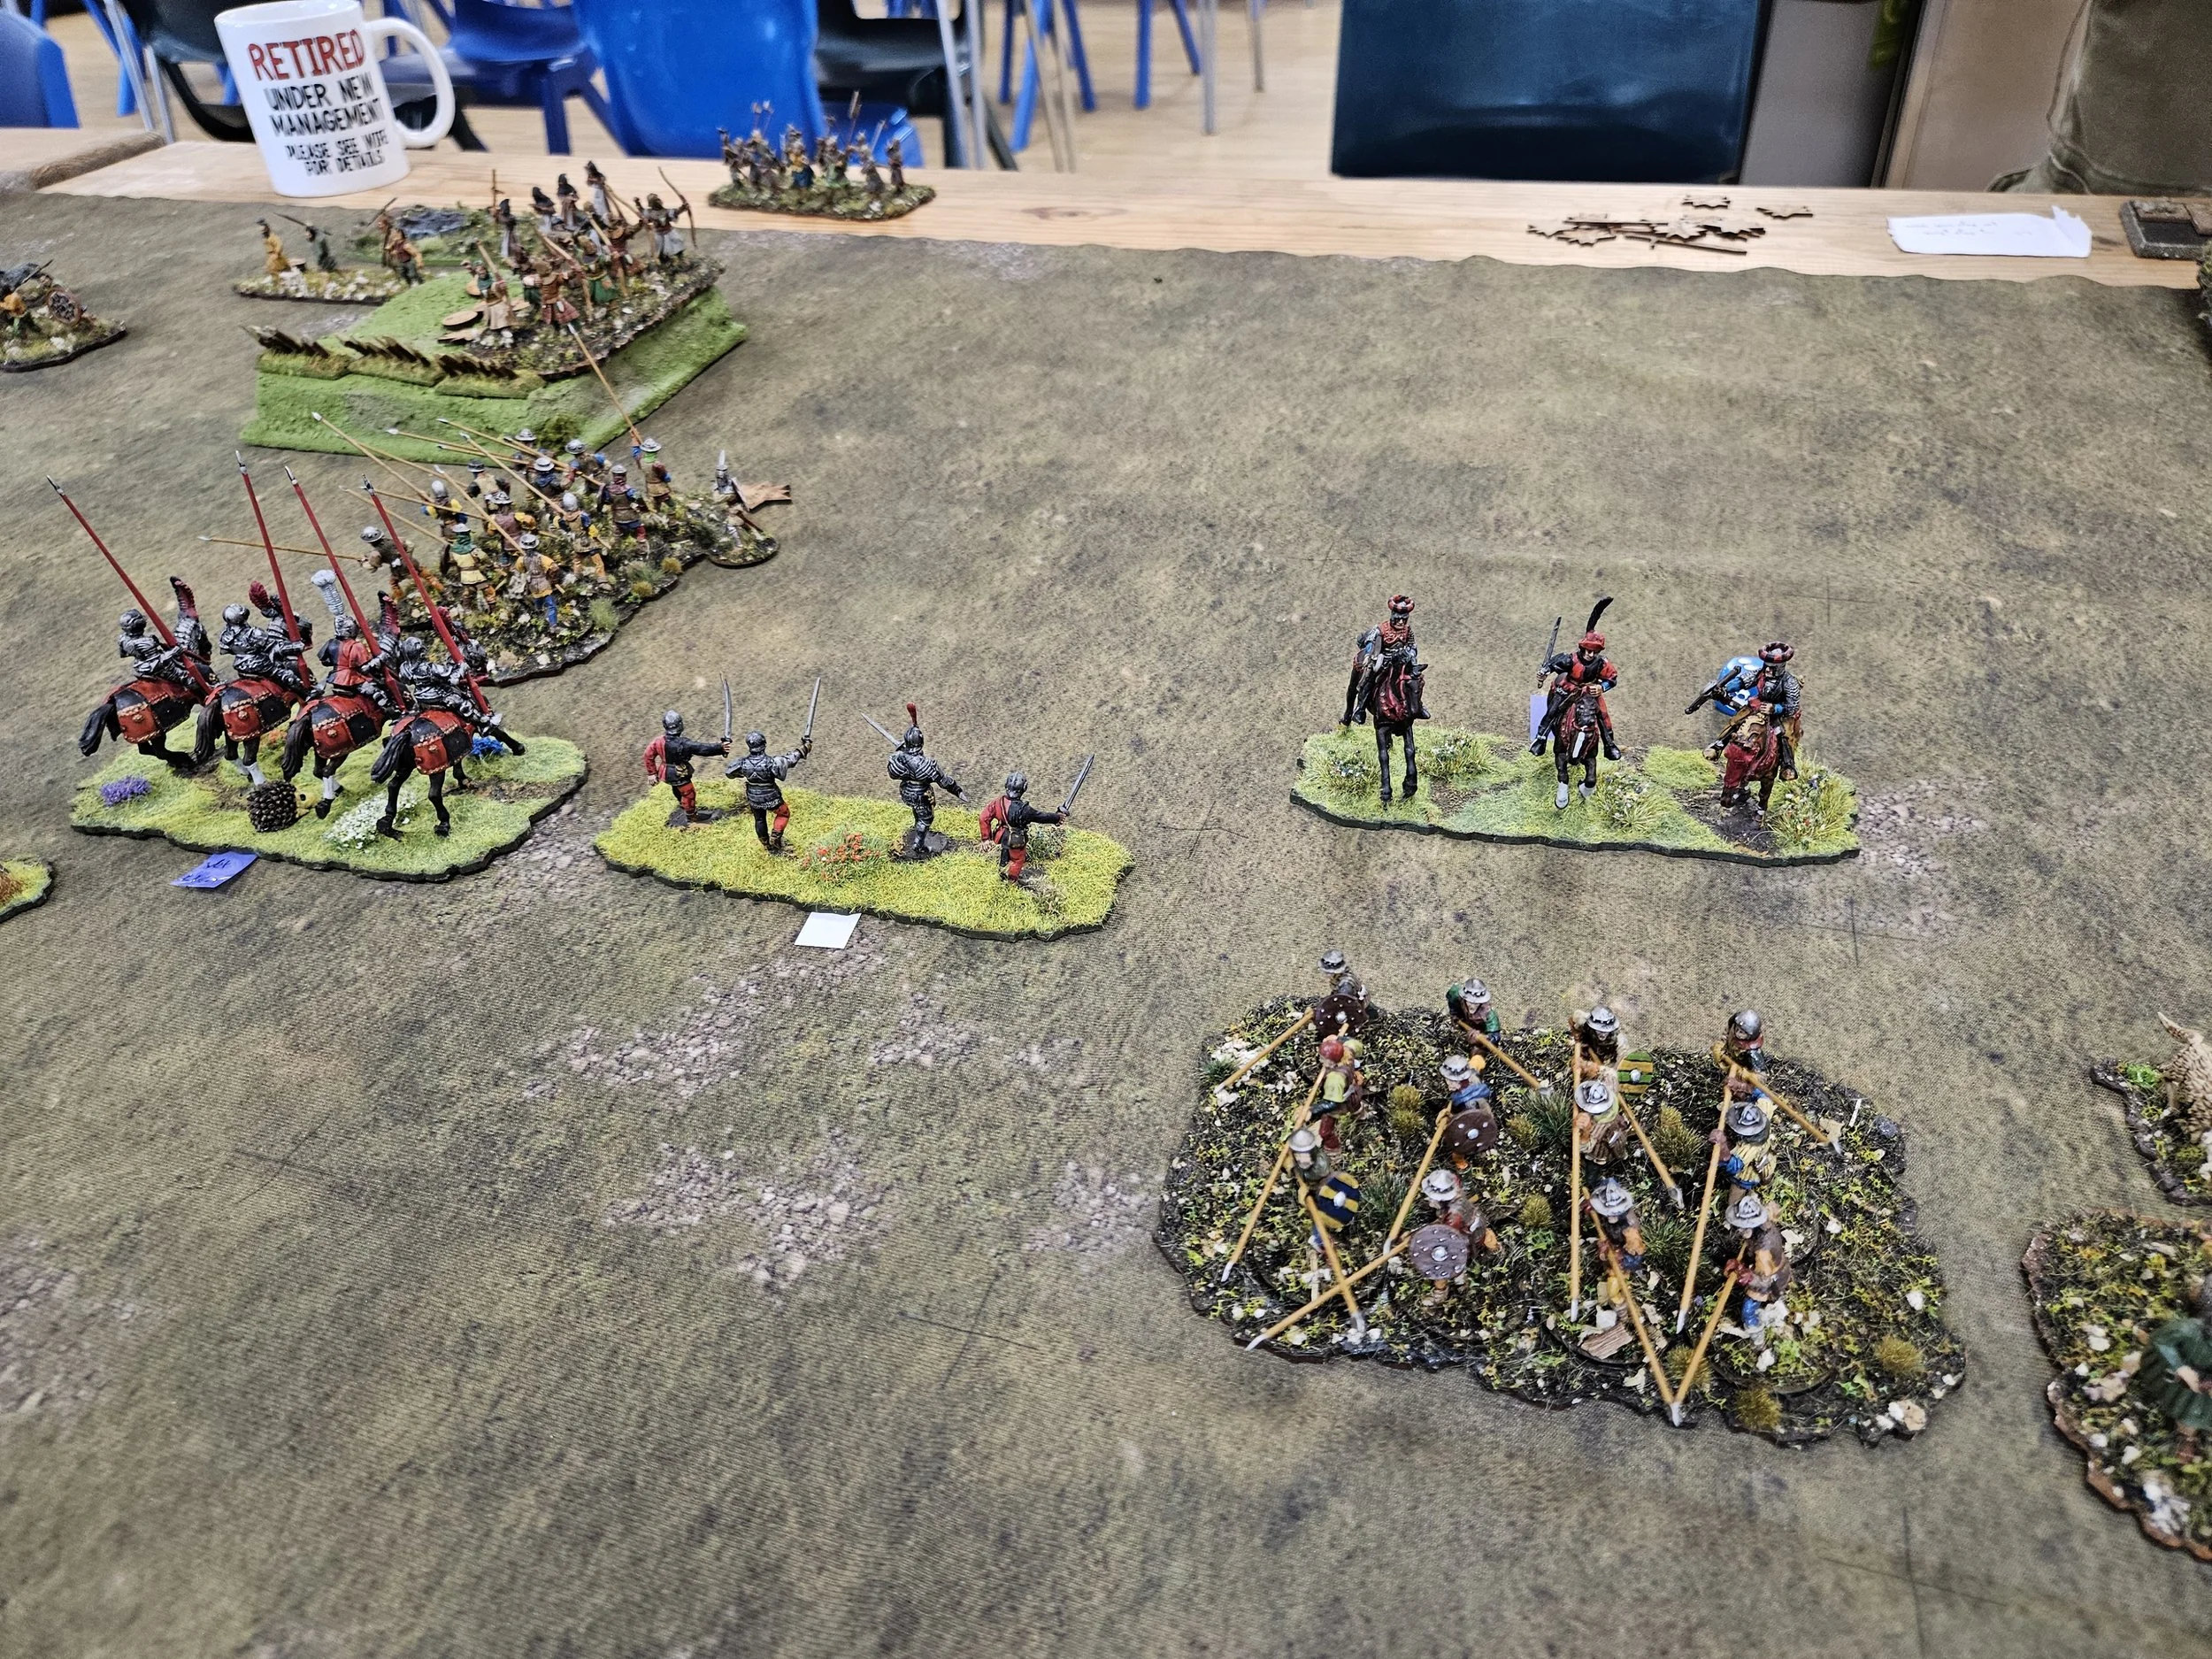
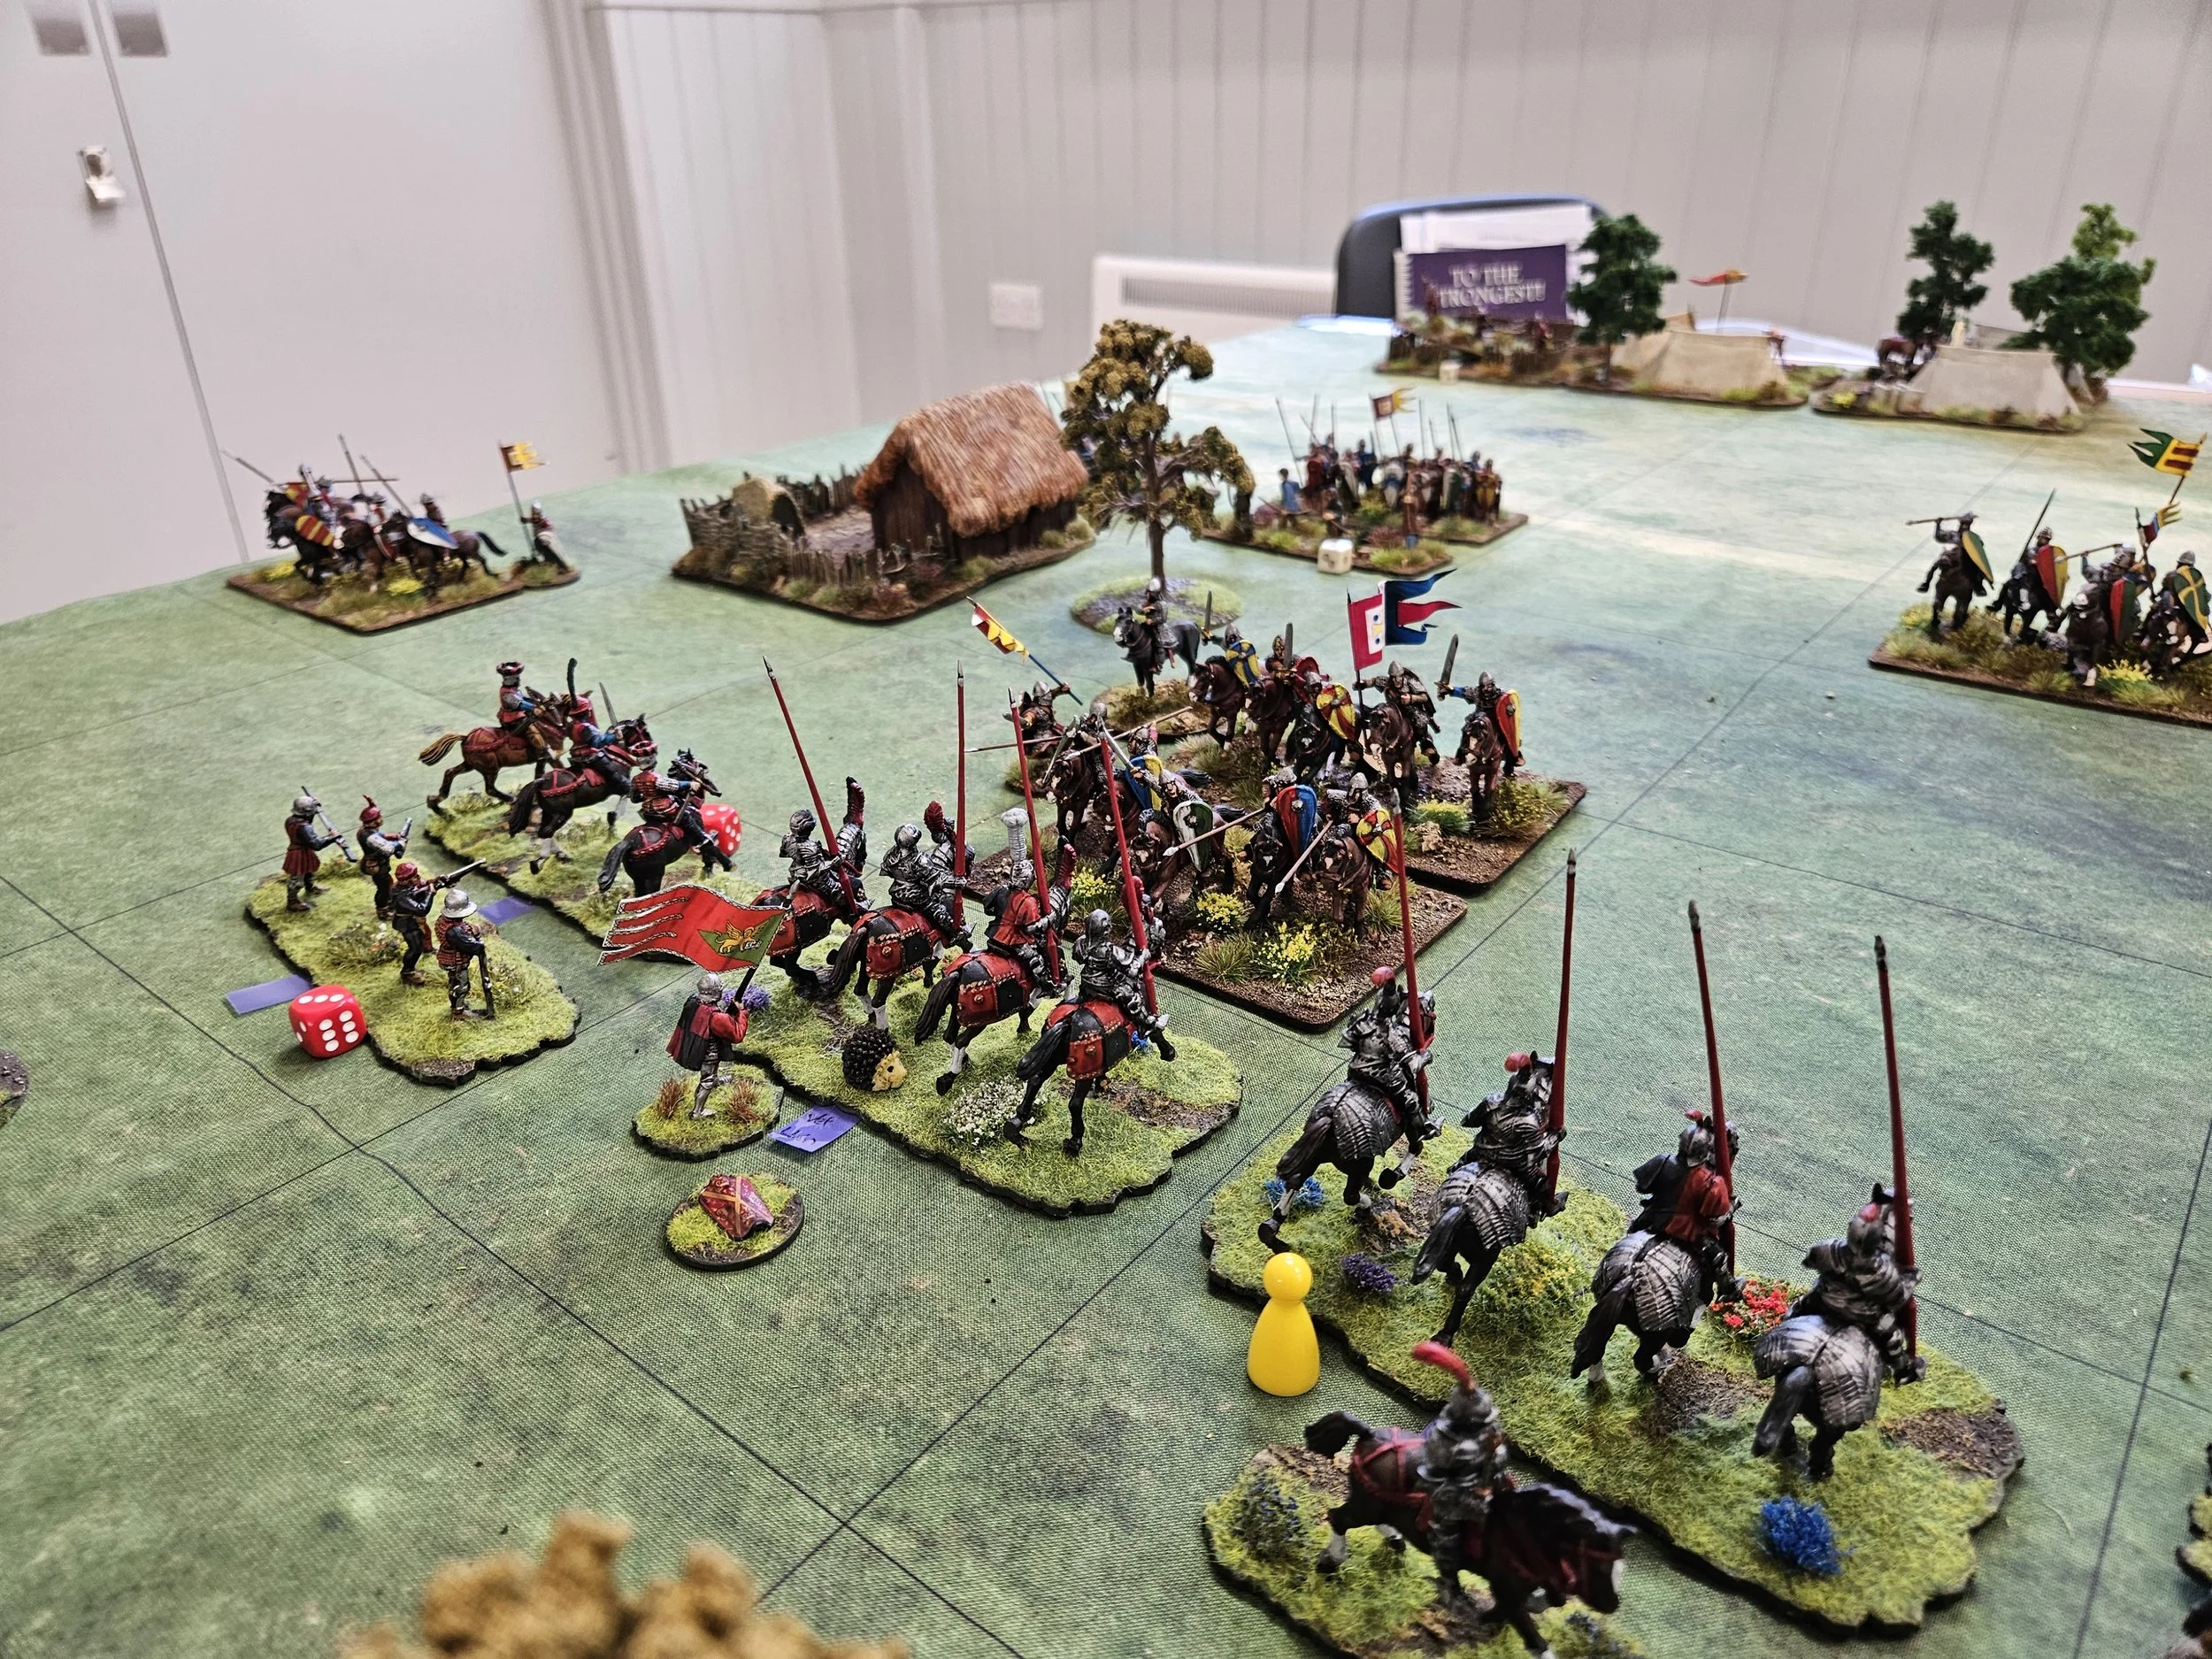
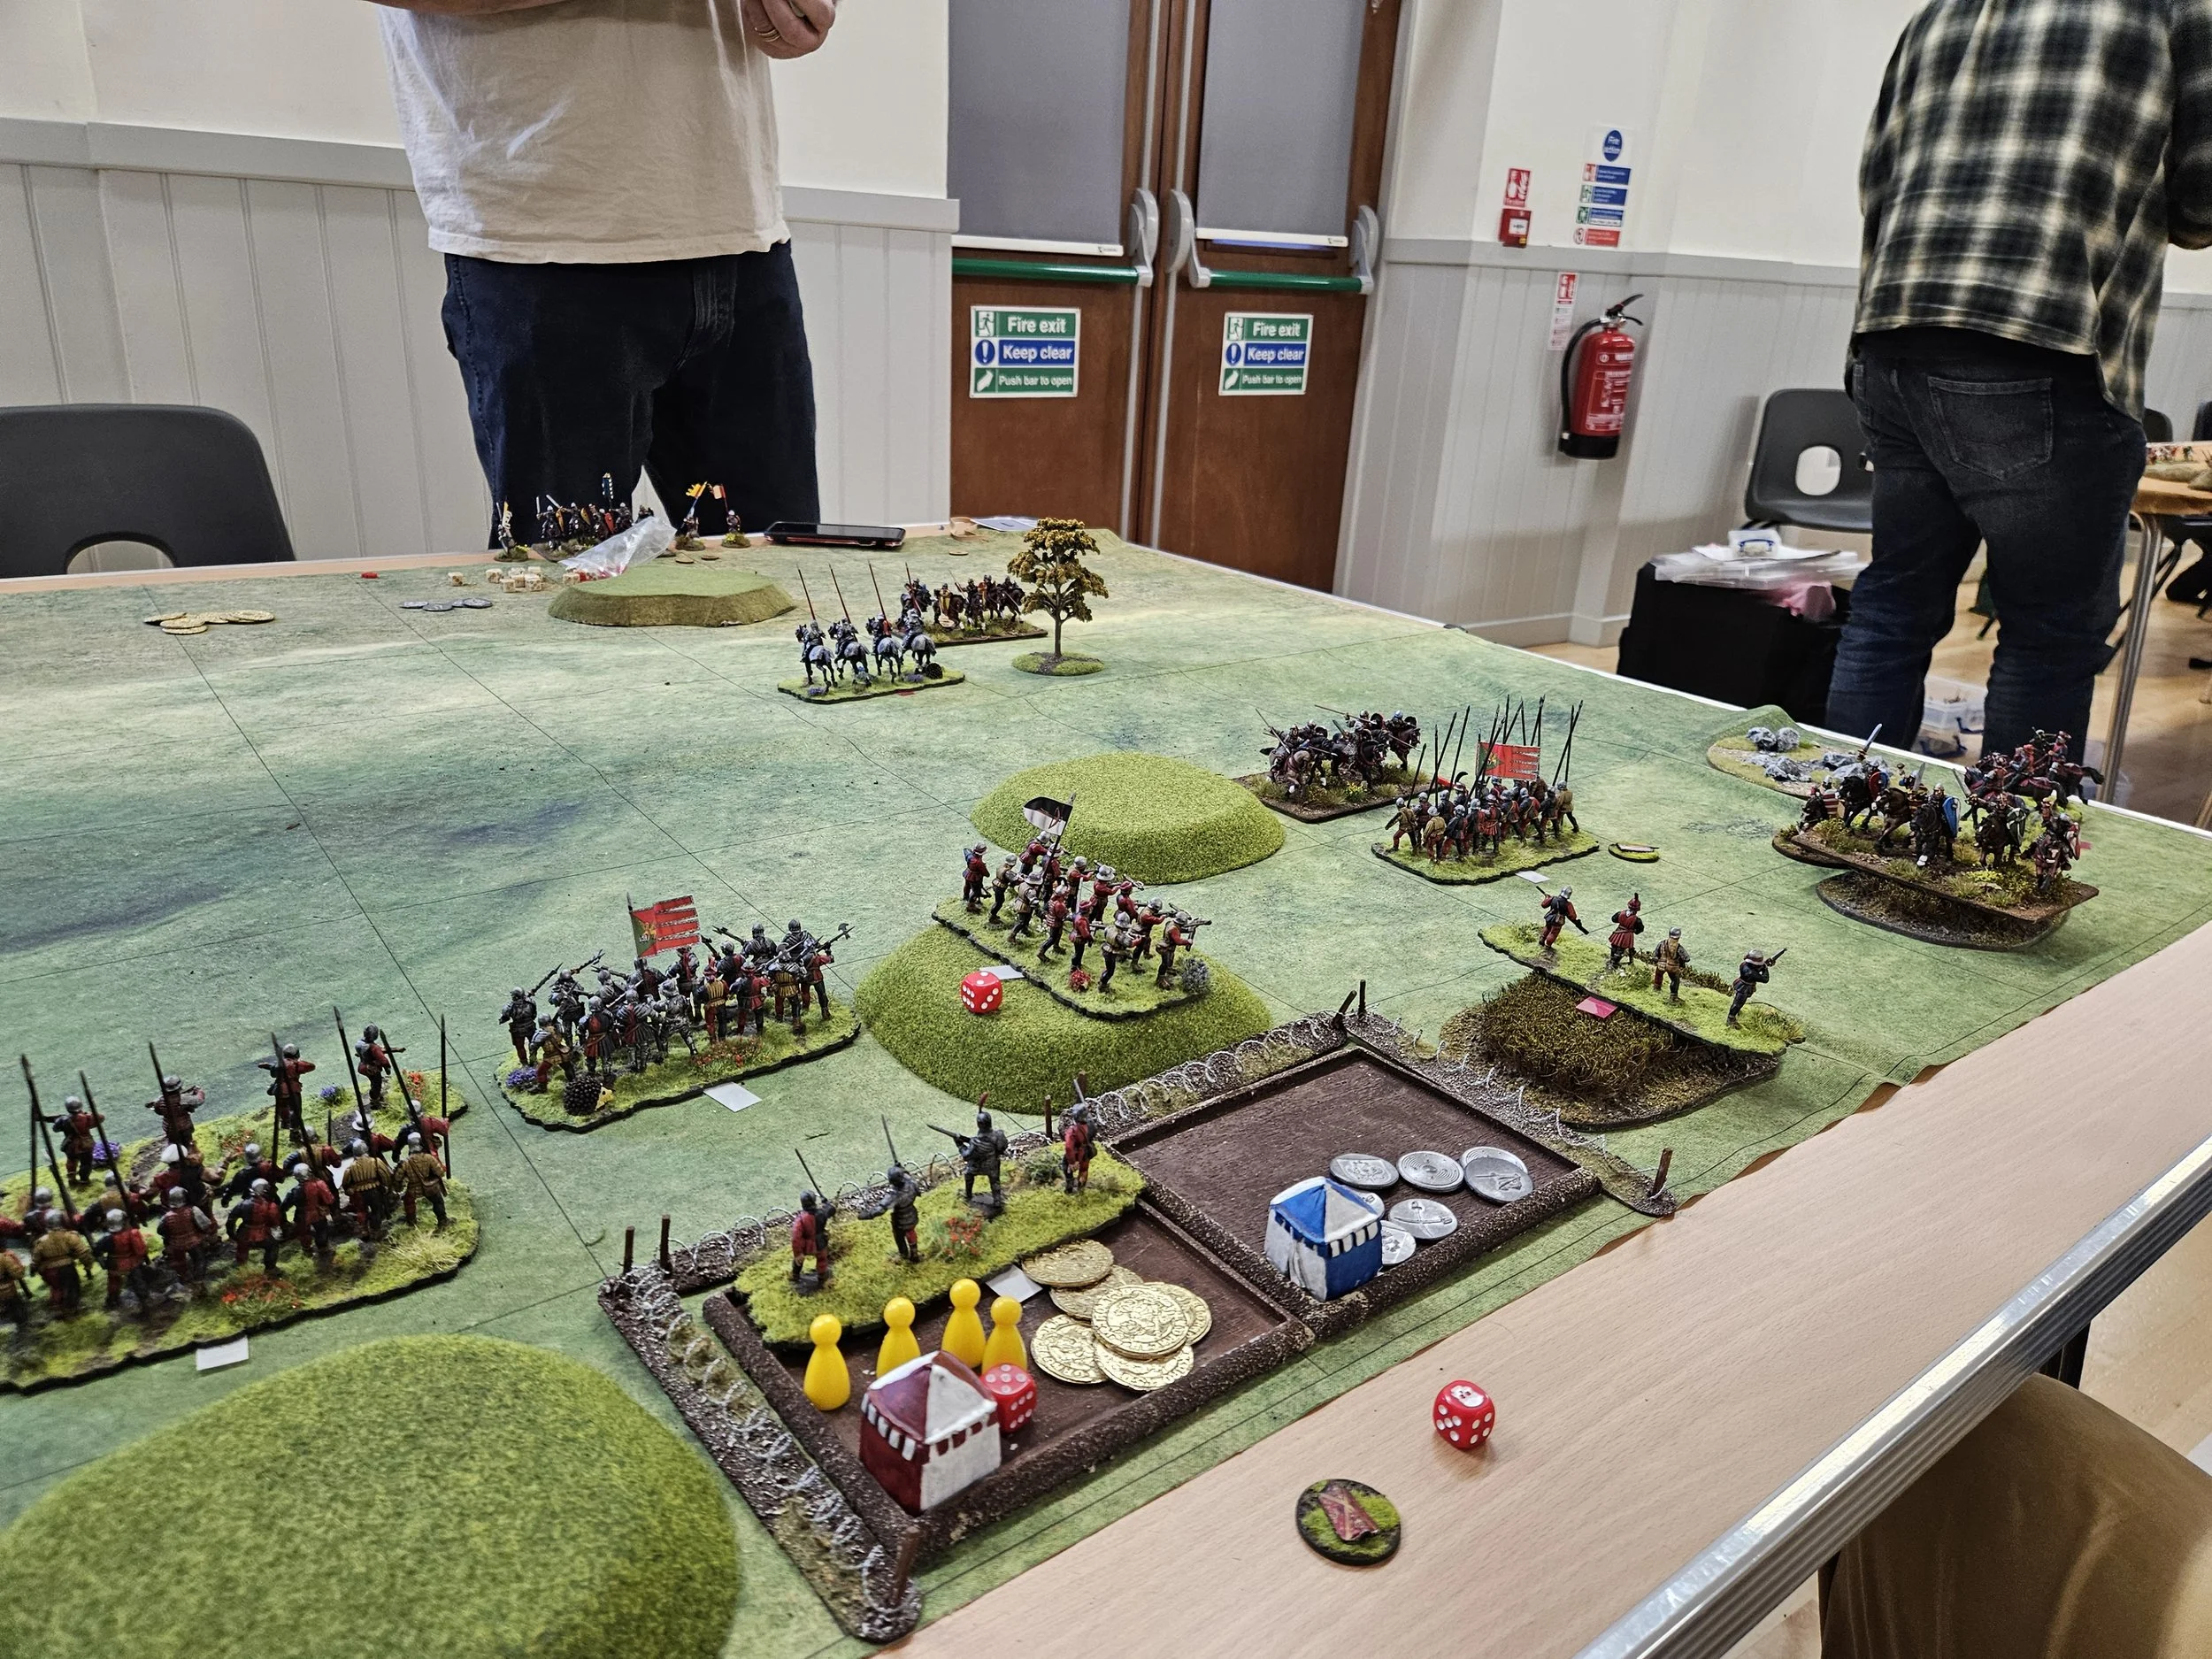
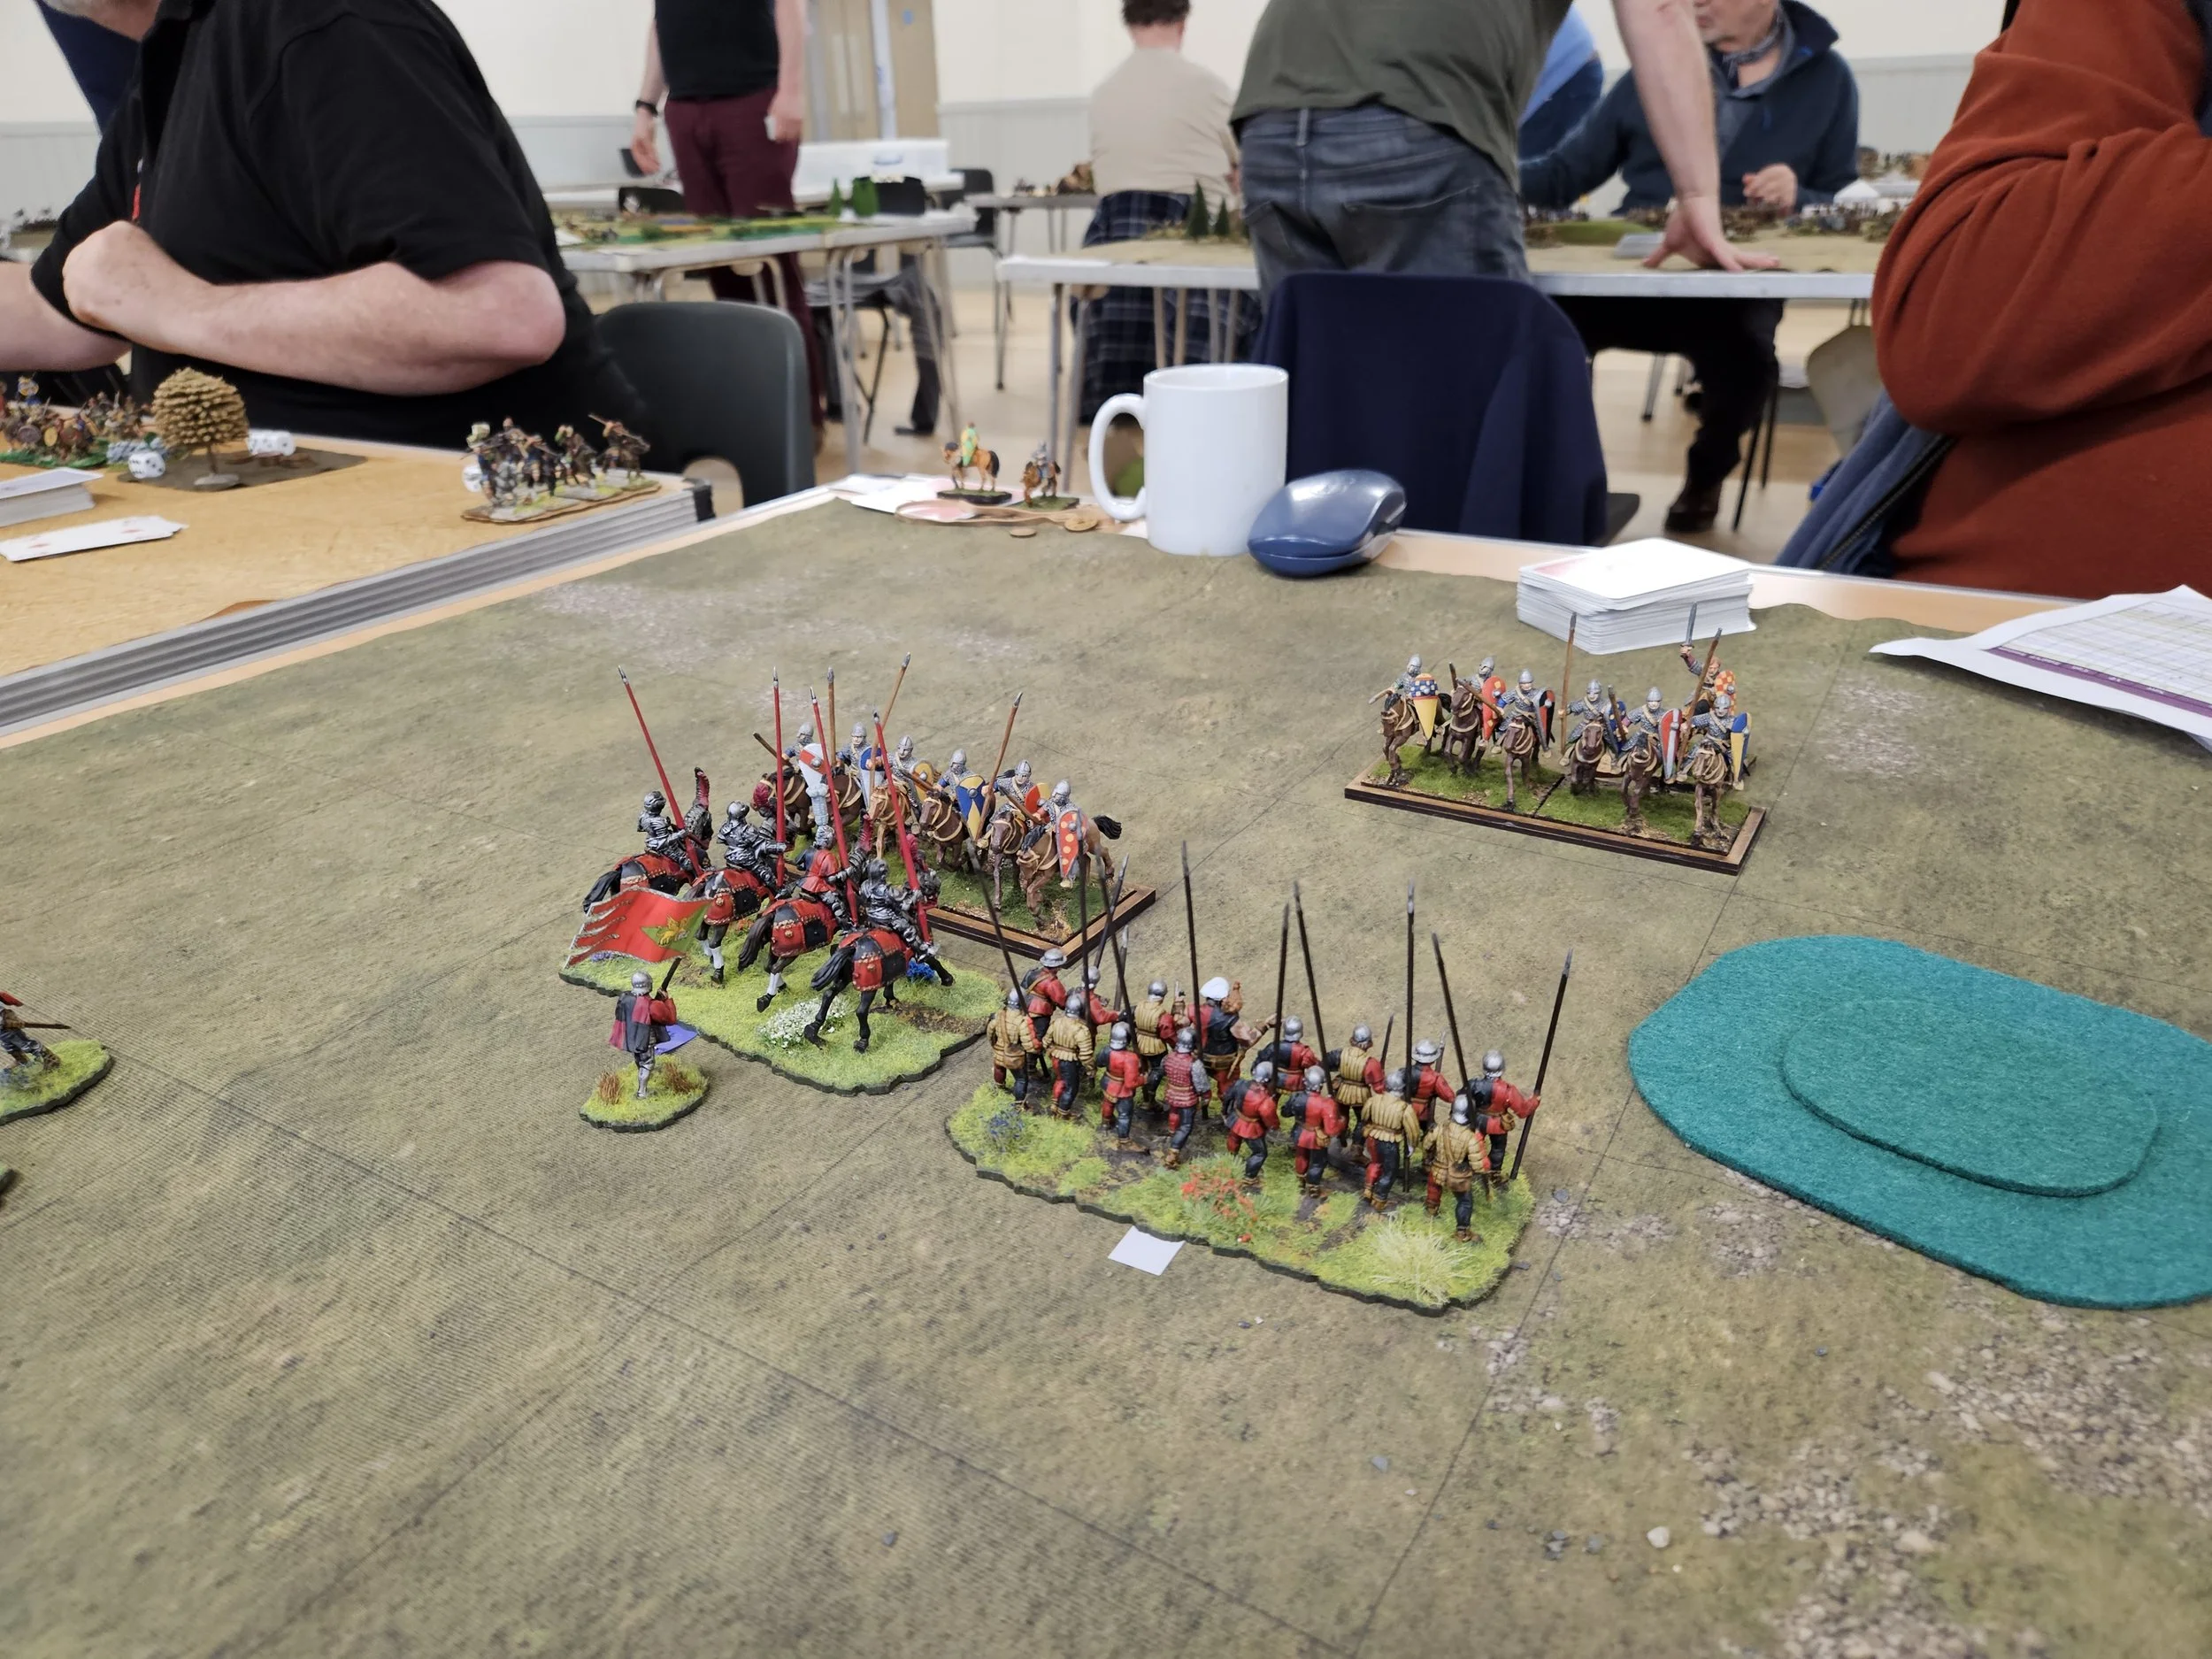
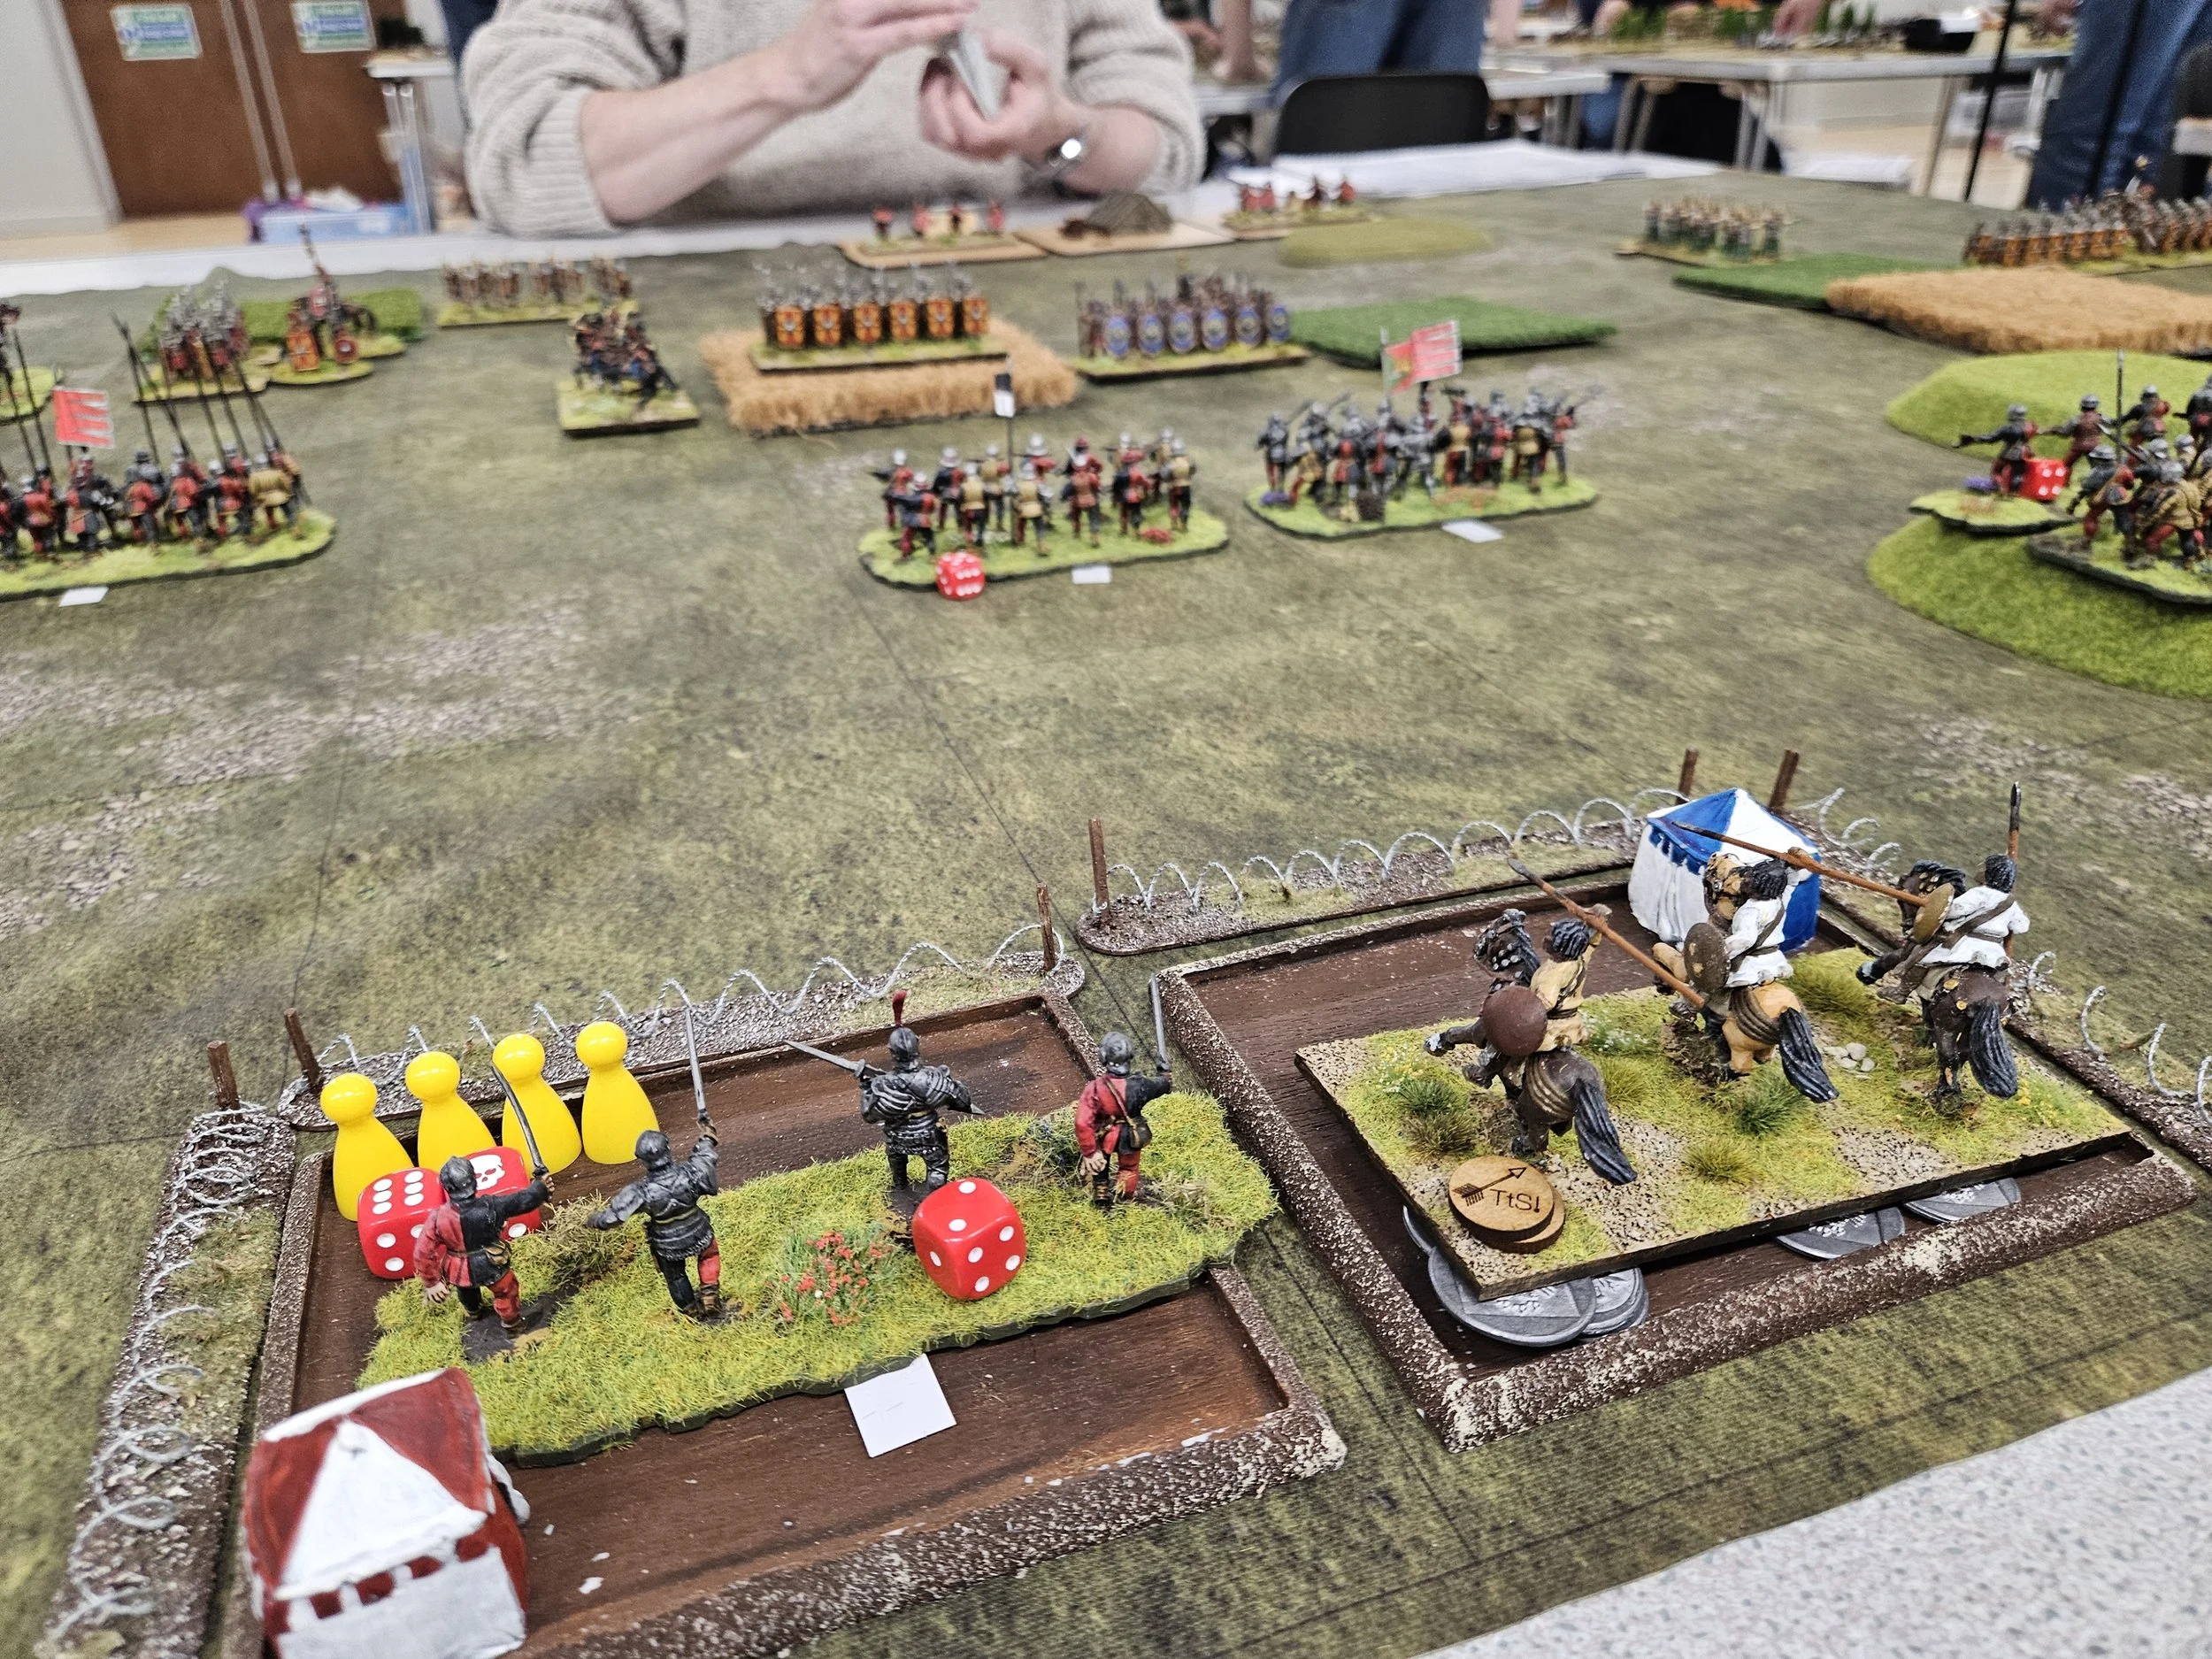
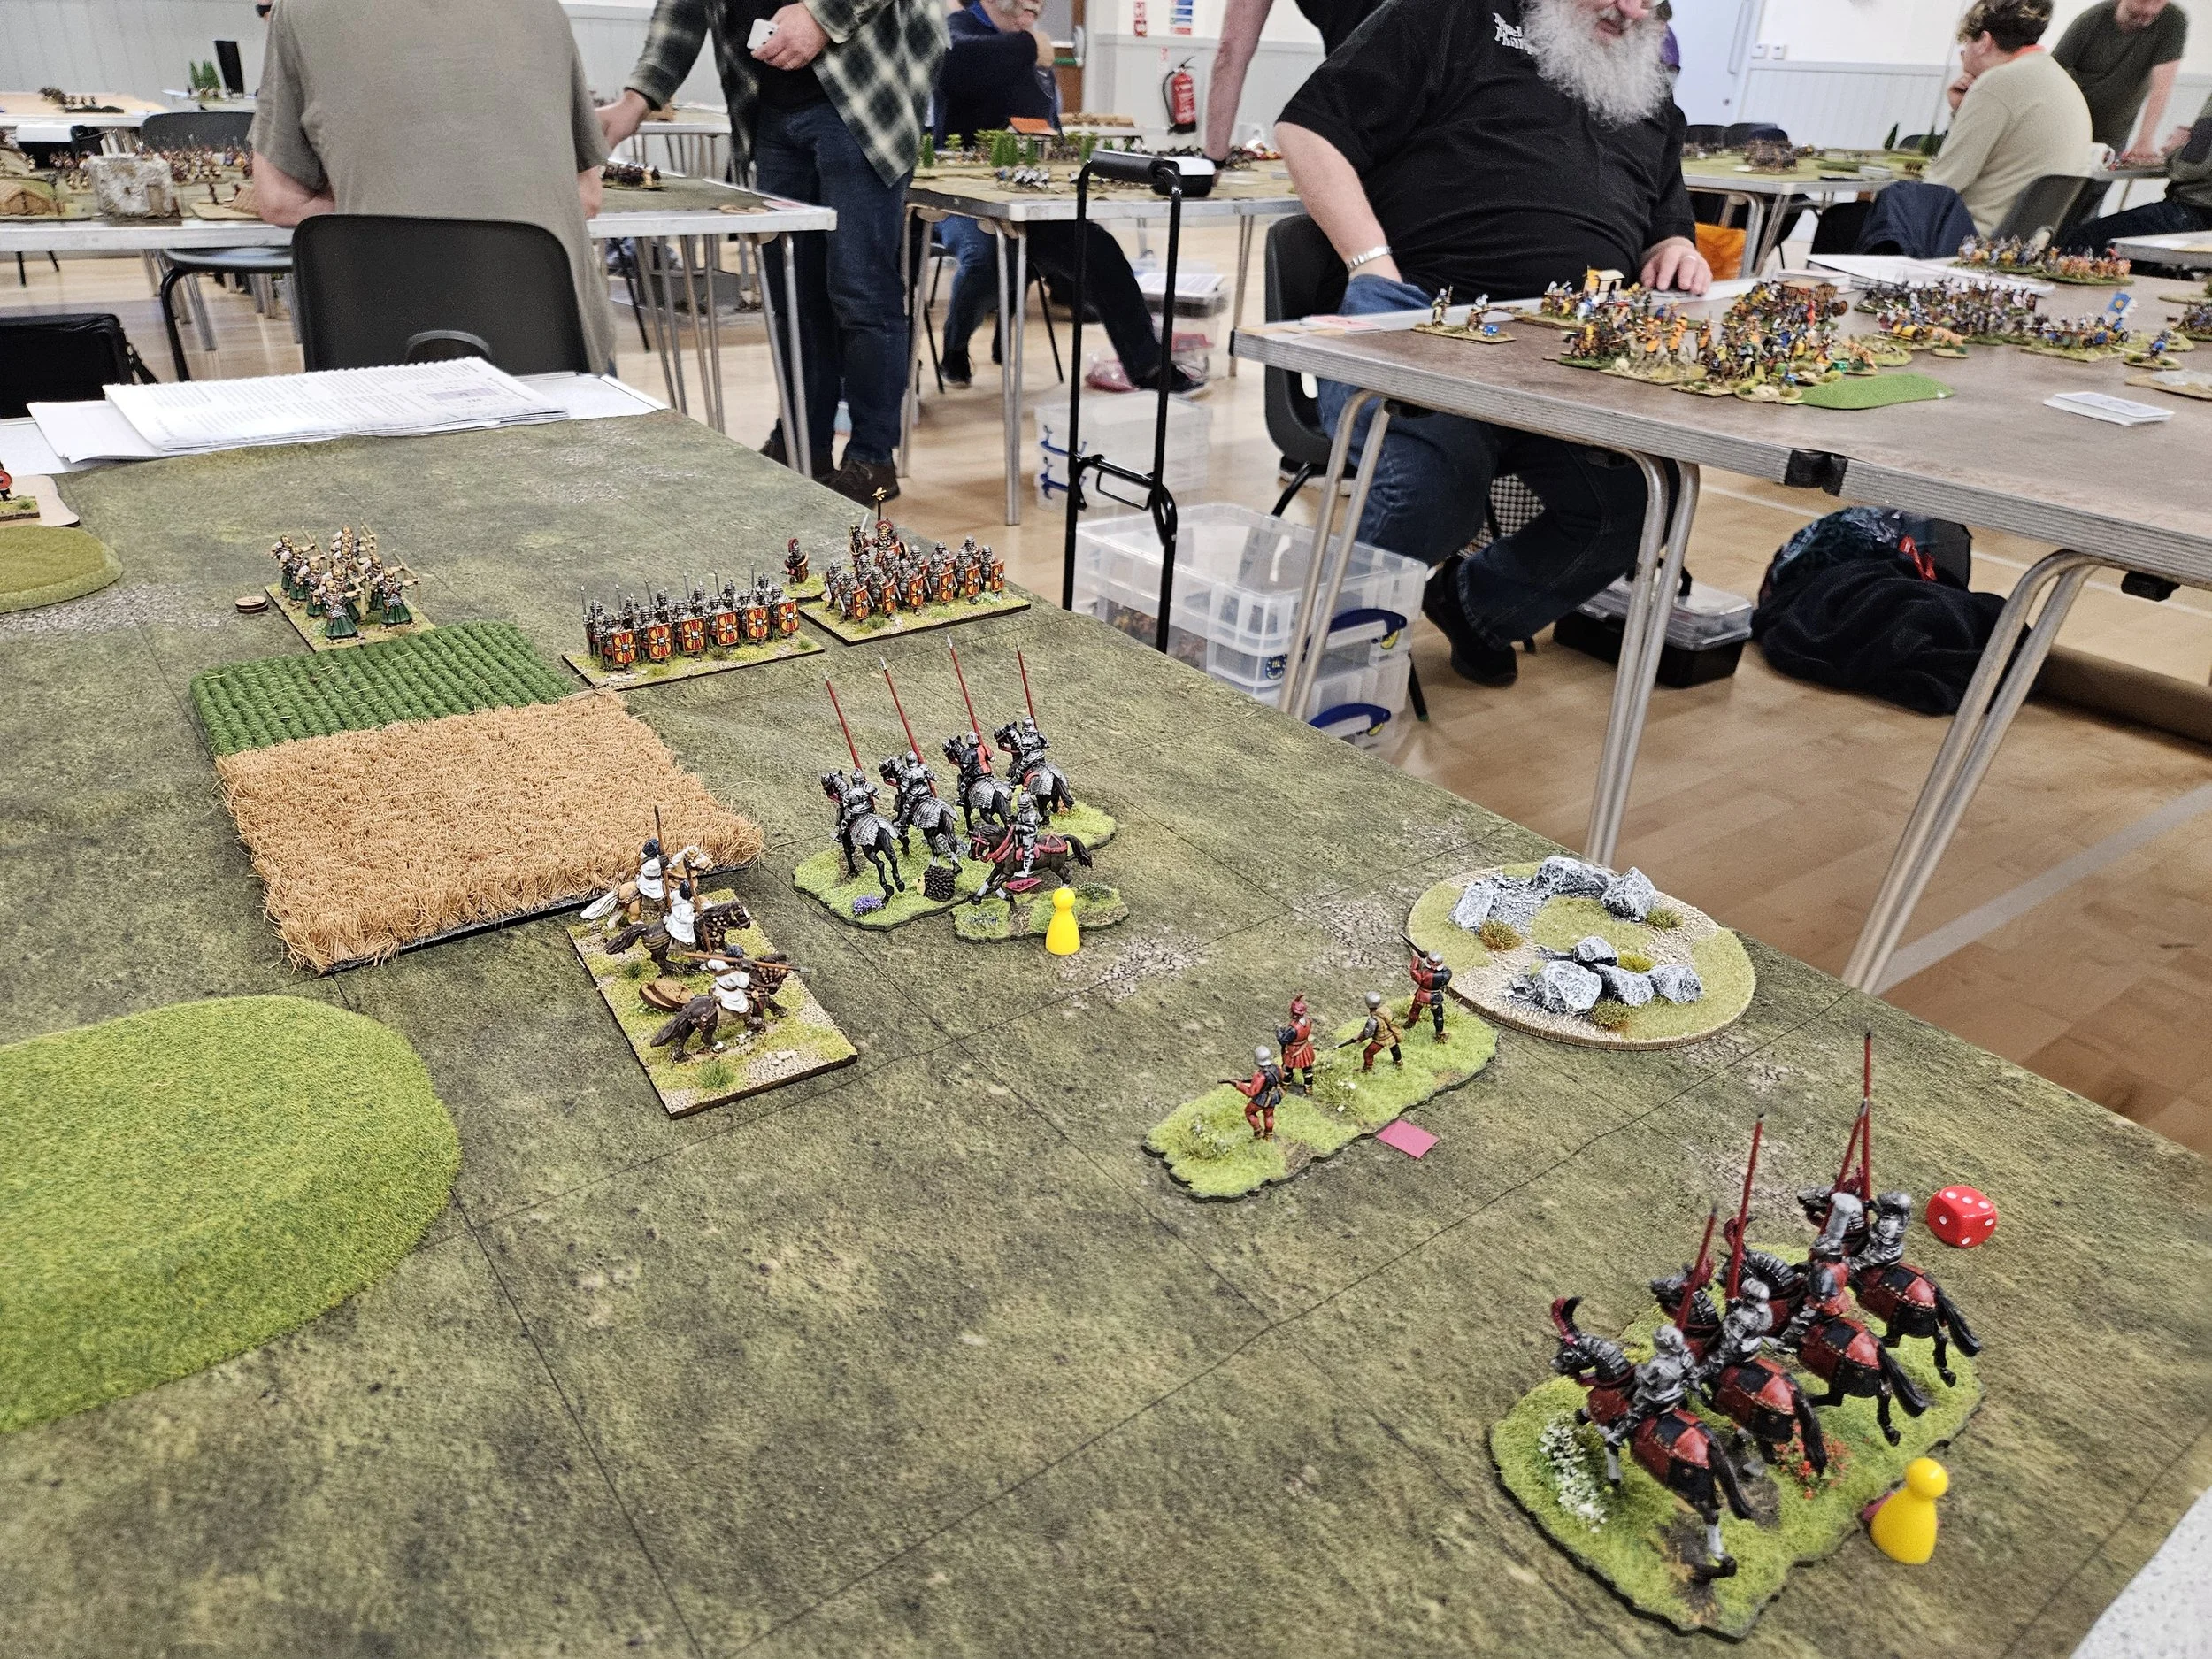
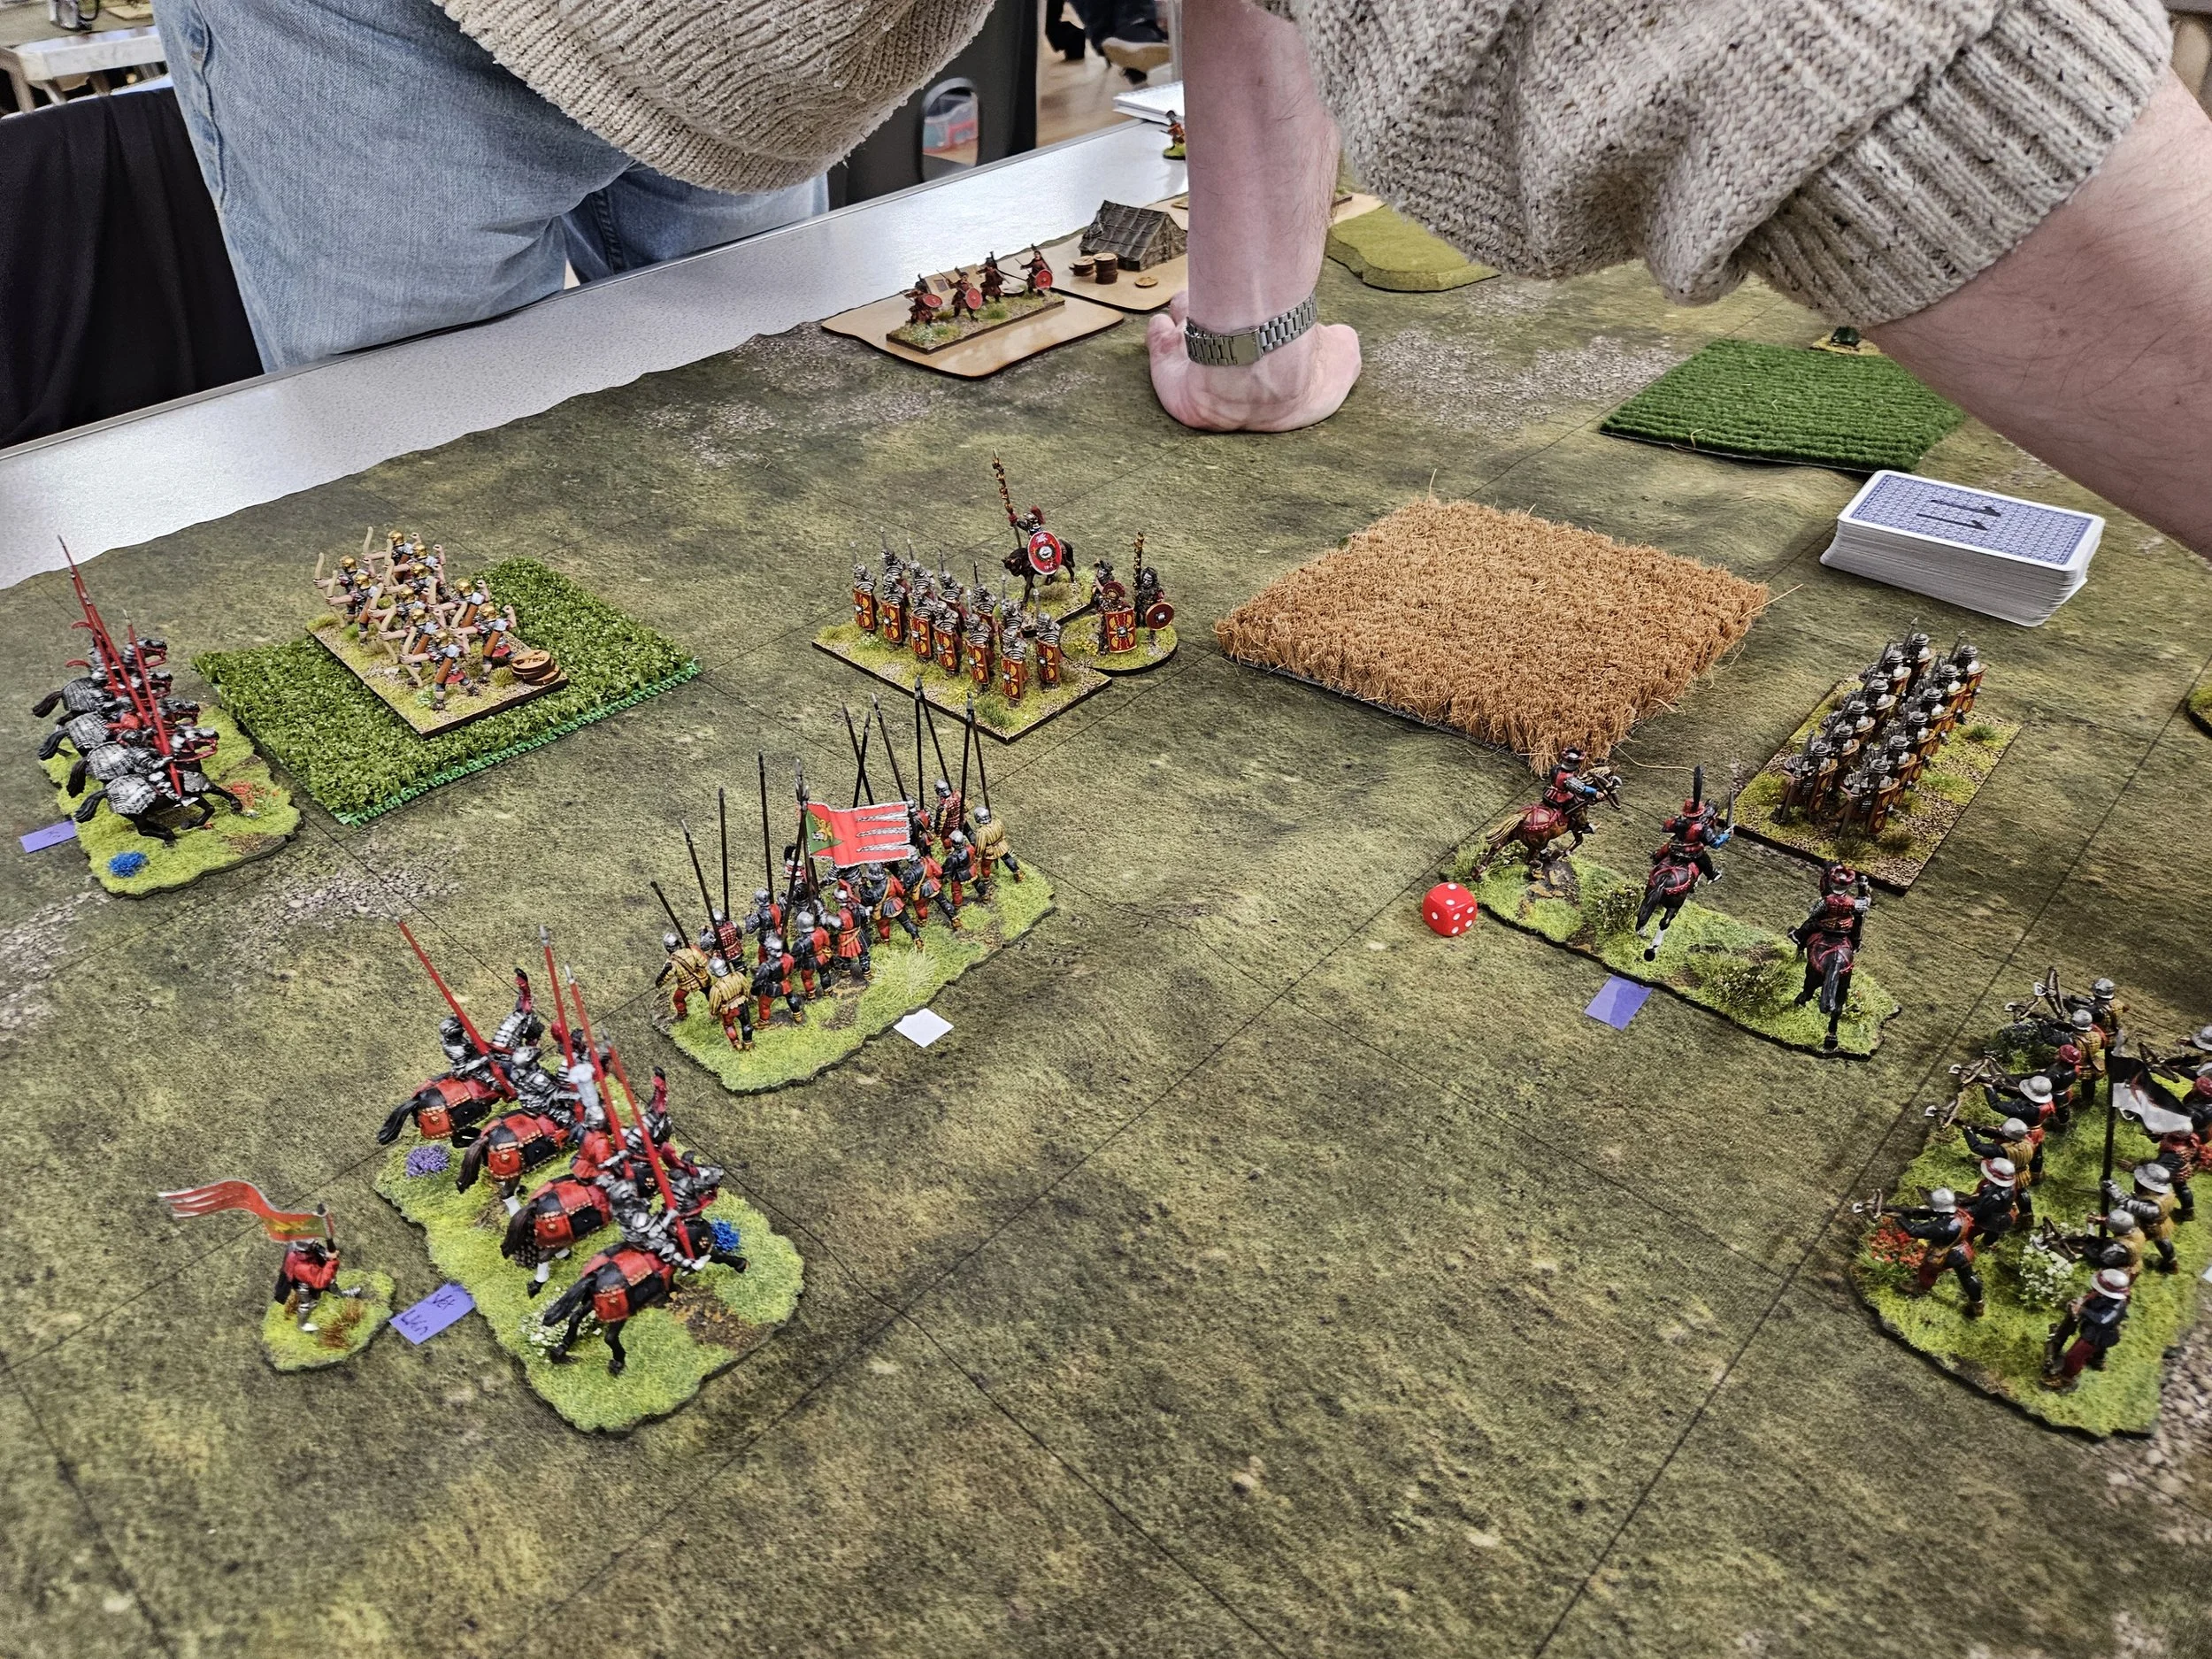
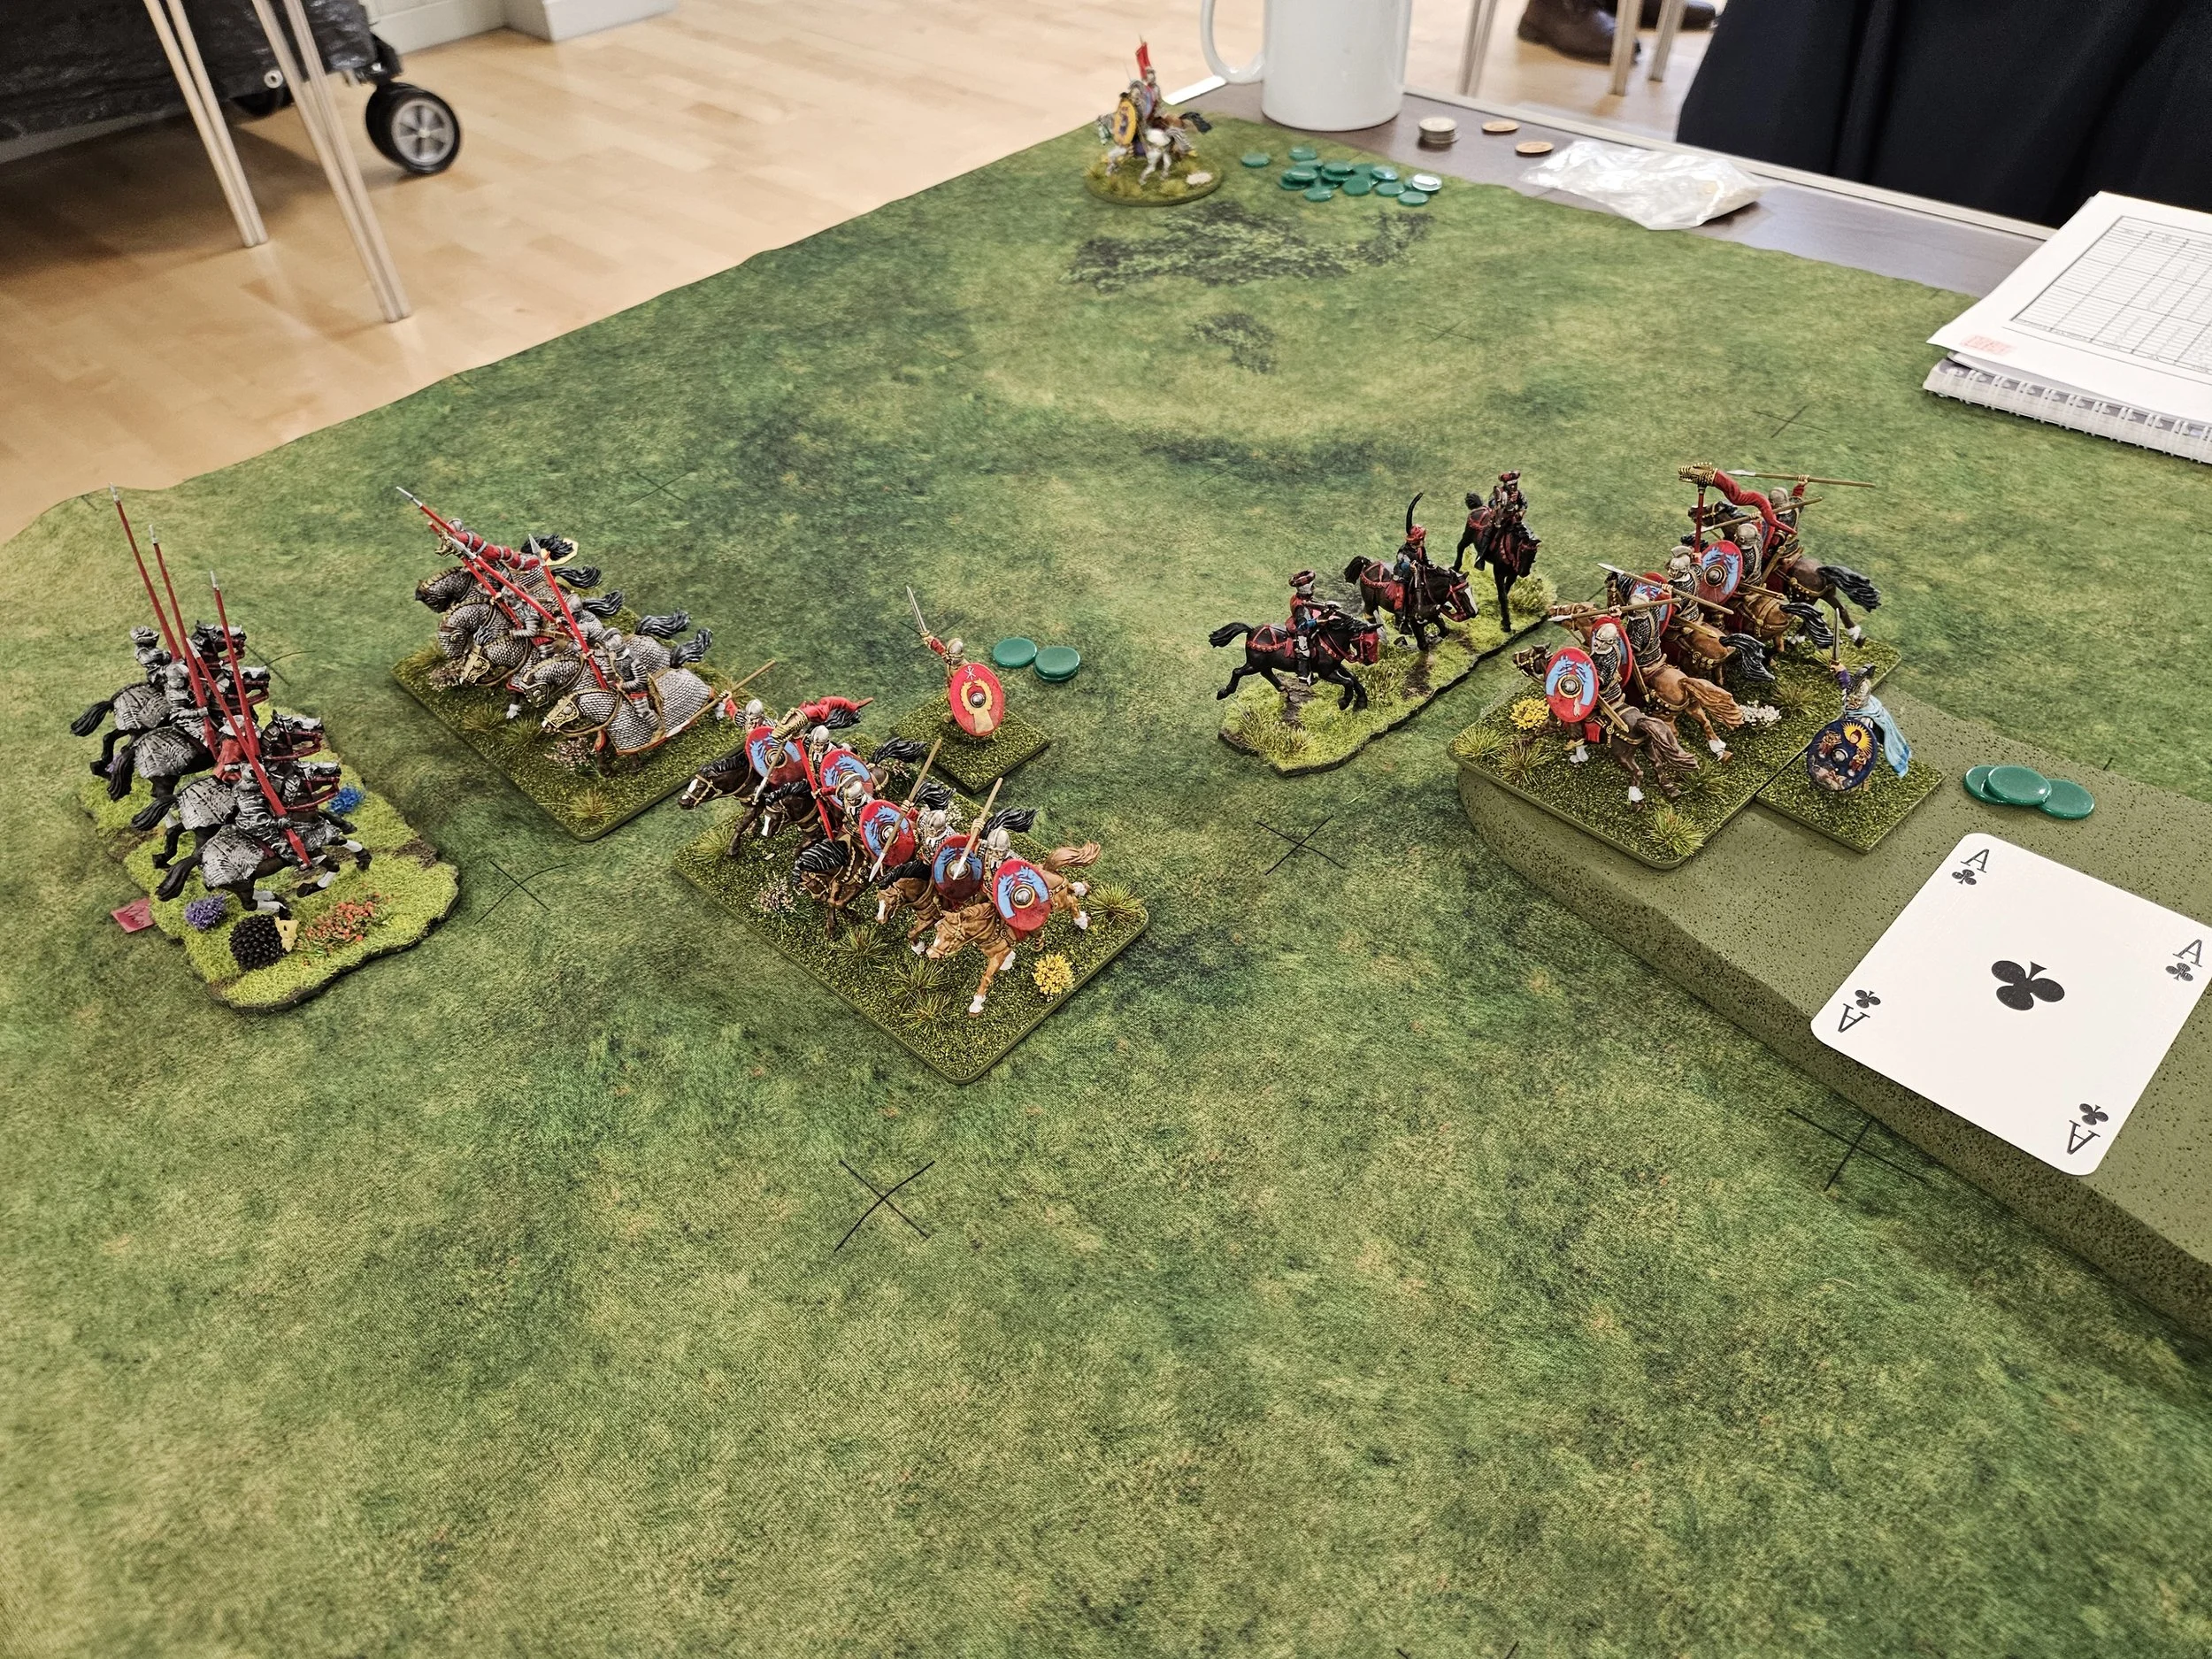
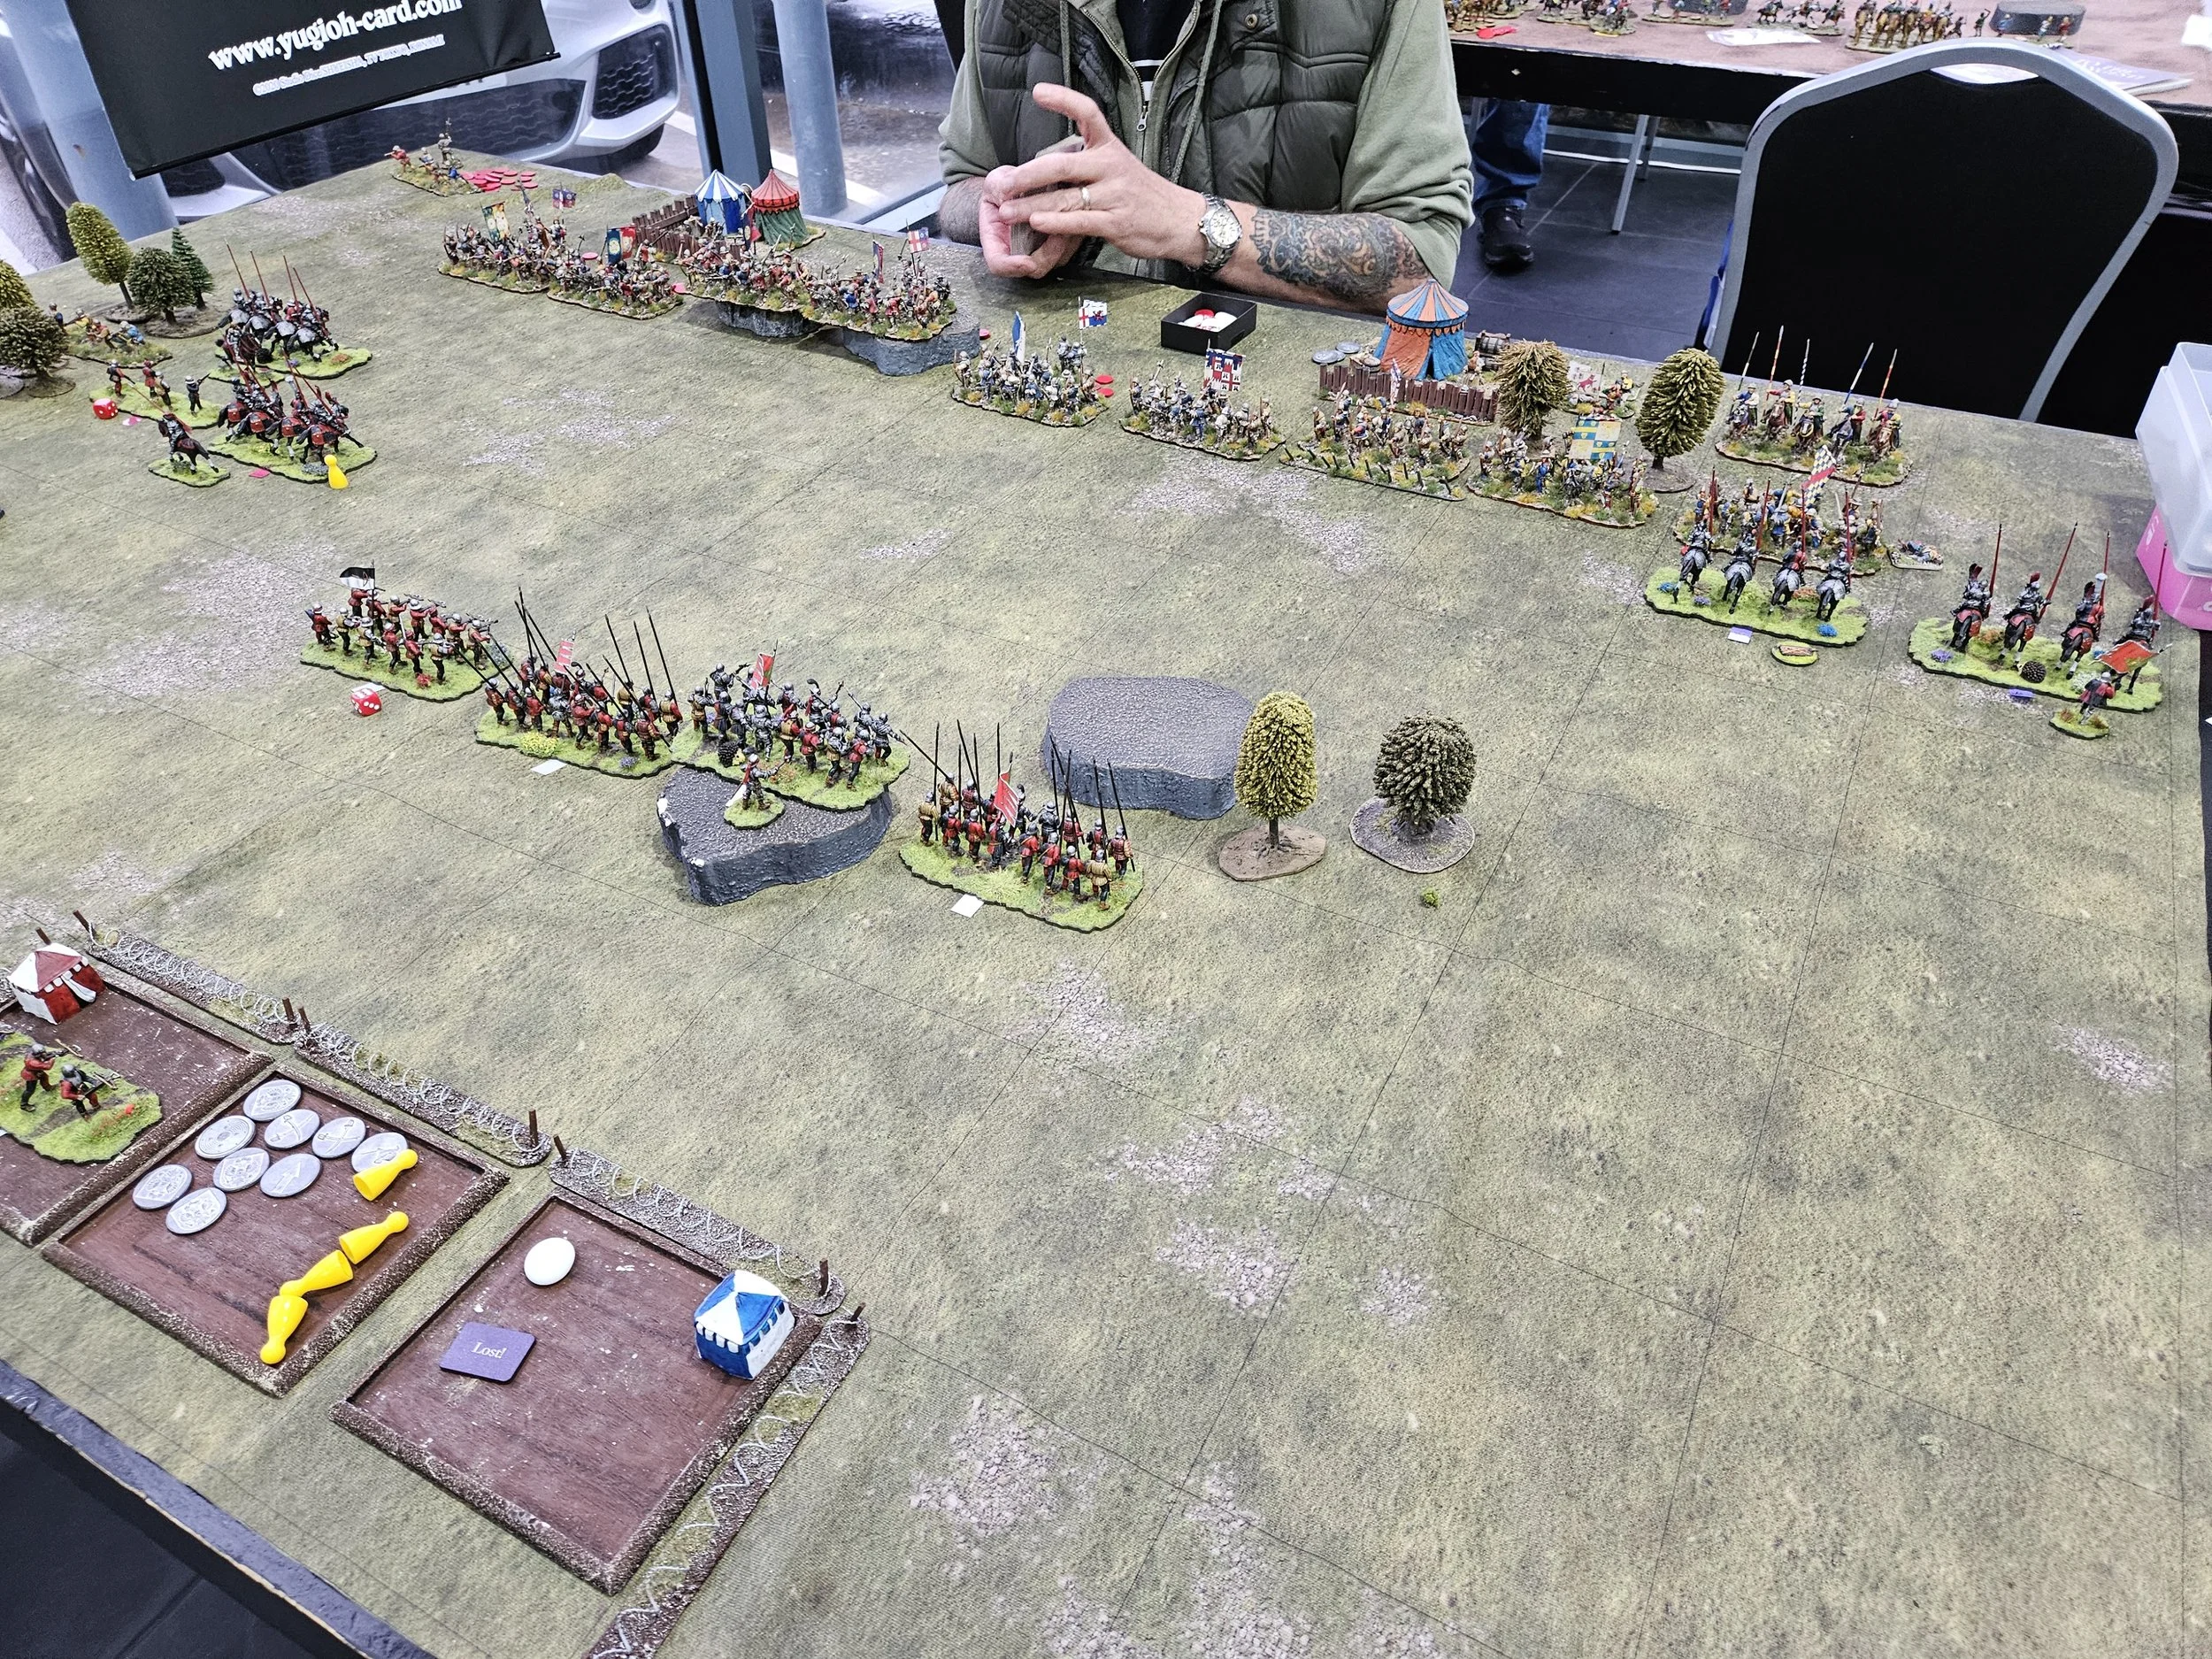
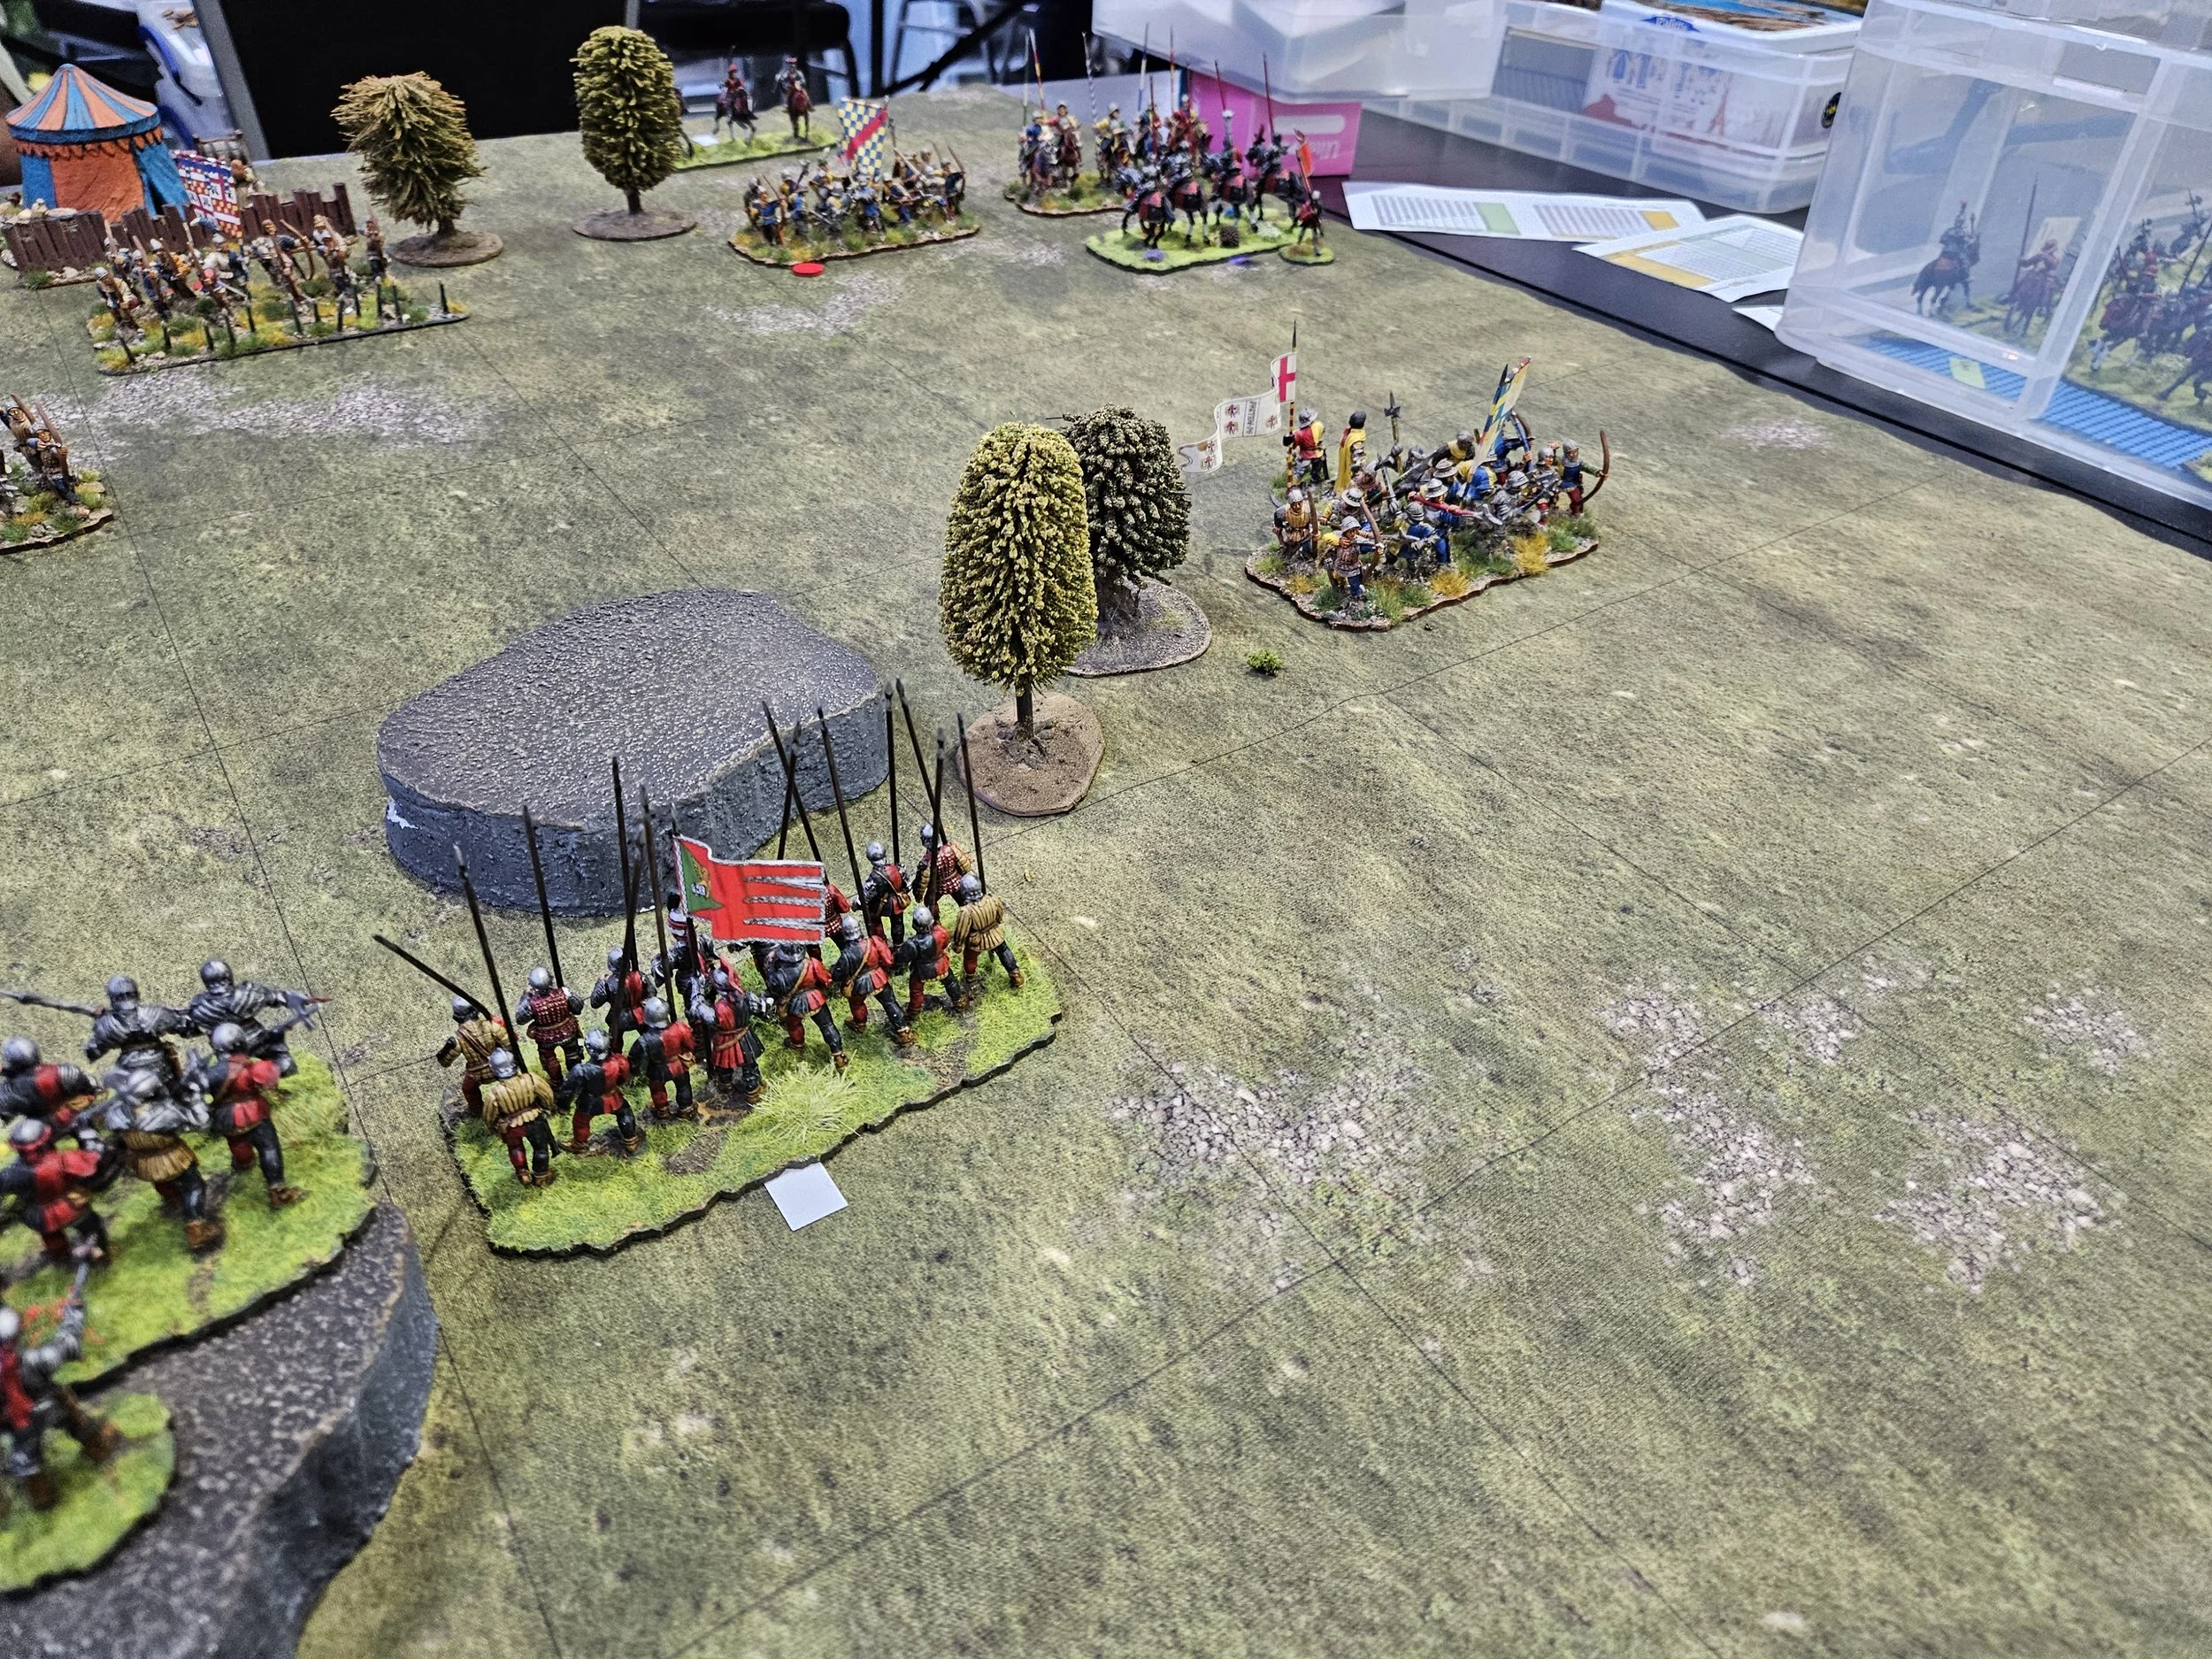
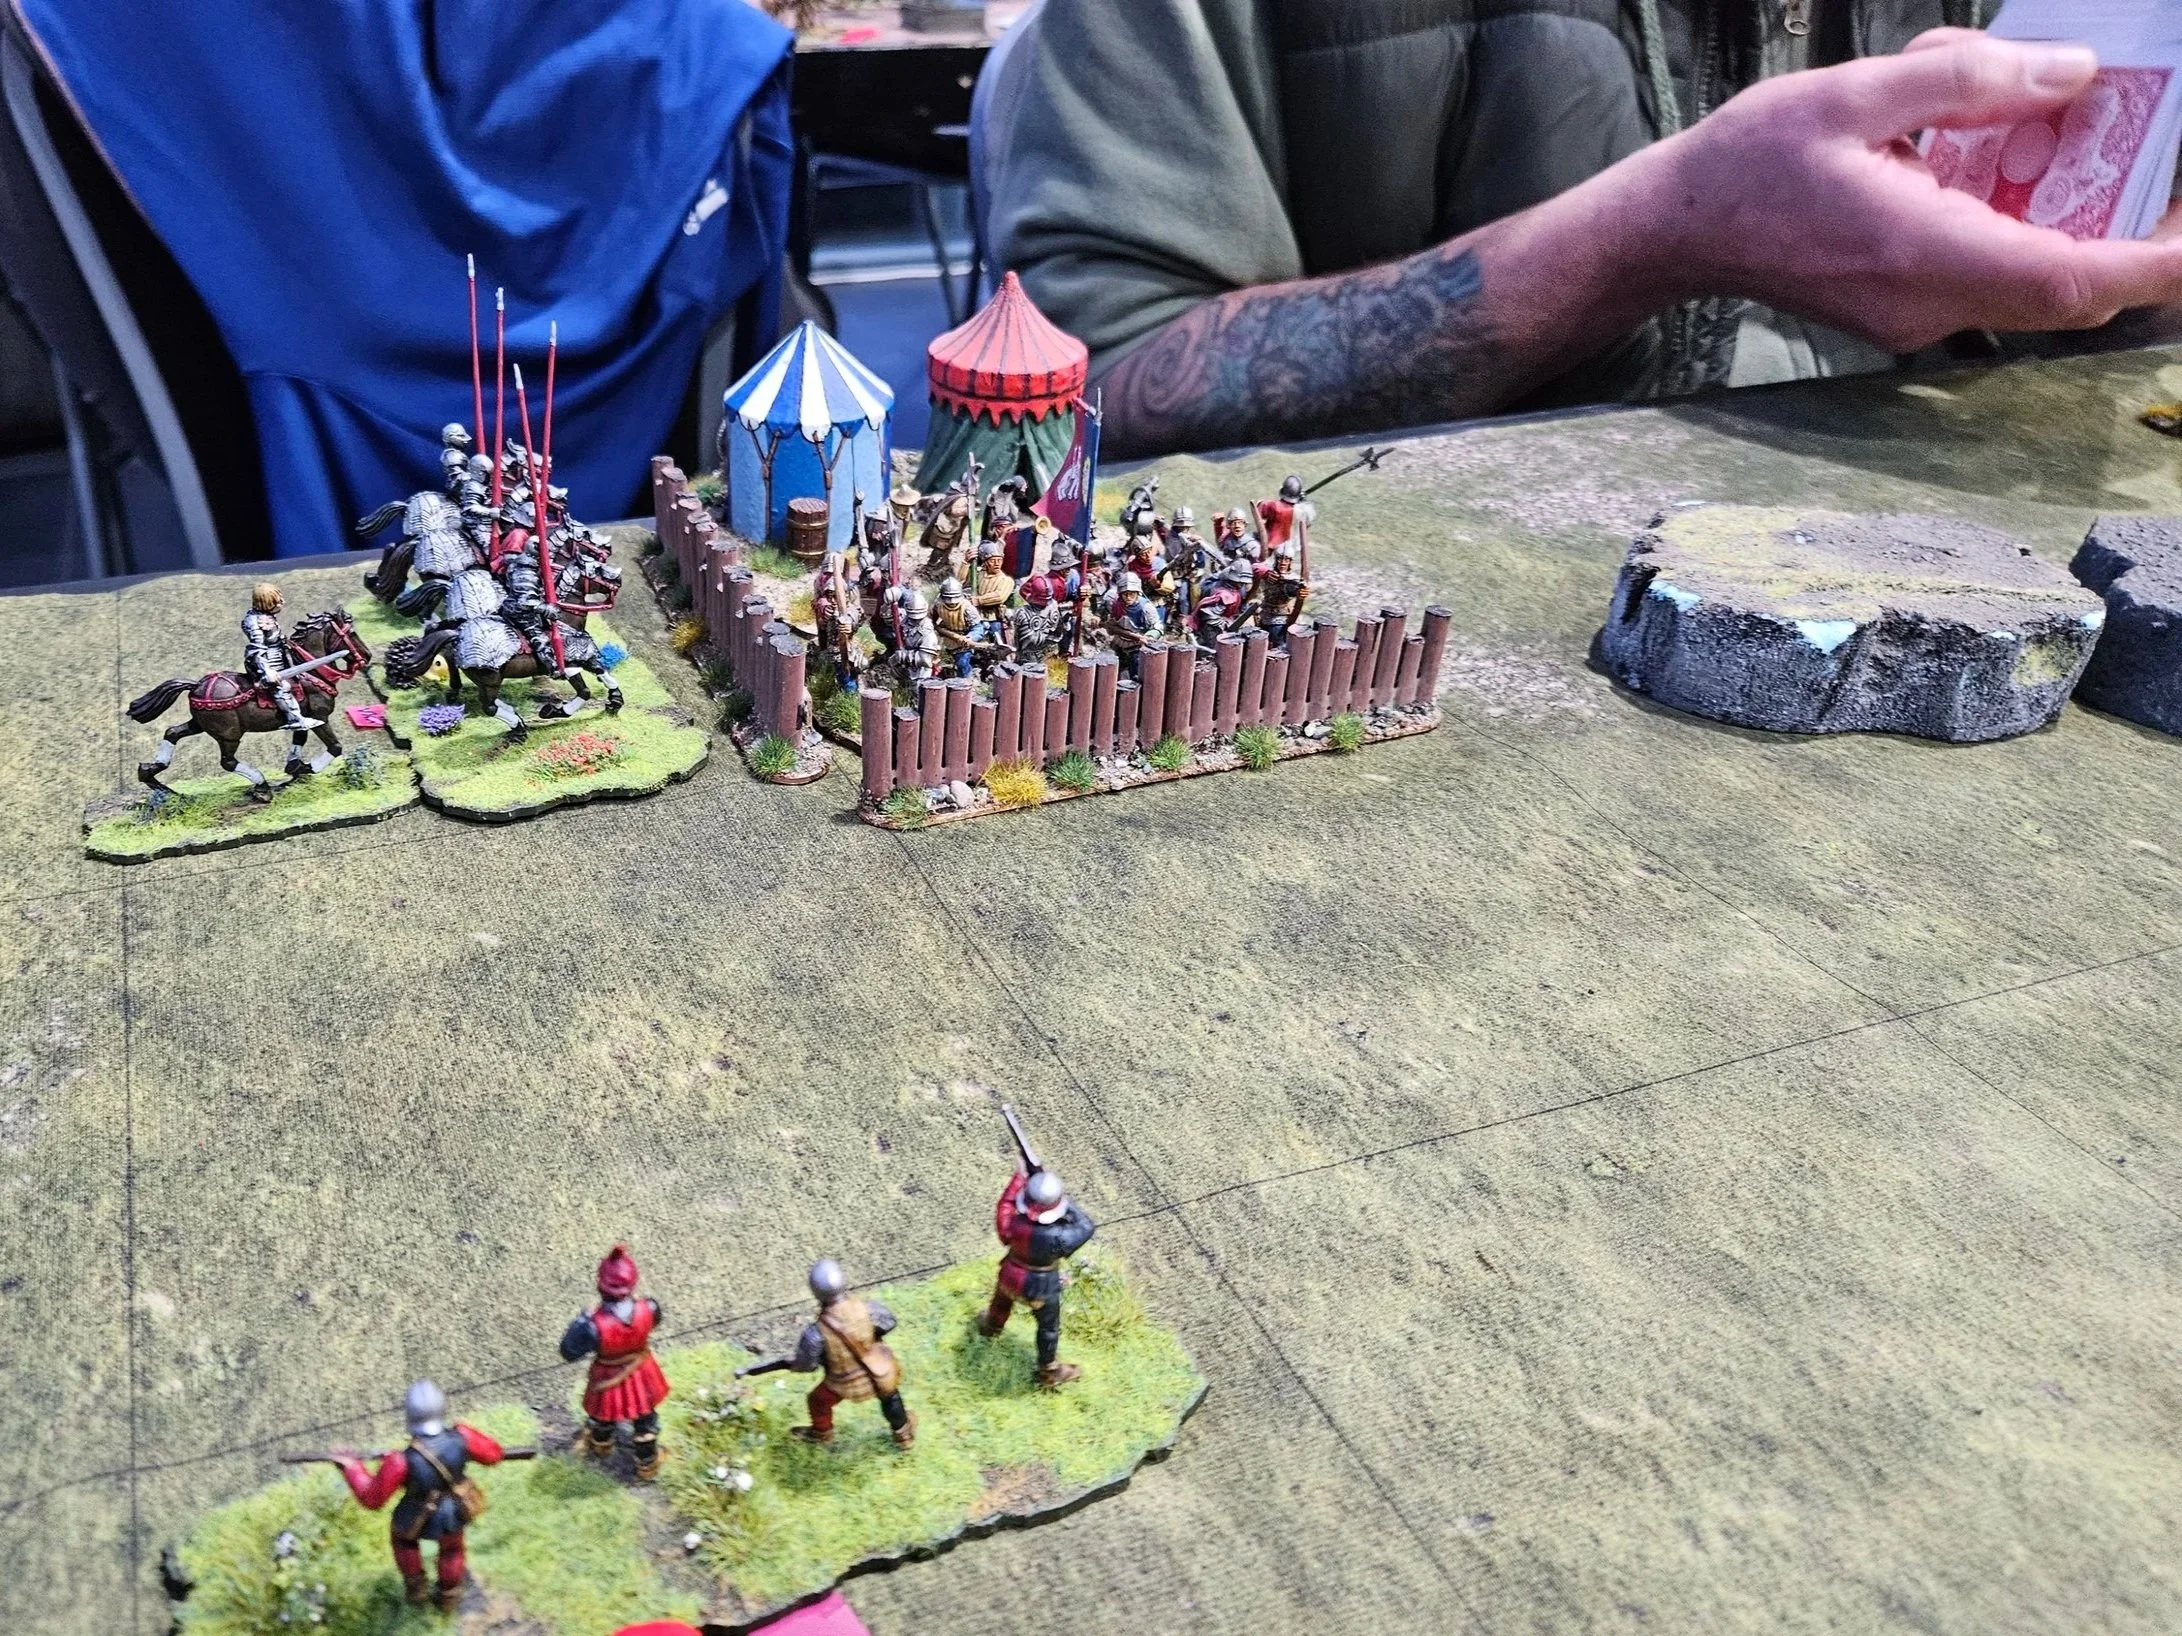
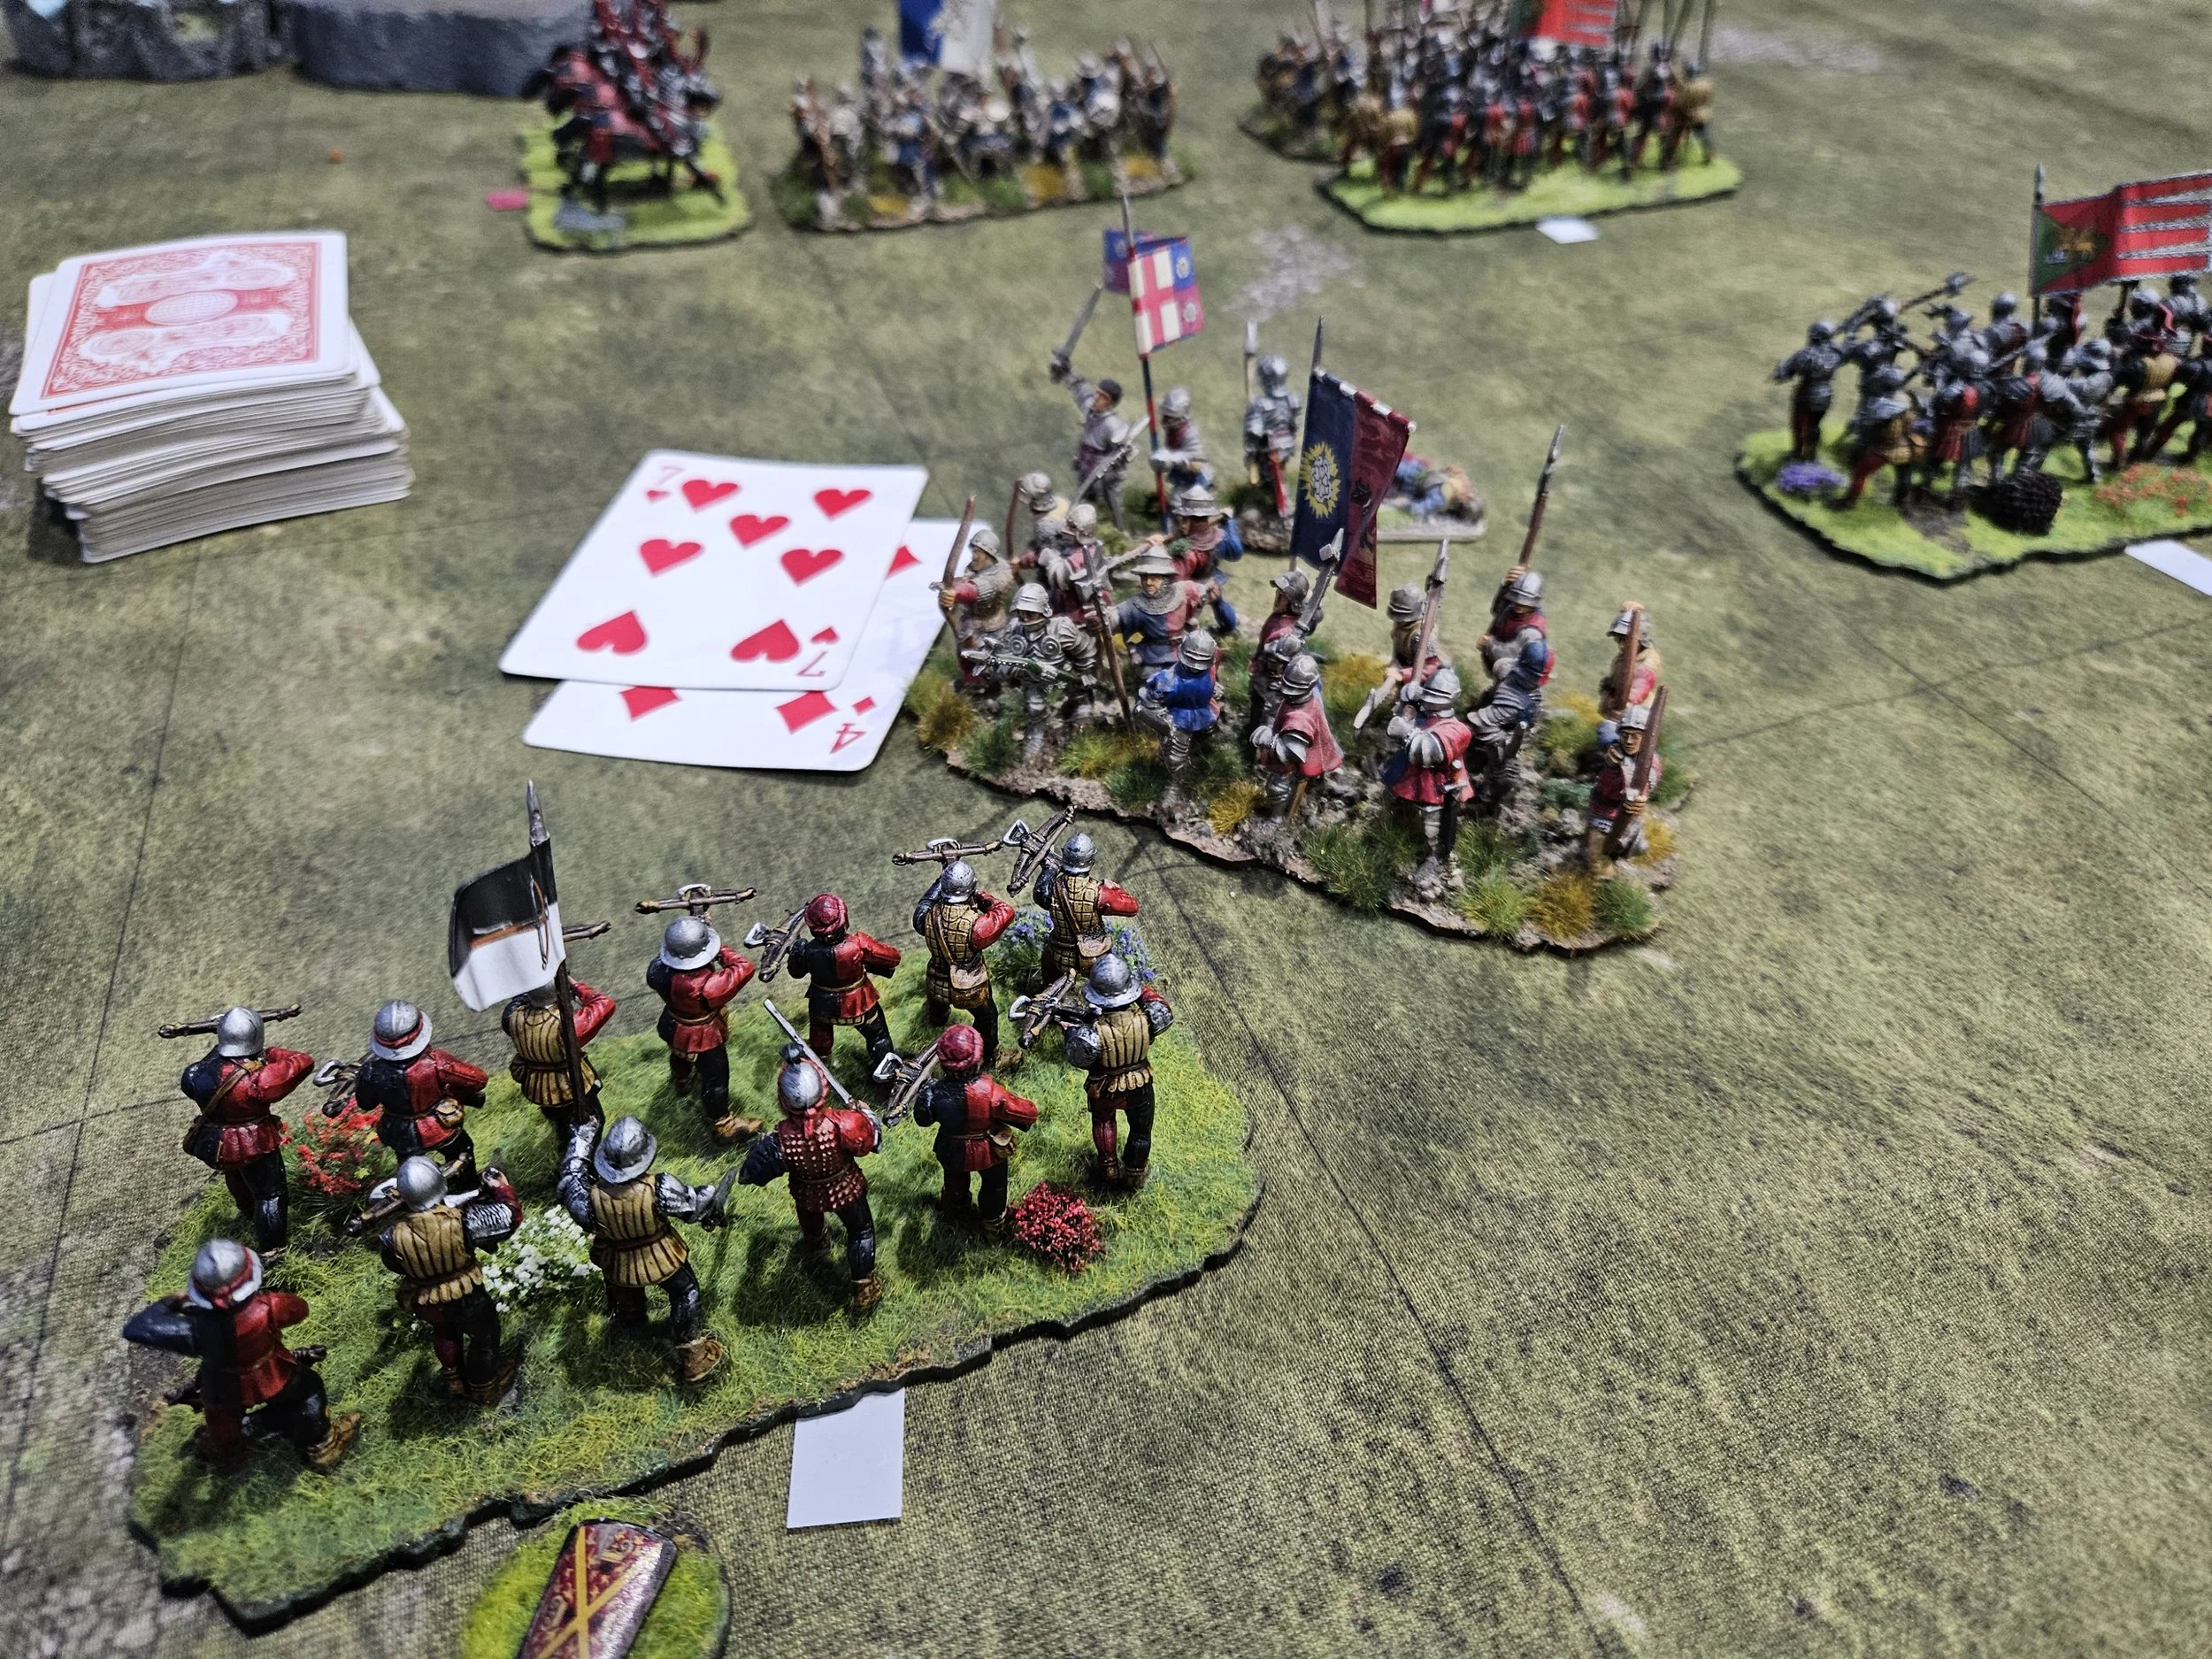
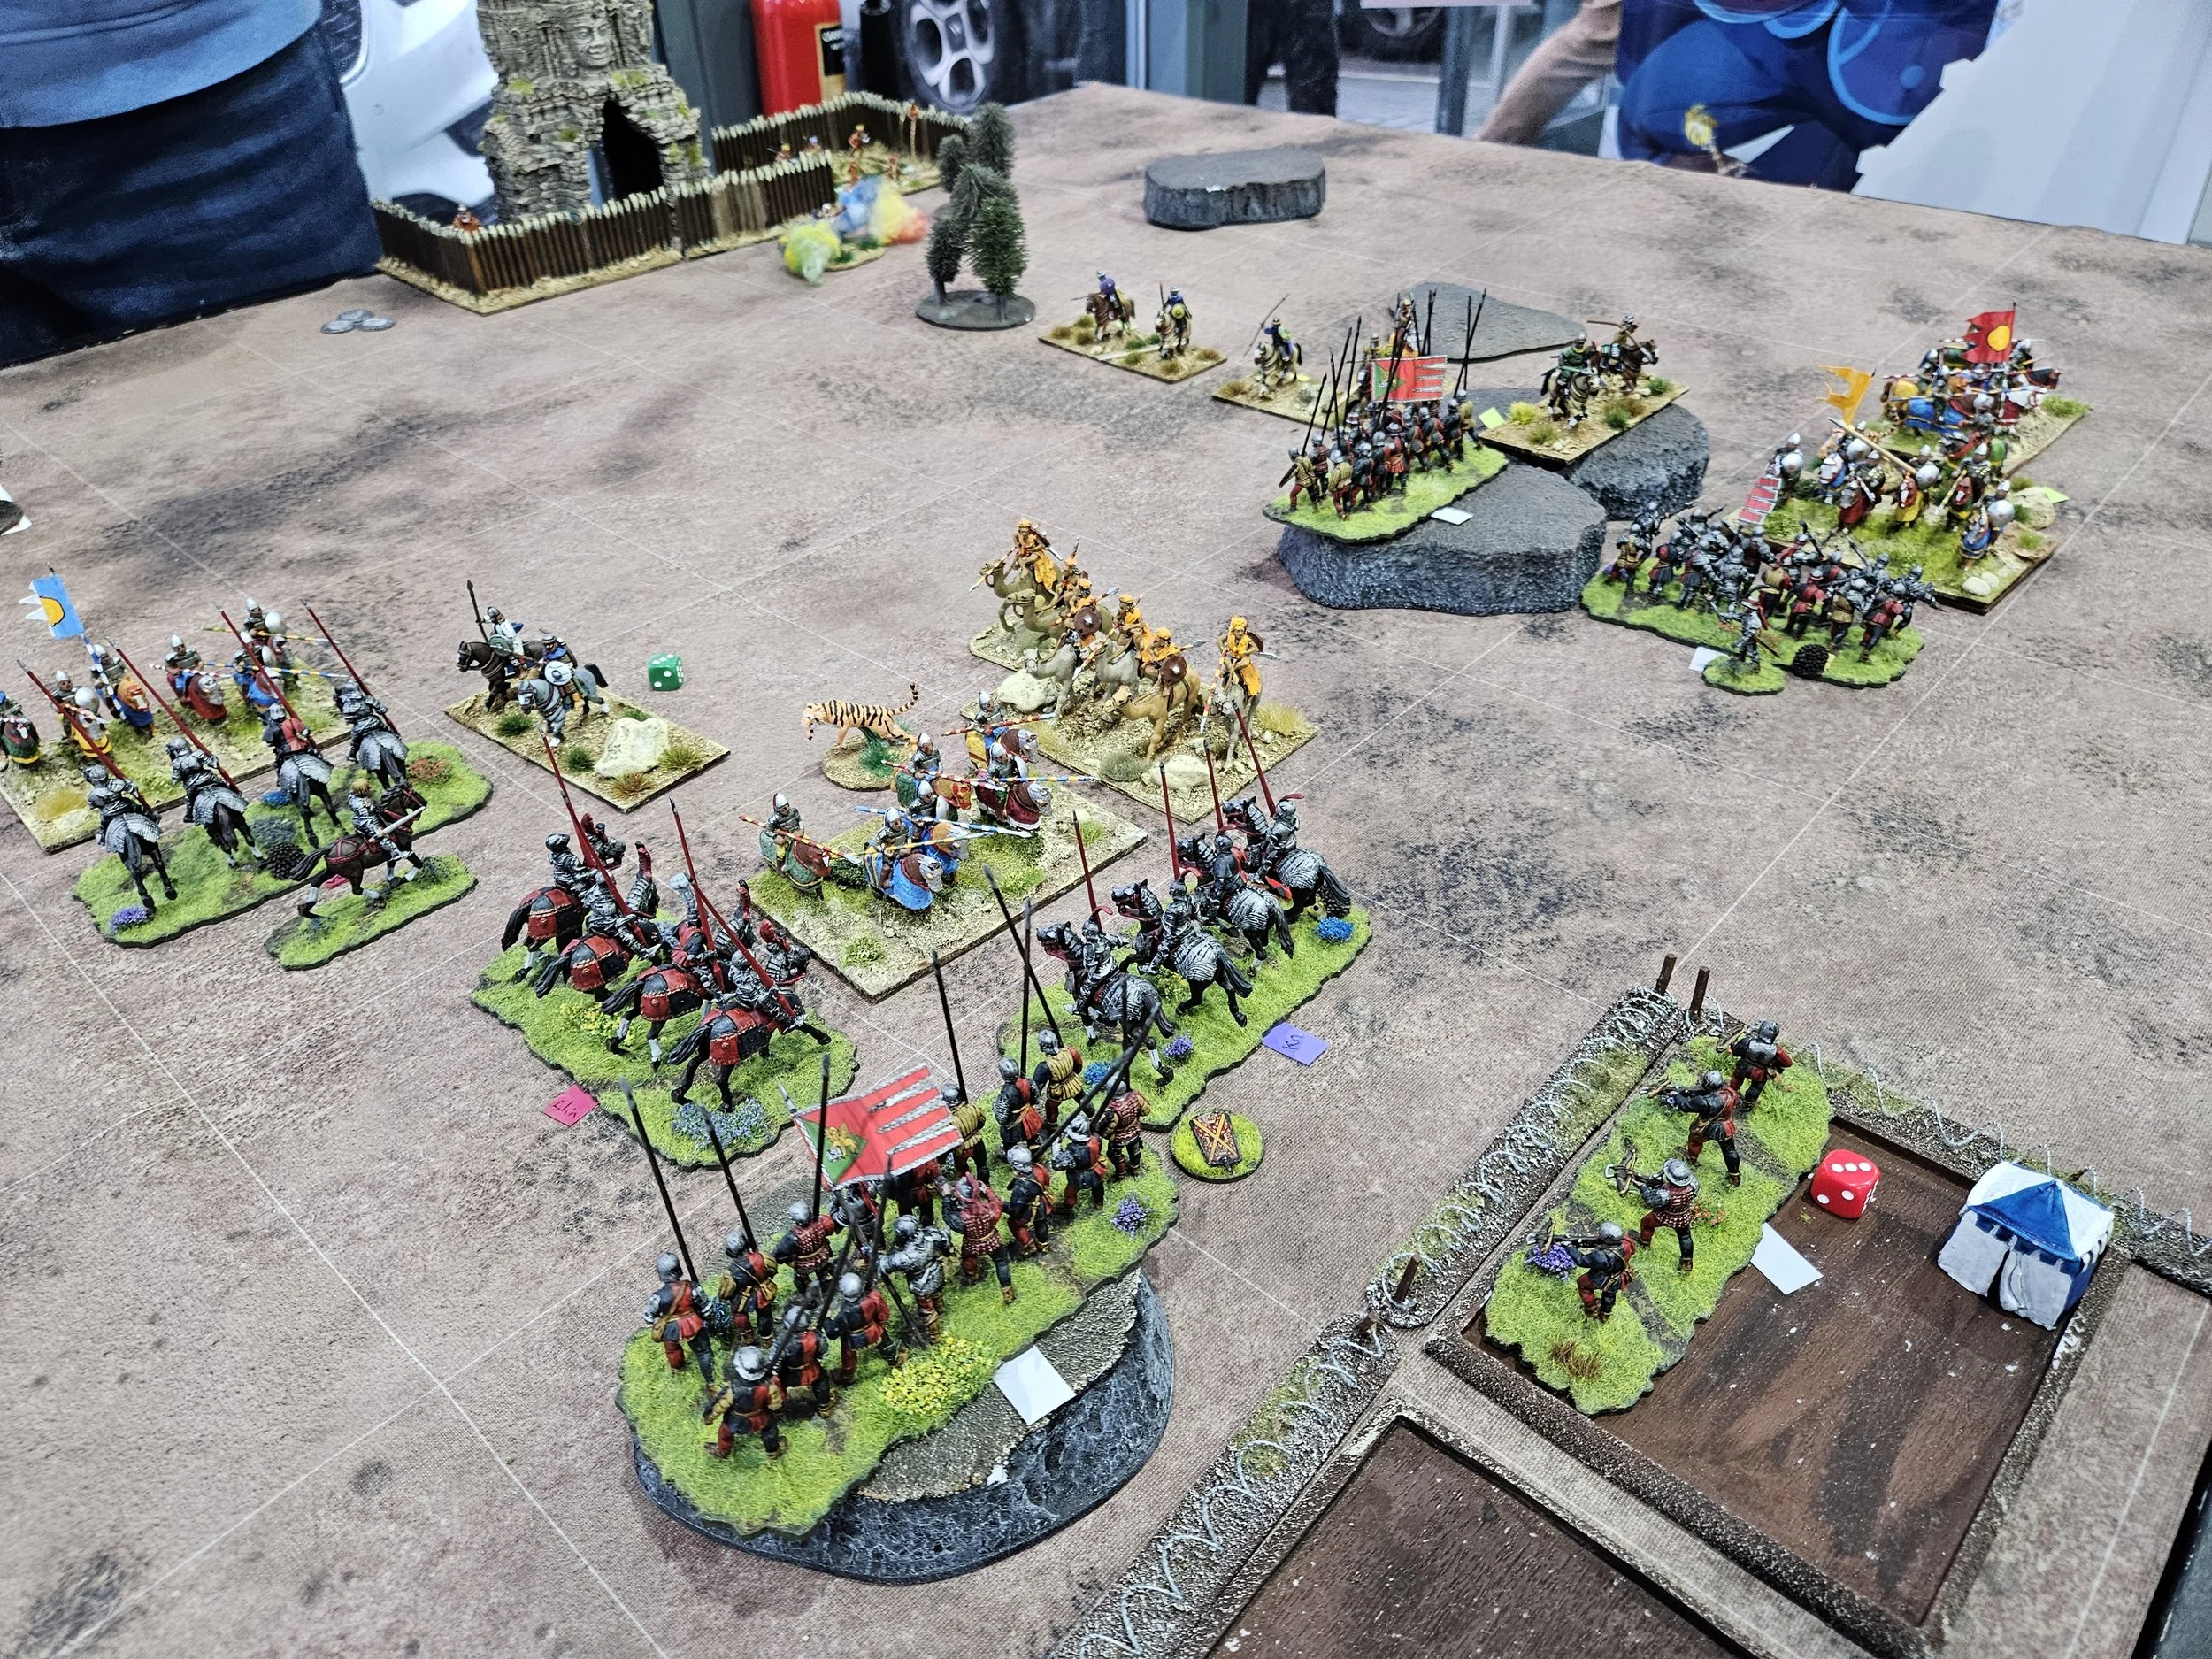
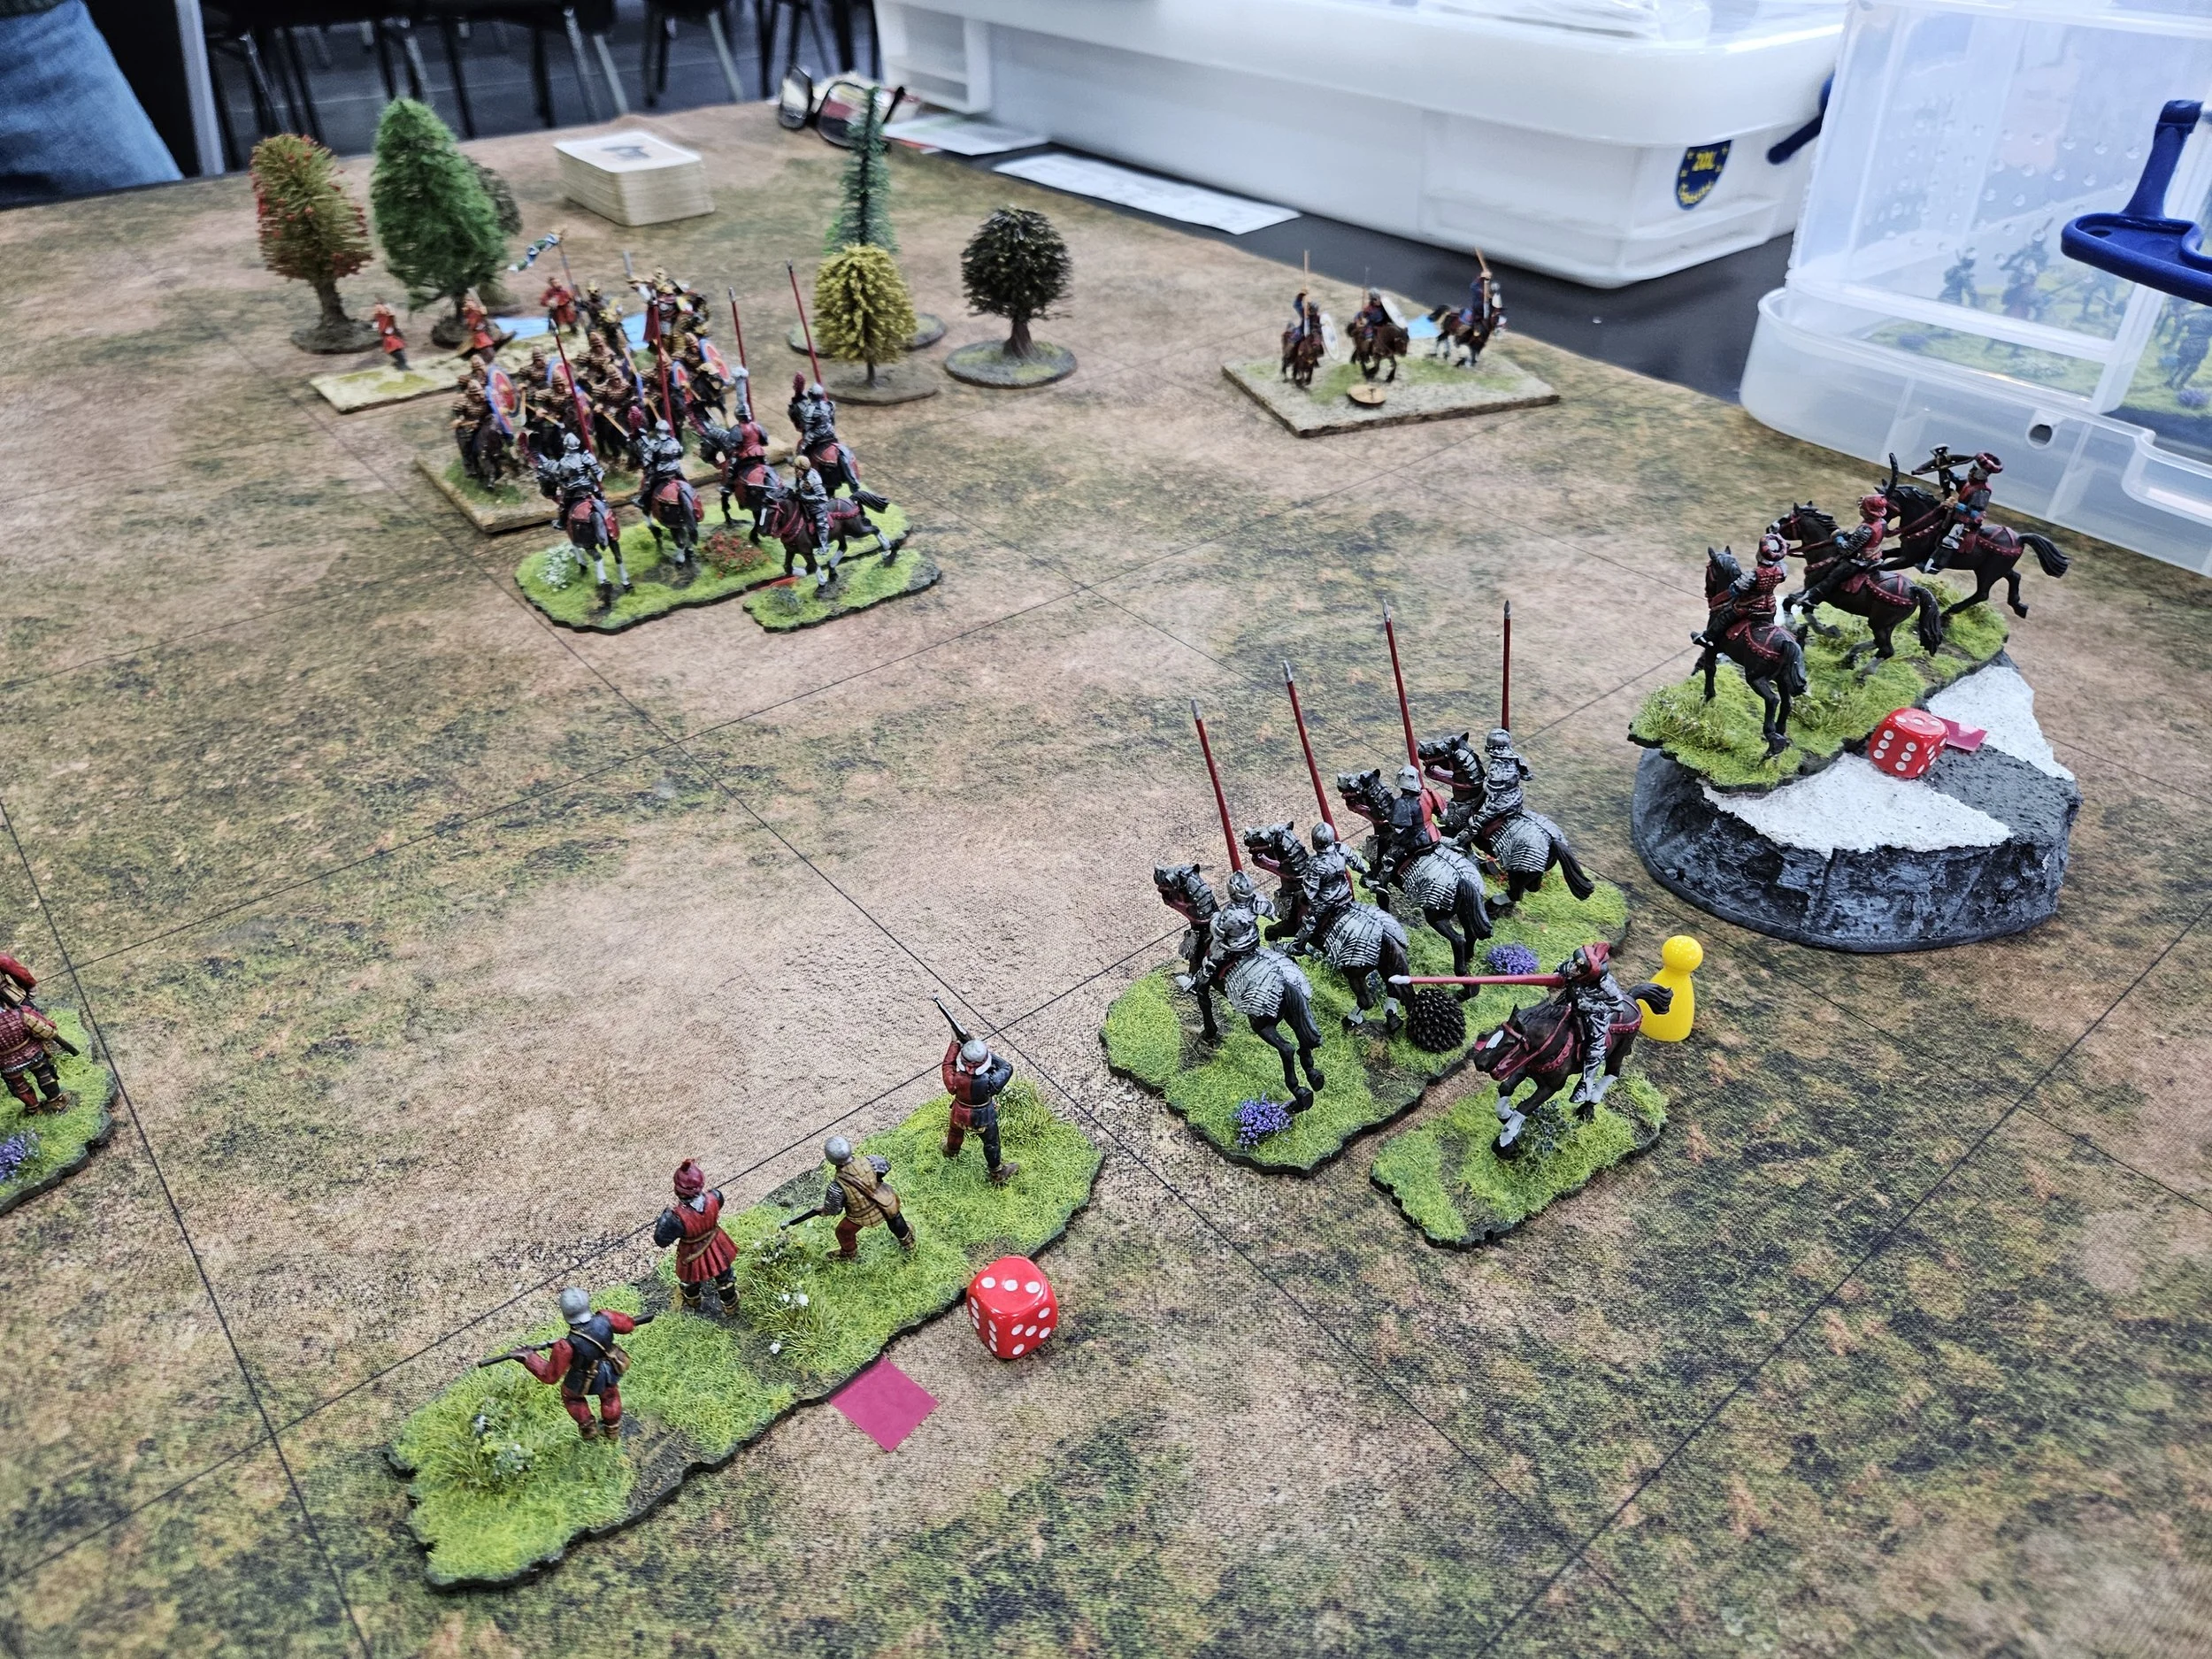
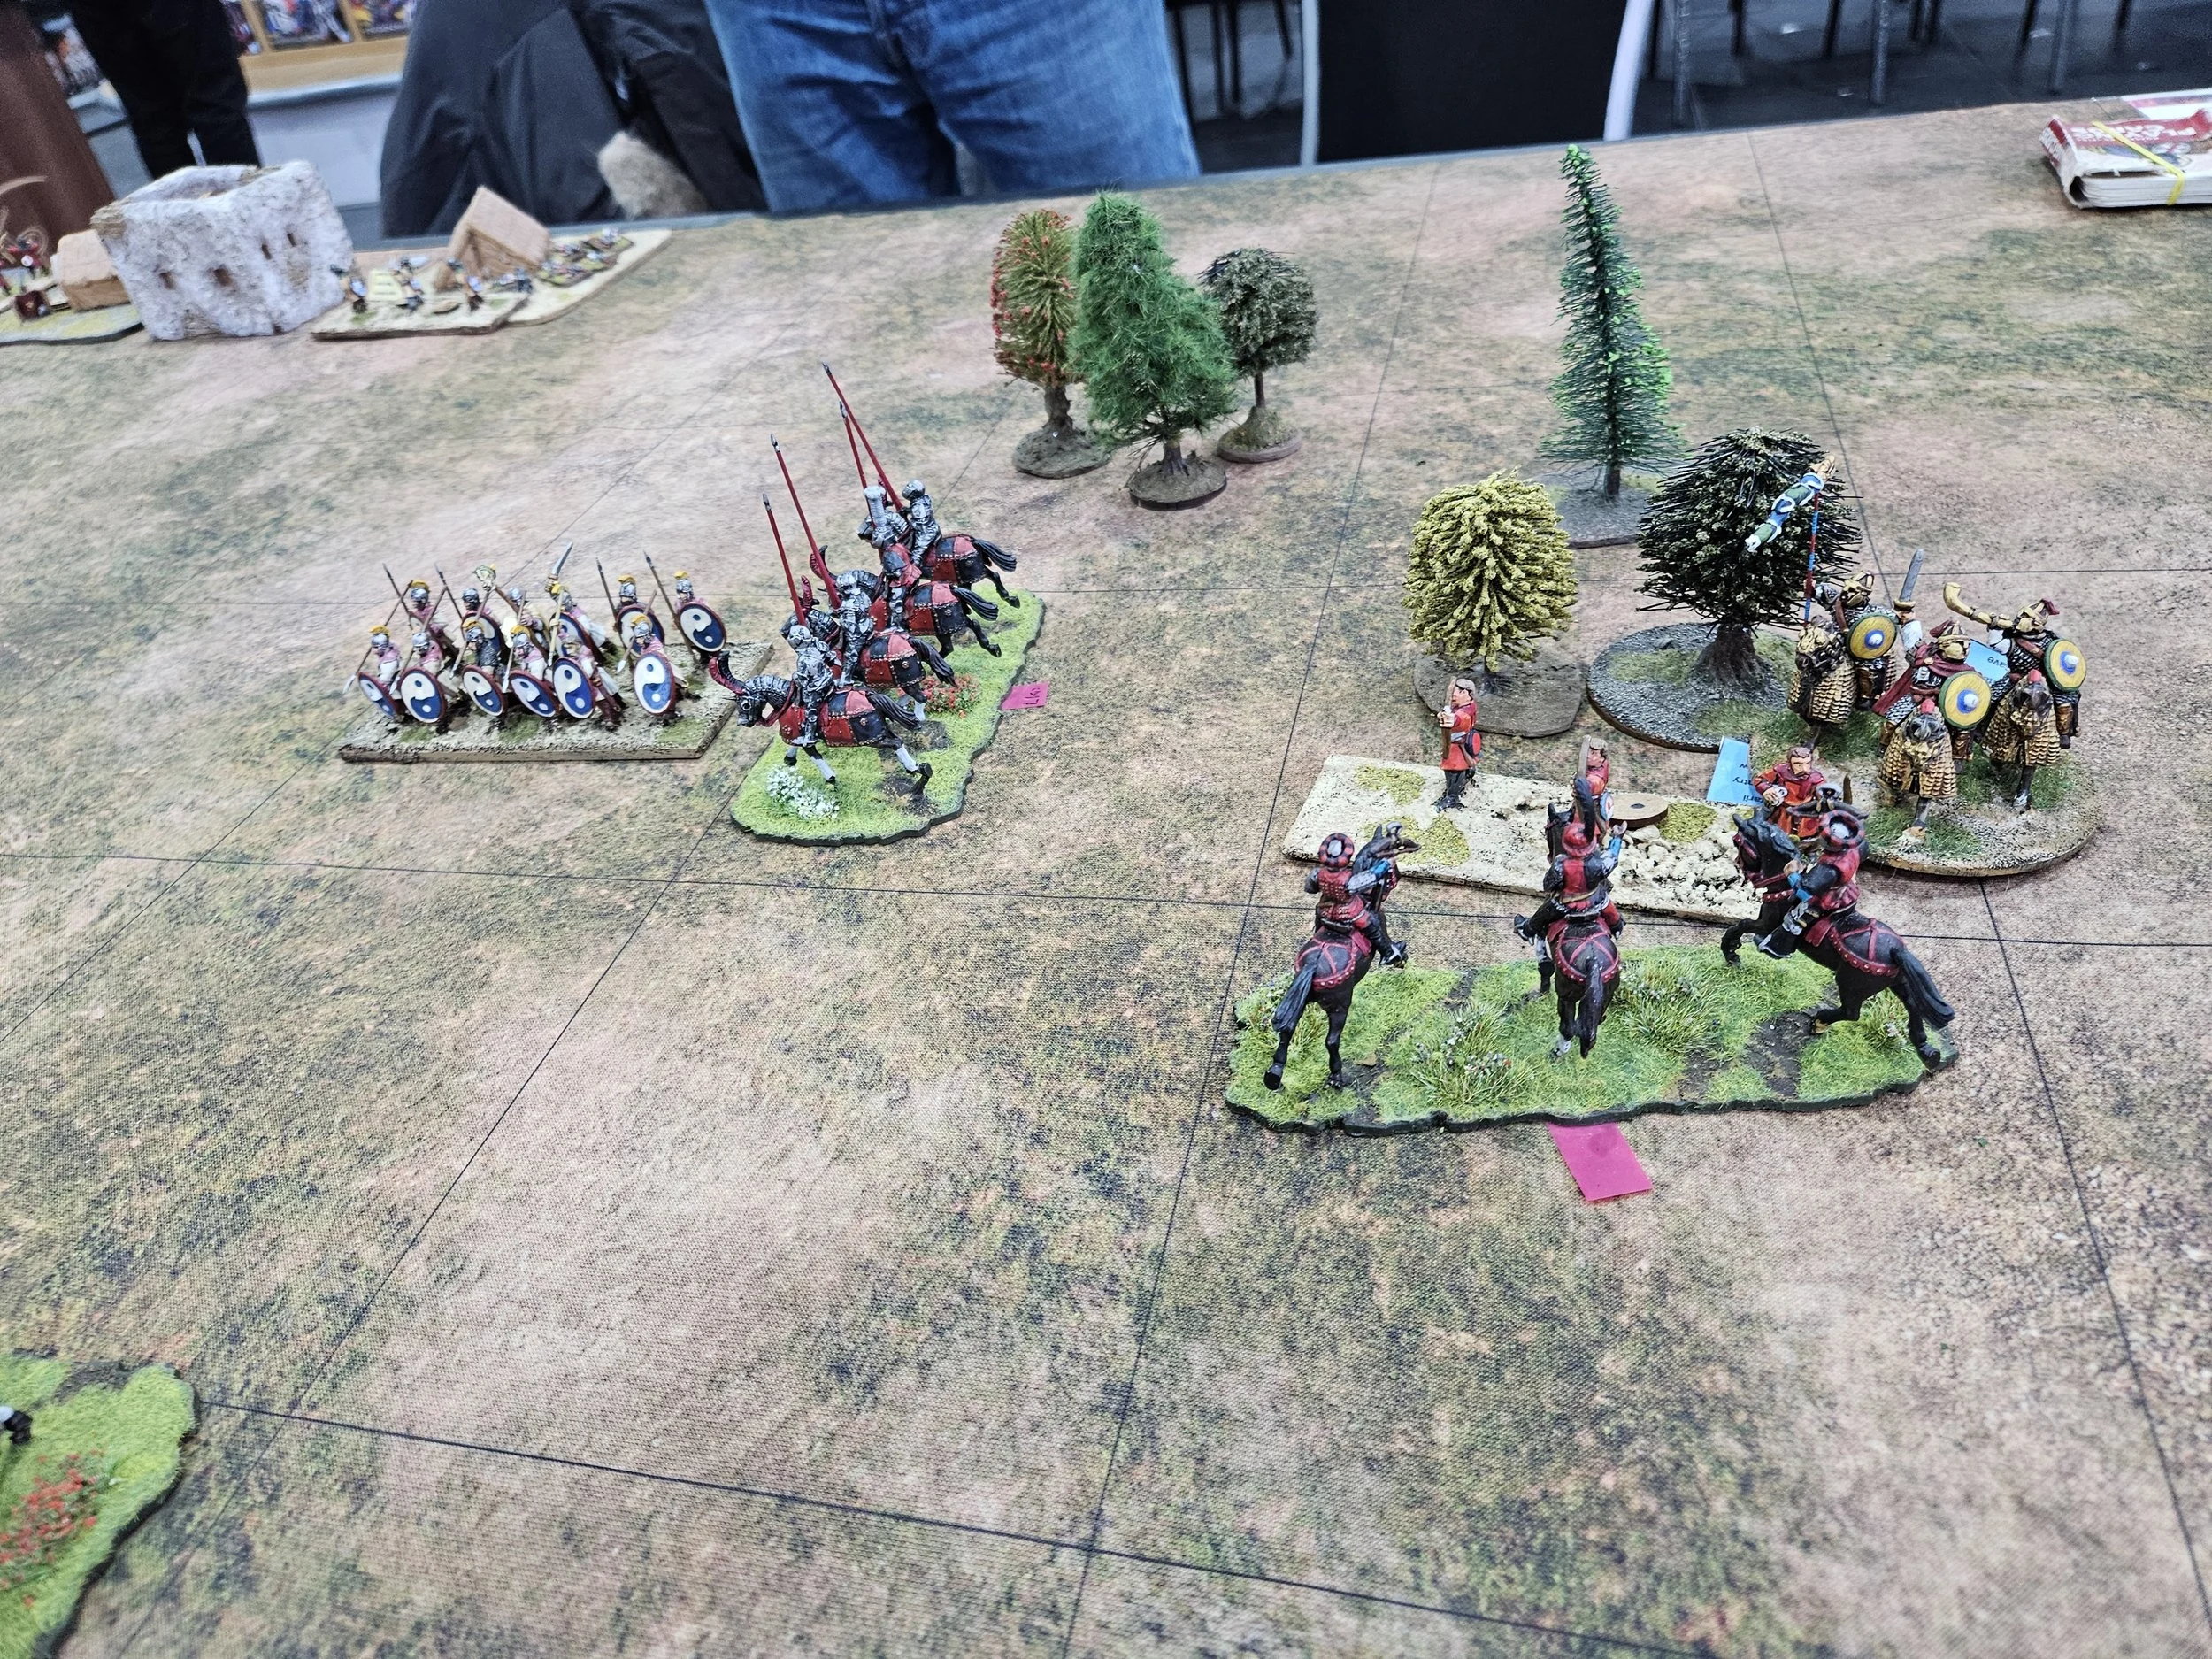
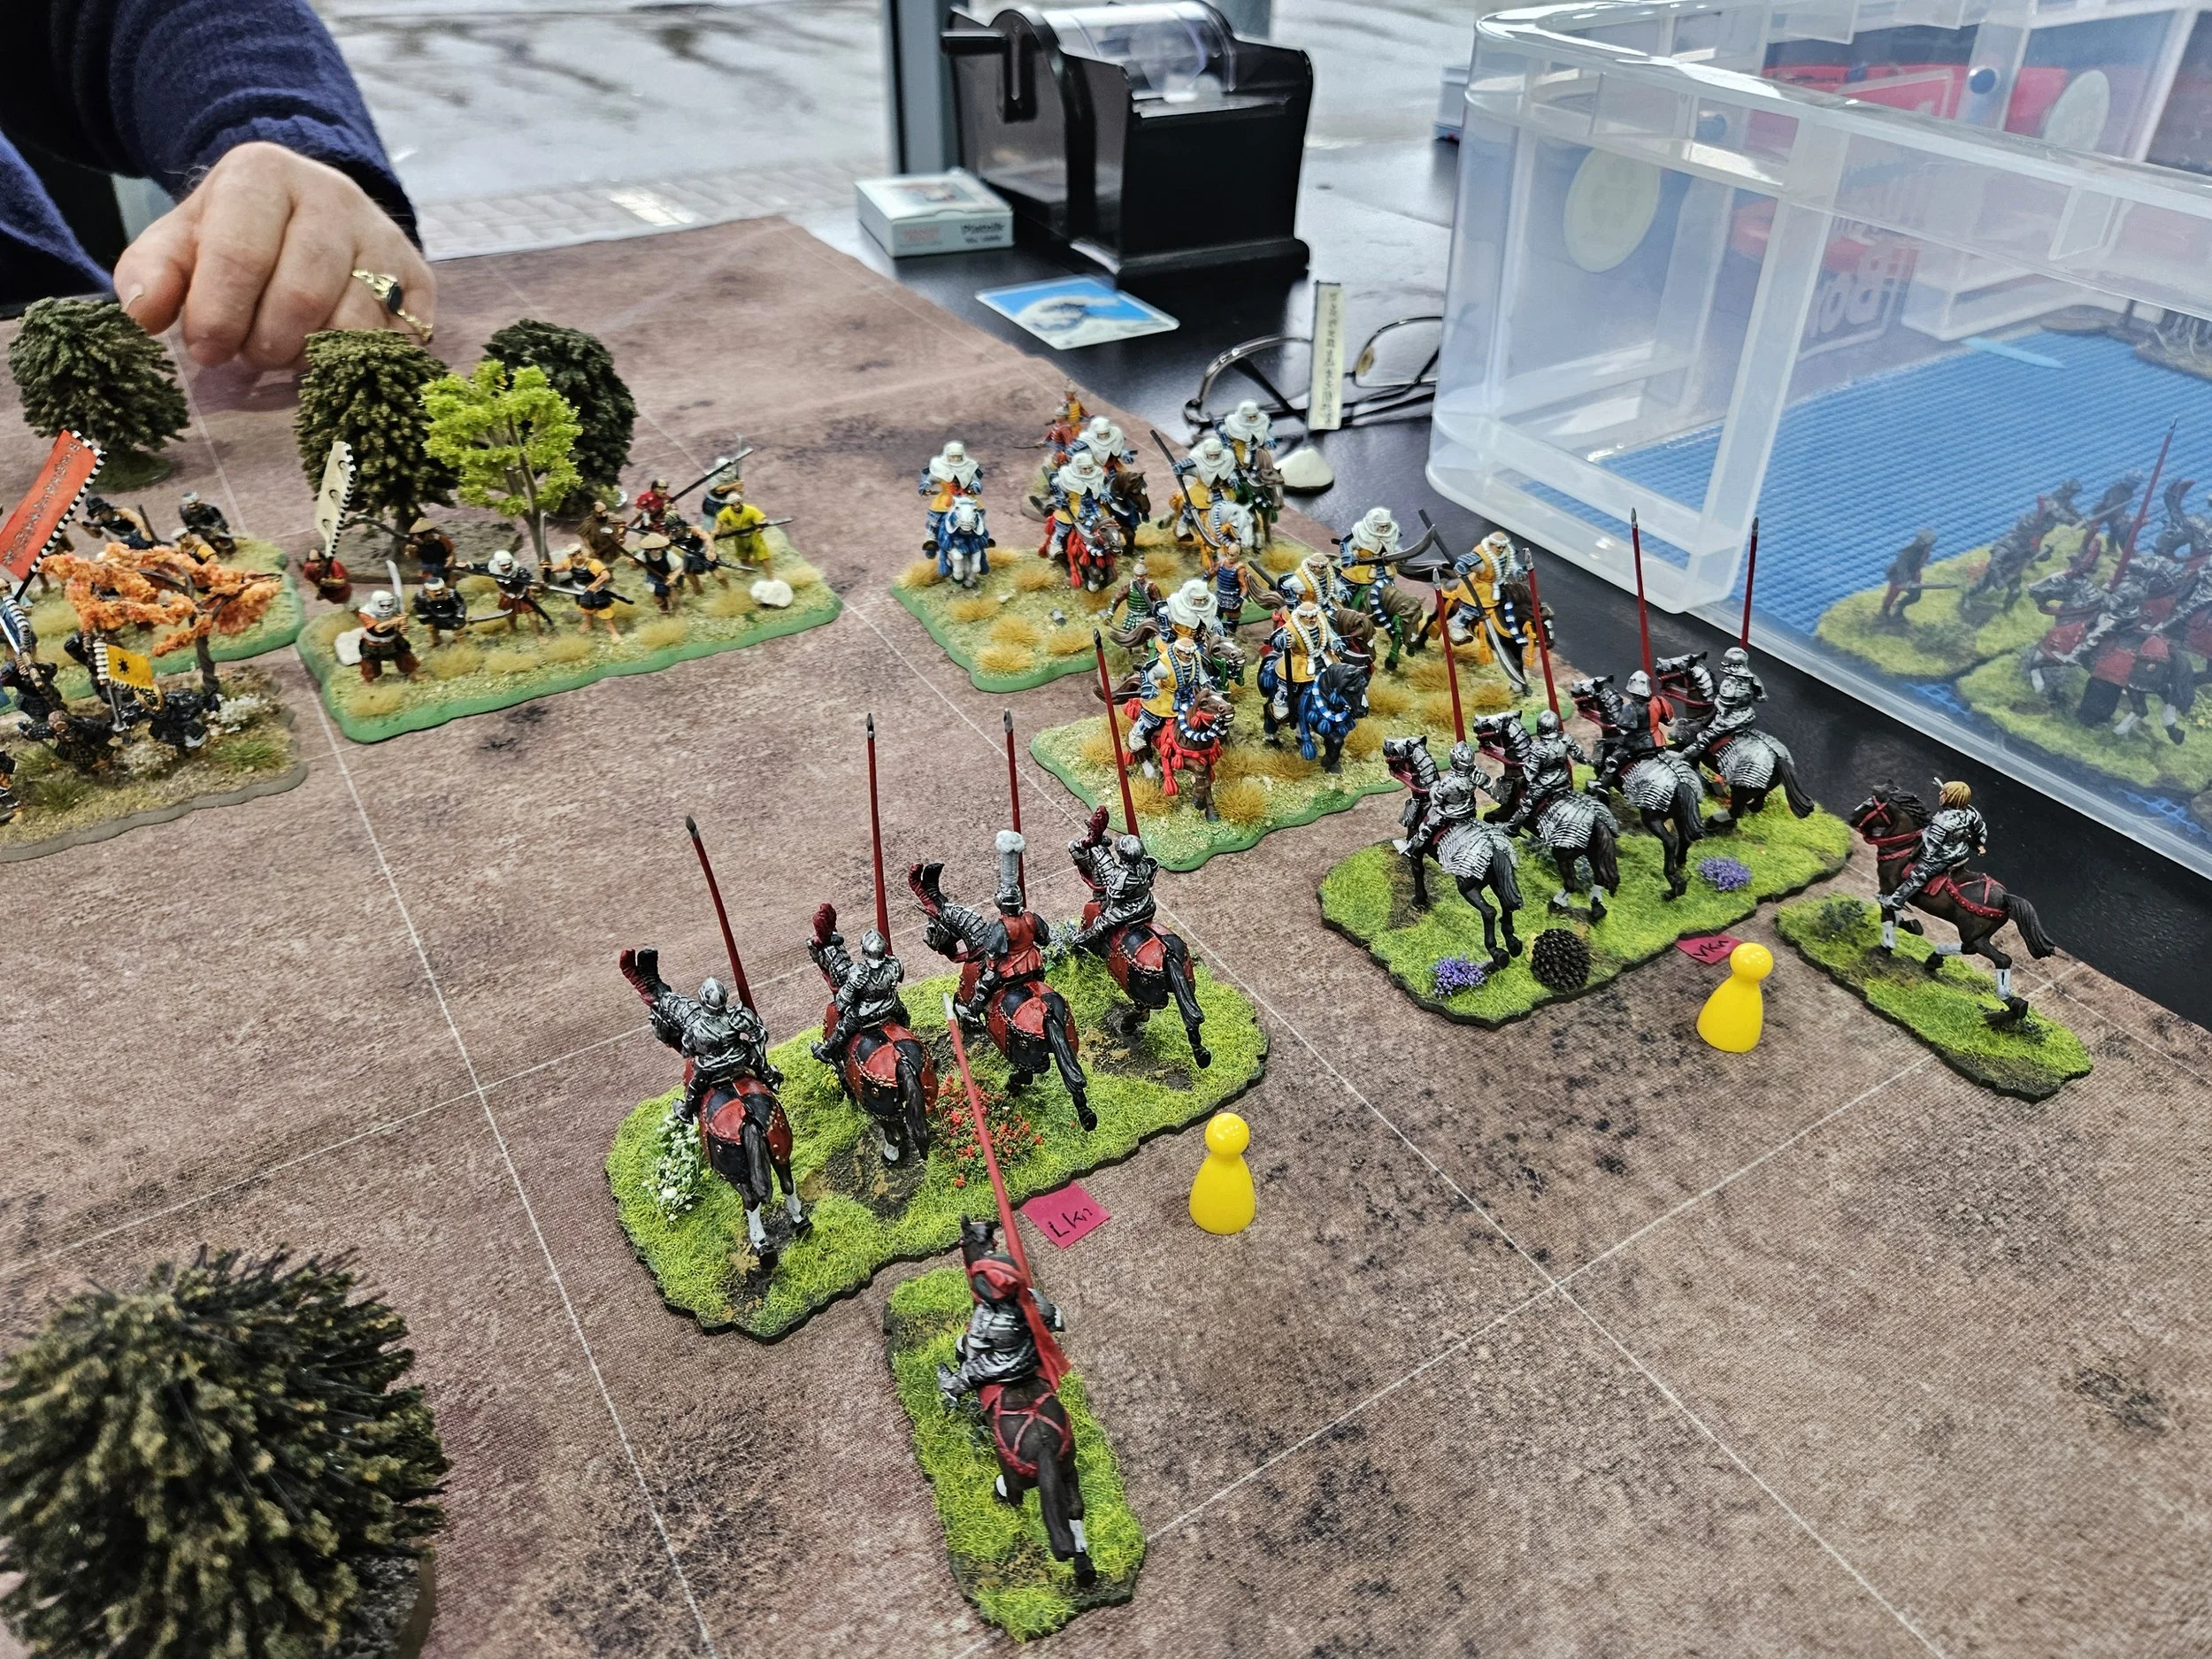
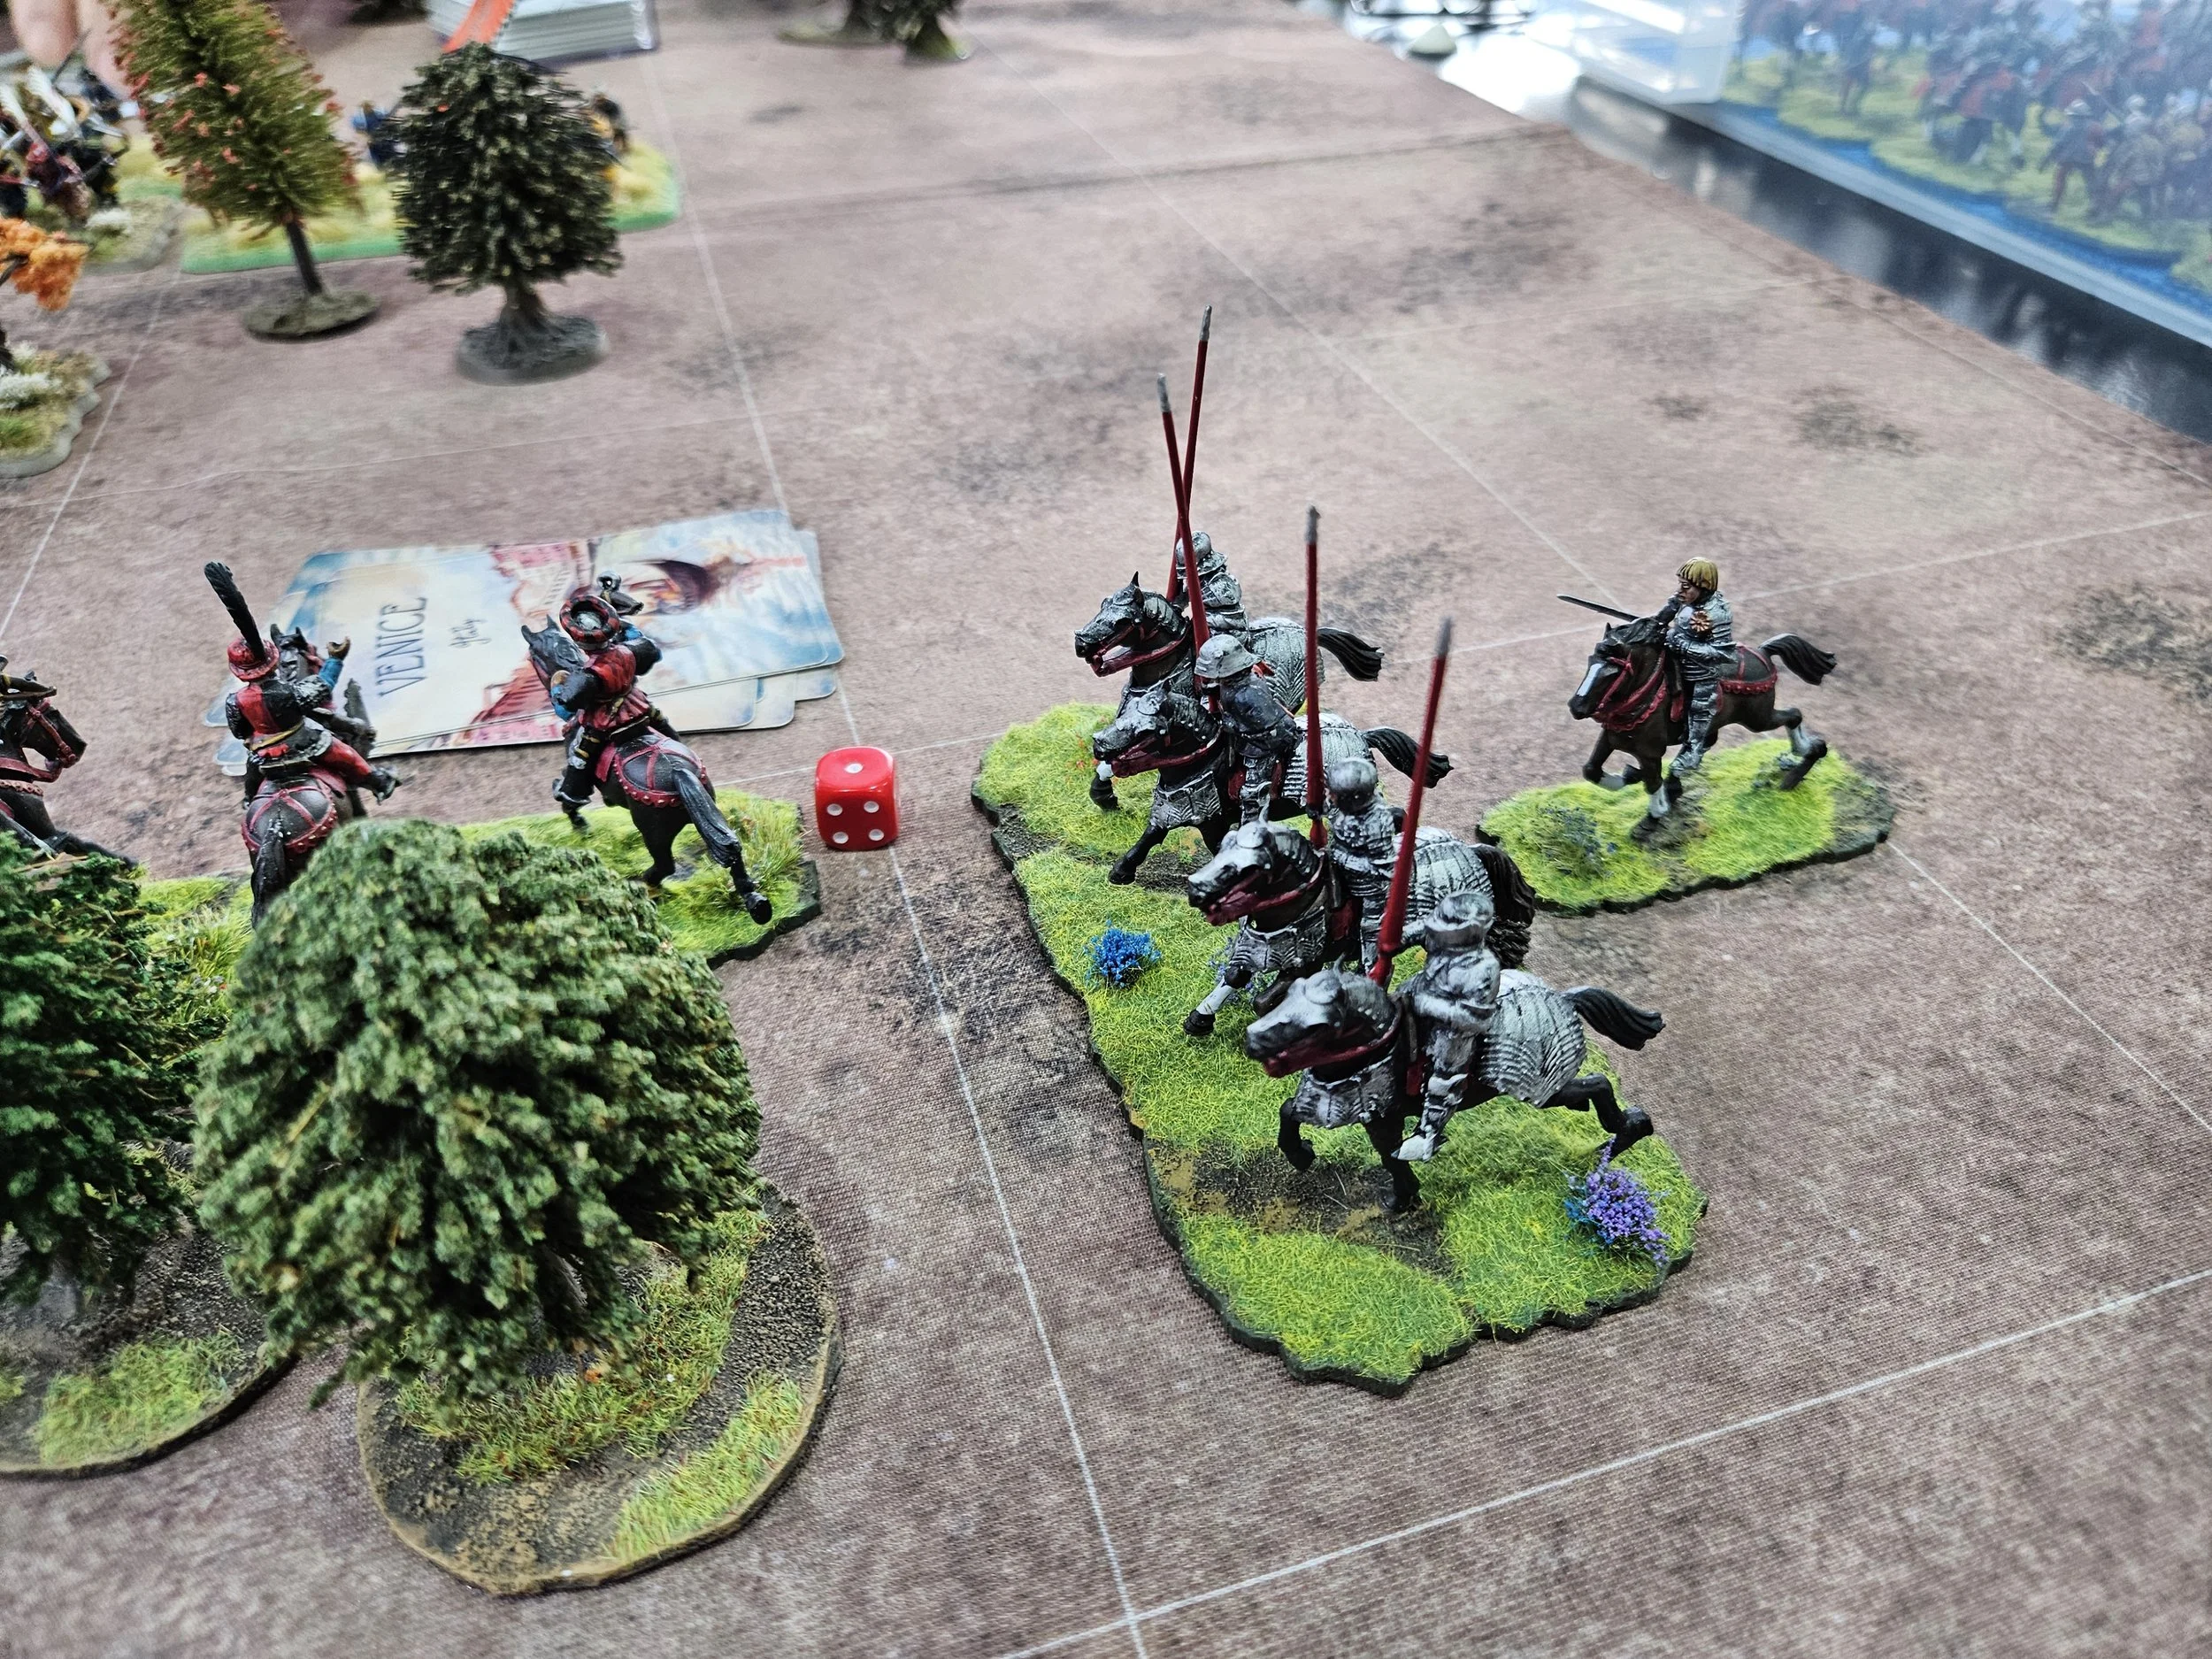
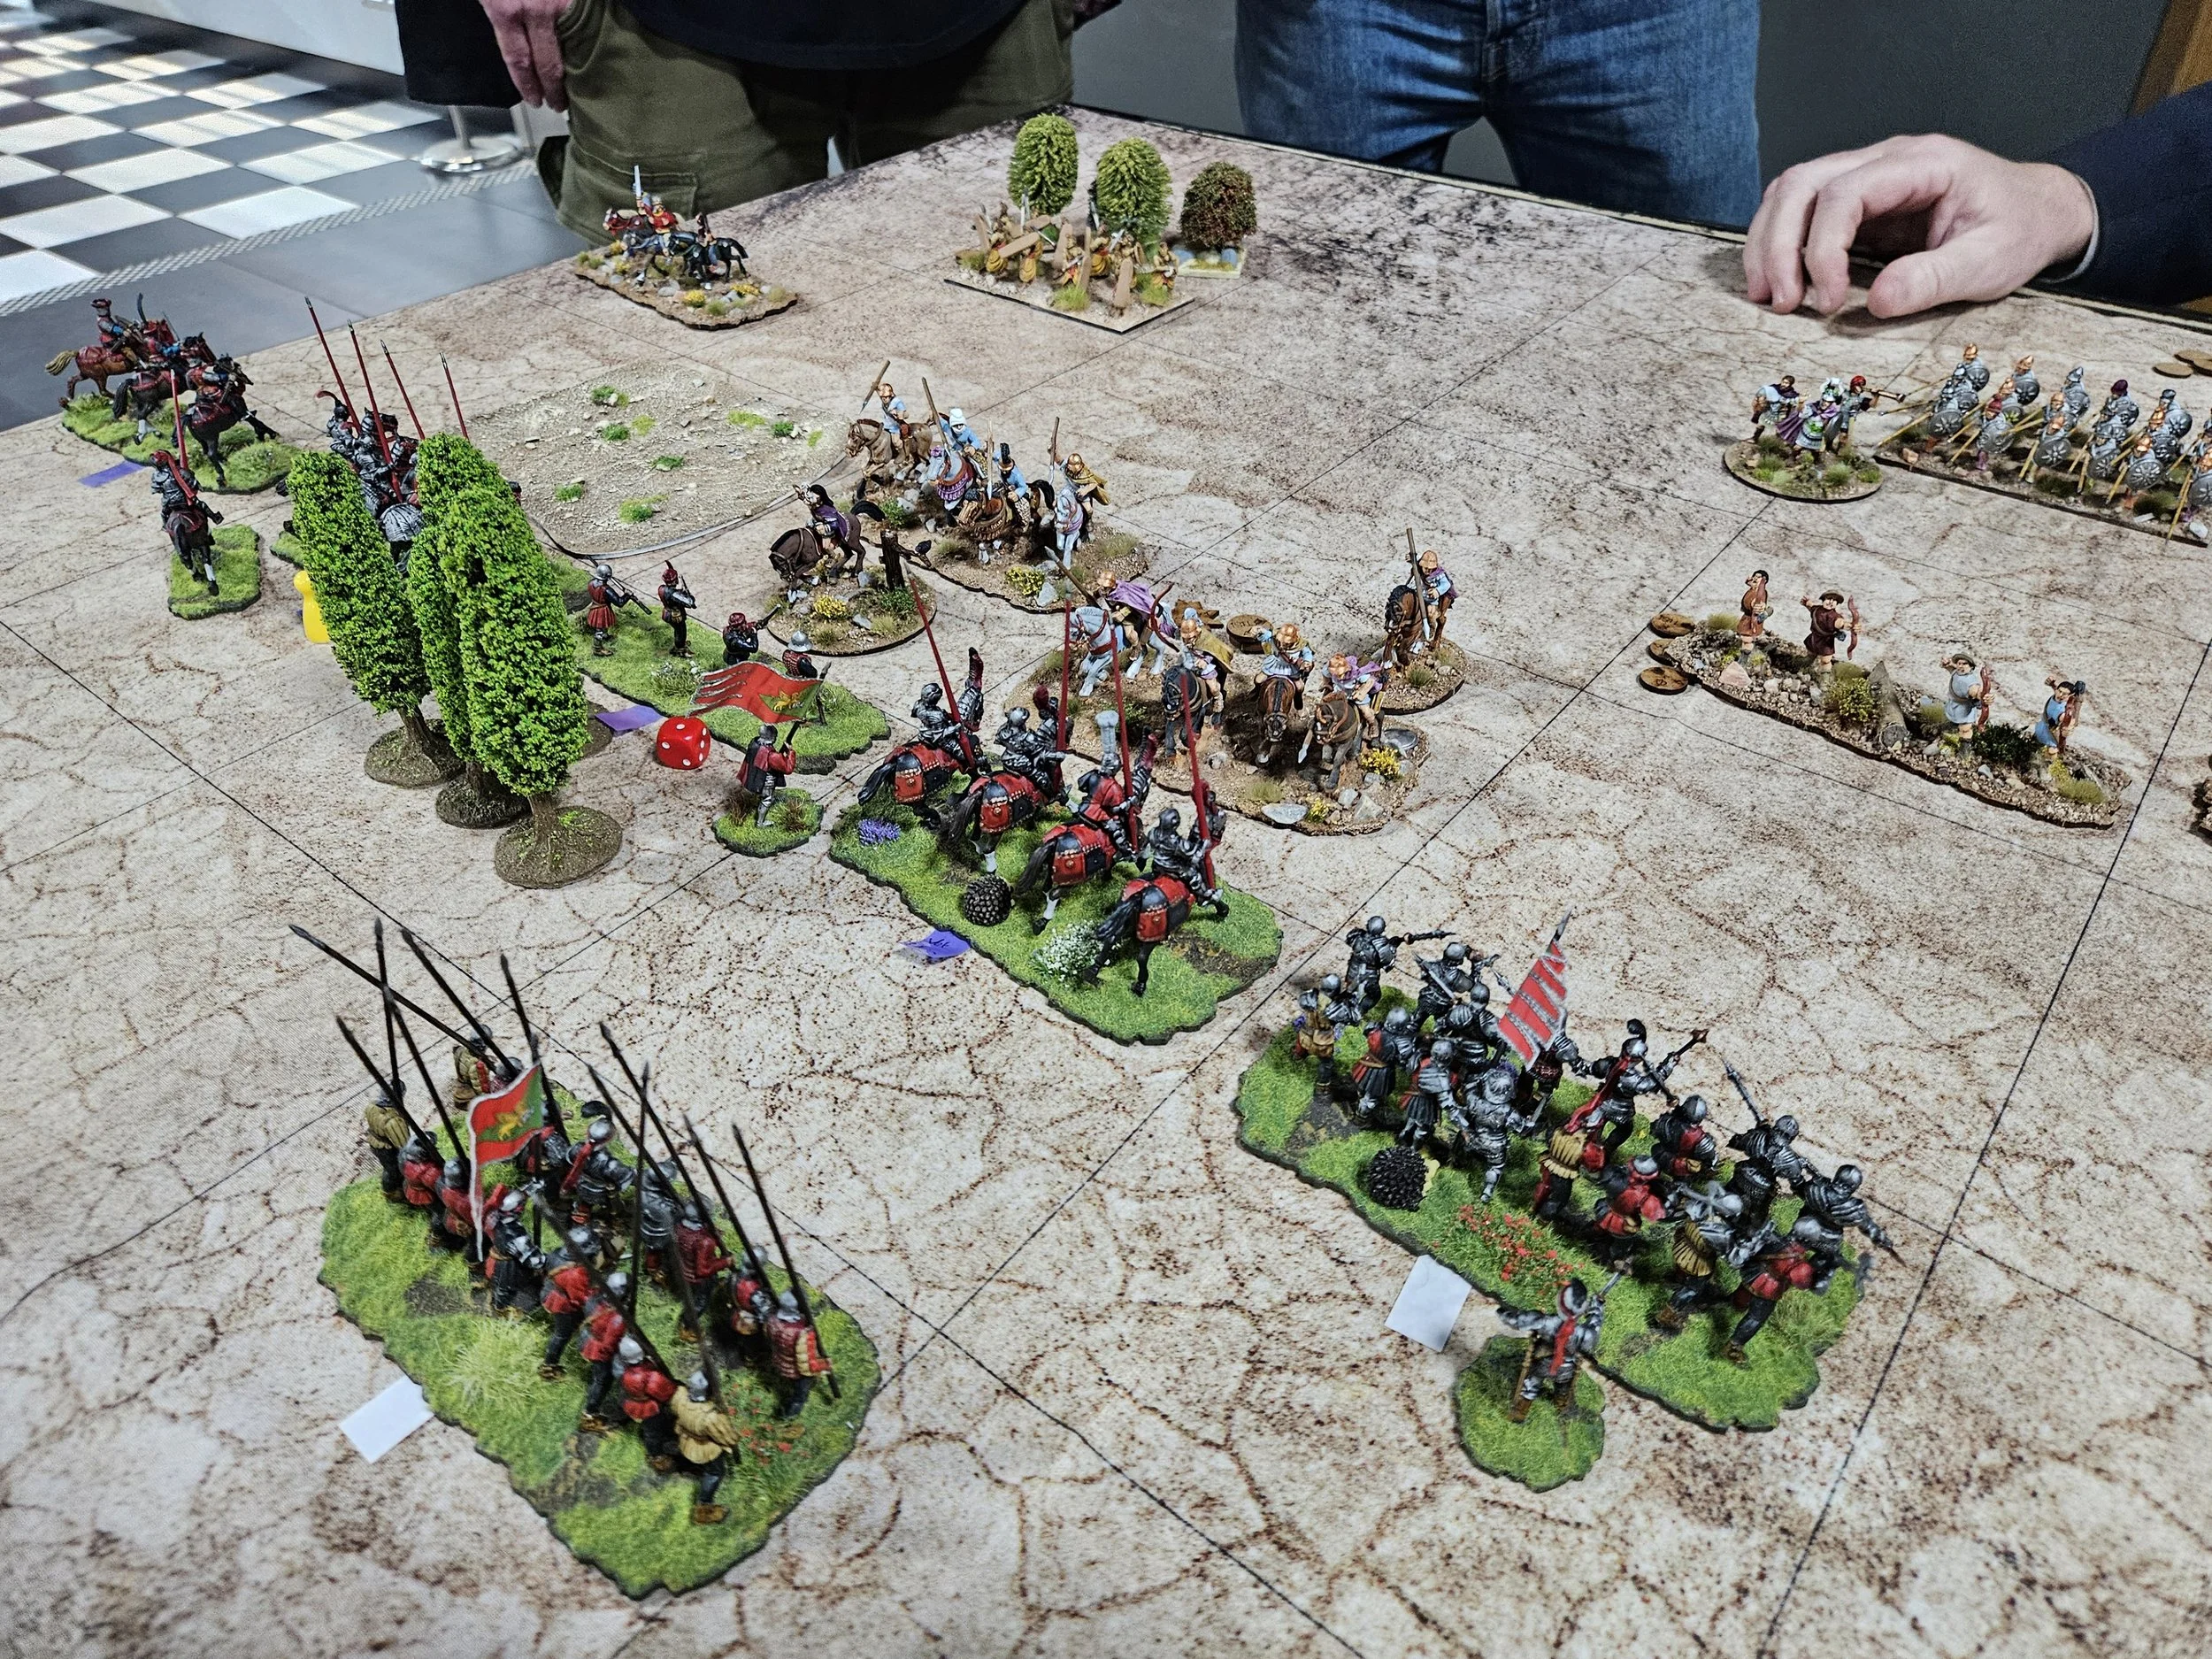
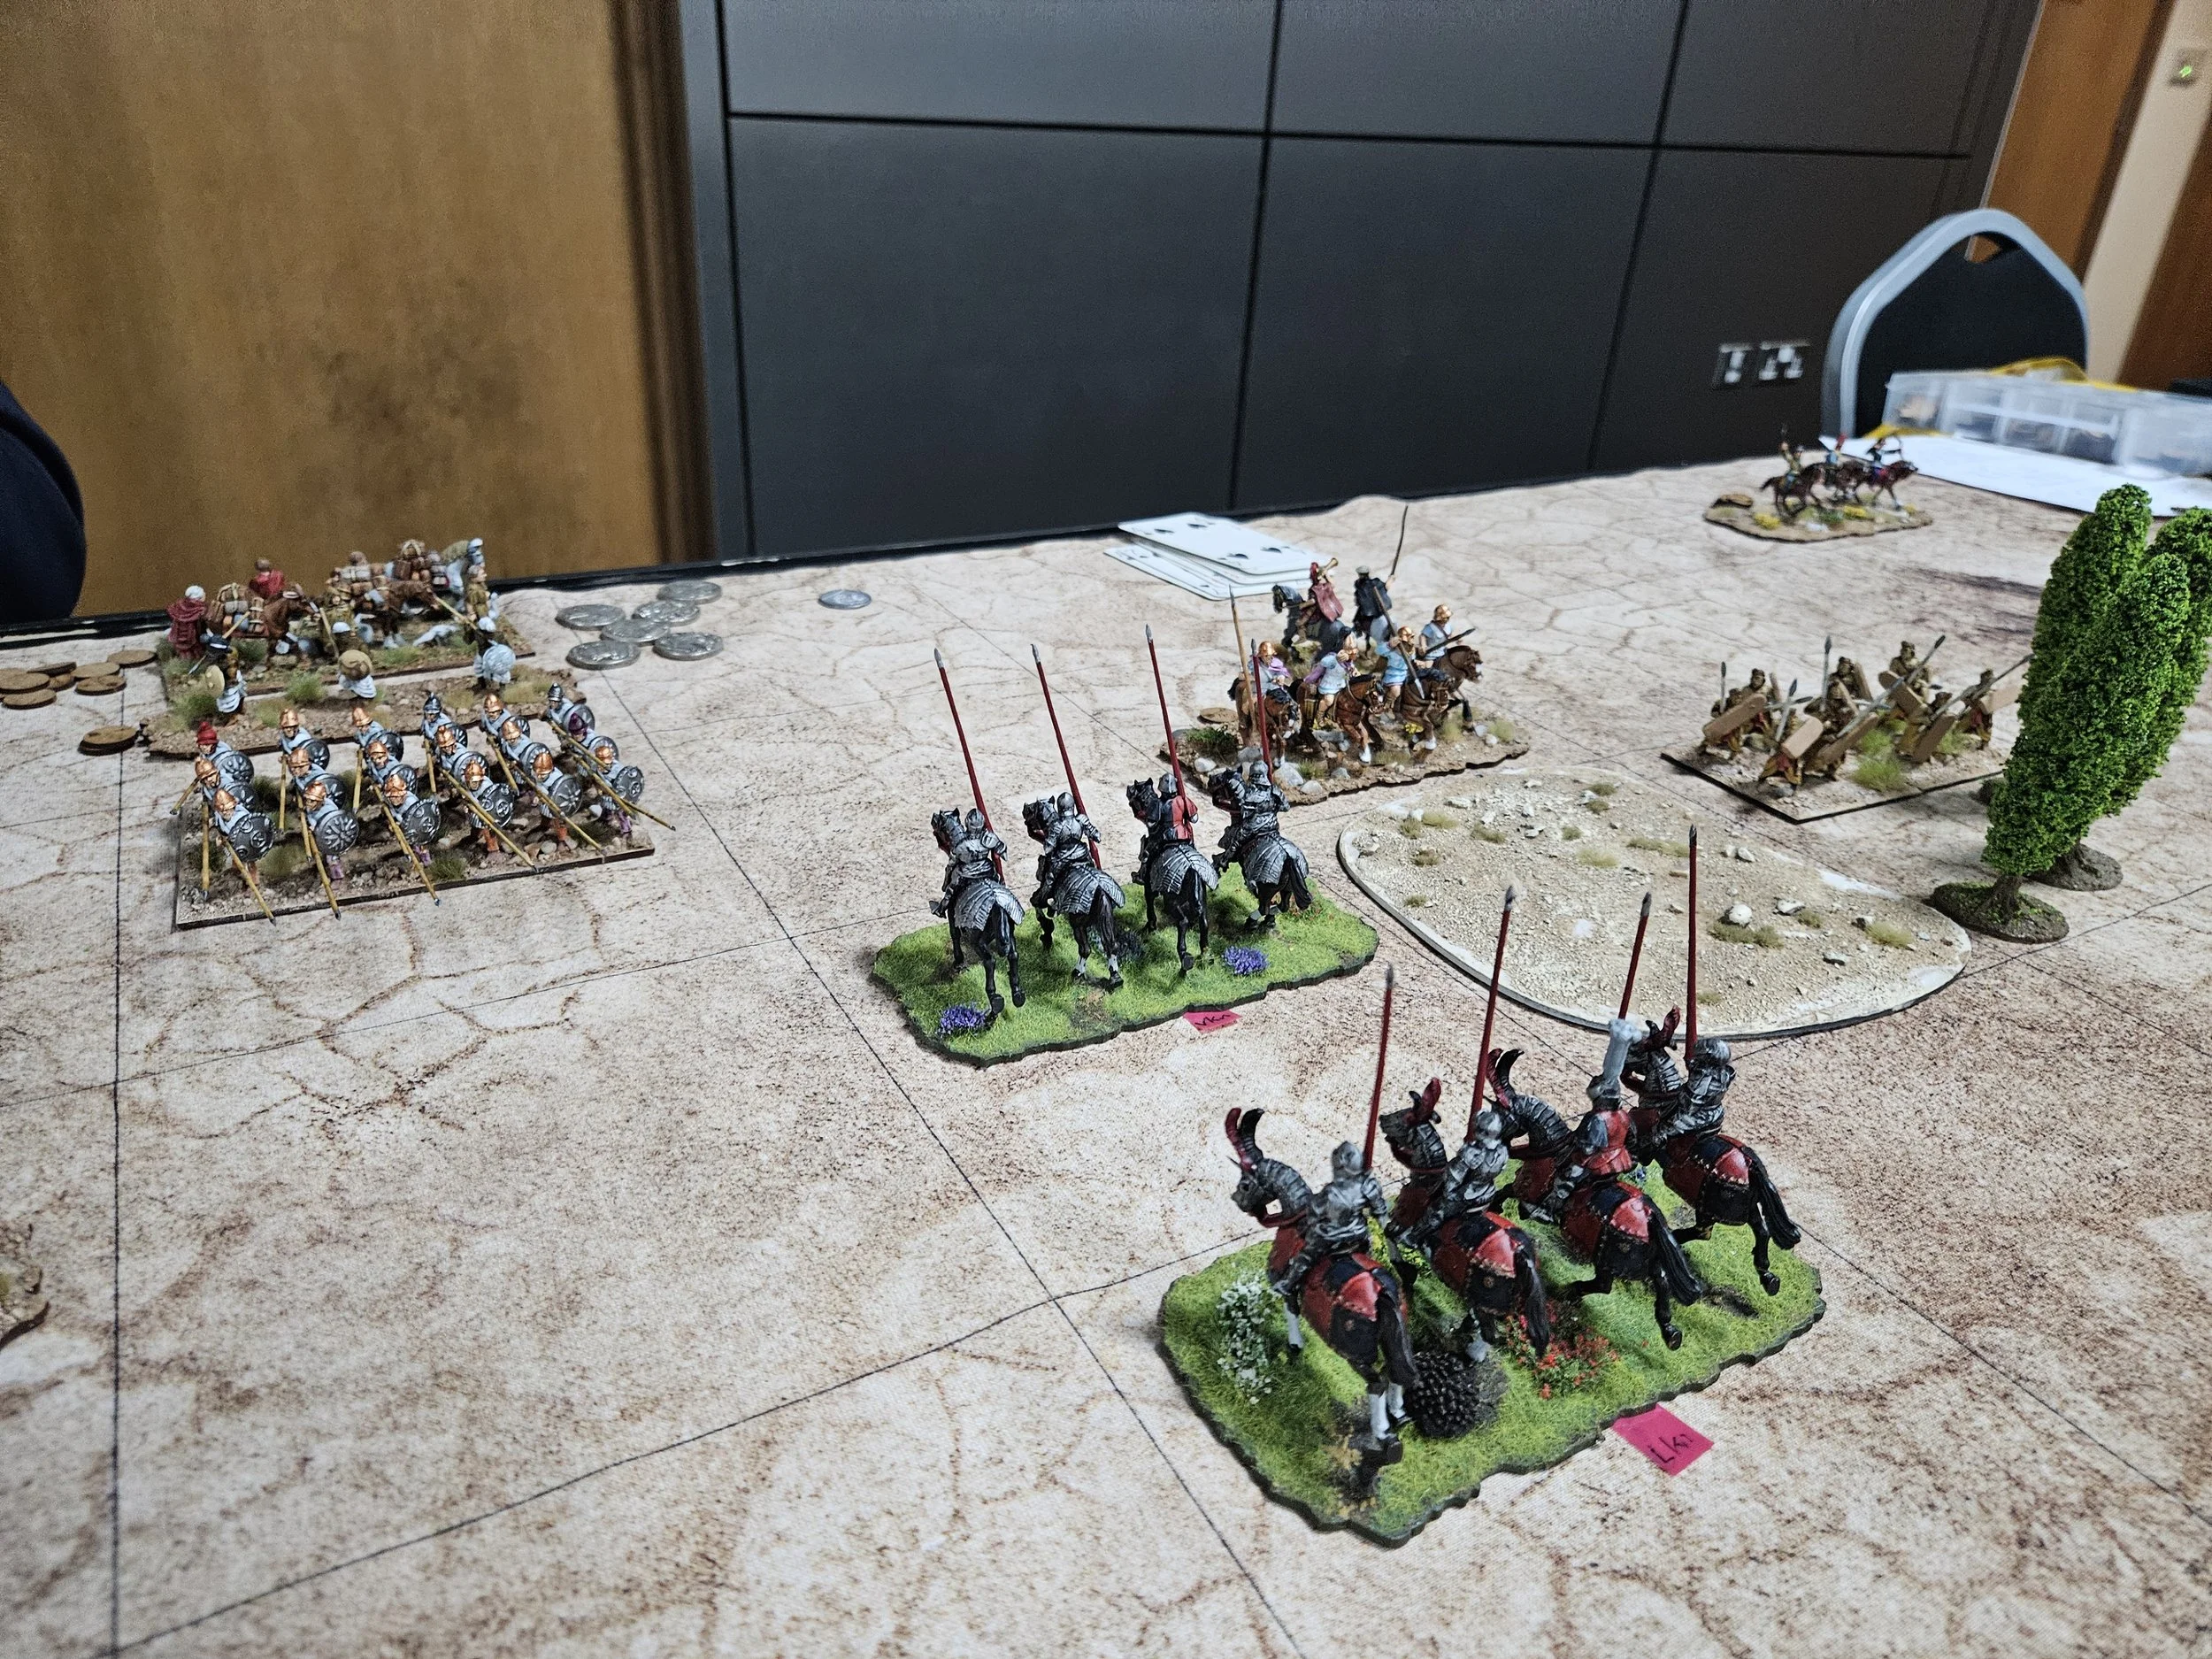
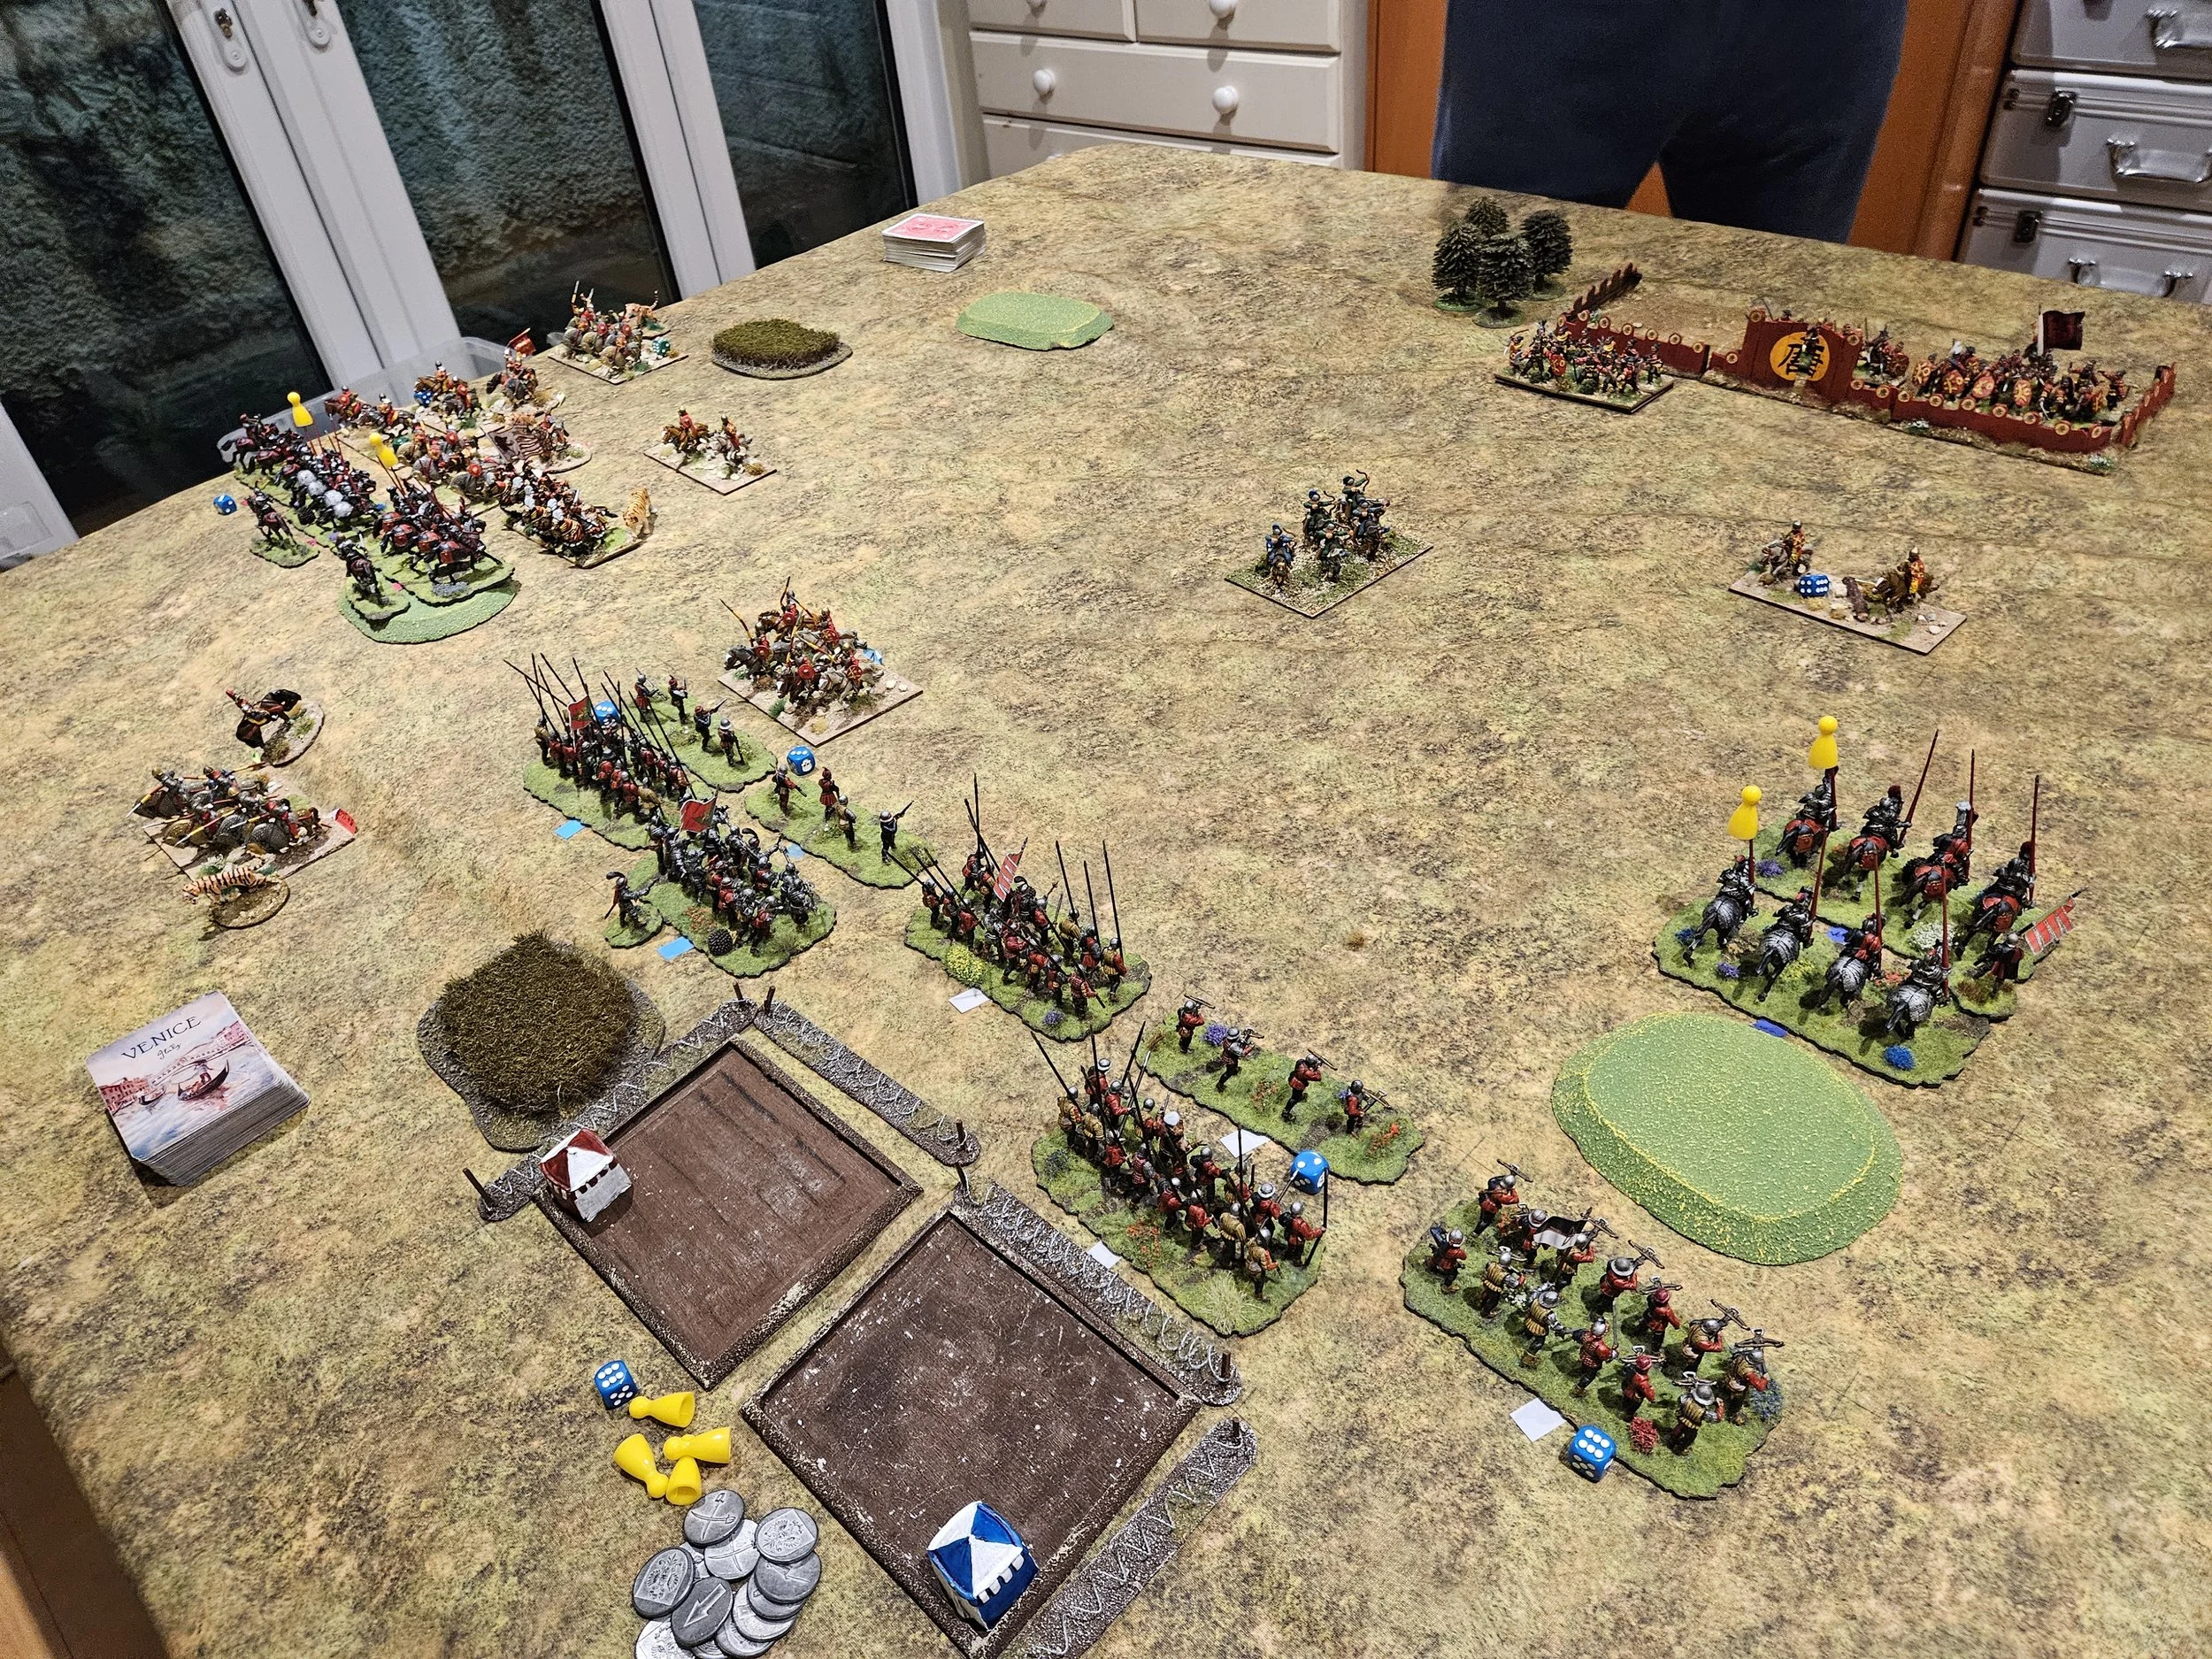
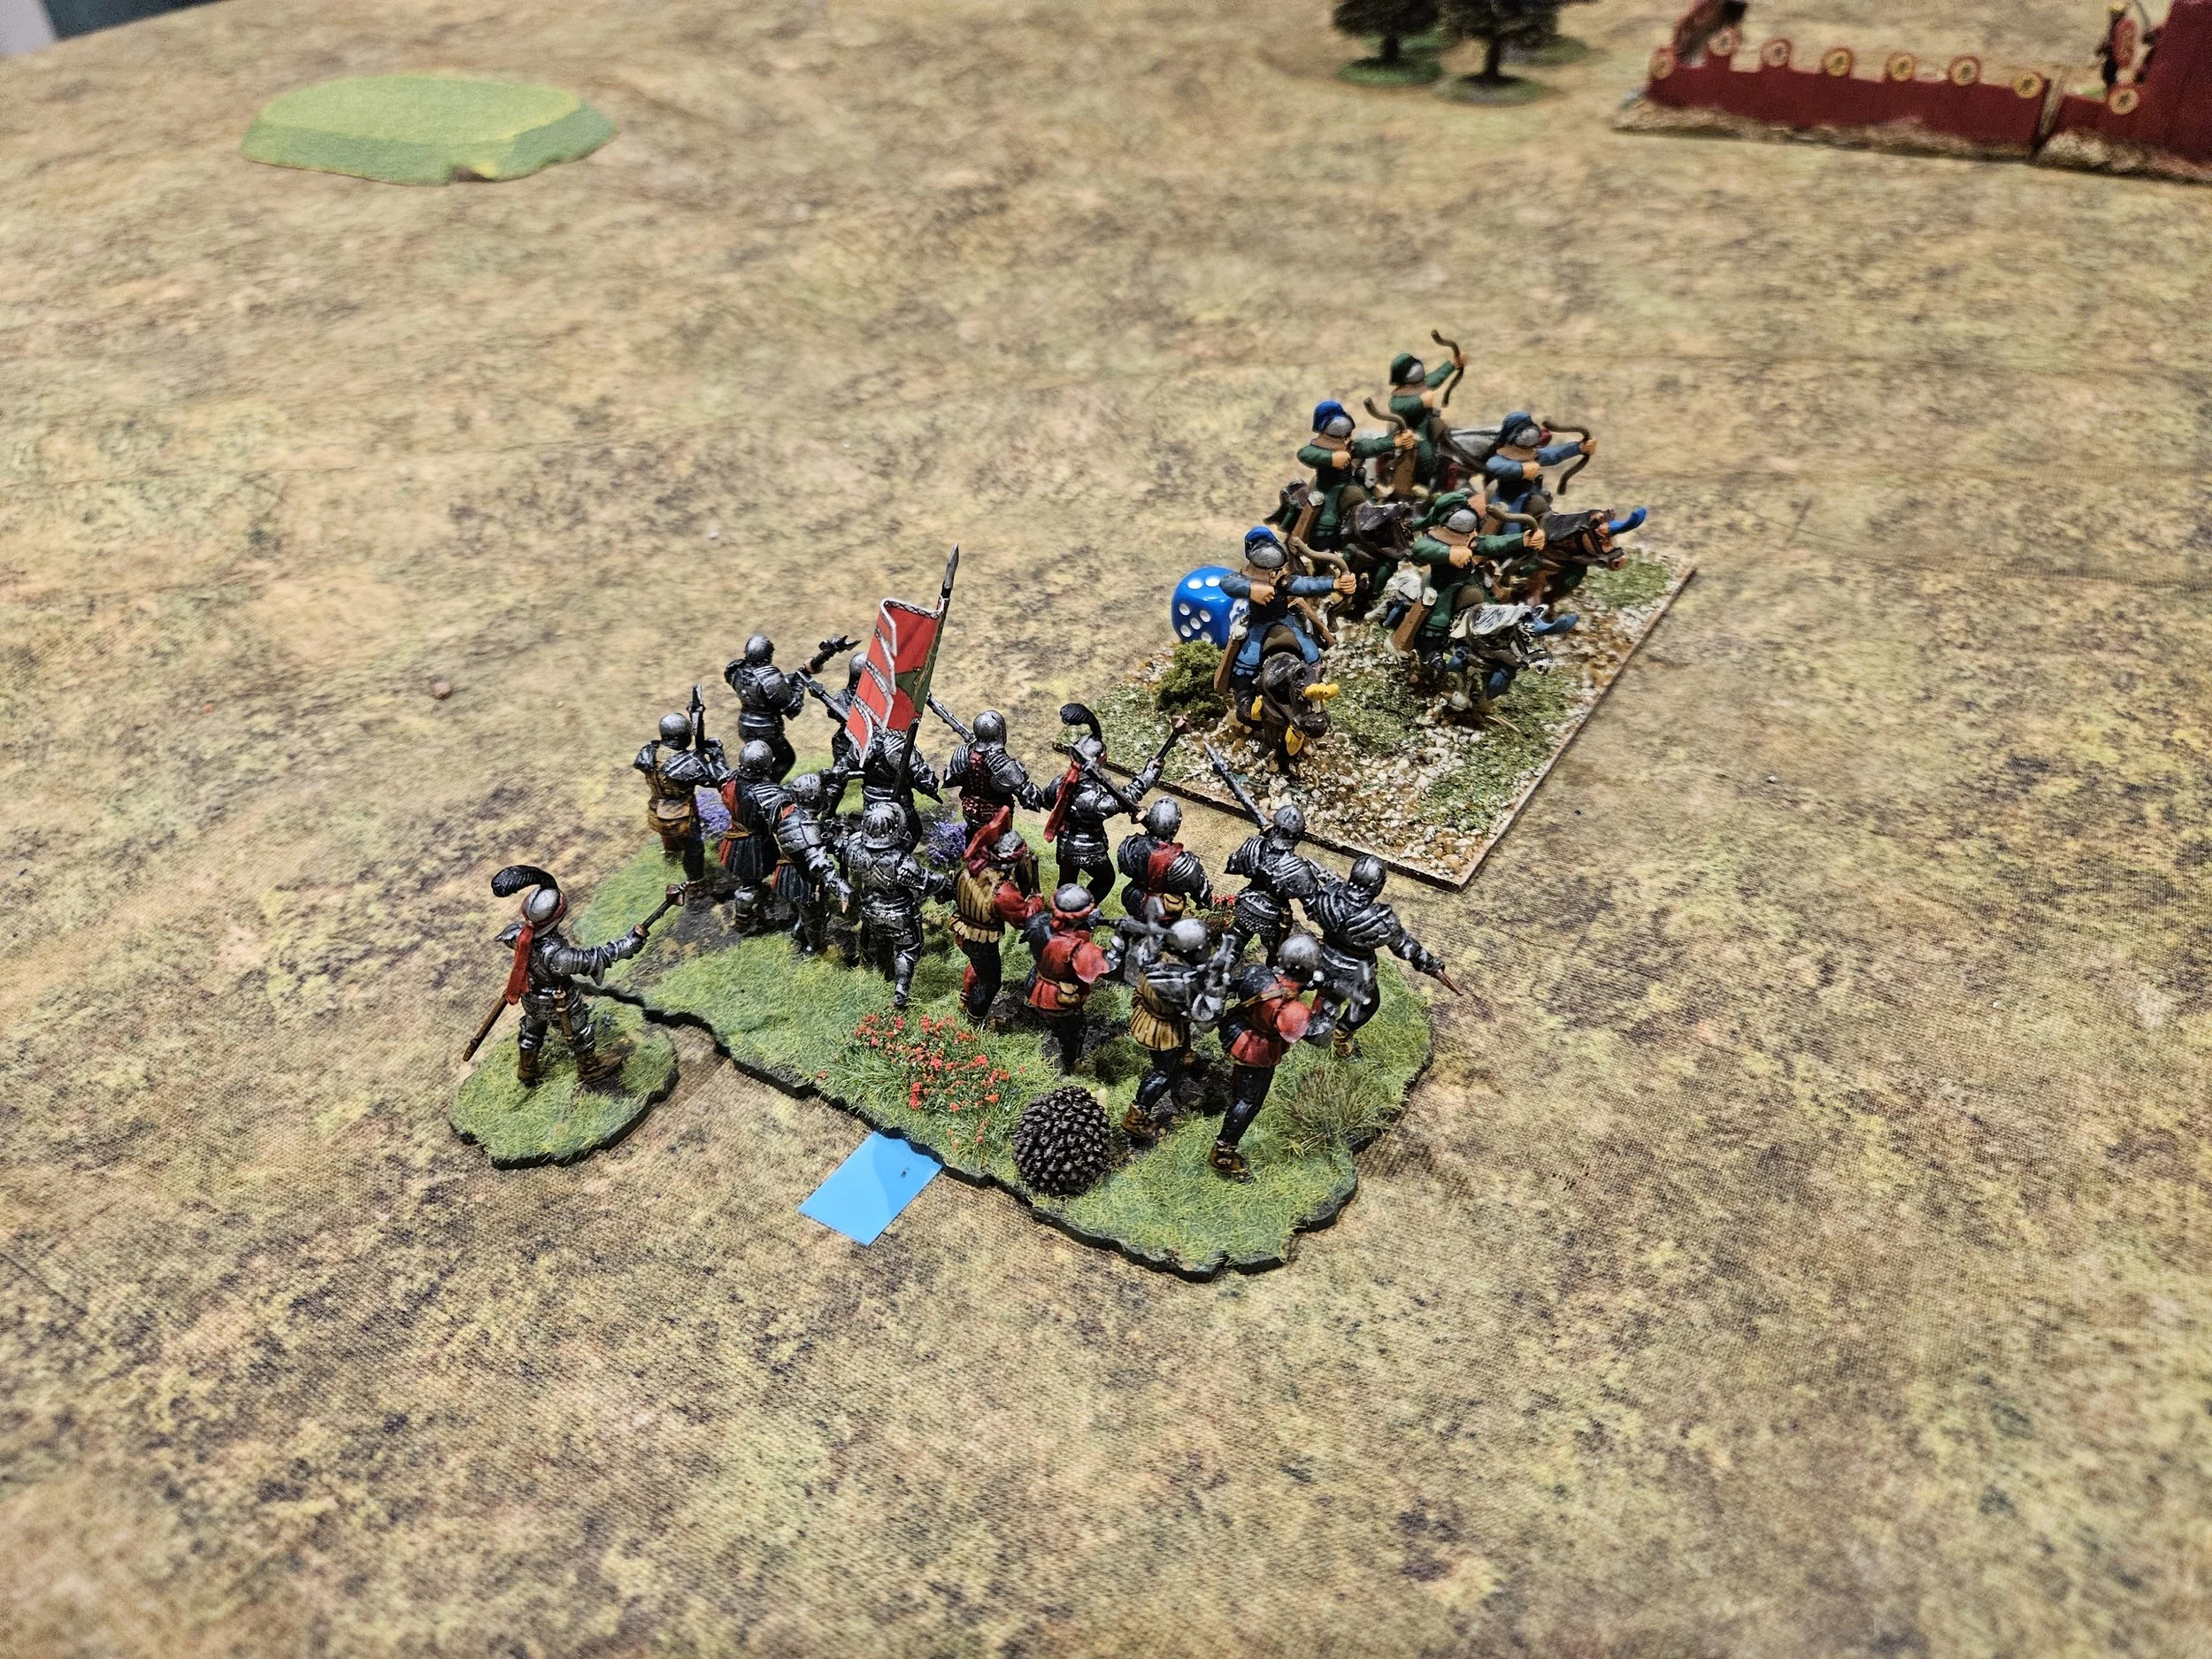
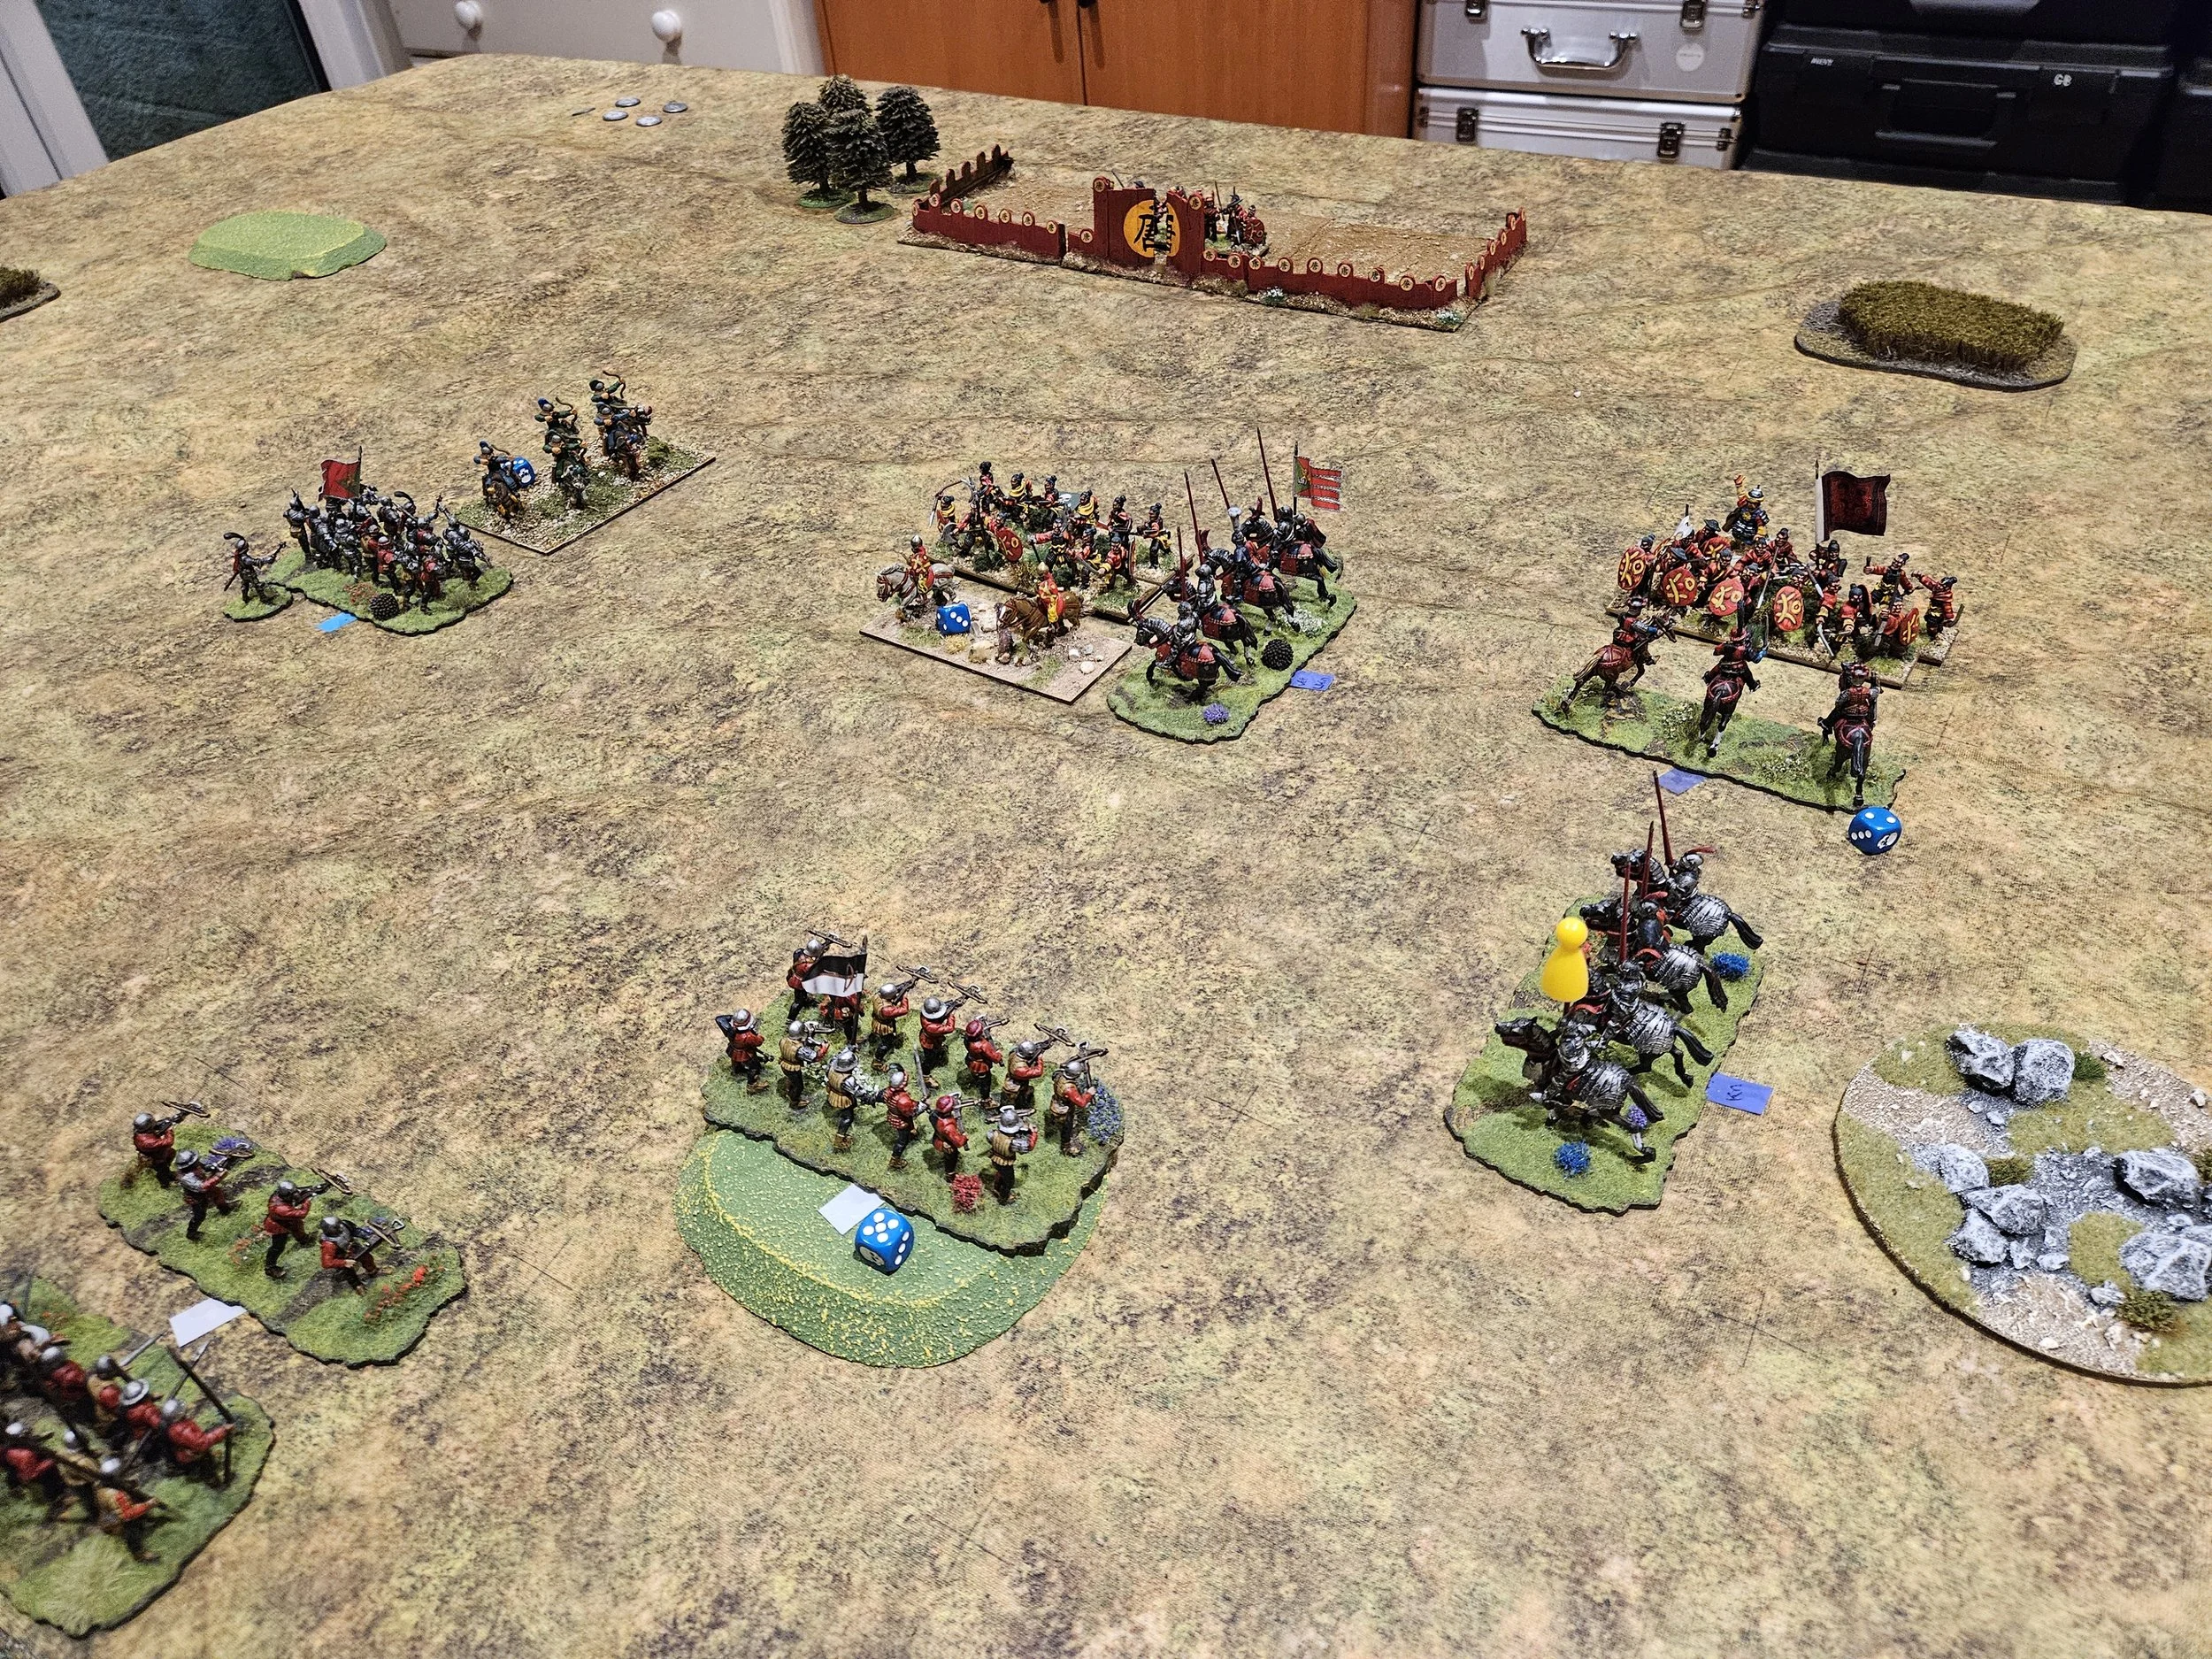
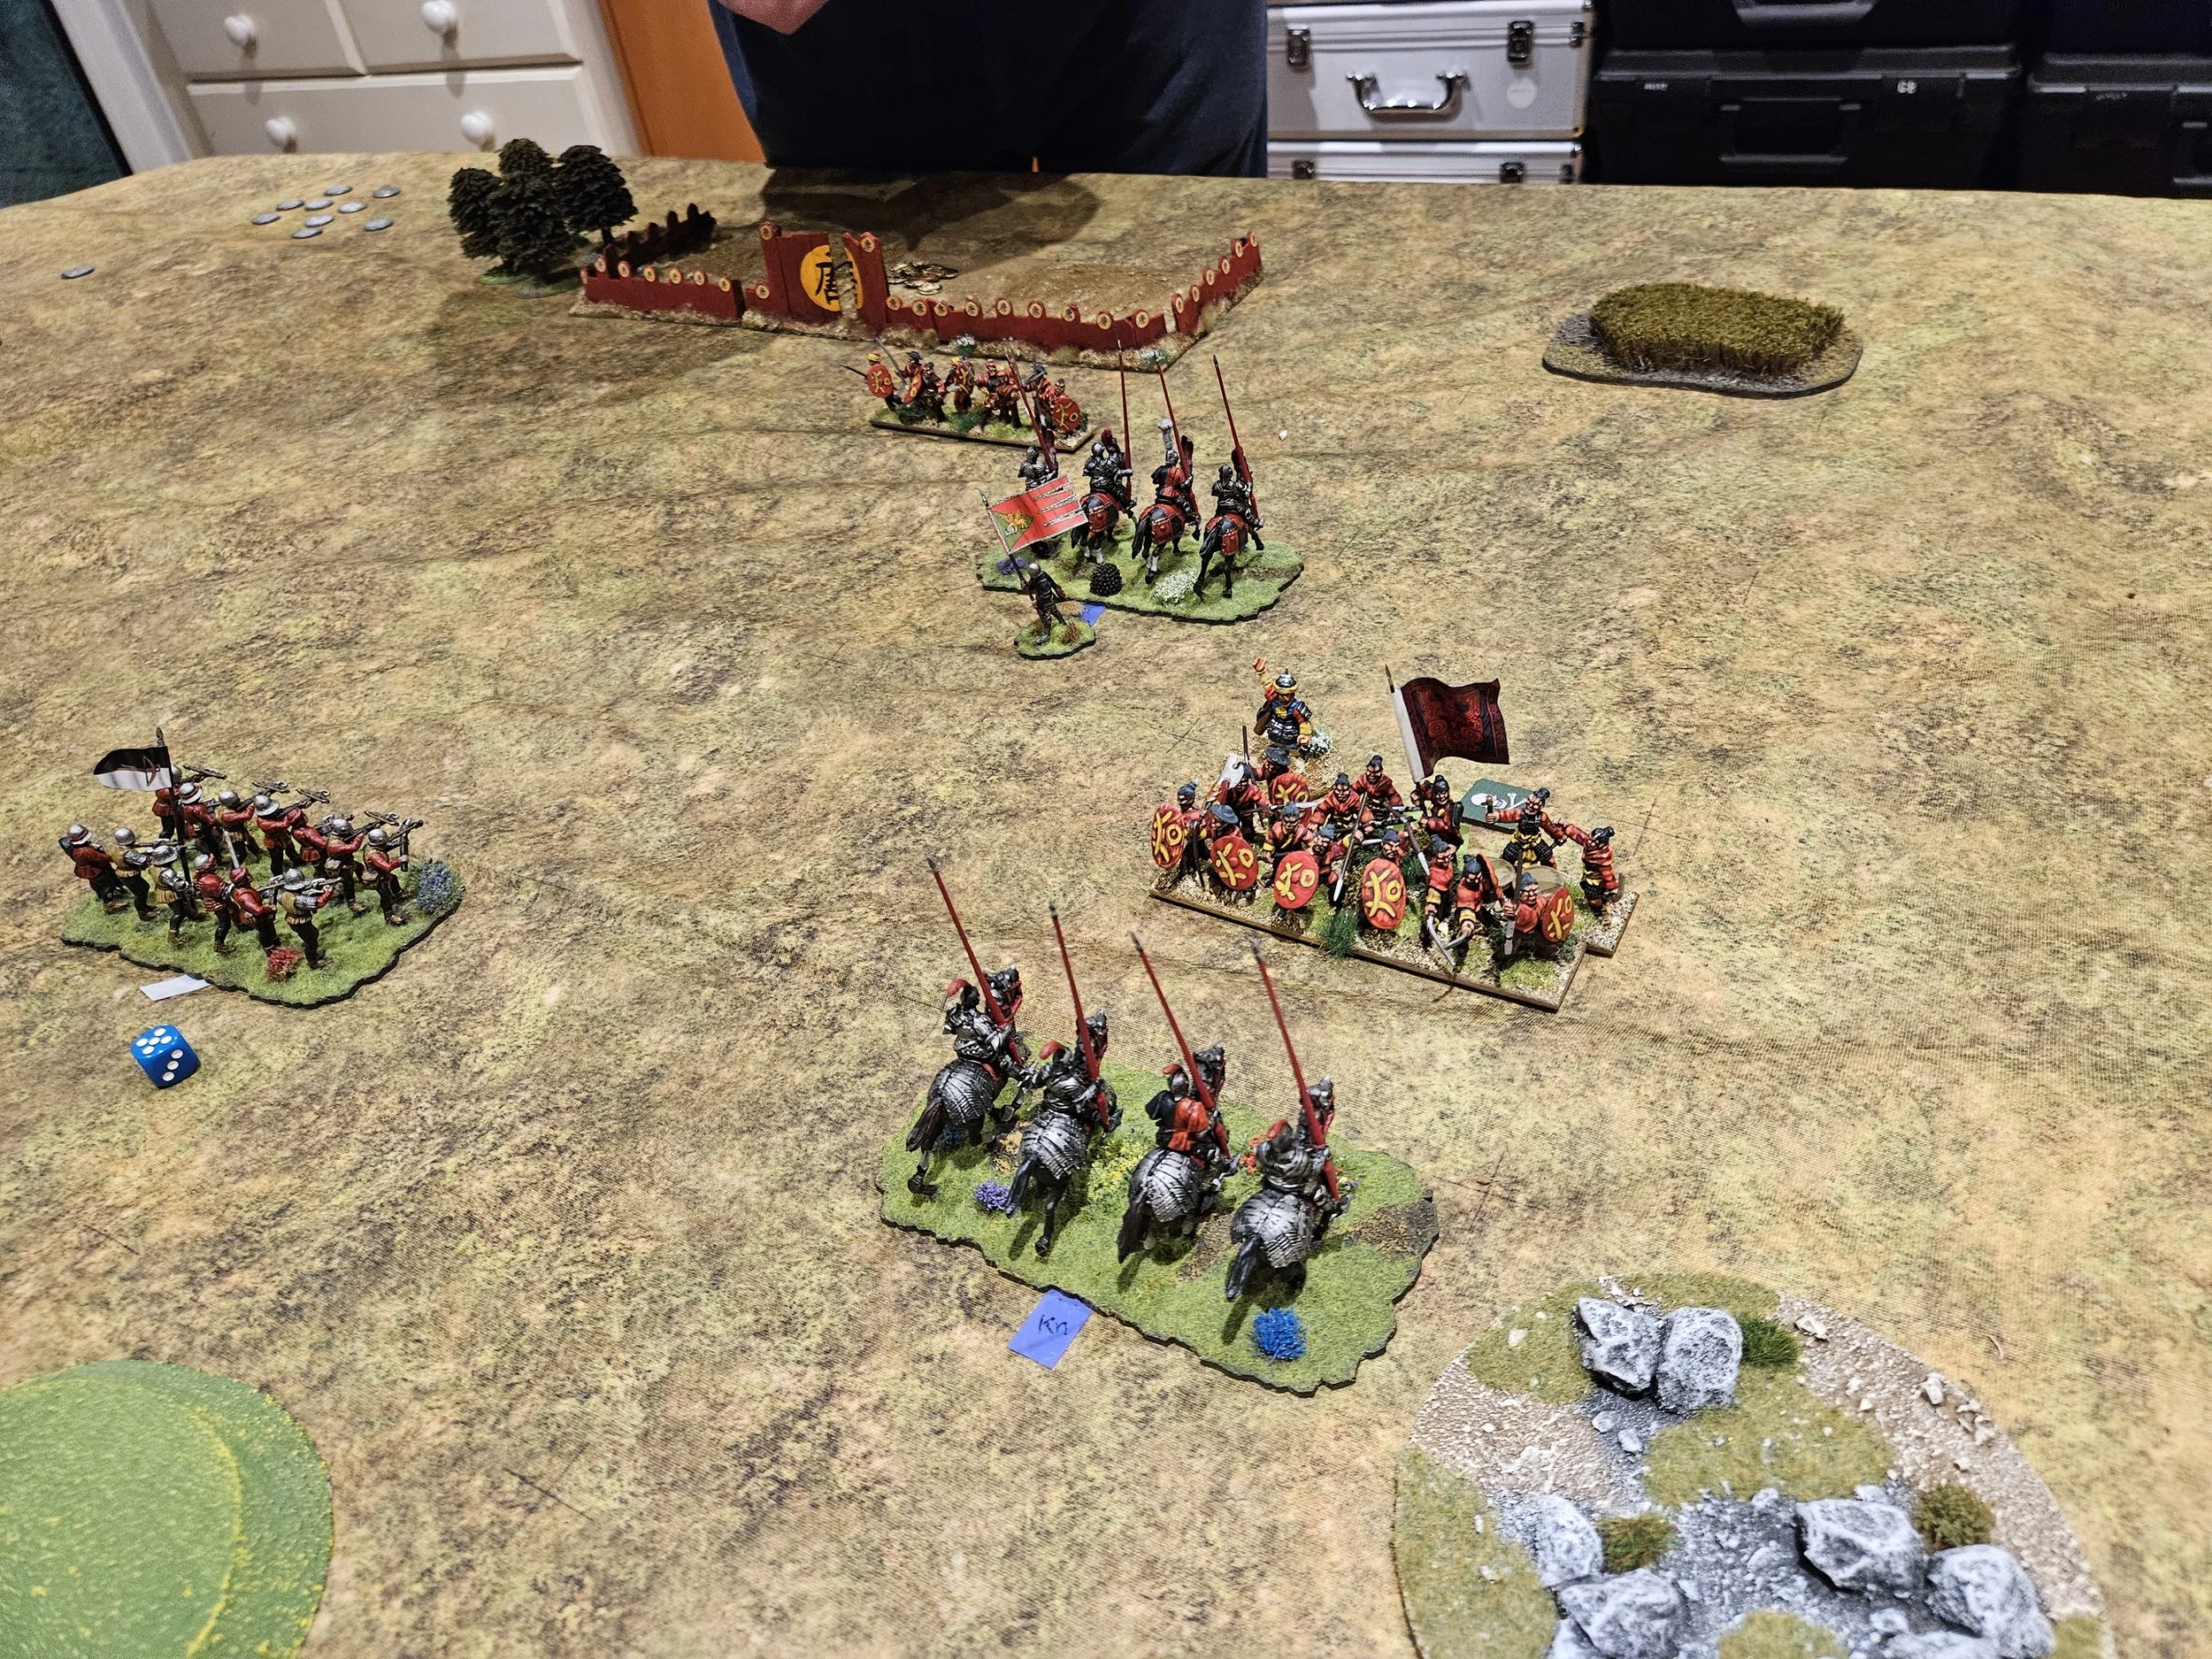
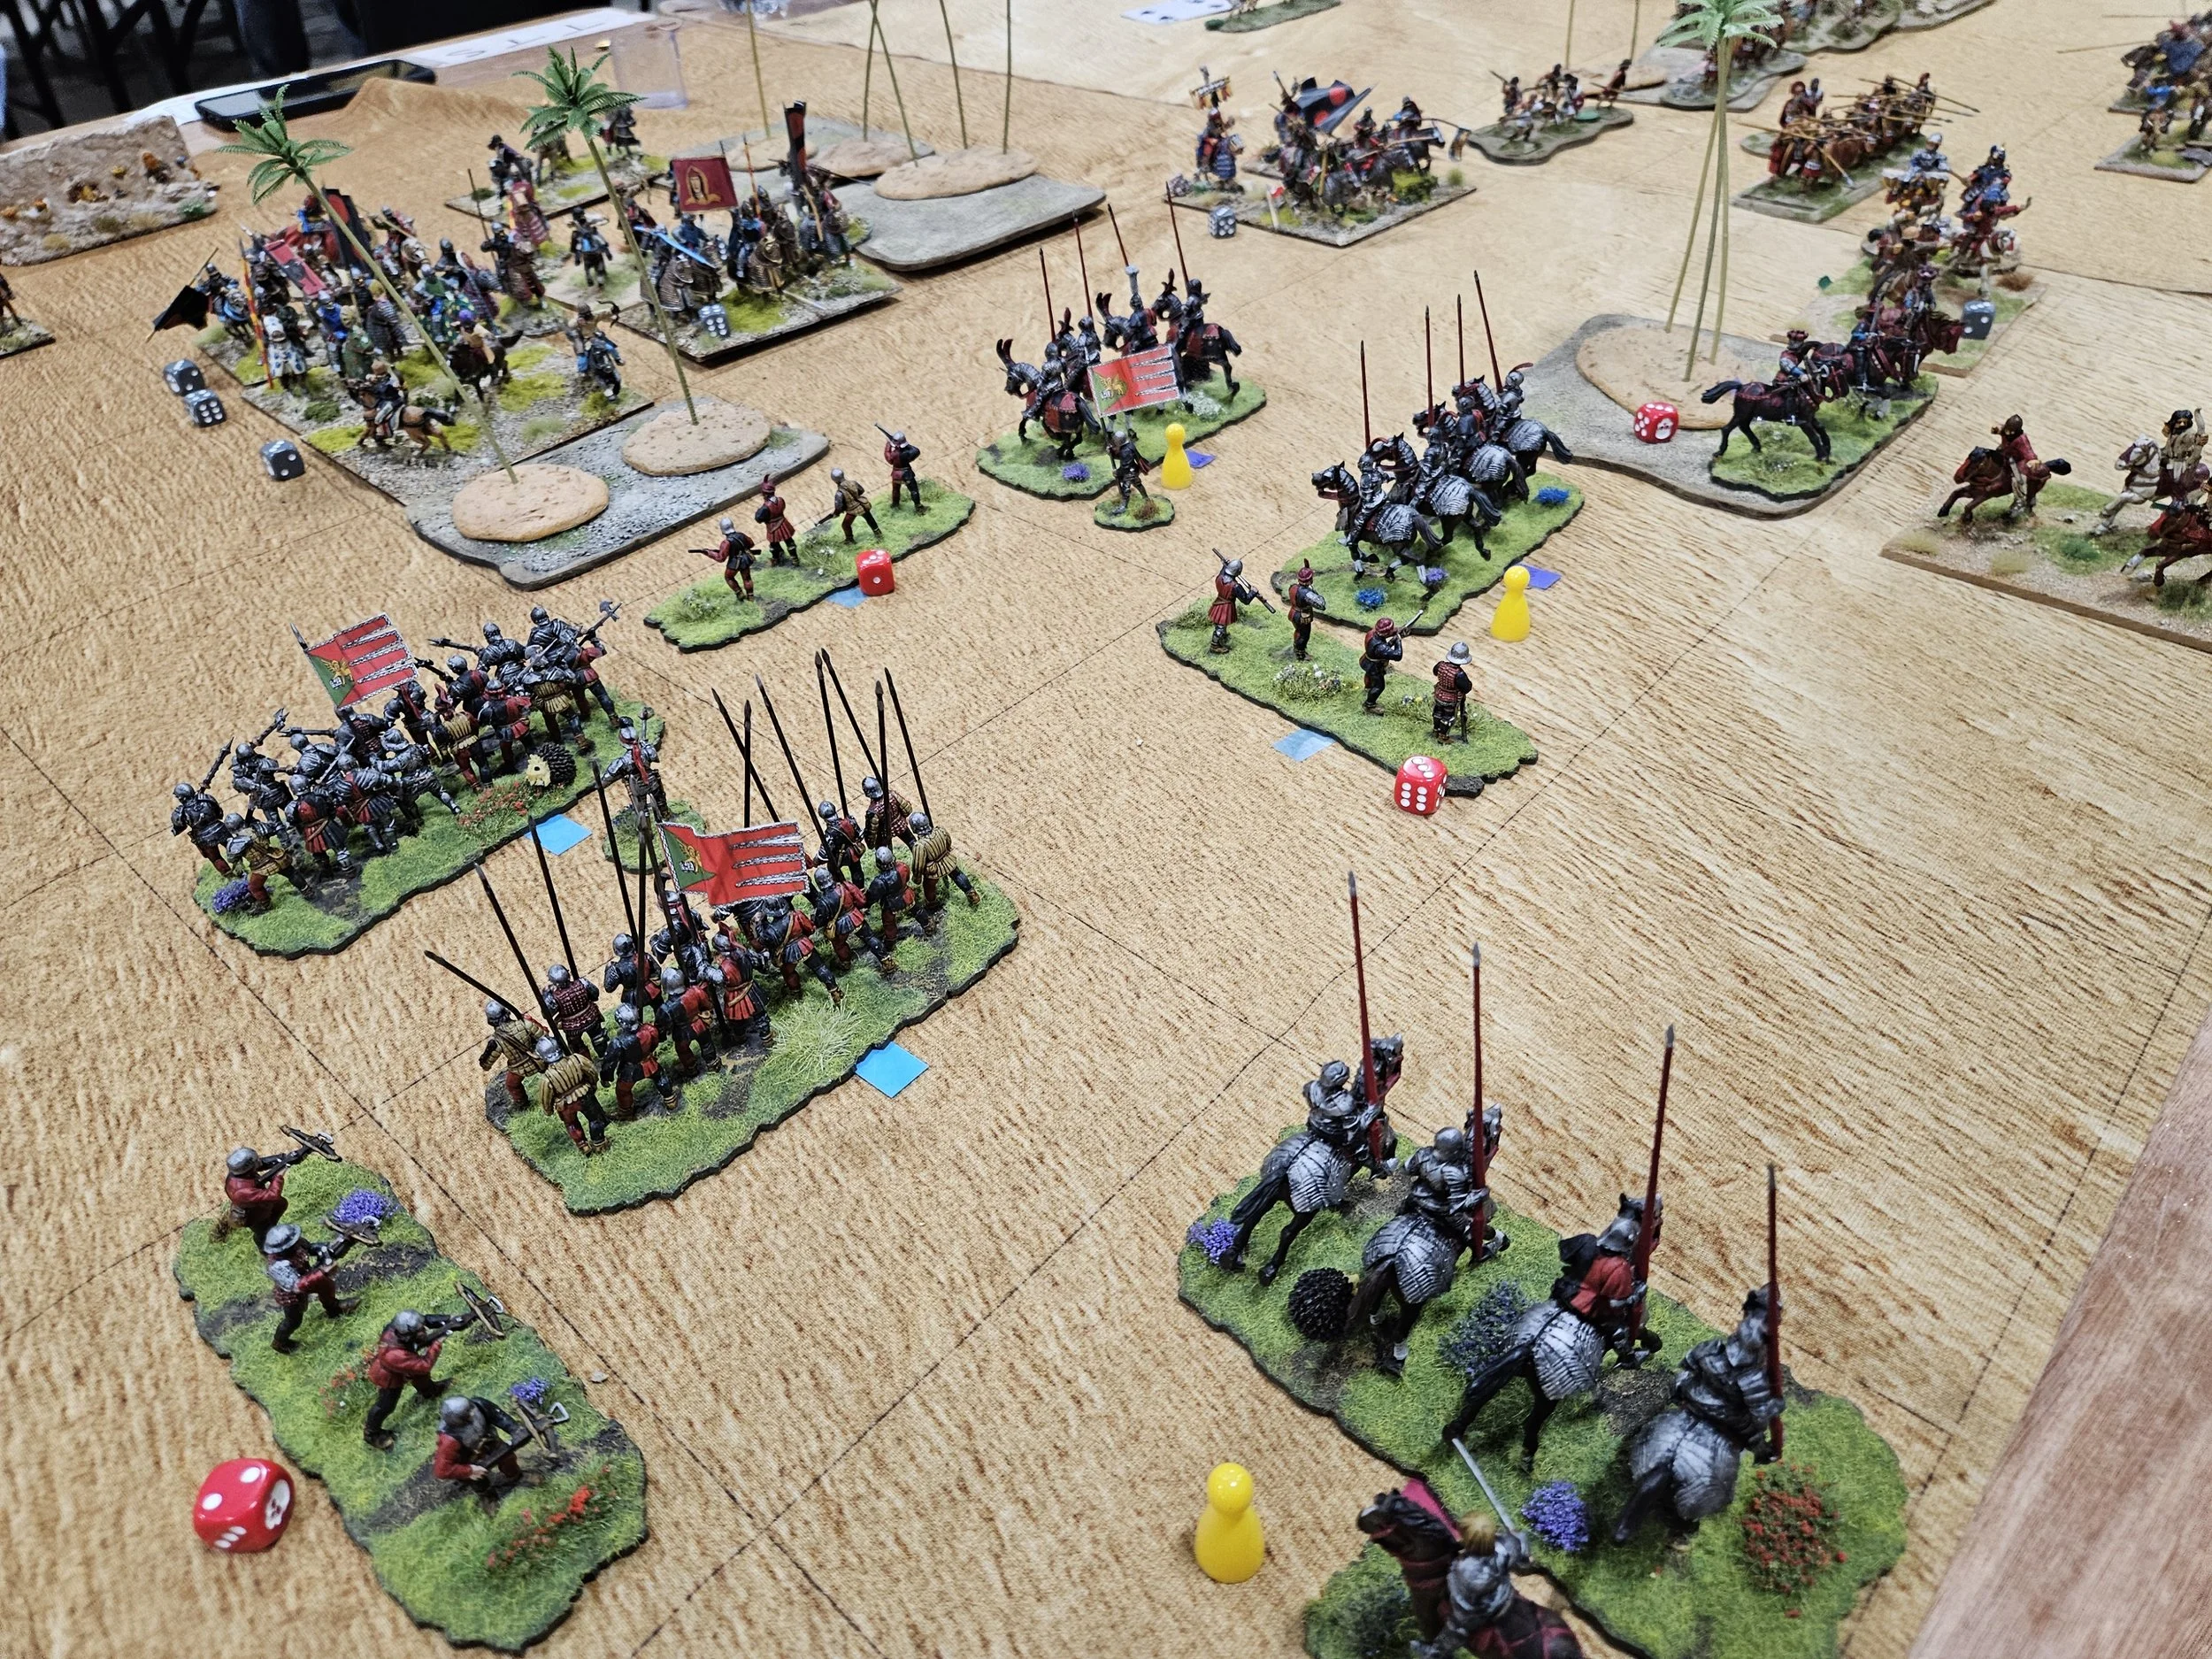
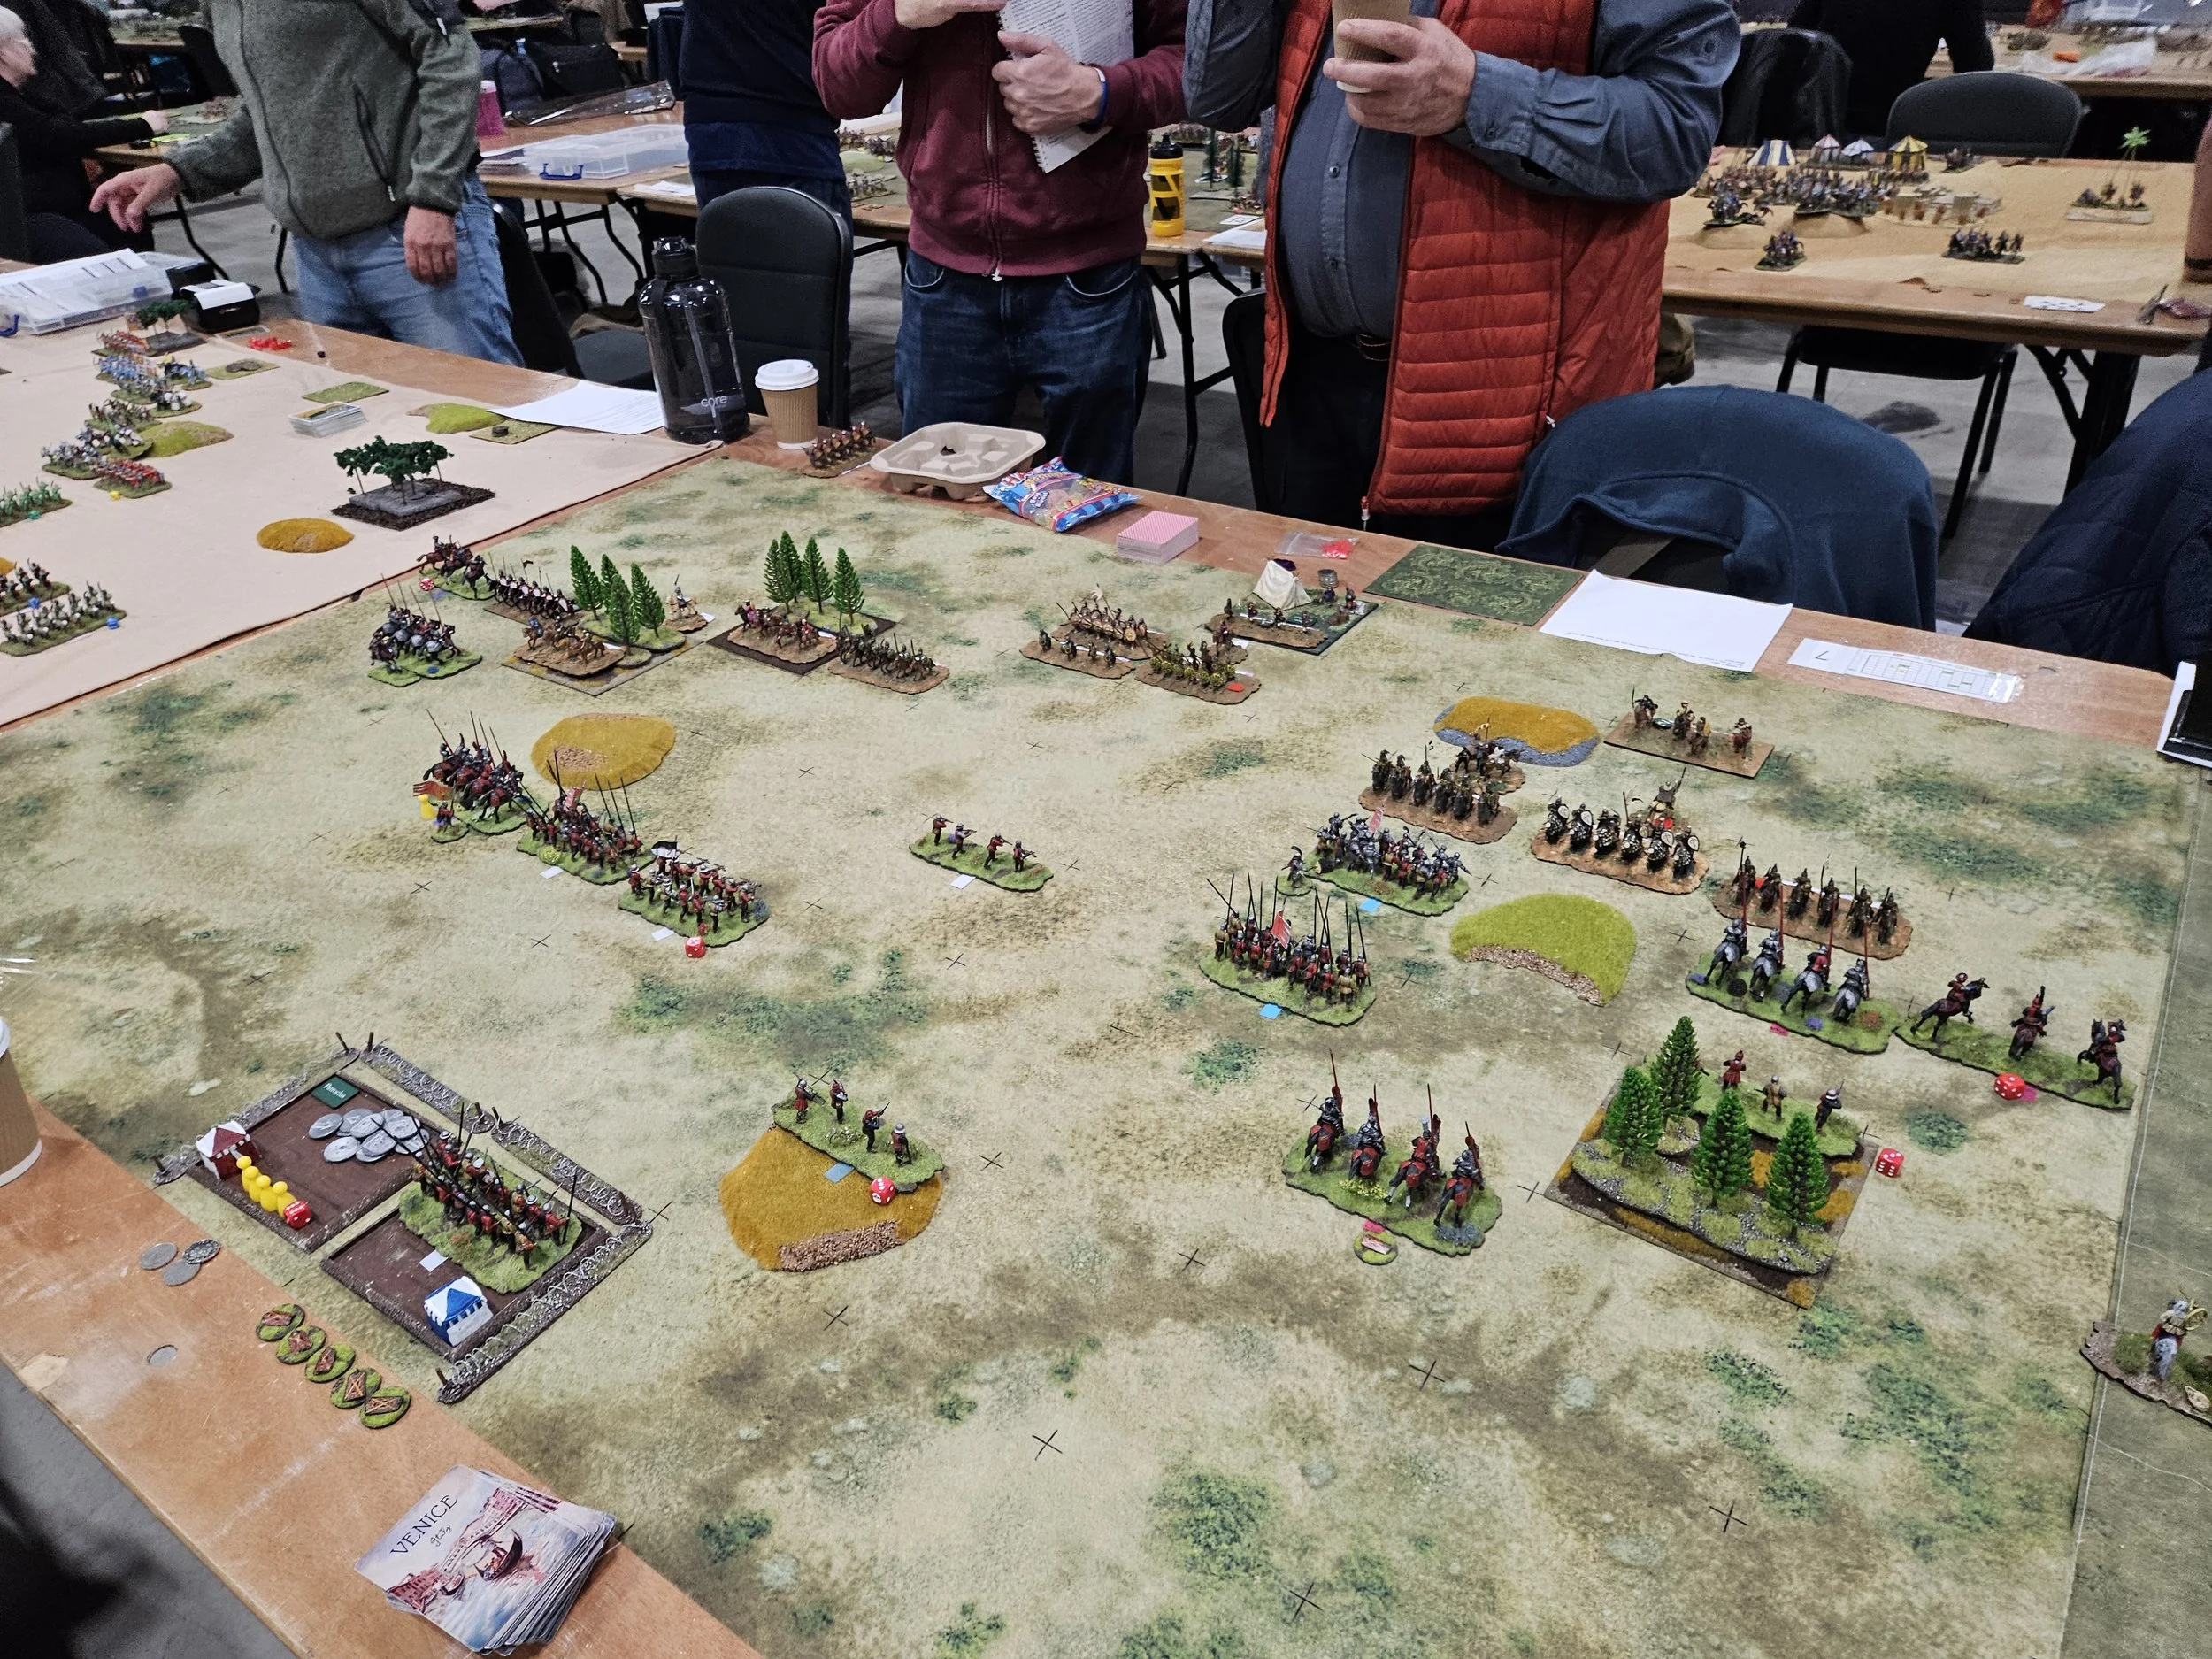
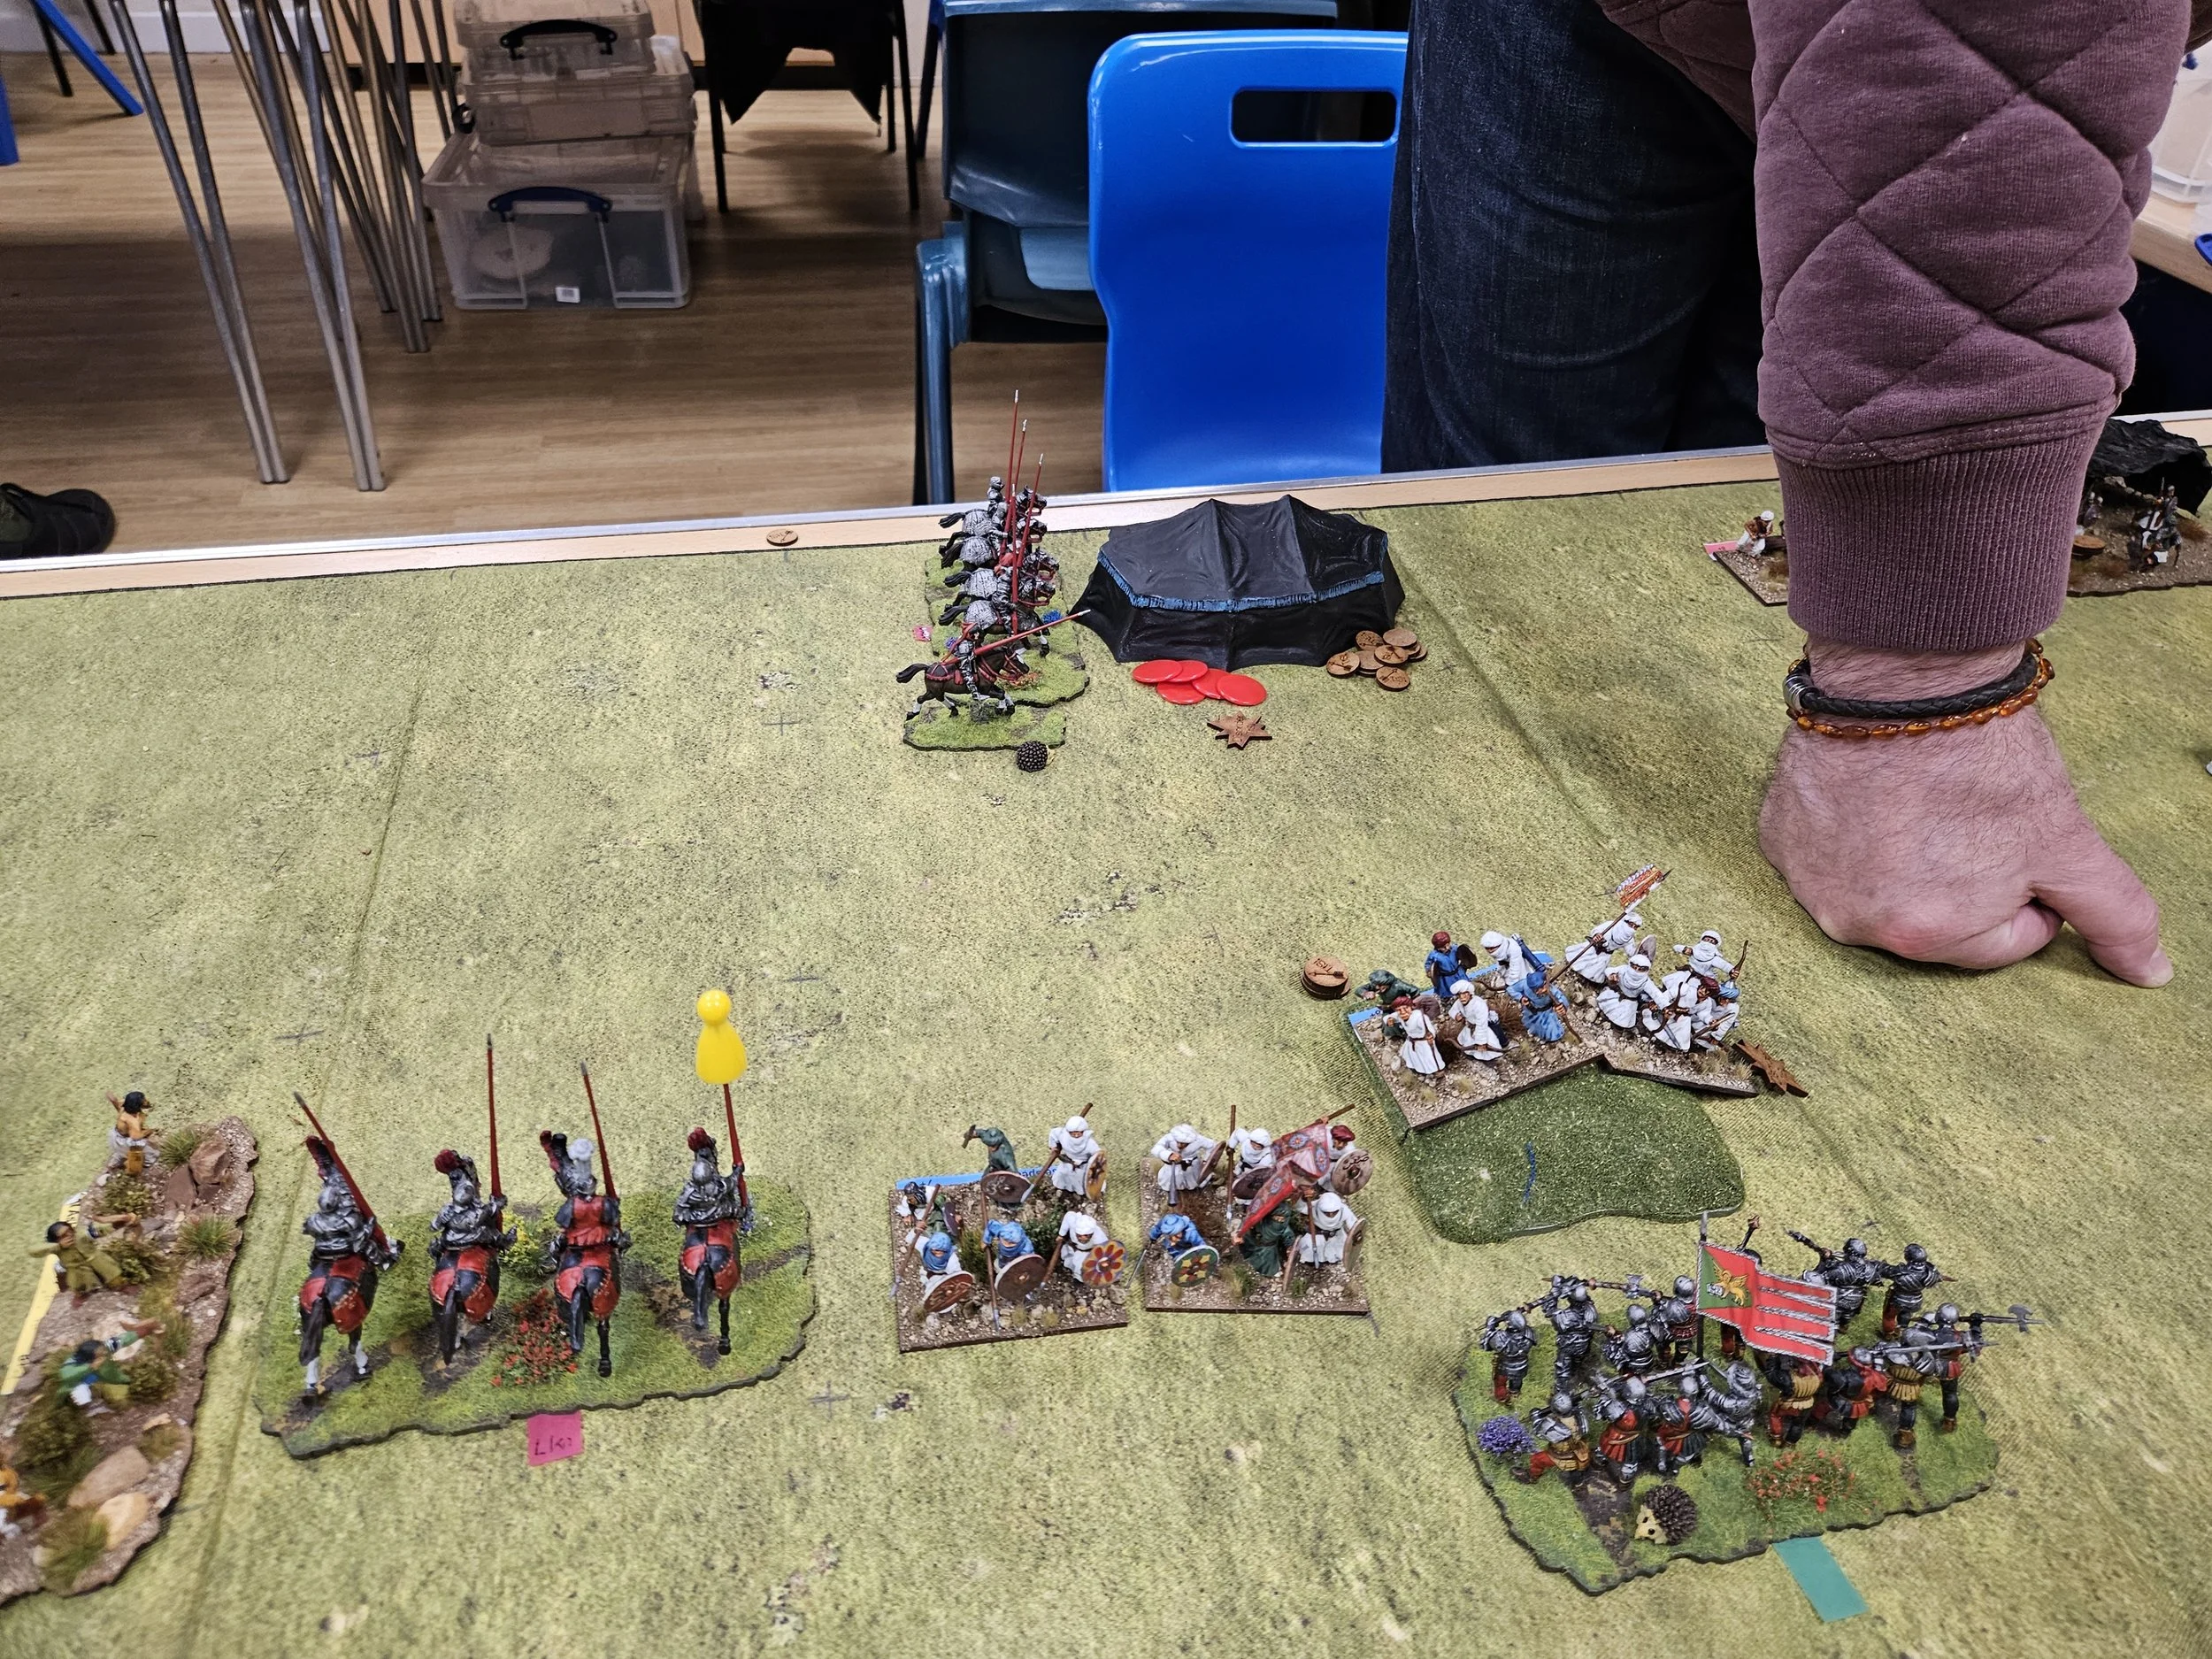
The Ayyubids set up mostly in the middle of the battlefield with, I was told, a force off-table as well. I adopted my usual ‘cavalry on the wings, infantry in the middle’ formation, planning to smash his cavalry on the right with my knights, and use my other knights to curl around the Ayyubid right wing. My infantry would advance to assist where possible.
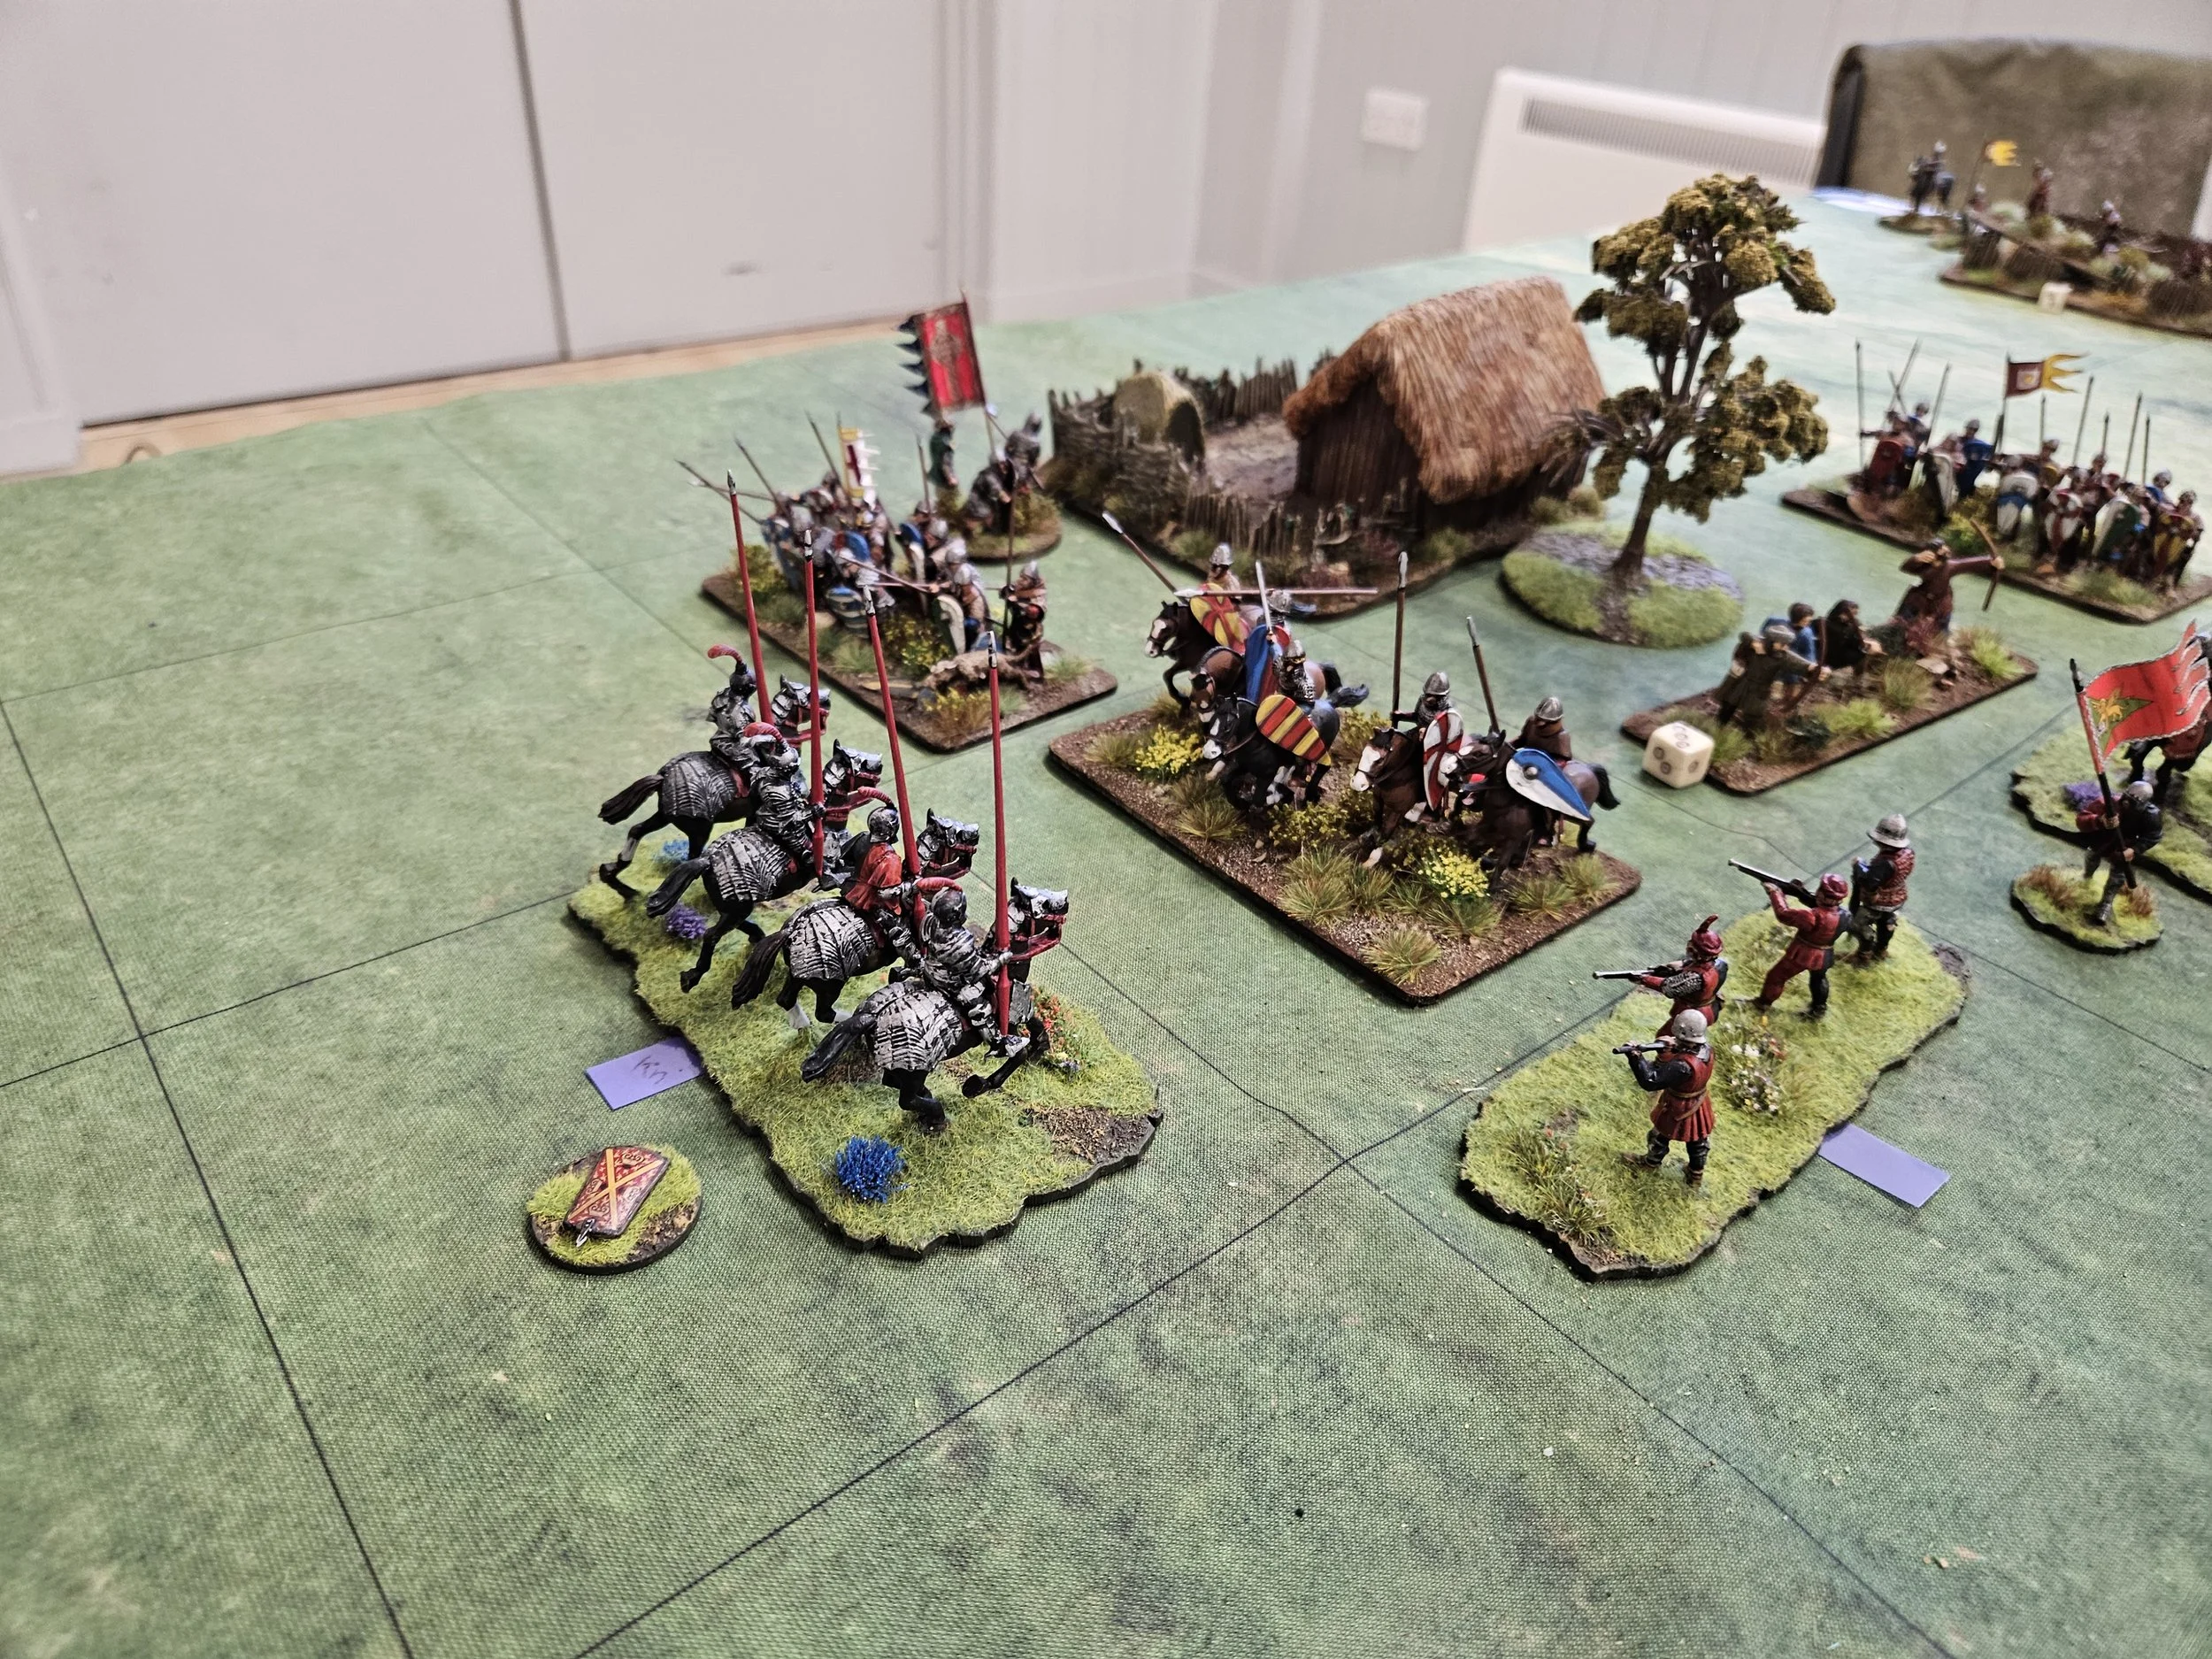
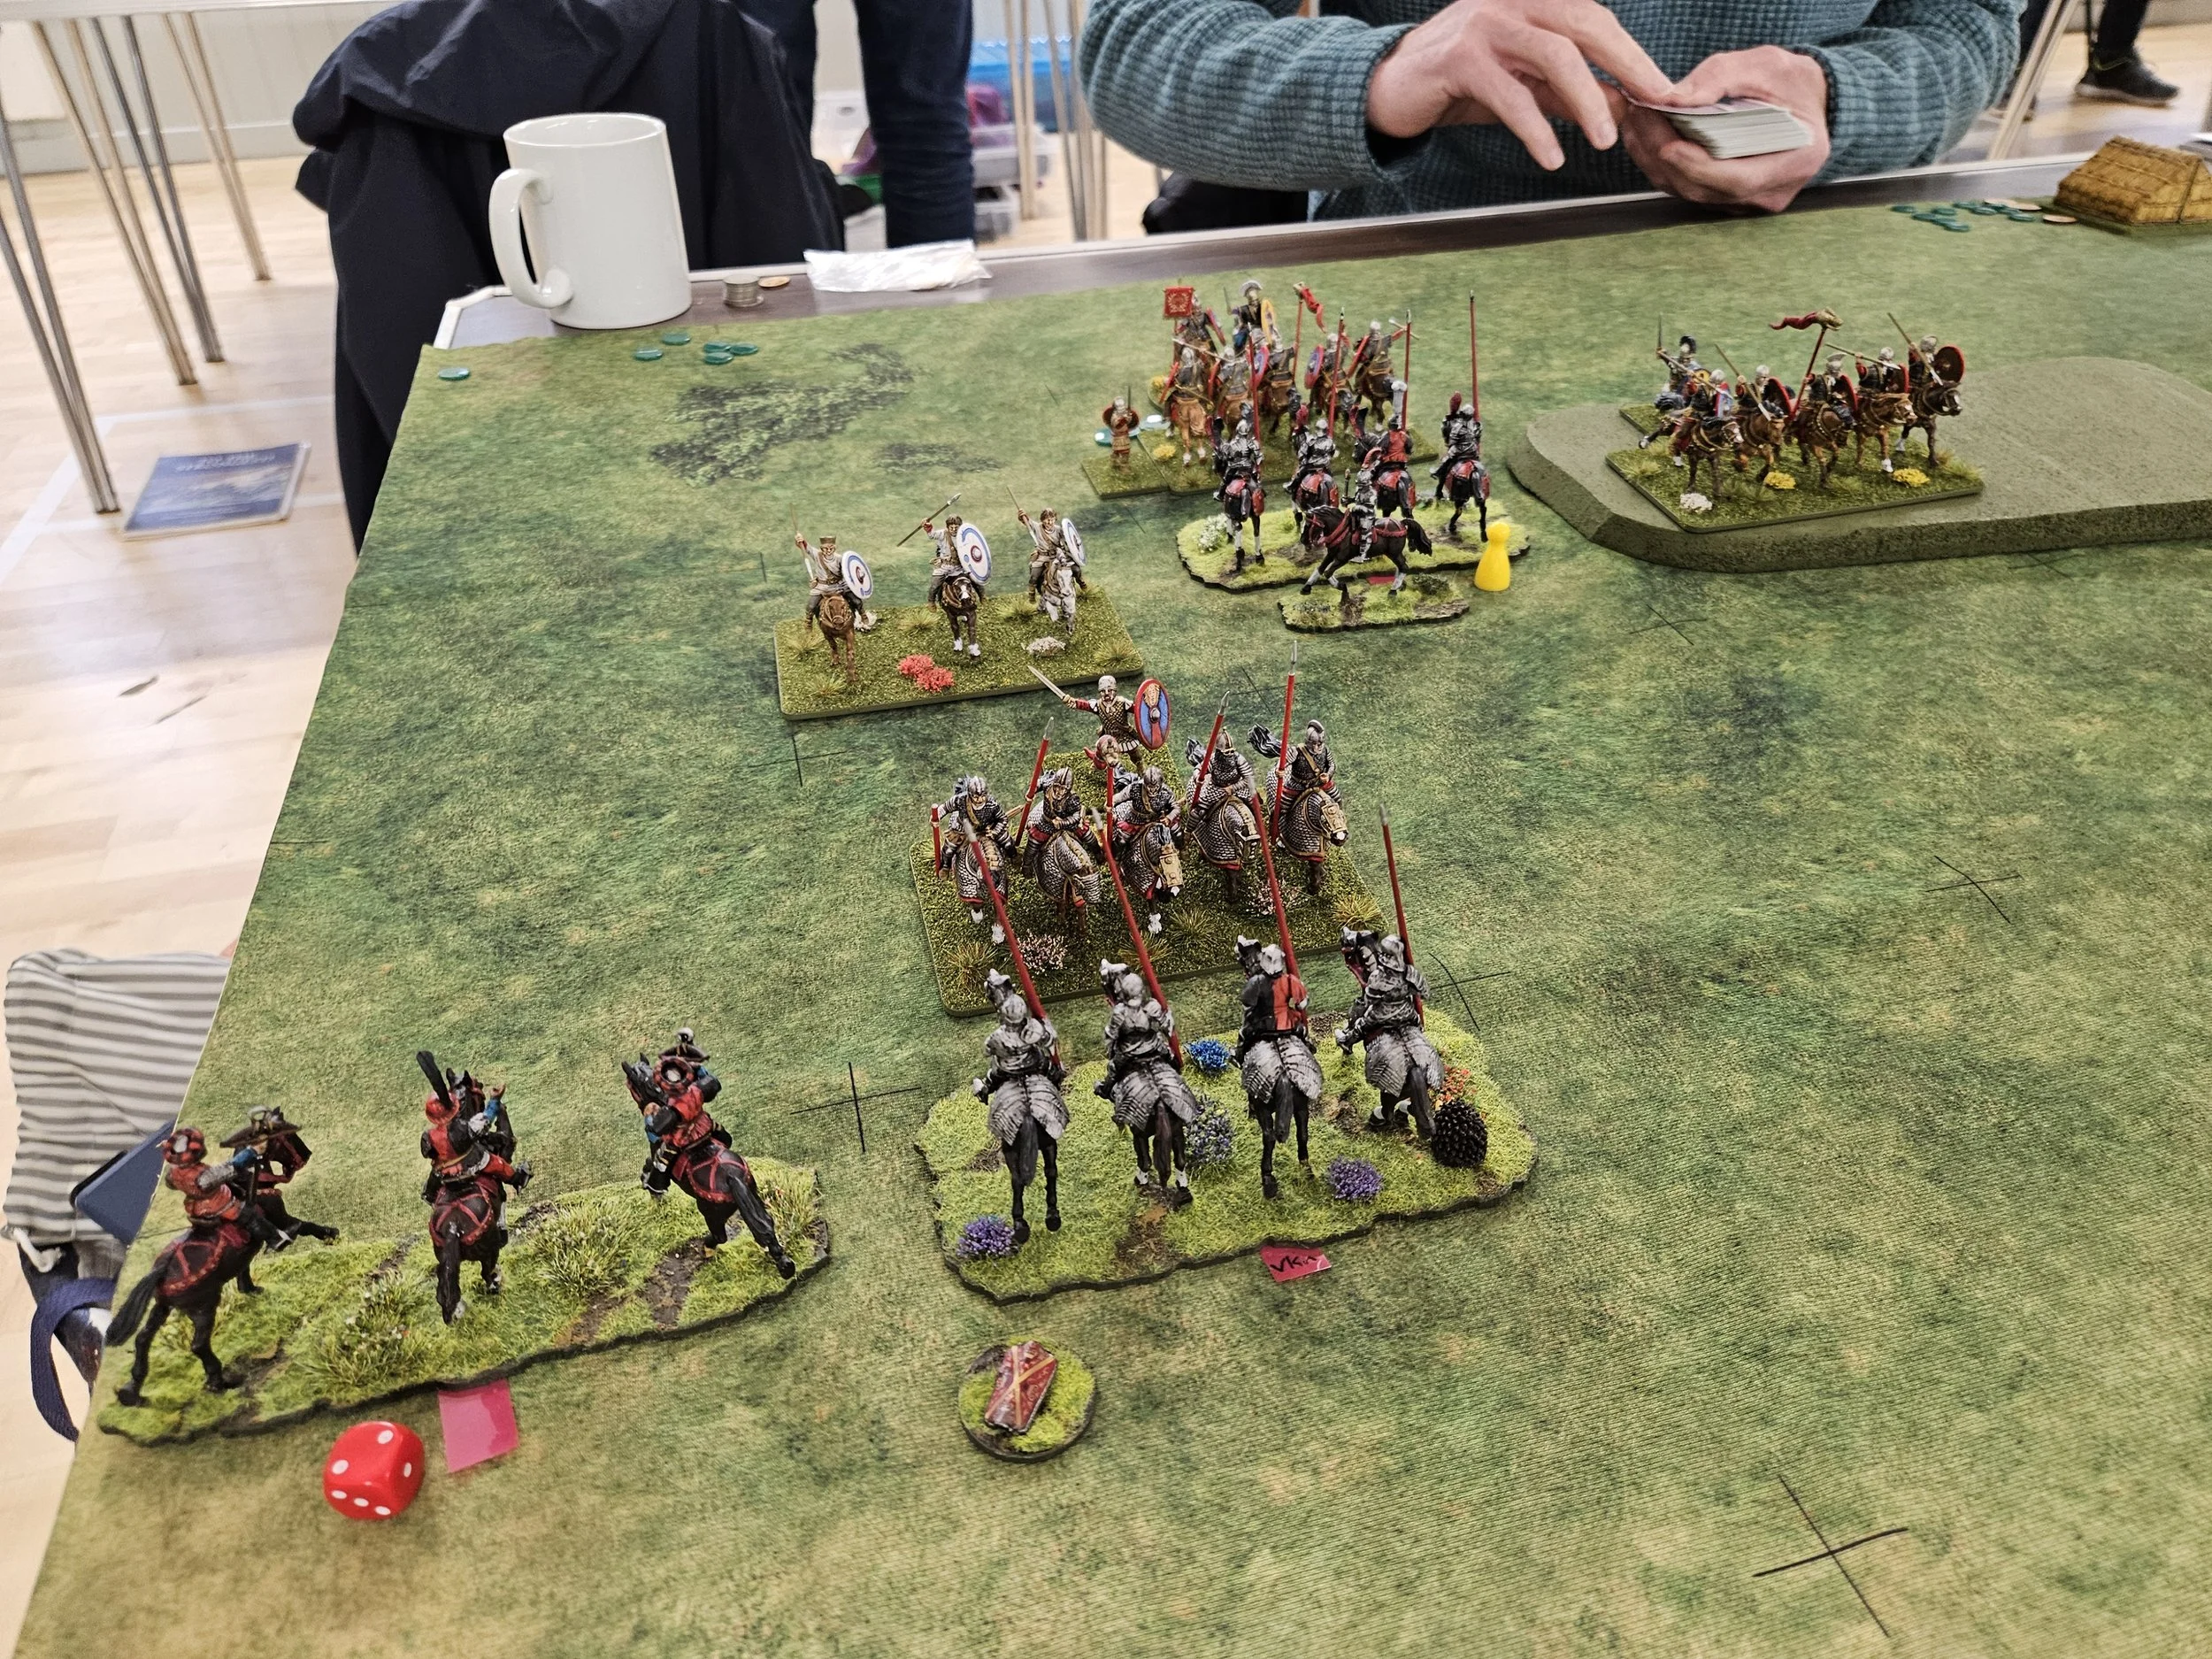
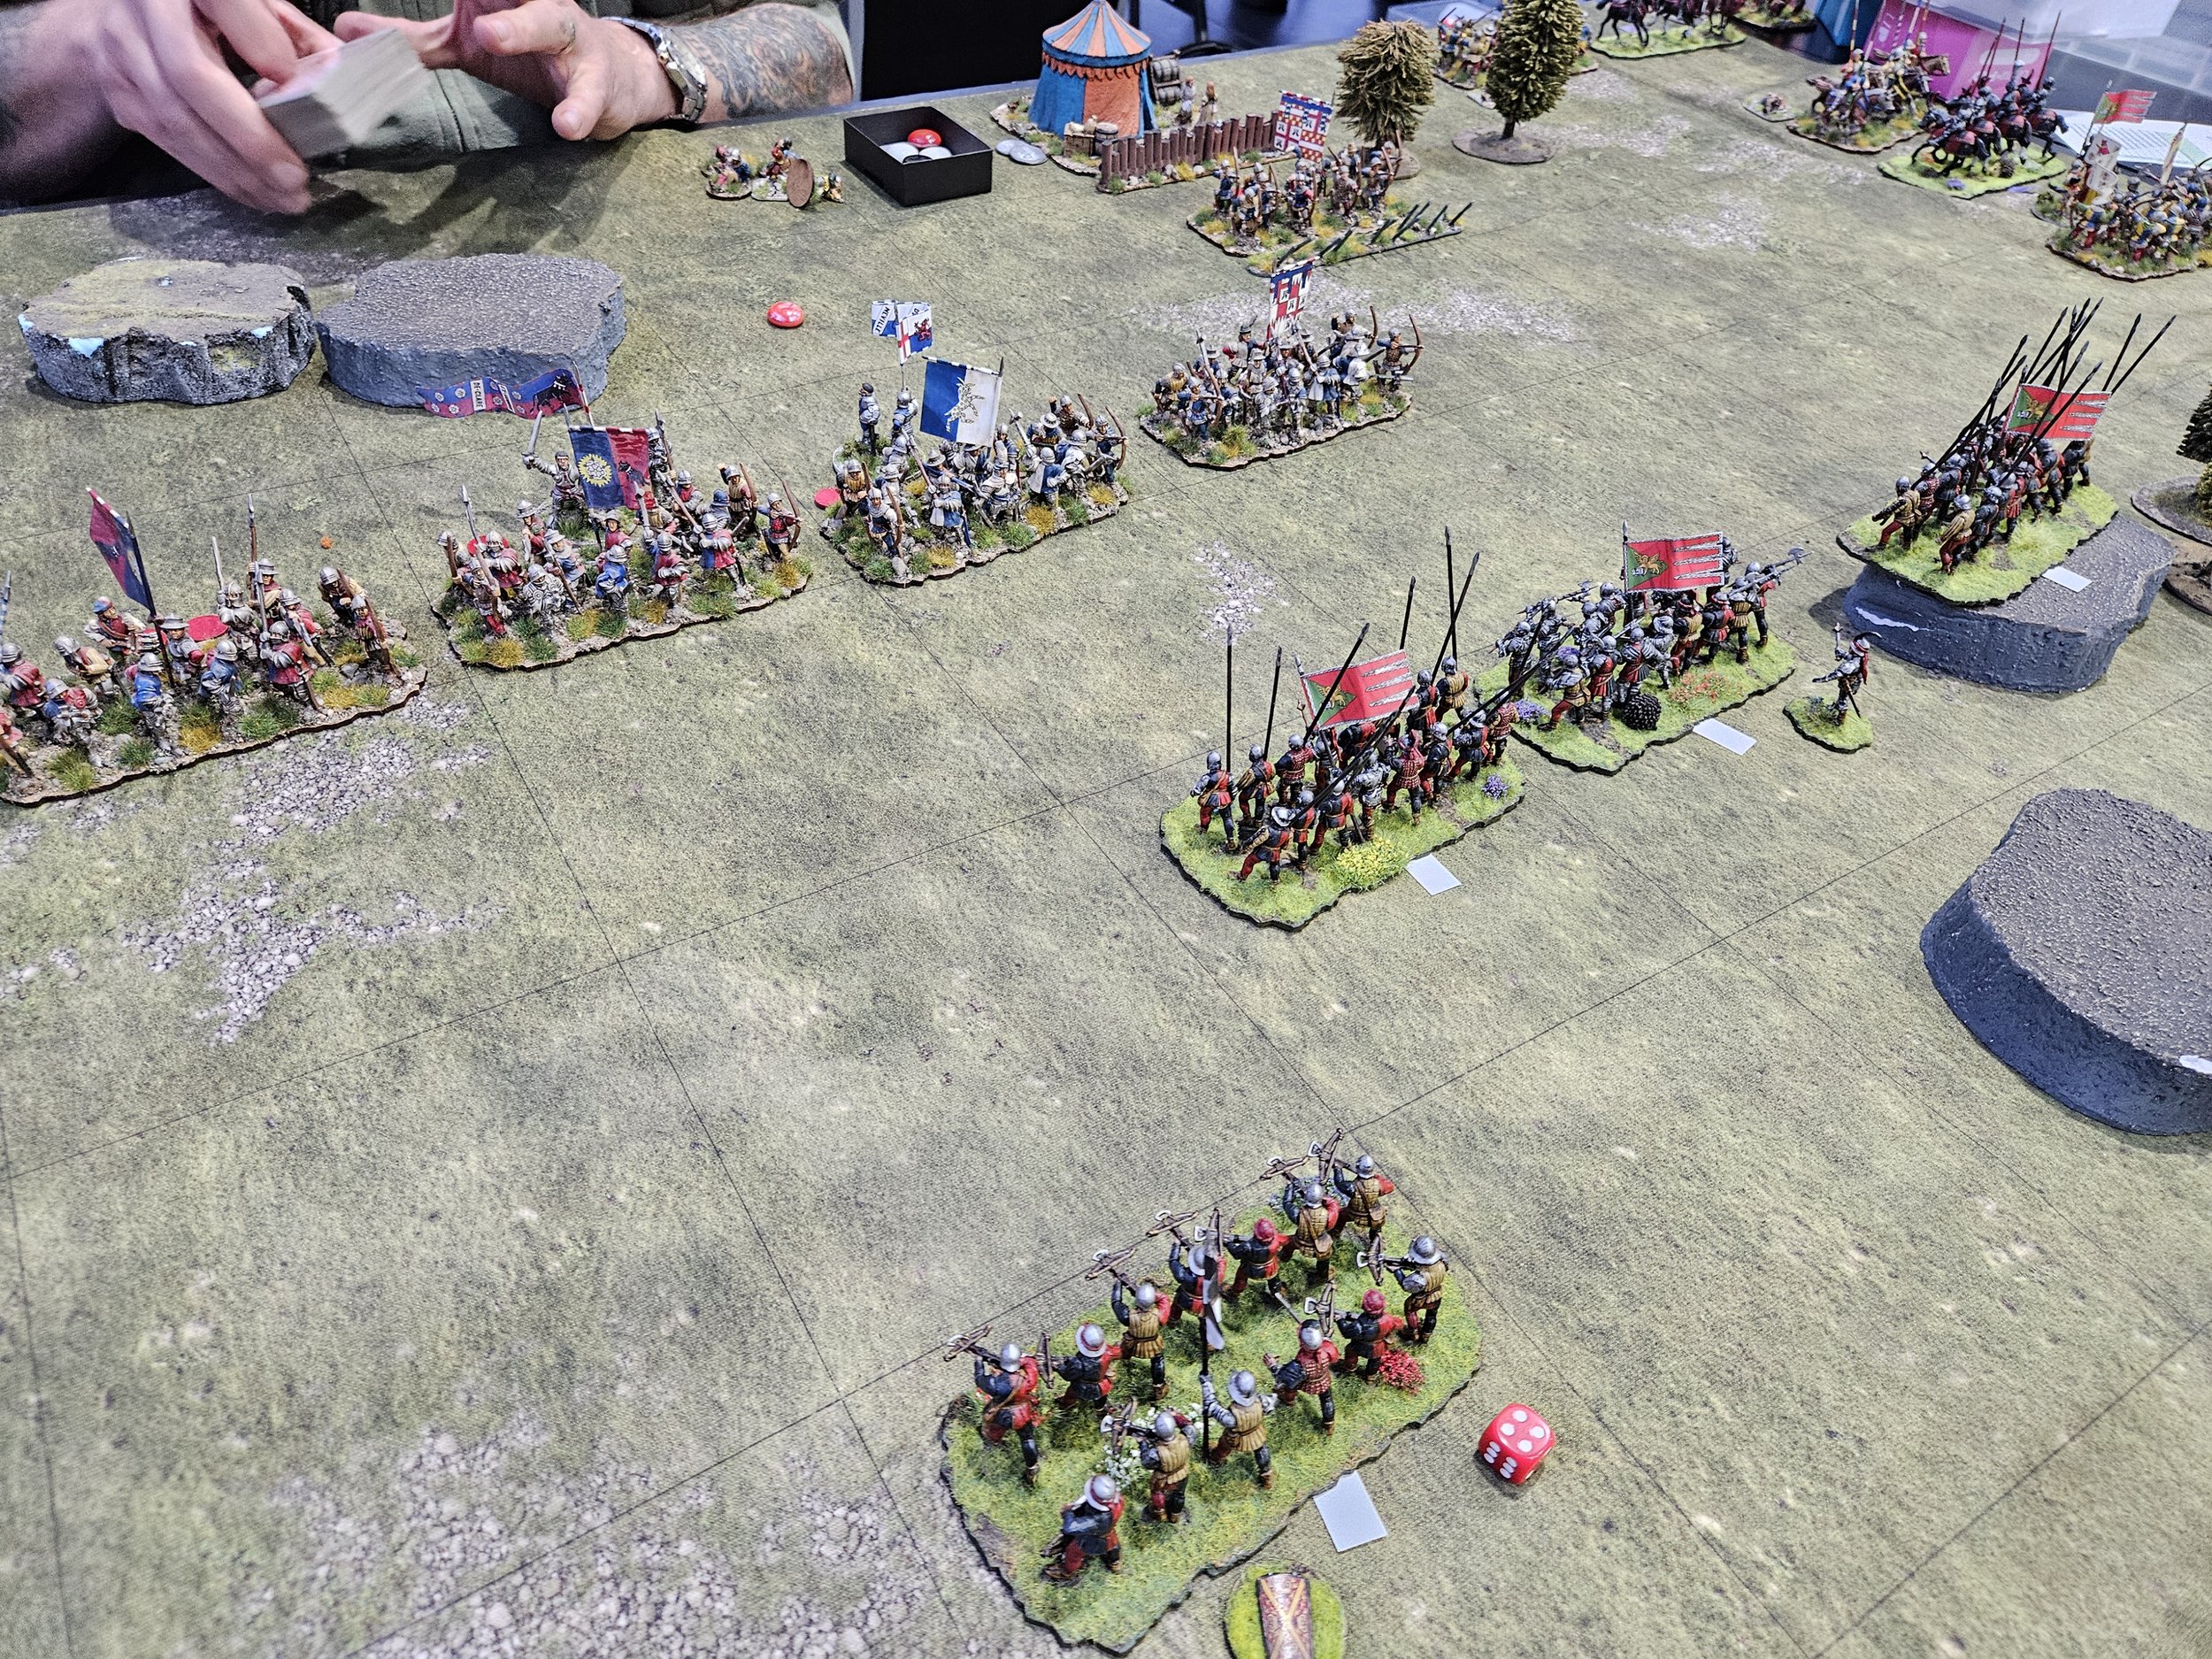
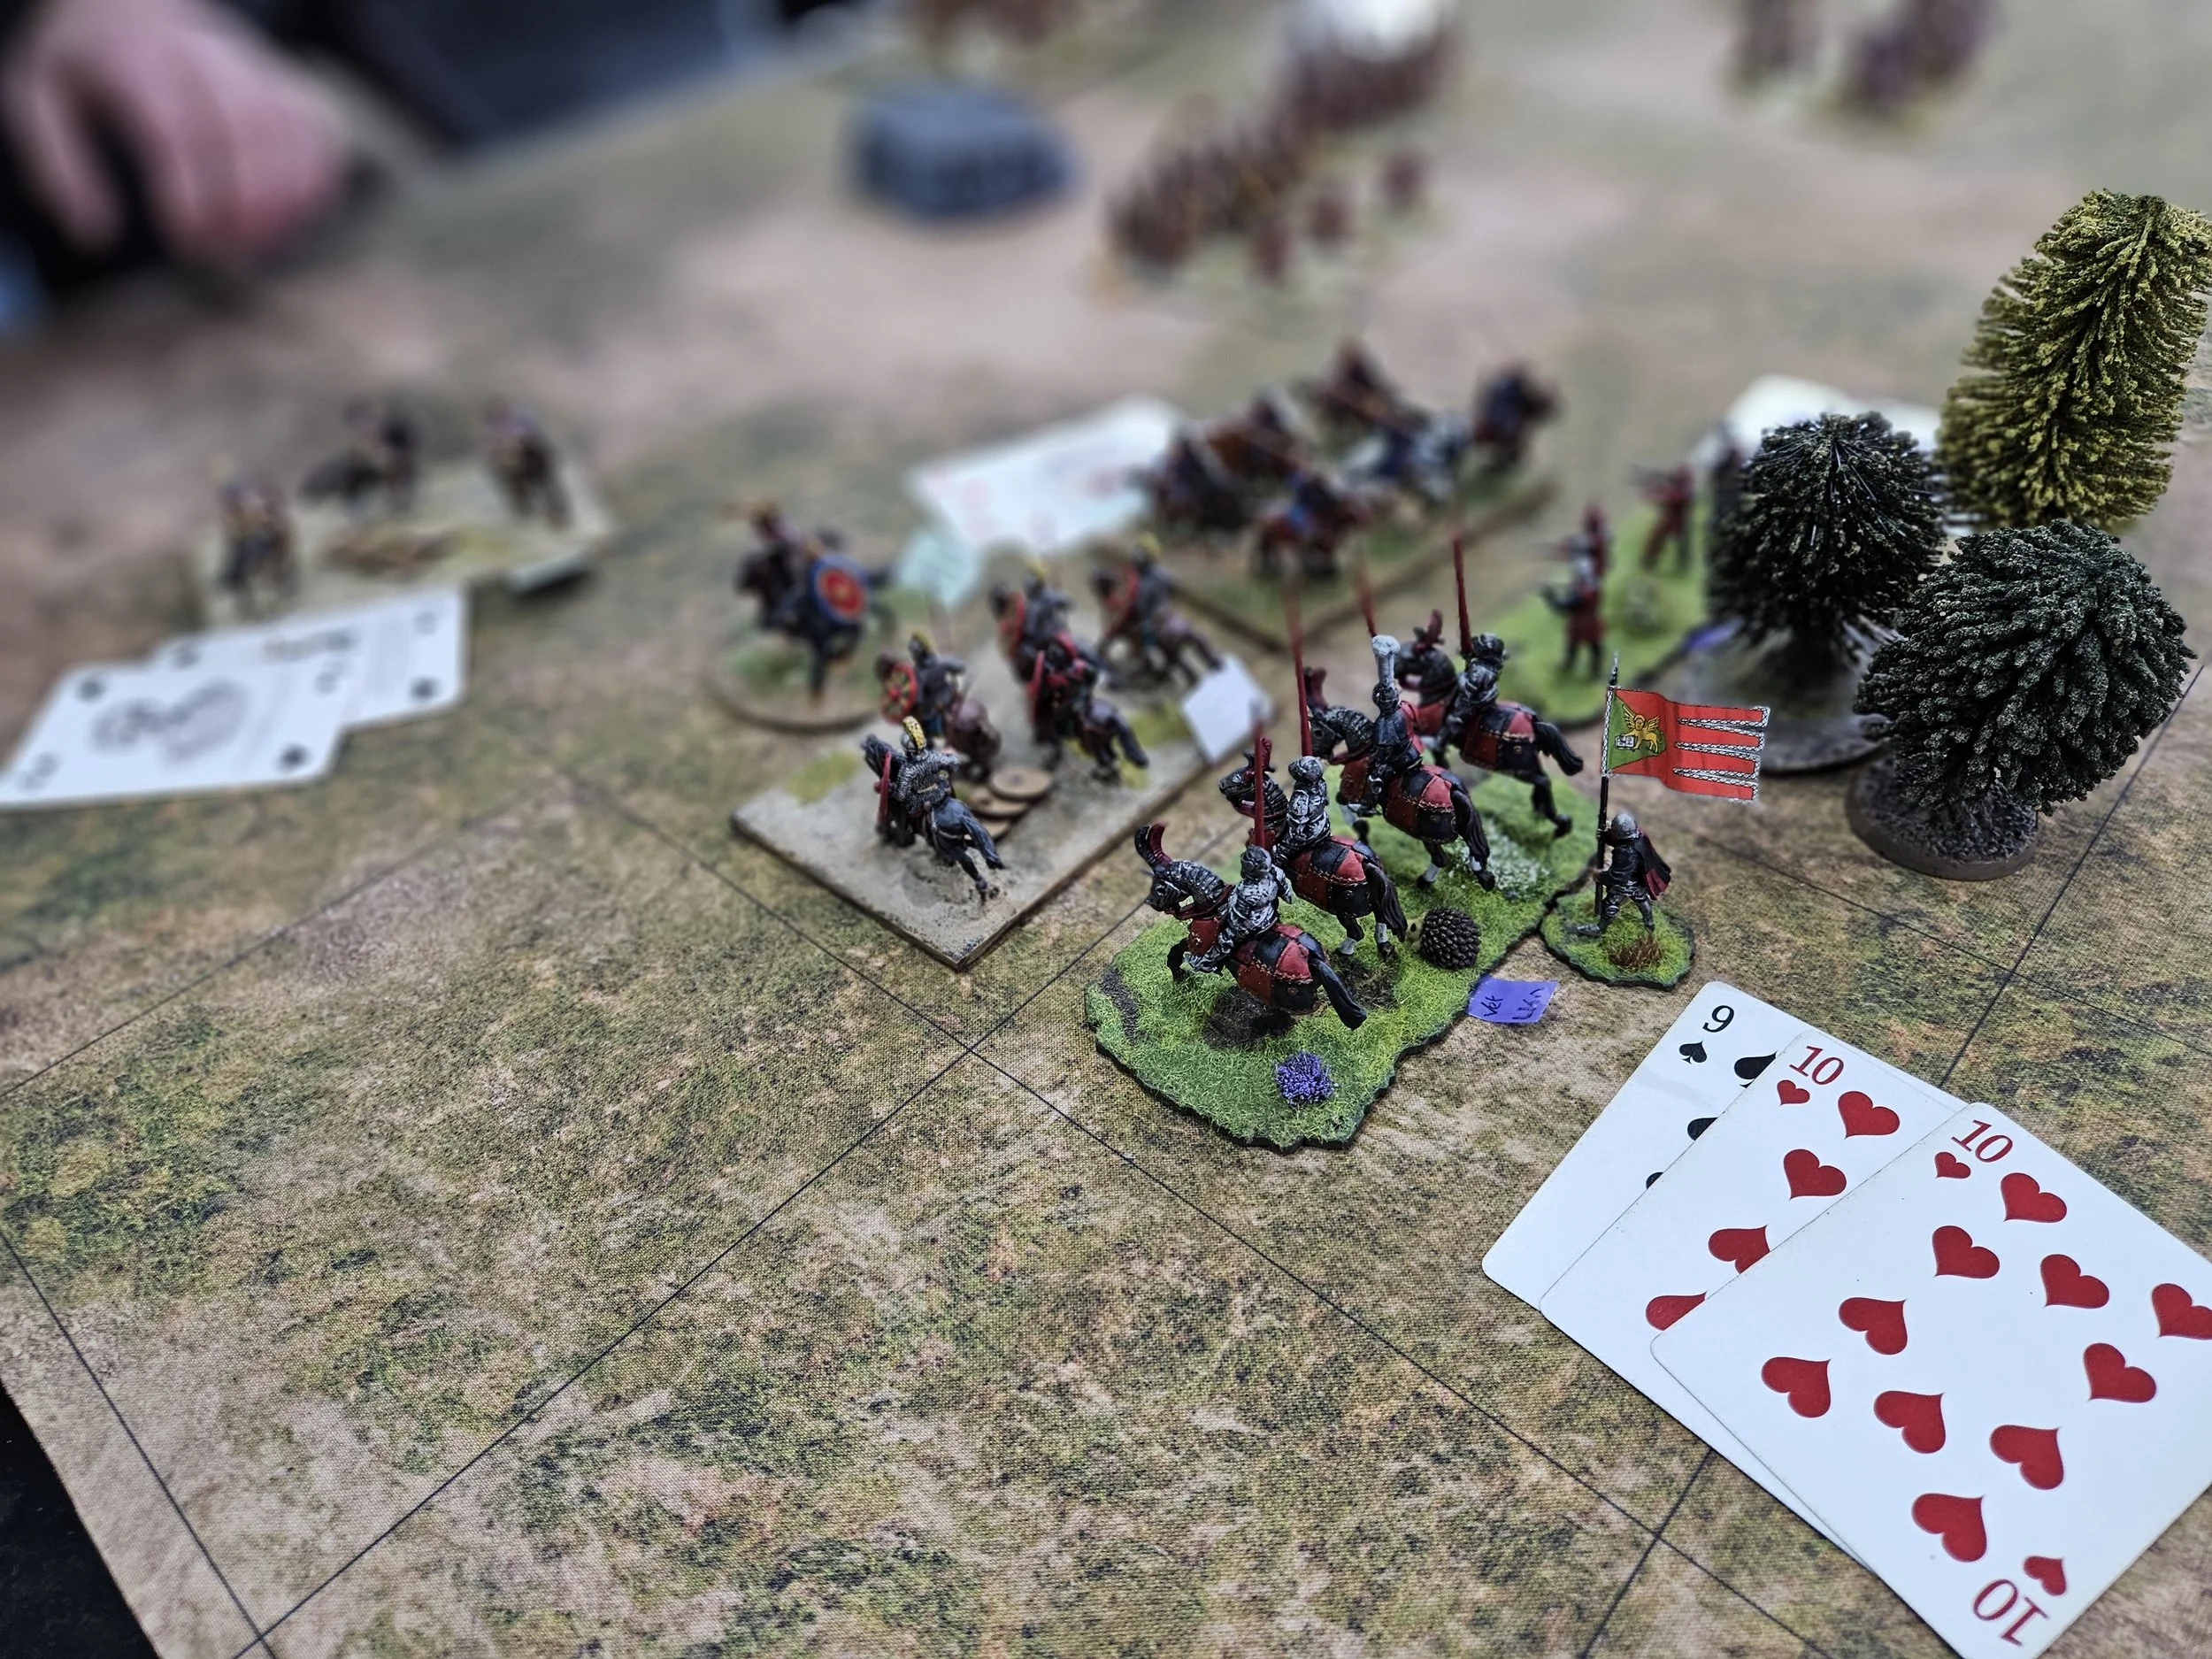
My knights on the right duly advanced into range, charged in with their lances and, much to my consternation/annoyance, were disordered and forced to retire. This was very much not part of the plan!
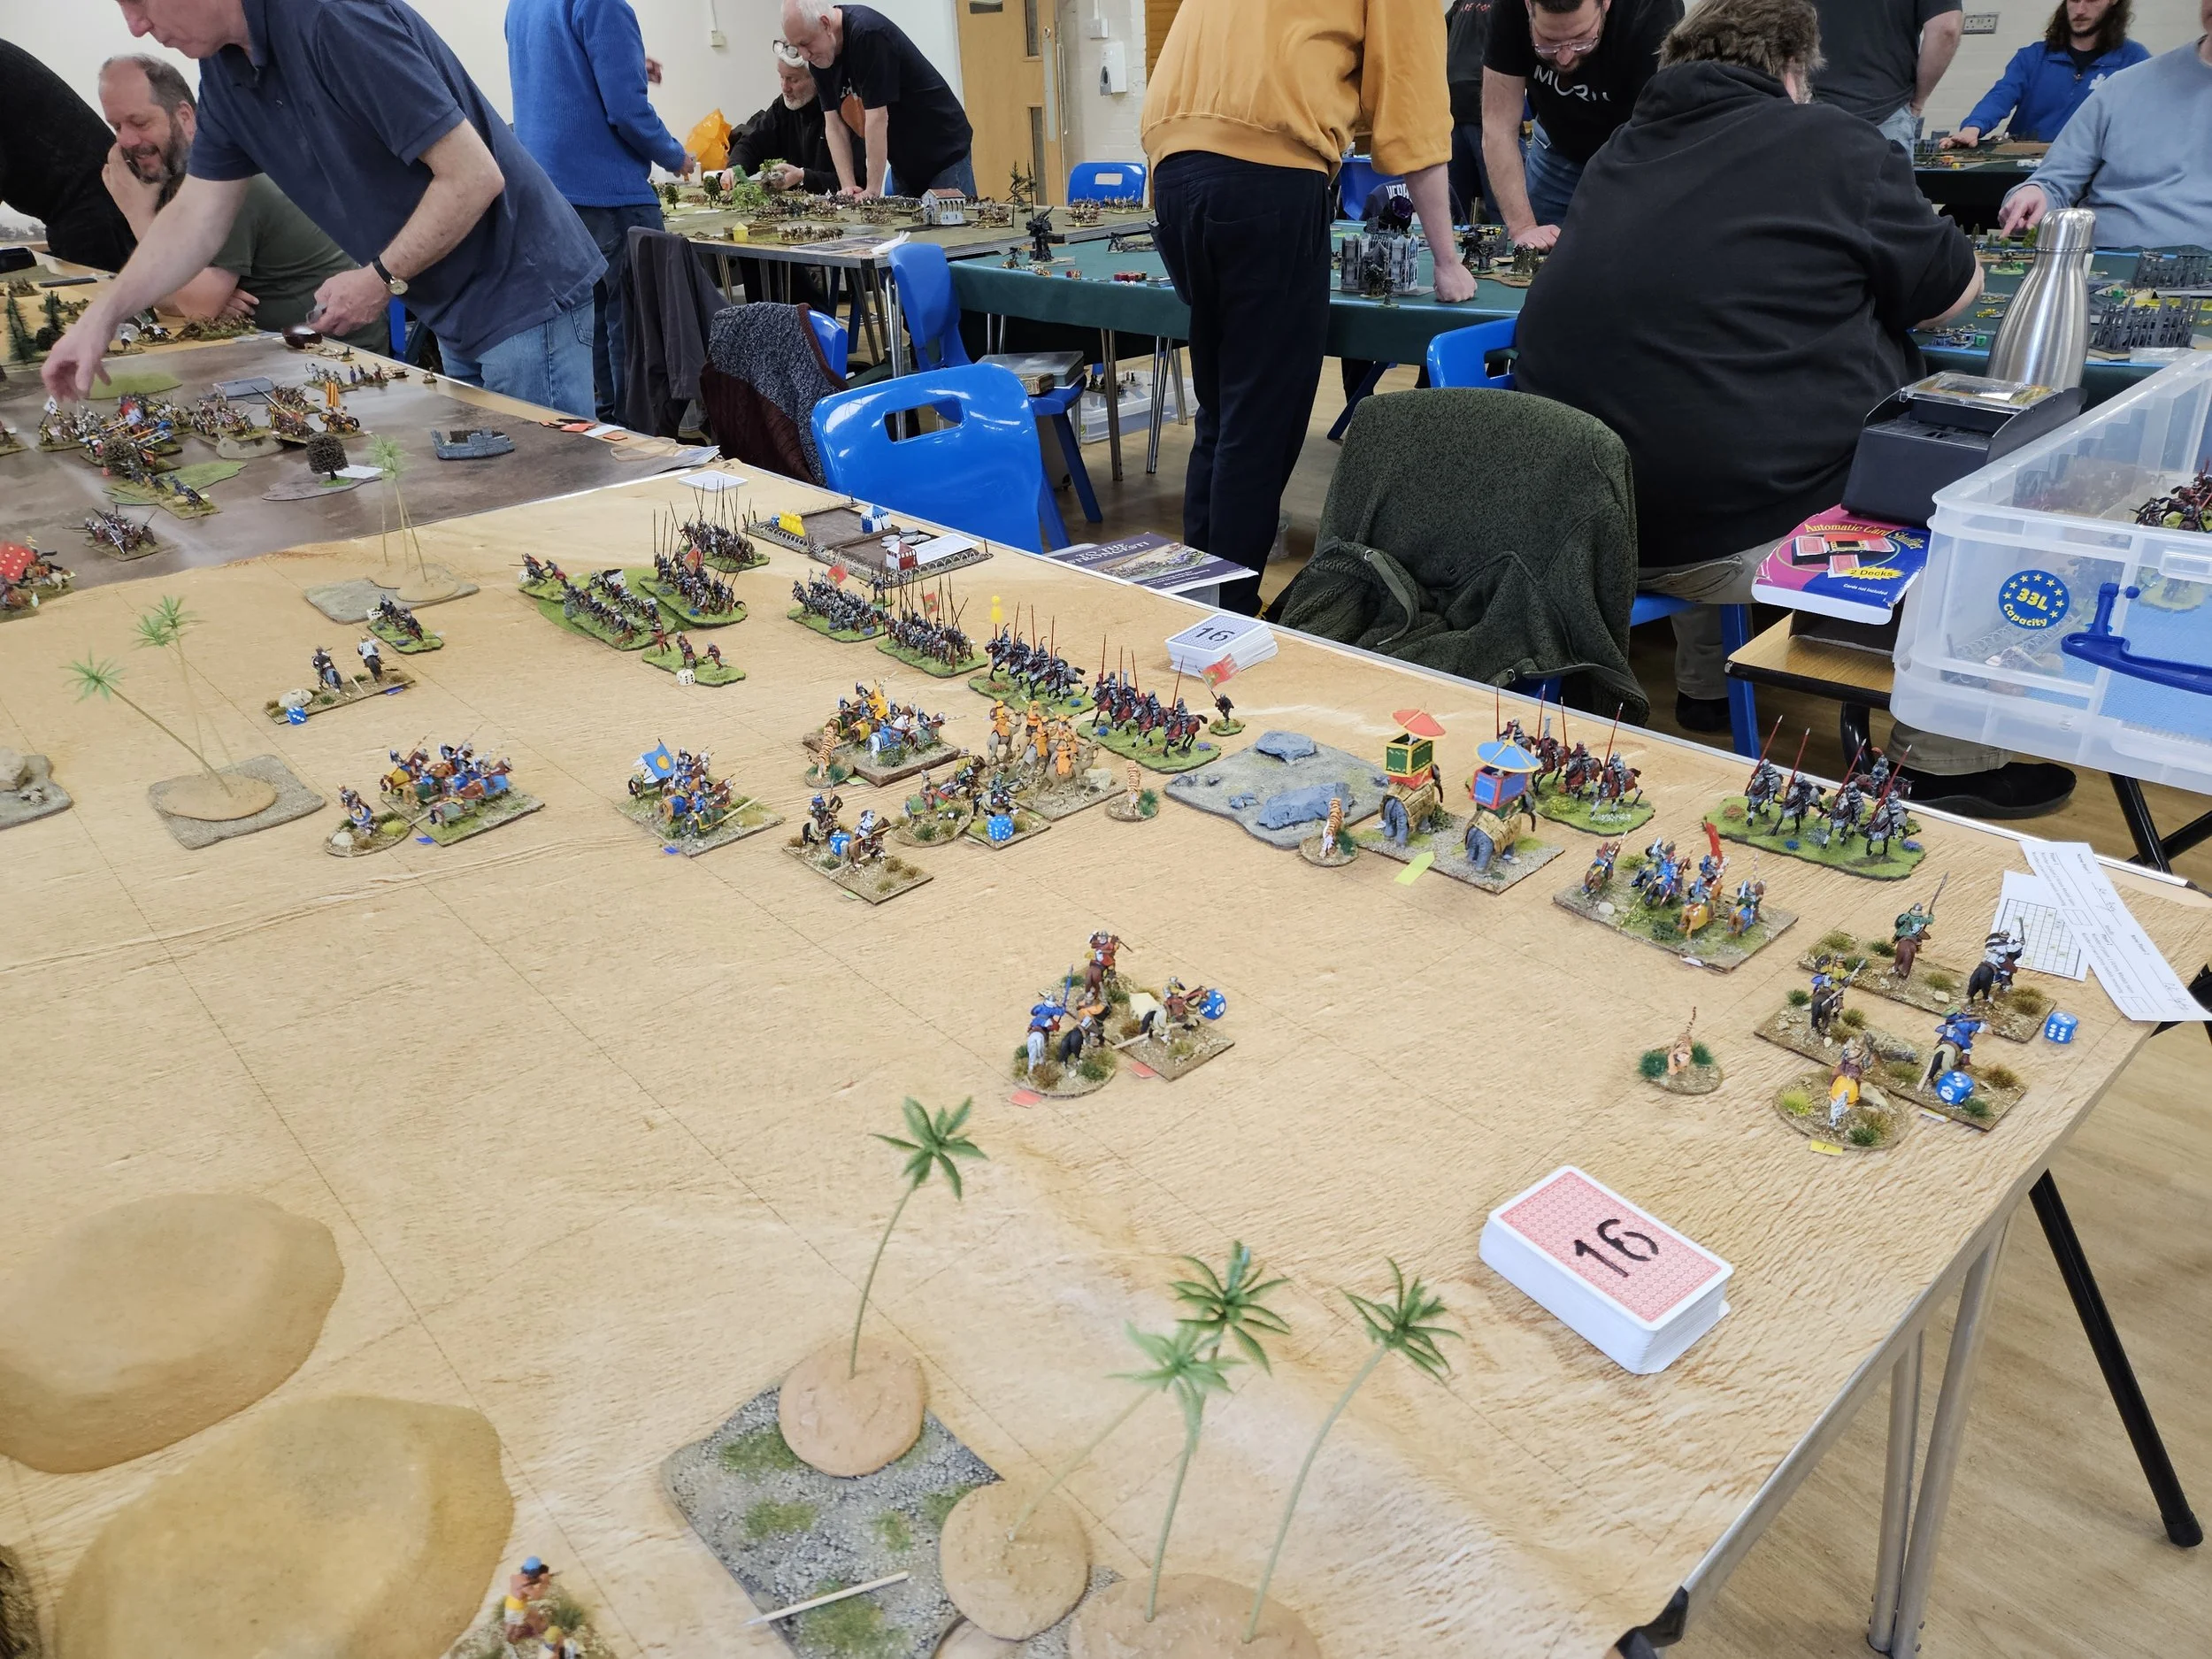
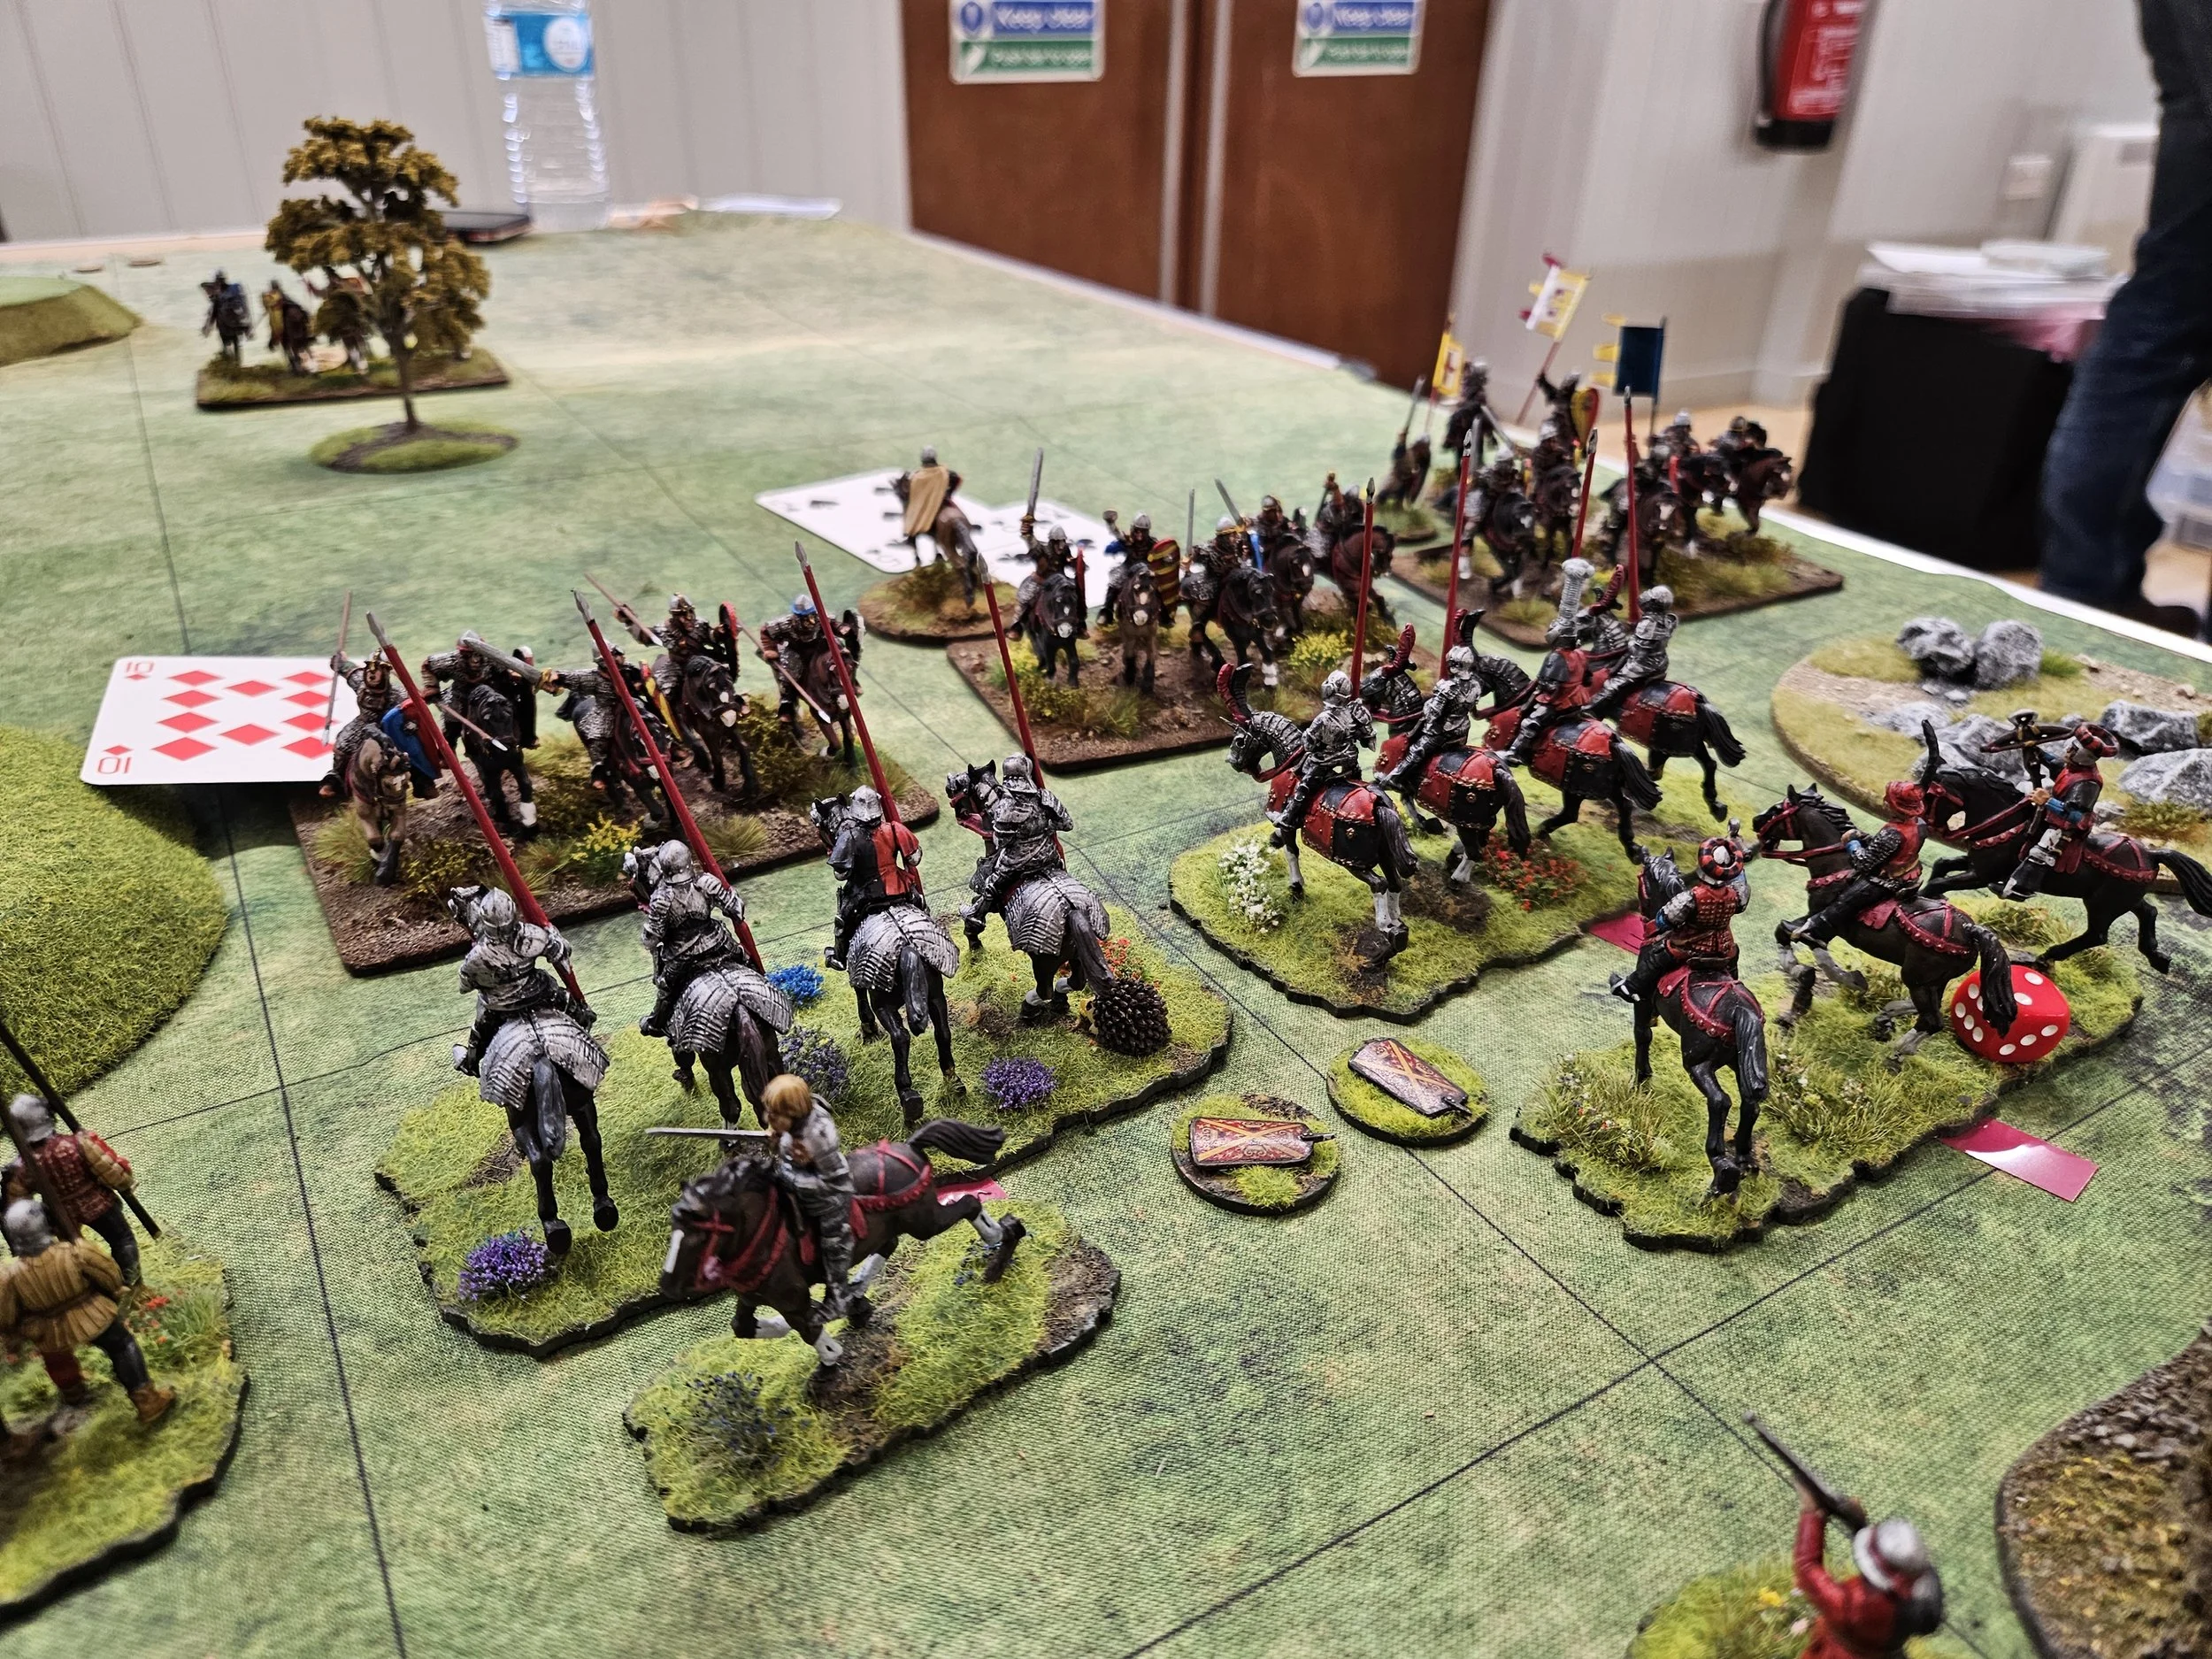
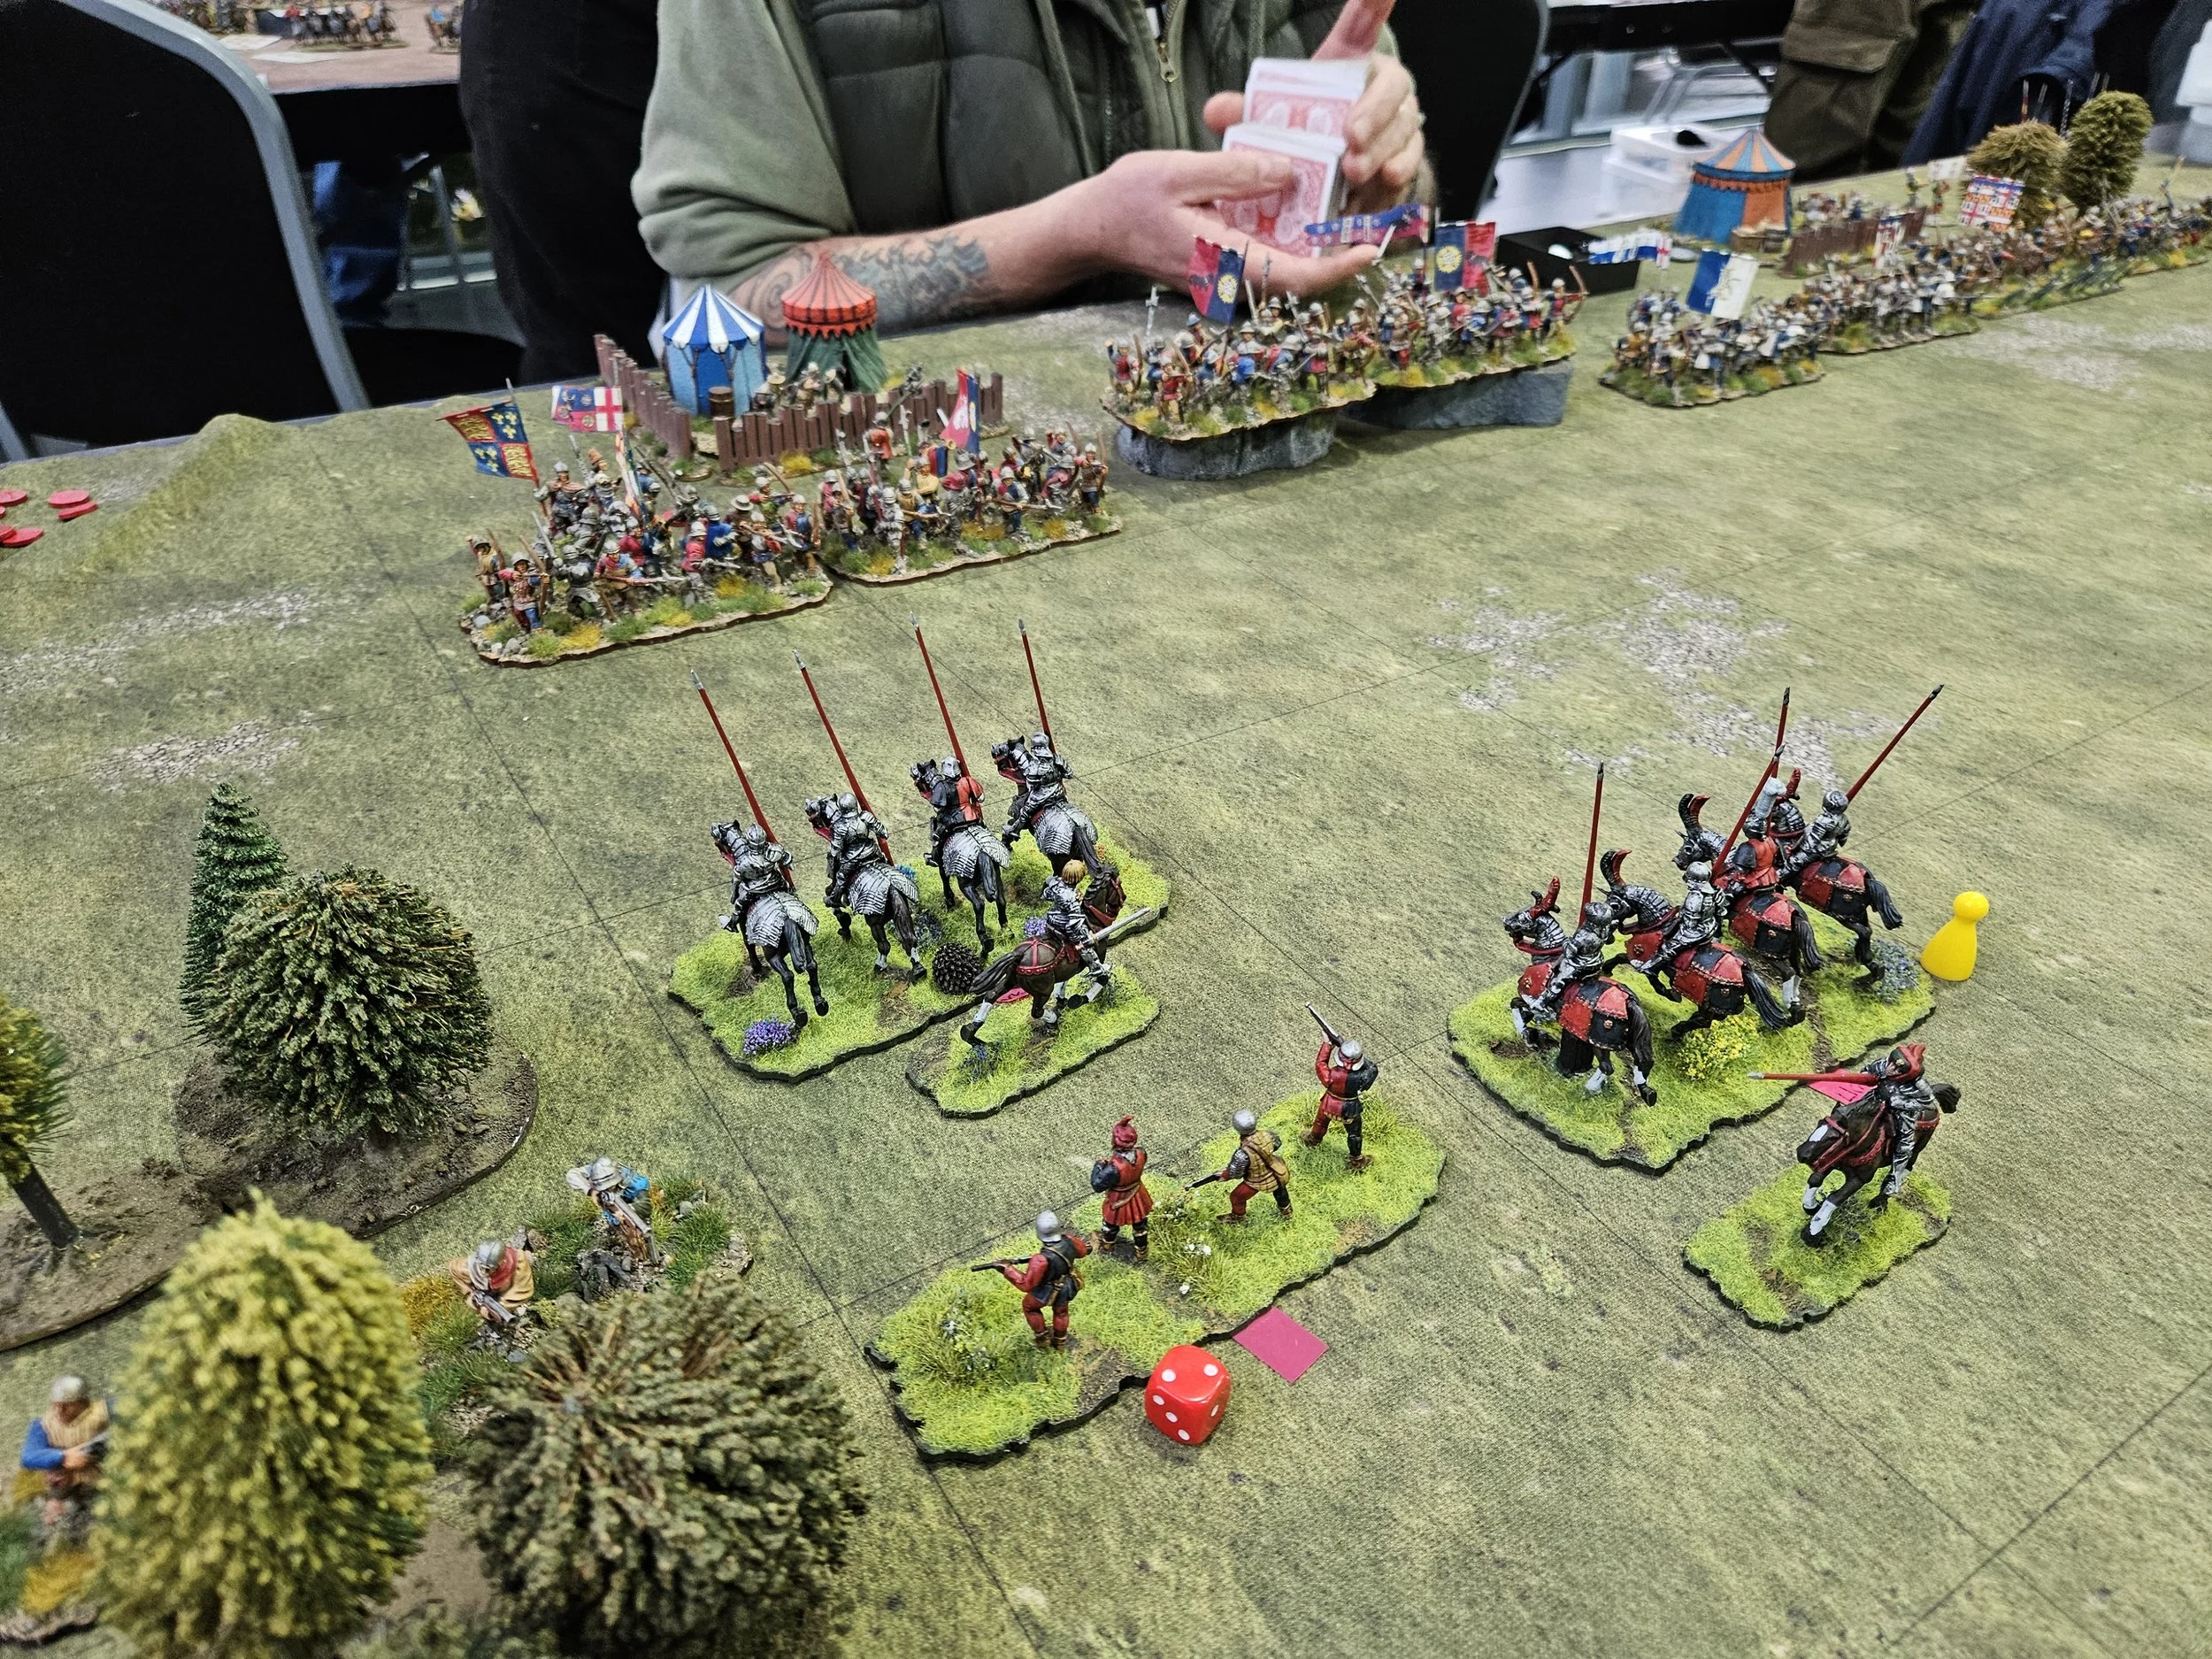
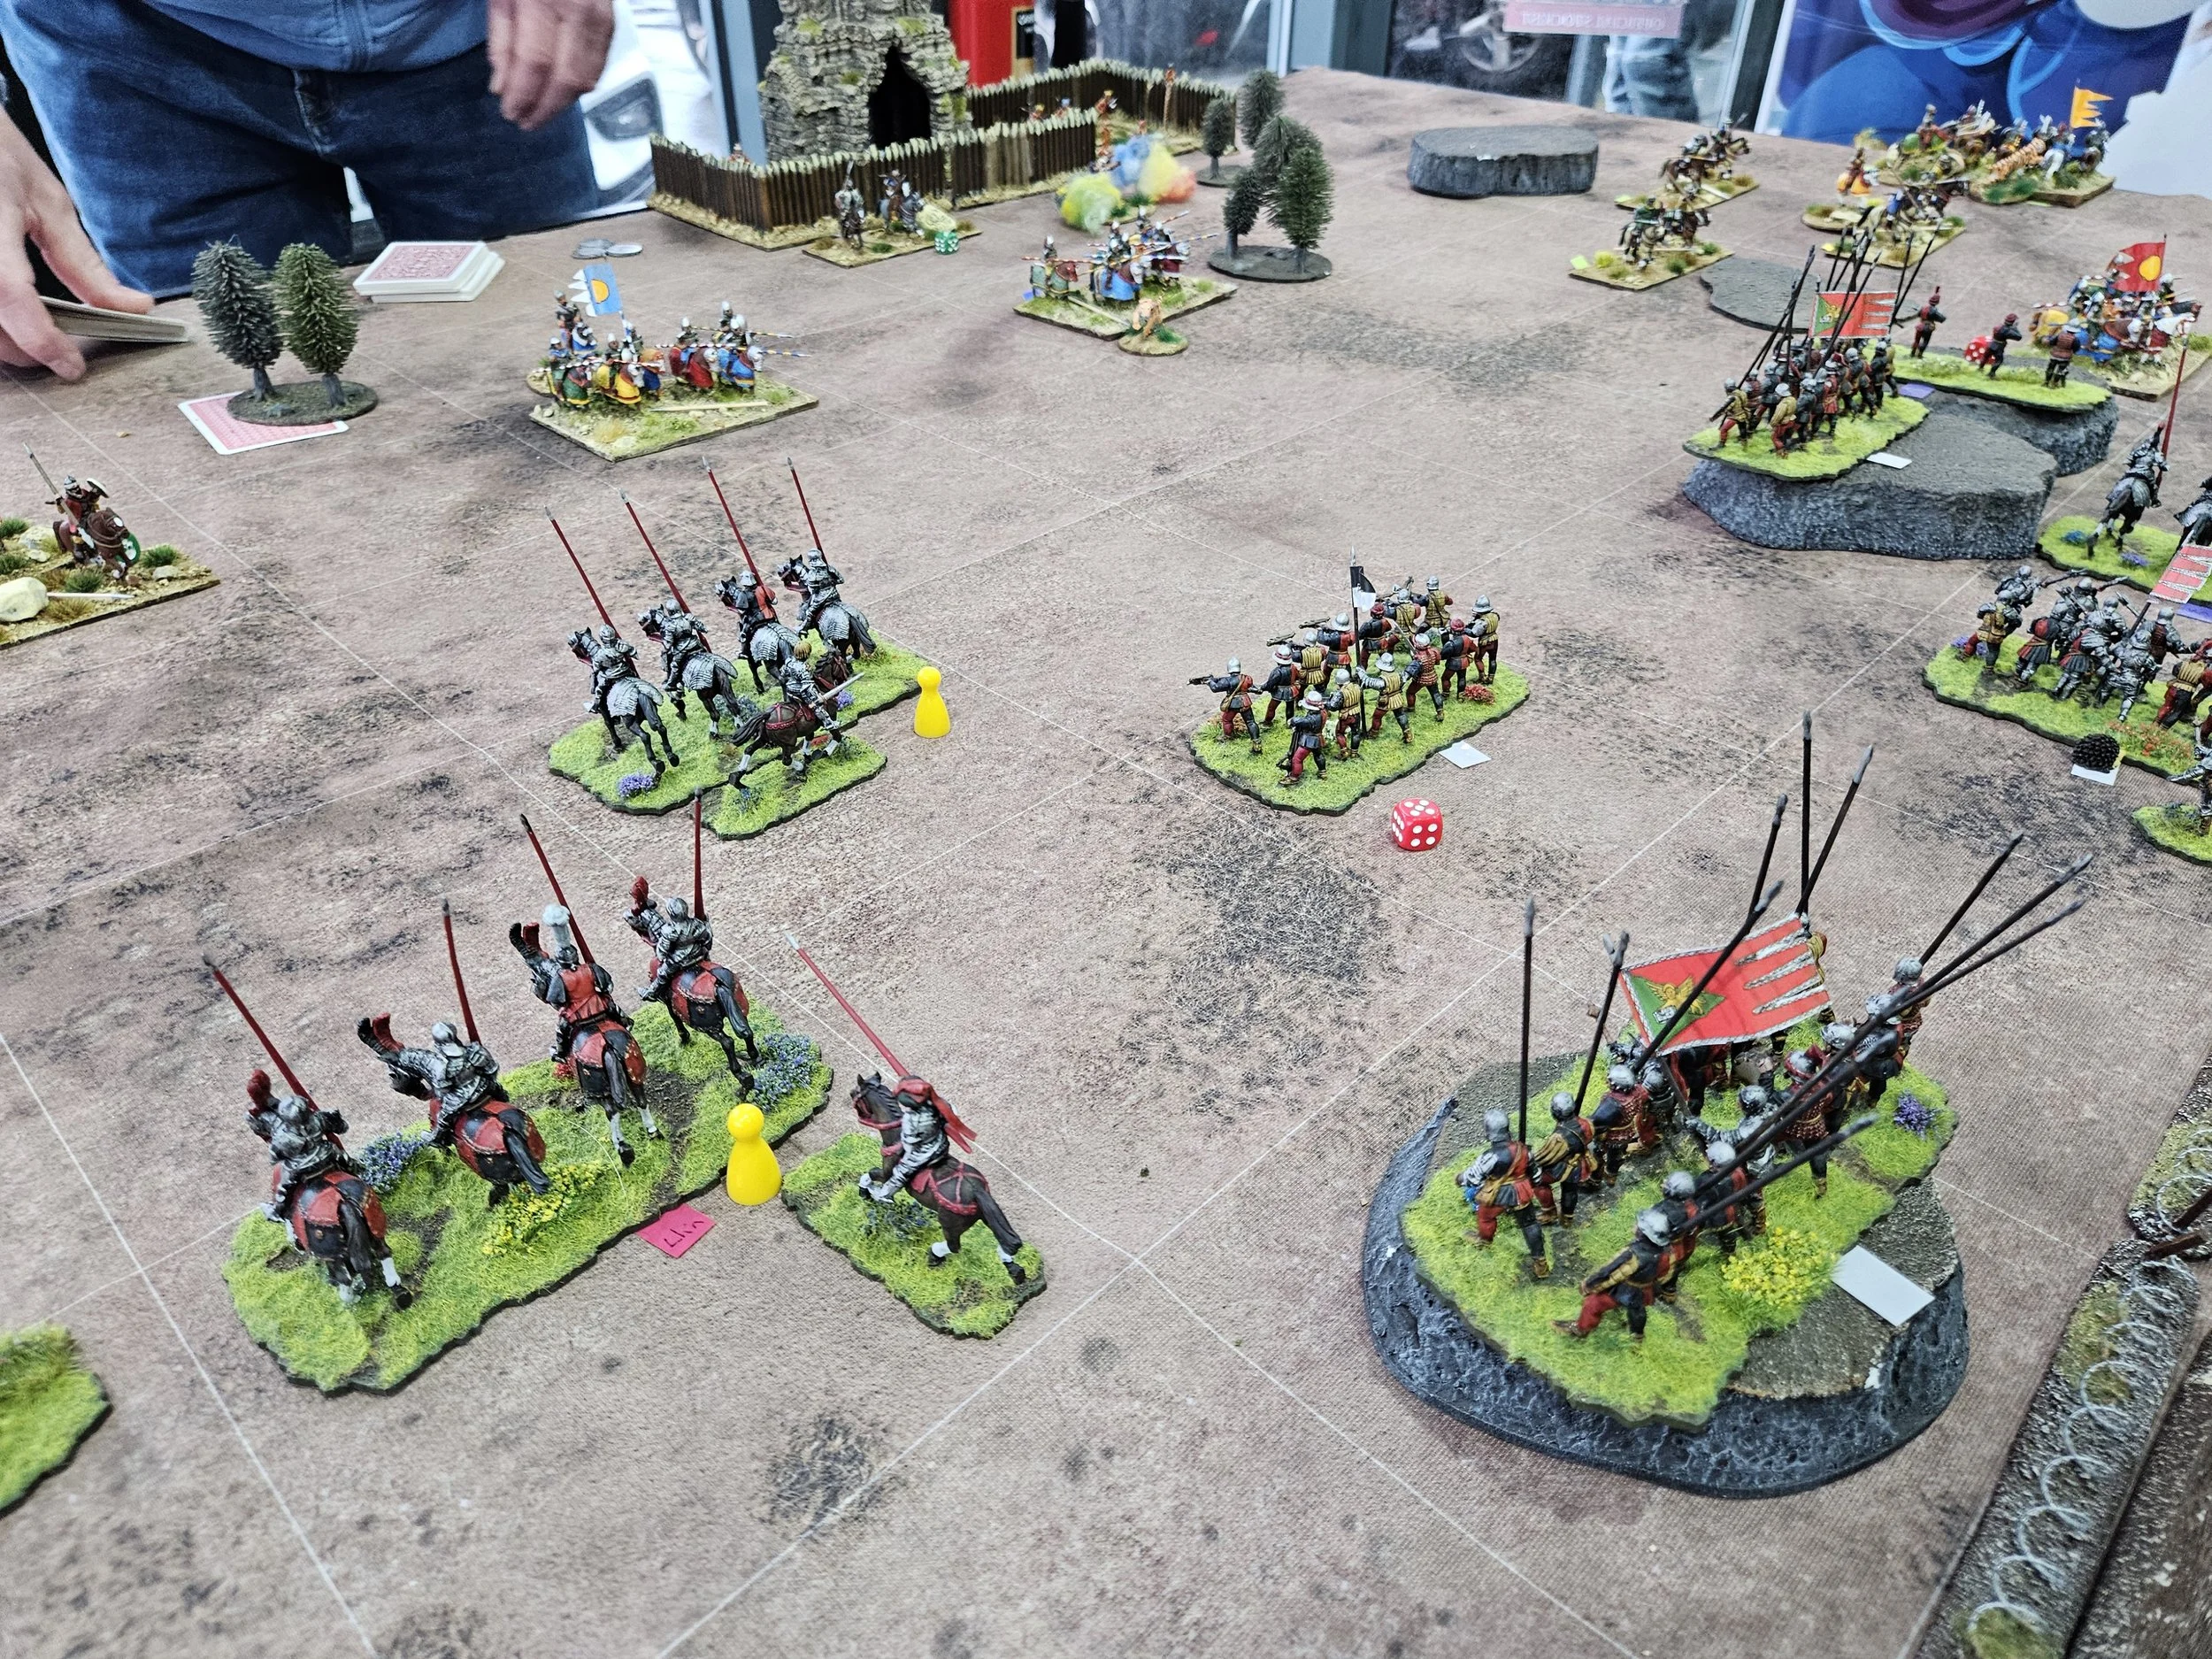
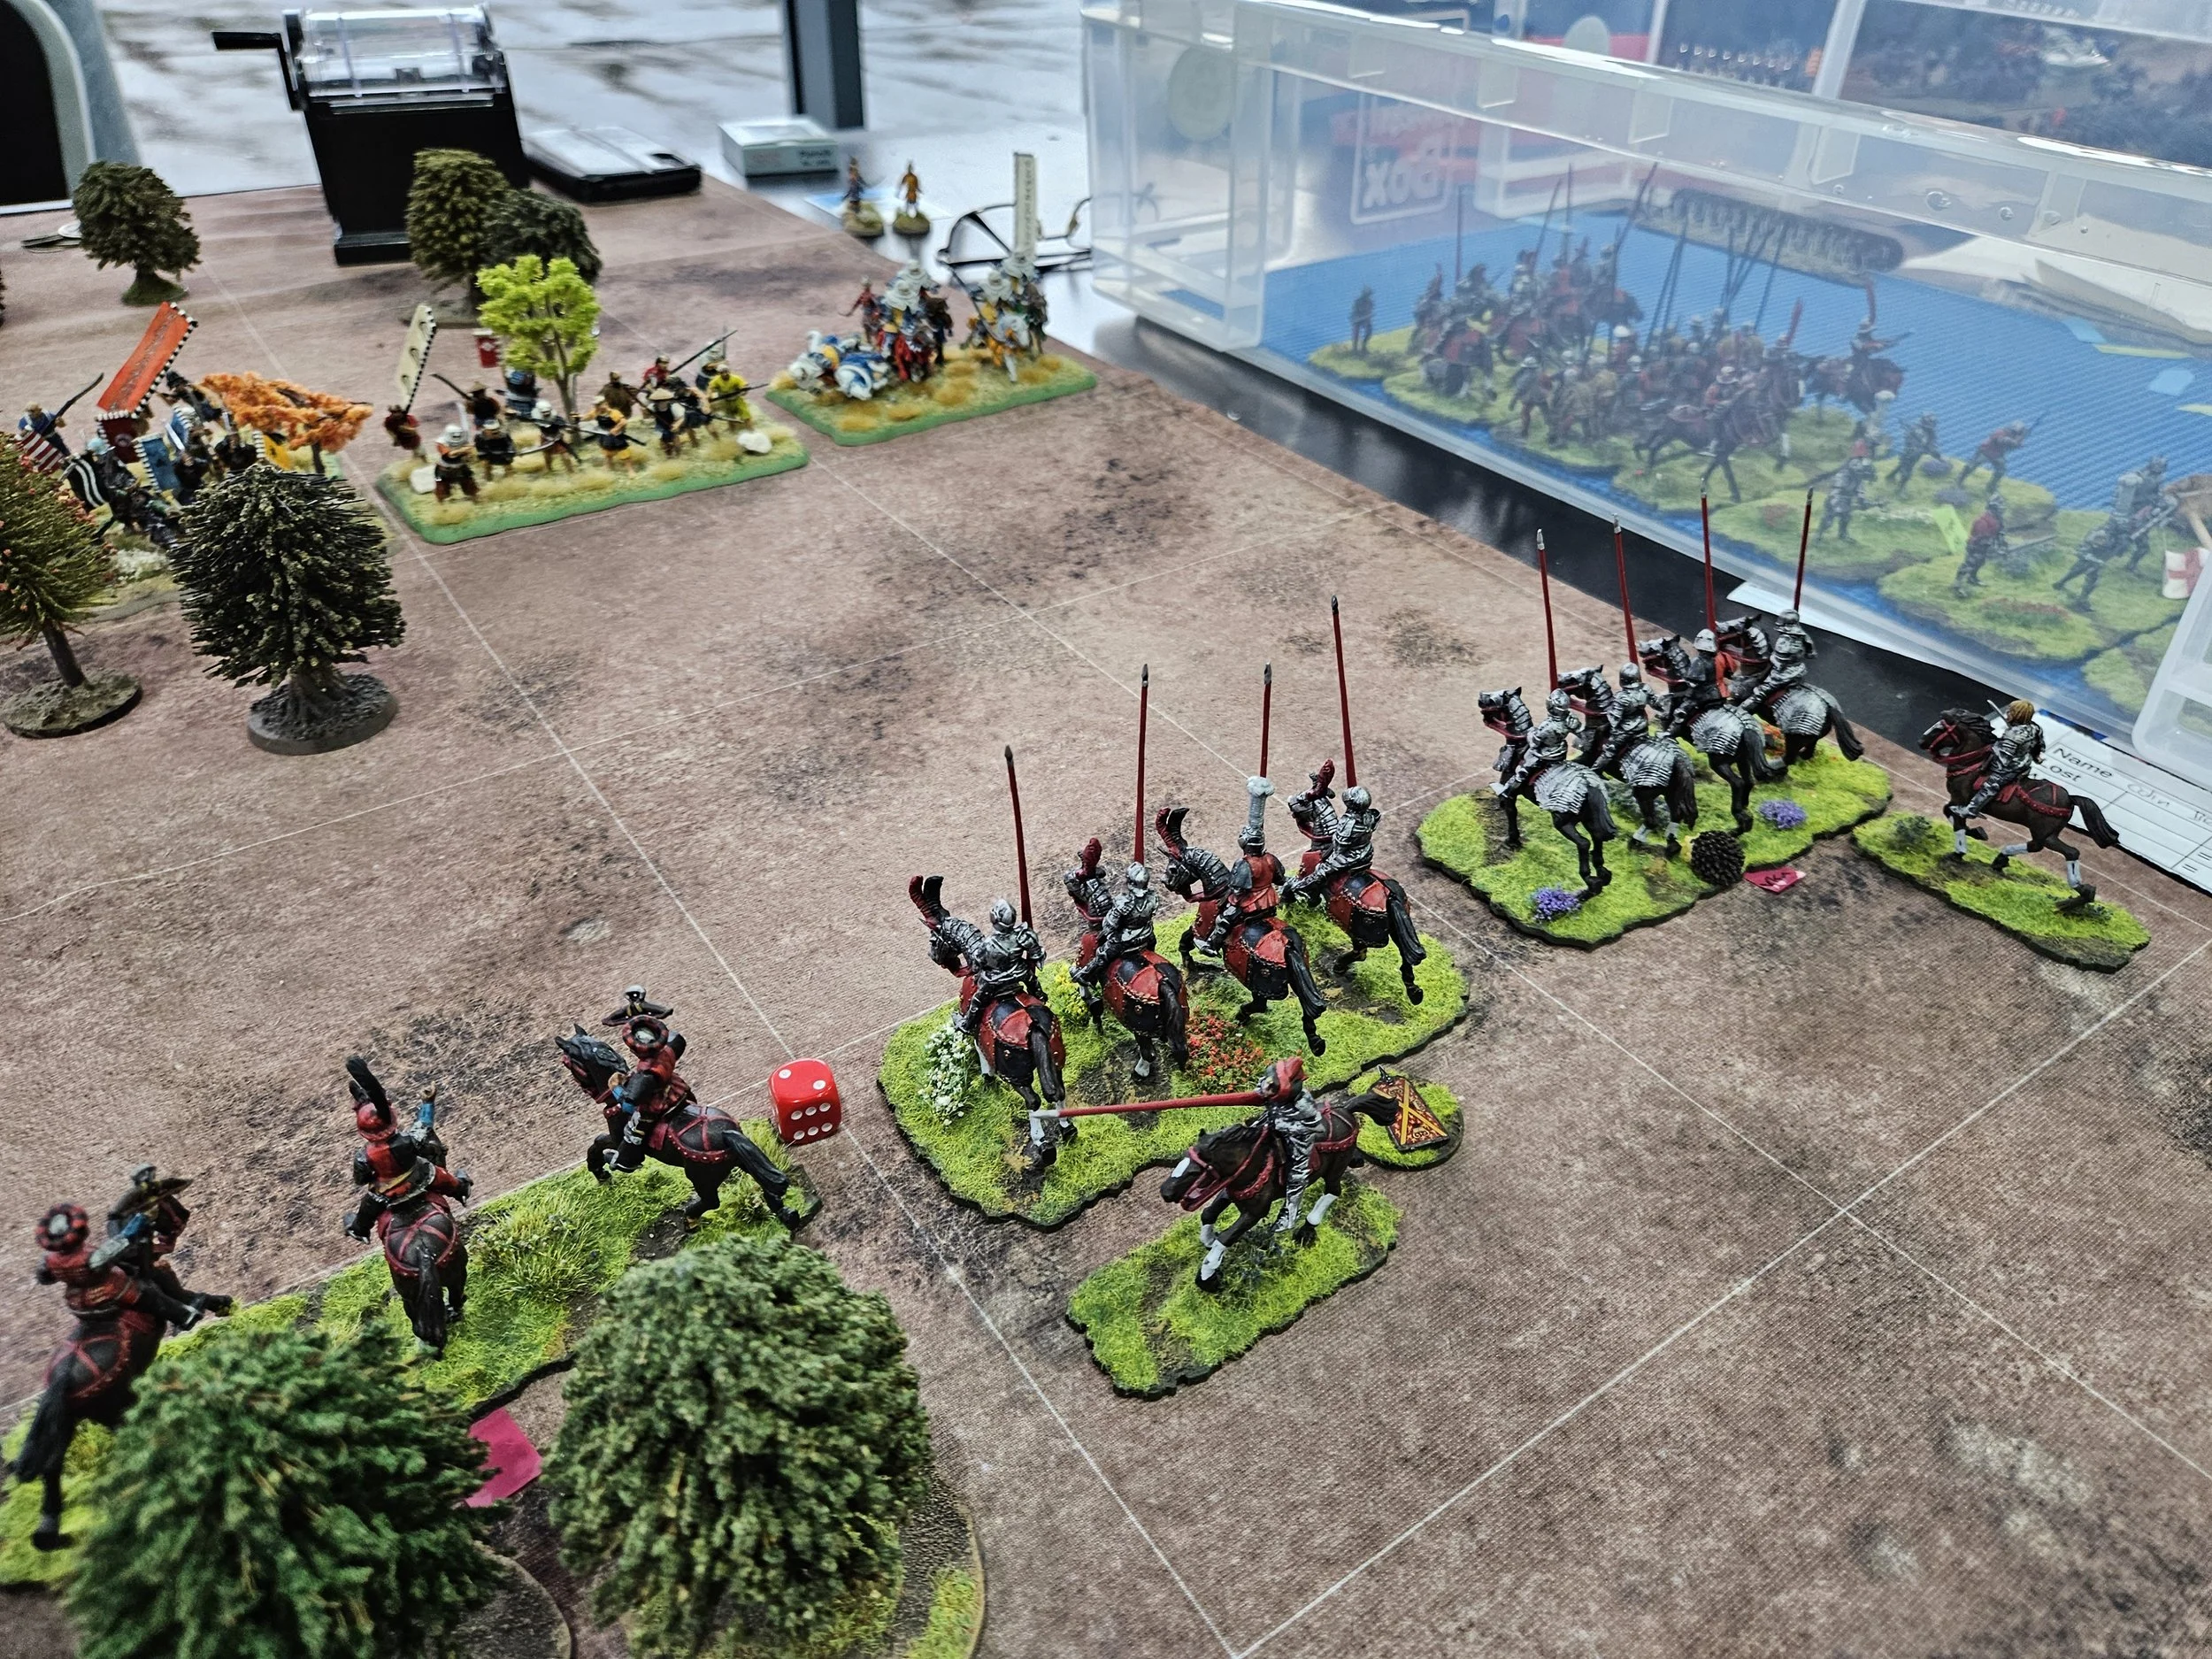
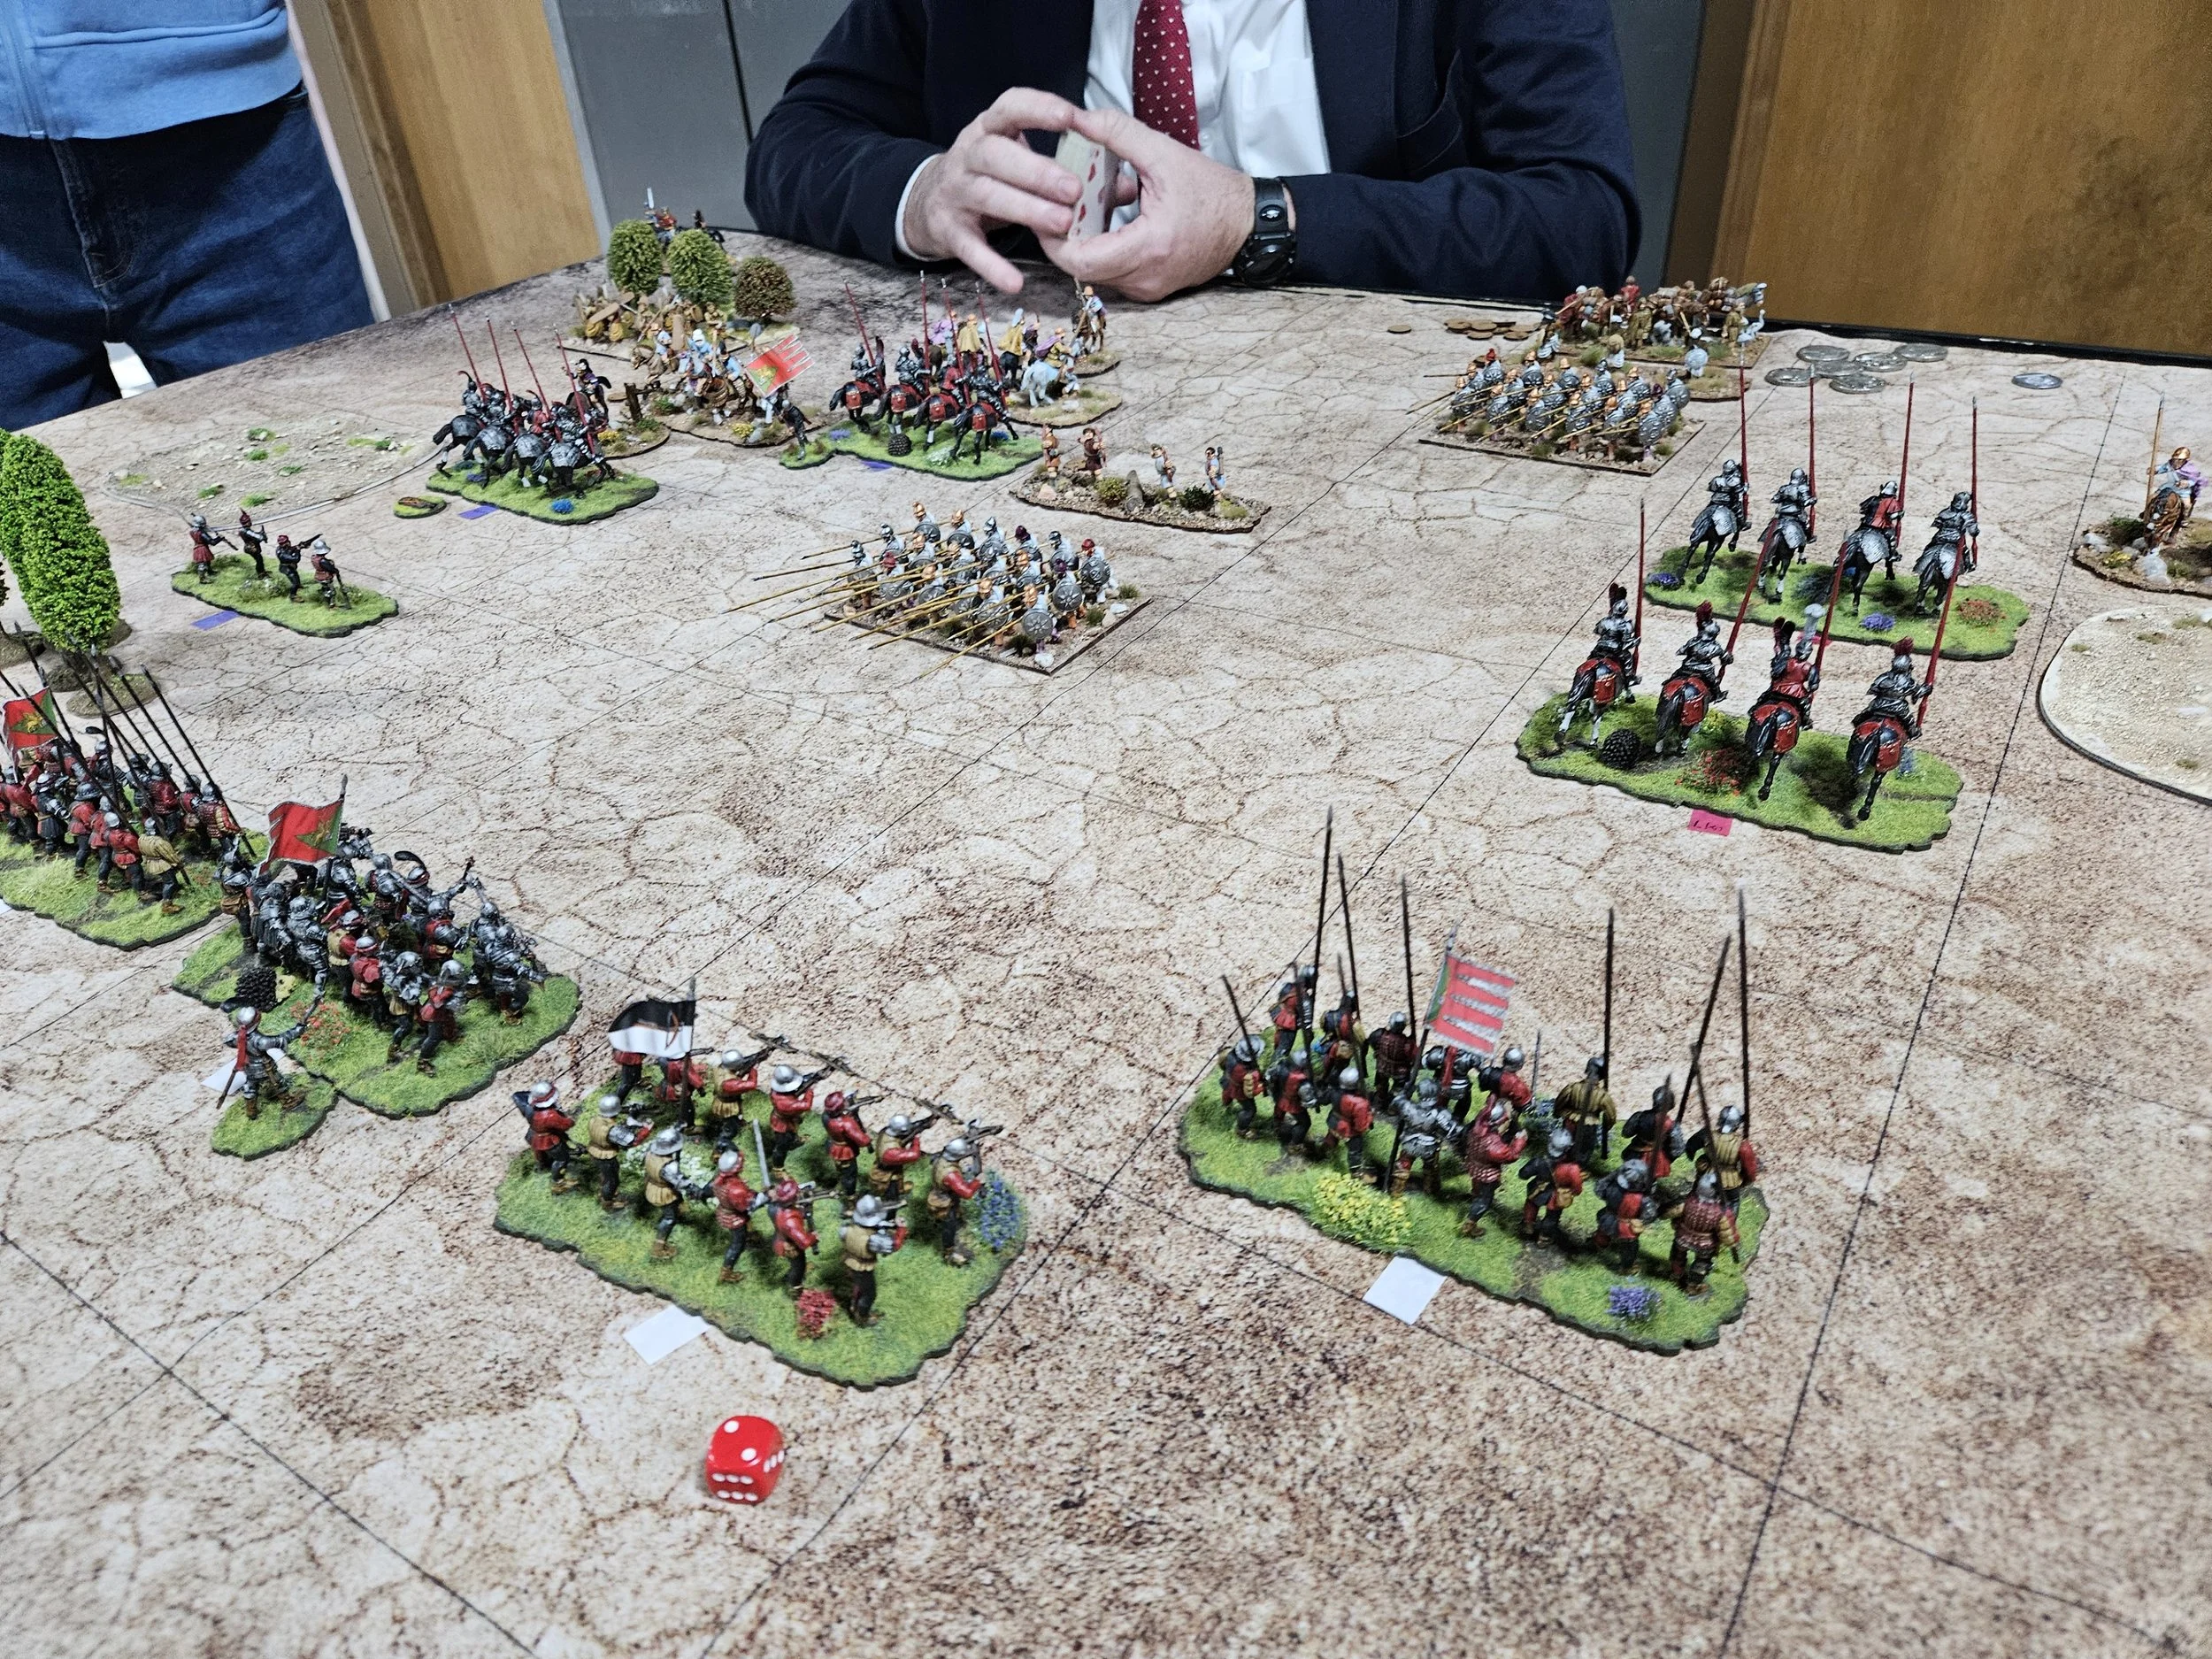
Fortunately, my knights survived the Arab follow-up and, with the help of reinforcements from the centre, held and then overwhelmed the advancing enemy cavalry. All well and good, but I’m using double the number of units to deal with the incursion, leaving me light elsewhere on the field!
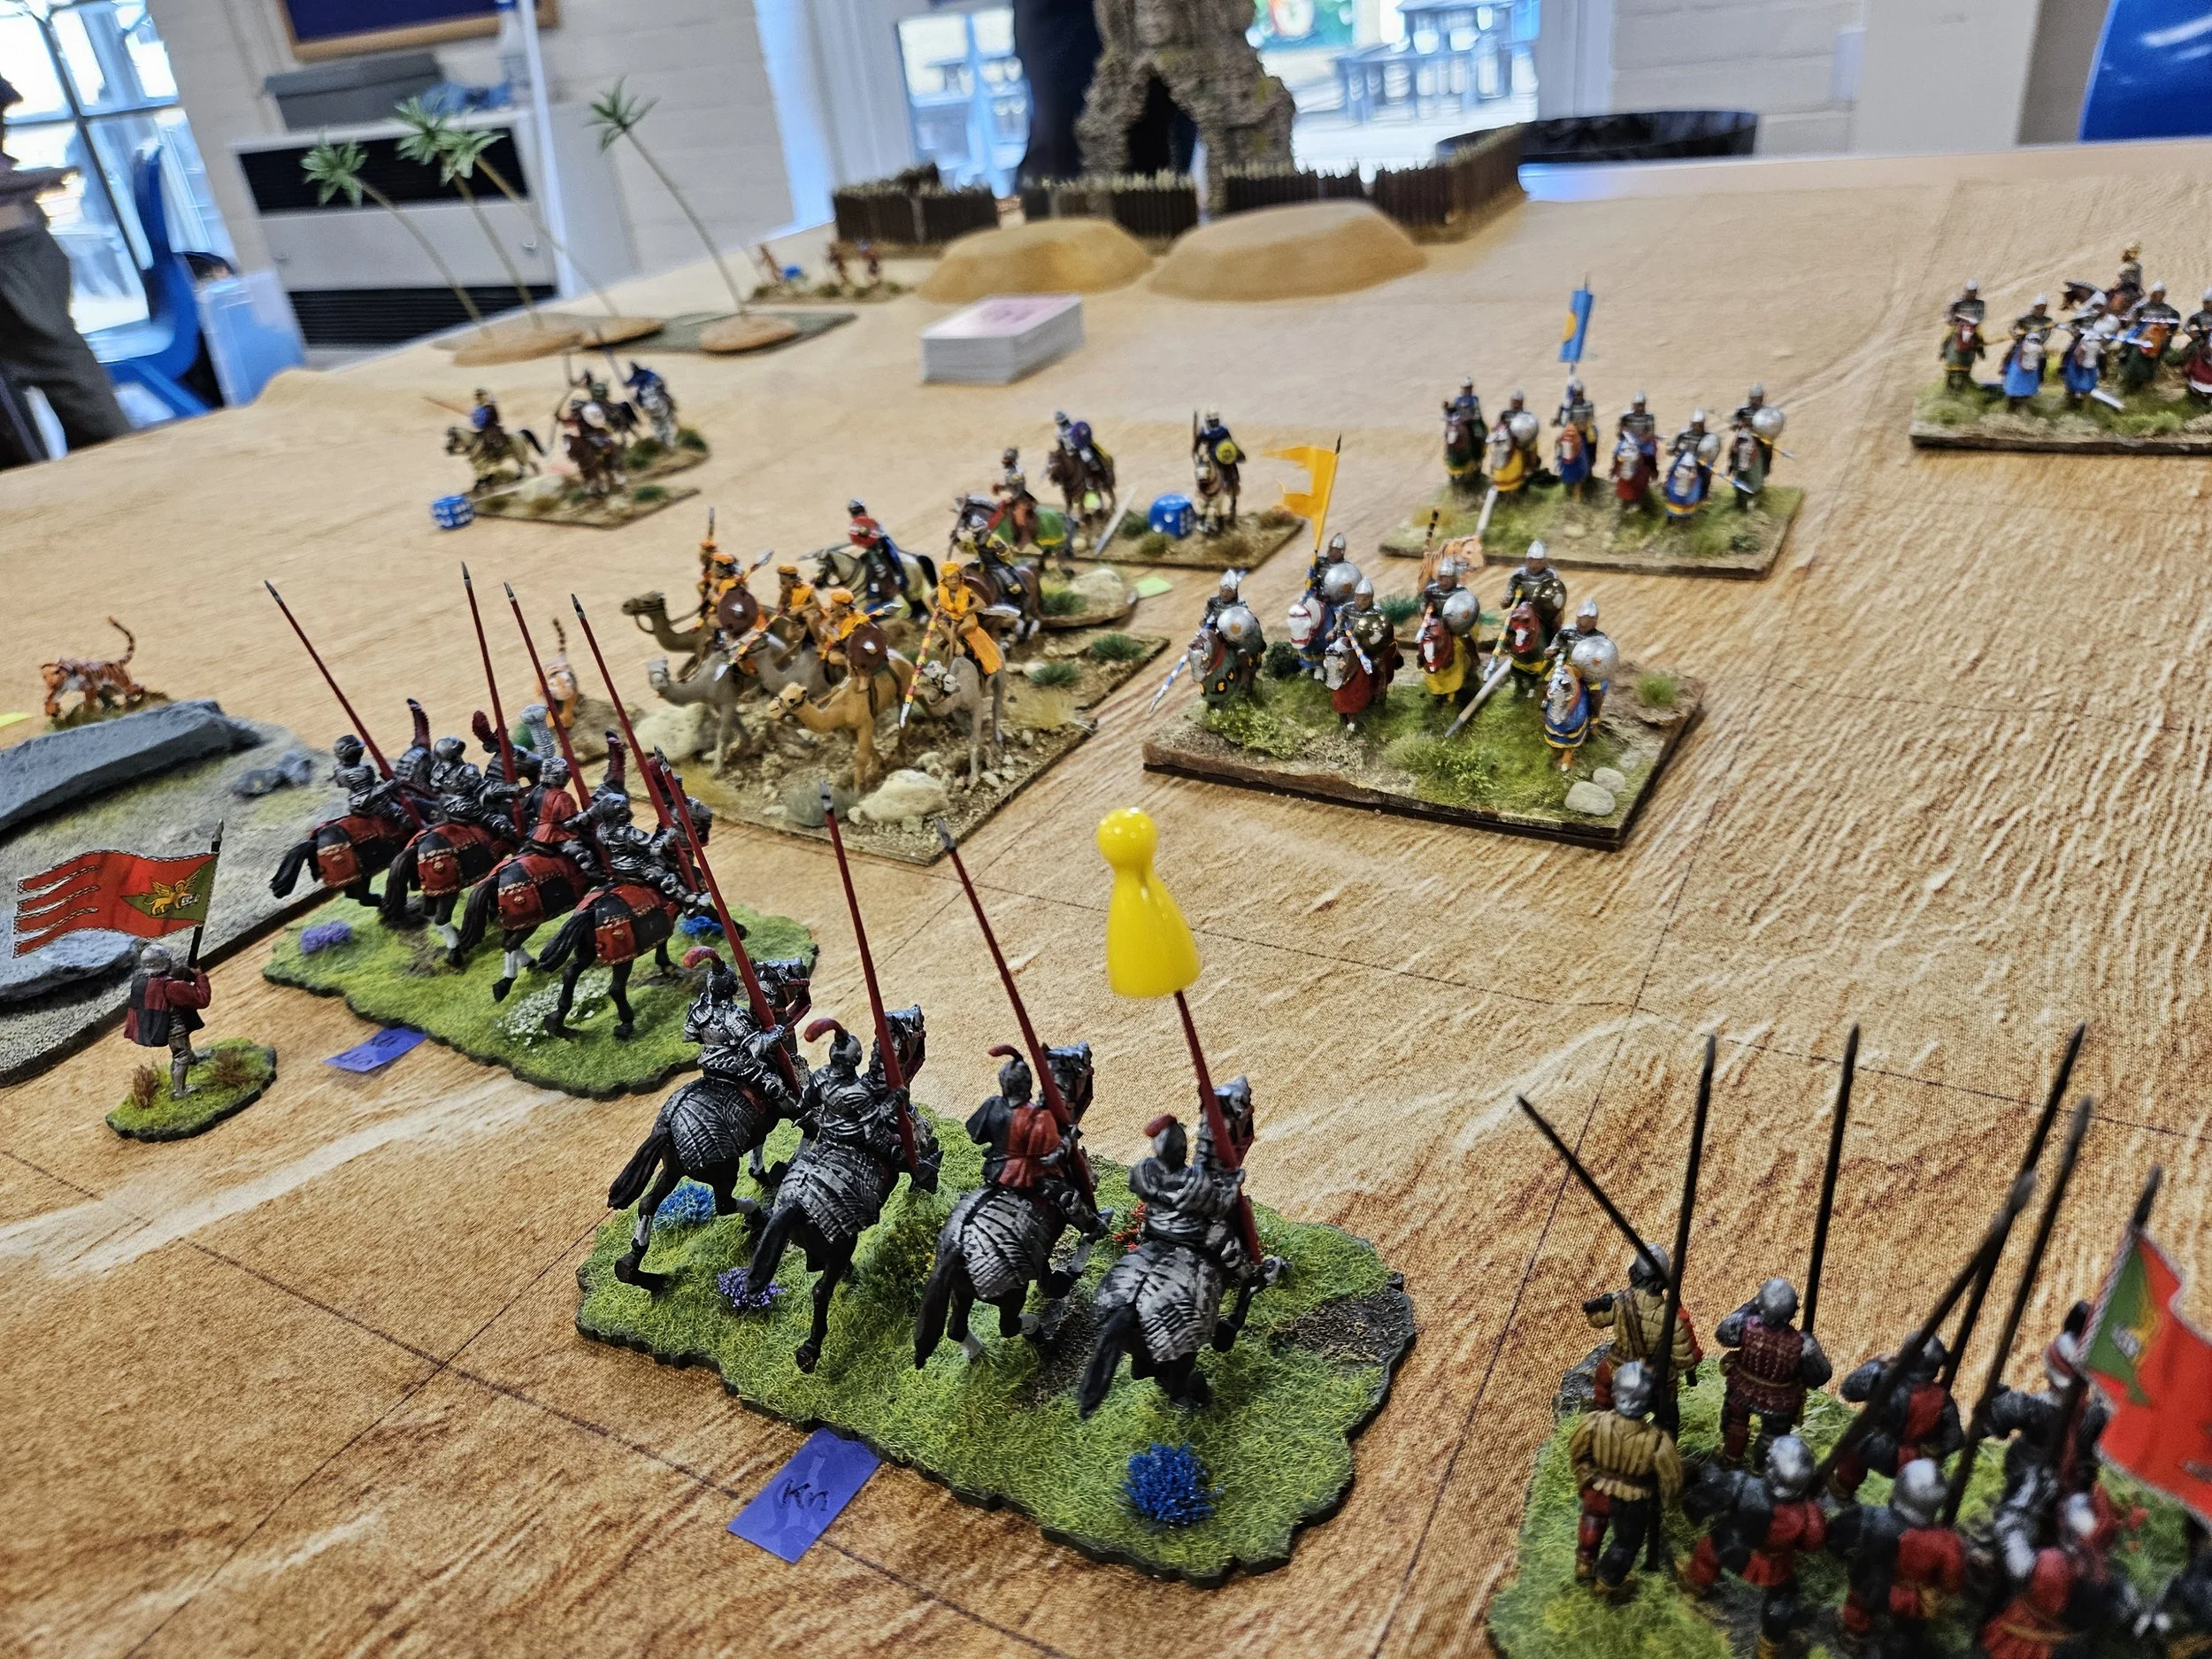
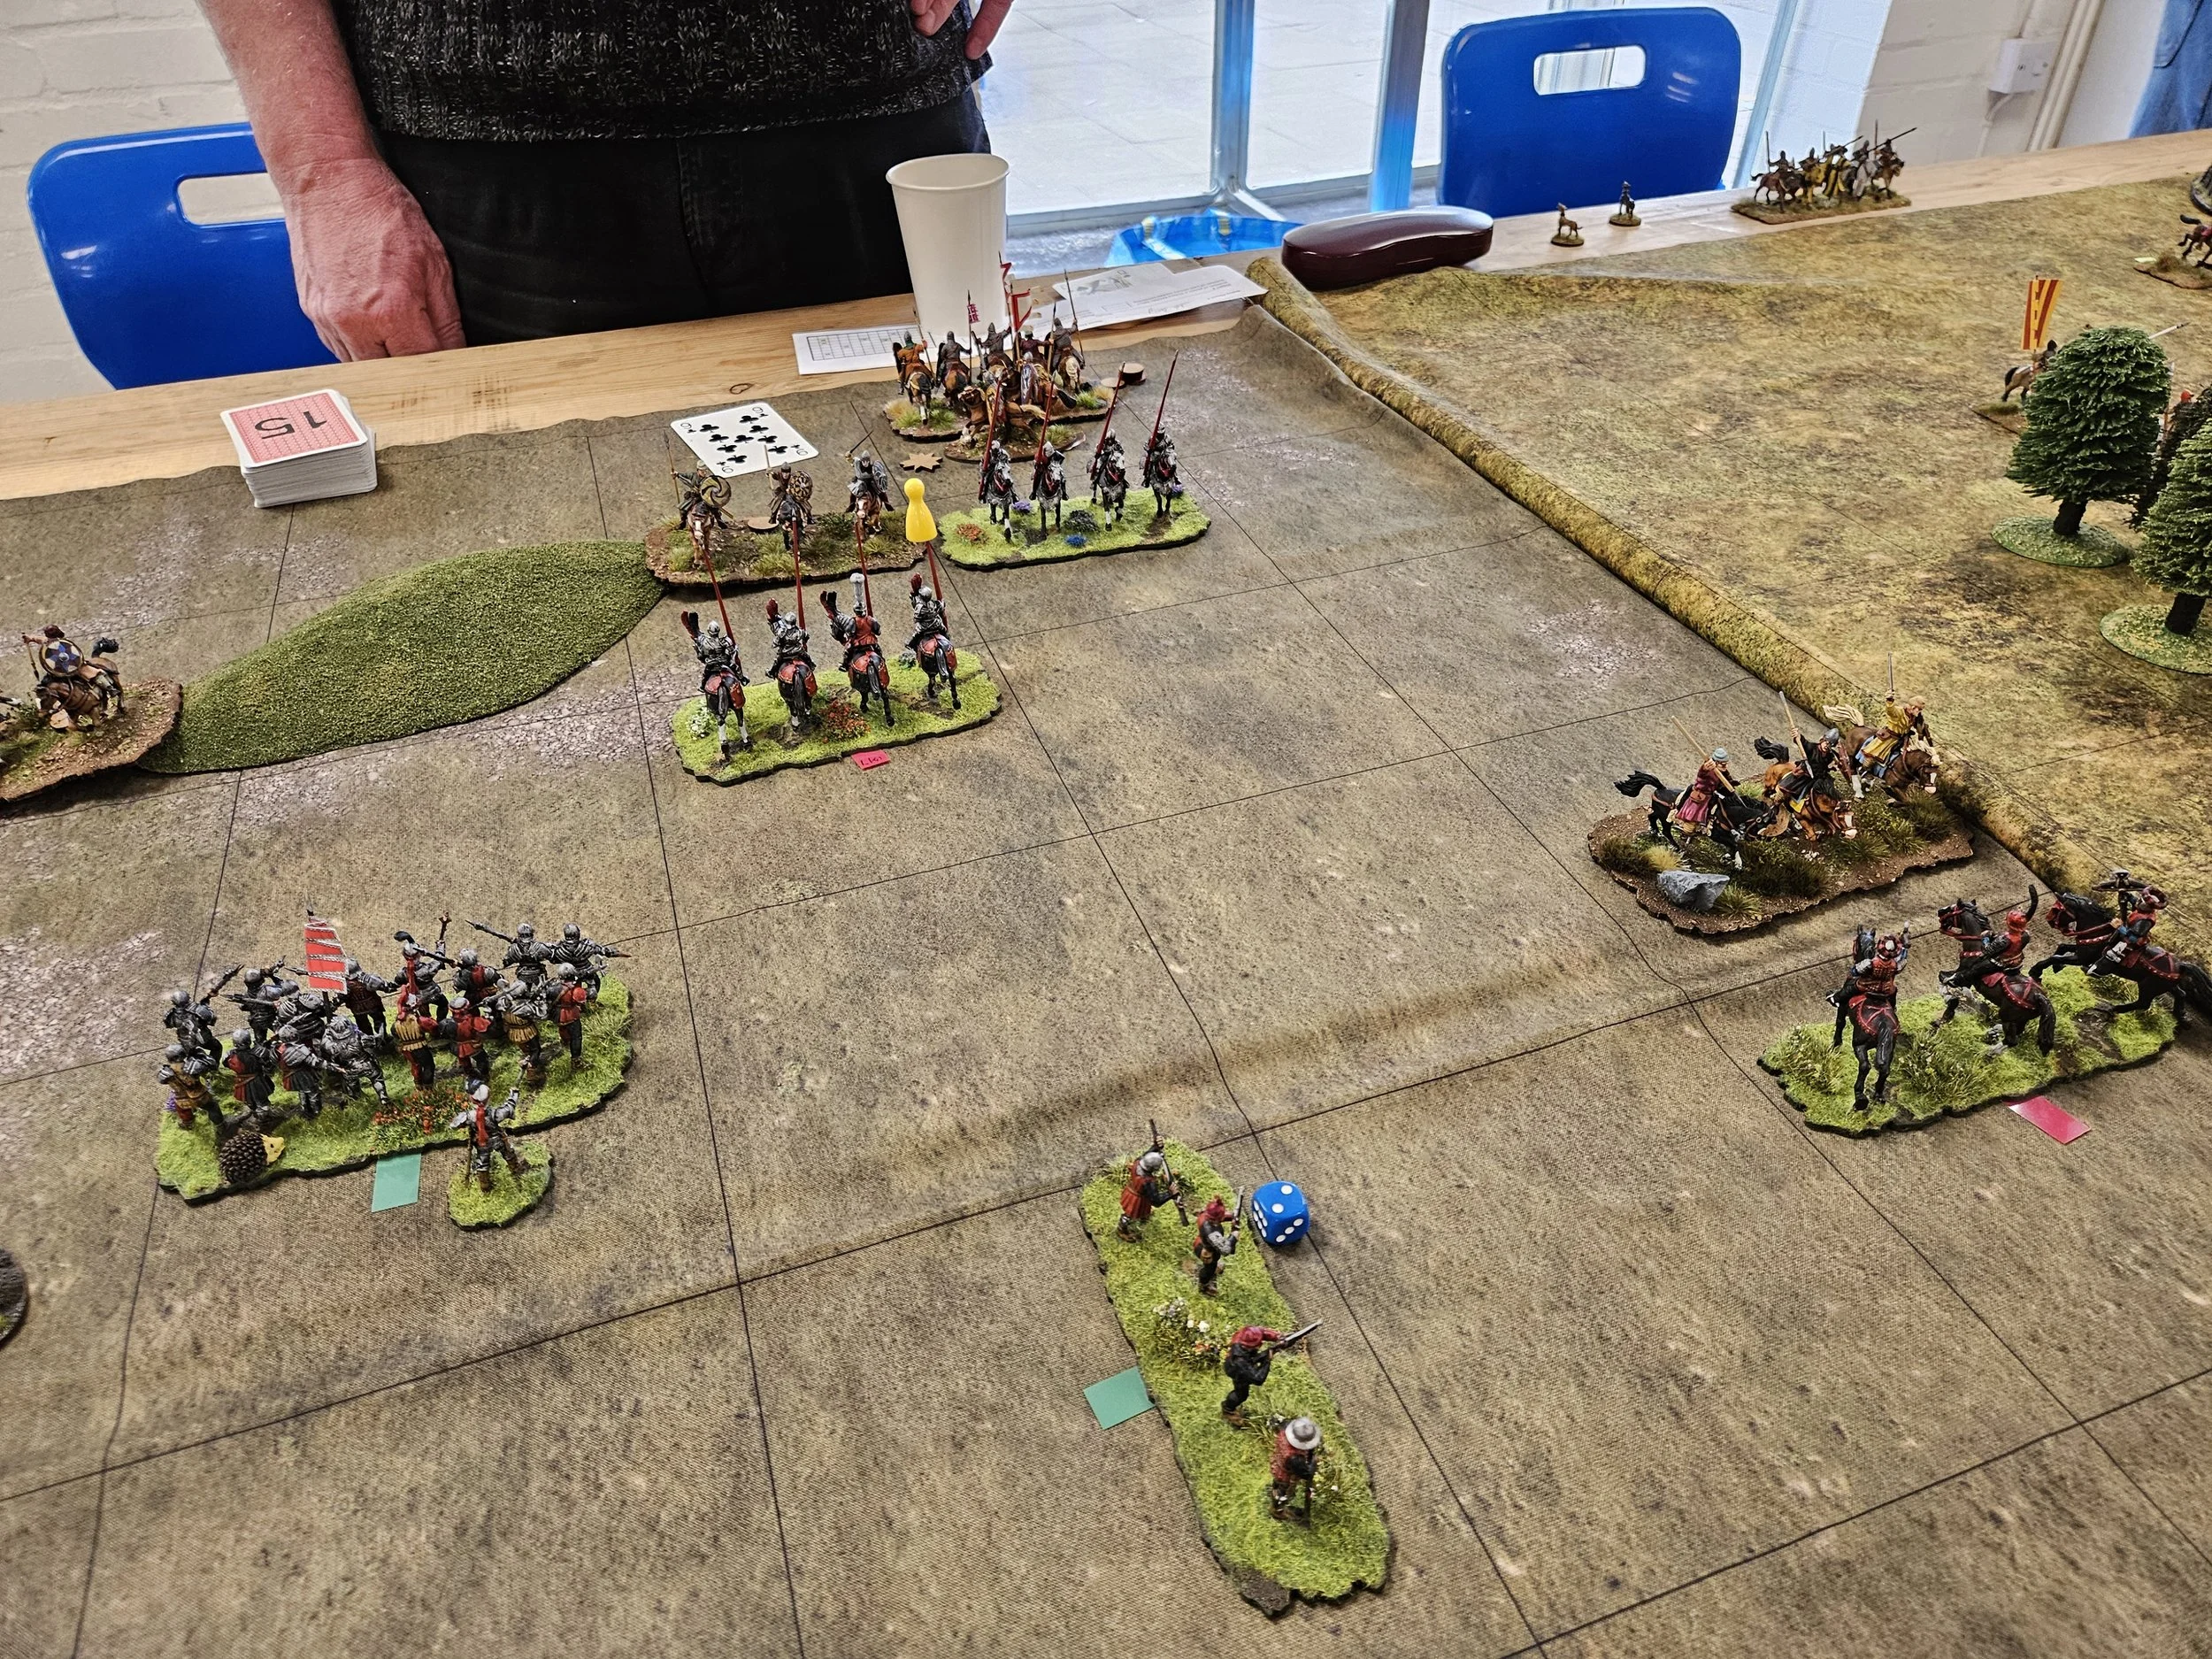
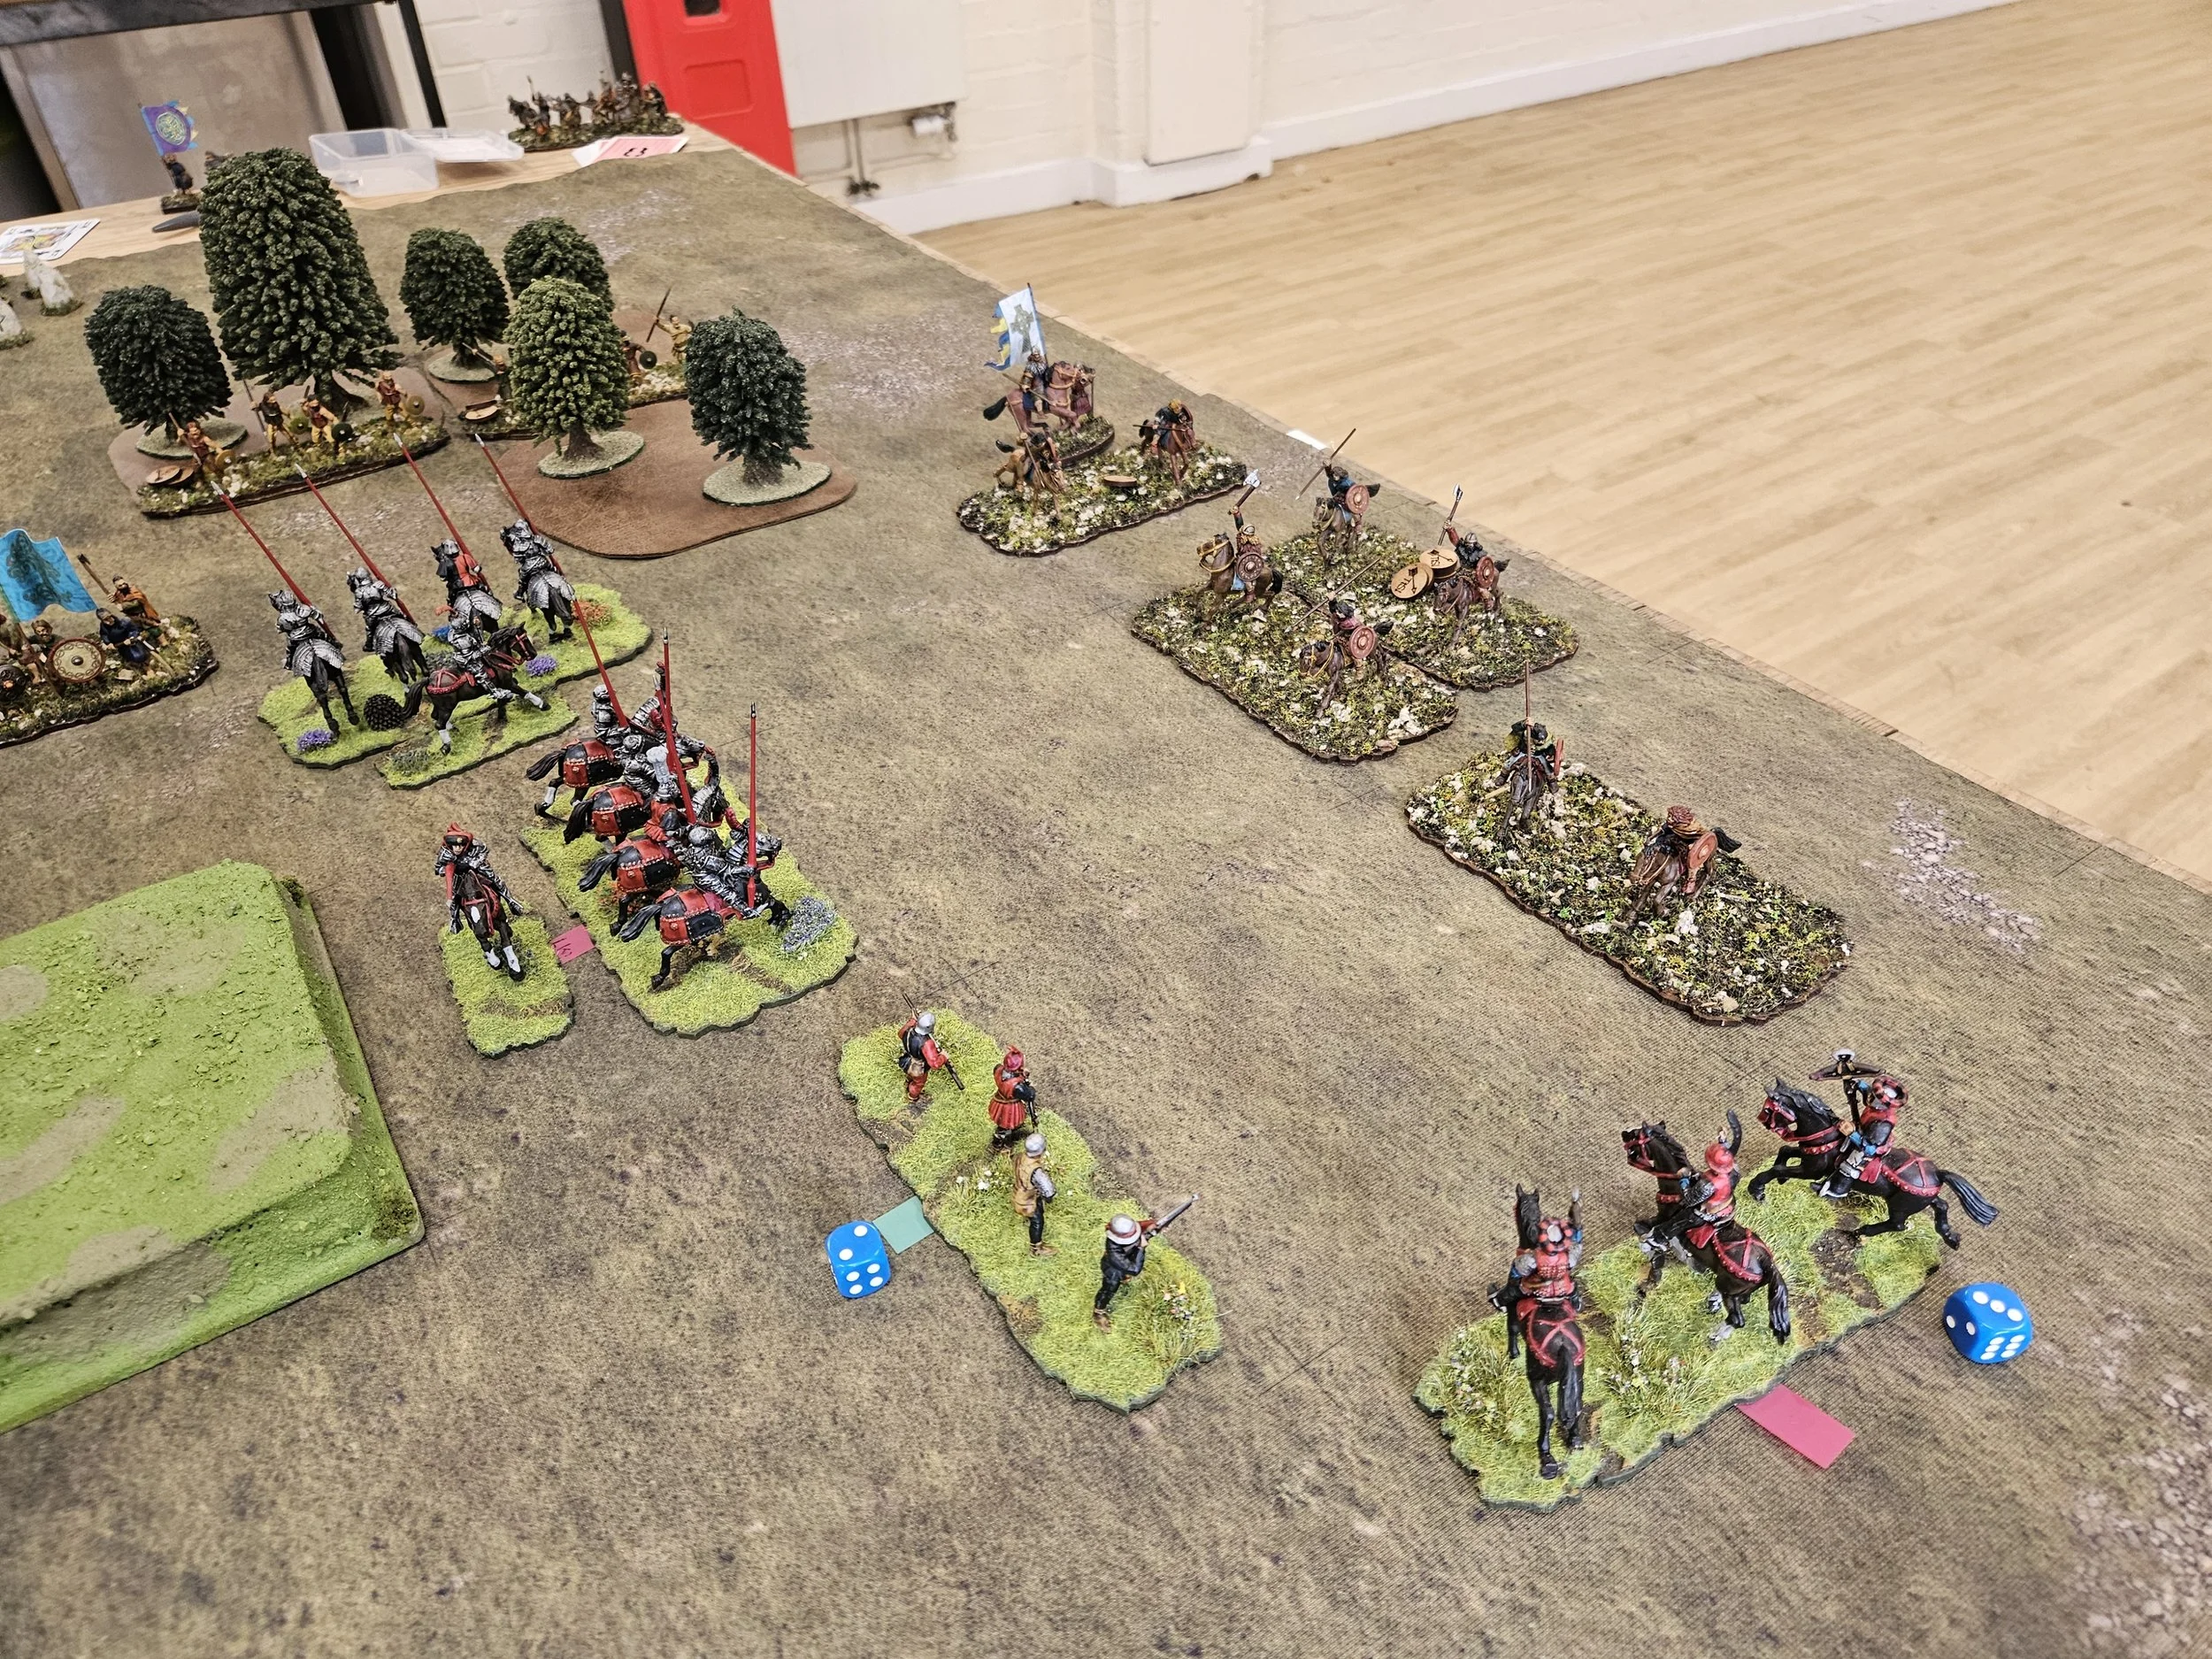
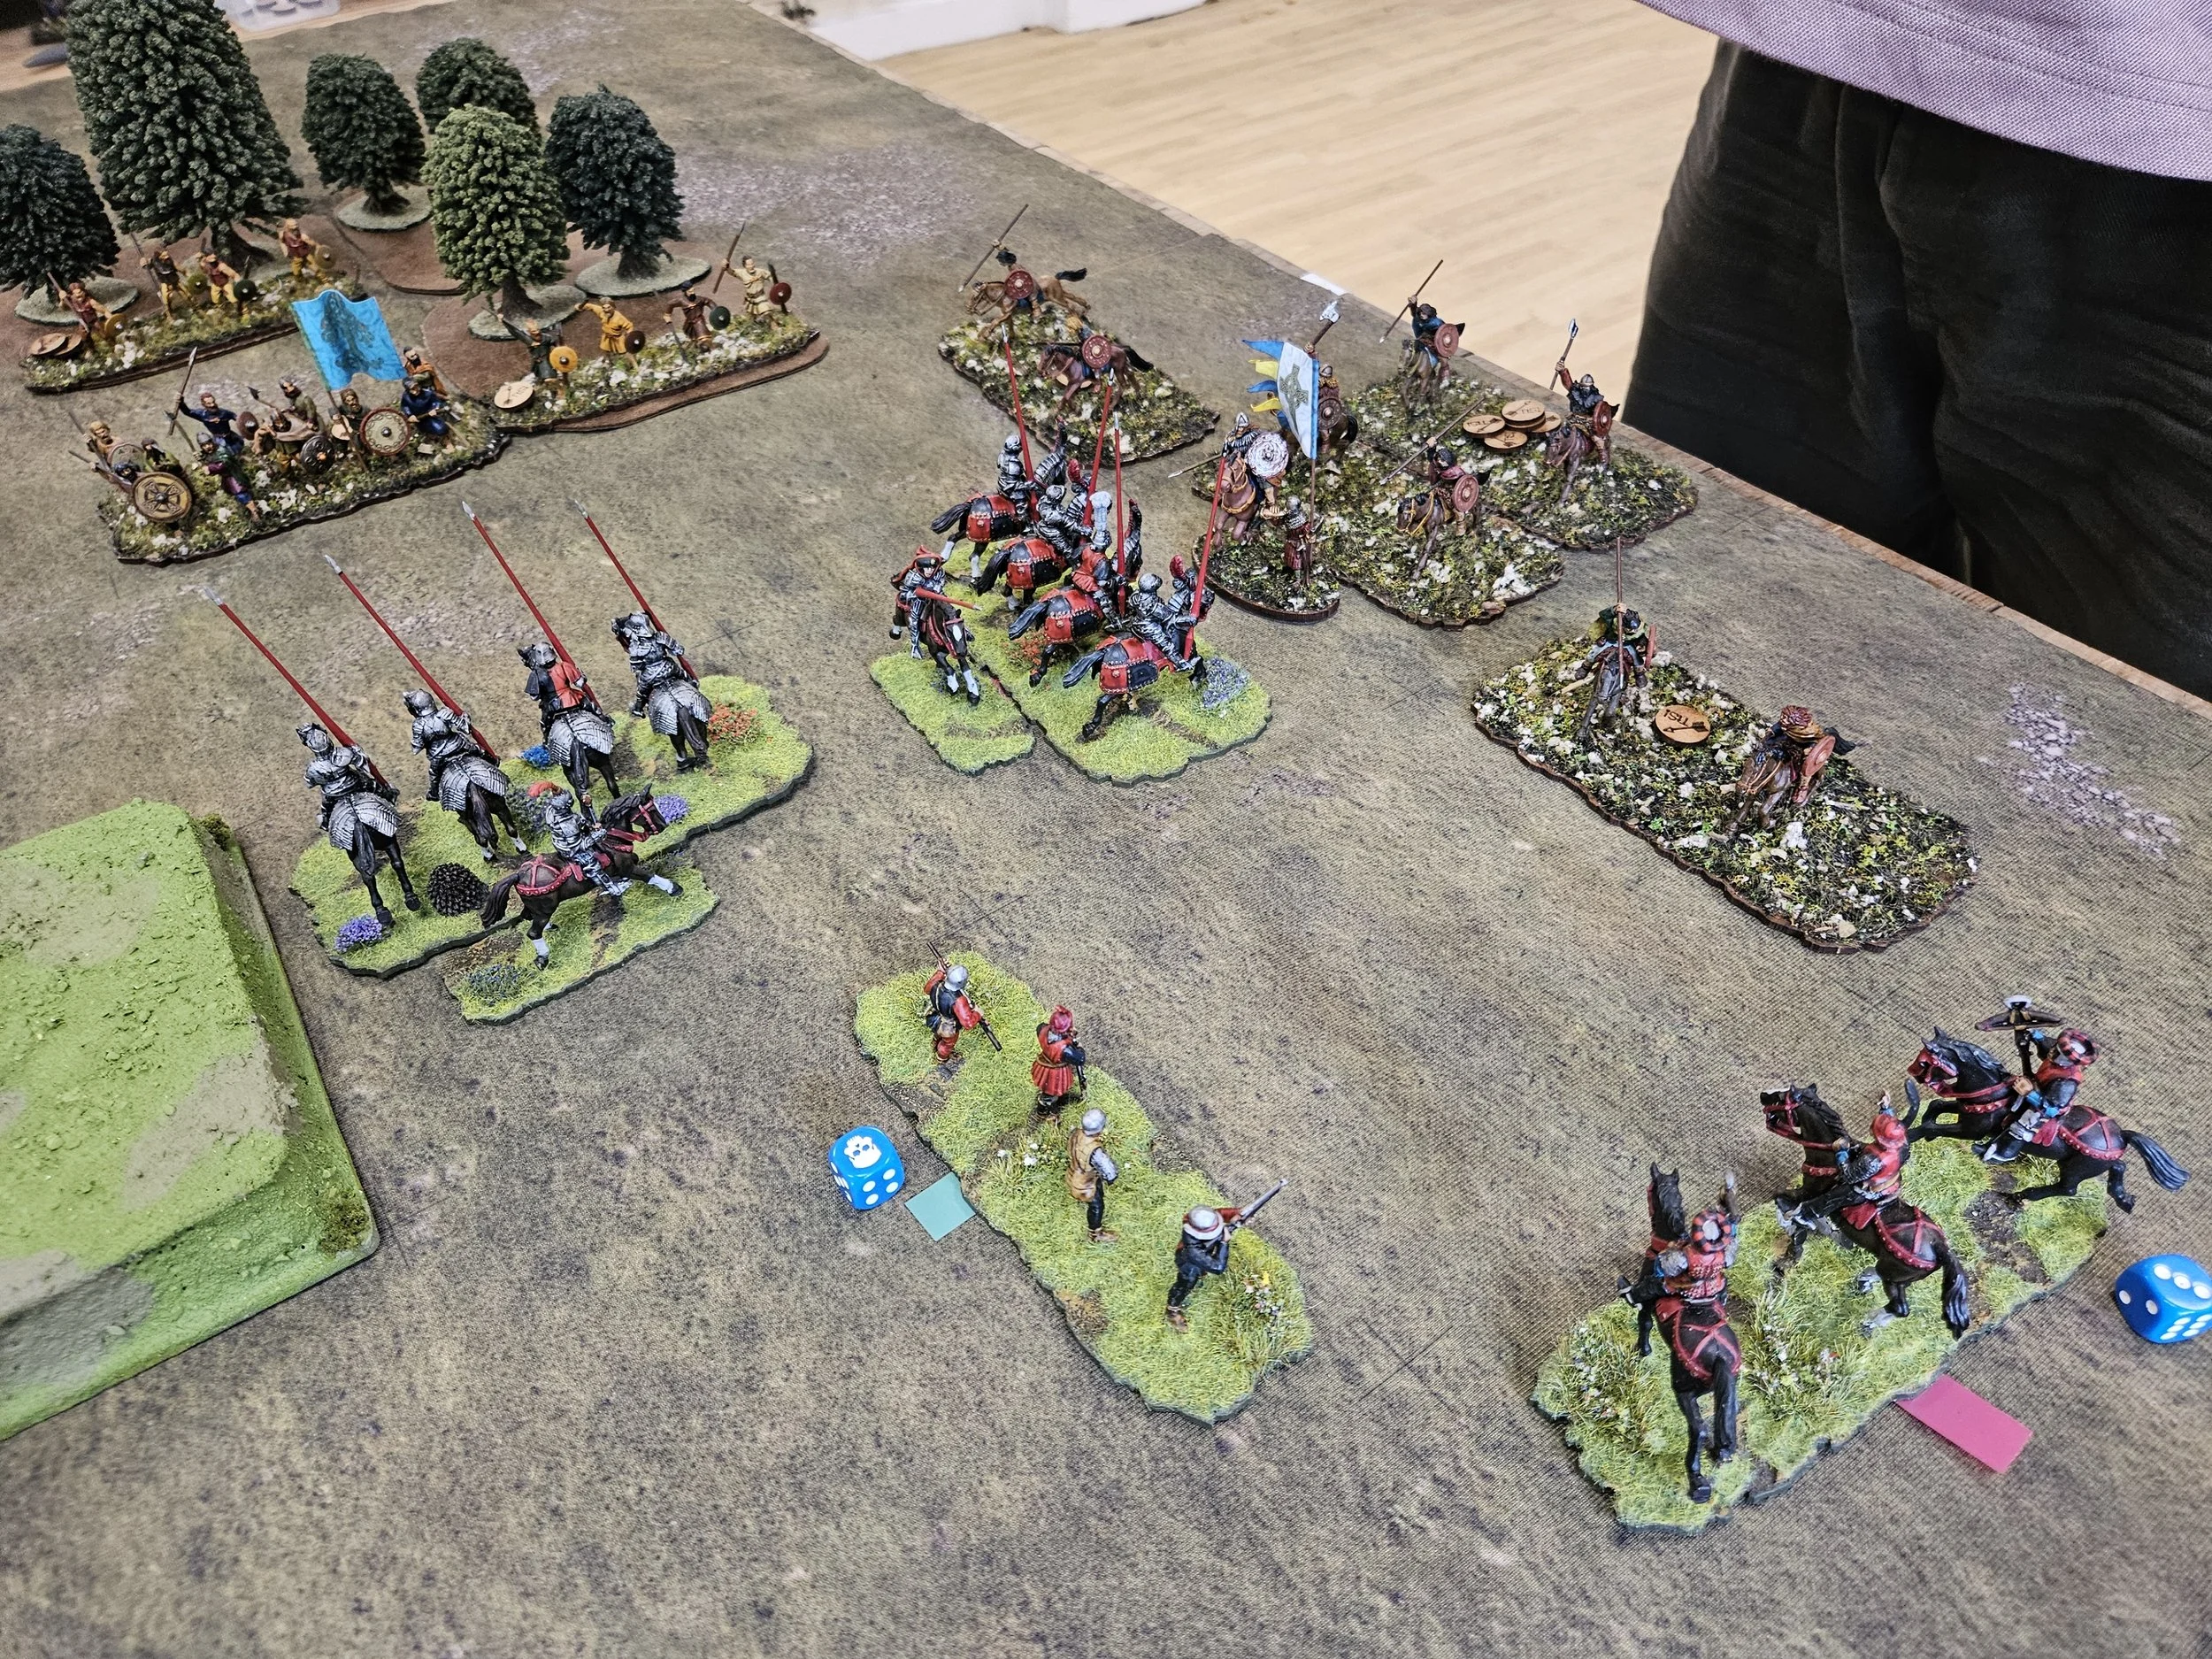
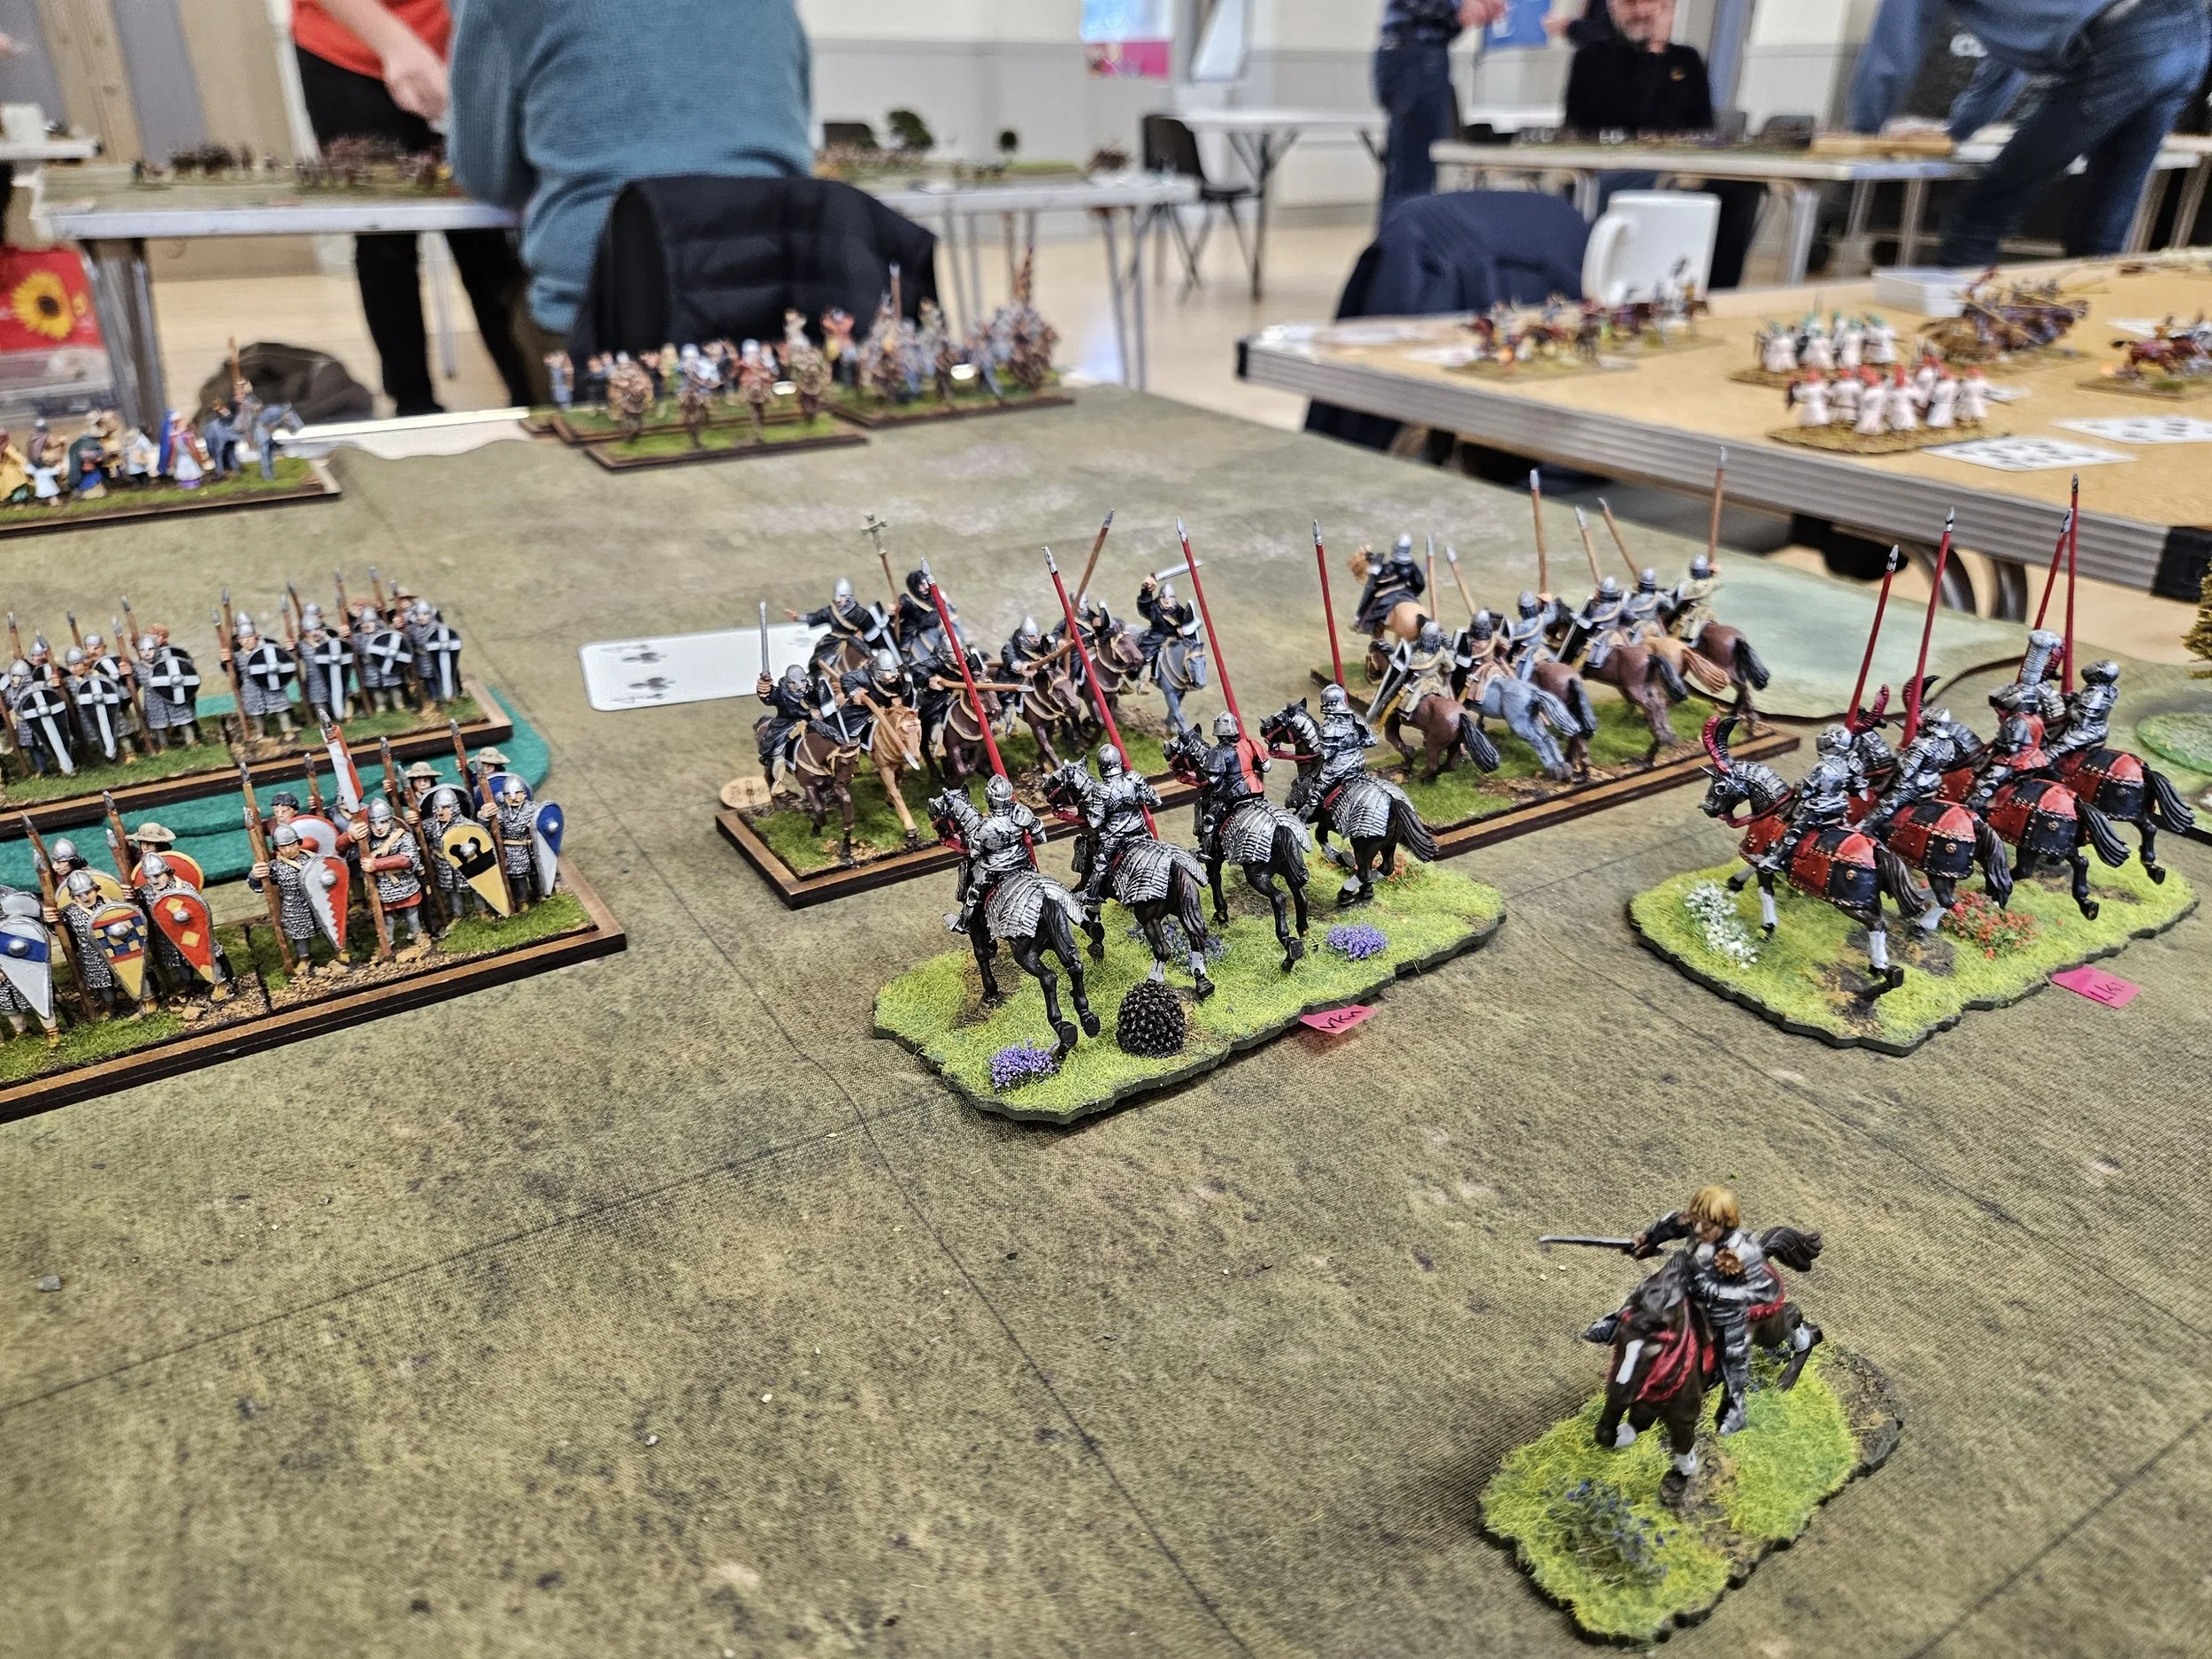
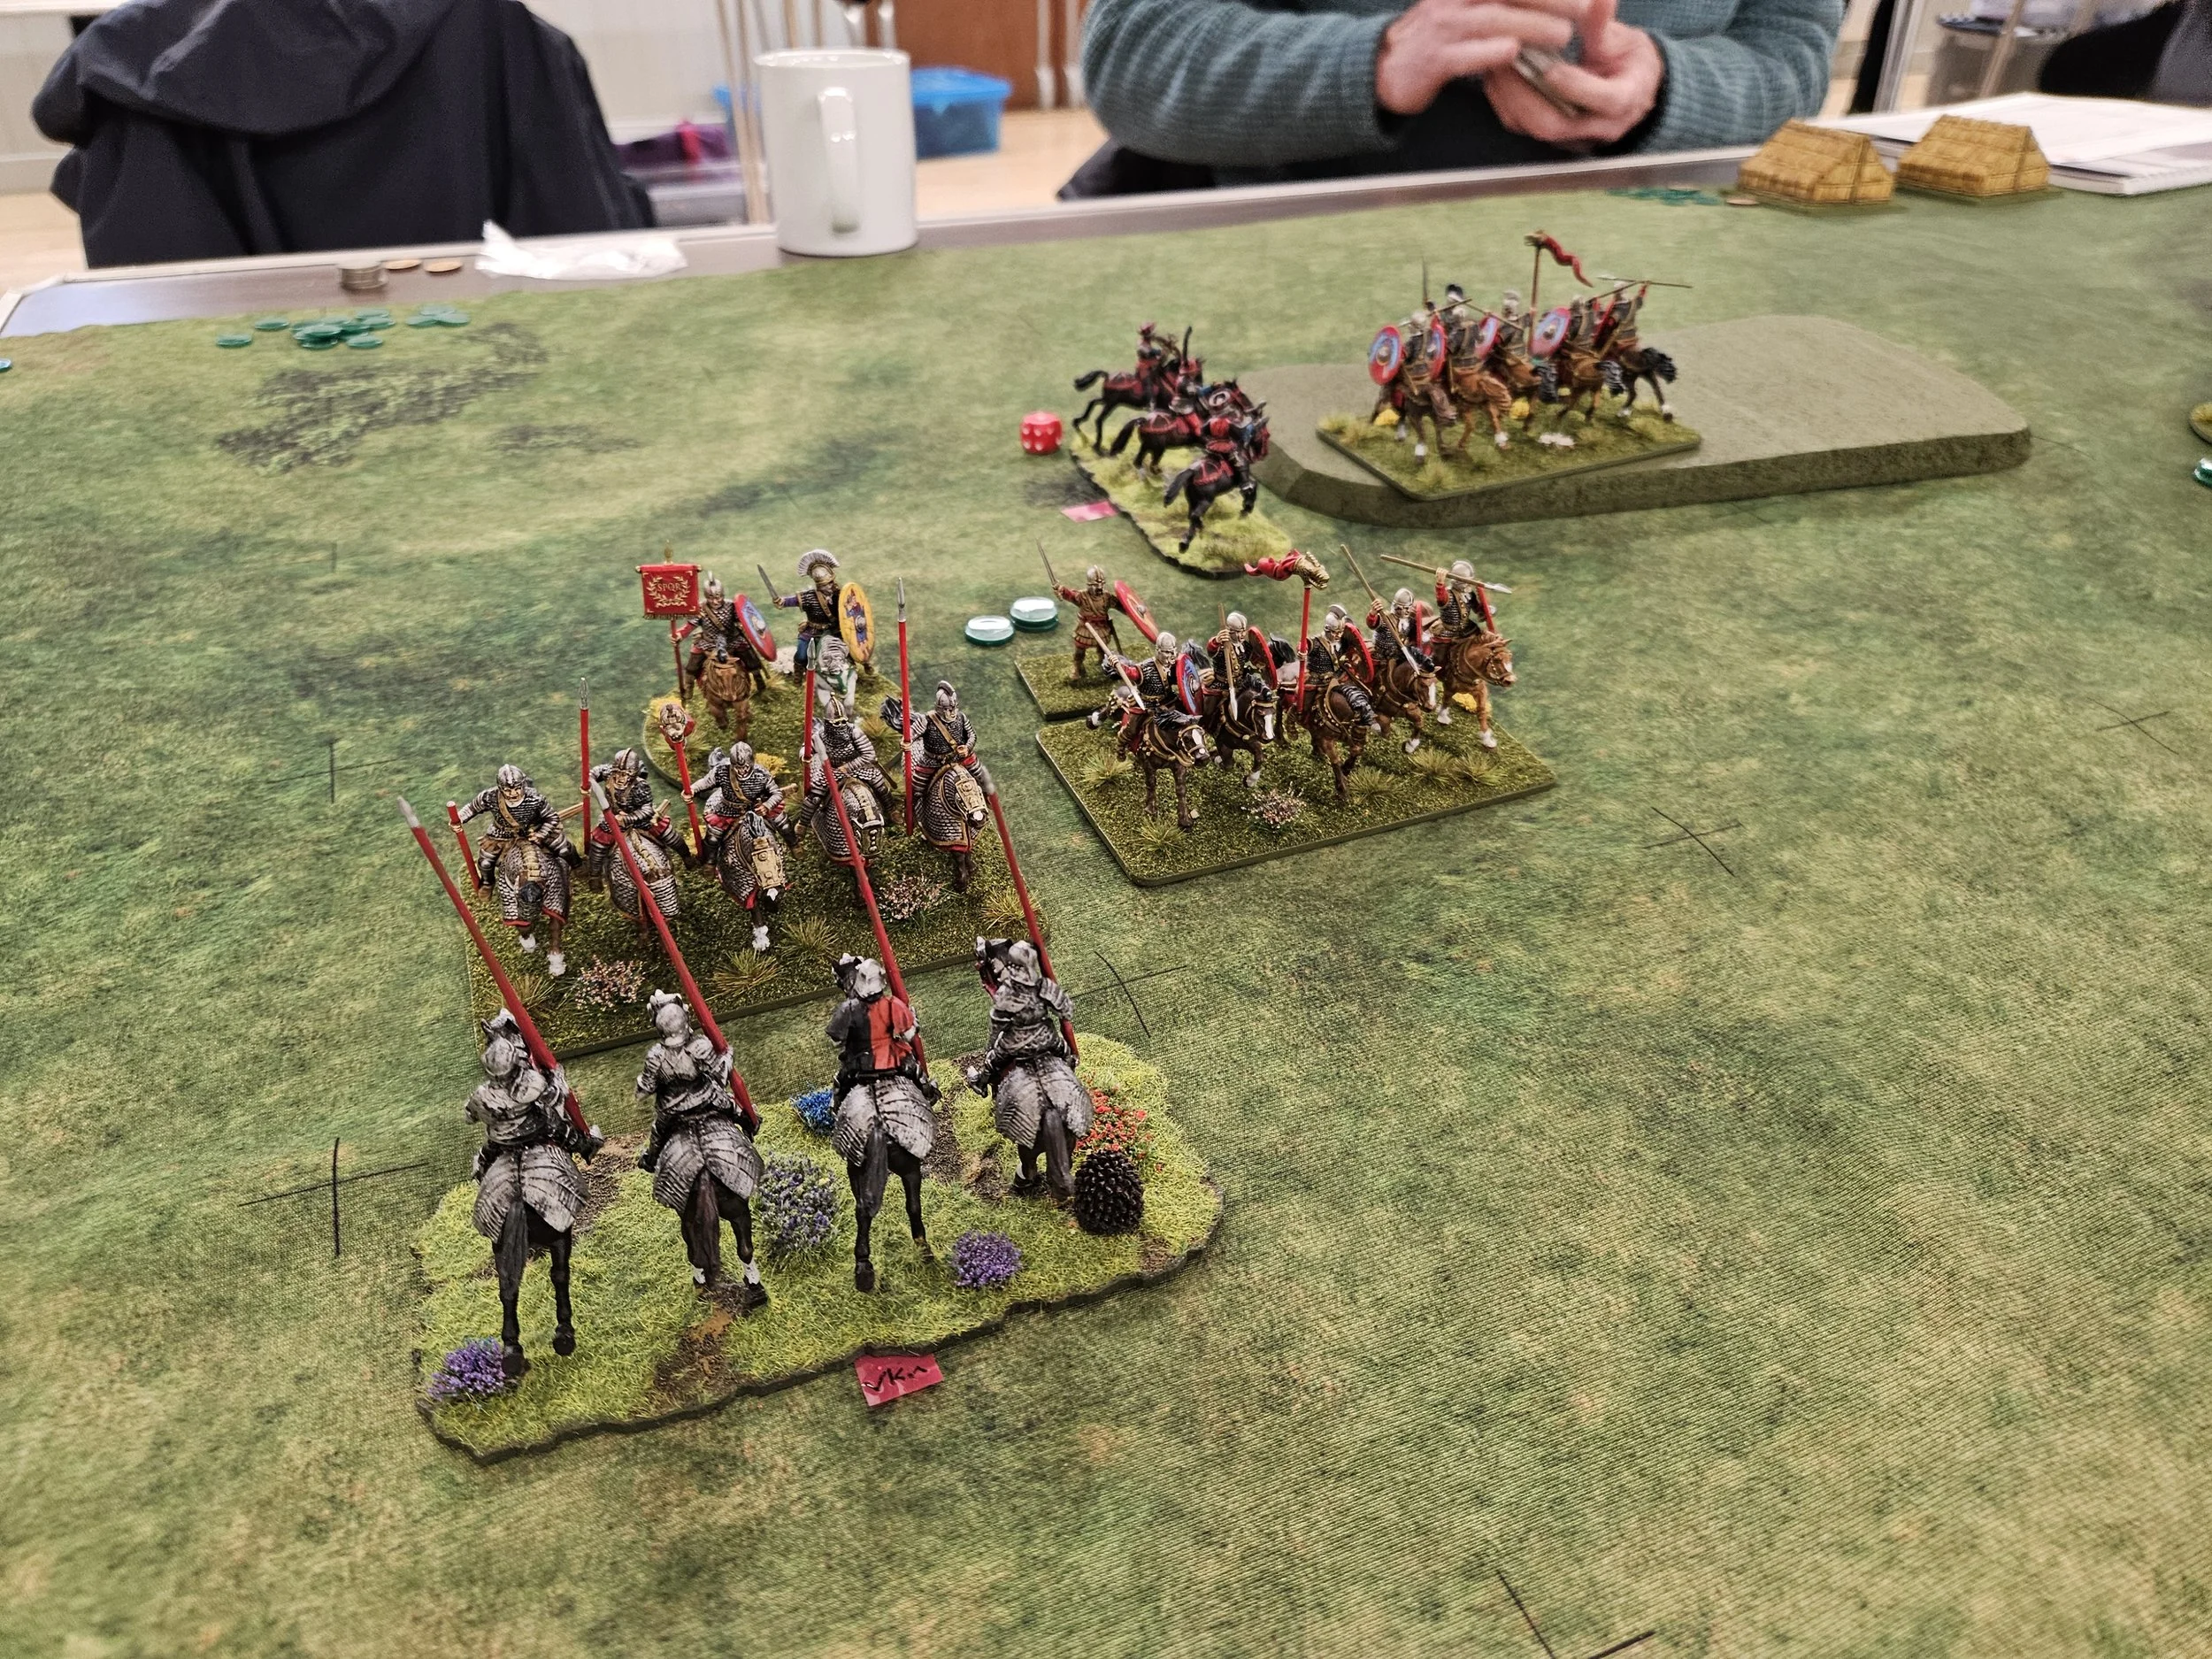
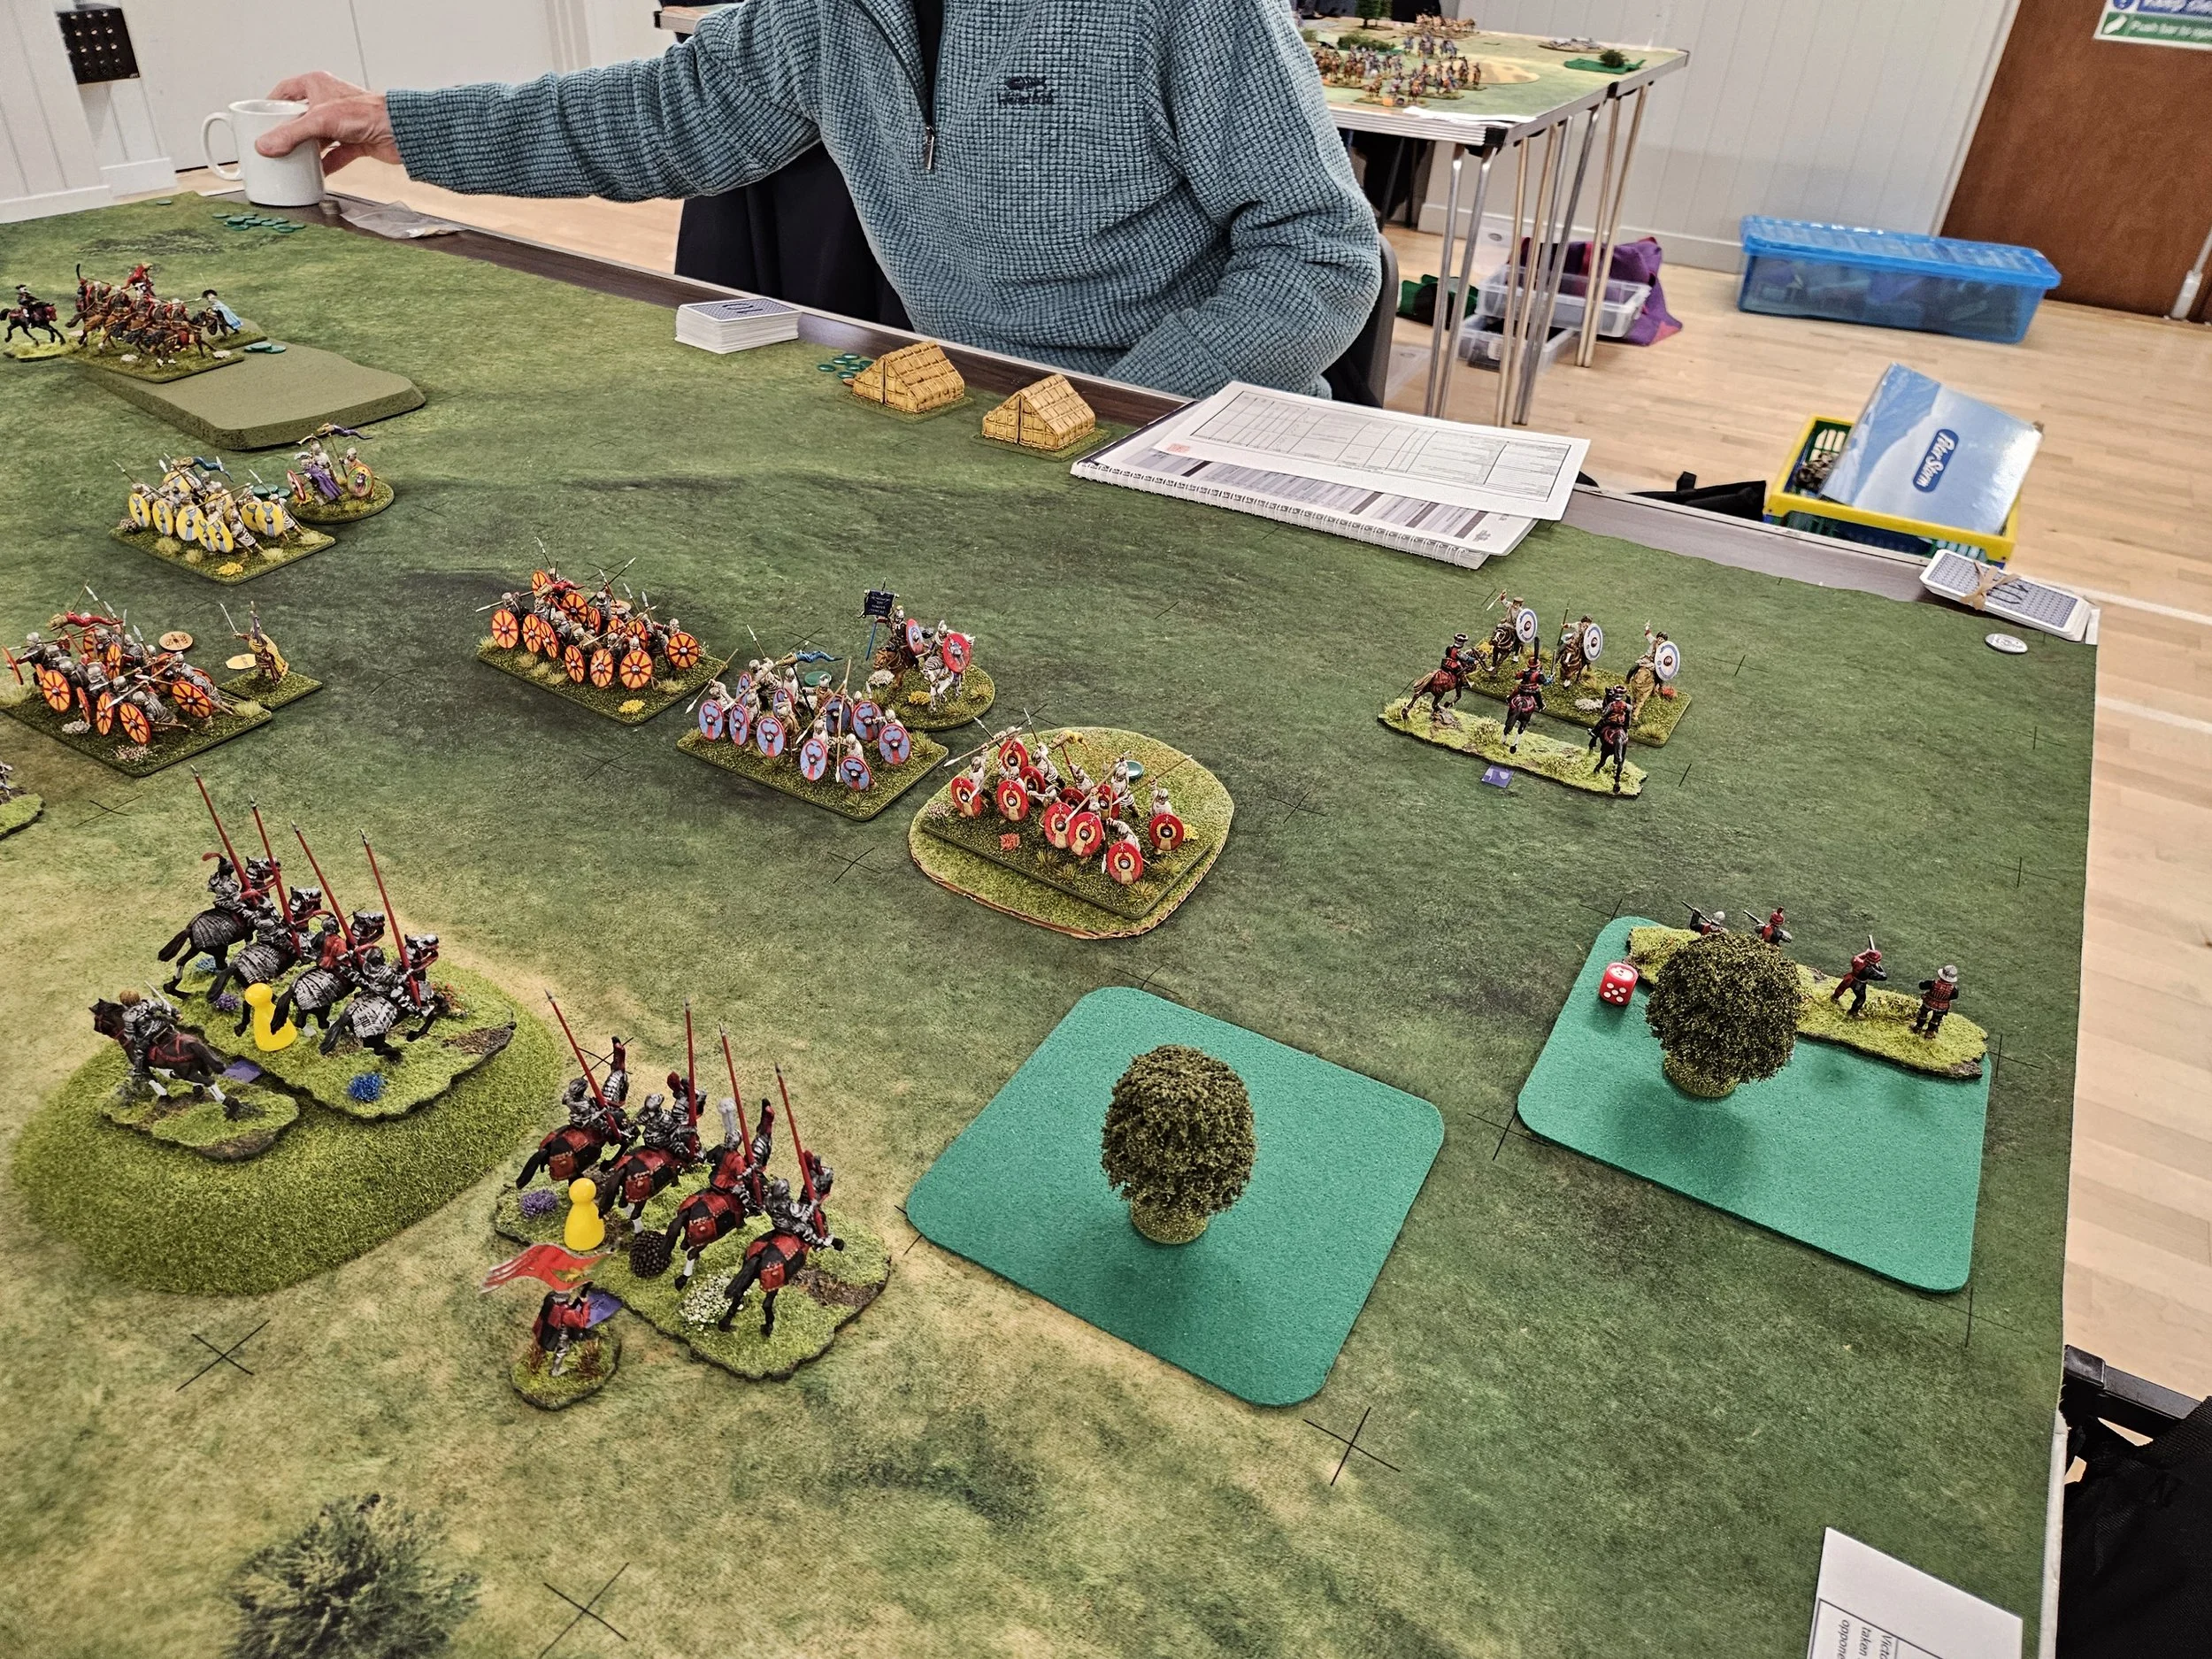
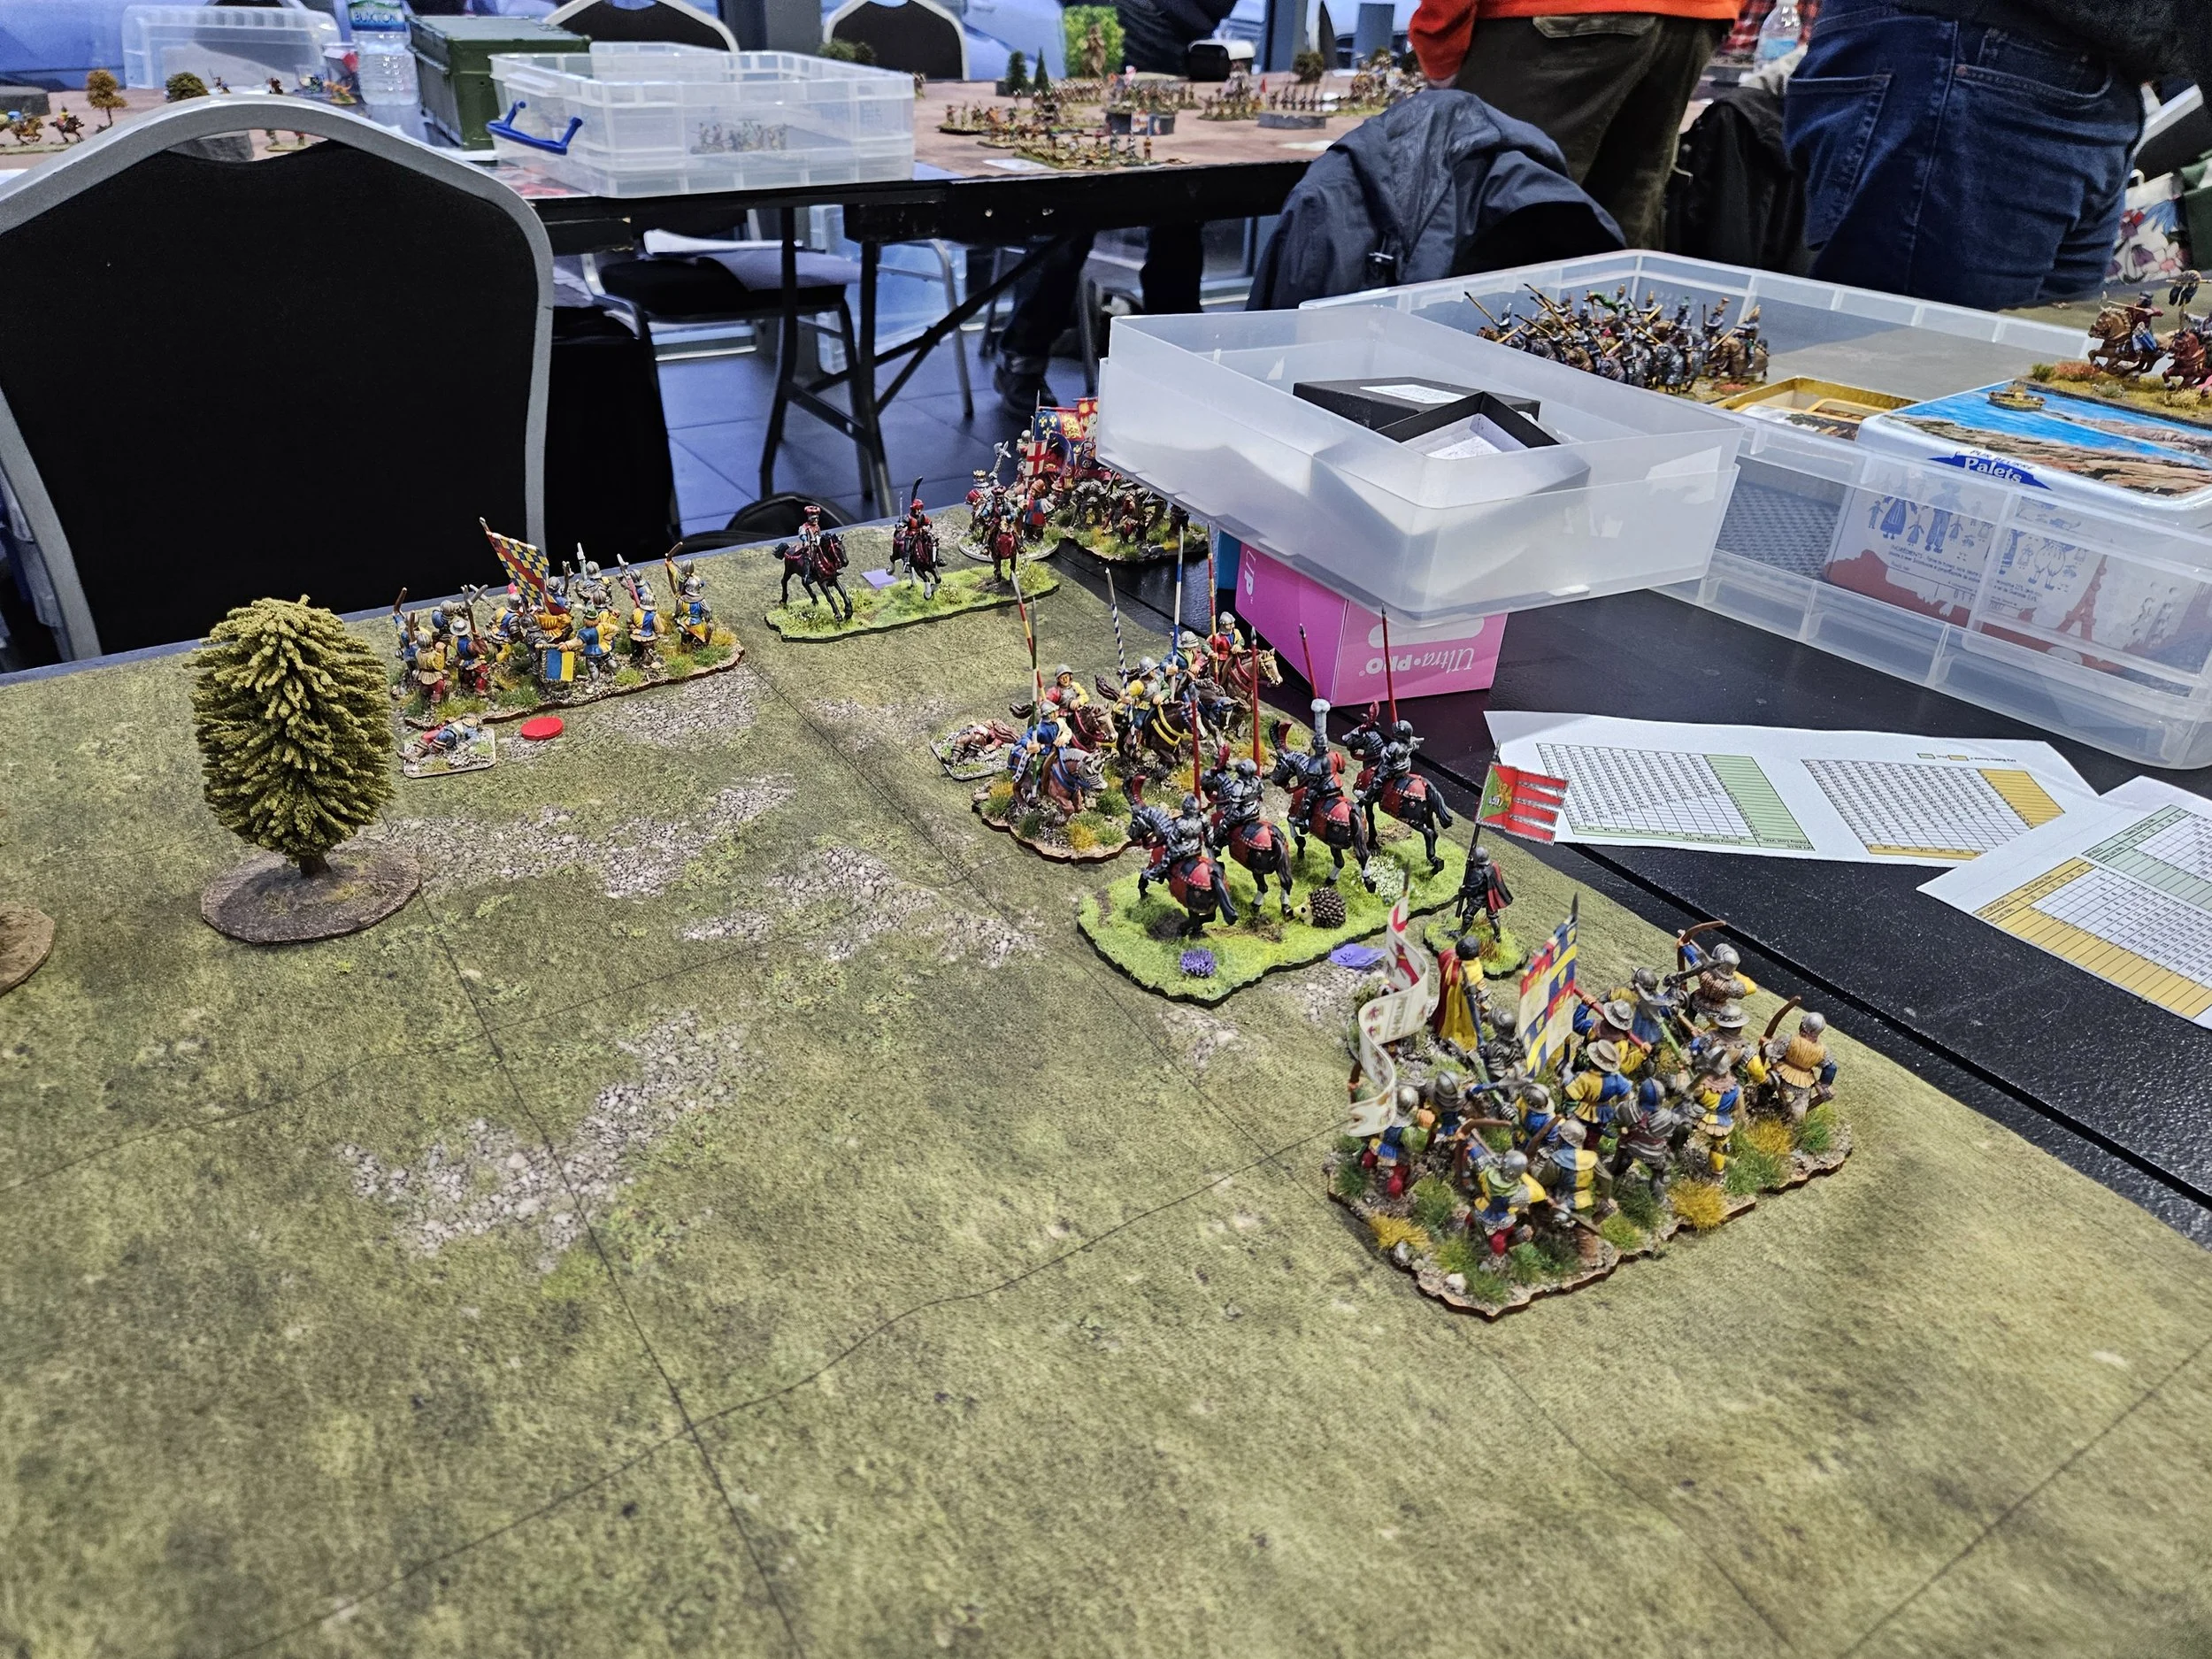
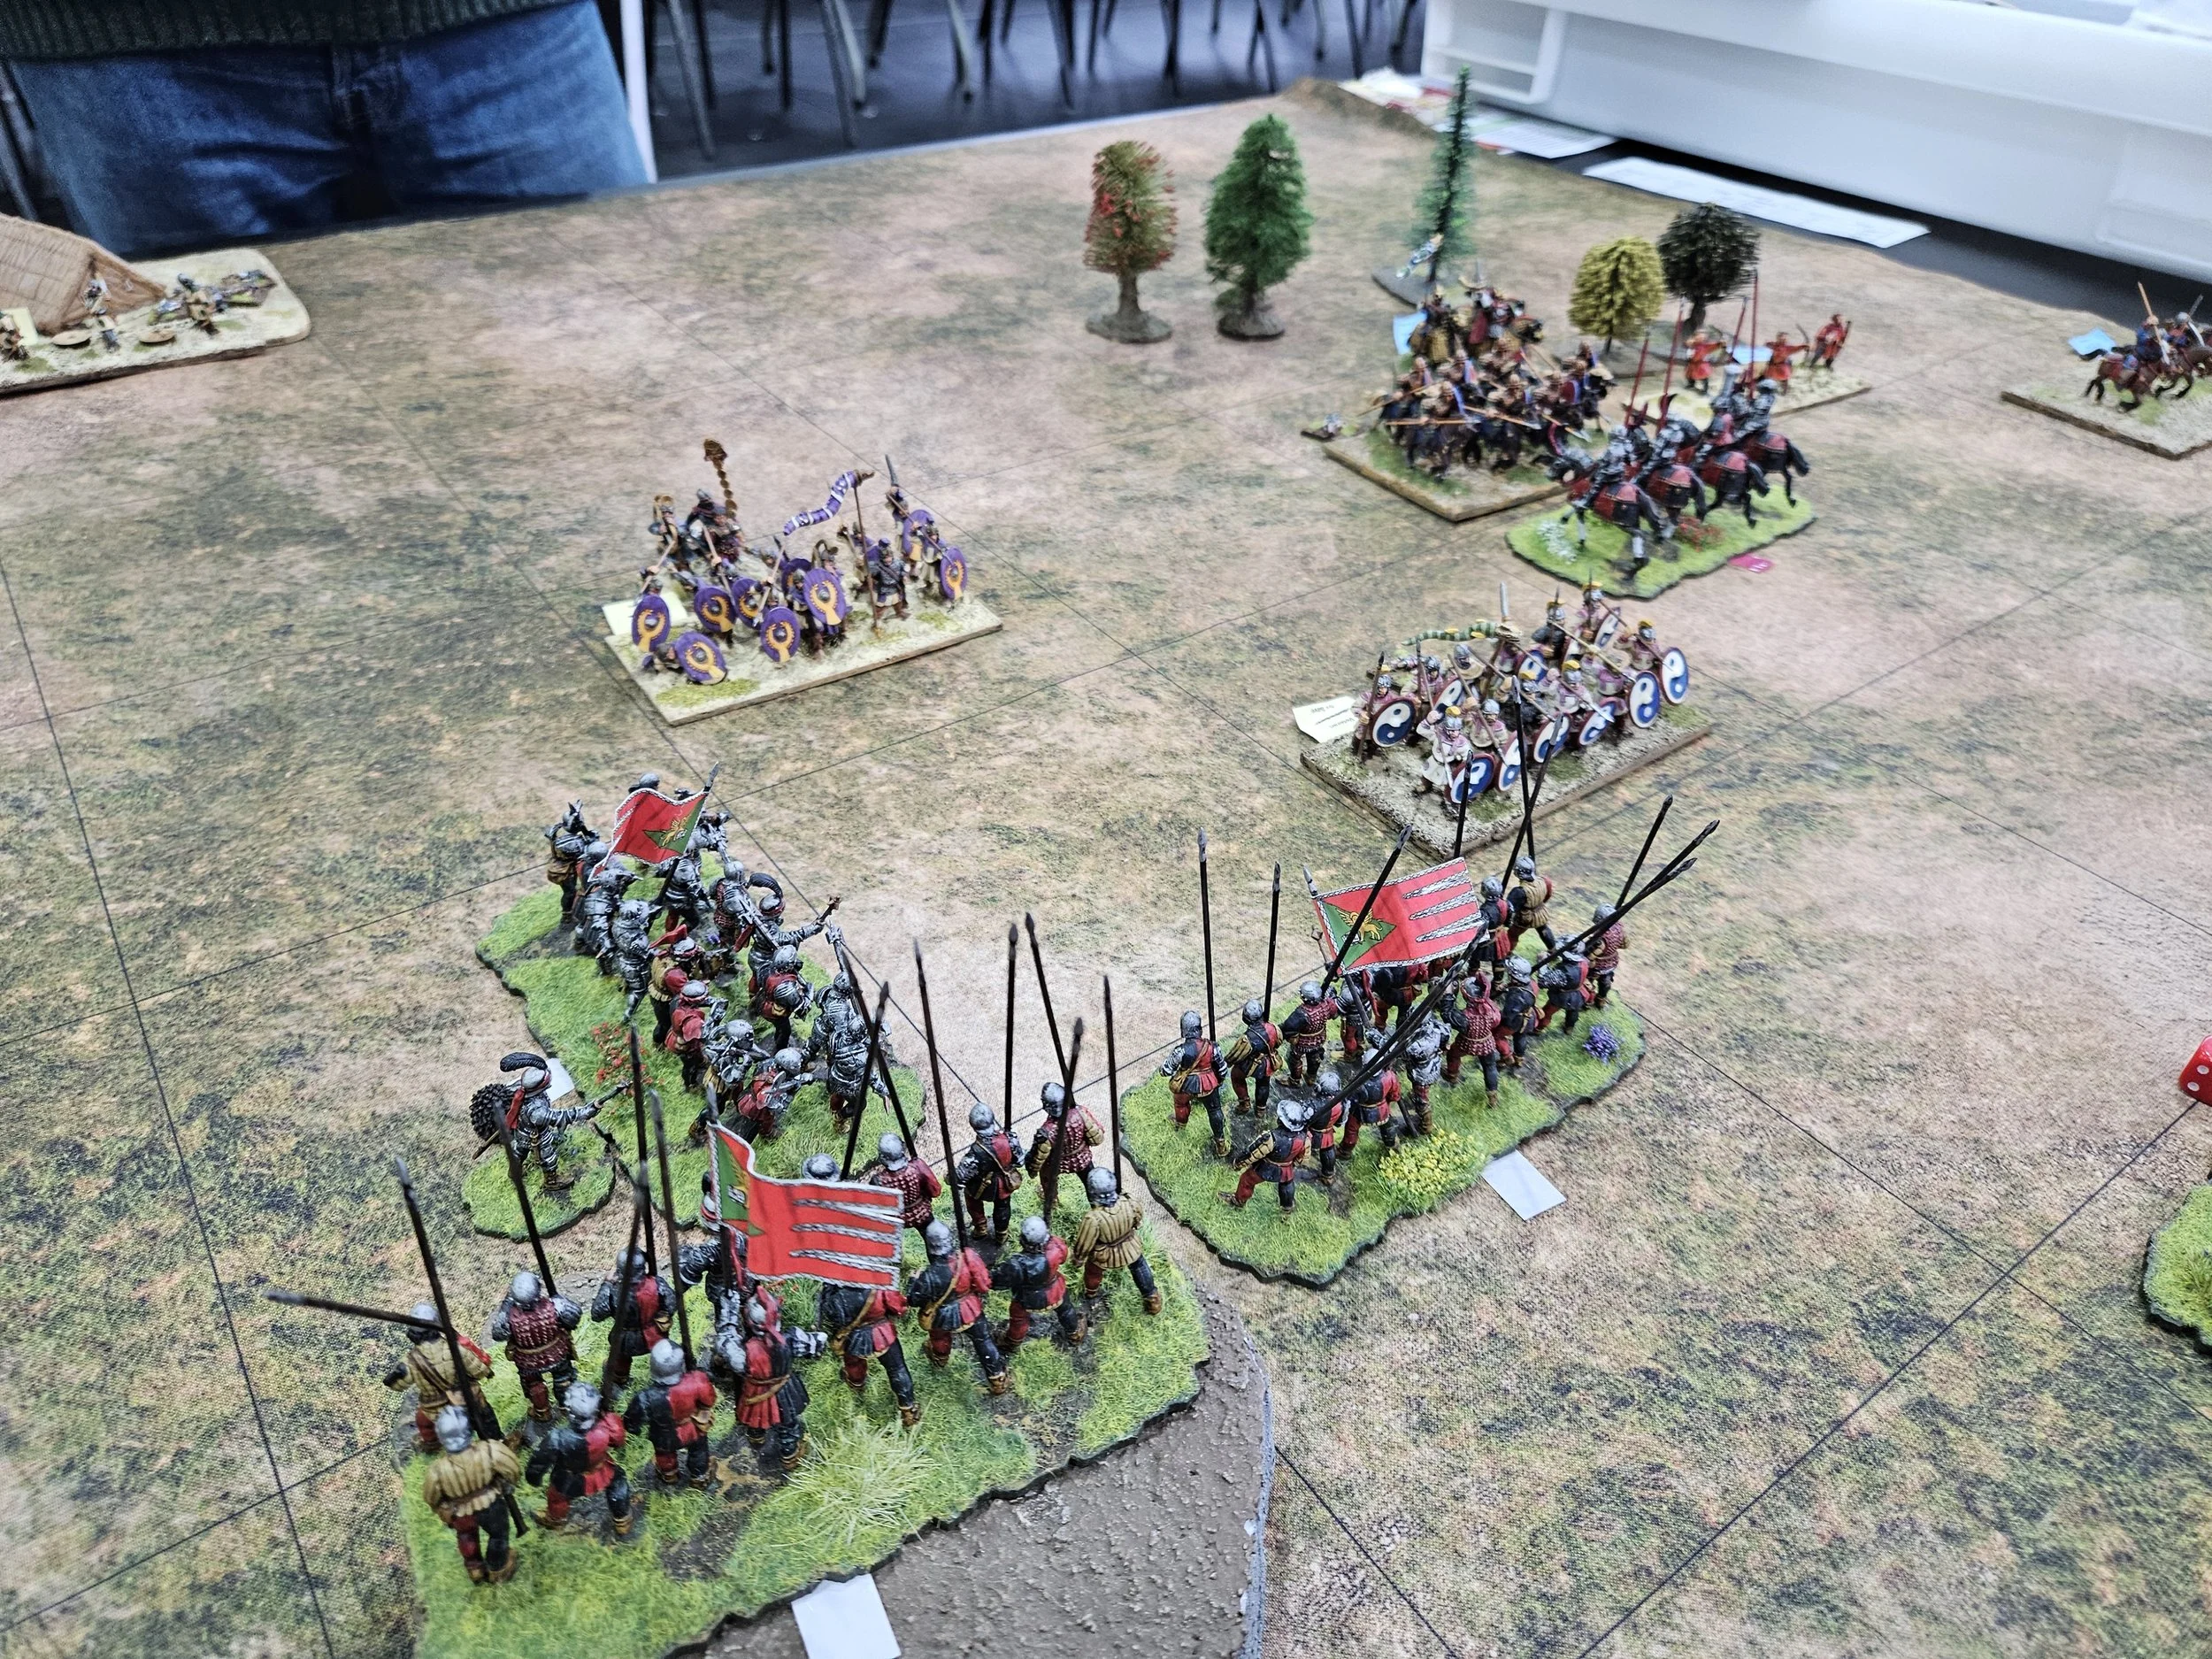
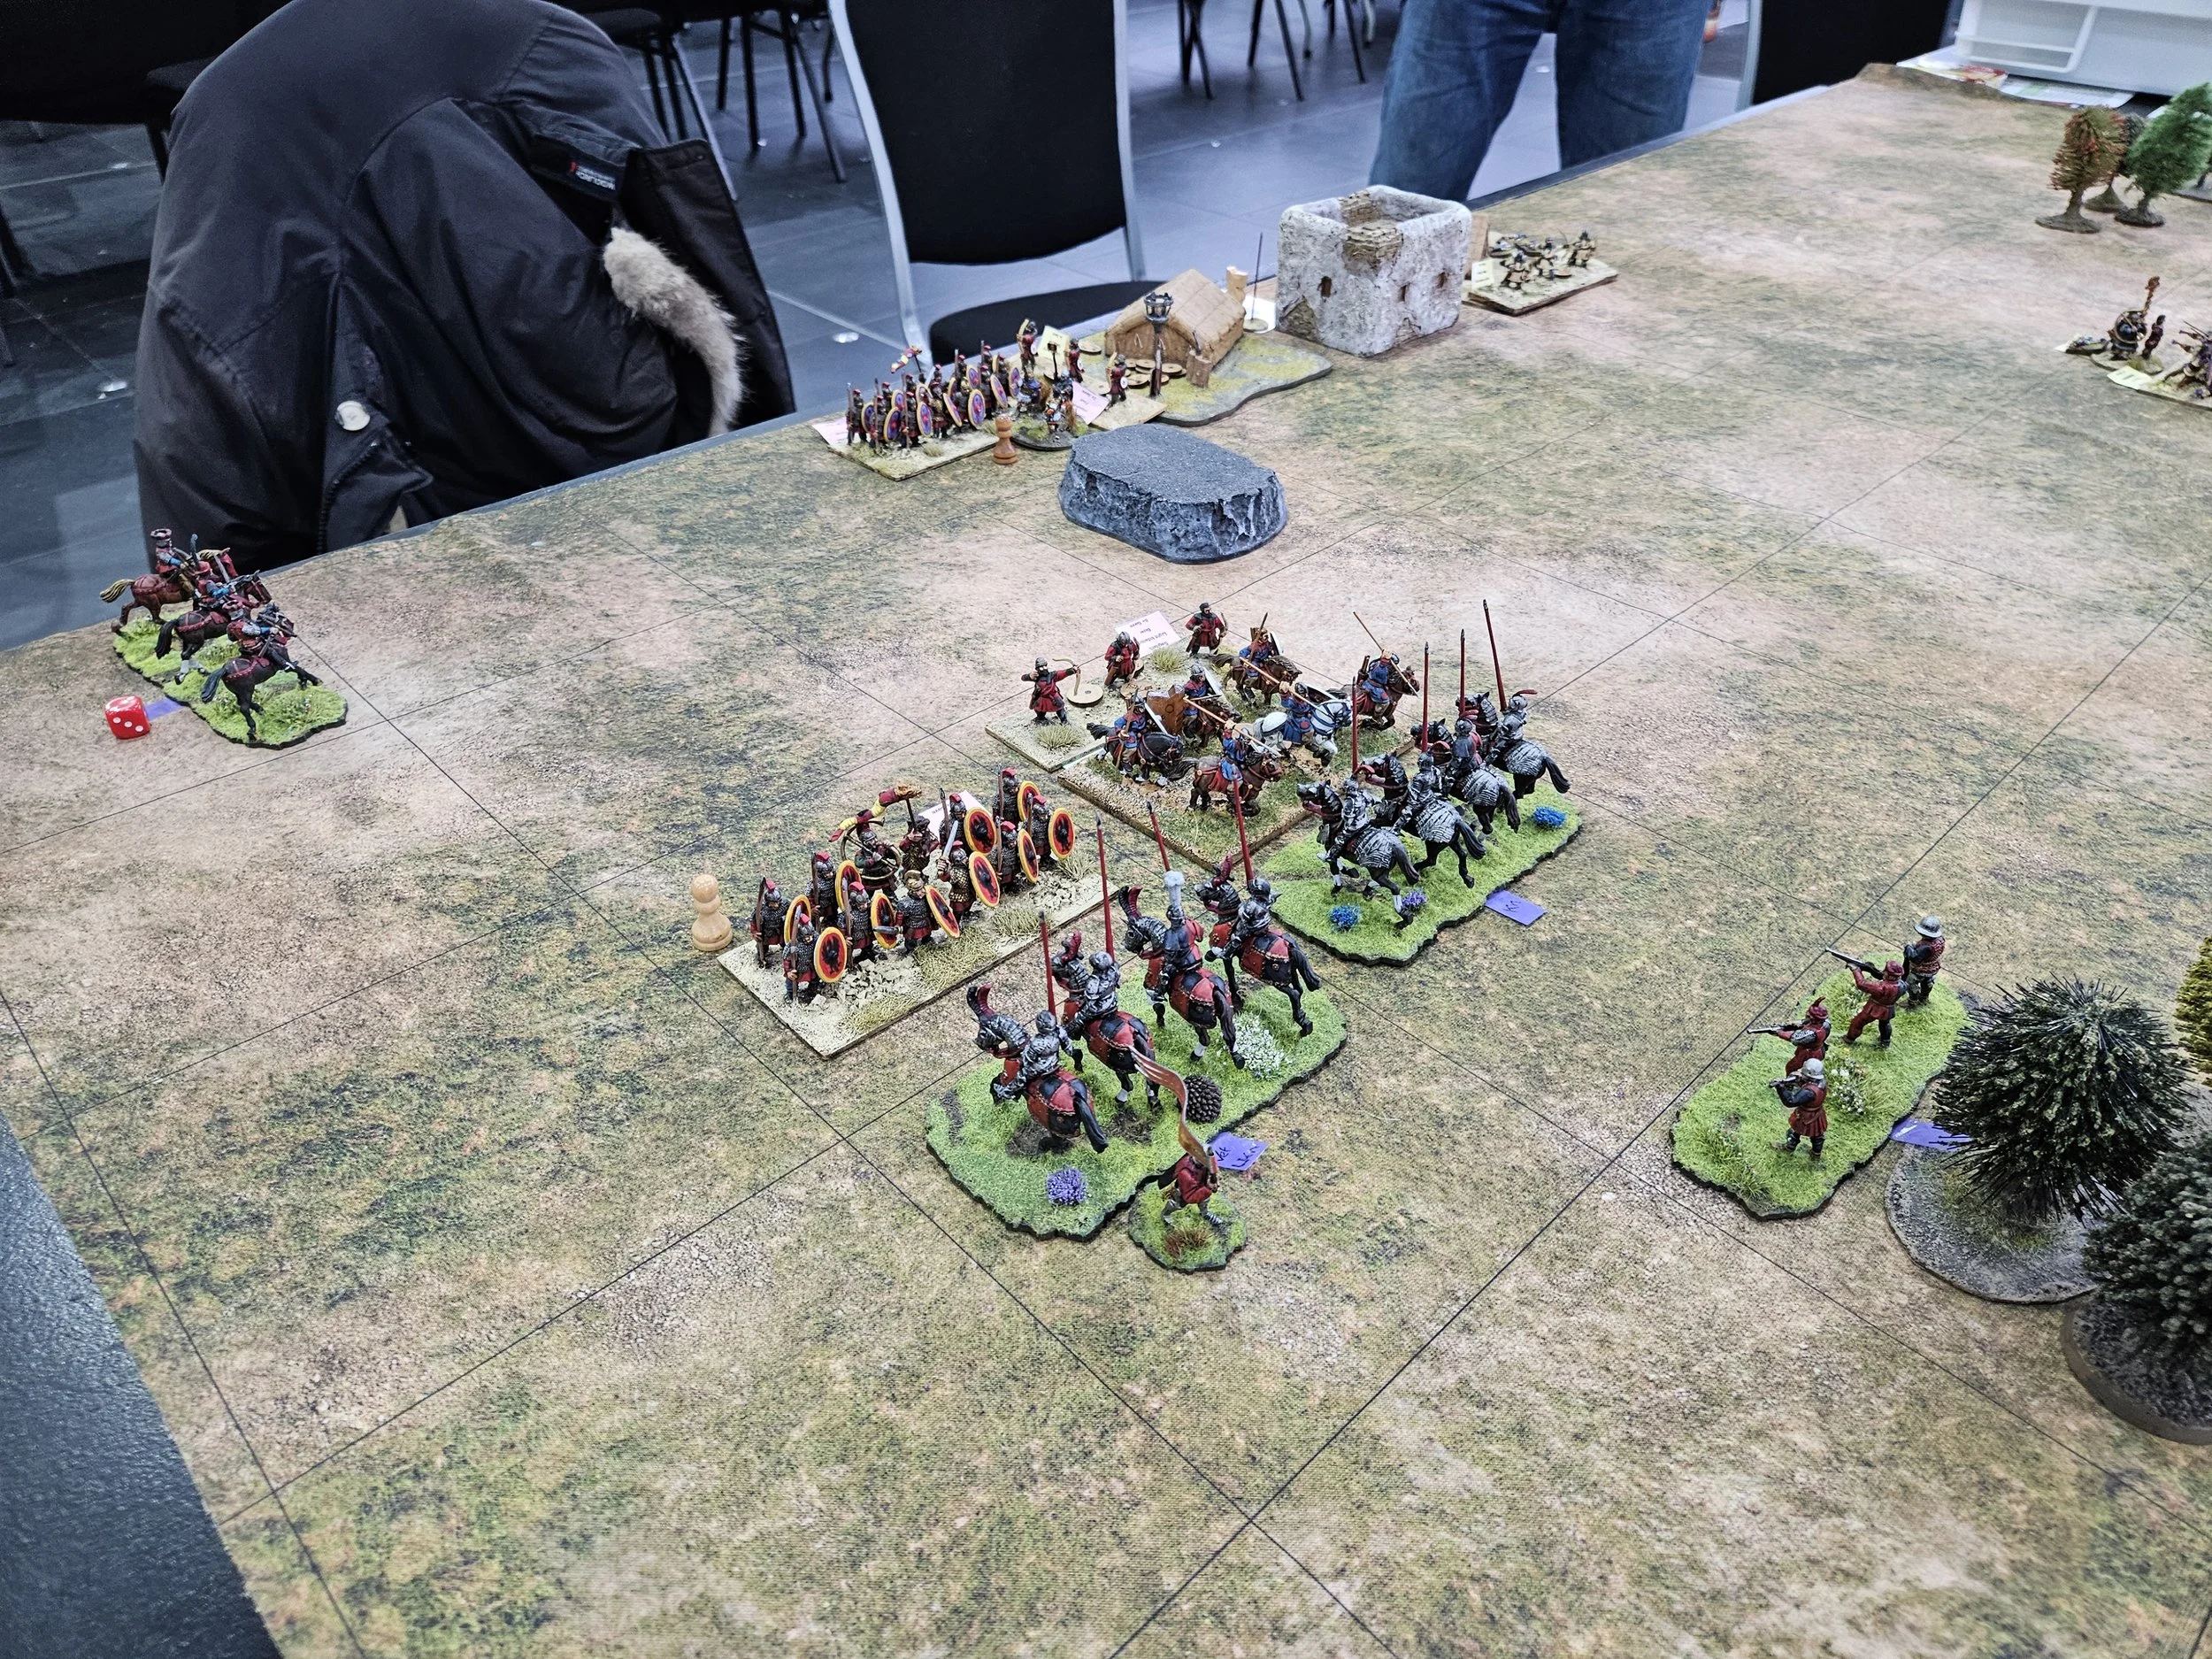
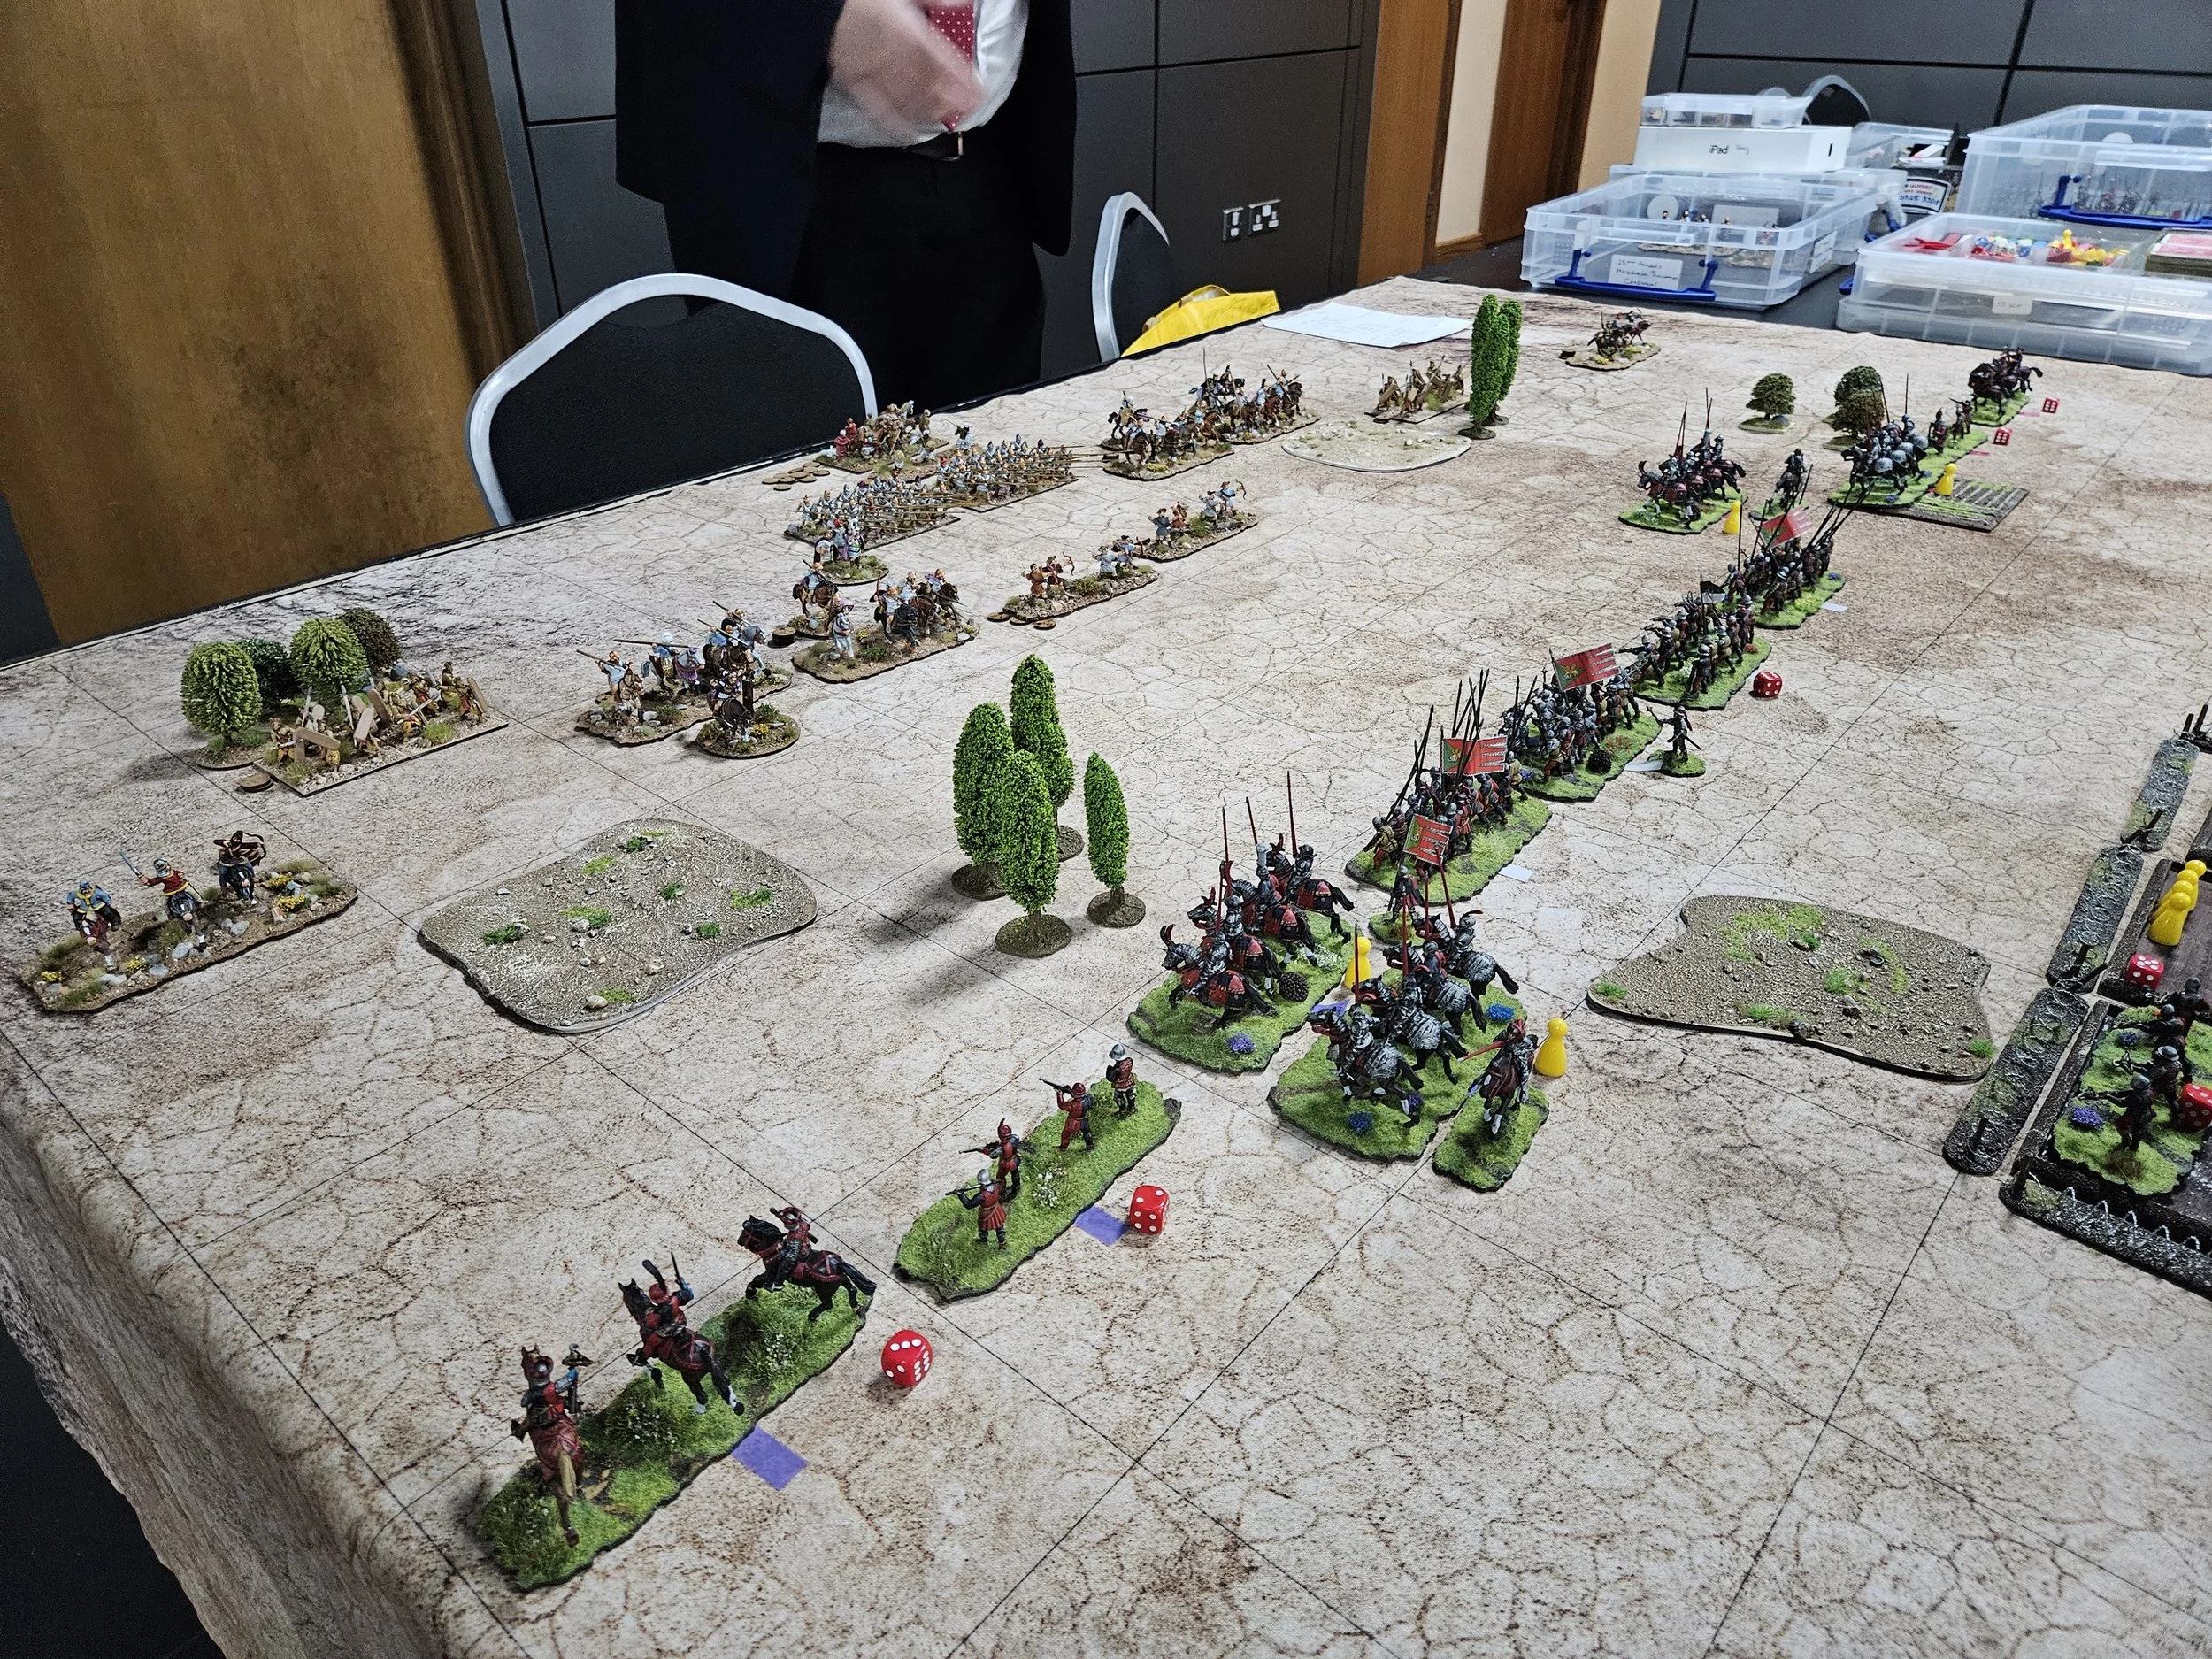
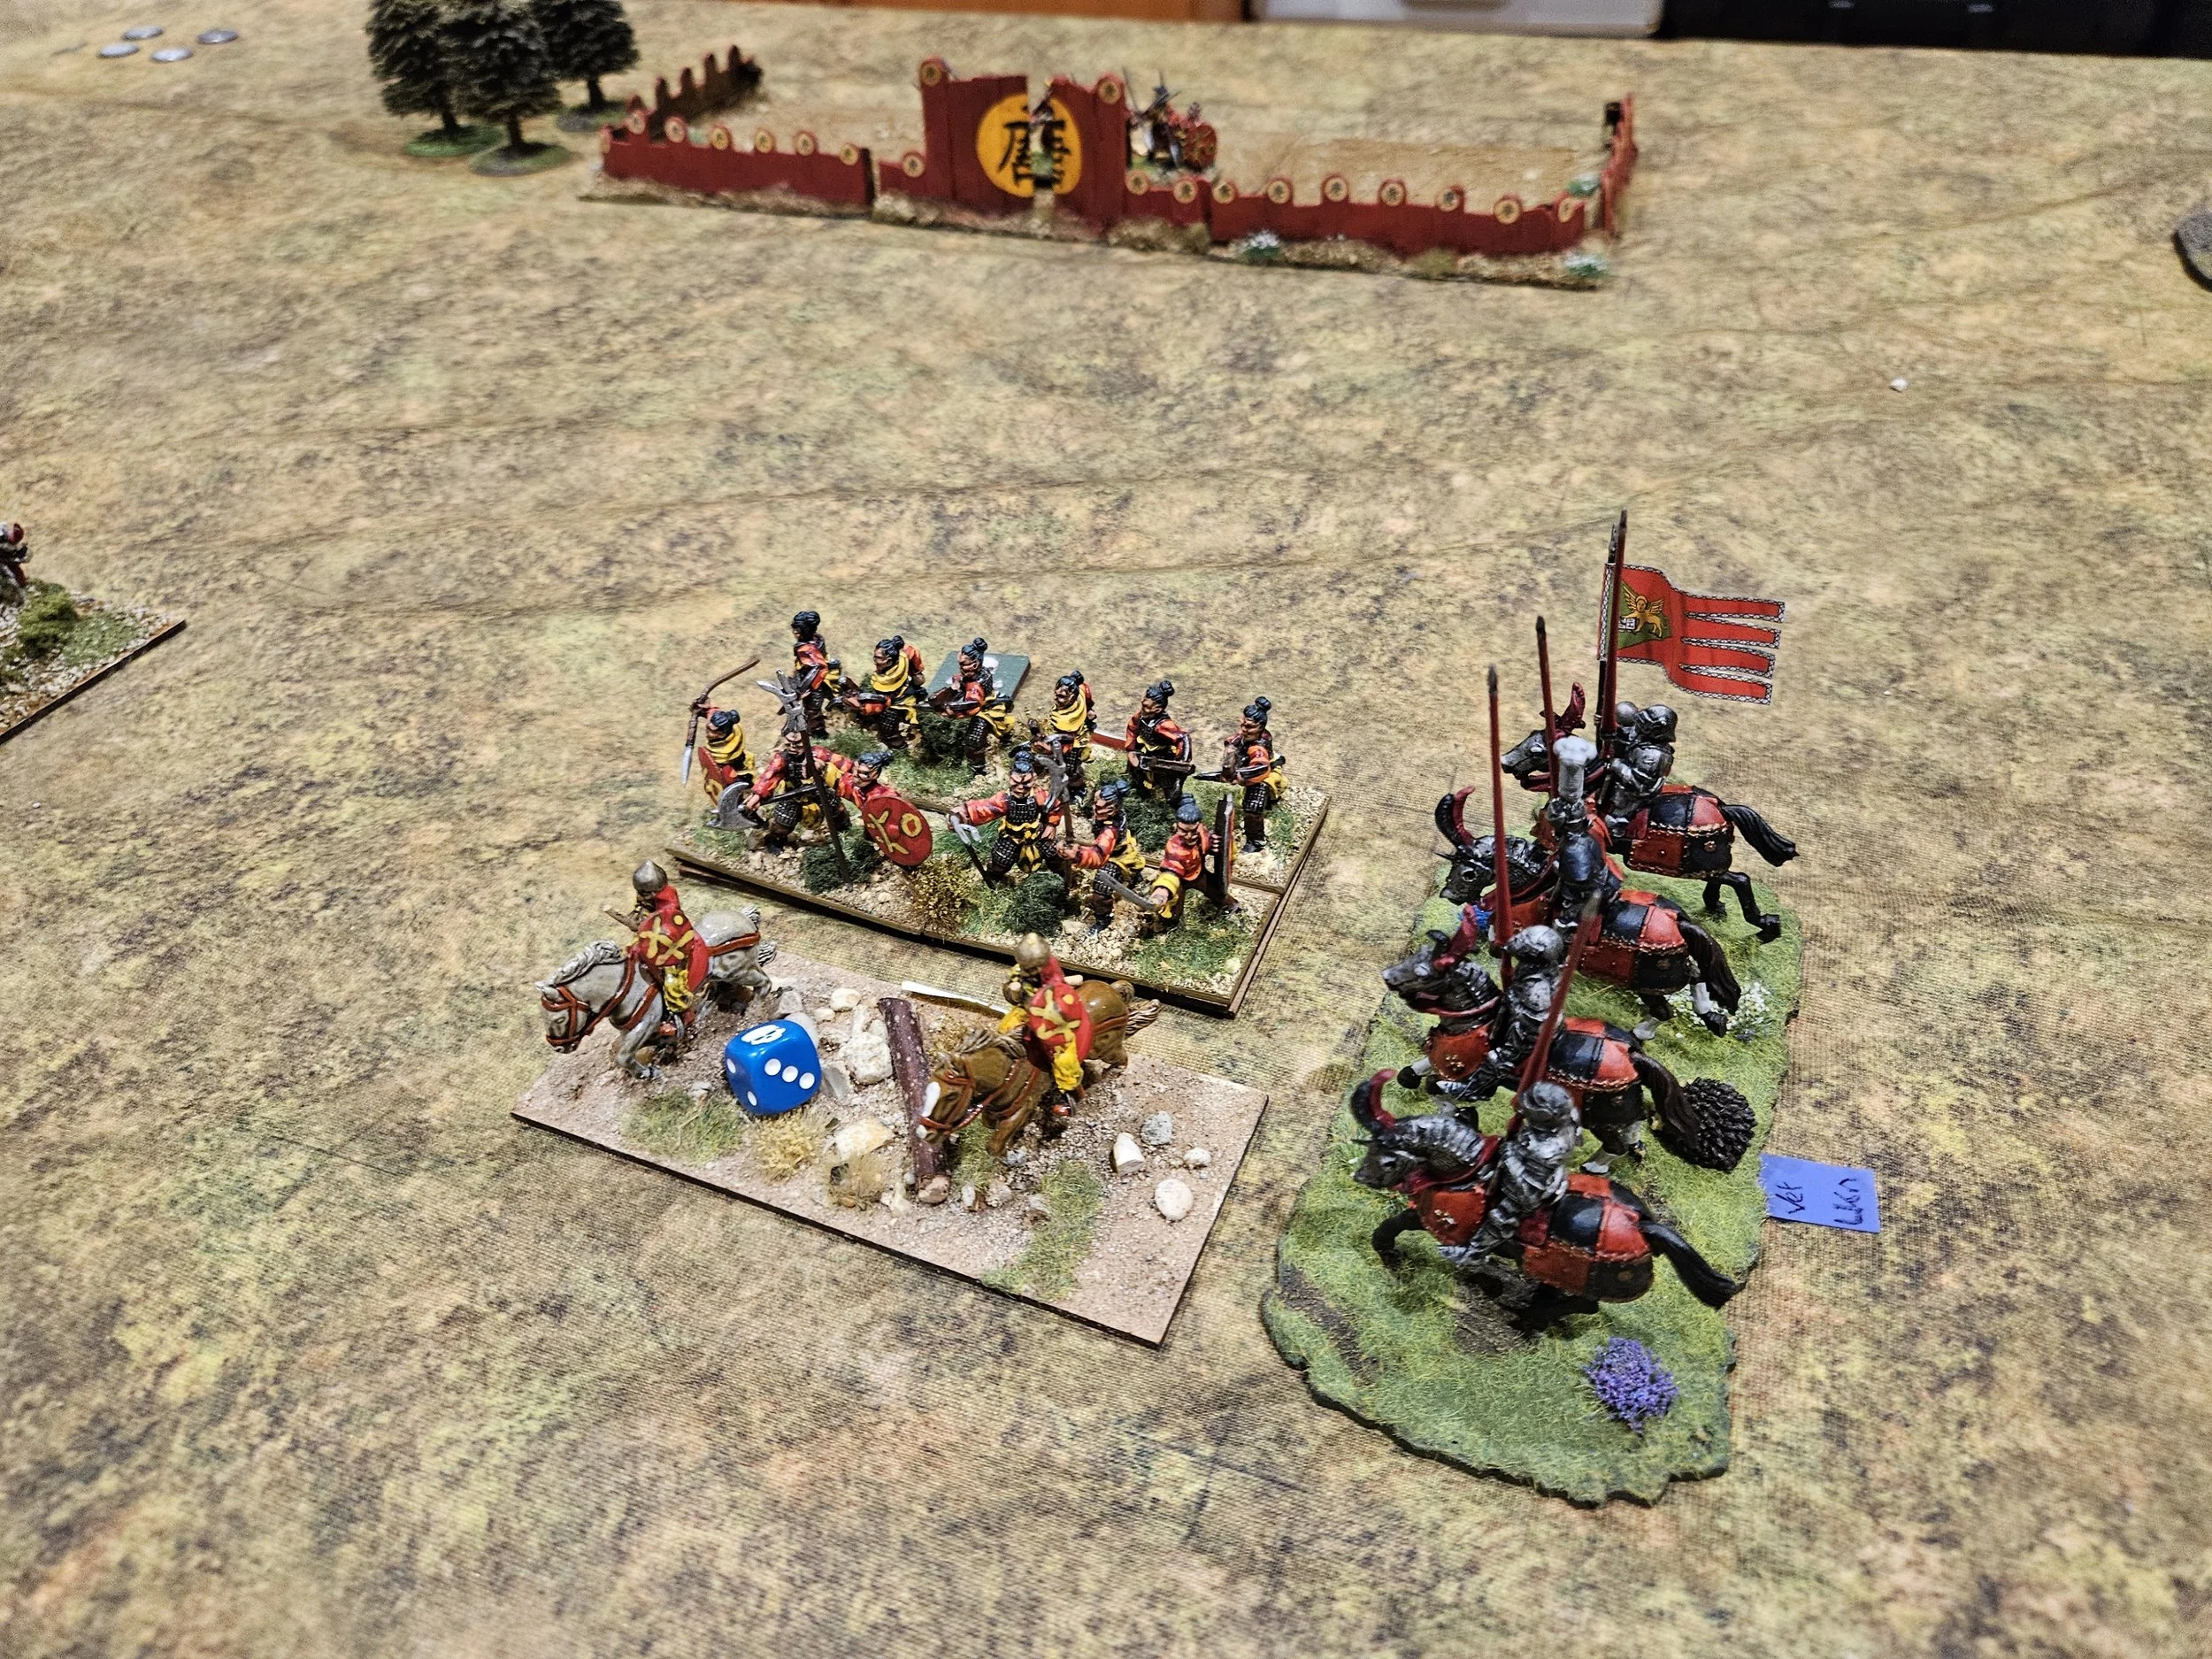
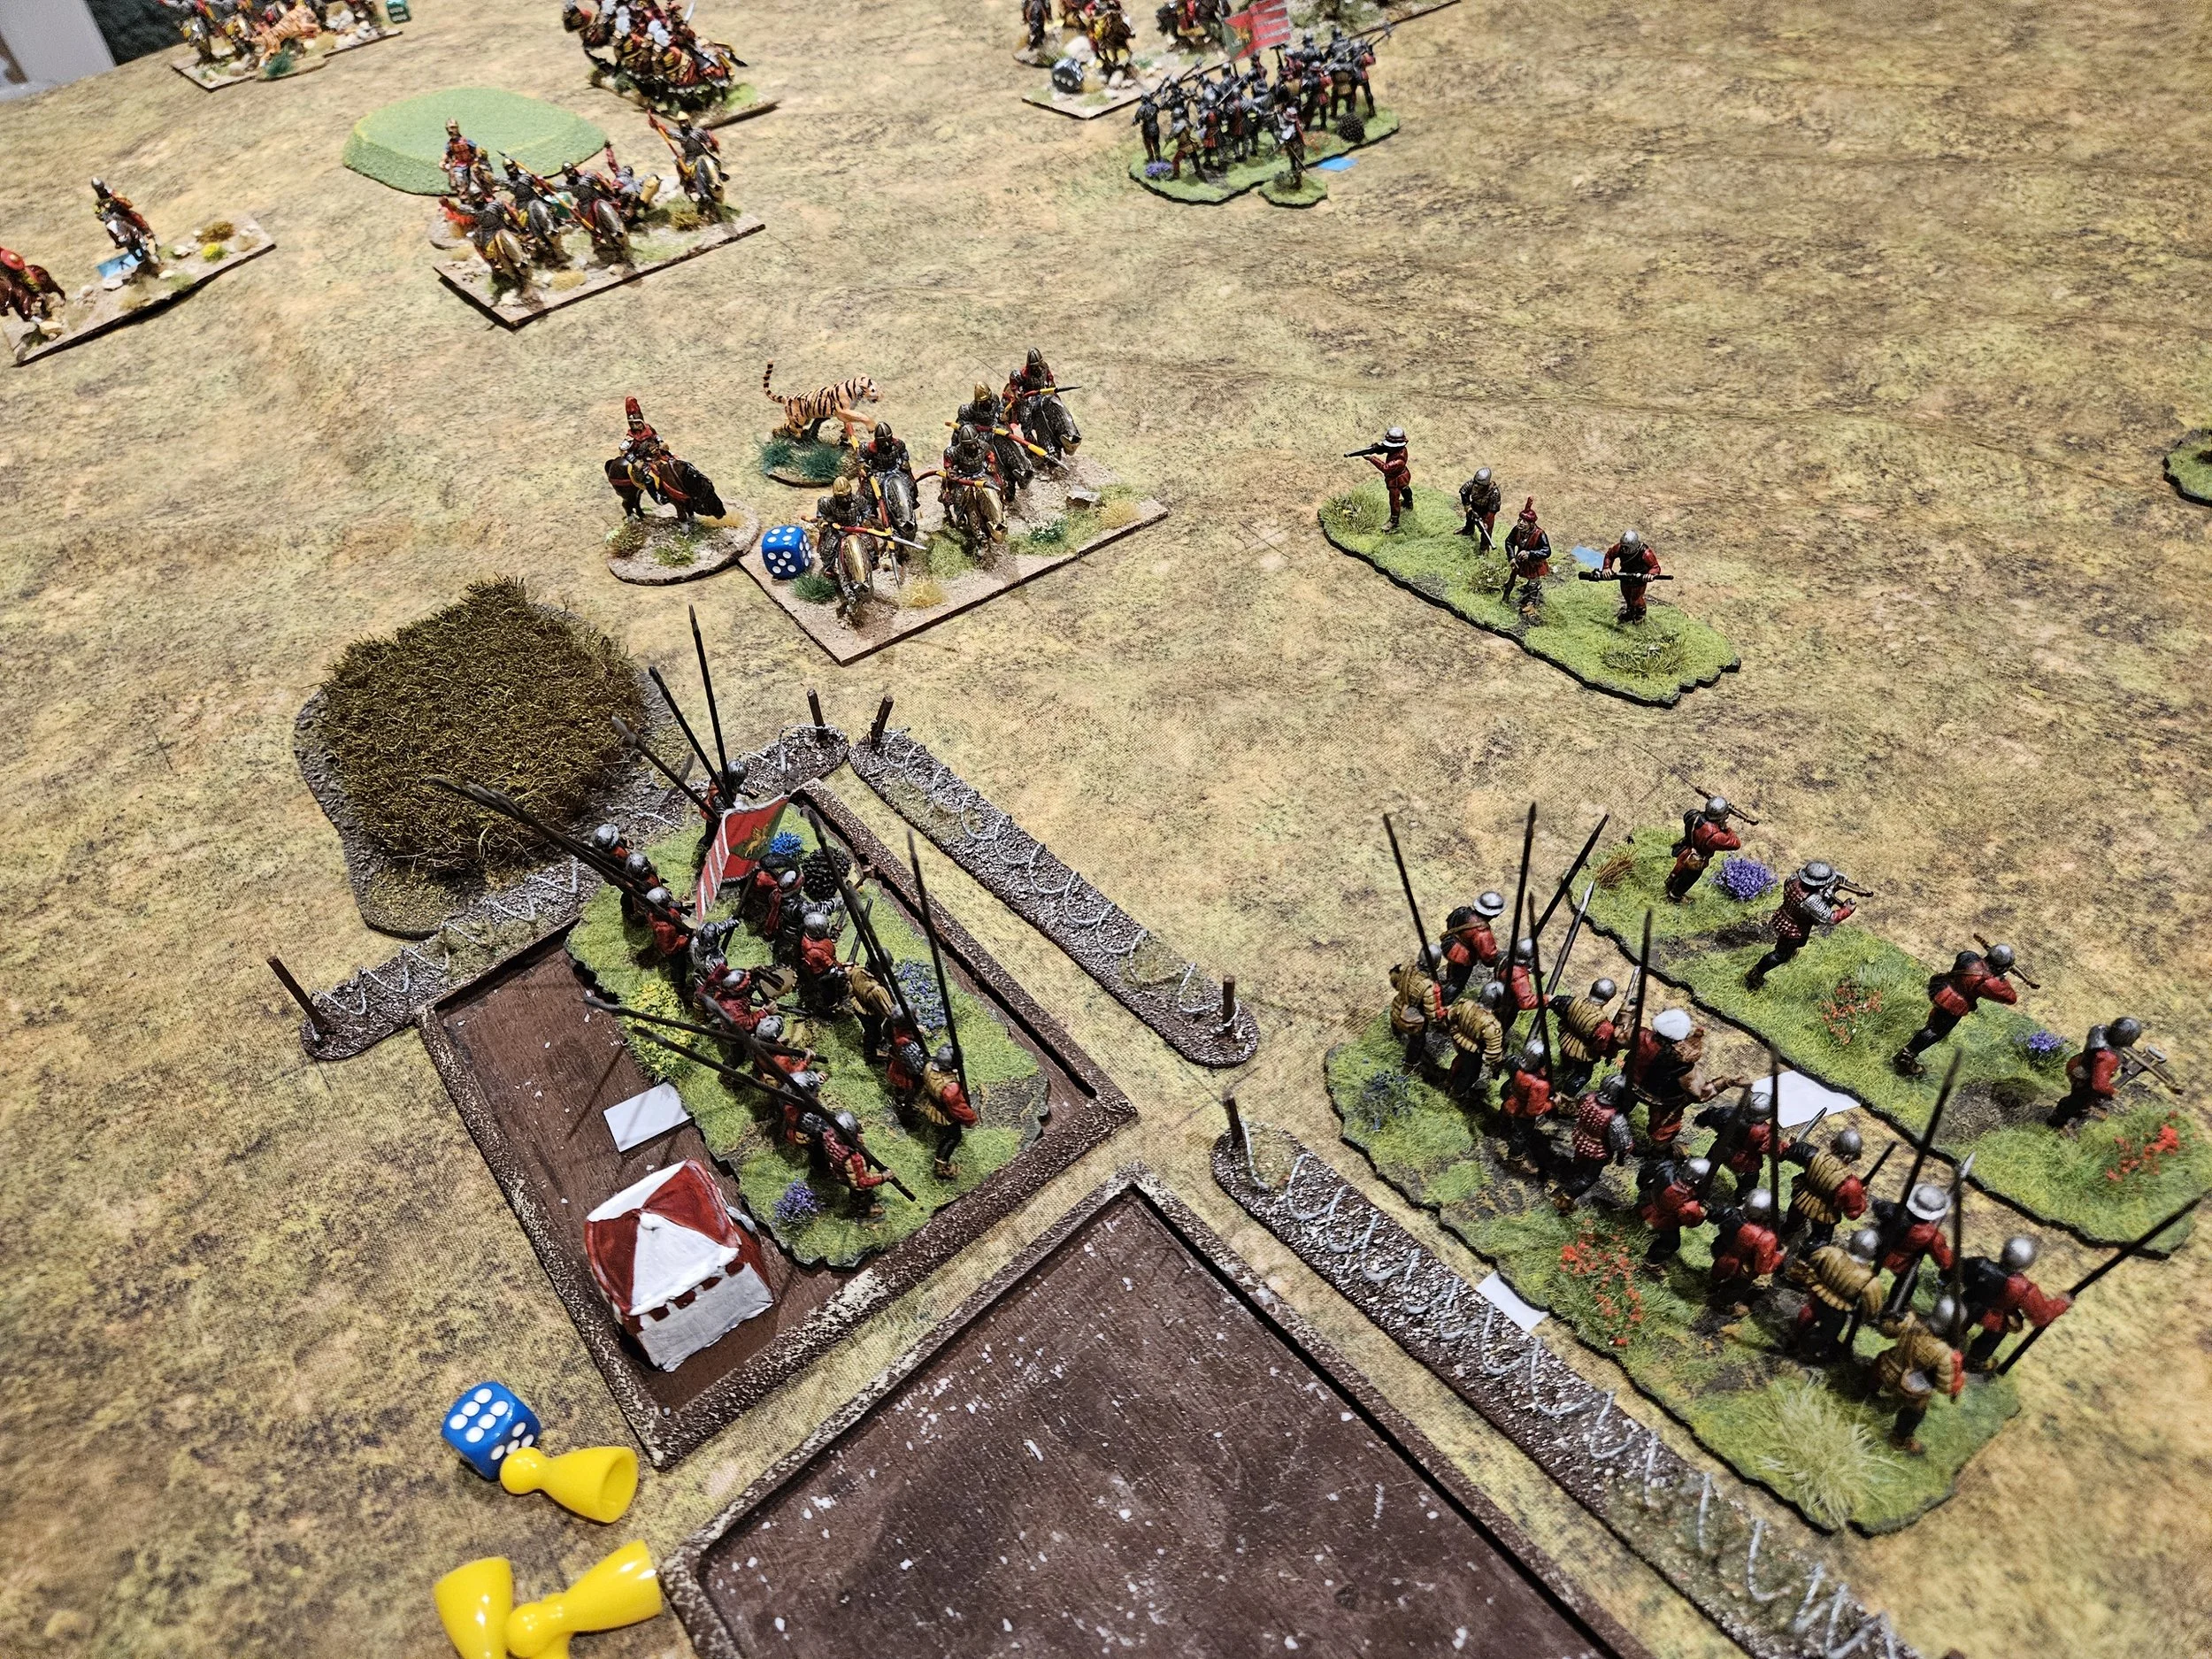
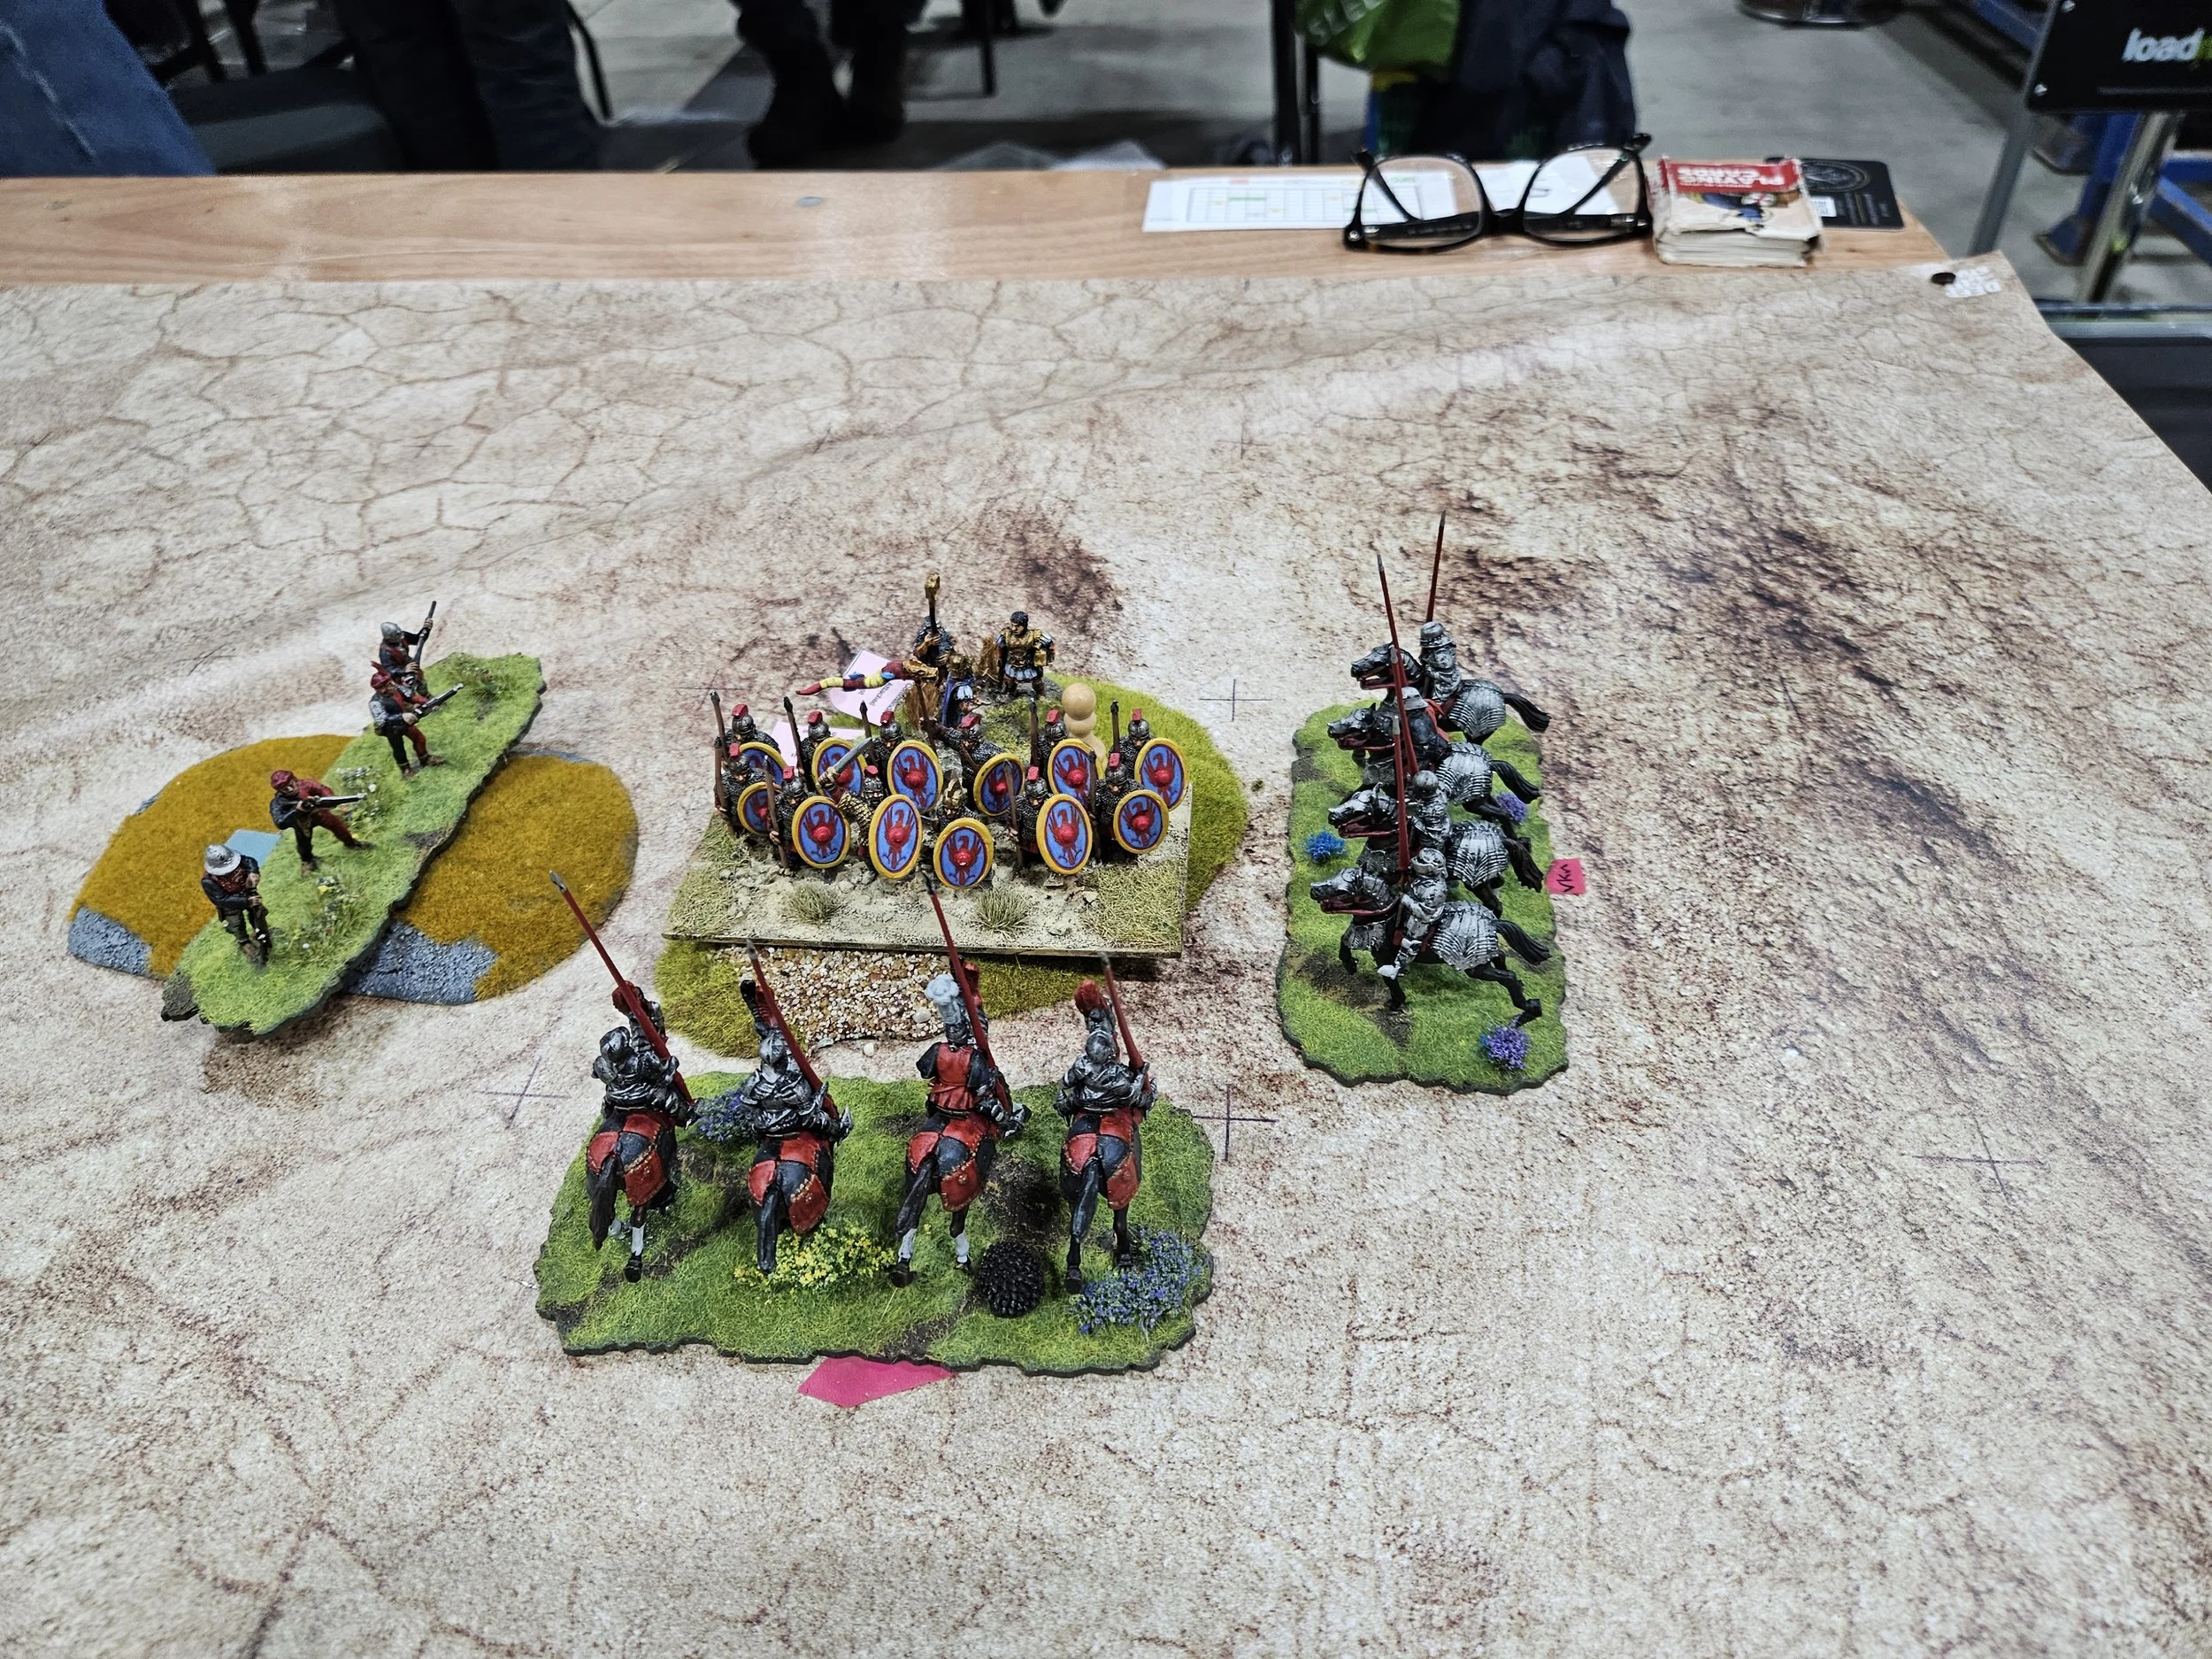
Meanwhile, on the left, my other knights punched a hole in the end of the Arab line and, supported by the Alabardiers, managed to get into a position to first threaten, then take the one of the enemy camps


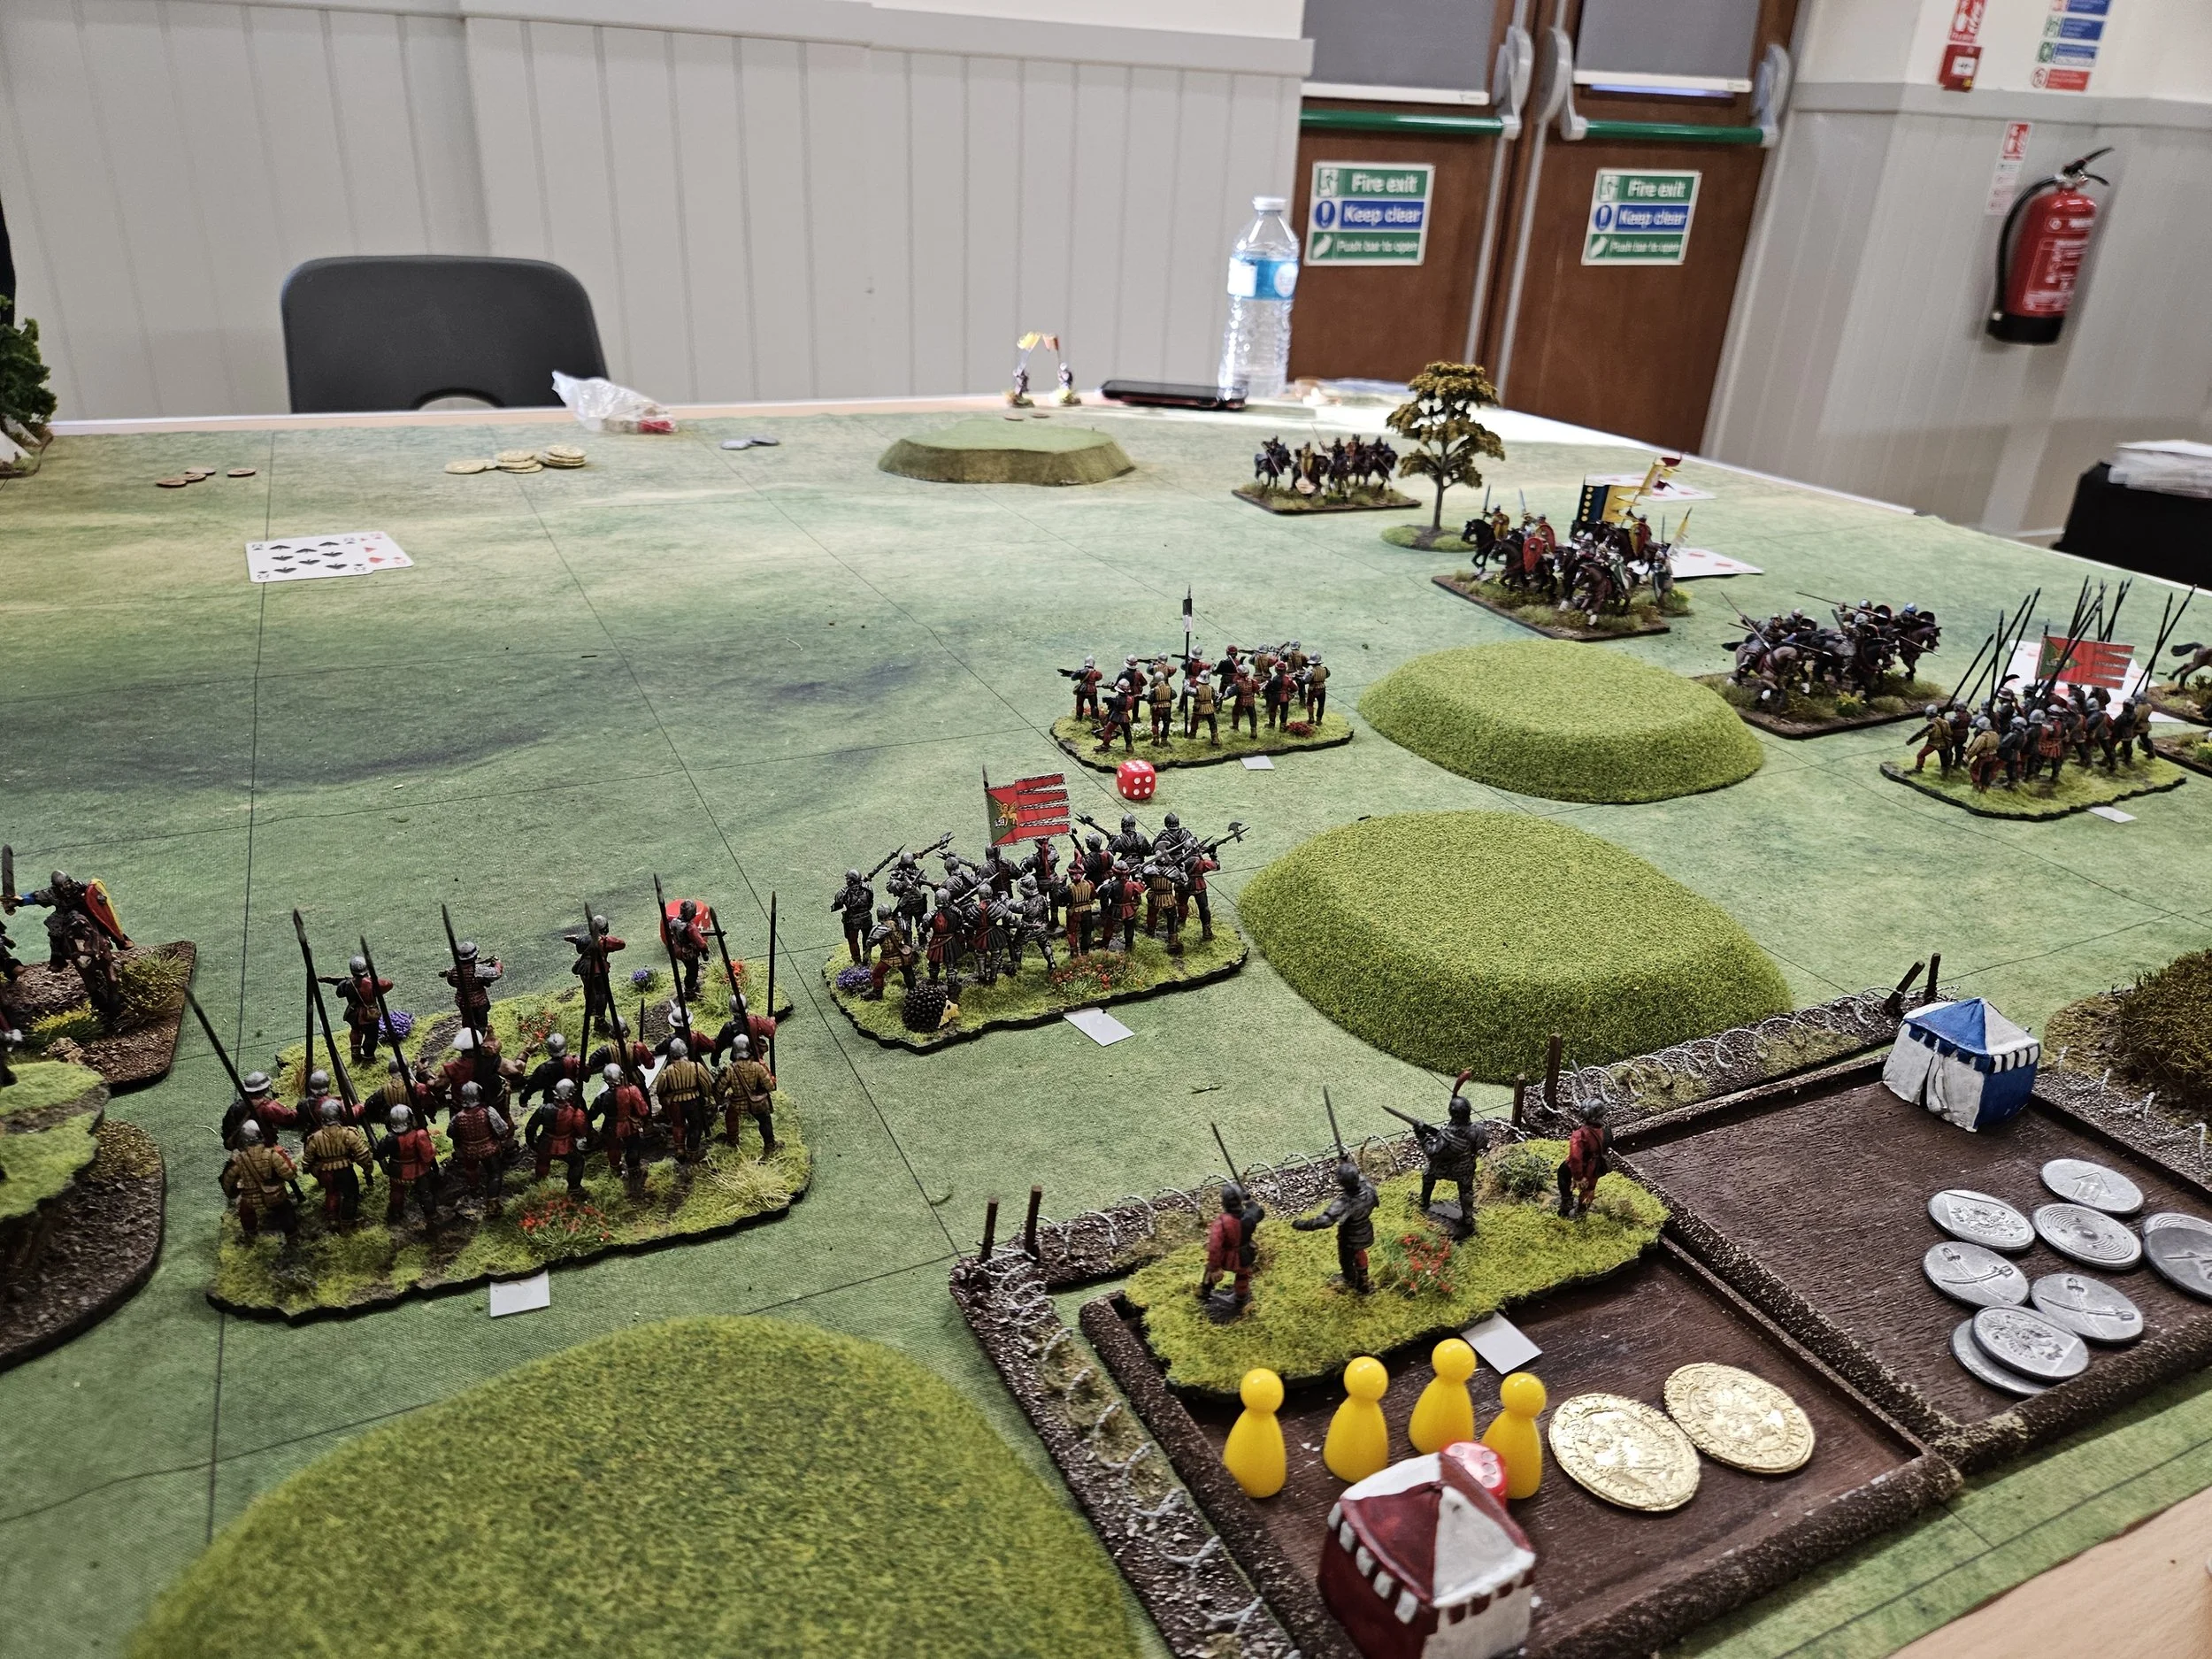
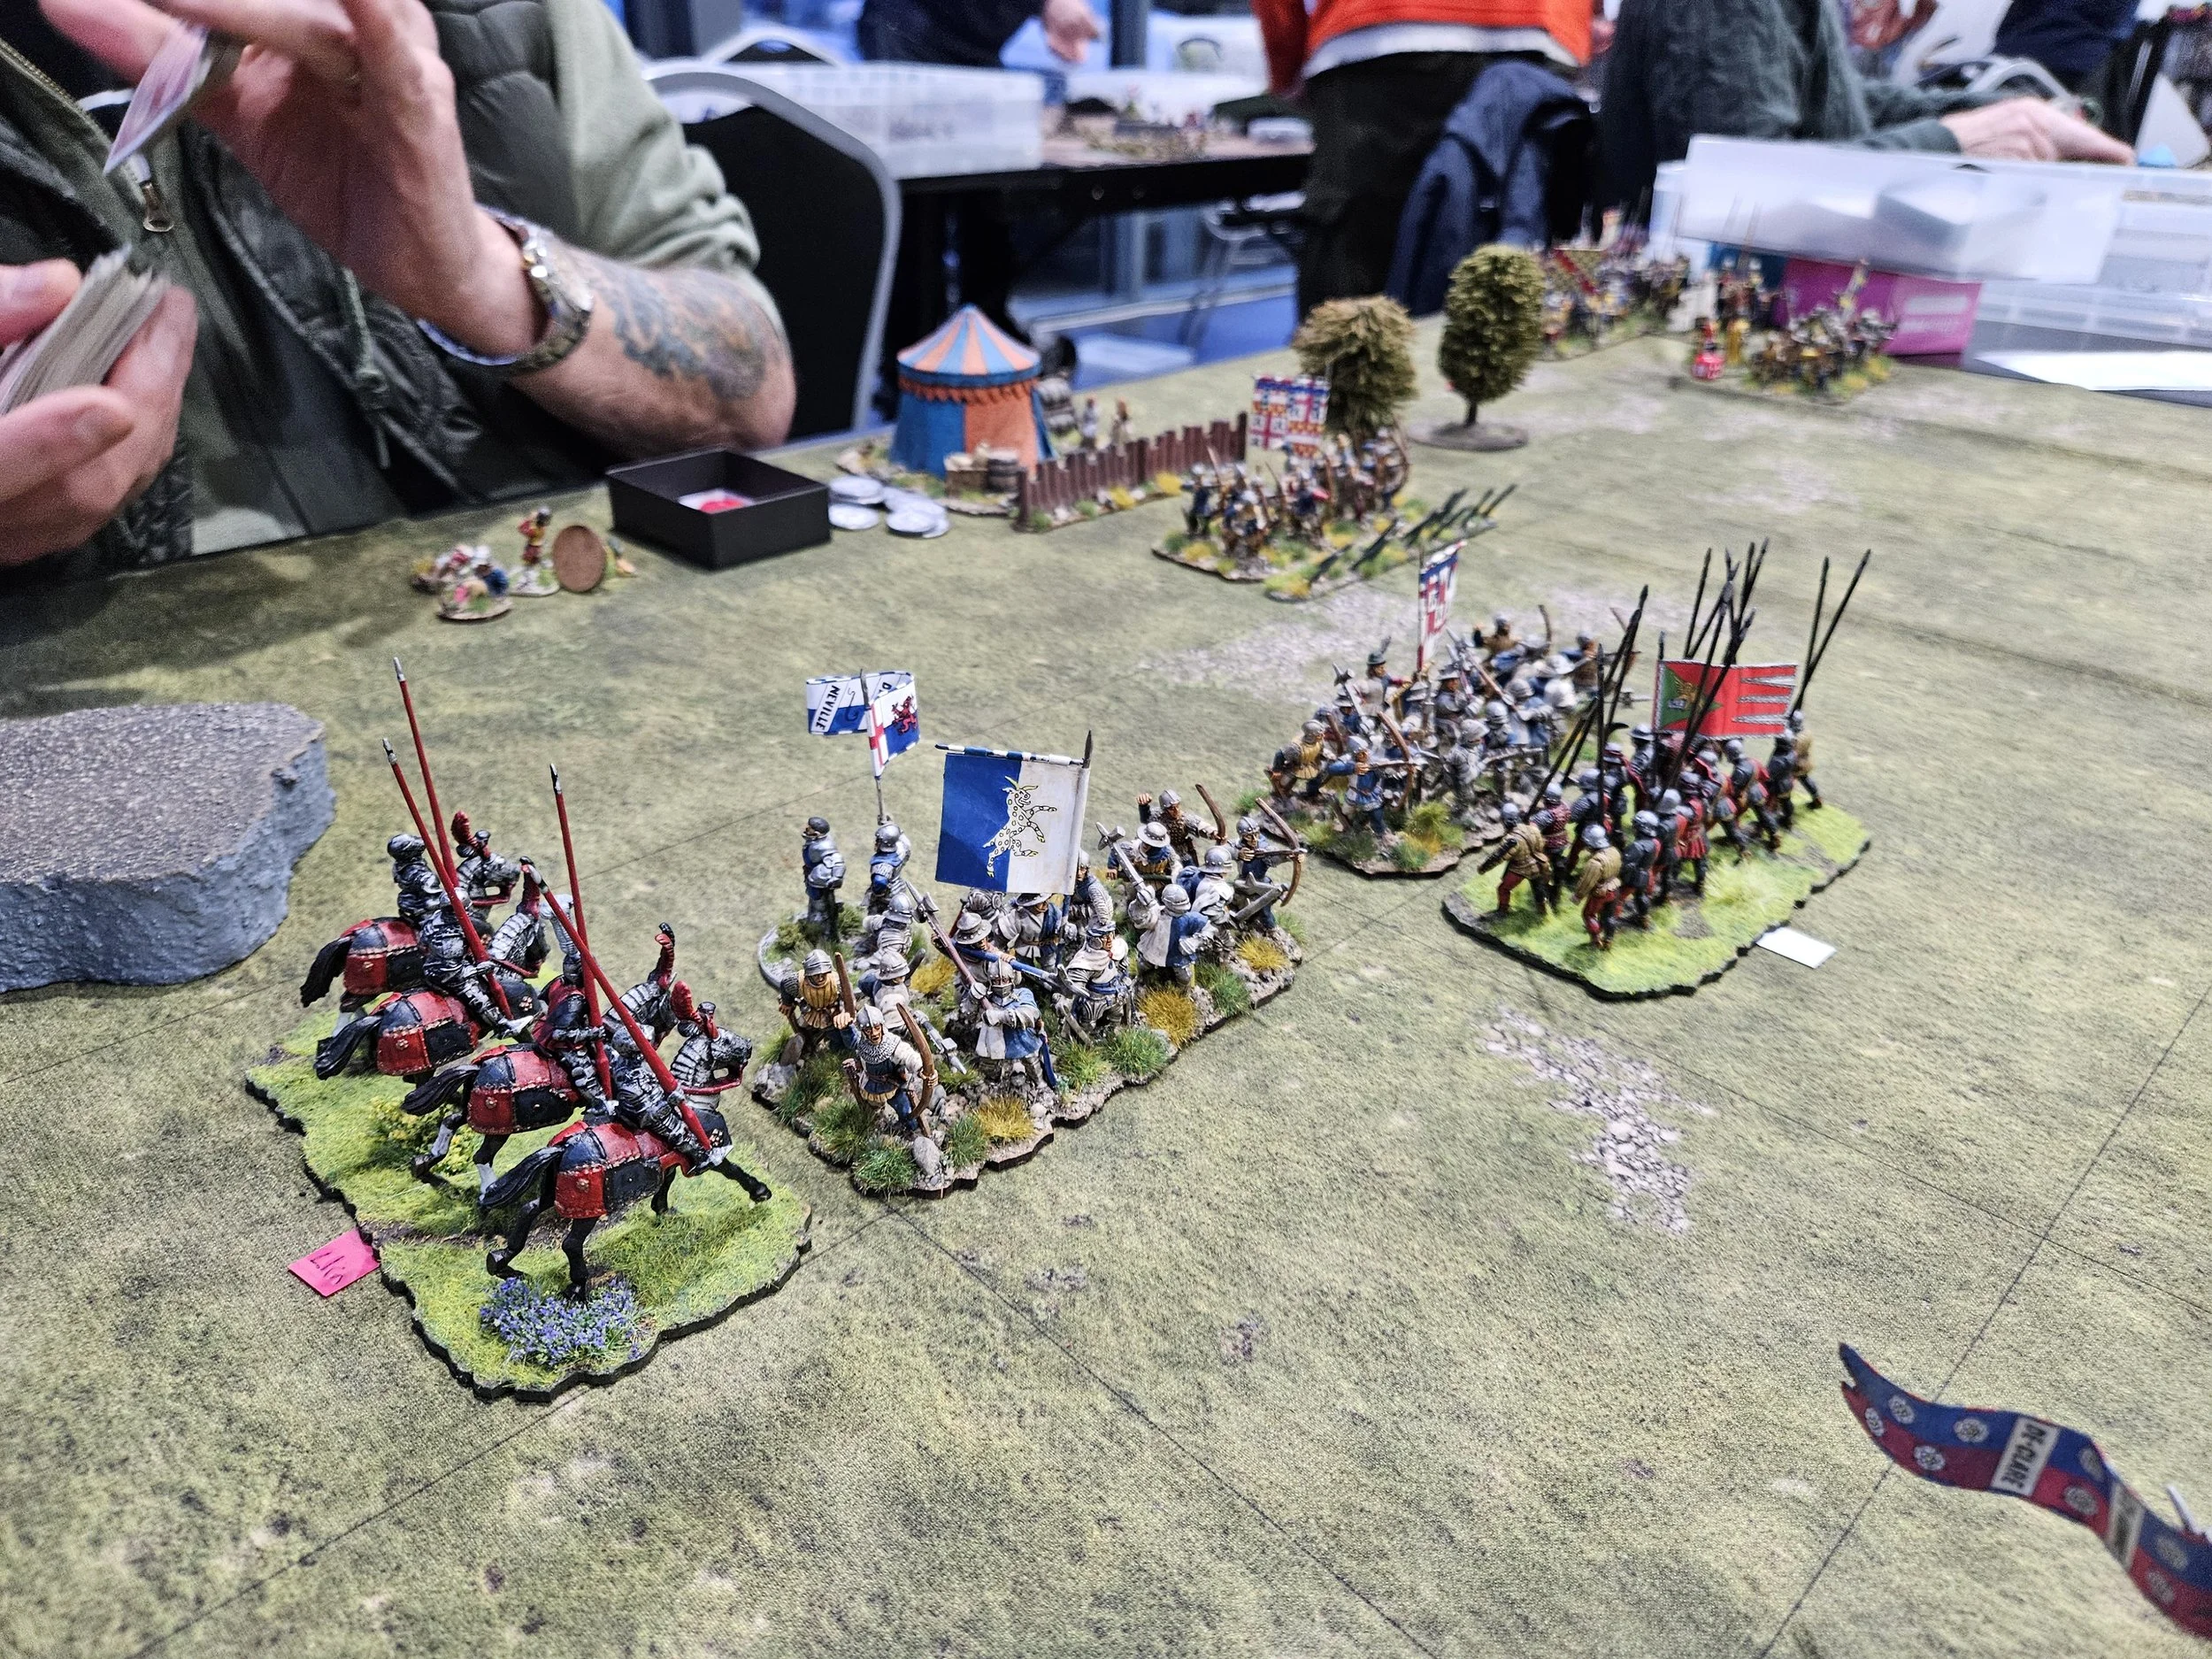
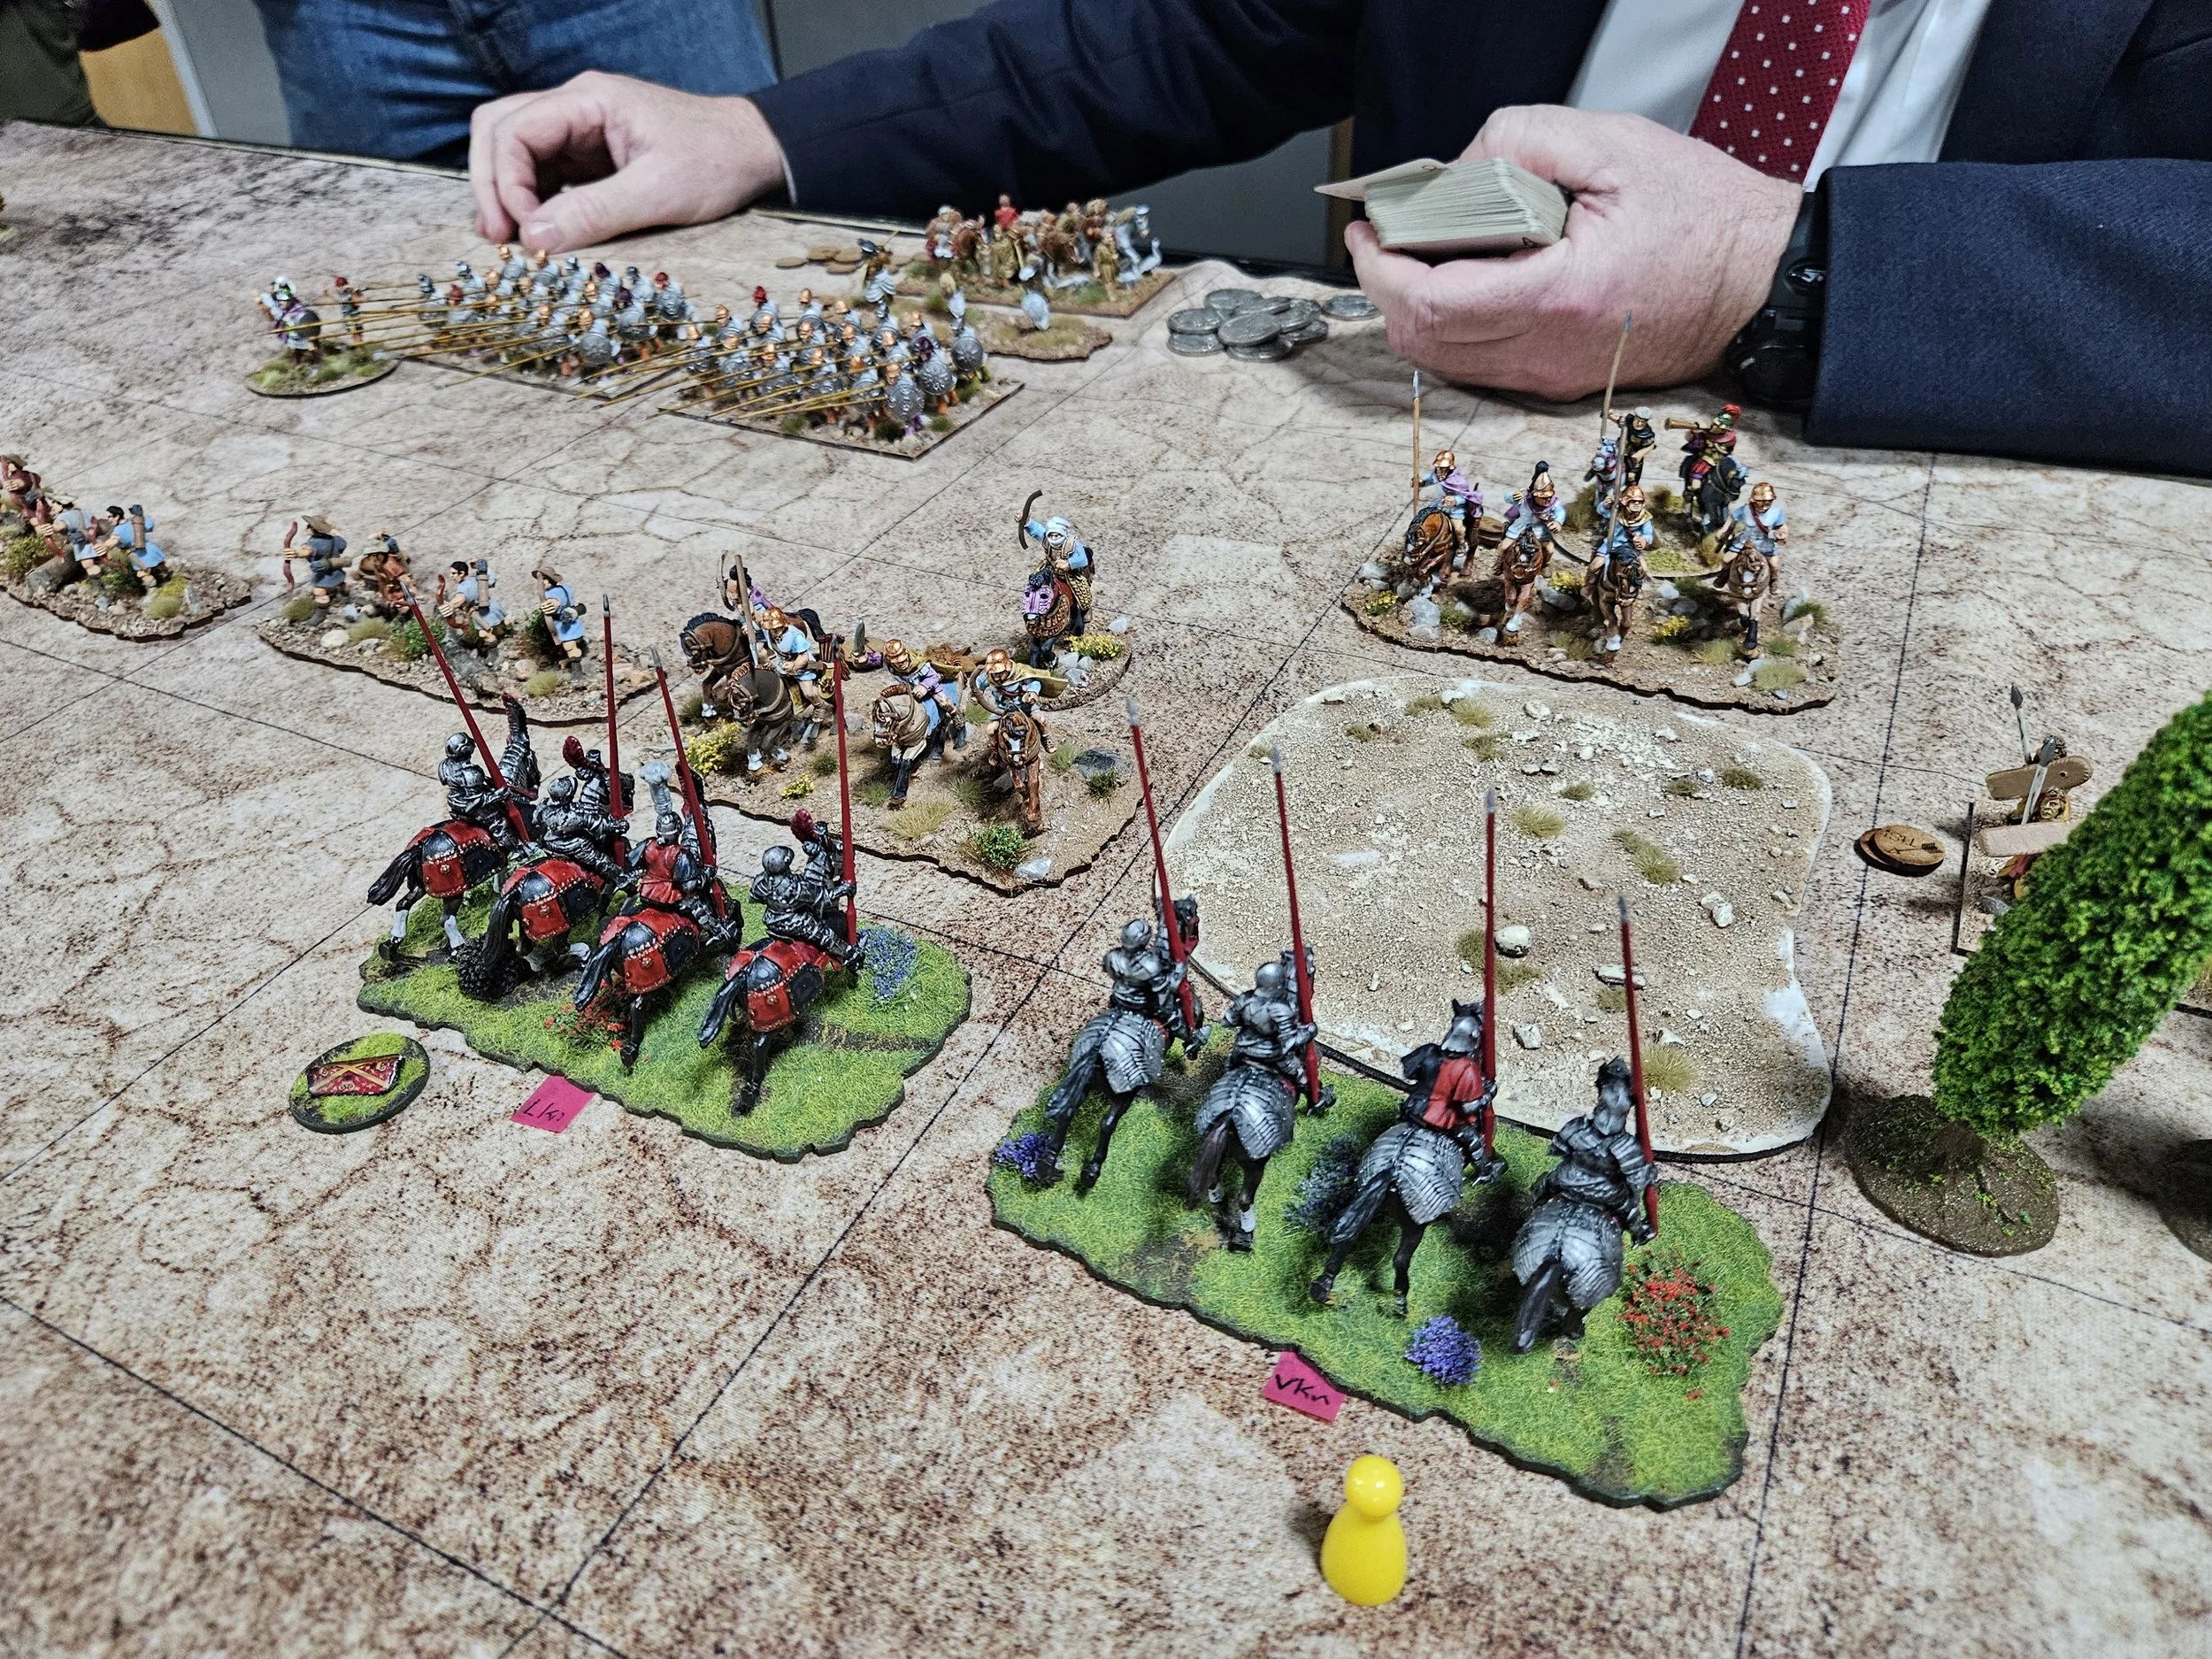
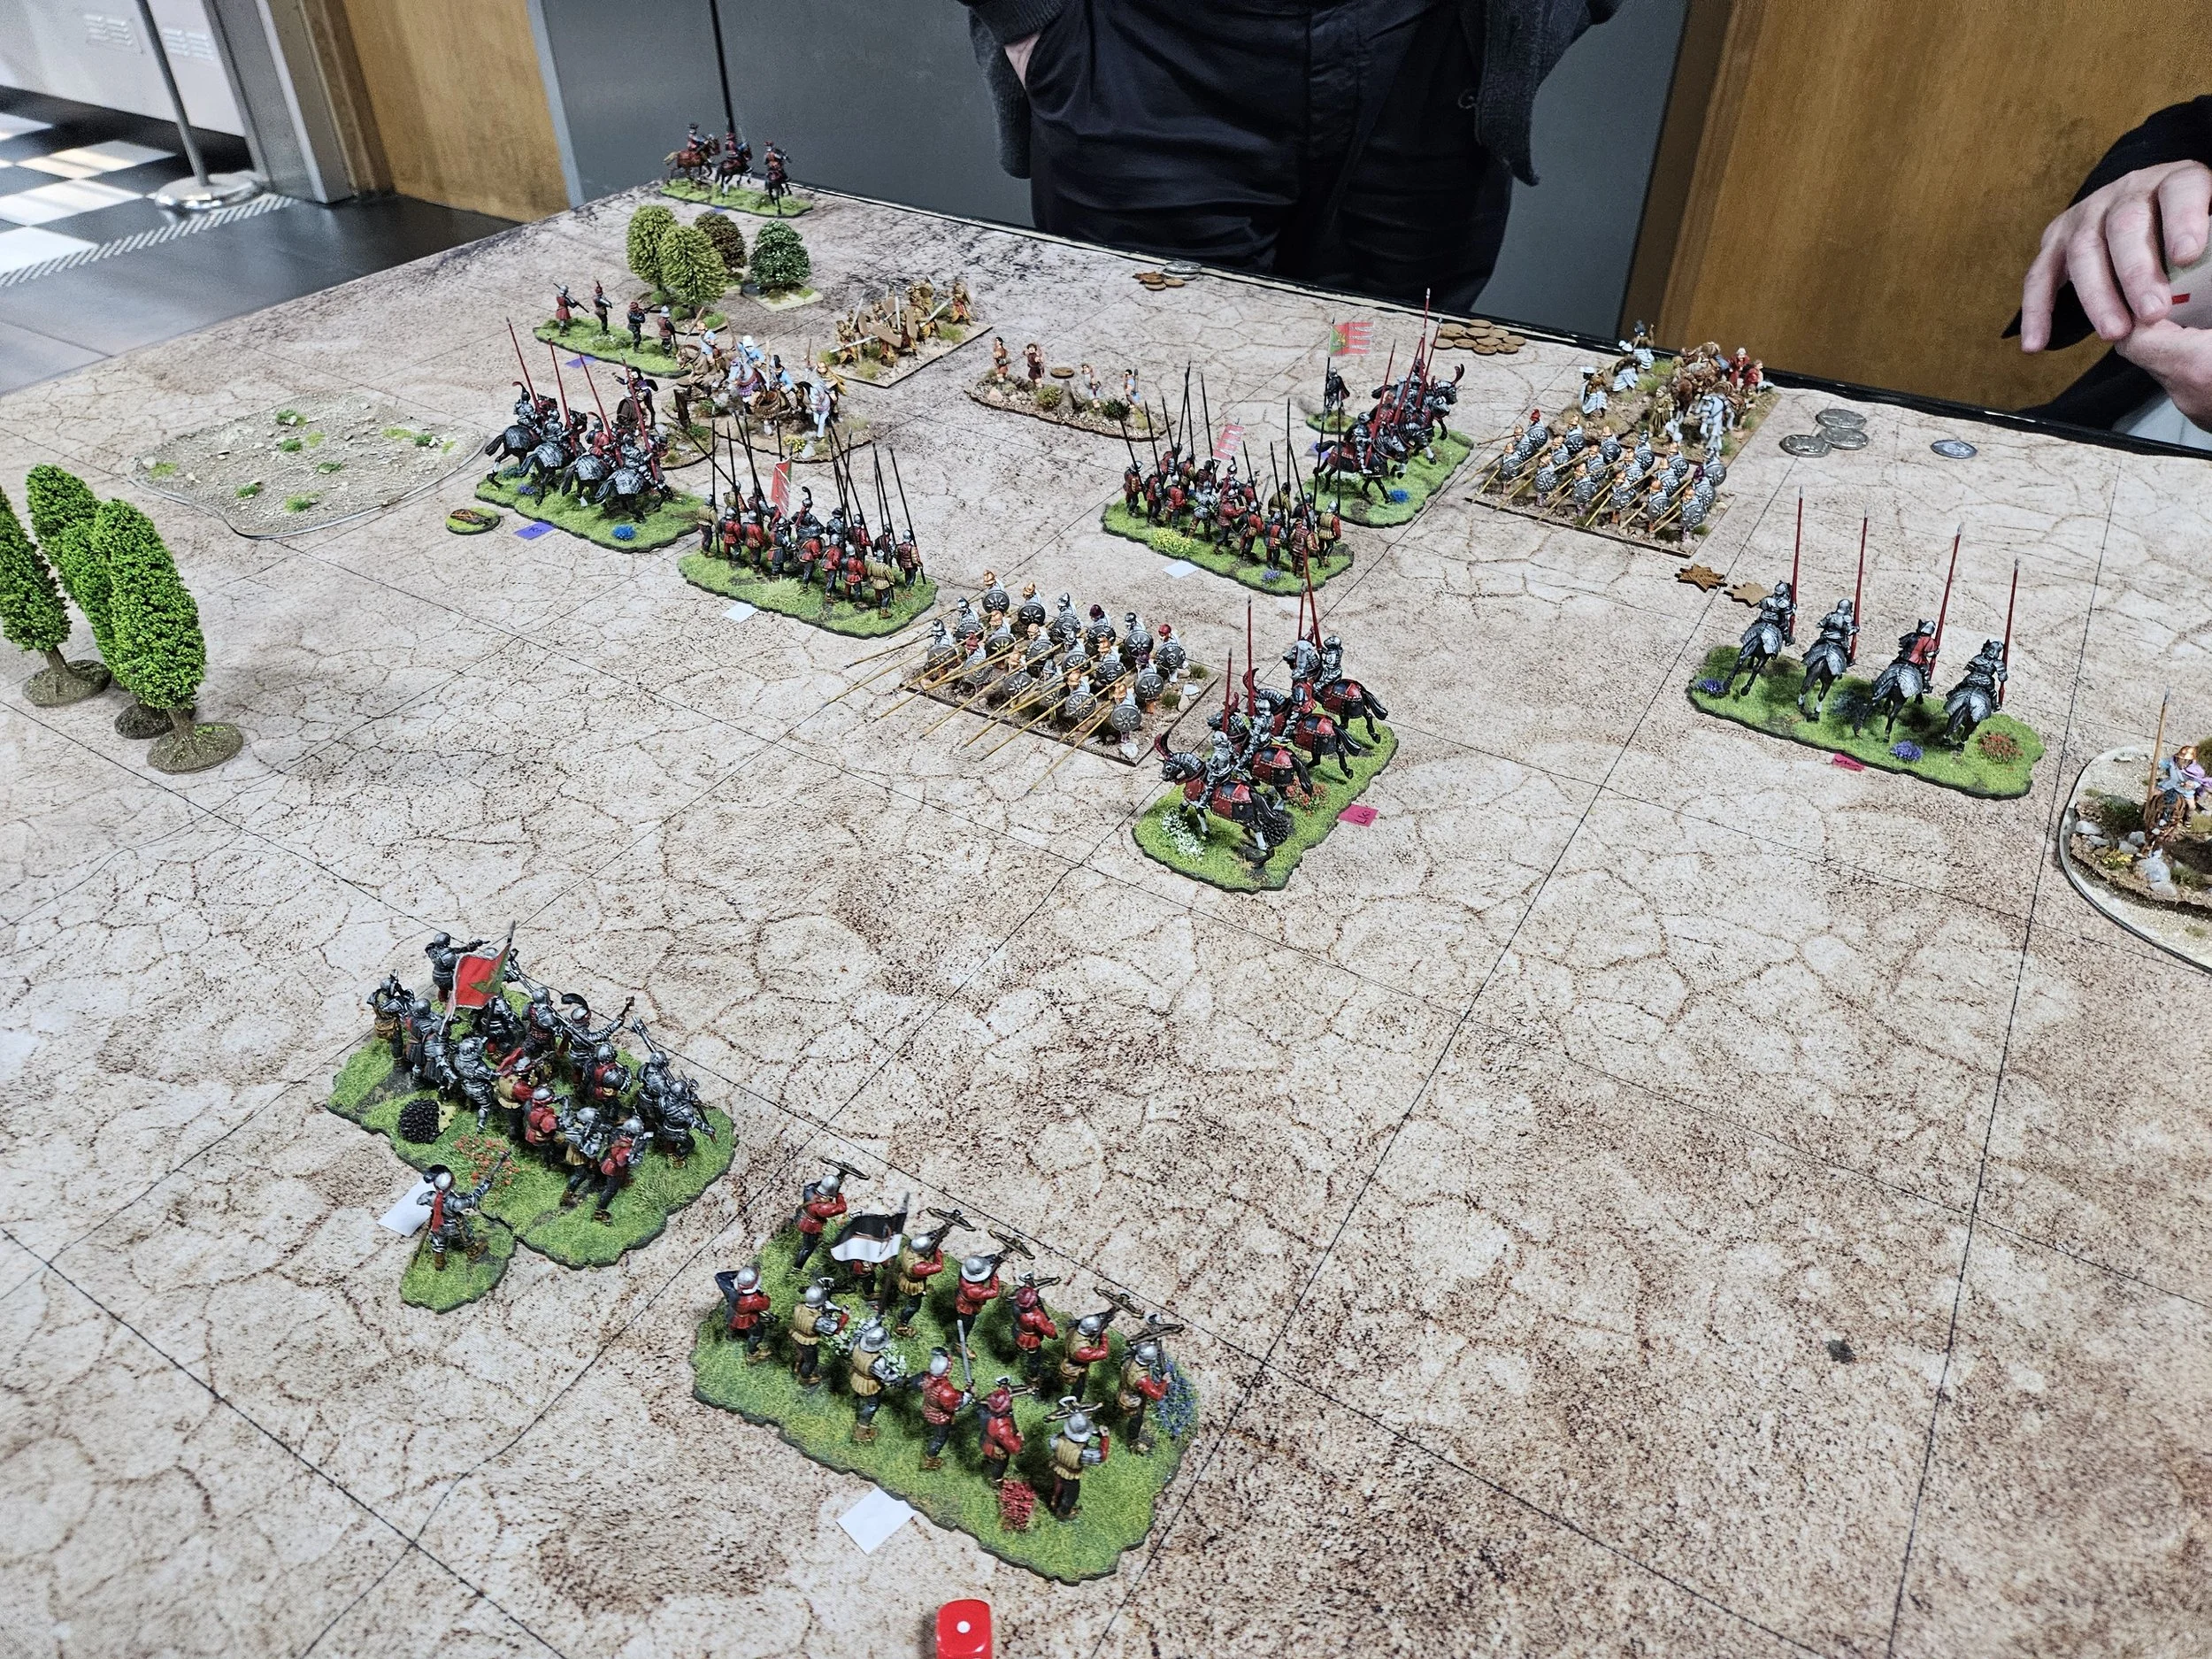
With the general I had killed on the right, I was now on nine coins taken, so within a couple more units of winning, but now faced two new threats.
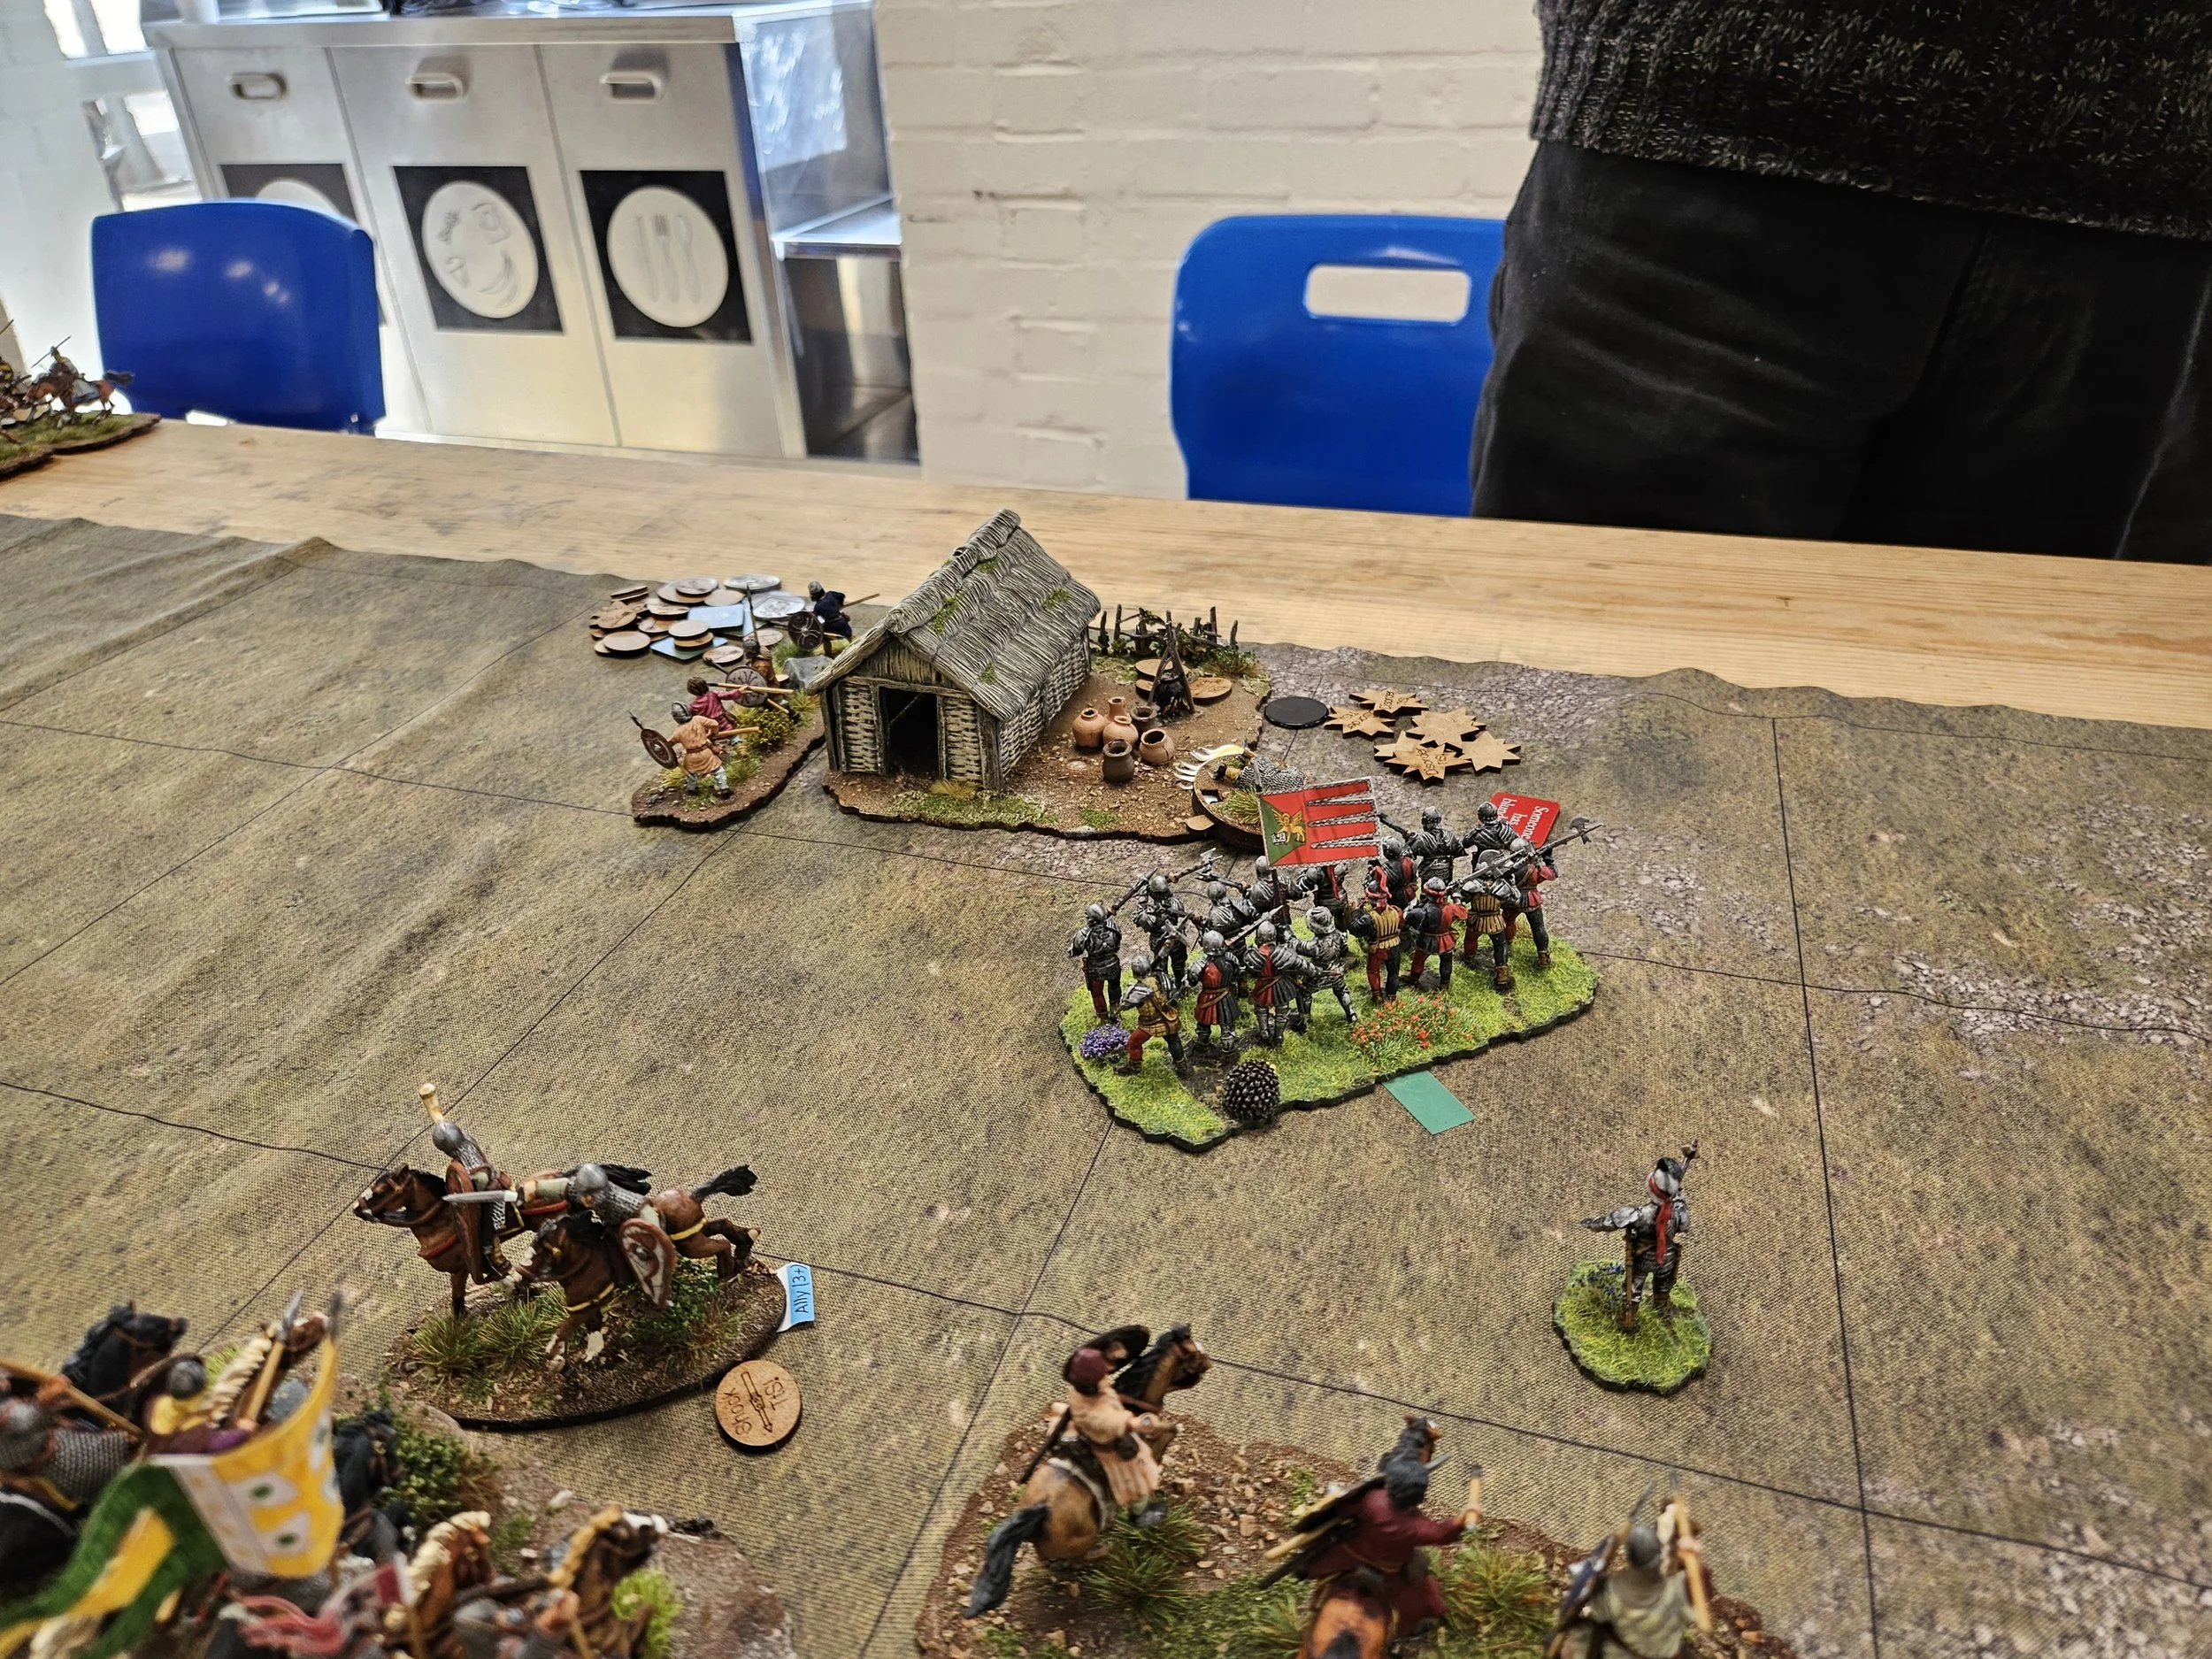
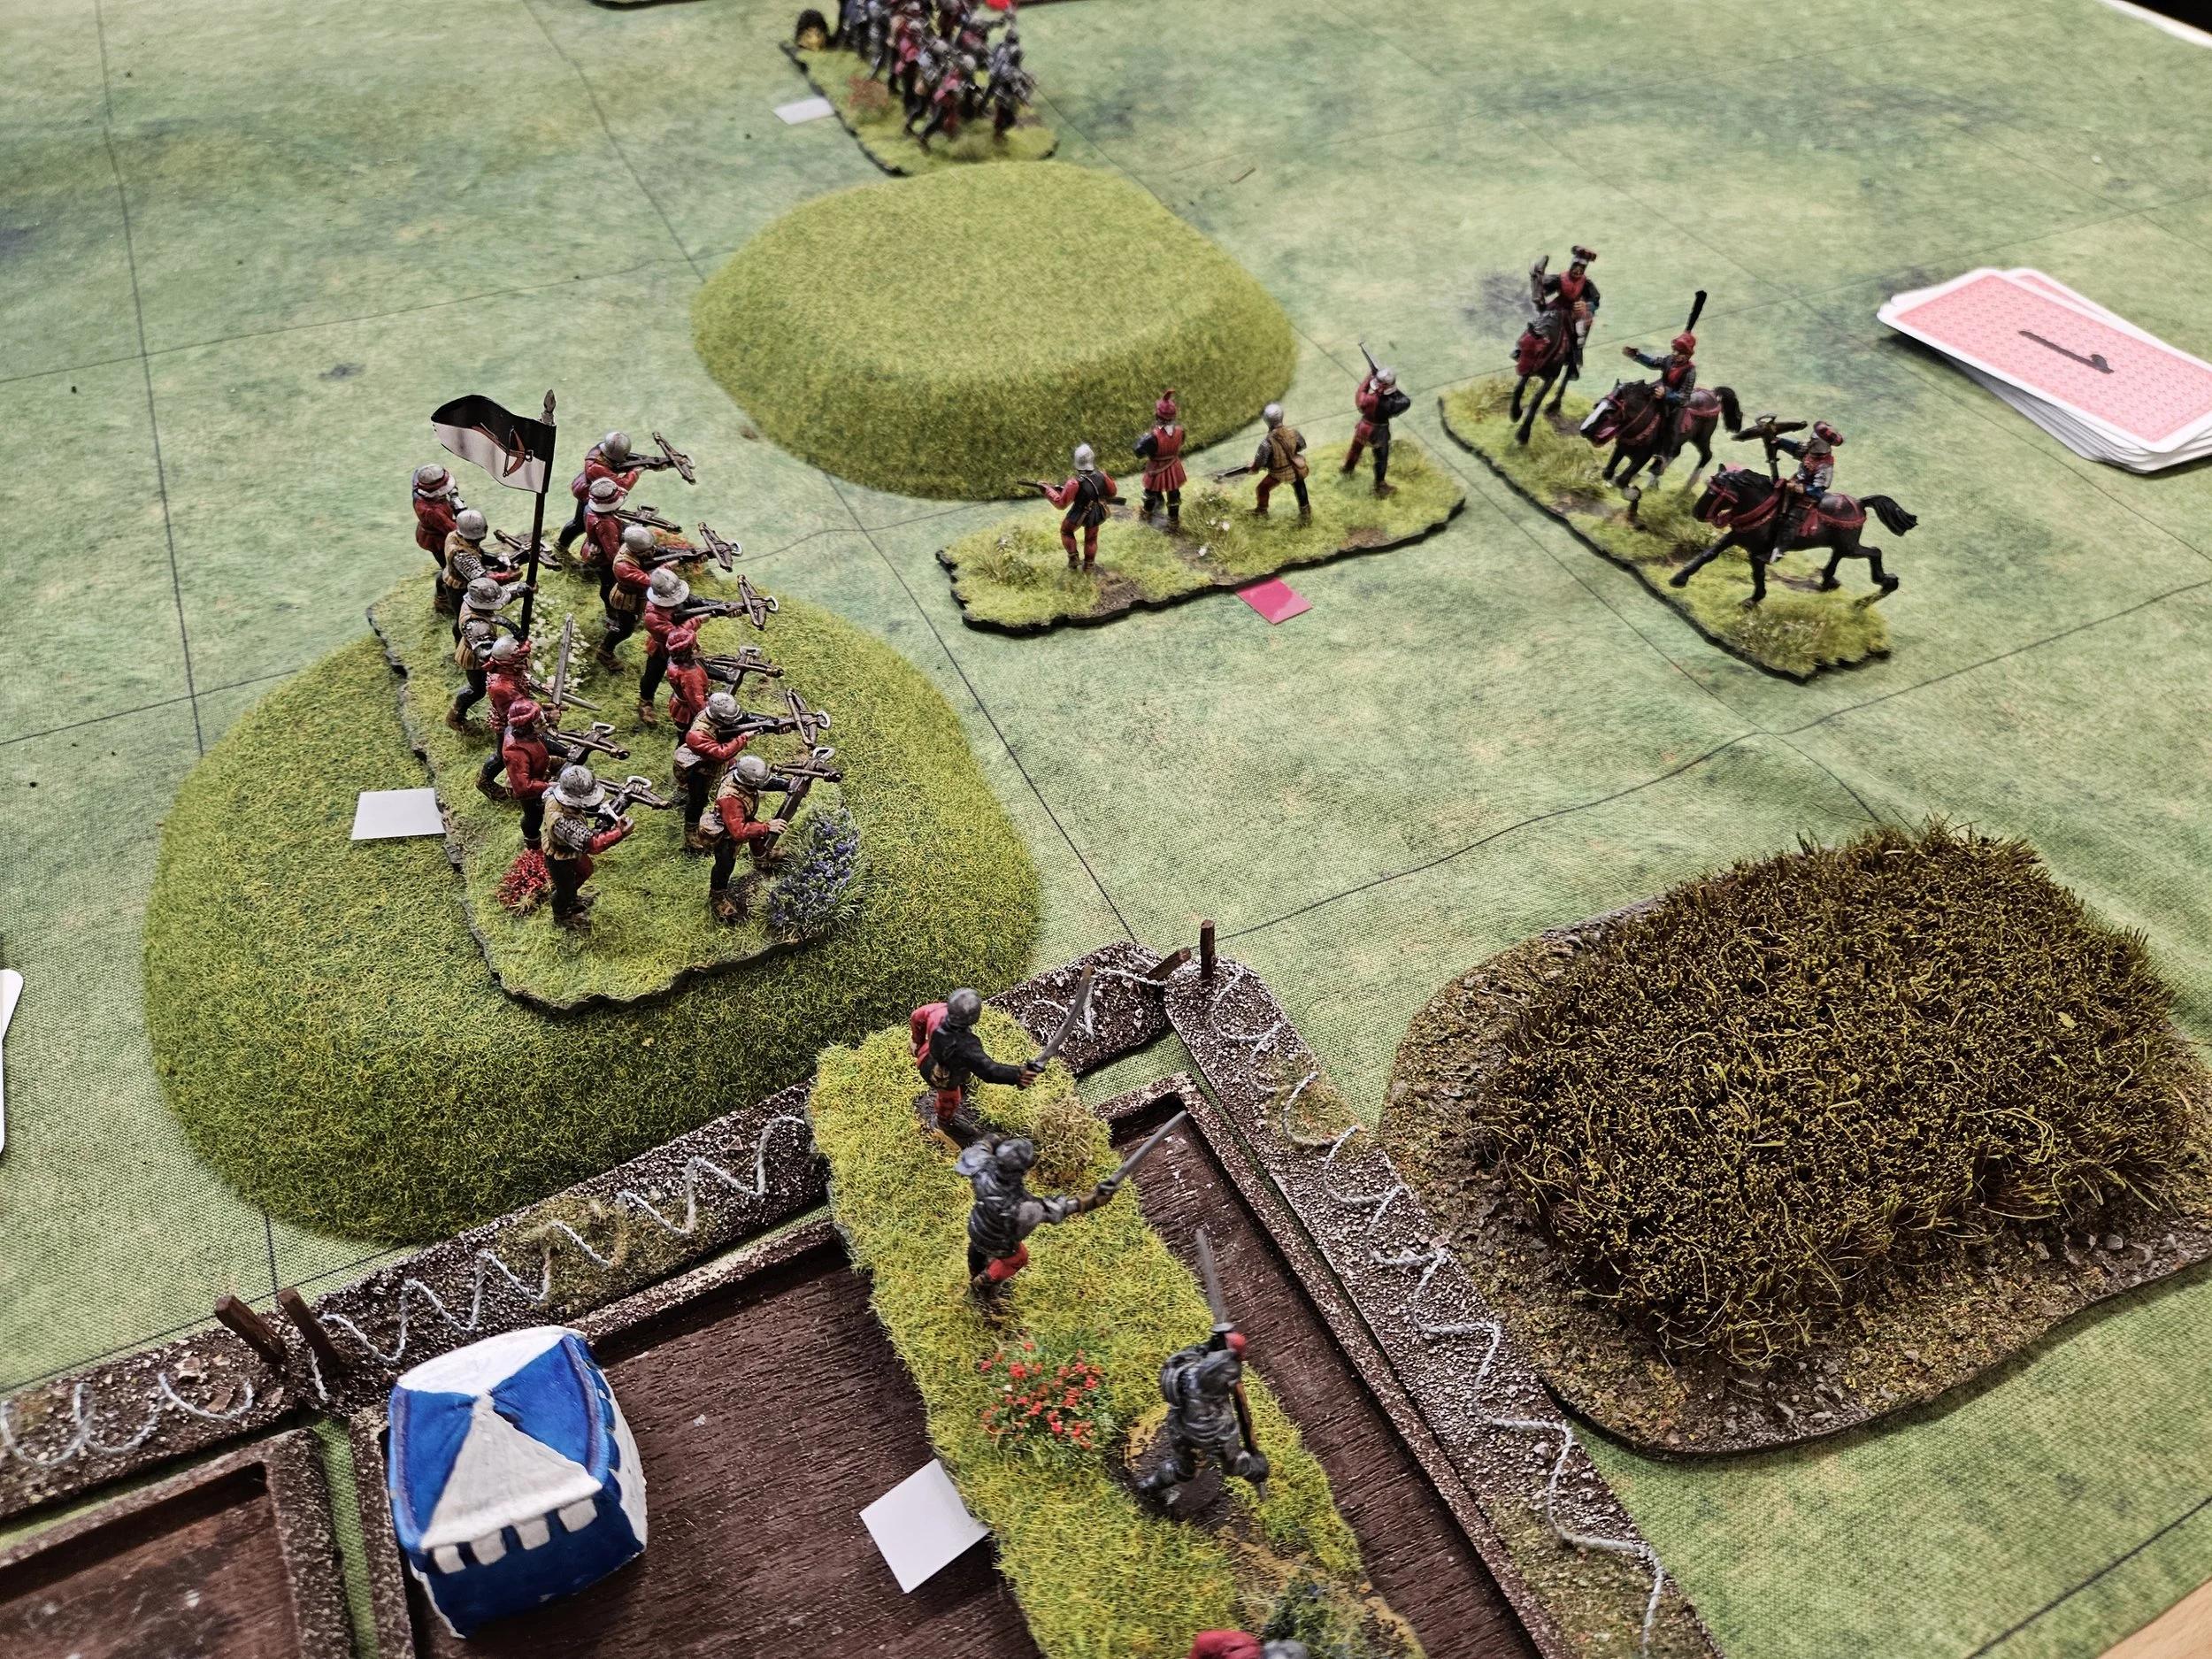
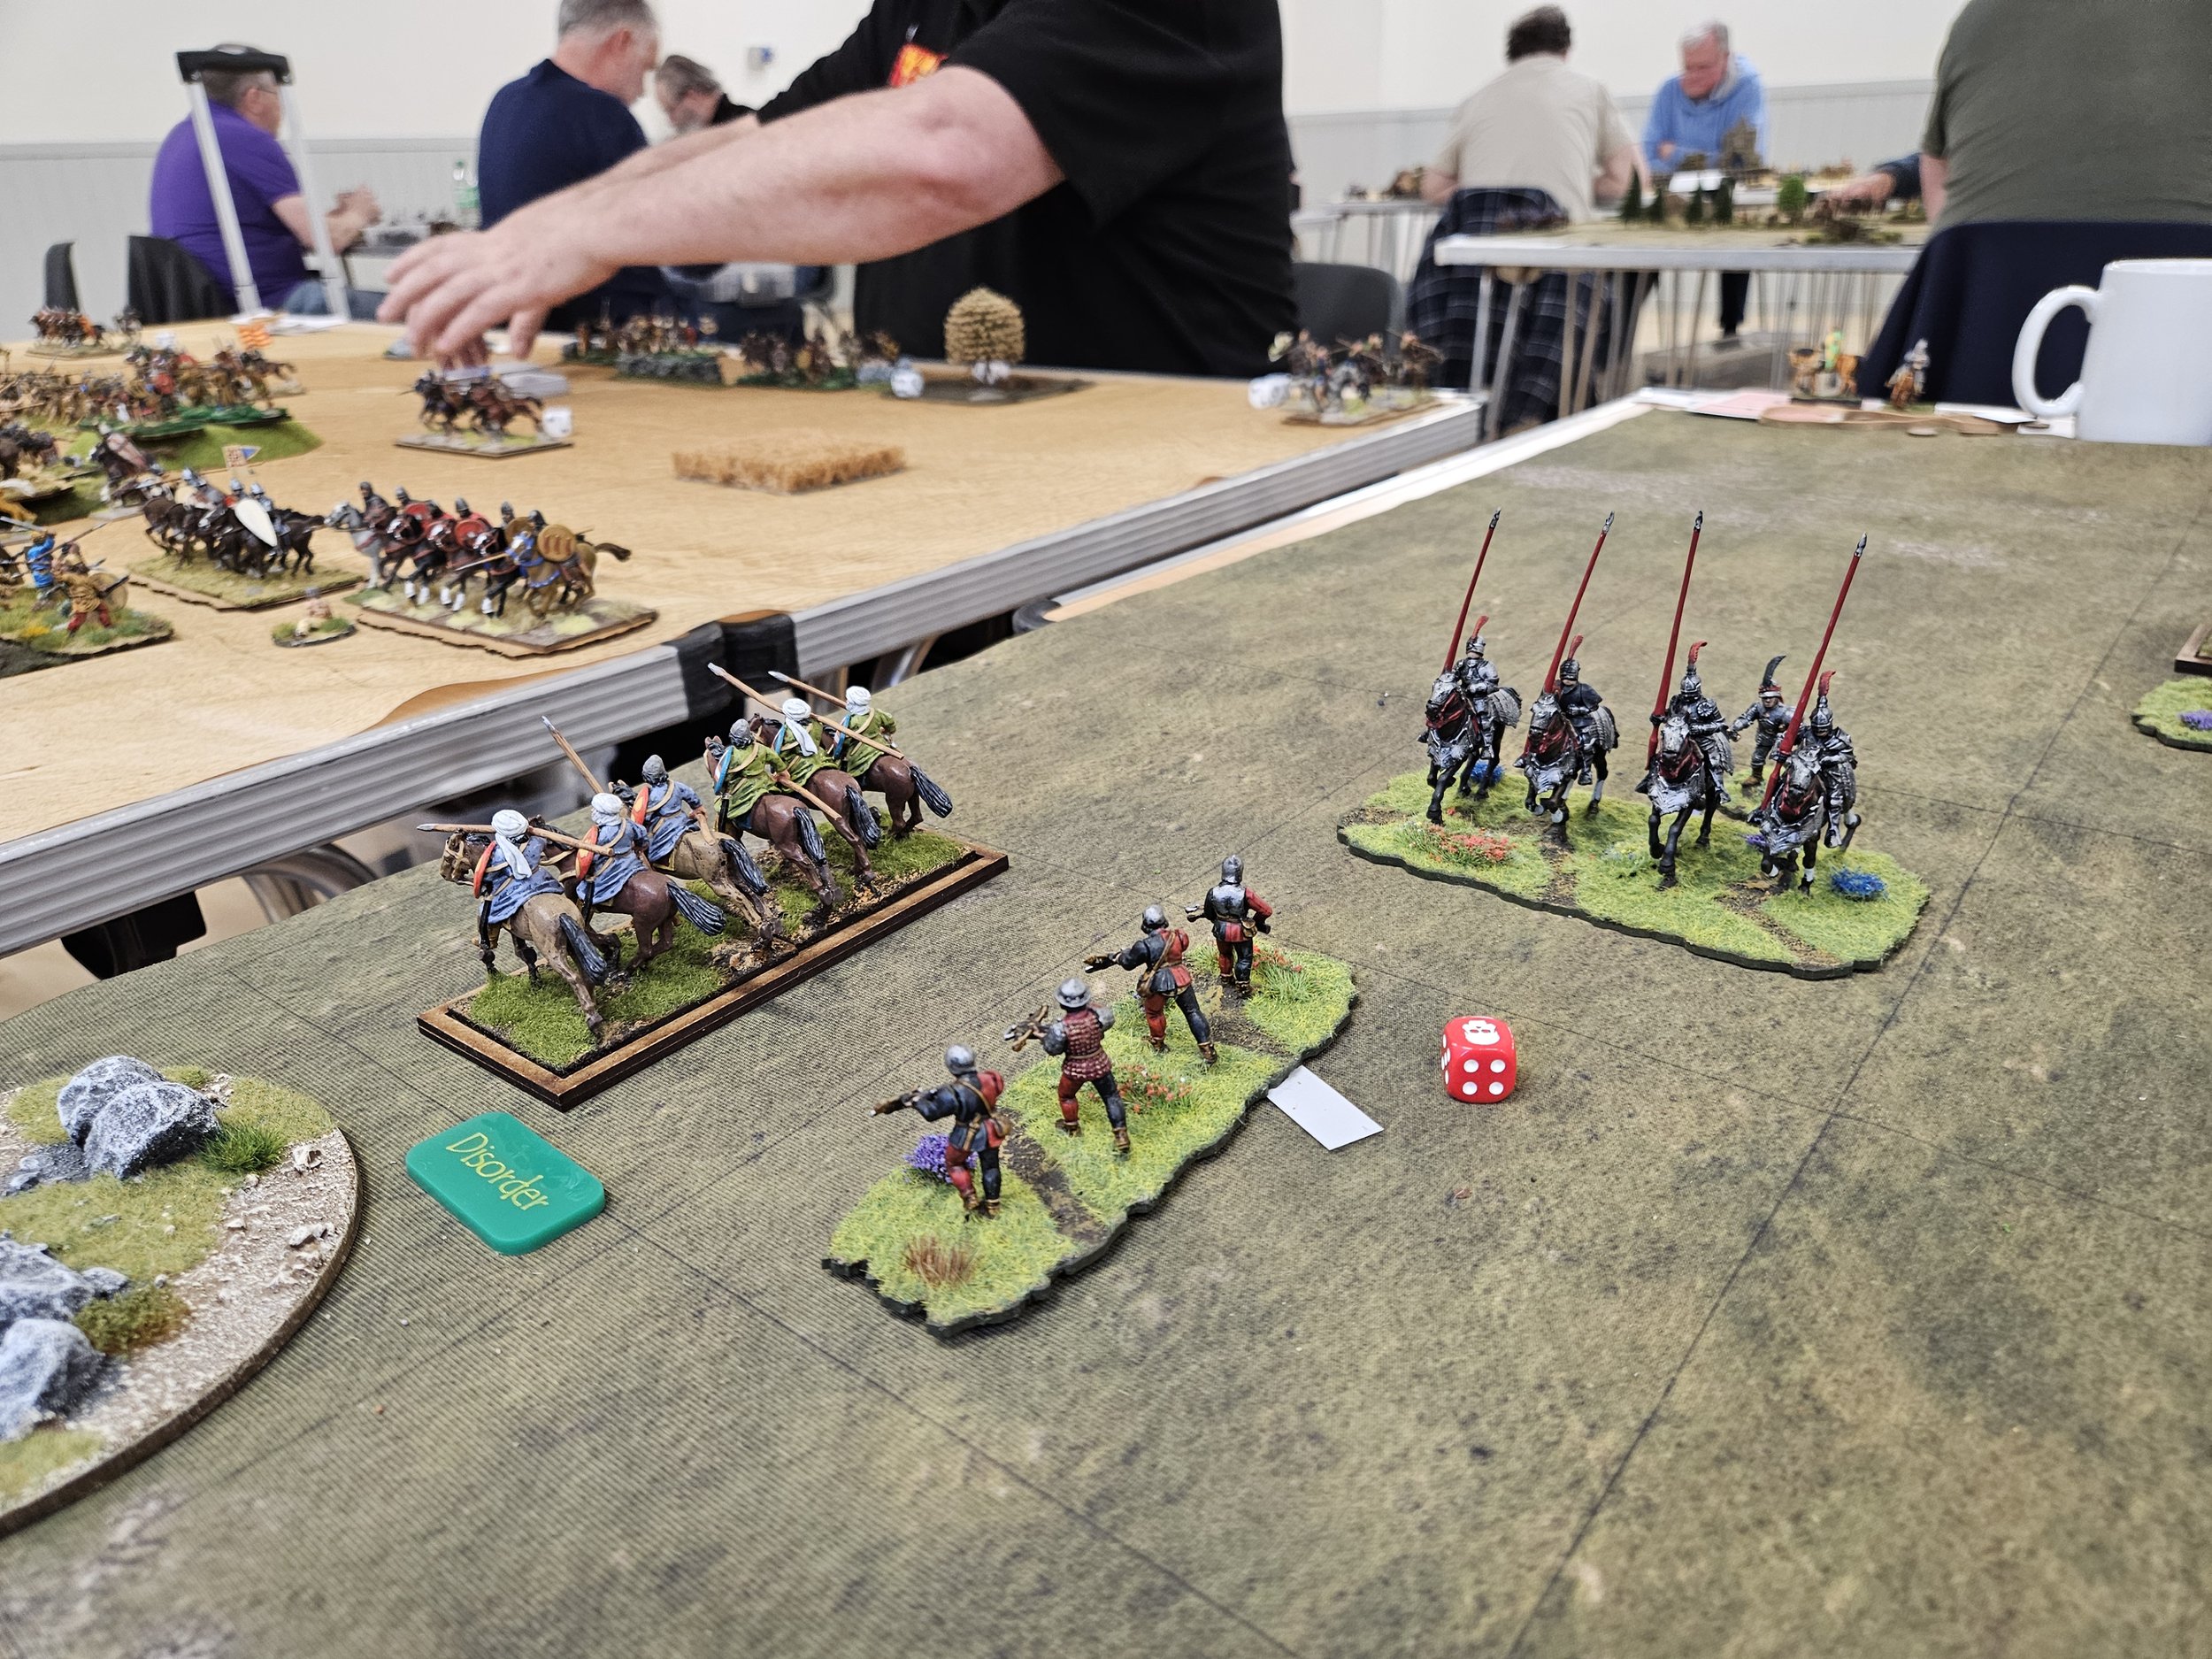
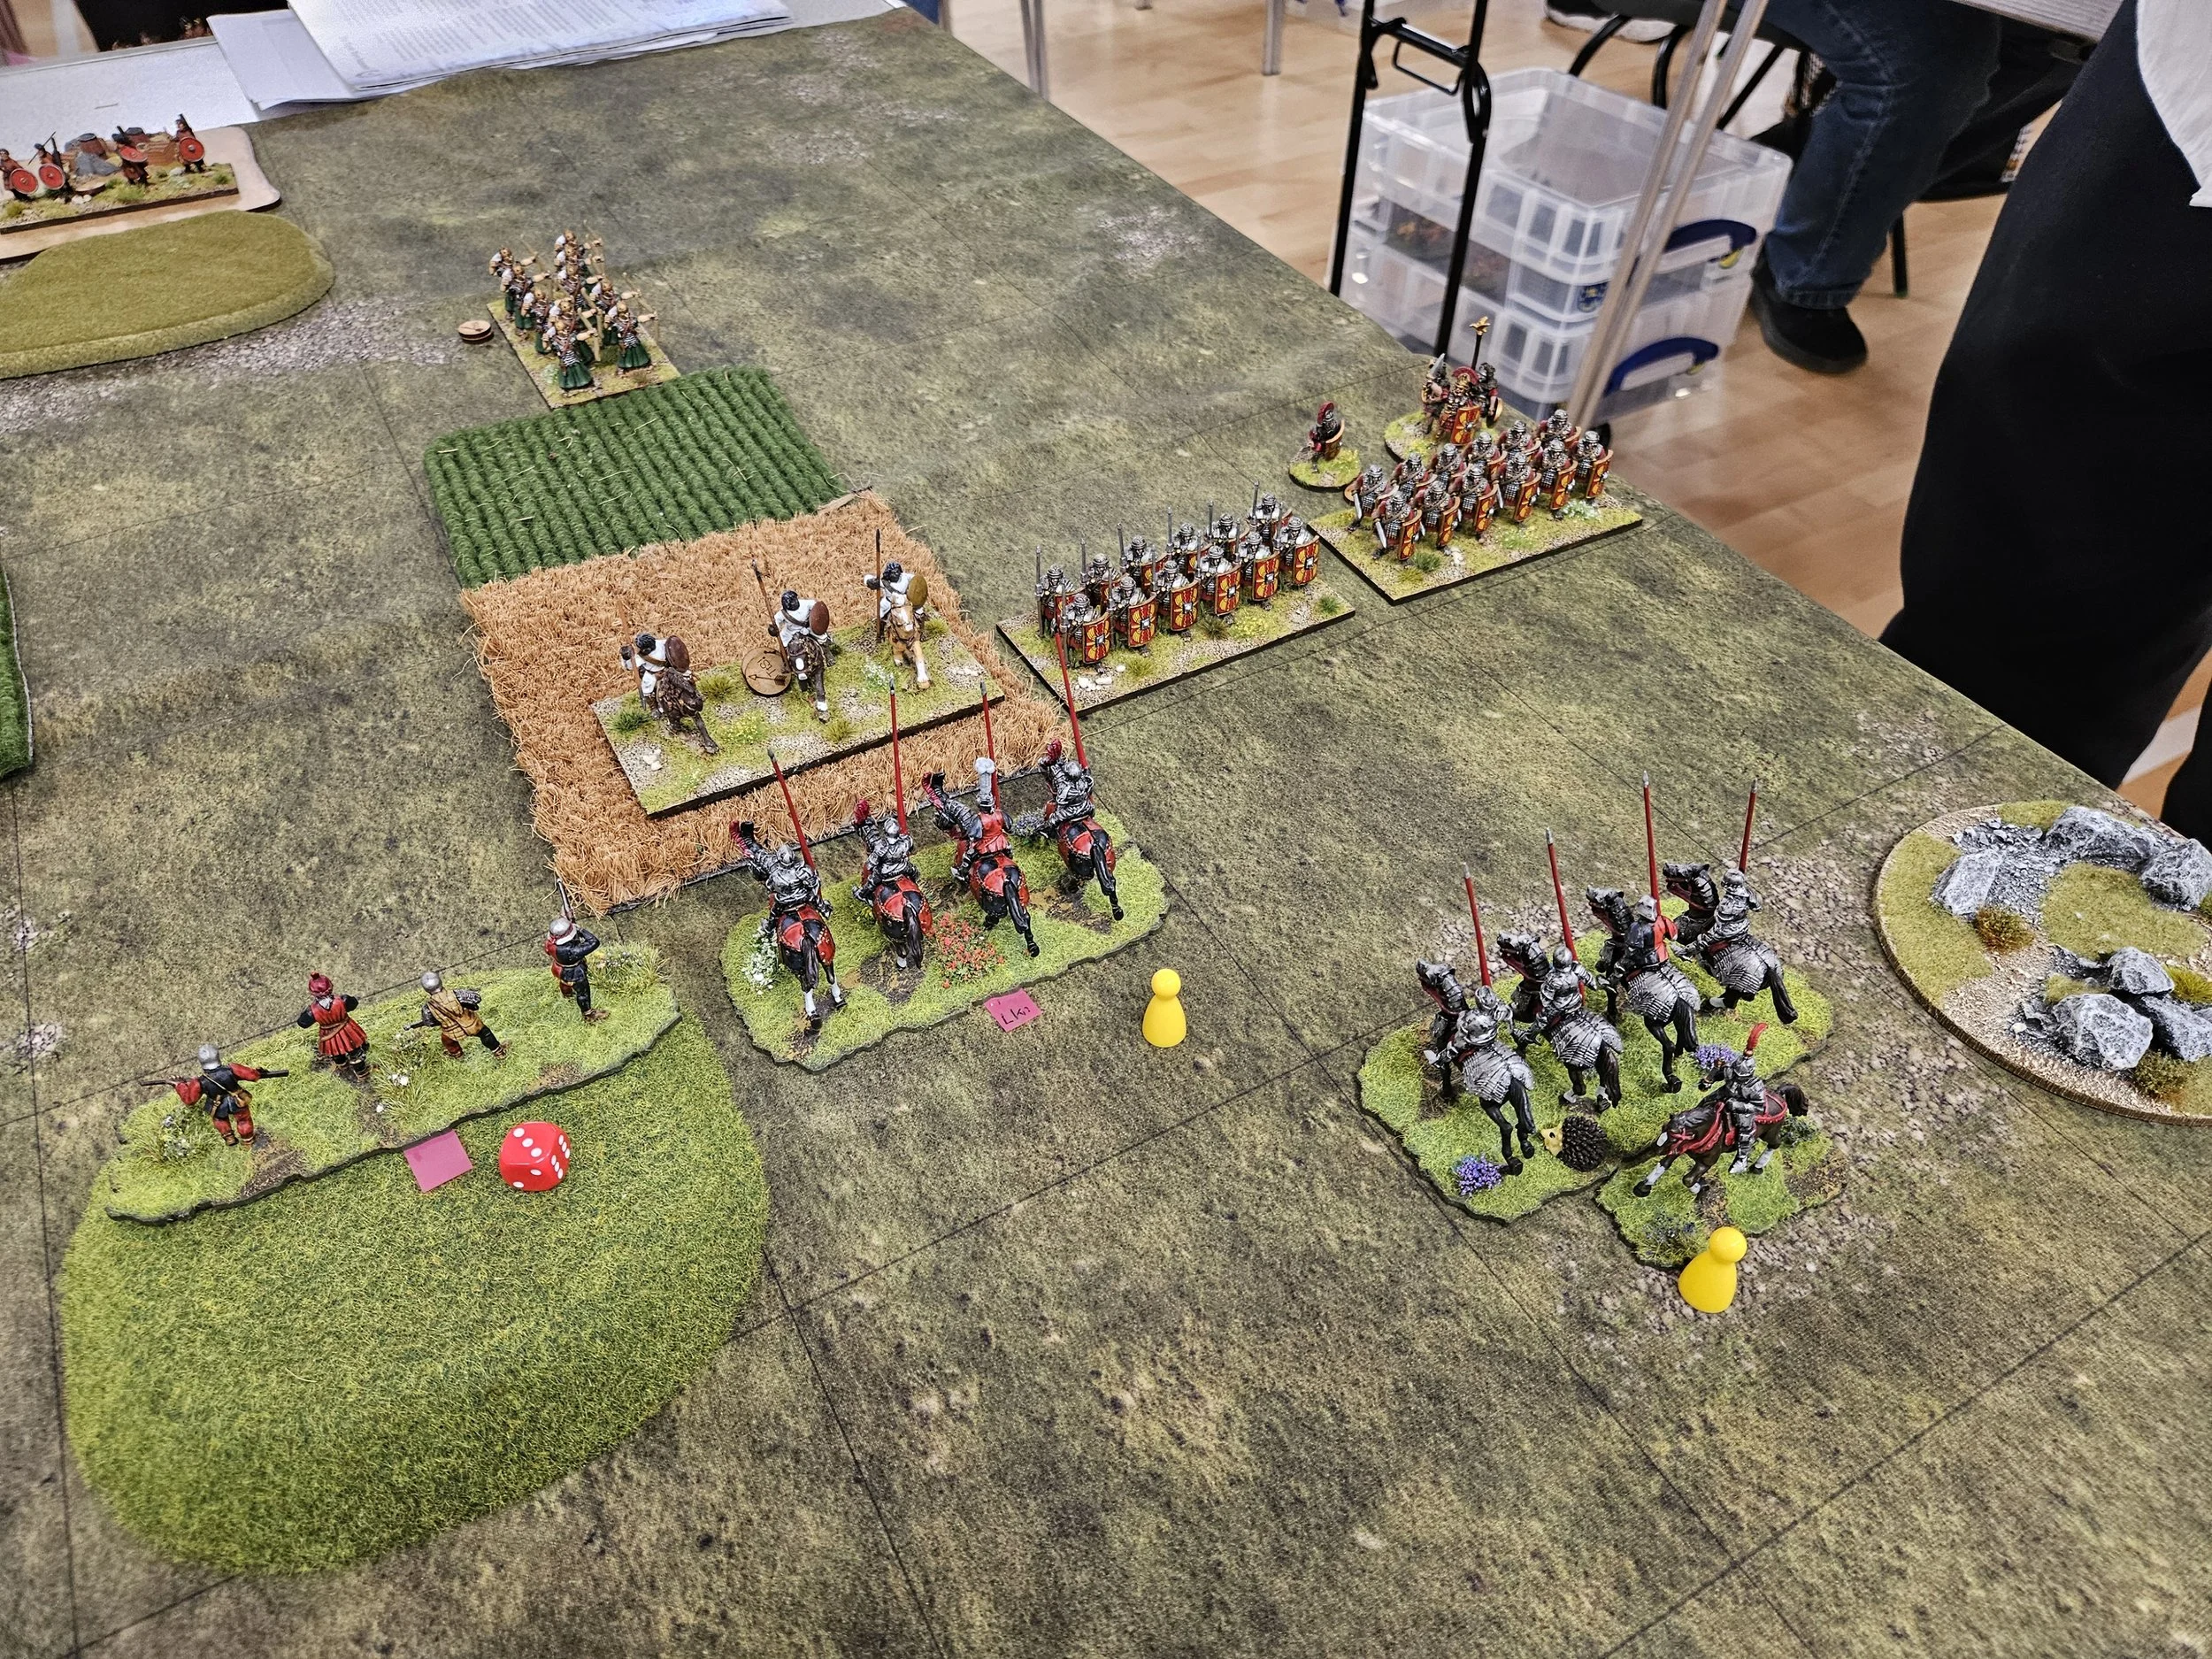
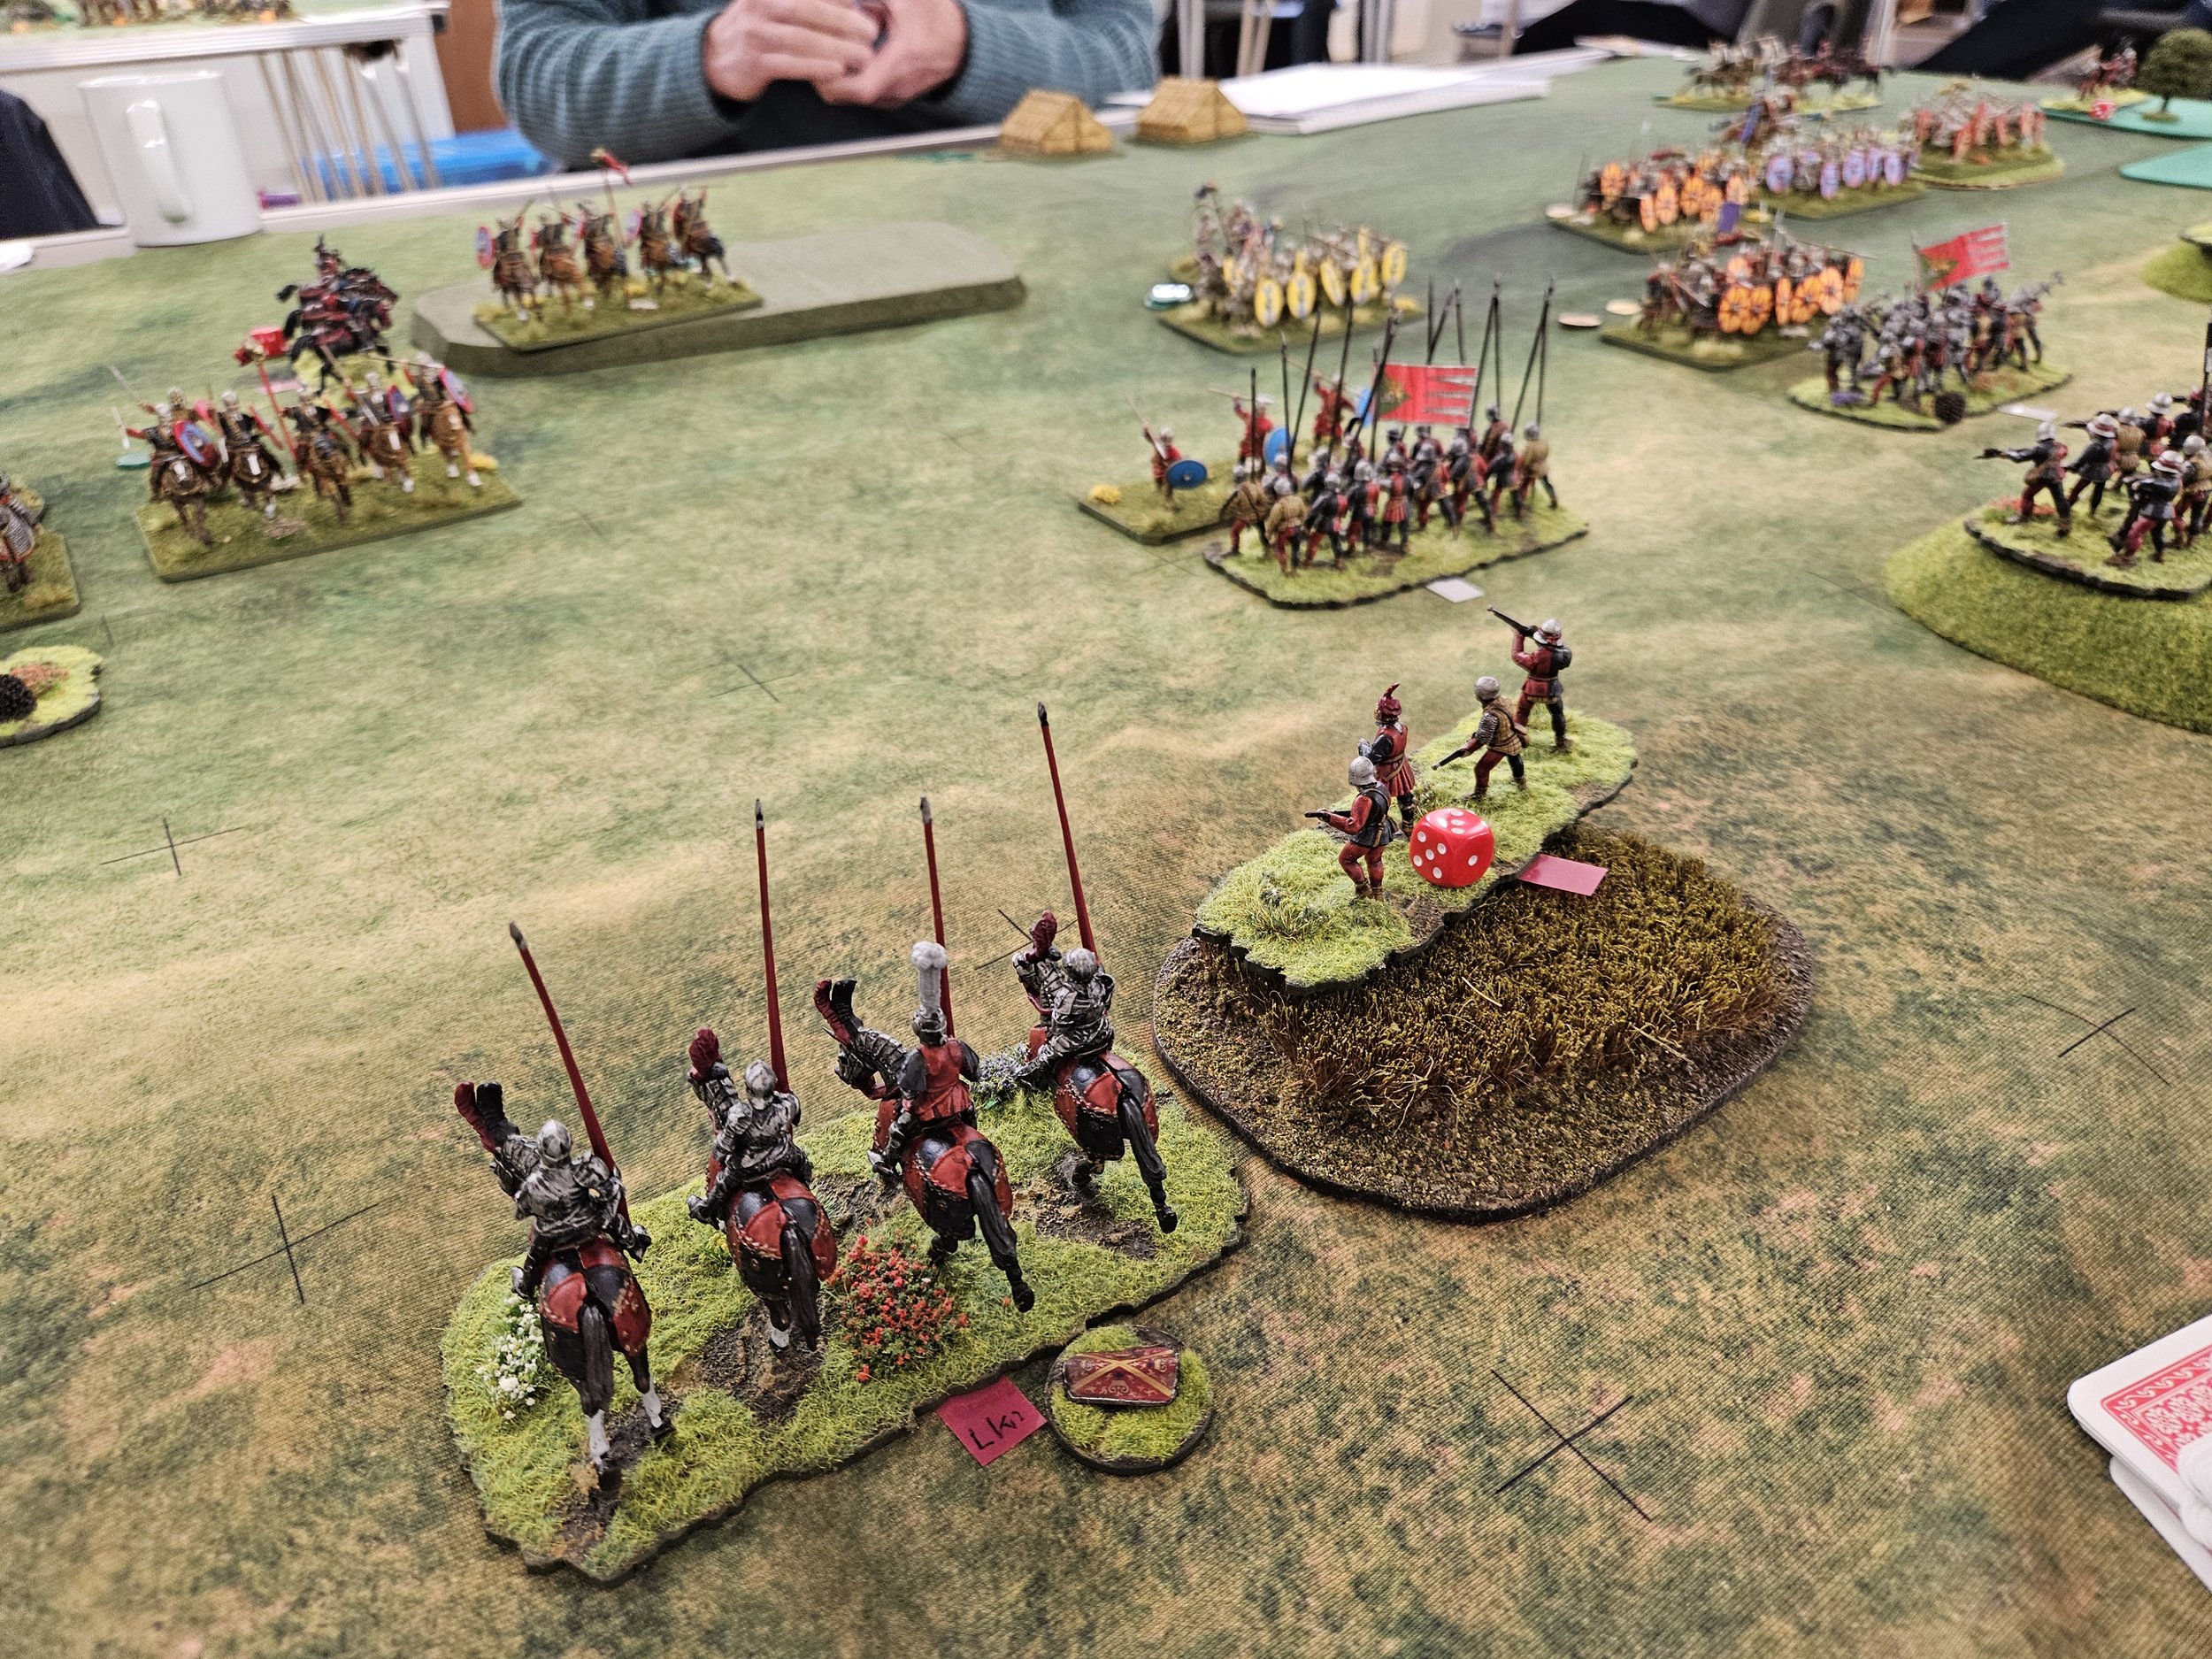
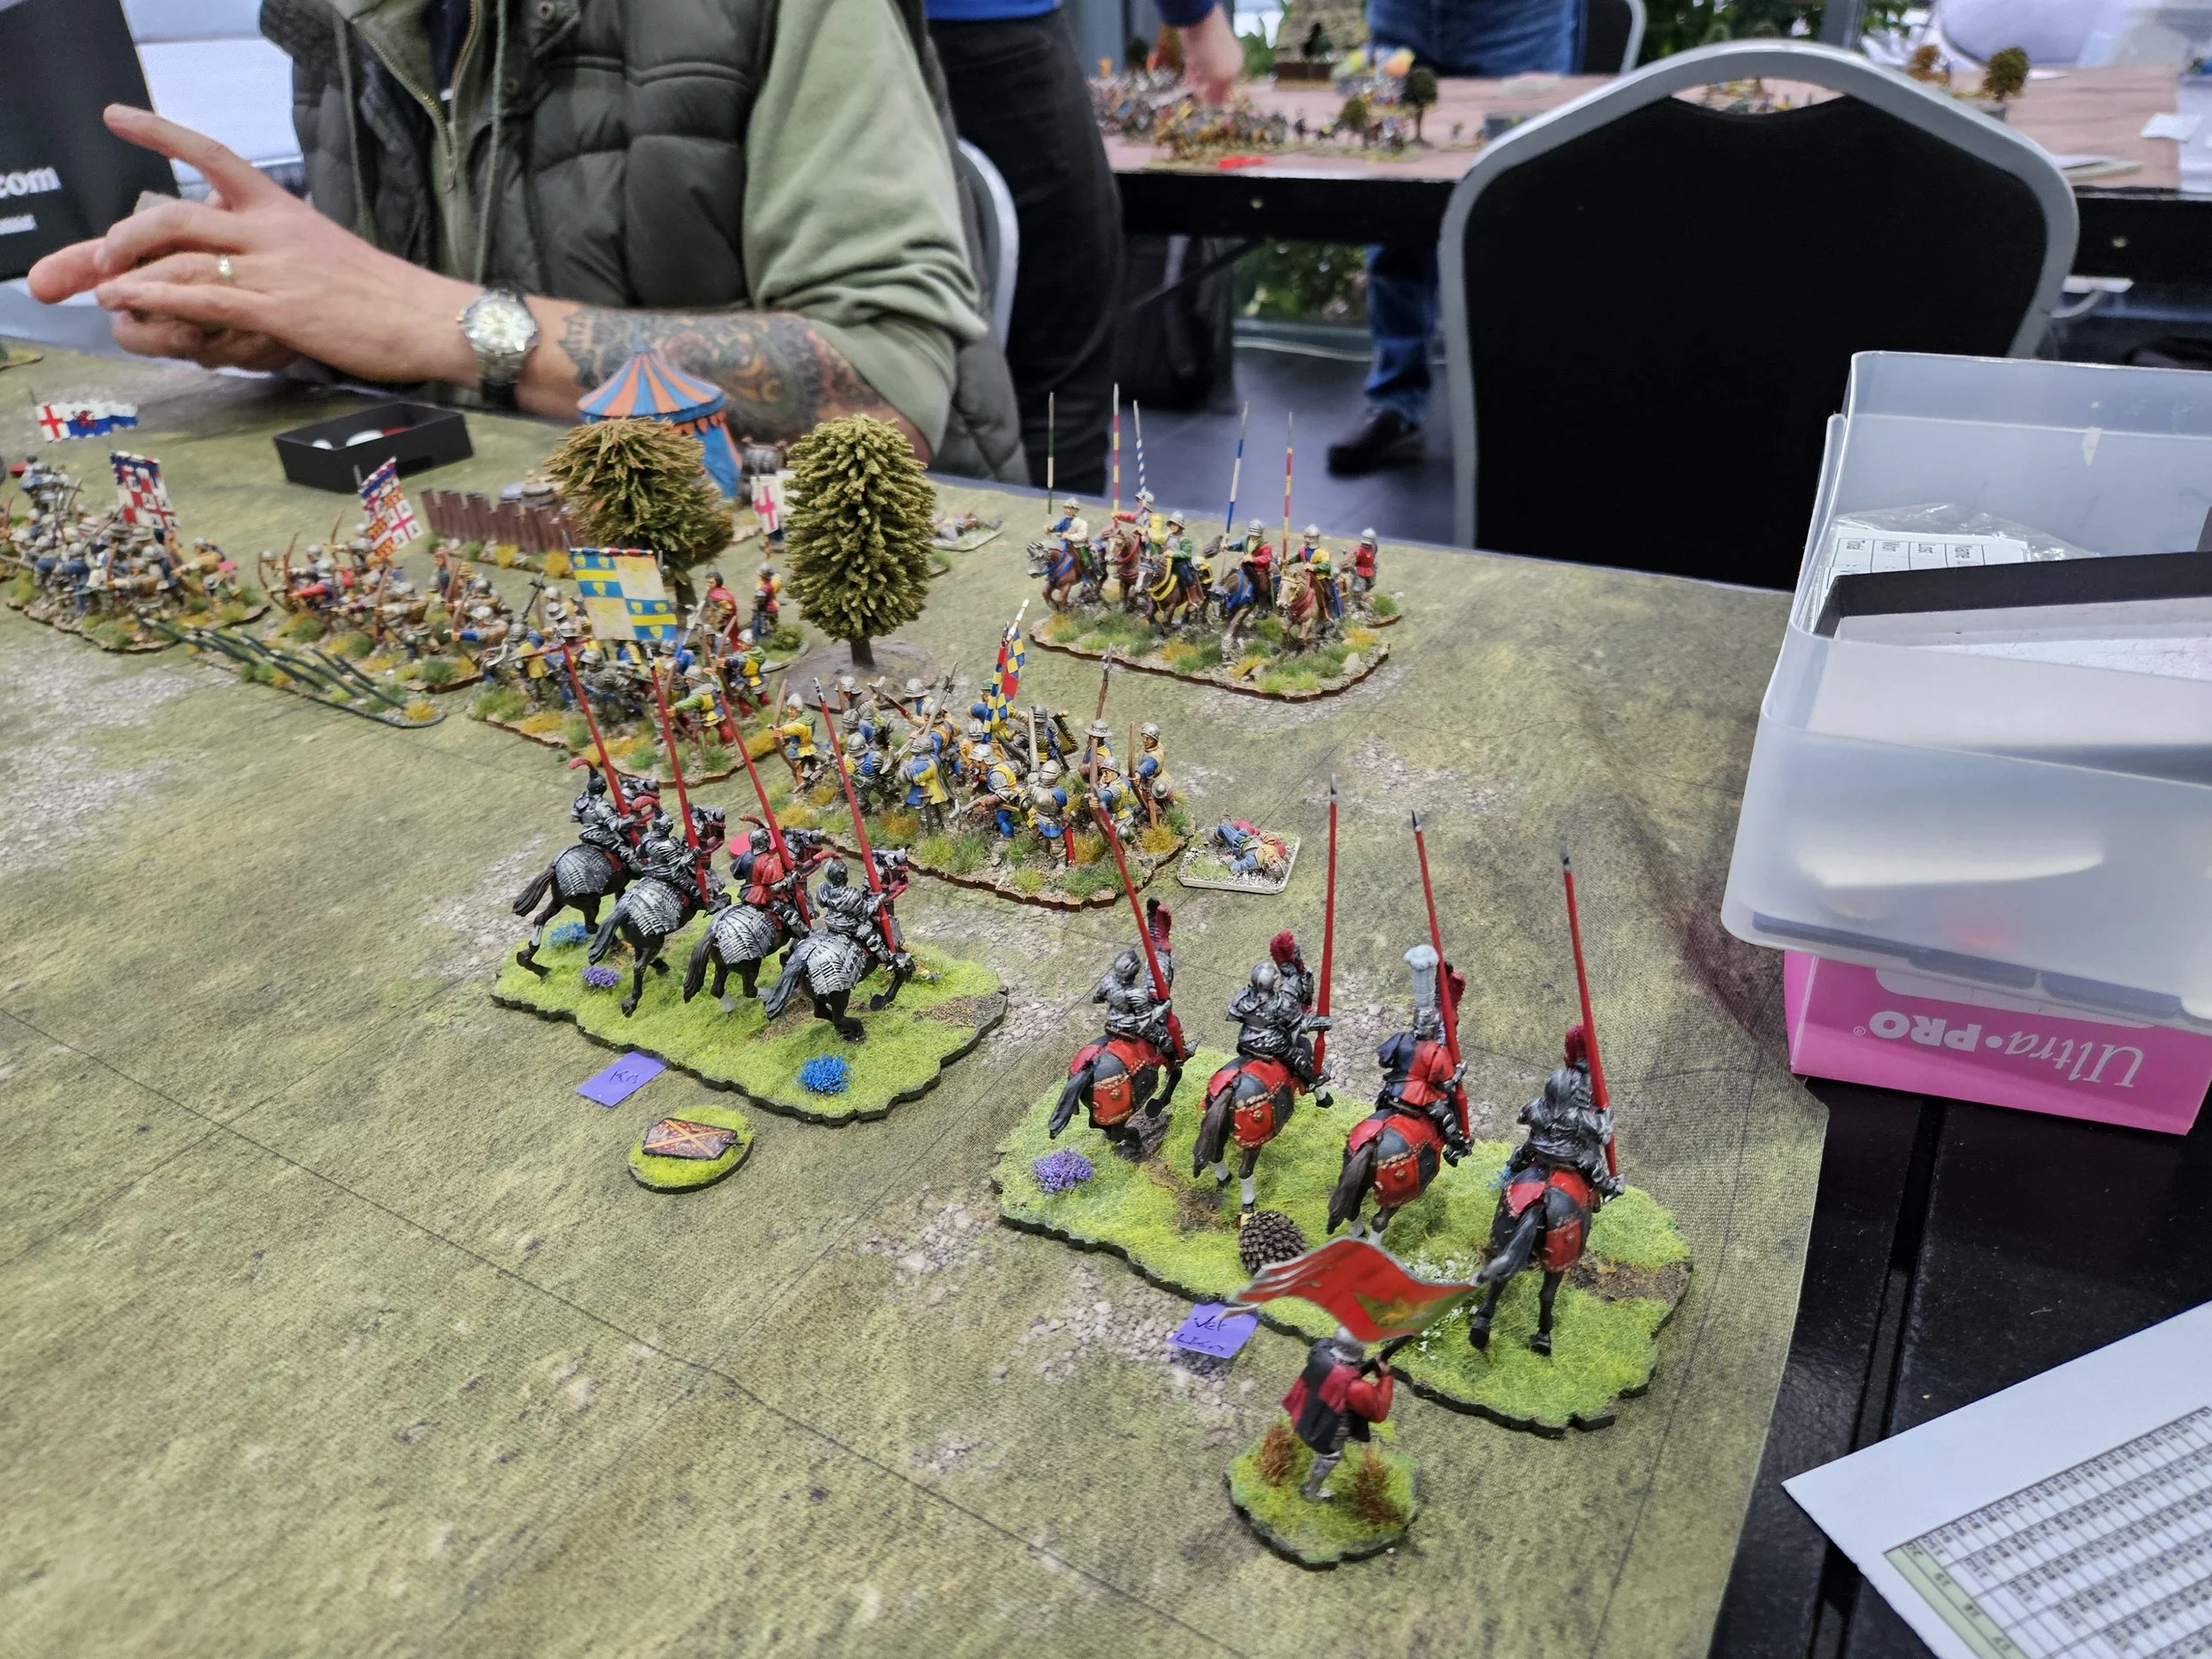
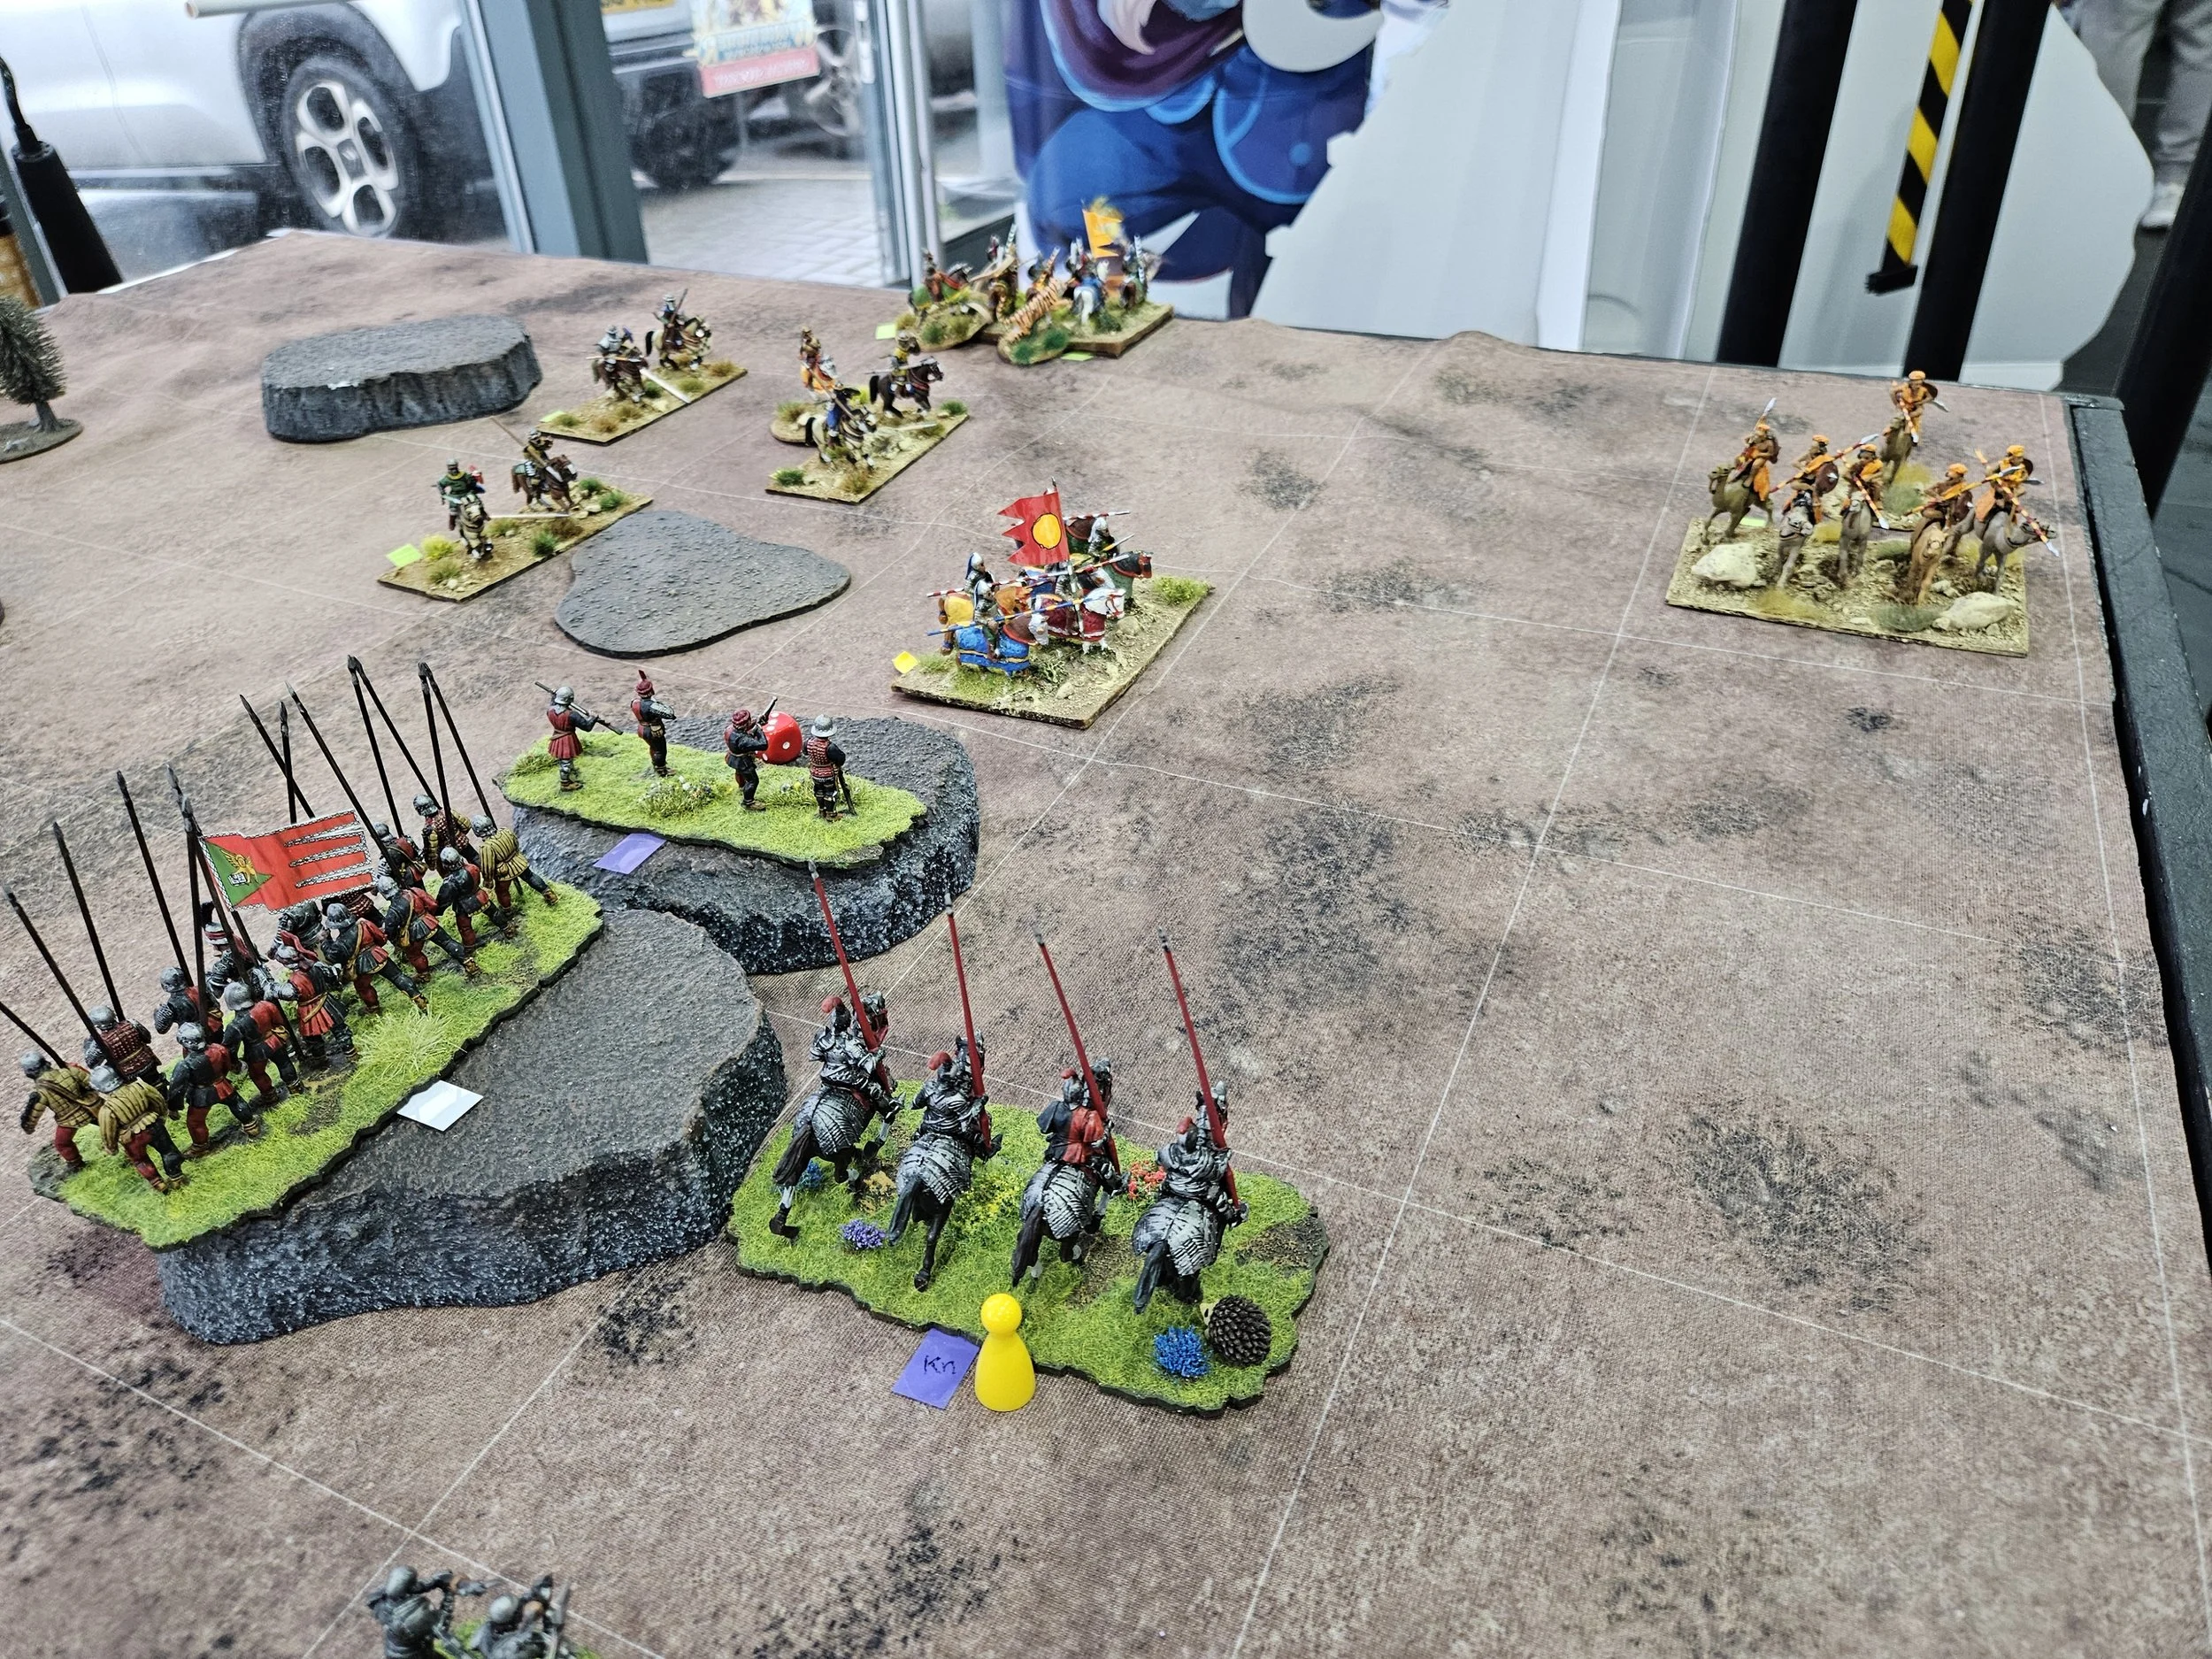
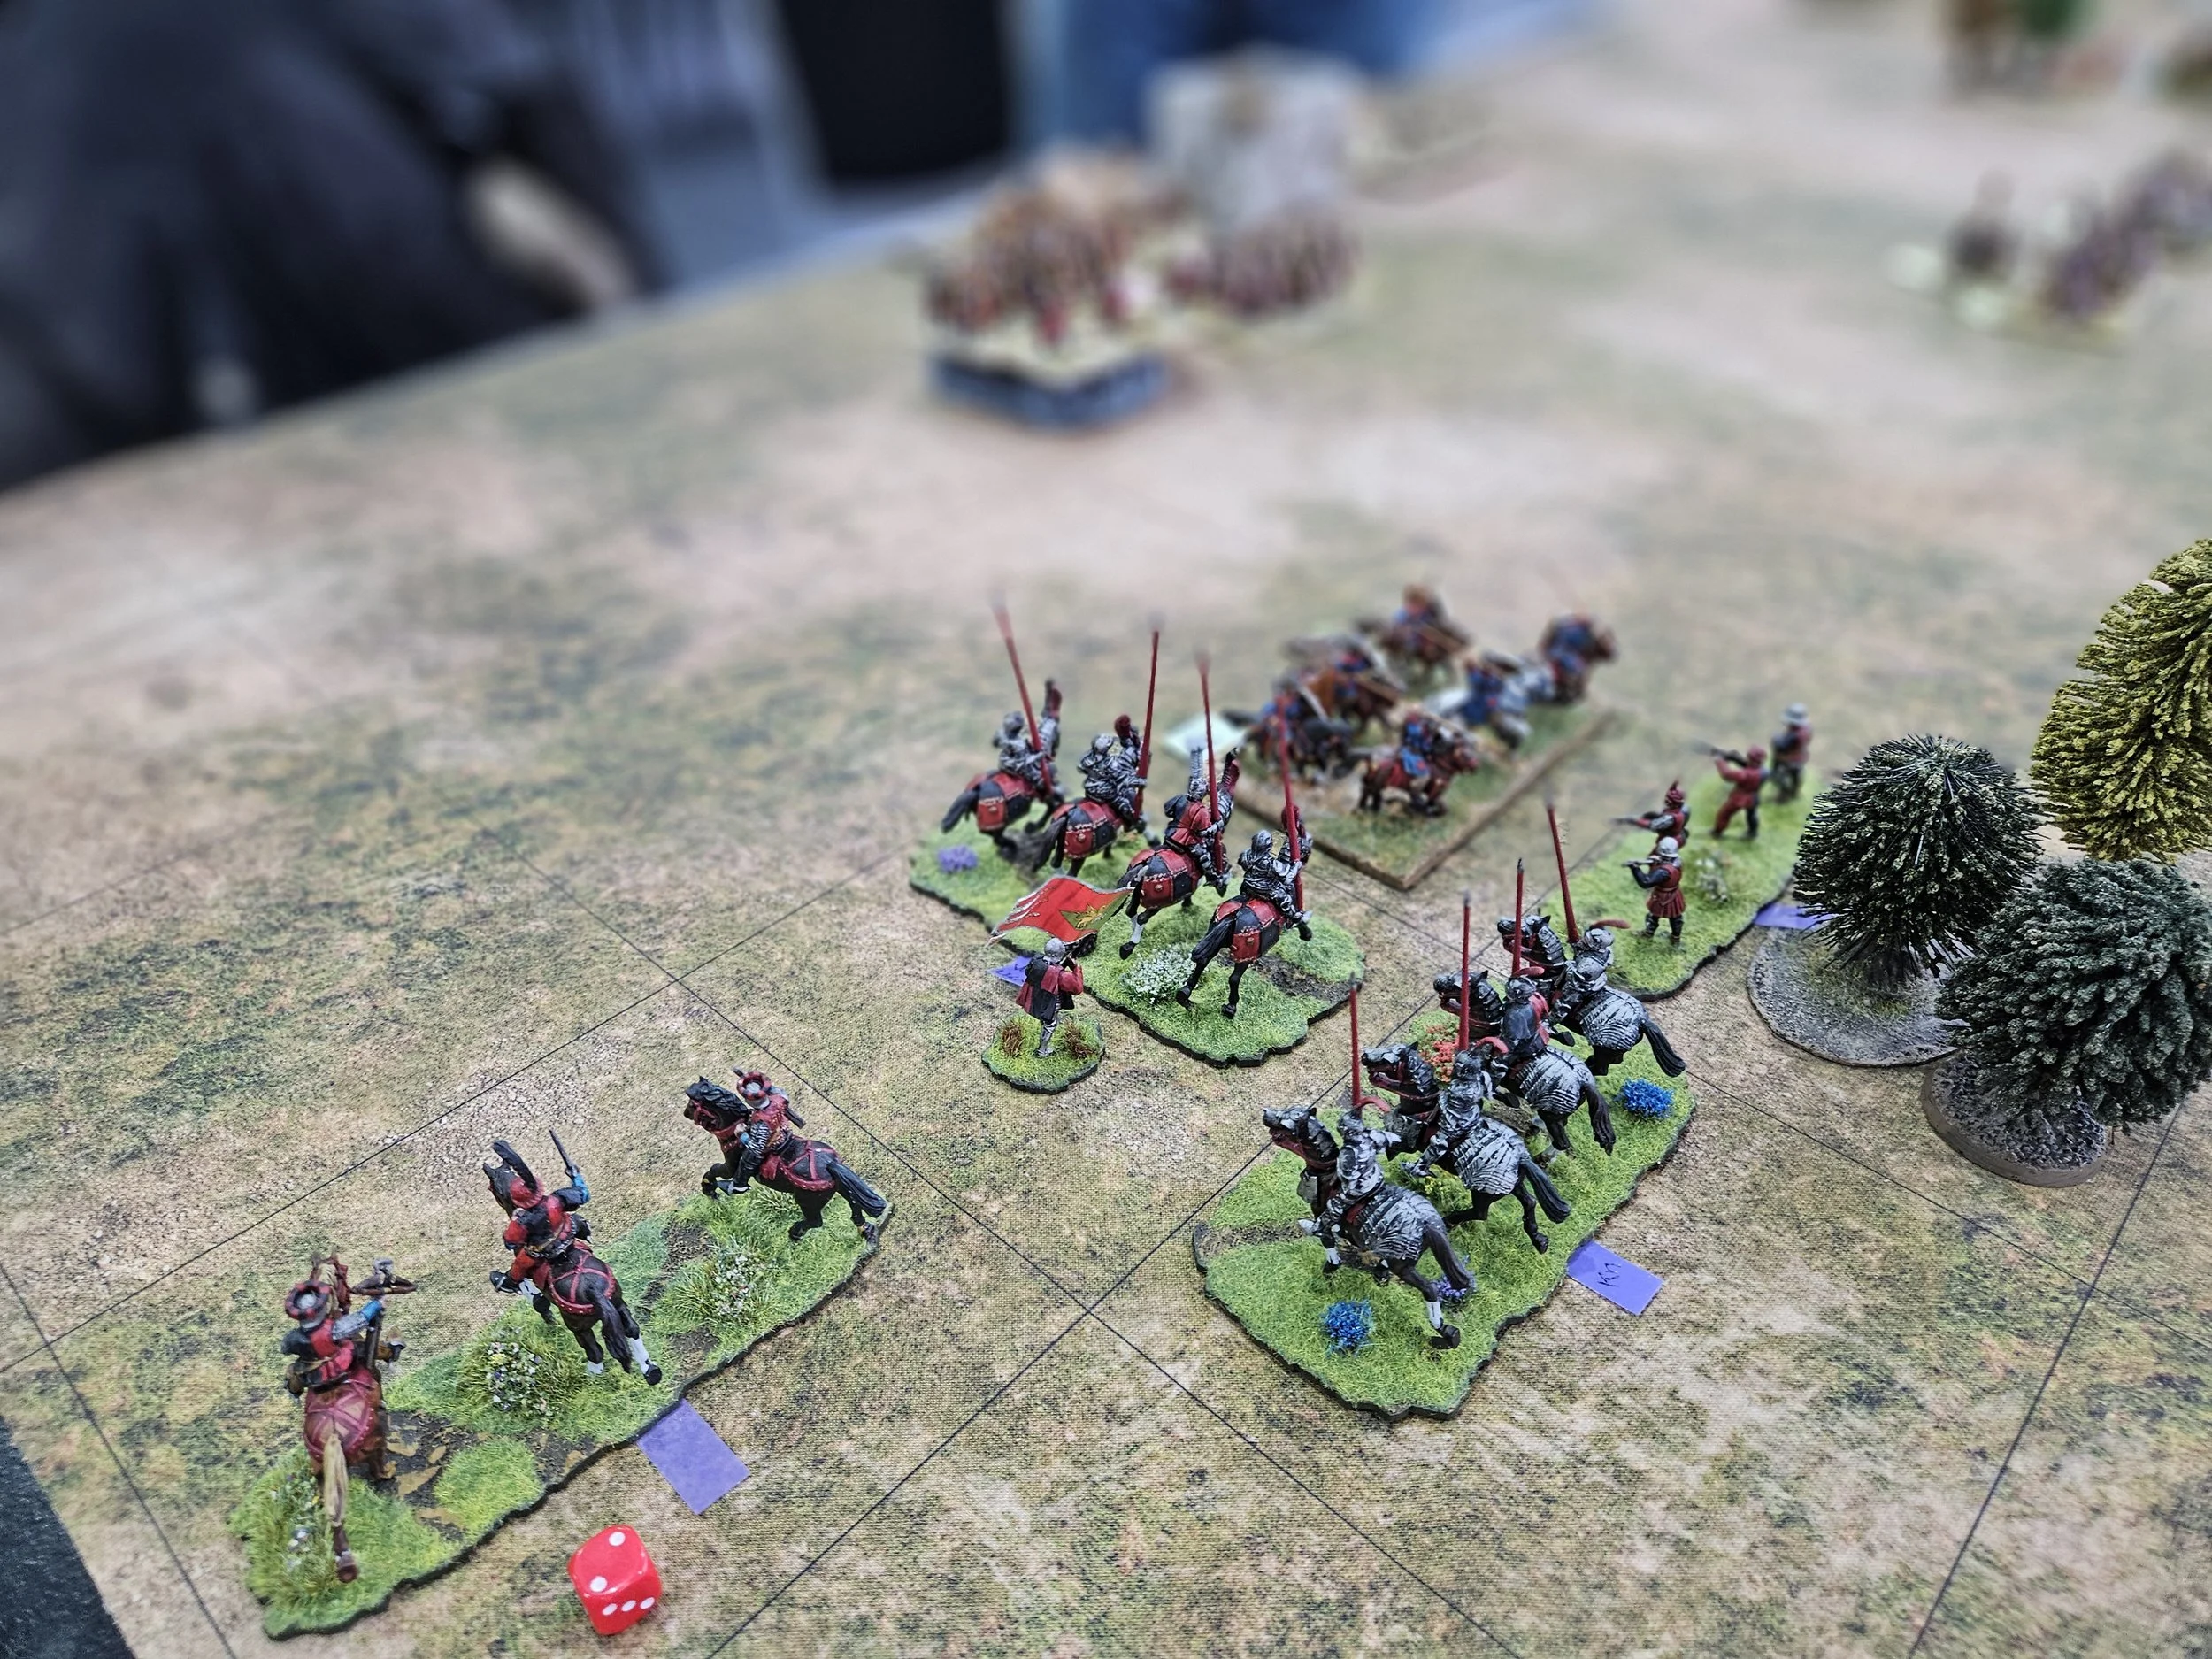
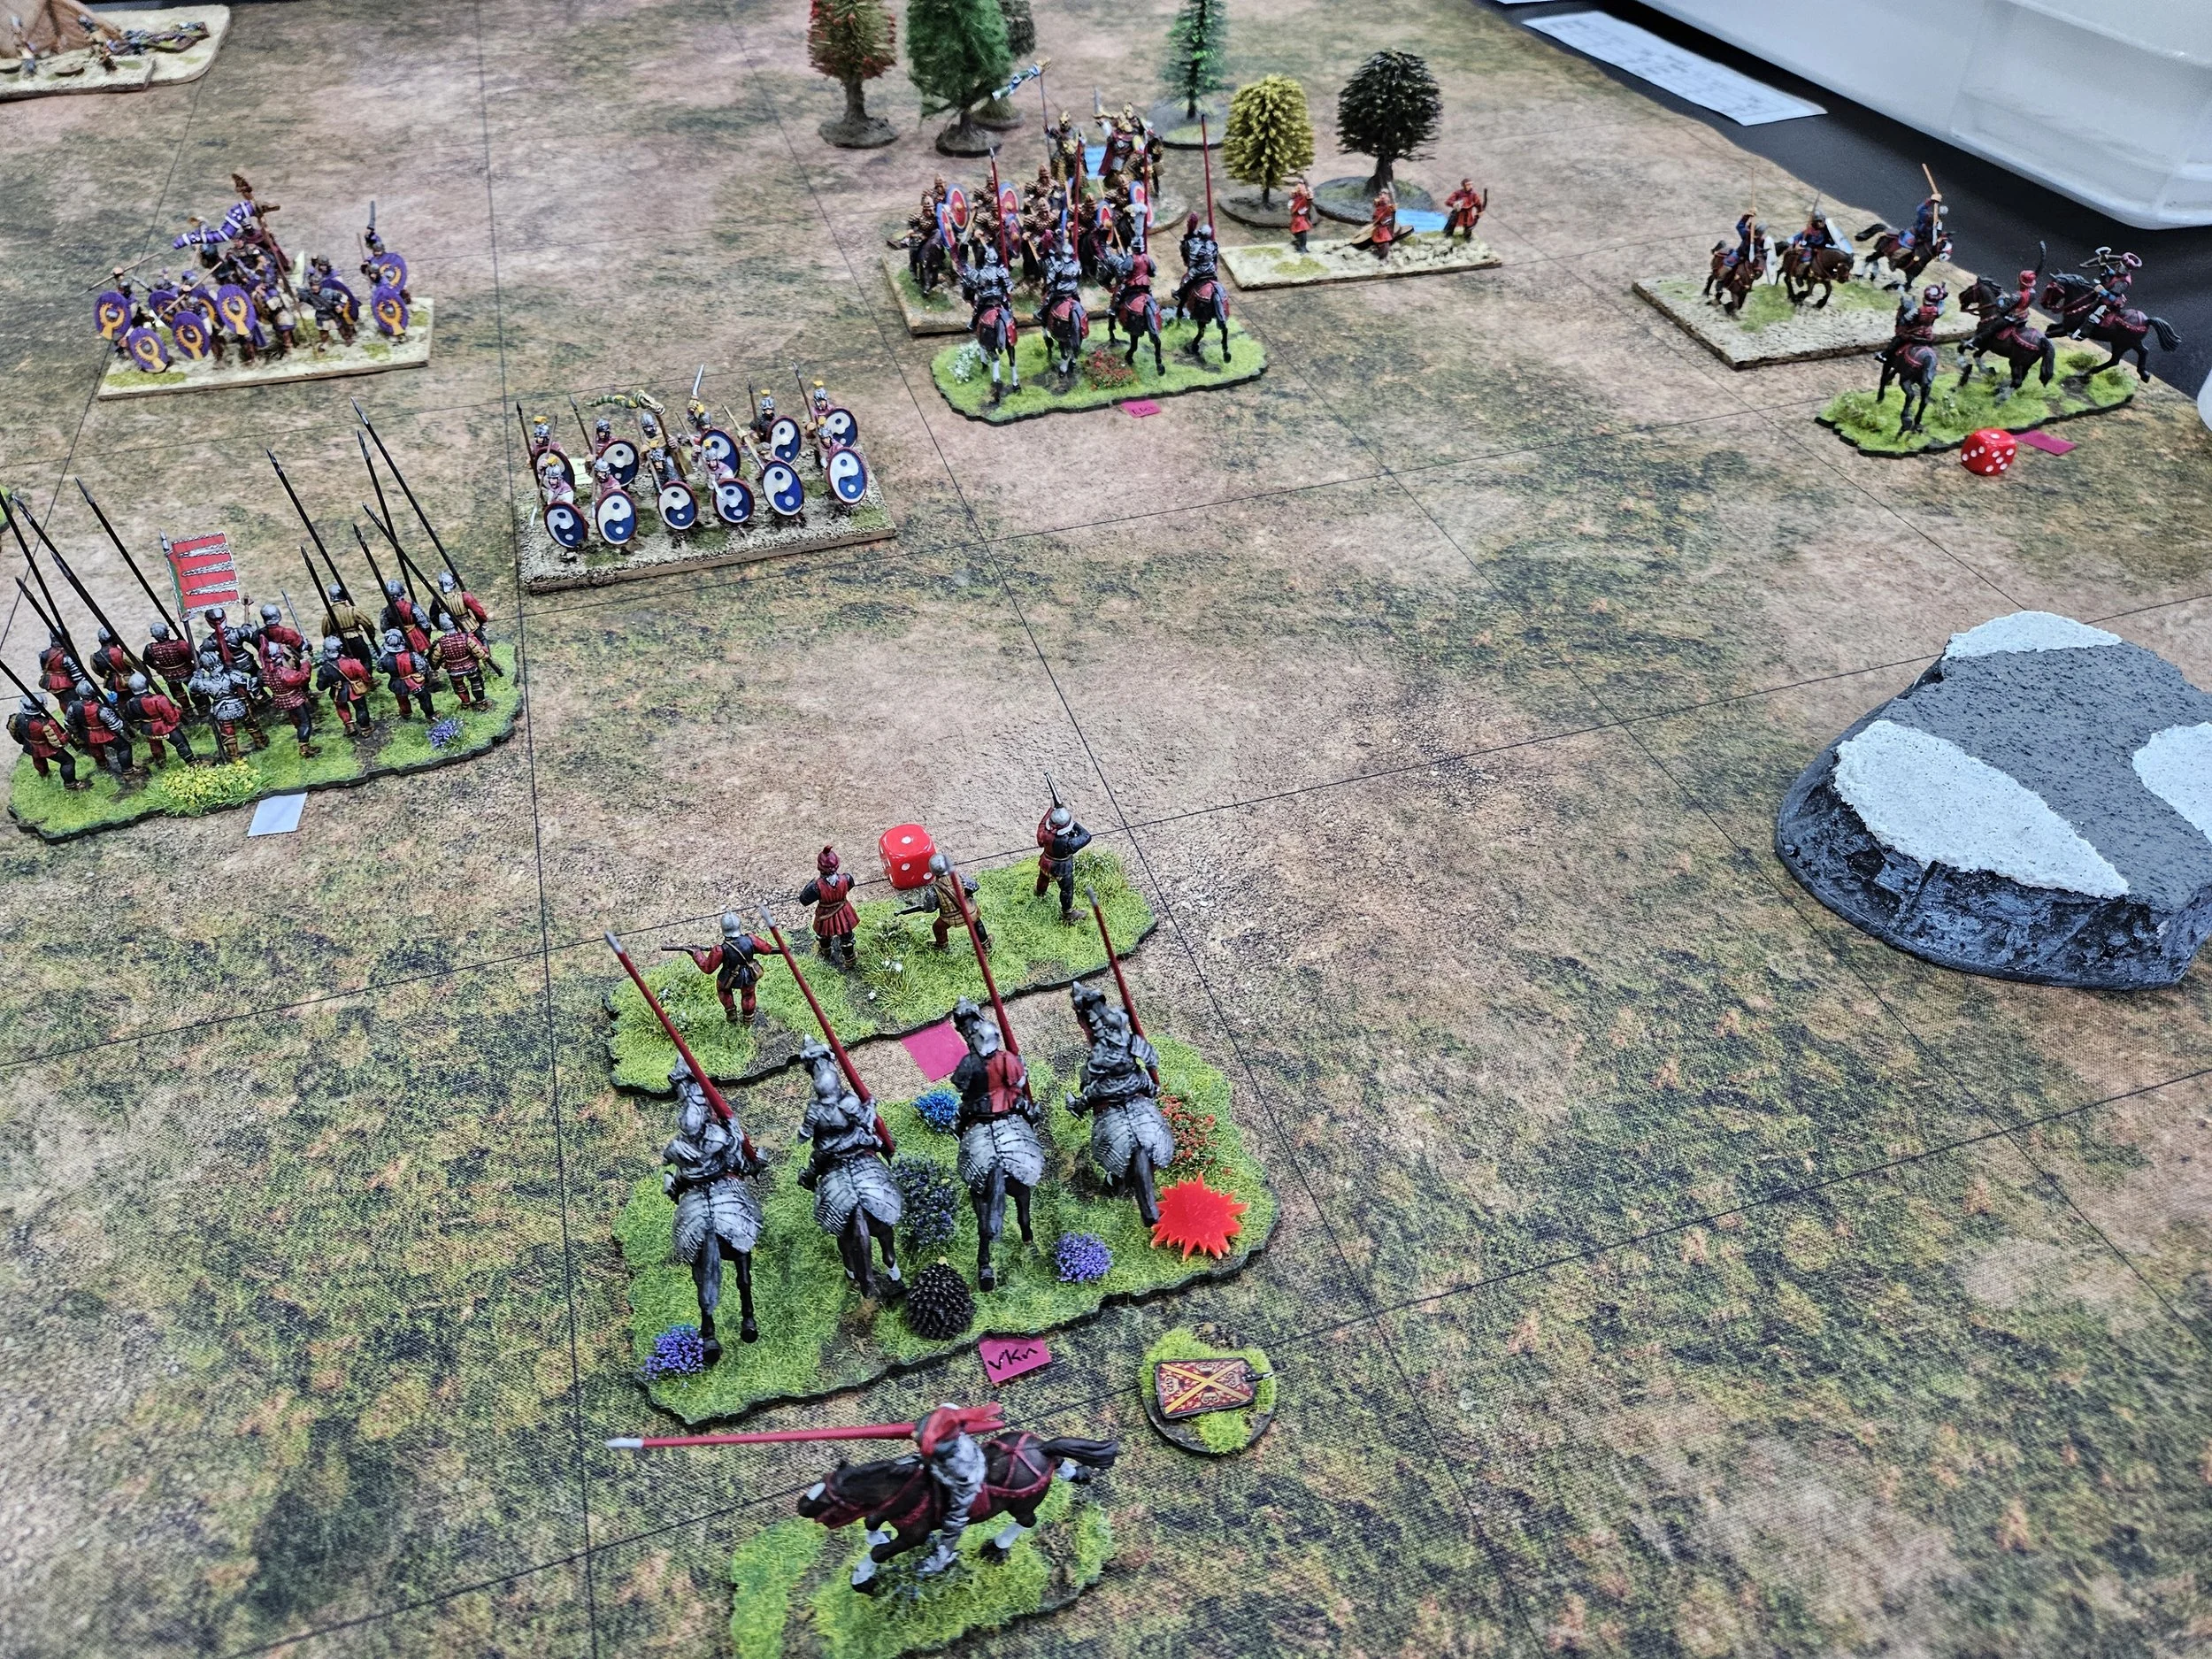
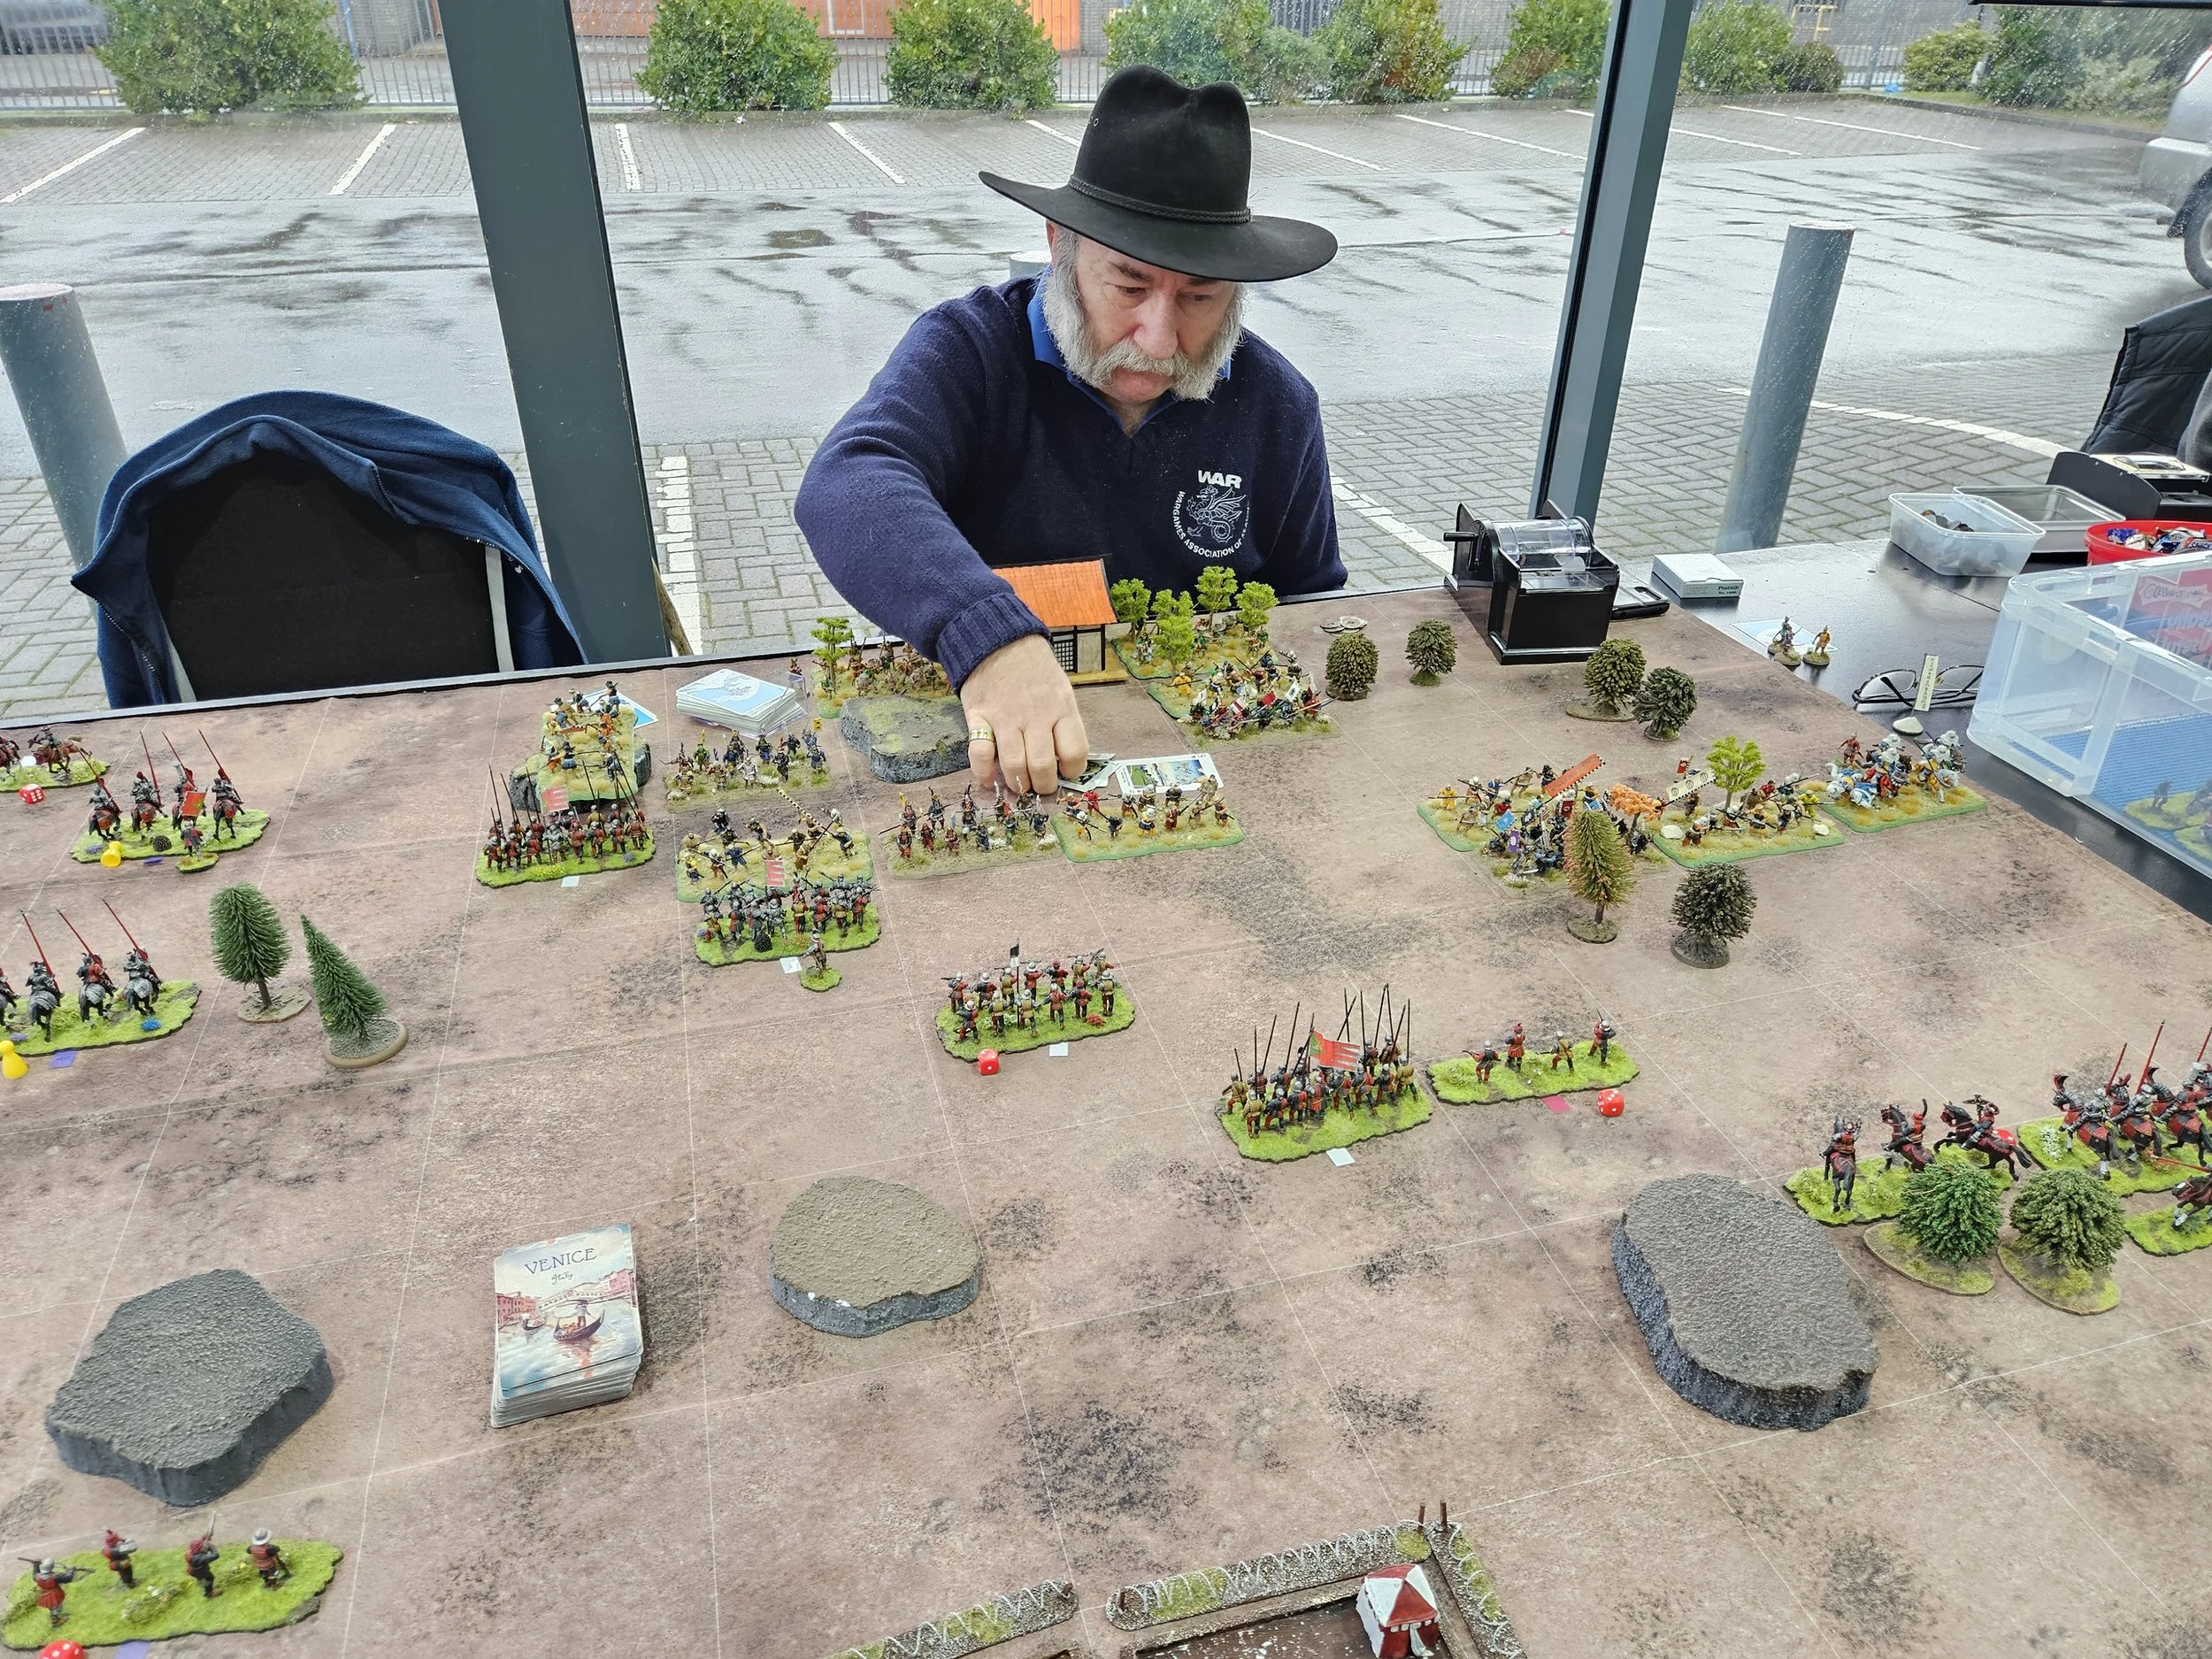
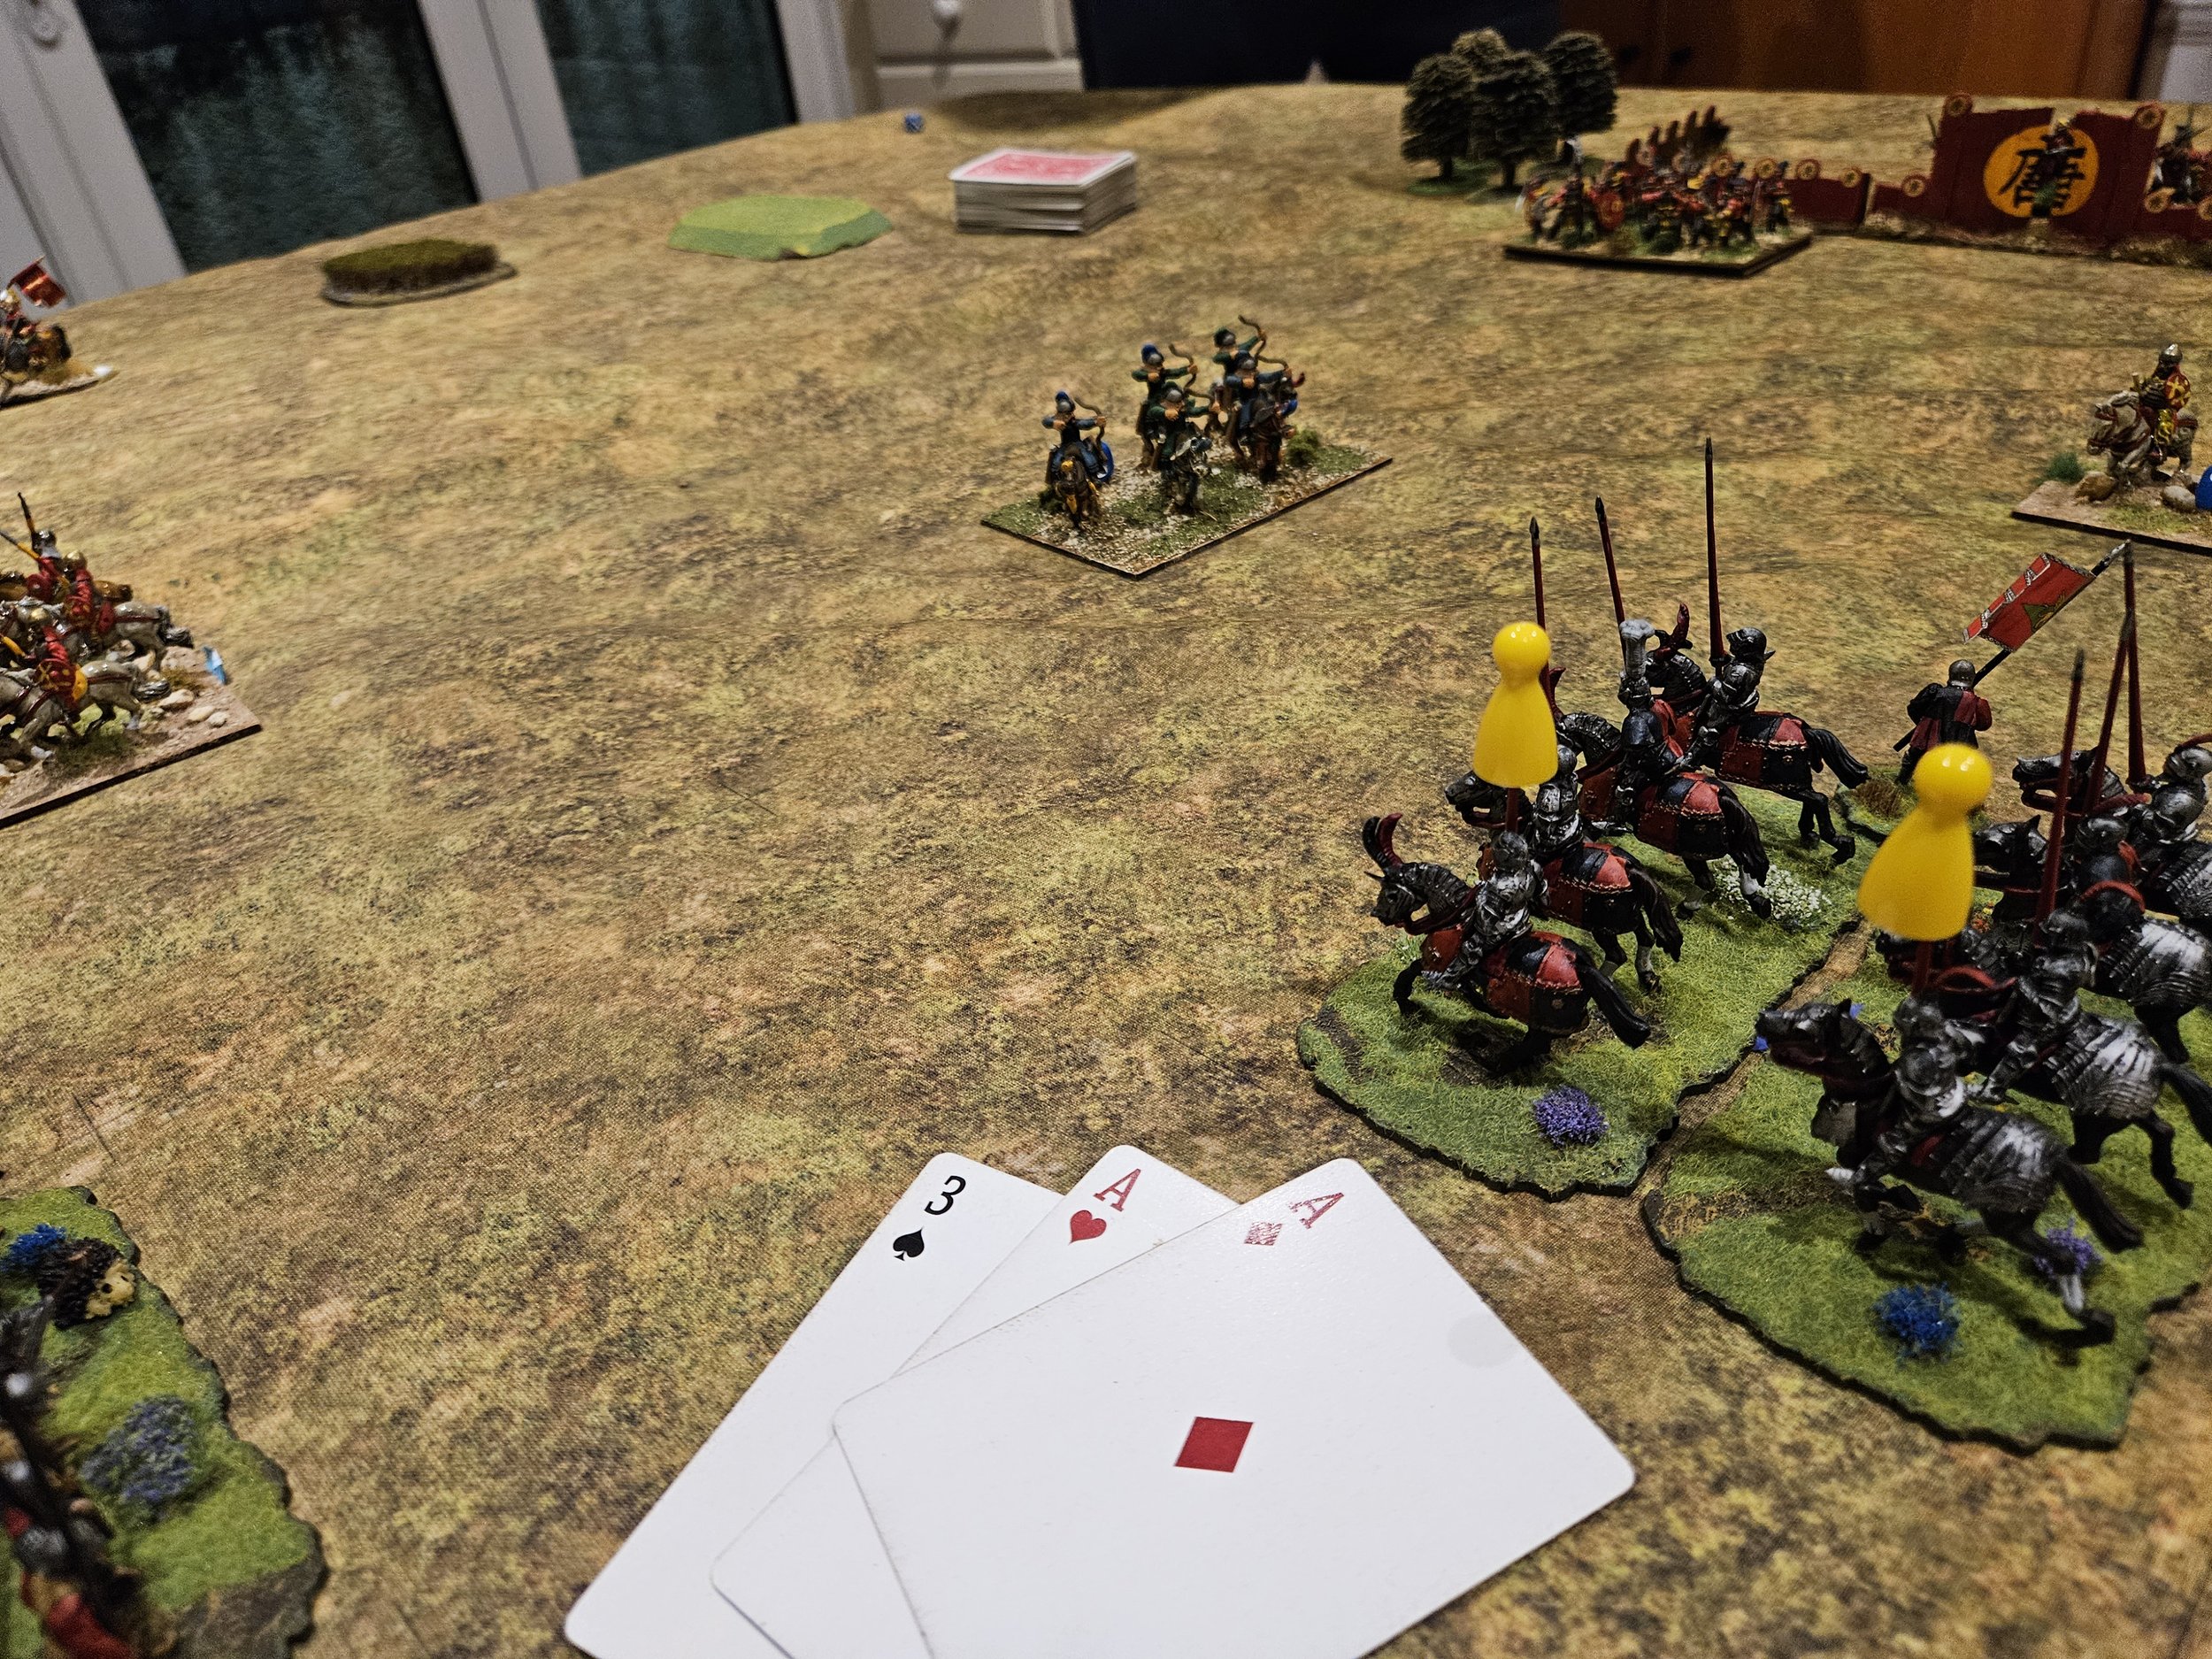
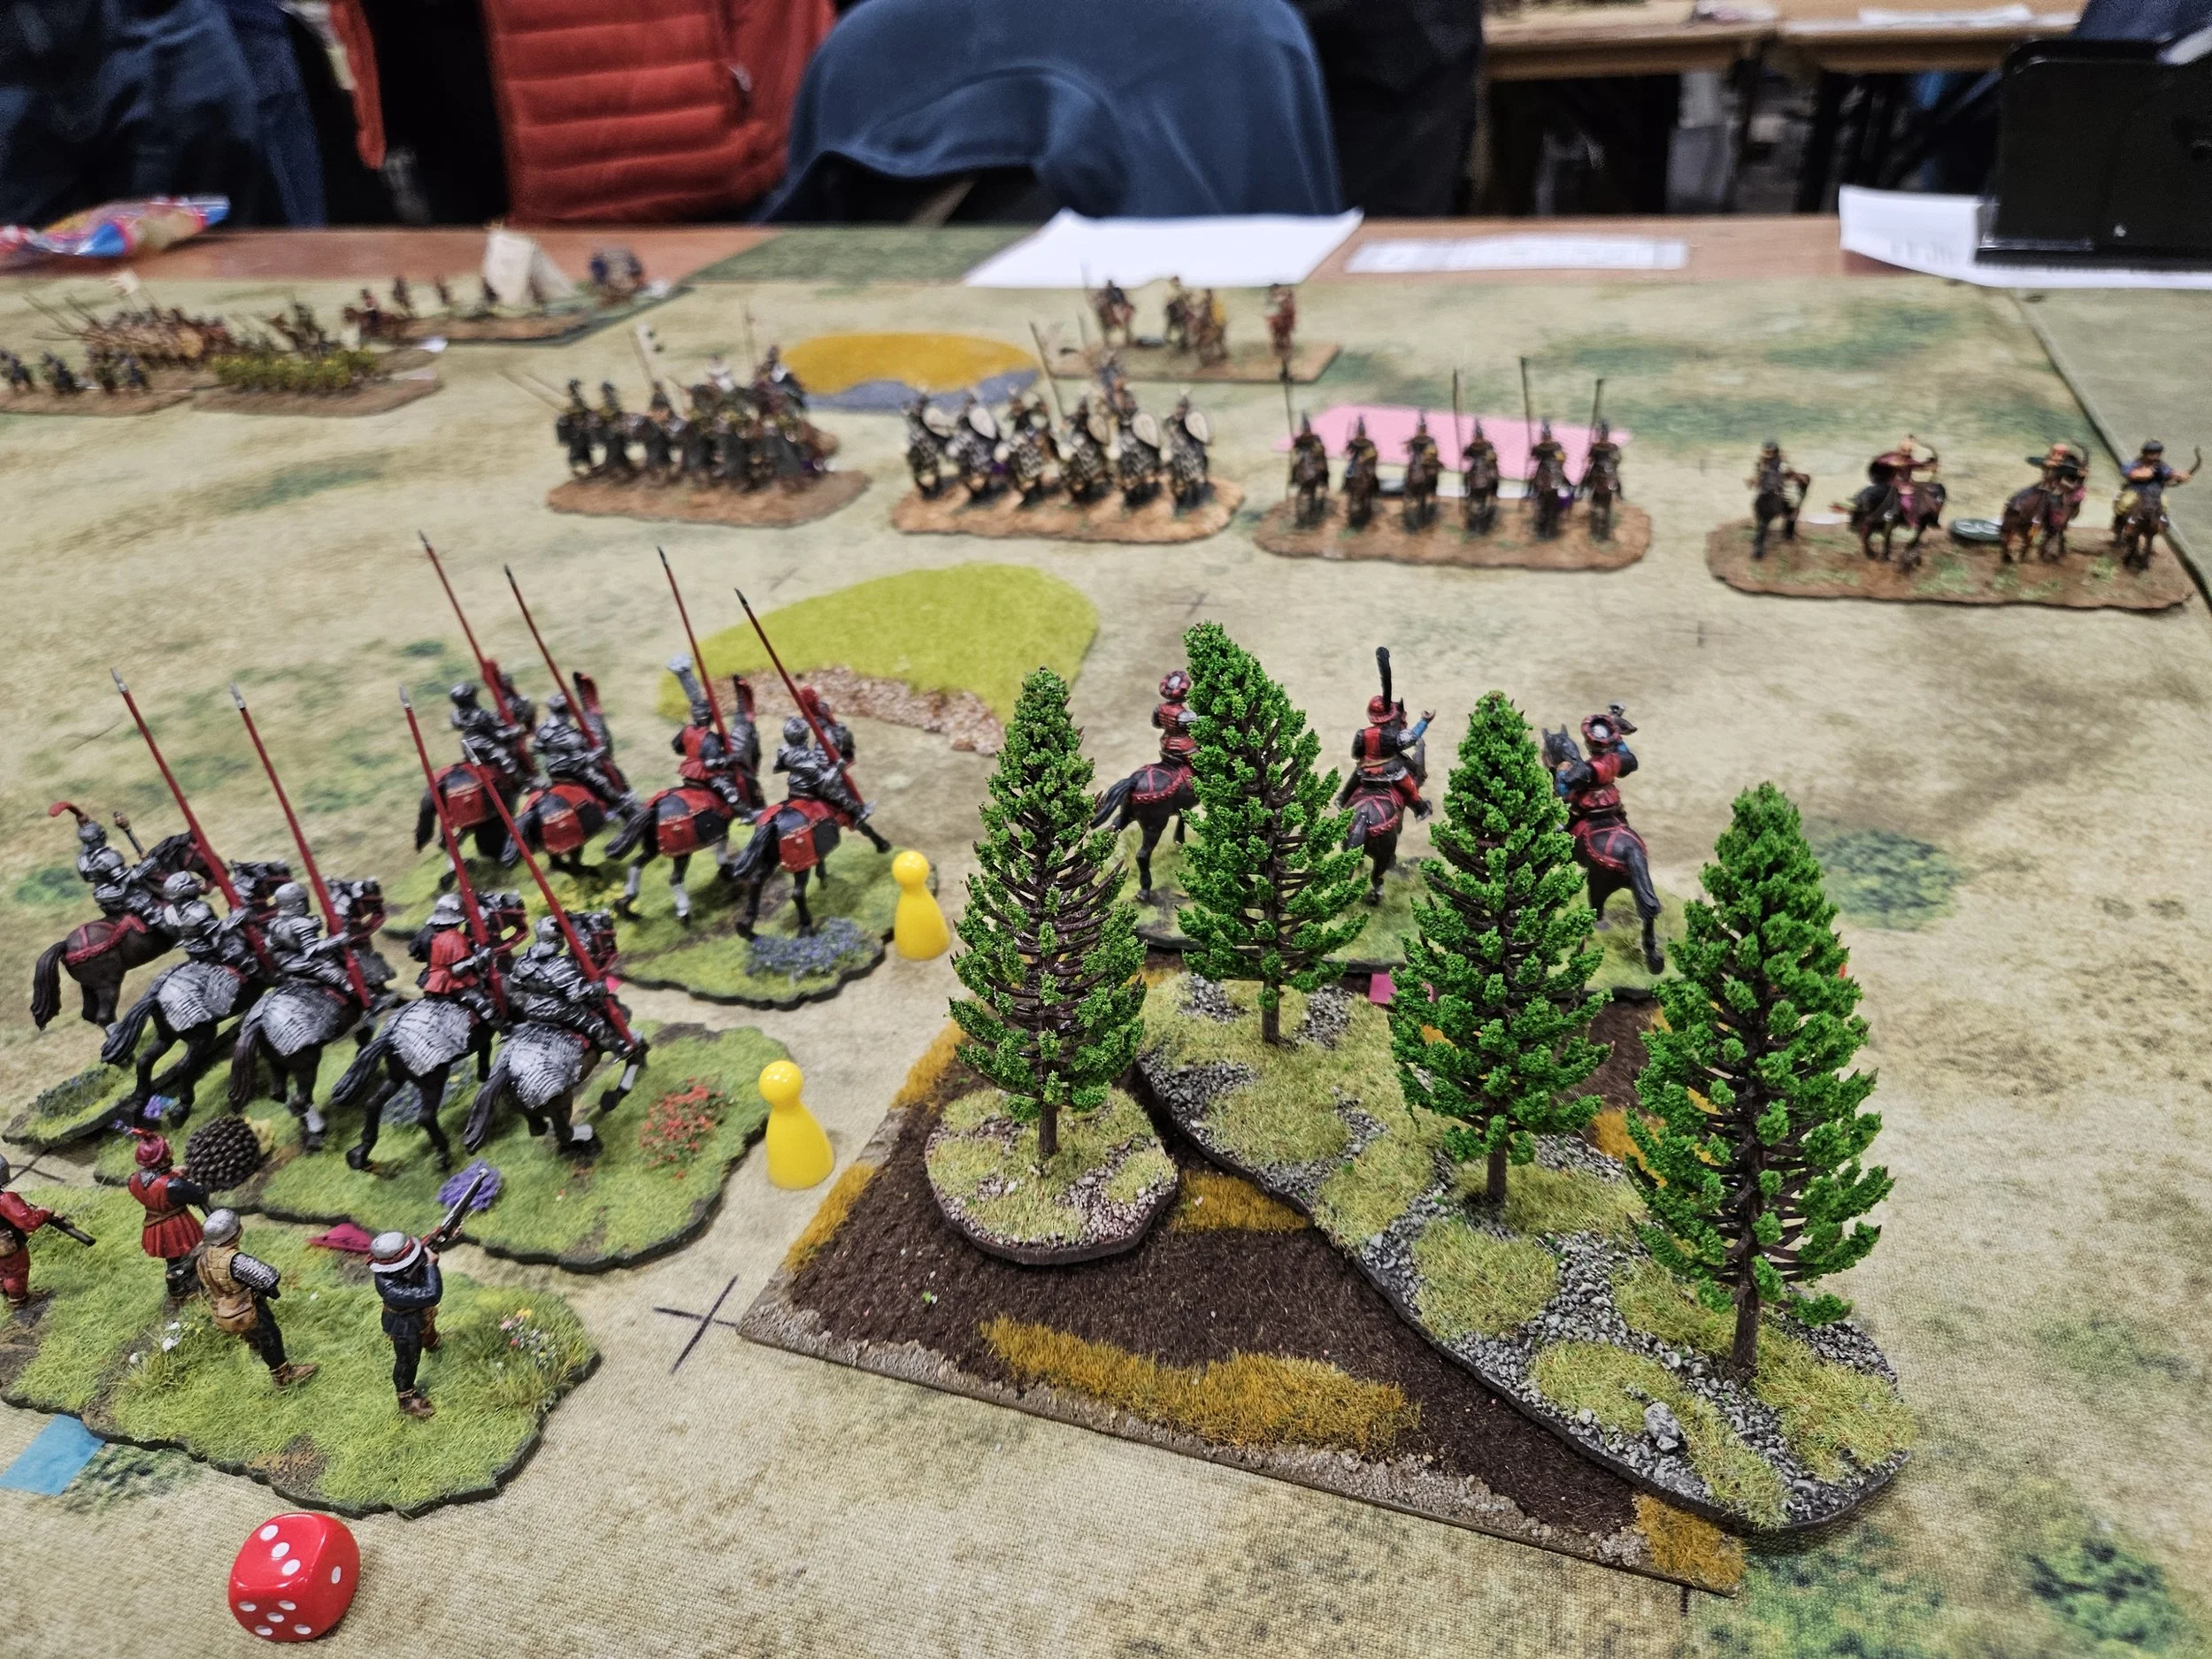
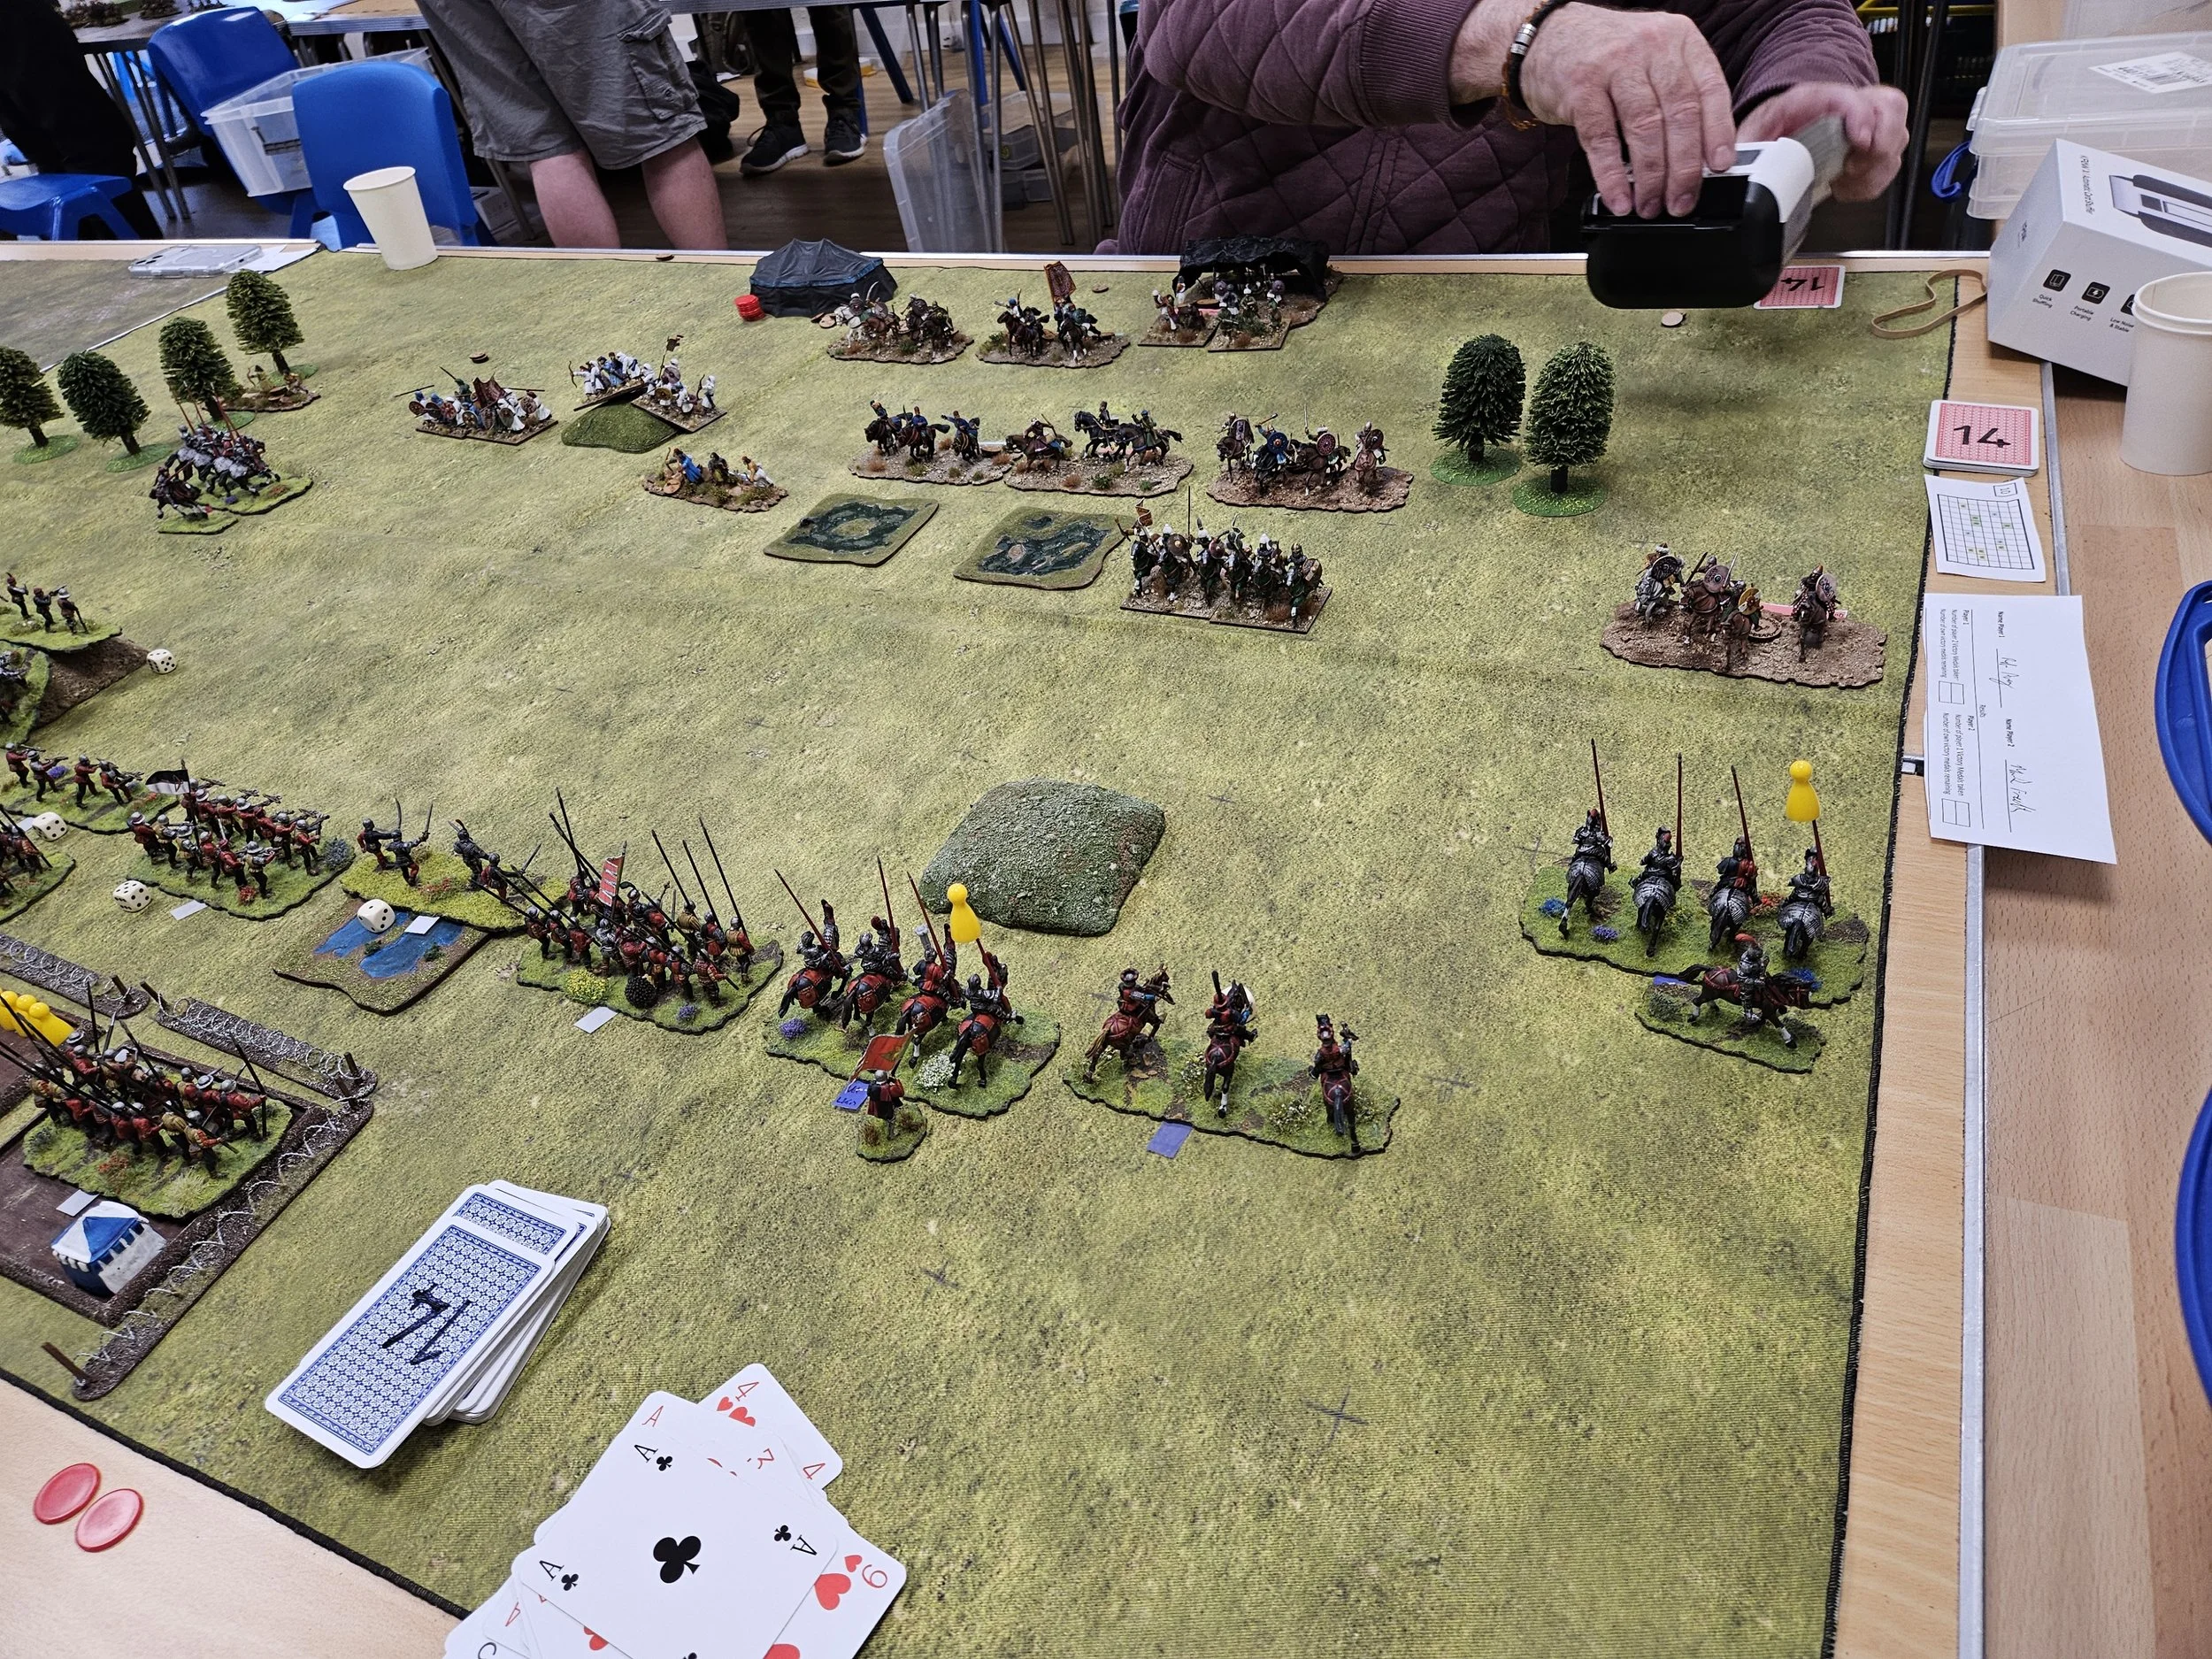
Firstly, on the left, the Ayyubid off-table force arrived: a ‘massed lights’ double unit of light cavalry which, combined with the light’s Mark had had floating around there since the beginning of the game, meant three light cavalry units roaming around in my rear.
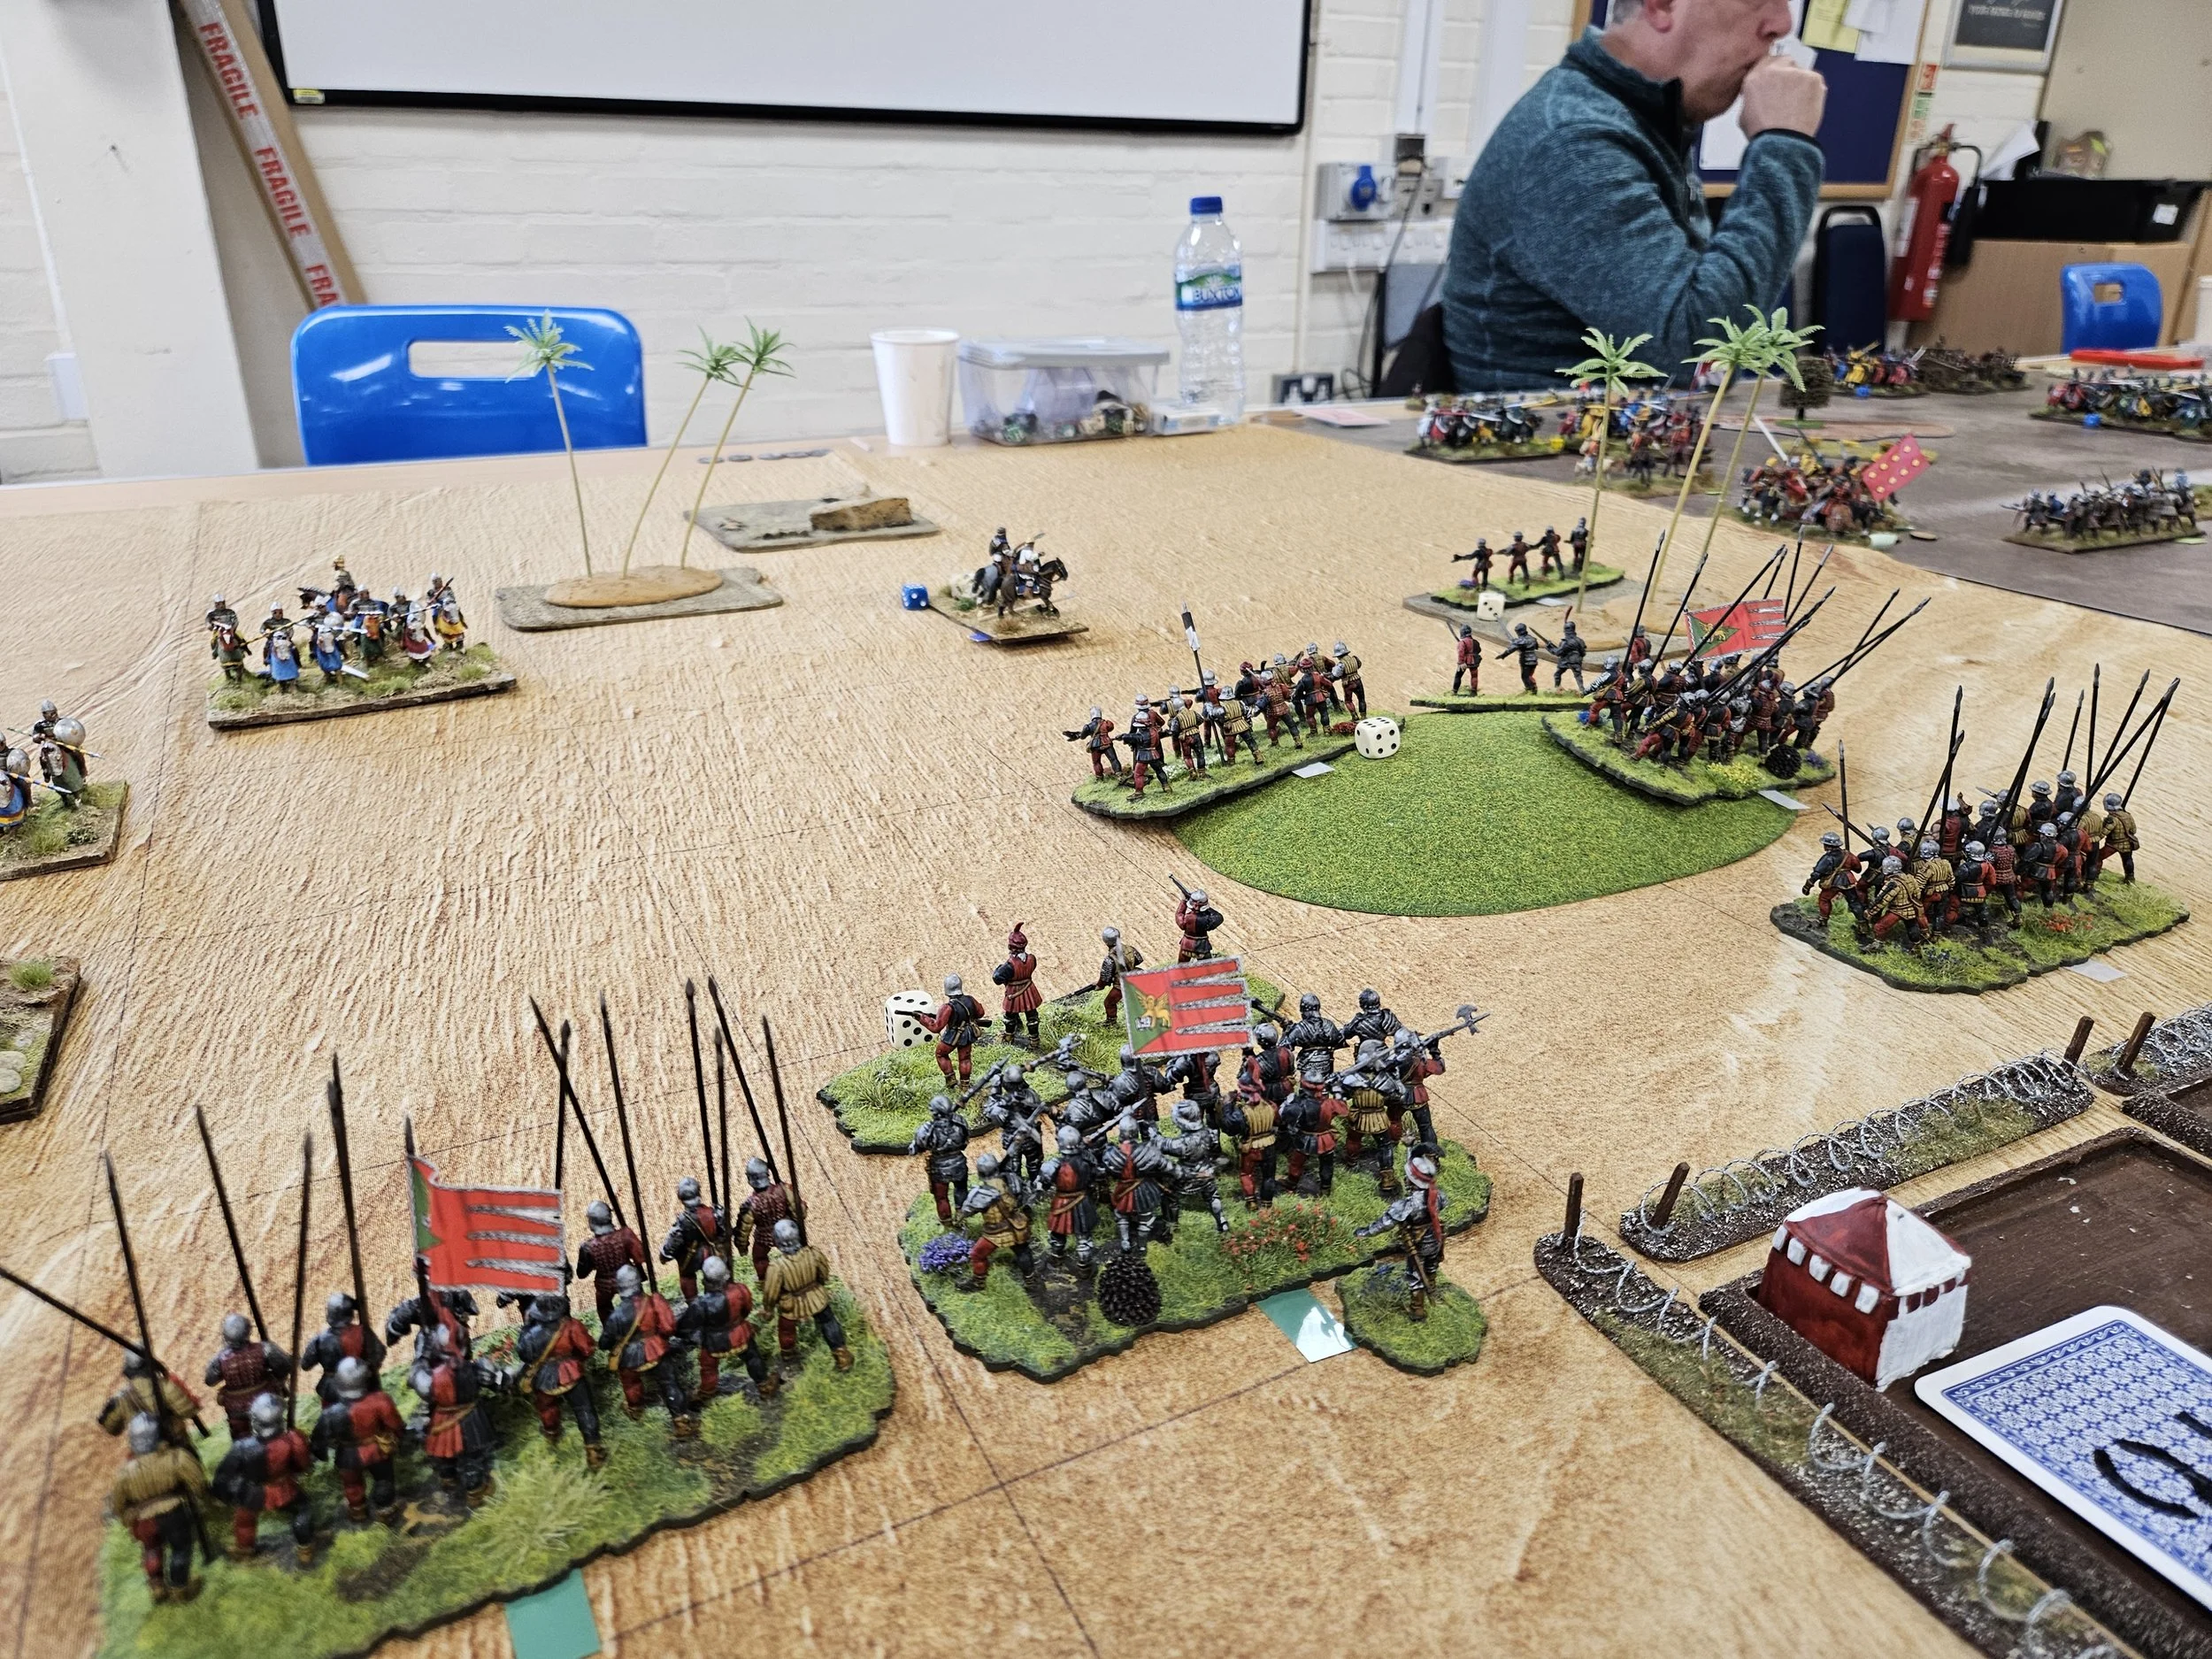
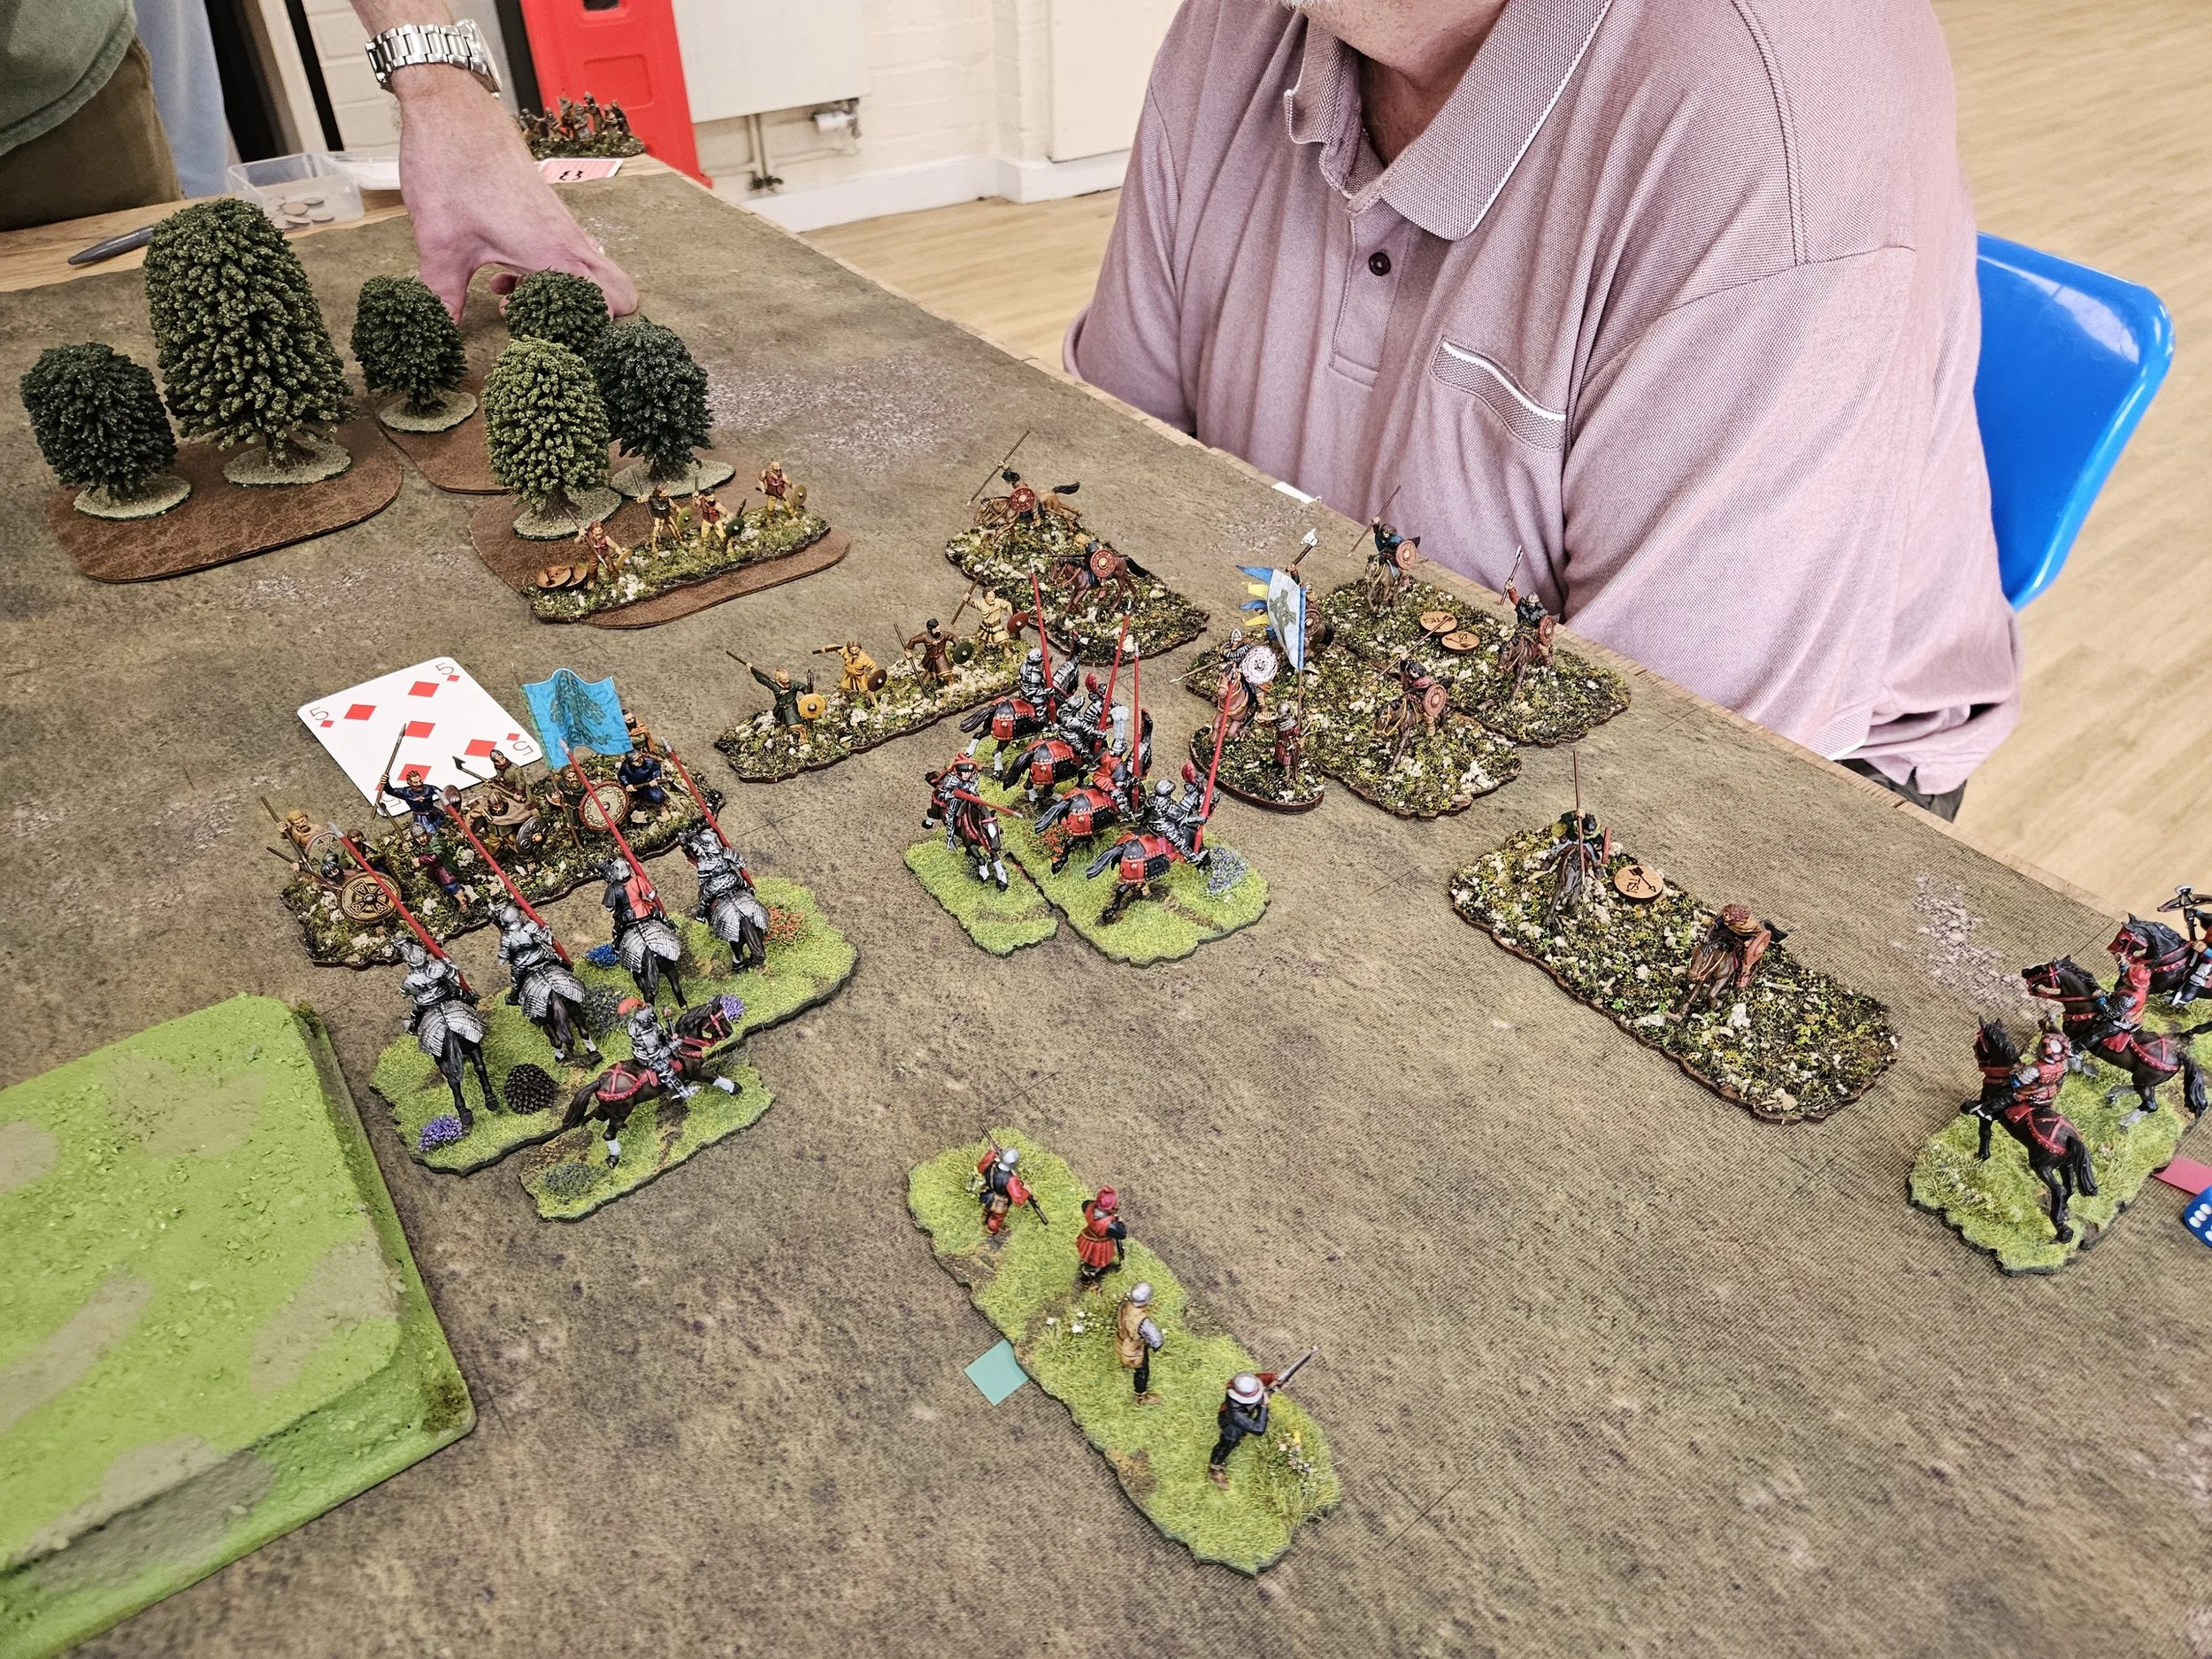
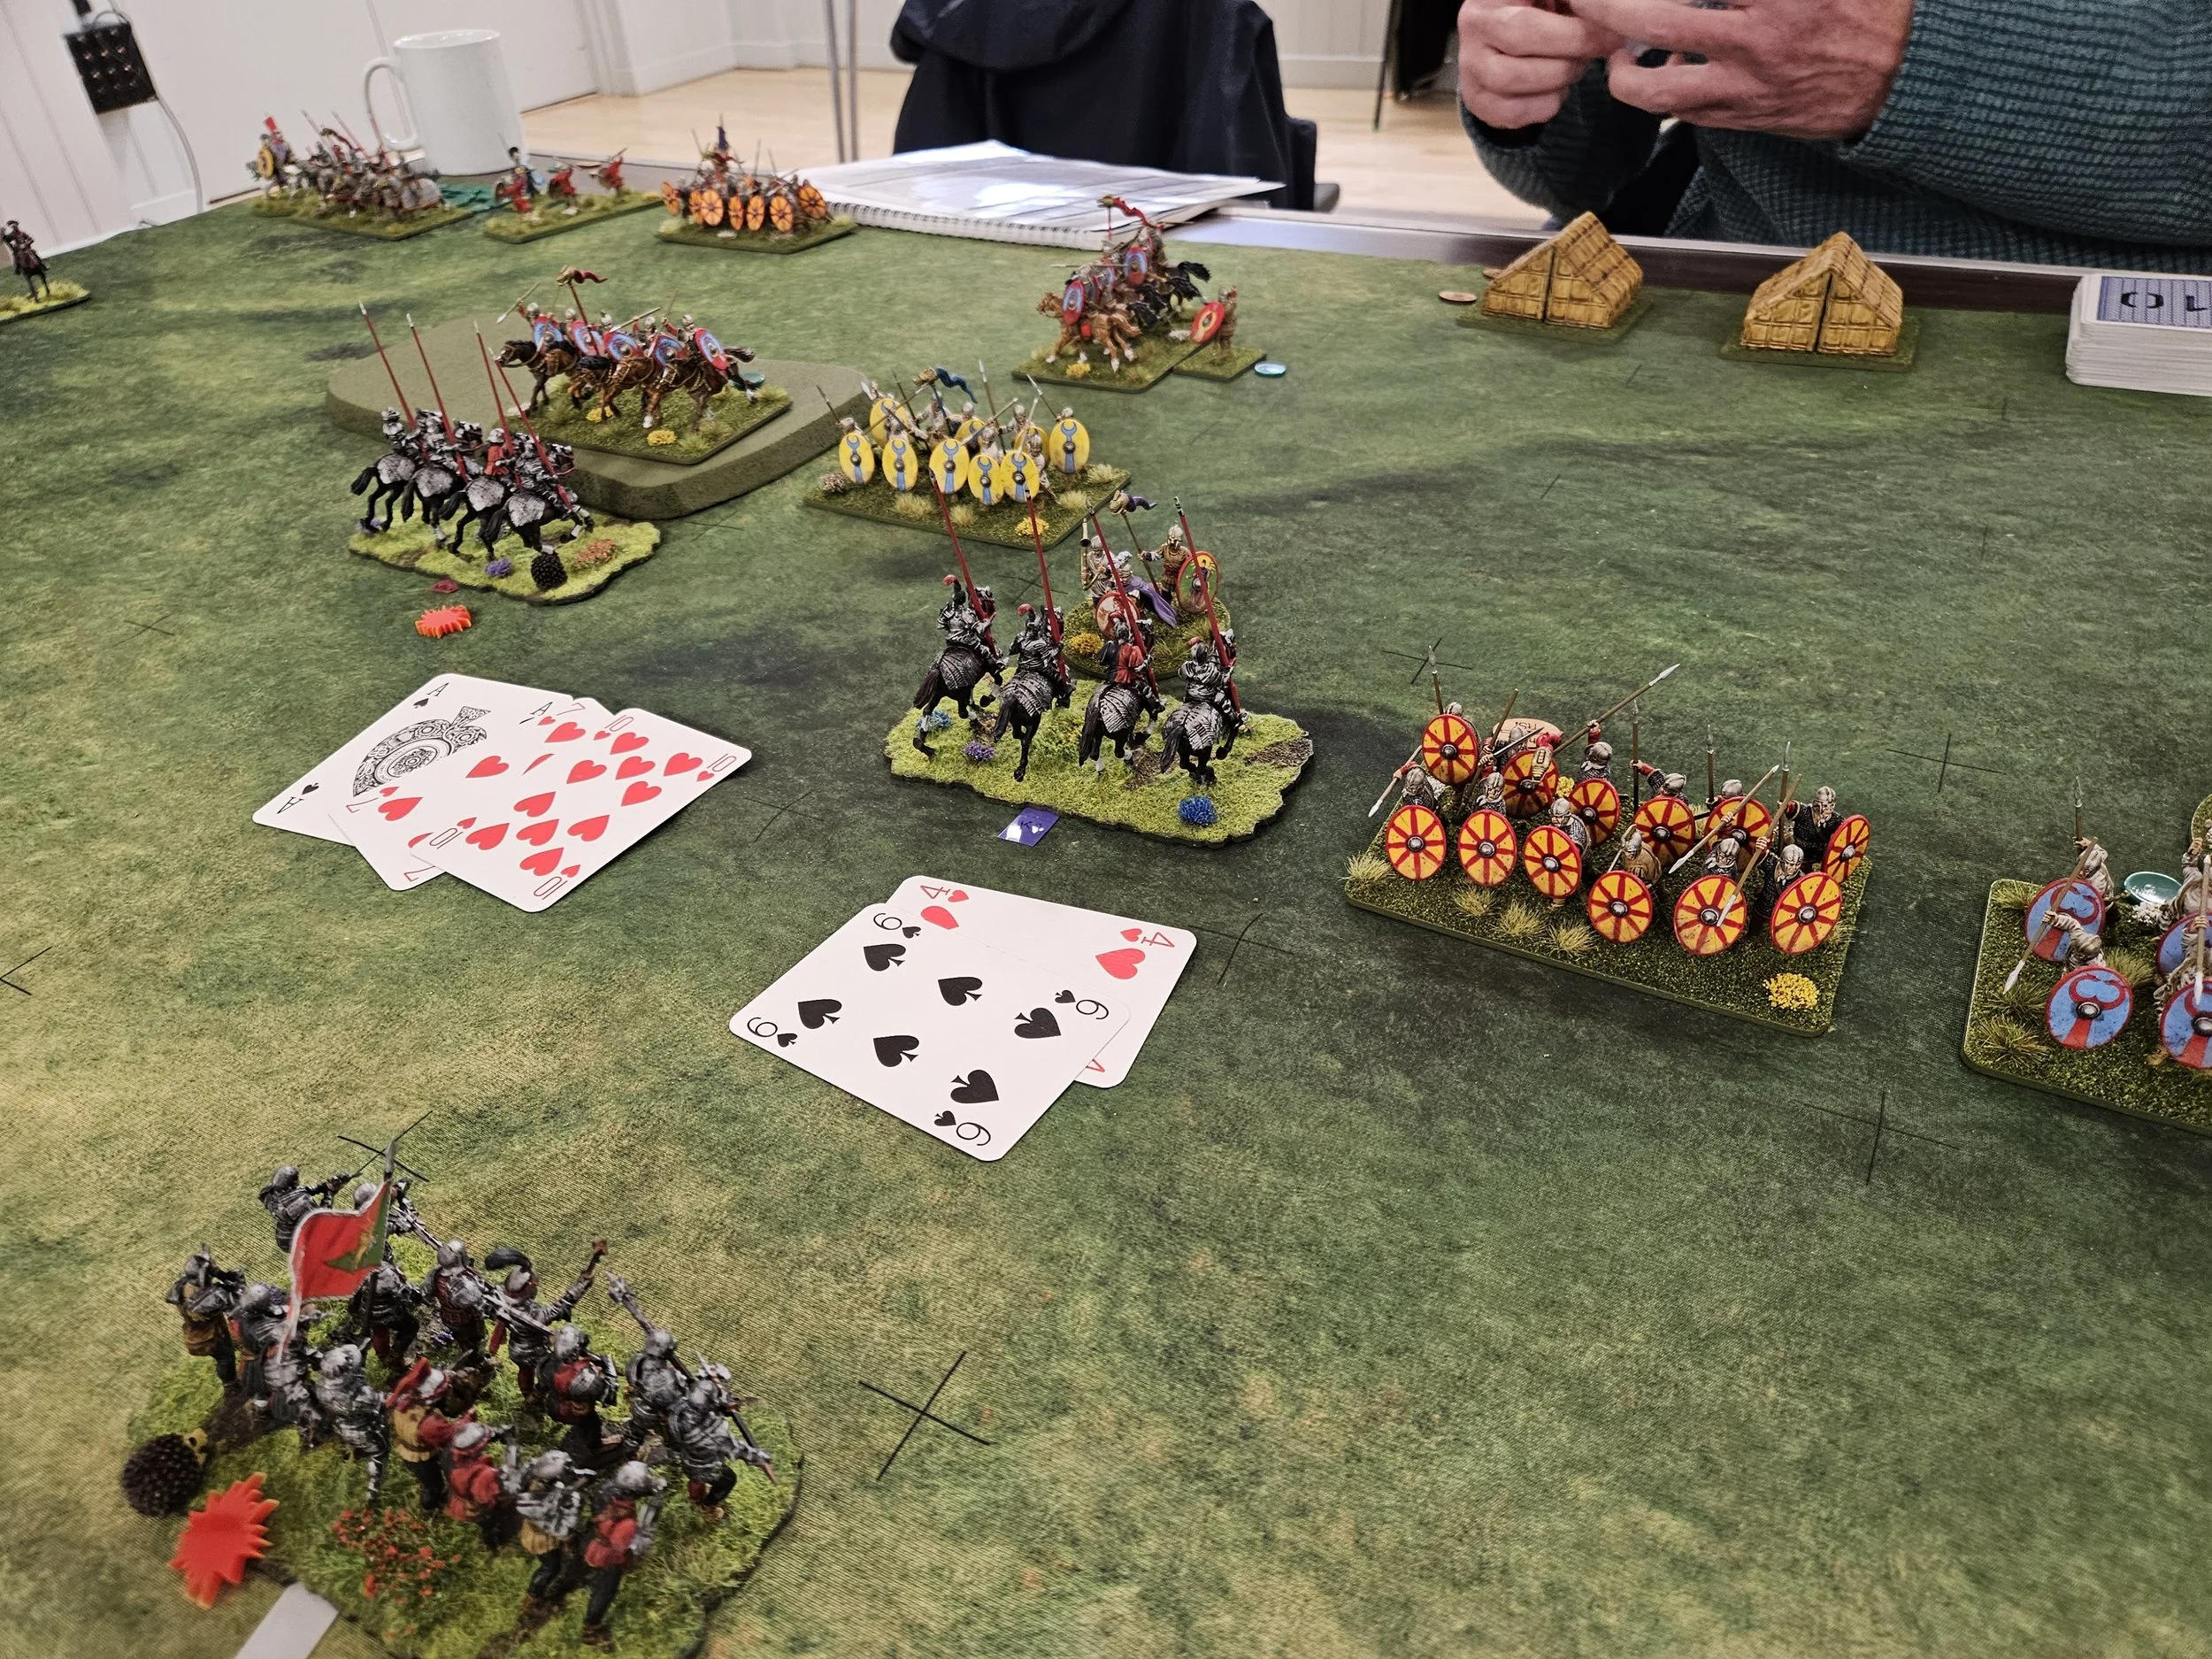
I manged to move some infantry across to contain the threat, but lost the first of my coins as the Arabs picked me off from the flank.
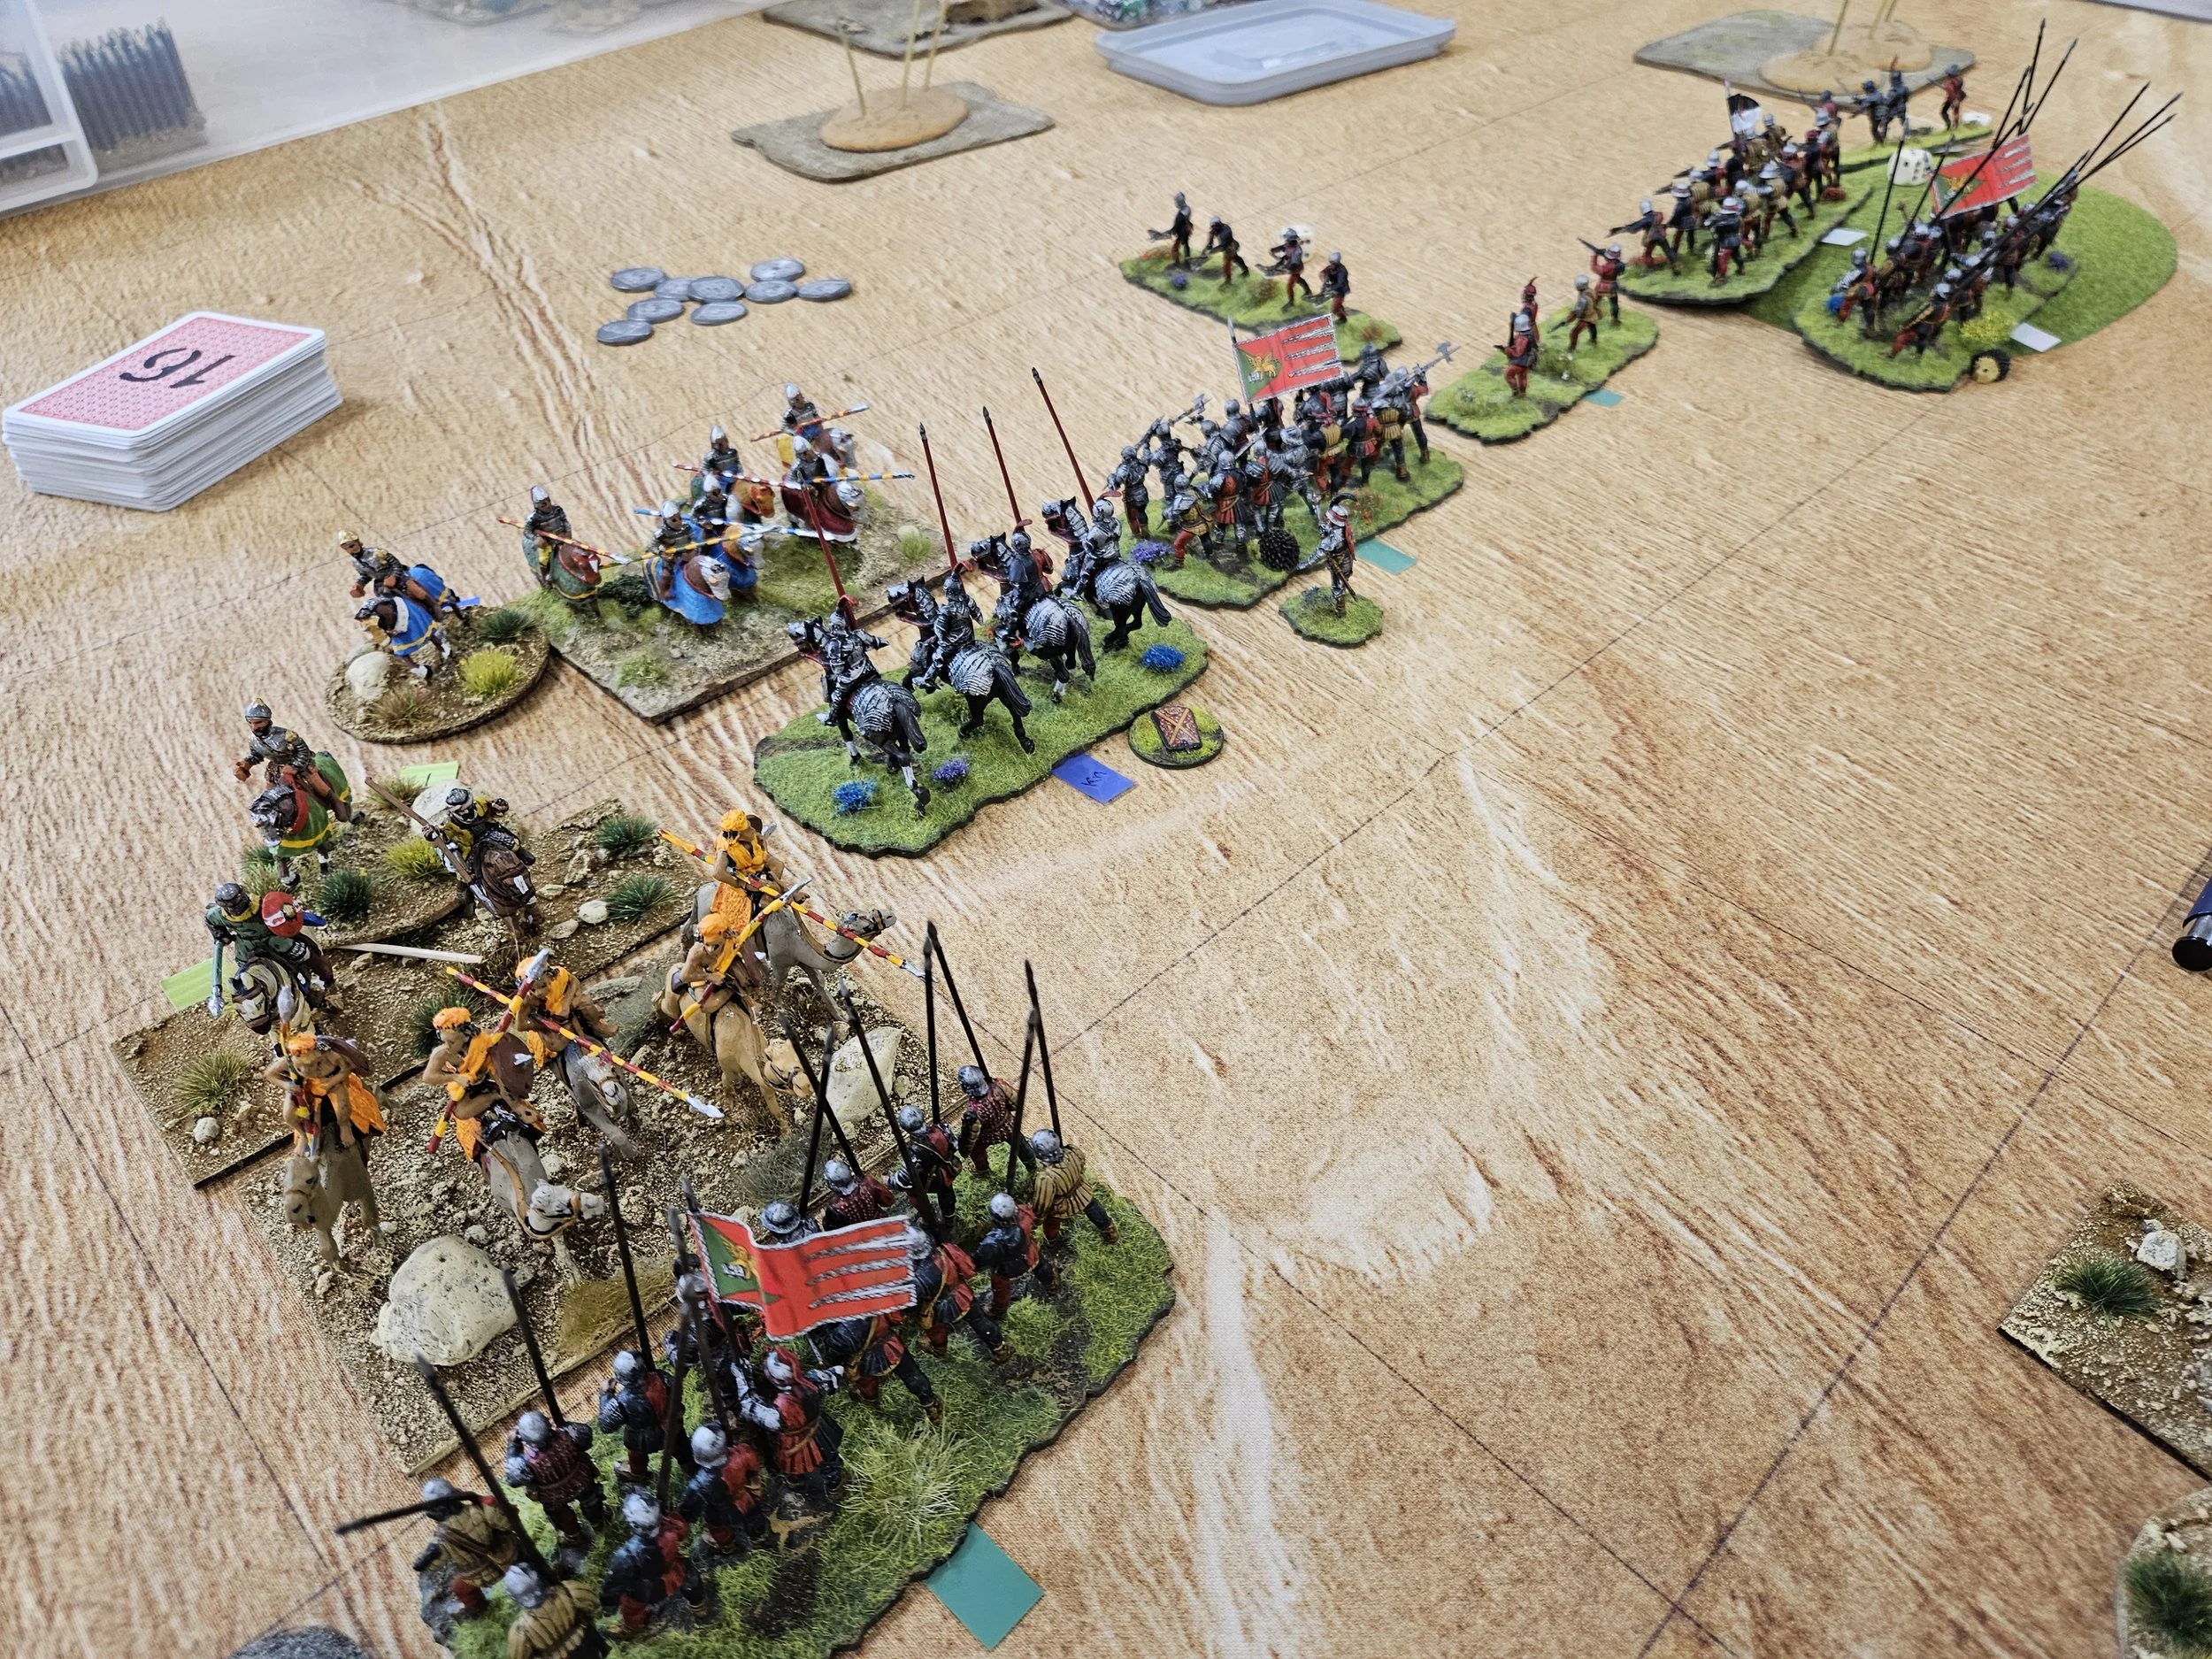
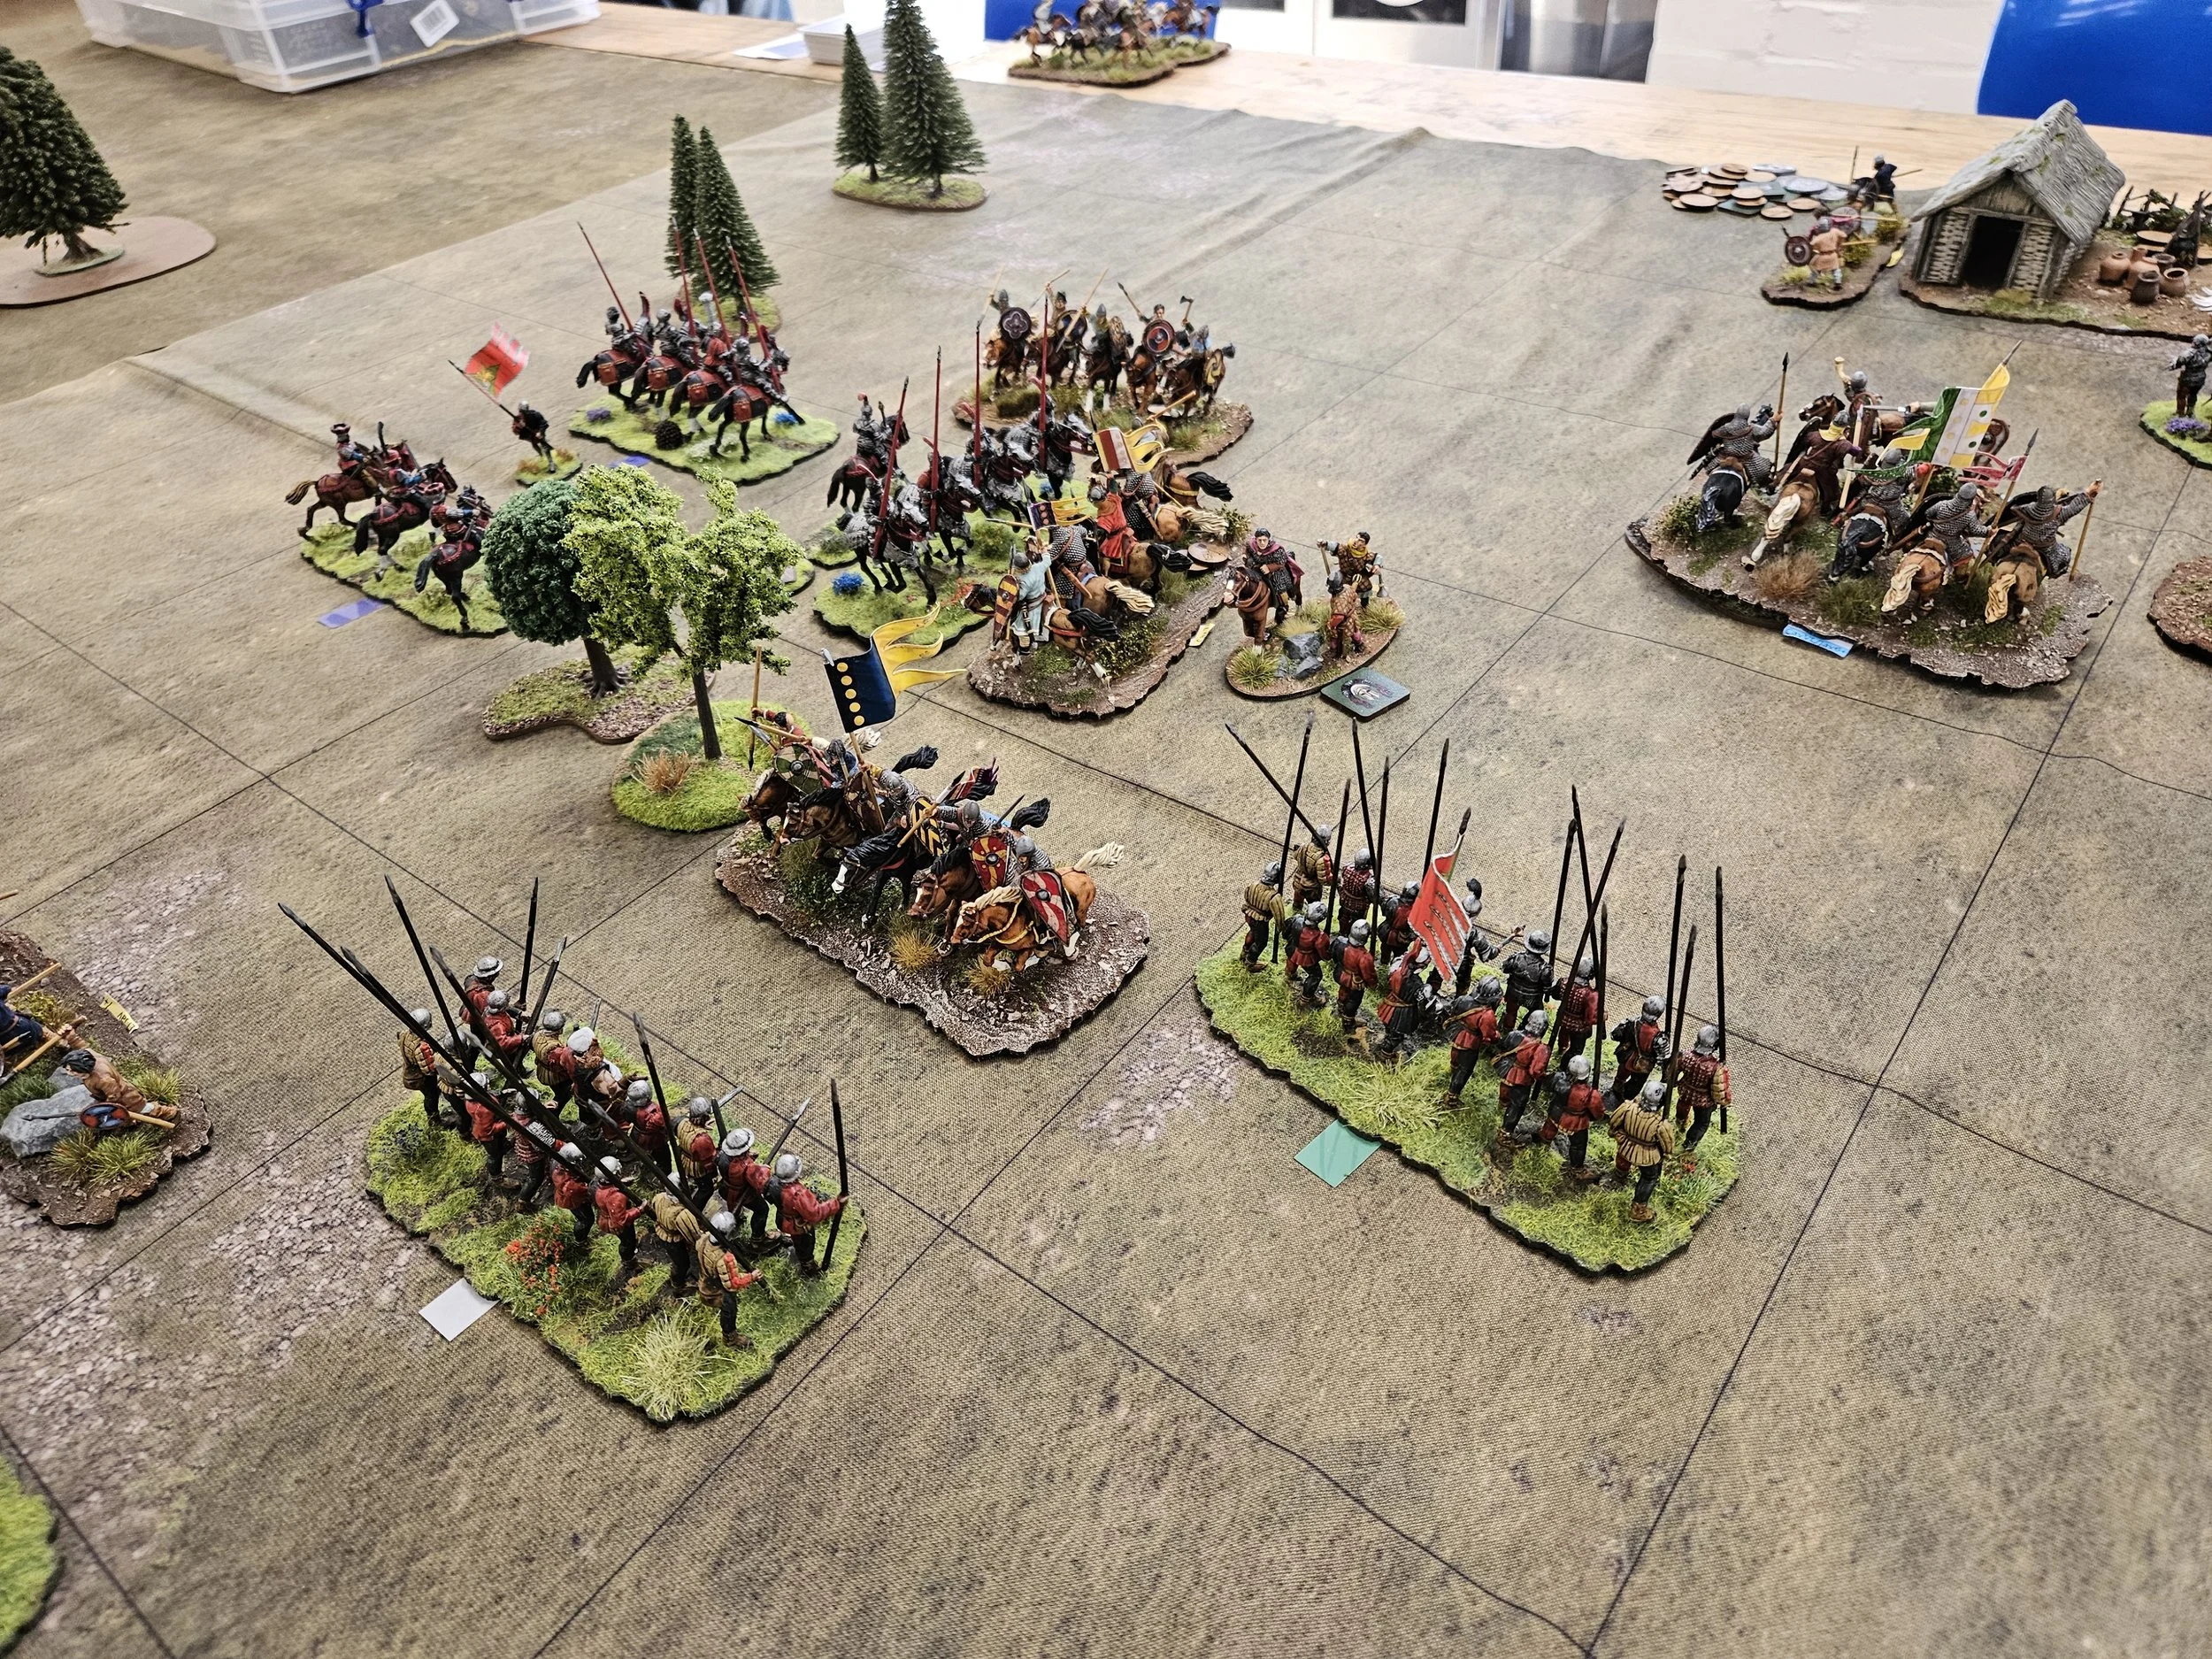
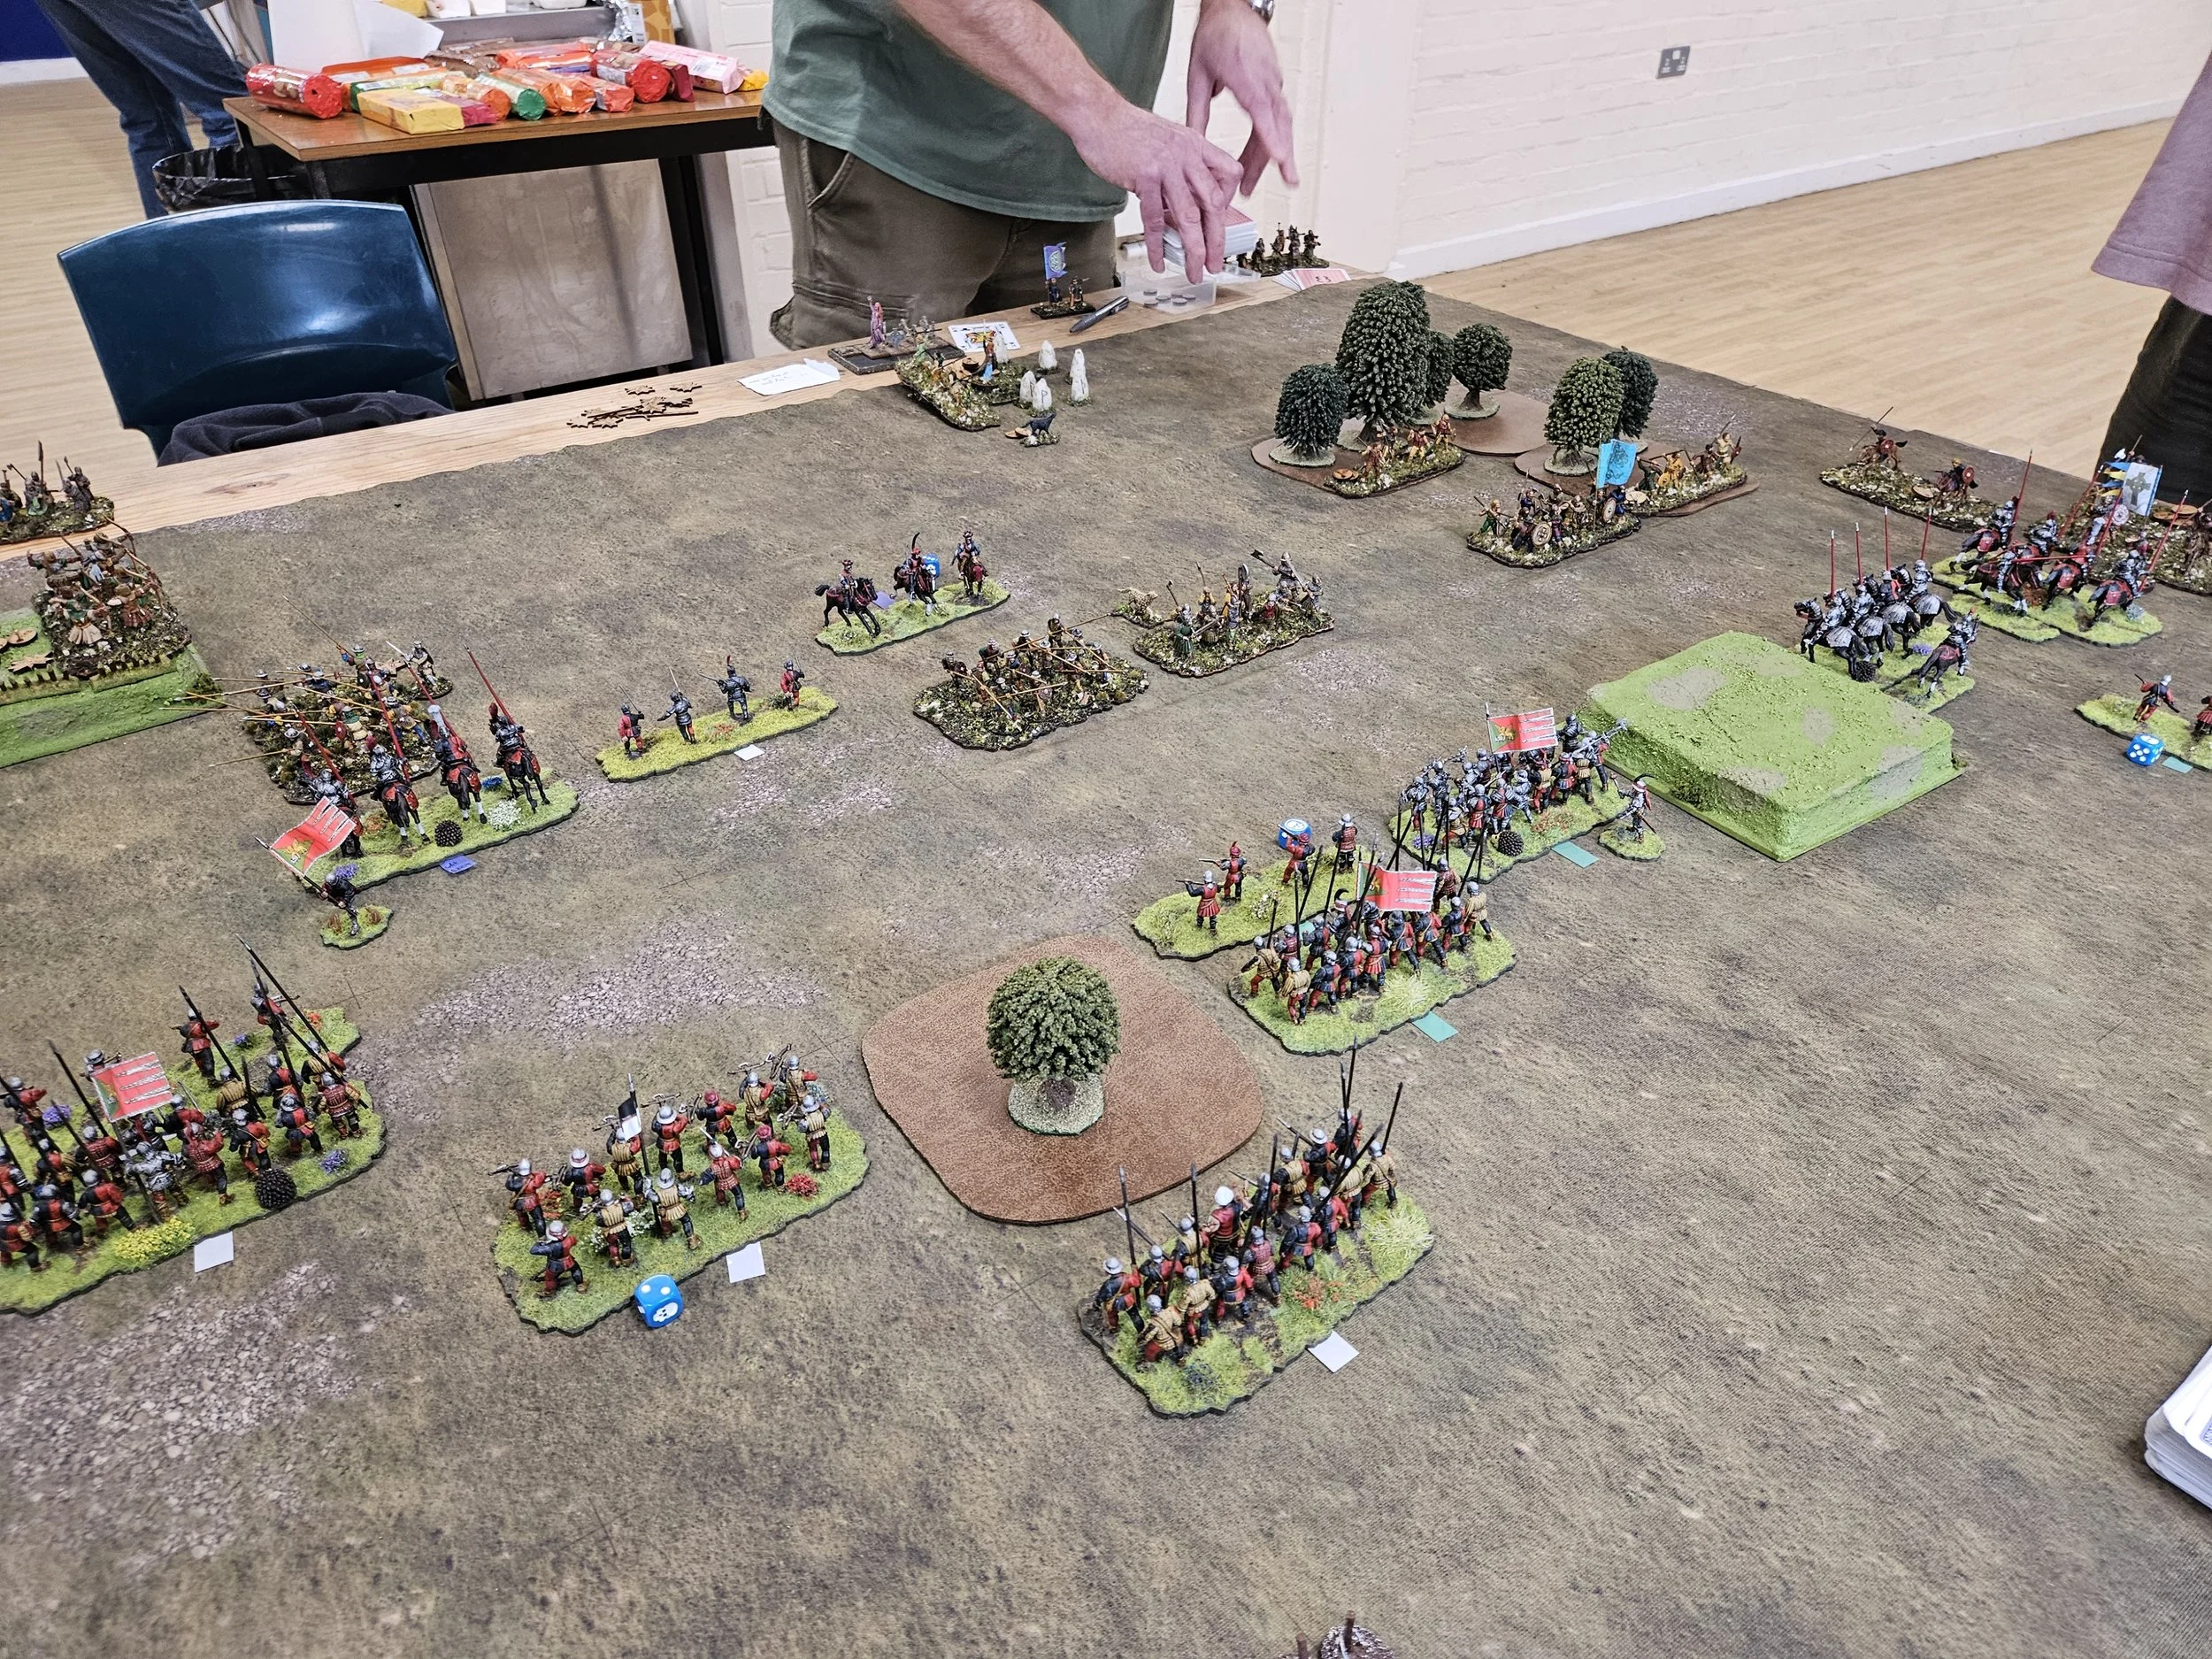
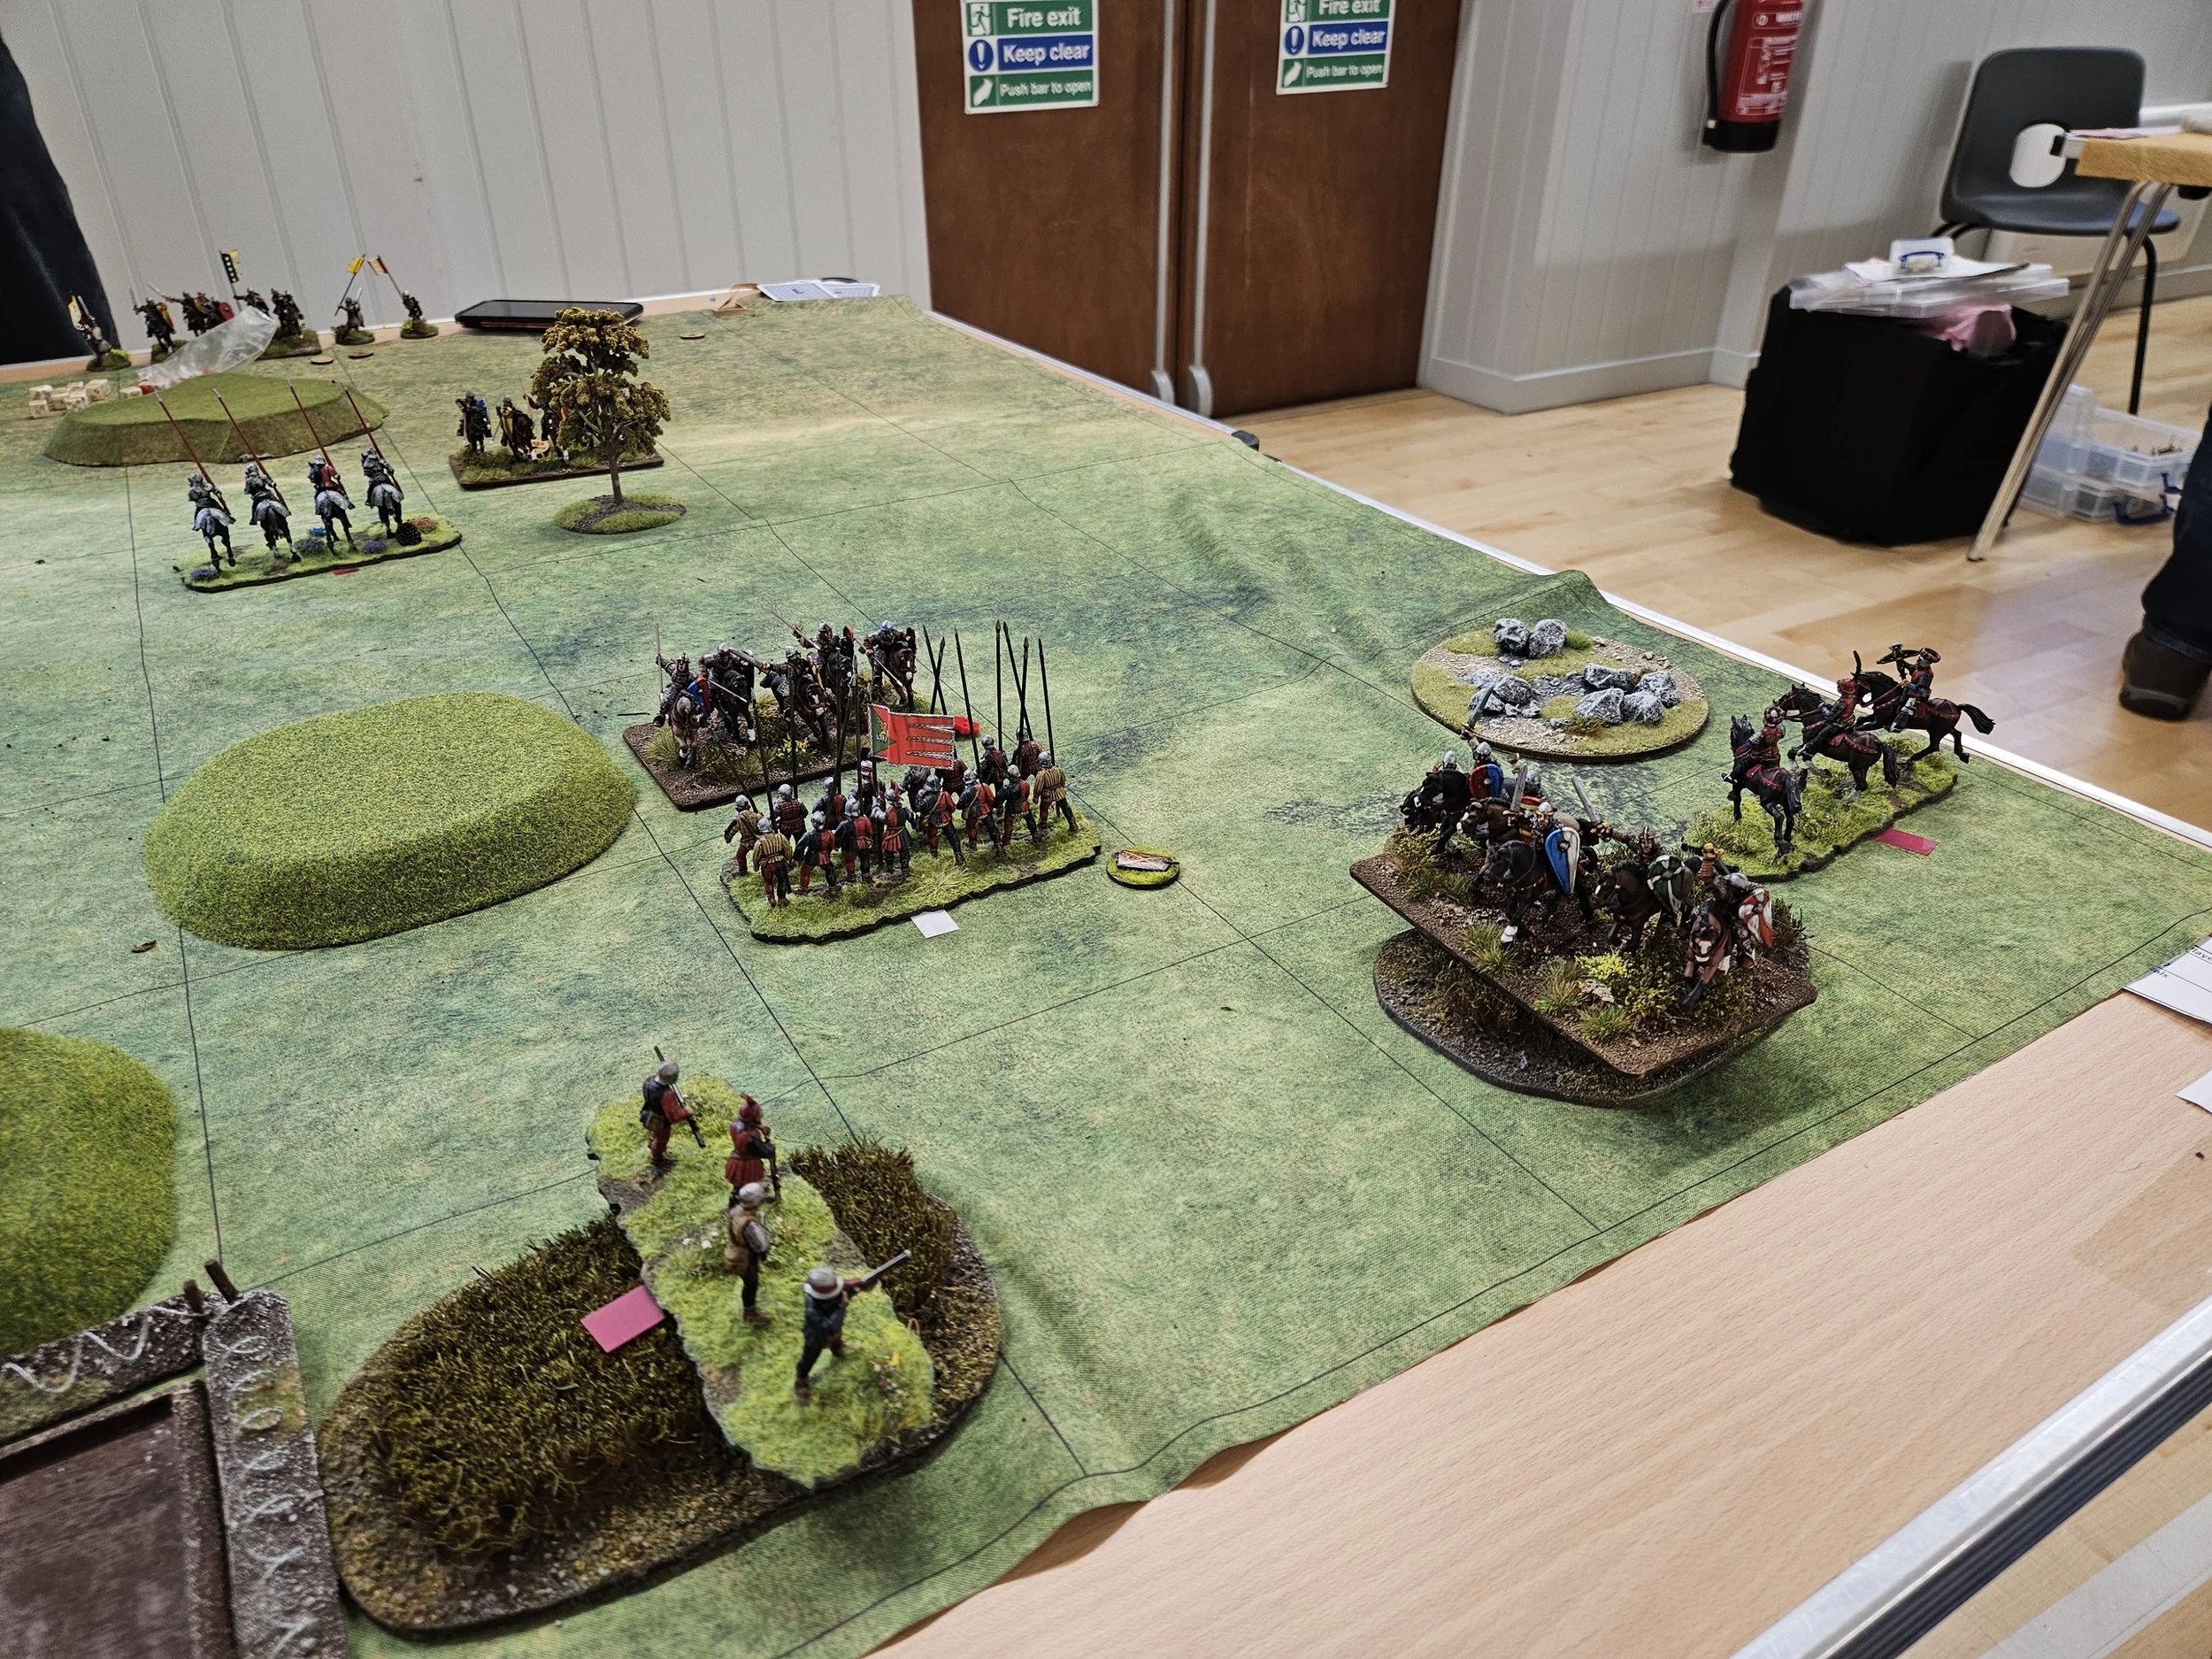
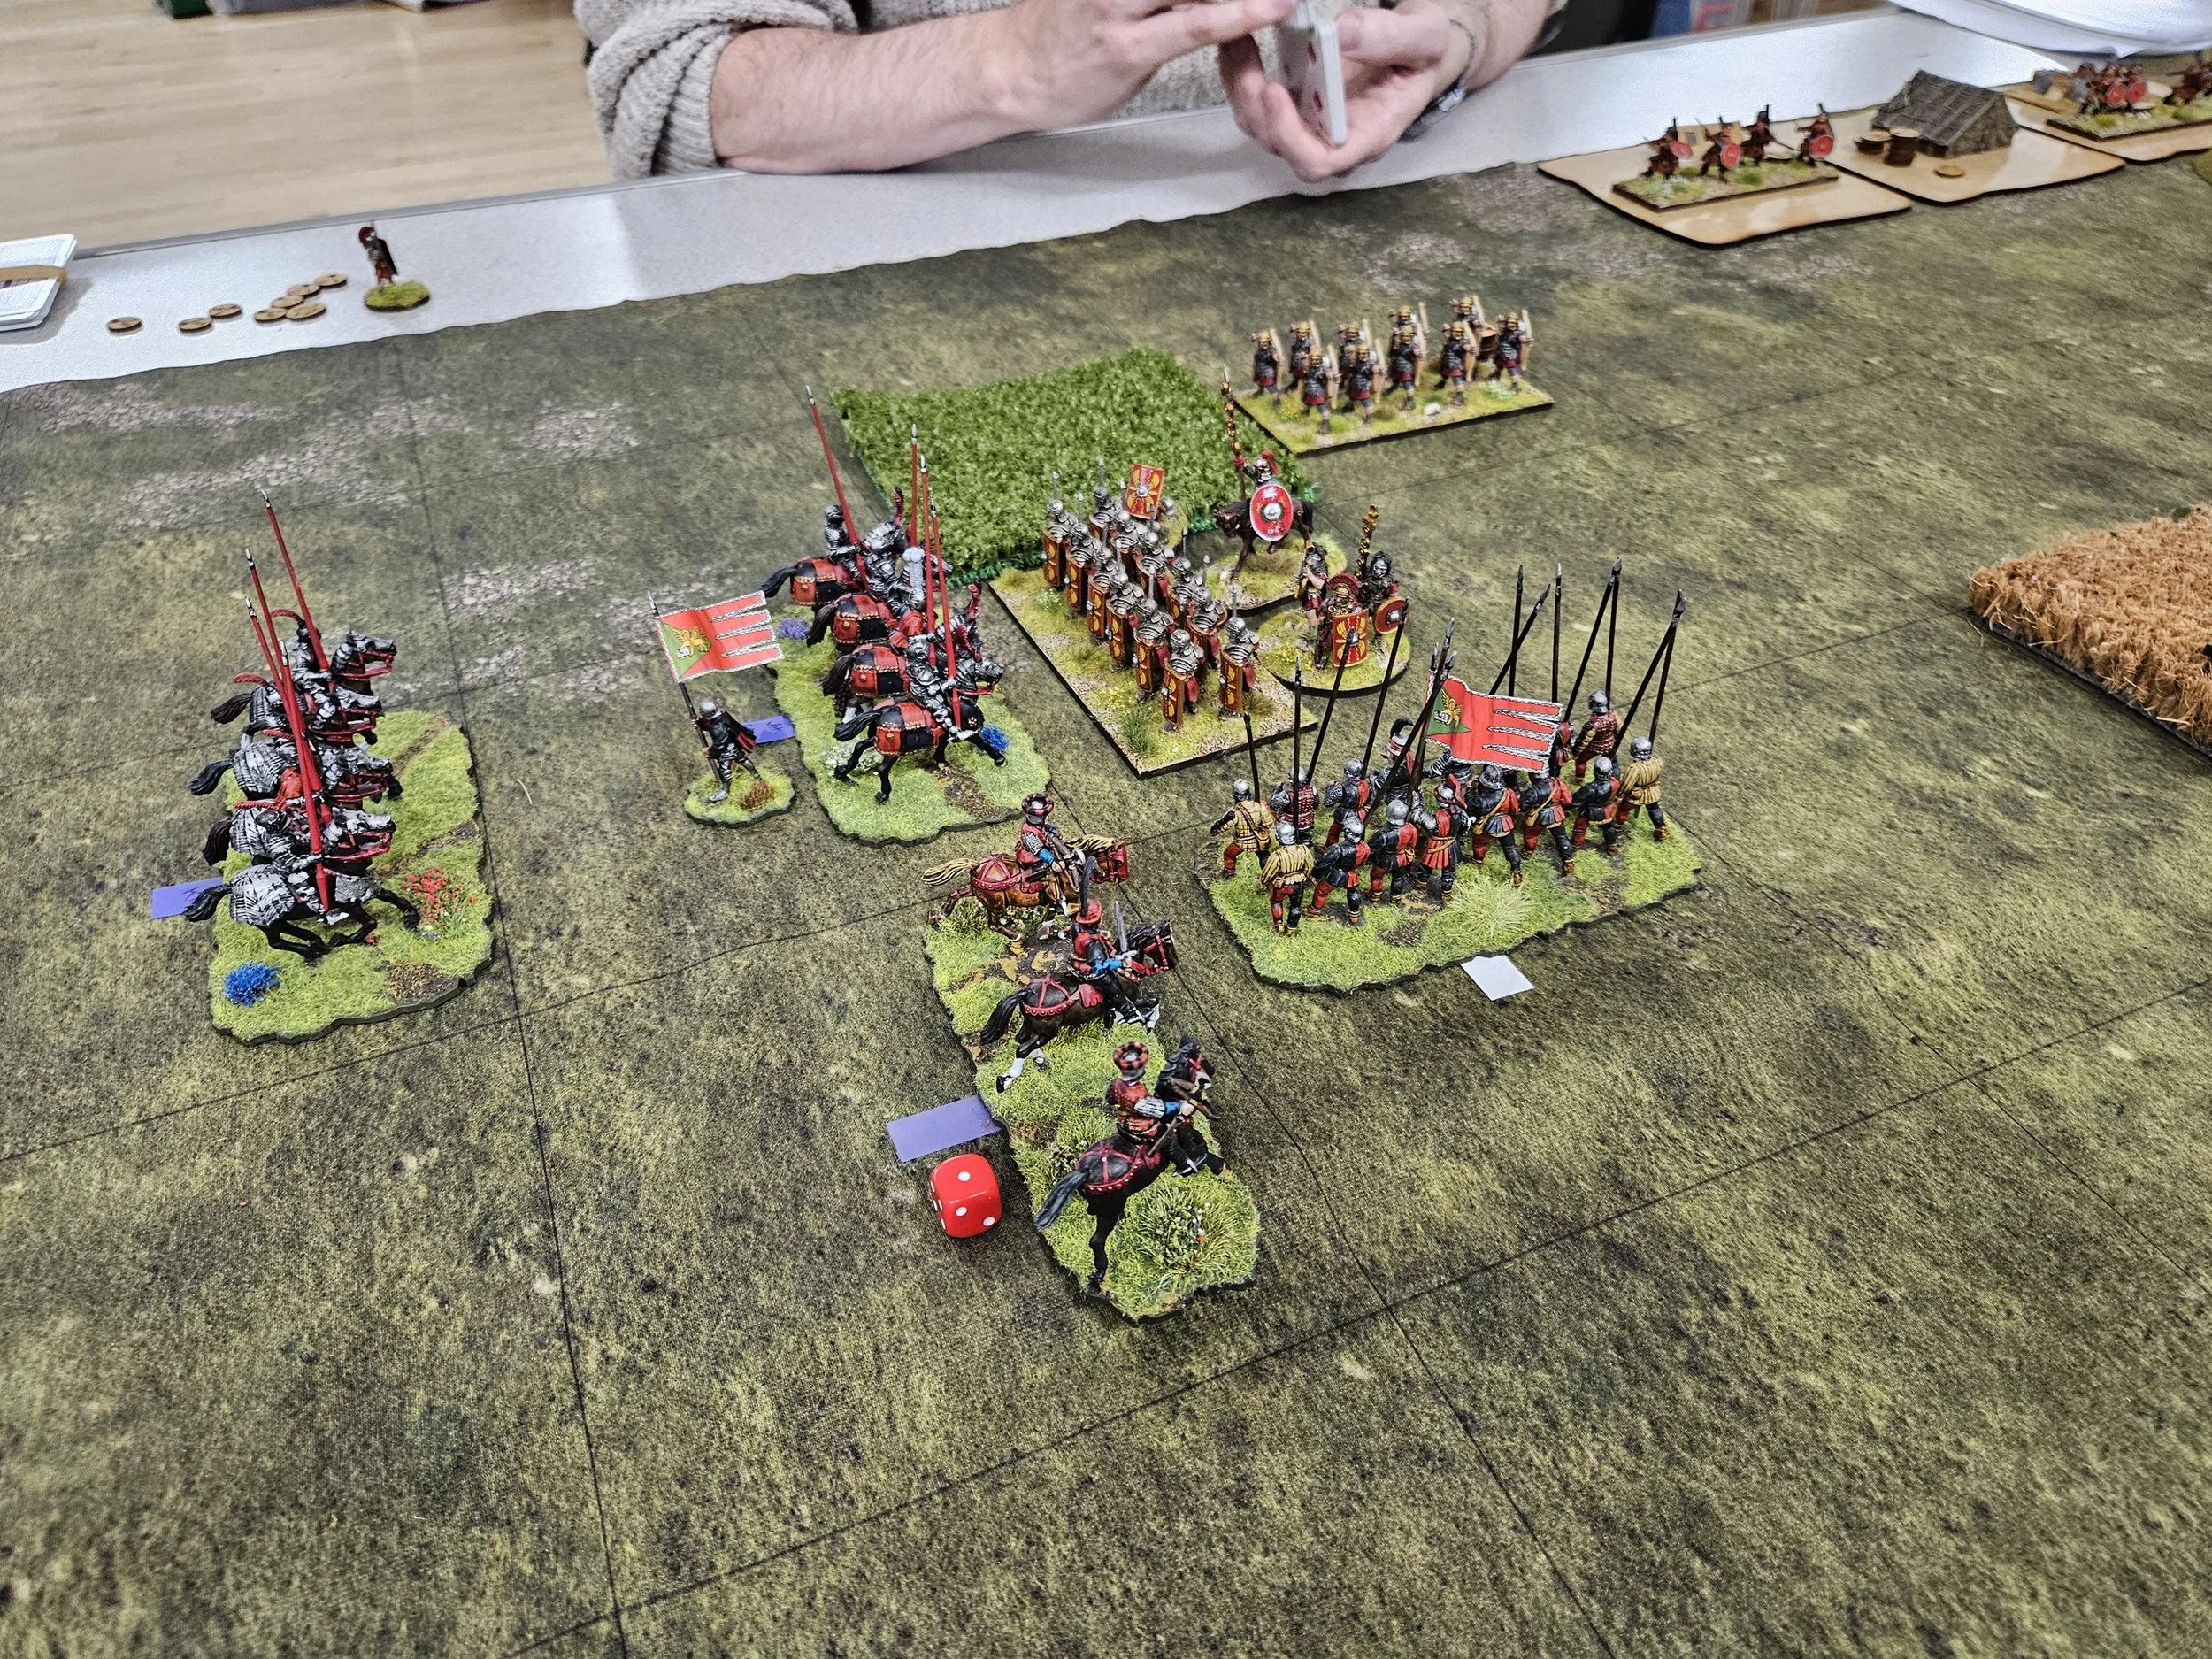
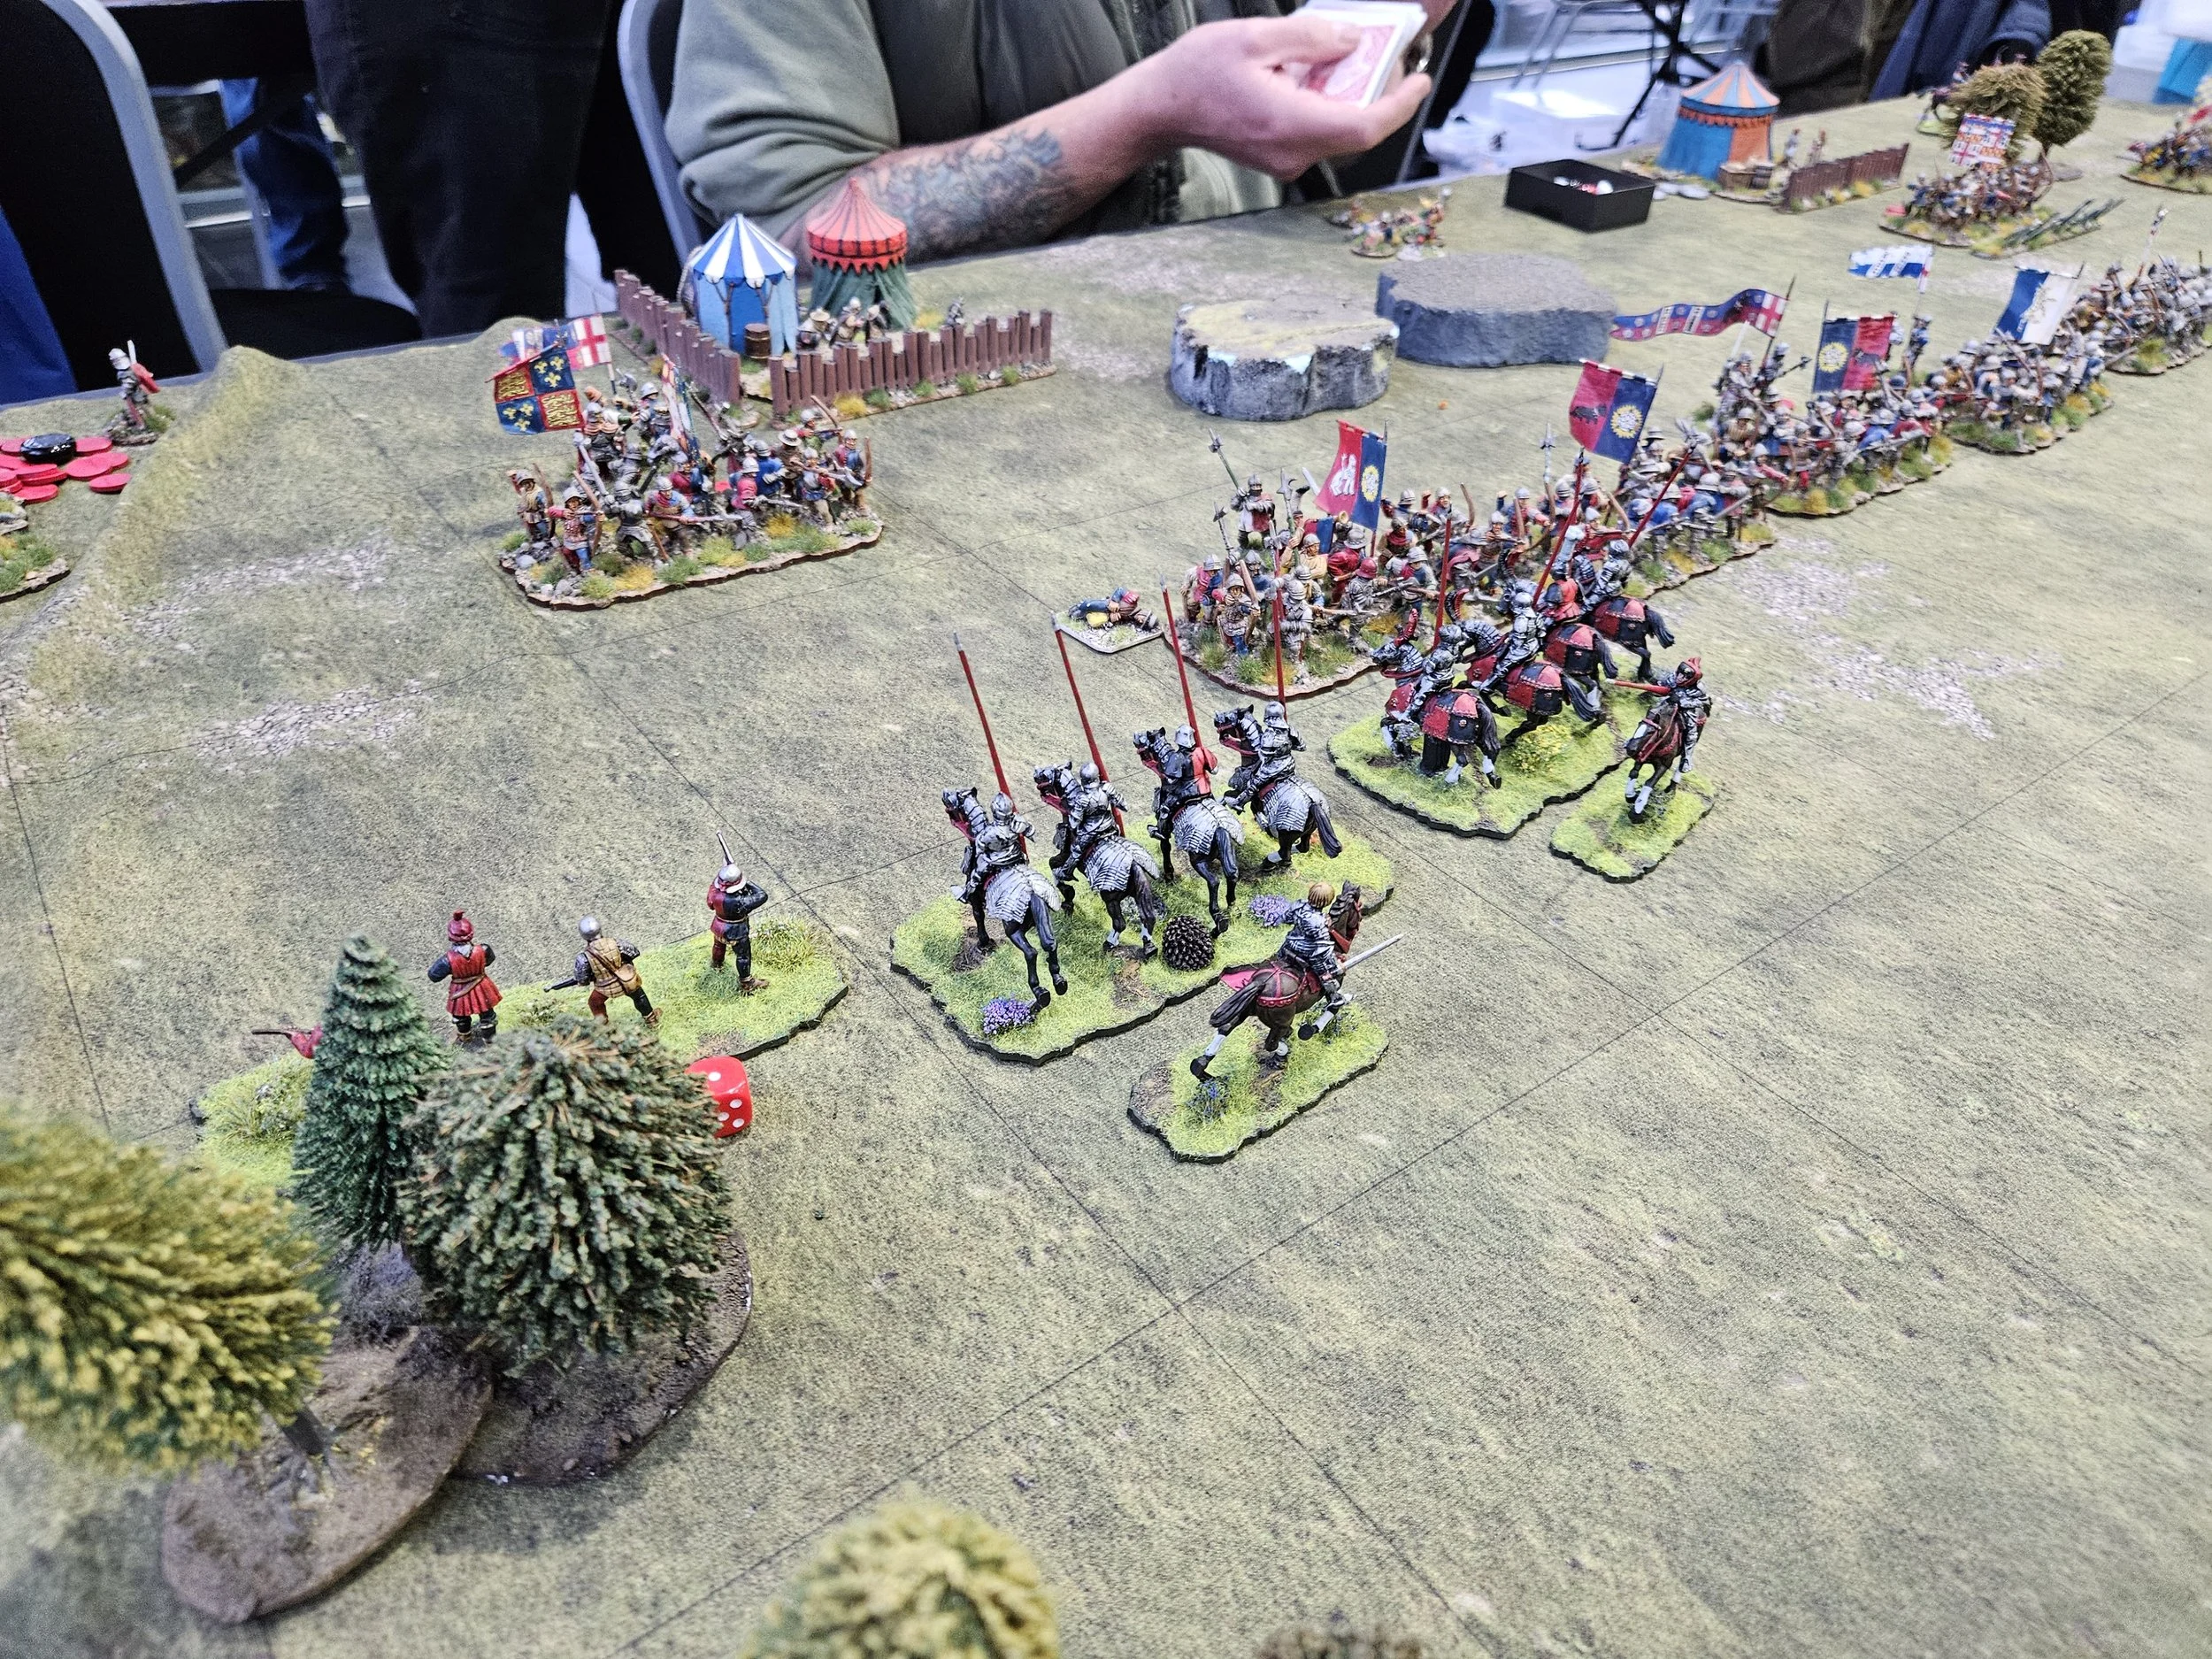
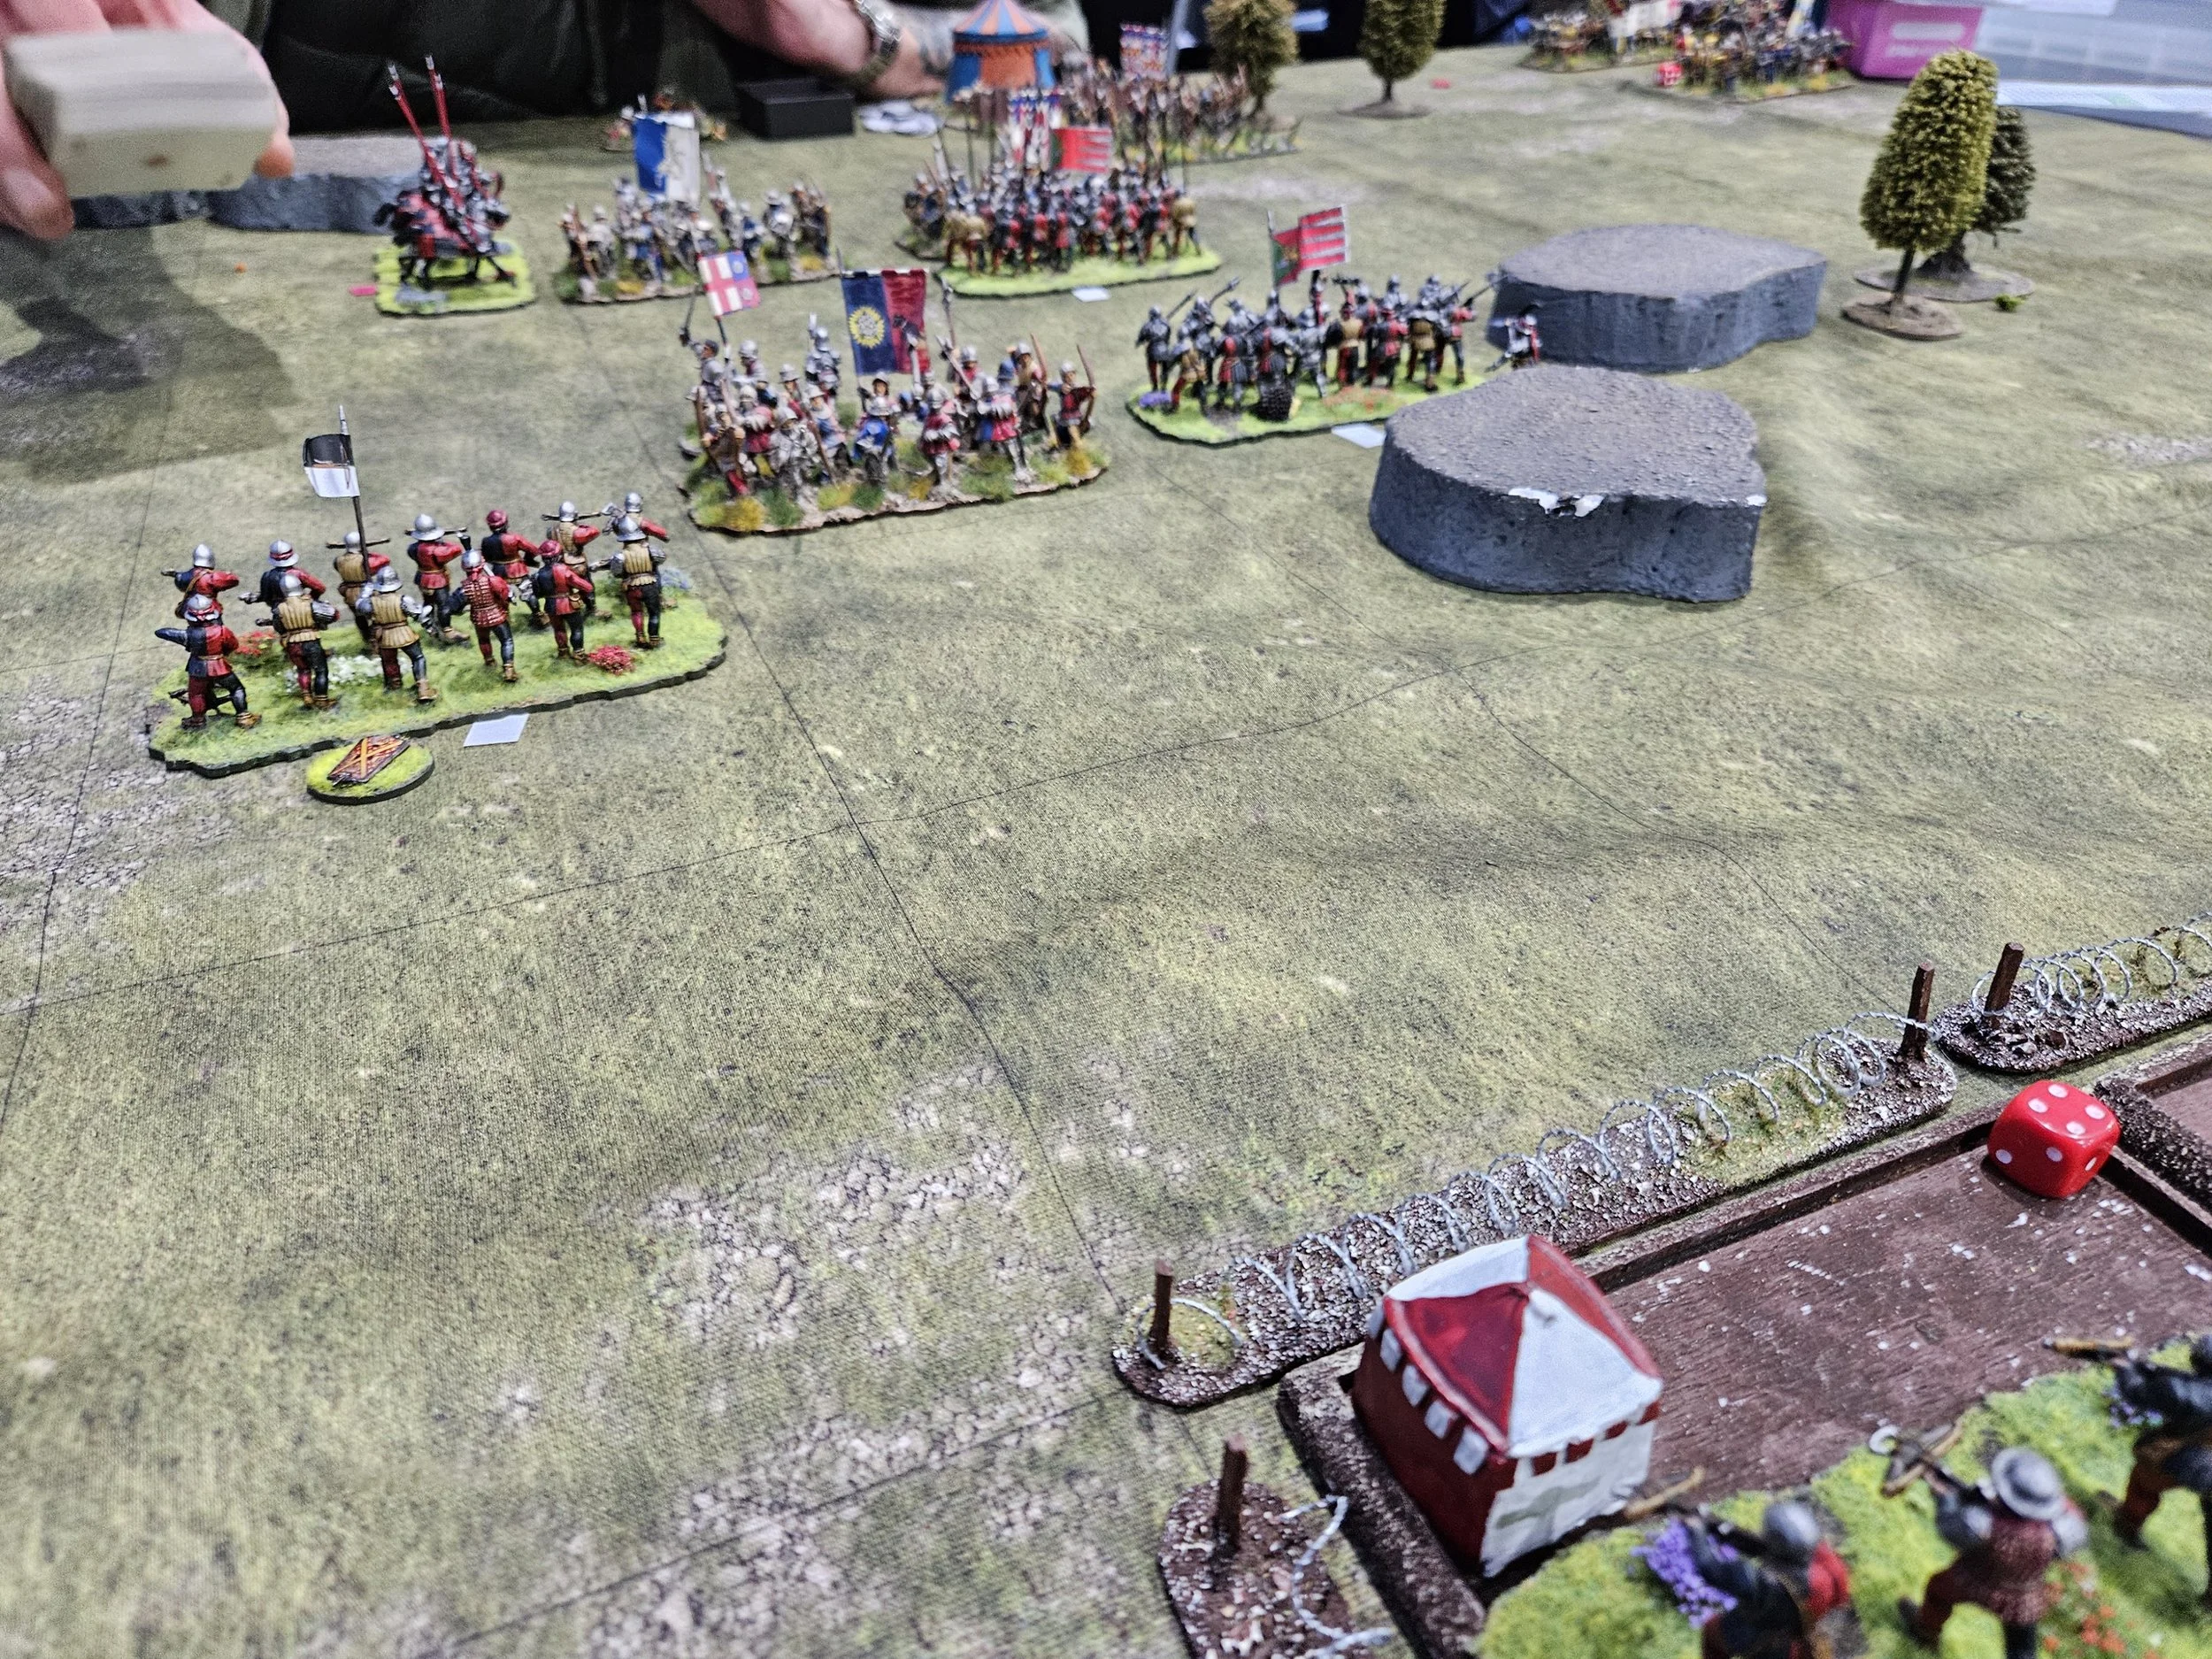
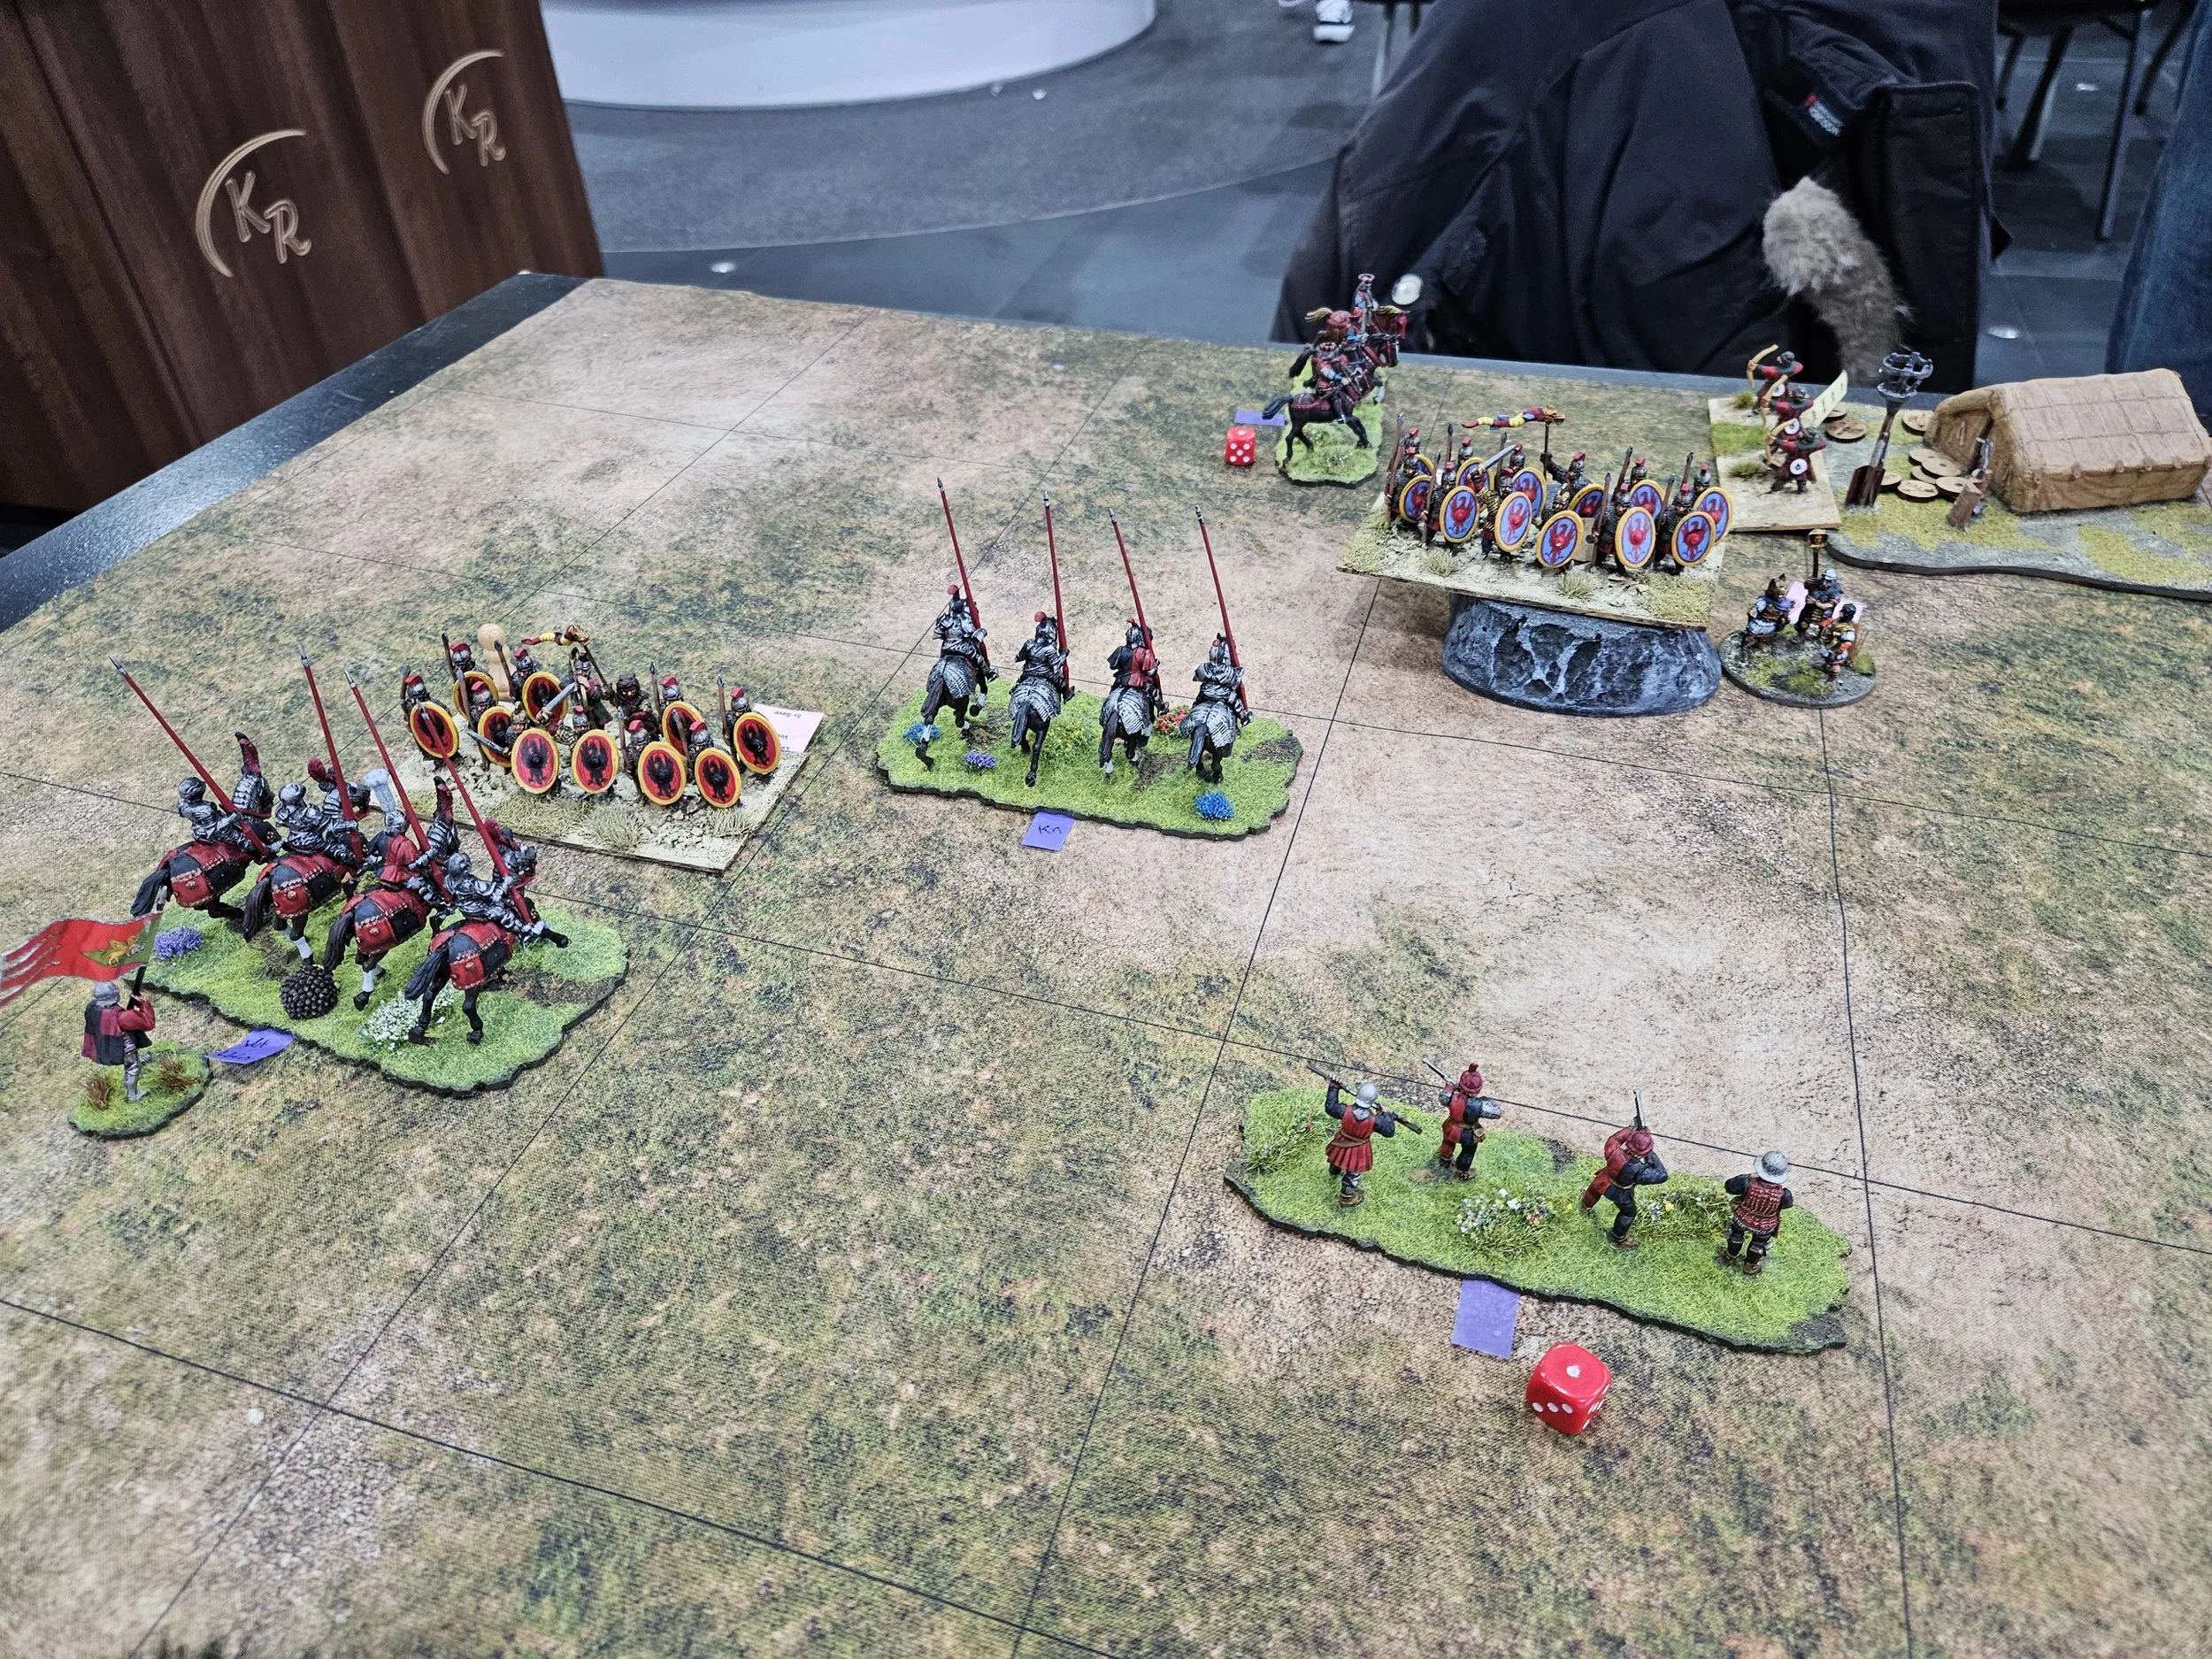
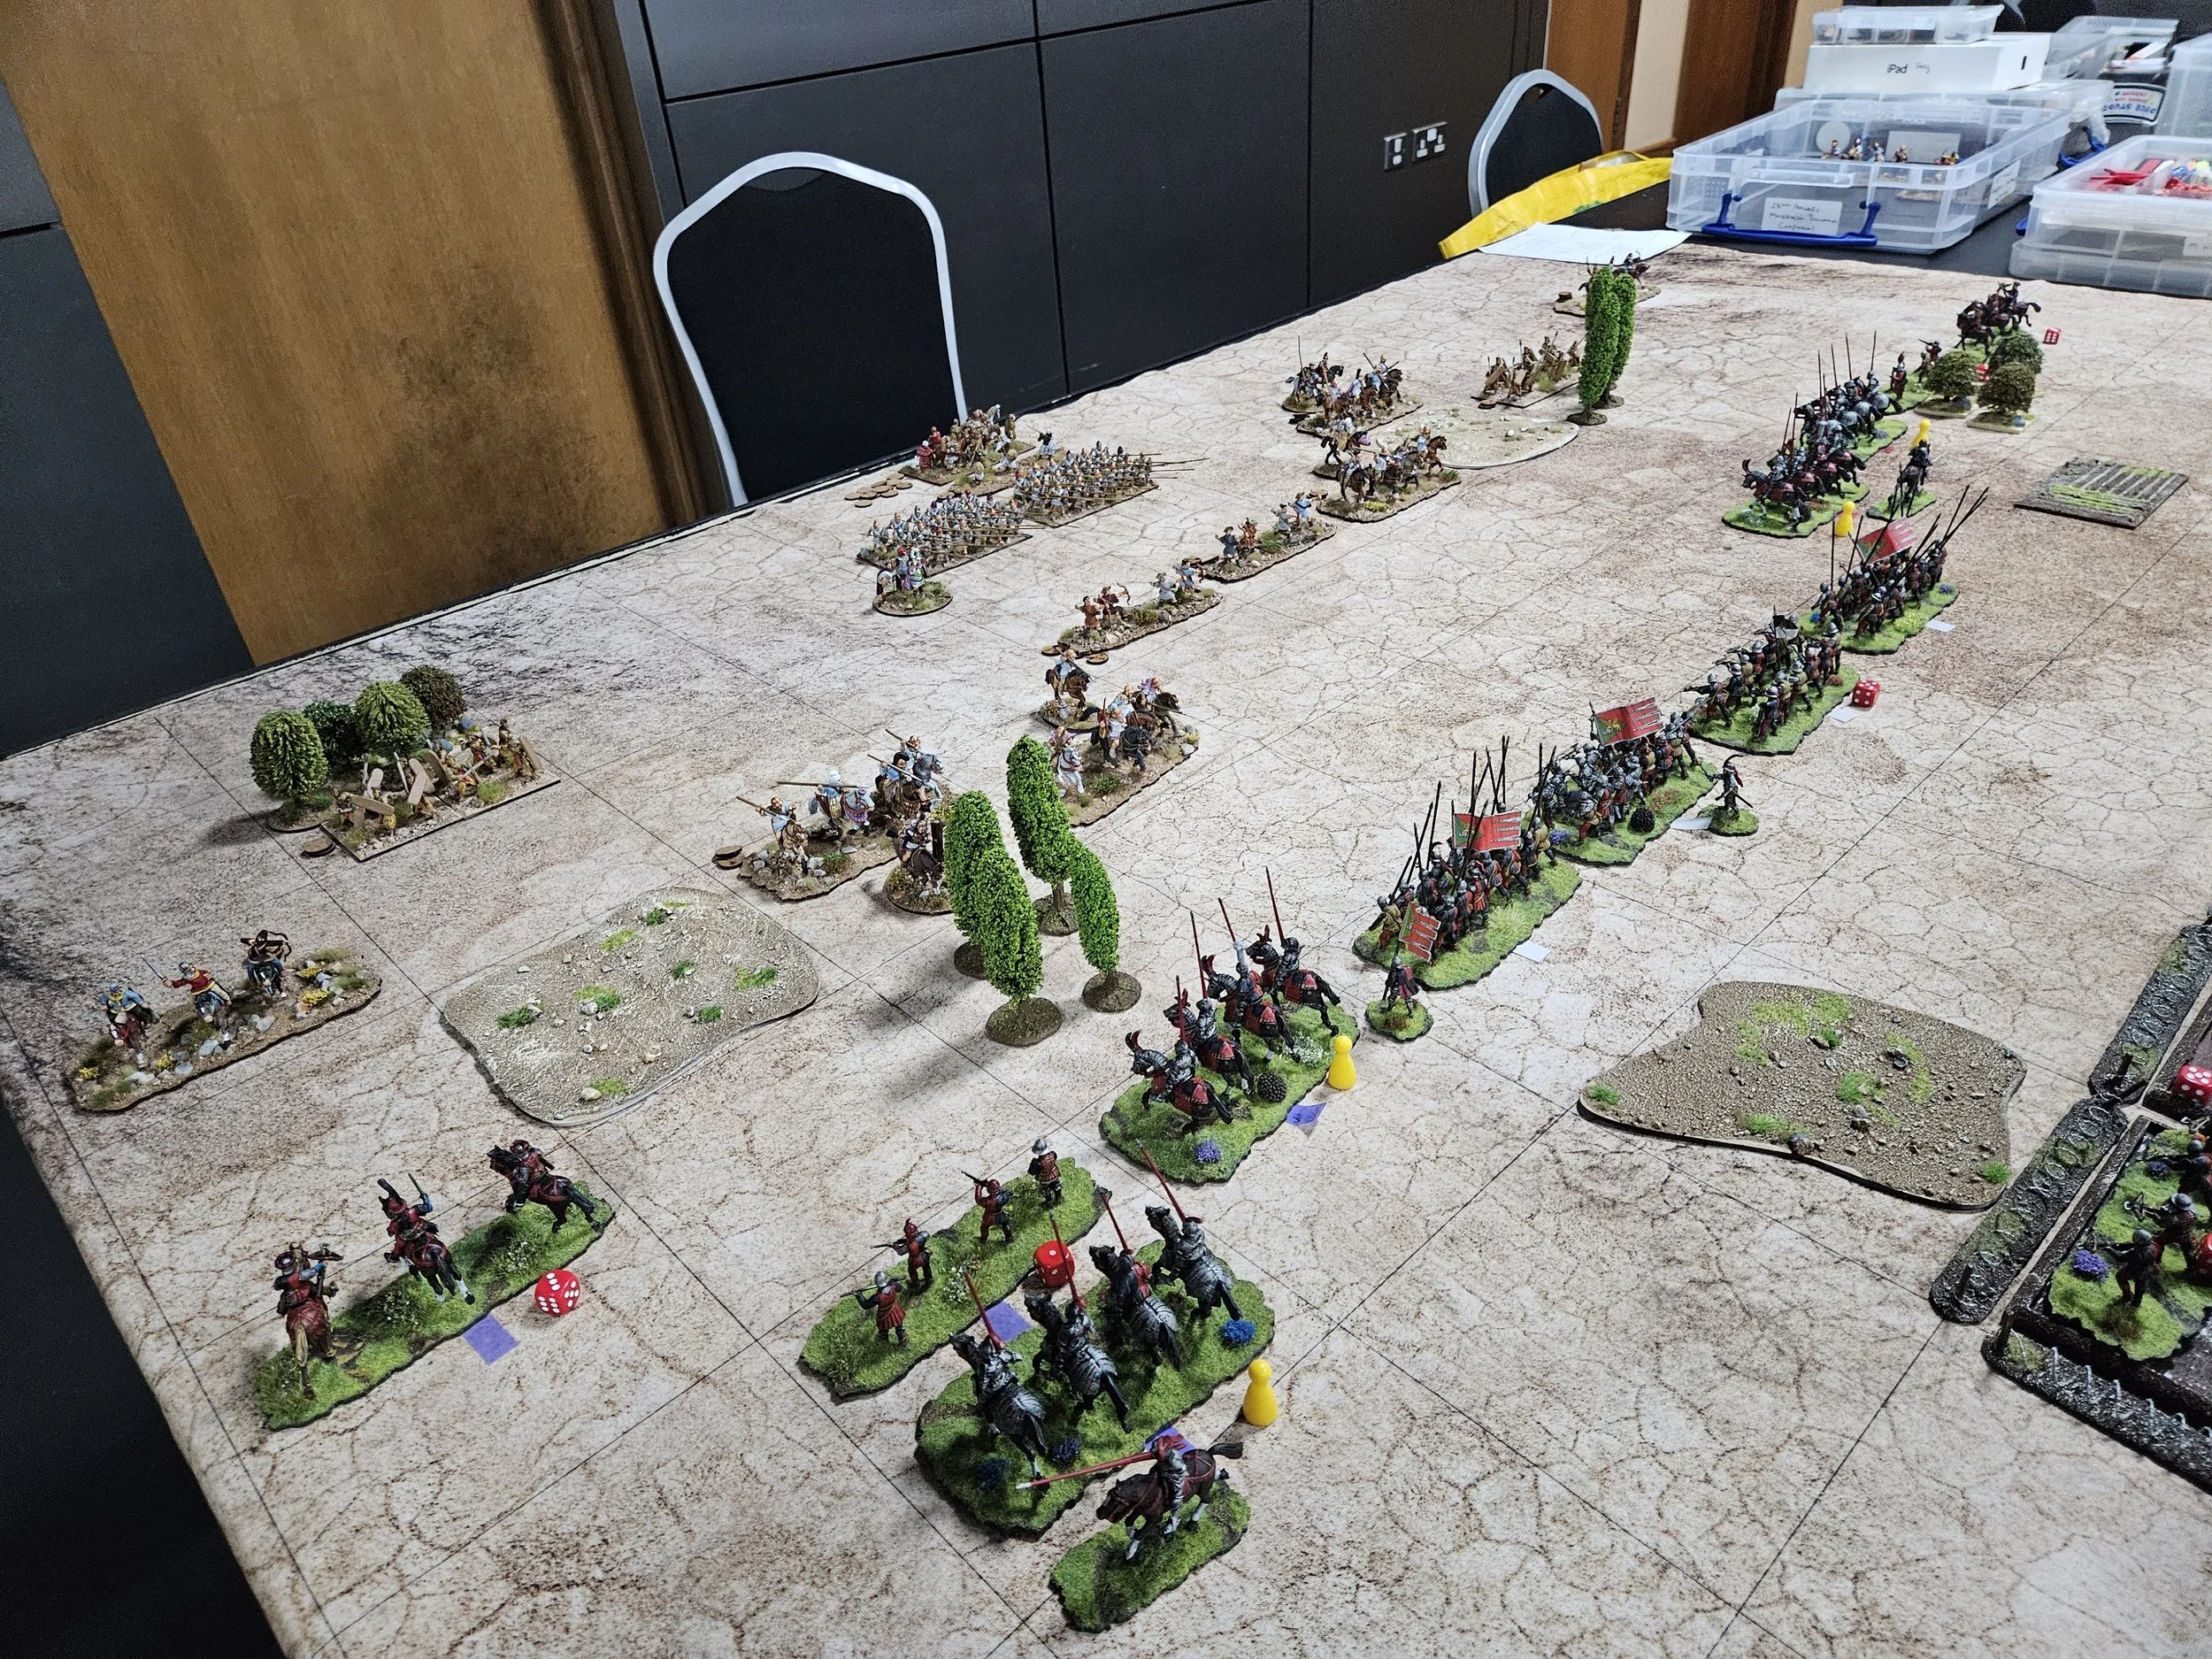
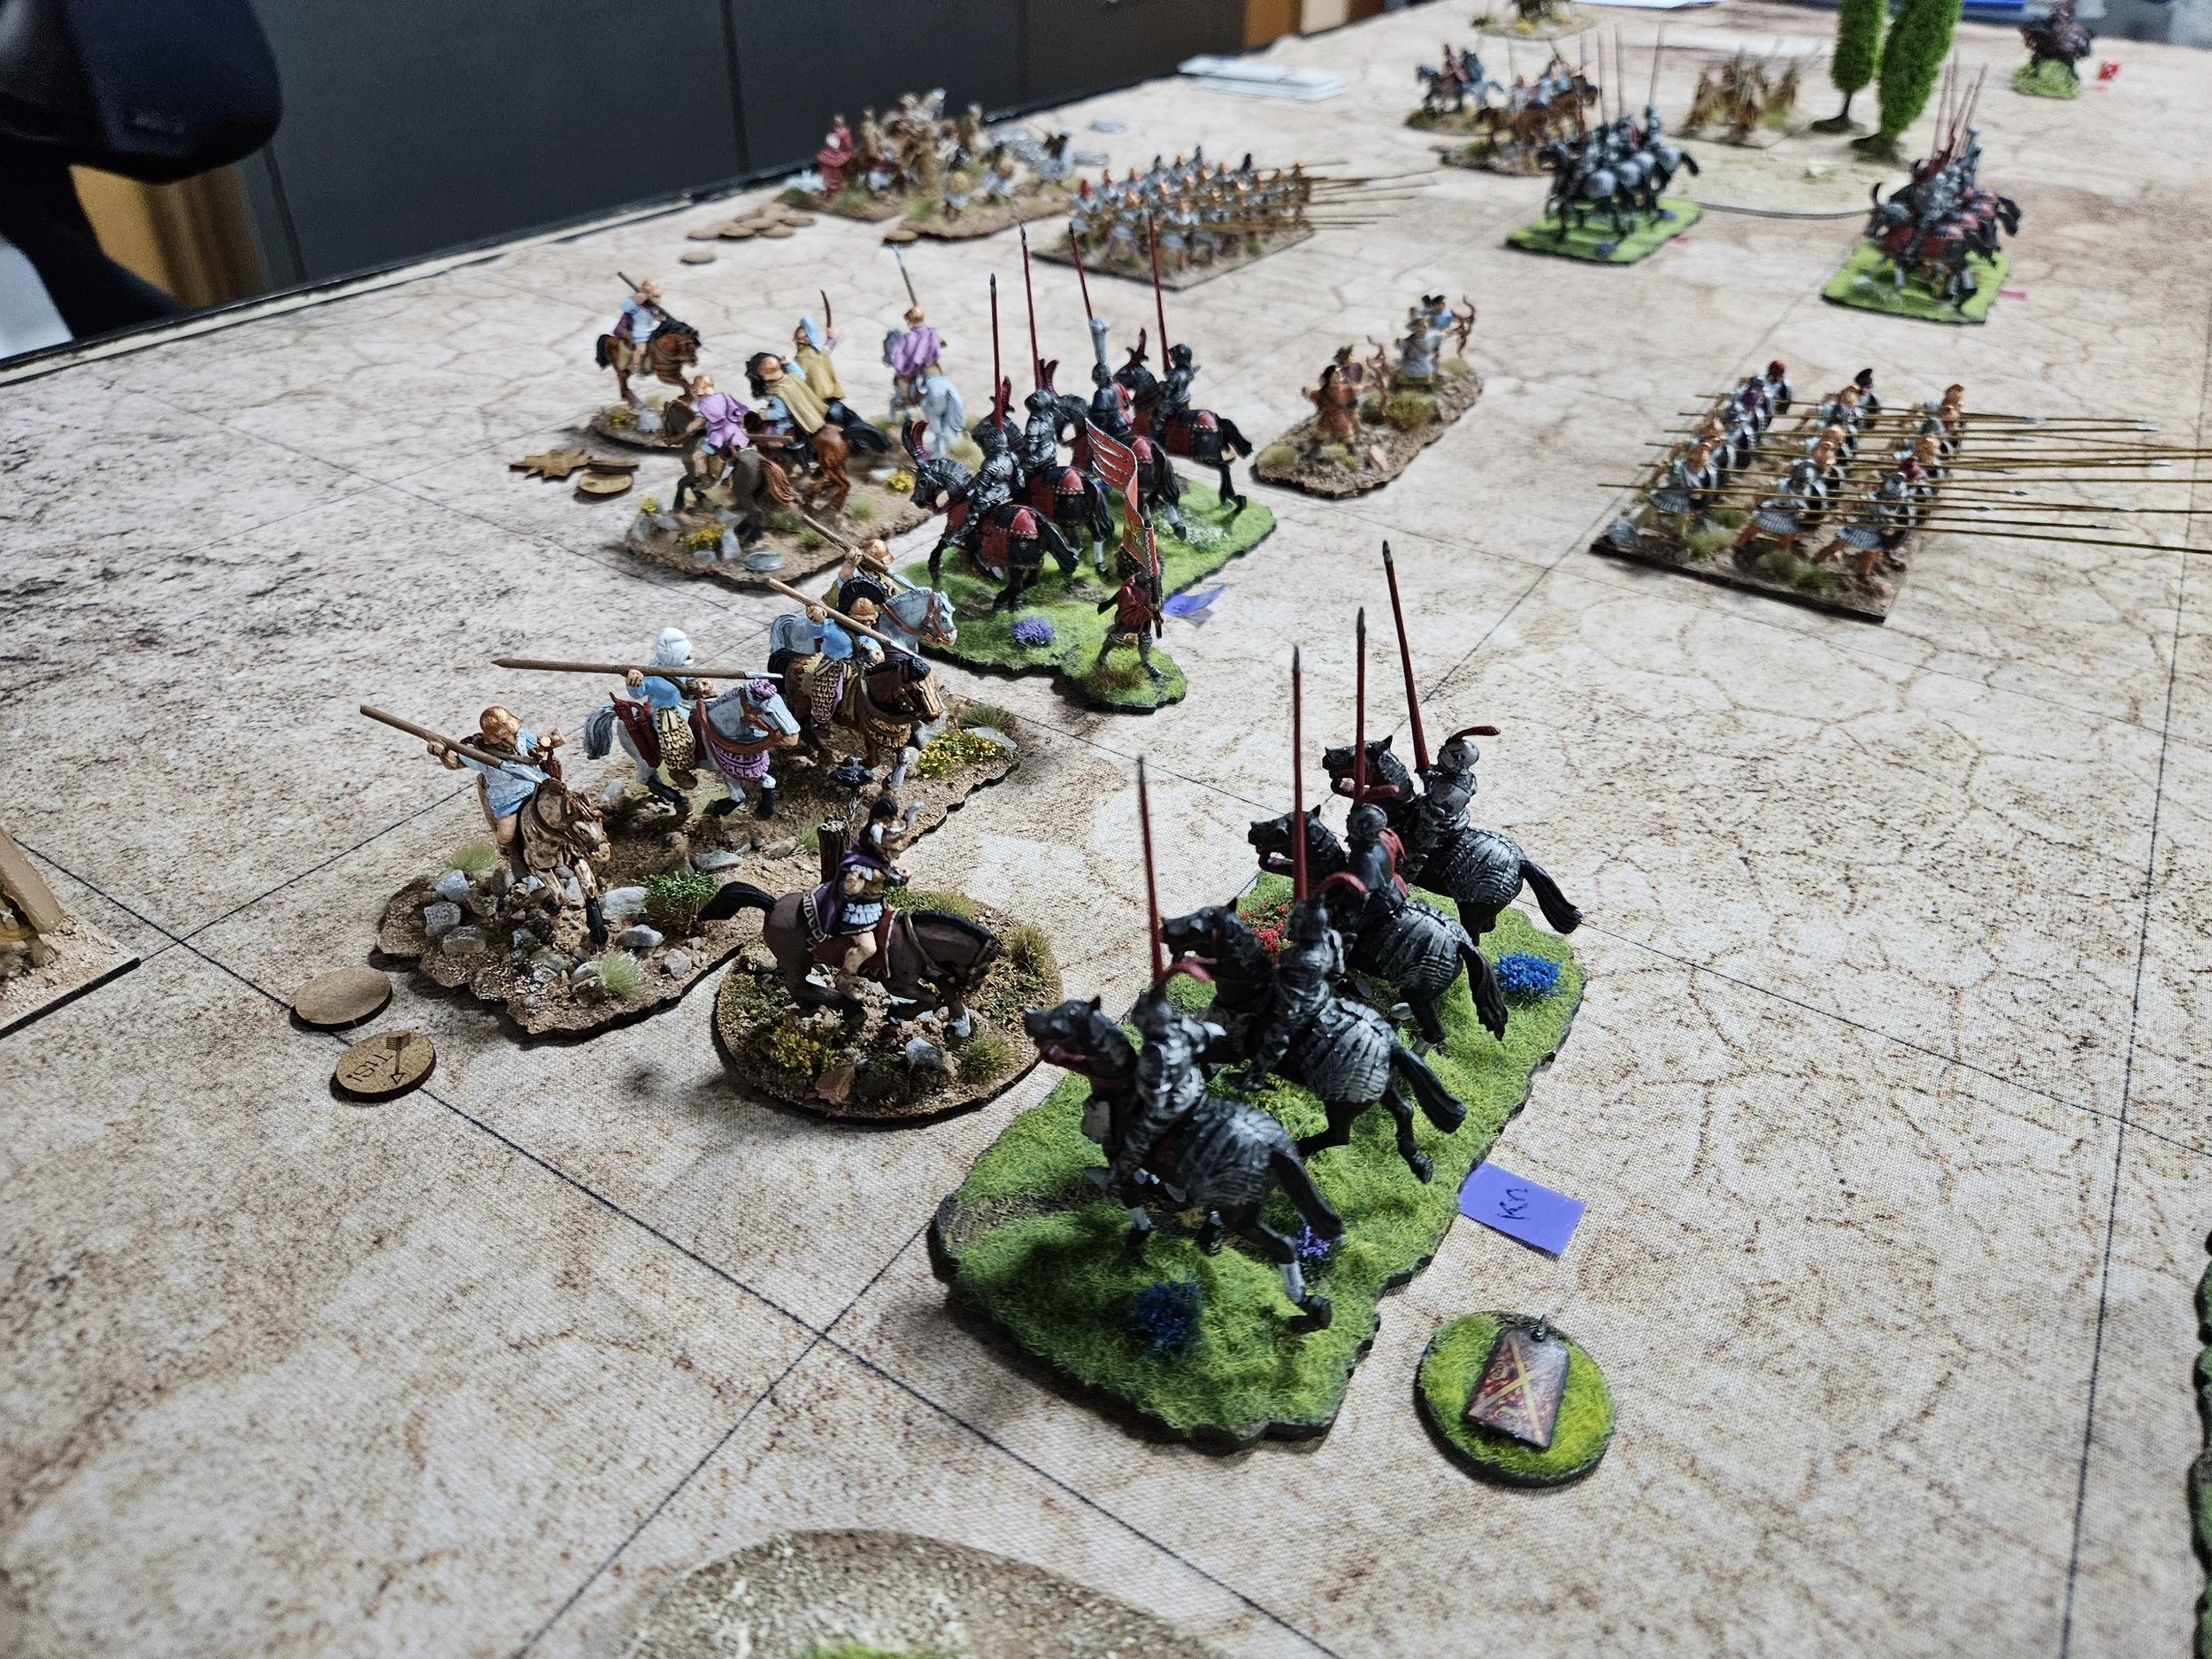
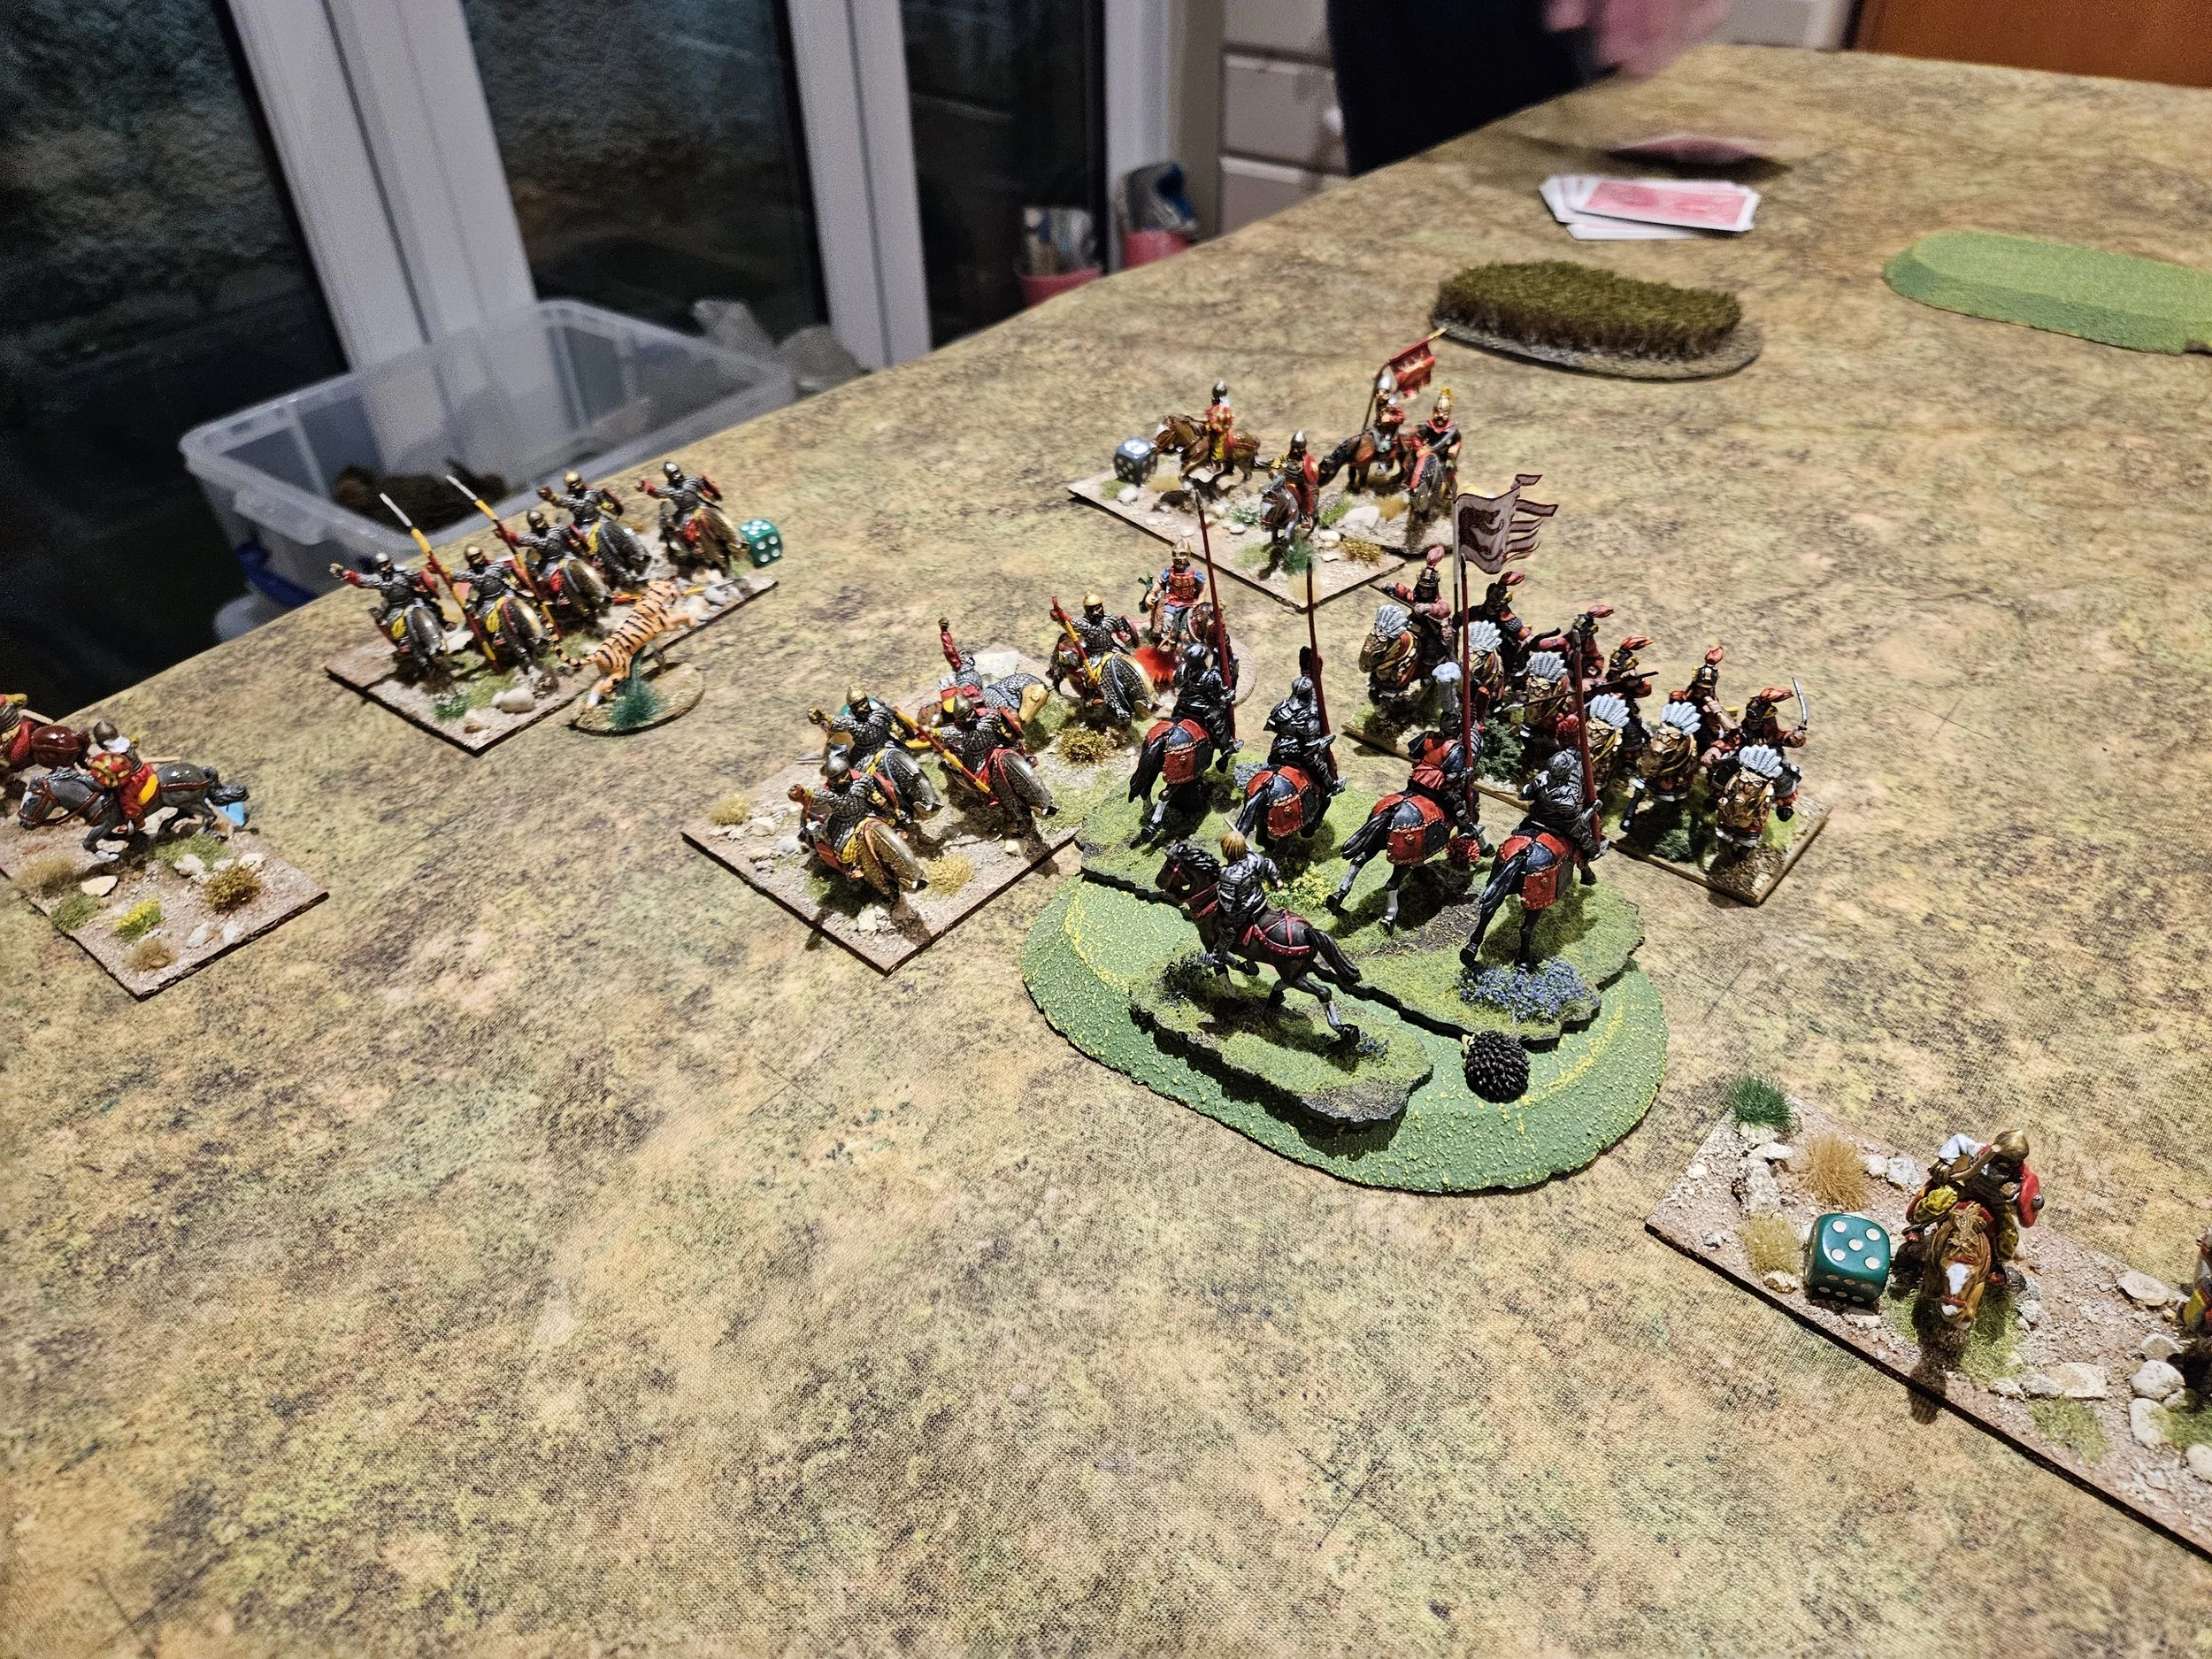
Secondly, the Ayyubids advanced strongly in the centre, which I had needed to weaken in order to reinforce the right to contain the Arab breakthrough there.
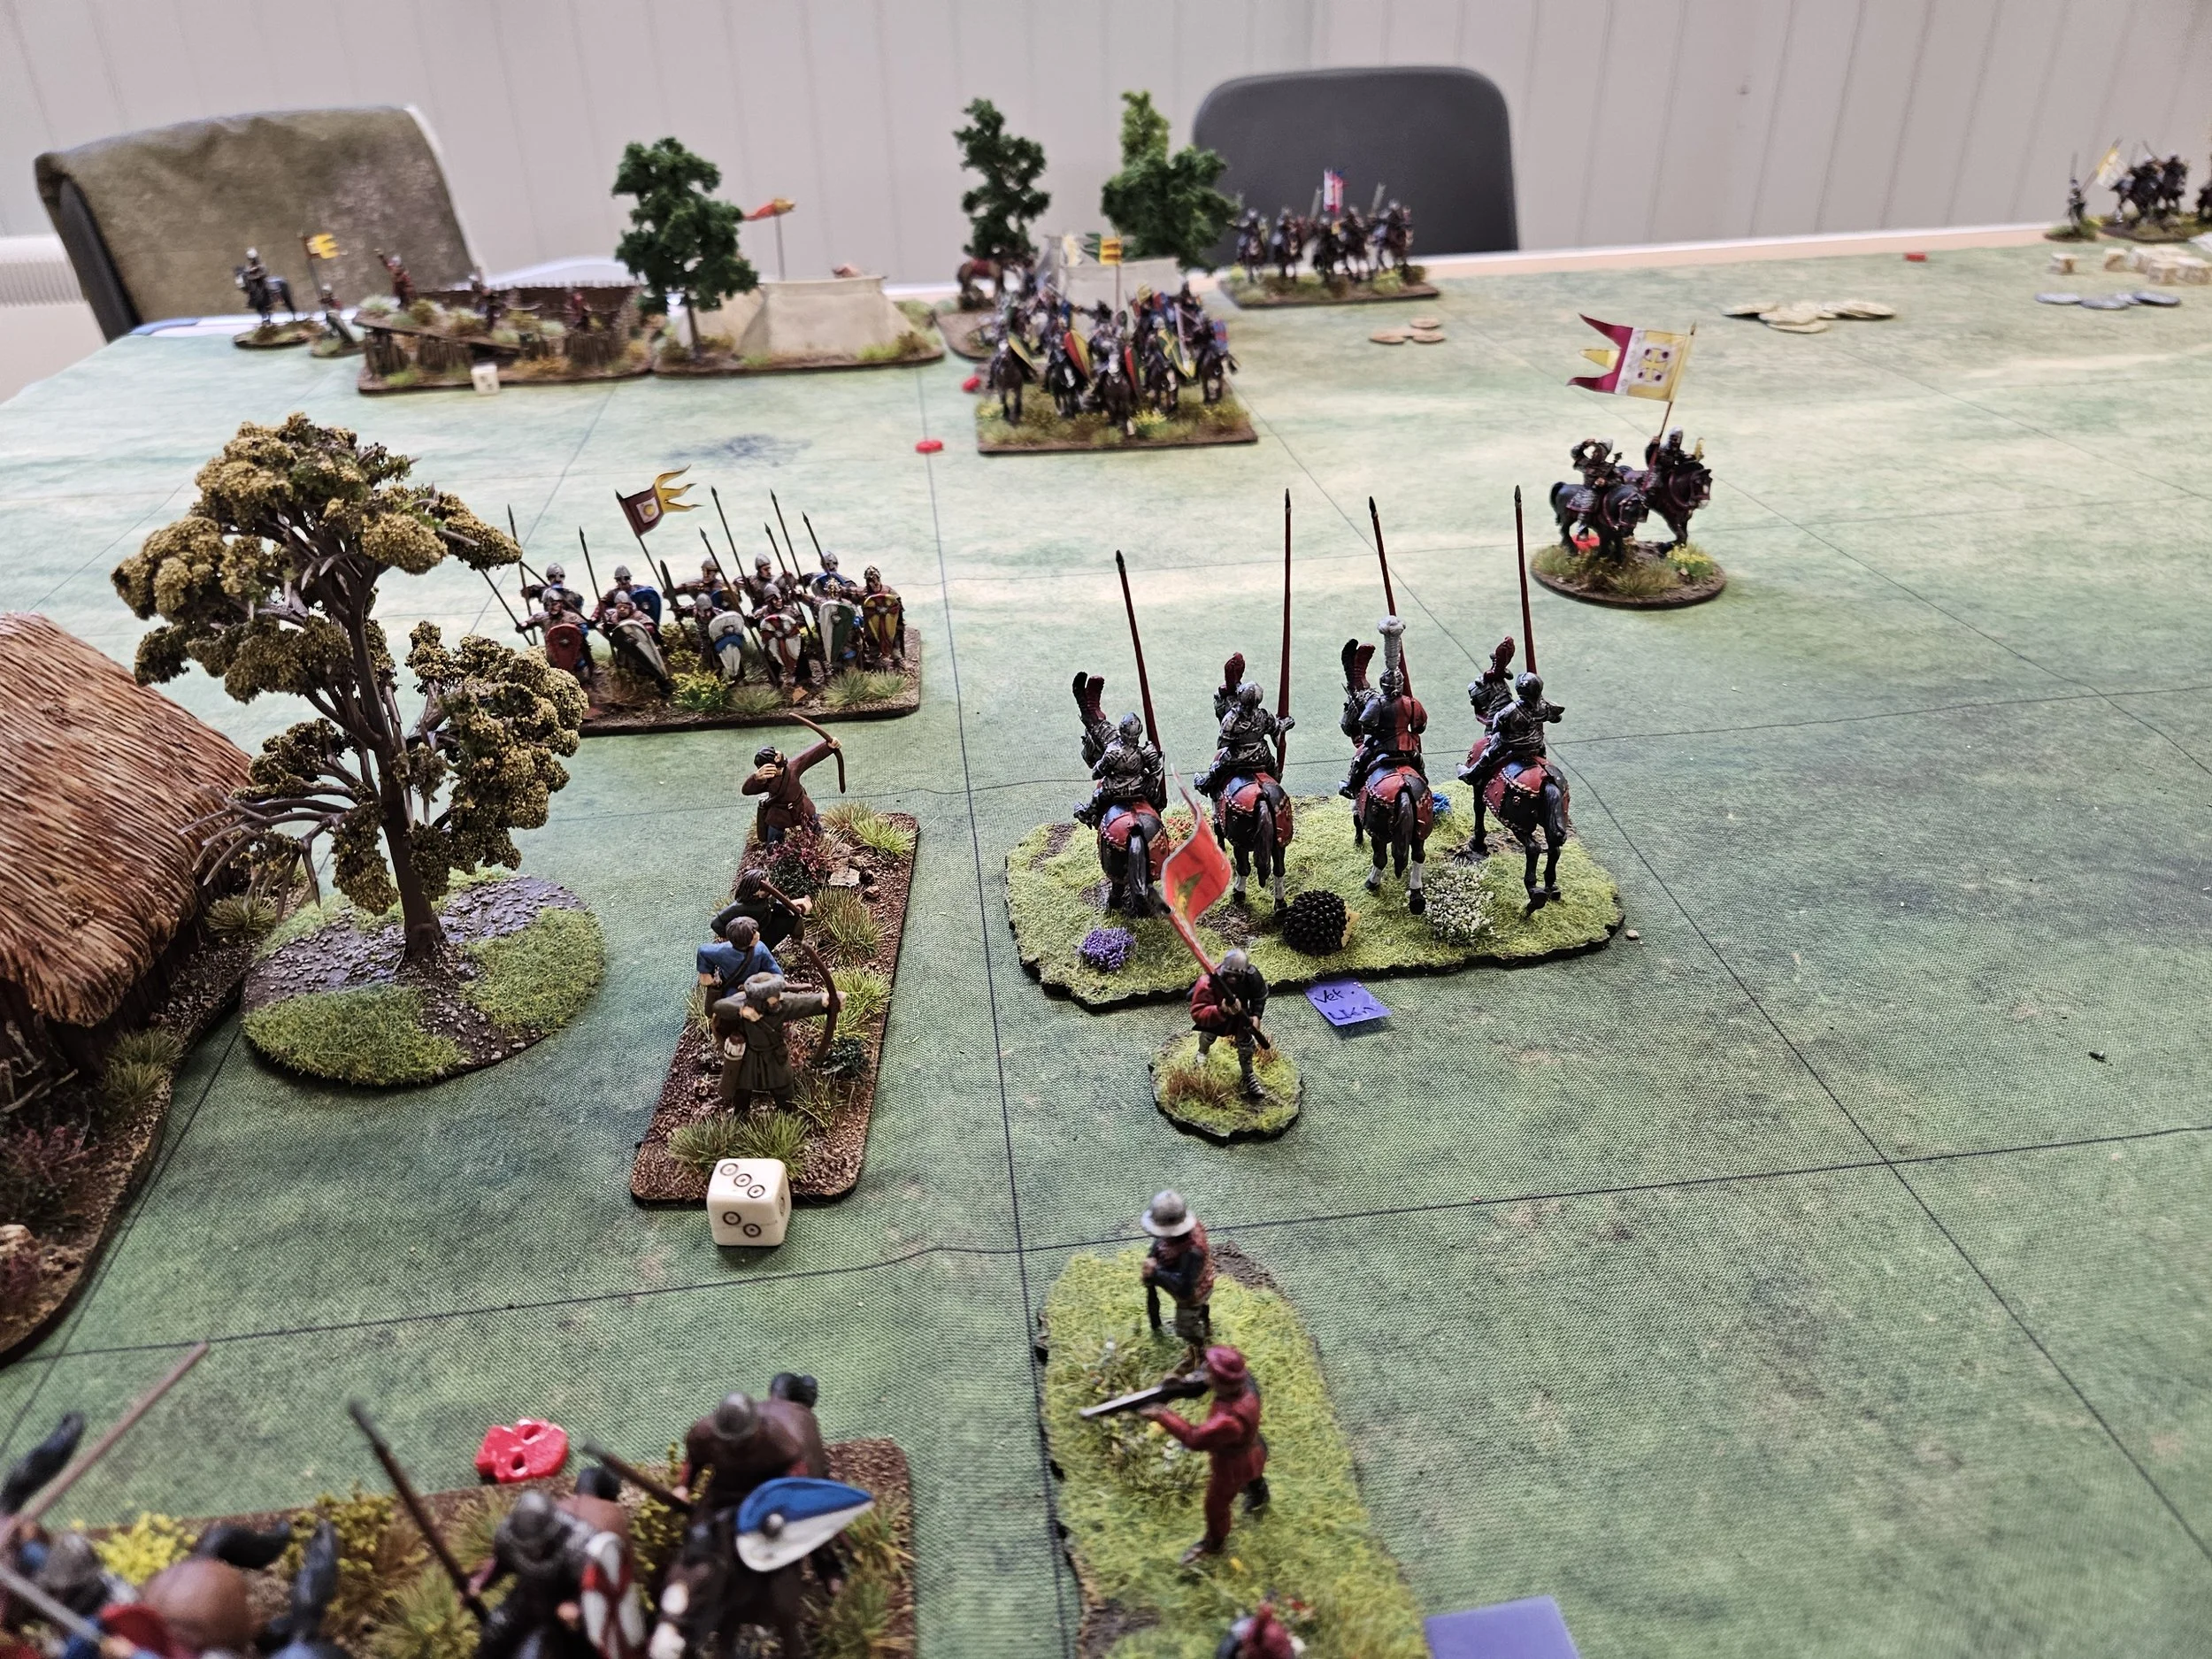
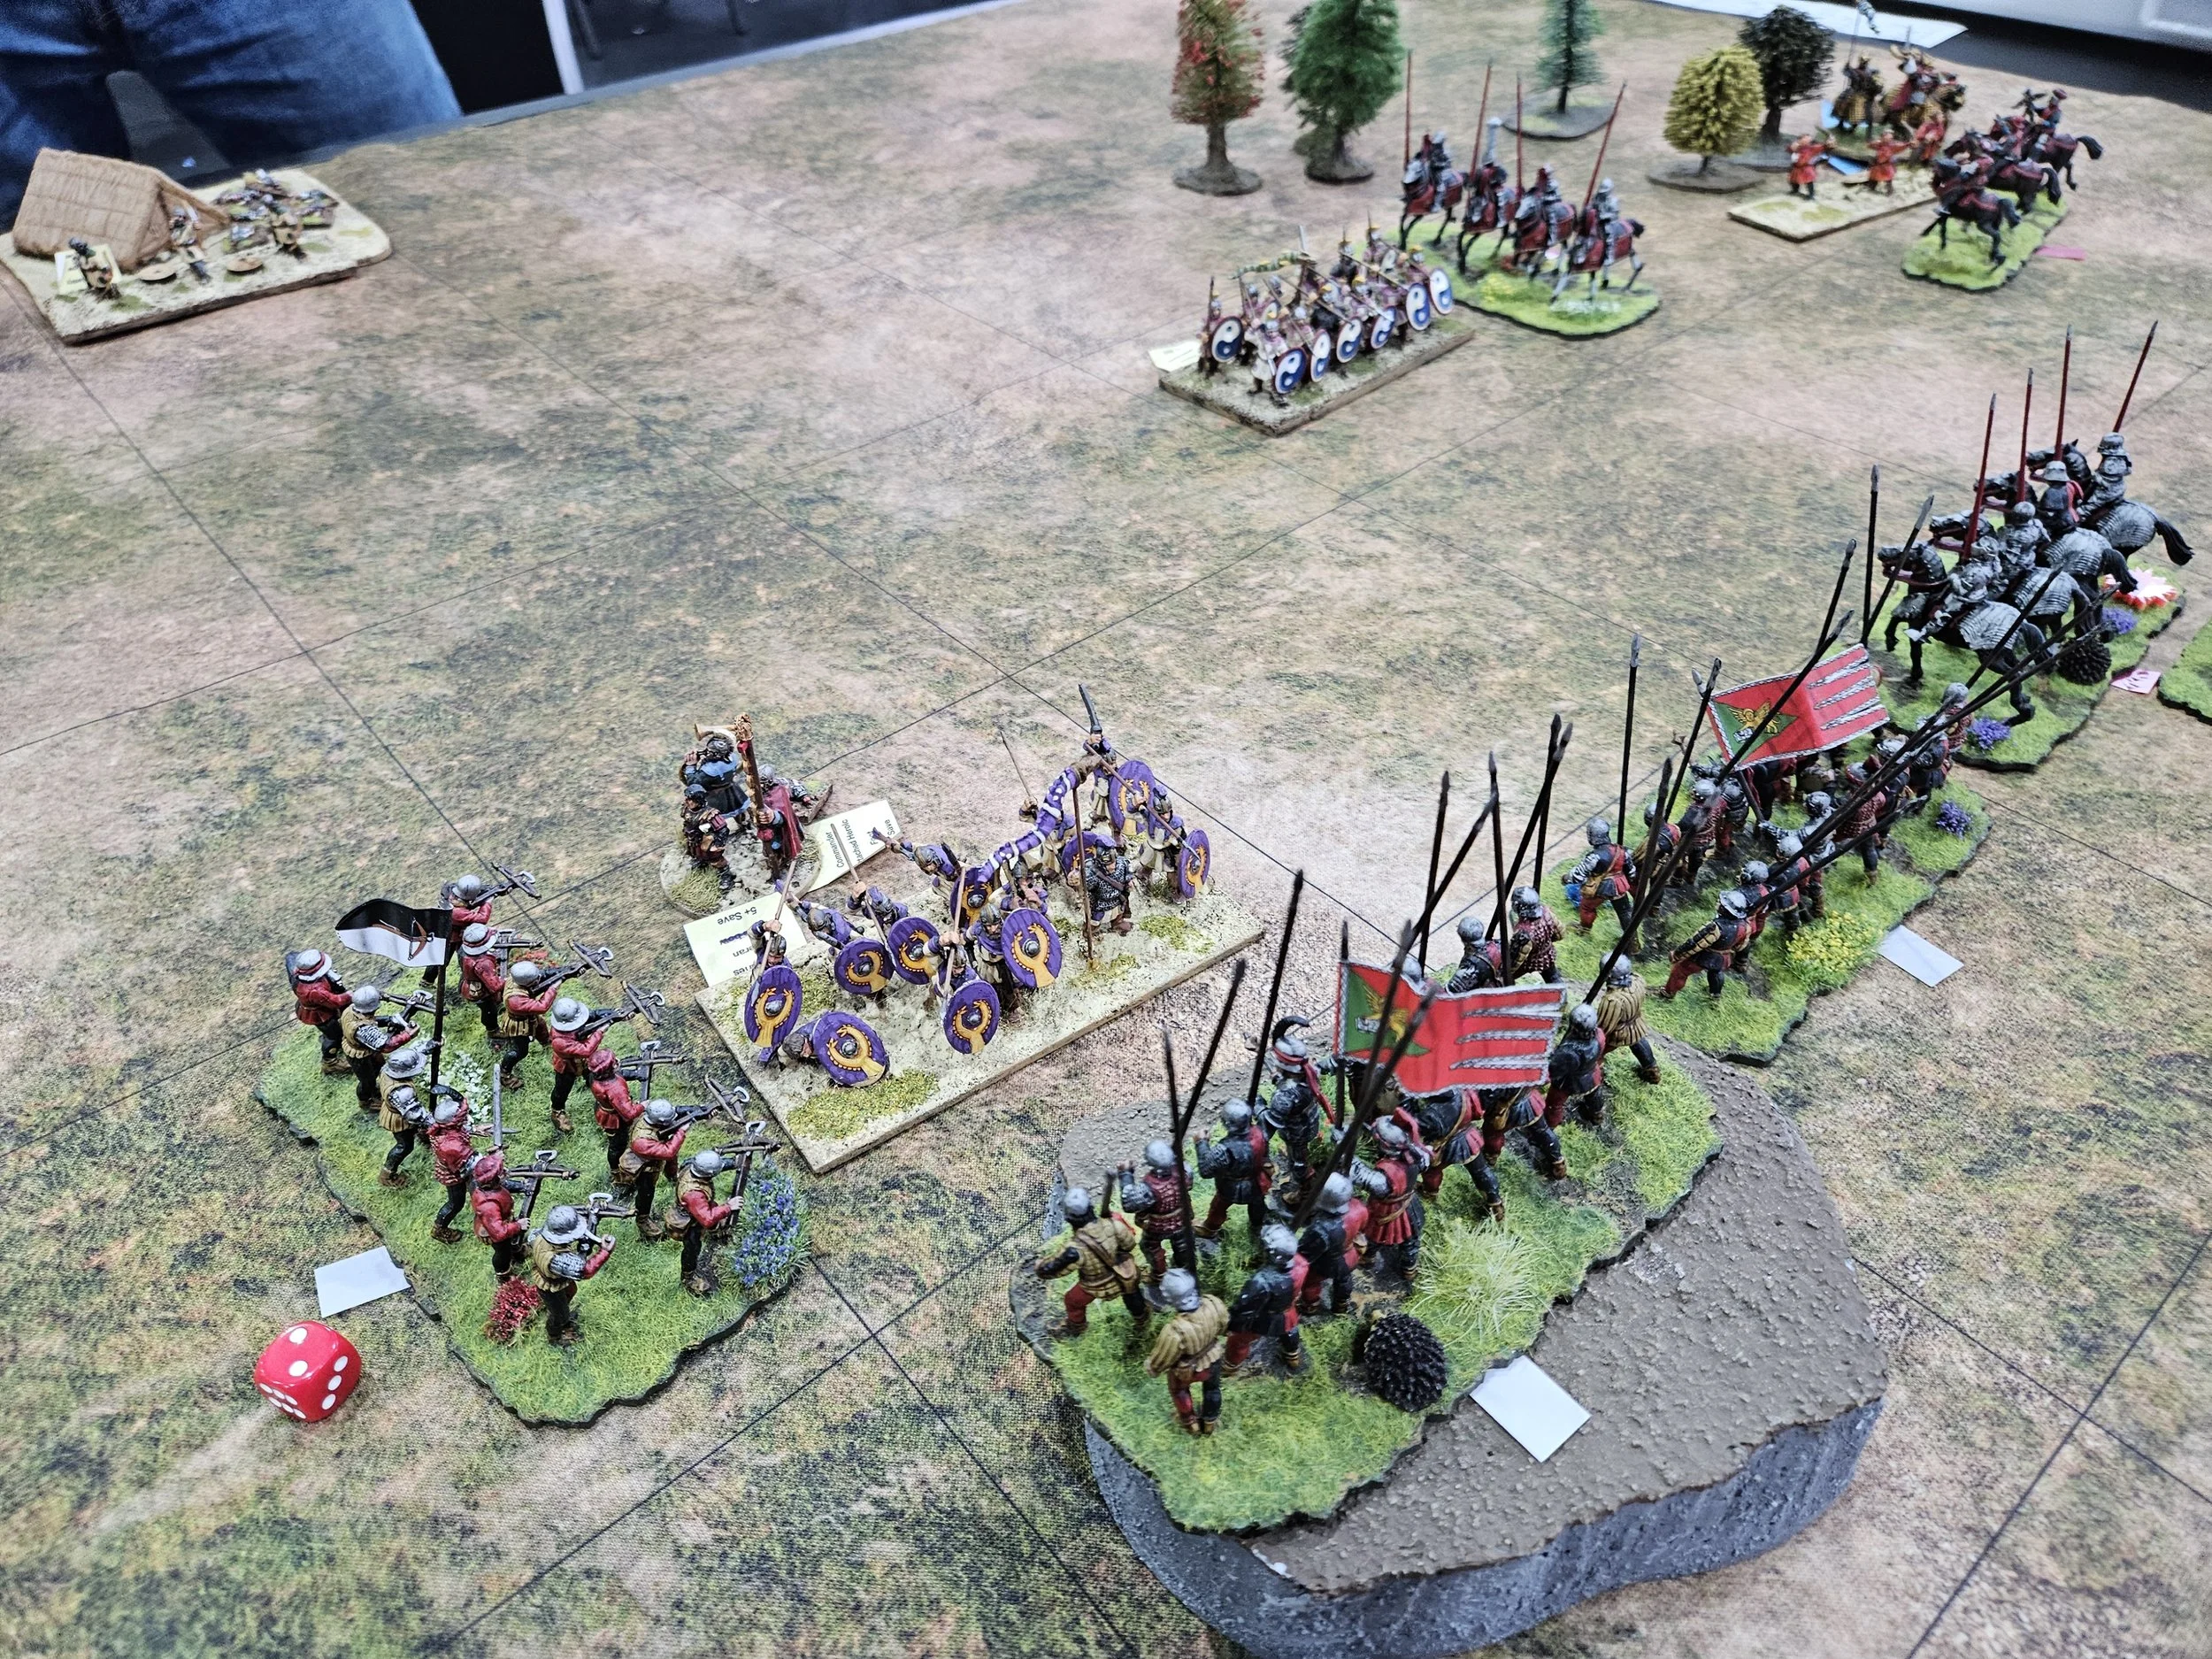
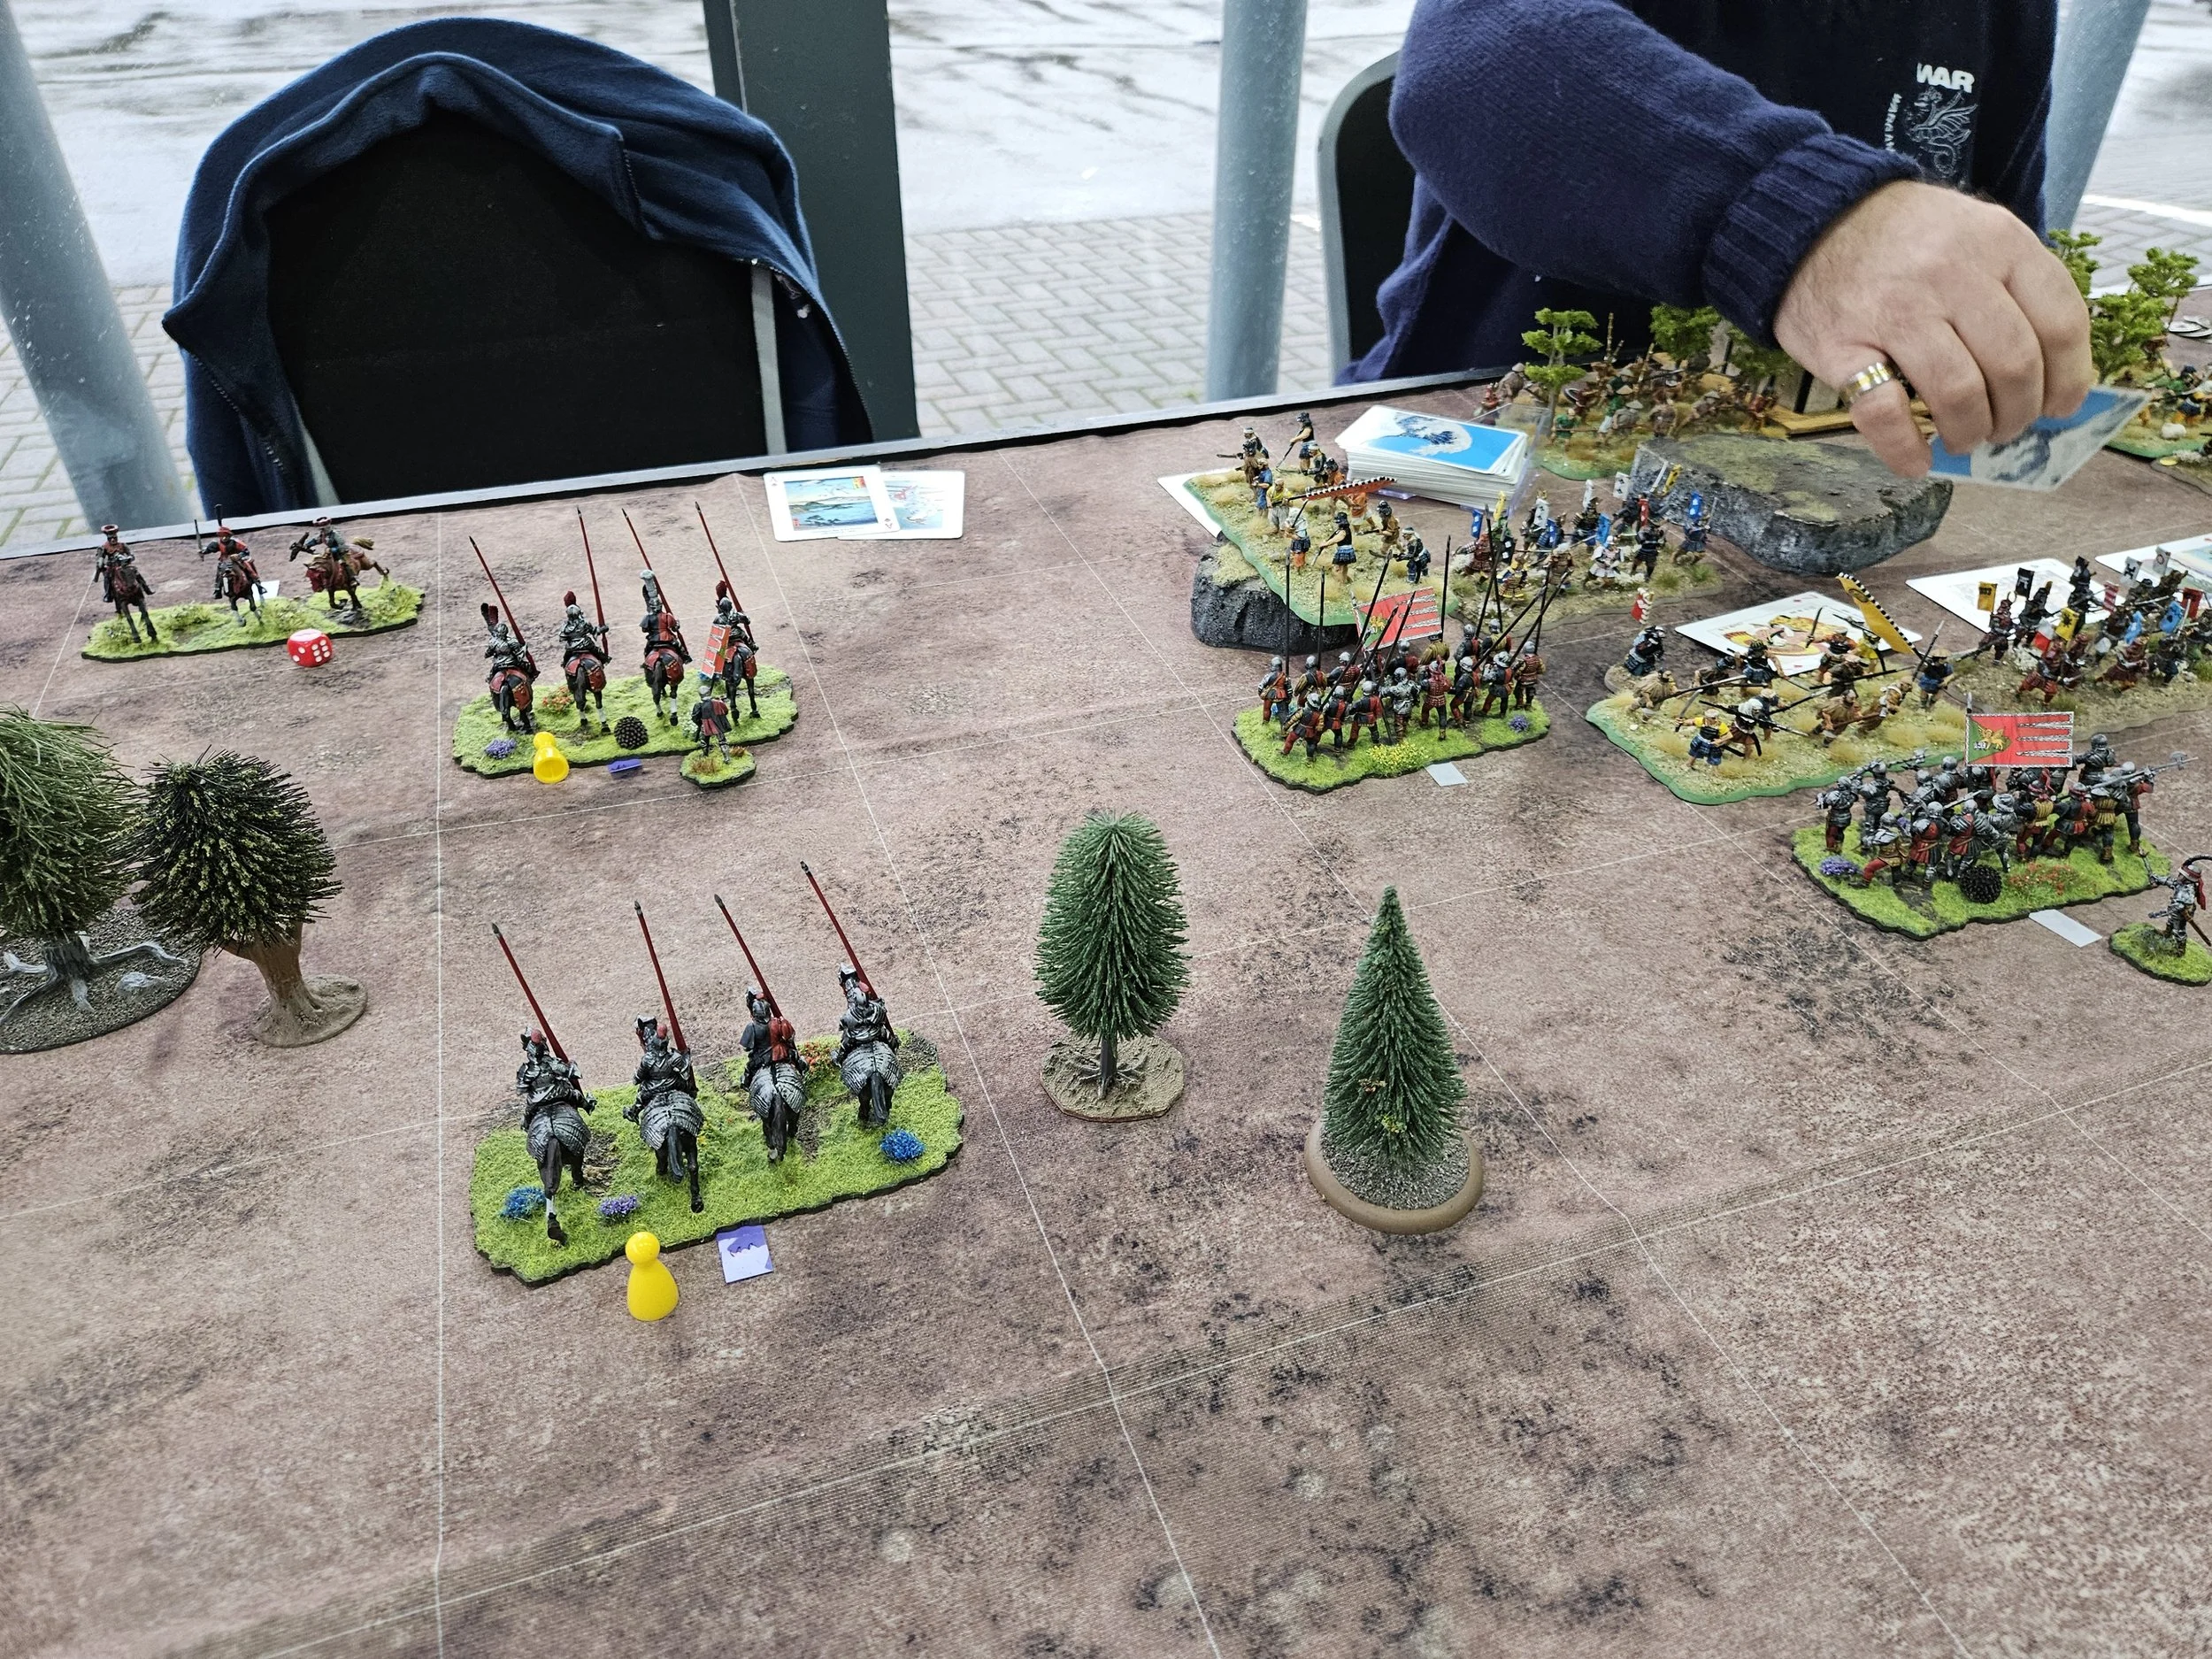
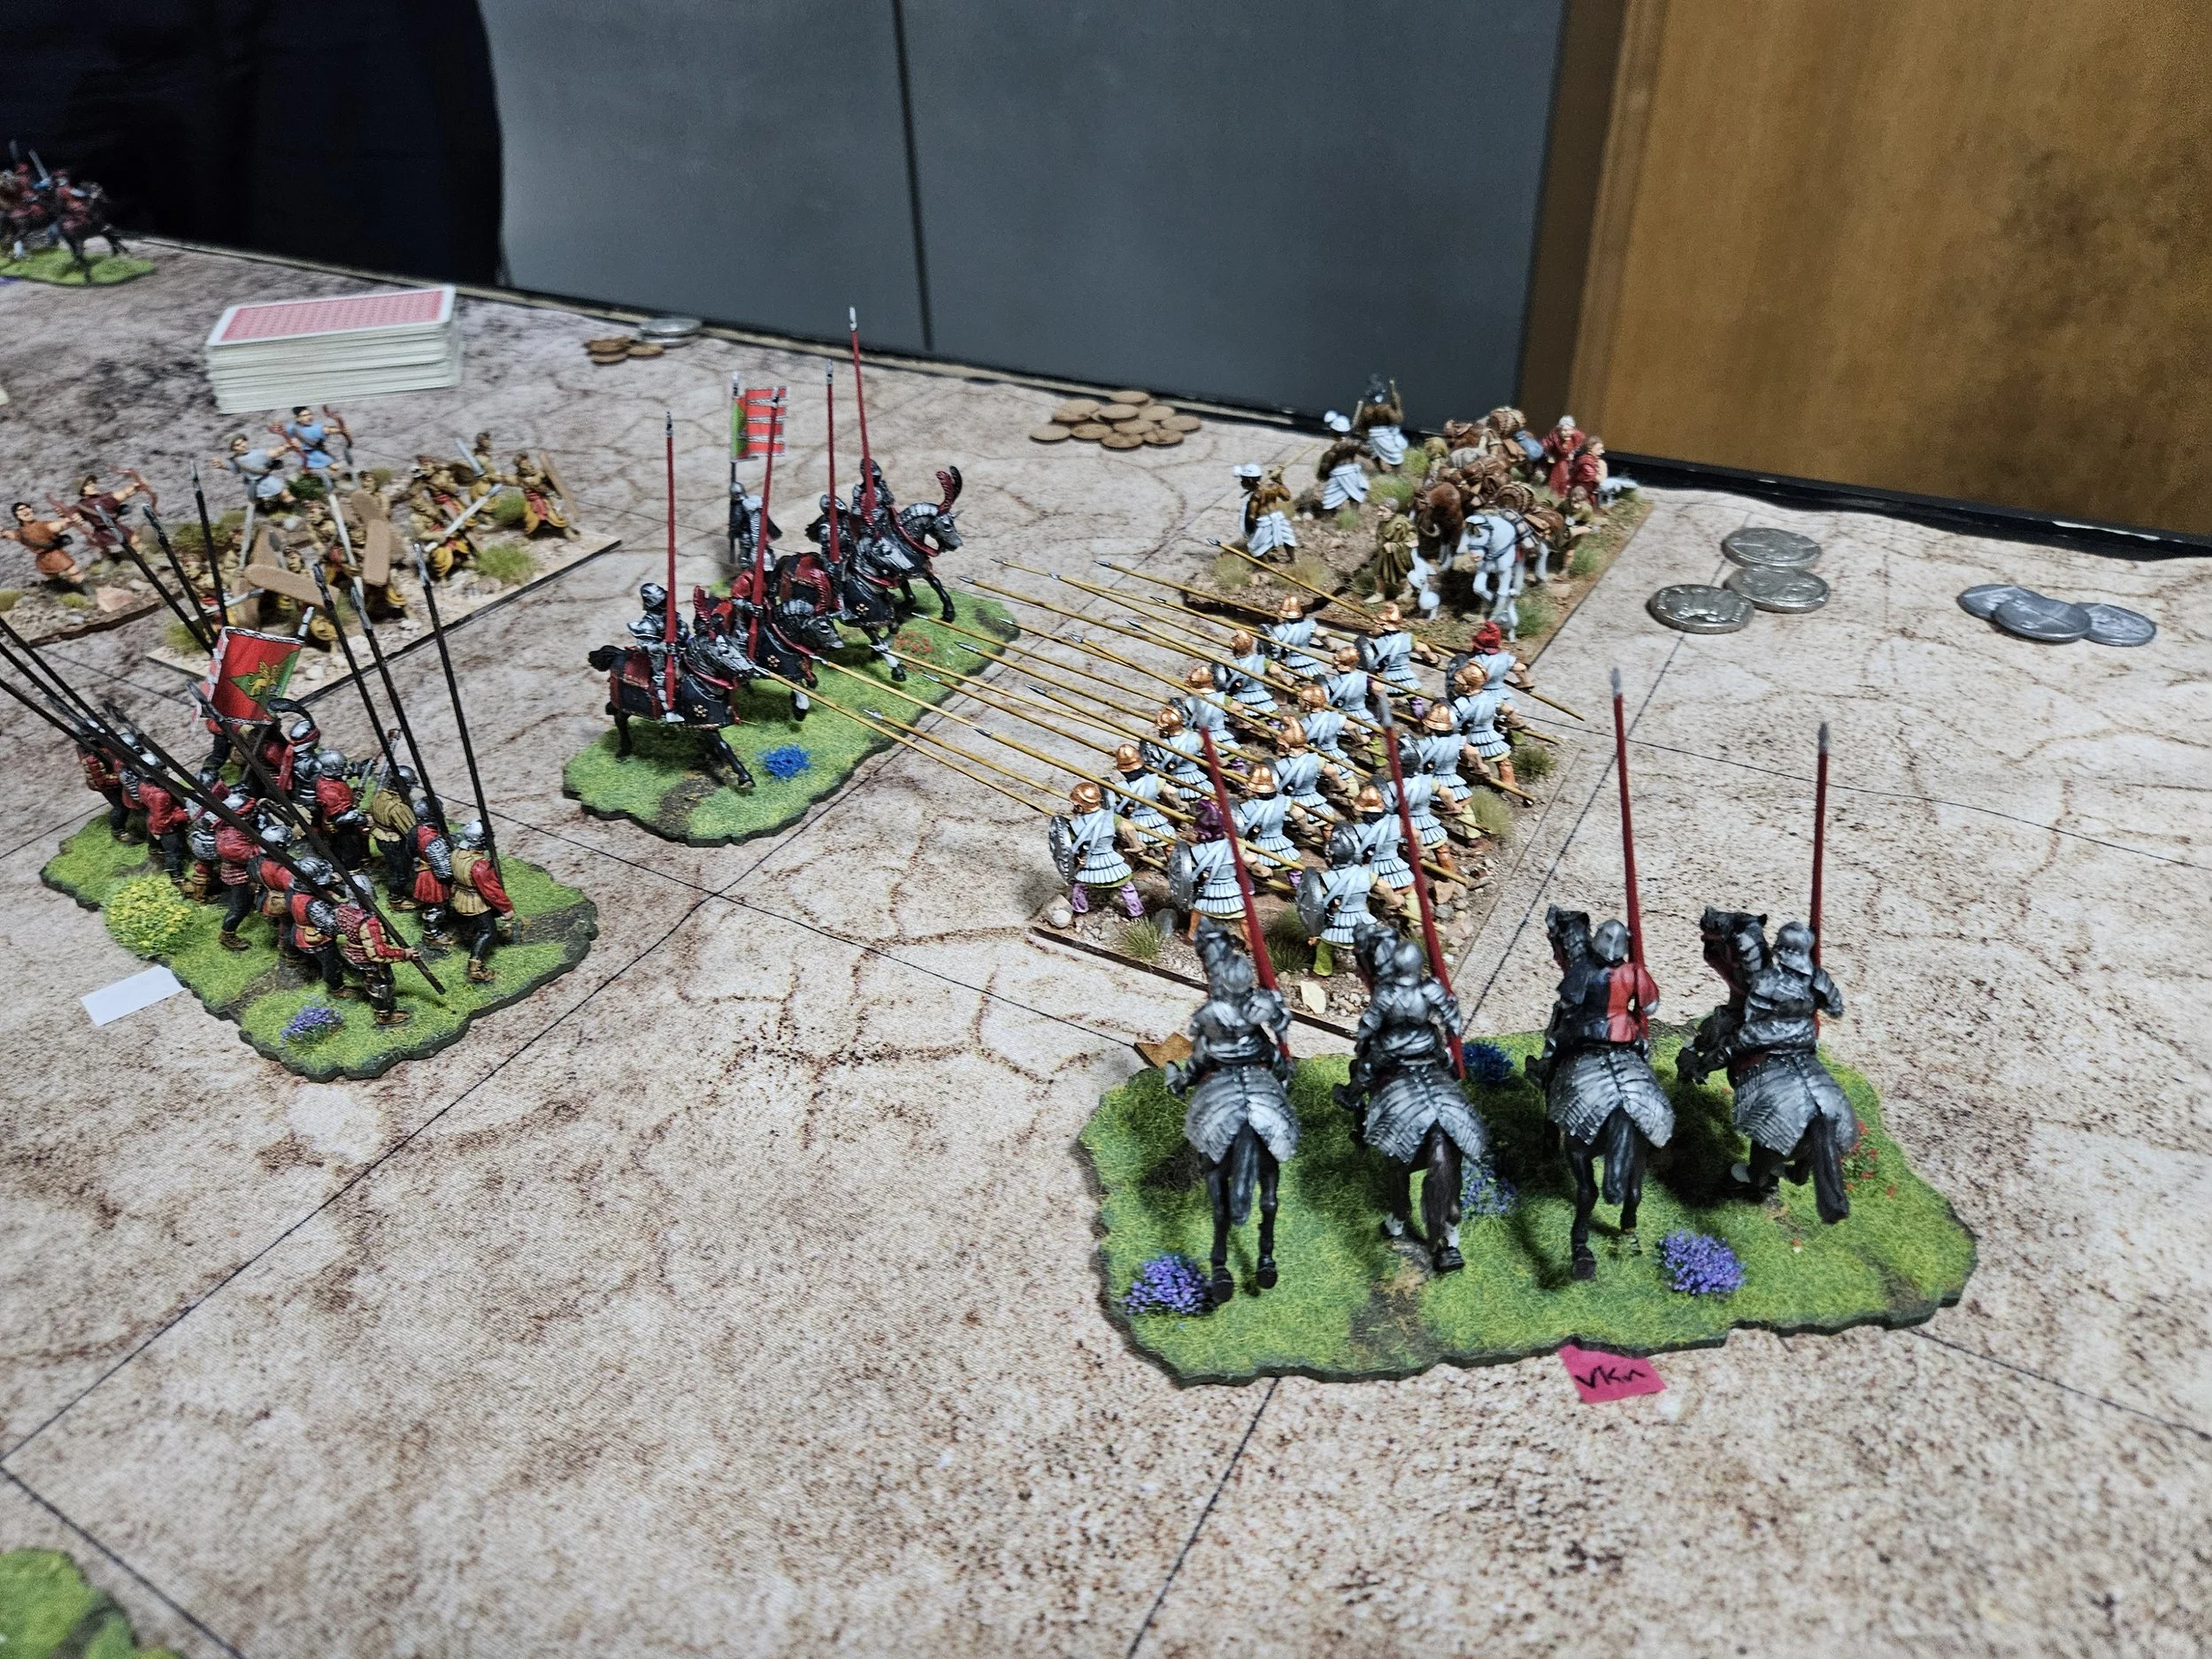
Attacked from two directions, and with only lights and crossbowmen to hold off elite heavy cavalry, I was punished badly: suddenly finding that Mark had drawn just about level on coins, and needed only three more to finish me off. The Alabardiers had also been unlucky with their cards and were now disordered and in danger of breaking. Time was ticking on, as well, which meant I had to do something fast.
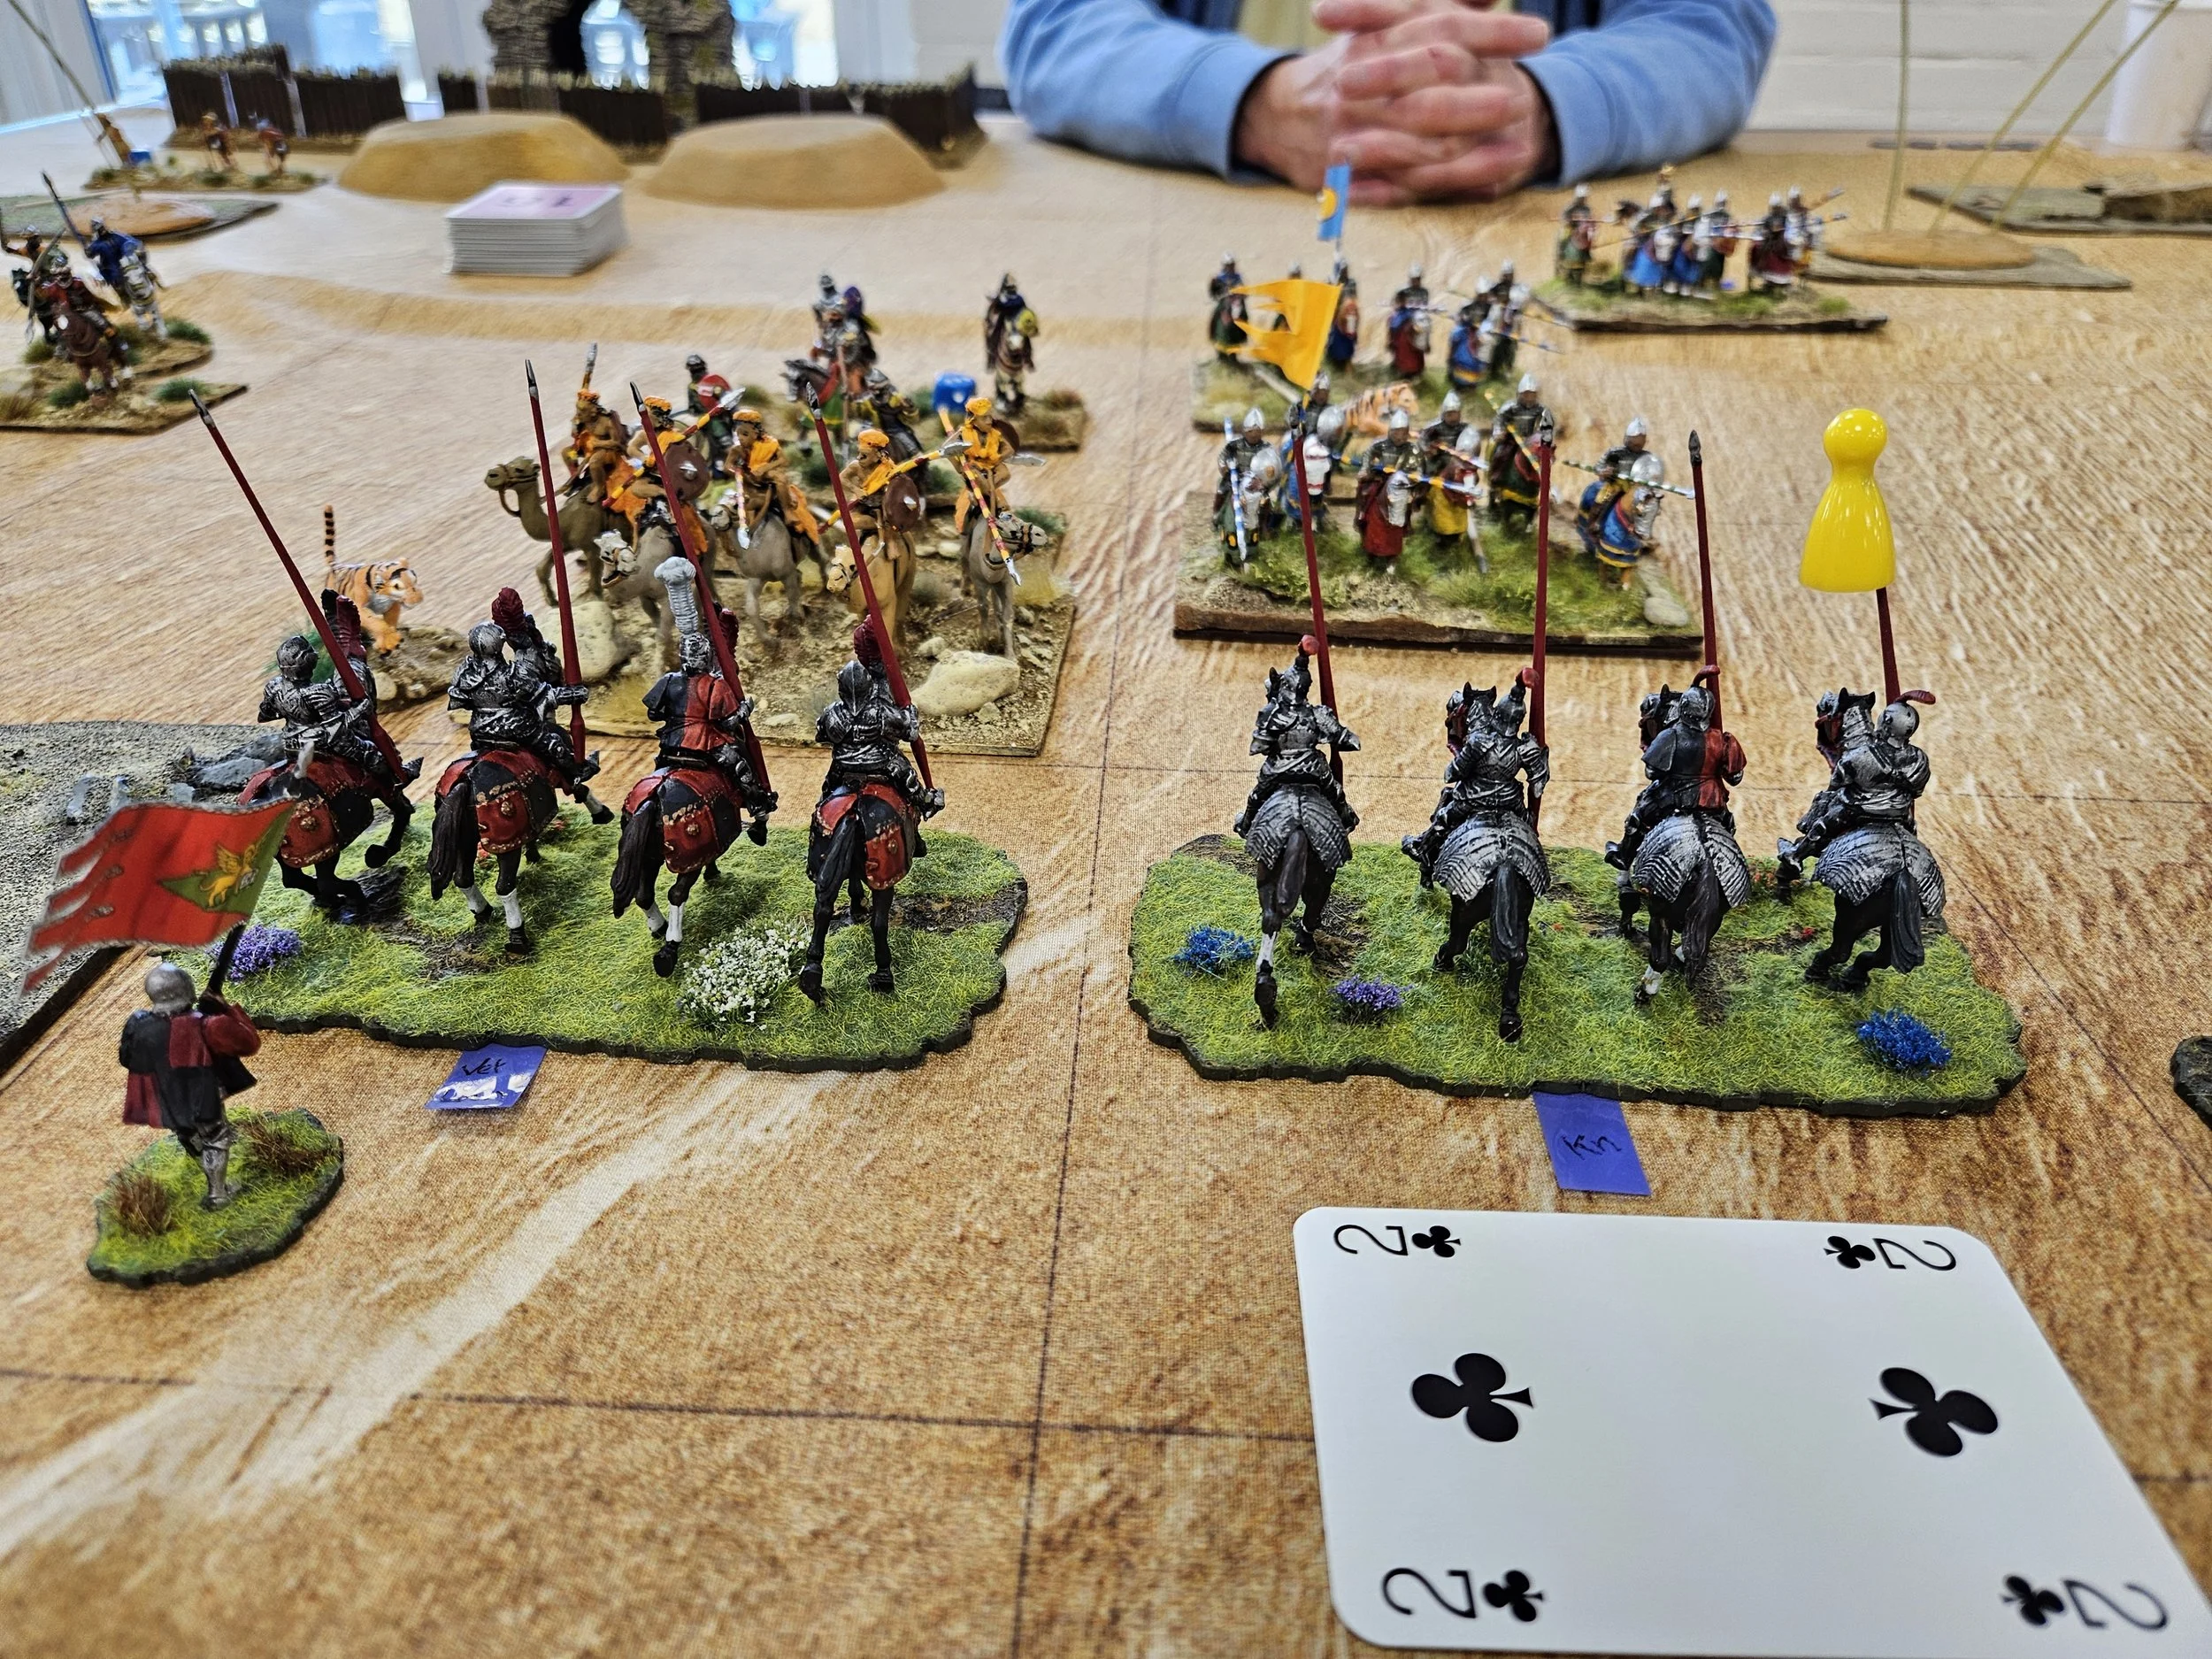
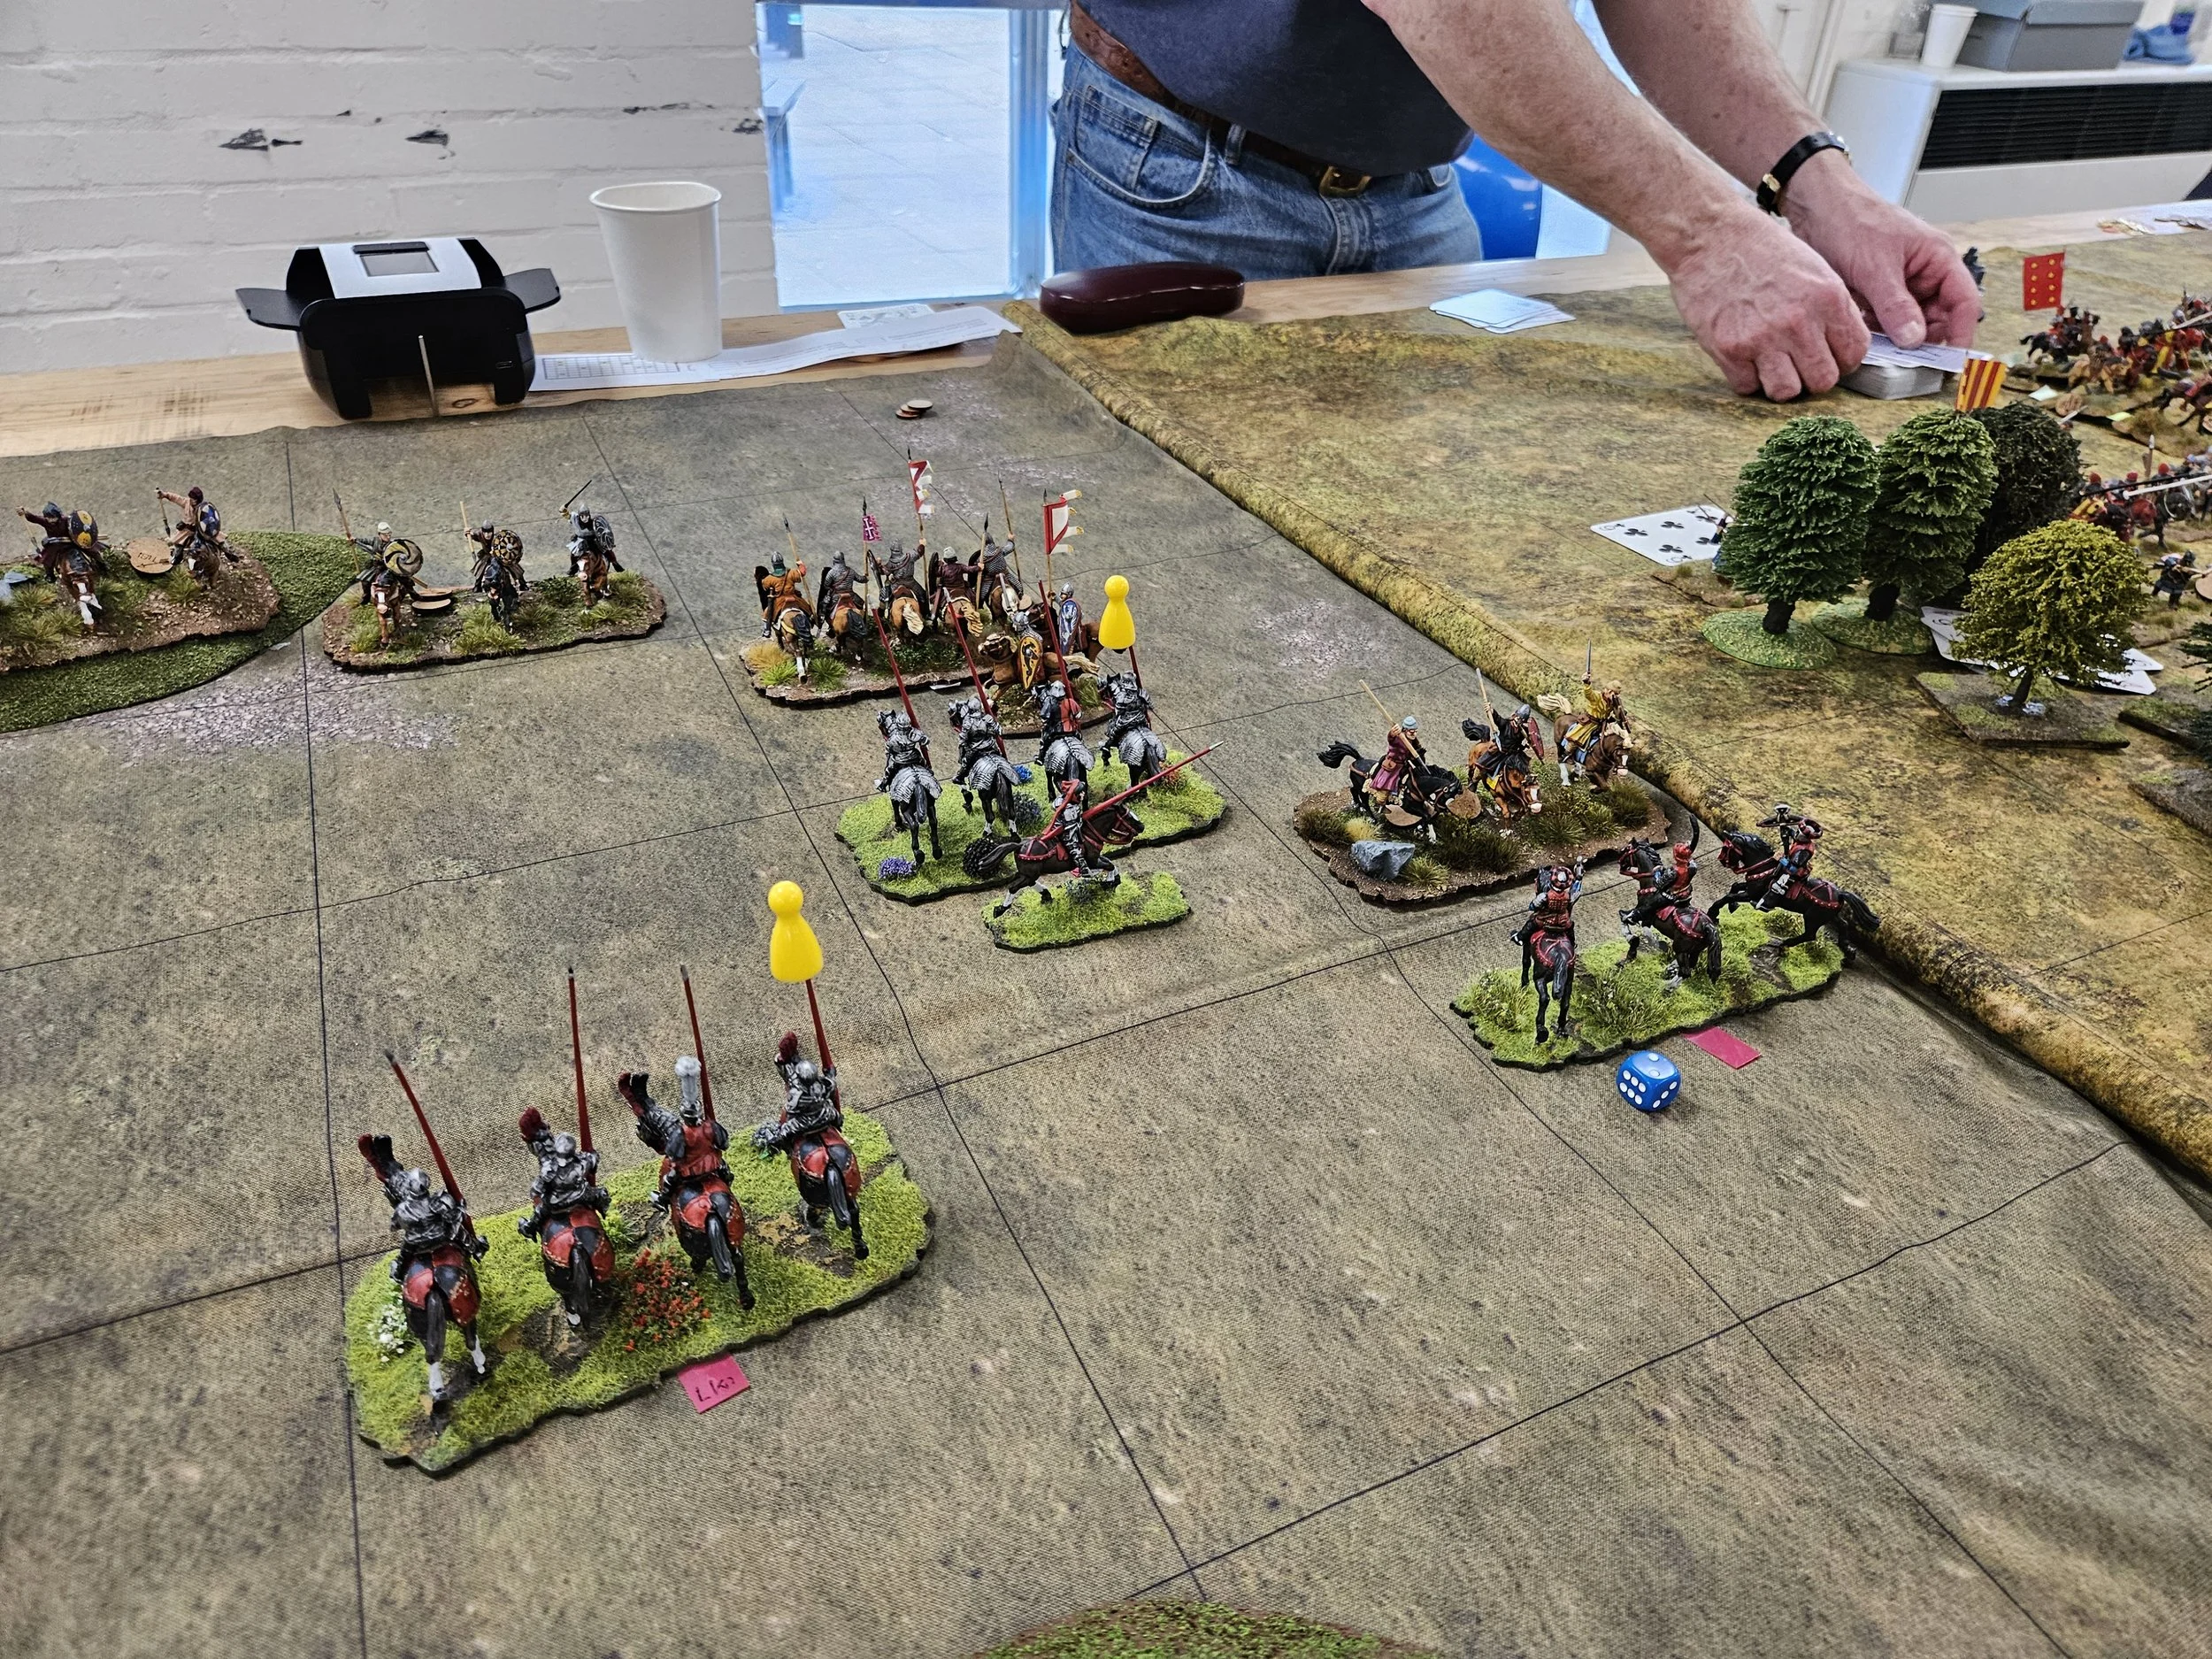
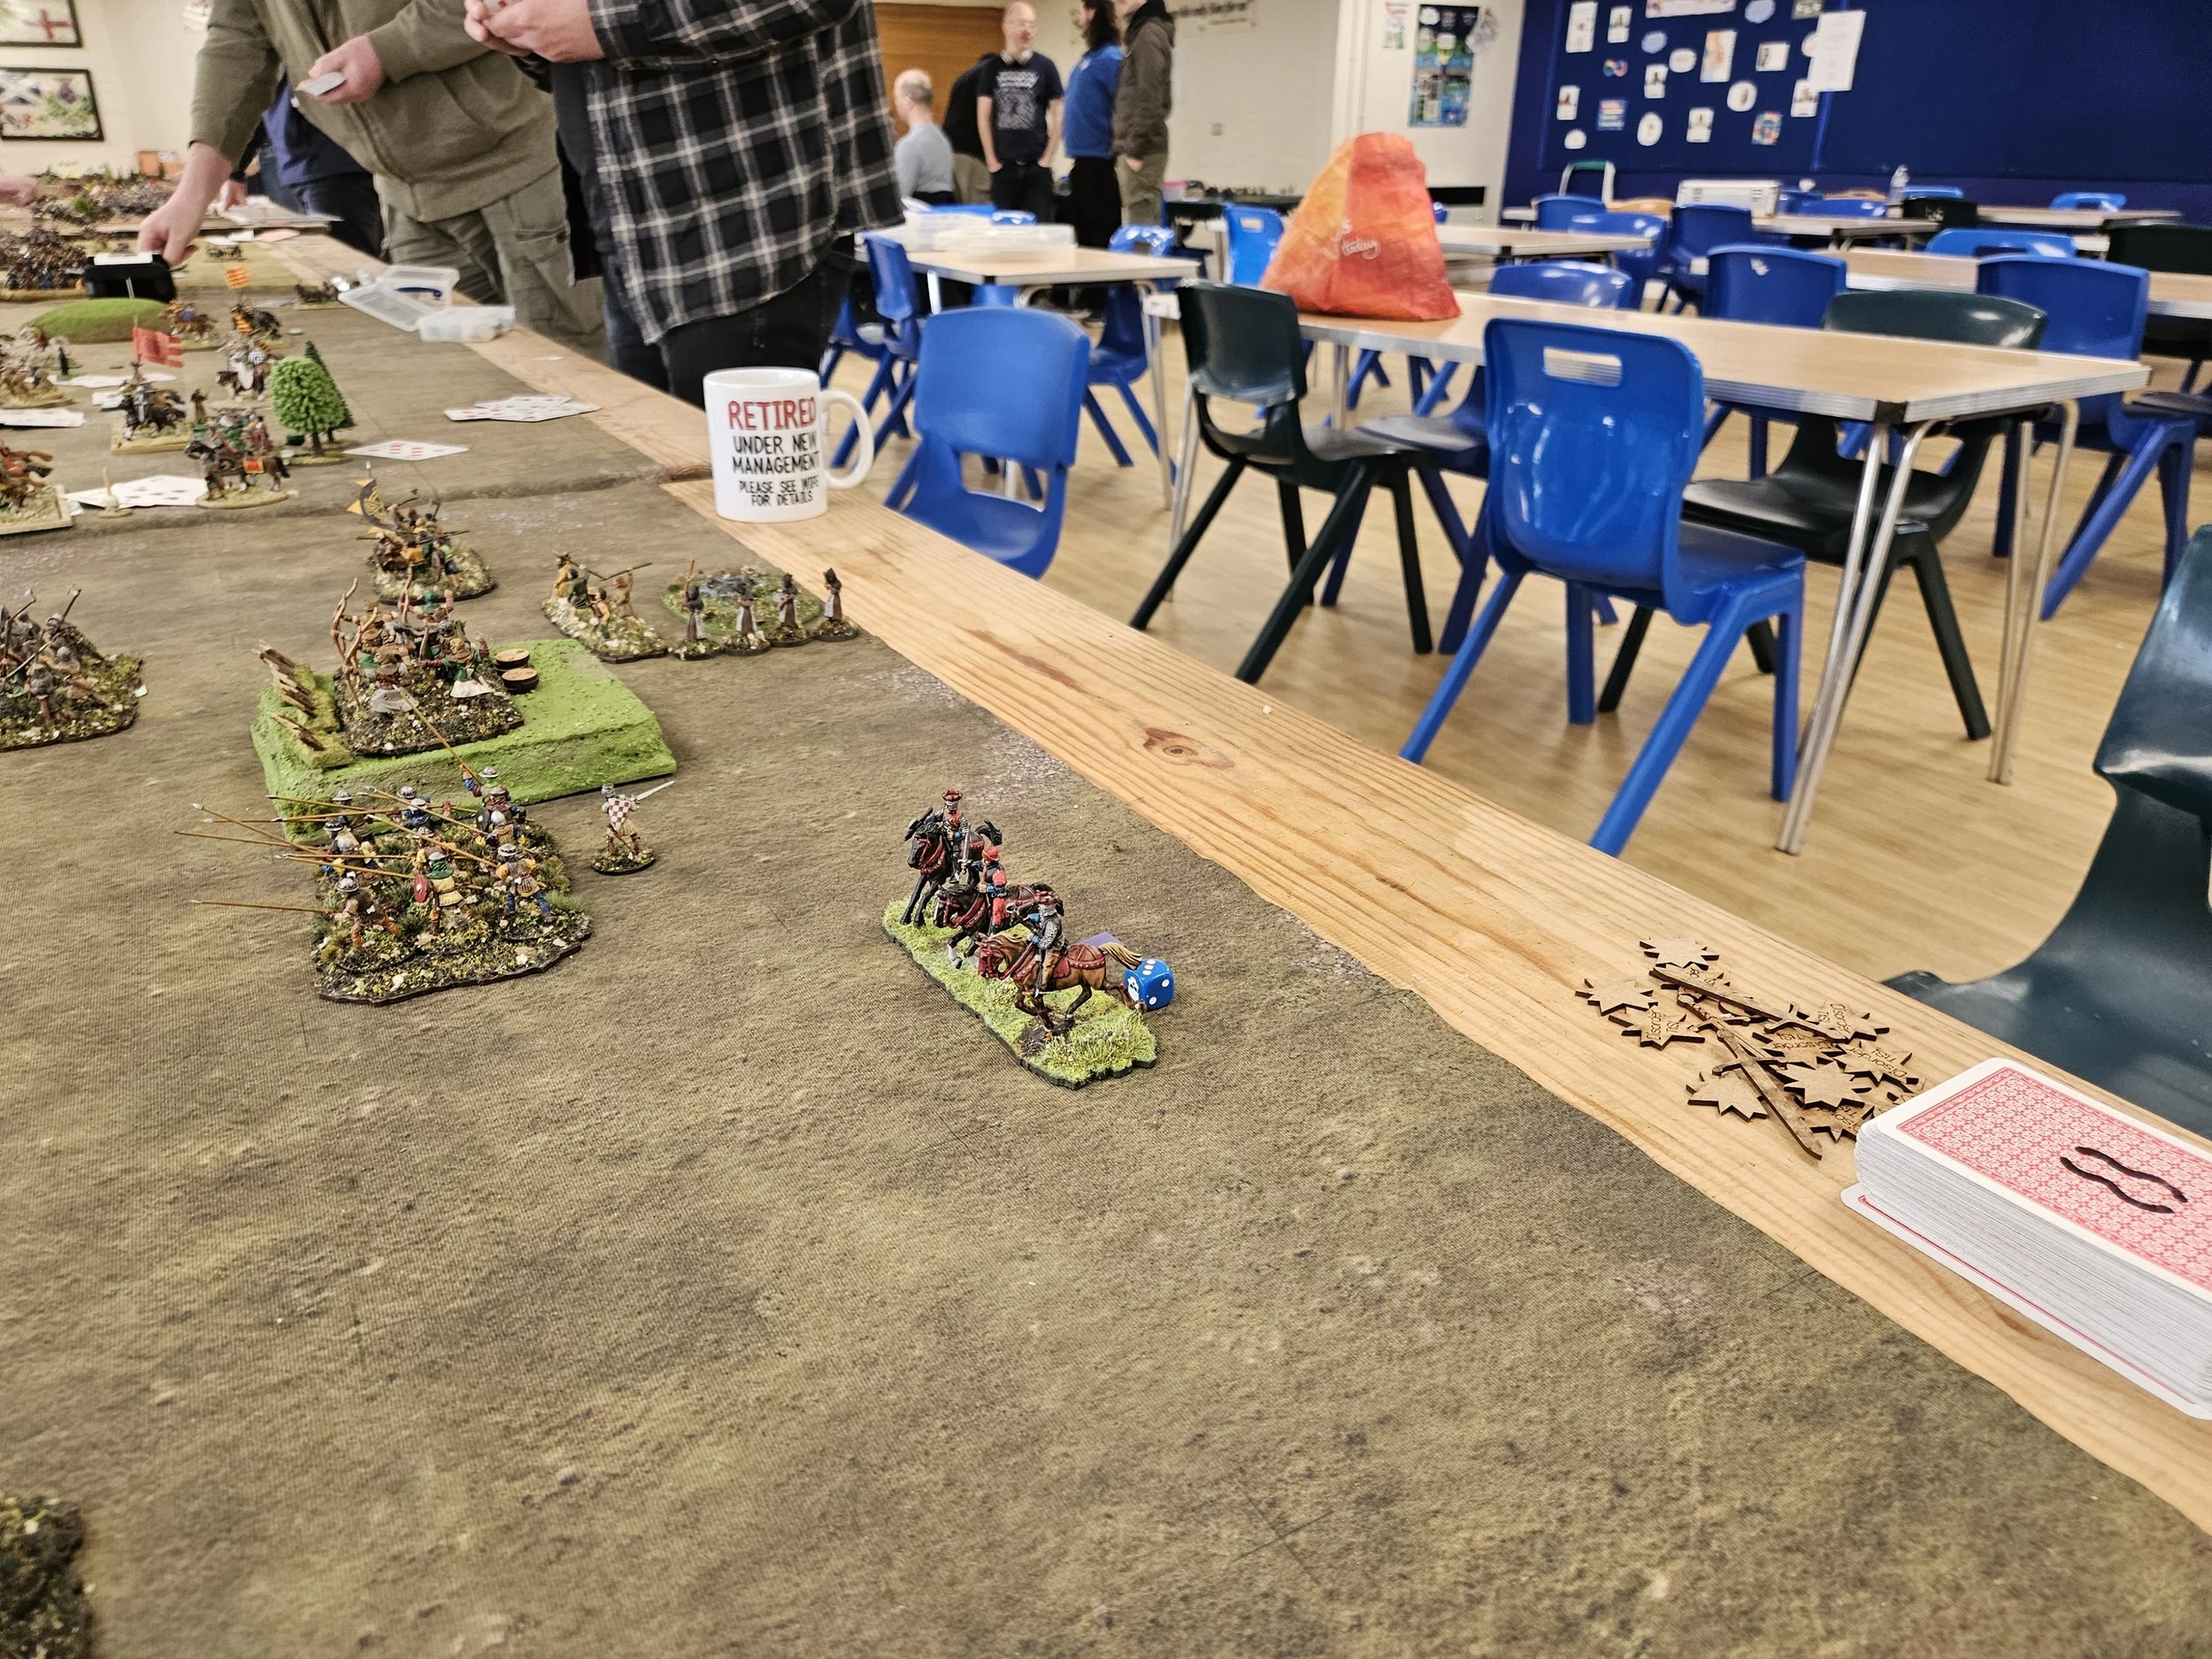
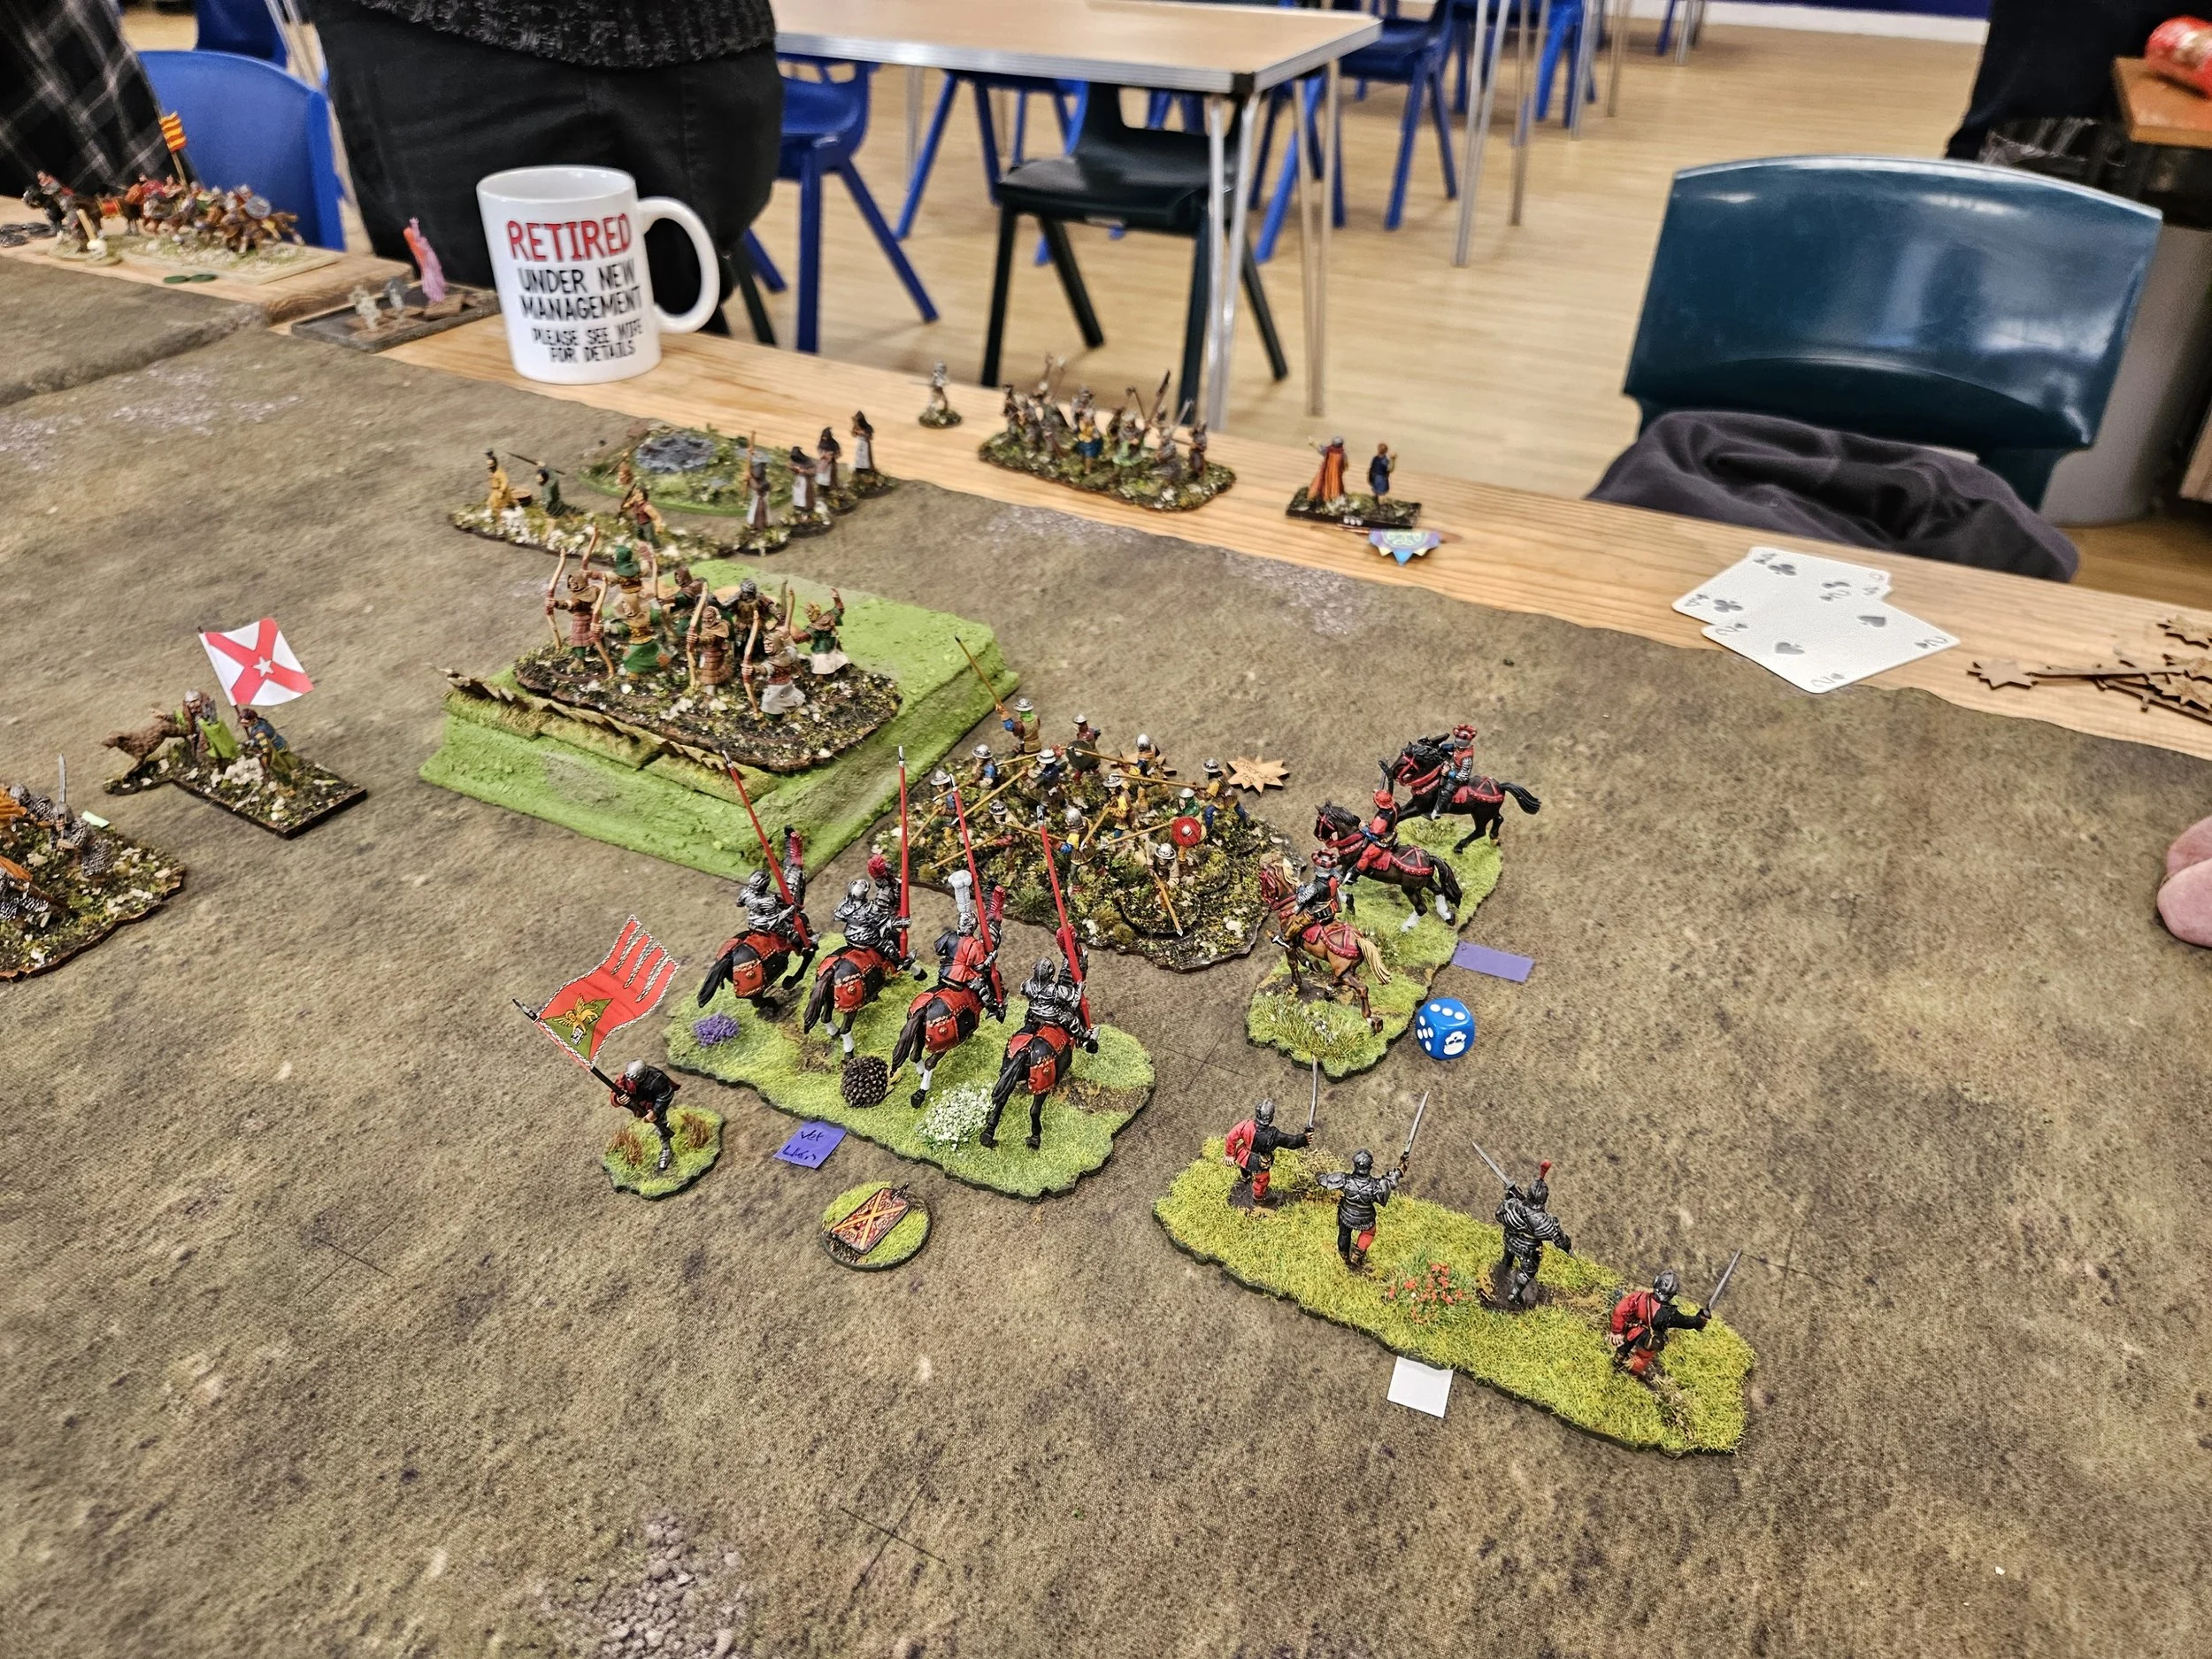
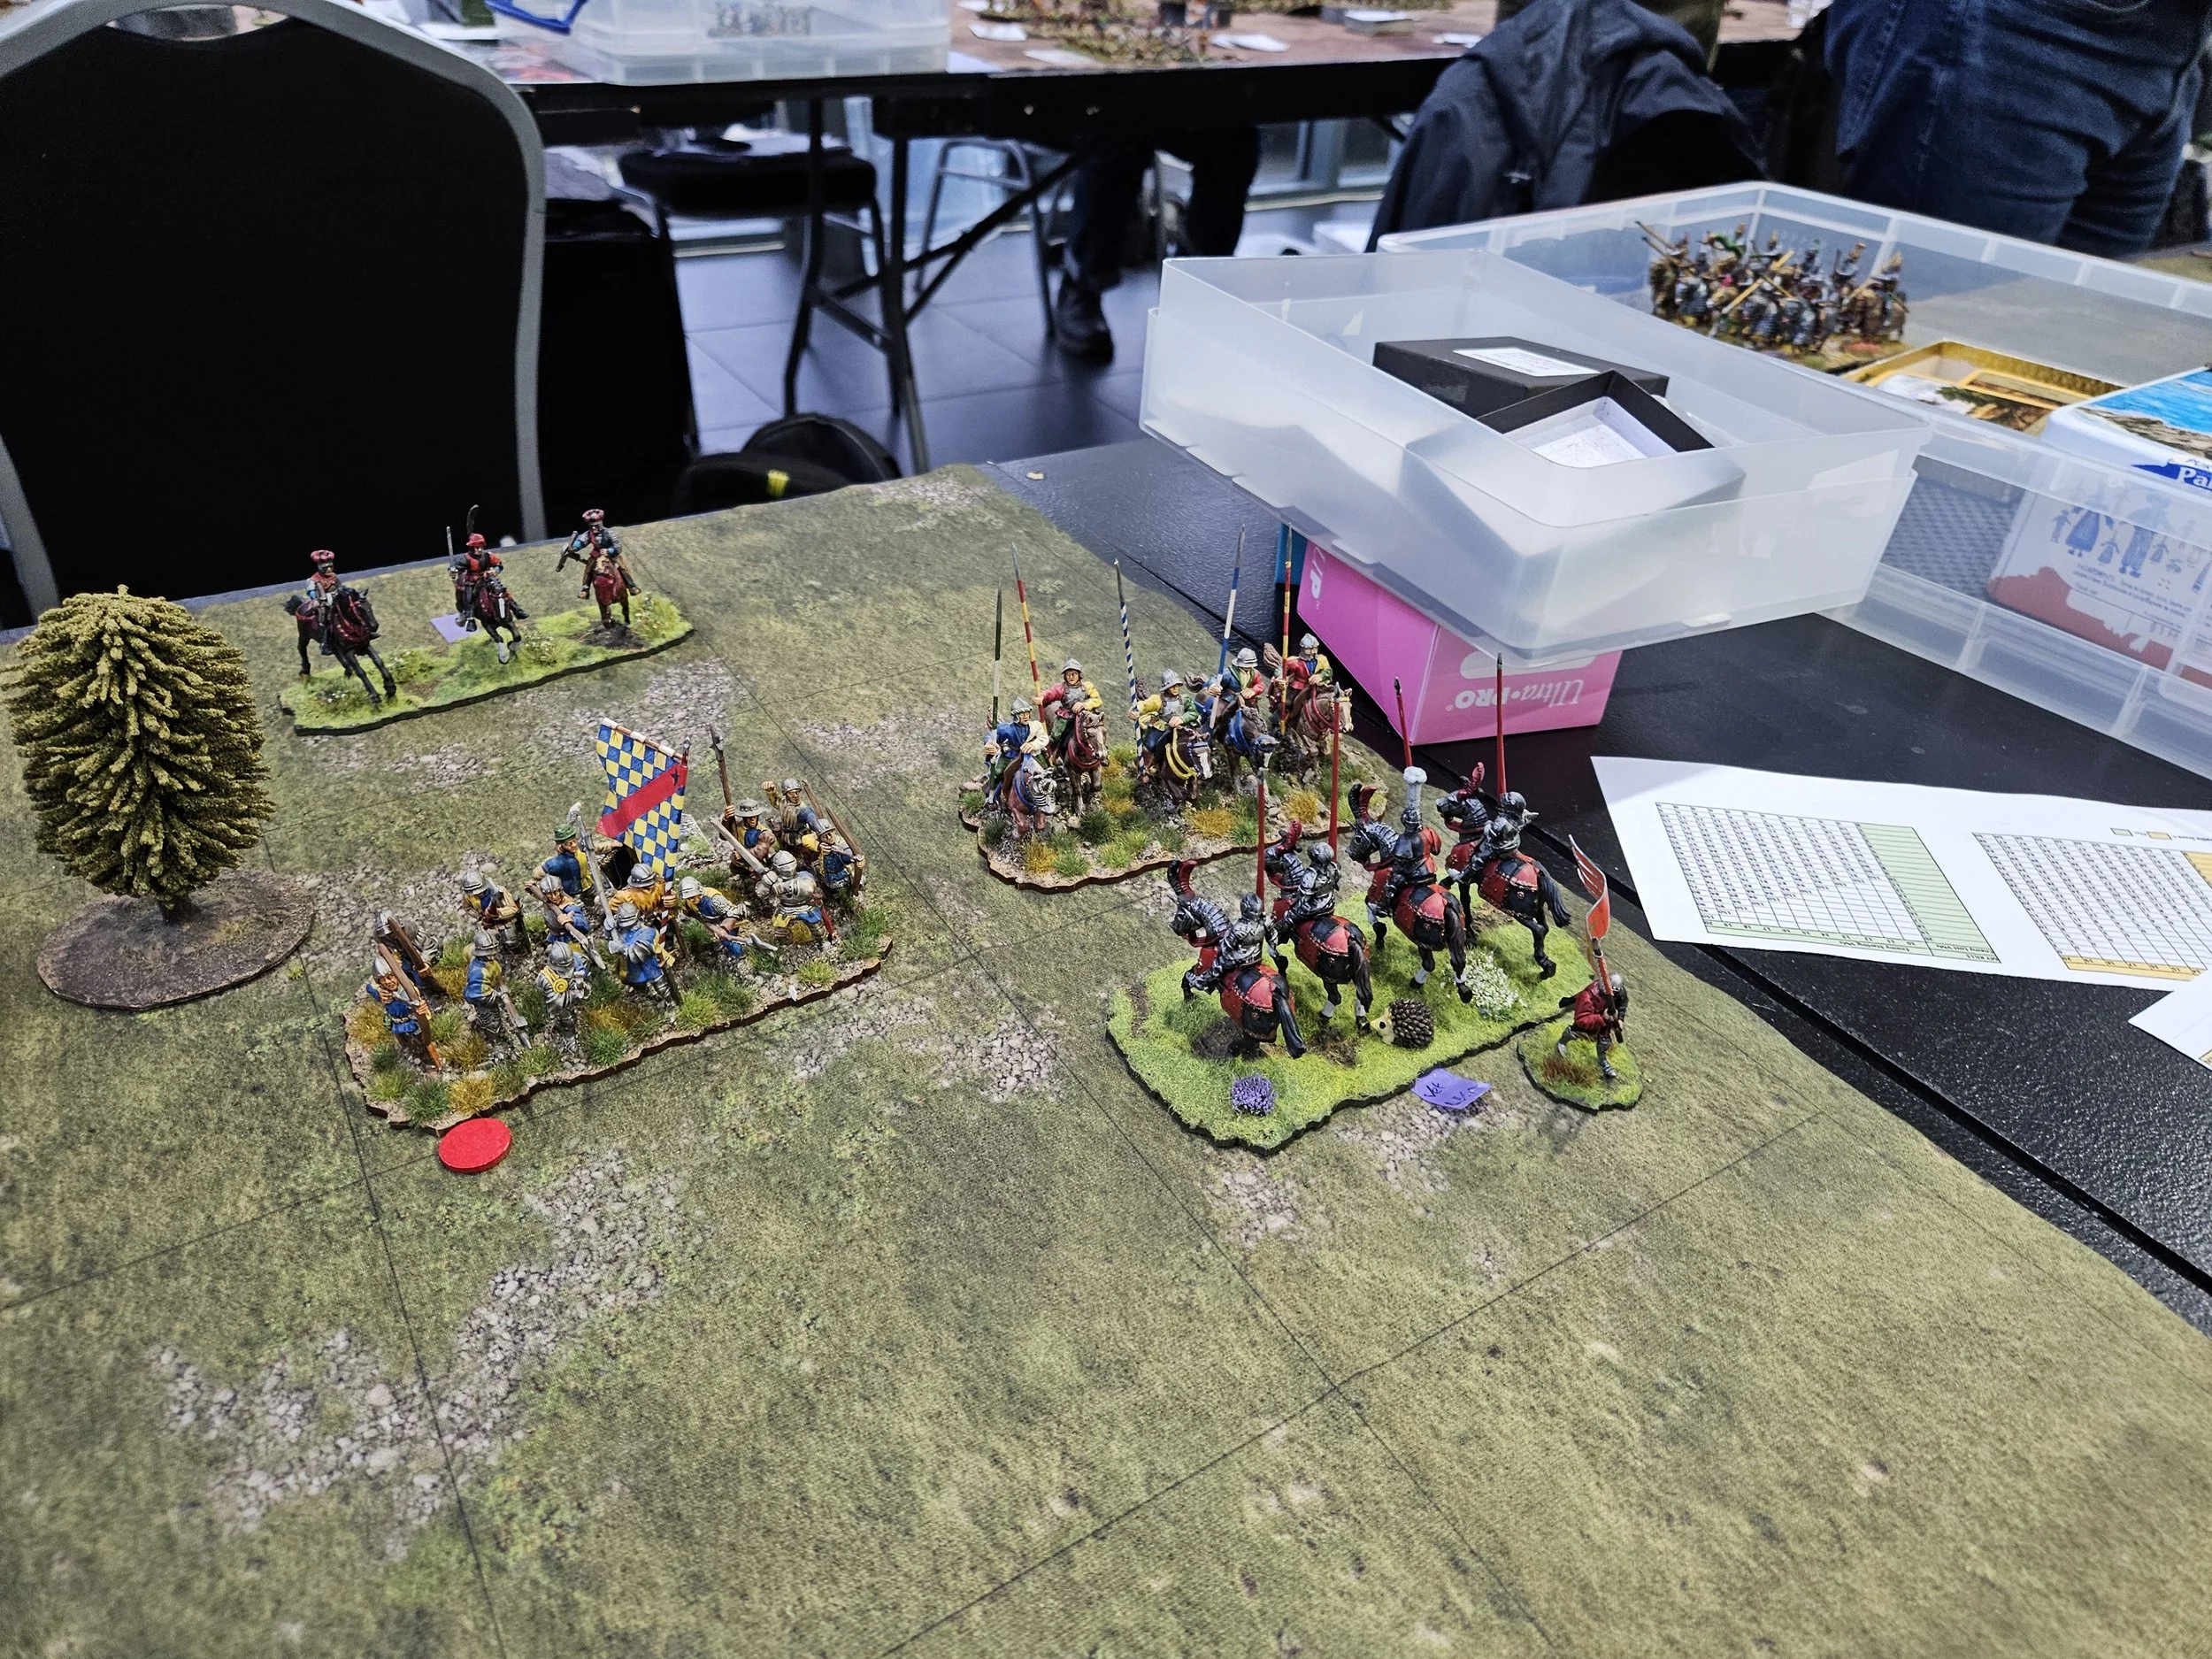
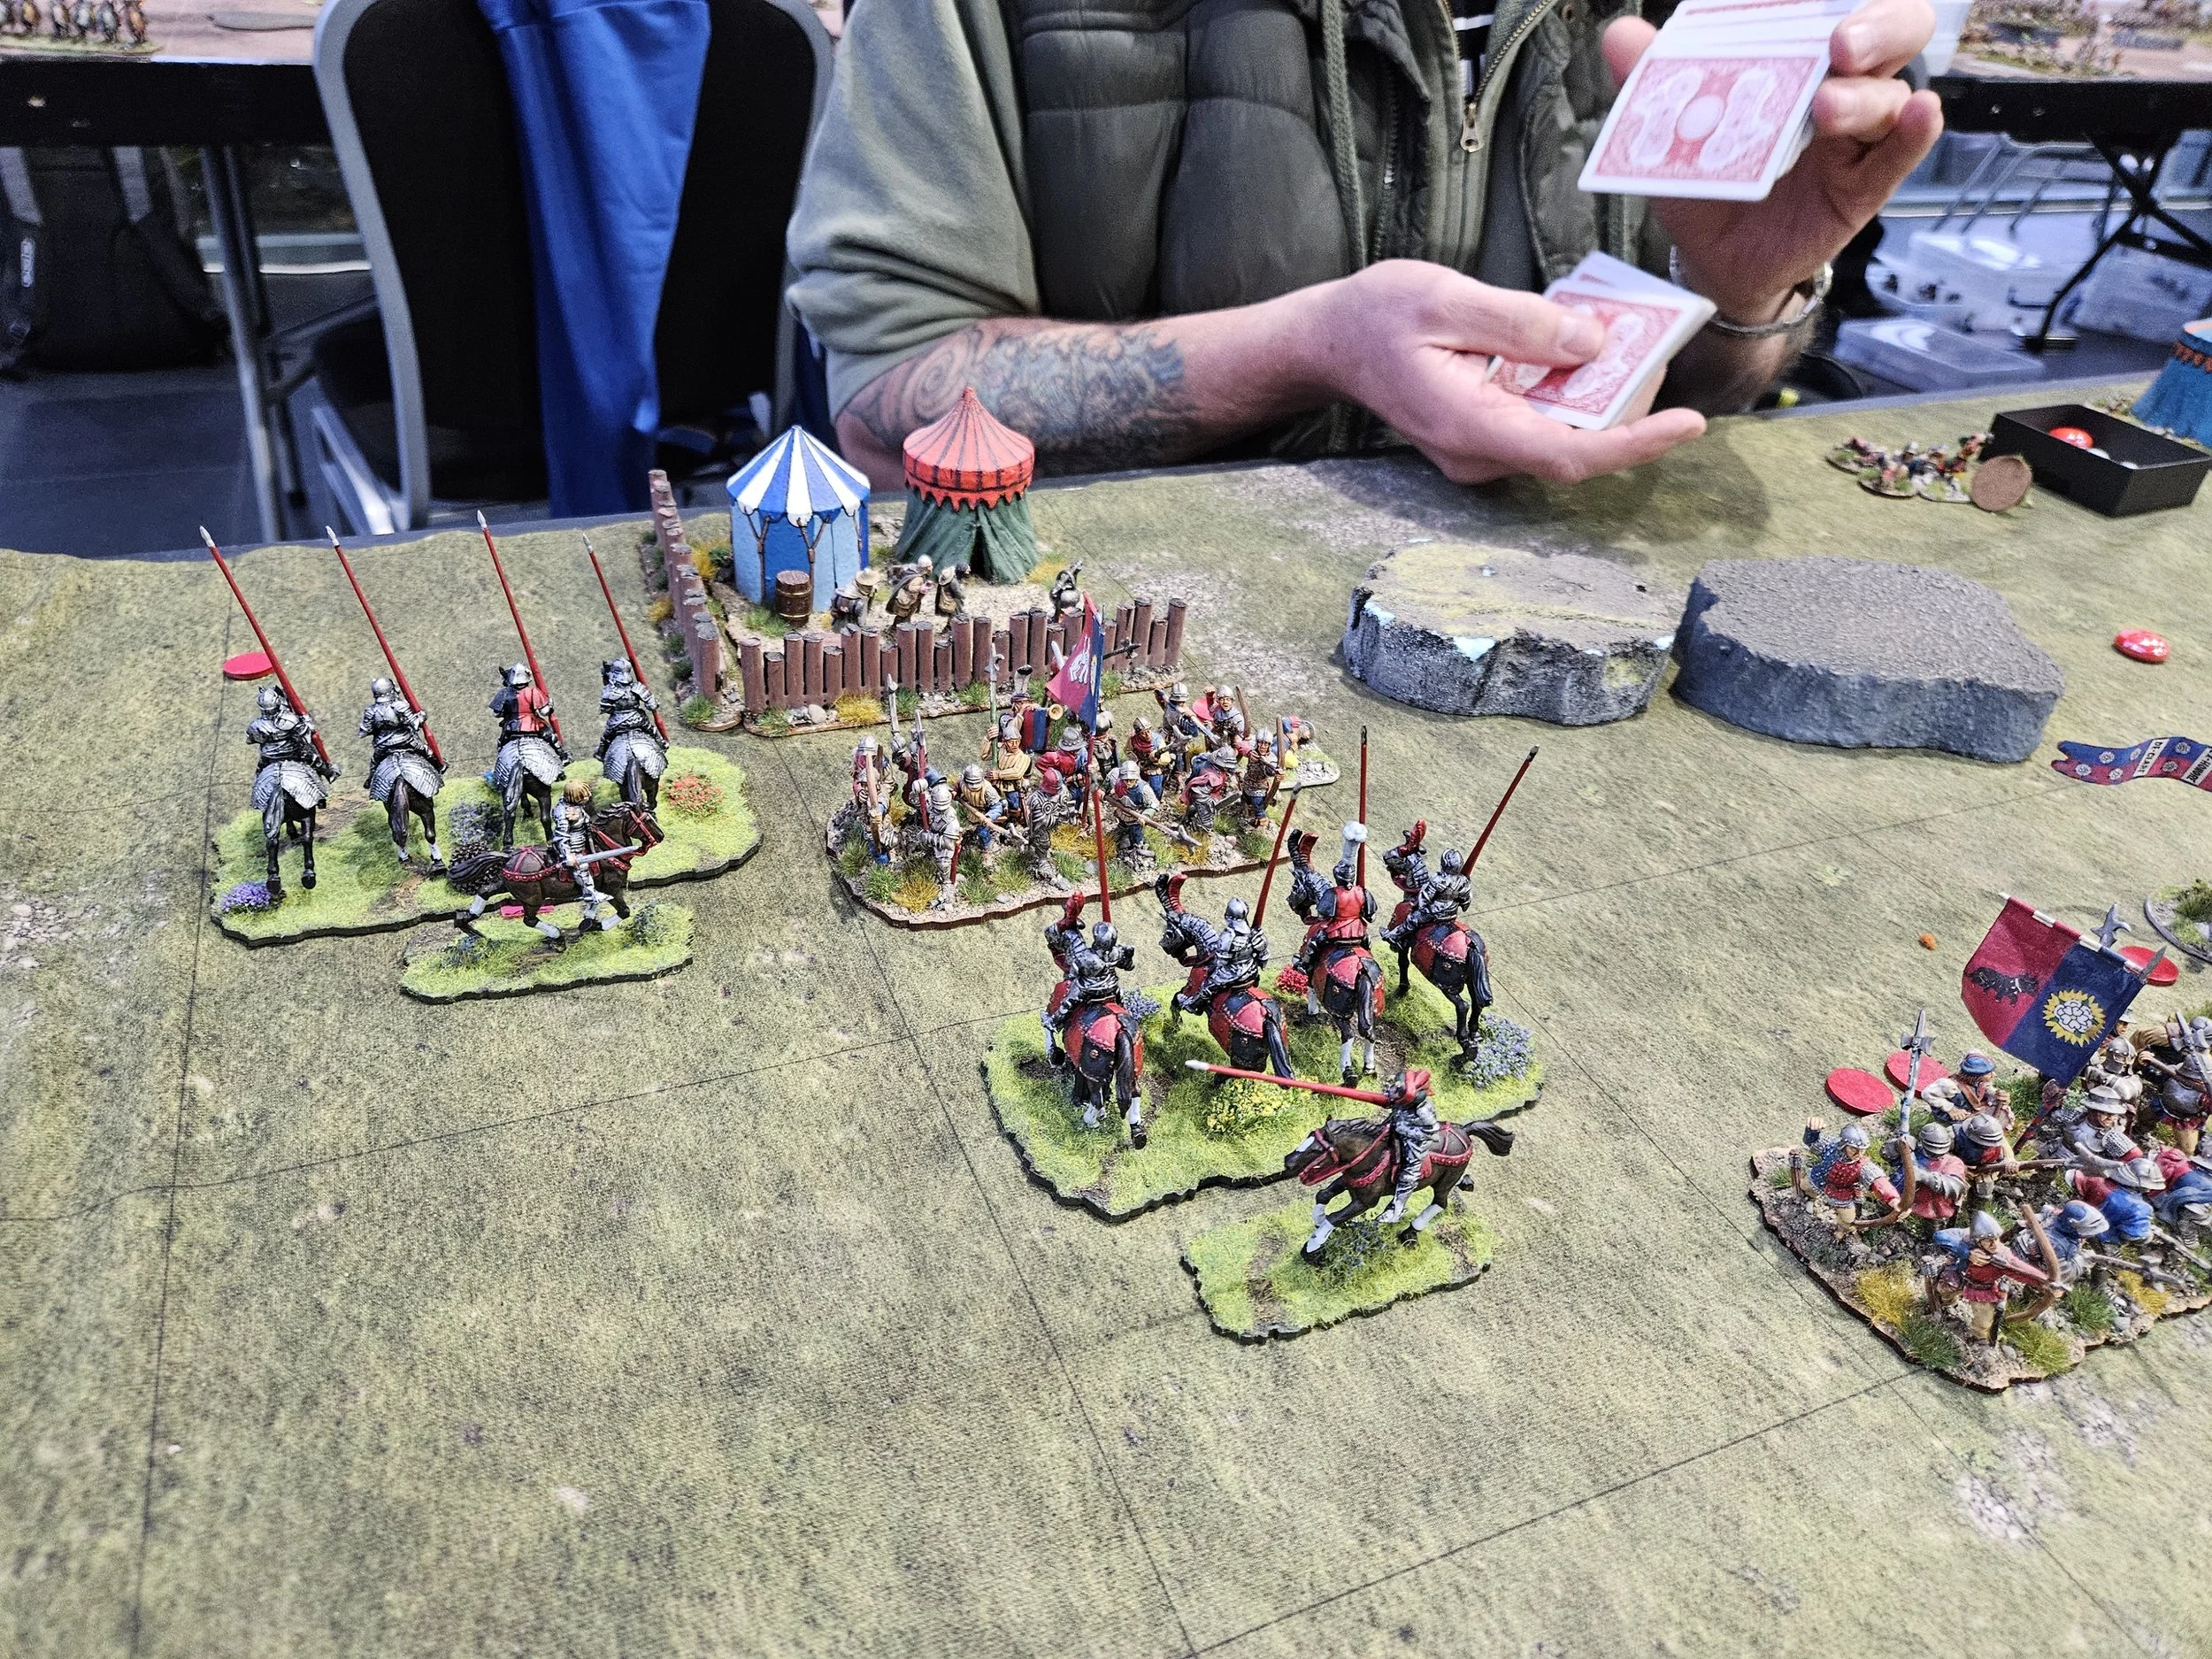
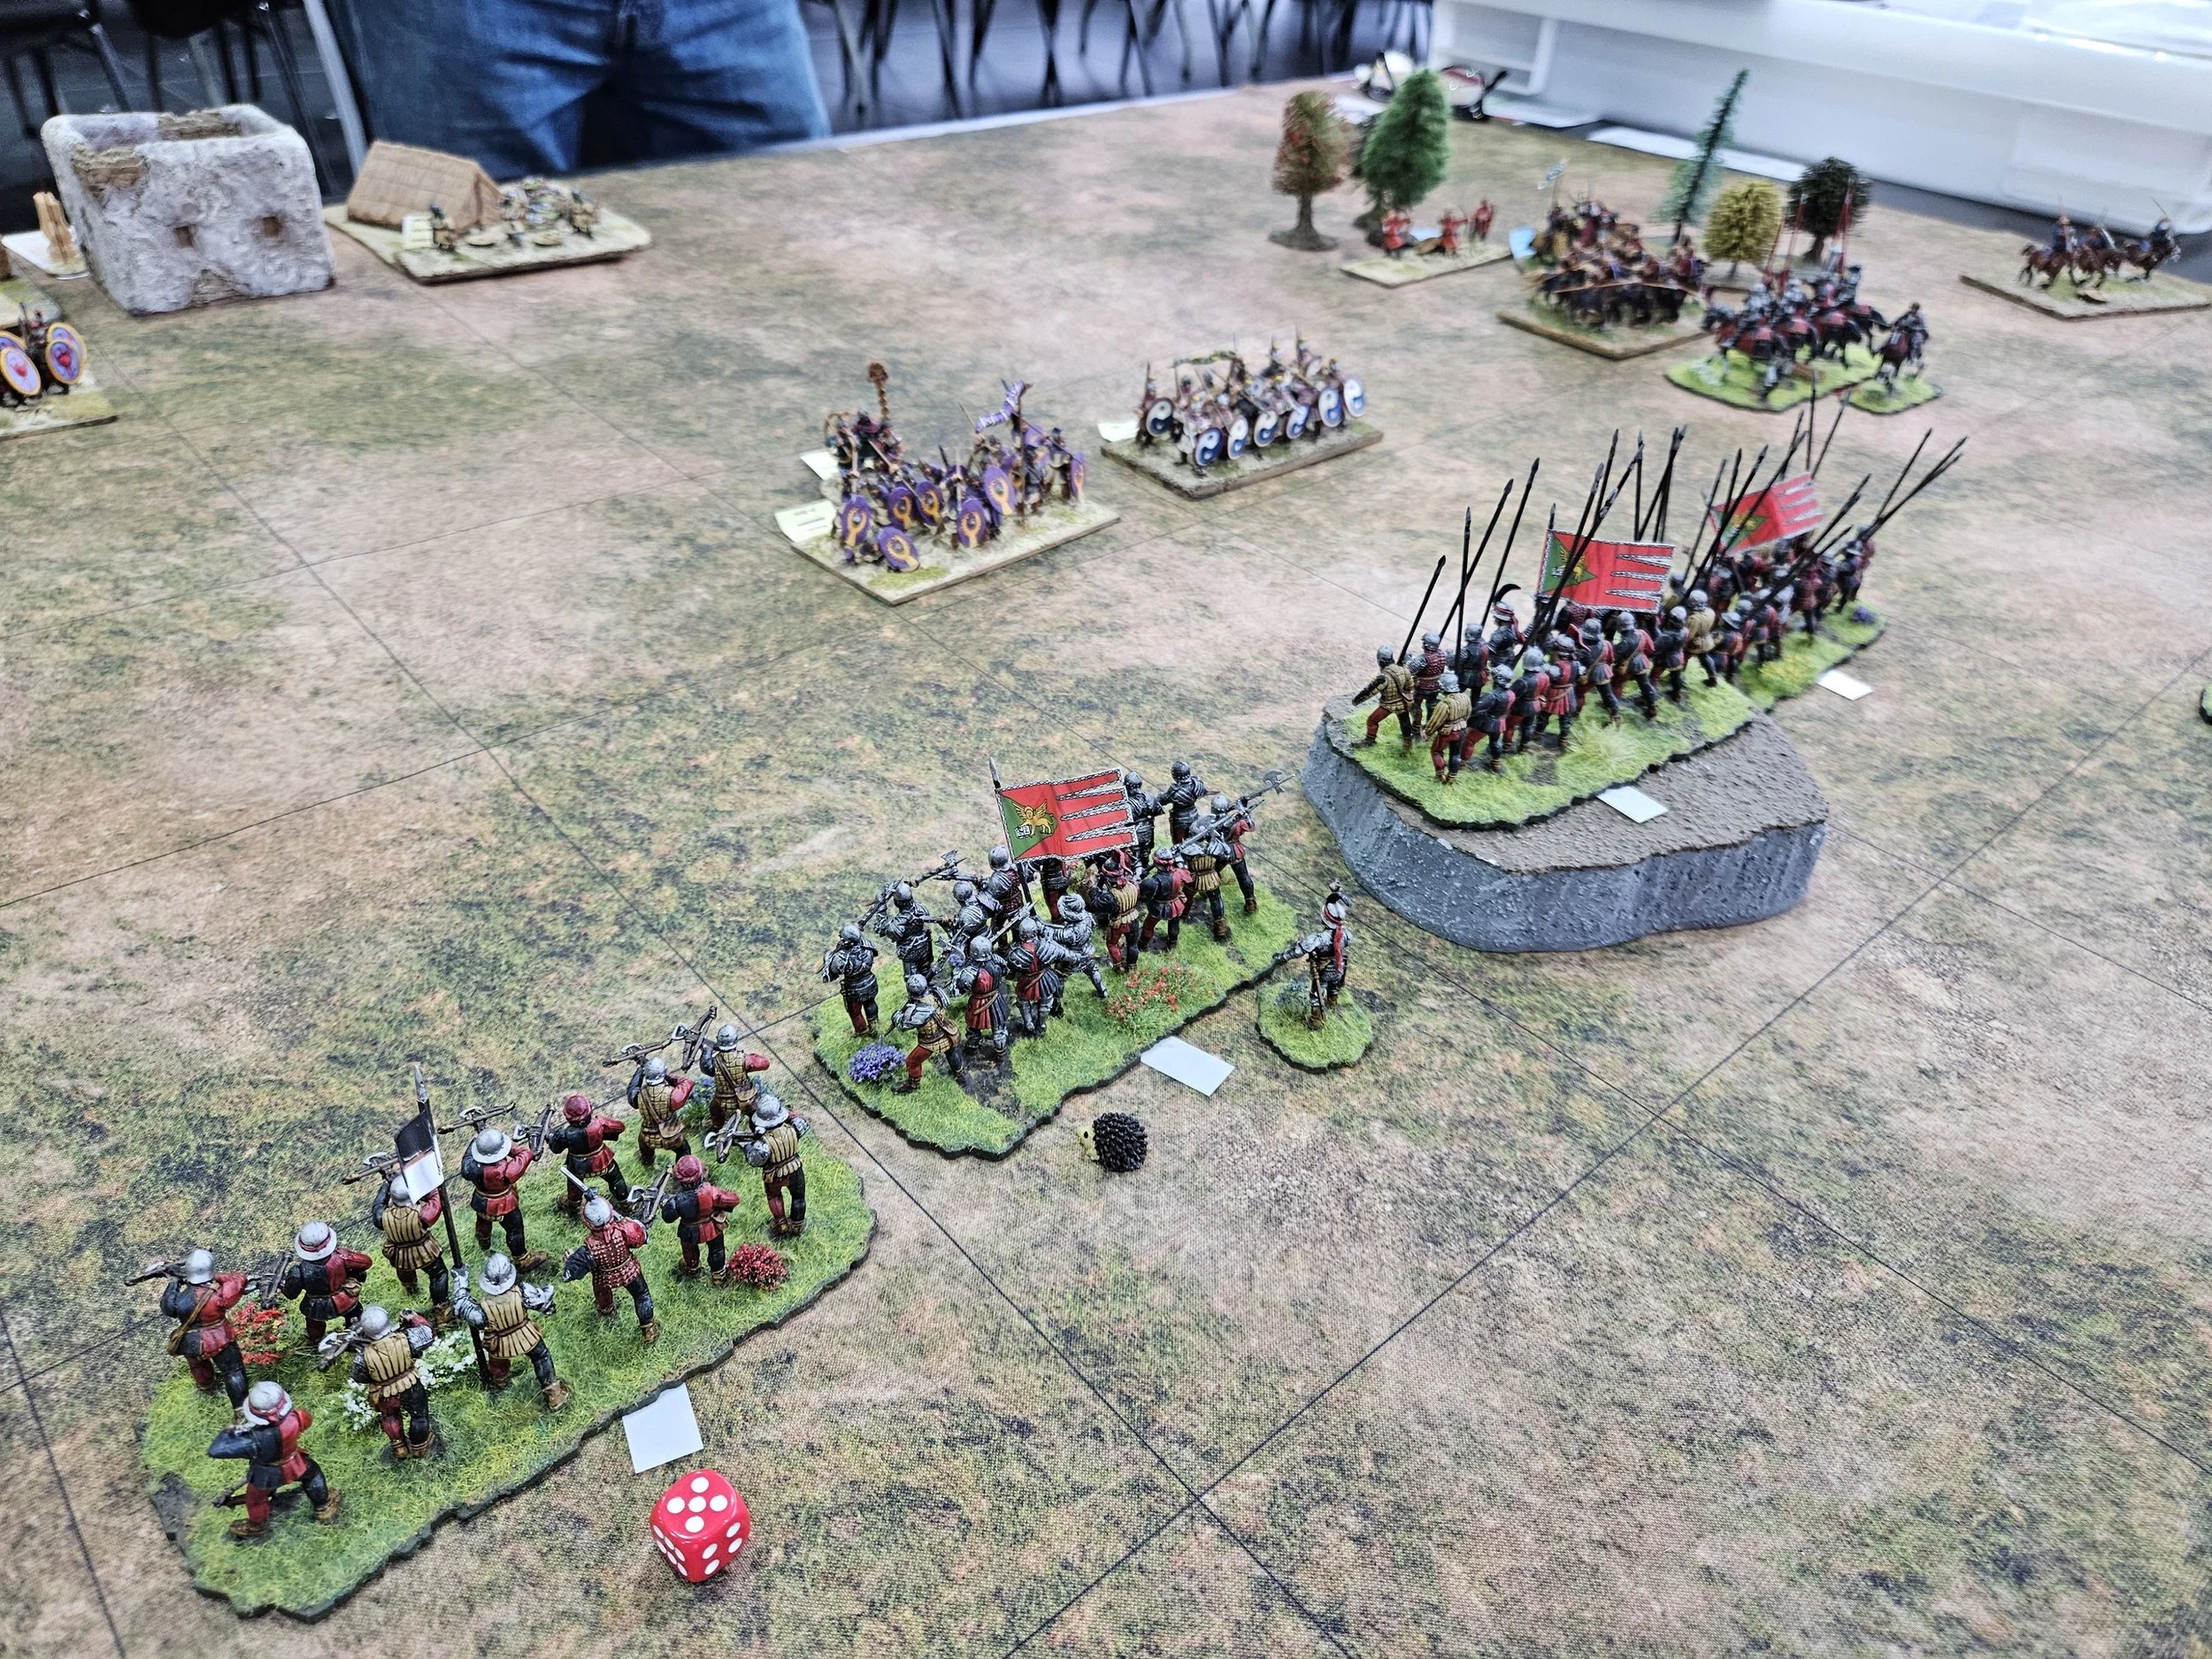
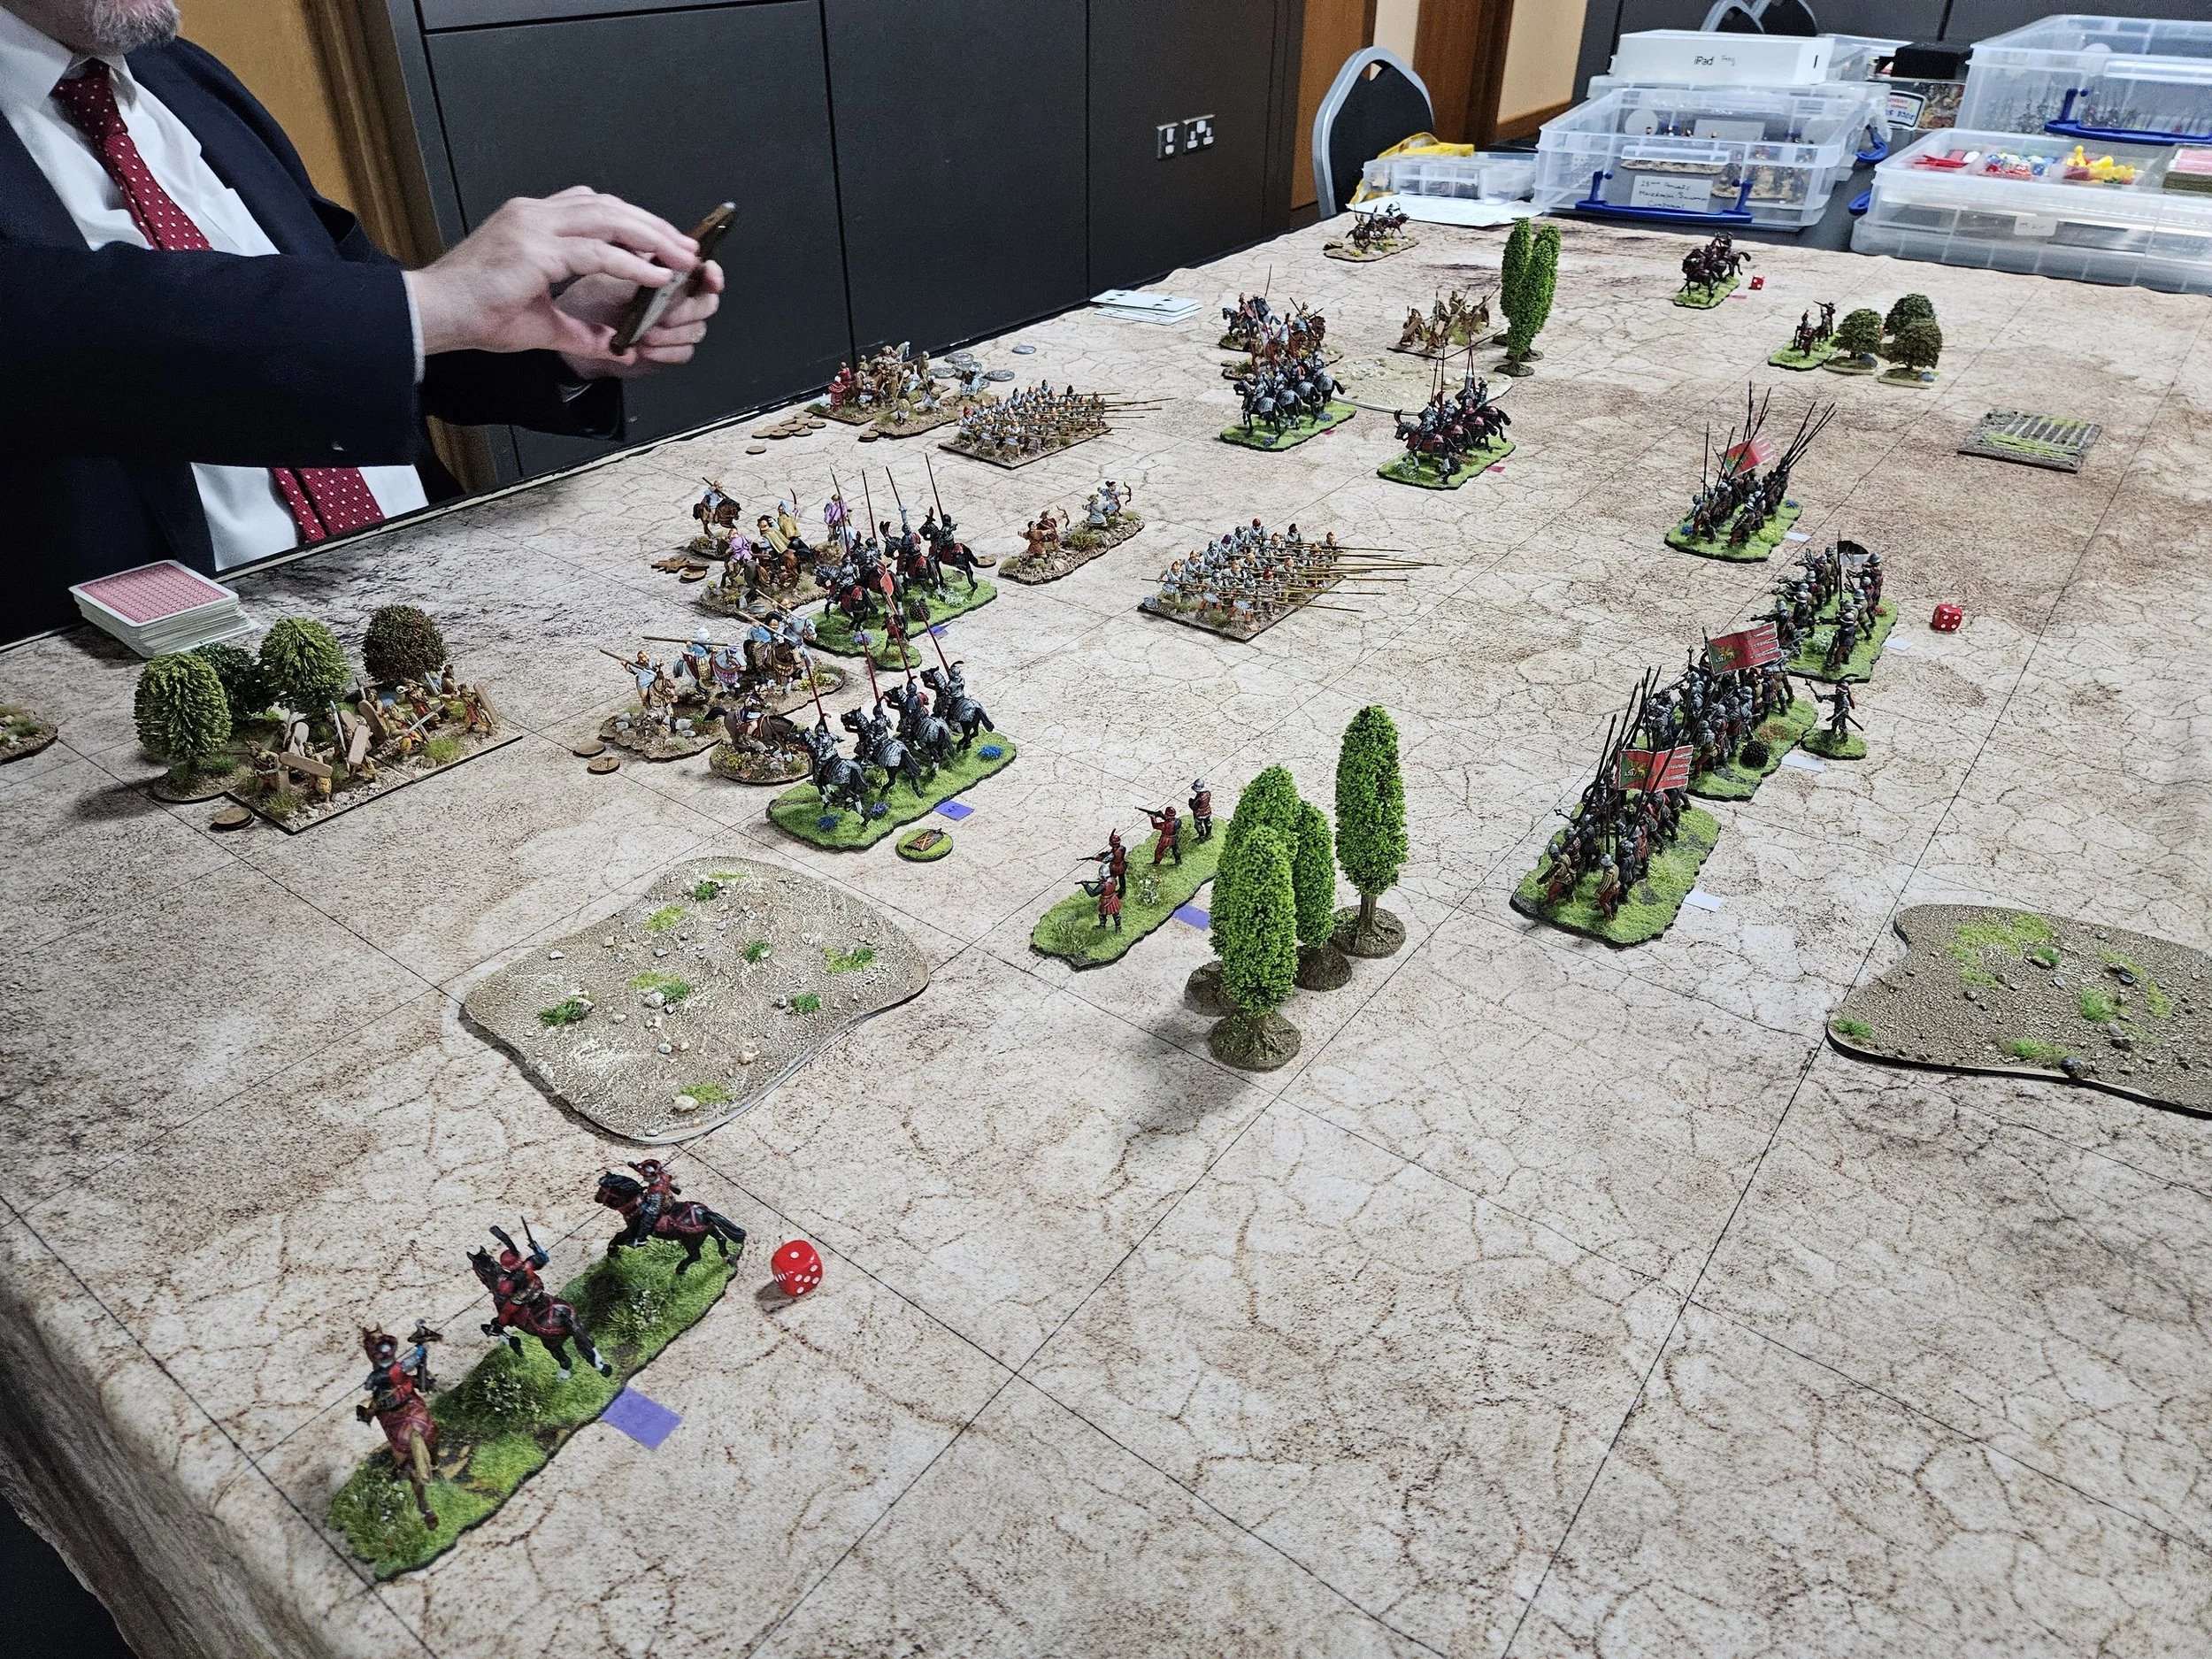
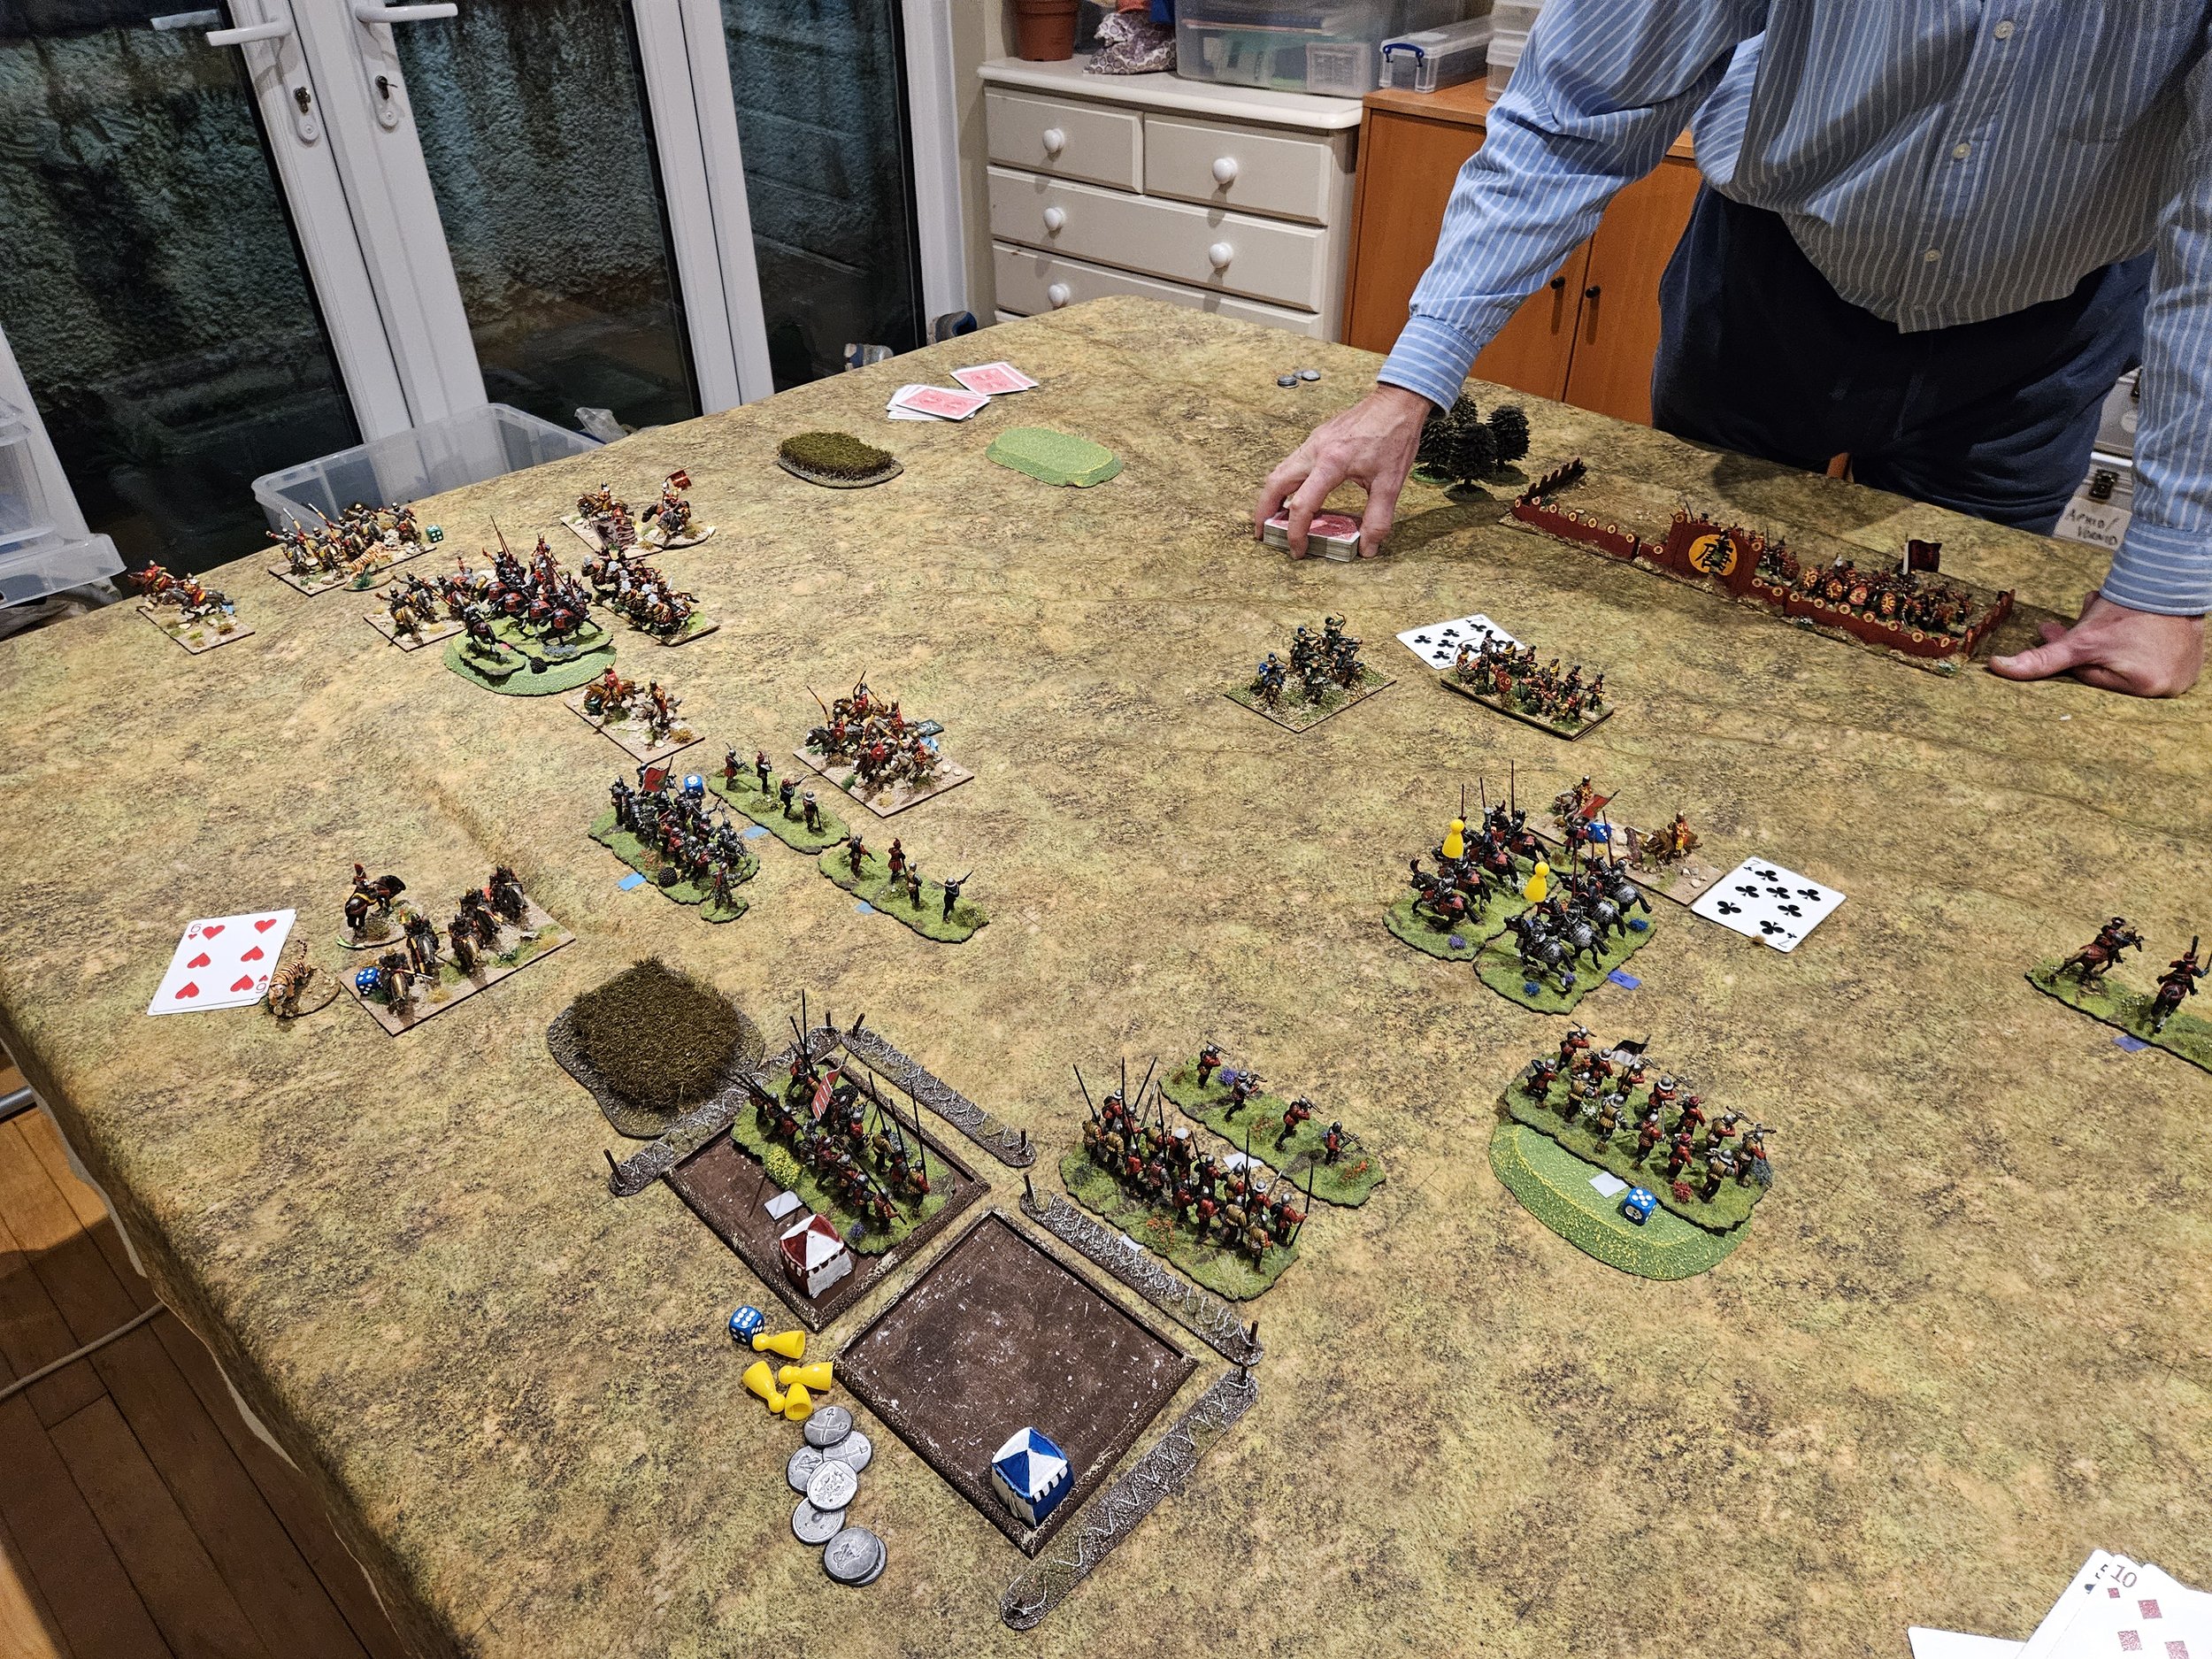
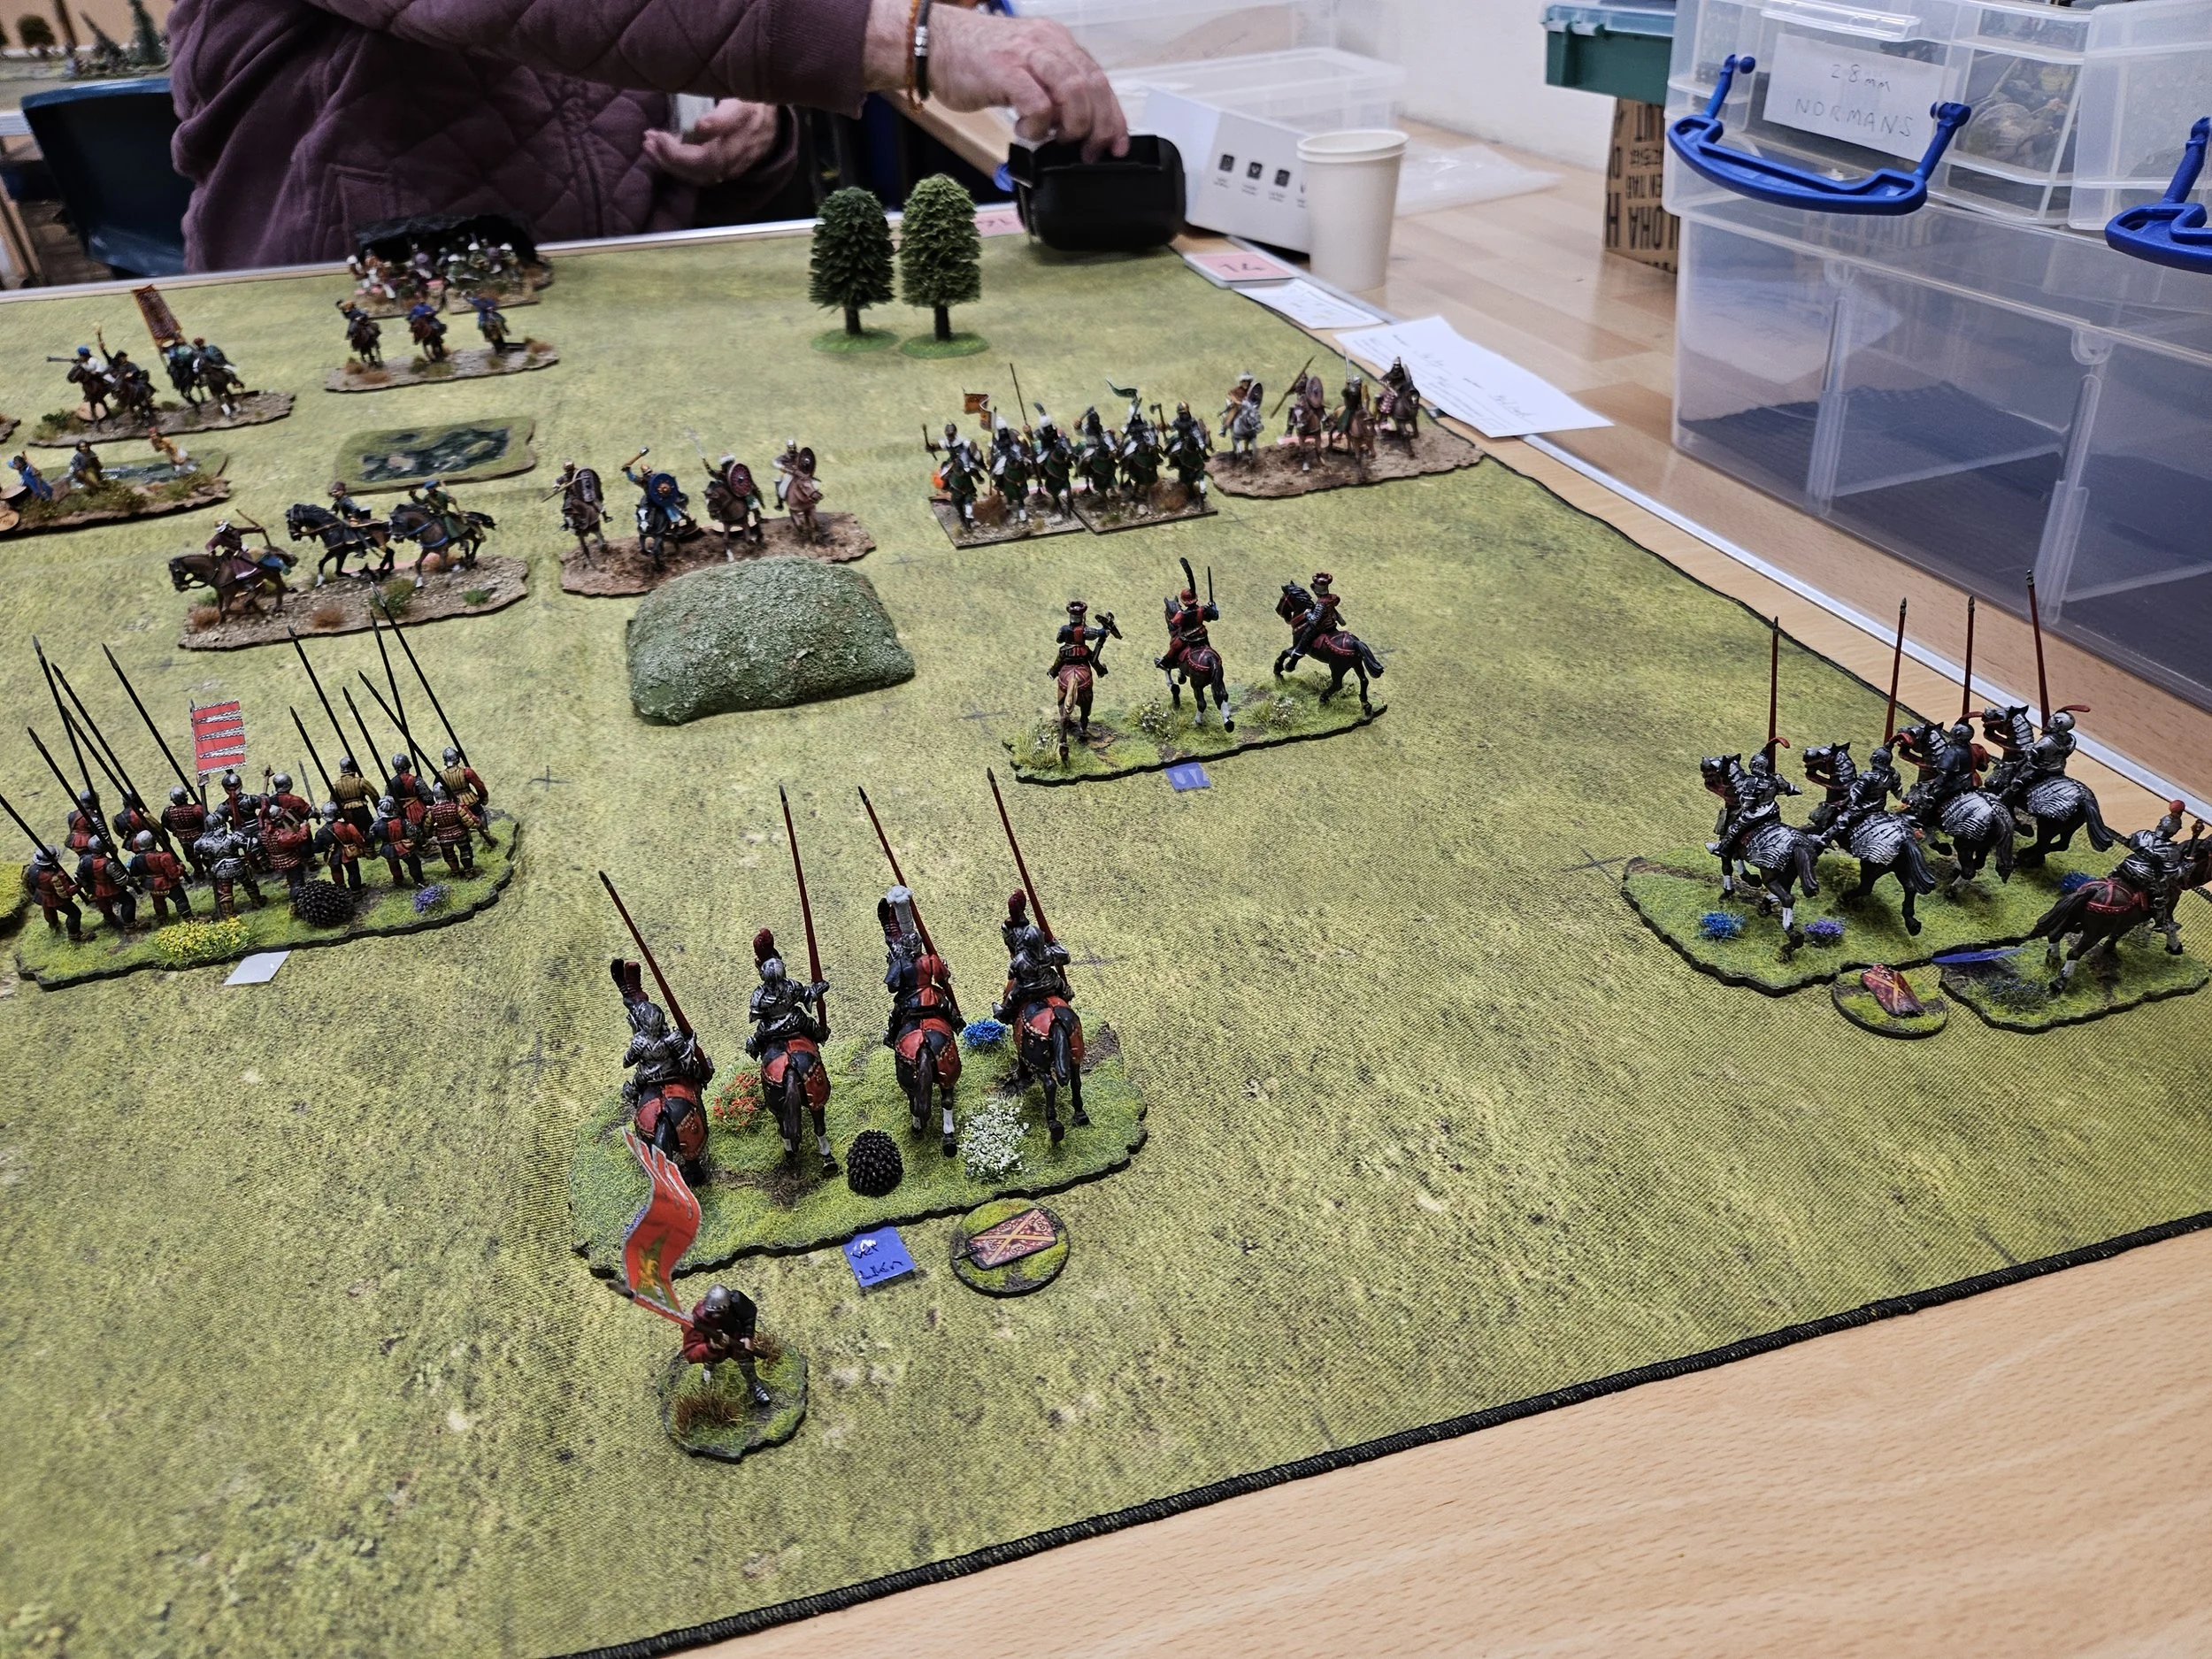
Fortunately my second unit of knights on the left had so far sailed through the battle unscathed, and were in the perfect position to assault the already-disordered Arab infantry in front of them. In went the knights, the Arabs broke, and Mark’s last two coins were mine.
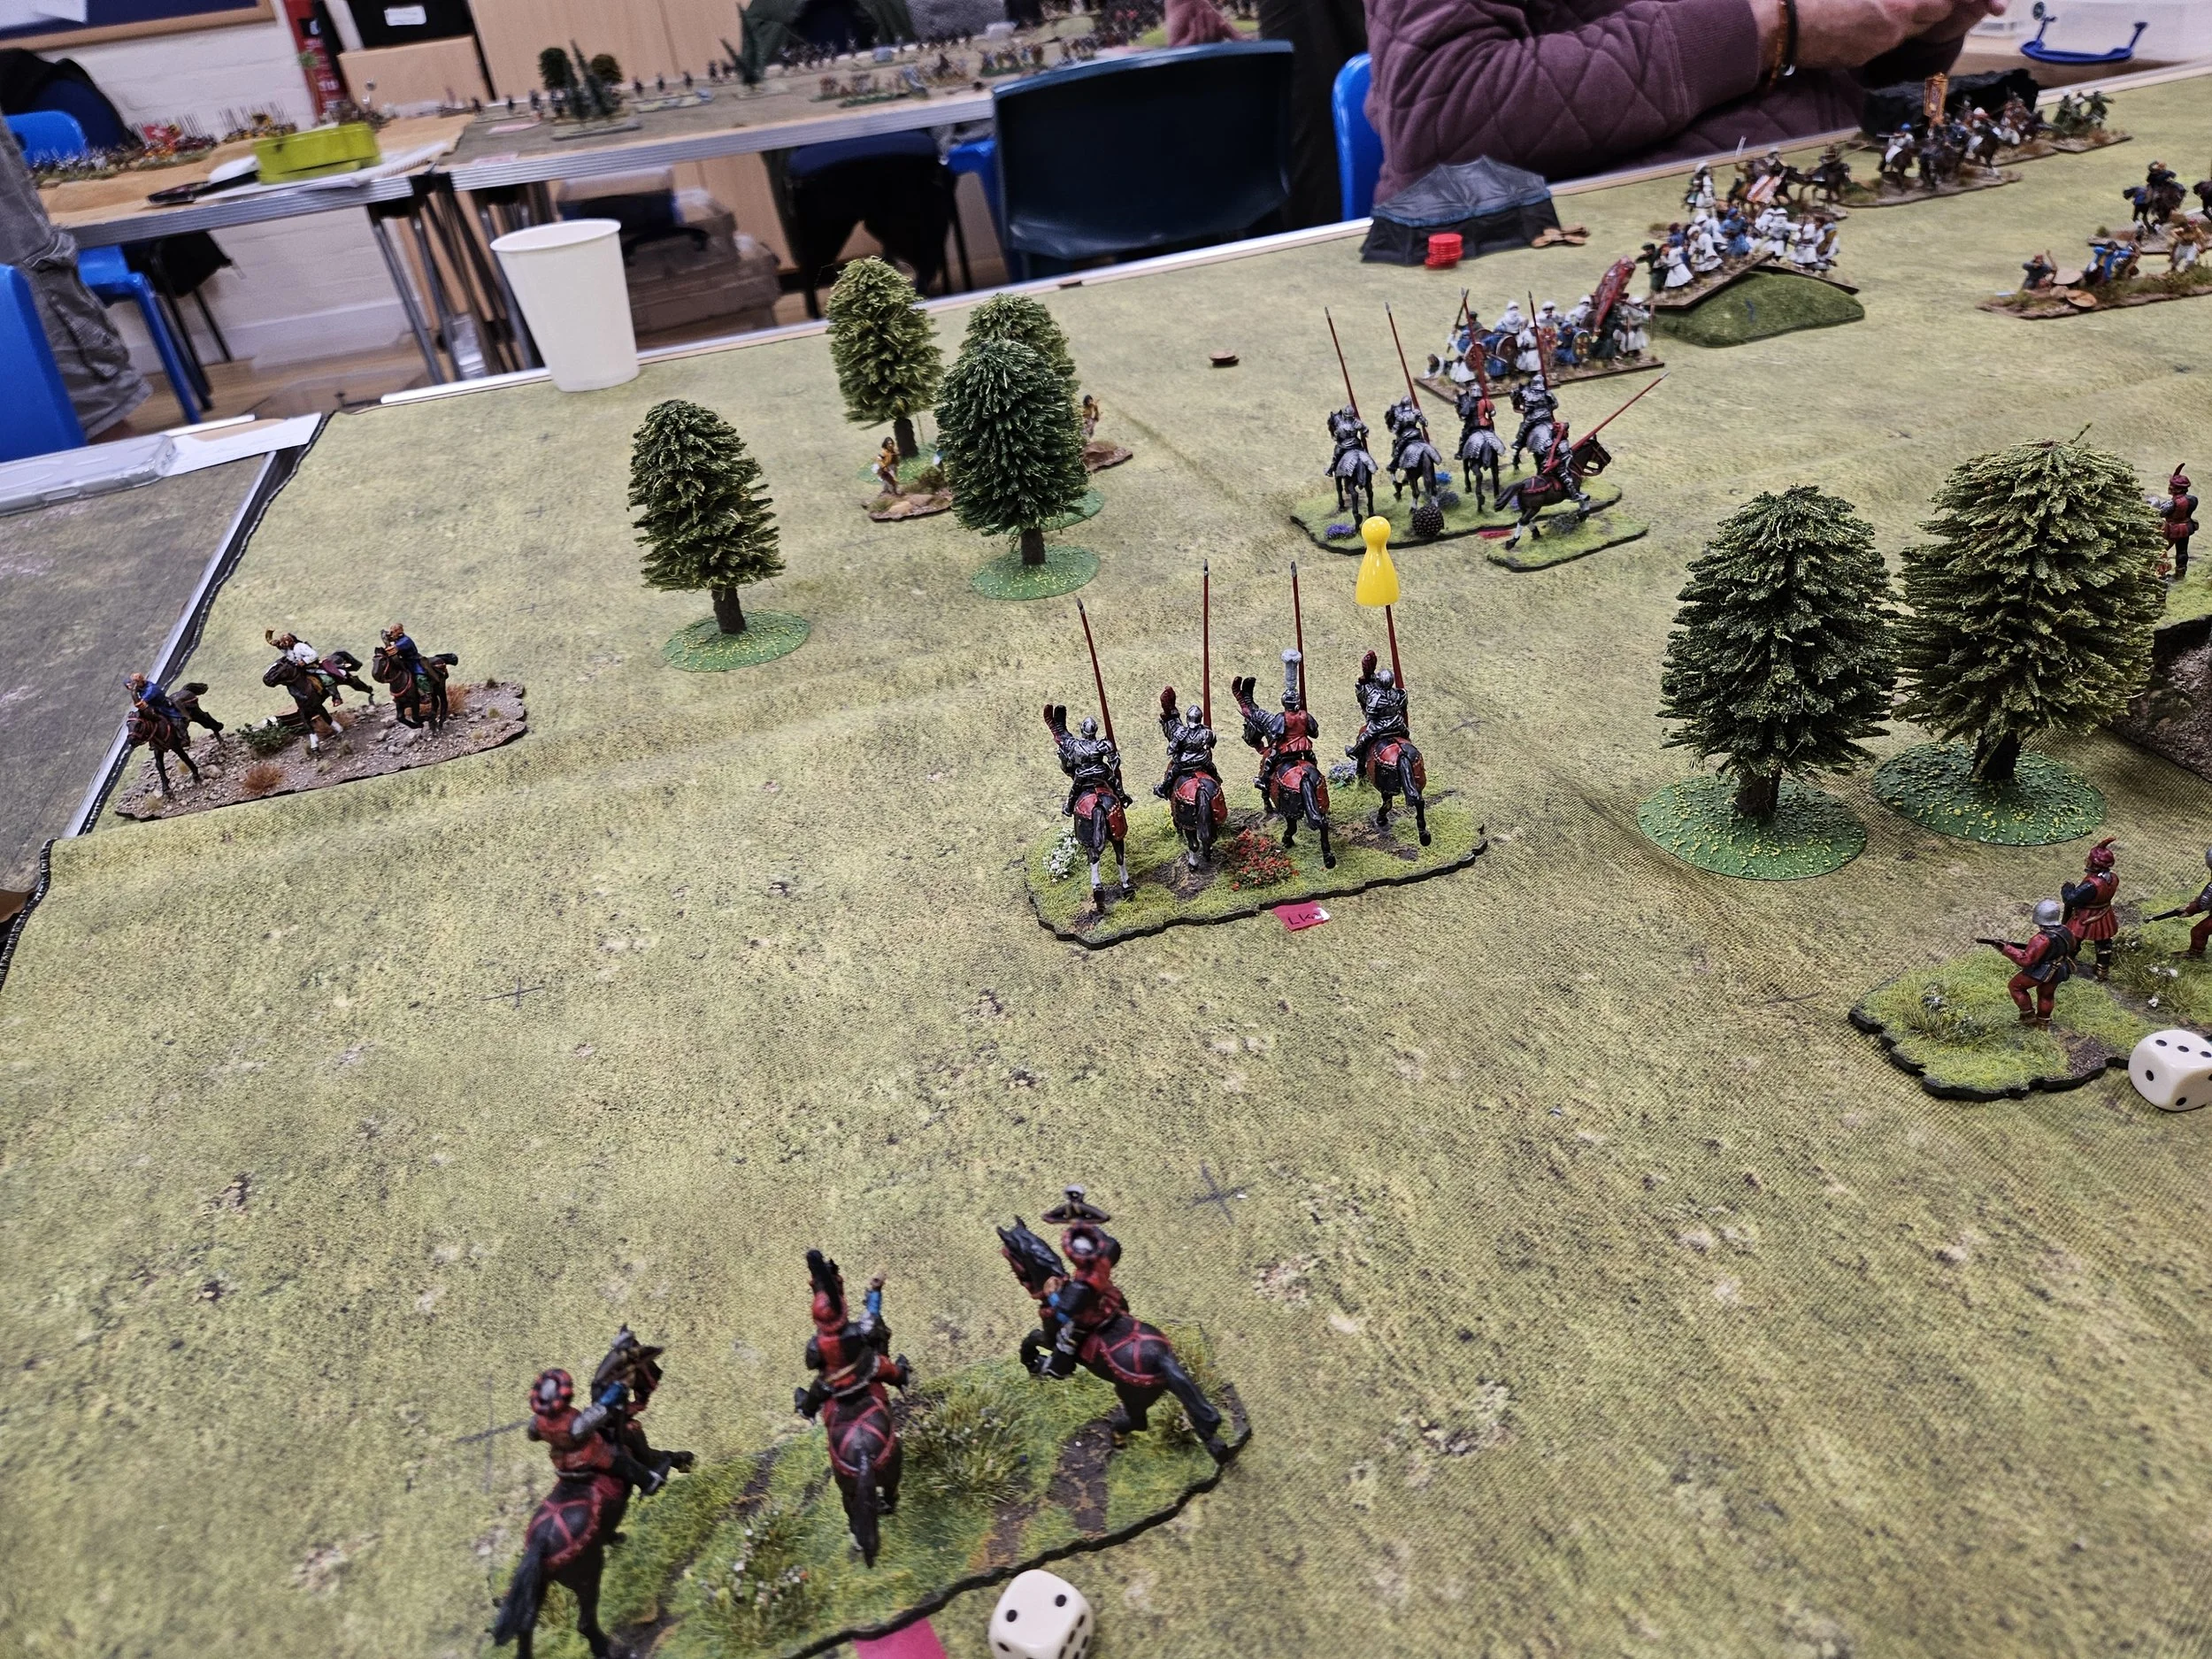
So I had won the outright victory I needed, but a tight one: 12 coins to 10…but what of Peter and Dene? A big victory for either could see them take the tournament overall, with my money being on Peter managing to do just that!
Fortunately, Dene had managed to hold Peter to a draw…which meant that I had won the tournament: the first that I have won outright (i.e. not as part of a doubles team) or had organised myself (the last two Britcon events). Thanks for pointing that out, btw, you know who your are!
Here are the final results:
A great tournament and a great day’s gaming, and not just because I won!