FK&P AAR: Plumleigh Common

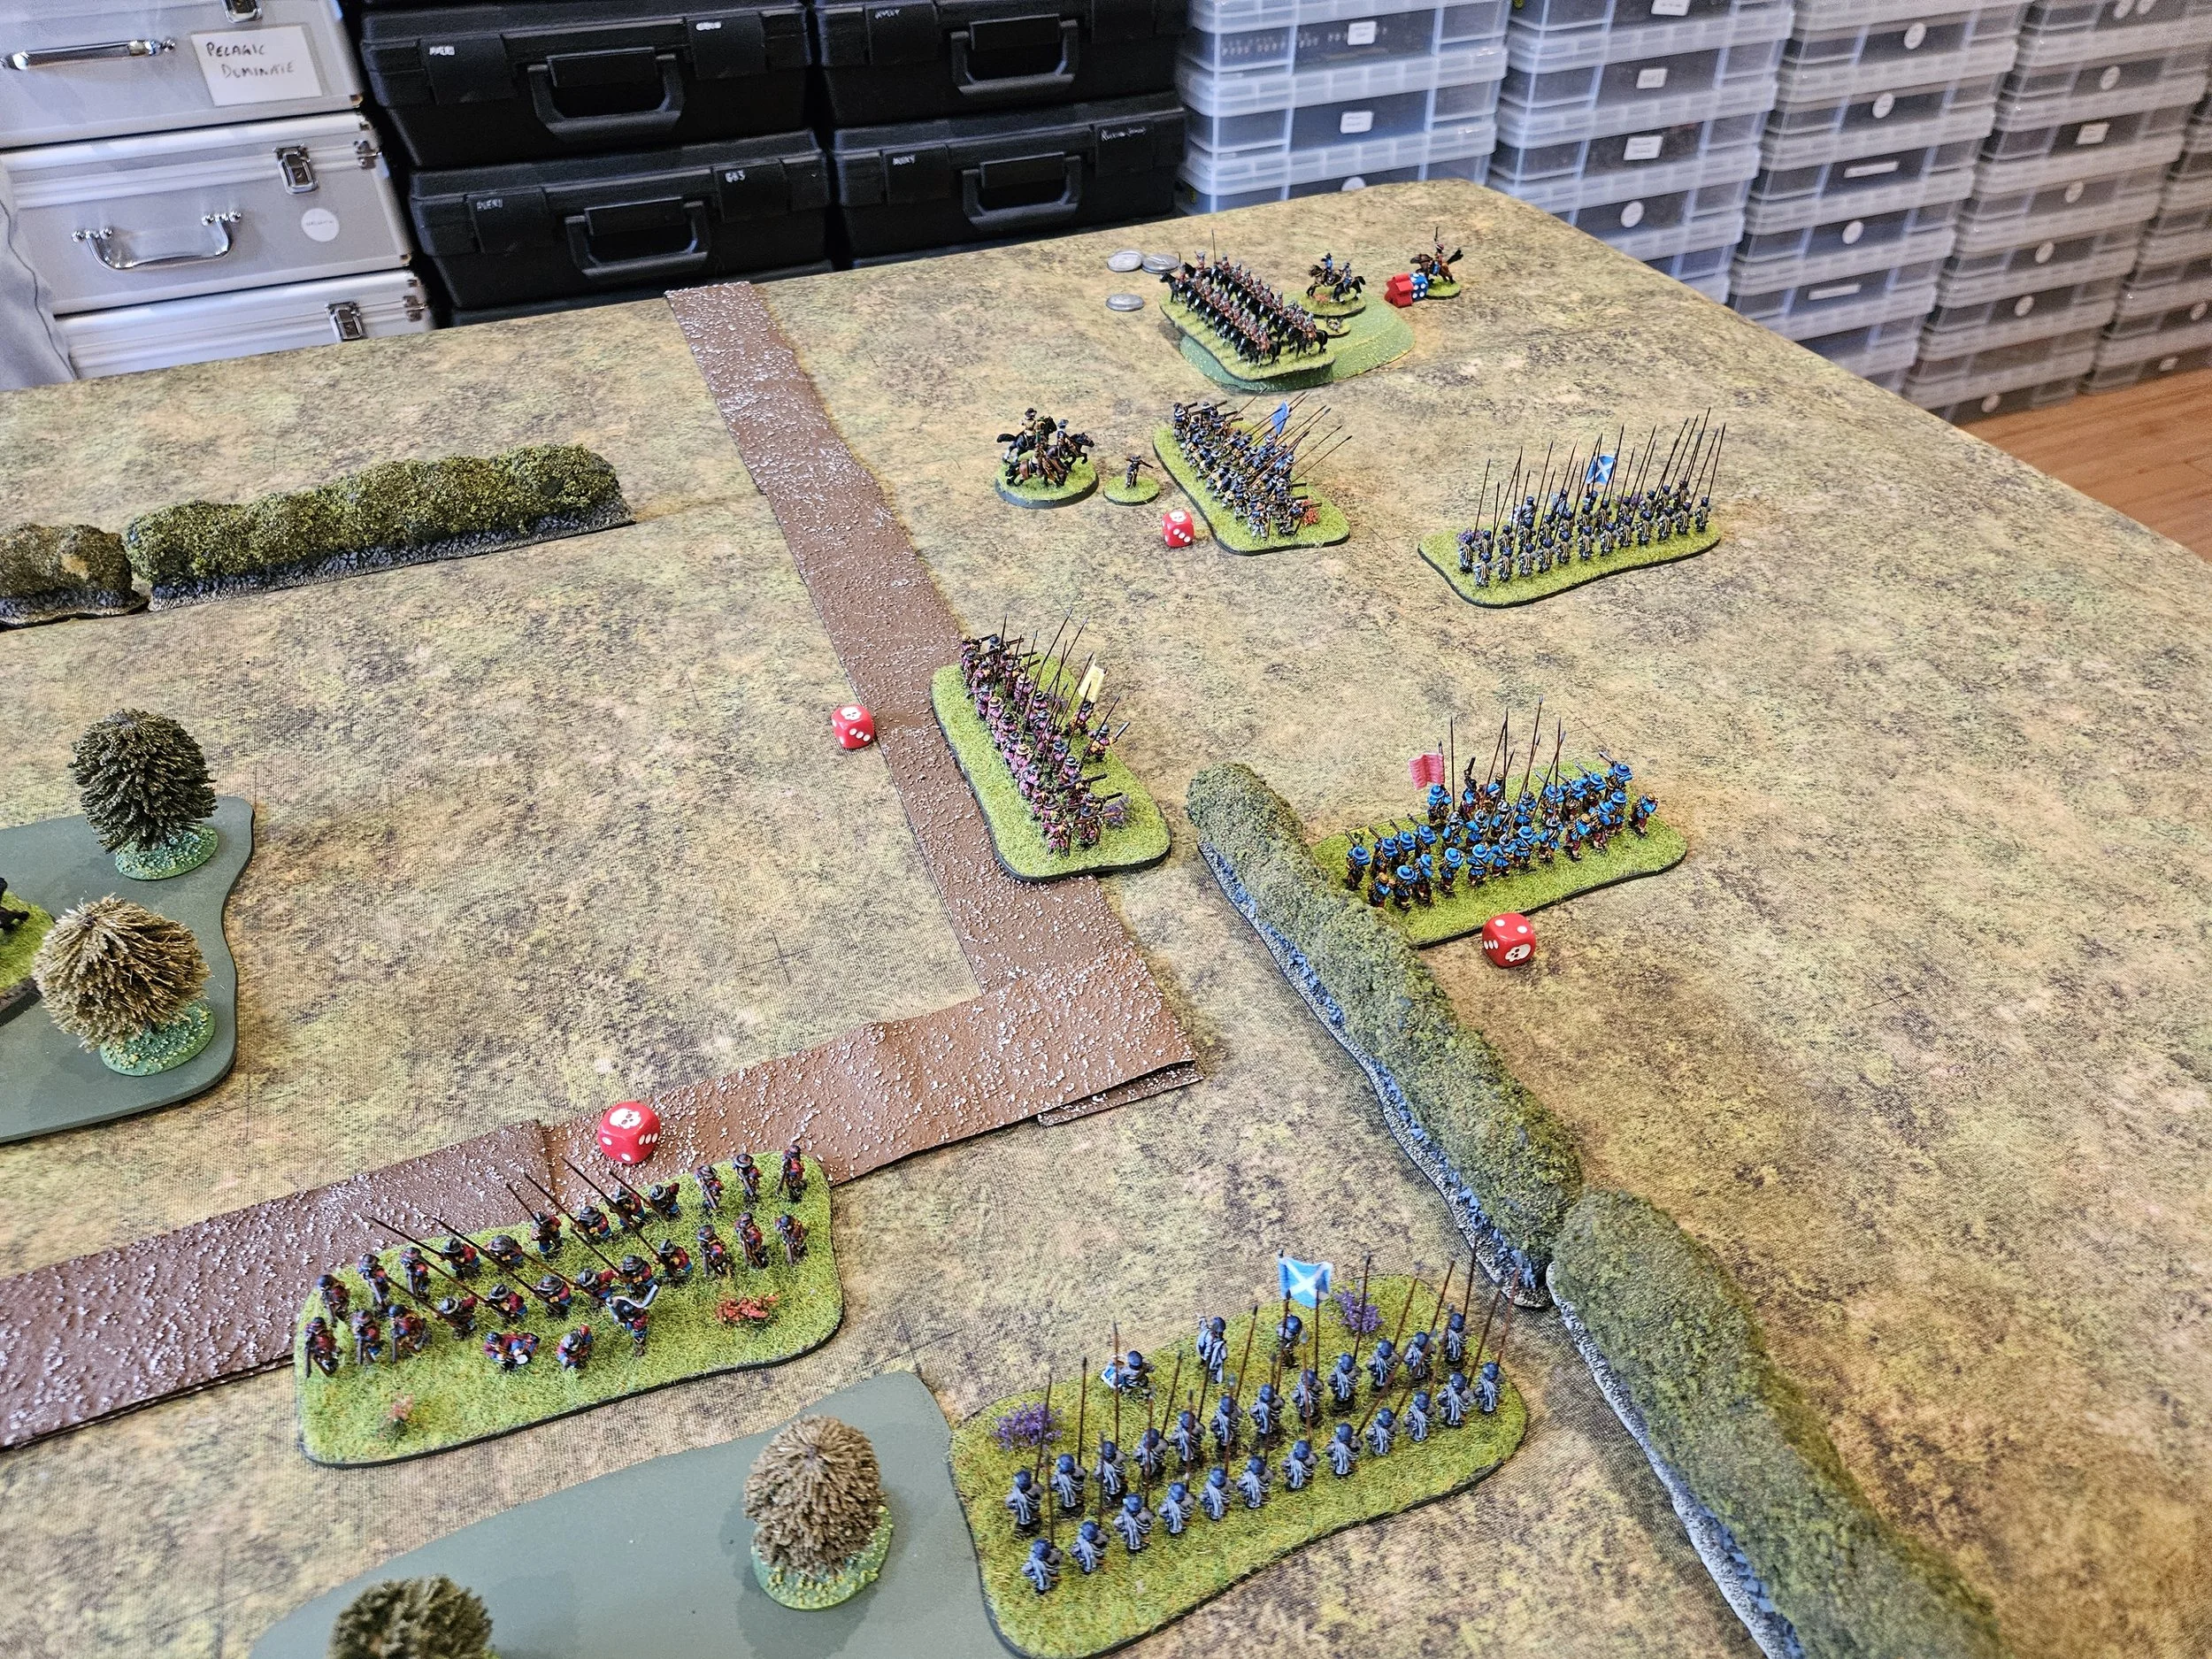
Those of you who have been following Rob and I’s play through of the Siege of Norchester campaign will know that so far my Parliamentarian have not been doing very well: I’m currently ten victory medals behind overall, so really needed a decent win at Plumleigh Common to put me back on track.

In this scenario, the Cavaliers are trying another assault on the Roundhead siege lines, but this time the Parliamentarians are ready for them, resulting in an all out battle.

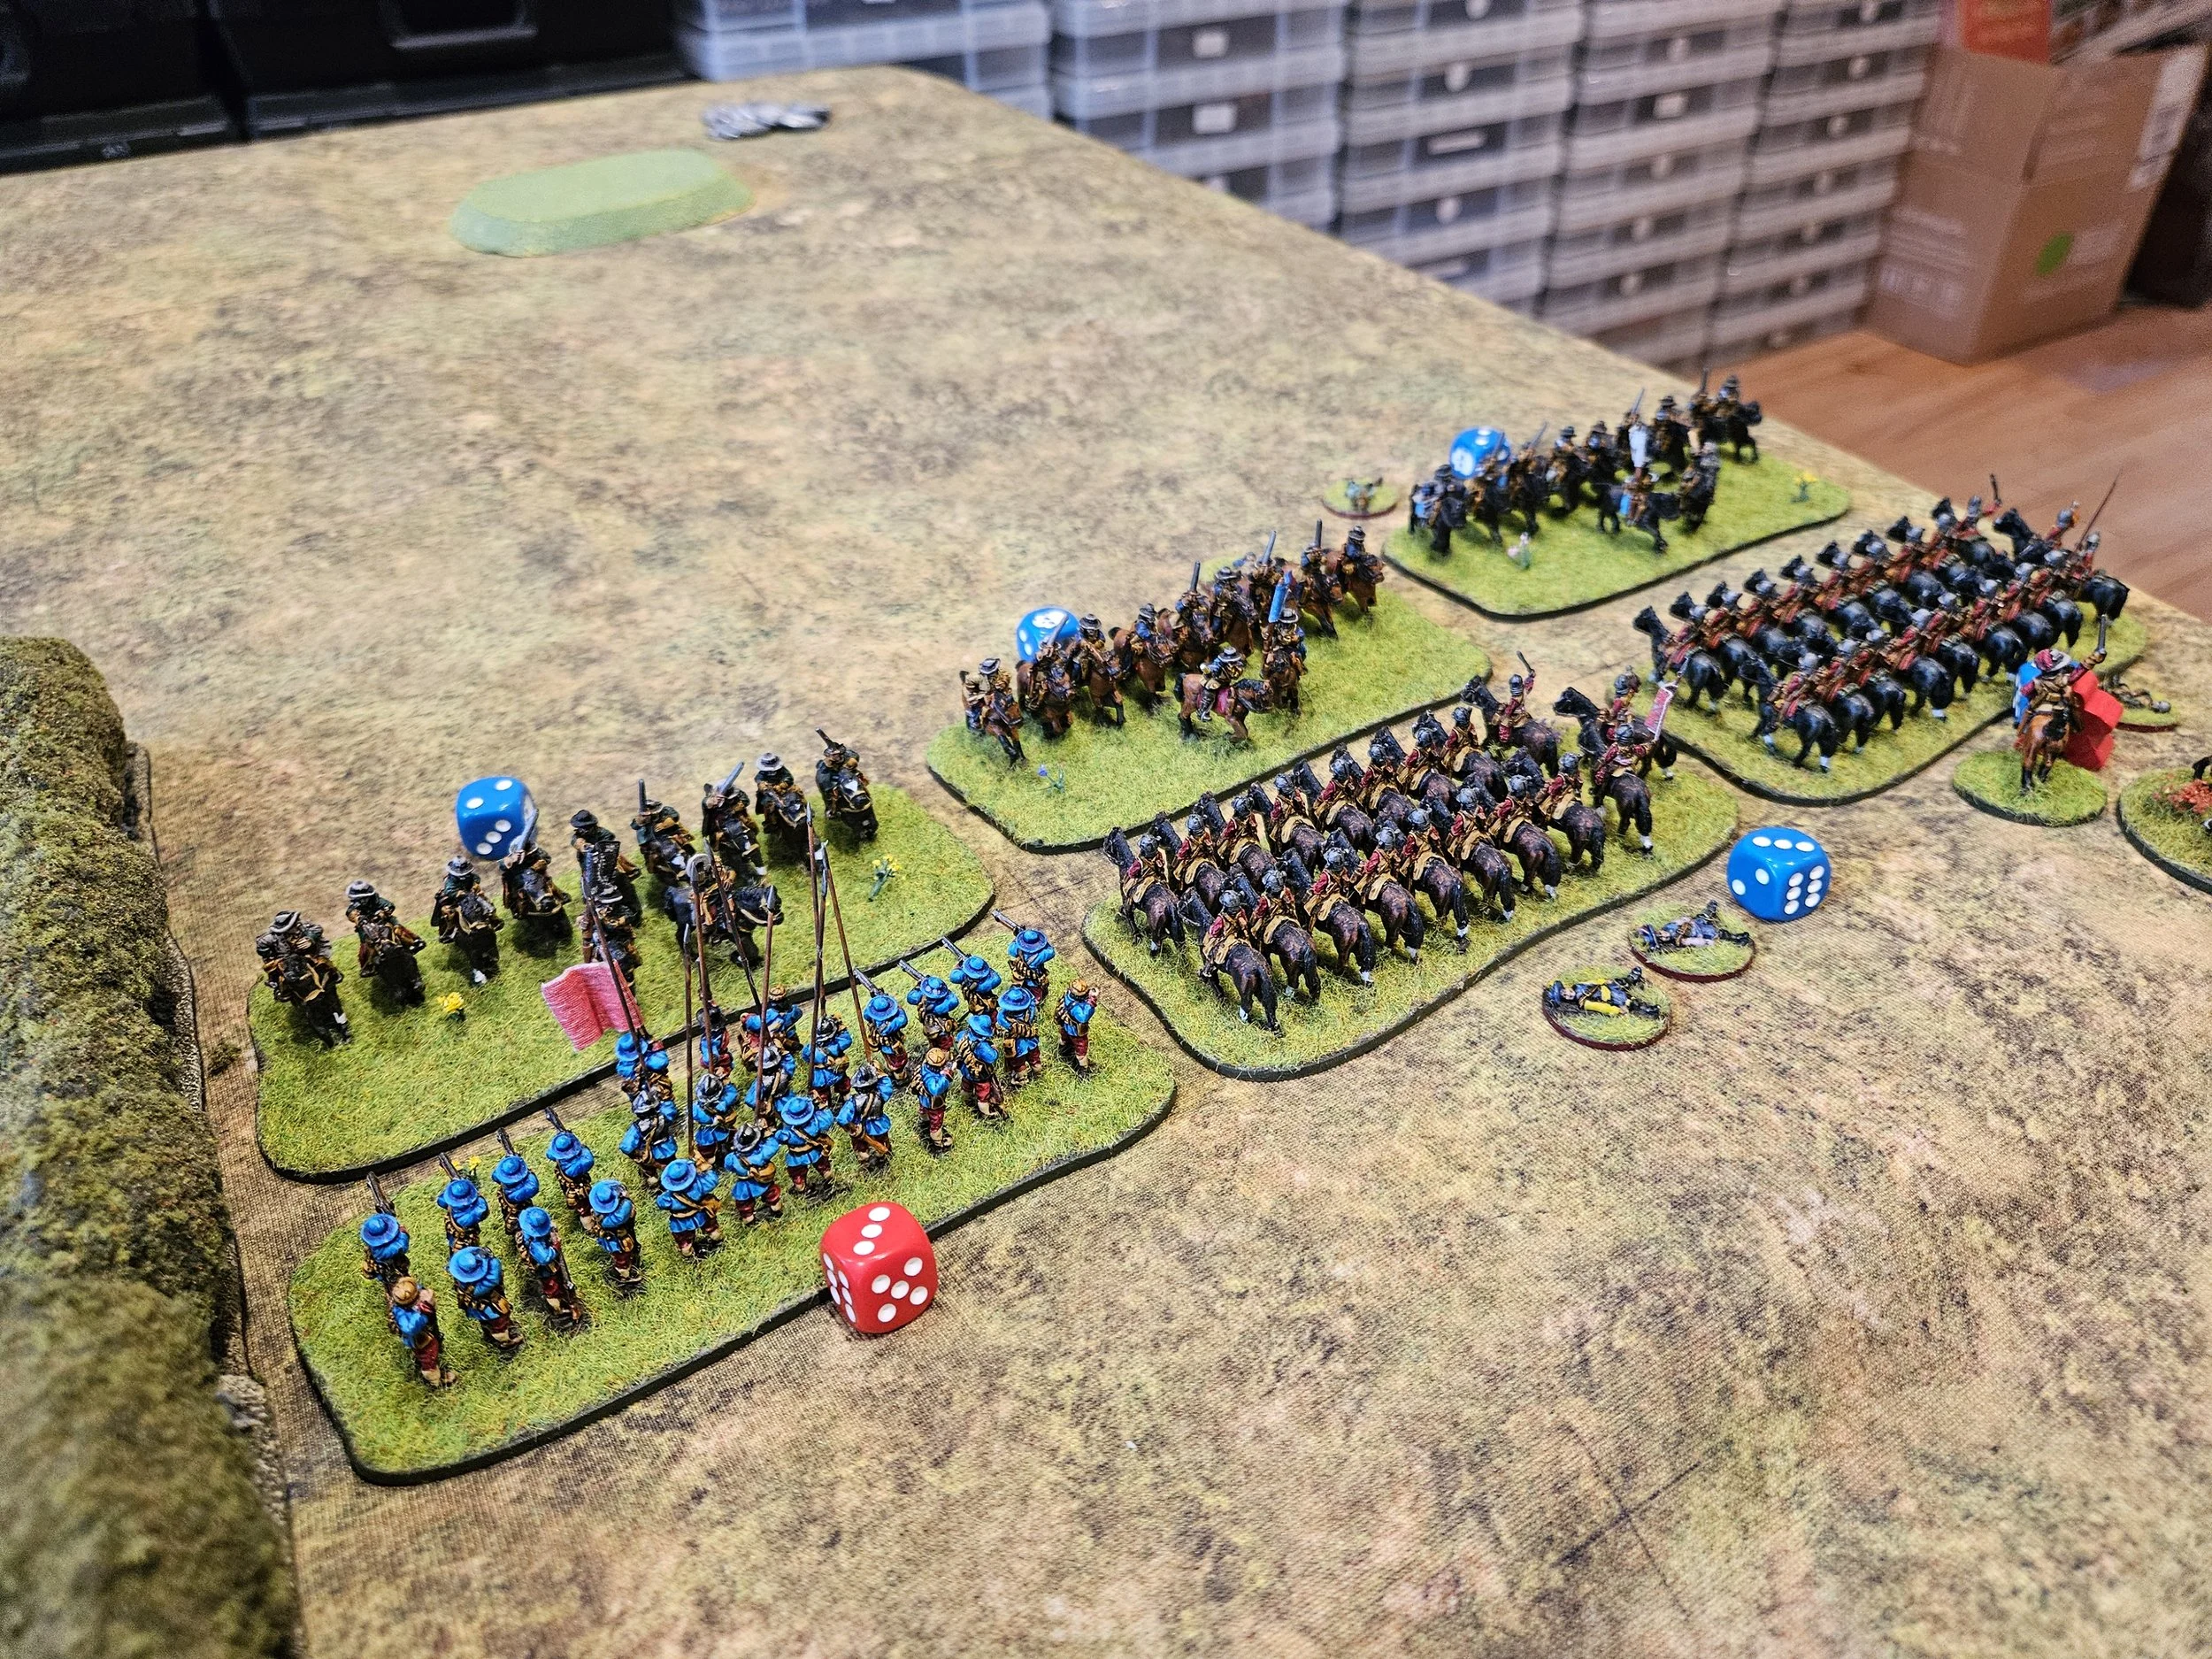
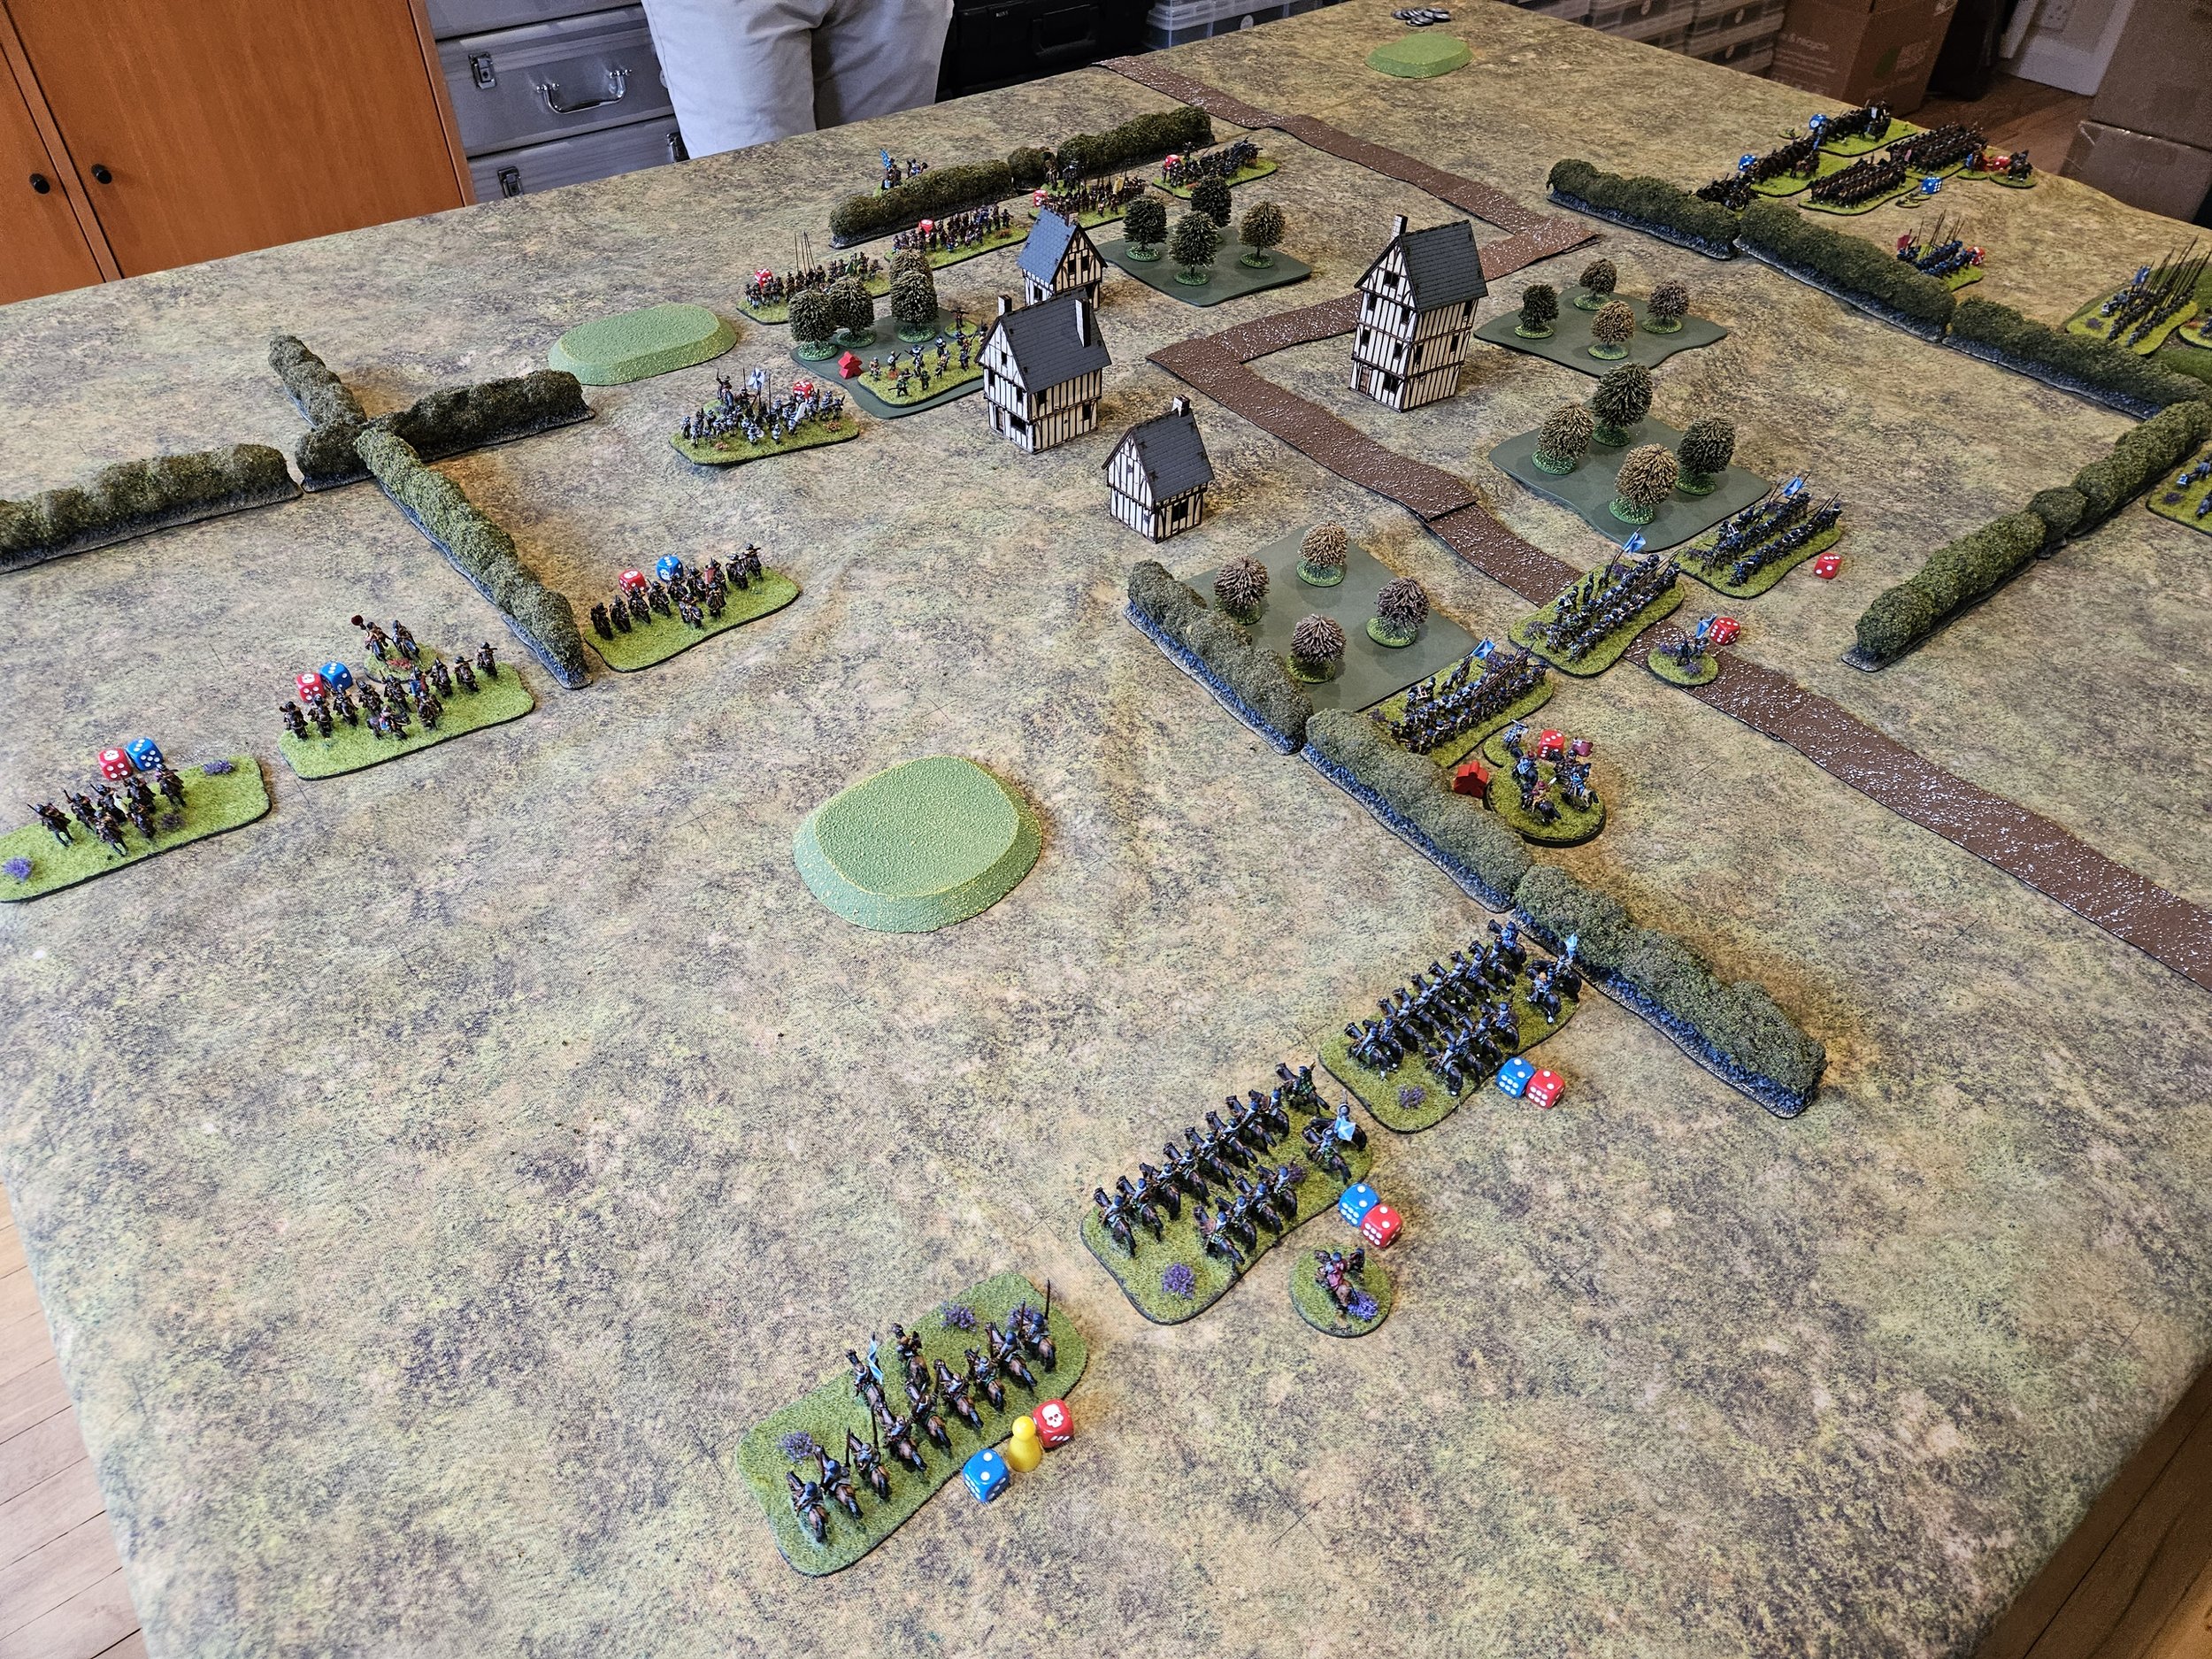
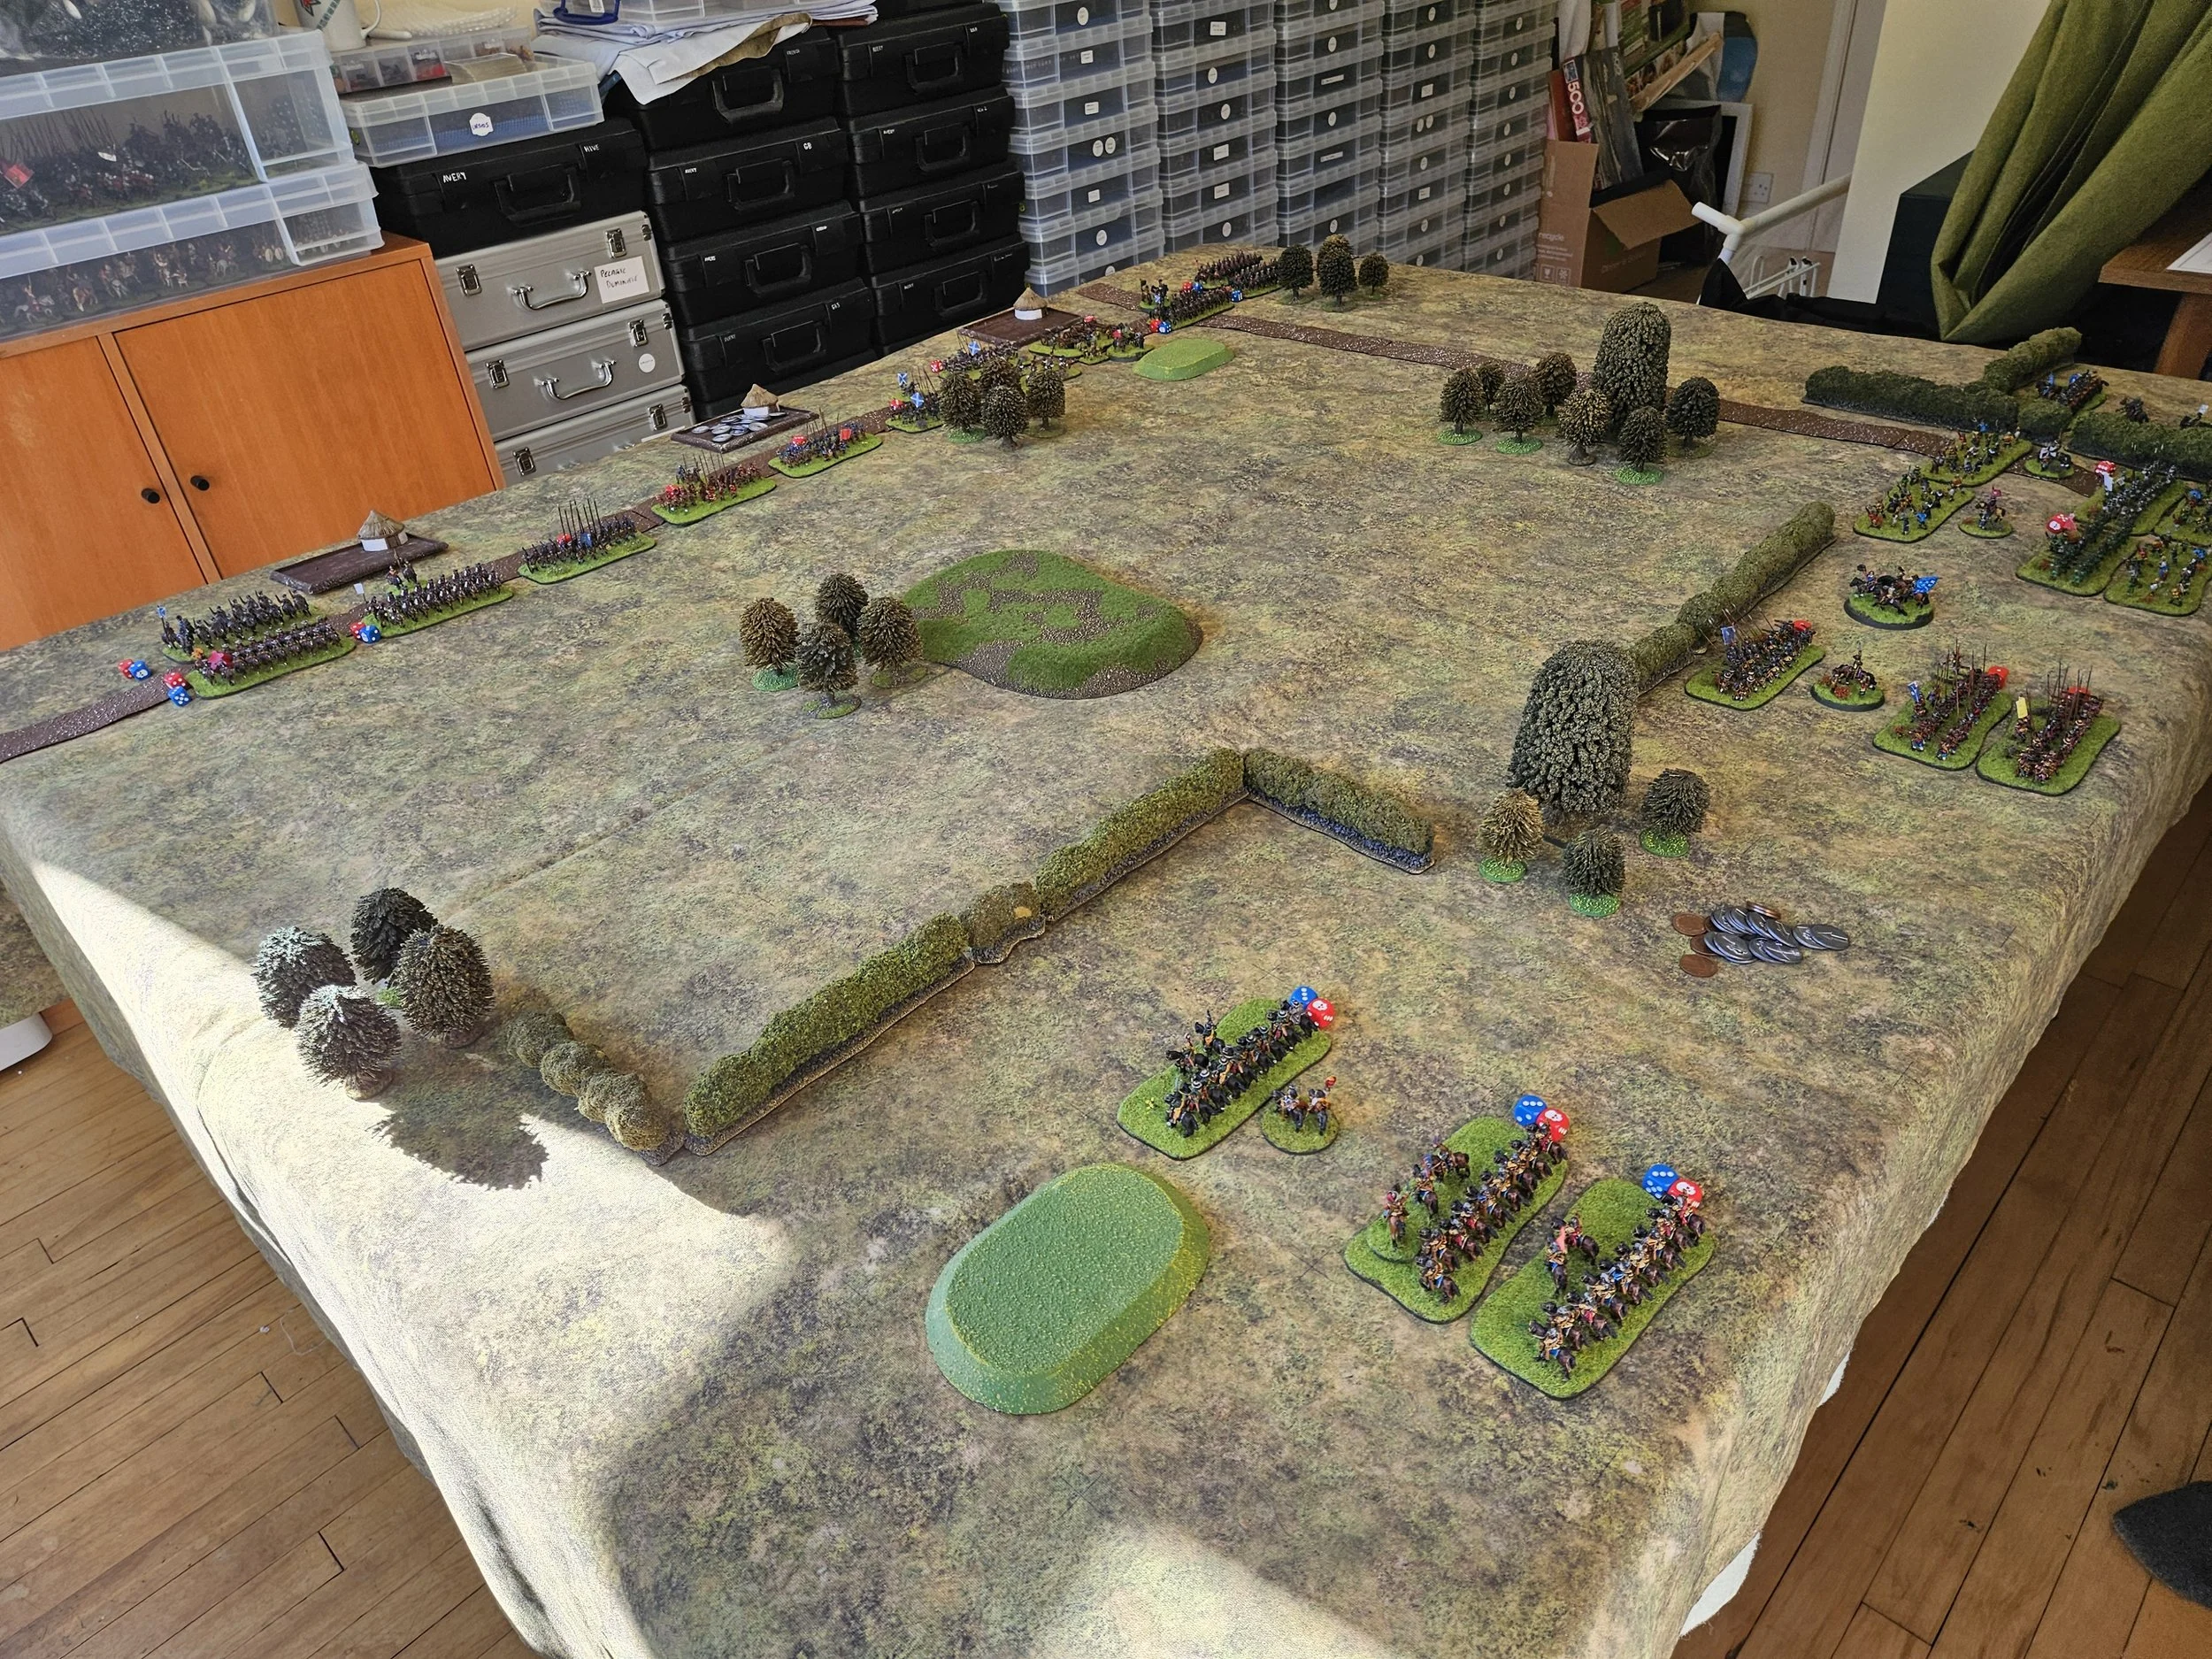
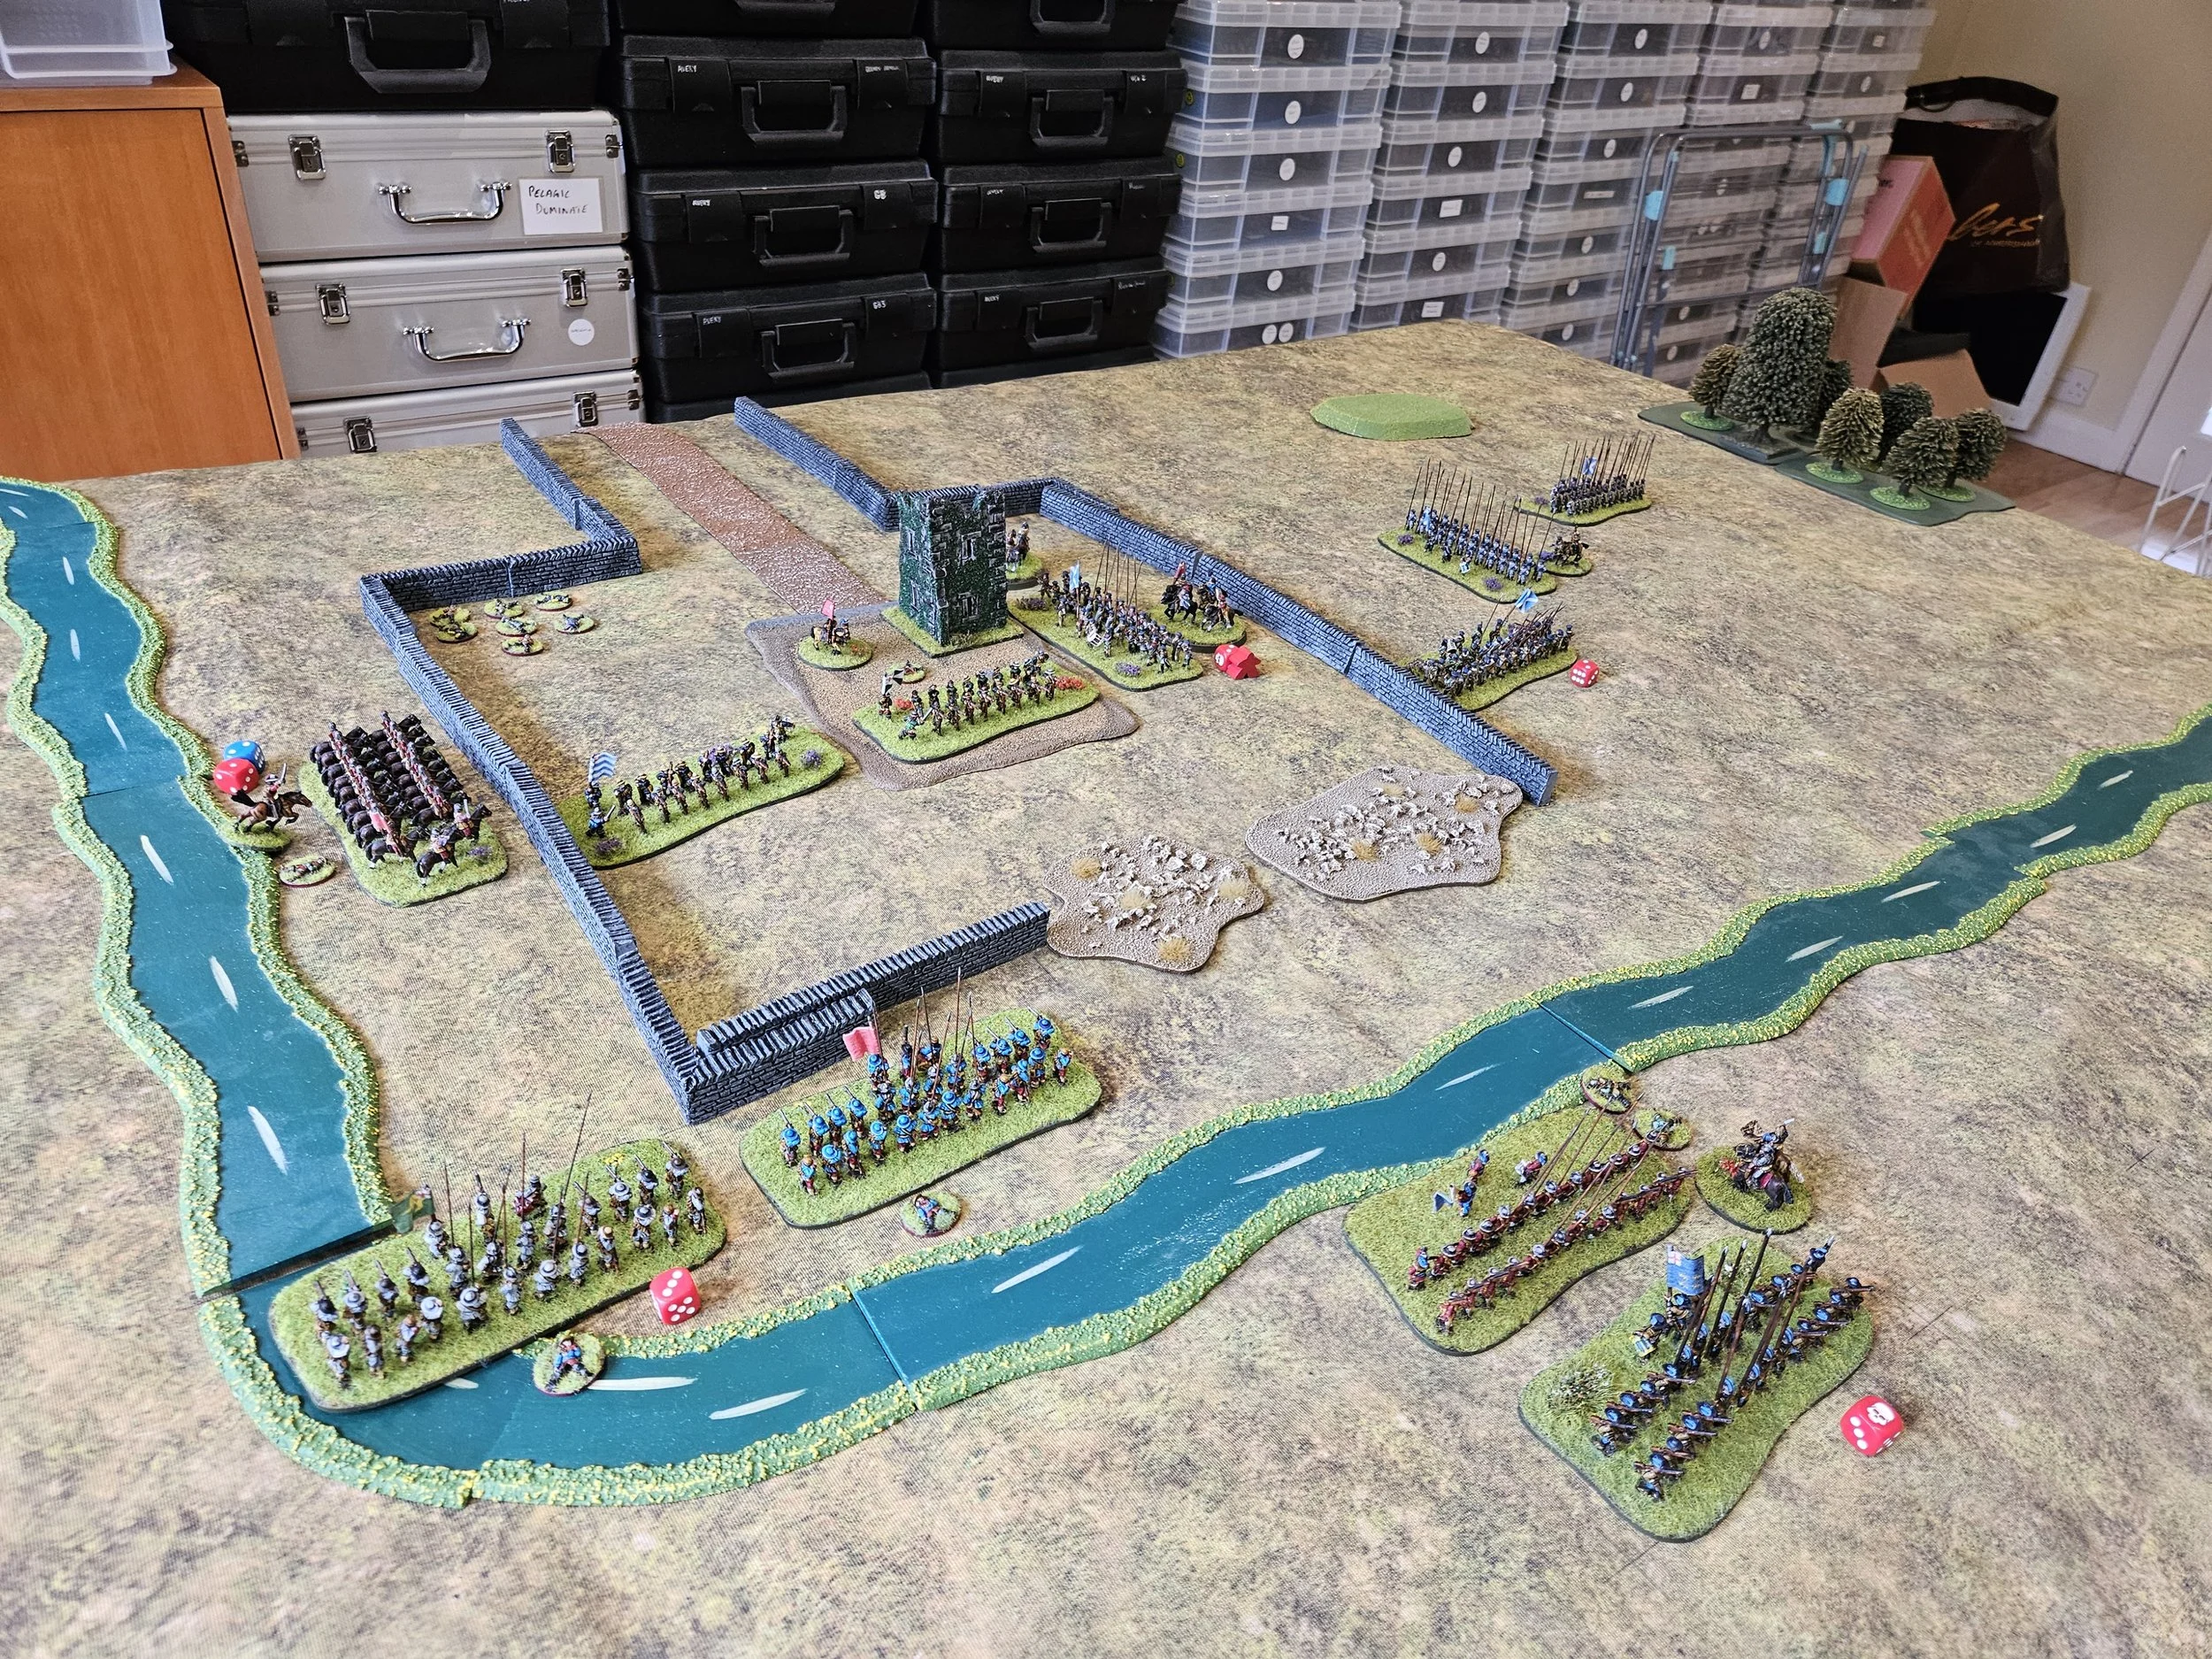
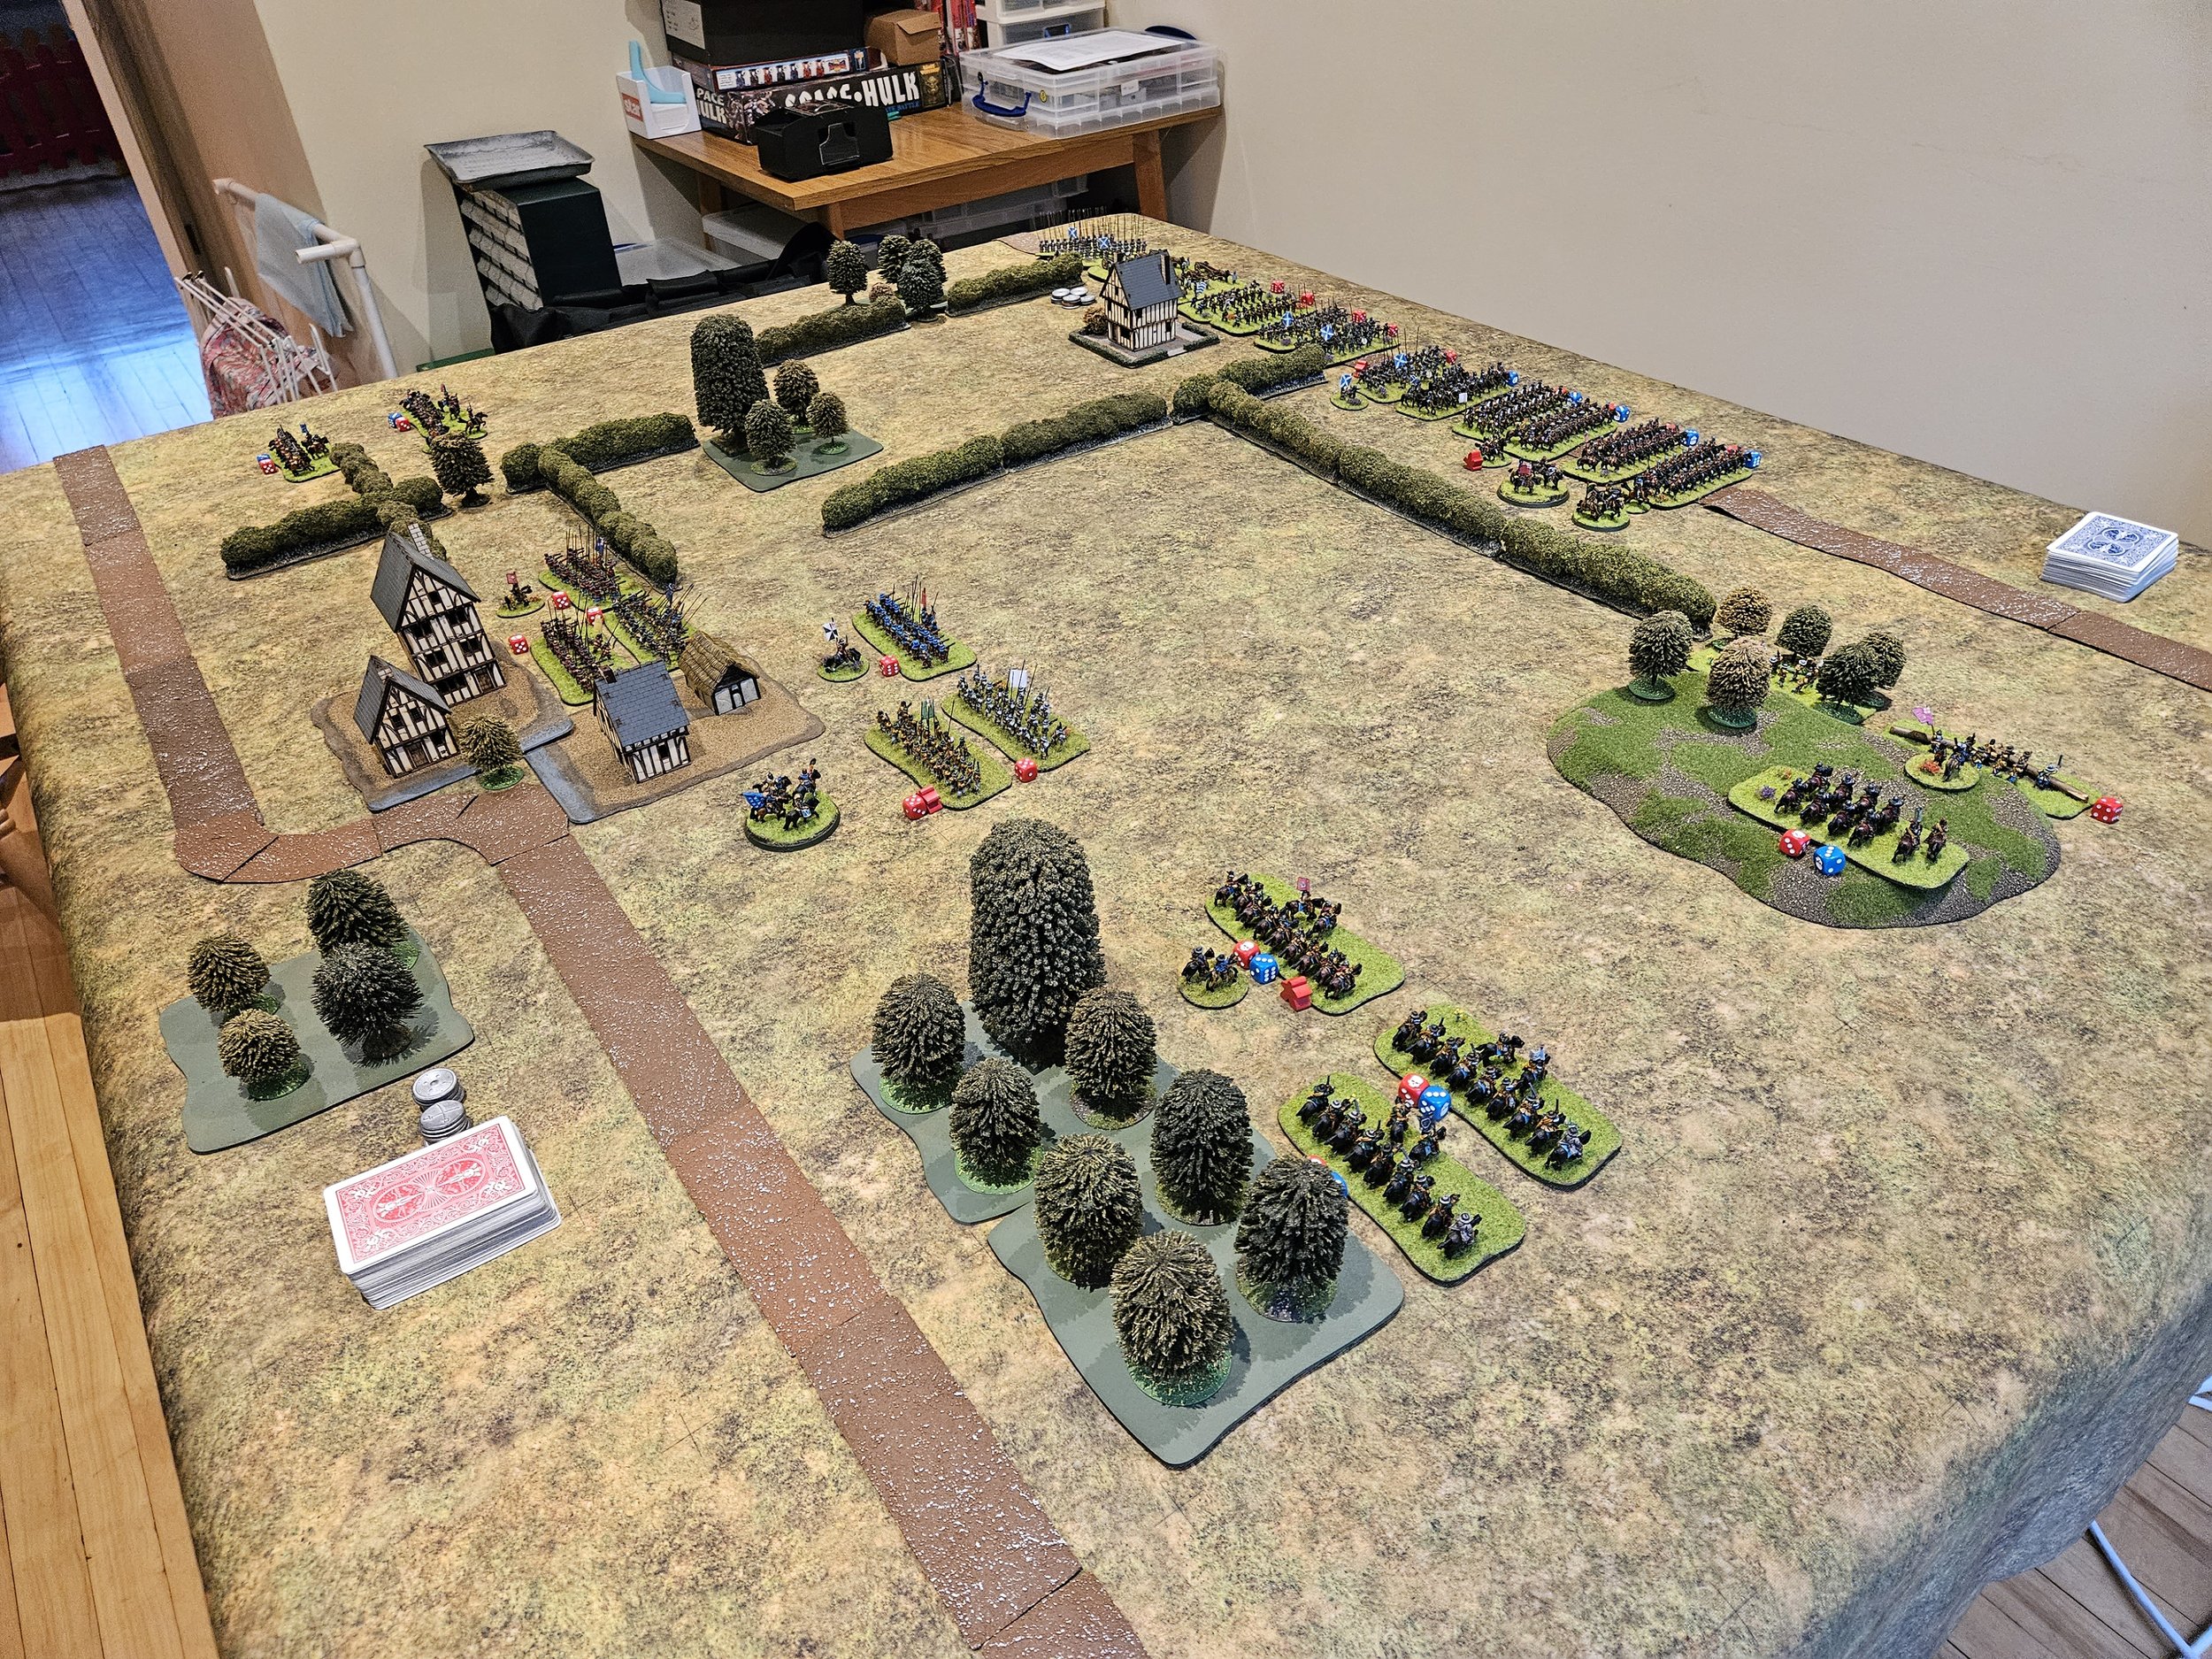
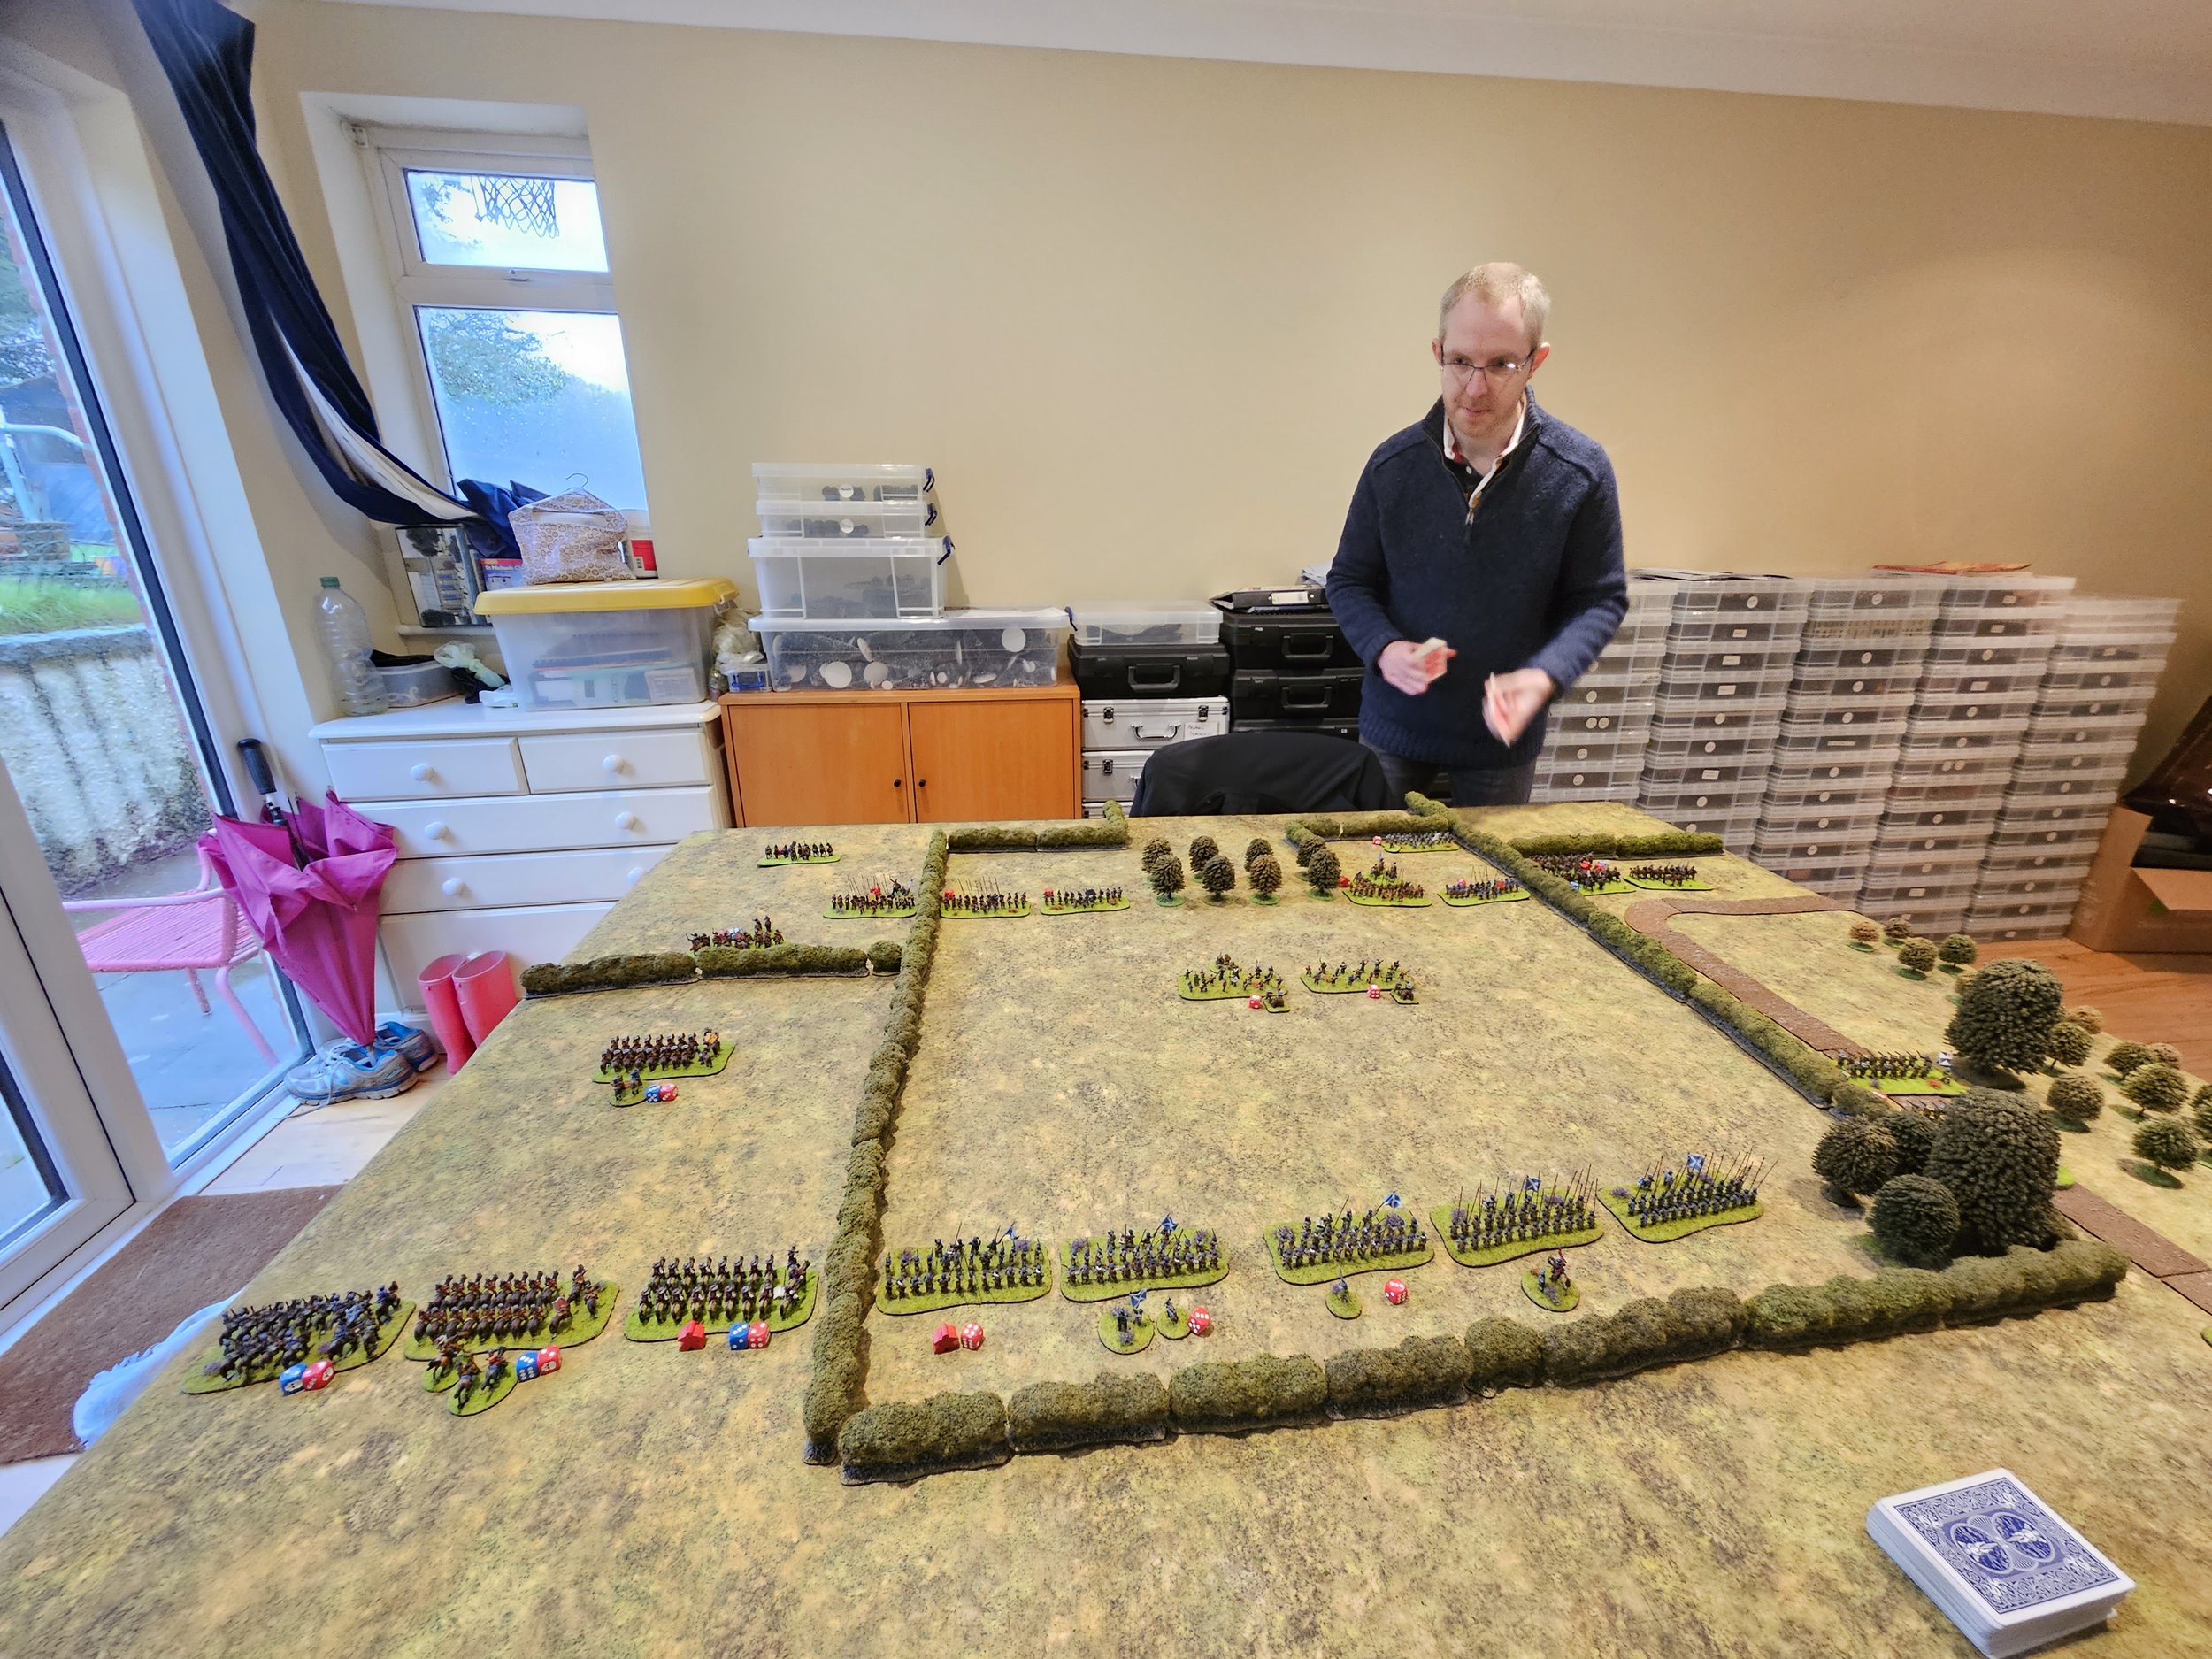
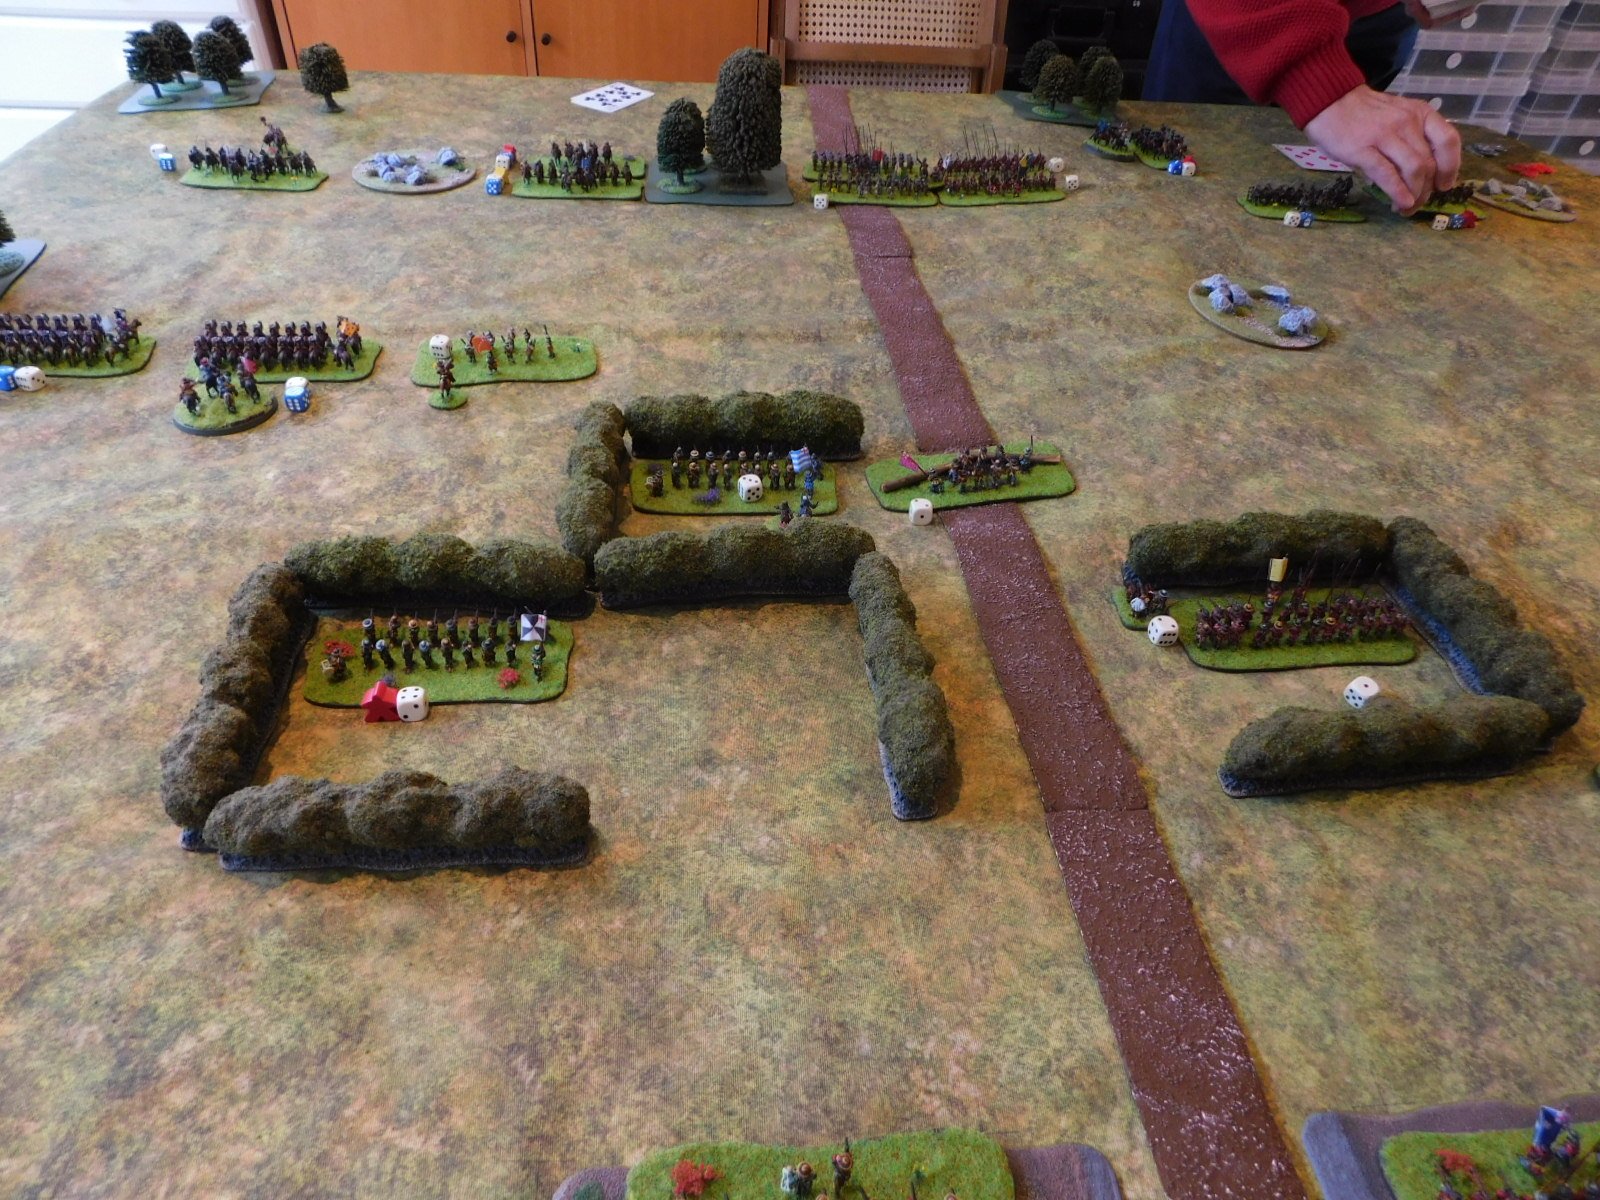
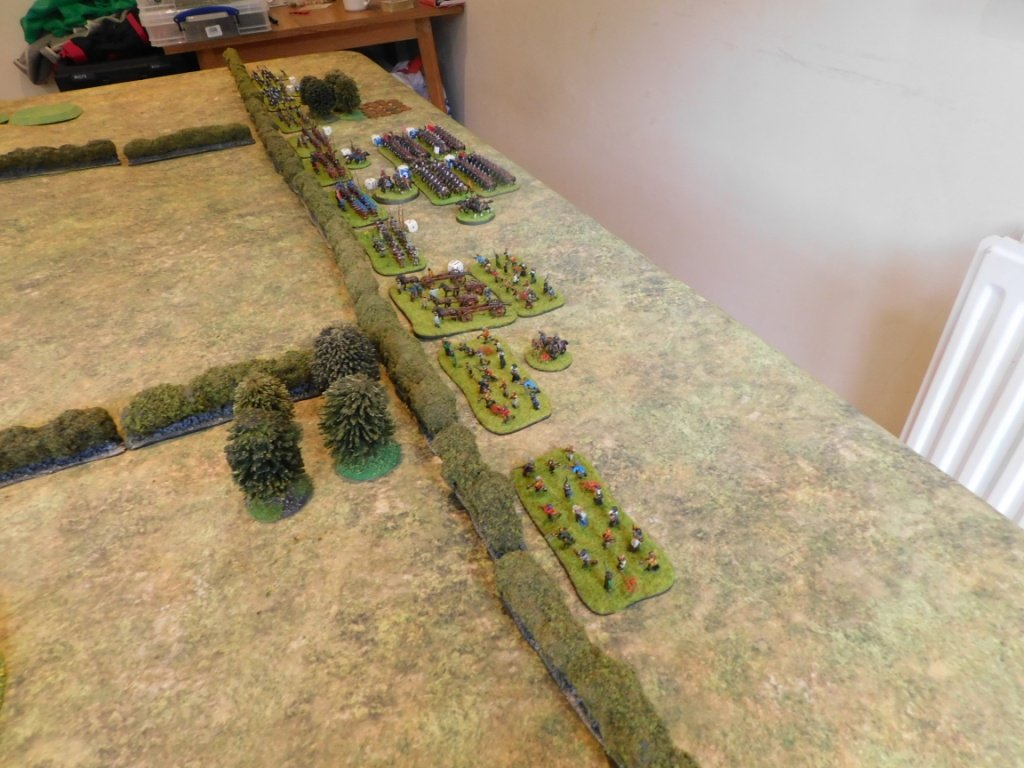
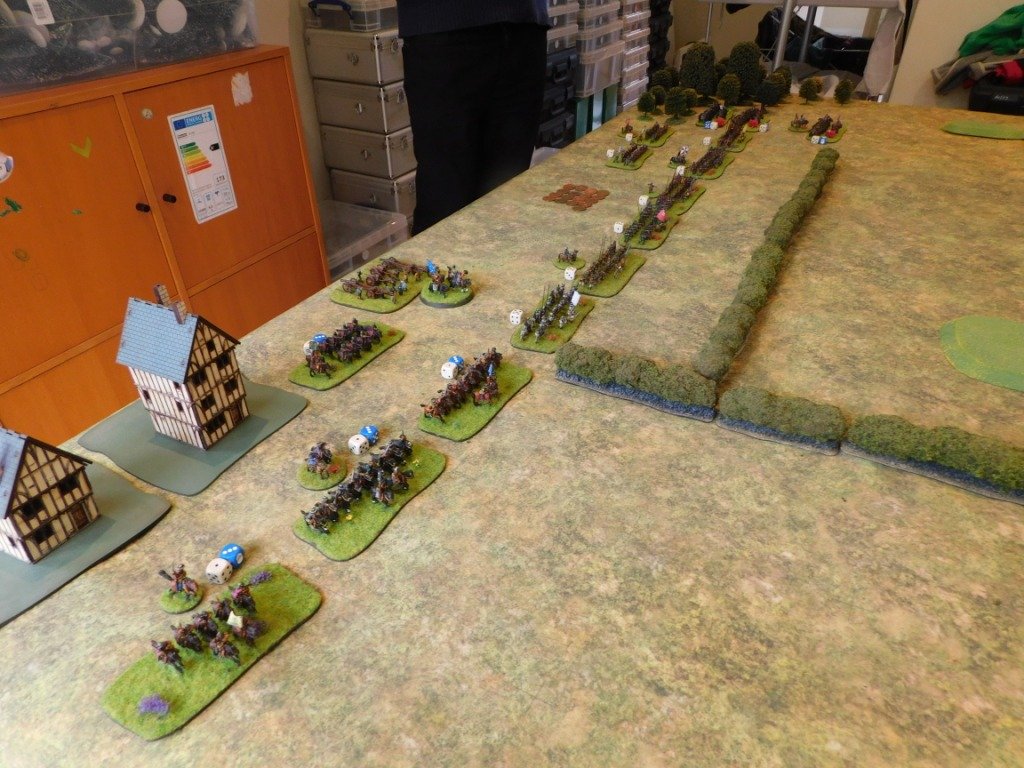
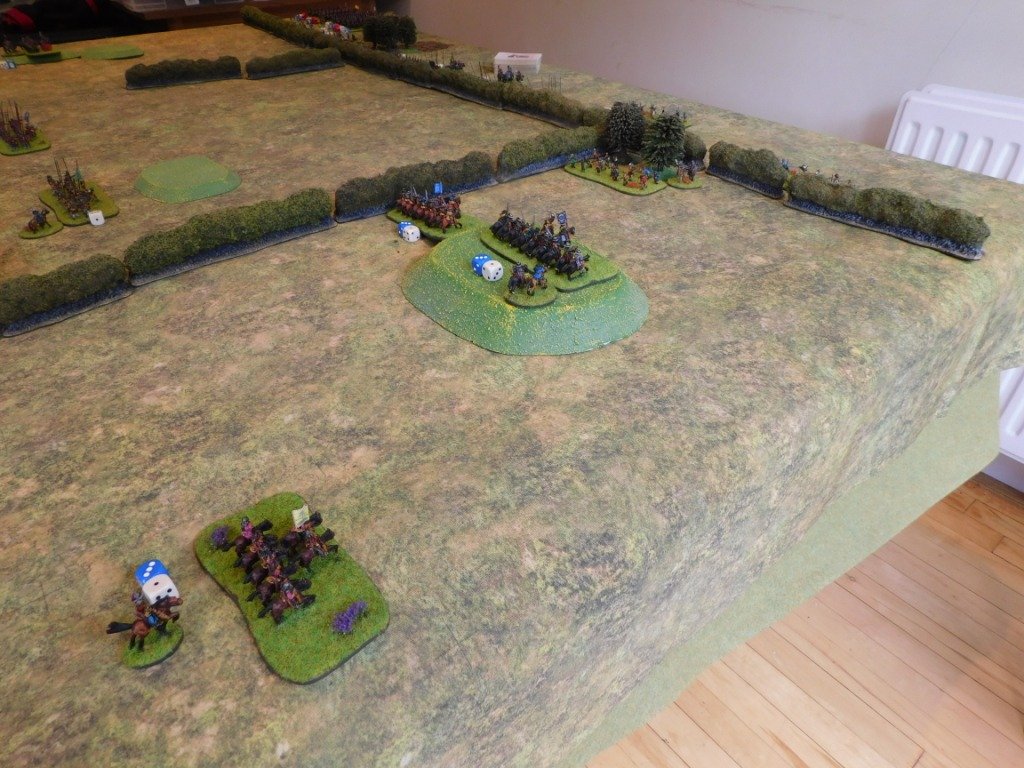
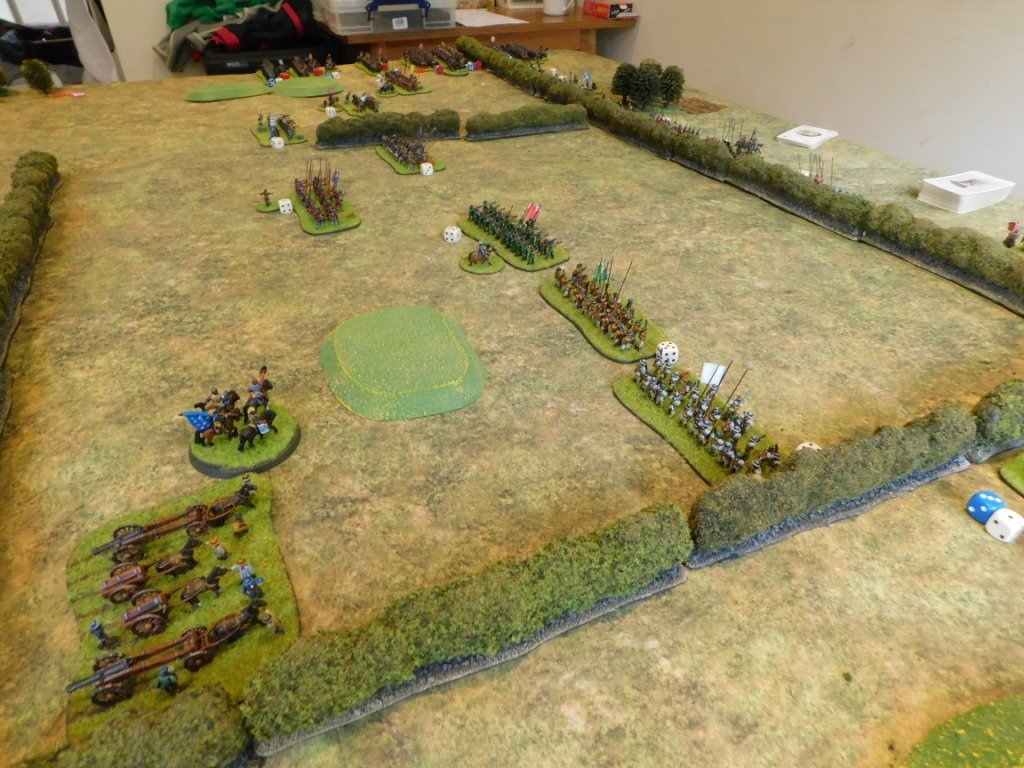
The picture above shows the view from behind the Parliamentarian lines, with Norchester itself being top left. My plan was to advance my Borders Horse on the far right around the flank of the enclosed fields, block any advance of enemy infantry out of the enclosures, and strongly advance in the centre and win the battle there.

The Battle of the Enclosures

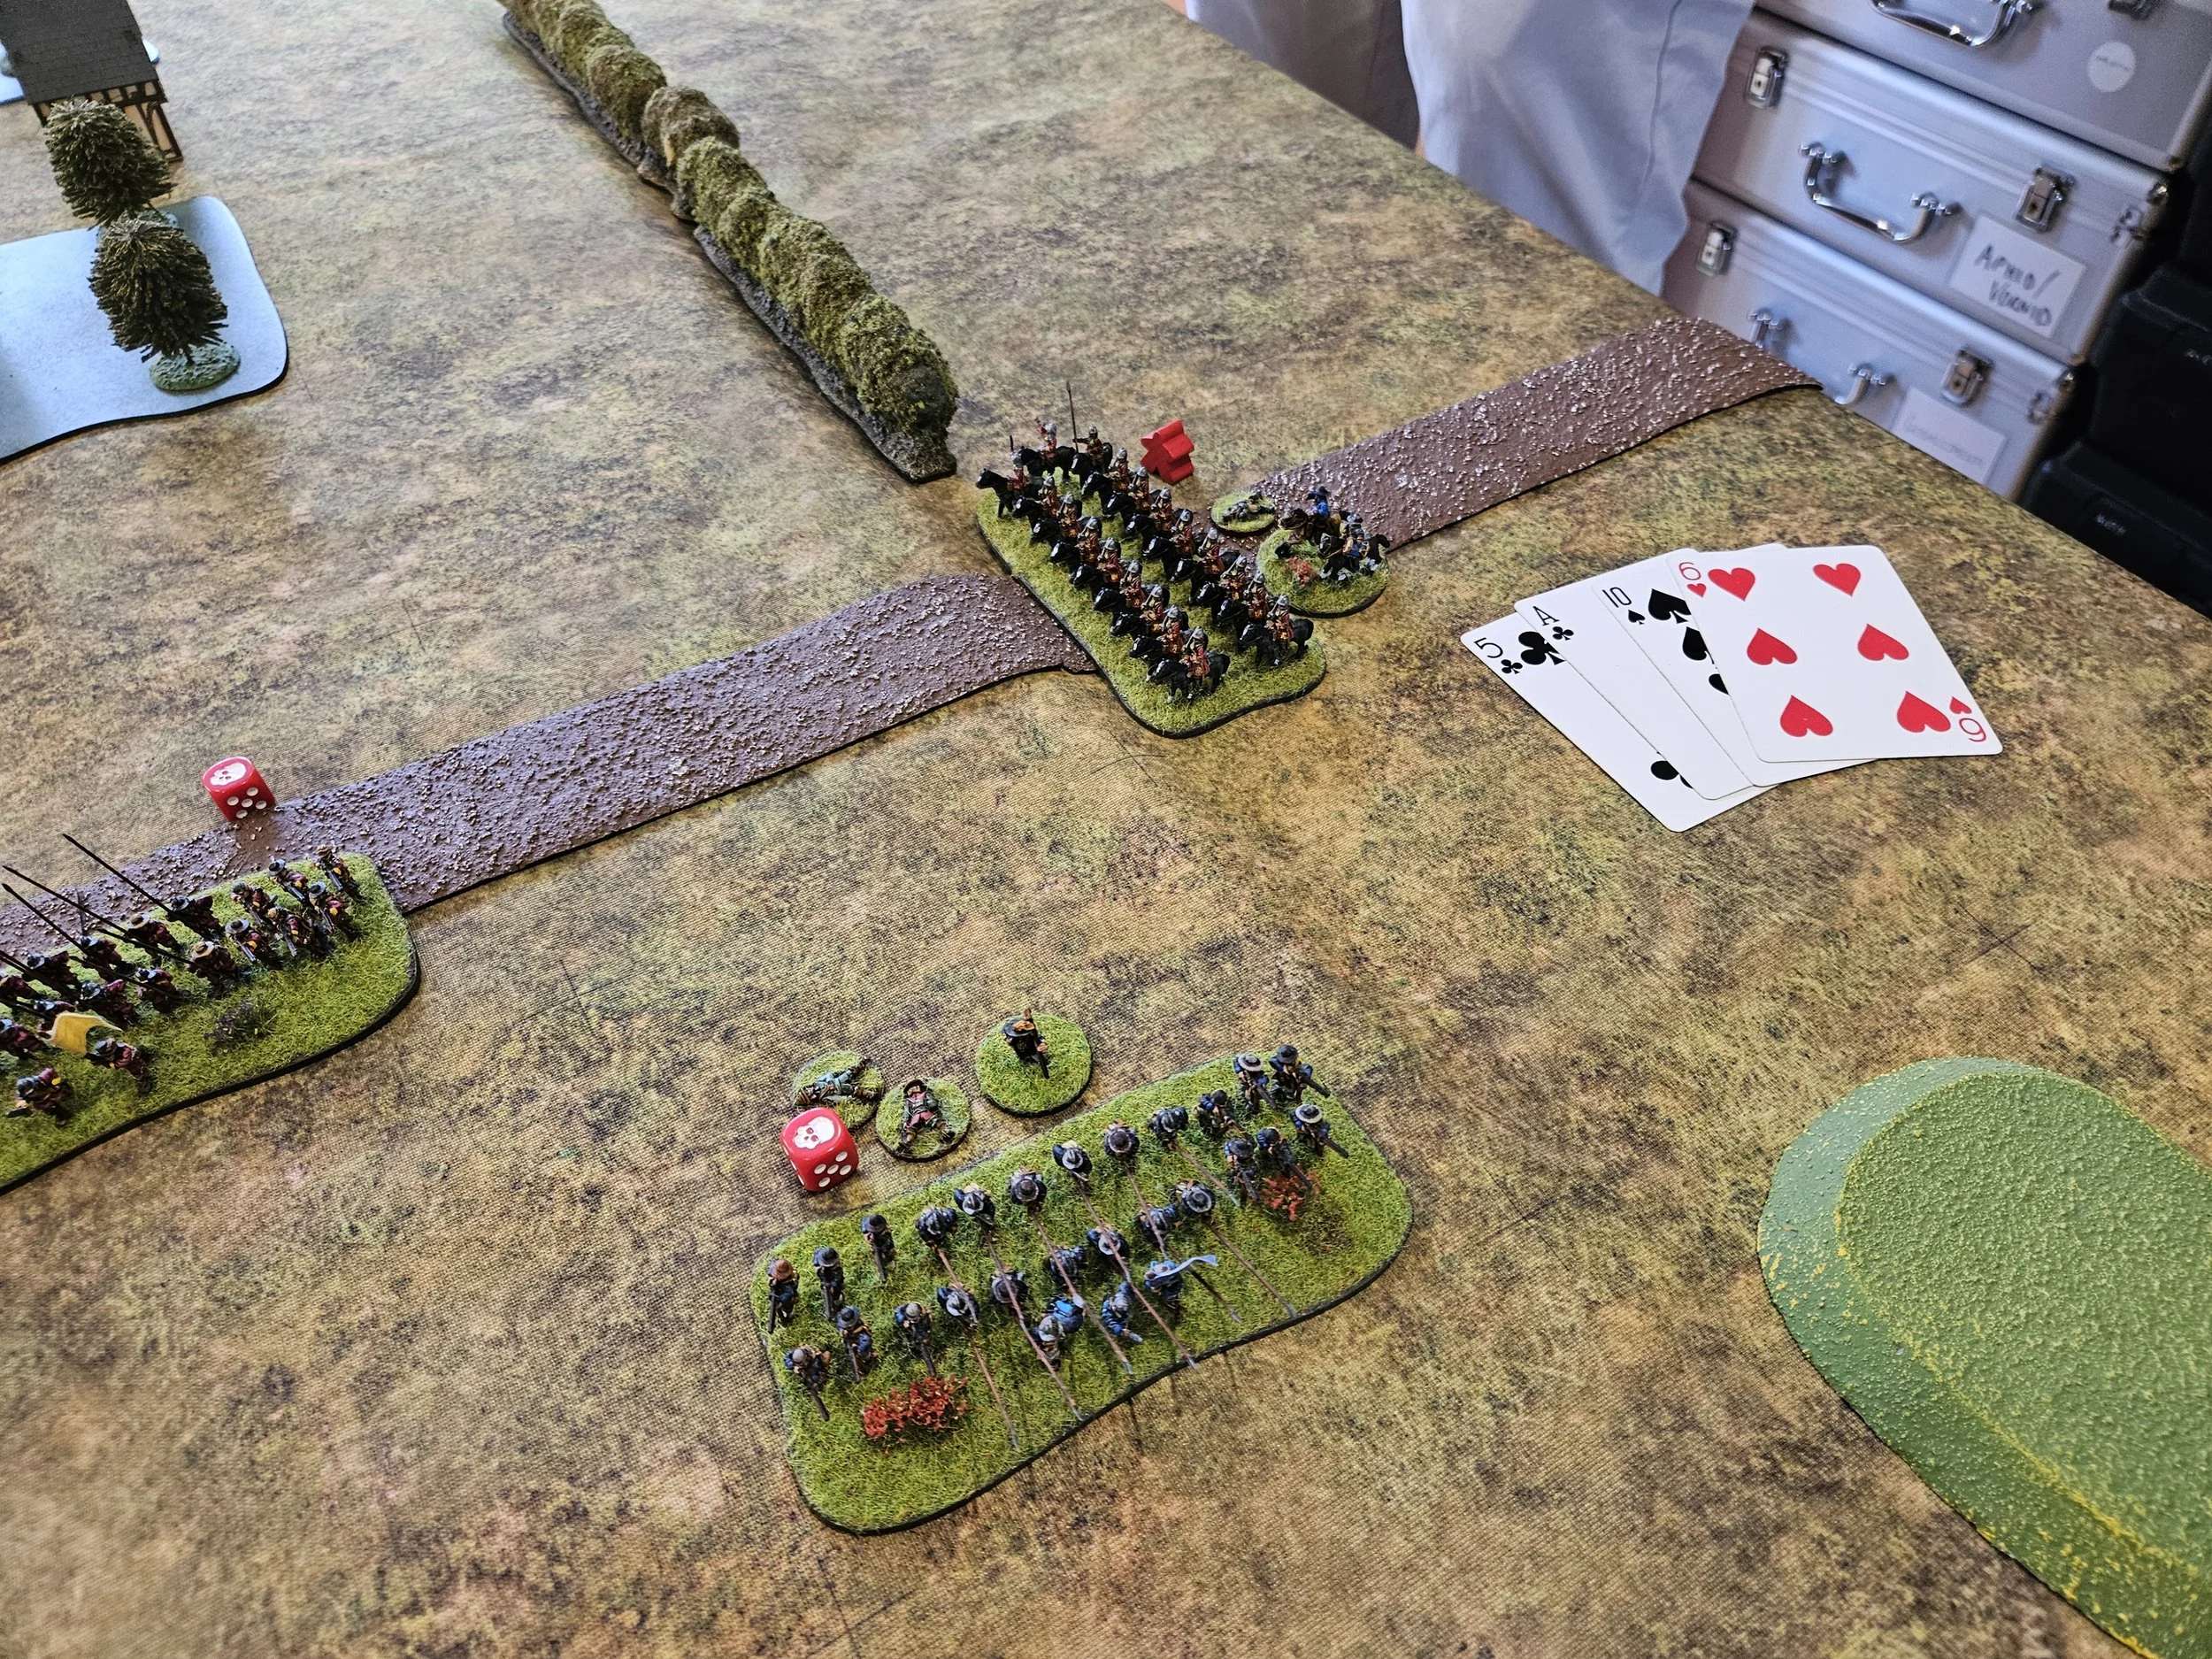
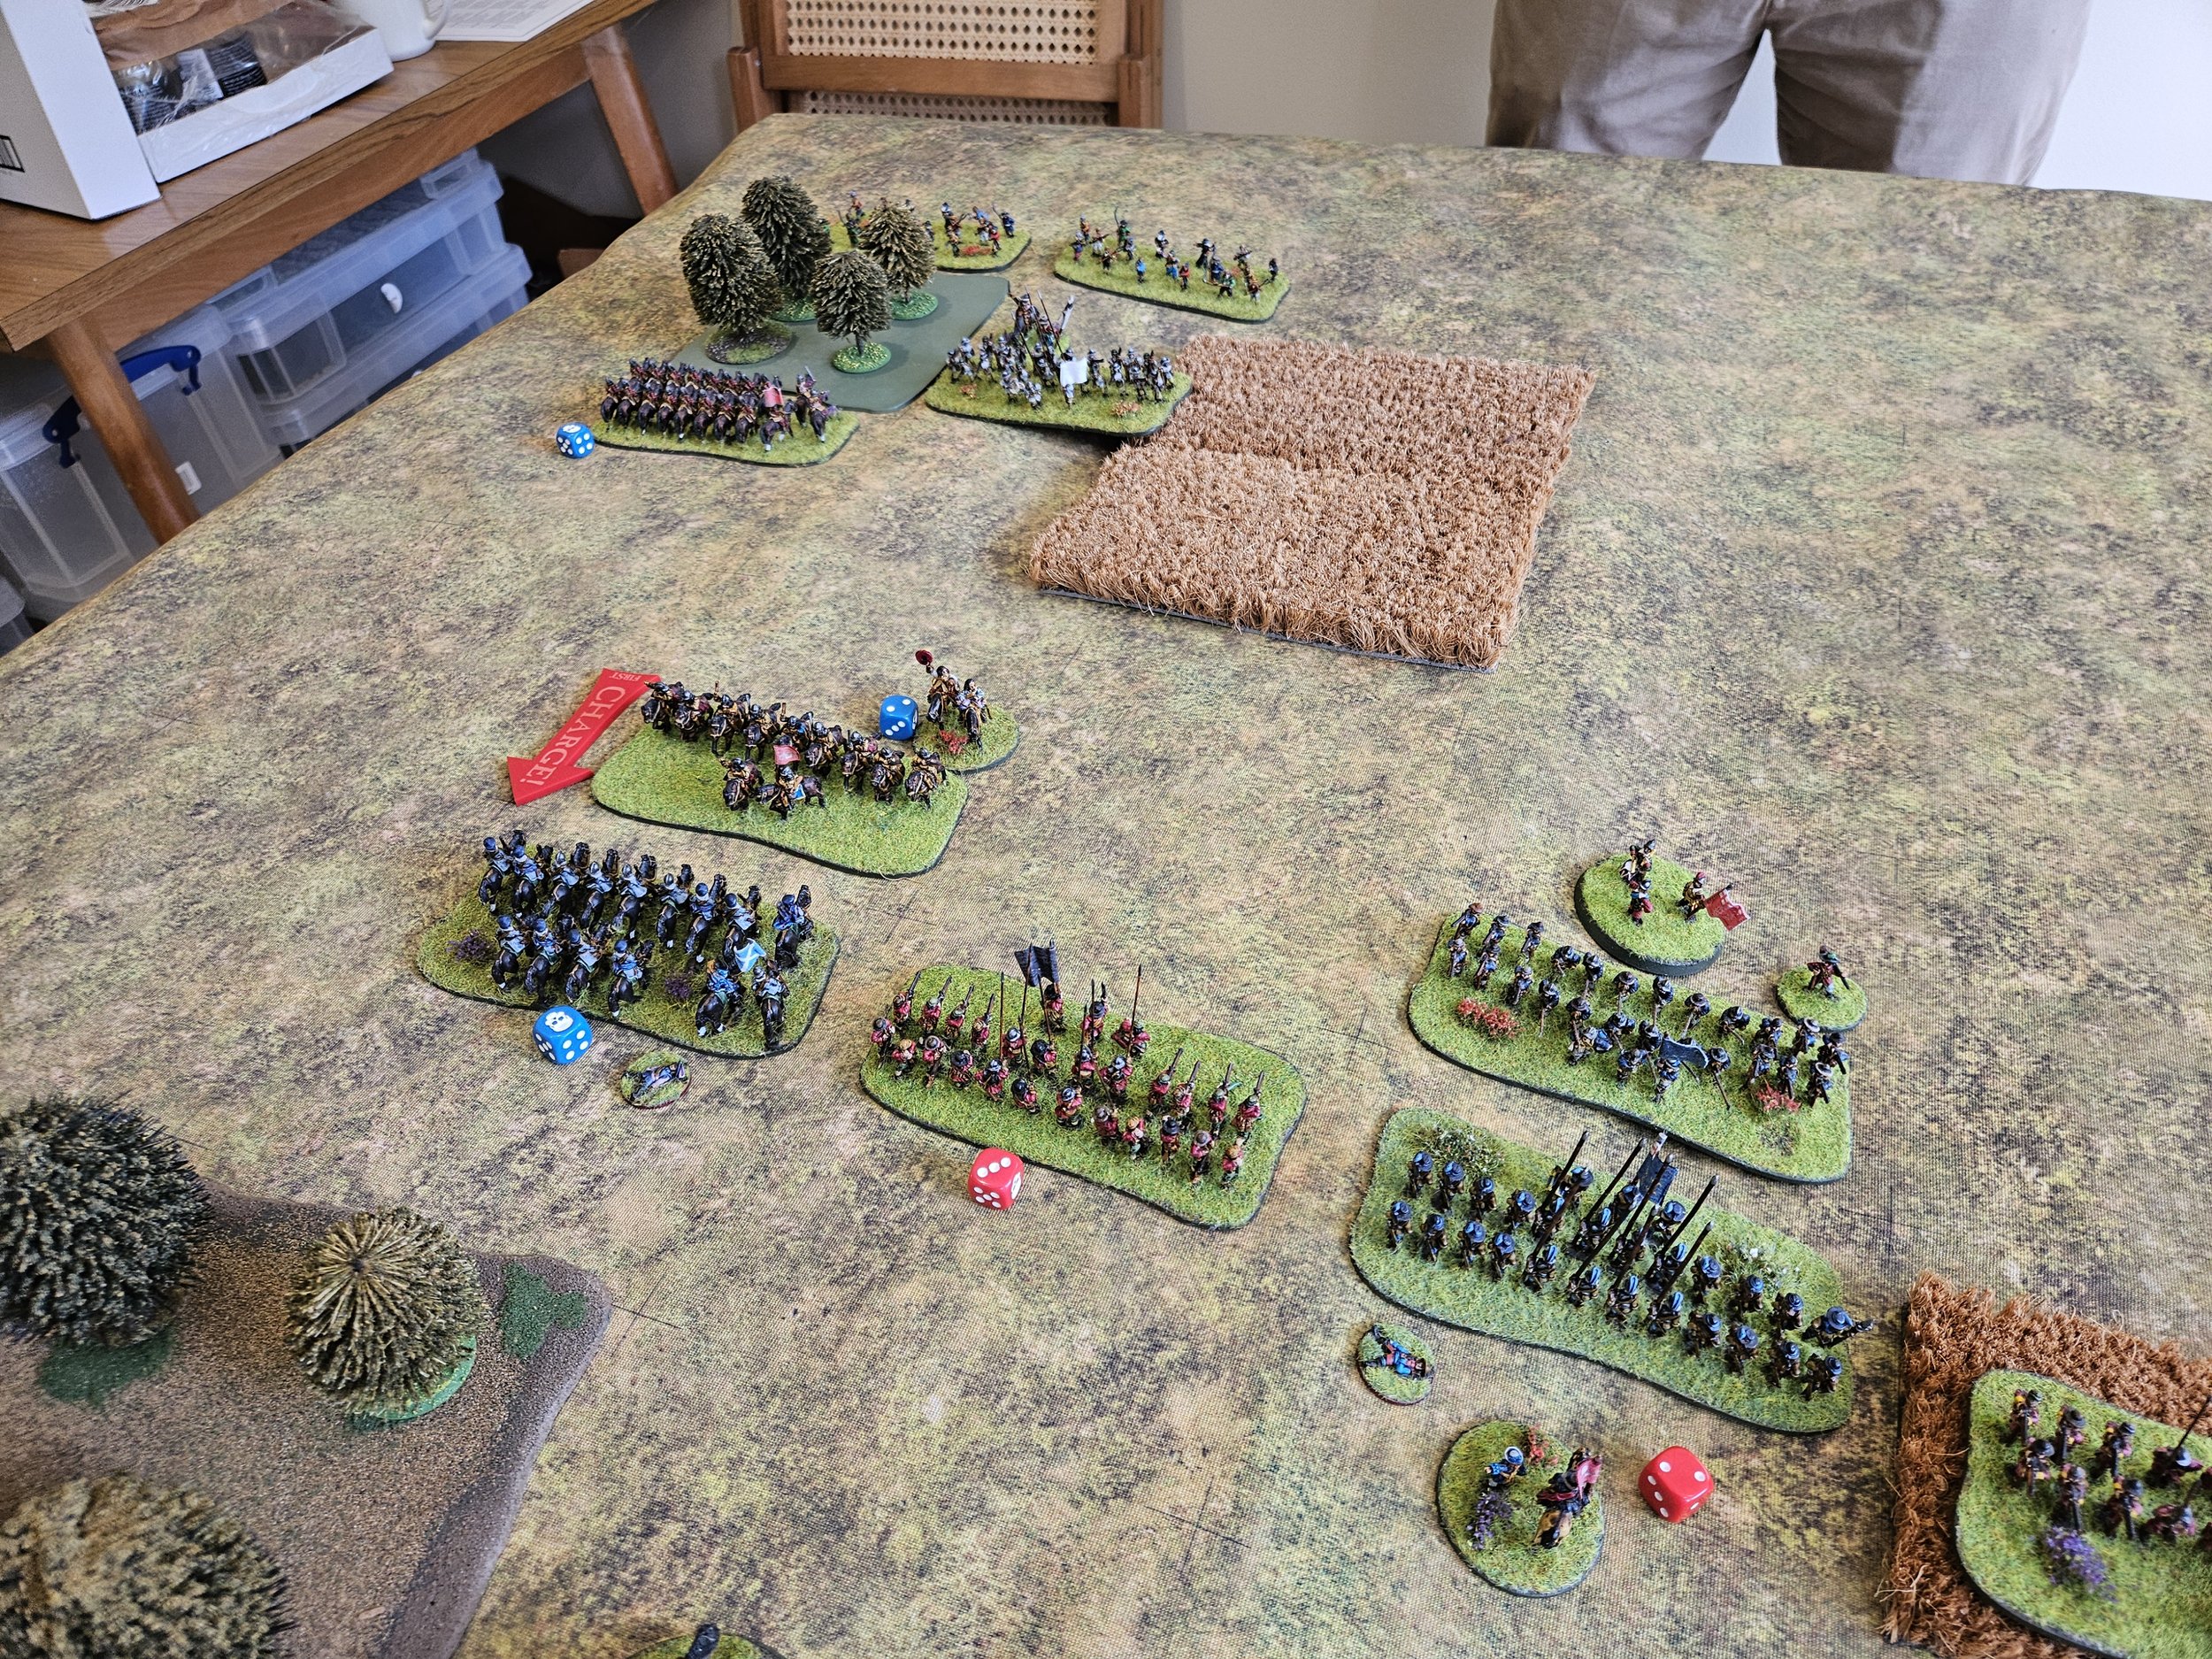
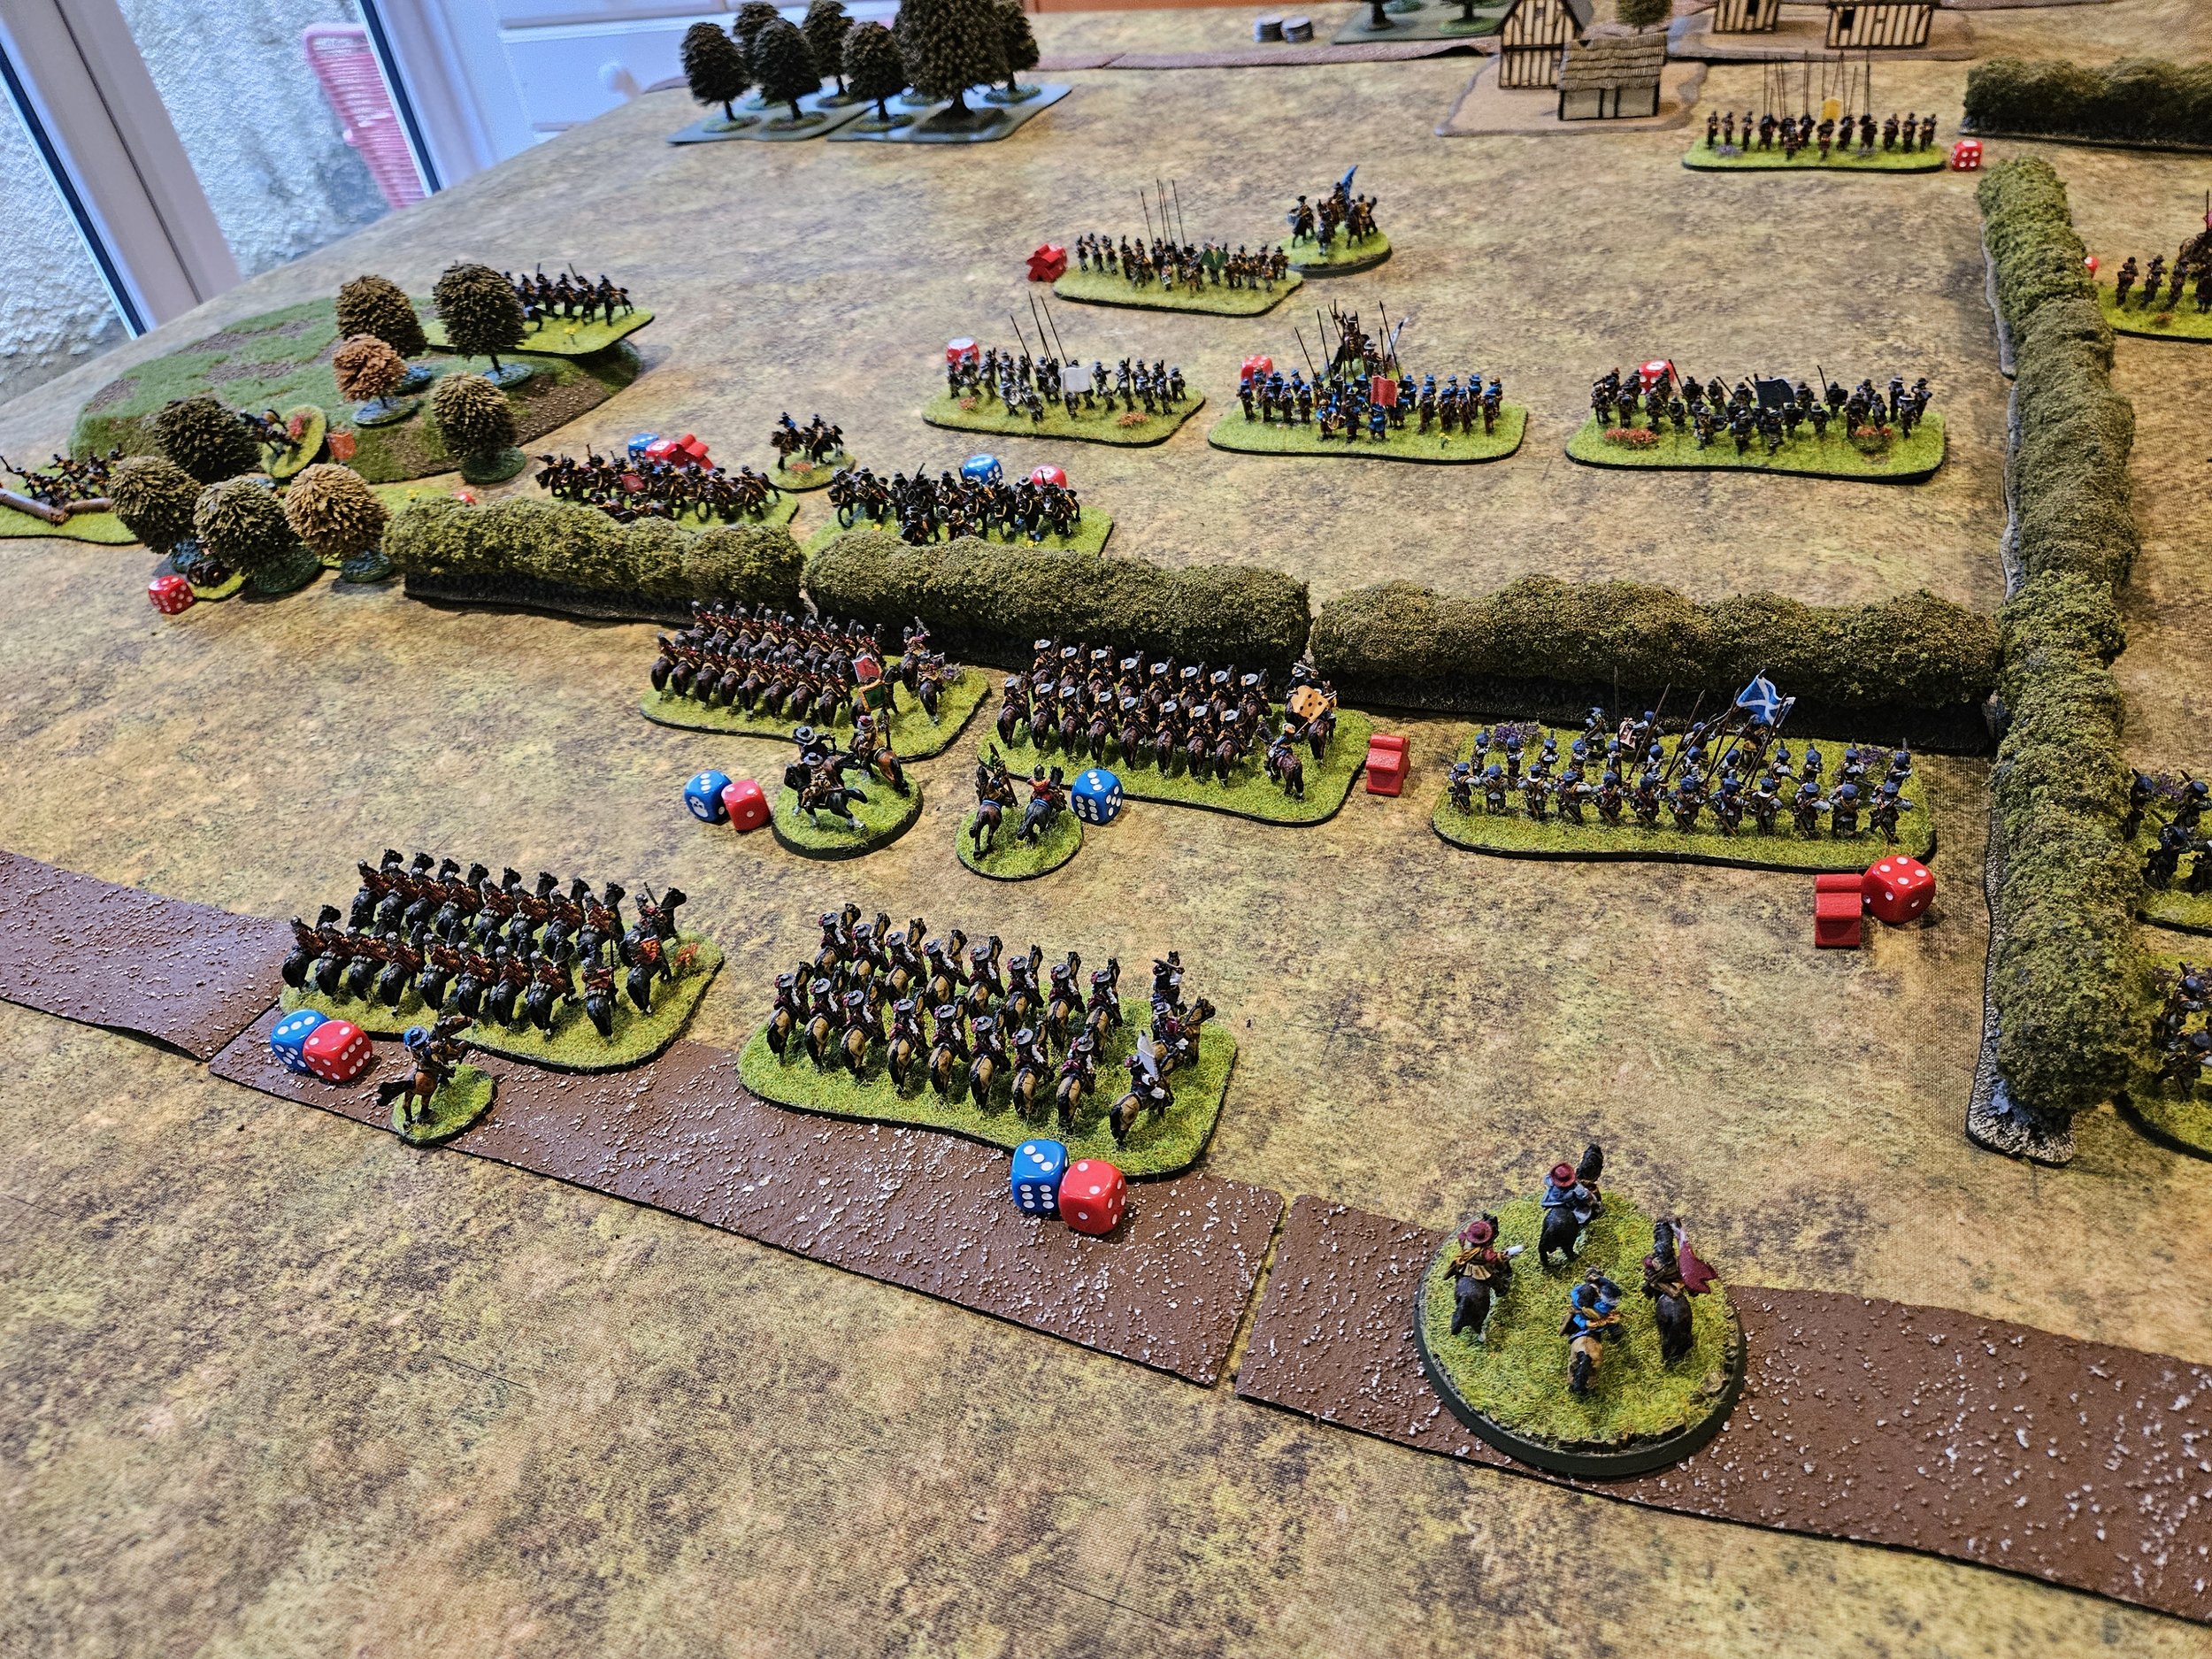
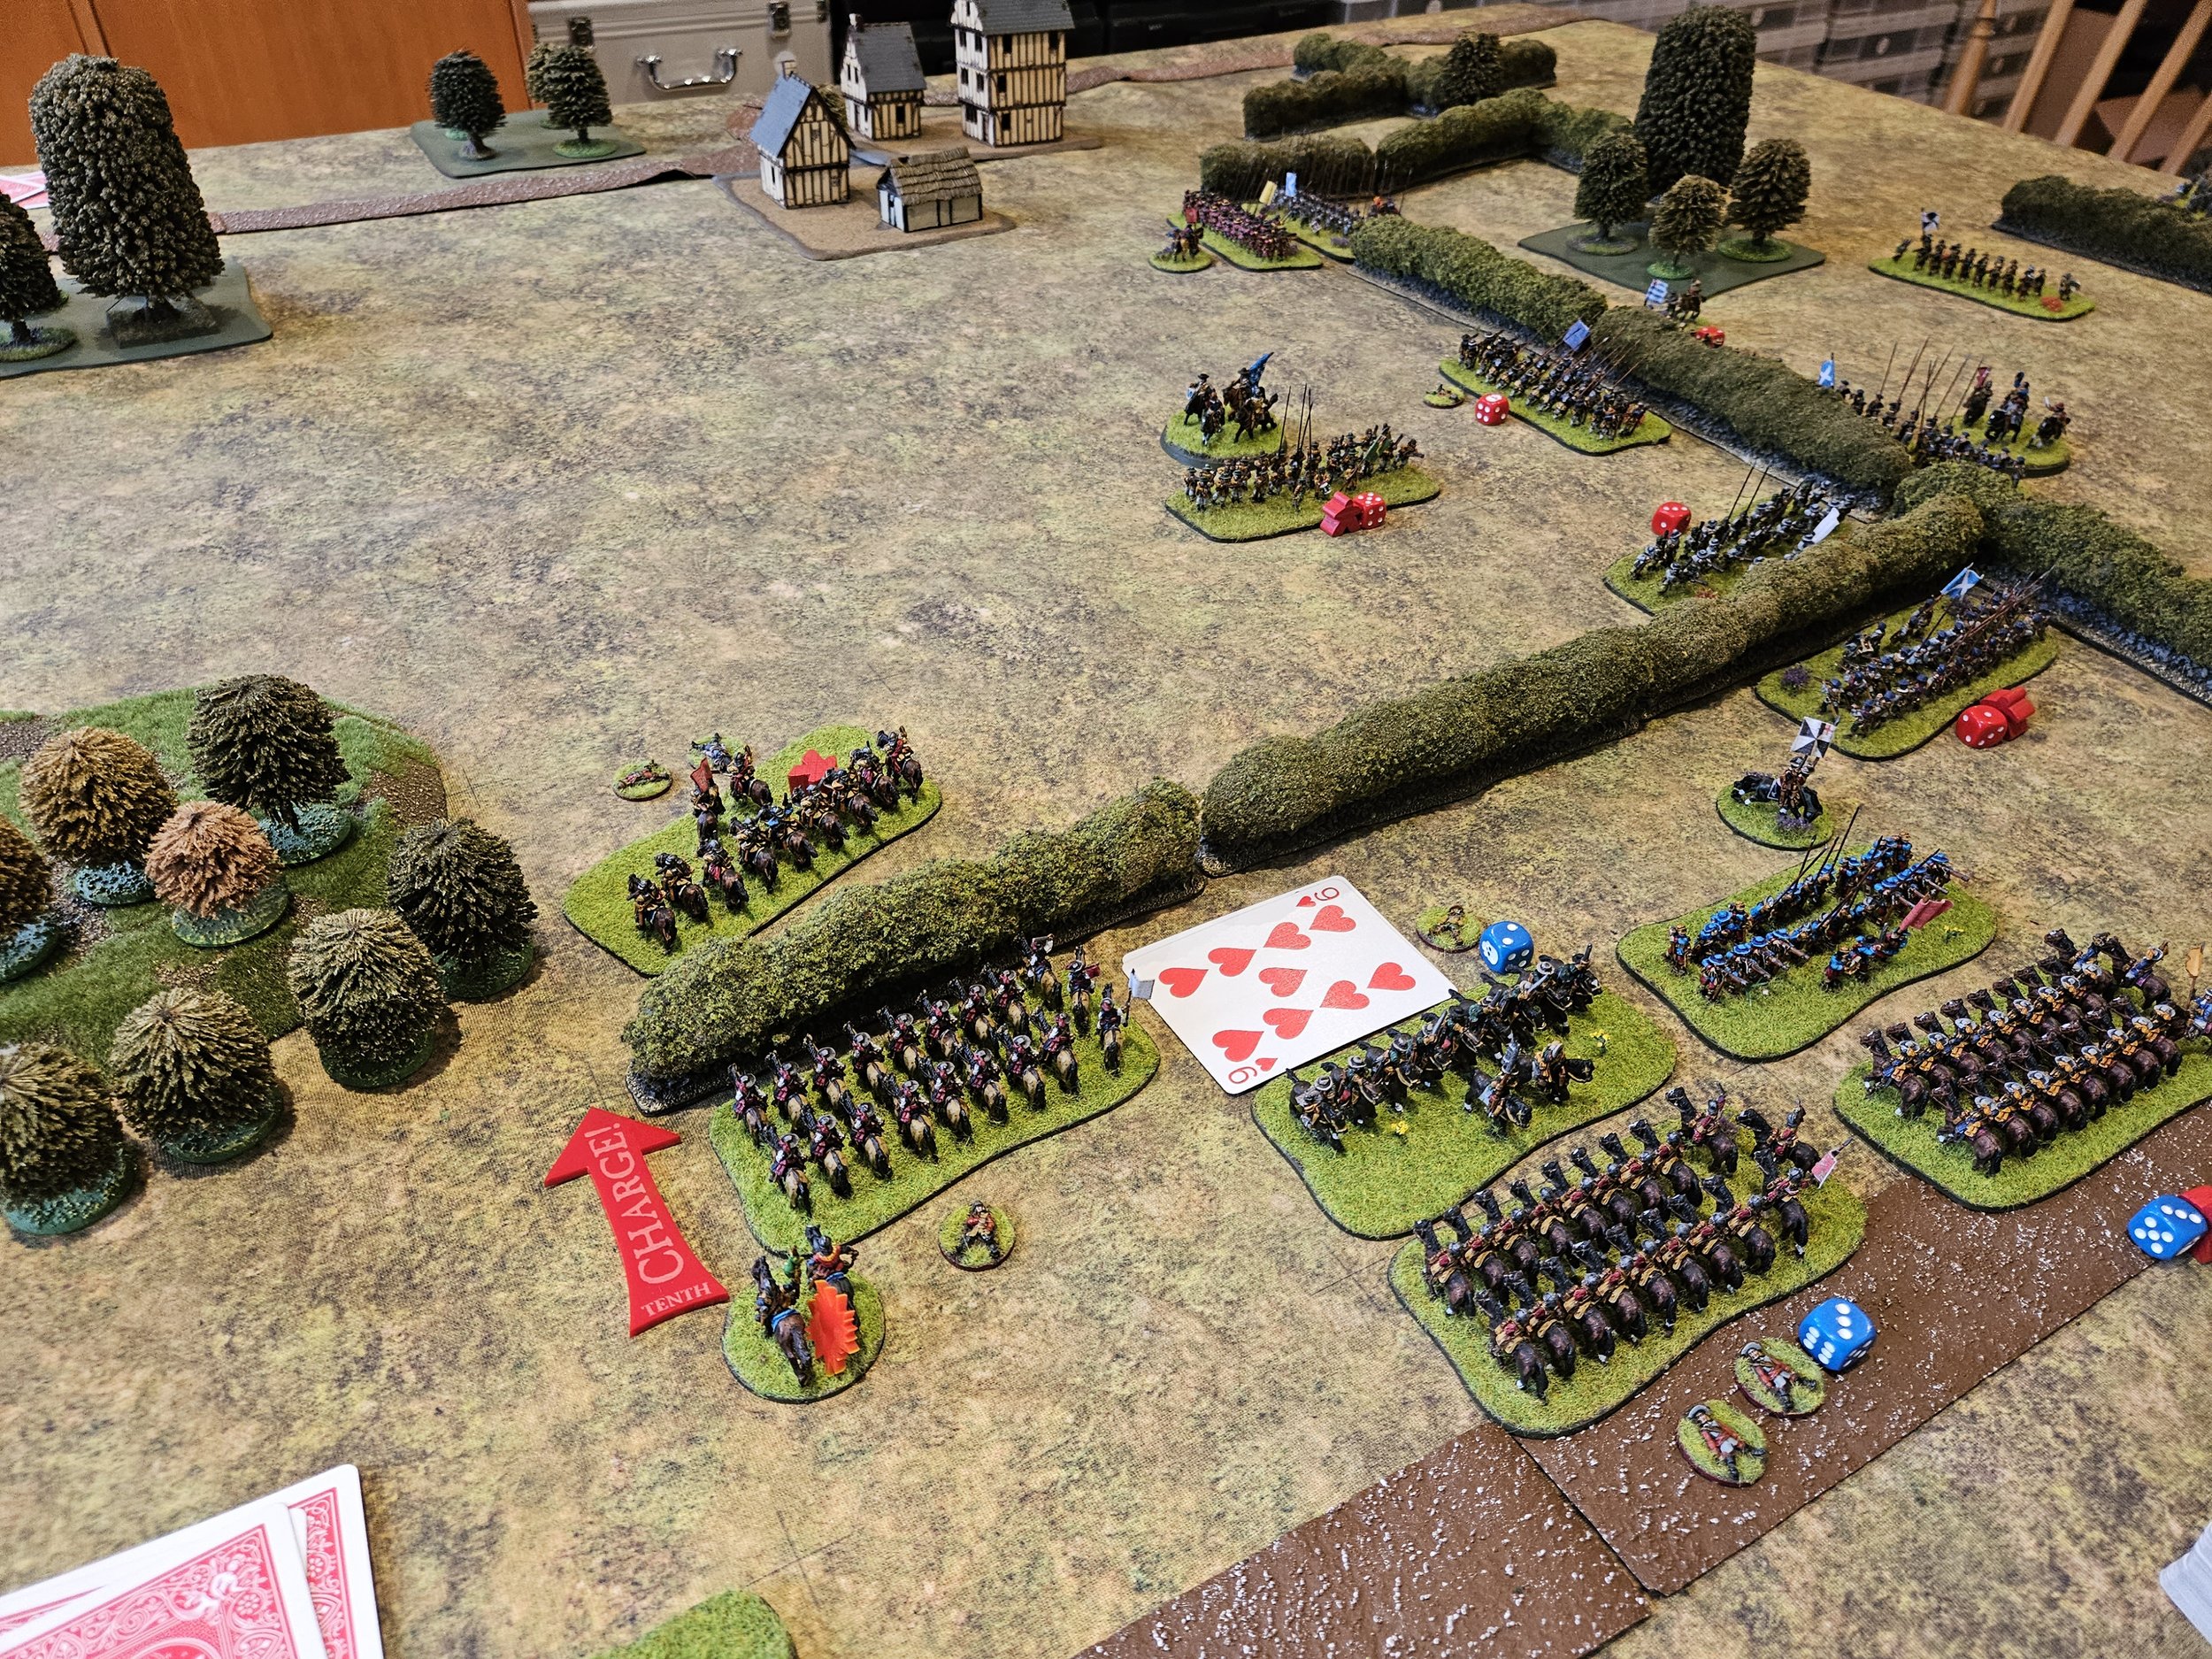
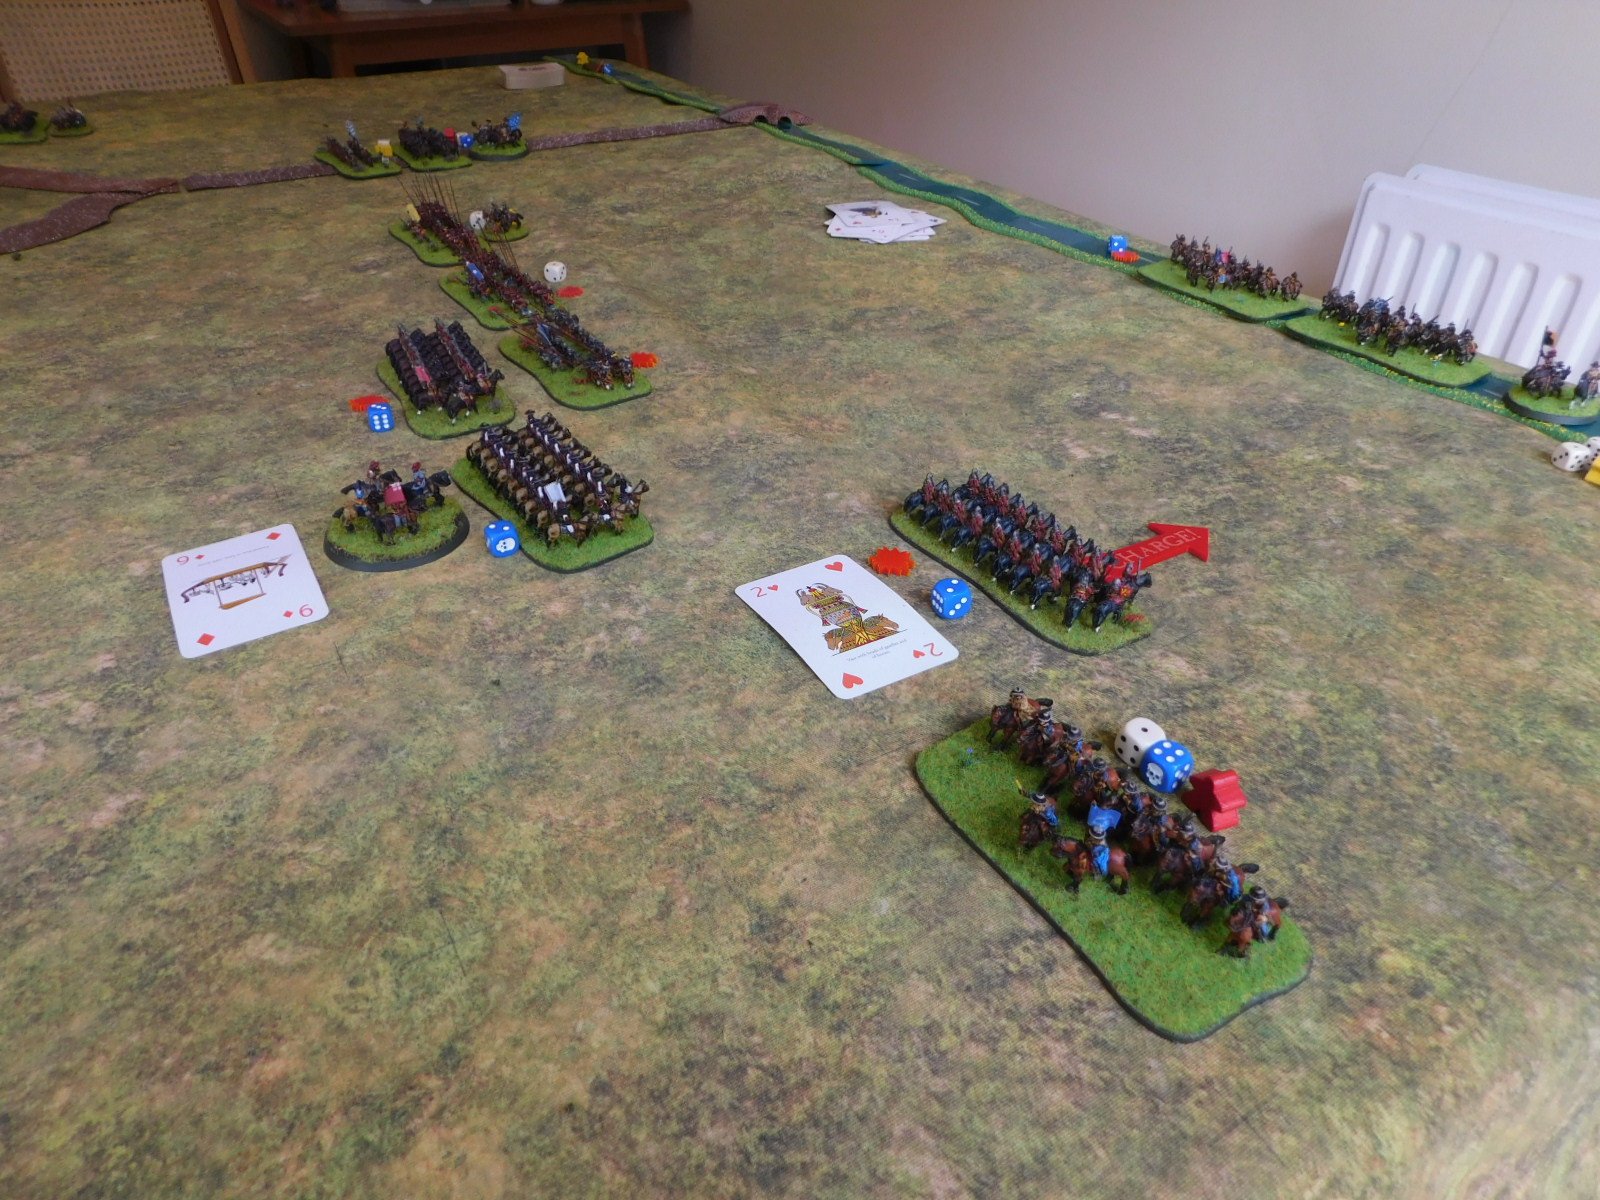
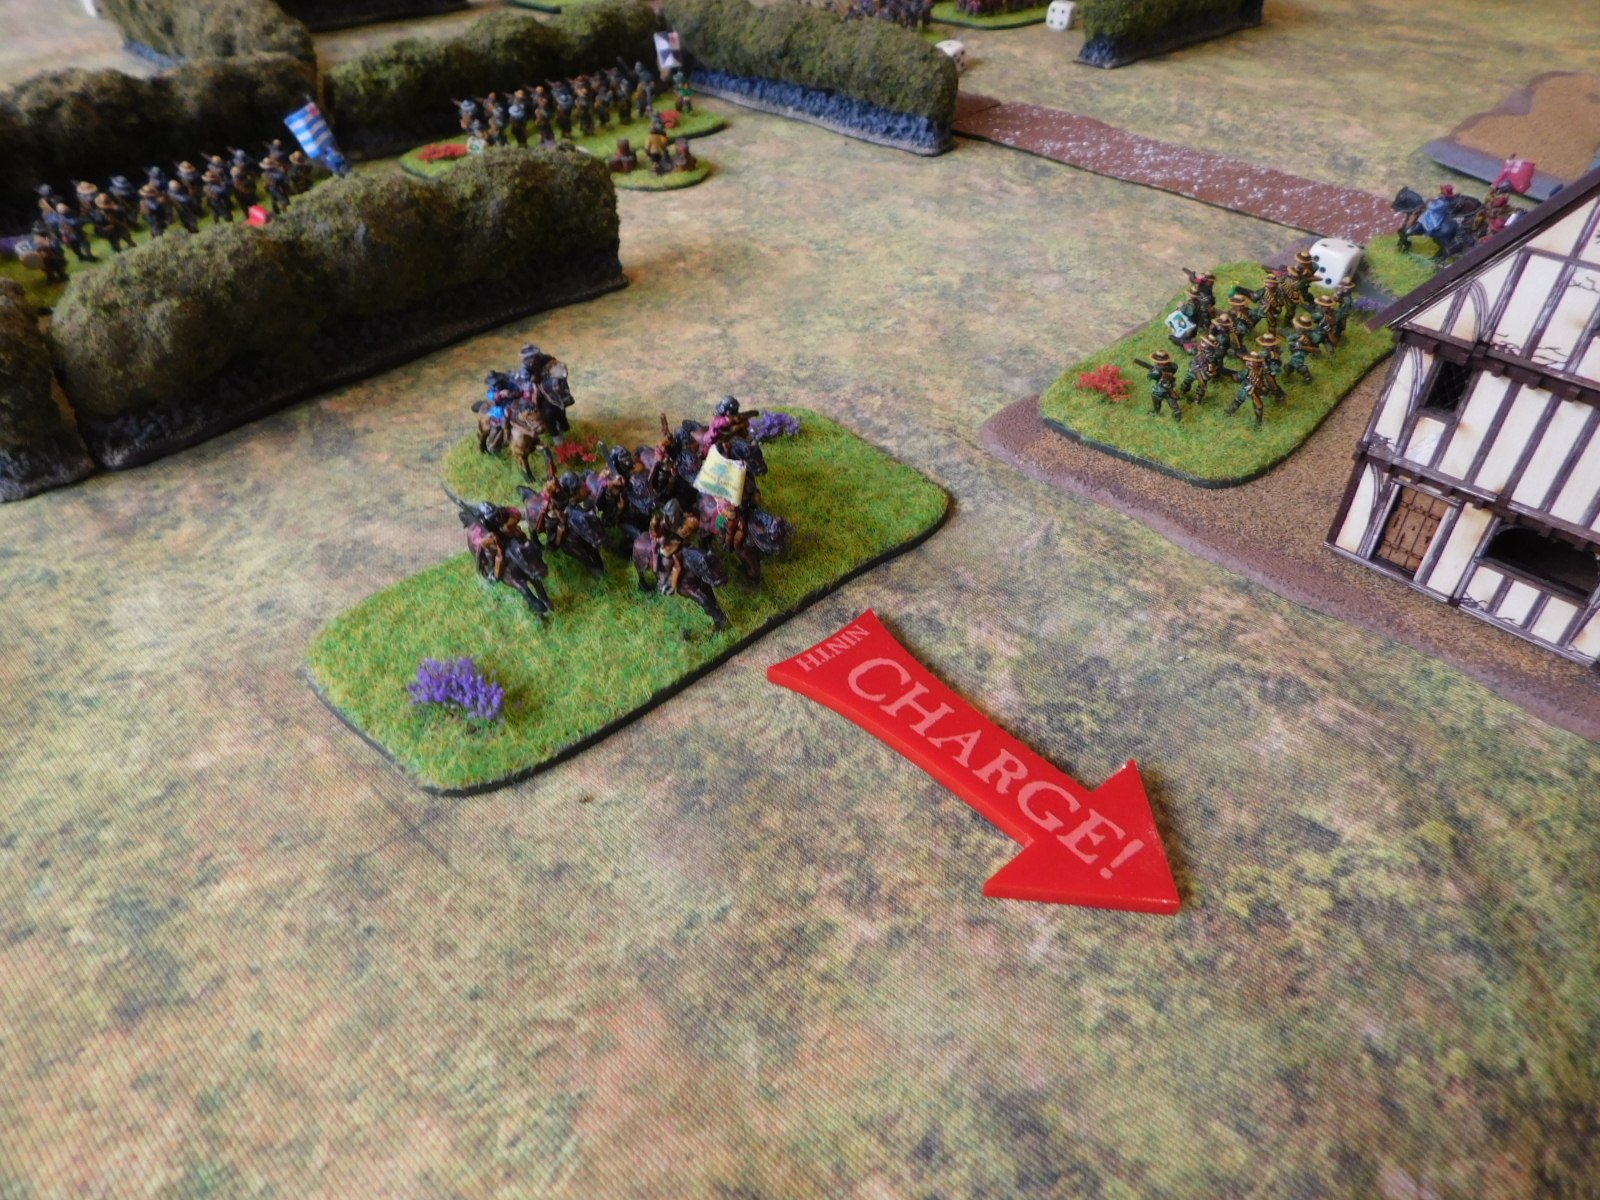
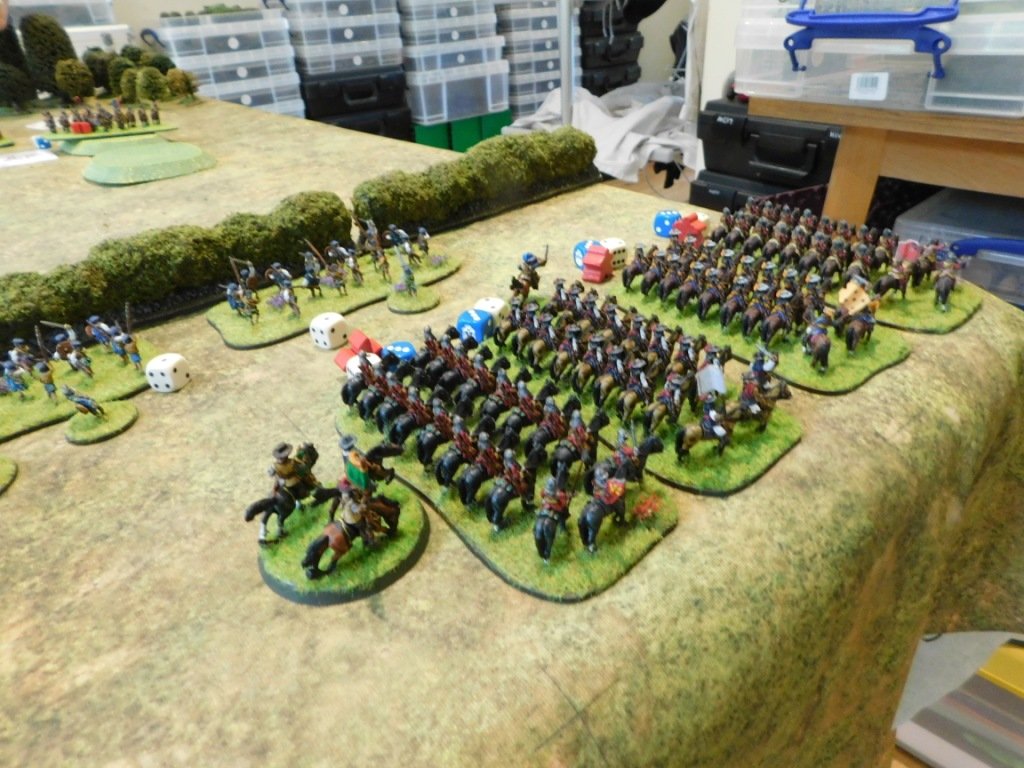
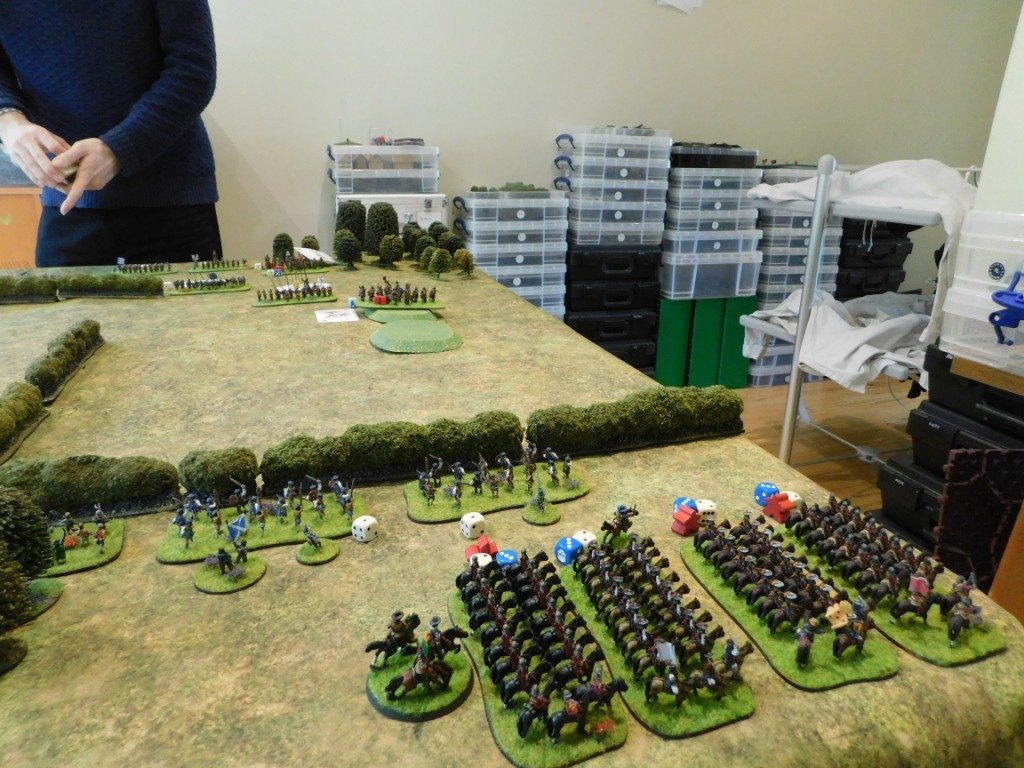
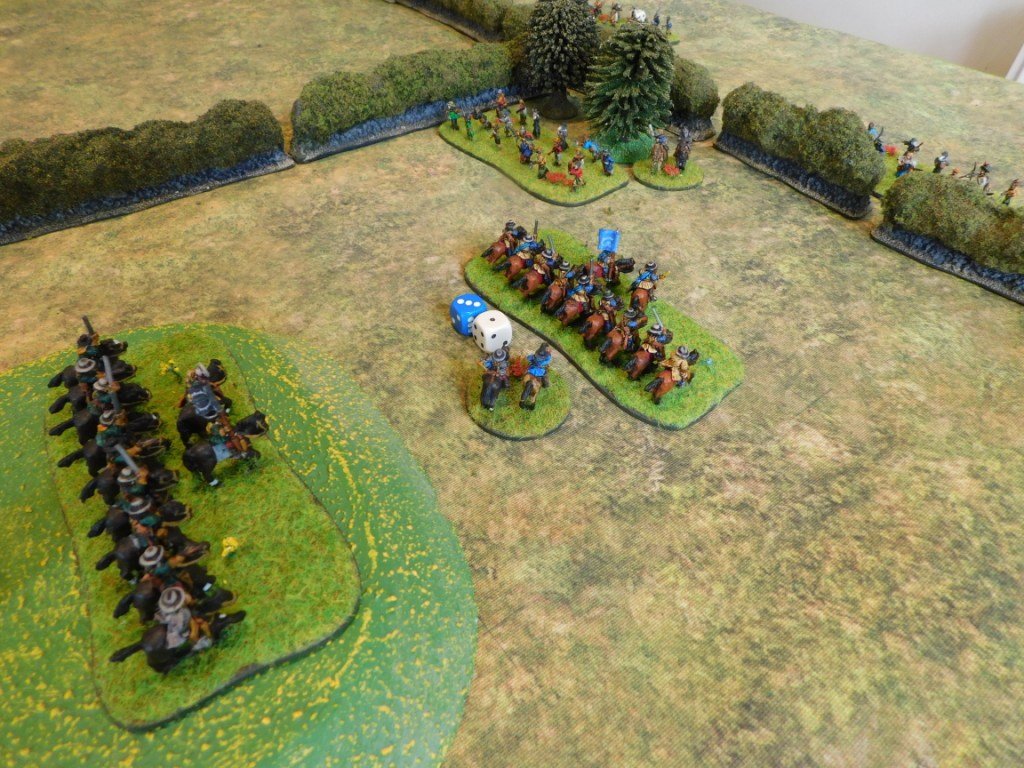
The first part of my plan was to drive the enemy horse back on the far right flank. Although our forces numbered the same, my troops were mounted on nags rather than the sleek chargers of the oppositiom, so I knew I needed to win quickly or have my cavalry blown for the rest of the game.

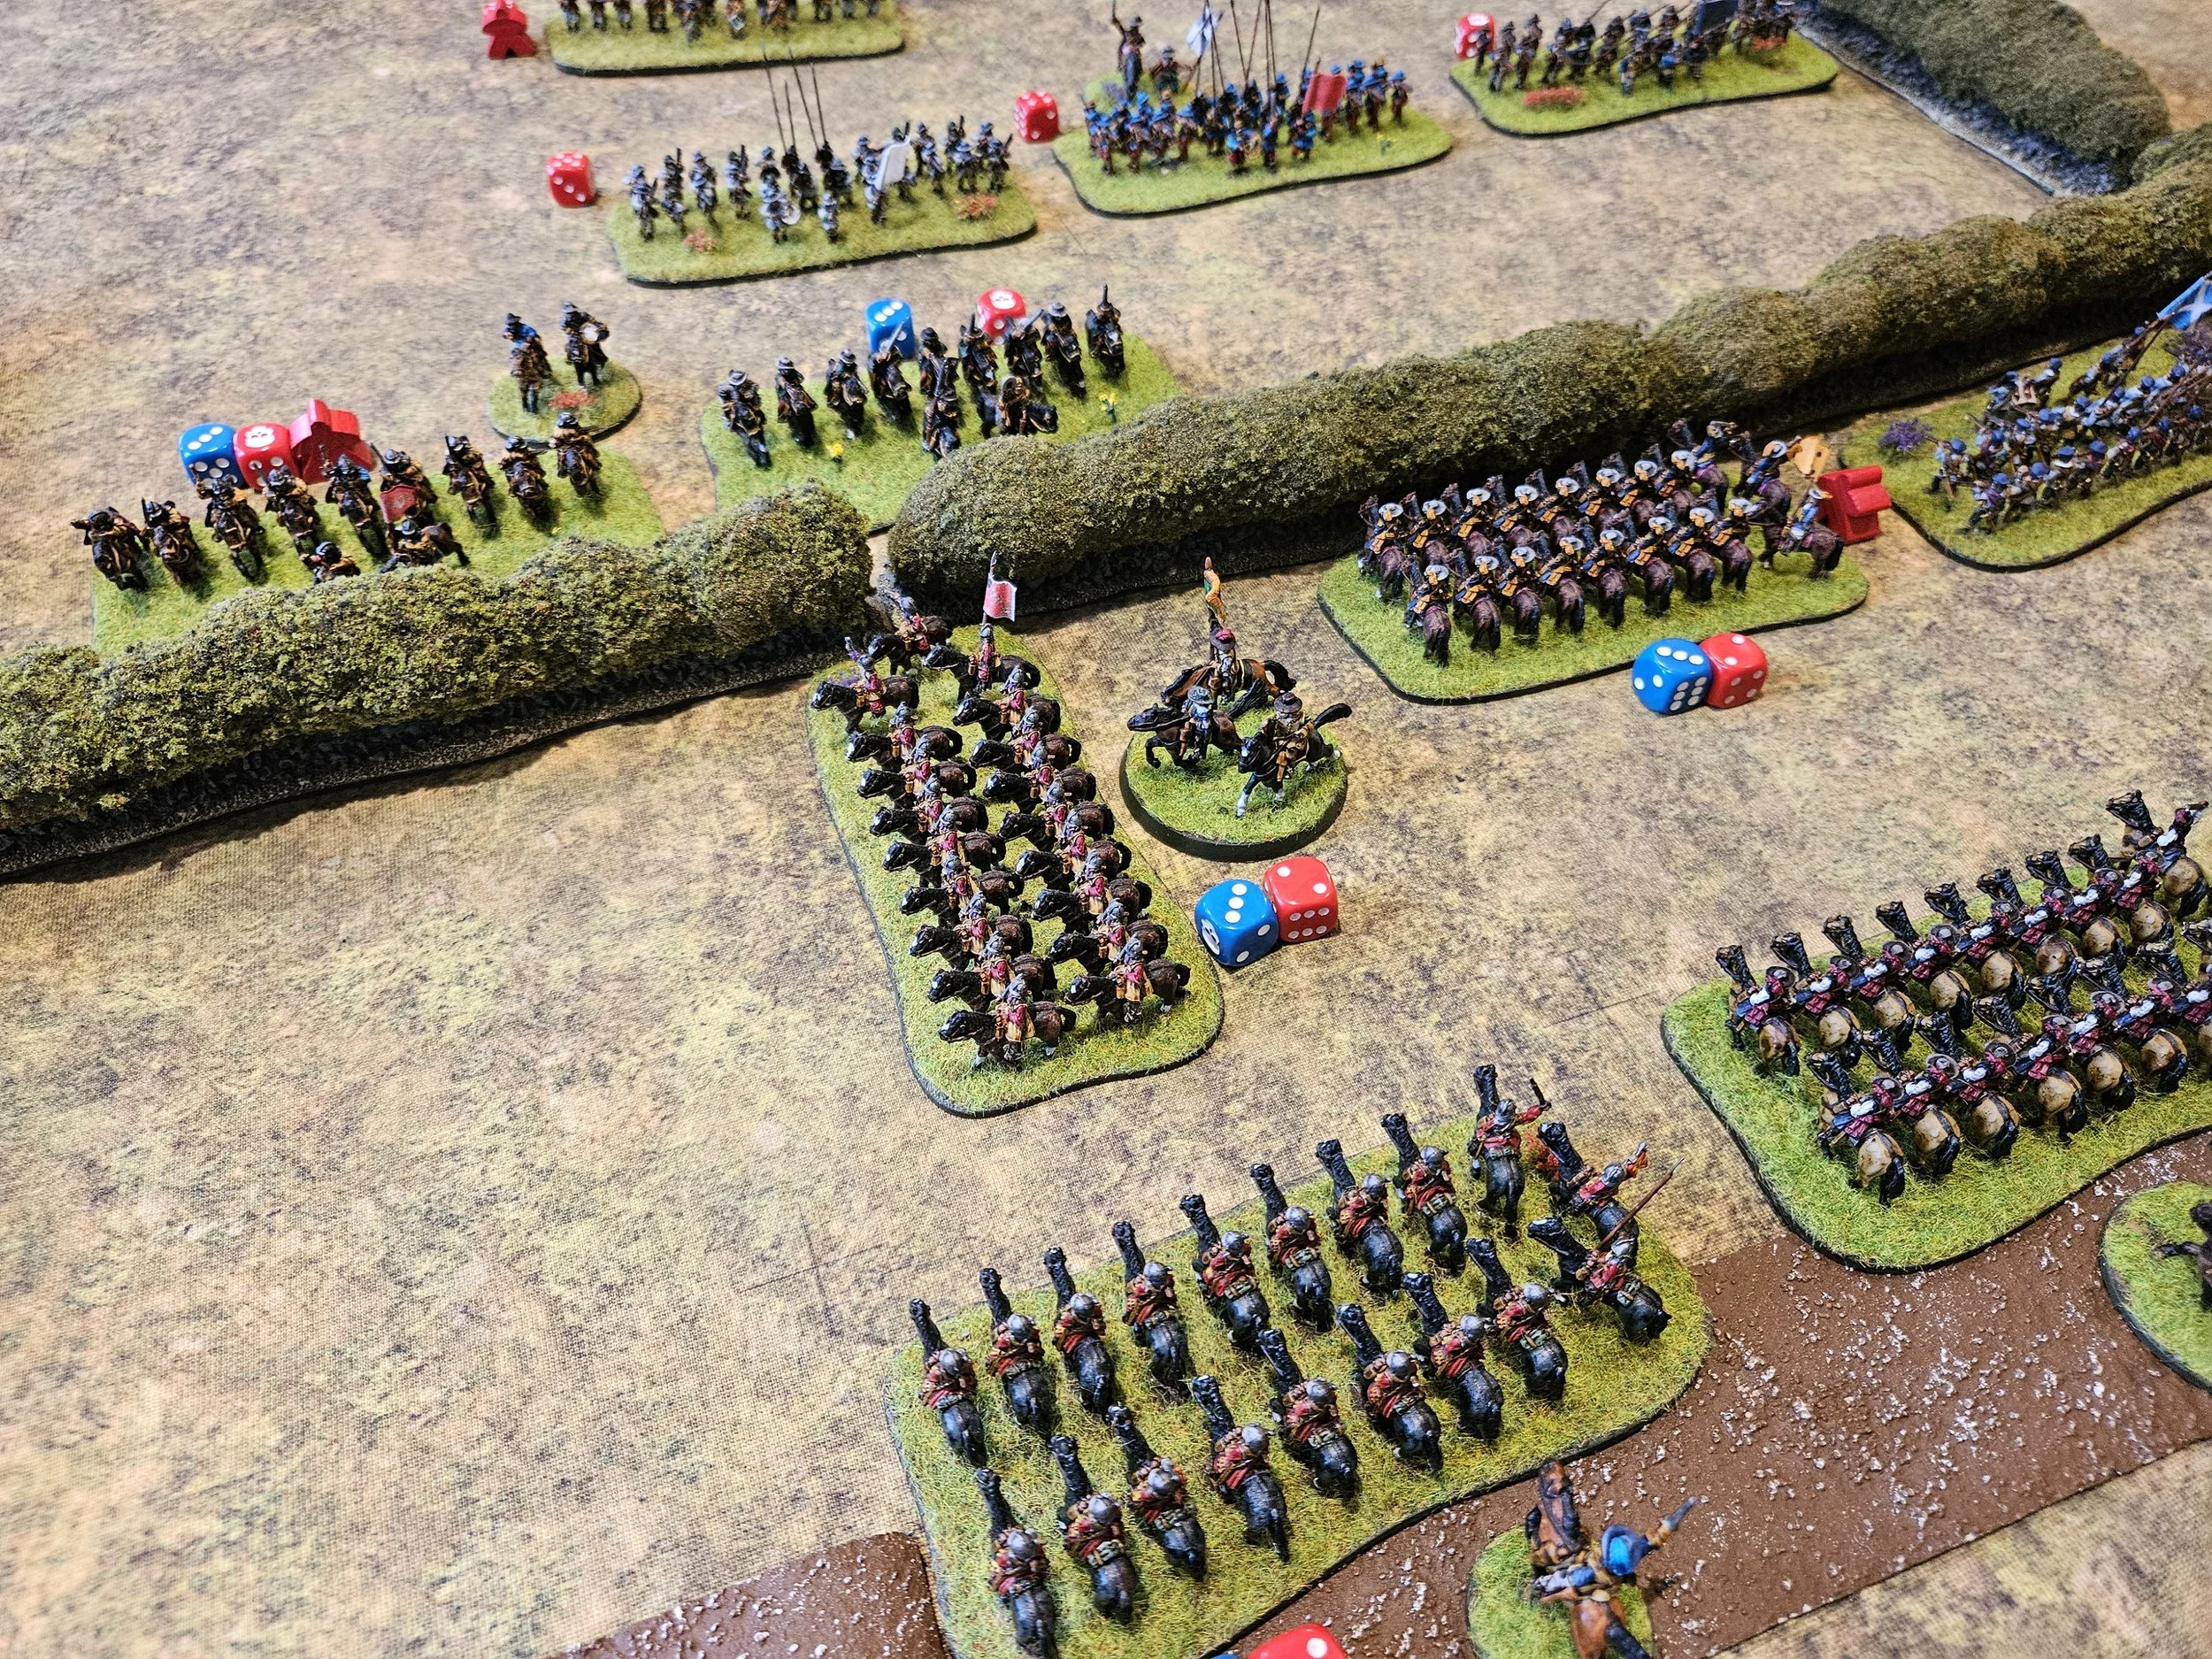
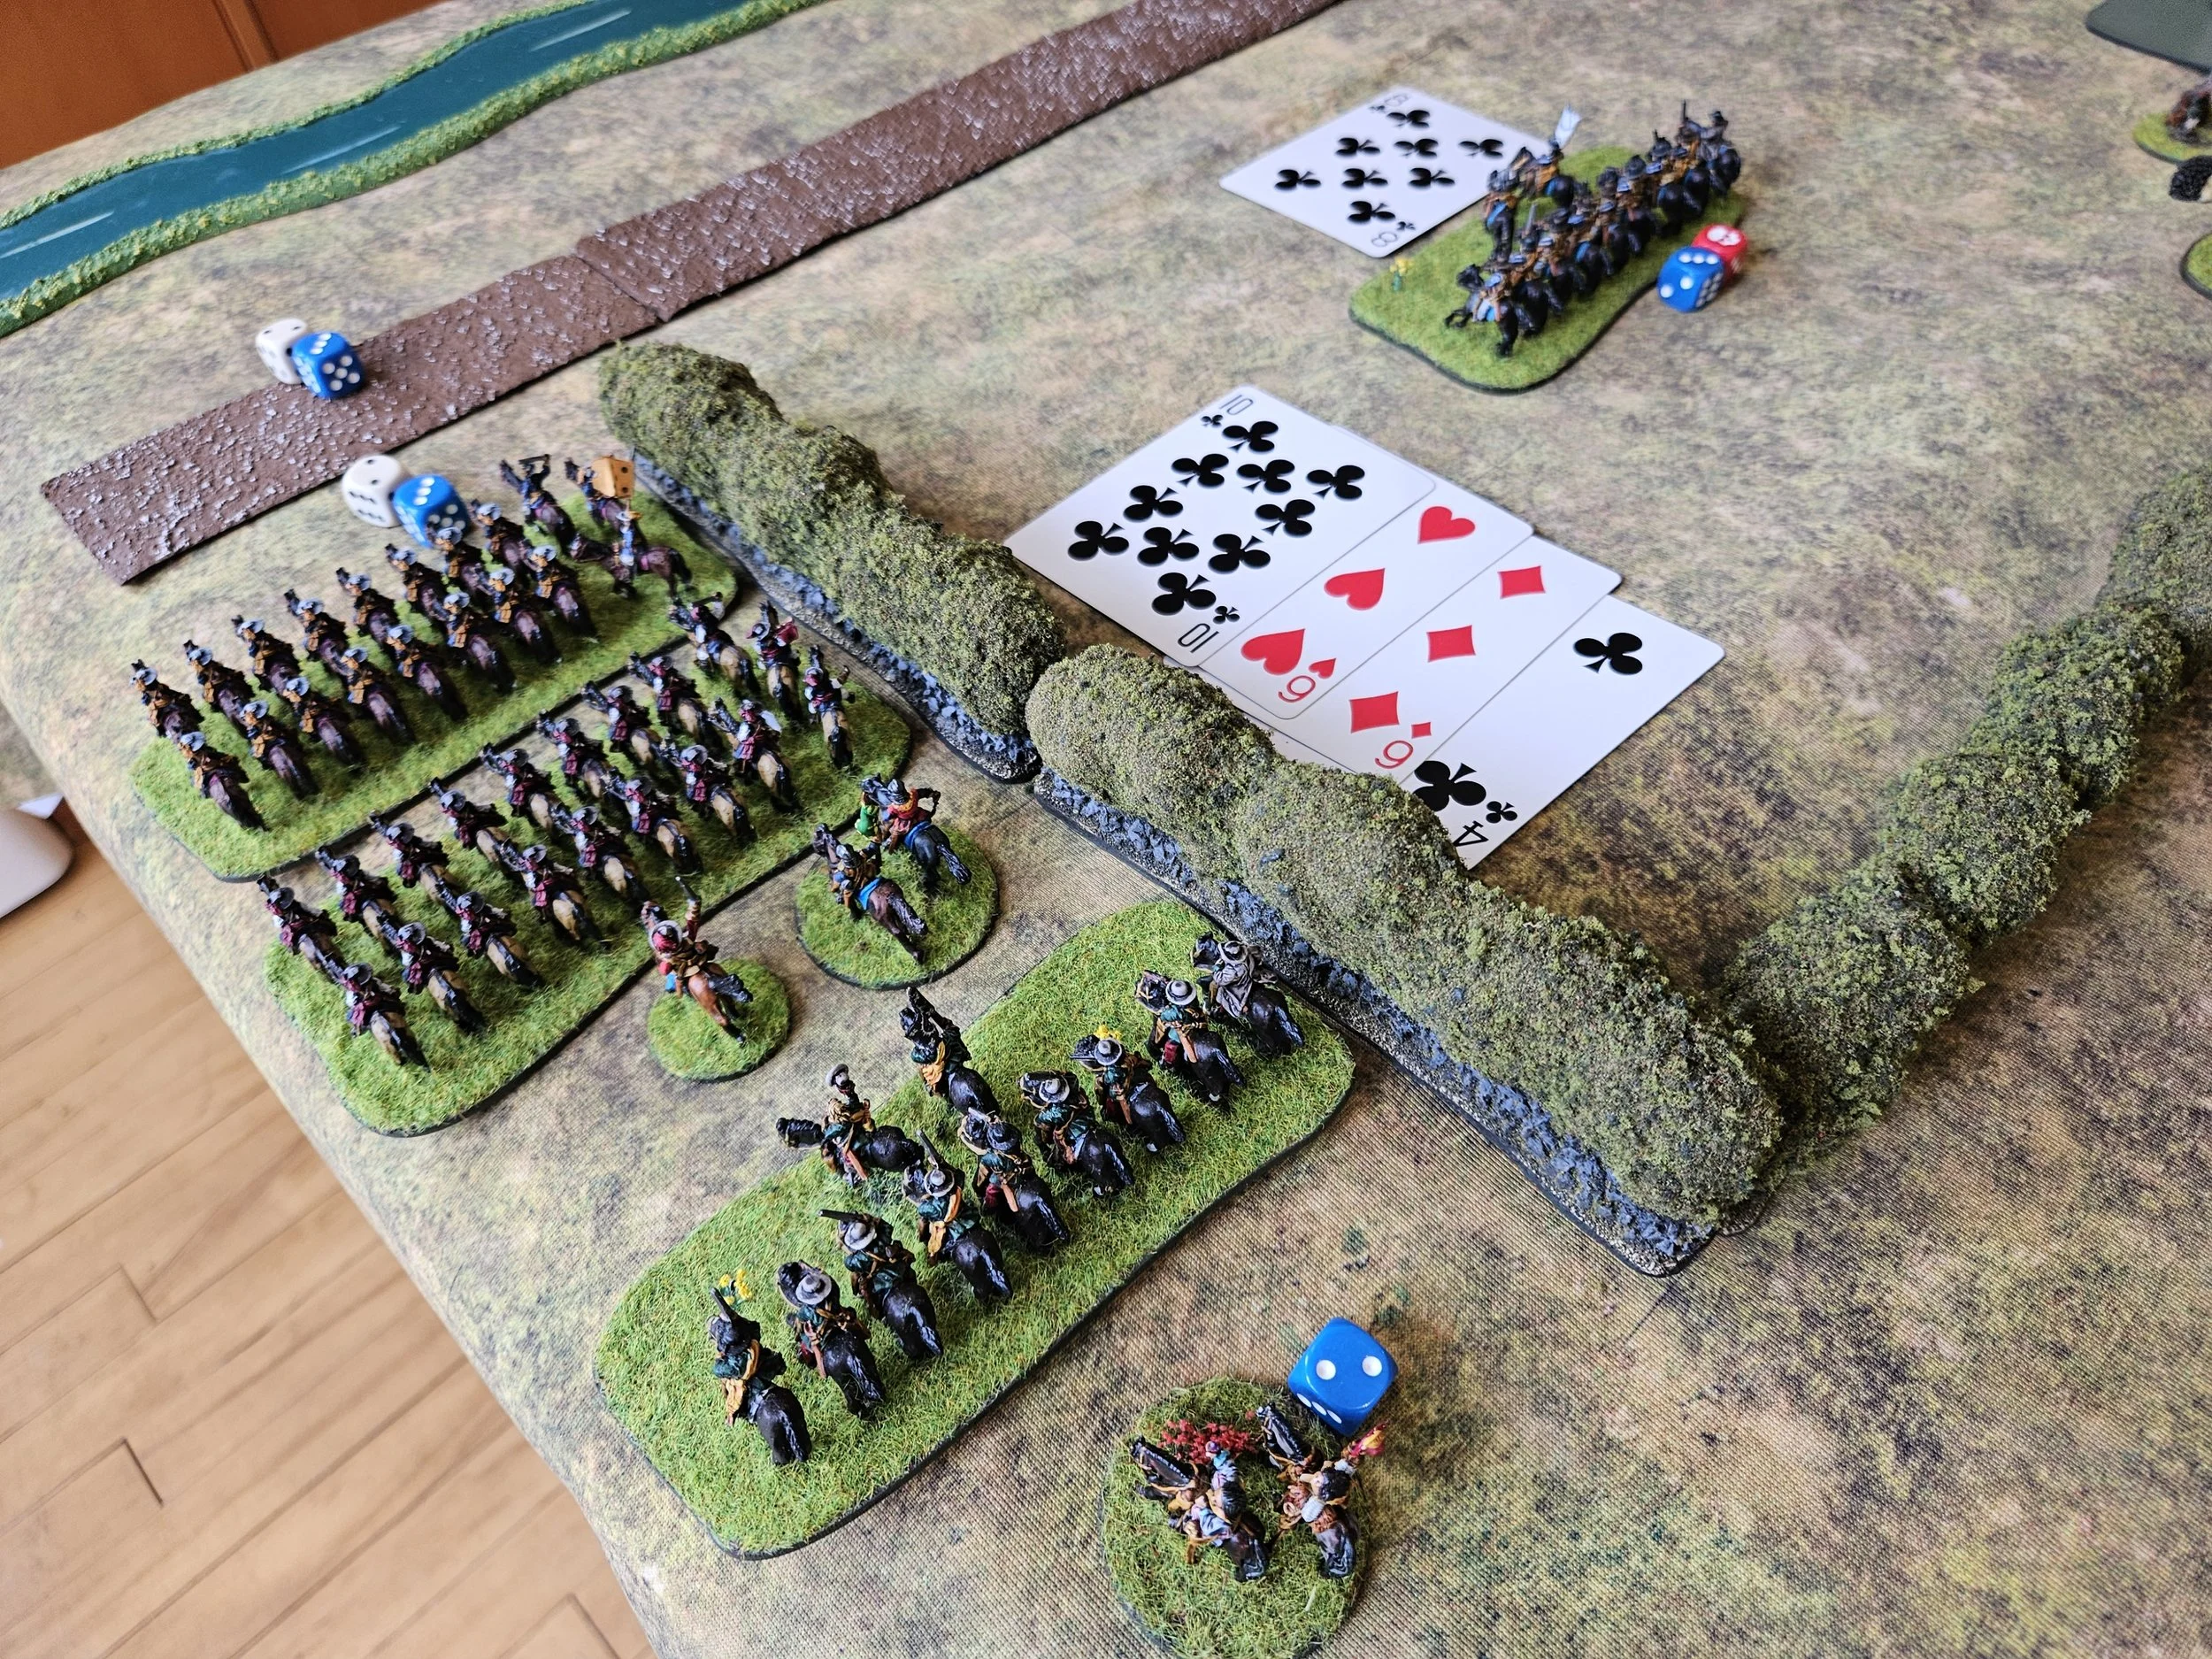
The Royalists helped my cause by attacking piecemeal, and soon I had the advantage:

Unfortunately that didn’t last, and the situation devolved into a back and forwards encounter that neither side seemed likely to win until Rob sent some infantry in to reinforce his cavalry.

This gave him a temporary advantage and, for the moment it looked as if that flank would be lost to me.

Back in the Centre

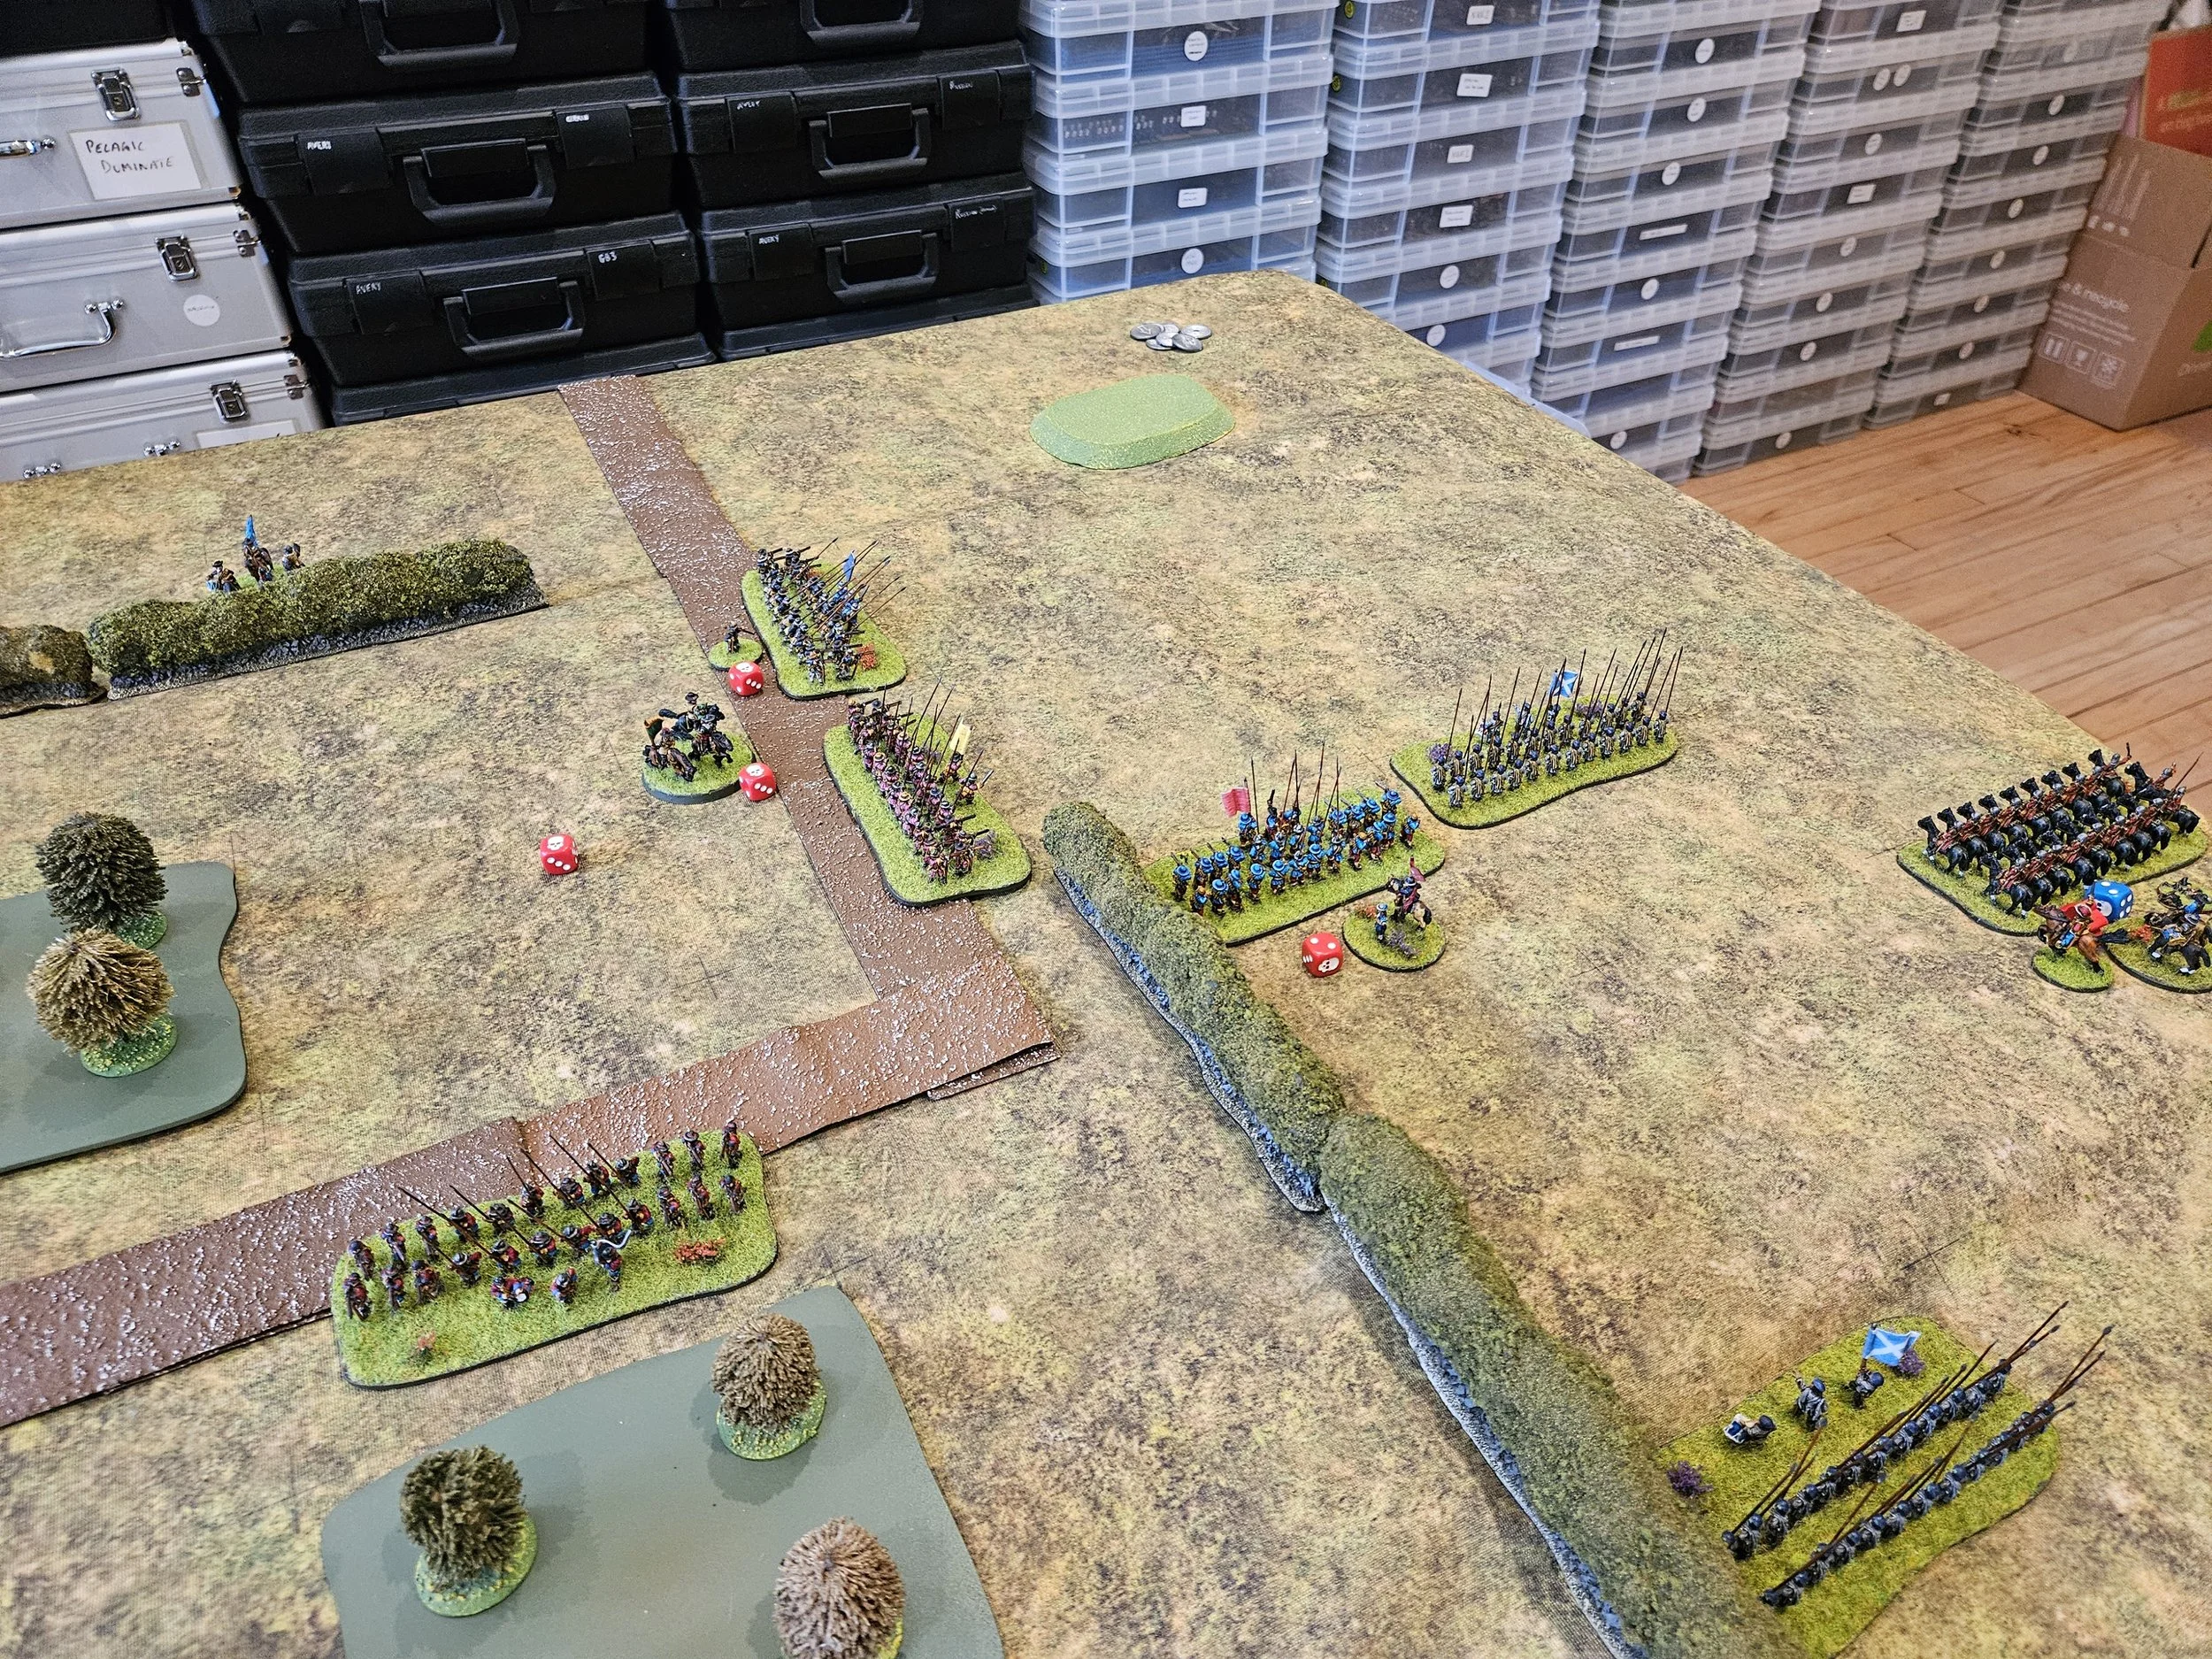
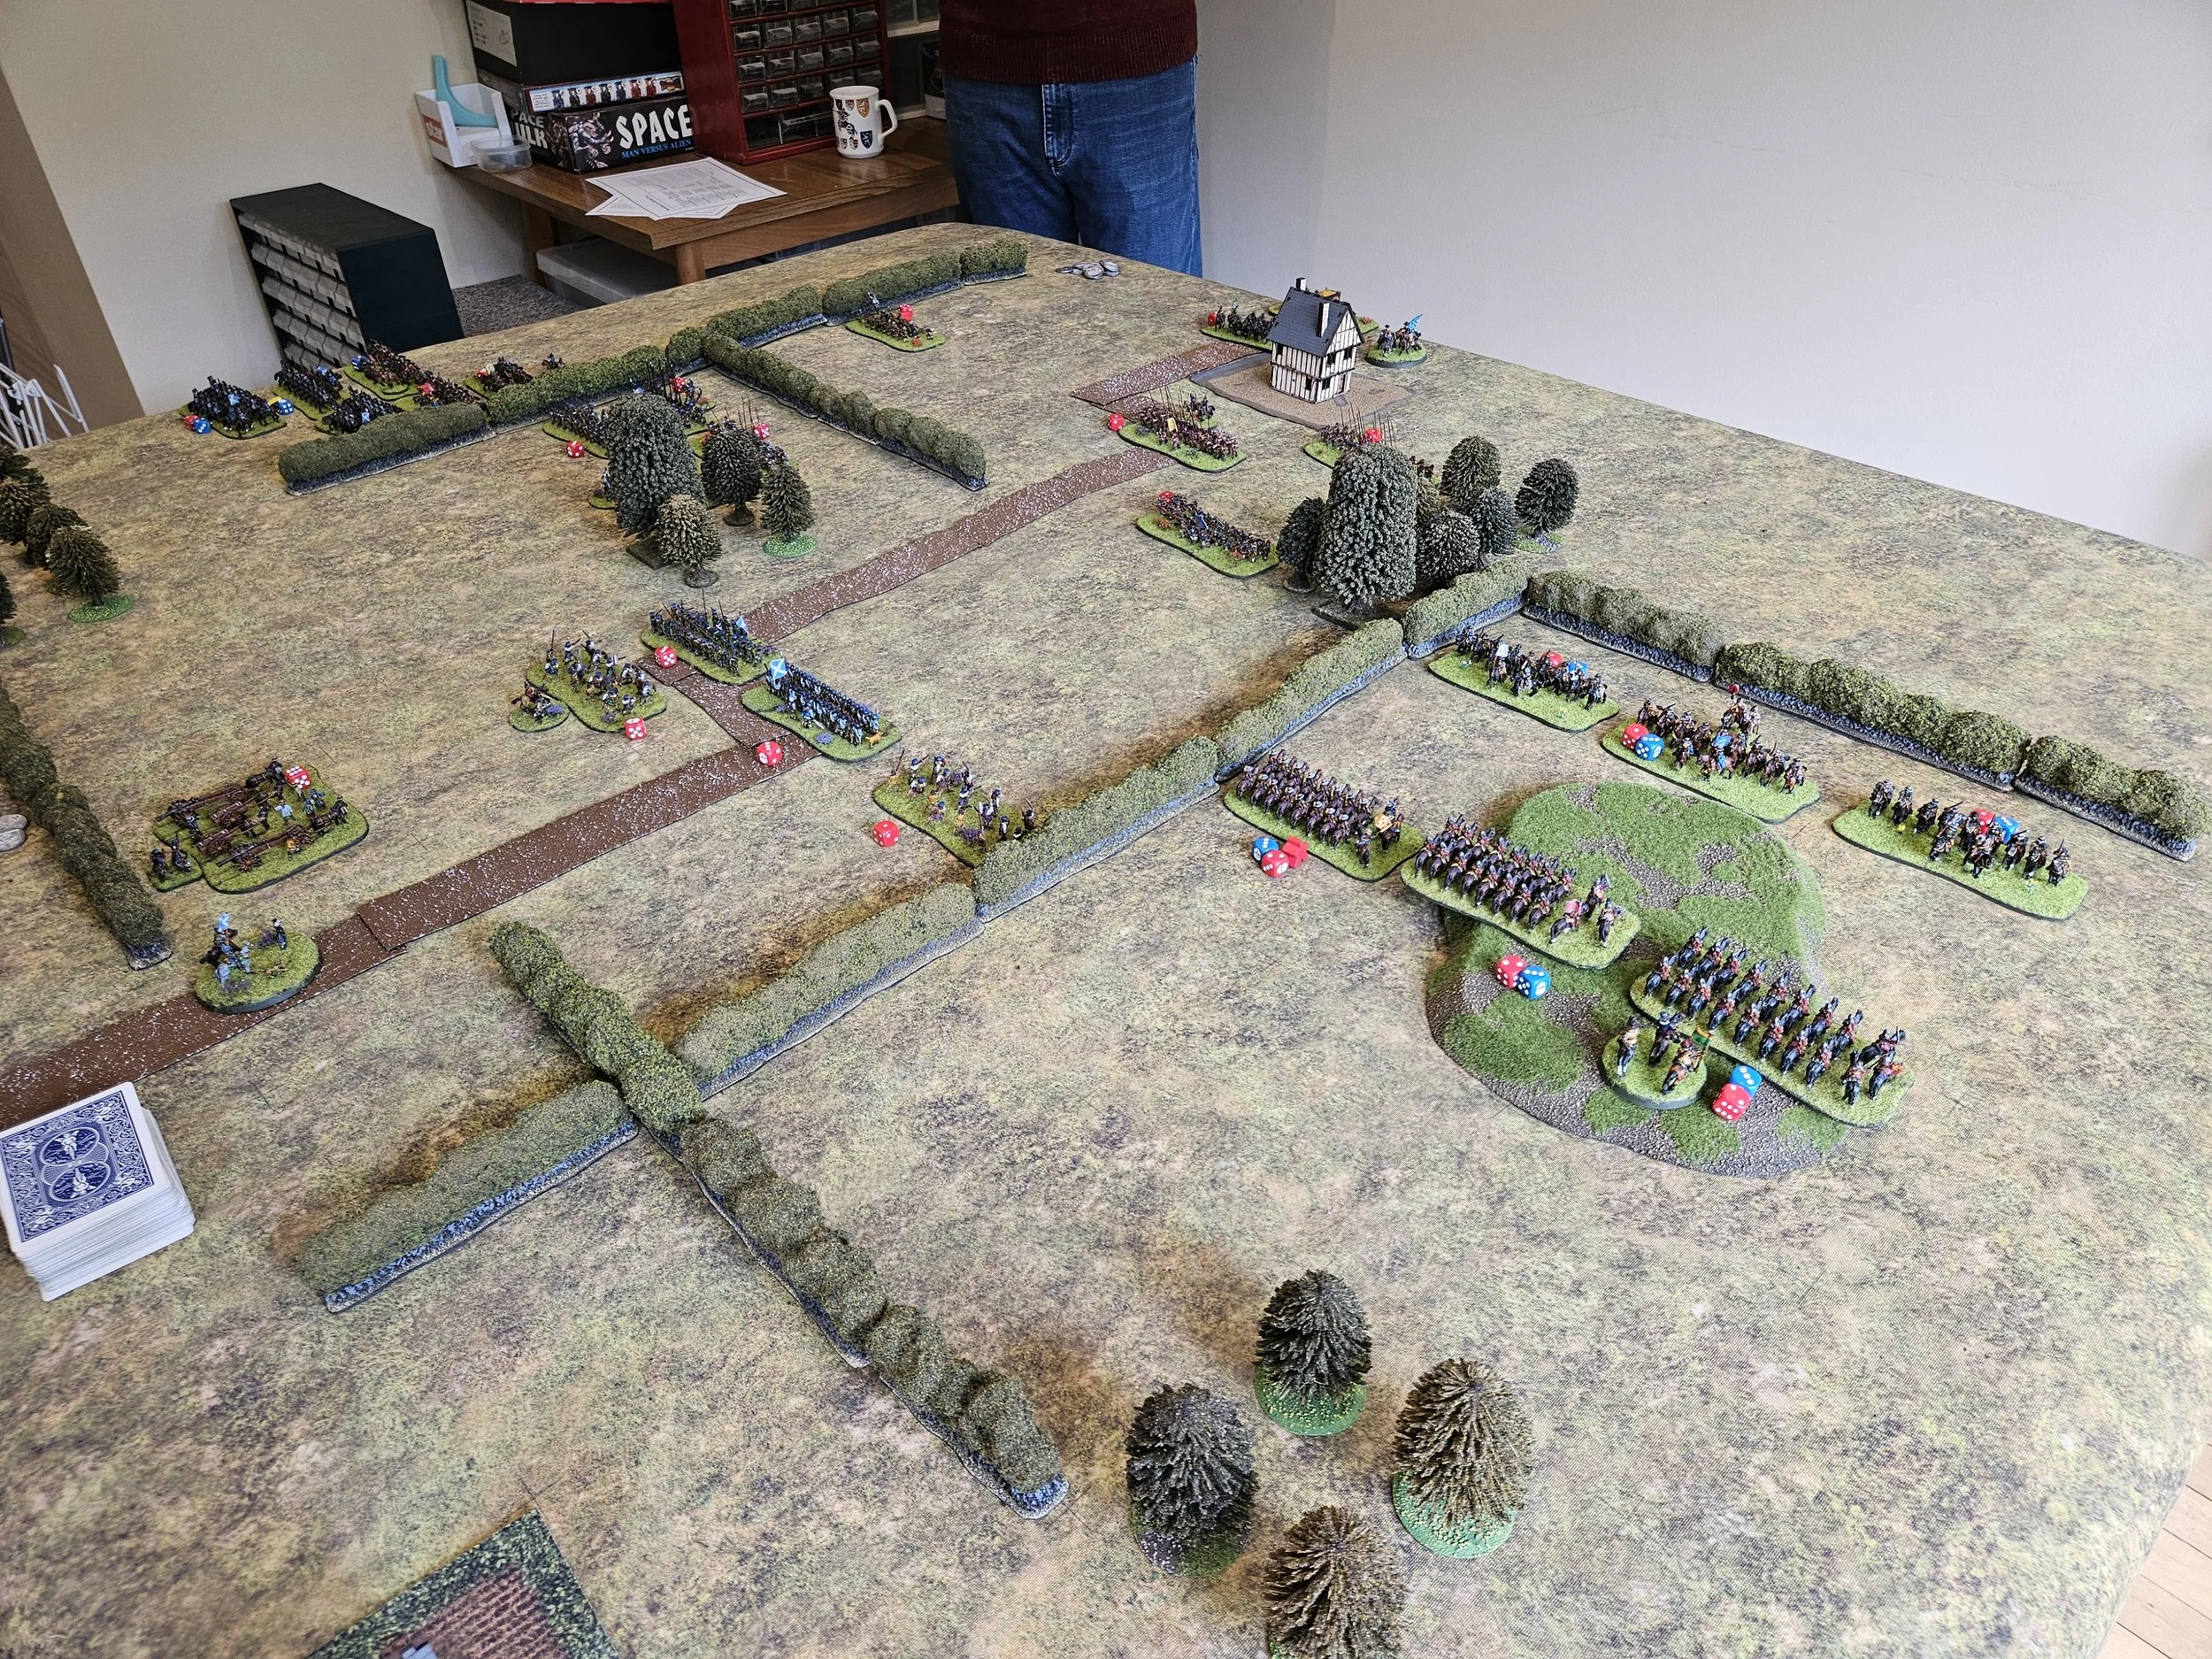
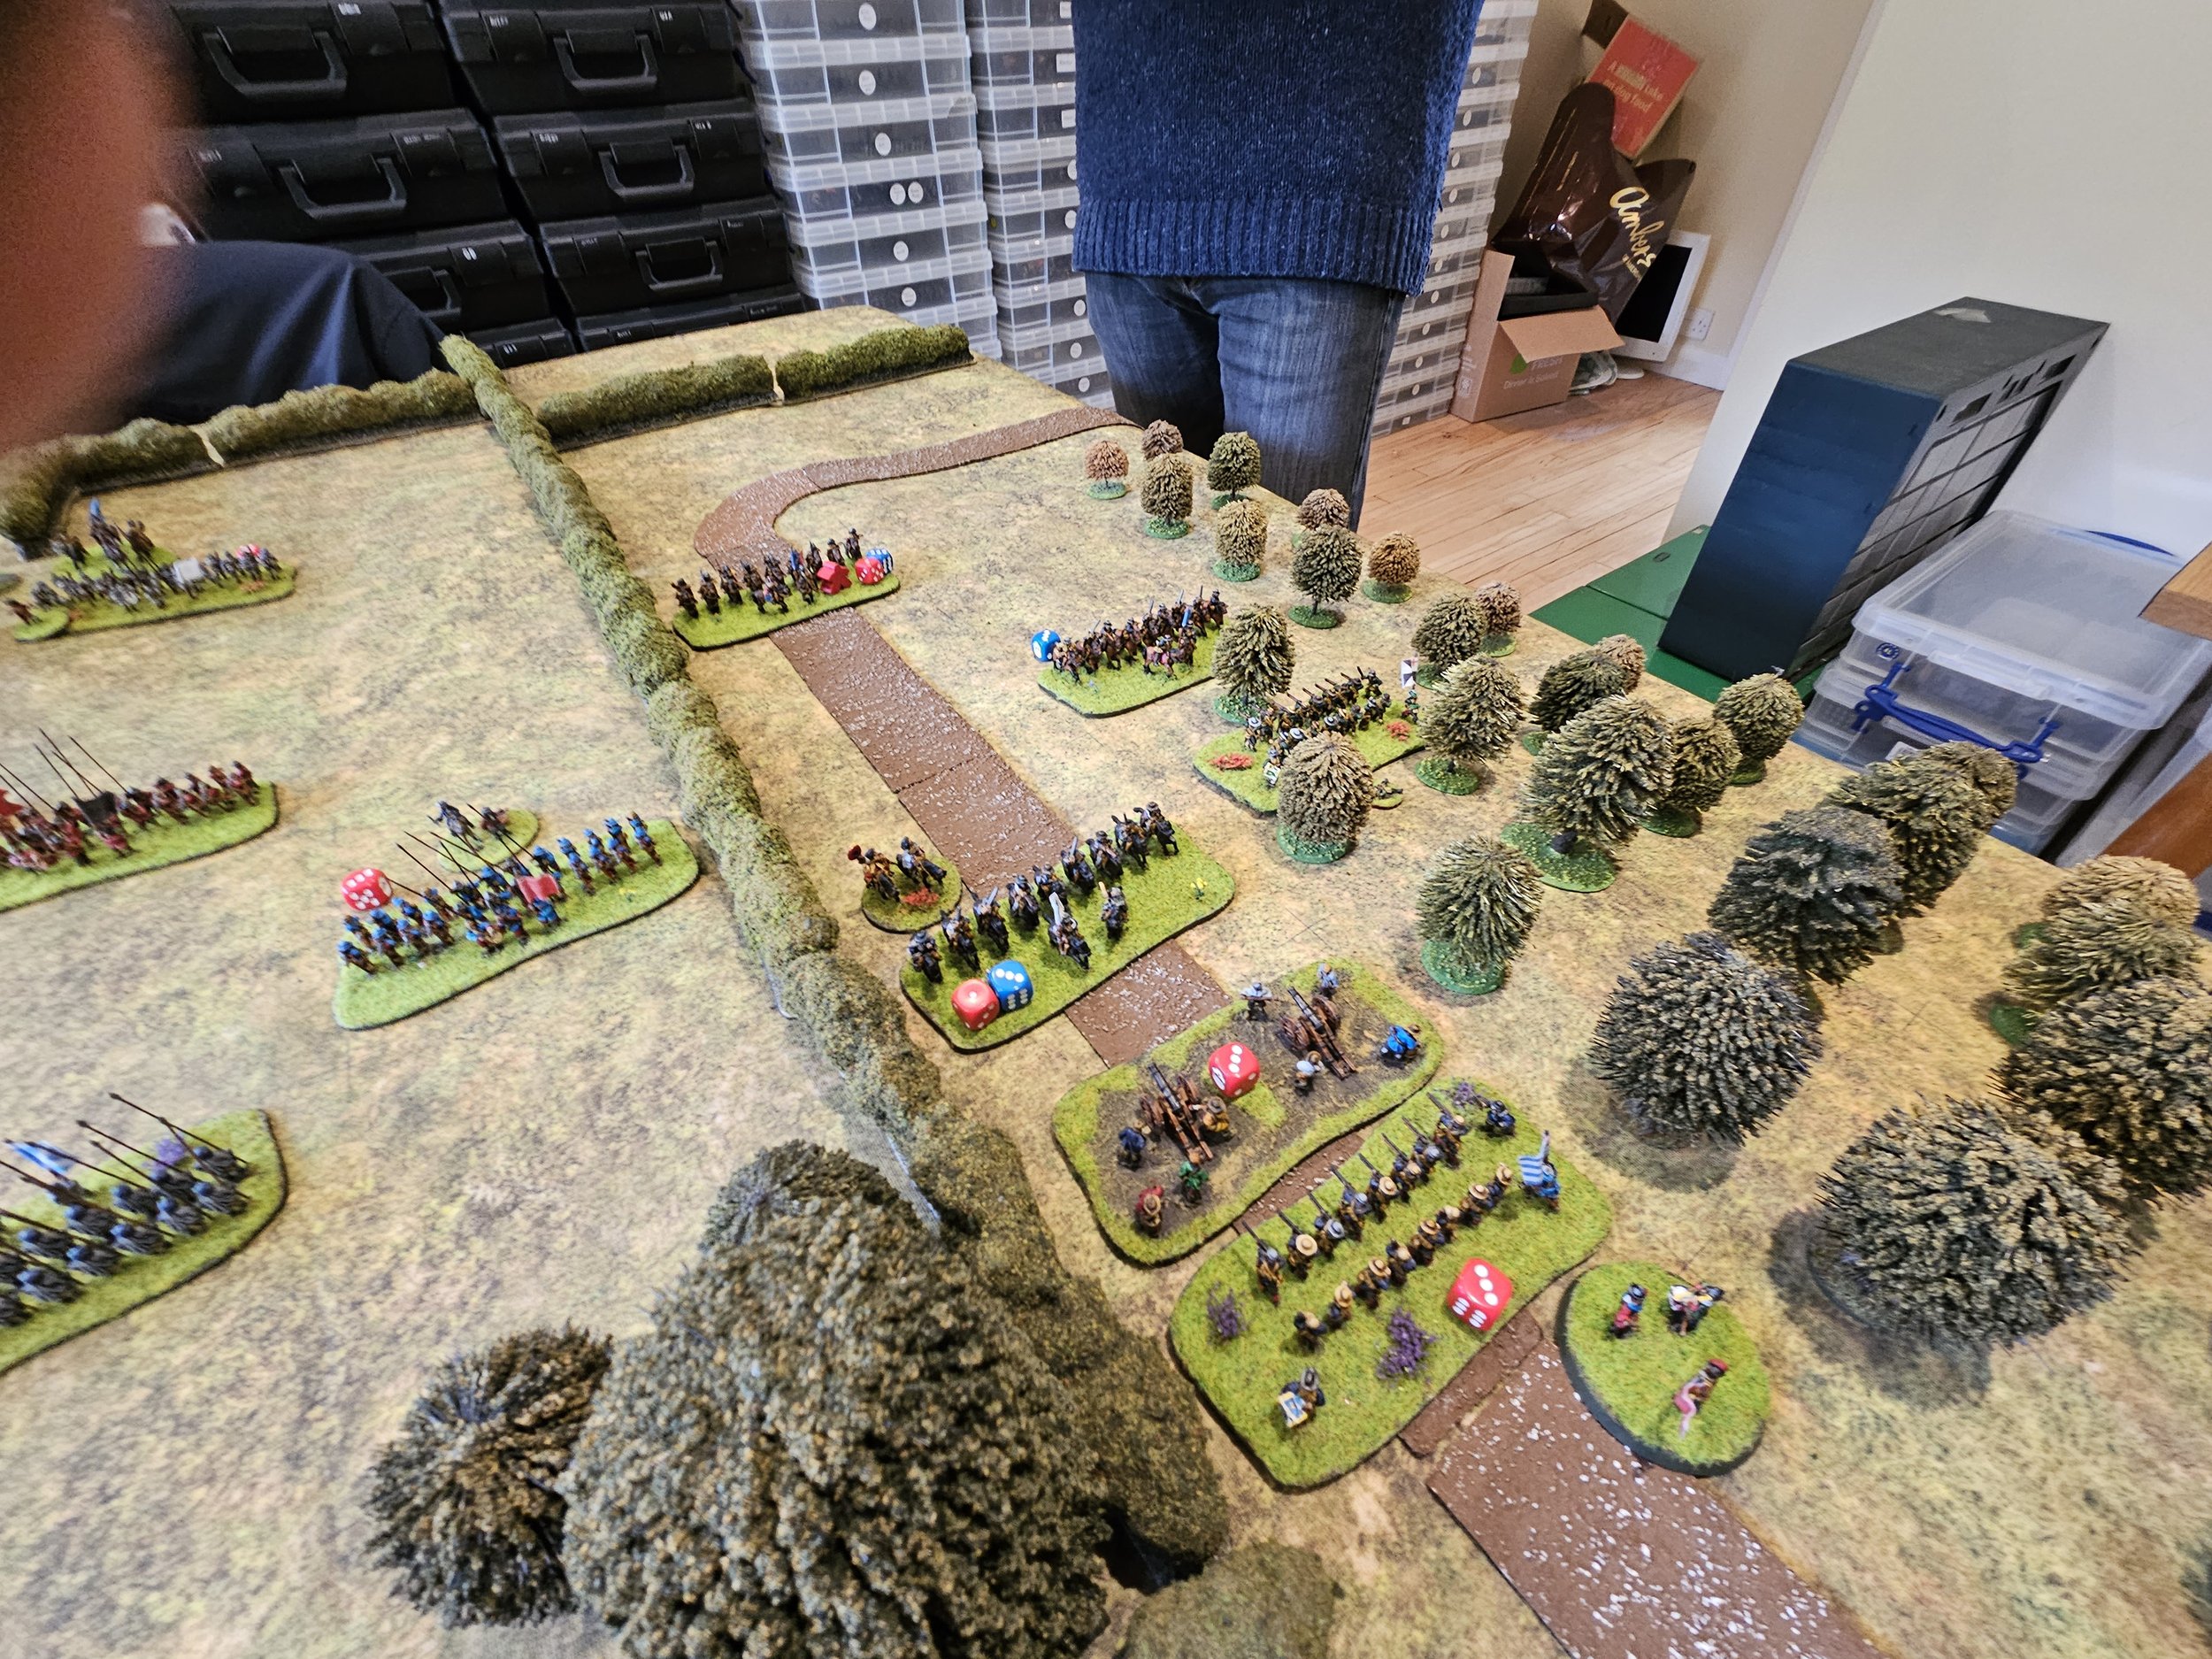
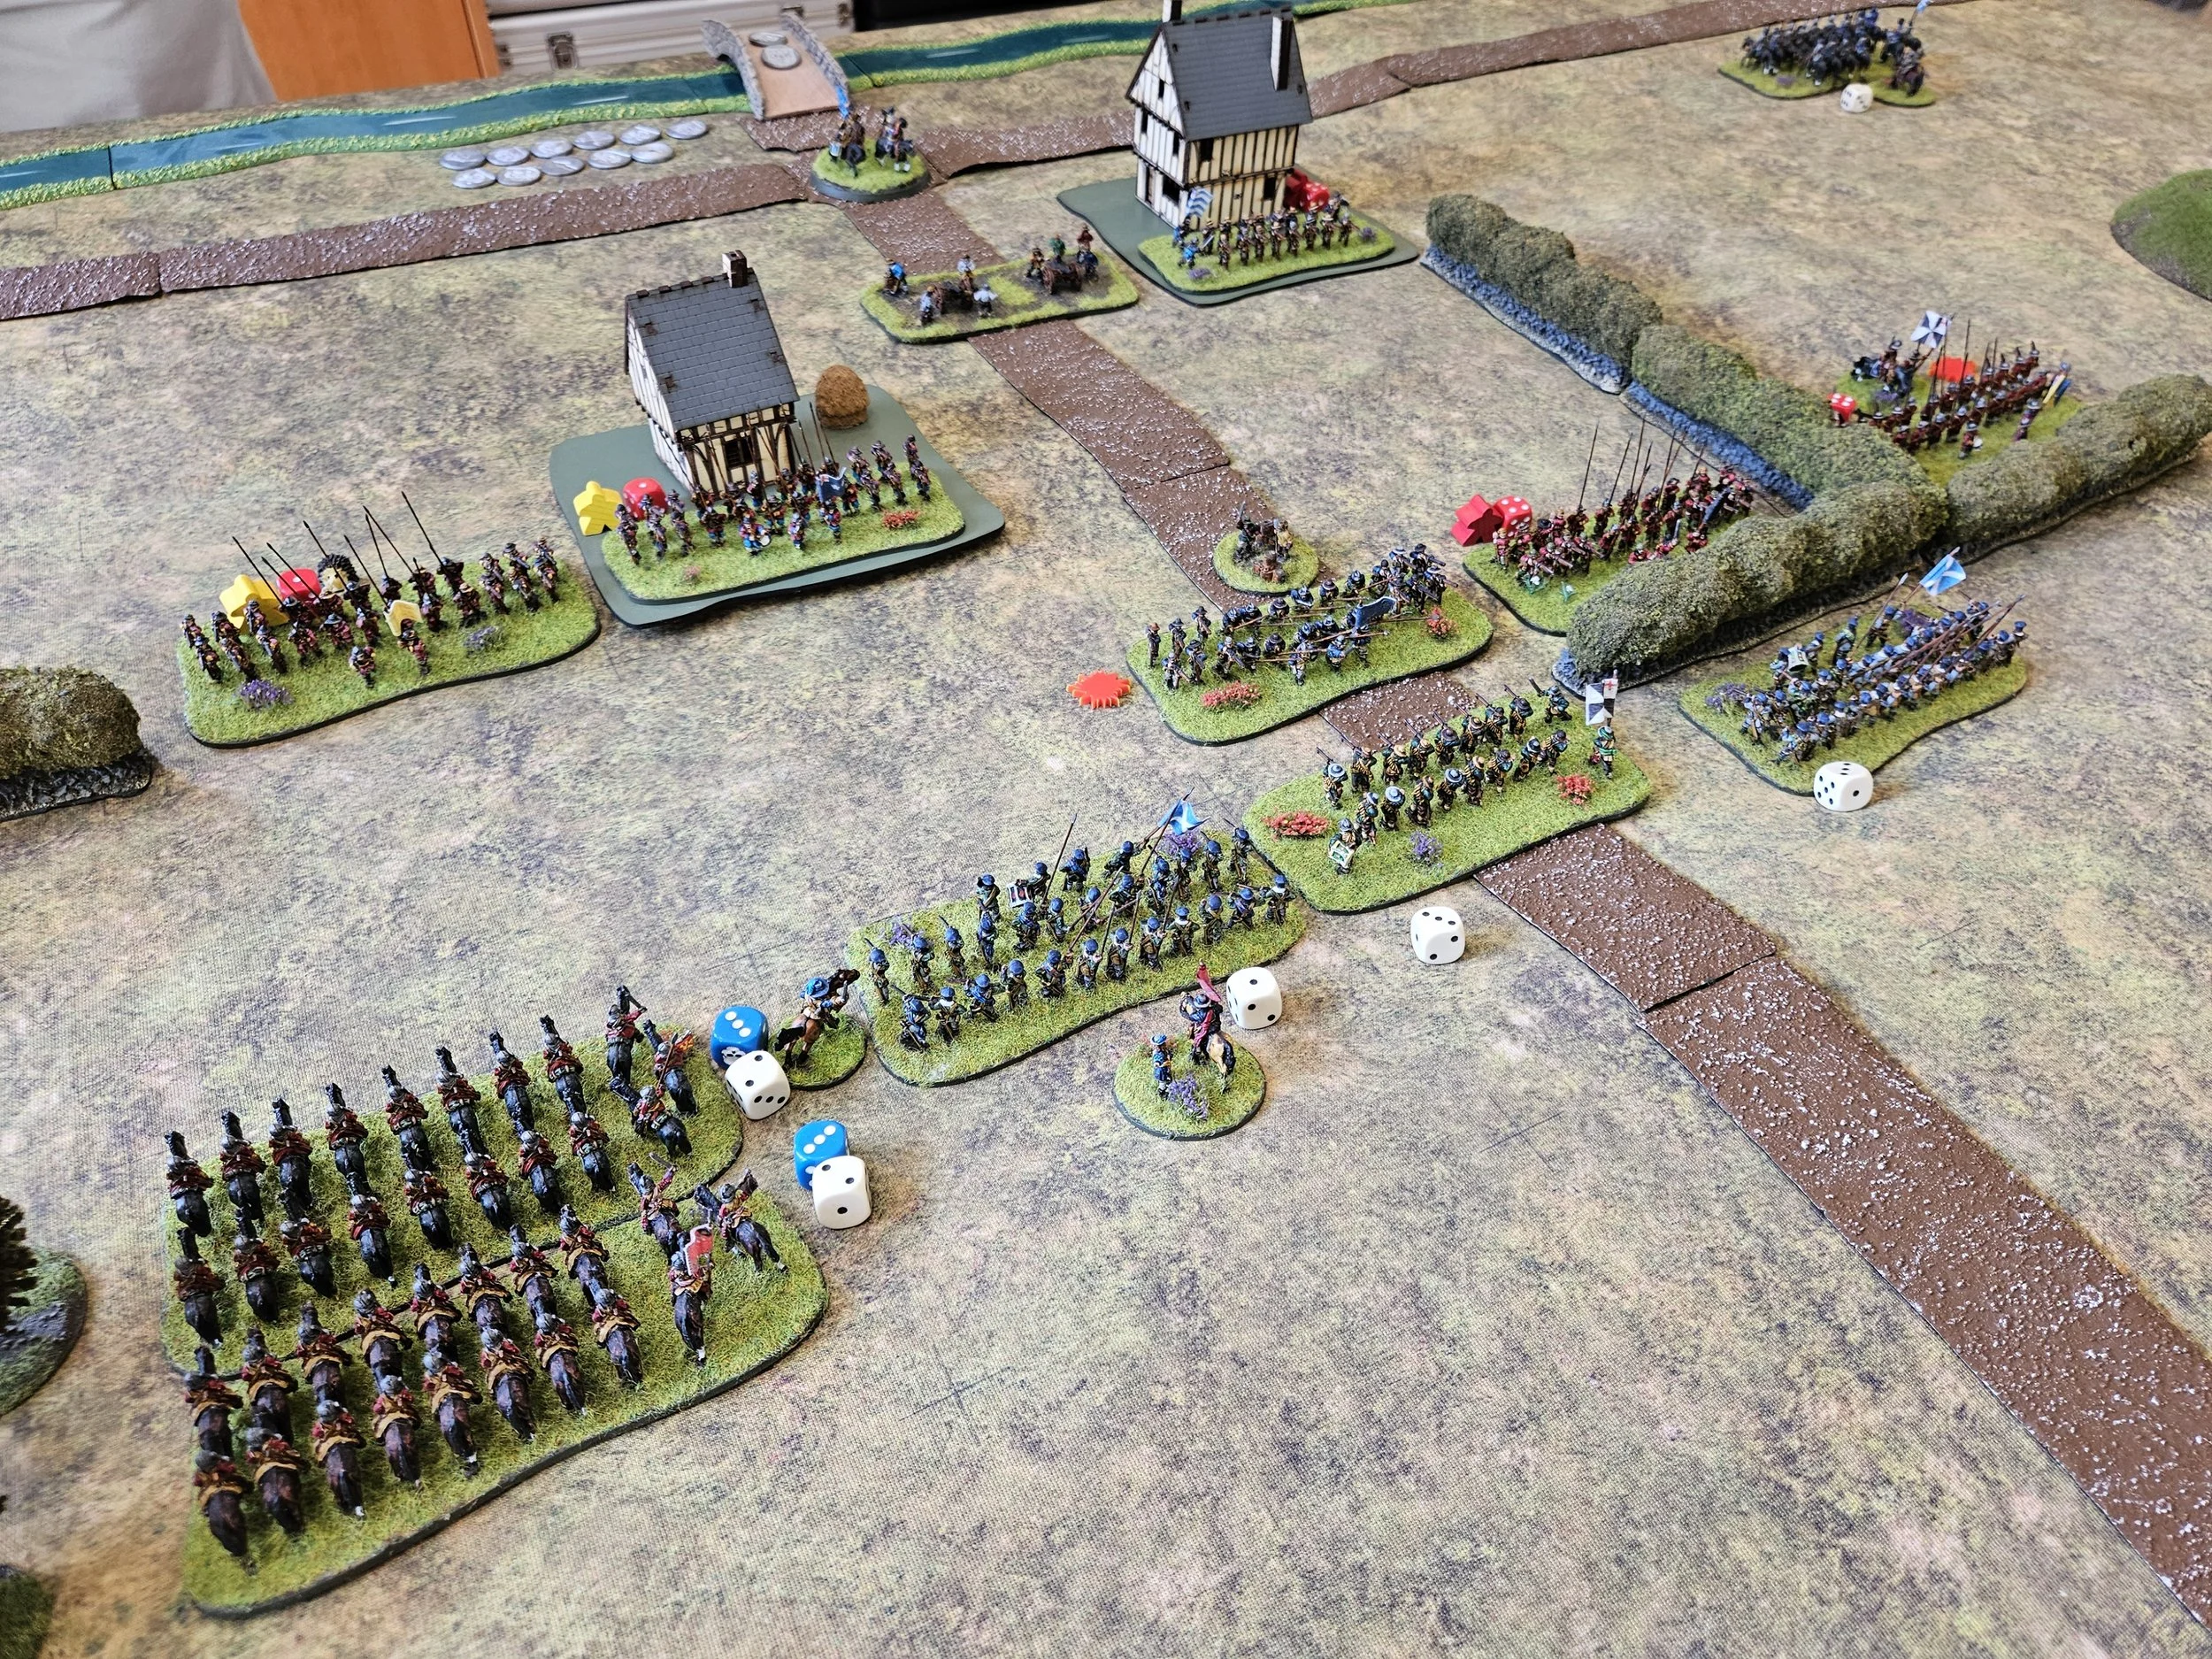
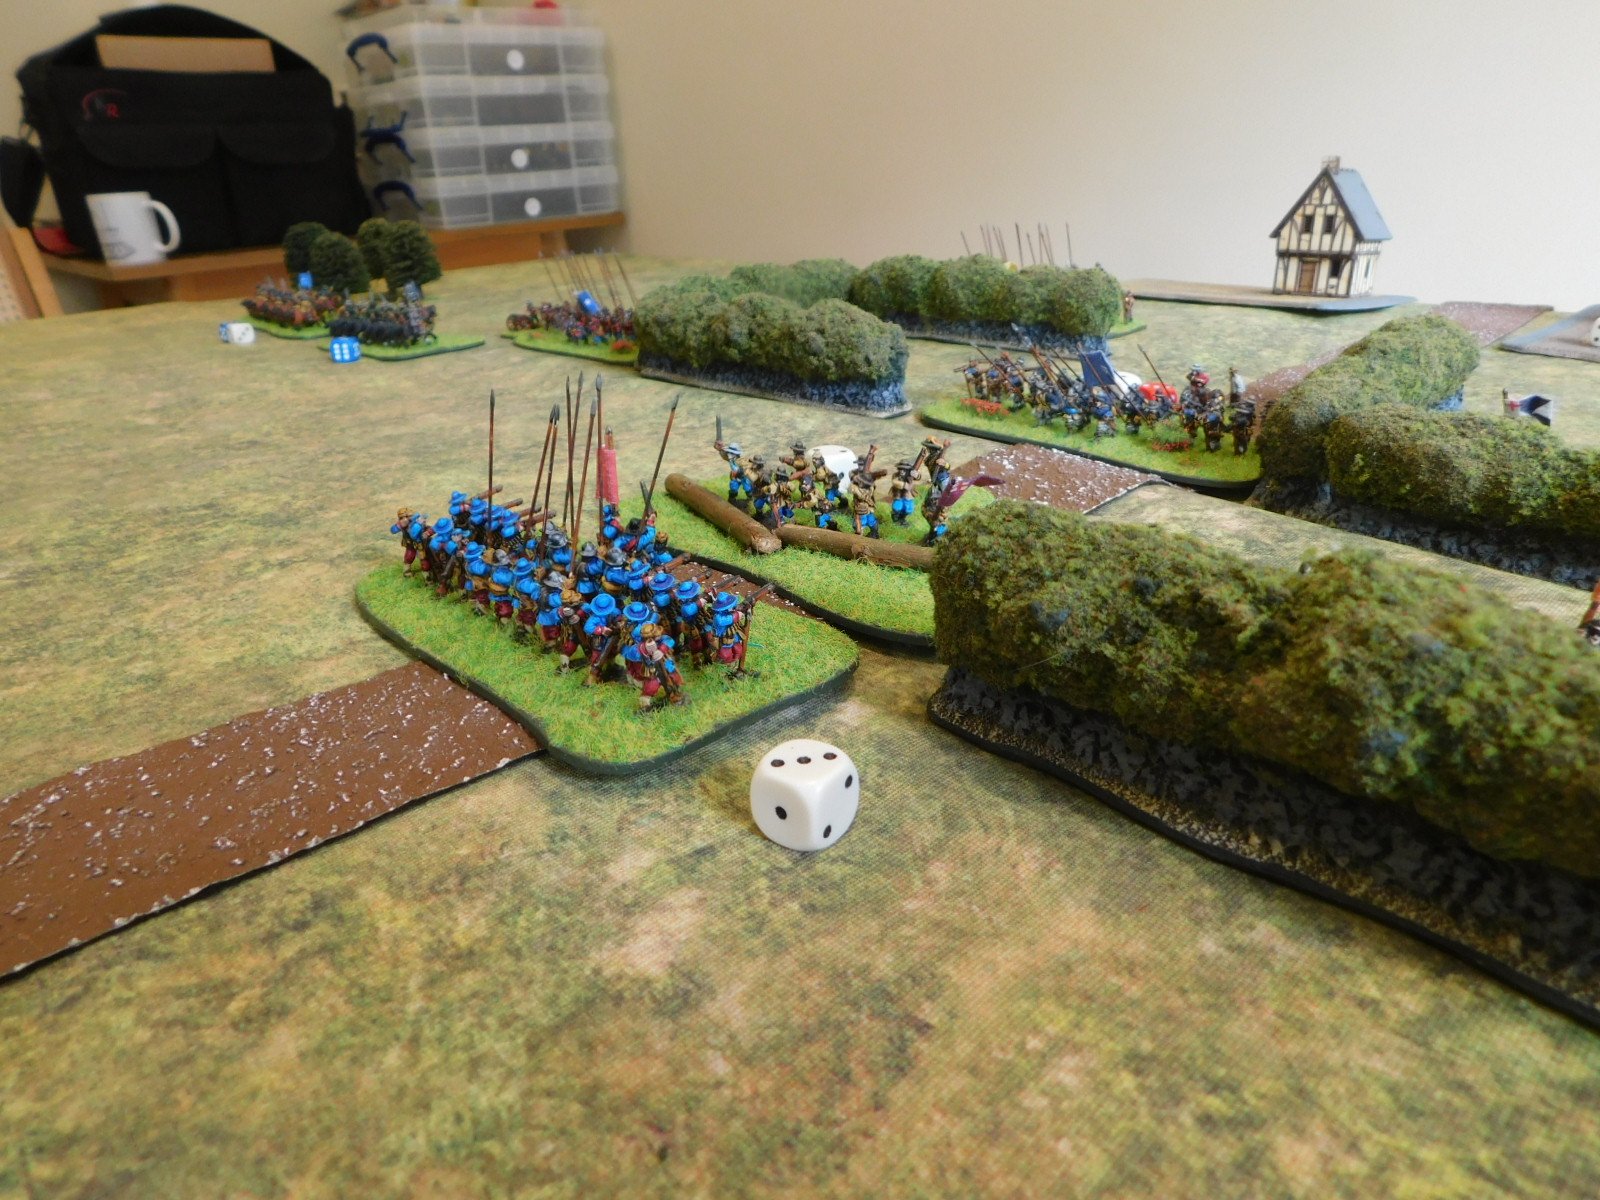
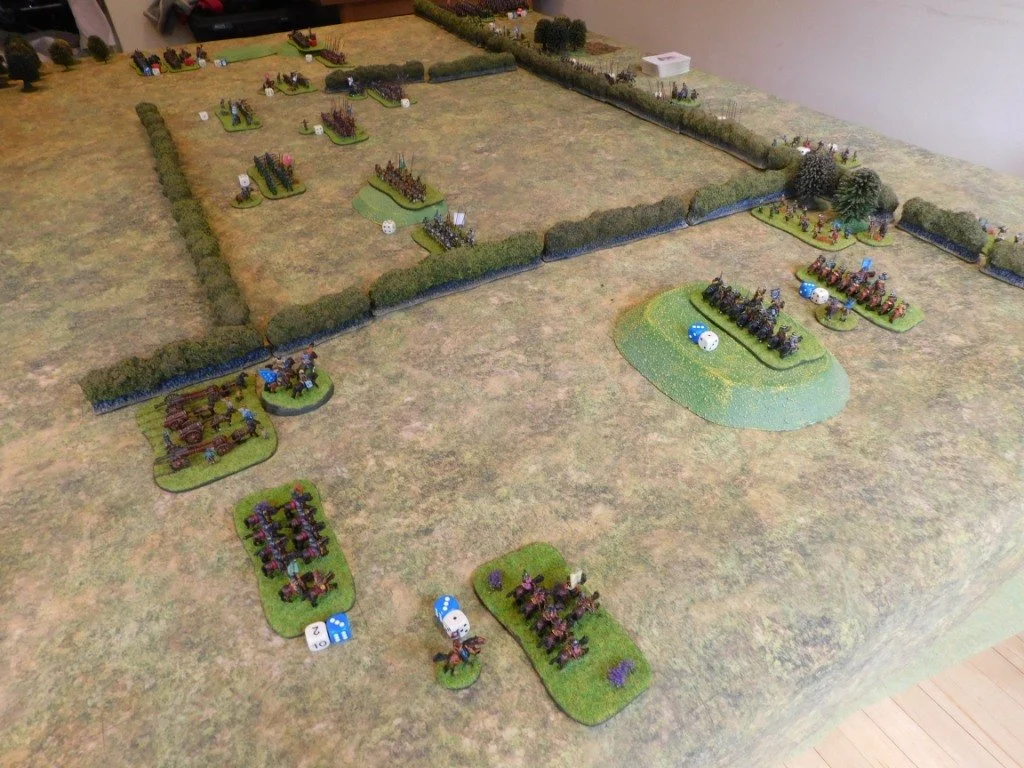
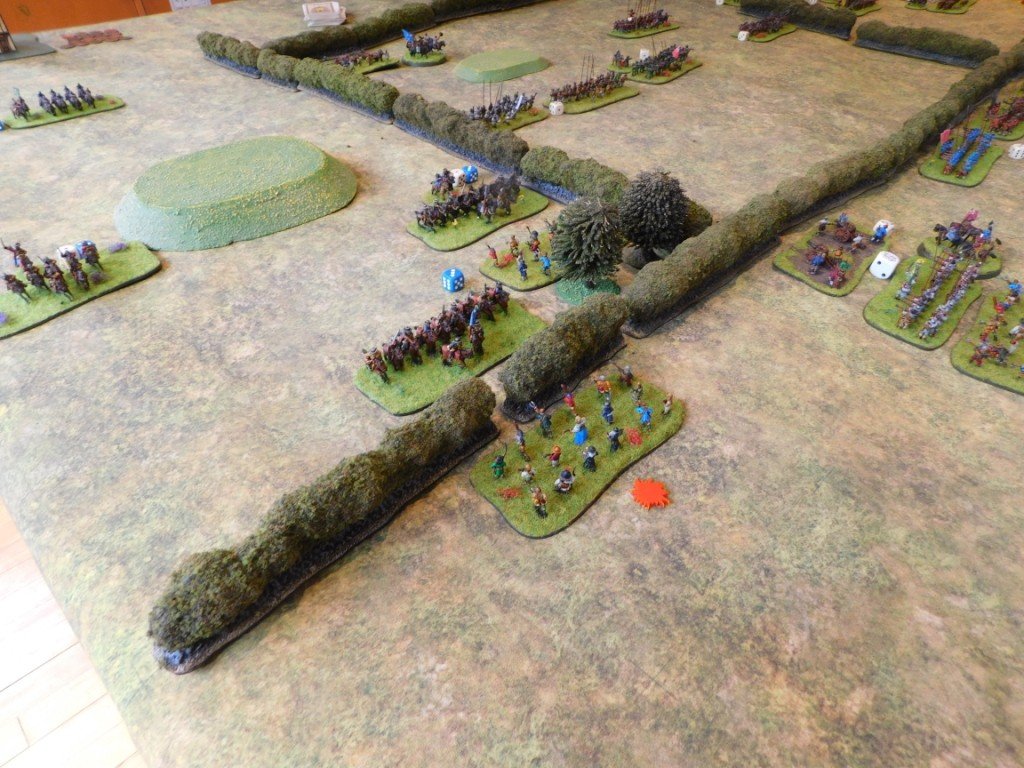
Meanwhile, back in the centre, I had advanced quickly forward. On the right side, I had no wish to advance against the Royalist infantry safe behind the hedges of the enclosure, so was happy just to block their exit. In the centre centre, I advanced forward quickly in order to gain the initiative. Both sides avoided moving troops into the ground between Norchester and my works: too swept by artillery to be safe!

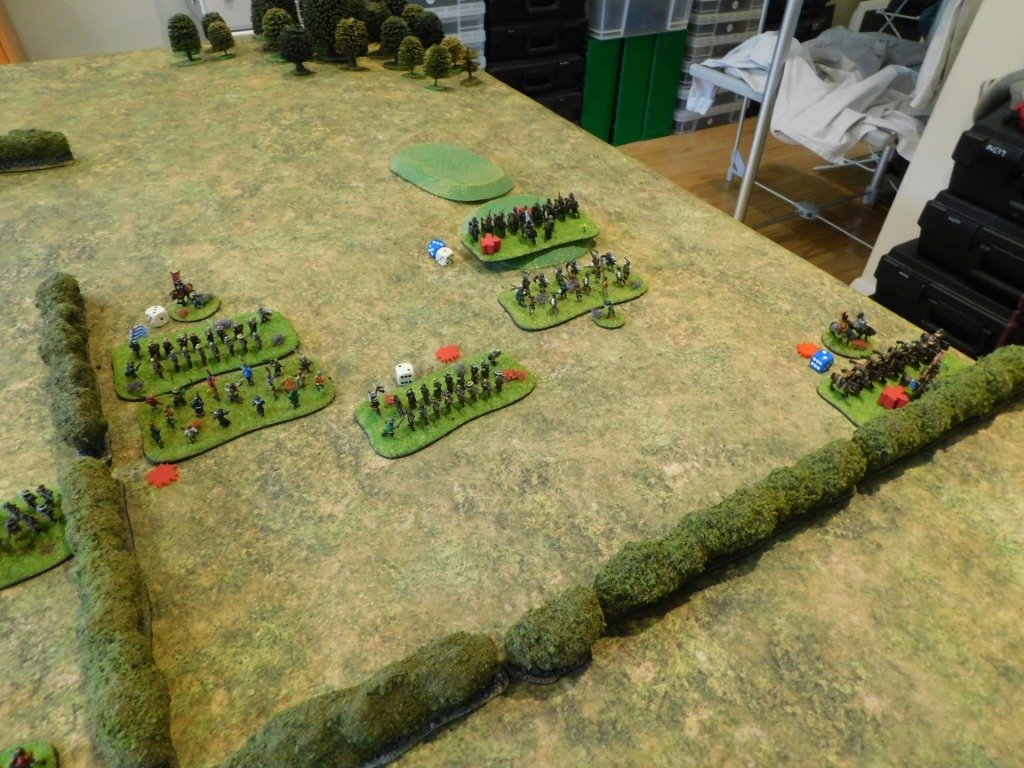
Battle was soon joined, and a general melee broke out:

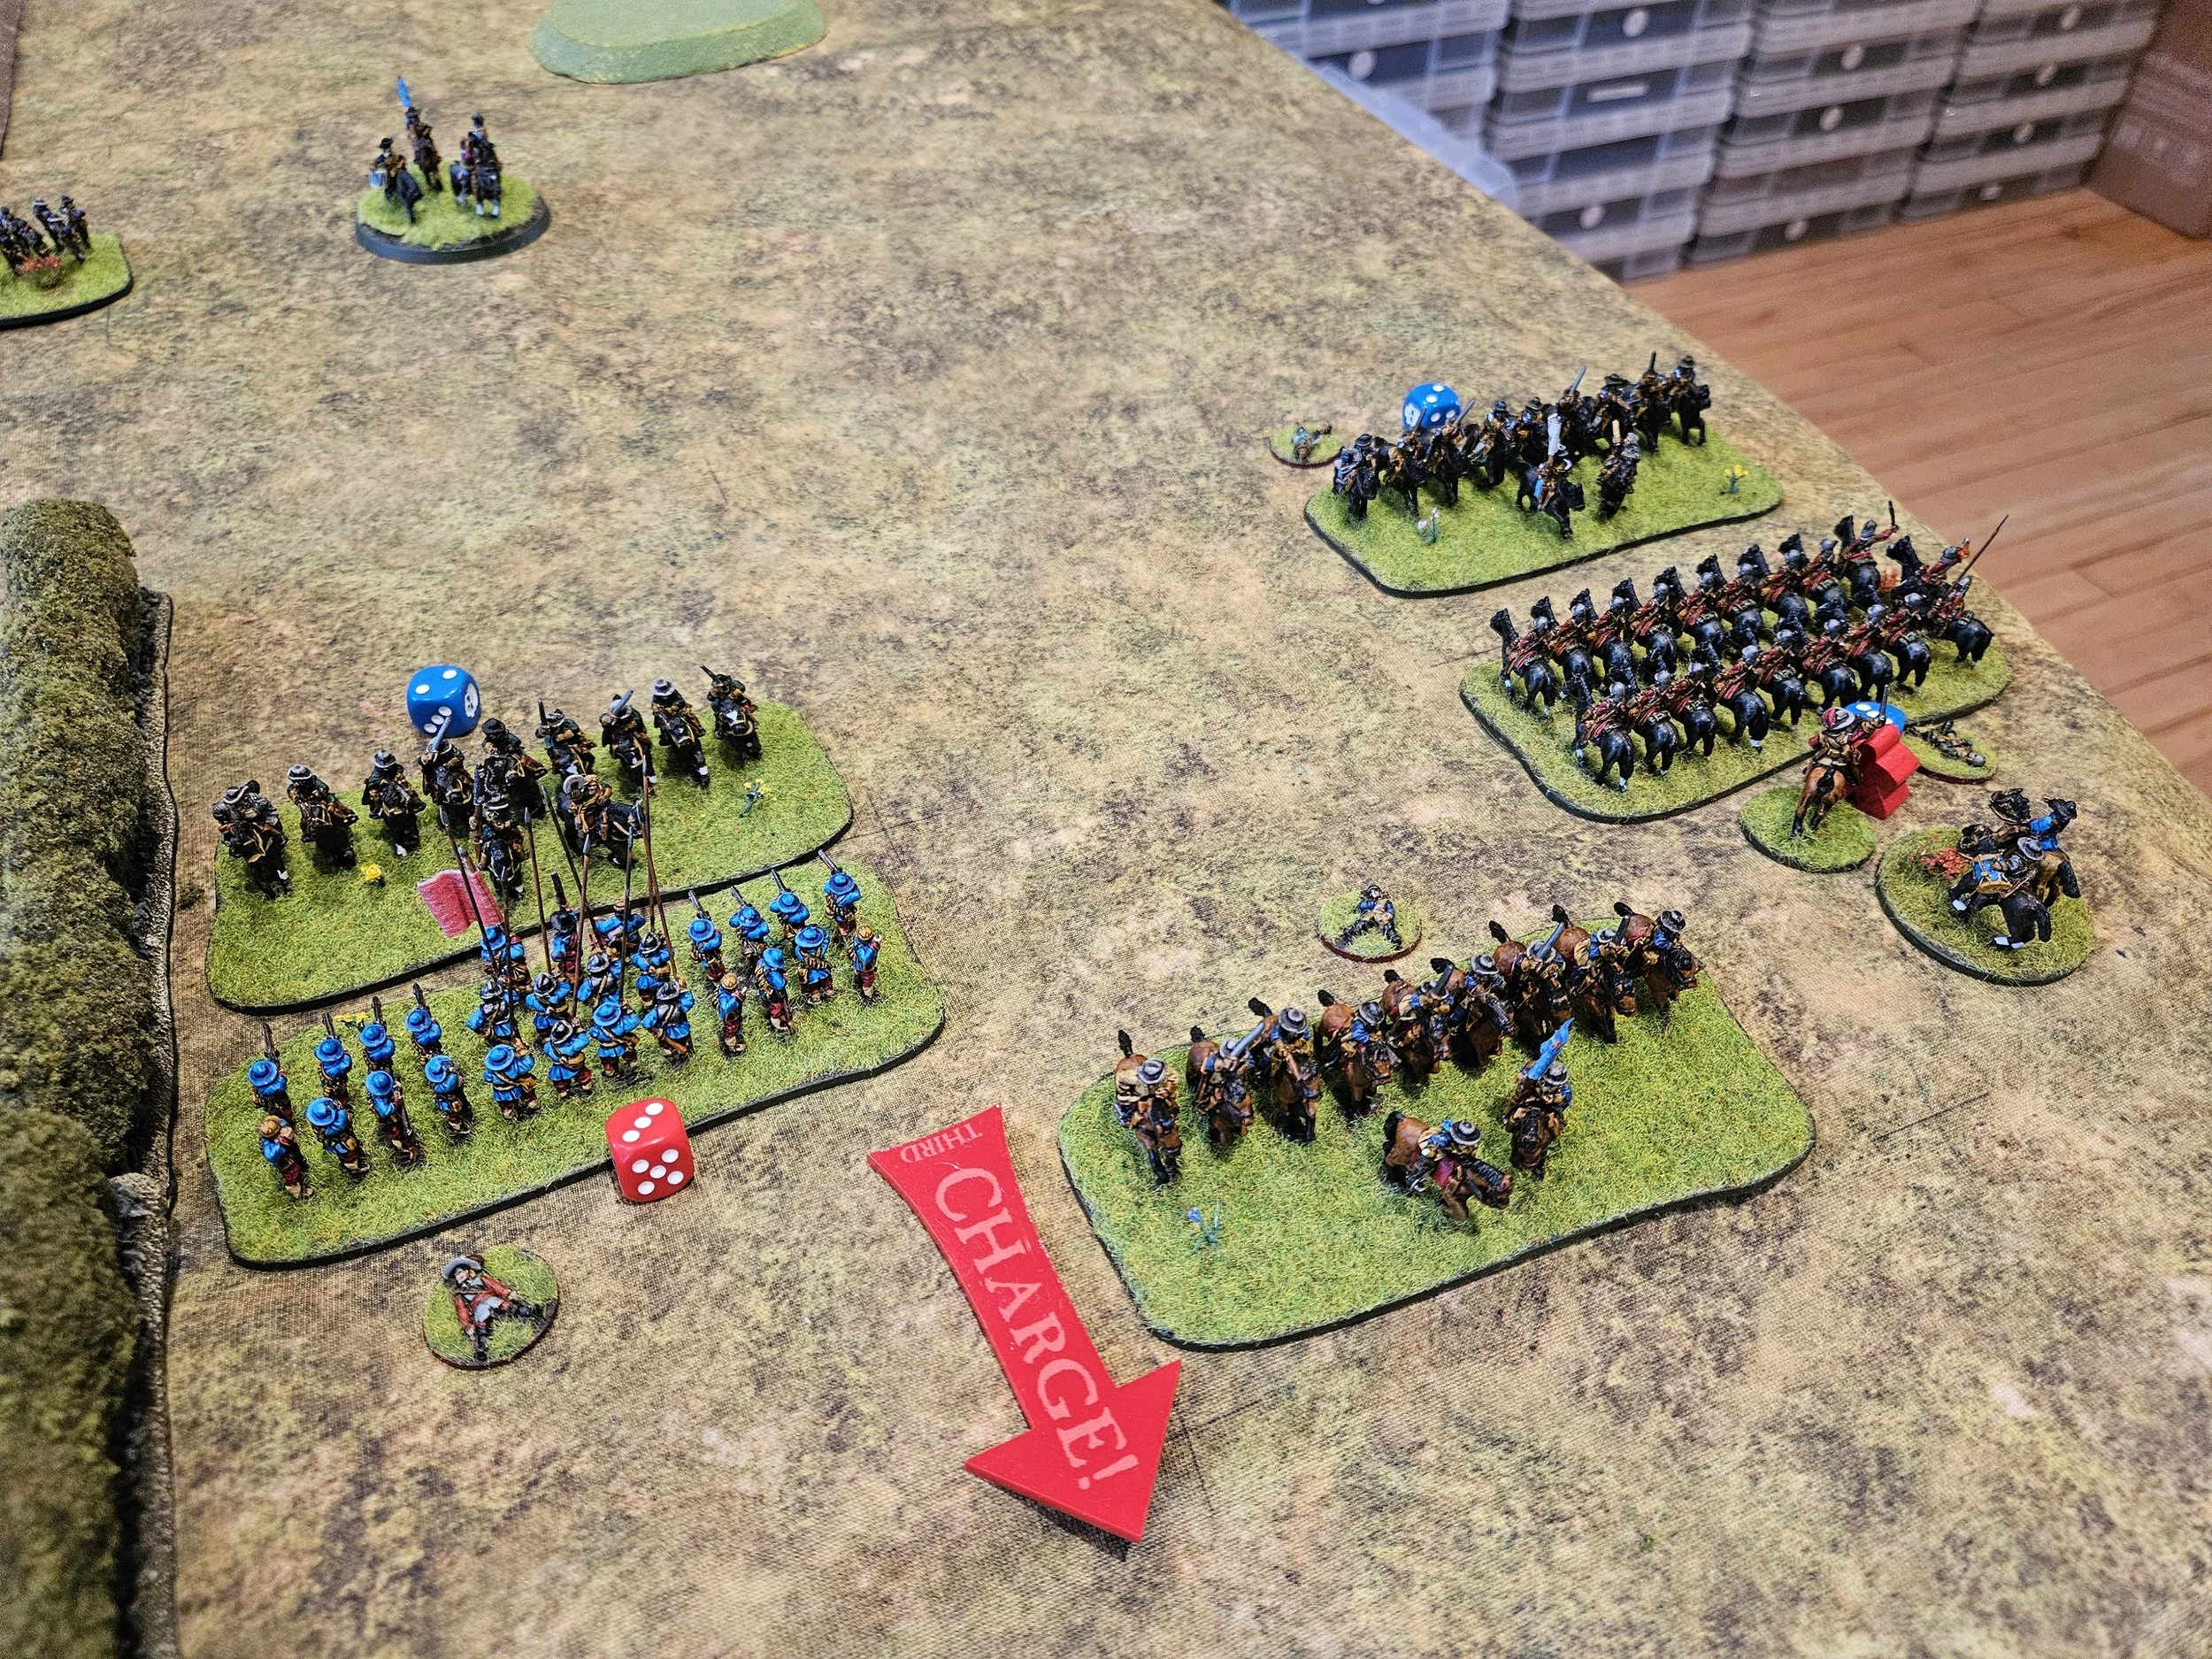
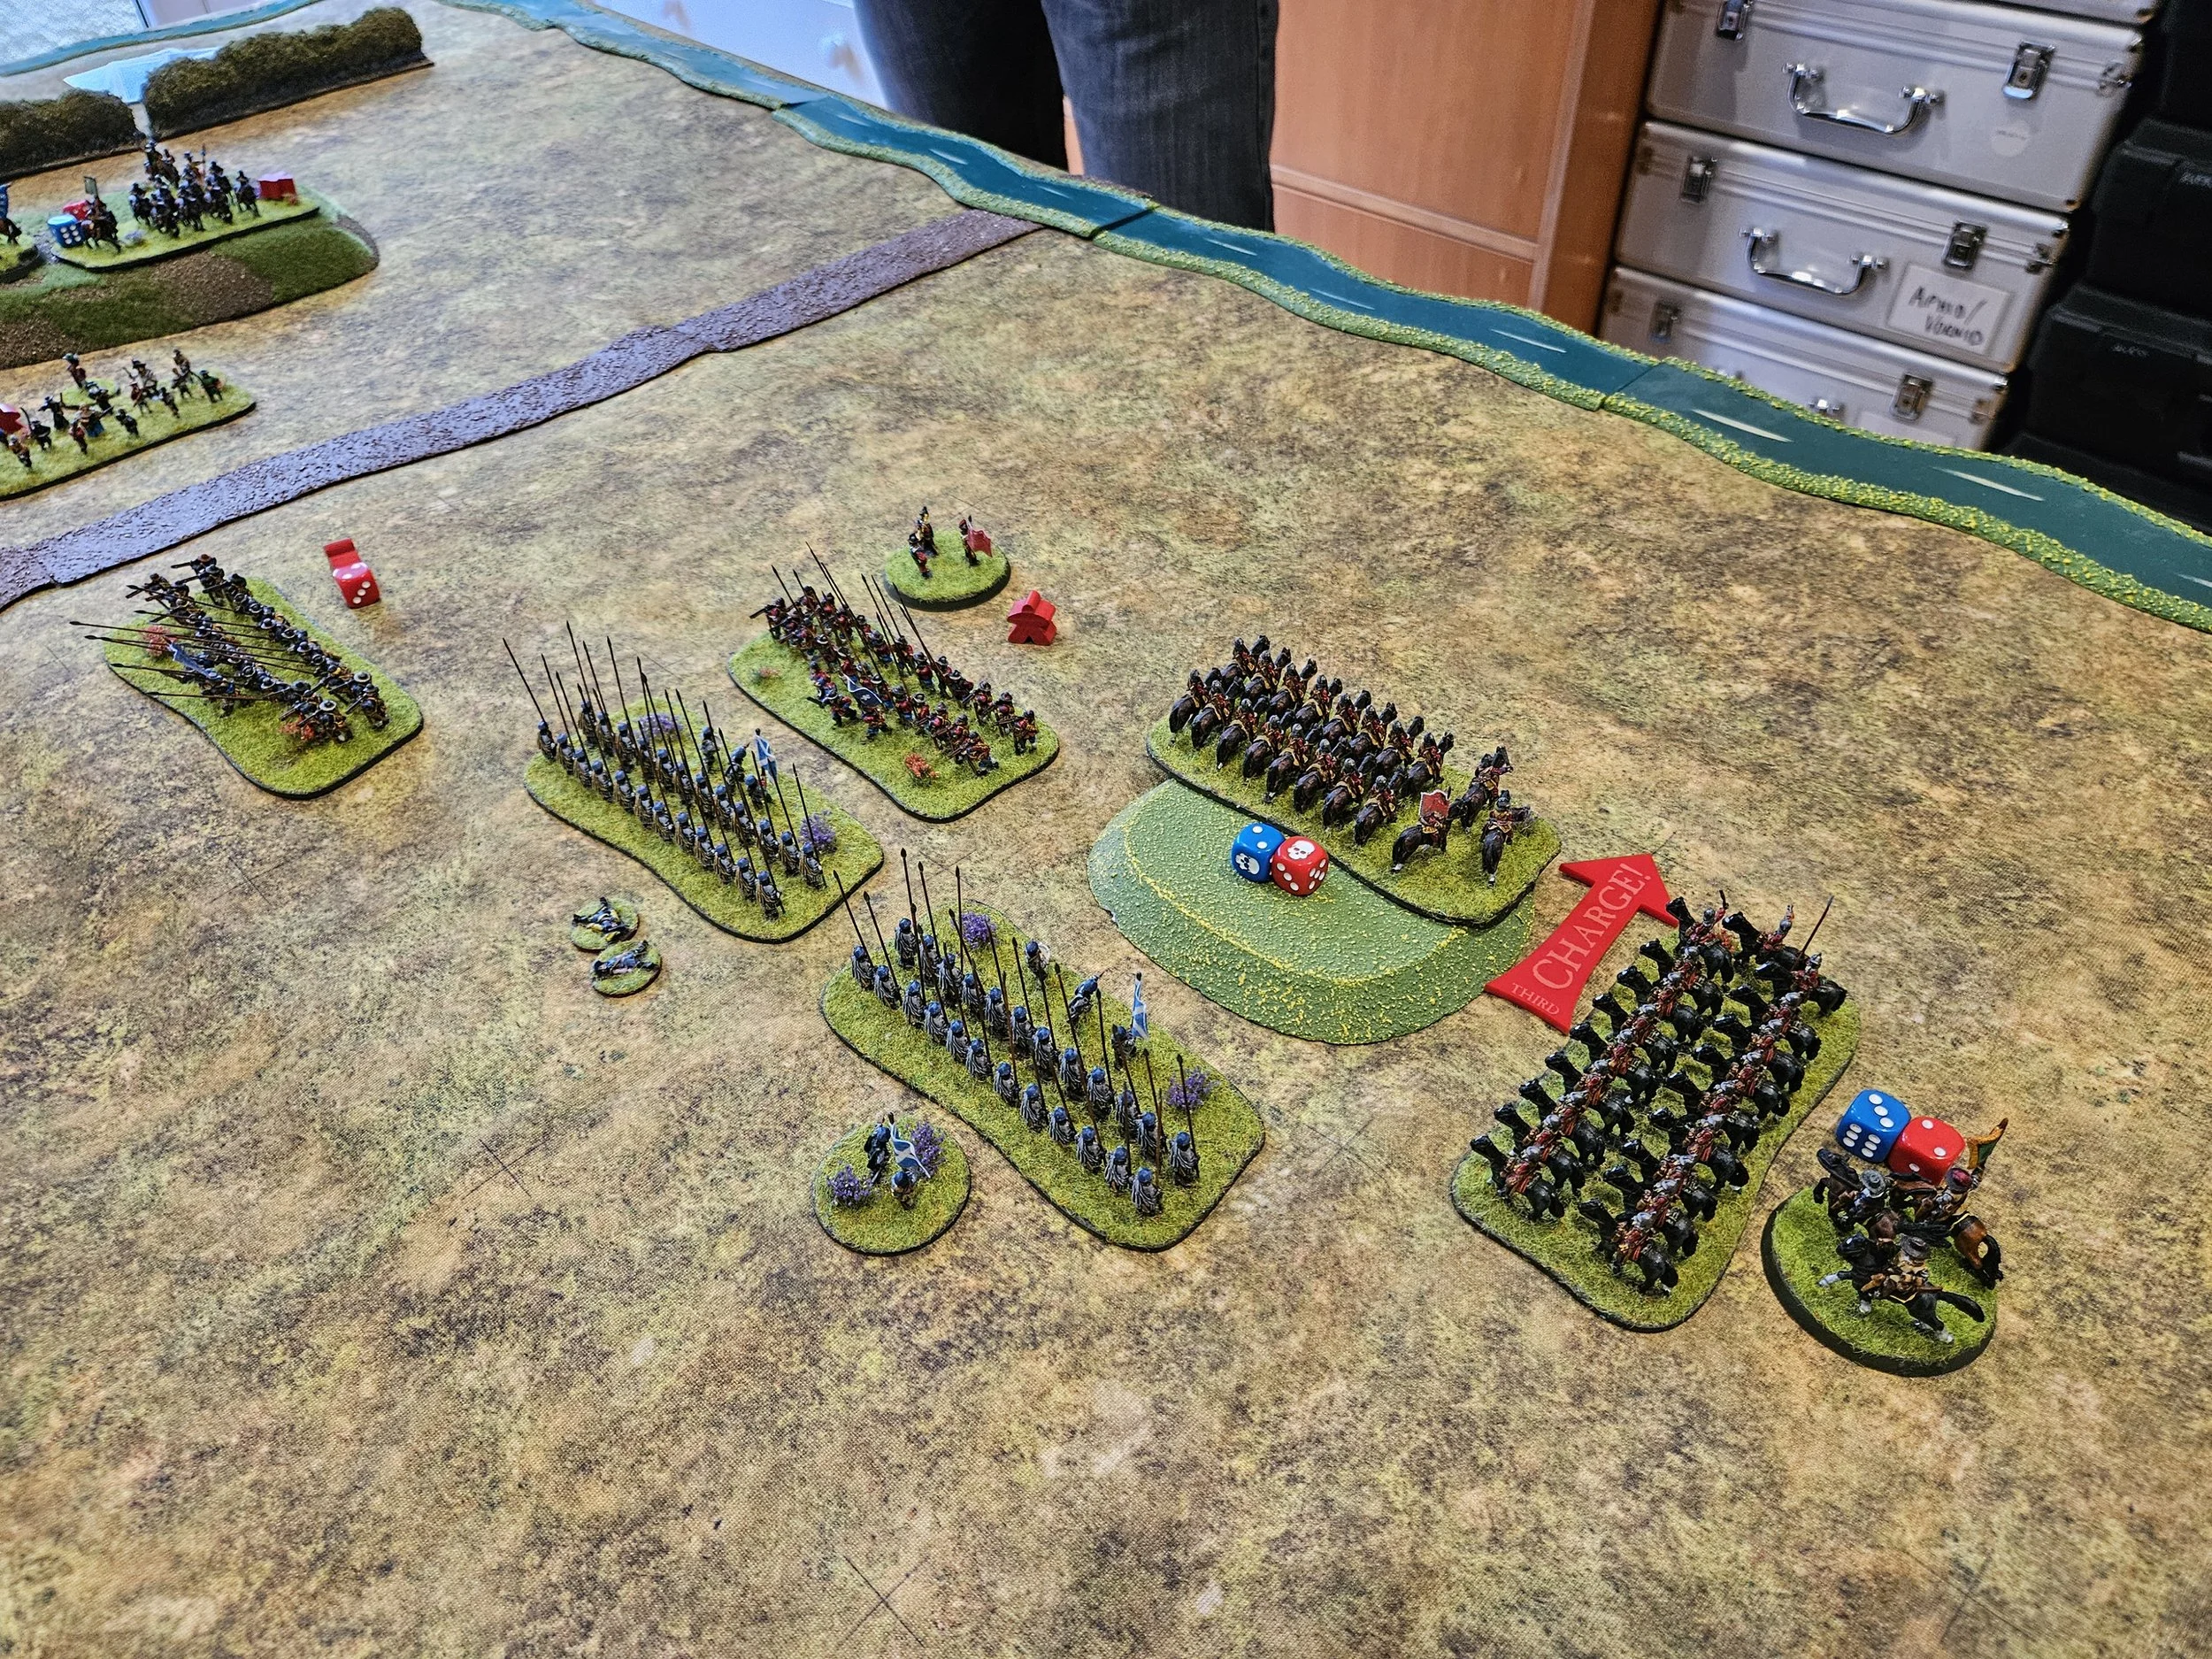
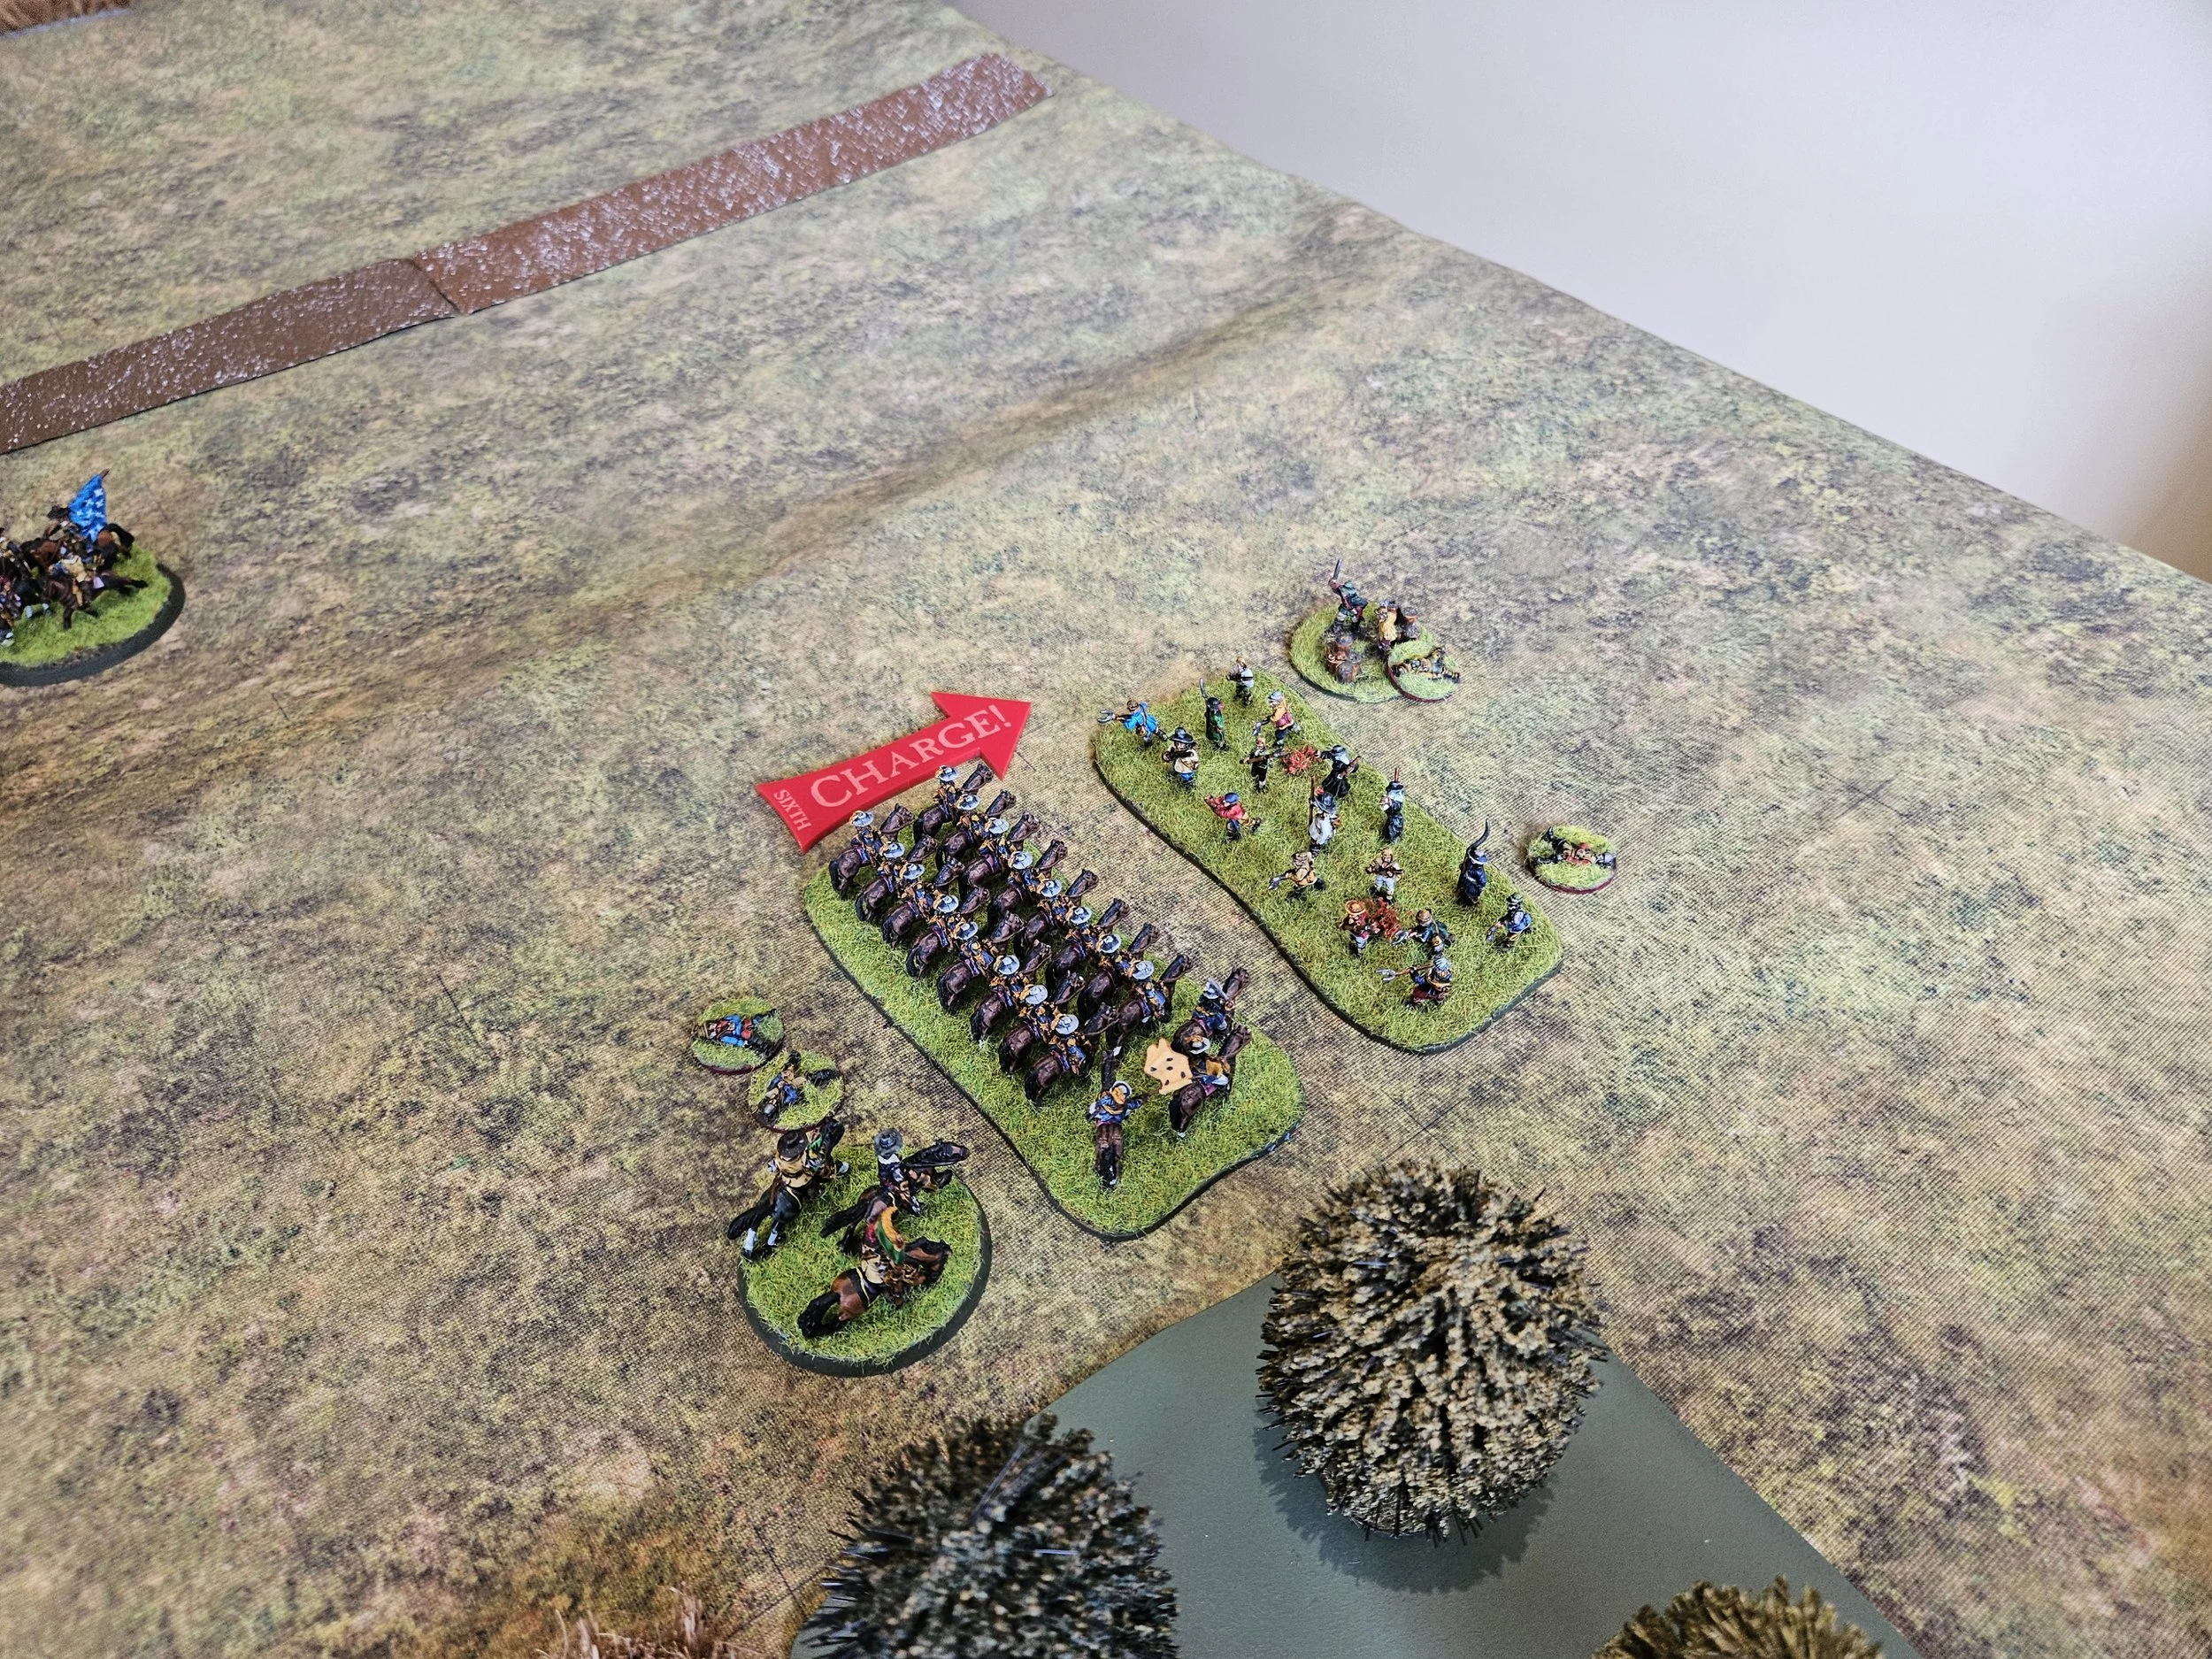
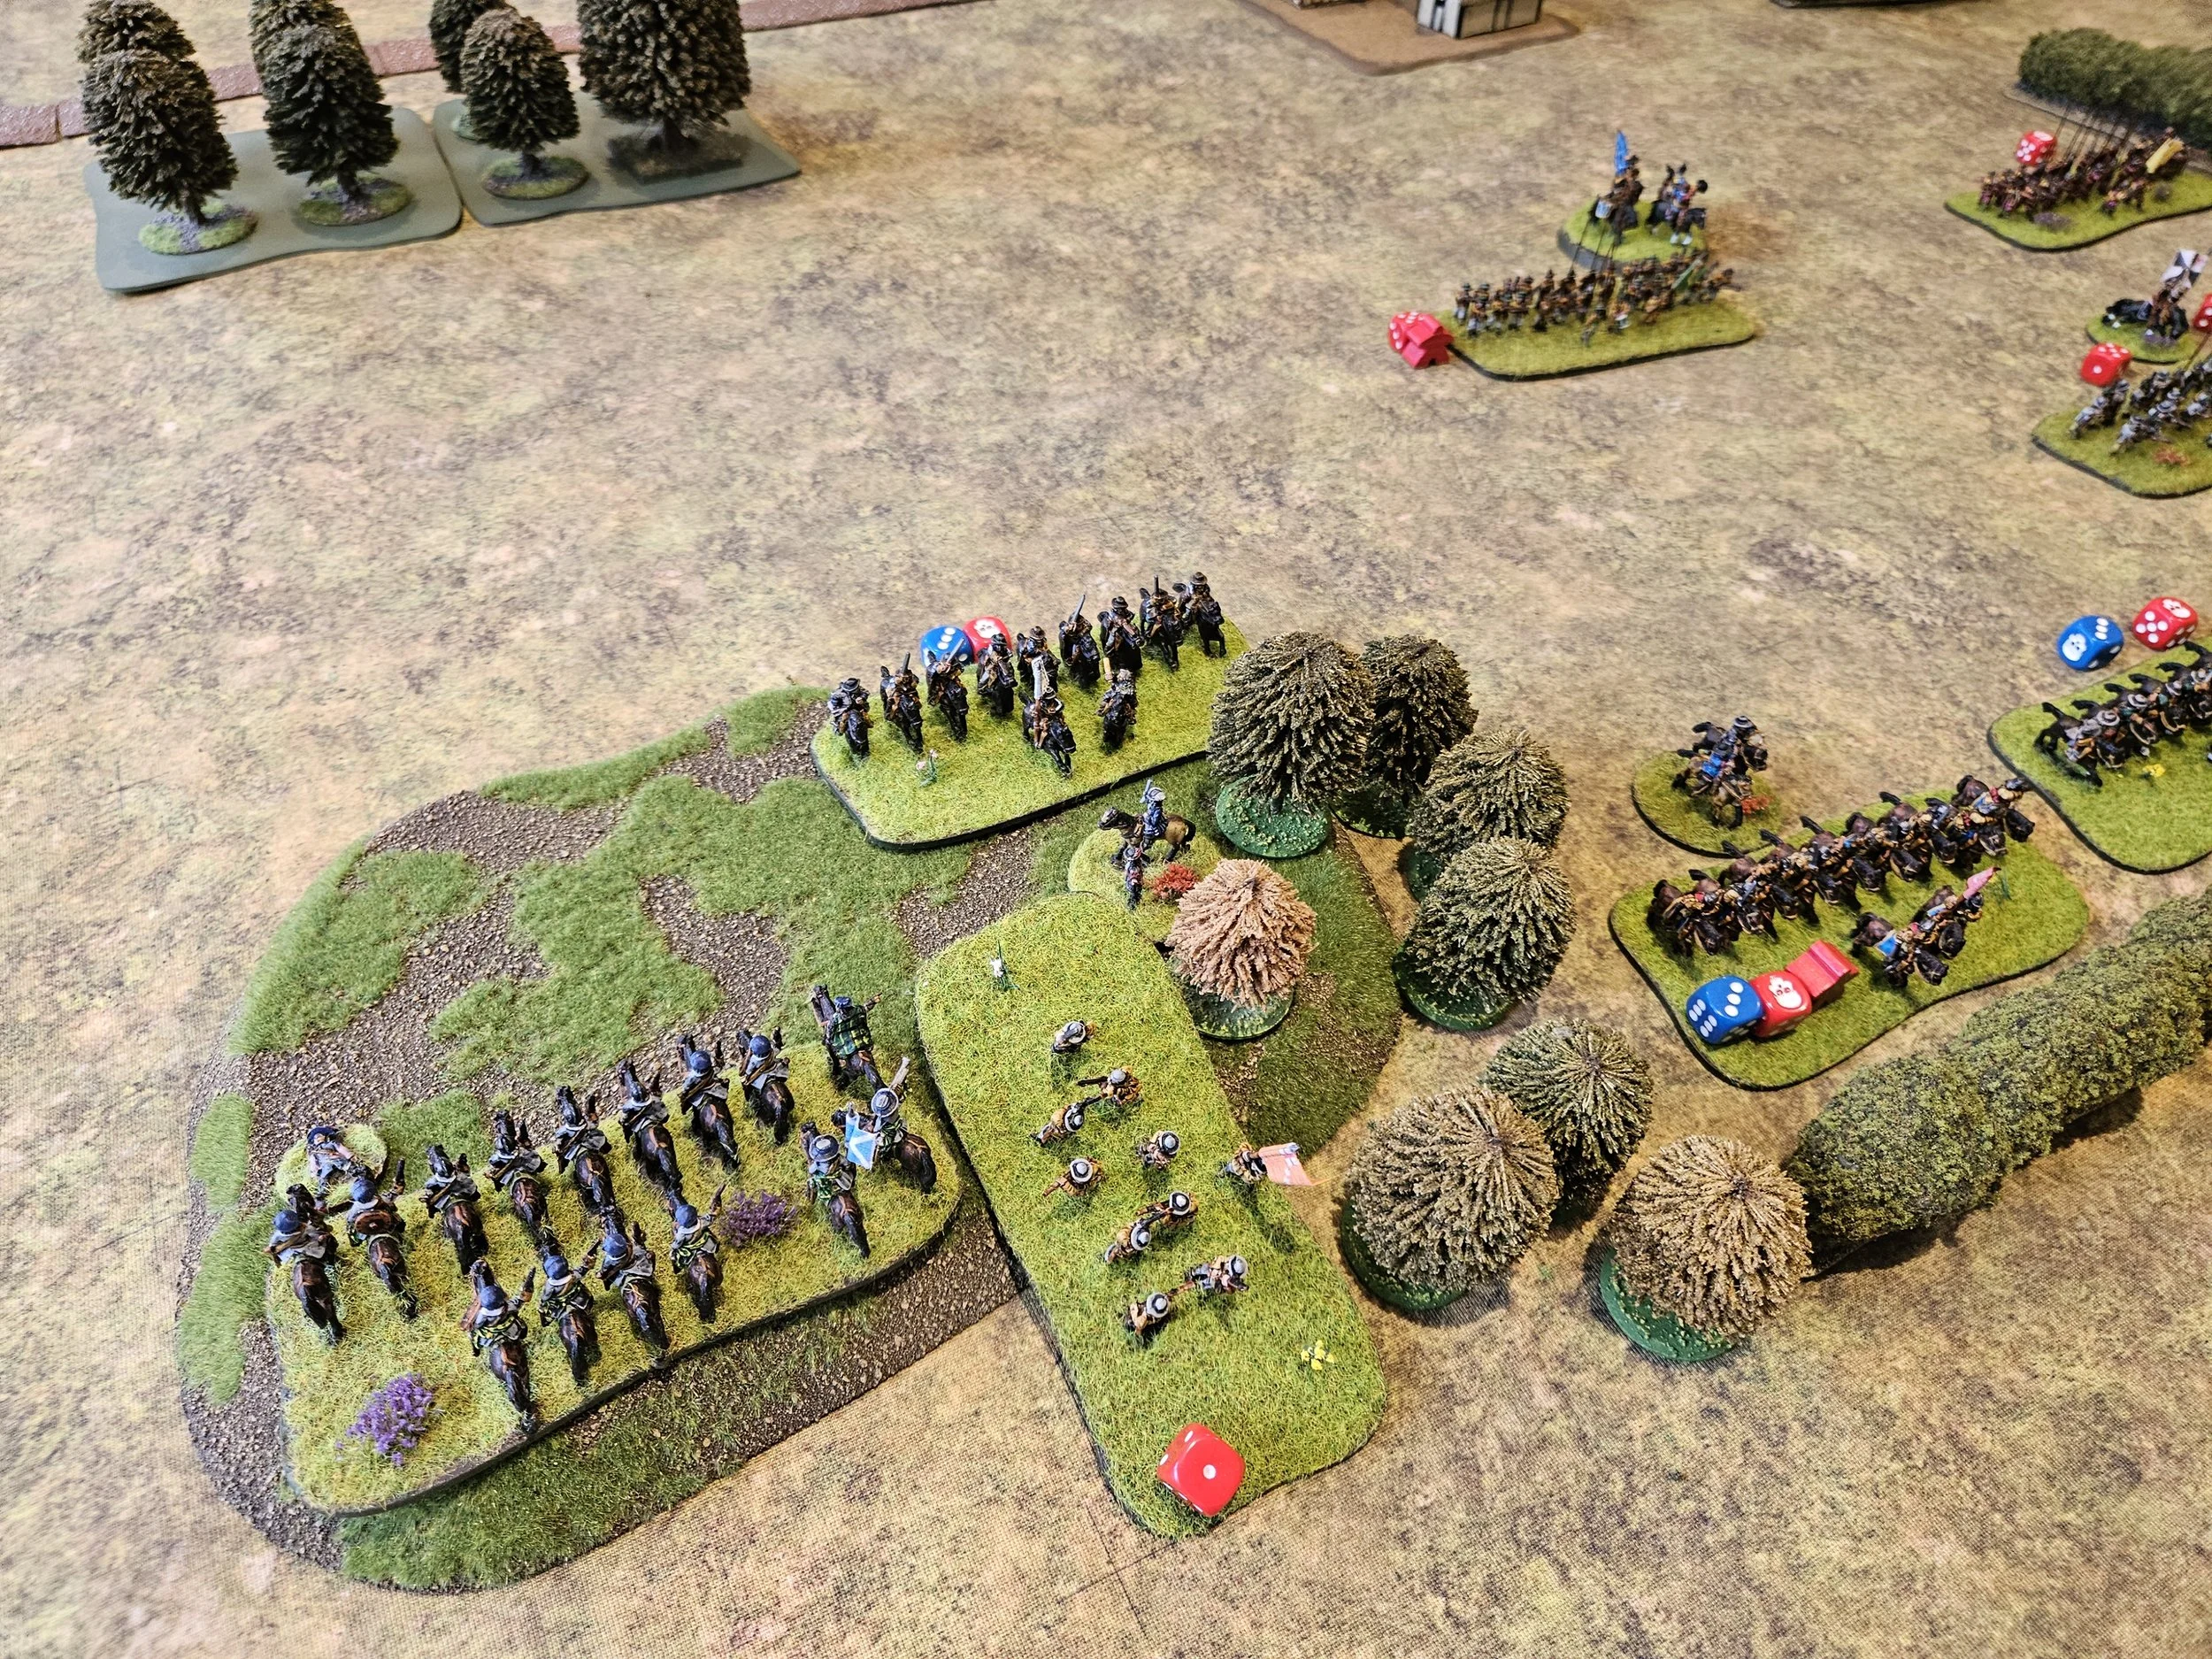
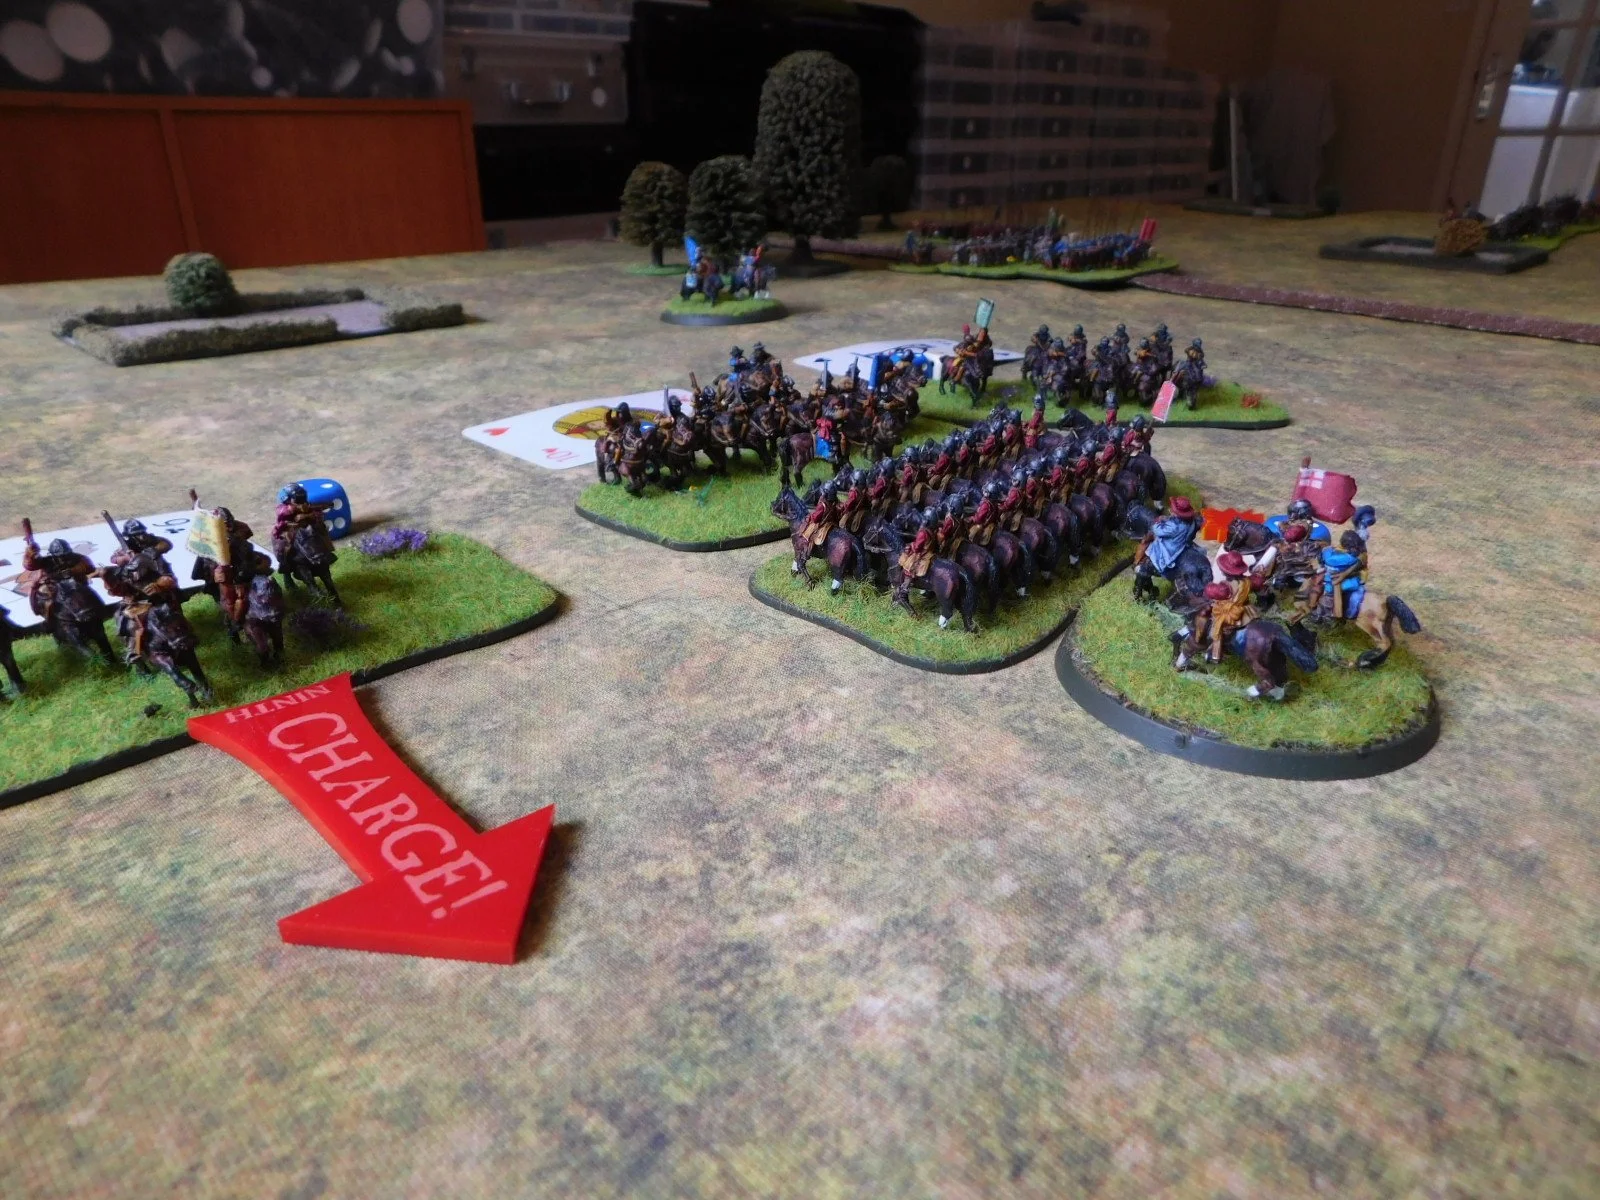
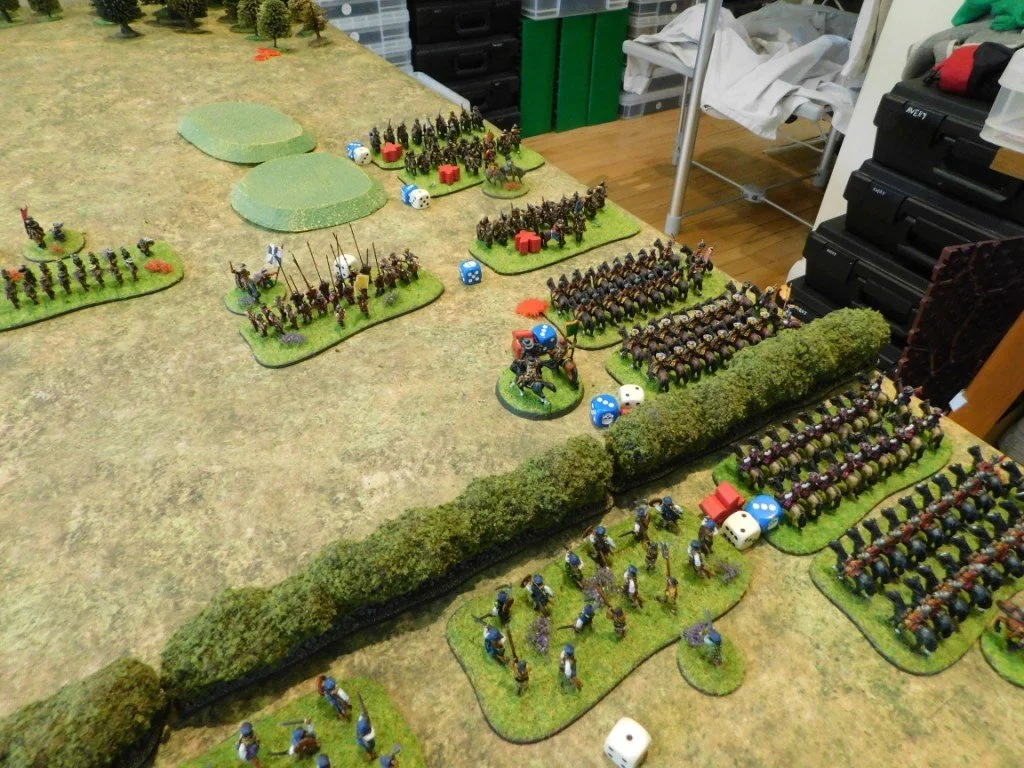
All was going well until a squadron of Royalist cavalry threatened the left flank of my line. Fortunately I had a unit of the Puritan Horse there against just such a move, so charged the enemy horse downhill, confident of victory.

Unbelievably, Rob’s cavalry made four saves against the attacks on them, meaning my men swept downhill and literally bounced off the enemy. To add insult to injury, the Royalist cavalry then counter-charged and sent my men fleeing from the field!

Luckily I had reinforcements I could move to protect the flank…well, to be honest, it was a battalia of infantry that had got stuck, unused, behind the main battleline, so it was good to actually have something useful for them to do!

The fighting in the centre was now intense, and I had already had to recyle one of my Scots Battalia: it was all going to be down to whose troops could last the longest.

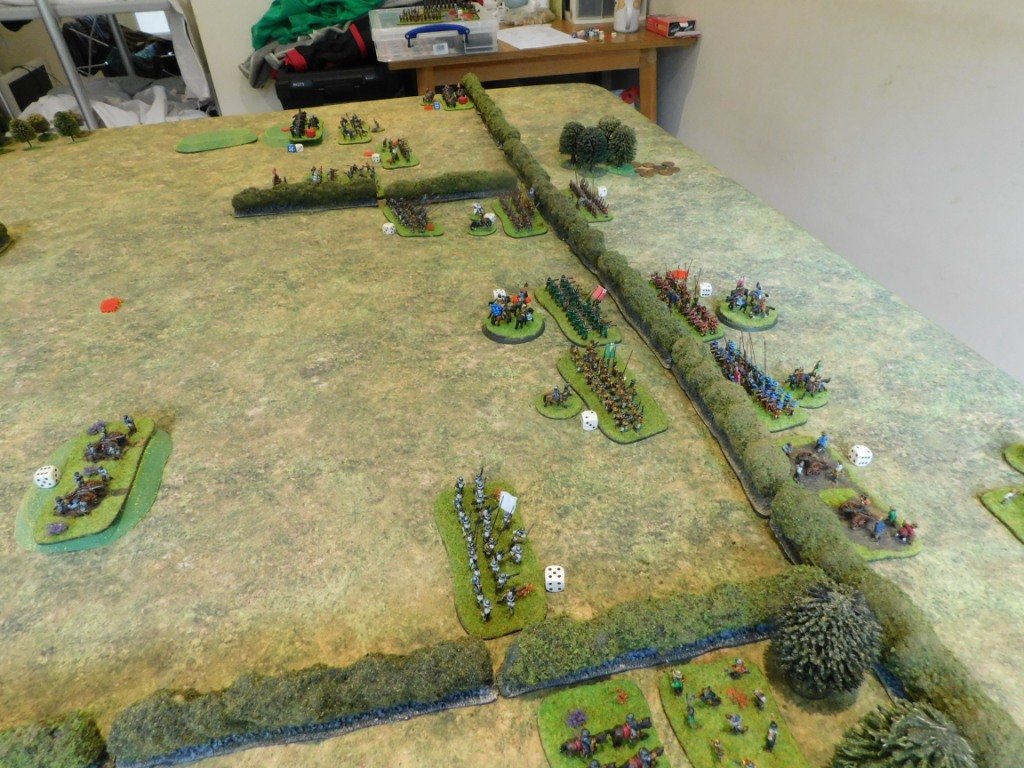
My left flank was also looking problematic, and even moving some of the pioneers out of the siege works to help didn’t make a huge difference. In the scenario, pioneers are represented by Highlanders: very much a one-shot weapon and useless against the cavalry they were facing!

Endgame

The main line finally shattered in both directions at once: with one of my Puritan Horse units fleeing the field whilst another broke through. At the same time, the Pioneers distracted a squadron of enemy cavalry so much that they were pinned in place, unable to take advantage of their position.

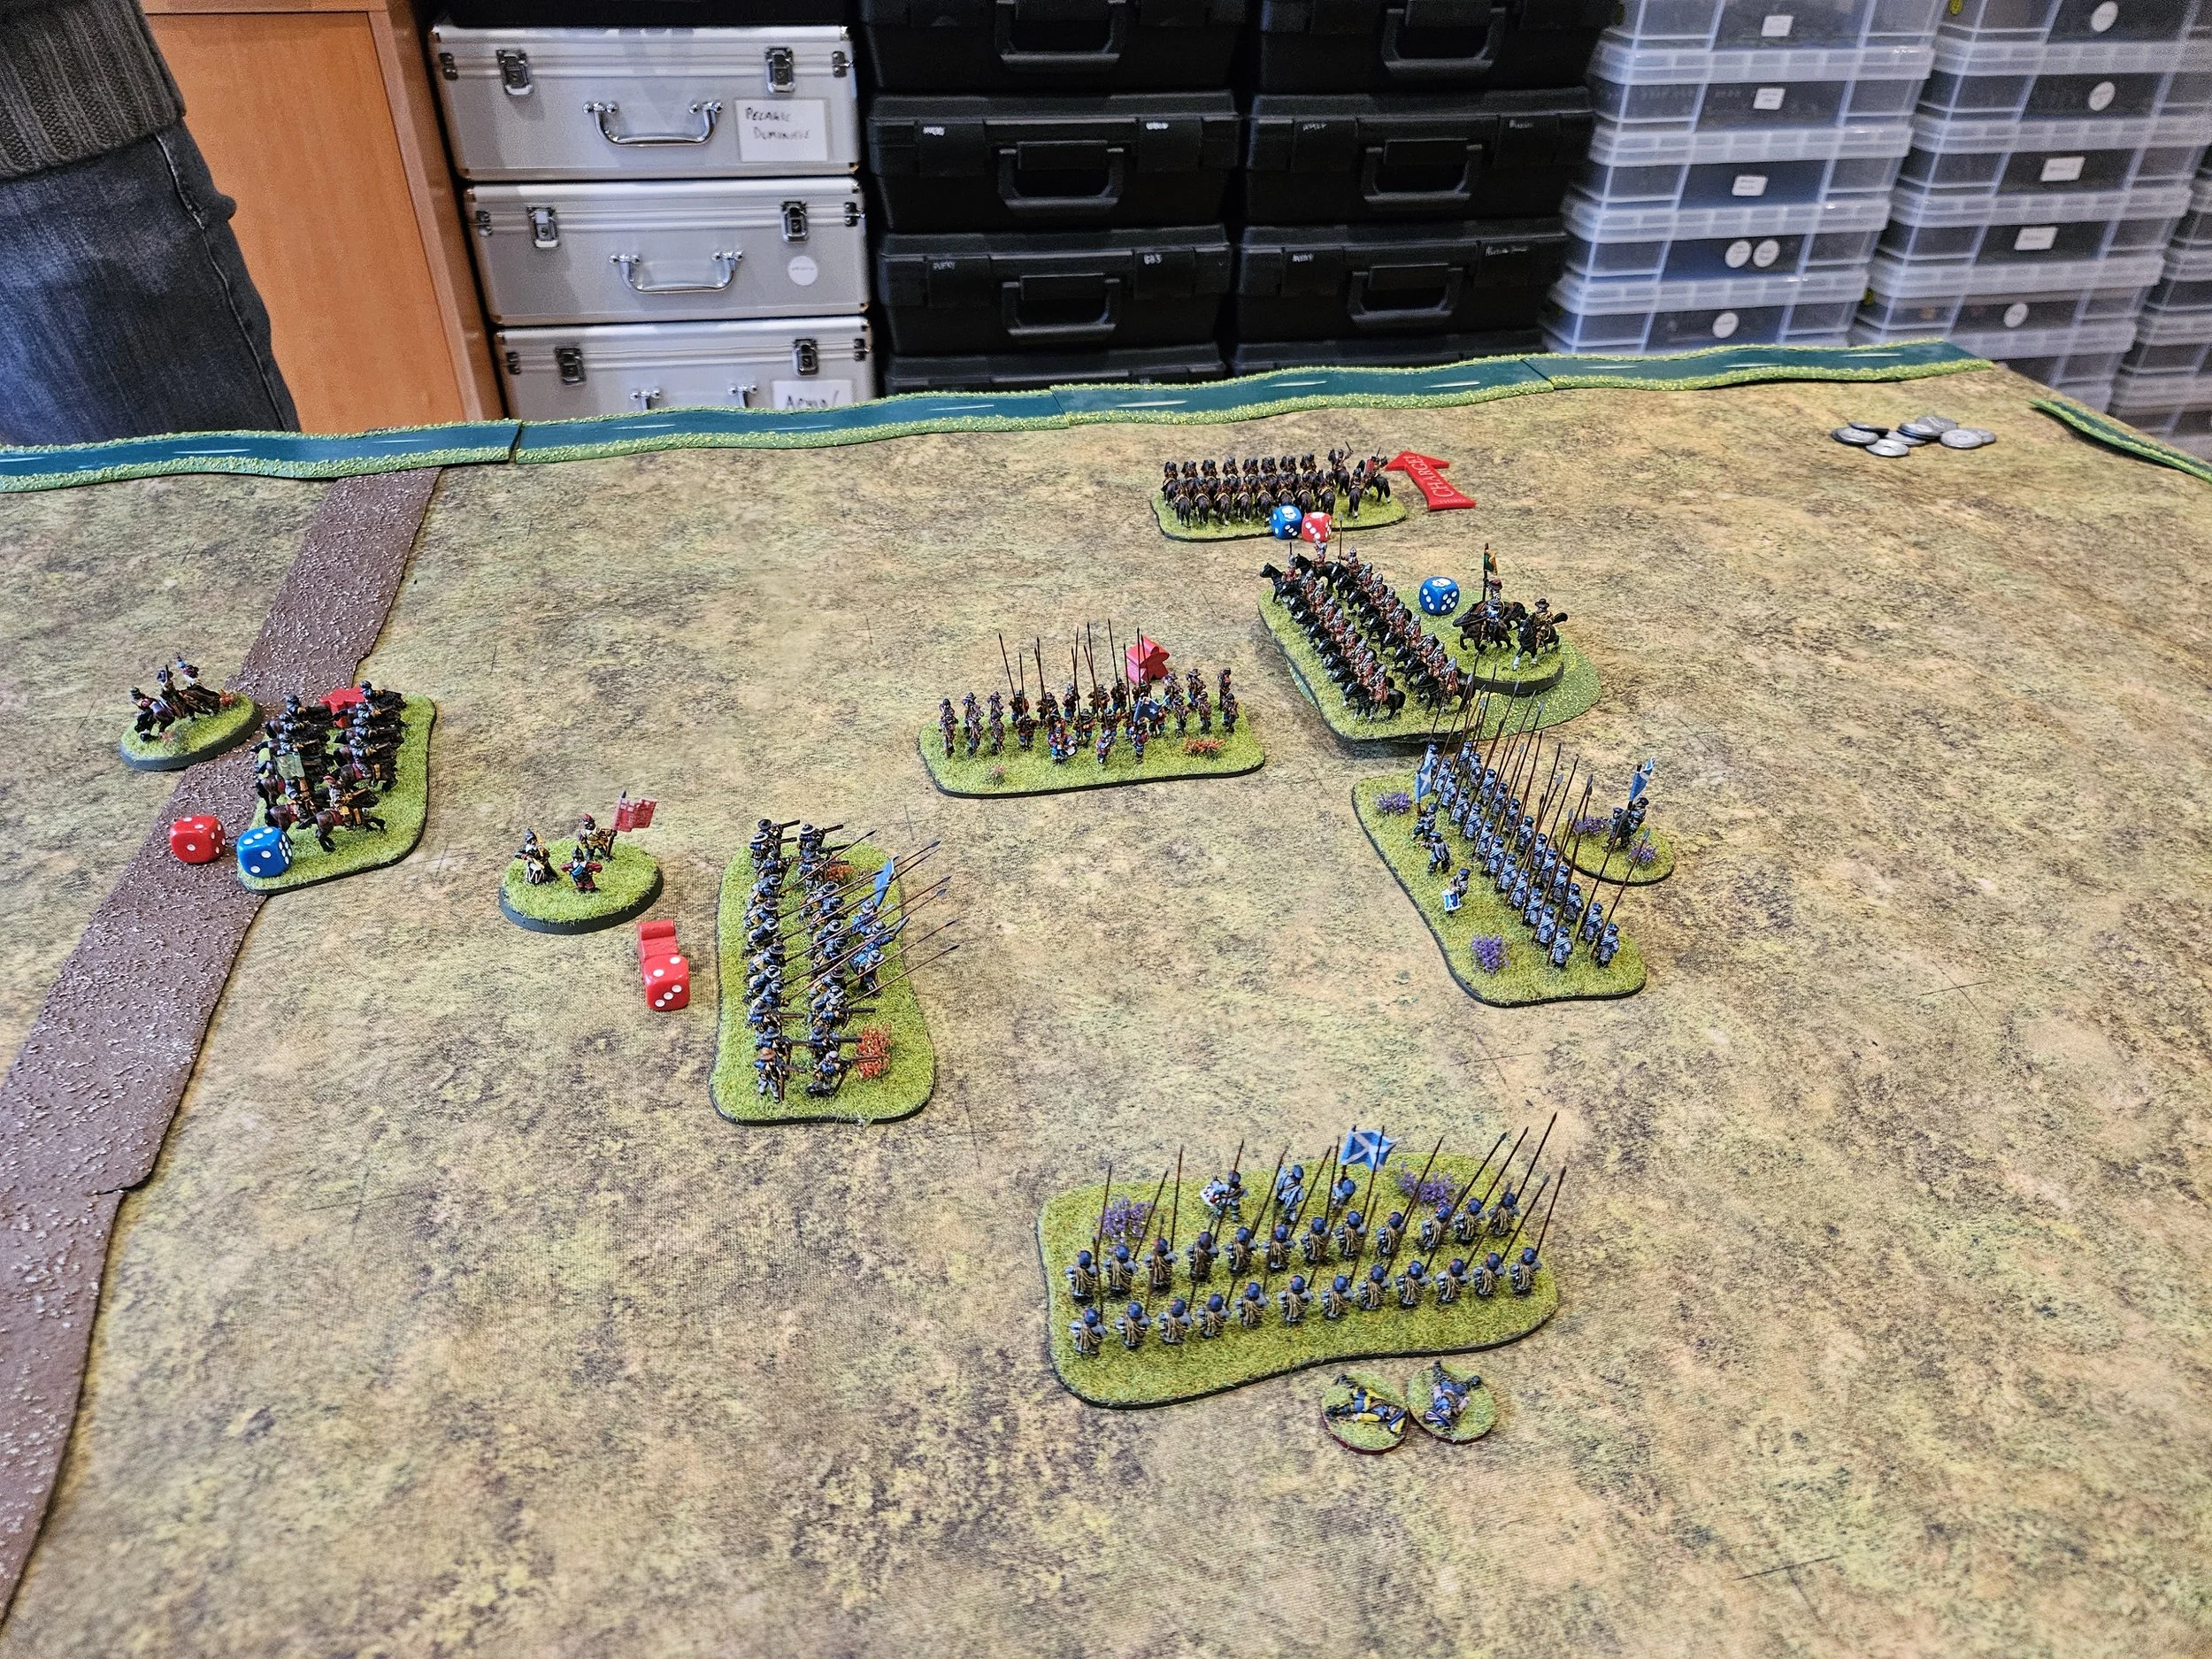
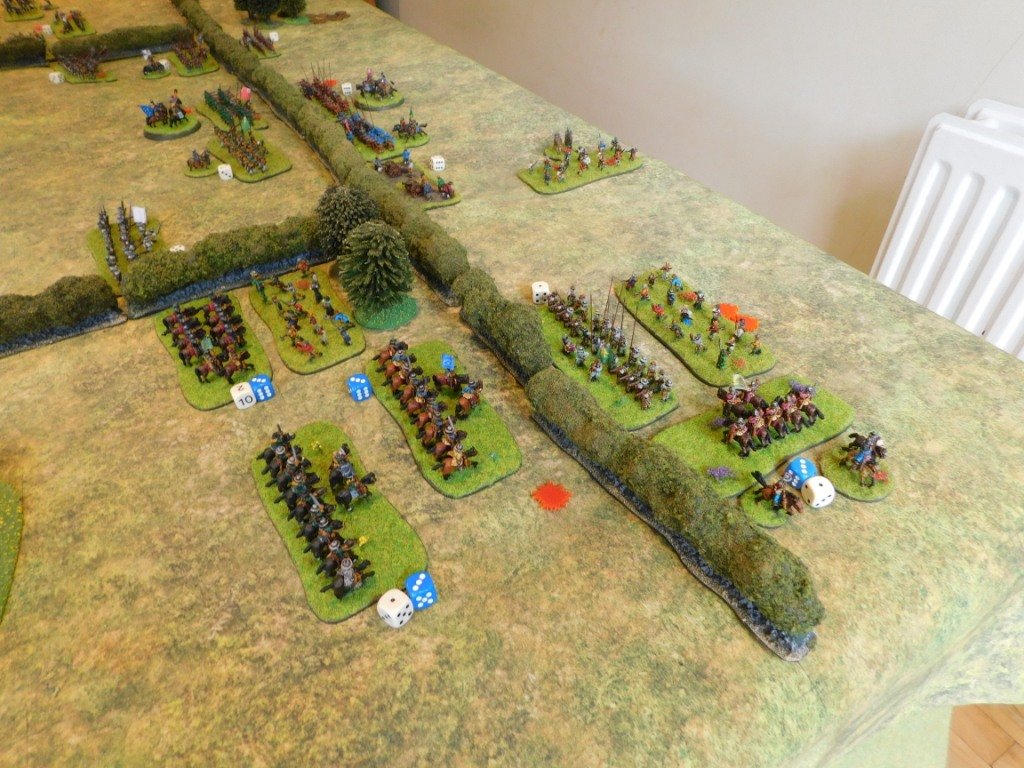
It was still neck and neck but, suddenly, gloriously, my cavalry on the right wing, long forgotten about, decided to intervene and win the day.

Freed from the cavalry melee by the intervention of one of my Borders infantry battalia, who head soundly beaten the enemy infantry that had kept my horse pinned in place, the Scottish lancers crashed into the flank of an already disordered enemy infantry battlaia and smashed them from the field.

This, combined with all the losses taken by each side so far, and the fact that two of the Royalist cavalry squadrons left the field in pursuit, reduced Rob’s pile of victory medals to zero, giving me the victory.

It had been carnage on both sides: checking my pile of coins I saw that I had gained a four-medal victory, so combined we had lost 28 victory medals between us: the equivalent of around nine units or a third of the units depoloyed at the start of the game.

So, after five games, the Parliamentarians now trail by only six victory medals overall, and it’s on to Dick’s Tower for the next encounter!

FK&P AAR: The Battle of Stour Road

Friend Rob came up from Andover-area for the fourth game in our play-through of the Siege of Norchester scenario book for For King and Parliament. So far, my Parliamentarians have won one game and lost two, so I’m a few medals behind overall.

Today’s game features a Royalist attack on nascent Parliamentarian siege lines. The Royalists have got around the flank of the Roundheads with their cavalry and now prepare to sweep all before them…

The outskirts of Norchester can just be seen top left, parliamentarian siegeworks are top right

Royalist outflanking force

Parliamentarian mobs work the siege lines

As the Royalist infantry and cavalry moved in, the Roundhead Mobs moved into the siegeworks, and the ‘corner’ battalia of Border foot went into hedgehog:

moving in for the kill

moving in for the safety!

The first action involved two of the Royalist cavalry units combining to drive a Parliamentarian battalia from the field.

Unfortunately for the Royalists, as one of their cavalry units followed the fleeing infantry in pursuit, the event triggered the arrival of the Roundhead’s cavalry reserves, who promptly charged them in return, driving them from the table as welll.

roundhead reinforcements arrive: it’s the puritan cavalry brigade

The action then switched to the ‘corner’of the Parliamentarian line, where the battalia of foot were holding their own, unlike the pike-only battalia behind them, who were crumbling fast:

the corner of the parliamentarian line

in hedgehog

The Puritan cavalry had effectivly dealt with one Royalist regiment of Swedish-style horse, but didn’t seem to be able to polish off the other.

Meanehile, the action was hotting up at the ‘corner’ and, in the distance, you can see that Royalist infantry have now engaged and are beating up the Roundhead mobs (armed only with picks and shovels).

Puritan cavalry engaged…

…and in pursuit

The action at the ‘corner’ hots up

As my infantry was now under so much pressure, I really needed the cavalry to intervene.

Unfortunately, although one unit of Puritan horse continued their pursuit and swept the Royalist commander’s small unit of cuirassiers bodyguard from the field, it then disappeared off into the distance, never to be seen again.

Almost worse than that, my other unit of Dutch horse was still trying to deal with almost the last remaining Cavalier Swedish horse regiment: no matter what I did, the enemy horse just woudn’t break, leaving my men pinned in place!

With my cavalry thus neutralised, finally the pressure on my infantry became too much and they began to break.

A last ditch attempt by the chaps who had been digging the siege works failed to achieve anything either - their shovels and picks being no match for pike and musket - and the Parliamentarians were forced to retreat, leaving the Royalists in possession of the field.

A great game but another defeat for Parliament. Rob is now ten coins ahead overall: just about a whole battle in hand!

Onto to Plumleigh common: where we’ll see if these Royalists can stand up to the might of siege gun Titan!

FK&P AAR: Cadmore Hill

Time for the next installment in the Siege of Norchester English Civil War campaign that friend Rob and I are playing through. The Royalists beat my Parliamentarians in both of the previous games, so I could really do with a win.

The situation is thus: the Parliamentarians are bringing up their sige artillery in order to properly invest Norchester. The Royalists have discovered this and have laid an ambush: if they can destroy the guns, then Norchester survives at least until another siege column can be raised.

Unfortunately for the Royalists, their ambush is triggered early, and that is where the action starts…

The infantry contingent of the Parliamentarian siege train executed a neat right turn to face the oncoming Royalists, but the Dutch horse at the head of the colmn got into all sorts of bother trying to sort themselves out. Finally, one unit of Borders Horse managed to get forwards and prepared to clear away the Royalist Forlorn Hopes.

Meanwhile the Royalist infantry headed forward to engage the enemy, although some confusion in the ranks meant that this advance was staggered rather than co-ordinated.

Meanwhile, at the tail of the Parliamentarian column, not much was happening. Both sides seemed reluctant to move forward, especially the Roundhead commanded shot, who quite frankly disobeyed orders to occupy the nearby farmhouse for three consecutive activations.

In fact, the only units seemingly willing to engage the enemy were the Borders Pioneers right at the back, who steamed up the far left hand side of the table towards some Royalist horse who were apparently having breakfast, then second breakfast, then third breakfast etc.

Back at the proposed ambush site, and some Borders horse swept one of the Royalist Forlorn Hopes from the field, but were then served the same coin by the other. Nothing very conclusive happening here!

Back to the tail end, and much to everyone’s surprise the Borders Pioneers had passively seen off the now-fully-breakfasted Royalist horse: I say “passively” as the Pioneers had no guns, only pikes, and if the Royalist horse had left them alone, each side would have cancelled the other out, but the Cavaliers couldn’t resist the challenge, and effectively charged themselves to death on the Pioneers’ pikes!

That left them free to attempt to curl around the Roundhead left flank, potentially helping their comrades in the centre, who were by now engaged.

Now, however, the Borders Pioneers had realised that they were indeed pioneers, and elected to stop moving towards the action despite a rather inviting flank charge opportunity: presumably waiting for someone to tell them where to dig a hole or two.

The battle was, however, always going to be decided towards the front of the column, where both sides had their main forces, and where a general combat had broken out over the hedge row.

The Royalist had managed to sneak a horse unit around onto the Roundhead flank, using it very effectively to dash some Dutch Horse from the field. This gave the Cavaliers the impetus they needed to push the Parliamentarians back from the hedge, following up to take the battle into open ground. Unfortunately for the Royalists, however, the Roundhead horse then generally rallied and began to fight back.

Both sides were also now quite weary (down to just a couple of victory medals each) so it was all going to be down to who won the next few combats and, on a roll after their fight-back, it was the Parliamentarians who, with a good run of cards, got the bit between their teeth (well, their mounts did!) and sent some enemy Swedish horse fleeing from the field.

This proved the final straw for the Royalists, and the day went to the Parliamentarians.

Aftermath

It had been a very close run thing, with my Roundheads narrowly avoiding a third defeat! As it was, I managed to claw back a couple of medals towards the campaign totals, but that still leaves the Royalists ahead.

On to Stour Road for the next thrilling installment in the campaign.

FK&P AAR: Munce's Wood

Friend Rob and I are playing through the Siege of Norchester scenario pack. After narrowly losing the first game, Tounton Bridge, my Parliamentarians would face the Royalists at Munce’s Wood.

A pack of Royalist-sympathising Clubmen have been caught by a much larger Roundhead force. Fortunately for the Clubmen, there’s also a Cavalier army in the vicinity. The scene is set for a clash at Munce’s Wood.

Royalists on the left, Parliamentarians on the right (Clubmen in the middle!)

With the opposition a bit fragmented, and with superior quality cavalry on my left, my plan was to advance strongly on my left and centre, holding back my weaker right flank. Hopefully the Roundhead cavalry would quickly beat the fewer Cavaliers in front of them and then be able to surl around to take the enemy centre, by then presumably locked in place by my central advance, in the flank.

That was the plan, but unfortunately my cavalry just couldn’t beat their Royalist foes back. The enemy was defending a hedge line, and a particularly sticky unit of Swedish horse just plain refused to give way despite overwhelming pressure from my Dutch troopers.

Not only that, but my troops in the centre fought so badly that I was forced to pull some cavalry from the left to reinforce my centre. Things were not going well!

Meanwhile, much to my surprise, my commanded shot and artillery on the right flank were holding their own against the Royalist horse.

My three weak units held up Rob’s stronger three units for the whole of the battle and, although I would eventually lose all three, that sacrifice was worth it to keep his horse off my right flank.

On the left, my Dutch horse were still trying to get over the hedge, but just couldn’t do so in the face of continued opposition from the Royalists.

With that flank stalled as well, the game would be decided in the centre.

Things were beginning to thin out now as various units on both sides had broken and fled the field. In the end it came down to who could keep fighting for longer, and unfortunately it wasn’t my troops!

The final act was for one of my few surviving battalia of Border Foot to smash through the enmy opposite them, but then be hit from all sides by other Parliamentarians. As a final act of humiliation, it was actually a unit of Clubemn - the very people we were trying to surpress - that dealt the coup de grace, and my command generally collapsed and routed.

So a second defeat for the Parliamentarians in the campaign to take Norchester. Let’s hope I have more success at Cadmore Hill, the site of the third clash!

ECW Infantry Battalia

Regular visitors will know that I recently bought the new ECW casualty figures from Alternative Army’s Furioso range (and very nice they were too).

Never one to miss an opportunity to buy stuff, at the same time I also ordered enough figures to make up a standard ECW infantry battalia in the way that I configure them for For King & Parliament. Seemed rude not to really!

I hadn’t bought any of the Furioso range before (mainly using Peter Pig and Hallmark via Magister Militum for my ECW collection) so was curious to see how these would fit in.

The first thing to mention is the excellent way in which they were delivered, especially the pikemen. I don’t usually like figures with integral pikes - the pikes always seem to get bent out of shape in transit and then never go back to how they should be - preferring to add my own using rigid wire spears, but these arrived absolutely and beautifully straight, taped to a piece of cardboard to make sure they remained so. Well done to AA!

Secondly, the figures paint up very well indeed. The detail is crisp, and takes Contrast paints very nicely indeed. The pikemen come in breastplate and helm, and it’s nicely sized breastplate that is easy to (after the undercoat) re-paint in black and then highlight with a dull steel colour. Likewise the musketeers: the detail (the apostles, the feathers on some of their hats) highlight clearly and easily. Great stuff.

Finally, their sizing is comparable to the rest of my collection. Yes, the pikes are considerably more solid than the wire spears I’ve used elsewhere, but this is a minor gripe: height-wise they work very well.

So, all in all, I am very impressed with the Furioso pike and shot from Alternative and will doubtless find myself browsing the rest of the range in the very near future! Highly recommended.


If you've enjoyed this post, please do consider "buying me a coffee" : you can be sure that all proceeds will be channelled back into wargaming, leading to even more content for you to enjoy!

ECW Casualties

Those who have gamed with me know that I do love a good marker: be it an ammo marker, a pin, shock, wounds…whatever system, I love a good marker!

They’re dead, Jim: you can tell by the SBOBCP’s

Up to recently, however, I’ve shied away from using “dead” or “wounded” casualty figures to mark things such as disorder, believing that it was far better to concentrate my figure production on actual units rather than waste time and money on something that can easily be replaced by a small bit of brightly coloured plastic.

My recent foray into competition gaming has, however, made me think the opposite. I originally went into competitions using my small bits of brightly coloured plastic, but soon realised that these looked out of place opposite the more subtle casualty markers used by my opponents. I looked like a newbie, for God’s sake!

The situation was remedied for my 28mm Romans in my games of To The Strongest, when friend Peter gave me a set of Roman shields mounted on flocked 2p pieces, but my 15mm English Civil War figures for For King & Parliament still suffered from the SBOBCP syndrome.

The Romans are more subtly dead now, jim!

Until now!

I haven’t really used Alternative Armies’ Furioso range for any of my 17th Century collection, preferring to stick to the usual suspects of Peter Pig, Hallmark via Magister Militum, By Fire & Sword (for Eastern Front) and the occasional Essex. No particular reason for this (I buy sci-fi figures from Loud Ninja via their site) just generally not being familiar with the range and choosing to stick with what I know.

I did, however, see an advertisement for some new casualty markers from Alternative, so thought this might be a good time to dip my toe in the Furioso waters. I duly ordered (taking advantage of a 20% off sale and the situation to buy another battalia of ECW infantry as well…but more on them another day) and received a smart little package in return.

Apologies for the quality of the picture (the setting sun on a Grey Seer’d painting tray) but these are rather nice. They come small enough to mount on a 1p piece, as I have done above, and are very easy to paint up: just the right amount of detail to make them pop. There are six different types (three face up and three face down) but, as you can see, you can easily make a variety pack through different painting schemes.

They also do some standing up wounded if that’s your preference.

These get a highly recommended from me, and I can’t wait to get them onto the table.

FK&P AAR: Tounton Bridge

Friend Rob came over for a game of For King & Parliament yesterday and we ended up playing through the first scenario from the Siege of Norchester campaign pack.

For this battle, the Royalists need to keep possession of a bridge near the hamlet of Tounton, with the Parliamentarians obviously needing to wrest it from them.

Tounton Bridge is to the left

The Royalists, under Sir Edmund Dexter, were in four brigades. There was a small brigade of Swedish Horse on each wing; and two brigades of foot in the centre, one of which had not seen battle before. Out front was Rankin’s Forlorn Hope, at back were Miller’s Guns.

Facing them were the Roundheads under General Thomas Dread-Naught. Core to his force was a large brigade of Puritan Horse under Colonel Kill-Sin Rhapsody: you can see God’s light shining on them as they enter the field in the picture above! The rest of his men were trawled from the border regions: a brigade of foot, one of horse mounted on steeds really only fit for the knacker’s yard, and a small brigade of tartan-clad men from further north. A rag-tag force maybe, but plenty powerful too.

The action opened with a general Parliamentarian advance against the largely static Royalists.

In the centre, the Royalist Forlorn Hope was dealt with fairly easily, but on the Roundhead right wing, one squadron of Royalist horse dispersed the Border Lancers without difficulty. This left them facing a wood full of Highlanders, but their blood was up and they charged in regardless of the terrain. The Highlanders, supported by some Mounted Pistoliers resisted the charge and that left a stalemate around the wood that lasted for the rest of the game!

Behind this action, however, another unit of Pistoliers had flank charged and dealt with the other squadron of Royalist horse, leaving the Scots to head north towards the rear of the rest of the Cavalier lines and the bridge, albeit on blown horses.

Meanwhile, on the other side of the field. Colonel Rhapsody was leading his Puritan Horse to disaster. Two of his squadrons tried an outflanking manoeuvre on the far left wing, but the Cavalier horse near them proved too fleet of foot: one unit neatly hopping the hedge, turning to face, and then charging furiously into the Puritan’s rear. Two squadrons of God-fearing cavalry got to meet their Lord sooner than they expected!

Onto the centre, where the Parliamentarians had moved forward and thrown their line into a general engagement. The Royalists moved to meet them, then retreated, then moved forward again, musket fire and the shouts of charging pikemen drowning out the cries of the wounded, and this indecision allowed the Roundheads to open a gap in the Cavalier line.

Ideally they would have had cavalry ready to exploit the hole, but the rest of the Puritan Horse was stuck on the left so it was up to some commanded shot to move forward and begin to outflank the Royalist line.

Meanwhile the Roundhead Borders/Scots horse that had broken through on their right had slowly (blown horses puffing and panting their way forward) managed to get around the rear of the Royalist position. Trotting past some enemy Commanded Shot who were happy to keep hiding in Tounton (the unit just wouldn’t activate despite the fact that the Roundheads were a sitting duck!) the Scots, much to their surprise found that they had taken the bridge. Surely the battle was now decided?

It was not, however, as simple as that. Yes, the Royalists were reduced to one coin, and the Parliamentarians technically had the bridge, but the Roundheads had lost an awful lot of cavalry and were also down to one coin. It was sudden death time!

Earlier in the game: the roundheads advance to contact

The Roundheads were pretty convinced that they could destroy the Royalist unit on the right - it was already disordered and surrounded on three sides - they just had to survive the next turn in order to do so. This was when the Royalist Commanded Shot that had been skulking in Tounton finally got their act together, moved out of the houses they had been sheltering in to a position from which they could fire onto the flank of the Scots horse, who had moved off the bridge to cut down the Royalist gunners from behind.

The double-shotted volley rang out and the Scots horse disintegrated! This was too much for the rest of the Roundheads, and rather than push forward to victory, they began to retreat. Moving back onto the bridge, the Royalists had won the day!

Enemy horse? What enemy horse?

The bridge taken.

Enemy horse? What enemy horse? All we can see is two lone scotsmen officer-types!

Totting up the points, the Royalists had won a narrow victory 16:14: snatching victory from the jaws of defeat! It had been a cracking game, with the advantage swinging backwards and forwards throughout. On to Munce’s Wood for the second game in the campaign!

Untried Royalists (the yellow meeple) await the Parliamentarian onslaught!

FK&P AAR: Widbrooke Common

Played a second game of For King & Parliament with friend Fred, this time using scenario #02 from the Marlowe to Maidenhythe scenario pack: Widbrooke Common.

I didn’t have my camera with me, so not many photos, and those that there are are from my mobile, but one thing that did stand out about the game was the power of a well placed unit of Forlorn Hope.

For those of you who know the game, Forlorn Hope are the weakest possible units: usually acting as no more than speed bump as they get overrun by better quality battalia. Not in this game however!

Placed occupying a farm house in the centre of the table, Fred’s Forlorn Hope held up two of my full strength standard battalia for the whole game, constantly rendering them Disordered when I got too close, meaning I never really got a chance to properly assault them.

I still won the game, I hasten to add, but would have won it a lot more quickly and effectively if it hadn’t been for the Forlorn Hope.

Here are the other shots of the game that I took:

FK&P AAR: The Attack on Marlowe

A long, long time ago in a galaxy far, far away, I was at school with a chap that everyone called Fred. Not sure quite why, as that wasn’t his name, but I’m thinking it might have been because he just looked like a “Fred” in that he was very large and very strong and had a difficult to spell surname. Or it might have been because he bore more than a slight resemblance to the Scooby Doo character, assuming that Fred Jones lifts, that is!

Fred and I used to wargame at school - mostly Ancients using WRG 6th - but lost touch after he swapped to doing the real thing and joined the army. Flash forward many years and he was now out, had seen me on Linked In, and made contact again. We met up shortly afterwards for a drink or three, and from there it was a very easy transition to arranging a game.

Gaming is very different now to what it was then. In those days, the early to mid-eighties, nothing was quick and nothing was small: a battle was a whole day or weekend affair, minimum, with thousands of 25mm figures on the tabletop and an allowance built into the session’s timetable for colossal, life-threatening rules disputes involving such matters of importance as fractions of inches or degrees; the definition of charging in a straight line; or line of sight arguments that could only be settled by the hiring of a theodolite! Fred used to paint 25mm Minifigs’ Napoleonics with a syringe needle, for God’s Sake, in order to make sure the regimental numbers on the cuffs were legible!

I had no wish to return to those days, especially the “life-threatening rules disputes” as he was still a very large person and now presumably trained to kill, so decided upon a game of For King and Parliament, the English Civil War version of To The Strongest. FK&P is a cracking game that, to my mind, really captures the look and feel of the period to give reasonably realistic results with fast-play mechanics. It’s grid based, obviating a lot of the disputes about measuring, and driven by drawing playing cards.

We used the first scenario from my Marlowe to Maidenhythe scenario pack, with both sides acknowledging that this first game would be a training session more than anything else. Fred took the Royalists, on the attack versus my Parliamentarians.

Fred’s first question: where was the grid? It is there, but indicated in a way that doesn’t interfere with the look of the game.

I won’t describe the battle in detail, but suffice to say that it was a grinding win for the Royalists.

What was interesting, however, was seeing Fred reacting to the different challenges he faced, drawing on military rather than wargaming experience. My battalia were to be “located and fixed in place” before being destroyed by an attack from the flank, so Fred immediately understood the concept of a Zone of Control or ZoC, and proved very good at the fixing and destroying bit.

An advantage was to be “immediately followed up” with the emphasis being on a series of consecutive hammer blows rather than necessarily conserving damaged units. It was all very interesting, and we both enjoyed the game immensely.

Here are some more shots of the battle:

FK&P AAR: Widbrooke Common Again

As Rob had not only come a long way but also beaten me fairly quickly playing The Attack on Marlowe scenario, it seemed only meet and right to have another game…and being logical chaps, we set up the table for the second scenario from Marlowe the Maidenhythe scenario pack: Widbrooke Common.

Scene from behind the Parliamentarian lines

It’s the Royalists on the attack: advancing against the Parliamentarians across the eponymous common. Although Rob had played the Cavaliers in the first game, we got switched around somehow, and now I would take the loyalists into battle against the Roundheads.

The Royalists wasted no time, and marched forward smartly towards the traitors opposite them. One slight worry was that a lot of my infantry were Untried (the yellow markers in the picture below) meaning that the first time they encountered anything battle-ly (were shot at, wanted to shoot, were charged etc) they would have to check their morale

Slightly to the left of centre, the two cavalry lines clashed, with honours really falling to the Roundheads: their bigger ‘Dutch’ units surviving the initial charges of my smaller ‘Swedish’ squadrons and then bashing me up in the melee that followed.

In the event, both sides cavalry effectively cancelled each other out, especially as one of my infantry units was able to turn and blast a Roundhead horse unit in the flank. The battle would end with each sides’ surviving cavalry manoeuvering for advantage in the open ground on my left wing.

Which meant that the battle would be decided in the centre and on my right.

As you can just about see in the picture above, the first thing that I did was to dispose of the Roundhead artillery with my small unit of Cuirassiers. A bit risky, but the cards were with me and the guns were silenced for no loss.

The Cuirassiers then went on to threaten the Roundhead rear, eventually destroying the unit of commanded shot that formed the Parliamentarian reserve.

You can also see, in the picture on the right, that my infantry have moved forward and begun to push back his main line. Here’s a couple of great shots of them going into action:

What isn’t shown in the pictures above, and the reason that victory was eventually mine, is that on the right flank my horse had moved forward and outflanked two Parliamentarian infantry units that were trying to evict a Royalist Forlorn Hope from a small farm building.

Here’s a shot from earlier in the game: the Forlorn Hope would keep the Roundhead infantry distracted for long enough for my horse to turn left and hit them in the flank…which meant that when I broke the infantry in the centre, Rob ran out of Victory Medals and I had won!

It had been a great game, fairly tight right until the end. The initial Roundhead success with the cavalry hadn’t turned into more mainly because his horse pursued my retreating horse for too long, which gave me a chance to re-group what I had left and at least keep him occupied while my infantry moved forward.

The Cuirassiers were, despite their small size, the stars of the game: punching a hole in the enemy line and then disordering the main Roundhead line by violently removing their reserves behind them.

Another great game of FK&P!


If you enjoyed reading this post, please add Vis Lardica to your list of favourites or, even better, to the list of favourite blogs on your own site.

www.vislardica.com

FK&P AAR: The Attack on Marlowe Again

New friend Rob came up for a couple of games of For King & Parliament, a system he was considering but hadn’t played before, so where better to start than the first game from my Marlowe to Maidenhythe scenario pack.

Without going into the detail of why and what for, the Royalists are attacking a Parliamentarian force “dug in” on the approaches to Marlowe. Rob would play the Royalist, I took the Parliamentarians.

Royalists on the left, Roundheads on the right

Here’s a pictorial account of the game:

So a win for the Royalists, and for Rob in his first game.

FK&P AAR: Disaster at Skirmett's Orchards

Here’s a battle report from the playtest of the final scenario in my newly-published Siege of Norchester scenario pack for the English Civil War rules, For King & Parliament.

As the title of this post suggests, this was an absolute disaster for my Parliamentarians!

“Went the day well, my dear?”

“No it bl**dy didn’t!”

The day started very well. Above is a view from behind the Royalist lines, with the village of Skirmett in the centre of the table. My plan was to win on the wings then envelop the Cavaliers in a “horns of the buffalo” manoeuvre.

Northern Donkey Wallopers to the Front!

On my left wing, I had a brigade of Borders horse: poorly-mounted, but out-numbering the opposition. The lancers on the far left were quite nasty in a first clash, so I was pretty happy that I could get an advantage here.

The centre and right

I was a bit more concerned about my right wing, where the Roundheads had quite a few units of Swedish-style horse versus my monolithic Dutch-style troops, but my infantry were nearby and could always pore fire into the flanks of any rampaging Royalist cavalry before they got too close.

Back on the left wing, the two lines of cavalry smashed in to each other: complete disaster!

I may have gone a little over the top on the disorder markers!

Let me explain. I got my tactics just right and ended up with three cavalry units facing just the one of his. Not only that, but I was uphill charging downhill. Yes, I had both my CinC and the Brigade Commander with the central unit, but officers casualties are quite rare, yes?

Wrong!

In the first clash I lost both my CinC and the Brigade Commander: both killed outright!

This was particularly painful as in FK&P not only are officers really useful for, er, officering but, representing the cult of personality around so many ECW commanders, your CinC is worth a great many Victory Medals. Combined, I lost just about a third of all my Medals with the death of just two men! This obviously meant that even if things went 50/50 from now on, I would lose the game in short order.

Anyway, we decided to play on for a bit…

Even Stevens on the Right

Another cavalry clash on the right, with my troopers getting an initial advantage.

The Centre standing Firm

Unfortunately that advantage didn’t last. Lady Luck again deciding that she was for the King!

Centre cavalry unit couldn’t even last long enough for the infantry to intervene!

Which meant that when my already battered left flank finally gave way, I was out of Victory Medals and on the stage coach to Losertown!

The Left Crumbles

So a very quick battle mainly due to the surprising death of my CinC and a cavalry brigade commander. Still an enjoyable game and, looking for the silver lining, the speed of my defeat gave us time for another game…

FK&P AAR: Napshill Downs

Regular visitors will be aware that last Friday saw the release of my second scenario pack for the For King & Parliament English Civil War ruleset: The Siege of Norchester.

The pack contains twelve free-standing, fictional scenarios in a loose chronological order. It tells the story of the investment of the fictional, Royalist-held city of Norchester. It begins with the Parliamentarians gradually pushing the Royalist foraging parties back into the city itself, then looks at the Royalist attempts to delay the construction of encircling works. There’s an assault on the outskirts of Norchester and then a Royalist attempt to get a messenger through to the King to ask for aid. Finally, there’s the arrival of a Royalist relief force, the fall of Norchester and the attempted escape of the main Cavalier protagonists. The same officers and units are used throughout the campaign, and it is hoped that the players will come to adopt and recognise them as their own or the enemy.

The pack is designed to give players who don't have enough time to write their own scenarios a number of games that they can play with little or no preparation. All you have to do is print out the game and player briefings, set up the table according to the map, break out the figures and cards, and start the first turn. You don't even need to print the pack out in full: just the pages you need for the scenario you're going to play. The games can be played either as a series of linked games or as a collection of one-off battles. To emphasise: each scenario is free standing and they do not have to be played in any particular order…but it is anticipated that players will play them in order as a campaign, keeping a running total of each sides’ score as they go along. The pack provides a Campaign Record Sheet as an easy way of doing so.

Finally, although specifically designed for FK&P, with a little work the scenarios can be adapted for any set of English Civil War/Renaissance rules: the basic elements of why, where and with what each side is fighting being largely common to all systems.

Napshill Downs

An important part of the preparation for launch is to playtest all the scenarios in the pack, and below you will find a gallery of images from the playtest of scenario #11: Napshill Downs.

As one of the later scenarios, the background is that Norchester has already fallen so some of the Royalist erstwhile defenders are trying to make their escape from the region in order to continue the fight against the Parliamentarian traitors elsewhere. The Roundhead force (which I was commanding) is tasked with bottling them up and destroying them.

This was one of those games that went wrong for me just about right from the beginning when I completely cocked up my opening moves! Read on to share my pain!

The Attack on Marlowe

Meanwhile, blogger Zanoni has started playing through my previous ECW scenario pack: Marlowe to Maidenhythe, which is now available in both digital and physical form.

His first AAR, covering scenario #1 The Attack on Marlowe has lots of pictures of his beautifully painted collection of ECW figures. Recommended as a feast of eye candy!

Click here to see the report on his excellent Troop Time! blog.

FK&P AAR: Ramshackle Road

Another game of For King & Parliament using a scenario from my forthcoming Siege of Norchester scenario pack. This time it’s an encounter at Ramshackle Road, where the Royalist raiders are pinned against a river!

Although I did definitely lose the battle, the game was actually closer than the report above suggests. The appearance of the Royalist horse on my flank was a nasty shock, and I didn’t cope with it very well!

A great game, despite the result!

FK&P AAR: Laundry Day

Another day, another Norchester playtest!

The Royalist raiders, headed by Sir Arthur d’Artois area heading for the rear of the Parliamentarian lines, determined to take some of the pressure of their colleagues under siege in Norchester.

The Roundheads, however, have been tipped off and are expecting them: they have a force drawn up in front of the rear of their camp and are prepared to do battle!

Another cracking game, with the scenario passed as playtested.

The battle swung this way and that, but always with me having the edge, right up to the last moment. To indicate how close it was, my opponent had only one Victory Medal left himself i.e. if I’d broken one more unit or taken that camp, then victory would have been mine.

The final turn began with me on four Victory Medals: all of which I lost on the right as my troops finally gave way: about as close to victory as you can get without actually winning!

On to the next scenario now: Ramshackle Road…

Action from Marlowe to Maidenhythe

Most of you should know that Norchester will be my second scenario pack for For King & Parliament, with the first being Marlowe to Maidenhythe.

Always great to see my scenarios being used: here’s a link to the Blunders on the Danube blog where there’s a great report of the first scenario from M2M: the Attack on Marlowe

Blunders on the Danube/M2M AAR

FK&P AAR: Happy Valley

Another playtest of a scenario for my next scenario pack: Happy Valley.

Quick summary of the situation: Royalists are besieged in Norchester and have called for aid; the vanguard of a relief force is intercepted in the aforementioned Happy Valley; a battle ensues.

Do click on the images in the gallery below: there’s more description of what’s happening on most of them.

Although it might not seem so from the descriptions above, this was a very close game: I was down to three Victory Medals by the end, so one more unit lost for me would have lost me the battle.

Another great game of For King & Parliament!

FK&P AAR: Mundaydean Lane

The next scenario in the The Siege of Norchester campaign involves the besieged Royalists trying to get a message through to summon help. Looking at the picture below, the Royalists are on the left, with the Roundheads on the right.

Just behind the Royalist line is a coach containing the messenger (see left hand picture, below) so this is a “Catch the Pigeon” scenario wherein the Royalists have to exit the coach off the other side of the table (or defeat the Parliamentarians so the road becomes clear) and the Roundheads have to make contact with the coach and achieve a single hit to stop it and capture their prey.

The battle began with an advance from both sides. I had a bit of luck here and managed to get my right flank cavalry force and a brigade of infantry nicely forward to the half way point (see picture, below, far left) whilst the Roundheads hung back a bit.

My second infantry brigade, however, seemed very reluctant to advance, leaving a bit of a hole in my centre: perhaps they were cautious about outstripping the coach by too far! See picture, below, centre.

On my left flank, the Parliamentarian horse facing me remained passive. I was quite happy with this, so did the same: my plan was to smash his horse from the field on the right then curl around the enemy left flank with what remained of my cavalry whilst my infantry advanced to contact. The Parliamentarians would be hit on two sides and I could then roll up their line like a piece of used carpet!

My left flank cavalry thus charged the Borders Horse in front of them as soon as possible (see picture, below, left) whilst my infantry moved forward. I kept my commanded shot back, intending to shoot from behind the hedge rather than face a charge by men with long pointy sticks (see picture, below, centre). Finally my other infantry brigade got the message and moved forward as well (see picture, below, right).

For some reason, the enemy horse on my left were still stationary. That suited me fine, as there were a lot of them and although the fact that my horse fought in the more modern Swedish style, I couldn’t risk one of his squadrons breaking through and going after the coach carrying the “pigeon”.

On the right, the two infantry lines were now fully engaged (below, left and right pictures) and I was gaining an advantage. On the right, a volley into the Highlanders in the wood was enough to drive them backwards, and a two-on-one situation near the hedge was enough to destroy one of his battalia. I had also achieved a two-on-one situation in the centre, and was just waiting for the opportunity to drive the enemy back there as well.

Meanwhile my horse had indeed destroyed or driven back their opposition and, despite both full-size squadrons threatening to leave the field in pursuit, one had been stopped by a wood for long enough to regain their senses, and had rallied and returned to hit a unit of Borders pistoliers in the flank. The small squadron that had been my reserve charged over the hedge into the flank of an enemy battalia and it looked as if I had decisively won that flank and could start the roll up process.

Meanwhile on the left, sensing that something needed to be done urgently if the battle was not to be lost, the enemy horse had finally begun to move forward.

I covered the advance of the squadron on the far left and, in an extraordinarily successful charge, another squadron of my cavalry had smashed the Dutch horse in front of them from the field. I was being very lucky with my cards!

With his right flank largely destroyed, his centre beginning to bow under the pressure, and his left flank reserve surprisingly now at a disadvantage, it was only a matter of time before the Roundheads retreated. The pictures below show the end stages of the battle:

My plan, for a change and helped by some lucky cards, had worked perfectly: the Roundheads collapsed and the coach and its passenger were able to sedately trot down the road and exit the table unmolested by any Parliamentarians!

FK&P AAR: Dick's Tower

Back to For King & Parliament and the playtest of the next scenario in my forthcoming pack: Dick’s Tower.

Quick precis of the story so far: Royalists holed up in the city of Norchester besieged by the Roundheads. Parliamentarian guns have been pounding away at the city walls, focusing their efforts on a section of wall by the ruined building known locally as Dick’s Tower. A breach has been made, time for the attack to go in.

Dick’s Tower

The Royalists start the game in and around the tower: see pictures, below.

Defending the breach are two battalia of shot-heavy infantry, with a couple of commanded shot battalia coming up to reinforce them. On their left, outside the walls, is a brigade of infantry supported by some guns. The CinC’s bodyguard cuirassiers, the Norchester Disenfranchised, along with General Sir Edmund Dexter are there too. Lurking on the right are a couple of squadrons of horse, just waiting for the opportunity to sneak-attack the Roundhead attackers.

The Parliamentarian attackers (see picture, above) consisted of ten battalia of infantry supported by a large squadron of Dutch-style horse, the Perform-Thy-Vows Puritan horse.

Opening Moves

As the sun rose, the Parliamentarian line moved smartly towards the small stream surrounding the tower. The Royalist supporting force moved up parallel to the walls, whilst the Staplehurst Horse on the right trotted forward looking for the Roundhead flank.

The Parliamentarians crossed the stream without pausing and threw themselves at the breach. Their troops on their right hung back slightly, looking to fight one battle at a time.

Staplehurst was still leading his horse forward and, as one Roundhead battalion (Manning’s Foot, in blue) was smashed from the field by fire from the shot-heavies, charged the far left of the Roundhead line.

Engaged from the front and flank, the Parliamentarian battalia there (Kelsey’s Foot, in grey) crumbled and fled. It would have been great if the Royalist horse had charged on to hit the next enemy battalia in the flank as well, but the Cavaliers were carried away by their success and turned to pursue their fleeing foes!

The Climax

Meanwhile the Royalist left were beating the Roundheads in front of them: the timely intervention of the cuirassiers breaking what had looked like being deadlock.

The Roundheads were now in some trouble: their line had recoiled from the walls surrounding the tower, and although they had reformed and were preparing to go back in, both flanks were crumbling.

Indeed, before anything else happened, the second unit of lurking Royalist horse also managed to turn an enemy infantry battalia’s flank.

And that was really it: the Parliamentarians had started the battle with ten infantry battalions but were now reduced to four, who promptly voted to leave the field as fast as possible!

Aftermath

An interesting game. I’d played the Royalists and was now dying to have a go as the Parliamentarians!

John and I agreed that he had come forward without much tactical manoeuvre: although he had been unlucky with his cards on his left…my horse should never have been able to get around the side like that.

What would I have done differently? When I do play this as the Roundheads, I think I’ll initially ignore the Tower and its defenders and concentrate on wiping out all the Royalists out in the open. I’ll then be able to concentrate my strength on the units behind the fortifications, hopefully using my (then) overwhelming numbers to win victory. Can’t wait to try this, but if you have any better ideas, please do comment to let me know!

FK&P AAR: Plumleigh Common Again

After a drought of about a month, I managed to play four wargames yesterday (huzzah!) and, incredibly, managed to win them all (huzzah again!).

That was a game of To The Strongest; two games of For King & Parliament; and a game of Art de la Guerre, which I hadn’t actually played before.

There will be After Action Reports for all of them in due course but, for the moment, here’s a catch up report featuring FK&P and another run through of the Plumleigh Common scenario from my forthcoming scenario book.

FK&P AAR: Plumleigh Common

Time to playtest the next installment in the follow up to the Marlowe to Maidenhythe scenario pack for For King & Parliament. This pack is provisionally entitled The Siege of Norchester and features actions surrounding, funnily enough, a fictional Parliamentarian siege of the Royalist held city of Norchester.

To cut a long story short, Plumleigh Common is a fight that occurs when the Royalists attempt to disrupt the Roundheads as they are digging trenches around the city. The Roundheads are, however, ready for the attack and so what was to have been a raid turns into head-to-head fight.

Here are two views of the battlefield. The walled area containing the church prominent in the left hand picture is Norchester itself, held by some Royalist infantry and artillery who cannot cross the city walls only shoot from them. The trenches represent the Parliamentarian lines, and are held by Roundhead infantry who are protecting a siege gun that could actually reach Norchester.

The battlefield thus divides into three sections: the area between the walls/ramparts; the open area next to it, and the area of enclosures on the far side. In this first game, I would play the Roundheads.

On My Right Flank

The battle opened on my right flank, opposite an area of dense terrain formed of enclosures. Here I had committed my troops raised from the Borders area…

In The Centre

In the centre, however, things were a bit more even:

The Climax

As you can see from the picture above, left, the fight for the centre had been carnage, with both sides losing many units. Victory Medals were now in short supply for both sides, but I had three relatively fresh units to bring over from my right which would swing the battle in my favour.

Unfortunately, this left my opponent with a temporary three to two advantage in the centre and a run of rather bad luck meant that I lost both units there in quick succession:

This wiped out my last few Victory Medals meaning that I lost the battle as my game-winning right flank force decided that the sight of the last two of my units in the centre going down fighting meant that it was far too dangerous to intervene despite outnumbering the opposition whilst in a tactically superior position!

Aaargh!

But a great game nonetheless, and the Plumleigh Common scenario is definitely passed as ready!