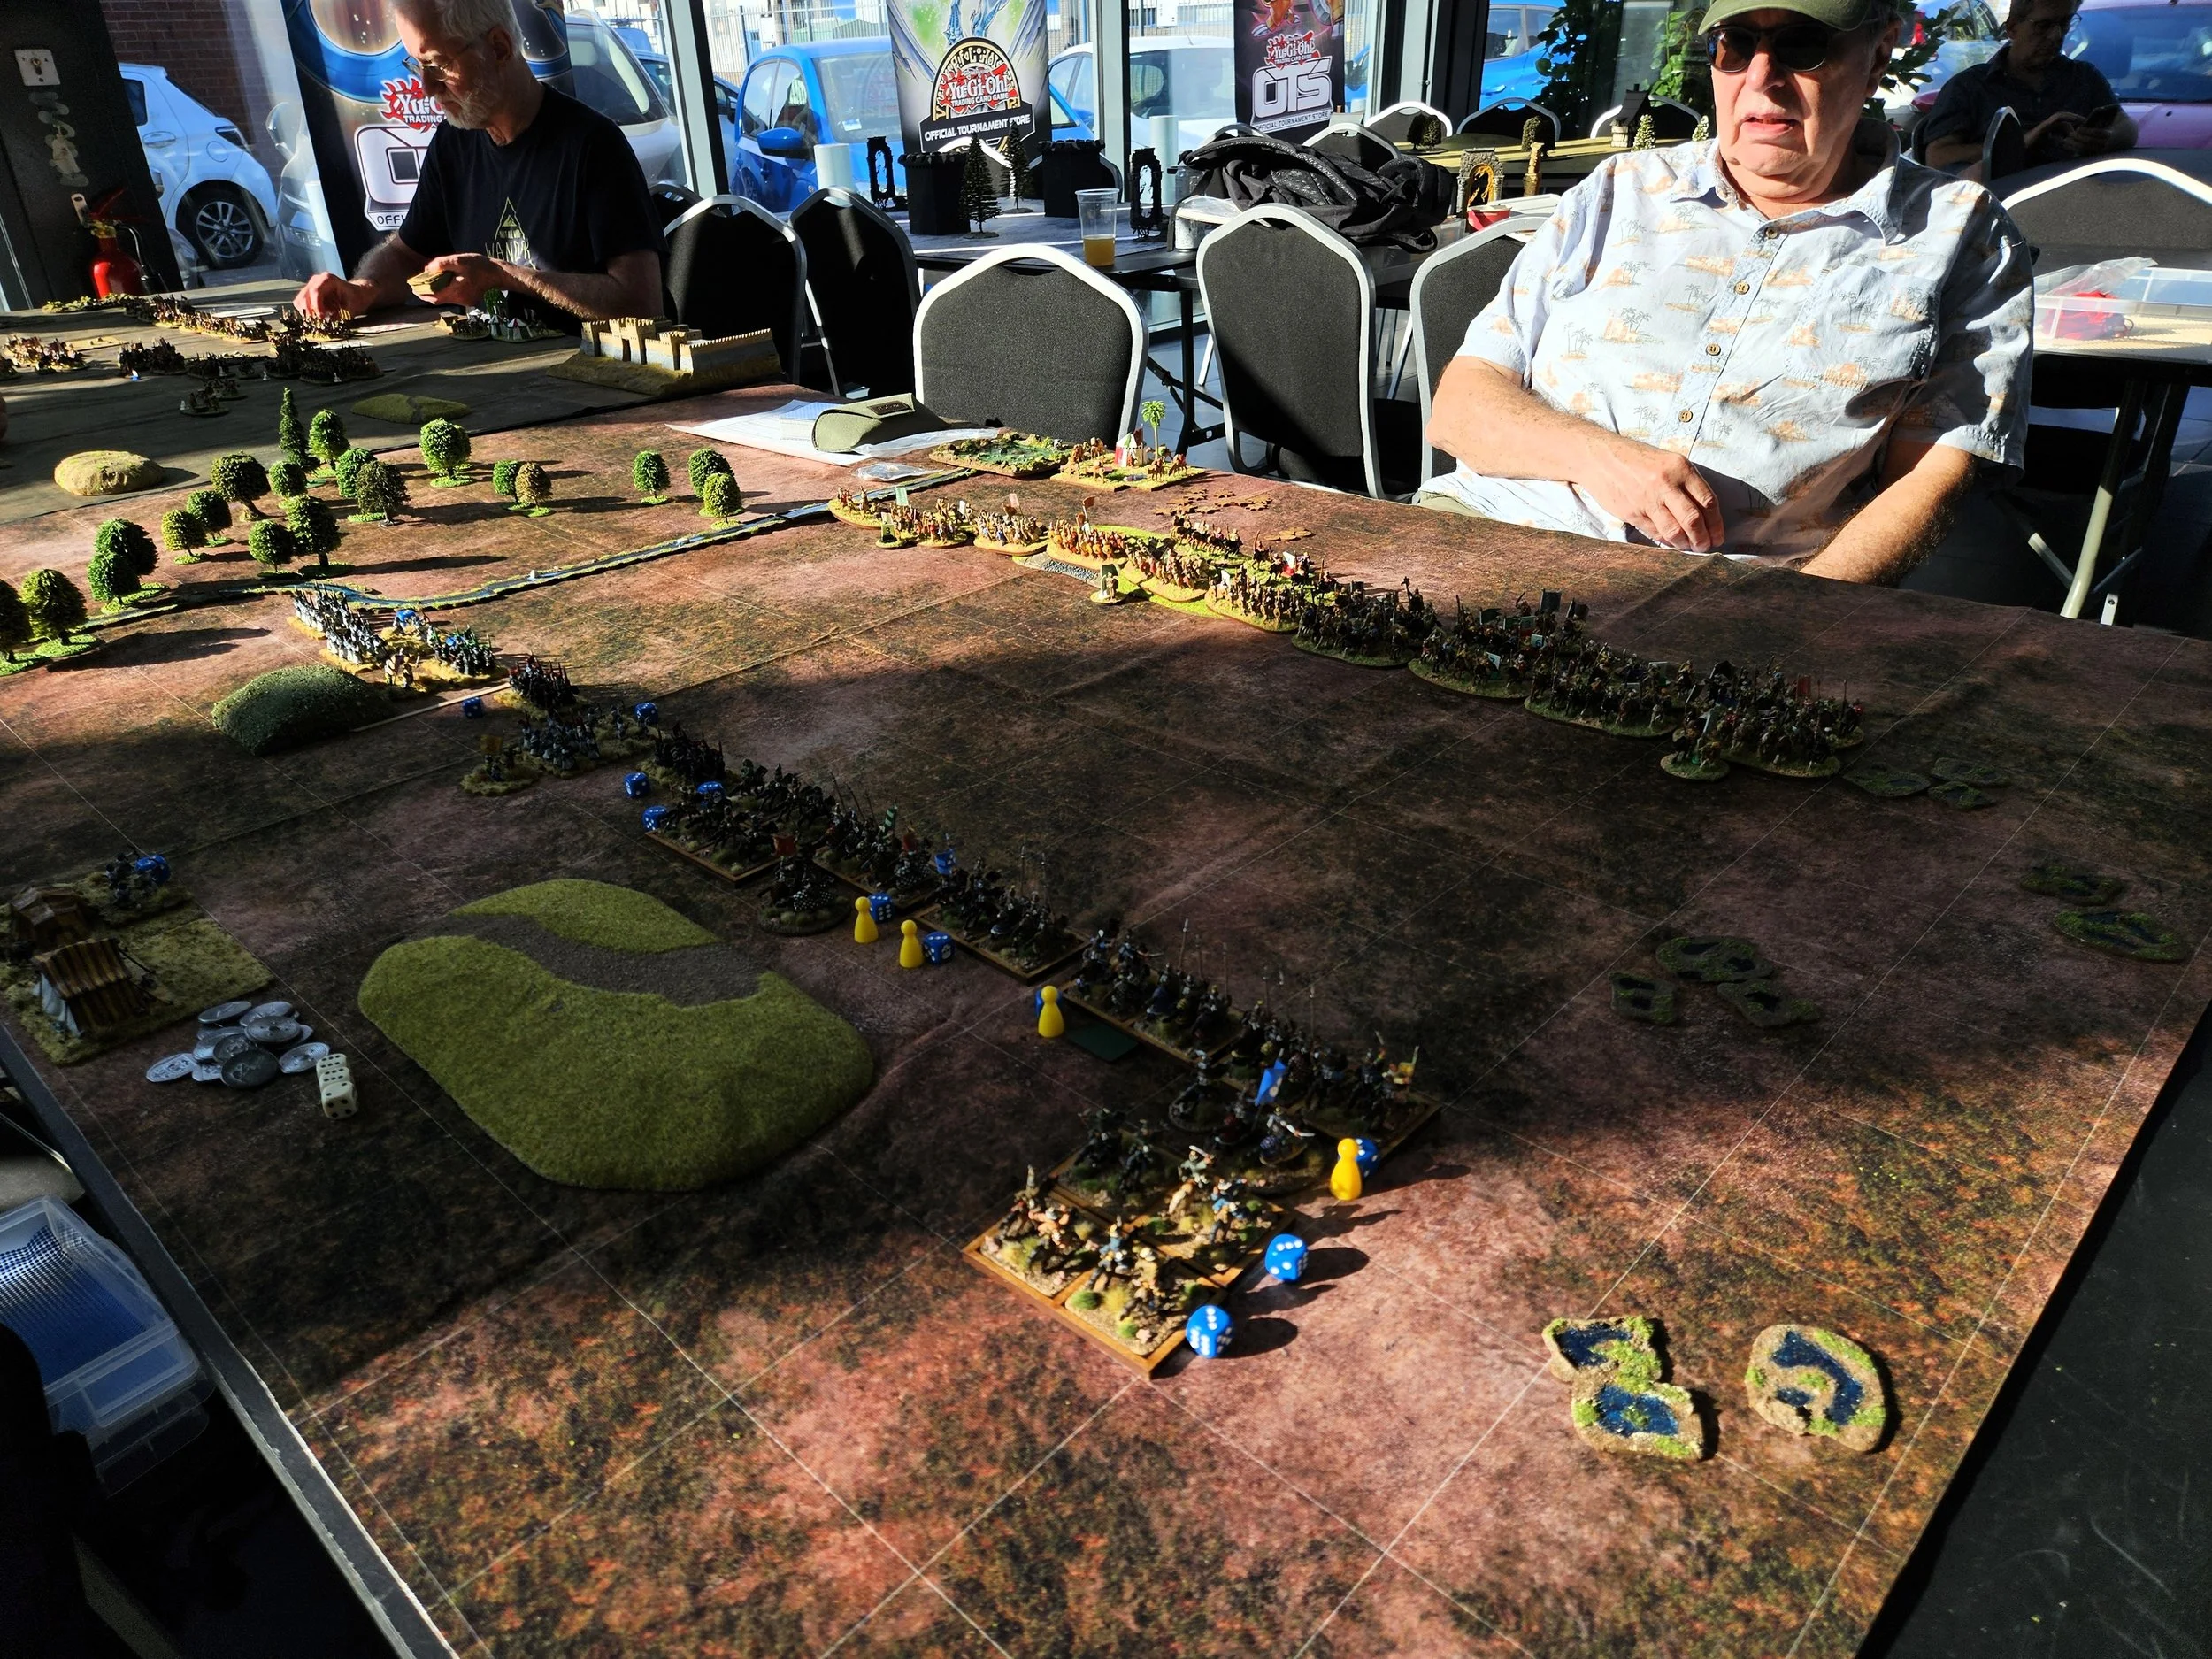
IABSM AAR: Sicilian Weekend #17: South of Priolo
/Dan Albrecht and friends from the Vermont Historical Gamers Group spent a weekend recently playing scenario #17 from the Sicilian Weekend campaign pack.
Click on the picture below to see all…

Dan Albrecht and friends from the Vermont Historical Gamers Group spent a weekend recently playing scenario #17 from the Sicilian Weekend campaign pack.
Click on the picture below to see all…
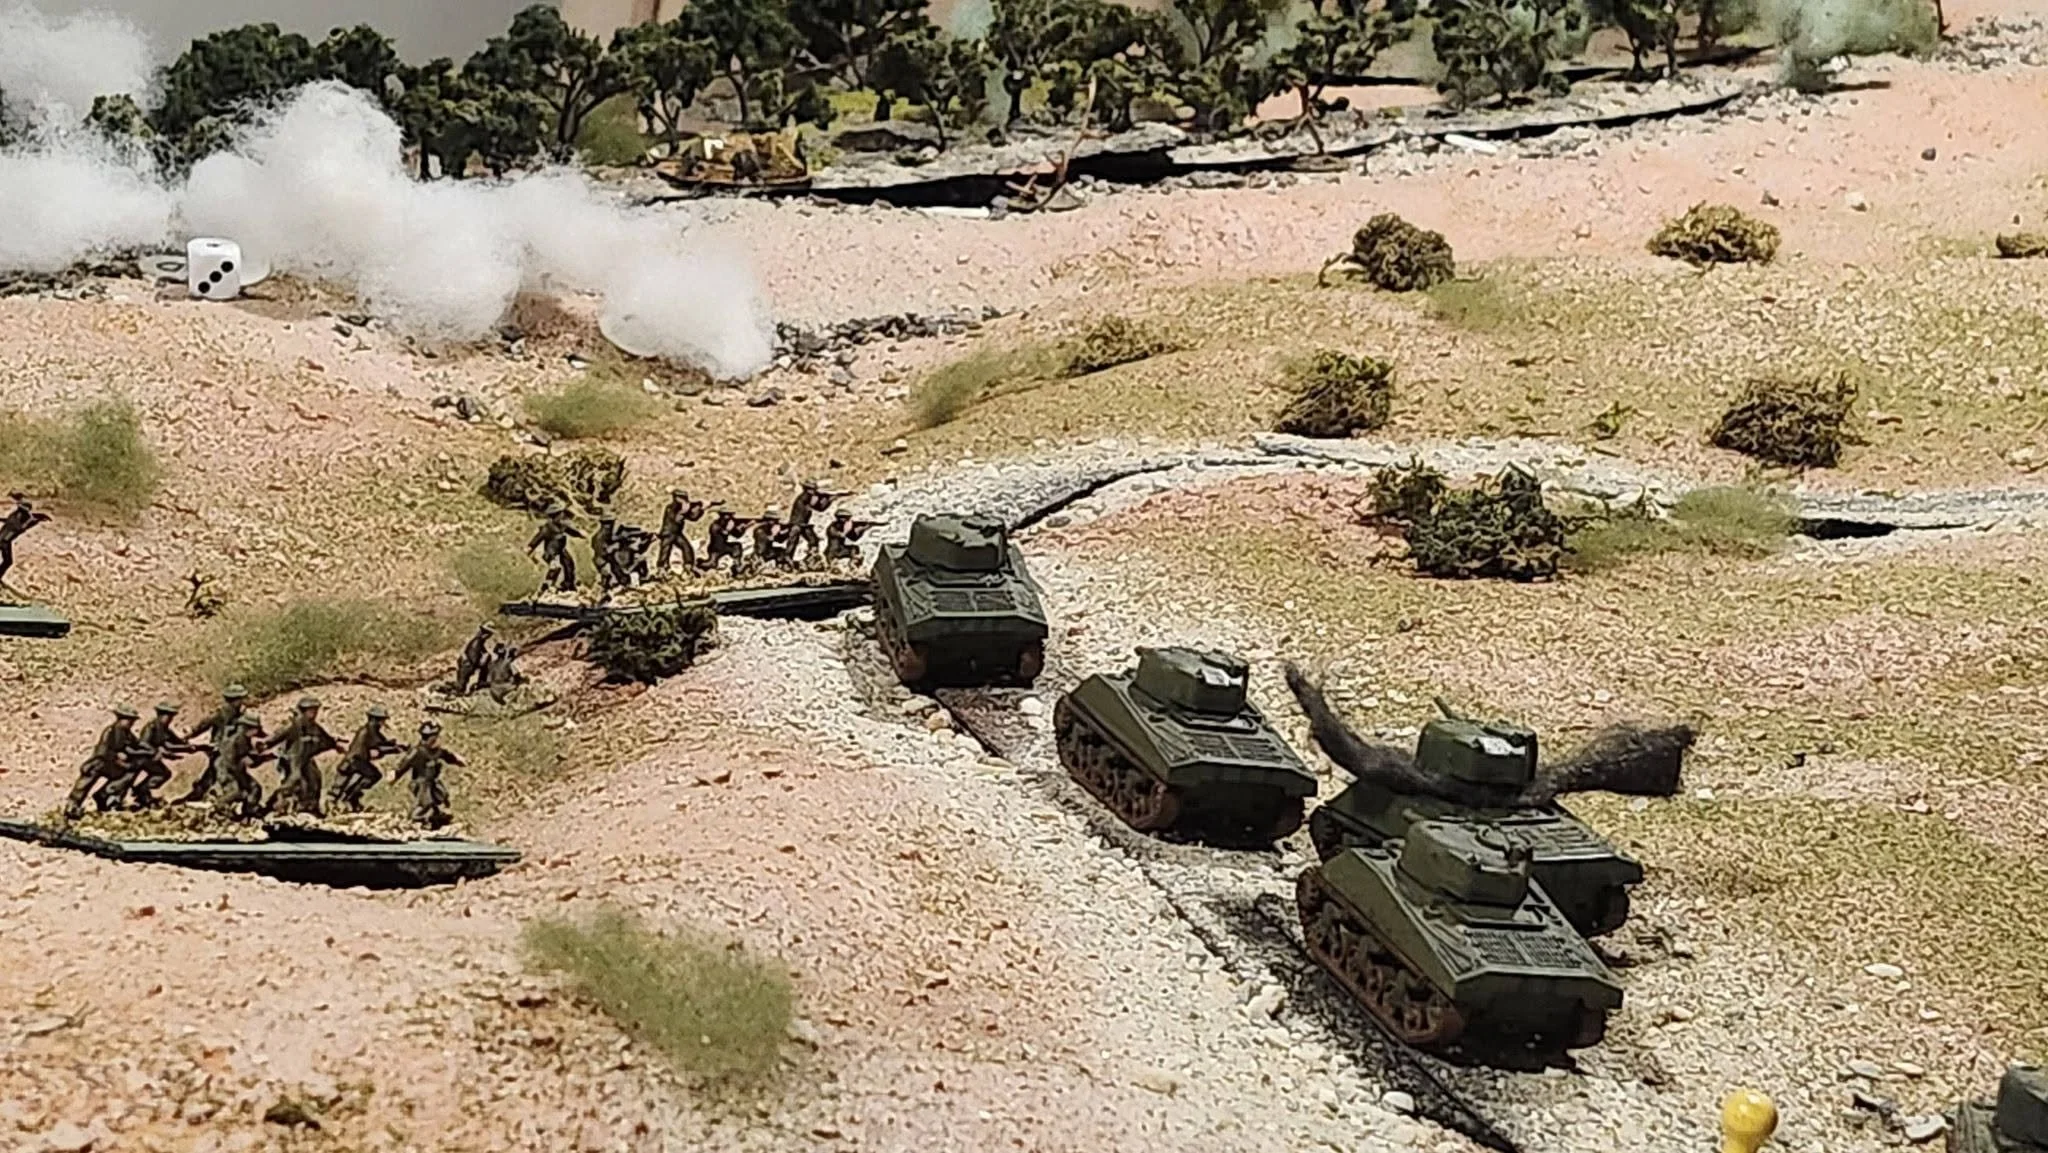
John Paul Hancock recently ran his Seelow Heights scenario at Hurricon 2026 using I Ain’t Been Shot Mum. Thankfully it went better than the playtests at home: having more players and ones with different tactics, made for an exciting game.
Click on the picture below to read/see all…
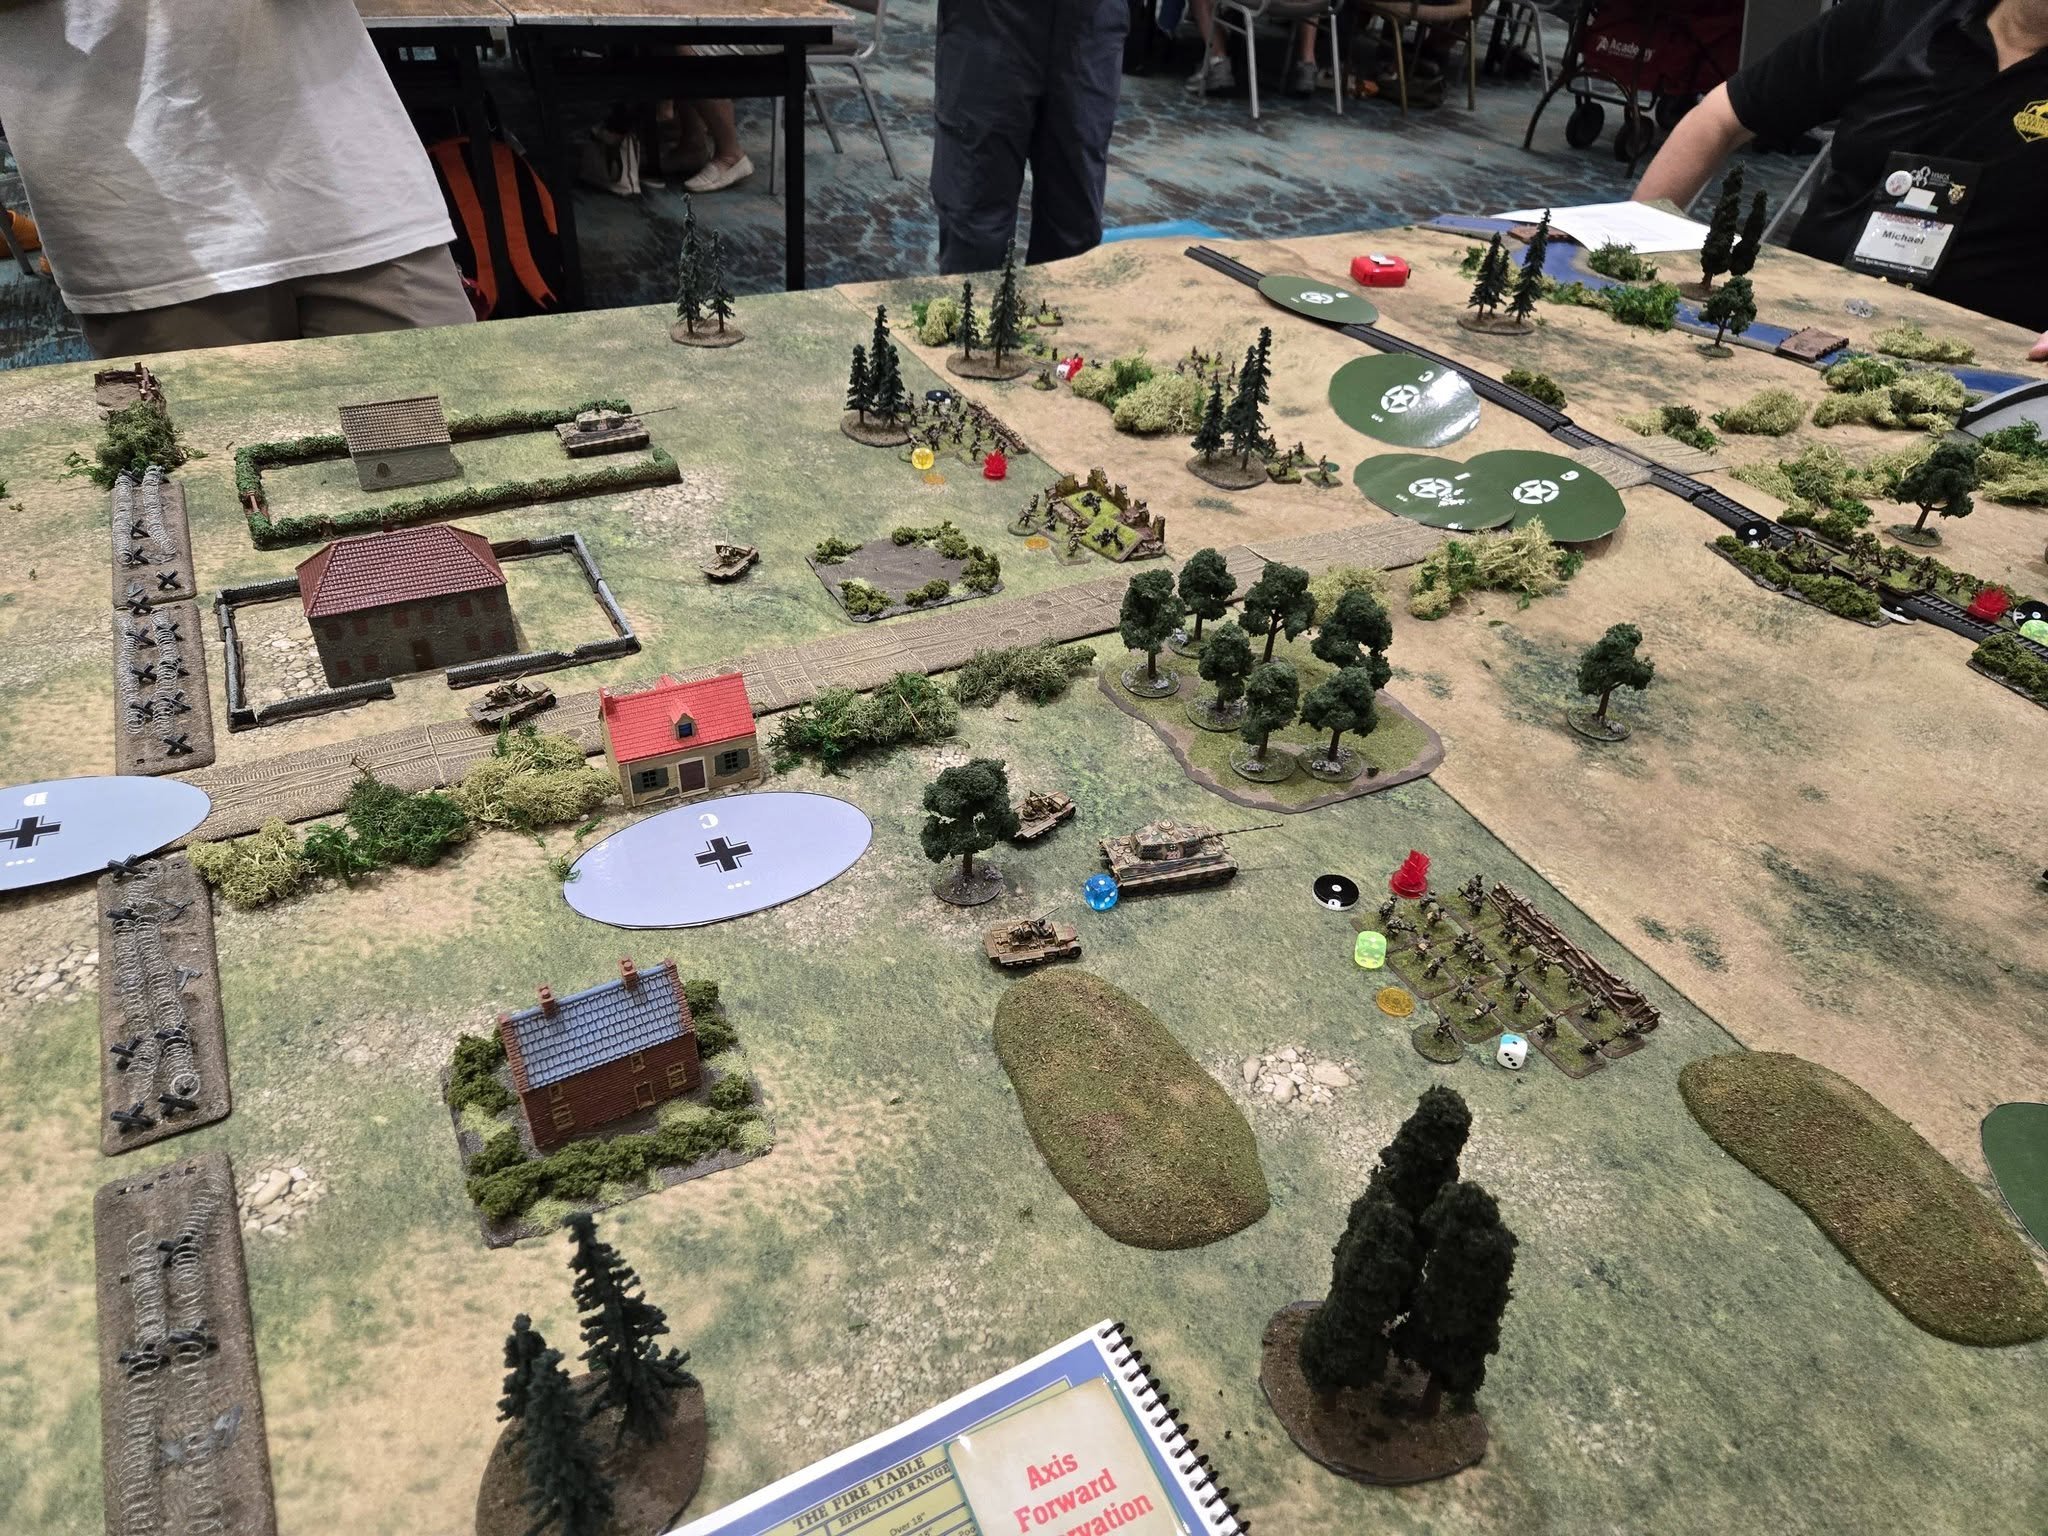
John Paul Hancock and friends recently played the finale of their run through of the Bashnya or Bust campaign pack.
The decision tree format has led the two sides to an encounter Near Sorok, where the Soviets ready themselves for one final push…click on the picture below to see all:
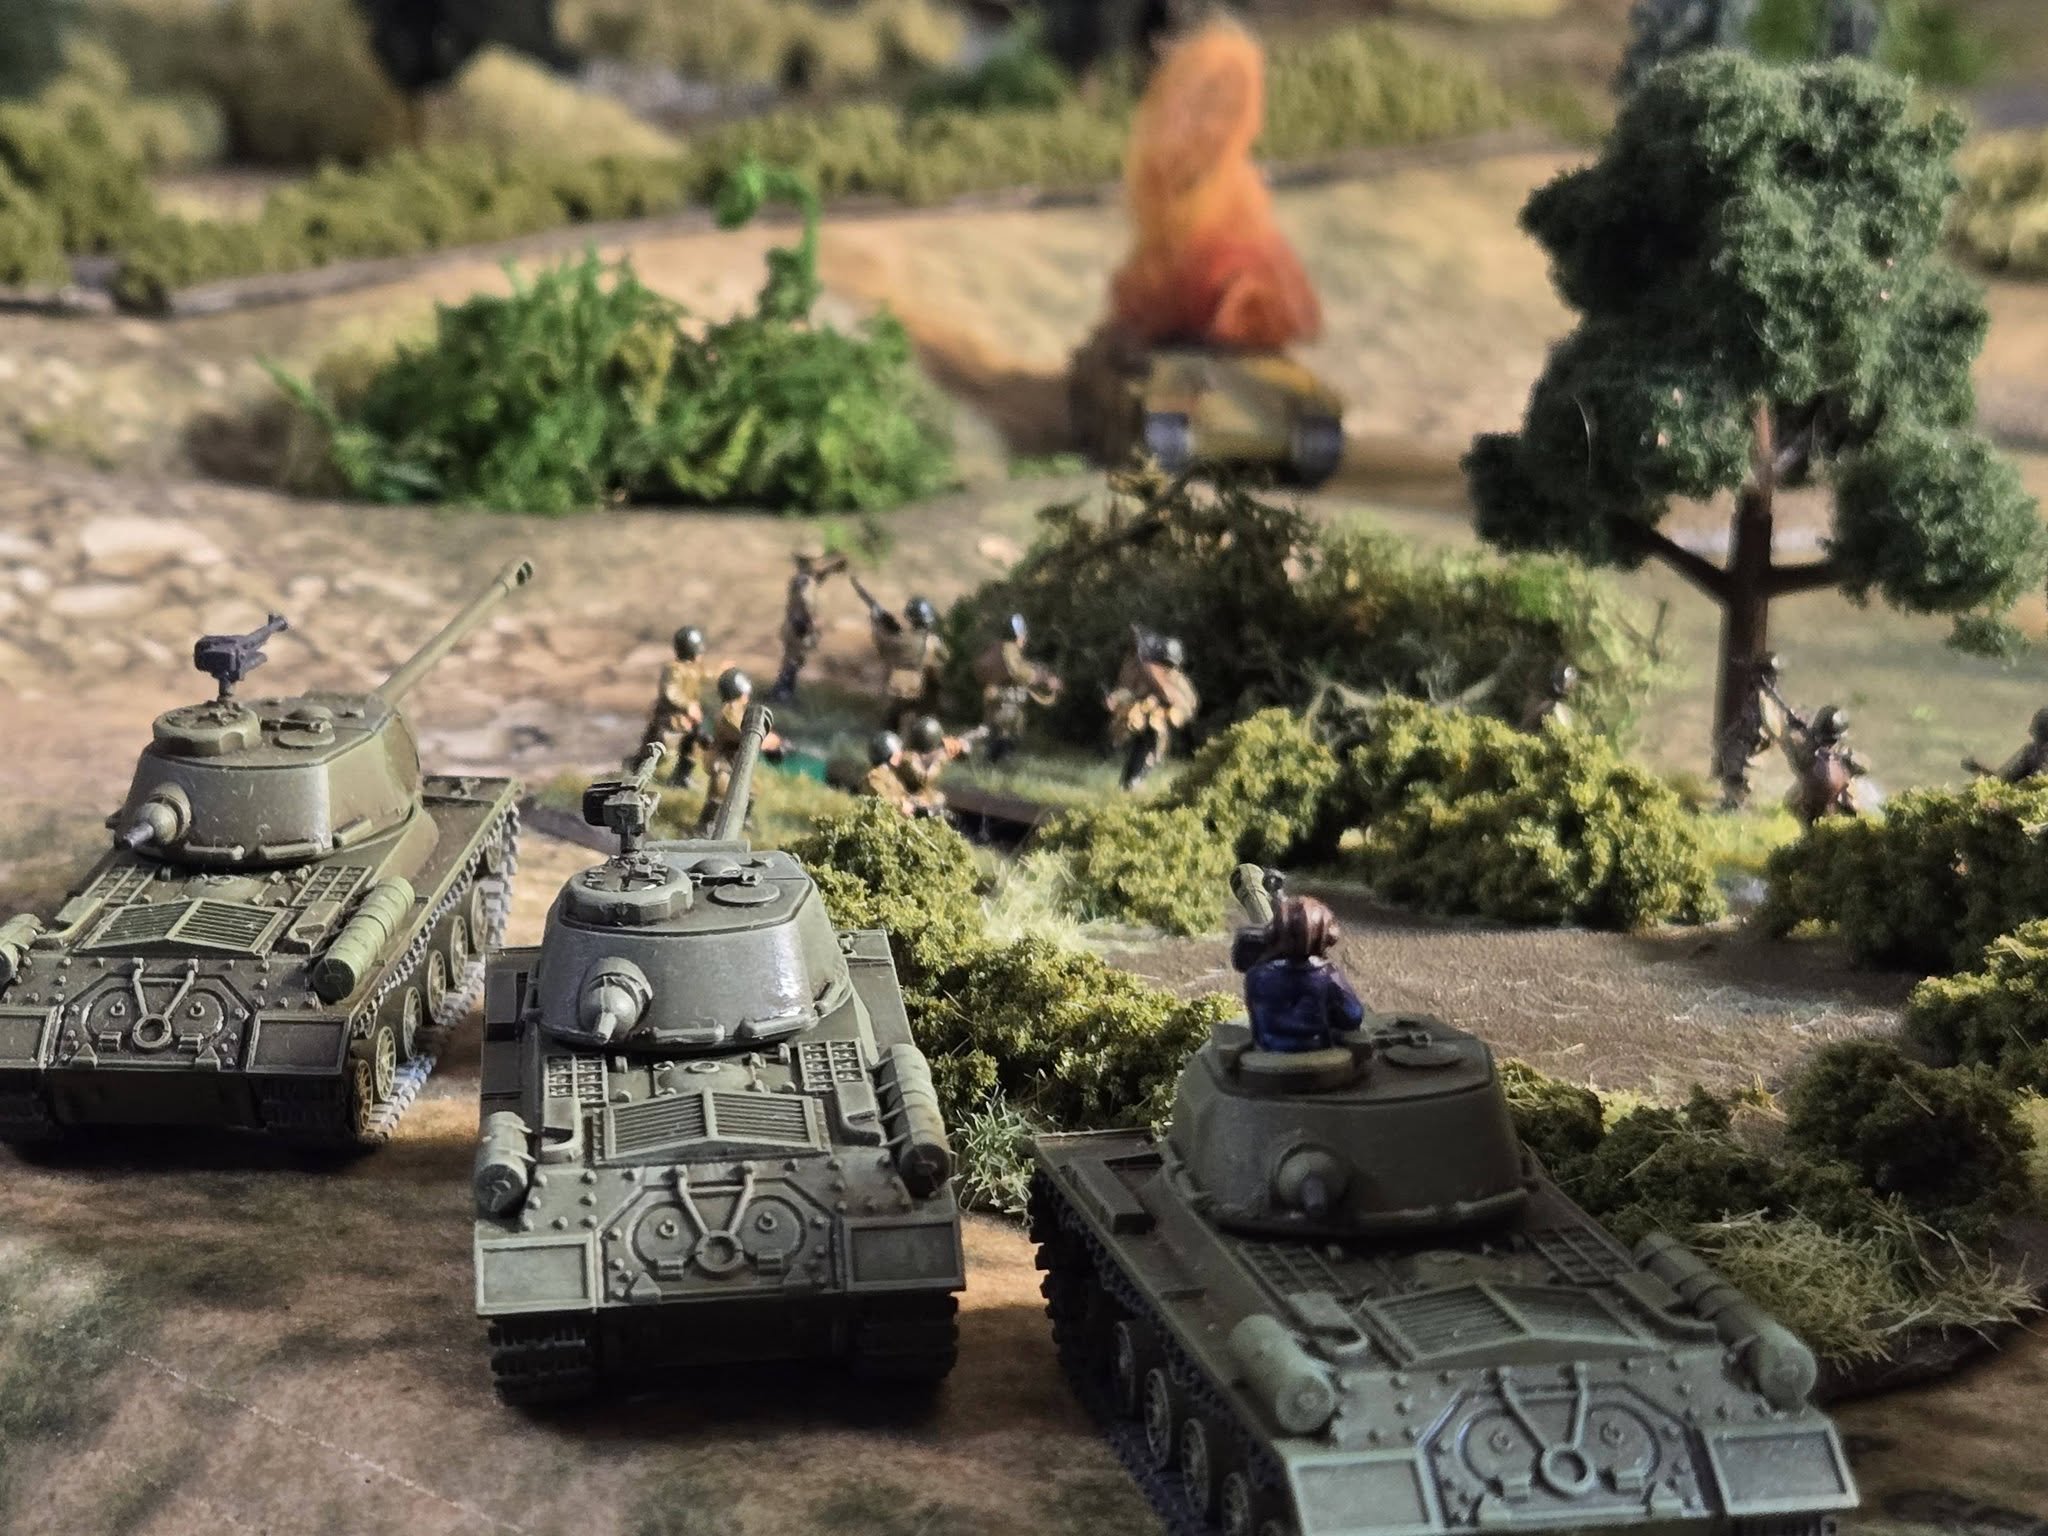
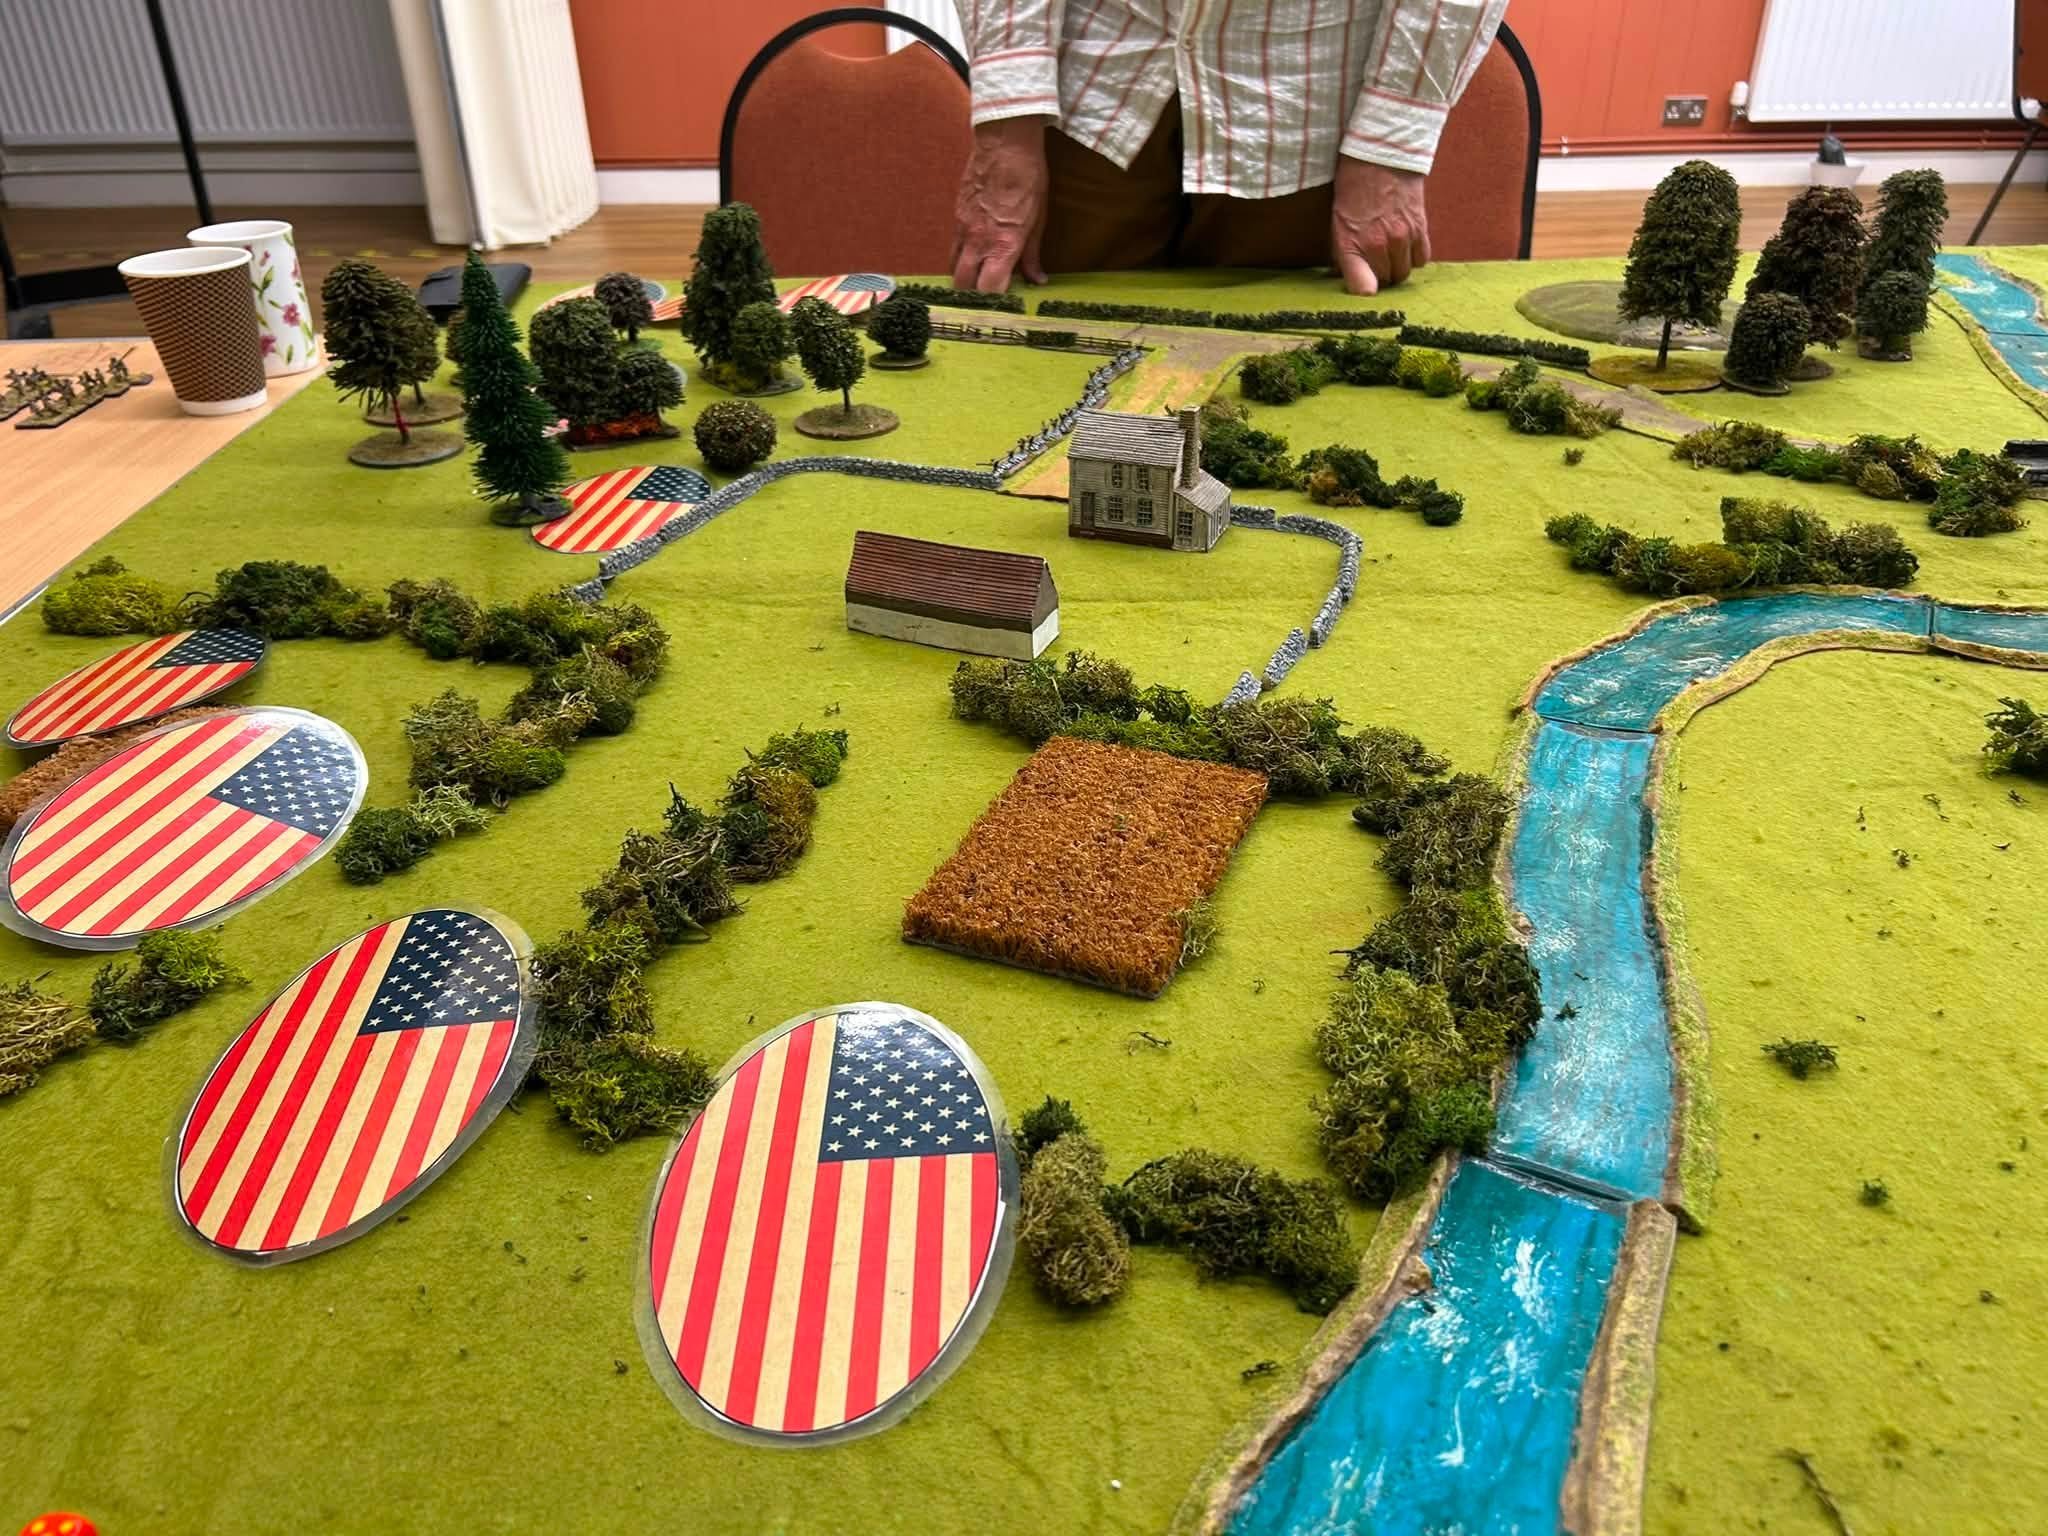
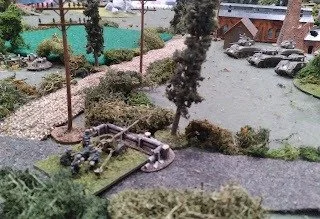
Chris Lane and others from the Mid Somerset Wargamers recently played a great game of I Ain’t Been Shot Mum.
They used a fictitious scenario, set in Normandy, whereby a German grenadier company had to hold a bridge for as long as possible (major victory) to allow retreating troops to get across, or blow it (minor victory) to stop the Americans pushing ahead.
Click on the picture, below, to see all:
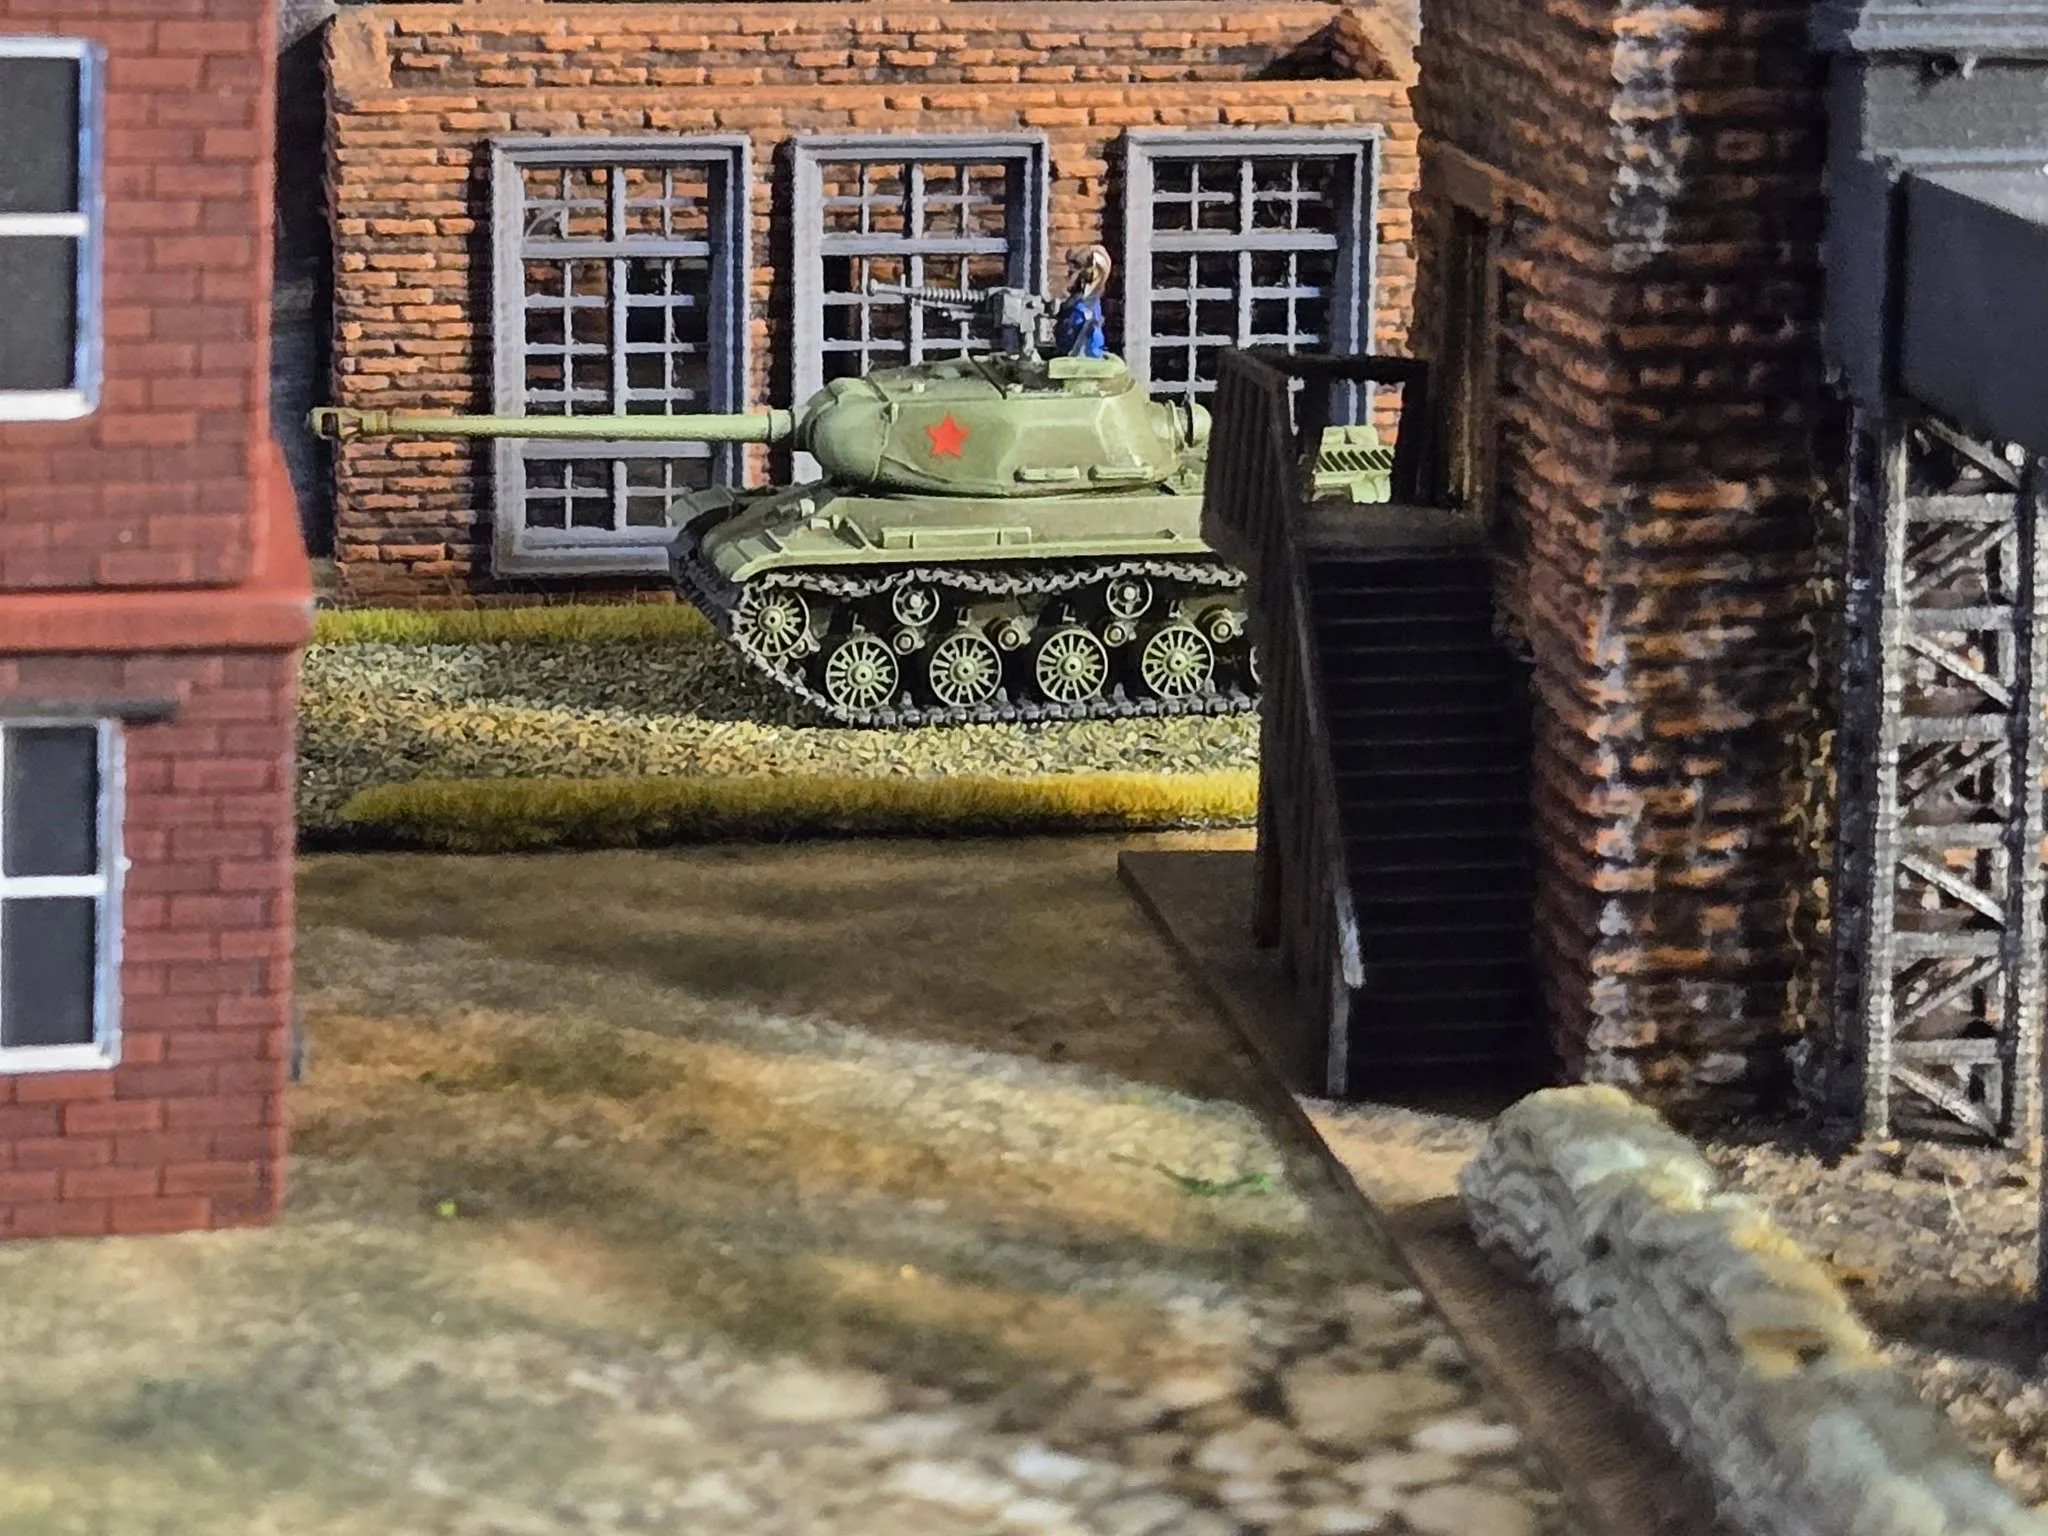
John Paul Hancock and friends present another battle report from the Bashnya or Bust campaign pack. They are on the fourth battle of the campaign: #4H Devnat.
So far the Germans have had it all their own way, with their few Tigers proving unstoppable, but now it’s time for the Soviets to have some fun! Click on the picture below to see all…
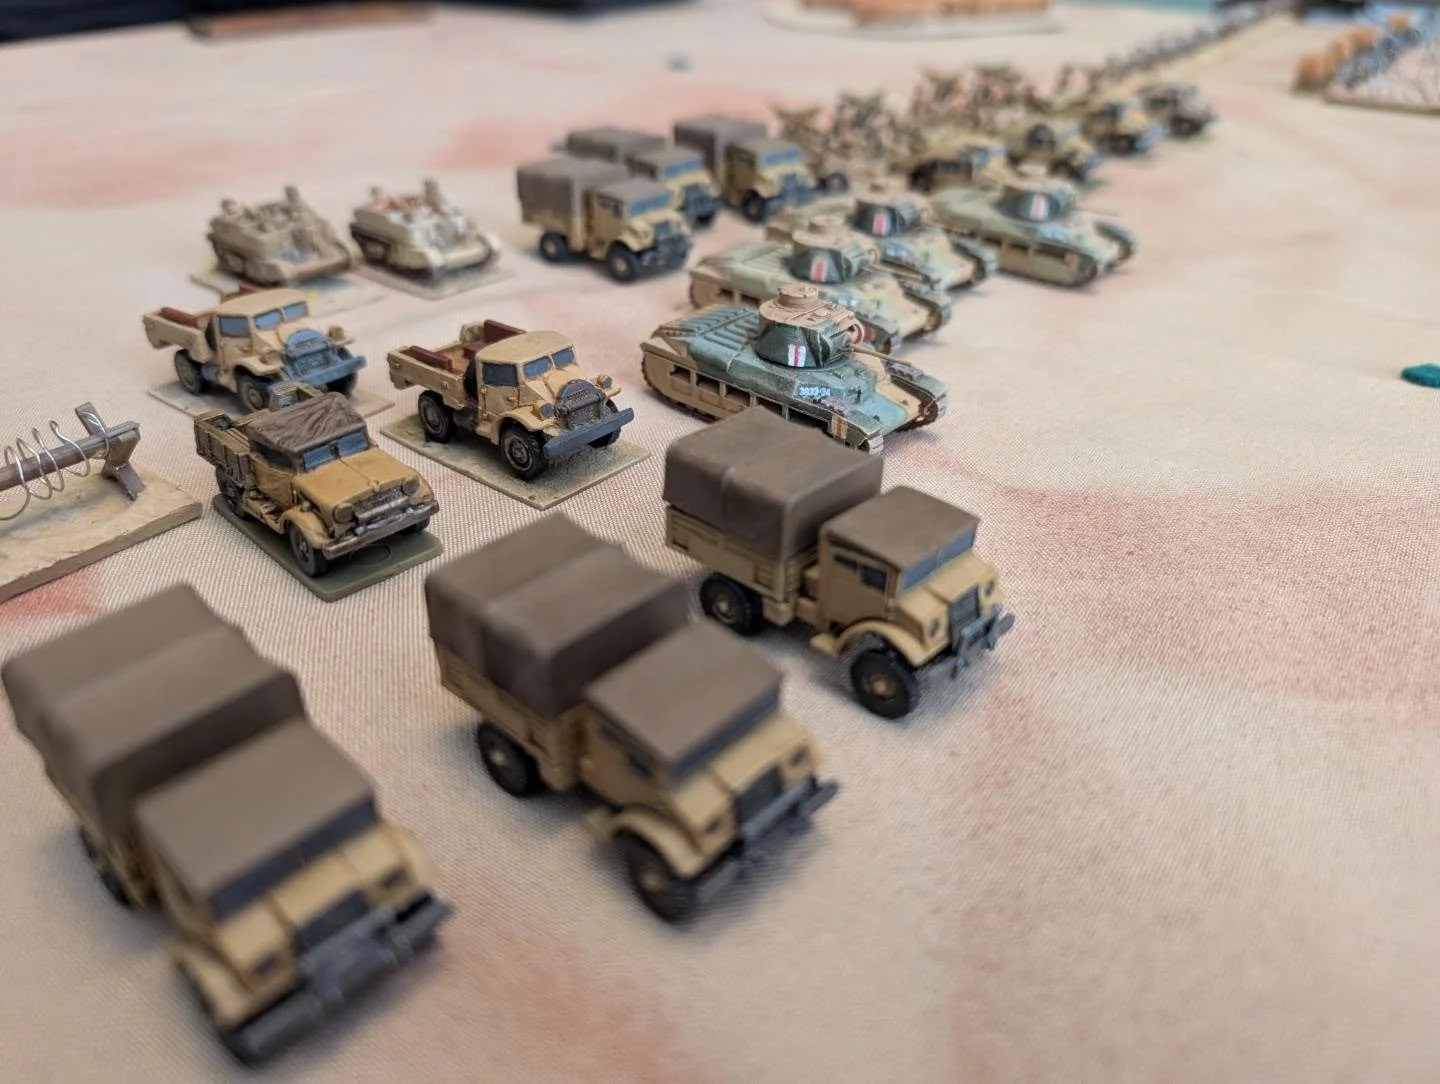
Alex Sotheran and friends played a great looking game of I Ain’t Been Shot Mum the other day, focusing on the assault on the Italian fortified position of Nibeiwa in late 1940.
Click on the picture below to see all:
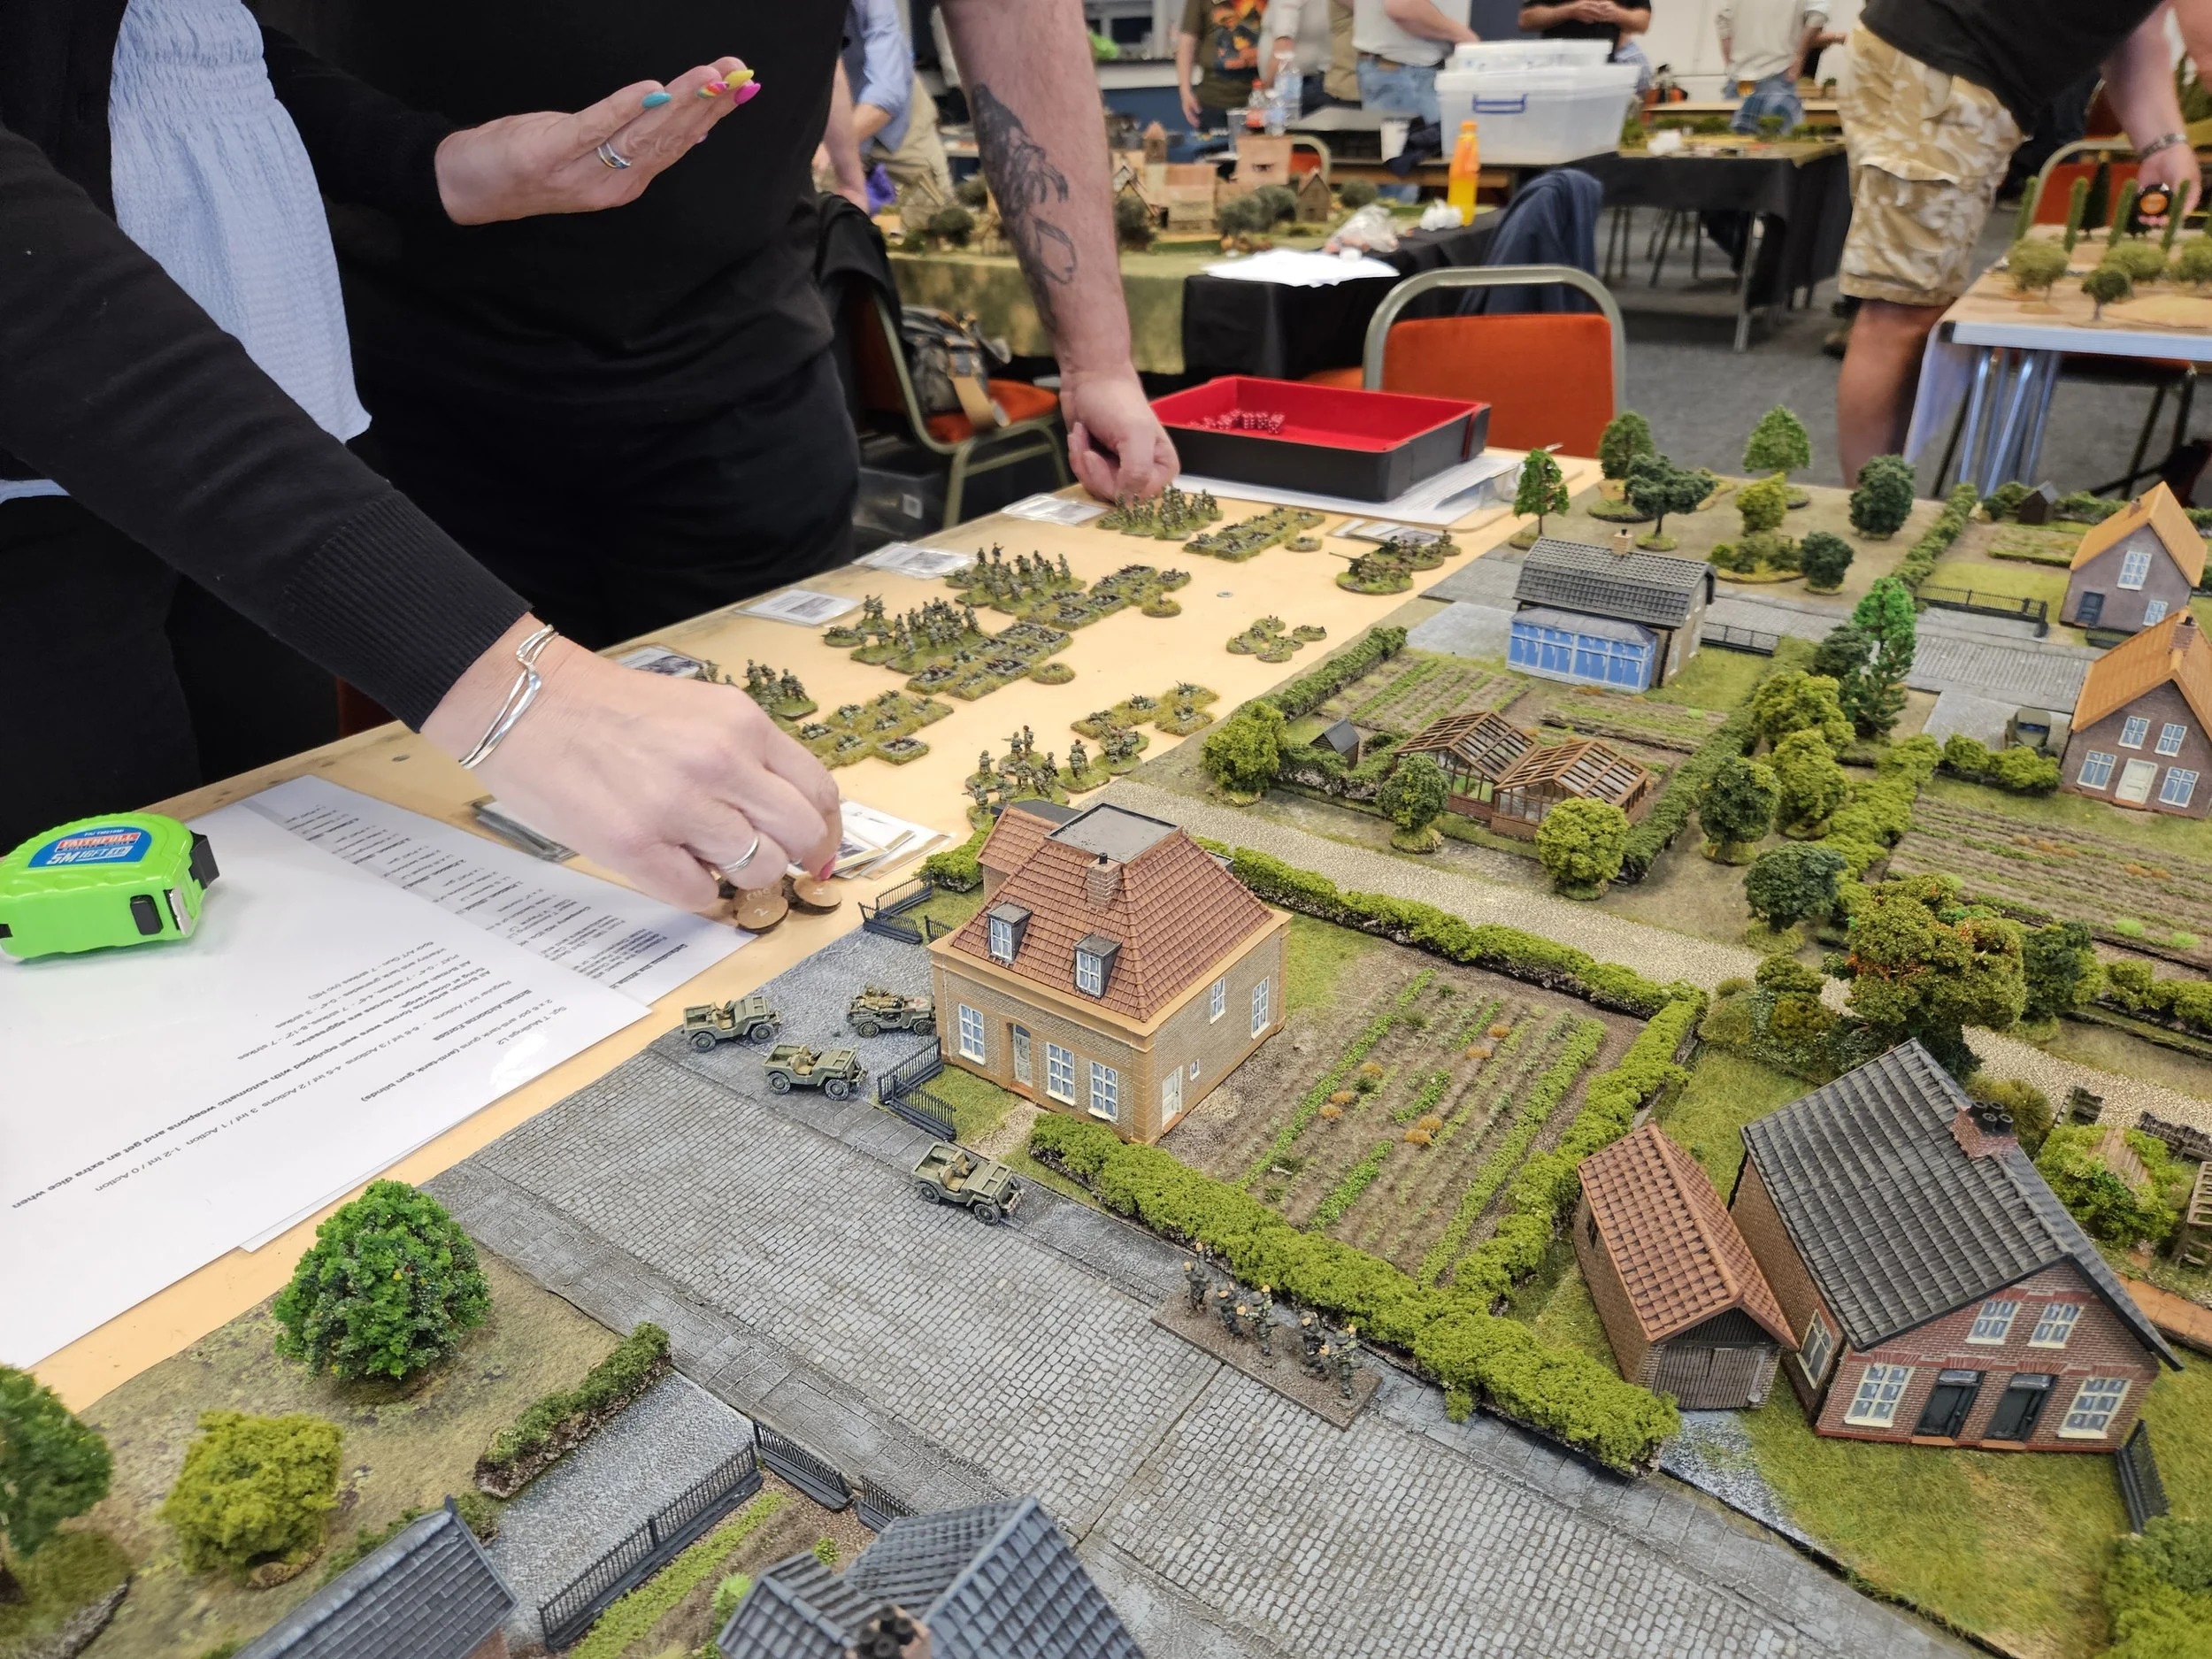
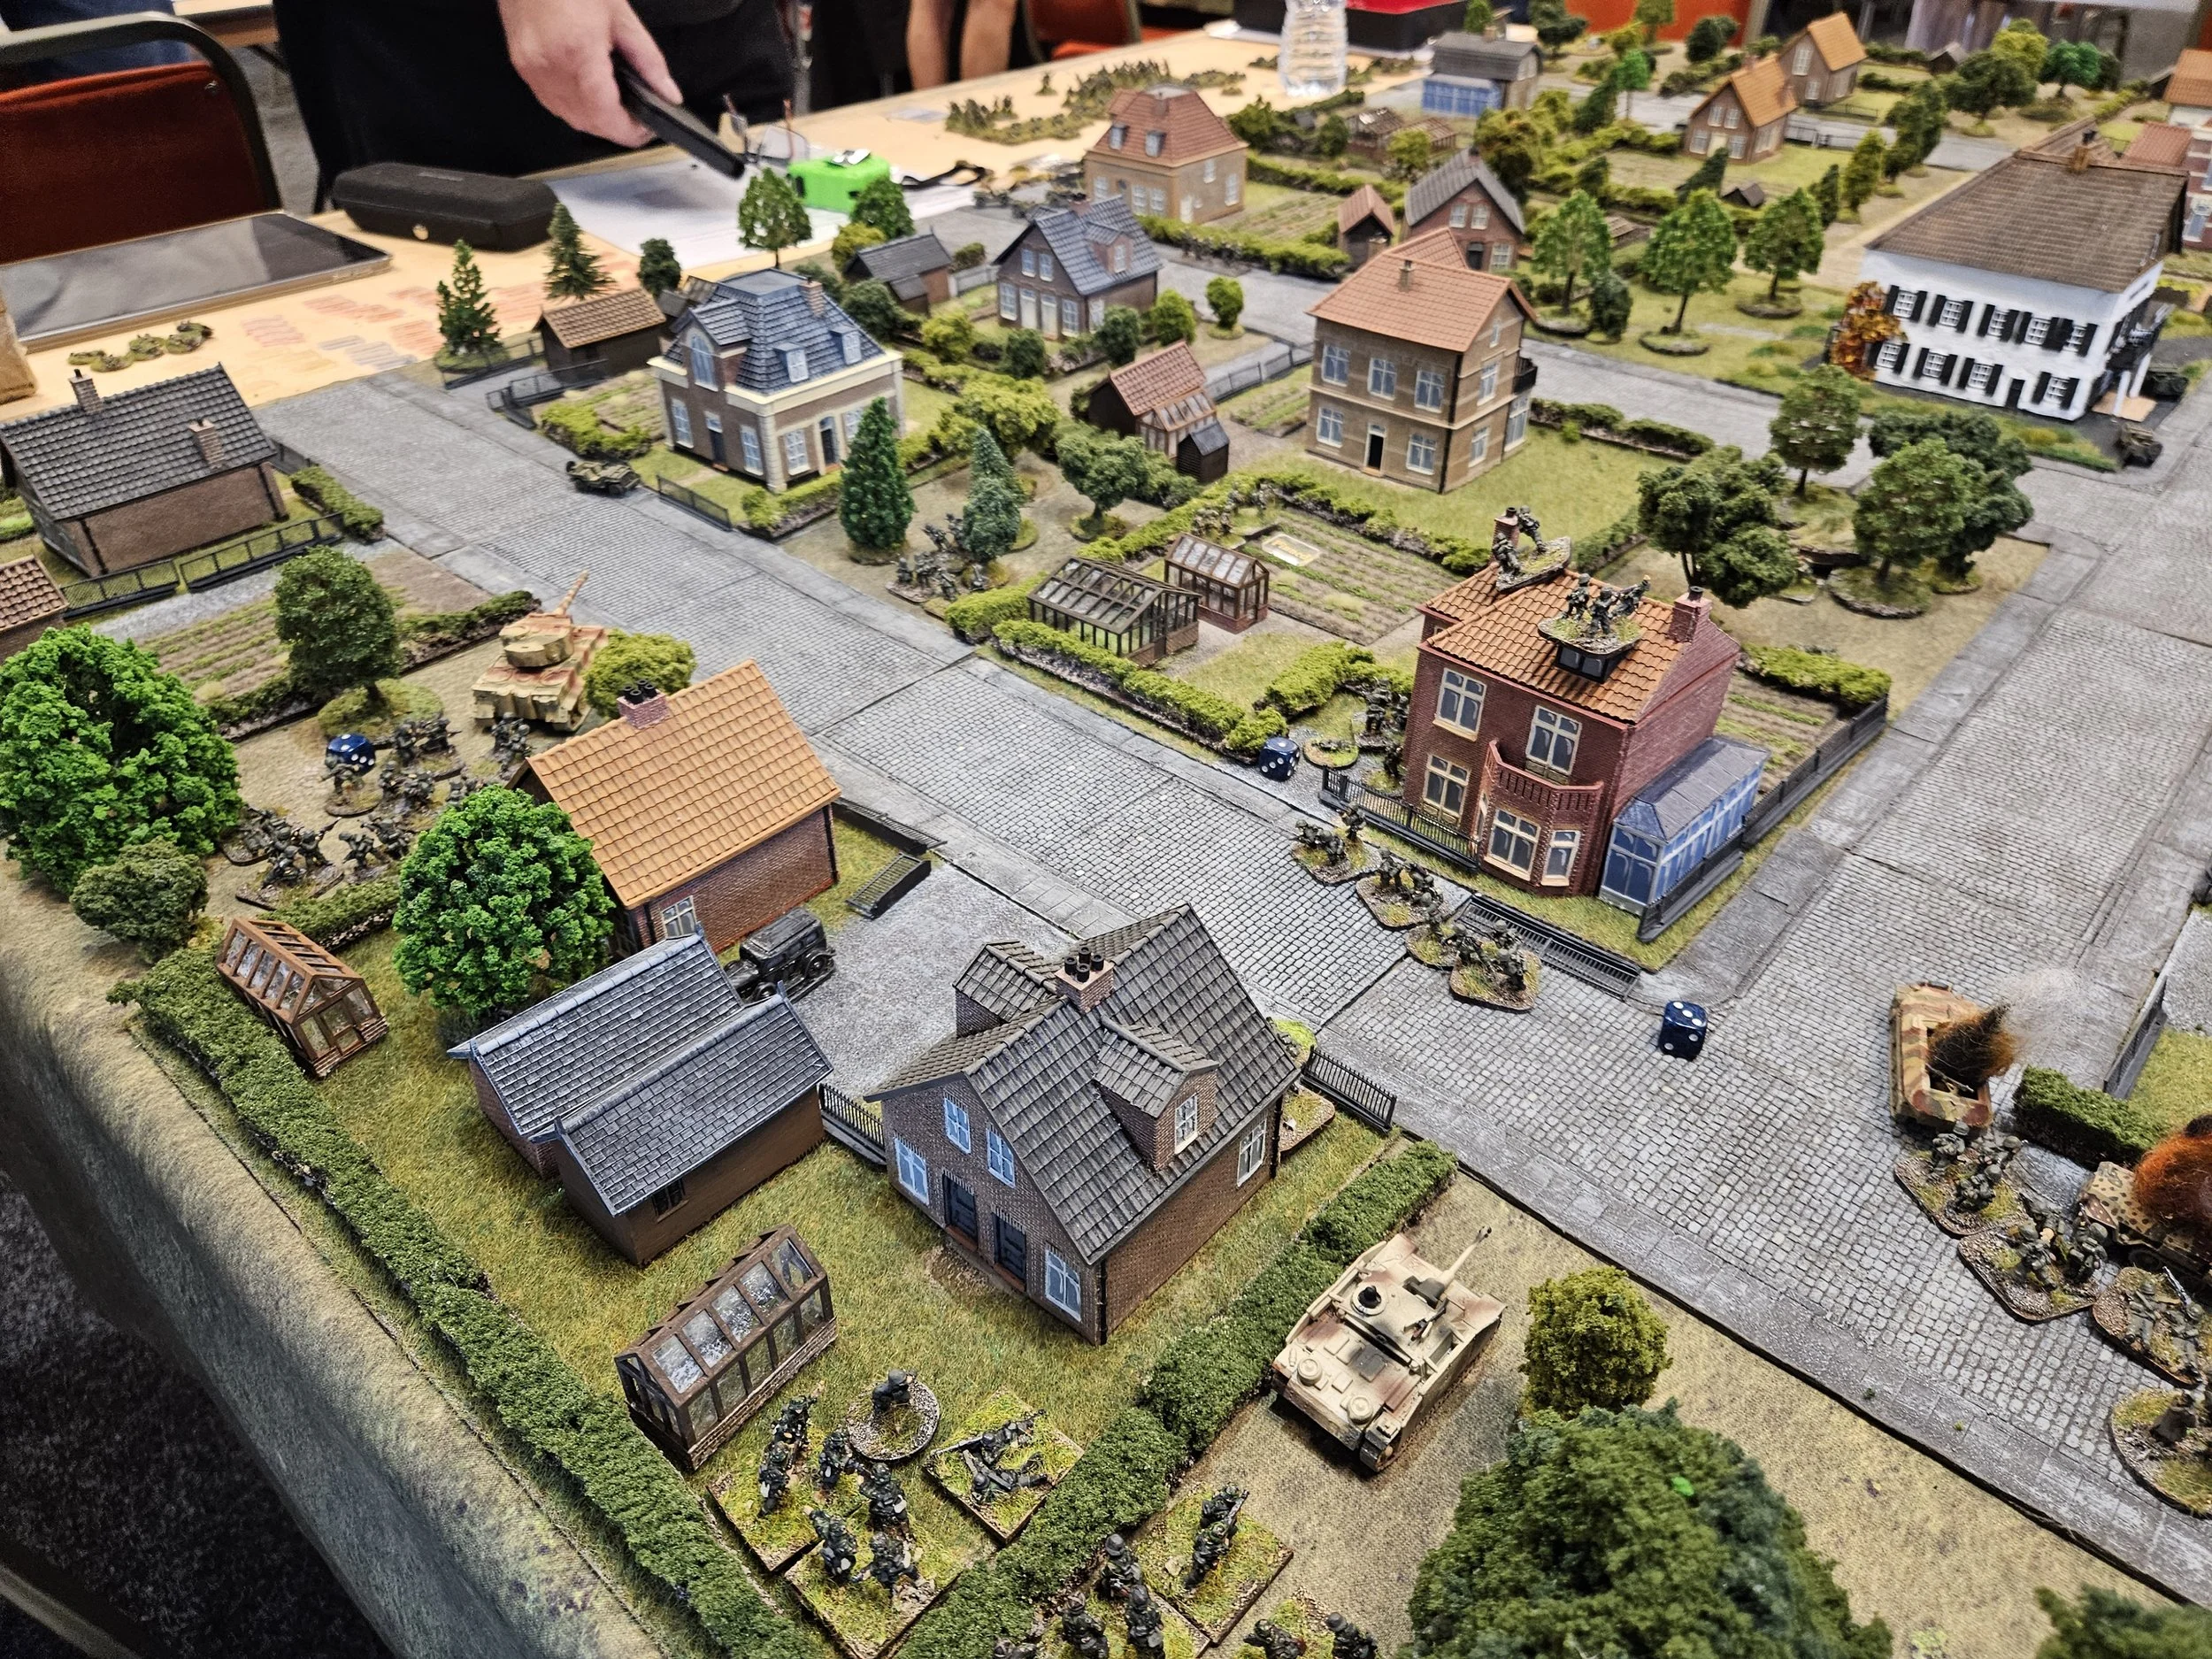
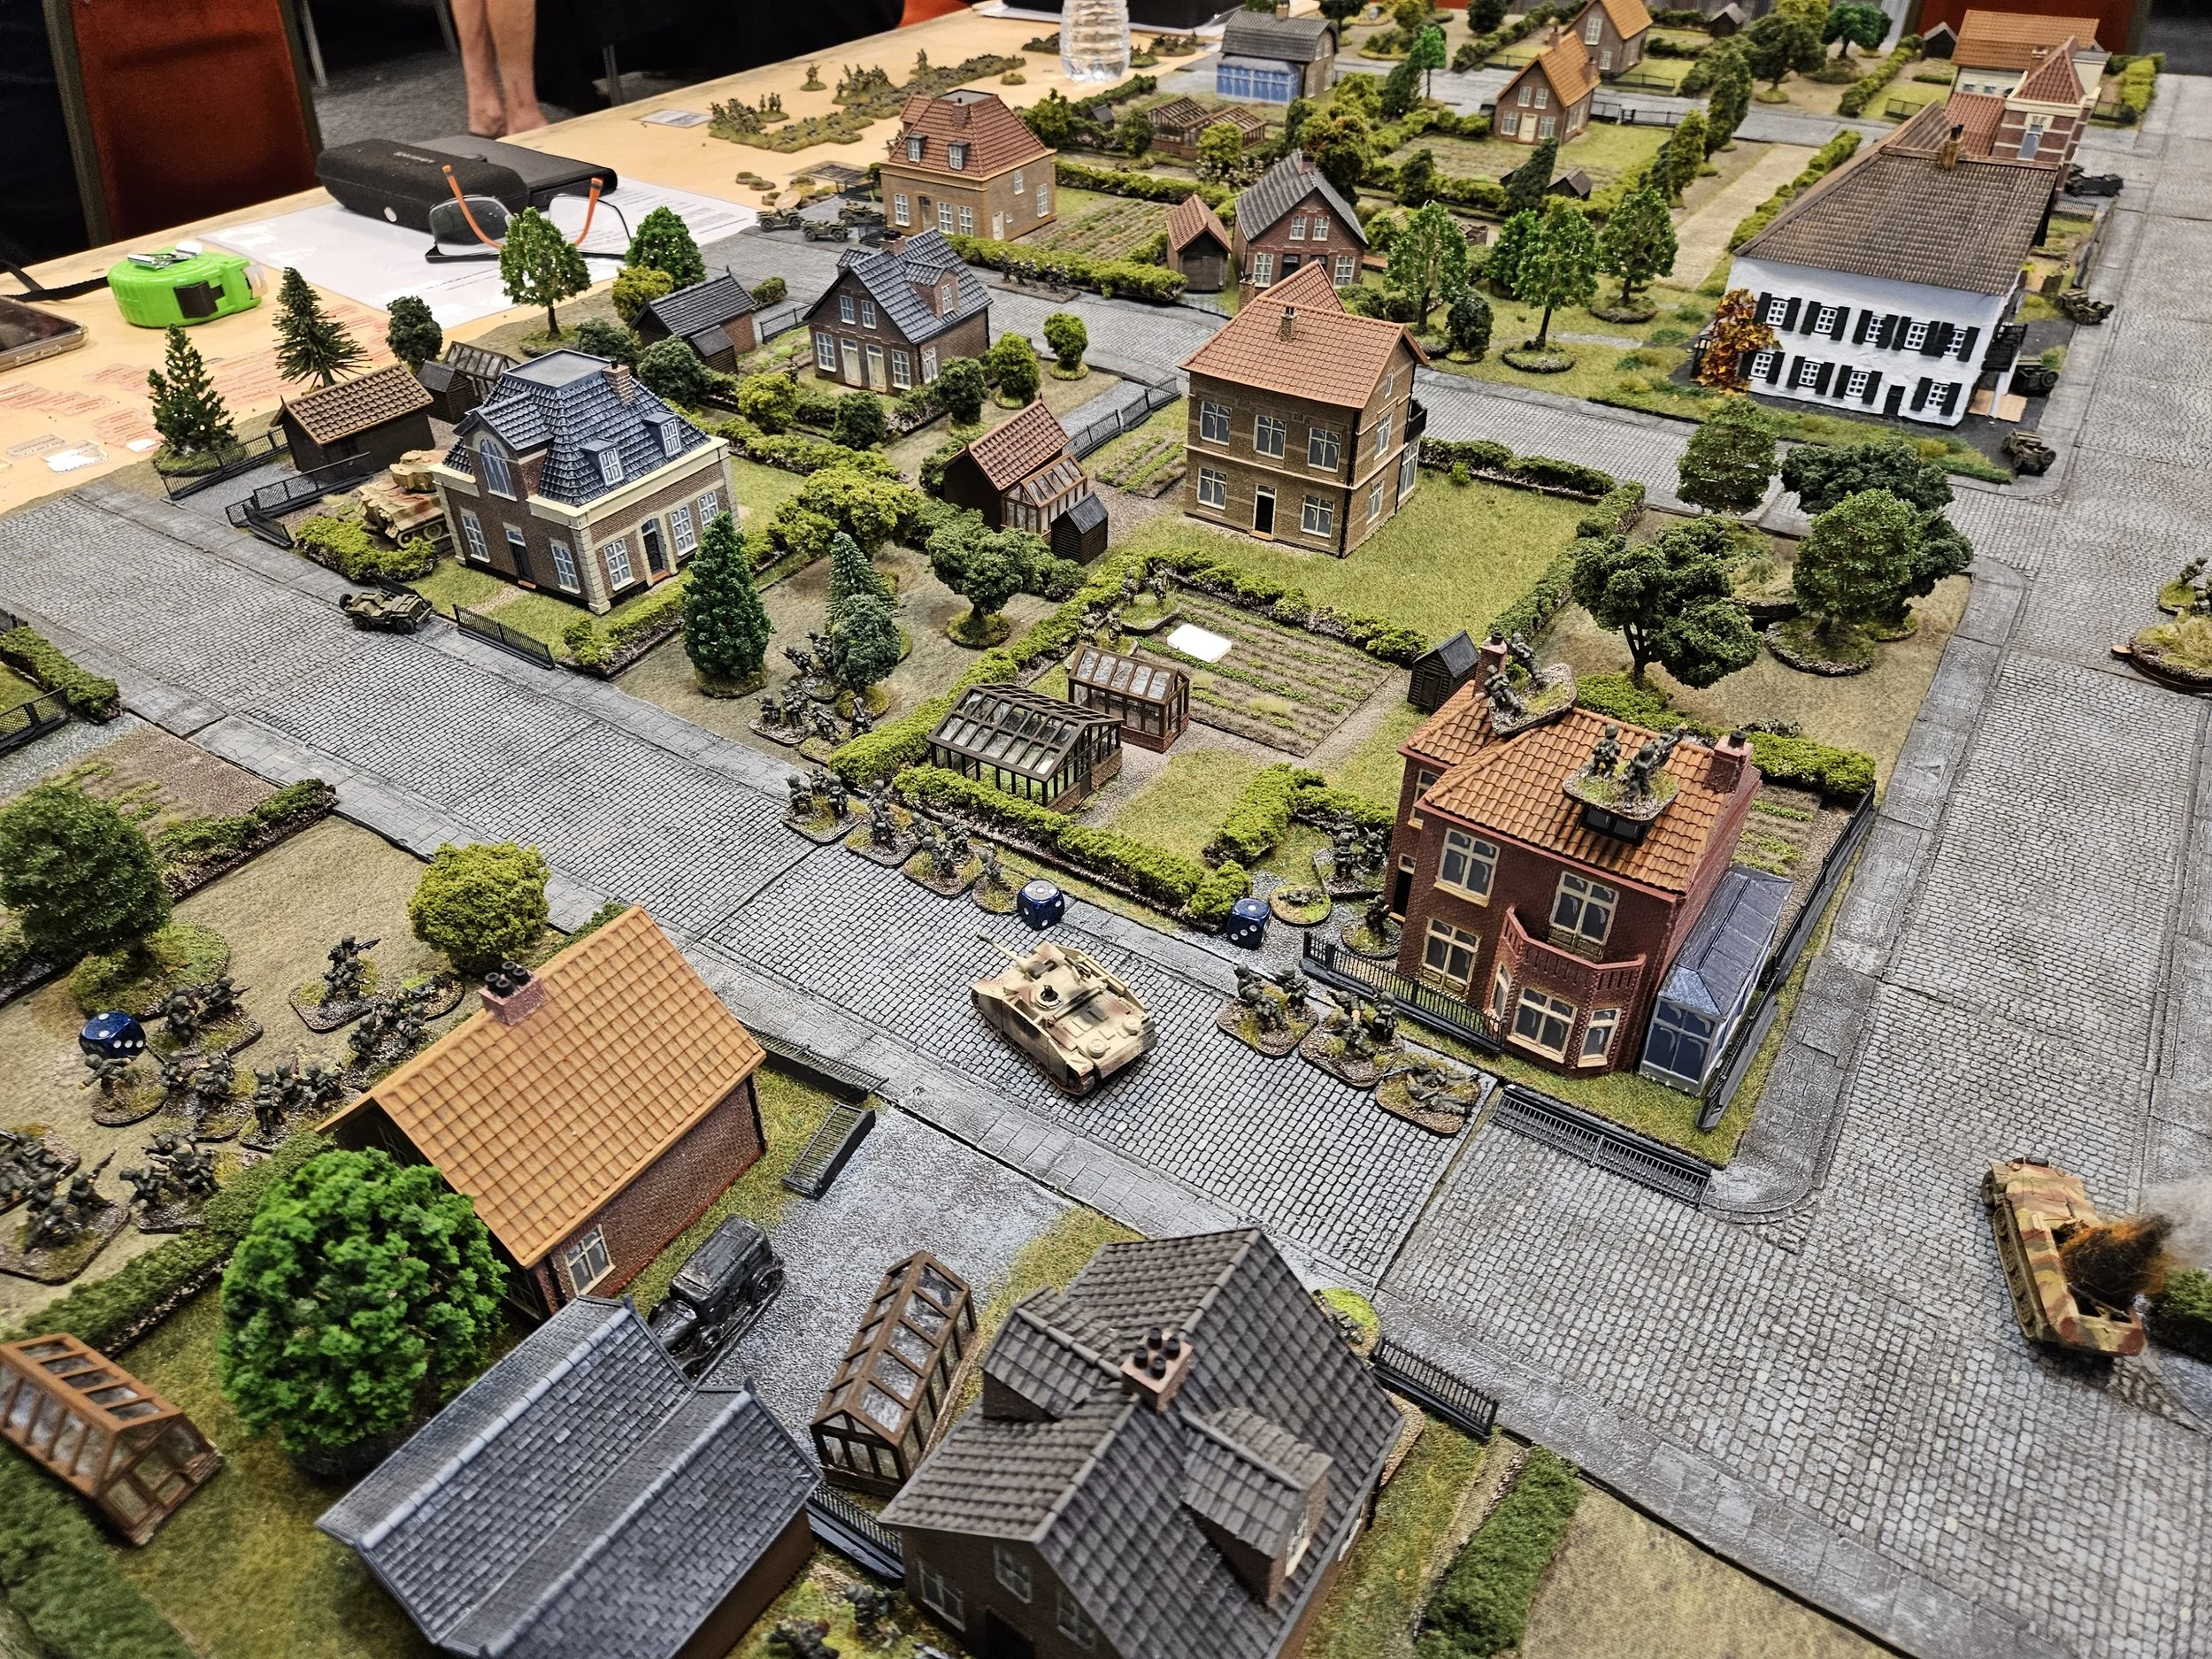
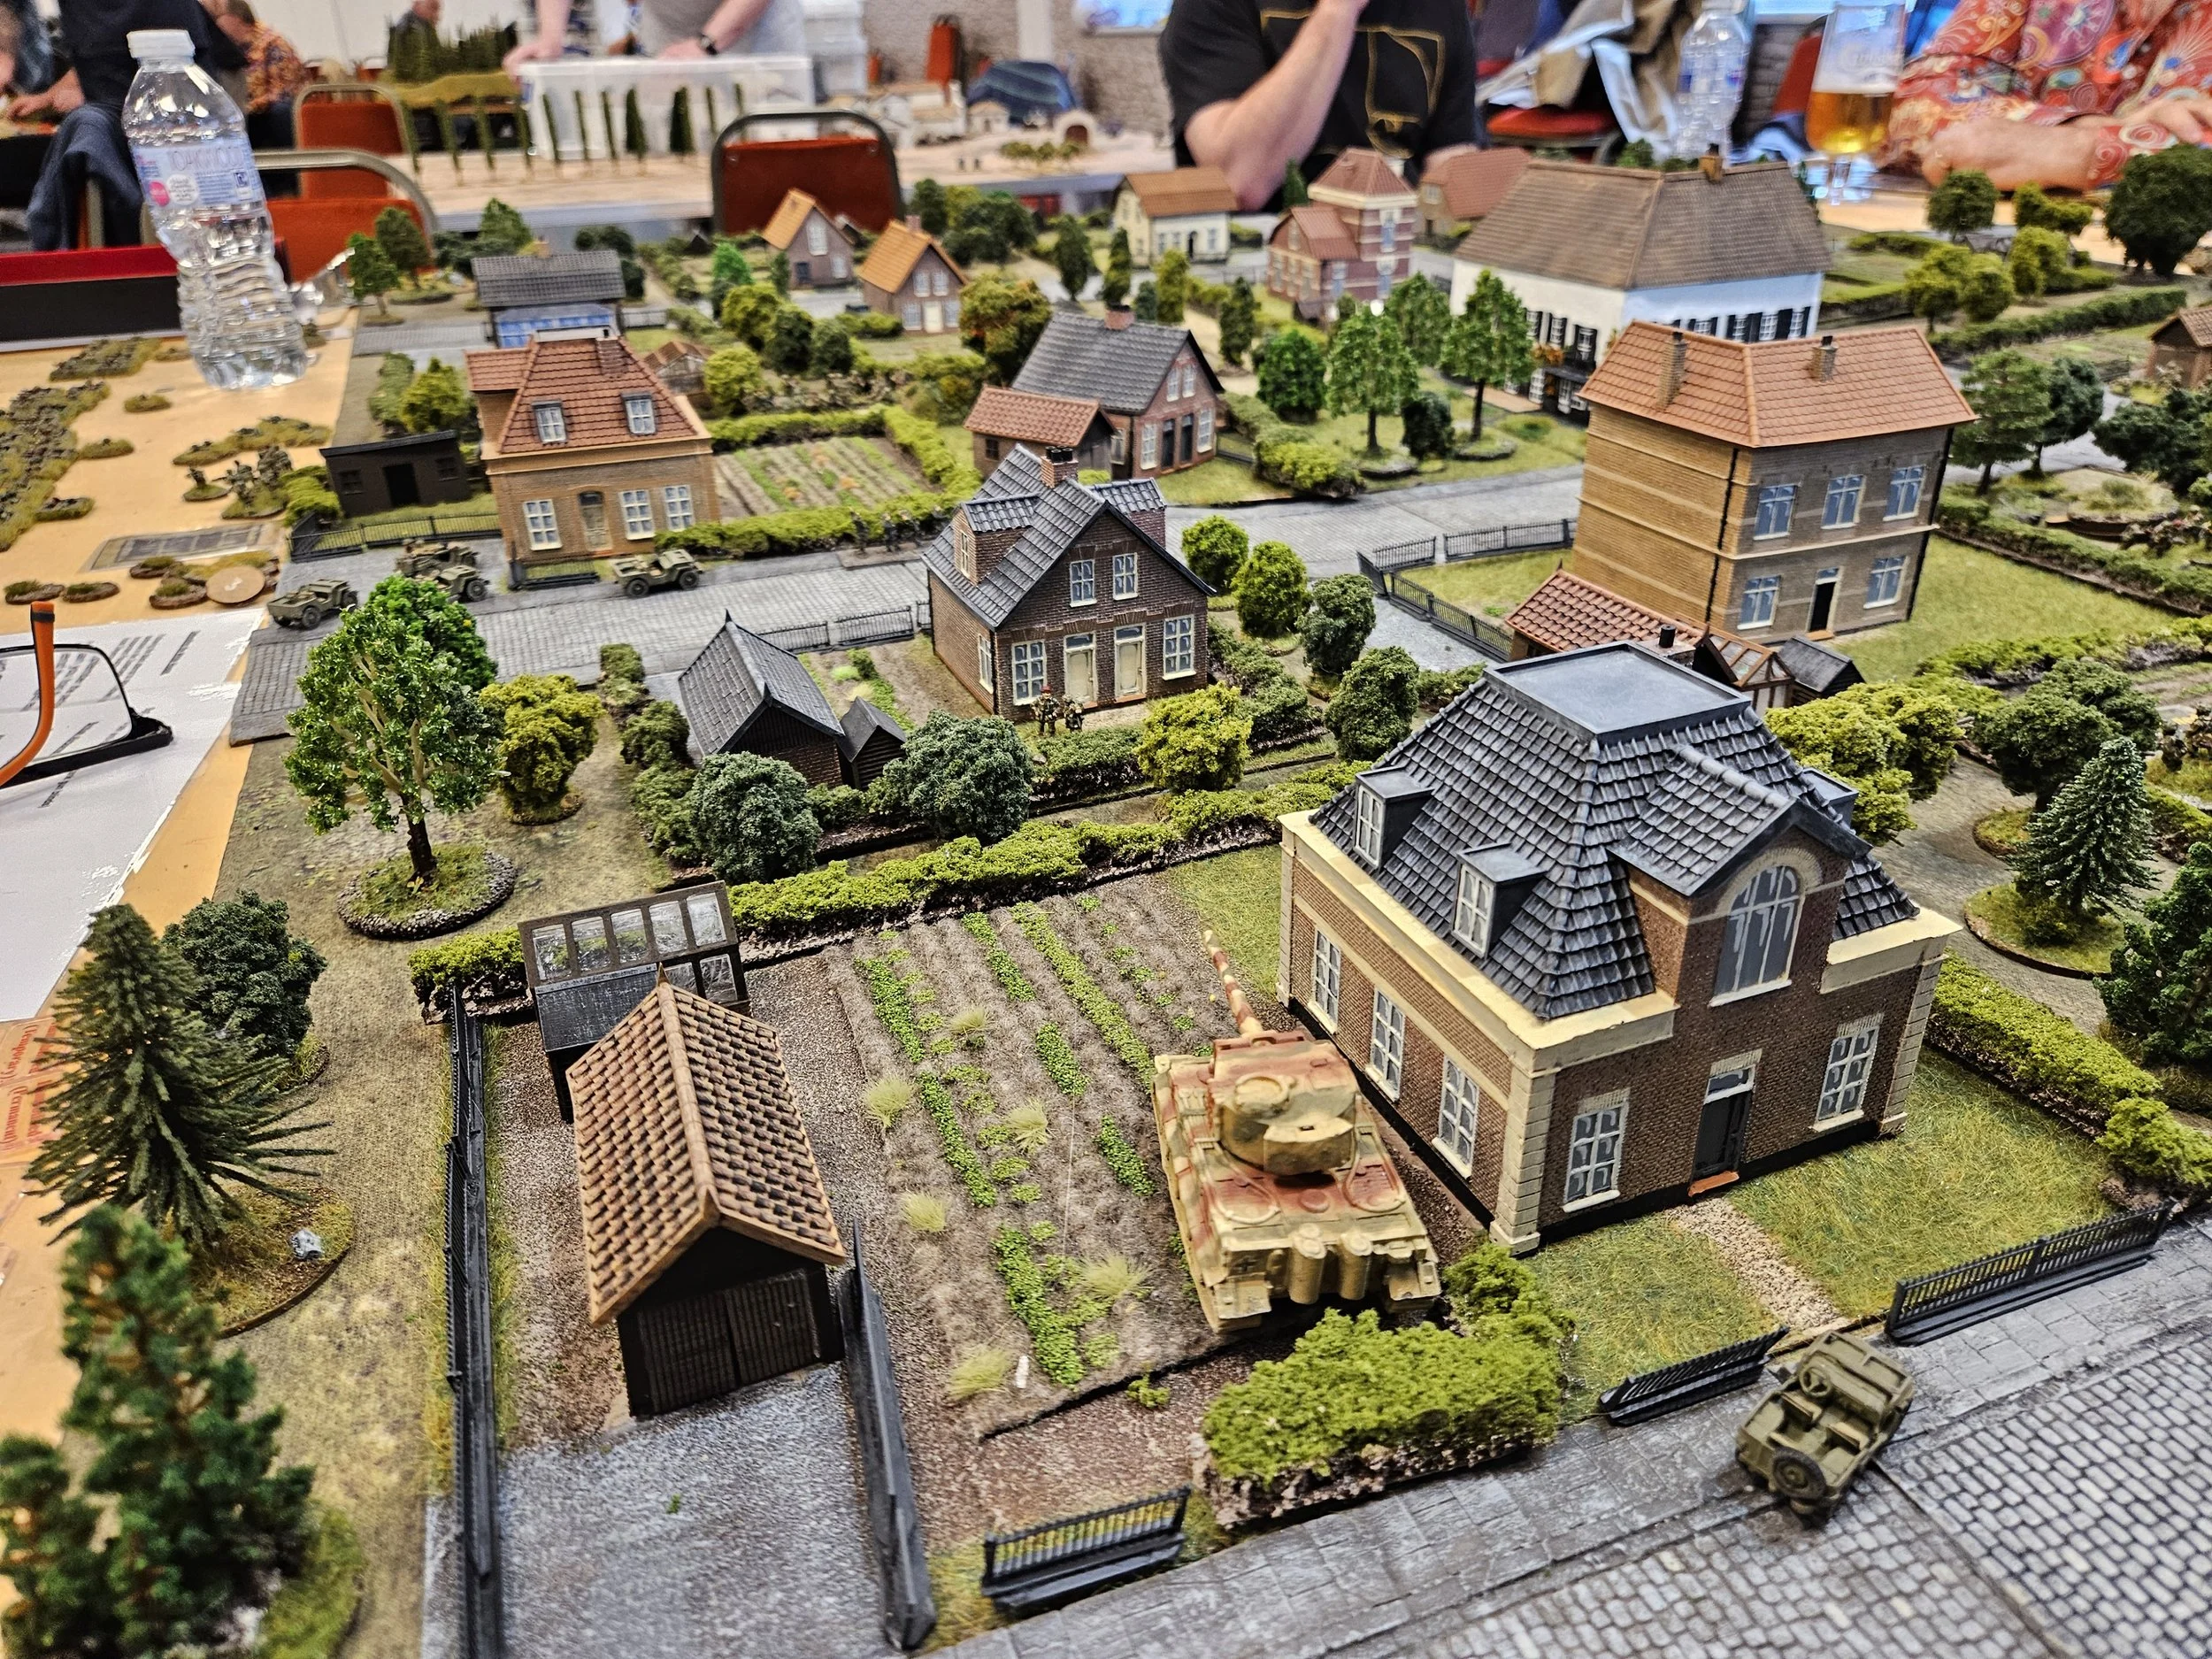
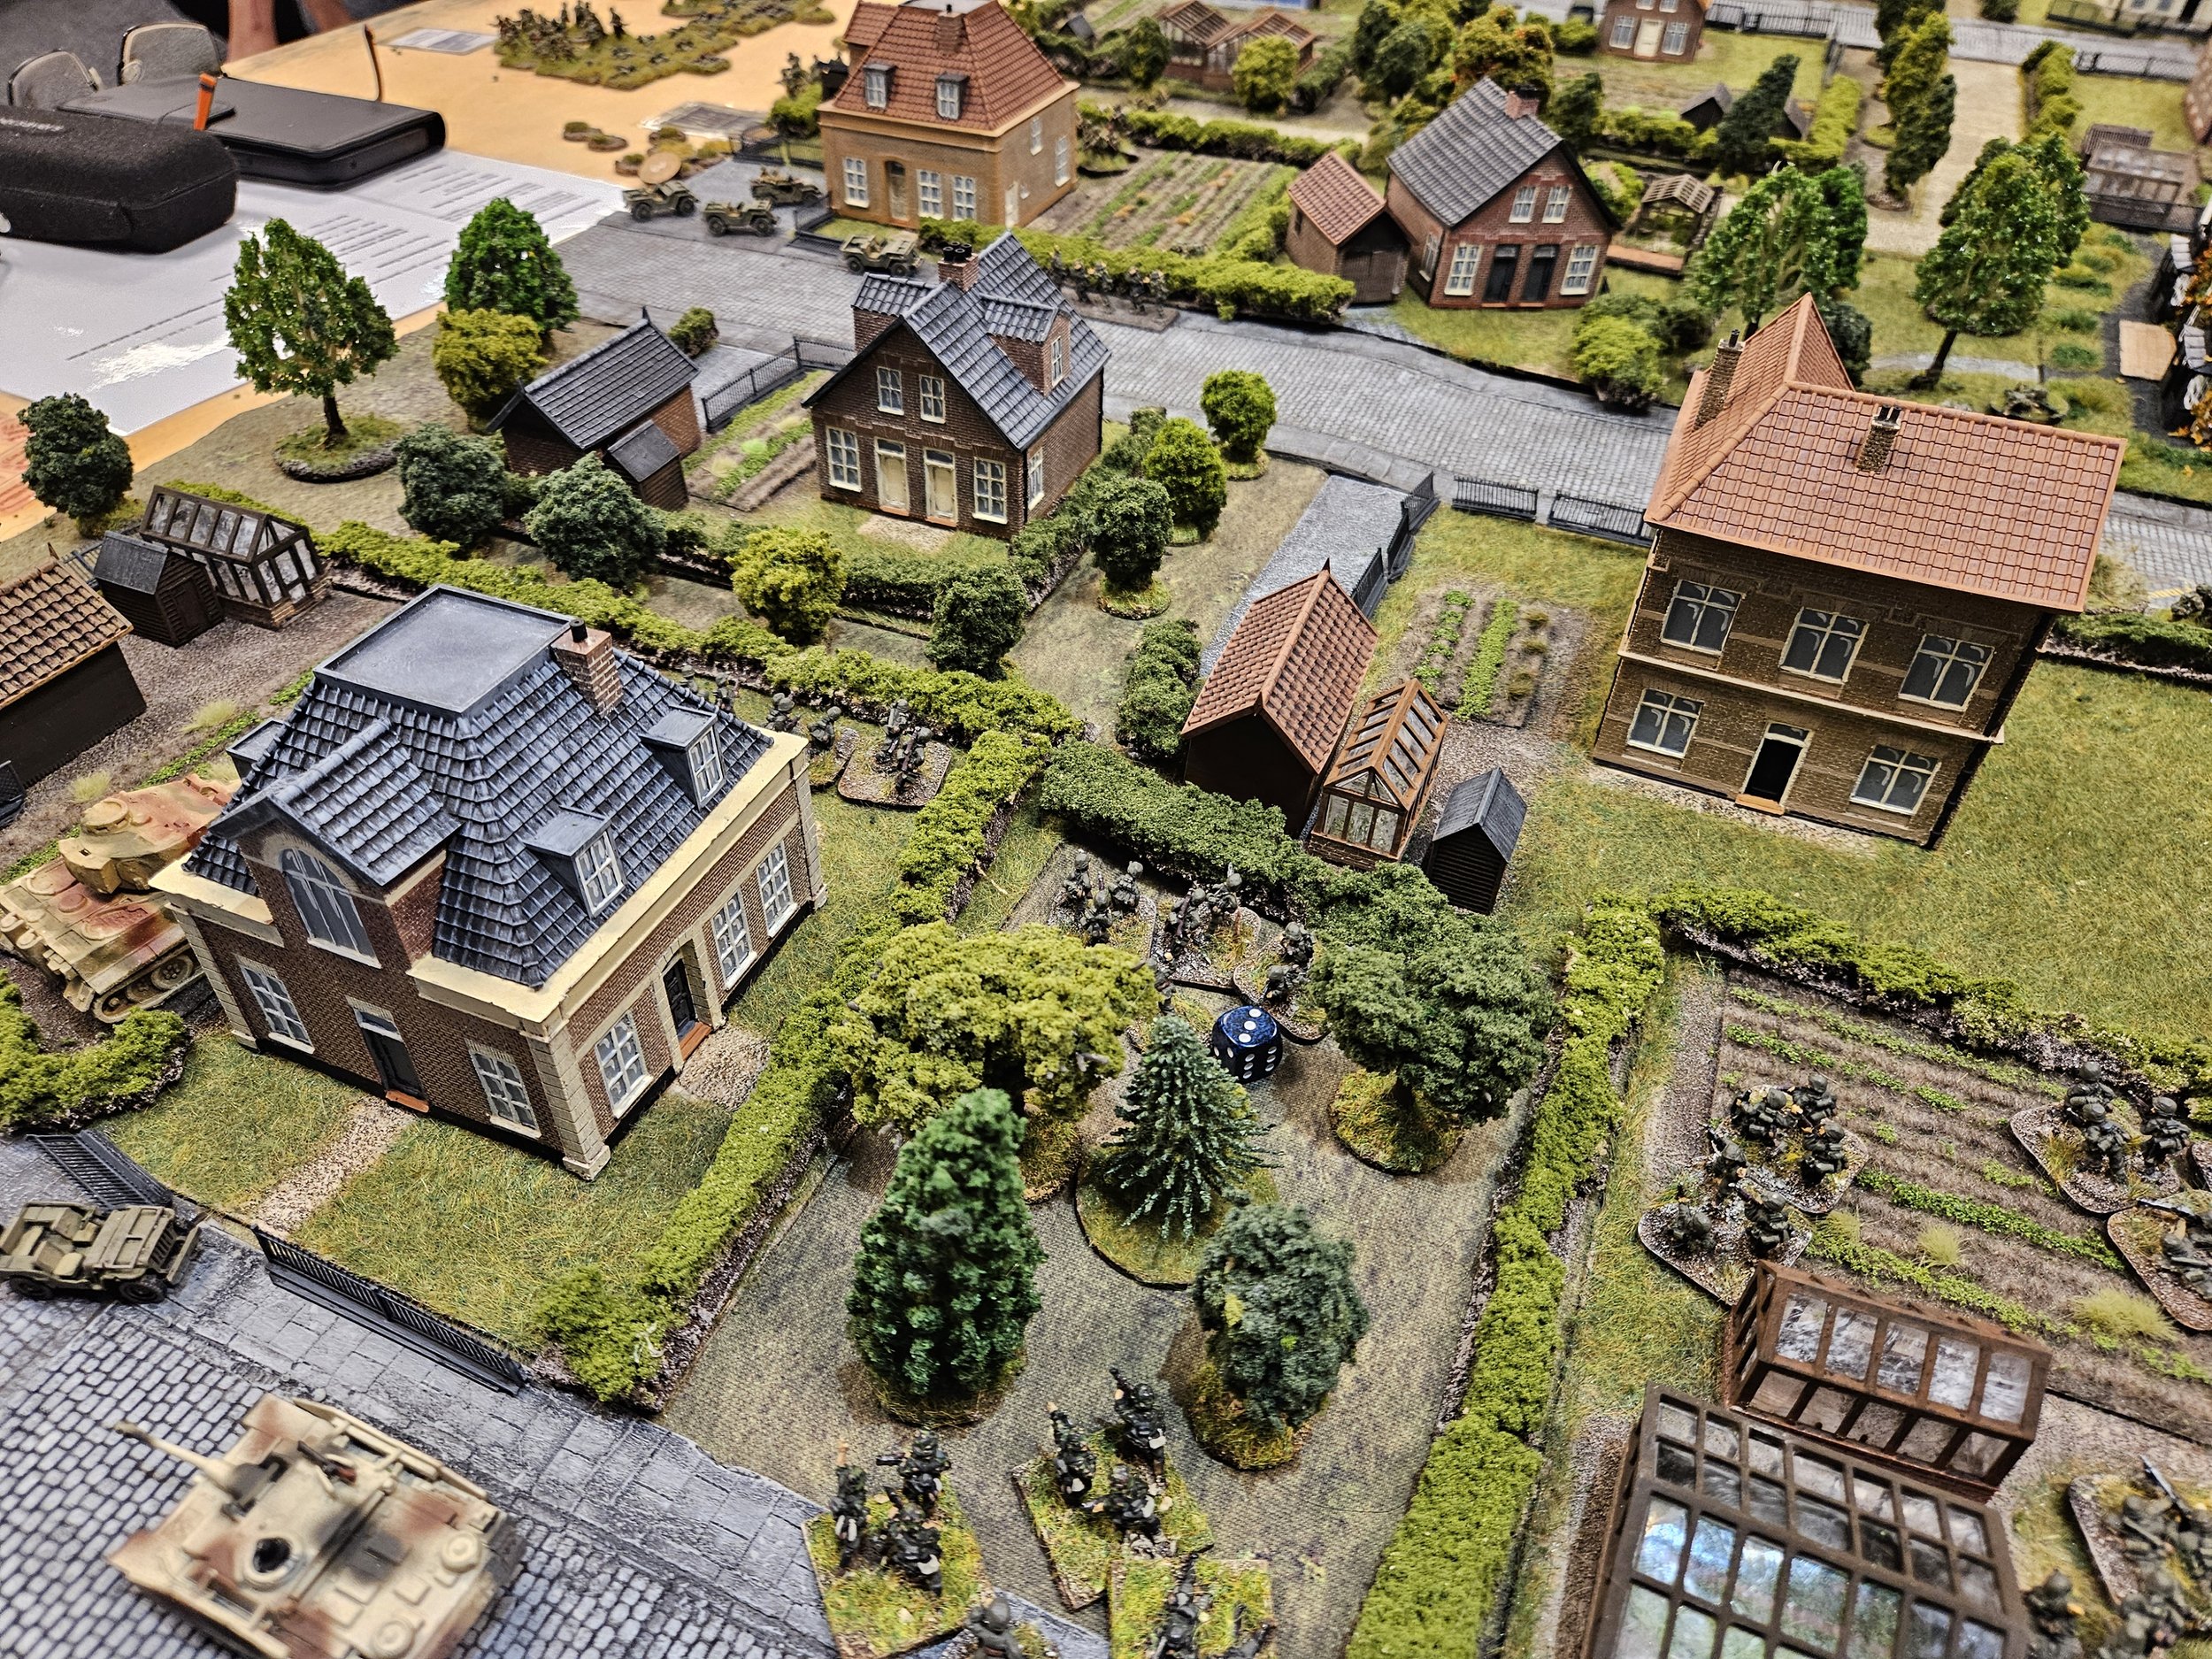
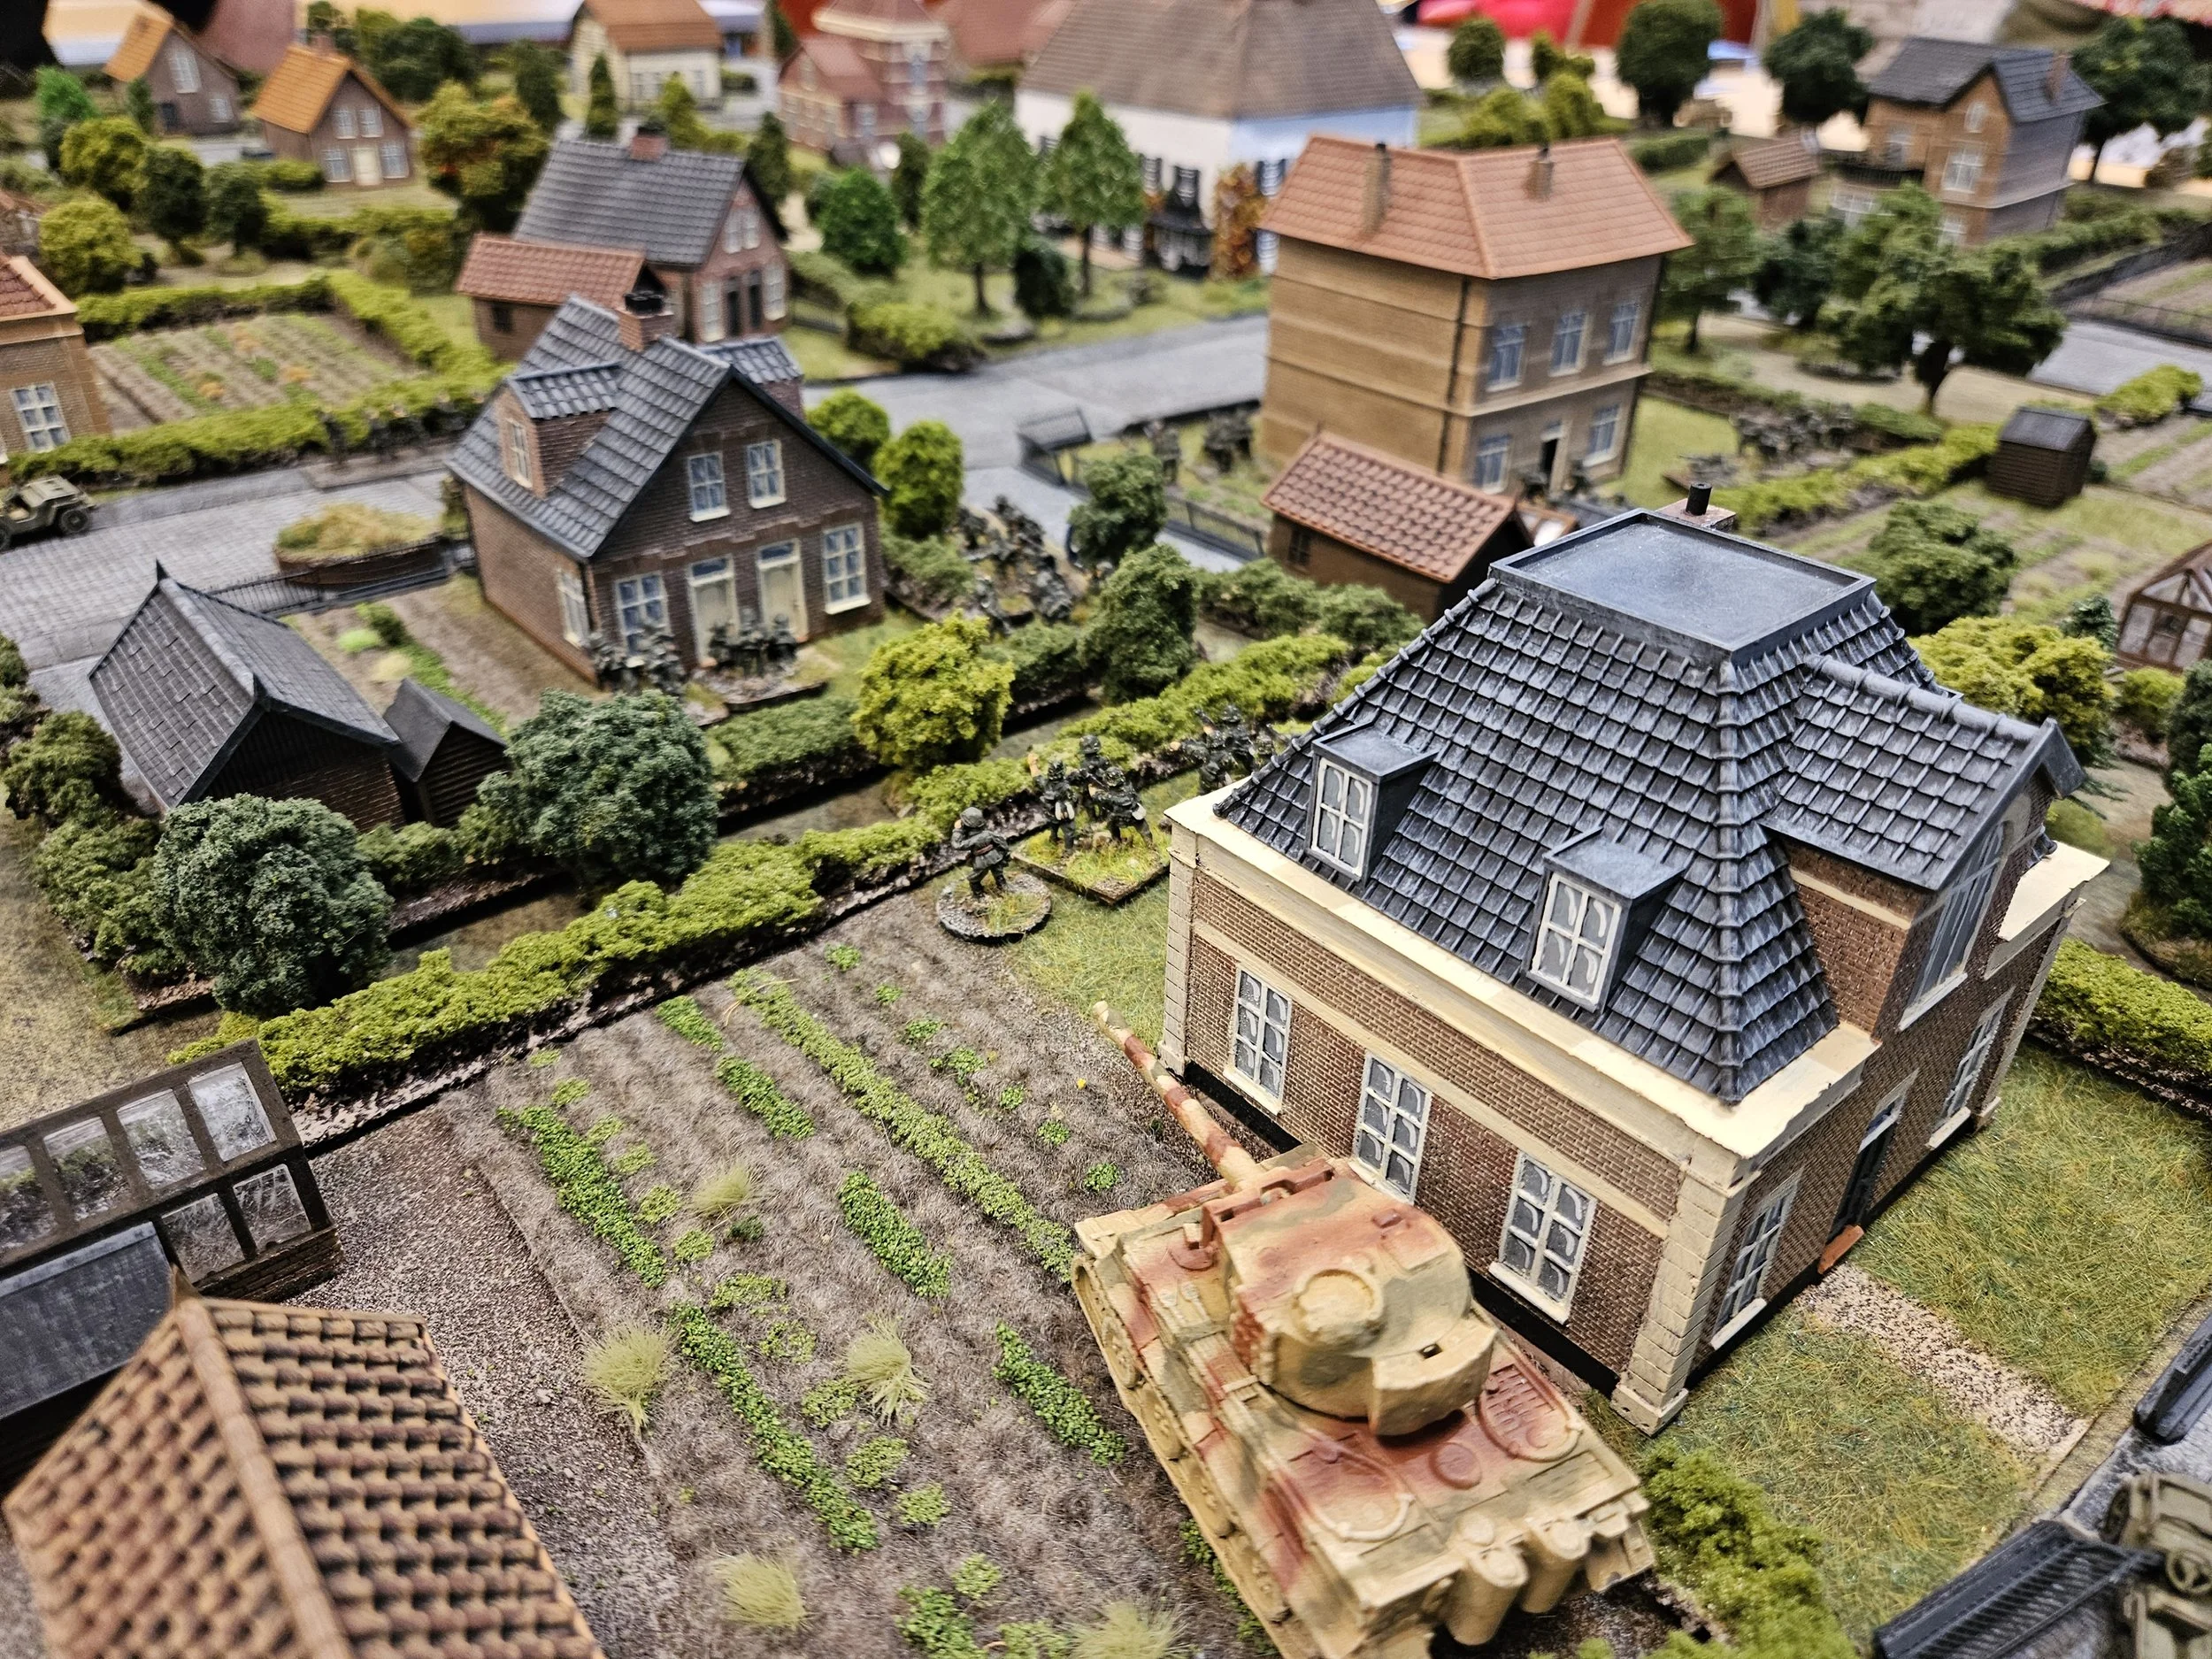
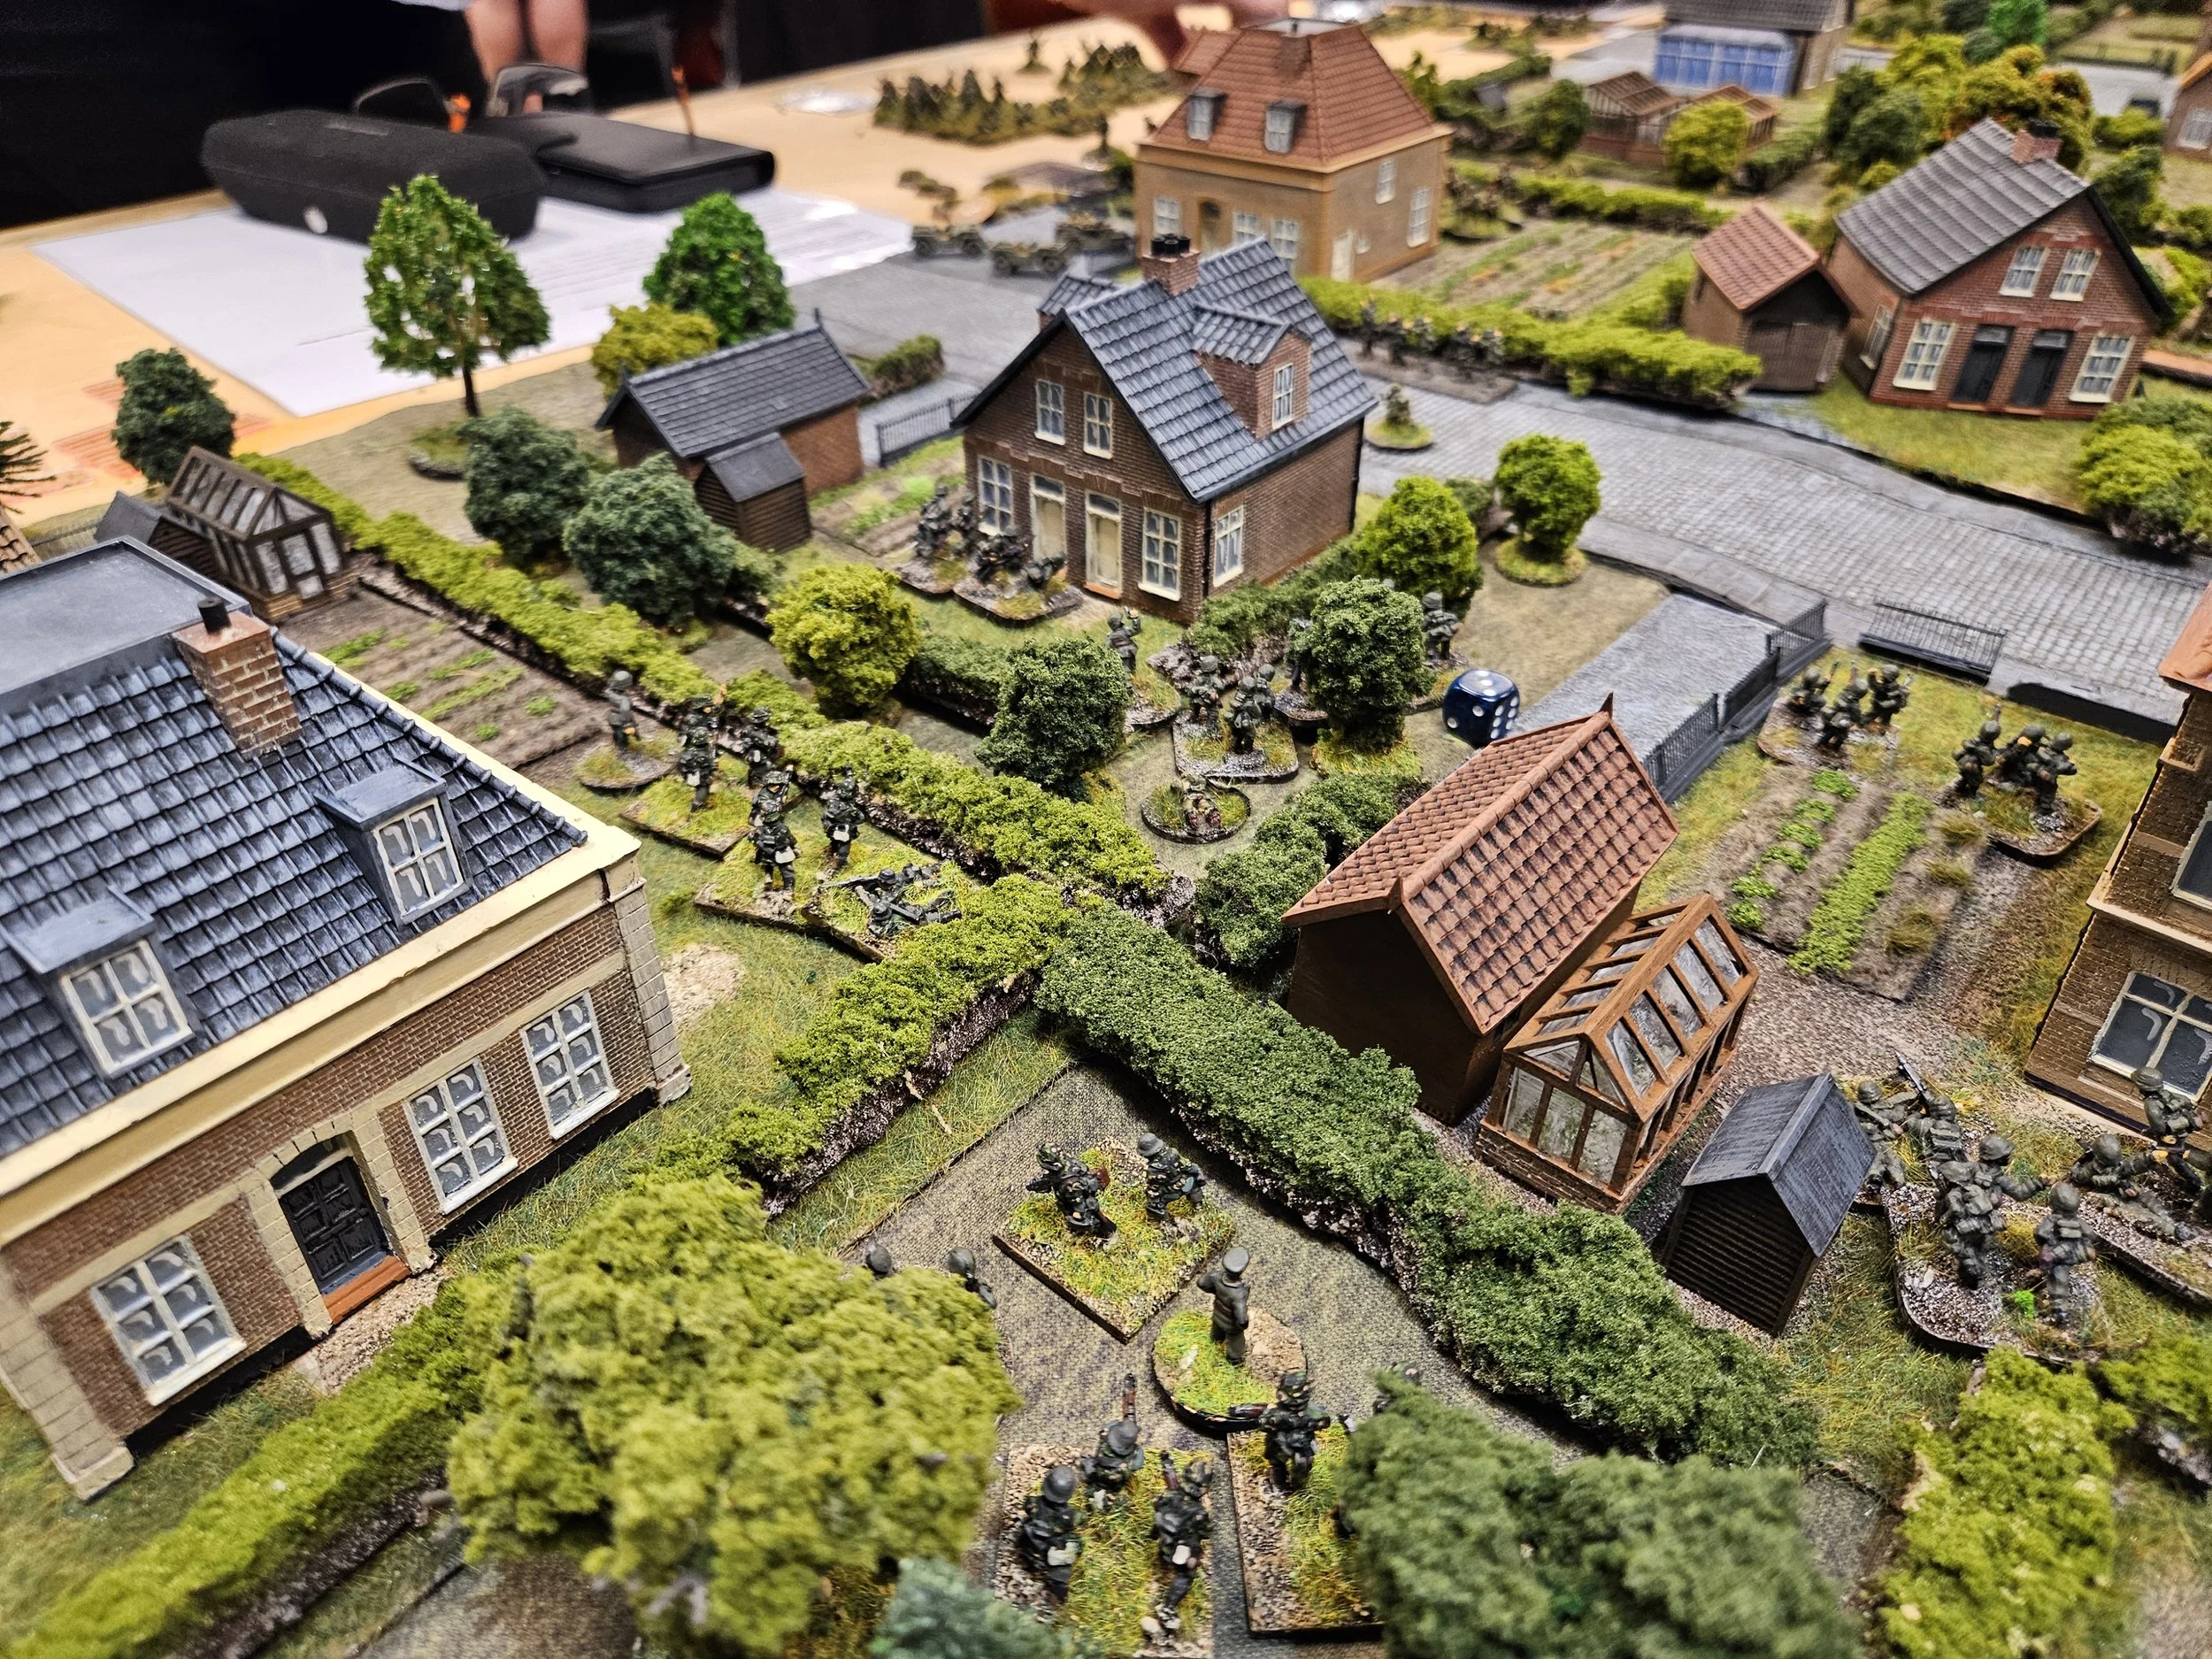
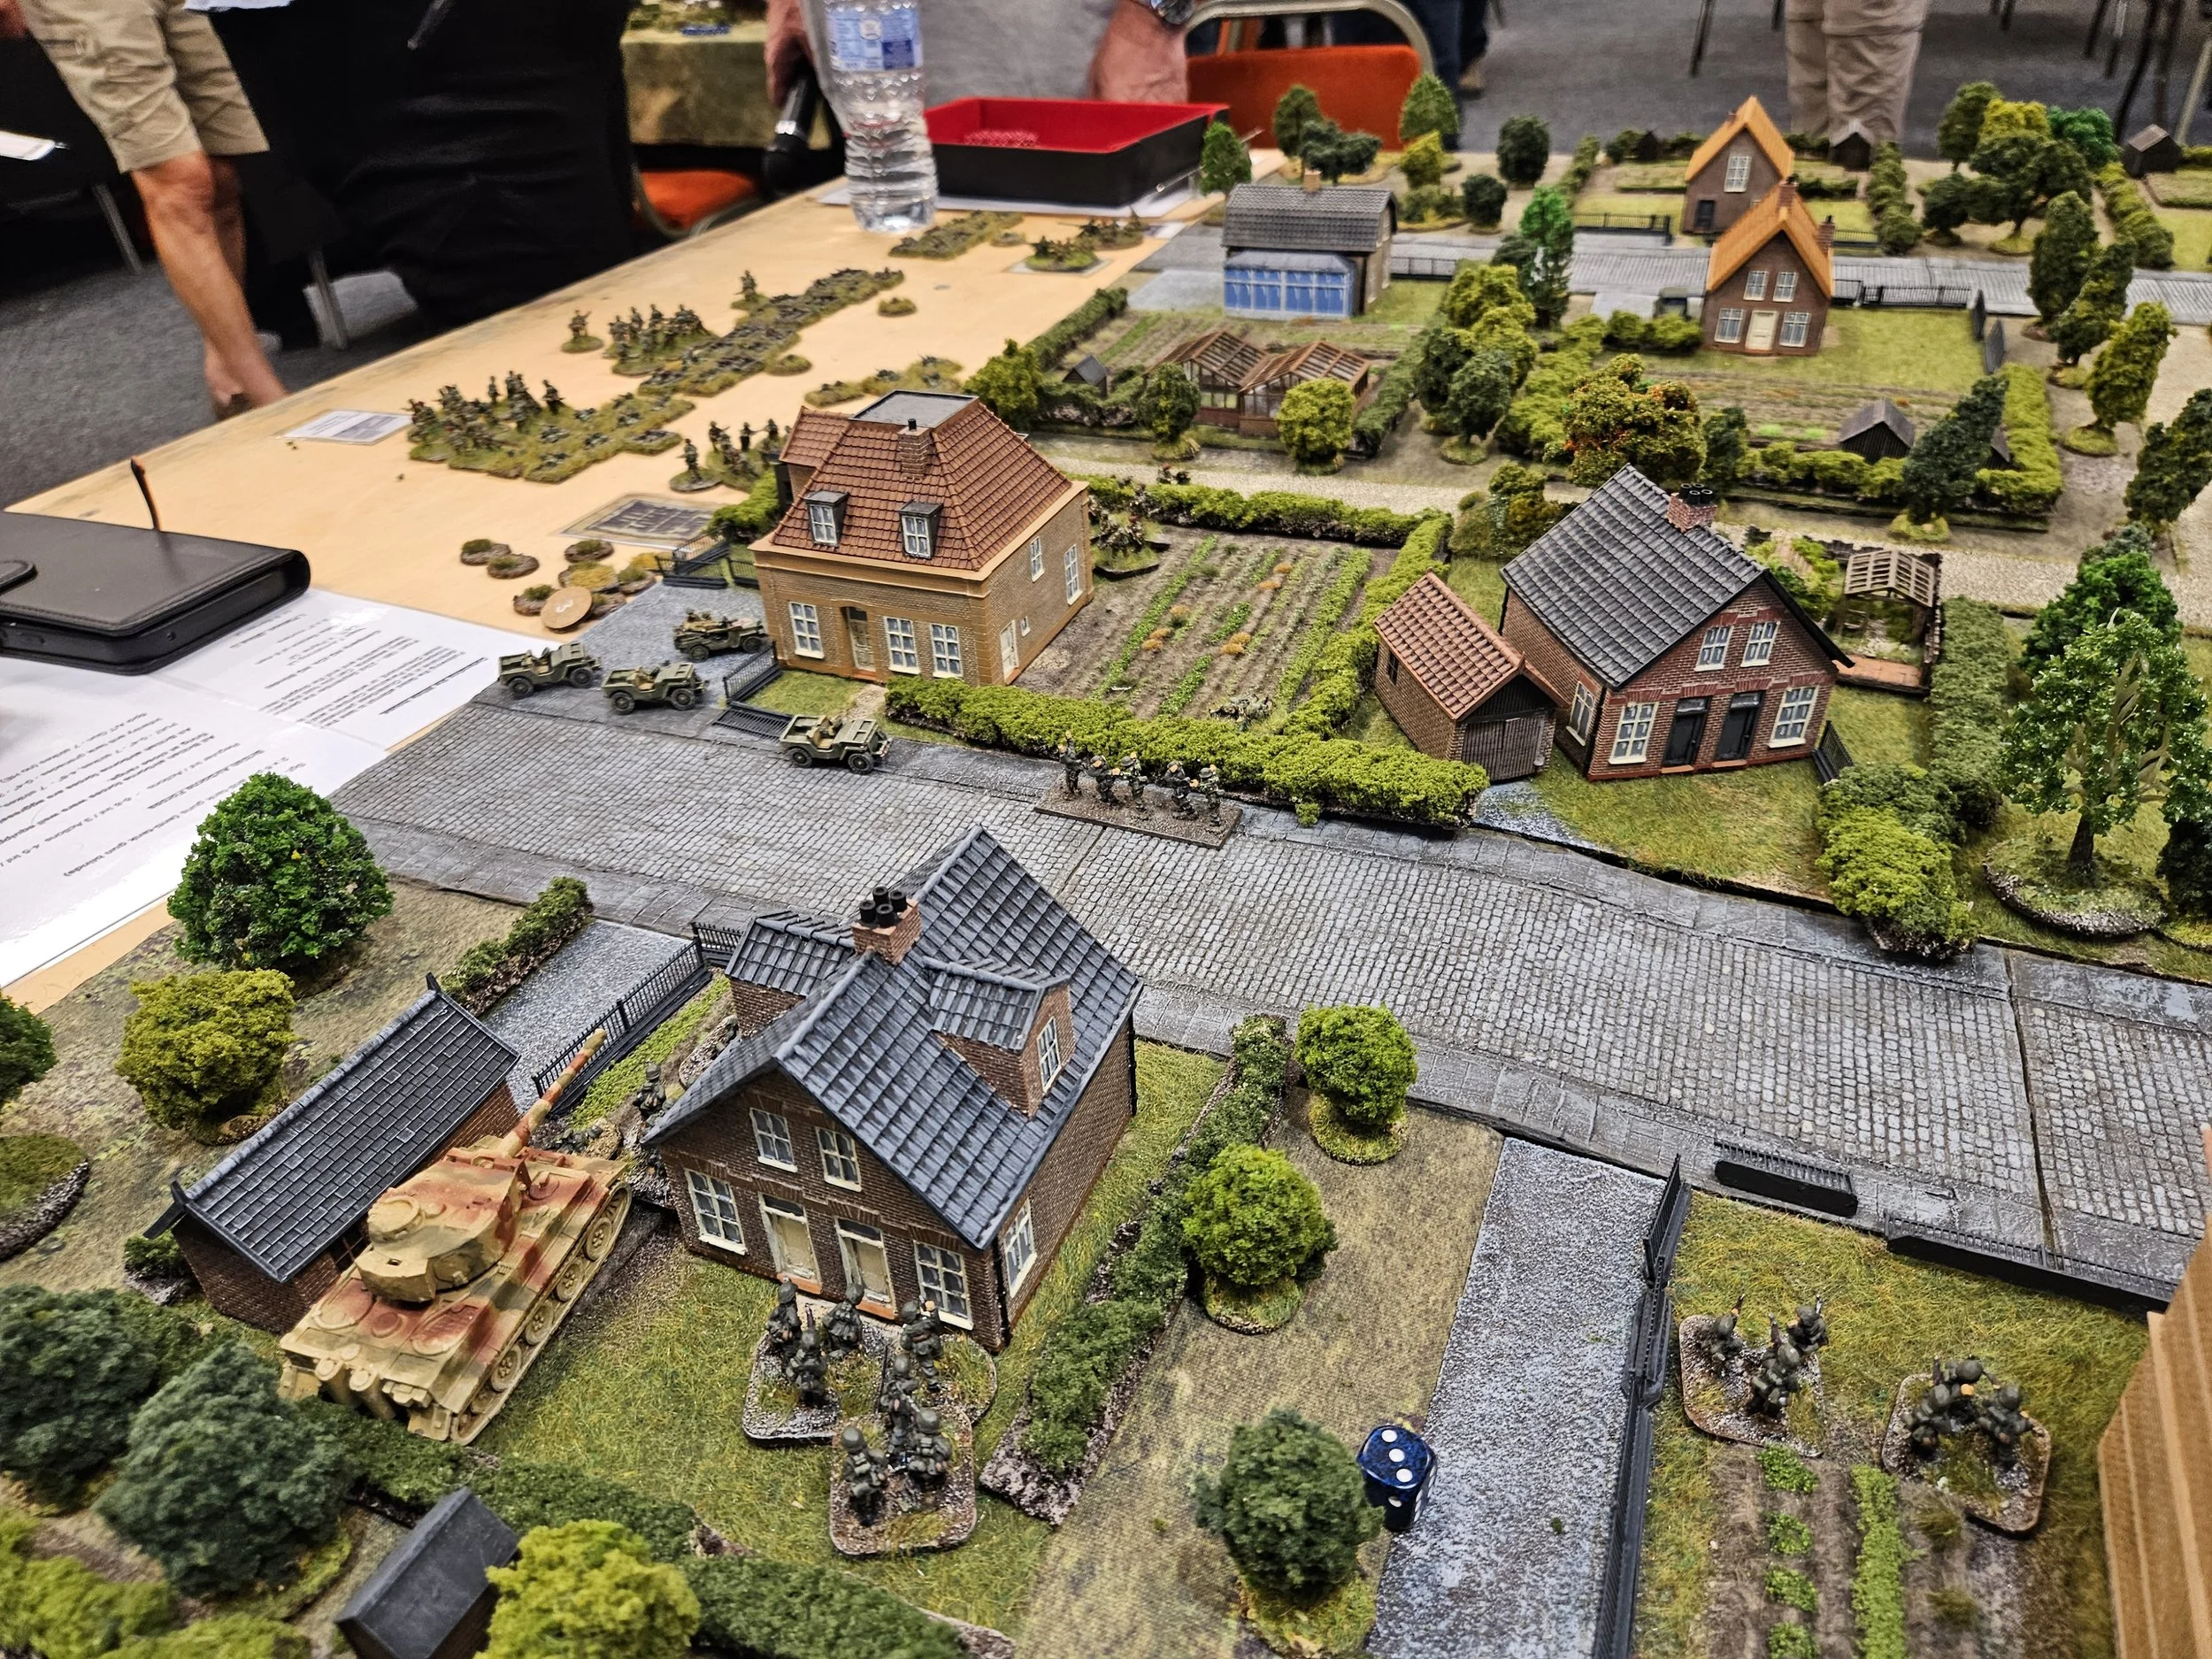
My afternoon session at this year’s Operation Market Larden event was a game of I Ain’t Been Shot Mum run by Phil and Jenny, using Jenny’s marvelous terrain.
The setting was Arnhem, 1944, and one section of the Oosterbeck perimeter where the British paratroopers tried to hold off part of an SS Division. I would play the Germans, with Vlad as my opponent.
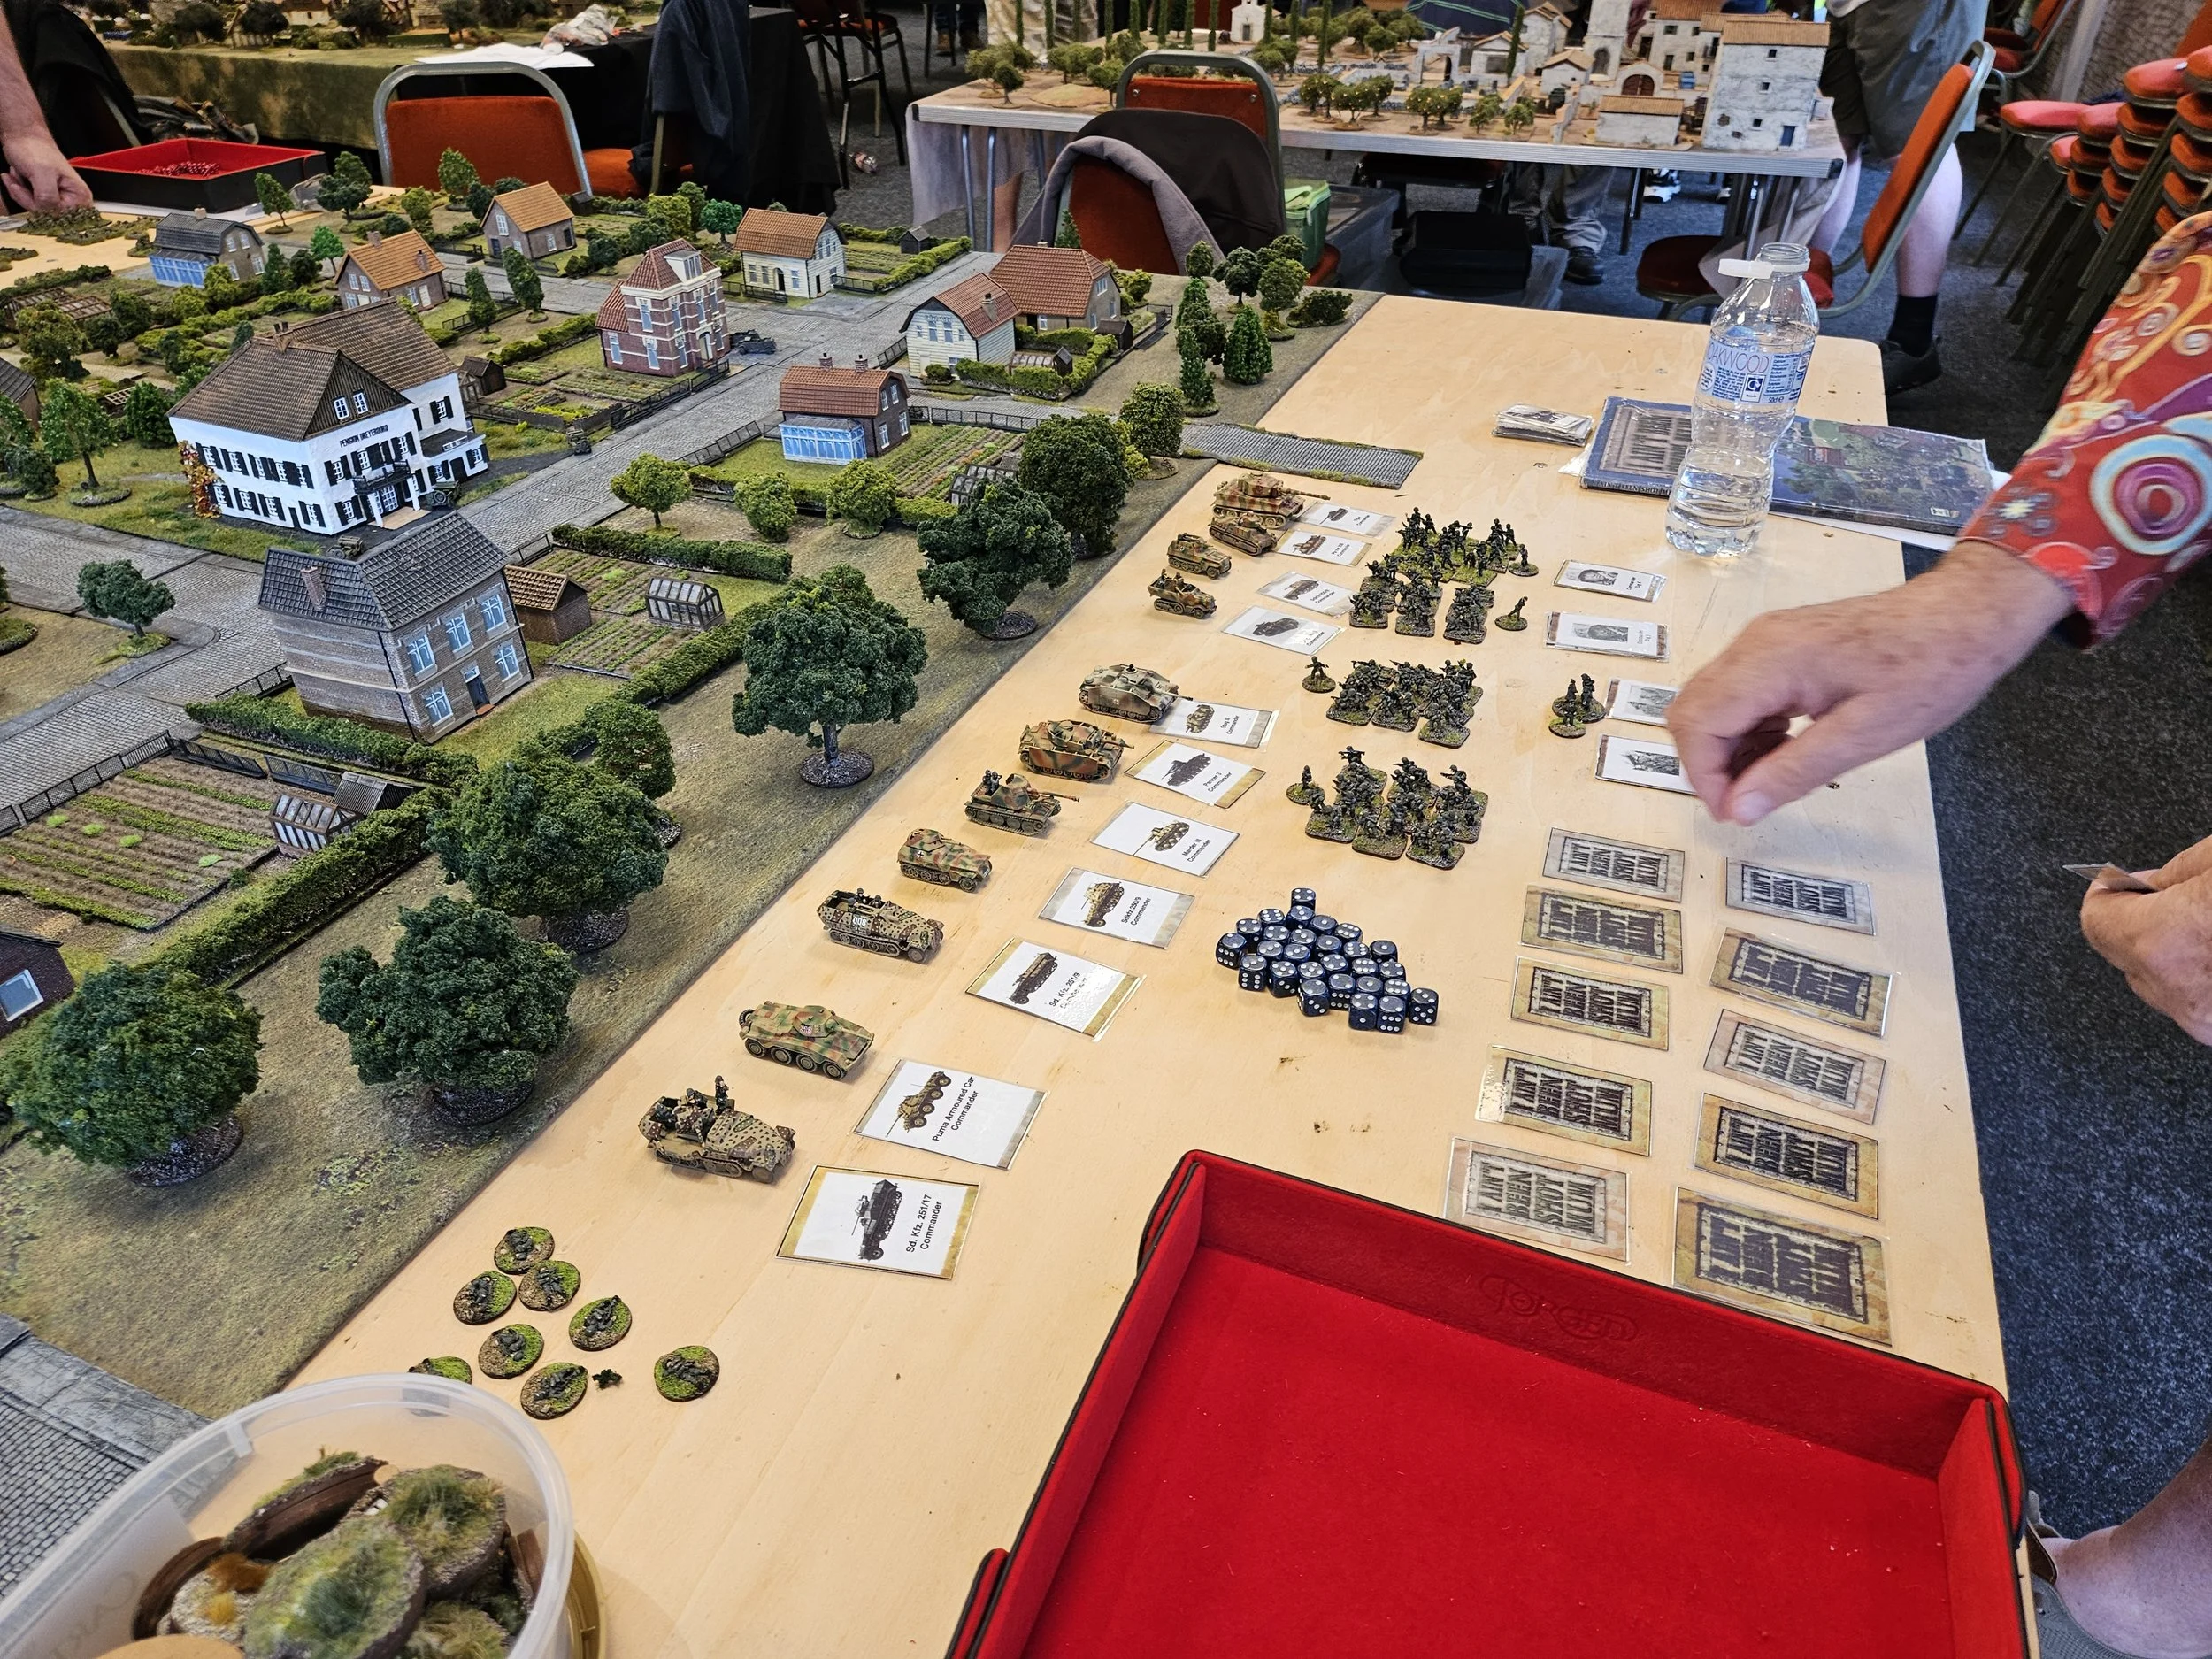
My objective was to take (and hold until the next Tea Break card) a house at the far end of the table: see picture, left, below. At my disposal, I had four platoons of infantry and four armoured vehicles: a Tiger, a StuG, a Panzer III and a SdKfz 251 flak. Against me were four understrength Para platoons with a plethora of both automatic weapons and PIATS.
I believe the key to winning a game of IABSM is to mirror good, historical tactics. Here, the situation demanded a rapid, aggressive advance focused into a schwerpunkt that would allow overwhelming force to be applied every time the enemy was encountered.
I therefore decided to advance my whole force up the Stationsweg road (the one on the left hand side that runs the length of the table) and then cut right at the end to hone in on the objective. I was hoping that by doing this I could initially apply my whole force to only part of his because, as Vlad pointed out, he had the whole table to cover whereas I could choose where to appear.
The opening moves therefore saw me send the first two platoons of infantry (Zugs 1 and 2), accompanied by the StuG, up the sides of the road. The Tiger and Zug 3 would rapidly follow.
The action began very early on, with two squads from Zug 2 rushing the house with the dormer window by the greenhouse on the far left in the picture above. This proved to have a very surprised section of Paras inside on the ground floor, and a sudden melee broke out, easily won by Zug 2 as they had double the numbers.
There was a PIAT team upstairs who managed to fire a round into the Tiger as it took up a position by the house, but luckily all it did was chip the paintwork and rattle the tankers inside! Meanwhile Zug 2 continued its rapid advance: disposing of another section of Paras who were in the next house along. So far, so good!
Meanwhile, two squads from Zug 1 had taken possession of the house on the other side of the road, the other squad rushing forward into the small wood past the two greenhouses.
The squads in the house then watched as a couple of Para blinds advanced towards them, and then used their upstairs vantage point to spot both a 6lb-er anti-tank gun unlimbering in the garden of the house to their front and another platoon of Paras making their way through the copse of trees right underneath the windows. My plan to force the Paras to reveal their positions by needing to move towards my very narrow axis of advance was working!
The anti-tank gun got off a shot at the Tiger, but the round either missed or bounced off its armour, but then Zug 1 let rip and shot half of them down. HE from the Tiger then finished the crew off. Zug 1 then prepared to deal with the Para platoon advancing towards them through the copse.
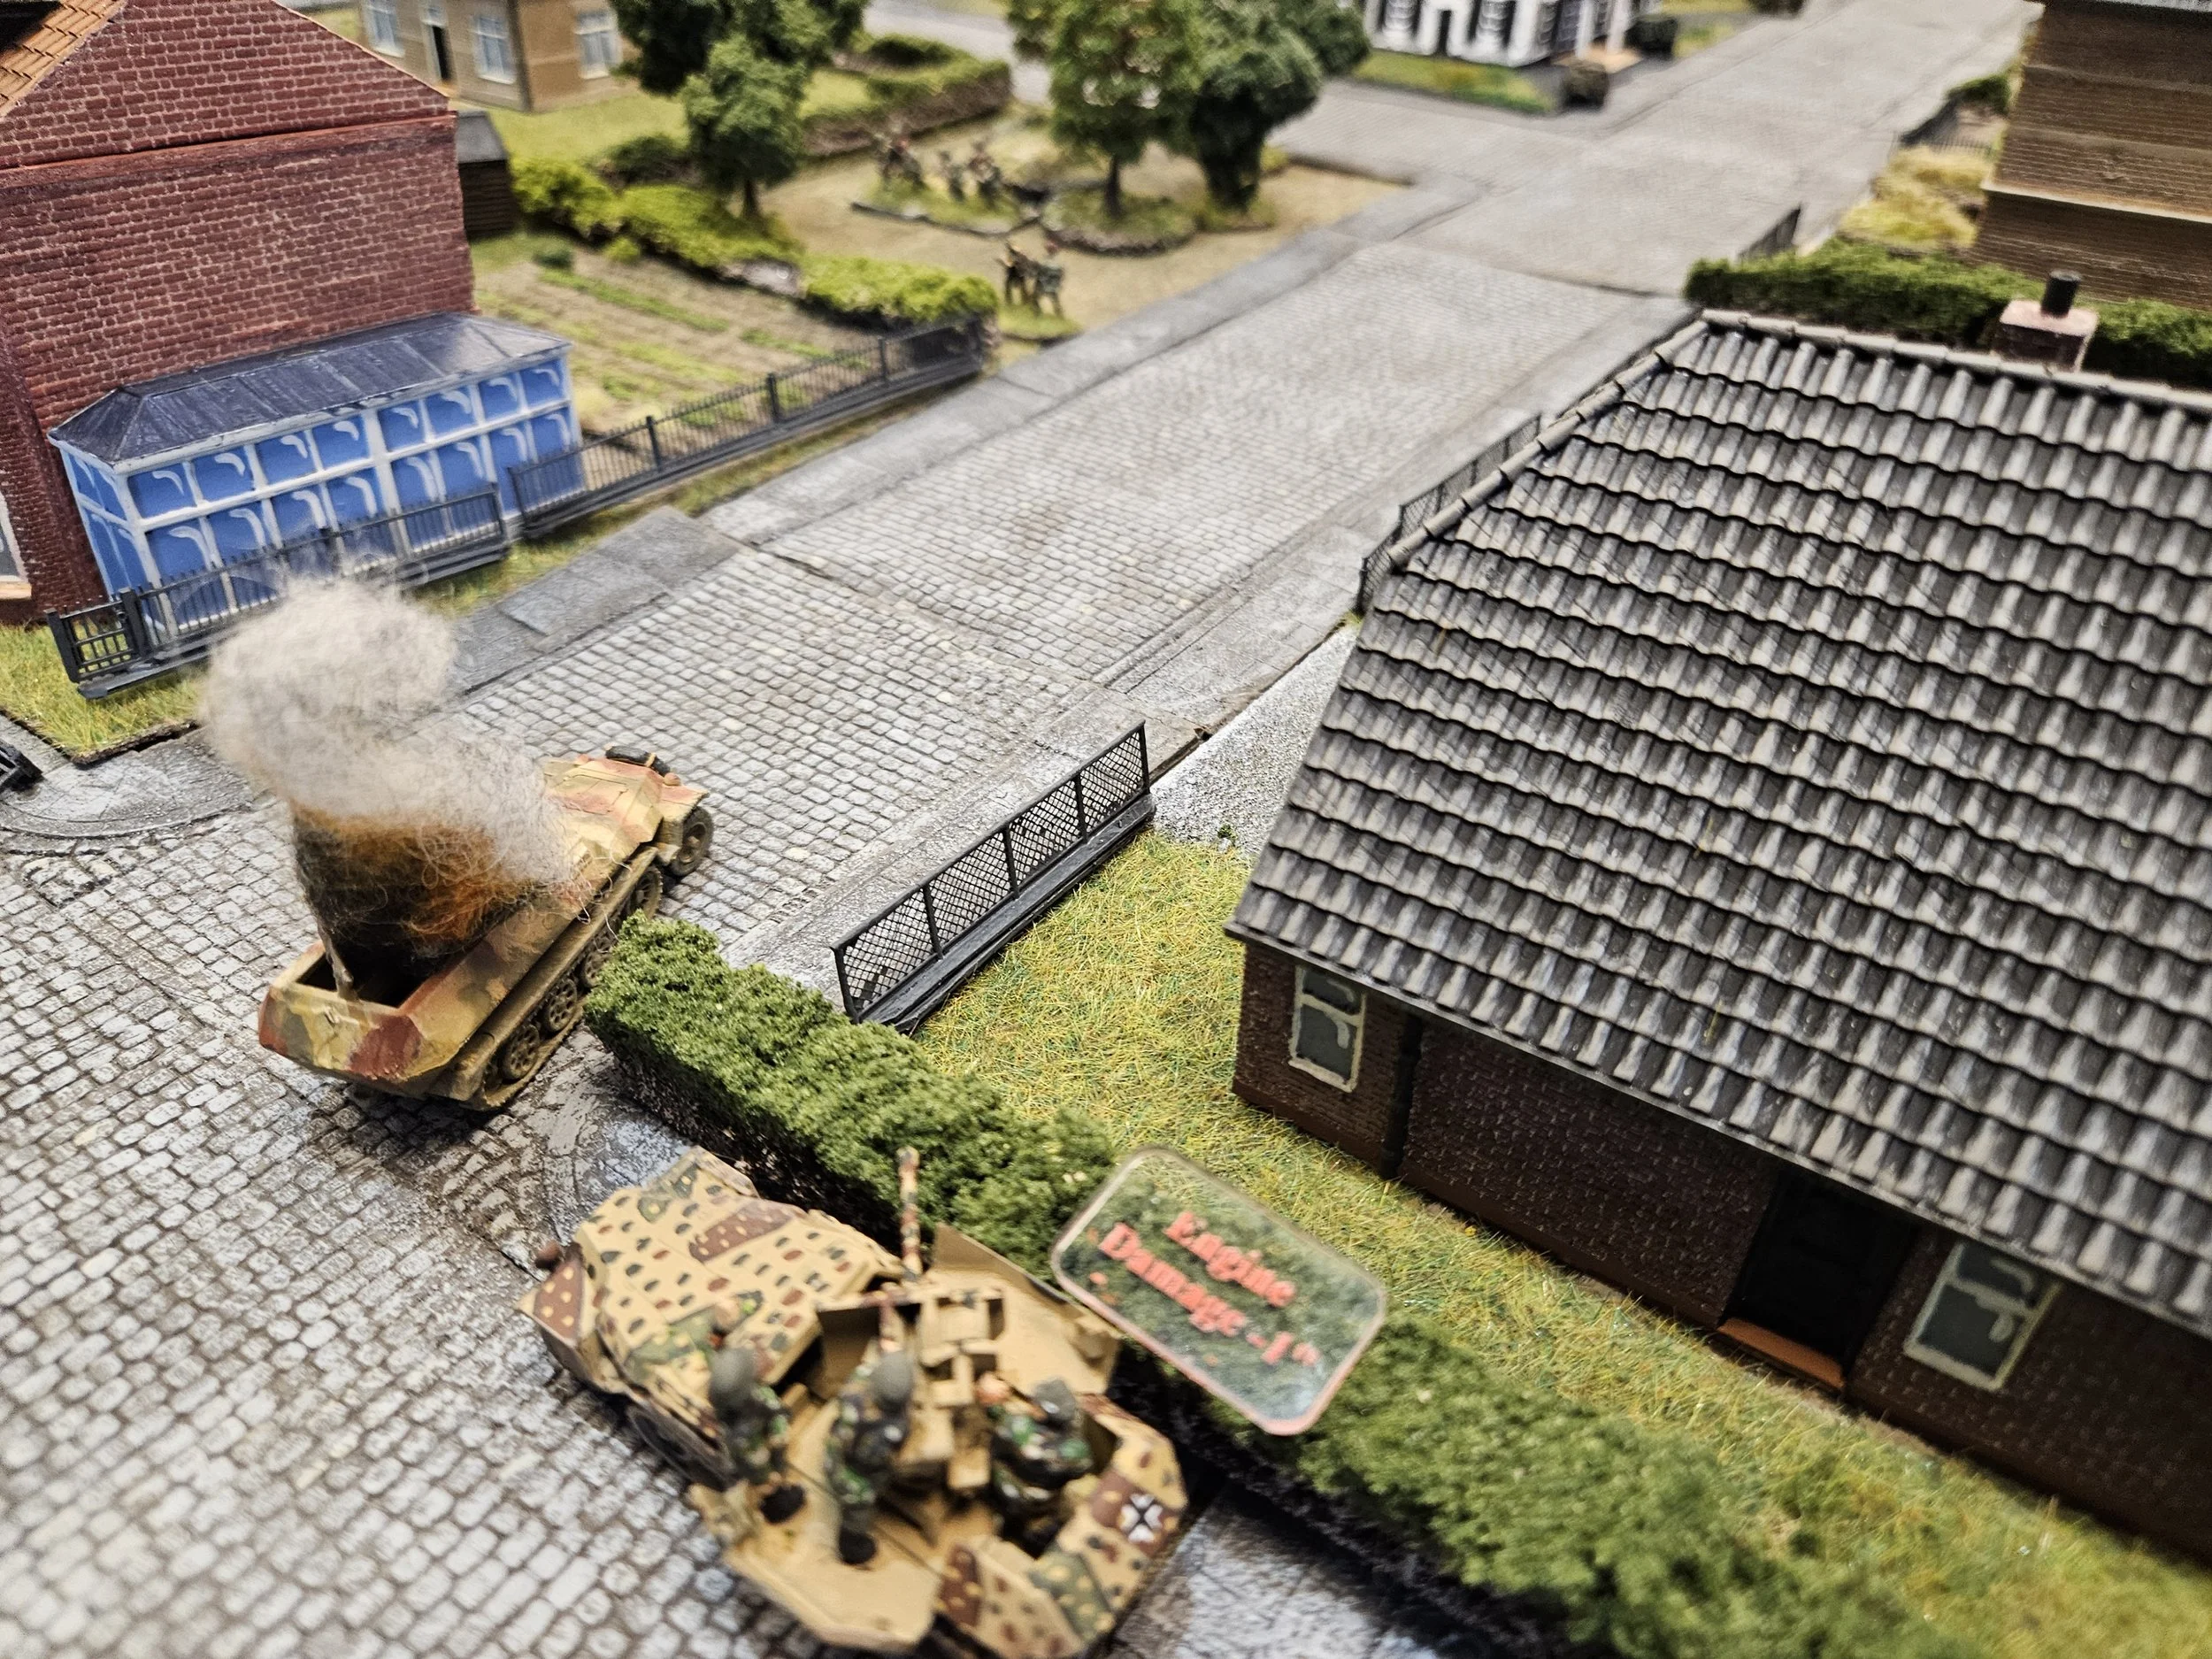
Back on the road, my SdKfz flak had appeared, and promptly started pumping 20mm cannon shells into a house slightly further into the center of the table (the one with the dead marker on top of it in the picture below). Another Para platoon had been spotted in the house but, for the rest of the game, either the flak or the Panzer III would keep the enemy pinned down with cannon and/or HE fire, effectively taking them out of the action and unable to do anything.
So that was three of the four Para platoons spotted: with one eliminated, one about to be fired on at close range, and one pinned down by cannon/HE fire. One of the two enemy anti-tank guns had also been taken out, and all for the loss of only a handful of infantry.
The remaining Paras then had a bit of a resurgence, with the other anti-tank gun decloaking right at the end of the road perpendicular to the Stationsweg (I think that’s the Graaf van Rechterenweg road: the superb terrain was a more or less exact representation of the actual battlefield, with Phil and Jenny having walked the route and specially commissioned 3D printed buildings to get it just right. Huge kudos to them!).
This managed to get a couple of shots off at the StuG before getting enough HE in return to take it out of the action. All the Paras now had to deal with my armour were PIATS and sticky bombs.
One of the PIATS now made a difference, a the officer in charge of the Para platoon under fire from Zug 1 grabbed said PIAT off one of his squaddies and used a Have A Go Hero card to fire into the SdKfz flak. Incredibly, this survived one round with only a little bit of engine damage, but then the officer moved closer, fired again, and blew it to bits! His success was, however, short-lived, as elements of Zug 4 then rushed forward and captured him.
Meanwhile his platoon had been effectively neutralised by Zug 1 firing from the upstairs windows of the house overlooking the Paras’ position, and the Tiger and Zug 2 had moved further down the Stationsweg road.
Time was now ticking on, so leaving just enough assets to deal with the remaining Paras that I’d spotted, I sent everyone else forward and now curling around to the right in a final advance towards the house that was our objective.
As it advanced forward, the Tiger did have its second brush with death. If you look closely at the picture top right in the gallery above, you’ll see another British officer standing just outside the house in the centre of the photo. He also had a PIAT, and managed to get a couple of shots off at the armoured beast. Luckily for me, they both bounced off the tank’s front armour, and then a barrage of HE fire from the Tiger’s 88mm gun vapourised the poor Para before he could fire again.
Back to the narrative, and the fourth and final Para platoon was spotted lurking behind the objective house. They didn’t want to go into it, as they knew the Tiger would then quickly reduce the house to rubble. They did have another PIAT team, which they sent forward to the hedgeline to engage the big cat. I had now, however, managed to get most of three platoons of infantry forward in preparation for a final push, and fire from one of them shot down the PIAT team before it could fire.
The climax of the game was now upon us, but actually things ended witha bit of a damp squib. I sent a squad of infantry across the road to “occupy” the target house, with a good roll on the dice getting me just inside.
I was hoping this would force the Paras outside to come inside to displace my infantry from their game-winning position, at which point the Tiger would bring the house down on the lot of them (well, I was commanding SS troops) with the rest of my infantry then re-occupying the rubble to take victory, but in fact the Tea Break card arrived almost immediately and that was that!
A great game of IABSM played across a wonderful table set up. My thanks to Phil, Jenny and Vlad for a fantastic afternoon’s gaming.
More I Ain’t Been Shot Mum action from John Paul Hancock and friends.
The next scenario in their Bashnya or Bust! campaign is #3D: Zhena, where both the Soviets and Germans need to take and hold a vital road junction.
Click on the picture below to see all:
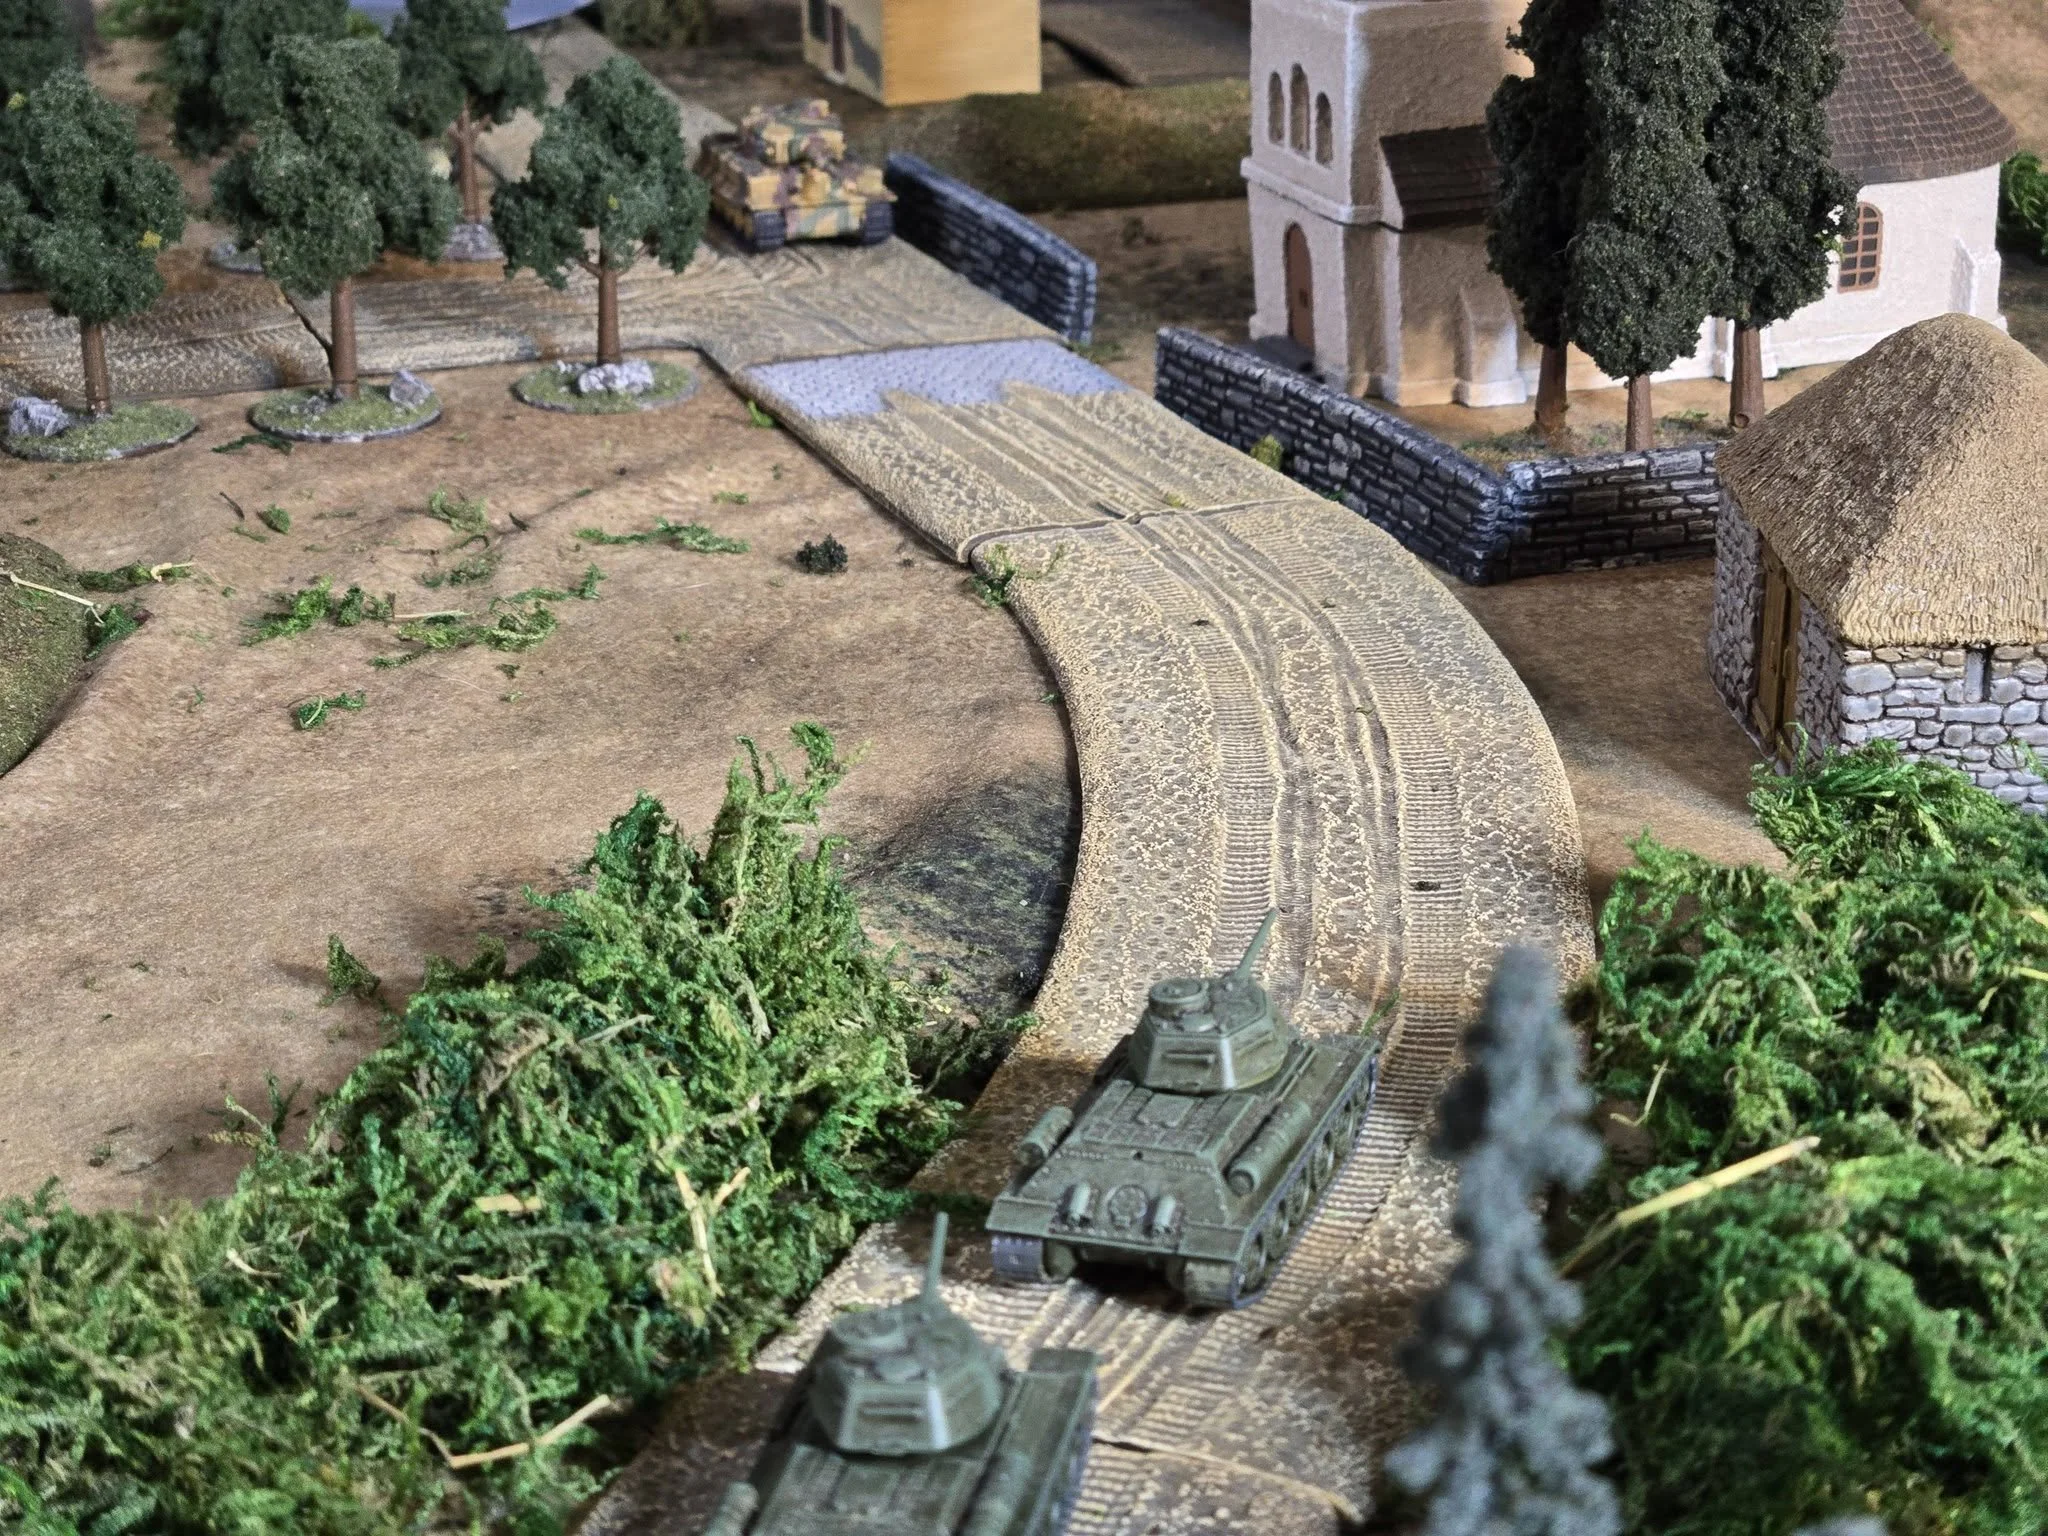
Another great AAR from John Paul Hancock and friends, this time covering the action from Scenario 2B of the Bashnya or Bust! campaign pack for I Ain’t Been Shot Mum: Sorok.
Can the Germans roll over the Soviets, or will the fanatical defenders hold out. Click on the pciture below to see all:
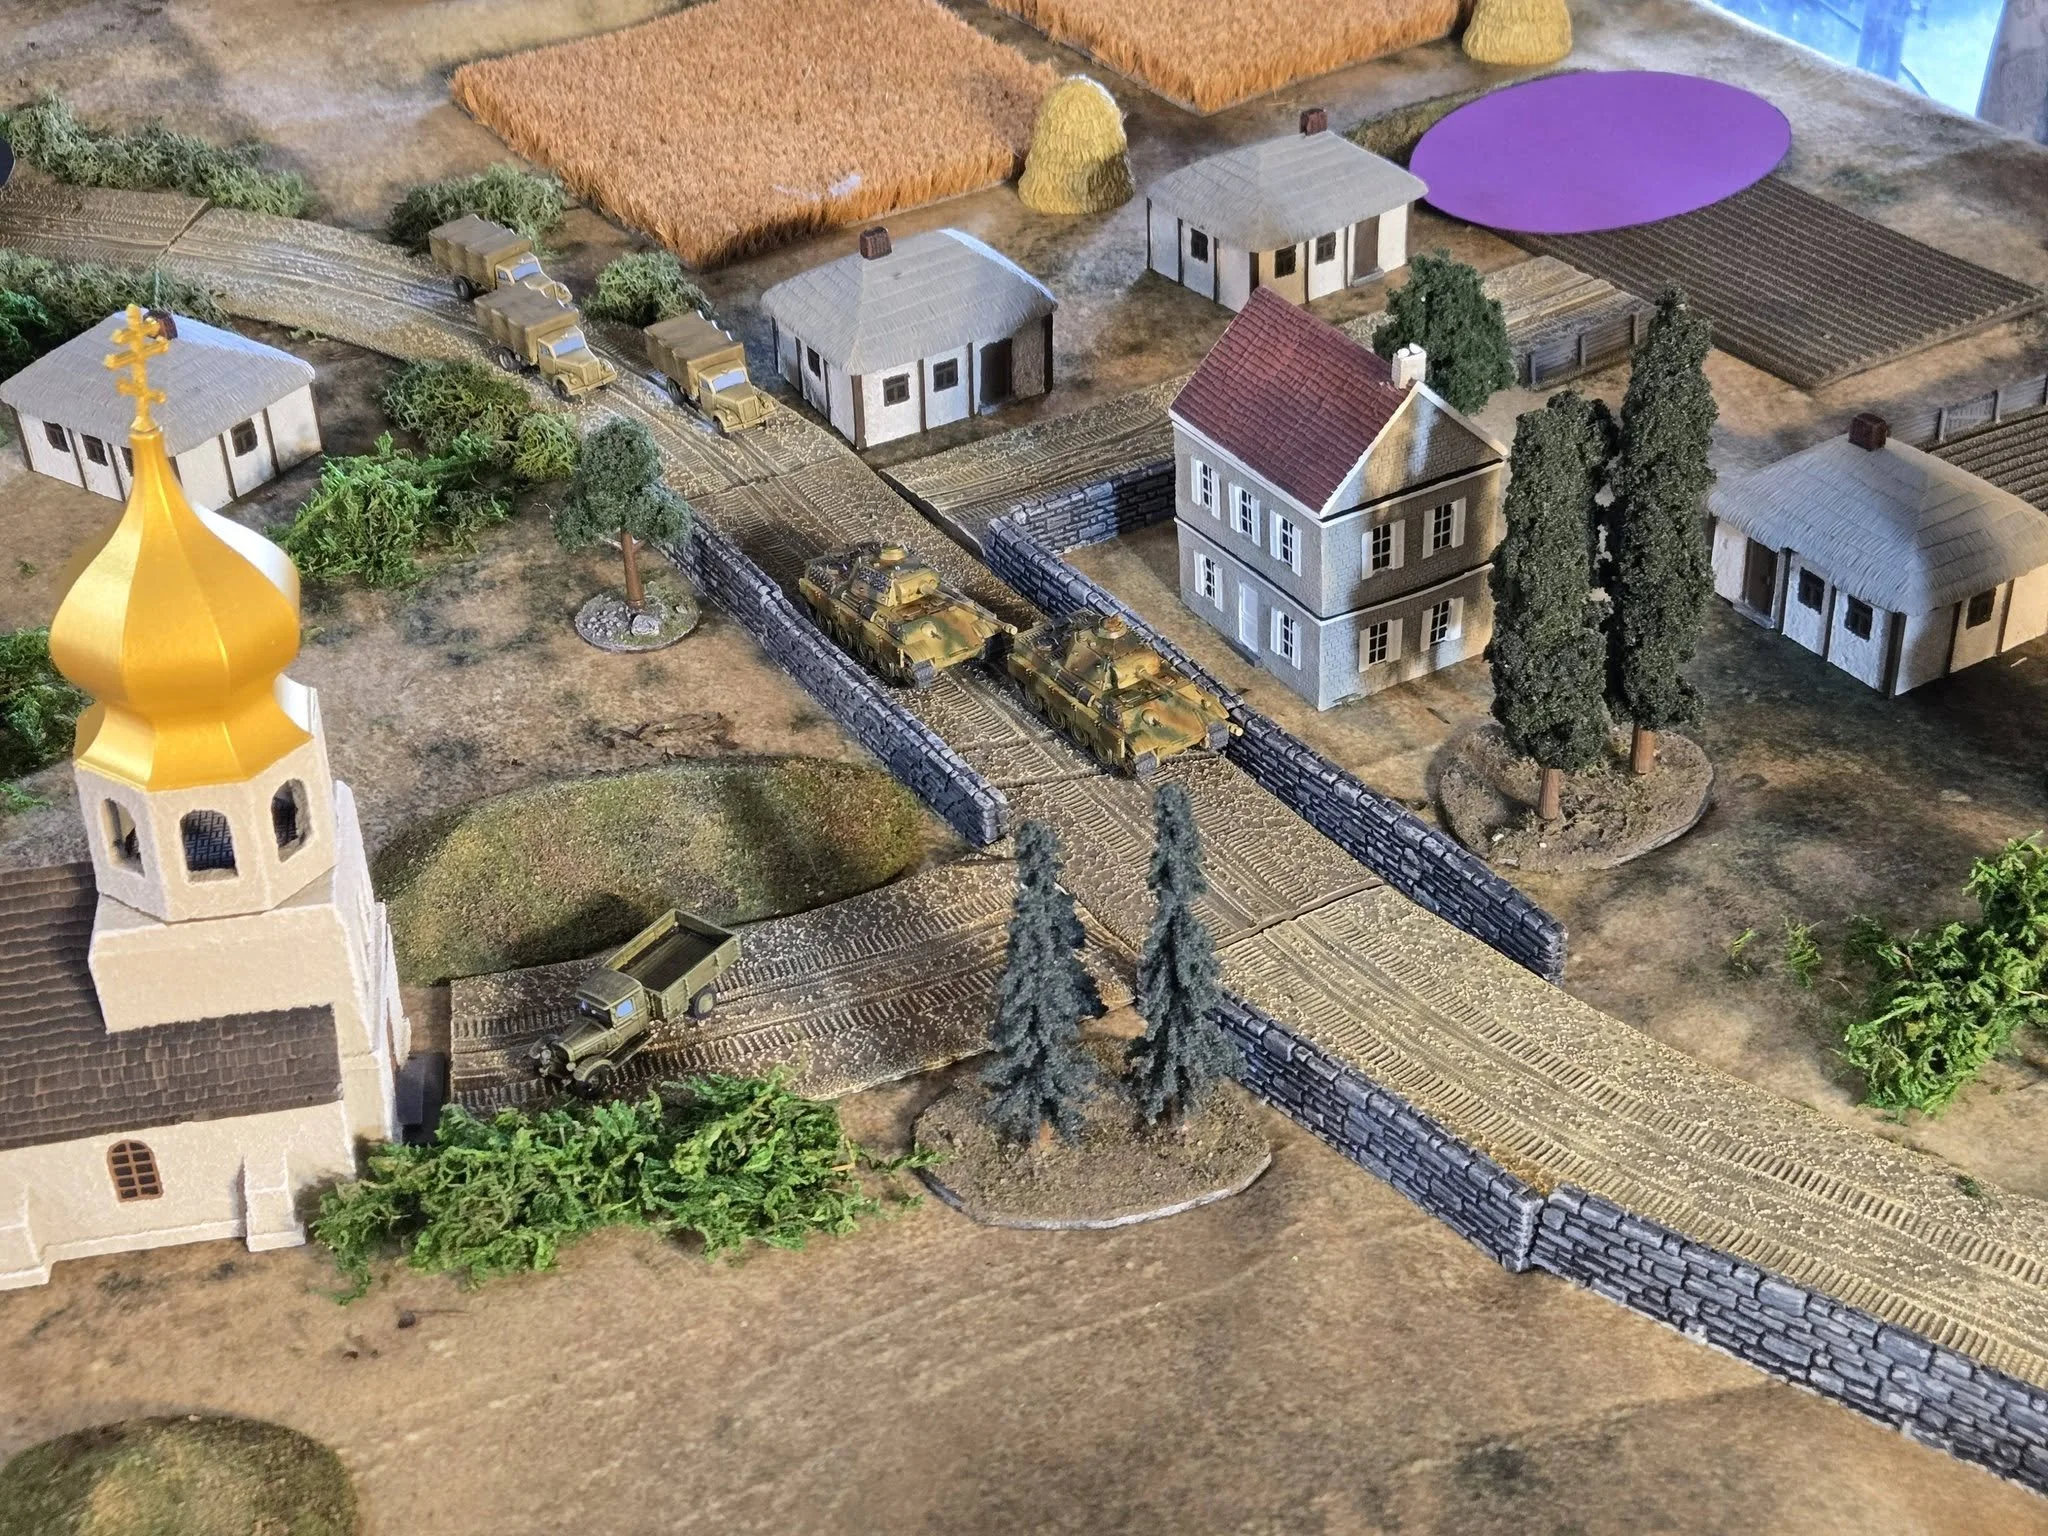
John Paul Hancock and friends have begun playing through the Bashnya or Bust scenario pack for I Ain’t Been Shot Mum.
Here’s the After Action Report from their first game: click on the picture below…
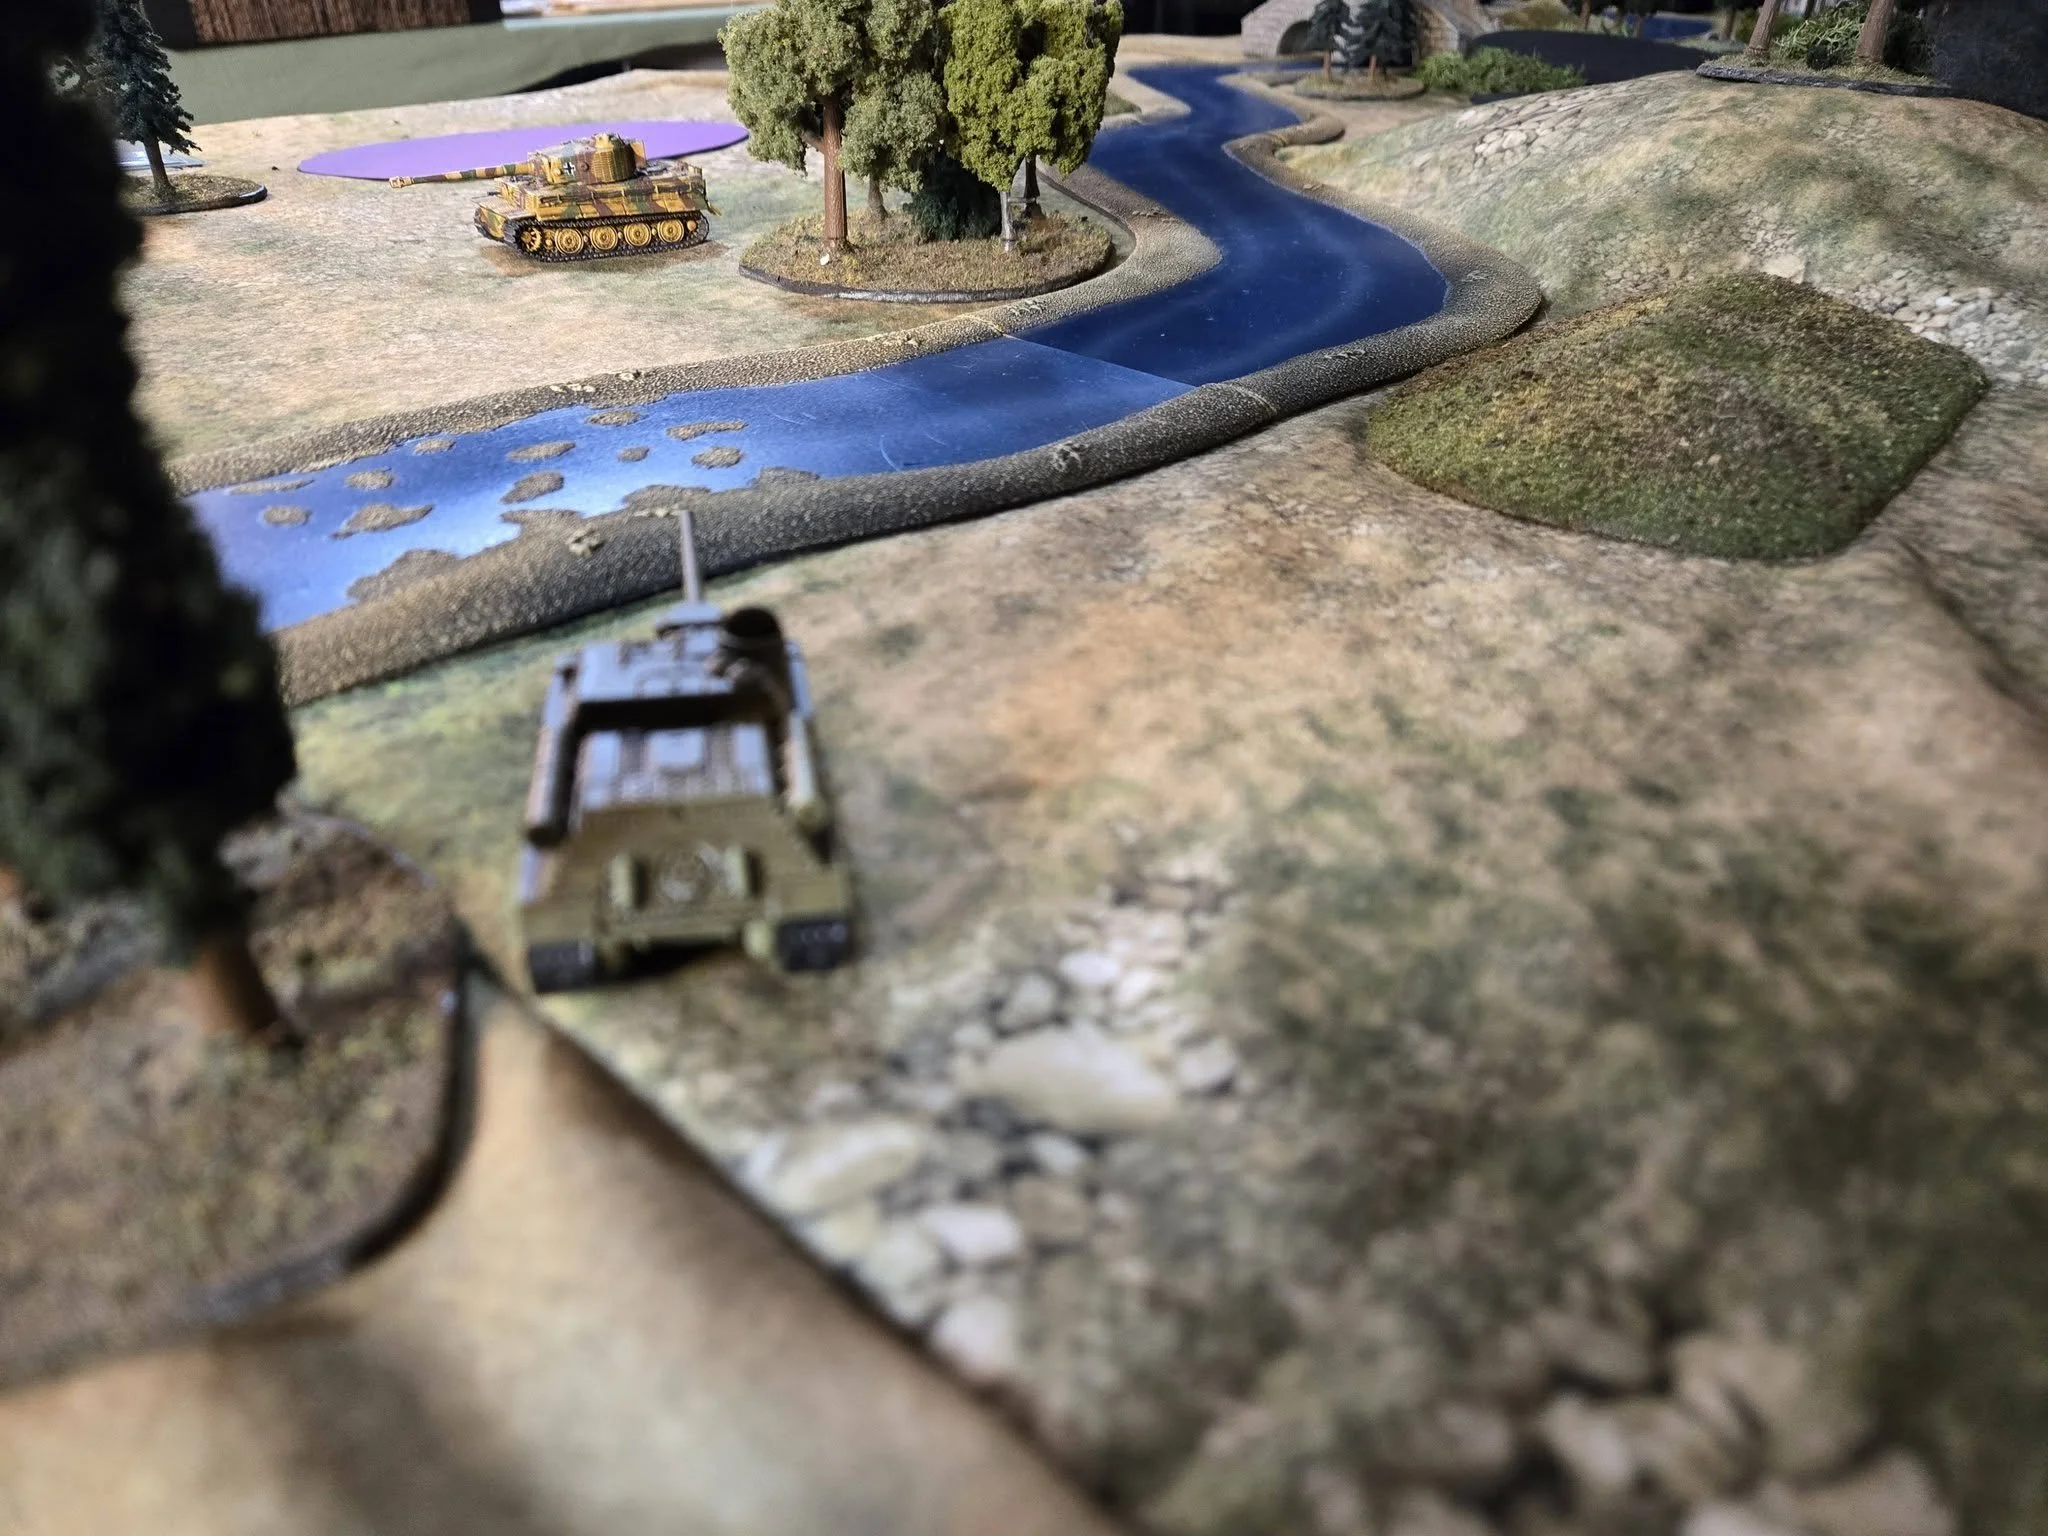
Mark Luther and friends played a game taking place in the sodden Reichswald in February 1945, with the Coldstream Guards and 7th Seaforths taking on some stubborn Fallschirmjagers east of Kleve. Lots of bogging Churchills and Kangaroos, and some ineffective close range antitank fire!
Click on the picture below to see all:
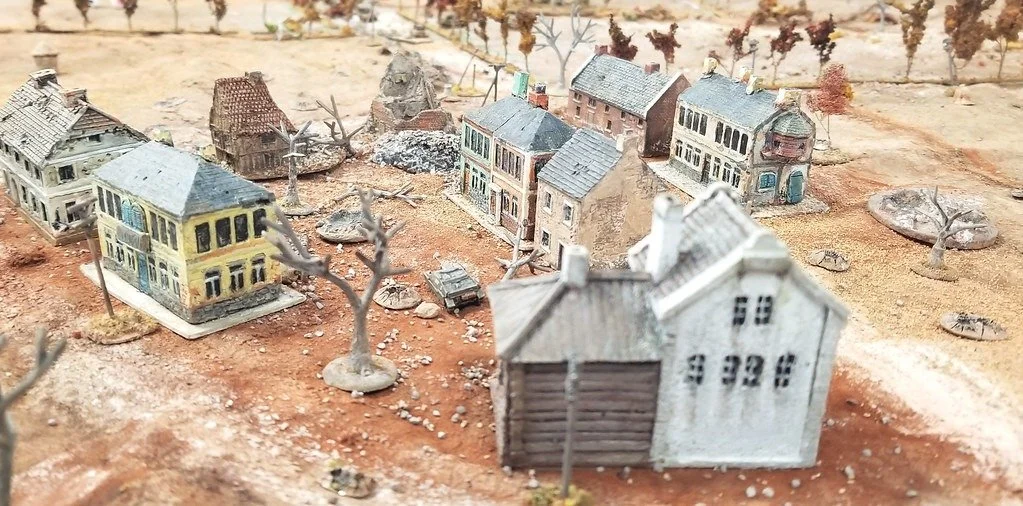
In 2016-17, I wrote a pair of campaign books for I Ain’t Been Shot Mum covering the Japanese capture of Malaya/Singapore (Fall of the Lion Gate) and Burma (Bloody Burma). Between them, the two packs contain 45 scenarios set in the Far East in 1941/2, designed to be played with IABSM but easily convertible to any other company-sized WW2 tabletop wargame.
Regular visitors to this site will also know that it holds an extraordinary repository of After Action Reports for all the Lardy company-sized games, including hundreds (I gave up counting them today at 250!) for IABSM.
Unbelievably, none of these reports have covered any of the Bloody Burma scenarios. There are 14 reports from games using Liongate but nothing for Burma…until now!
Chris Lane and friends played the Paung scenario, and here’s his report (taken from the IABSM Facebook group). Click on the picture below to see all, and I’m always happy to publish more AARs here. Next target is 1,000!
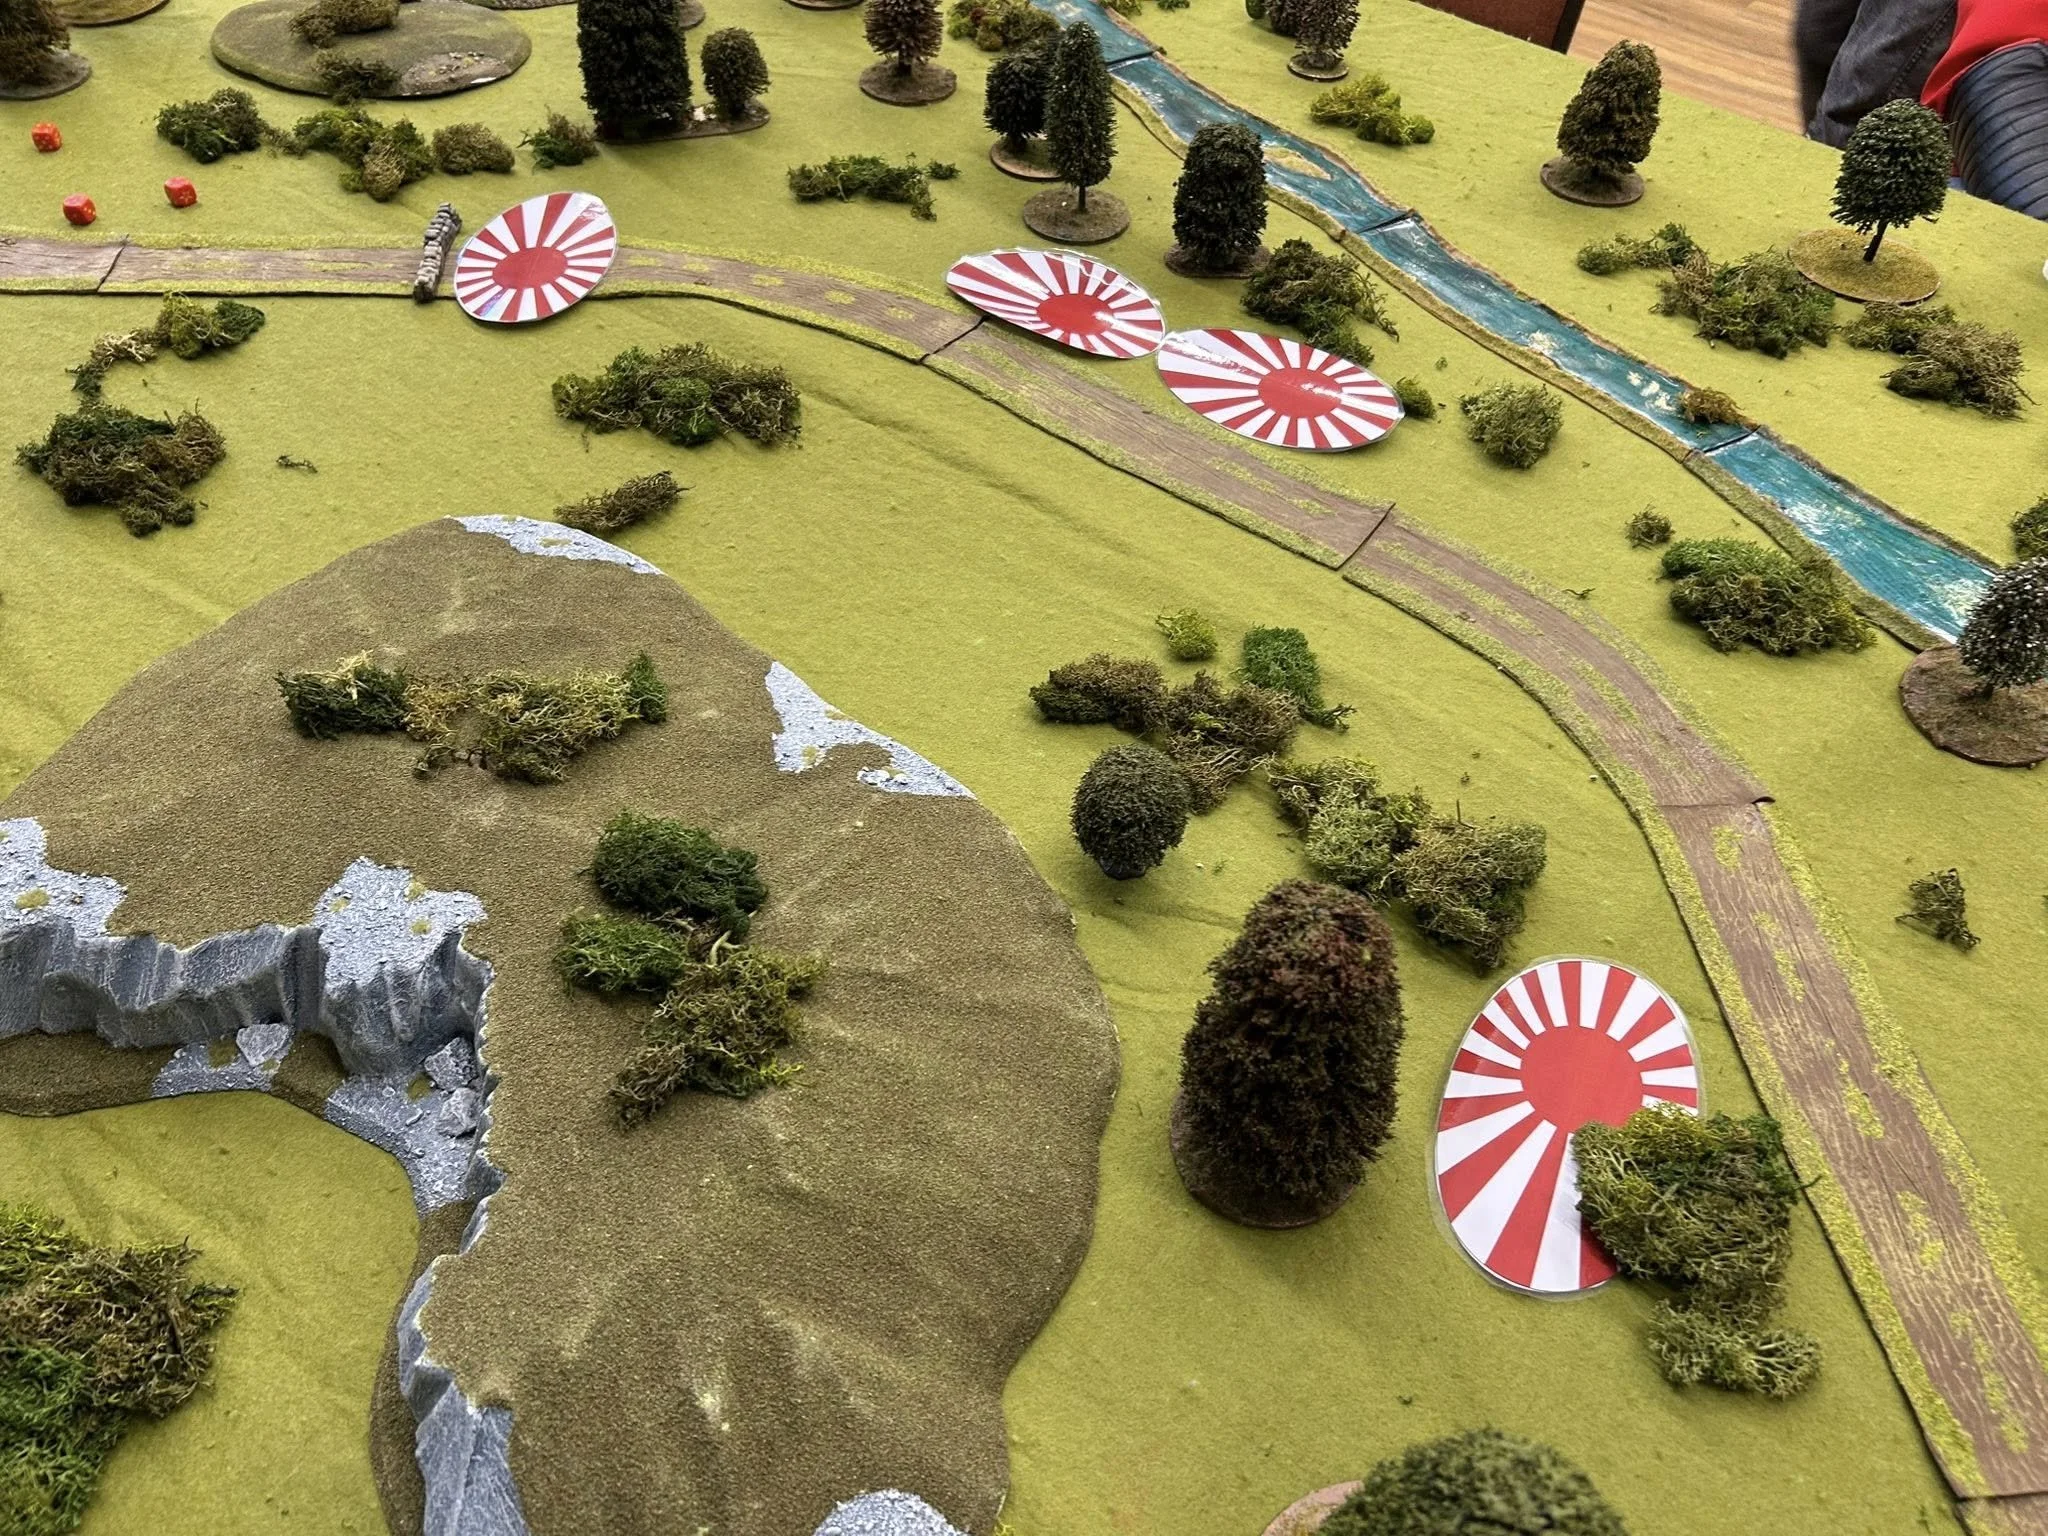
Here’s an IABSM after action report from James. He did what I sometimes do: left a table from another game up and then used it for a different encounter!
Click on the picture below to see all:
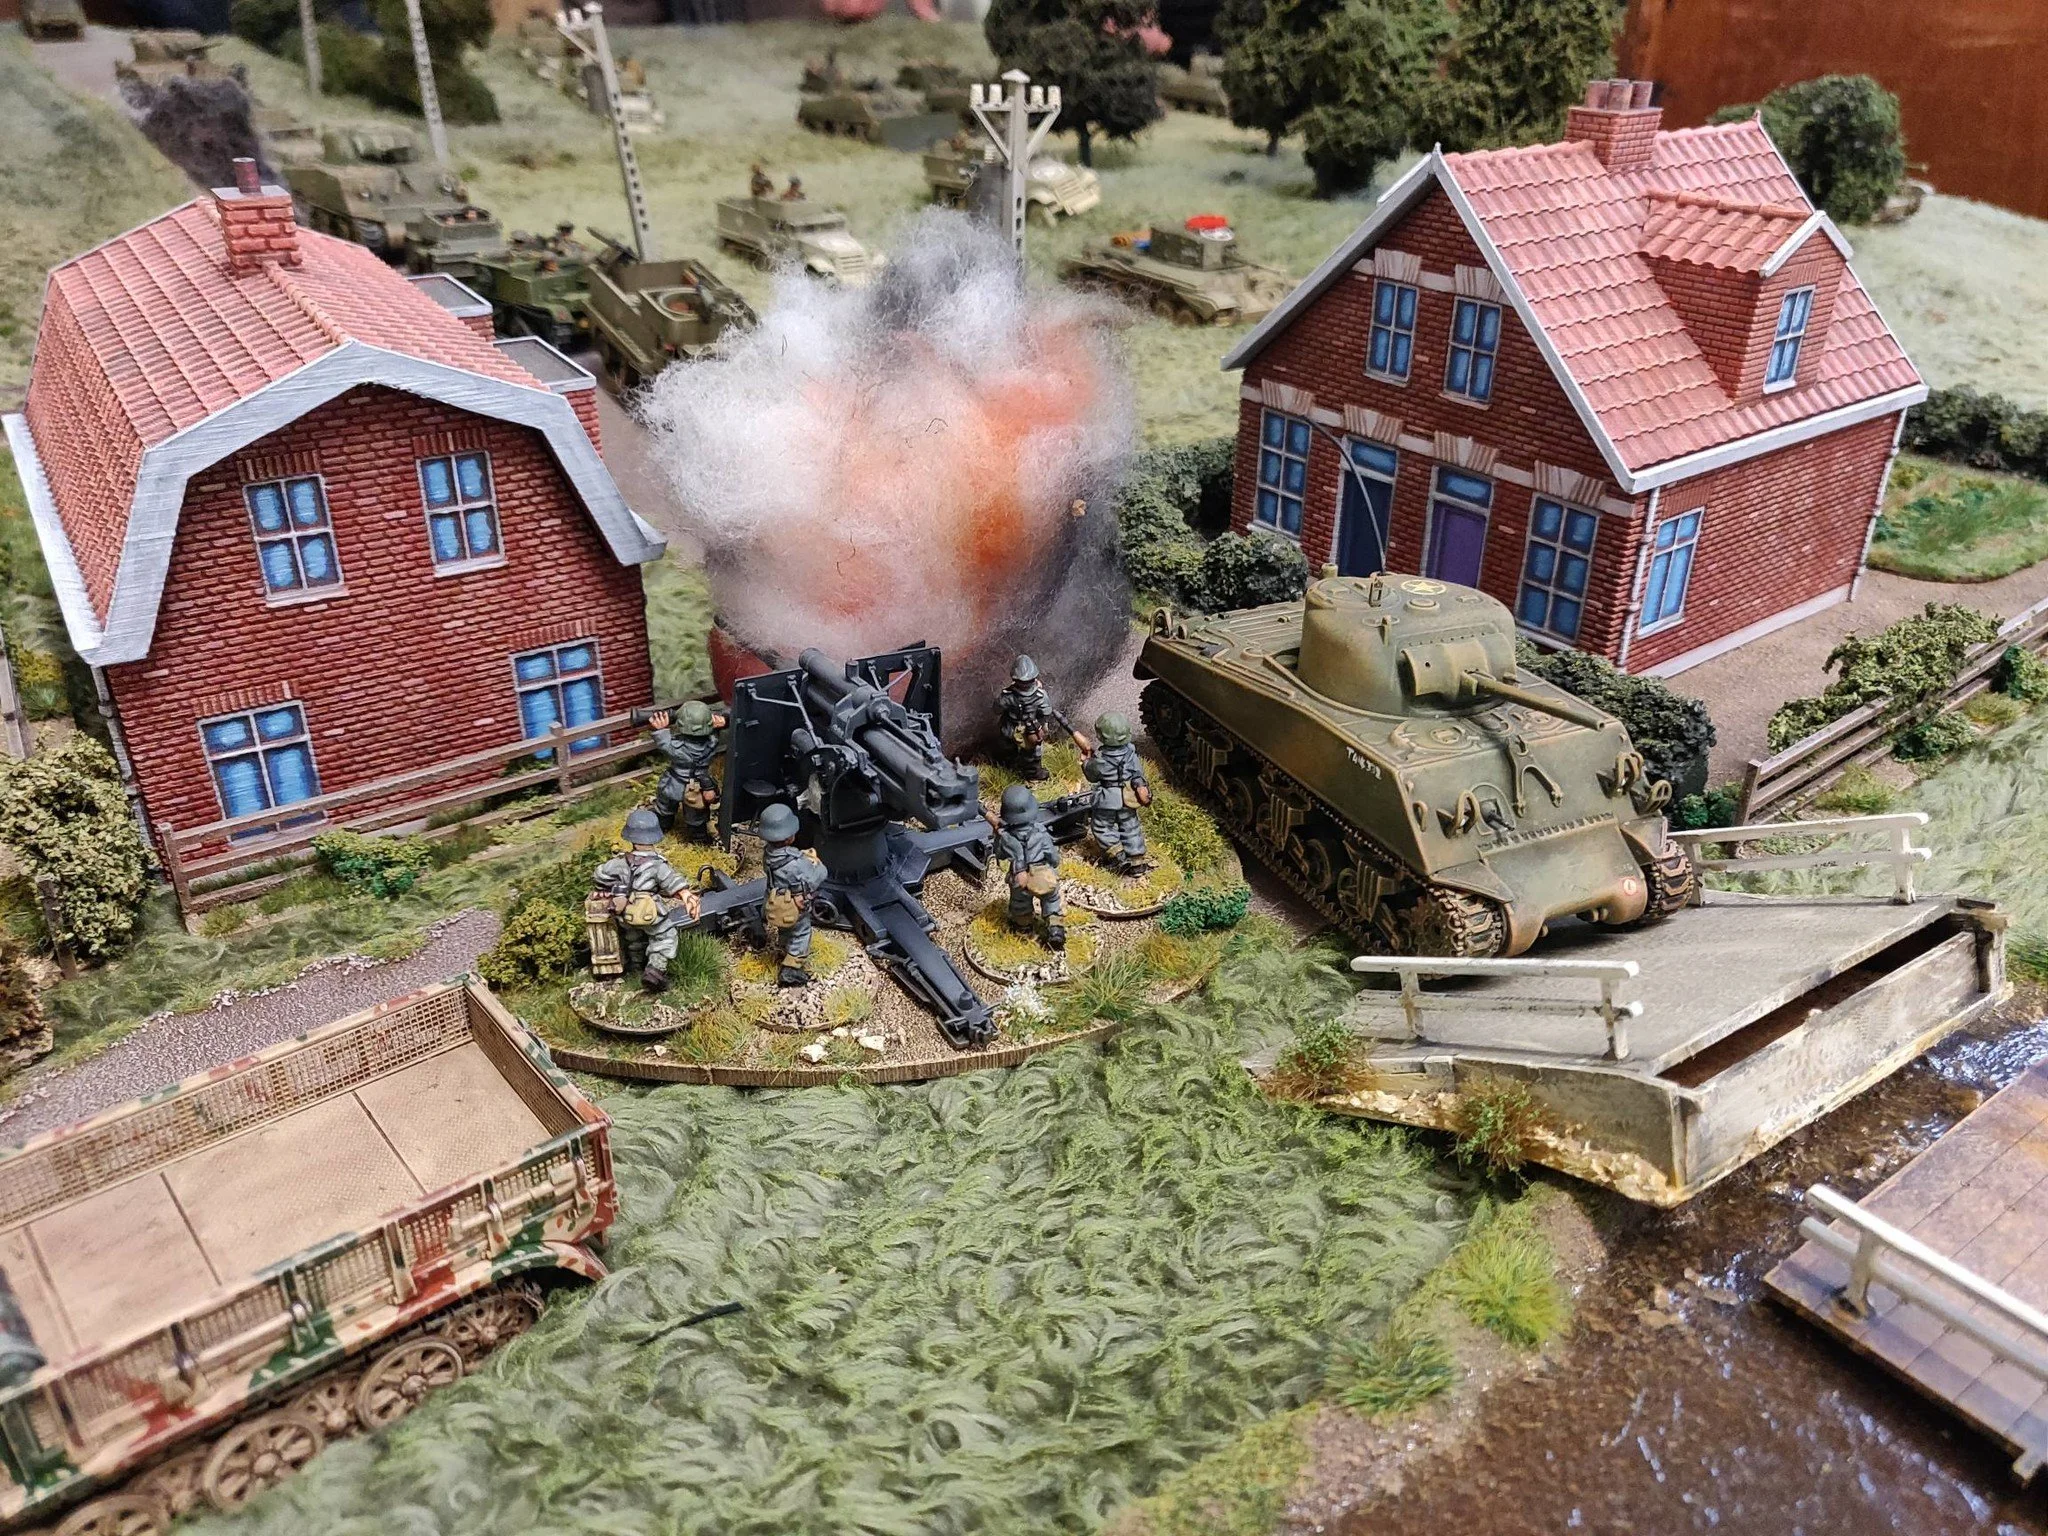
Here’s another superb pictorial AAR from Michael Curtis and friends. It’s I Ain’t Been Shot Mum in 28mm with a scenario featuring XXX Division’s advance to take a Bailey Bridge.
Definitely worth a look!
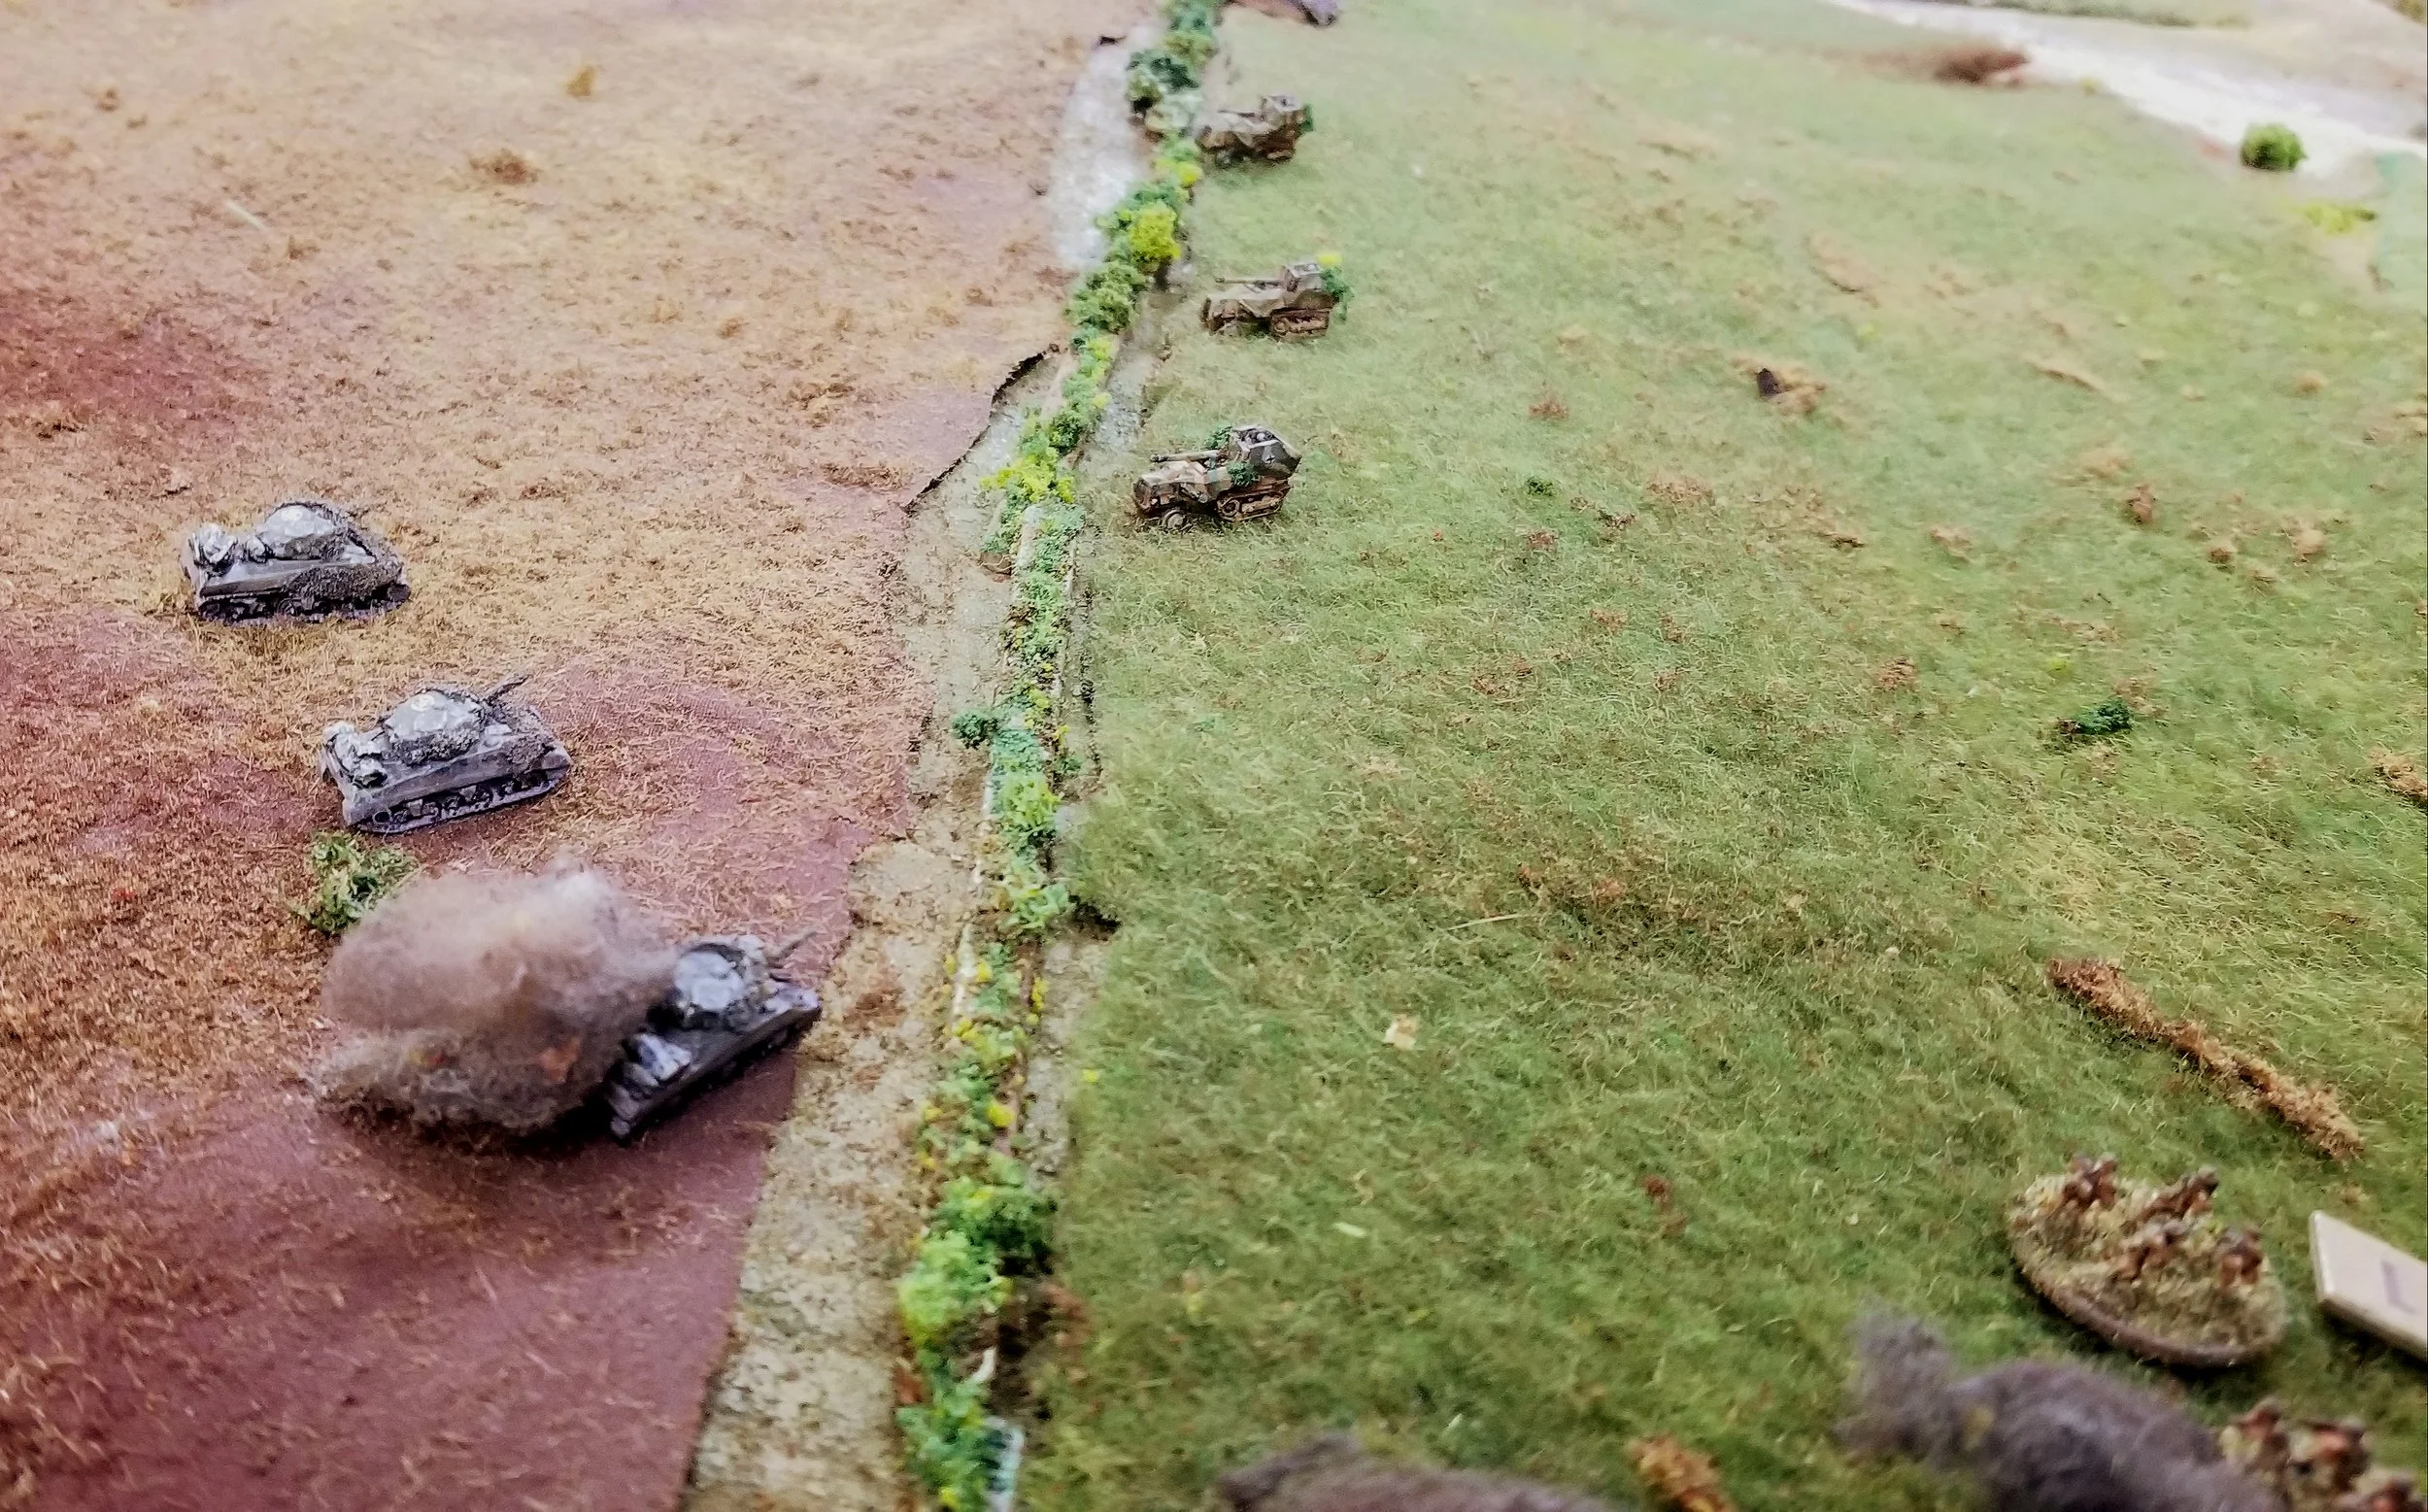
Another stunning photo-aar from Mercian Miniatures and Michael Curtis taken from the IABSM Facebook group.
This was another practice game in preparation for a Seelowe Nord demonstration game: well worth a look!
Click on the picture below to see all…

Here are two sets of pictures showing 1st Corps’ I Ain’t Been Shot Mum demonstration game at this year’s The Other Partisan show.
Beautifully presented, it’s a stunning simulation of the battle of Kamenewo, October 1941, where Soviet T-34s halted the Germans’ advance on Moscow.
Click on the photo below: highly recommended.

Here’s a quick pictorial After Action Report from Mercian Miniatures taken from the IABSM Facebook group. German Fallschirmjaegers take on the brave defenders of Blighty!
Click on the picture below to see all:

Another spectacular I Ain’t Been Shot Mum after action report from Mercian Miniatures taken from the IABSM Facebook Group and featuring miniatures from 1st Corps.
This game in an Operation Sealion encounter at what started off as Bridlington but then became a generic British seasside town. The set up is truly inspirational and well worth a look.
Click on the picture below to see all:

Not a full After Action Report, but pictures from the set-up of a great looking game of I Ain’t Been Shot Mum using an Operation Market Garden Scenario. This is taken from a post from the IABSM Facebook group.
Click on the picture below to see all:

Here’s a quick After Action Report from Mark Luther. This was a 6mm I Ain't Been Shot Mum game played at GigaBites Cafe in September 2025.
This was a fictitious scenario that was based on some units of the 21st Panzer Division moving closer to the Sword Beach landing area than they did historically on June 6th.
Click on the picture to see all.
Vis Lardica is a website devoted to wargaming and military history, with a special emphasis on the company-sized rulesets produced by the TooFatLardies: I Ain't Been Shot Mum (WW2); Charlie Don't Surf (Vietnam); and Quadrant 13 (science fiction). There’s also a lot of content devoted to To The Strongest (Ancients/Medievals) and For King & Parliament (17th Century).

Welcome to Vis Lardica, a not-for-profit website mostly dedicated to the company-sized wargaming rules produced by the TooFatLardies, but encompassing my other gaming interests as well.



If you need to contact me, you can do so at:
vislardica@gmail.com
If you have enjoyed visiting this site, please add a link to it on your own wargaming blog: www.vislardica.com.