SYW AAR: Refighting Lobositz - Again
/As our group would be demo-ing the Lobositz game at Vanquish 2026, we needed to play through it a few times in order to make sure that everything ran smoothly on the day.
My first playthrough was as the Prussians: an encounter that I had won mainly through a super-aggressive advance straight at the town of Lobositz, our objective. This time I would play the Austrians: aiming to keep what seemed to me to be vast numbers of Prussians out of the town!
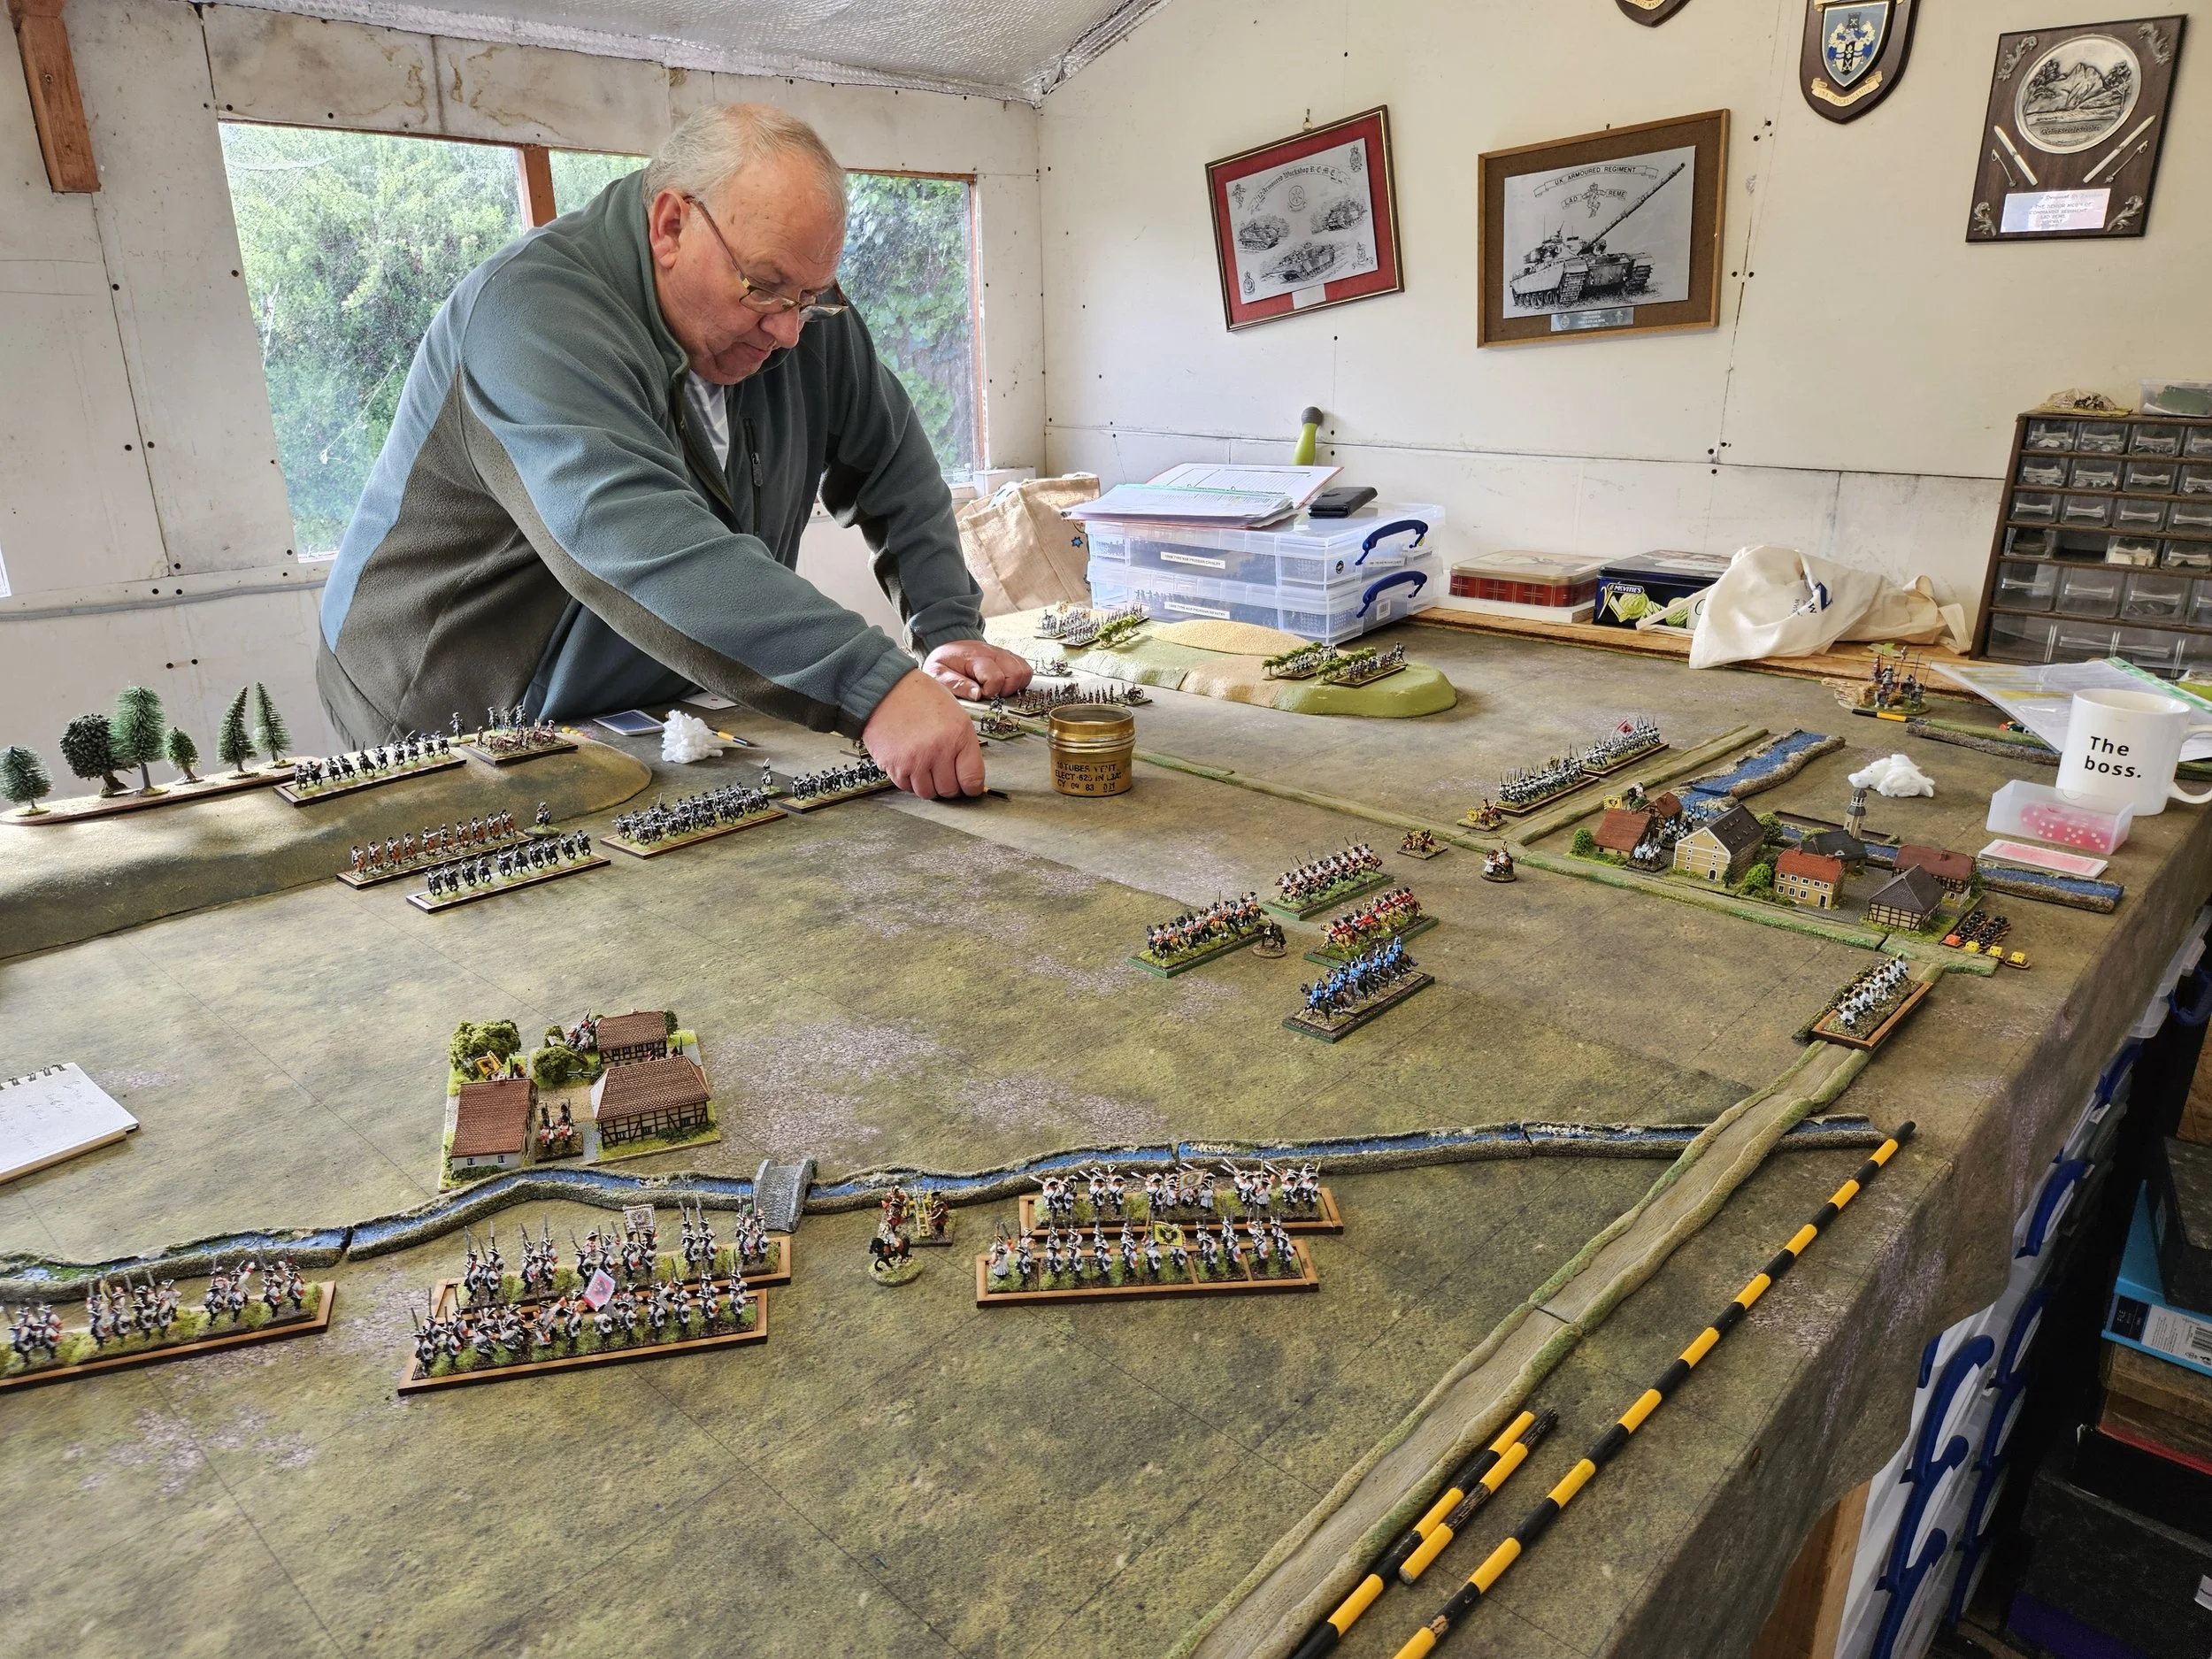
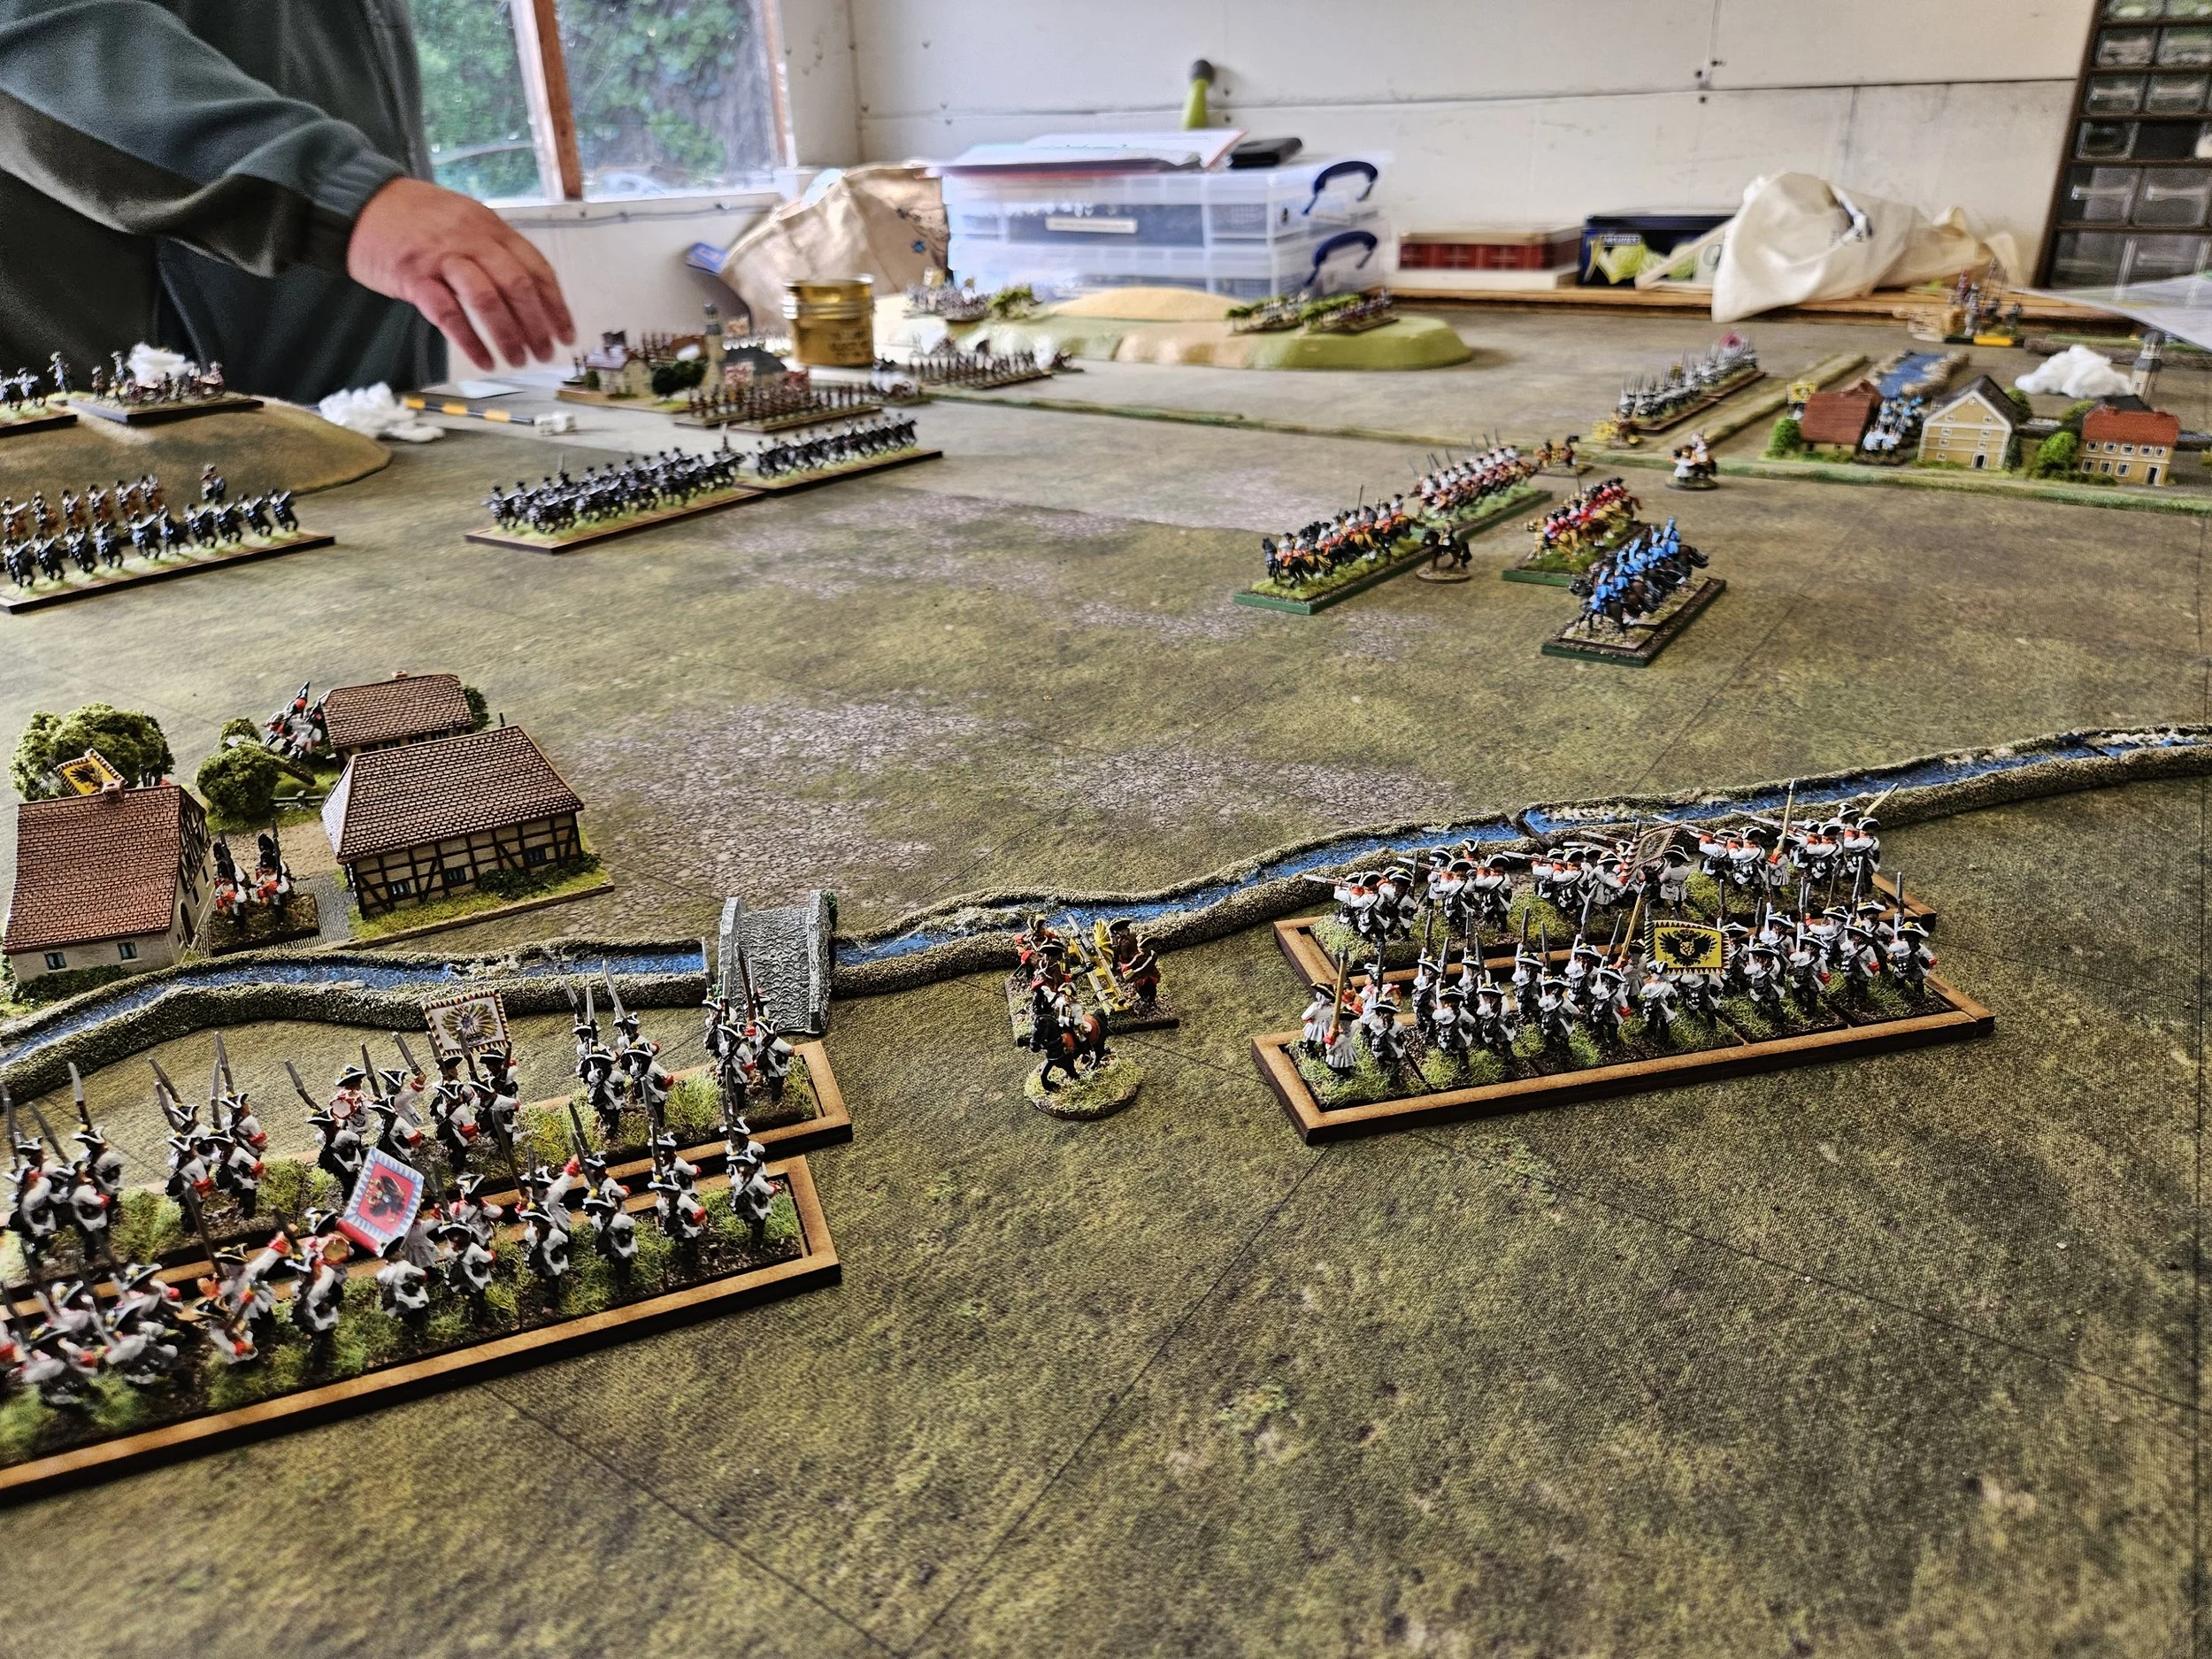
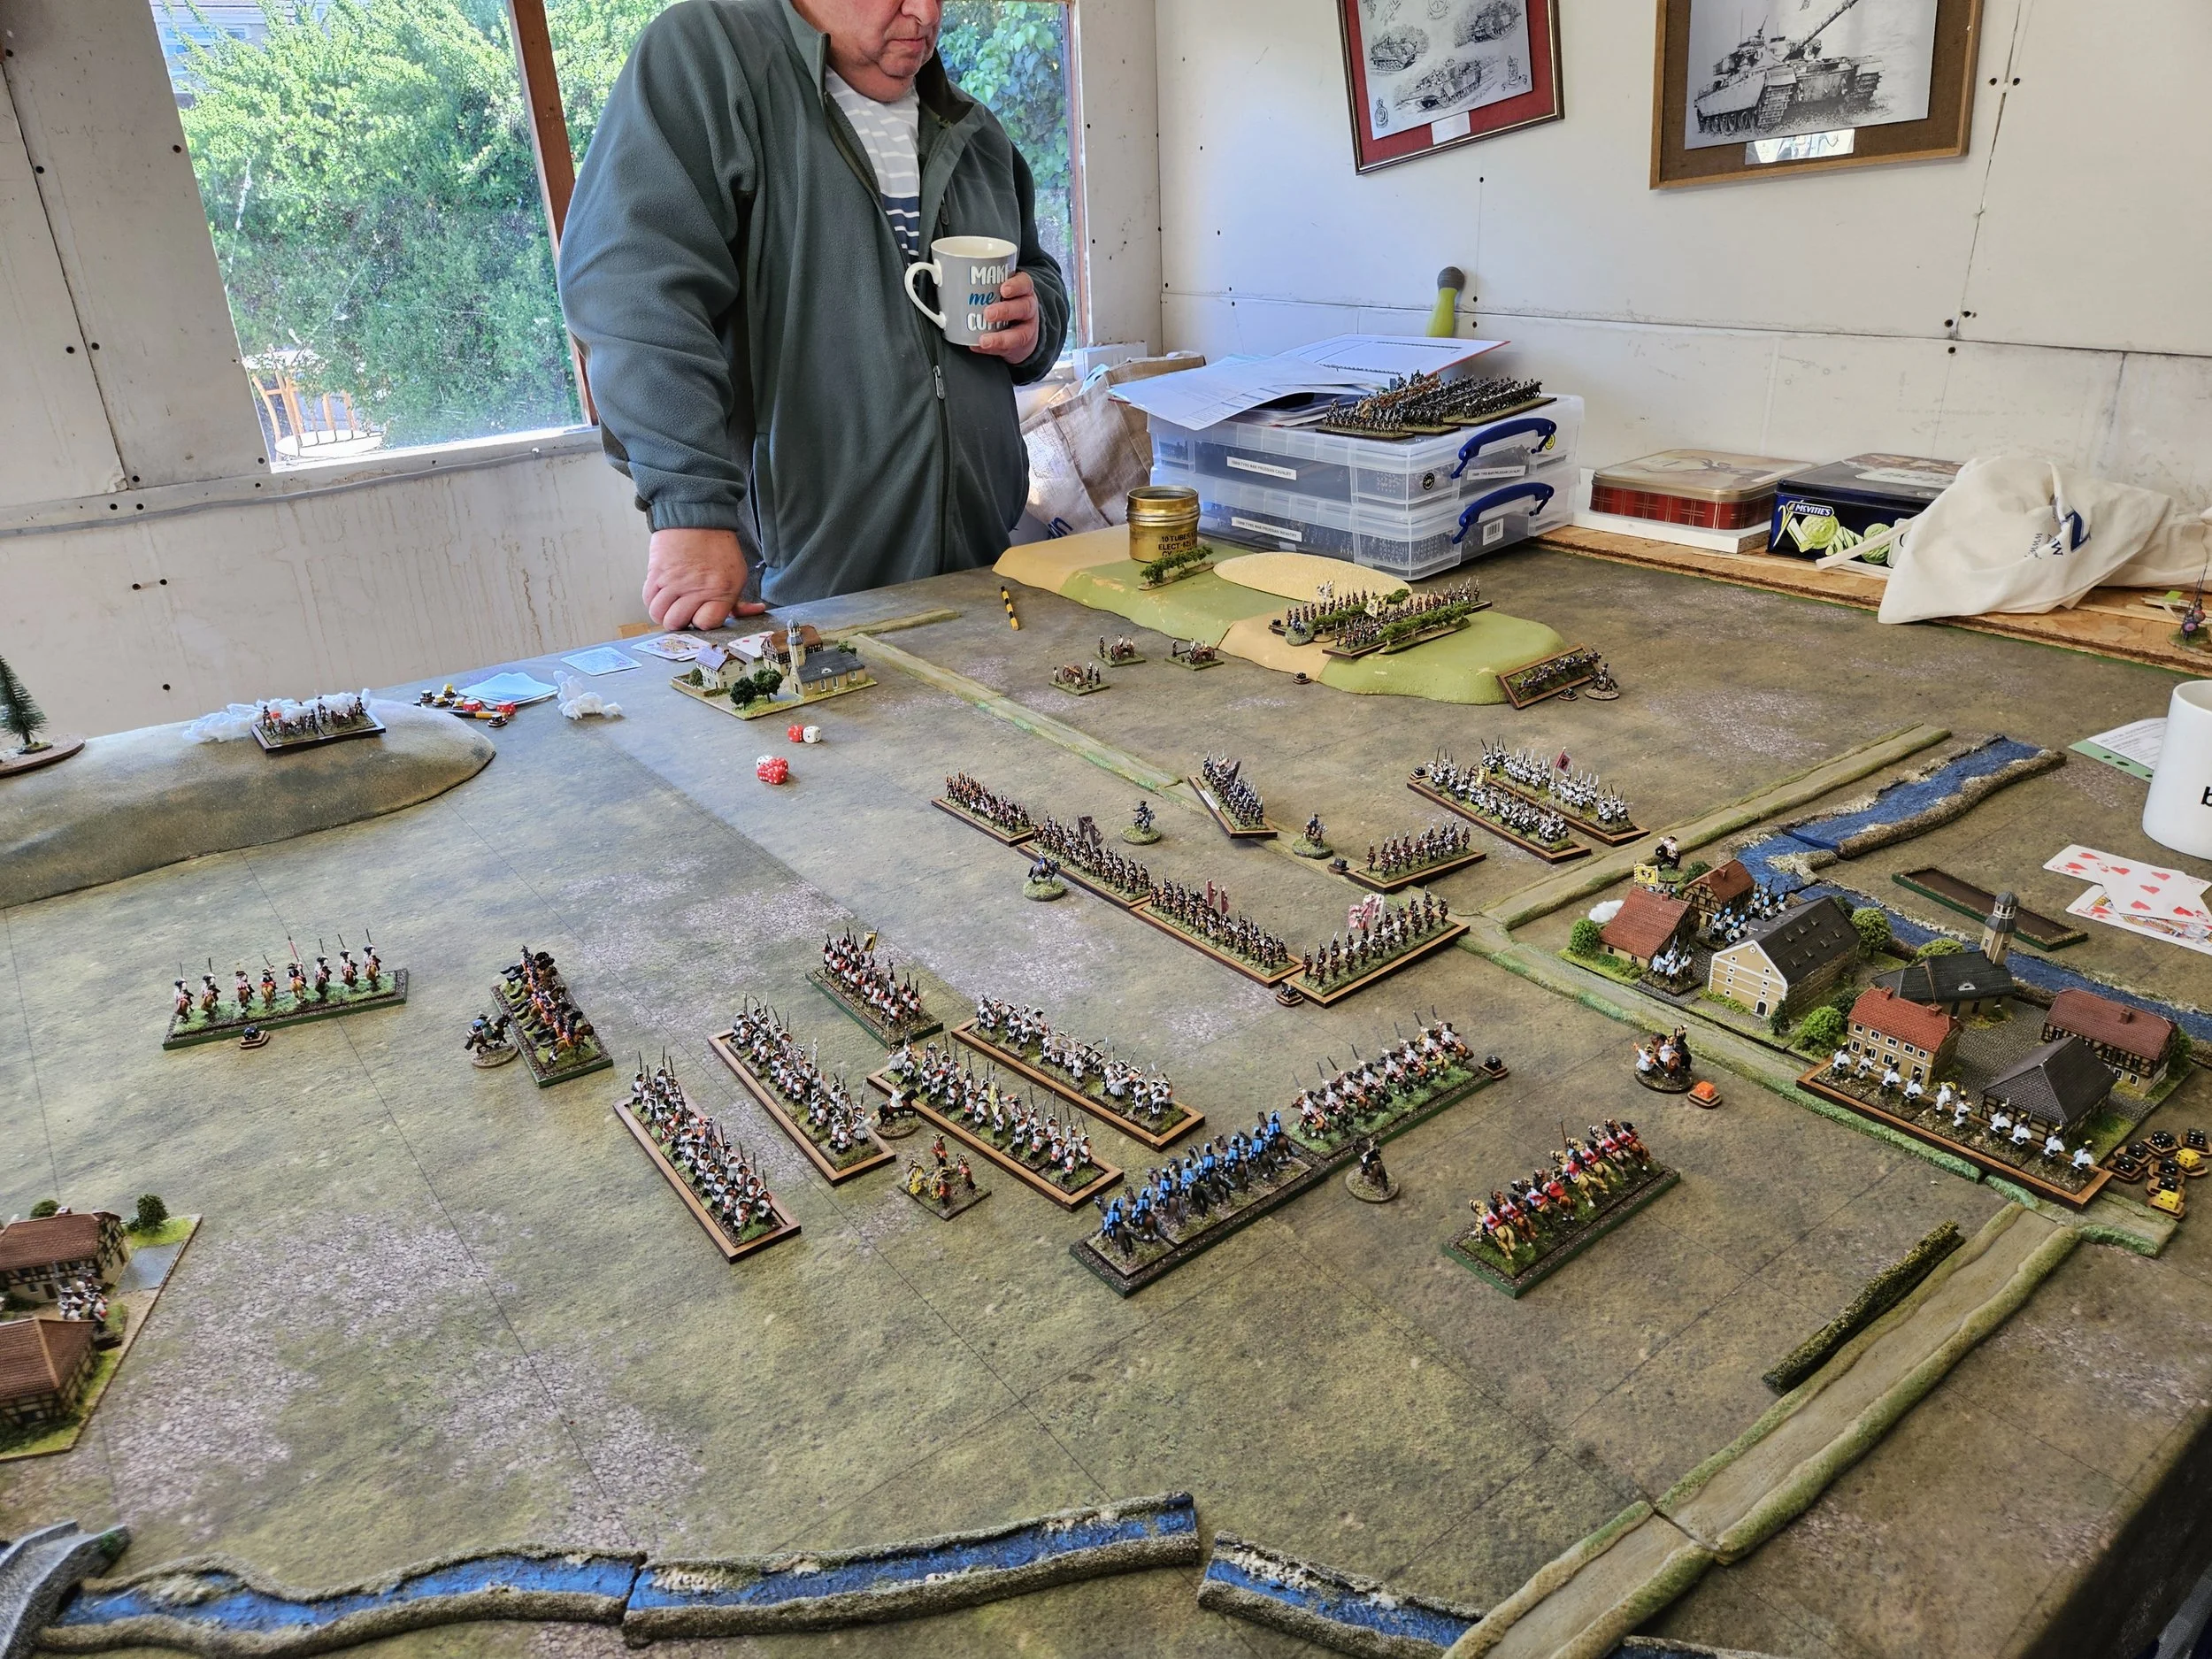
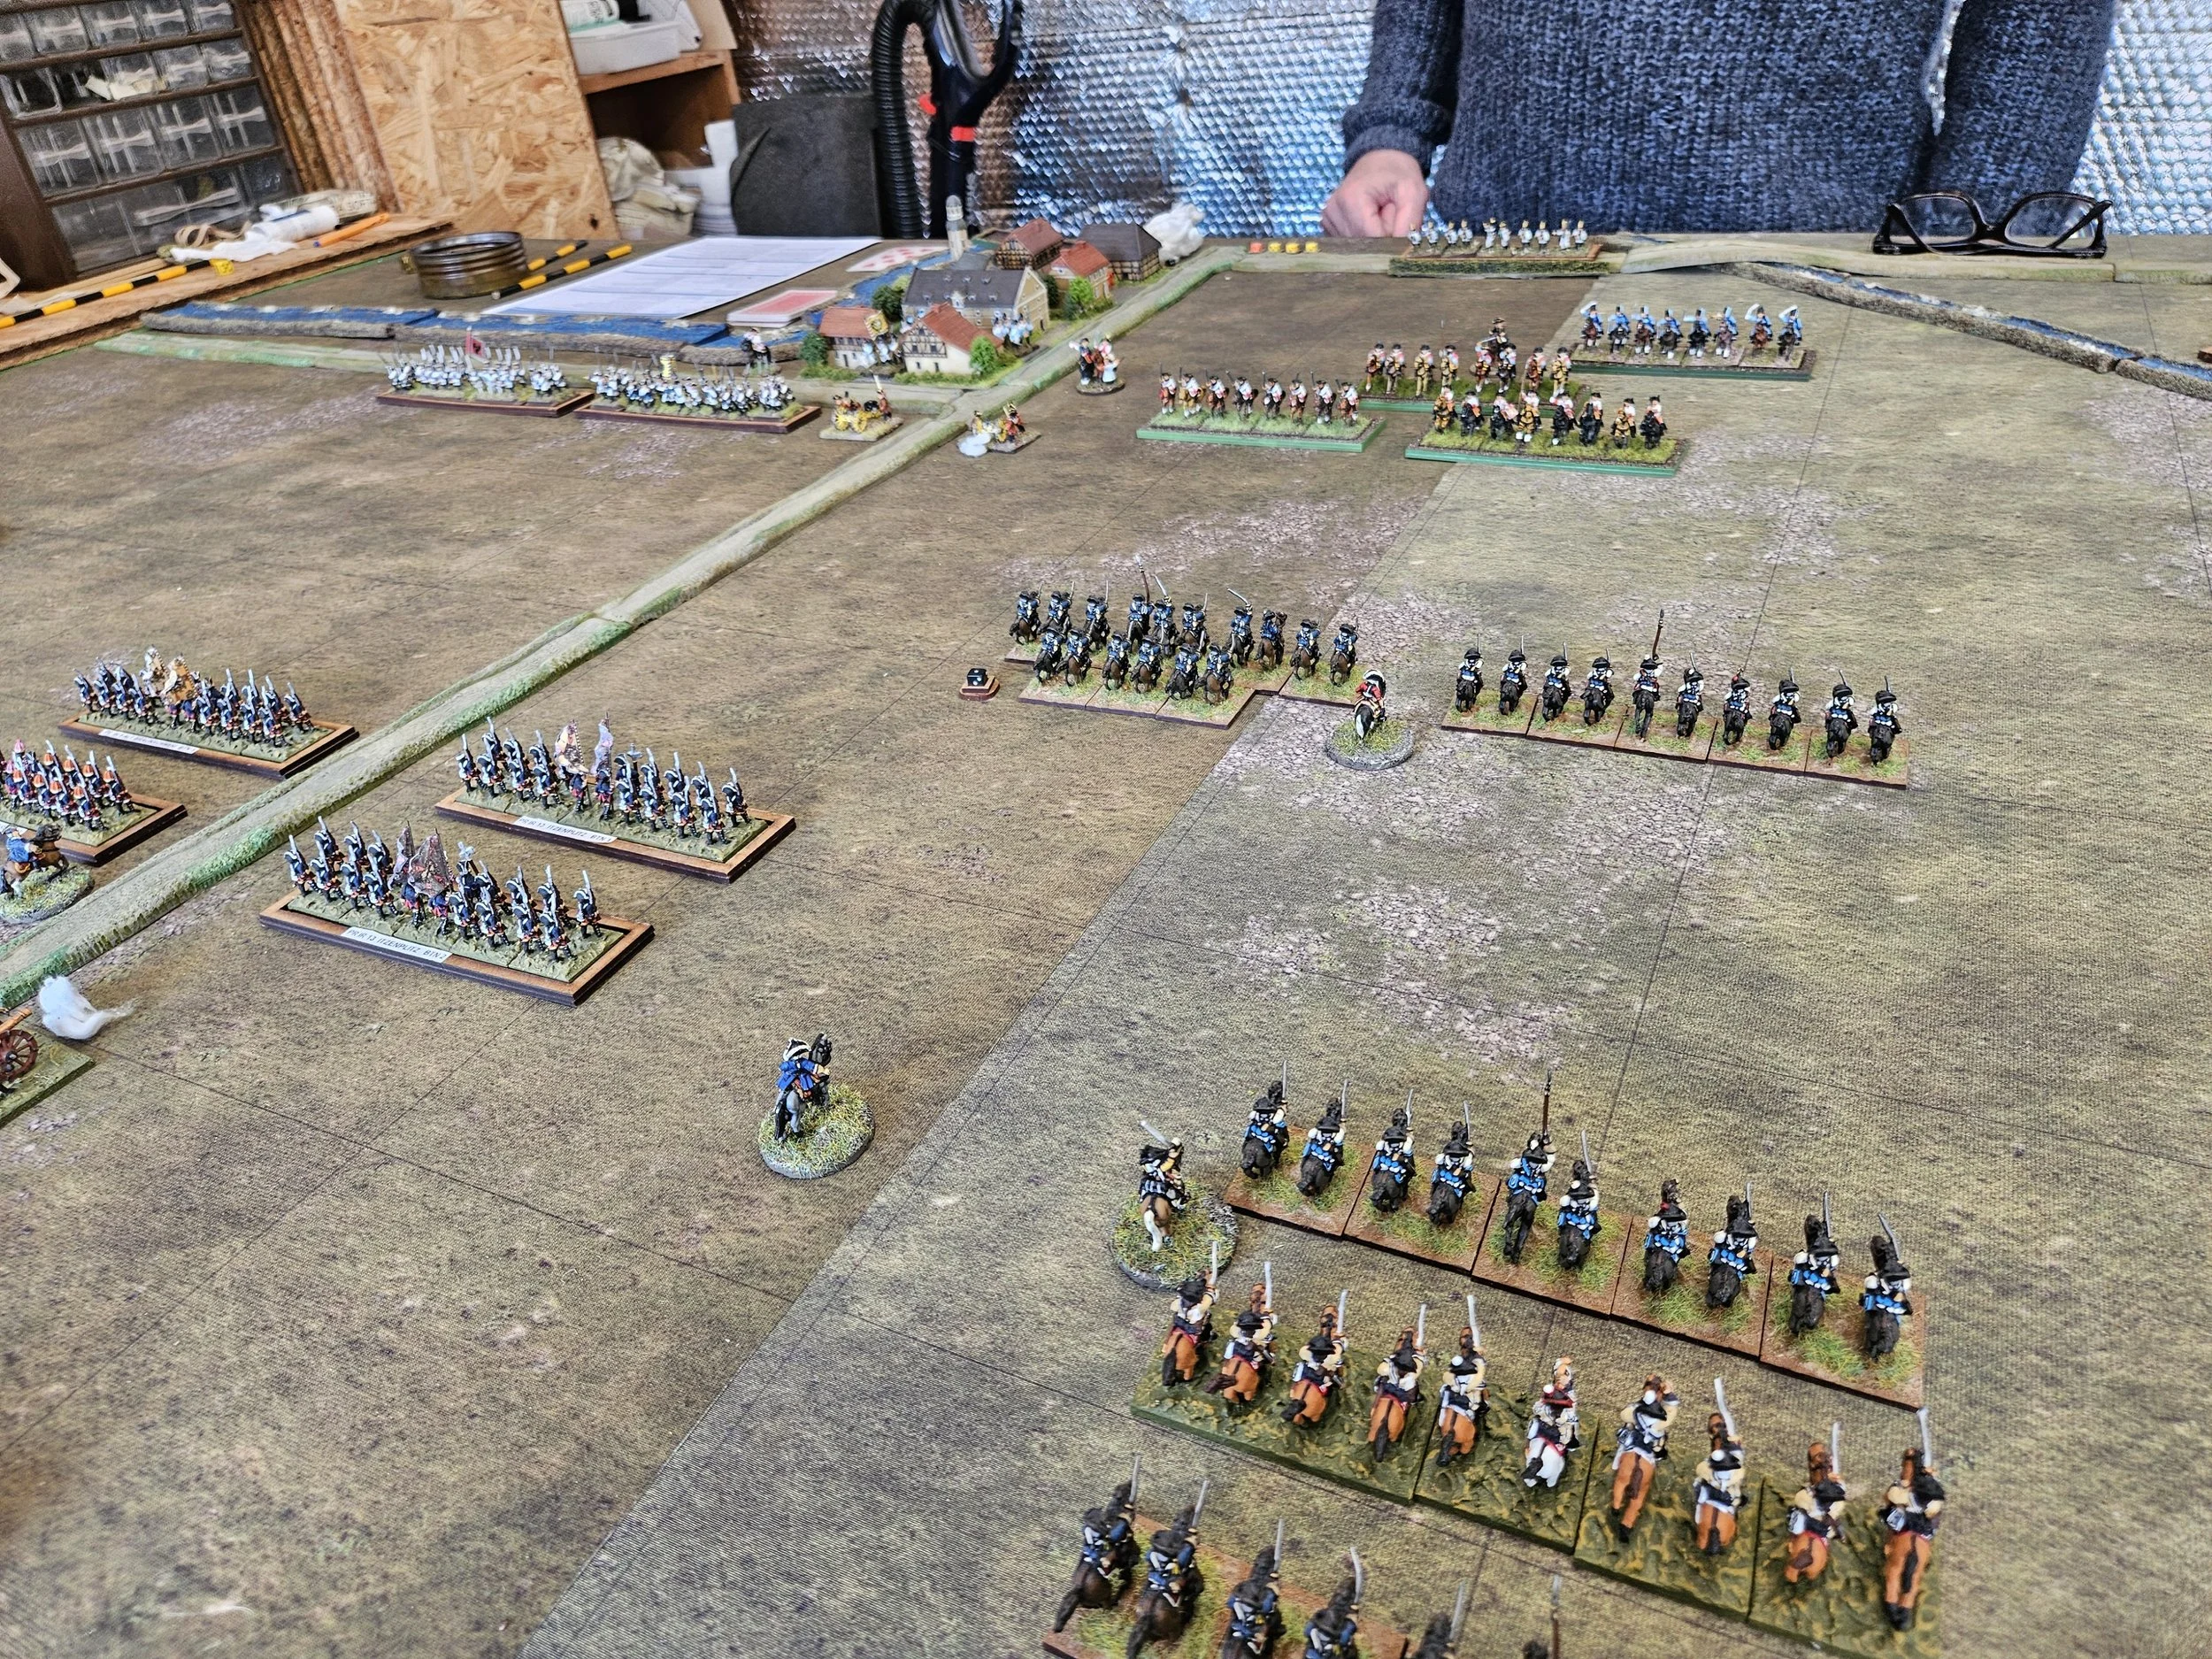
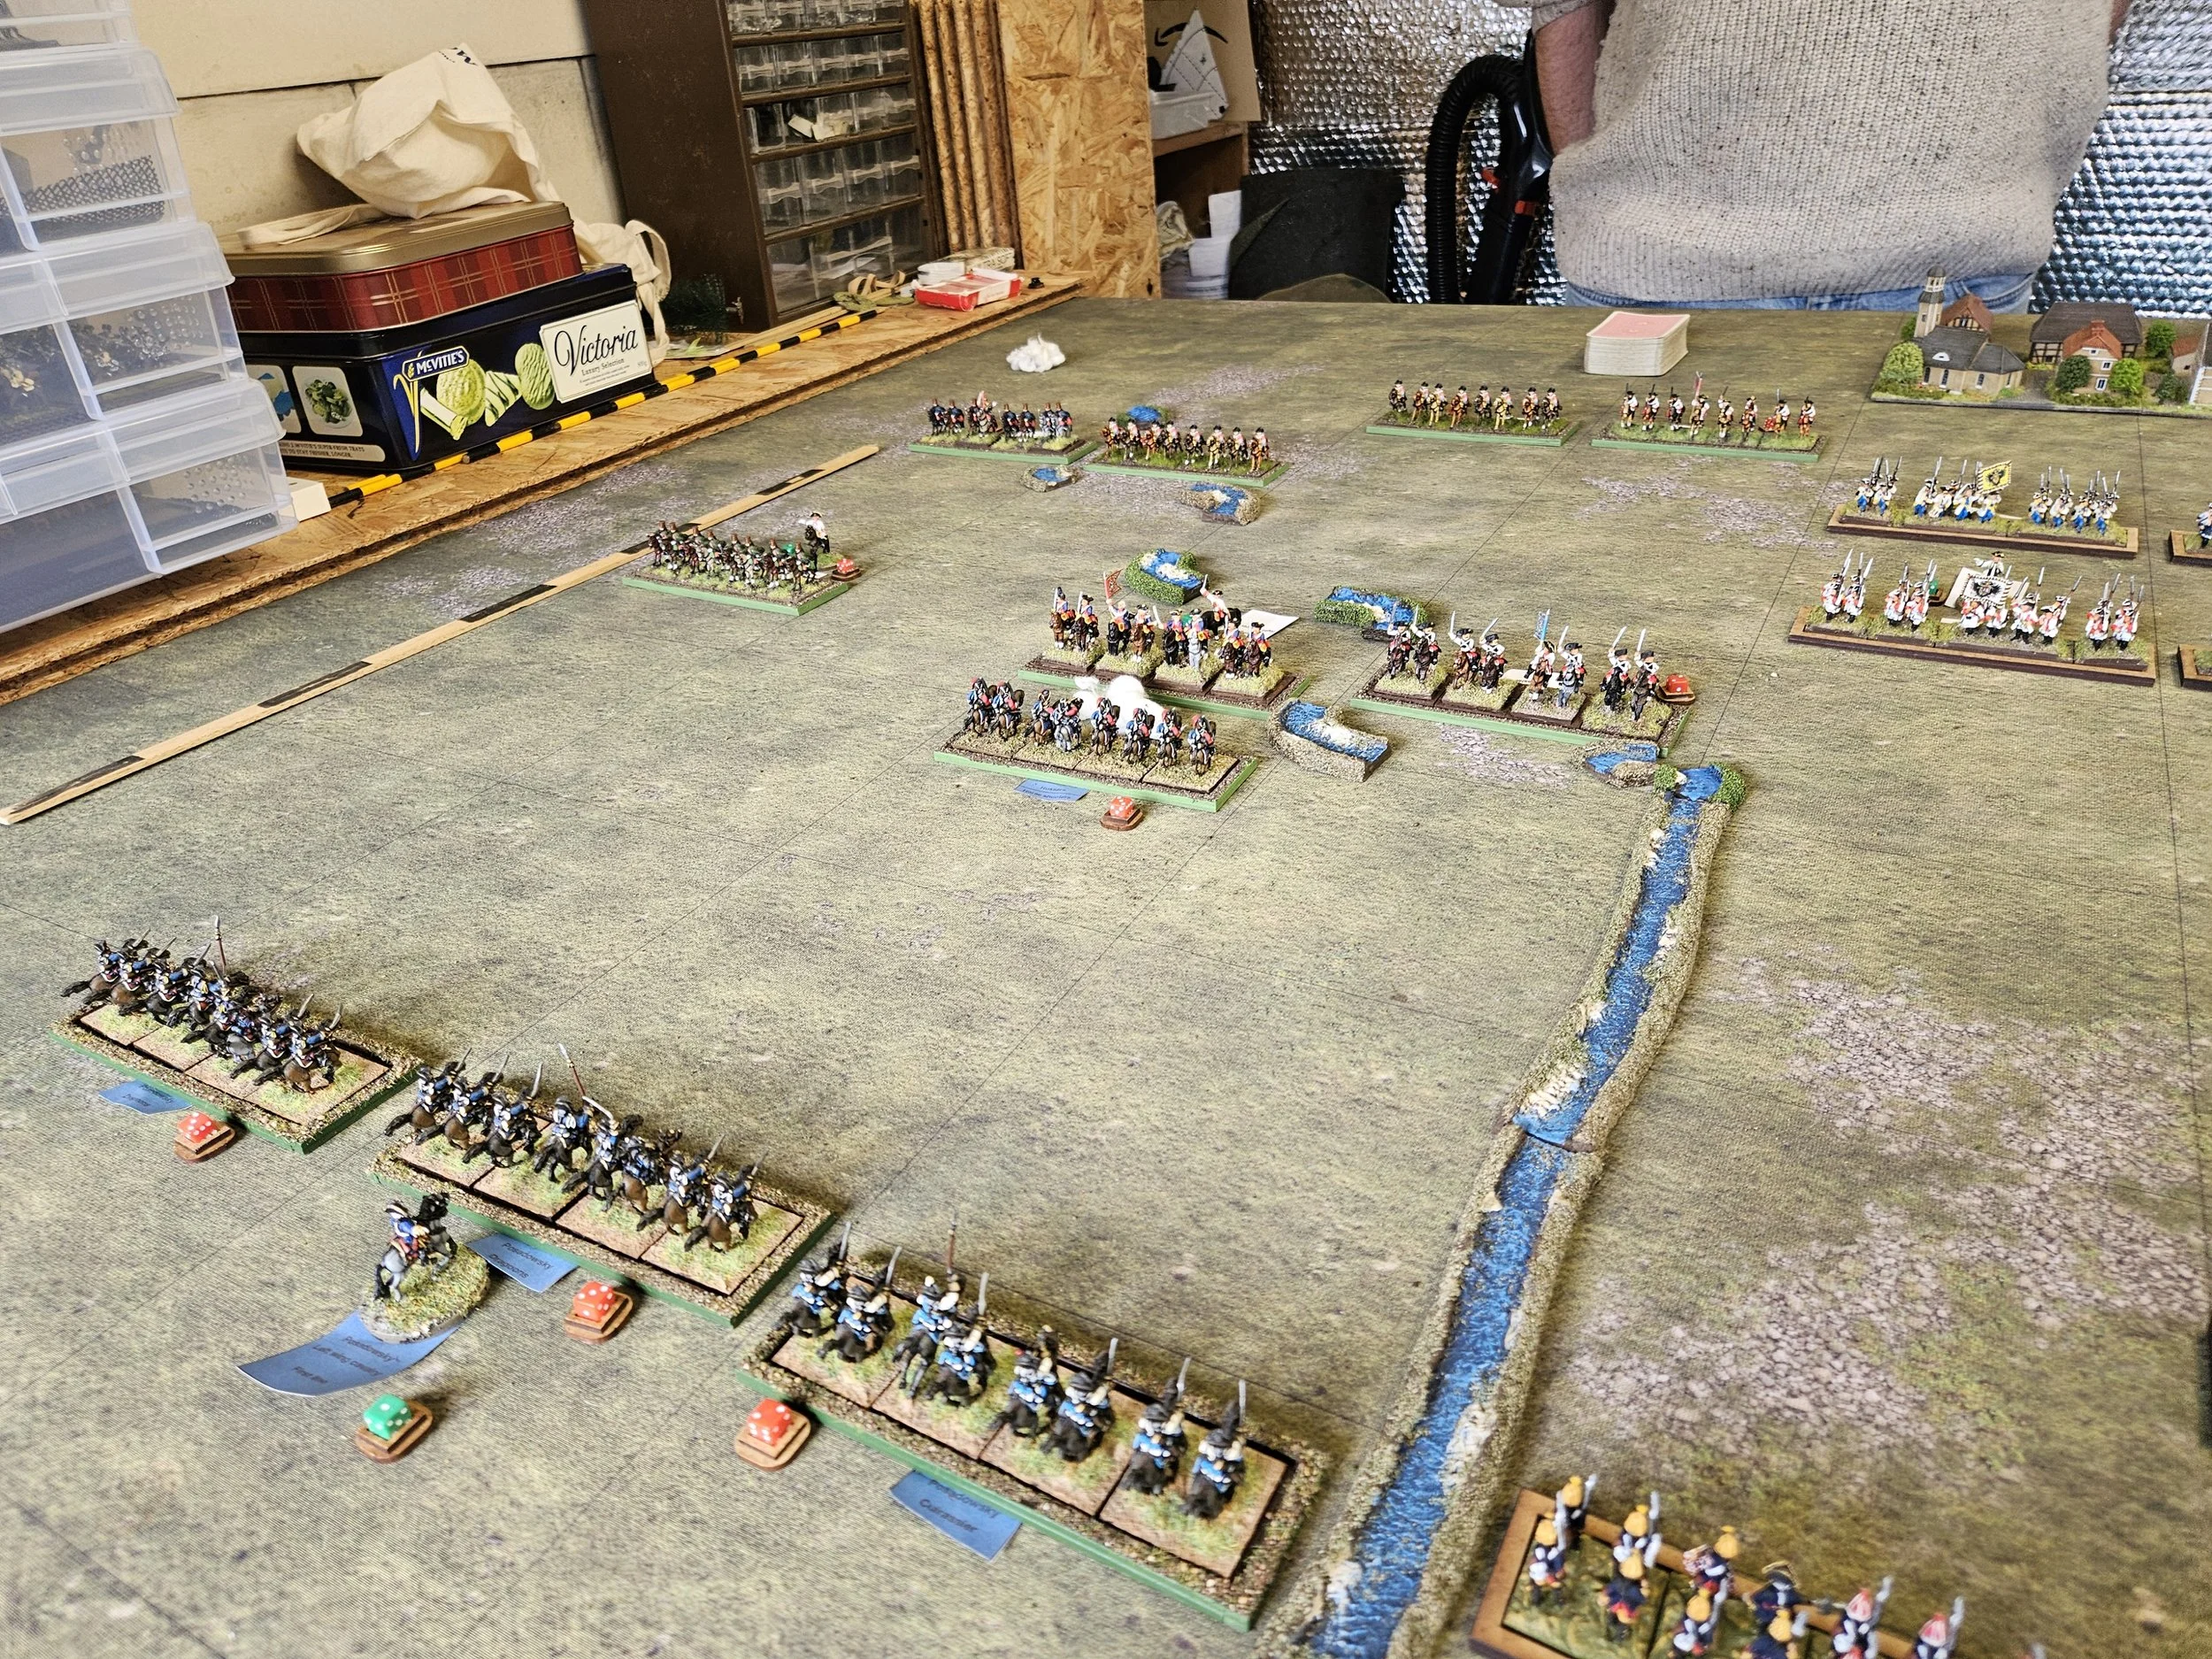
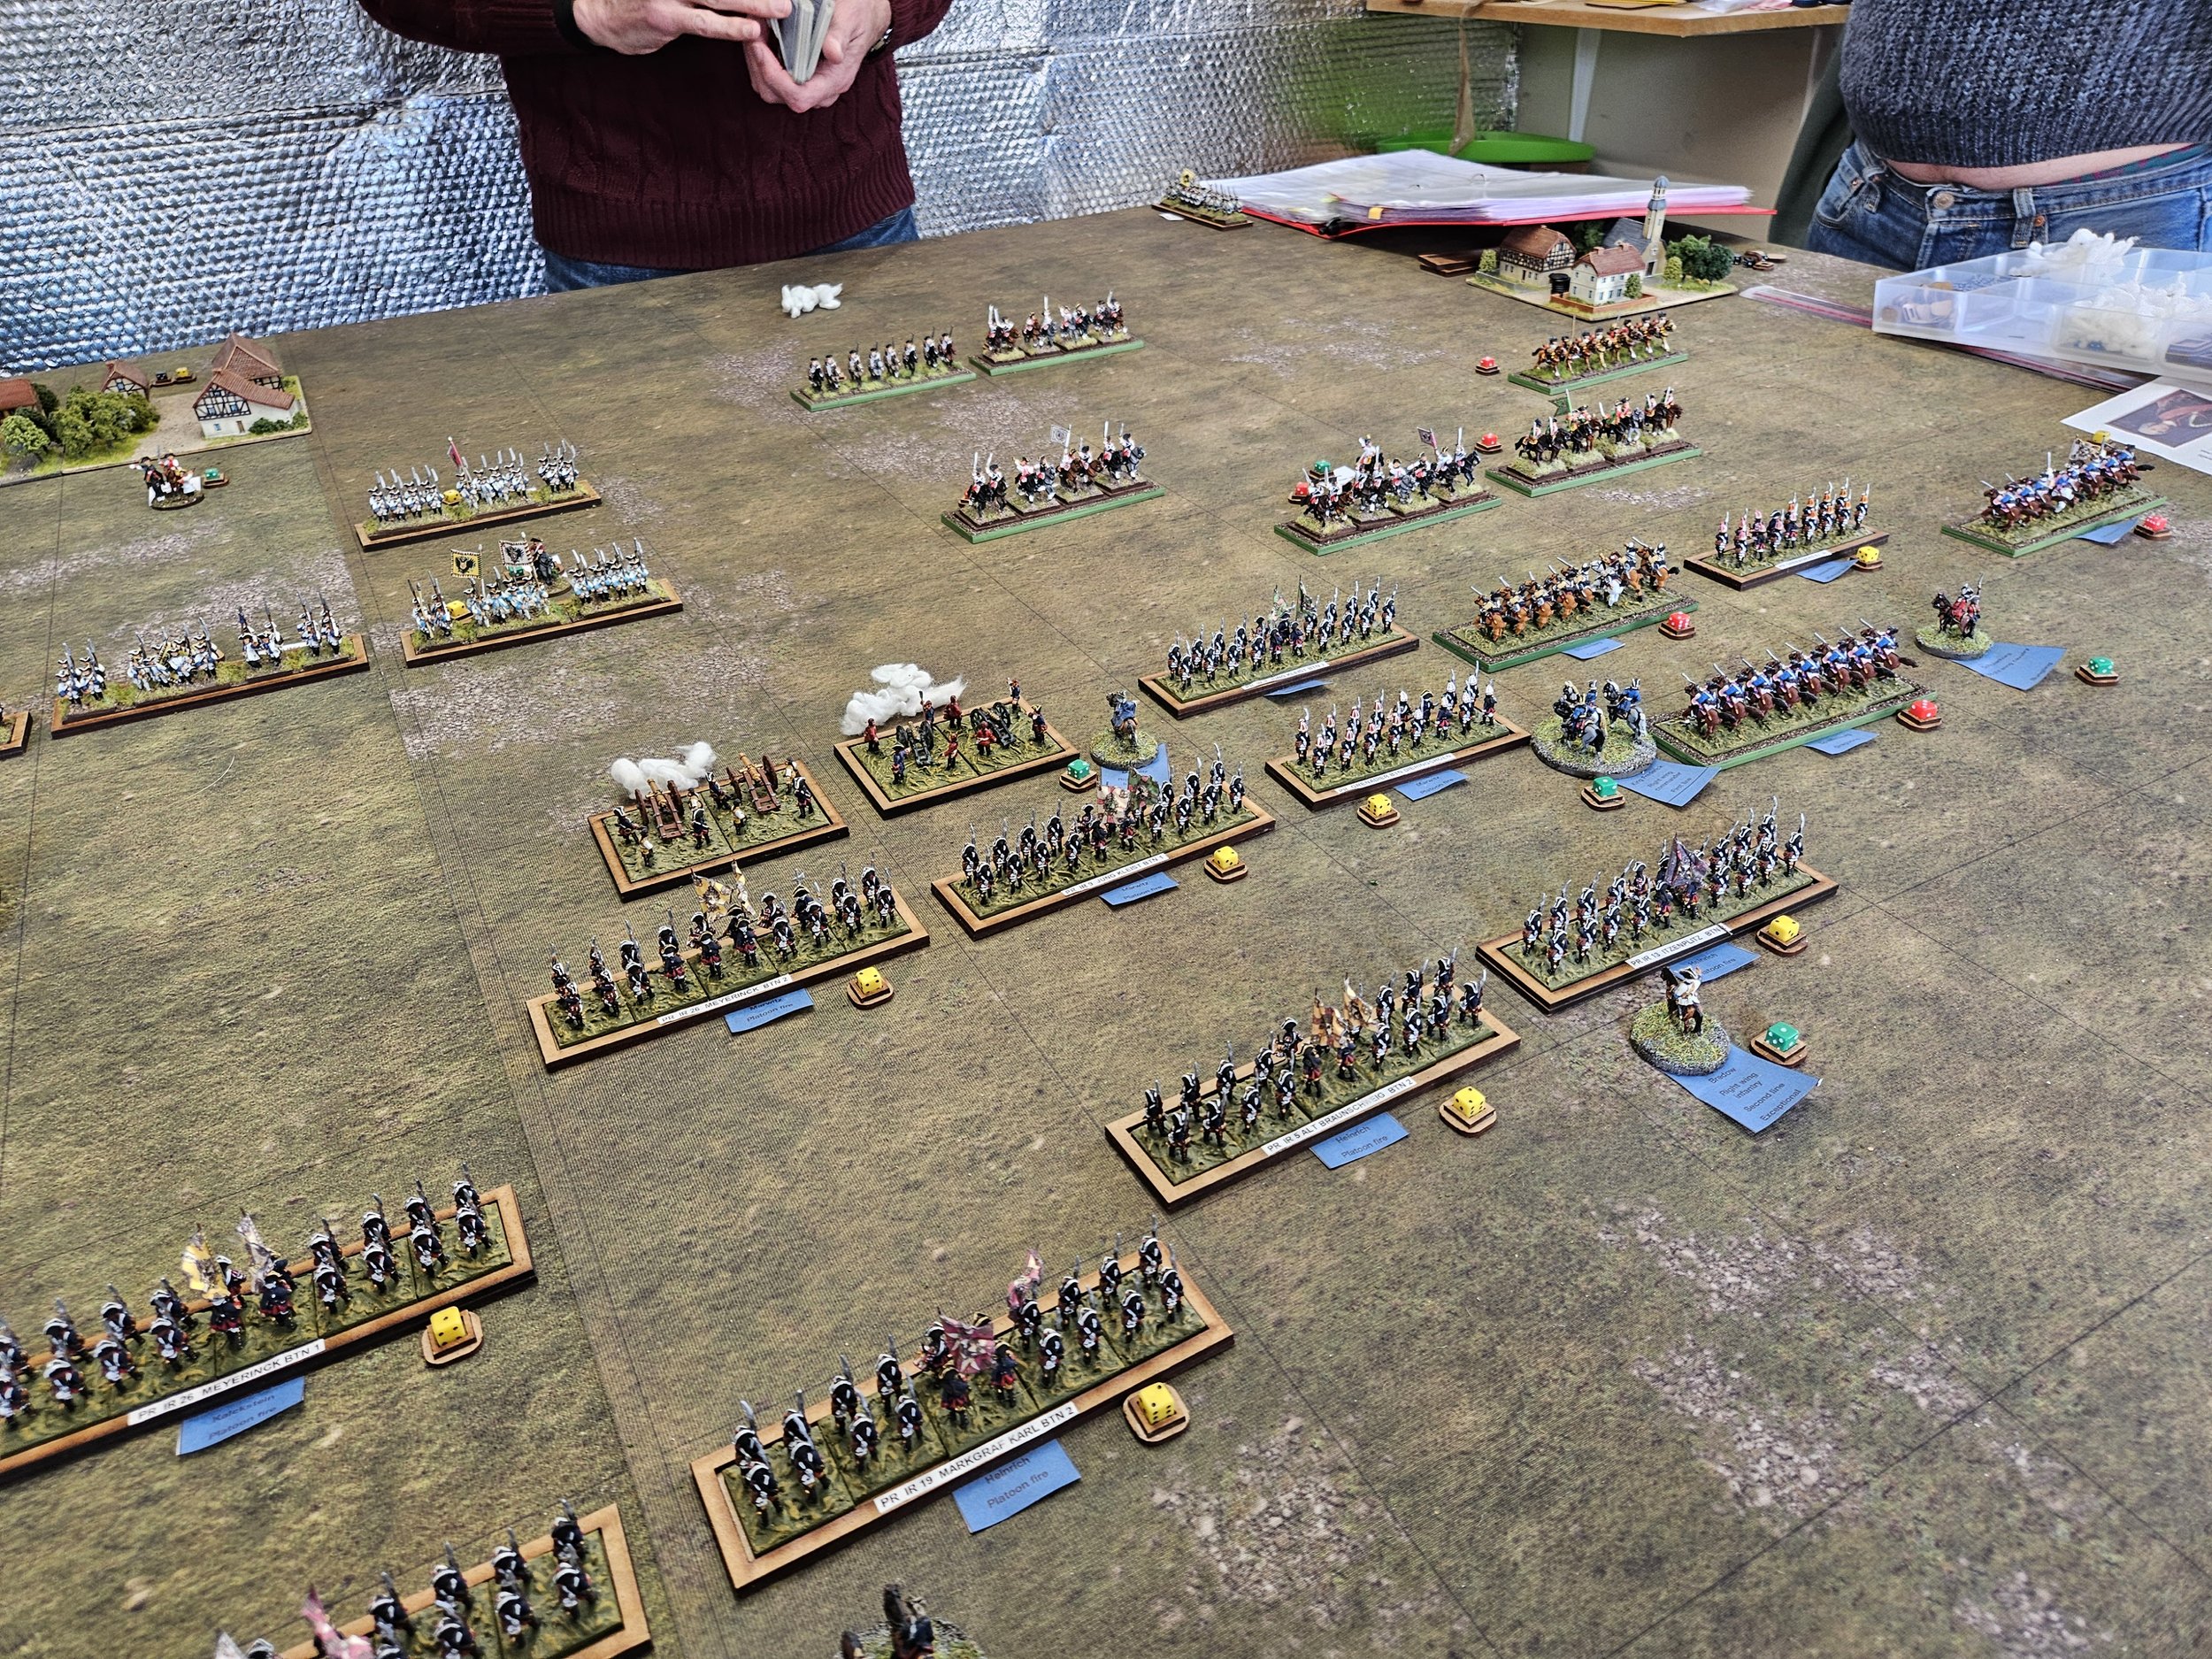
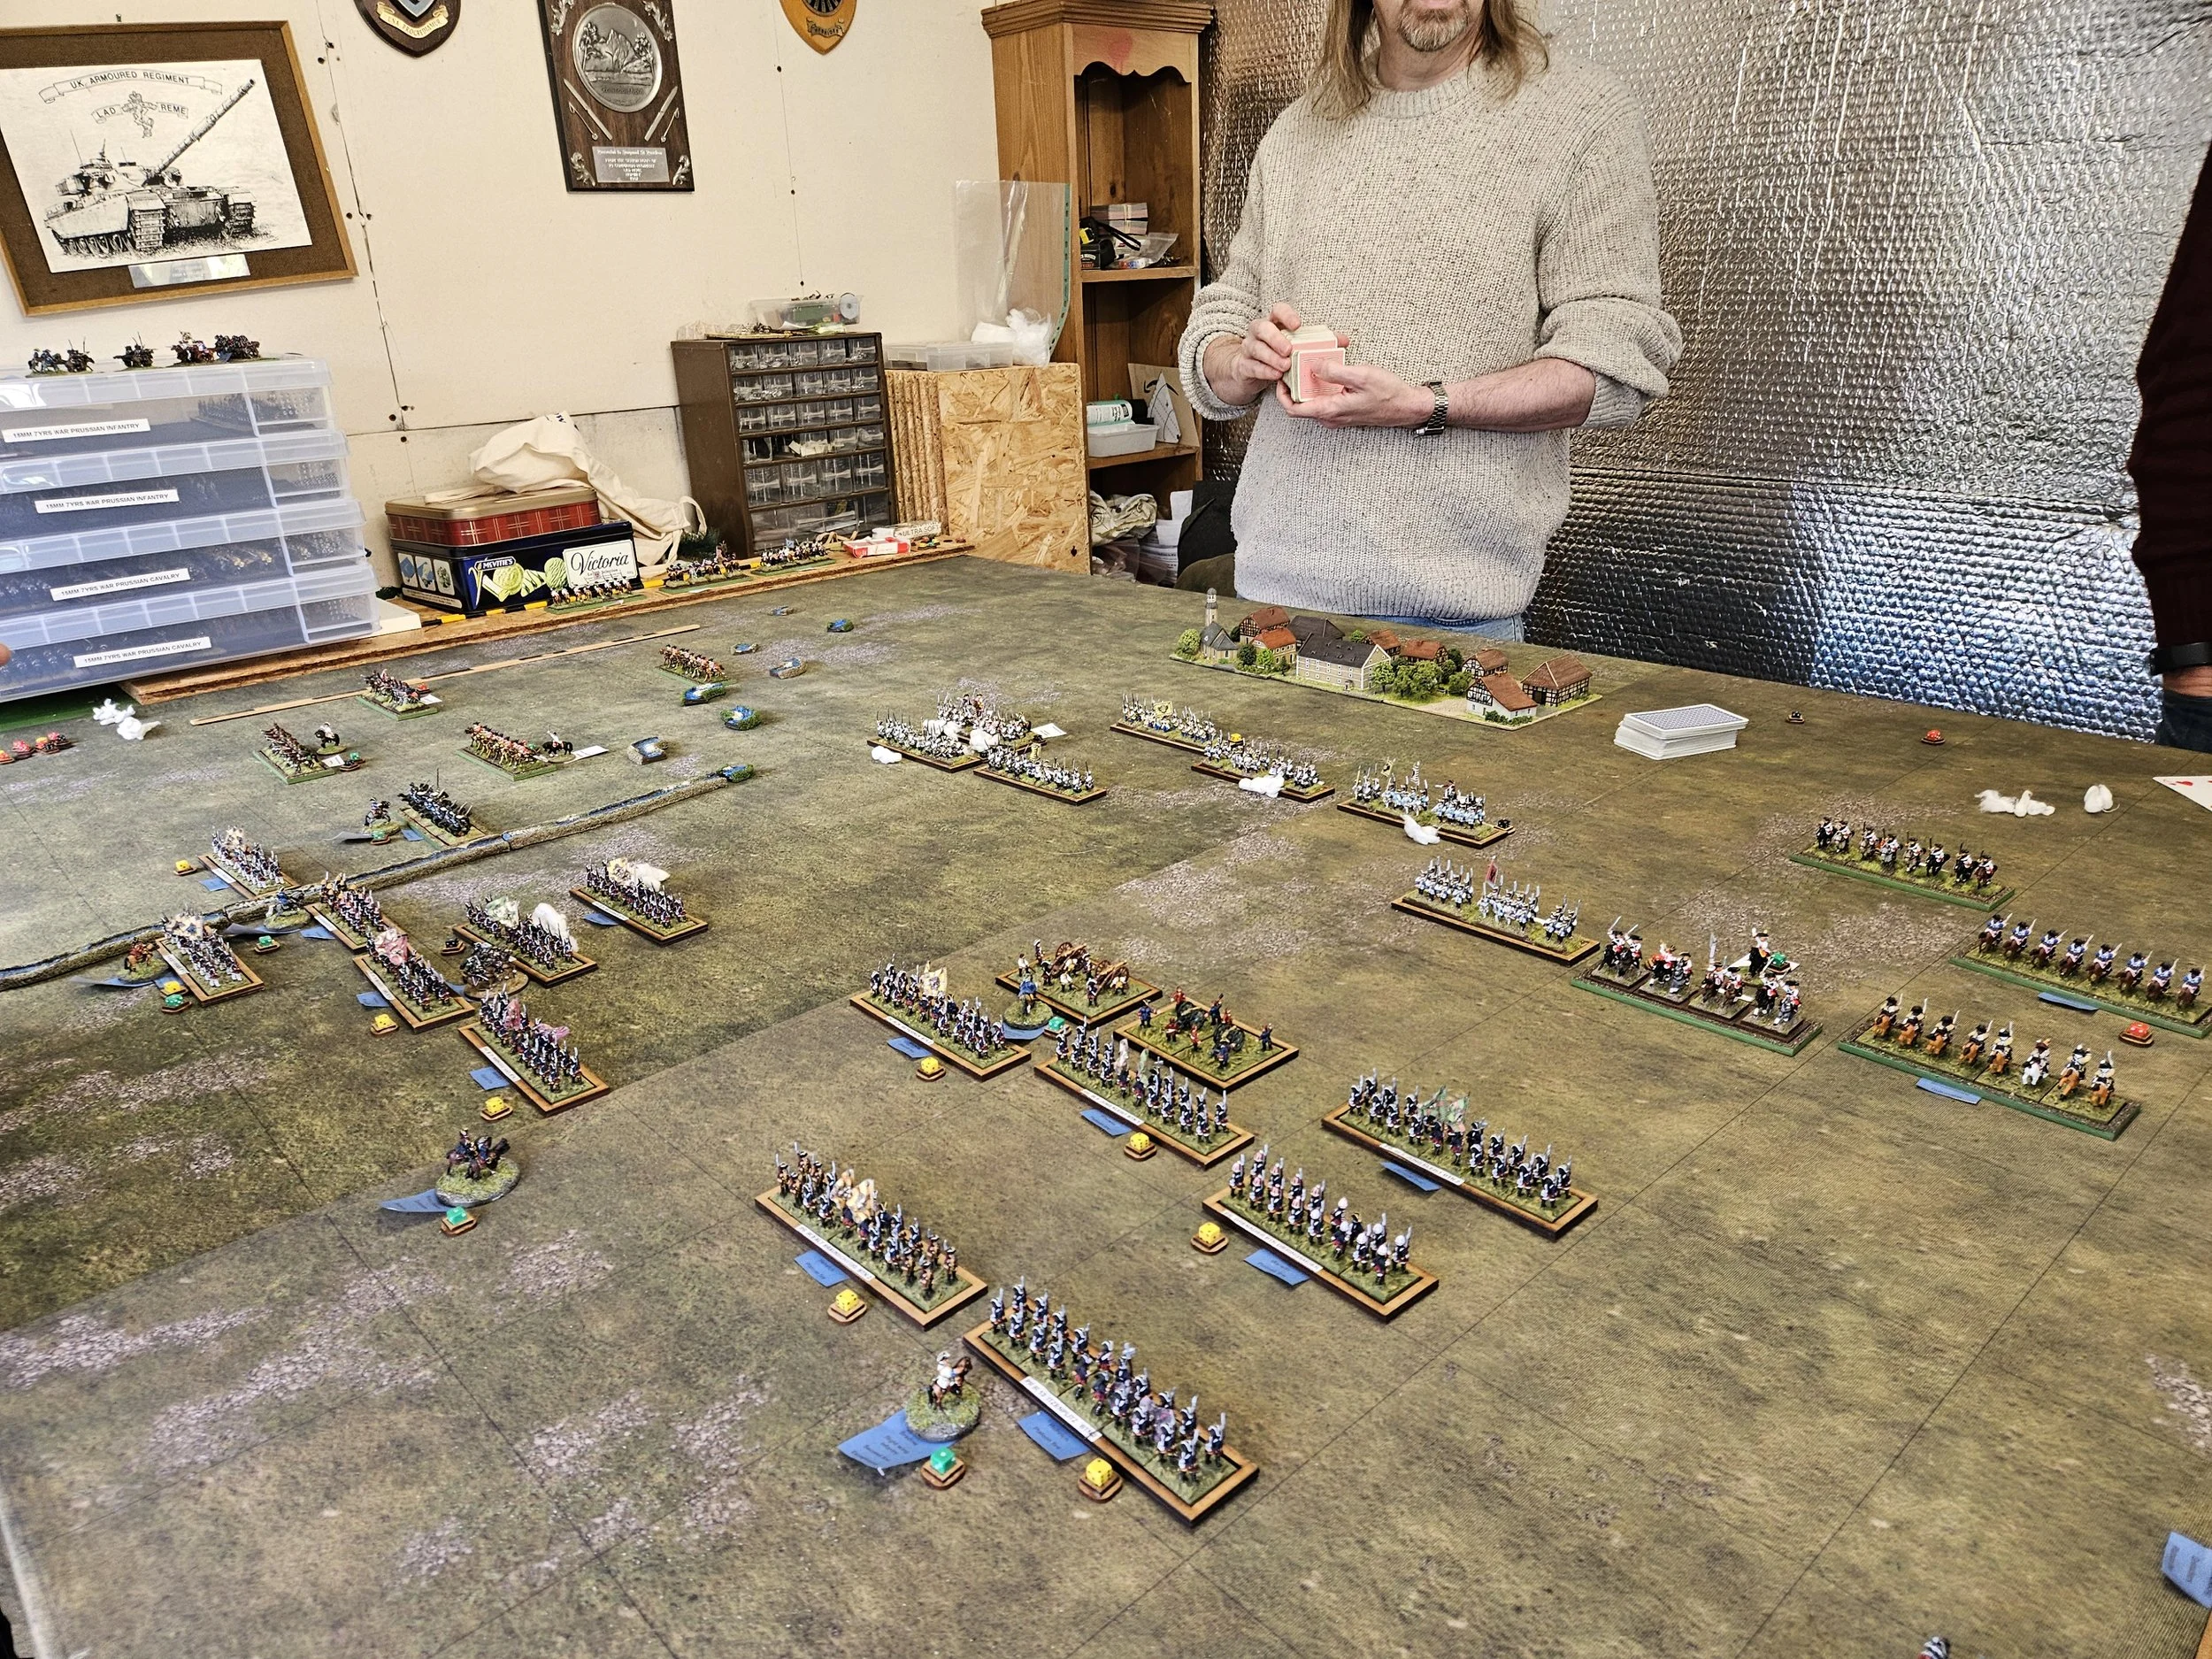
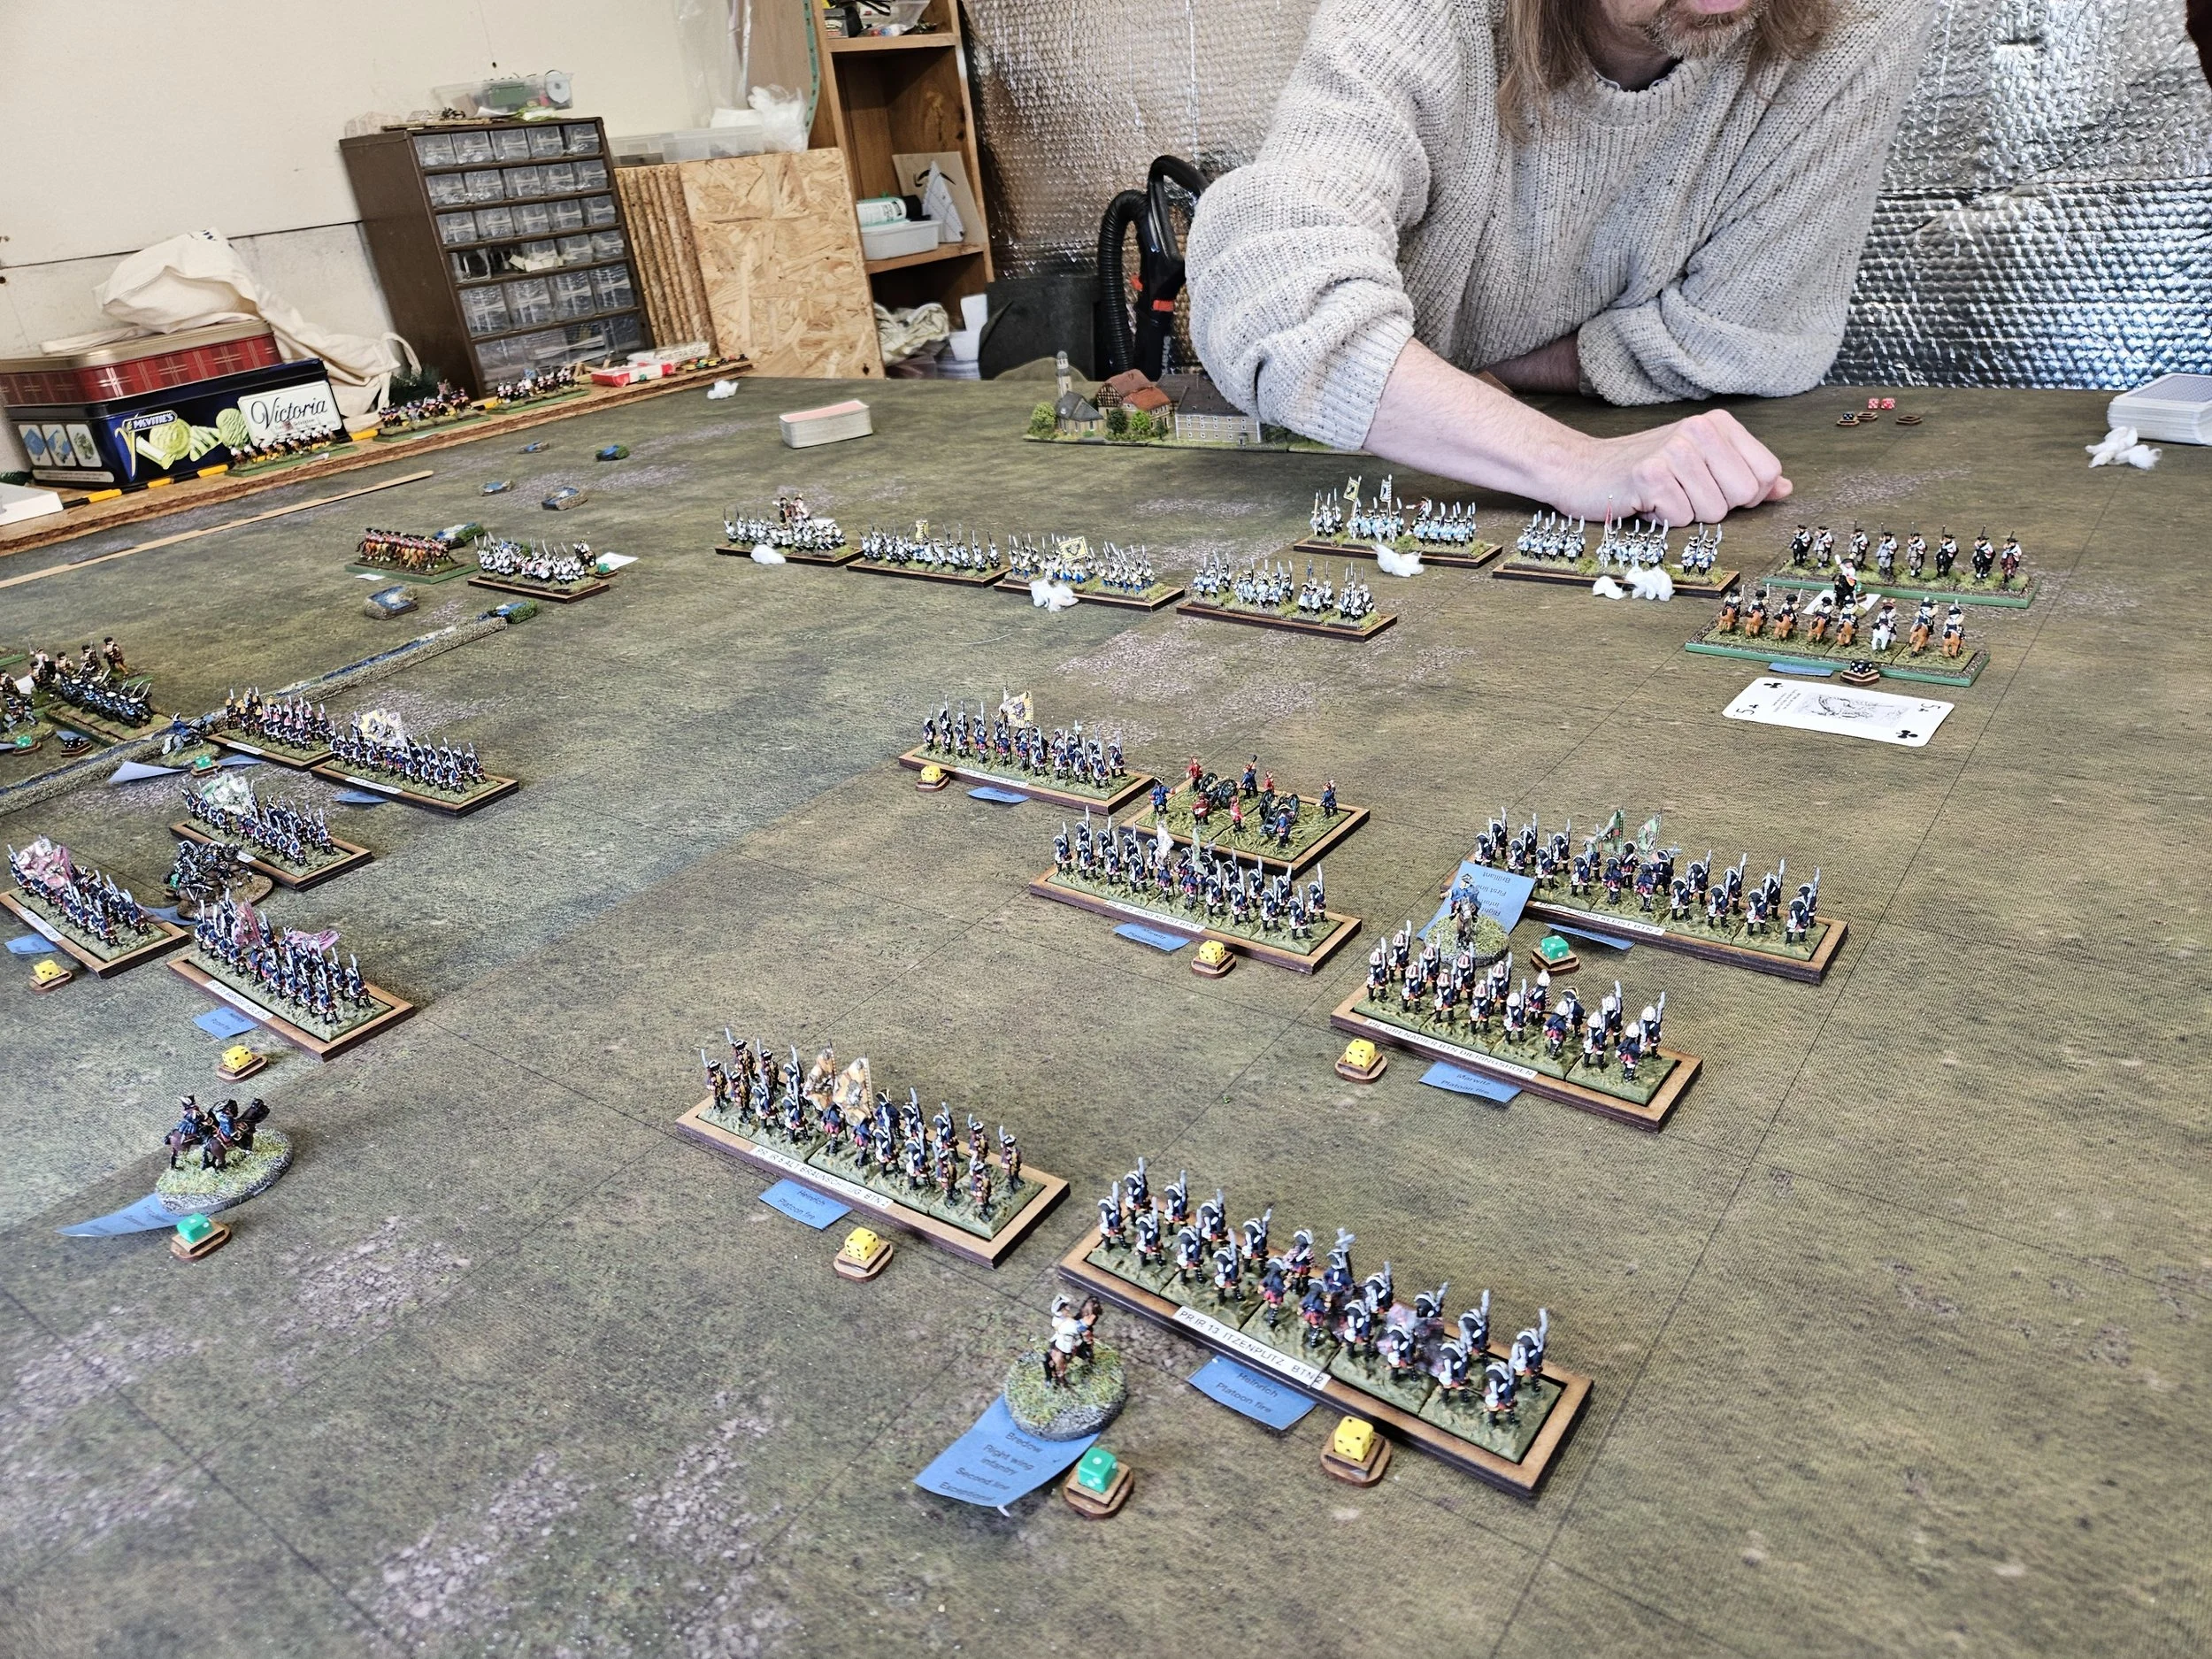
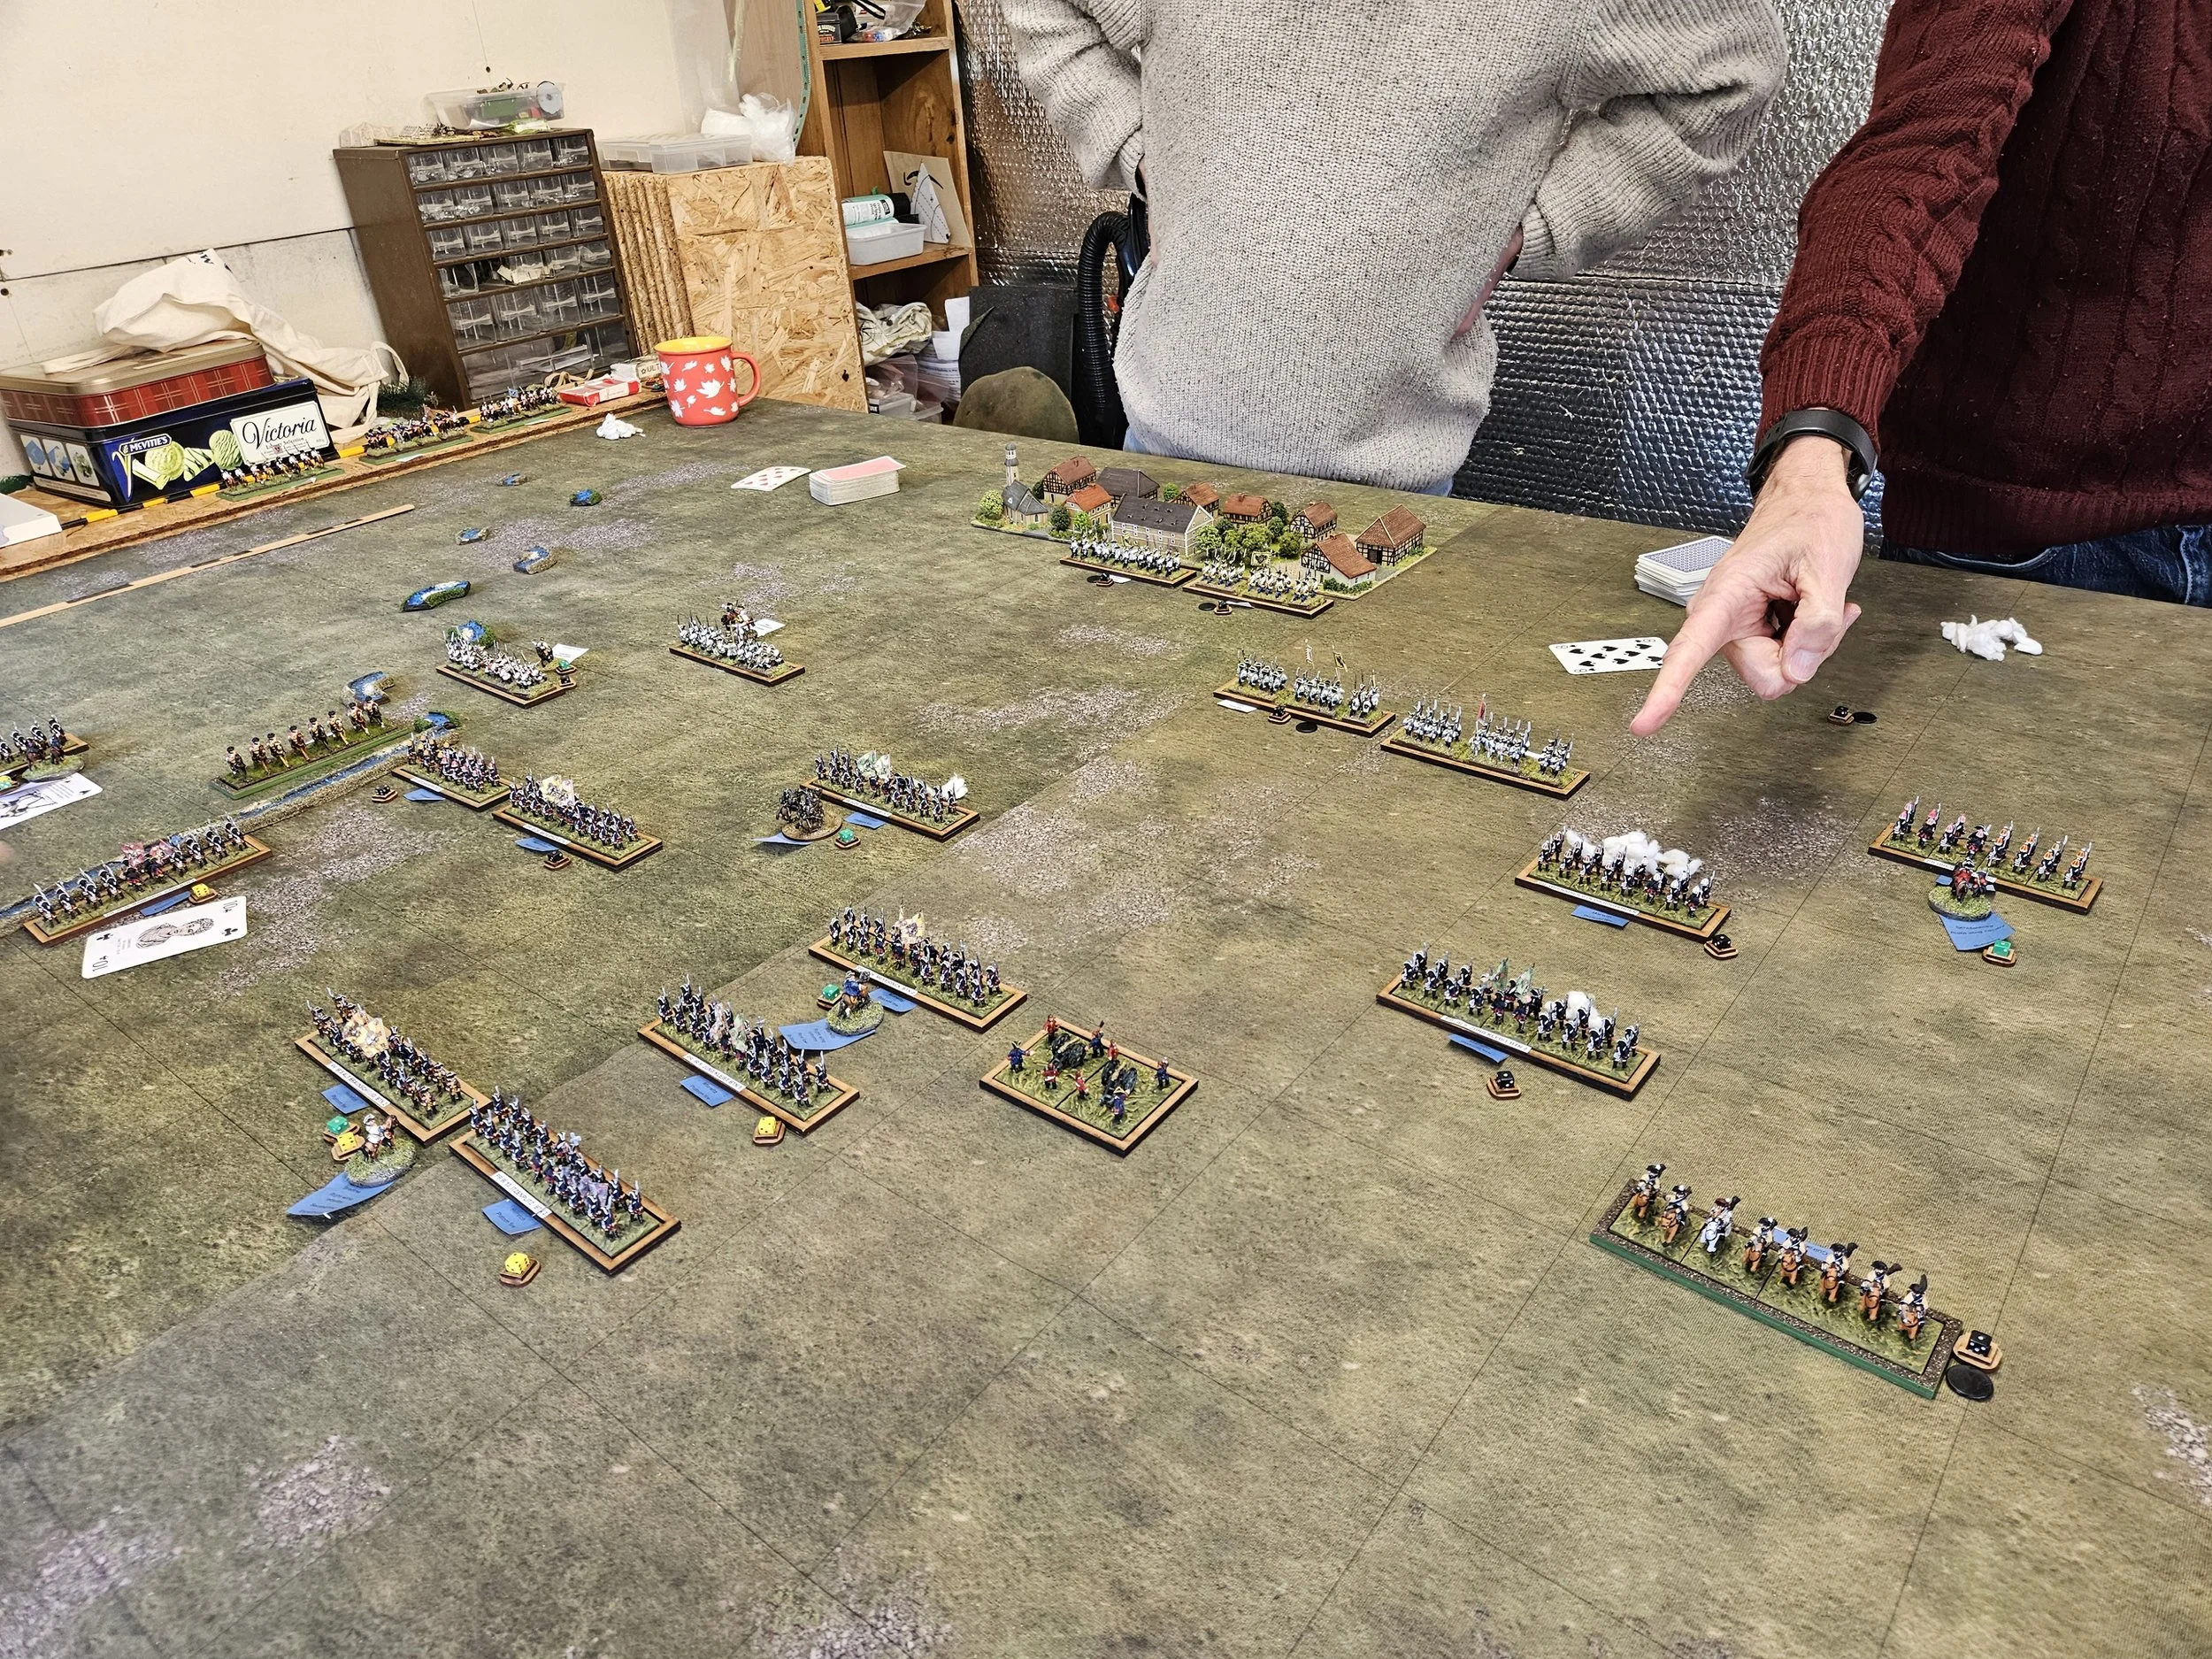
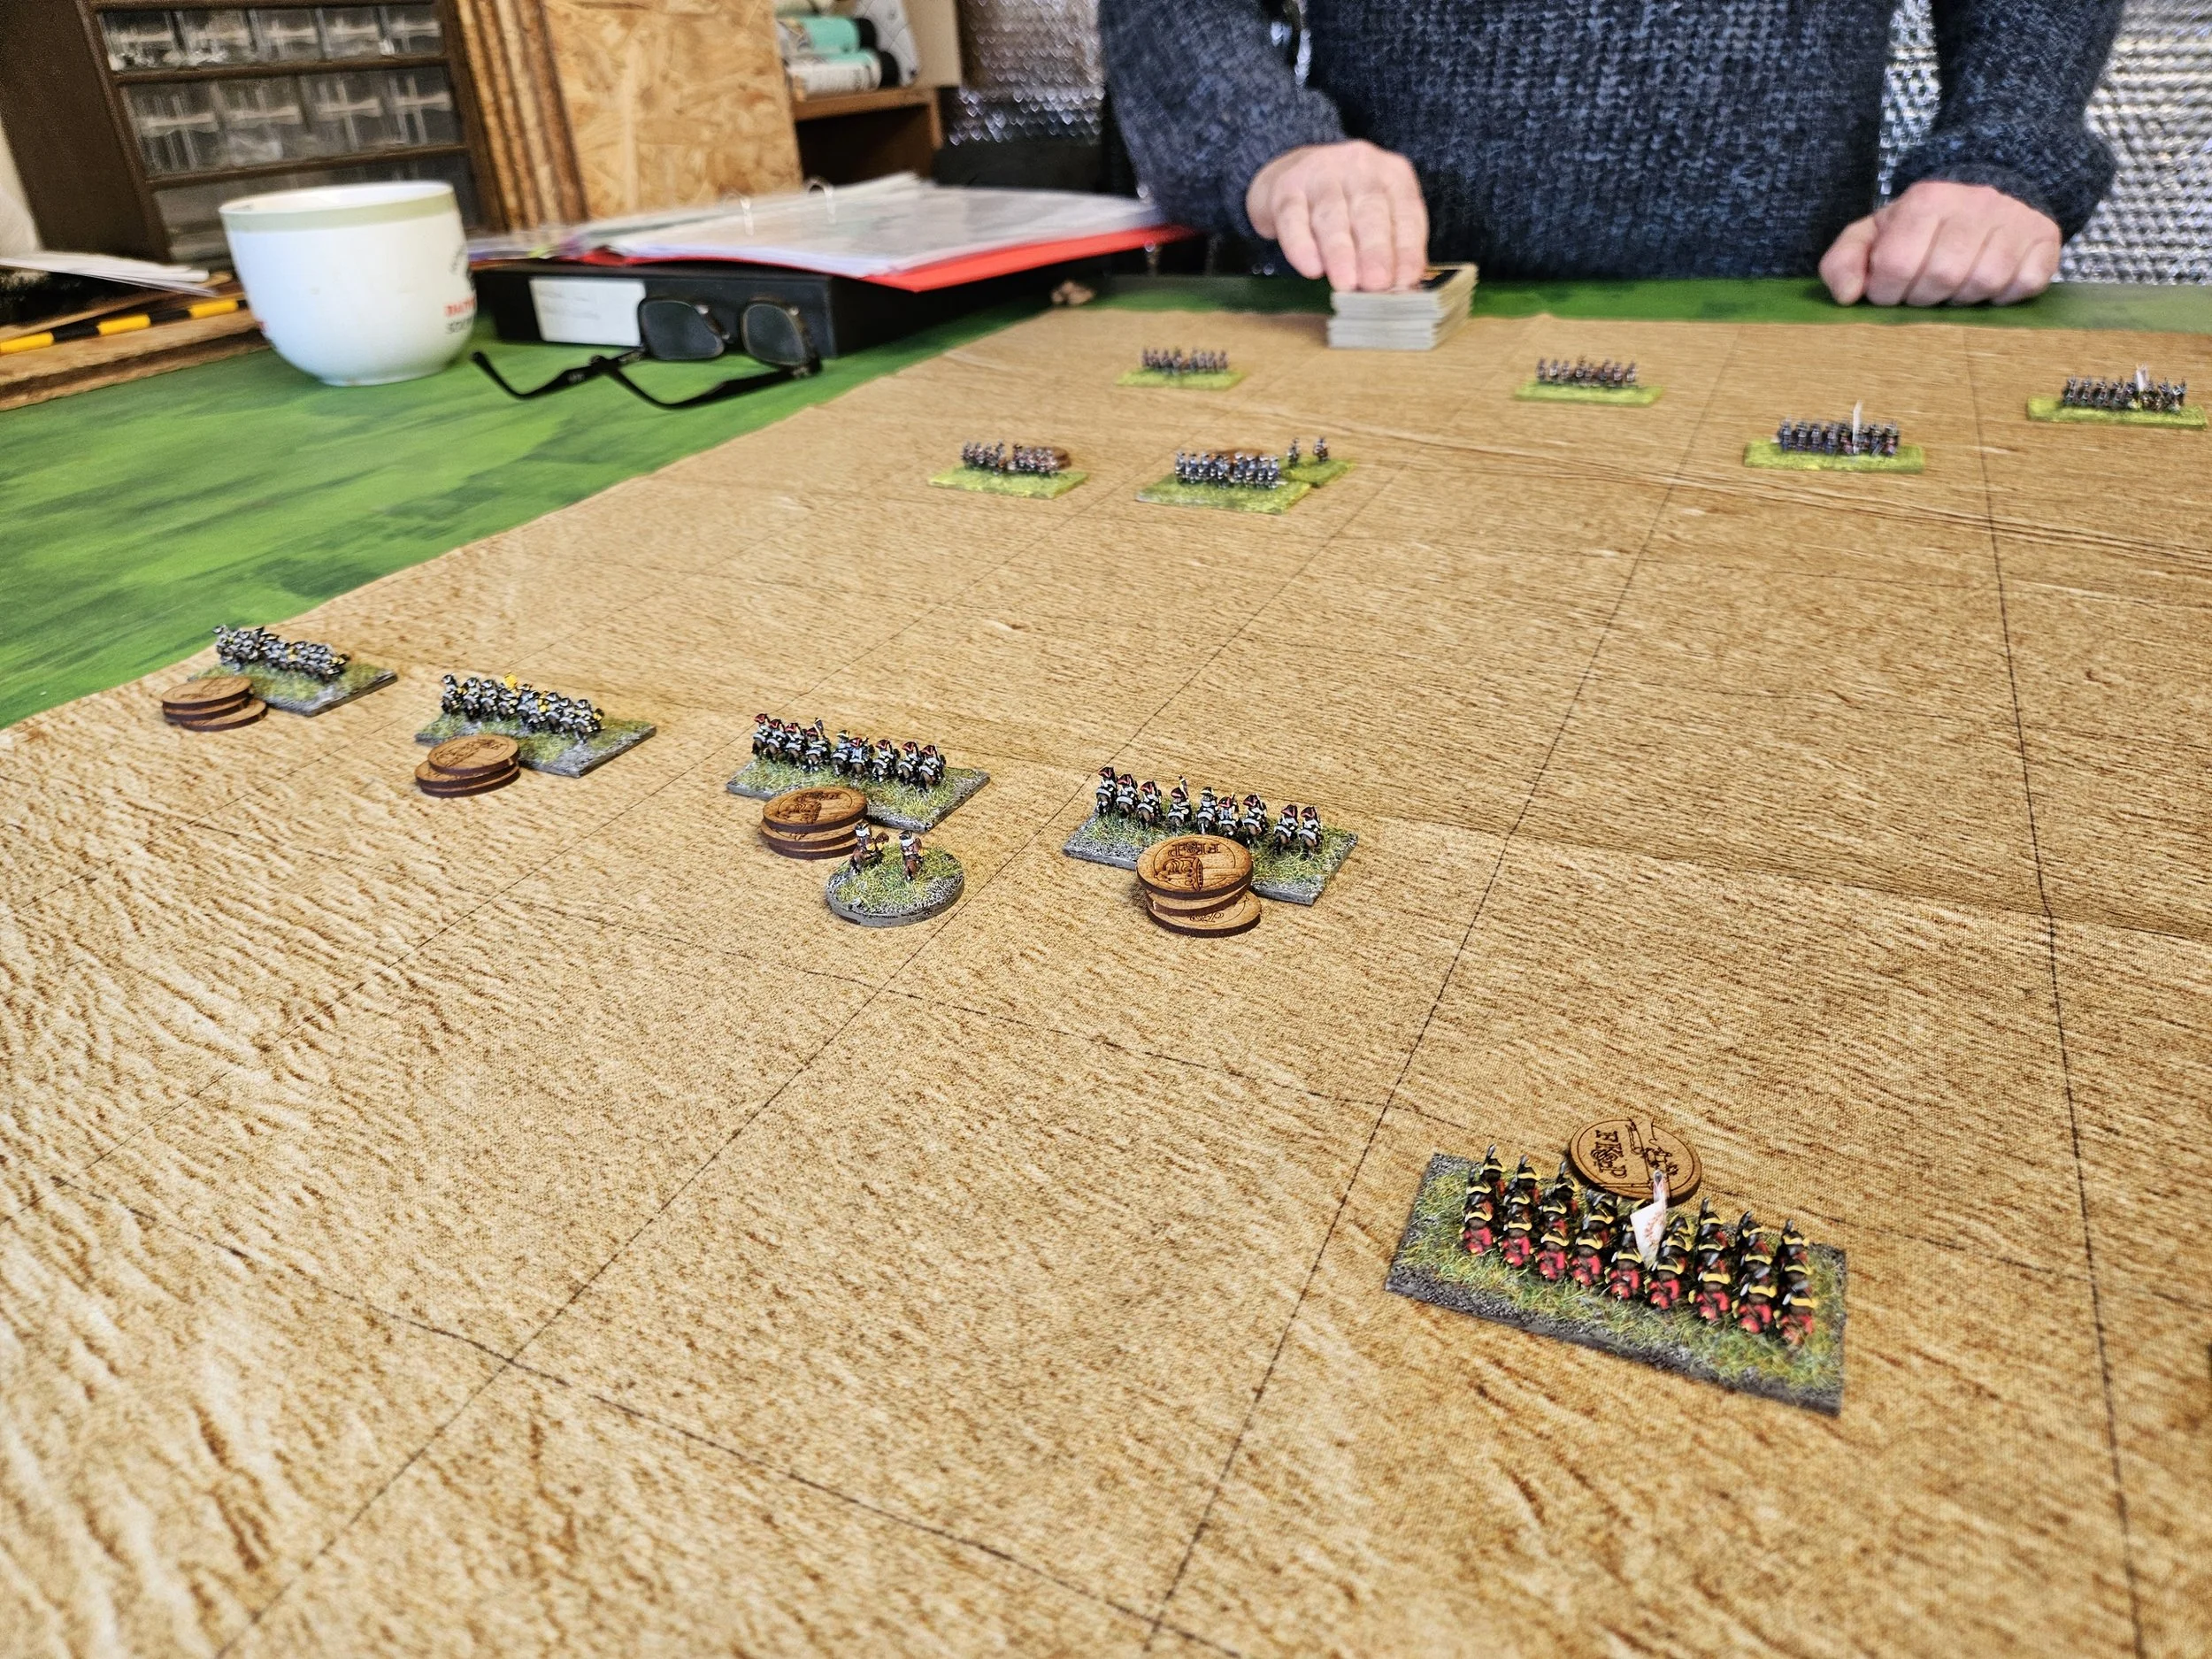
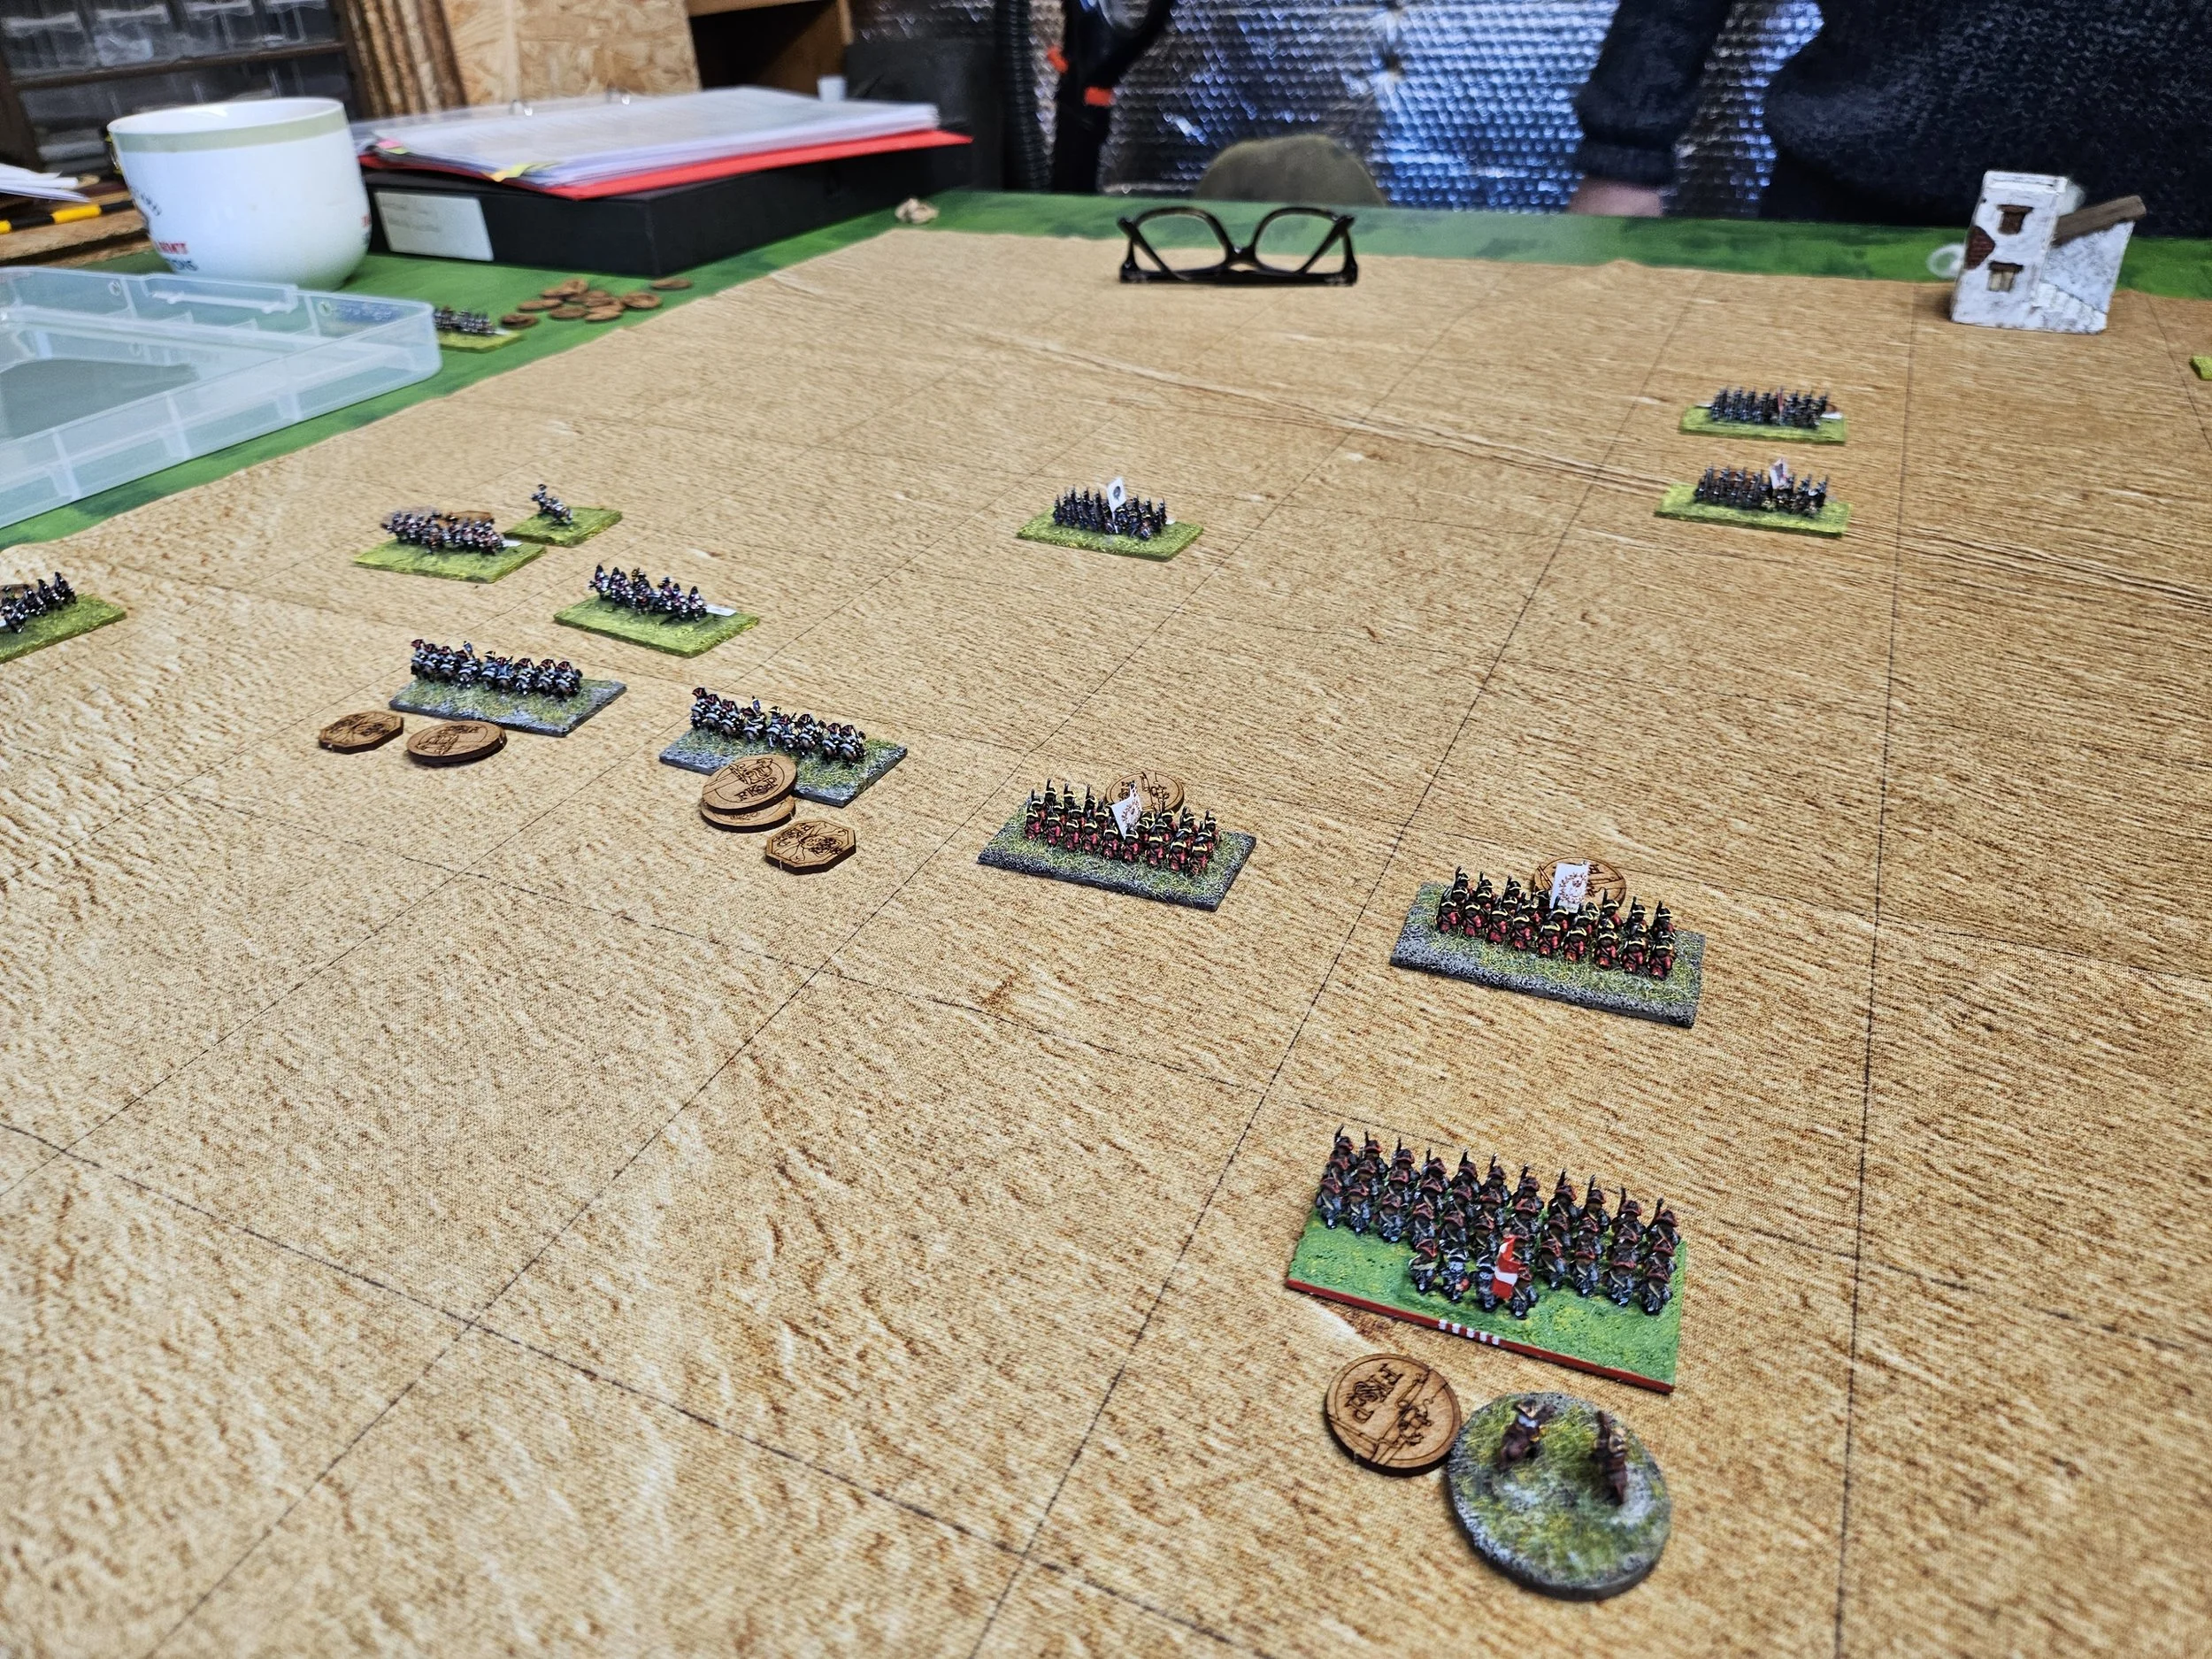
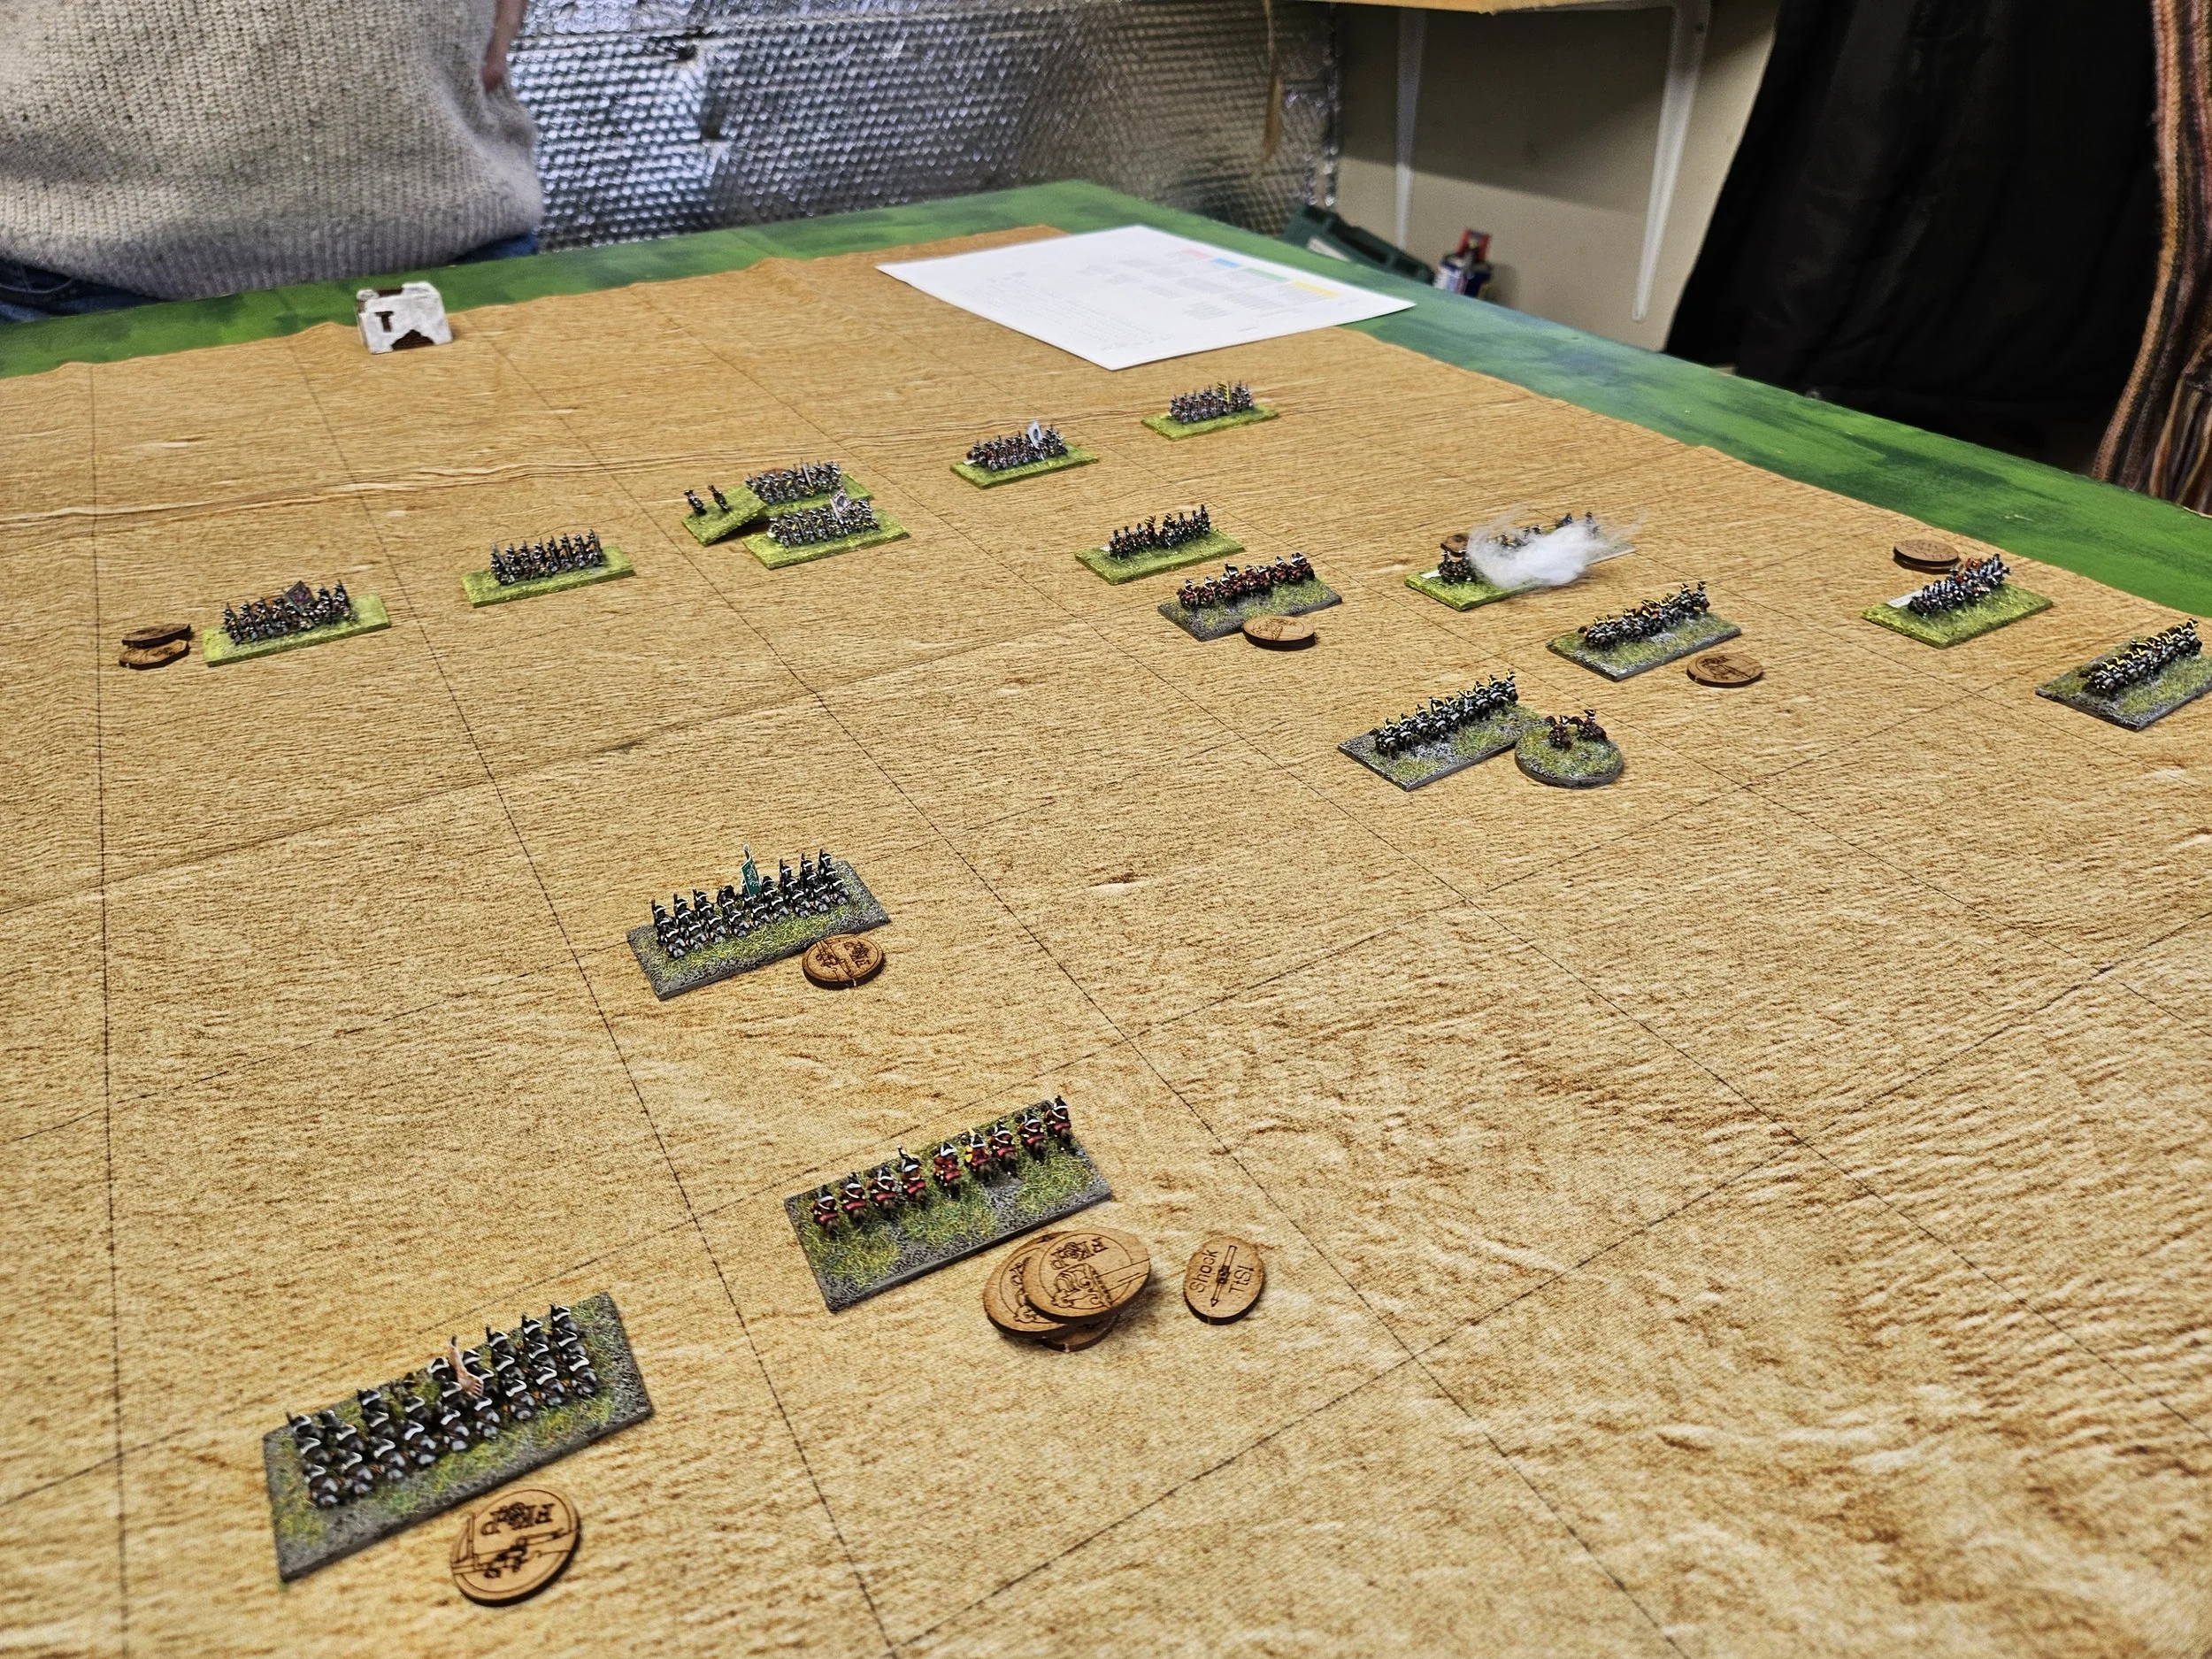
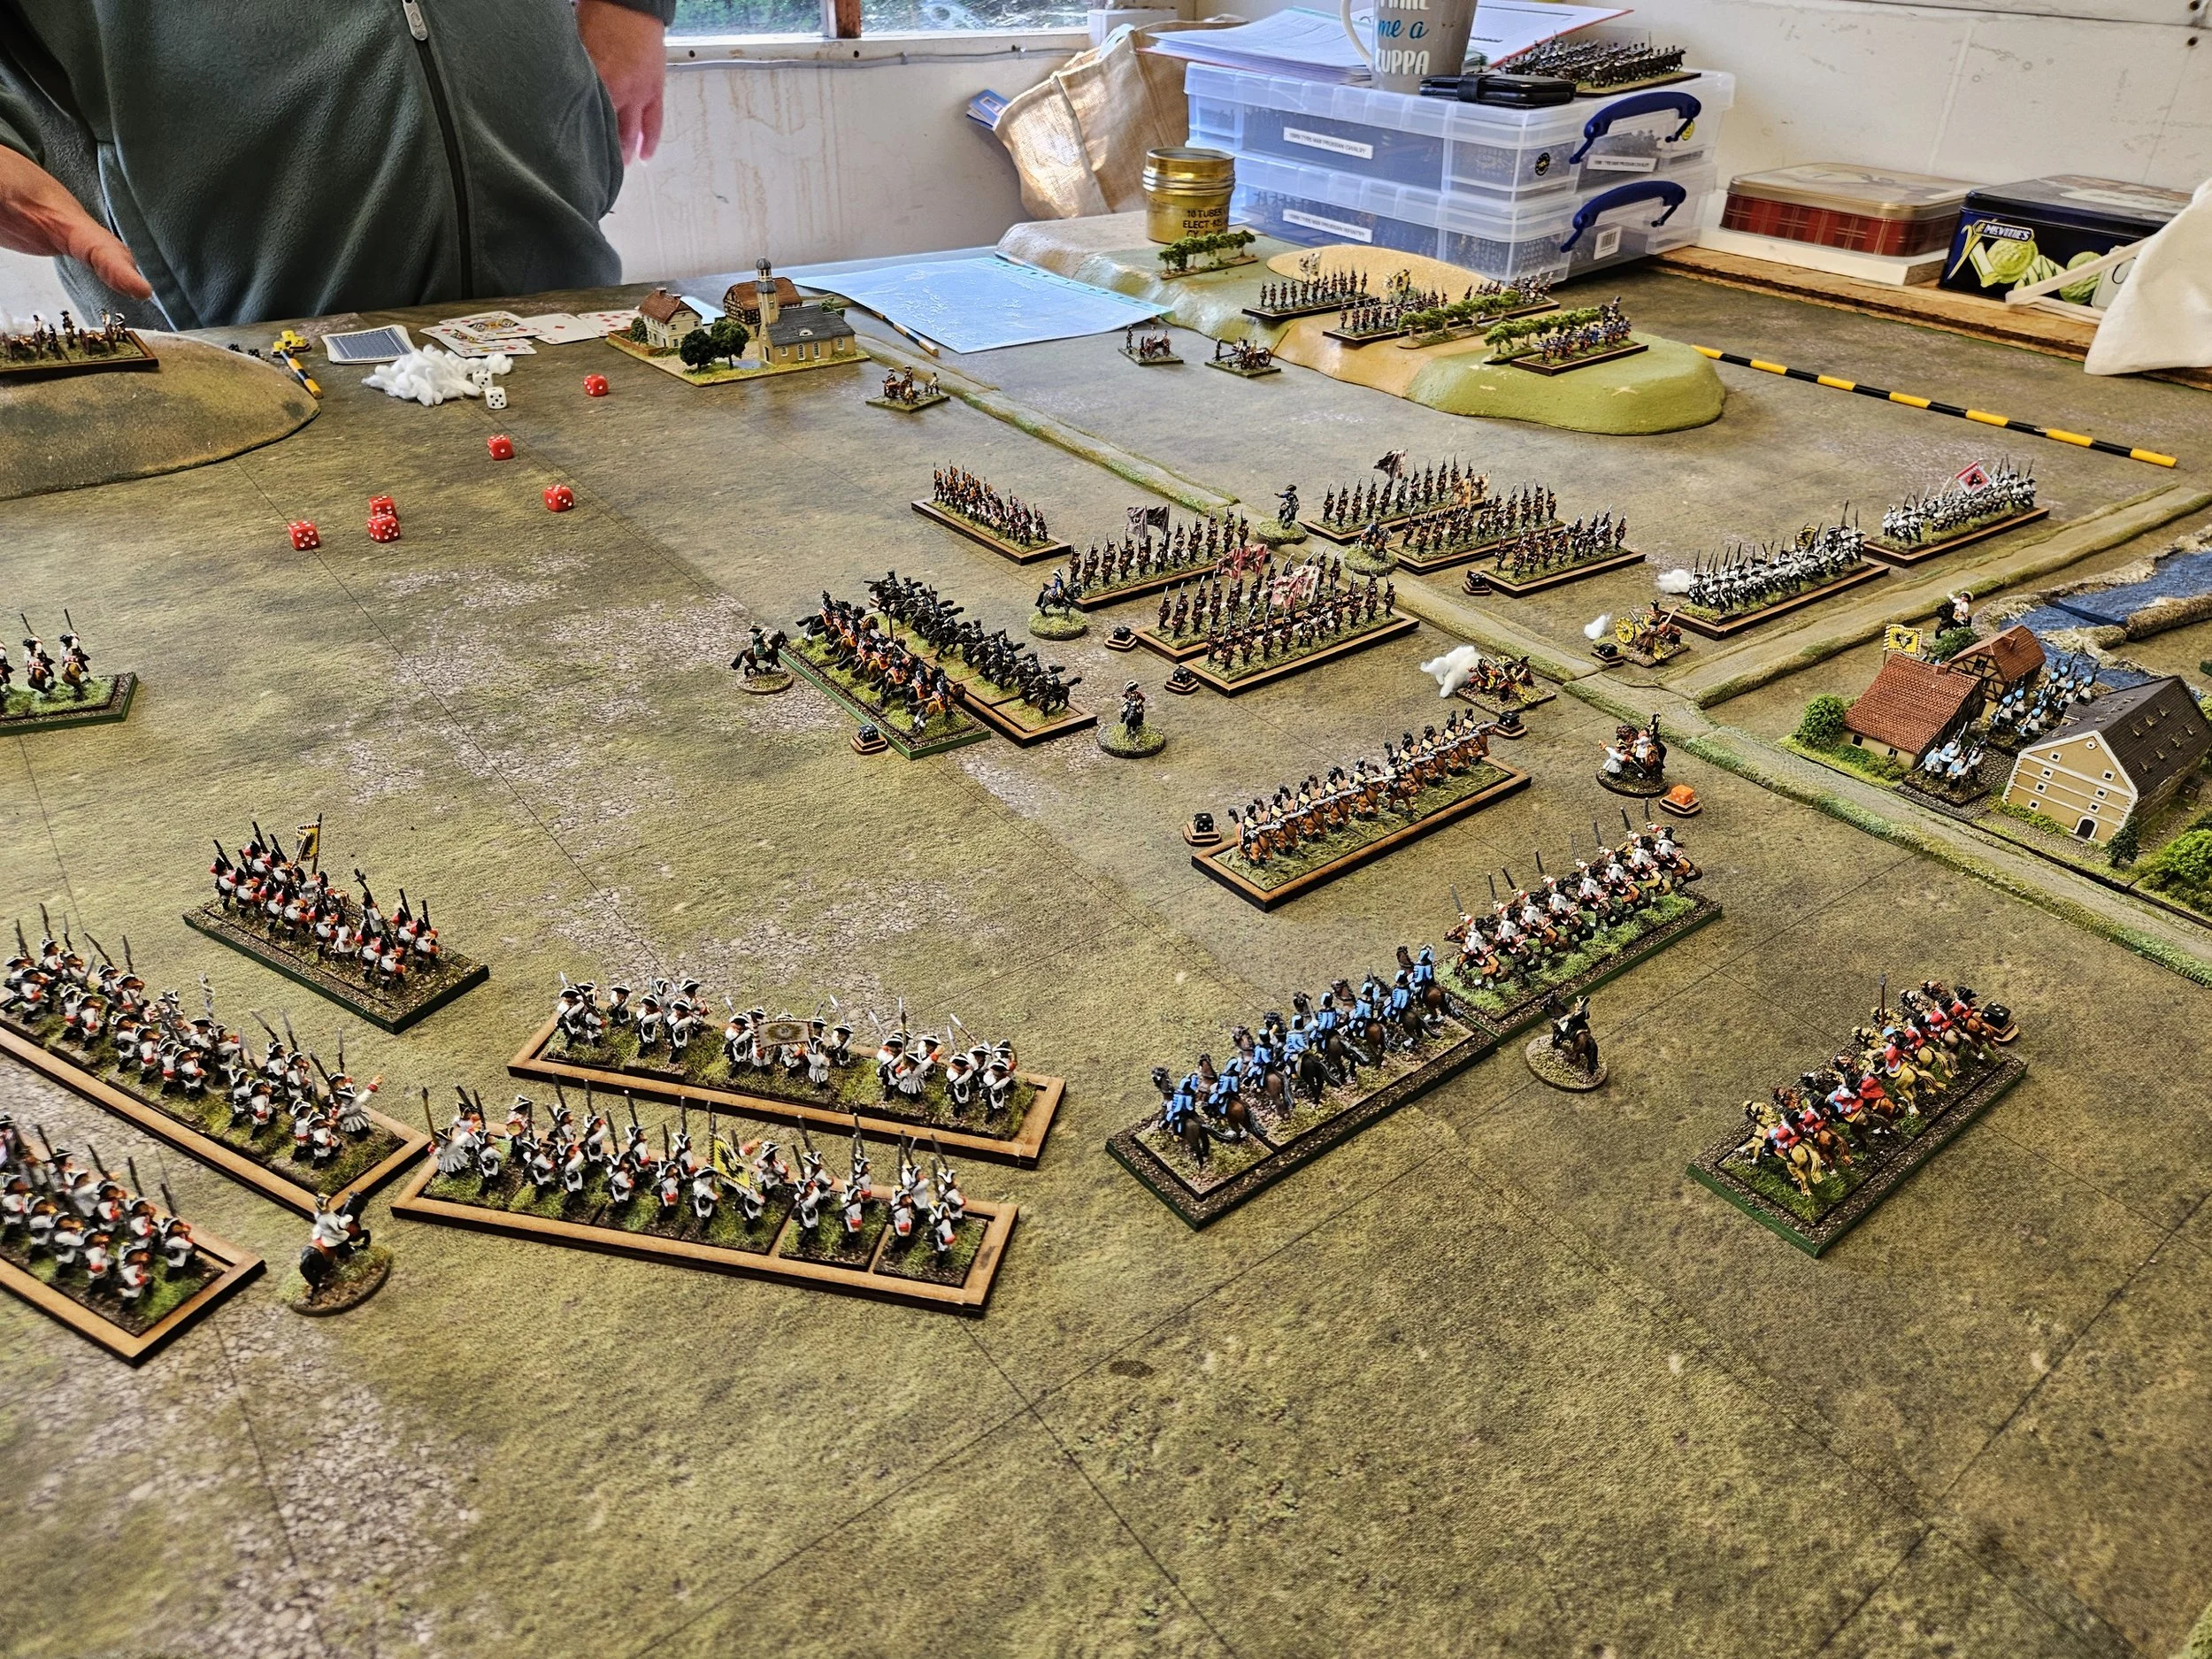
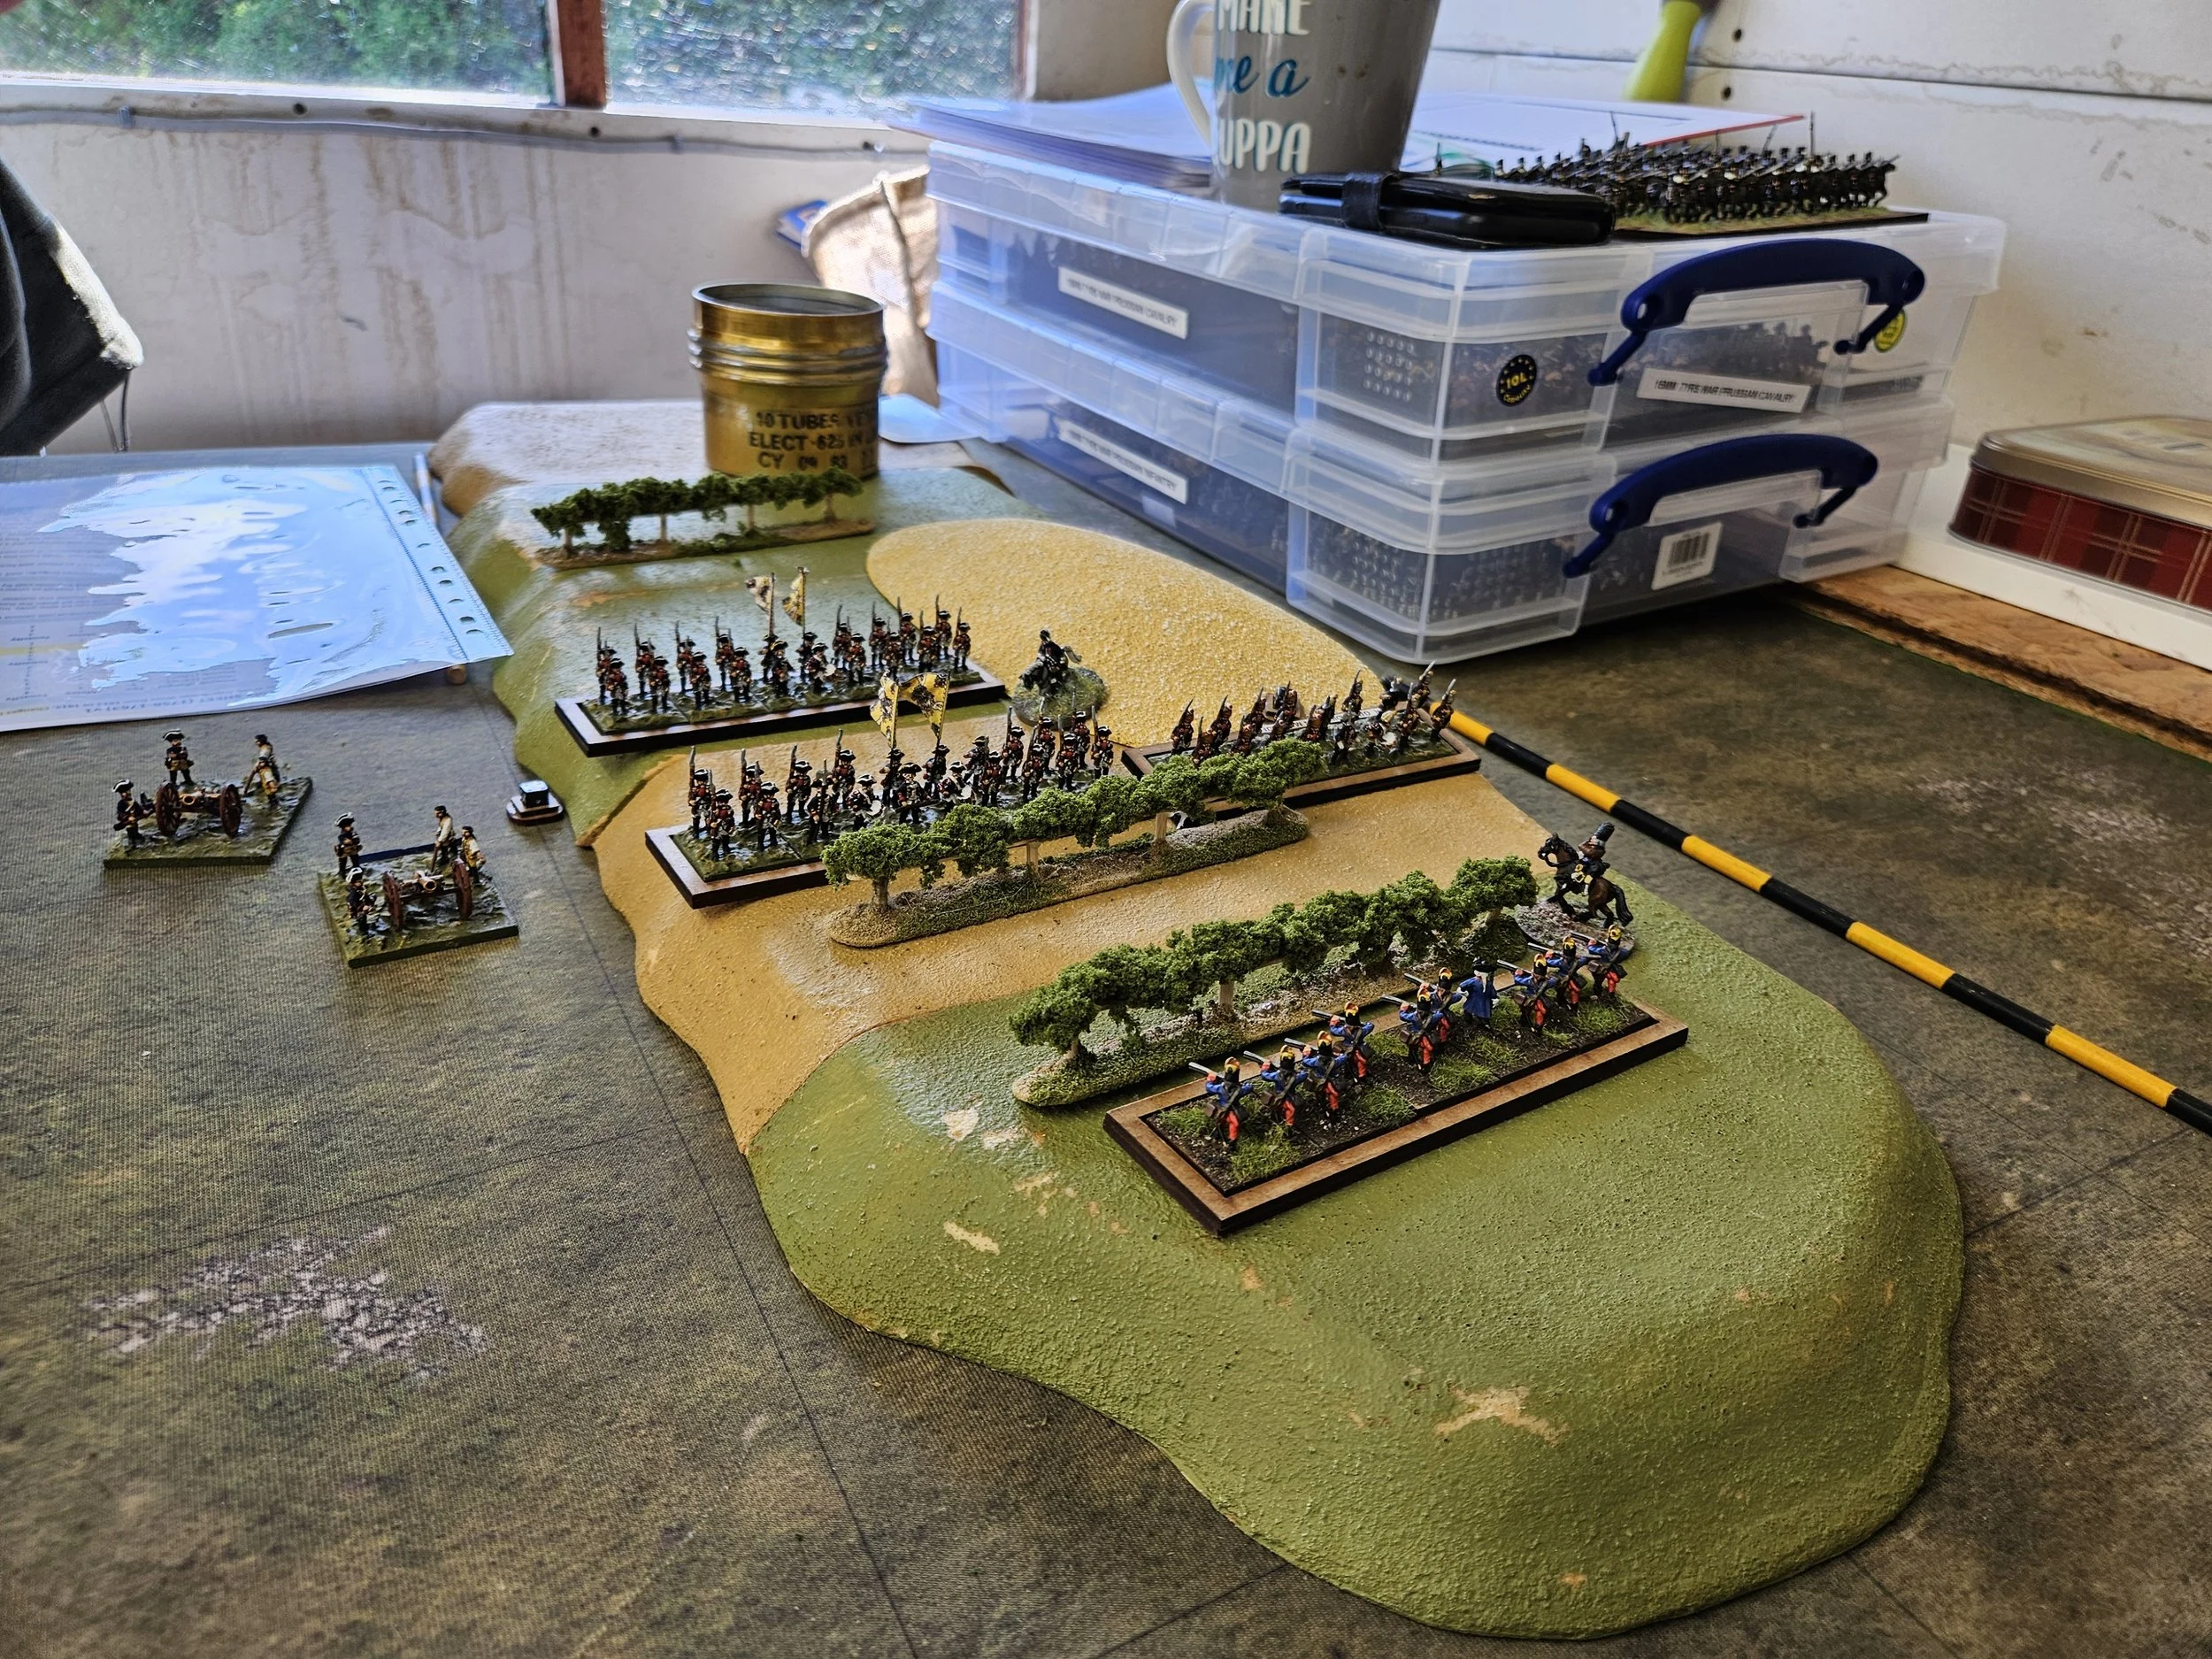
View from behind the Austrian lines: Lobositz is top right, near the mug
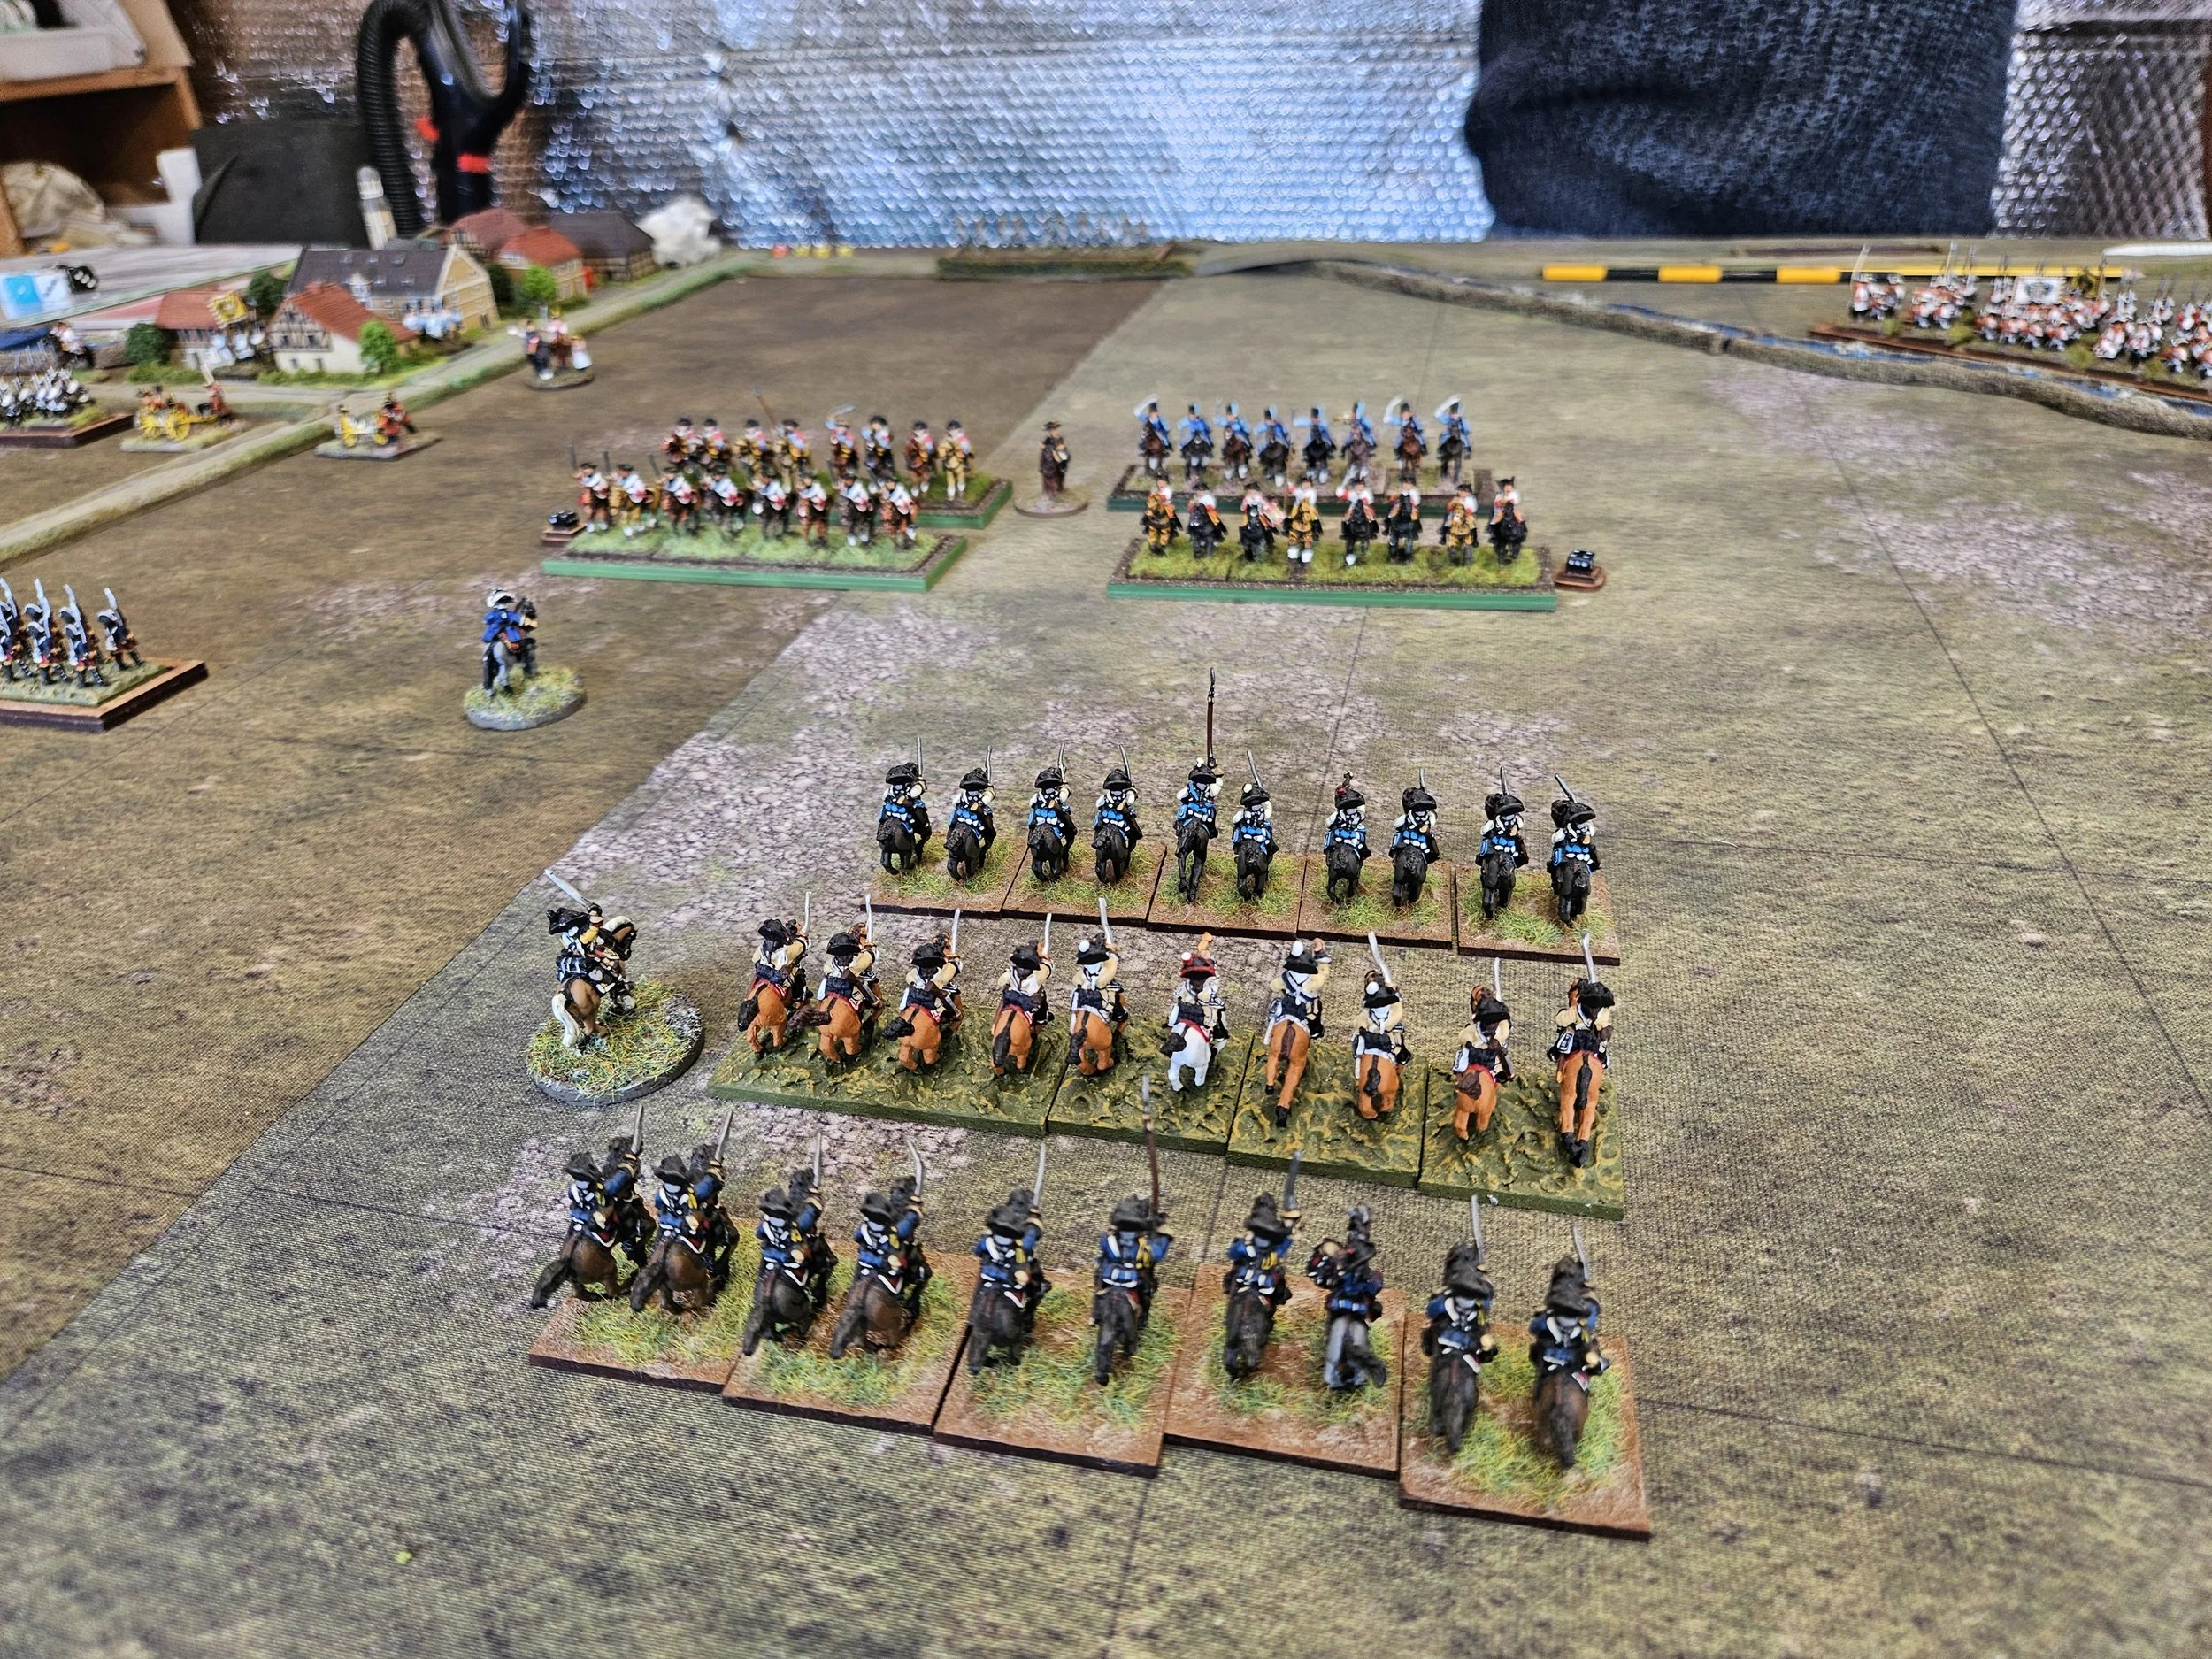
The massed Austrian infantry you can see at the bottom of the picture, above, played no part in our last game, as I had taken Lobositz before they had a chance to get stuck in. I was determined not to let that happen this time round, so rather than advance either my cavalry (centre) or other infantry (top right) forward, I waited for the Prussians to come to me.
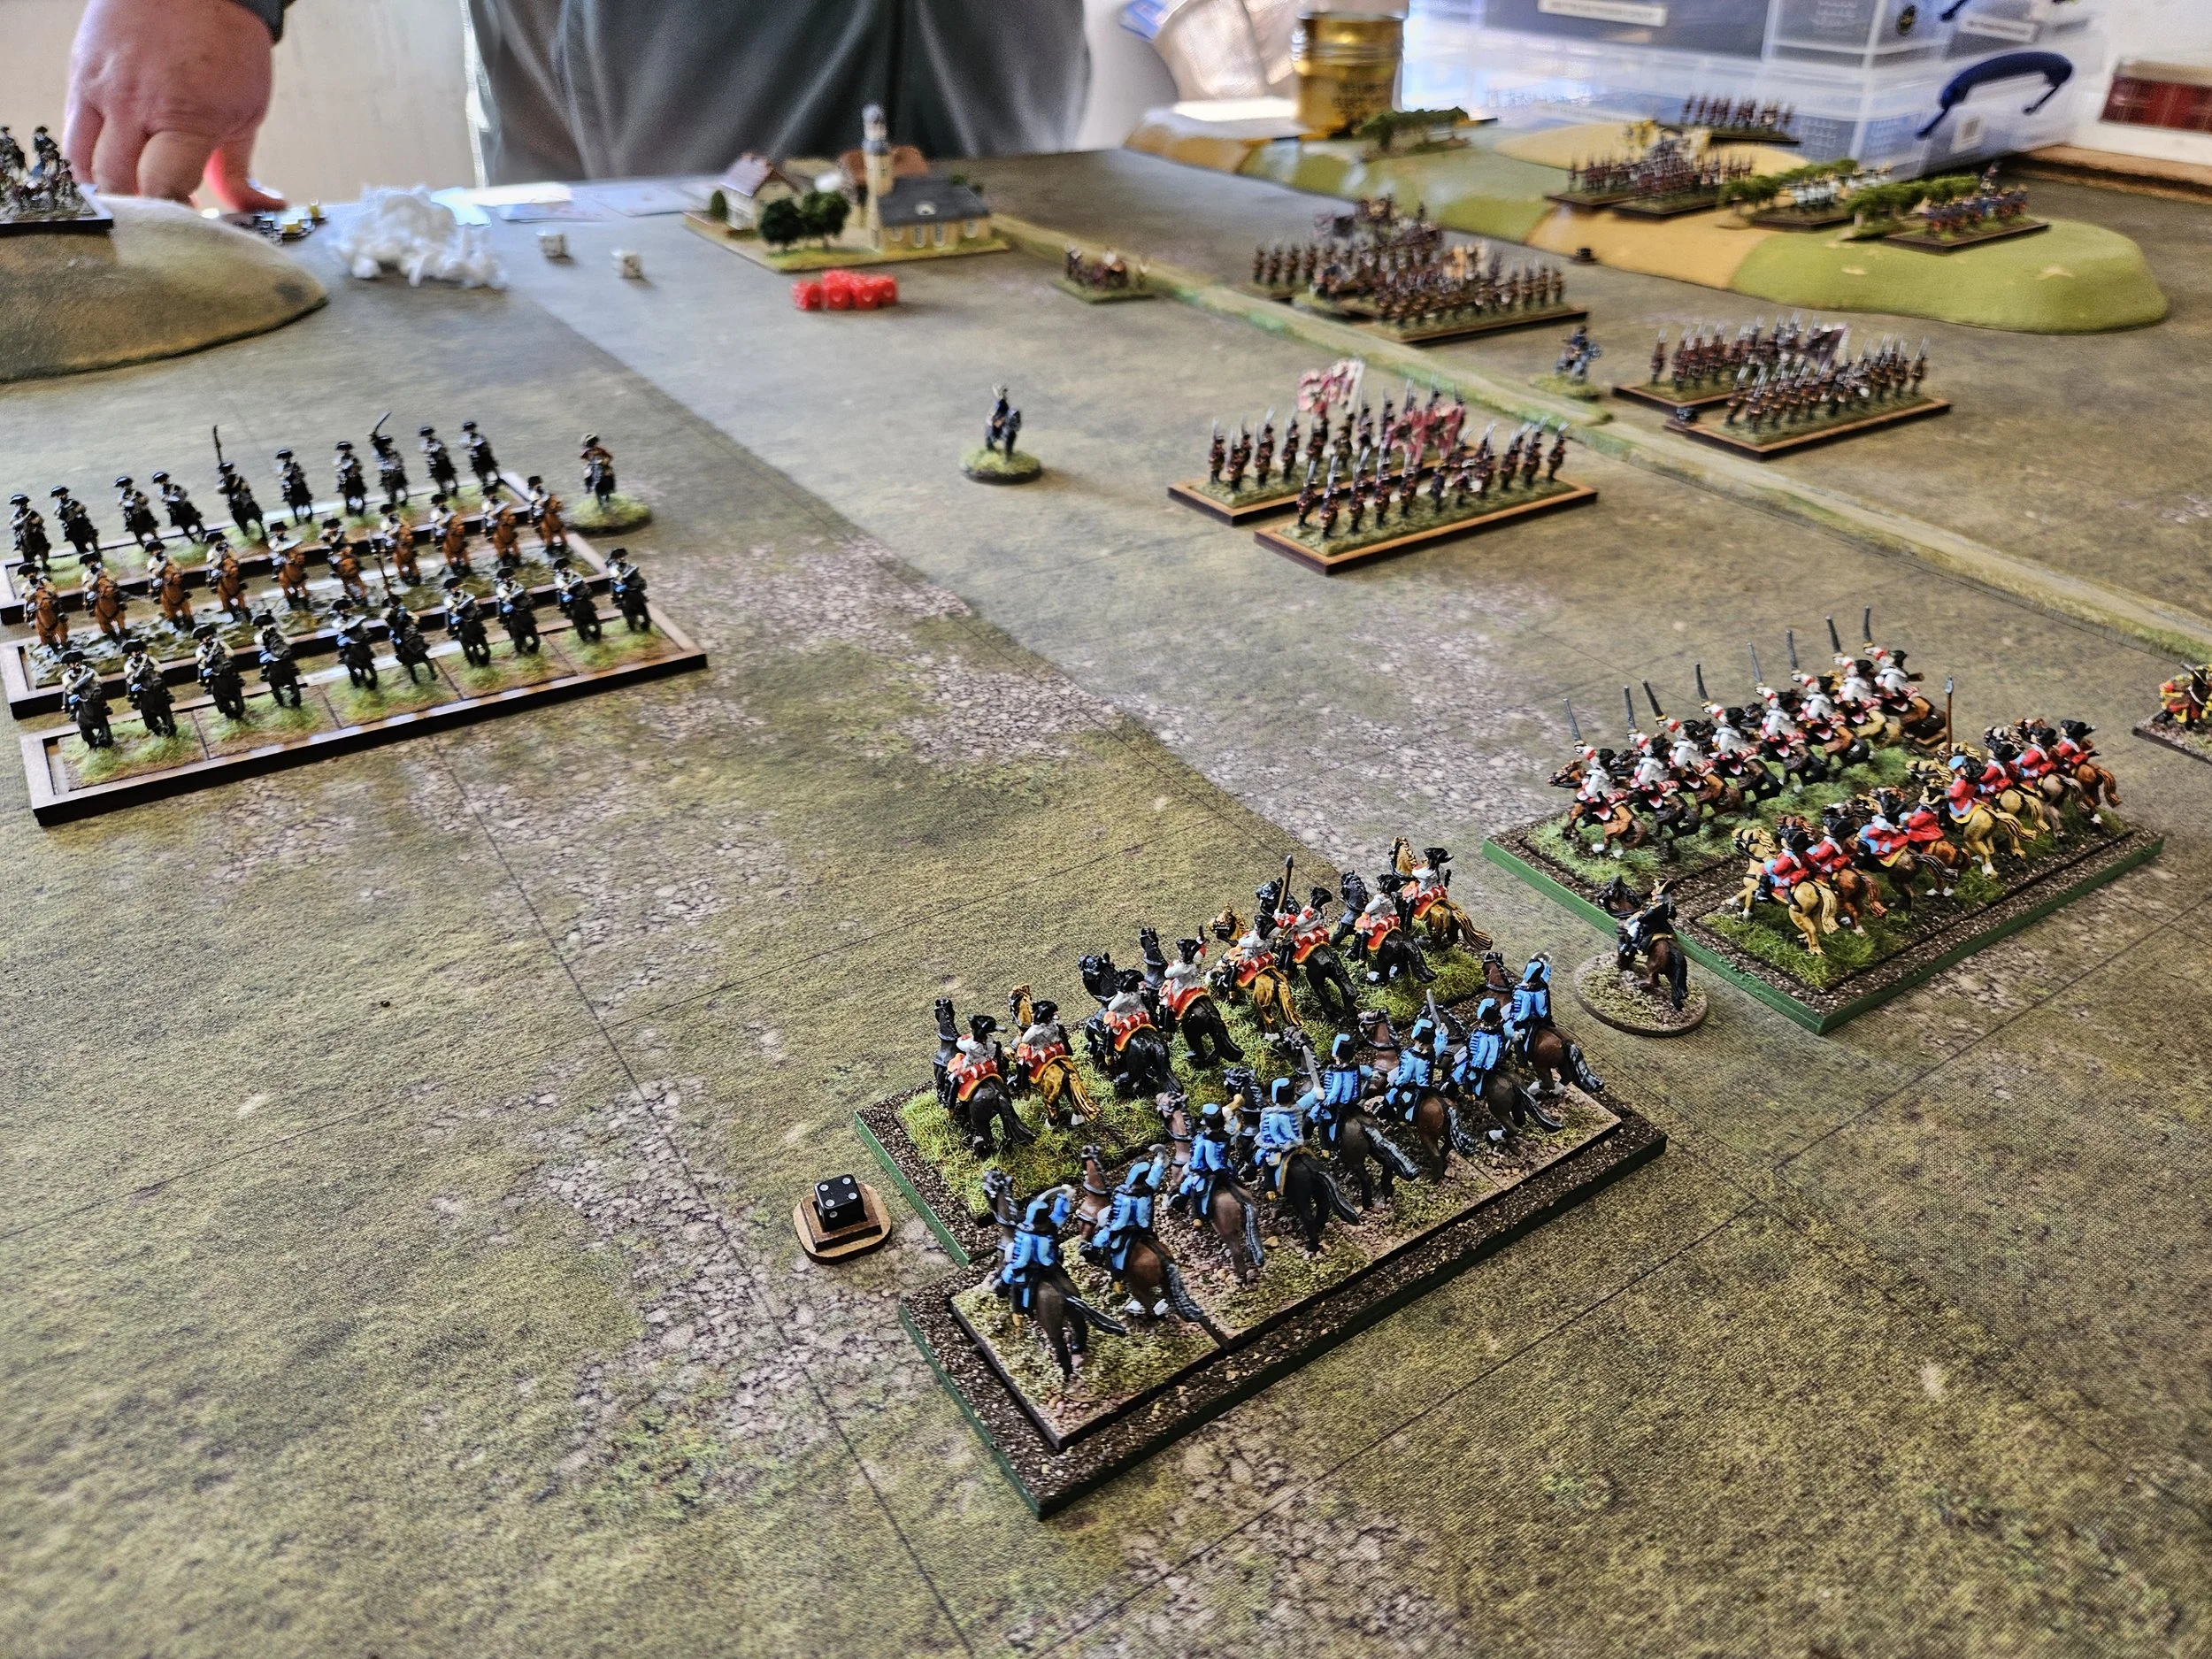
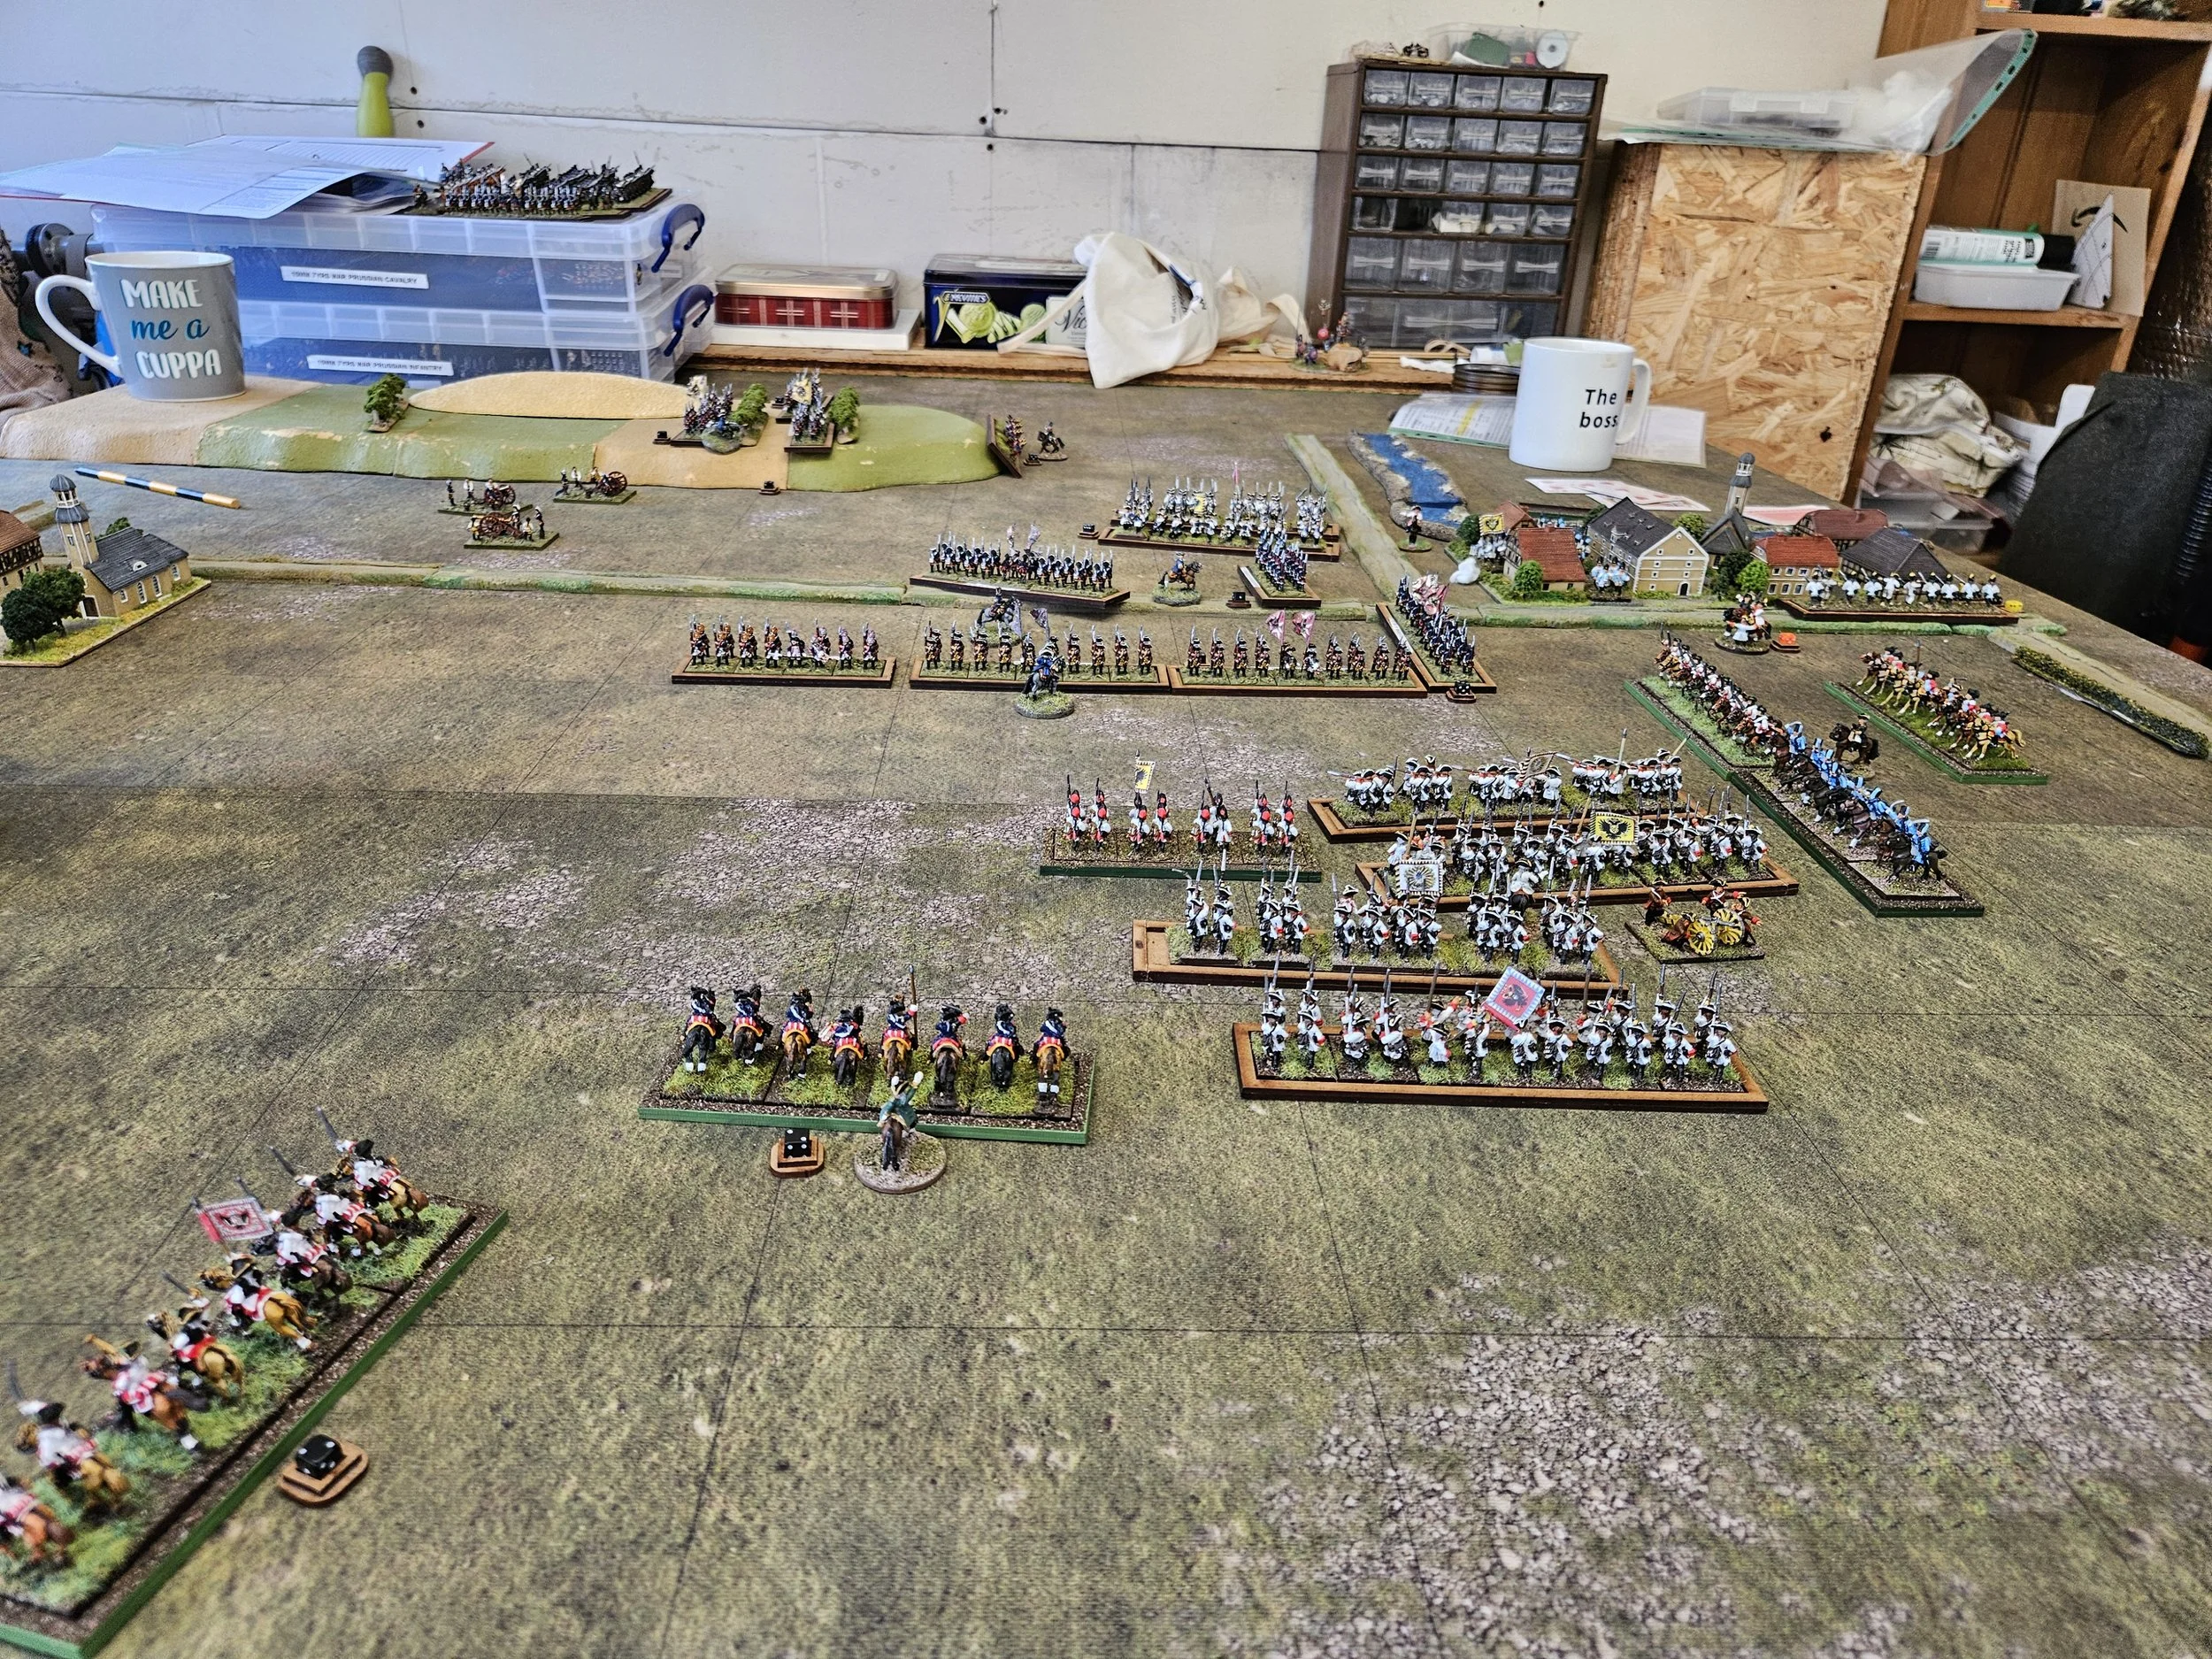
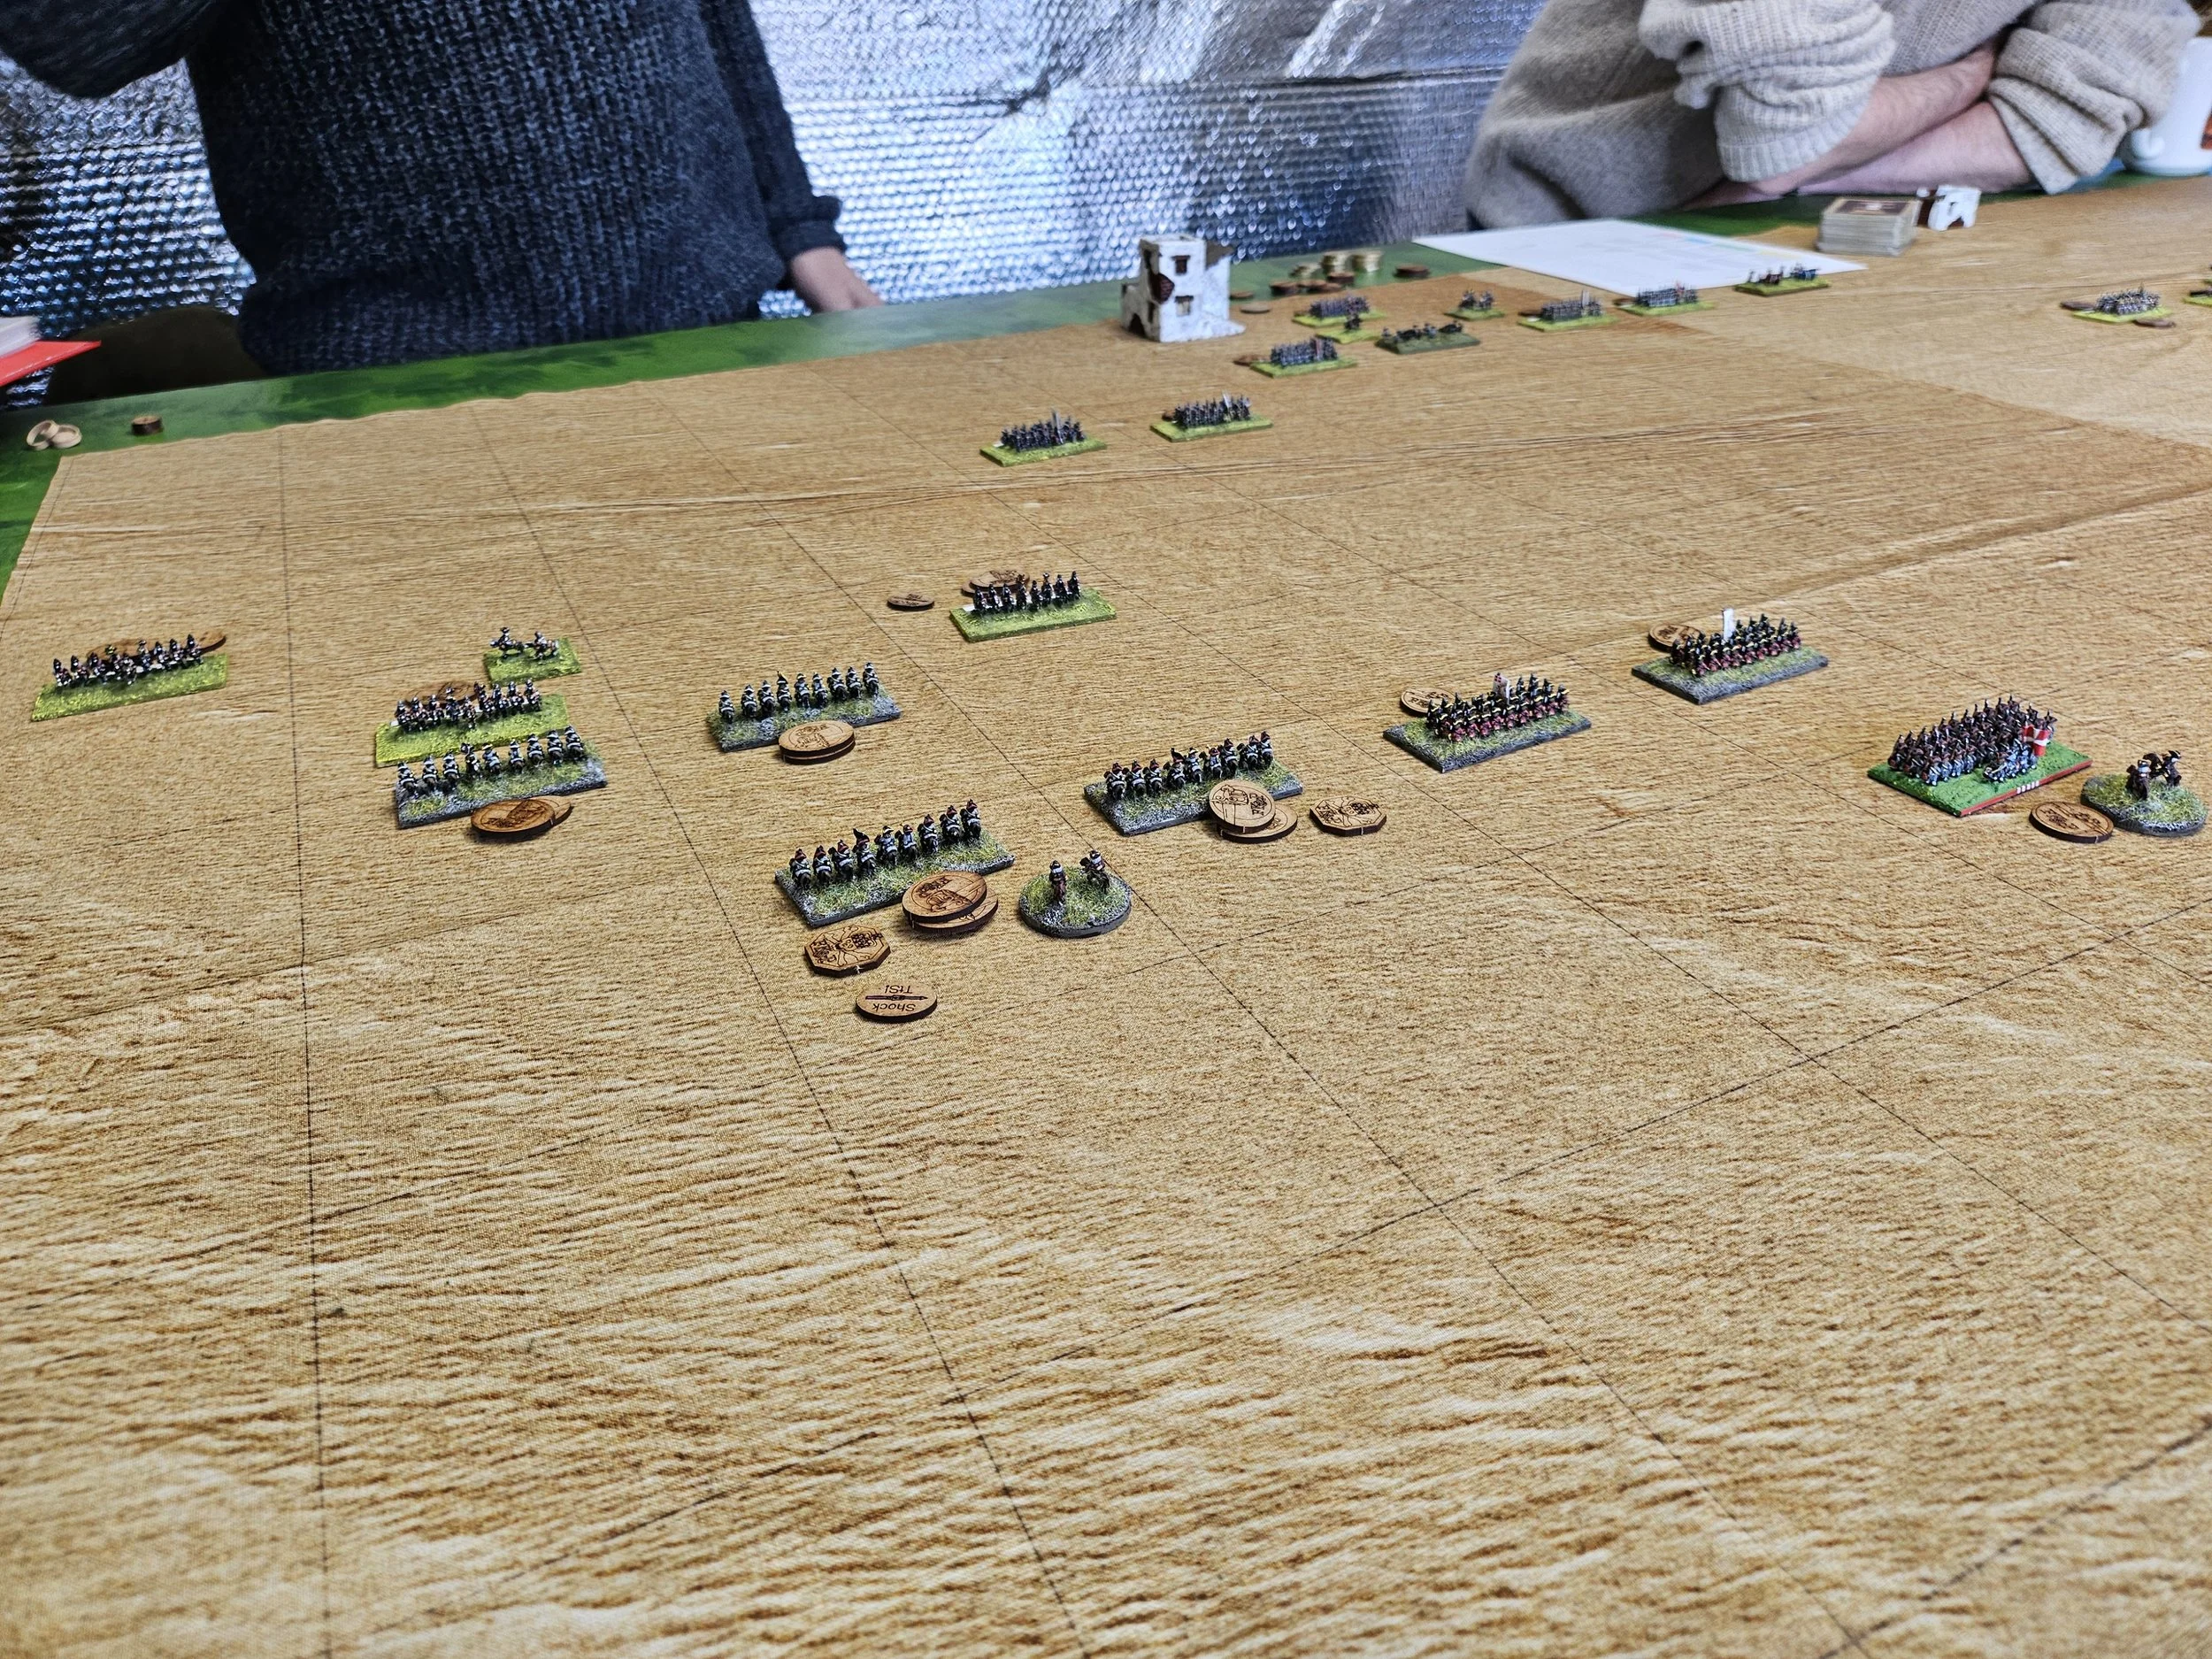
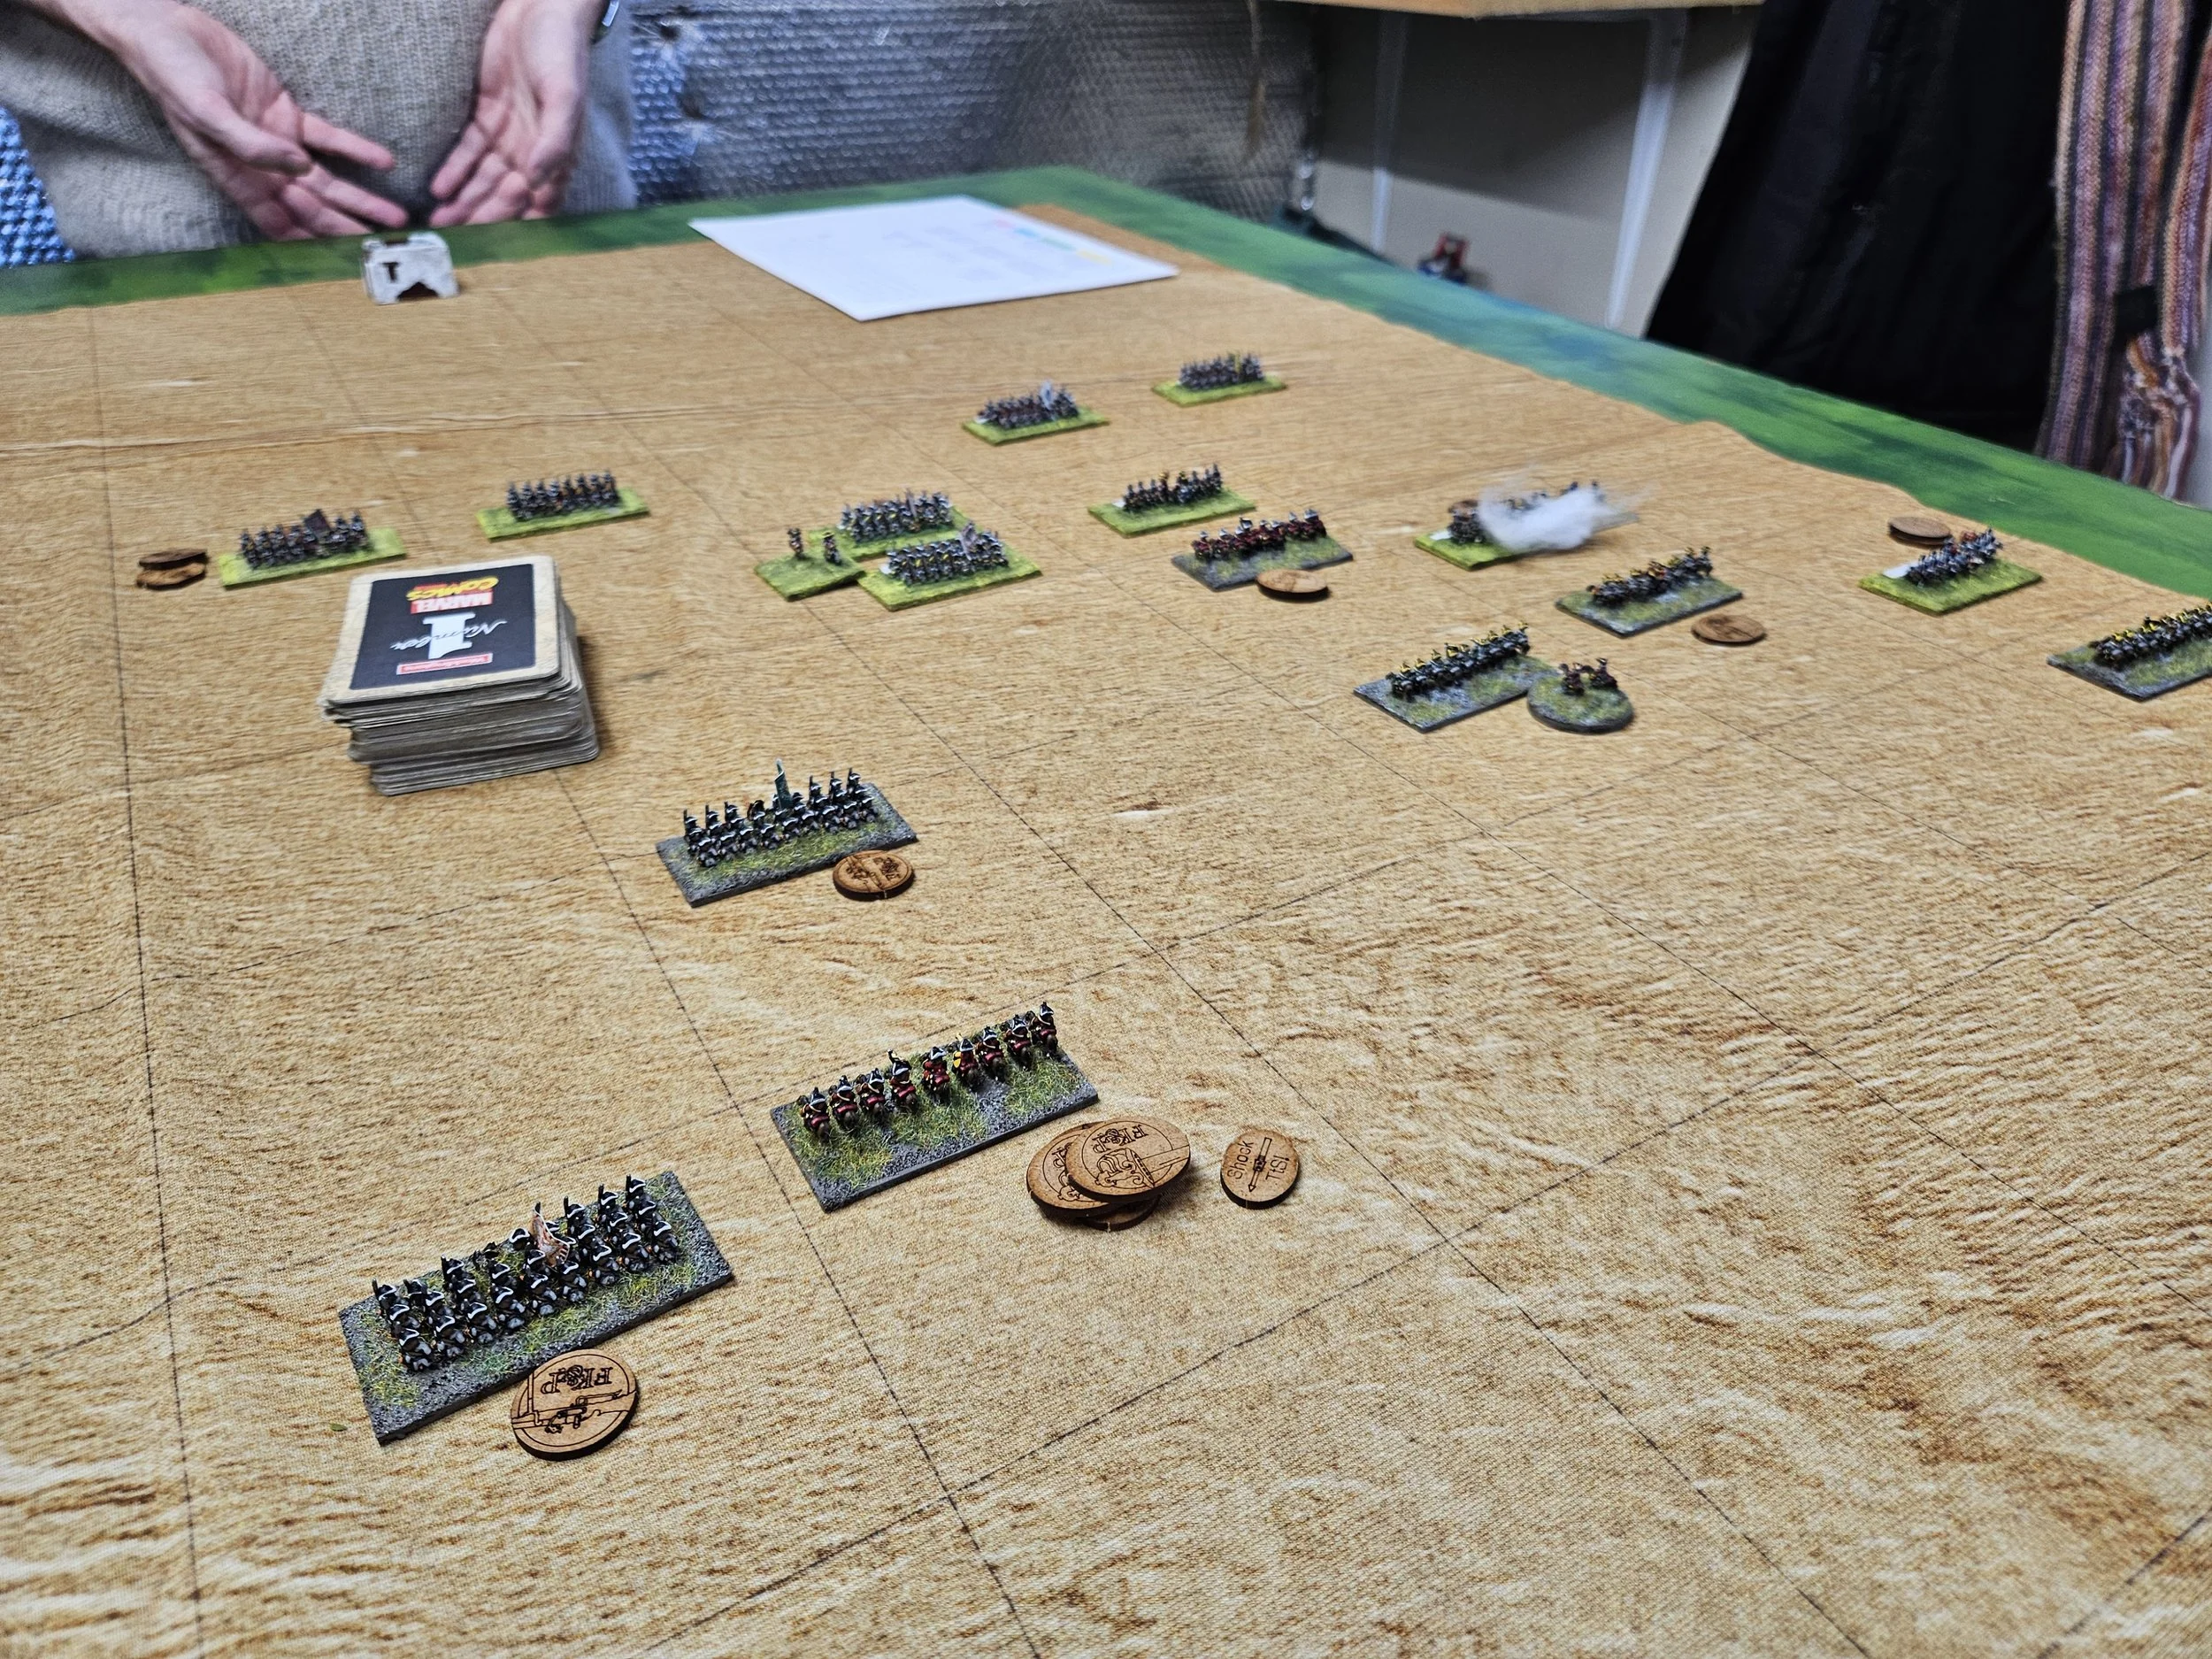
I was then very lucky, as Mark (my opponent) twice failed to activate his main infantry body (it’s that mist again!) meaning that rather than face a combined arms onslaught, only his cavalry came forward in the initial phase of the game.
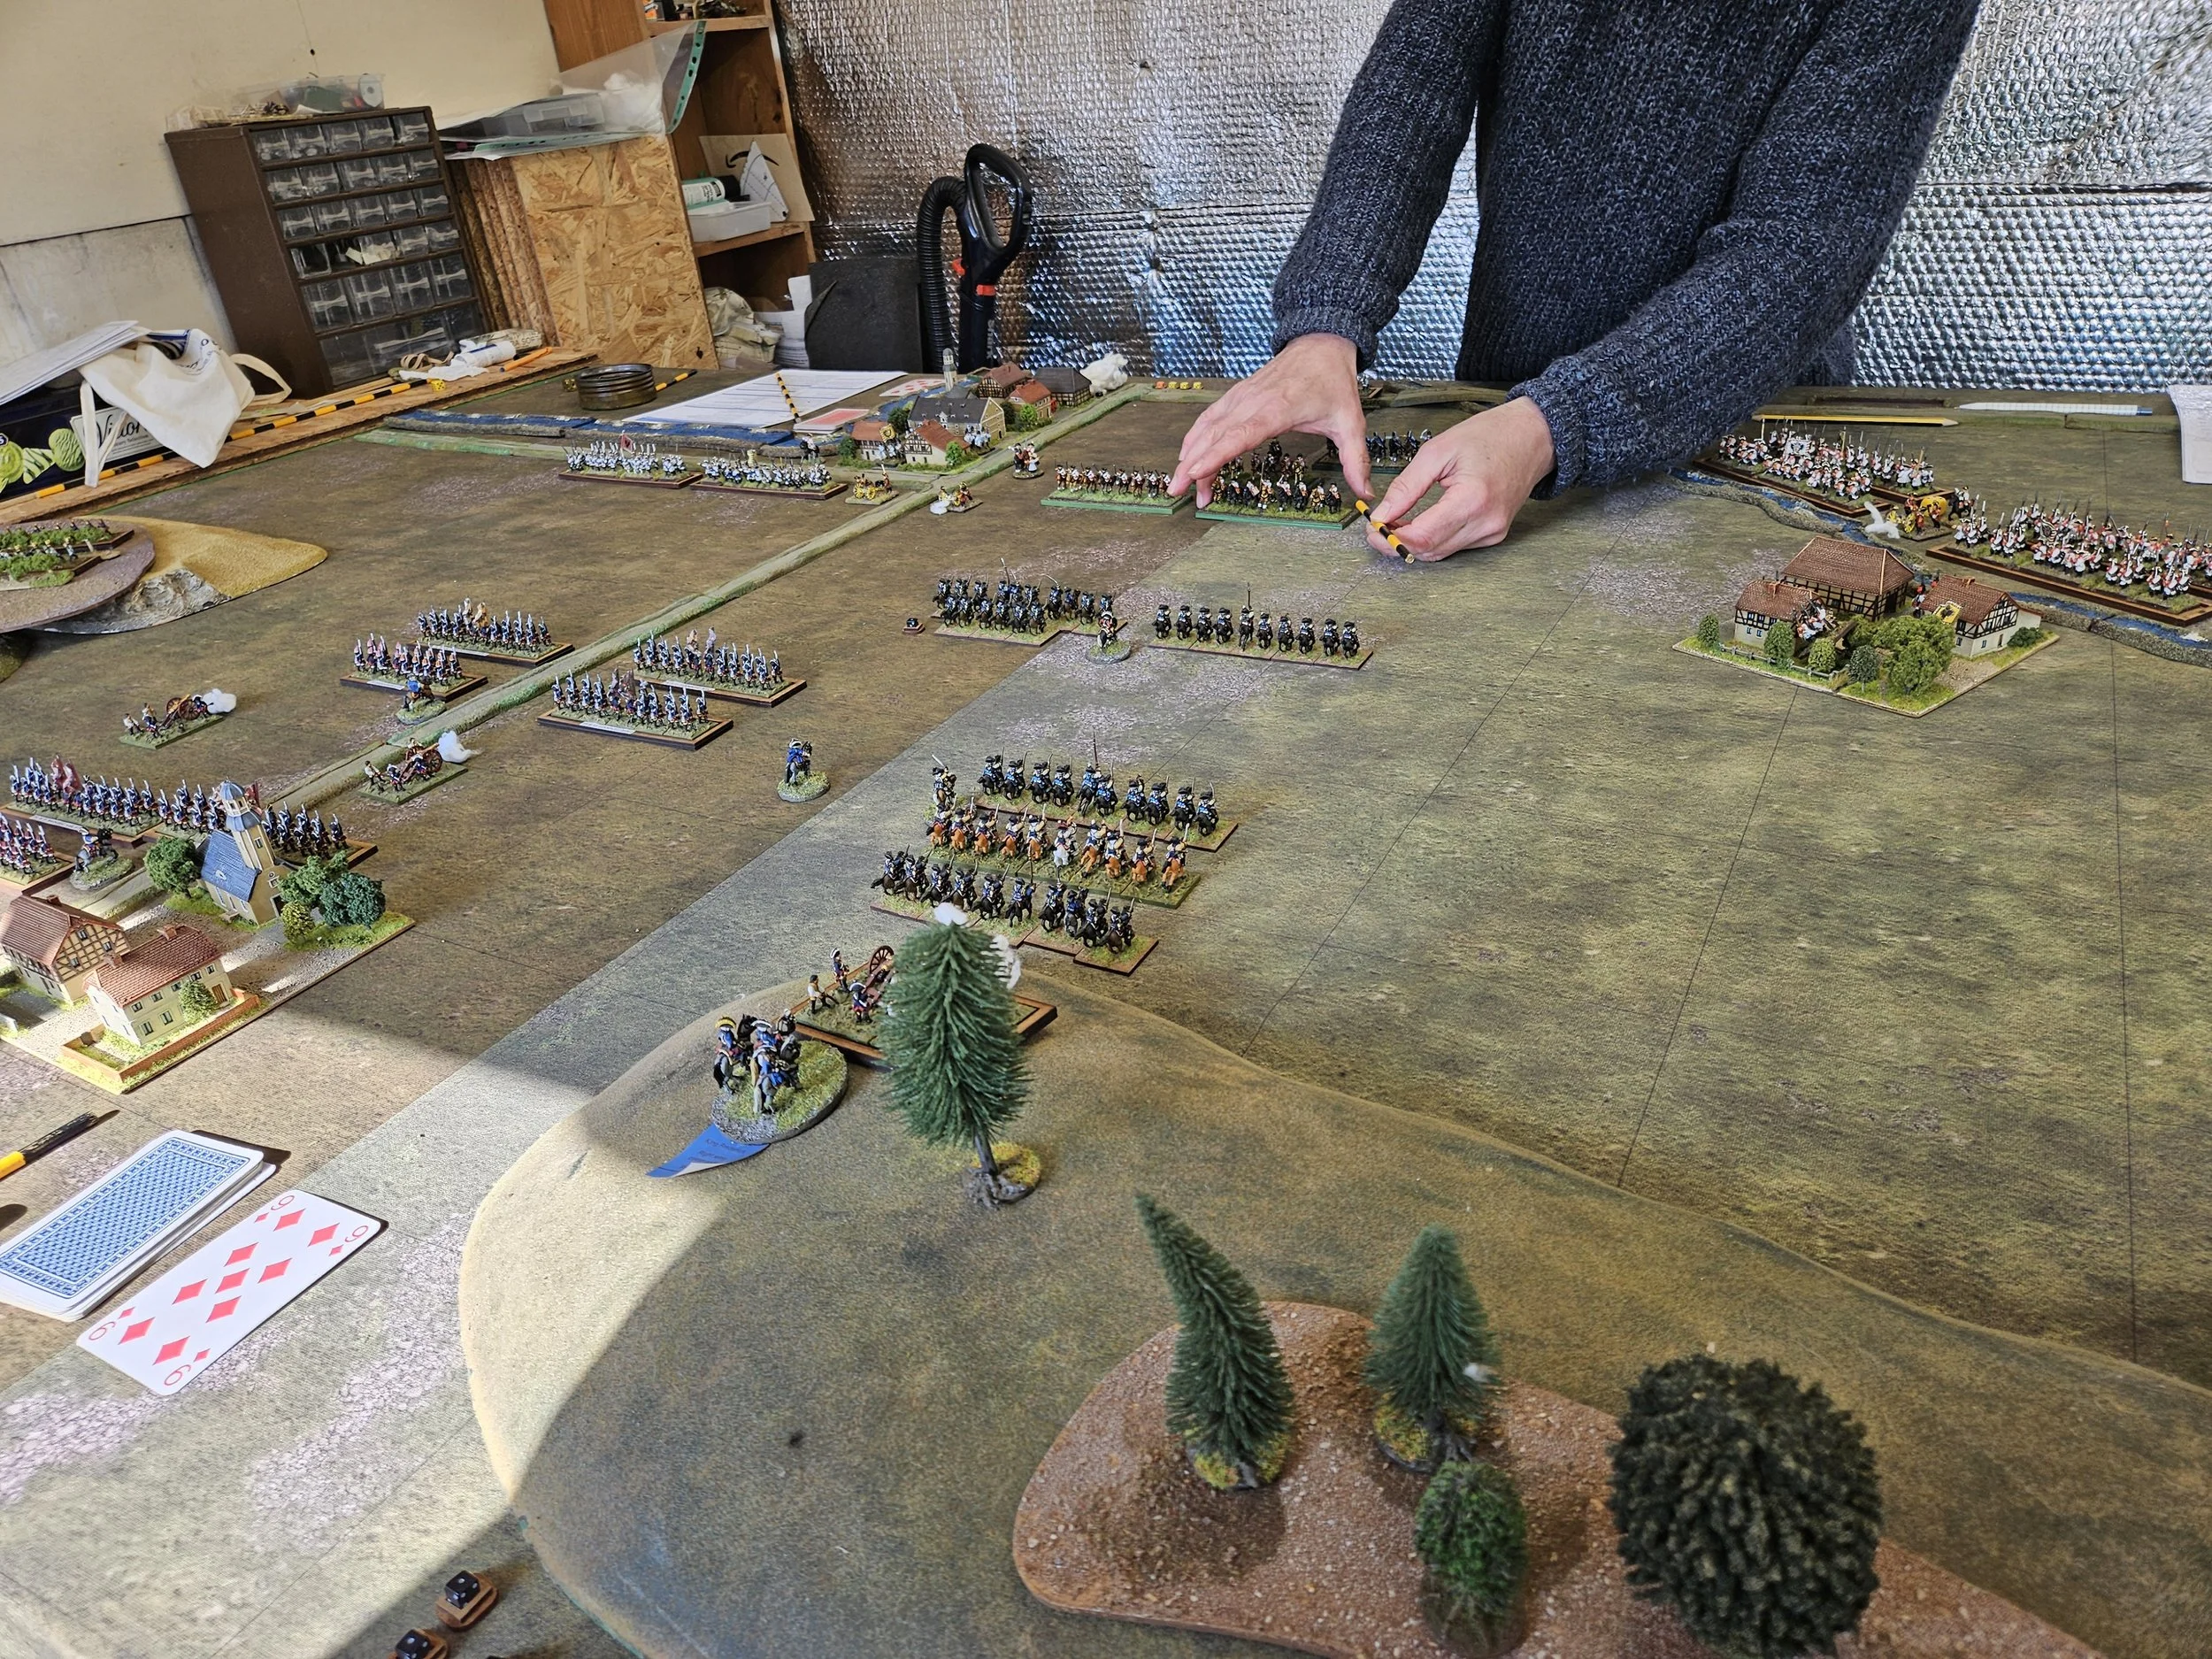
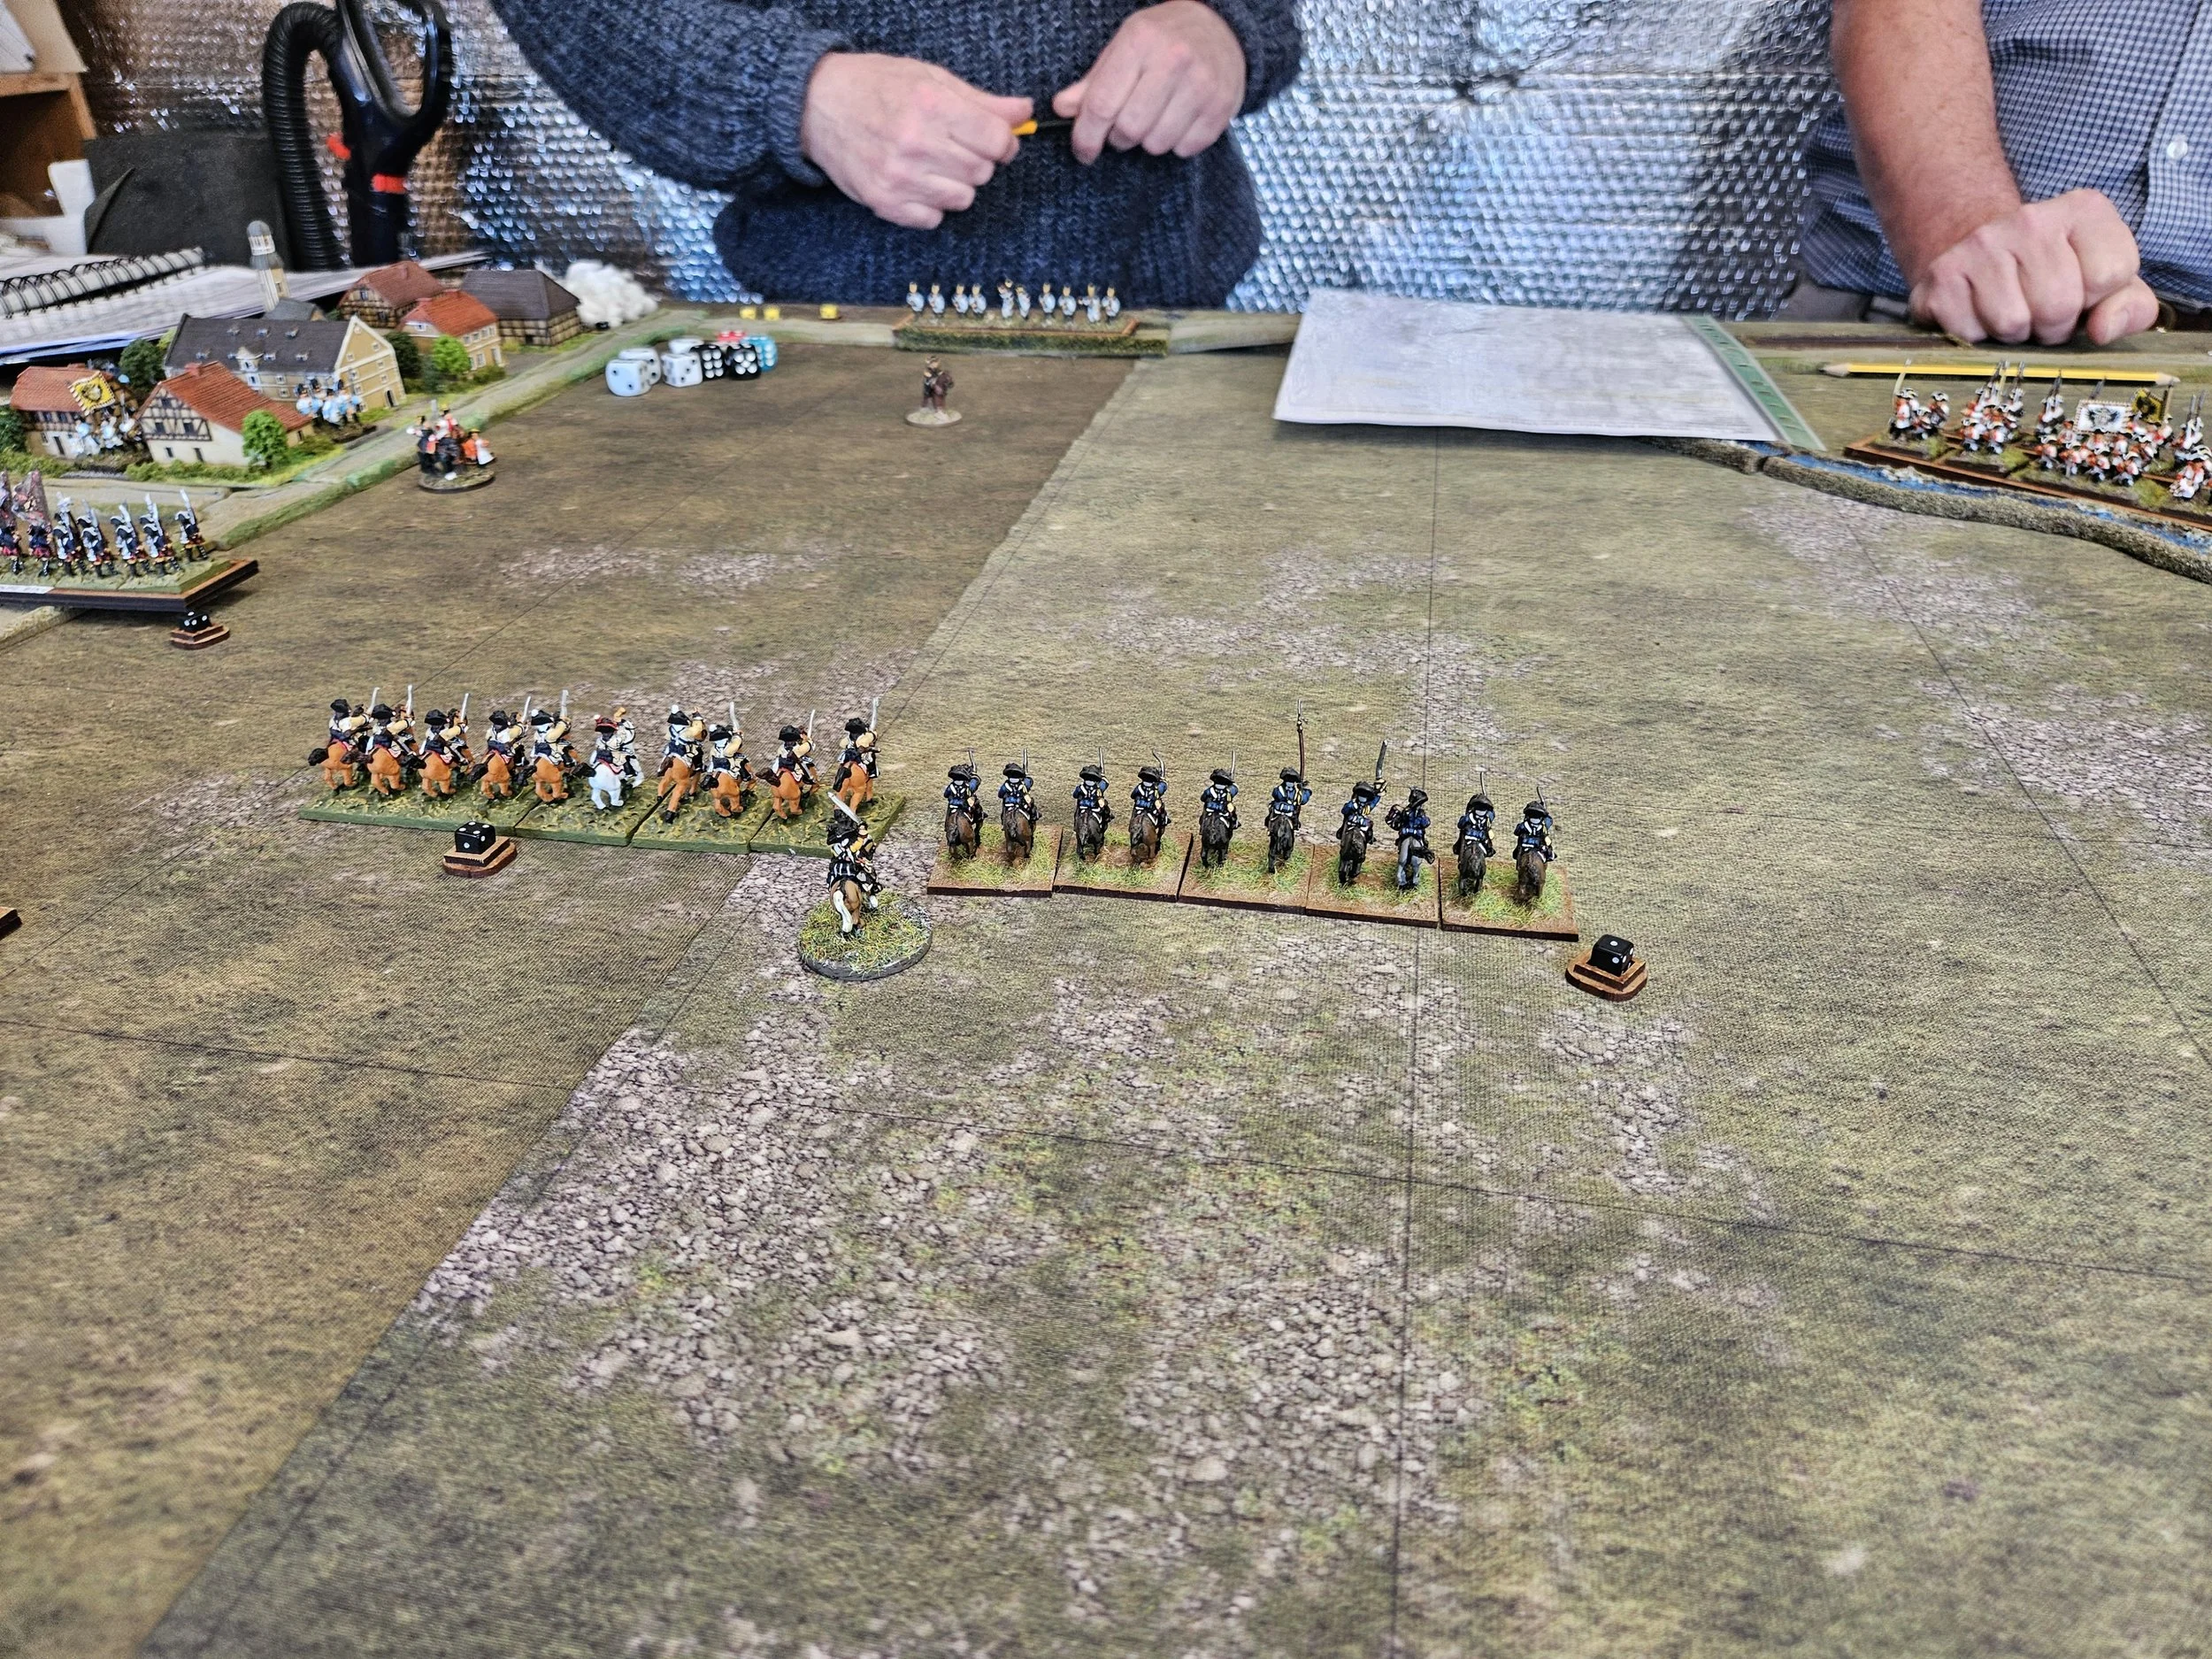
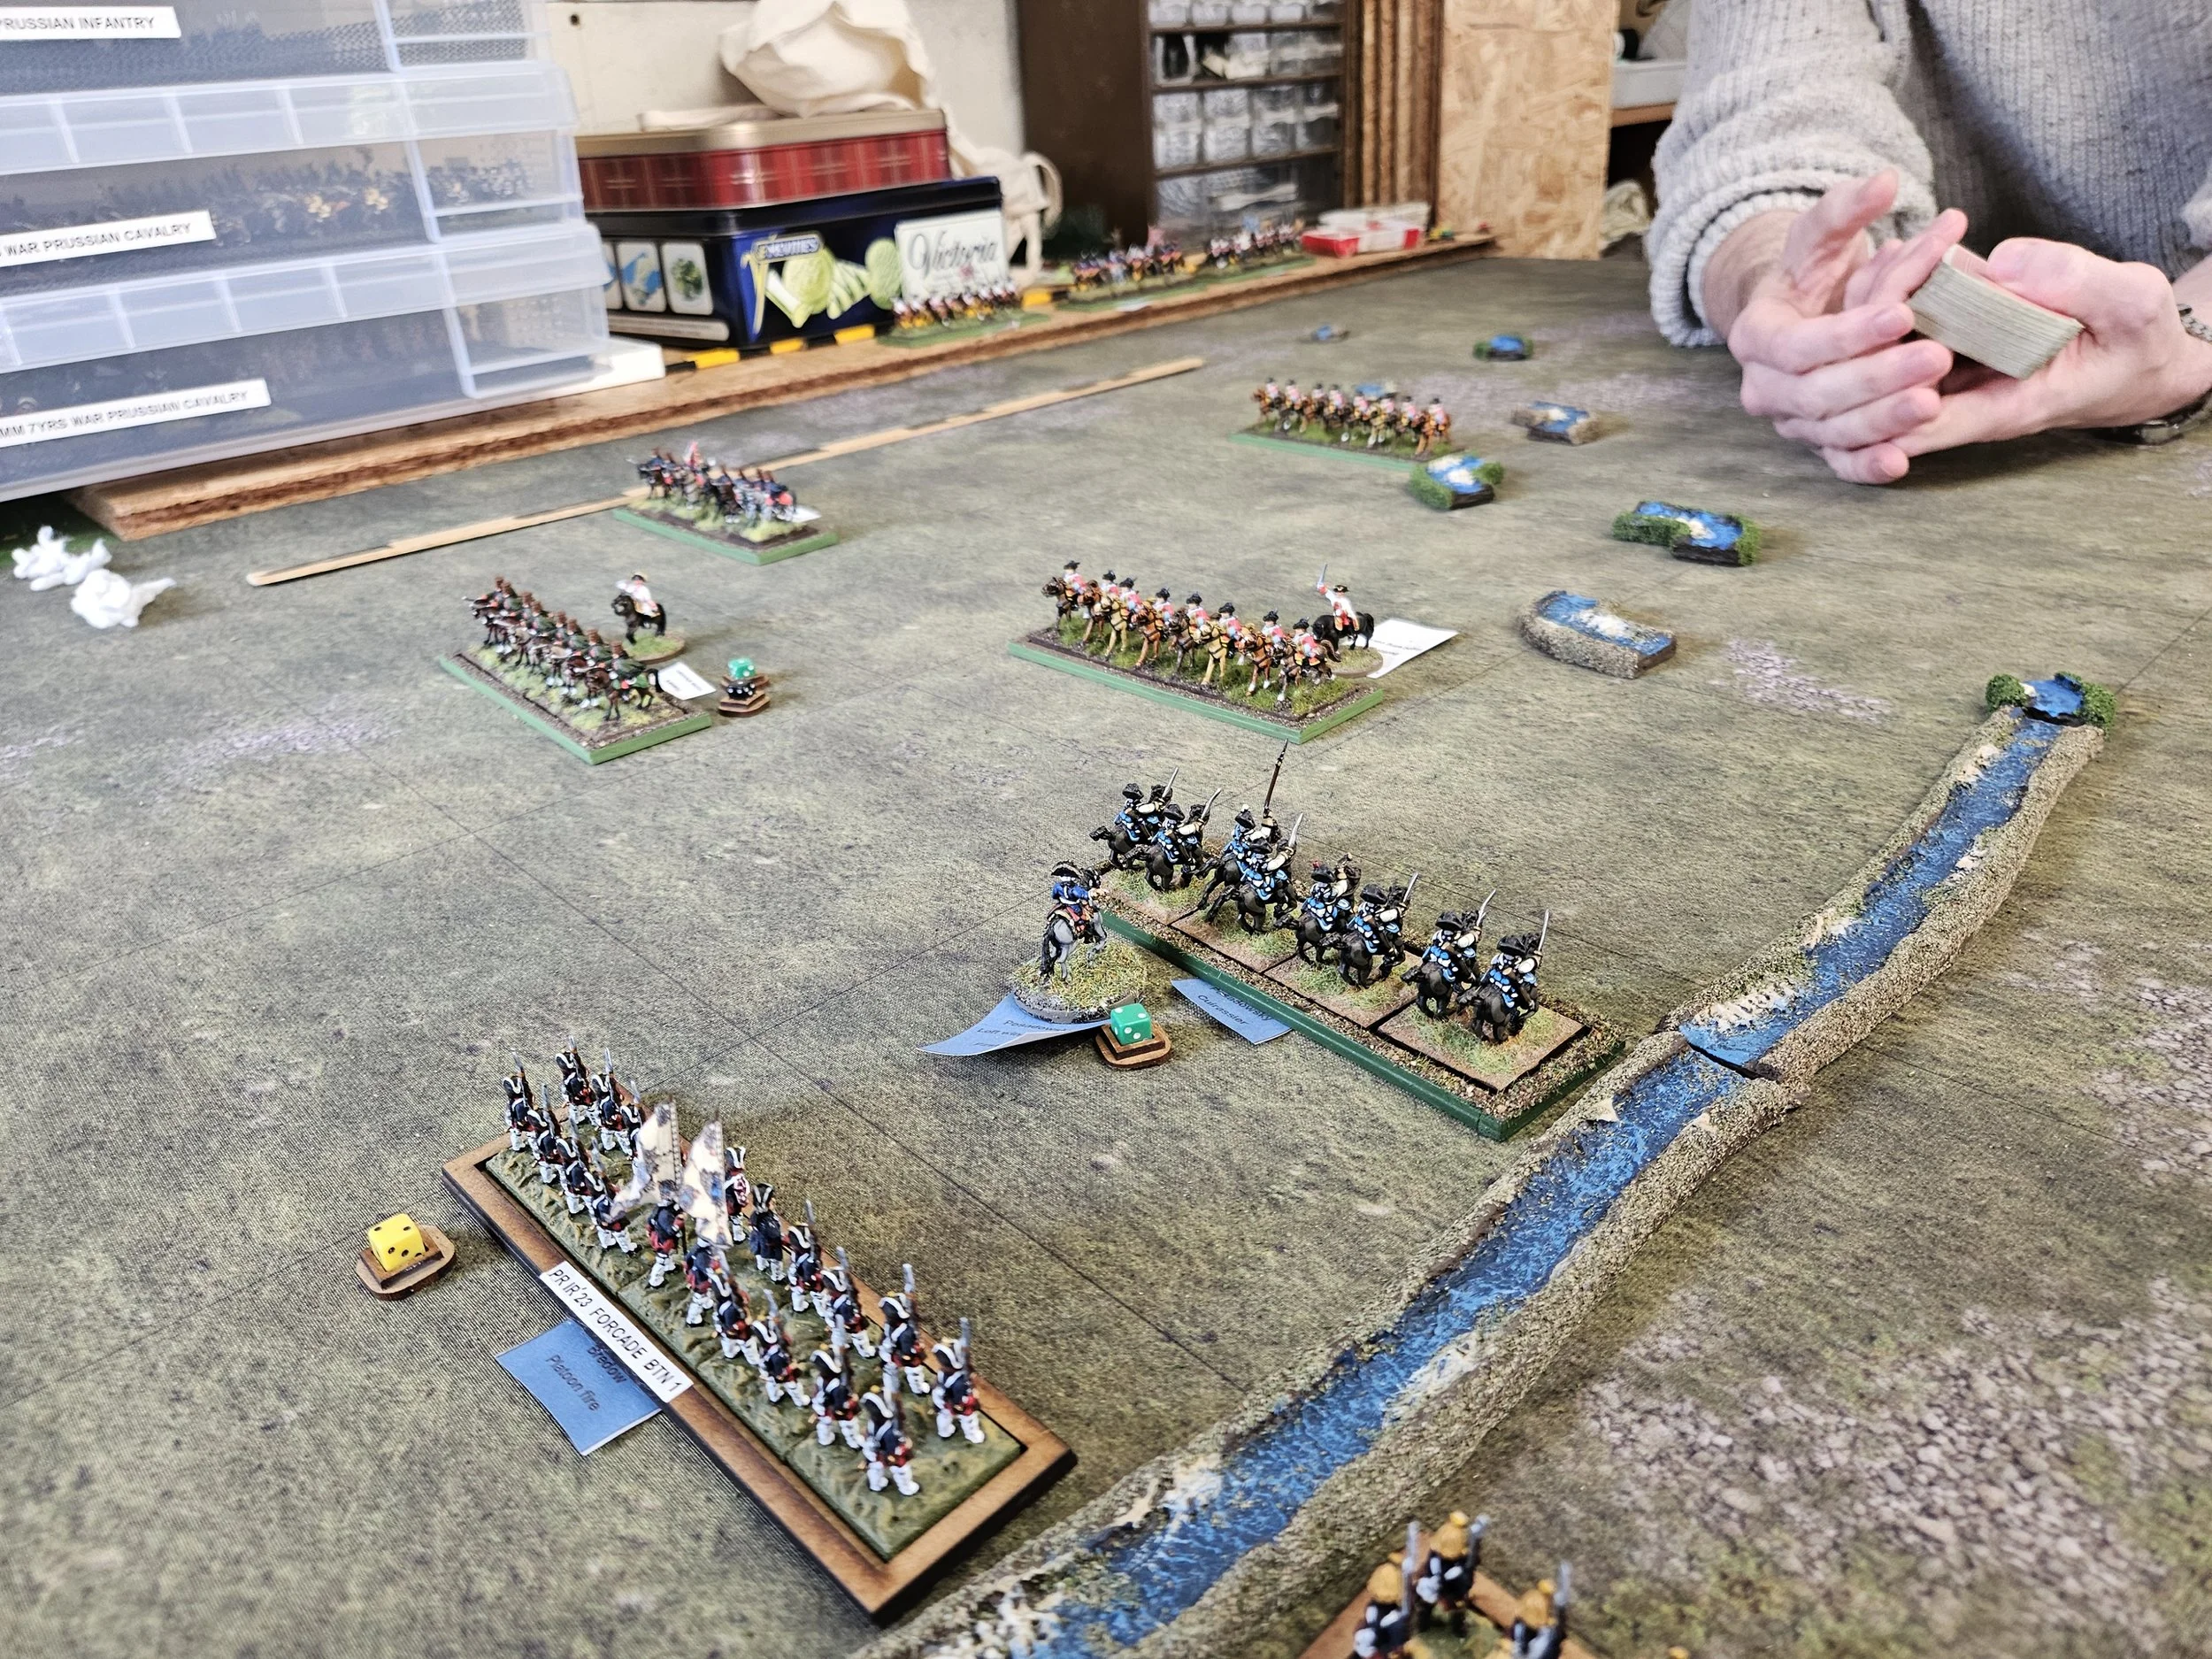
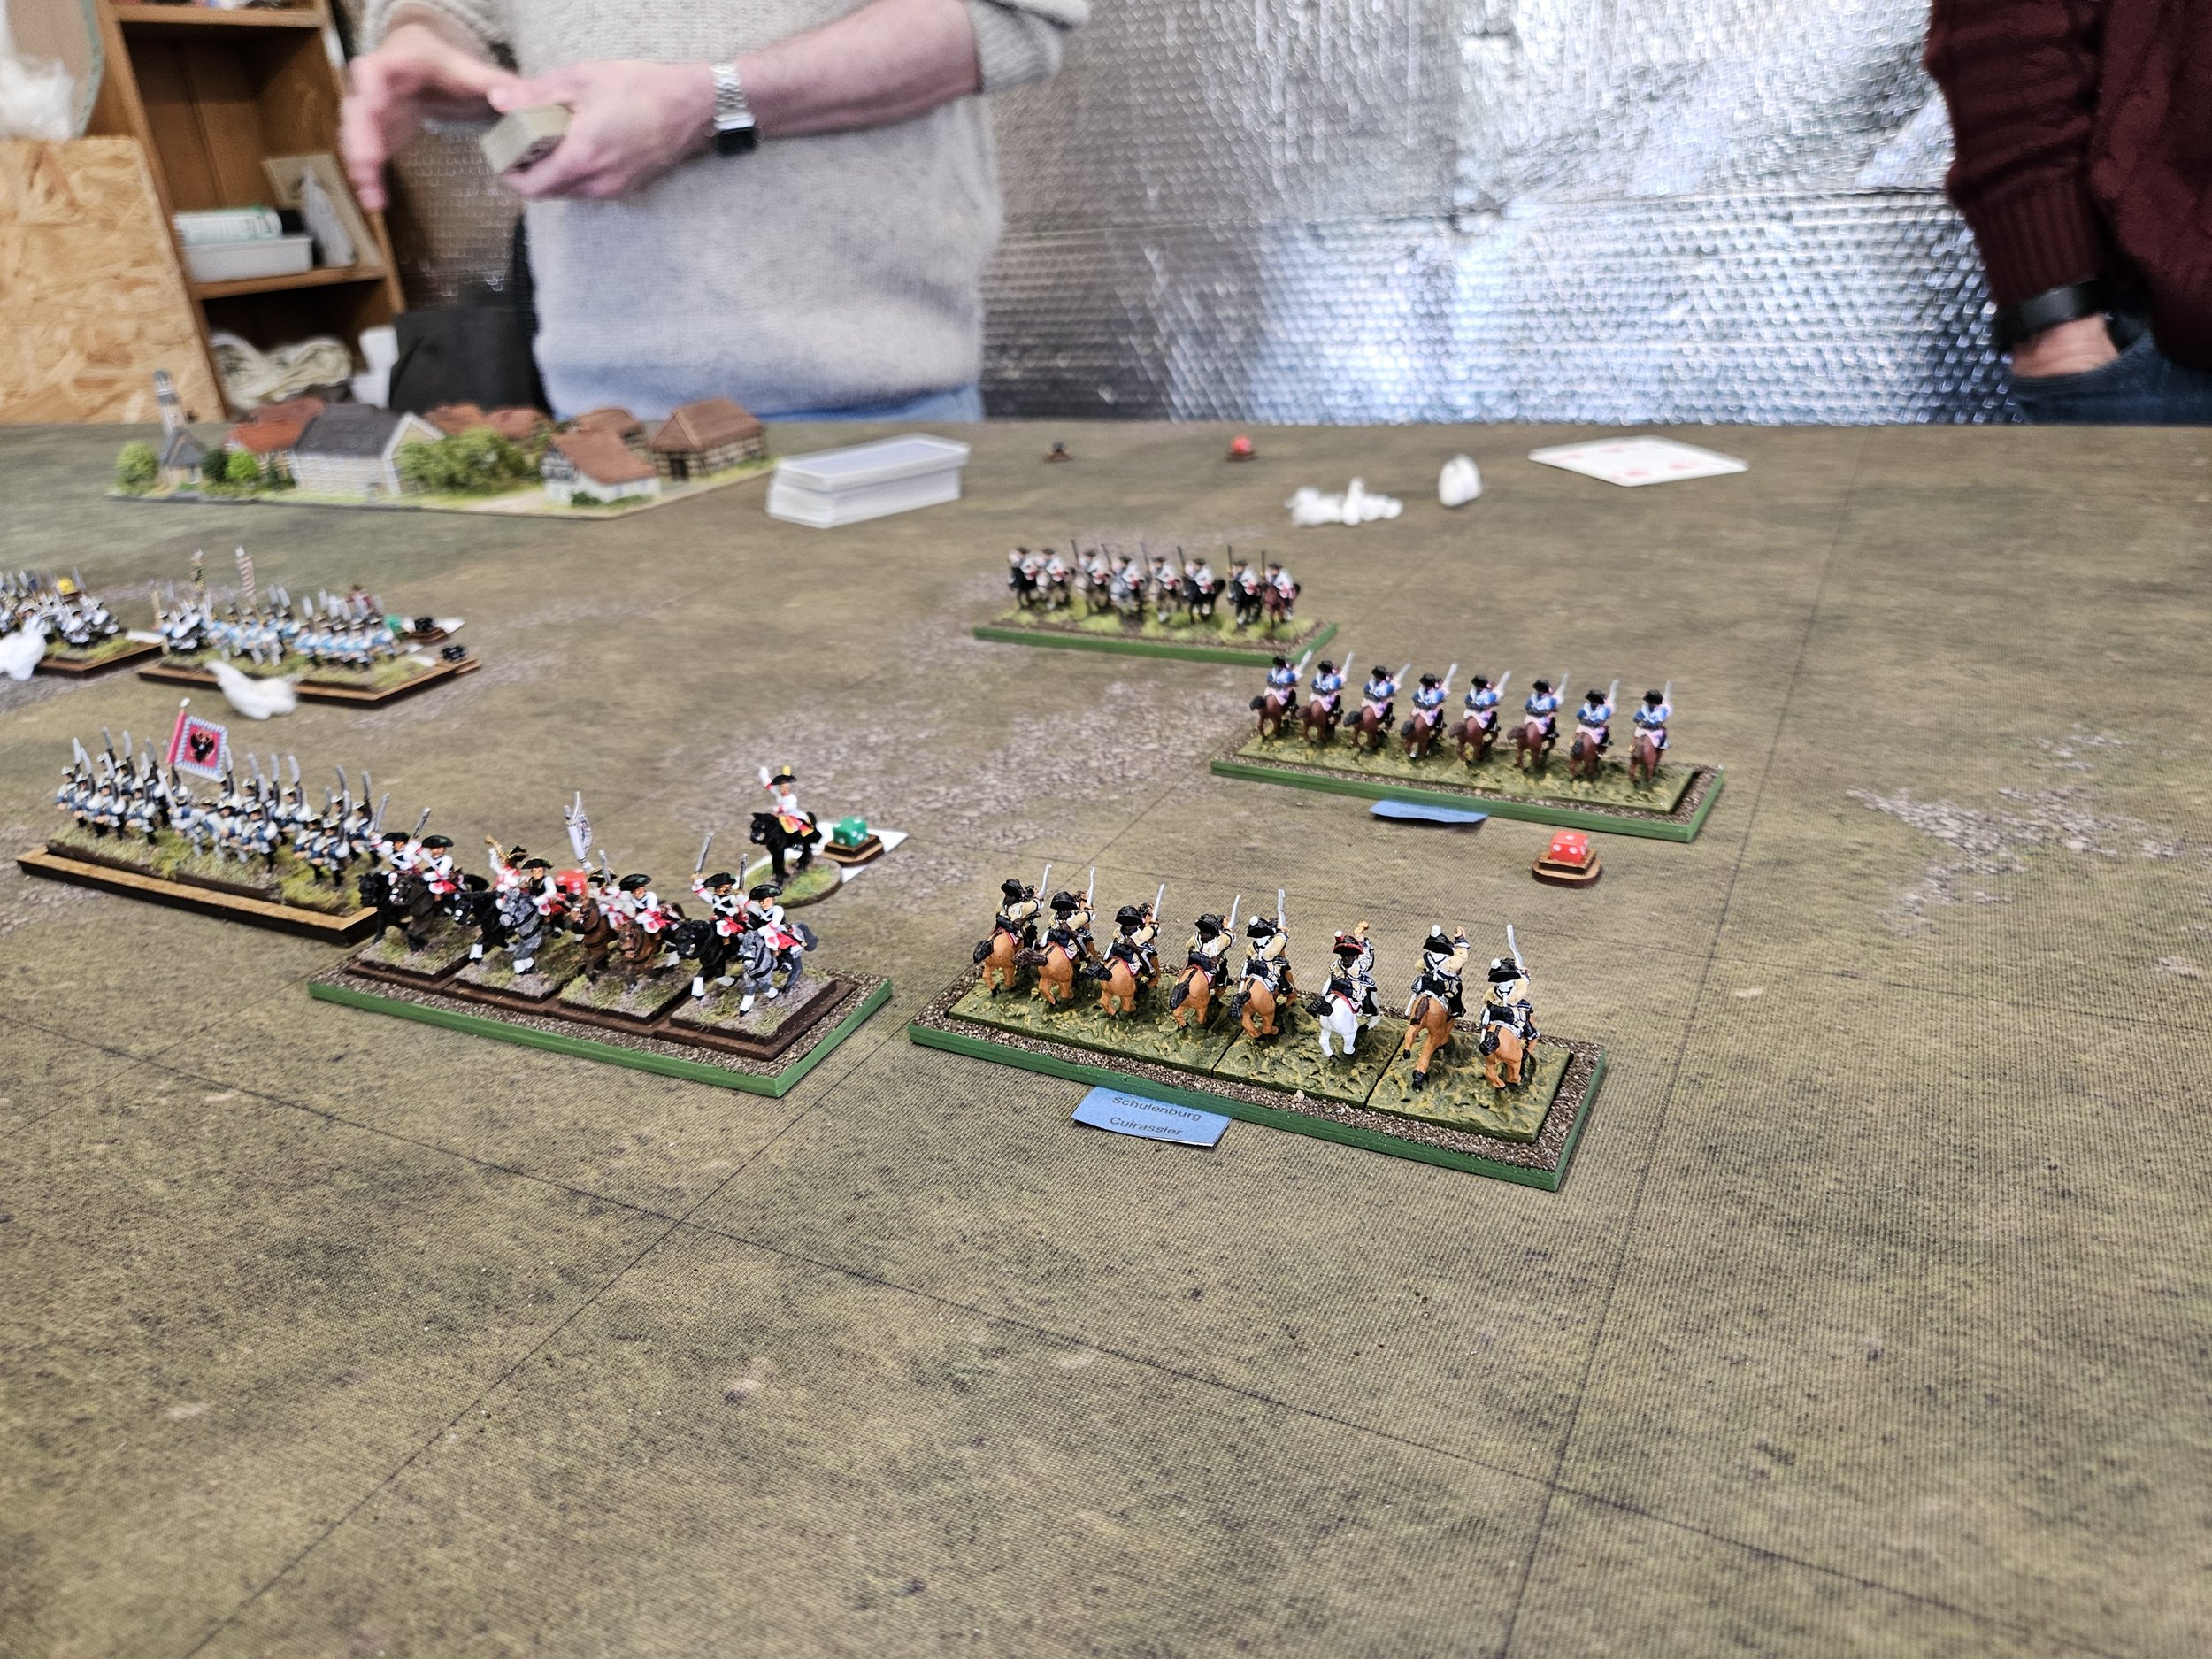
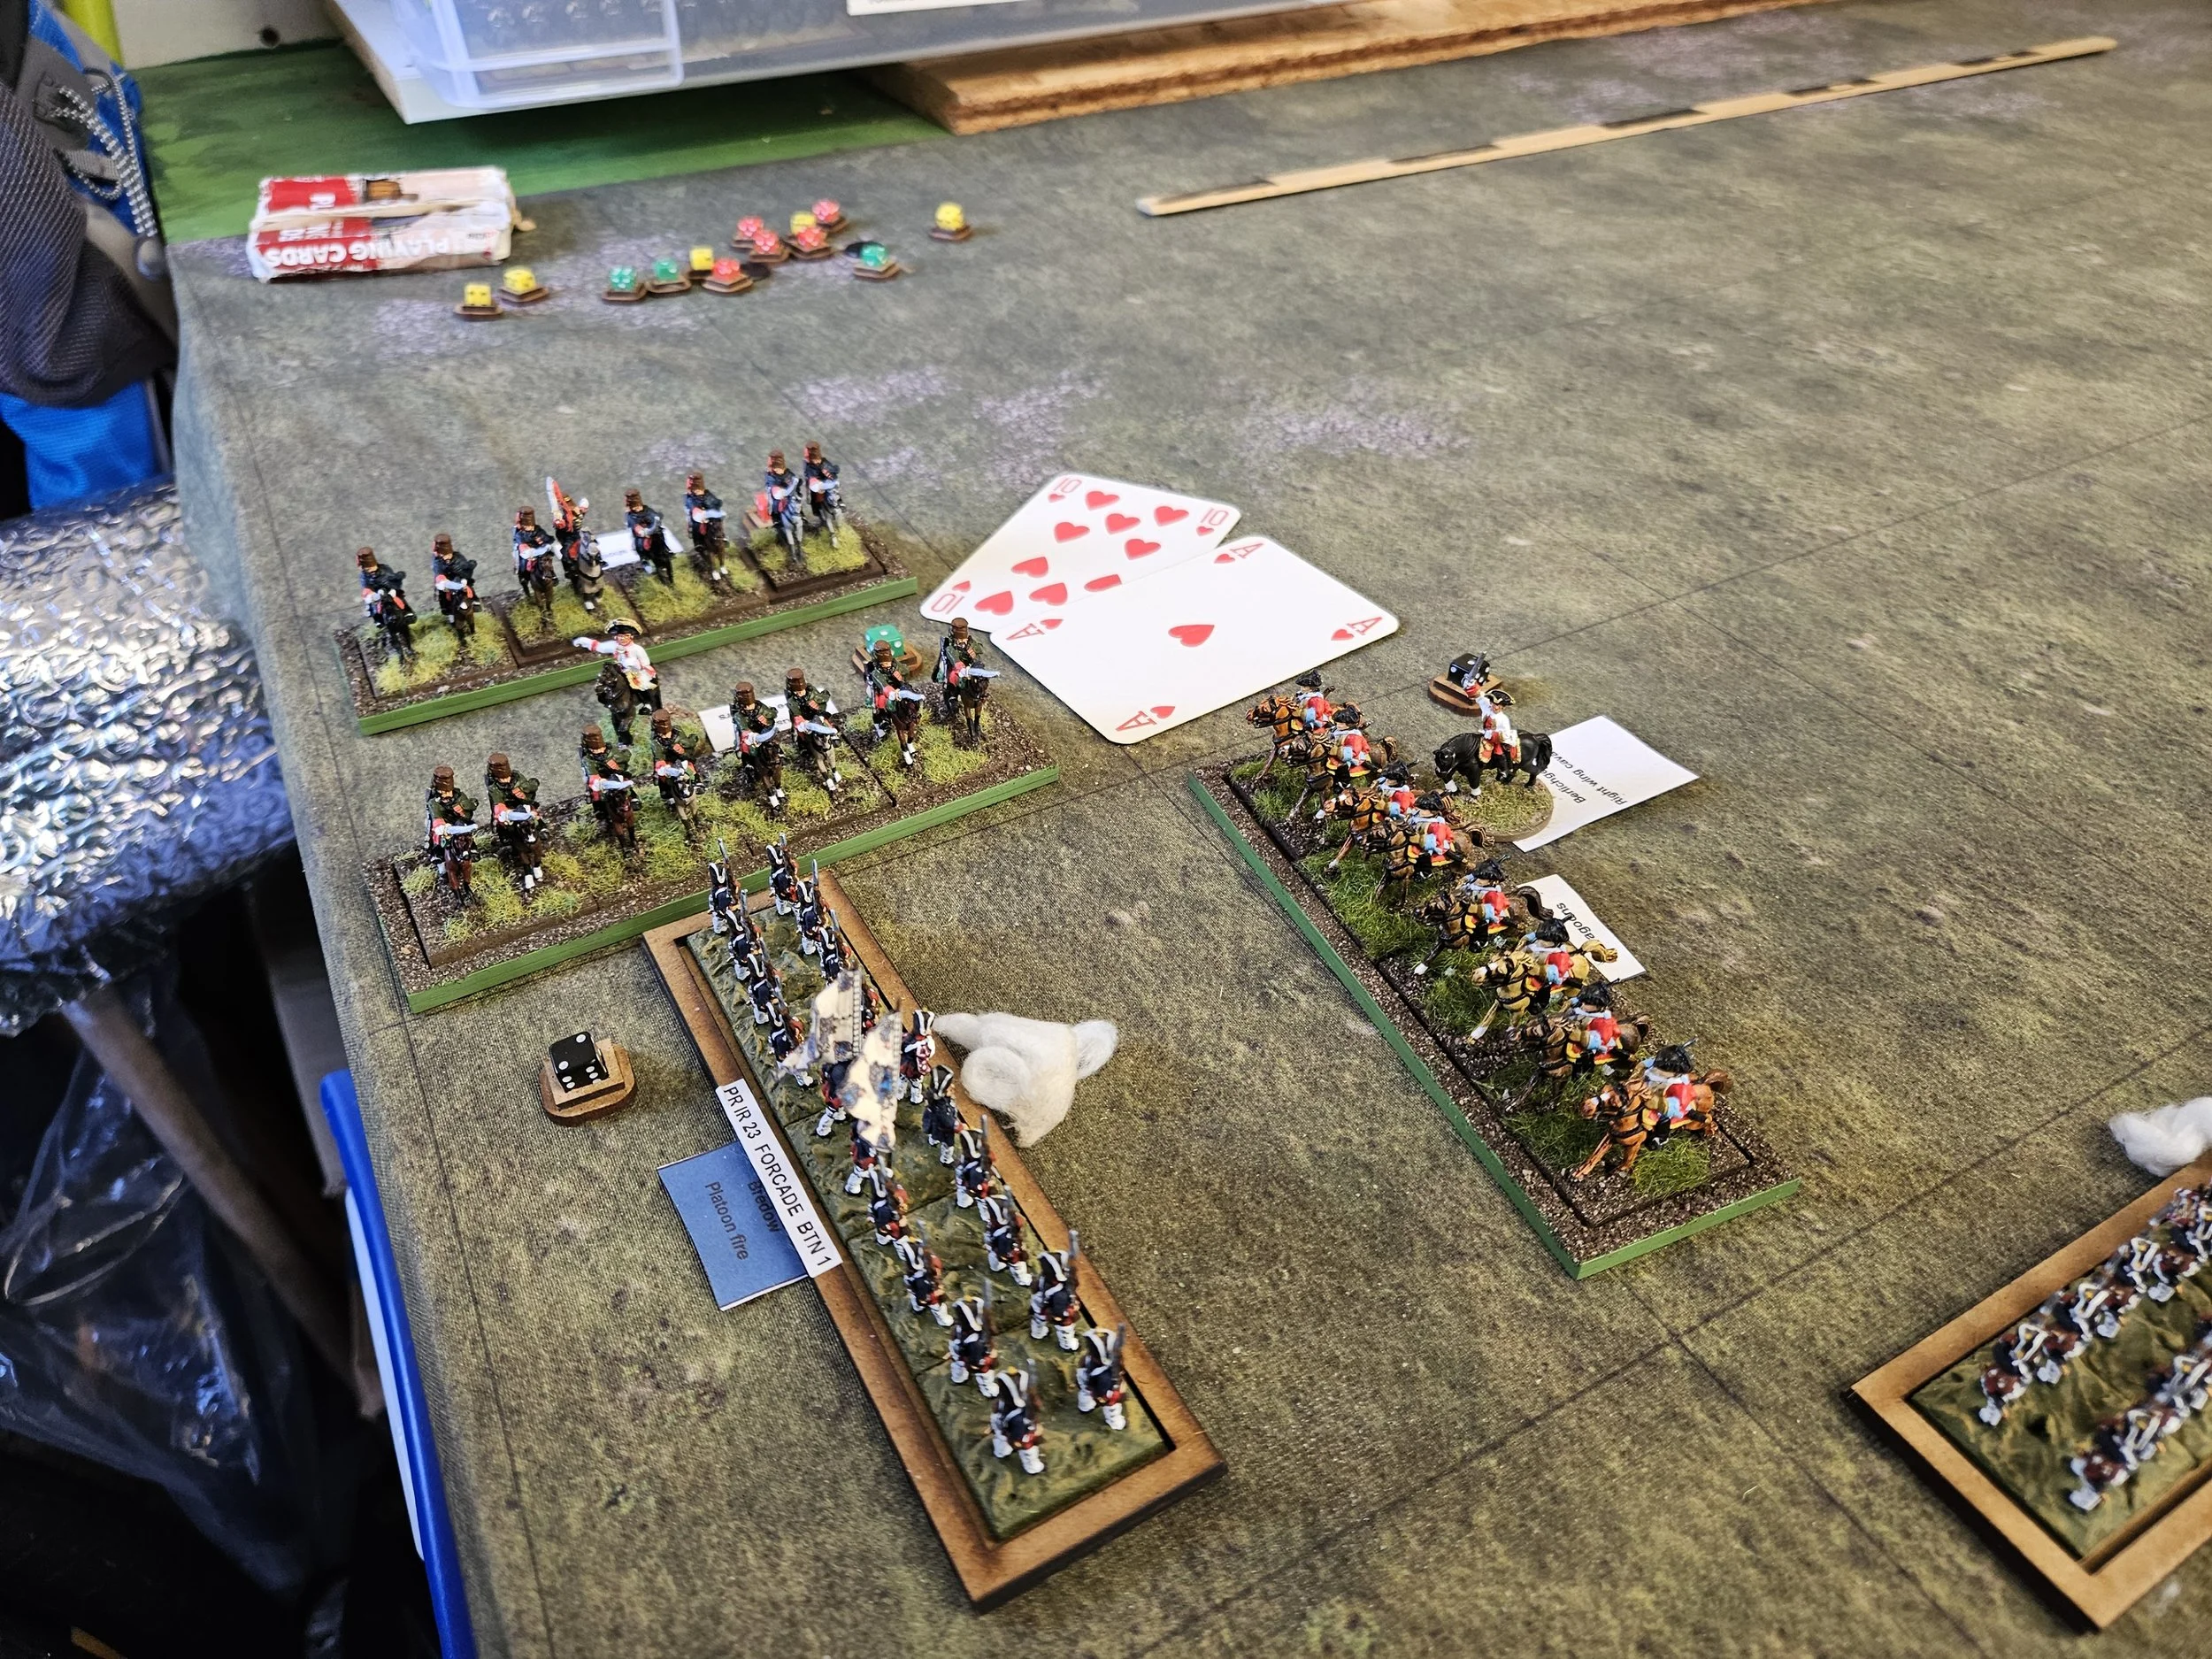
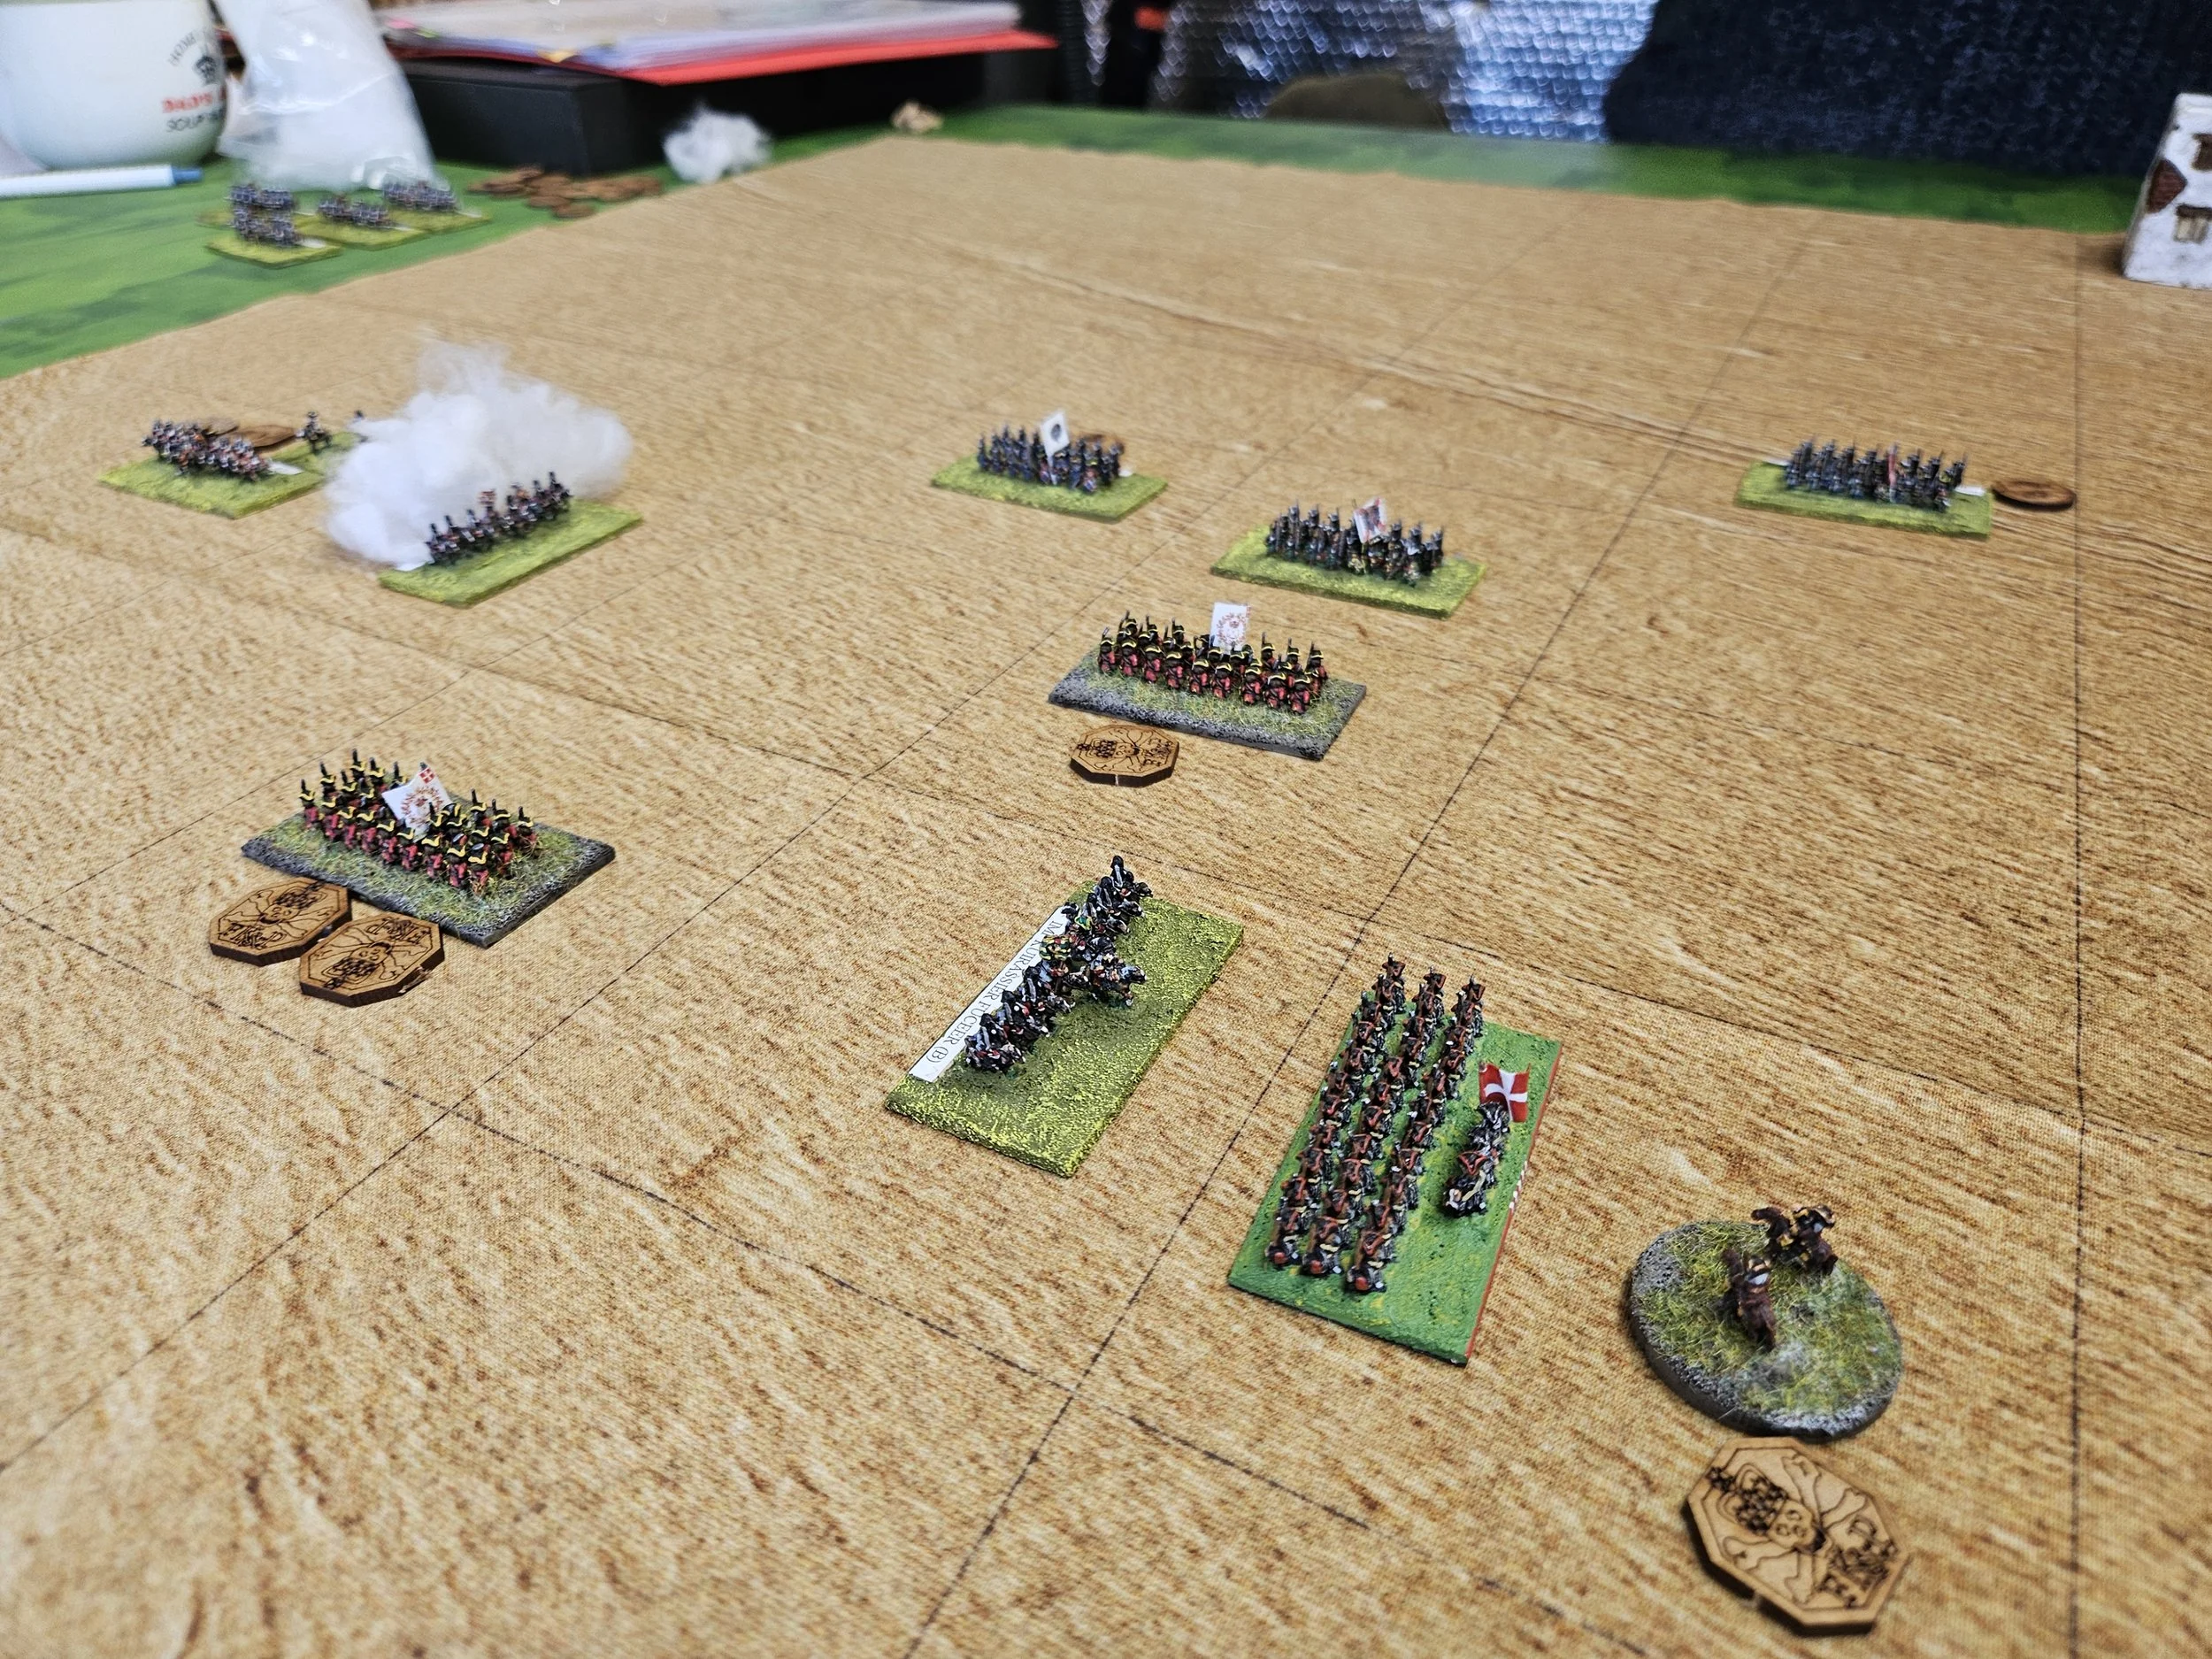
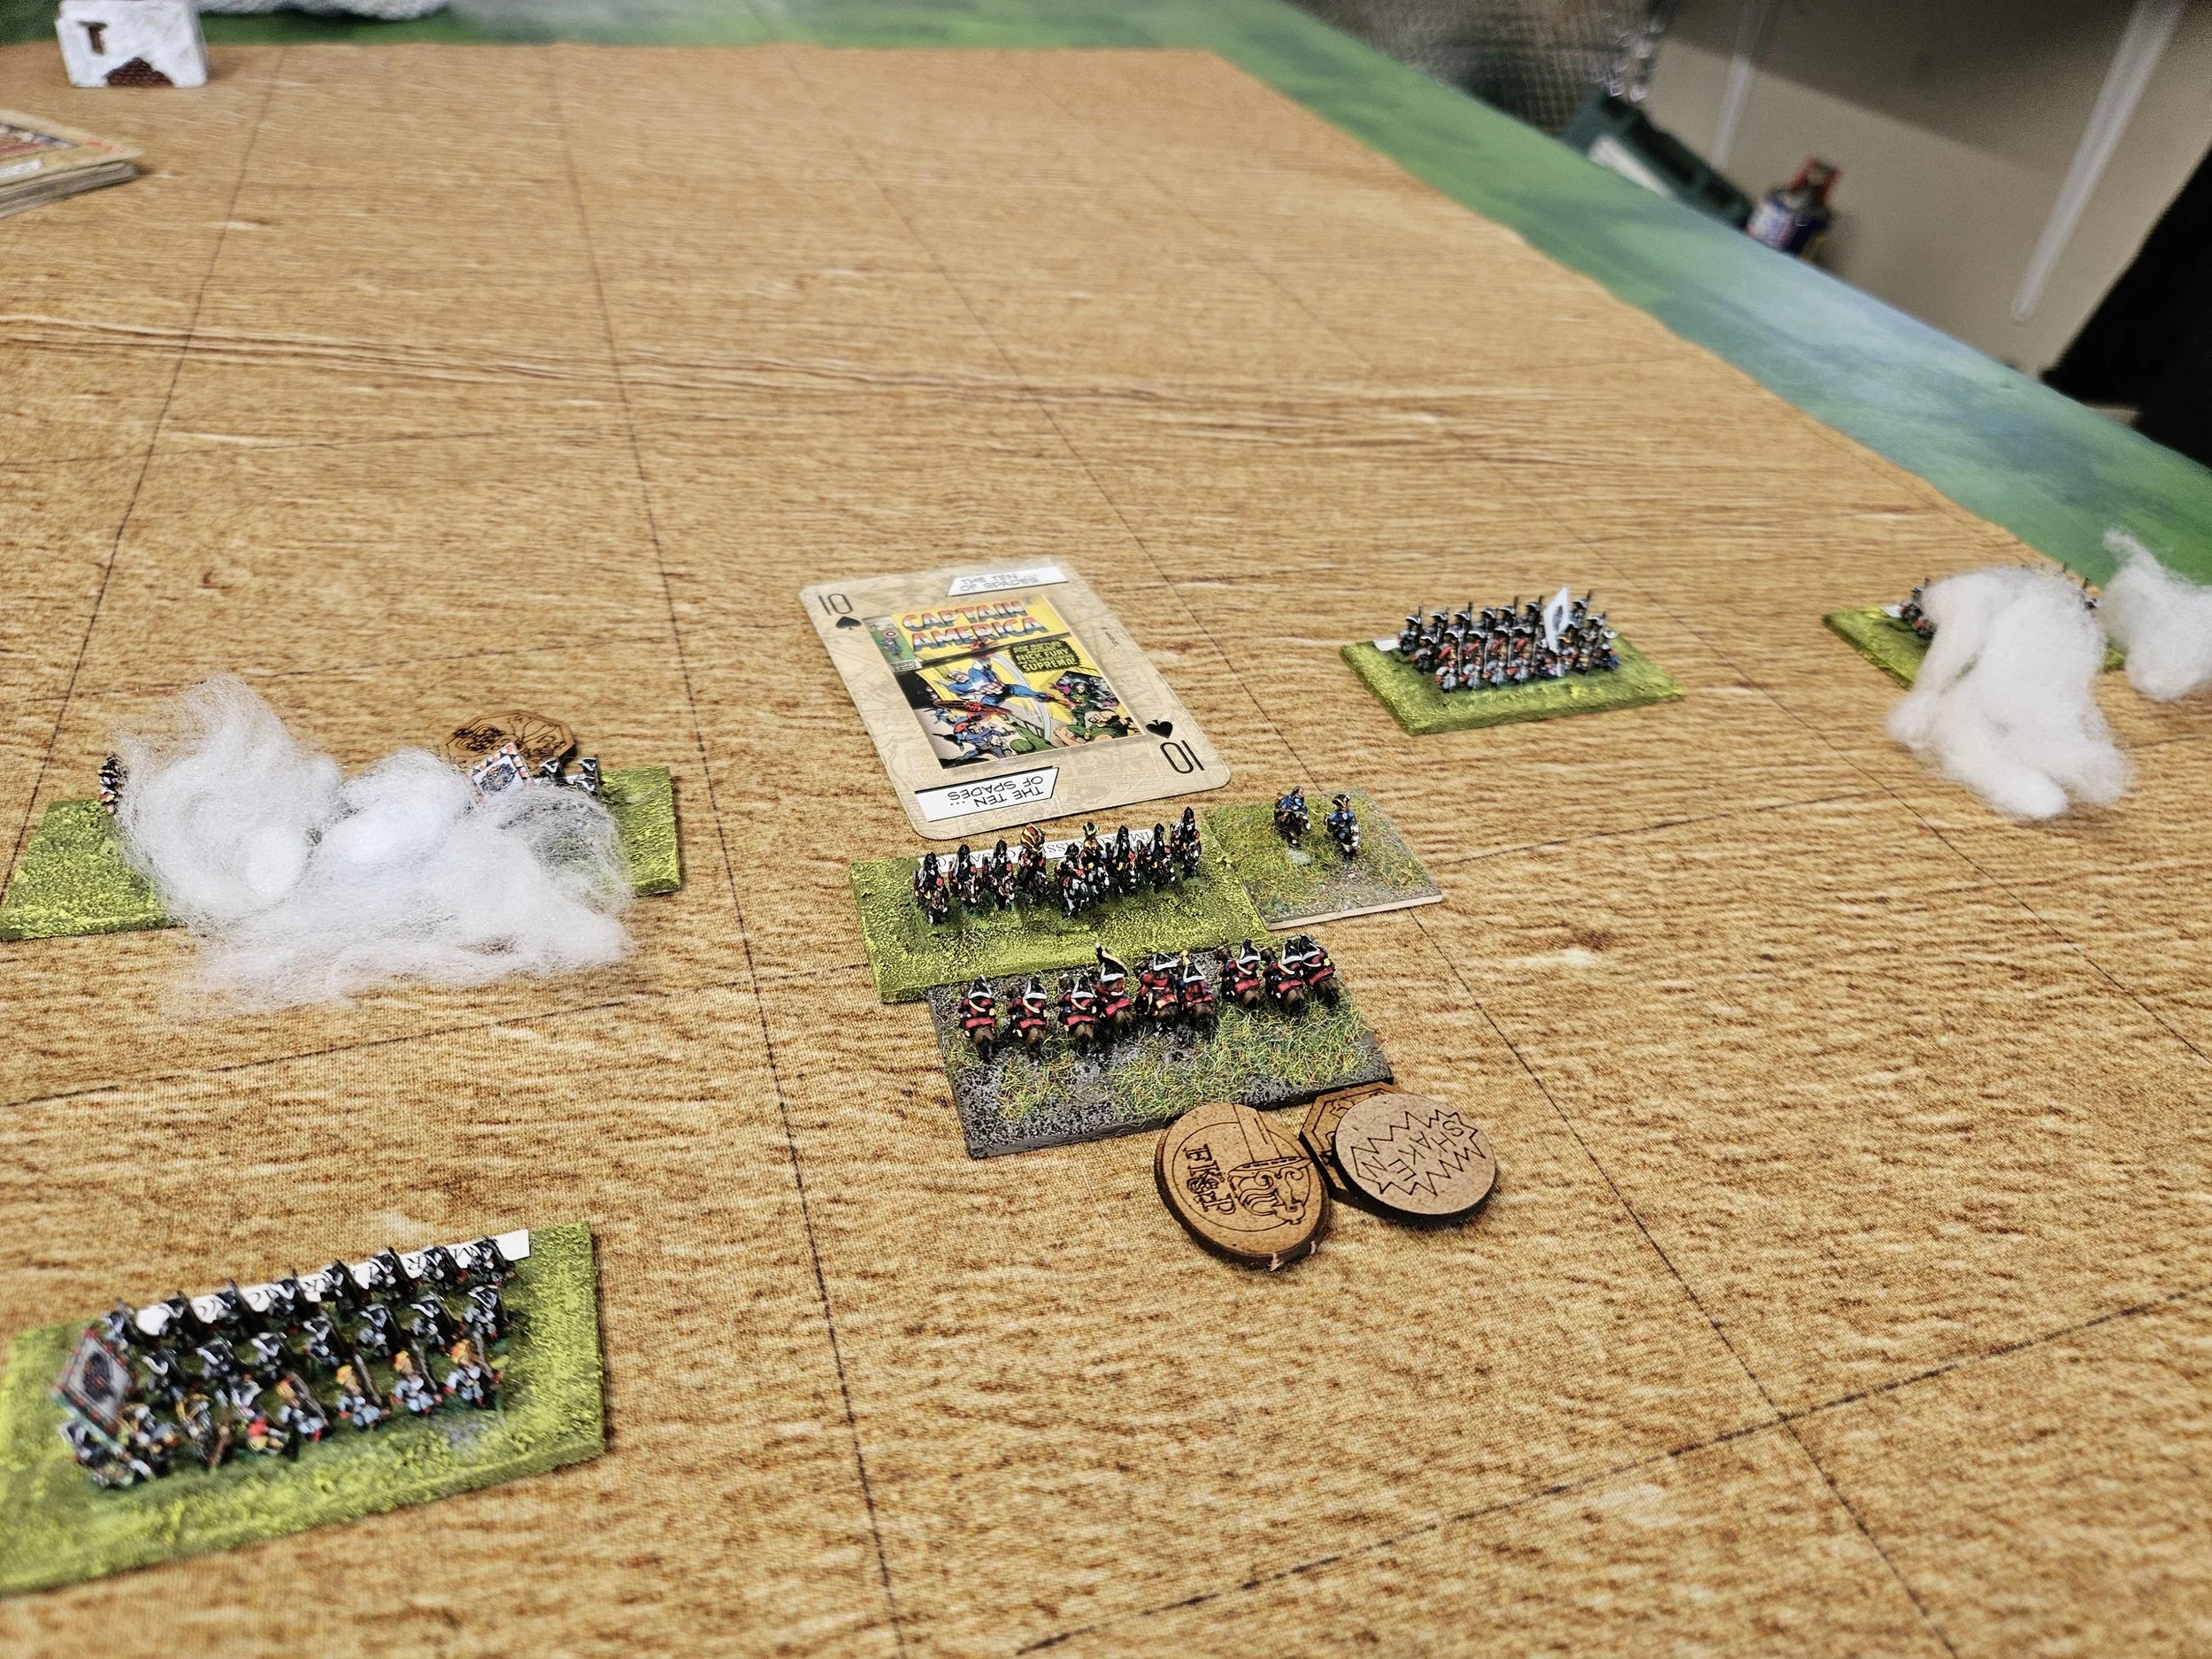
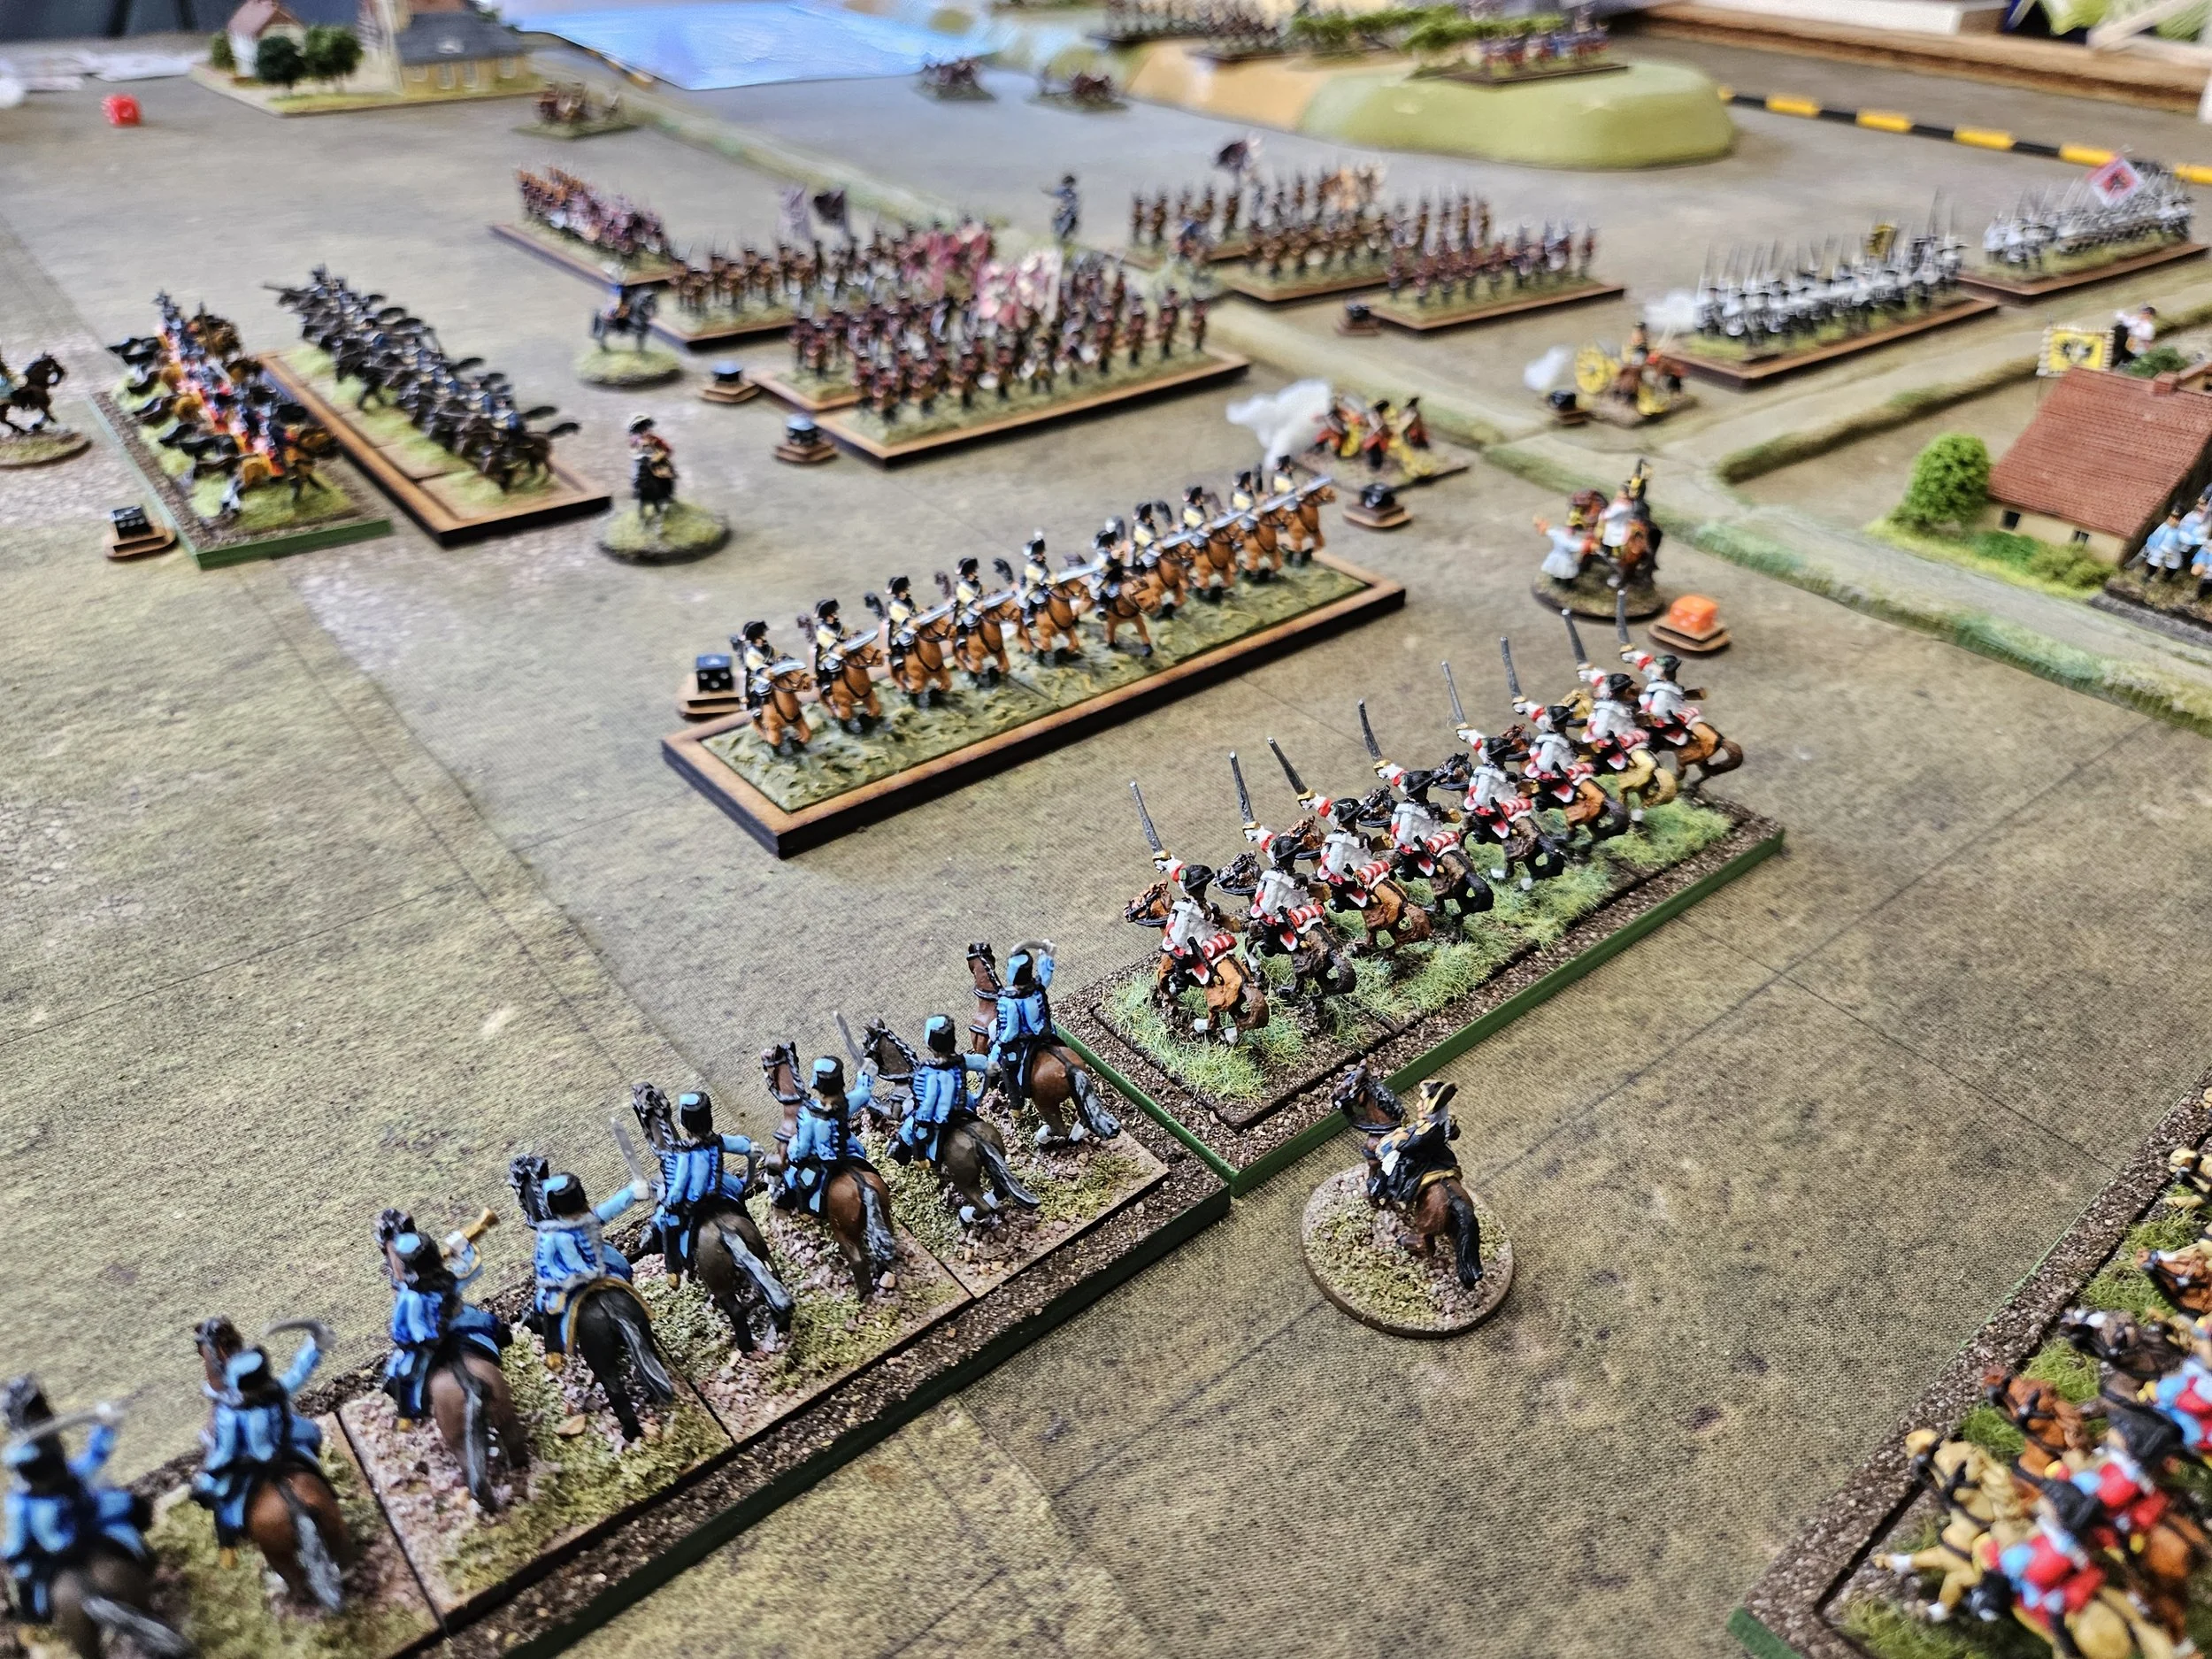
My own cavalry waited until the perfect moment to charge the Prussian horse, with my first line of horsemen (supported by artillery from the left) soundly defeating the Prussian first row.
Normally, I would have followed up by charging blindly into the rest of the Prussians and watching my men be overwhelmed by a fresh enemy. But, mindful of my overall strategy of letting them come to us, I instead pulled my victorious but battered men back to regroup, forcing the remaining Prussian cavalry to advance even closer to my waiting infantry.


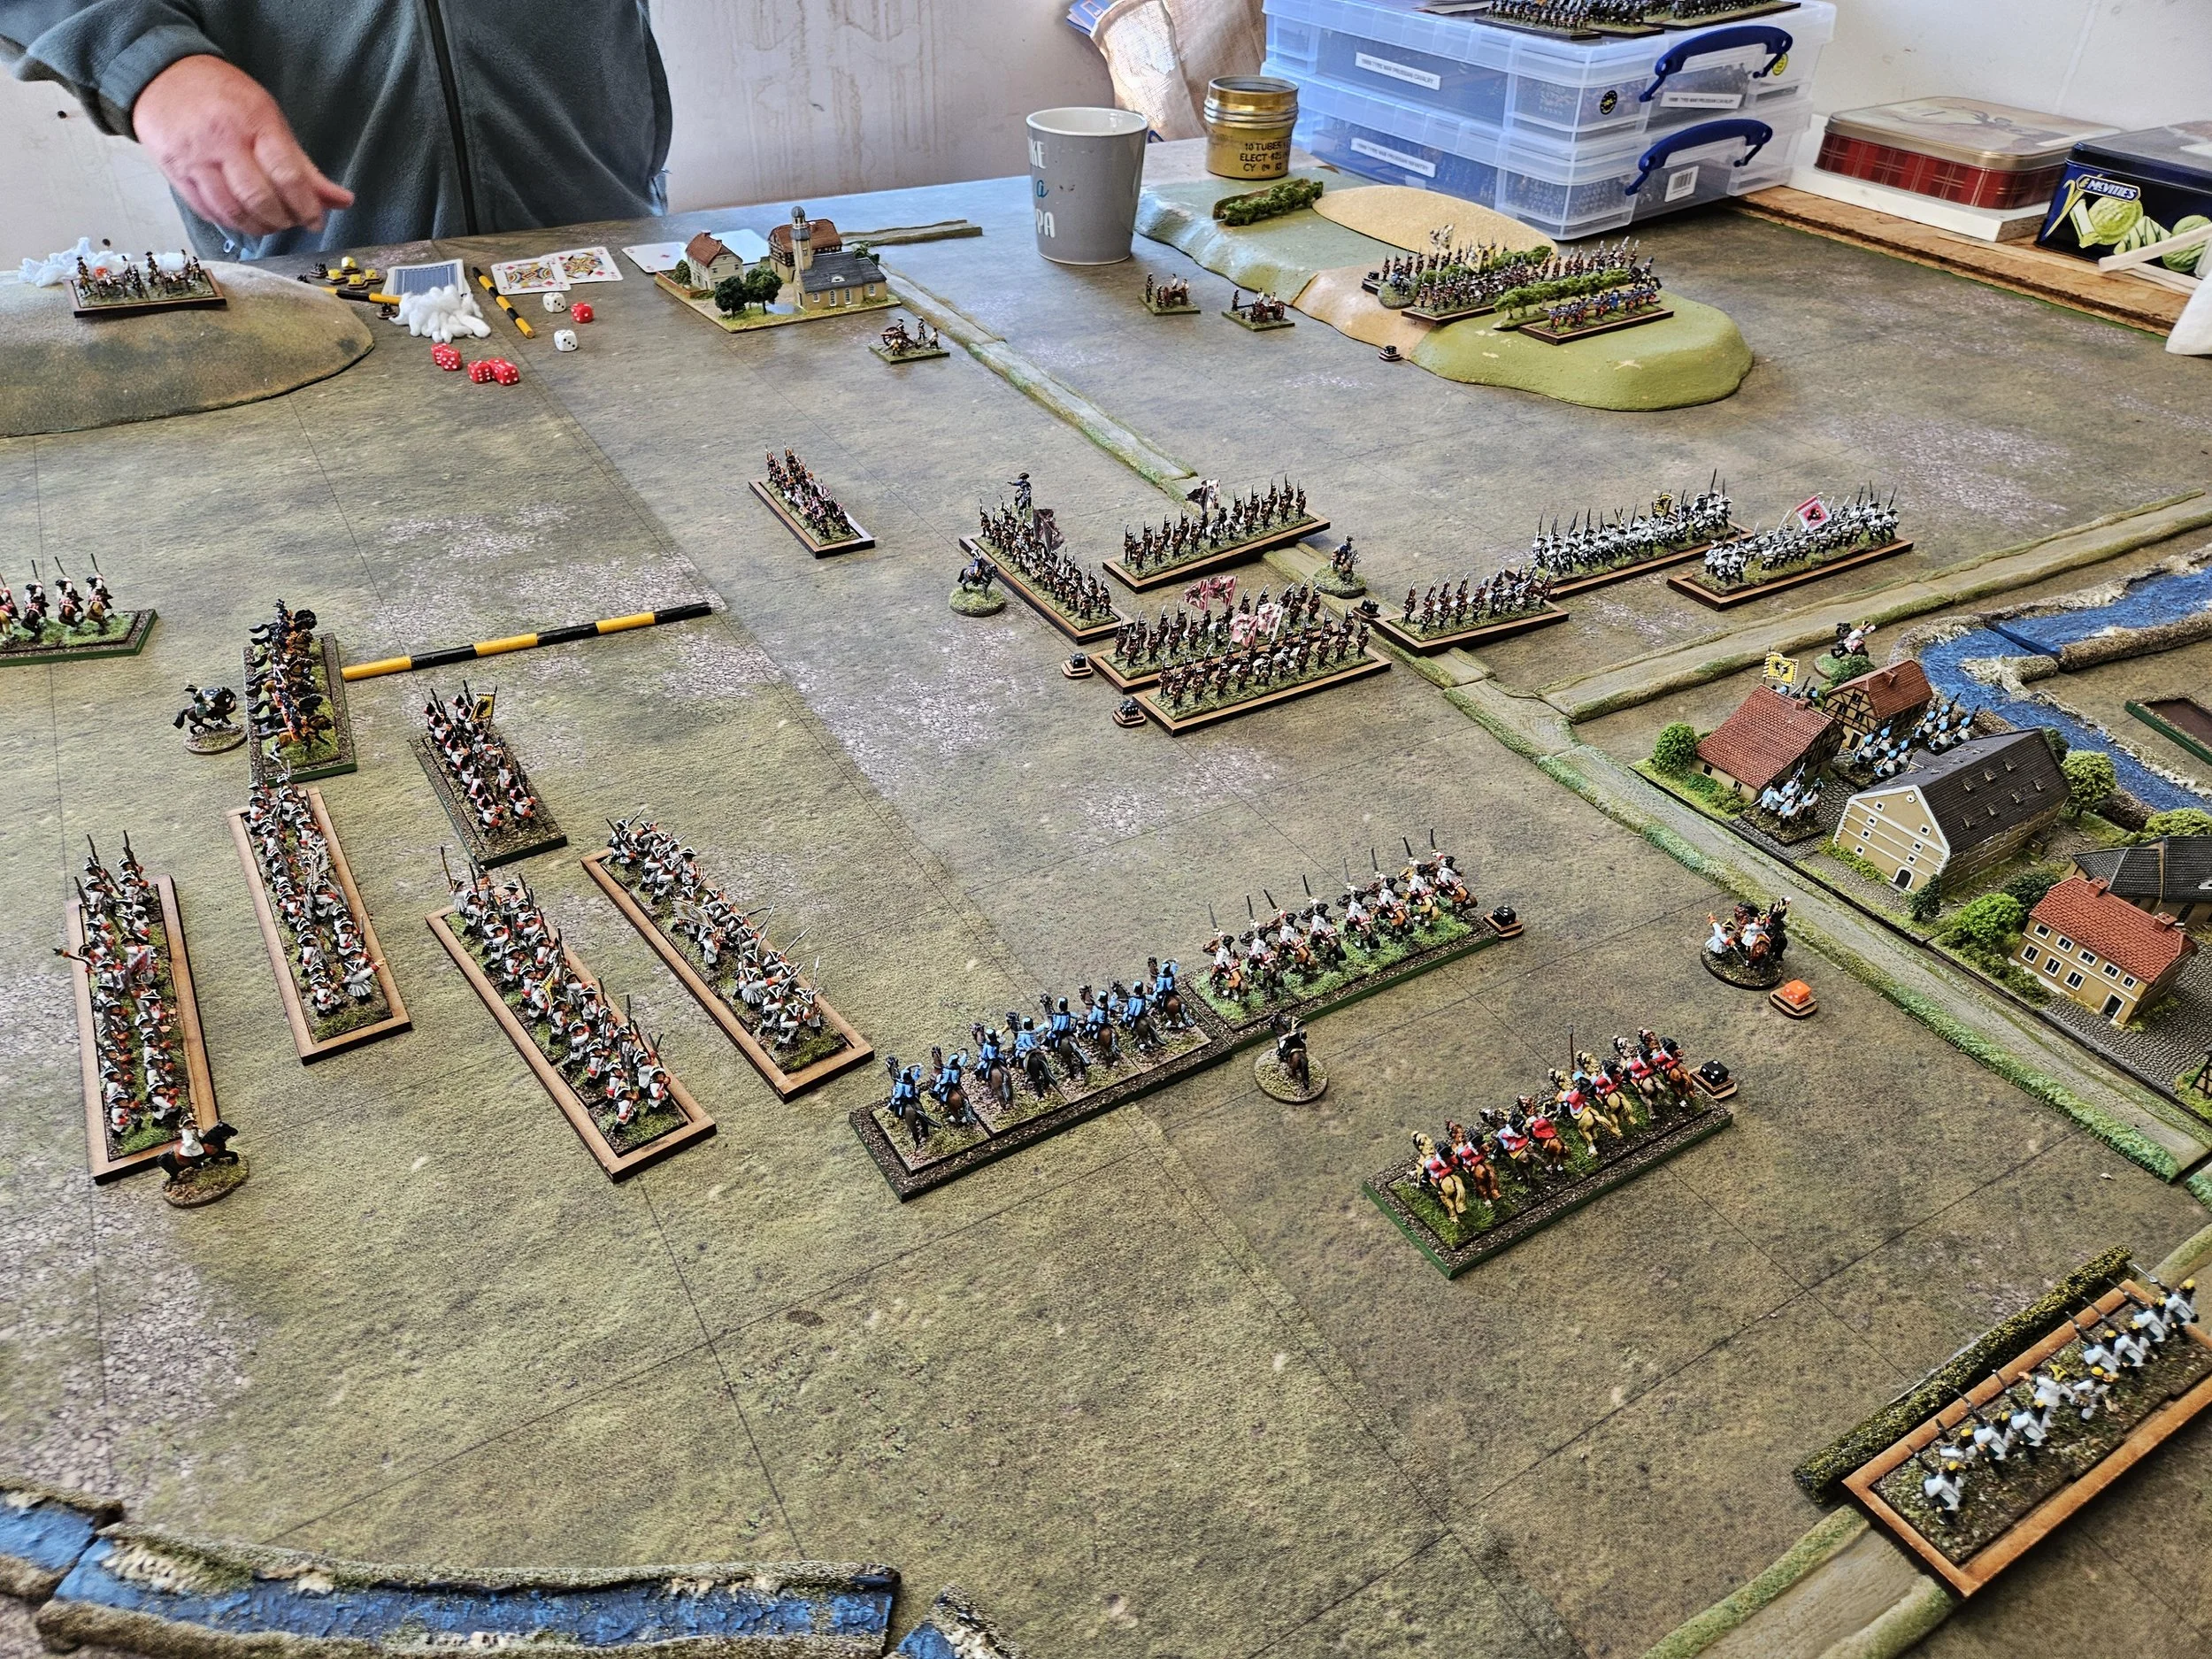
This meant that rather than losing all my cavalry (with the resultant risk of army collapse) it was actually the Prussians that found themselves down on points as their infantry approached contact with my “thin white streak” in front of the town.
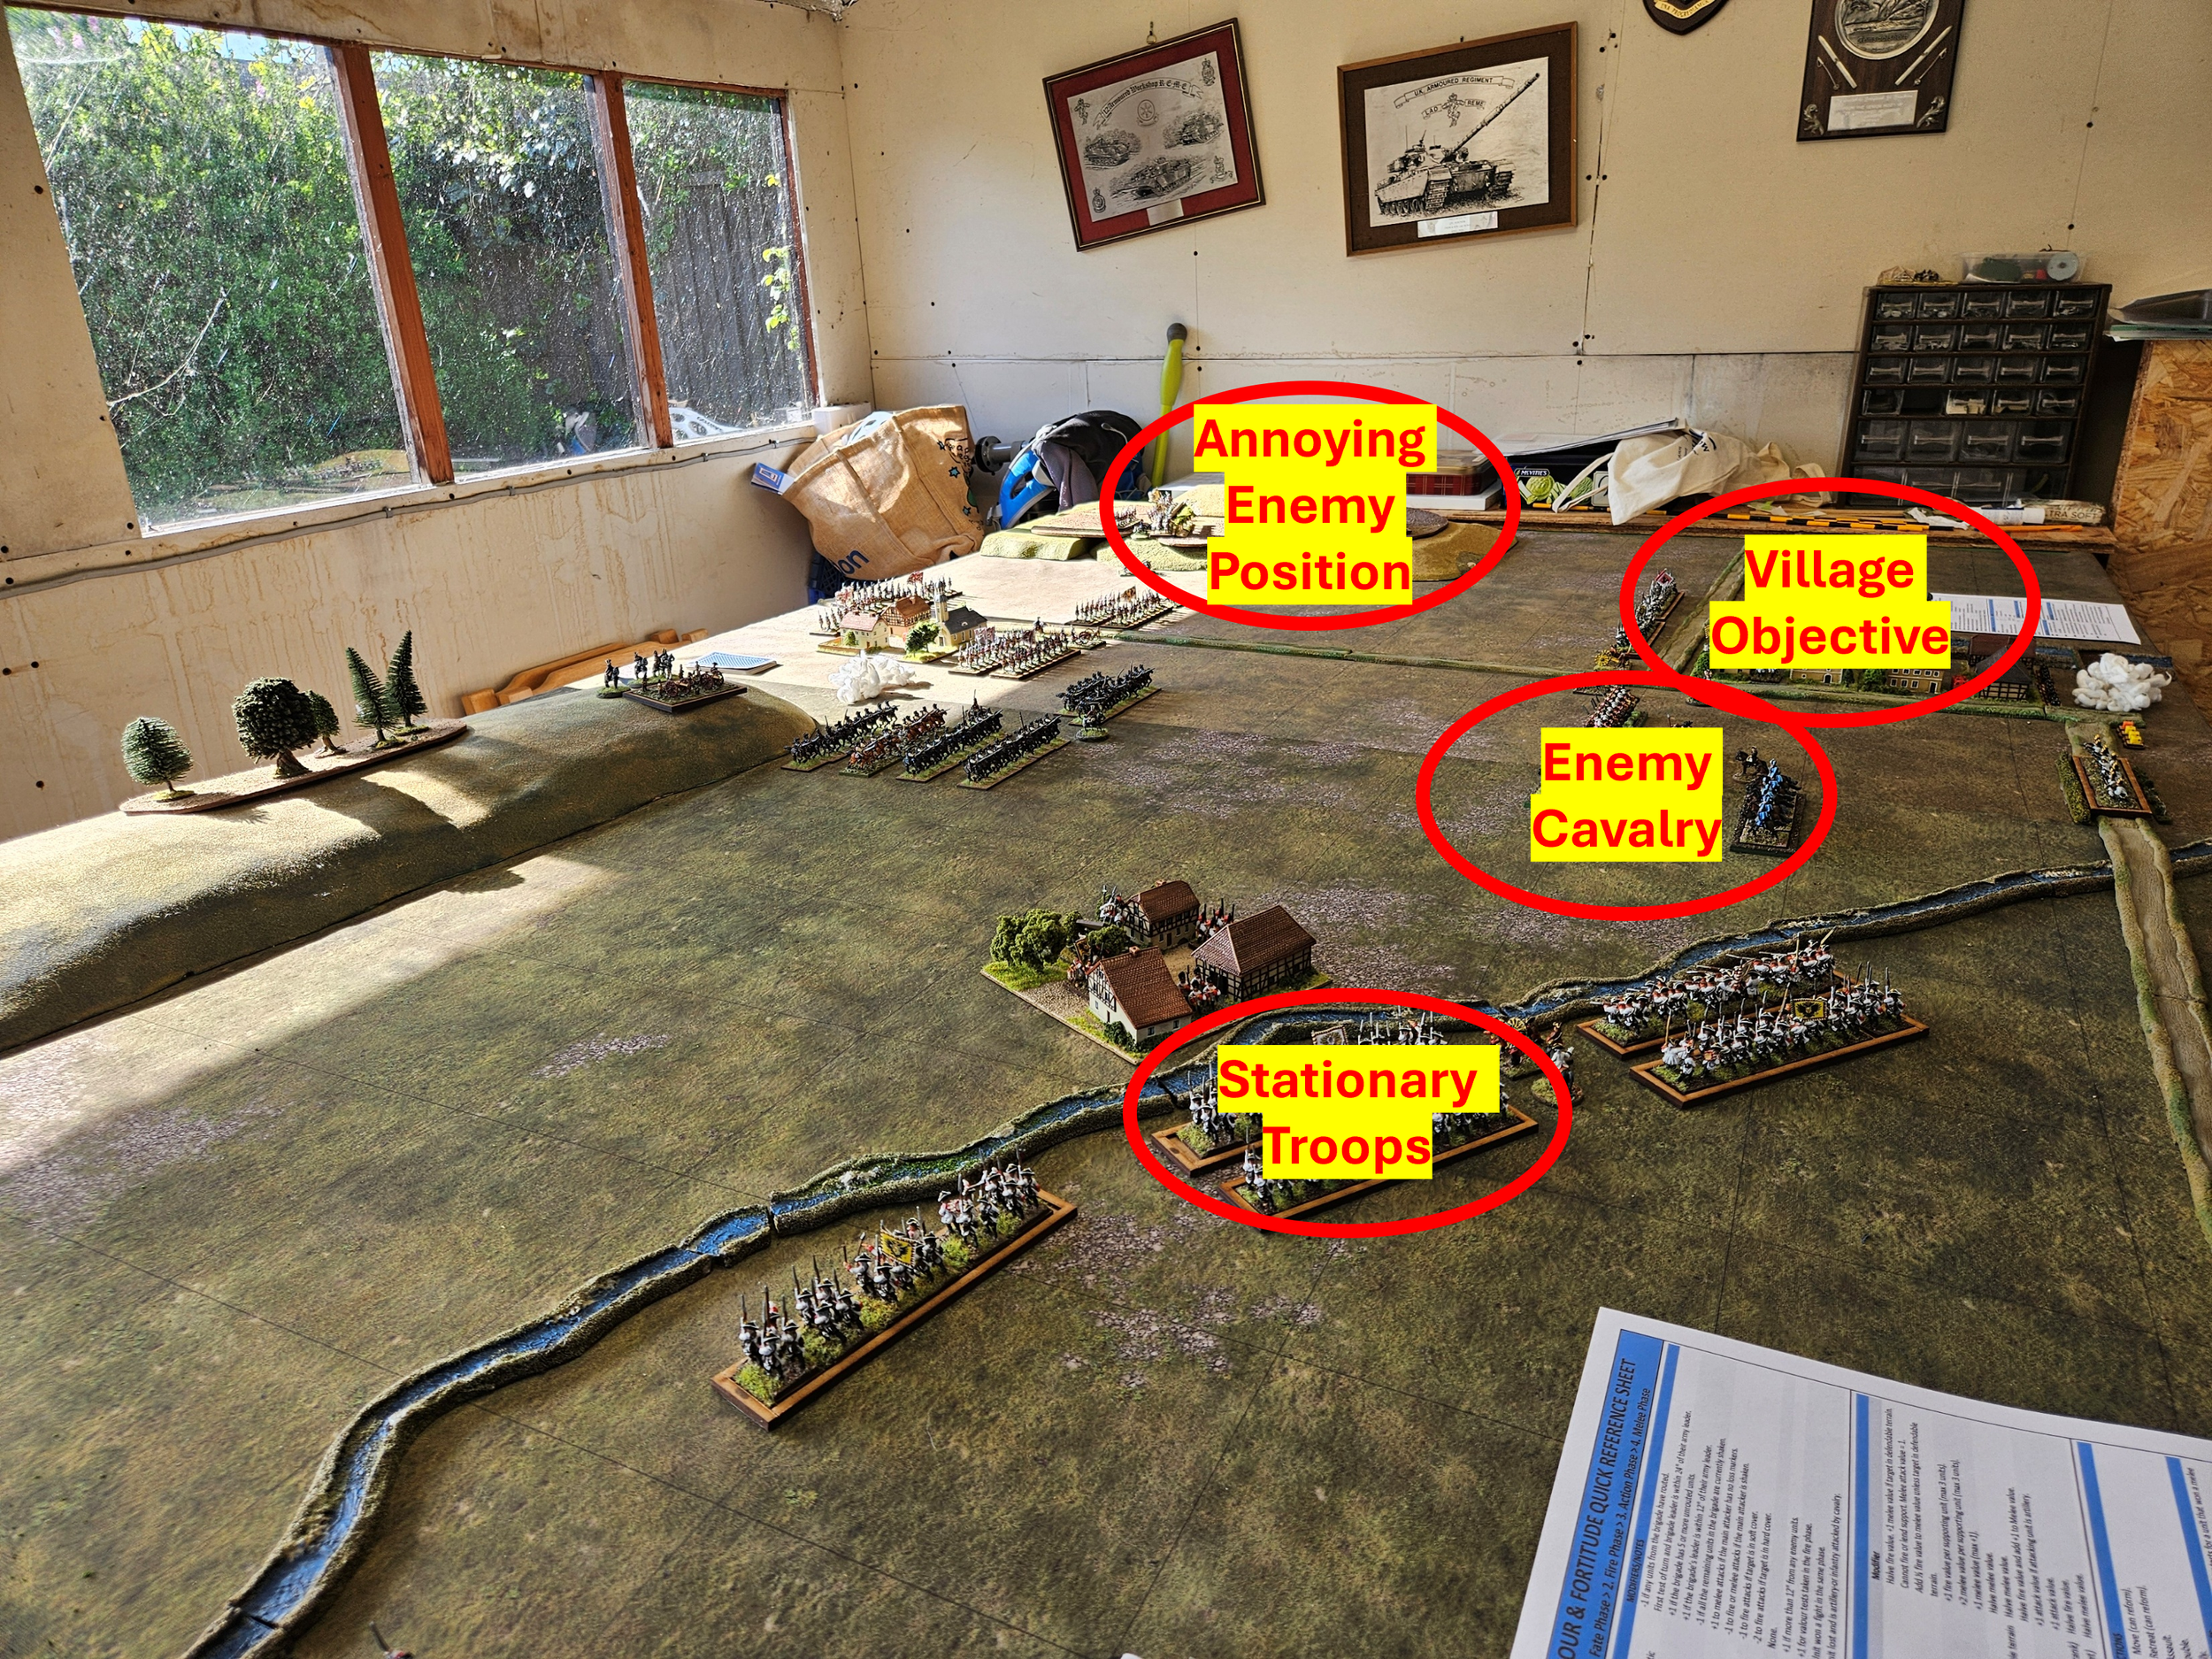
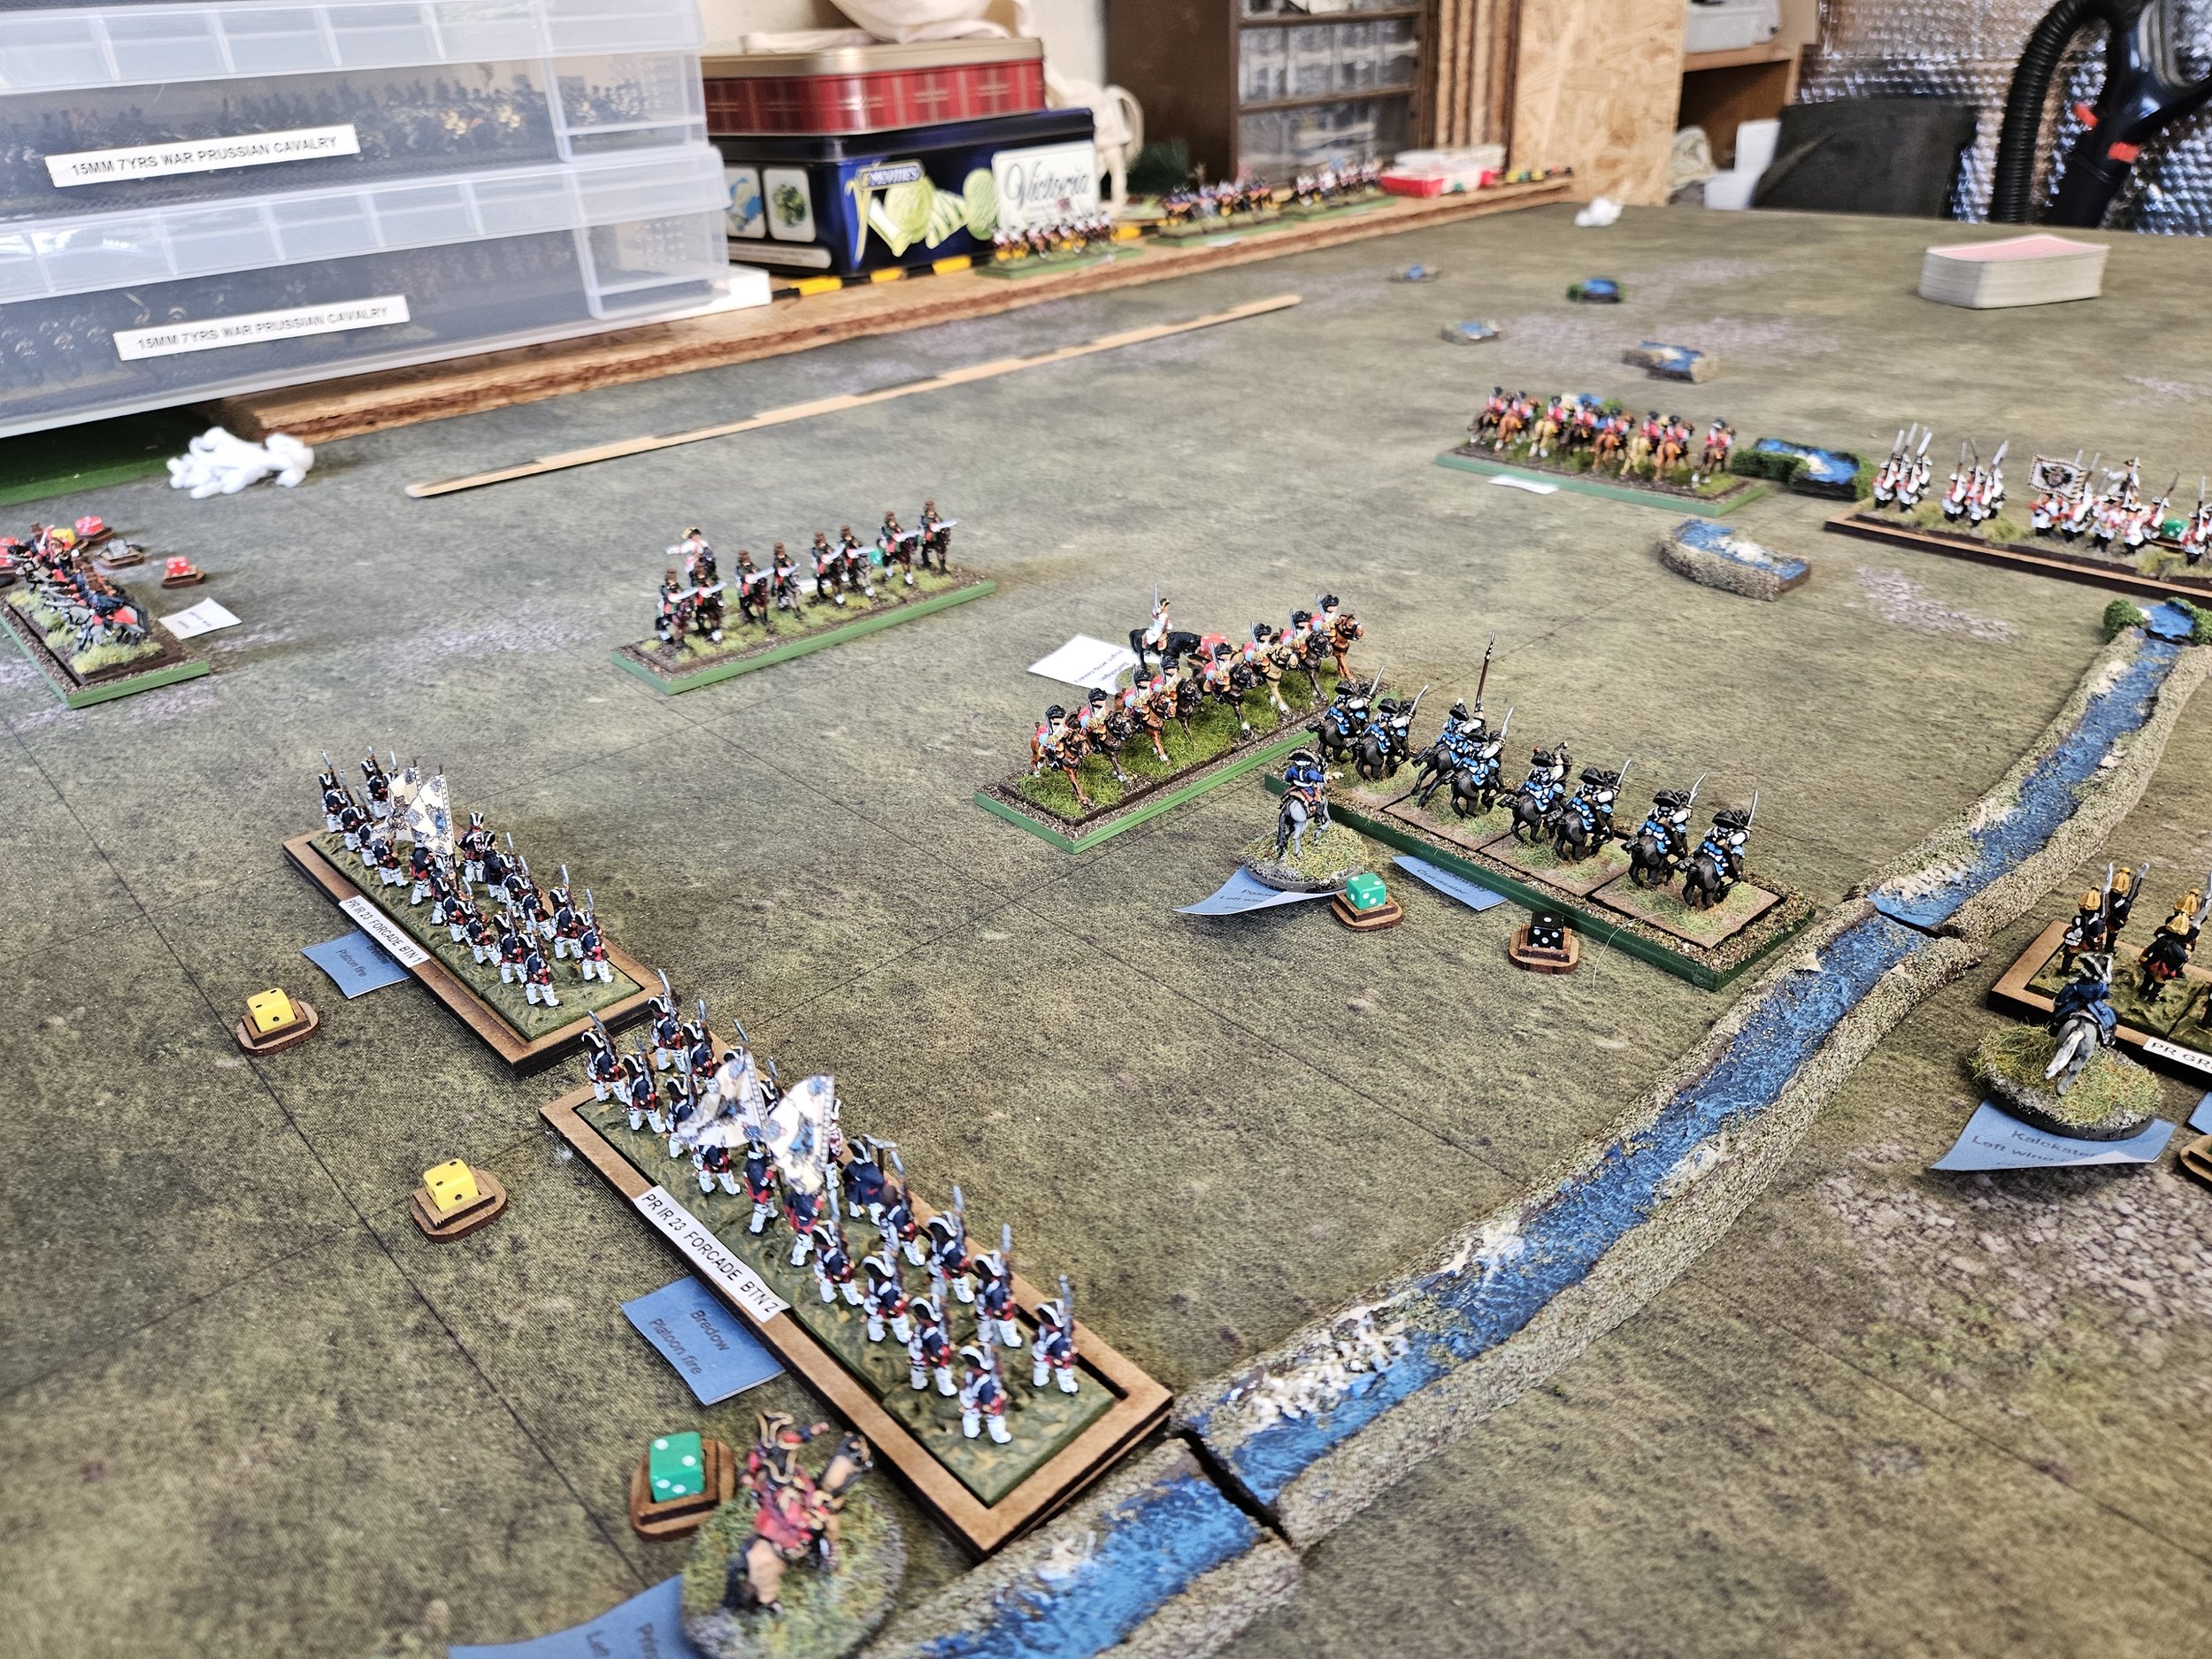
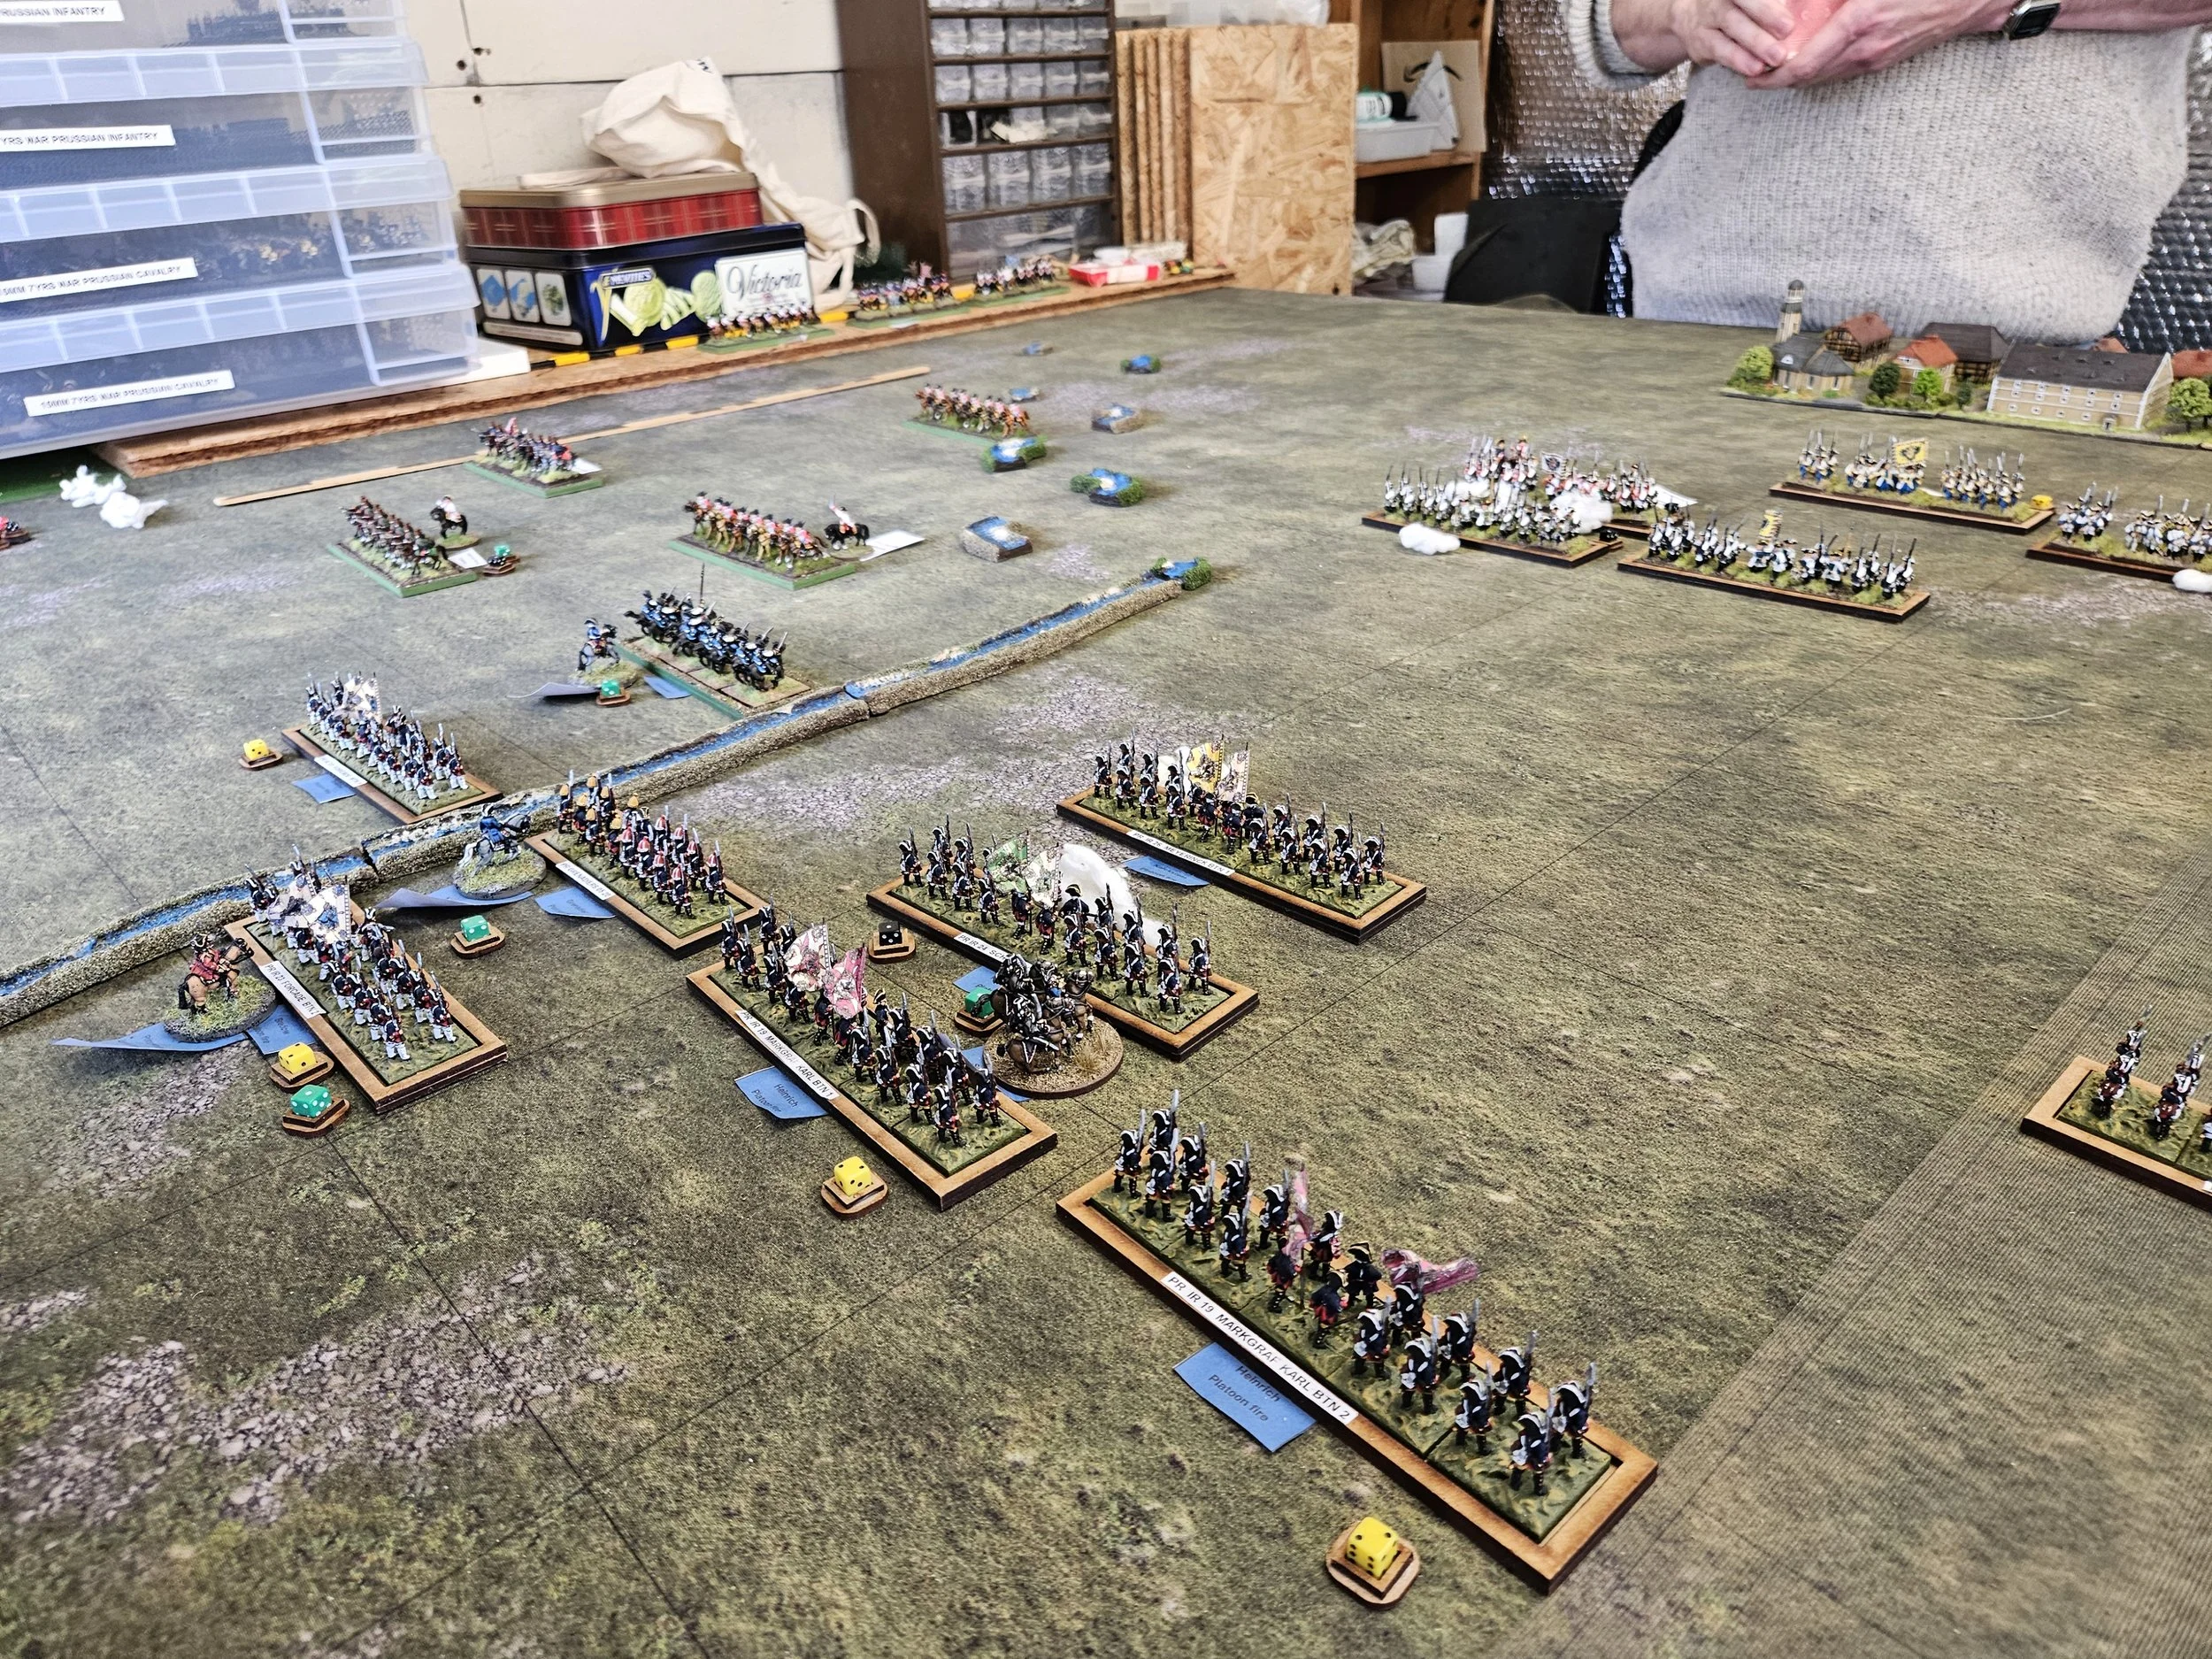
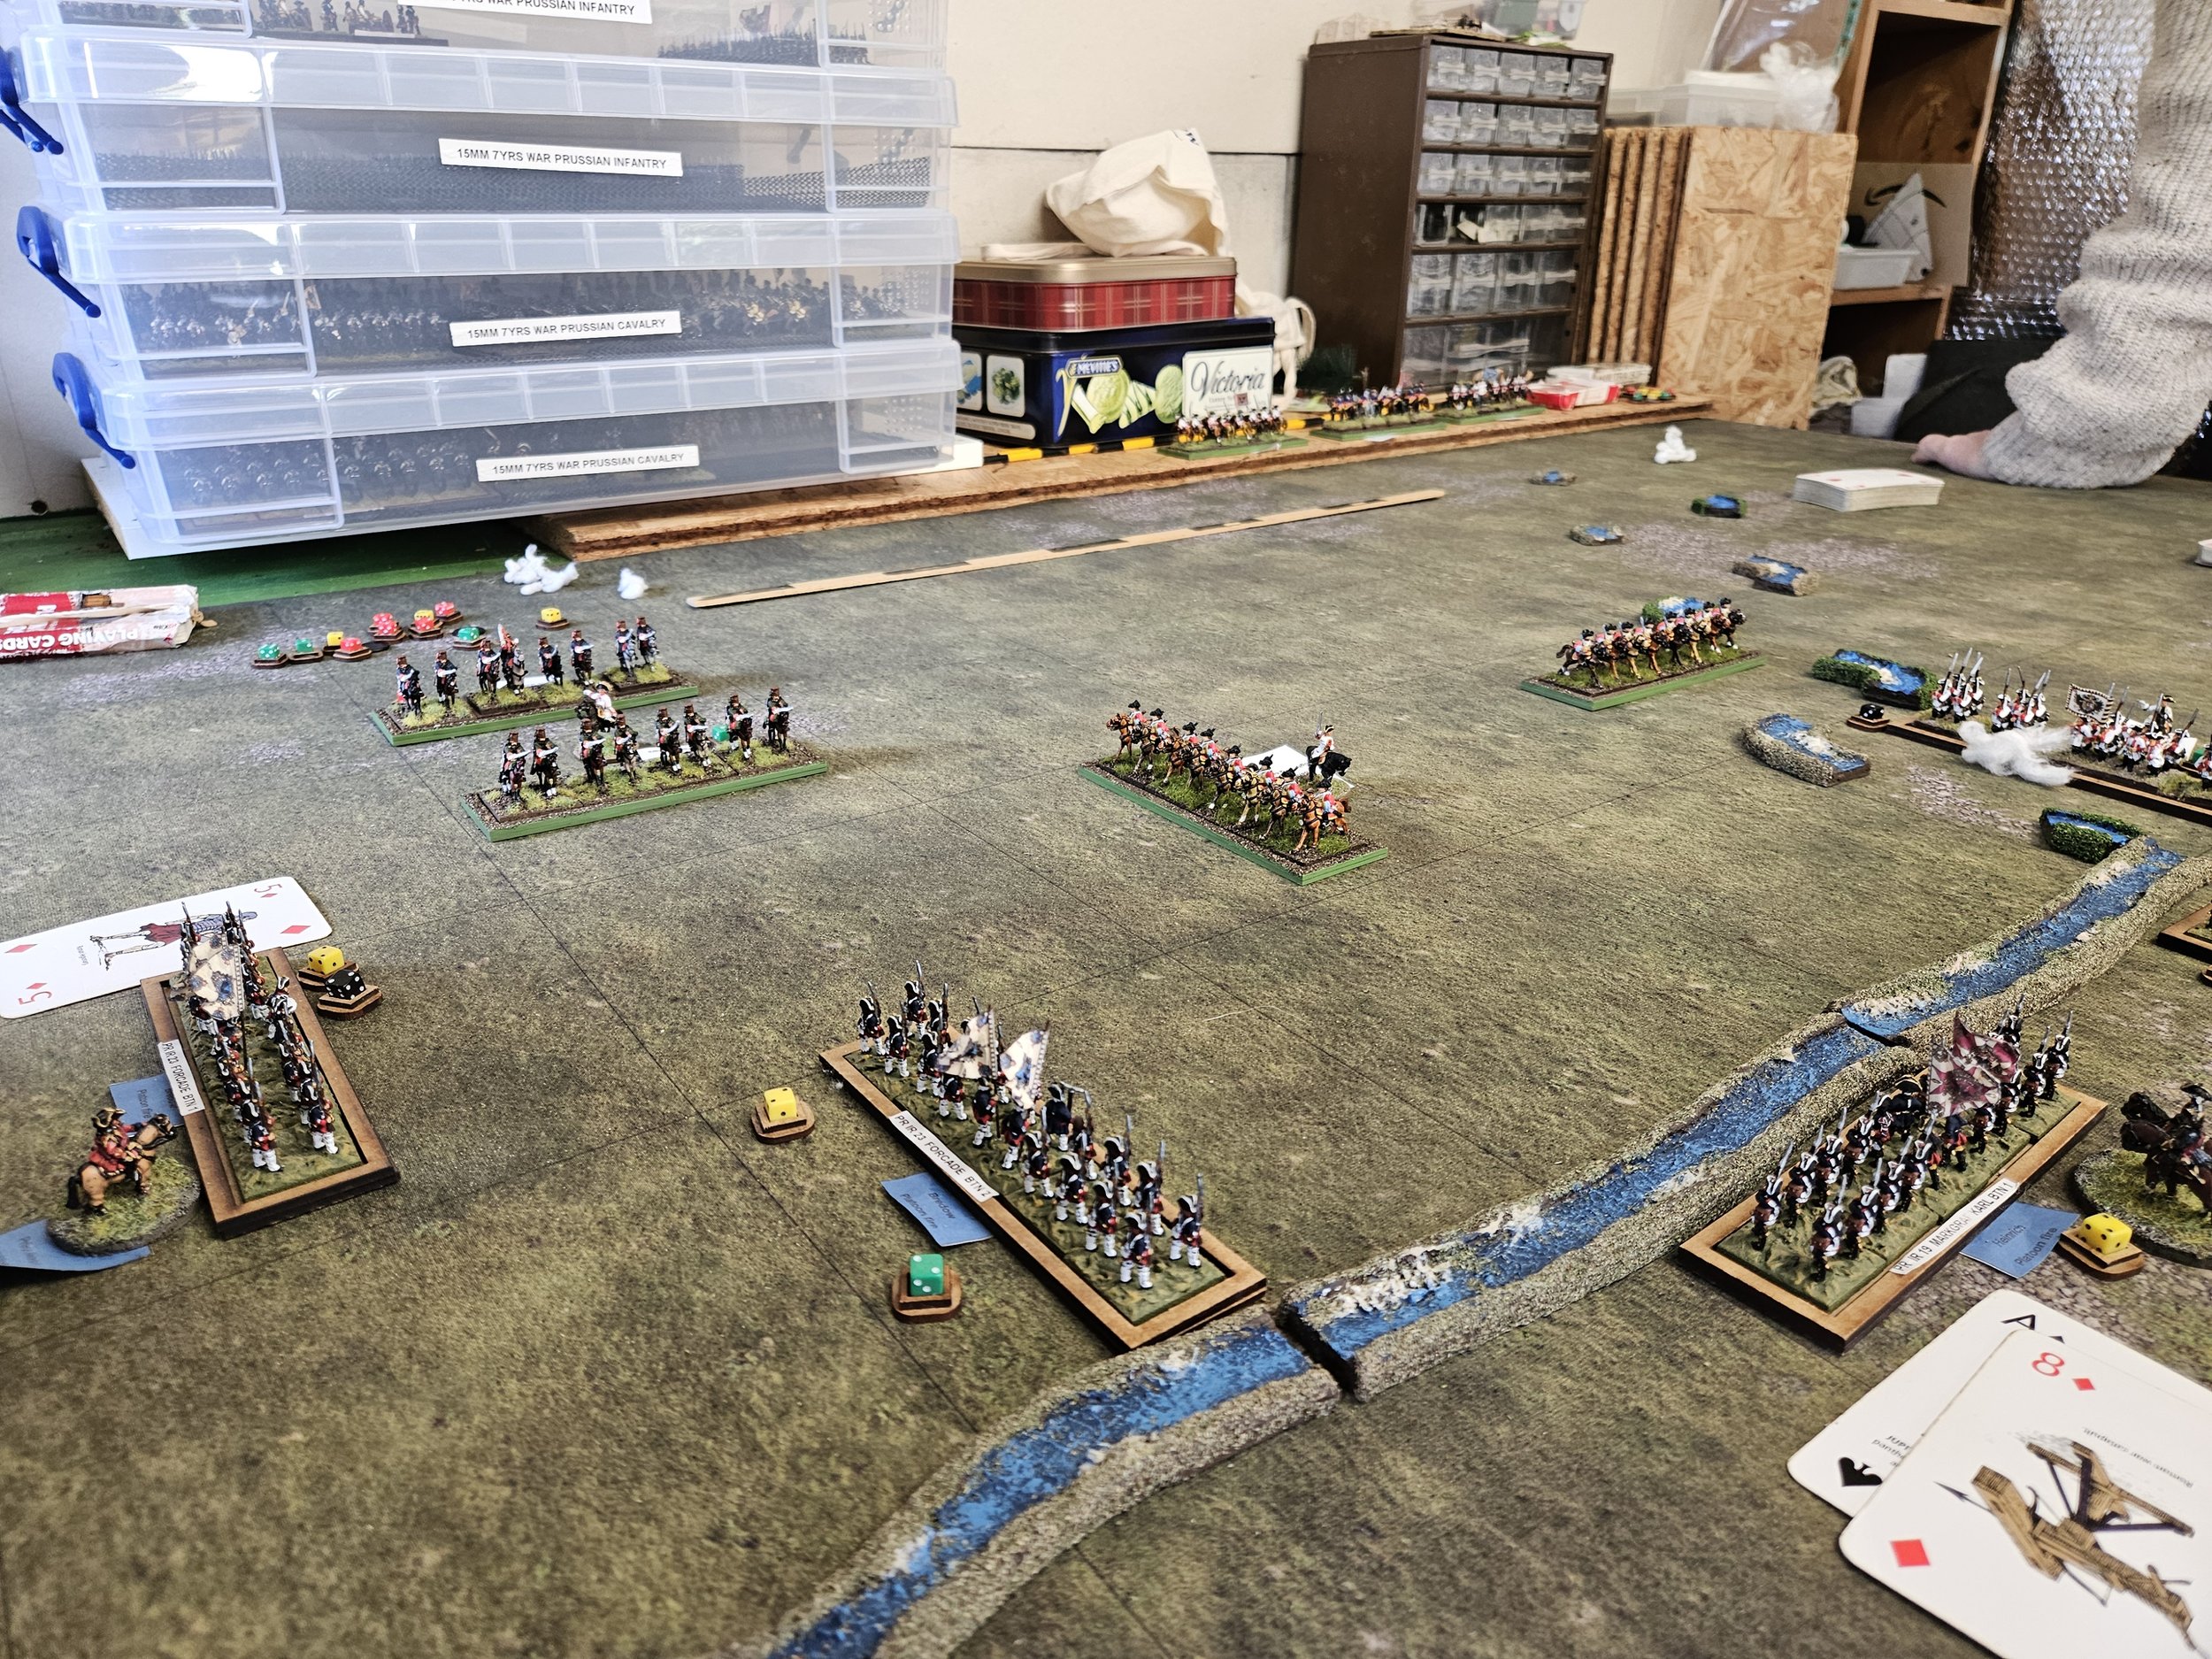
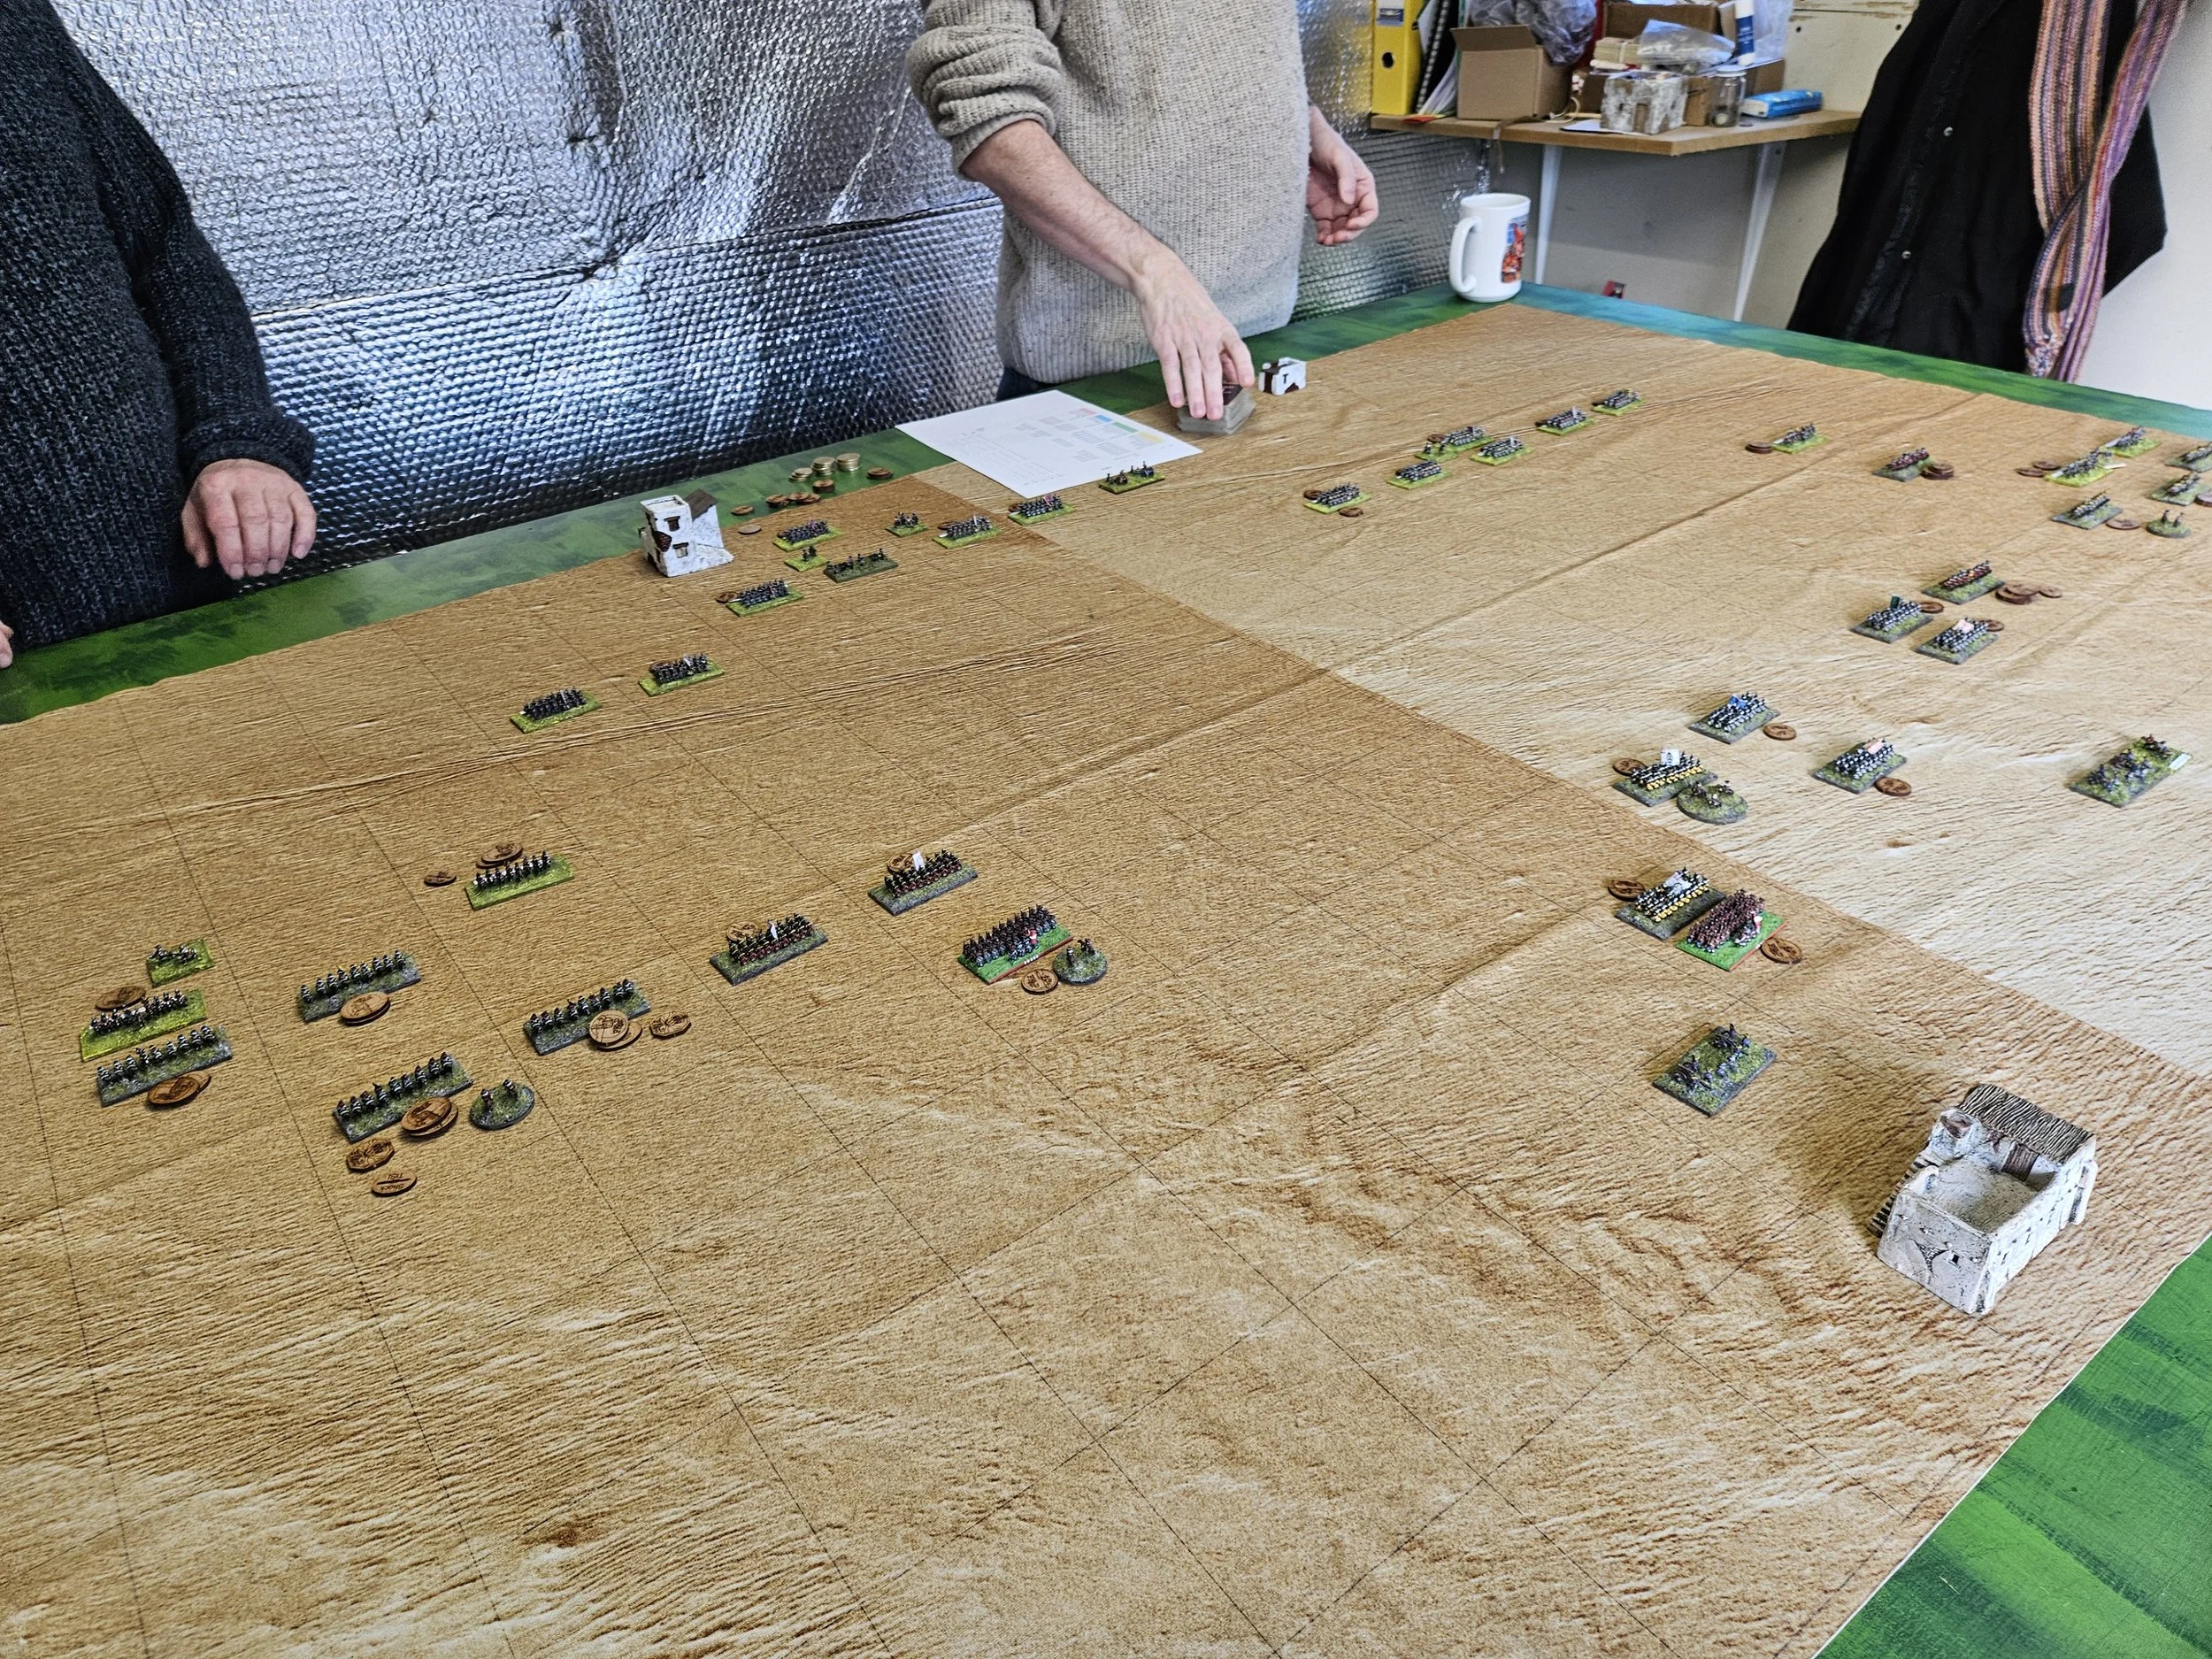
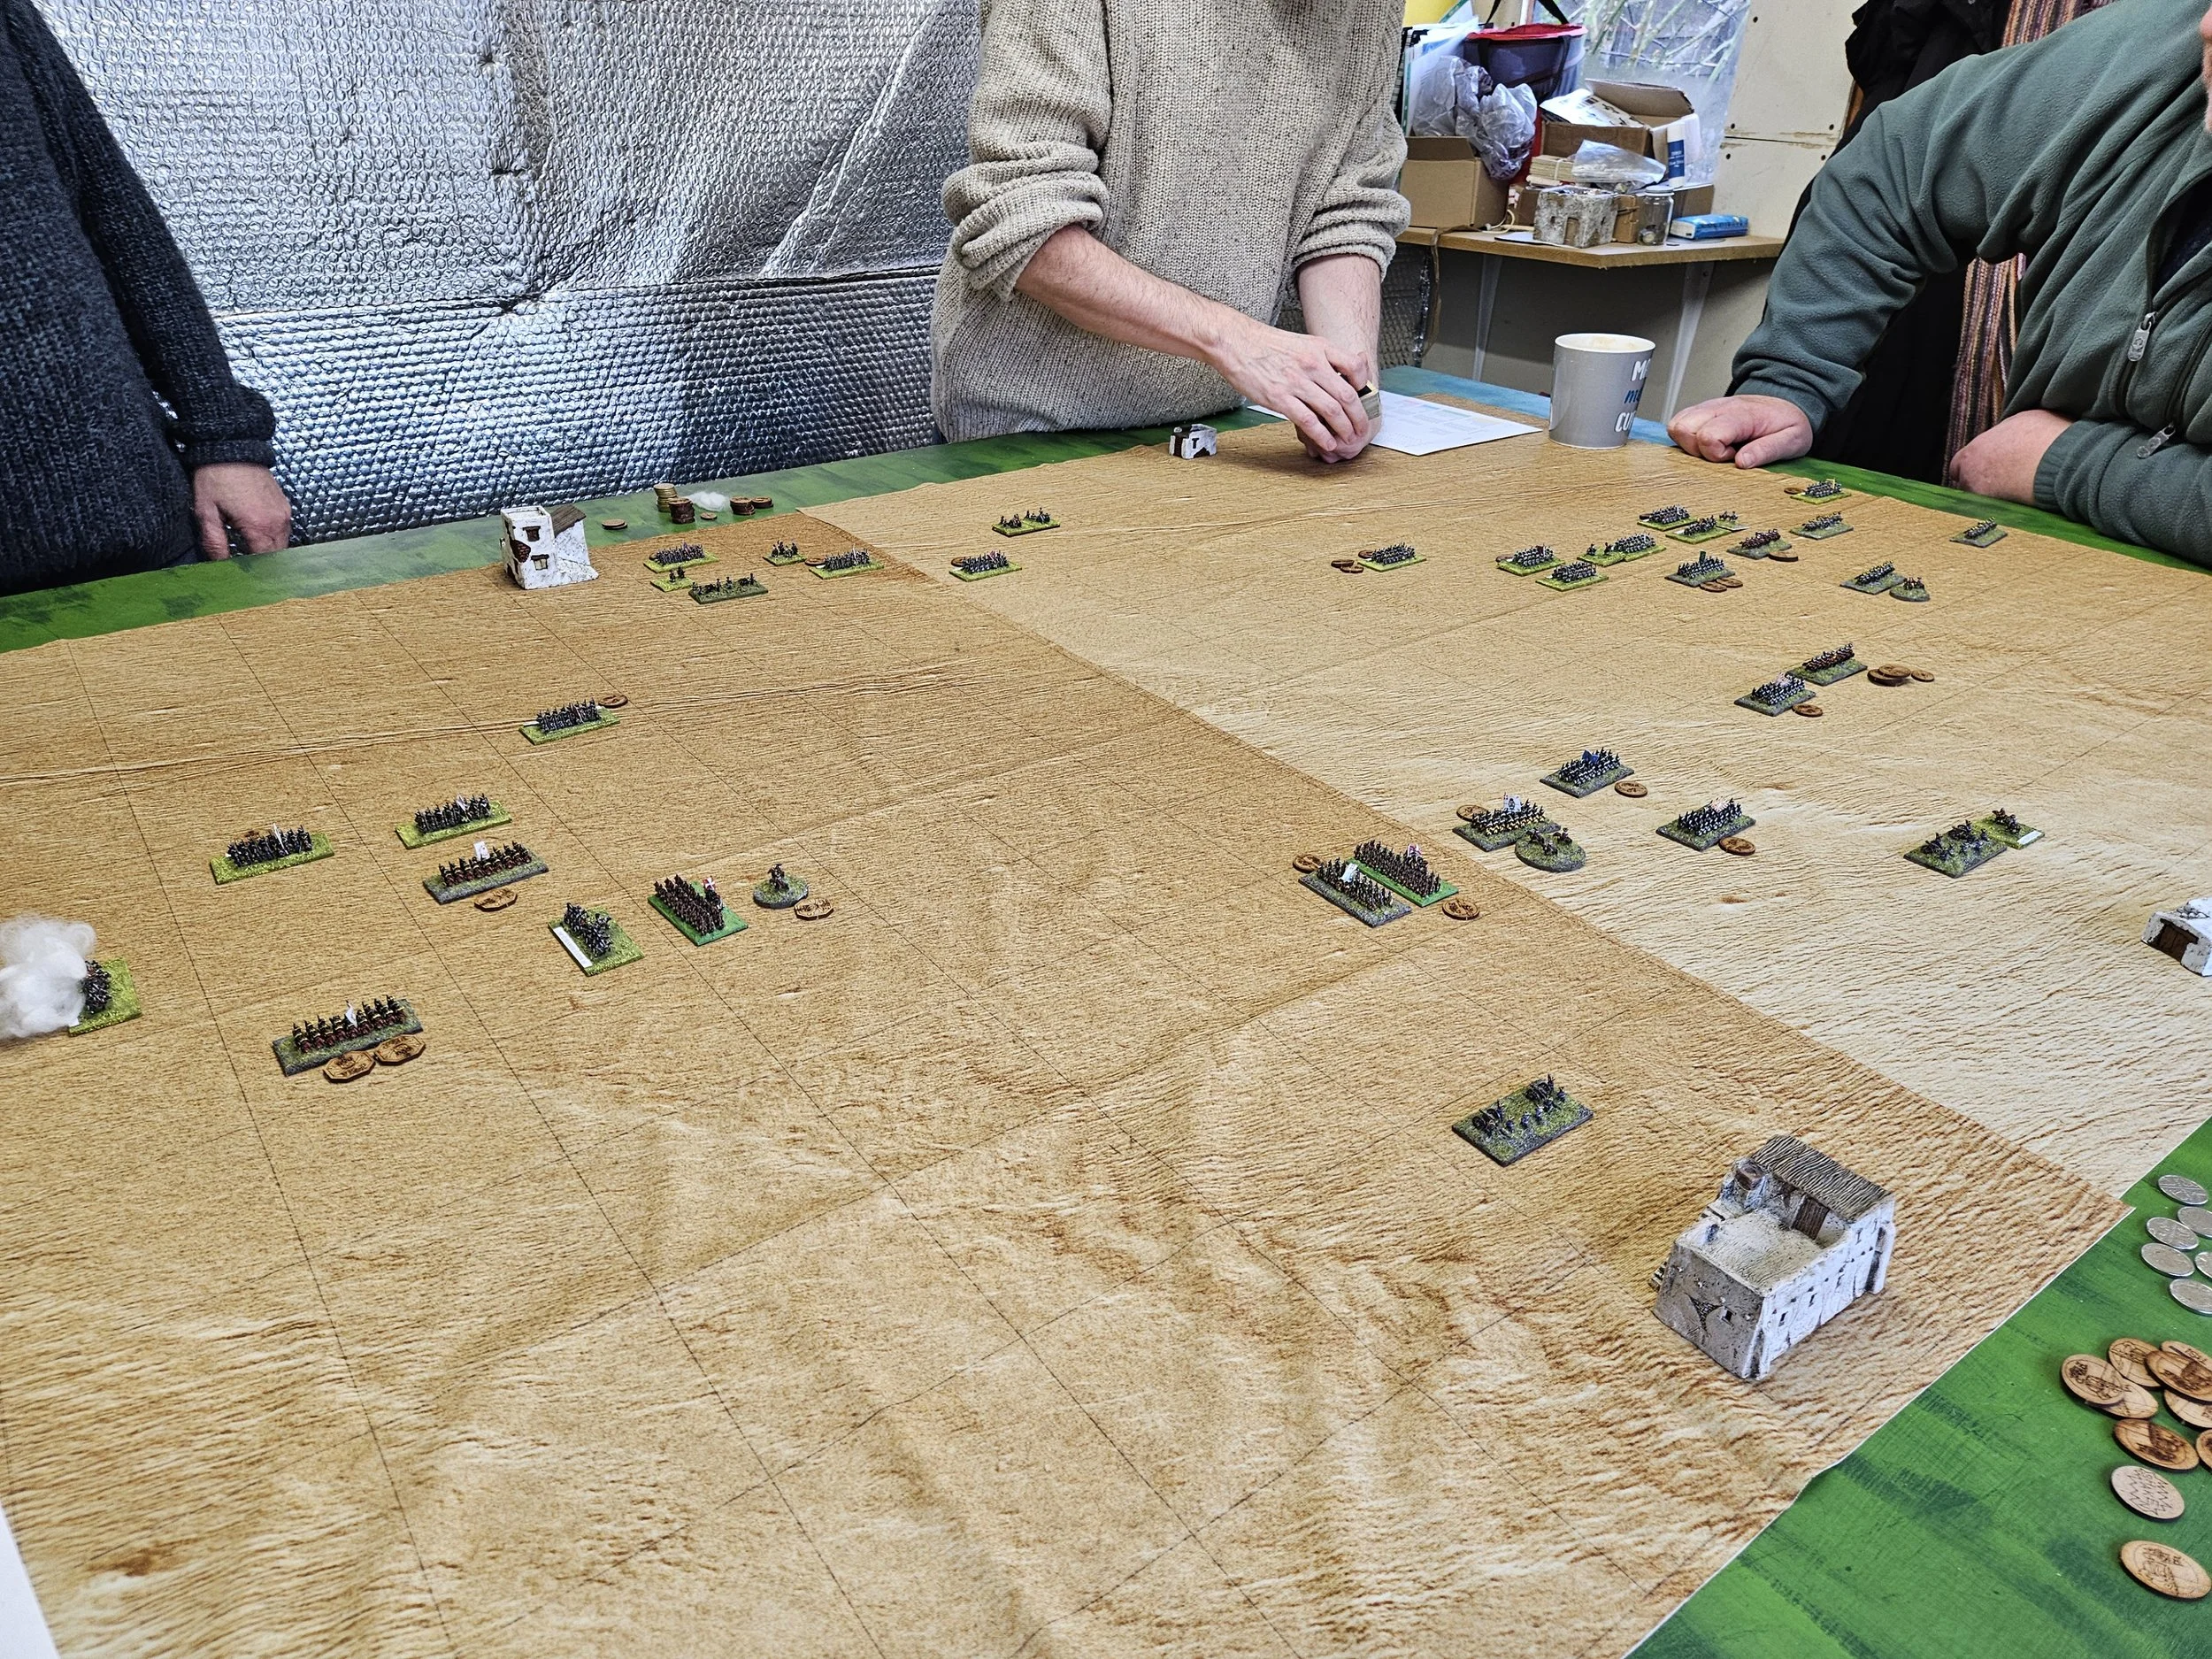
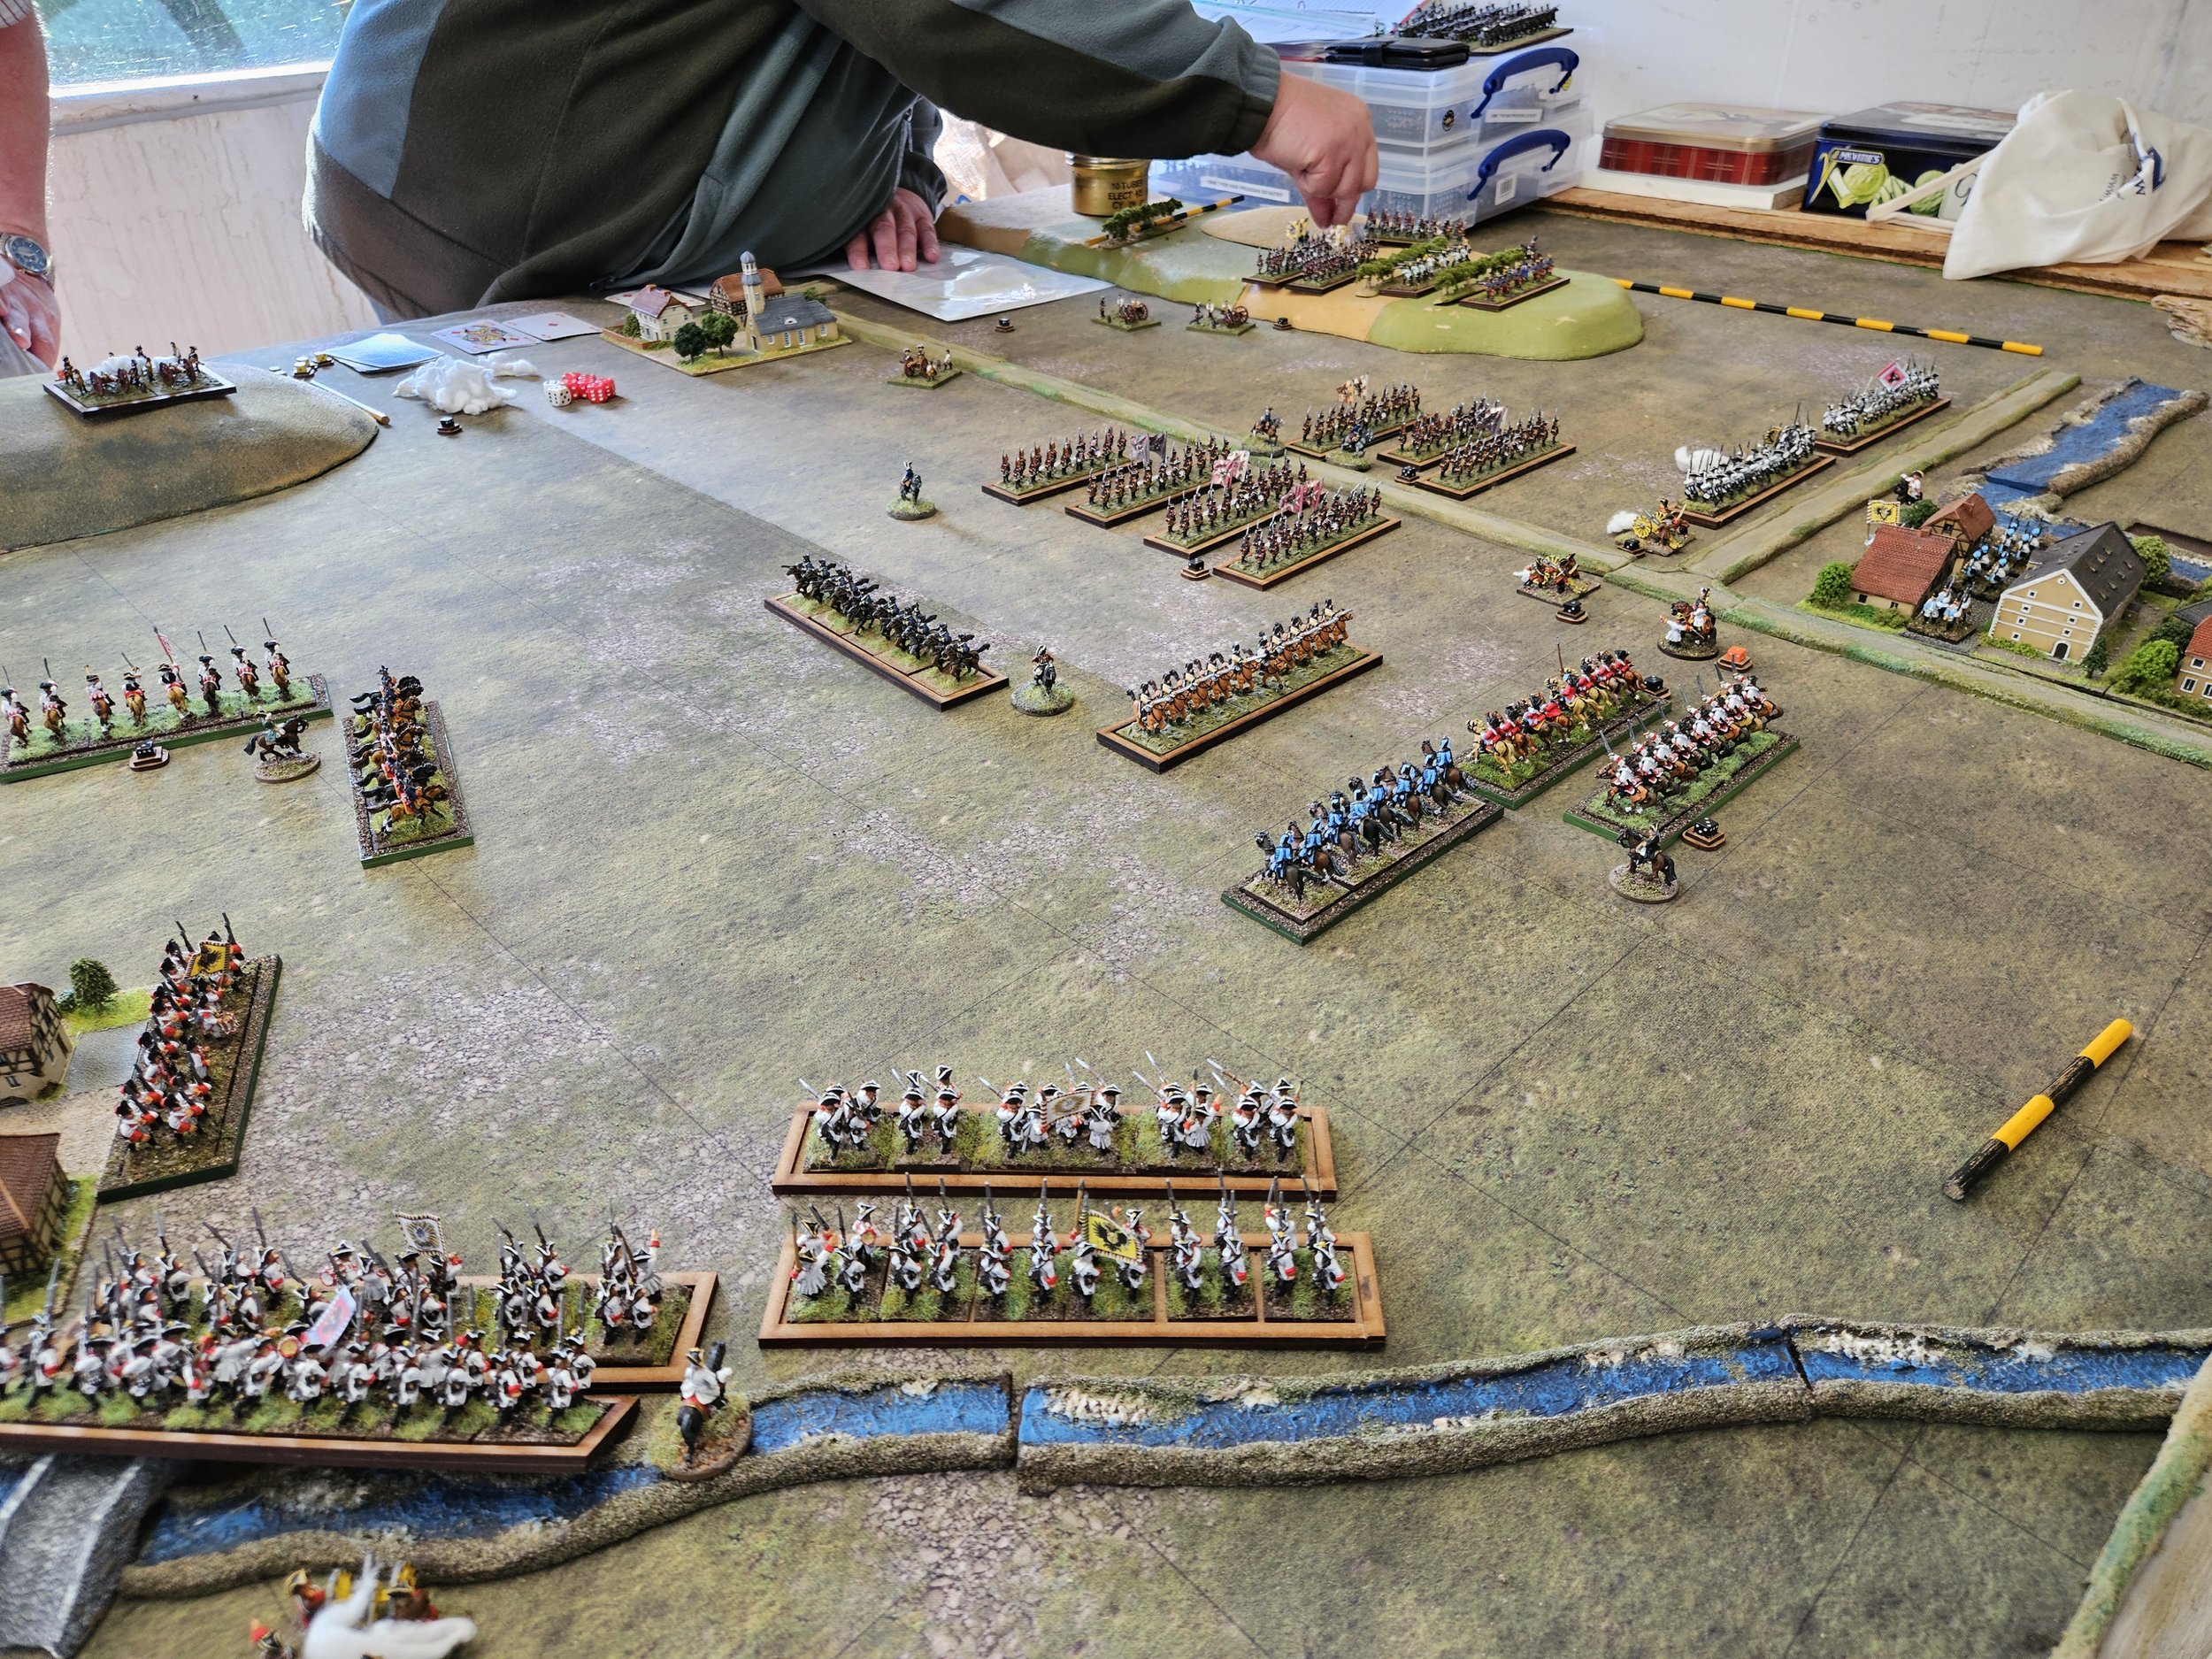
Even better, it also meant that my infantry on the left had time to get themselves moving, cross the brook in front of them, and threaten the Prussian right flank just as the climax of the battle began.
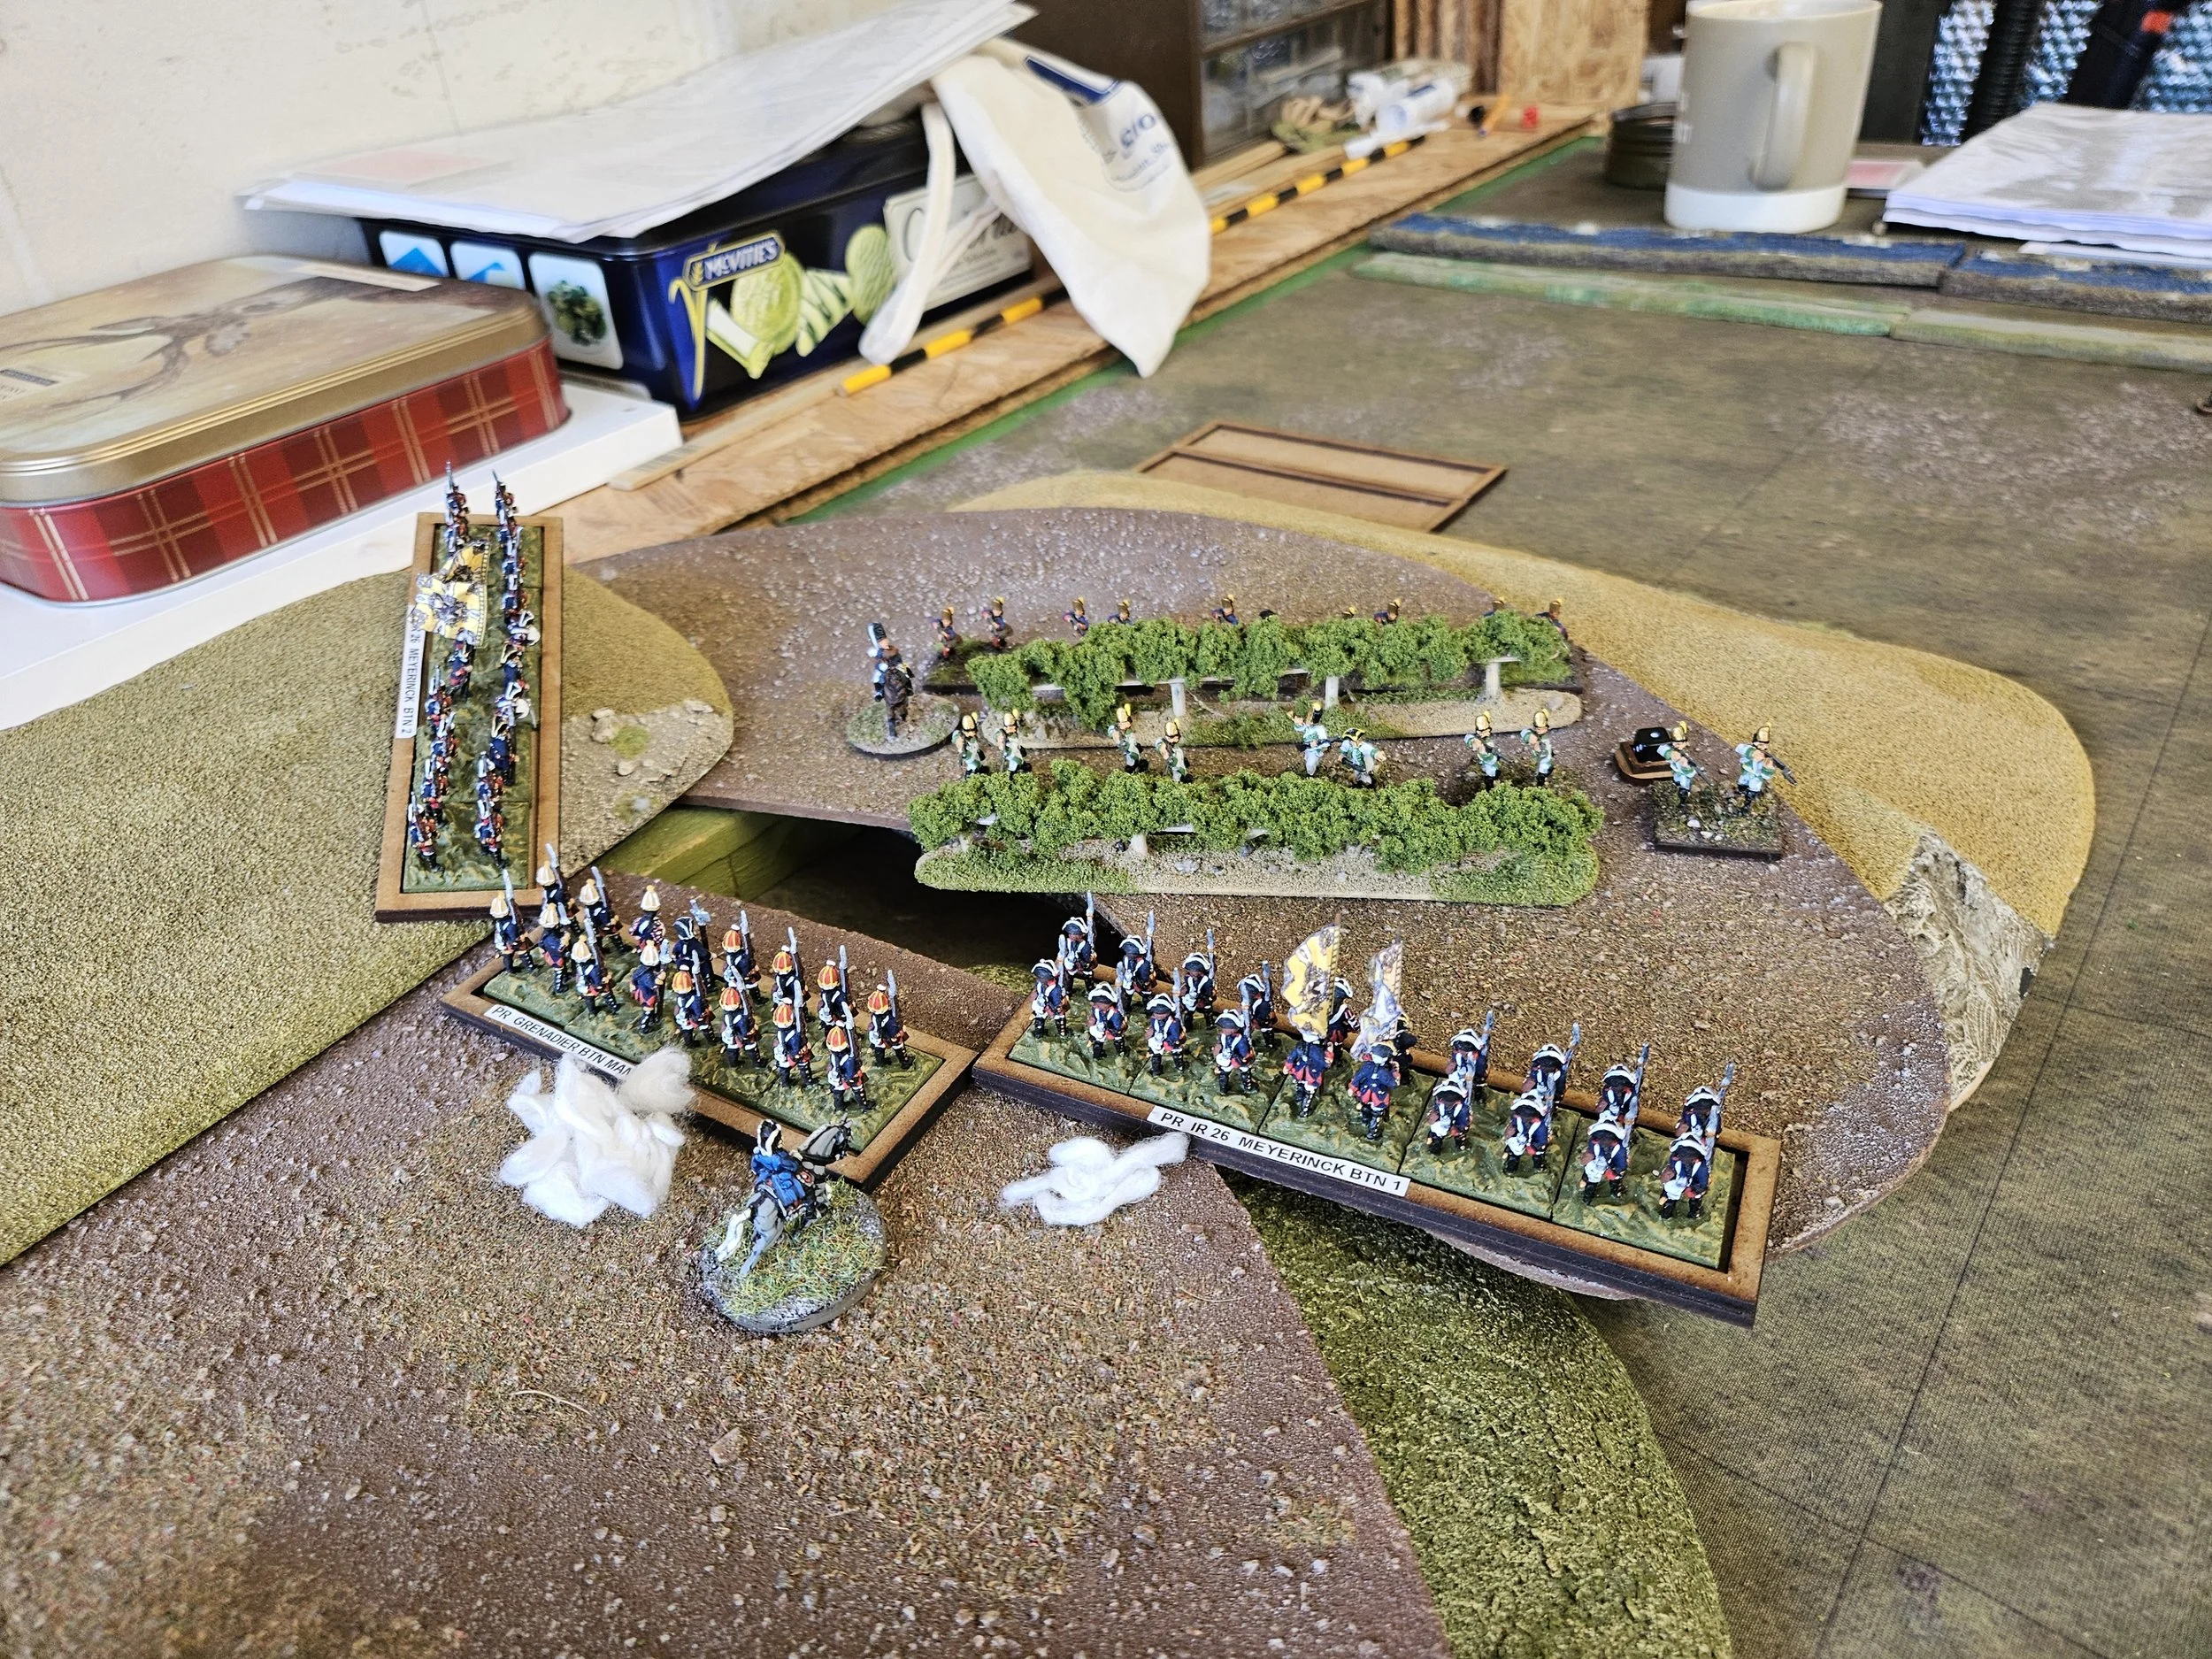
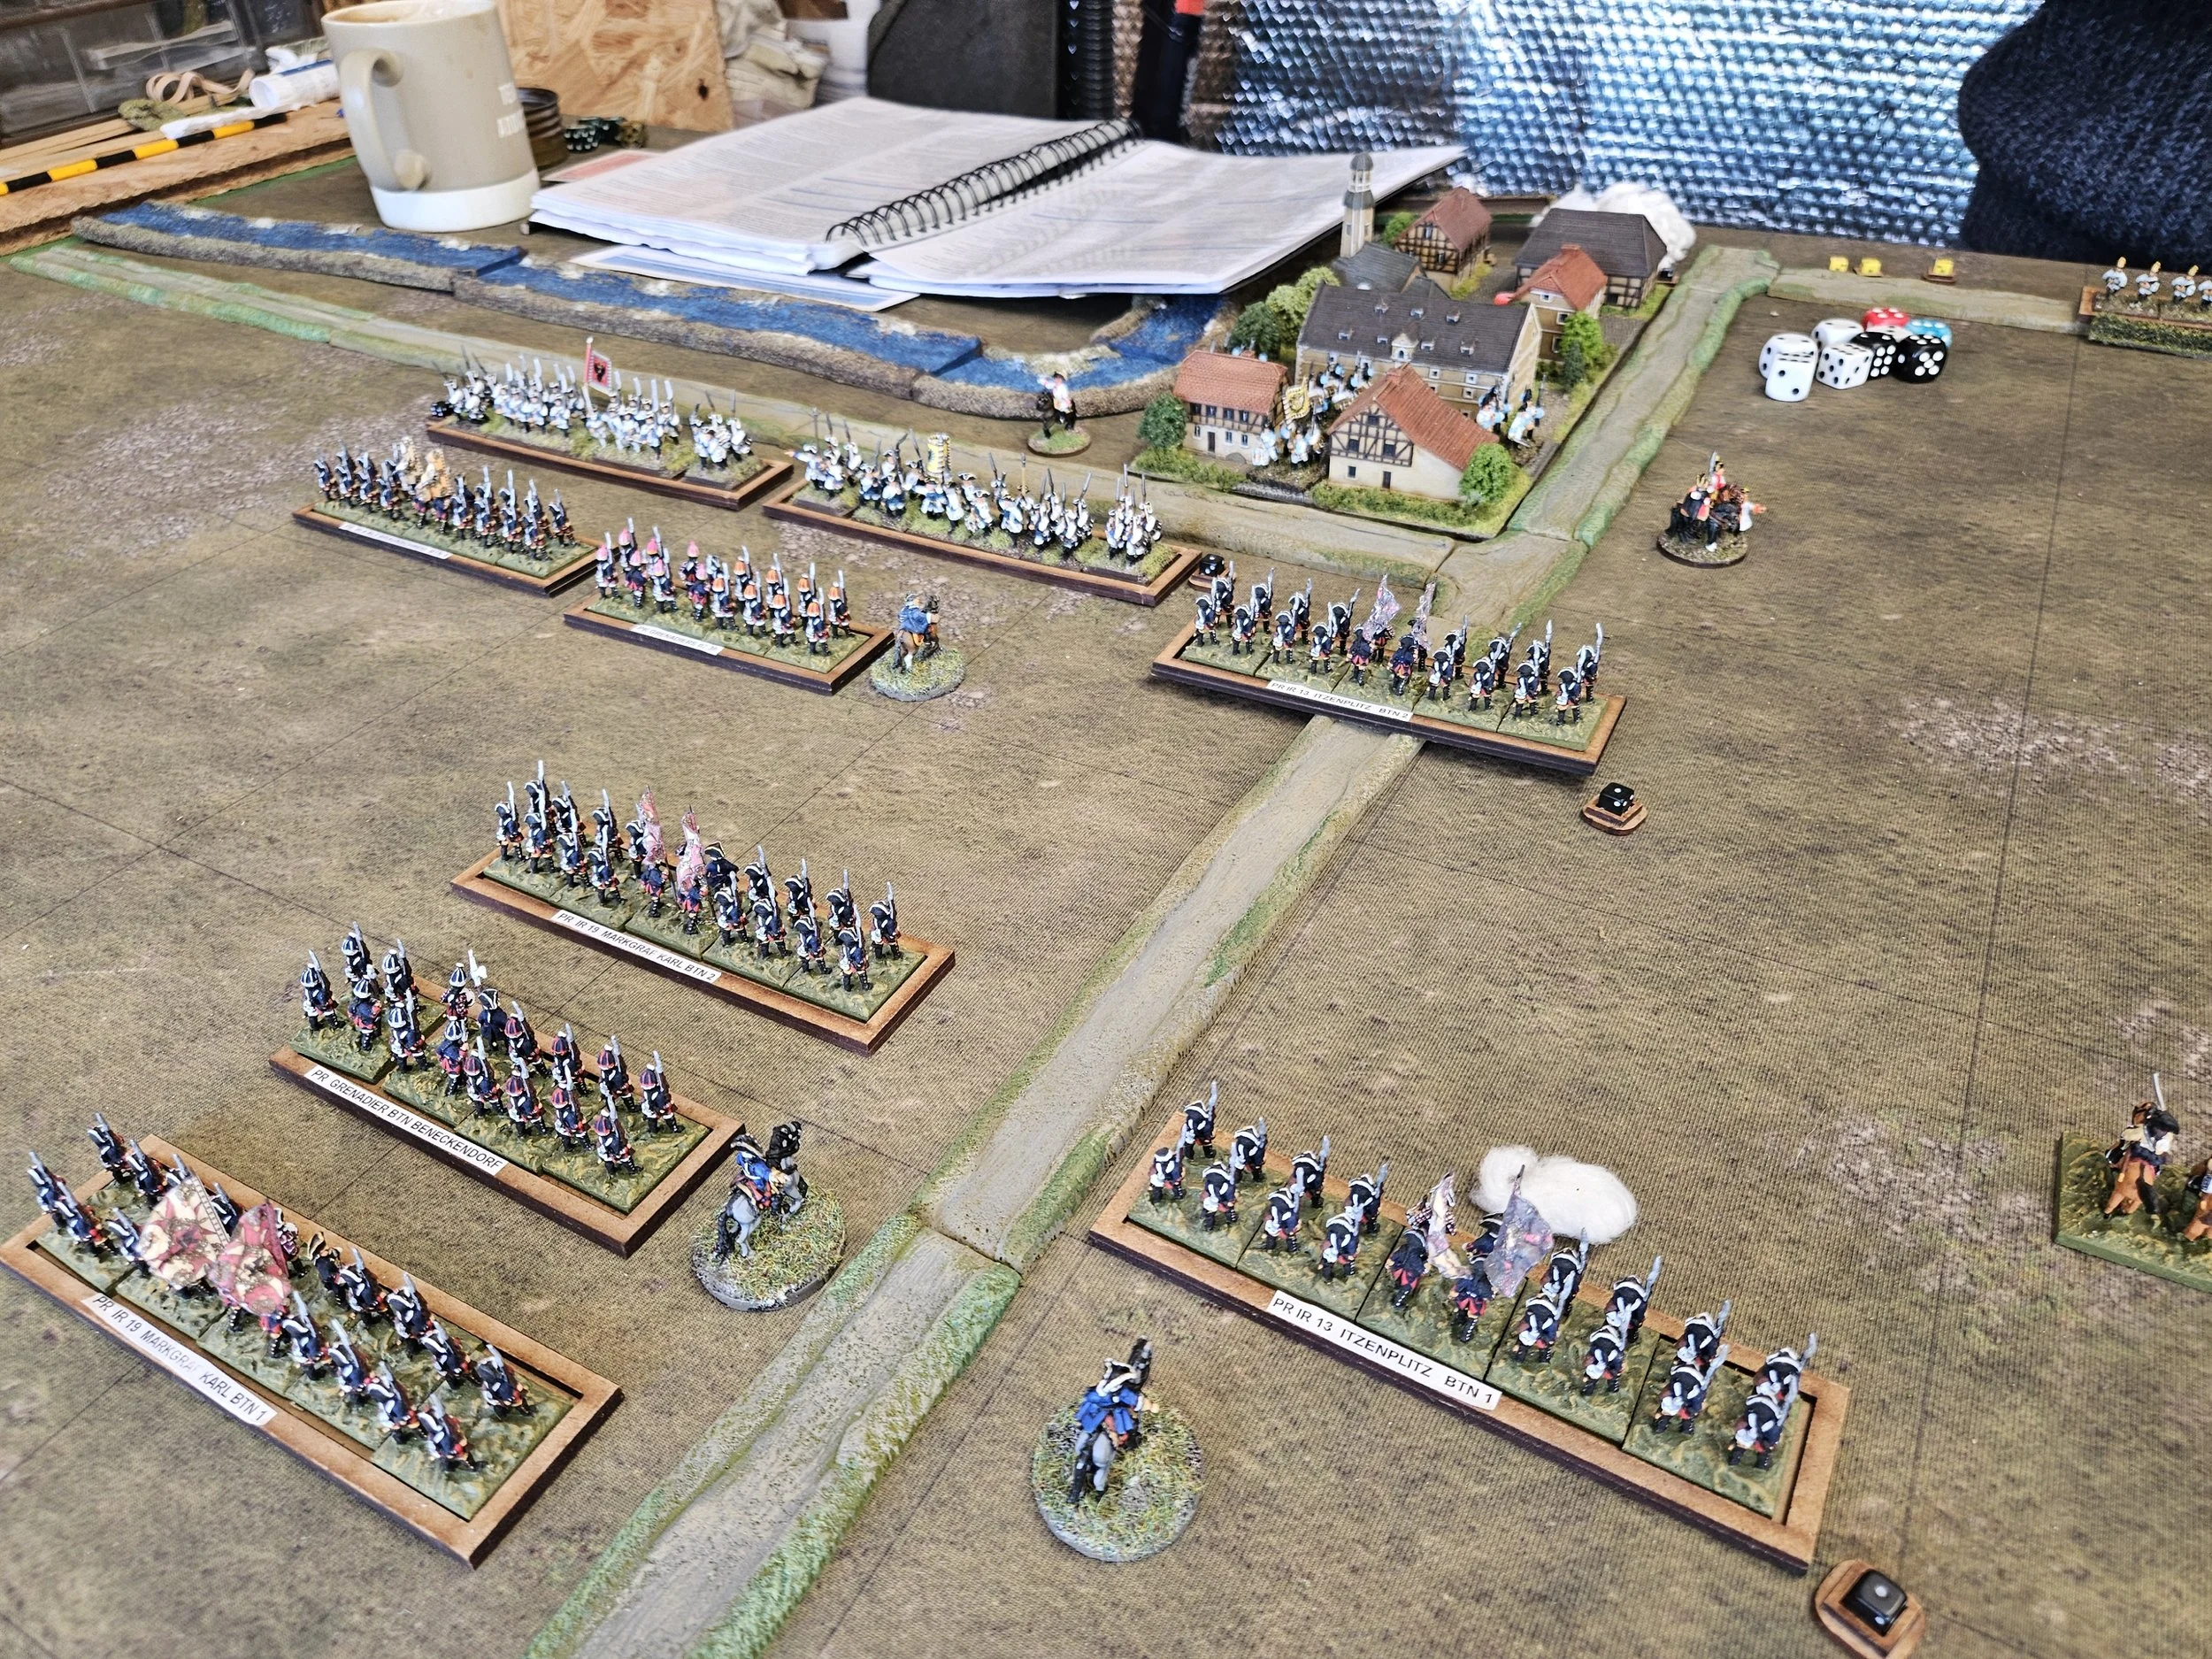
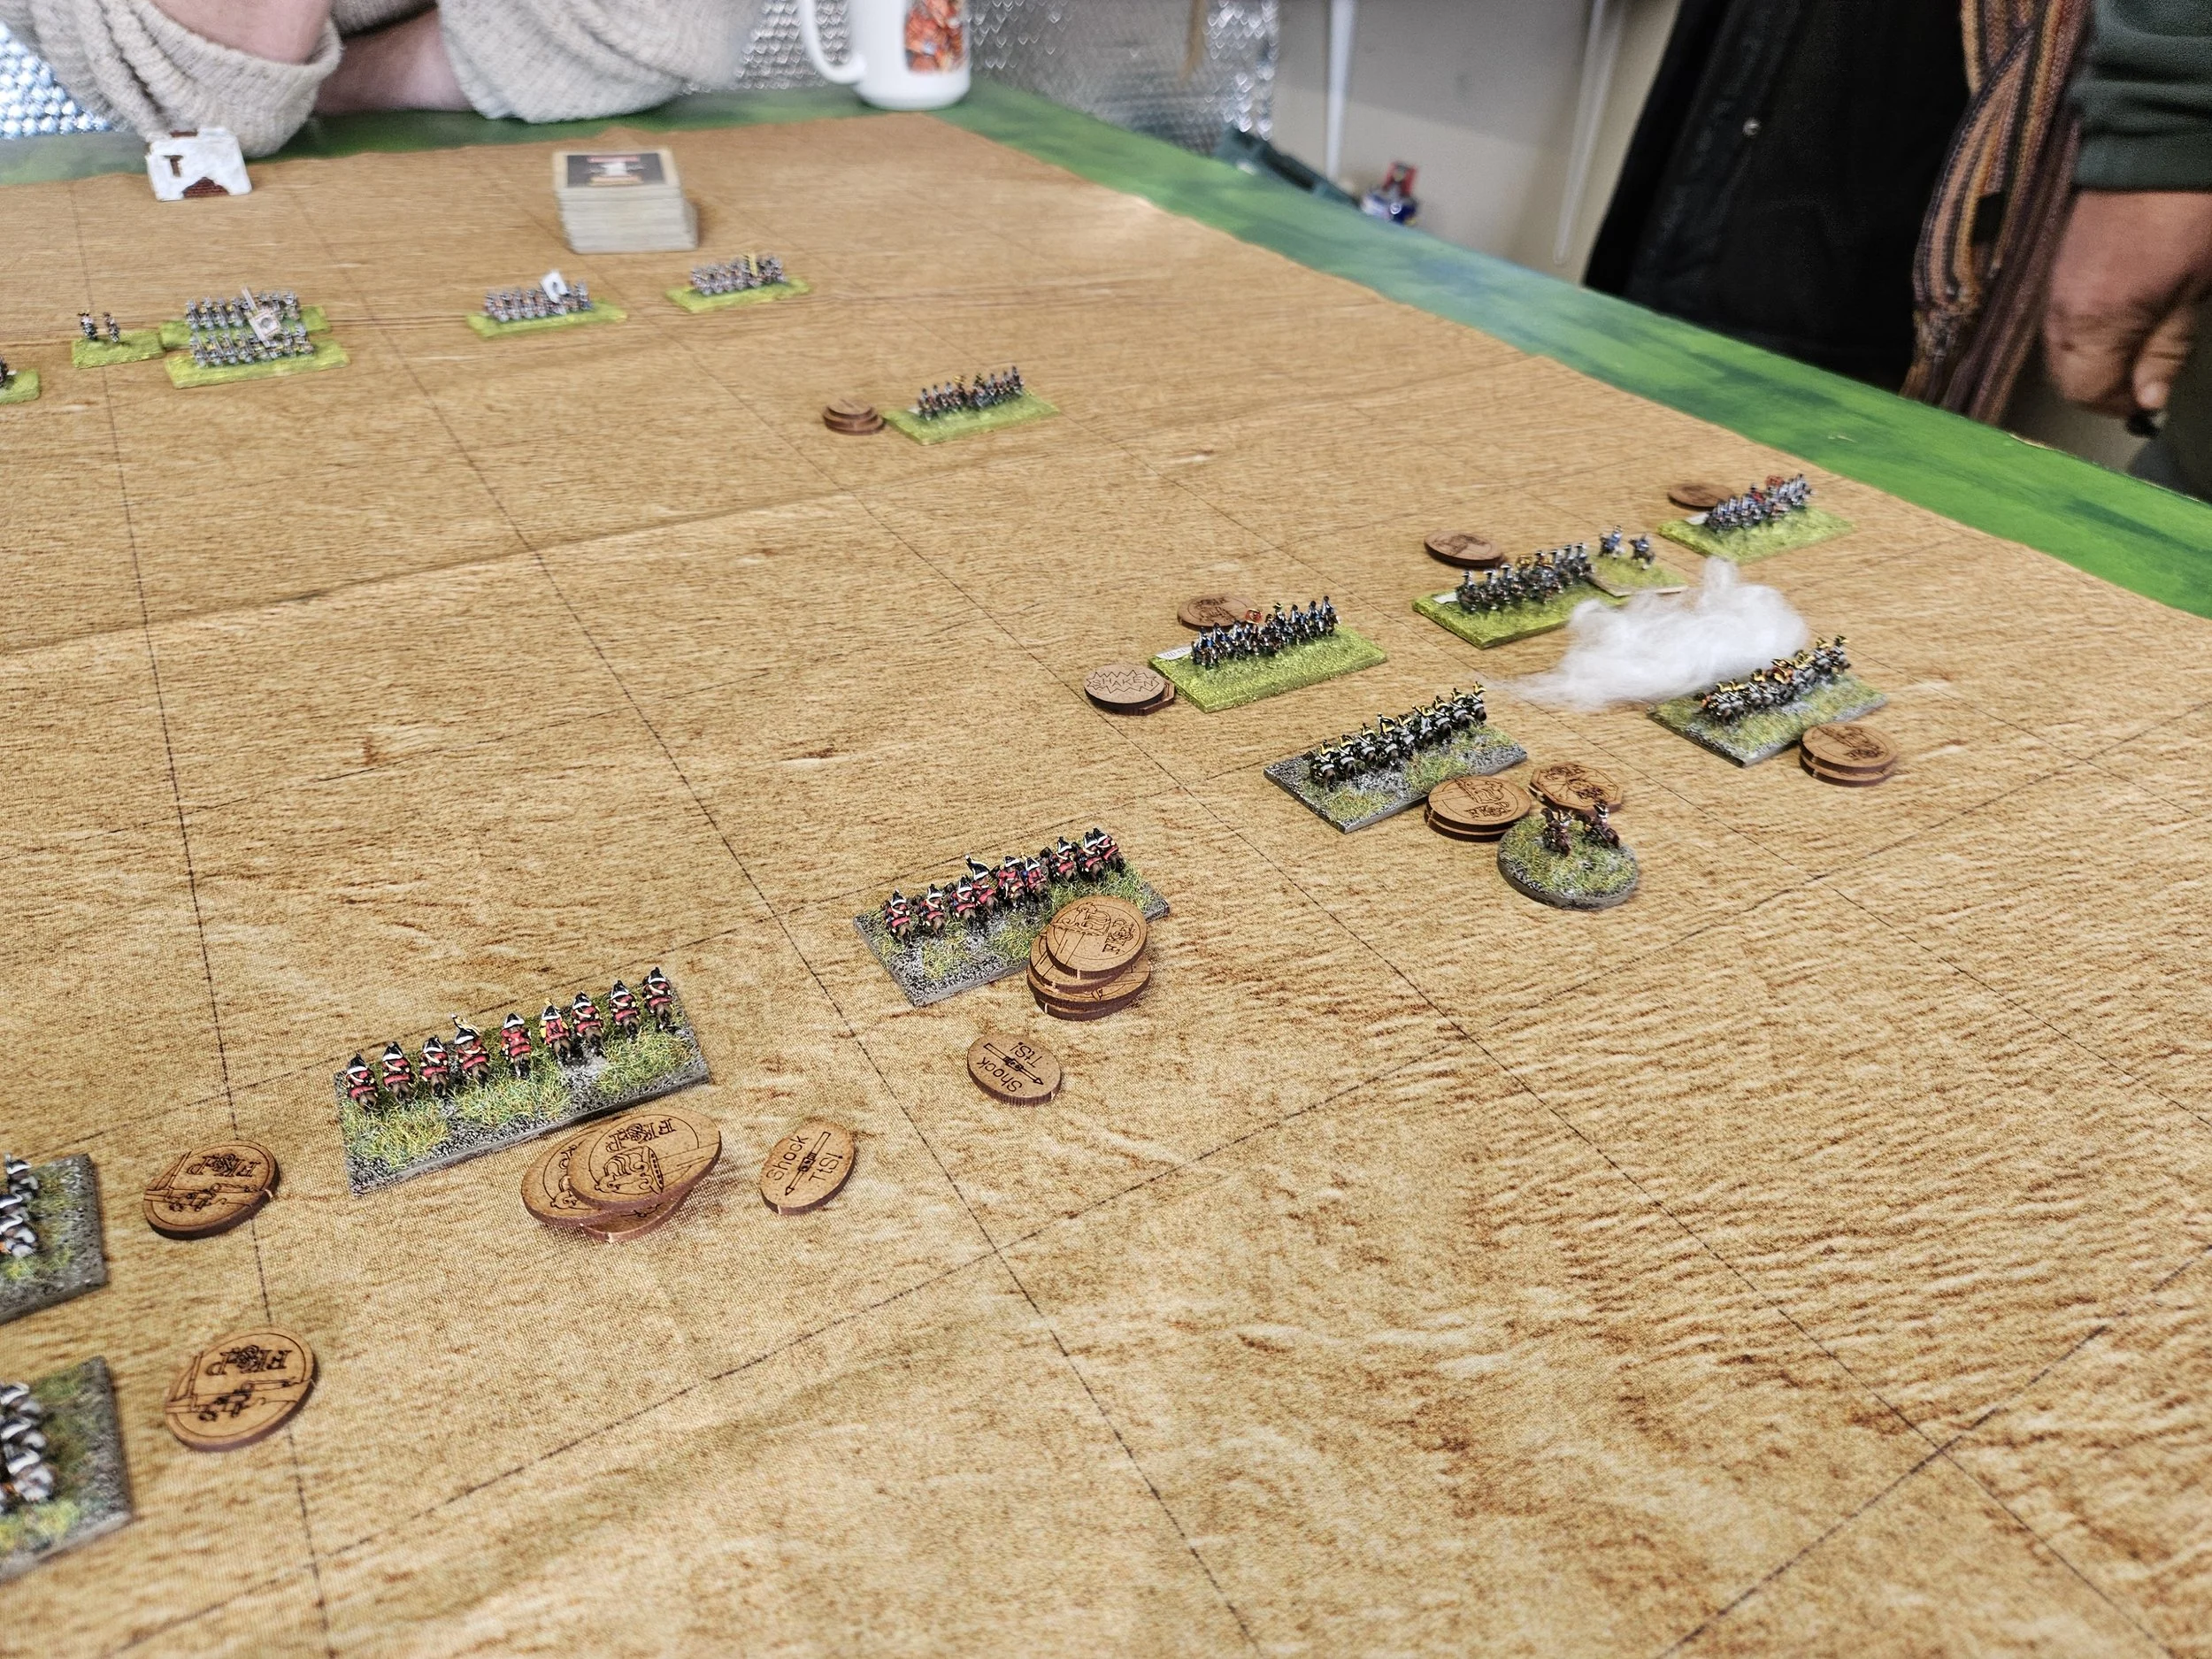
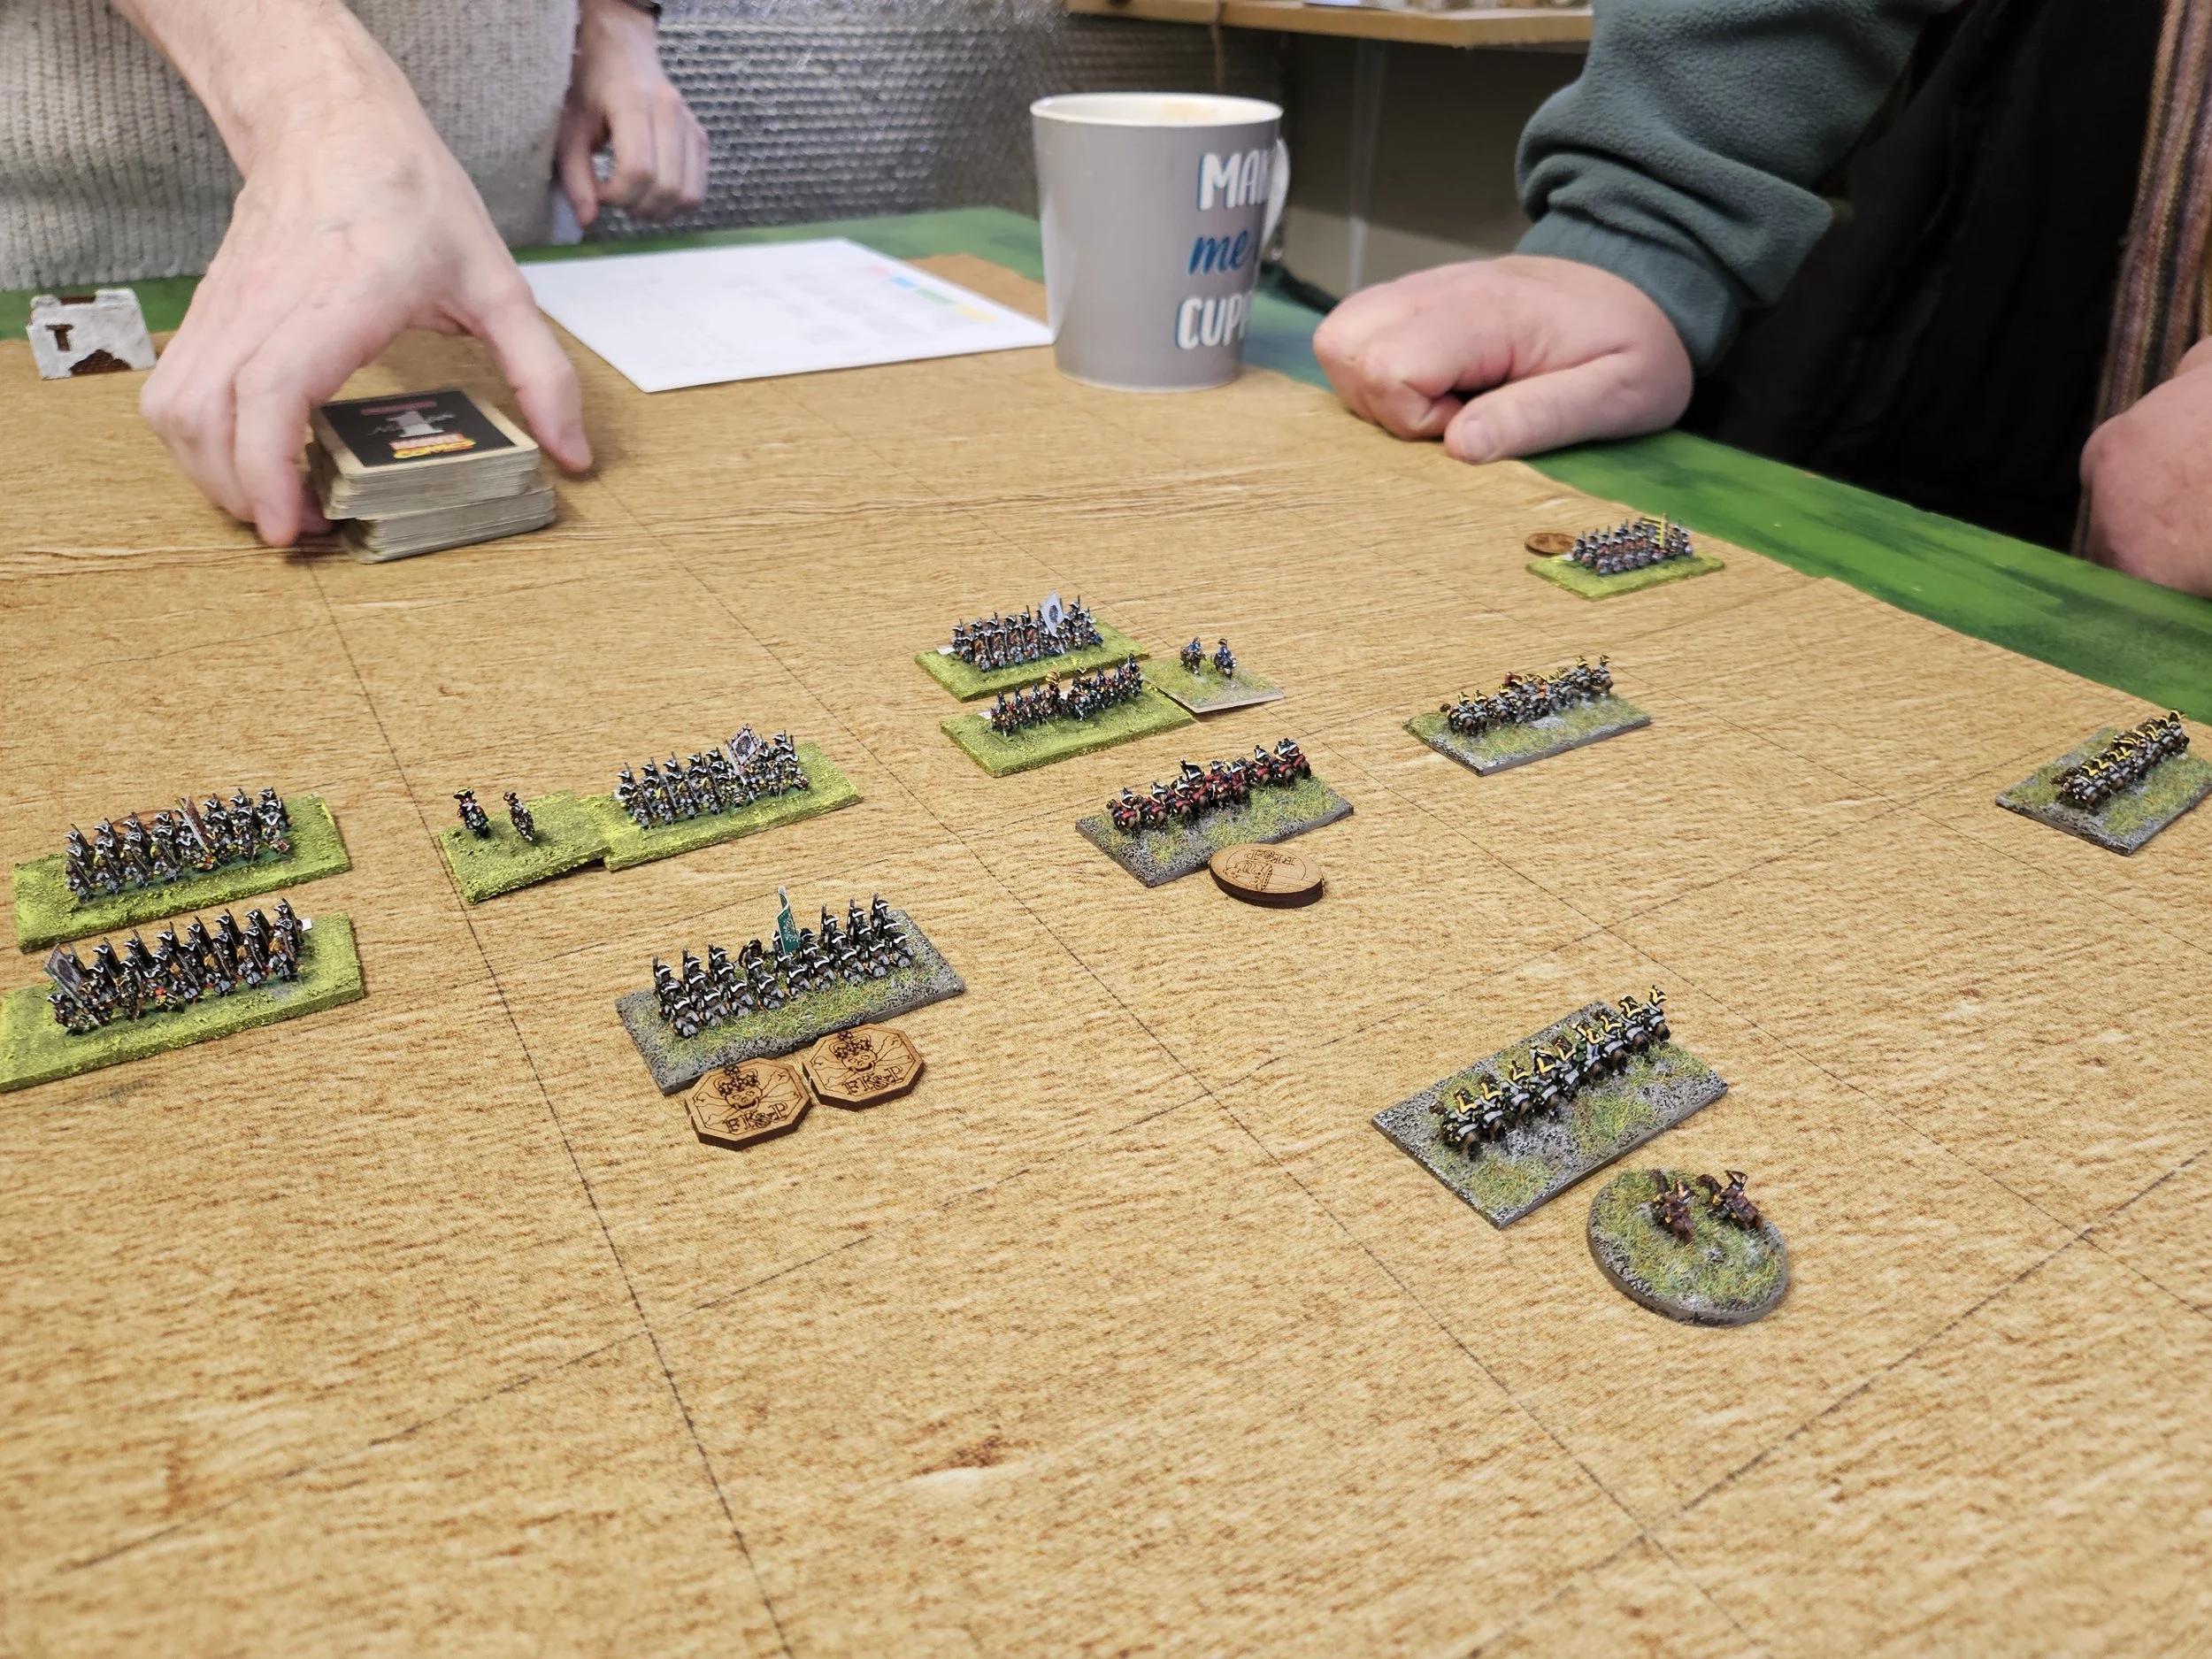
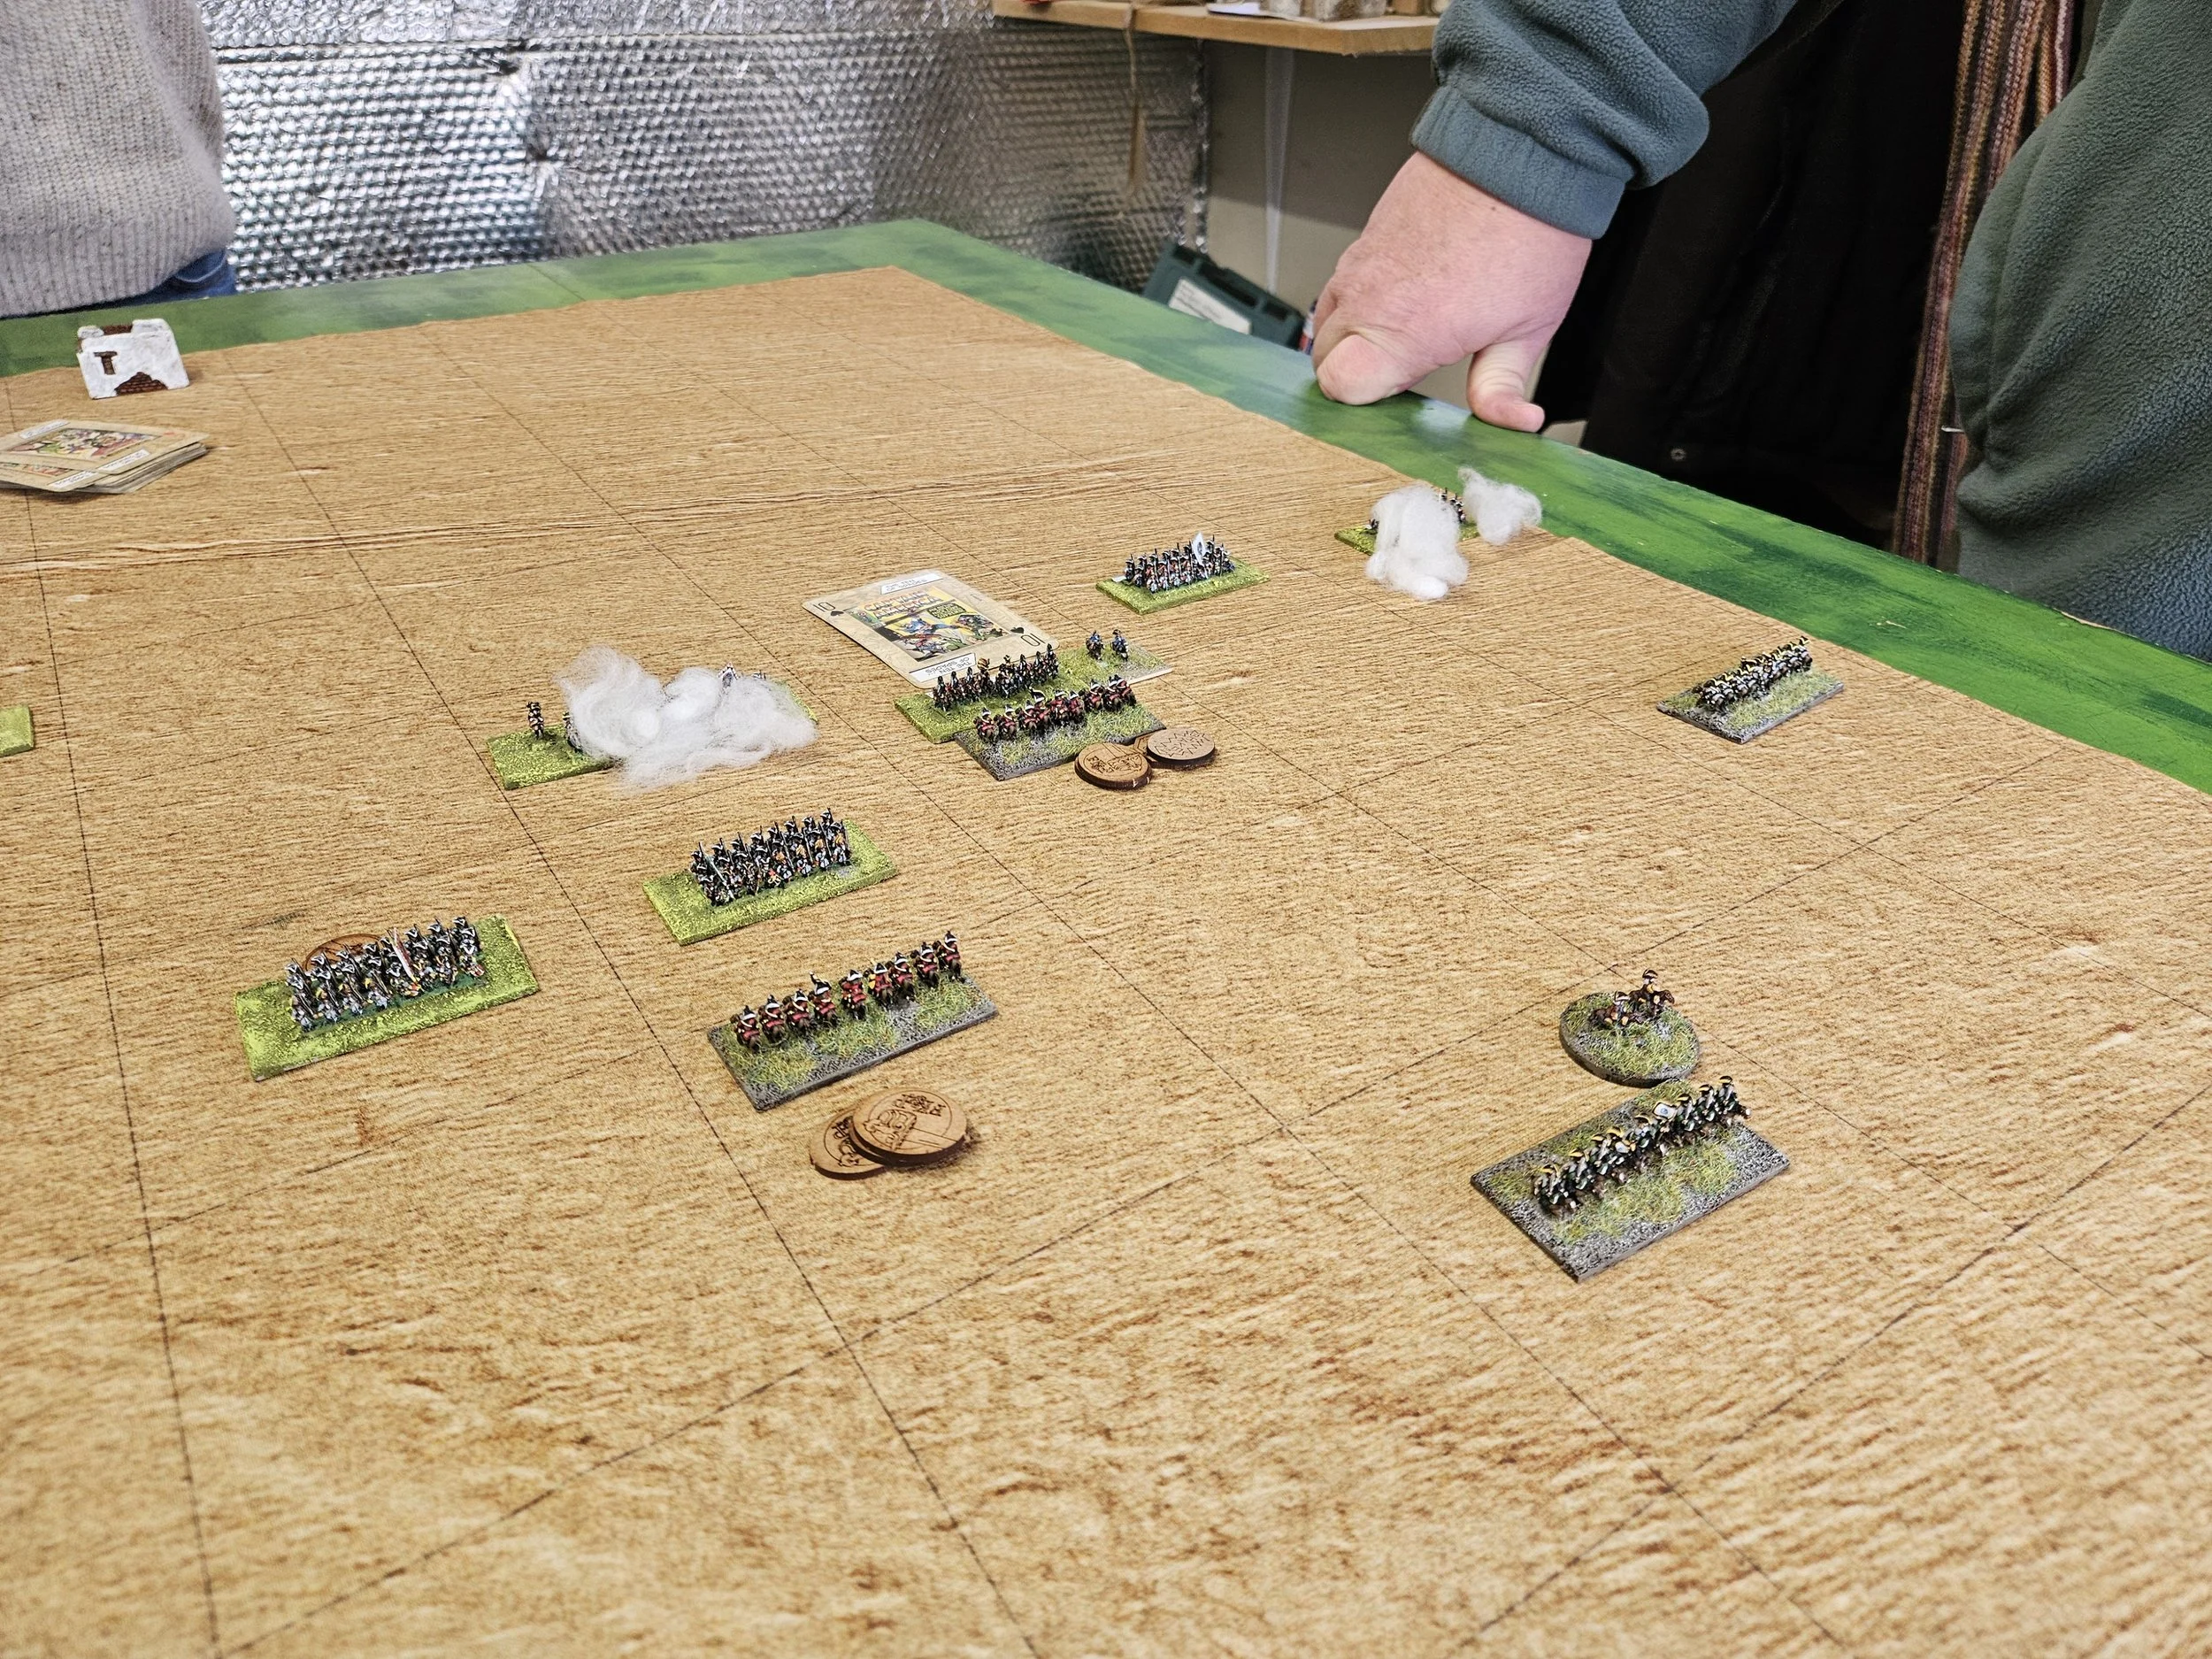
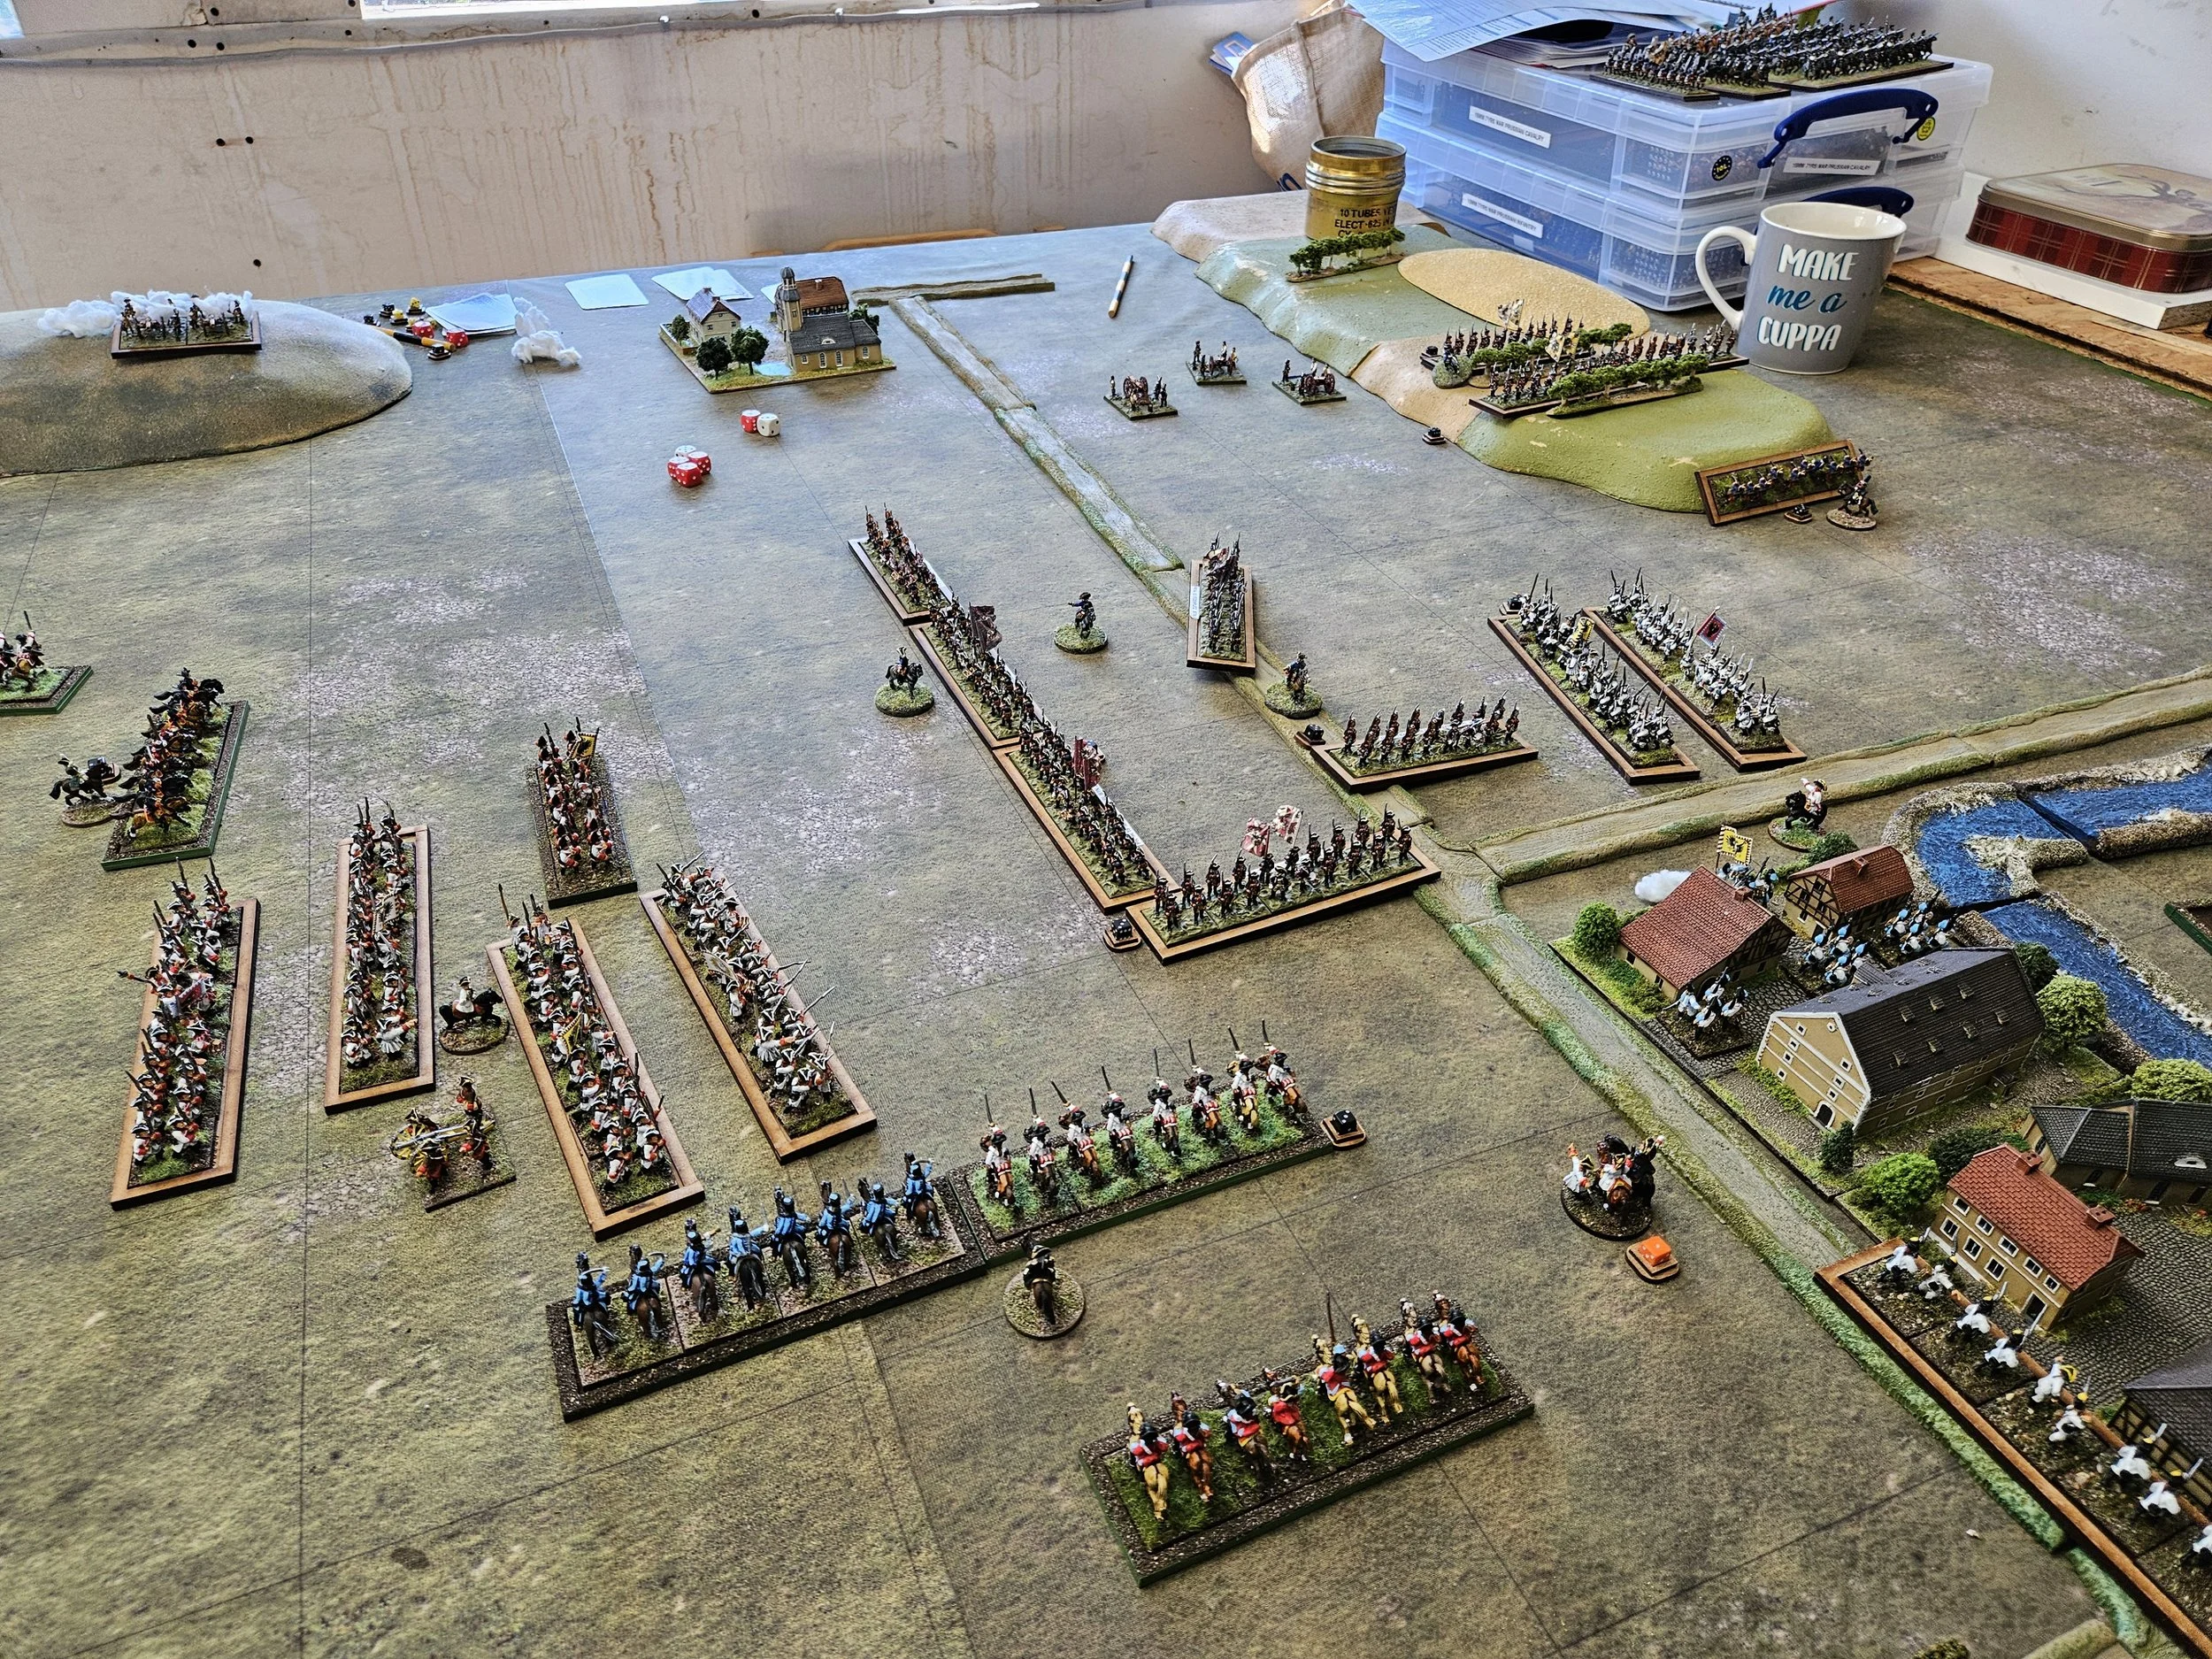
And that moment was now upon us, as two Prussian infantry brigades approached the two battalions of foot I had in front of Lobositz.
Usually this would be a foregone conclusion: a couple of rounds of musketry from the disciplined Prussian infantry, a quick charge in with grenadiers, and my men would have melted away like ice cream in hot sunshine - but not today!
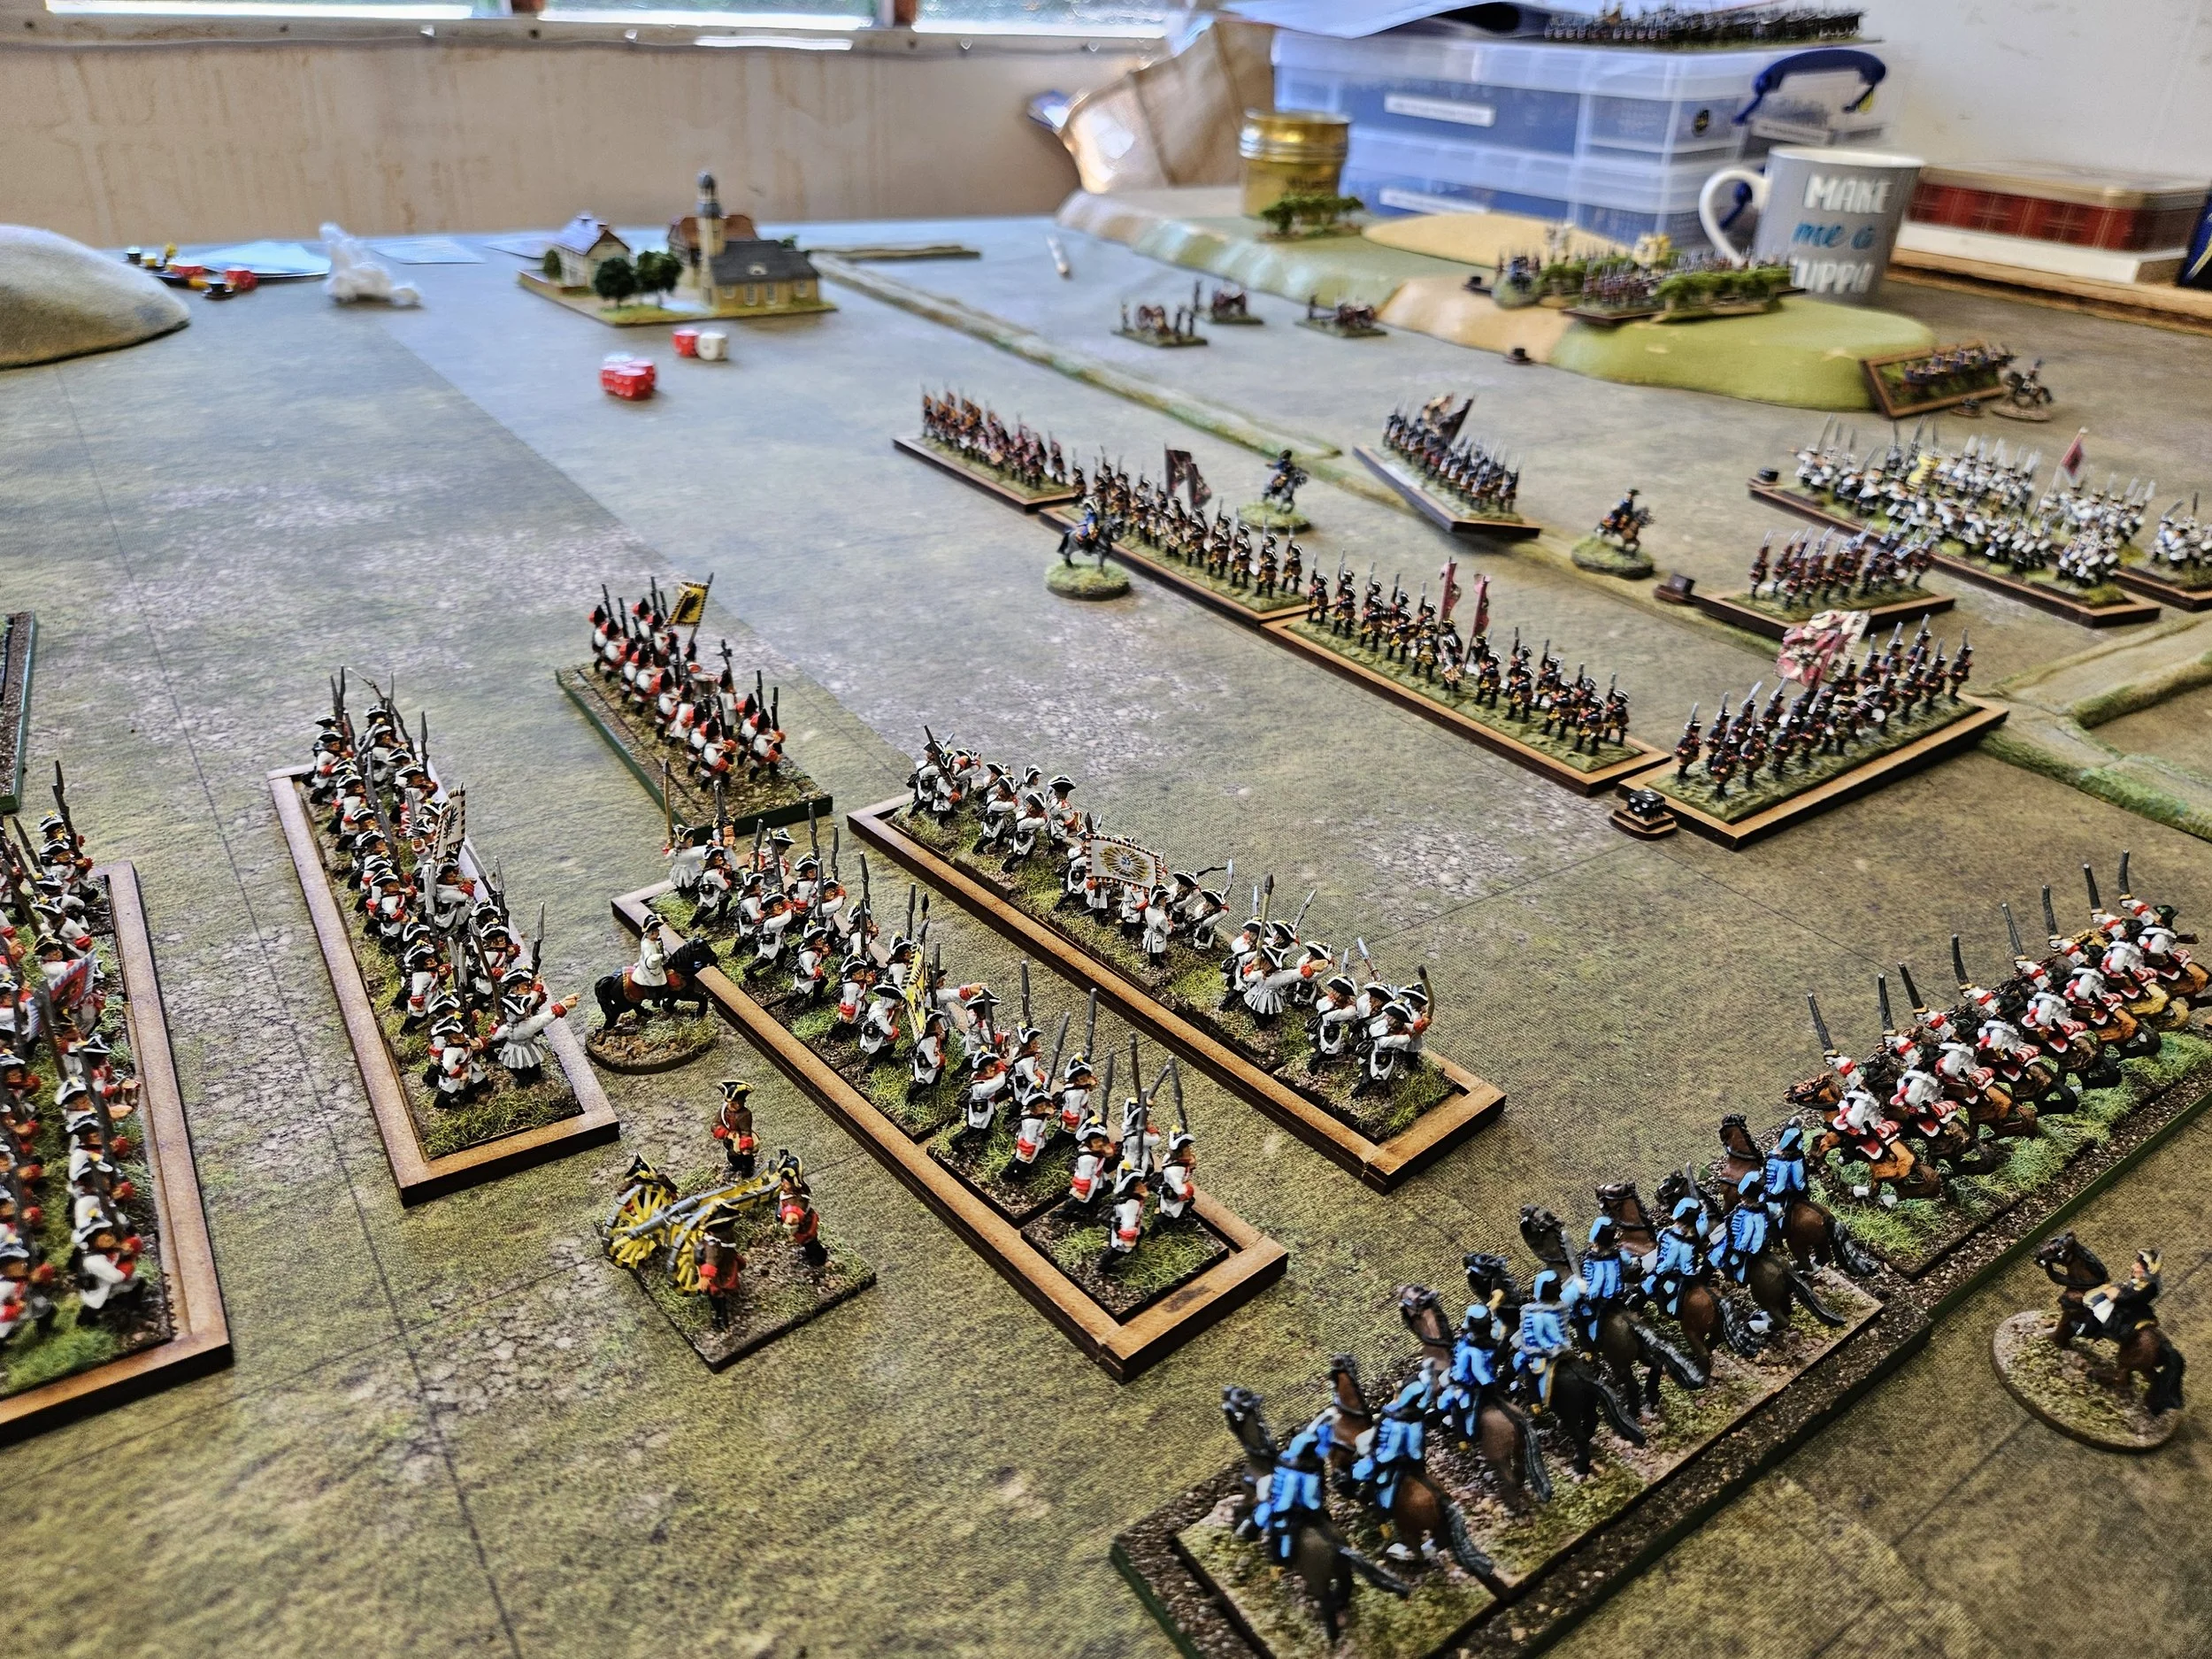
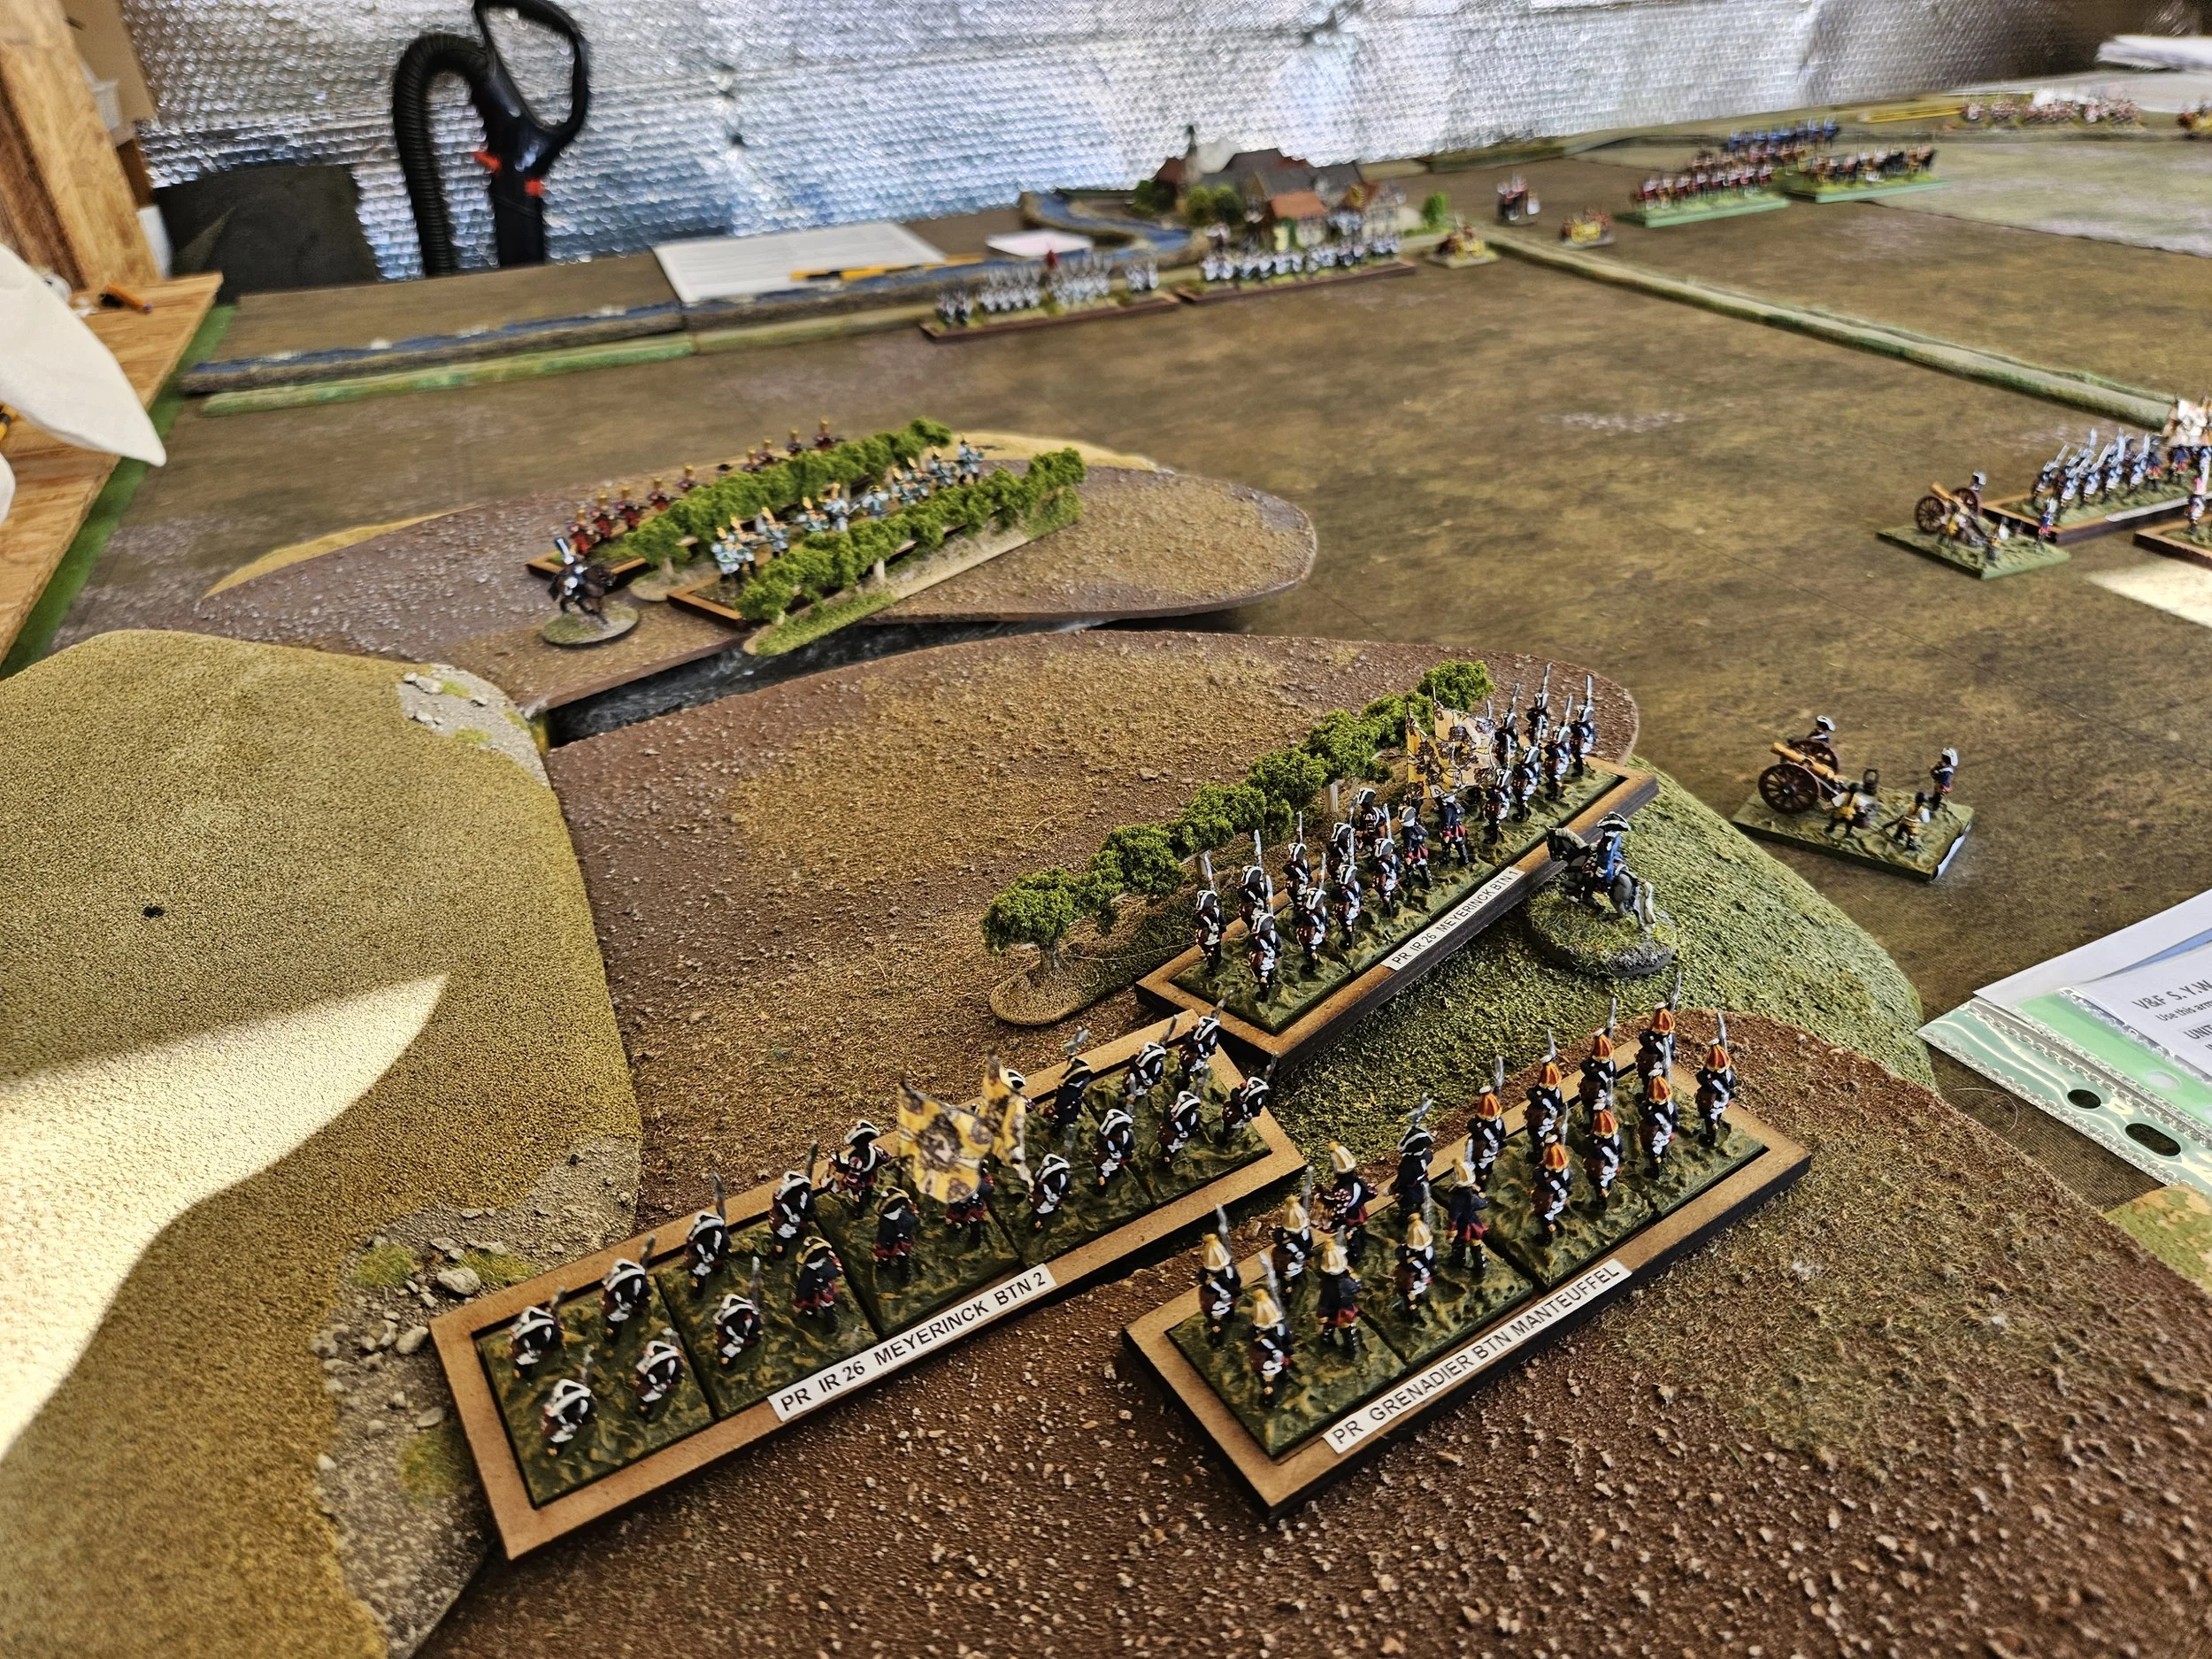
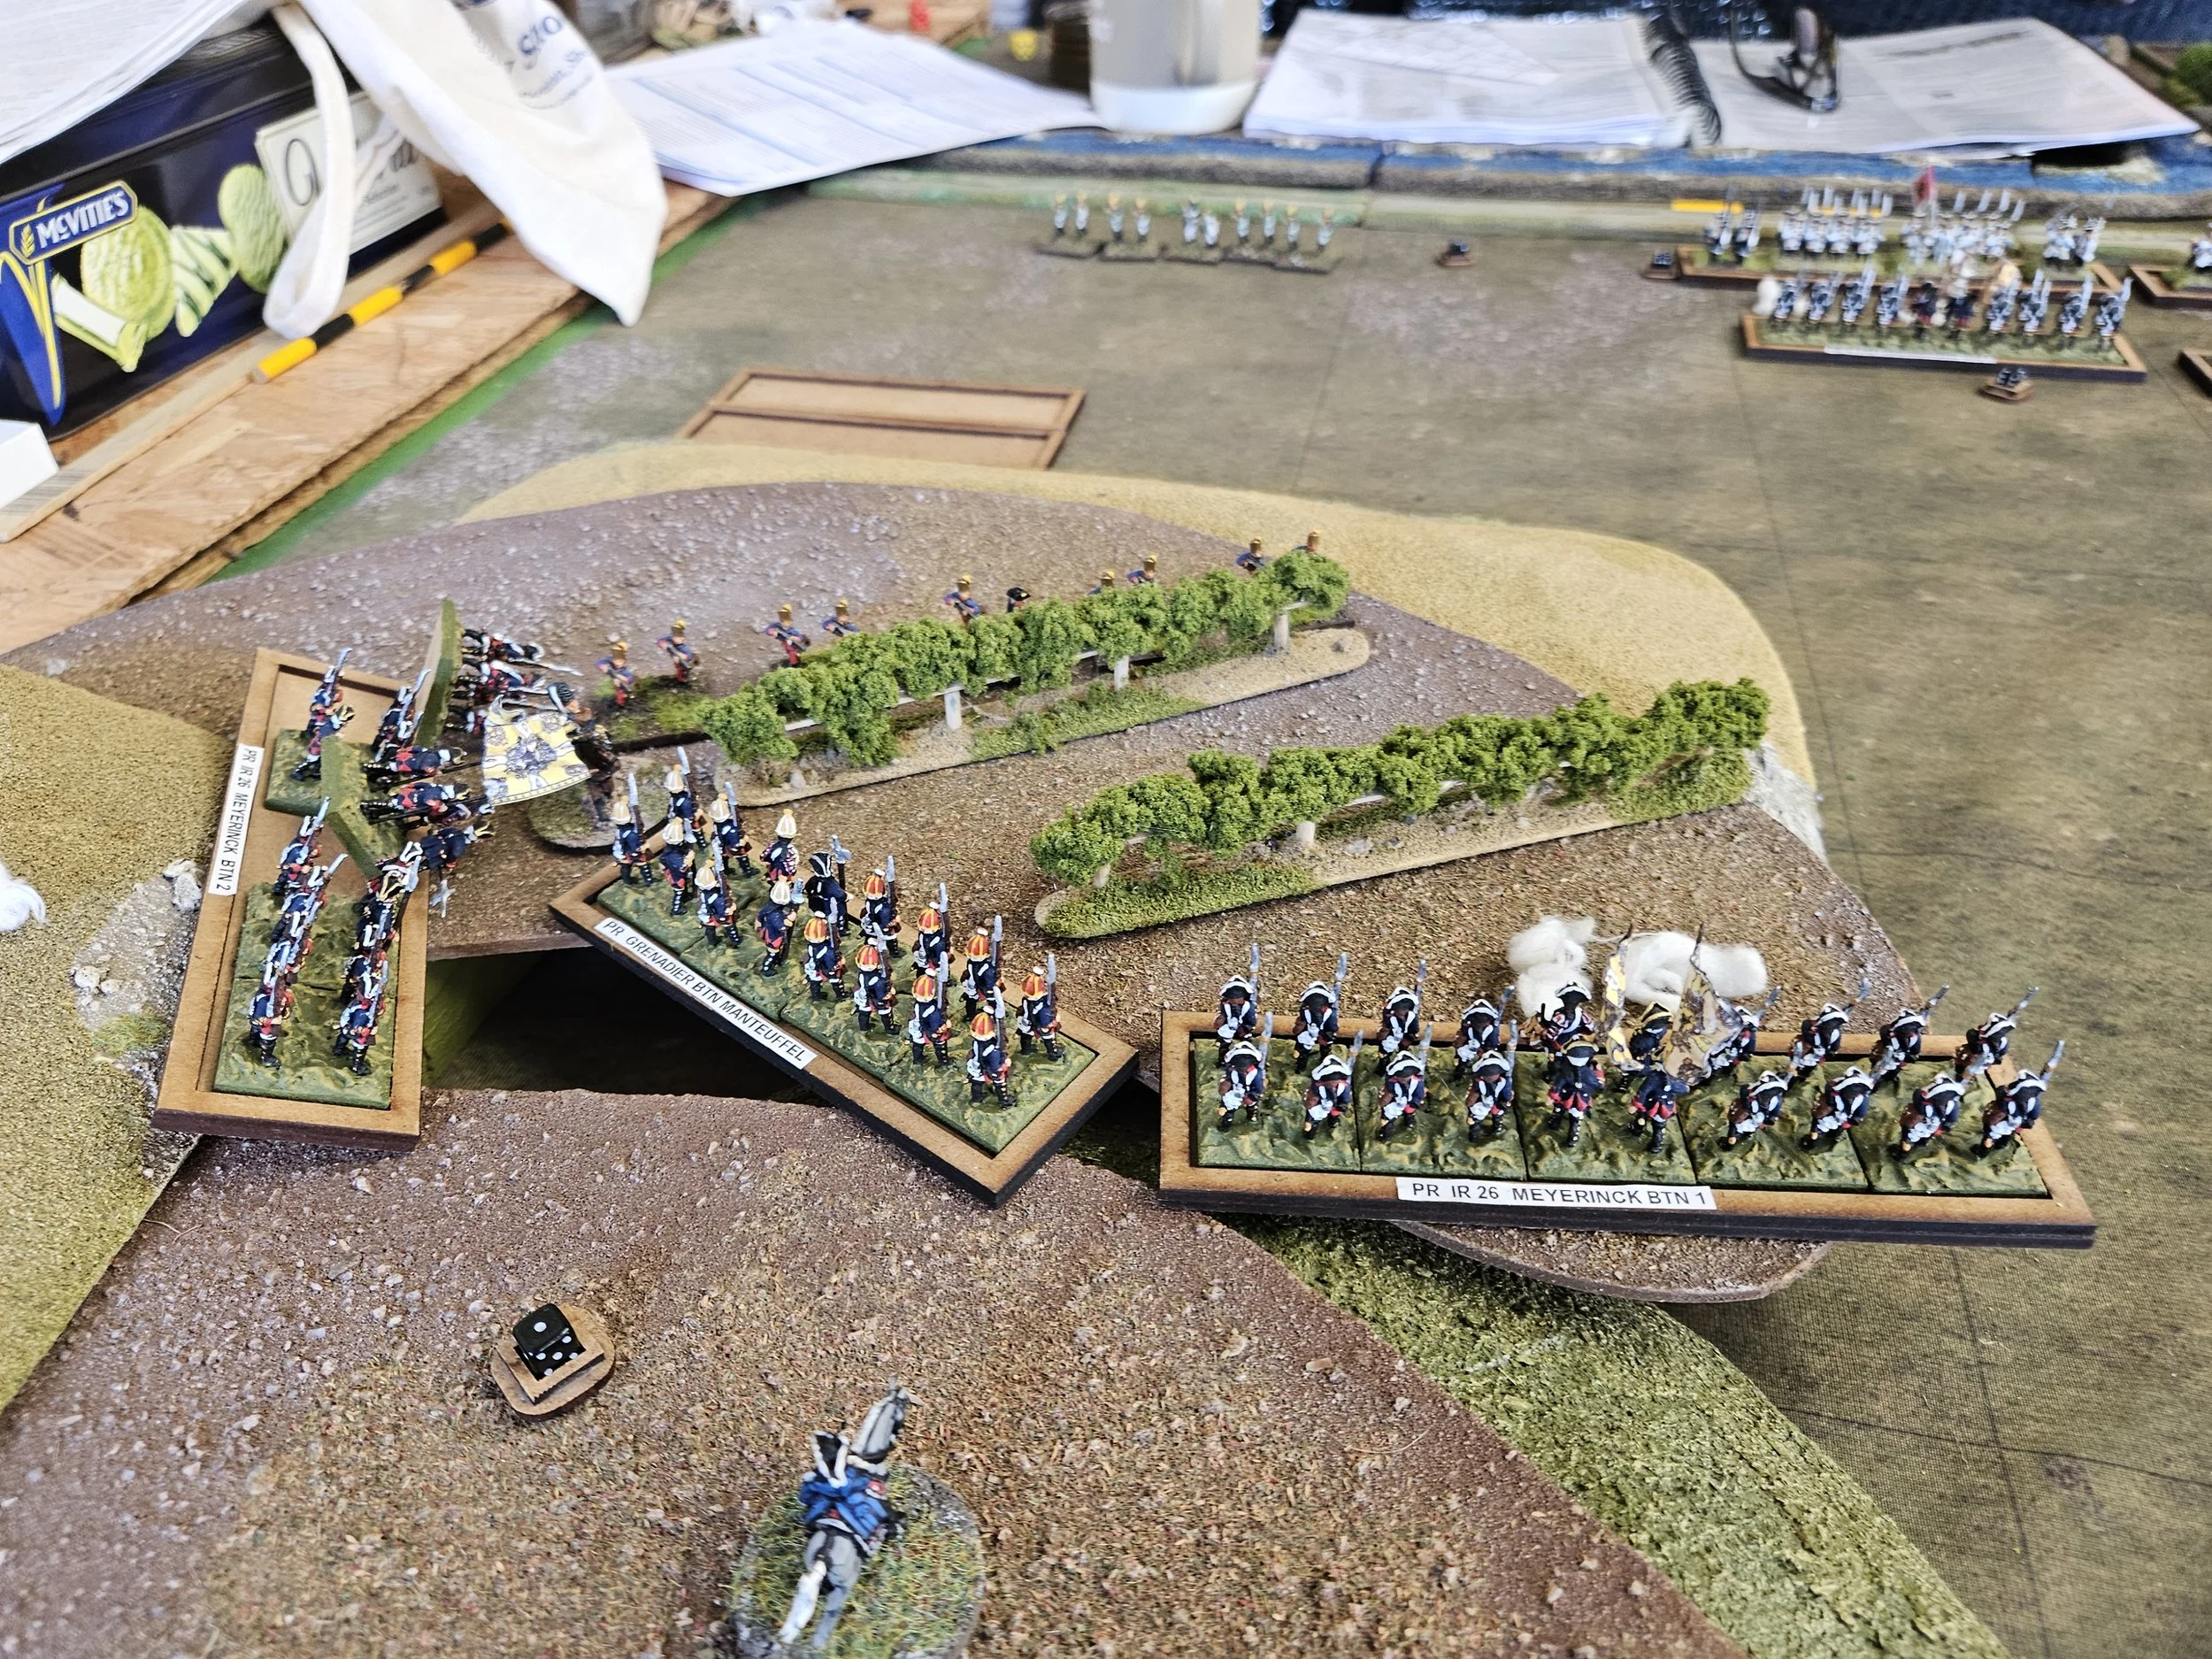
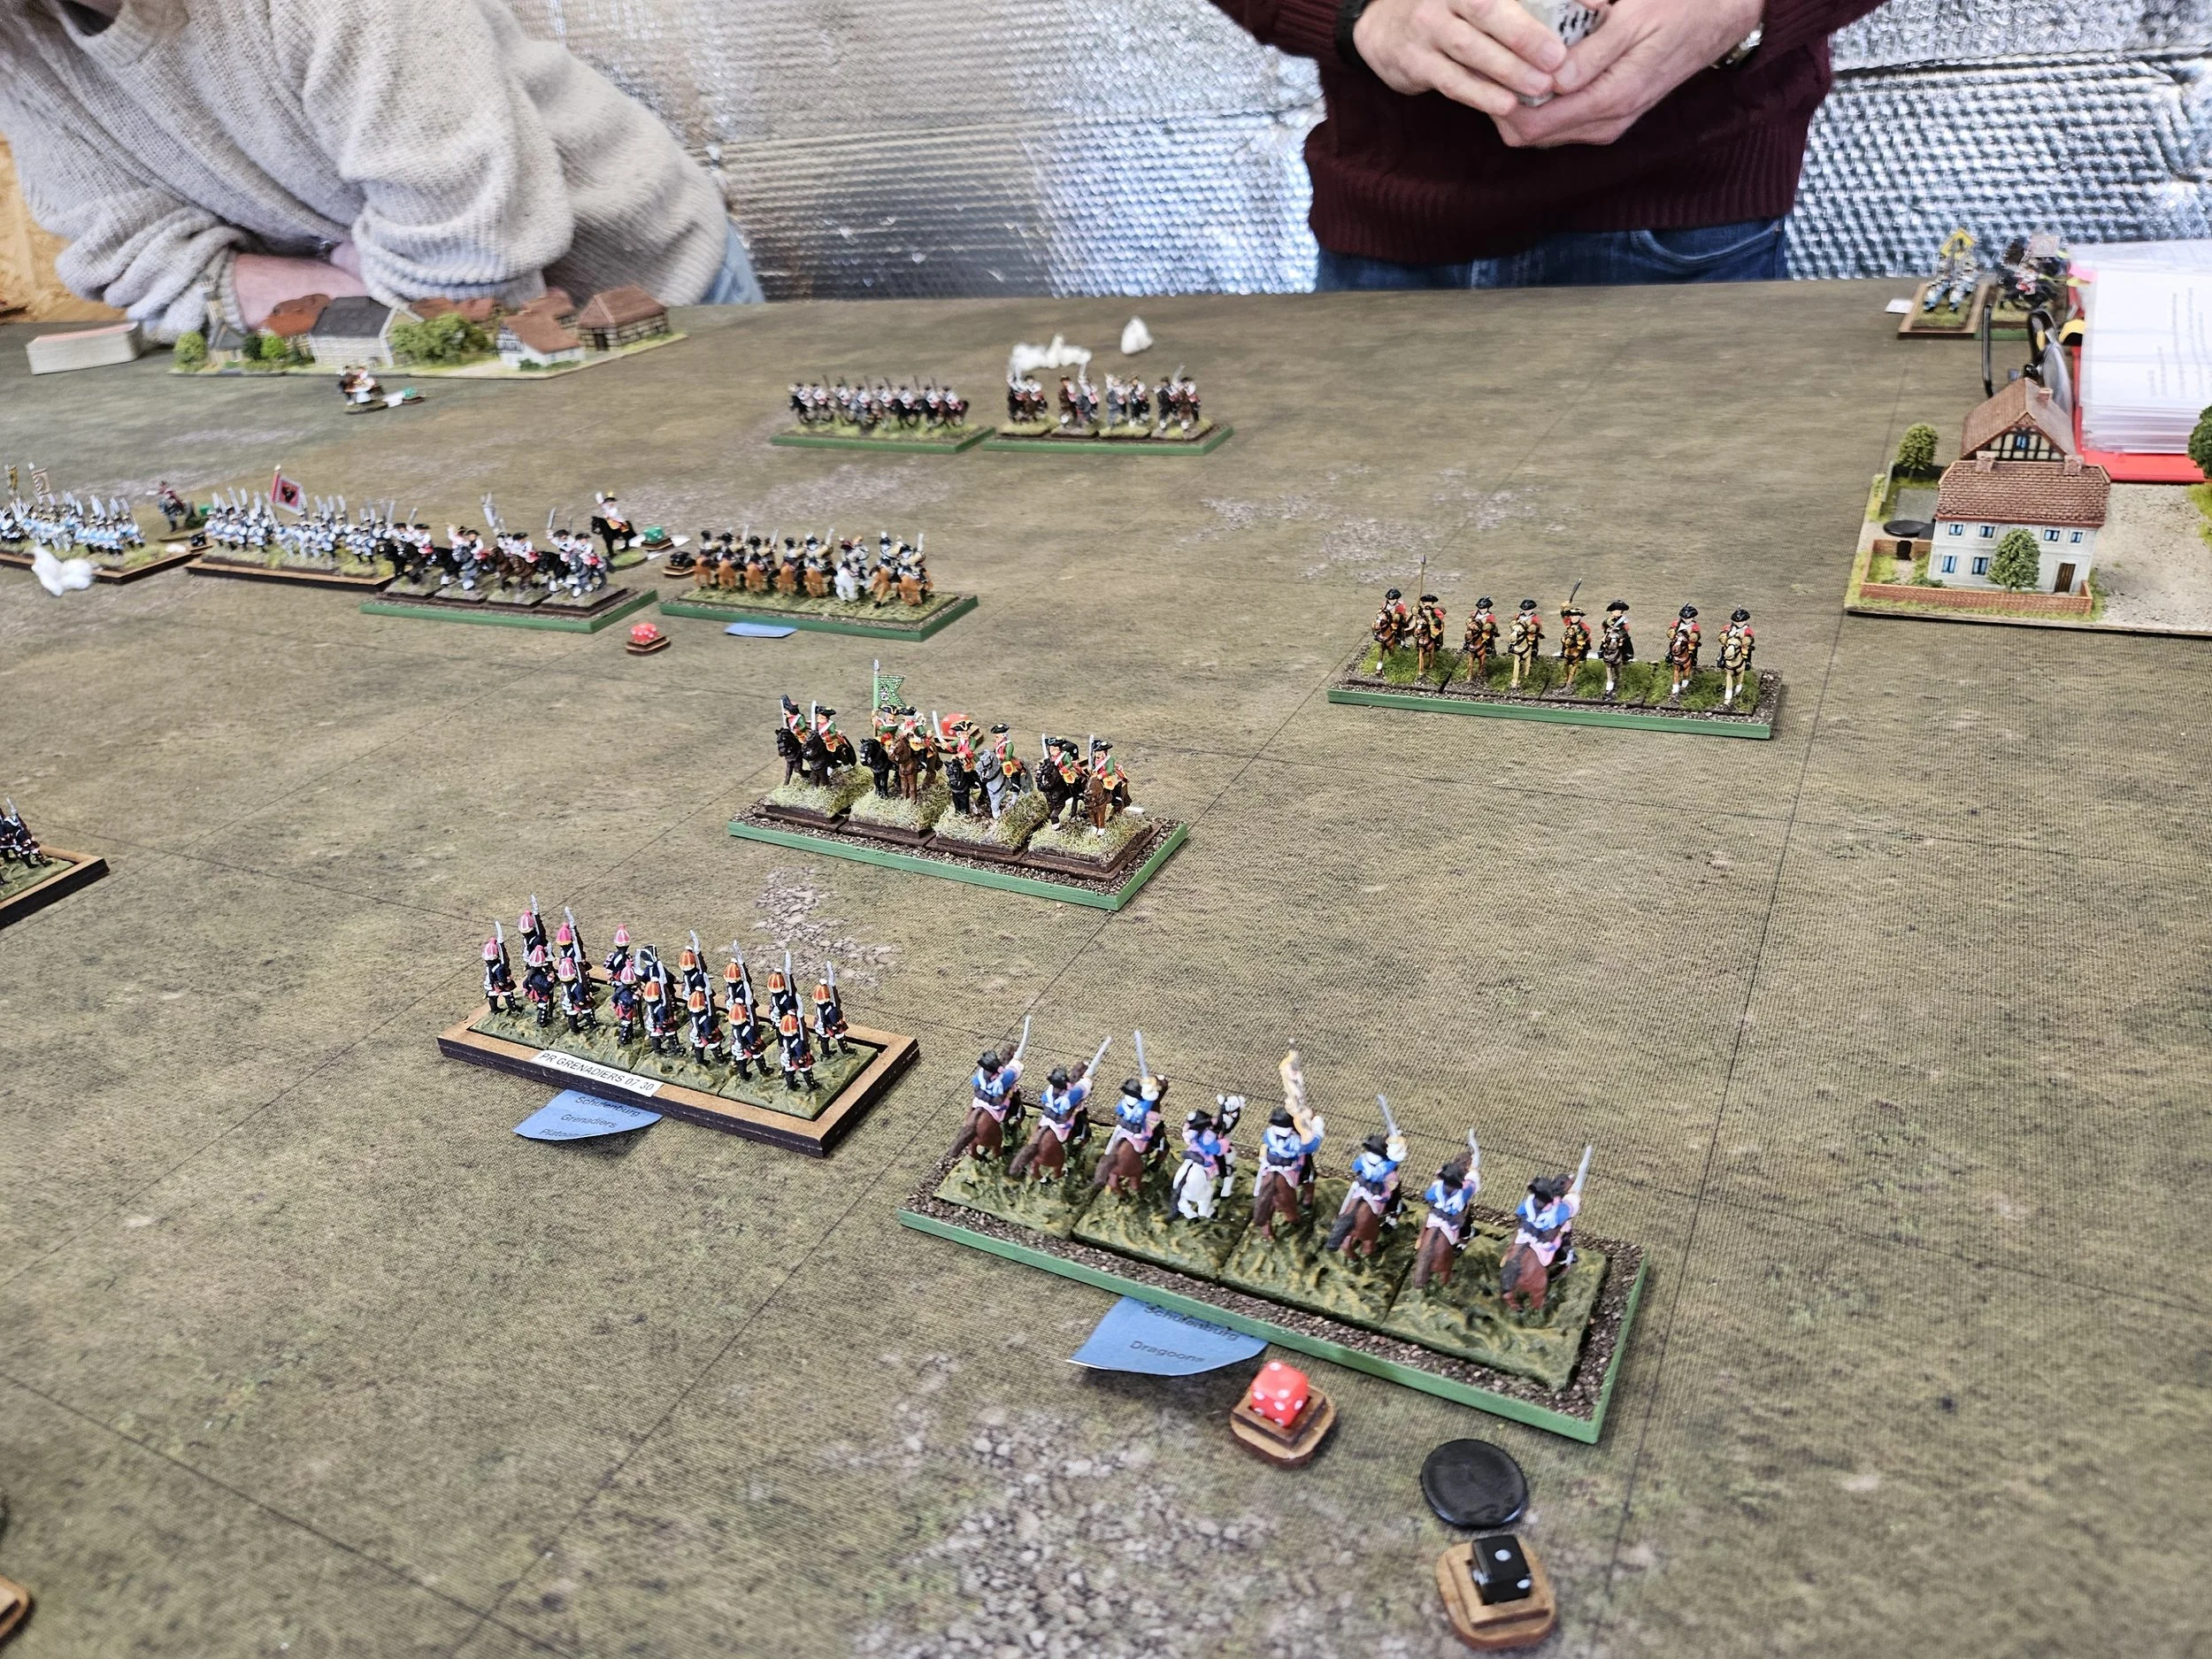
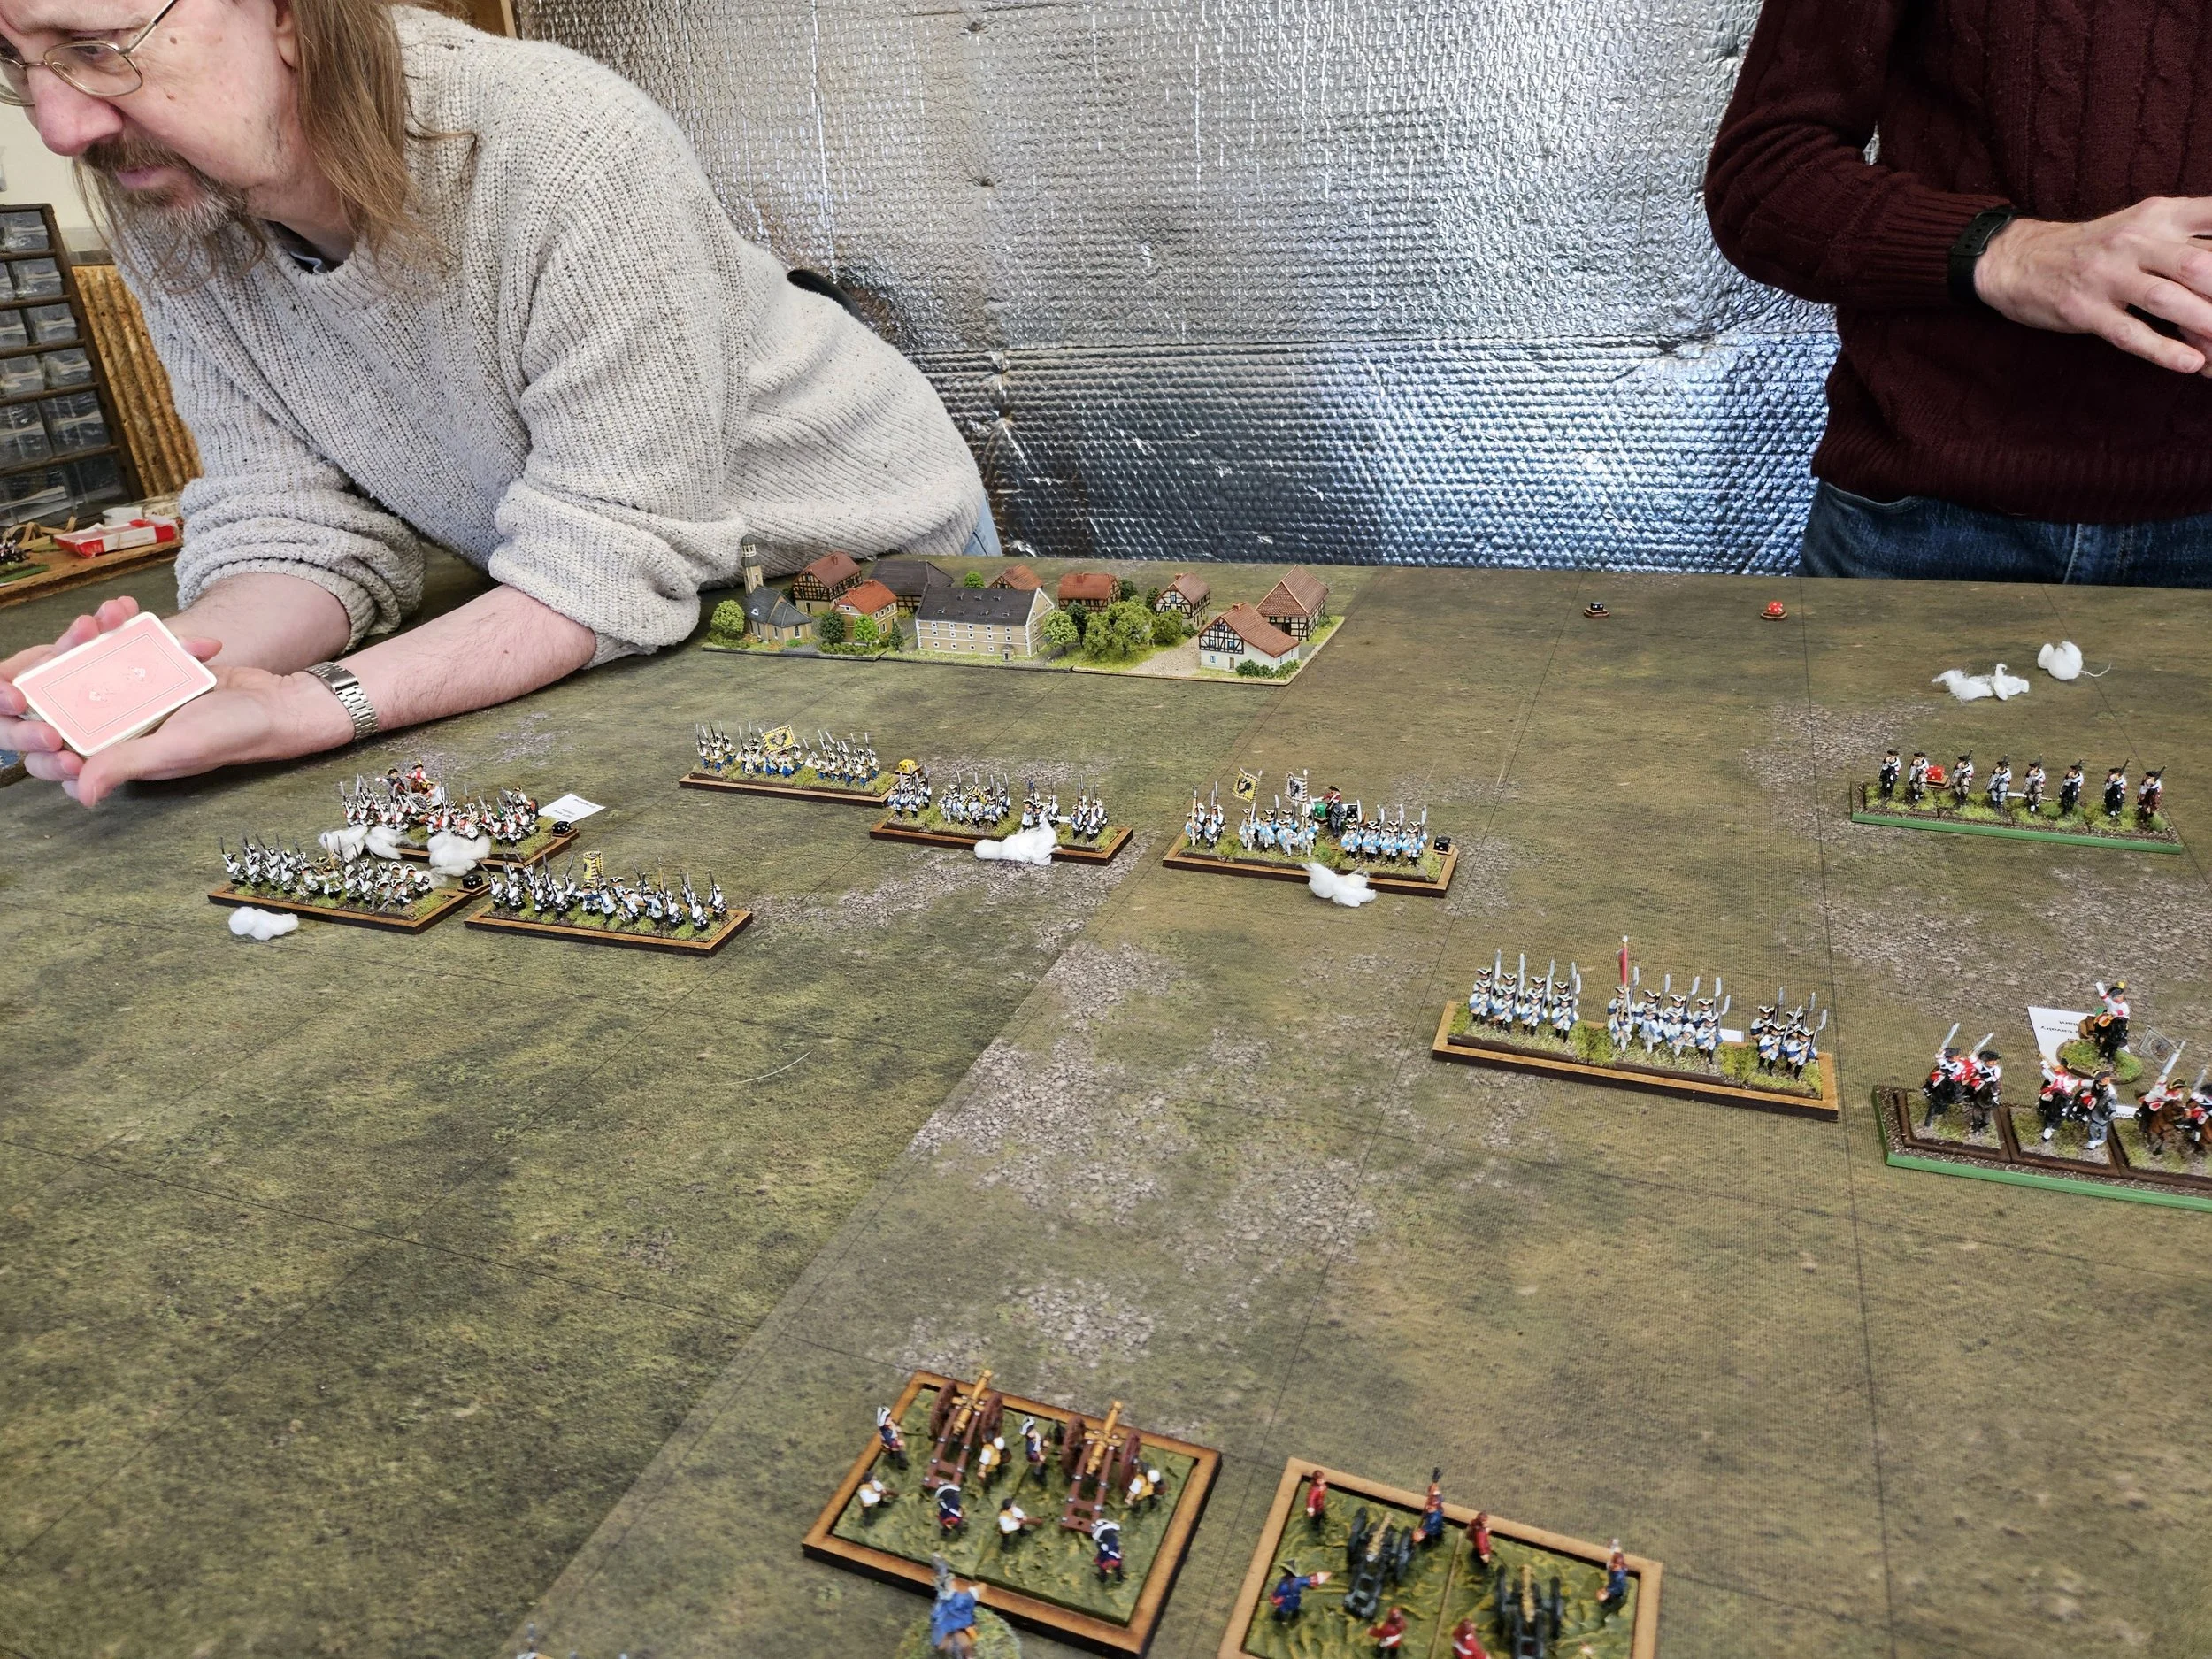
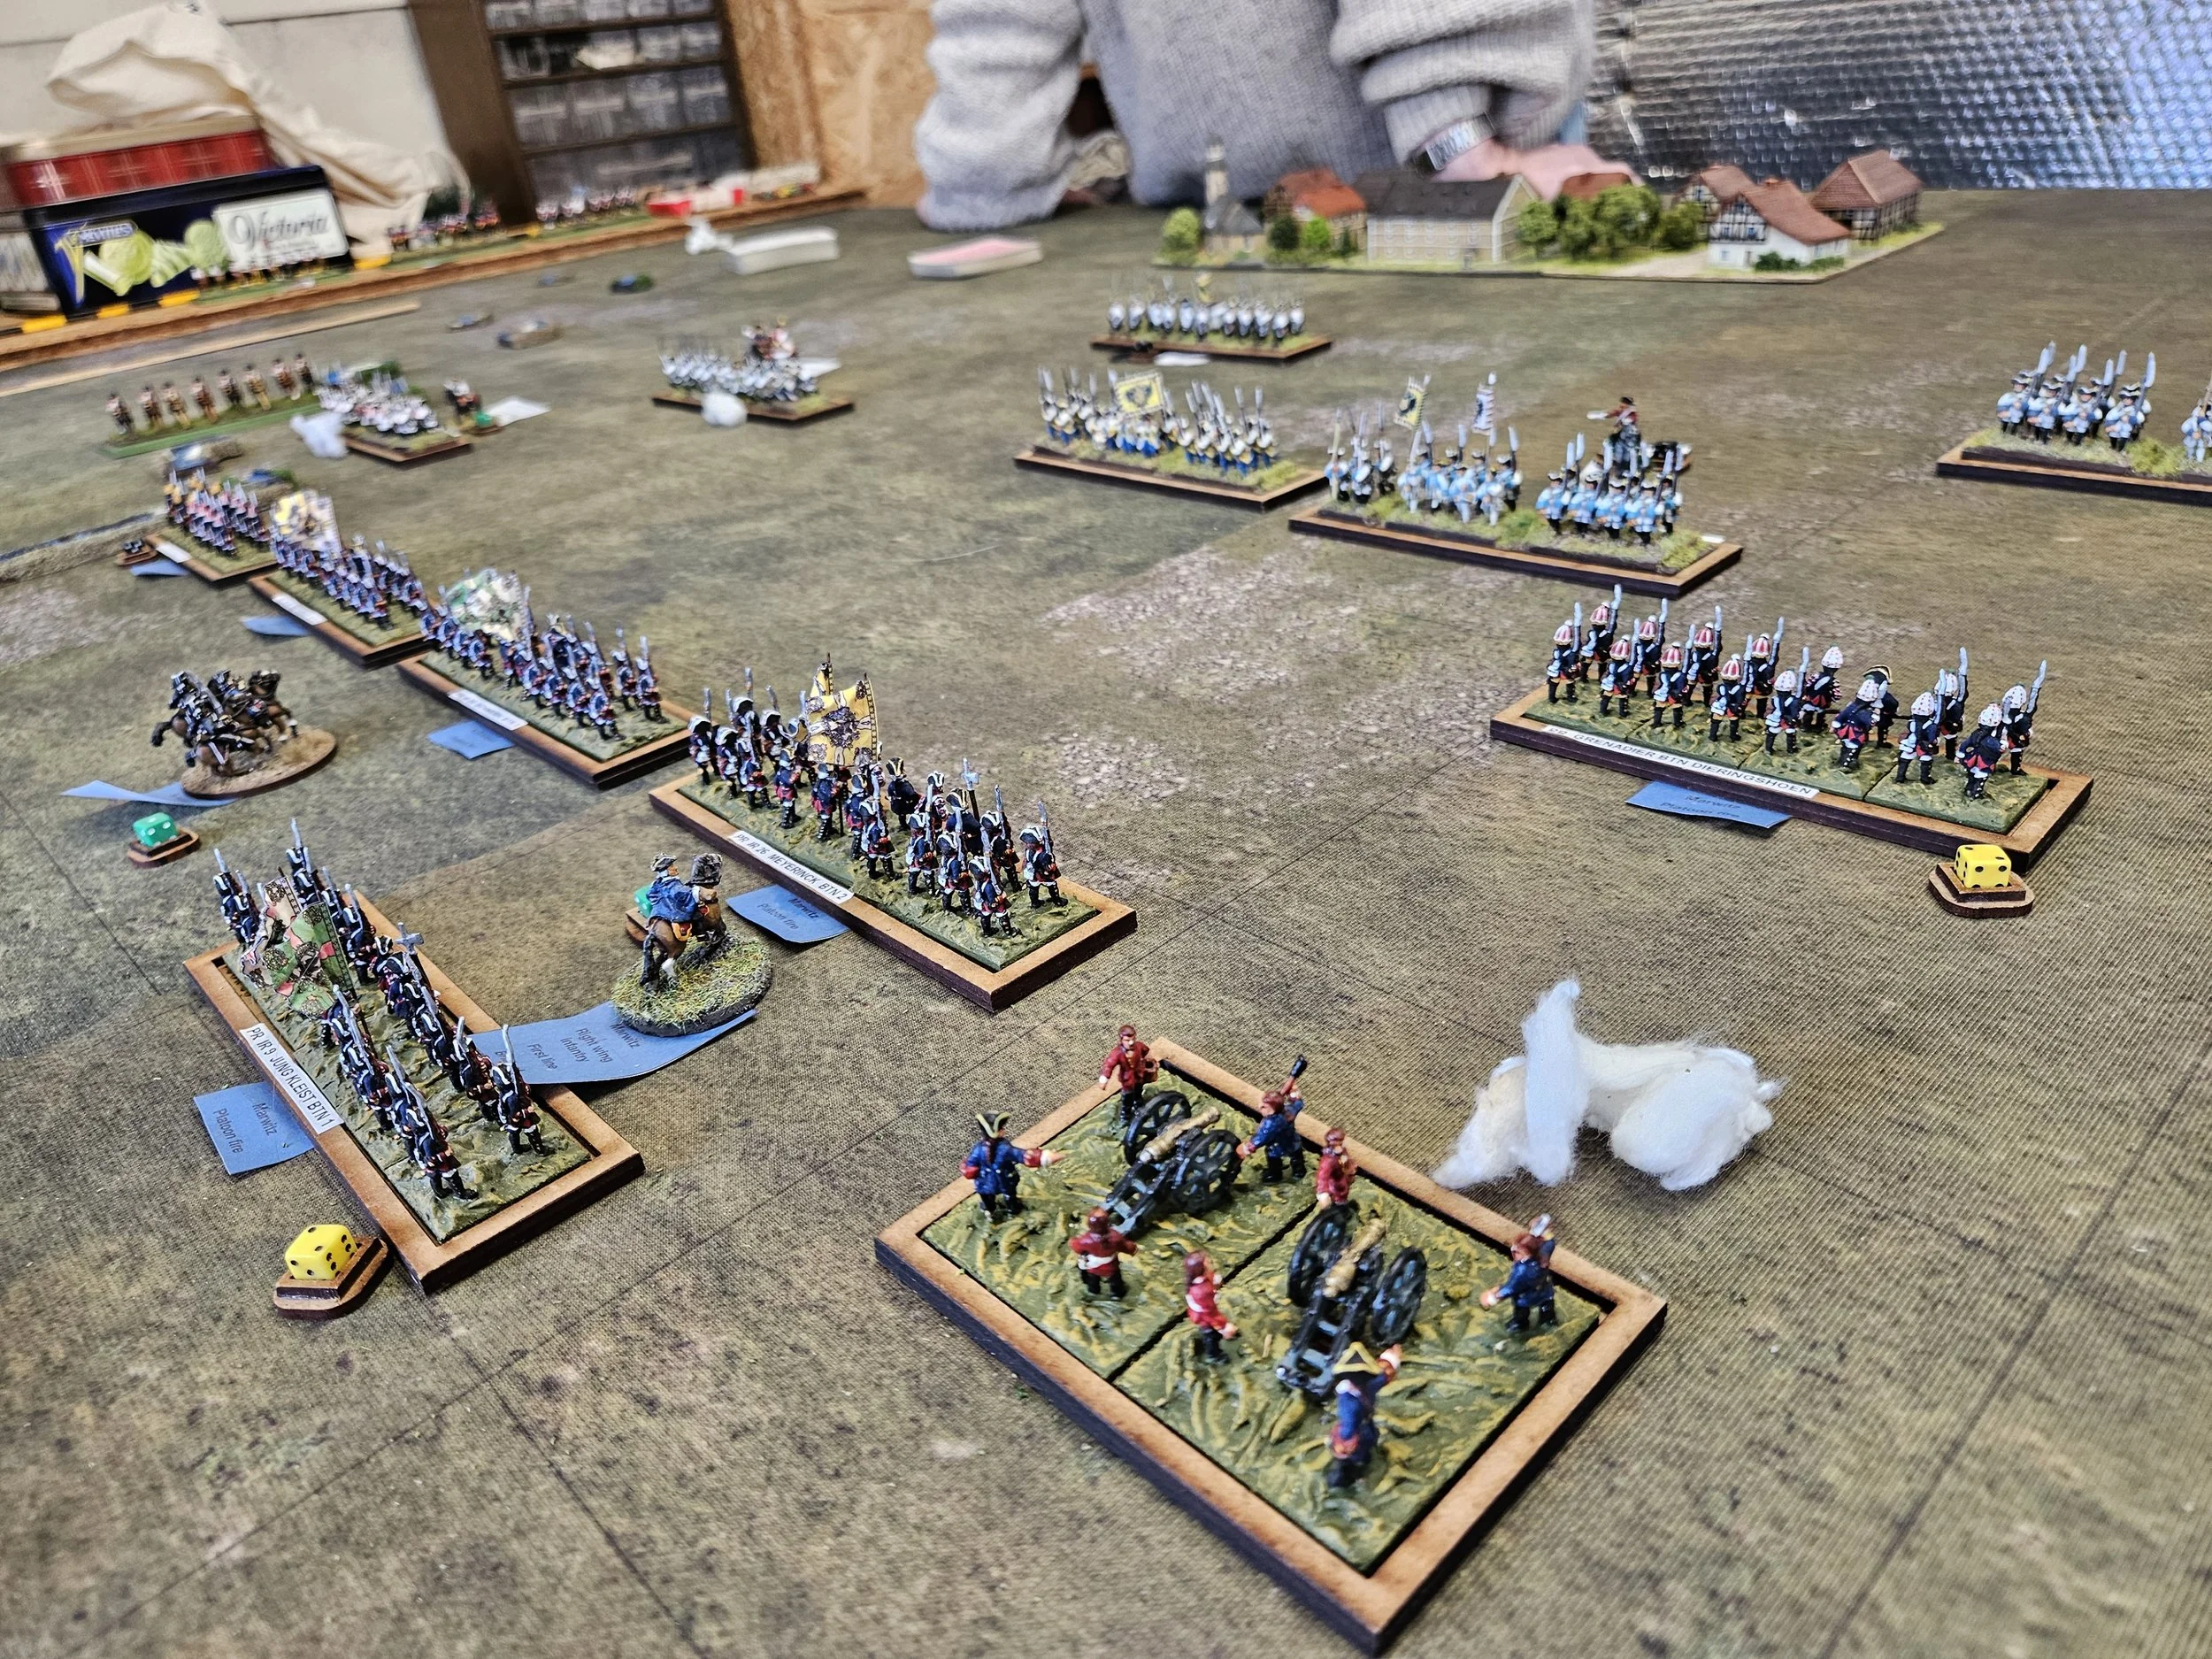
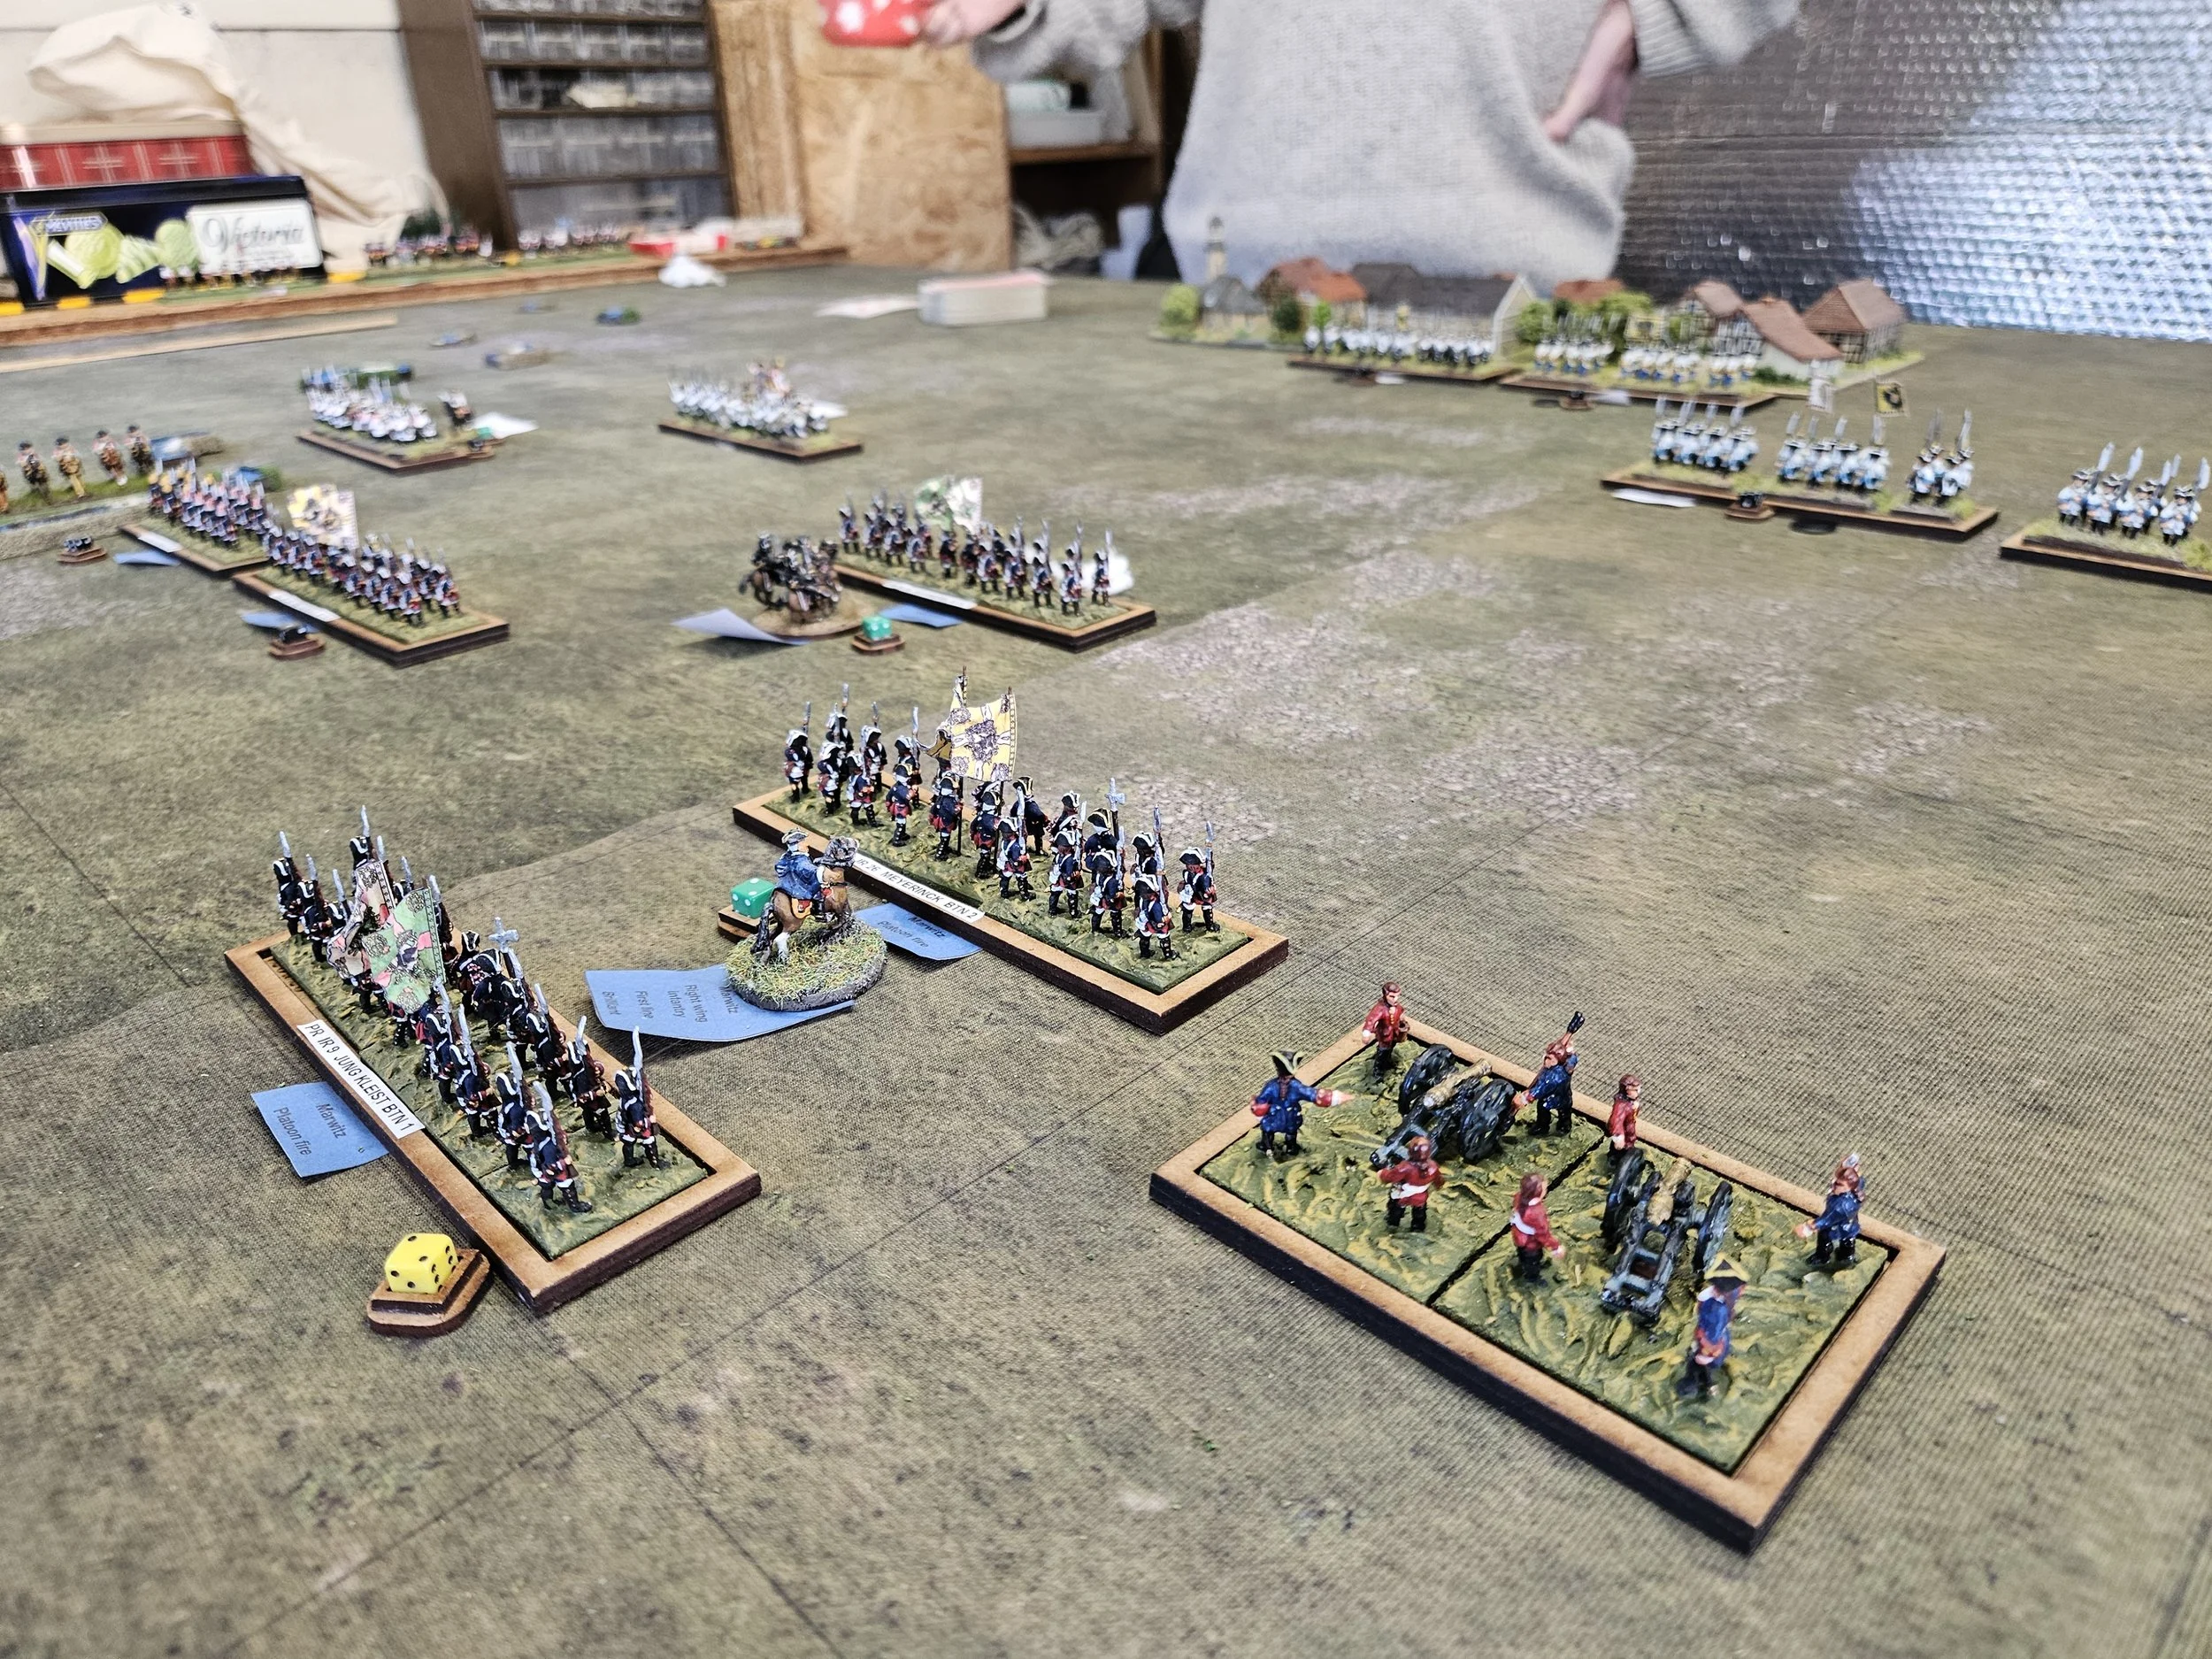
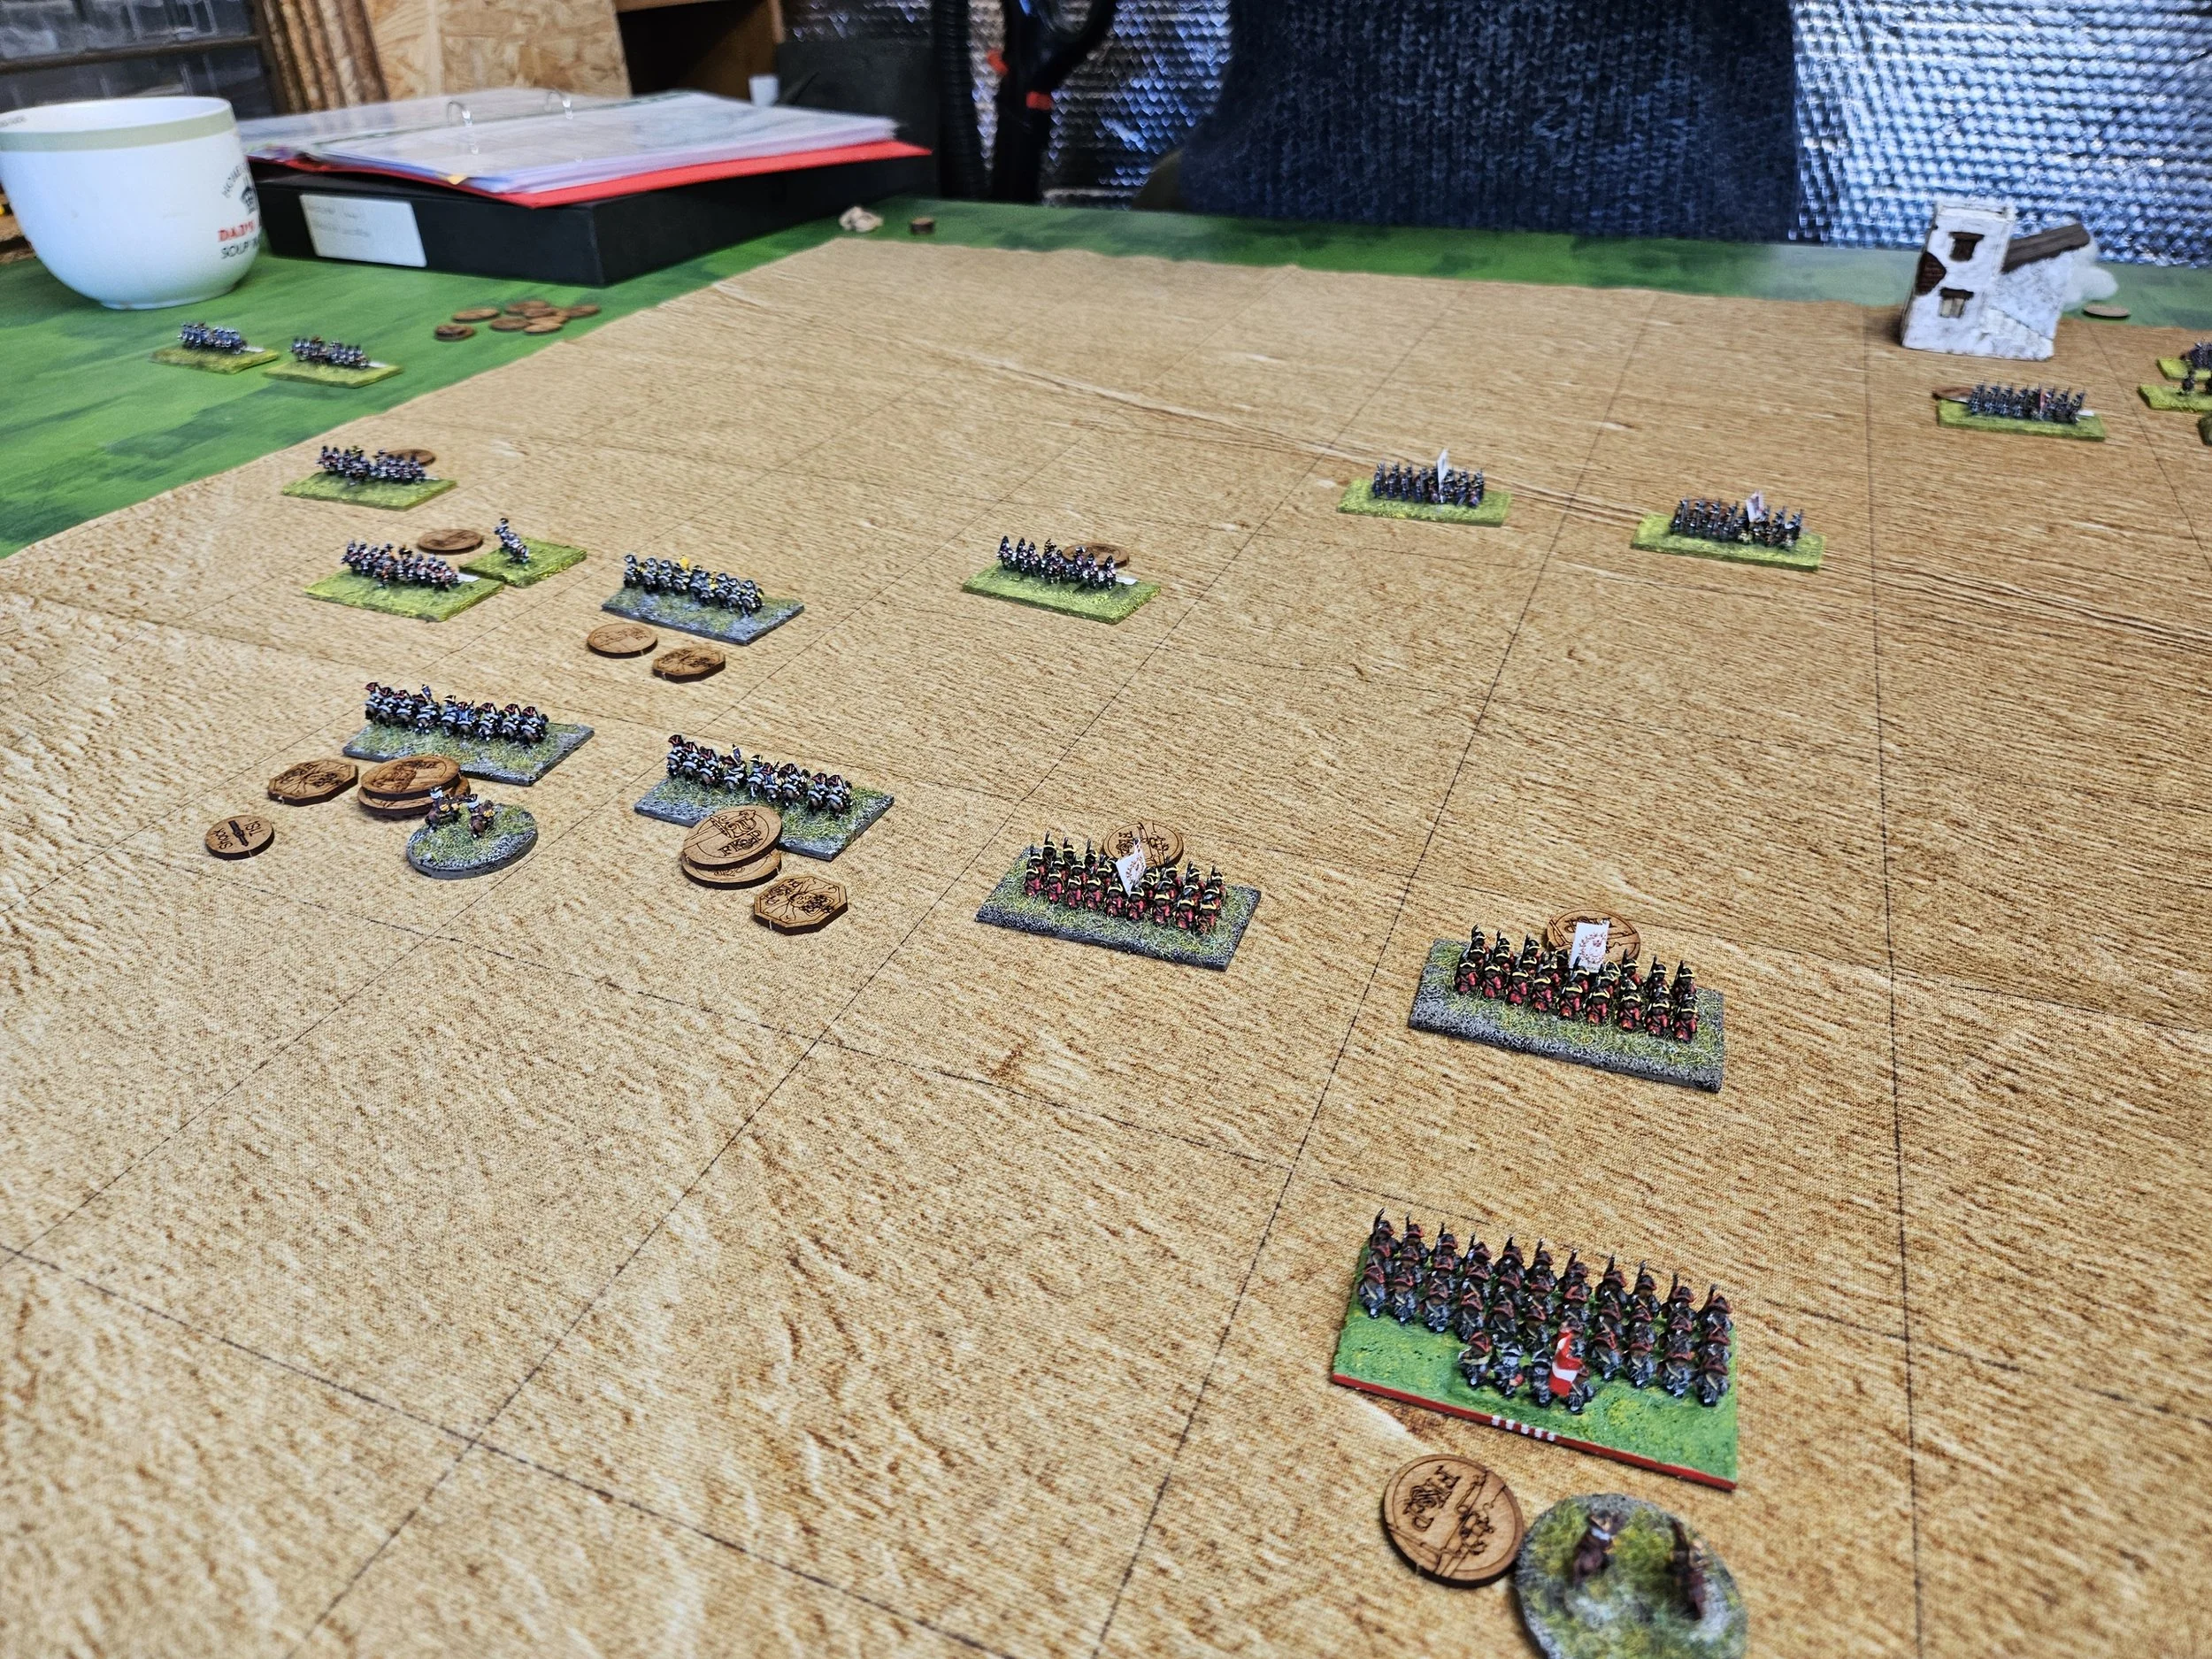
Worried about their right flank, the Prussian paused to reorganise before advancing to contact: something that gave me more time to pour cannister and musketry into their close-packed ranks.
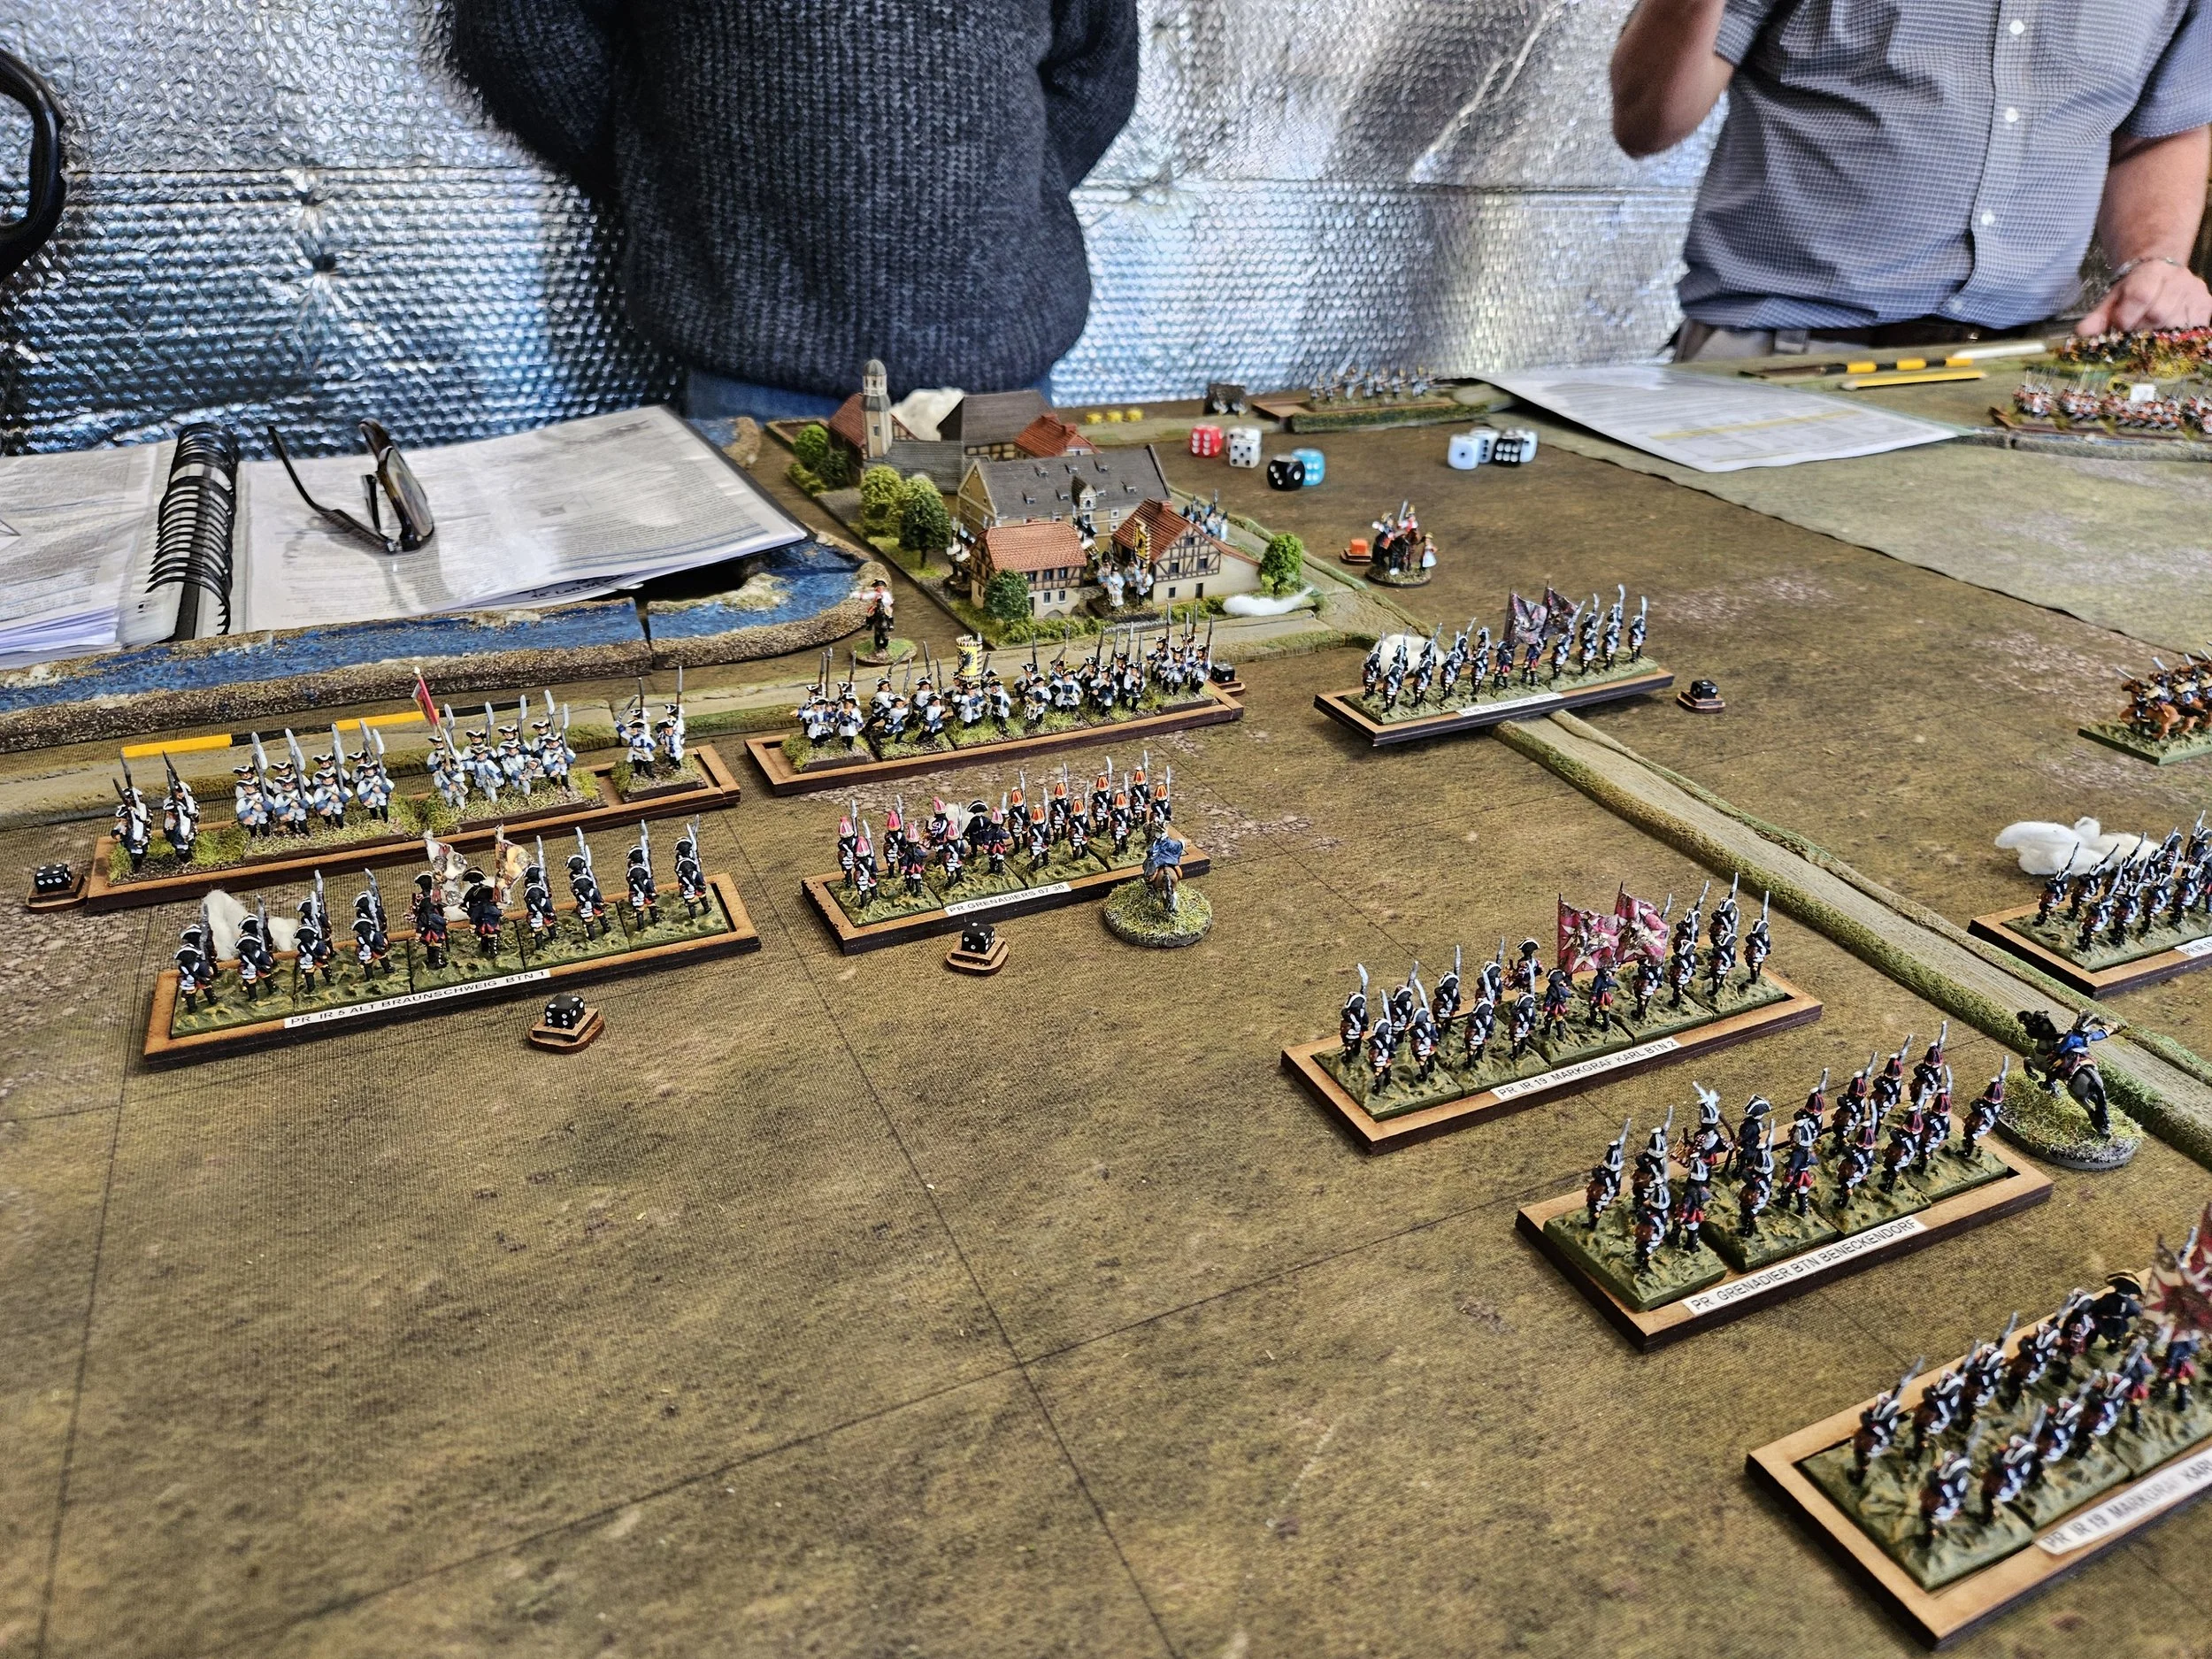
The high tide of the Prussian attack came with the capture of the two guns visible in the picture above. But the arrival of my infantry from the left, supported by my newly rallied cavalry, combined with my original infantry wheeling around to strike the enemy from the right, left the Prussians with no choice but to retreat or face annihilation.
So a victory for the Austrians helped, it must be said by the dice, who were definitely with me and against Mark all day. Highlights have to be rolling three sixes on three dice for rallying my Cuirassiers that allowed them to hold their positions against the second line of Prussian cavalry; and my initial close-range fire into the Prussian infantry just before they charged my line in front of Lobositz: seven hits out of seven shots!
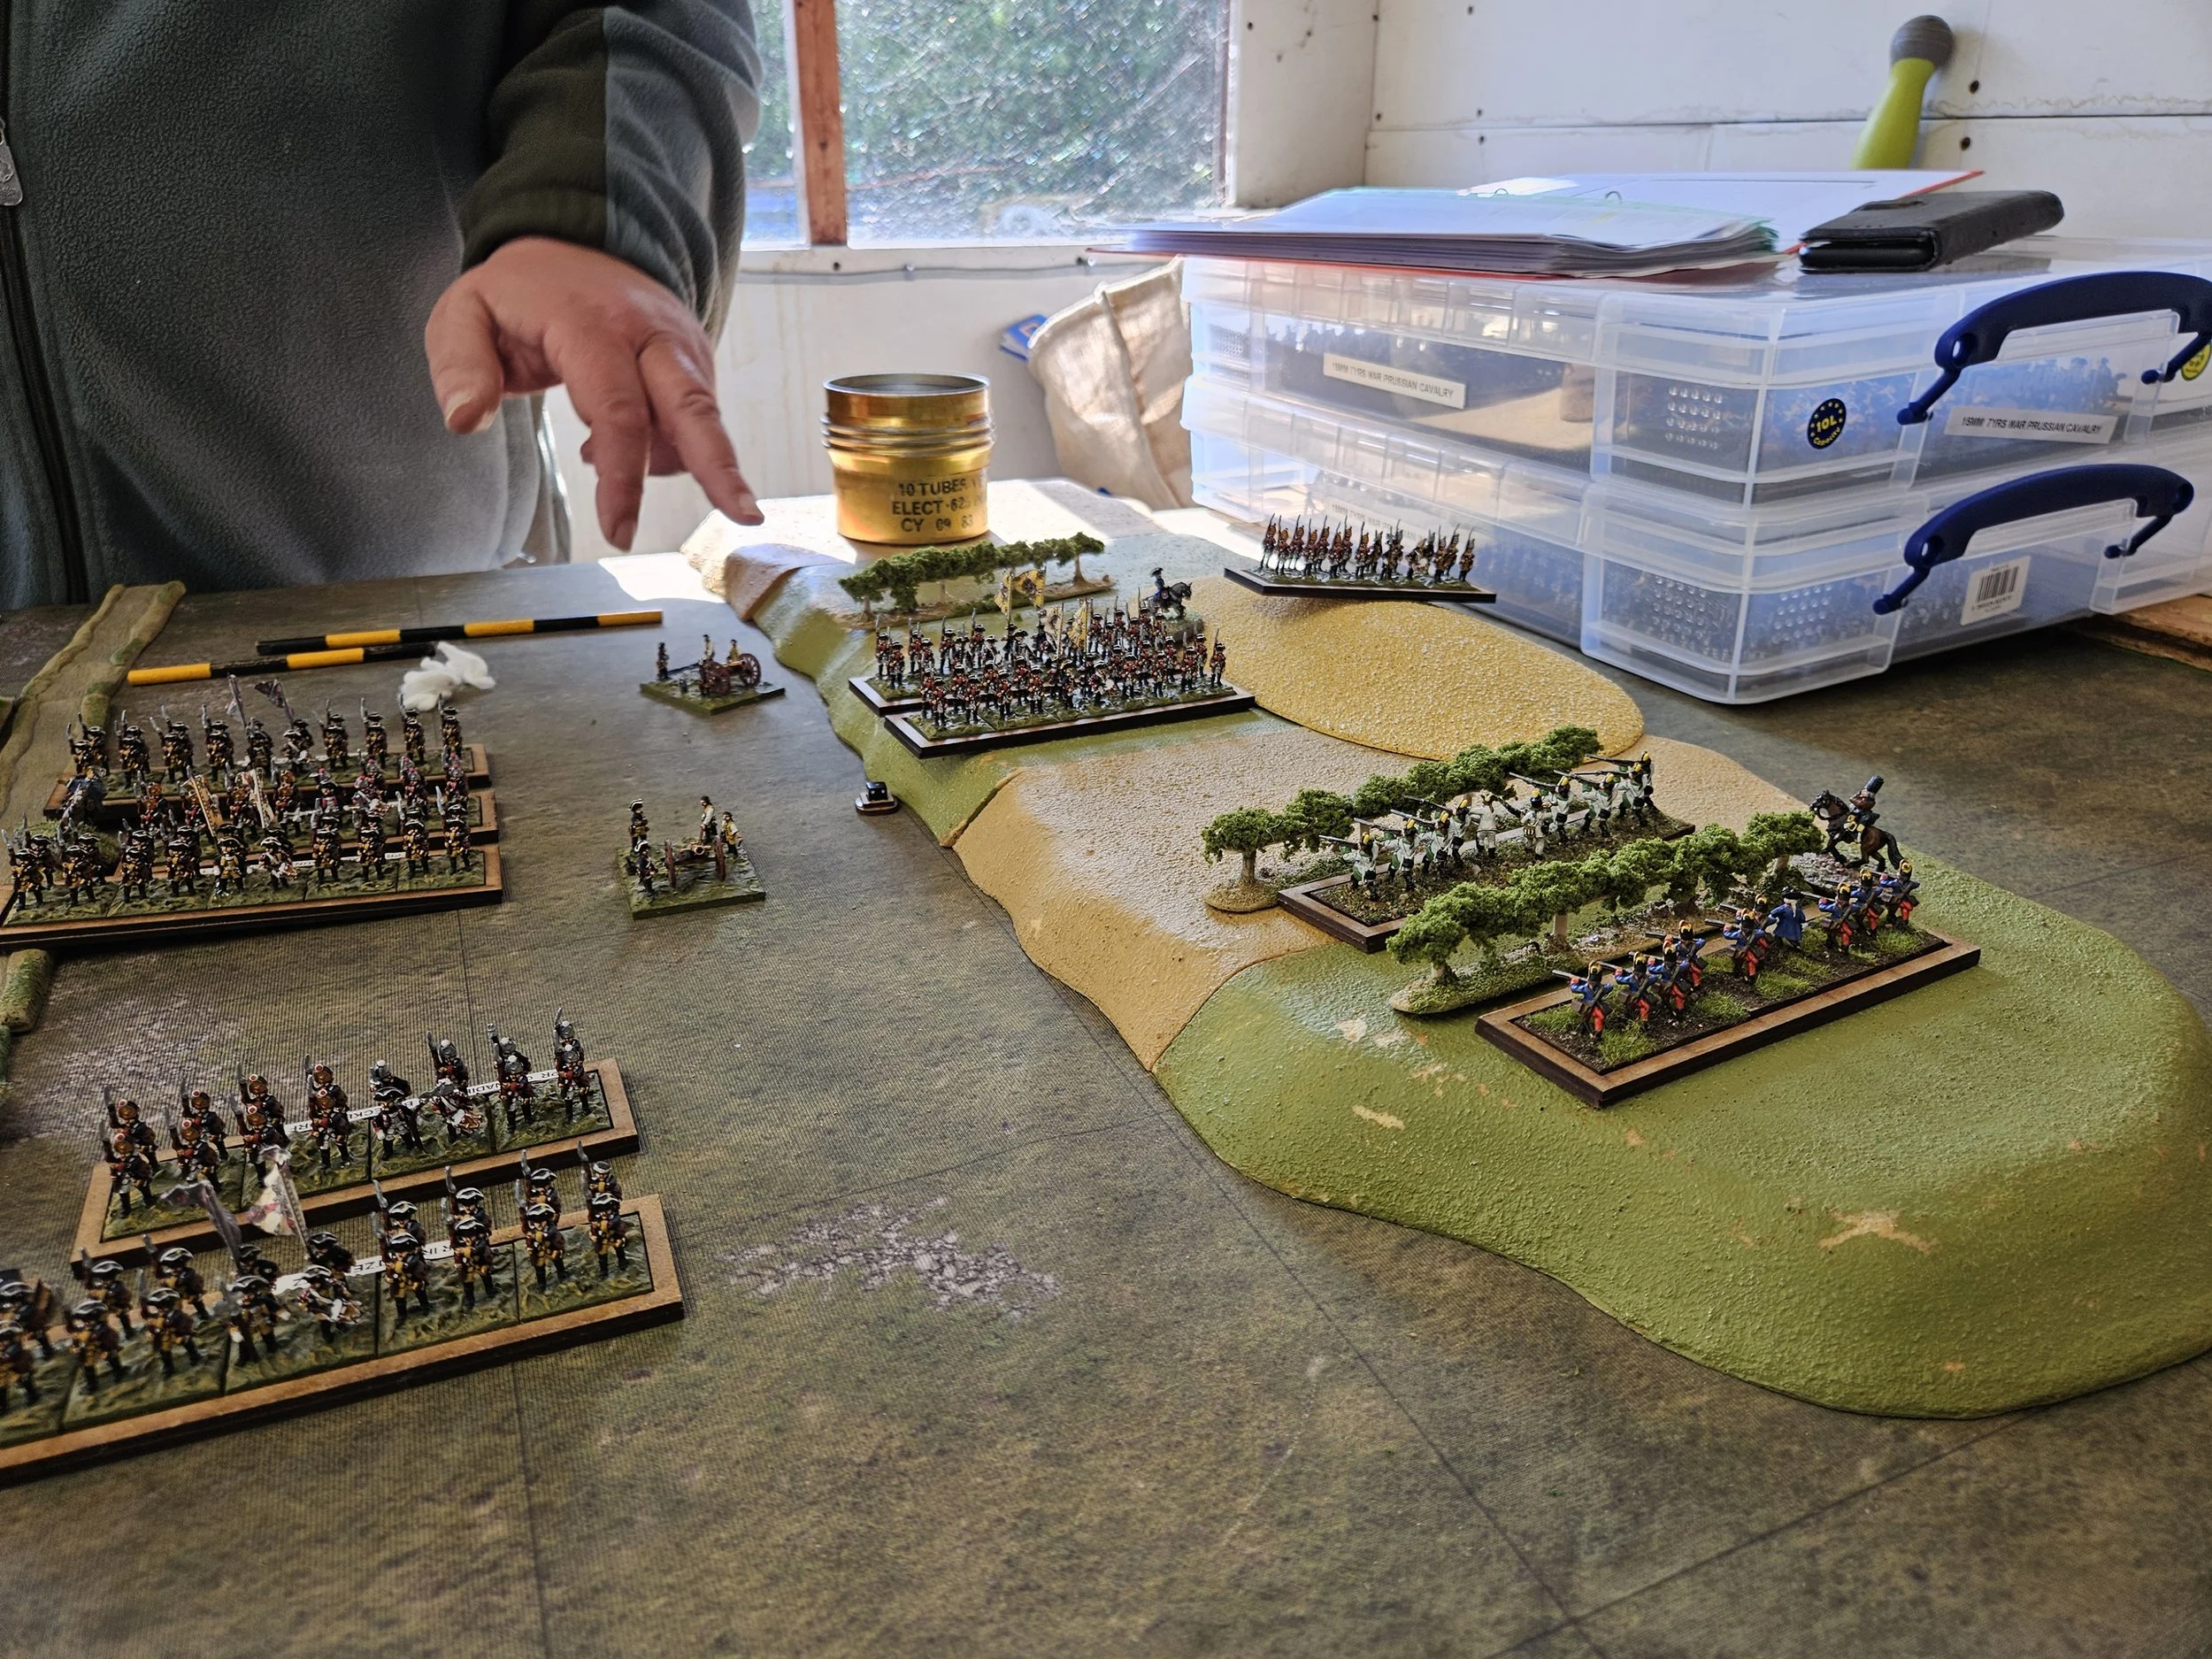
Honorable mention must also be made of the Austrian light troops on the hill to the front-right of Lobositz: they held up a Prussian brigade there, inflicting significant casualties, before beign forced to retreat.
I also made enough fortitude saves (a 50% chance of success) to make even Rosencrantz and Guildenstern raise an eyebrow!
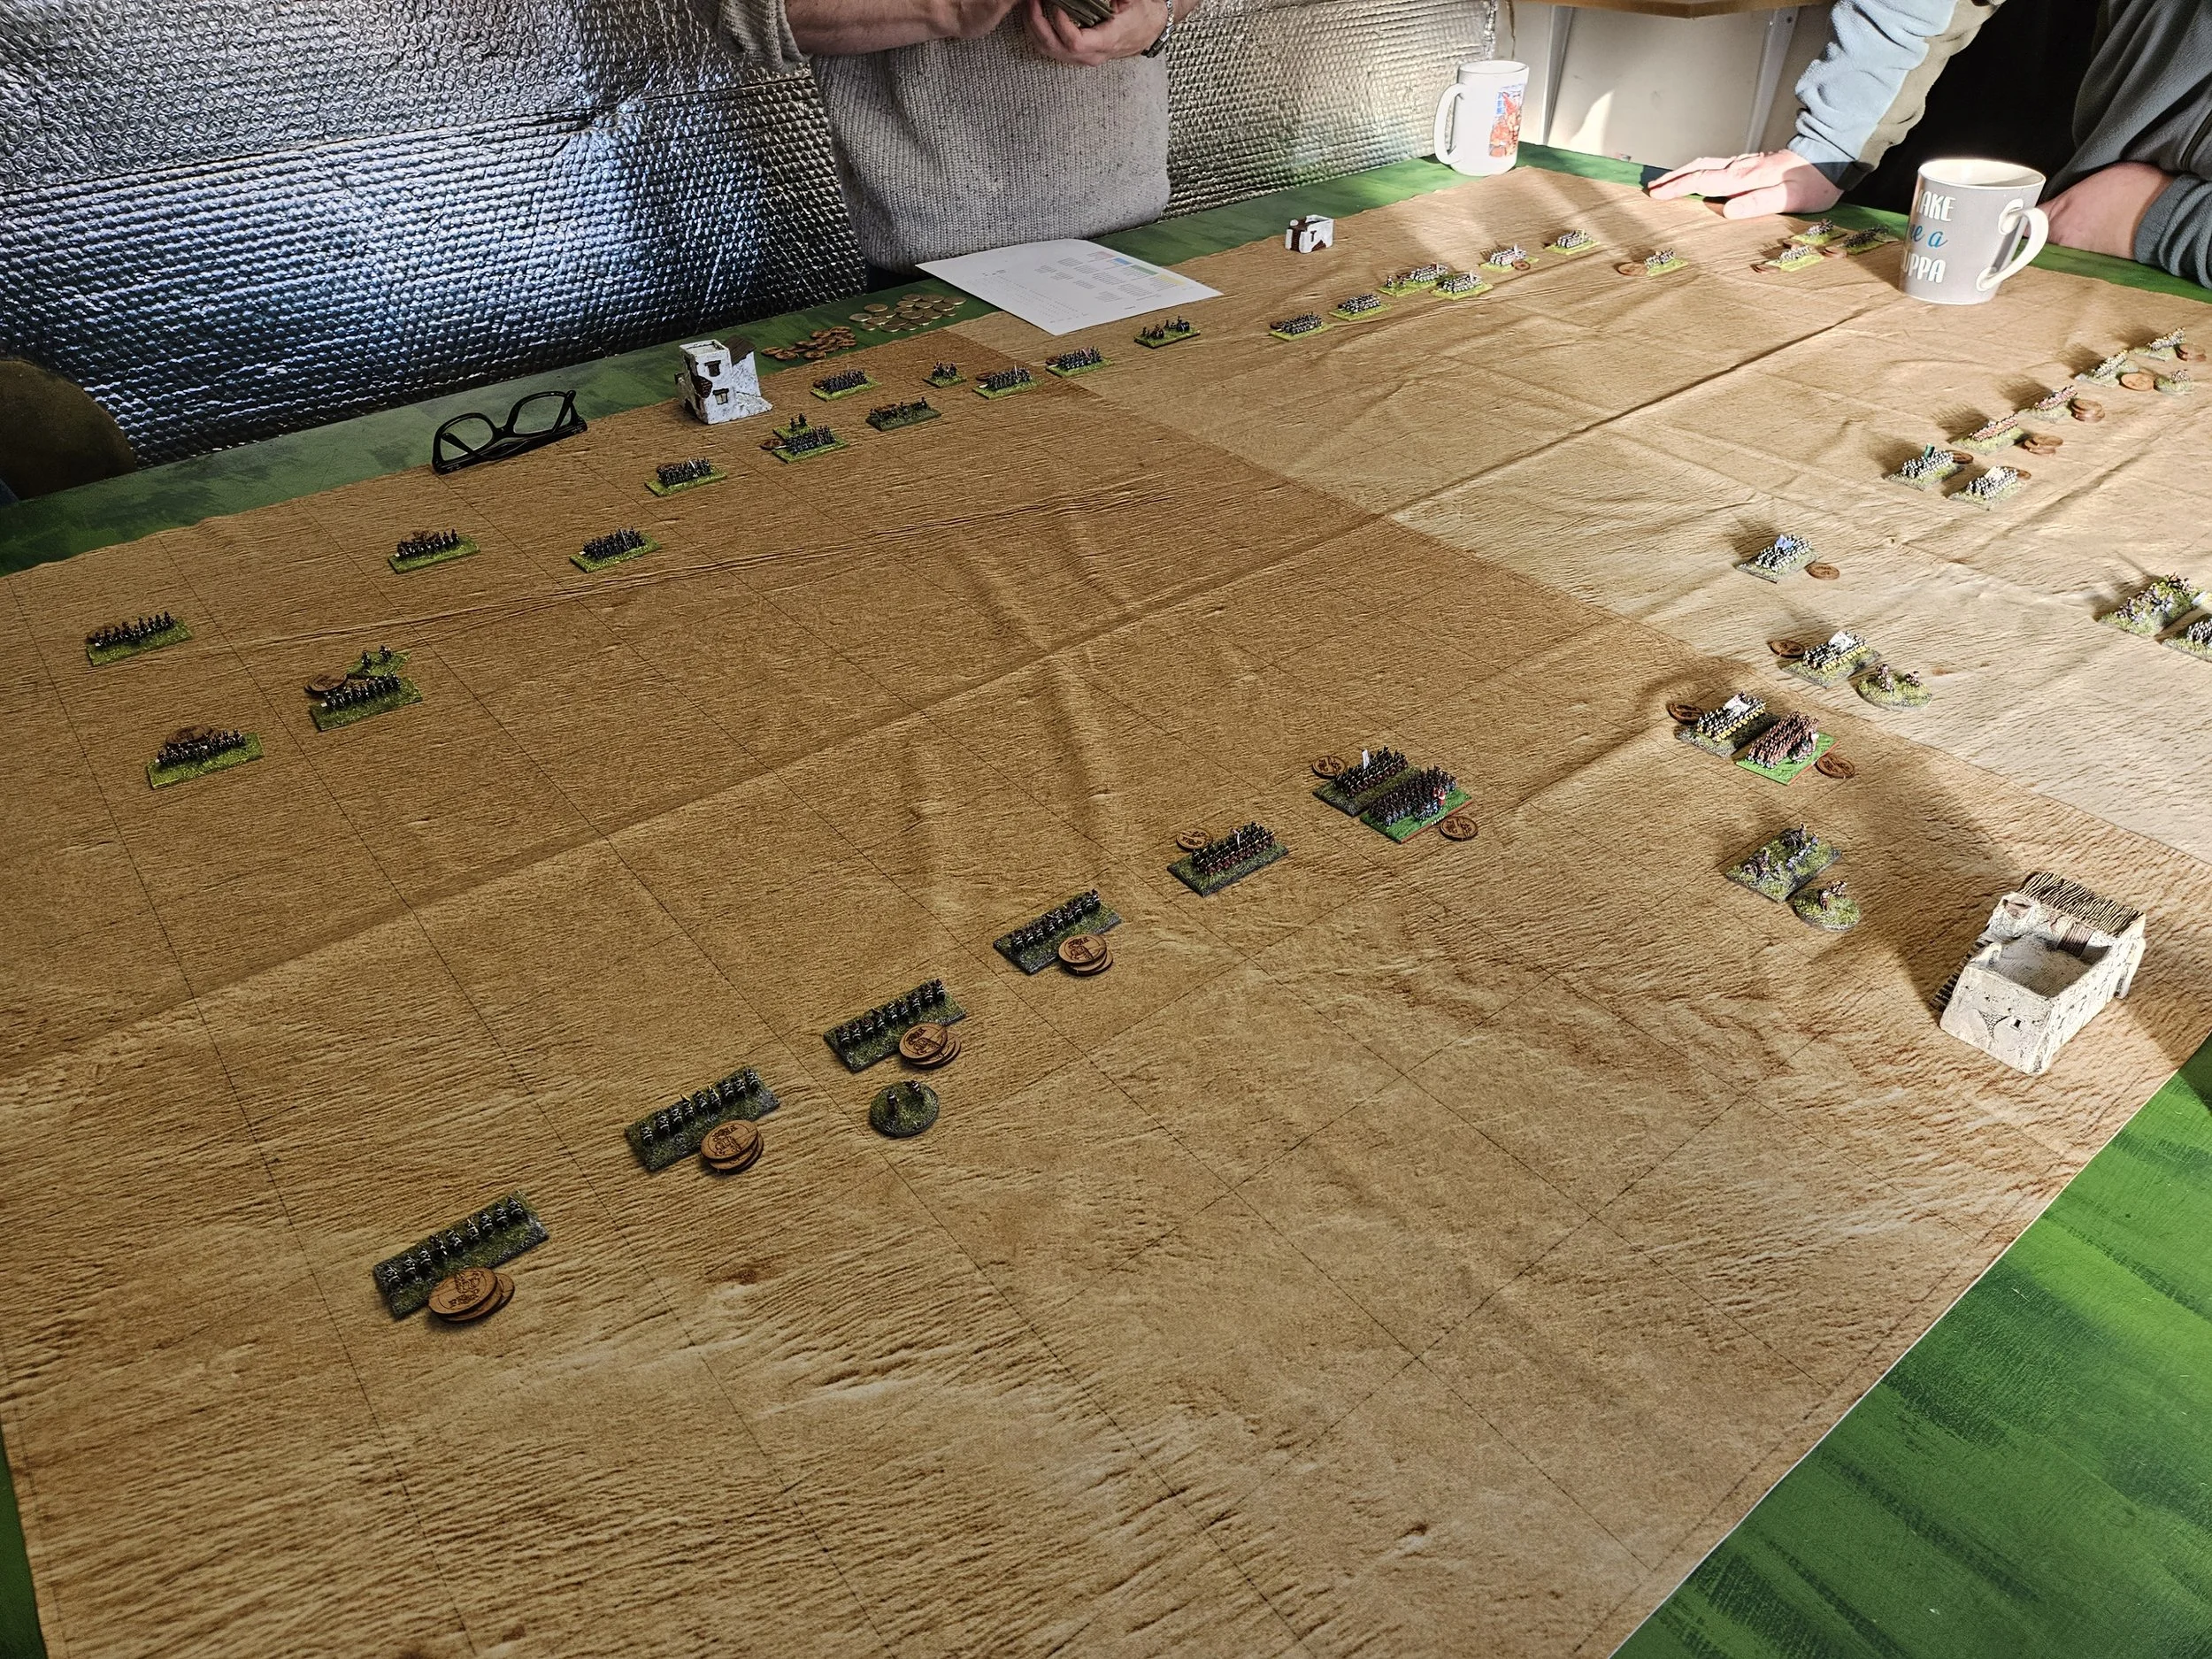
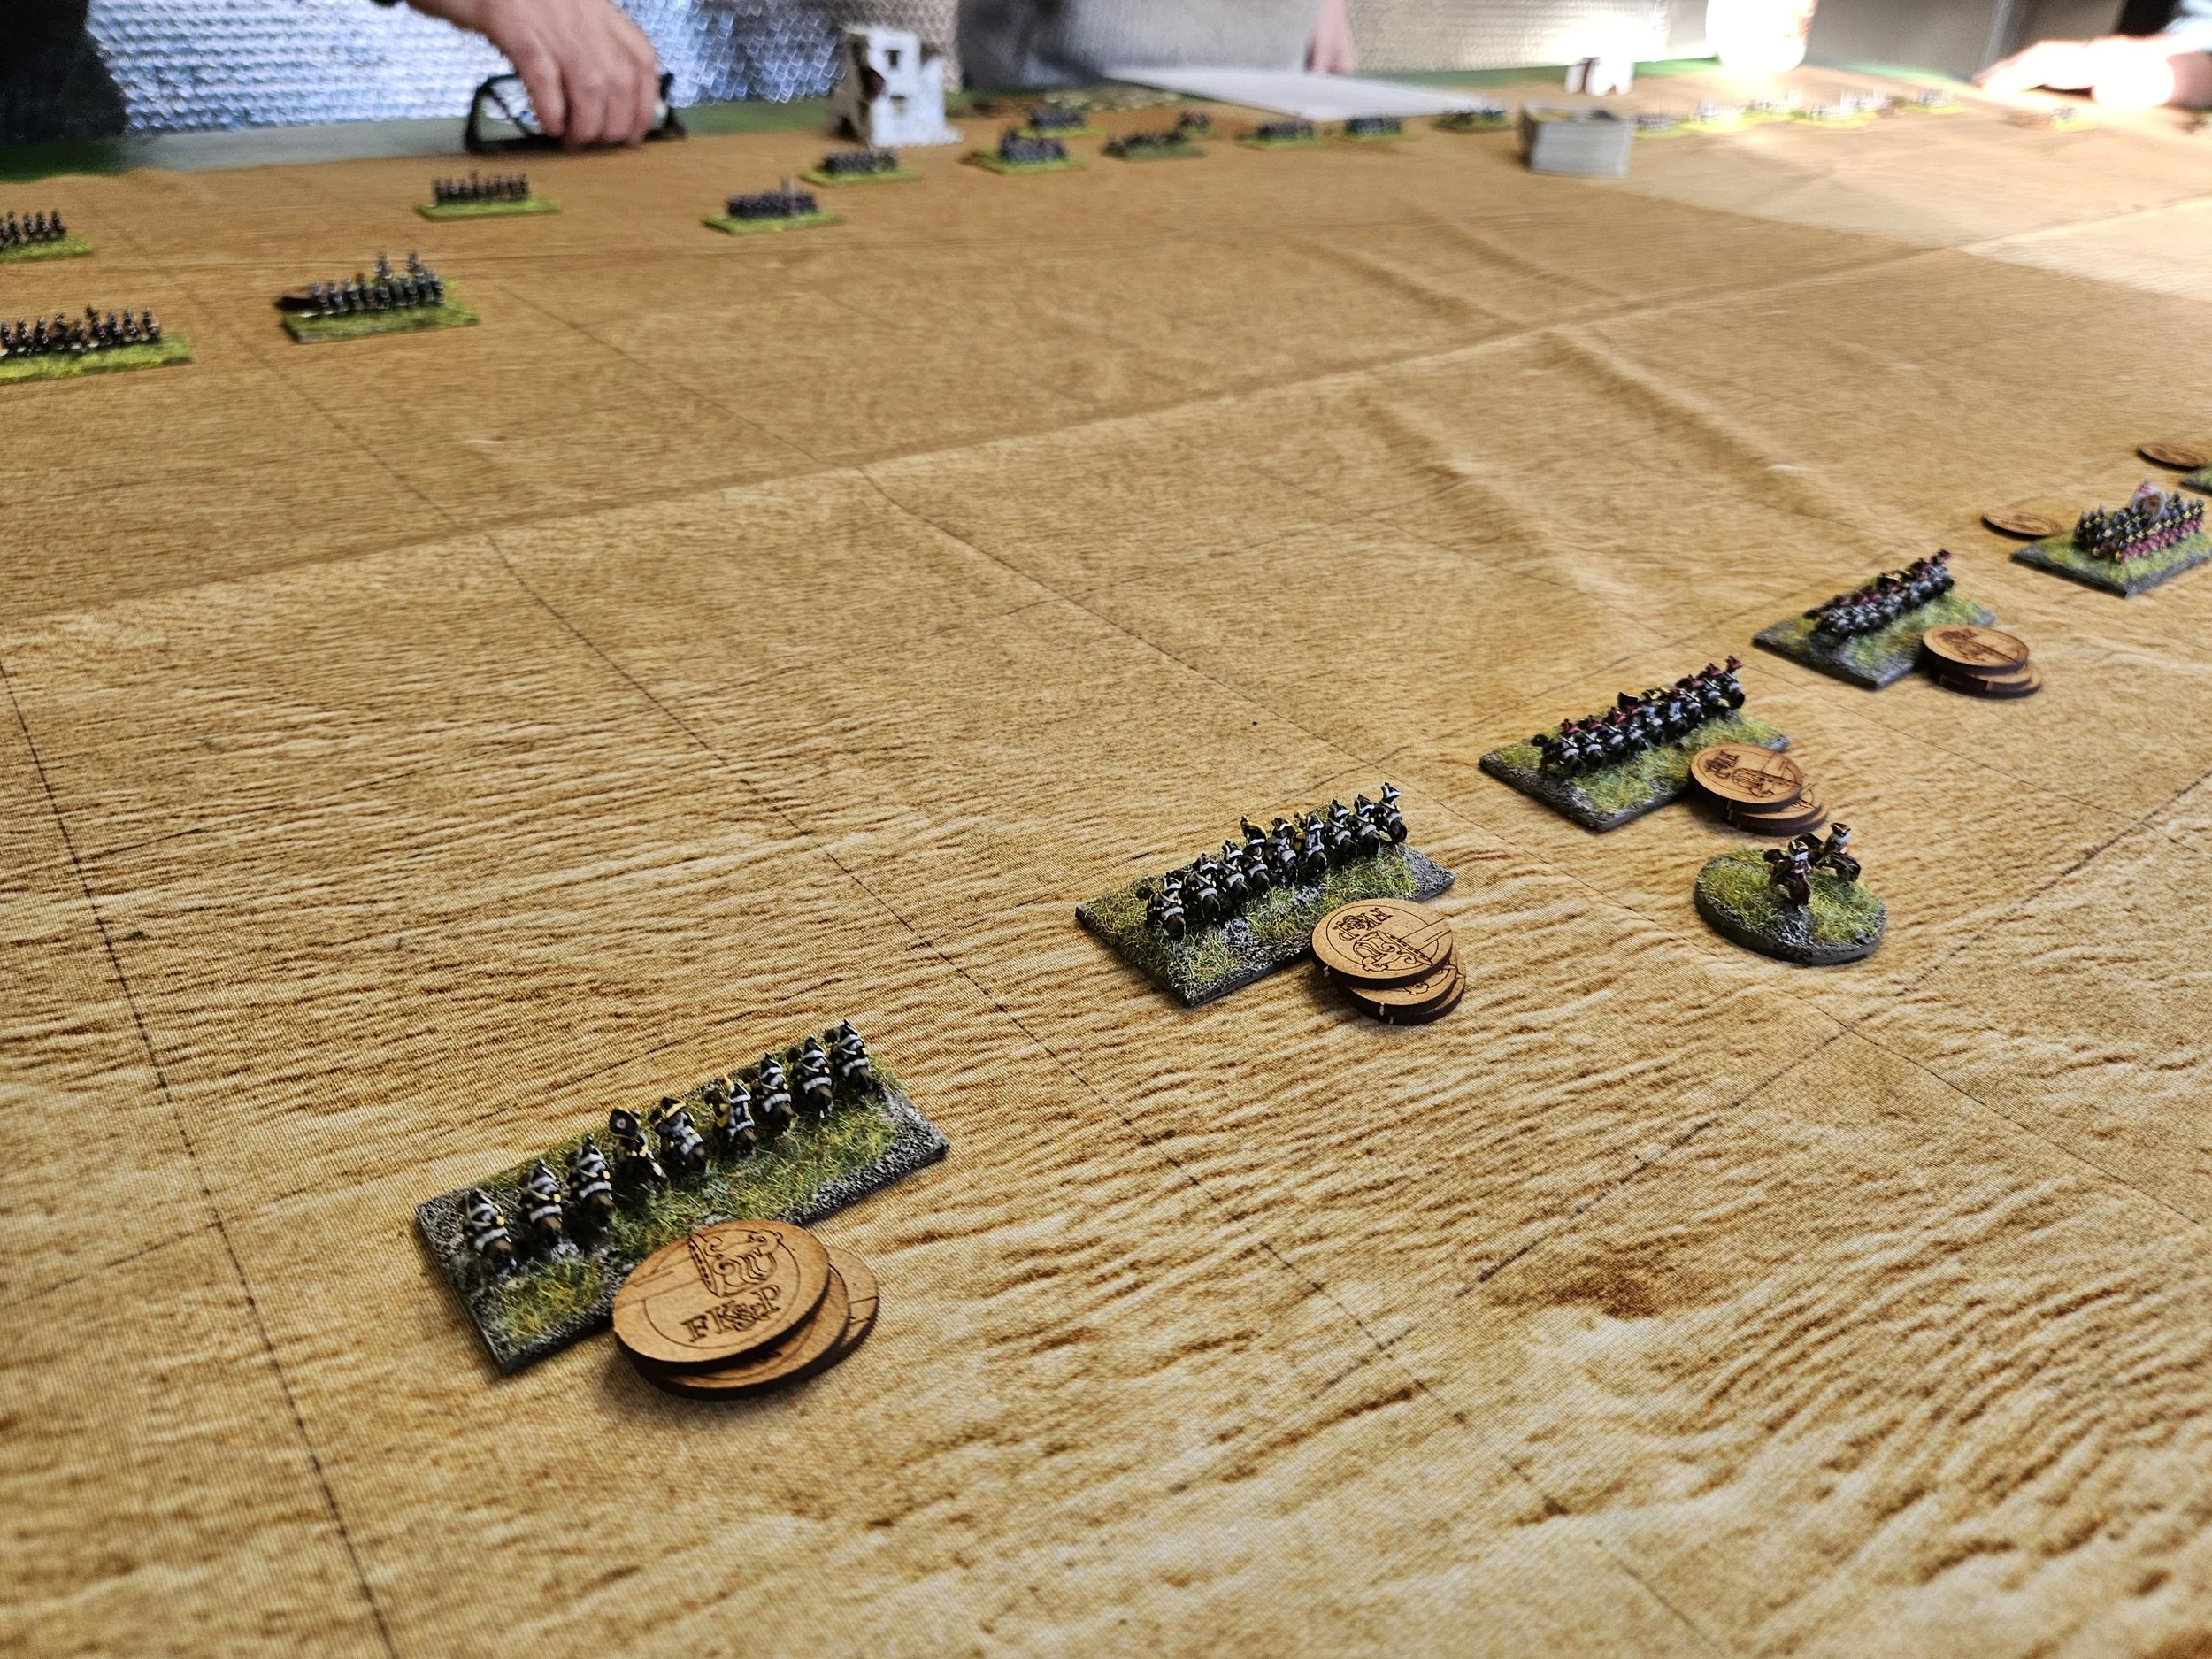
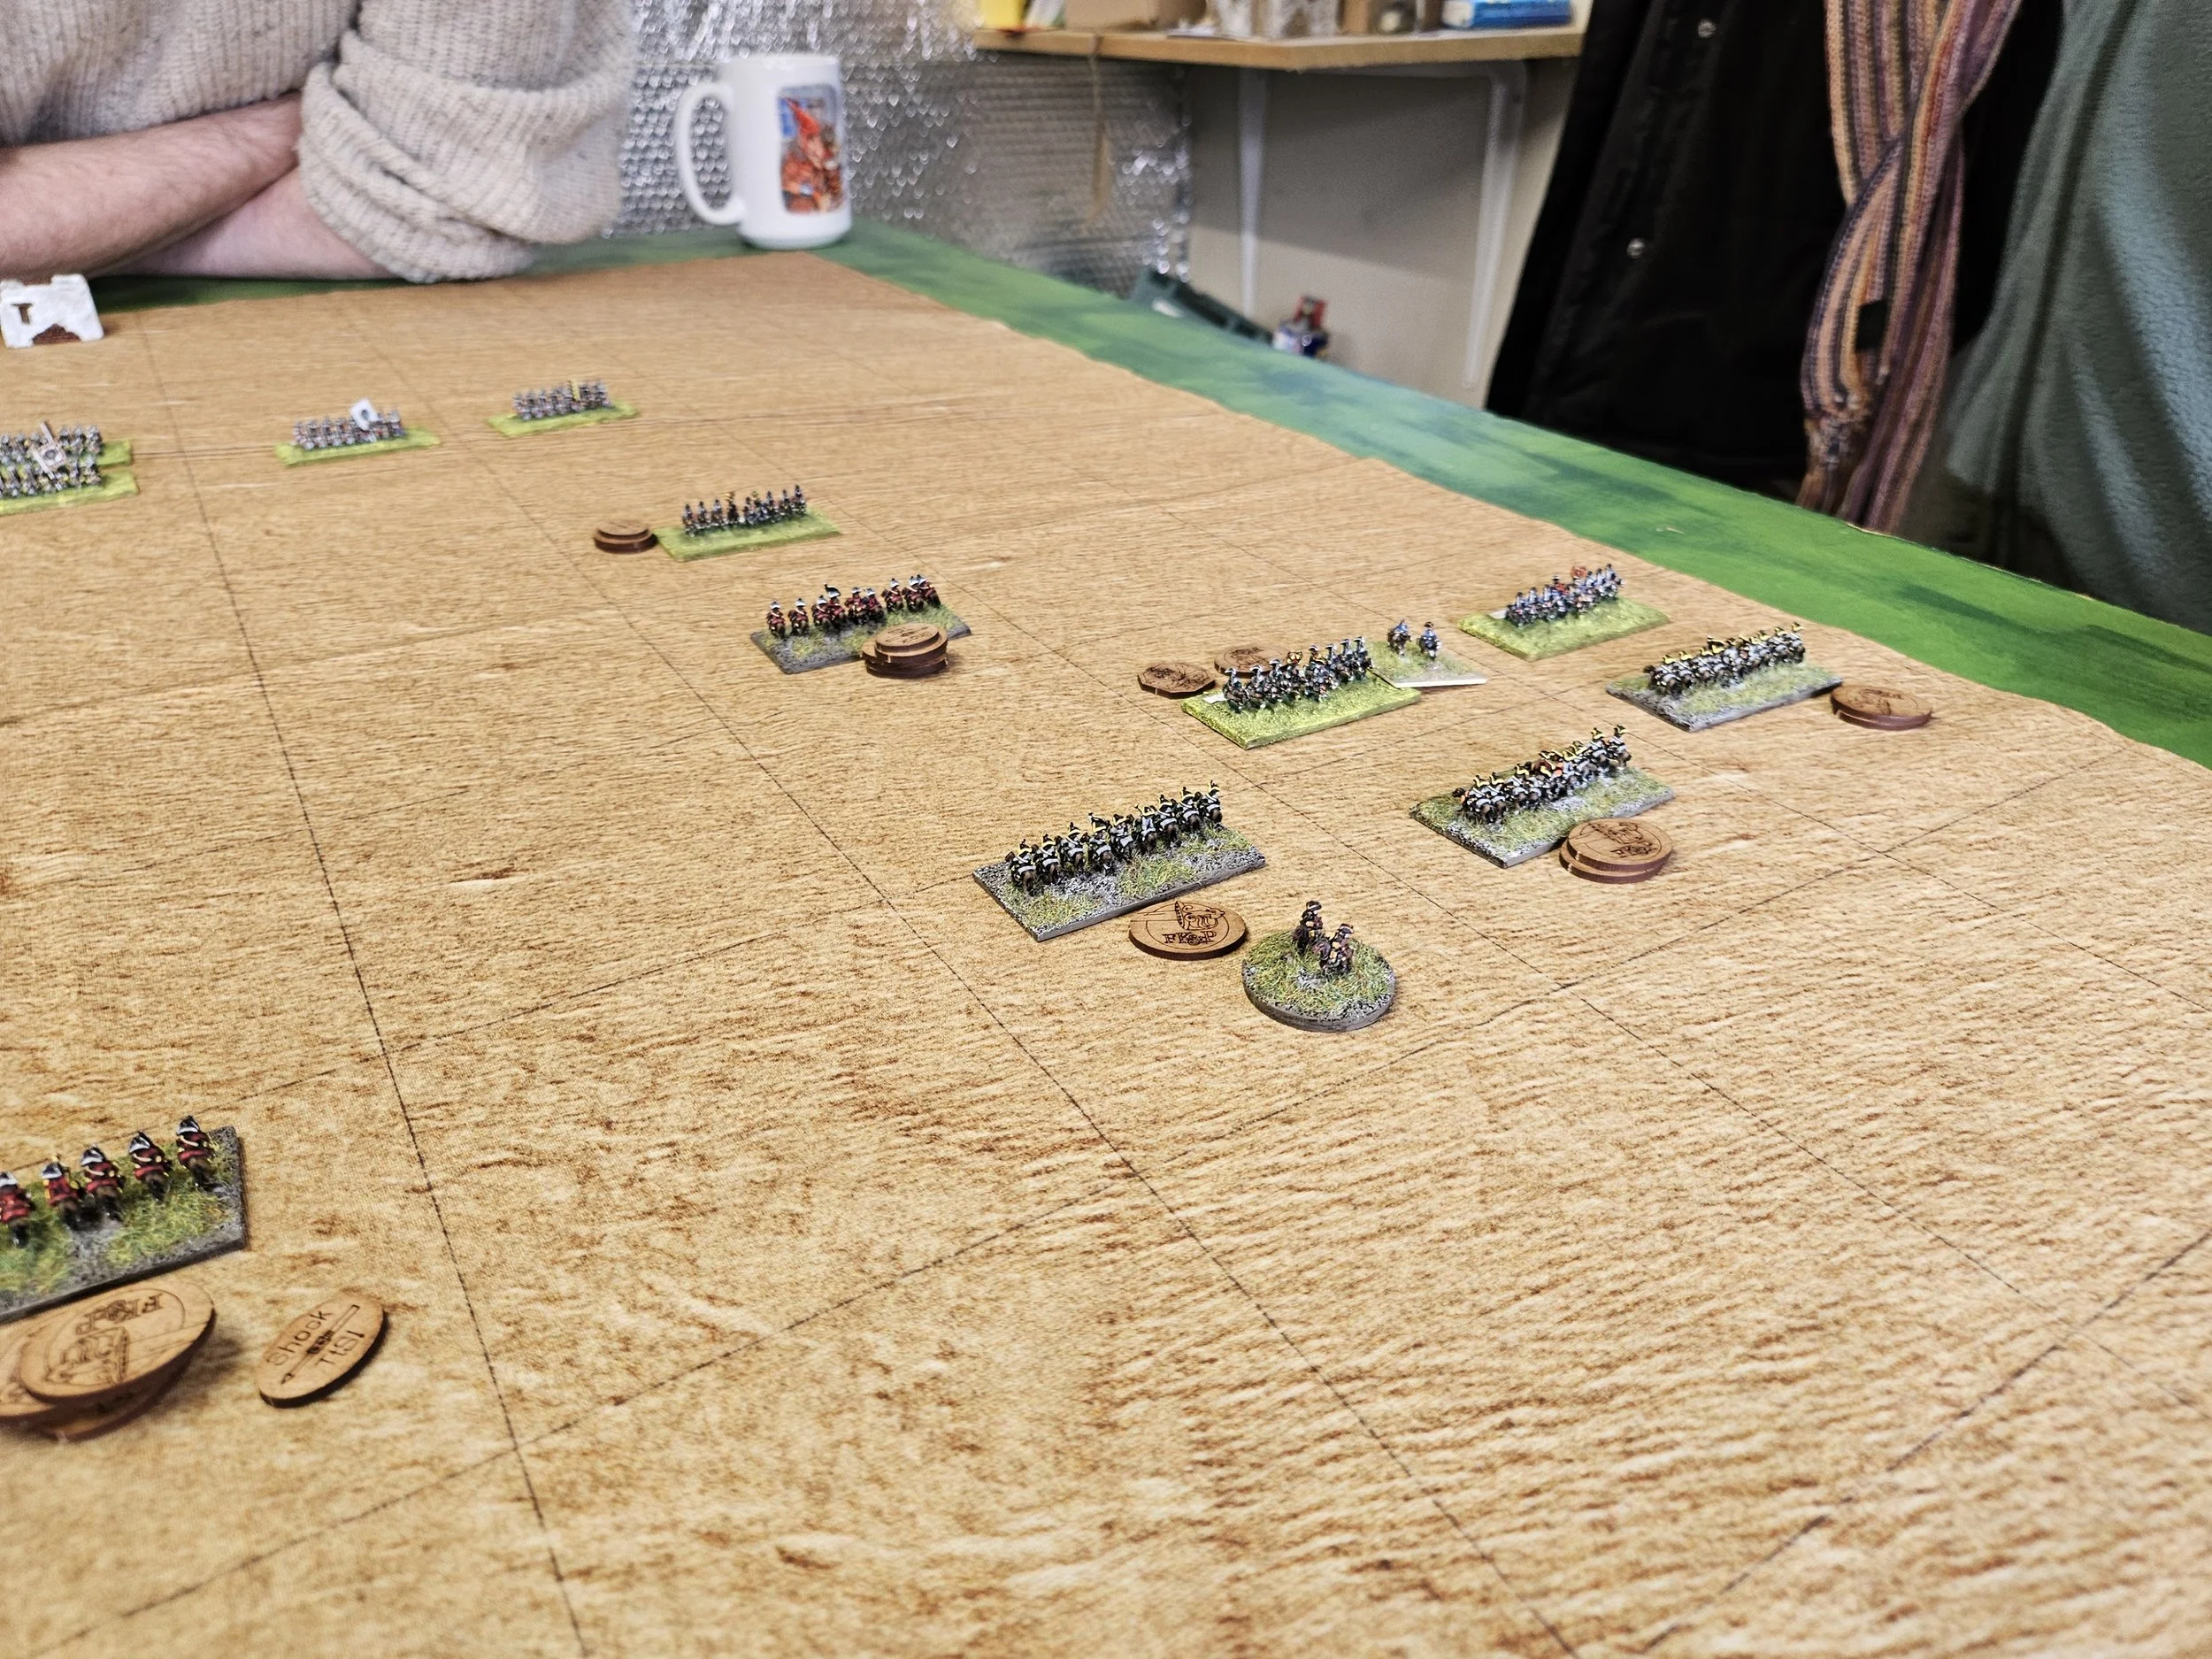
Here are some more pictures of the game: