Britcon 26: Game Four: Venetians vs Gurjara-Pratiharans
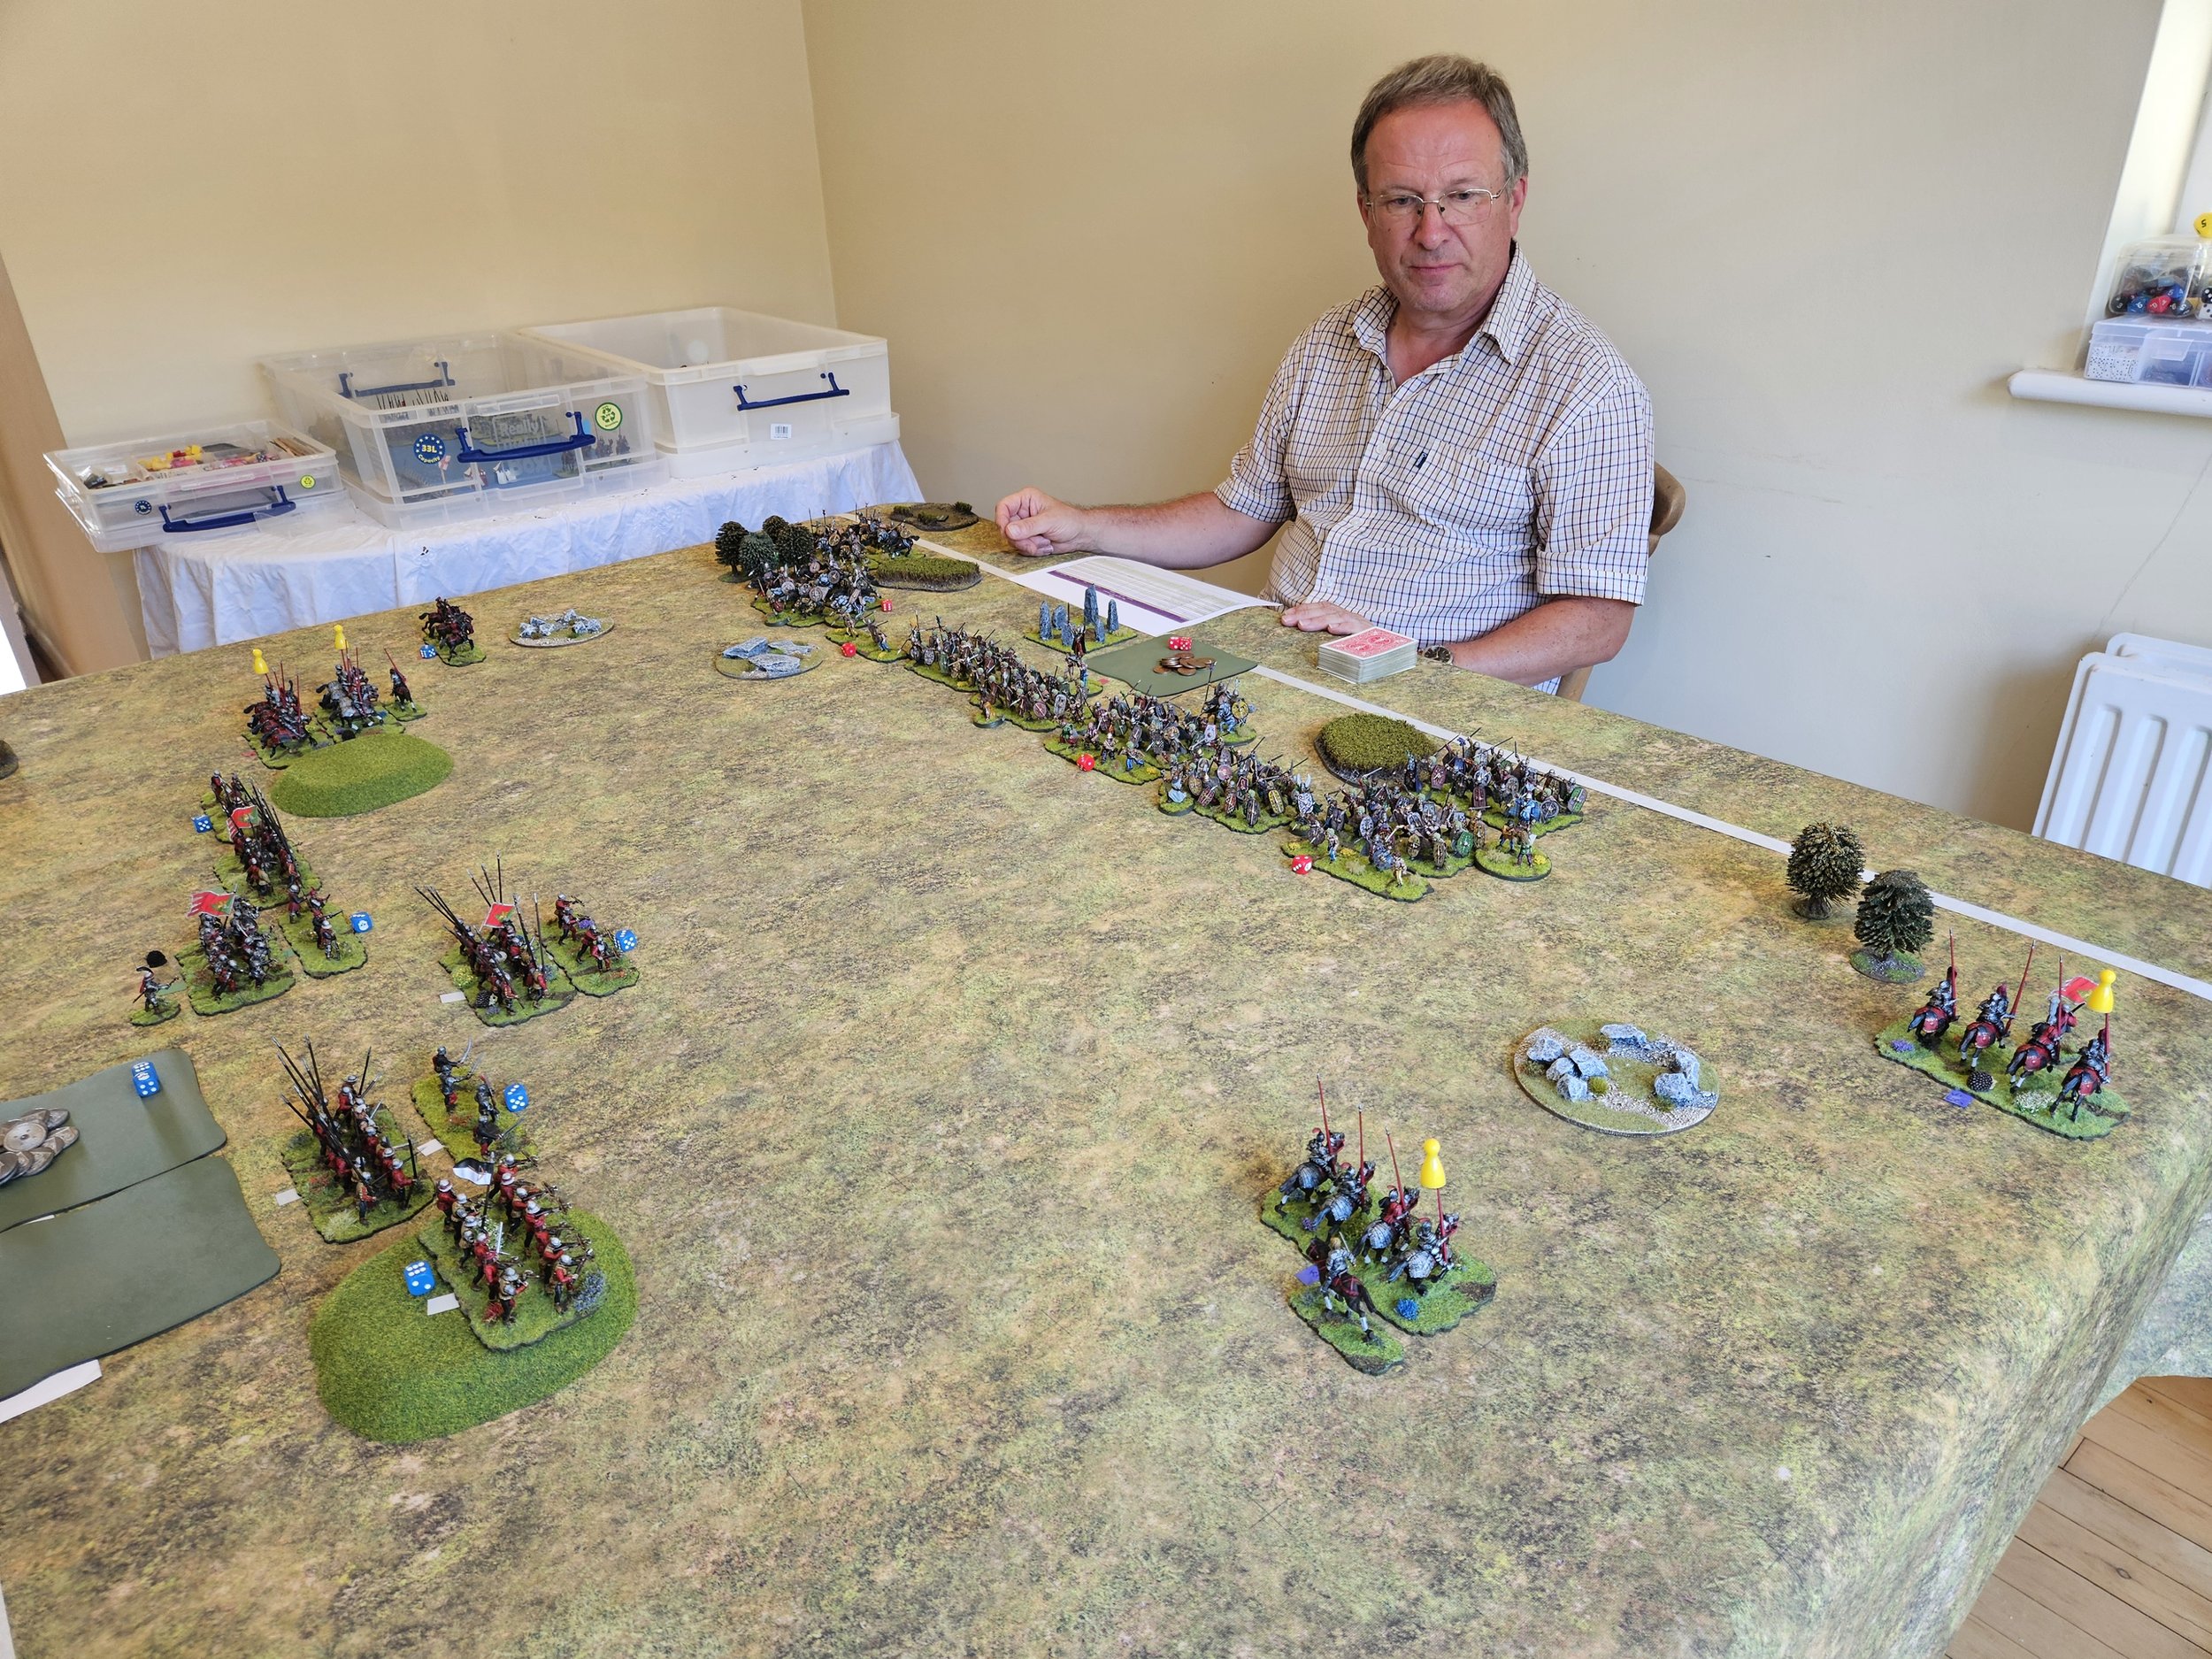
/My fourth game at this year’s Britcon To The Strongest tournament was against Jon and his Gurjara-Pratiharan Indians: a formidable army featuring elite lance armed cavalry, lots of light cavalry with lance and bows, and camels, lots of camels!
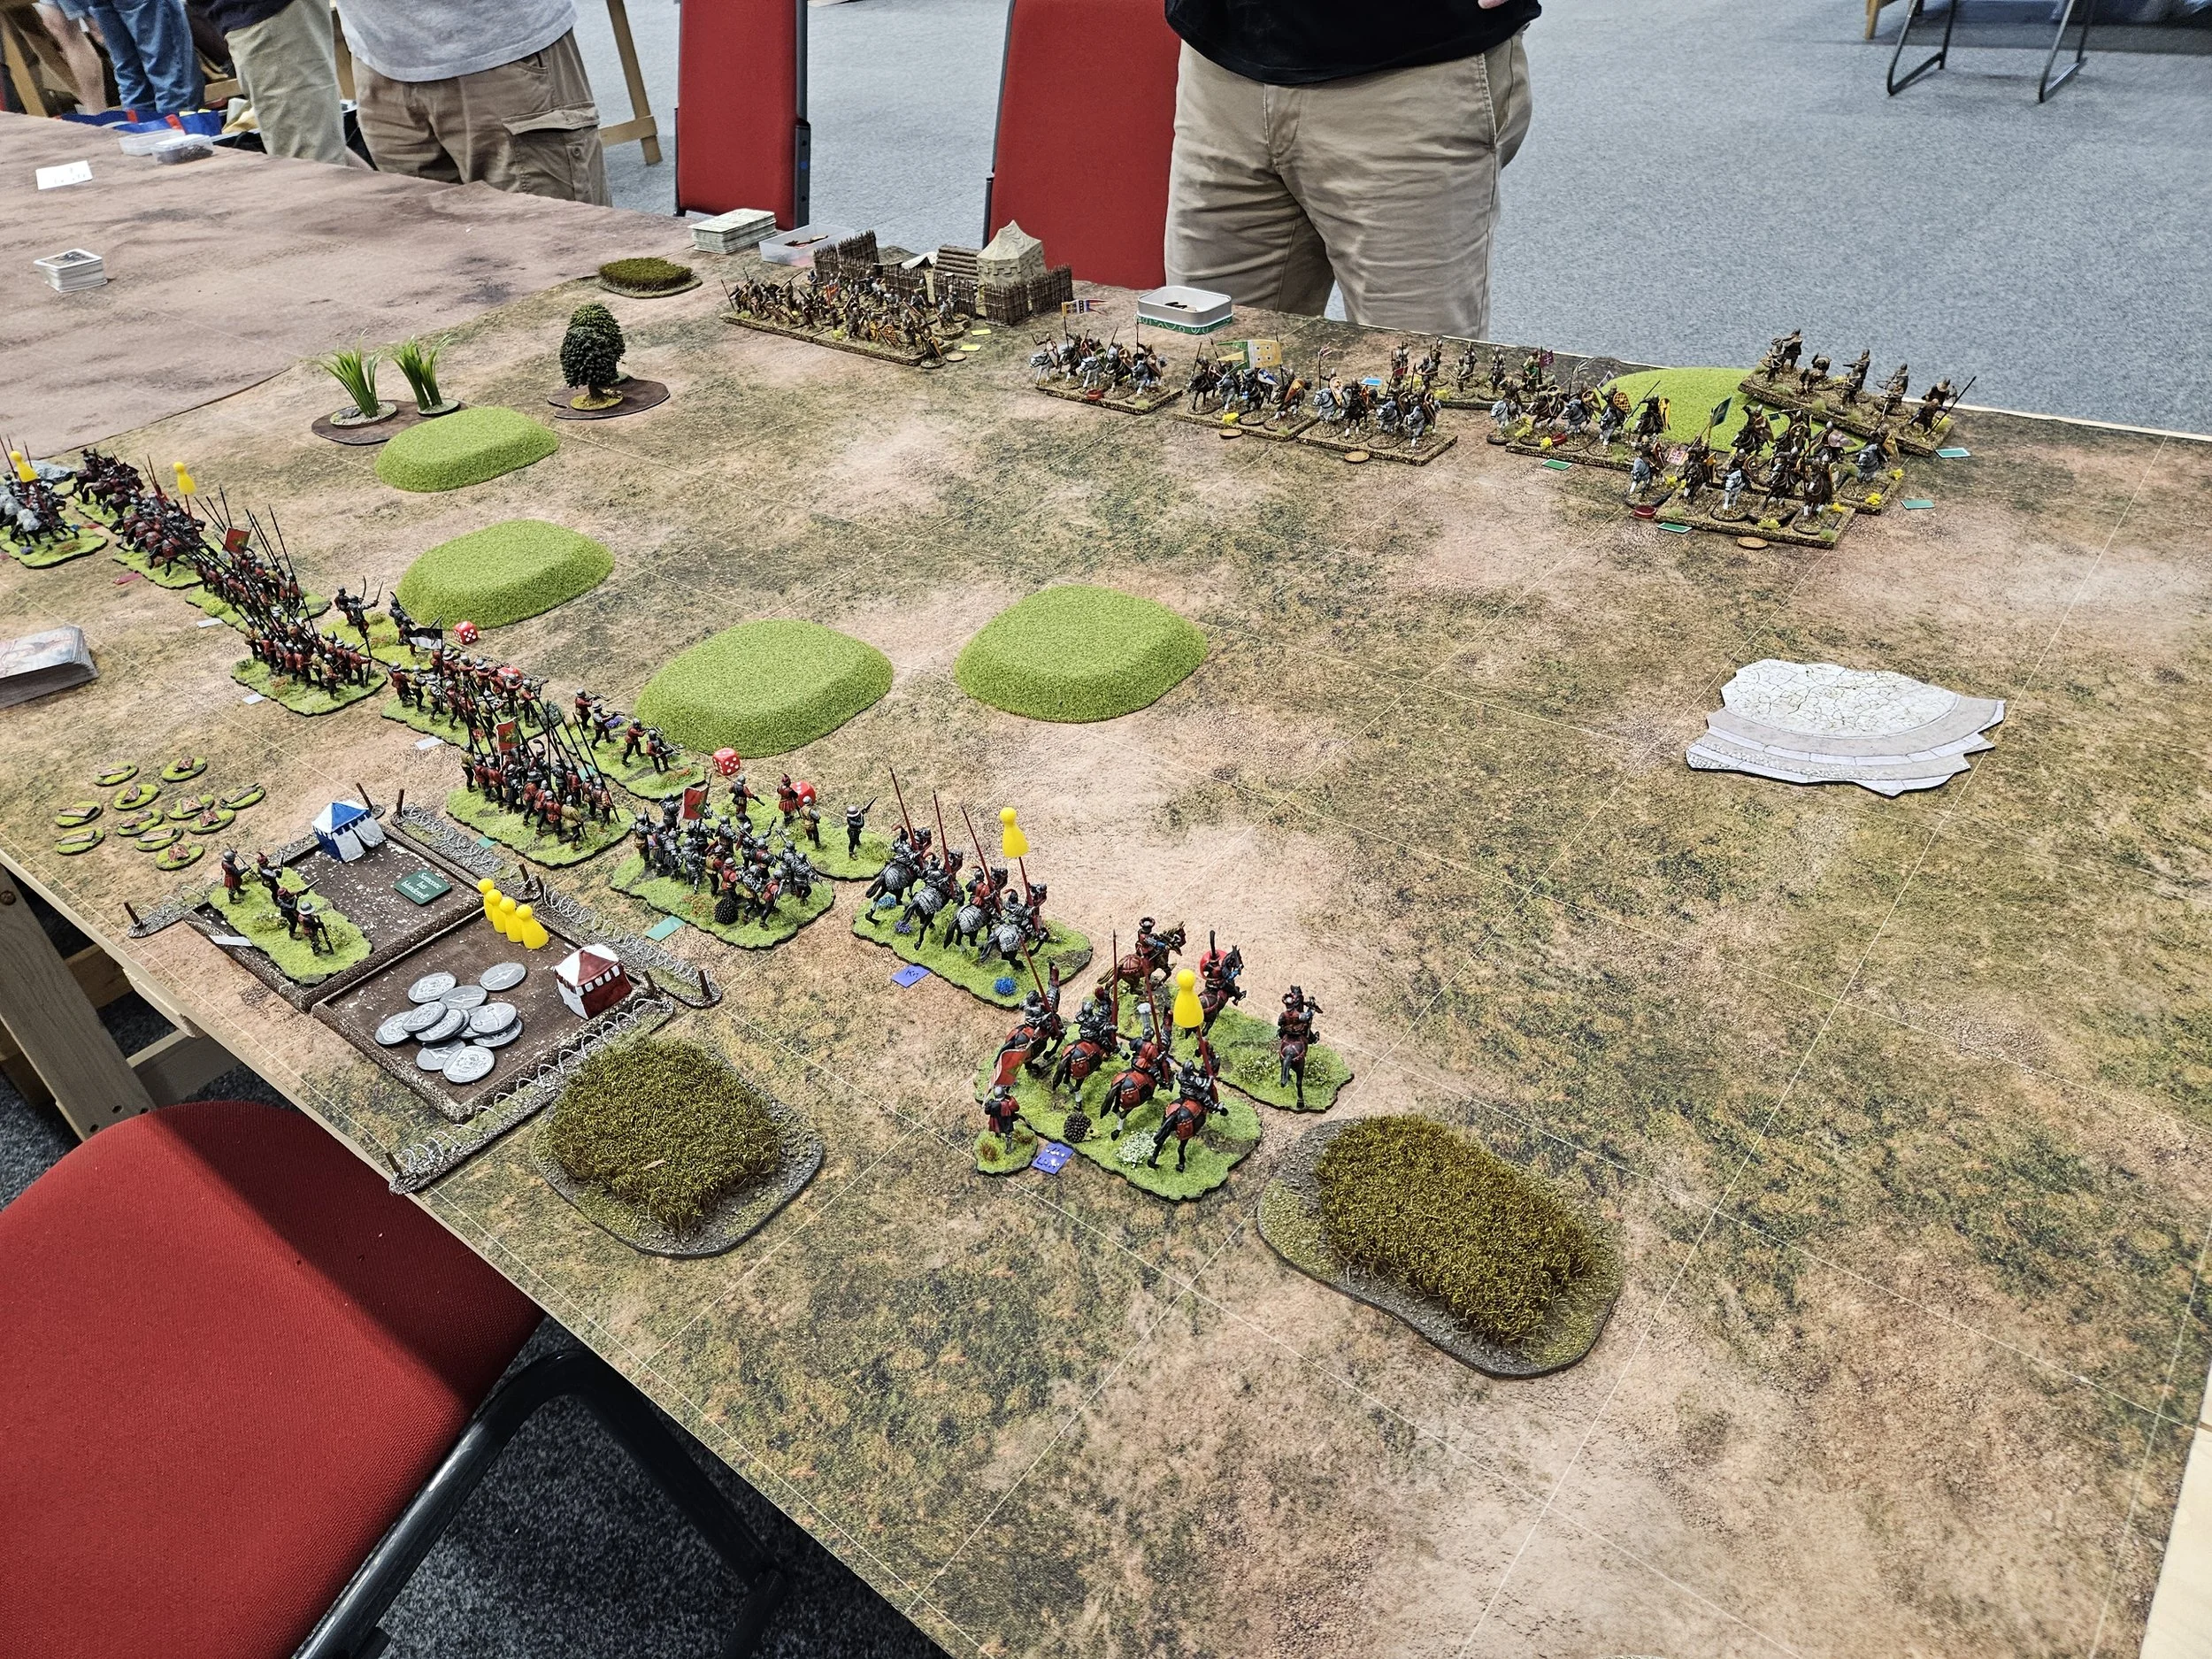
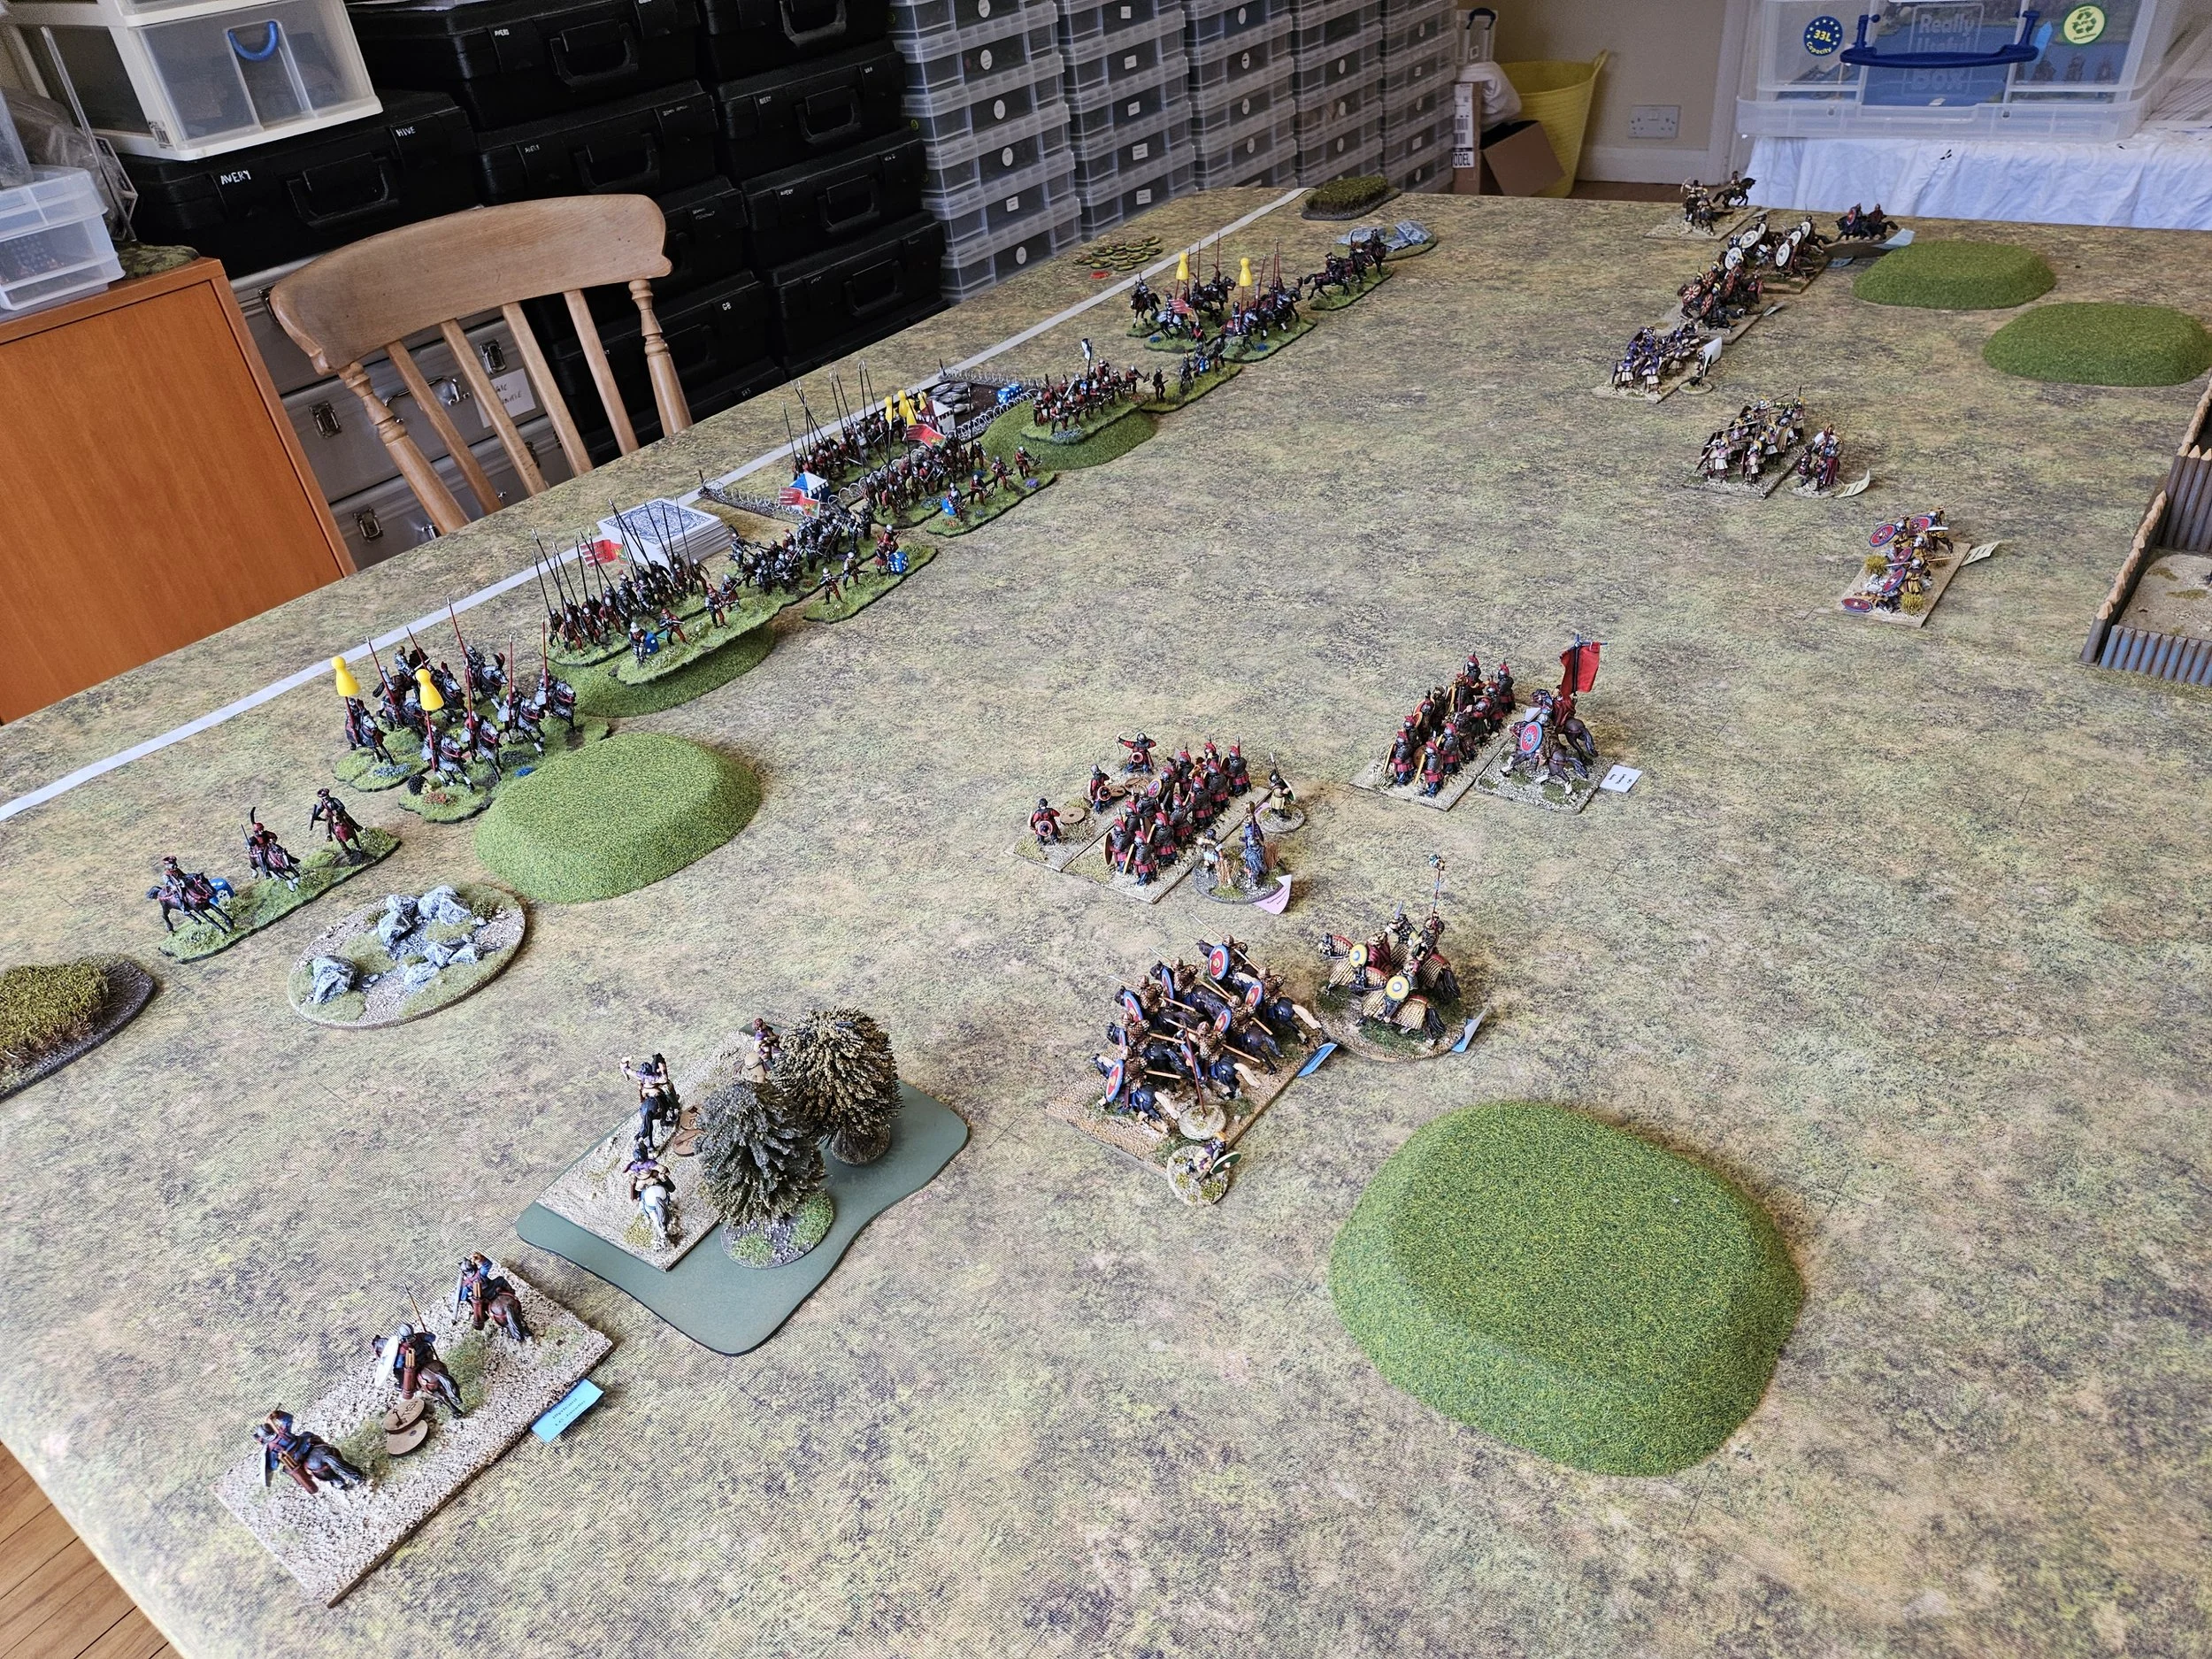
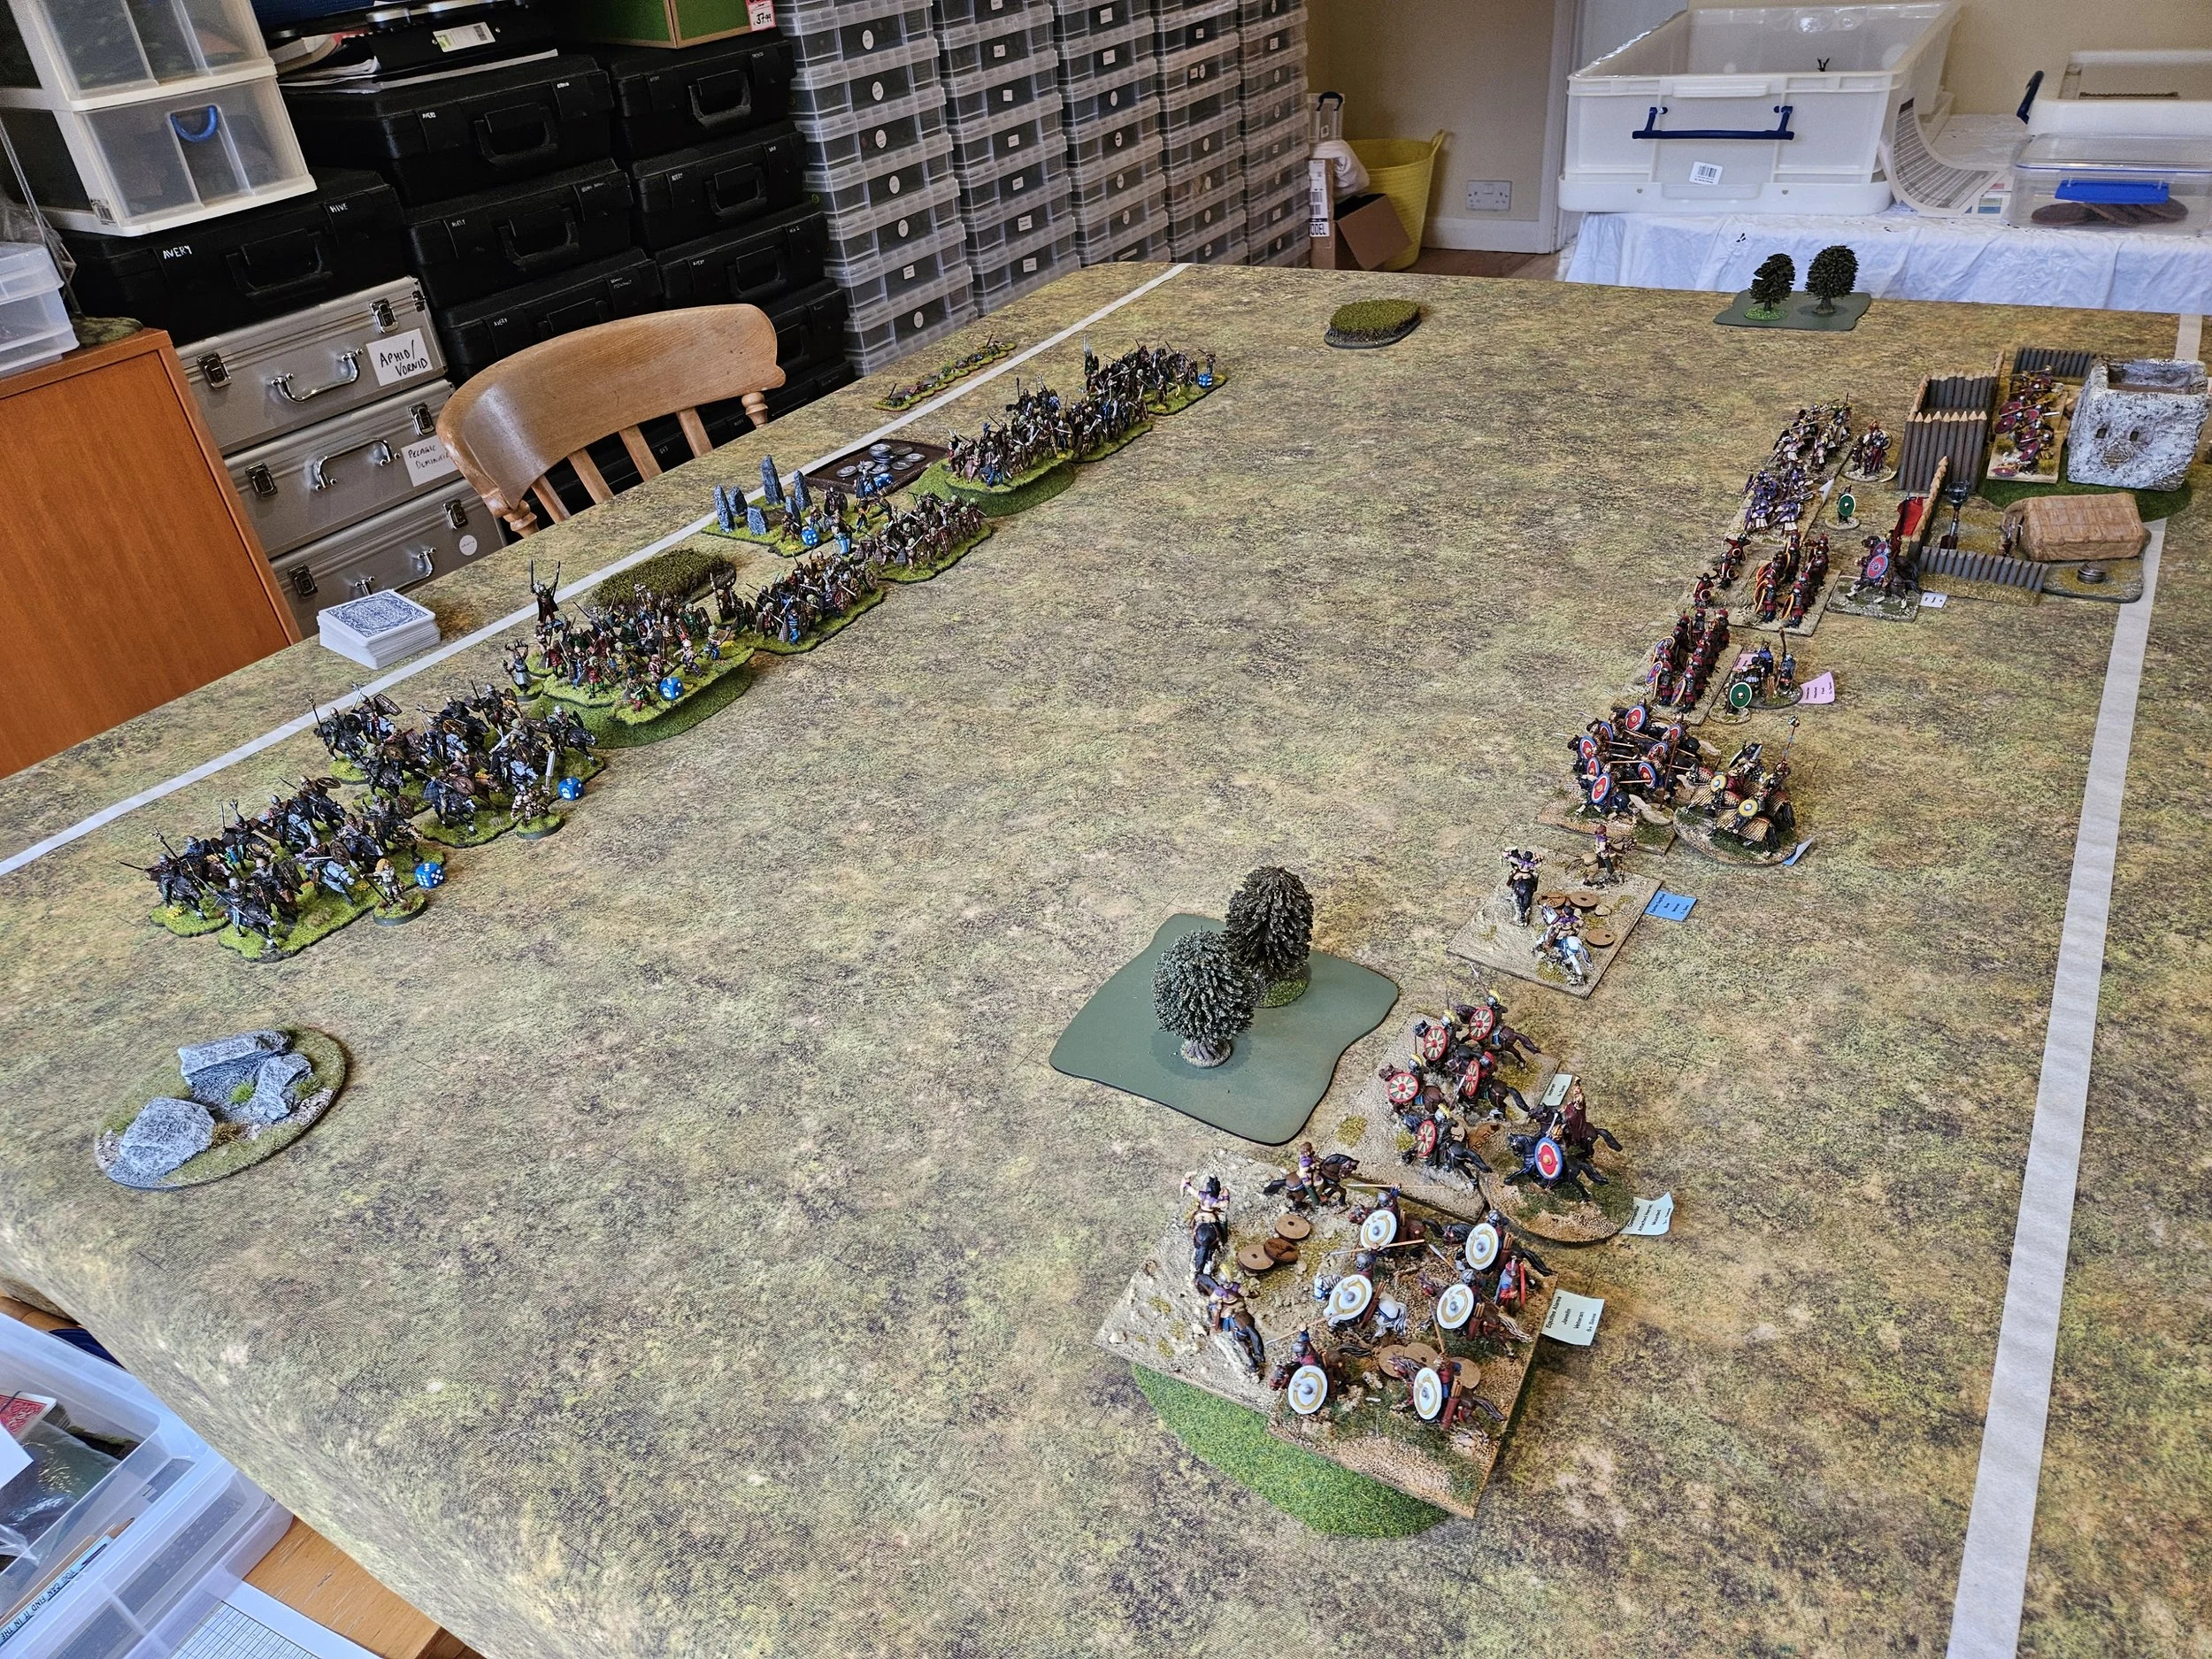
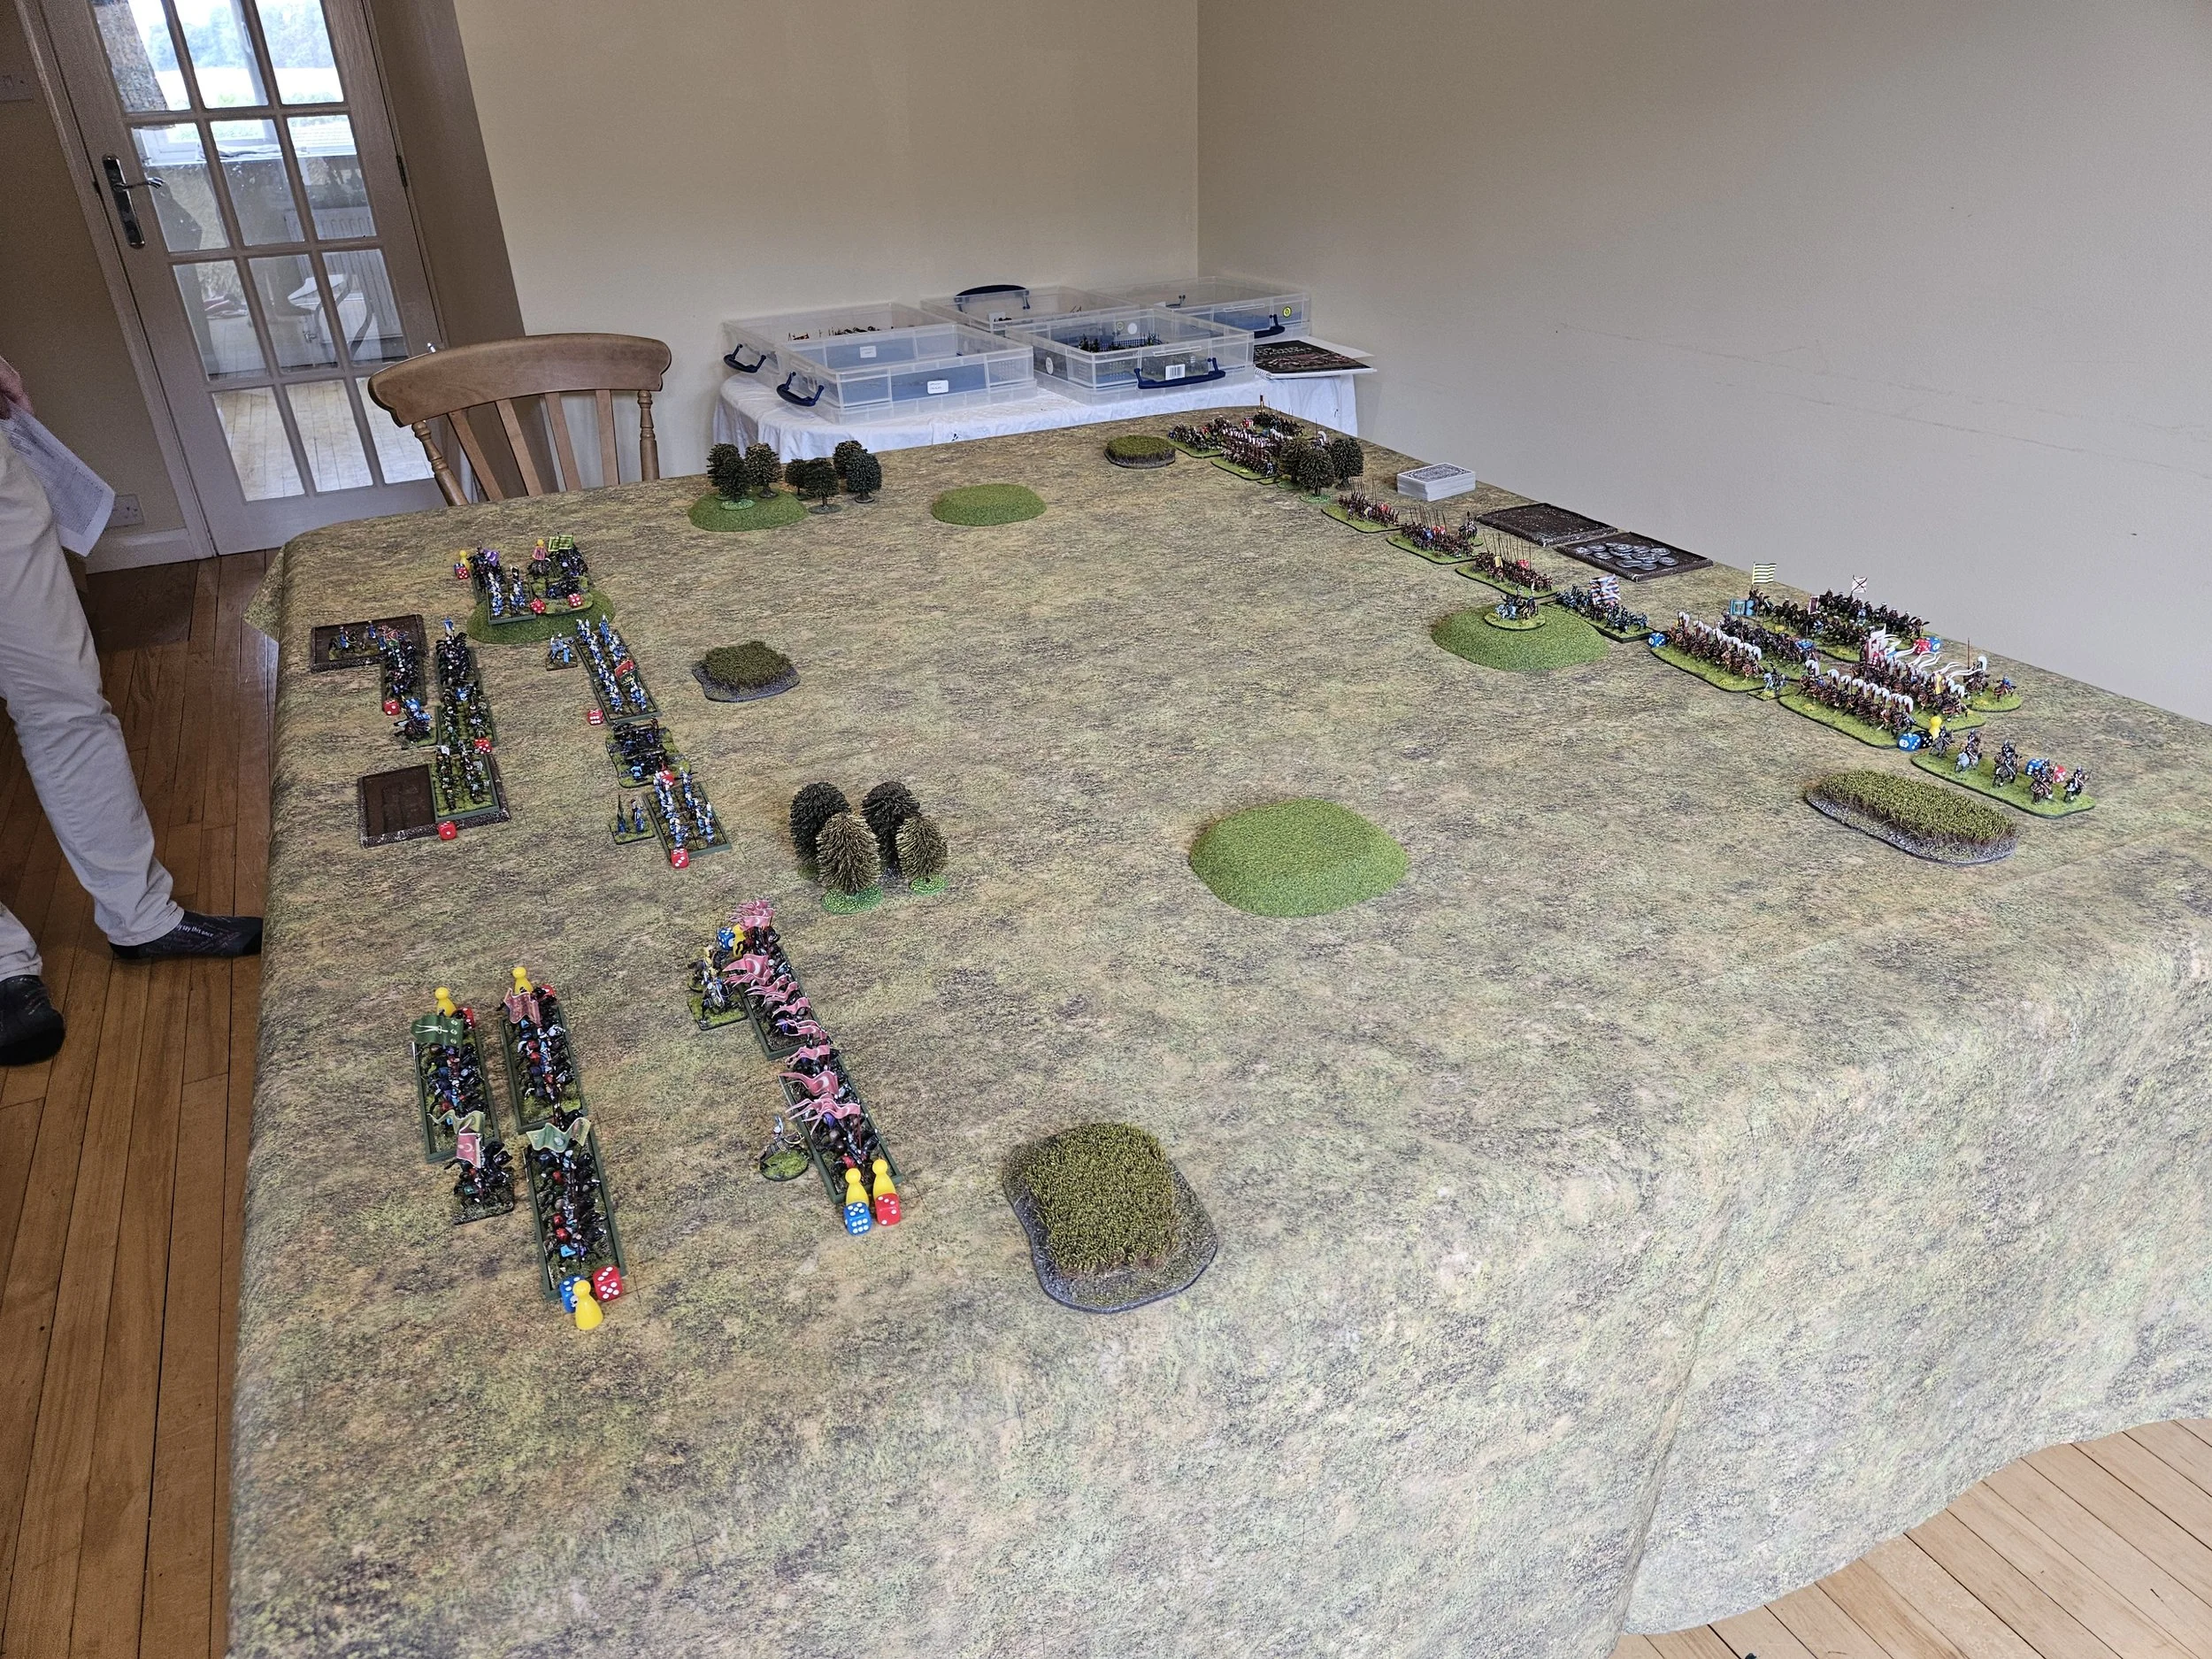
Unsurprisingly Jon won the scouting, and immediately messed with my usual deployment by placing a large chunk of impassable terrain on my baseline. He then grouped his heavies on one side of the table, with his lights on the other.
This all looked very familiar to me - it’s a set up used very successfully by friend Peter in the countless times he has beaten me - and I immediately knew that I was in a bit of trouble!
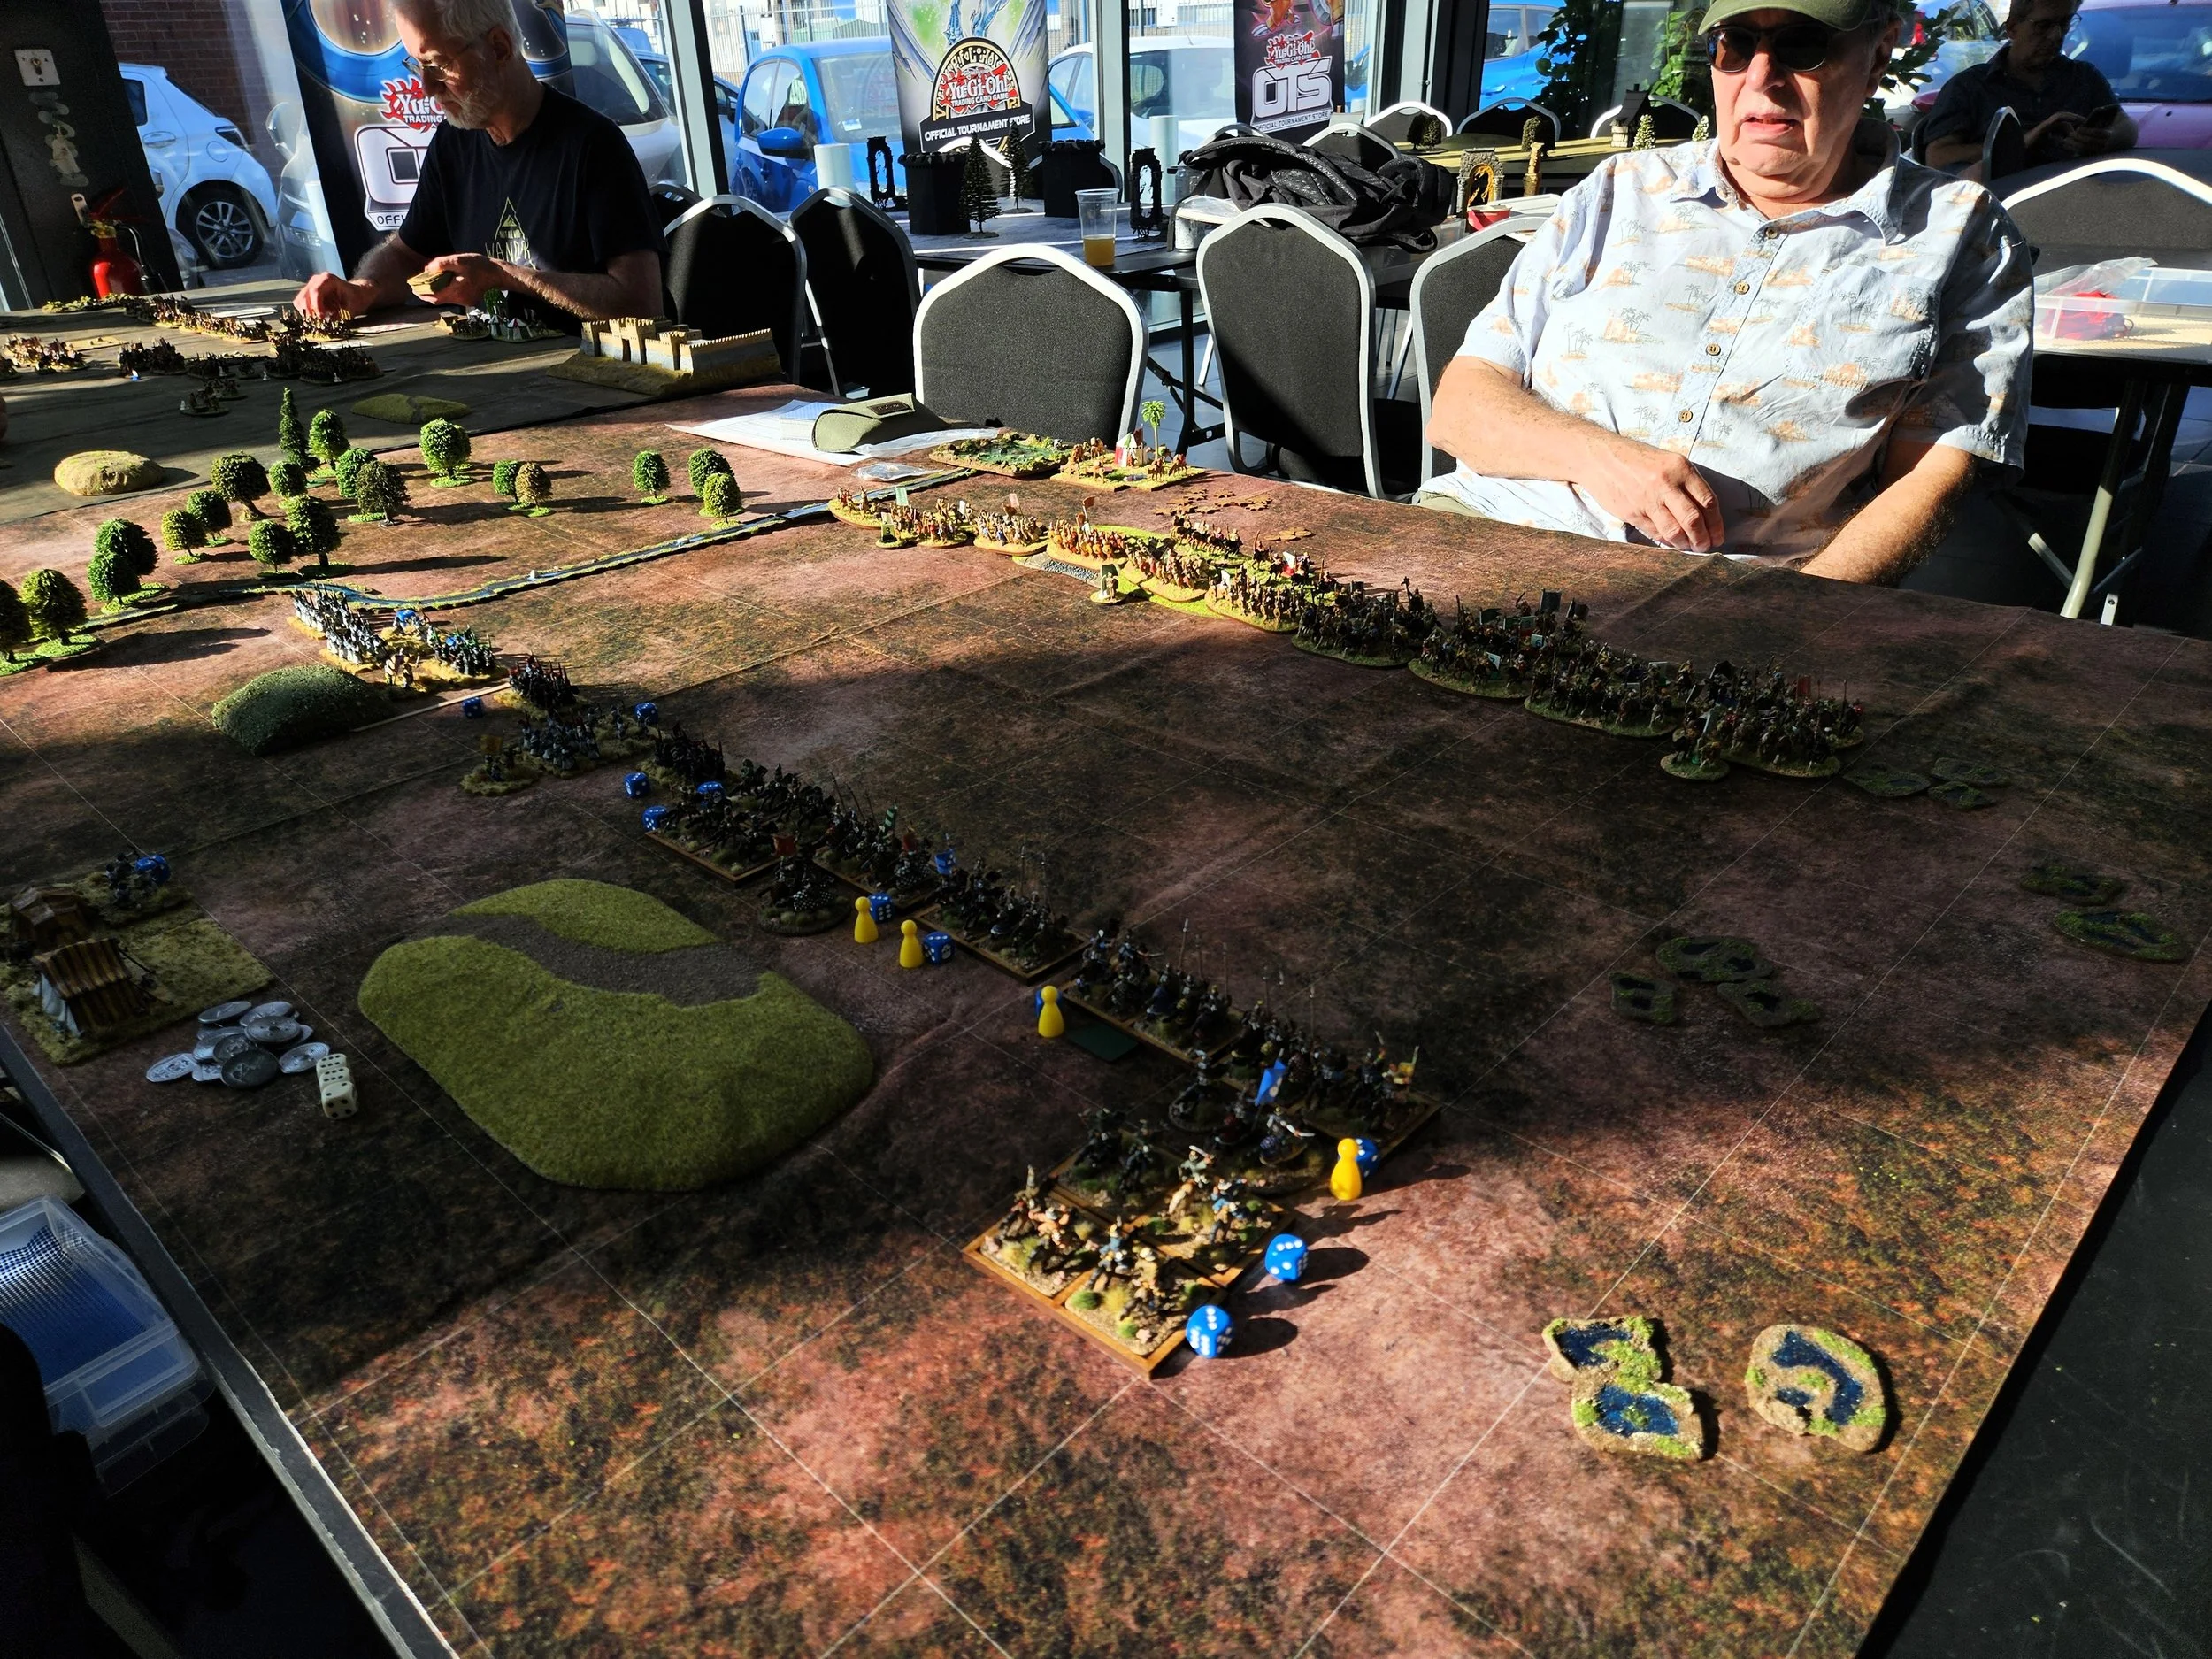
The game began and Jon sent his veteran cavalry straight at the right side of my line, seeking to punch a hole where my troops were pressed back again the impassable terrain.
Things looked bad, but my Alabardiers and my lights performed brilliantly and, although disordered, managed to hold off the Indians and even kill one of their cavalry units.
Having fought Peter countless times from this situation, I knew that the only way to possibly turn the tables is to ignore the enemy lights on the left (or you devote valuable “save the battle” time and resources to uselessly chasing them round the board) and focus on getting your troops there across the table and into the flank of your attacking opponent.
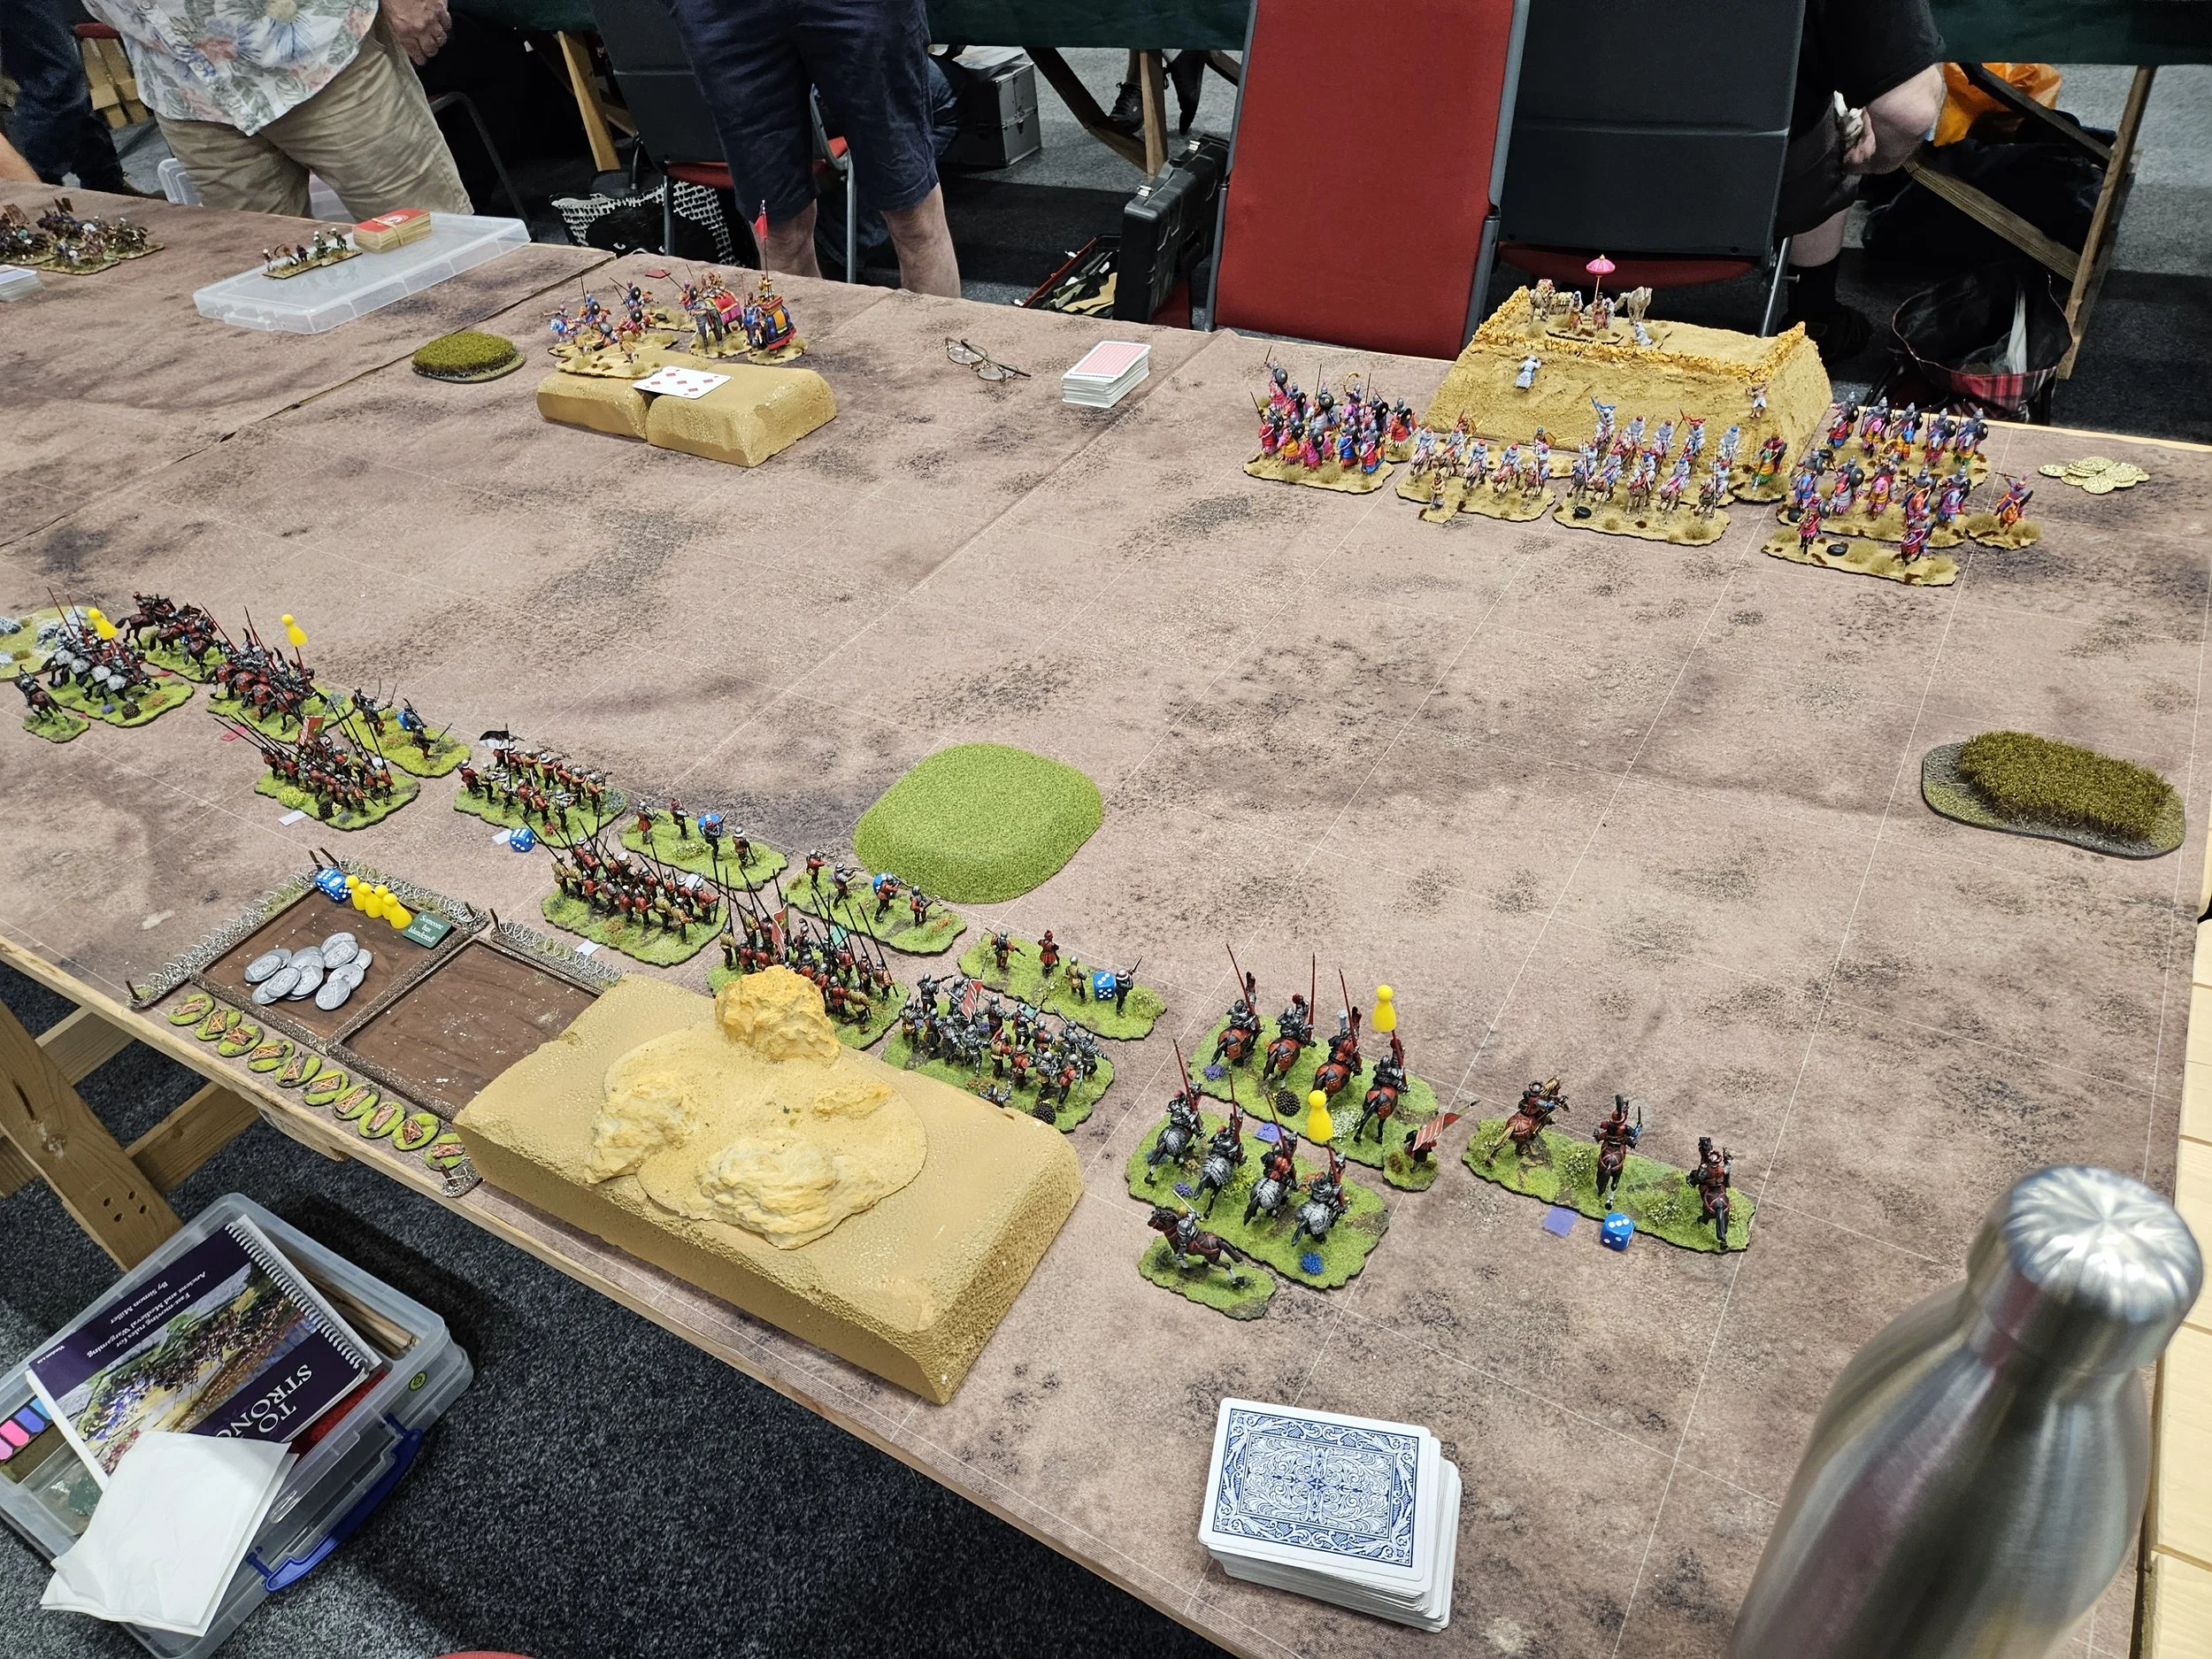
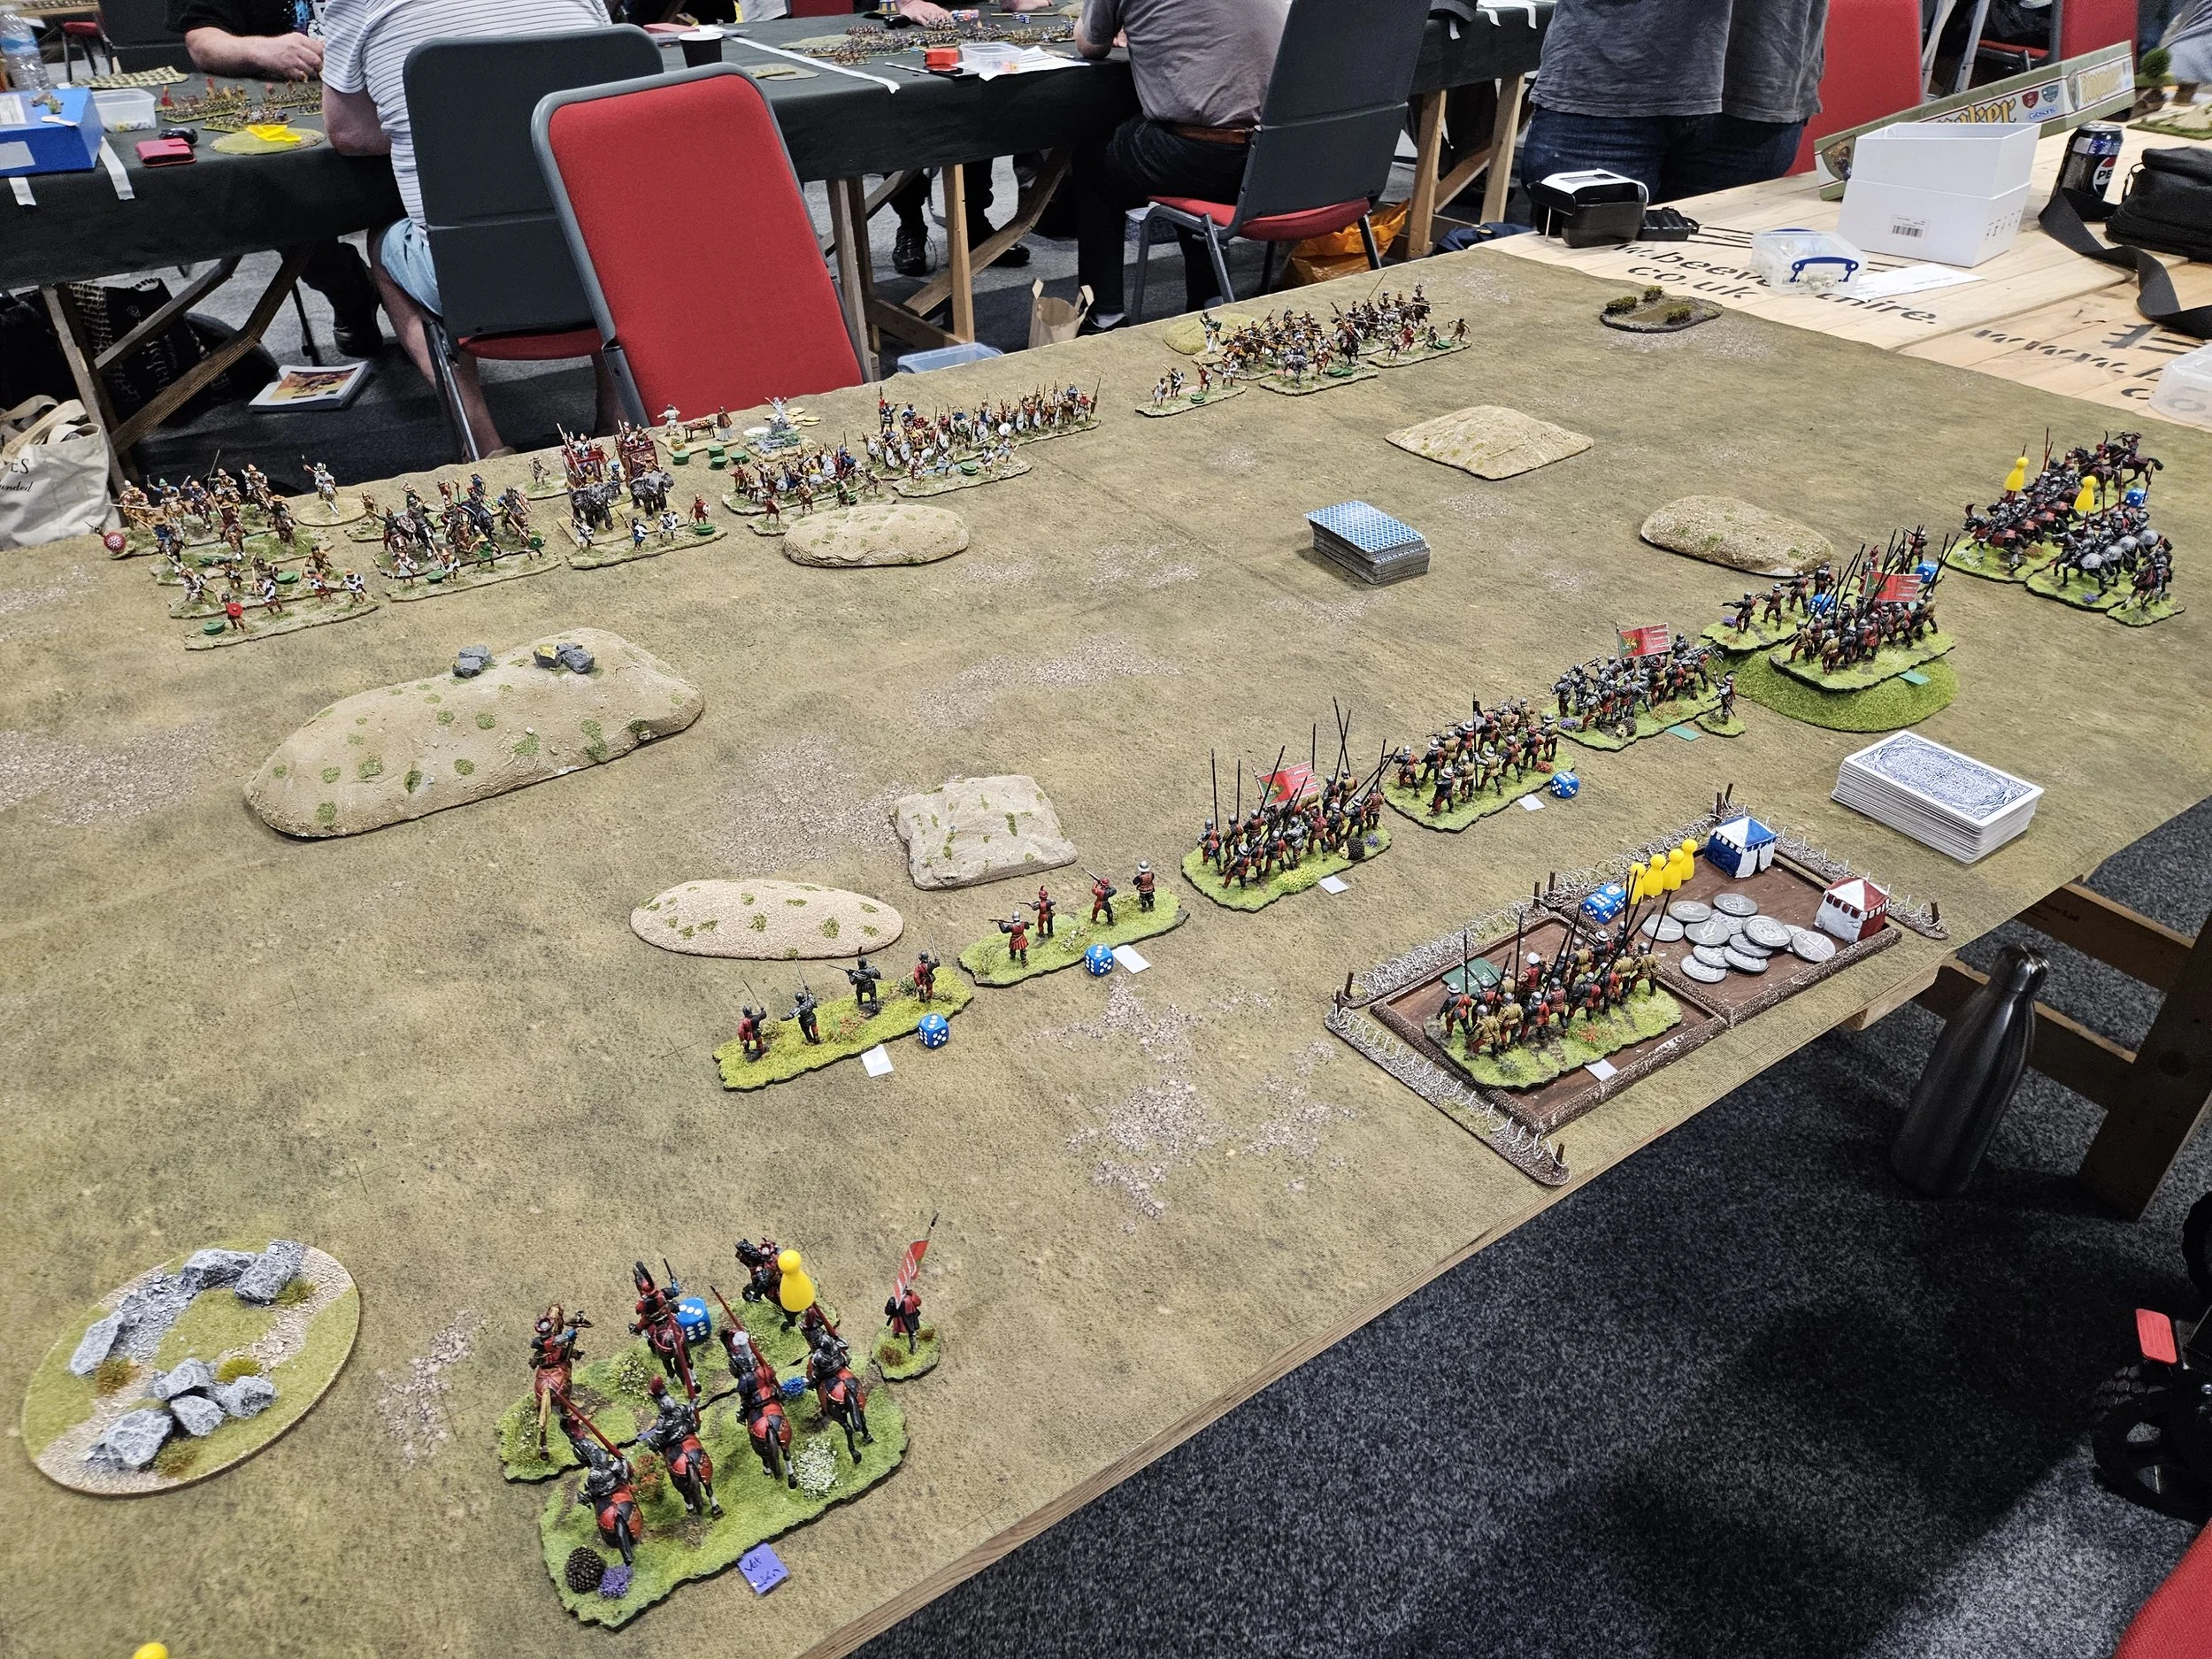
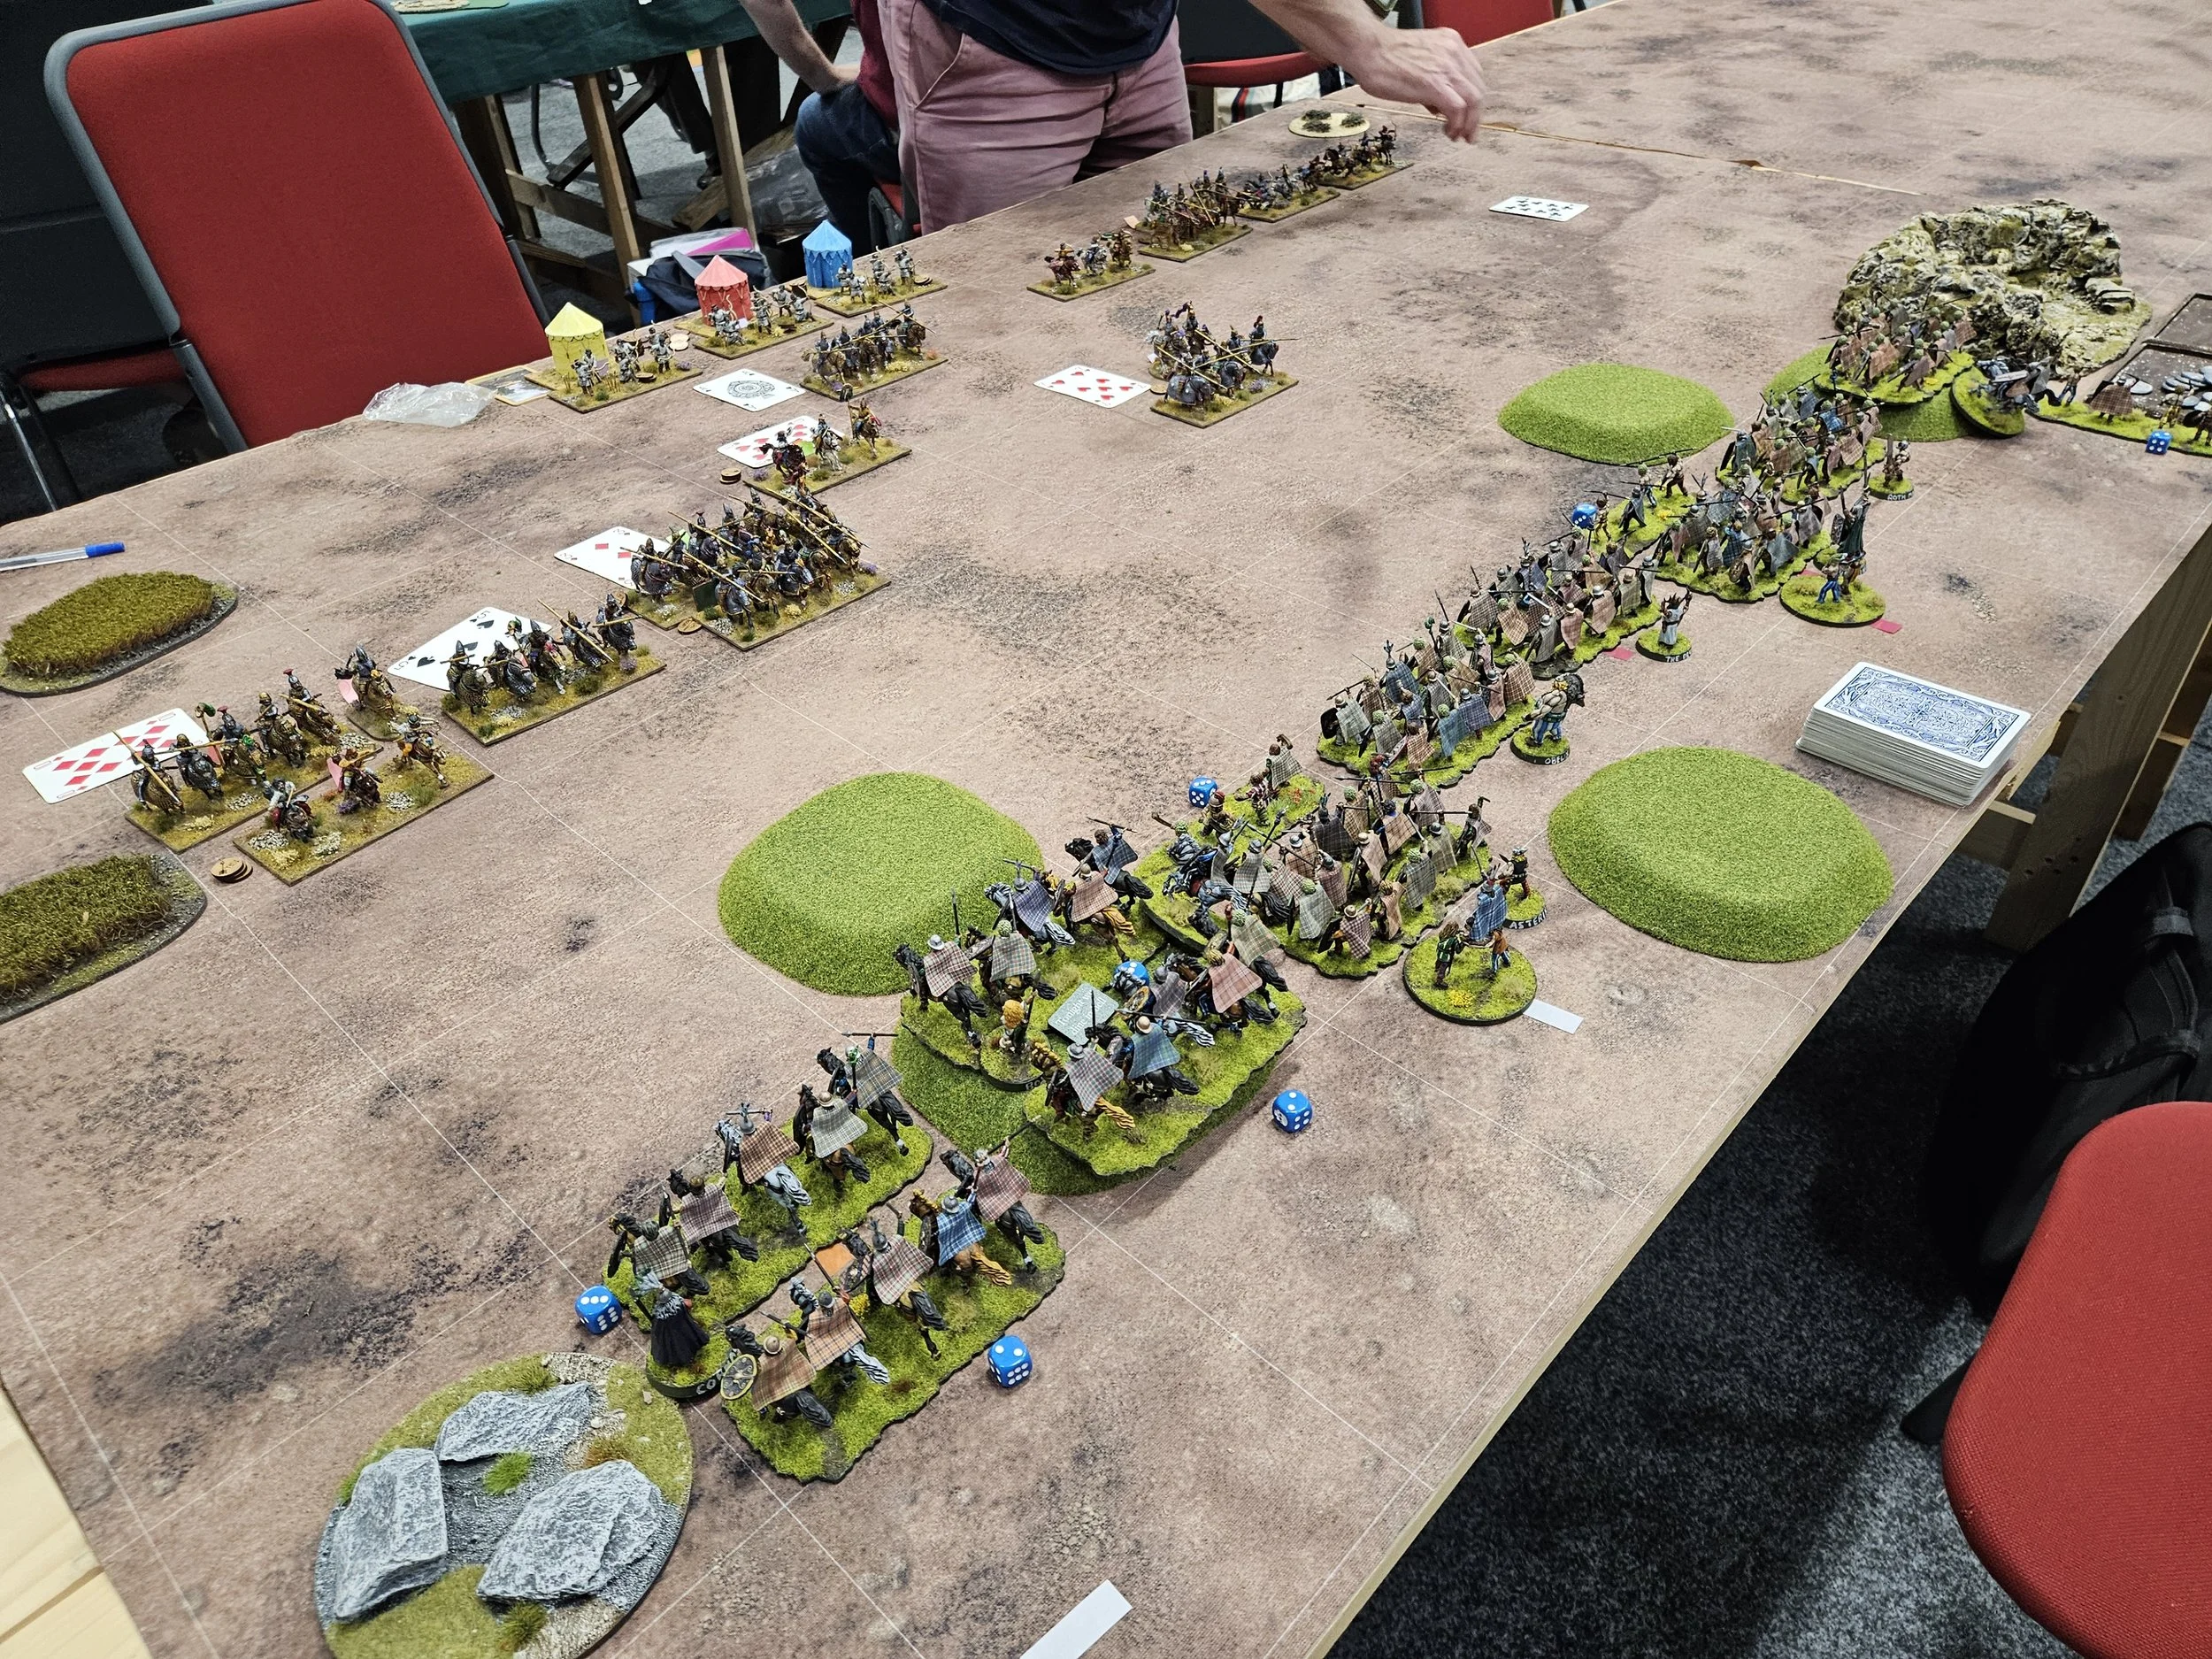
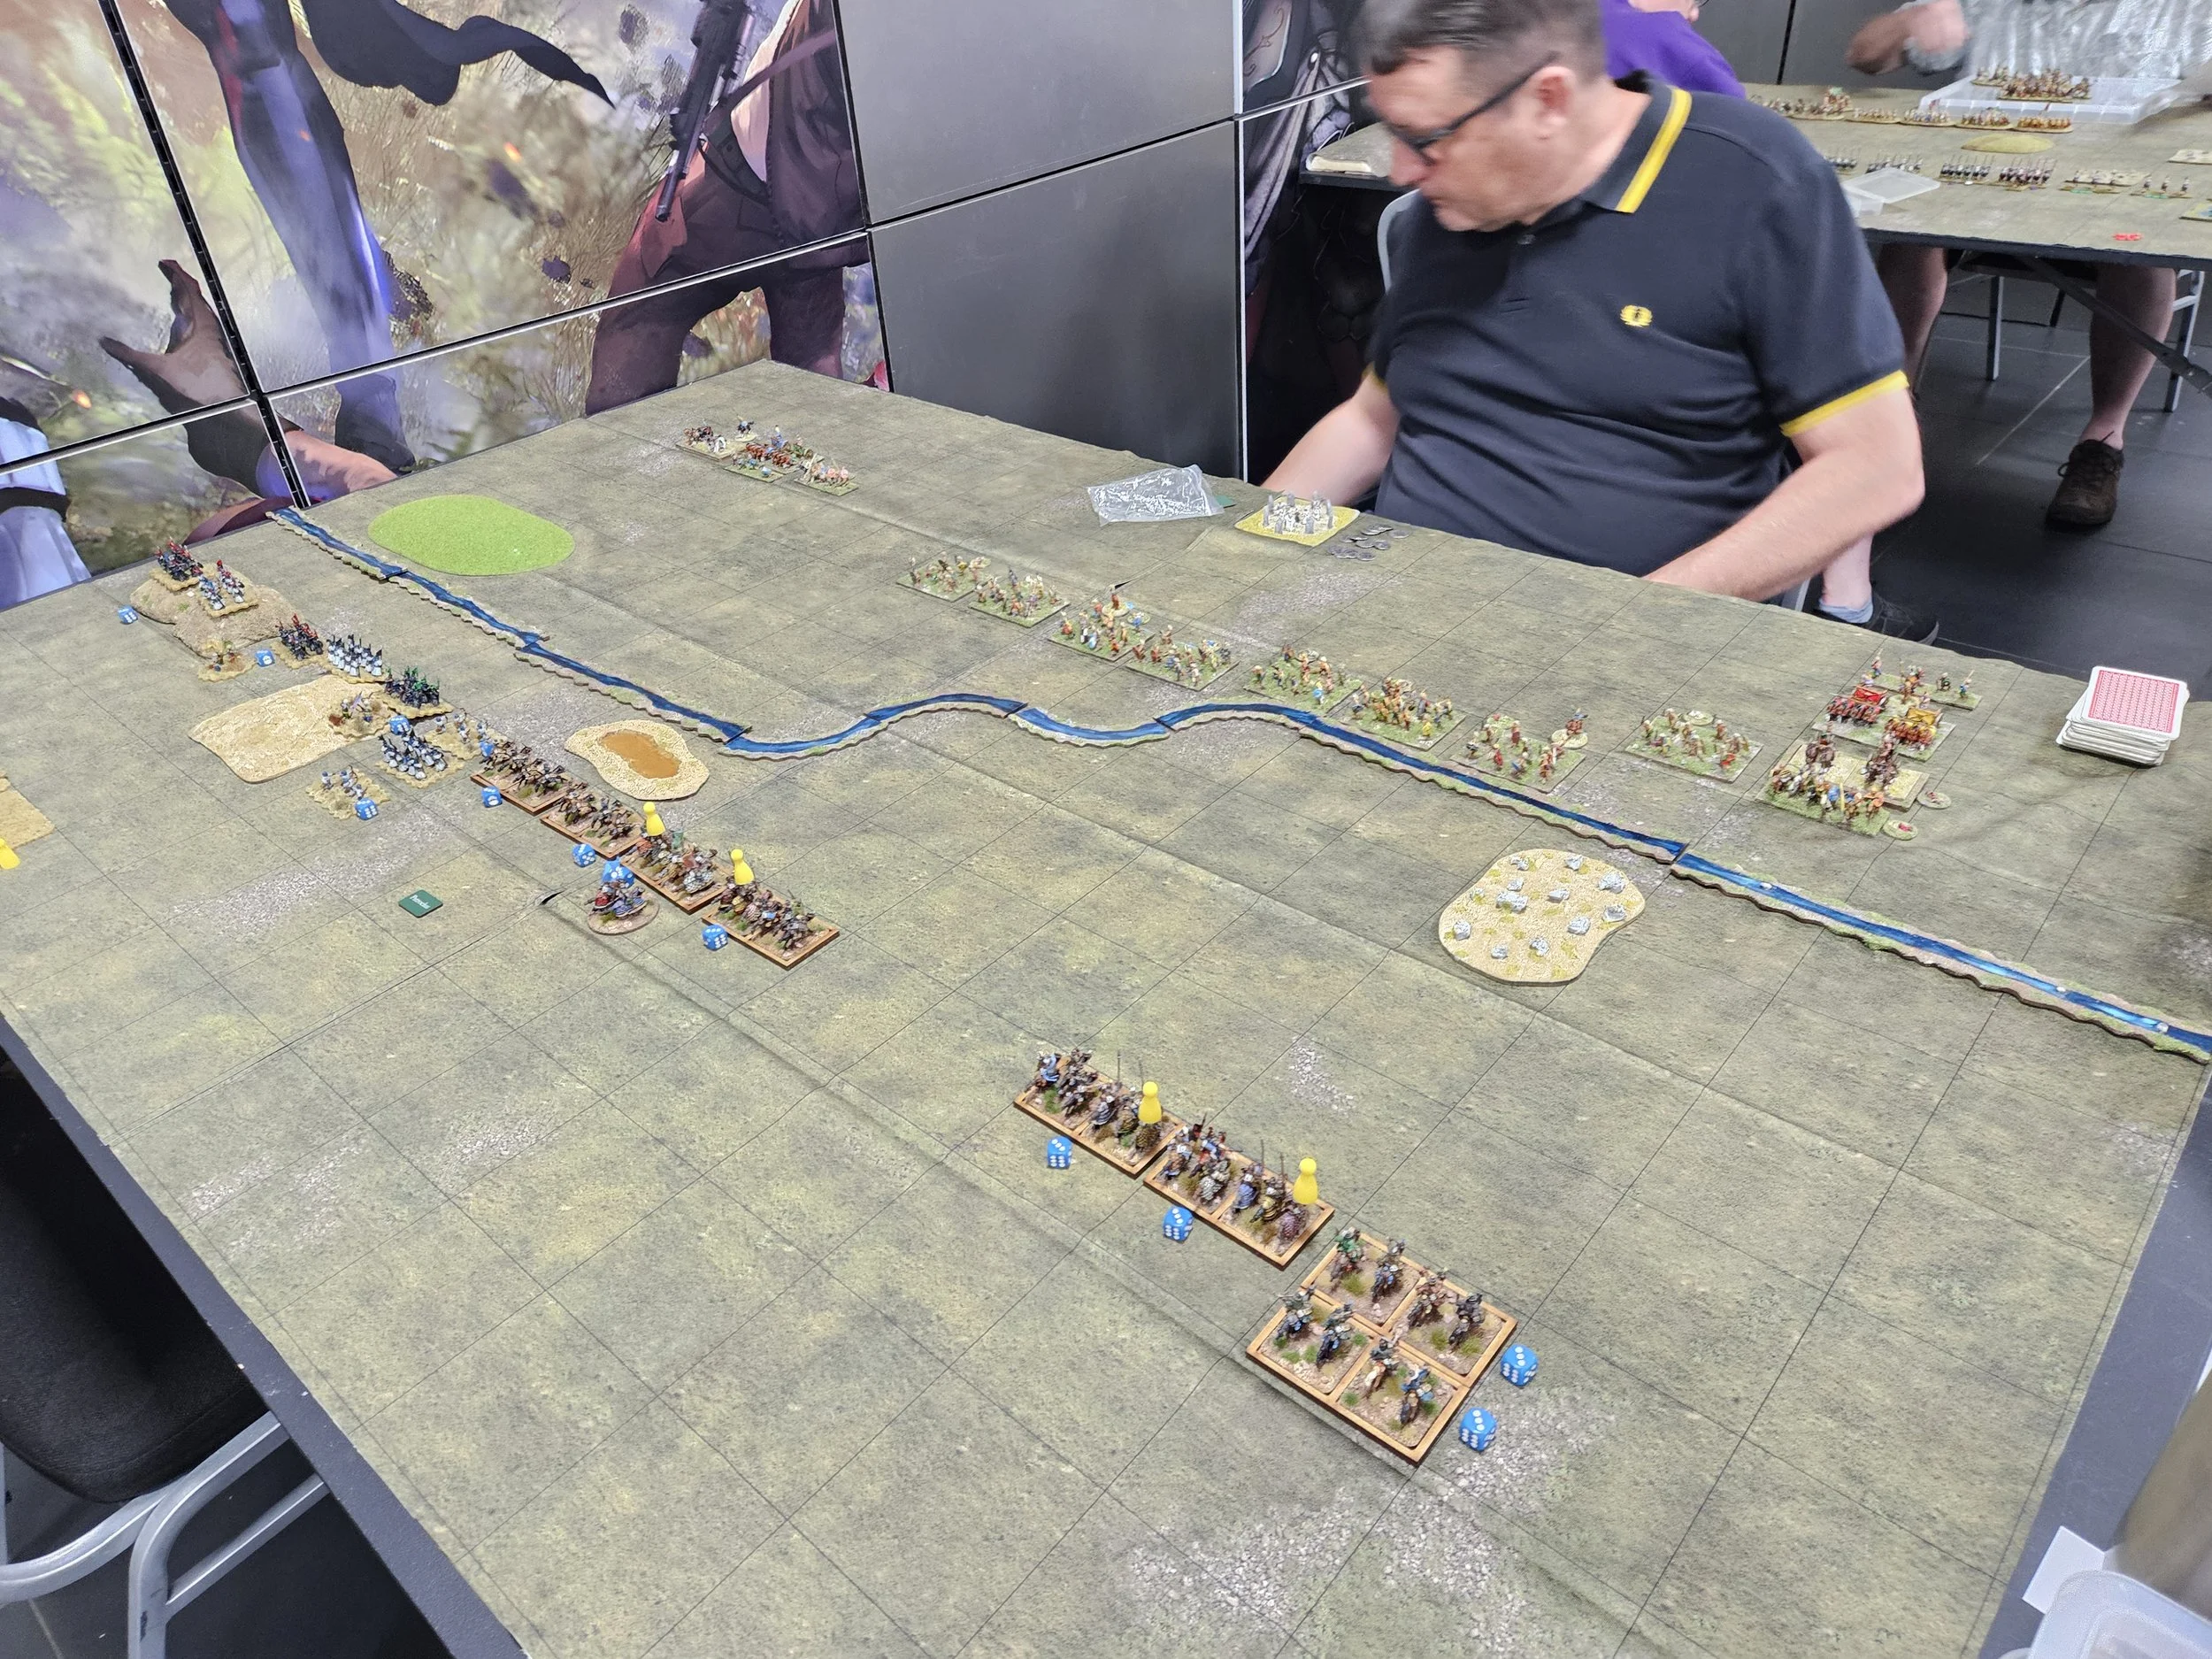
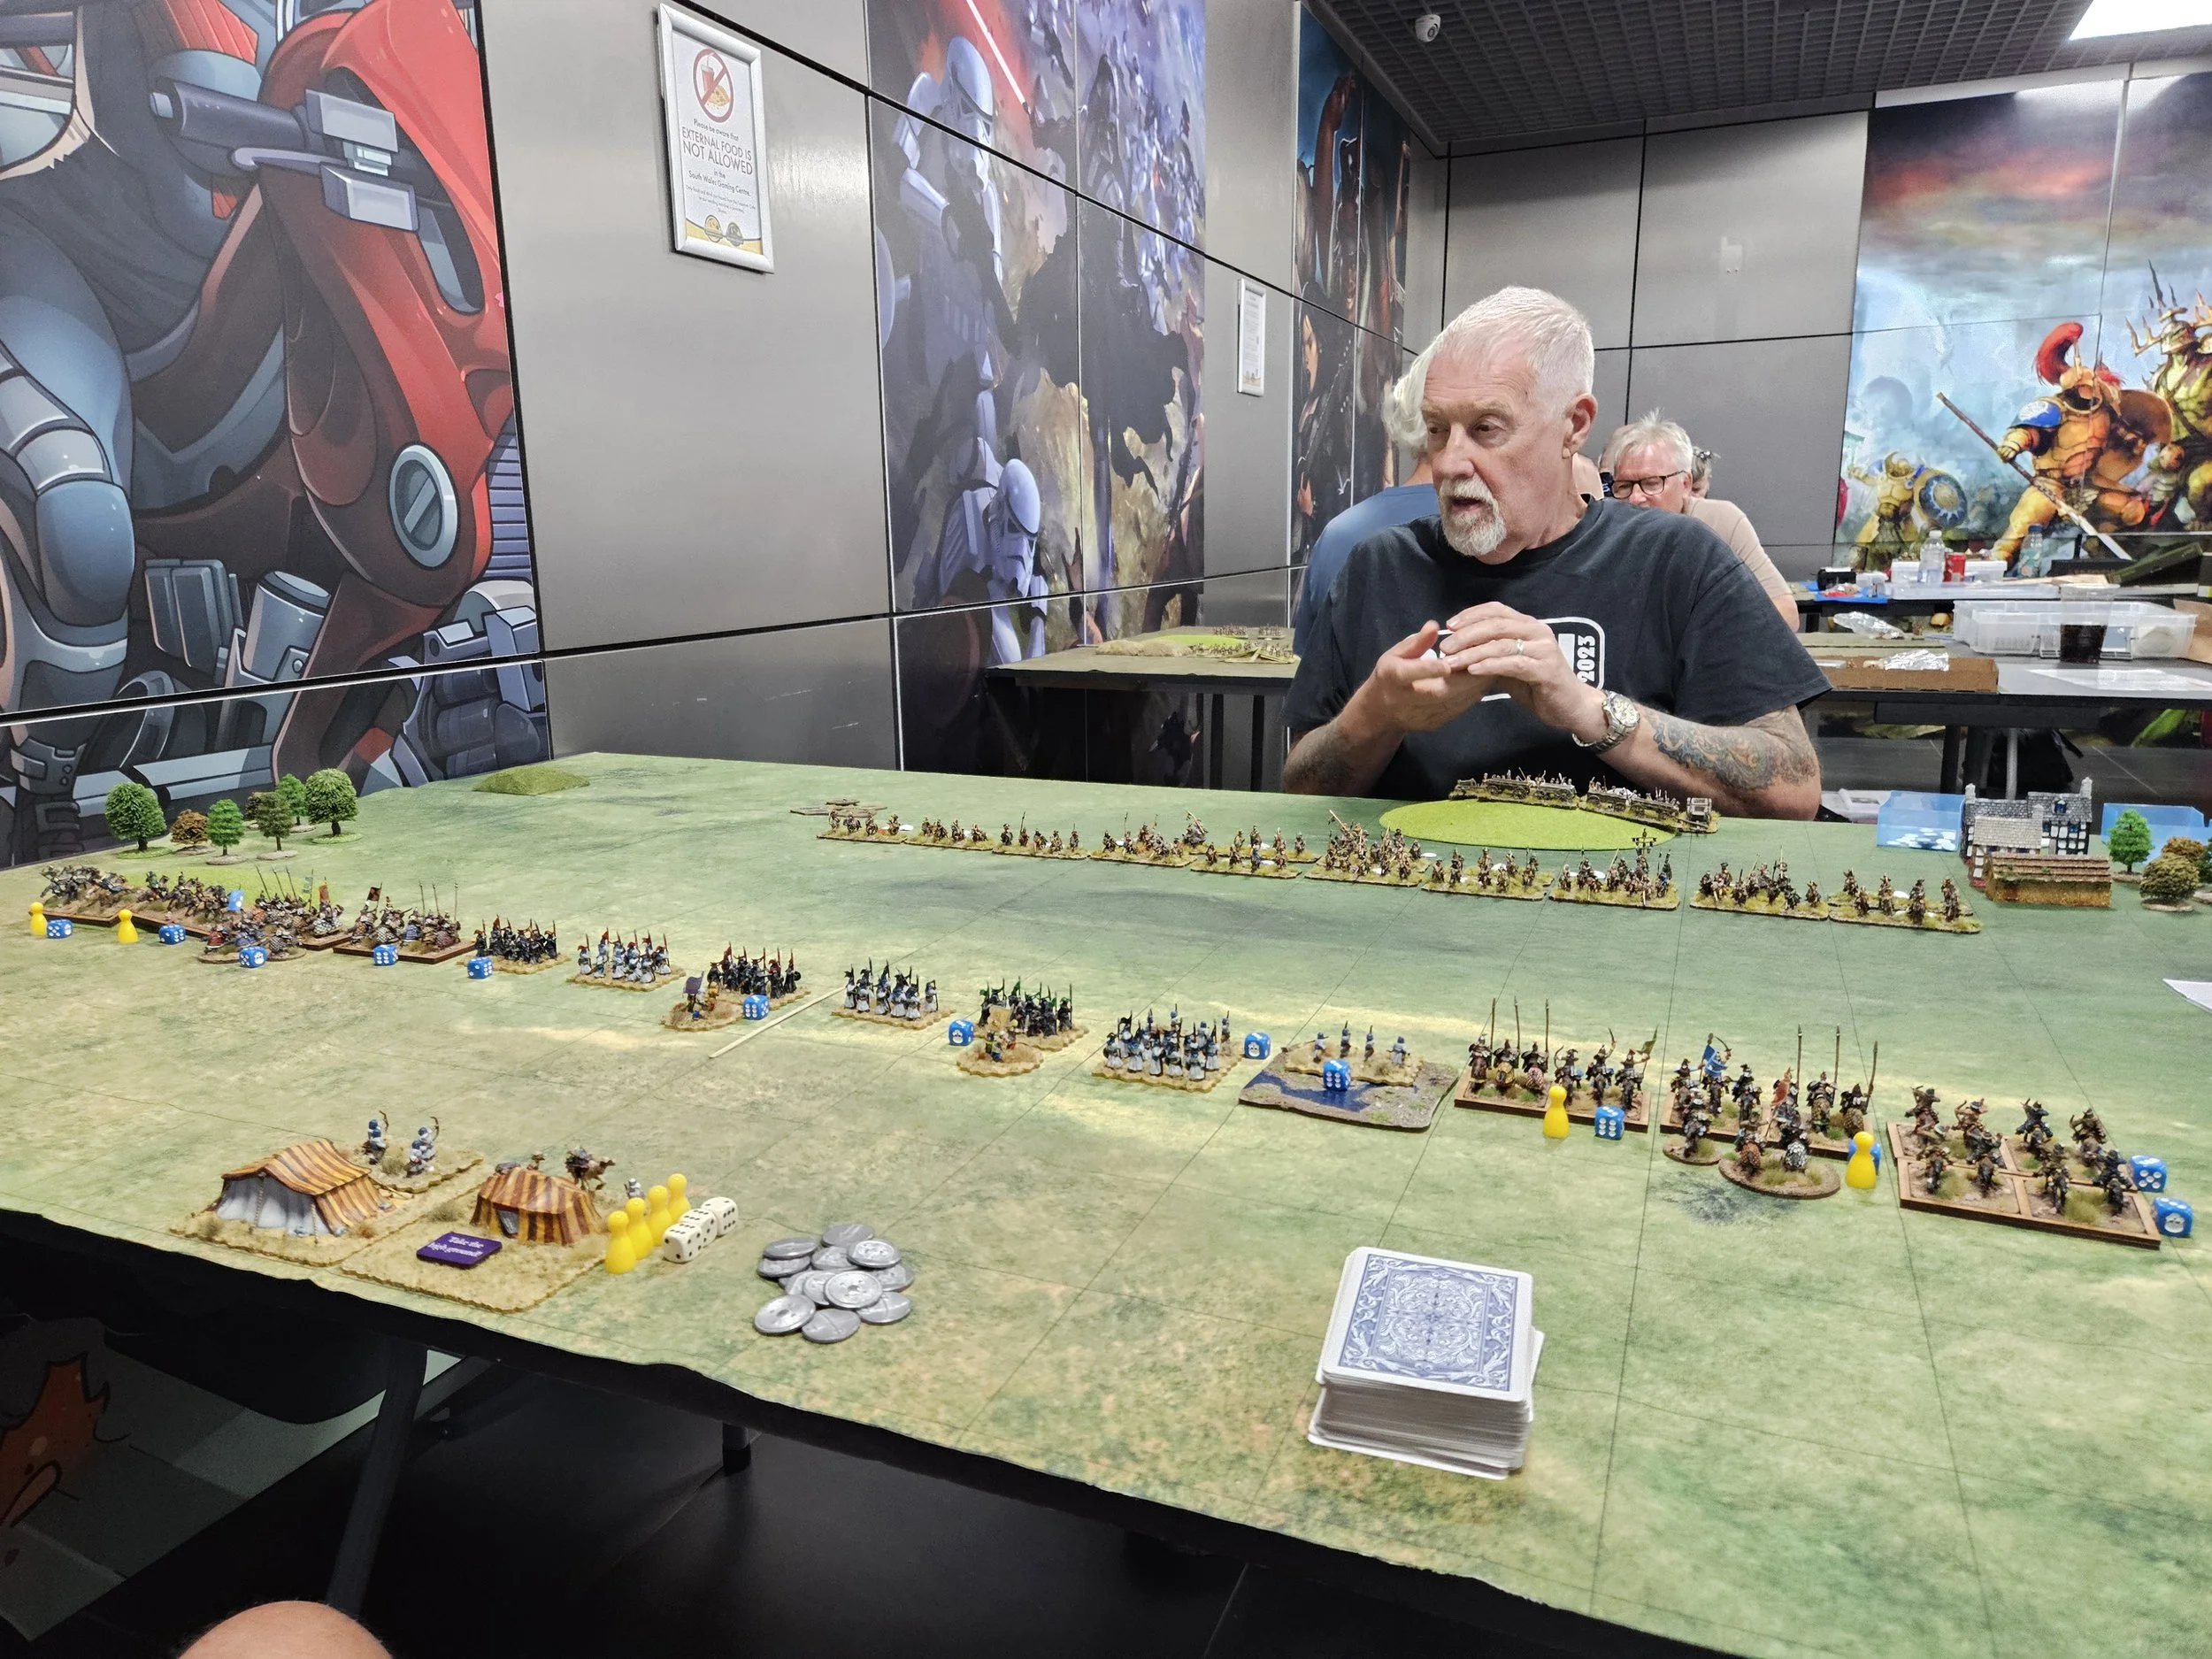
This I did spectacularly, driving into the flank of the enemy cavalry harassing my Alabardiers and sending them routing from the table. Incidentally, the other knights that you can see top left in the left hand picture below had also turned and were heading for the camels you can see top left in the right hand picture below, hotly pursued by the enemy light lancers who seemed somewhat annoyed to be completely ignored as a threat! It’s a risk, but it’s what you pay the points for the knights for.
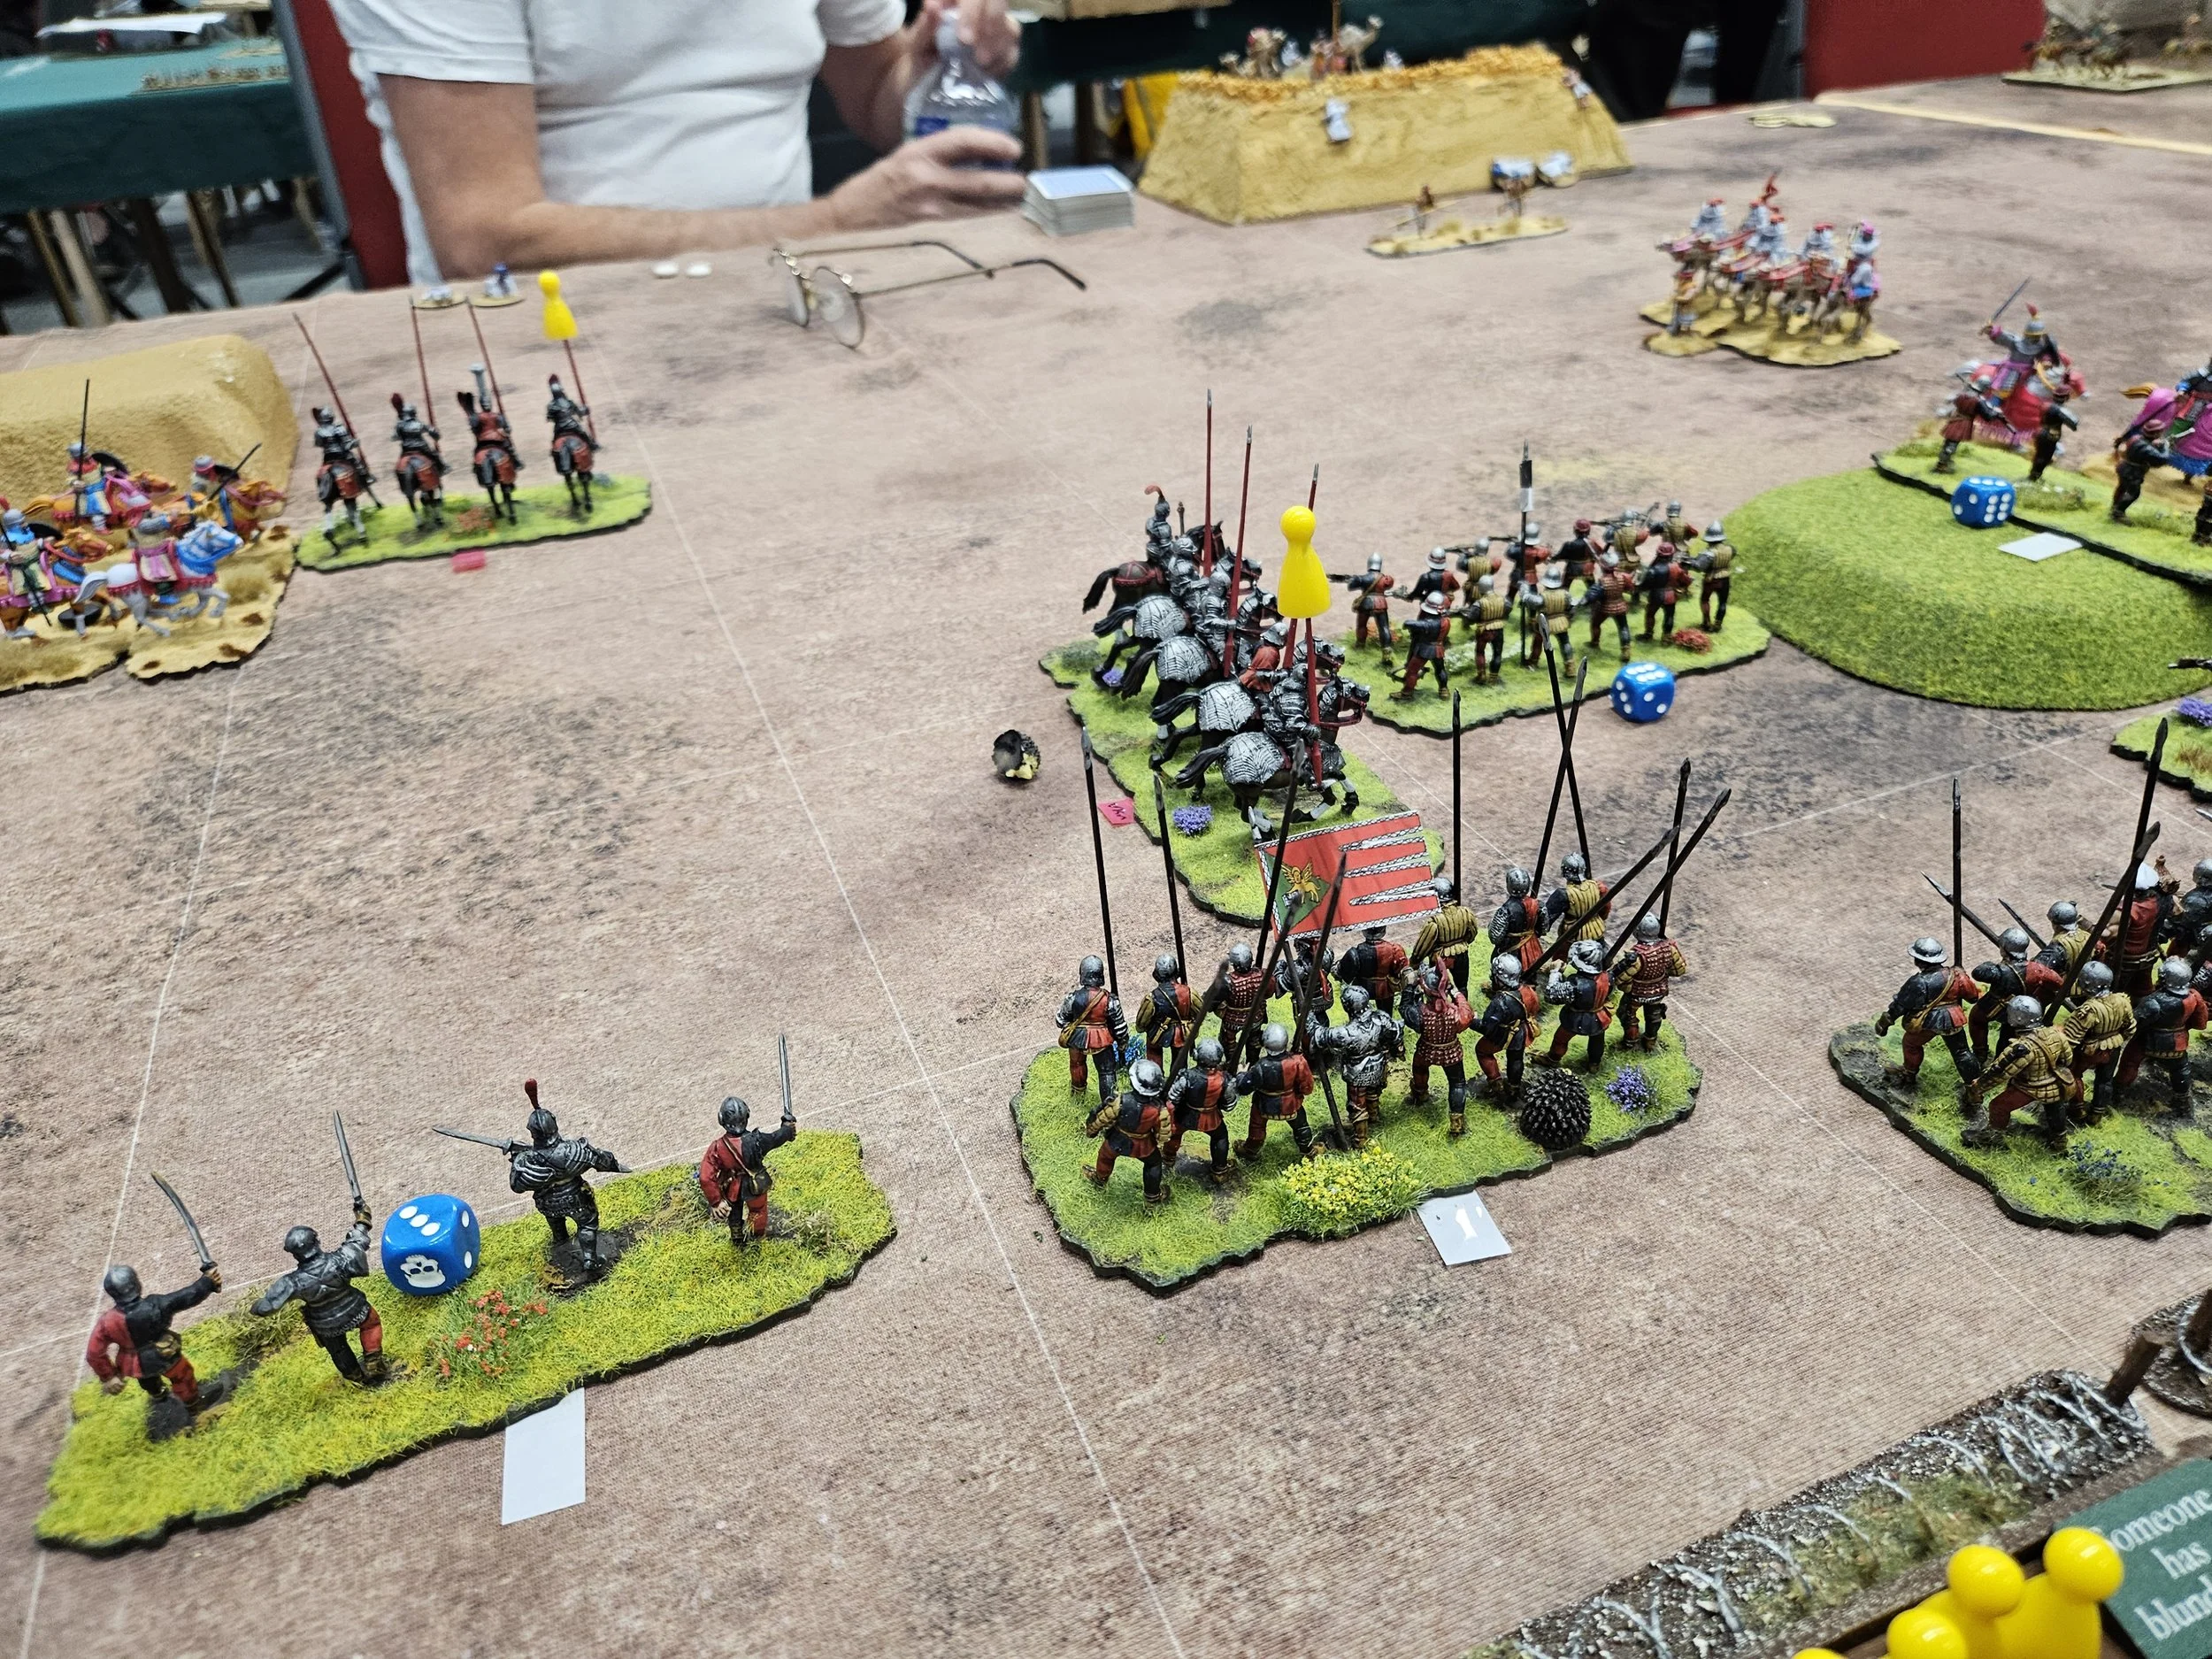
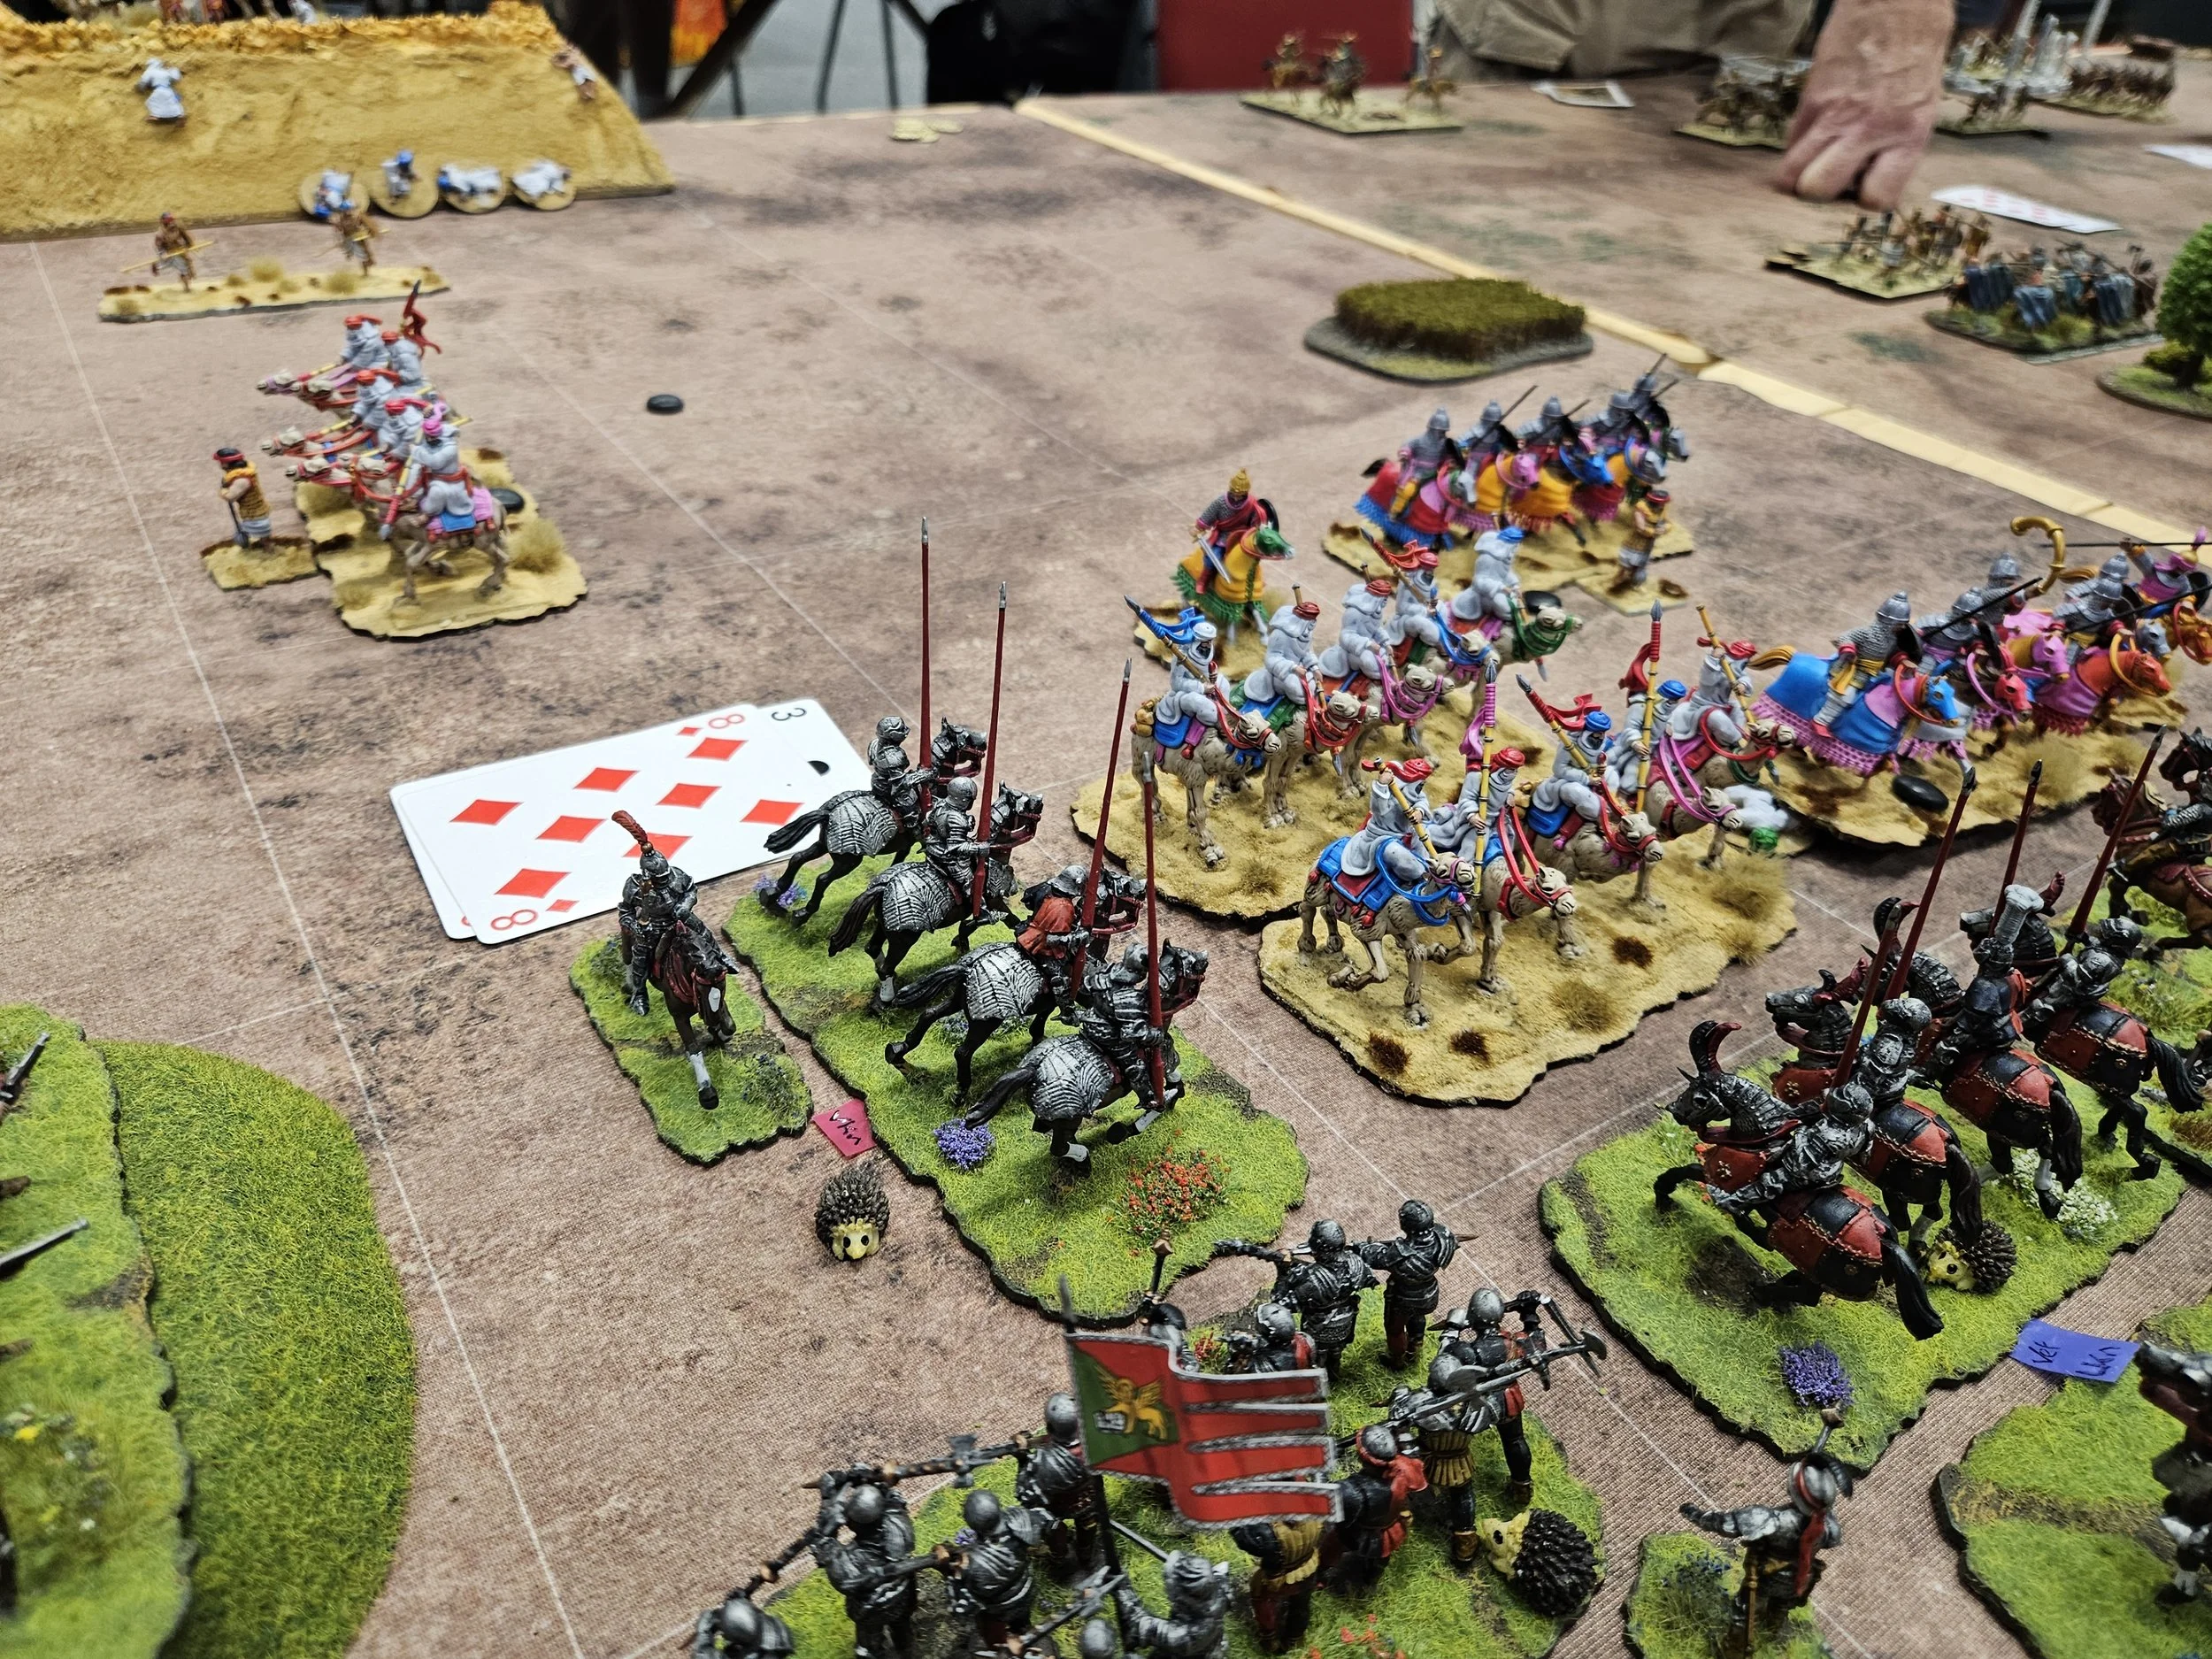
I really need the enemy camels in the centre of the right hand picture below to break, which would have just about given me the game, but despite charges from the knights in front of and to the flank of them, they just wouldn’t rout. I don’t know if Jon was awarding medals to his troops, but they certainly deserved them: I know he said afterwards that before the saves he thought that the game was lost…but, as they say, never give up when you’re playing TTS!
Meanwhile, my knights on the right had driven back half of the enemy veteran cavalry there but, again, couldn’t break them, and I had also lost enough units myself for the situation still to be critical.
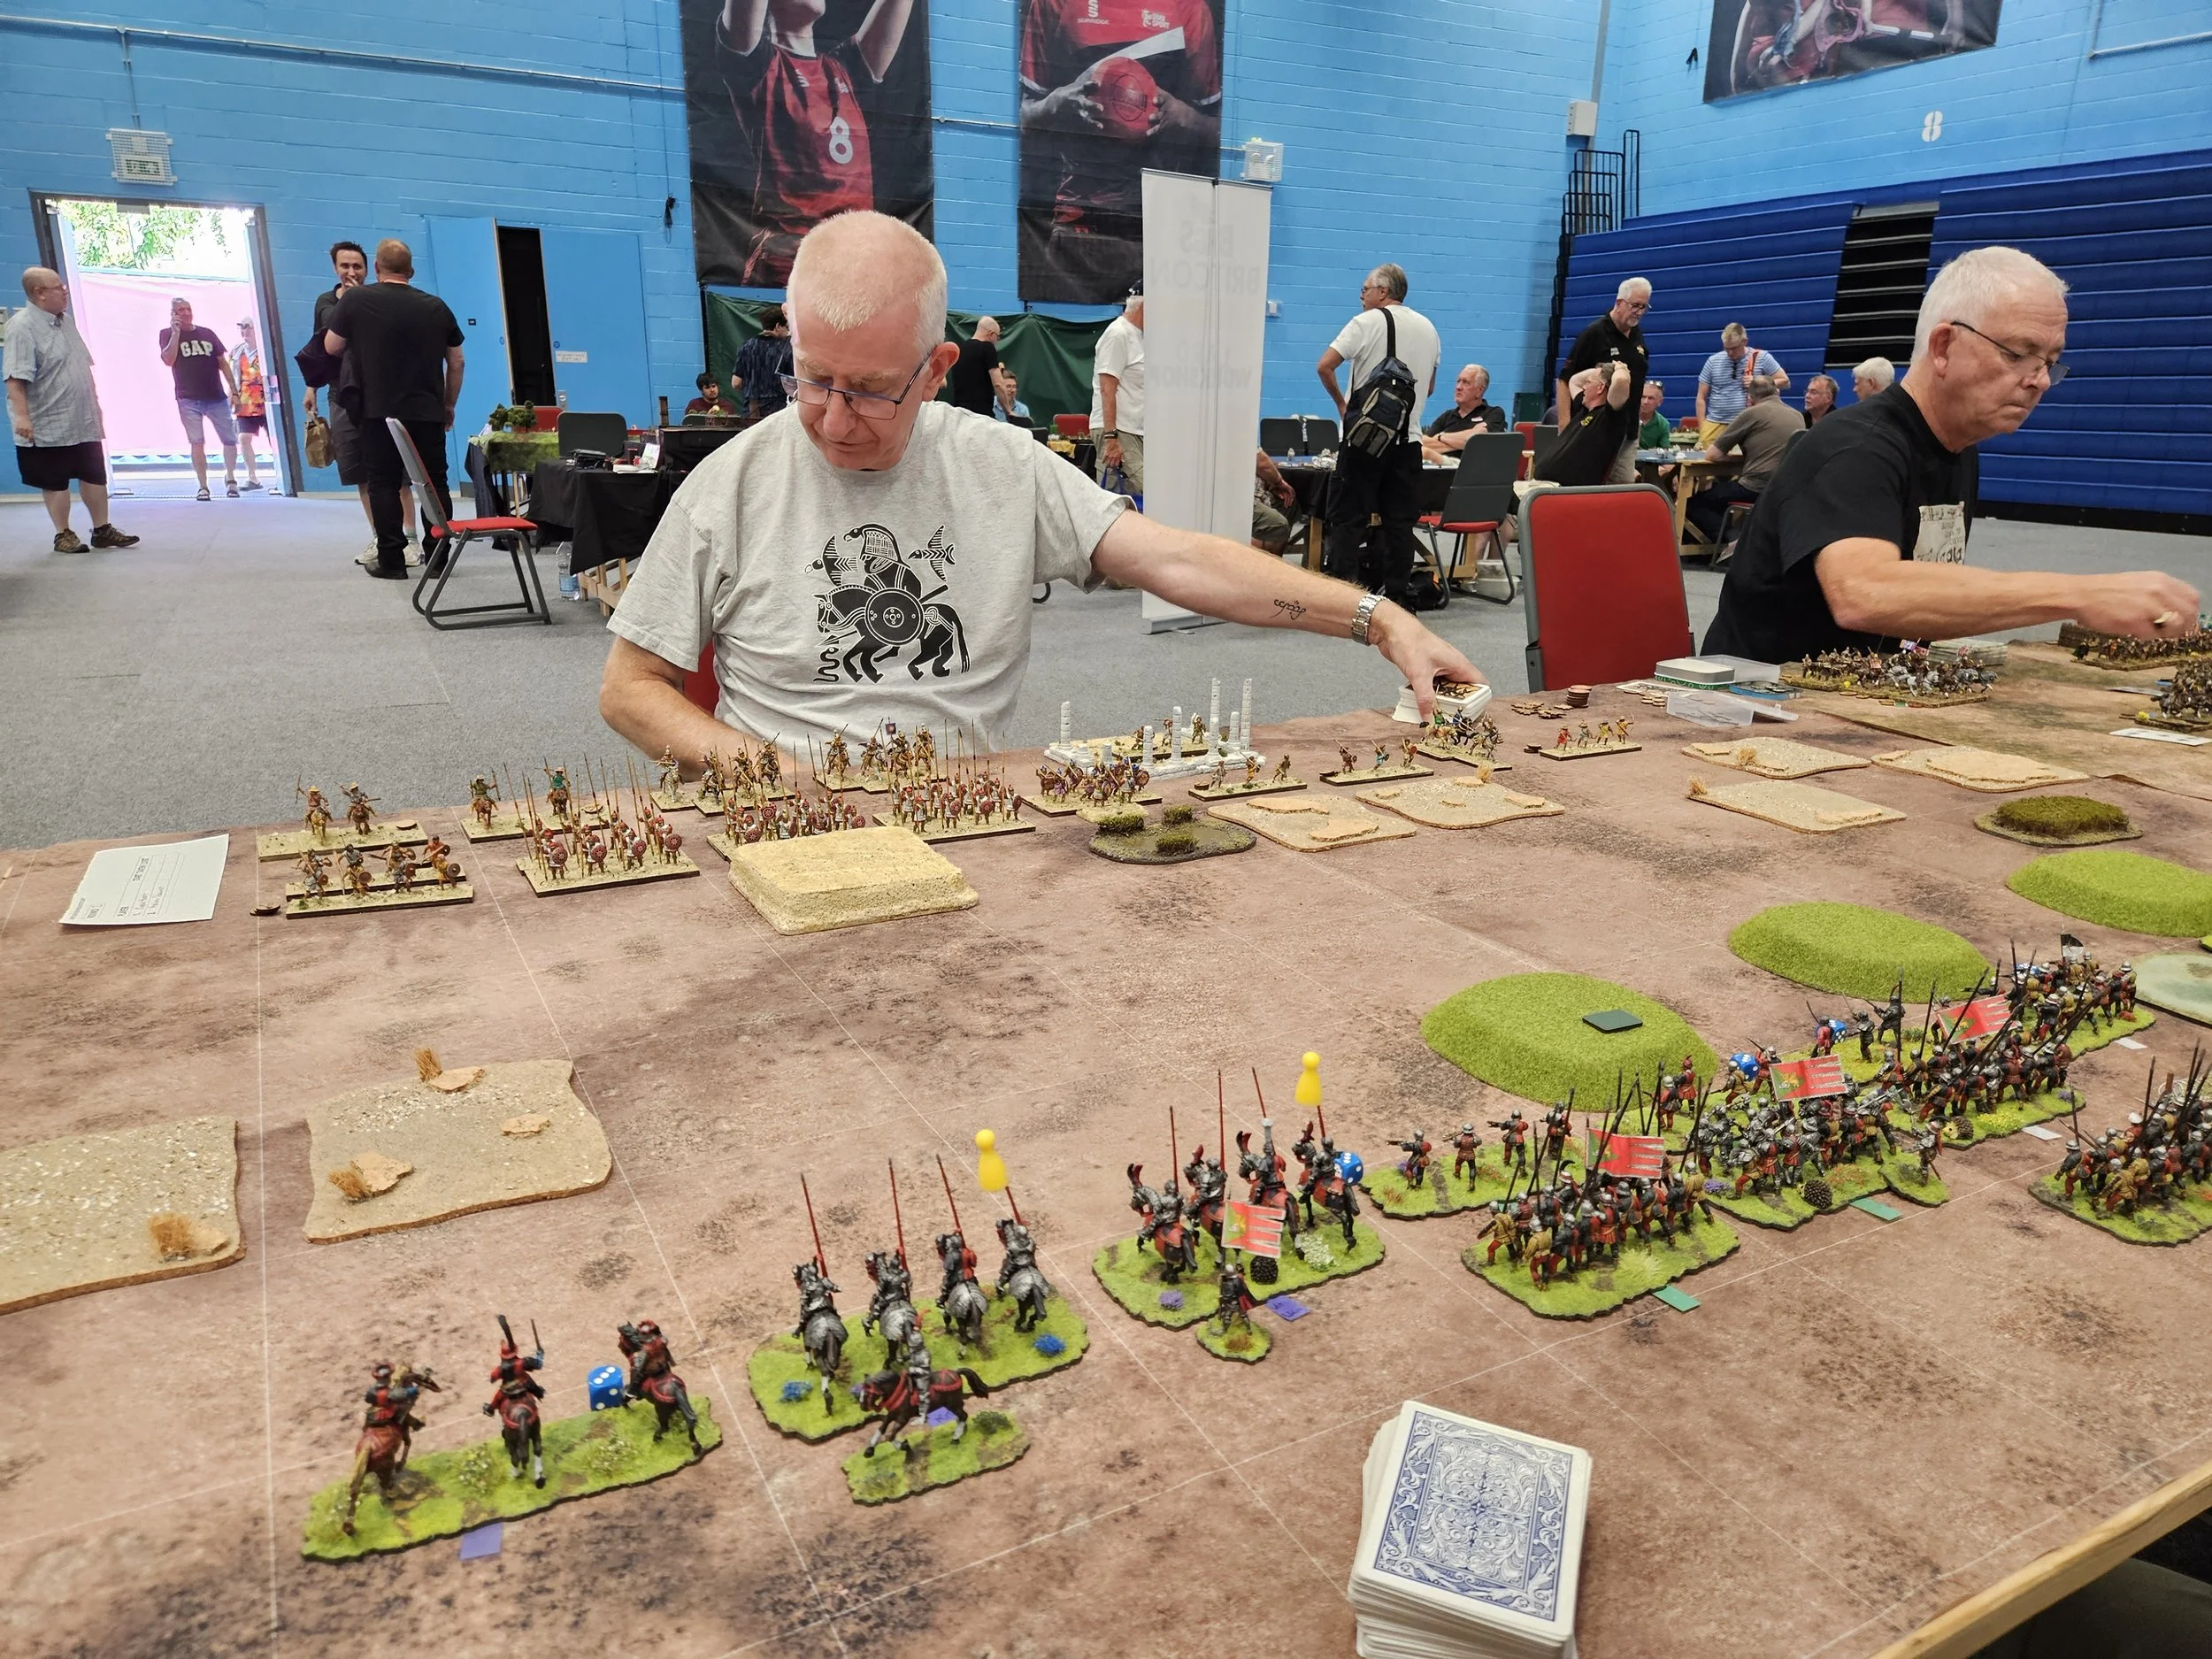
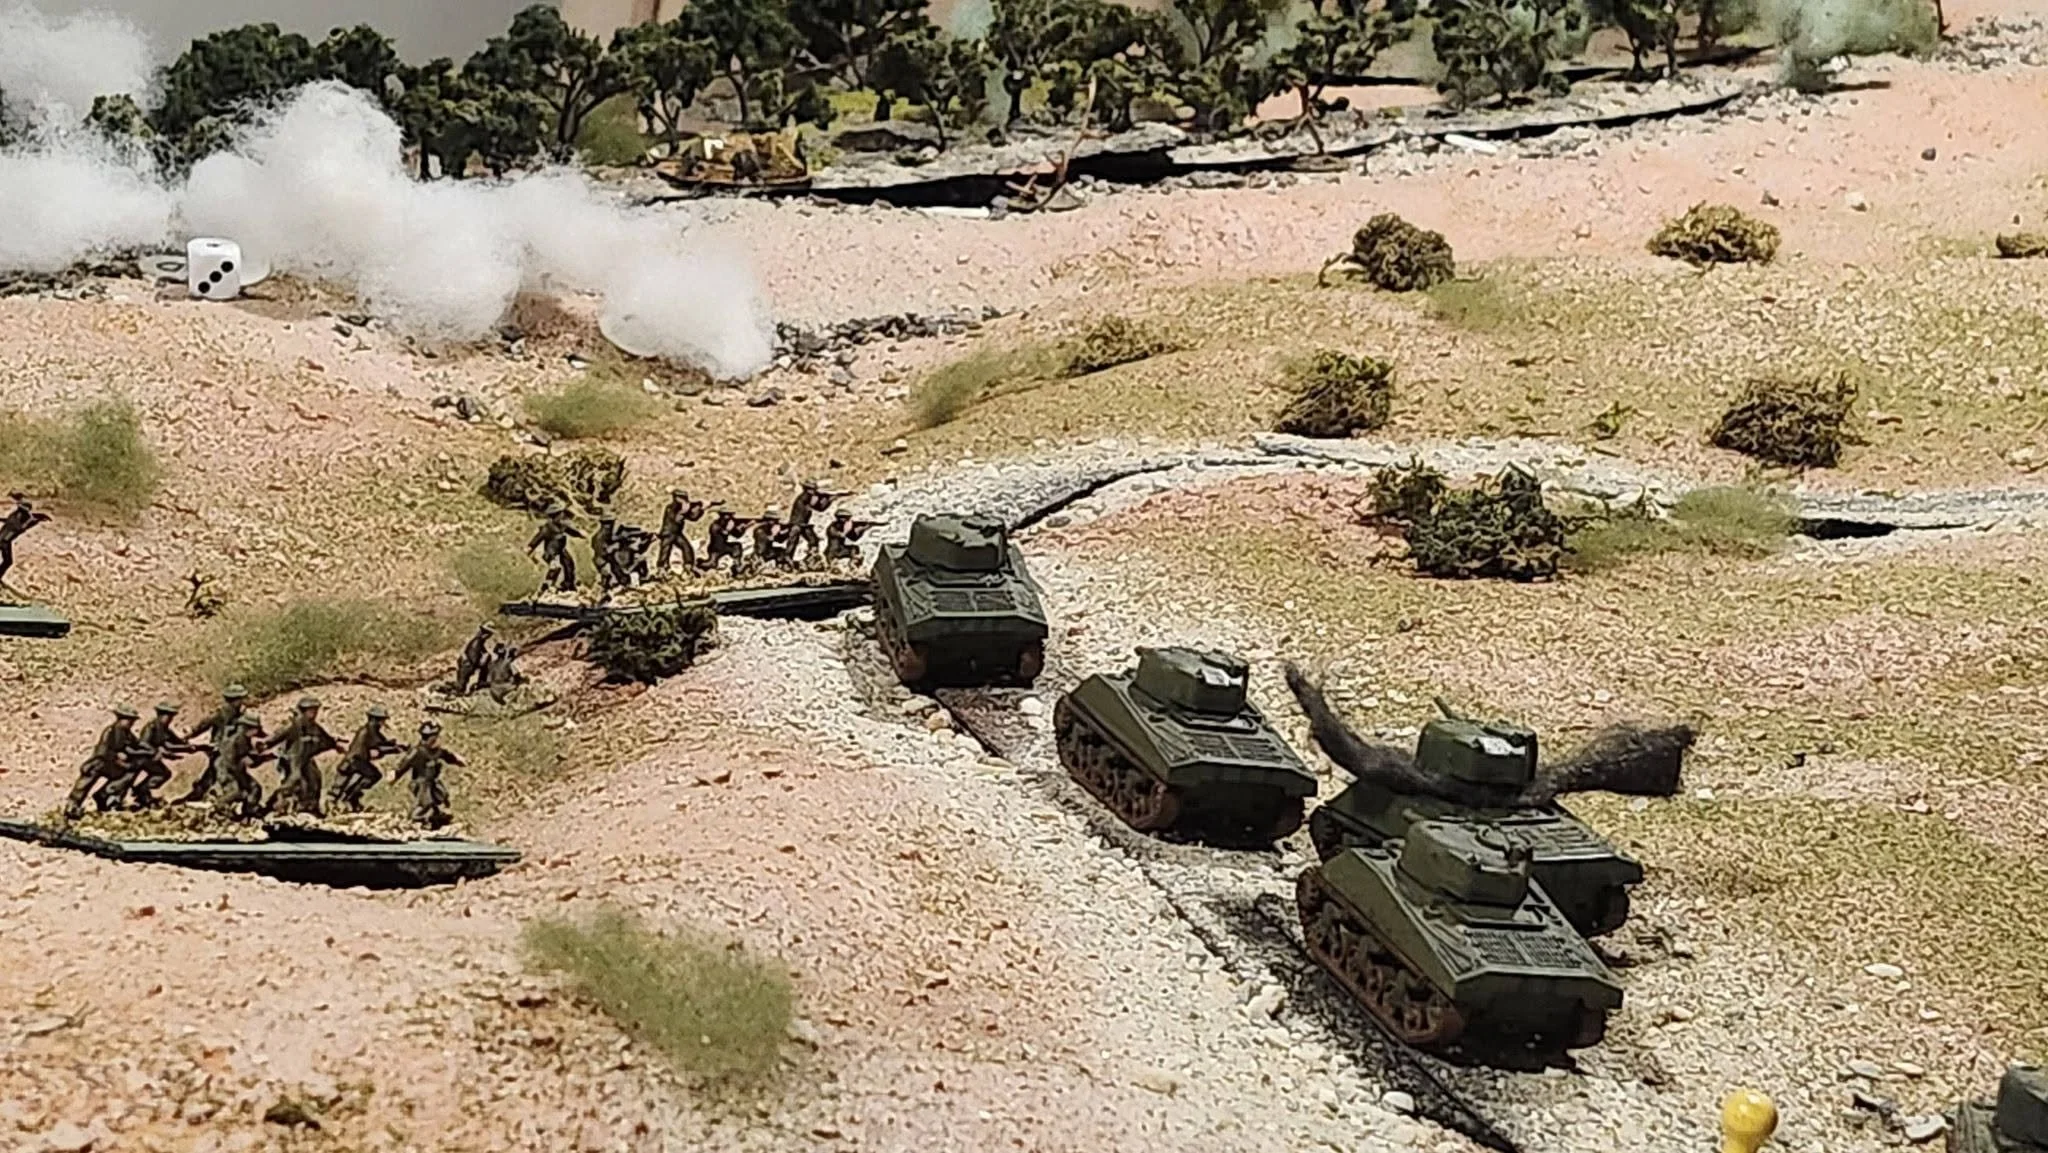
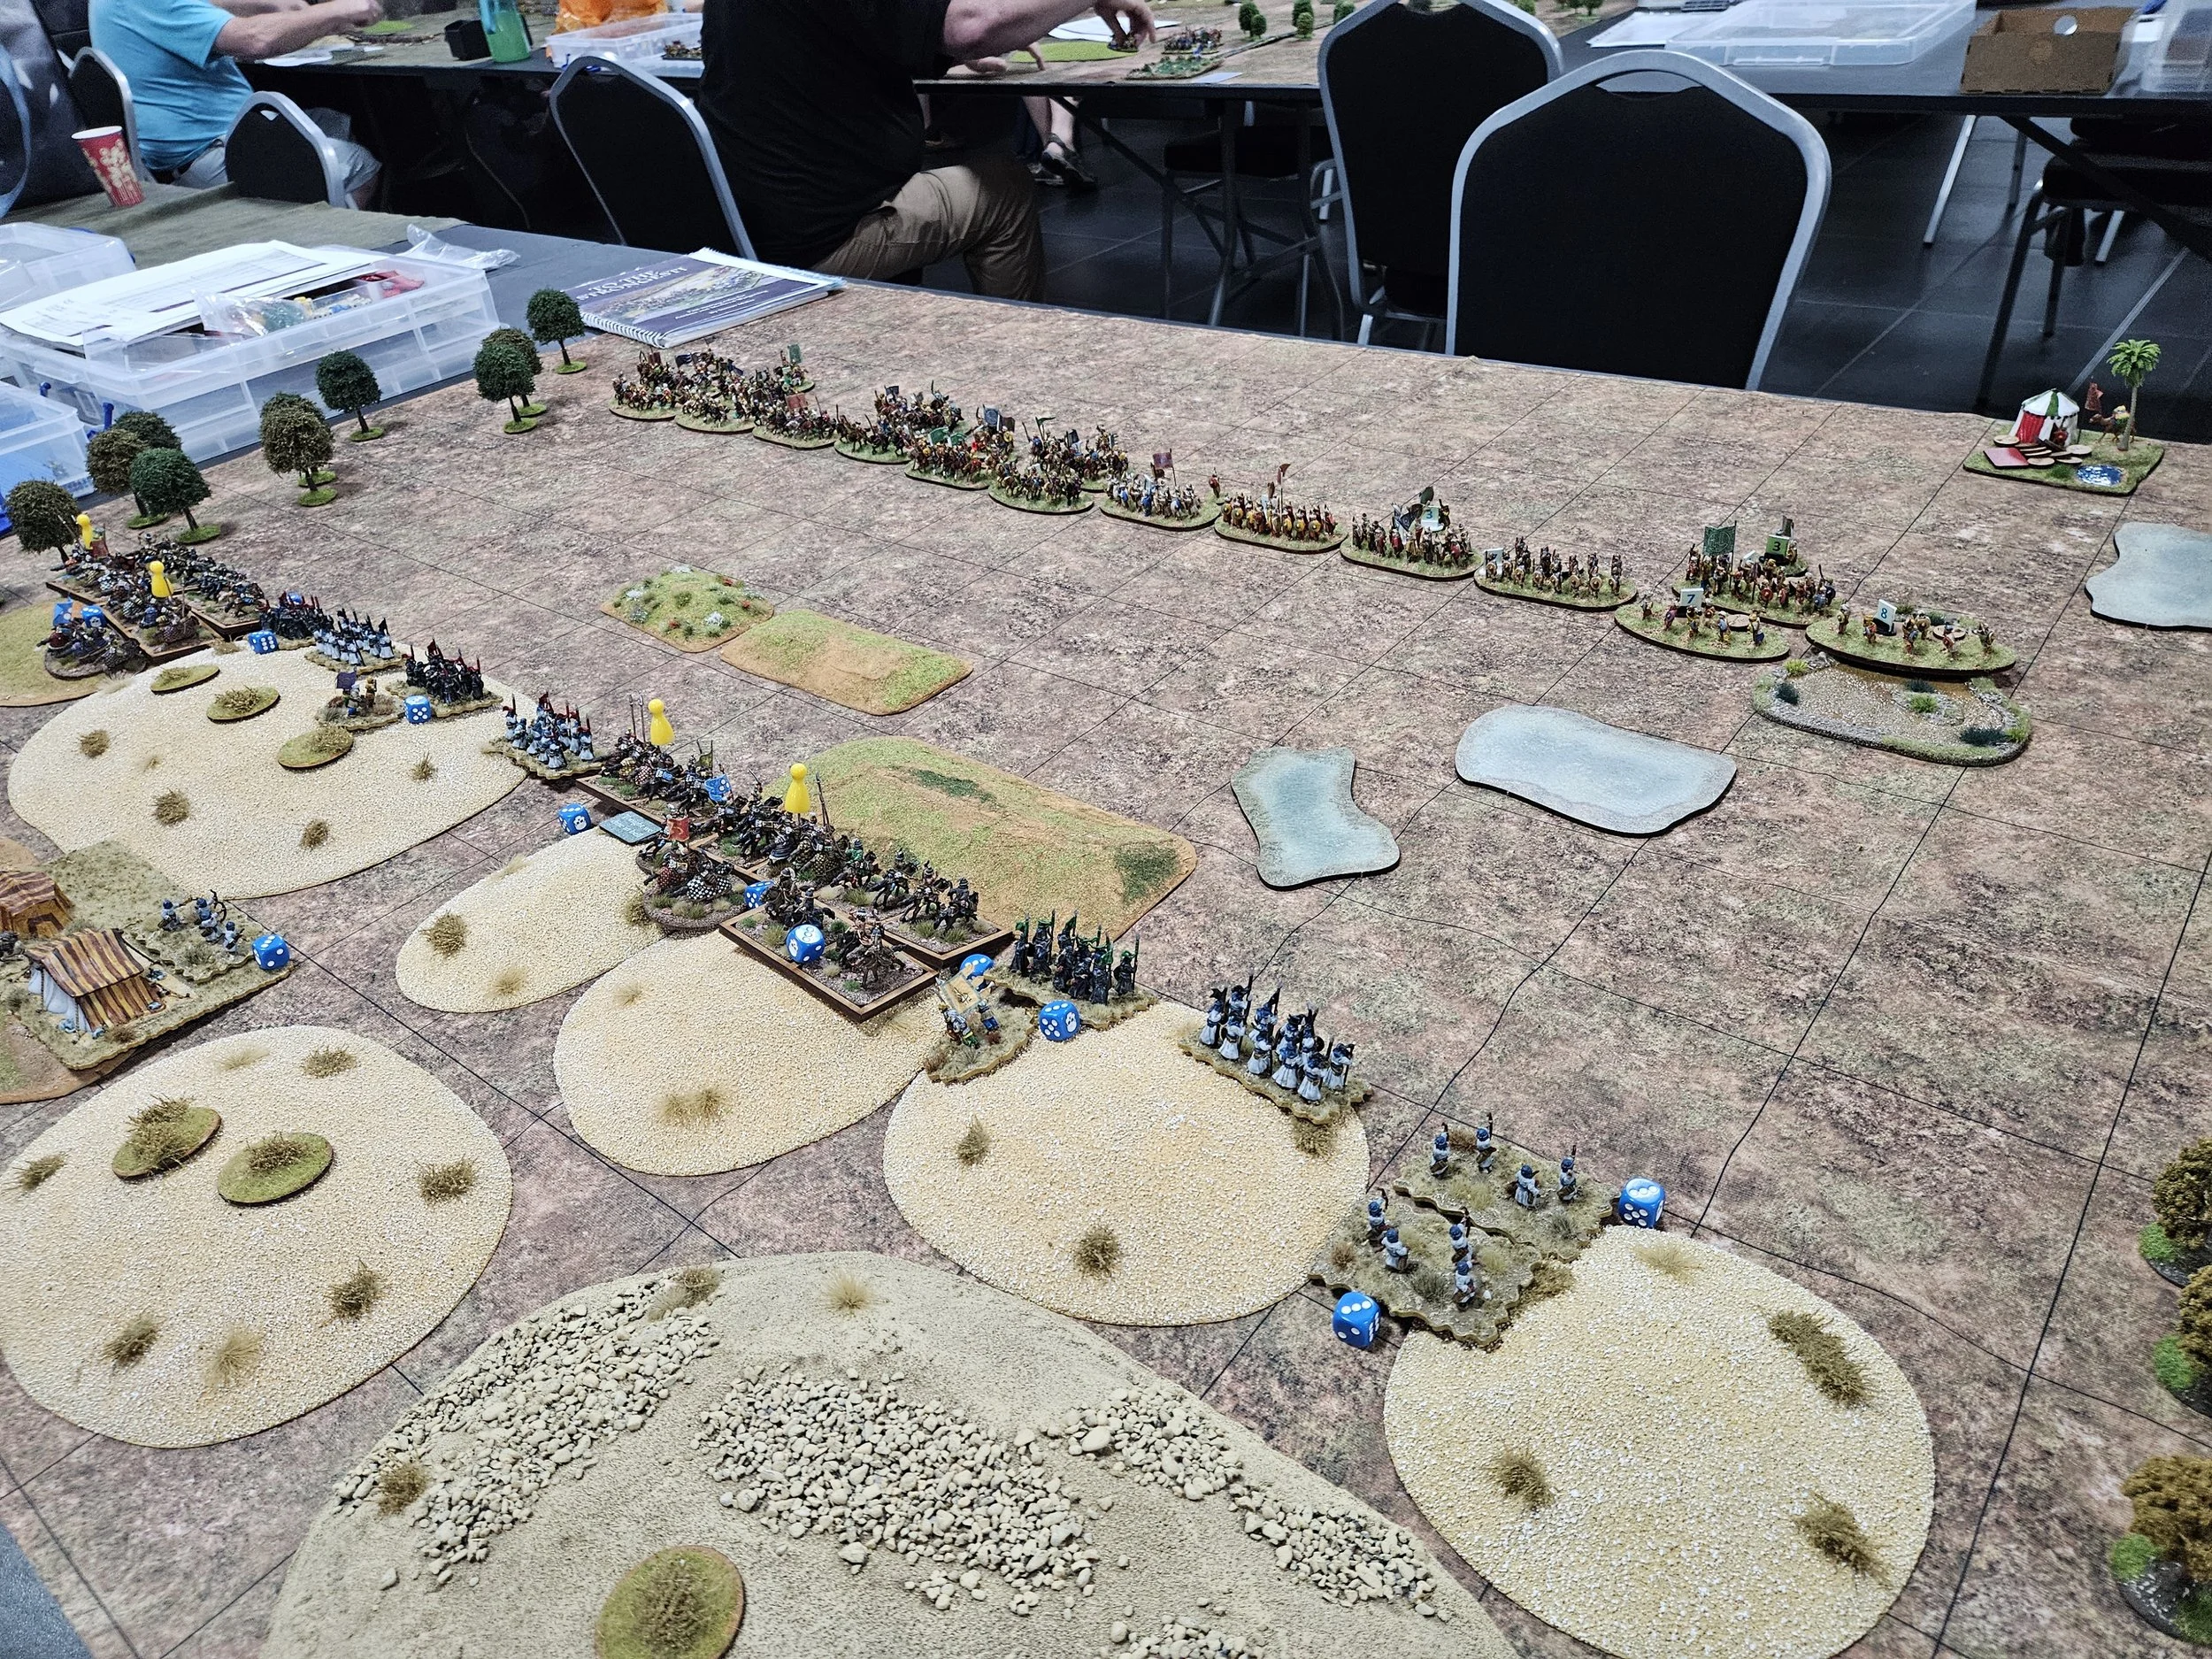
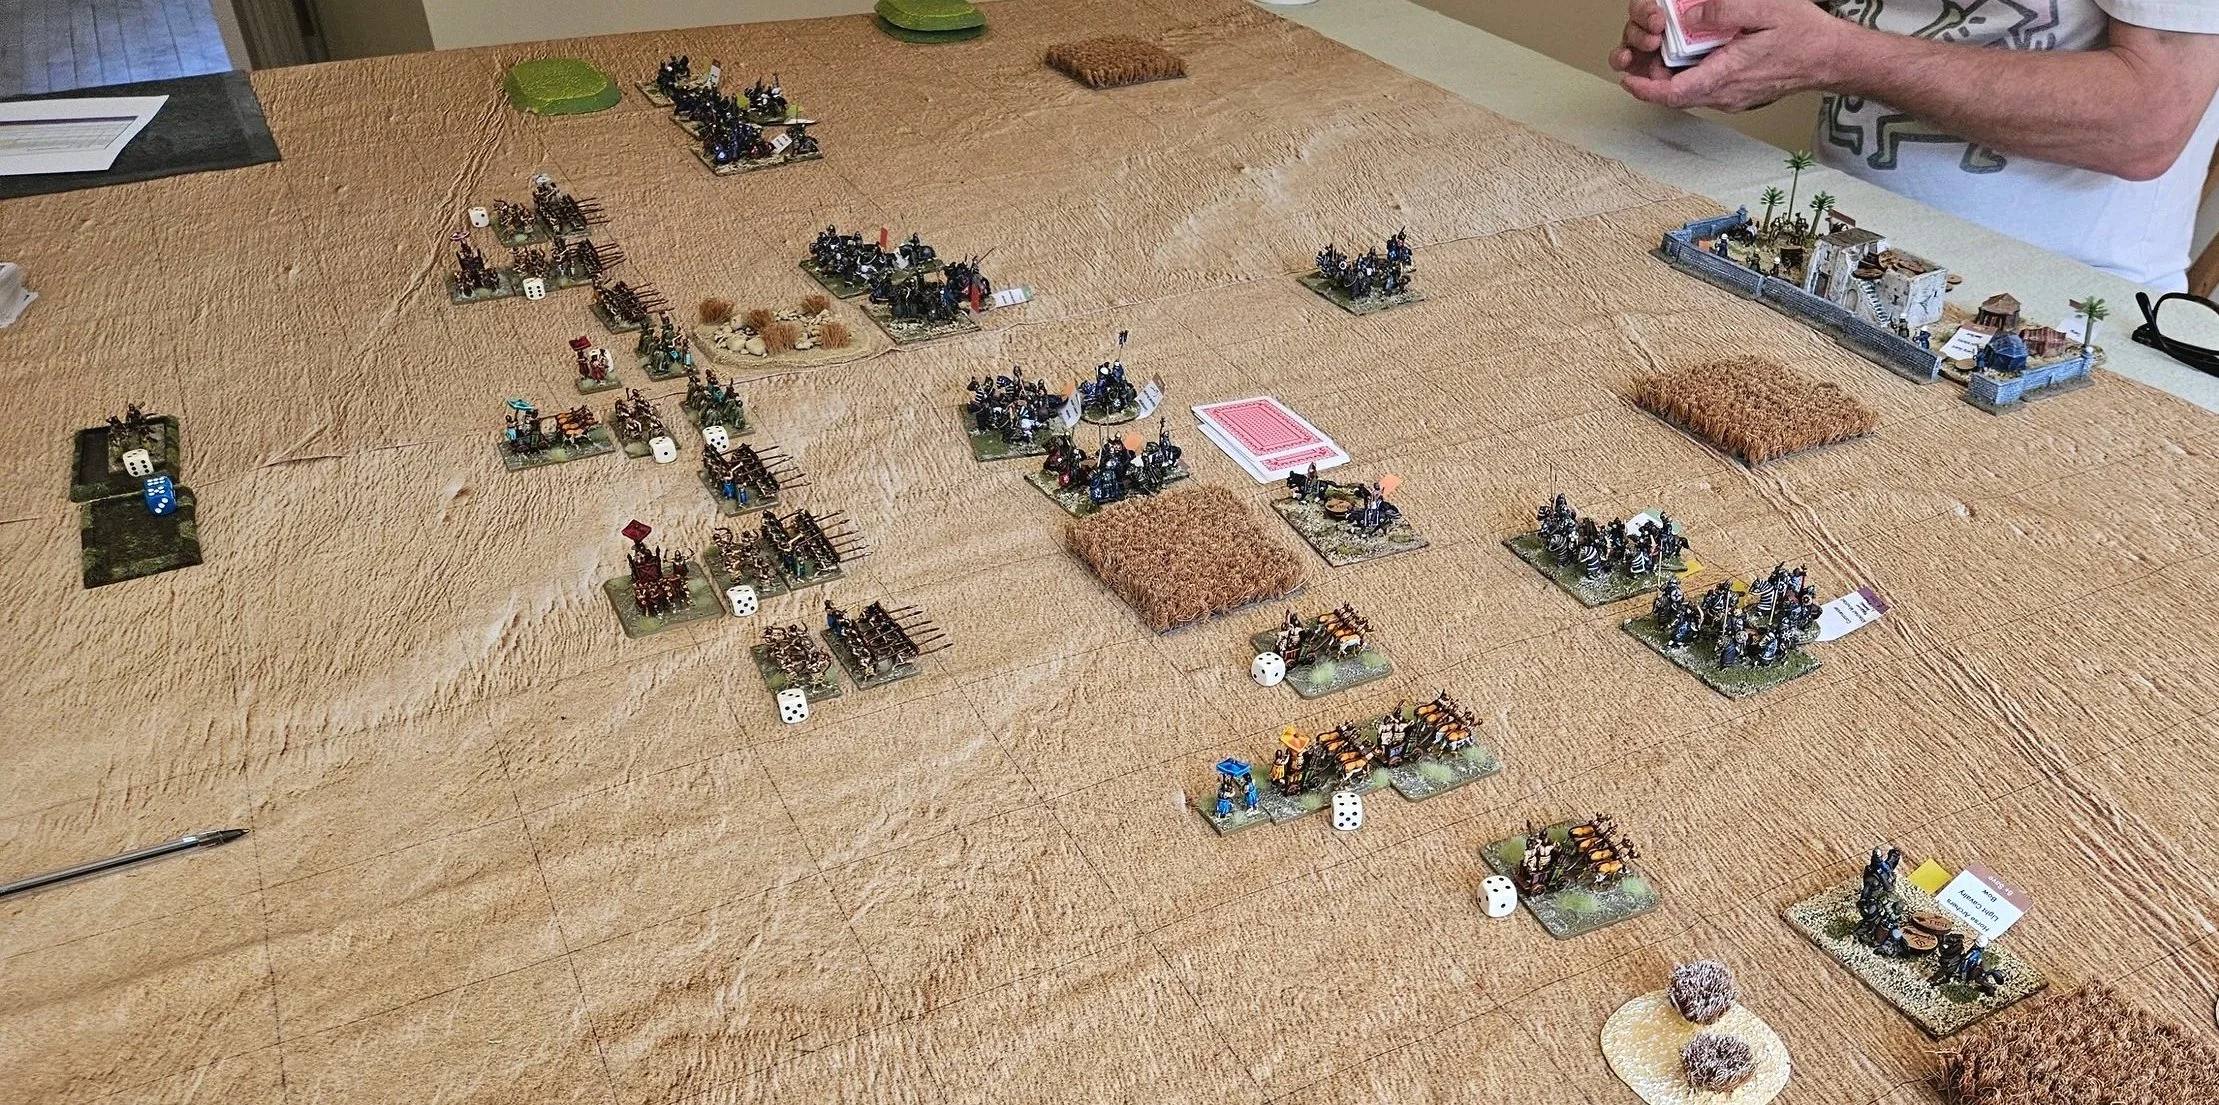
A swirling melee resolved itself into the situation you can see in the picture below:
The battle was on a knife-edge. I began my next turn and still couldn’t break the camels in the centre. More medals for them!
Now what you can’t see in the picture above is that in the bottom right hand corner of the battlefield, Jon’s other unit of veteran cavalry had turned towards the right flank of my remaining infantry there, threatening to charge them once my turn was finished. I had my light mounted crossbowmen on the flank of those veteran cavalry and now had a choice to make. Charge them, and risk them evading back up the table towards my later knights pursuing the enemy horse there, or attempt to re-arm and then shoot them.
The safer but less likely to succeed in killing the cavalry option was to try and rearm and shoot them, but I chose to go for the riskier but potentially more rewarding option and charged them. After all, I was down to four coins (I’d lost two generals for four coins and another two coins to rallying!) and needed to take seven of Jon’s to win.
Unfortunately, the enemy cavalry were having a good day, and managed to evade my lights three times in a row and, as my turn ended, now faced the rear of my later knights near Jon’s camp. Was this a mistake? Probably…but the situation was critical and I went for the win and did still have something up my sleeve in case of emergencies (see below).
Equally unfortunately, Jon now turned his fleeing knights towards their pursuers (who had sensibly turned to face the camels on their flank) and so had three units with which to attack my later knights.
I quickly corrected my potential mistake, above, by using the Someone has Blundered stratagem to turn the evading knights way from their target, so my later knights only now faced camels to the front and disordered knights to their flank. Veteran later knights are tough, saving on a 4+, so I felt I had a good chance of surviving .
But it was not to be. The cards fell for Jon, didn’t fall for me, and my later knights and army standard routed, costing me four coins and the game!
Well that had been a rip-roaring game of To The Strongest!
Jon almost had me at the beginning with his deployment and rapid attack, but I recovered well and then almost had him with my attack on the flanks of his camels. The battle then balanced on a knife-edge and, unfortunately, didn’t fall for the Venetians and they lost 7-13 or 54-148 points. Epic stuff!