Lust for Glory: Helsingborg
/Time for another playtest game of Lust for Glory: the 18th Century incarnation of the To The Strongest rule system. Today we would refight Helsingborg, using Mark’s collection of 6mm figures. Here’s what ChatGPT had to say about the historical battle:
The Battle of Helsingborg was fought on 10 March 1710 during the Great Northern War (1700–1721) between Sweden and Denmark-Norway. It was a major Swedish victory and effectively ended Denmark's attempt to reconquer the southern Swedish provinces of Scania, Halland and Blekinge.
After Sweden suffered a devastating defeat against Russia at Poltava in 1709, Denmark saw an opportunity to regain the territories it had lost to Sweden in the 17th century. A Danish army of roughly 14,000–16,000 men landed at Råå, near Helsingborg, in November 1709 and rapidly occupied much of Scania.
The Swedish commander Magnus Stenbock withdrew to Småland and raised a new army. By February 1710, he had assembled a force of roughly 14,000–16,000 soldiers and marched into Scania, forcing the Danish army back toward Helsingborg.
The Danish army, commanded by Jørgen Rantzau, took up a strong defensive position on the heights northeast of Helsingborg. Stenbock attacked on 10 March. The fighting was particularly intense around the cavalry wings. Rantzau's counterattack initially had considerable success, but he was seriously wounded, while Swedish cavalry eventually broke through the Danish flank. The resulting pressure on the Danish infantry caused their formation to collapse and much of the army retreated toward Helsingborg.
The surviving Danish troops withdrew into Helsingborg, but Stenbock chose not to launch a costly assault on the city's fortifications. Instead, the Swedes bombarded the city, and the Danes evacuated across the Øresund to Helsingør a few days later. Thousands of Danish horses were killed because there was insufficient capacity to transport them across the strait.
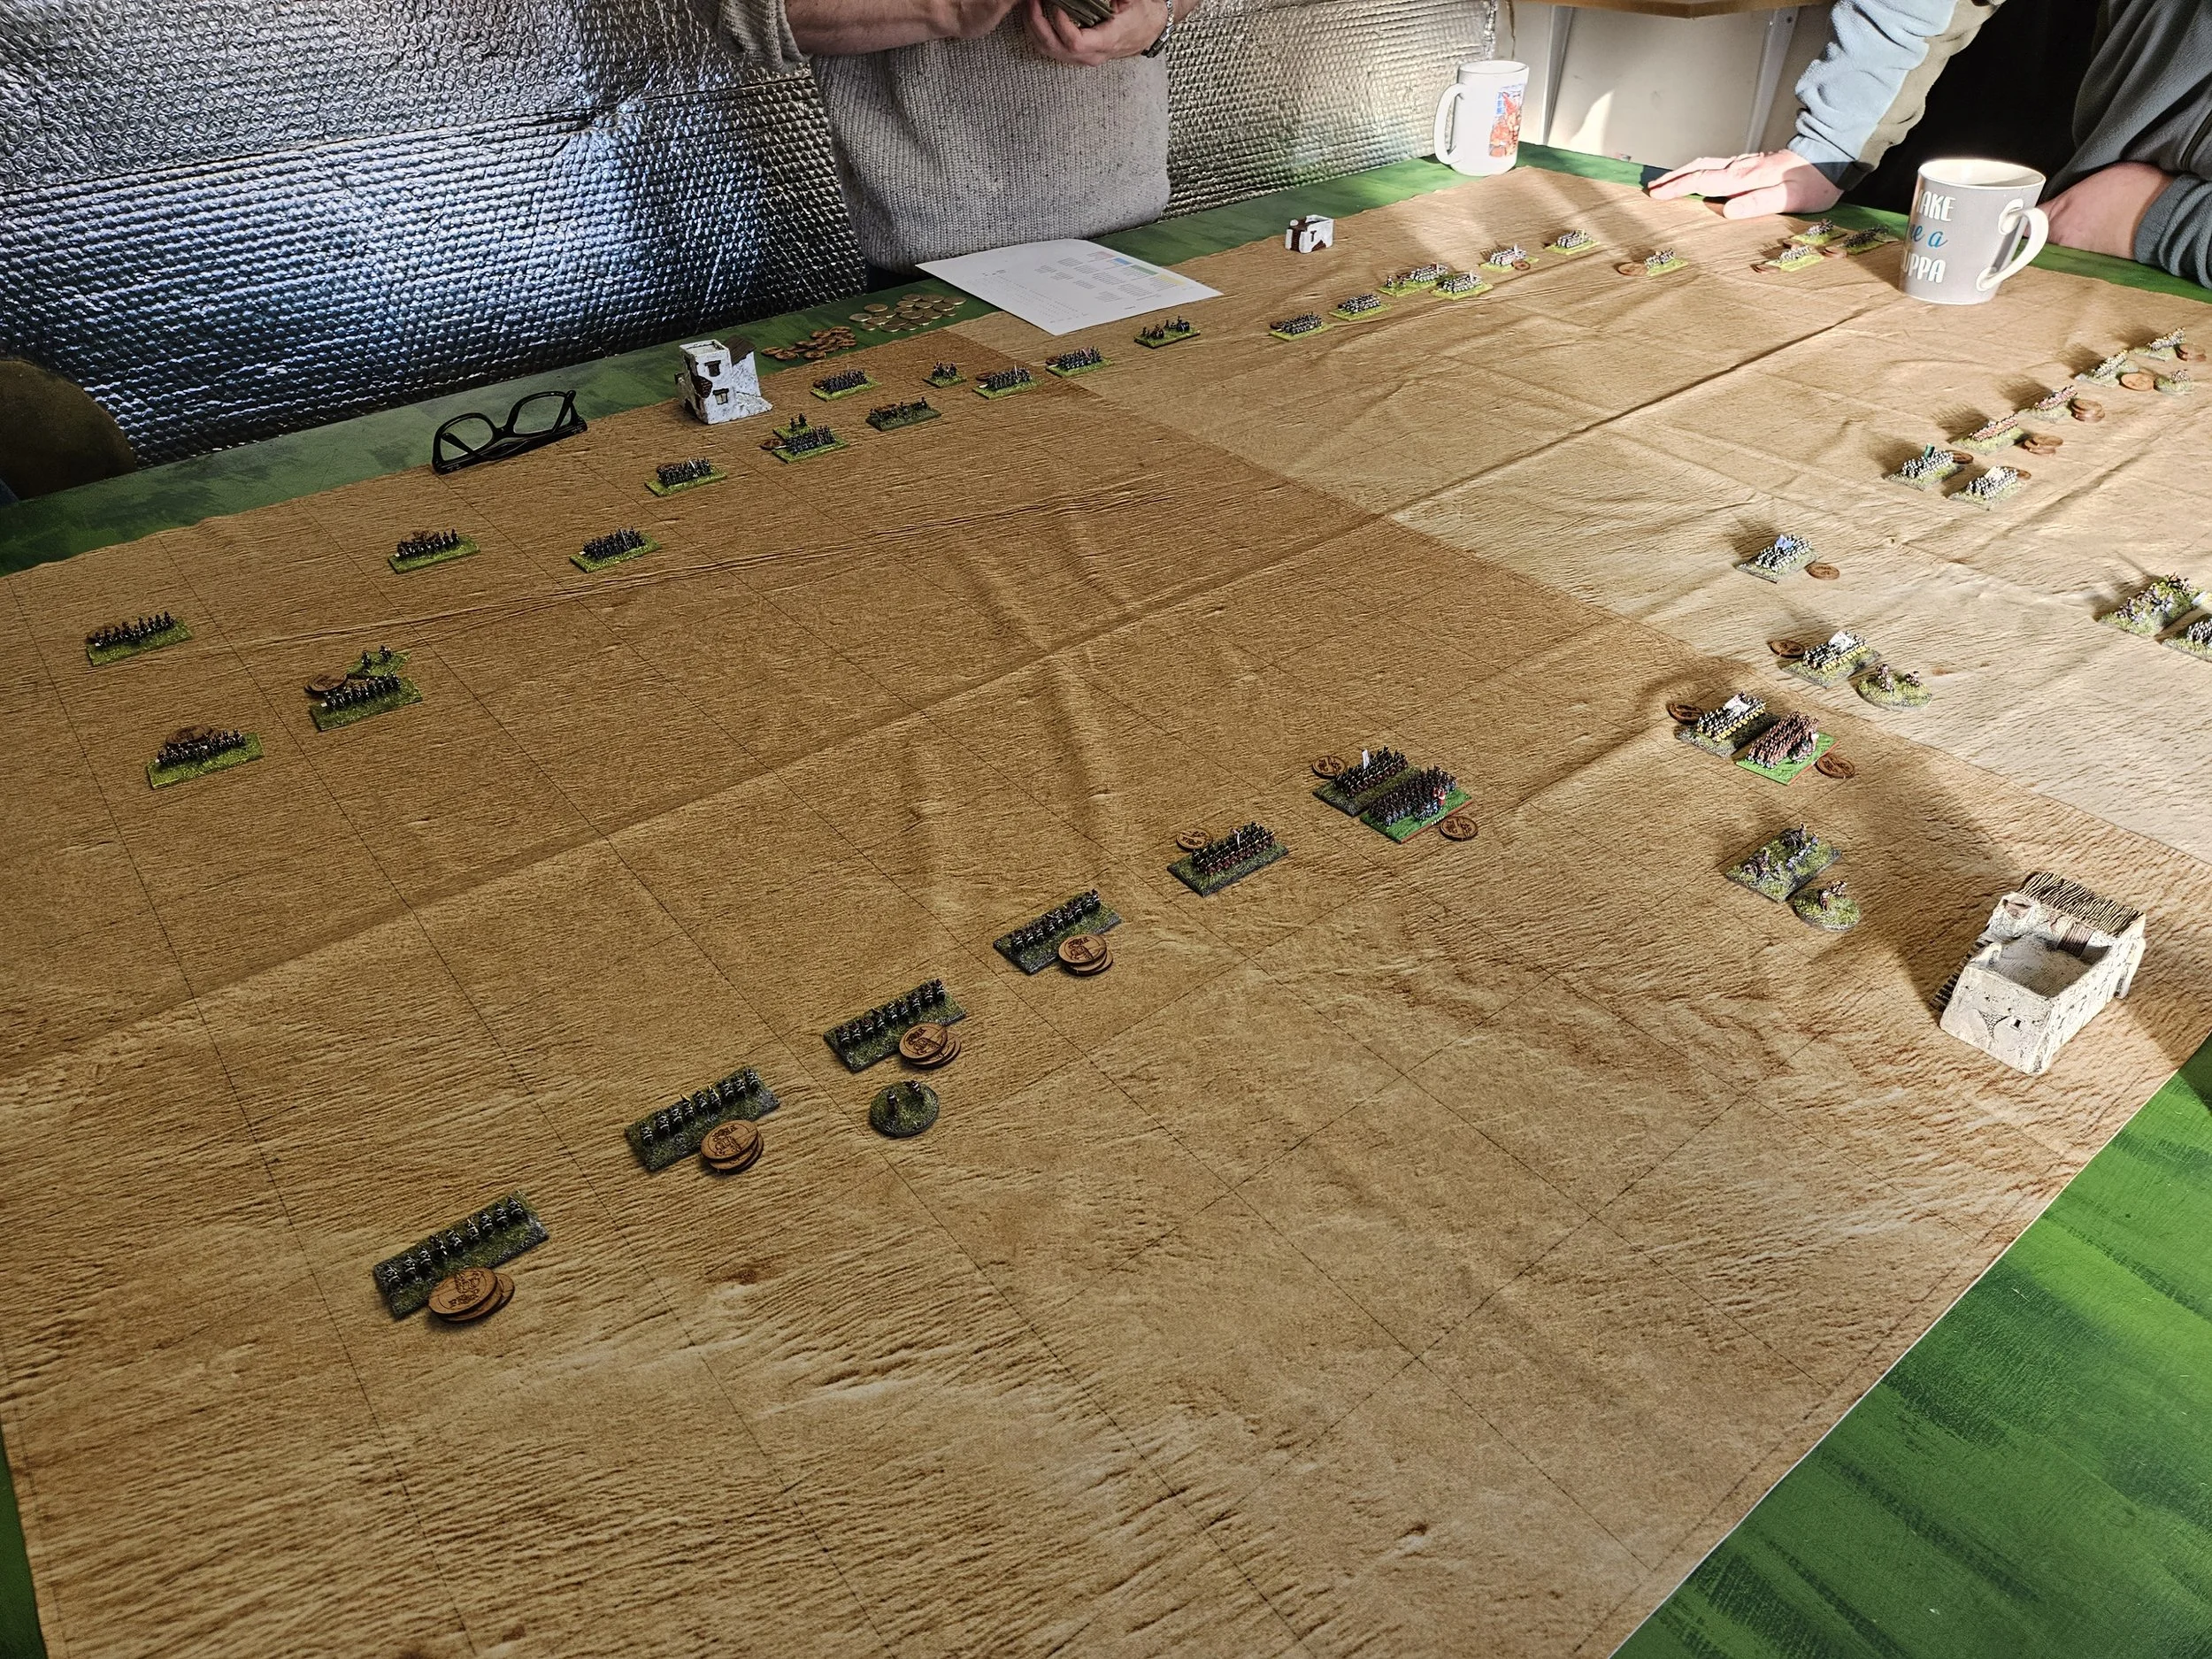
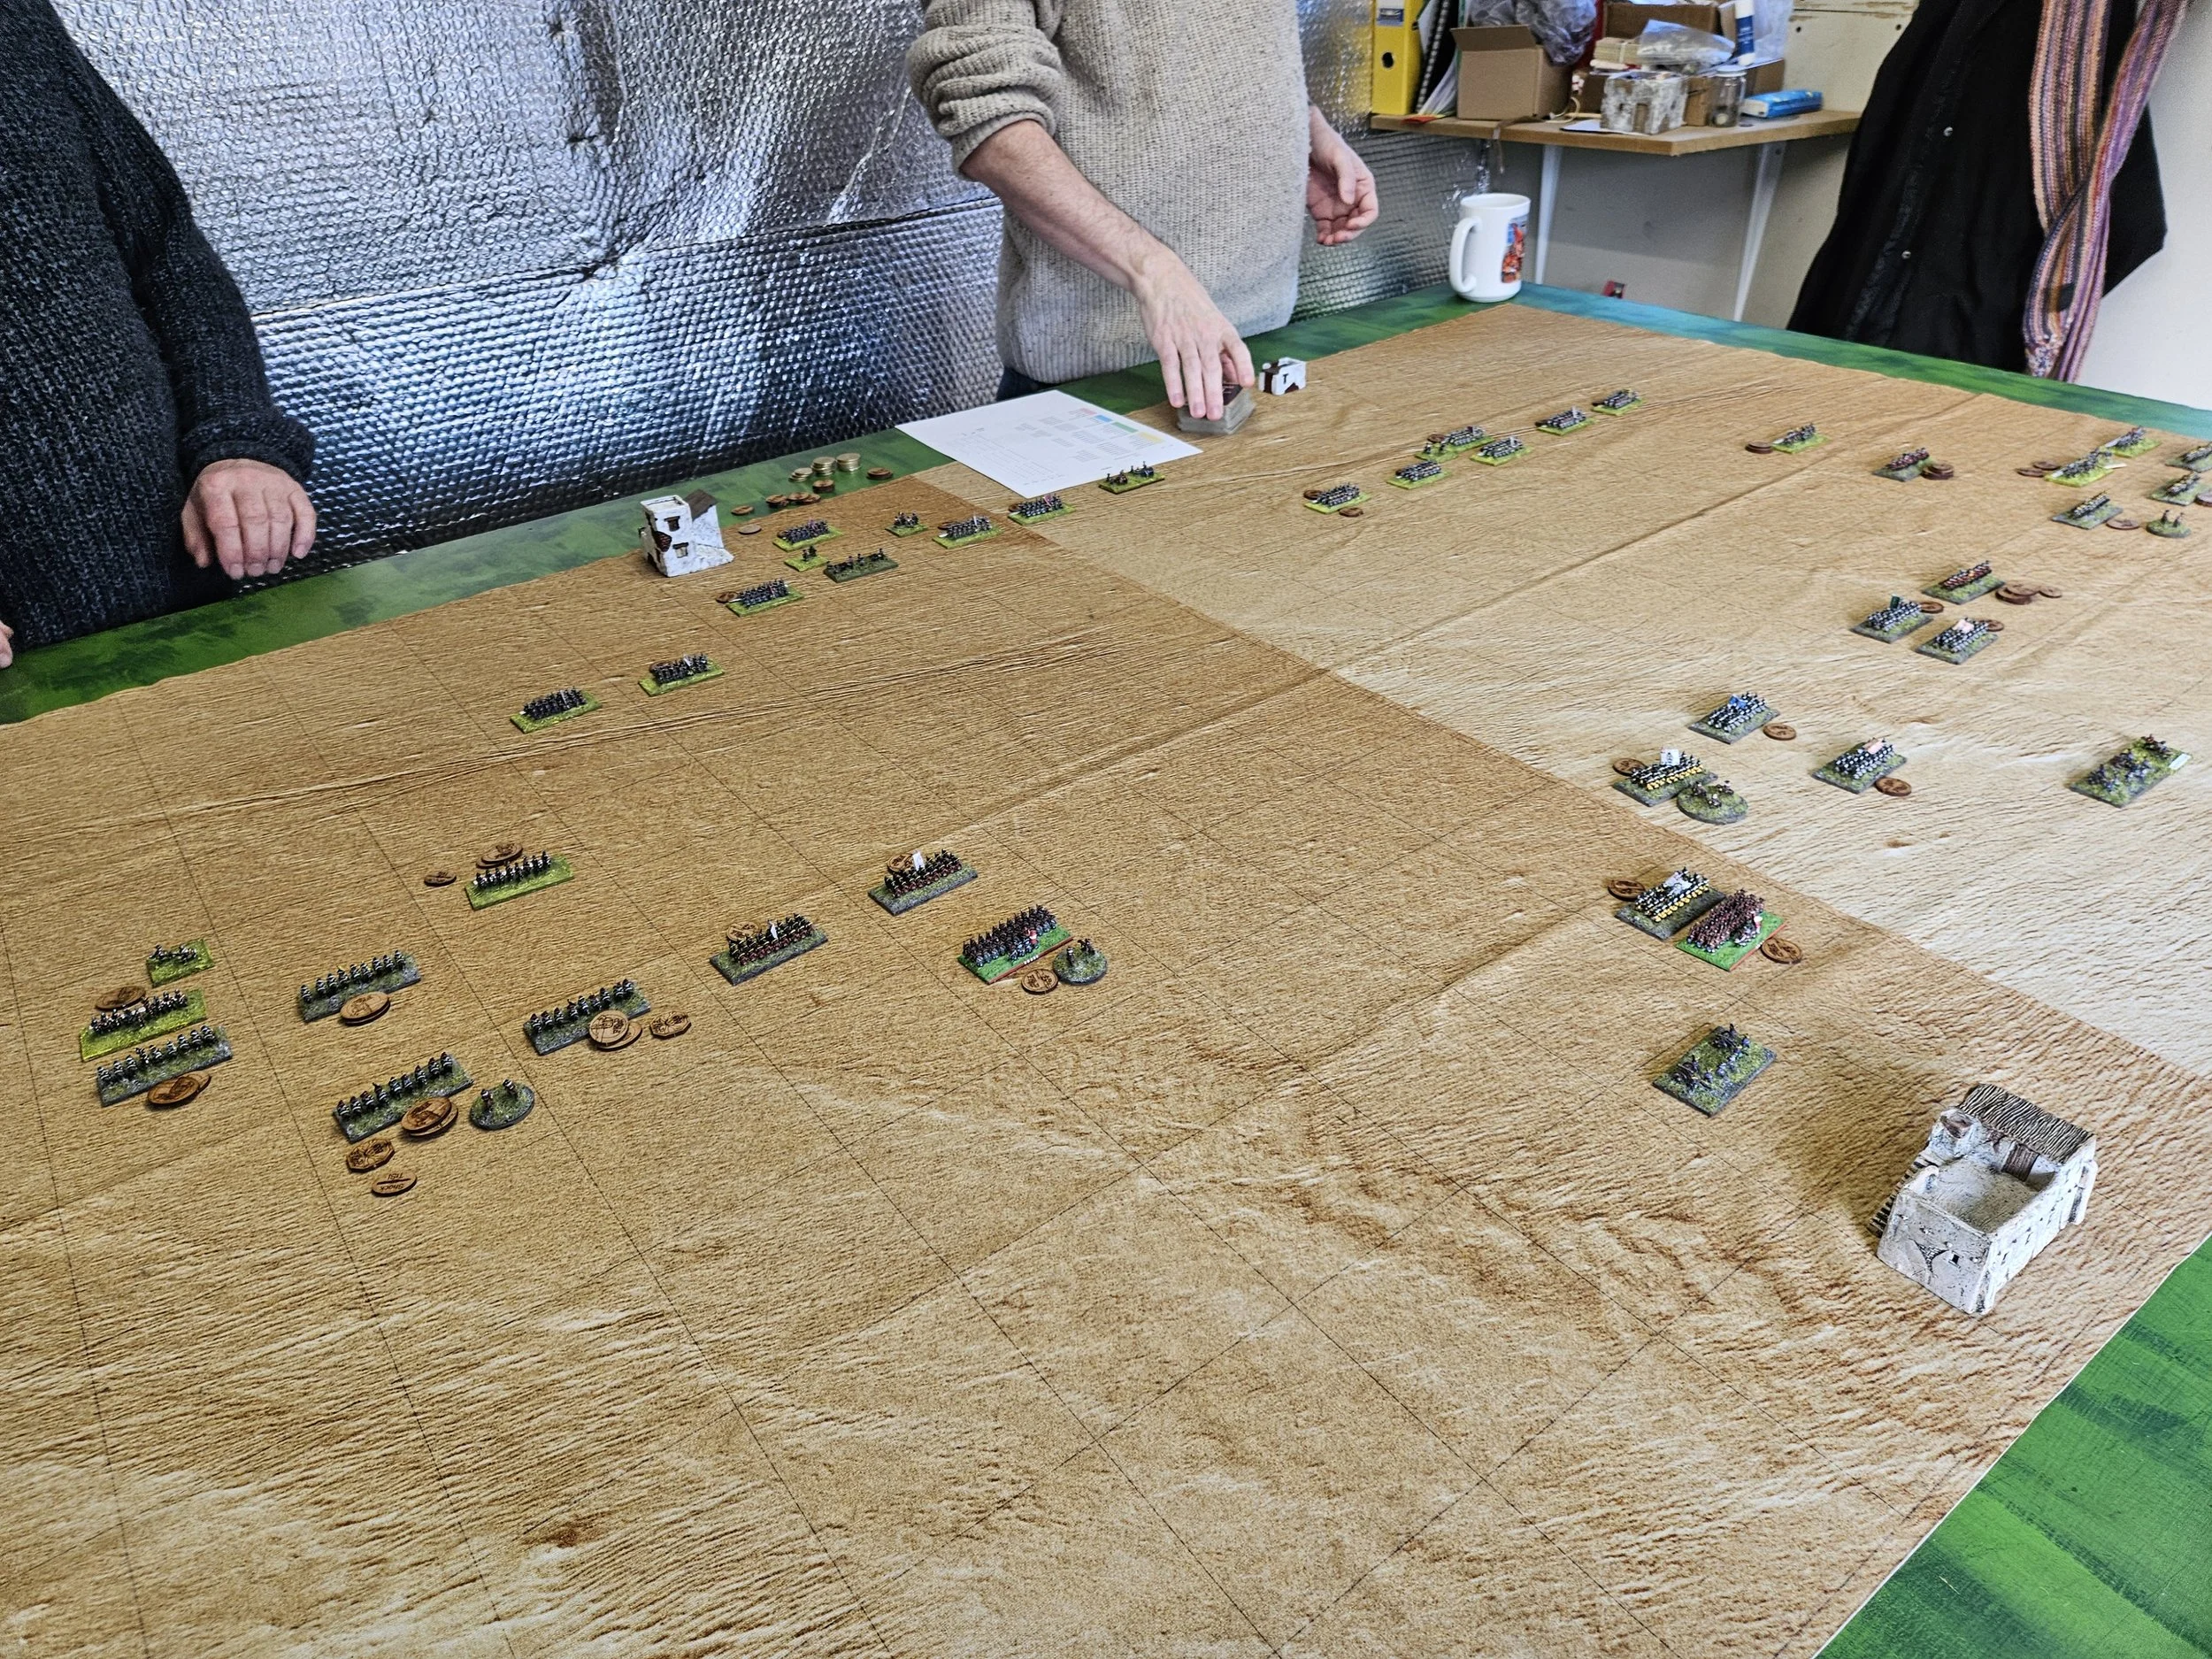
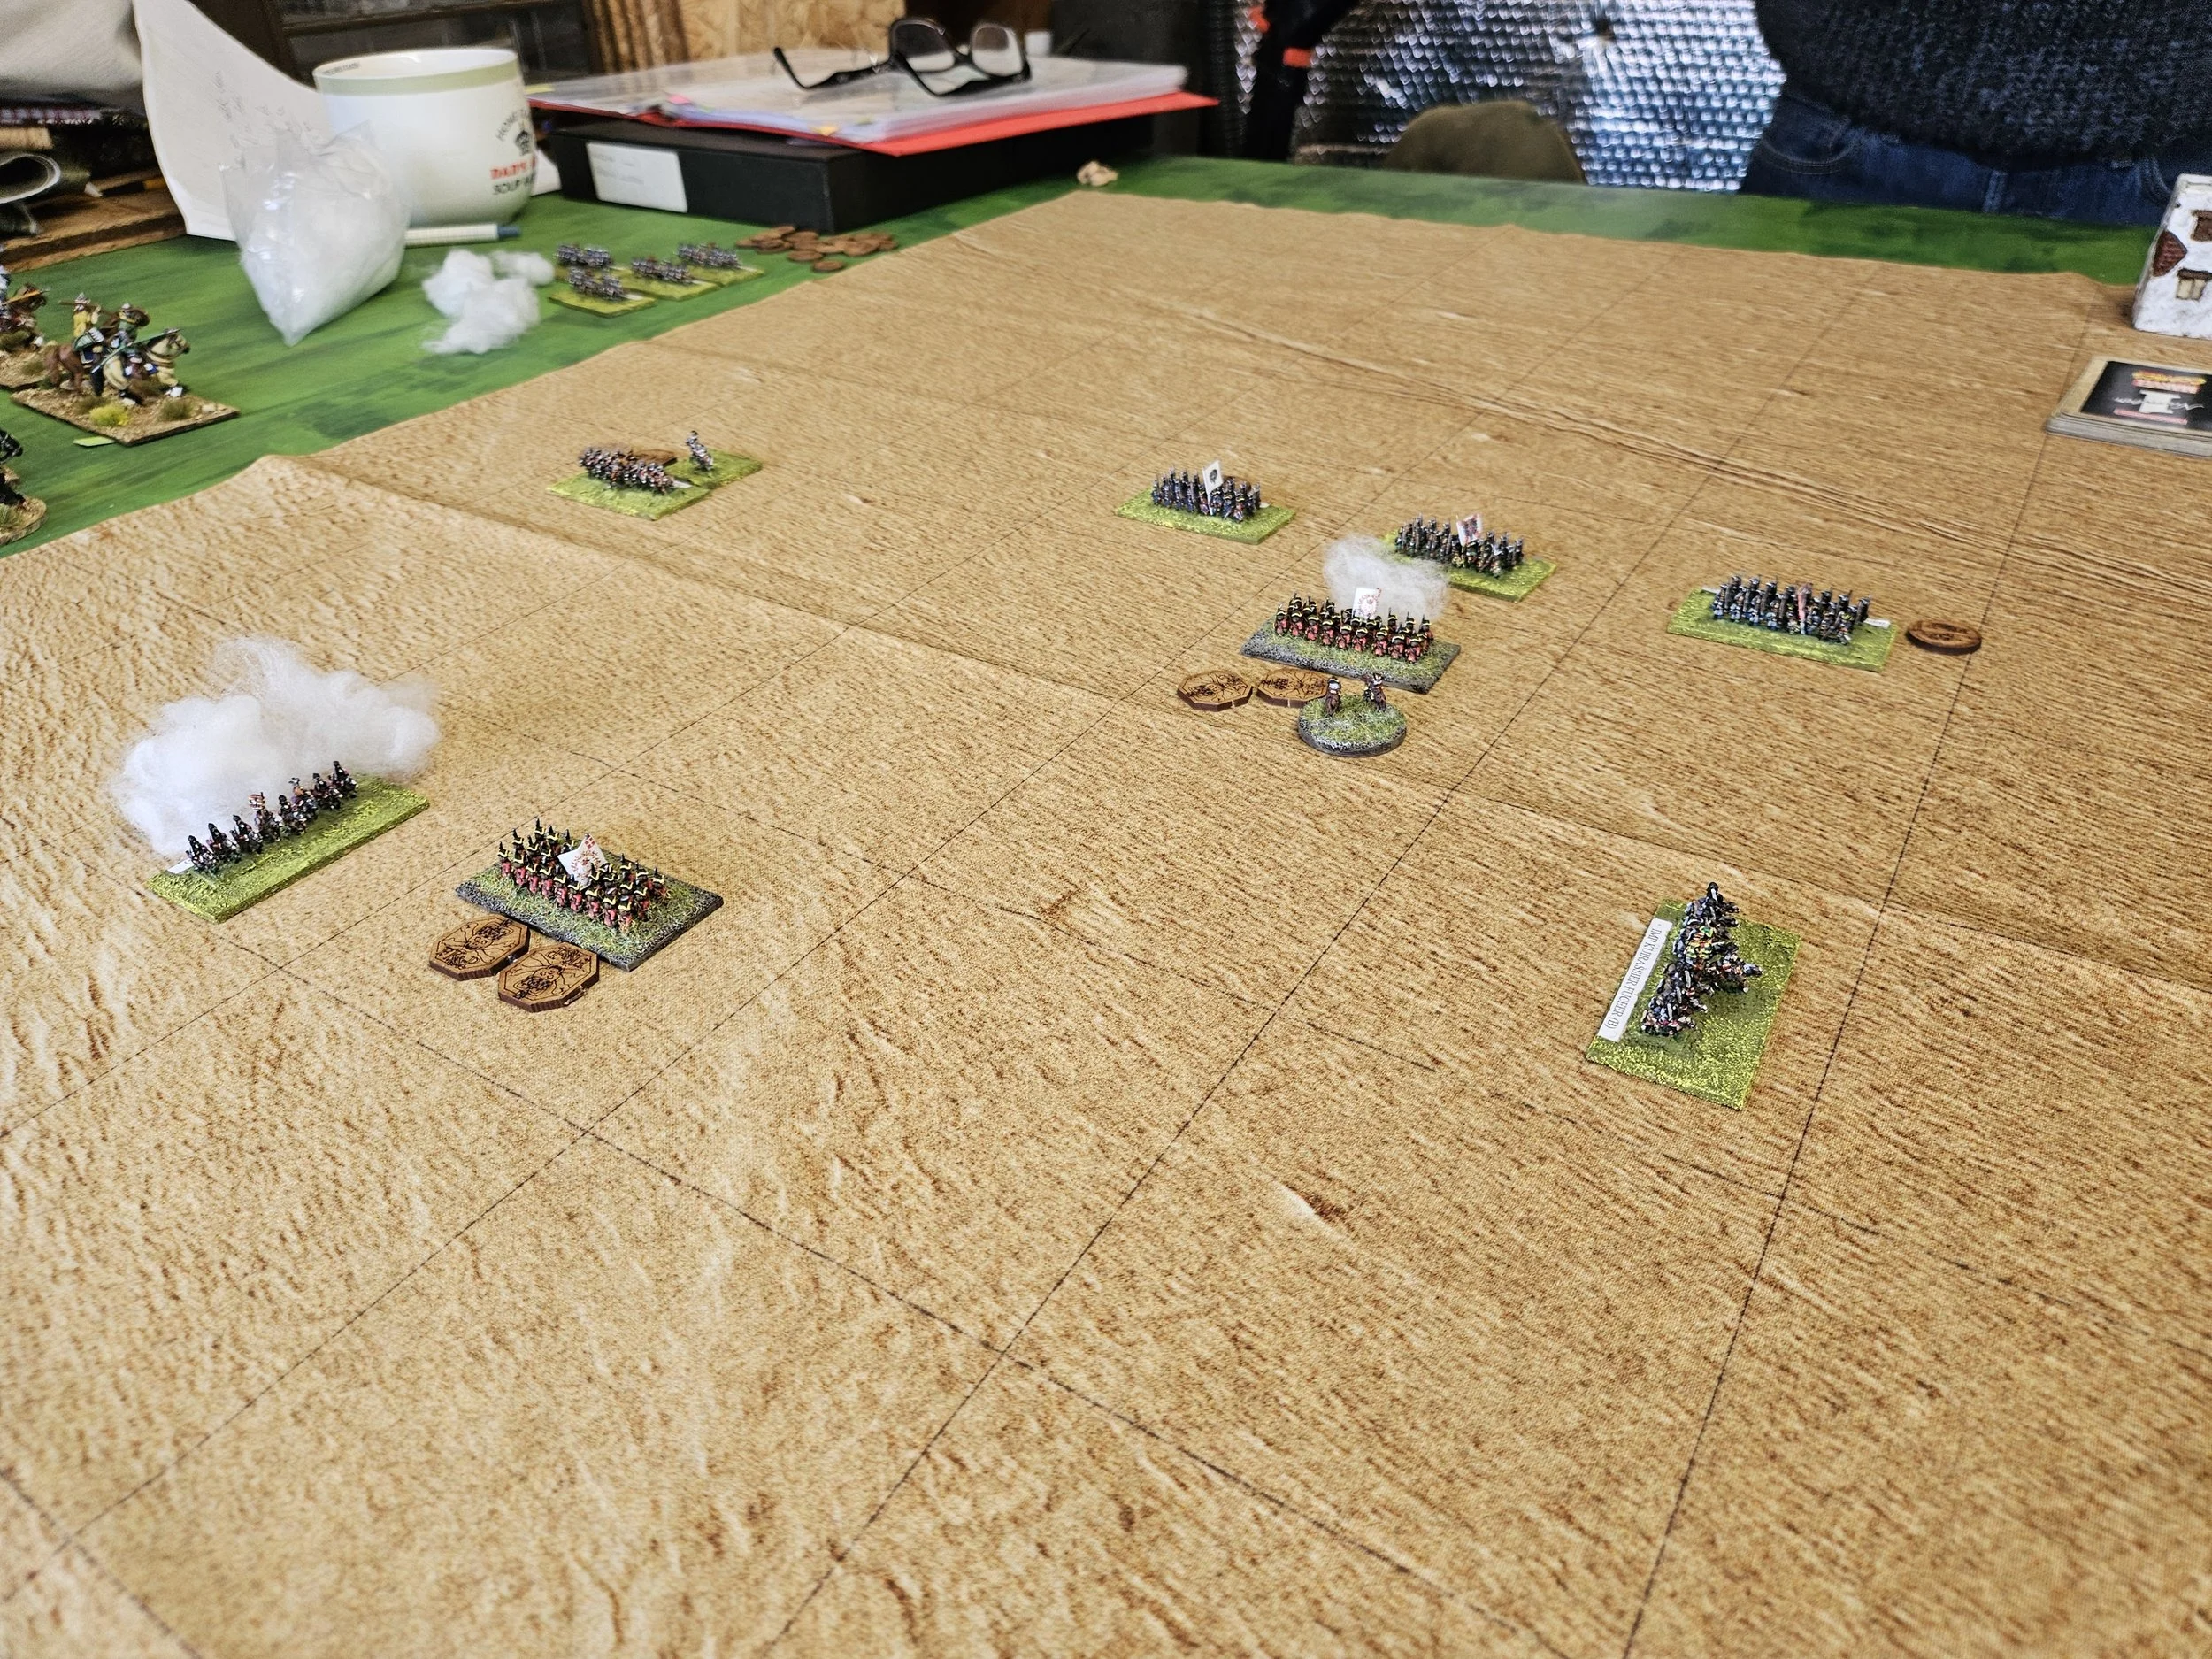
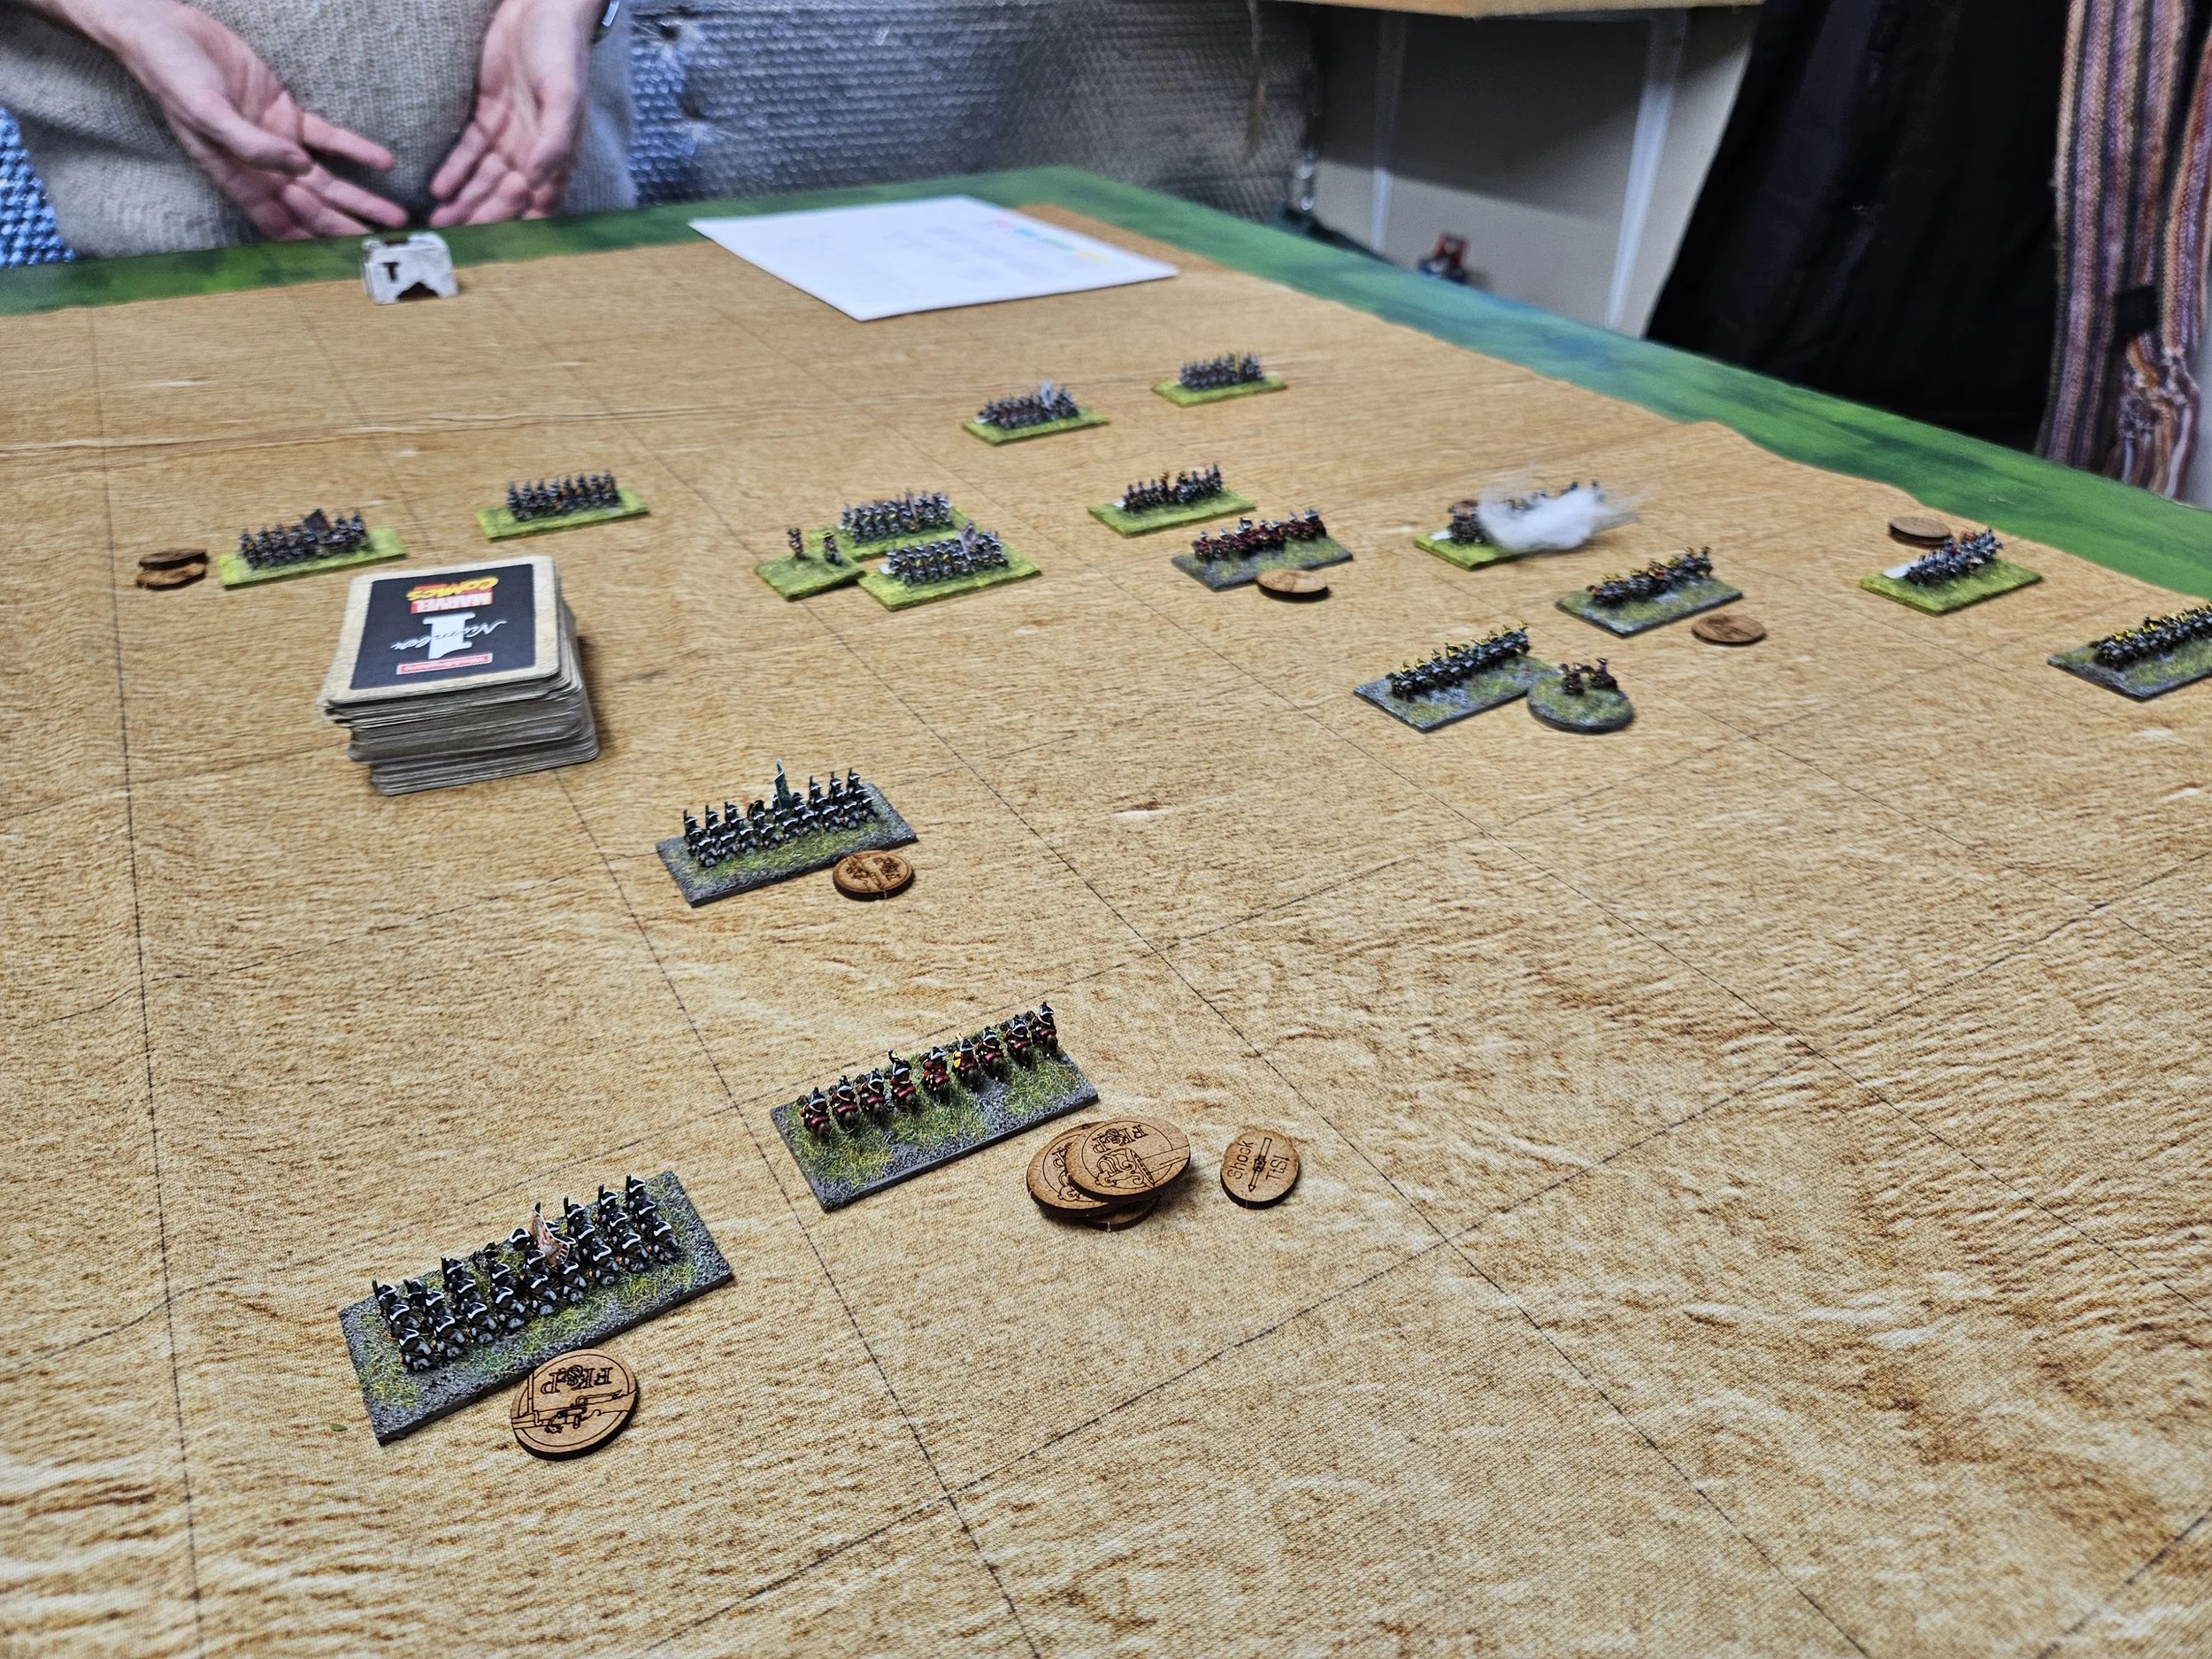
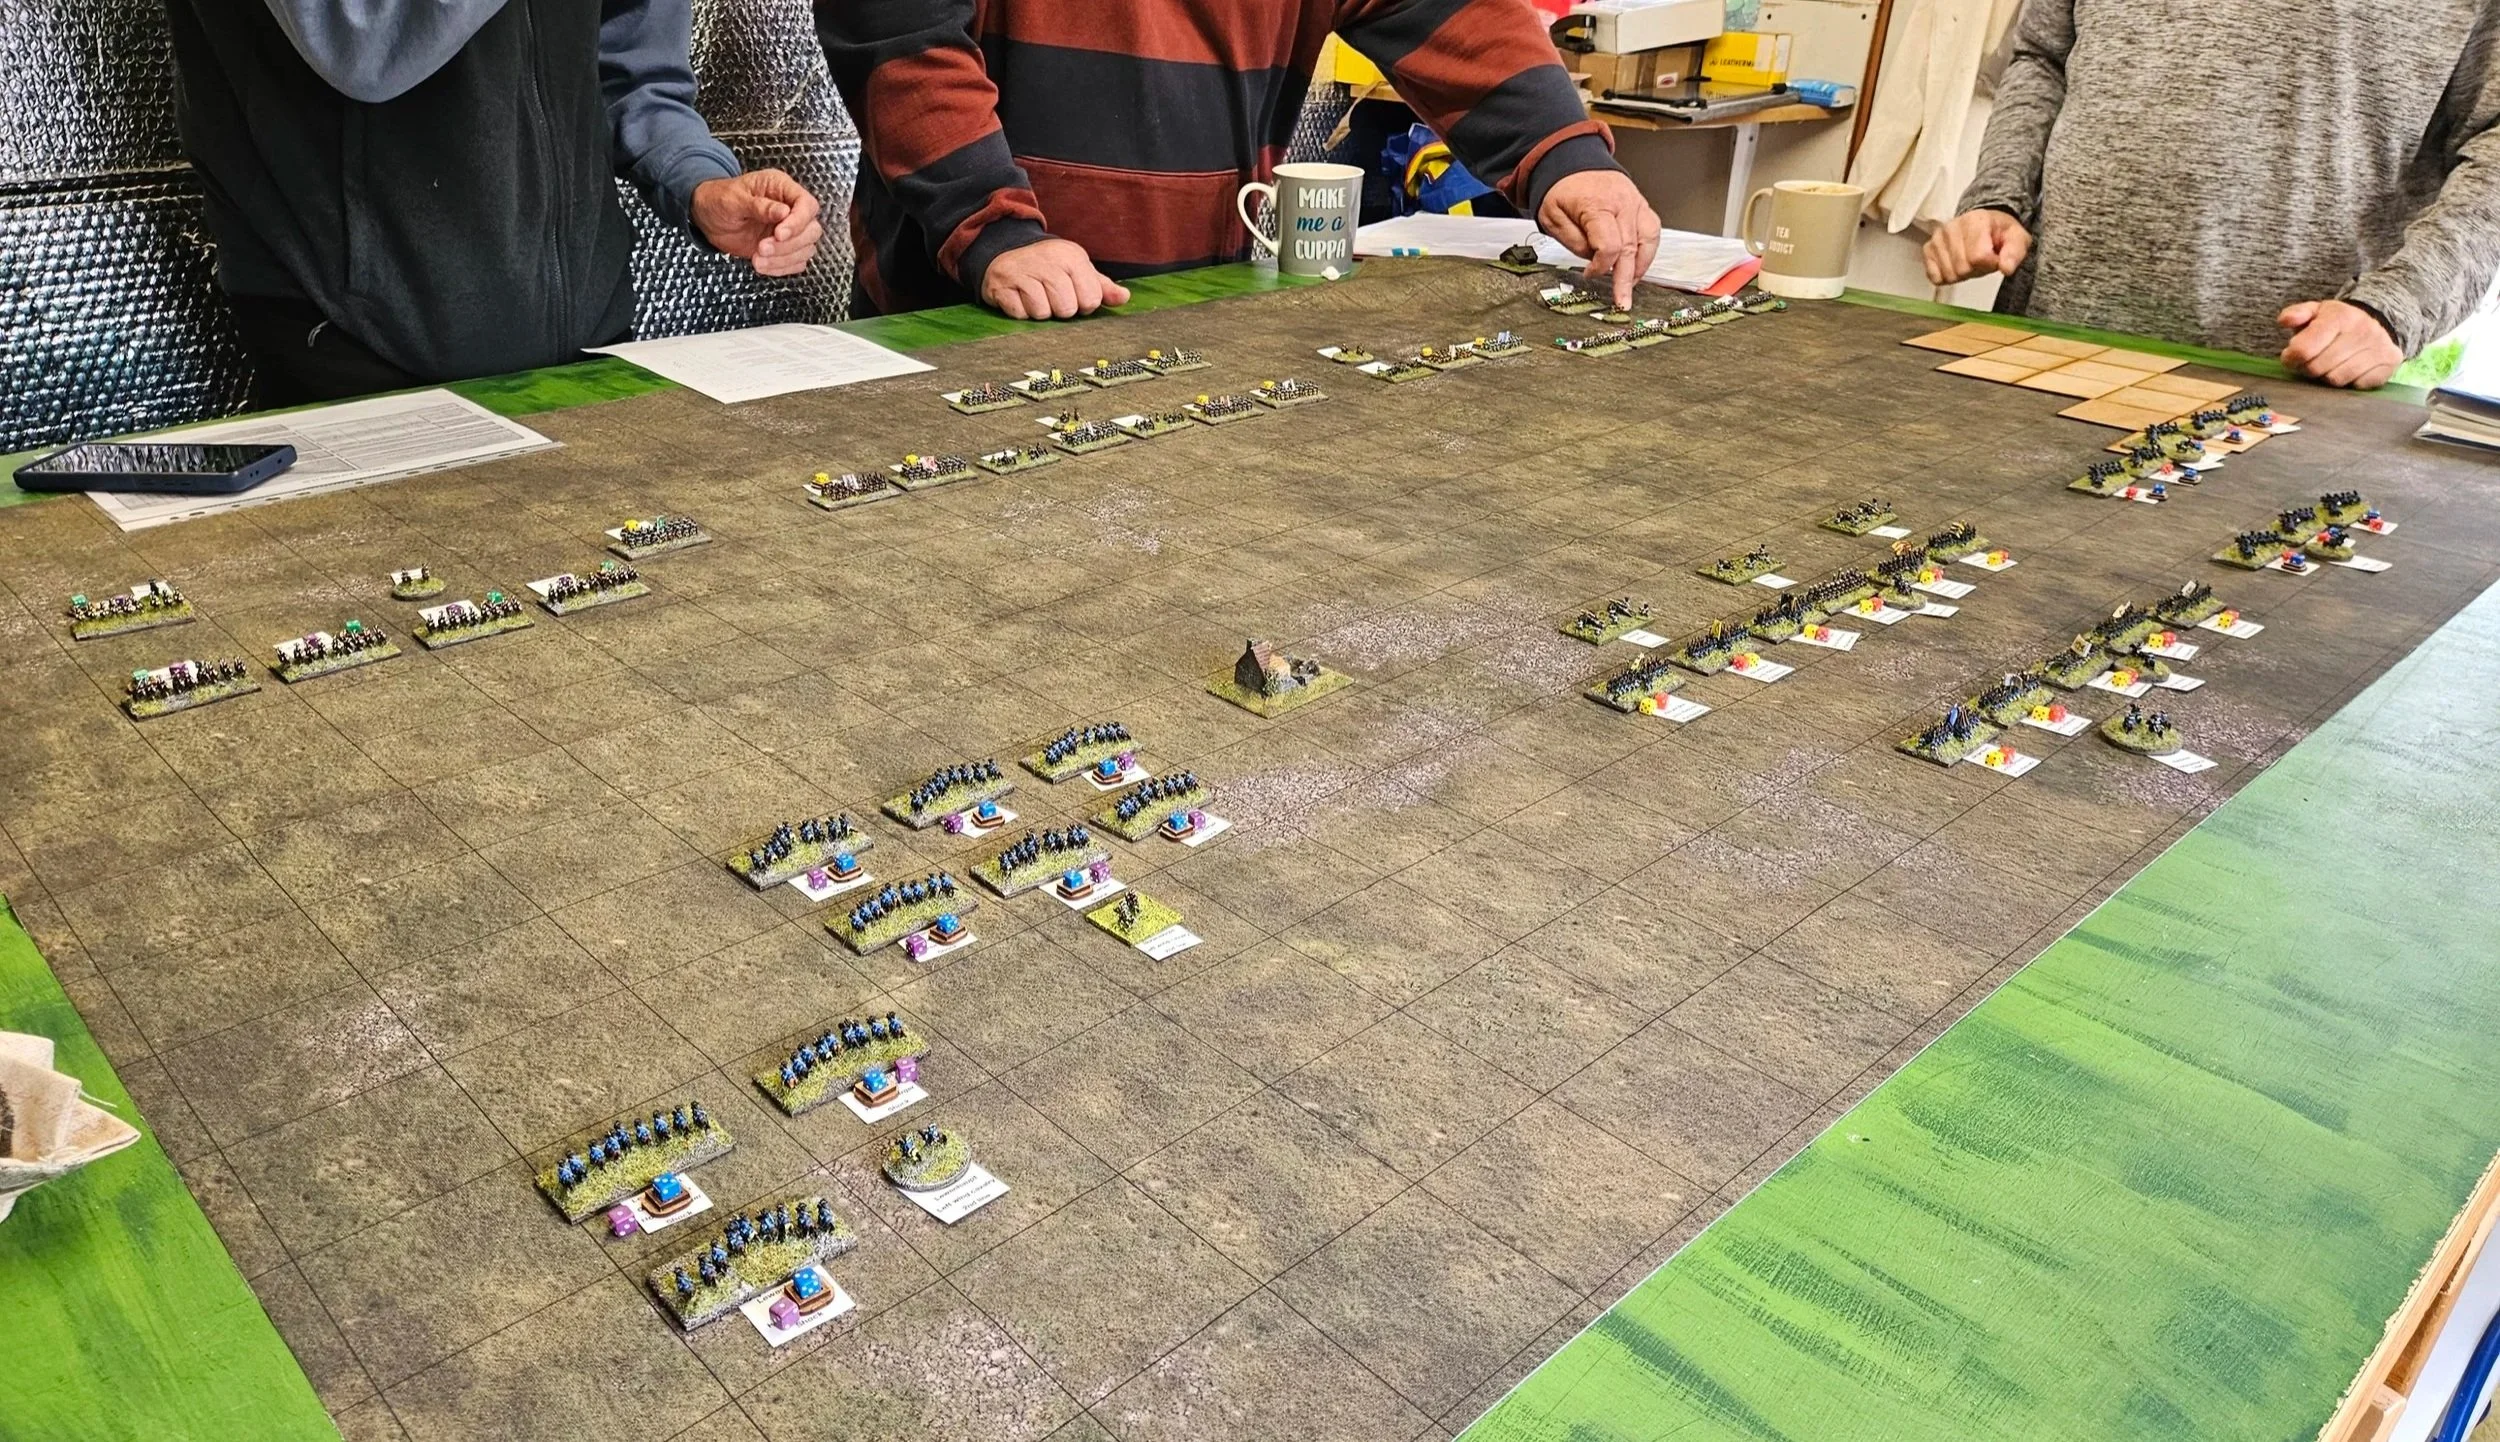
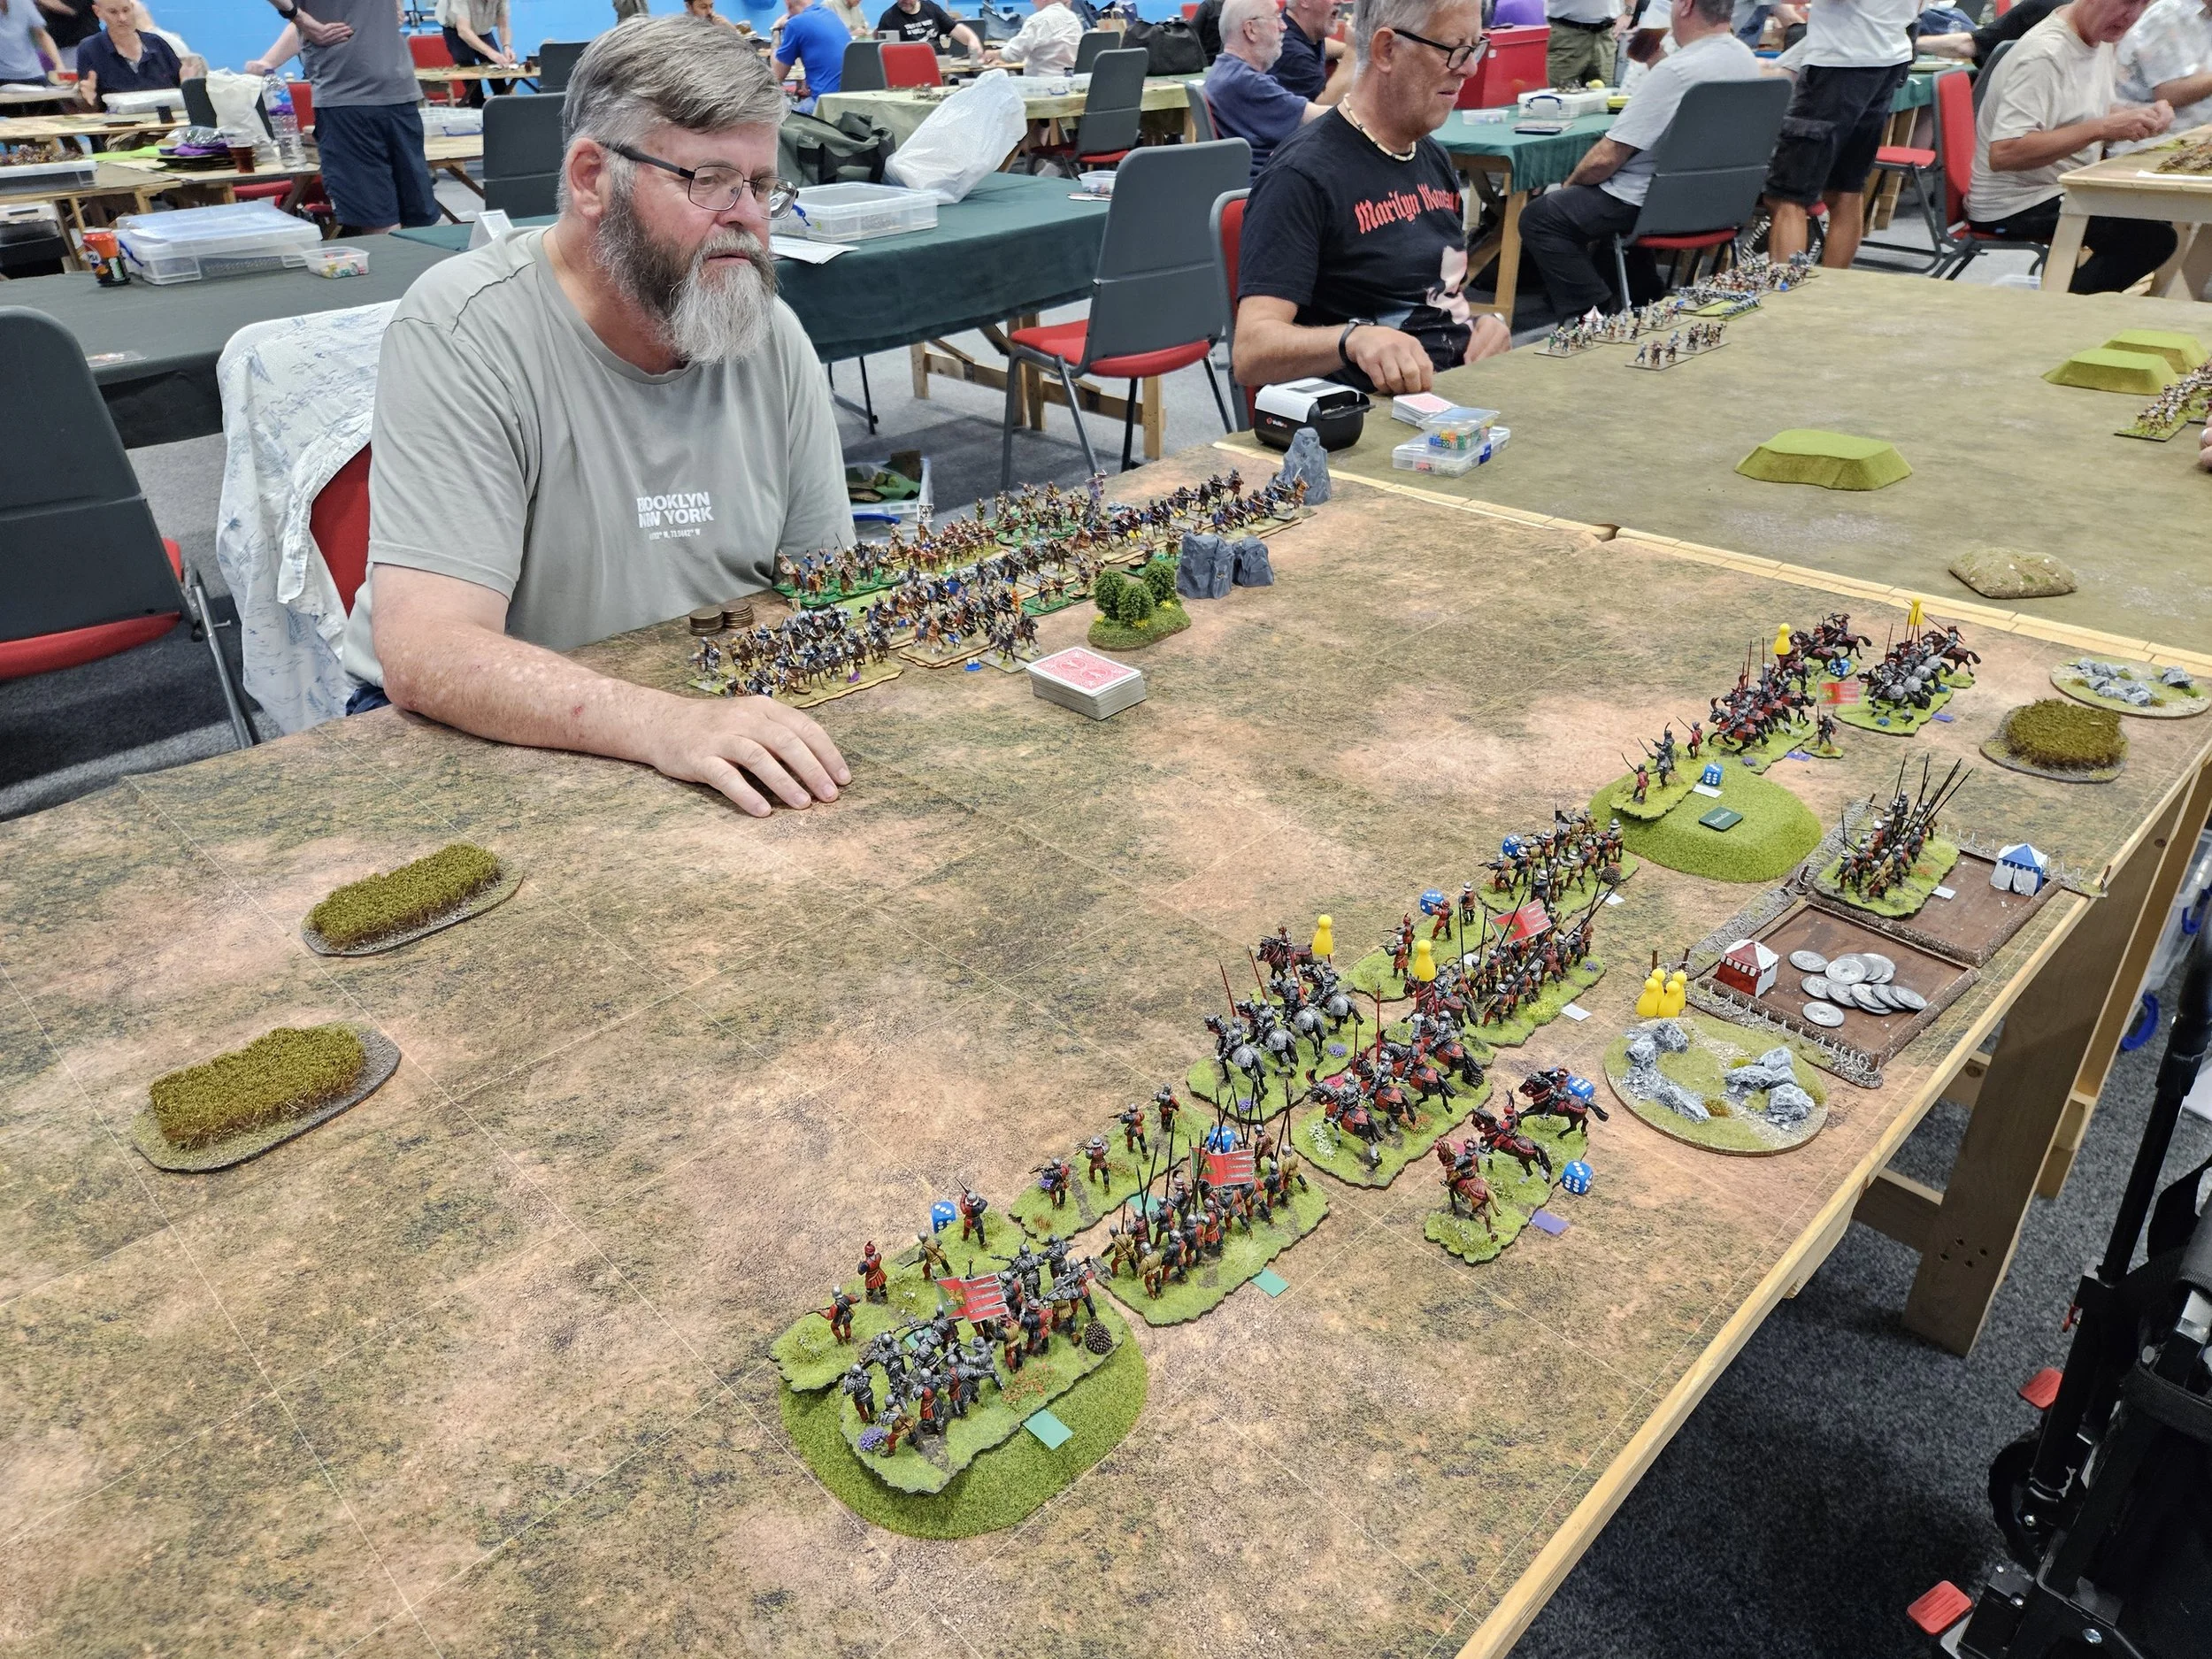
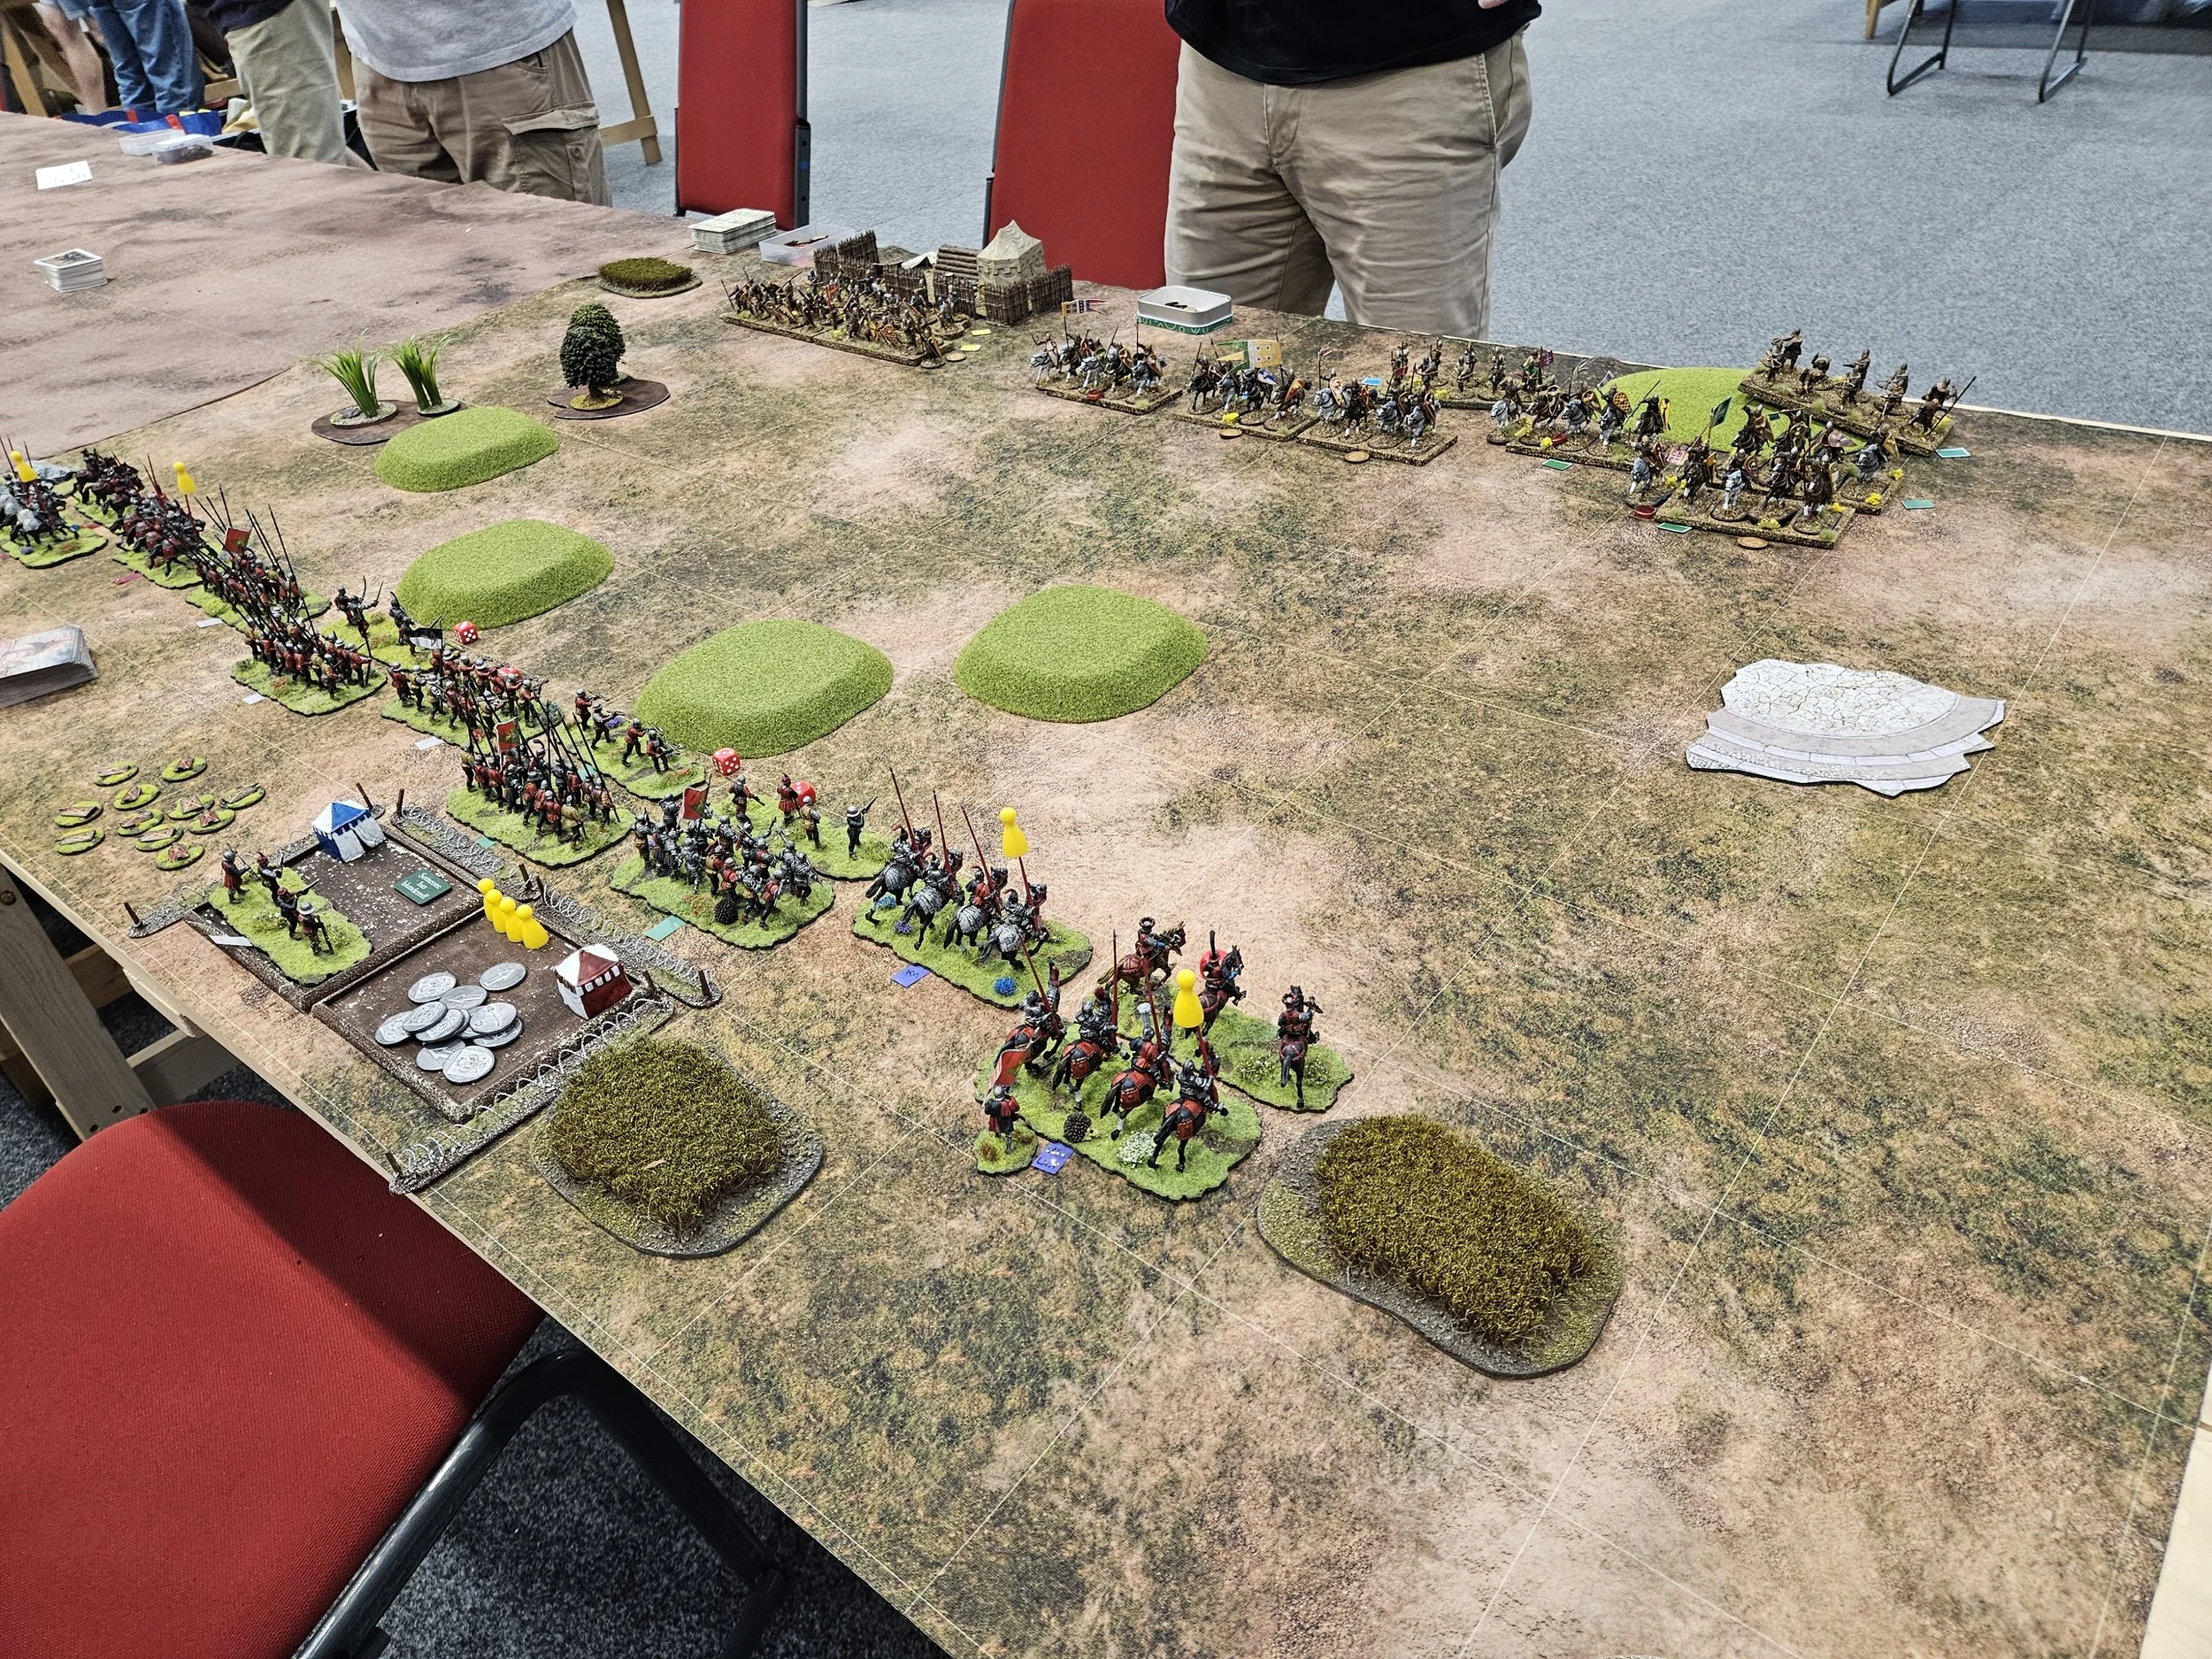
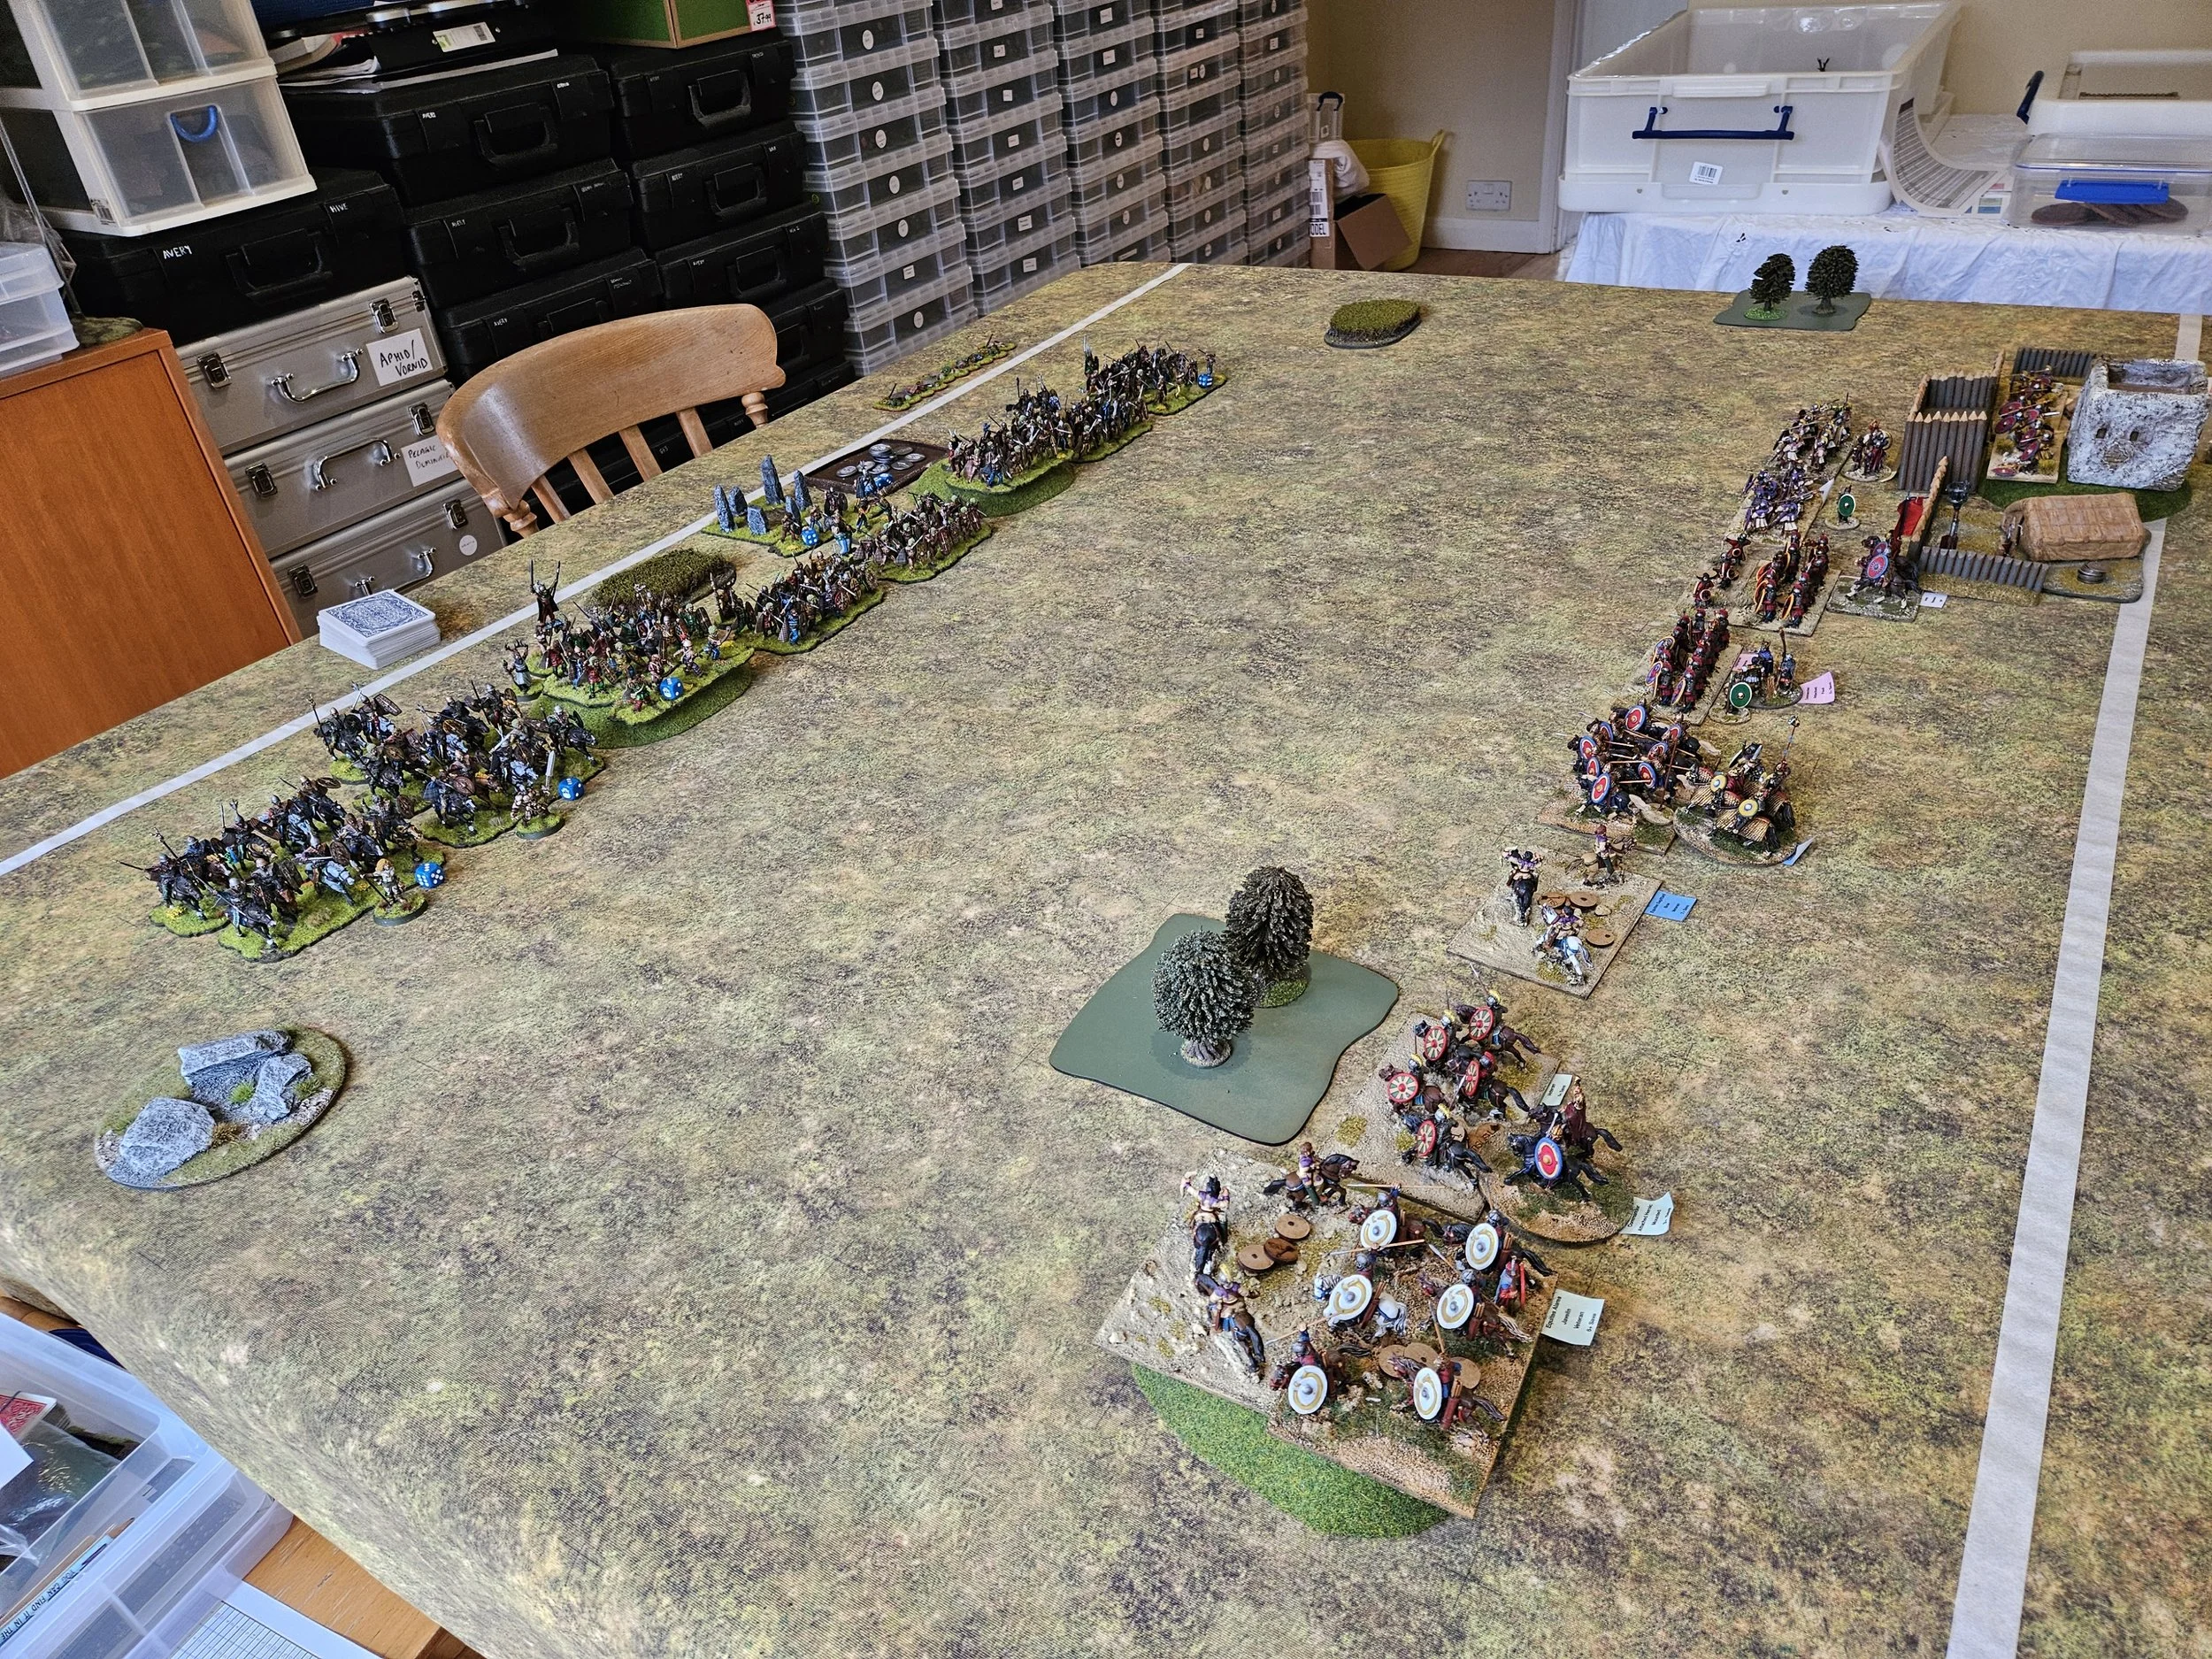
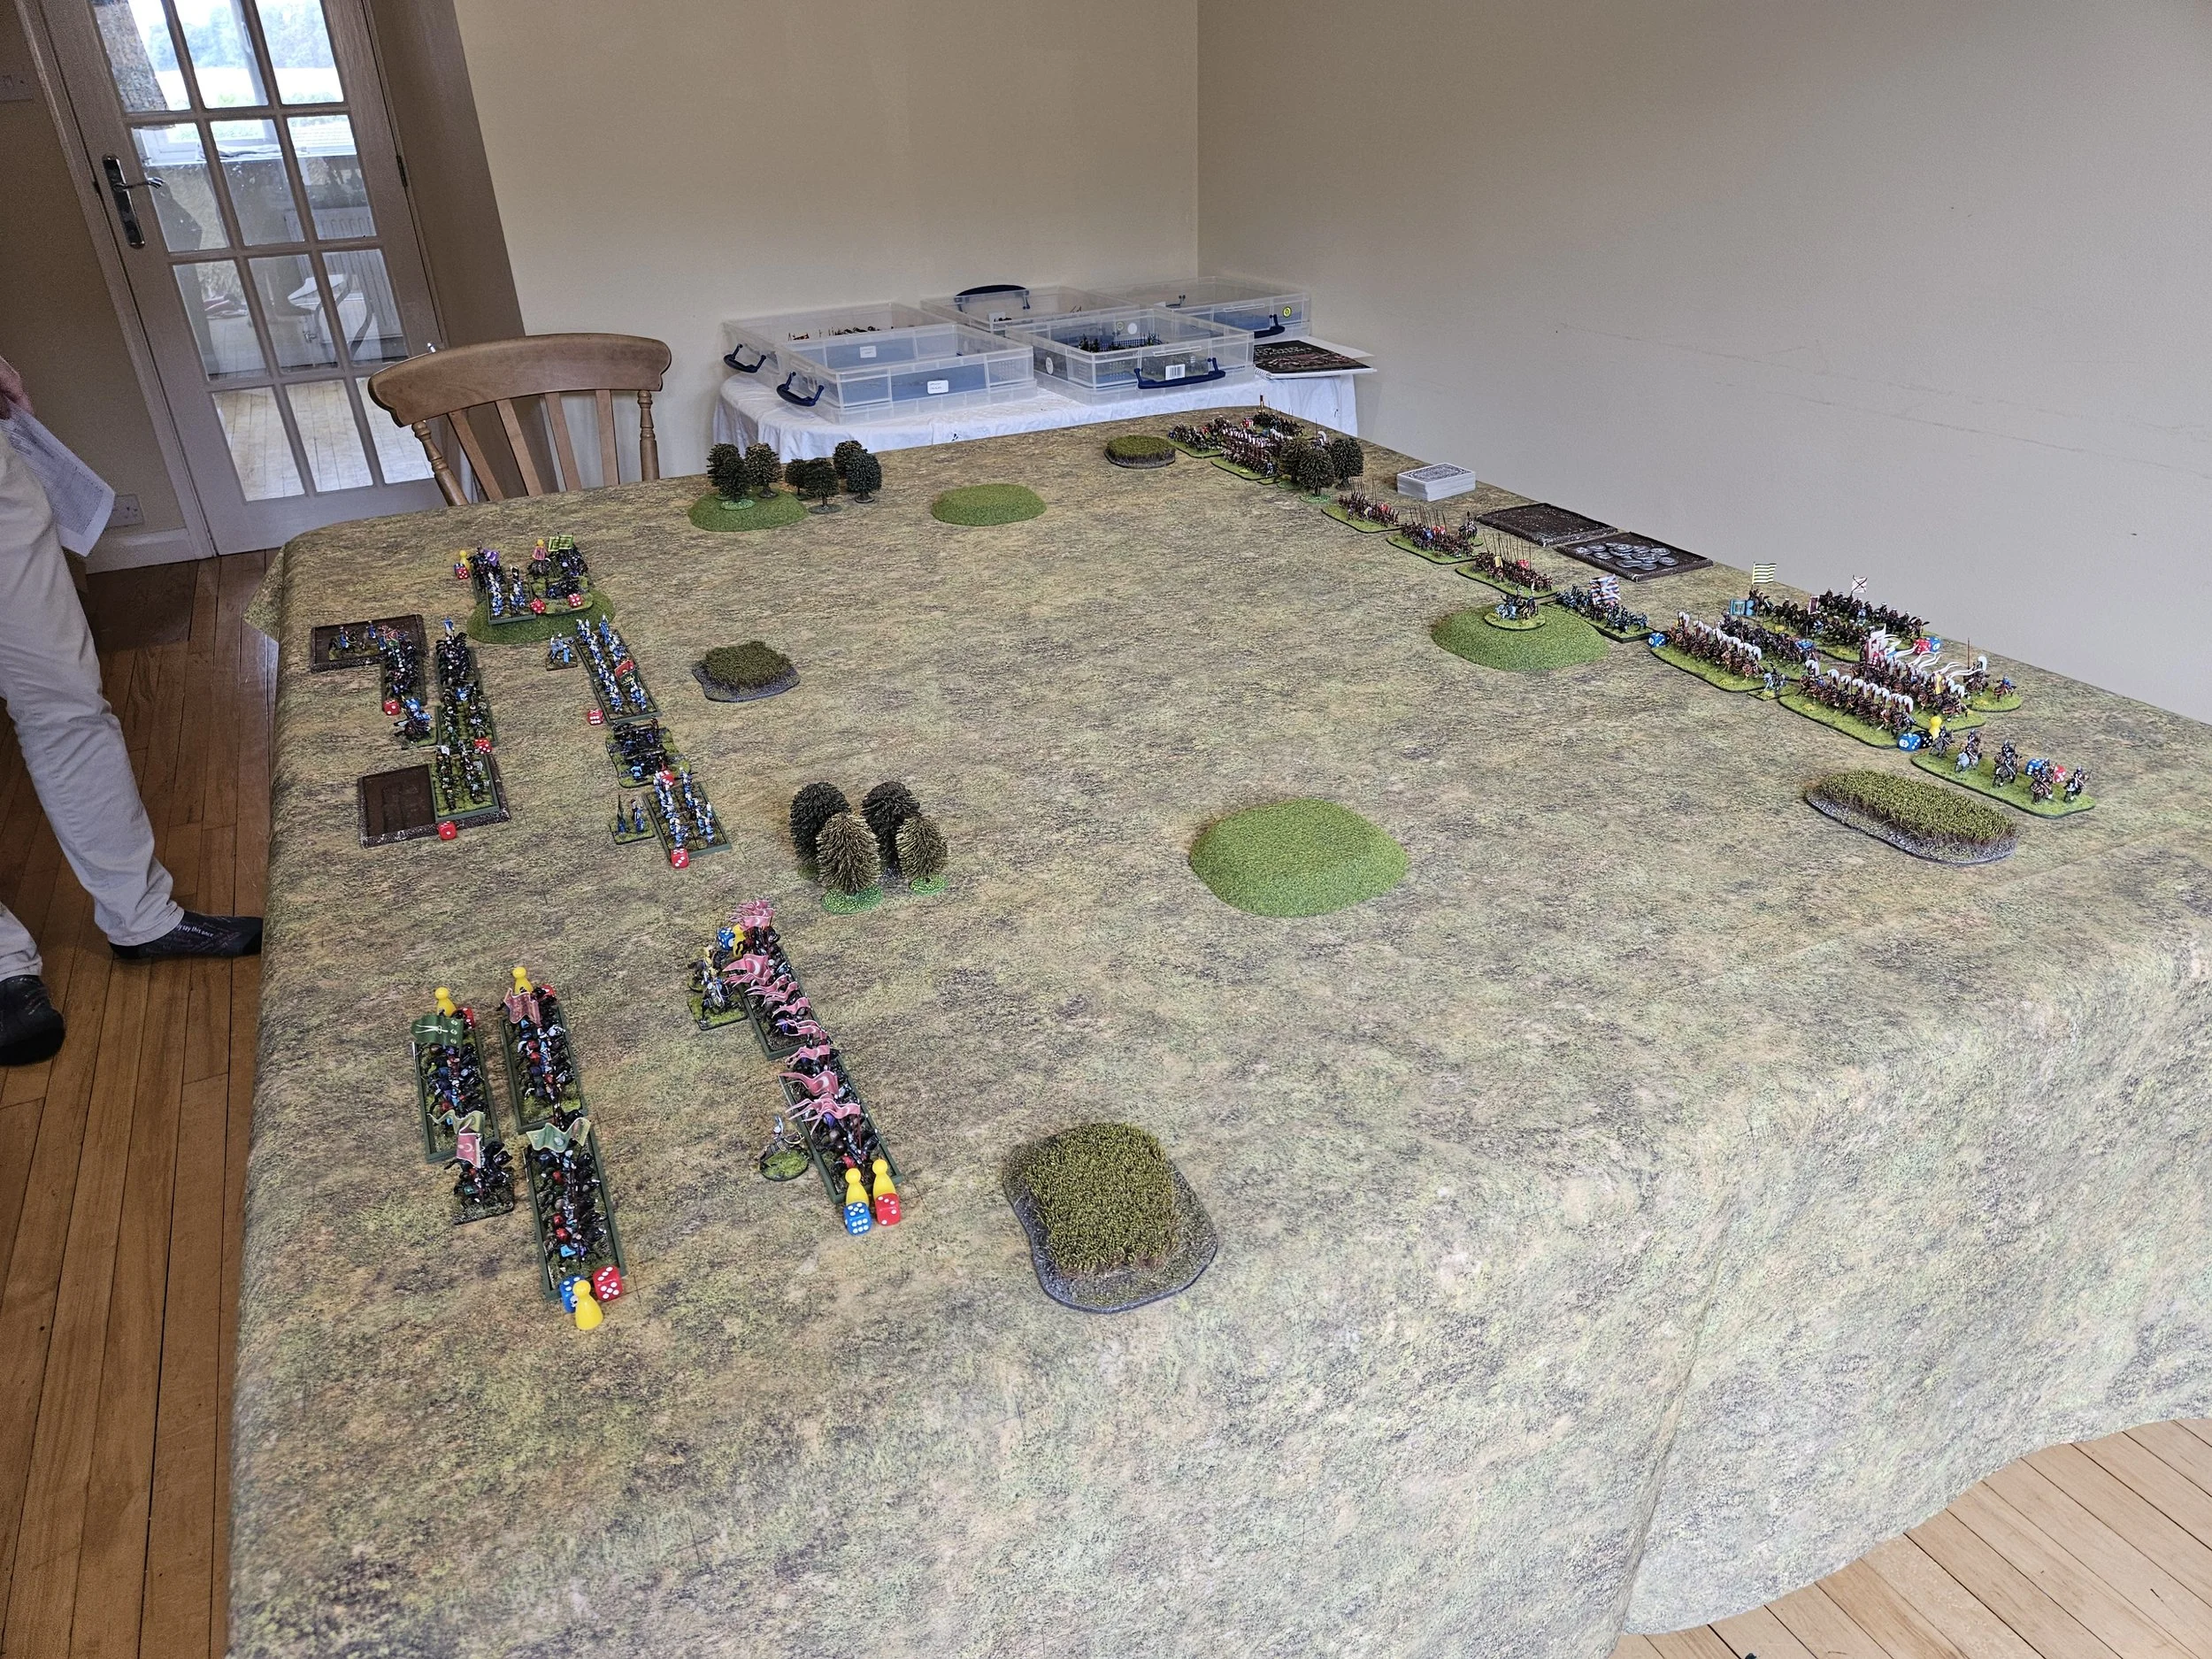
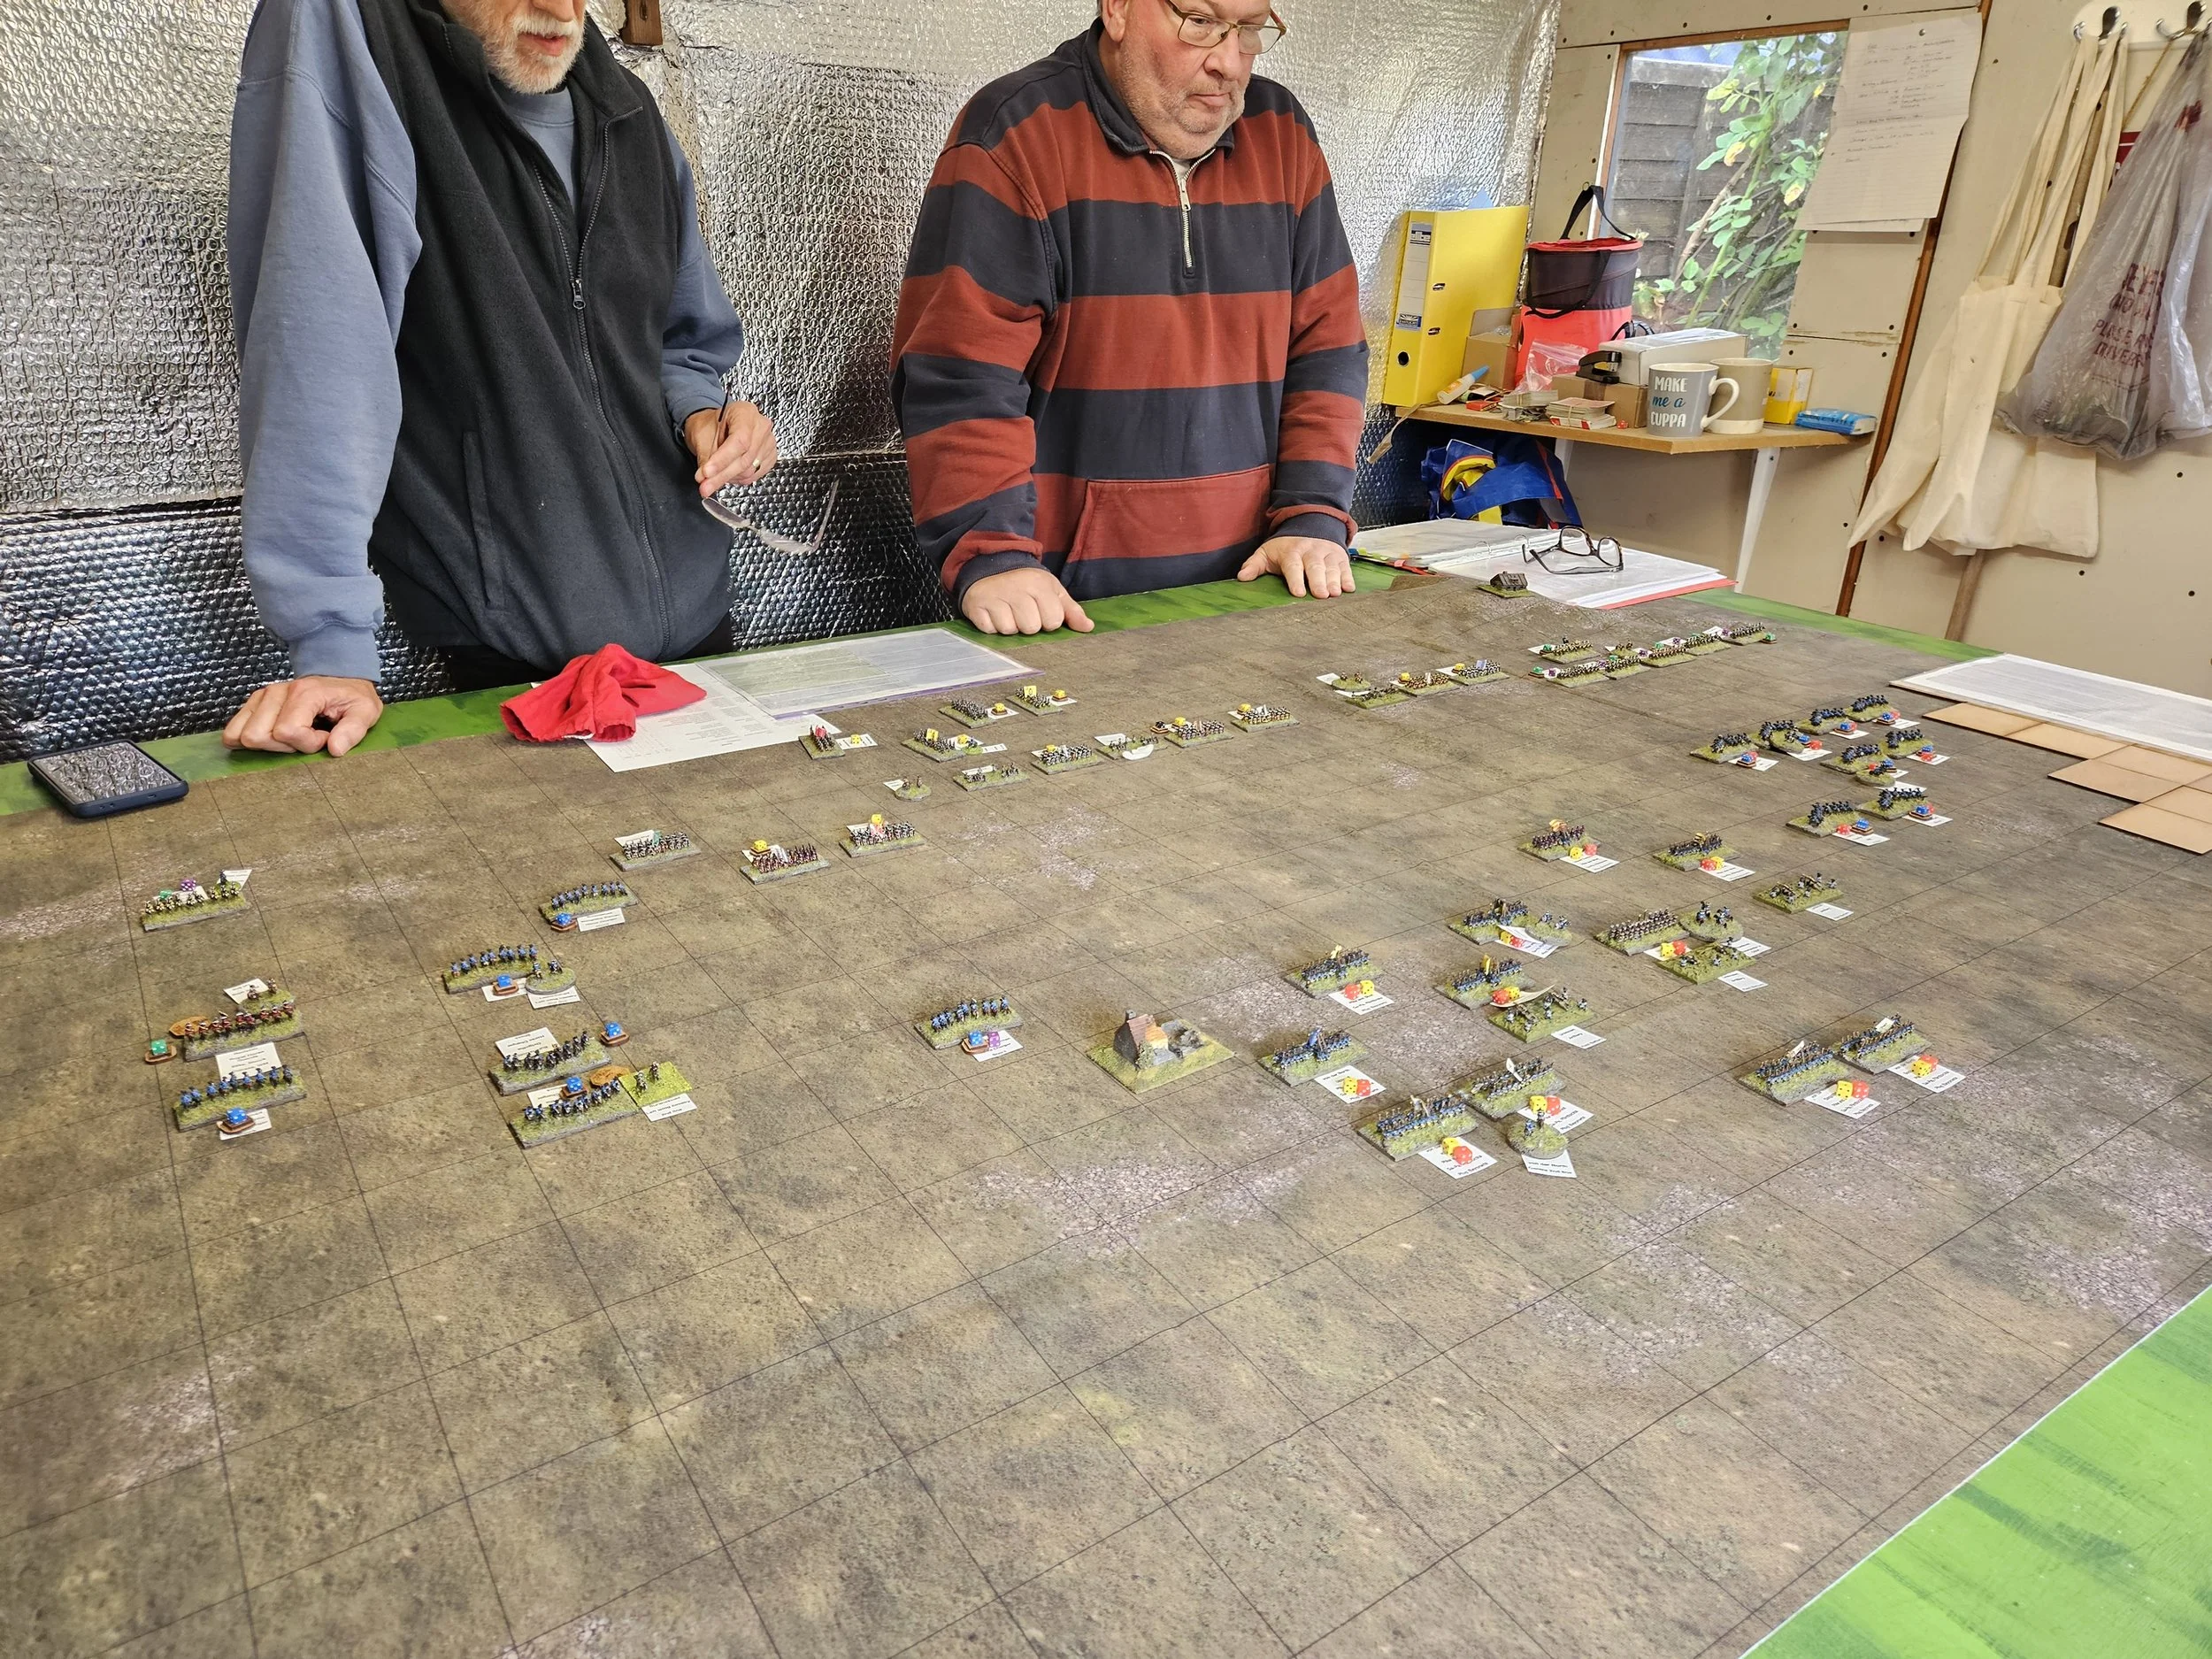
View from behind the Swedish lines
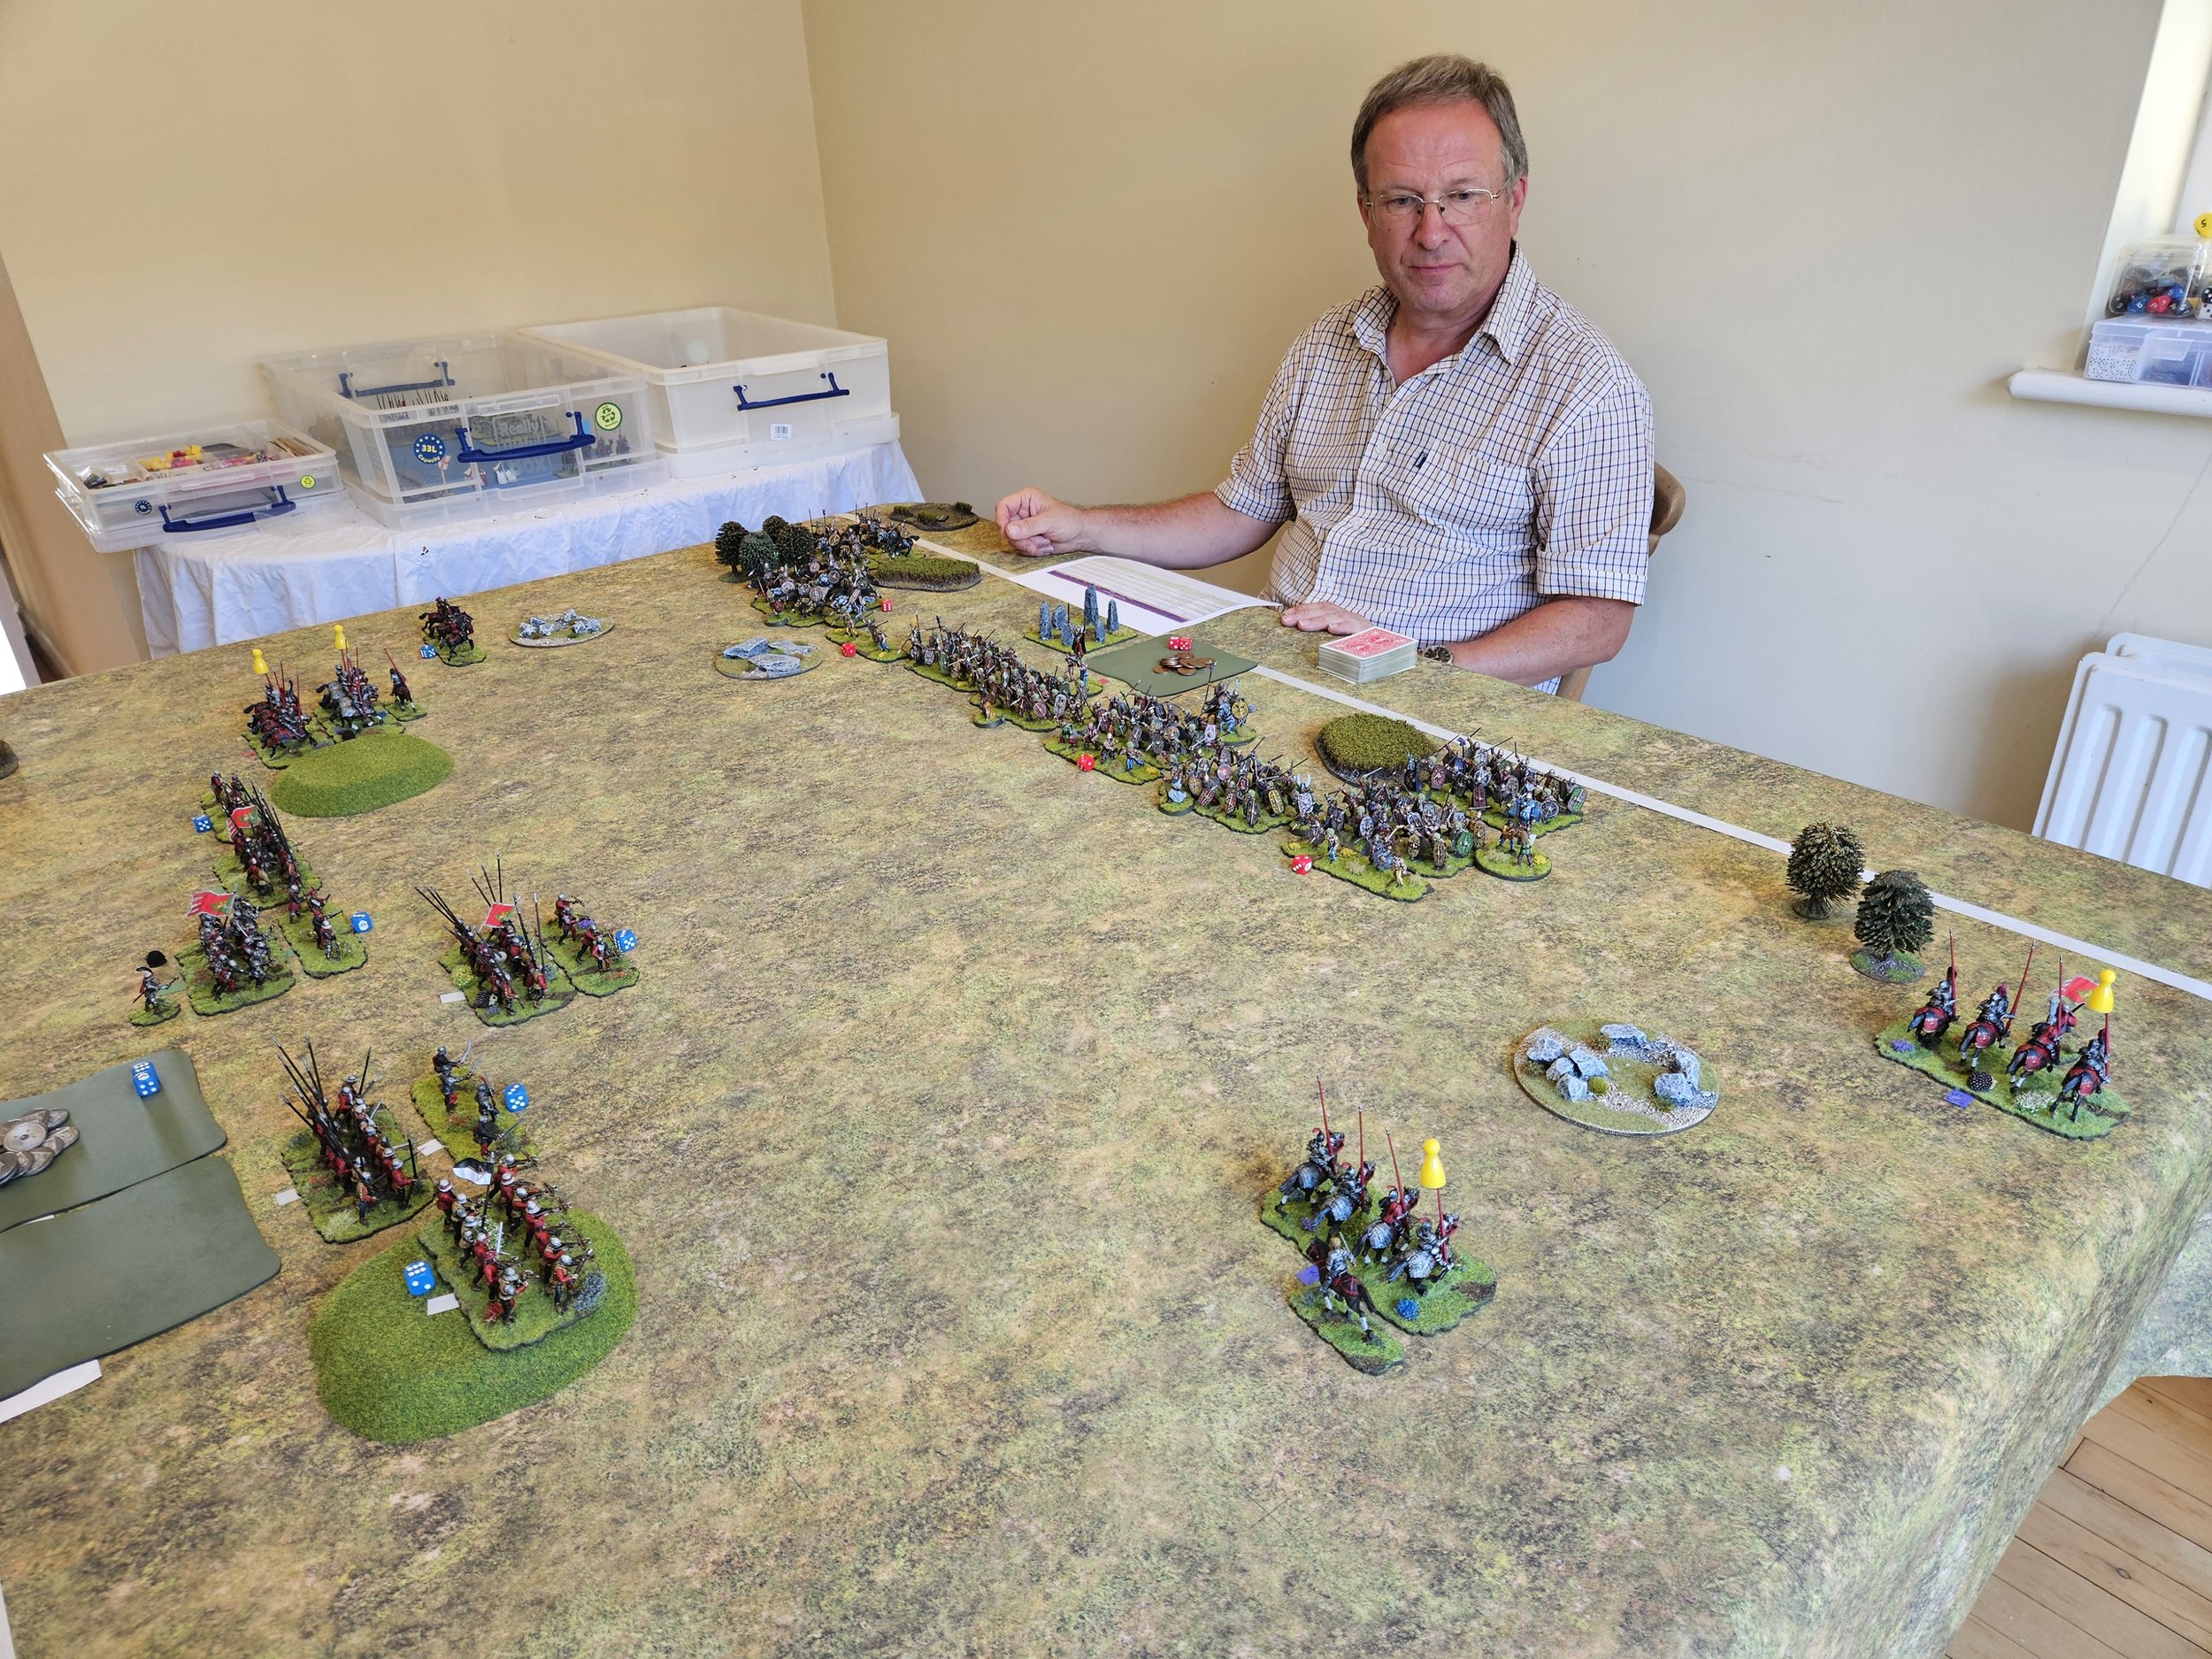
Deployment was historical, and I had command of the Swedish cavalry on the left, and the second line of Swedish infantry in the centre. Dave, my co-commander, would order the cavalry on the right near the marsh, the guns, and the first line of Swedish infantry.
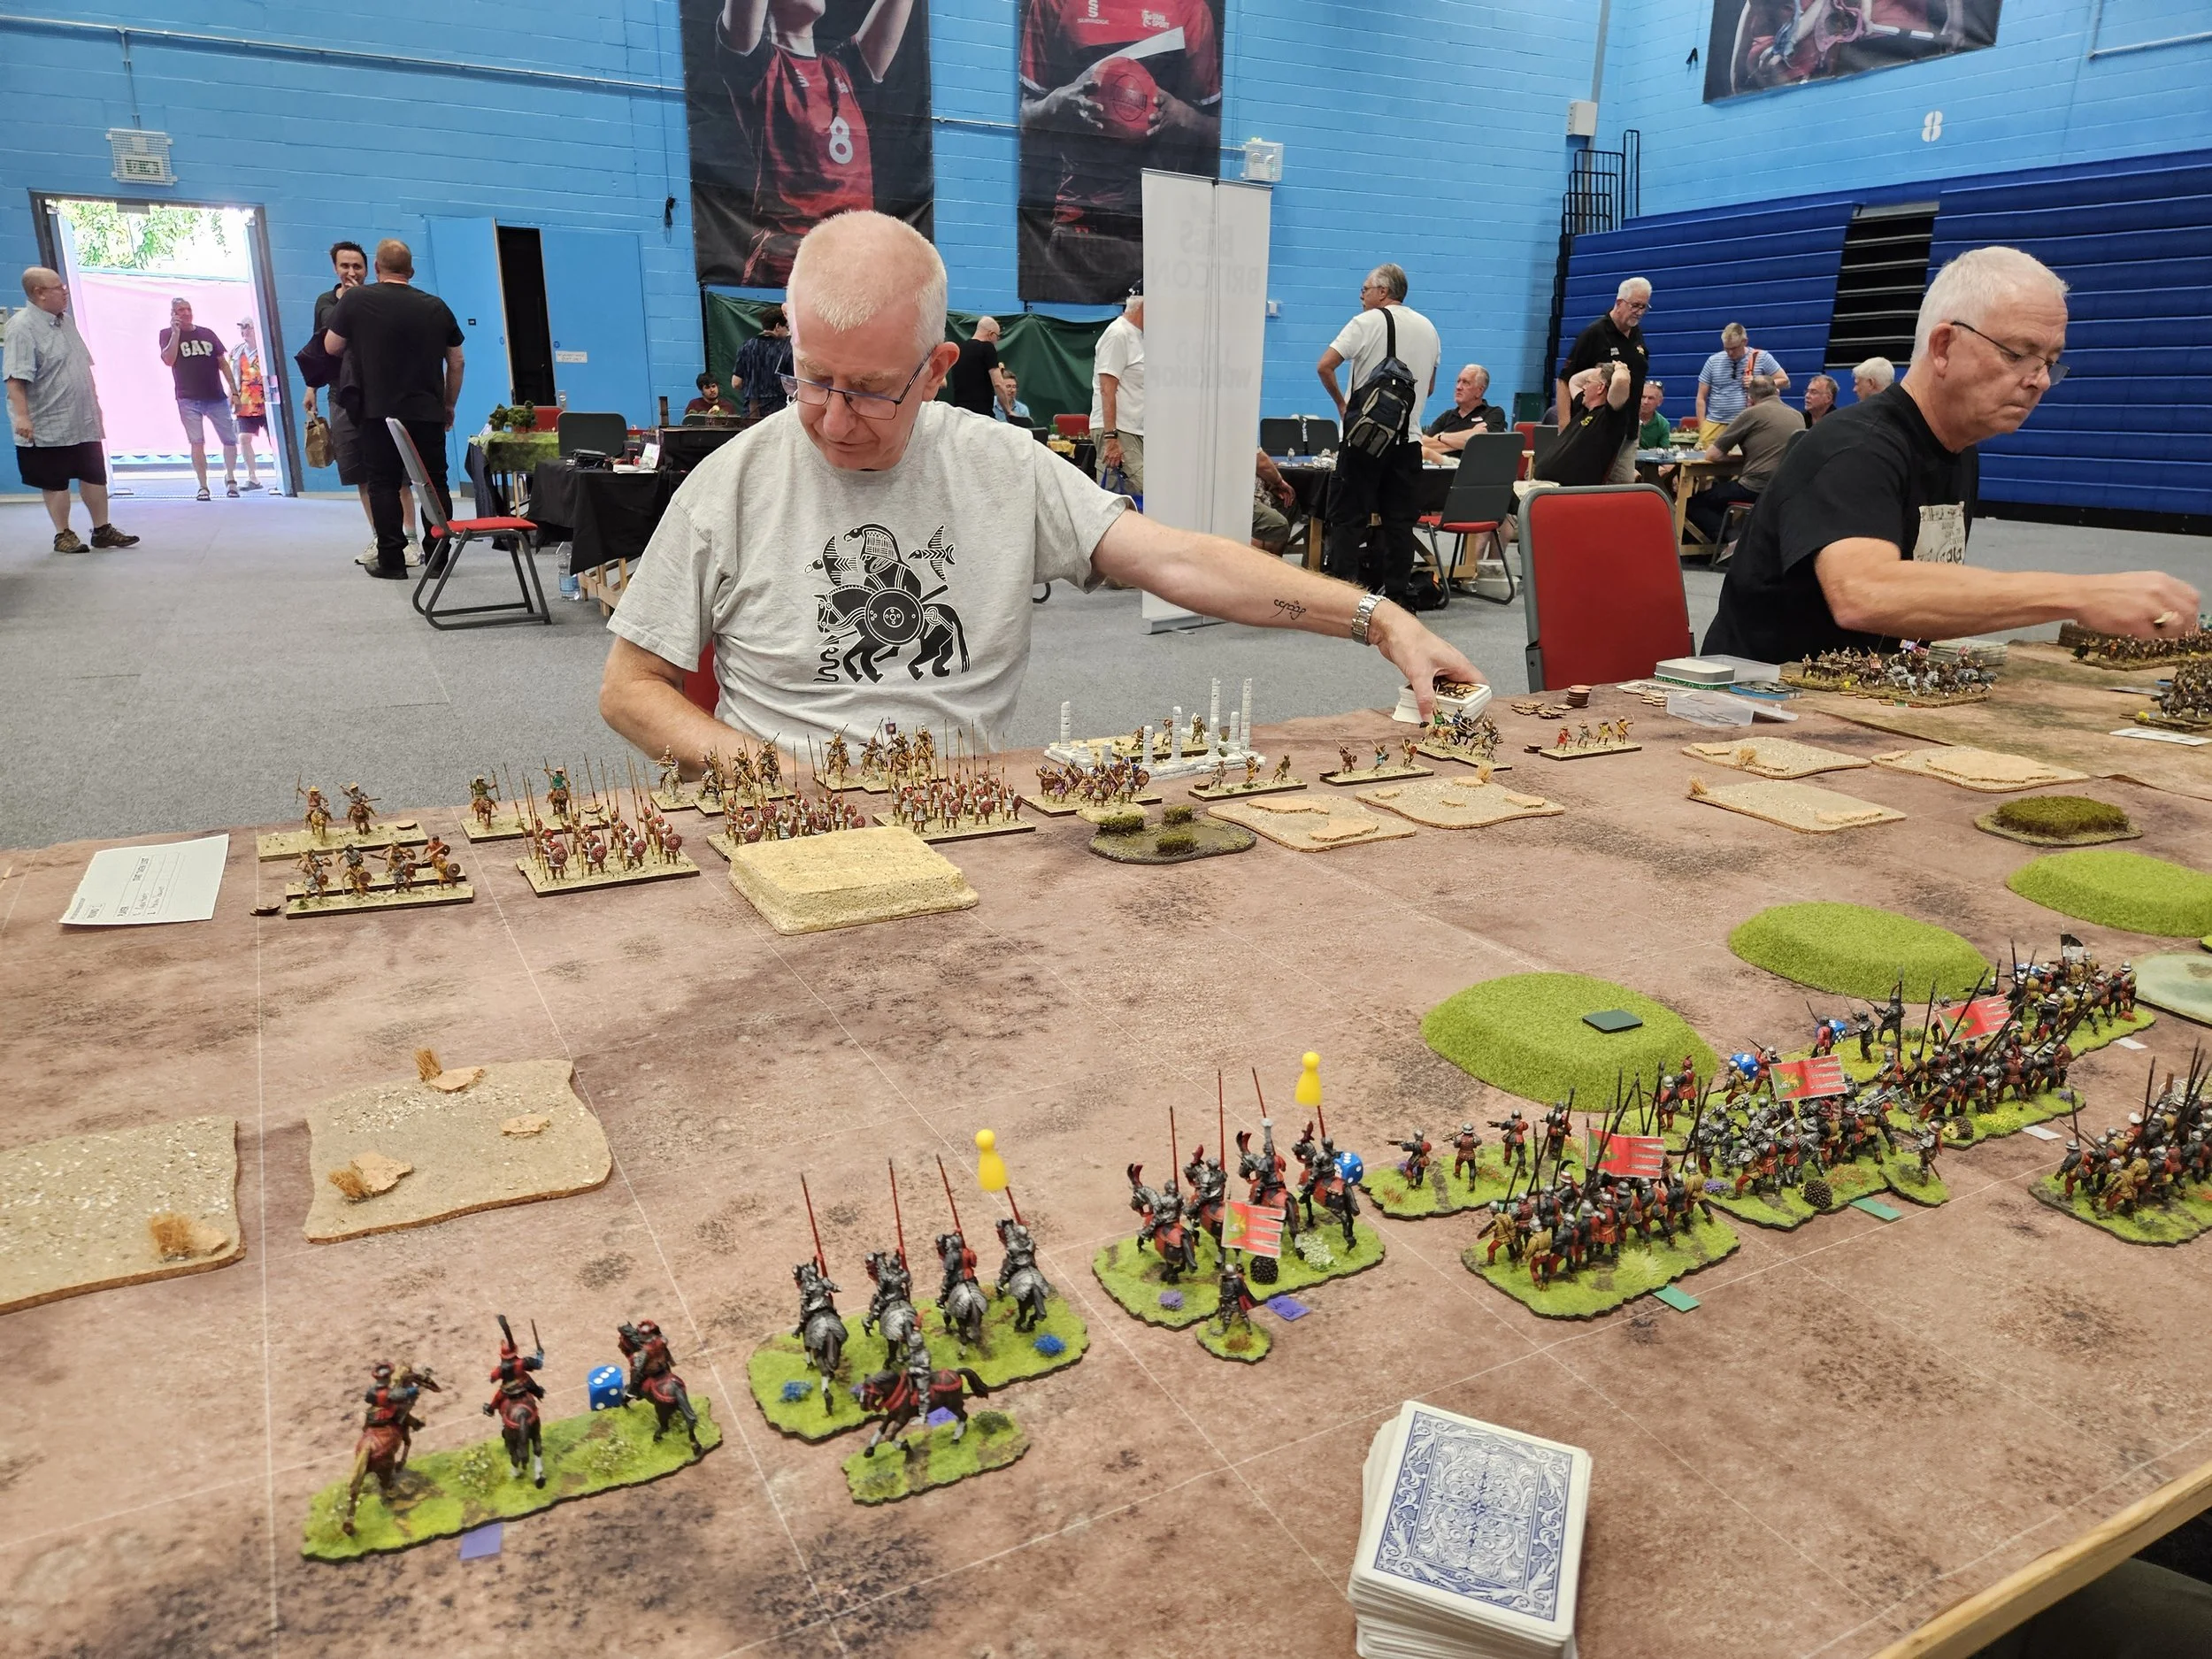
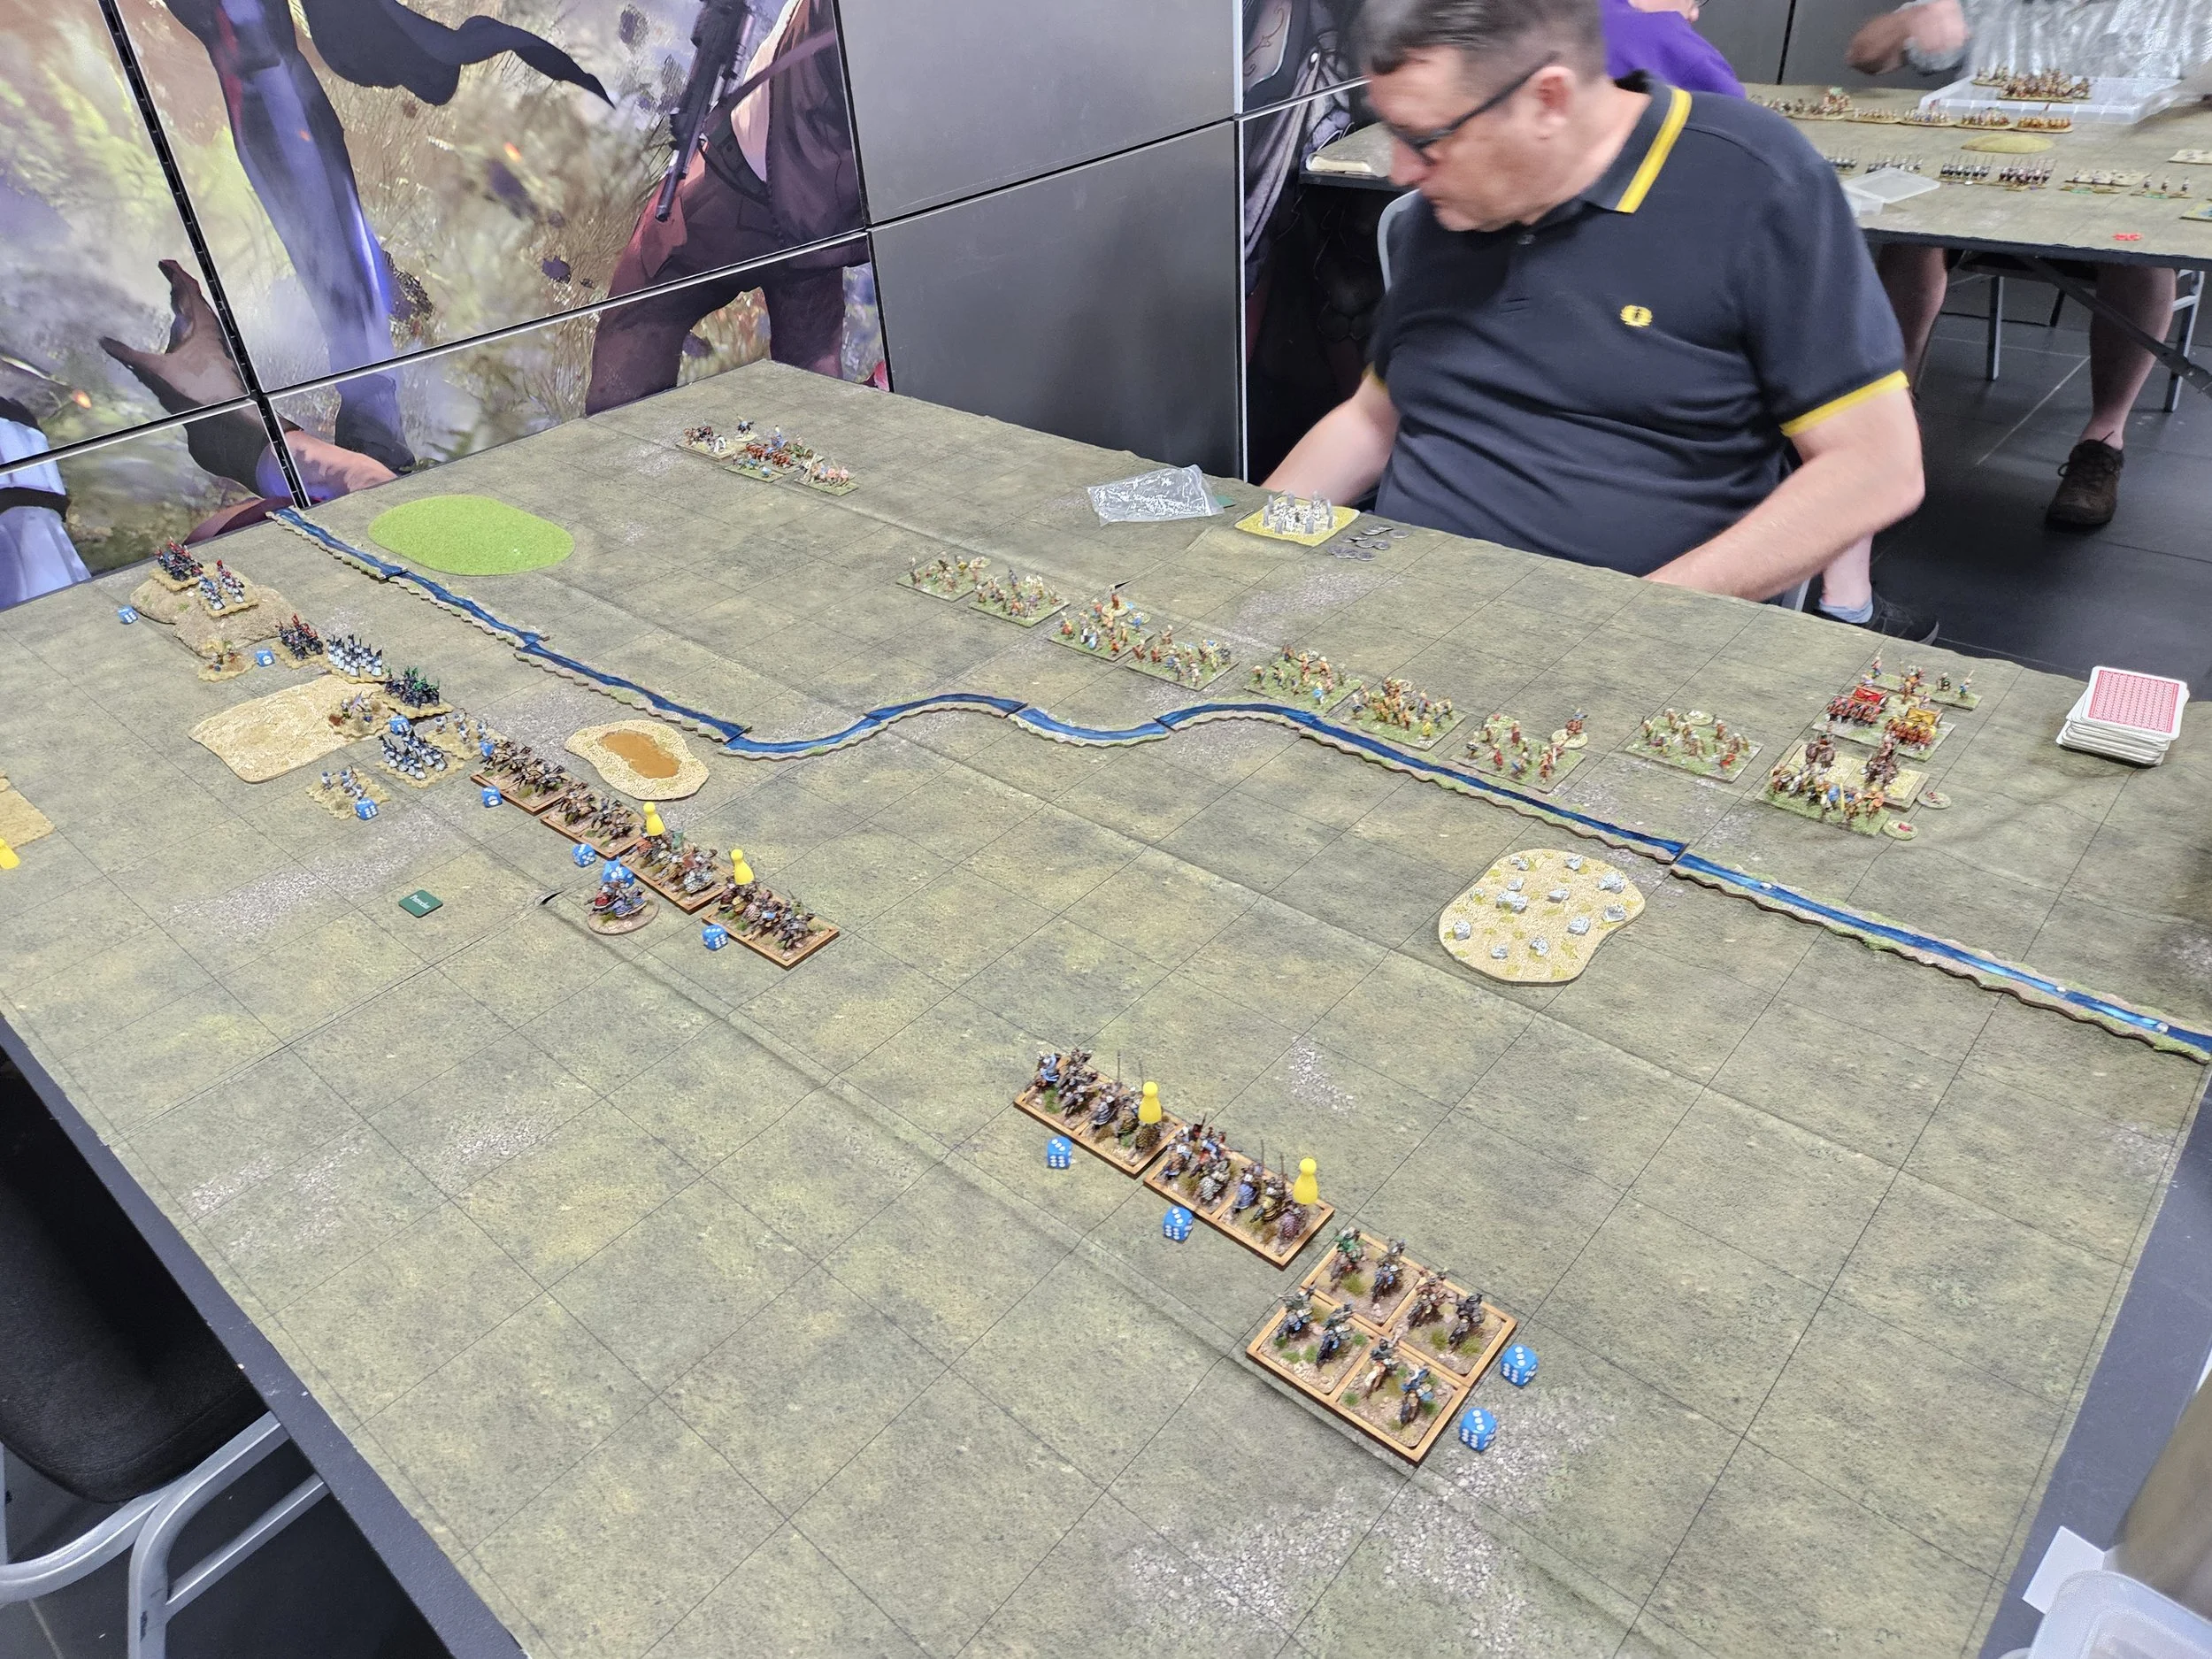
In front of my cavalry were lesser numbers of Danish horse. My plan, therefore, was to advance forward rapidly, sweep them from the field, and then curl around to hit the Danish infantry in the centre: all very standard stuff. I also decided to move my infantry to the left and try and get them forward on the left hand side of the field, both to support my cavalry and further threaten the Danish right flank.
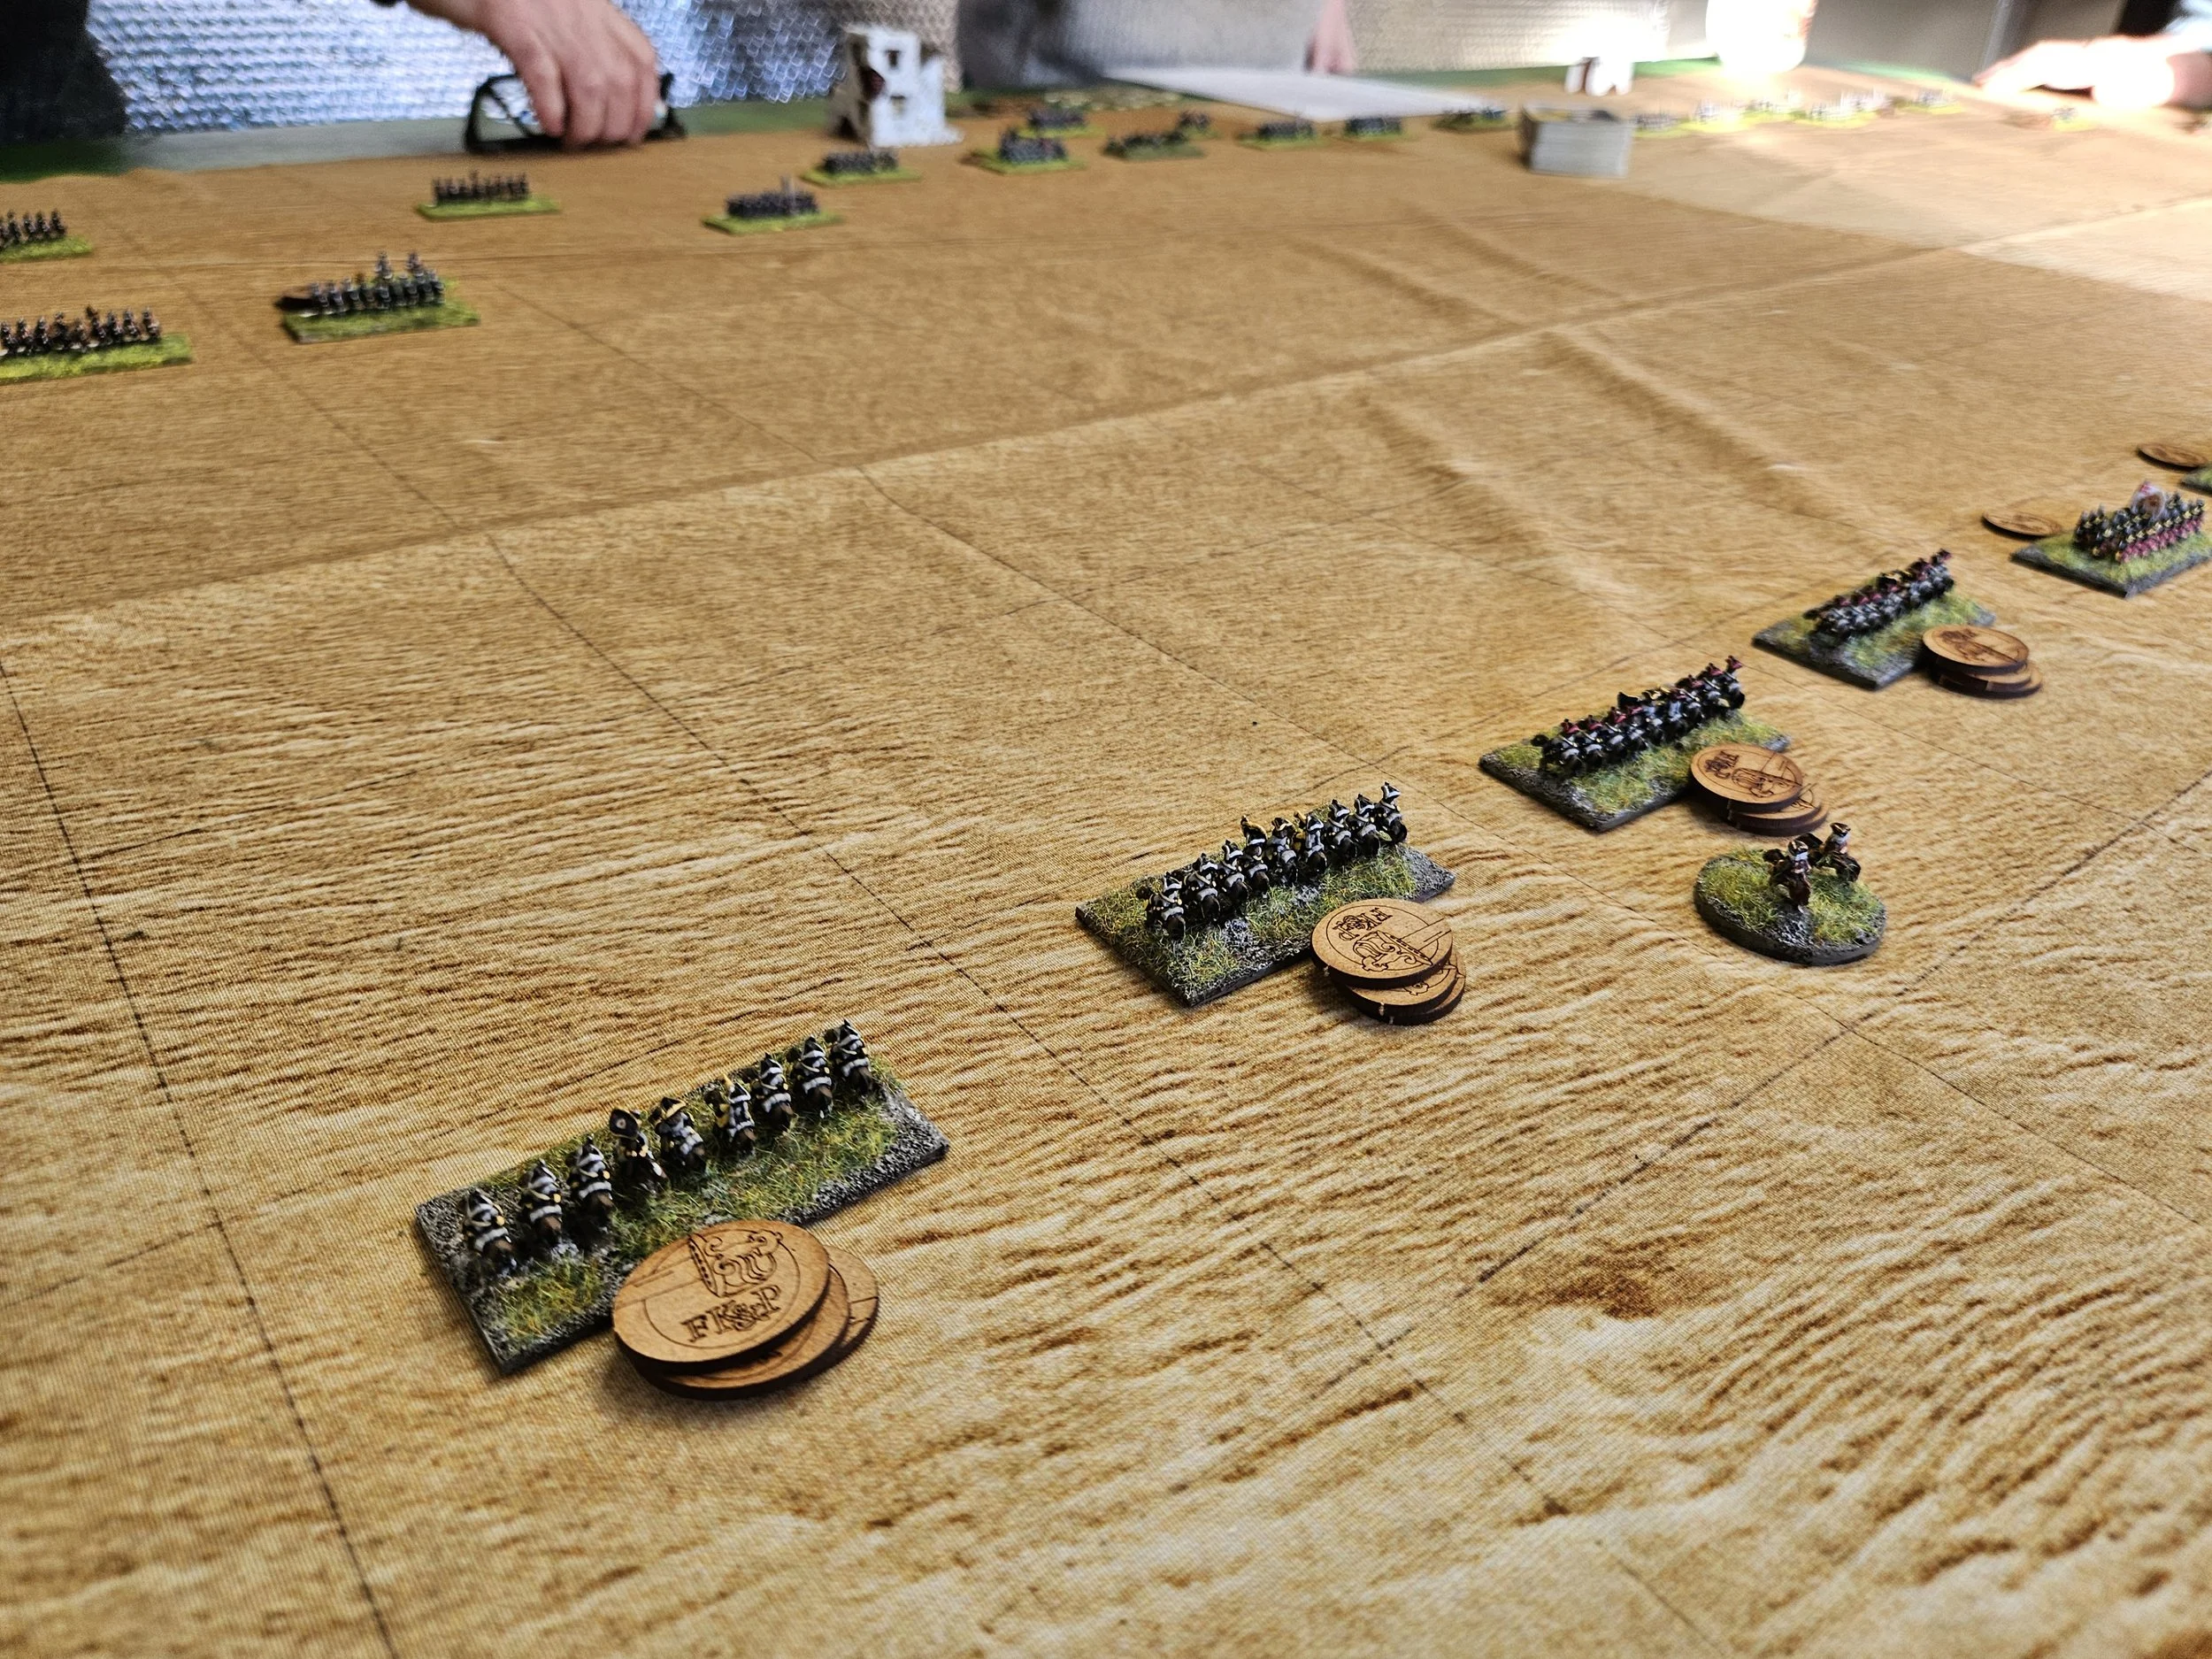
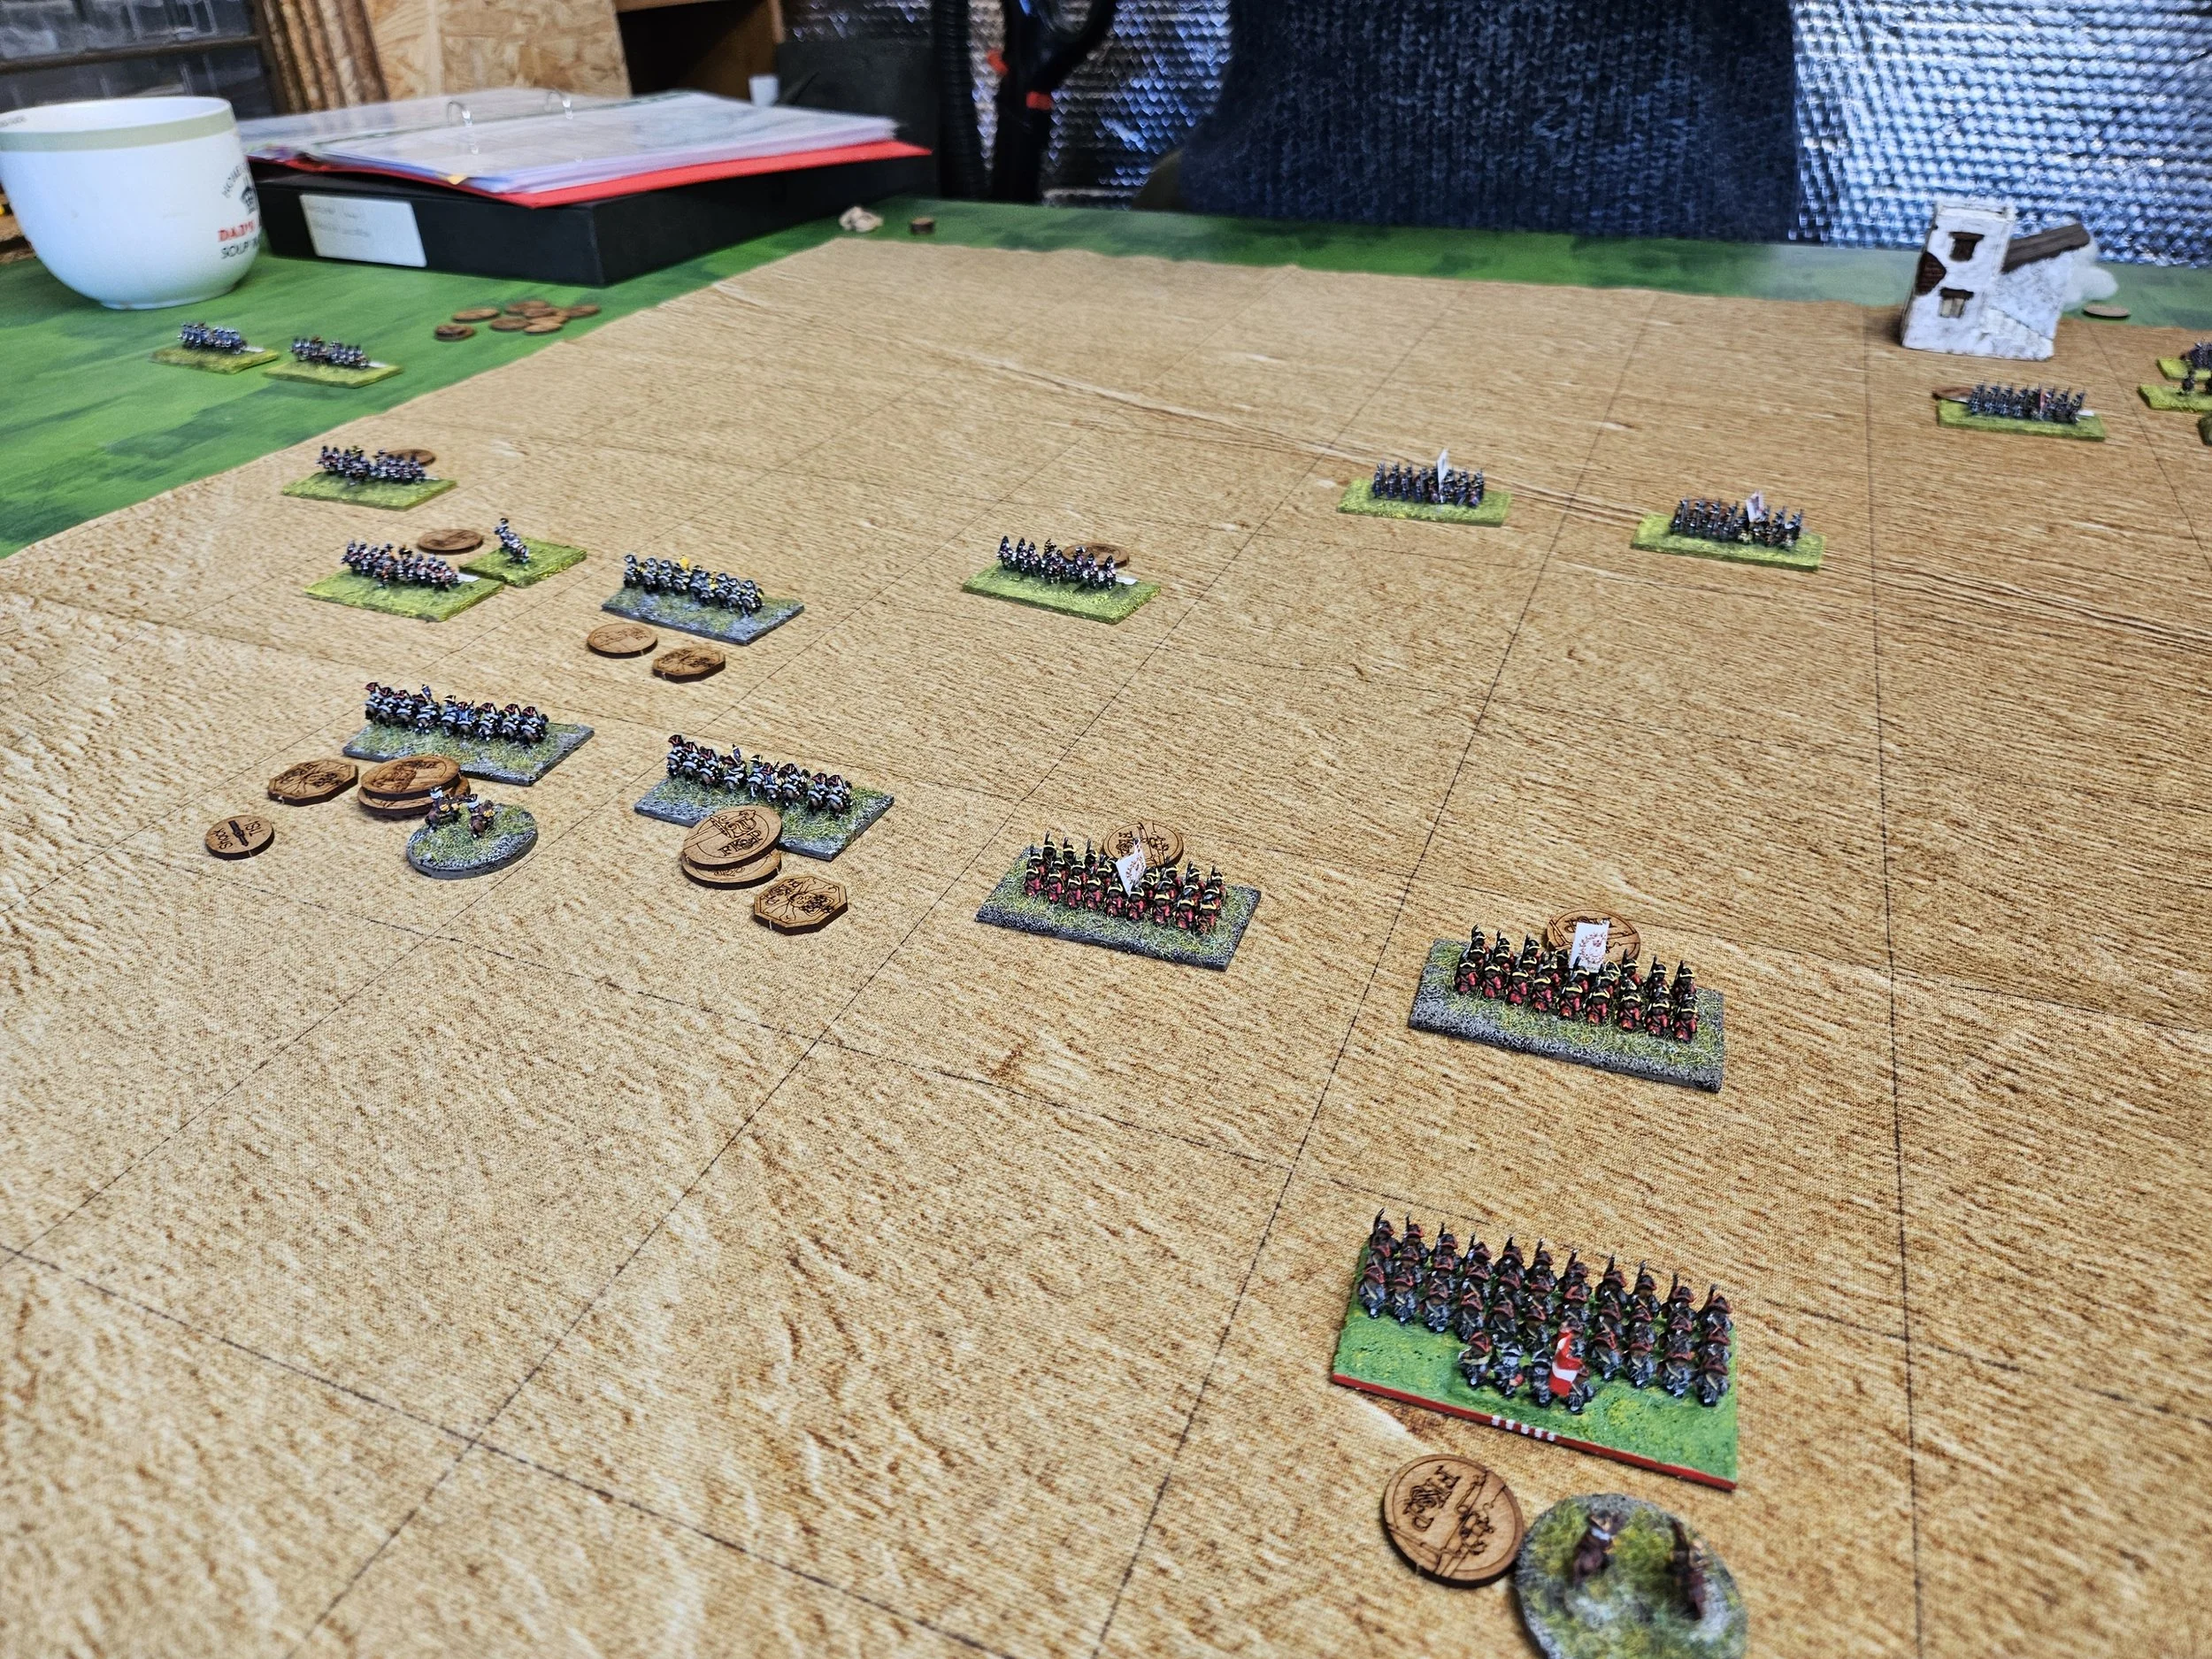
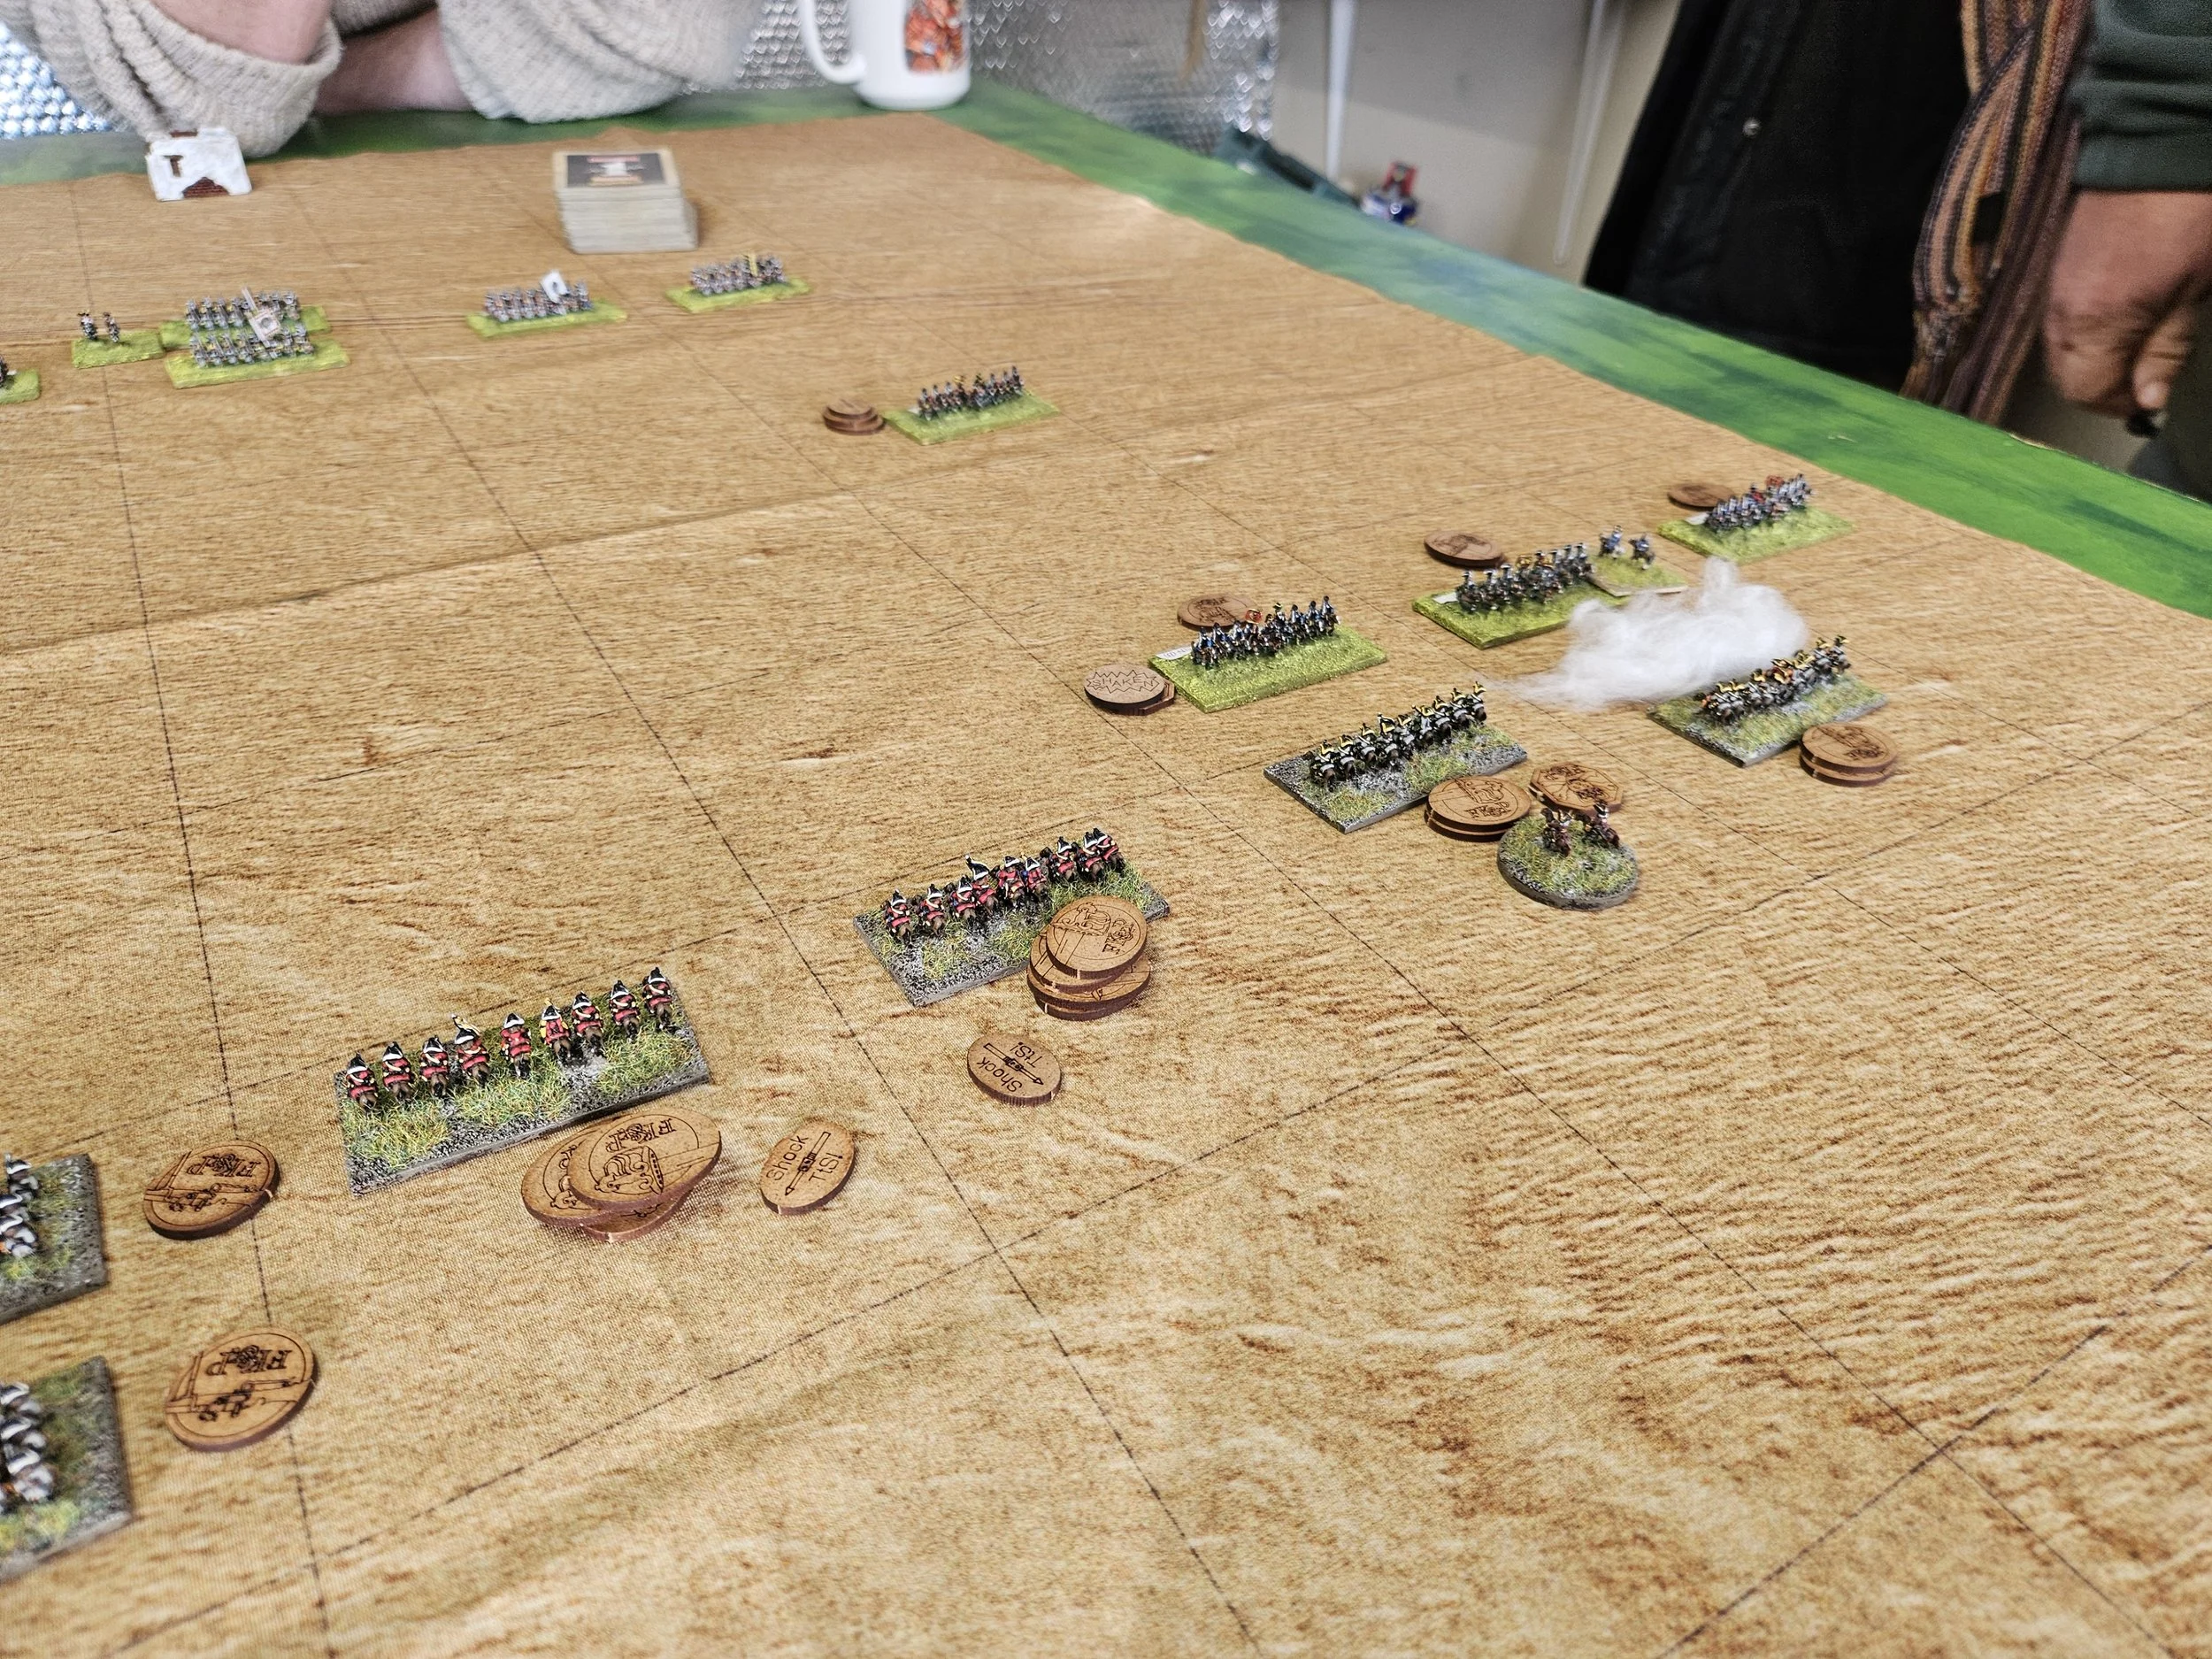
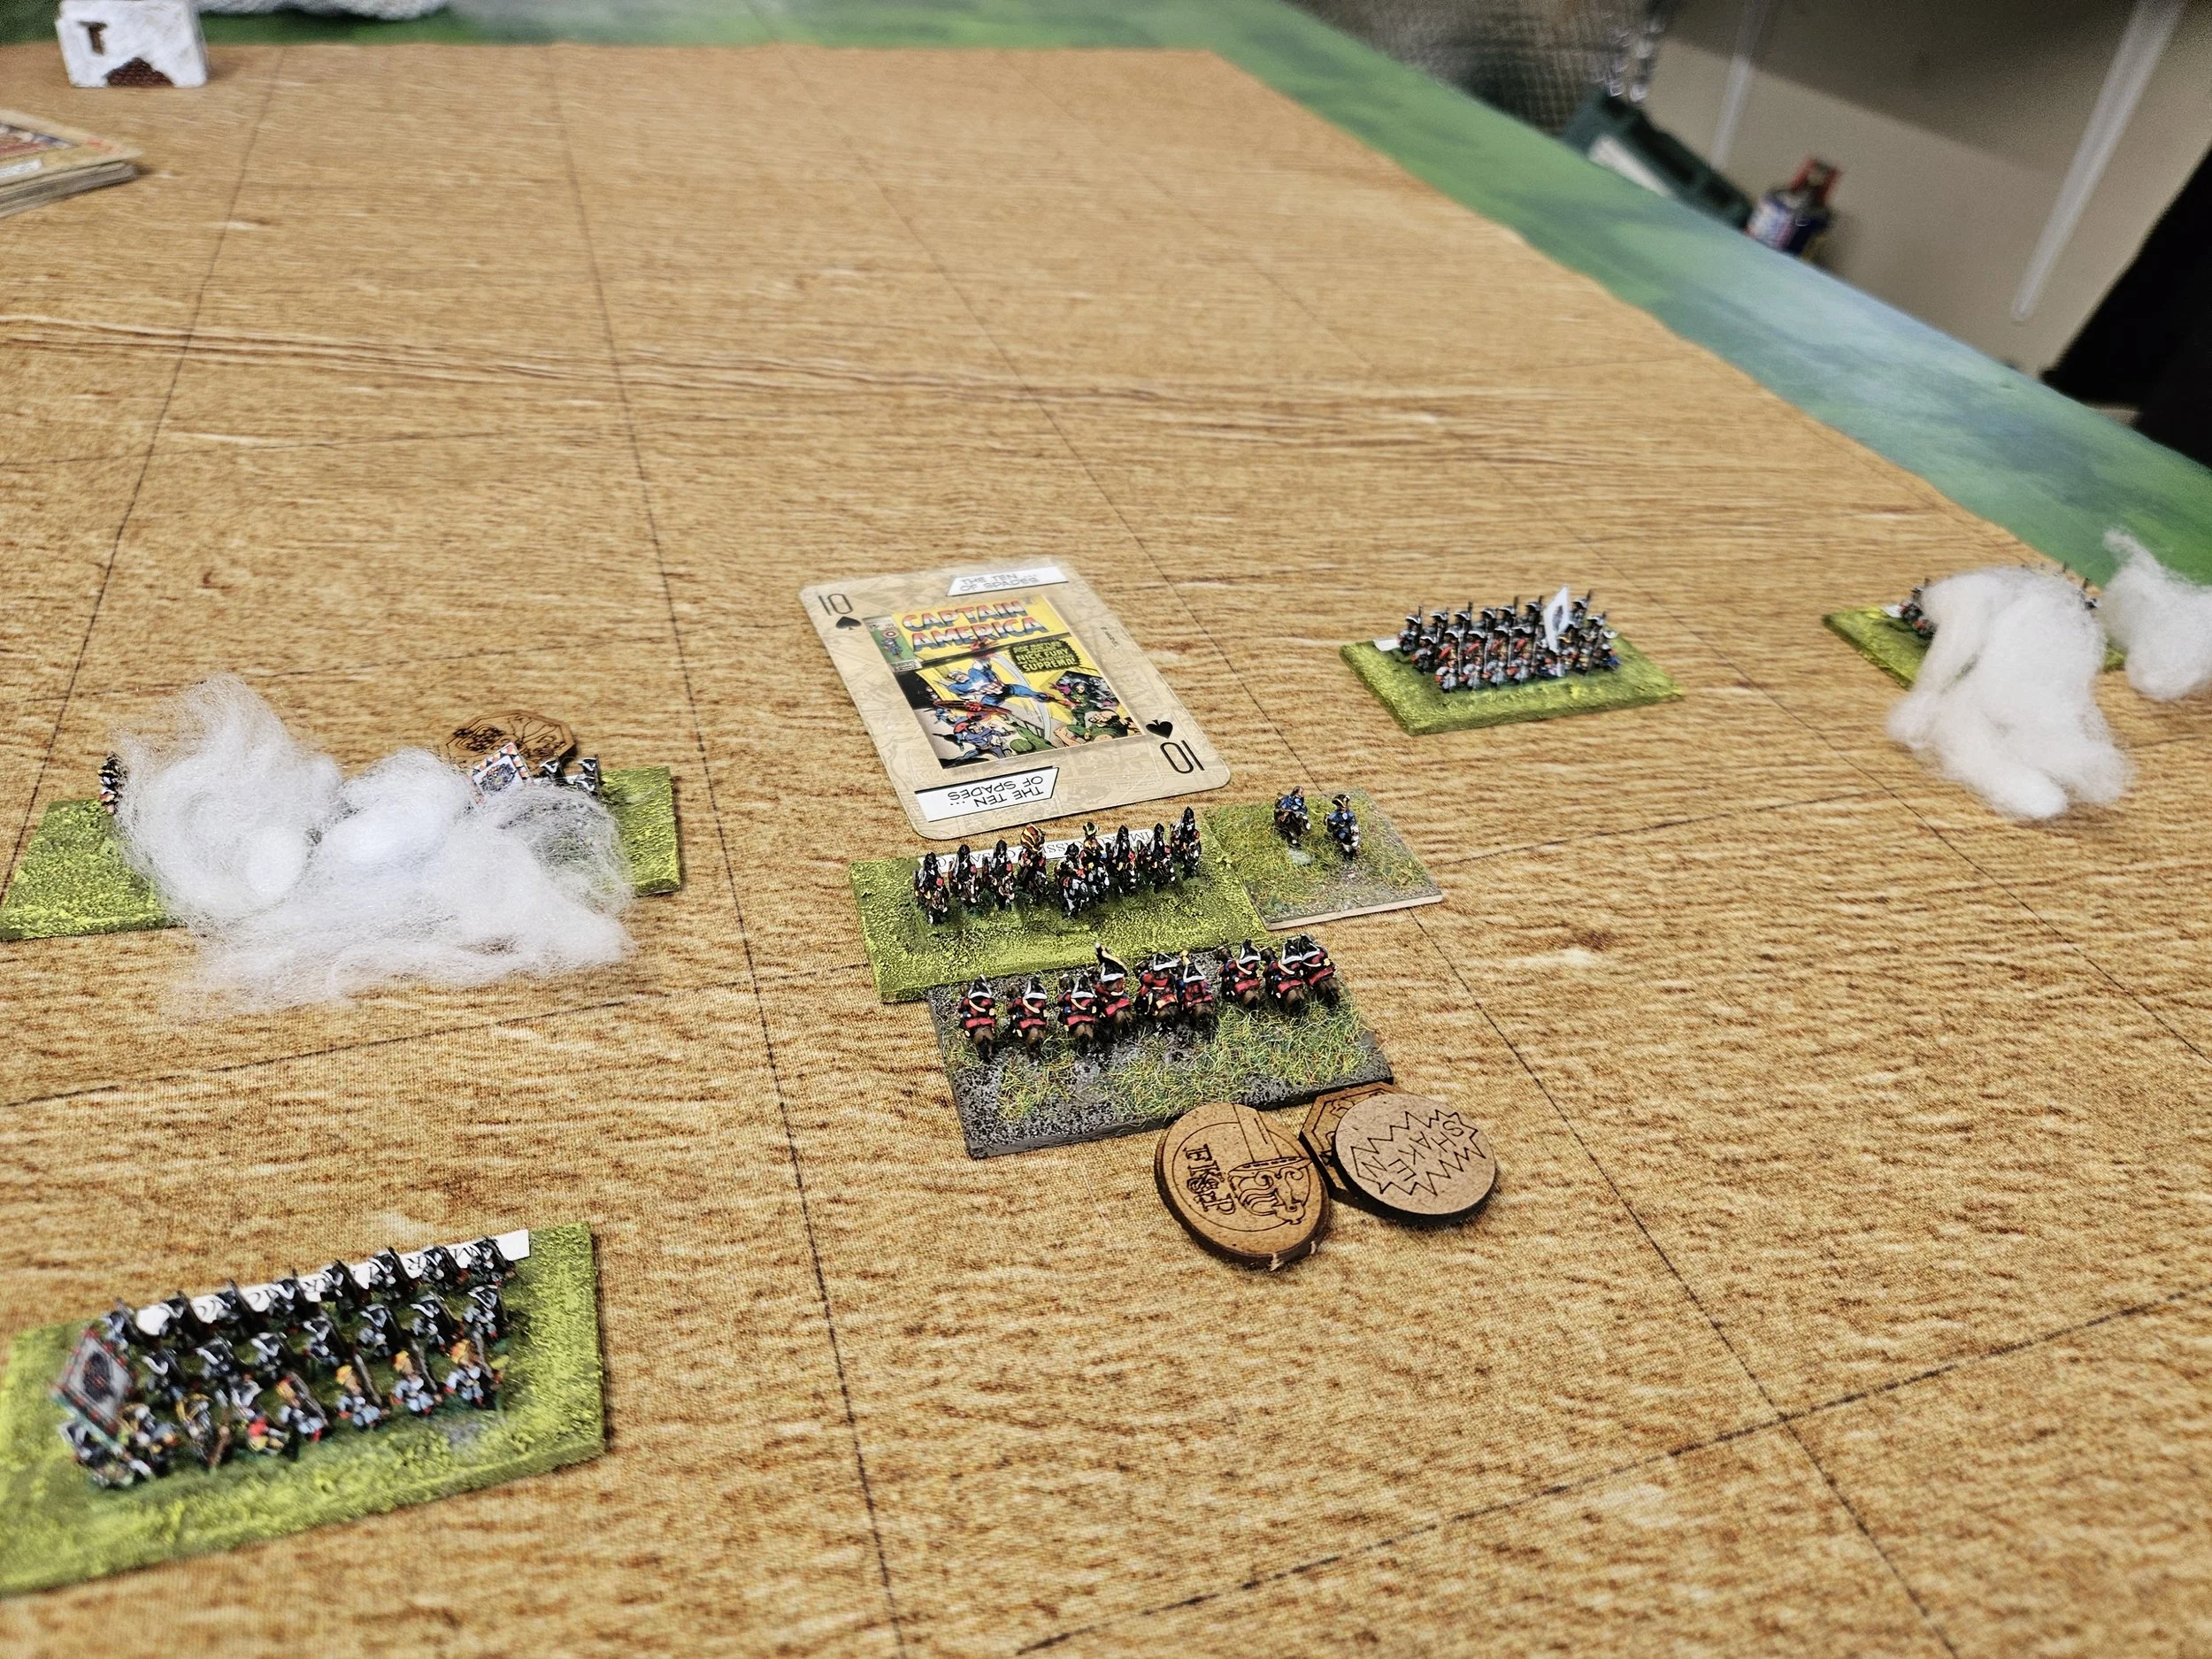
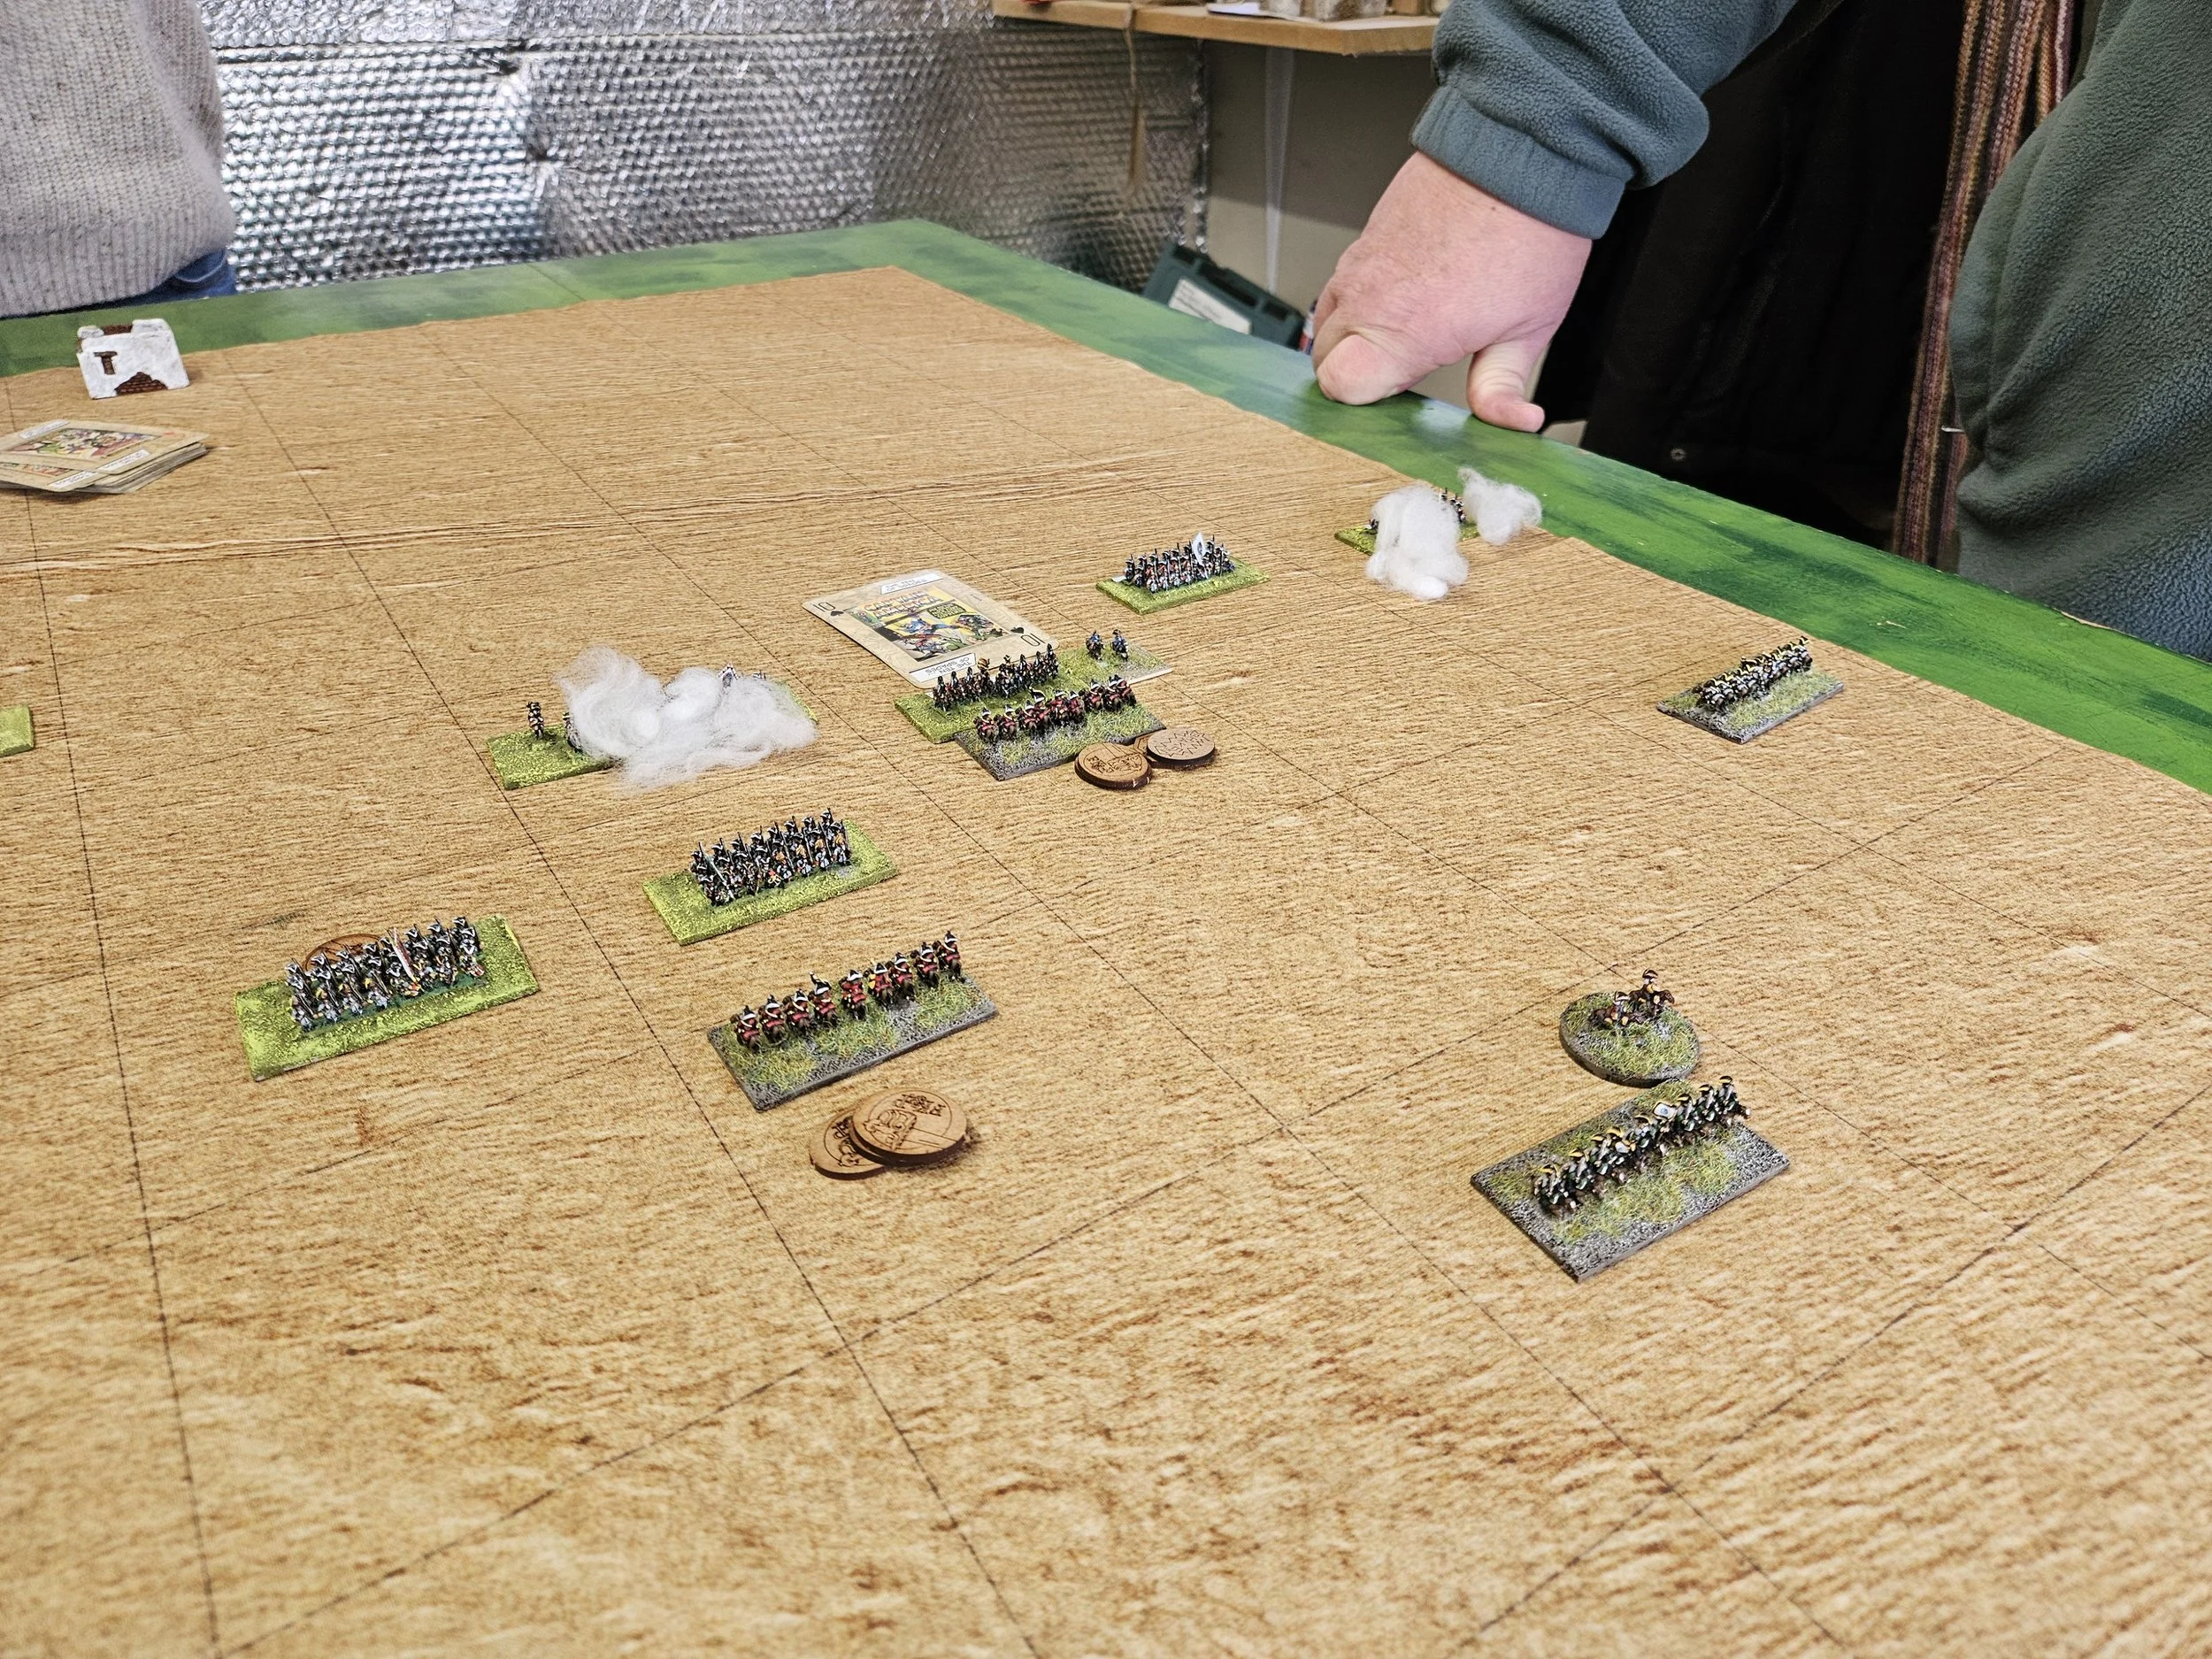
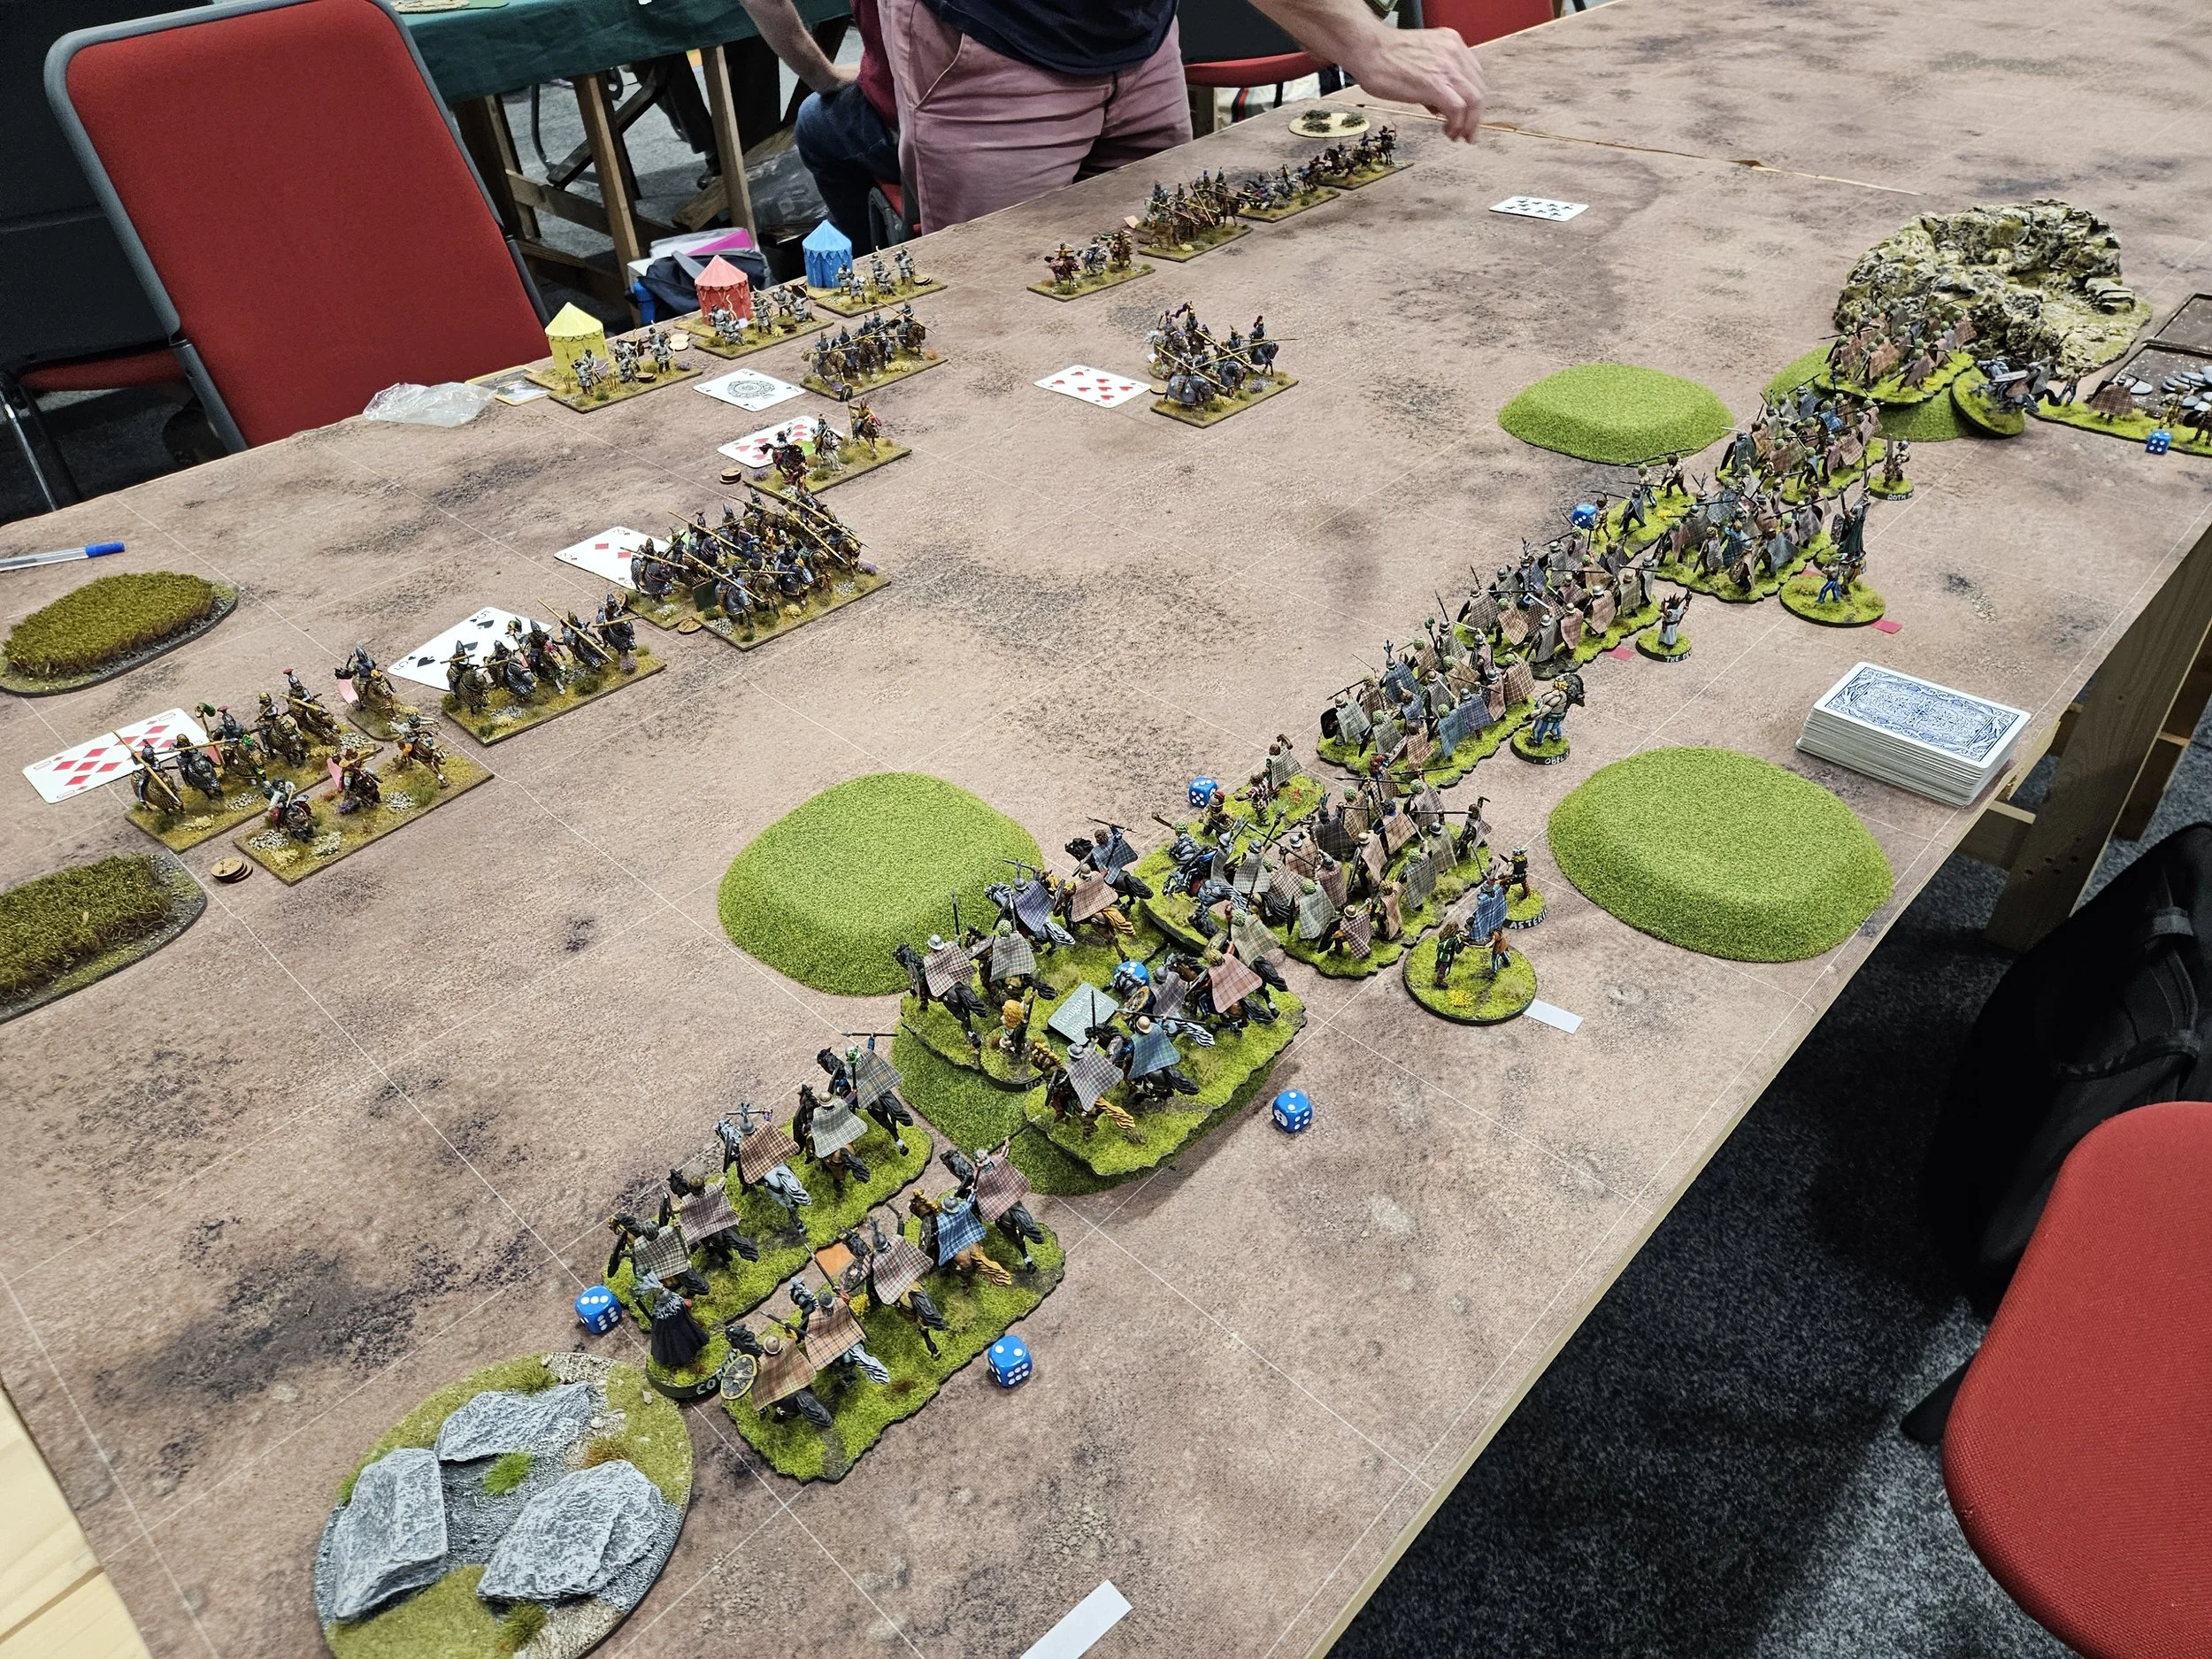
My cavalry were keen to get stuck in, advancing forward rapidly, but as we made contact I made the unpleasant discovery that whilst we might outnumber the Danes, their cavalry was nearly all comprised of elite horse guards types! Suffice to say that rather than sweeping them from the field, my brave boys were soon fighting for their lives!
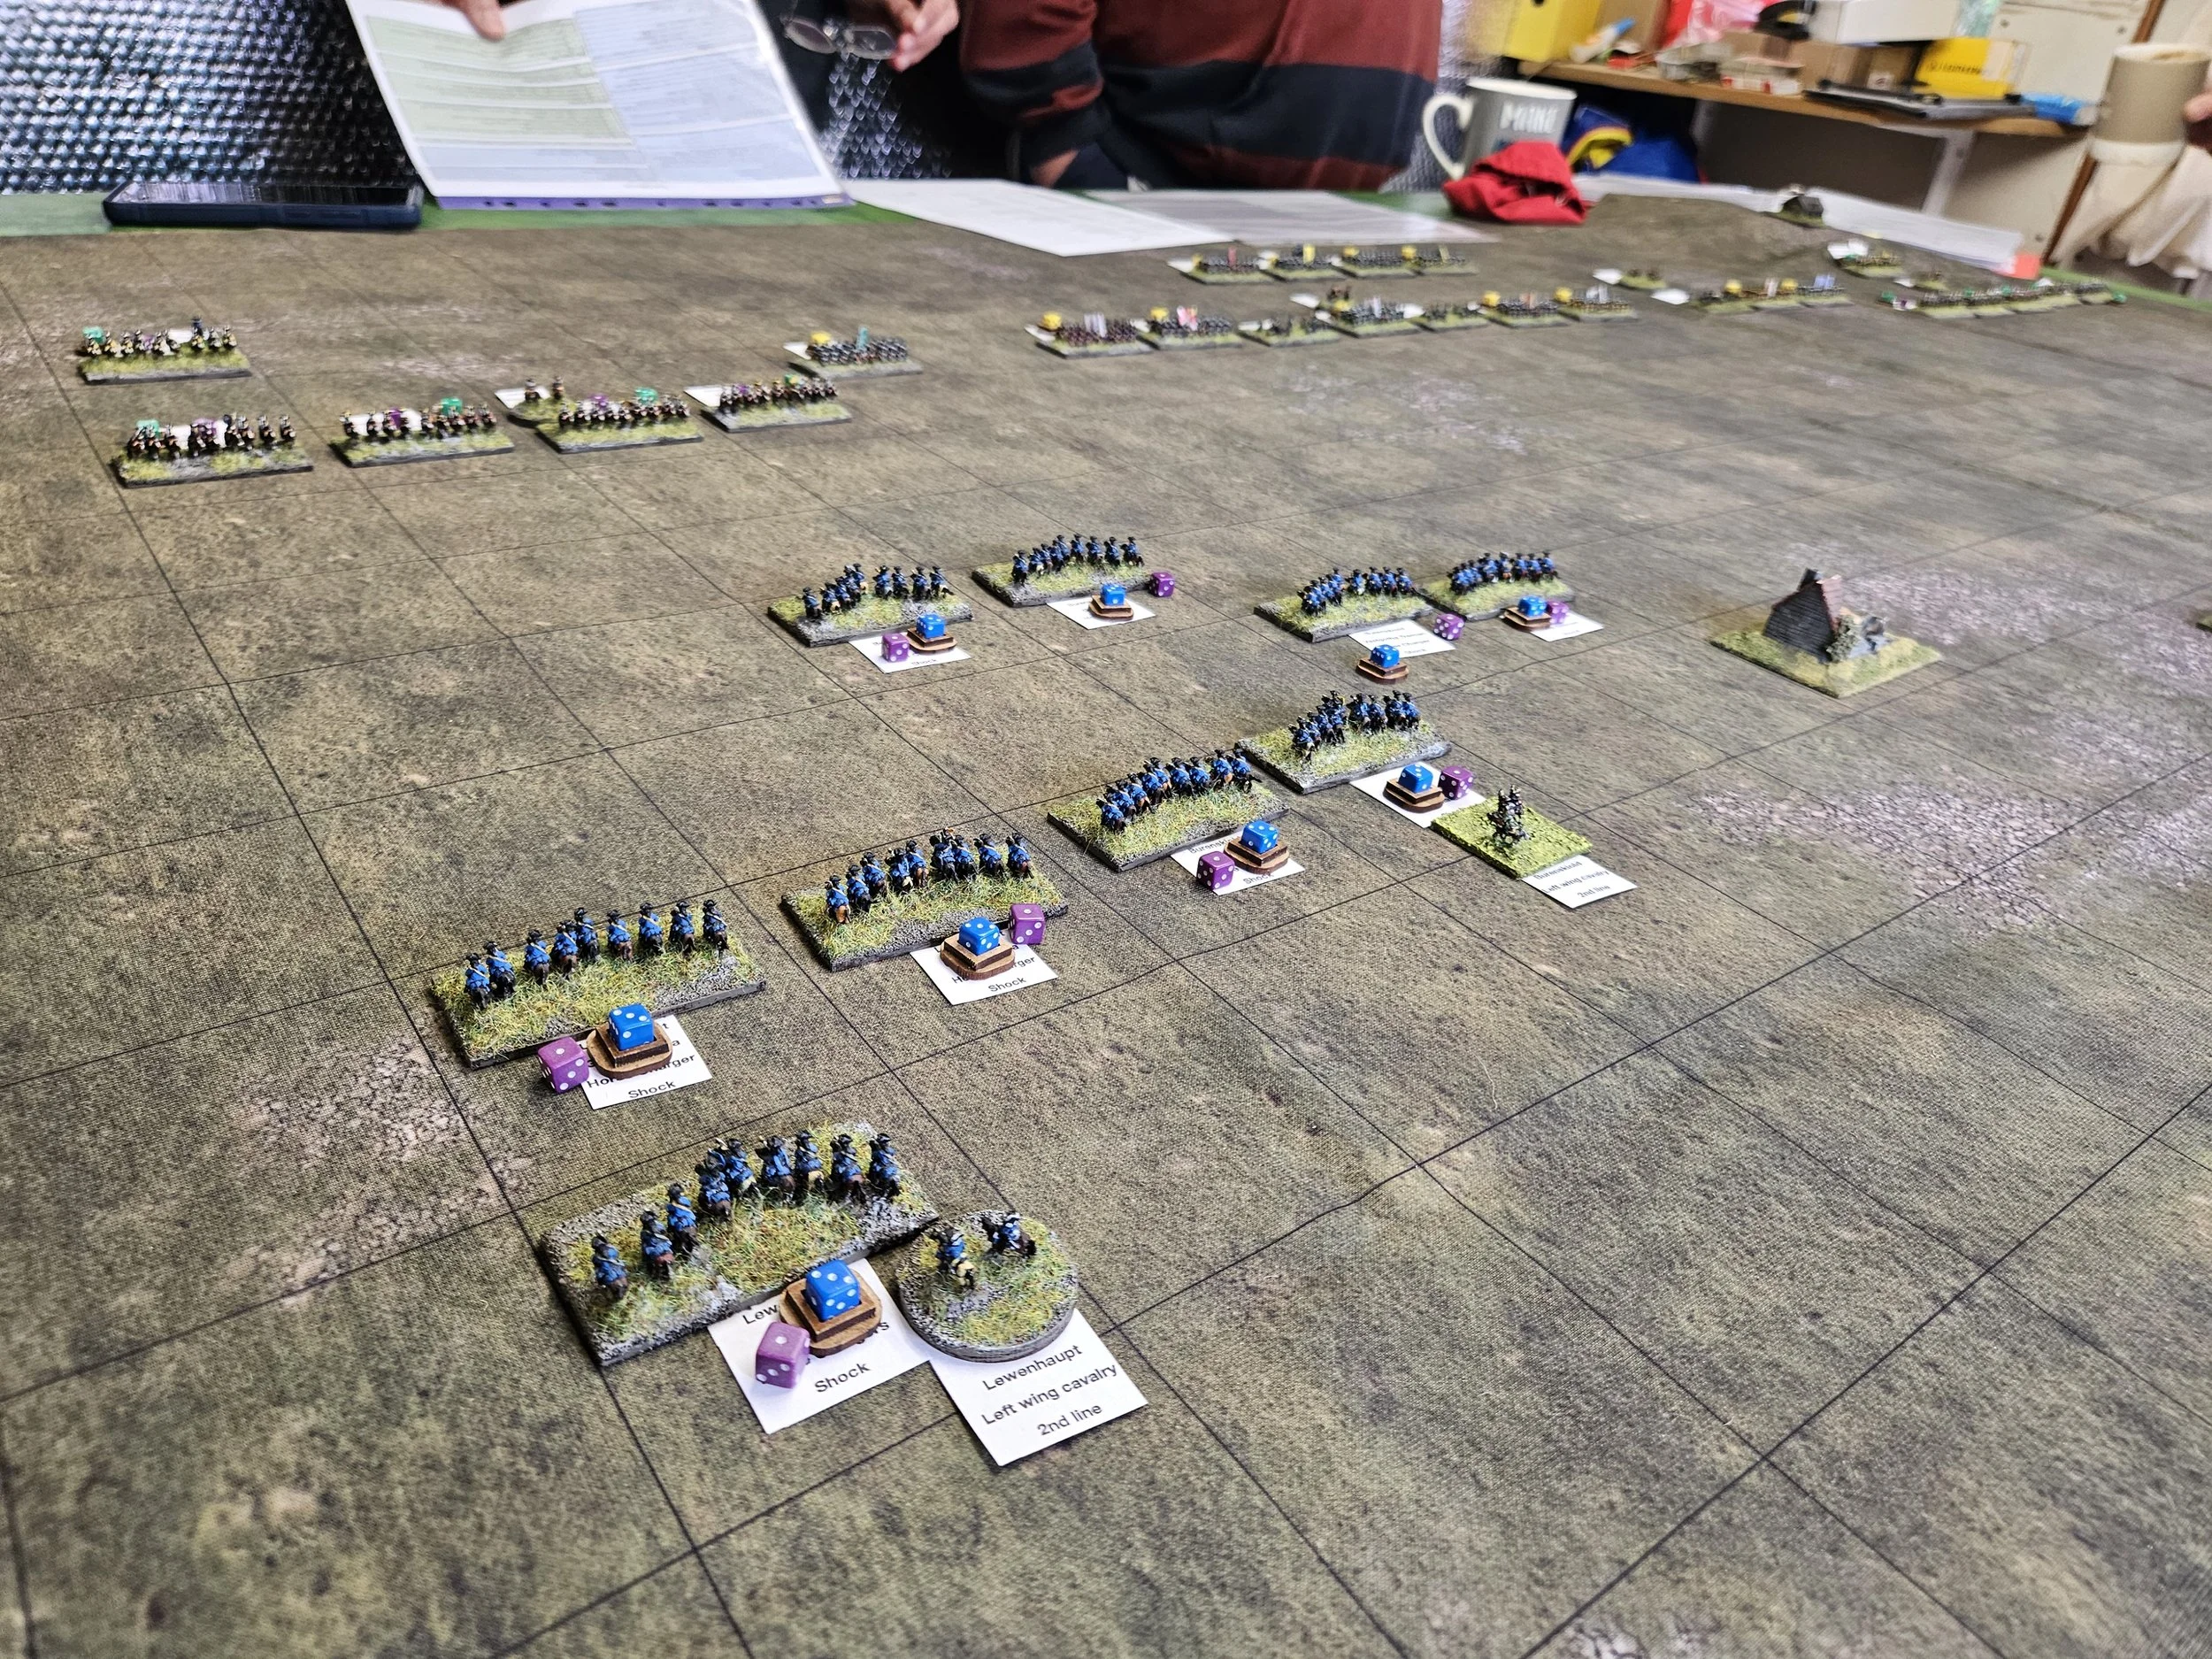
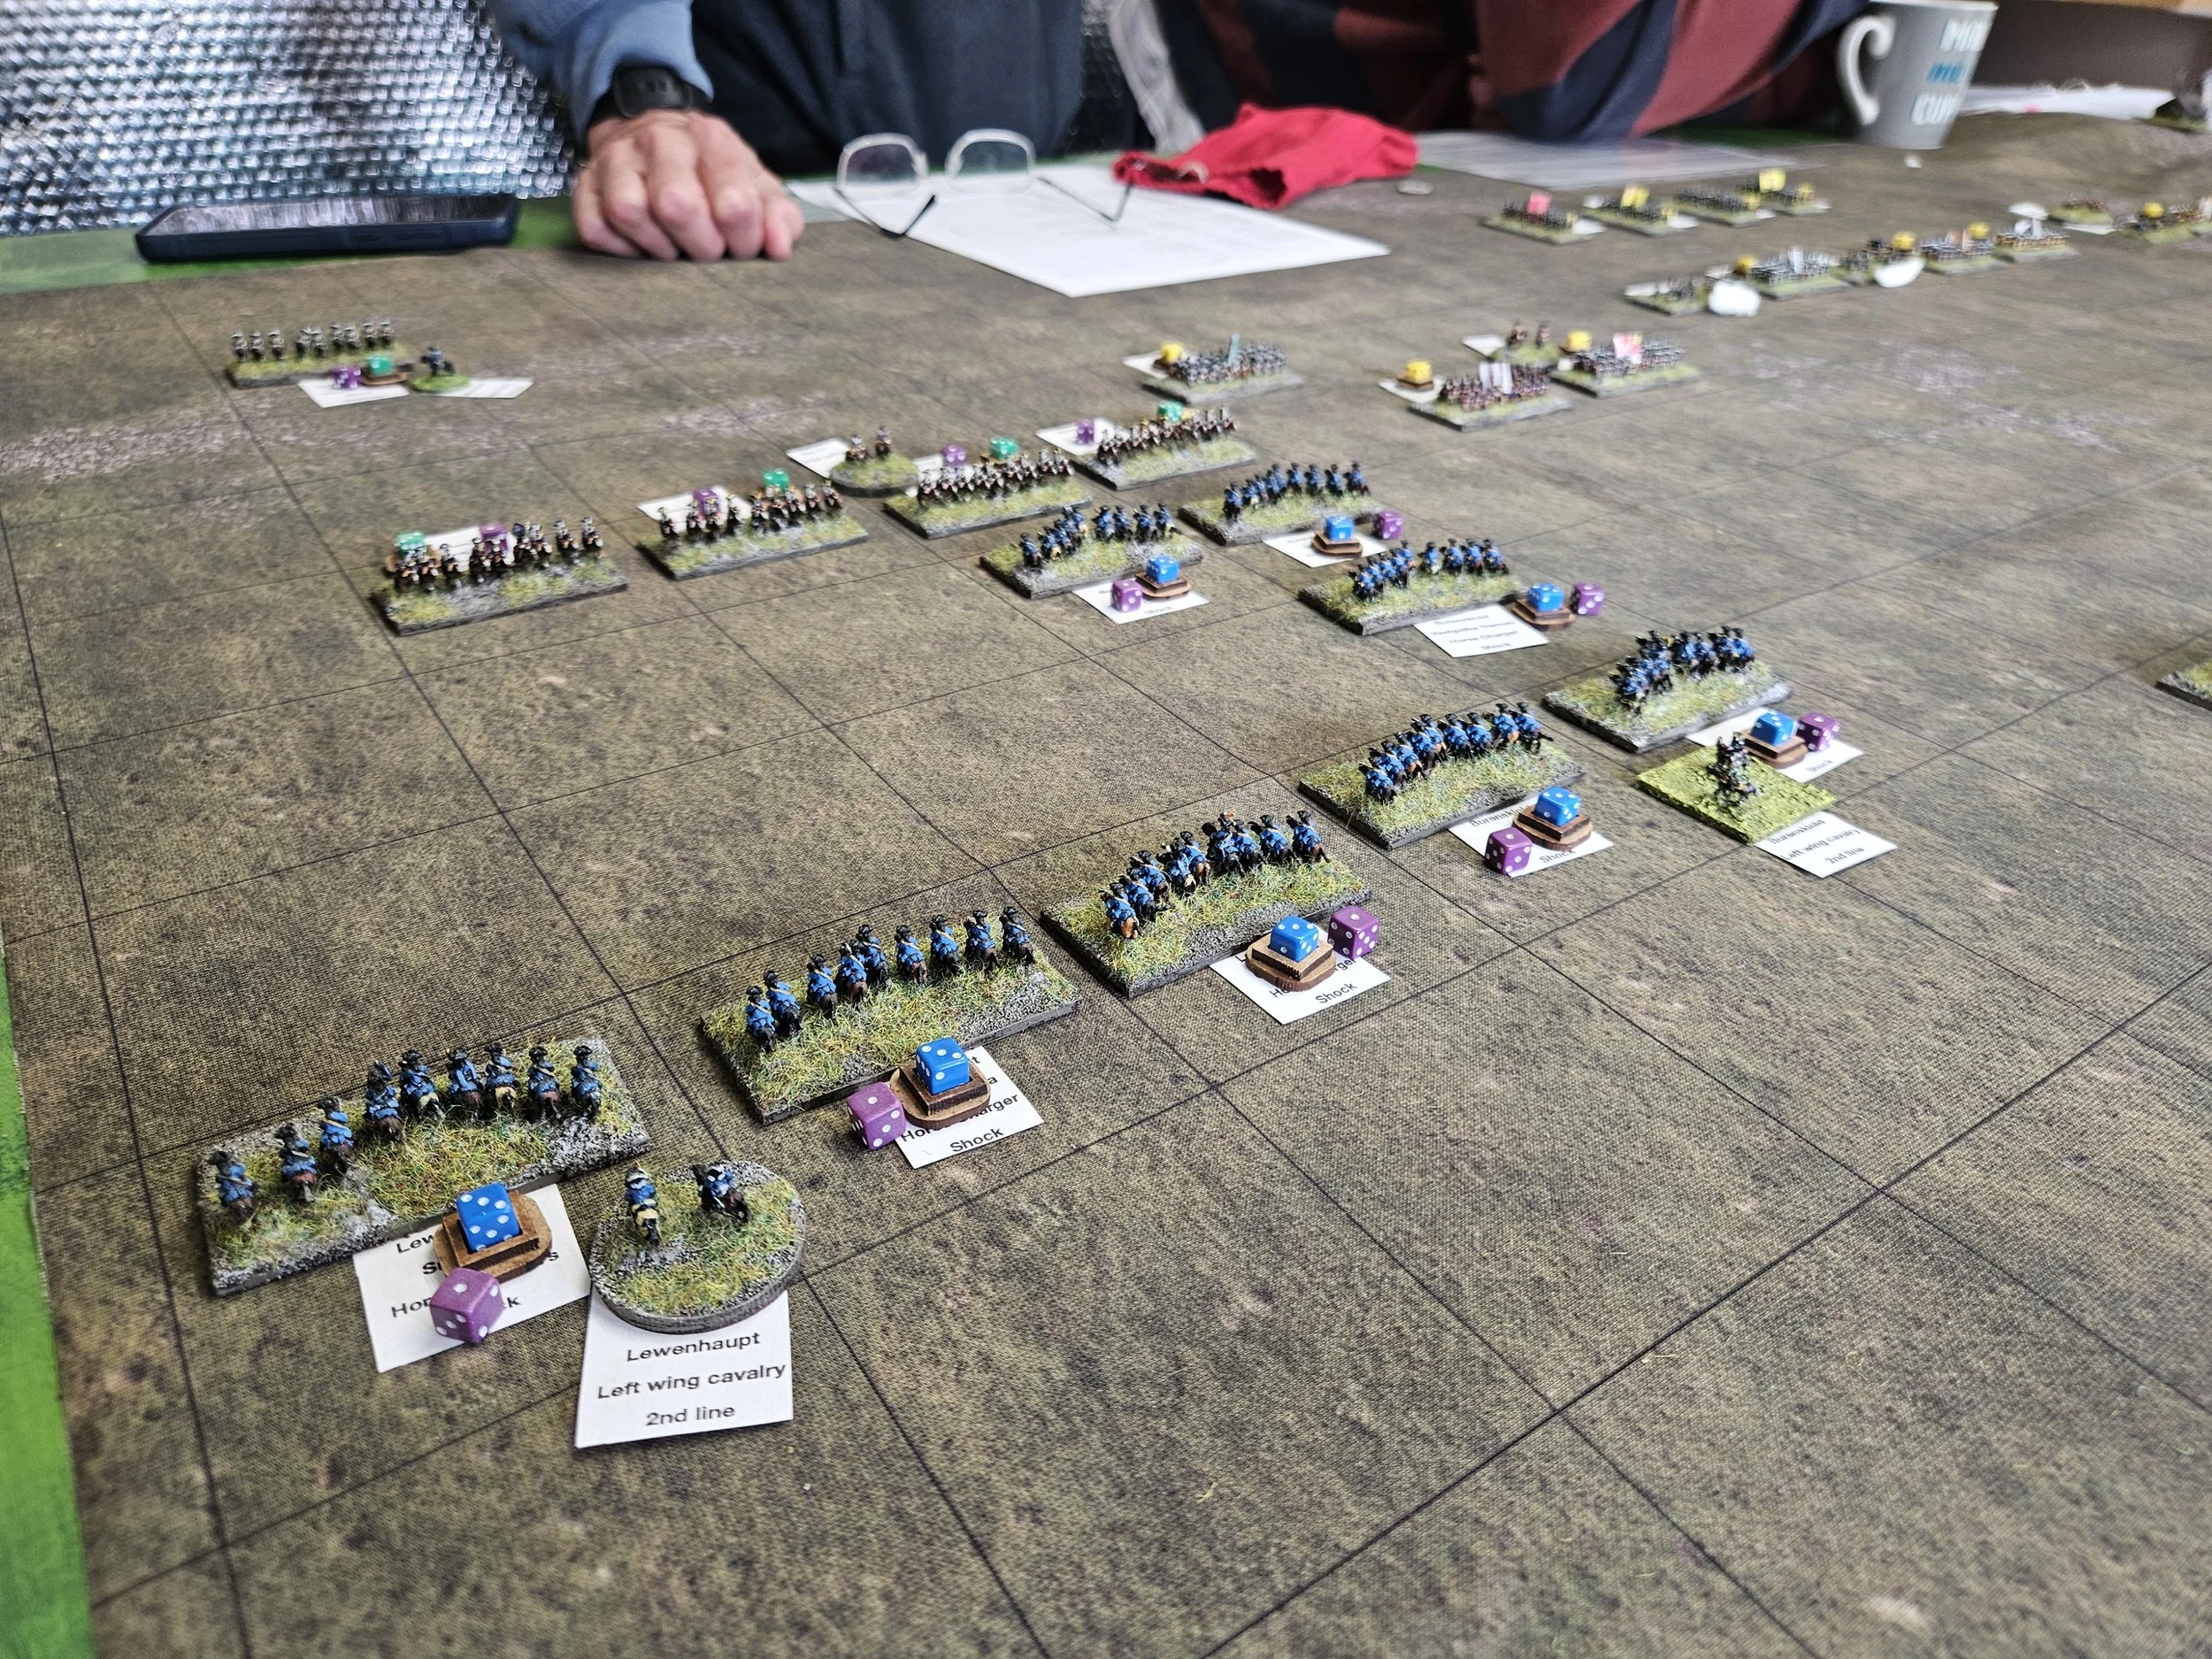
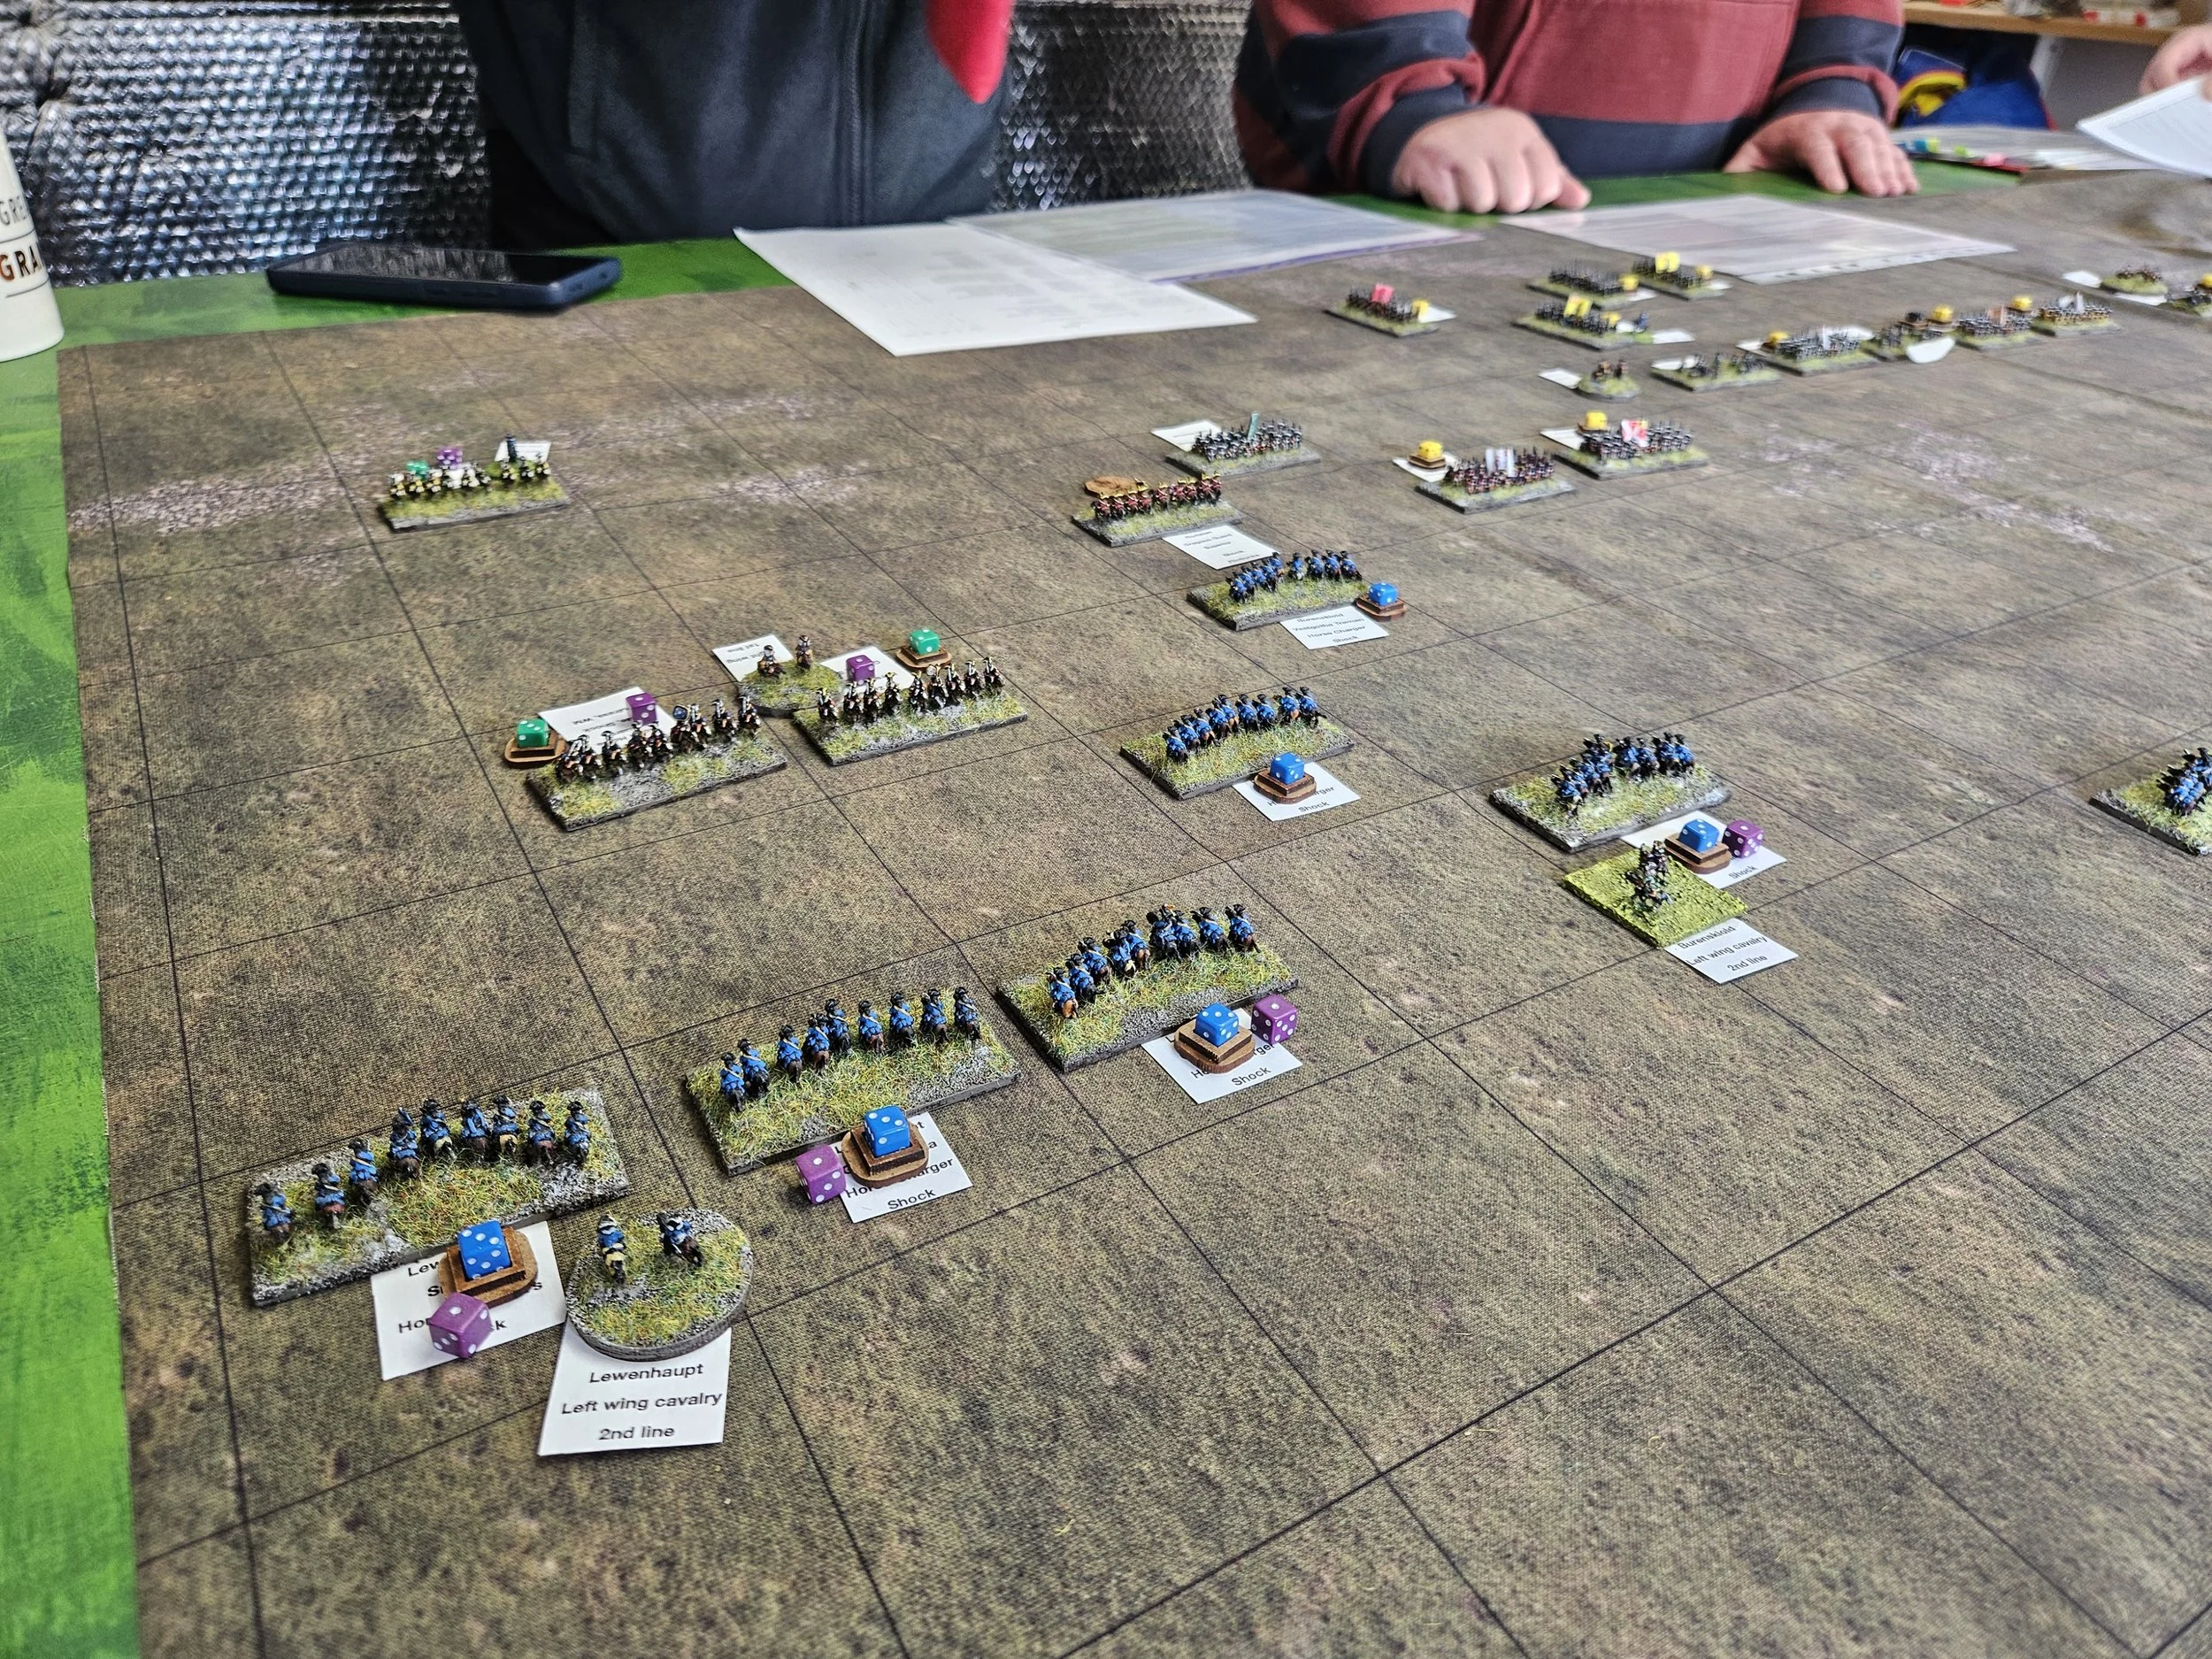
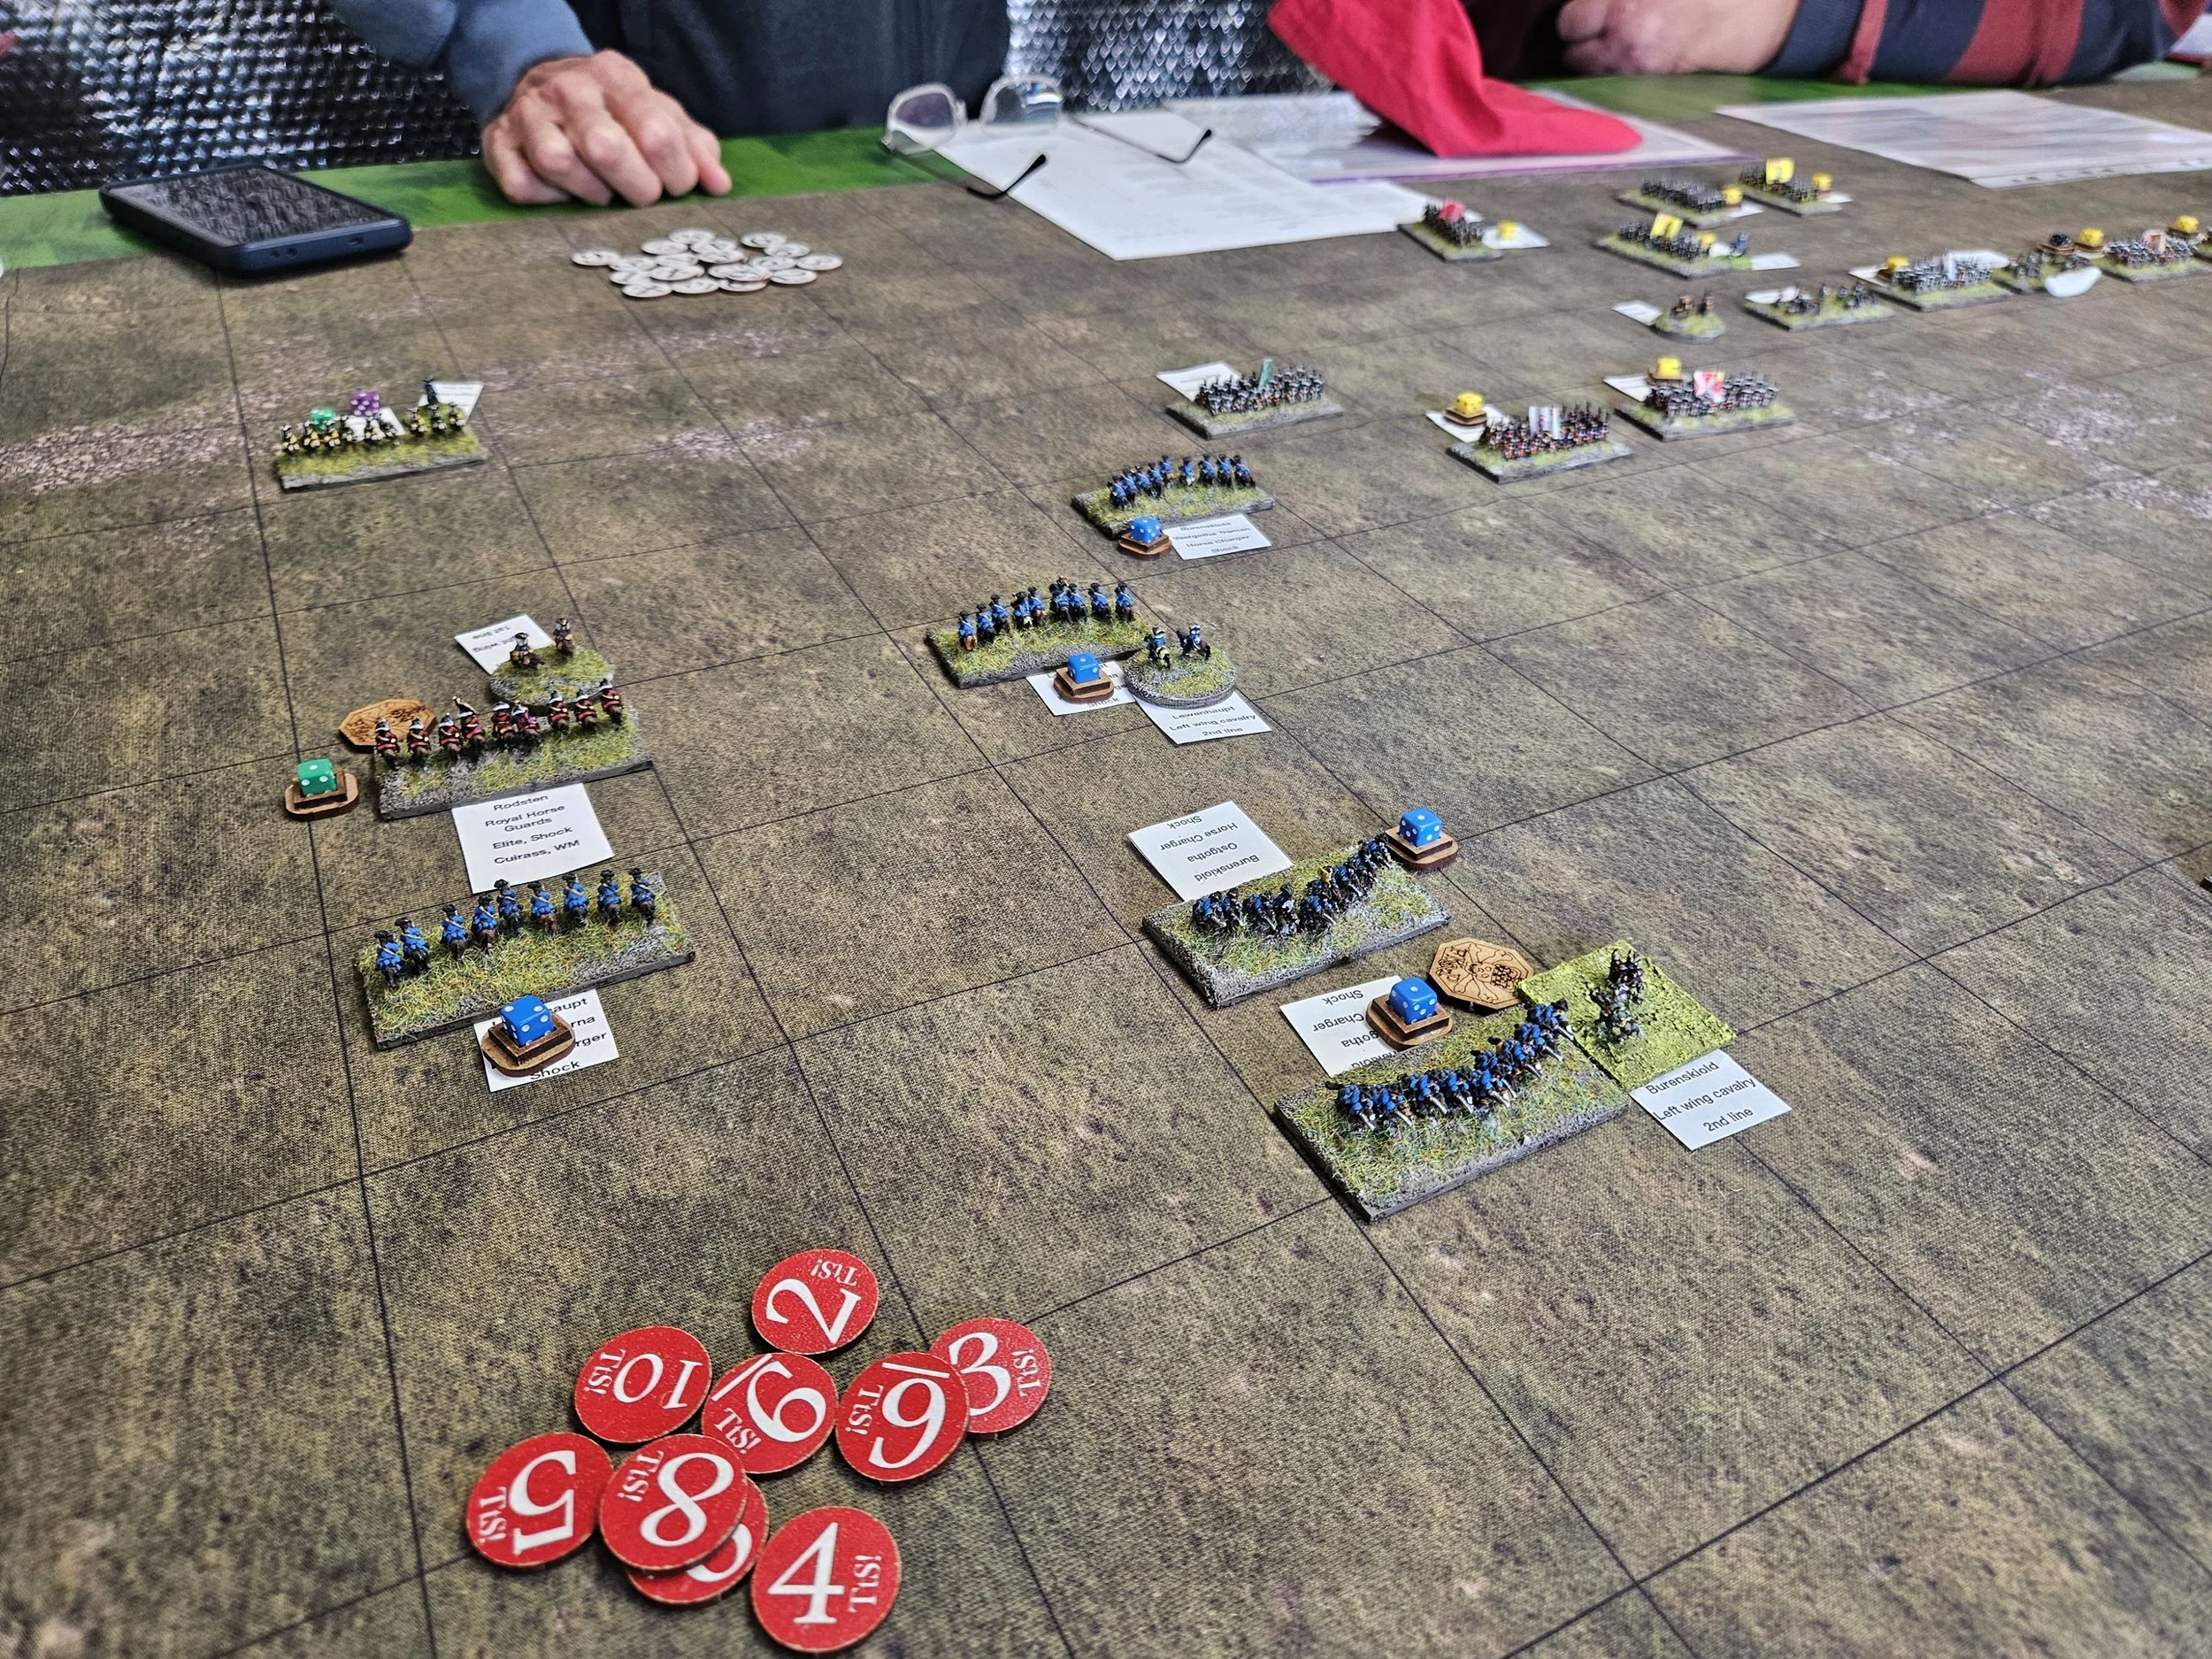
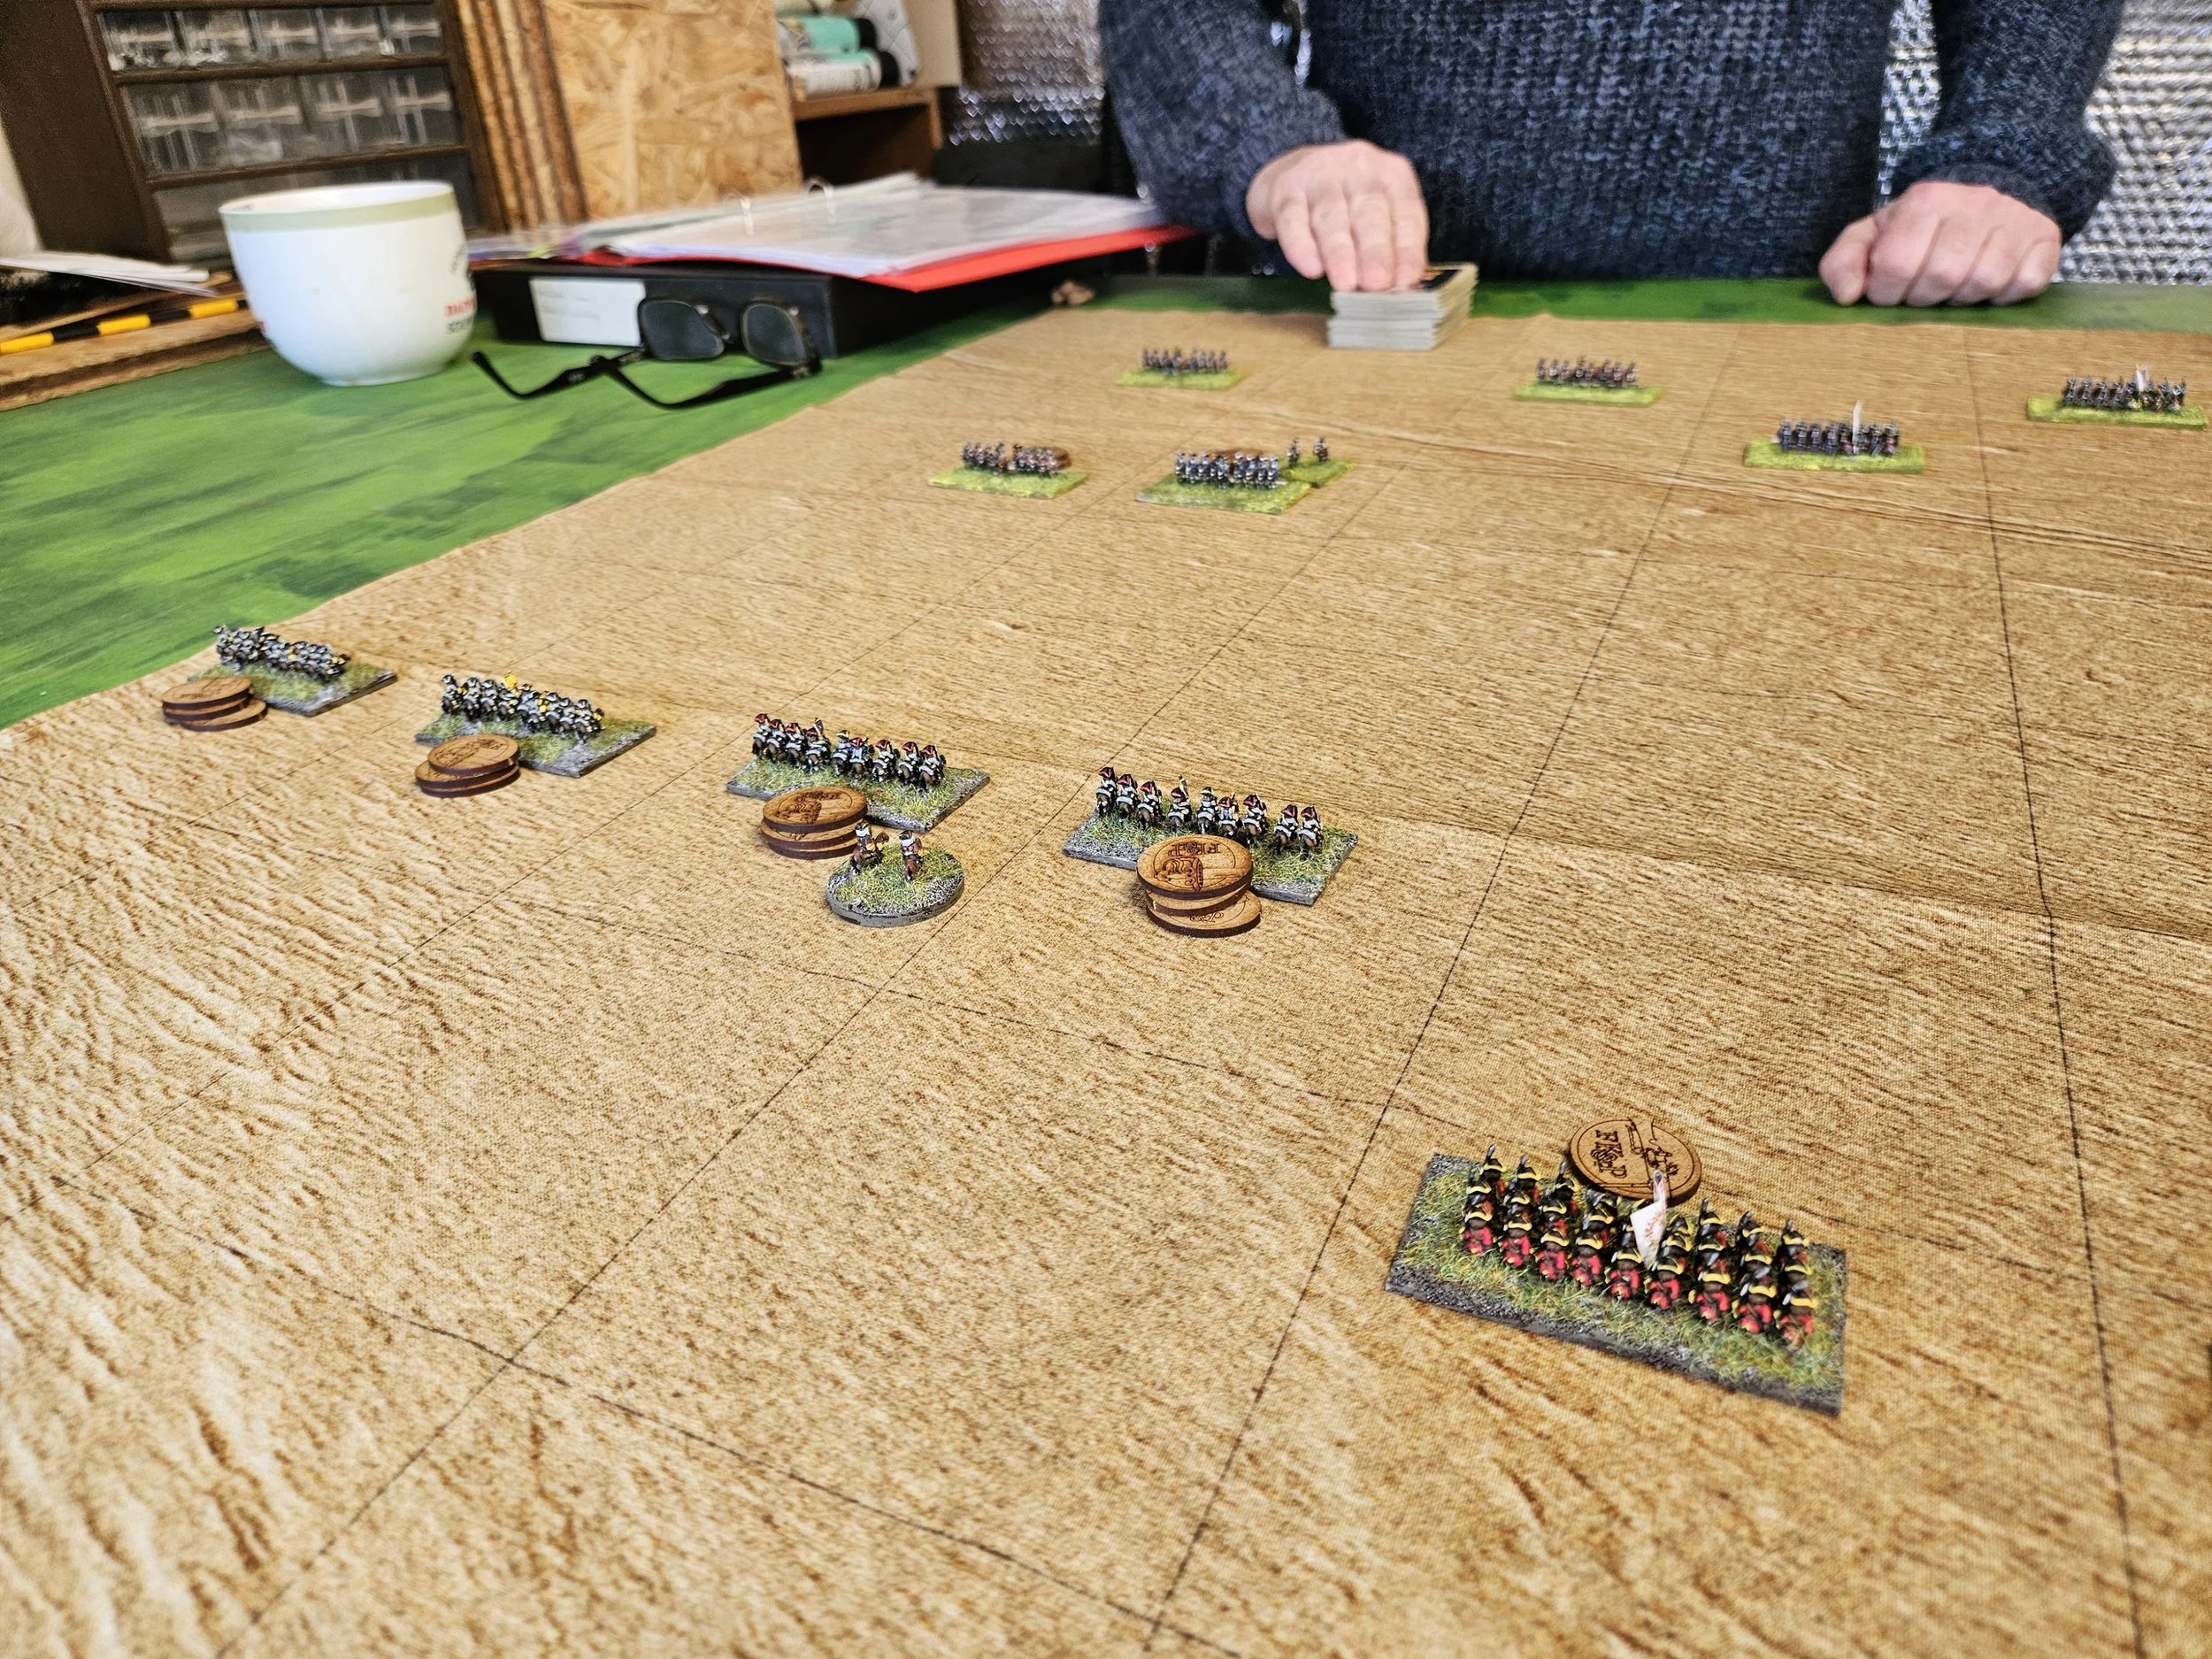
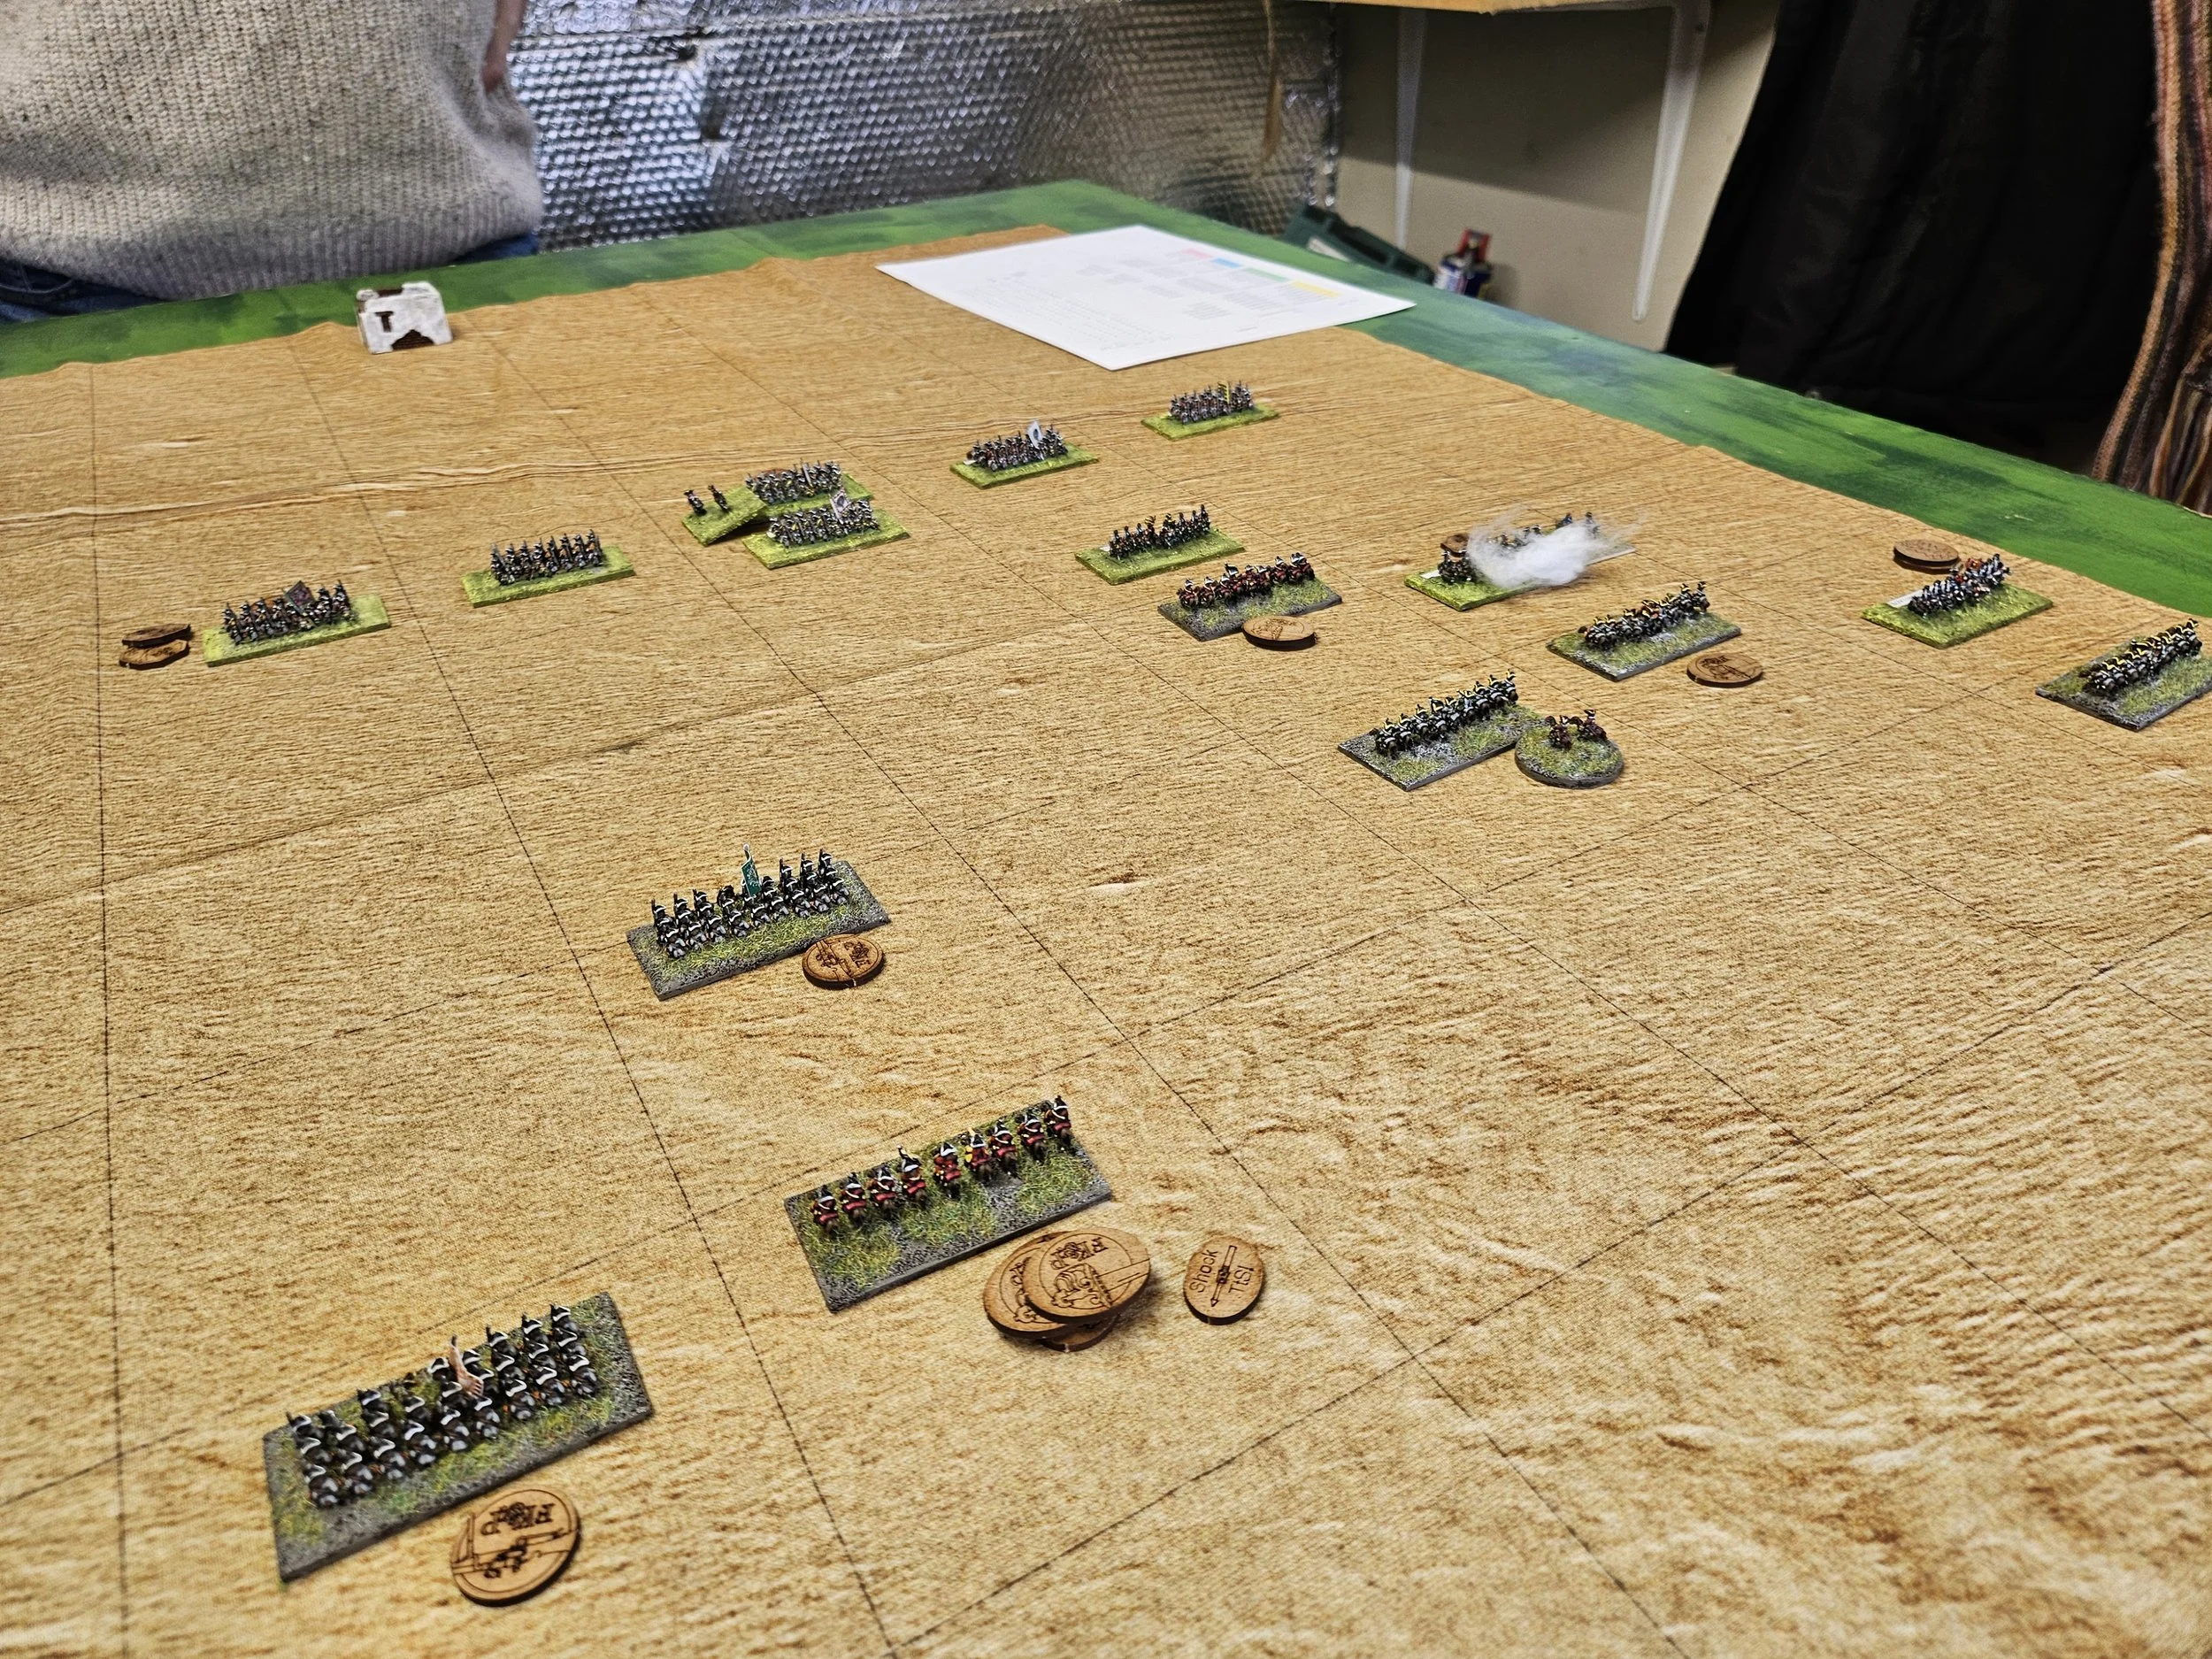
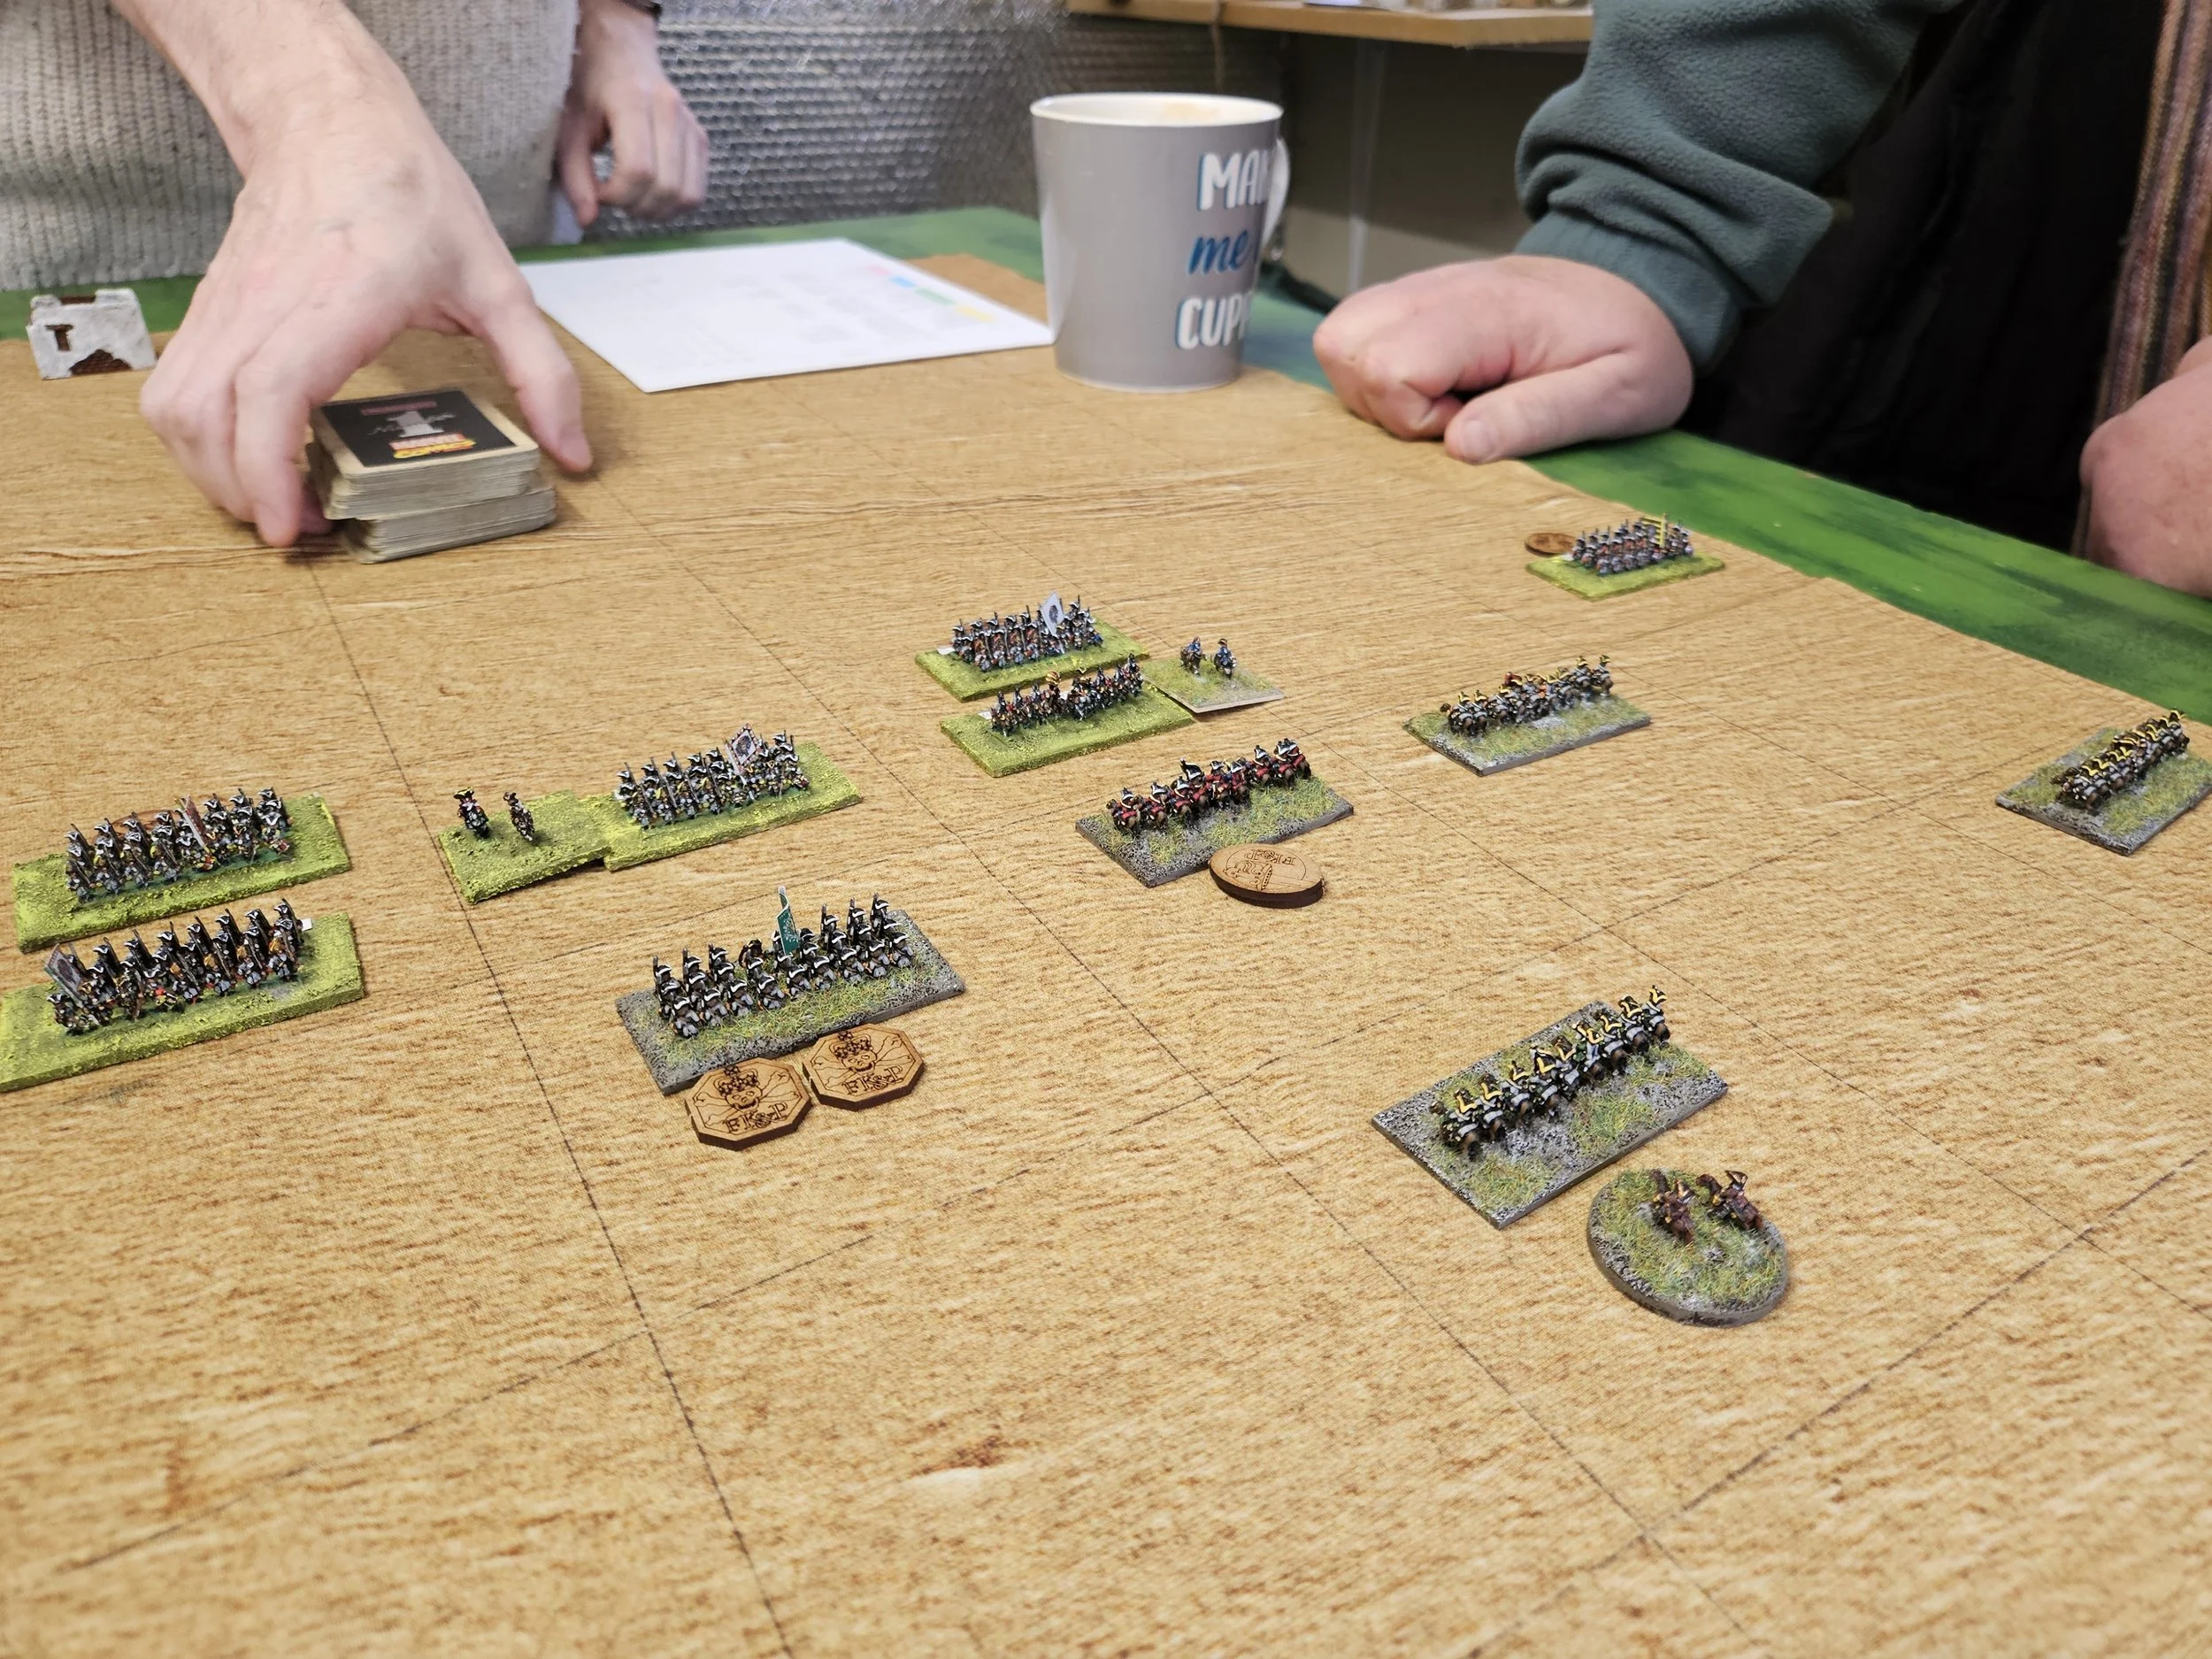
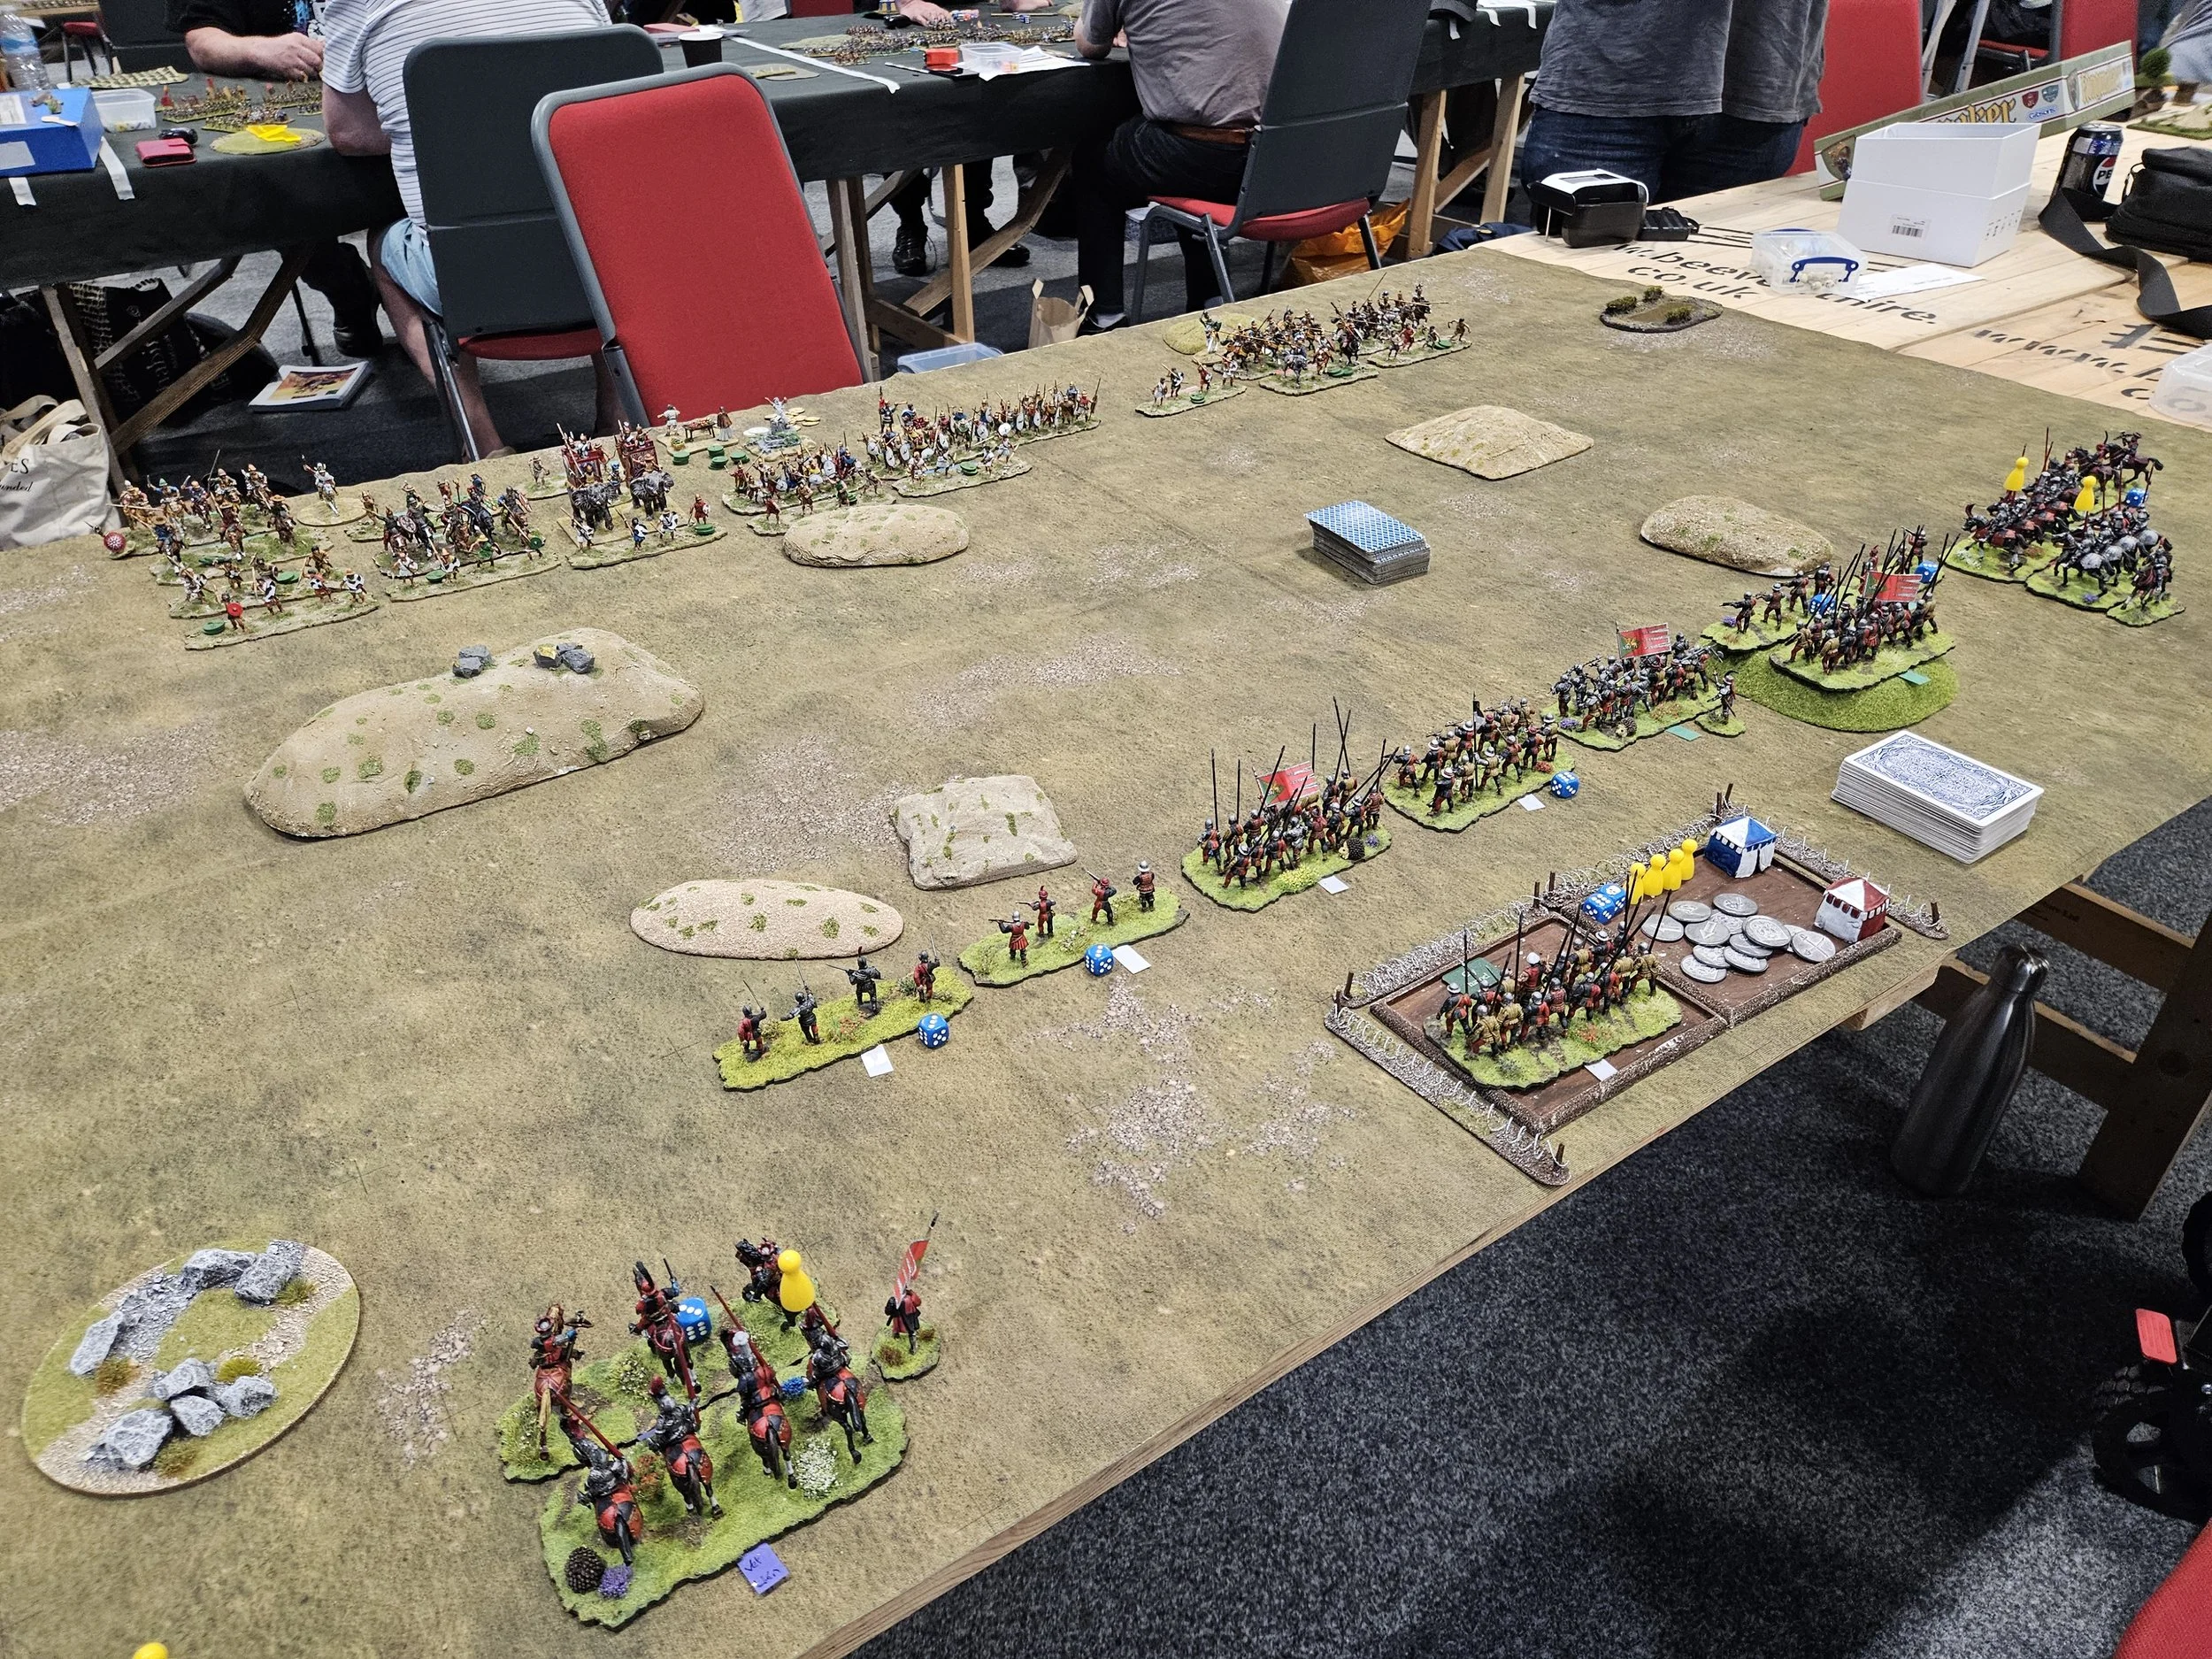
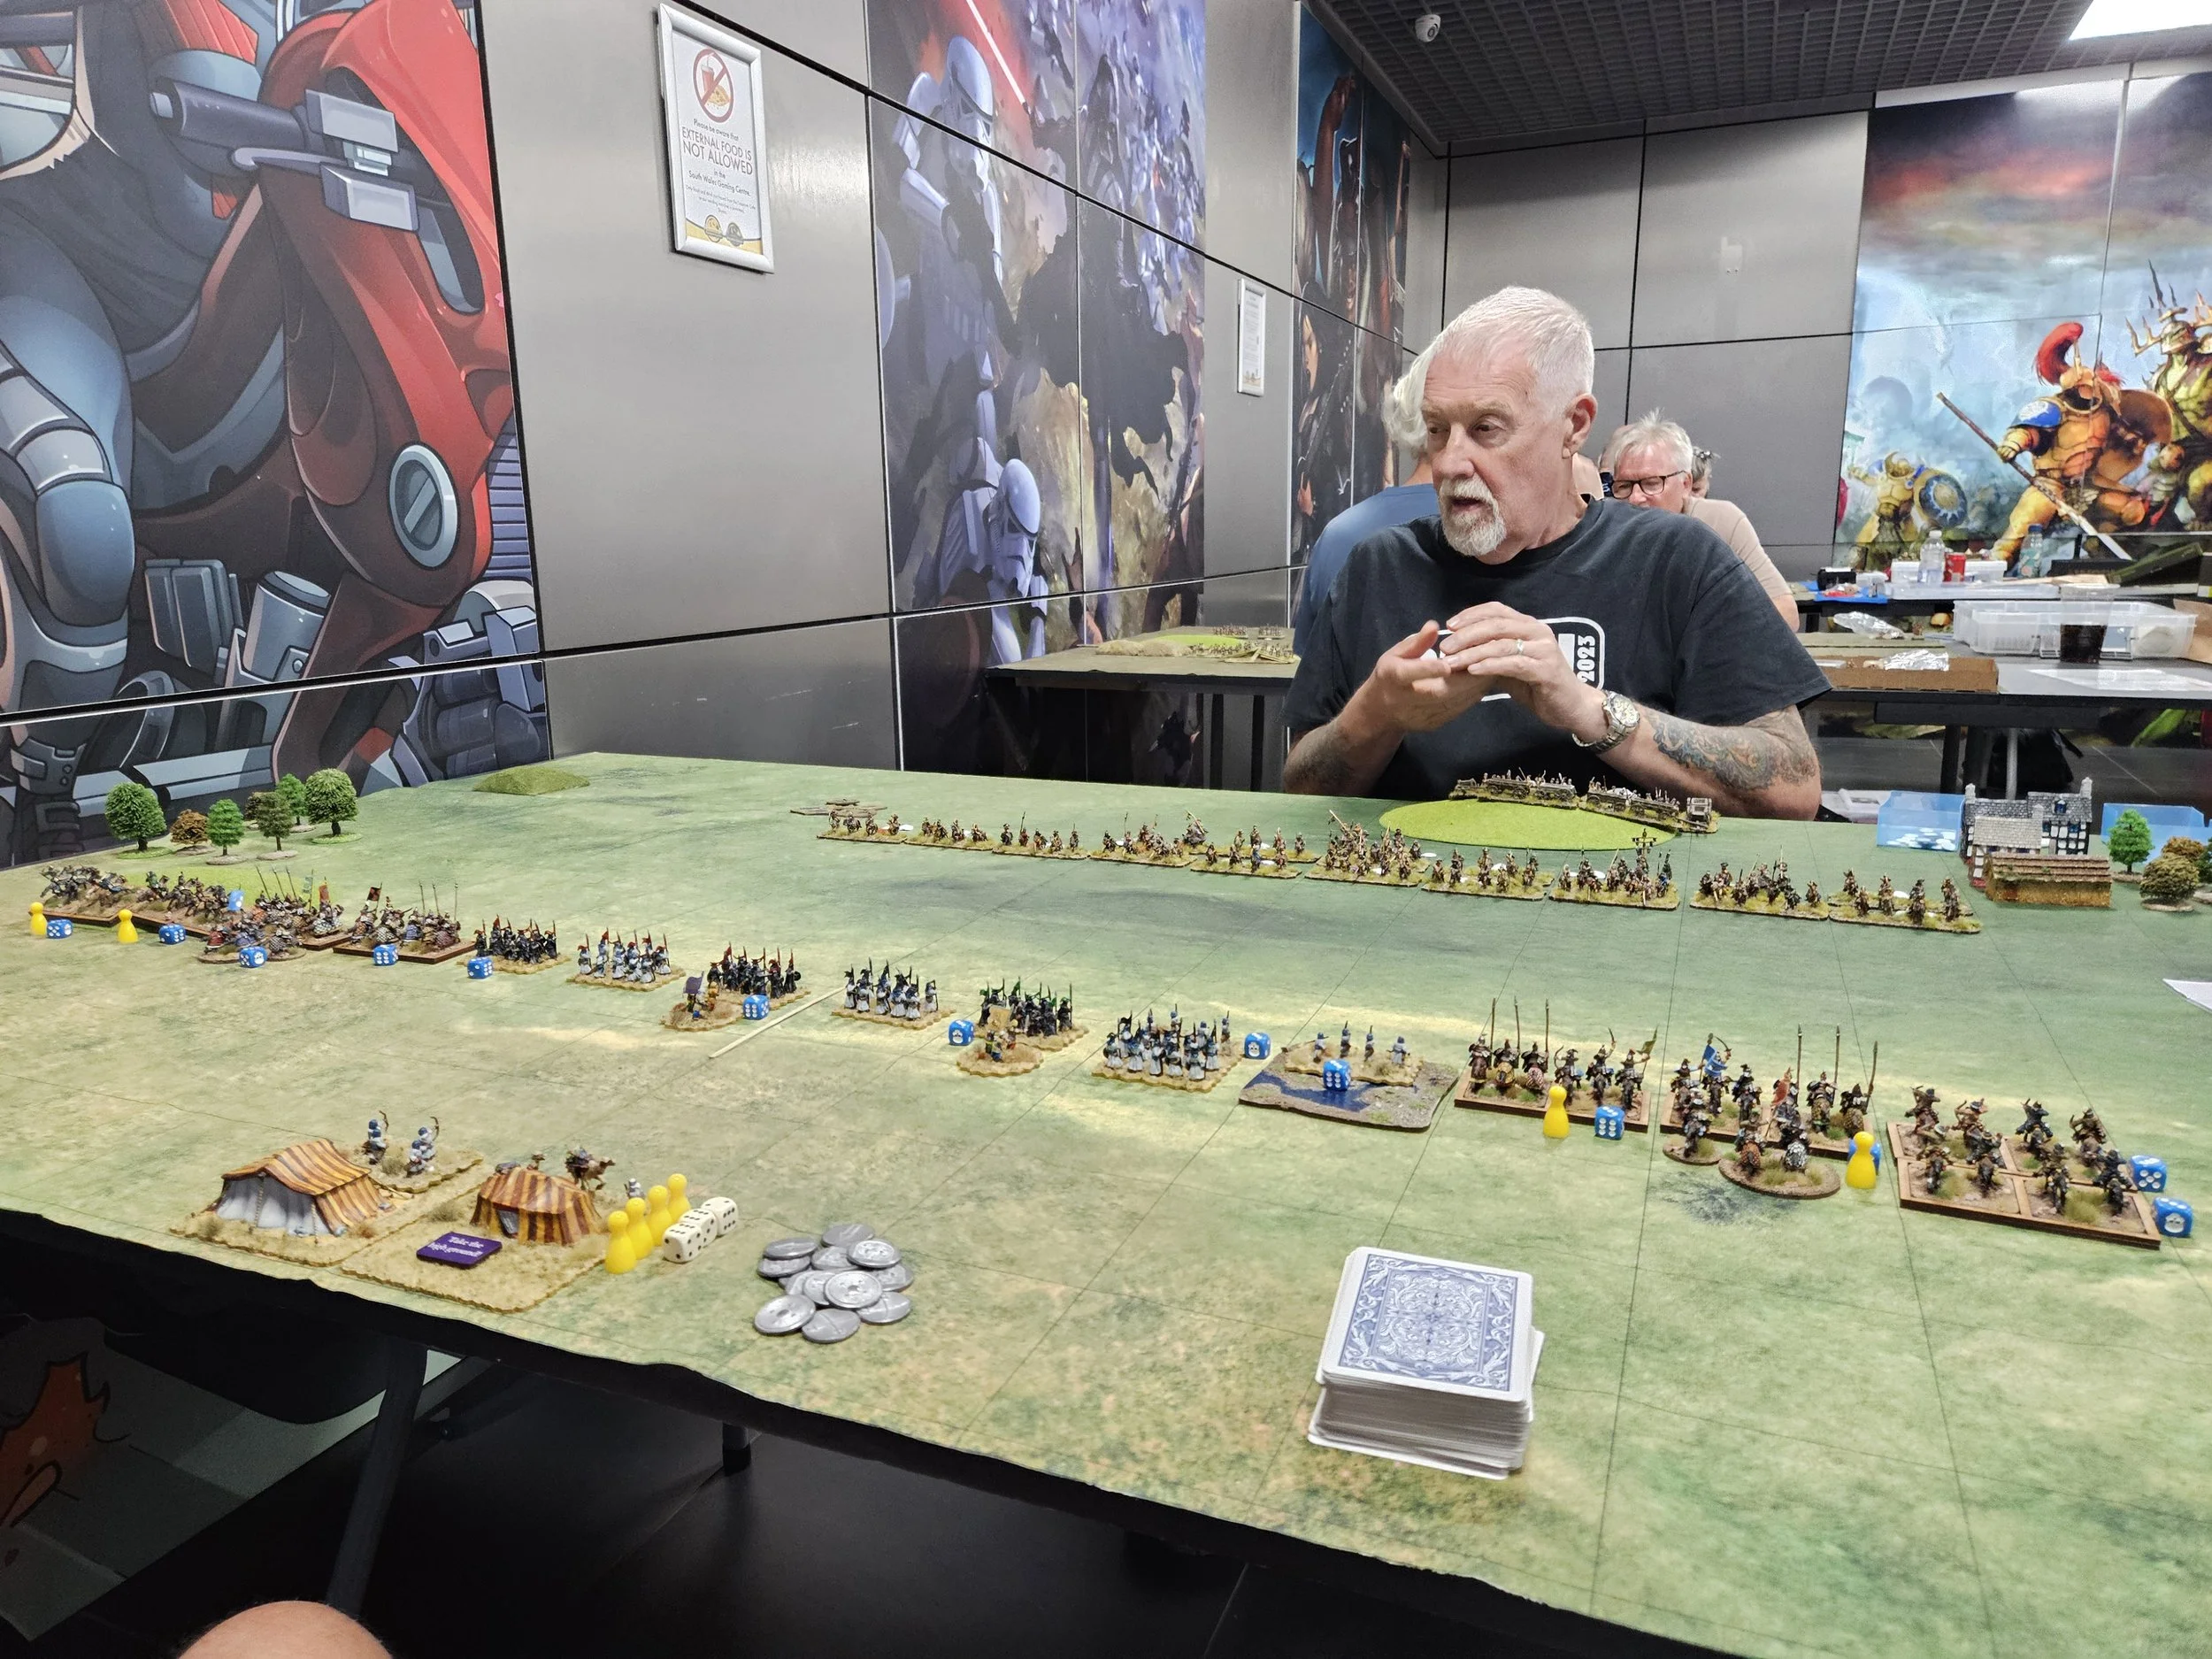
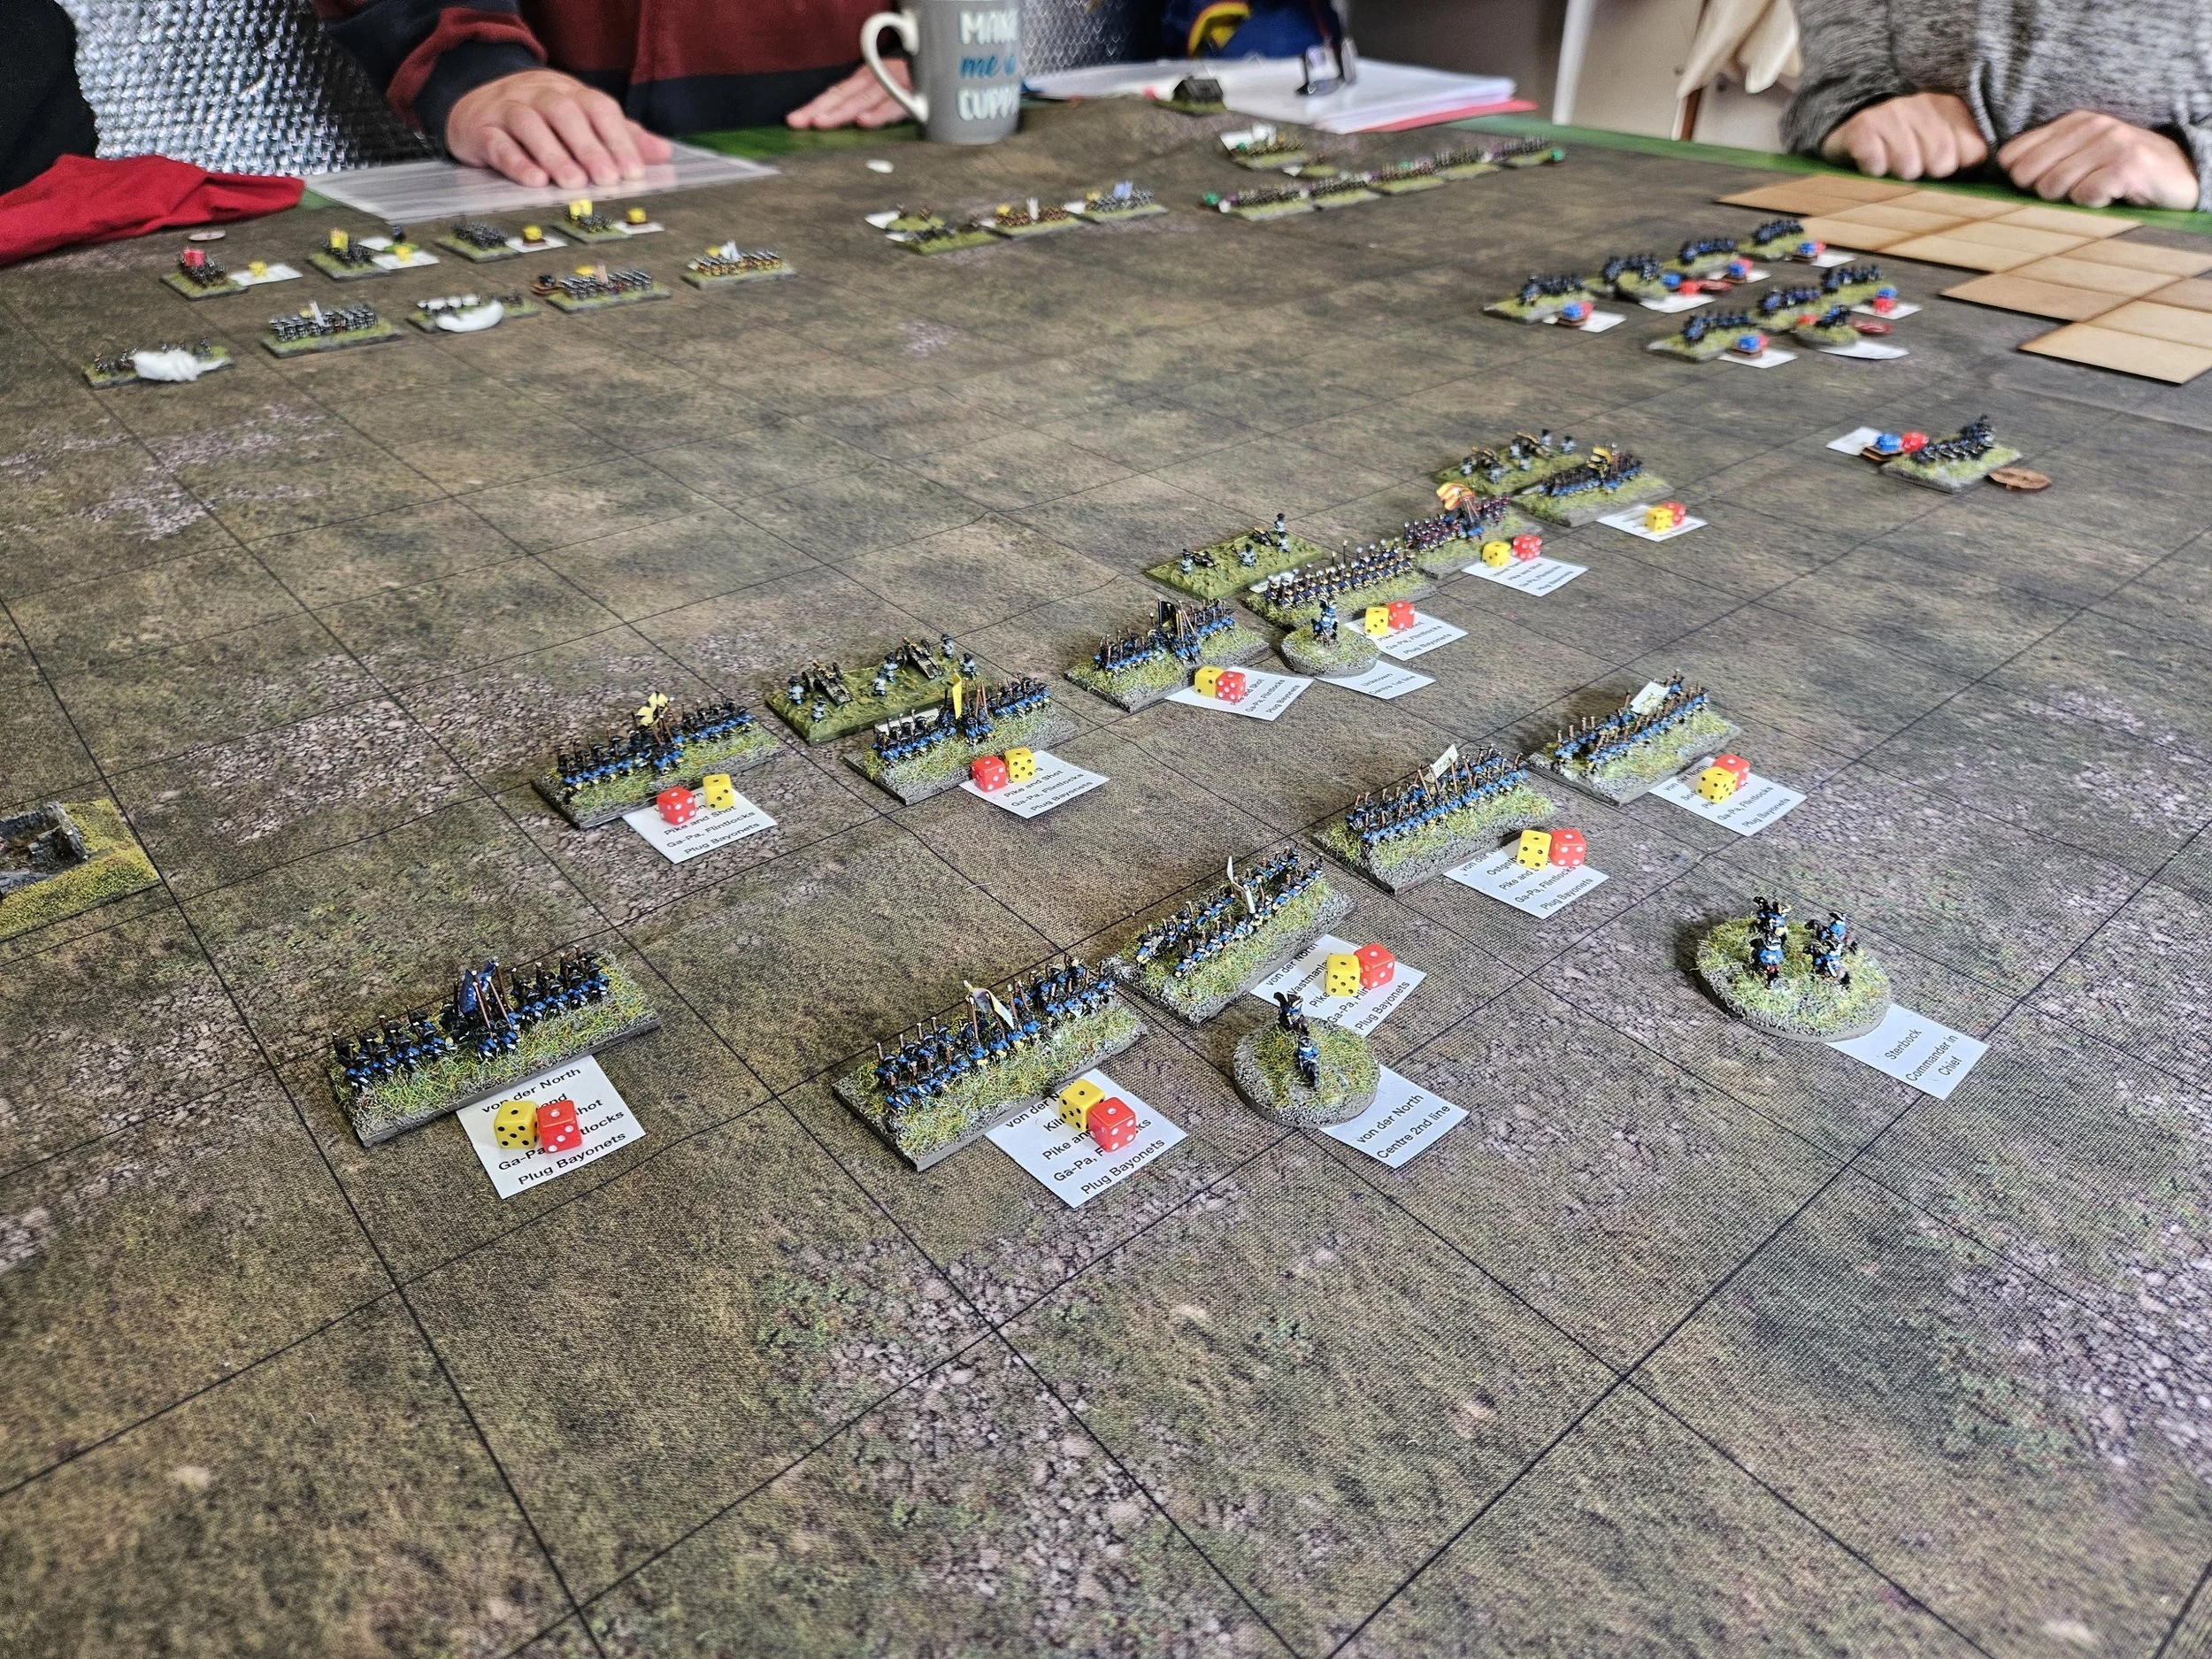
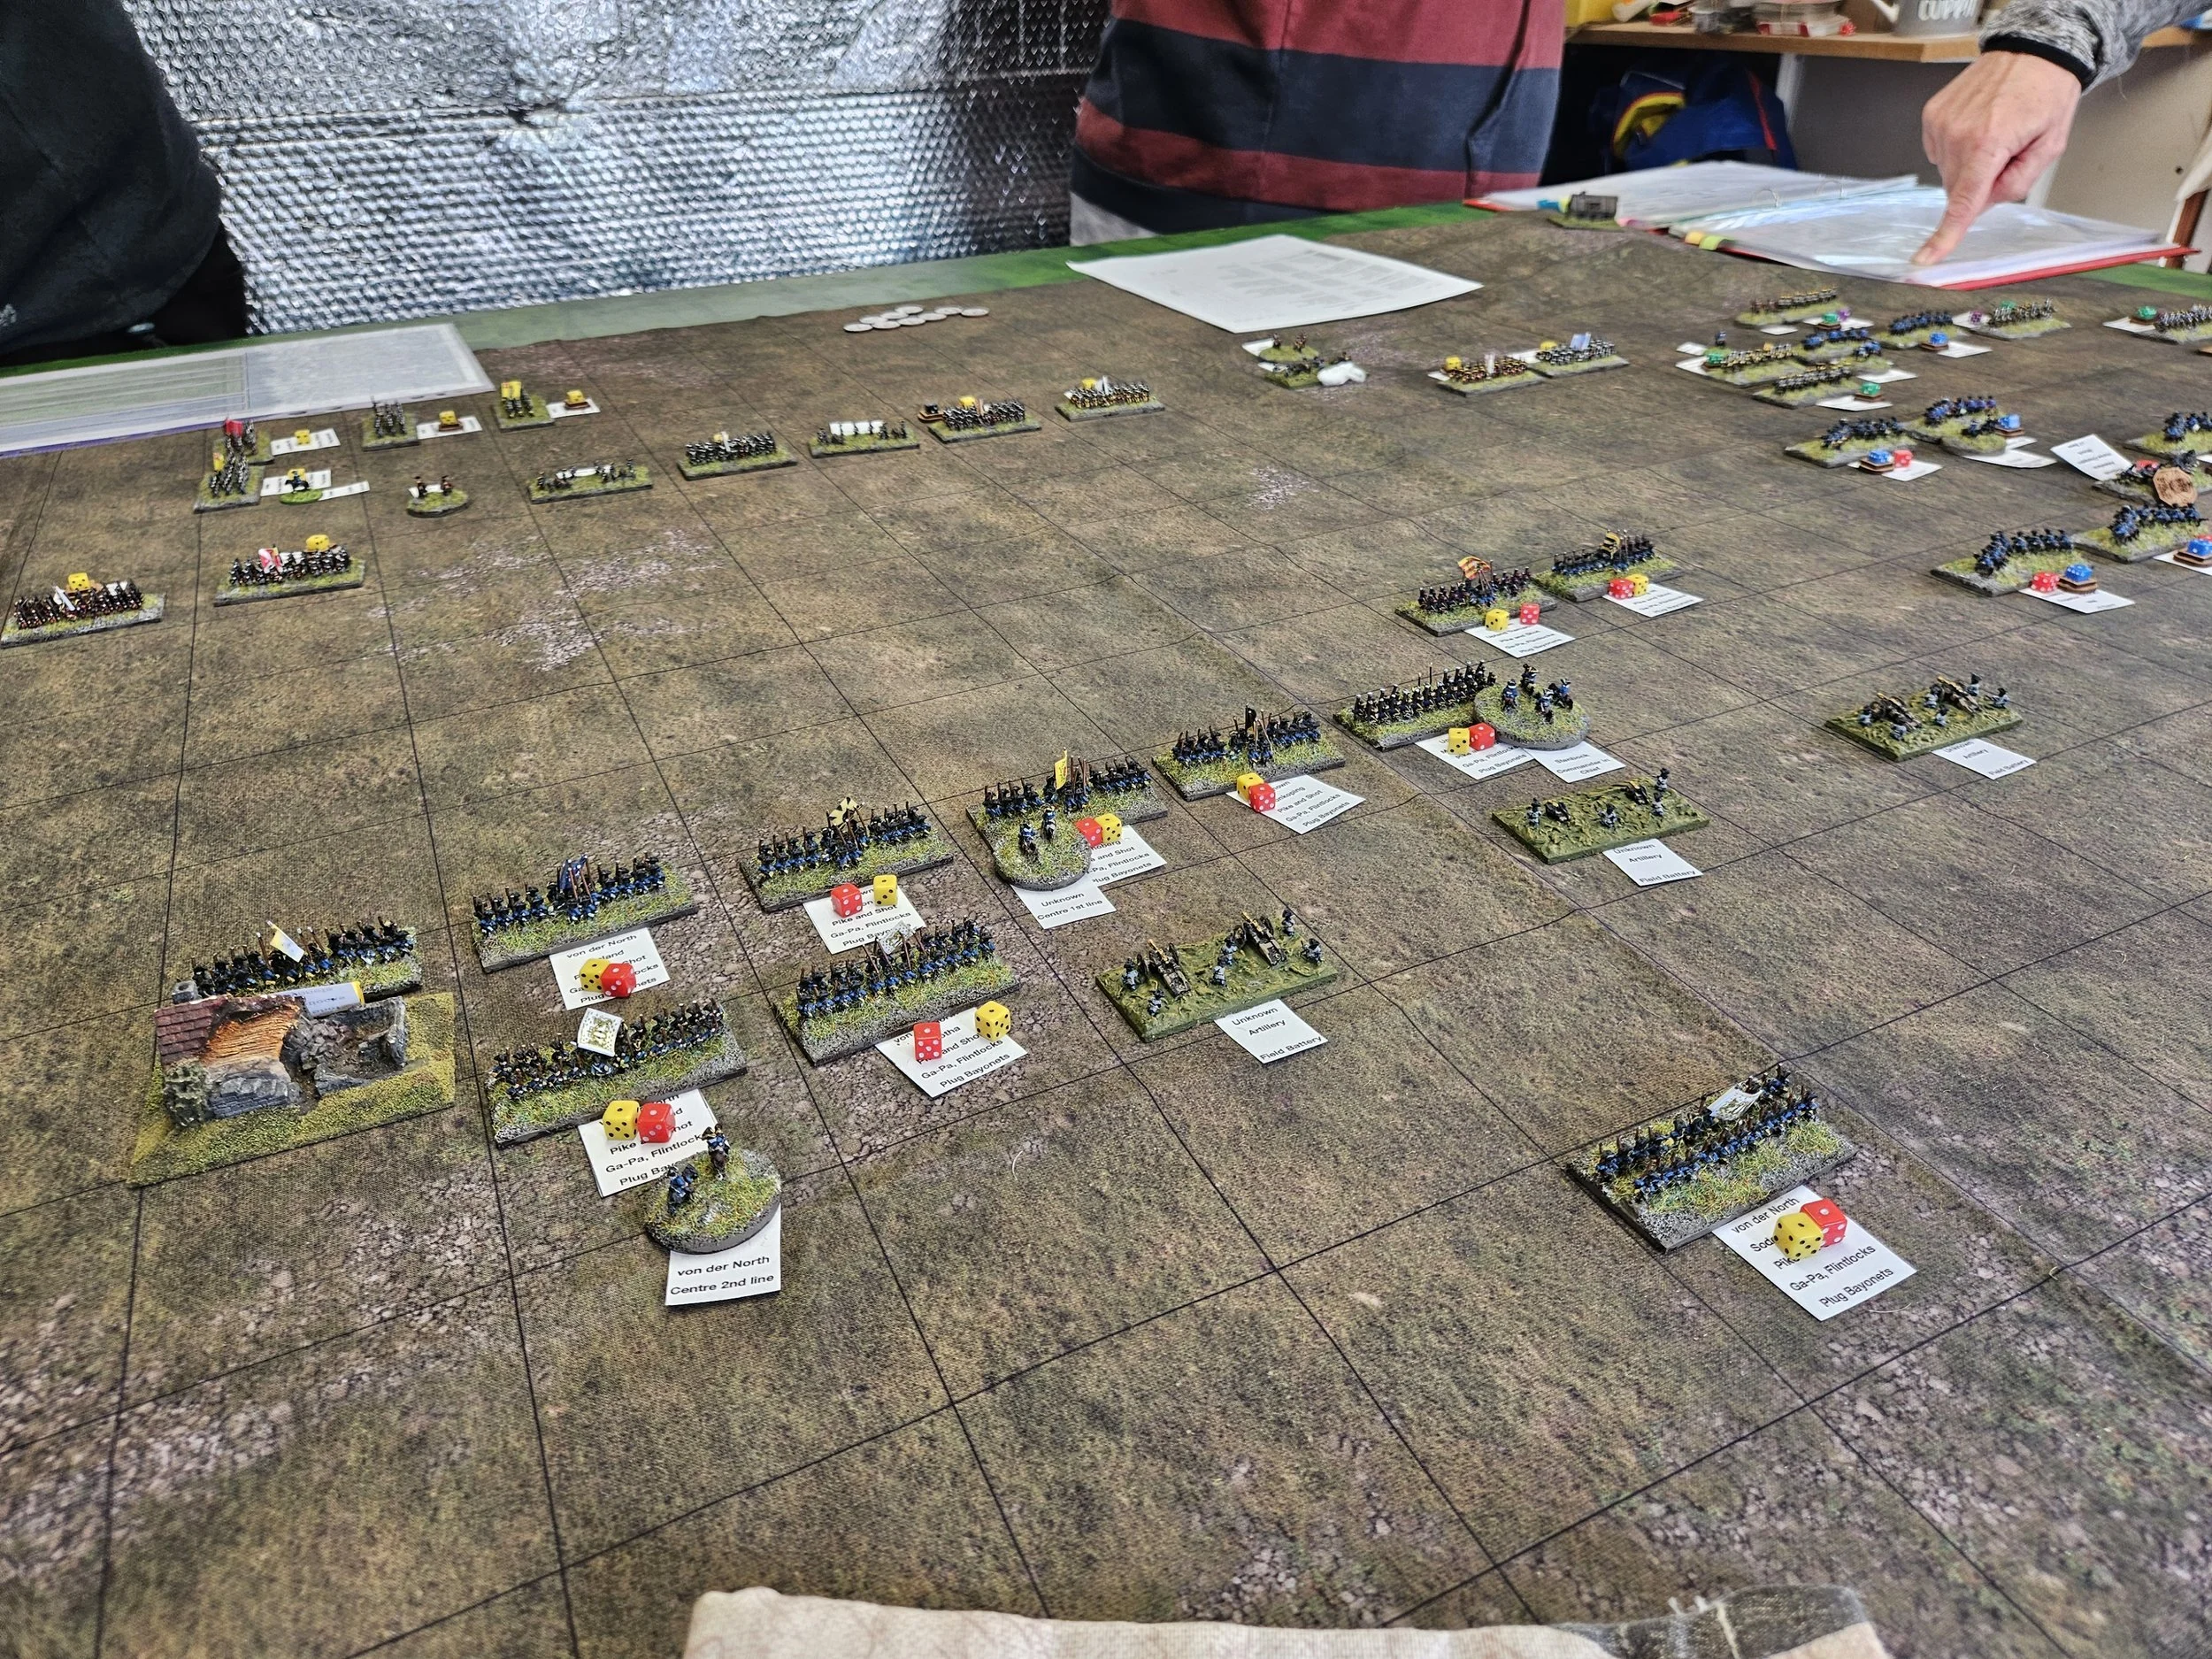
Meanwhile, in the centre, Dave was advancing his infantry ponderously towards the enemy as I attempted to squeeze my foot around to the left.
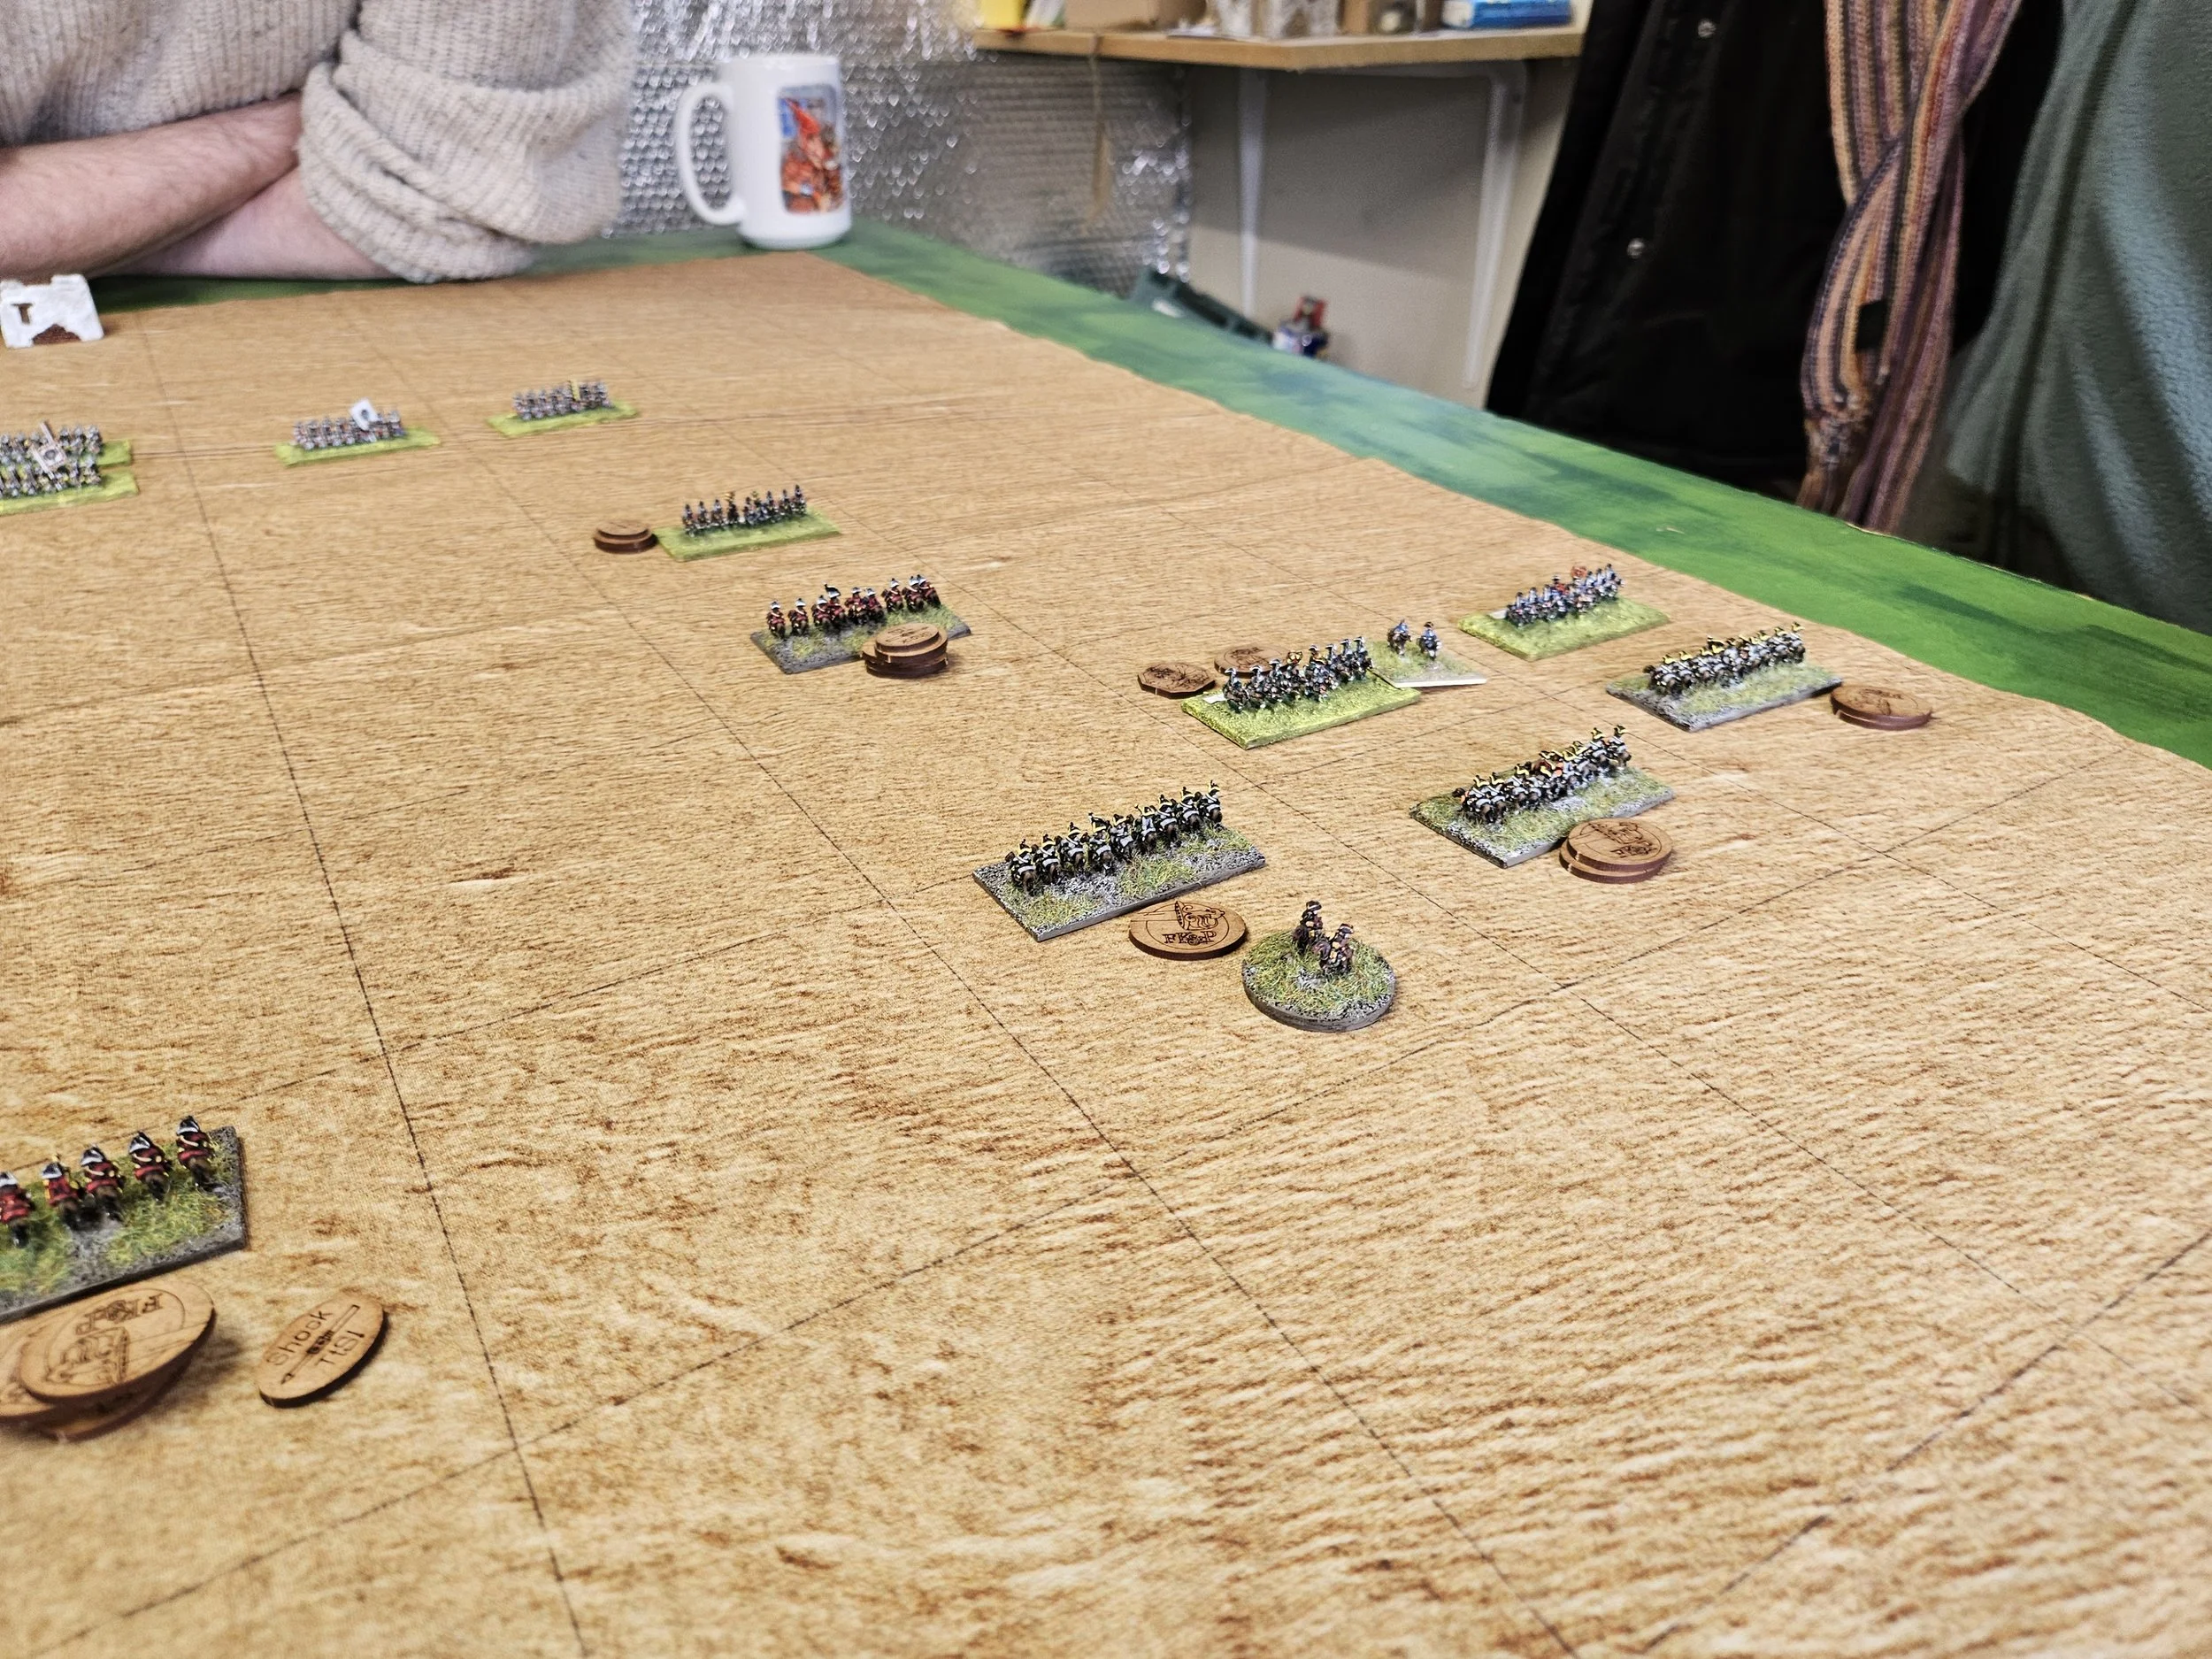
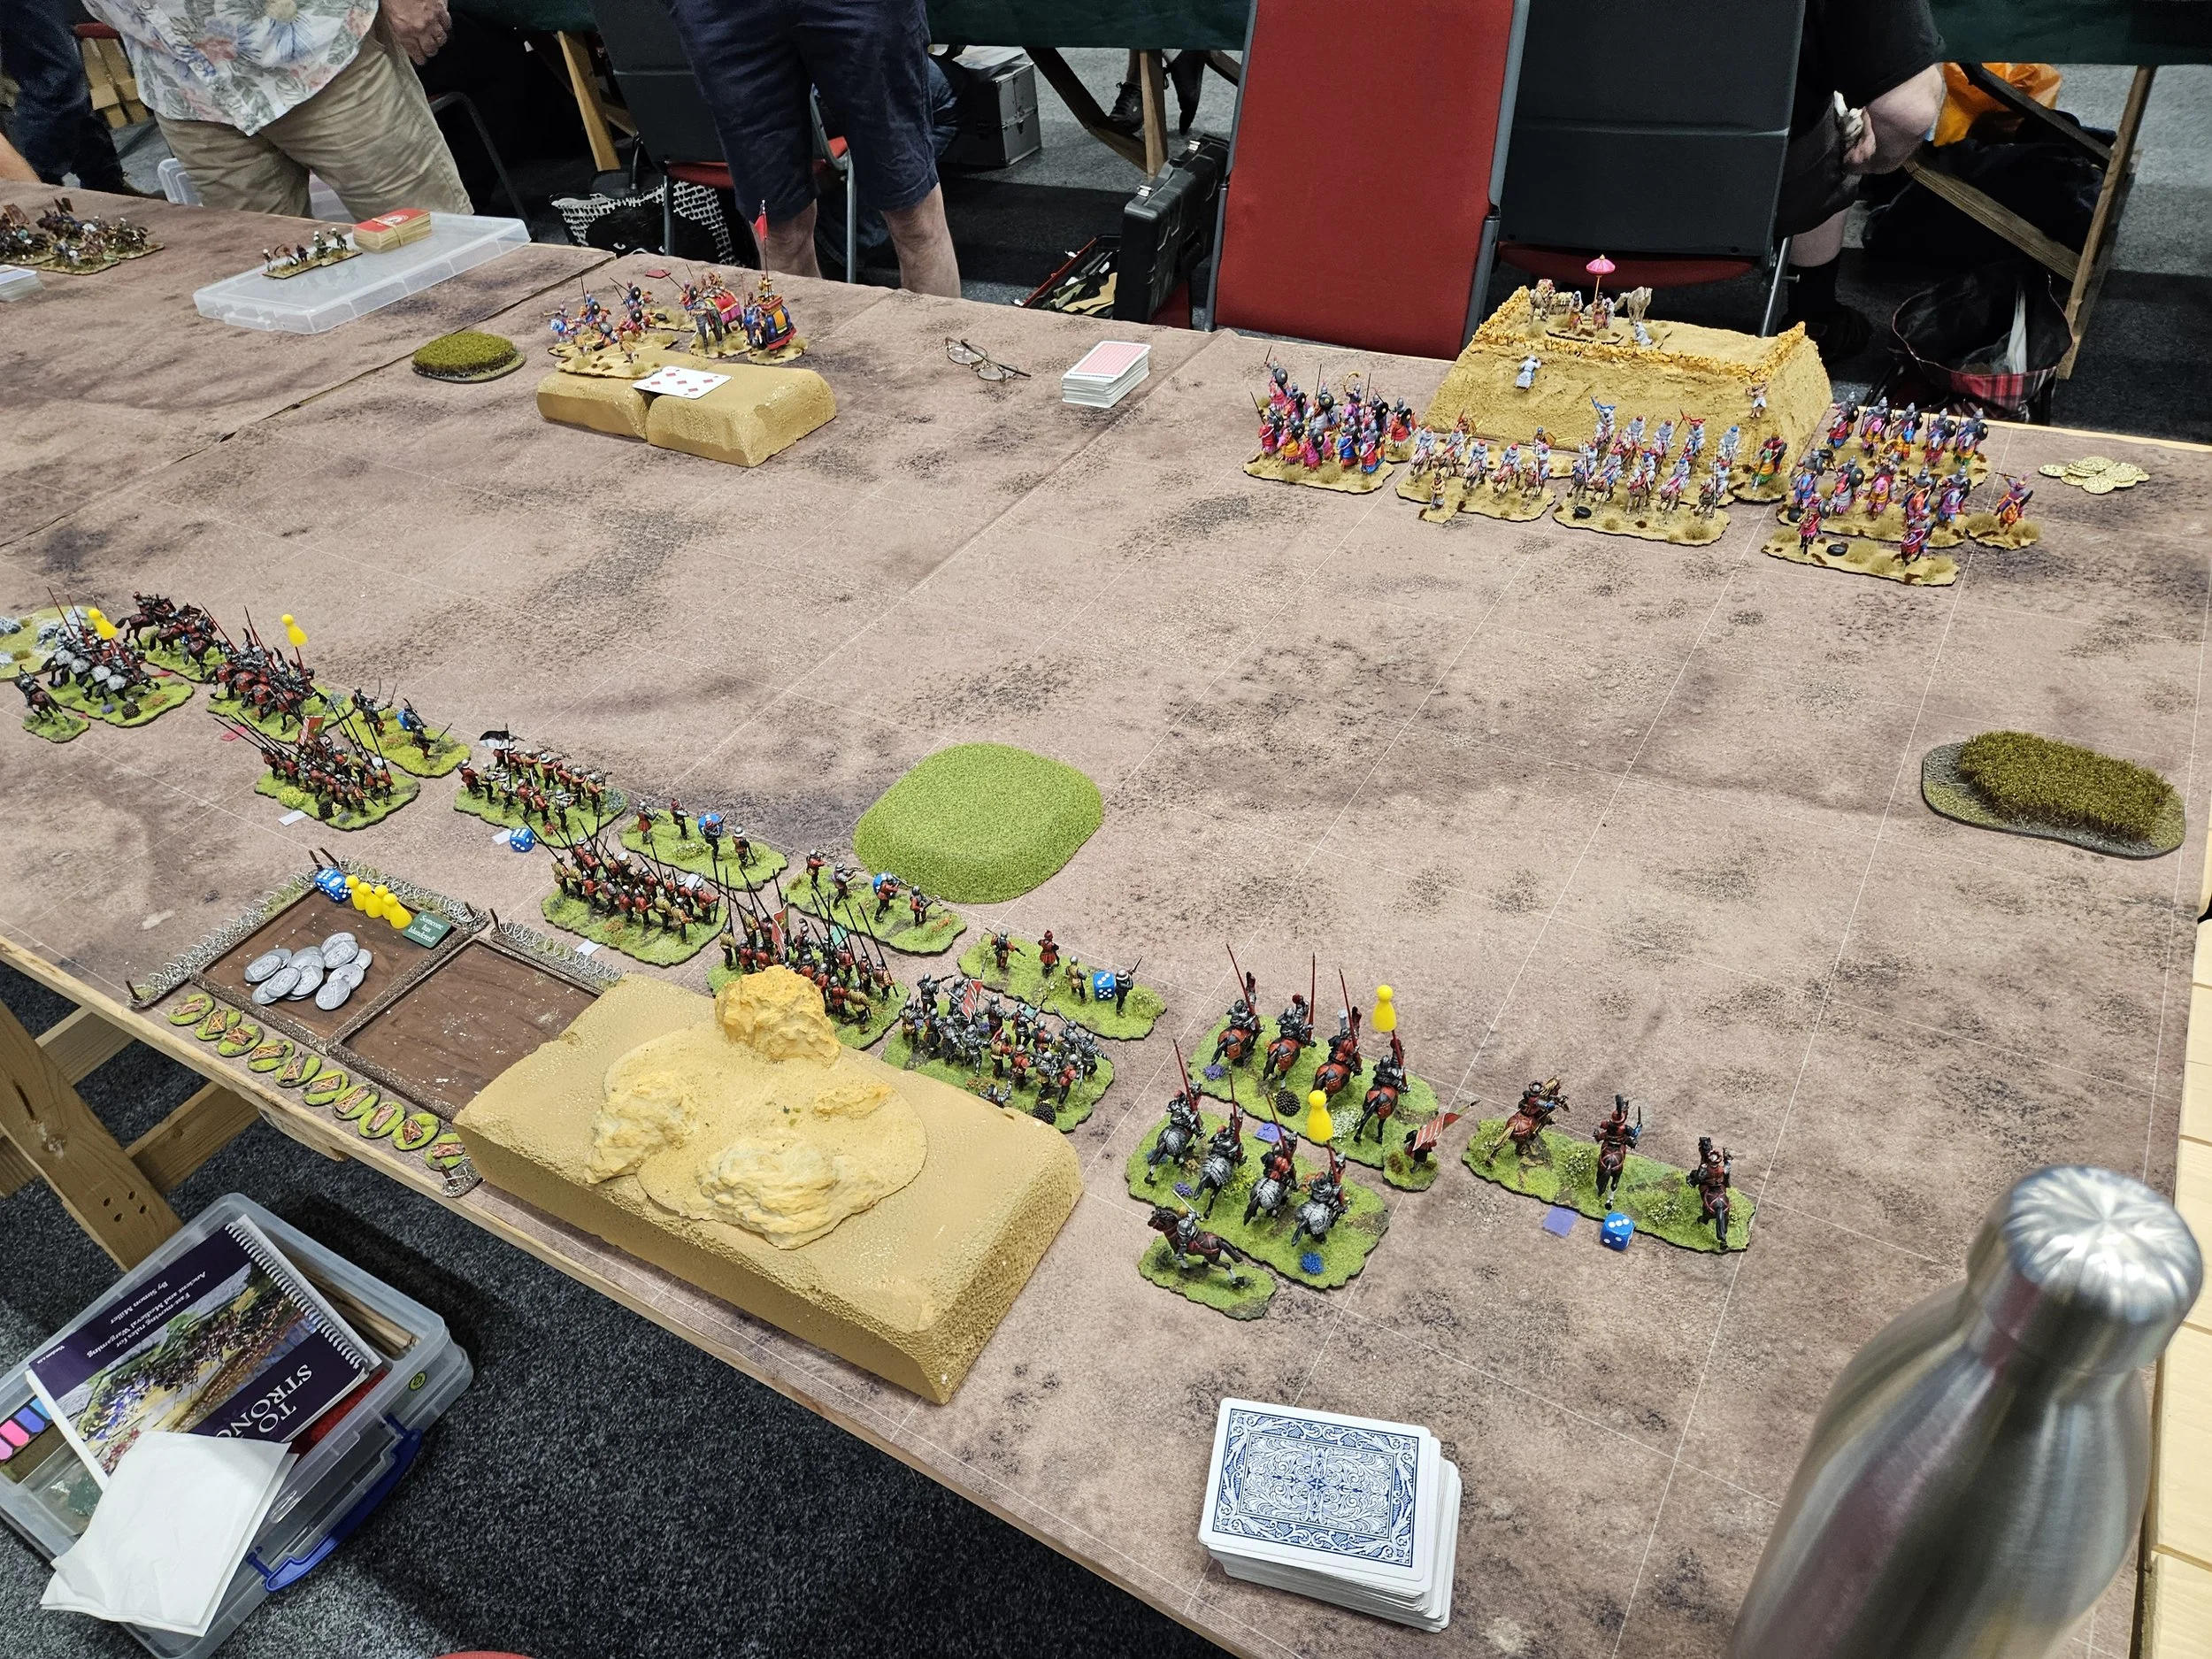
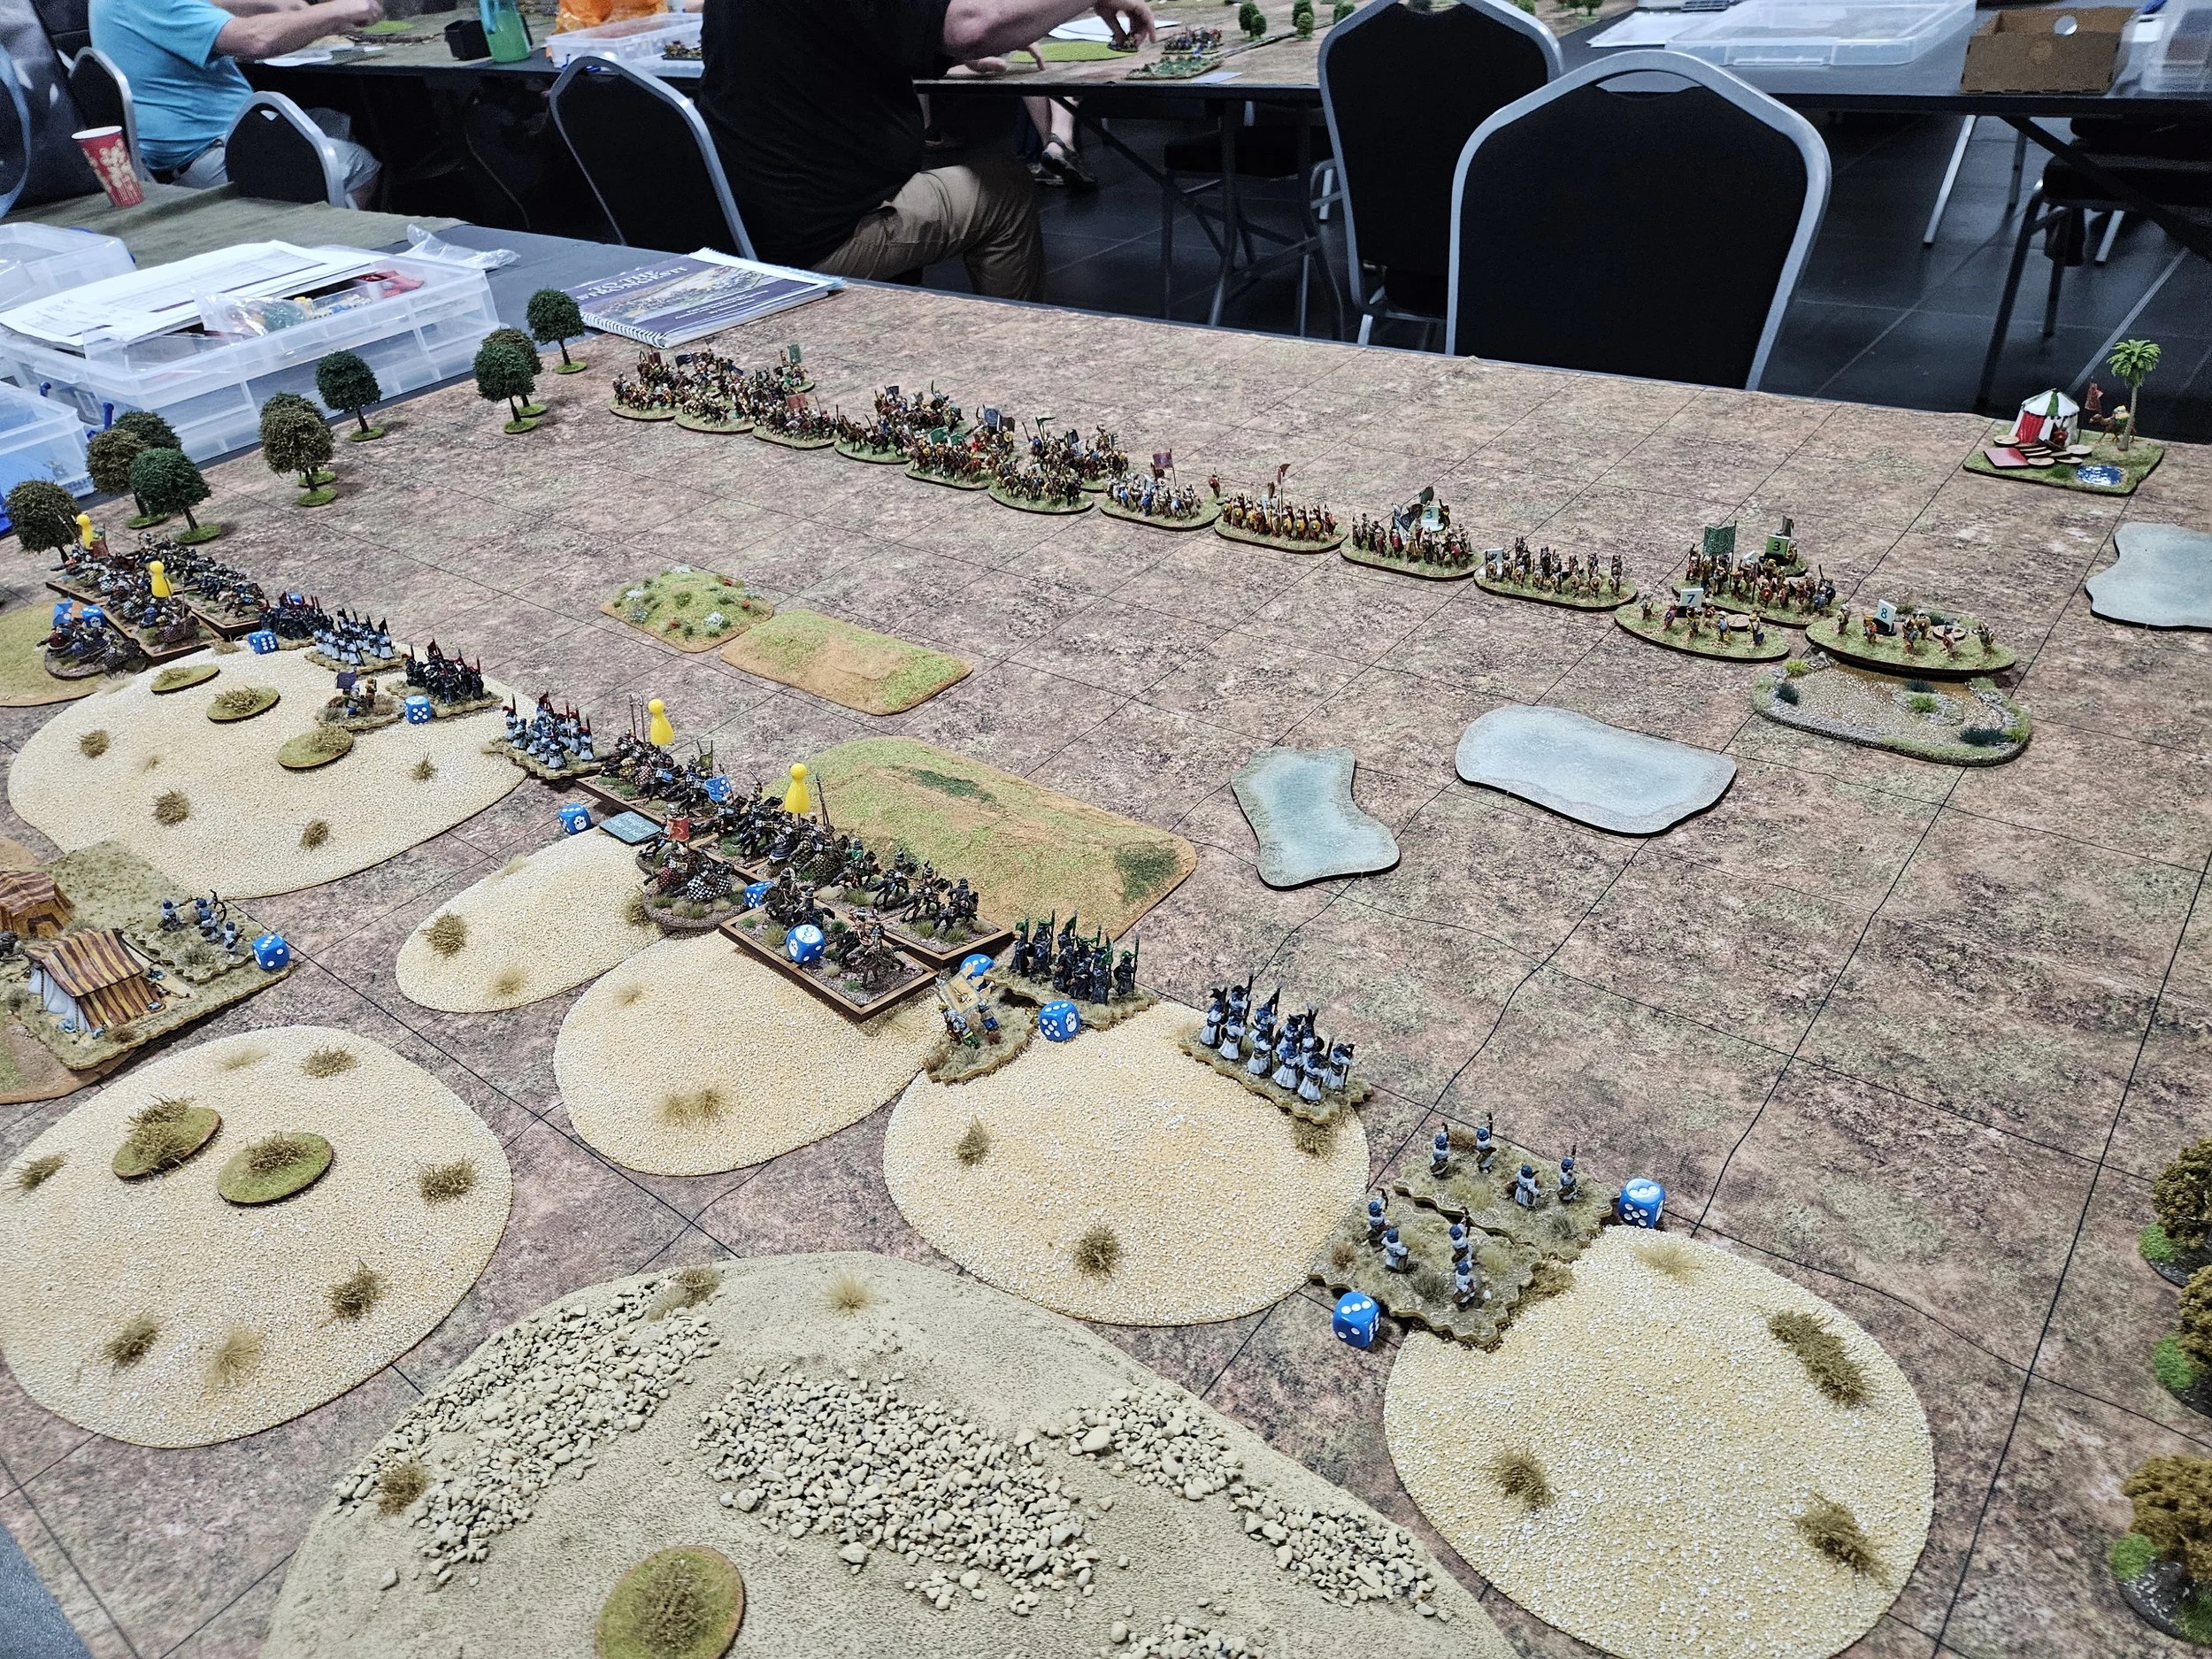
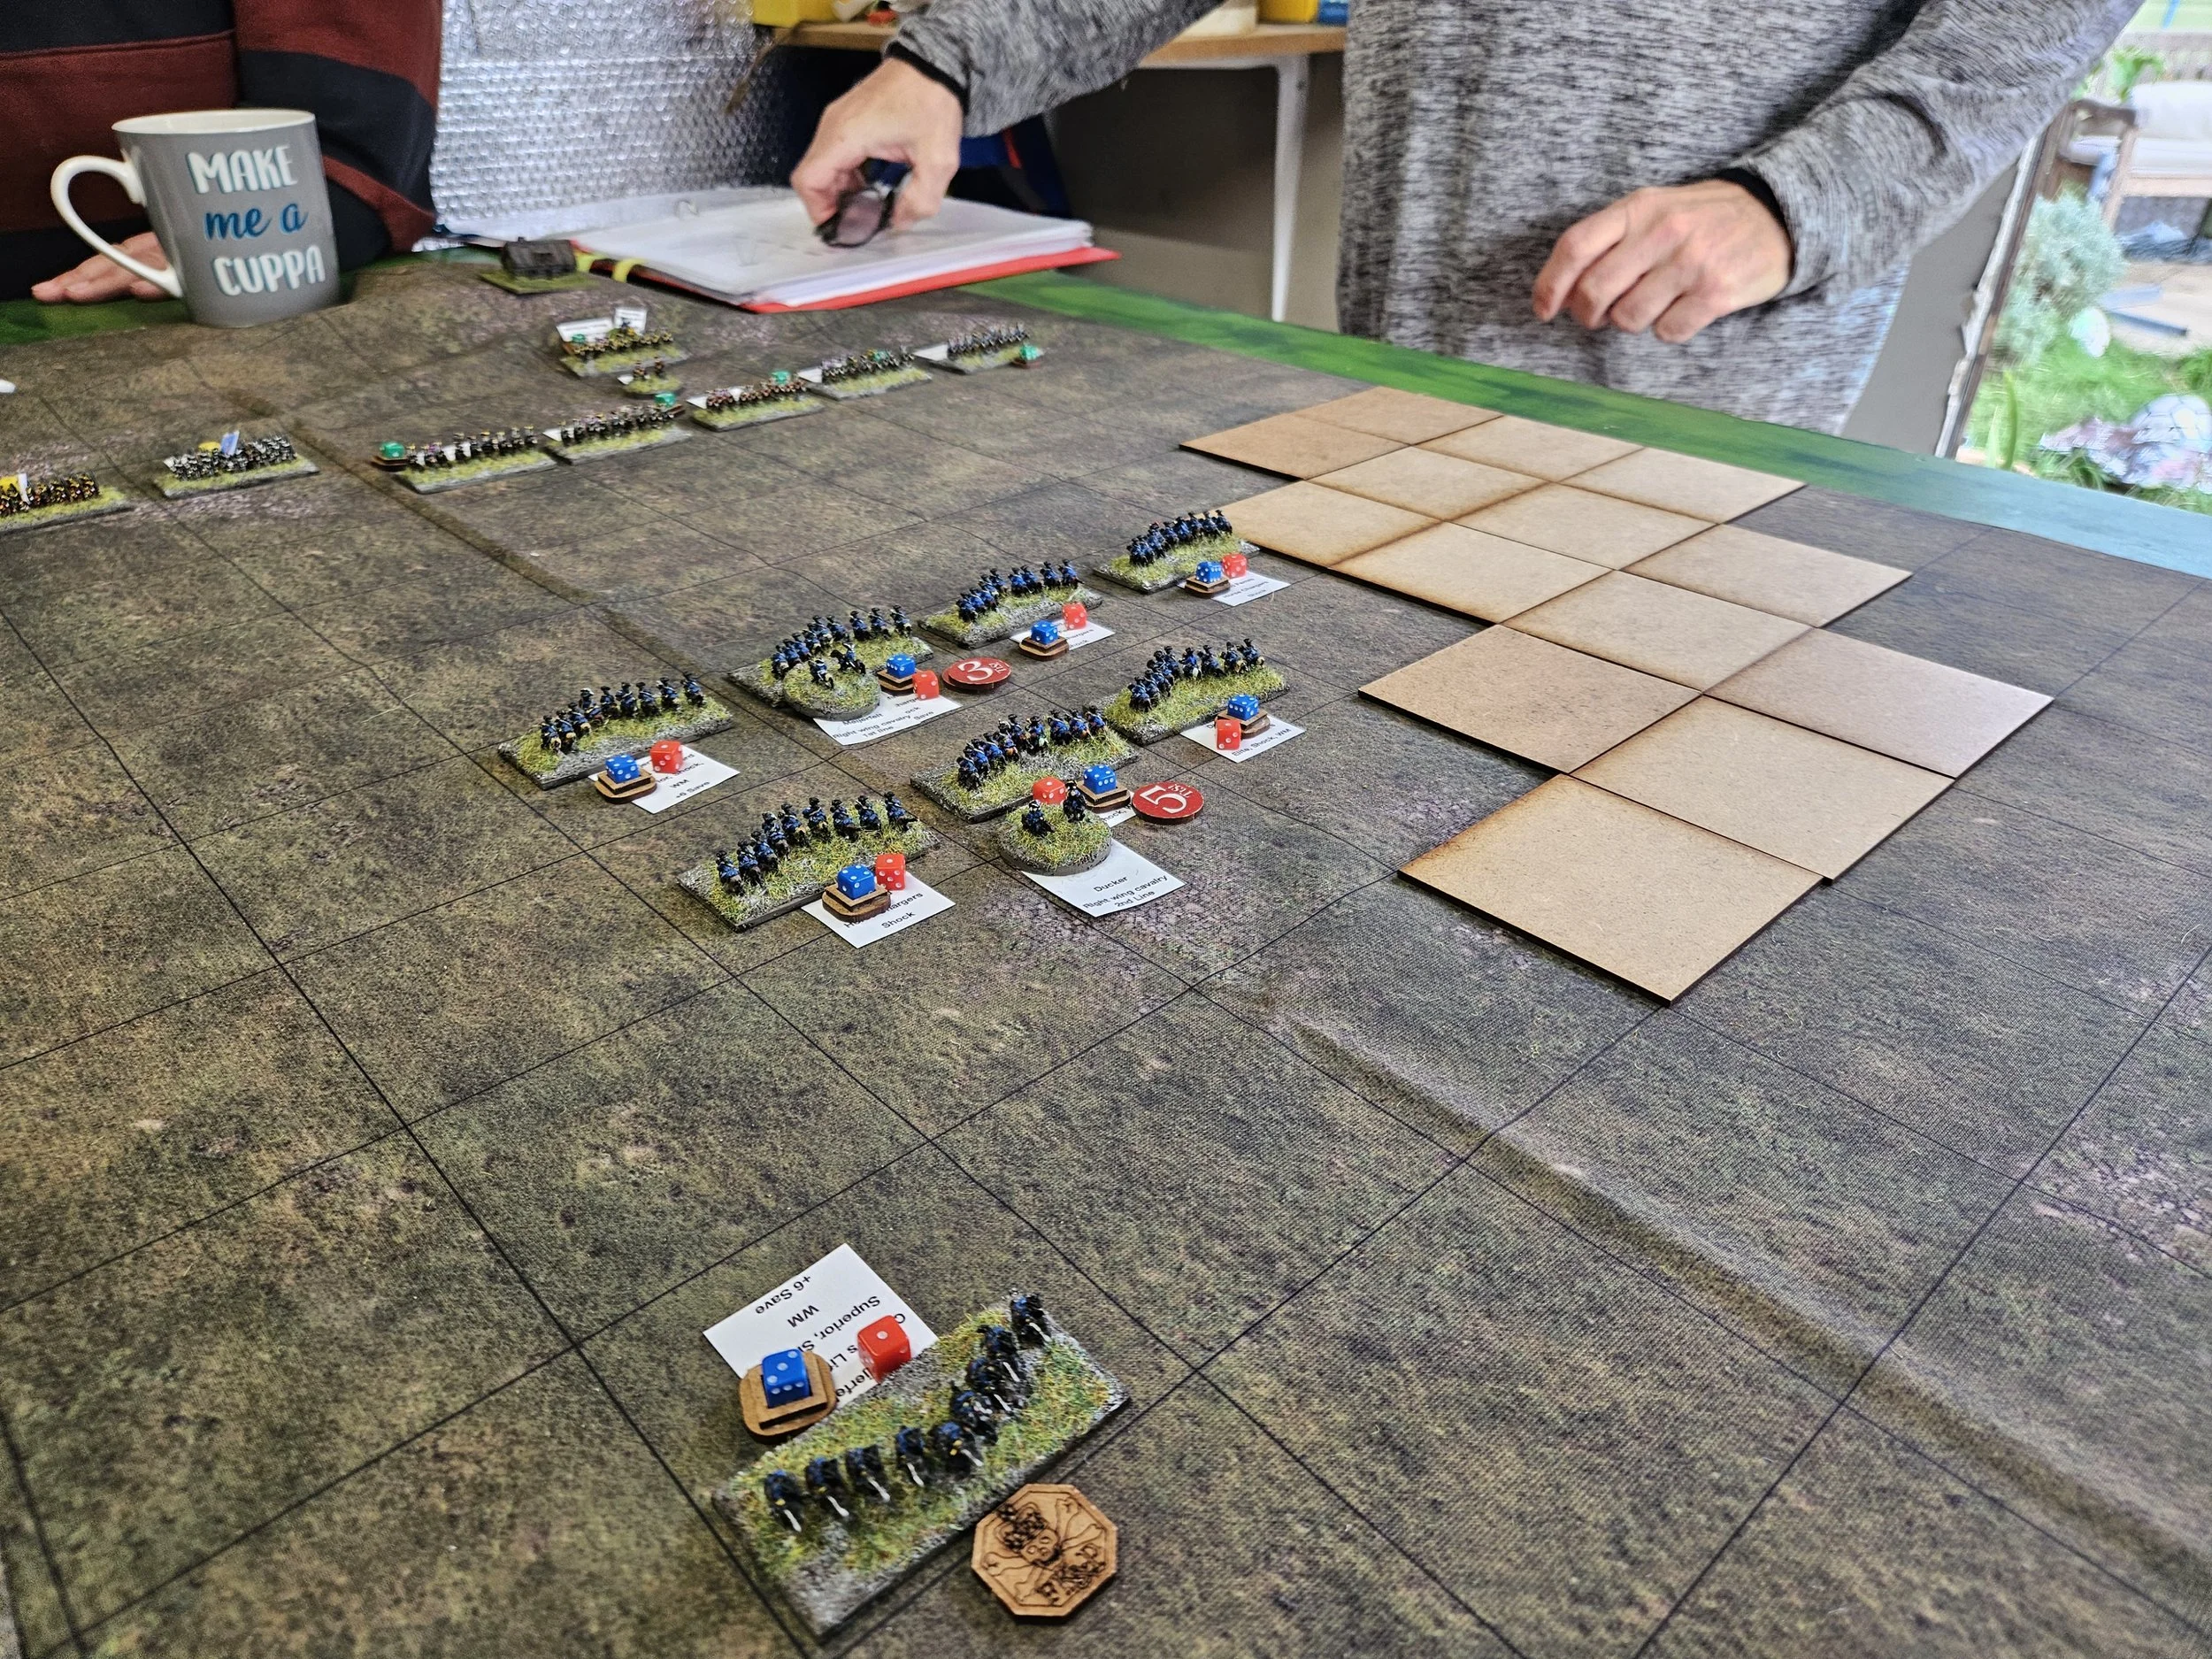
On the right hand side, the two opposing cavalry forces advanced towards each other, with the initial advantage going our way.
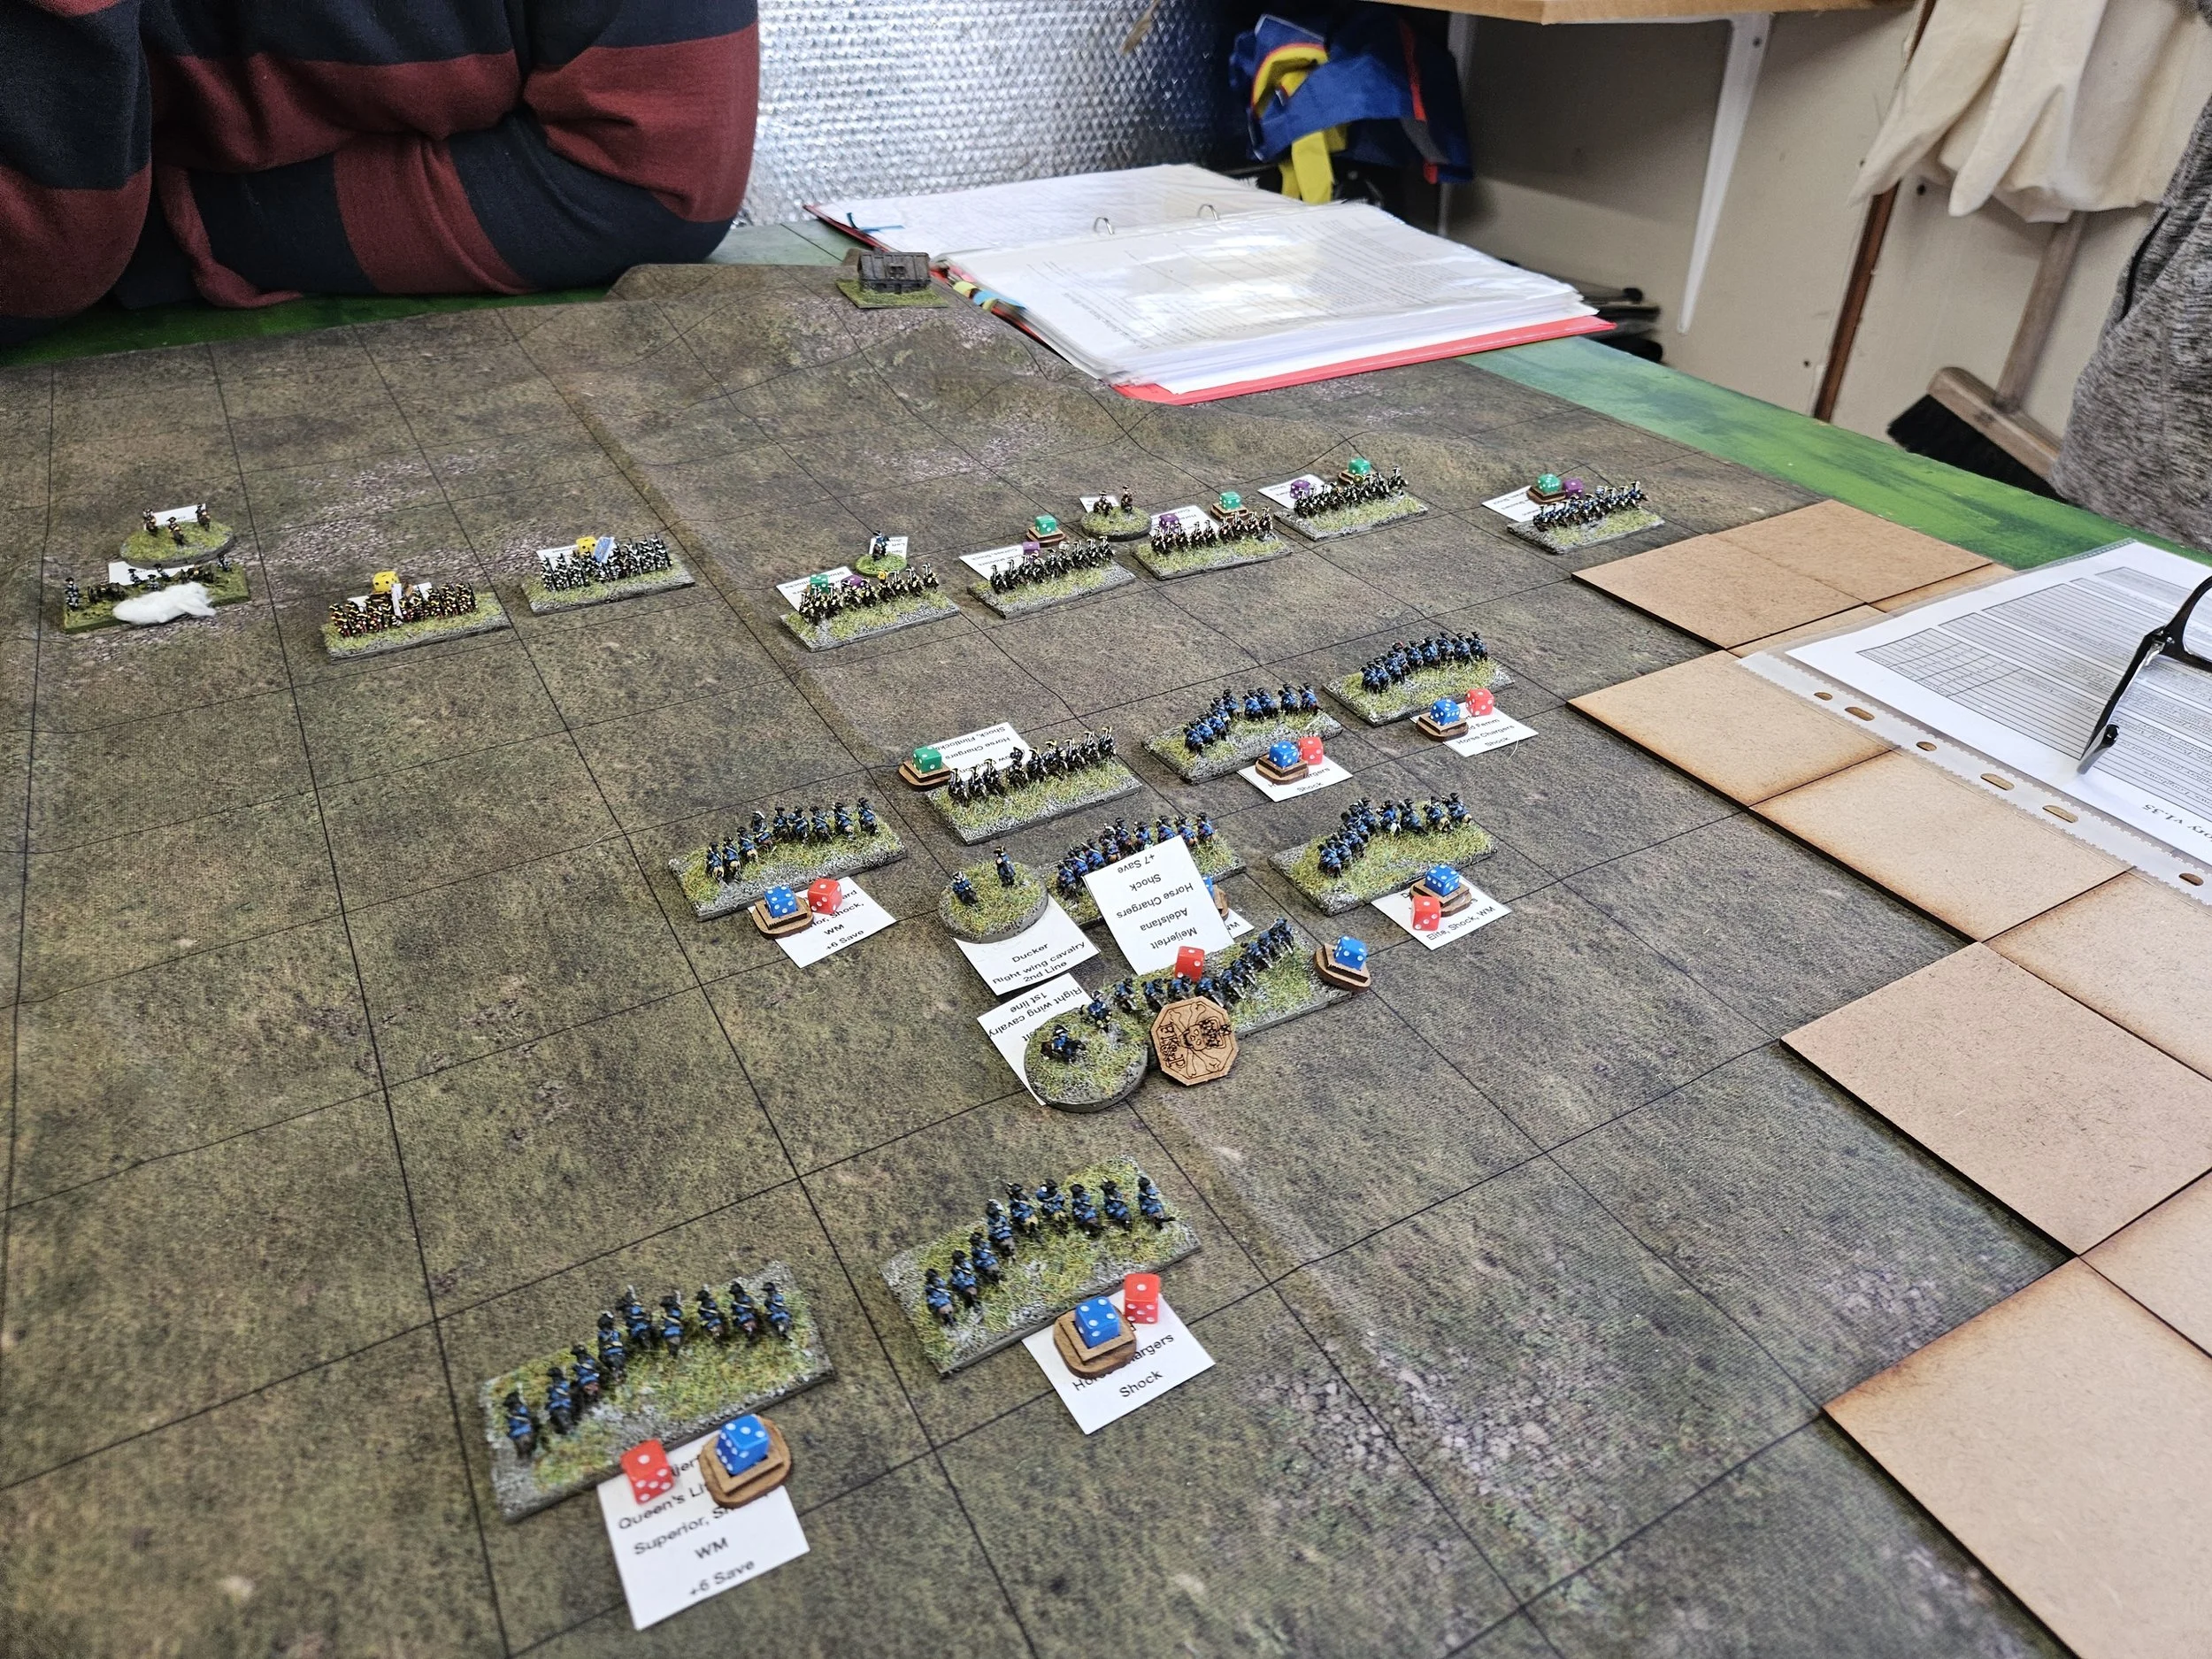
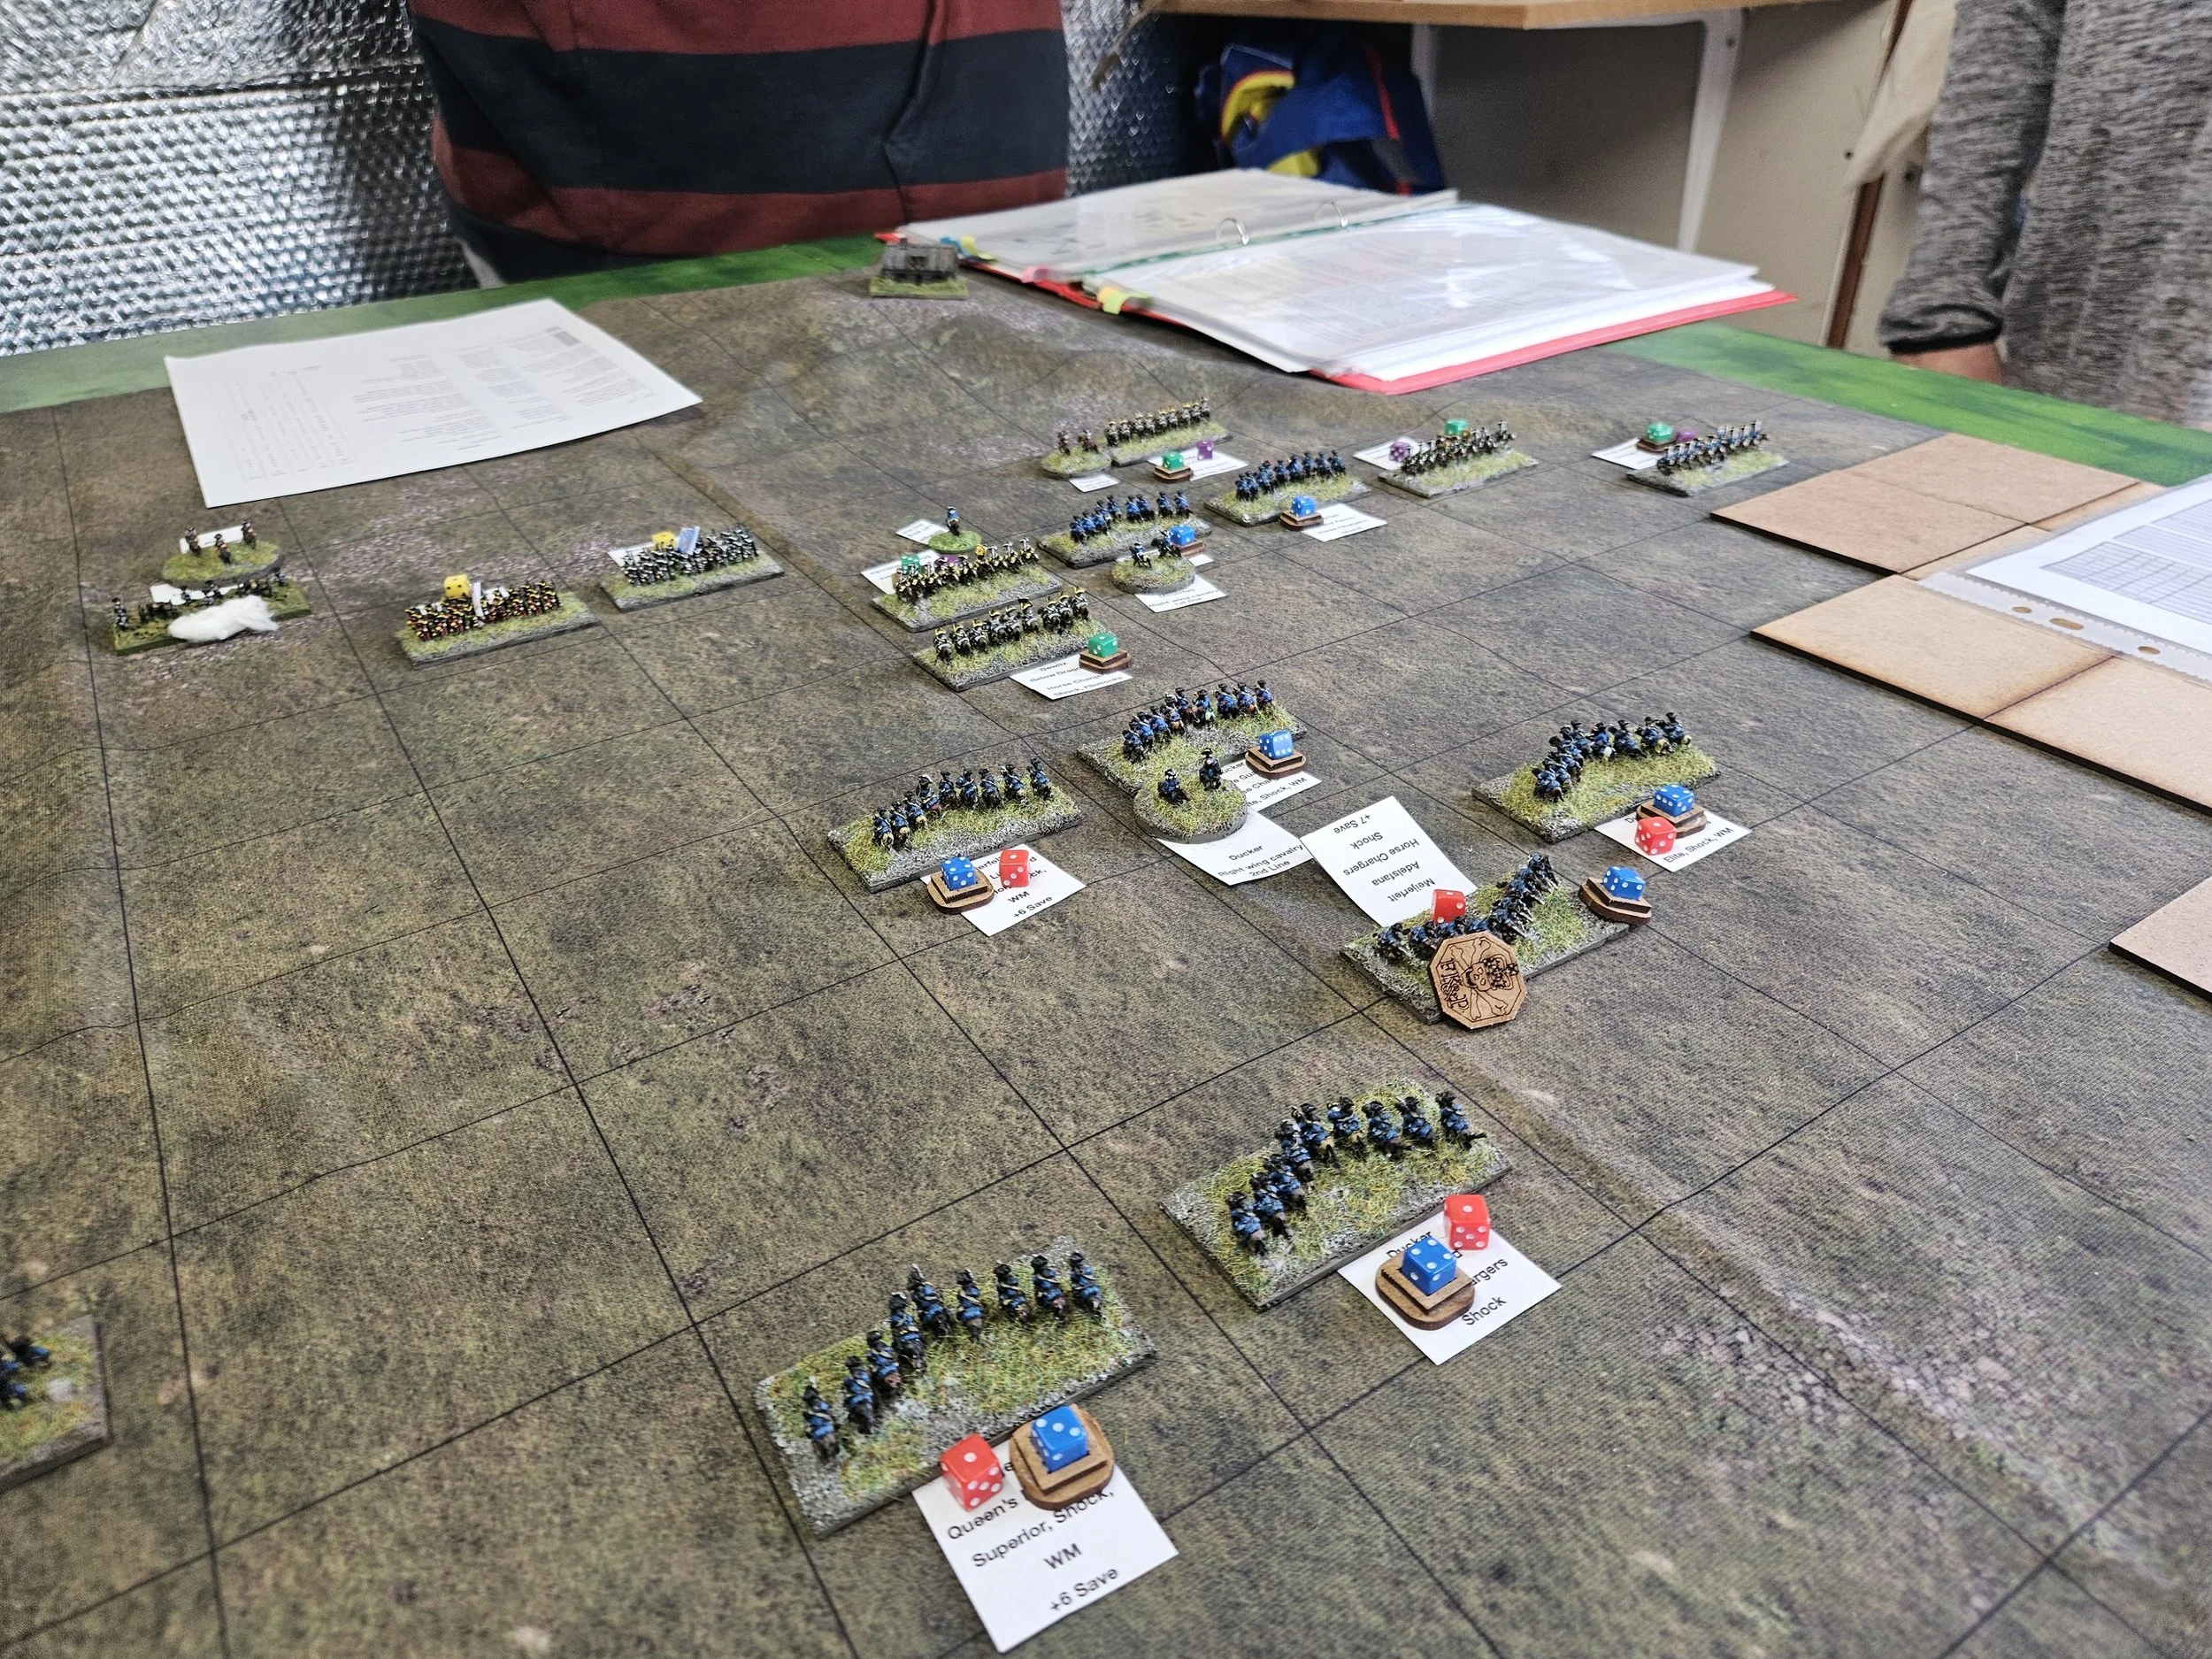
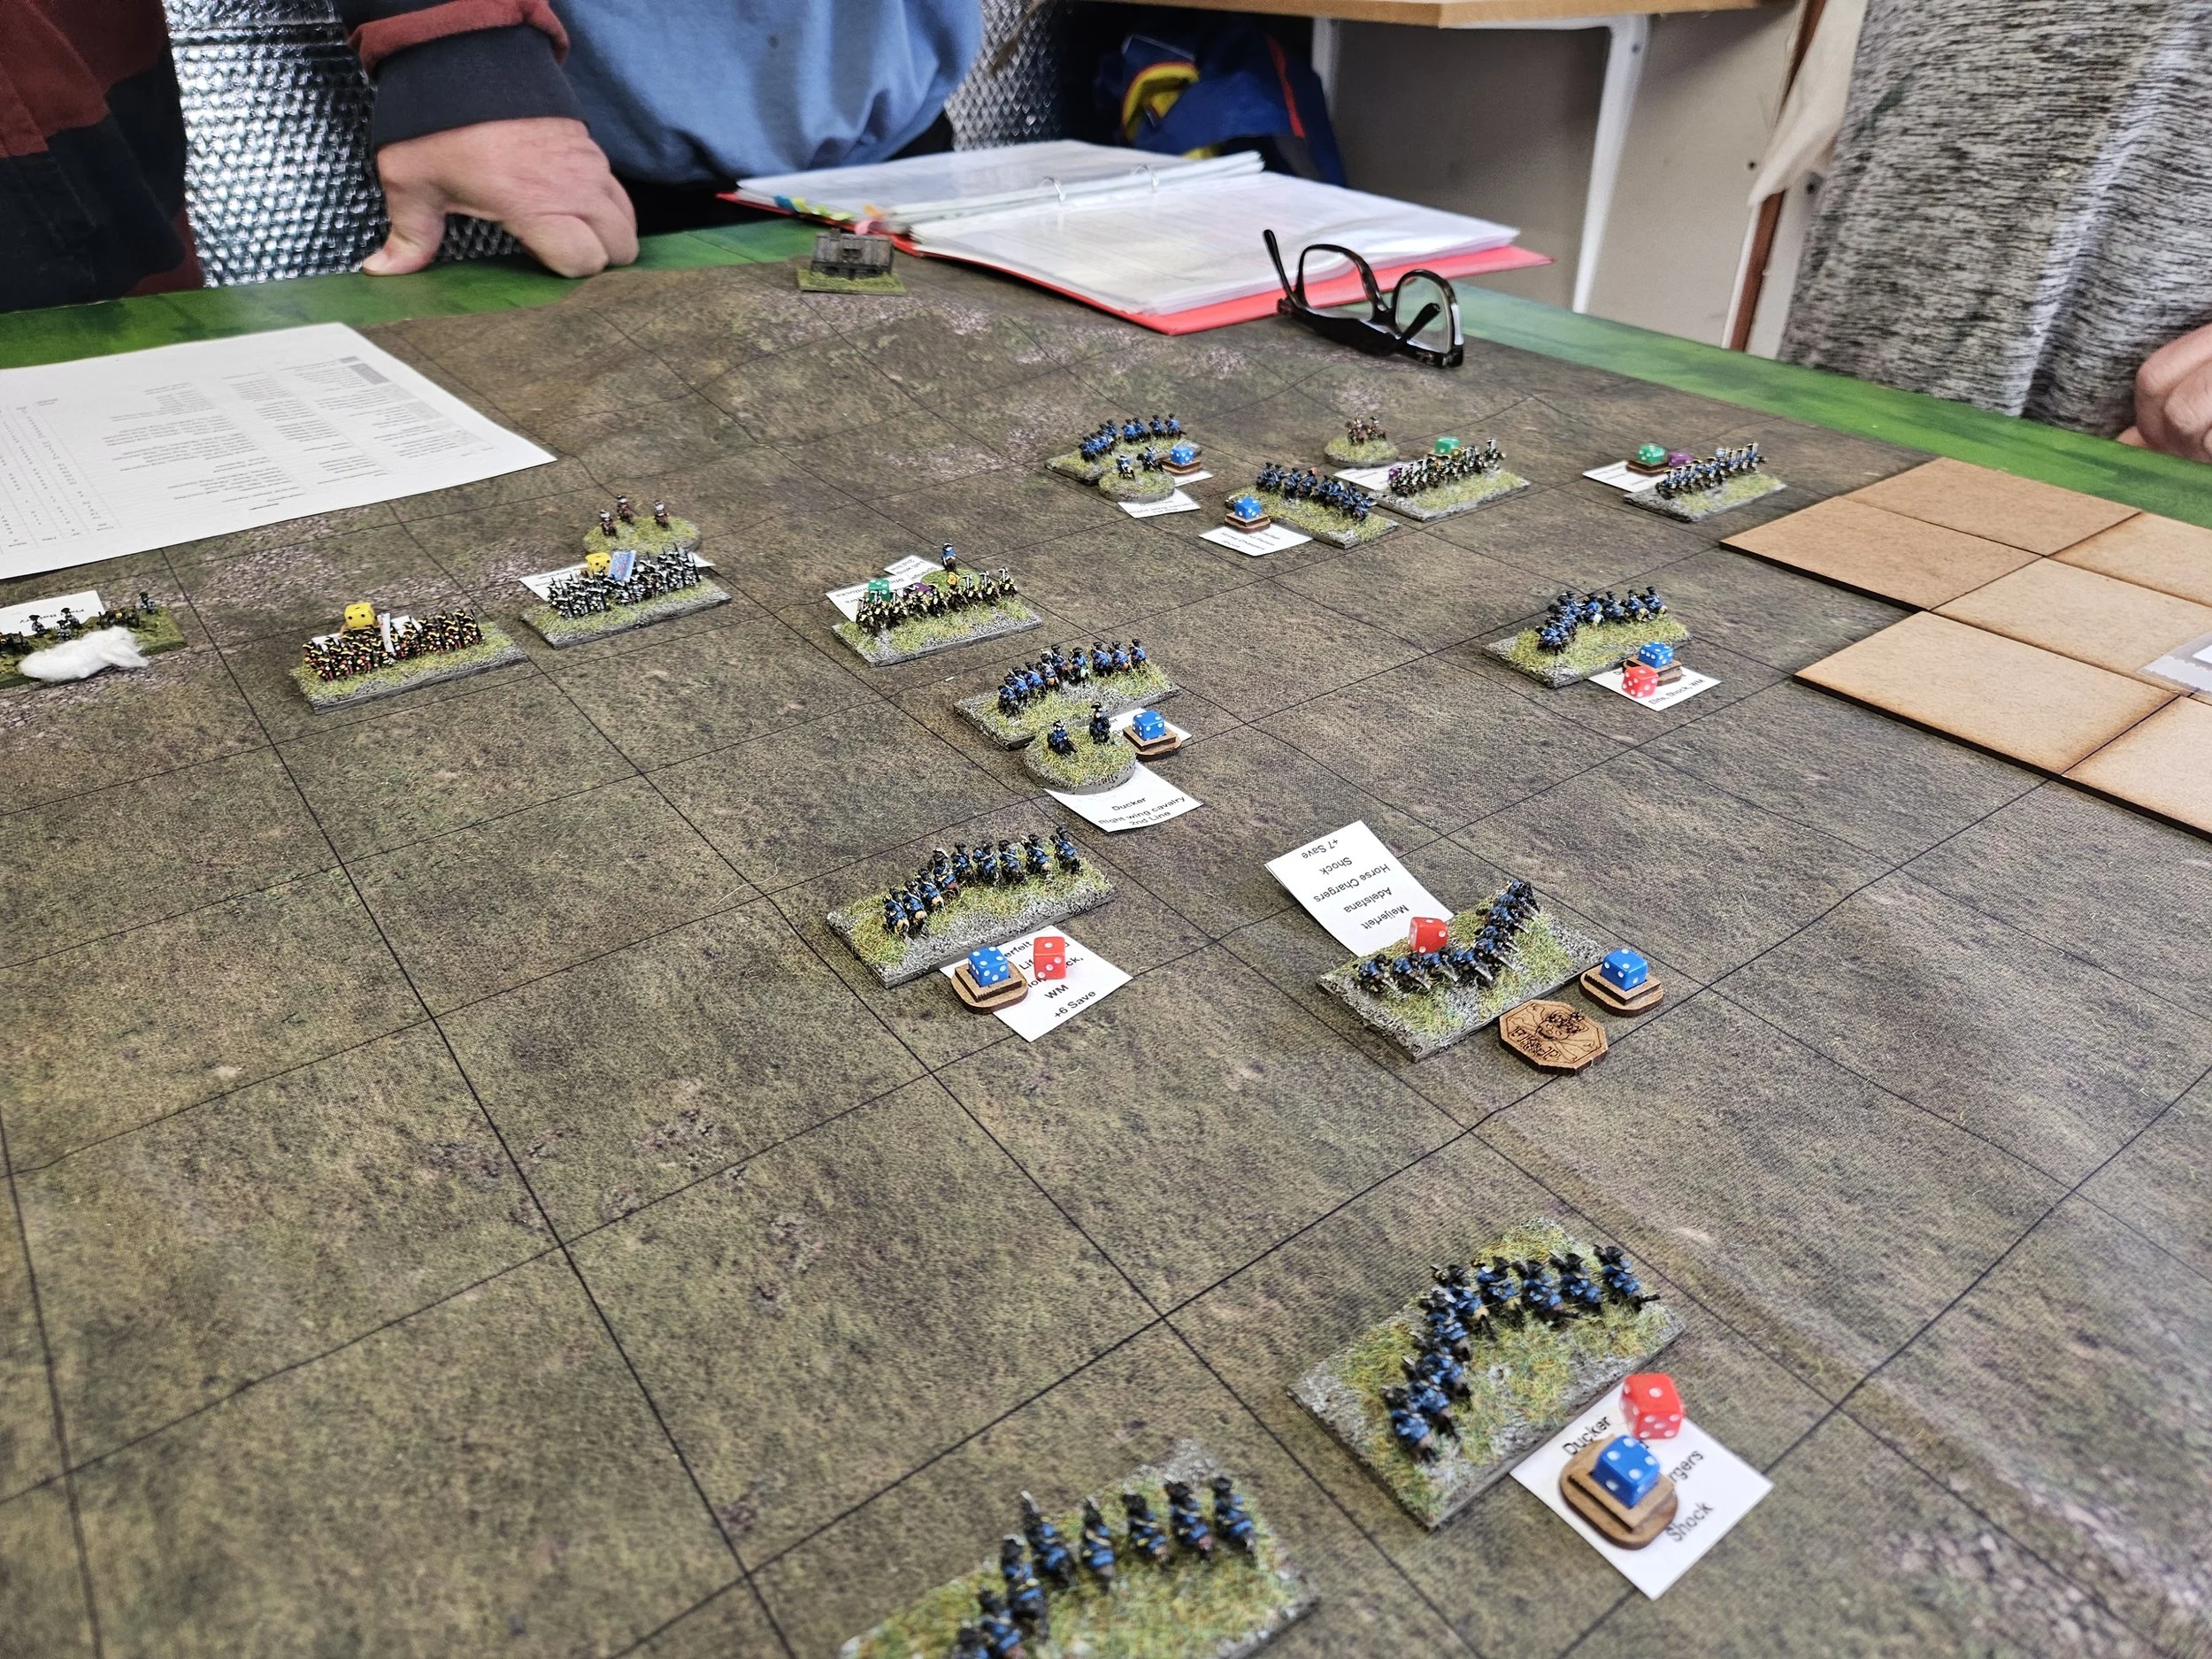
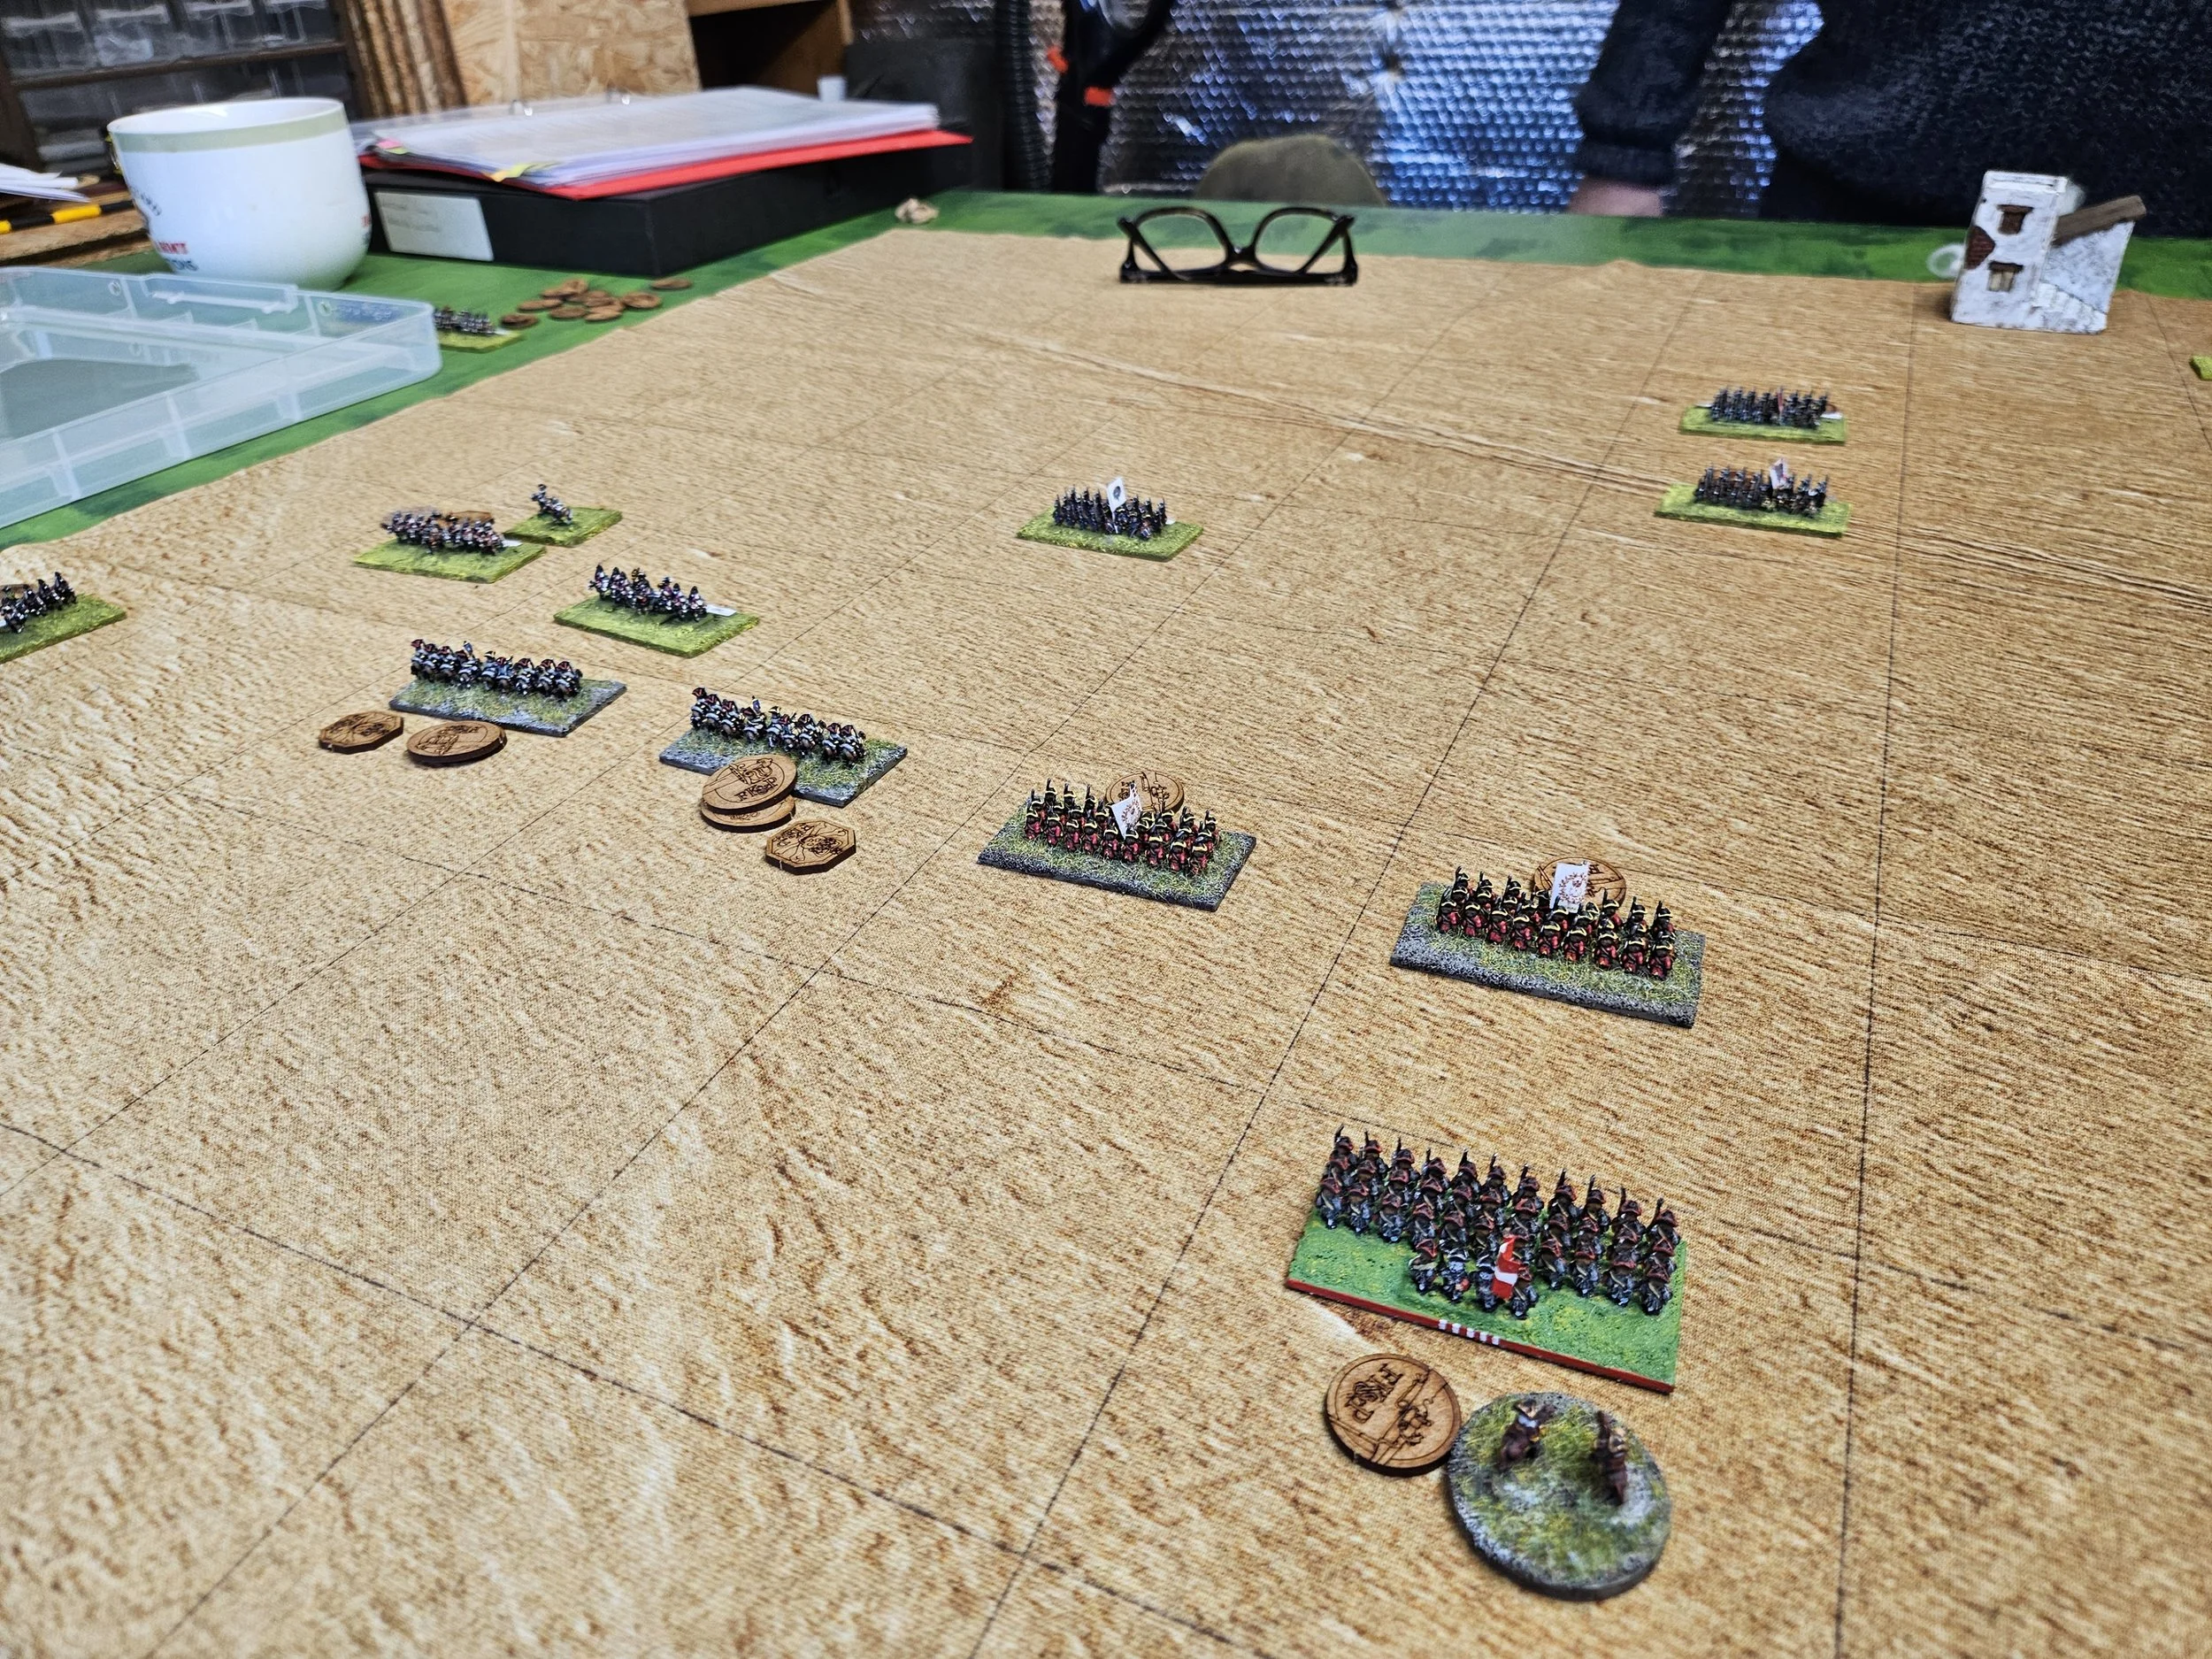
Back to the left where, at this point, there was literally nothing left but corpses!
And to the centre, where are infantry were still toiling towards the enemy line:
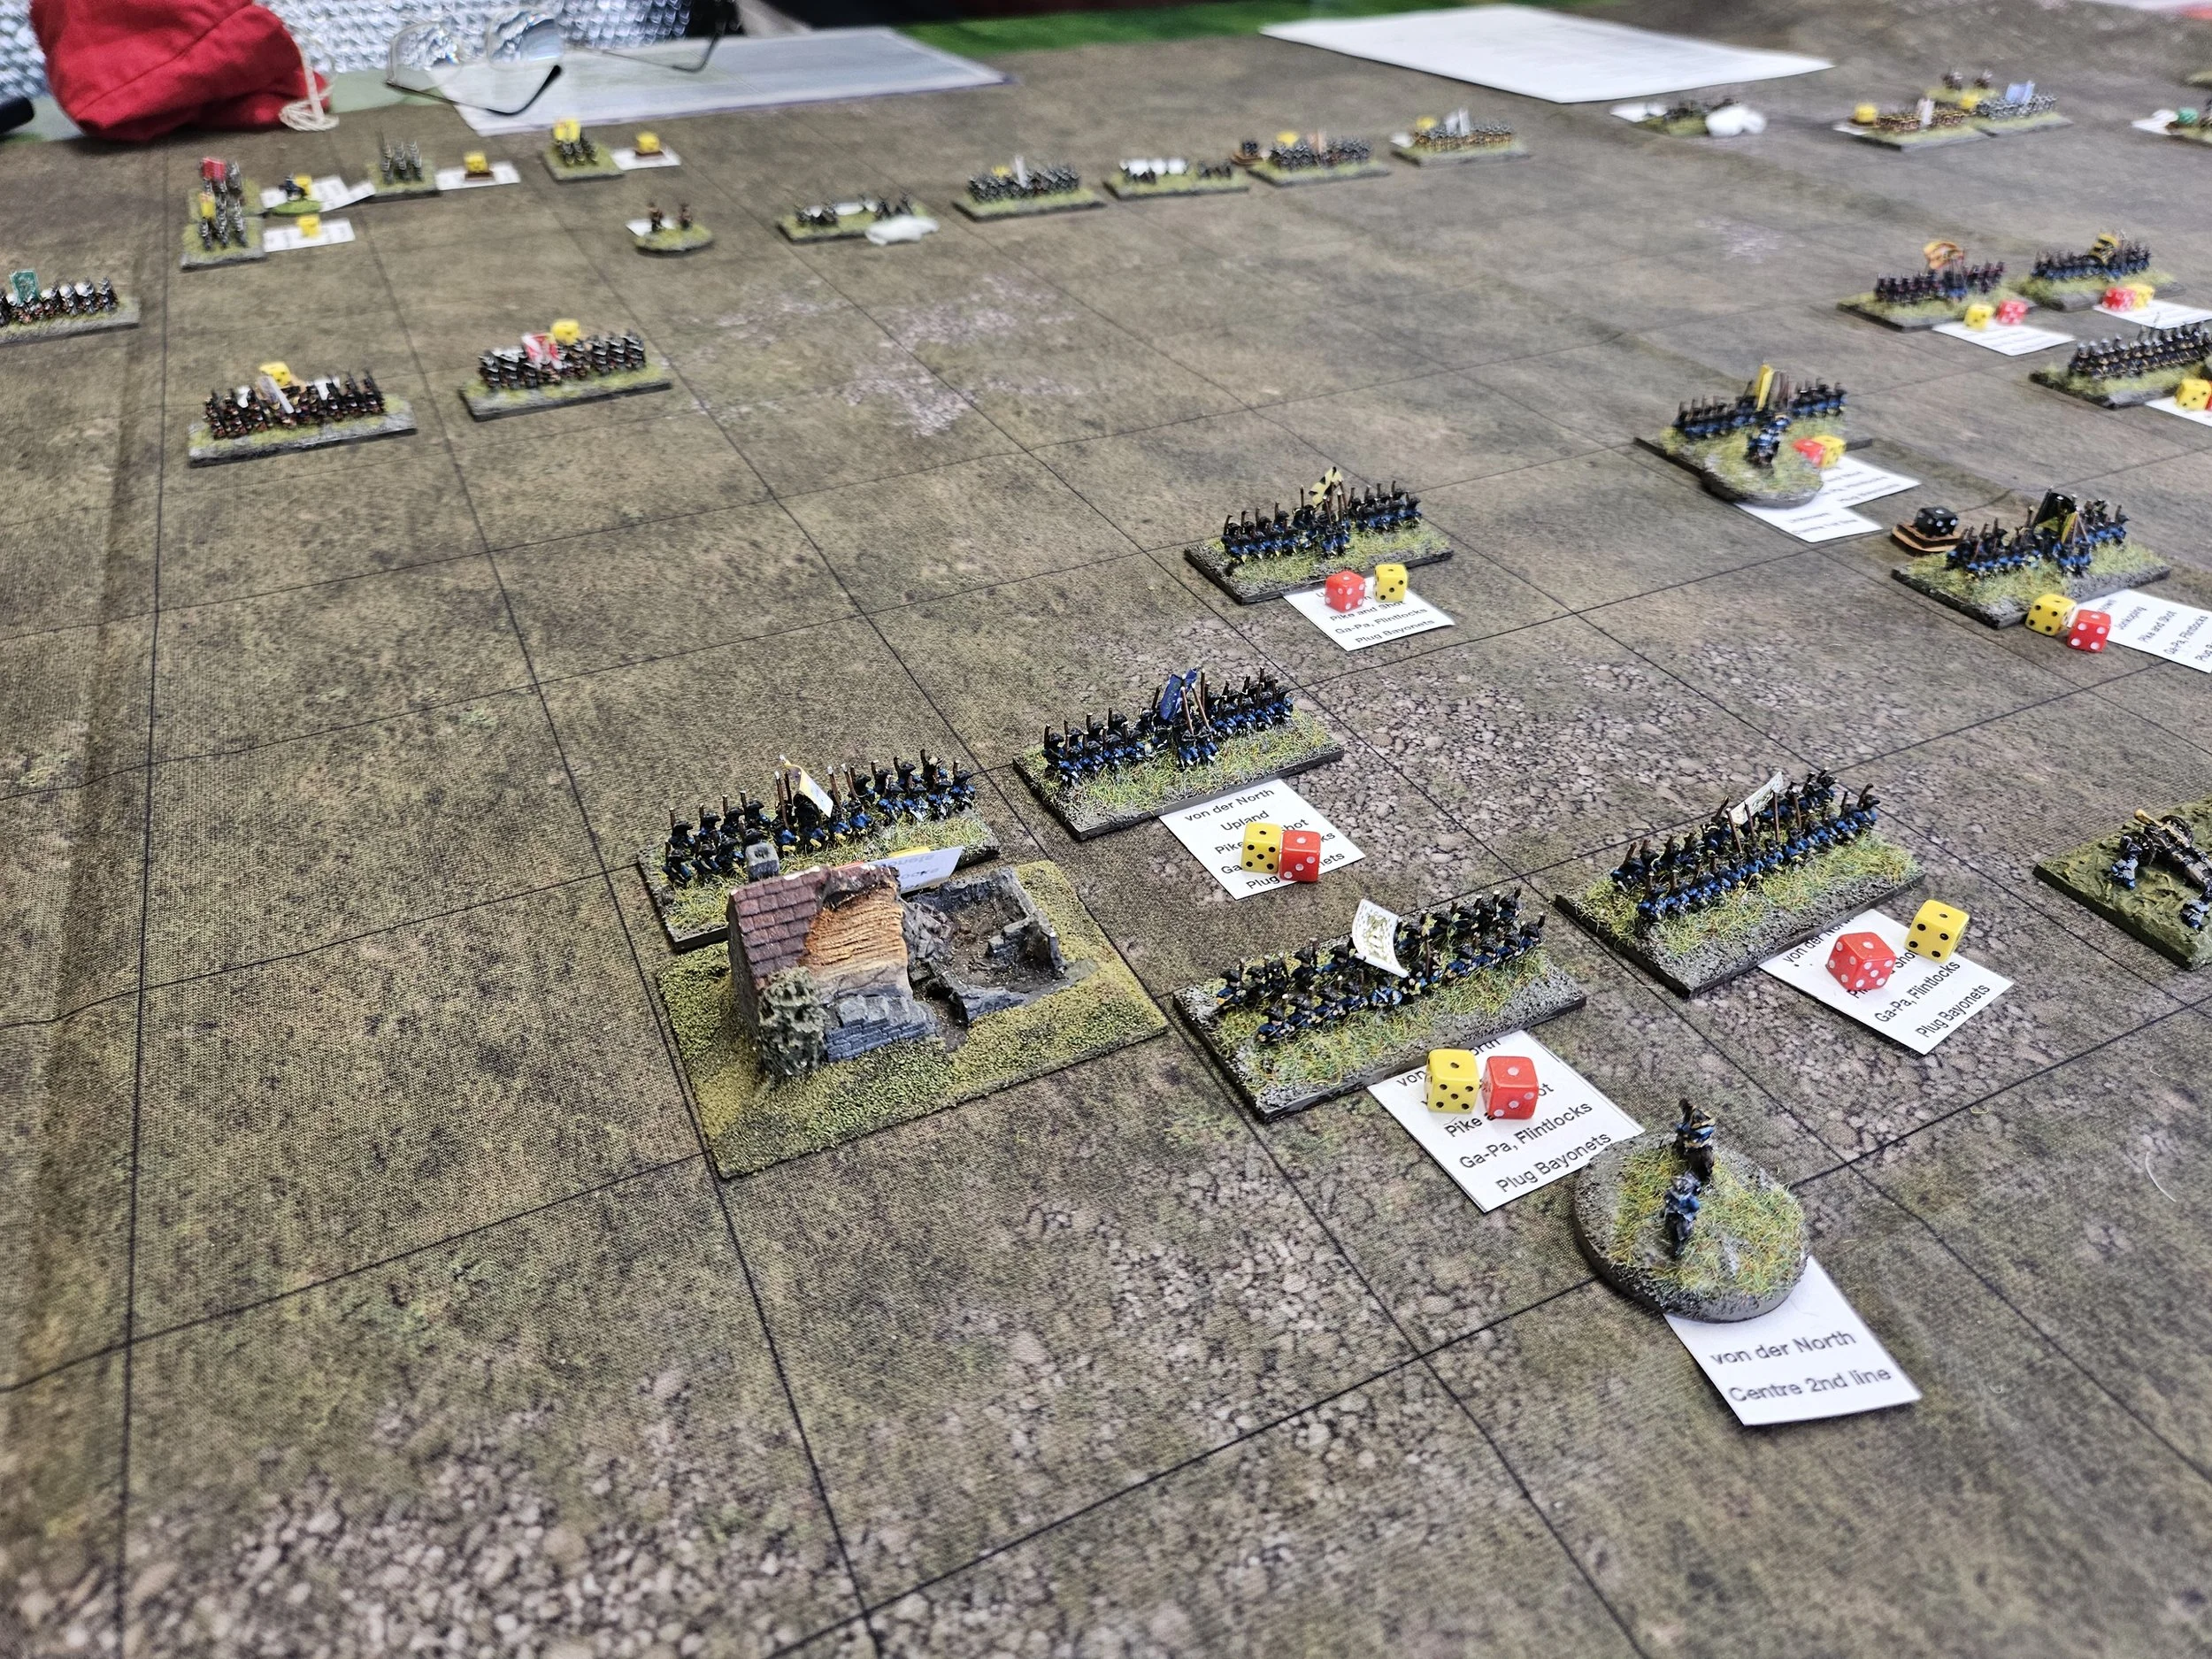
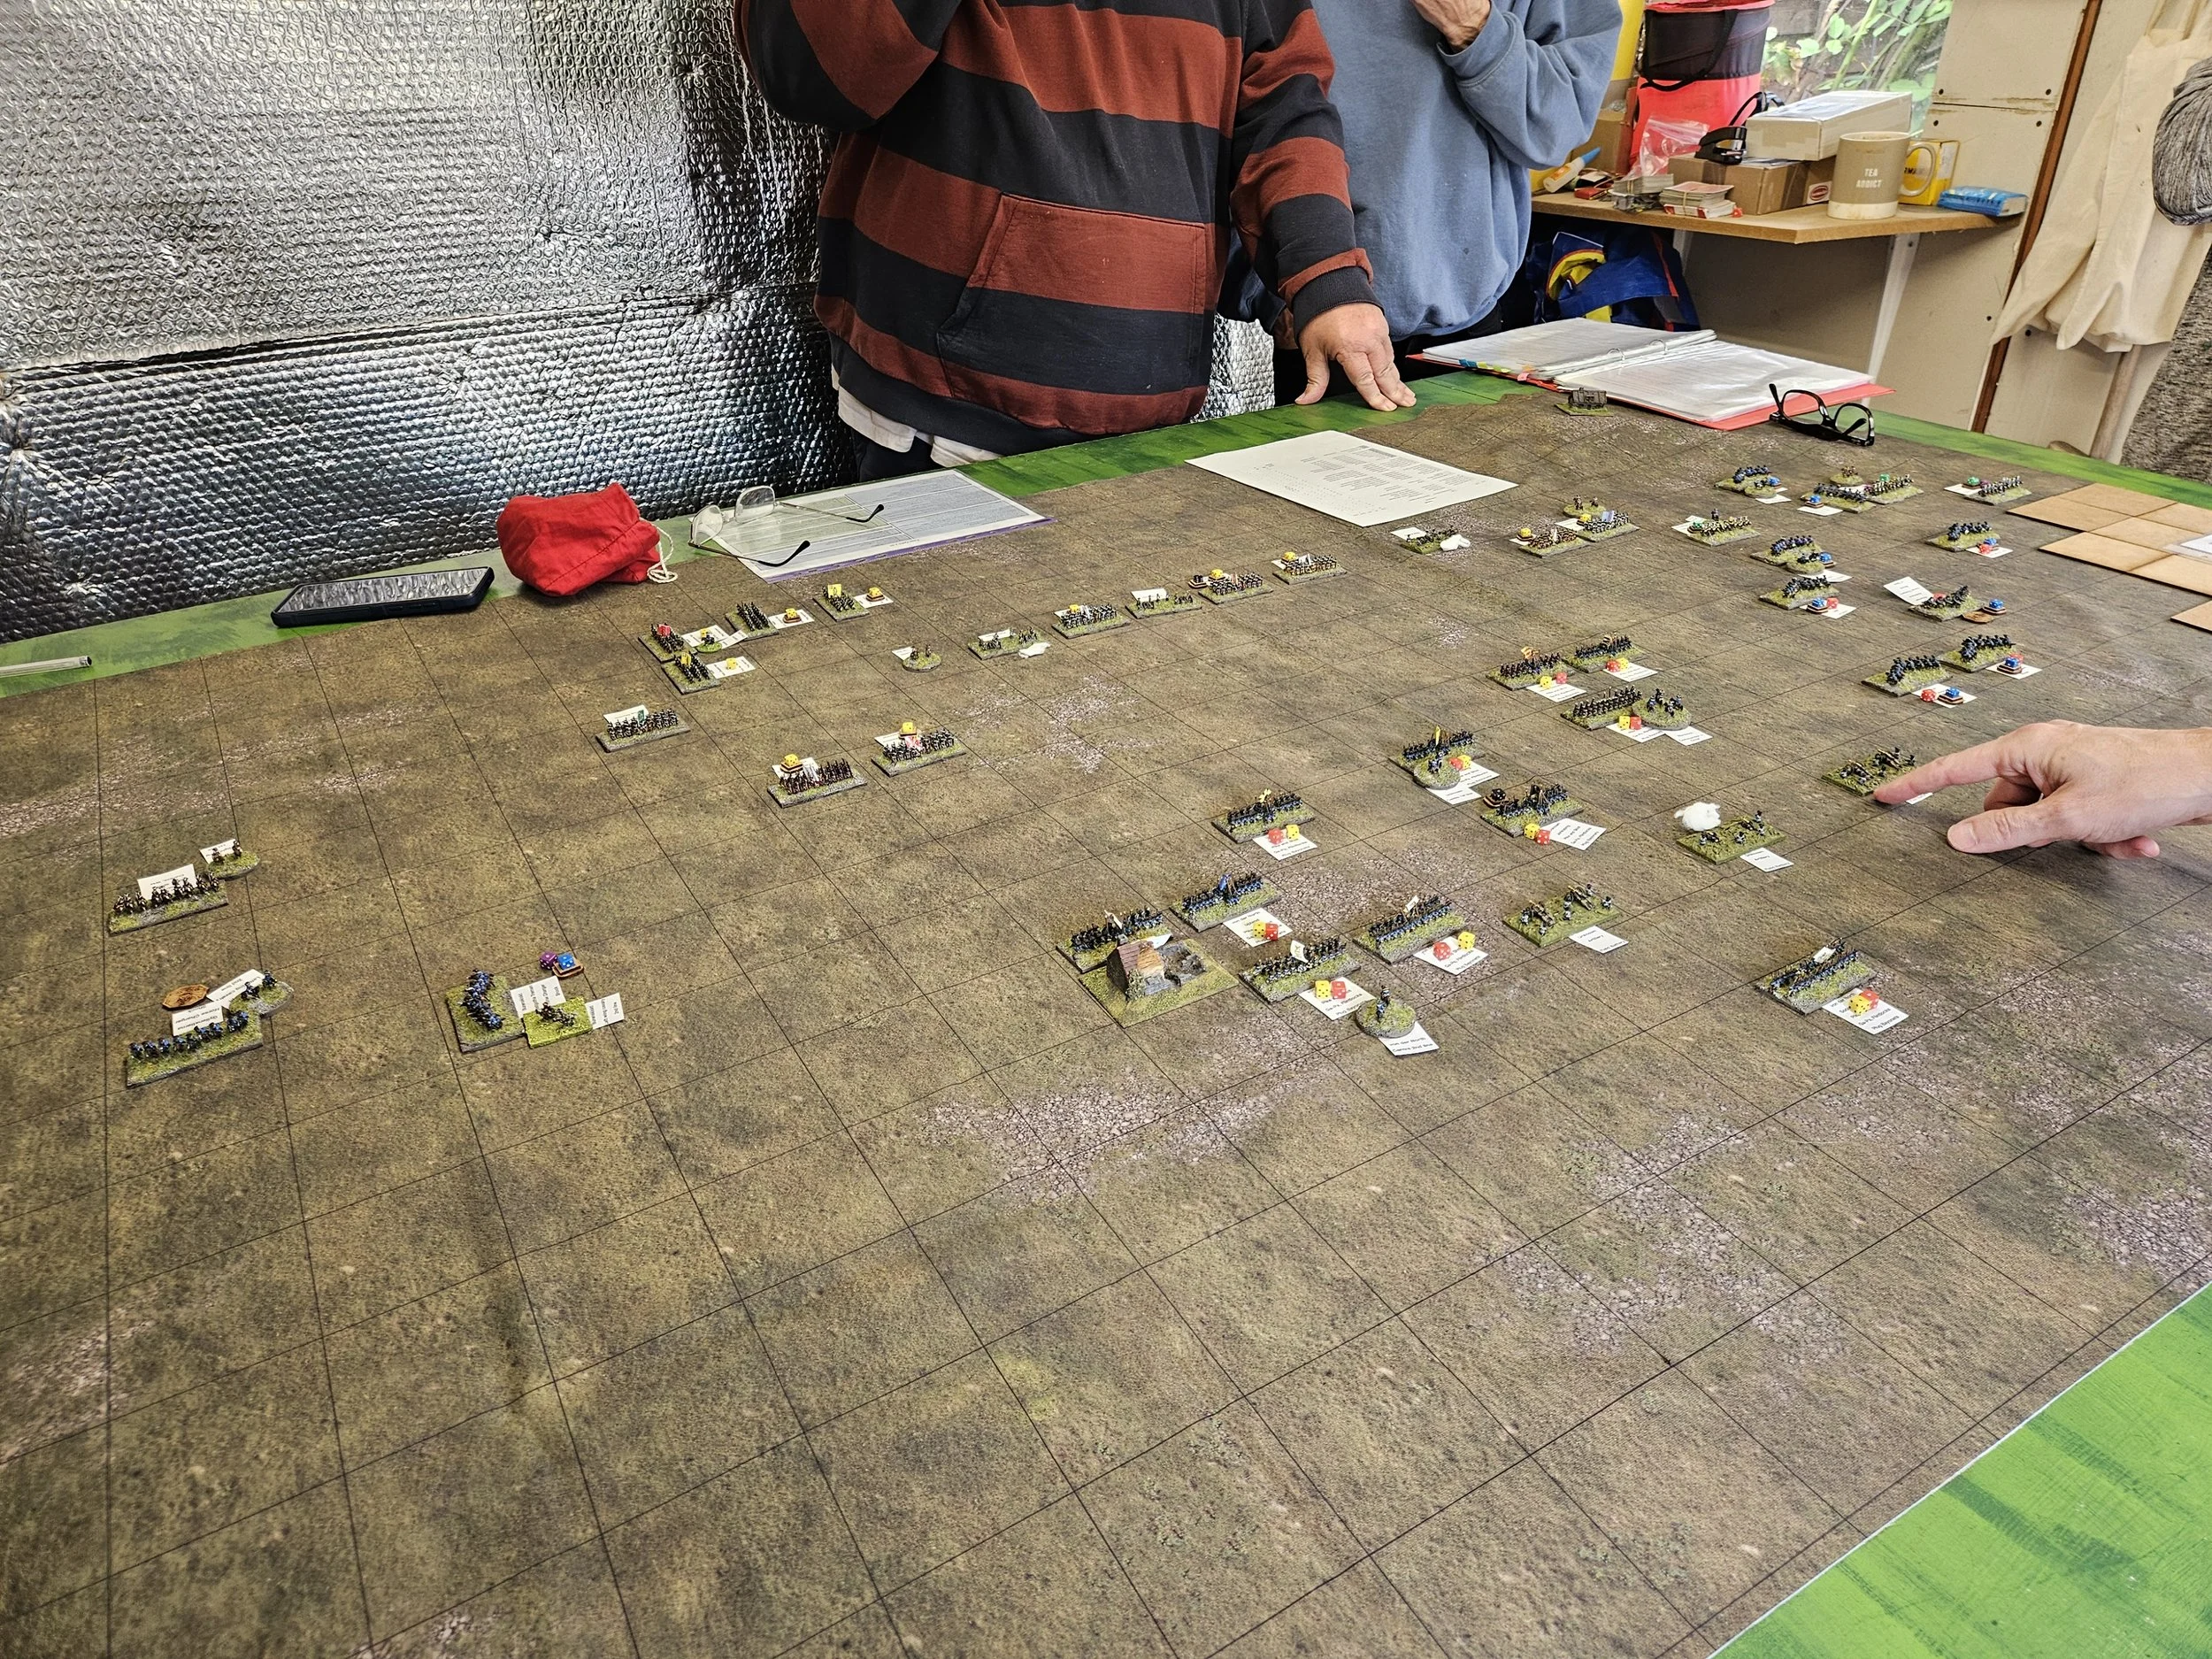
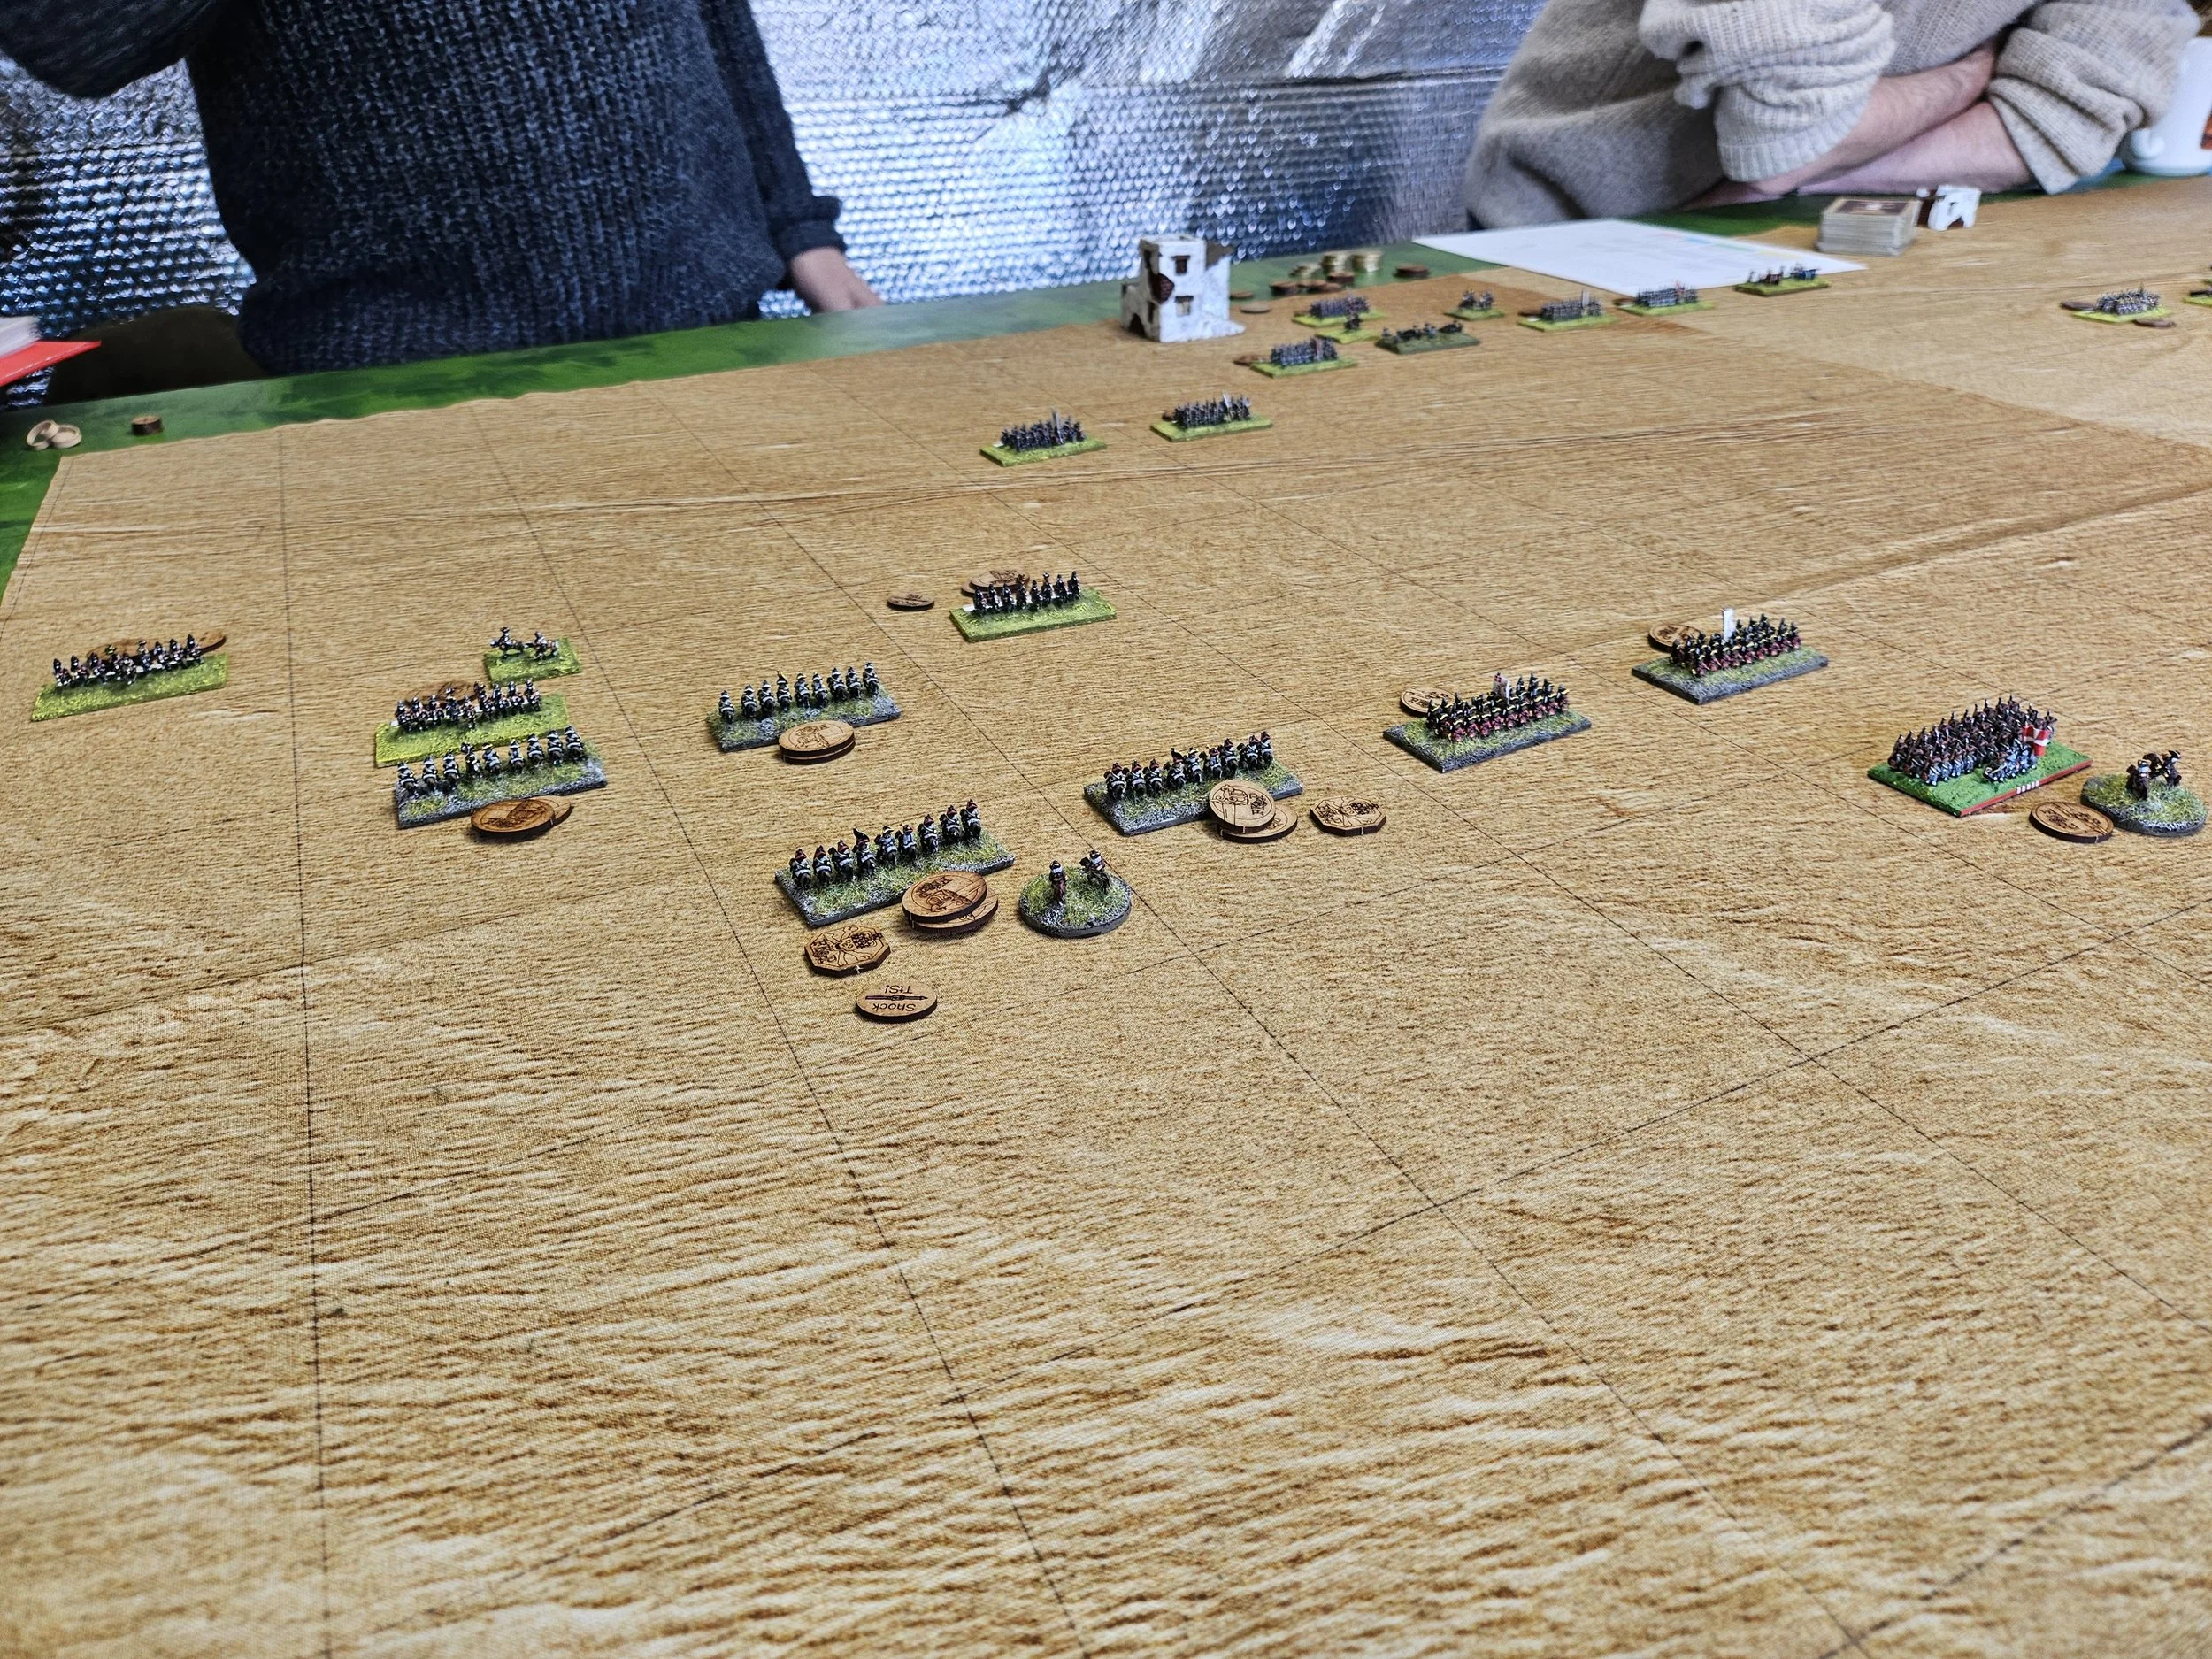
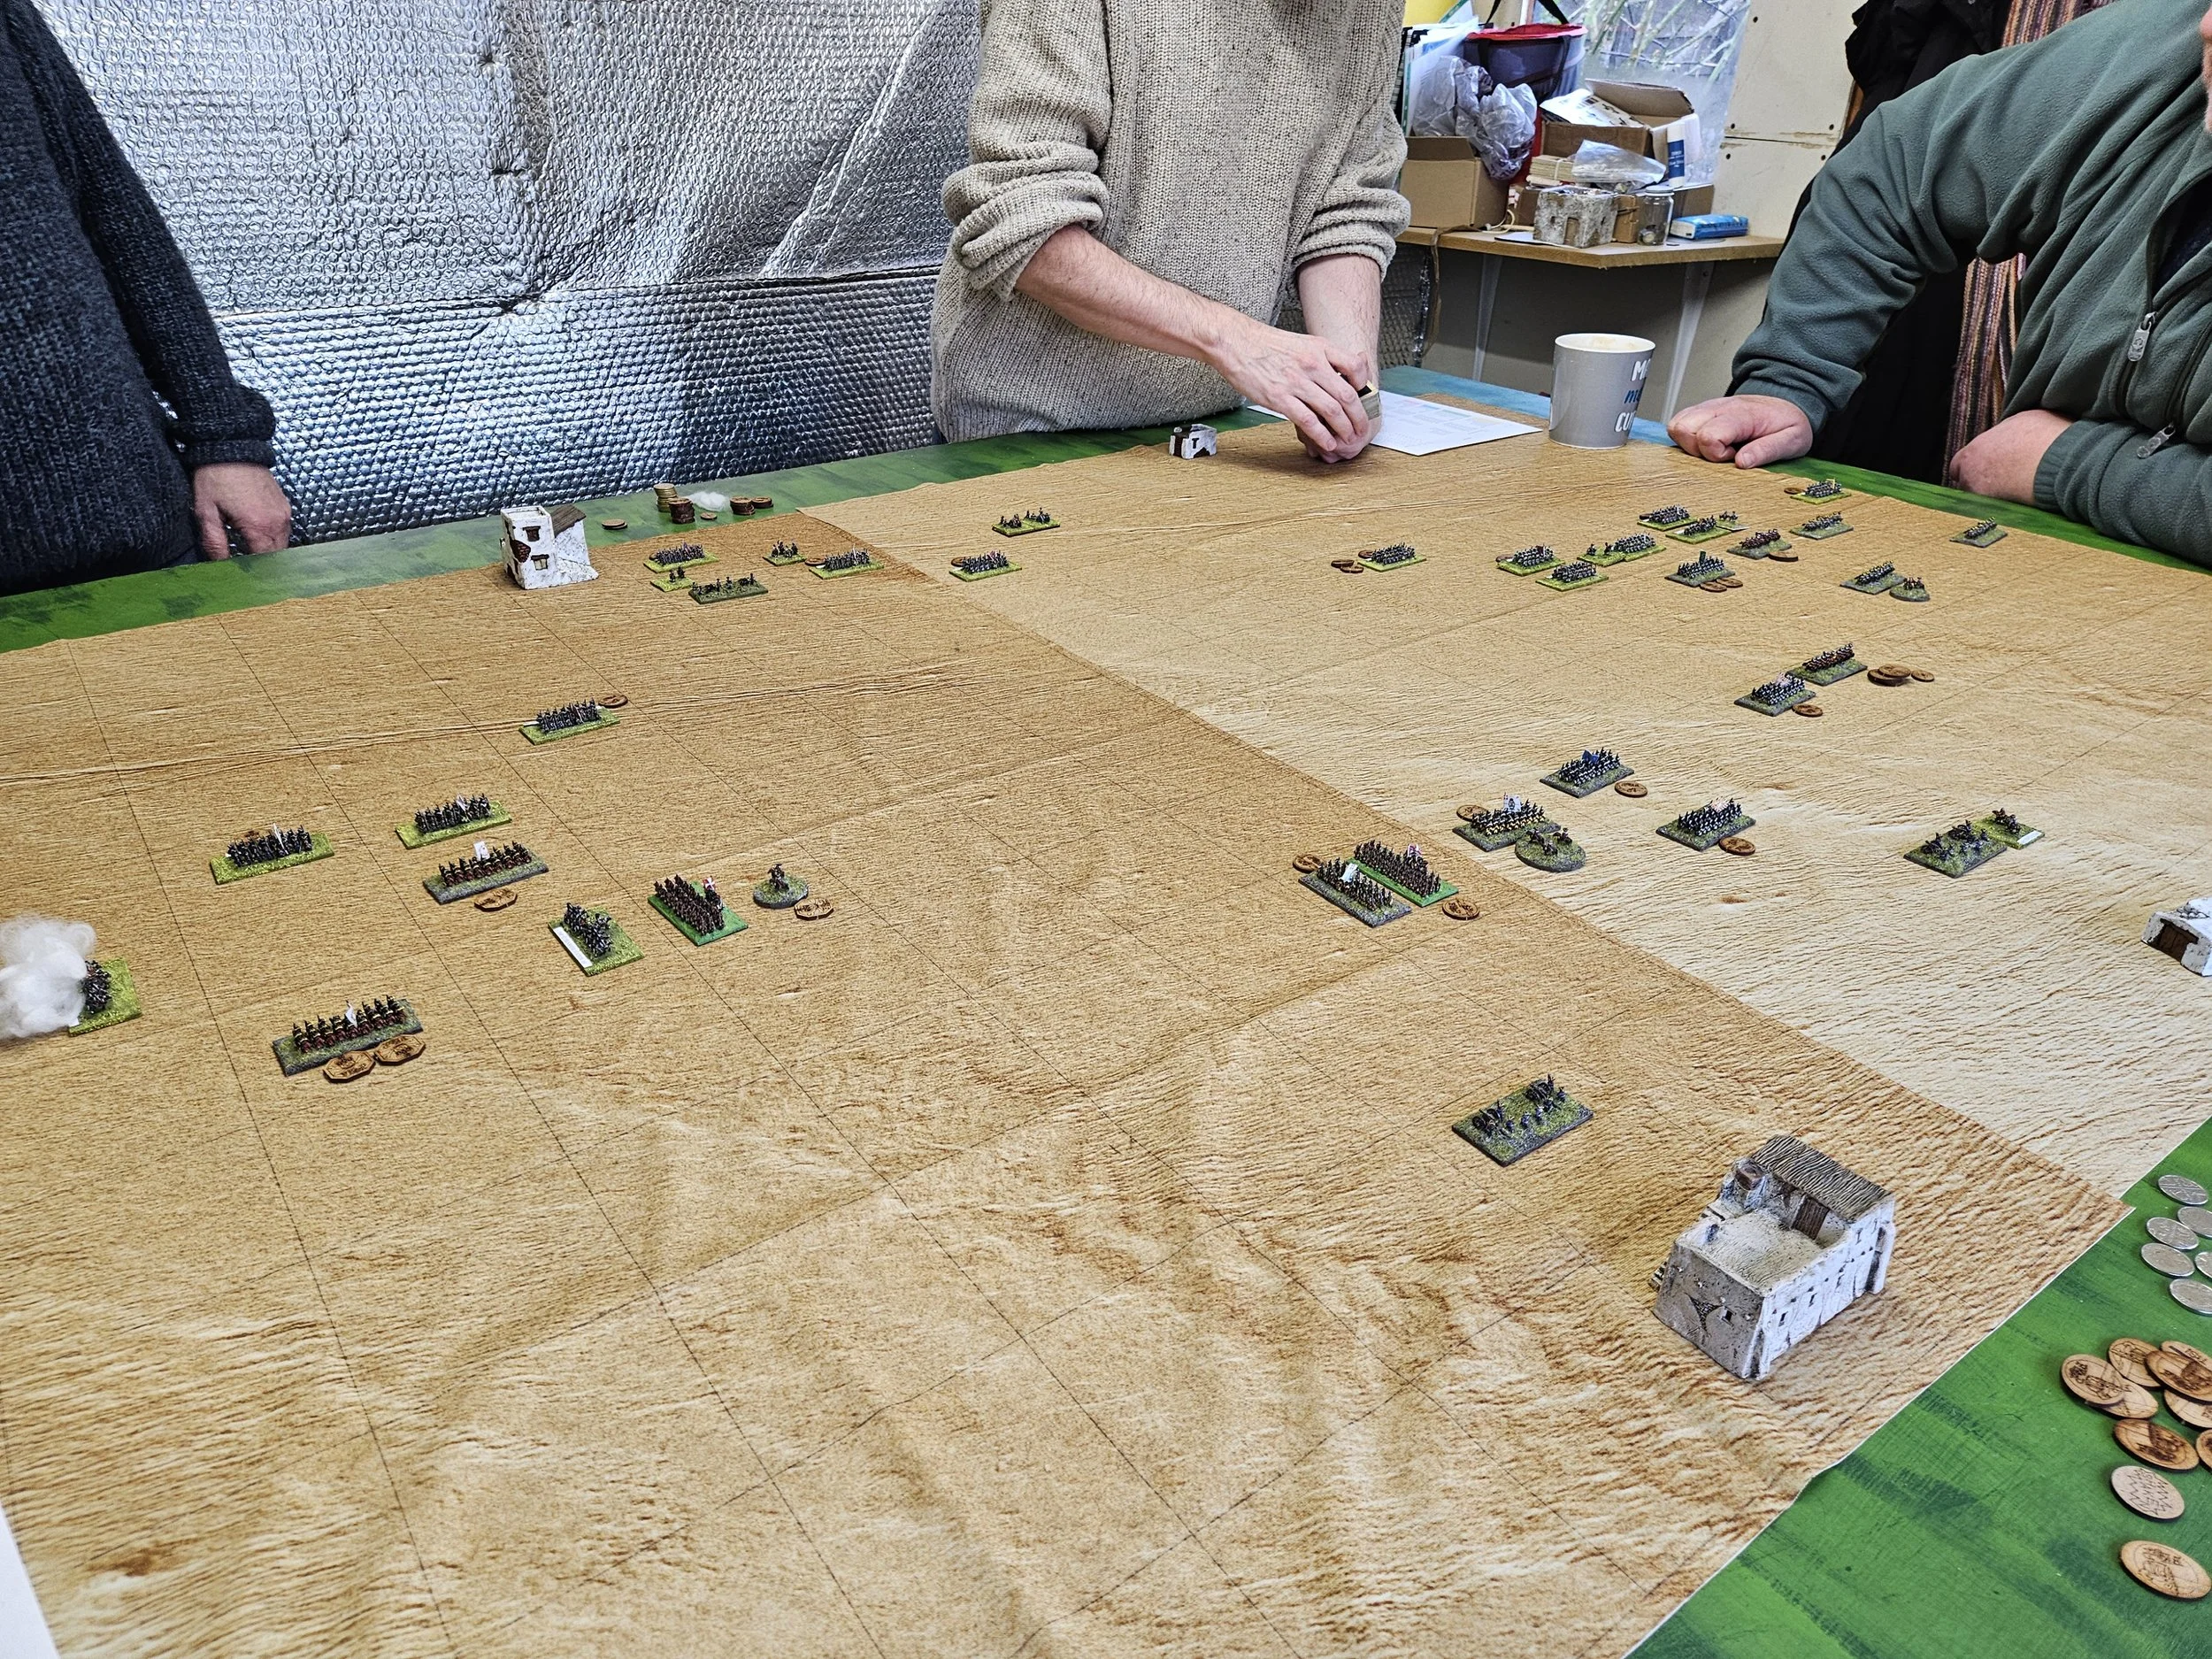
At this point, unfortunately, I had to abandon my command for domestic duty reasons. The game continued, with the following result:
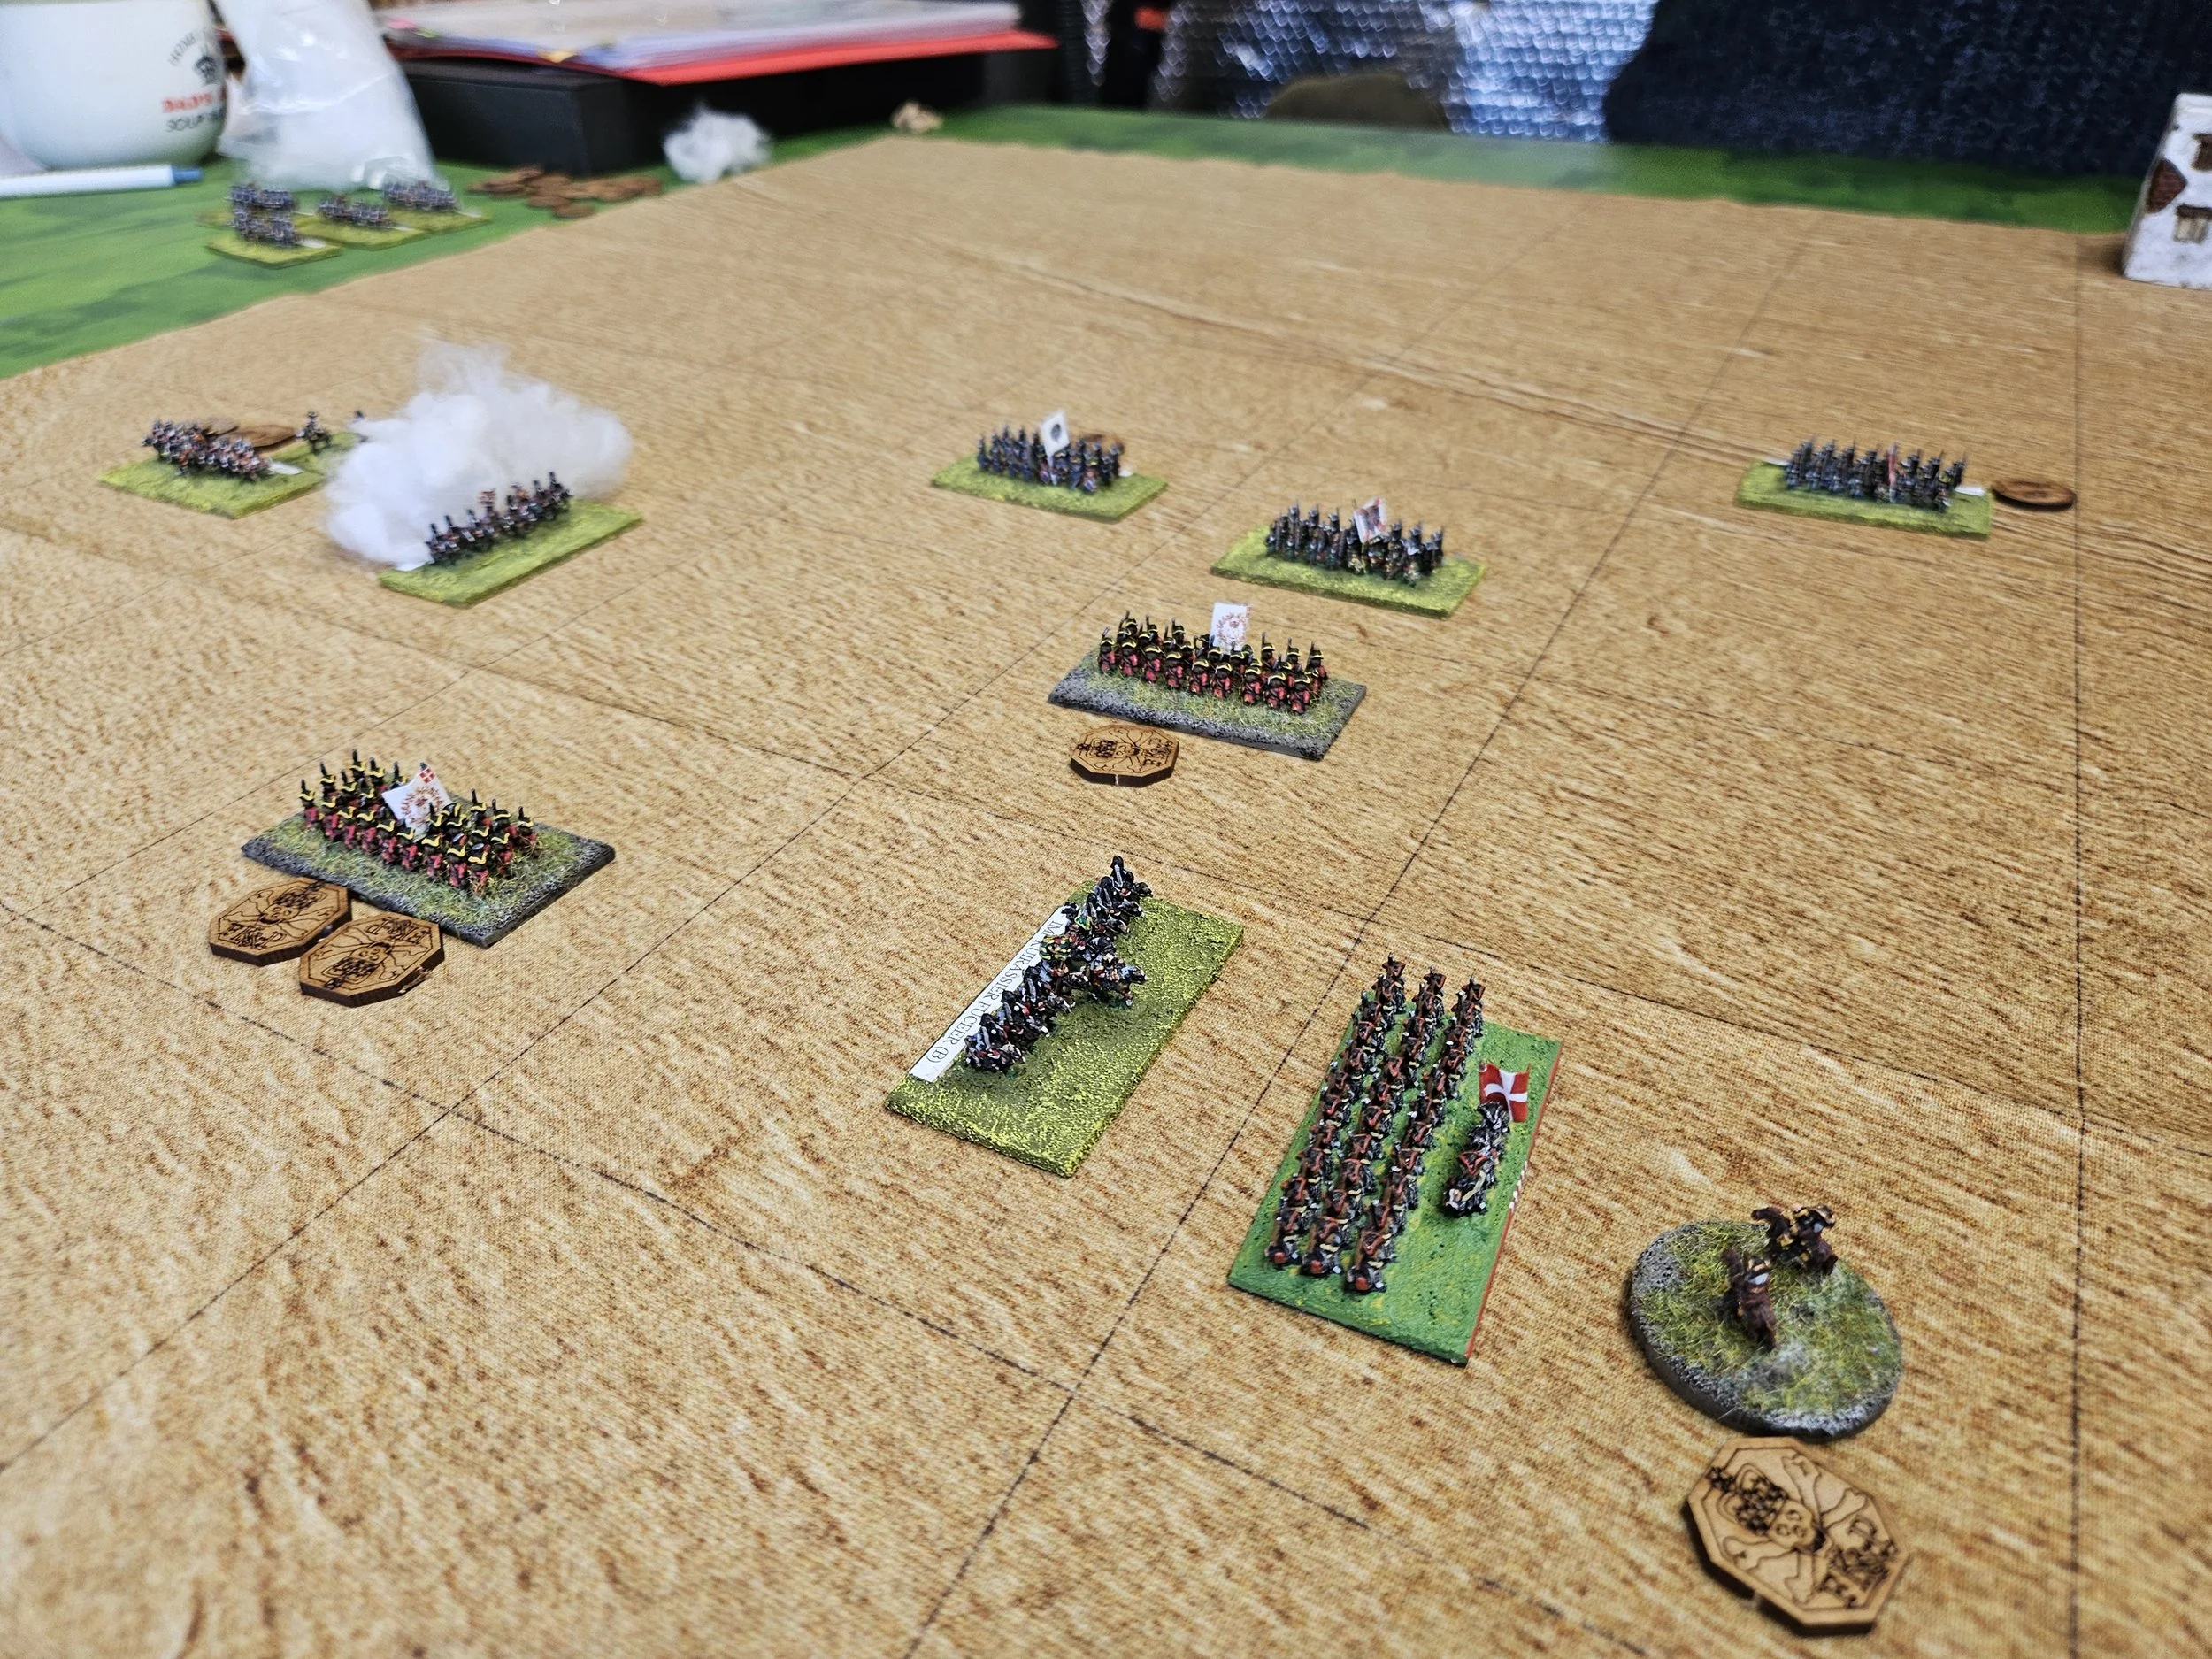
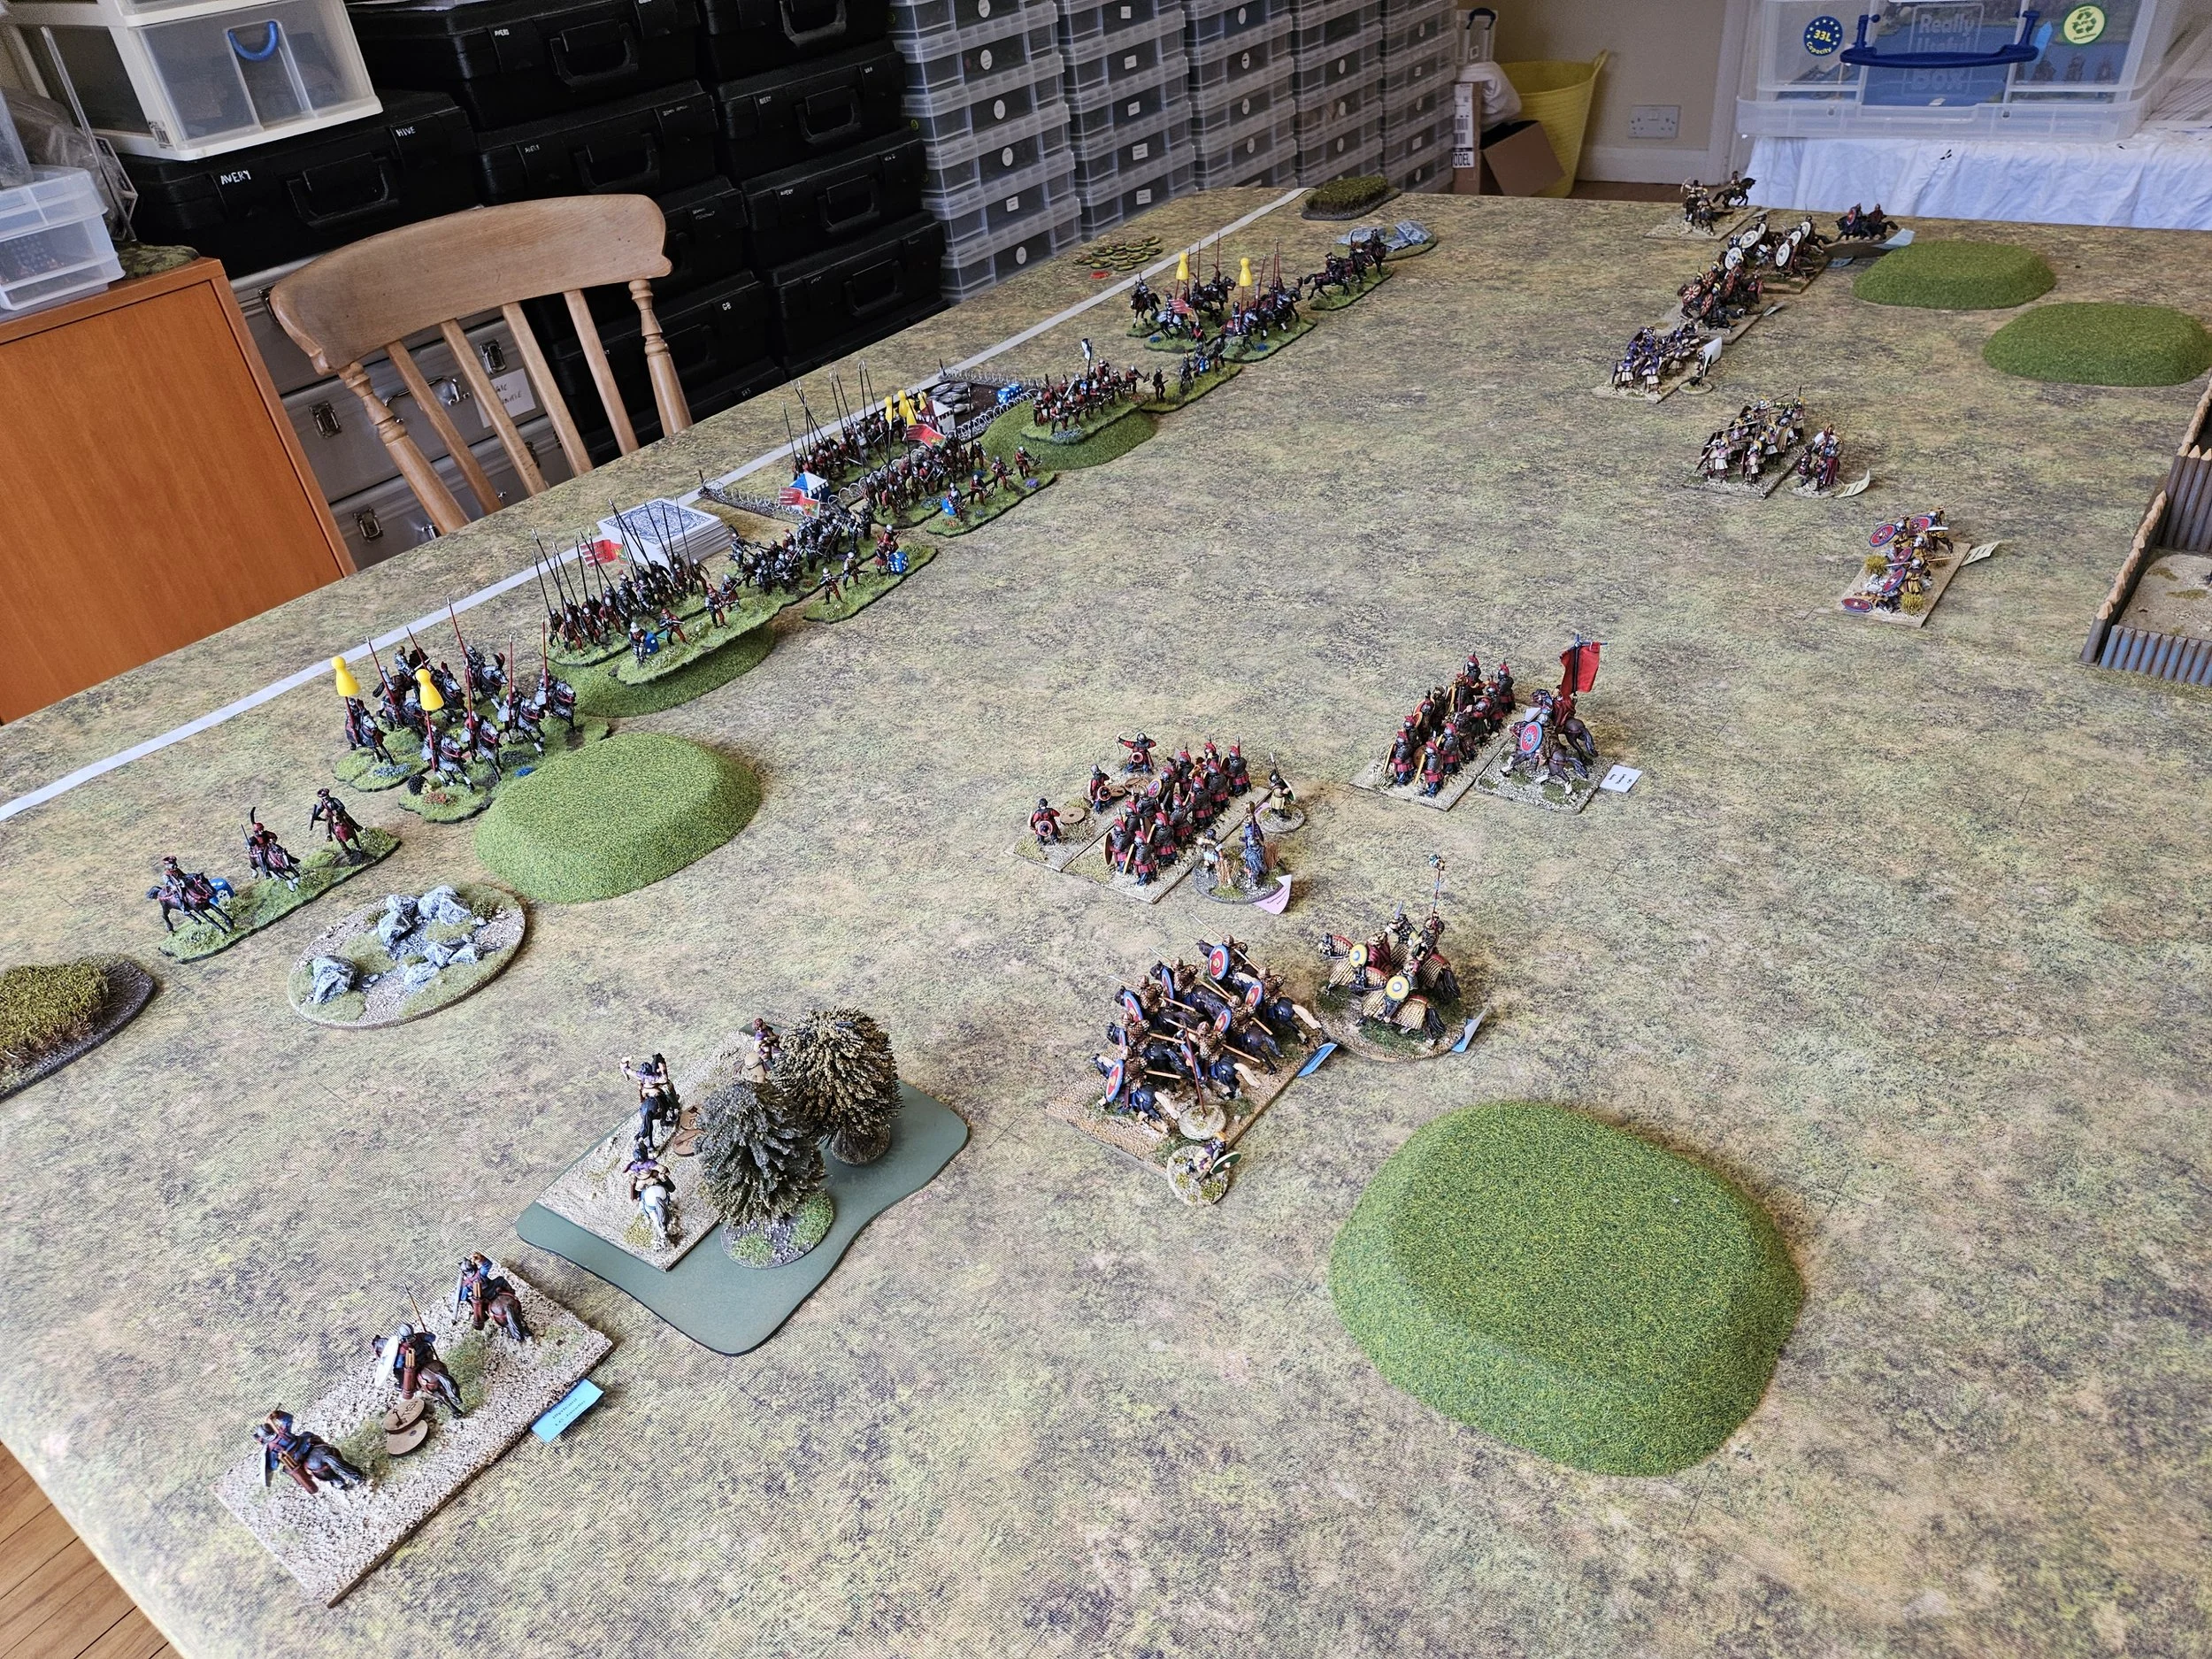
Technically a winning draw to the Danes: the Swedes had eleven medals left, and the Danes thirteen but having started with 2 less.
Your left had very little troops left, just two units of cavalry and one infantry, from both sides, in total. The right flank may have gone your way, but only just. The centre had advanced on the Danish line, but most of the first line had disorder and would’ve found it hard to make it, I think.
We stopped after turn 6.
So it looks like the Swedes would have eventually lost the game, but at least I can blame my co-commander for the defeat: had I been able to continue, I am sure it would have been a glorious victory!