To The Smallest: Game Three: Khurasanians vs Mongol
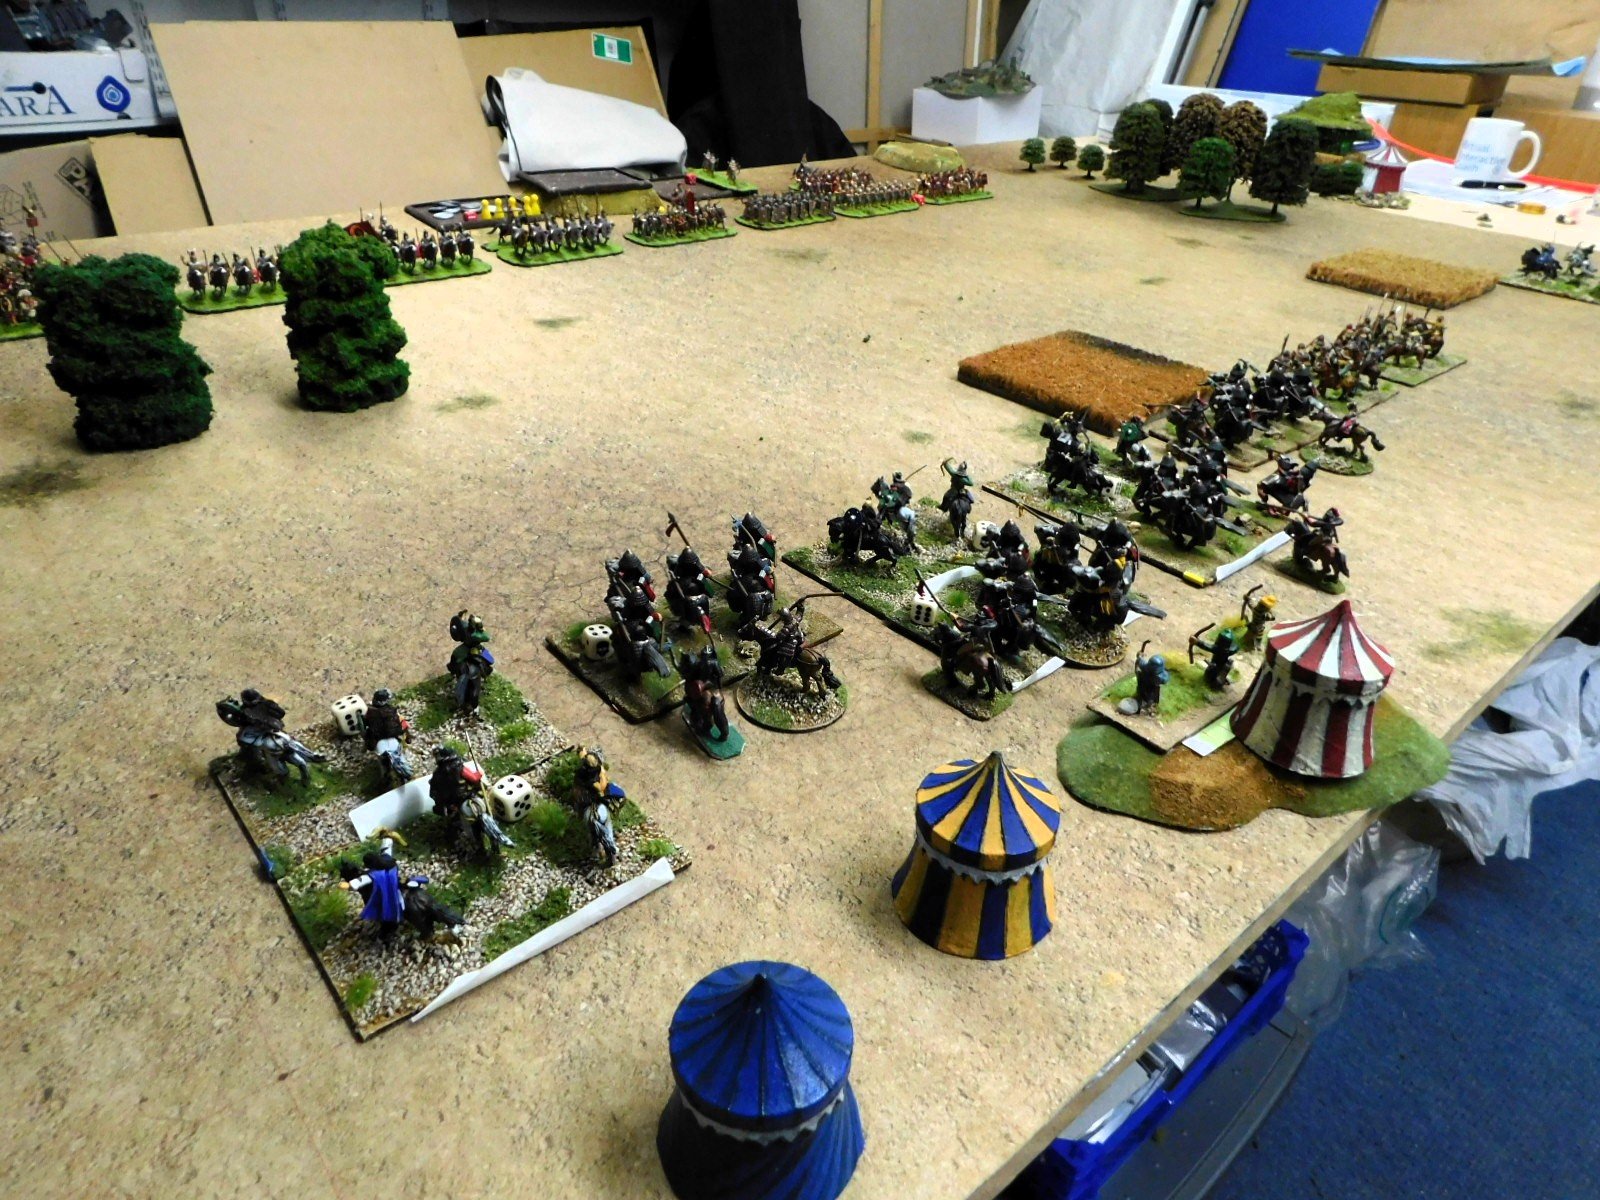
/With two wins already under my belt, it was time for game three at this year’s To The Smallest tournament. Each terrain set-up was based on an historical battlefield and finally I was on a table that suited the half of my army that were mounted troops…it was just a bit unfortunate that my Khurasanians were facing Mongols, surely the ultimate cavalry army especially as they were all veterans!
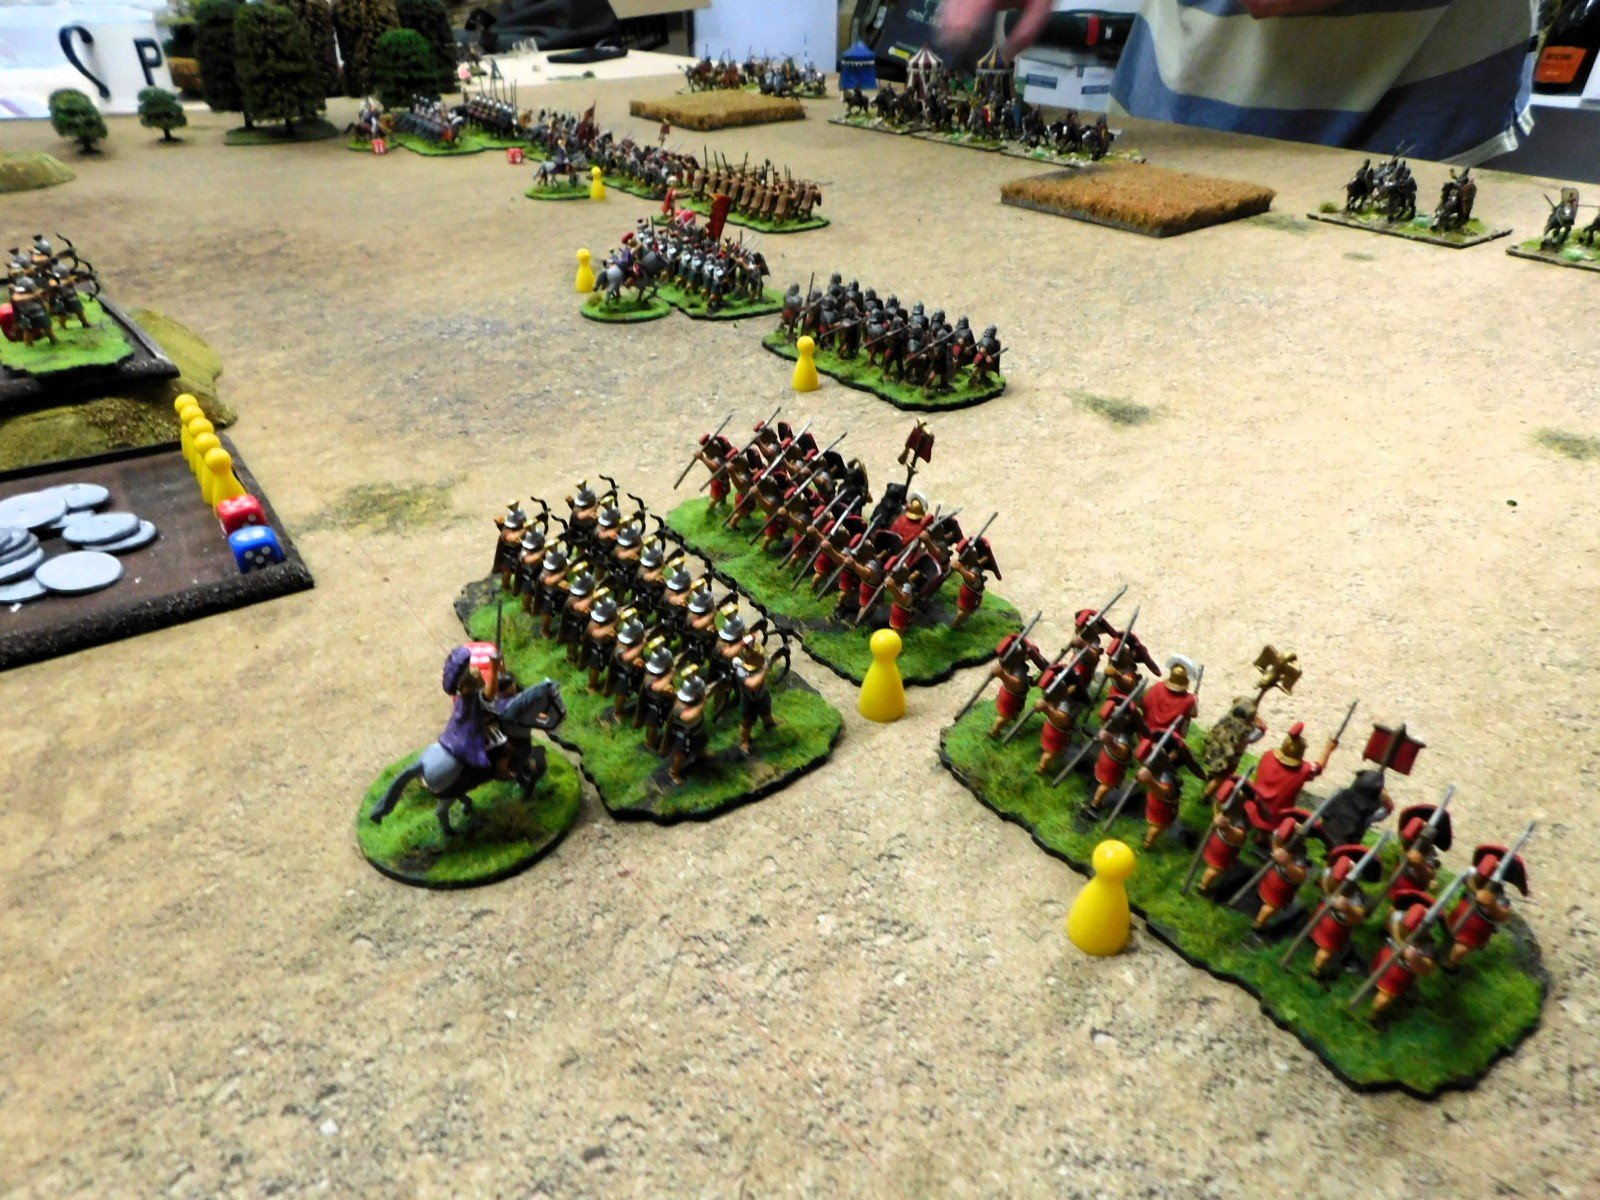
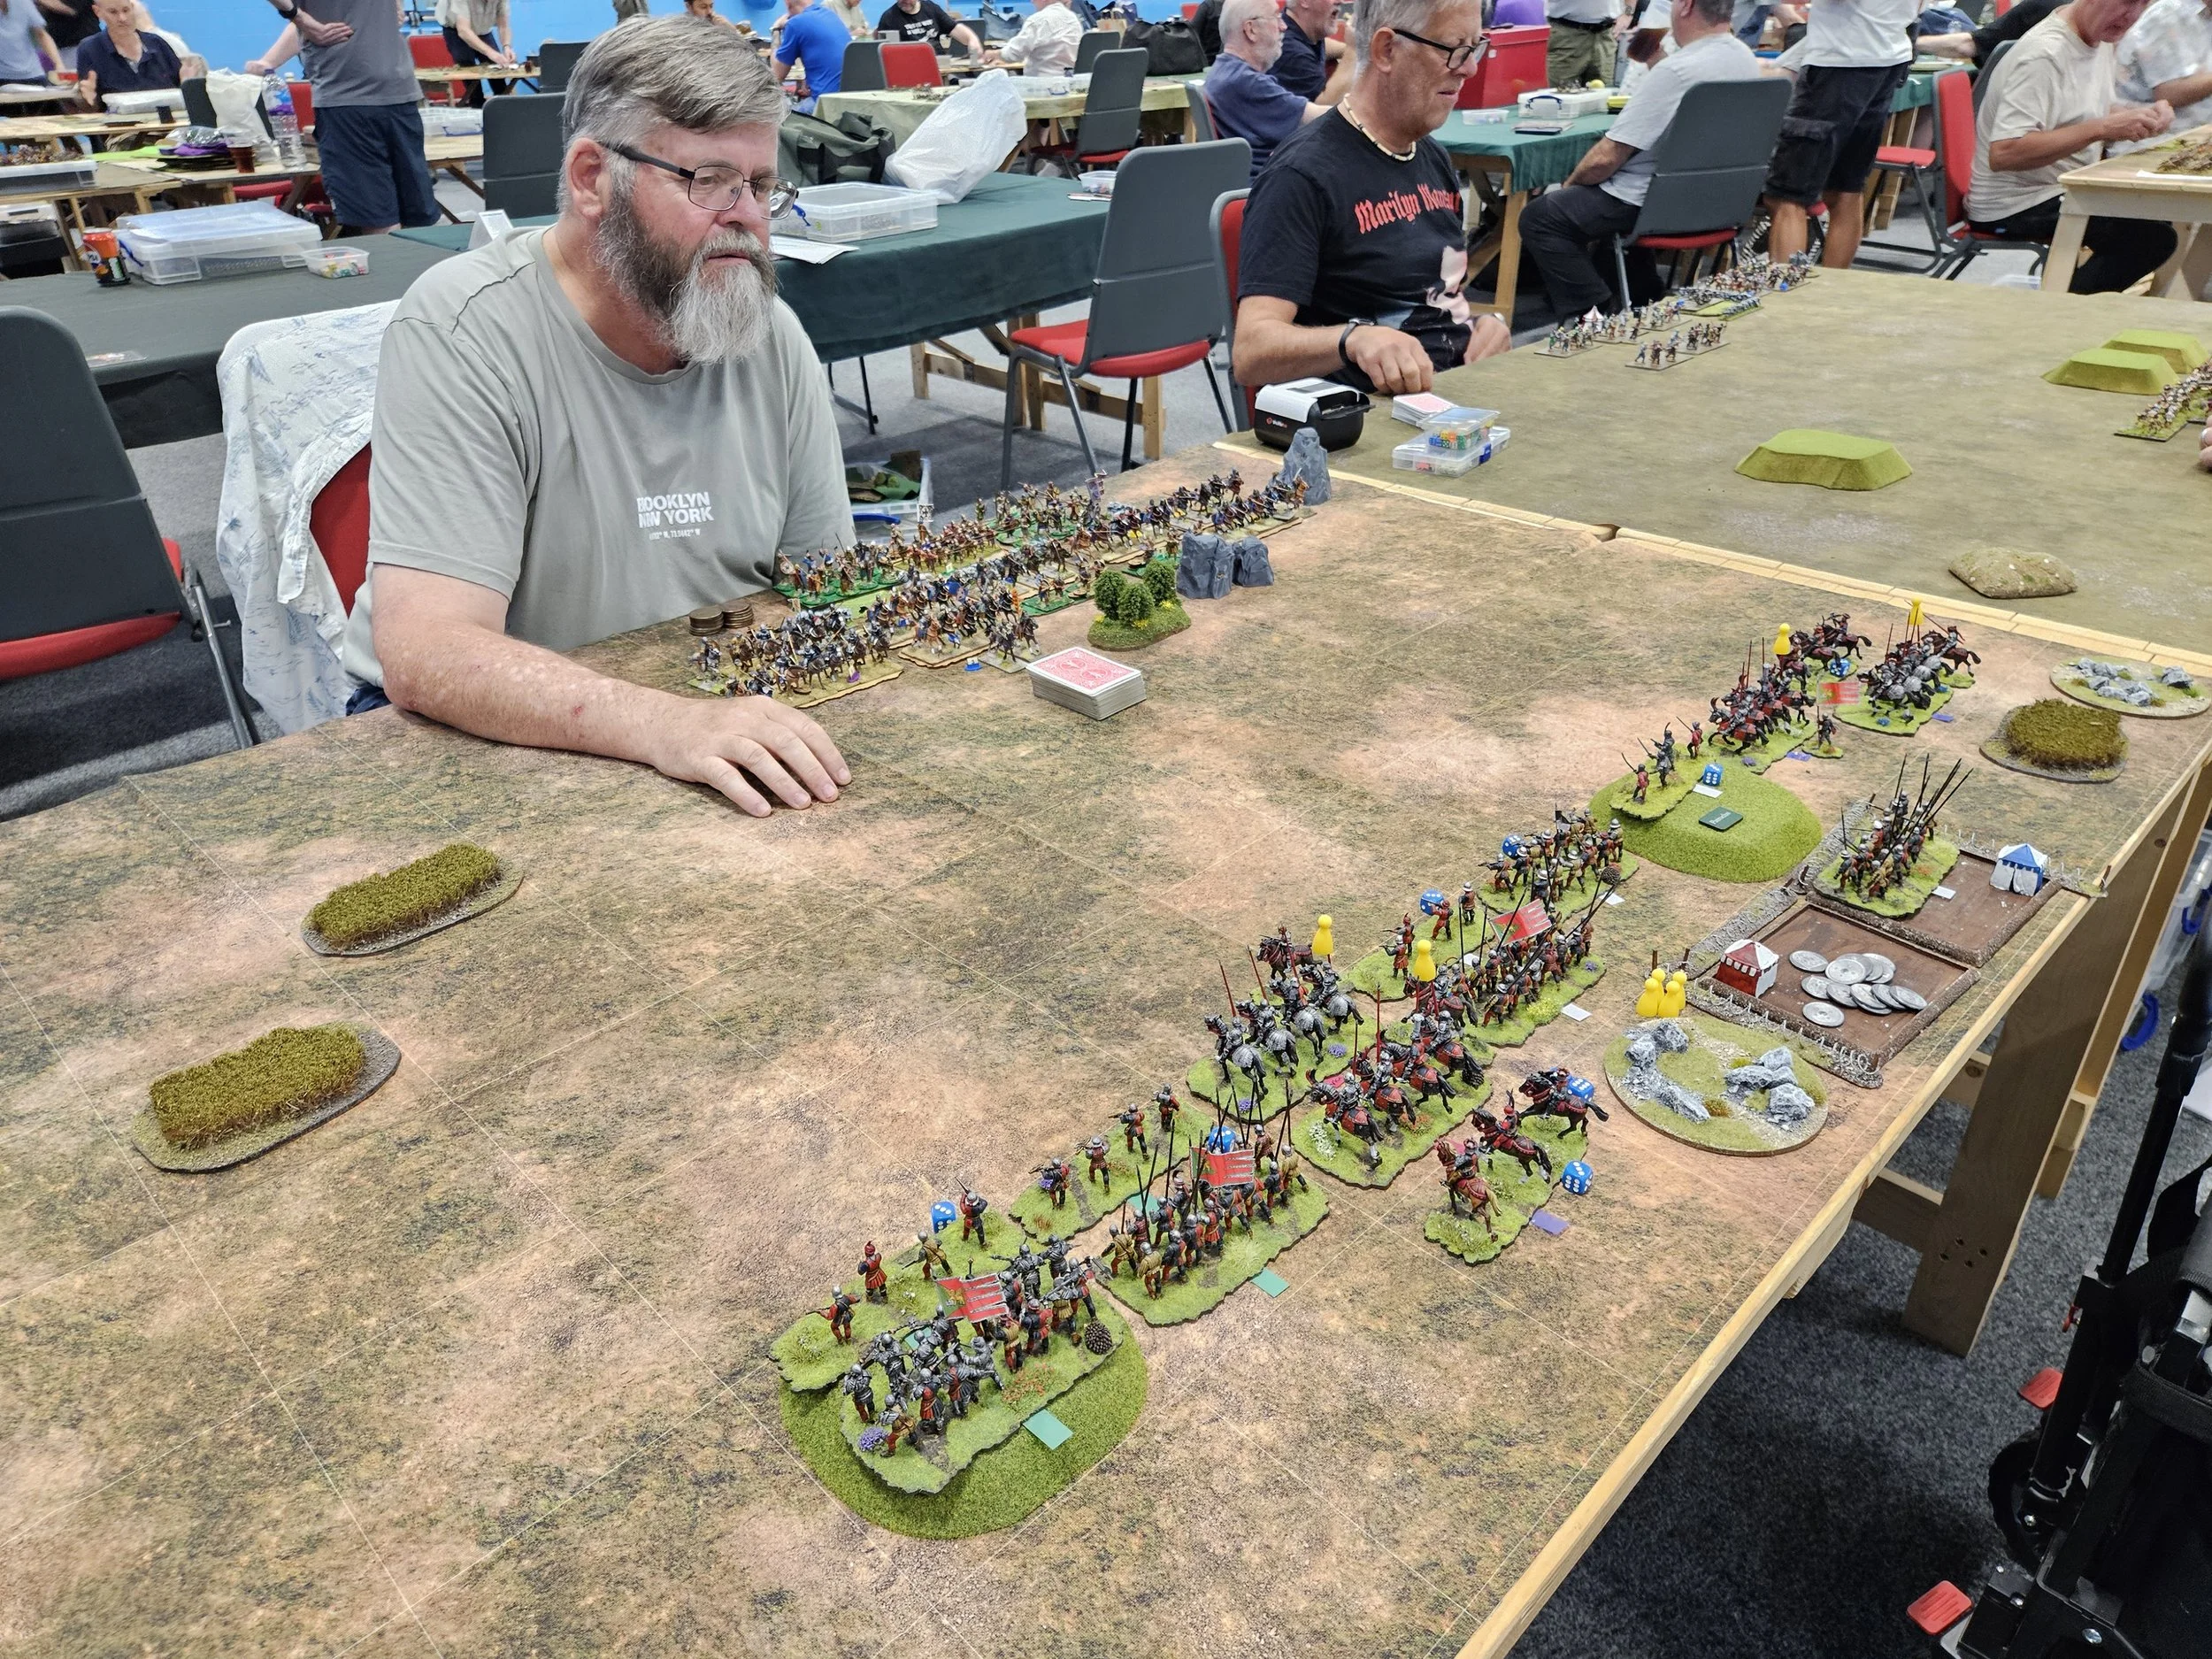
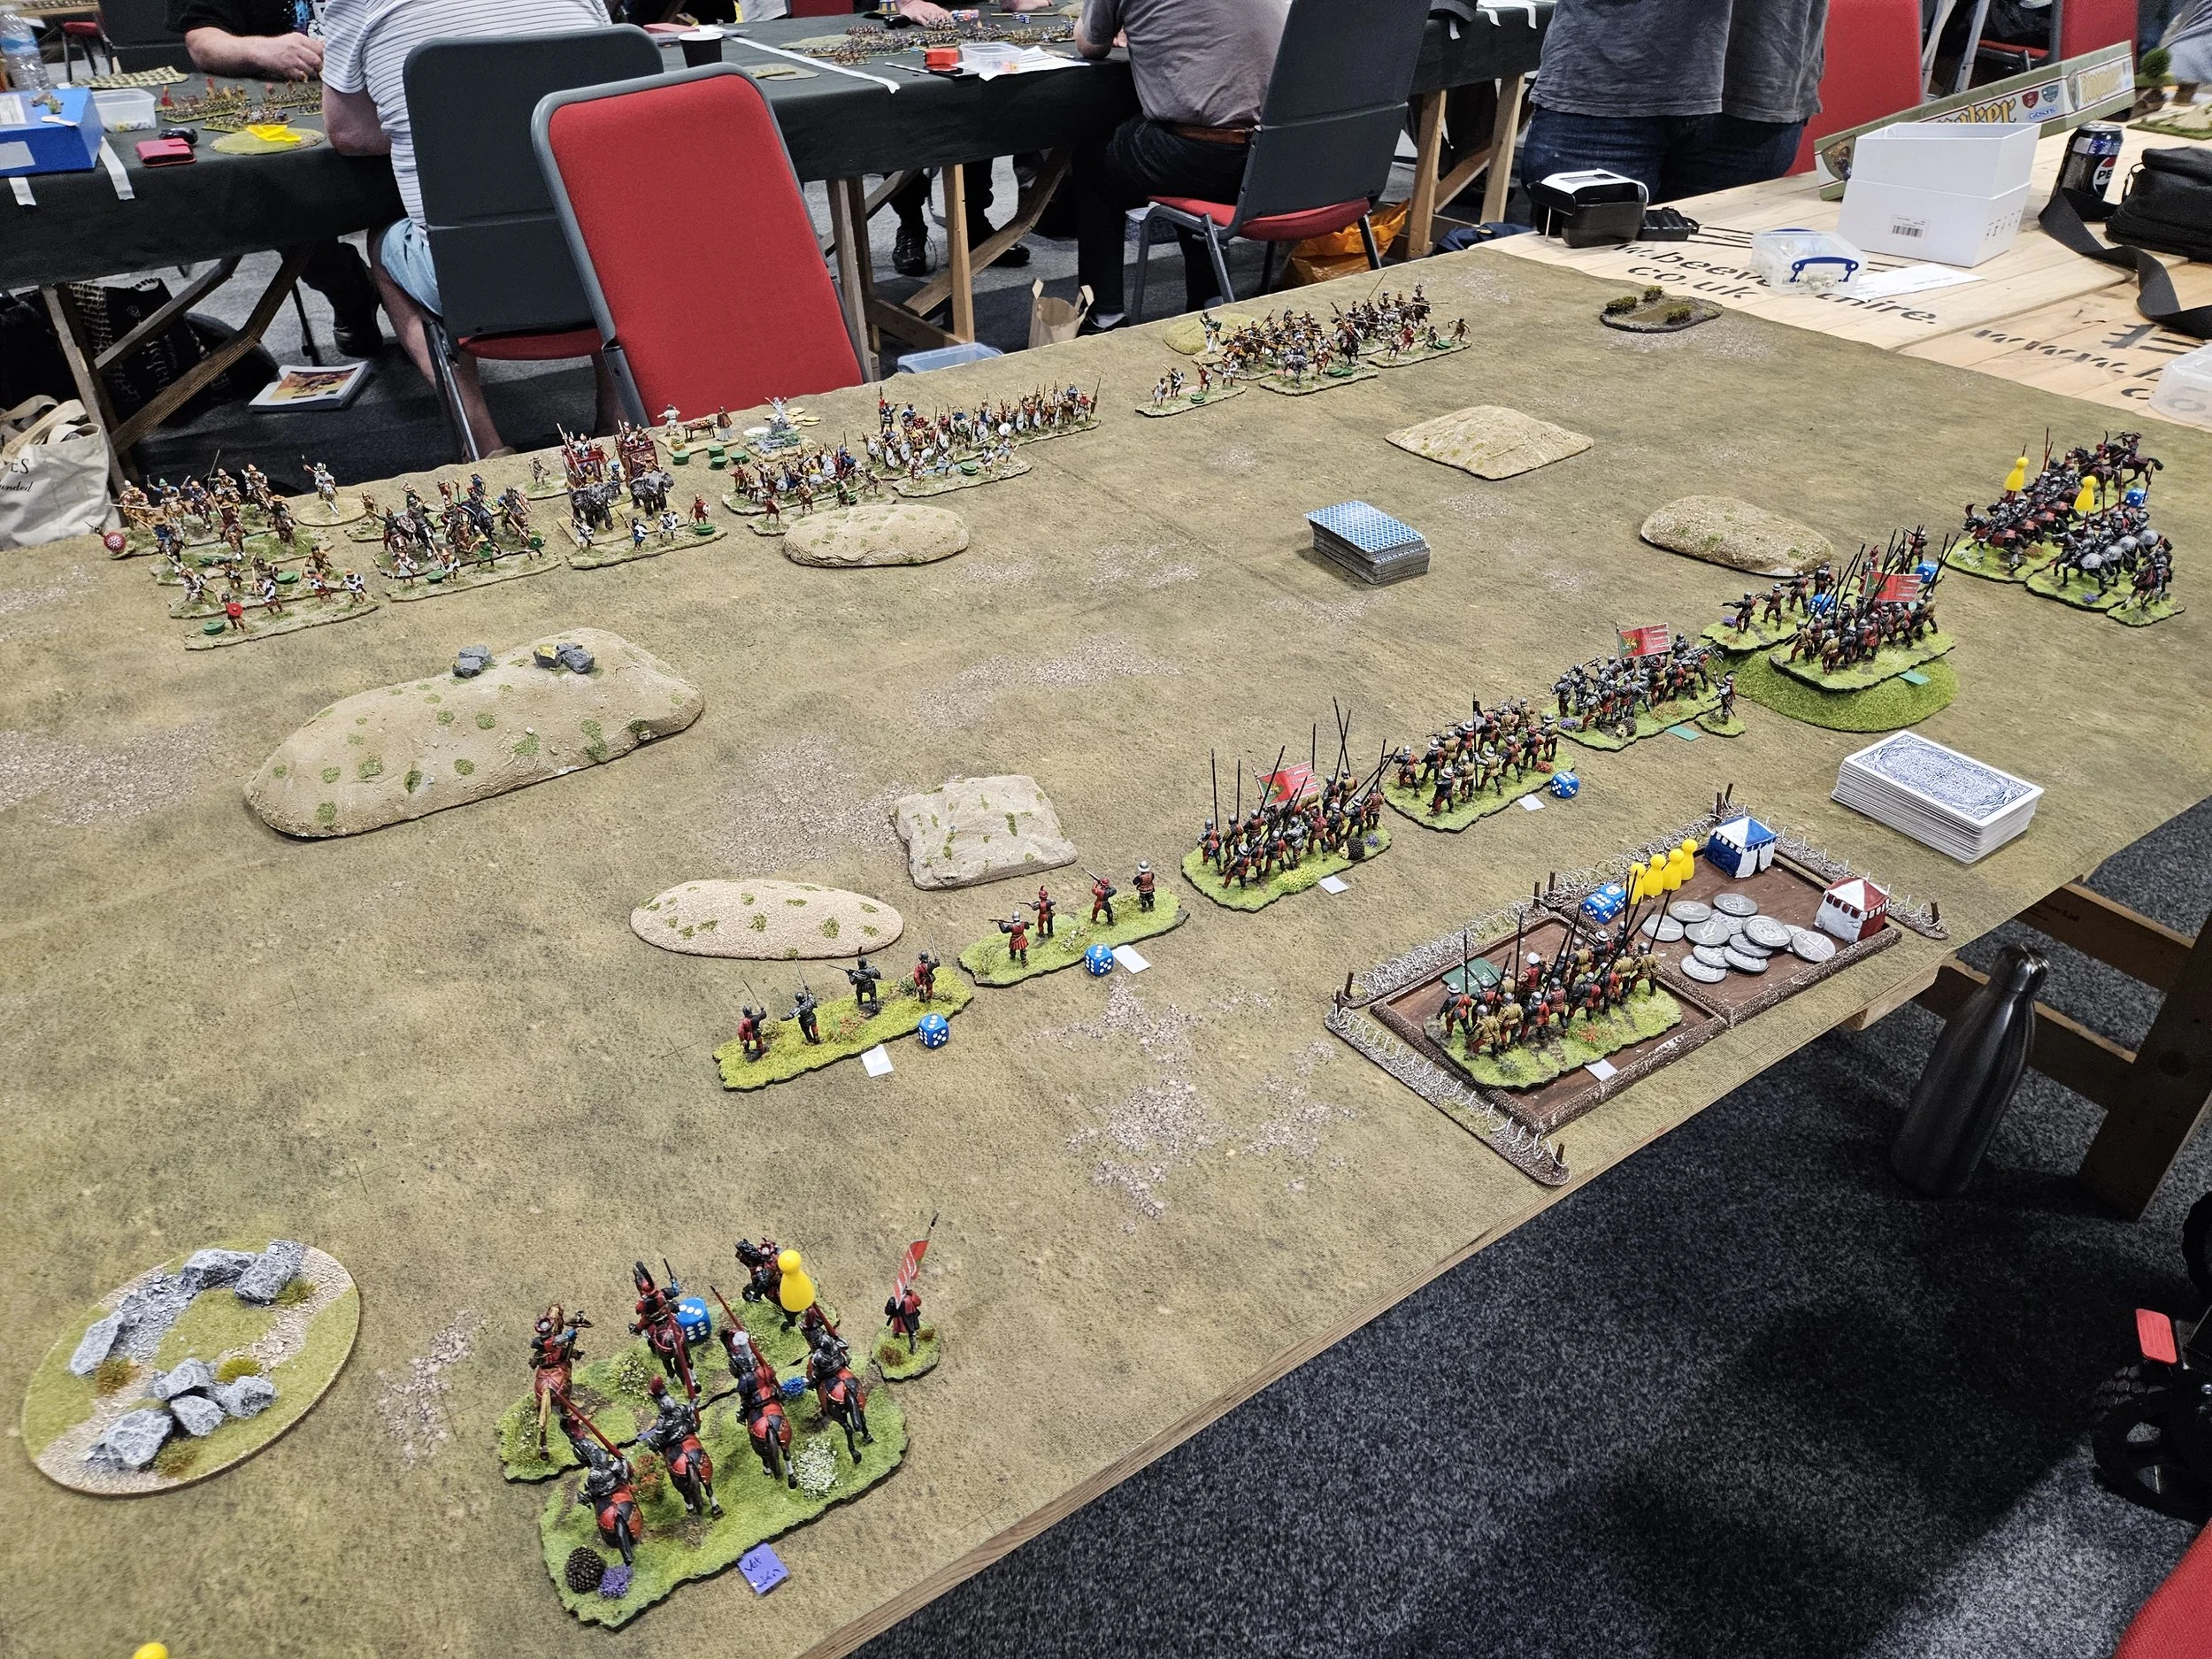
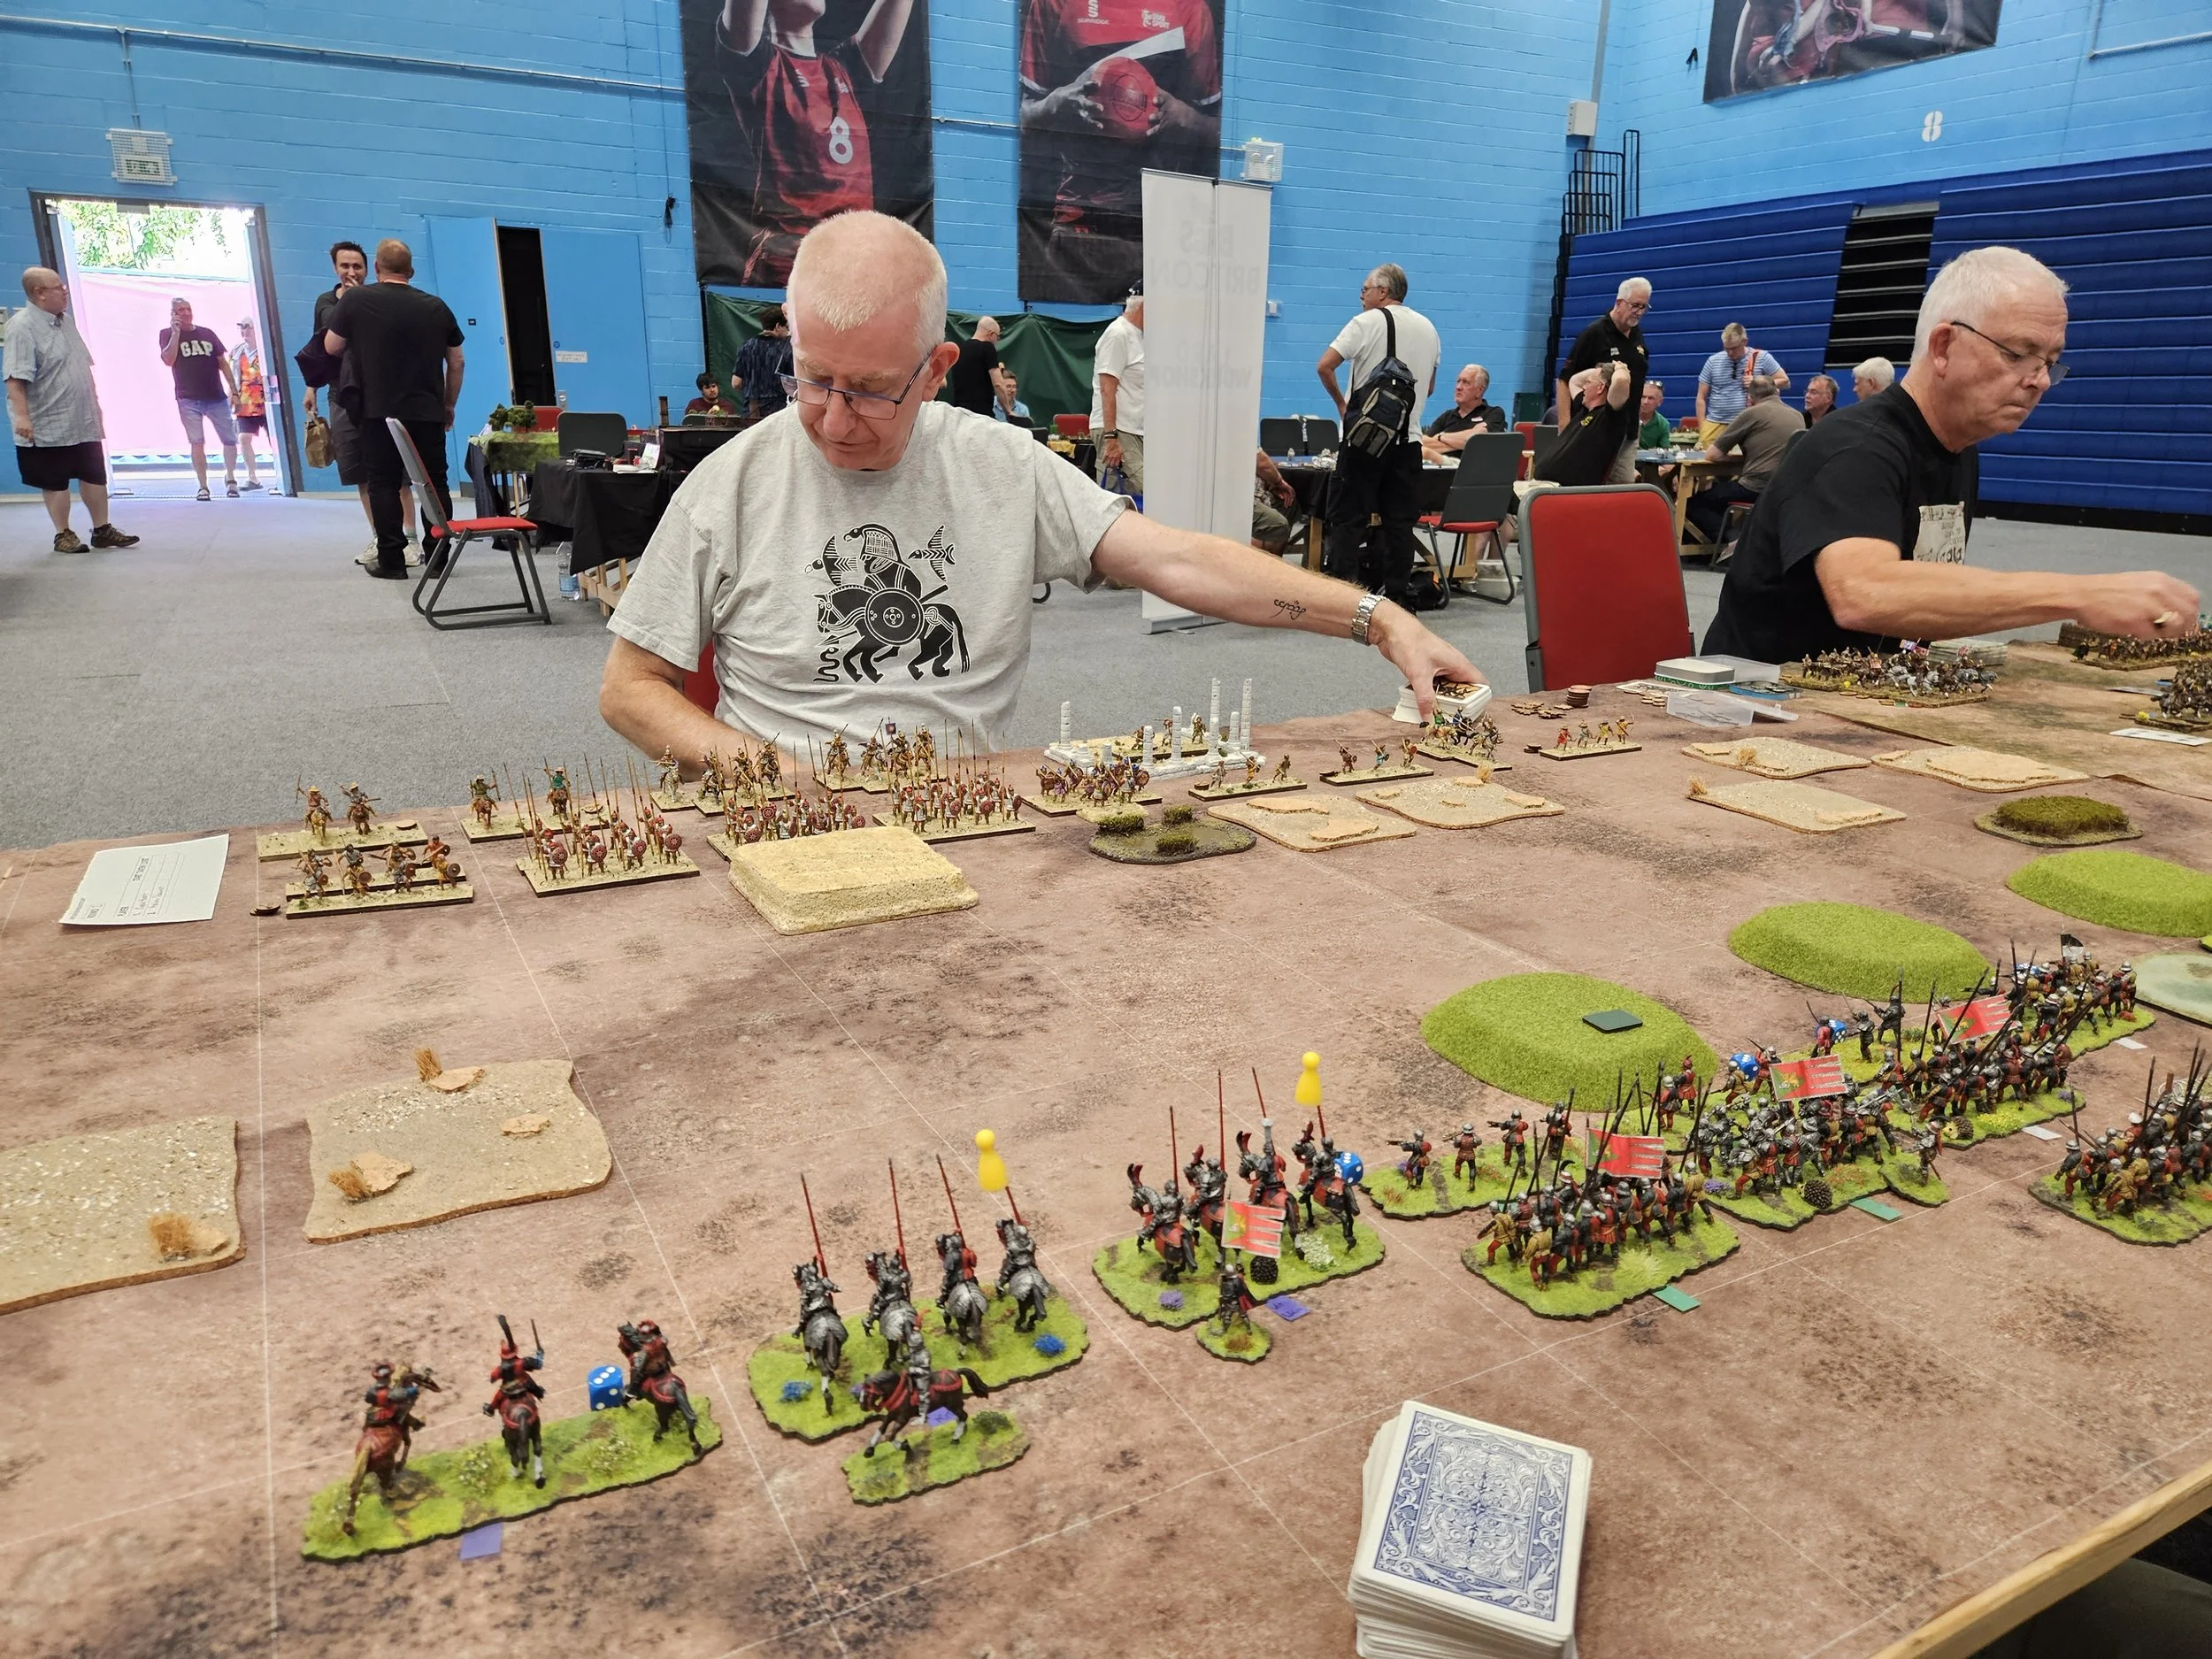
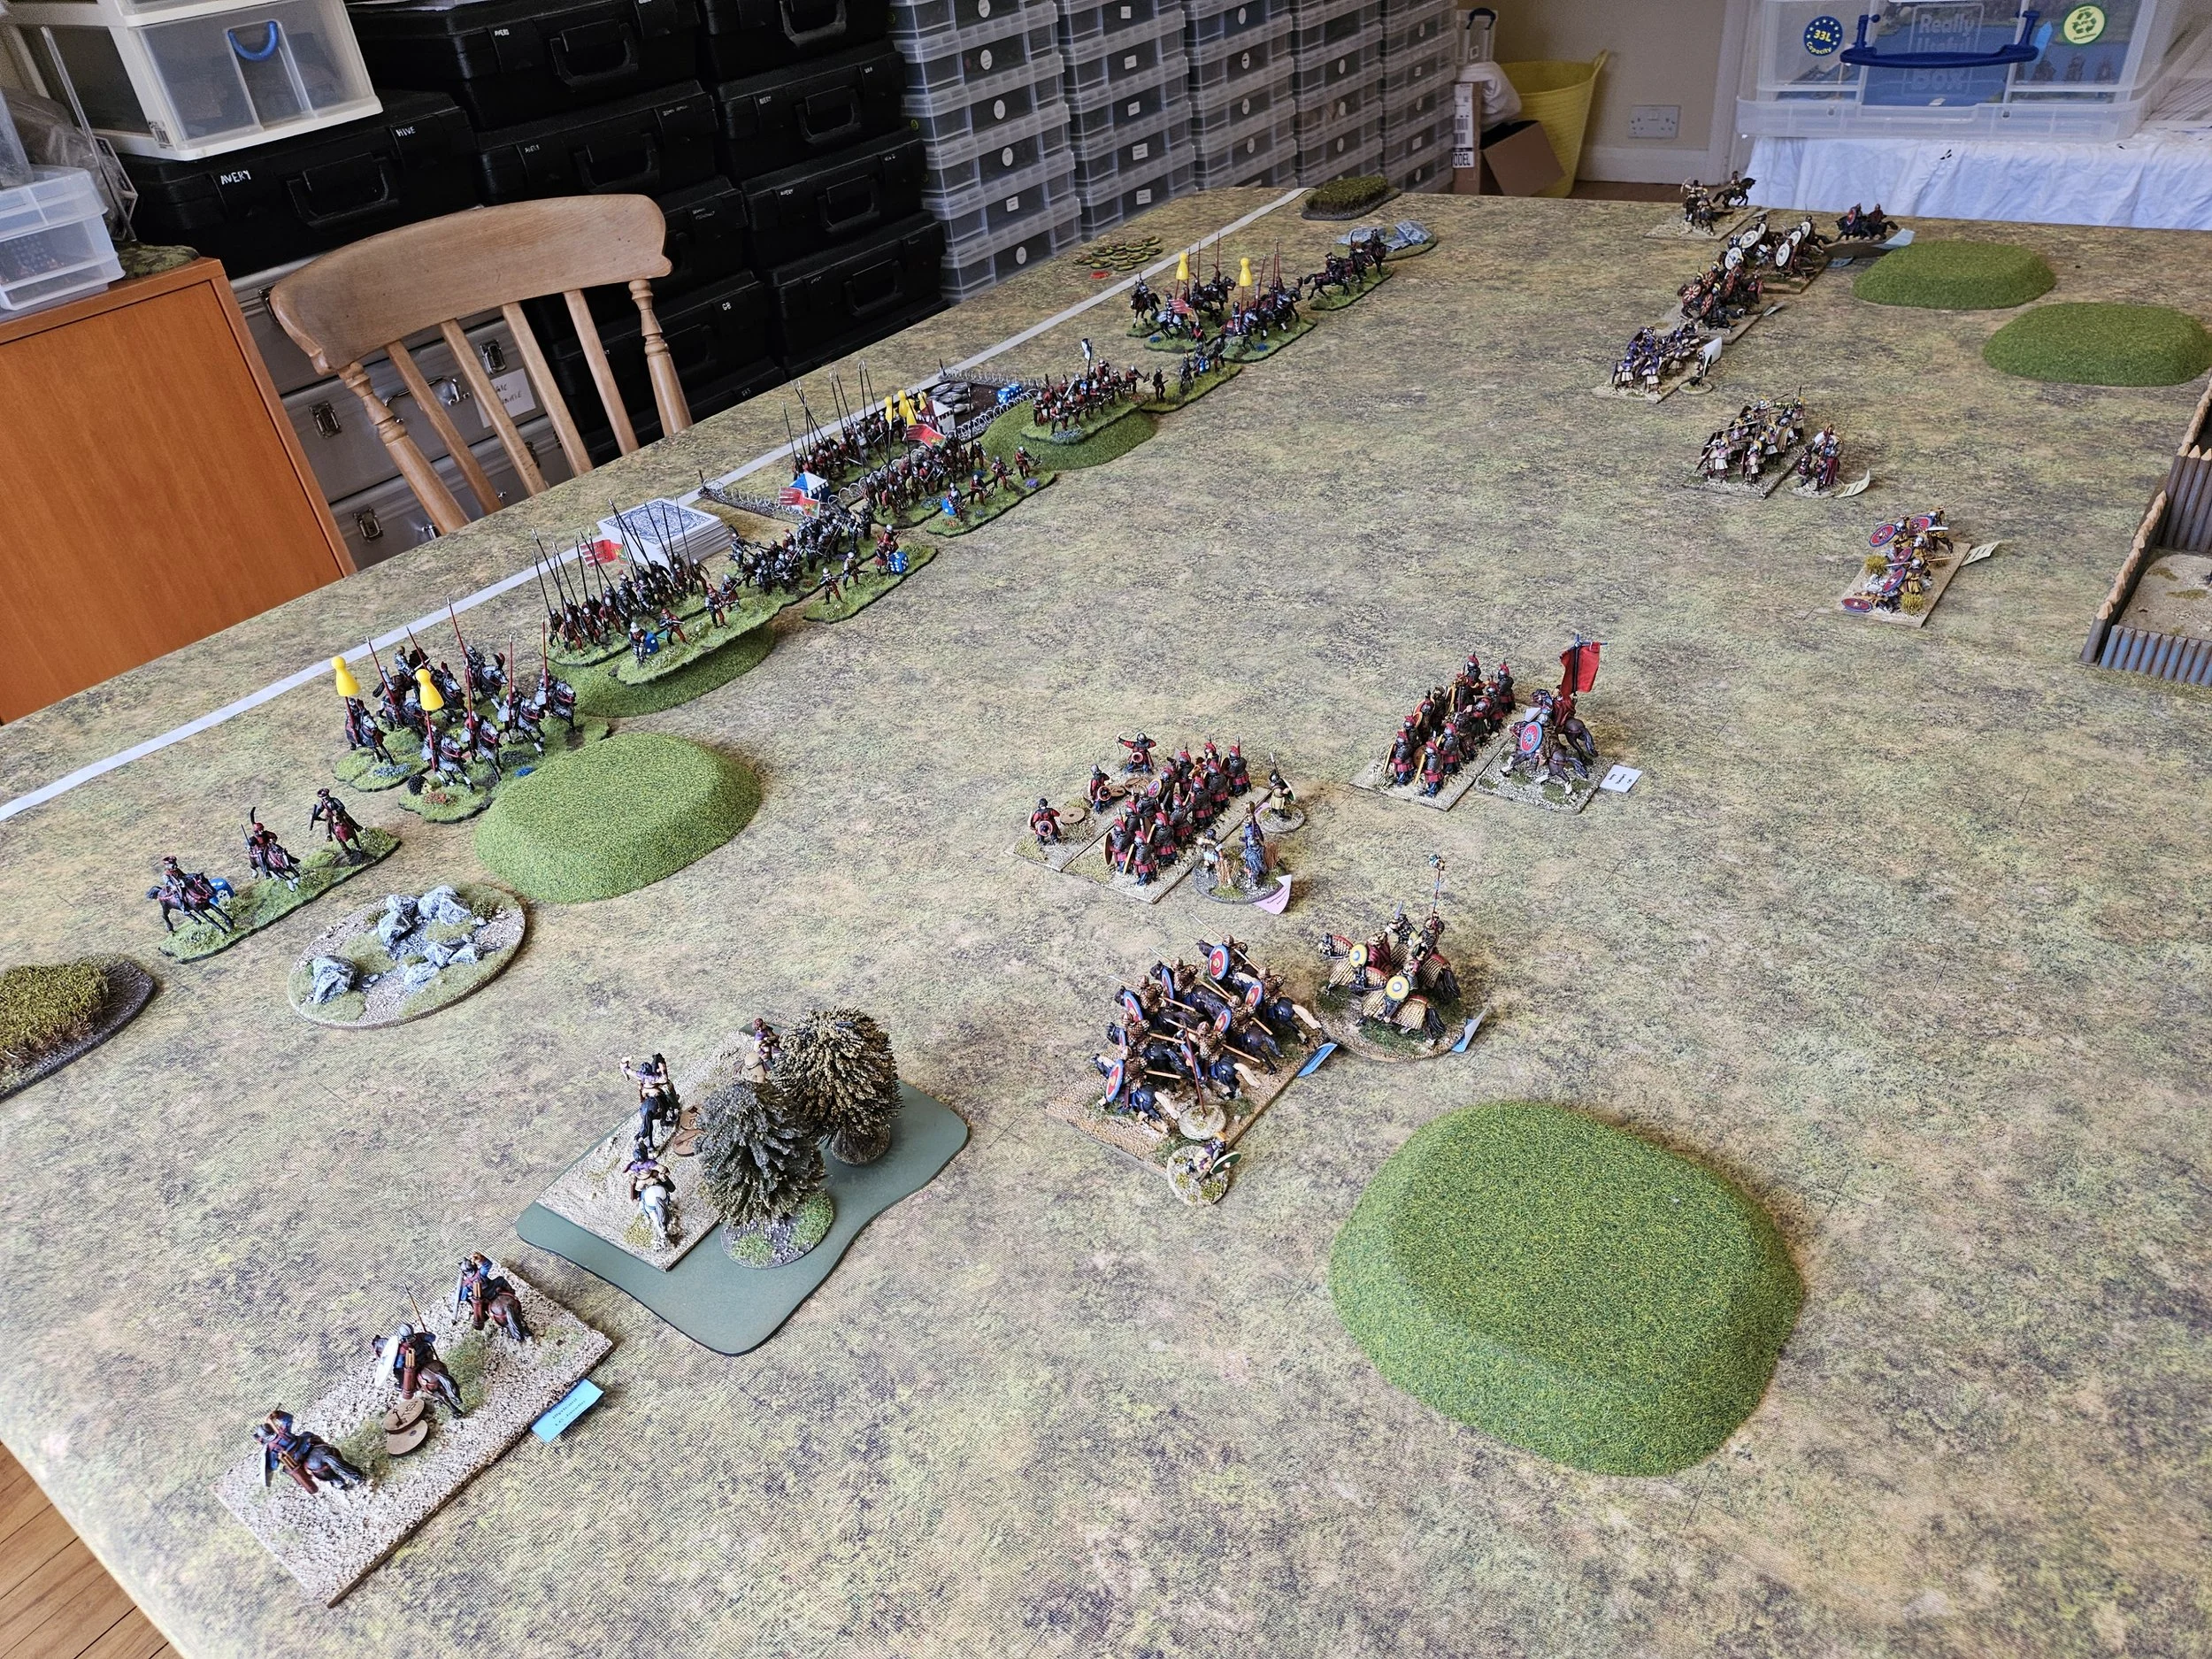
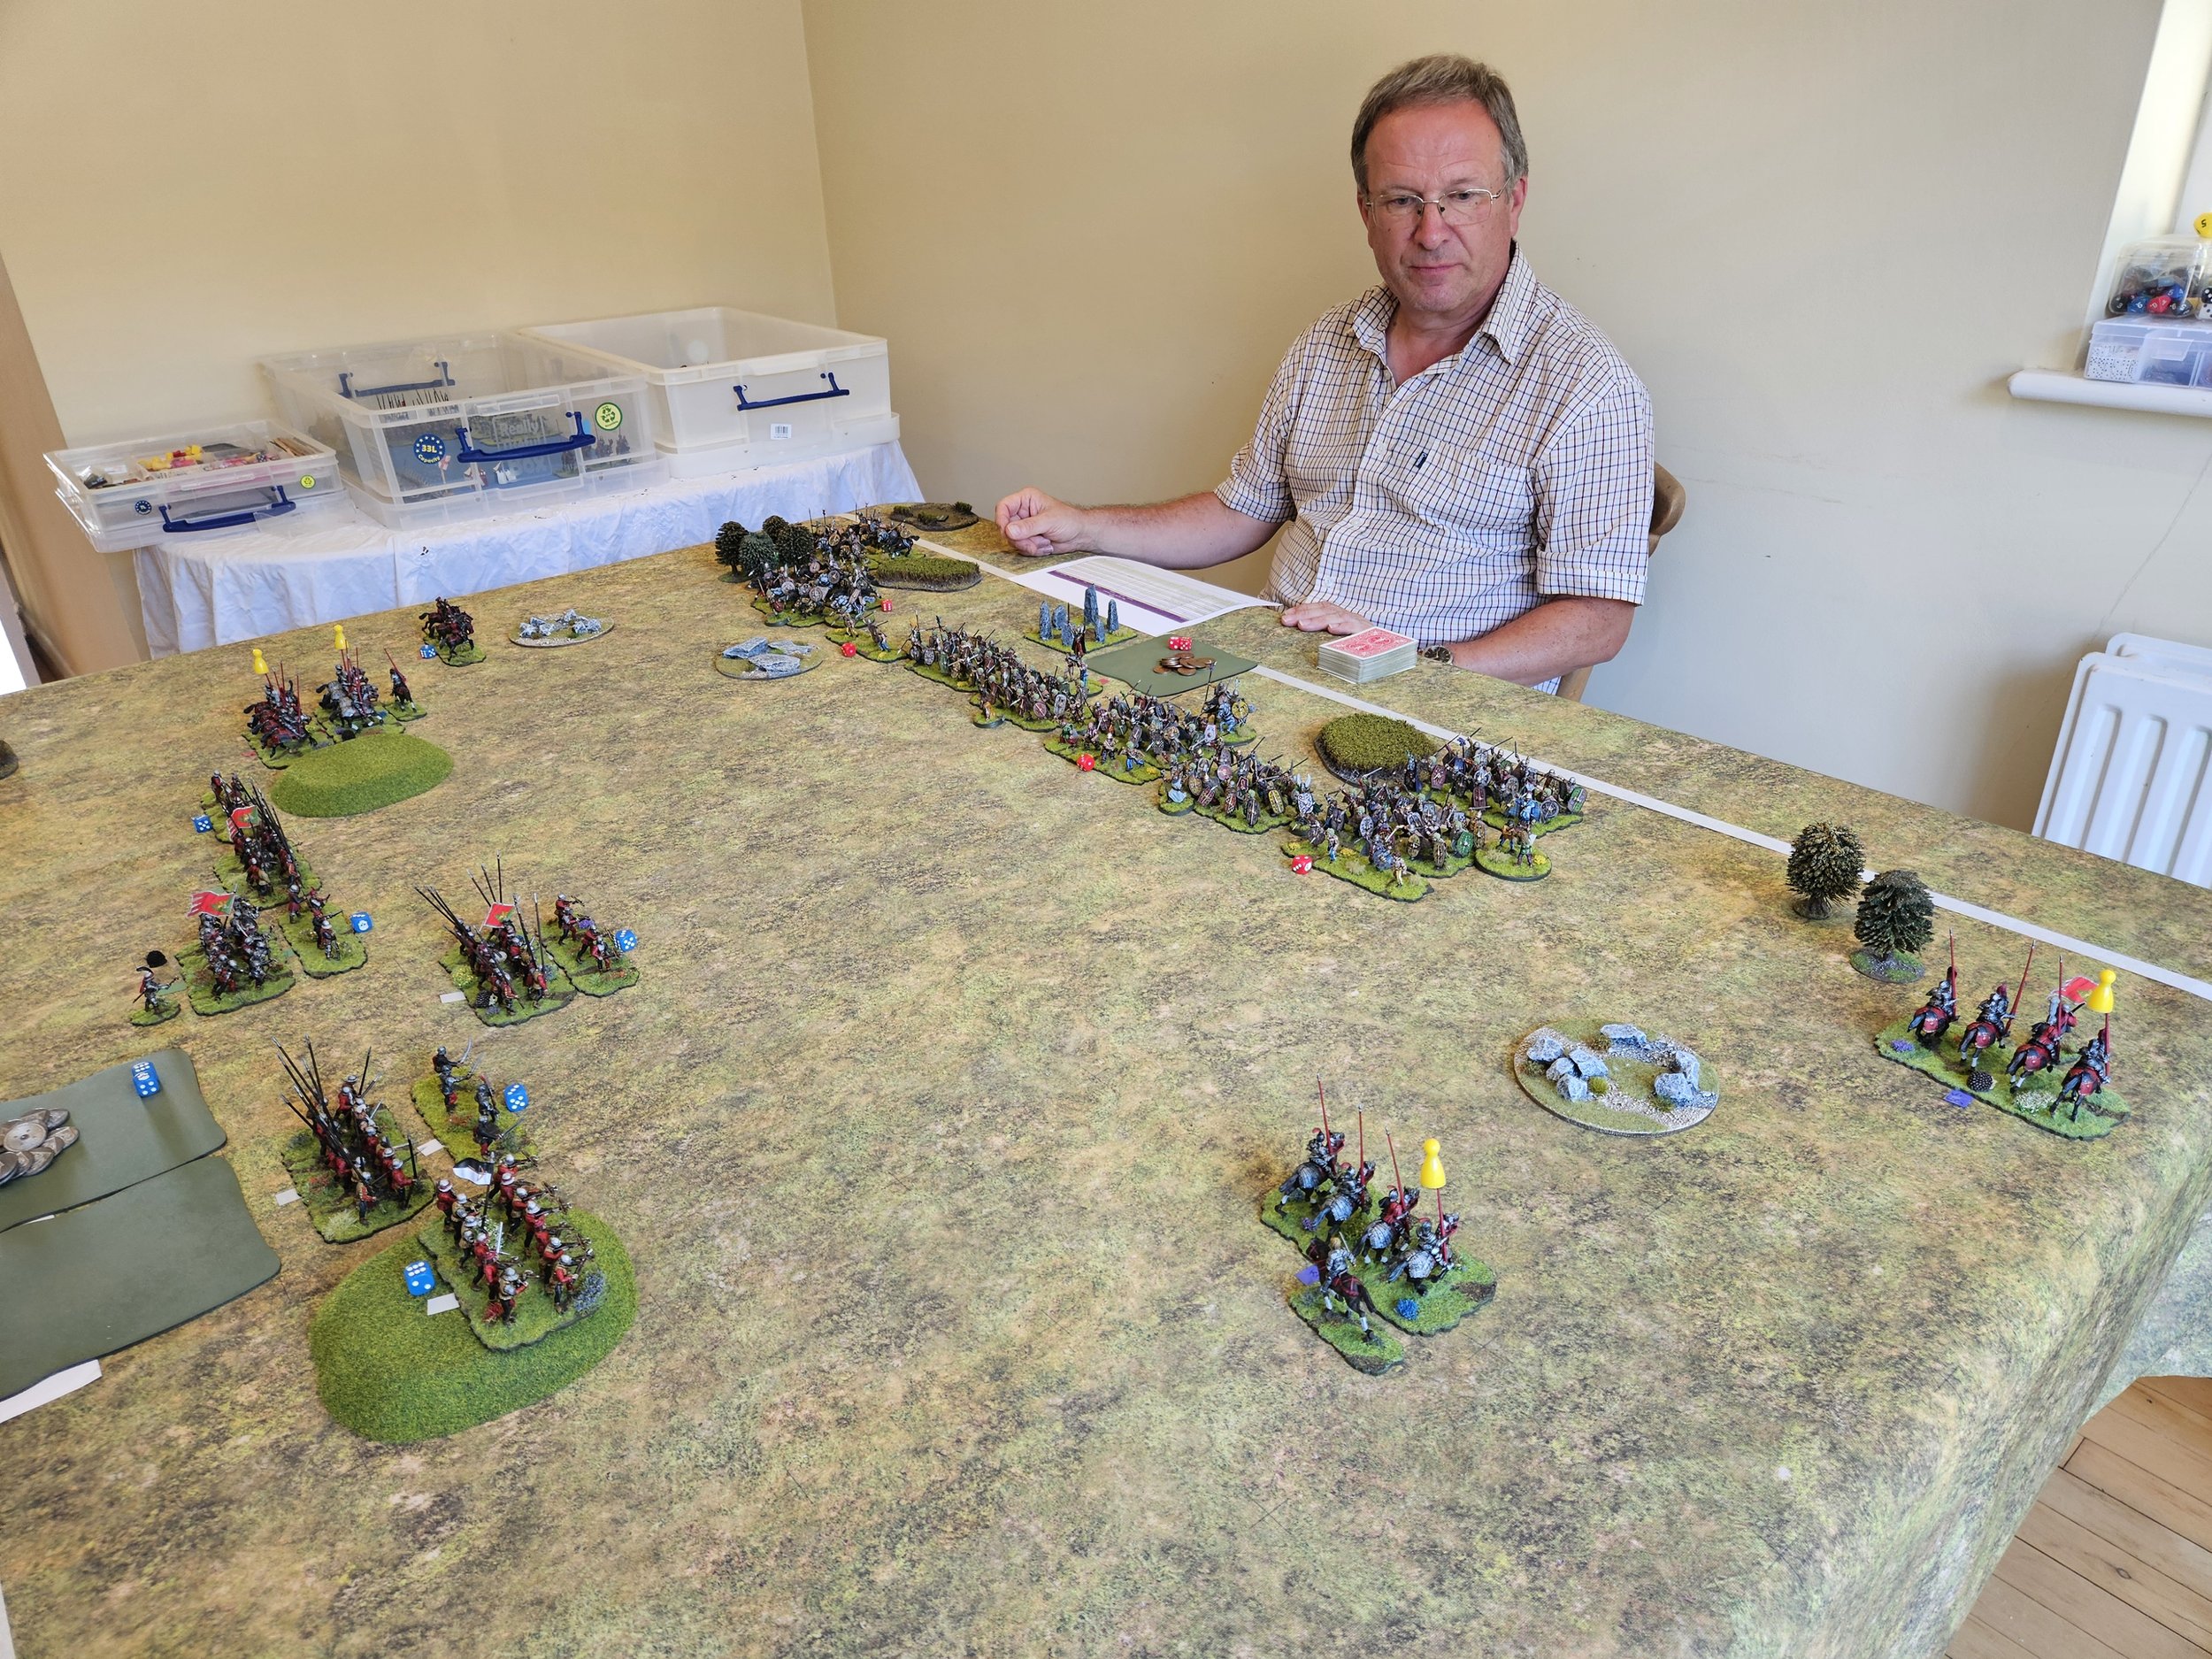
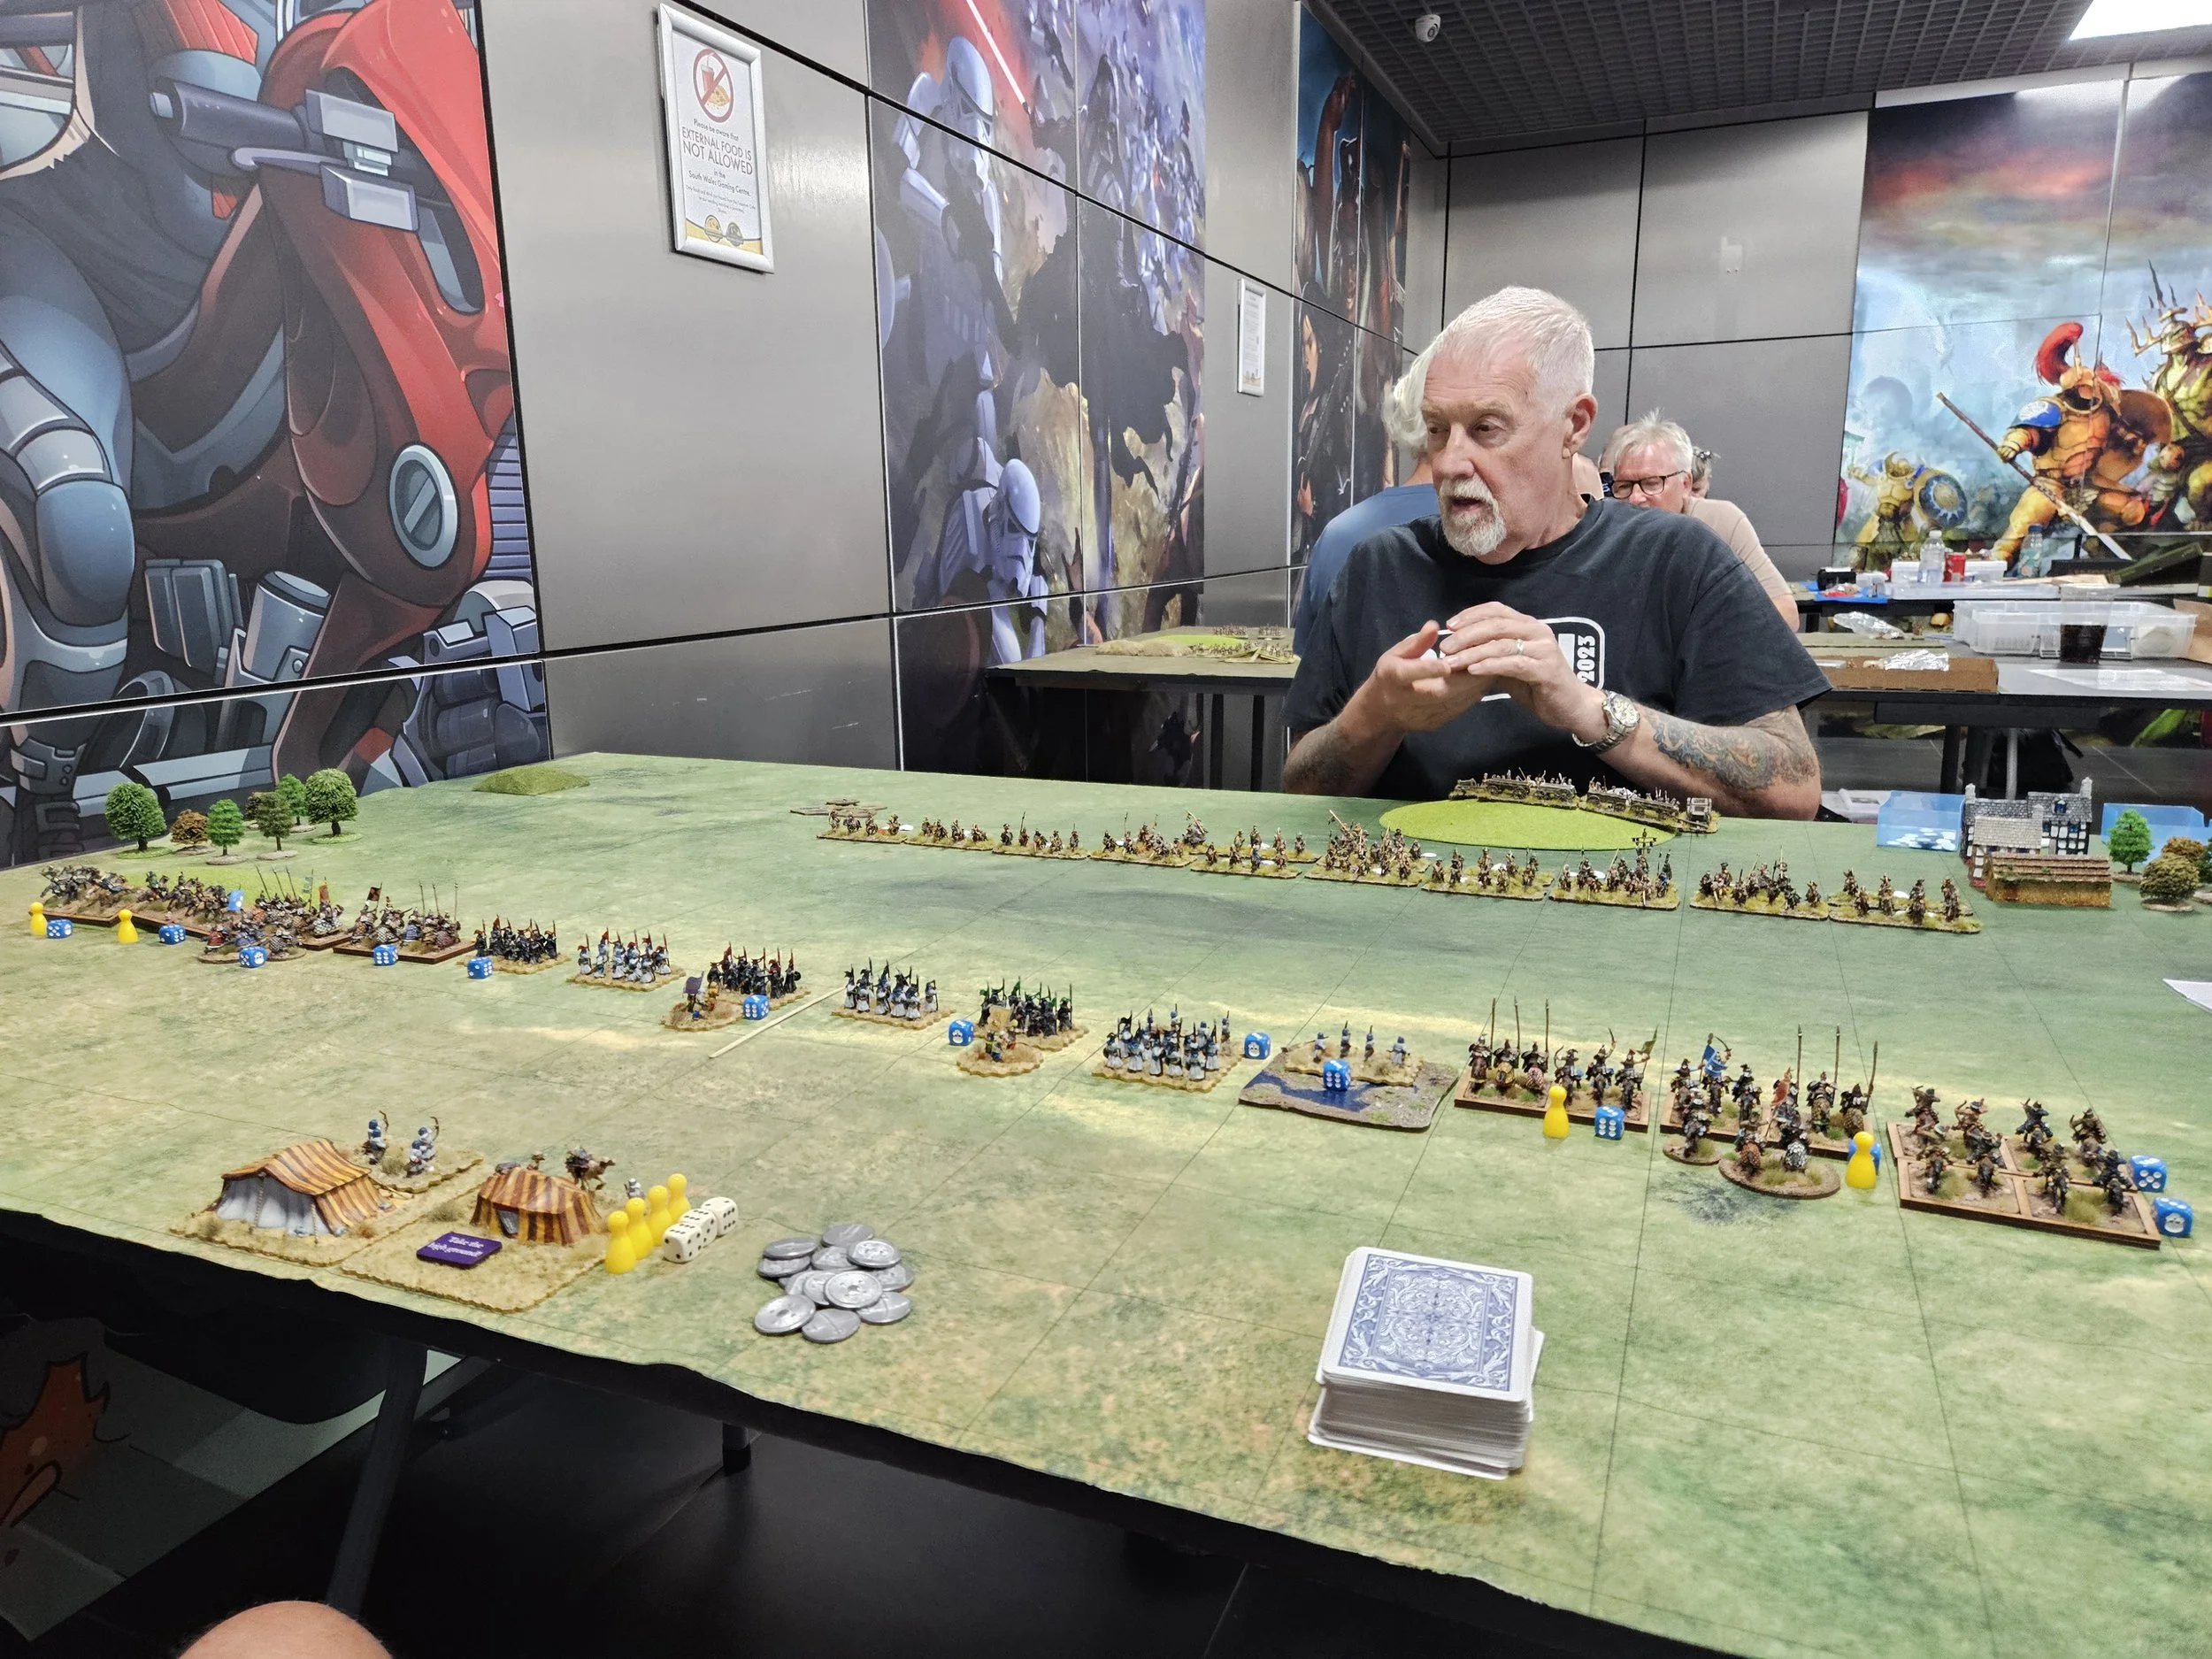
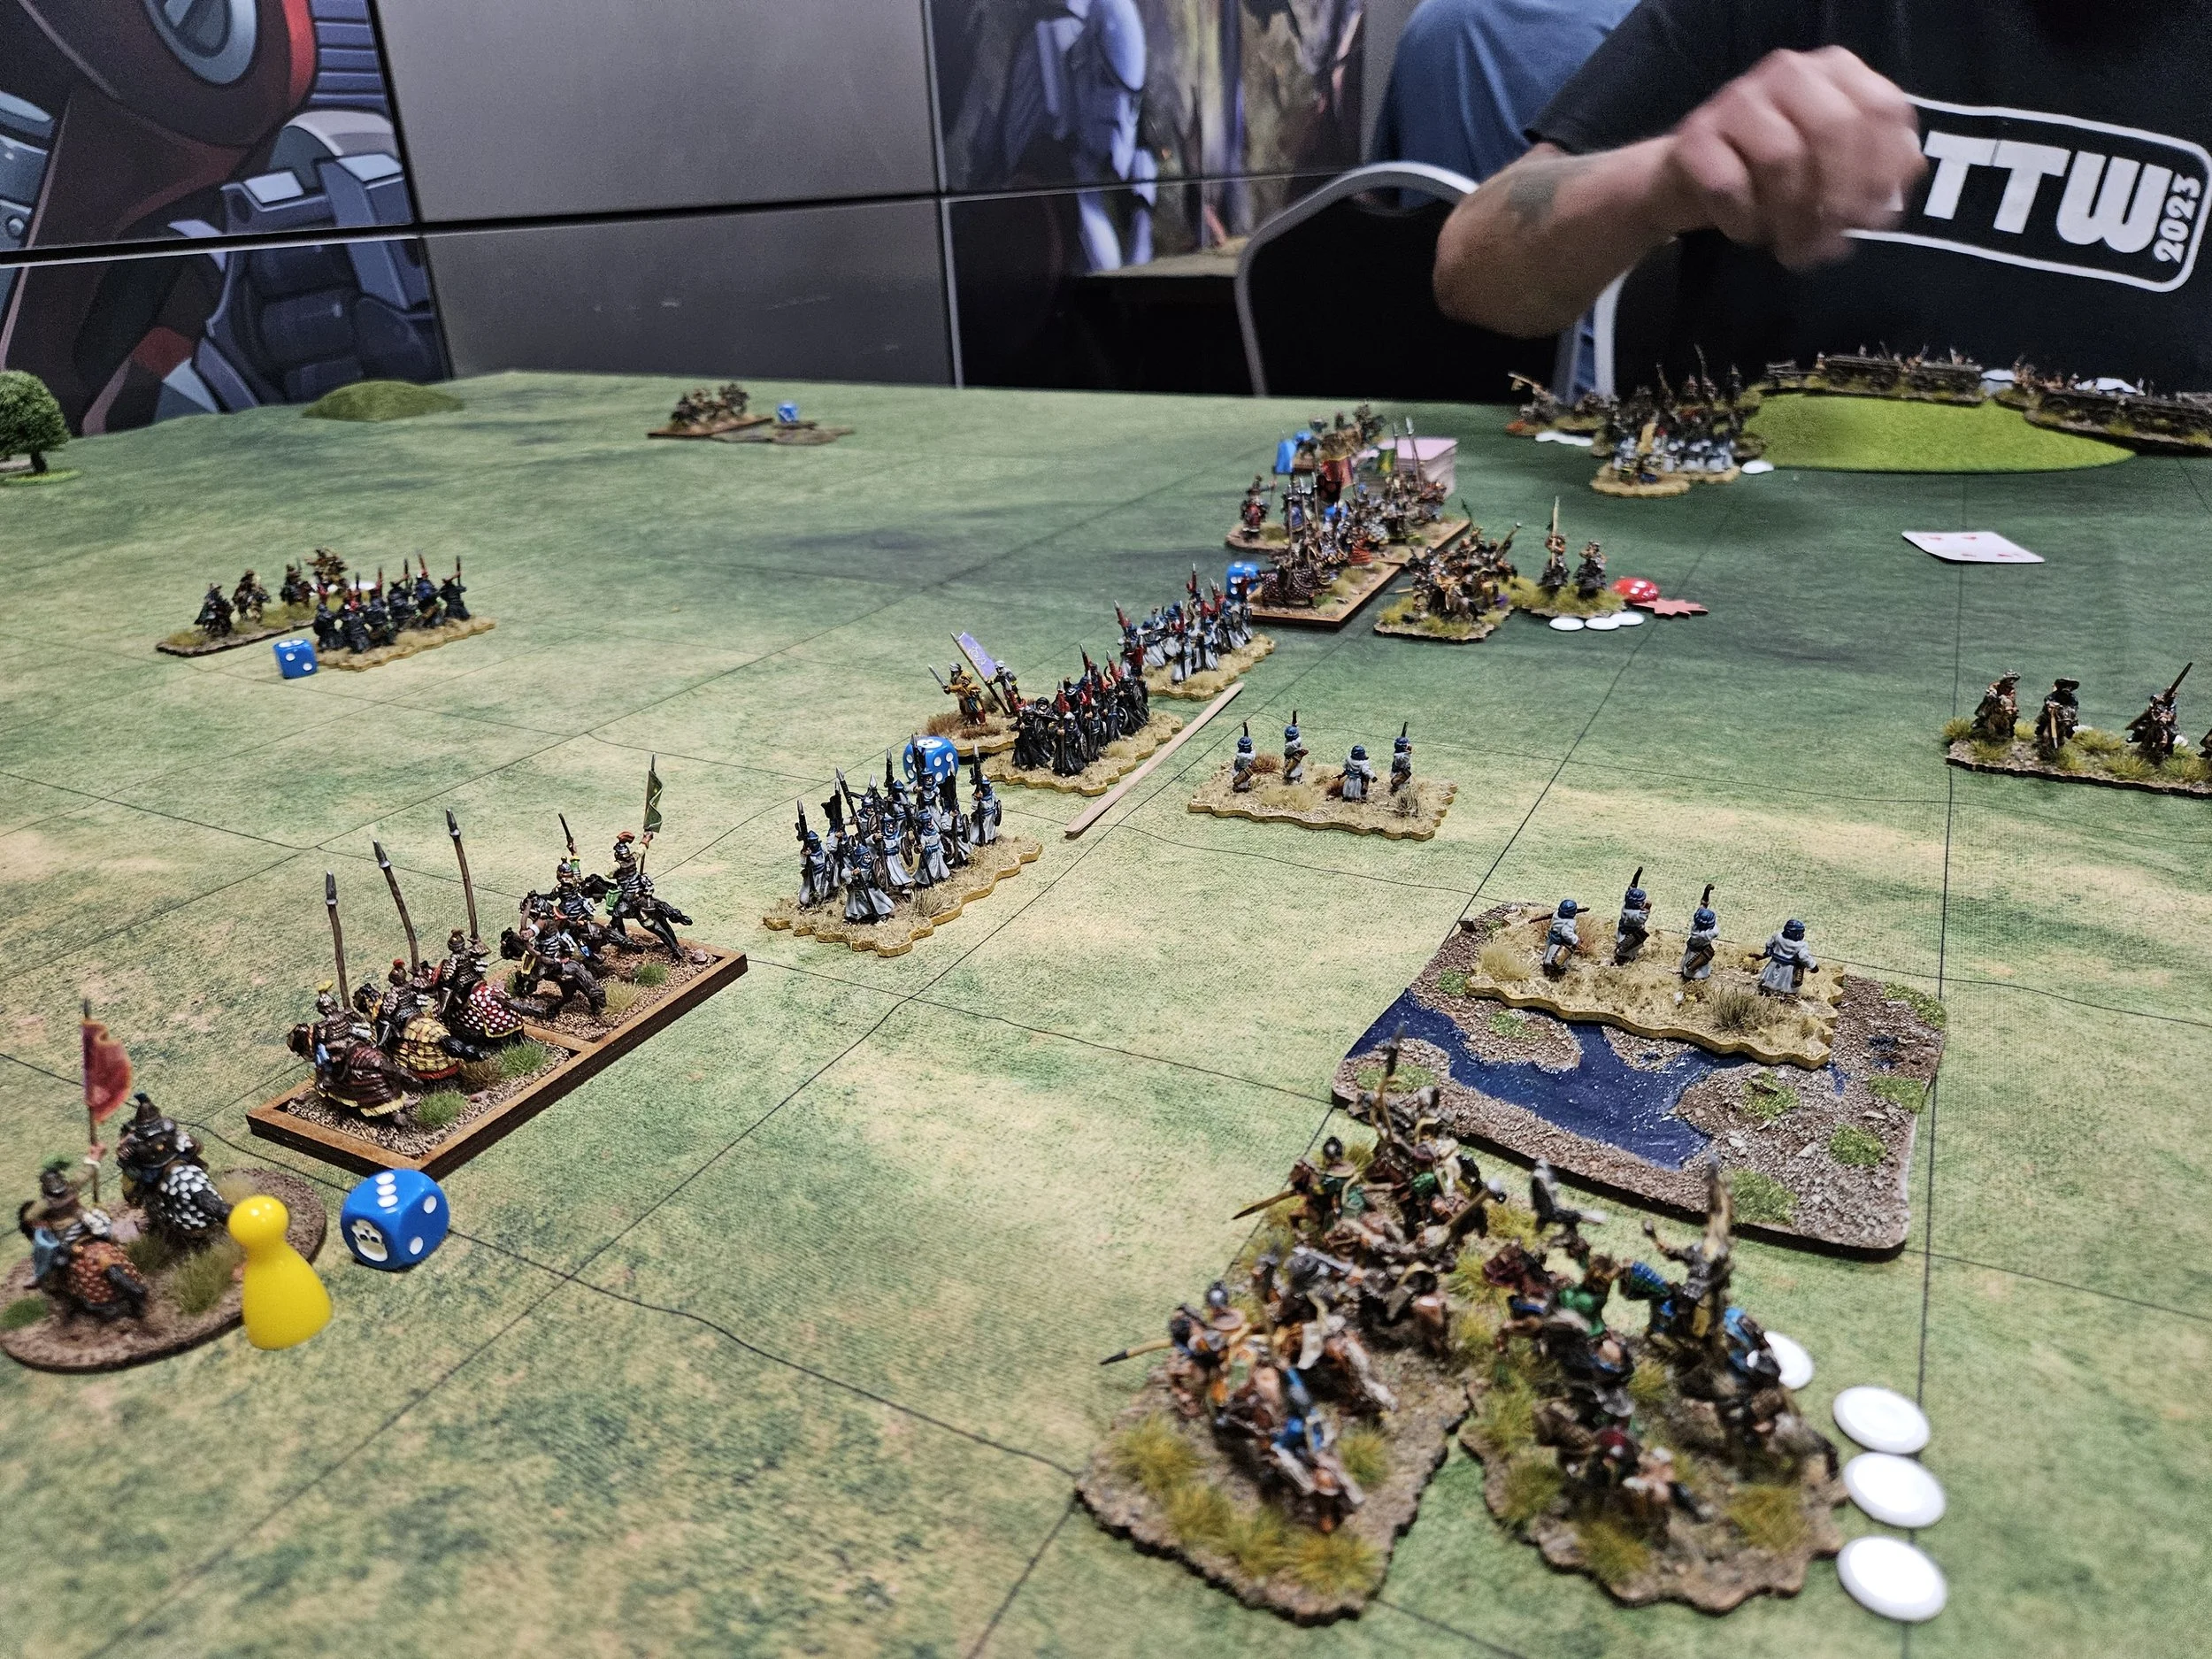
I lost the deployment and watched as Steve positioned his men on the “bowling green” so that a good third of my army were once again fighting thin air!
I had pulled the Take the High Ground stratagem, which means I could have advanced the command on the far left forward another two boxes after depoyment, but what I really wanted was to get the Mongols forward enough to be pinned by my main battle line before I swung right with the overlap: I could see that if I did use the stratagem, Steve might have been tempted to pull the right hand end of his line backwards, which would have left my overlap command both too far and left and too far forward as opposed to being just too far left.
At least that’s what I post-rationalised, as I think at the time I just forgot to play it!
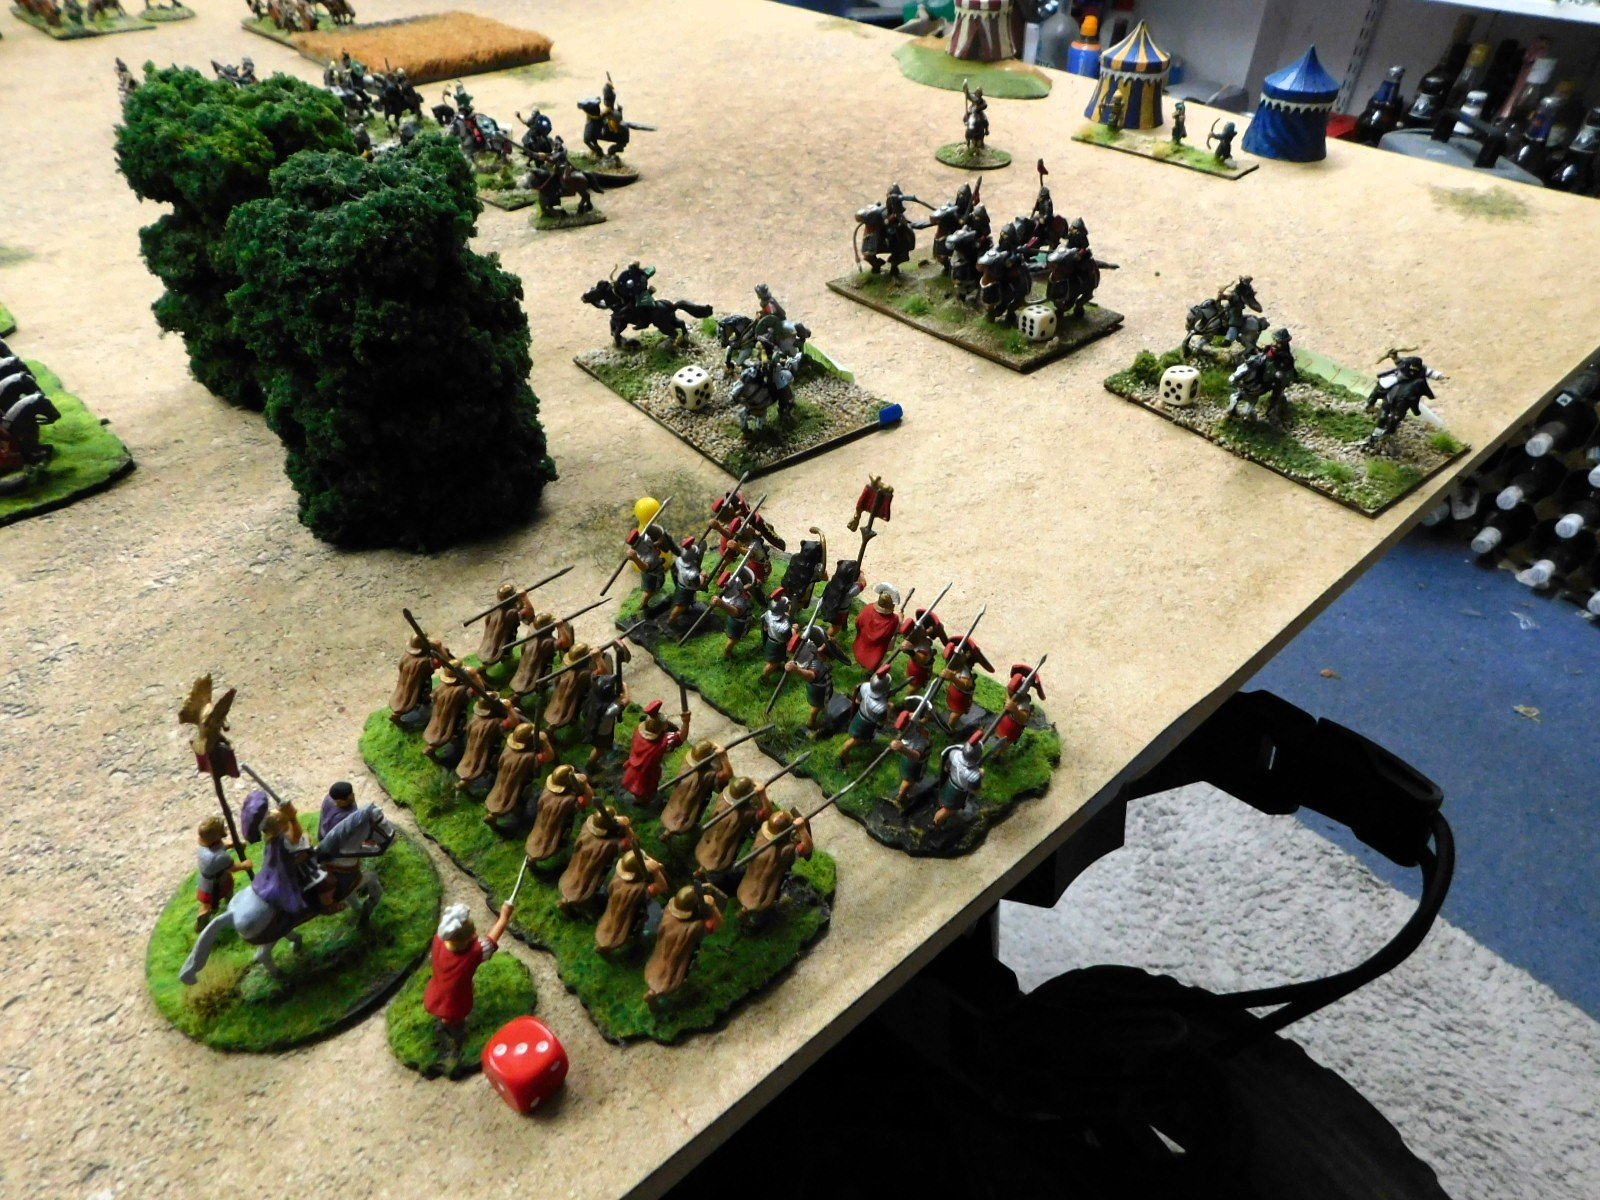
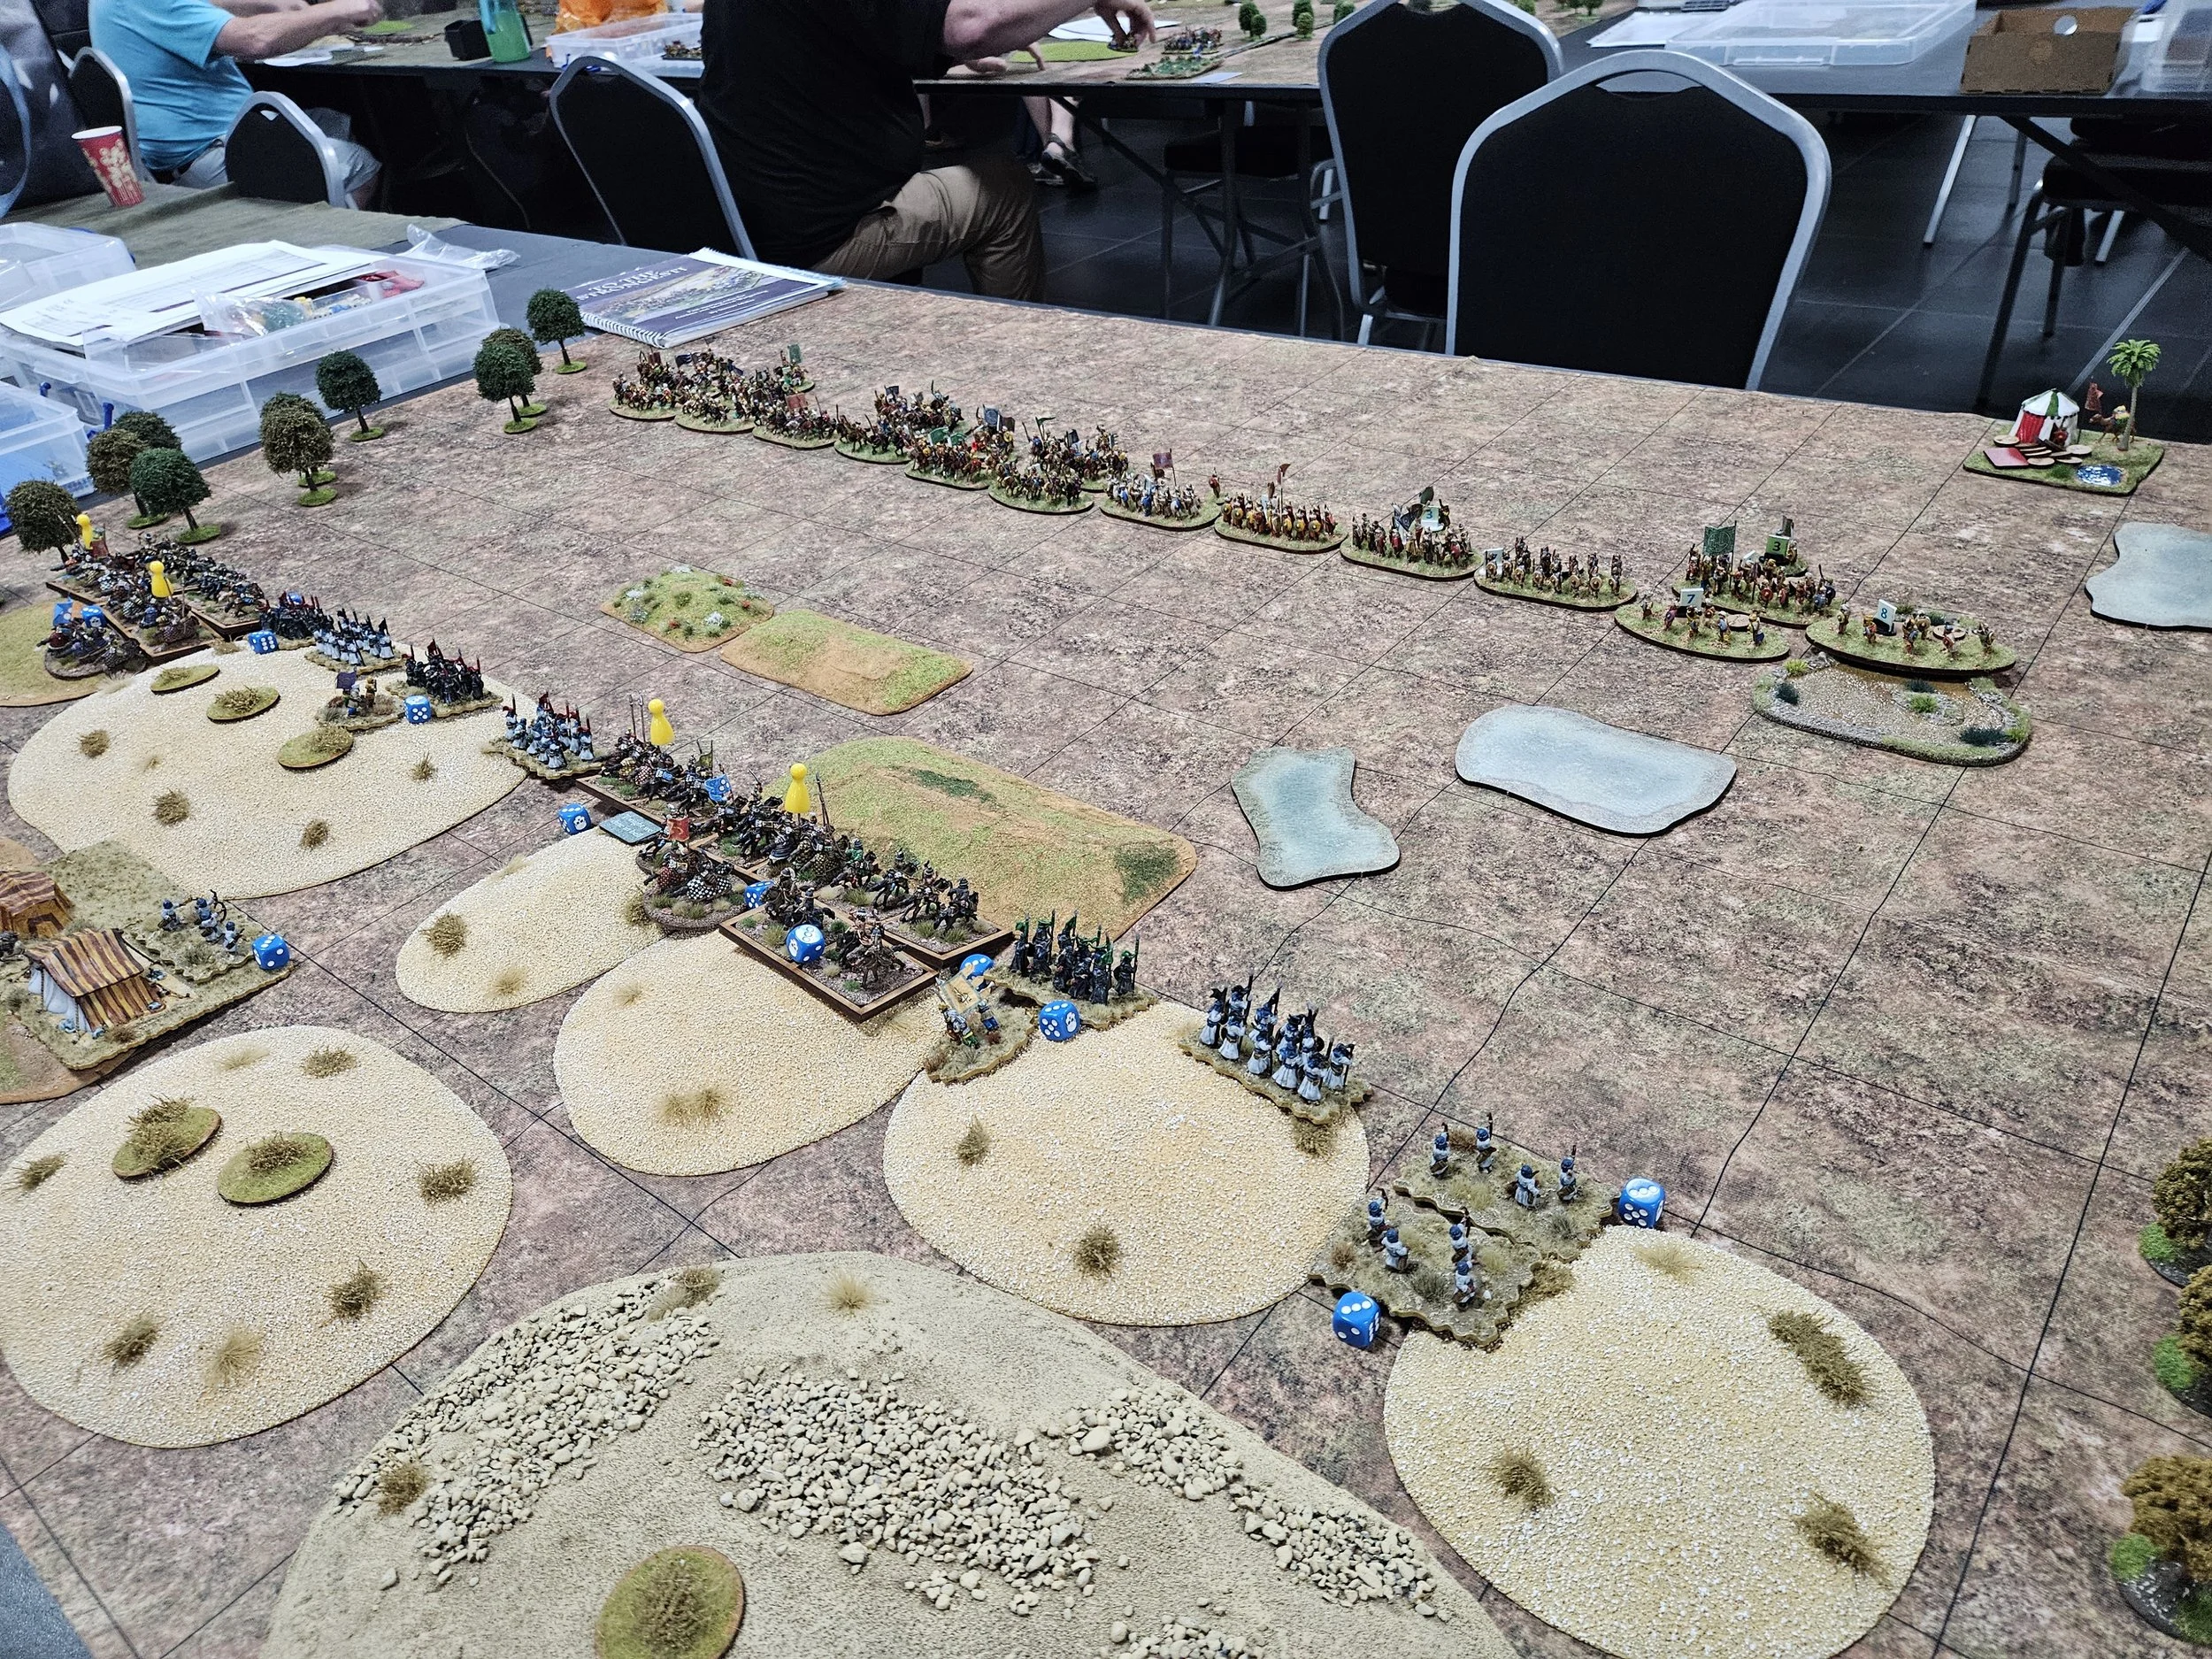
Anyway, the left hand end of the Mongol line closed with mine, and I sent the left hand end of my line forward to try and outflank the enemy before nasty things happened elsewhere. My troops on the left quickly got into position and soon I was threatening the Mongol right flank.
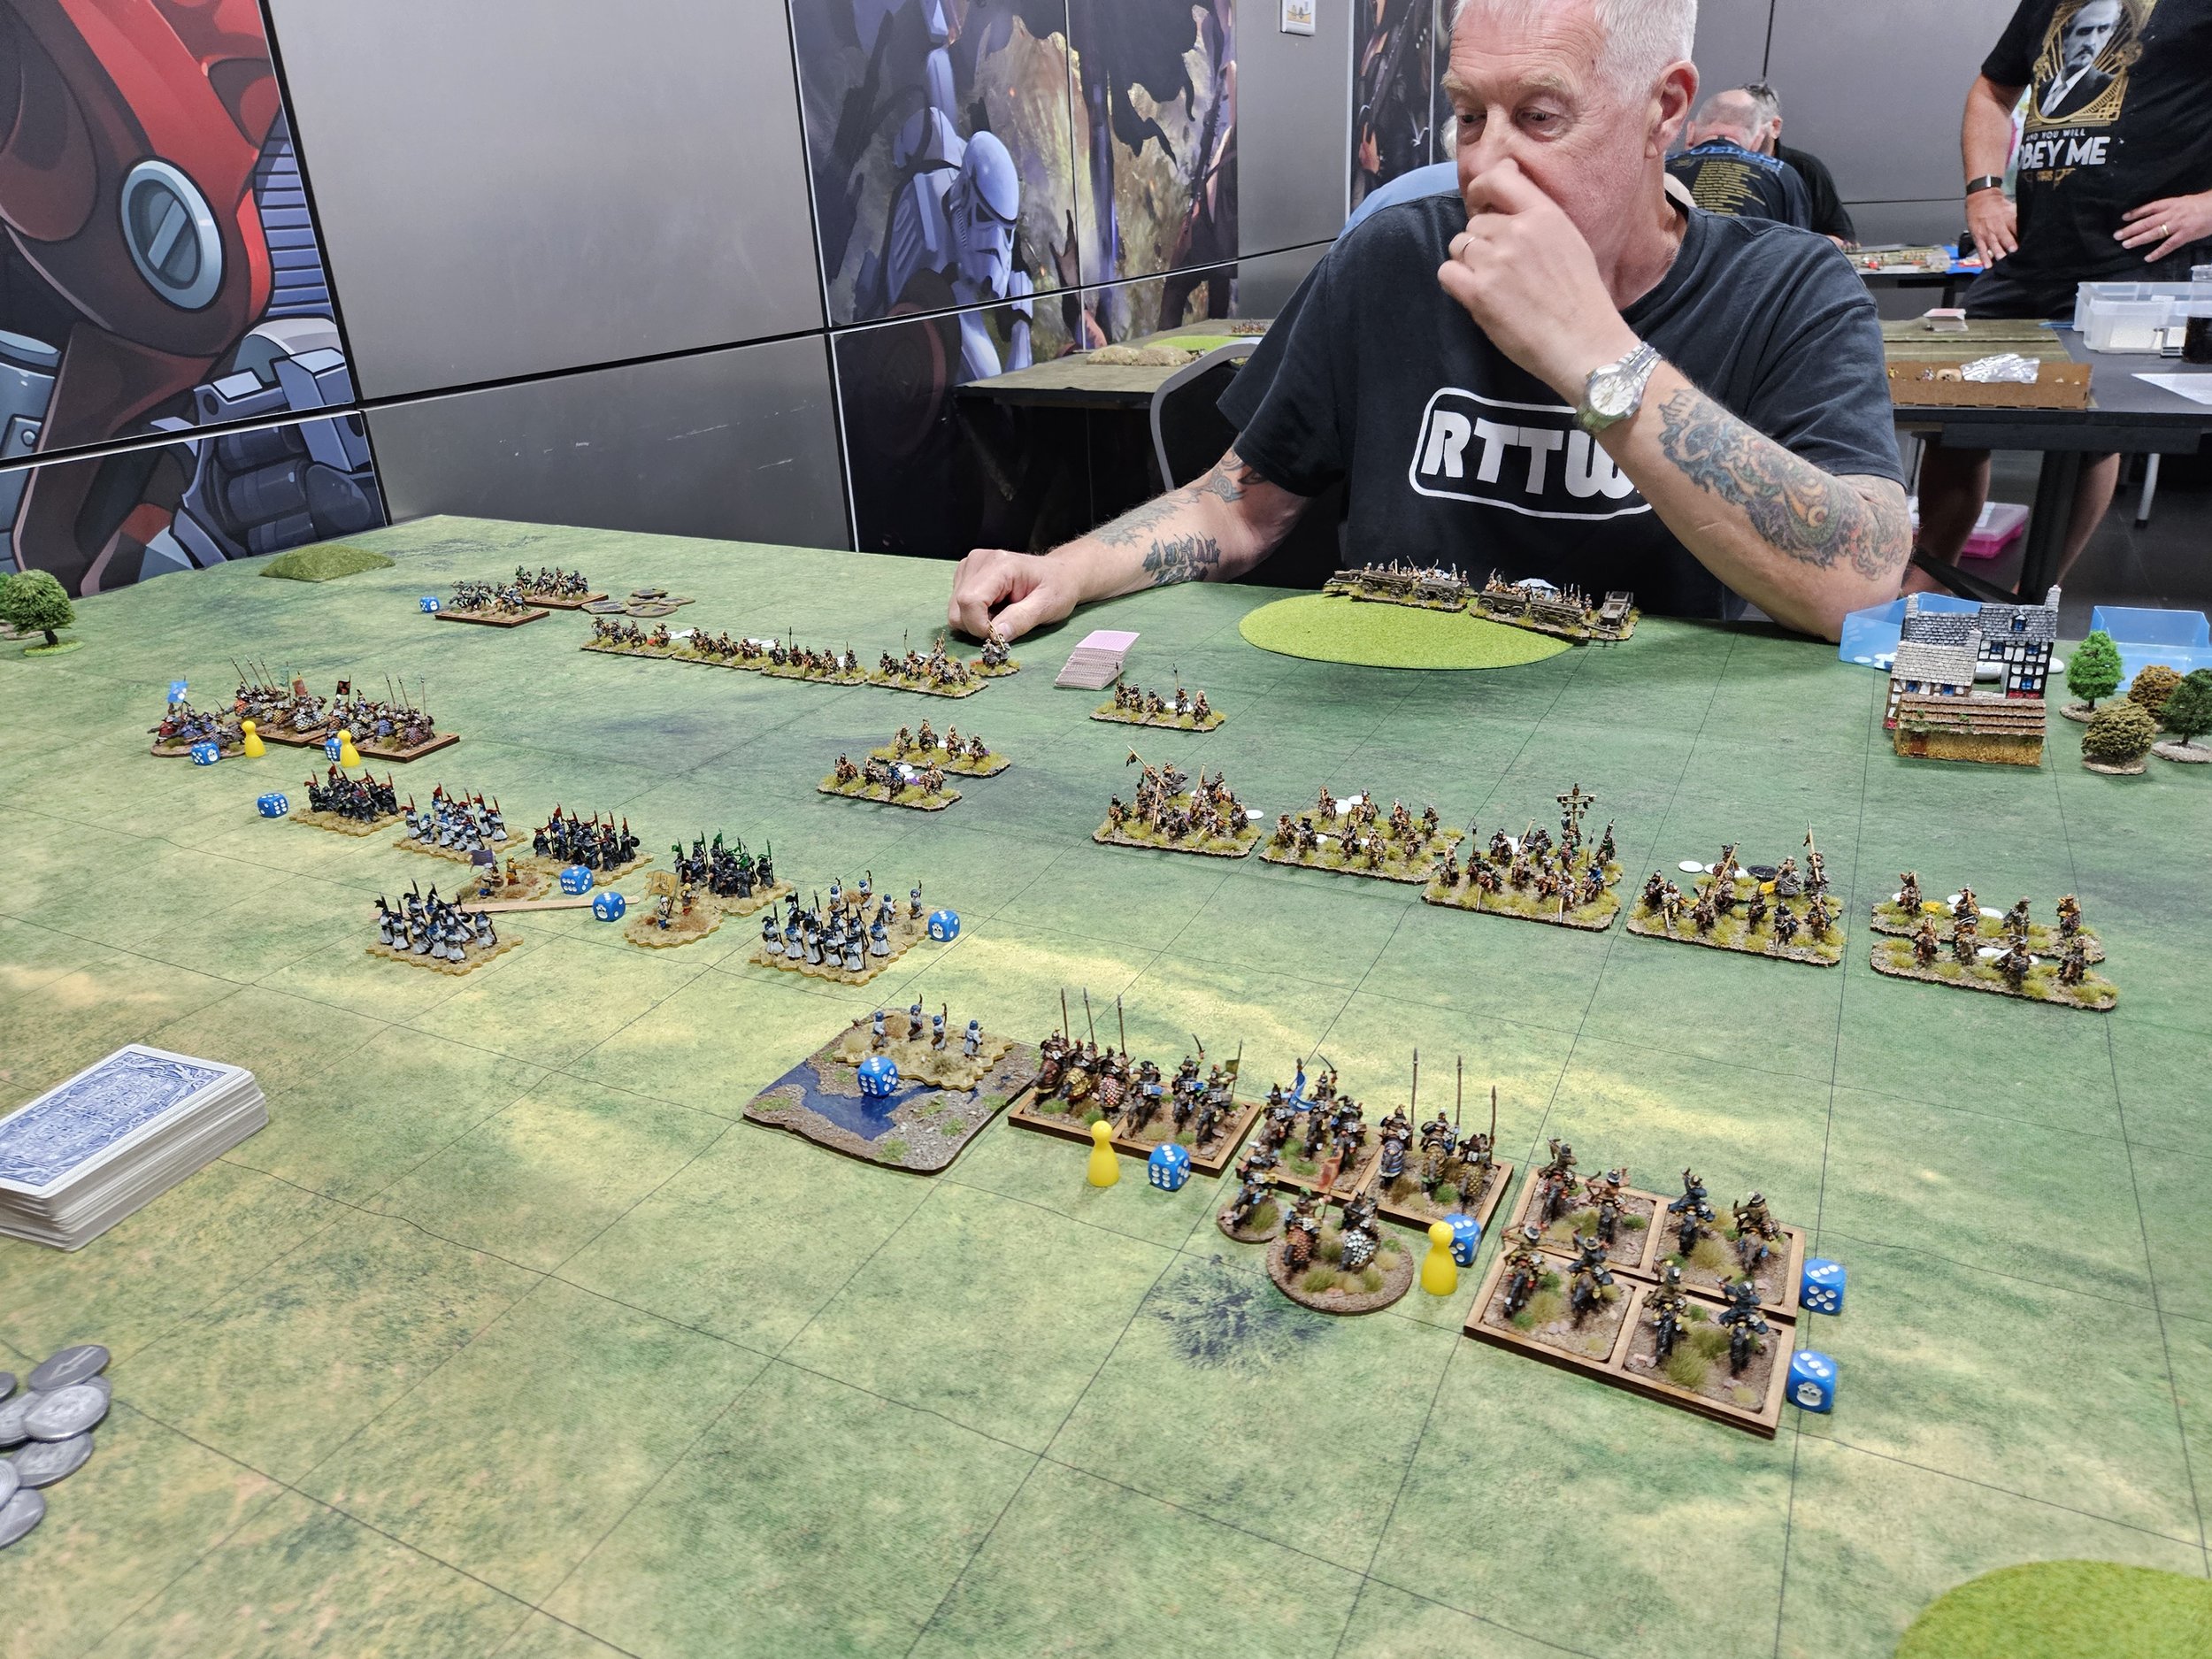
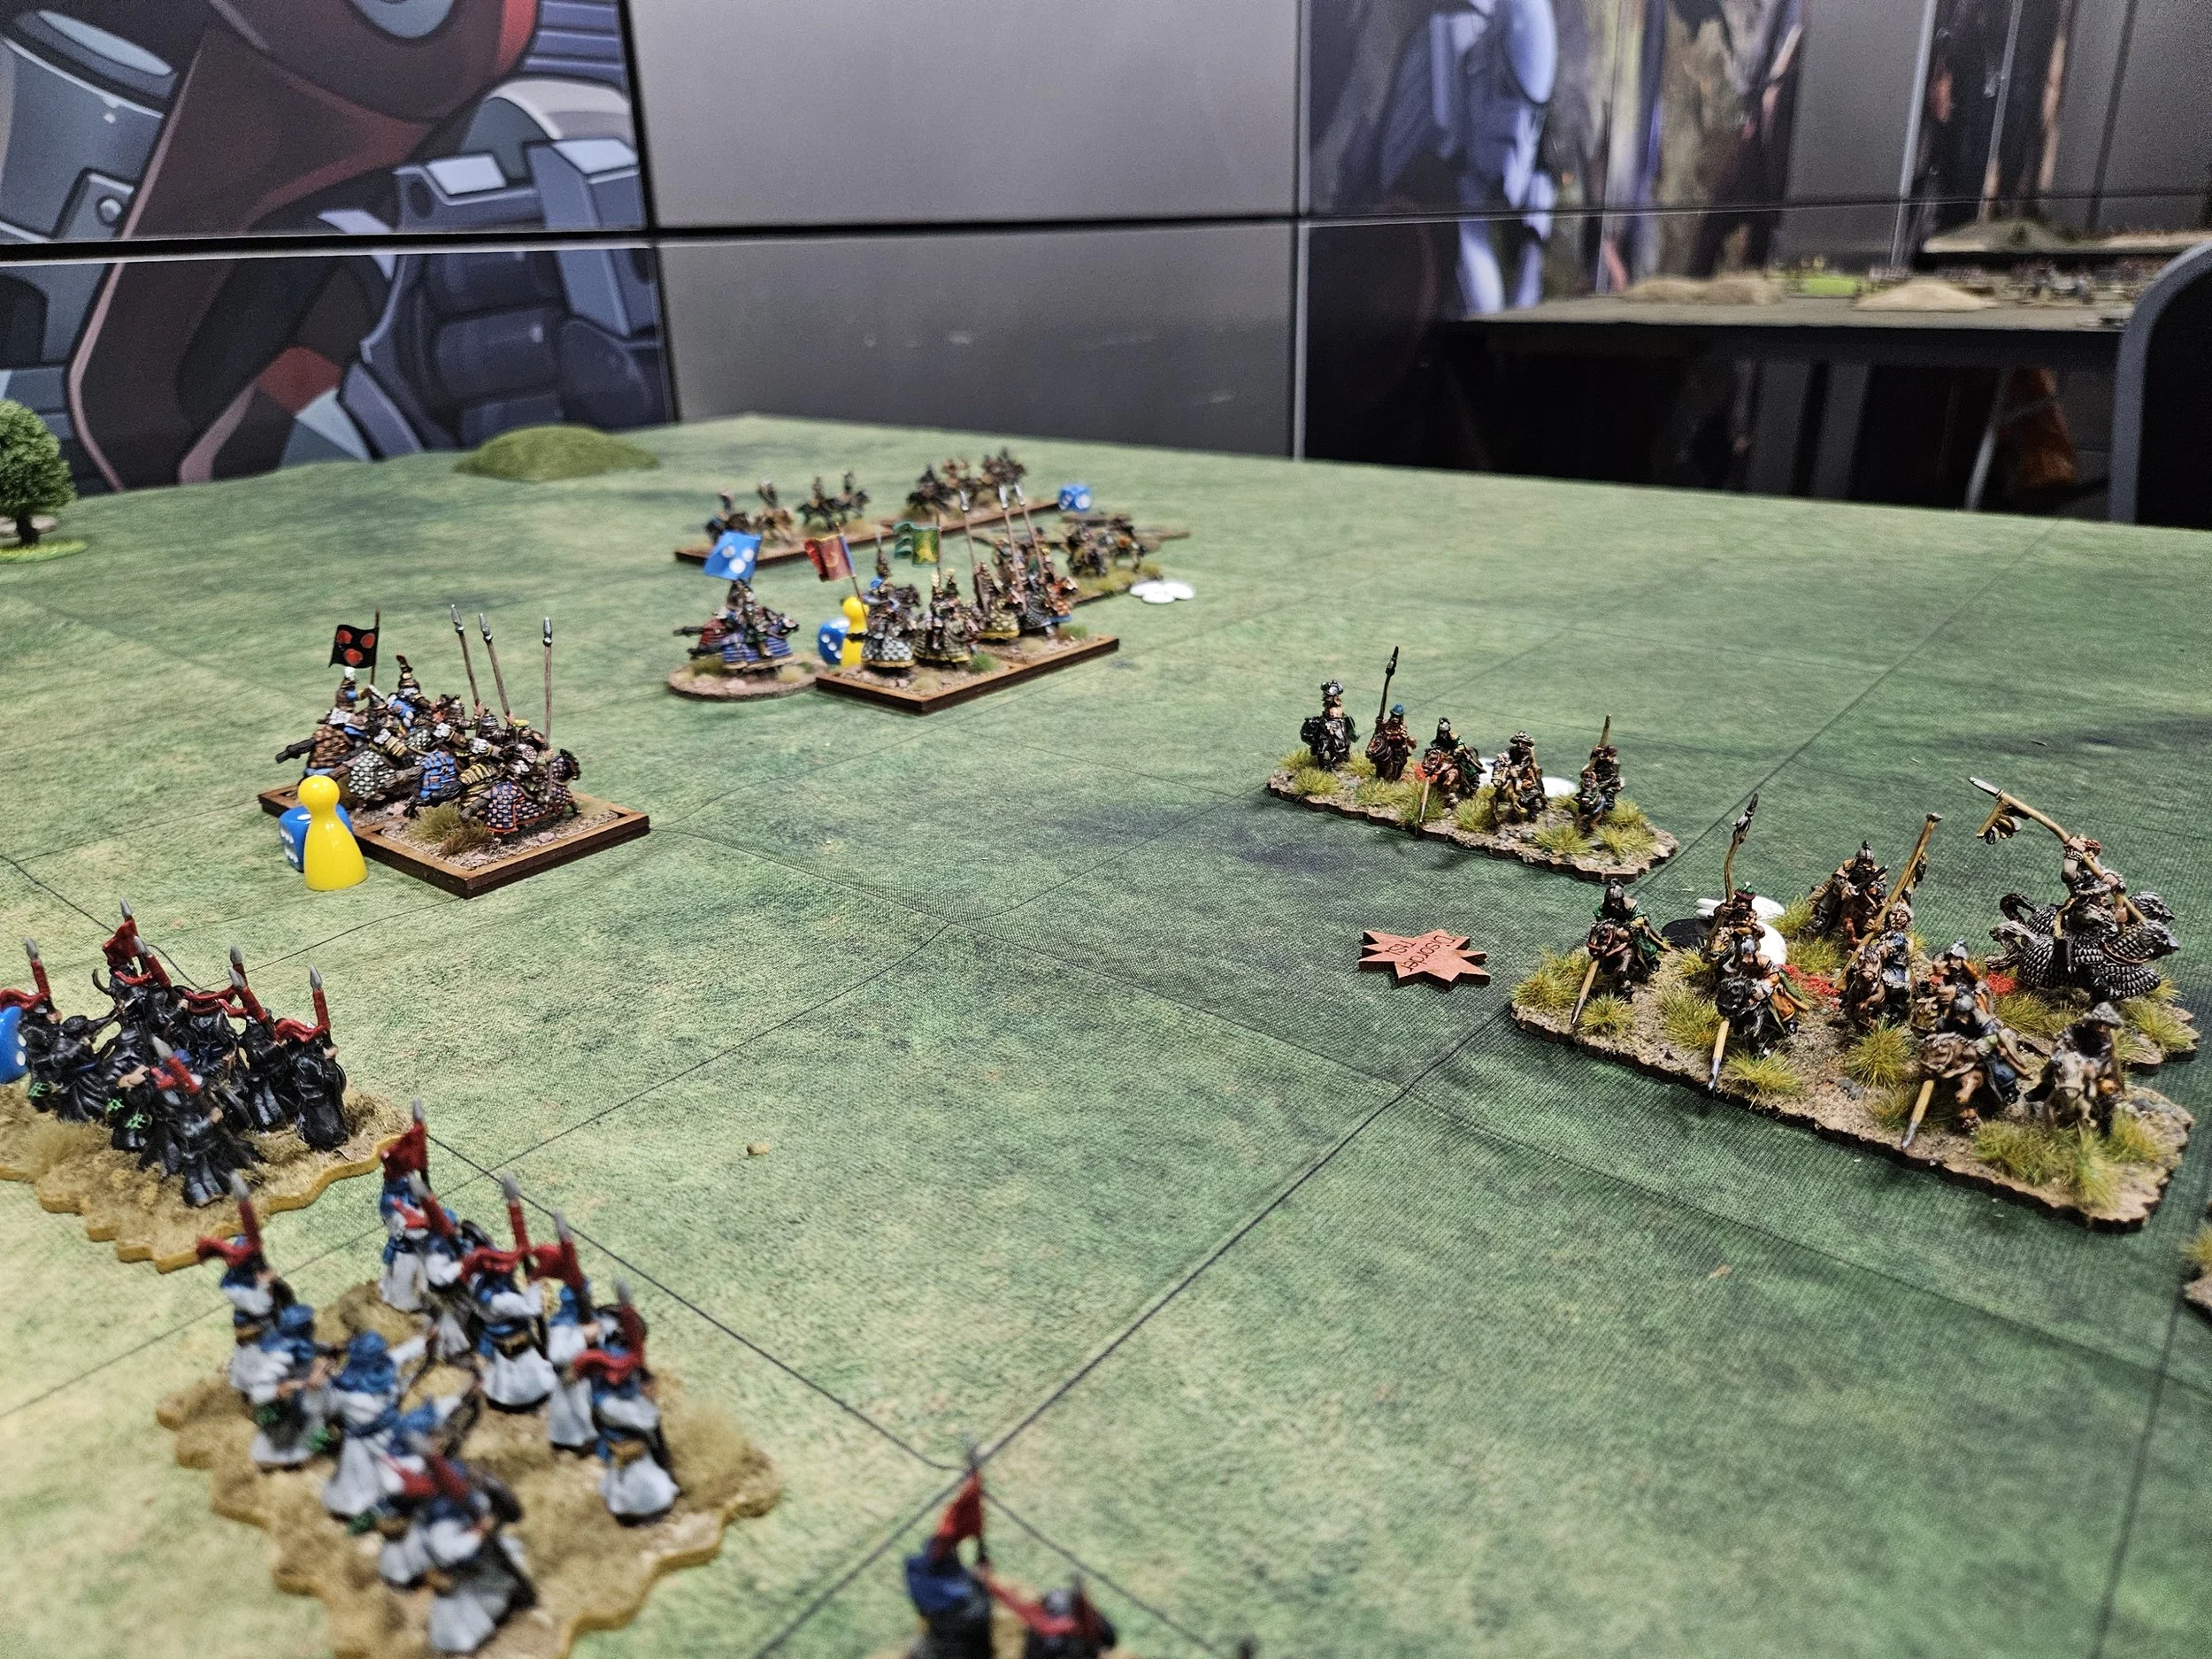
On my right, a hail of Mongol arrows had damaged my troops and, with Genghist’s lancers following them in, it all looked very grim.
Unfortunately I don’t have any photographs of the next, vital phase of the battle, as things were so intense and convoluted that I didn’t have the time nor inclination to take any.
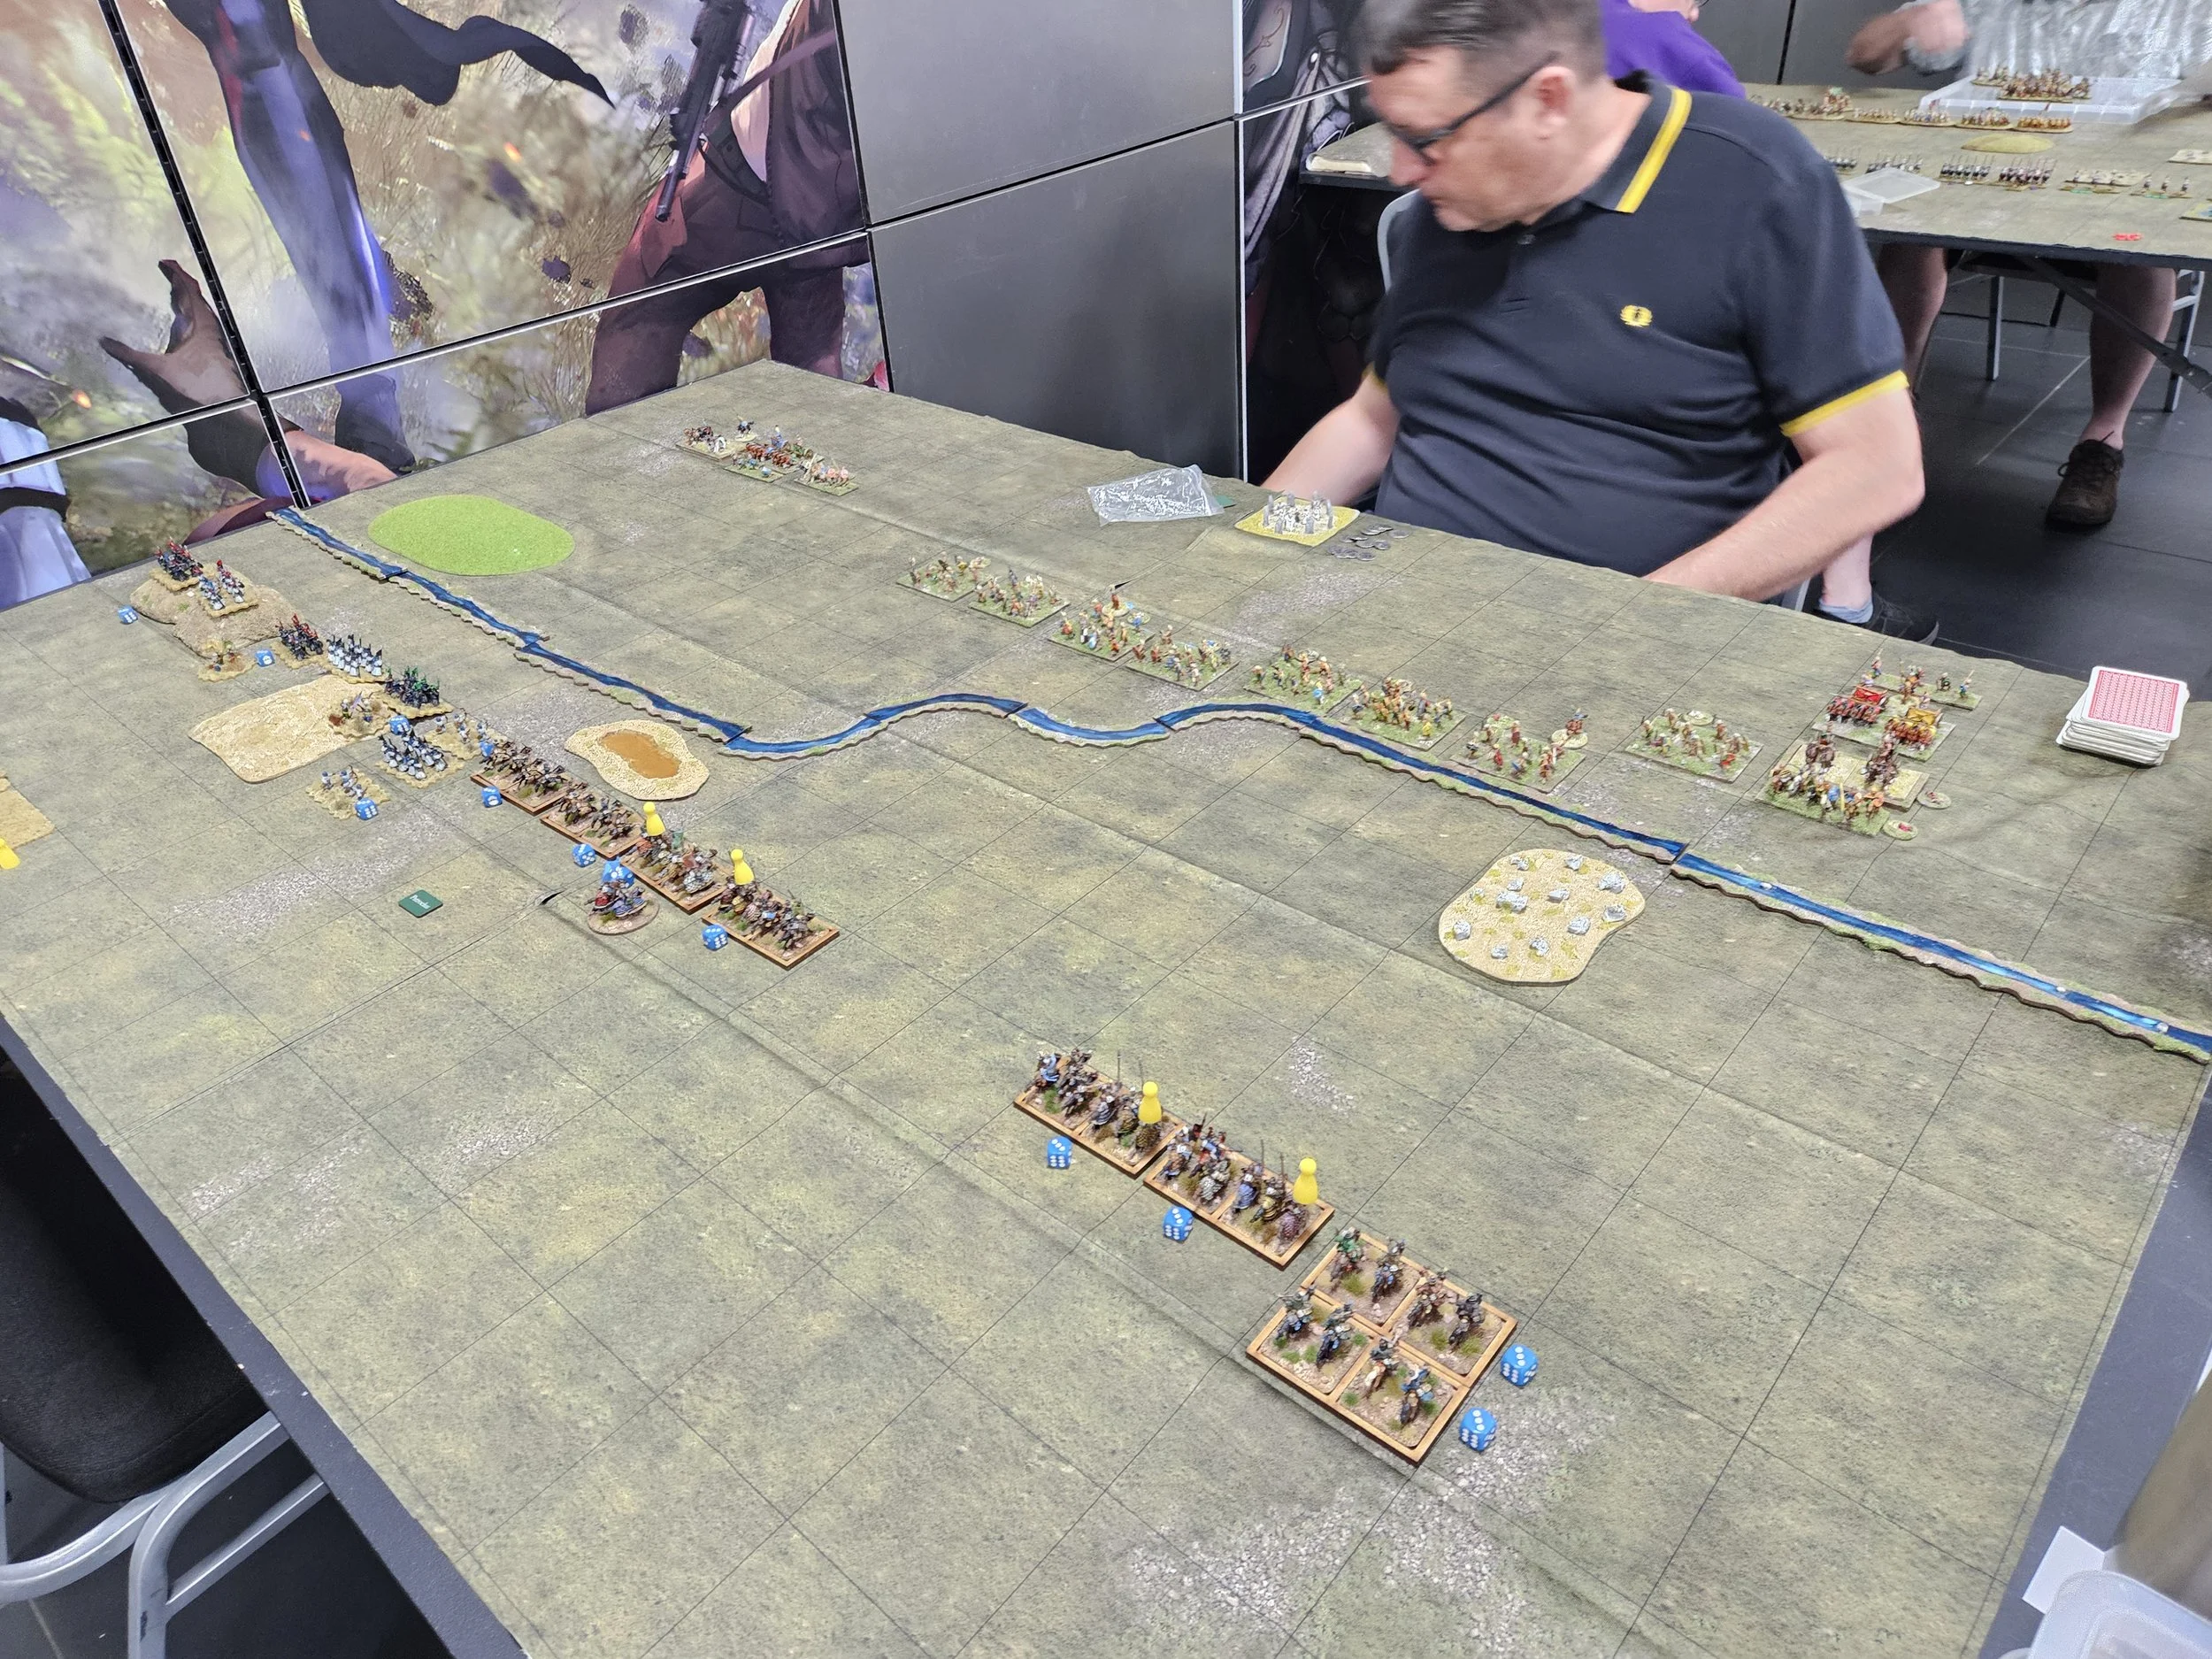
To summarise, what happened was that somehow I managed to co-ordinate the arrival of the heavy cavalry from the left with the advance of my spearmen infantry facing forward left of centre, forming a kind of L-shape in front of me.
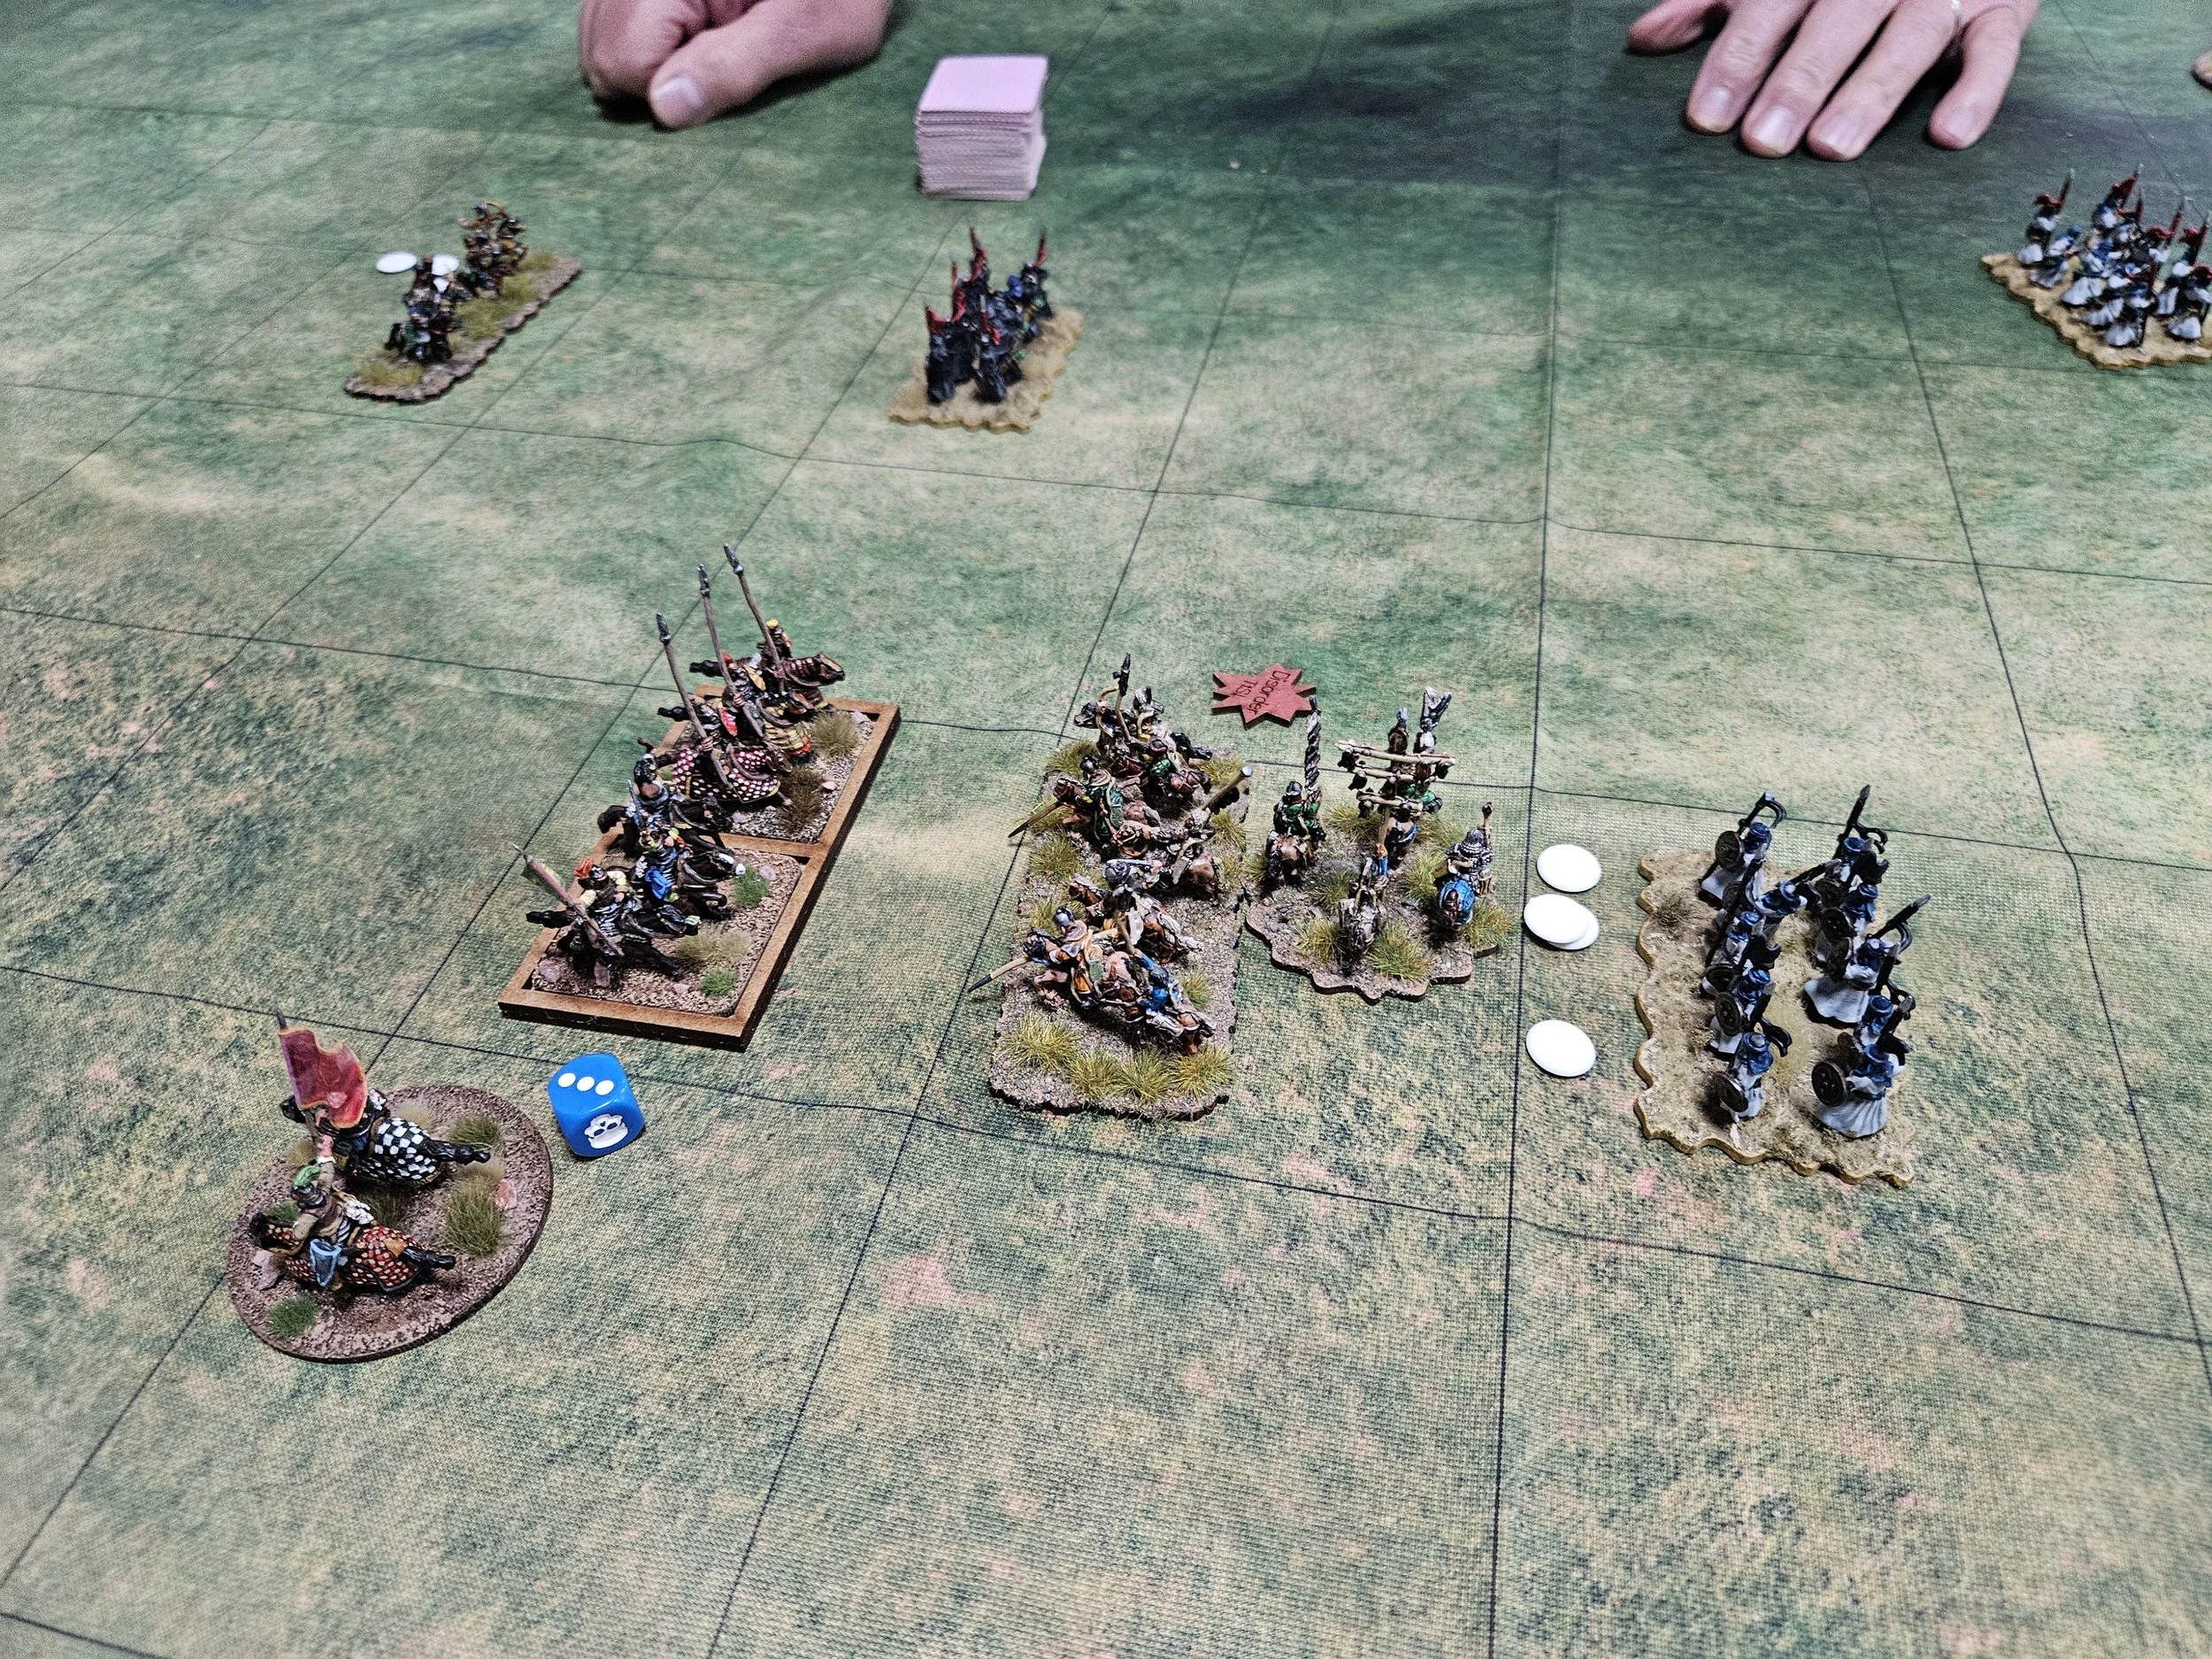
Steve’s troops caught in the angle of the L-shape got a bit traffic-jammed, meaning that two of his light cavalry units that had been facing my troops to my left took a charge in the flank from a unit of my spearmen facing forward, and were unable to evade as, after consultation with the referee, it was discovered that they would have been unable to pass through some Mongol heavy cavalry that were next to and perpendicular to them…which is a complicated way of saying that they were caught between my spears and their own cavalry and disintegrated.
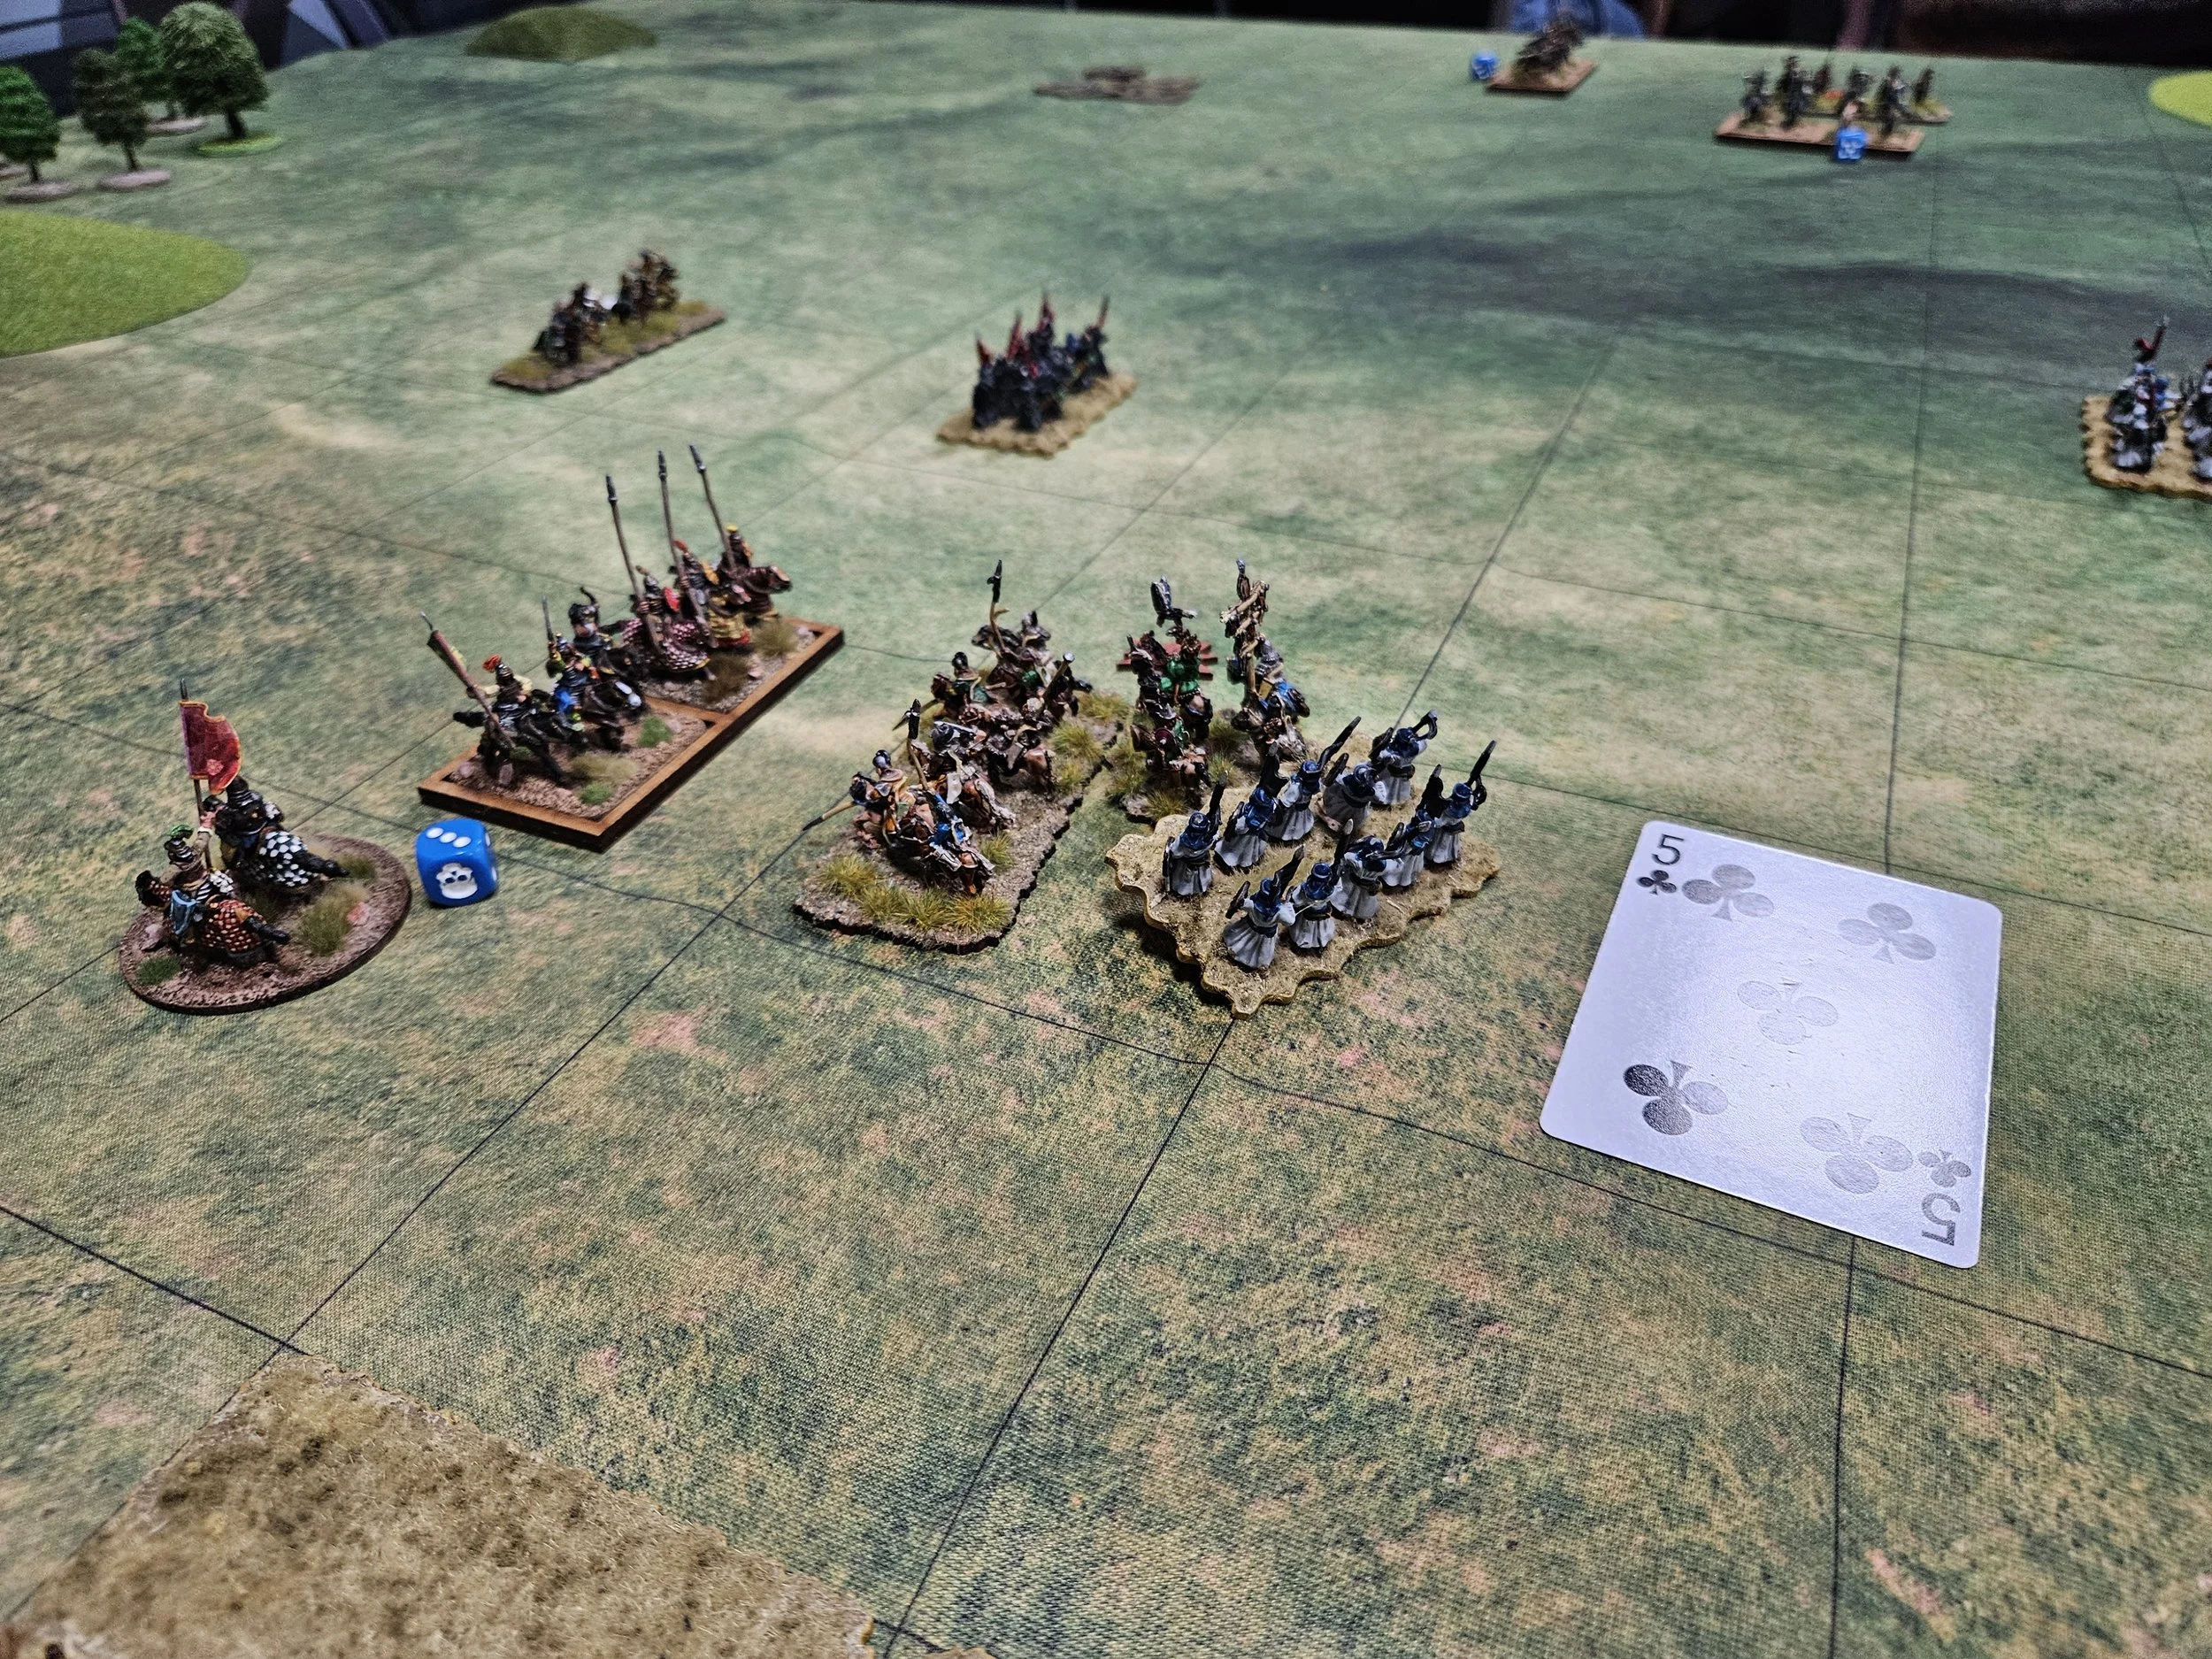
My victorious spearmen, their blood thoroughly up, then charged the cavalry that had blocked the evade - and another unit of Mongol lights that were sharing the same box - in the flank, driving them backwards right to the Mongol baseline.
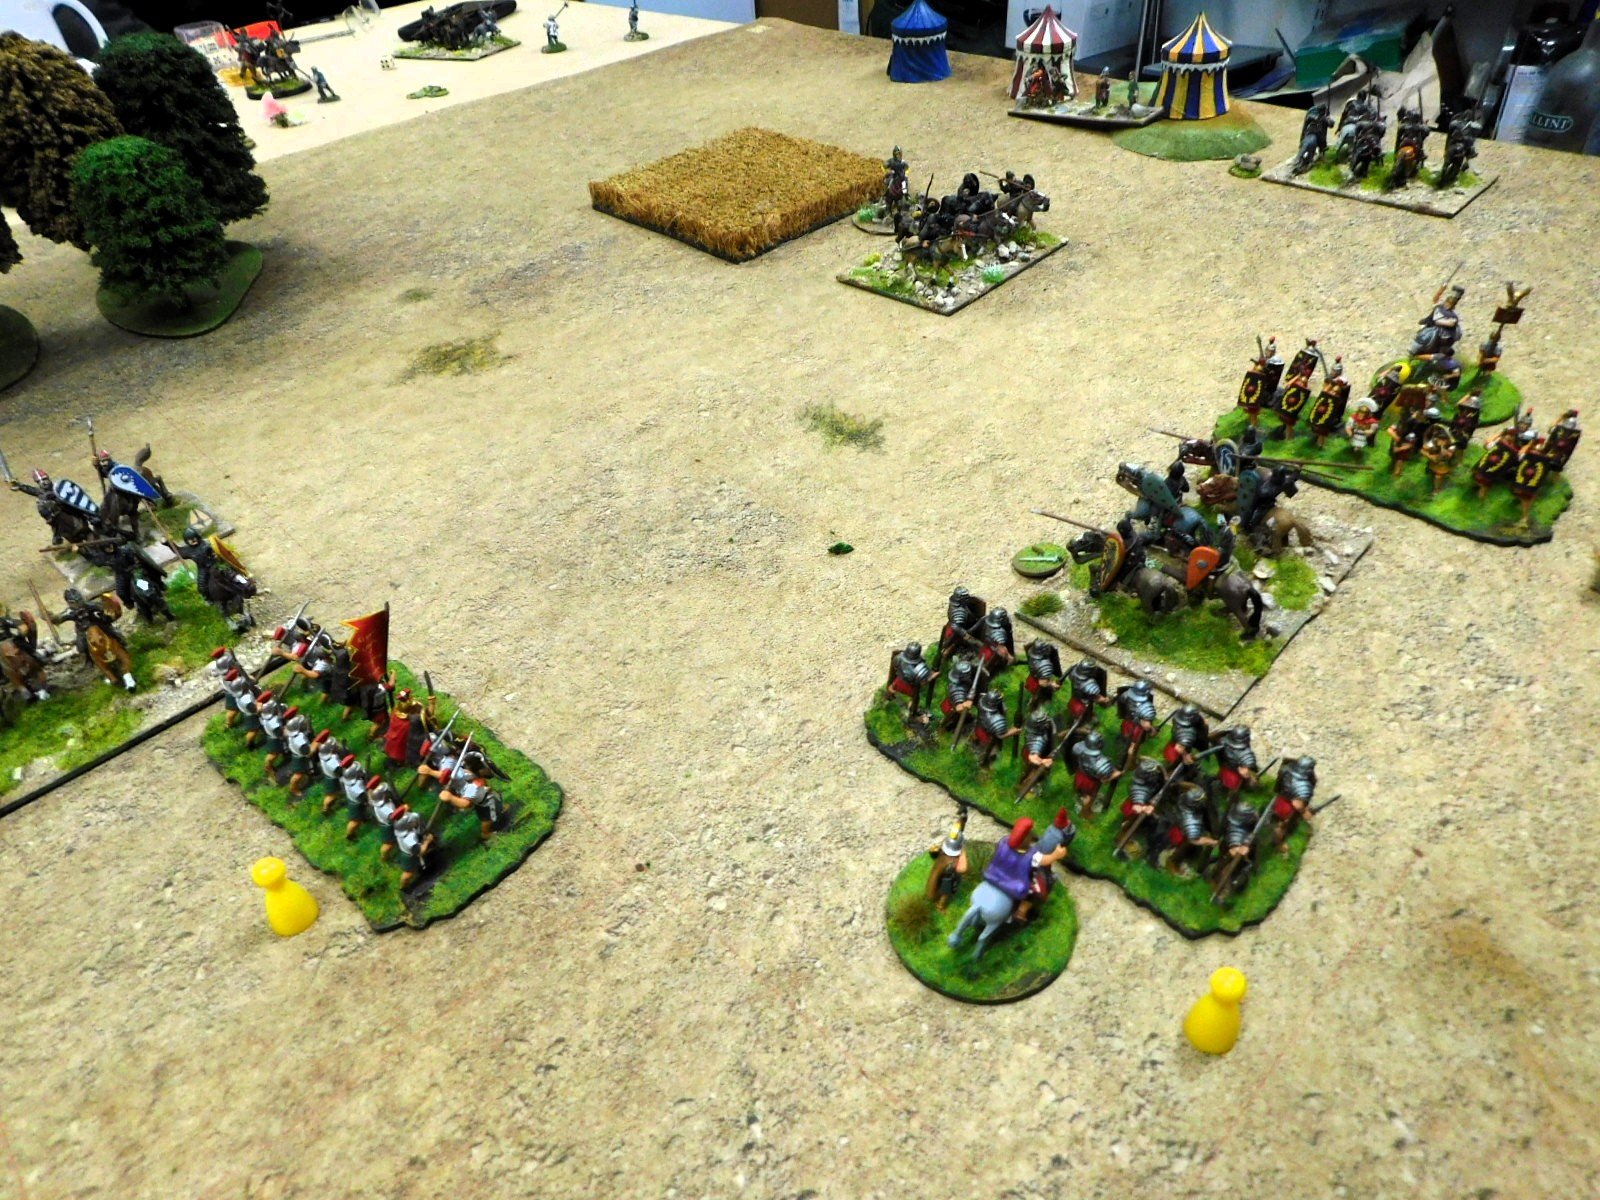
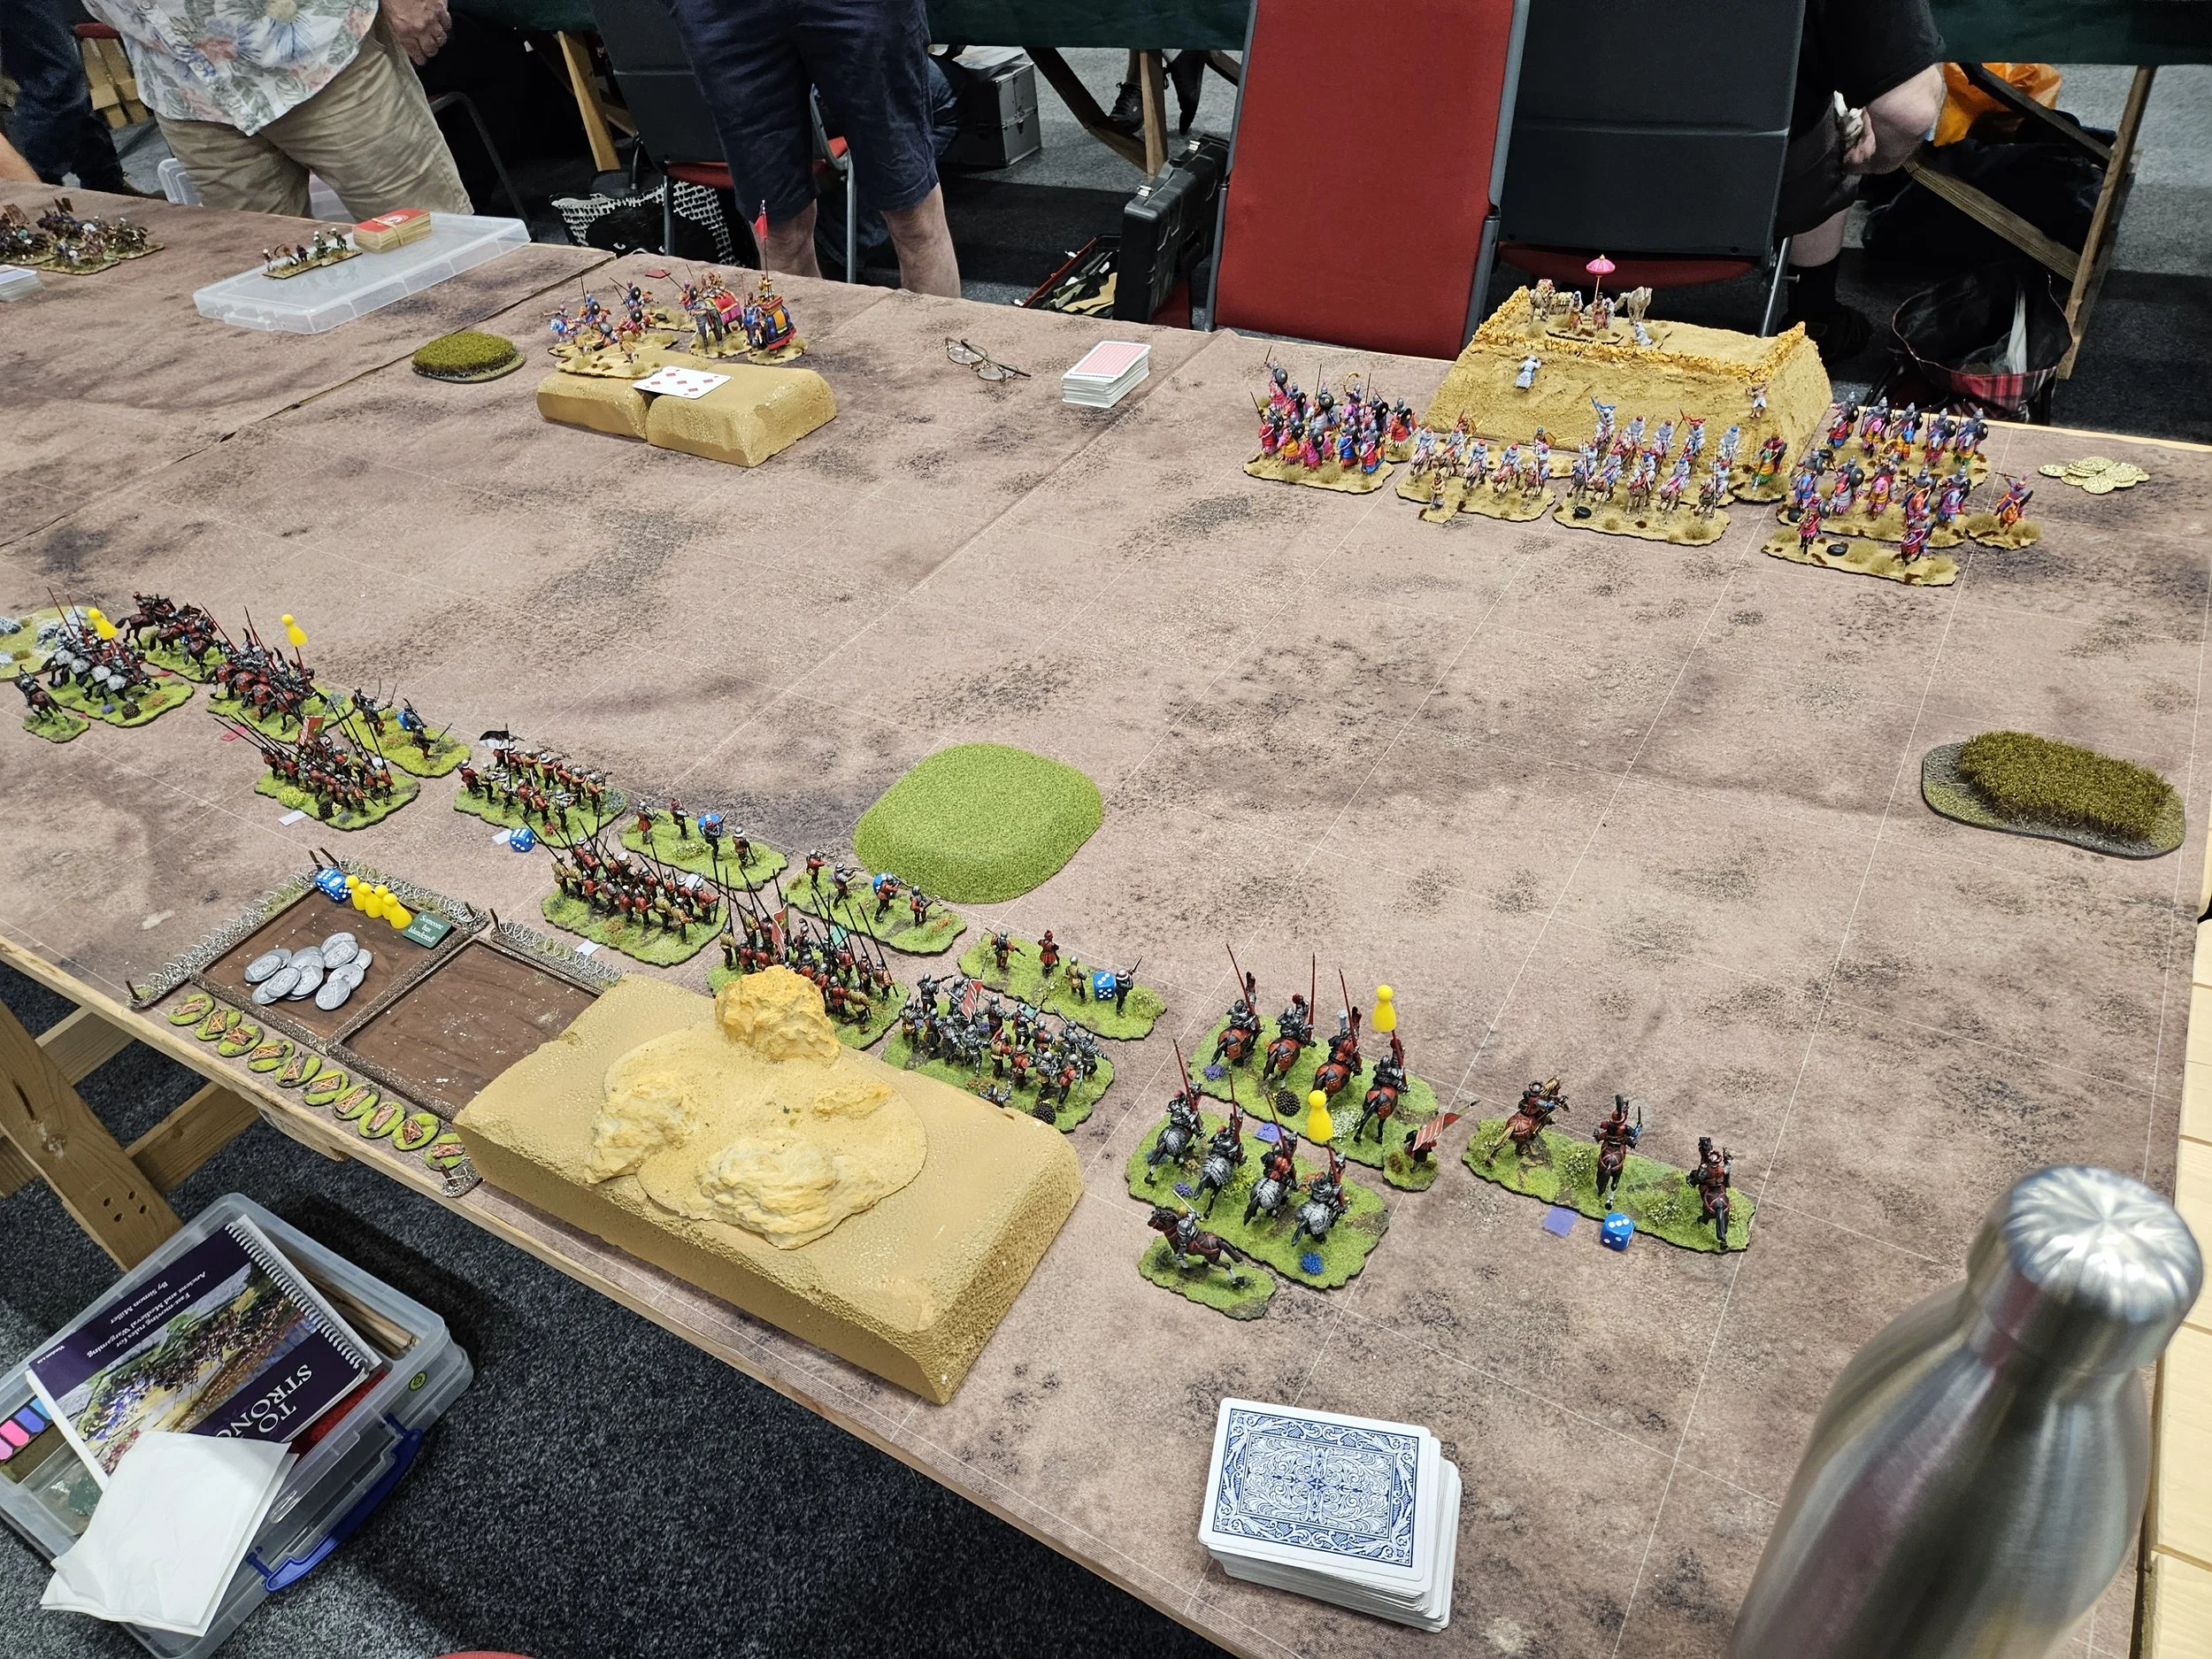
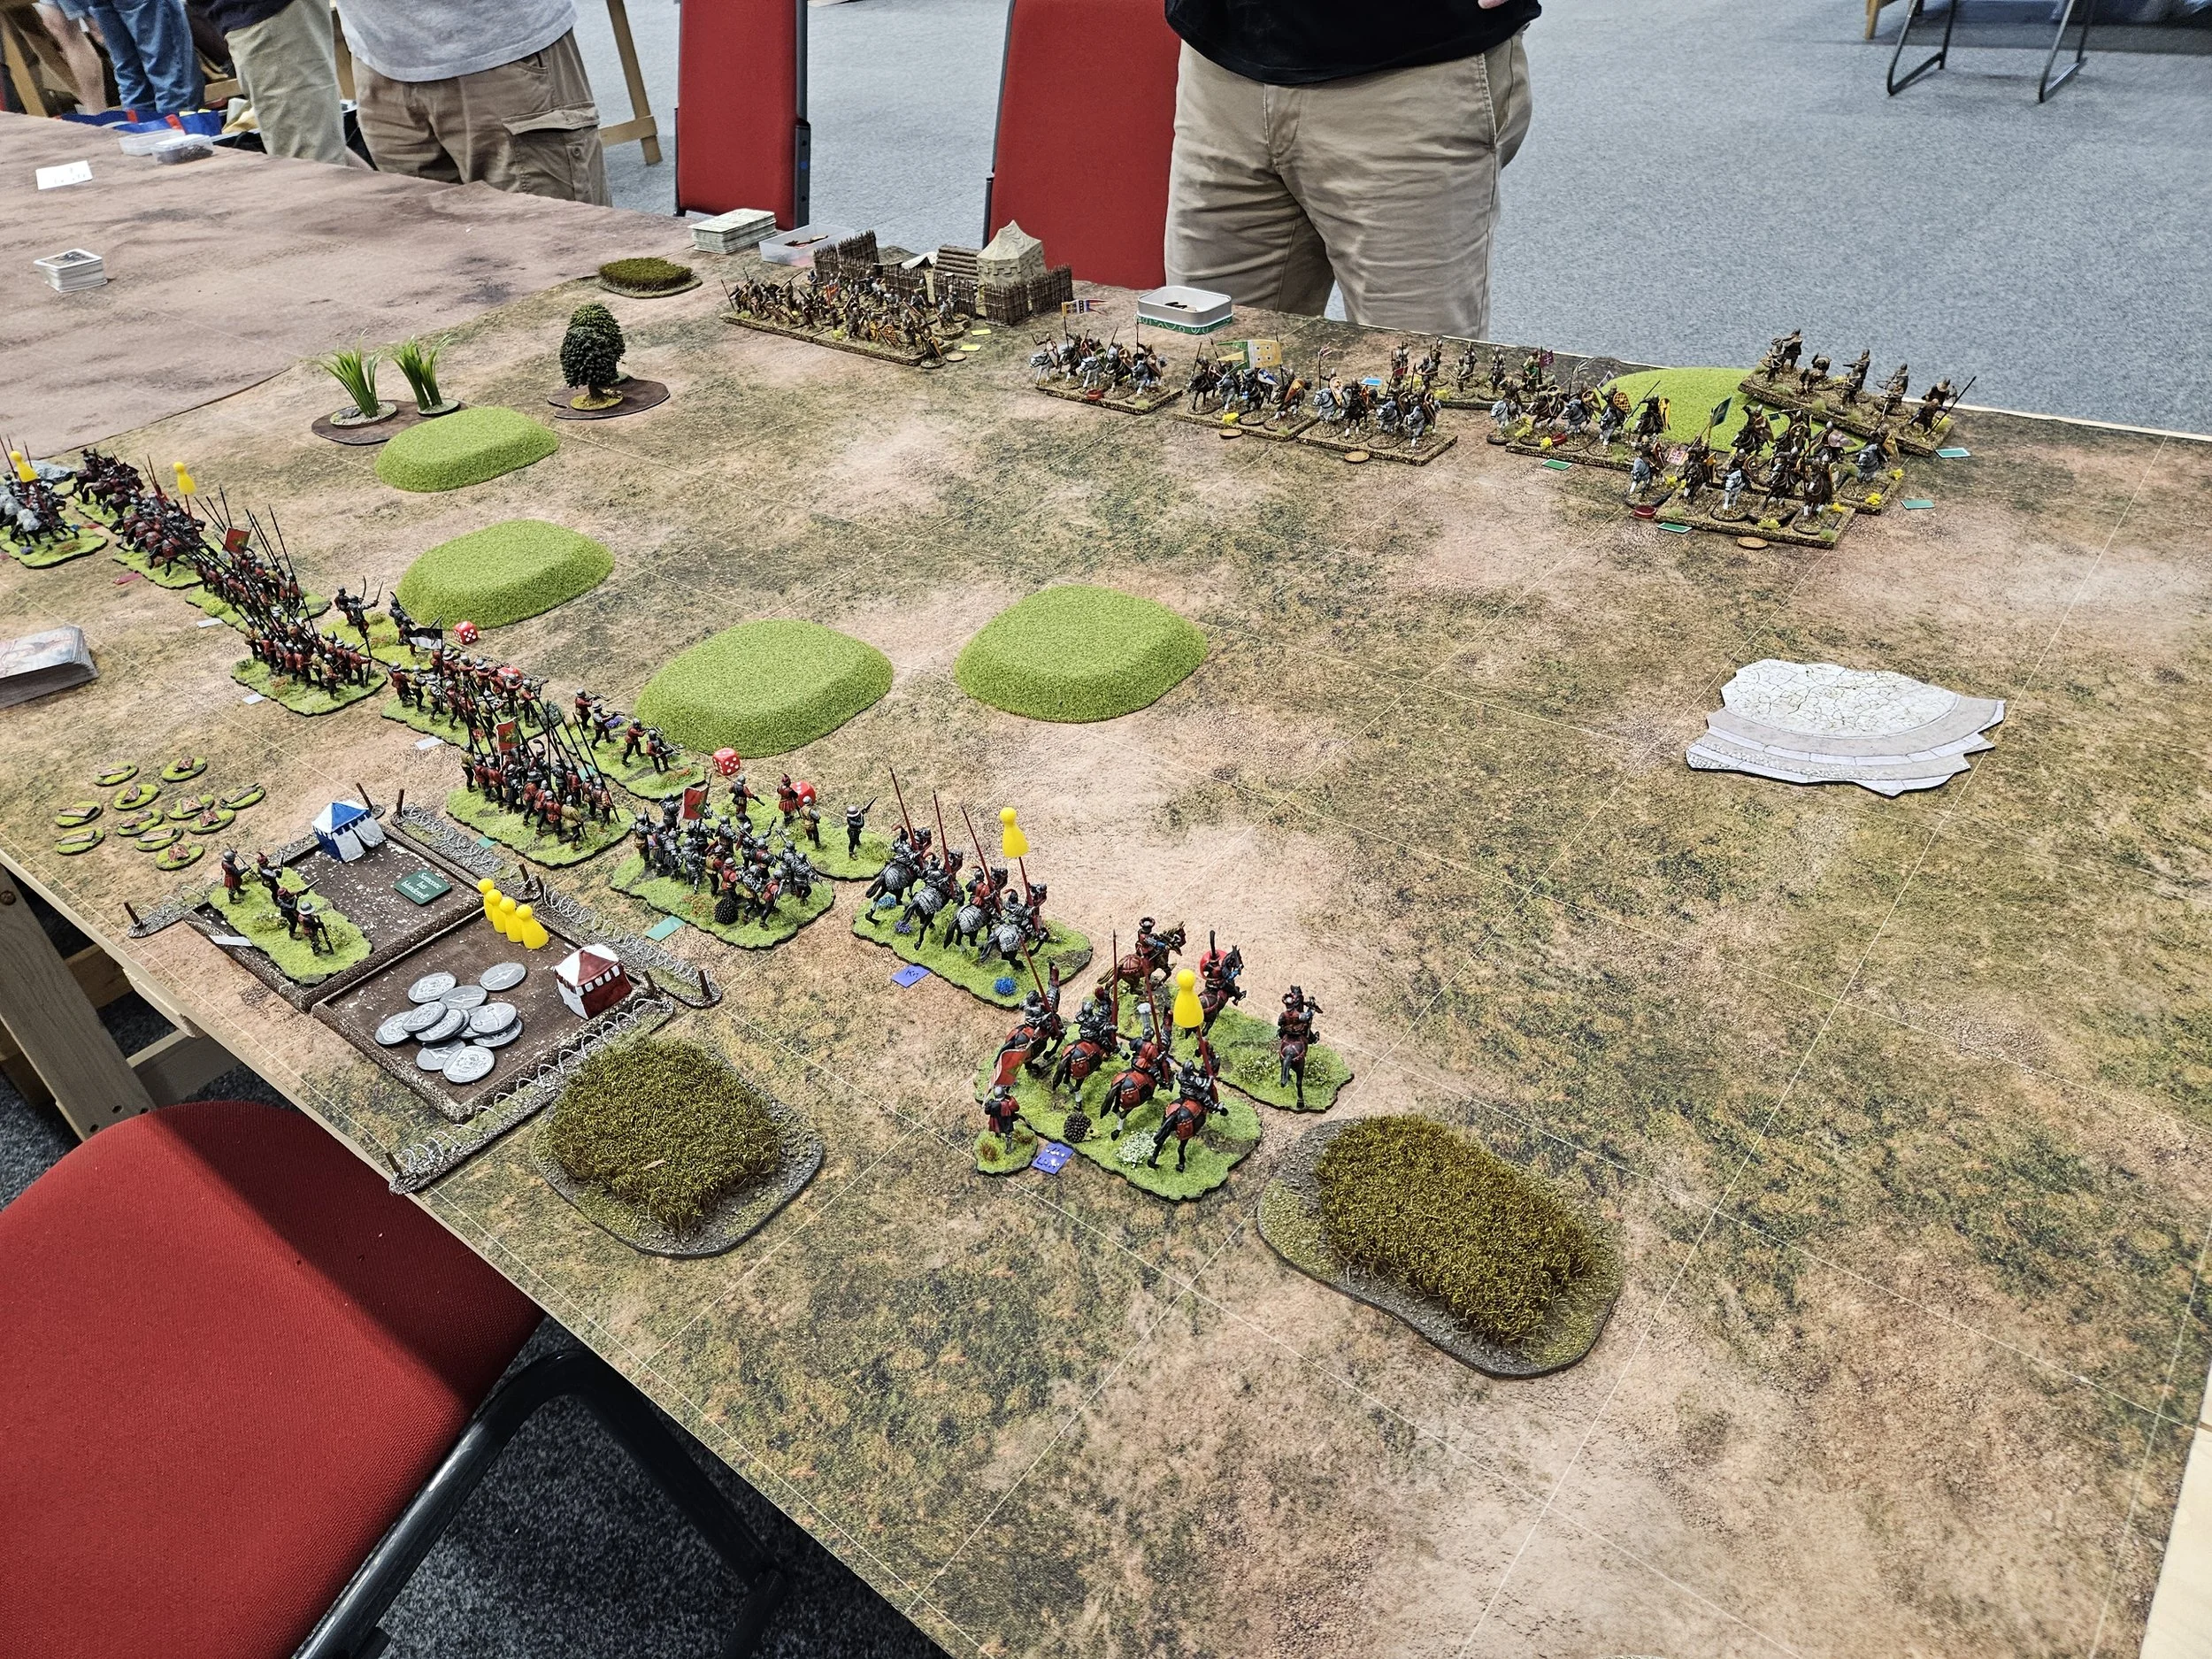
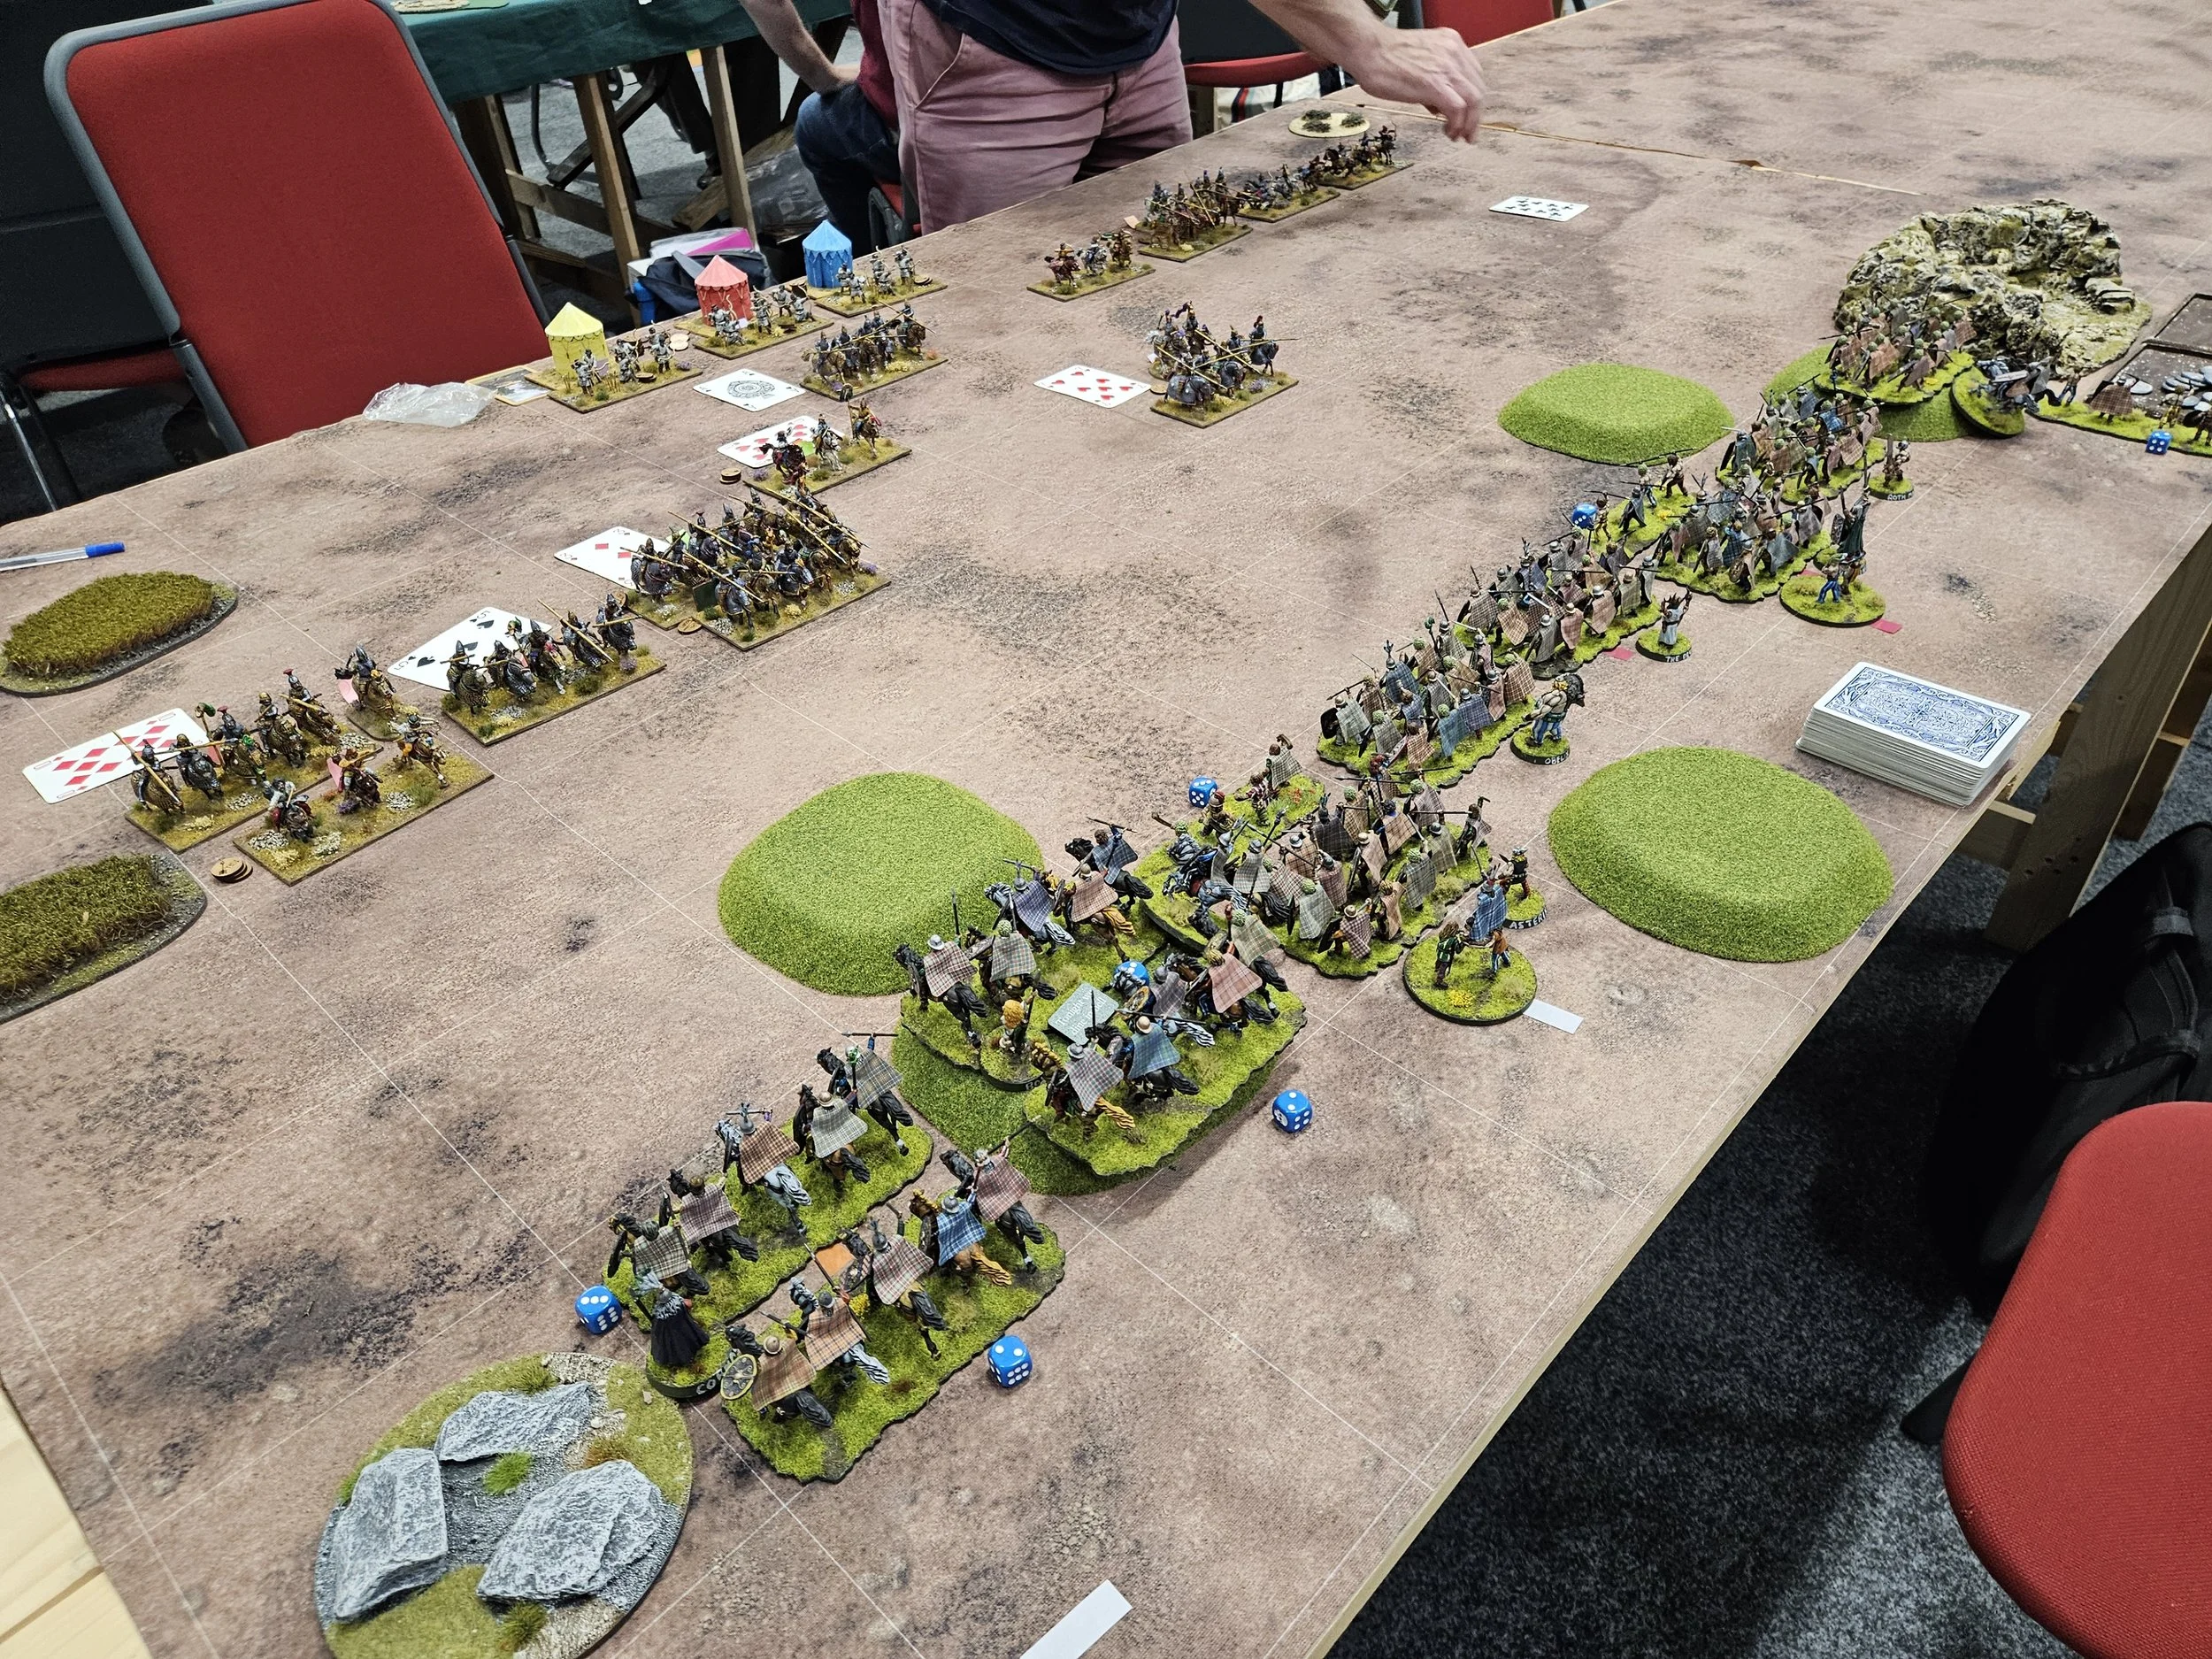
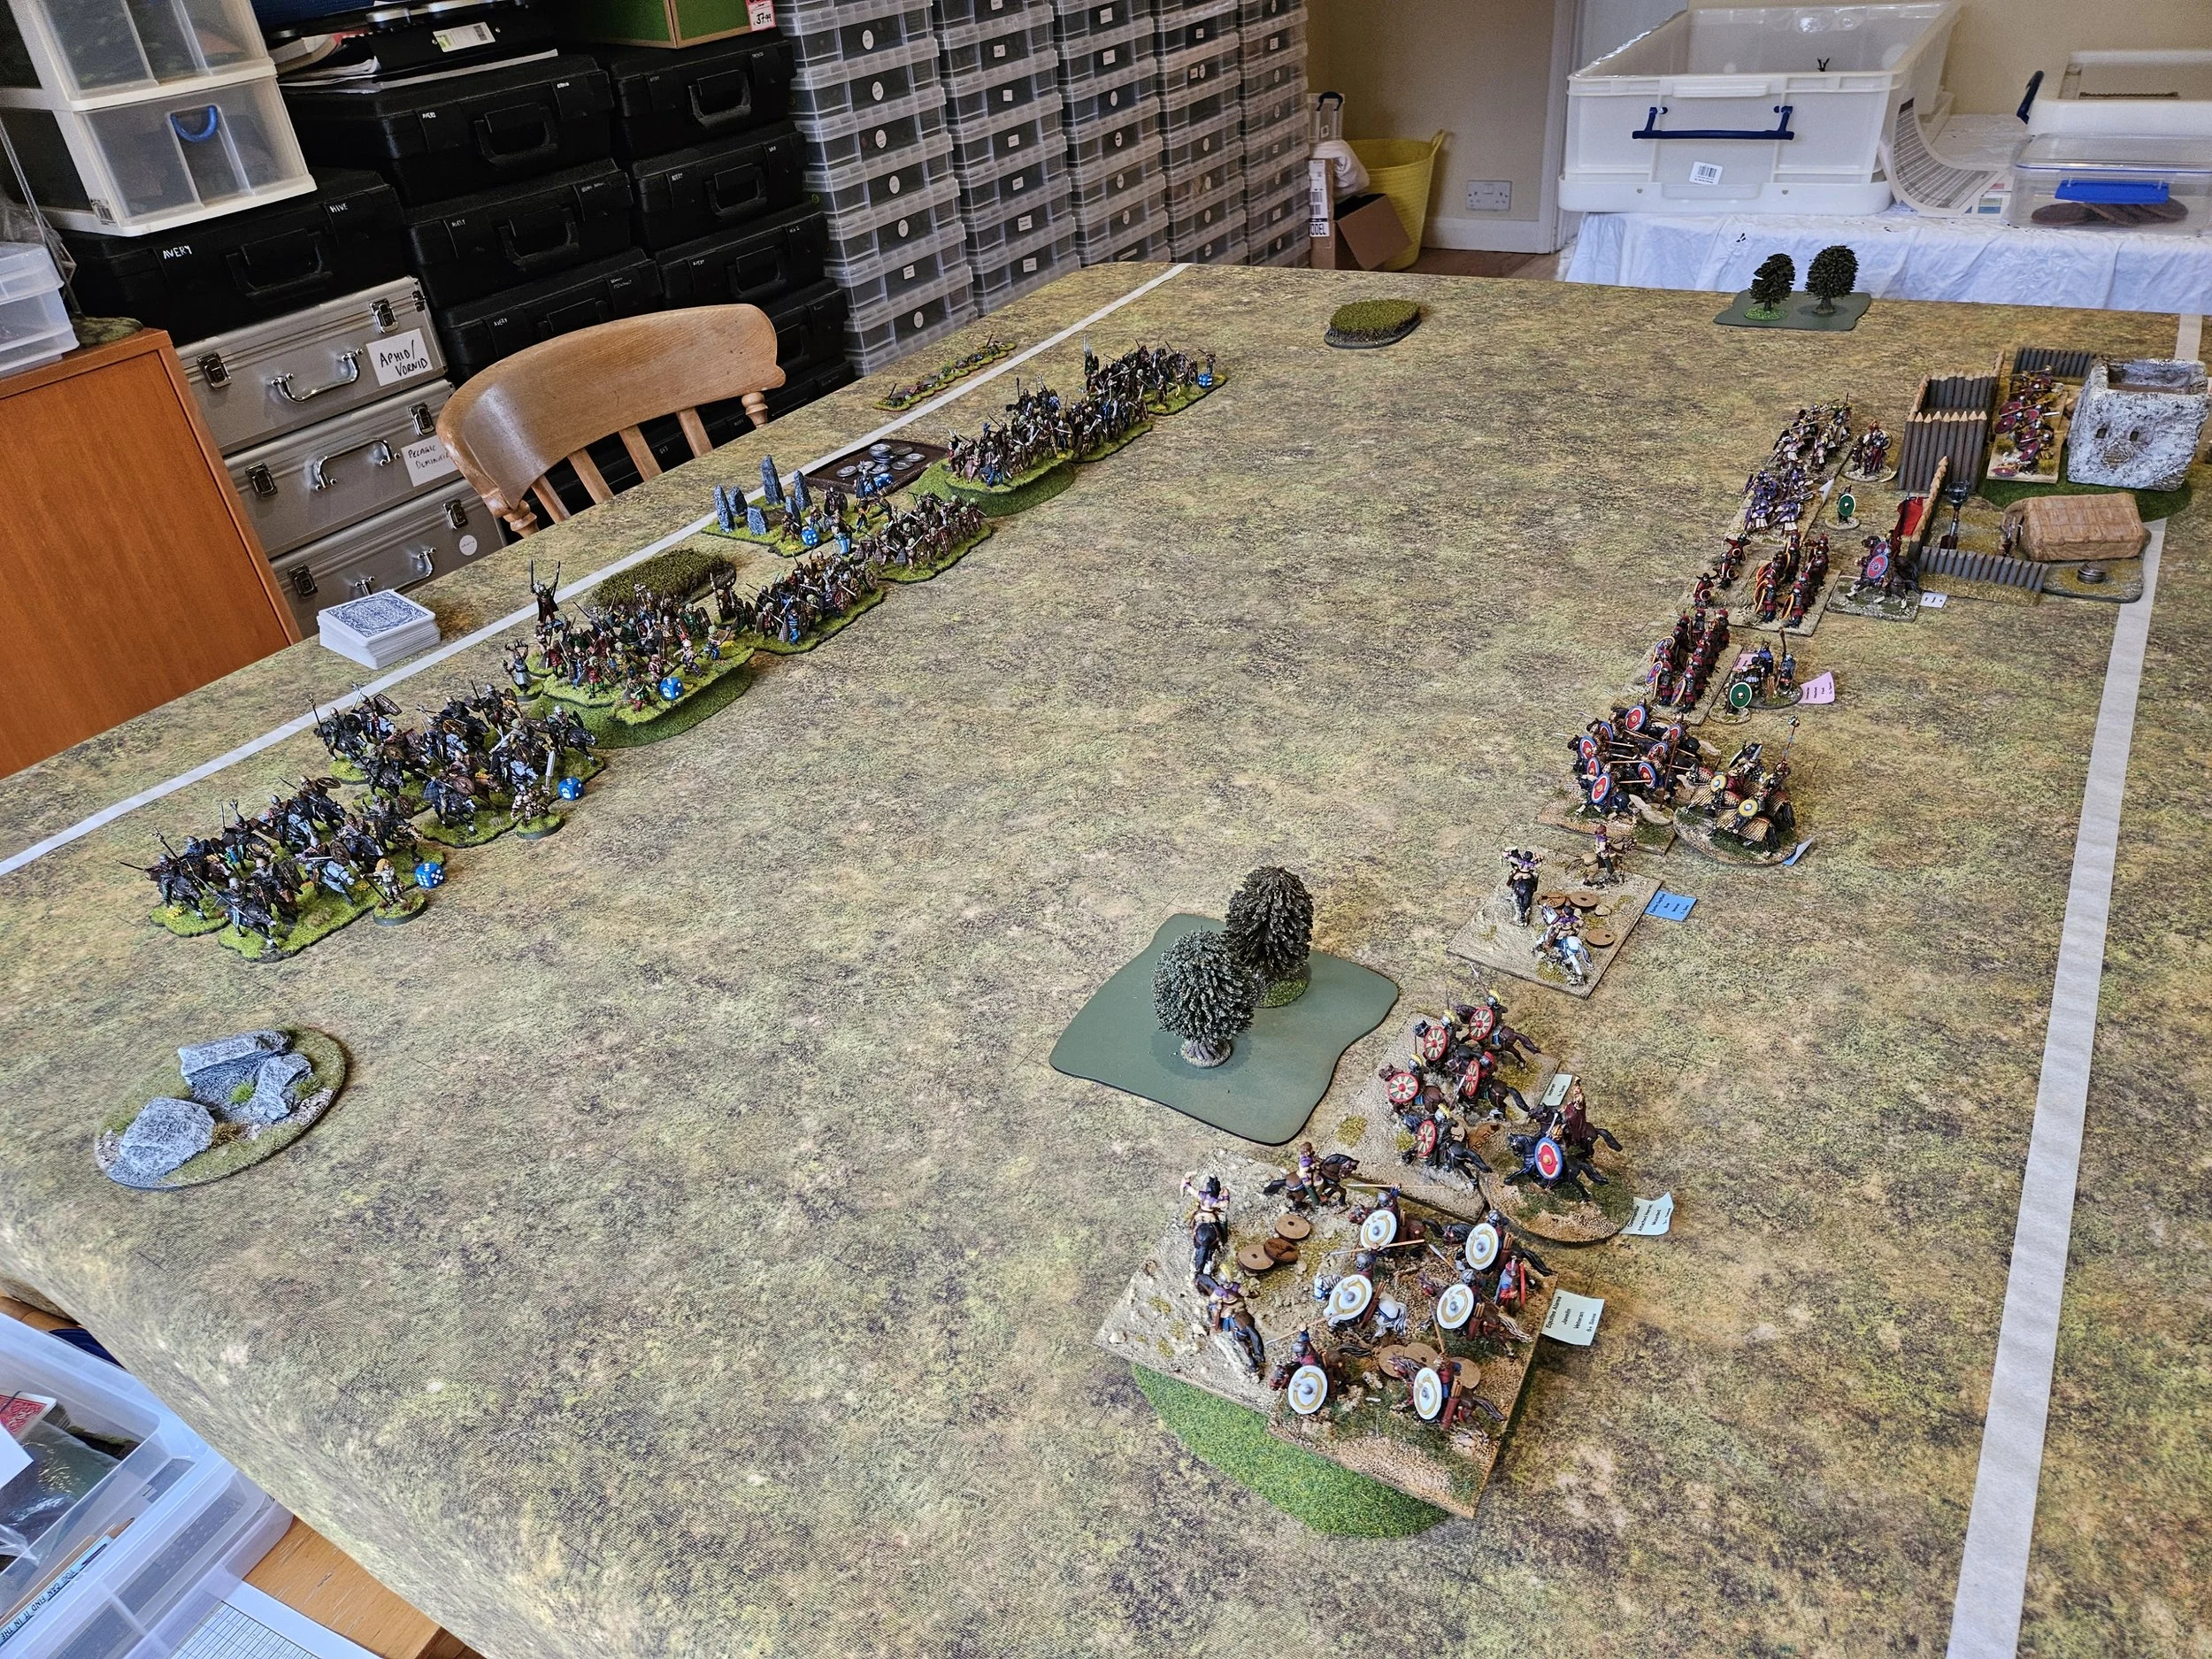
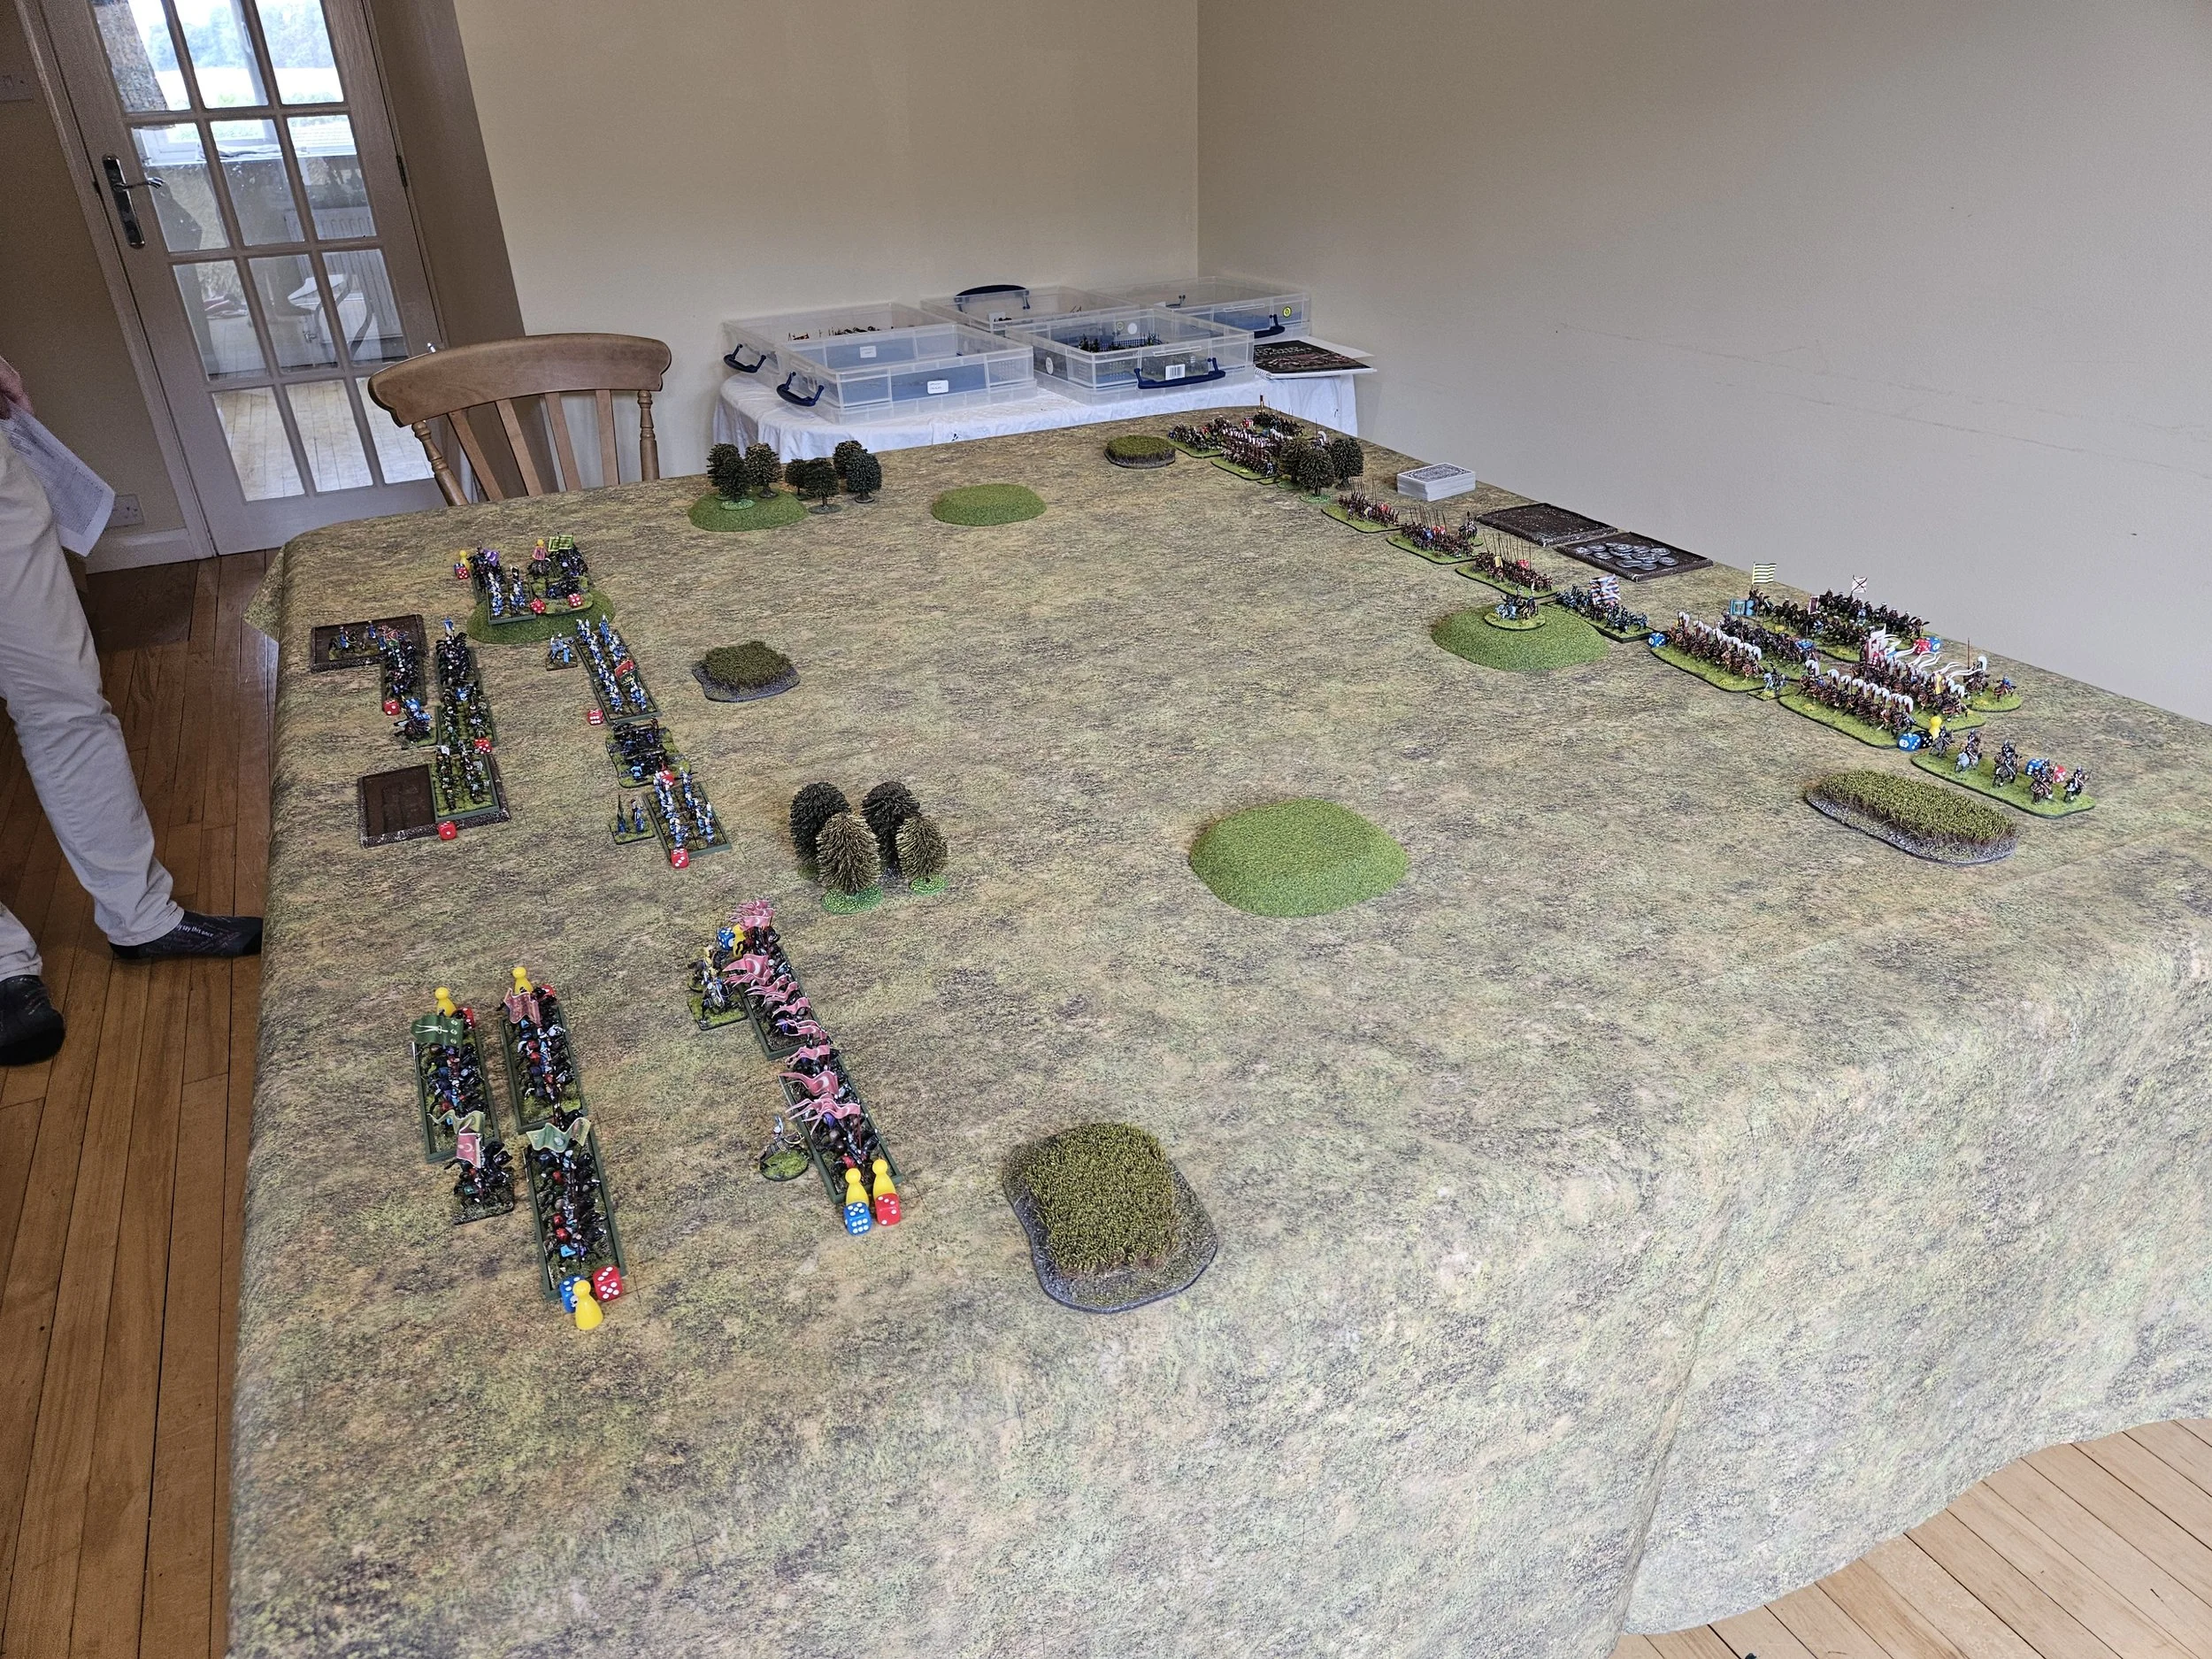
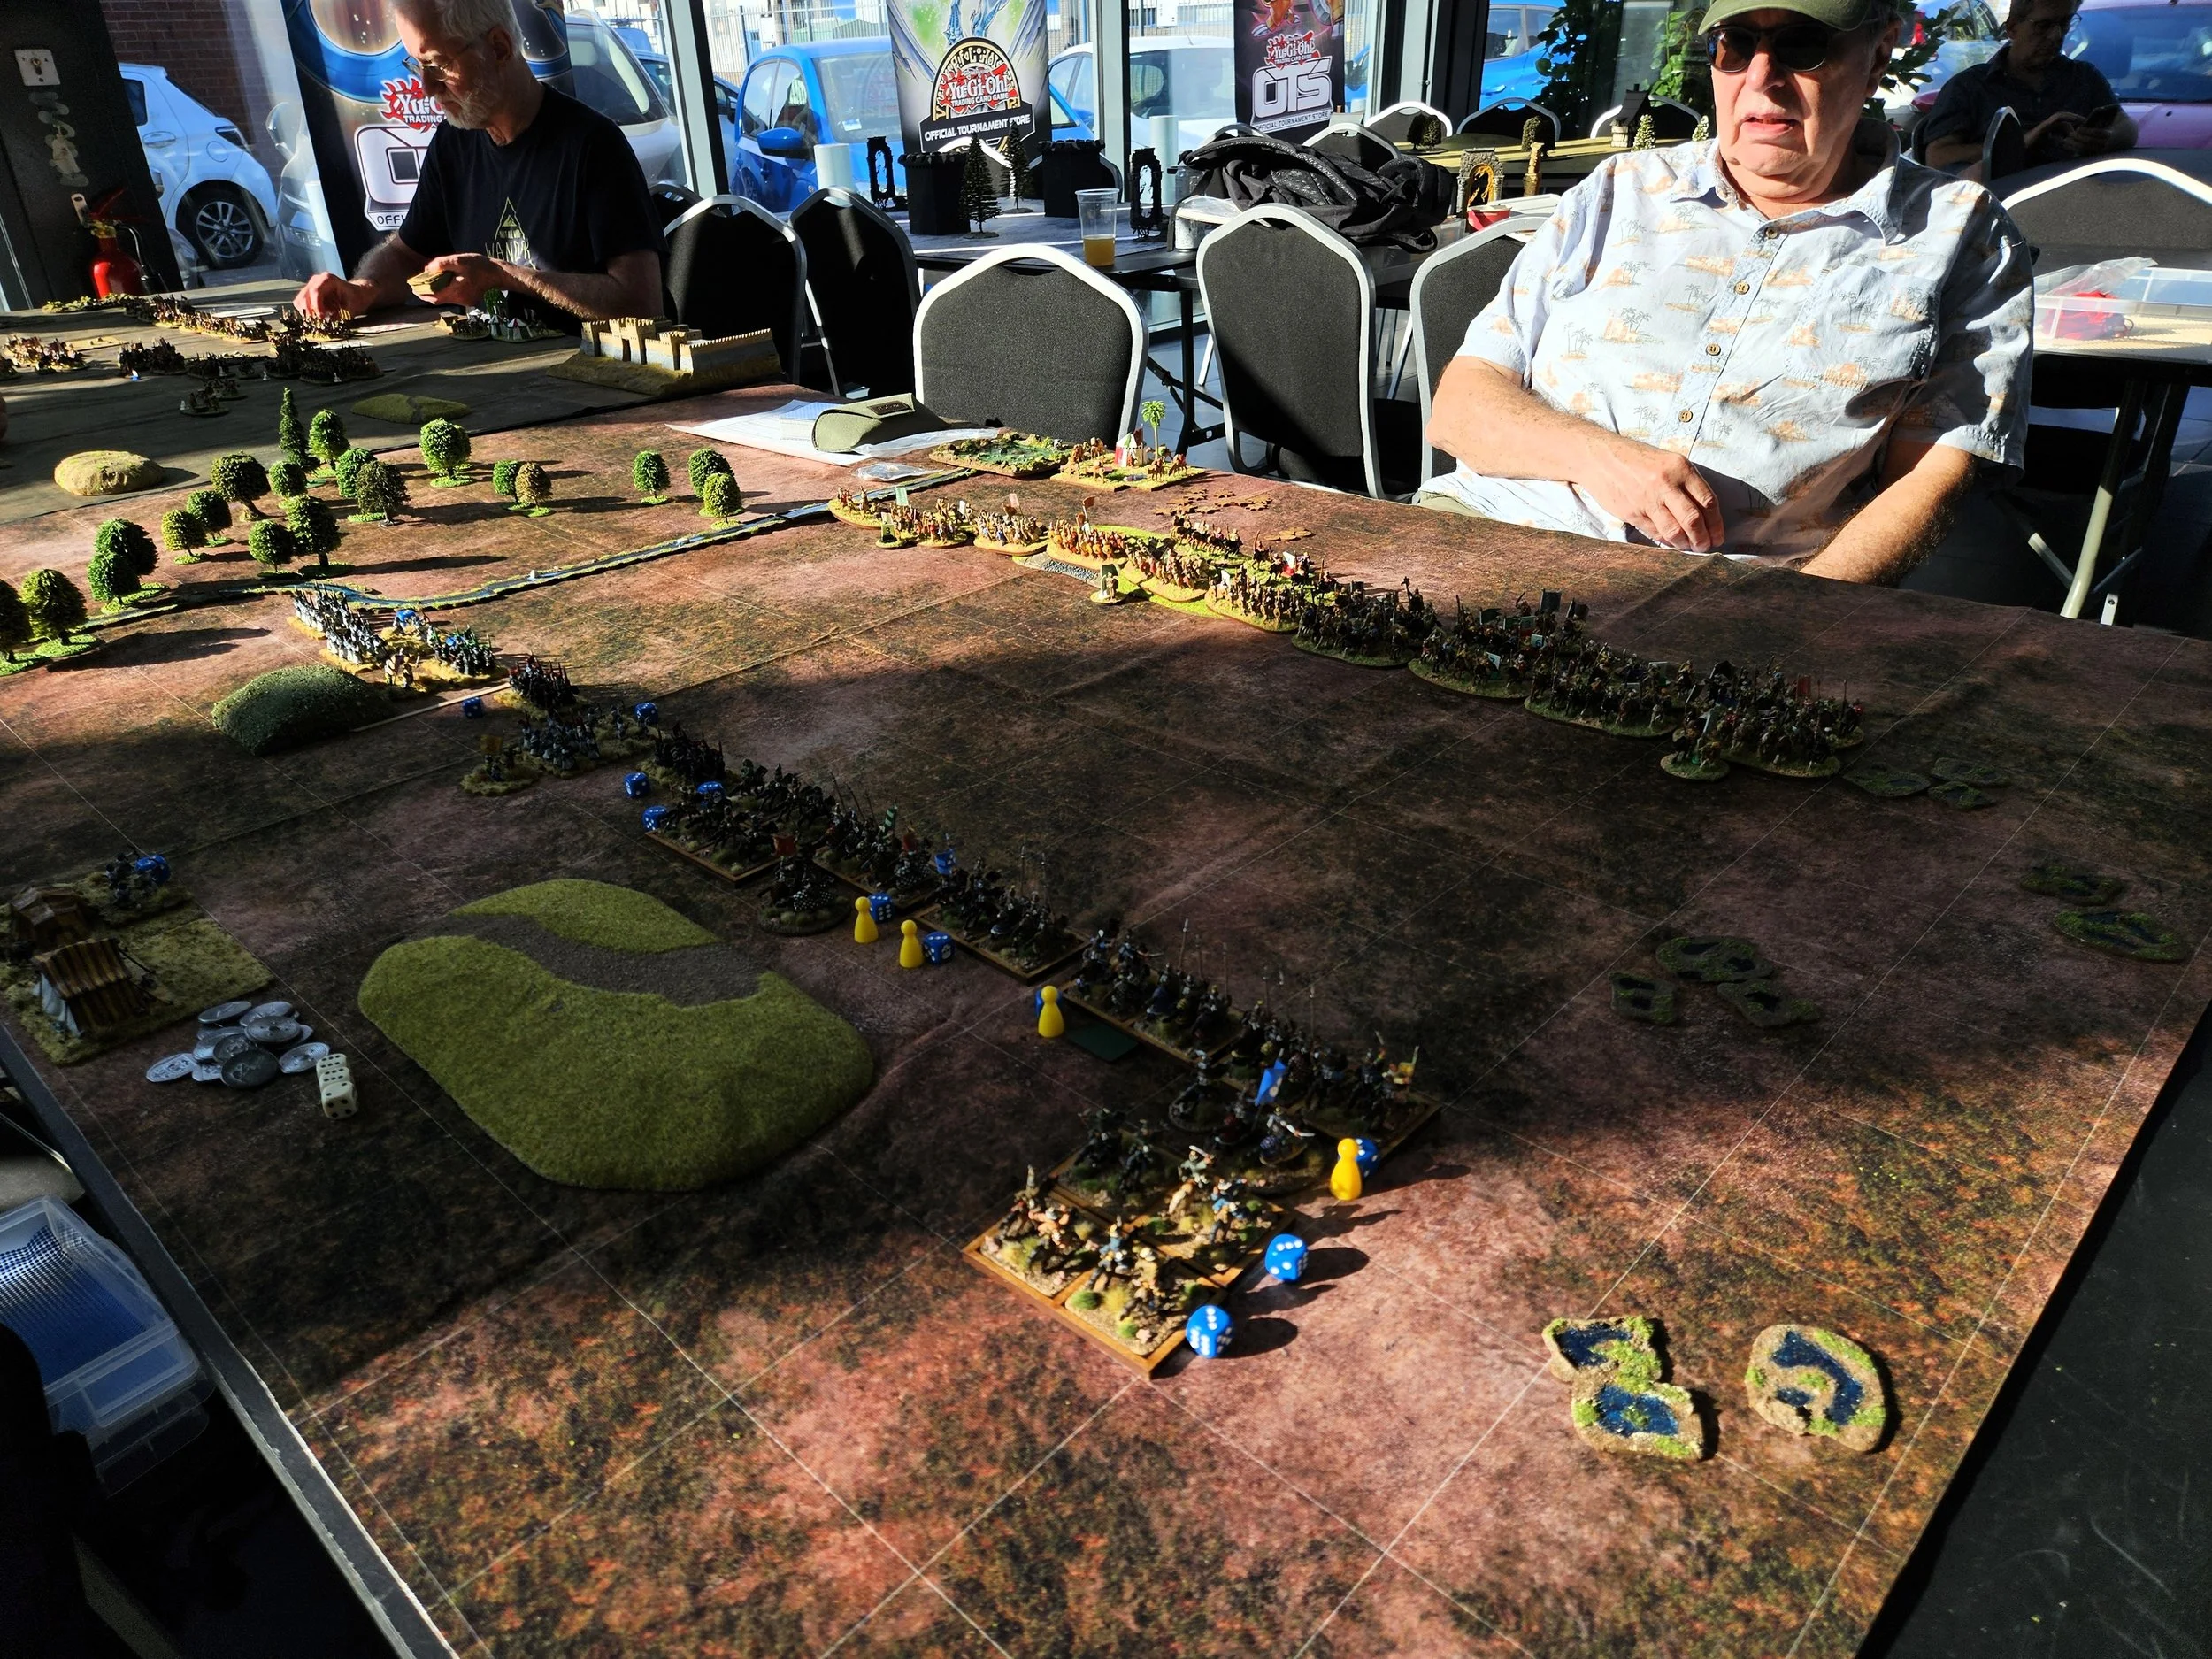
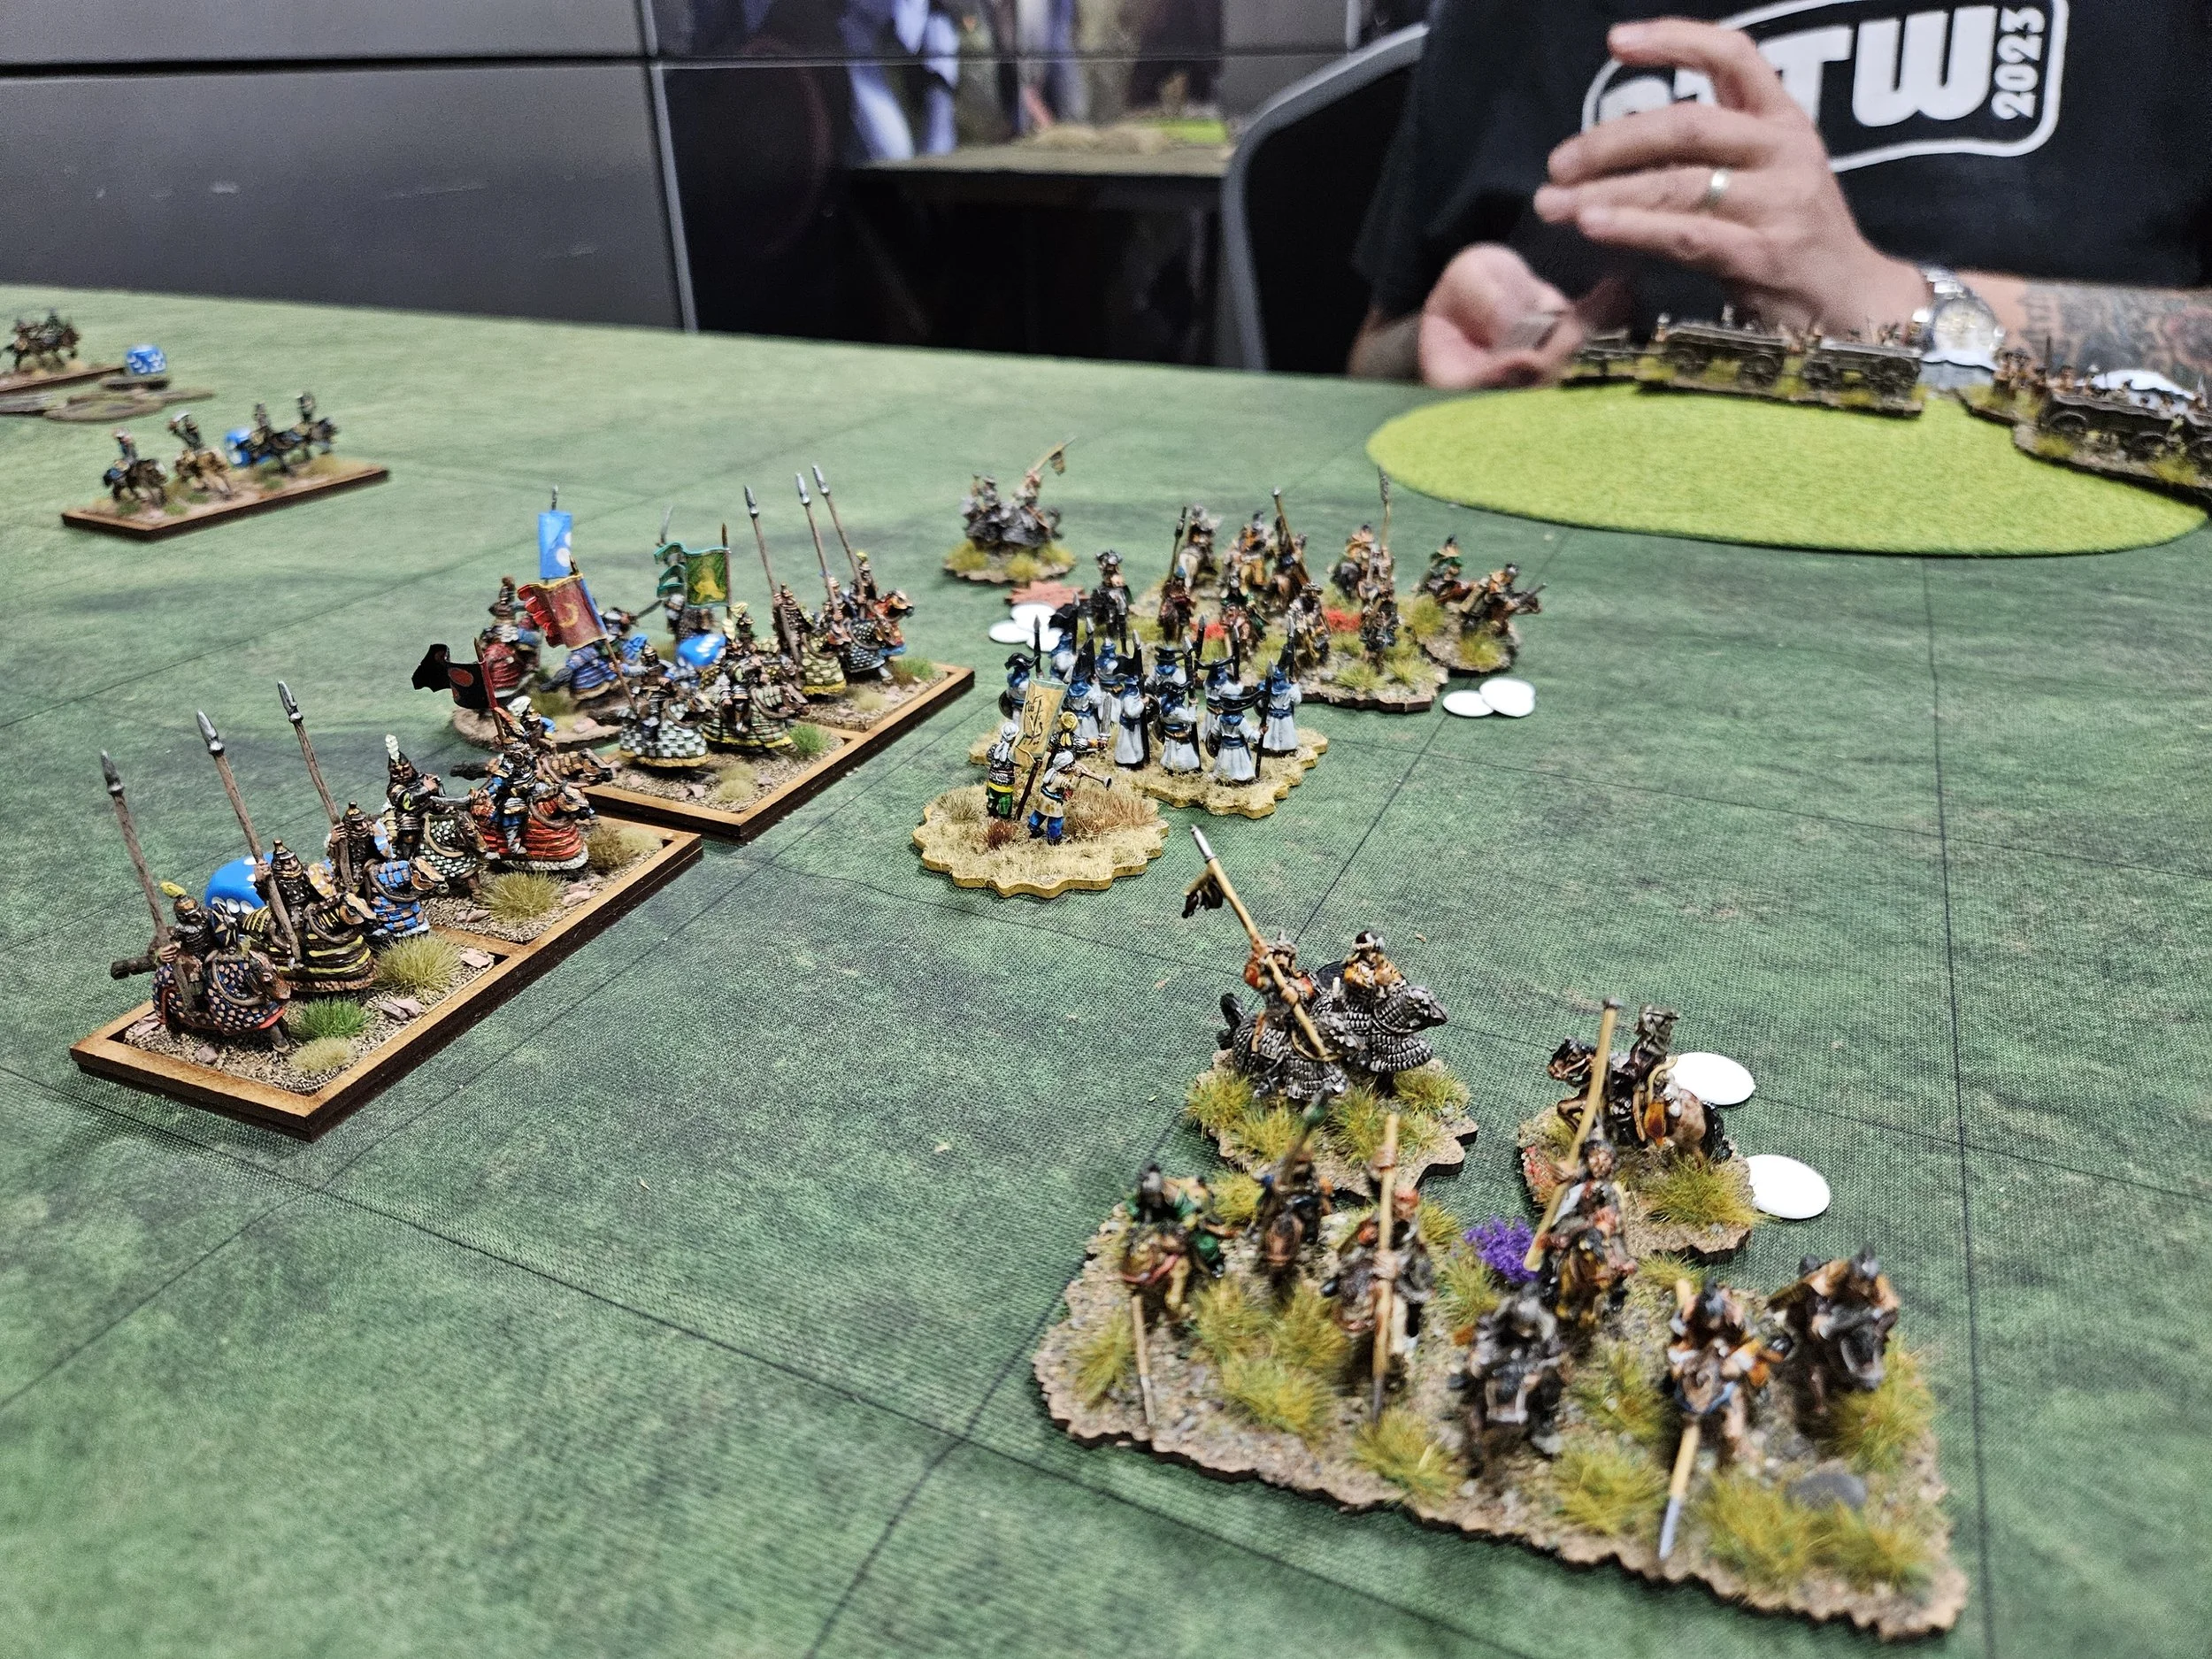
The pictures below show (left) the aftermath of the first charge (my charging spearmen are the ones in white with the black flags) and (right) the battlefield a turn of so later where my flank attacking L-shape has become a full tidal wave rolling across the table like the walls of the trash compactor from Star Wars!
Meanwhile, on my right, the Mongols had had the advantage of numbers and were winning, but had then had to to weaken their line to face the threat coming in from their right flank, which meant that rather than collapsing, the right of my line could stabilise and keep holding out, waiting for my flank attack on the left to win the game.
Steve was now down to his last few coins, but somewhat retrieved the situation when the charging spearmen tried for a “bridge too far” near the enemy camp, got disordered by bowfire from amongst the Mongol tents, then routed, along with their general, leaving the enemy cavalry free to threaten the flank of my heavy horse that were now sweeping down on the rest of the Mongol battleline, which was still occupied with the right hand end of my line.
That went some way to evening up both the score and the situation, but Lady Luck was with me as we entered the final few turns.
One of my heavy cavalry units from the right hand end of my line had been disordered in the initial clash with the enemy. They had fallen back and, after various manoeuvres, had headed to the left, pursued by a unit of Mongol lancers.
My cavalry managed to get a bit of distance between them and their pursuers, rally, then turn to face the enemy. At the same time, a unit of infantry (another one in white with black flags: medals all round for those boys) managed to come up behind the had-been-pursuing Mongols, who were then caught between the Scylla and Charybdis and squished…giving me Steve’s last two coins and victory!
That had been an epic game: very close and very exciting. Steve’s initial deployment was superb, and if I hadn’t managed to get my flank attack in, I would have been easily defeated.
The swivel in the centre of the battlefield was gripping stuff, and the final action equally intense. A 137-71 victory for the Khurasanians and on to face Simon Miller’s (the author of the rules) Galatians in the final round.