Britcon Day One: Game Two
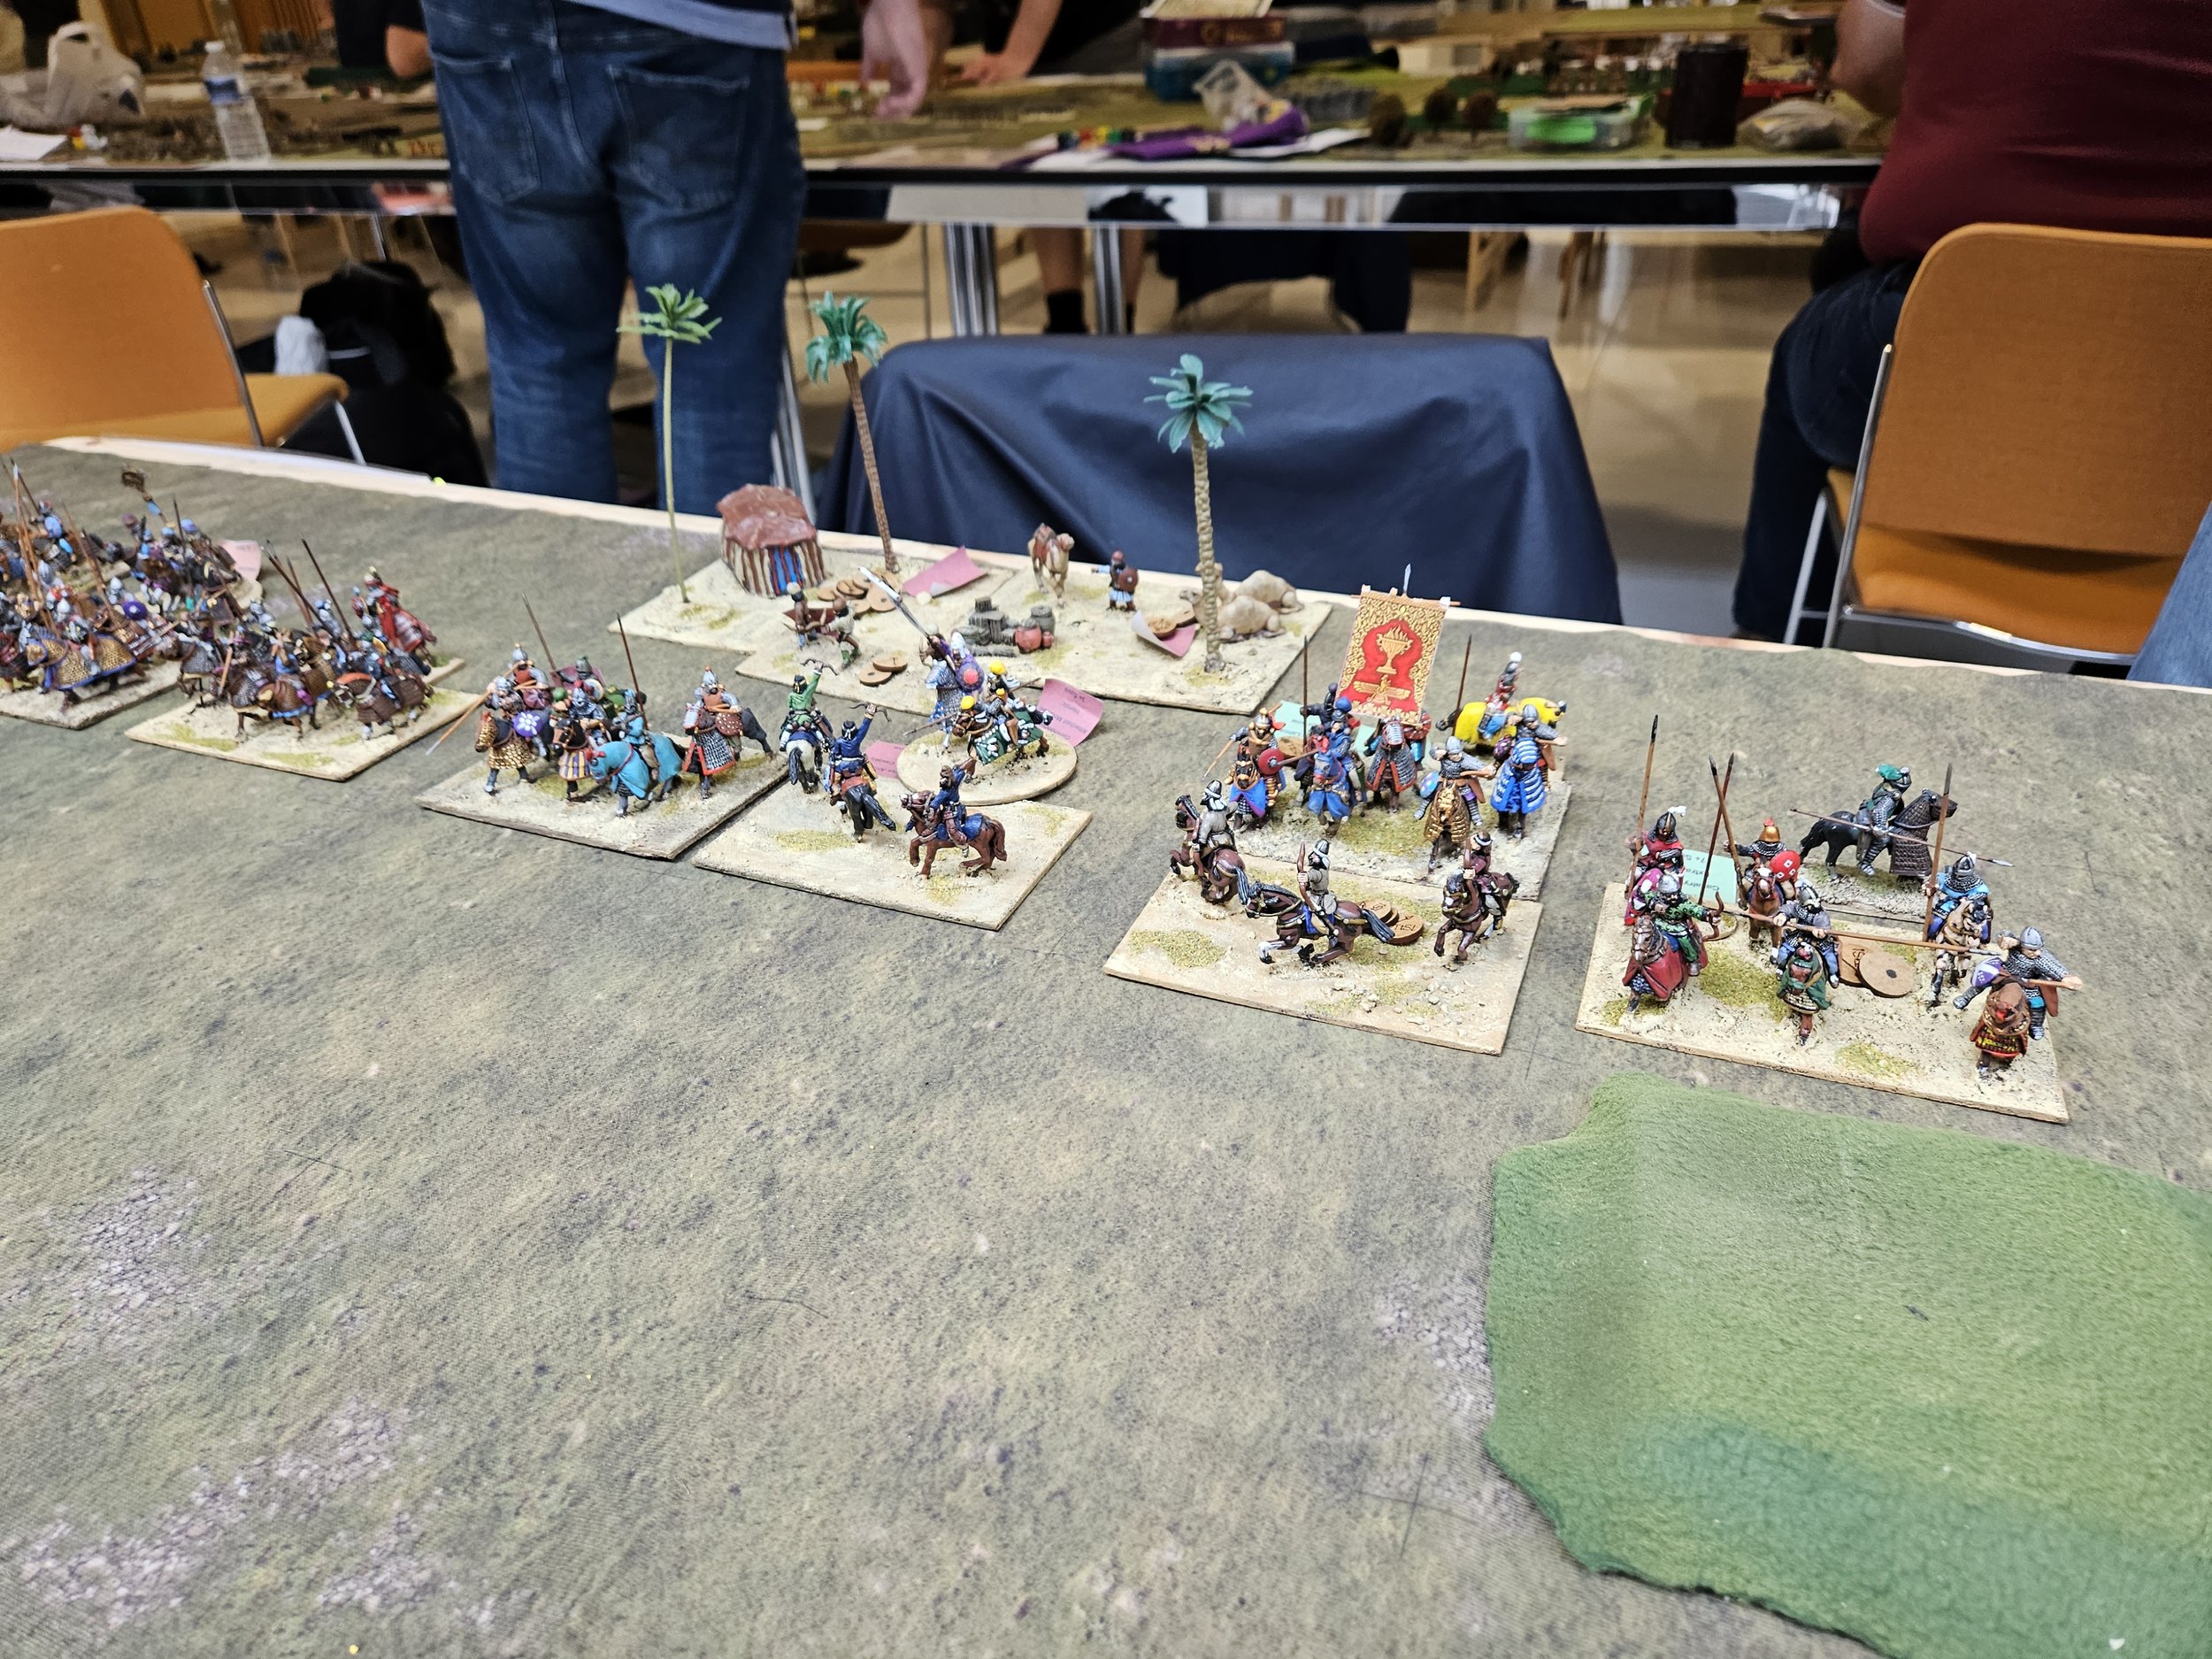
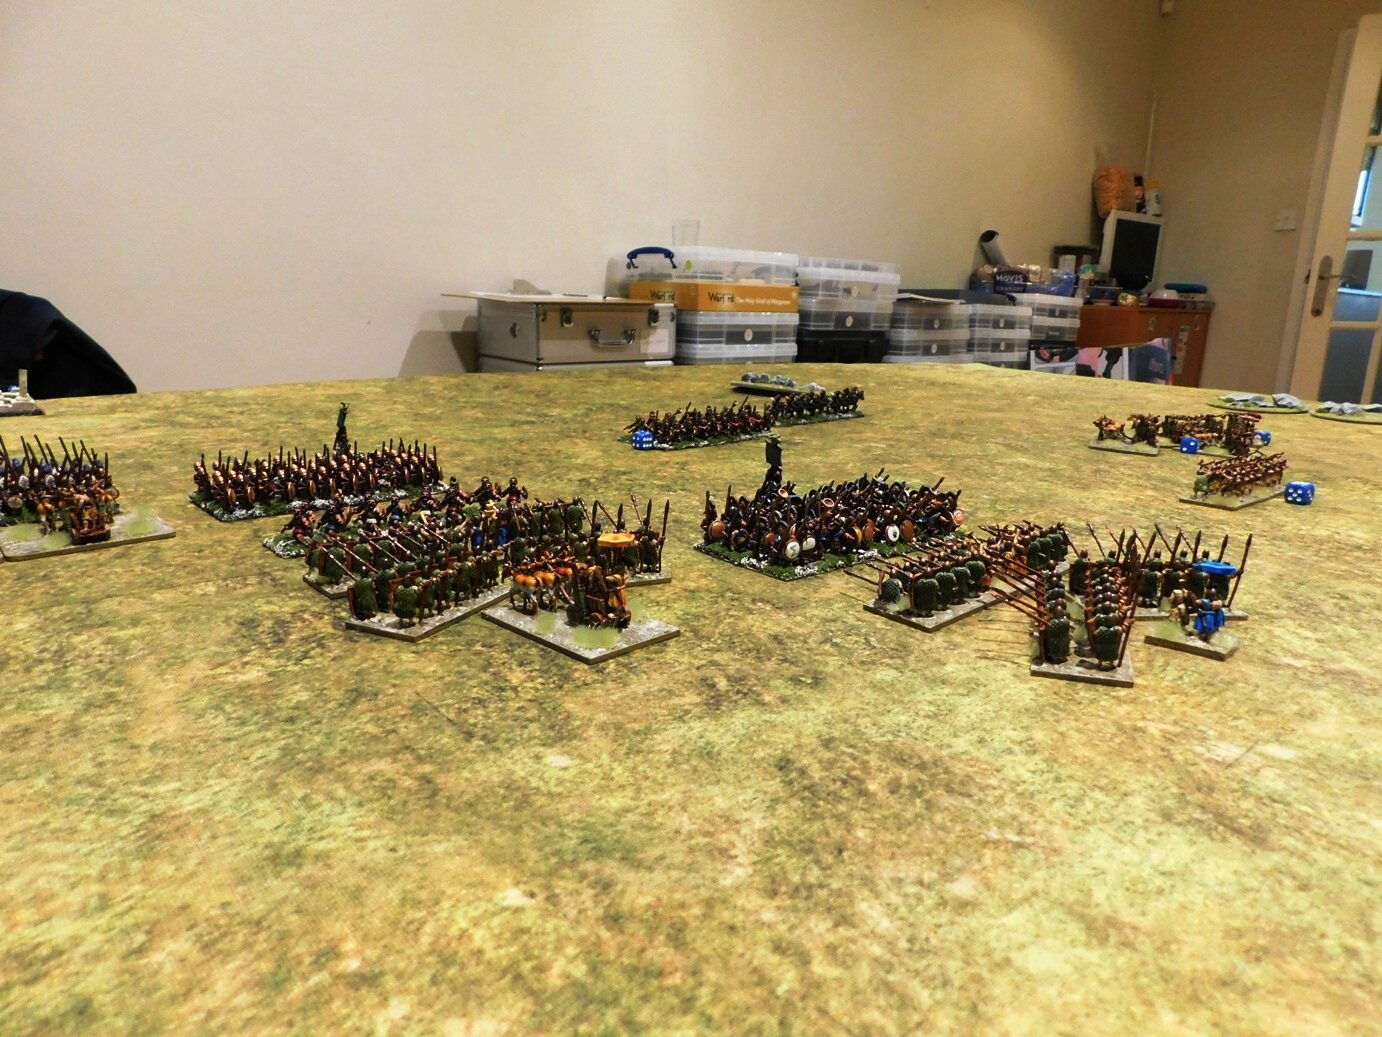
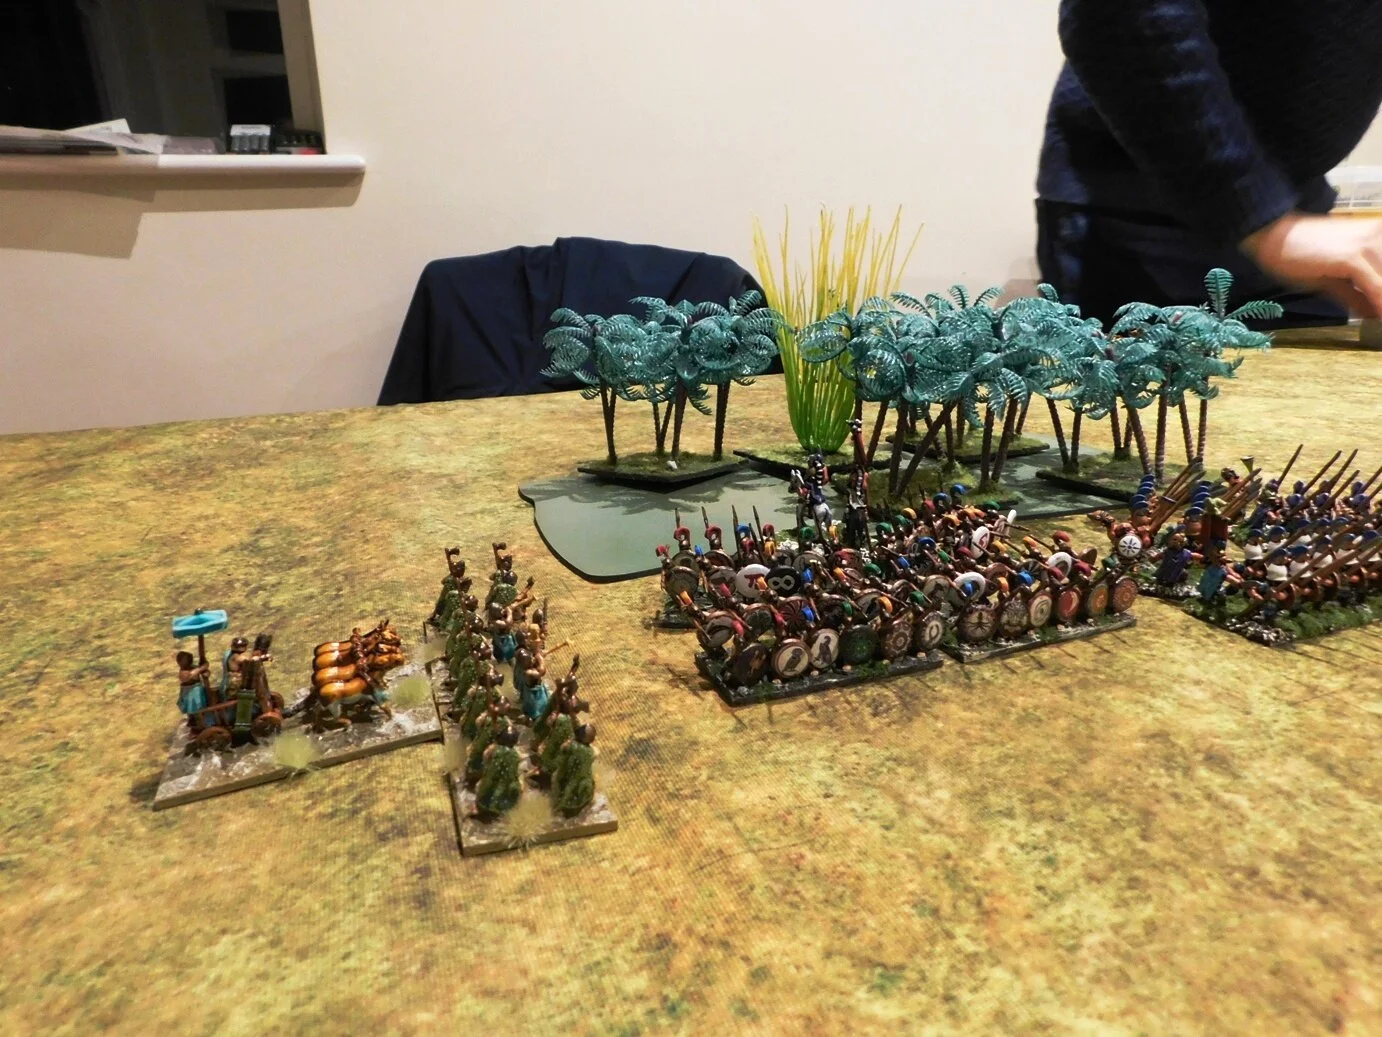
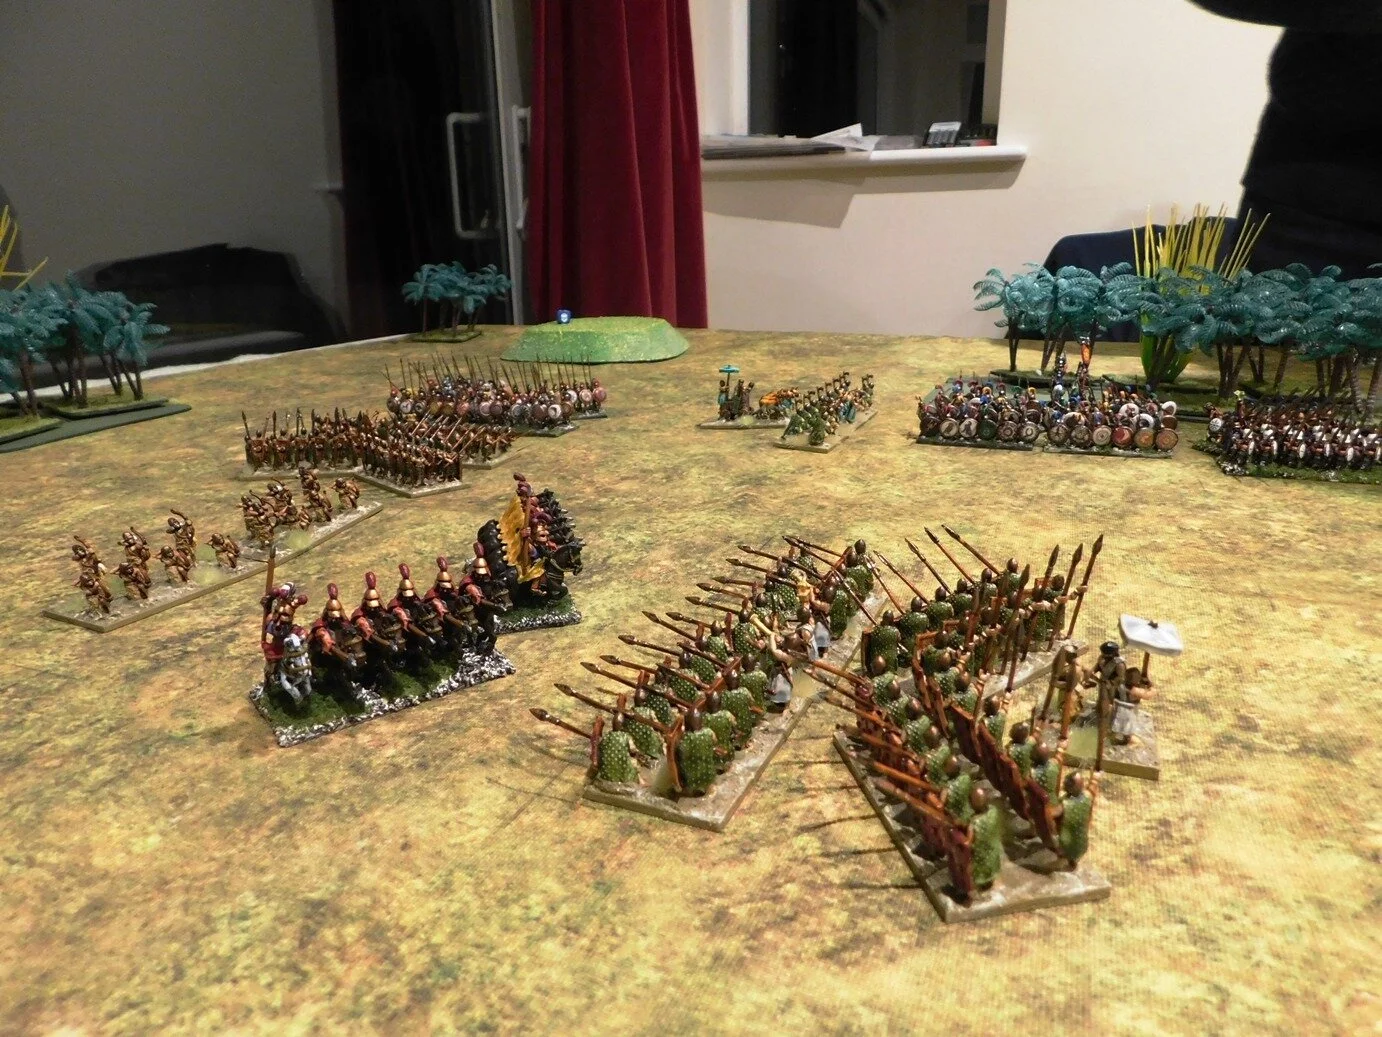
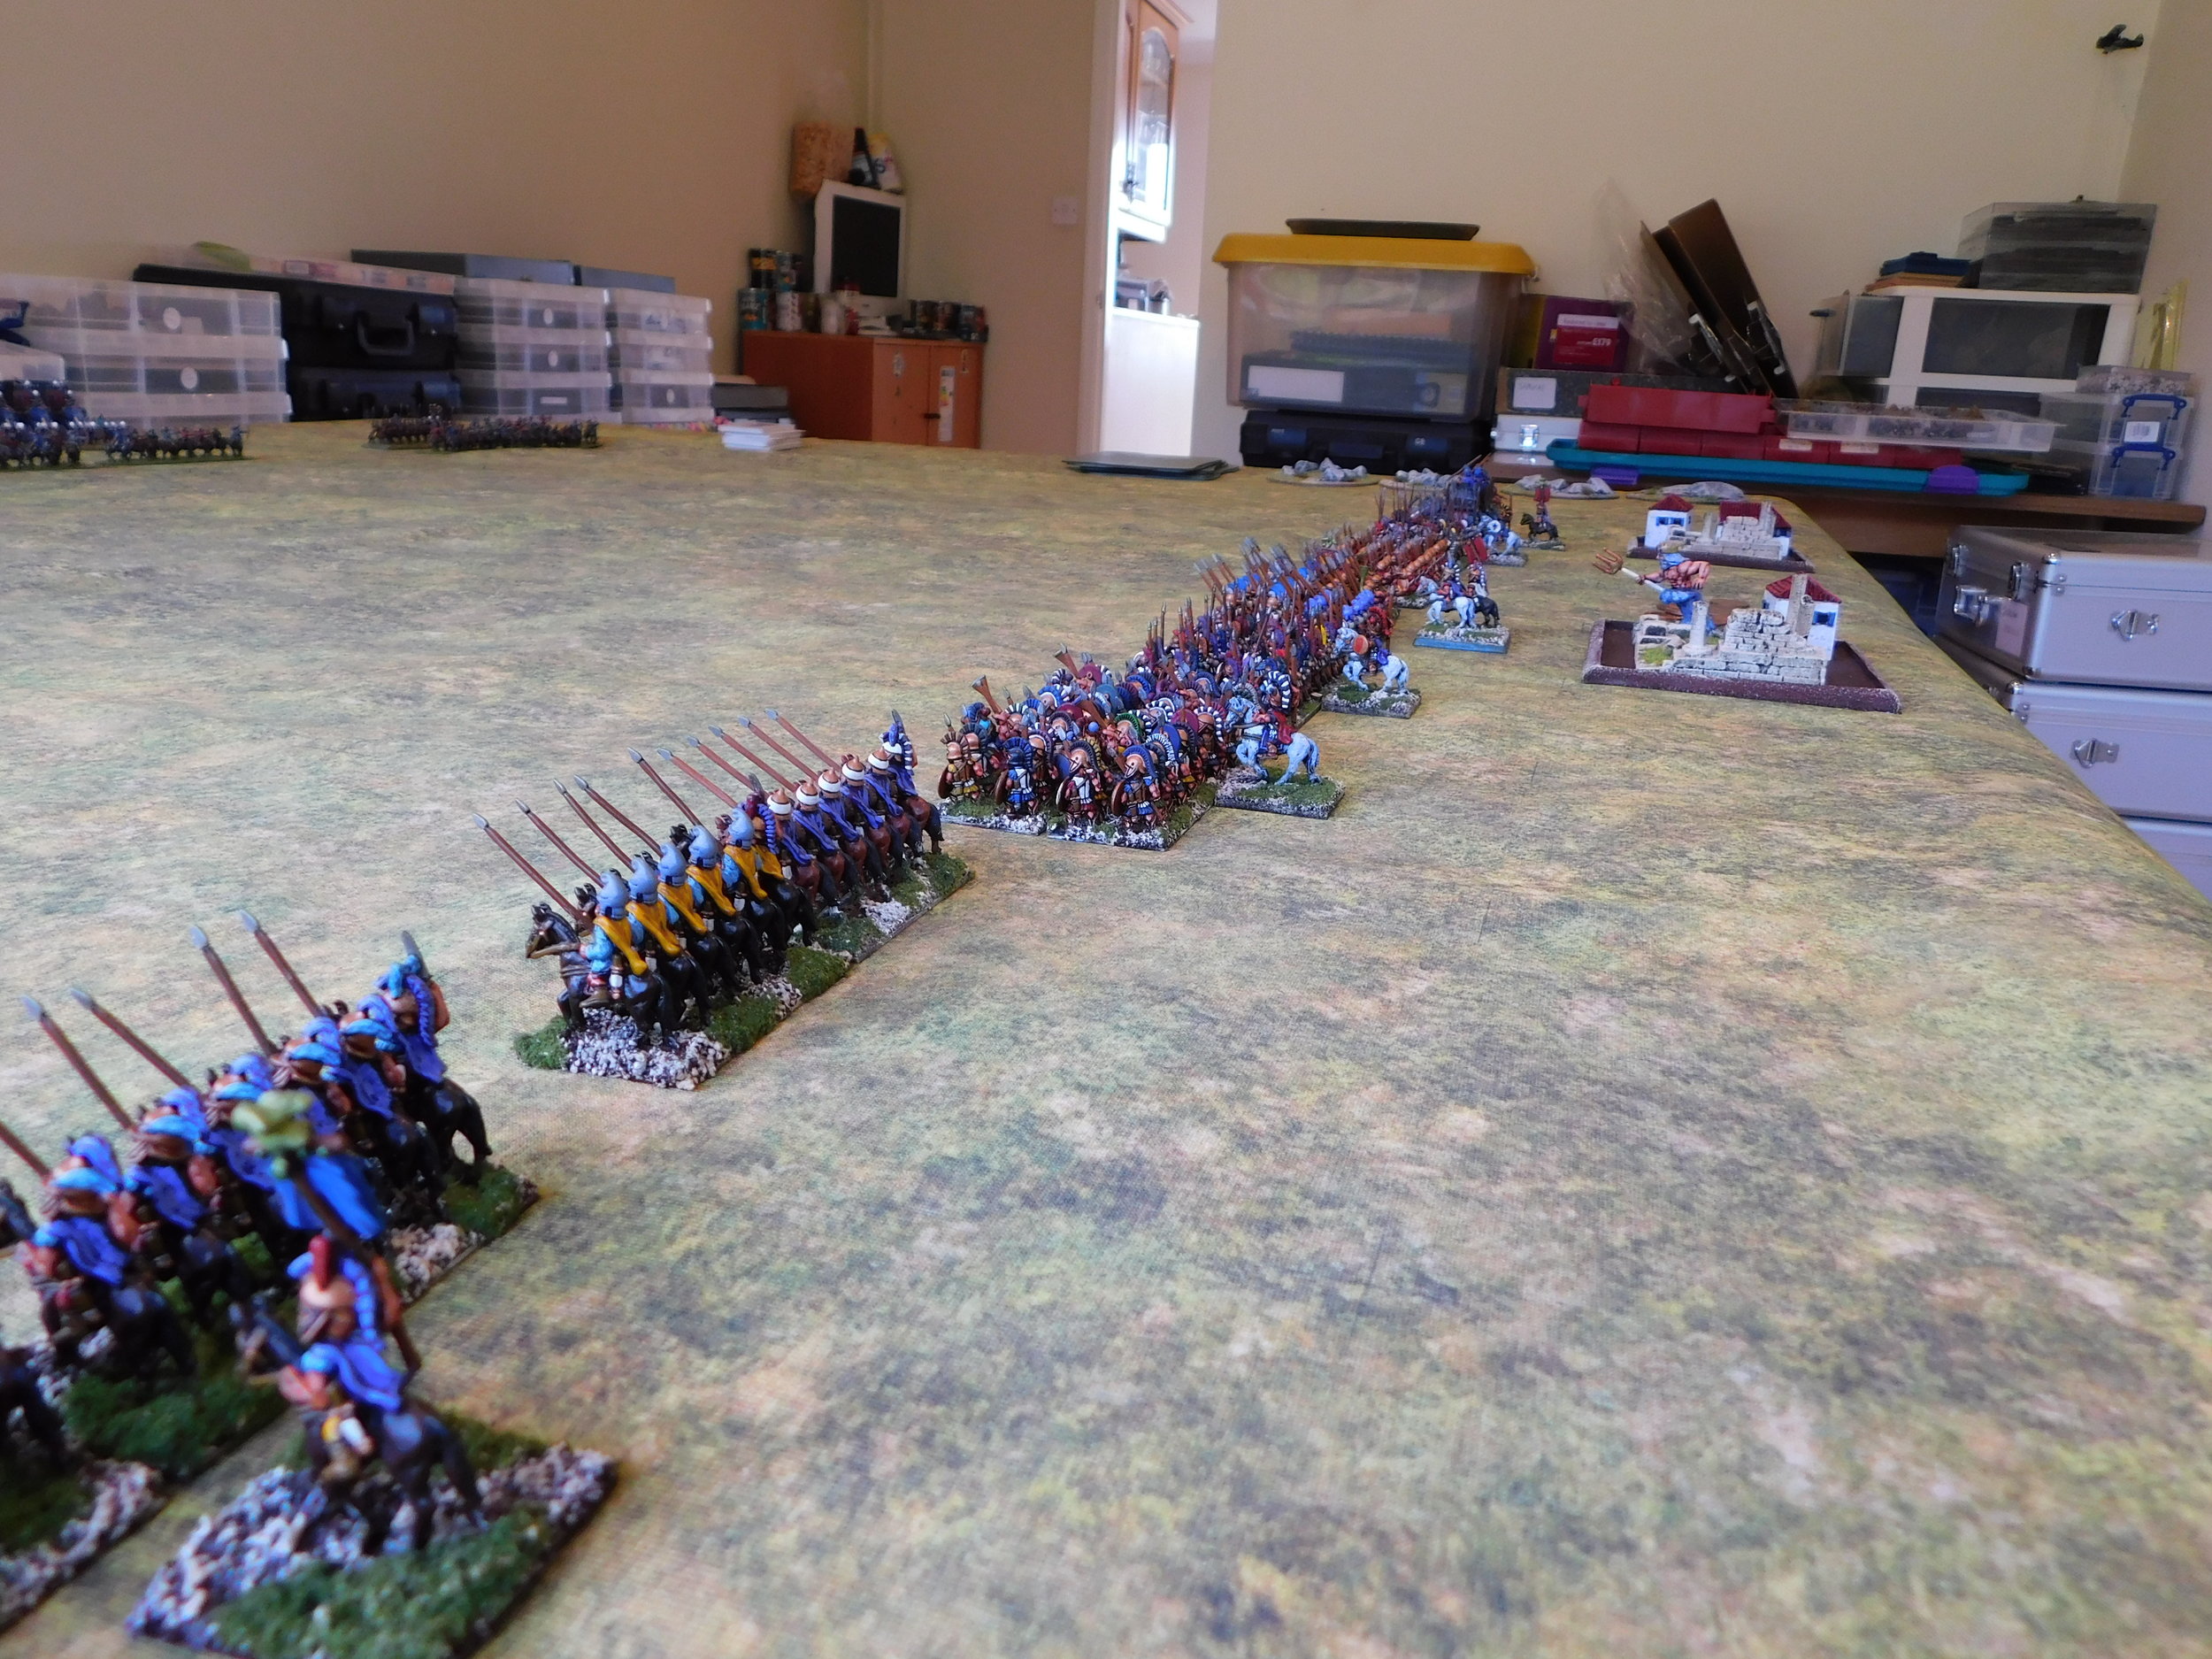
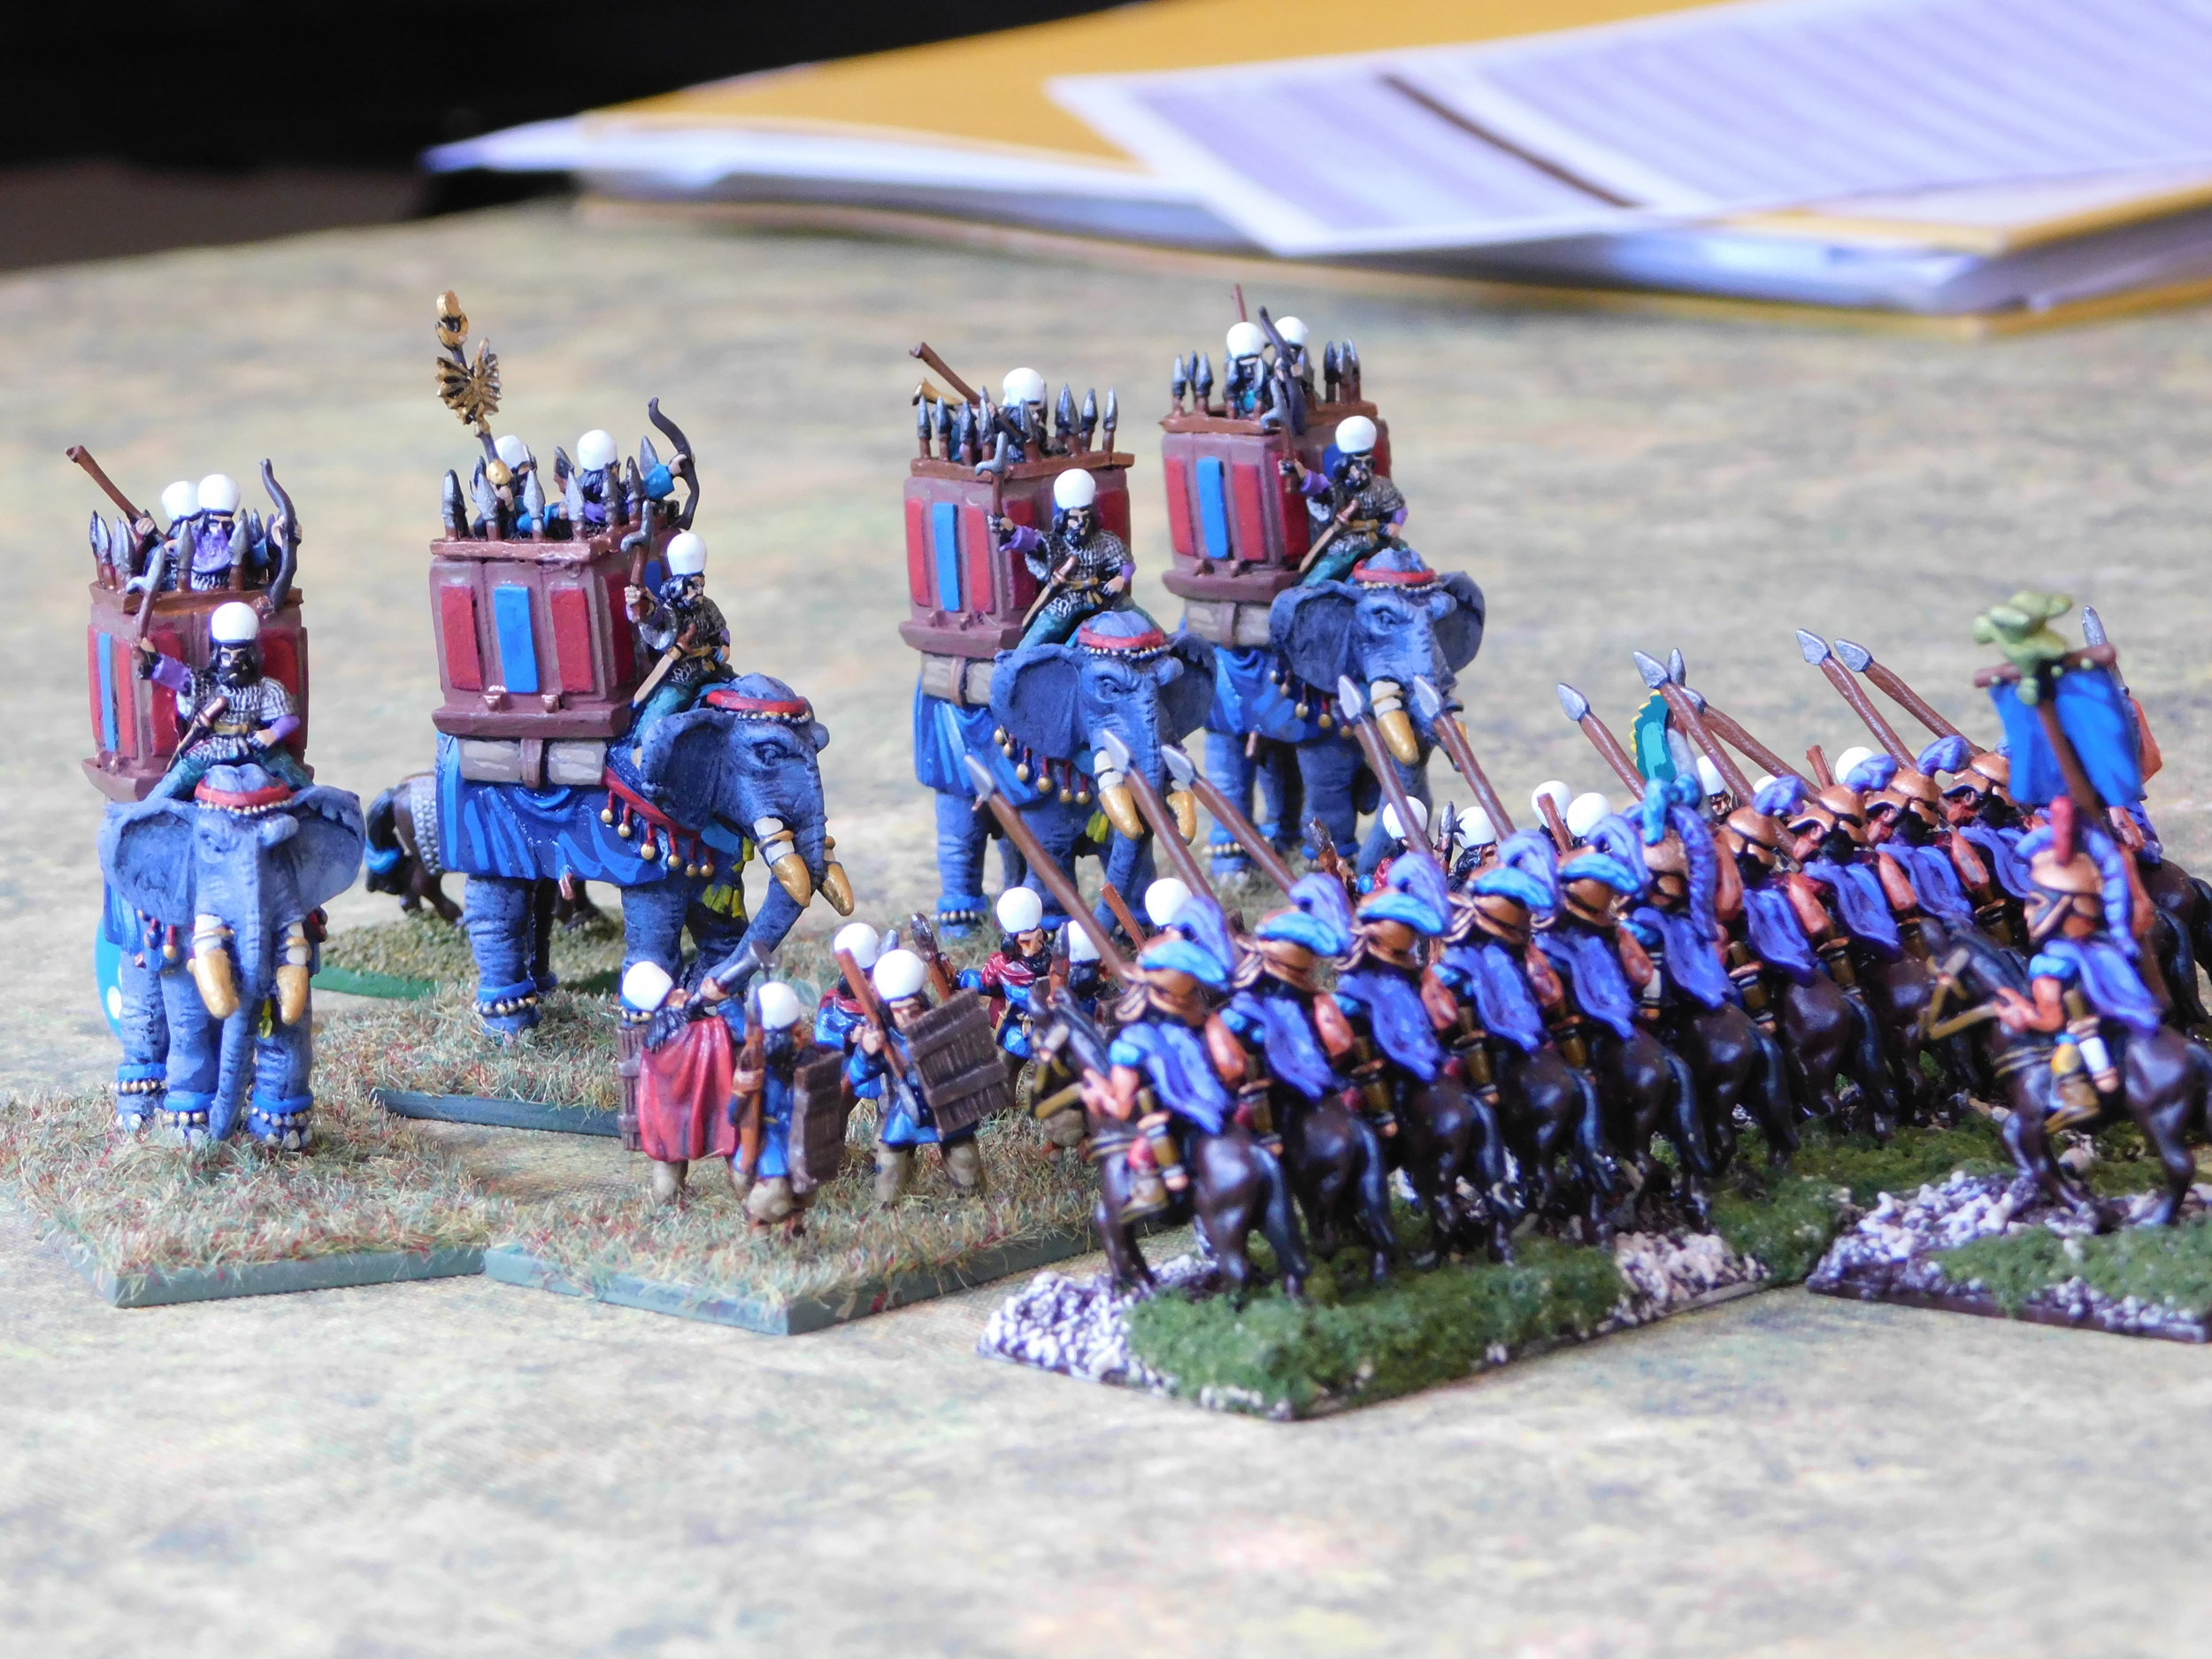
My second game at this year’s Britcon To The Strongest tournament was against Si’s Sassanid Persians. I was someone nervous about this one: Si is a very good player and the Sassanids are a nasty army for the Romans to fight. All that cavalry laps around the Legions’ flanks!

This game, however, went my way…but mainly because Si had the worst possible luck throughout the match: he failed every save he should have made and missed every hit that should have gone in!

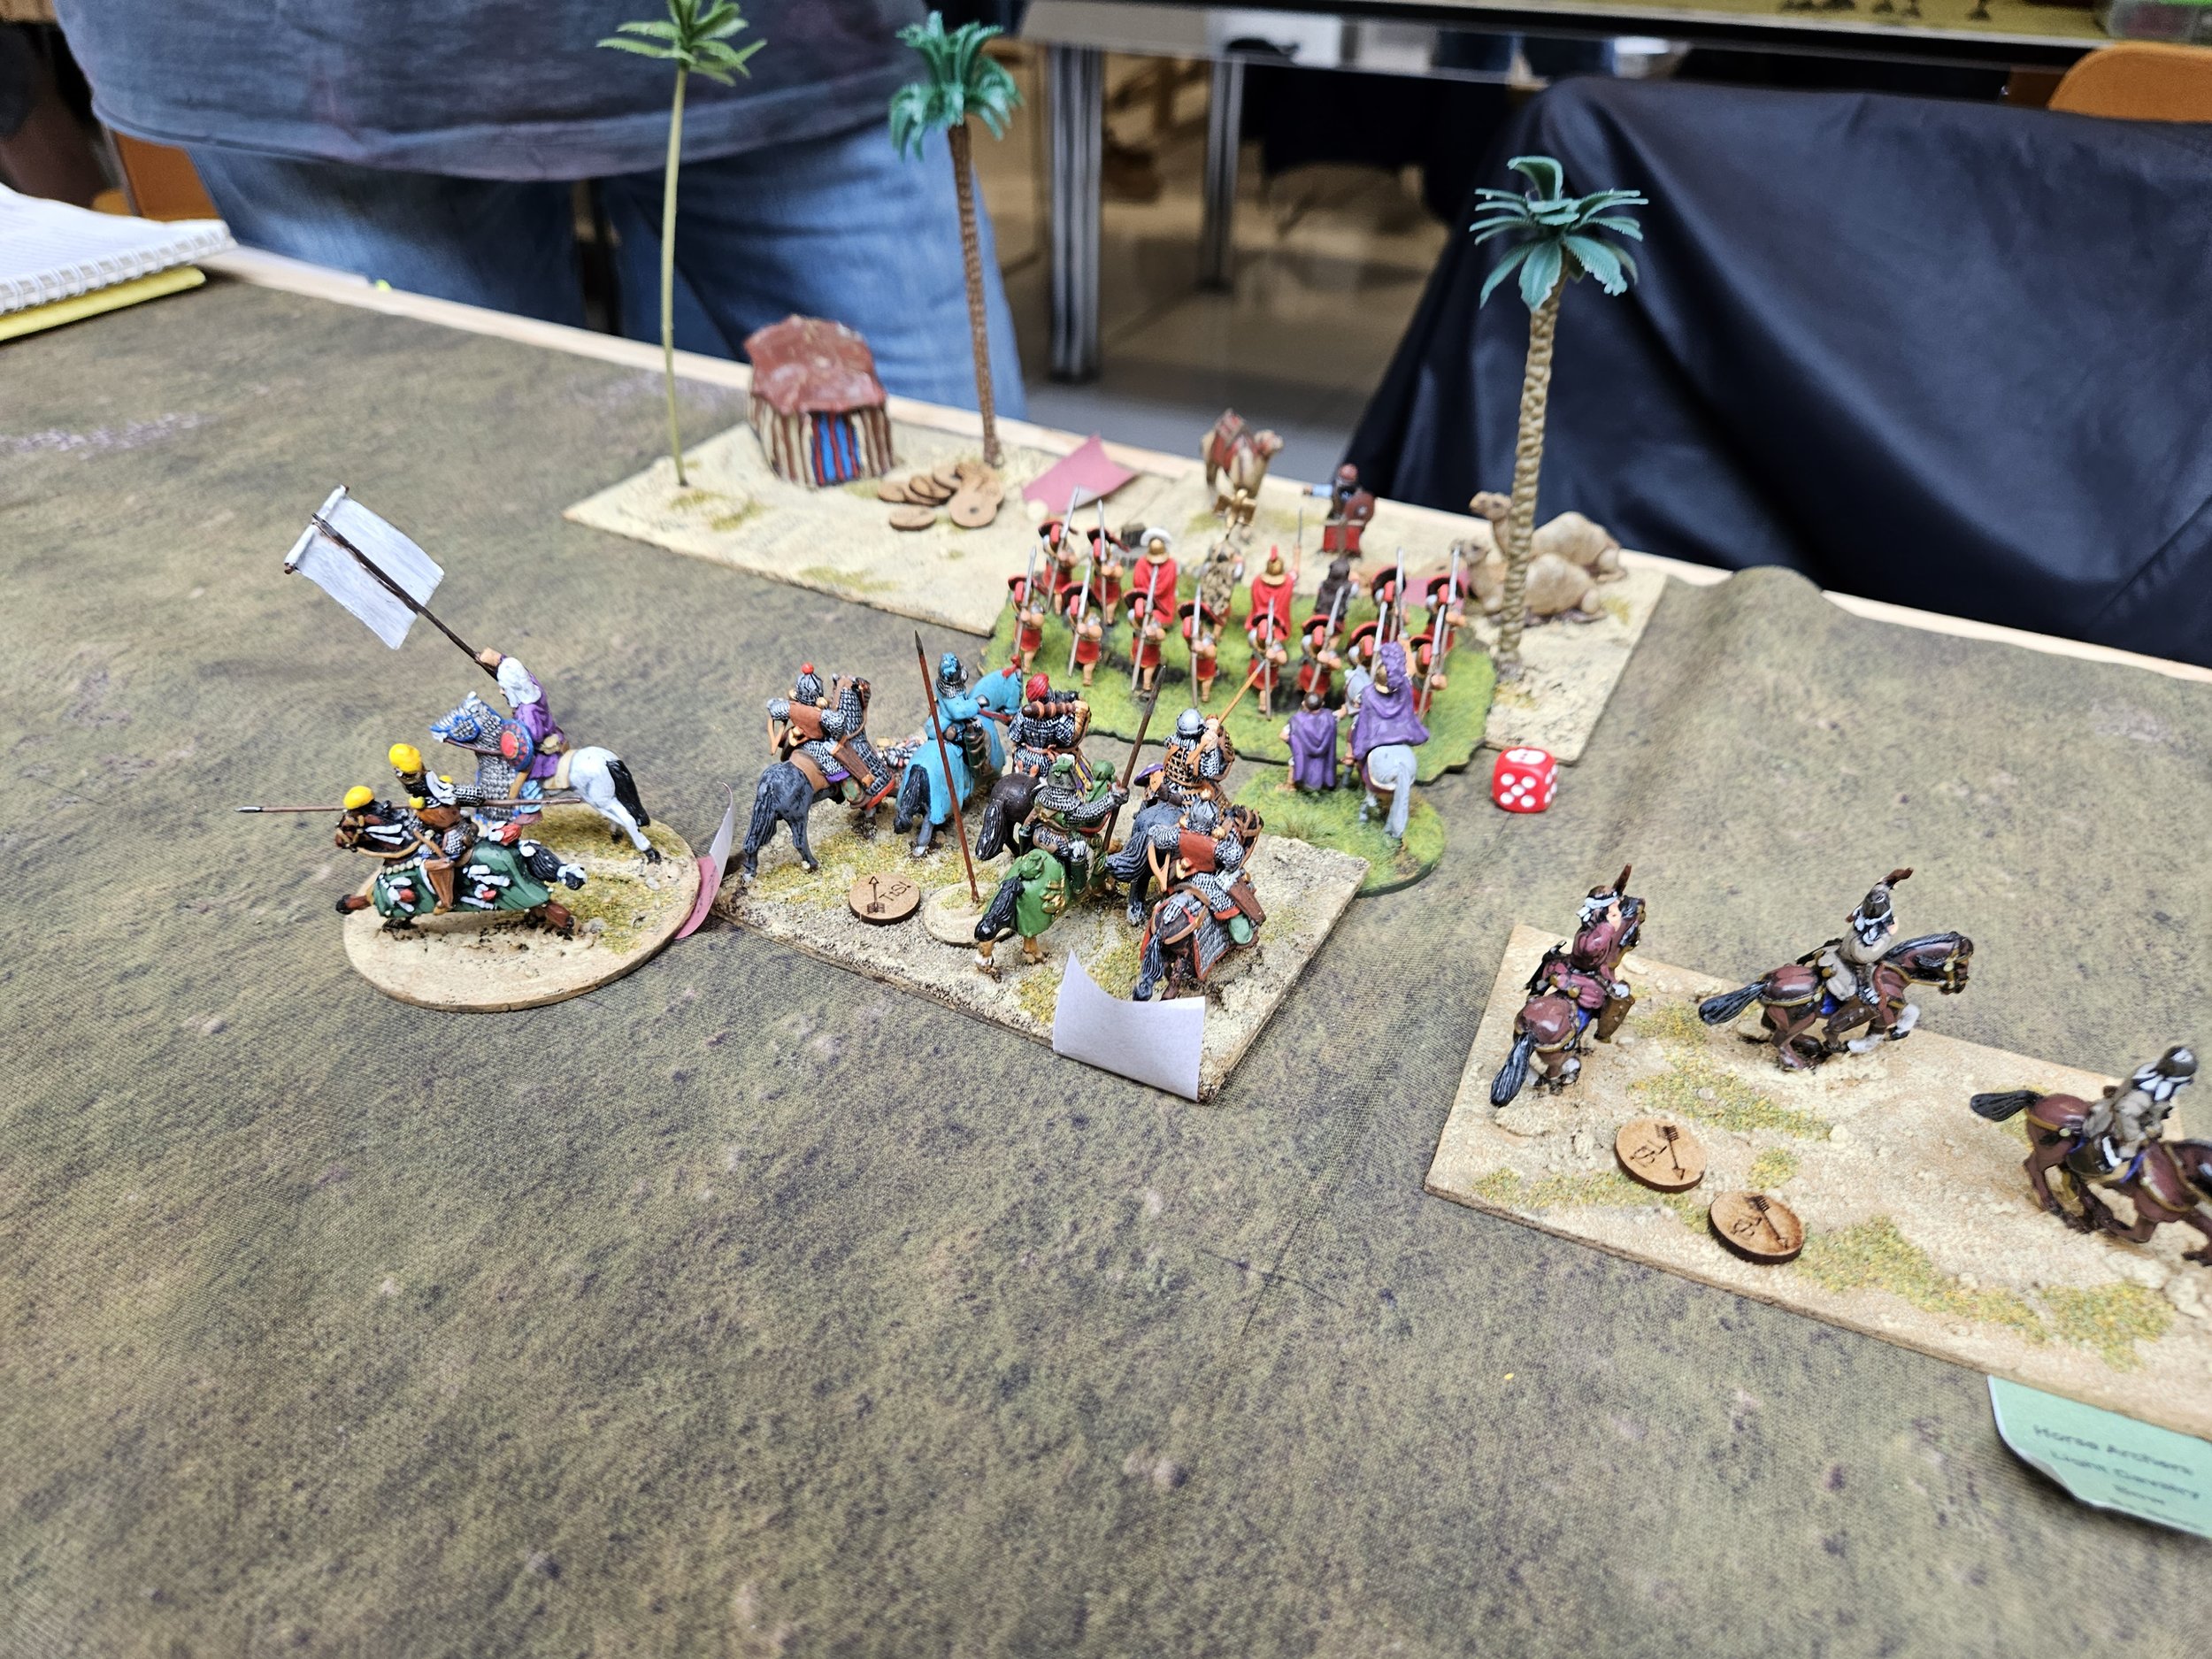
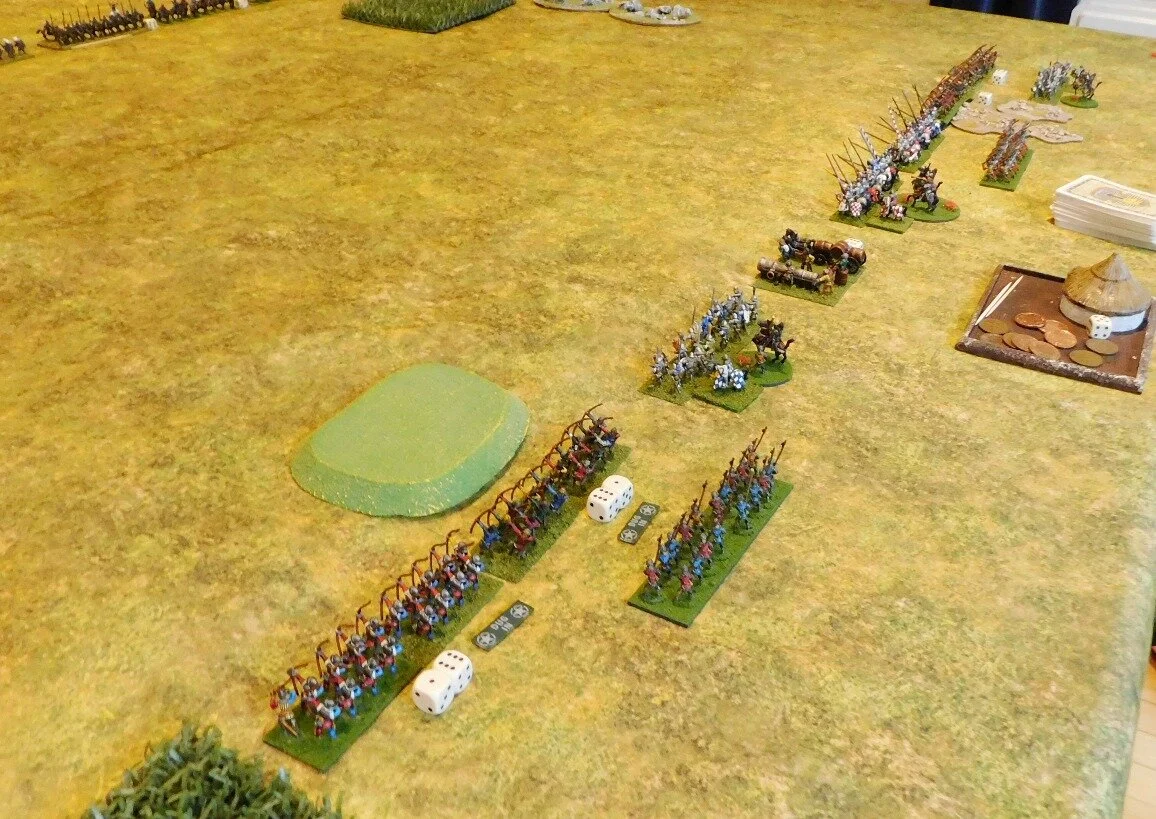
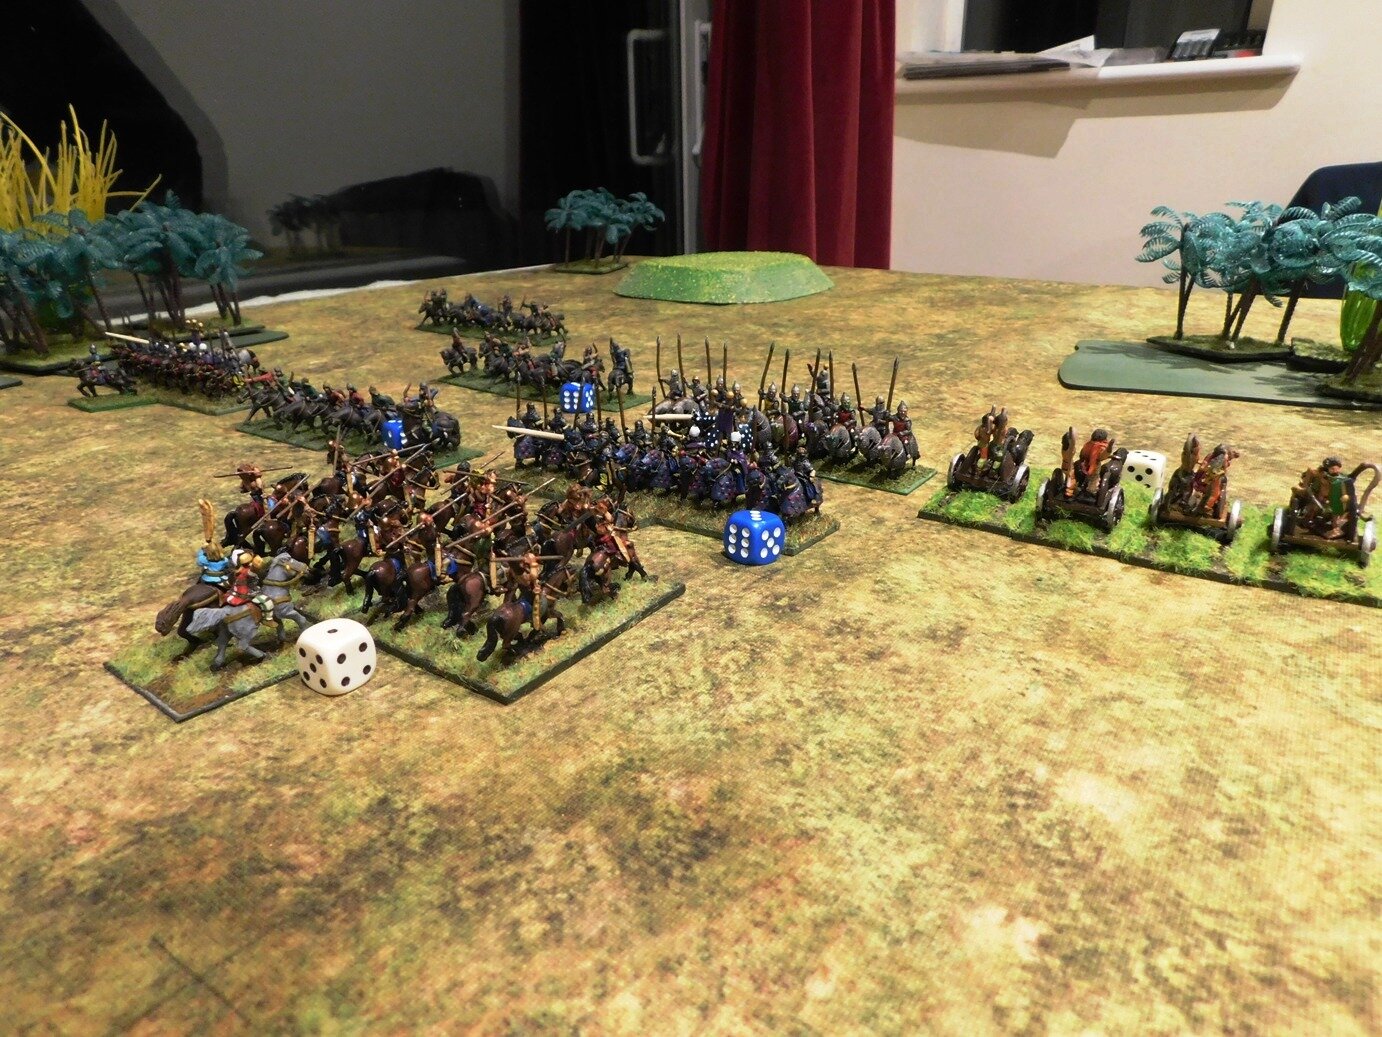
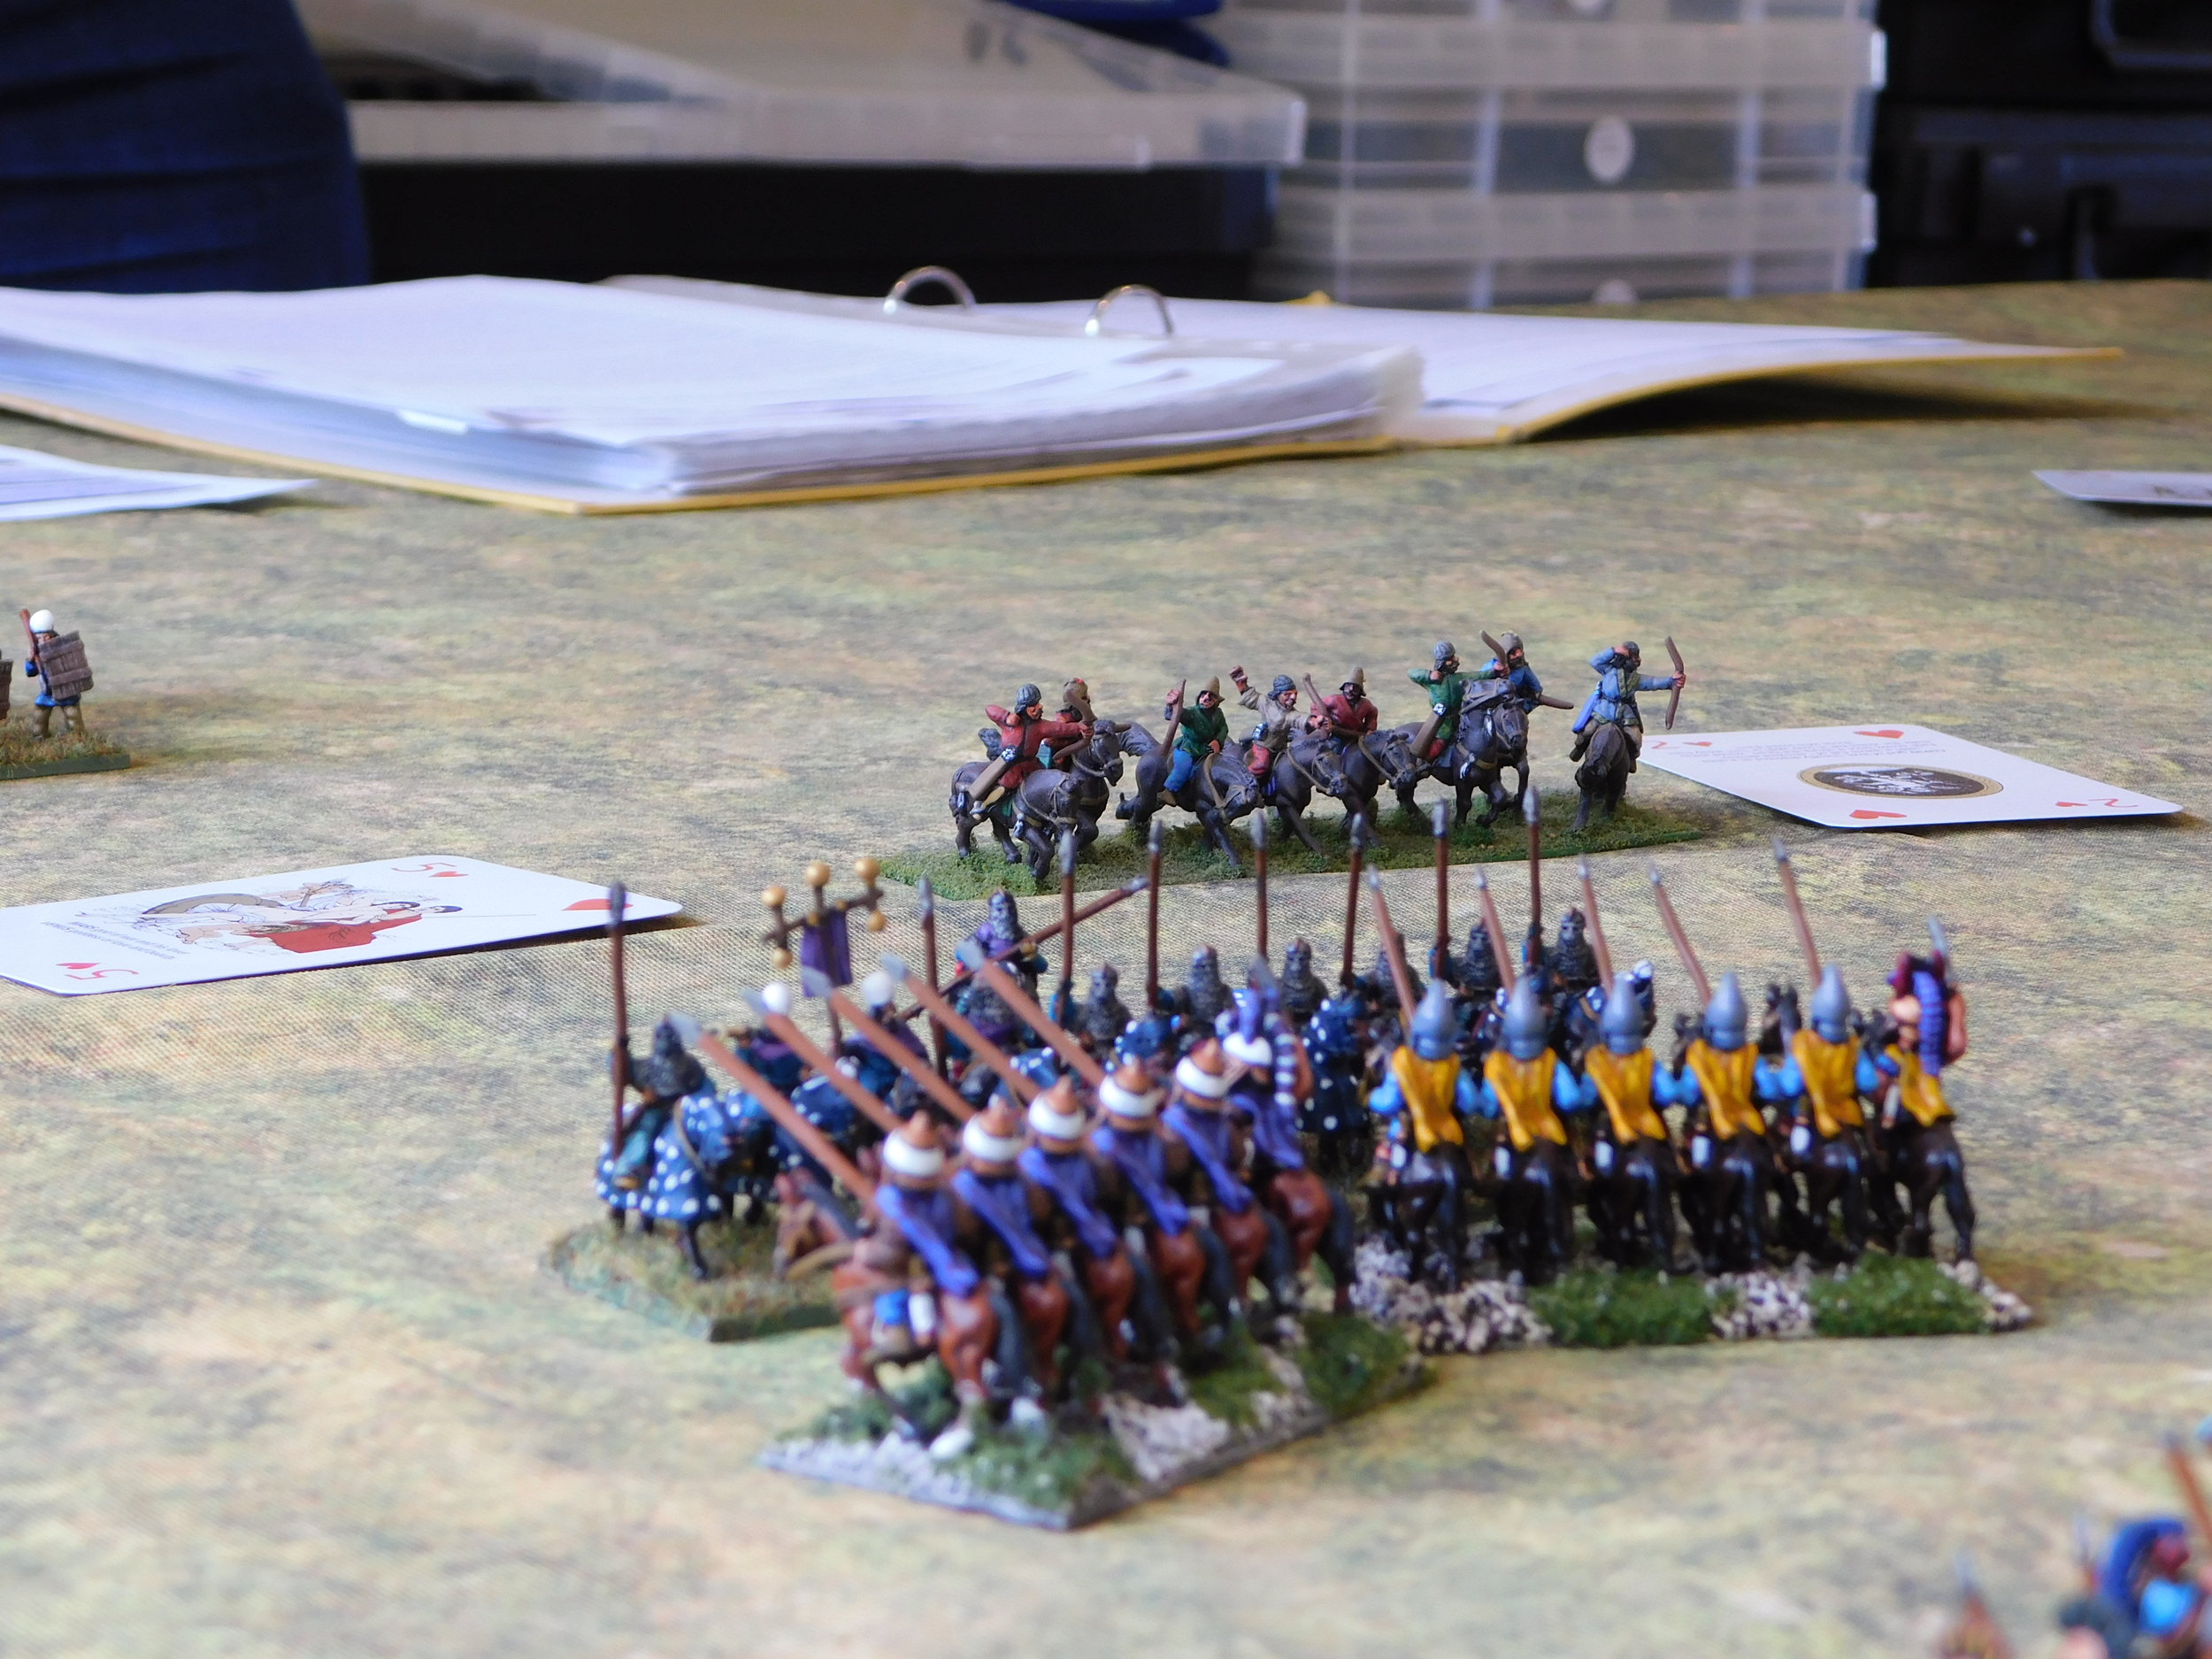
As a result, my cavalry held up the Sassanid heavies on my left flank for long enough for my Legionaries to get to grips in the centre and, as my auxilia sagittarii defended my camp against his lights, ground forward pushing his other horsemen back until they had nowhere to evade to. I then took his camp and the game with a 15-0 victory.

So a great result for the Romans, but mainly because Fortuna was firmly on my side.

TTS AAR: Sassanids Win Three Out Of Three

So with Bevan having defeated me twice in quick succession, it was my turn to take the Persians and his to take the Gauls.

Having watched the master at work, I knew that the best tactics were just to get forward as fast as possible, get my horse archers shooting quickety-quick, and charge home with the heavies as soon as I got the opportunity!

The terrain forced the action into three separate channels: the left past the woods, the centre, and the right past the woods.

On the left, two of my heavy units backed up by the elephants faced the Gauls’ three main cavalry units. The heavies quickly chewed through the more likely armed Celts, but the elephants had to divert to protect the rear from a marauding Gallic warband. These Gauls weren’t up to much snuff, however, and the elephants quick sent them packing.

On the other flank, I used another unit of heavies and some horse archers to quickly dispatch his final unit of horse: things weren’t going too badly at all!

Regular readers will know that usually when I say that, it presages an immediate reversal of fortunes and a catastrophic defeat…but not this time.

The two centres clashed, and I scored an immediate success as a unit of veteran clibanarii smashed an enemy warband off the table!

My line wasn’t (unfortunately!) a solid wall of heavy cavalry, so Bevan pushed forward hard at the sections held only by horse archers. These naturally danced backwards, which was fine except for the fact that it meant that the Gallic warbands concerned now had a chance of taking my camps.

One of the good things about having a cavalry army, however, is its ability to move rapidly around the table, including to head backwards to head off travel.

As one of my heavy units headed for the Gallic camp, another headed straight into the rear of one of the warbands threatening my camps. The hit was, as you might imagine, devastating: the warband shattered and I had won the game!

So one game back for me, making the day two for Bevan and one for me…but three-to-nothing for the Sassanids.

This must make them one of the best armies under the To The Strongest system, at least where the battlefield is fairly open. Must be time to re-base the Sassanid infantry as well then!

TTS AAR: Gauls vs Sassanids - the Re-Match

Having been sliced and diced in under and hour in our first game, the Gauls had plenty of time for a re-match against the Sassanids. Bevan and I played the same sides again: me taking the brave and heroic Celtic underdogs again, him taking the Persians.

Both sides set up in a fairly similar fashion as last time, although the Gauls did split their cavalry between the two wings rather than concentrating on just the one.

As the game opened, once again the Sassanids shot forward rapidly, effectively clearing half the battlefield before the poor Celts had even had time to finish their croissants.

Out in front were the two wings of each army, and the first action was therefore clashes on the left and right.

On the left, two units of Celtic horse (the third had hung back for some reason) faced a unit of Sassanid Clibanarii and, led by a Boudicca type in her chariot, smashed the first unit from the field. They then went on to engage a second unit behind and quickly disordered them too. Yes they disordered themselves in the process, but things were certainly looking promising on the left!

On the right, I also achieved what I saw as an advantage: another cavalry unit and some Gaeseti fanatics effectively got the drop on another lot of clibanarii, getting a two-on-one advantage, and although some horse archers had slipped through my line, things looked promising here too.

Meanwhile, in the centre, my main group of warbands had hit the enemy line (a combination of horse archers and heavies) and pushed it back. Okay, the horse archers were evading away rather than being broken, but his camps were soon in sight, and they were worth a lot of victory medals!

Although I had taken some casualties, I was on the cusp of victory: all I had to do was survive the next, Sassanid, turn, and I would presumably finish off one or two enemy units, take his camps, and therefore win the game.

As you may already have been guessing, the salient part of that last paragraph was “all I had to do”!

Although Boudicca survived another round of combat, my infantry units heading for the Sassanid flanks were now hit in the flanks by those horse archers that had danced away from their advance. I wasn’t too bothered: deep warbands can soak up a lot of damage…but not, unfortunately, enough!

One was dashed from the field, the other disordered, effectively curtailing its advance next turn.

On the right, where my horse supported by infantry had been mullering his clibanarii, the fortunes of war suddenly turned against me. I went from two undamaged units facing a disordered enemy heavy cavalry unit to a lone, disordered warband facing two enemy units!

Finally, and to add insult to injury, that lone unit of horse archers that had slipped through my lines managed to get into my camp and ravage my Gallic baggage. That cost me three victory coins and the game!

I had, however, actually come quite close to winning the game, and had certainly lasted longer than last time!

Even better, next game it was my turn to run the Sassanids!

TTS AAR: Gauls versus Sassanids

Having re-based all my Sassanids, I couldn’t wait to get them onto the tabletop…and fortunately friend Bevan was available to help me do so.

The real question was who to pitch them against: the Sassanids are one of the most successful armies under the To The Strongest system: the combination of horse archers and chunky lancers giving everyone except a similar army real problems. I eventually decided upon the Gauls as suitable opponents: lots of big warbands that could soak up damage, not as fragile as the Ancient Brits, and with some decent cavalry of their own. Chuck in some Gaeseti fanatics, and on paper it looked like it might be a good match.

On paper.

Despite the fact that I had re-based the Sassanids, I elected to take the Gauls first time round. Outscouted, I decided to put all my cavalry on one wing: probably a mistake as that allowed Bevan to get his elephants opposite my horse…and if there’s one thing Gallic horse don’t like, it’s the look and smell of nellies!

The Sassanids opened proceedings by sprinting up the battlefield towards my line. Most unusually, the elephants shot out in front of the already fast-moving Sassanid line and stomped into the forest that I had thought I might use to protect my flank.

This looked like a good opportunity to me, so I sent a unit of Gaeseti fanatics into the woods to root the pachyderms out. Surely this was a couple of points I could secure before the rest of his line arrived.

Apparently not.

The elephants proved their worth and soon my fanatics were reeling backwards, with my CinC falling heroically in the melee!

Also on the left flank, the first charge of the Gallic cavalry versus the Sassanid cataphracts had taken place. Despite having the initiative, my horse had failed to dent the armoured horsemen at all, and another of my generals died!

Worse, some enemy Clibanarii were working their way down the flank and needed to be dealt with before they got into my rear!

Meanwhile, on the right flank, I had taken possession of the hill in front of my line. My thinking was that I could soak up a bit of horse archer fire, rallying if necessary, and then be uphill when the enemy lancers went in.

This didn’t really work either, as the Sassanid horse archers were having a very good day, and soon my two warbands looked like pincushions…and, you guessed it, I lost a third general!

So thirty minutes into the game, the situation looked like this:

The Gauls look pretty solid, but that’s an illusion. Next turn, the Gaeseti got mullered by the elephants, the lead cavalry unit got smashed off the table by the cataphracts (foreground action in the pic above), and I also lost the unit of cavalry next to the fanatics and one of the warbands on the hill. That, plus the three officers, was it: I was out of victory medals and out of the game!

Horrendous: Bevan had expertly sliced and diced the Gauls and served them for Sassanid tea!

Deja Vu!

My last post involved re-based four heavy cavalry style bases for my Sassanids and a new unit of Classicial Indian Javelinmen.

Guess what? This post does too…but they are different cavalry and different Indians.

These are the Sassanid Clibanarii or Savaran: the next one down from the Cataphracts we saw last post. Again, four units. It’s actually that I’ve got too many cataphracts rather than too many clibanarii!

Incidentally, someone asked me the best way to get figures off existing bases.

Well, there’s no easy way to do it.

One way is to anticipate having the problem and to spray the bases with an undercoat before you mount the figures on them. That way, if you do ever come to need to re-base, the glue has bonded with the paint rather than fully with the base, so the figures are comparatively easy to pop off, even if superglue is your chosen adhesive.

Leaving that aside, however, I have found the best way to get figures off bases is to soak the bases in water for a few hours before making the attempt. I use half of one of the plastic blisters you get tufts in i.e. a plastic tray that is long and shallow.

Put the base to be de-nuded of figures in there and trickle water into the half-blister until the water just comes over the top of the base. Leave for at least four hours. Then use a sharp screwdriver (not a Philips head!) to find the edge of each figure’s base and slide it in with a chisel-like action. Never try to pull the figure off the base: you’ll just break it off at the legs or bend it well out of shape. The figure should be popped from the base, not pulled.

Touch wood and all that, but I’ve just re-based 80 cavalry that were superglued onto either MDF or metal bases and not lost a single one.

And here’s another unit of Classical Indian javelinmen. Just one more unit to go and then I'll have painted all the Indians in the lead mountain.

Cataphracts Re-Based and some more Classical Indians

The re-basing of my Sassanids continues: this time with the cataphracts.

Re-basing is a horrible job. There’s the danger of destroying a paint-job or even a figure as you take them off the old bases. Then there’s the tedium of gluing the figures to the new base, adding the basing material, dry-brushing and flock…and after all that you haven’t actually added any more figures to the collection.

On the other hand, you have schroffed up figures that you might never have used again. Although I love playing a cataphract/horse-archer army, I had unconsciously avoided doing so as I didn’t like the basing.

All that has now changed, and my Sassanids will once again be taking the field in the very near future…once I’ve re-based the elephants, infantry etc of course!

So, in the end, well worth the effort.

More Indians

Regular readers will know that I want to buy myself a Norman army with the new CAD designed range from Museum Miniatures.

Well, why haven’t you, I hear you cry?

Unfortunately my rule this year is that I can’t buy any new figures until I have painted an equivalent number from the lead mountain.

Stupid rule, I know, but said mountain was getting a bit out of control!

So here are another 19 Classical Indian javelinmen, also from the Museum Miniatures CAD designed range.

Coming back to an army after you’ve “finished” it is always difficult. You have to remember how you painted and based the previous units in the army. This blog helps, as I tend to note down the colours used when I’m displaying newly-painted figures, and I keep a spreadsheet with the details on it as well. Highly recommended thing to do, by the way.

So, with the French infantry I’ve recently painted, that’s now 83 figures removed from the lead mountain. Another couple of units of Indians, one more of French, and I think I’m ready to give the bank balance a hammering on the Normans!

Horse Archers Re-Based

Now that I’m playing a lot of To The Strongest and the eastern Europe variant of For King & Parliament I thought it time to pull my finger out and re-base some of my ancients armies to suit.

I love the big elements that TTS encourages with its grid system, so have taken the first plunge with a load of generic horse archers. I didn’t like the way they were based, so this is a good opportunity to refresh and refurbish them and get them back onto the tabletop on a more regular basis.

How to base them though? I need them to act as a number of different nationalities: Parthians (desert scrub terrain), Sassanids (ditto); Steppes-nomads of various types (grass) and so on.

In the end, I plumped for a simple green flock with the odd bush and flower base. That will work with most of my existing armies and is about as neutral a scheme as one can get.

I went with bases of eight horse-archers each: perhaps it looks a little crowded, but I wanted to give the impression of a dense swarm of bowmen rather than a few individuals. It also suits the eastern Europe variant of FK&P where light cavalry can actually initiate melee combat and, perhaps, the new massed lights rules for TTS.

So now I have two brigades of three horse archer units each, plus command and a hero. I think I’ll re-base my generic cataphracts and clibanarii next…

TTS AAR: The Sasanids Seek Revenge!

Regular visitors will know that my last two games of To The Strongest each involved my Classical Indians getting severely hammered by the Marian Romans. My opponent generously suggested that some of the reasons for my twin defeats were down to the relative strengths of the armies: the Marian Romans were made to kill an army like the Indians.

What might work against them, I asked, to be told that armies consisting of lance-armed cavalry supported by horse archers were very popular on the tournament circuit. Something like the Sasanids, I asked. Exactly, I was told…so this week’s game was to be my Sasanid Persians versus his Marian Romans. Revenge was to be mine!

As is now usual, for the moment, the battle would be played over Zoom, with my remote opponent able to see the table through a combination of helicopter-view webcam and on-table-on-tripod ‘phone camera. Each of his units was also marked with a number, helping with the transmission of orders: “unit 4 will move forward a square” etc

the set up

The Romans were unchanged from last week’s appearance: six units of veteran legionaries supported by some light and medium Gallic cavalry. The Sasanids sported six units of horse archers backing the hard punch of escorted elephants, cataphracts and four units of savaran lancers.

romans. Boo, hiss!

noble sasanids

The Plan

My plan was simple: pin the Romans frontally whilst hooking around their left wing. Horse archers to weaken and exploit flanks and rears; elephants, cataphracts and lancers to hammer into weakened legionary units.

Opening Moves

I had the initiative, so as the game began my right wing shot forward into the start position for their curl around the enemy left flank. Likewise, my left wing moved up to keep his left wing occupied.

the battle begins

You may have noticed that no mention has been made of my centre. This is because my central, most powerful brigade had decided that they hadn’t quite finished their breakfasts yet, and weren’t moving until all porridge (or whatever Sasanids have for breakfast) had been consumed!

The elephants and veteran savaran look on as the wings engage

Now what I should have done at this point was to wait for my centre to get moving before sending in my flanking forces…but I didn’t, and fully paid the price!

On my left flank, somewhat surprisingly and extremely annoyingly, my horse archers and lancers were seen off by the enemy cavalry backed up by legionaries. They moved forward very quickly, got their attacks in first, and soon I was left with cavalry around my left flank and nothing much to oppose them except what I could afford to commit from my centre. Hmmm…I’m sure that this was supposed to be the other way round!

One unit of horse archers lost to javelin-fire already; my savaran about to be defeated in combat with the gauls. my left flank is about to disintegrate.

On my right, I was perfectly positioned to curl in and hit the Romans in the flank. Unfortunately, they used their extreme manoeuvrability (well drilled, these Italians!) to not only turn to face me, but also to form an oblique line that effectively protected them from harrying flank attacks.

unit 4, in orbis (all round defence), protects the new roman right flank from my central command…not that that was doing anything even vaguely threatening anyway!

End Game

With my right flank attack effectively neutralised, the enemy right flank was now in the perfect position to curl around my left flank. I had to commit my centre to holding them off, who then got attacked by his centre: effectively he had done to me what I wanted to do to him!

romans outmanoeuvre me on the right

My right flank bravely tried to crack a few legionary skulls before disaster struck, but the truth of the matter was that I had been comprehensively outmanoeuvred. Game one went to the Romans!

romans to the front, romans to the left!

Game 2

As the above really hadn’t taken very long at all, there was time for a second game.

I was keen to have another go using the same tactics, and this time things seemed to be working much better for me: although the Romans had once again adopted their oblique line, this time my left flank was secure and my centre had kept up…so after the opening moves, the battlefield looked like this:

sasanids poised for victory!

Now, however, Lady Luck decided to intervene.

Really? I hear you cry: you were defeated by bad luck, were you? Not the enemy’s tactics and your own incompetence? Like in the last game?

No, really: it was bad luck.

For those of you who haven’t played To The Strongest, the mechanics work by the use of playing cards (or you can use D10 or chips) with higher cards being better than lower cards. Aces are low so, needless to say, drawing an Ace is generally a very bad thing.

We kept a pictorial record of the cards that I drew as the clash that would decide the game took place:

It was so ridiculous that even my opponent was suggesting that the only solution was a box of matches and some lighter fluid!

Anyway, I lost that game too, but still had a great morning’s gaming

To finish, here are a few more pictures of the game. You look at them whilst I go and get a good fire going…!

TTS AAR: Three Games One Sunday

Three great games of To The Strongest this Sunday, all Sassanid Persians versus 100YW English. I took the Sassanids for Game One, Kavan for Game Two, and then it was back to me playing the Sassanids in Game Three.

Henry V versus the Persians!

Henry V versus the Persians!

The results? I think it fair to say that the Sassanids did very well indeed, winning all three games! Those of you who are paying attention will have worked out that that meant that the day was two-one to me.

The first game was a glorious victory for both me and the Sassanids, but one largely caused by Kavan’s terrible cards! I used standard tactics: horse archers on the wings keeping his men there occupied whilst the heavy horse and elephants punched their way through the middle.

The escorted elephants punch a hole

The second game was a similar affair, but this time it was me on the receiving end. I knew what was coming, so managed to deal with the initial horse archer advance on my right wing with mass longbow fire. In the centre, I had massed my heavies opposite his, but lost two of my three generals in the first round of combat. This effectively stuffed me command-wise, and I got overlapped on the left by those gosh-darned light horsemen as I just couldn’t get the units I needed to activate into action regularly enough. As my left began to crumble, Kavan punched a hole in my centre which he then flooded with the rest of his heavies: the coup de grace coming as he took my camp.

The English camp falls…again!

With both of us now very familiar with the strengths and weaknesses of both friendly and enemy troops, the third game was a neck-and-neck affair which either of us could have won. Each side had one camp each, and both fell: mine to mounted men-at-arms that three units of horse archers just couldn’t stop in time; his to another heavy cavalry punch through the middle. I won in the end, but it was a very close run thing.

All in all, an excellent afternoon’s gaming.

The Sassanid Heavies roll forward


An Afternoon of "To The Strongest"

Second weekend of the year and I’ve managed to get in an afternoon of “To The Strongest”.

Bevan and I managed two games. The first was a grinding clash between two quite similar armies: I played the Akkadians, Bevan took an Athenian Hoplite force. Each side had a core of a number of deep blocks of close-formed infantry (Spearmen for the Akkadians, slightly superior Hoplites for the Athenians); but the Akkadians had their veteran four-onager heavy chariots plus Royal Bodyguard axe- and bowmen versus a mix of low quality cavalry and lights for the Greeks.

As mentioned, the game was a truly grinding clash. The Akkadian chariots, out on their right wing, threatened to curl around the Athenian left flank, but began the game seemingly unable to move. This meant that the Greeks could come forward and join a general line-against-line engagement that slowly started to bow the Akkadian battle line backwards.

But somehow the Akkadians held on. The Royal Bodyguard axemen did stirring work, the line began to straighten slightly, and then the heavy chariots finally got going and smashed in from the right. In the end, this was a colossal victory for the Akkadians, who didn’t lose a single unit and managed to capture the Greek camp. Here are some pictures:

For the second game, I took the Ancient Britons, with Bevan playing the Sassanid Persians.

The Brits had a huge chunk of (somewhat unwieldy) warriors in the centre of the field, and large numbers of light chariots/cavalry and infantry on each wing…so many lights, in fact, that (much to Bevan’s surprise) his all-horse Sassanids were matched in terms of scouting points.

Looking at the set up, I was confident of victory: there was no way his incredibly small force was going to beat the Ancient British steamroller!

Unfortunately, Bevan and the Persians begged to differ, and what followed was the dissection of my army with surgical precision. First my lights were stripped away unit by unit as I struggled to get my warriors moving, and then enough of those warriors that did move were beaten for me to lose (given that I’d lost a lot of coins through my lights). It was a superb demonstration of how to use a horse archer and cataphract based army.

Fortunately I did manage to kill at least one of his units, so technically the afternoon as a whole was to my advantage, but the way my Brits were annihilated didn’t make it feel so!

Here are some more pictures:

TTS AAR: The Sasanids Ride Out!

The final game in my recent set with Neil was my Sasanid Persians versus, again, the Pyrrhics.

This promised to be quite interesting: an army composed of extra heavy cavalry and horse archers against a mostly spear and pike-armed force.

In the event, however, it turned out to be quite a mundane battle. My horse archers quickly got around his flanks and started shooing anything that moved. In the centre, I held back until his heavy foot advanced past a line of hills running down the centre of the battlefield, leaving only one unit each side to guard their flanks.

As the two main lines came together, the single unit of heavy clibanari that I had put with each horse-archer command was just coming into play, pinning his flank units in place as the lighter cavalry shot at and charged their flanks.

With his flanks crumbling, his main line getting nowhere, and horse-archer nipping at his Hoplites’ heels, Pyrrhus decided that discretion was the better part of valour and surrendered!

A workmanlike victory for the Sasanids.

A To The Strongest Battle Day

Friend Bevan and I took full advantage of the recent bank holiday to play a few games using the To The Strongest (TTS) rules.

TTS is played on a grid, so no measuring, and activation is by playing card: you need a basic 2+ or 3+ to activate a unit dependent on the difficulty of what you want to do and then, if successful, have to get over the card drawn to activate that unit again. As I said, a fast-play set of rules that give fun battles!

First up were a couple of my 15mm armies: the Sasanid Persians (Bevan) versus the army of Pyrrhus (me).

This game involved an army composed almost all mounted troops (the Sasanids) versus an army of mainly hoplites and phalangites (the Pyrrhics). I was determined to keep my battle line together, use my lighter troops on the flanks, and advance space-invader-like across the table until I squished his troops against their edge.

Unfortunately, although I kept things together for the first two thirds of the game, one of my flanks crumbled, letting some of the enemy horse archers through to loot my camps (rookie mistake: I left them unguarded).

Worse, I then succumbed to temptation and let my heavy infantry loose against Bevan’s heavy horse. Although I achieved a bit of short-term success, kebab-ing some Clibanarii units, this split my line and enabled my opponent to start knocking off my units one by one until I ran out of victory coins.

In short, I came on in the old way and was beaten in the old way!

One-nil to Bevan!

Sassanid Levy Infantry

I know no army is ever really complete, but my 15mm Sassanid Persians are now effectively so. I have all the cataphracts, heavy cavalry and light cavalry allowed, and now have two deep units of Sassanid foot as well.

These have been sitting on the painting table for far too long and were effectively blocking me from getting anything done: whilst they were there, I didn’t want to start anything new; and yet the thought of painting them just caused my mojo to flee!

Anyway, they are done now, so hopefully the block is cleared…

Christmas Painting

I always seem to get a lot of painting done over Christmas.

I think it’s because there’s nothing else to do apart from eating and drinking heavily (check), watching tv (check), arguing with the family (check), snoozing (check)!

Anyhow, three more units for my Ancients refurbishment completed:

Another four bases of Celtic light cavalry to pad out my chariot units

Another three Celtic chariot bases, meaning I can now field the minimum number required

Four Sassanid Persian elephant bases, so one full unit in To The Strongest, four units in Vis Bellica.

The Sassanids Are Go!

With the below, my Sassanid army in 15mm for To The Strongest is now finally legitimate i.e. fulfils the minimums required by the army lists.

So, here are two units of Heavy Cavalry - armoured men on unarmoured horses - plus a couple of heroes.

Naturally I haven’t quite finished yet: a unit of elephants and another unit of levy foot are sitting on the painting table waiting for a bit of attention. They’ll have to wait for the Ancient Brits to be finished first, and I’ve got that final unit of Hoplites to finish, and don’t even mention the Macedonians! So much painting, so little time!

And Now The Sassanids

Another ancients army that I need to bulk out for To The Strongest is my Sassanid Persians.

Fortunately, I had plenty of cataphracts already painted, so all I need to add to bring the force up to regulation ratios is some of the heavy cavalry that supported the superheavies.

That requires four heavy horse units, which I have decided to field as two units of what I would call Clibanarii (armoured men on felt-armoured covered horses) and two units of Heavy Cavalry (armoured men on unarmoured horses). They have exactly the same stats in TTS, but it’s nice to have the variety should I ever need it.

Here are the Clibanarii:

Lovely 15mm figures from Forged in Battle’s Empires range. Highly recommended.

The grey Clibanarii at the back have come out beautifully, but the turquoise lot at the front haven’t quite worked the way I wanted. I think the contrast between the white and turquoise is just too great to look good at this scale. No matter: I’ll know better for next time!

Looking good!

Not looking too bad!