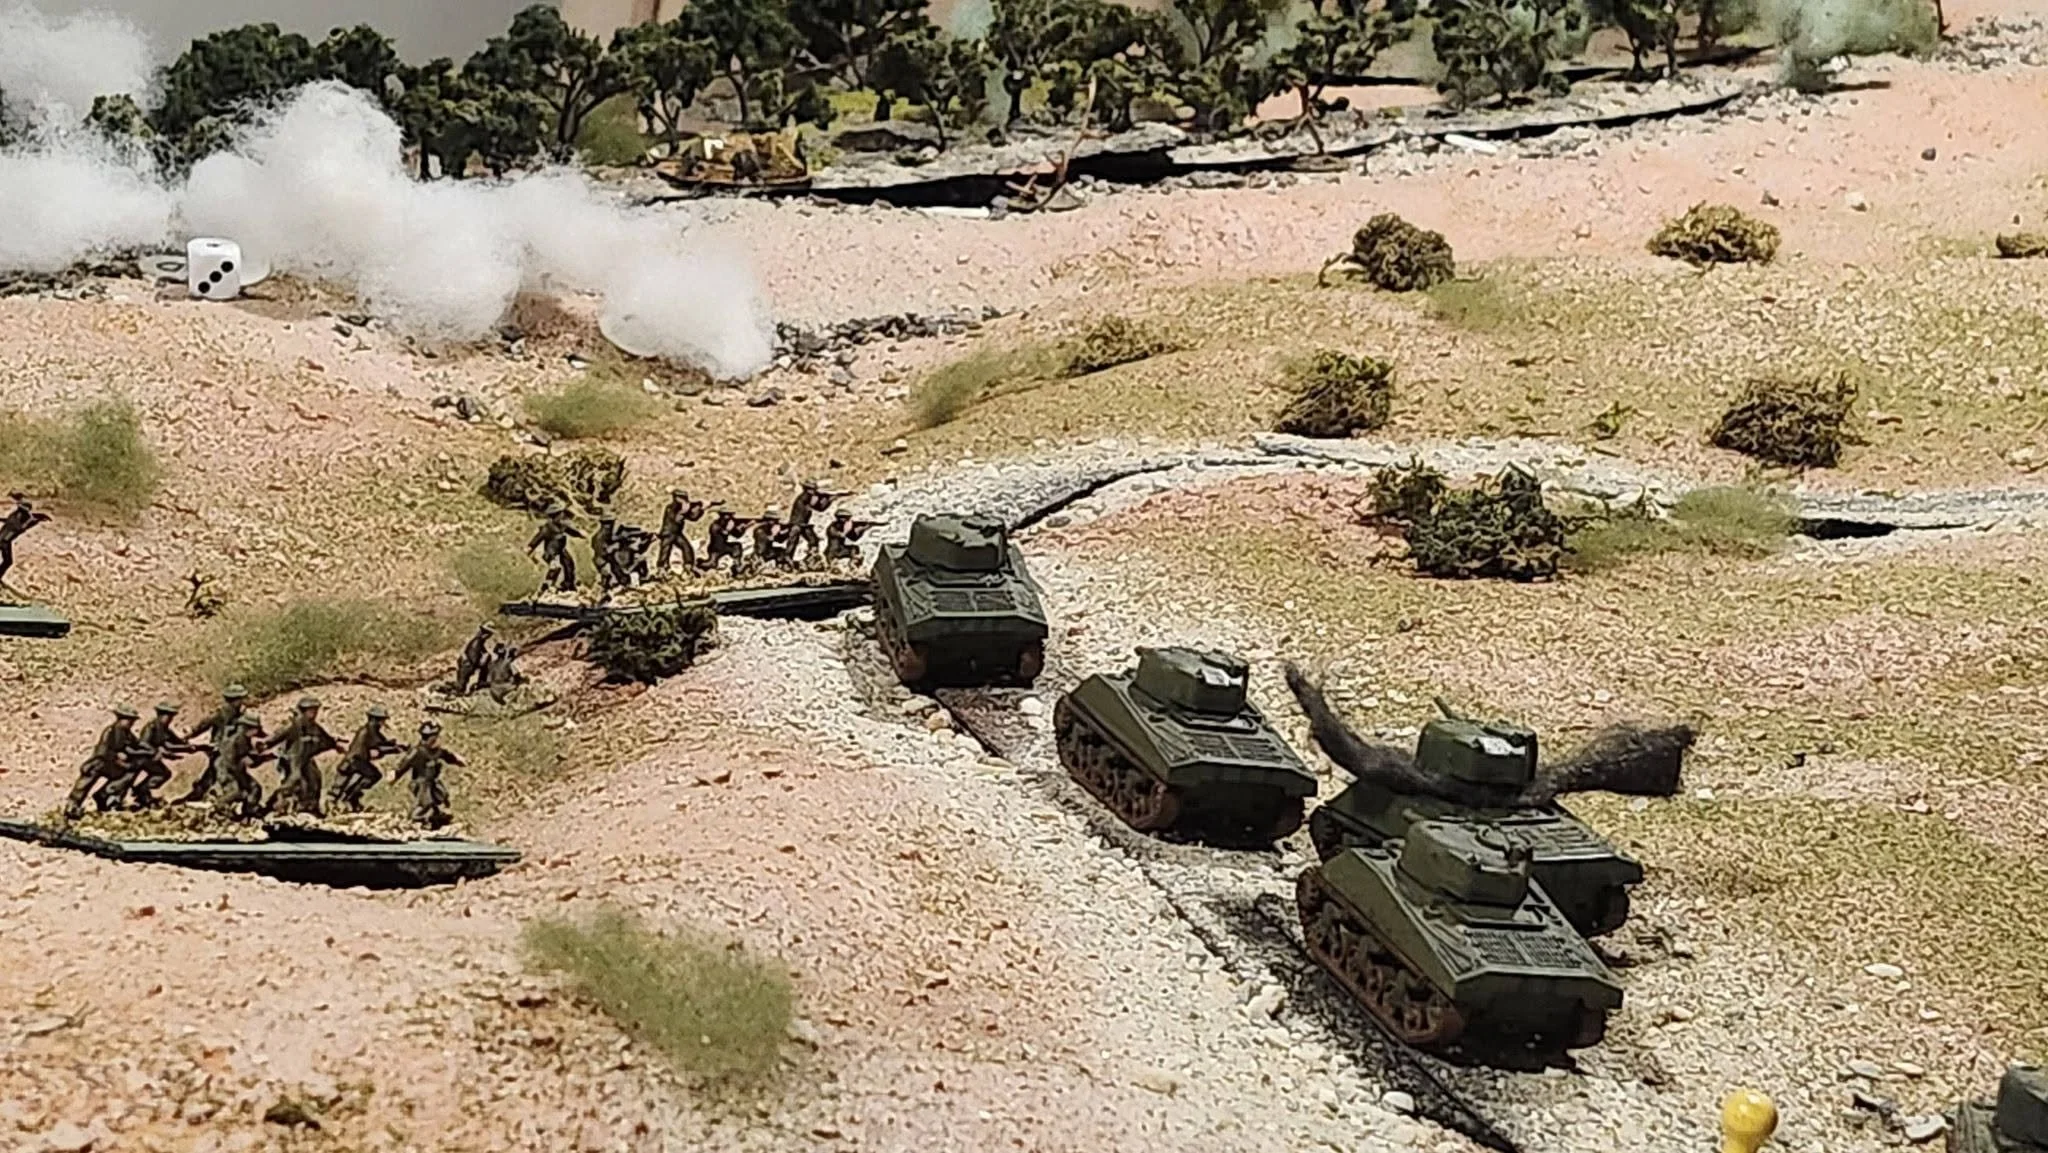
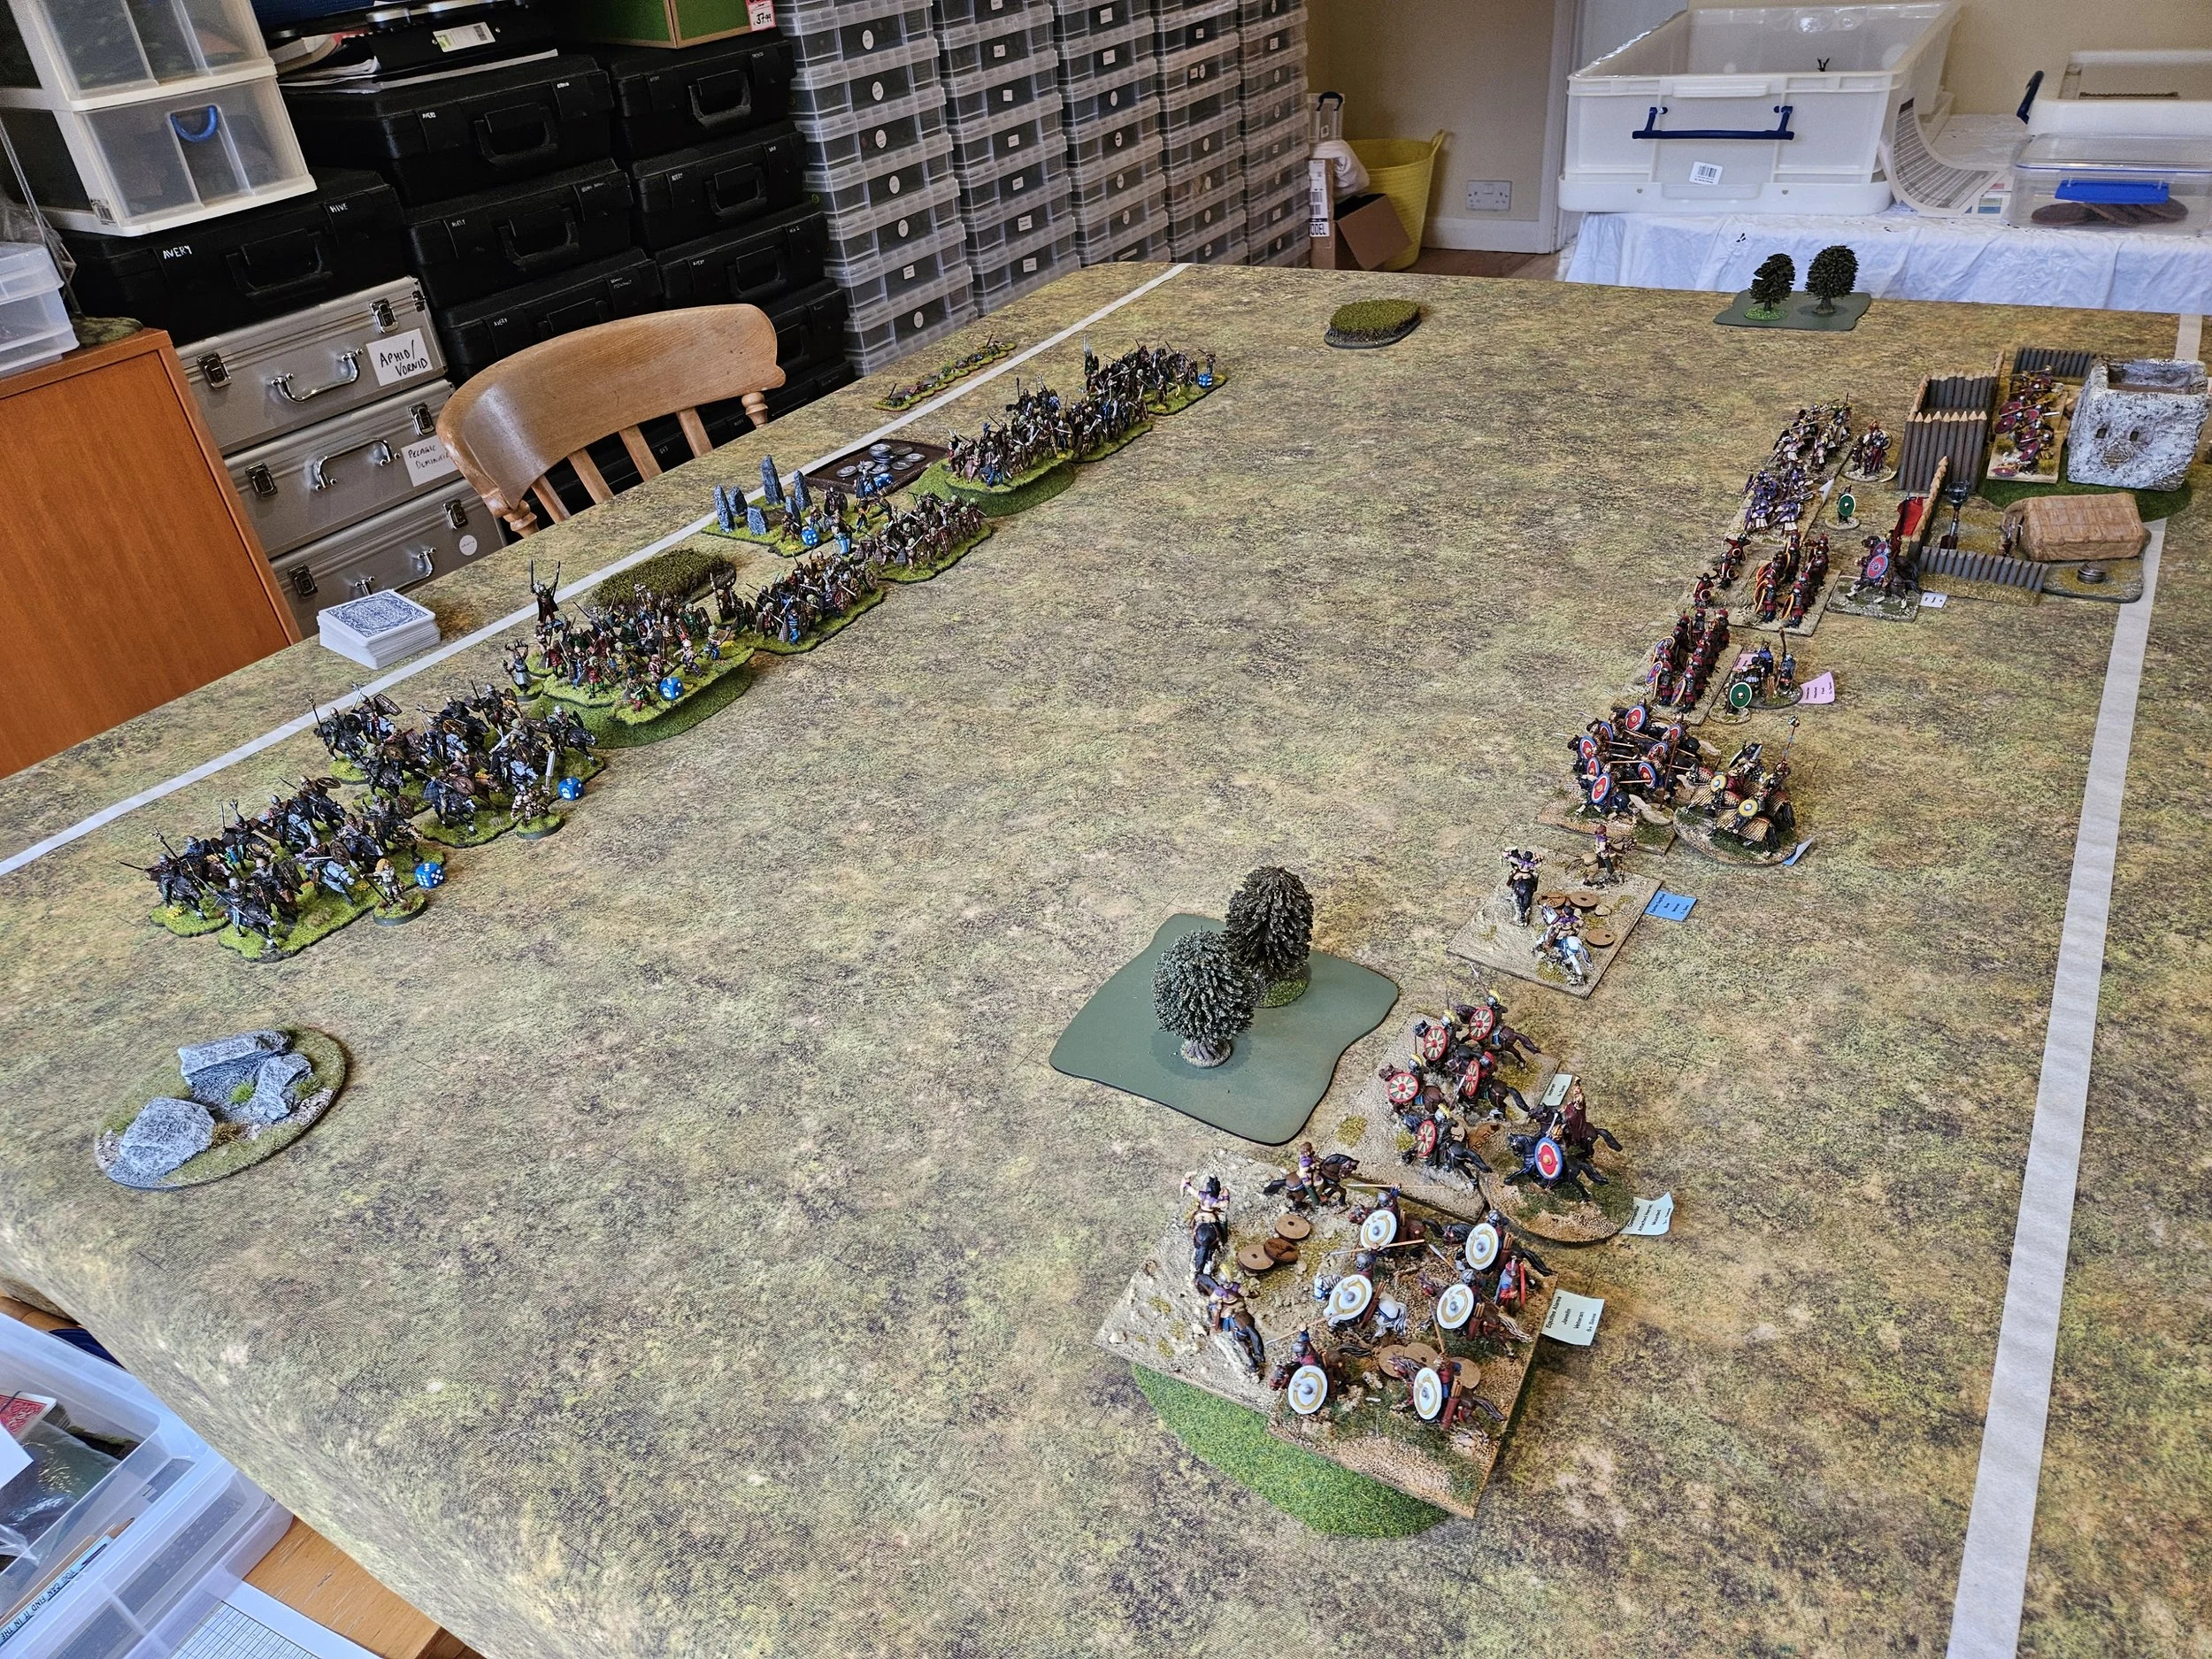
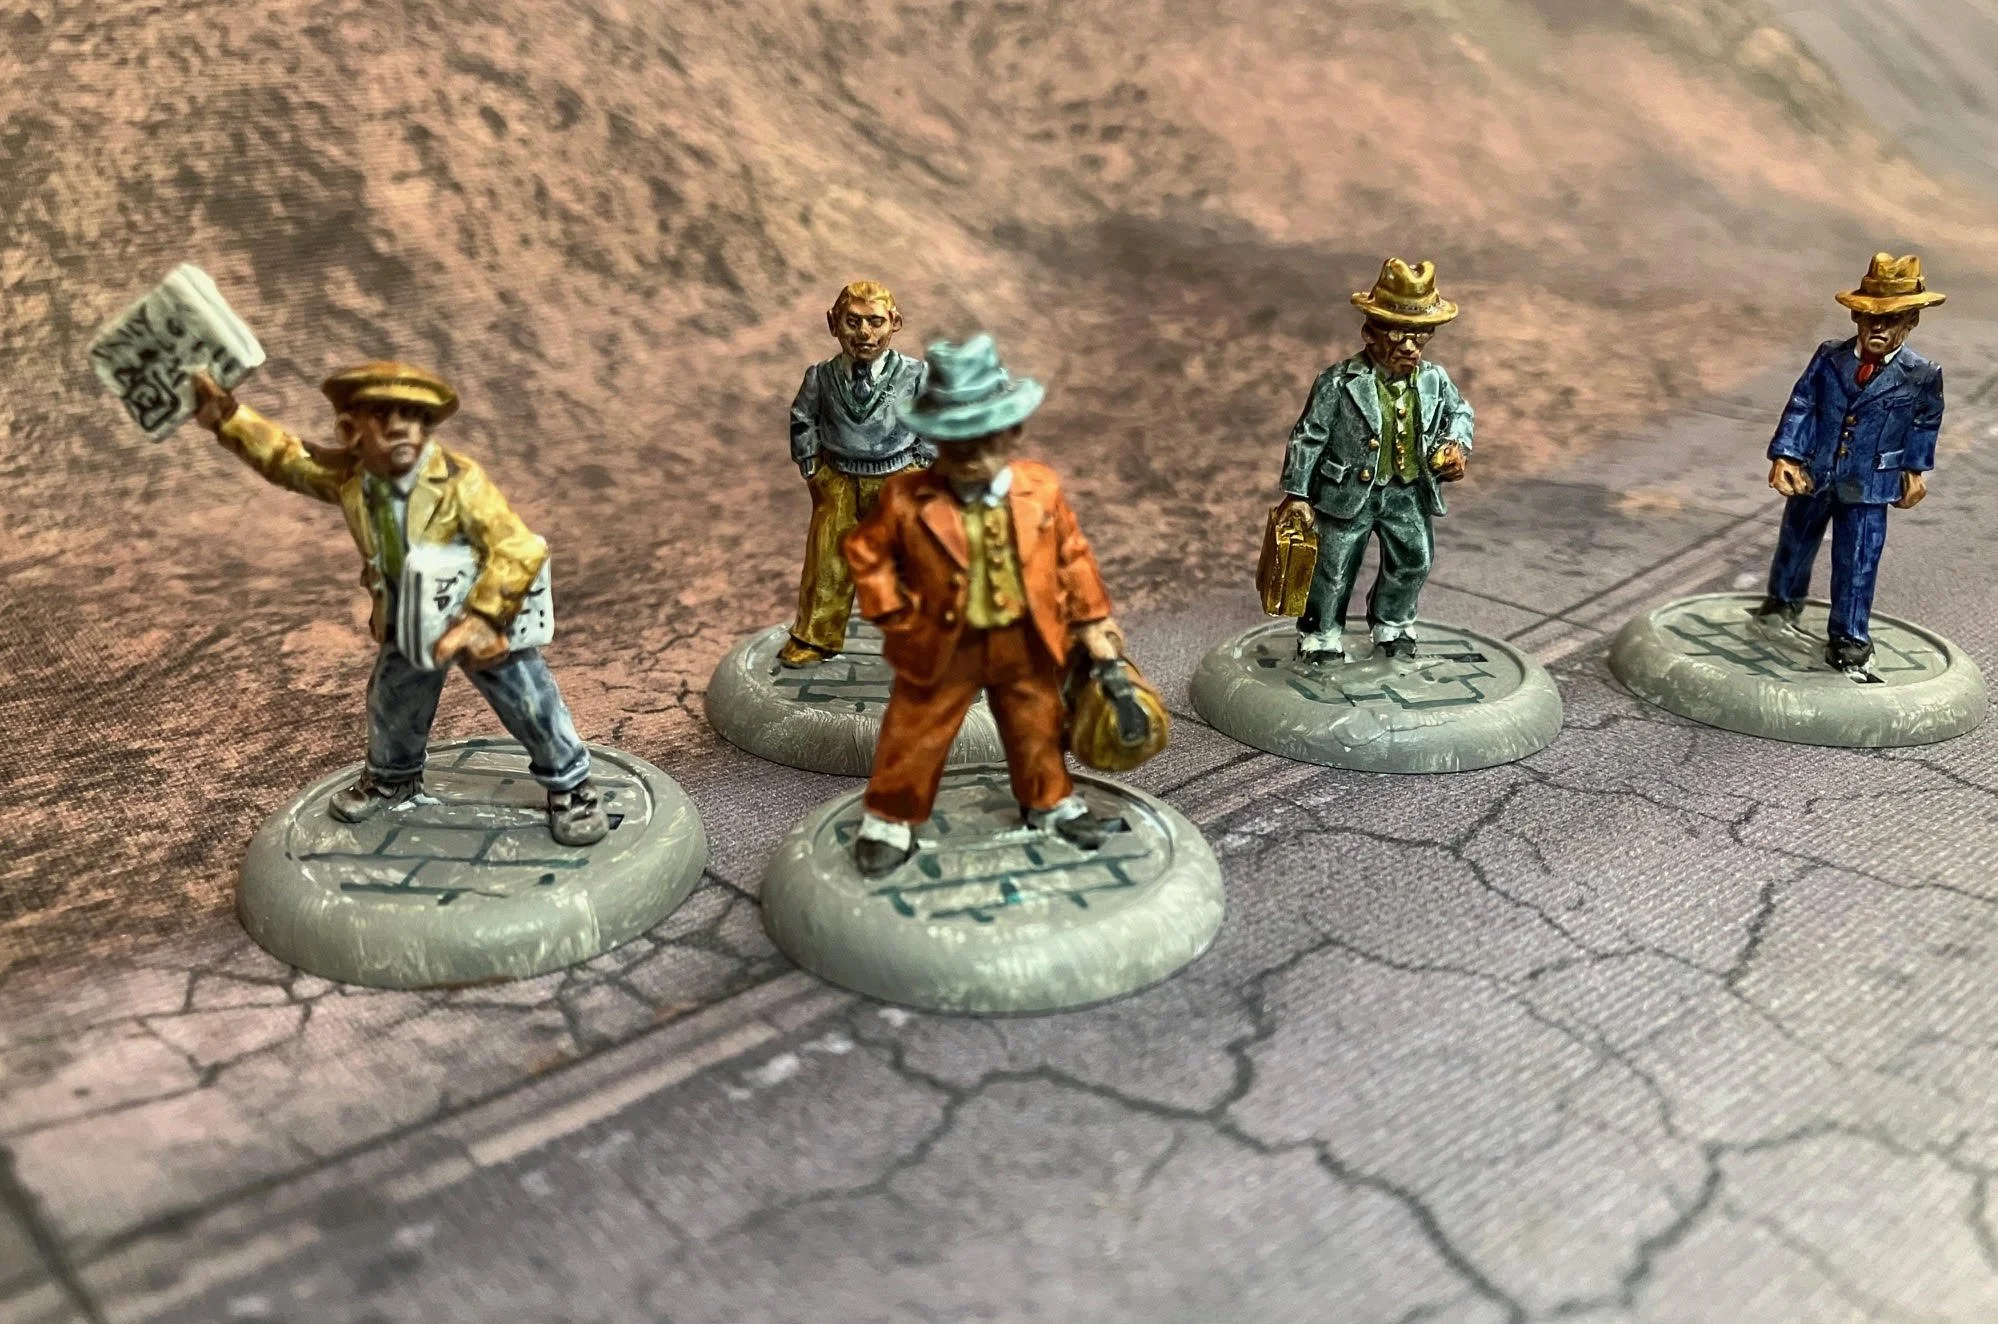
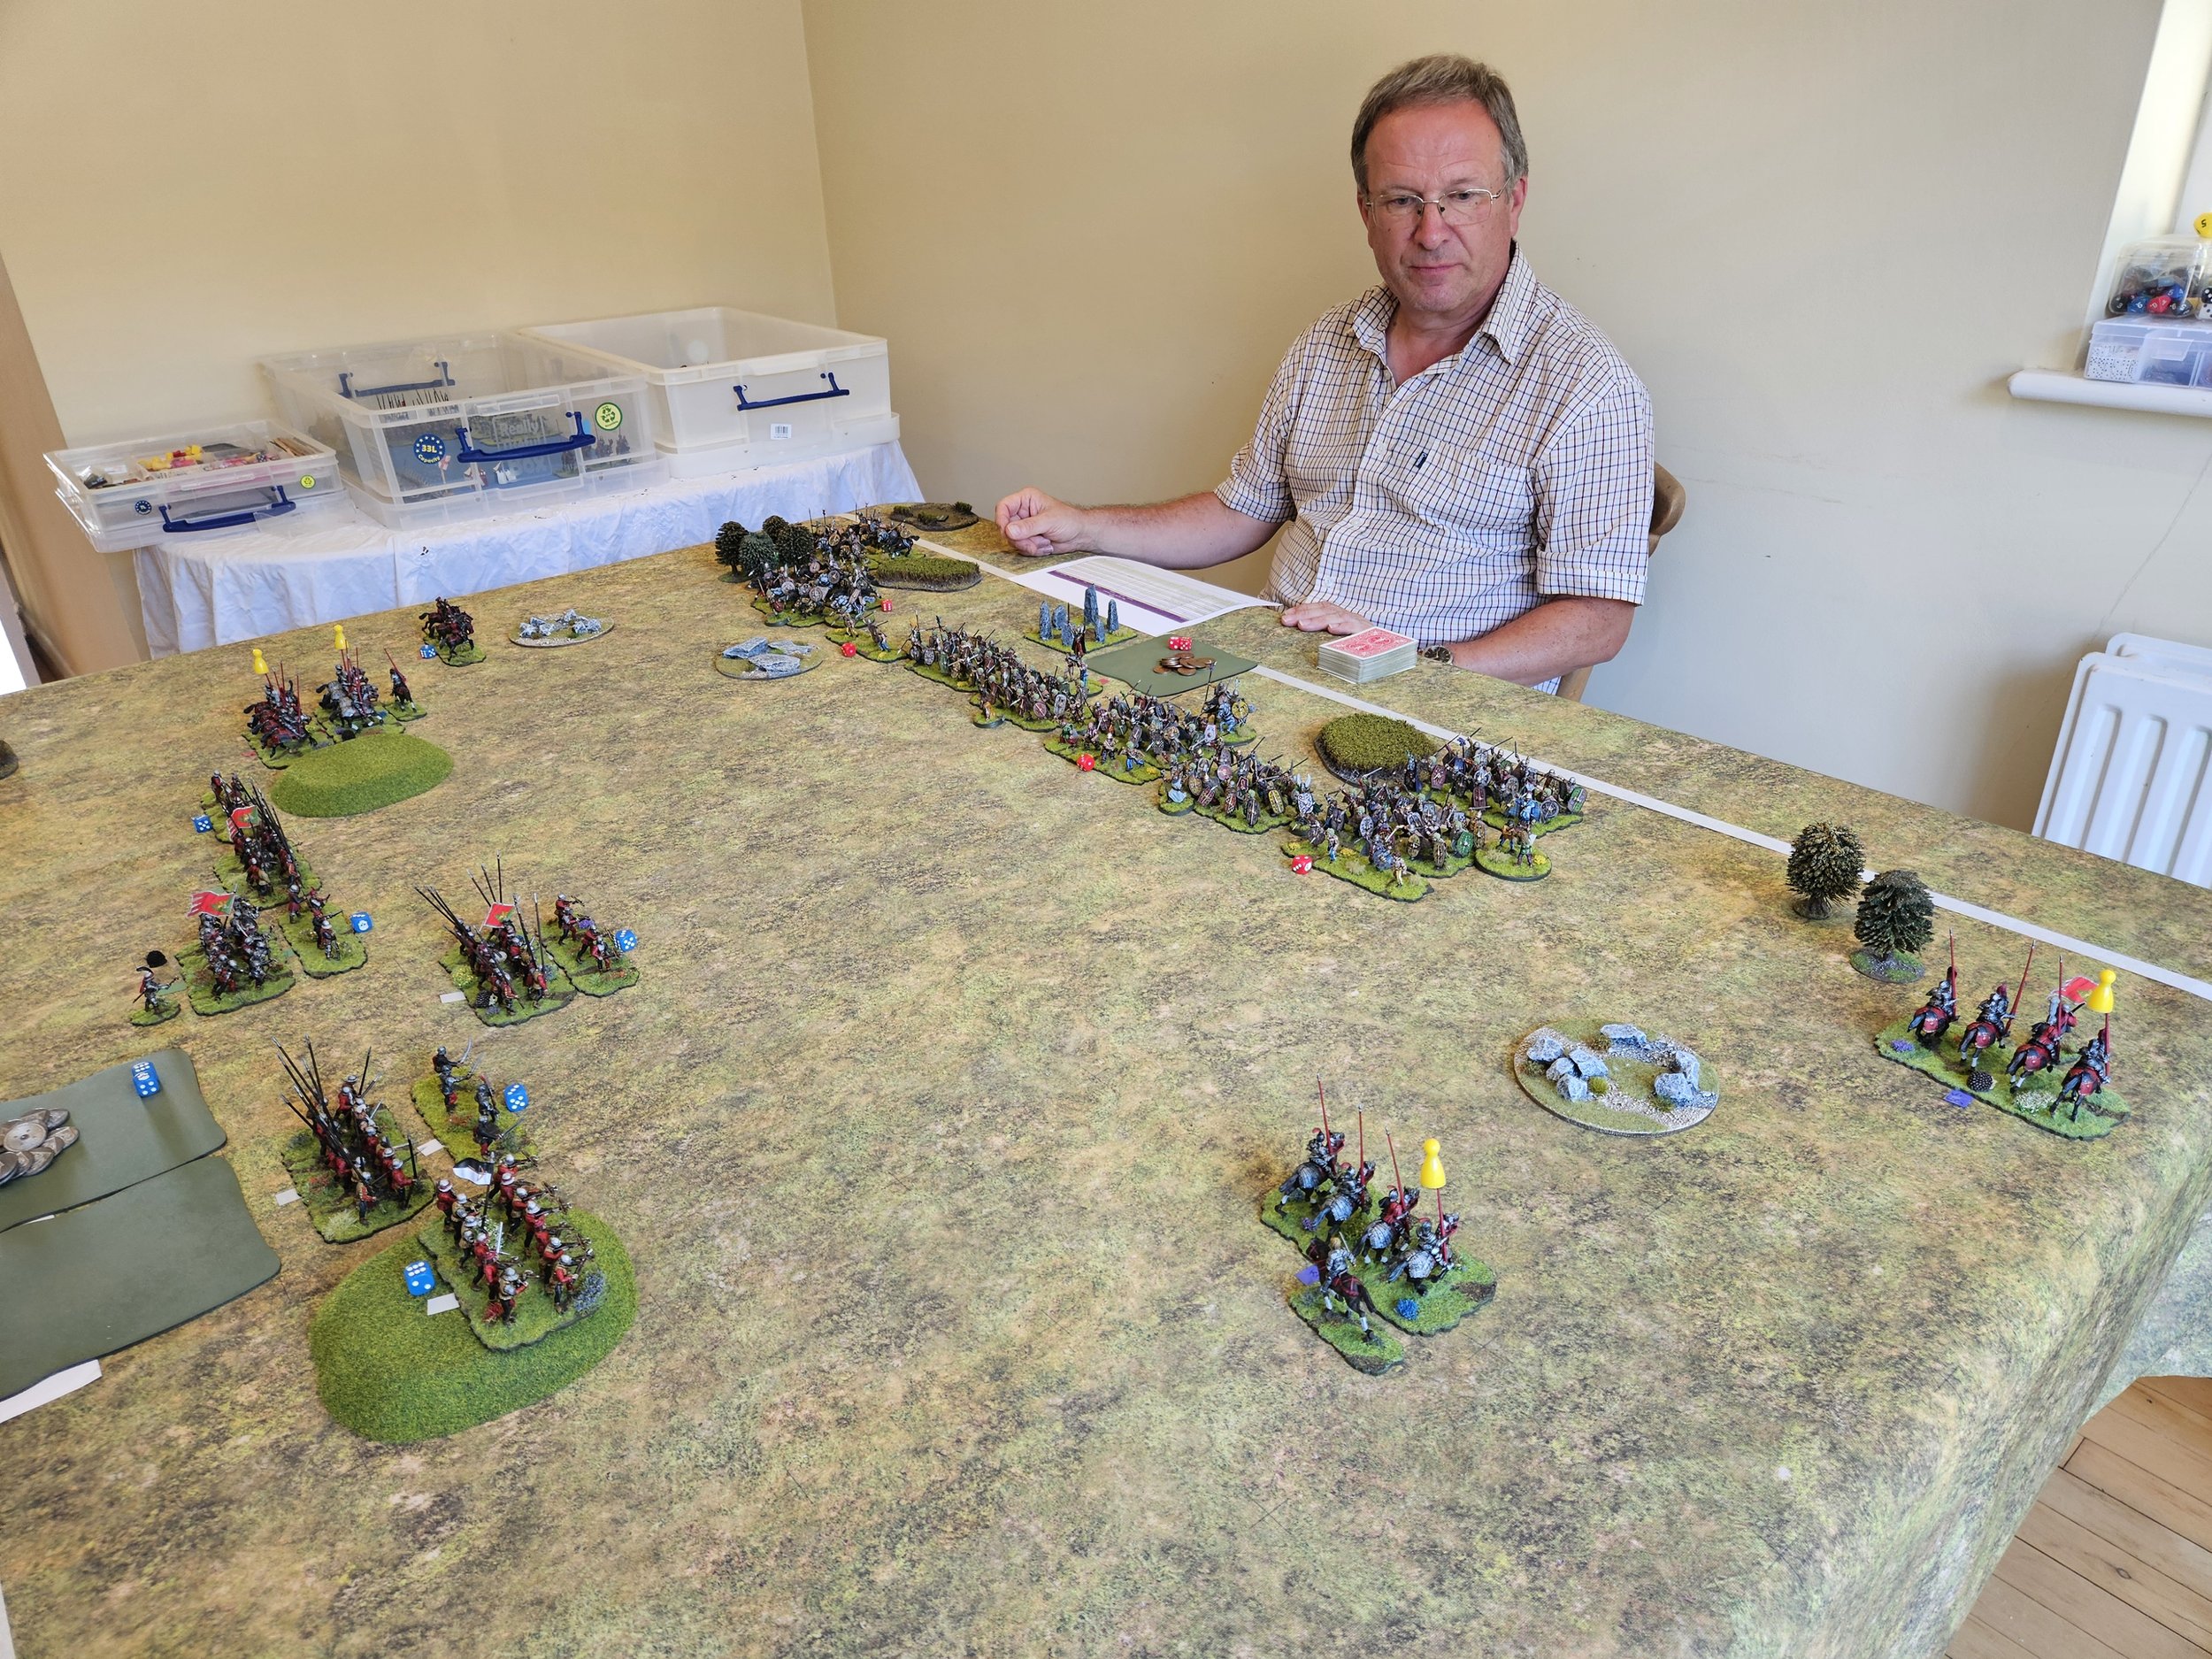
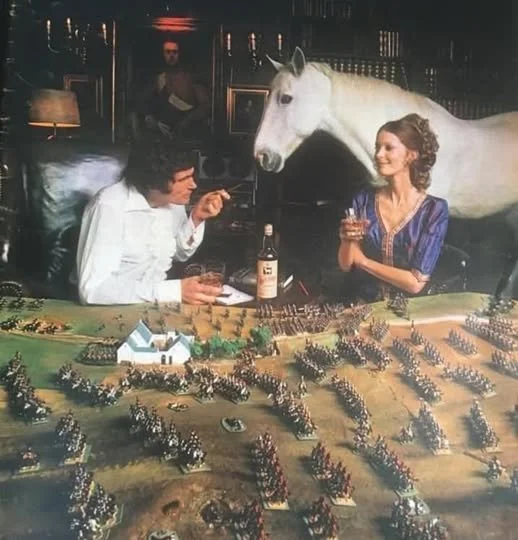
Death at the Donga using What a Cowboy!

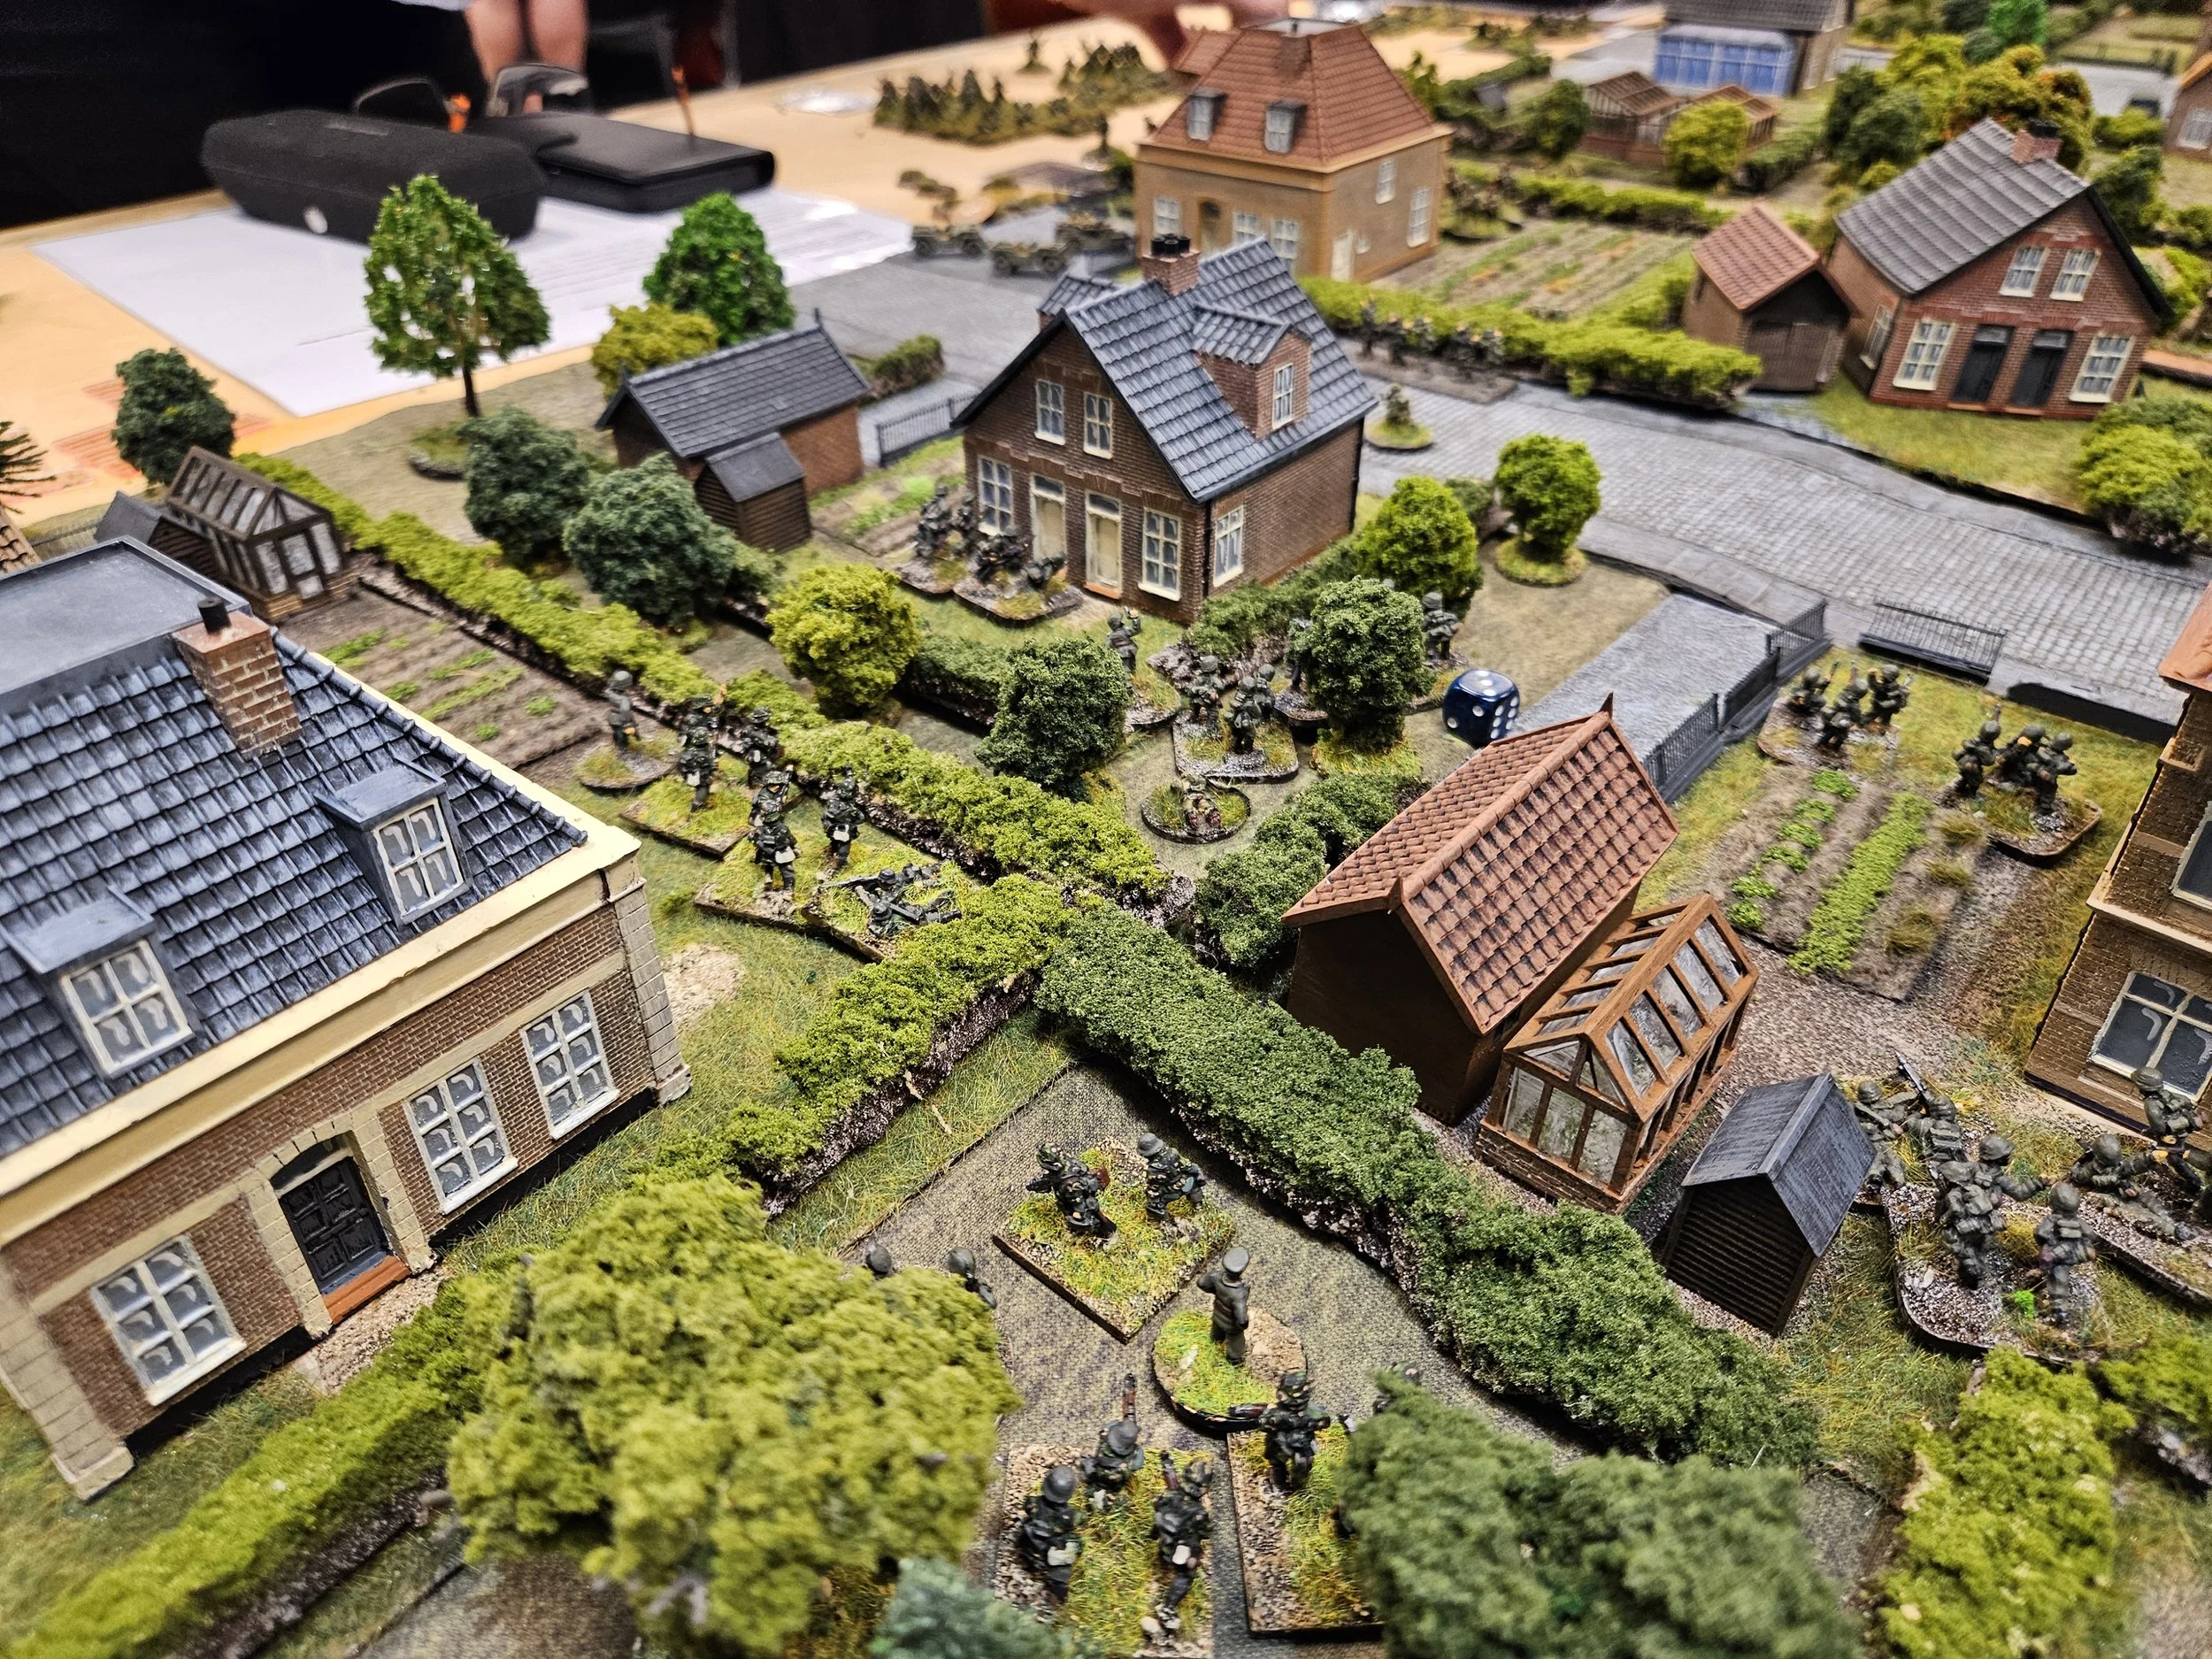
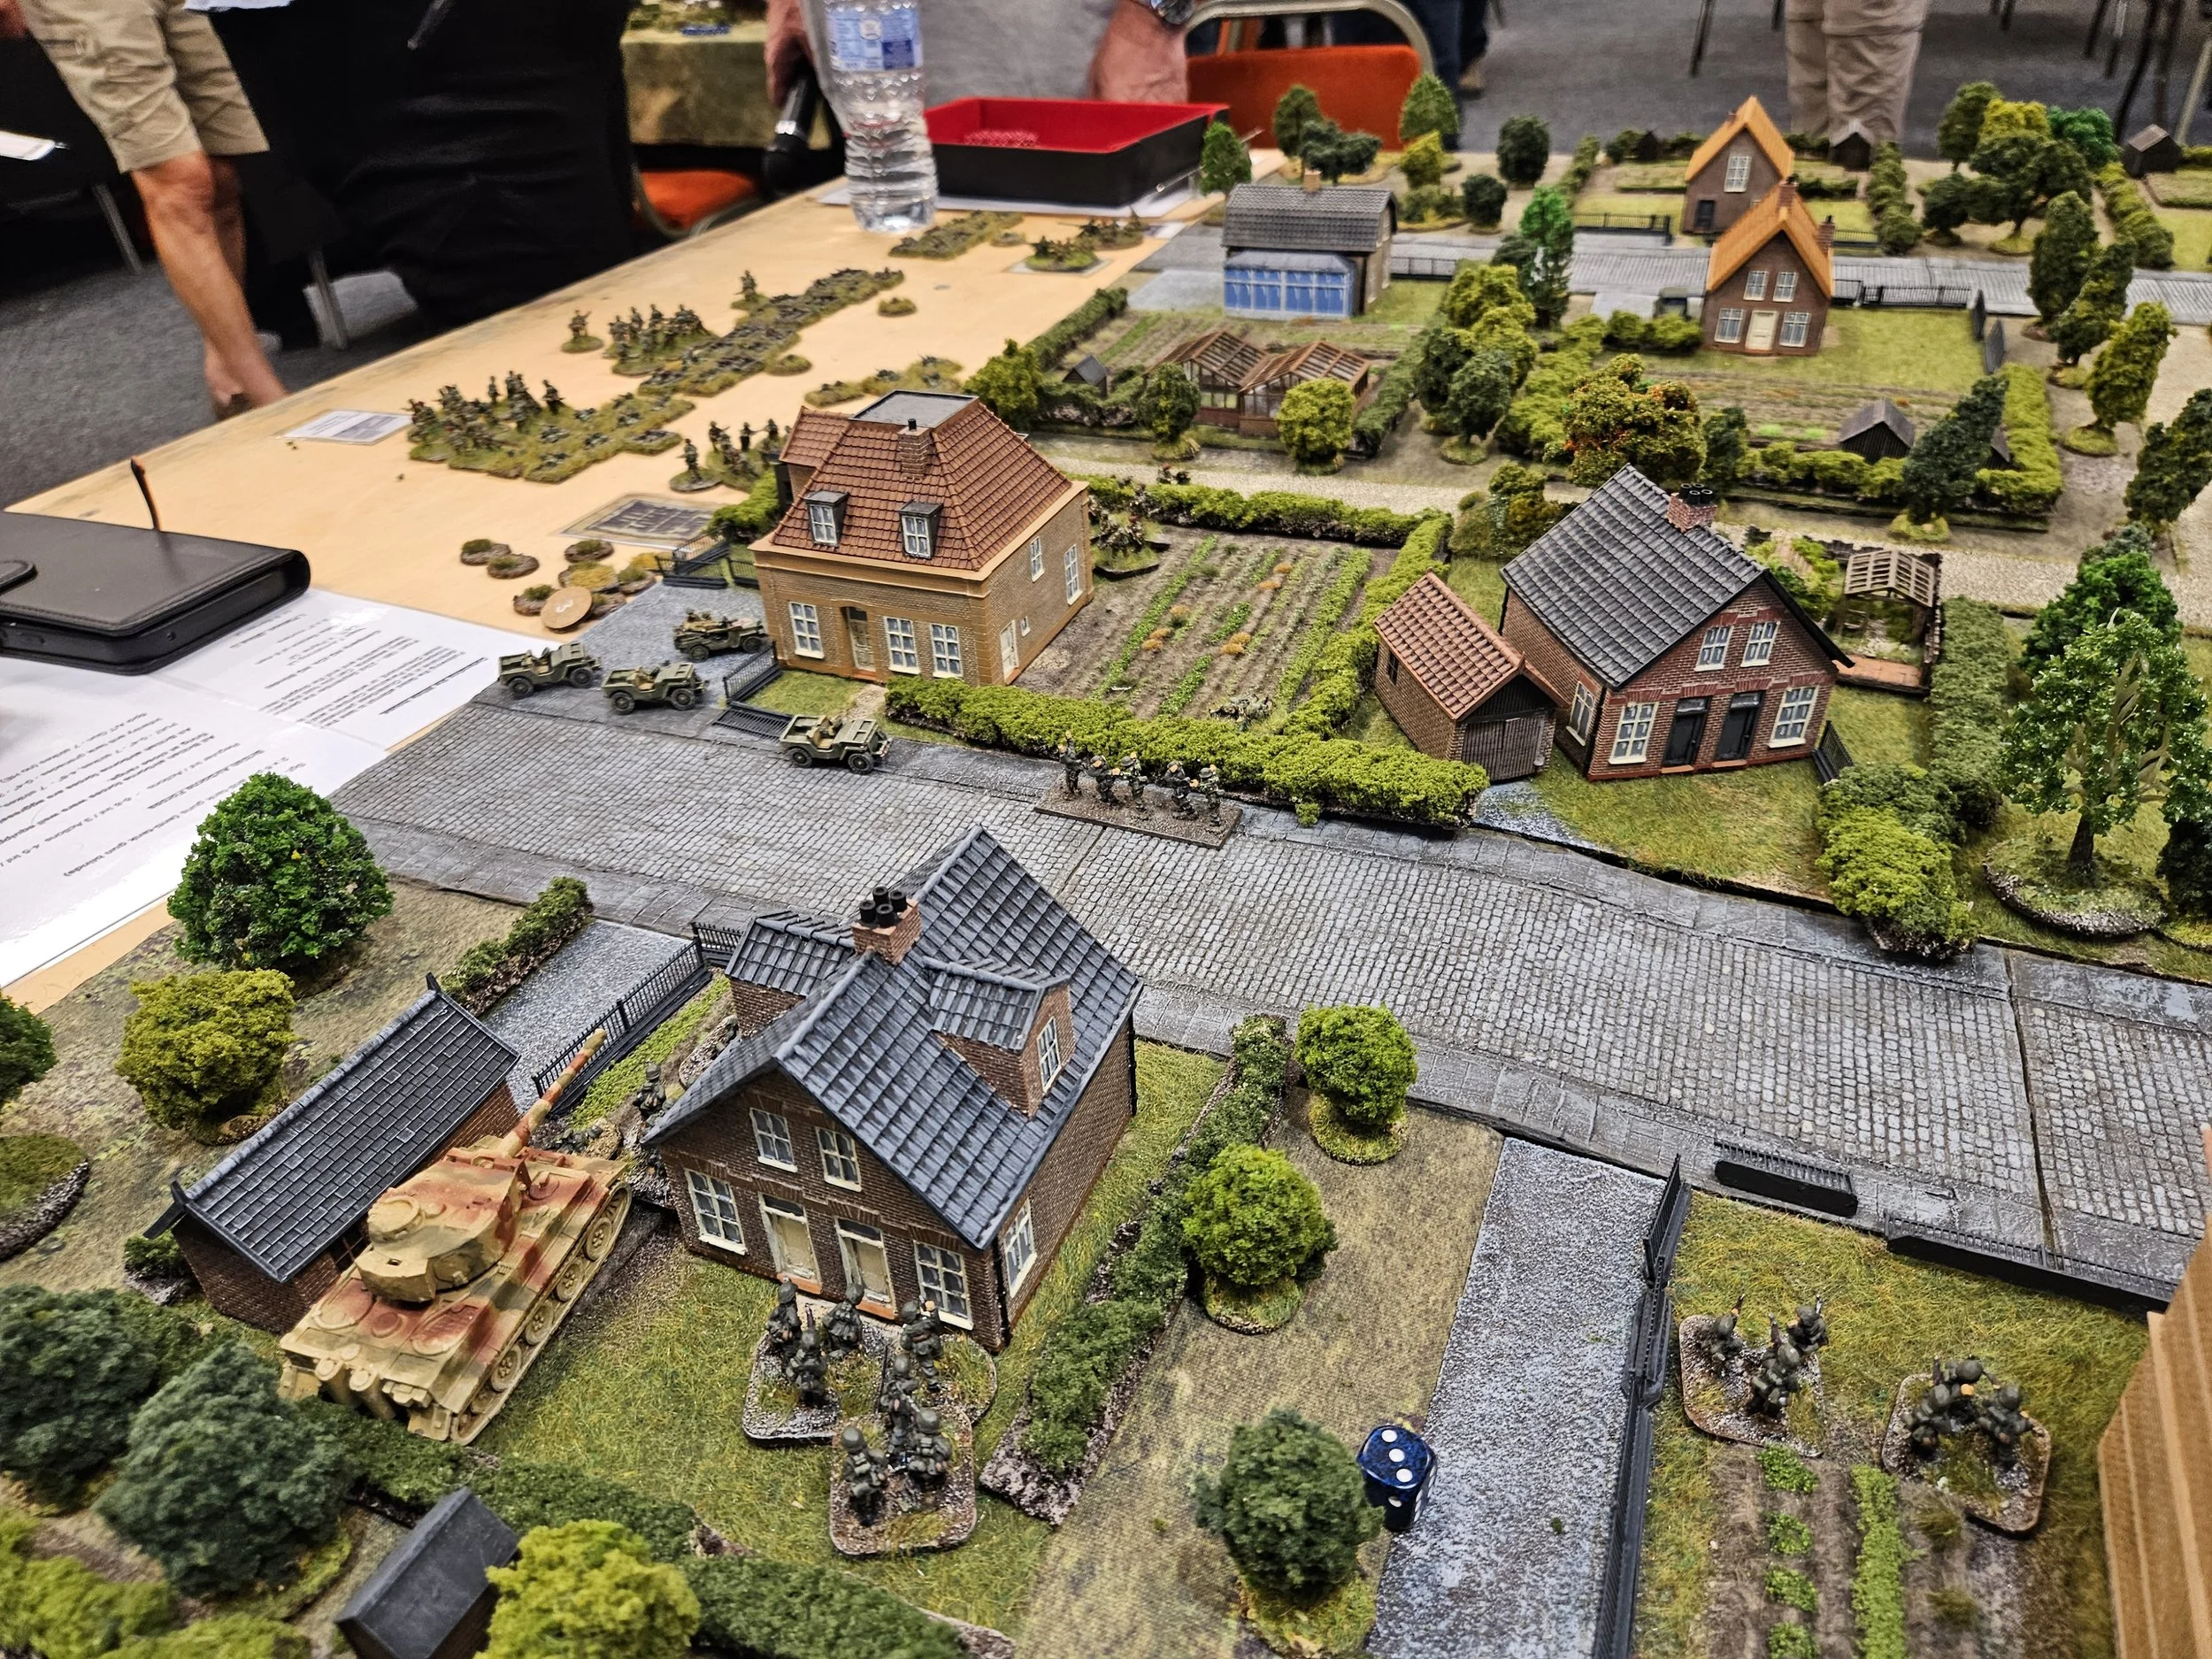
My morning session at this year’s Operation Market Larden event was a game of What a Cowboy! translated to the 1879 Zulu War and the death of Louis-Napoléon, the Prince Imperial of France, and only son of Emperor Napoleon III.

Here’s the historical background:

With the outbreak of the Zulu War in 1879, the prince, with the rank of lieutenant, forced the hand of the British military to allow him to take part in the conflict, despite the objections of Rouher and other Bonapartists. He was only allowed to go to Africa by the special pleading of his mother, Empress Eugénie, and by the intervention of Queen Victoria herself. He left England on 27 February 1879 with letters of introduction from the Duke of Cambridge, the British commander-in-chief, in the hope he might be allowed to follow the movements of the troops.

Once he arrived at Durban, he joined the General's Head-Quarters and met Frederic Thesiger, 2nd Baron Chelmsford, the commander in South Africa, on 9 April and was nominally placed on his staff. The prince accompanied Chelmsford on his march into Zululand. Keen to see action and full of enthusiasm, he was warned by Lieutenant Arthur Brigge, a close friend, "not to do anything rash and to avoid running unnecessary risks. I reminded him of the Empress at home and his party in France."

Chelmsford, mindful of his duty, attached the prince to the staff of Colonel Richard Harrison of the Royal Engineers, where it was felt he could be active but safe. Harrison was responsible for the column's transport and for reconnaissance of the forward route on the way to Ulundi, the Zulu capital. While he welcomed the presence of the prince, he was told by Chelmsford that the prince must be accompanied at all times by a strong escort. Lieutenant Jahleel Brenton Carey, a French speaker and British subject from Guernsey, was given particular charge of him. The prince took part in several reconnaissance missions. However, his eagerness for action almost led him into an early ambush when he exceeded orders in a party led by Colonel Redvers Buller.

Despite this, on the evening of 31 May 1879, Harrison agreed to allow the prince to scout in a forward party scheduled to leave in the morning, mistakenly believing that the path ahead was free of Zulu skirmishers.On the morning of 1 June 1879, the troop set out, earlier than intended and without the whole escort, largely owing to the prince's impatience. Led by Carey, the scouts rode deeper into Zululand. Without Harrison or Buller present to restrain him, the prince took command from Carey, even though the latter had seniority. At noon, the prince halted the troop at a temporarily deserted kraal. The prince and Carey made some sketches of the terrain and used part of the thatch to make a fire. No lookout was posted. As they were preparing to leave, about 40 Zulus fired upon them and rushed towards them, screaming. The prince ran to mount his horse and was able to grab onto the holster on the saddle of his horse. The prince's horse then dashed off before he could mount. After about 90 metres (100 yards), the strap the prince was clinging to broke and the horse kicked the prince in the belly, winding him. The prince fell beneath his horse, and his right arm was trampled. He leapt up, drawing his revolver with his left hand, and started to run, but the Zulus outpaced him.

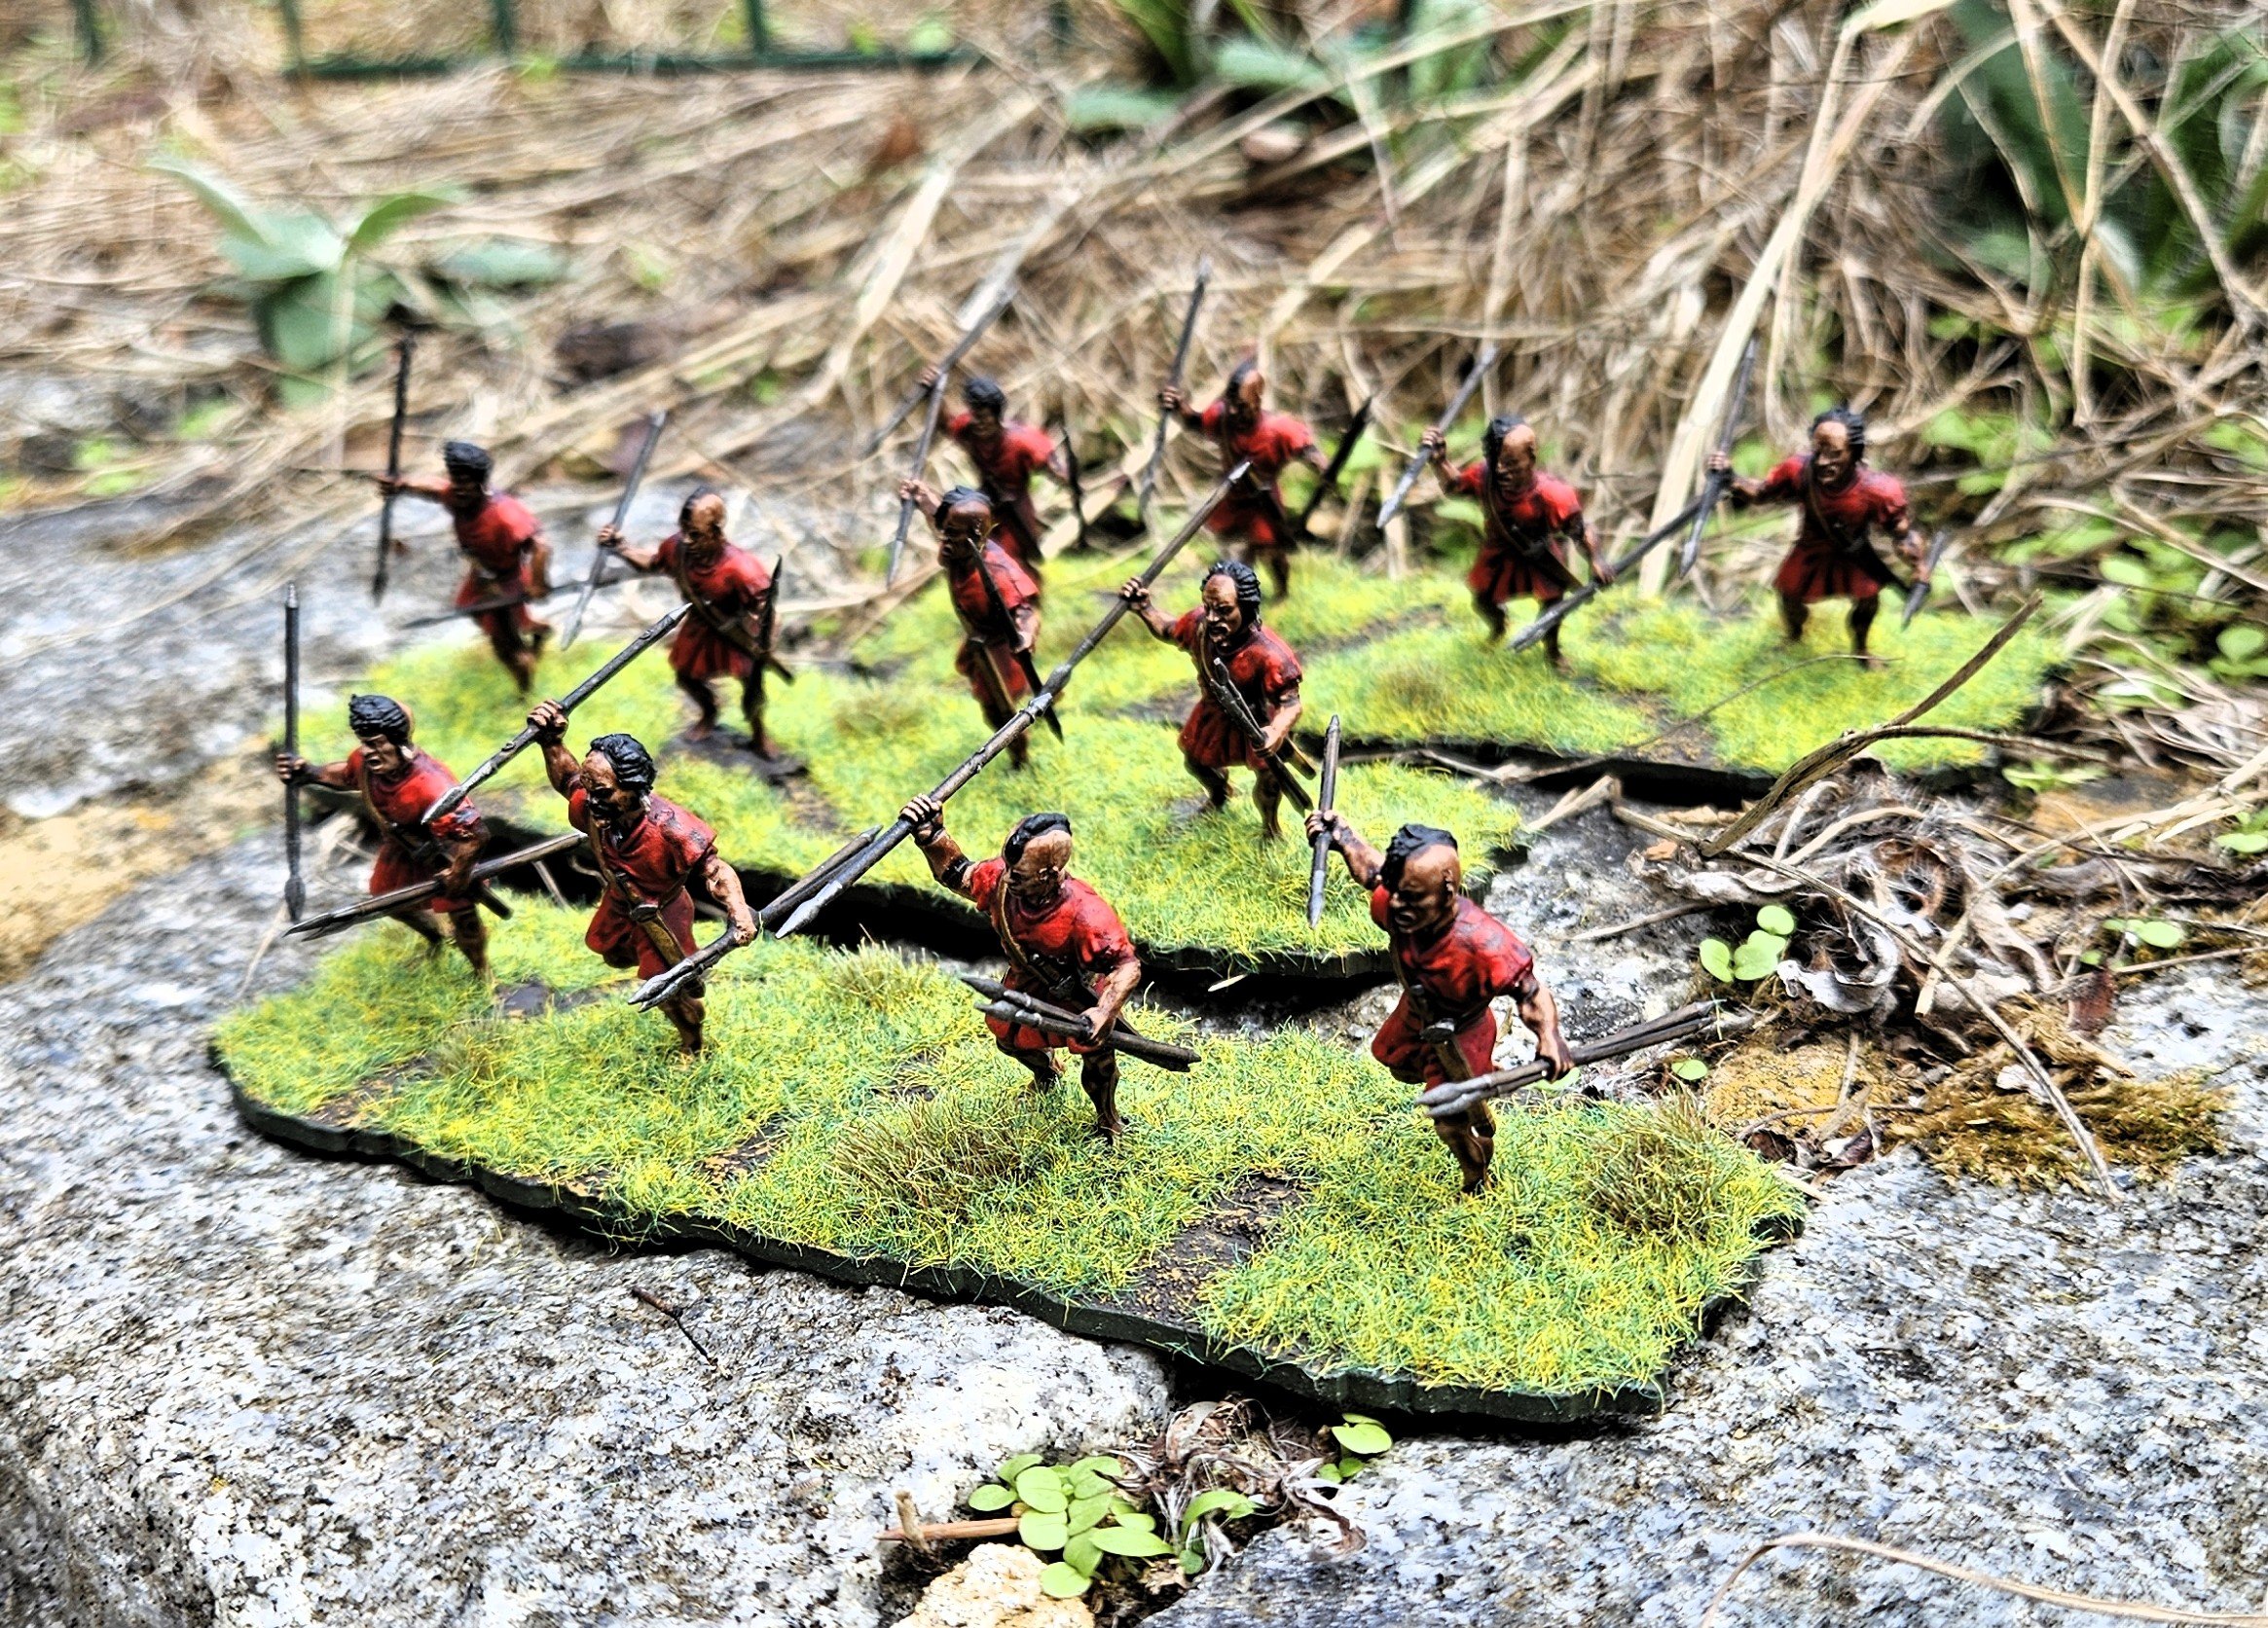
The prince fired three shots from his revolver at his assailants, but he missed each shot. The prince then fired two more shots, albeit slower, in order to better aim. However, these, too, missed. One of the prince's assailants, a Zulu named Langalibalele, threw his spear at the prince, but missed. Another spear, thrown by a Zulu named Zabanga, struck the prince's left shoulder. The prince tried to fight on, wielding the spear thrown by Langalibalele in his right hand and his revolver in his left. However, weakened by his wounds, the prince sank to the ground and was overwhelmed. Zabanga stabbed the prince again with an assegai, followed by Gwabakana; and then the prince suffered a final blow from Klabawathunga – who stabbed the prince in the right eye – penetrating the prince's brain and killing him.

Two troopers of the Natal Native Horse, Abel and Rogers, as well the Zulu guide accompanying them, died with the prince during the Zulu ambush. Carey and the four surviving men came together about 50 yards (50 m) from where the prince made his final stand but did not fire at the Zulus. Carey led his men back to camp. The prince's body was recovered the next day. After a court of inquiry, a court-martial, and intervention by Empress Eugénie and Queen Victoria, Carey returned to his regiment. Carey died in Bombay on 22 February 1883.

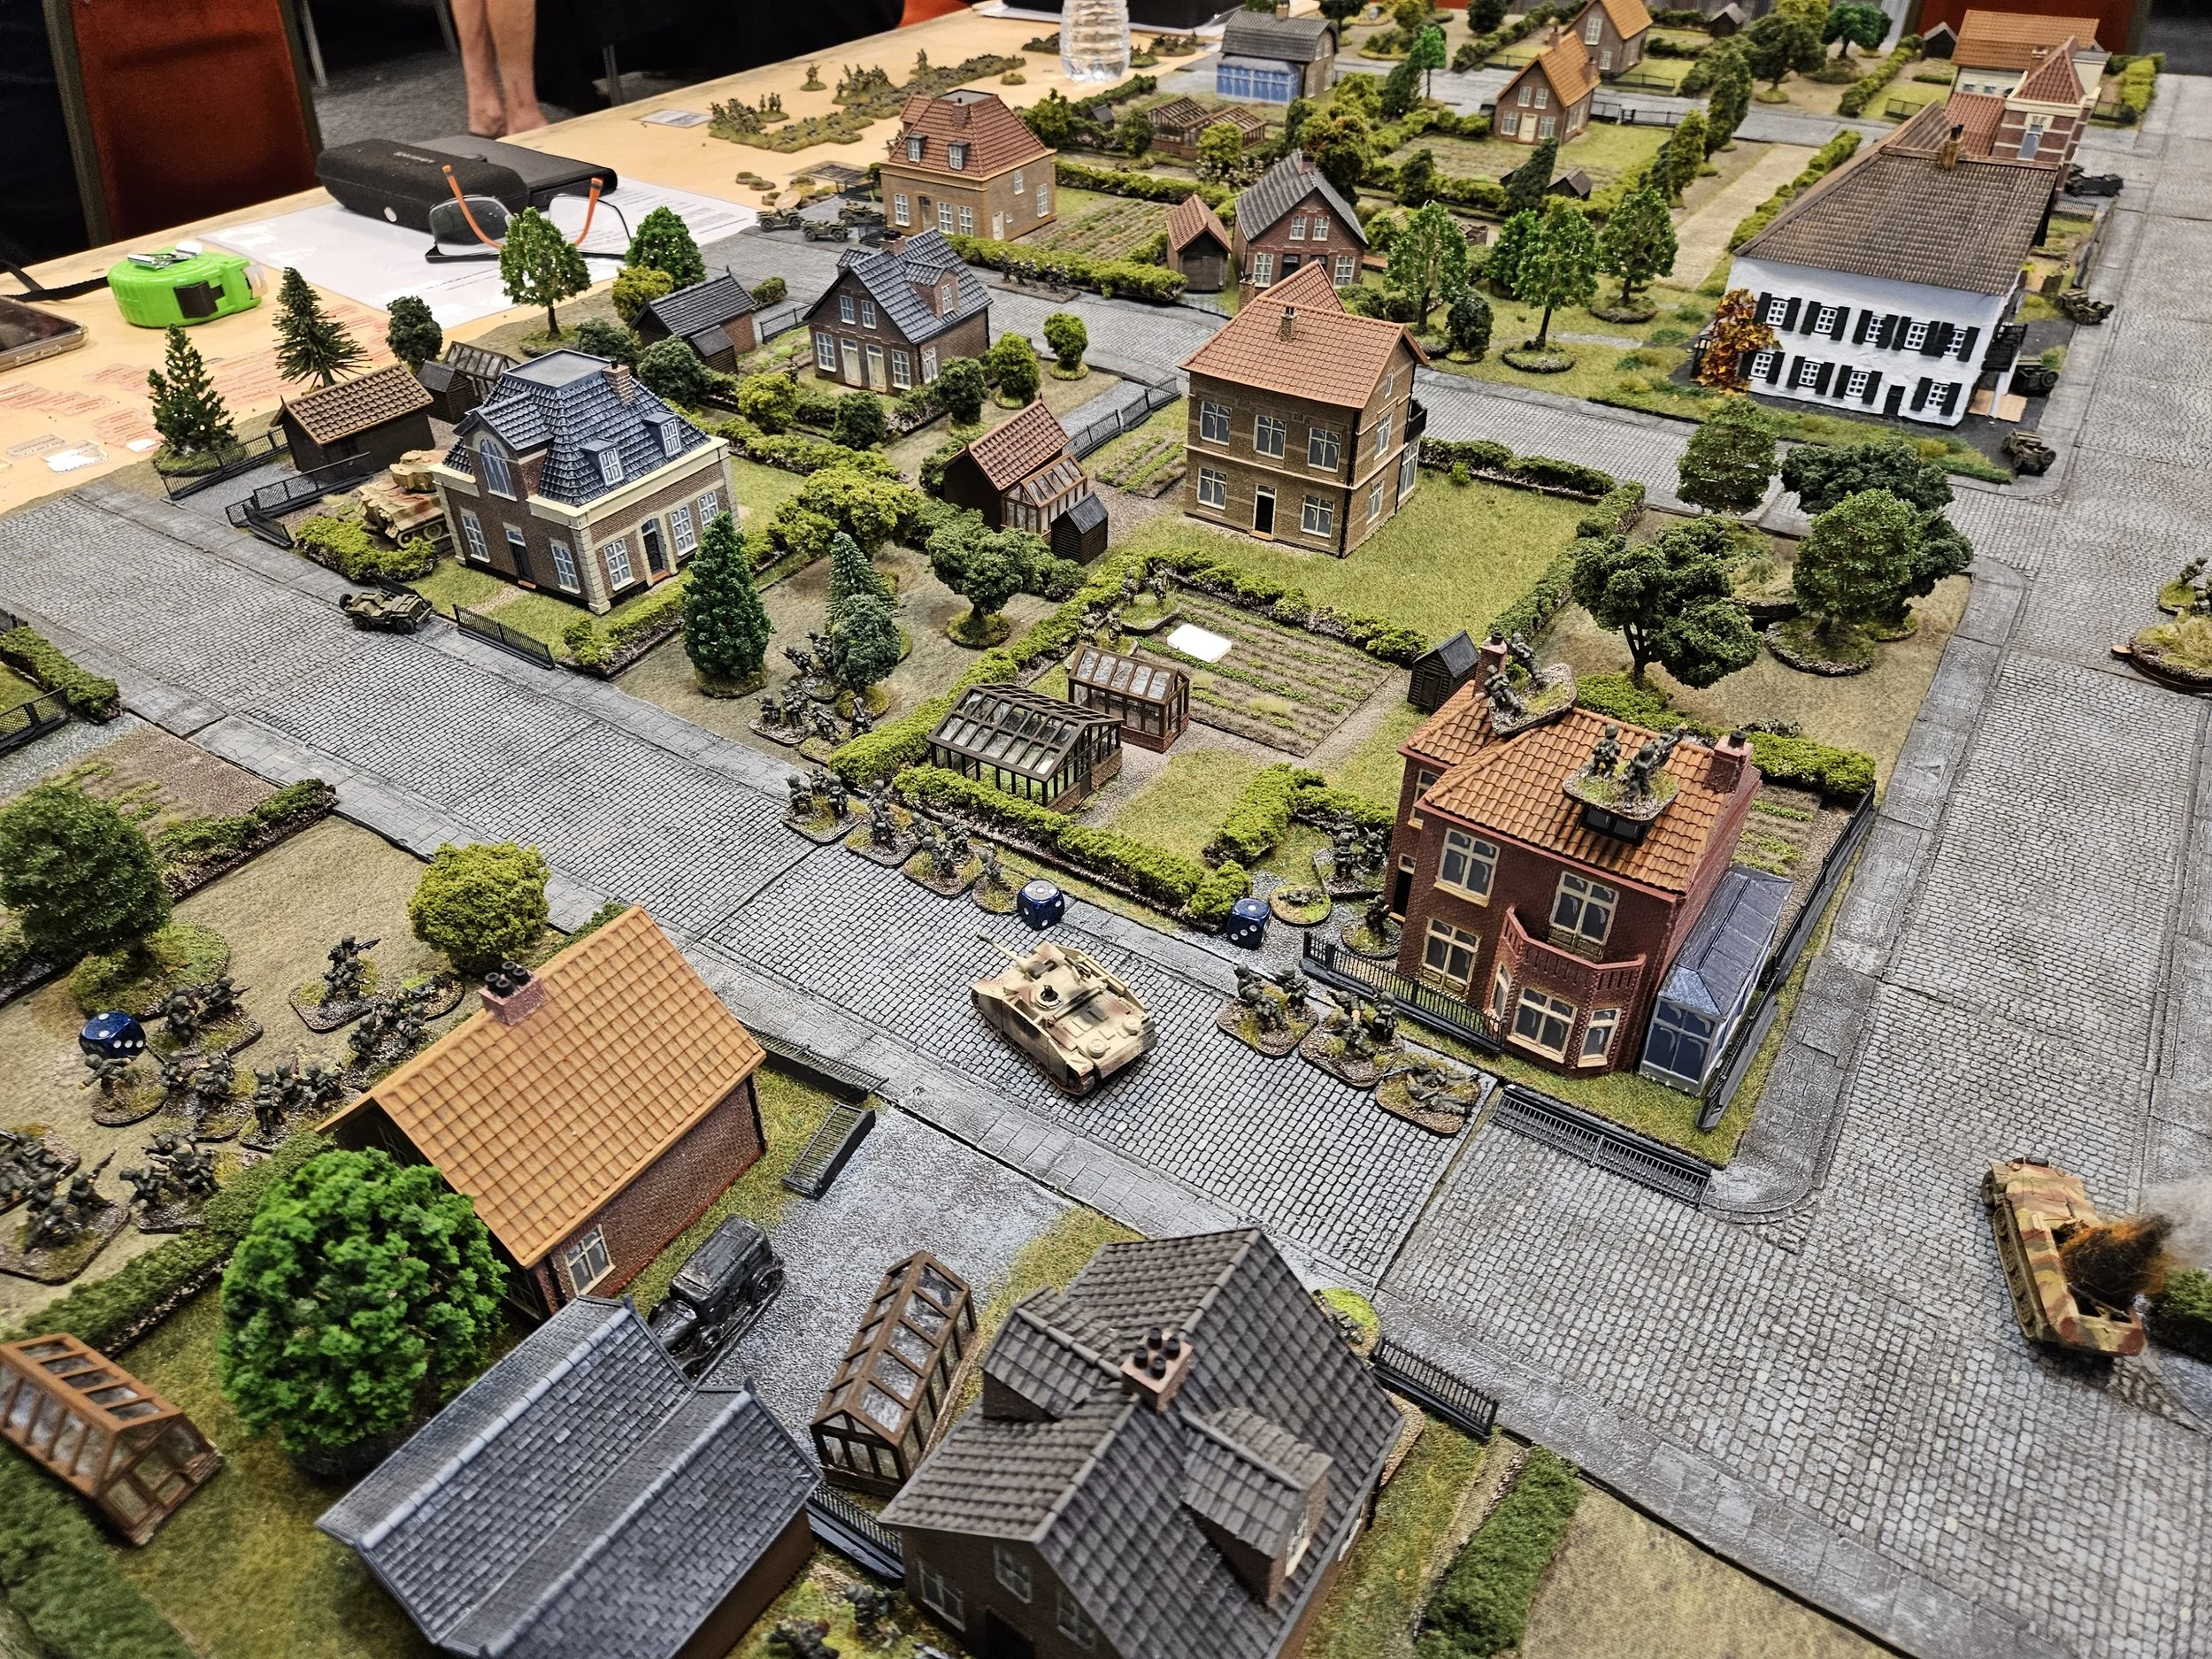
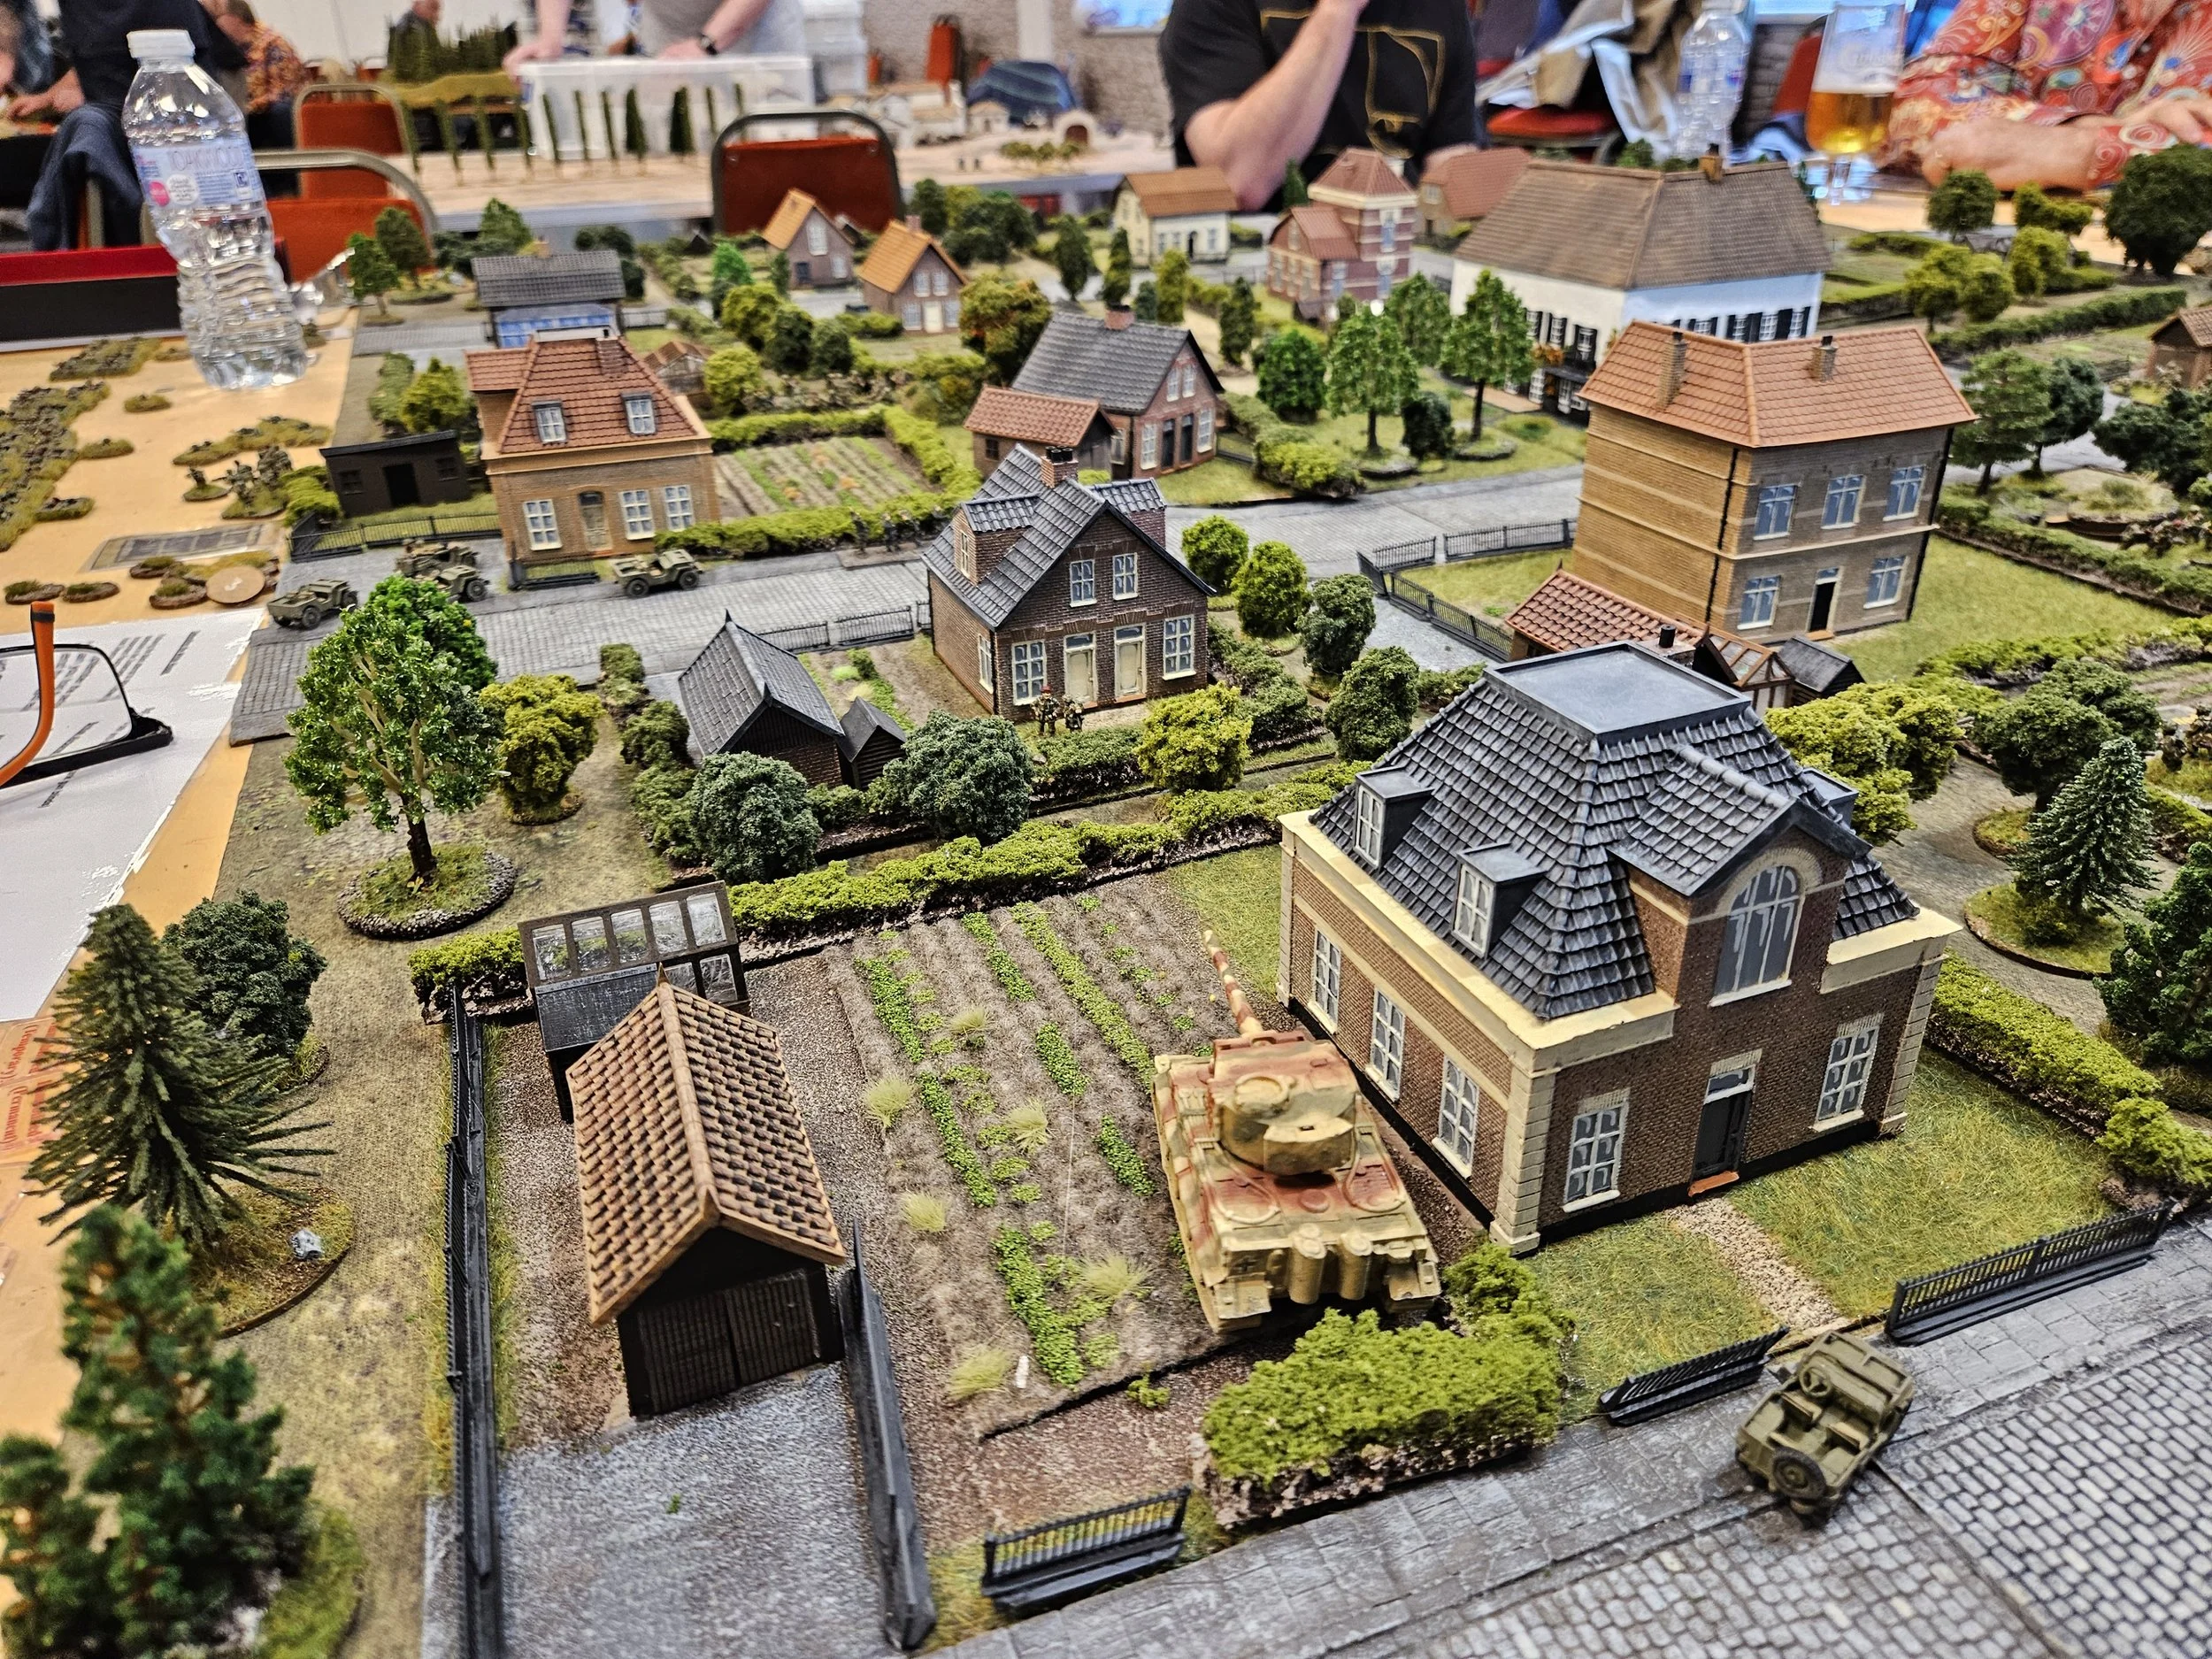
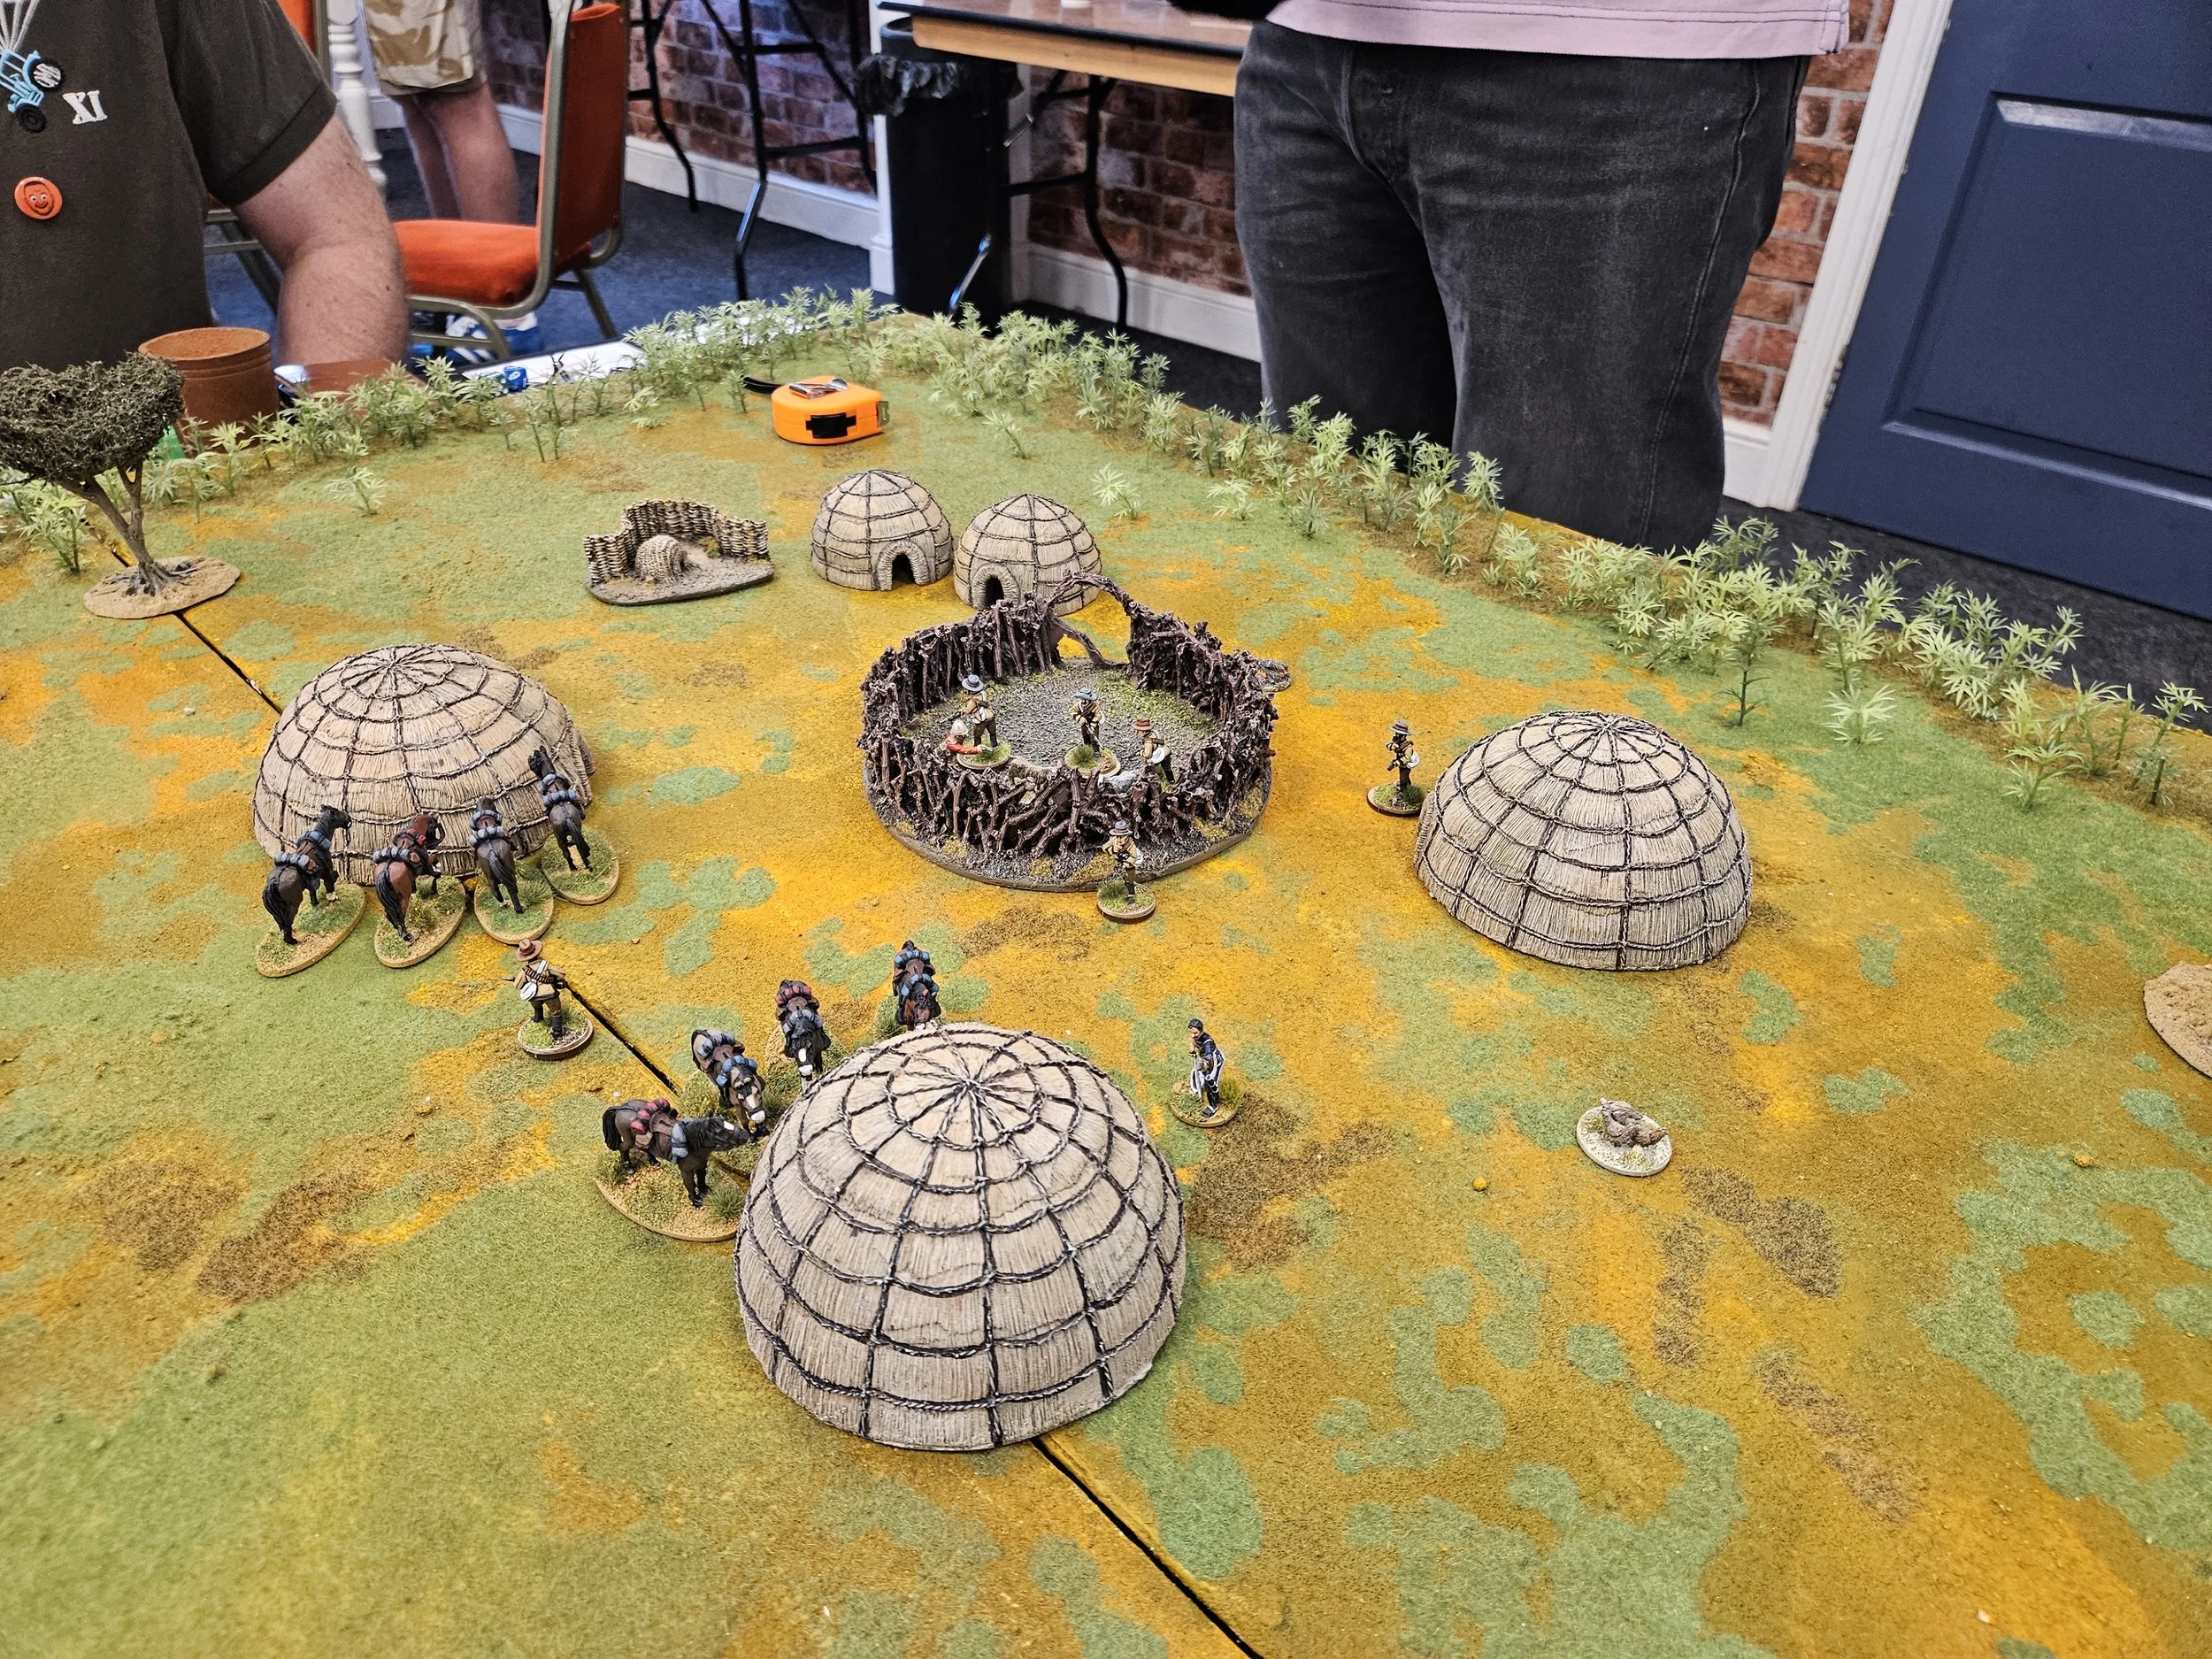
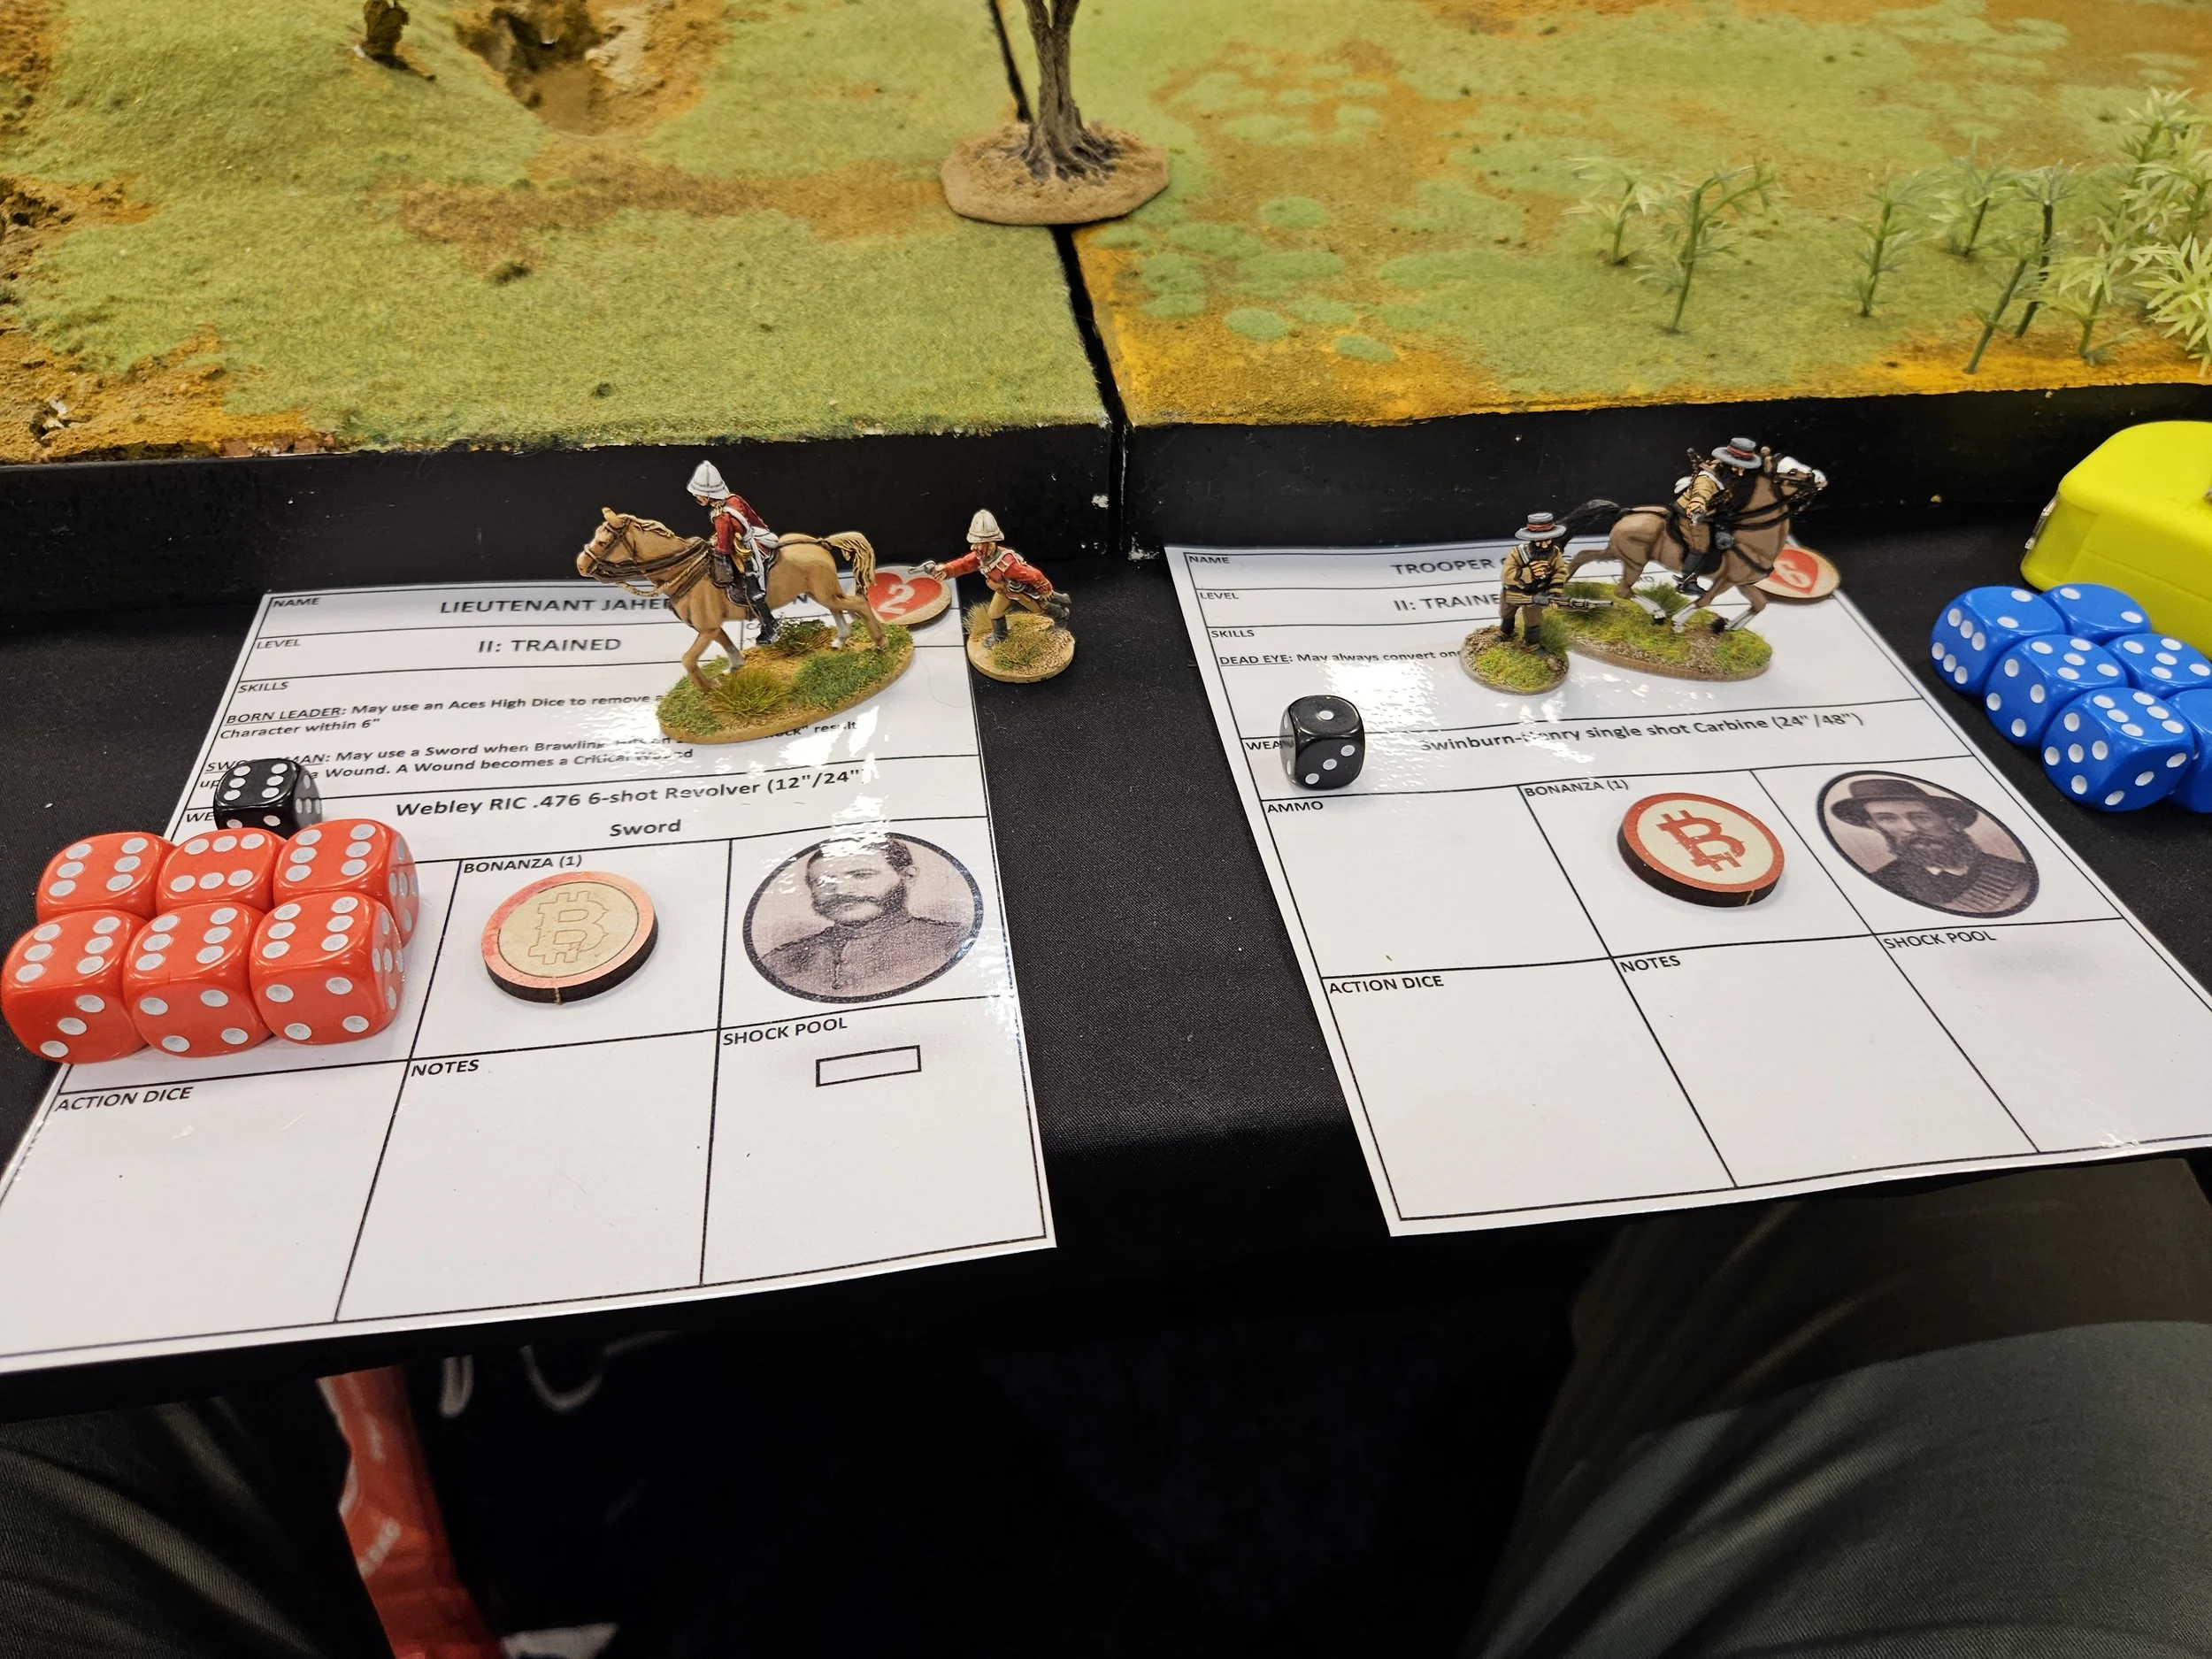
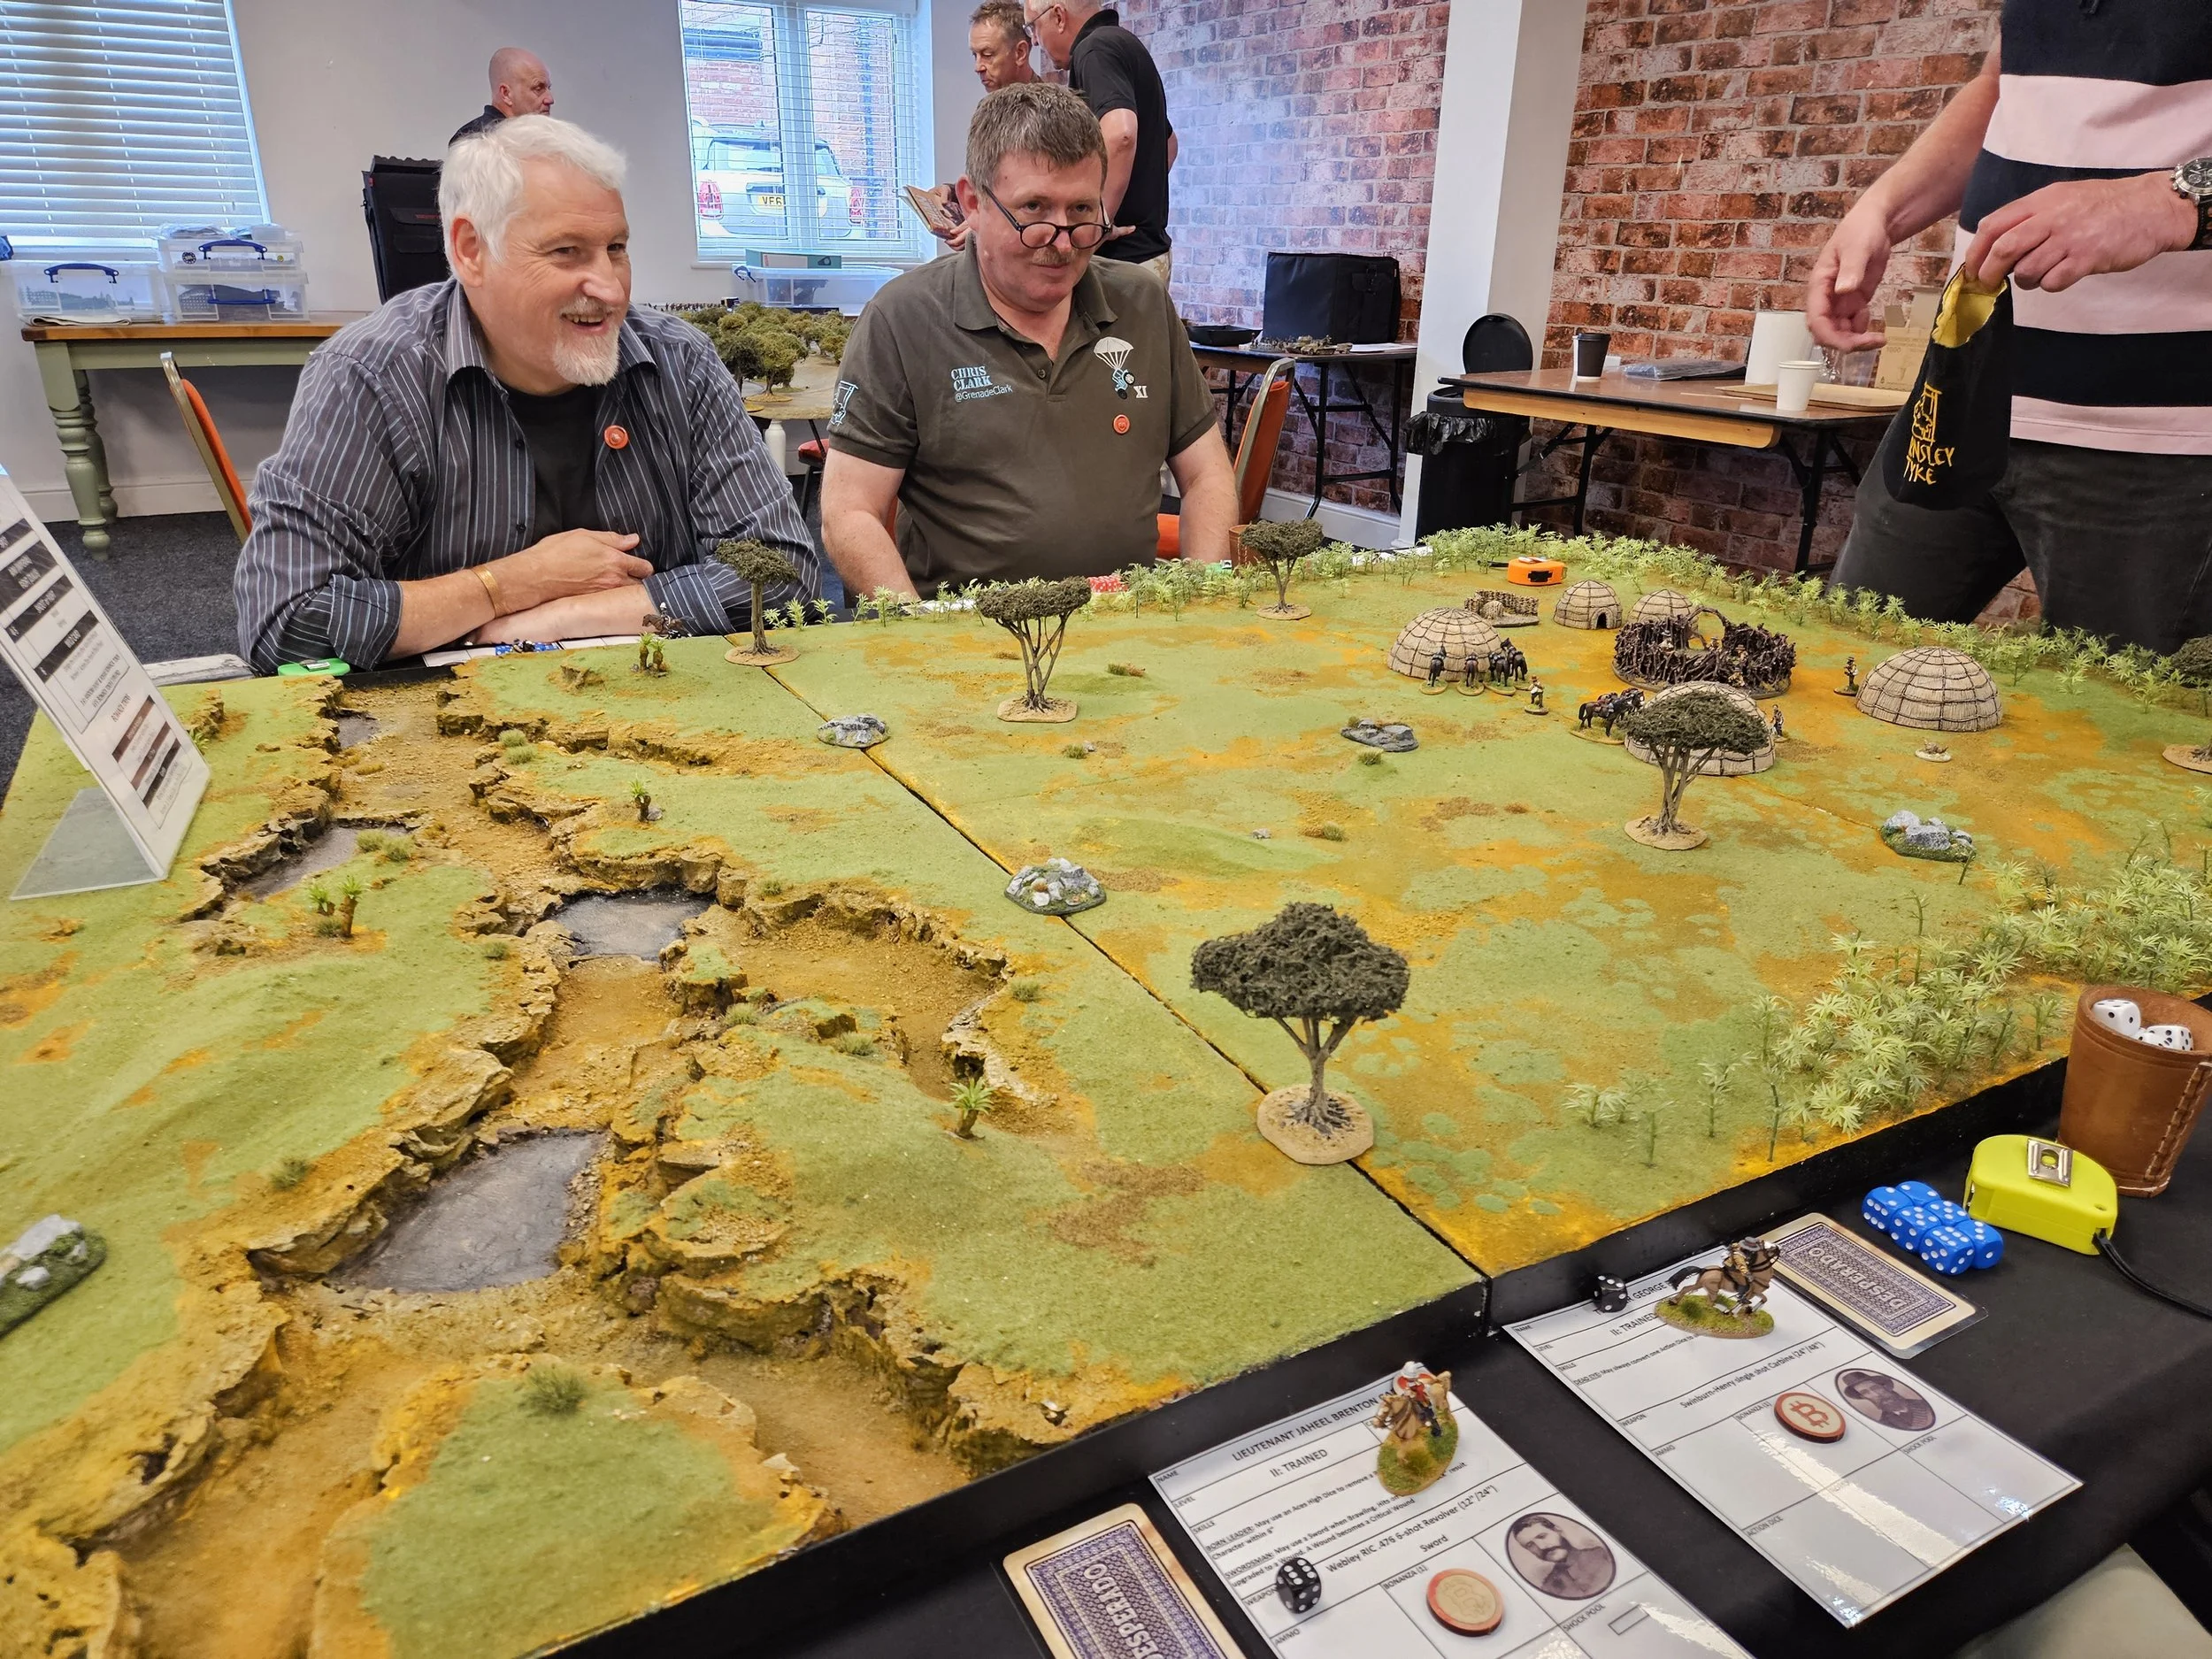
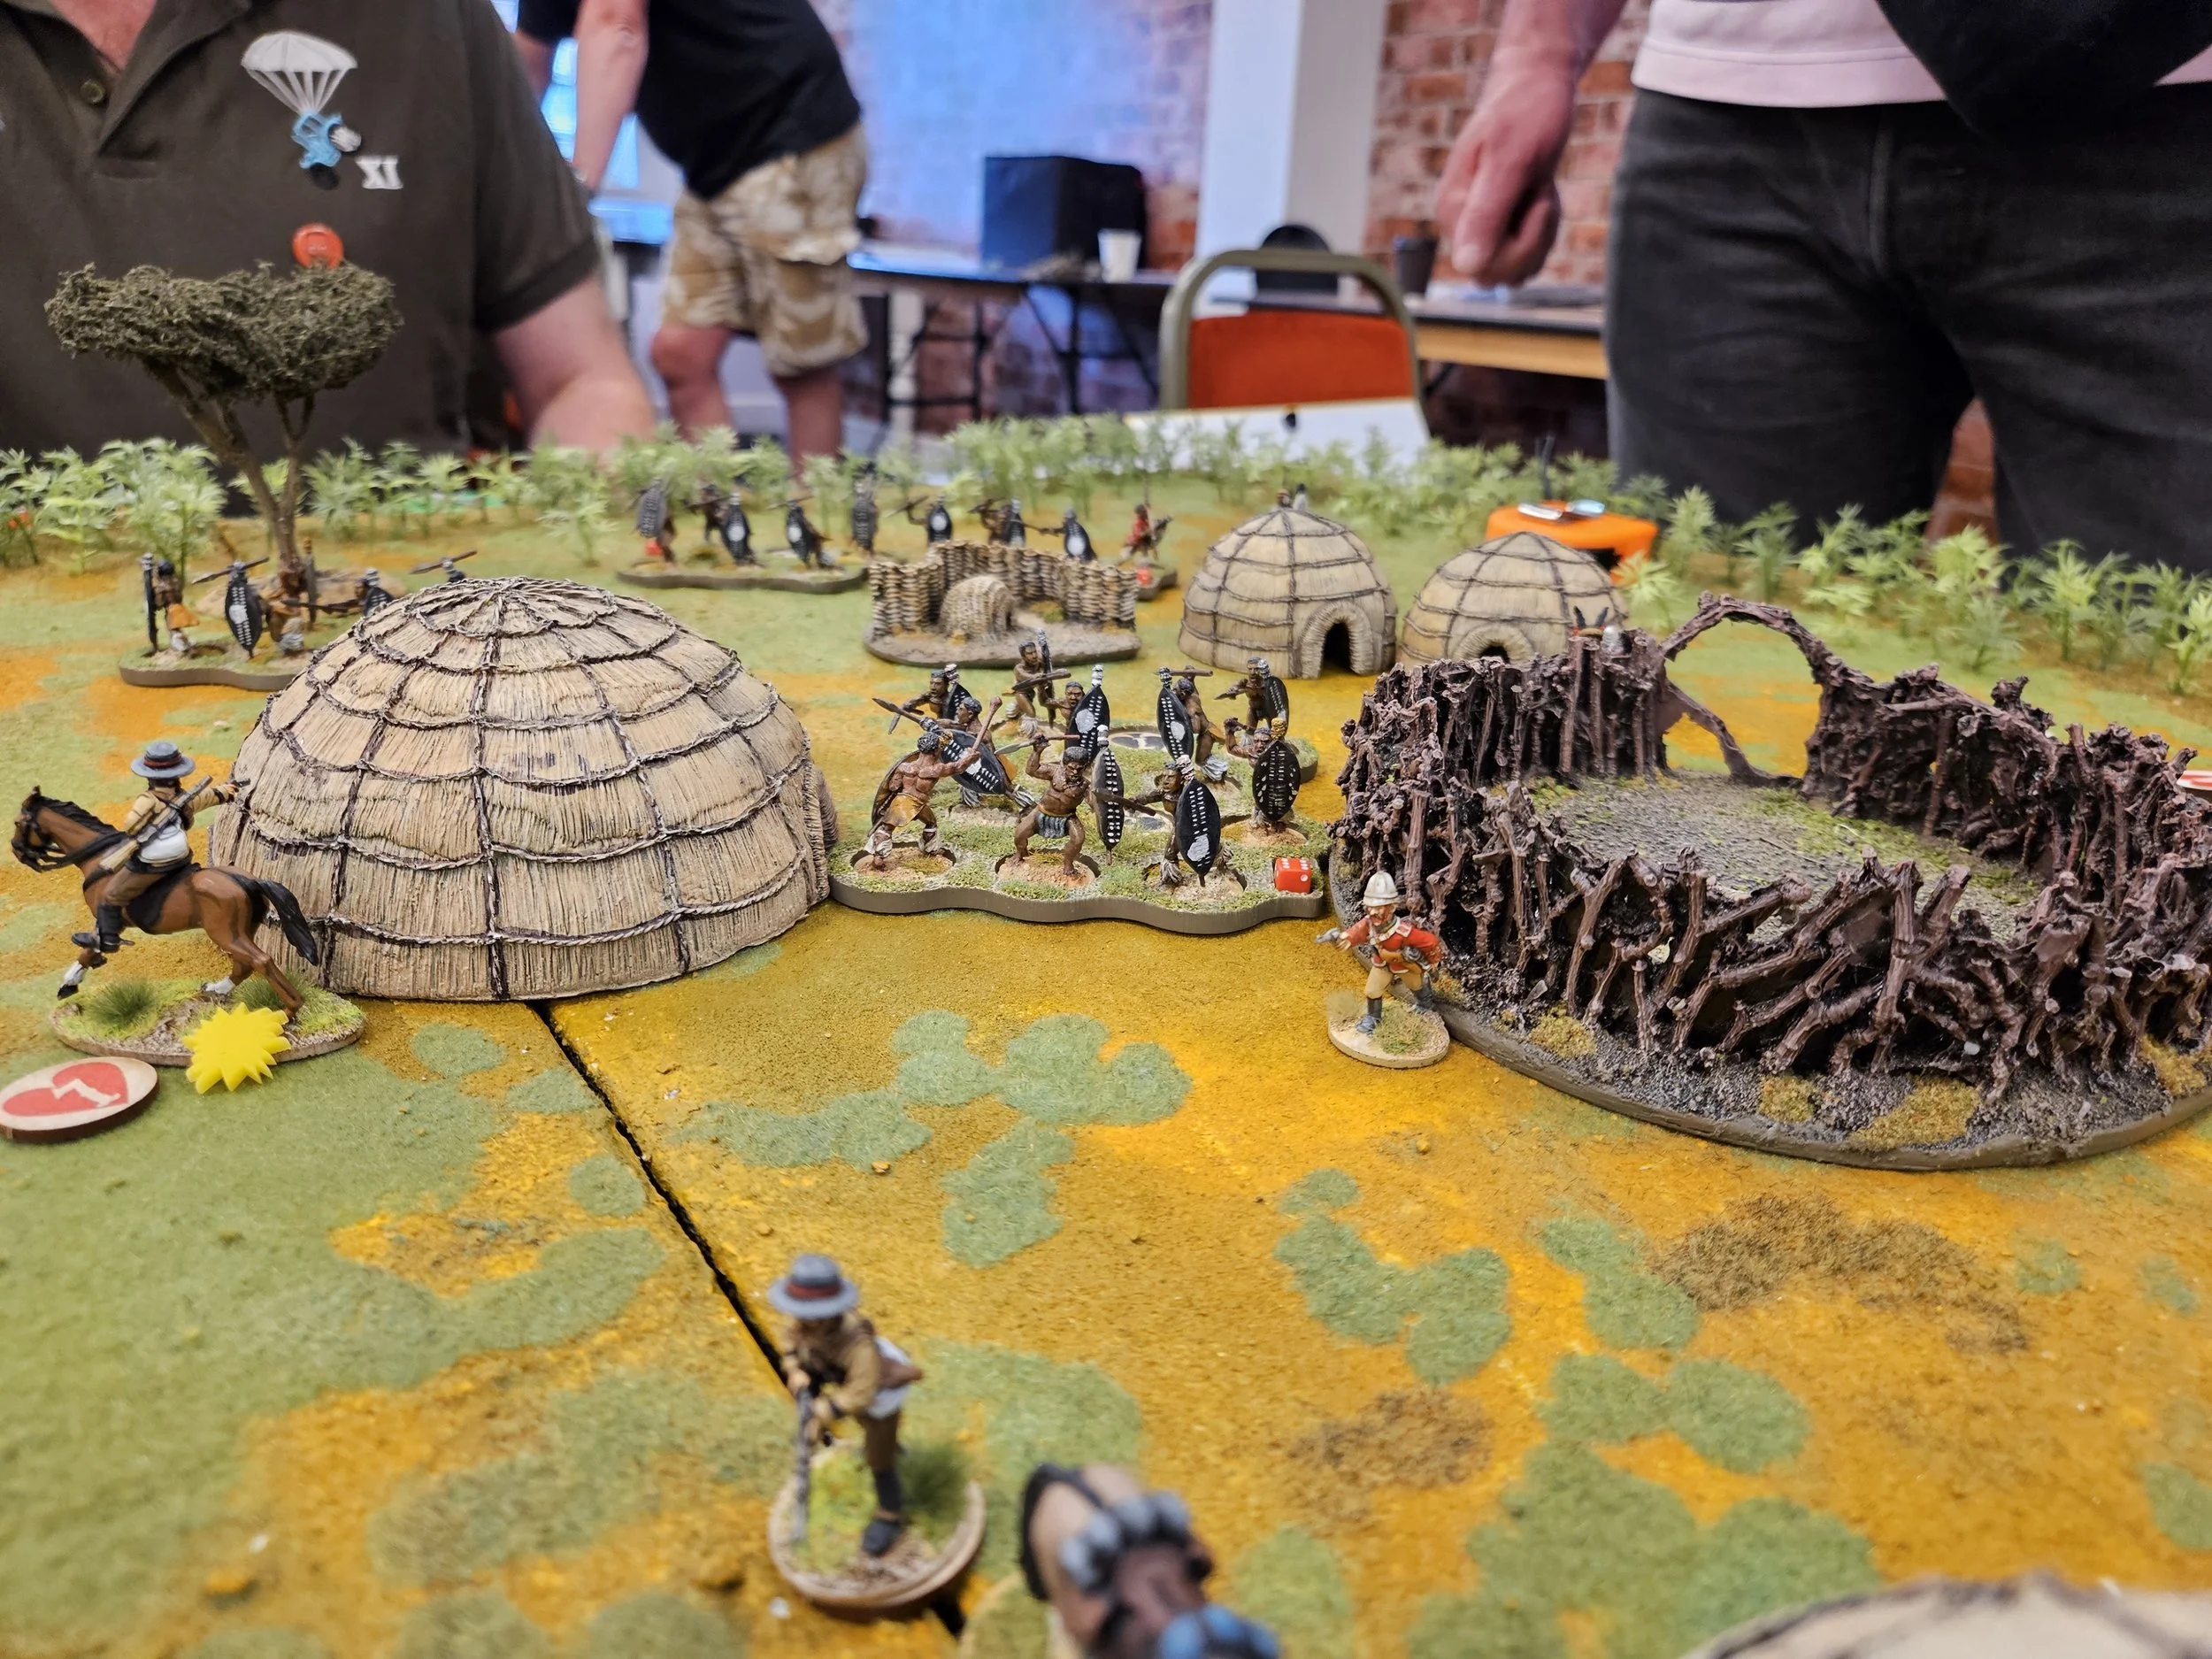
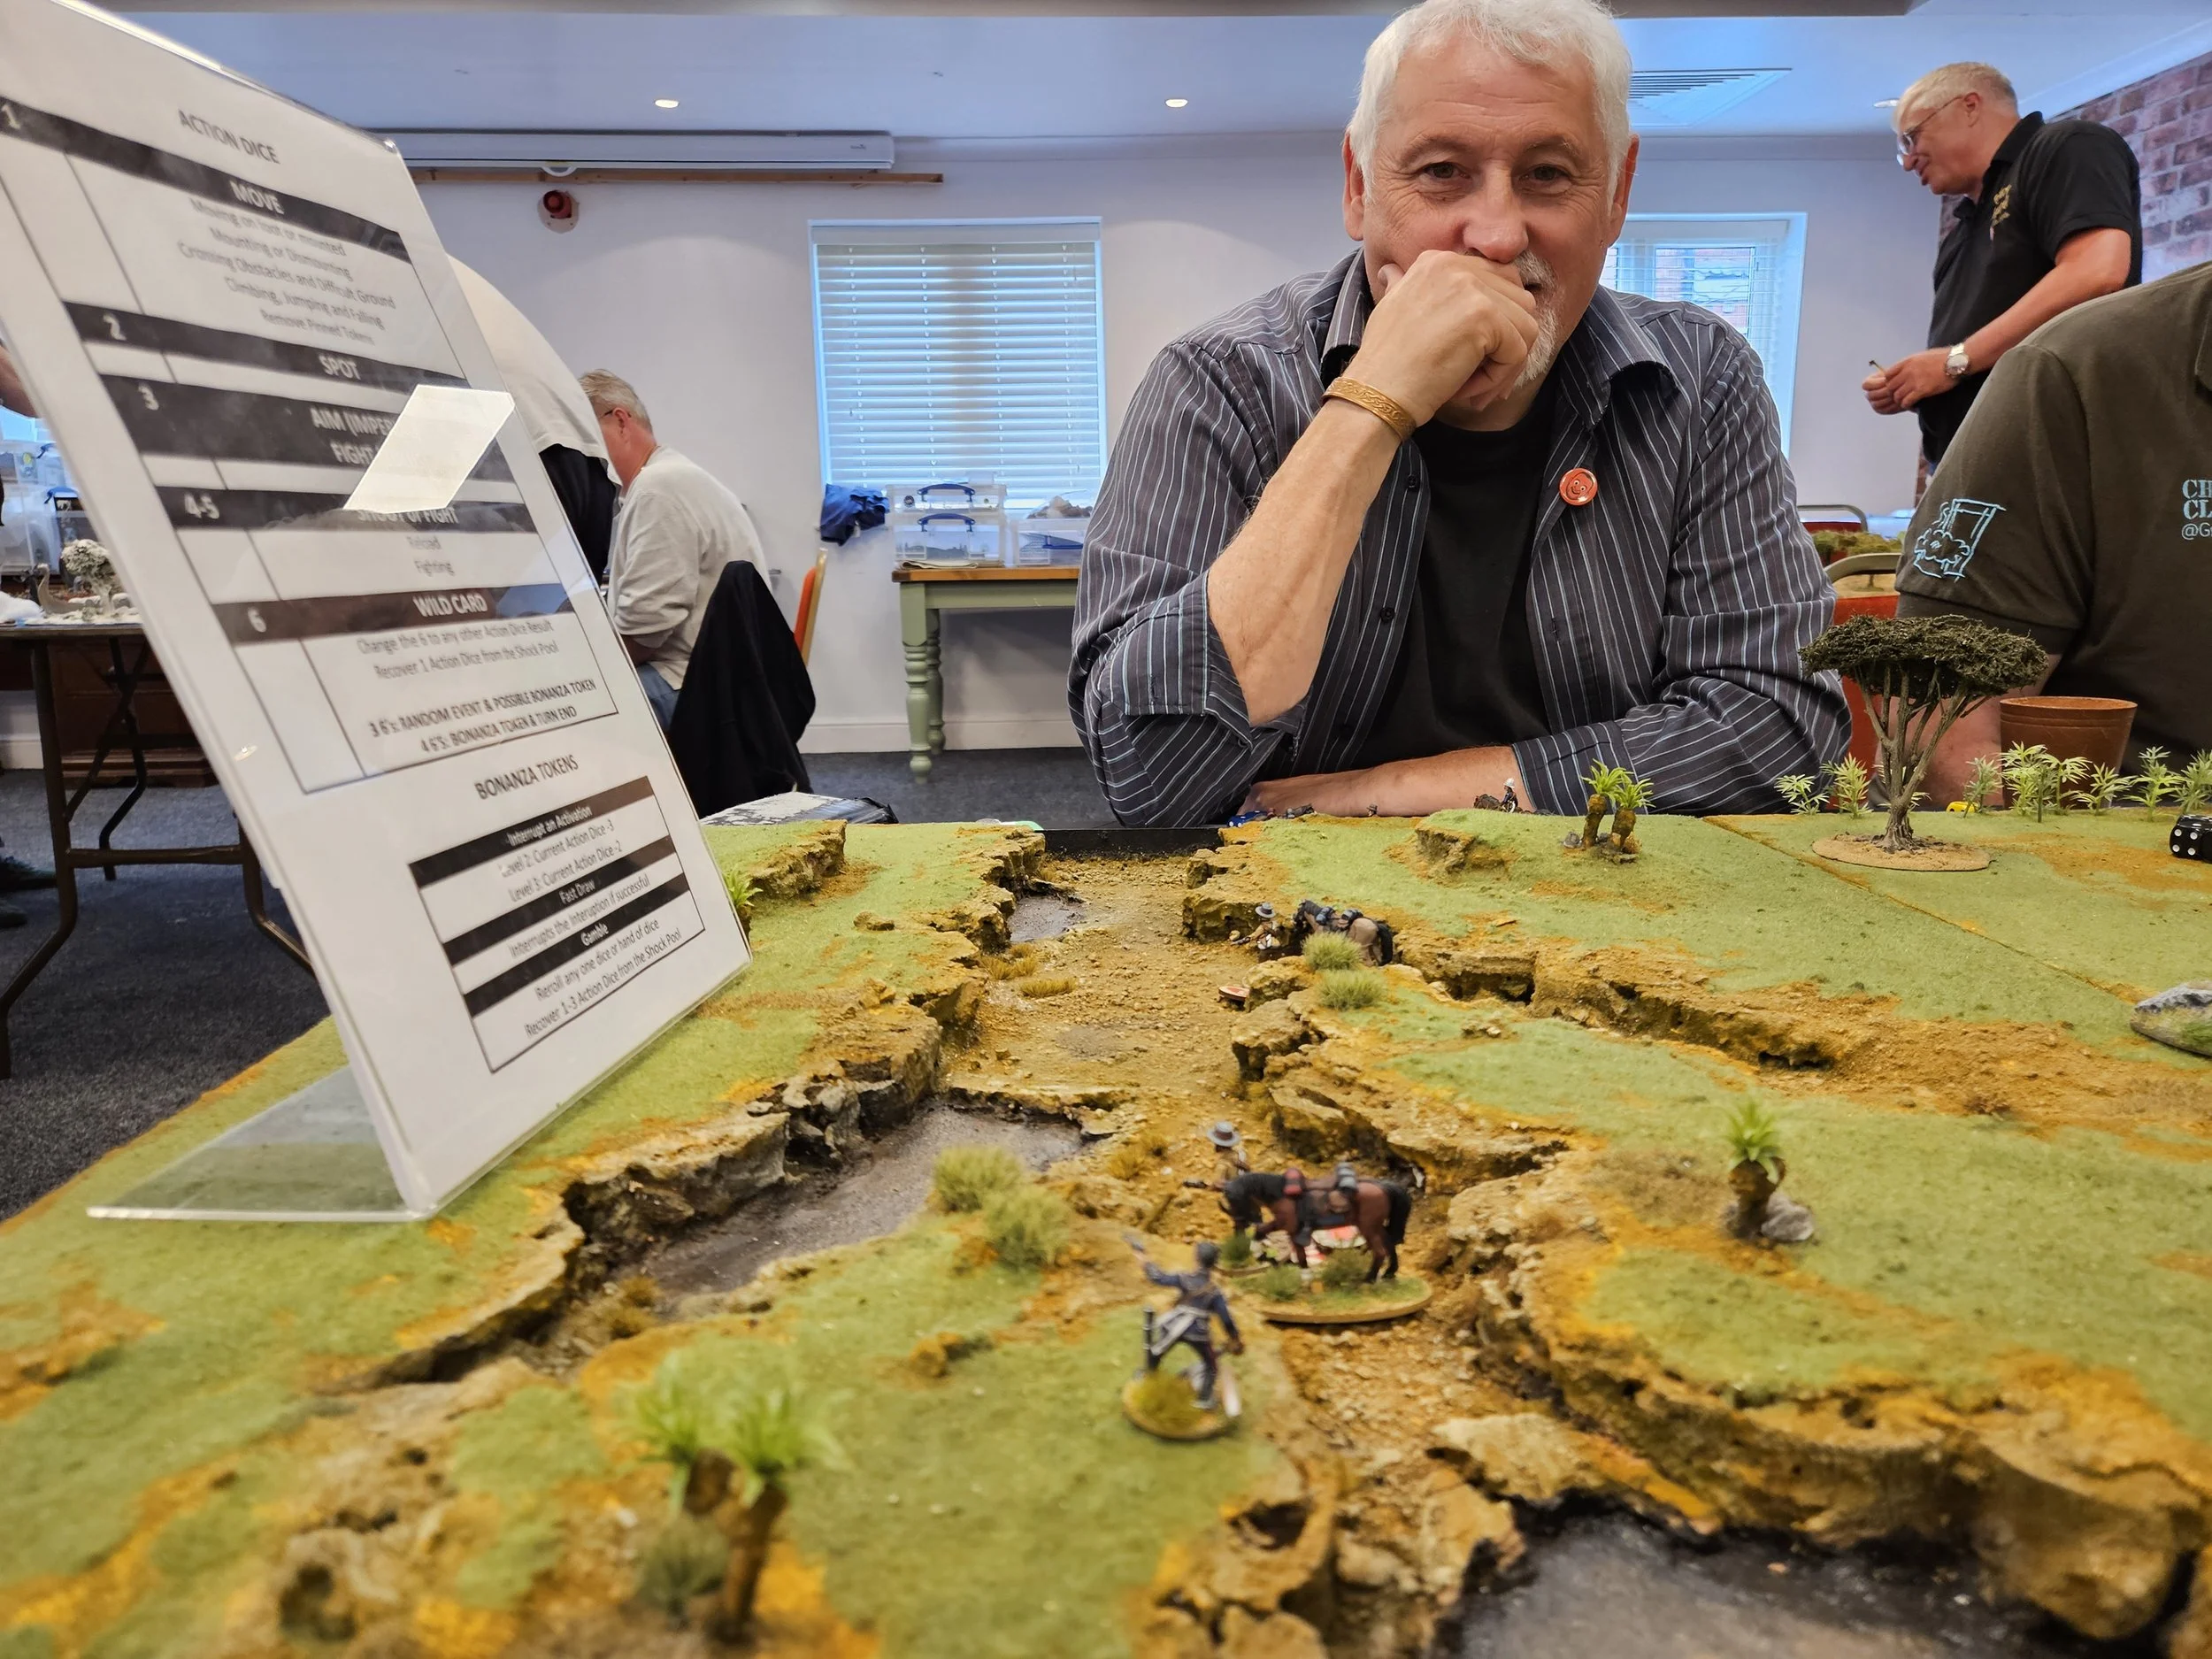
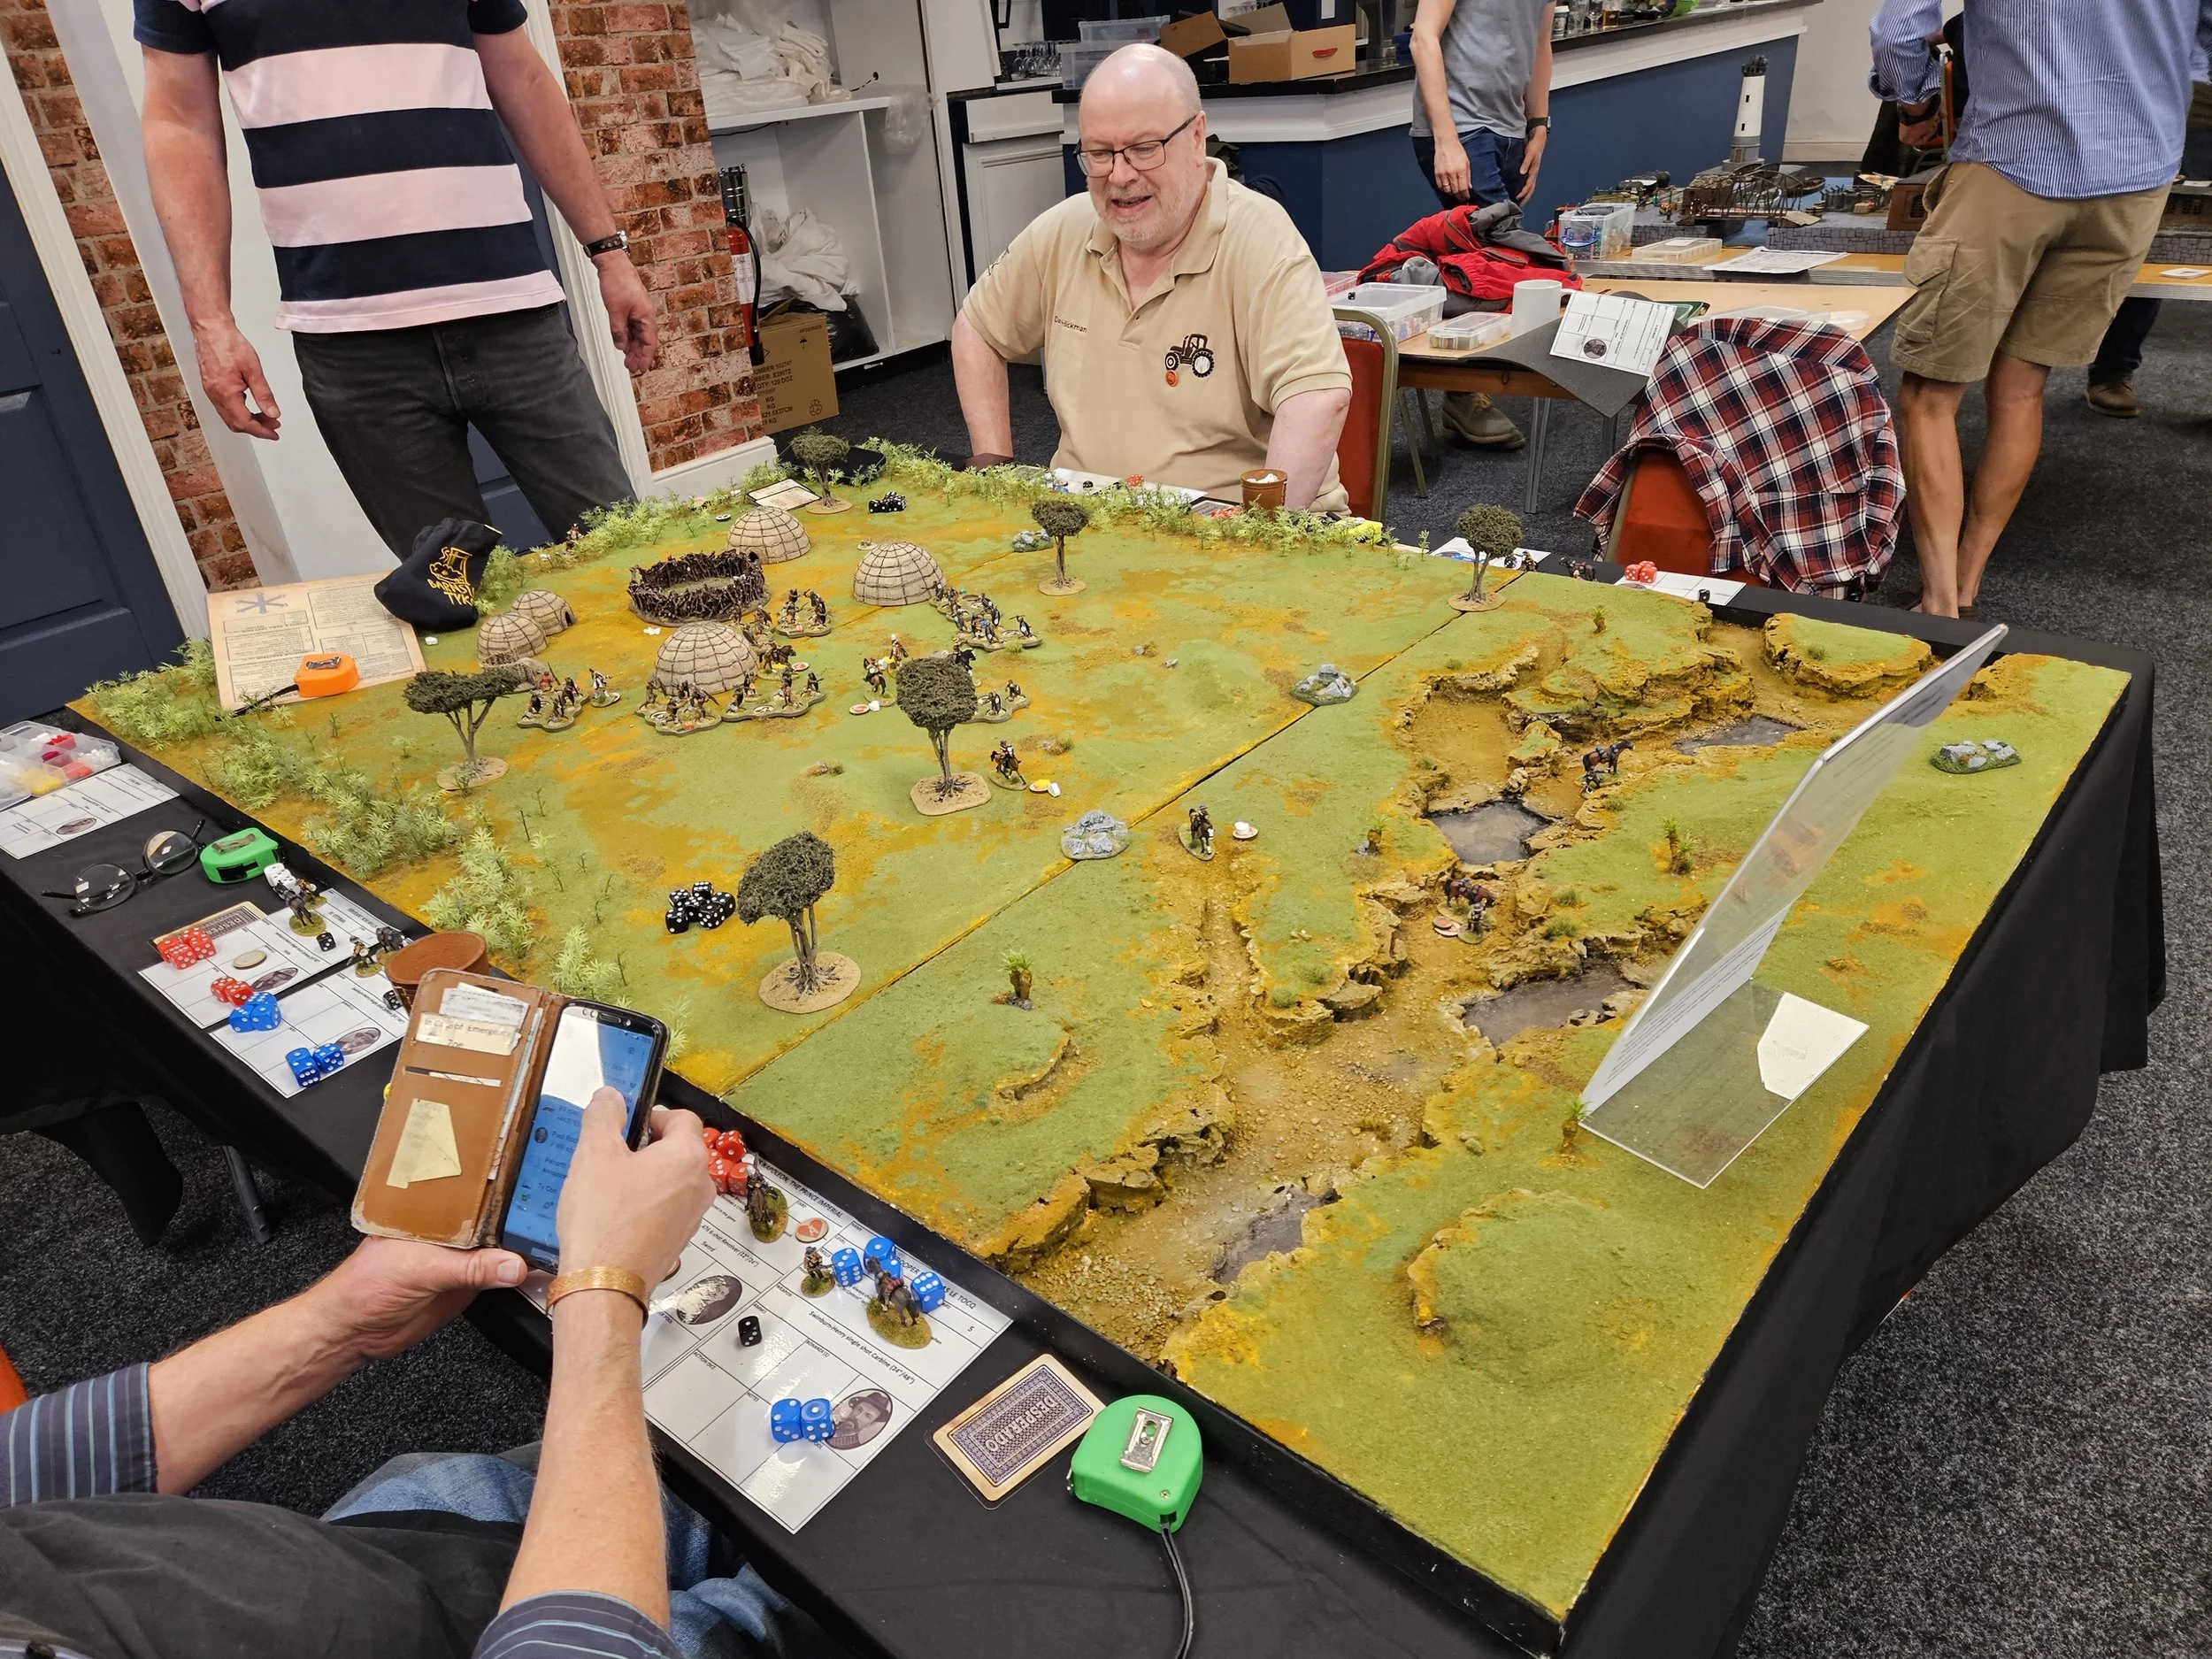
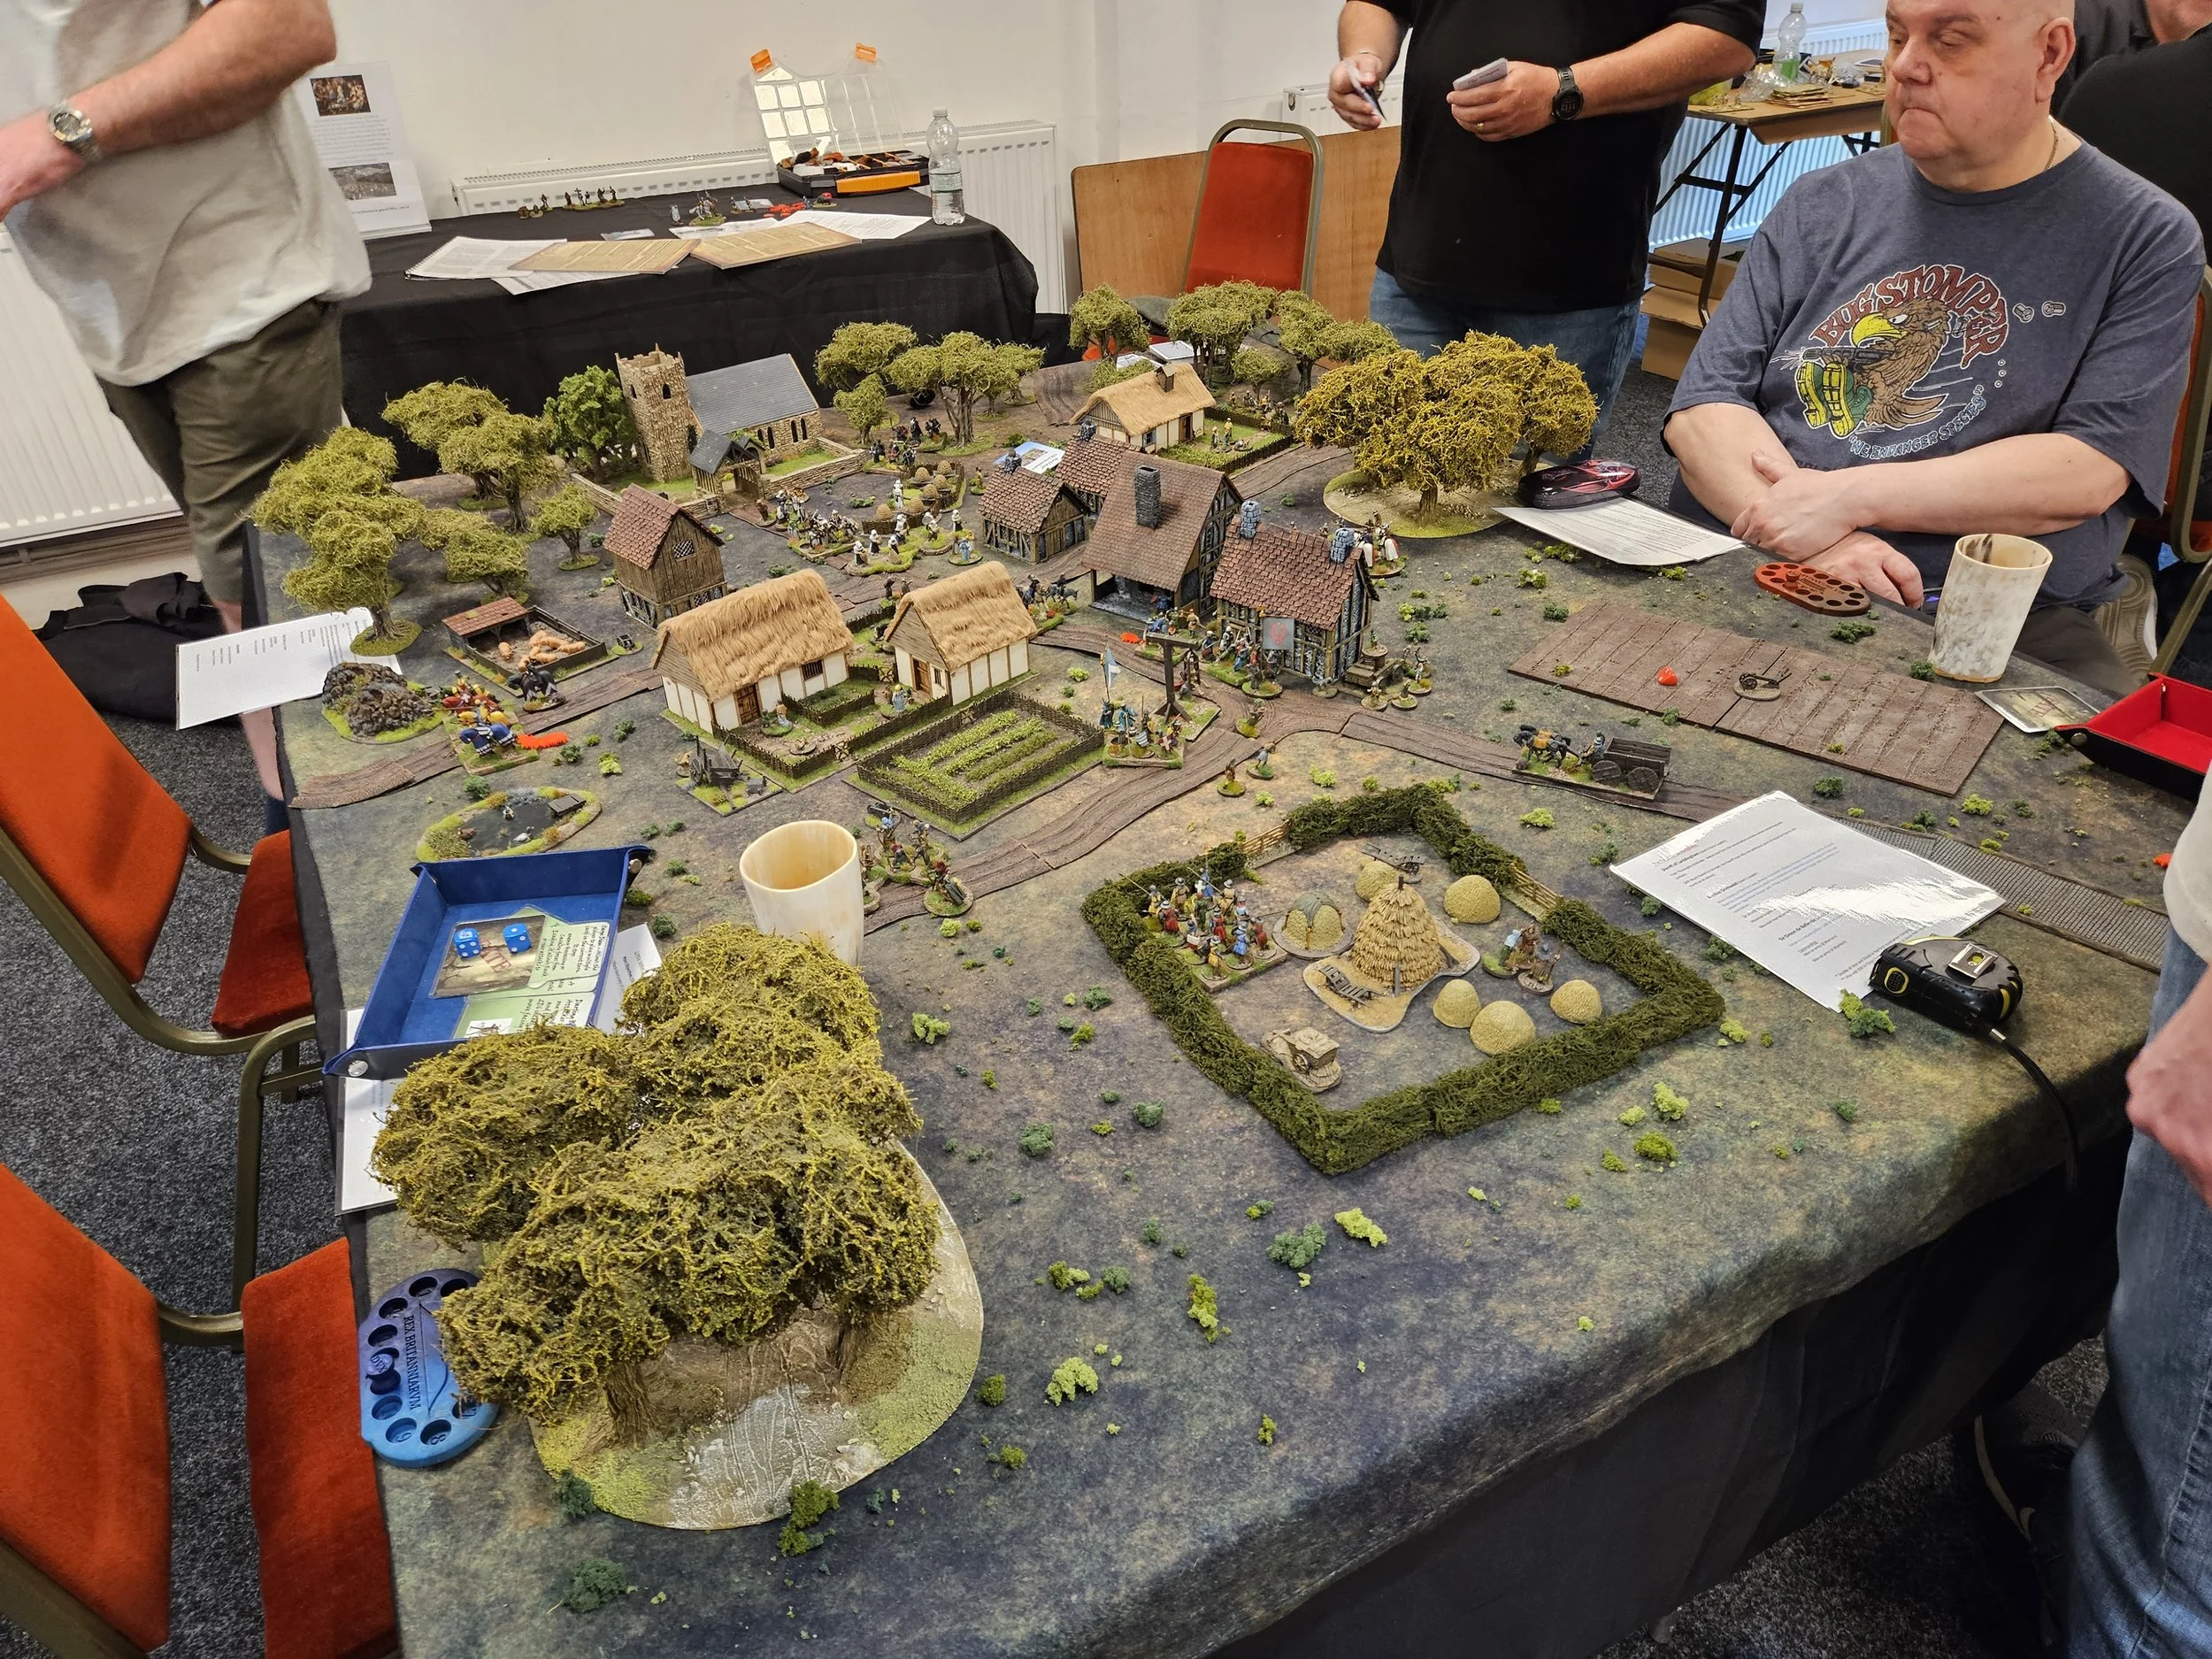
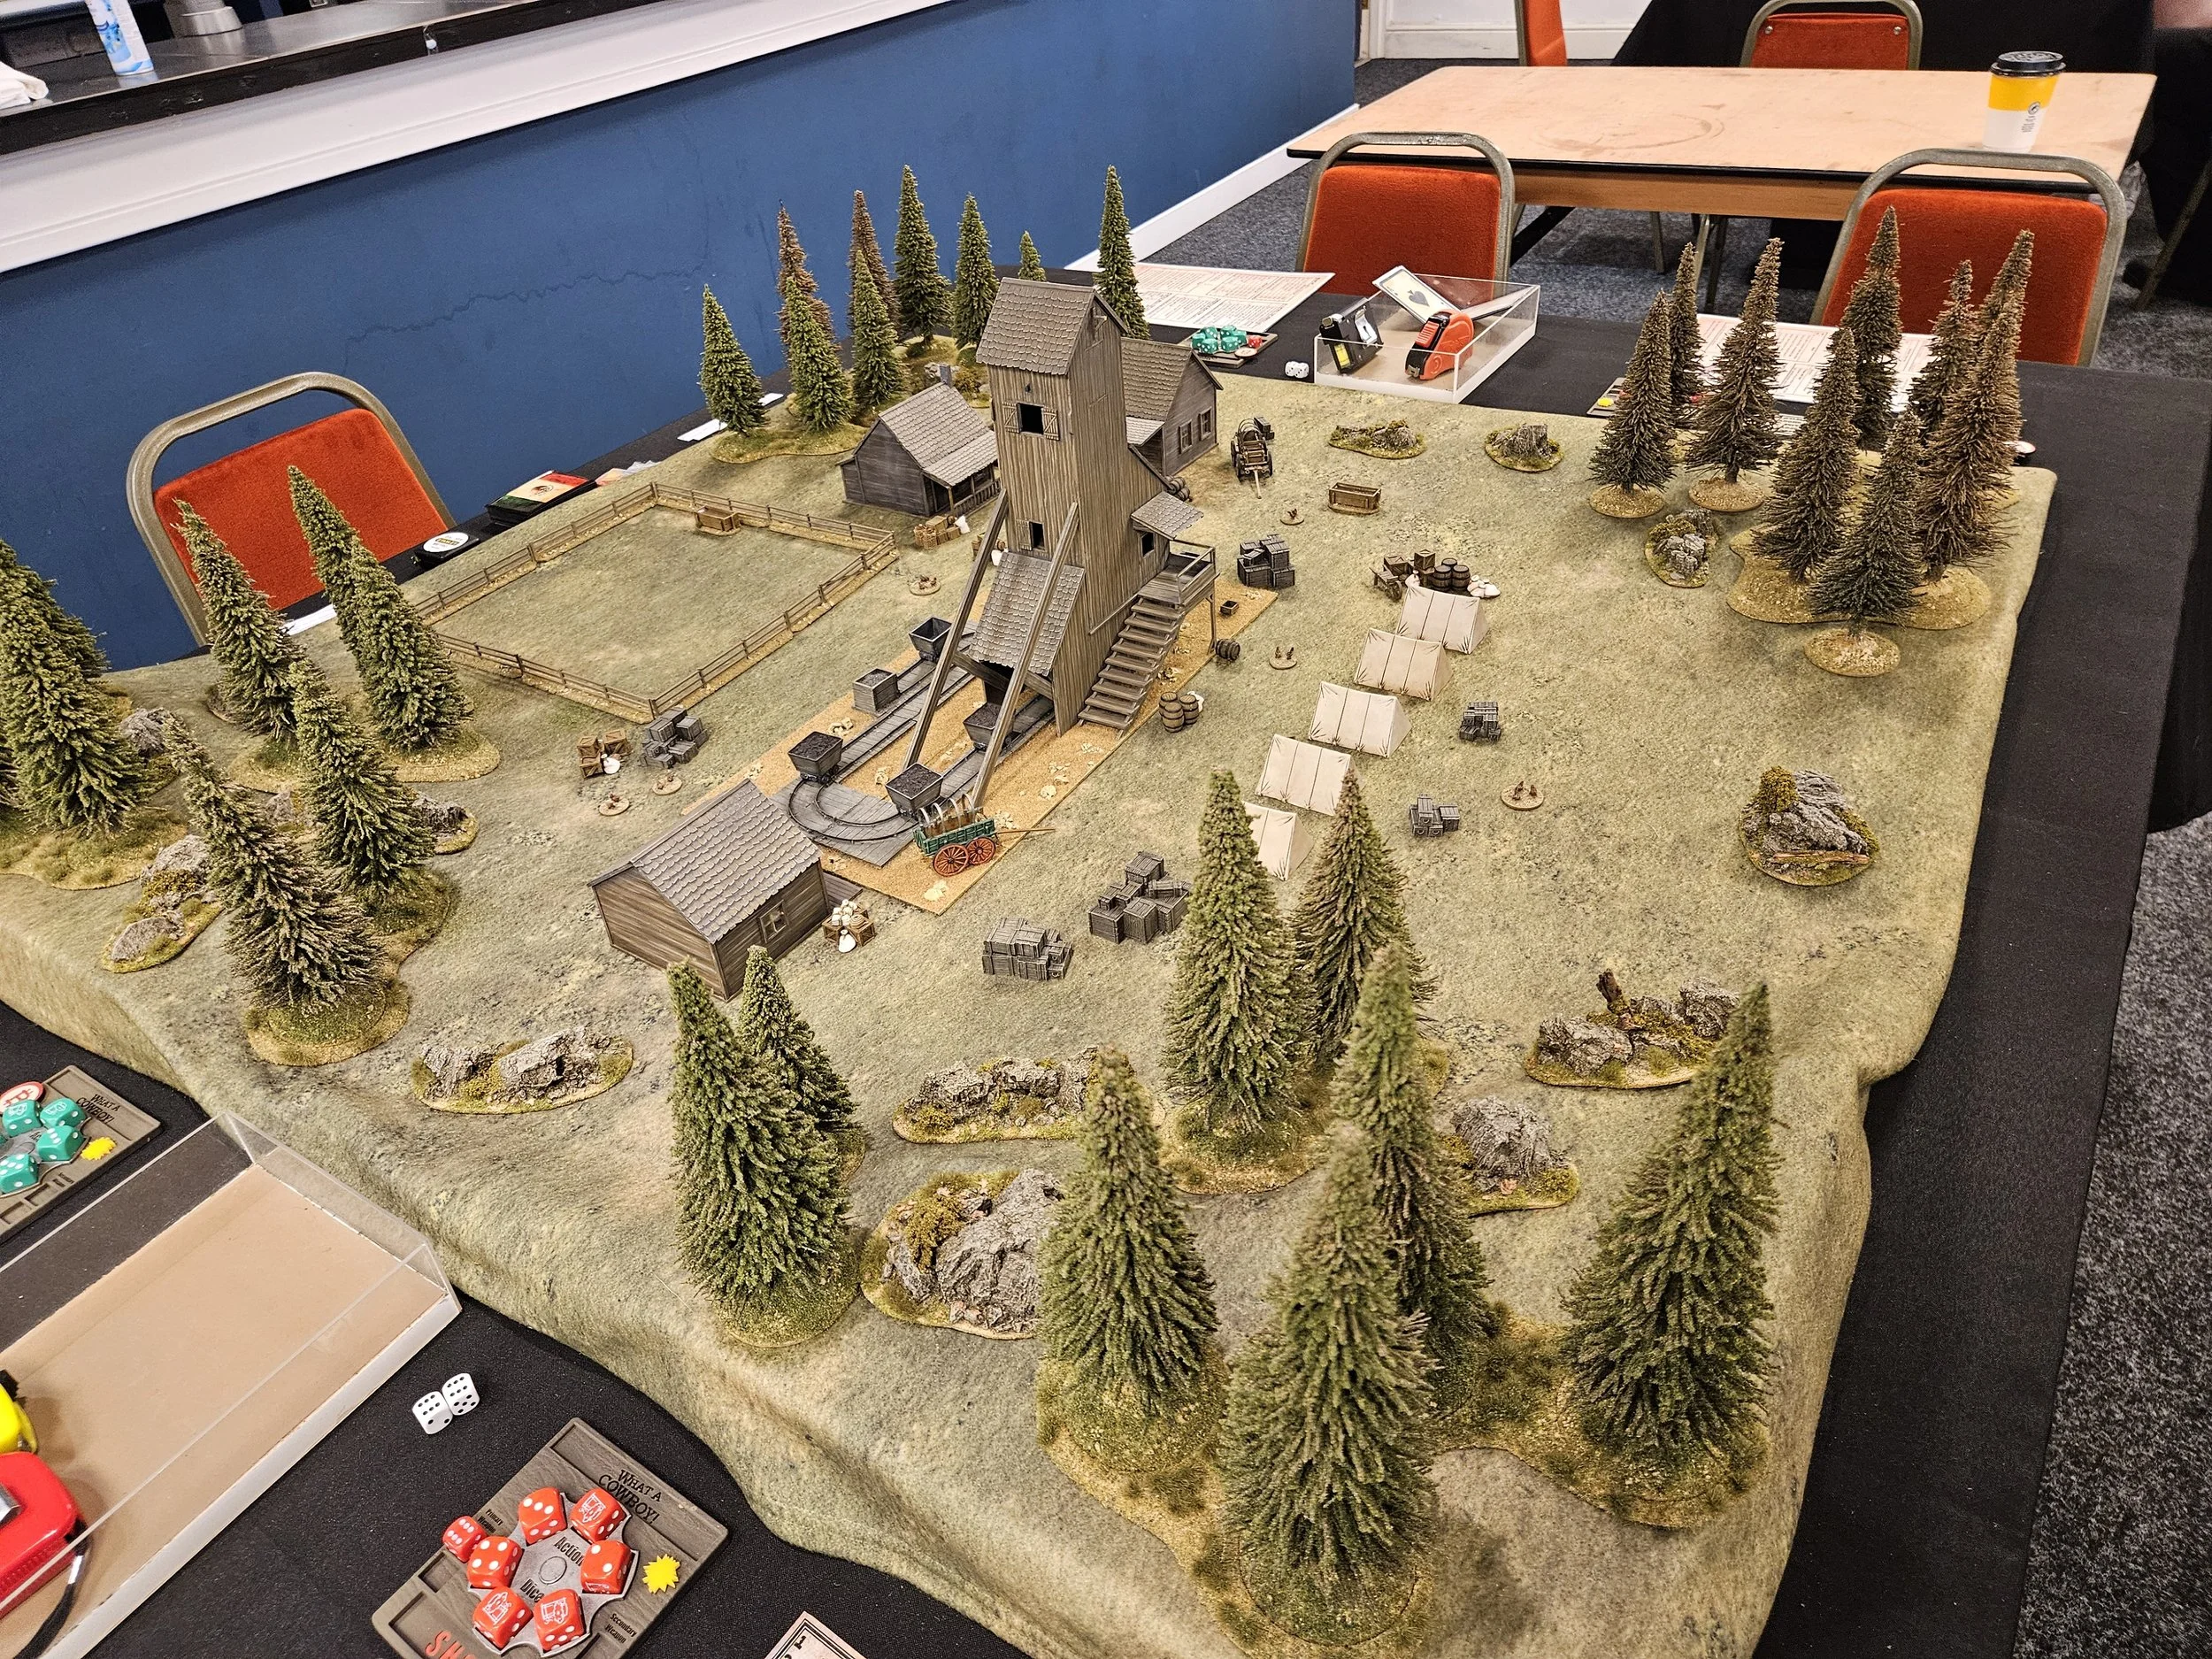
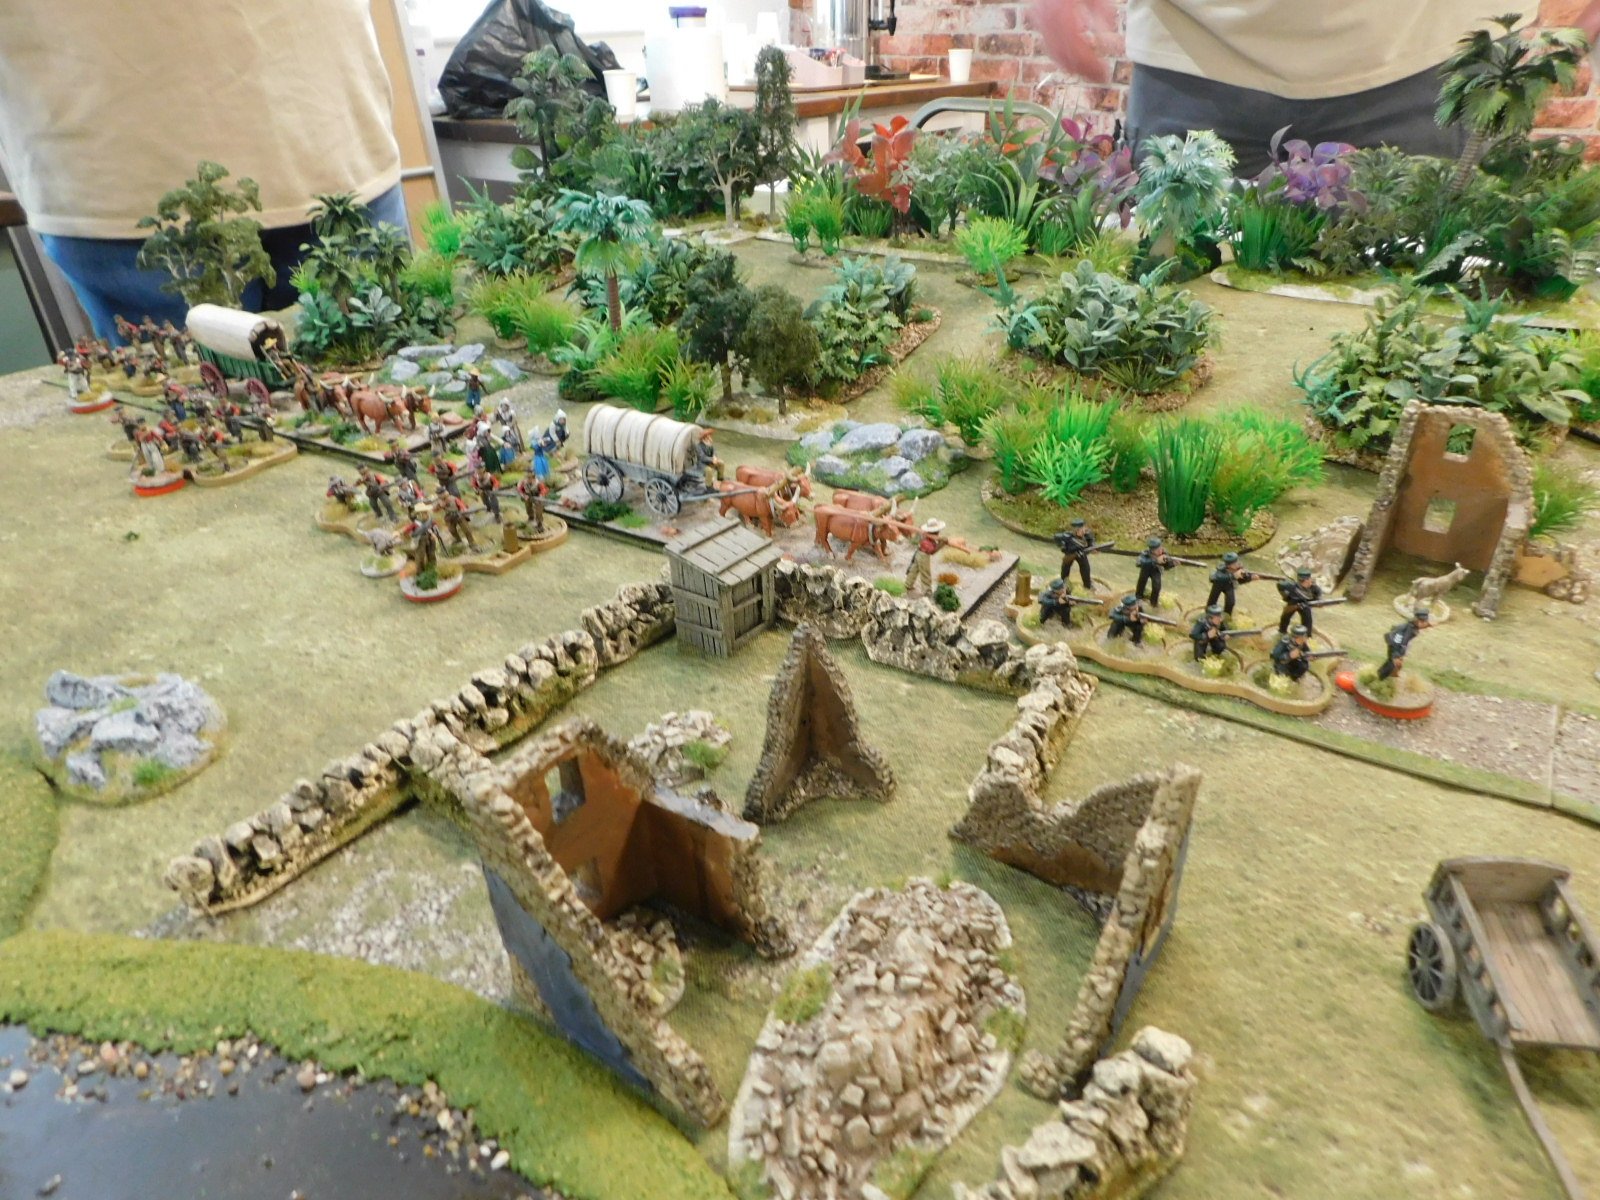
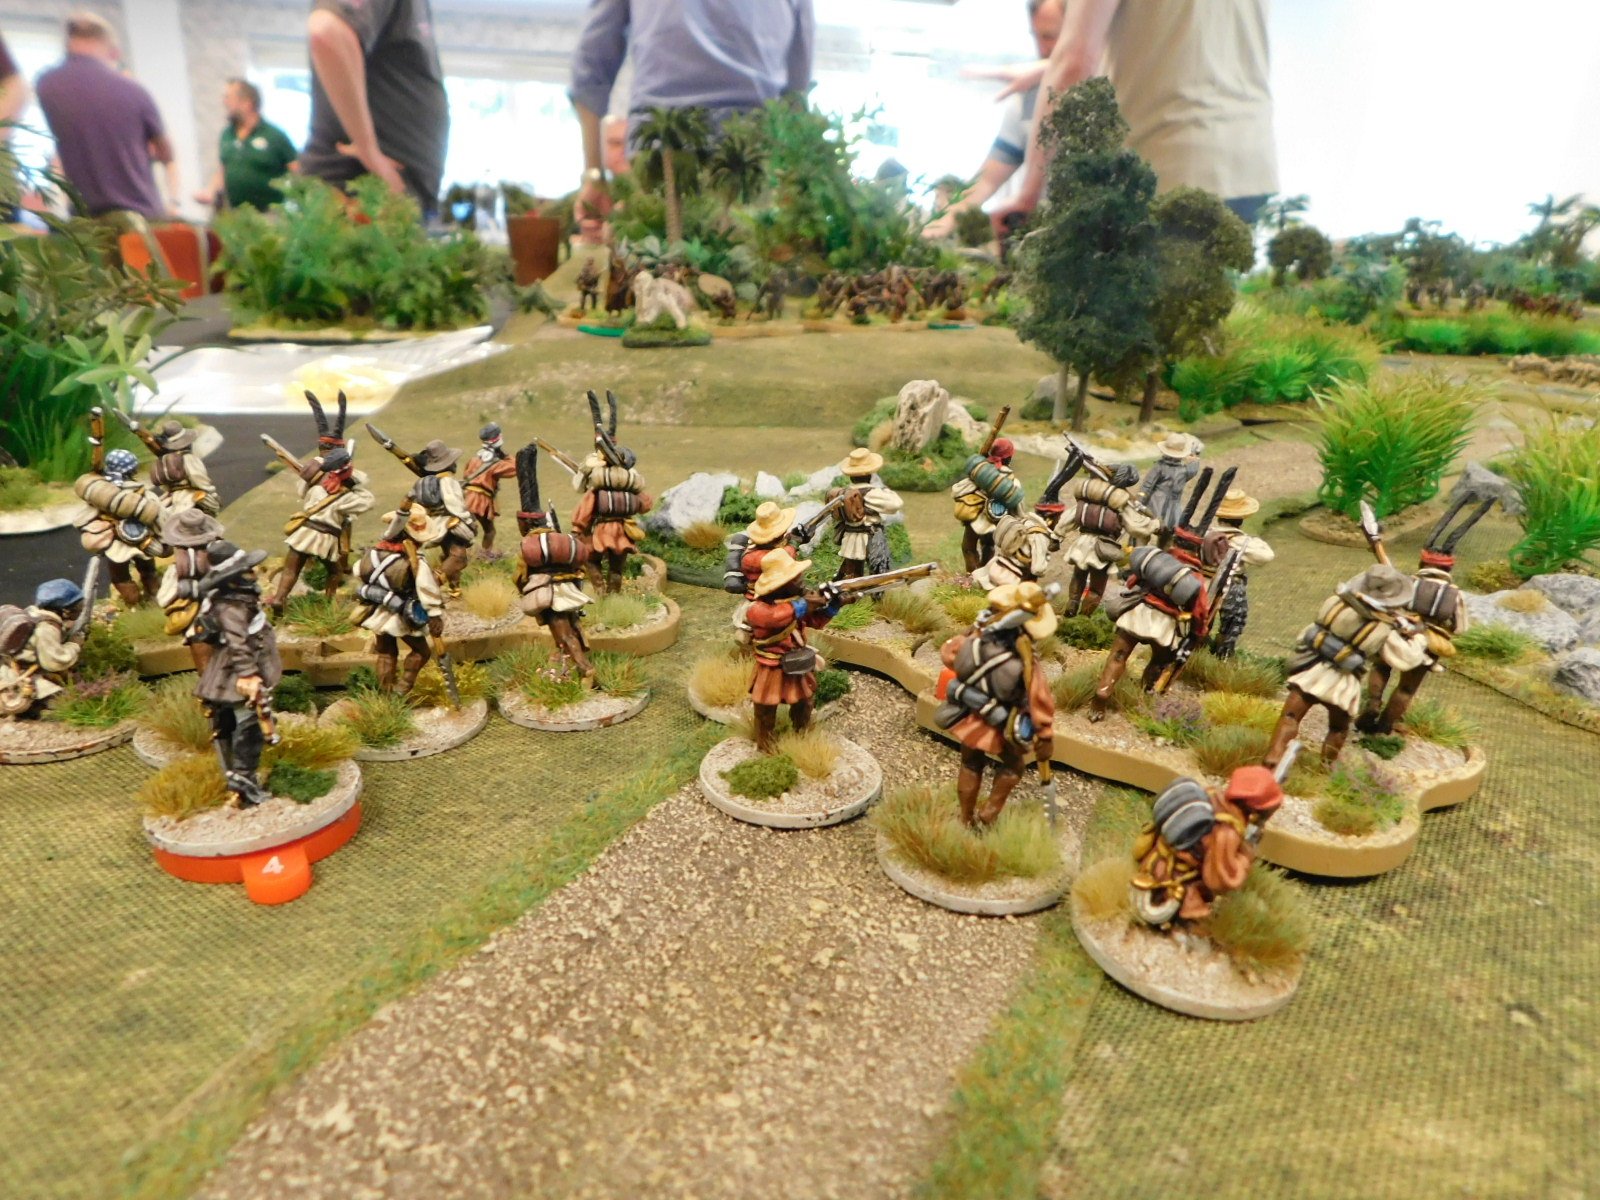
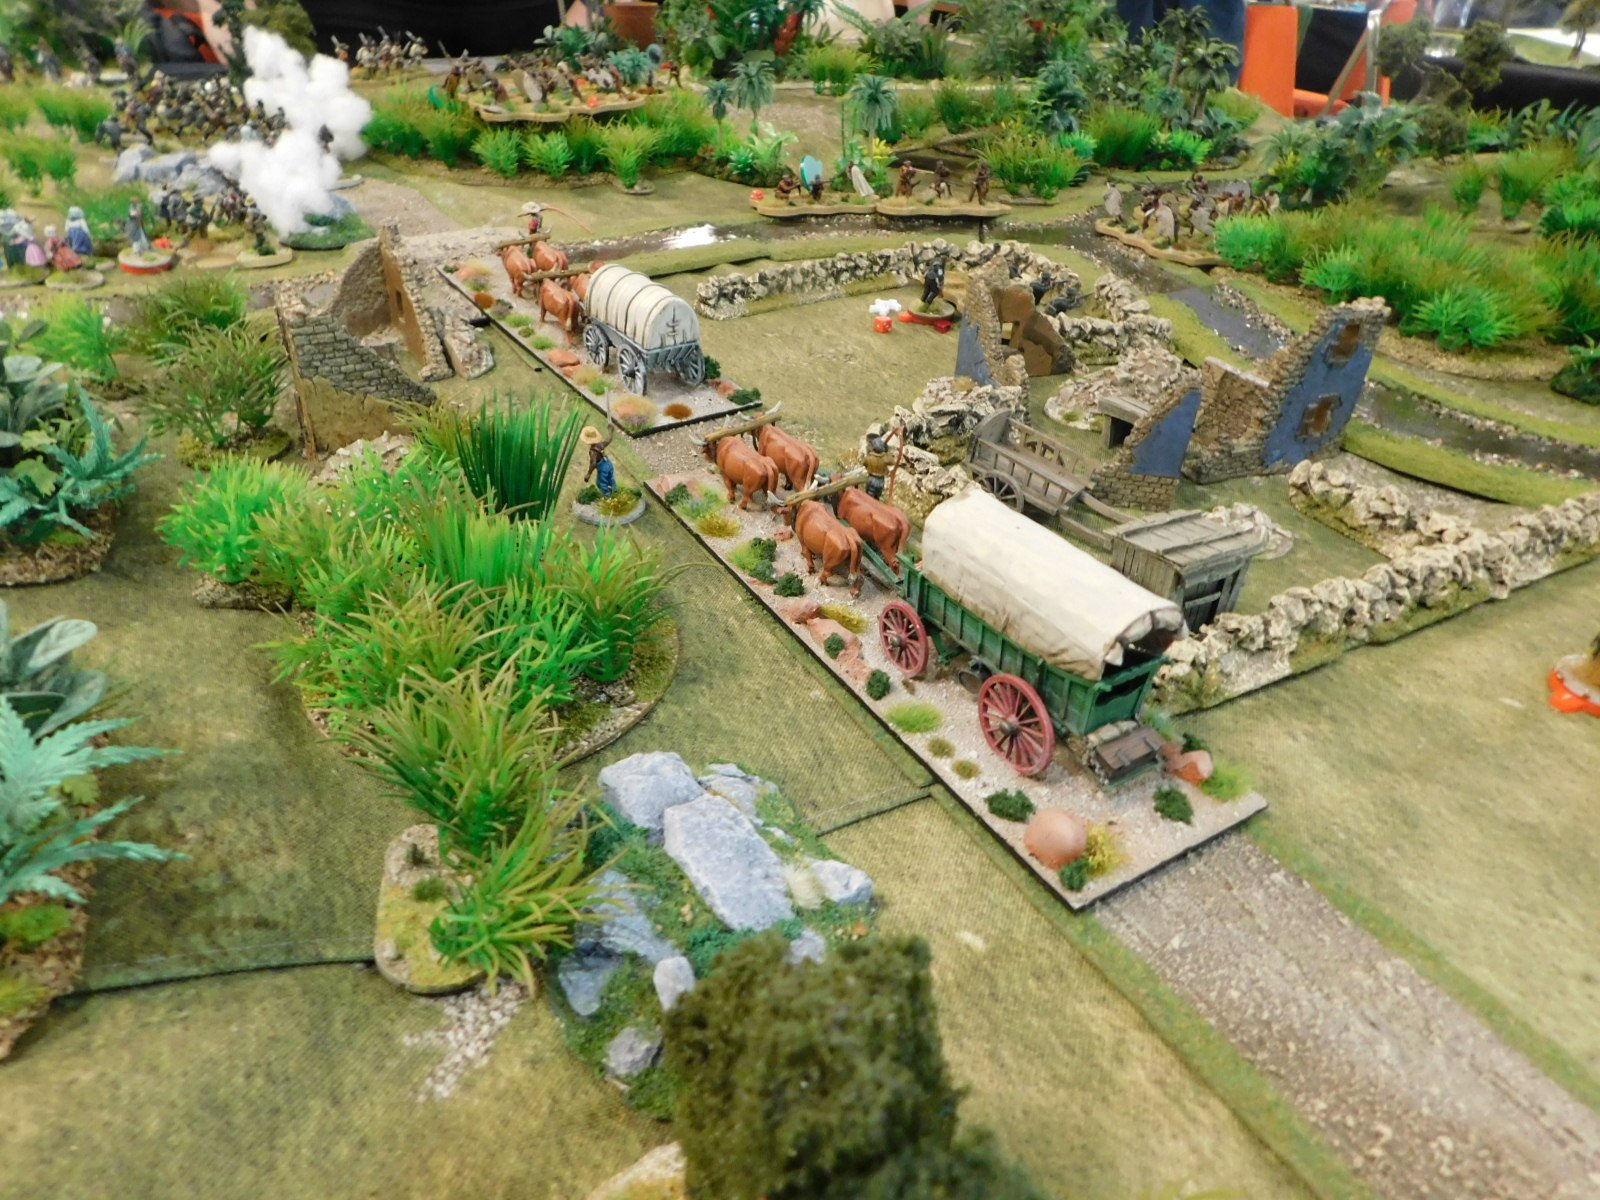
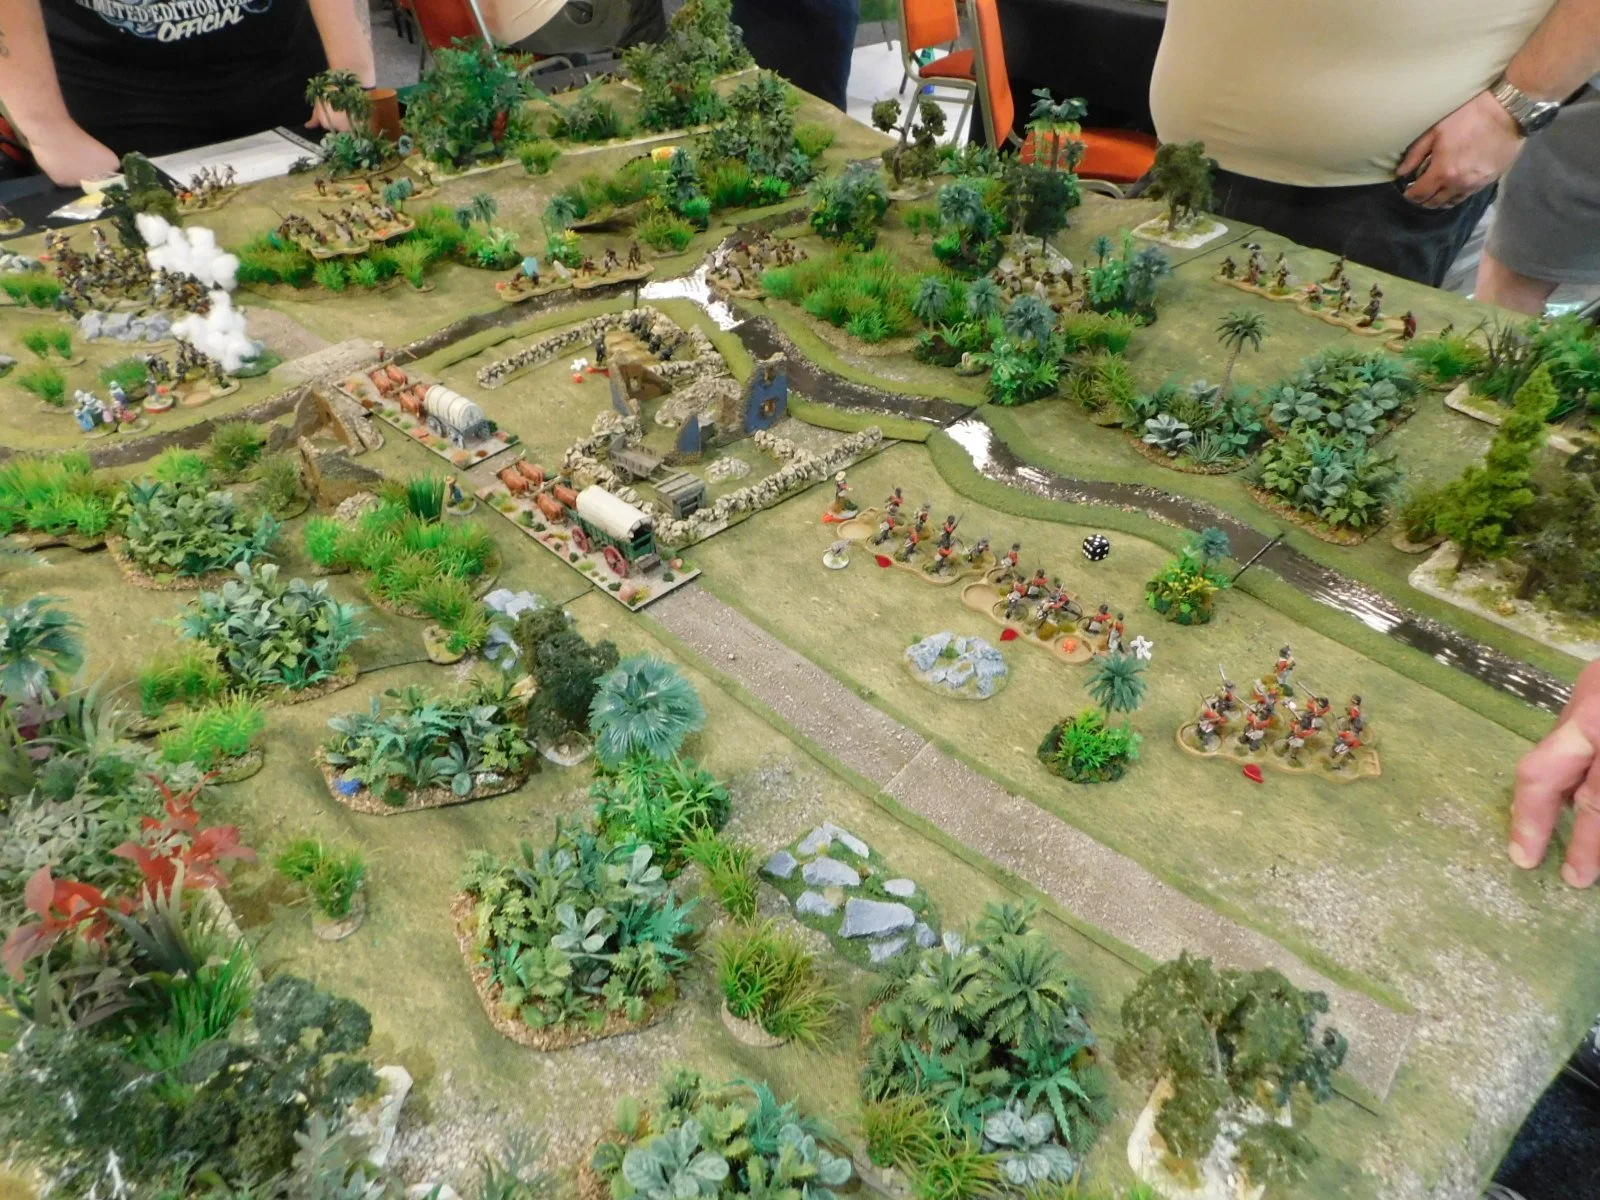
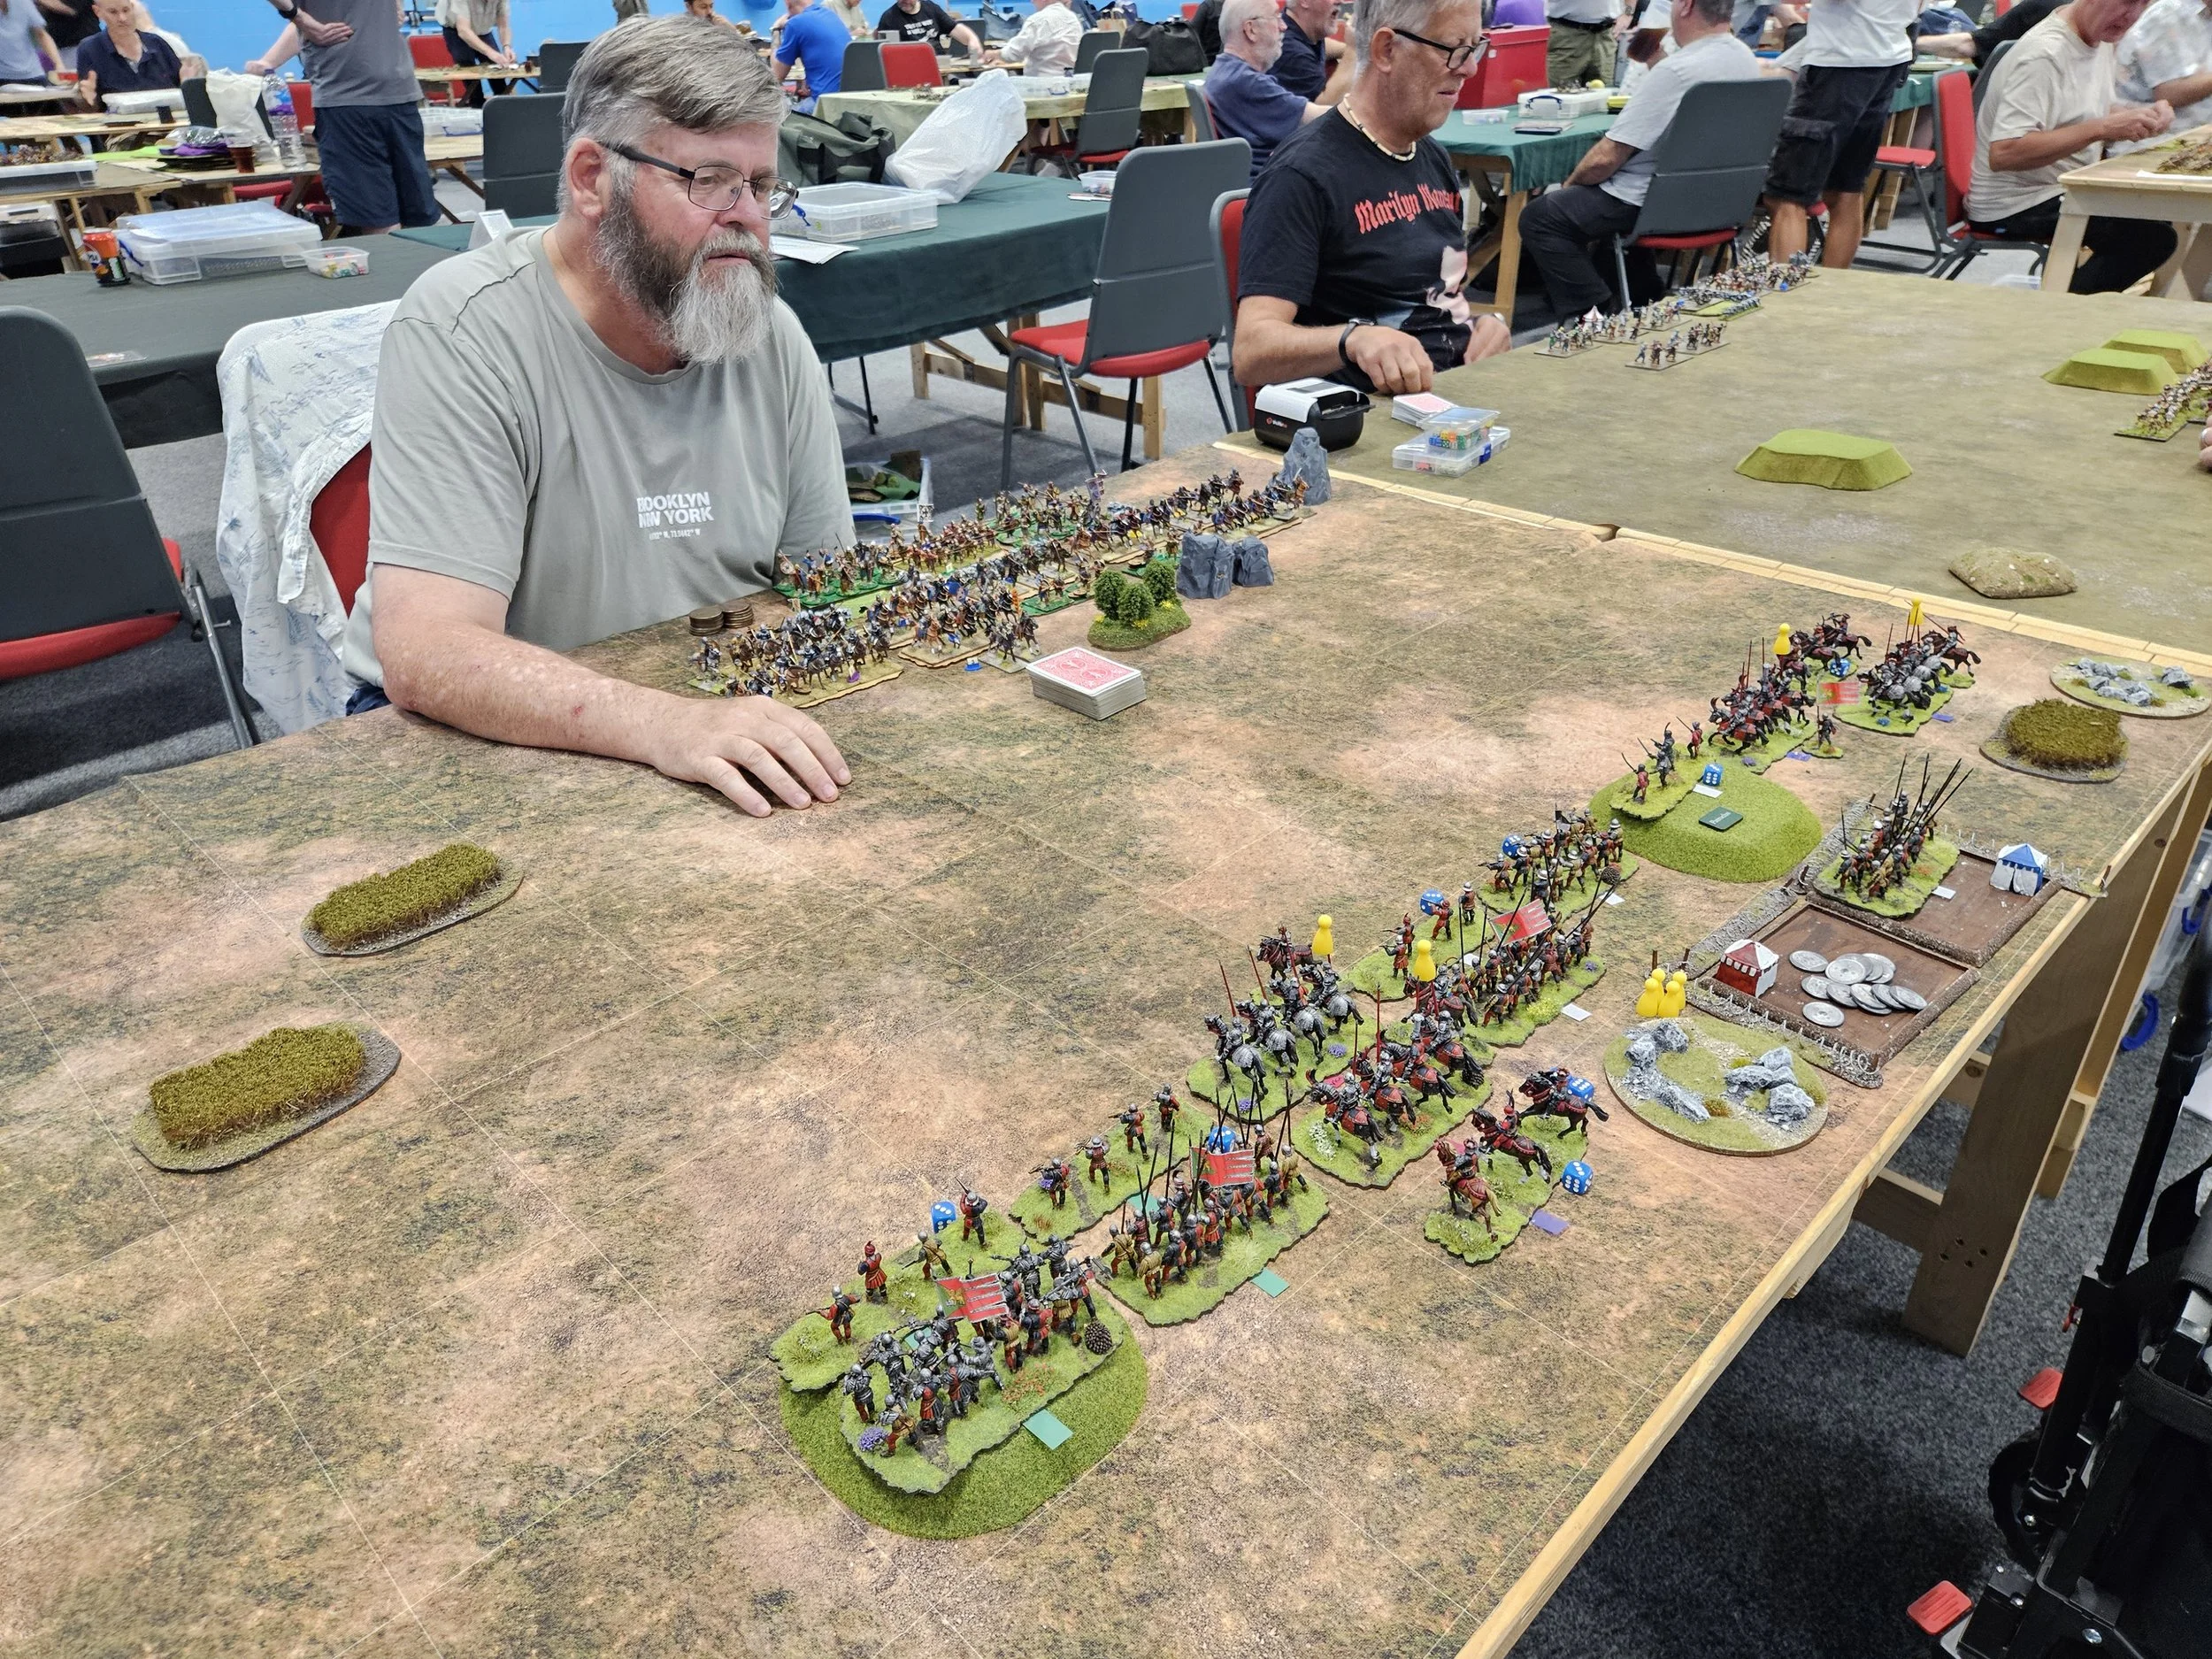
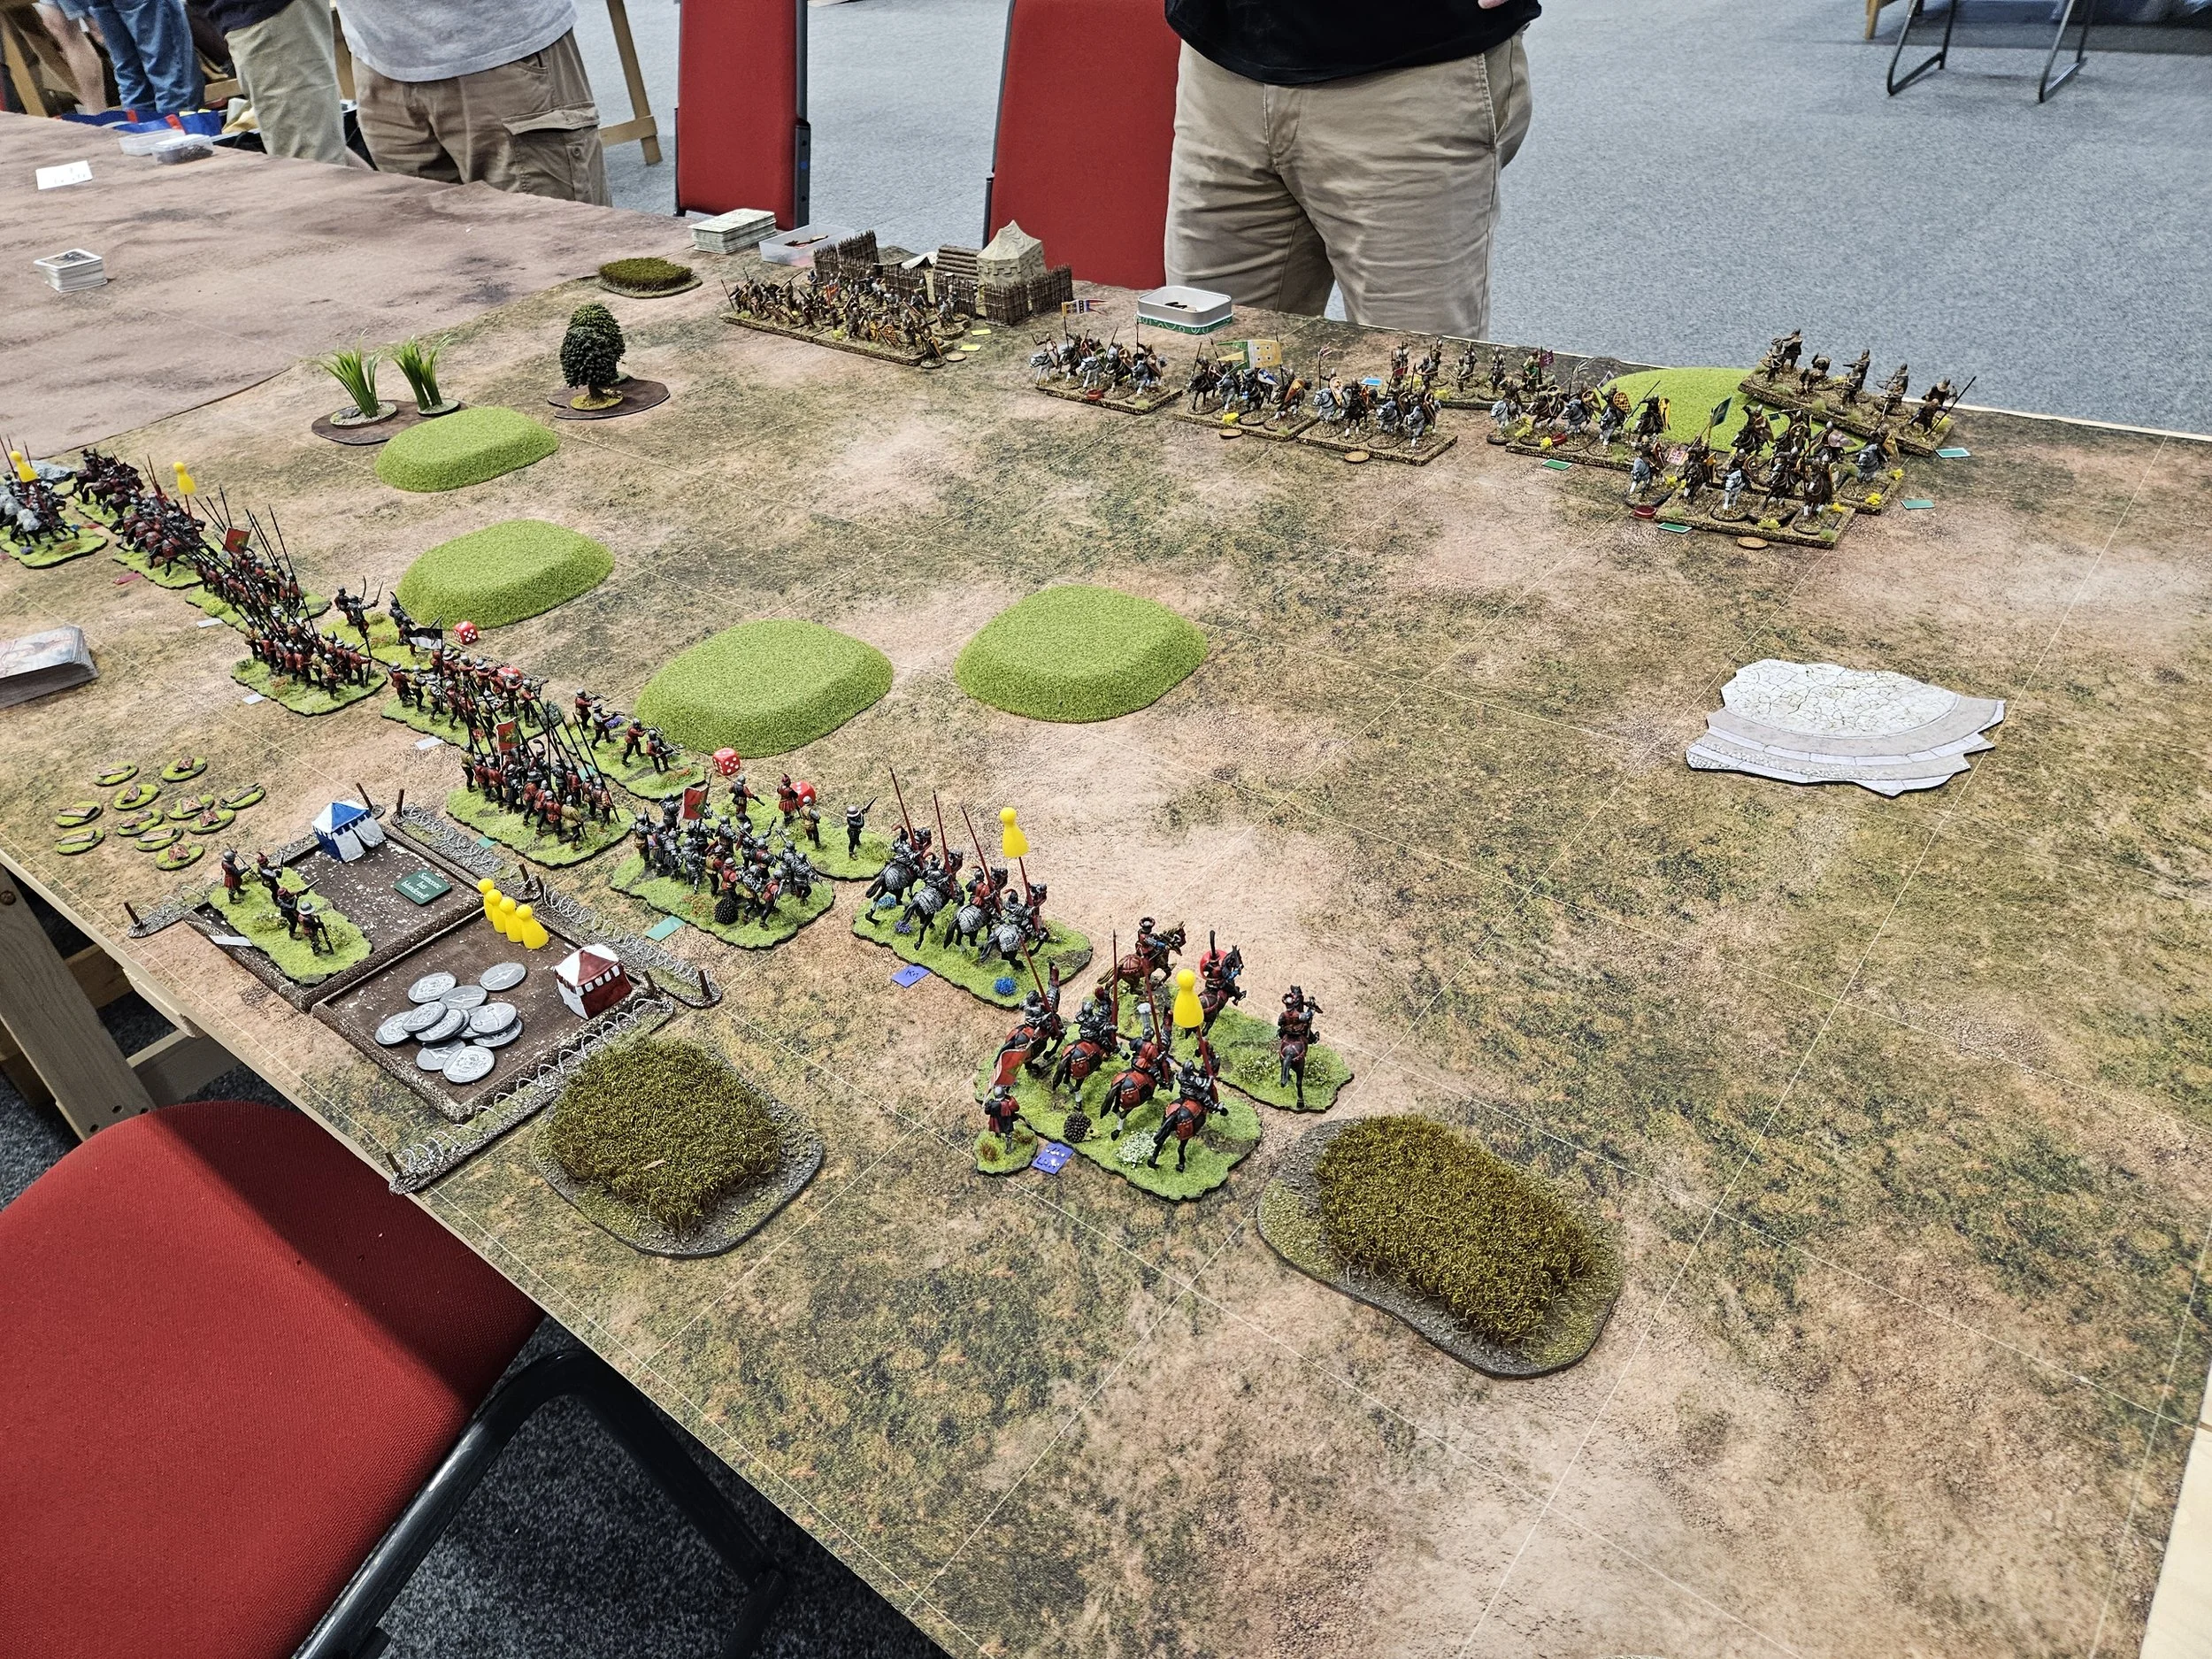
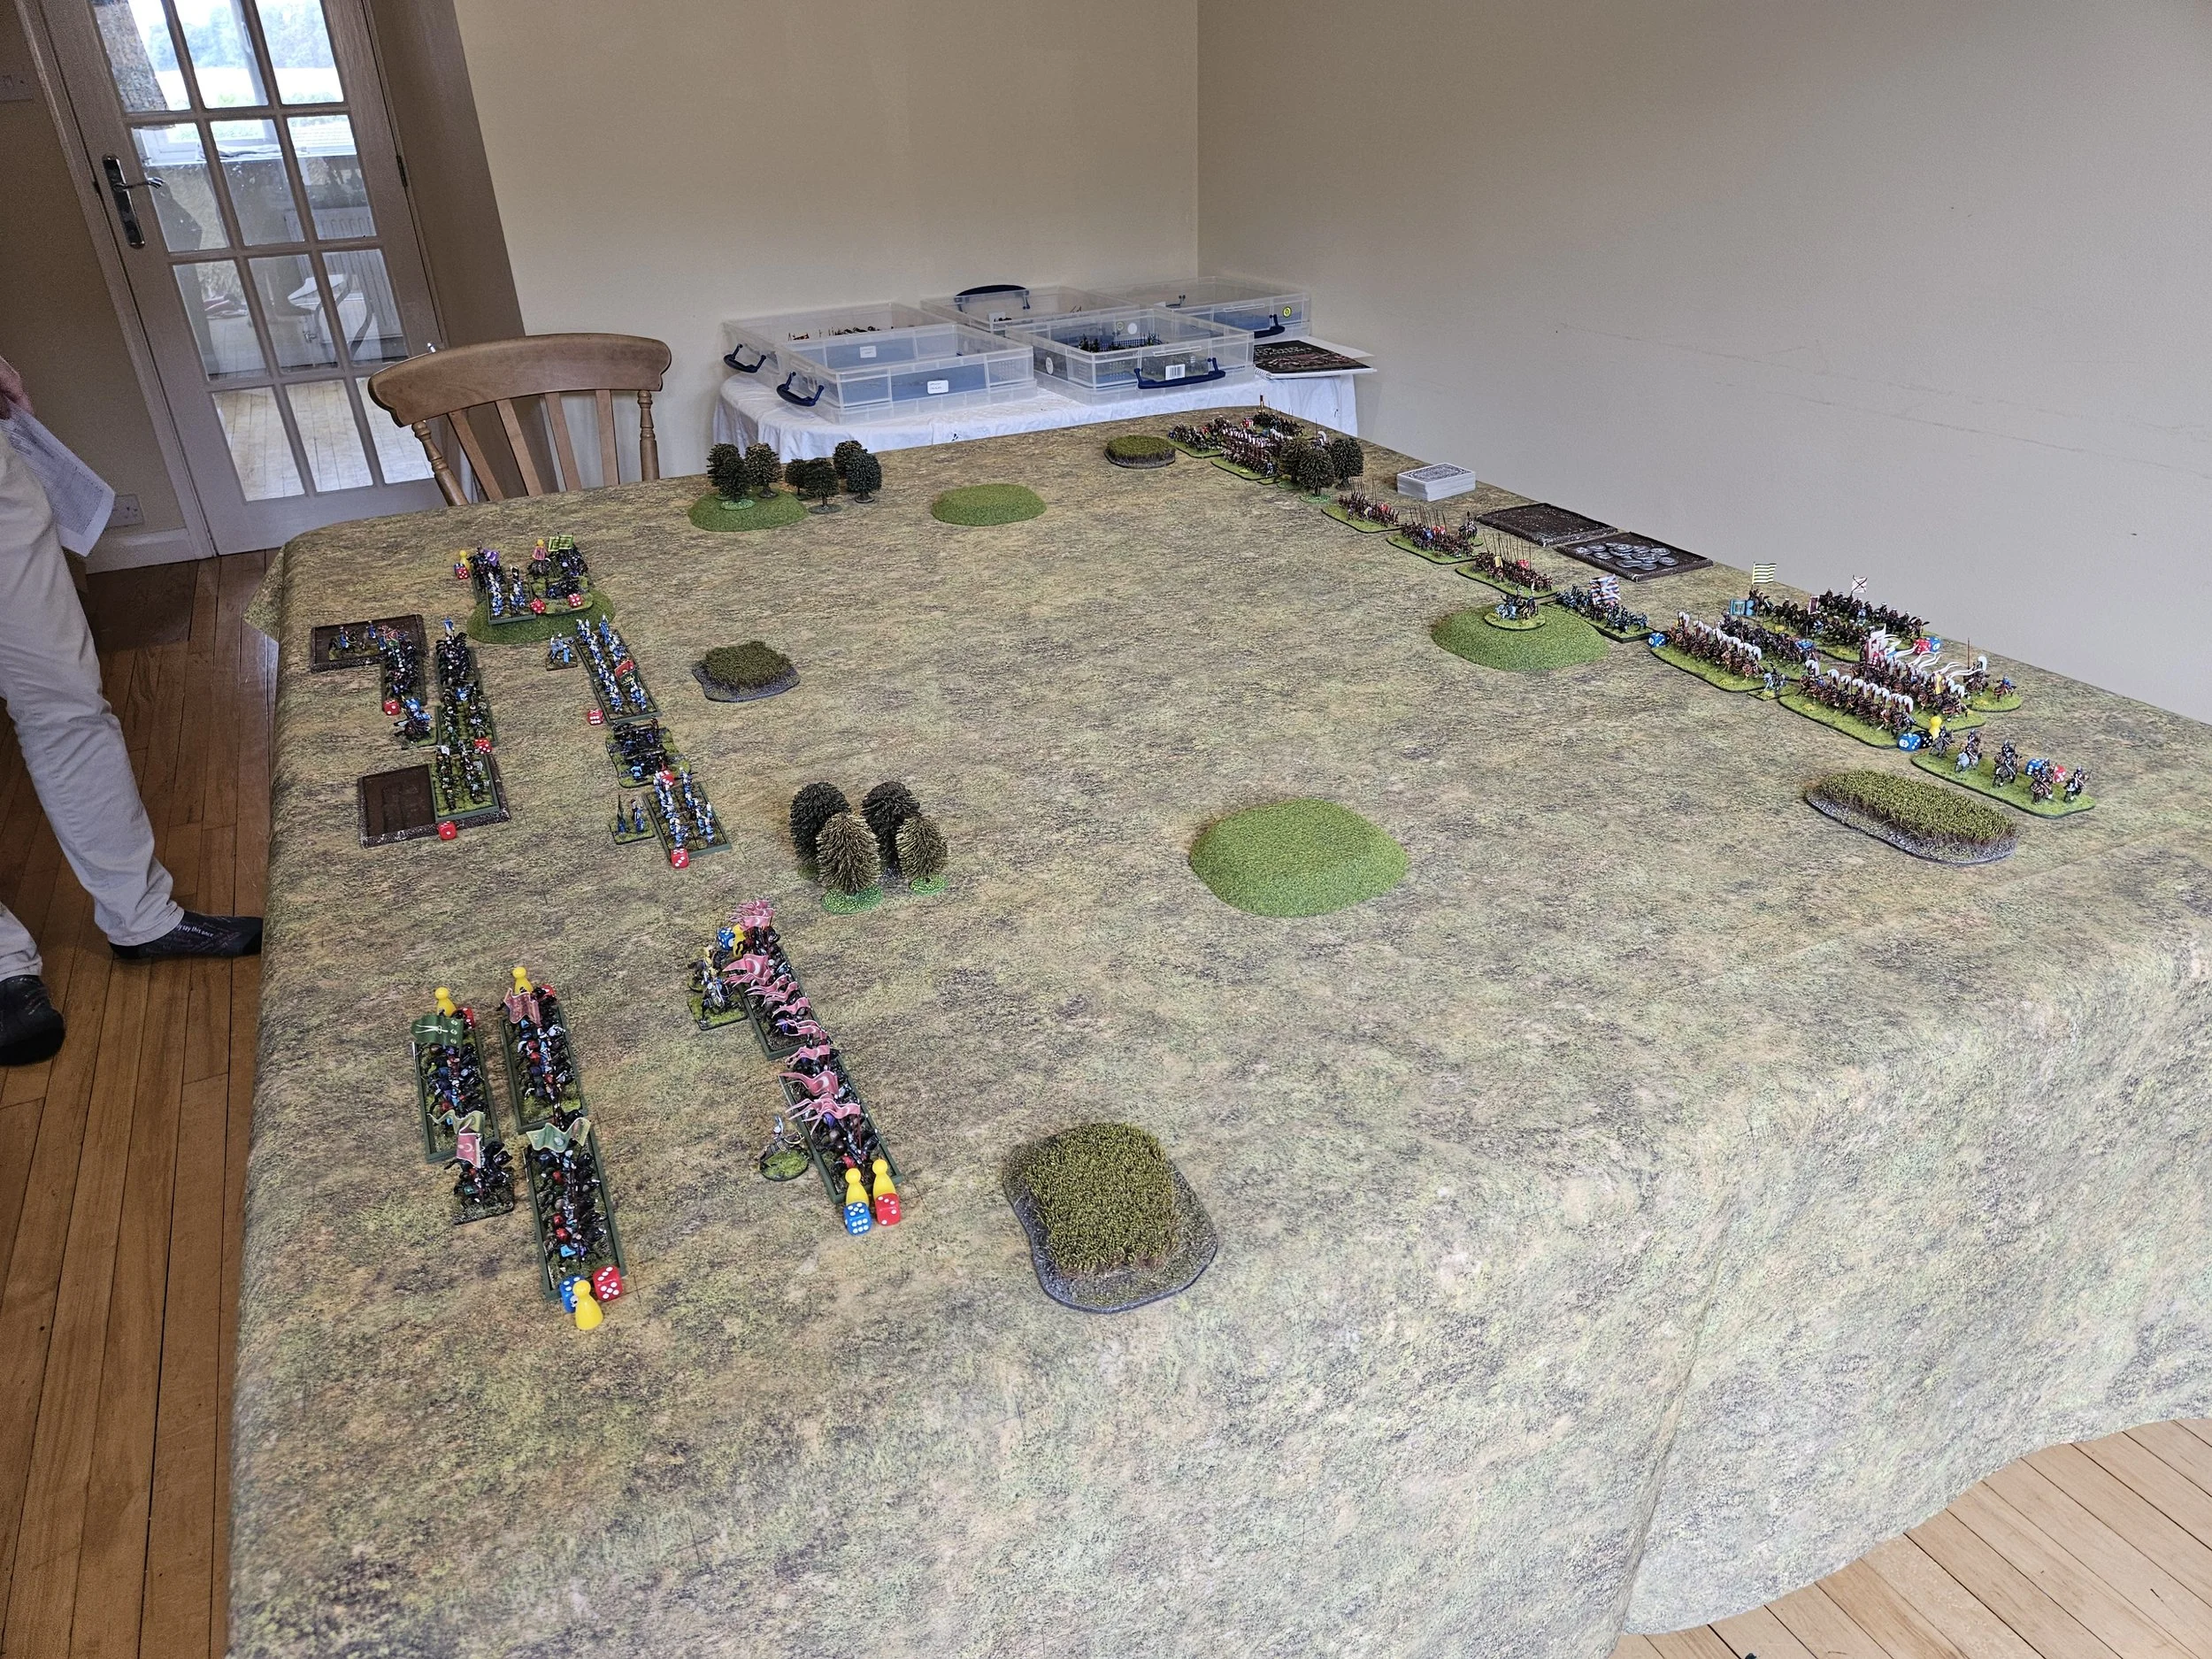
The game would begin at the moment the Zulus are first spotted, and I would play Lieutenant Carey and Trooper George Rogers. As you can see in the picture on the left, below, both my characters began the game stuck in the goats’ corral!

Subsequent discussions with other people who have played the game have led me to understand that the way to win is to all work together to hold off the Zulus as a single body, but when the chits for my characters eventually appeared, last out of the bag, I discovered that everyone else in the party had just run for their lives, every man for themselves!

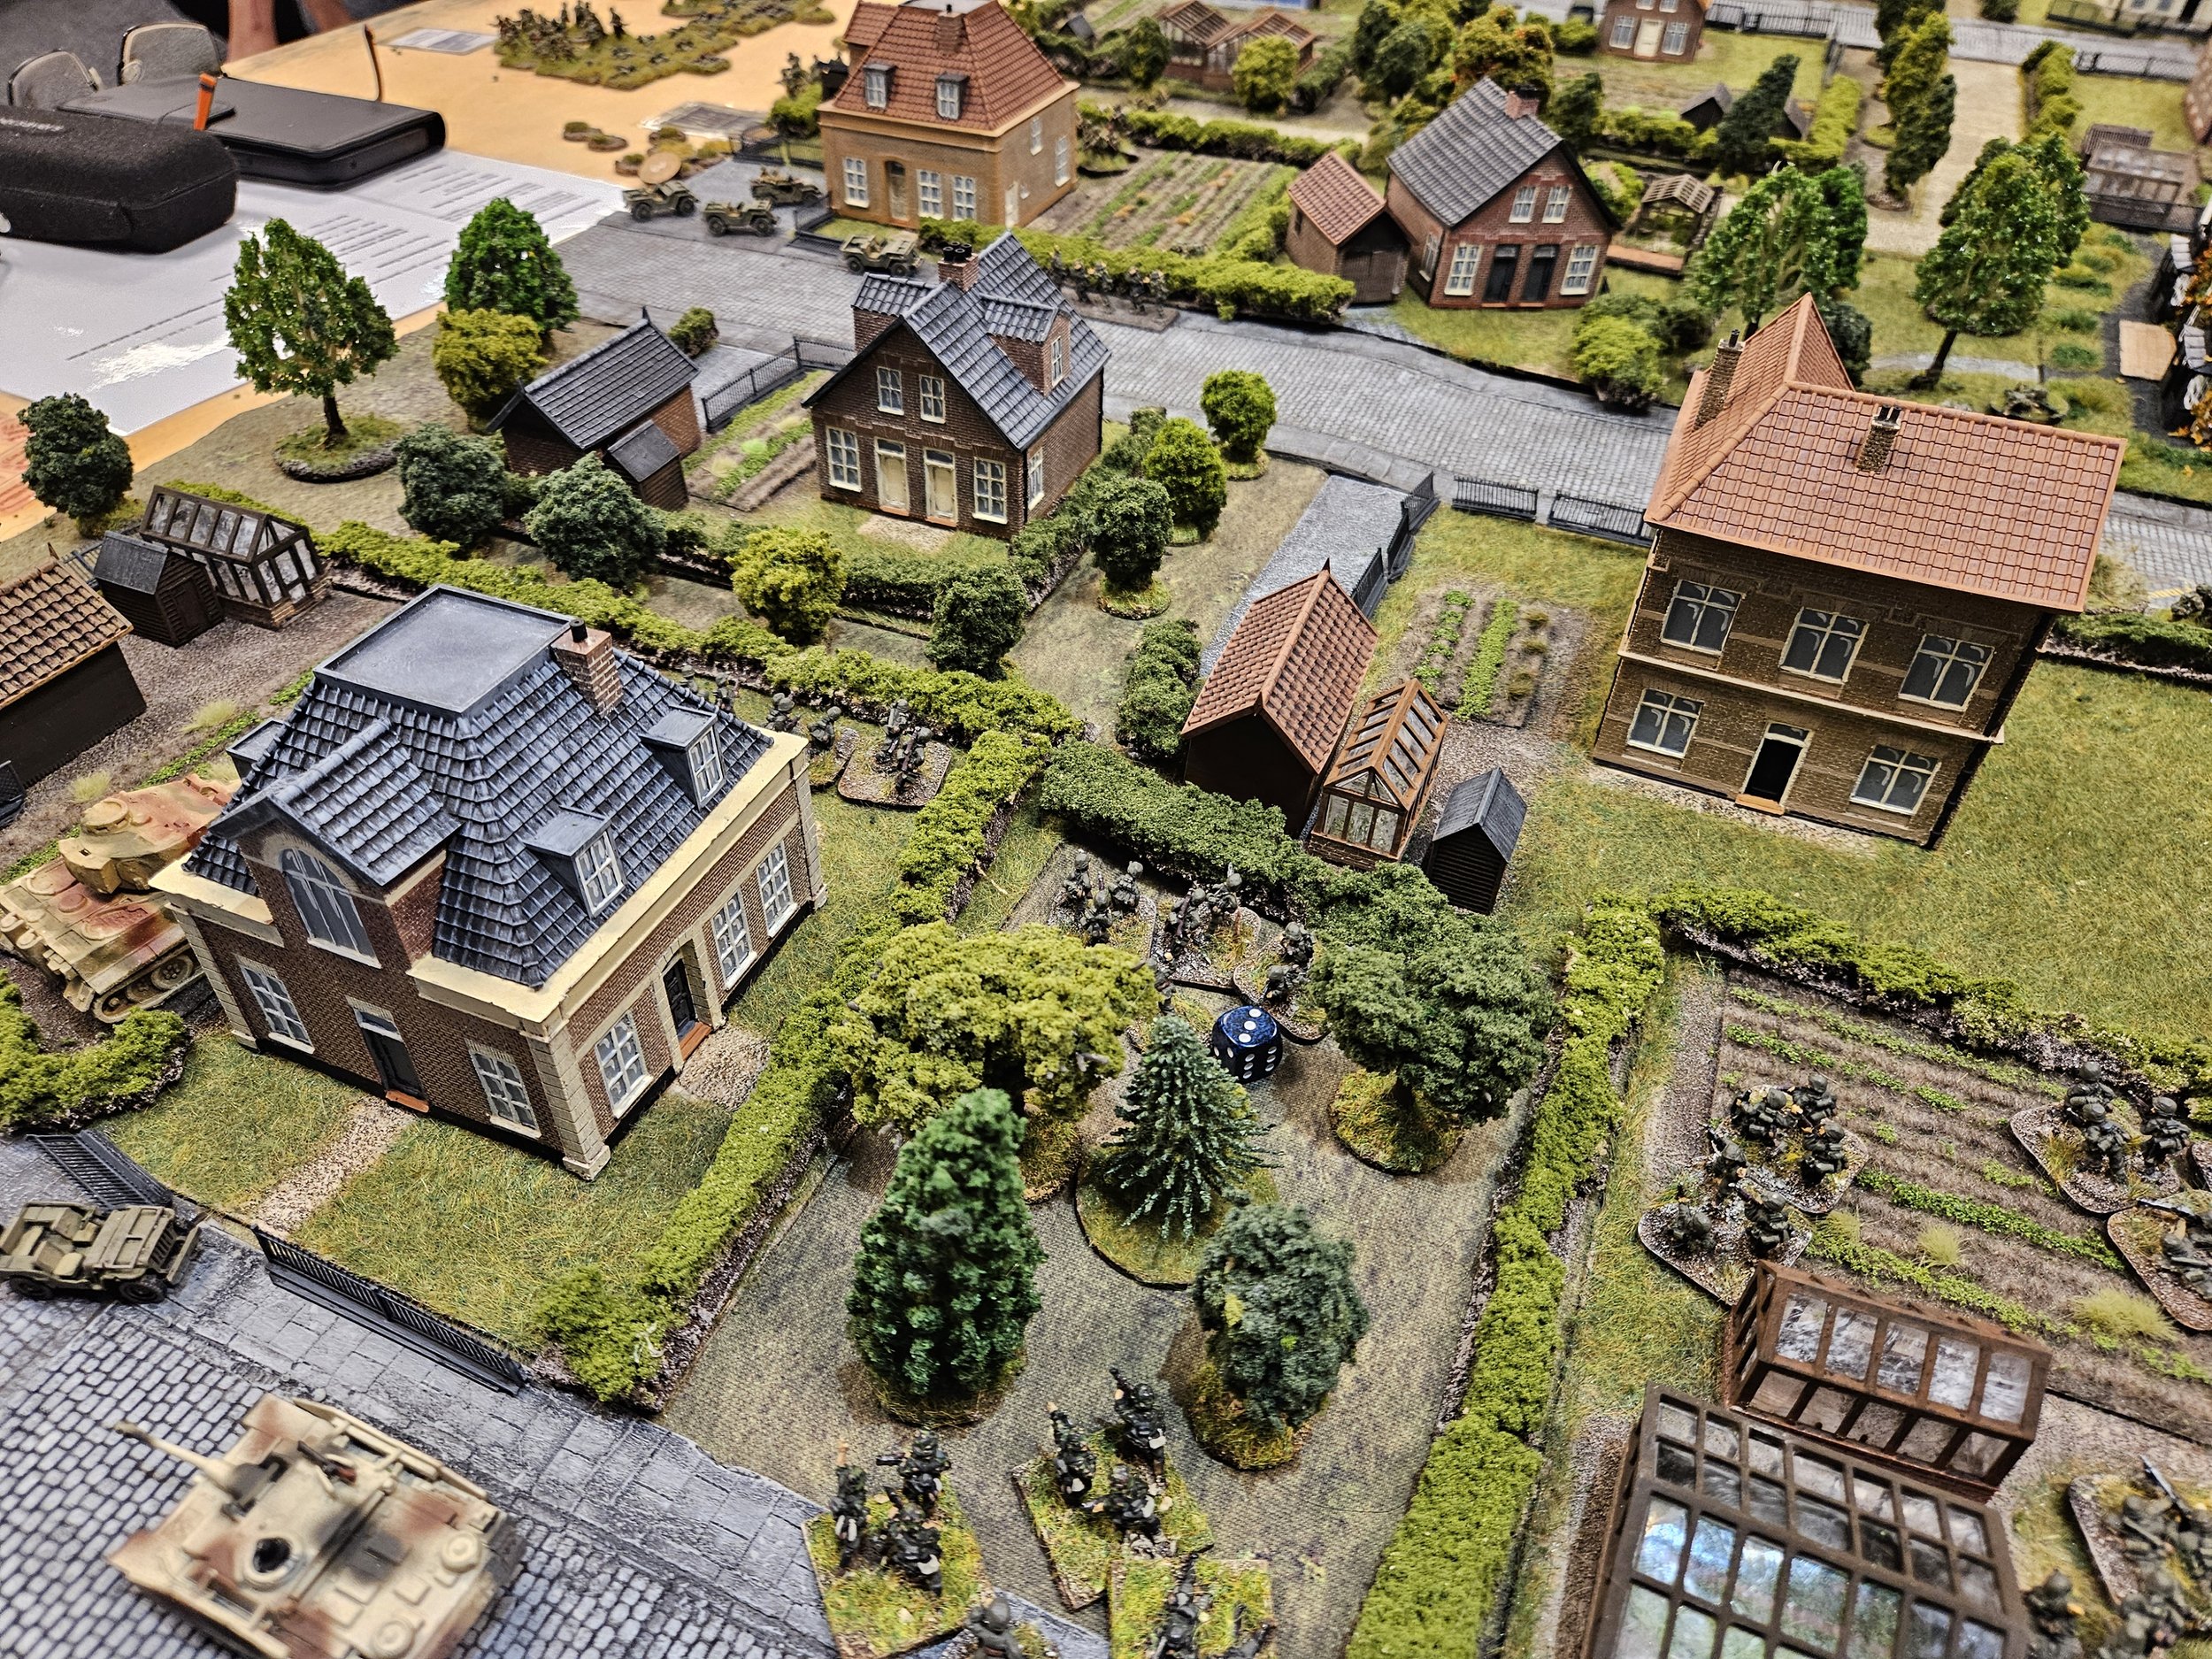
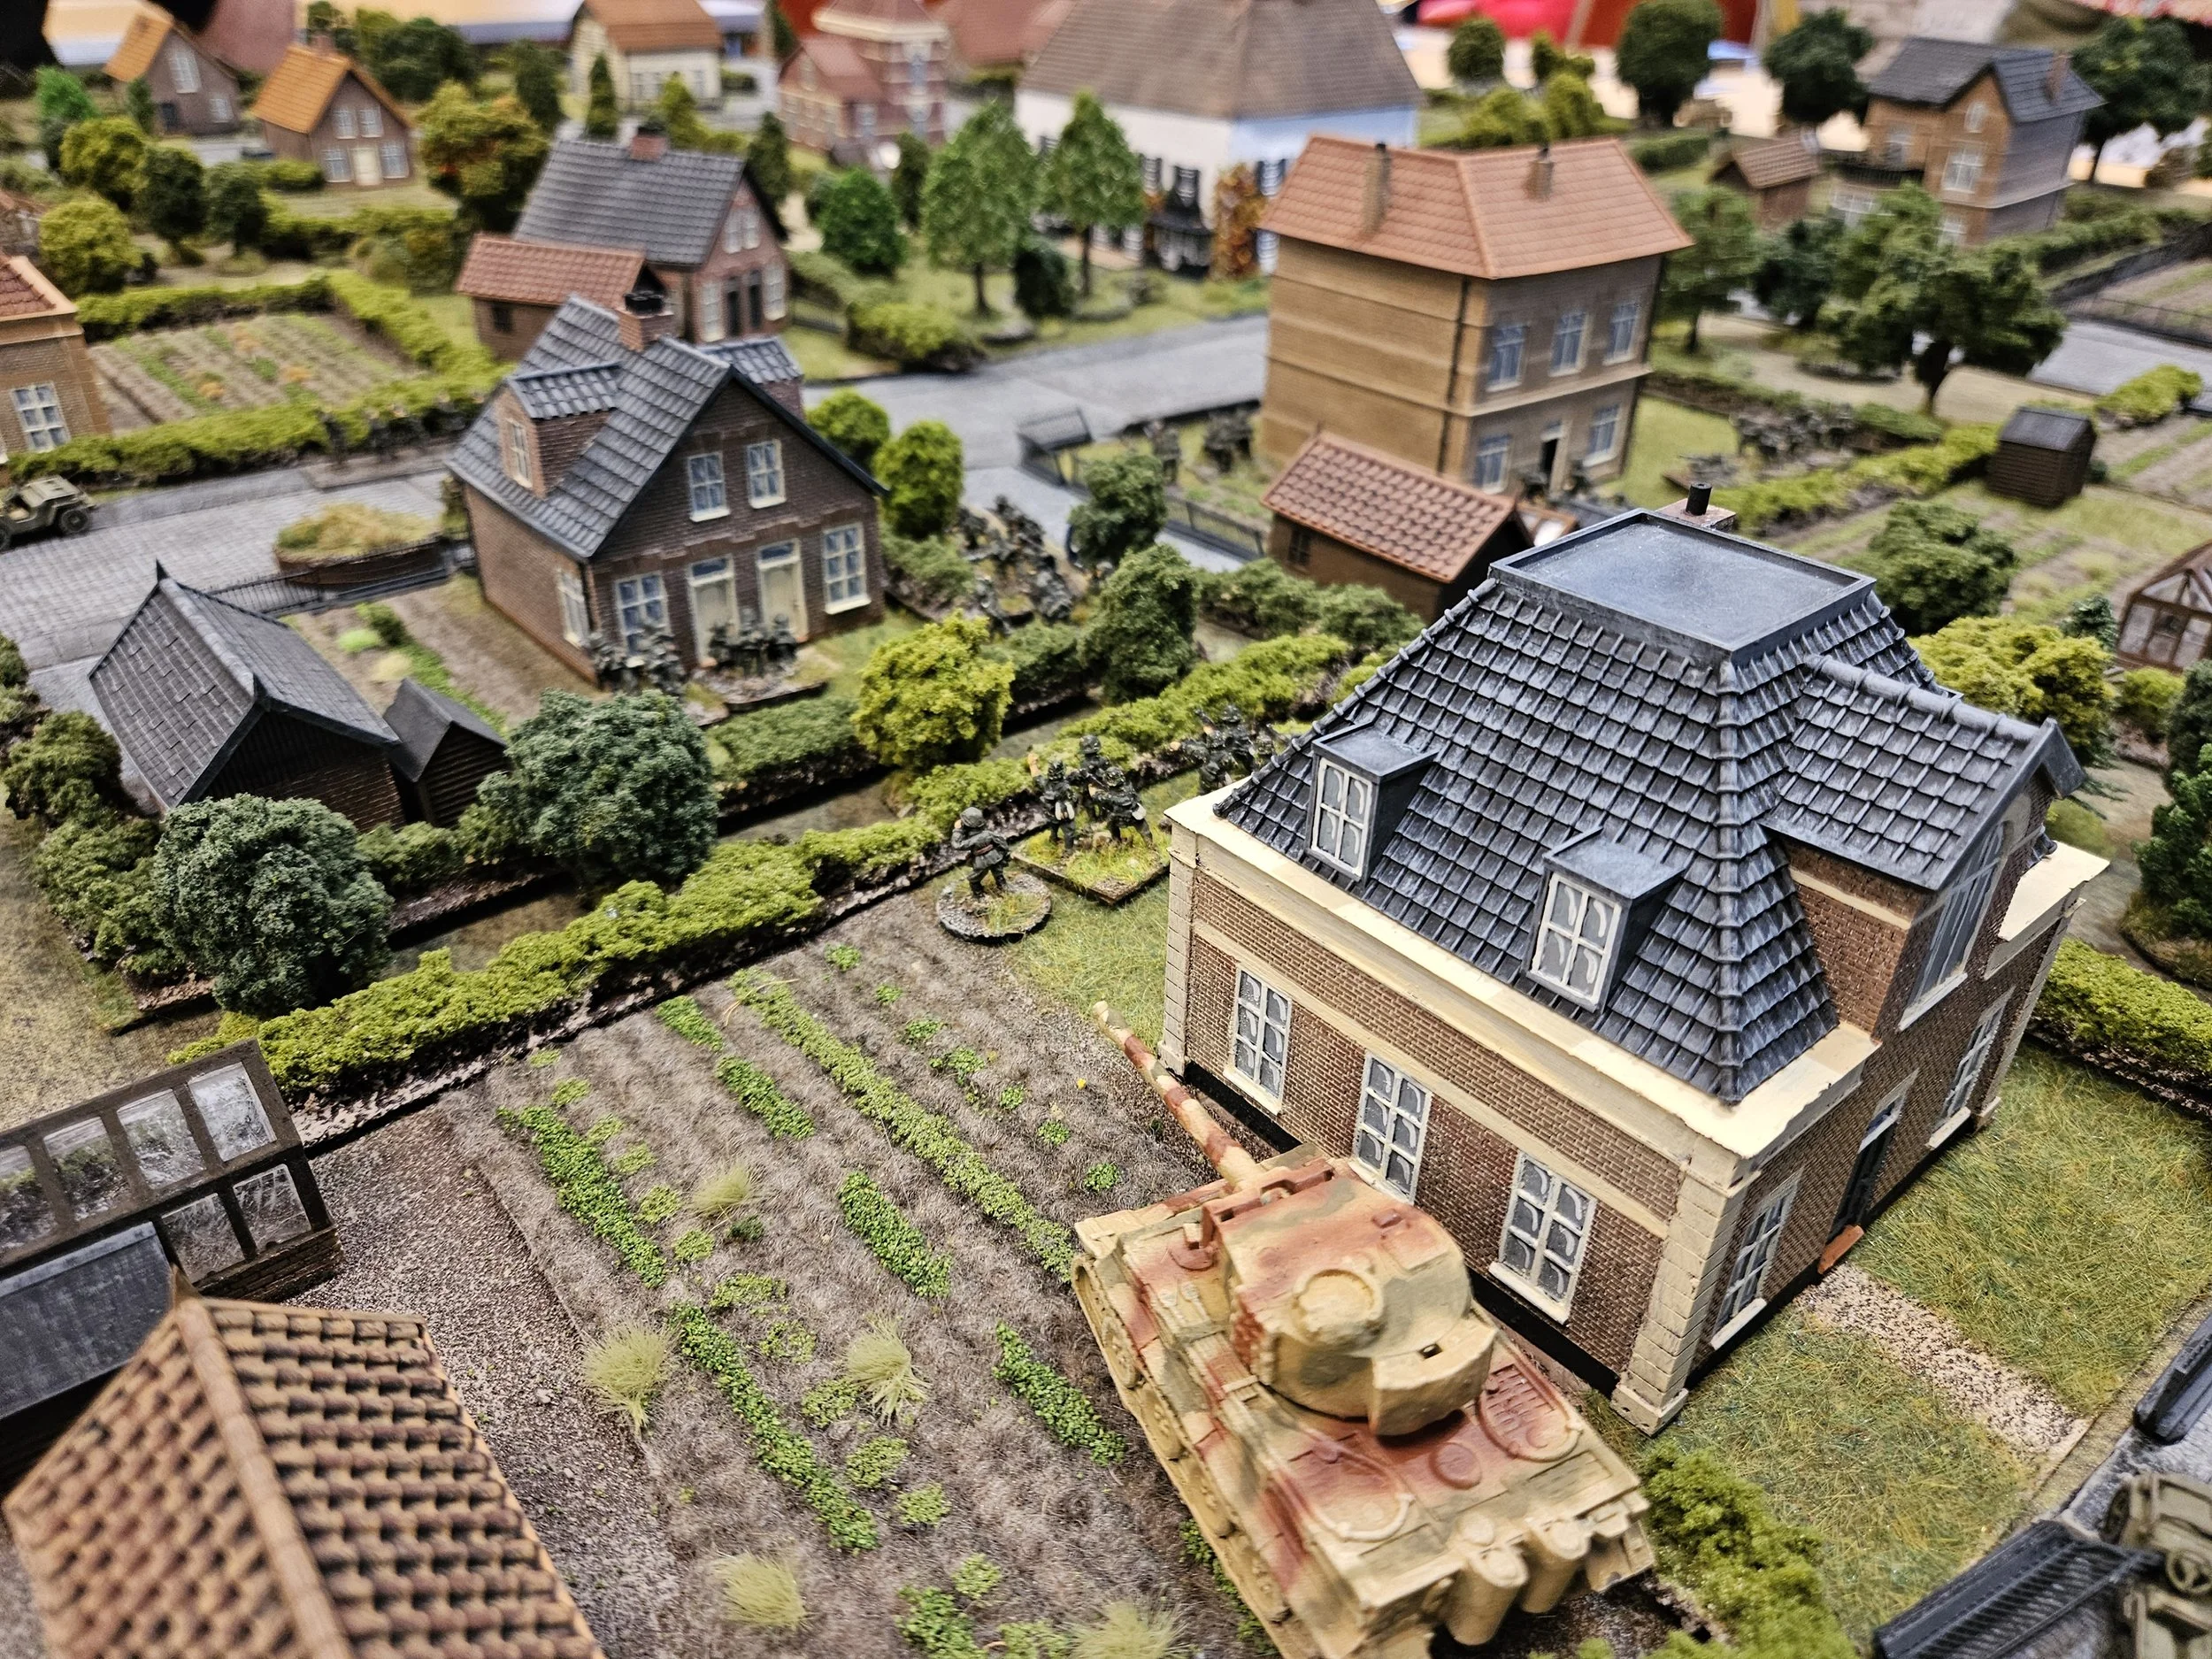
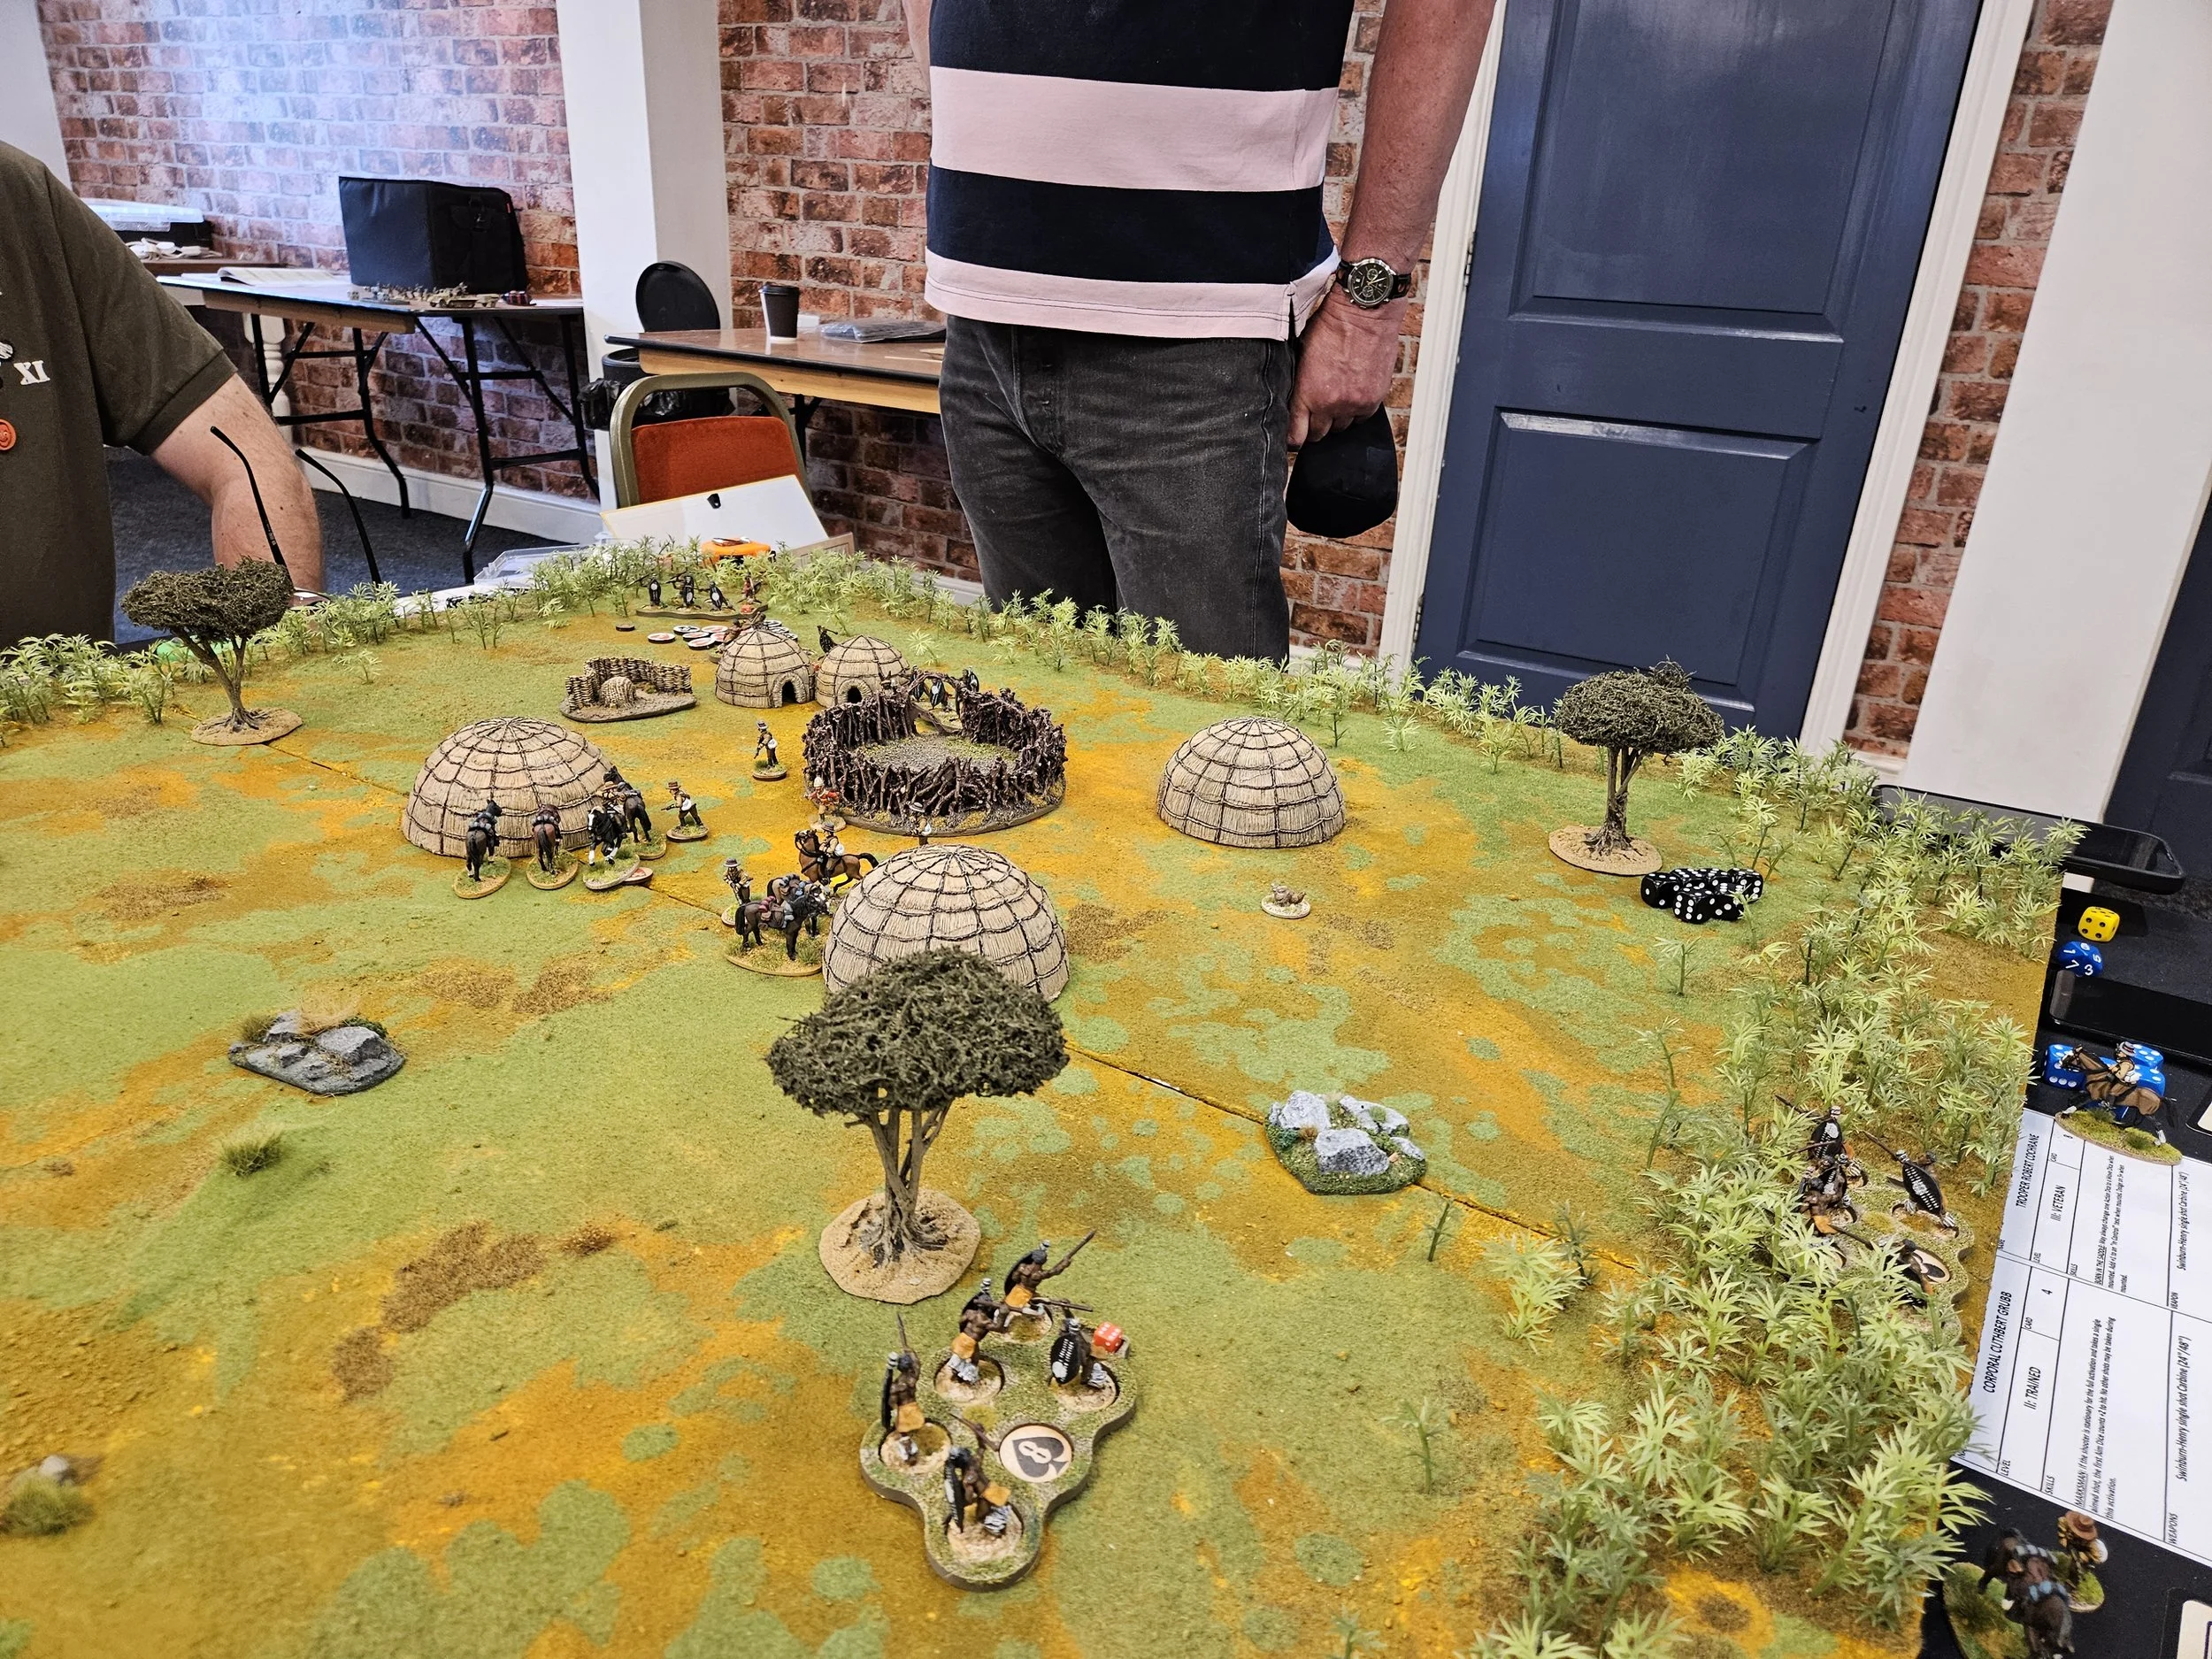
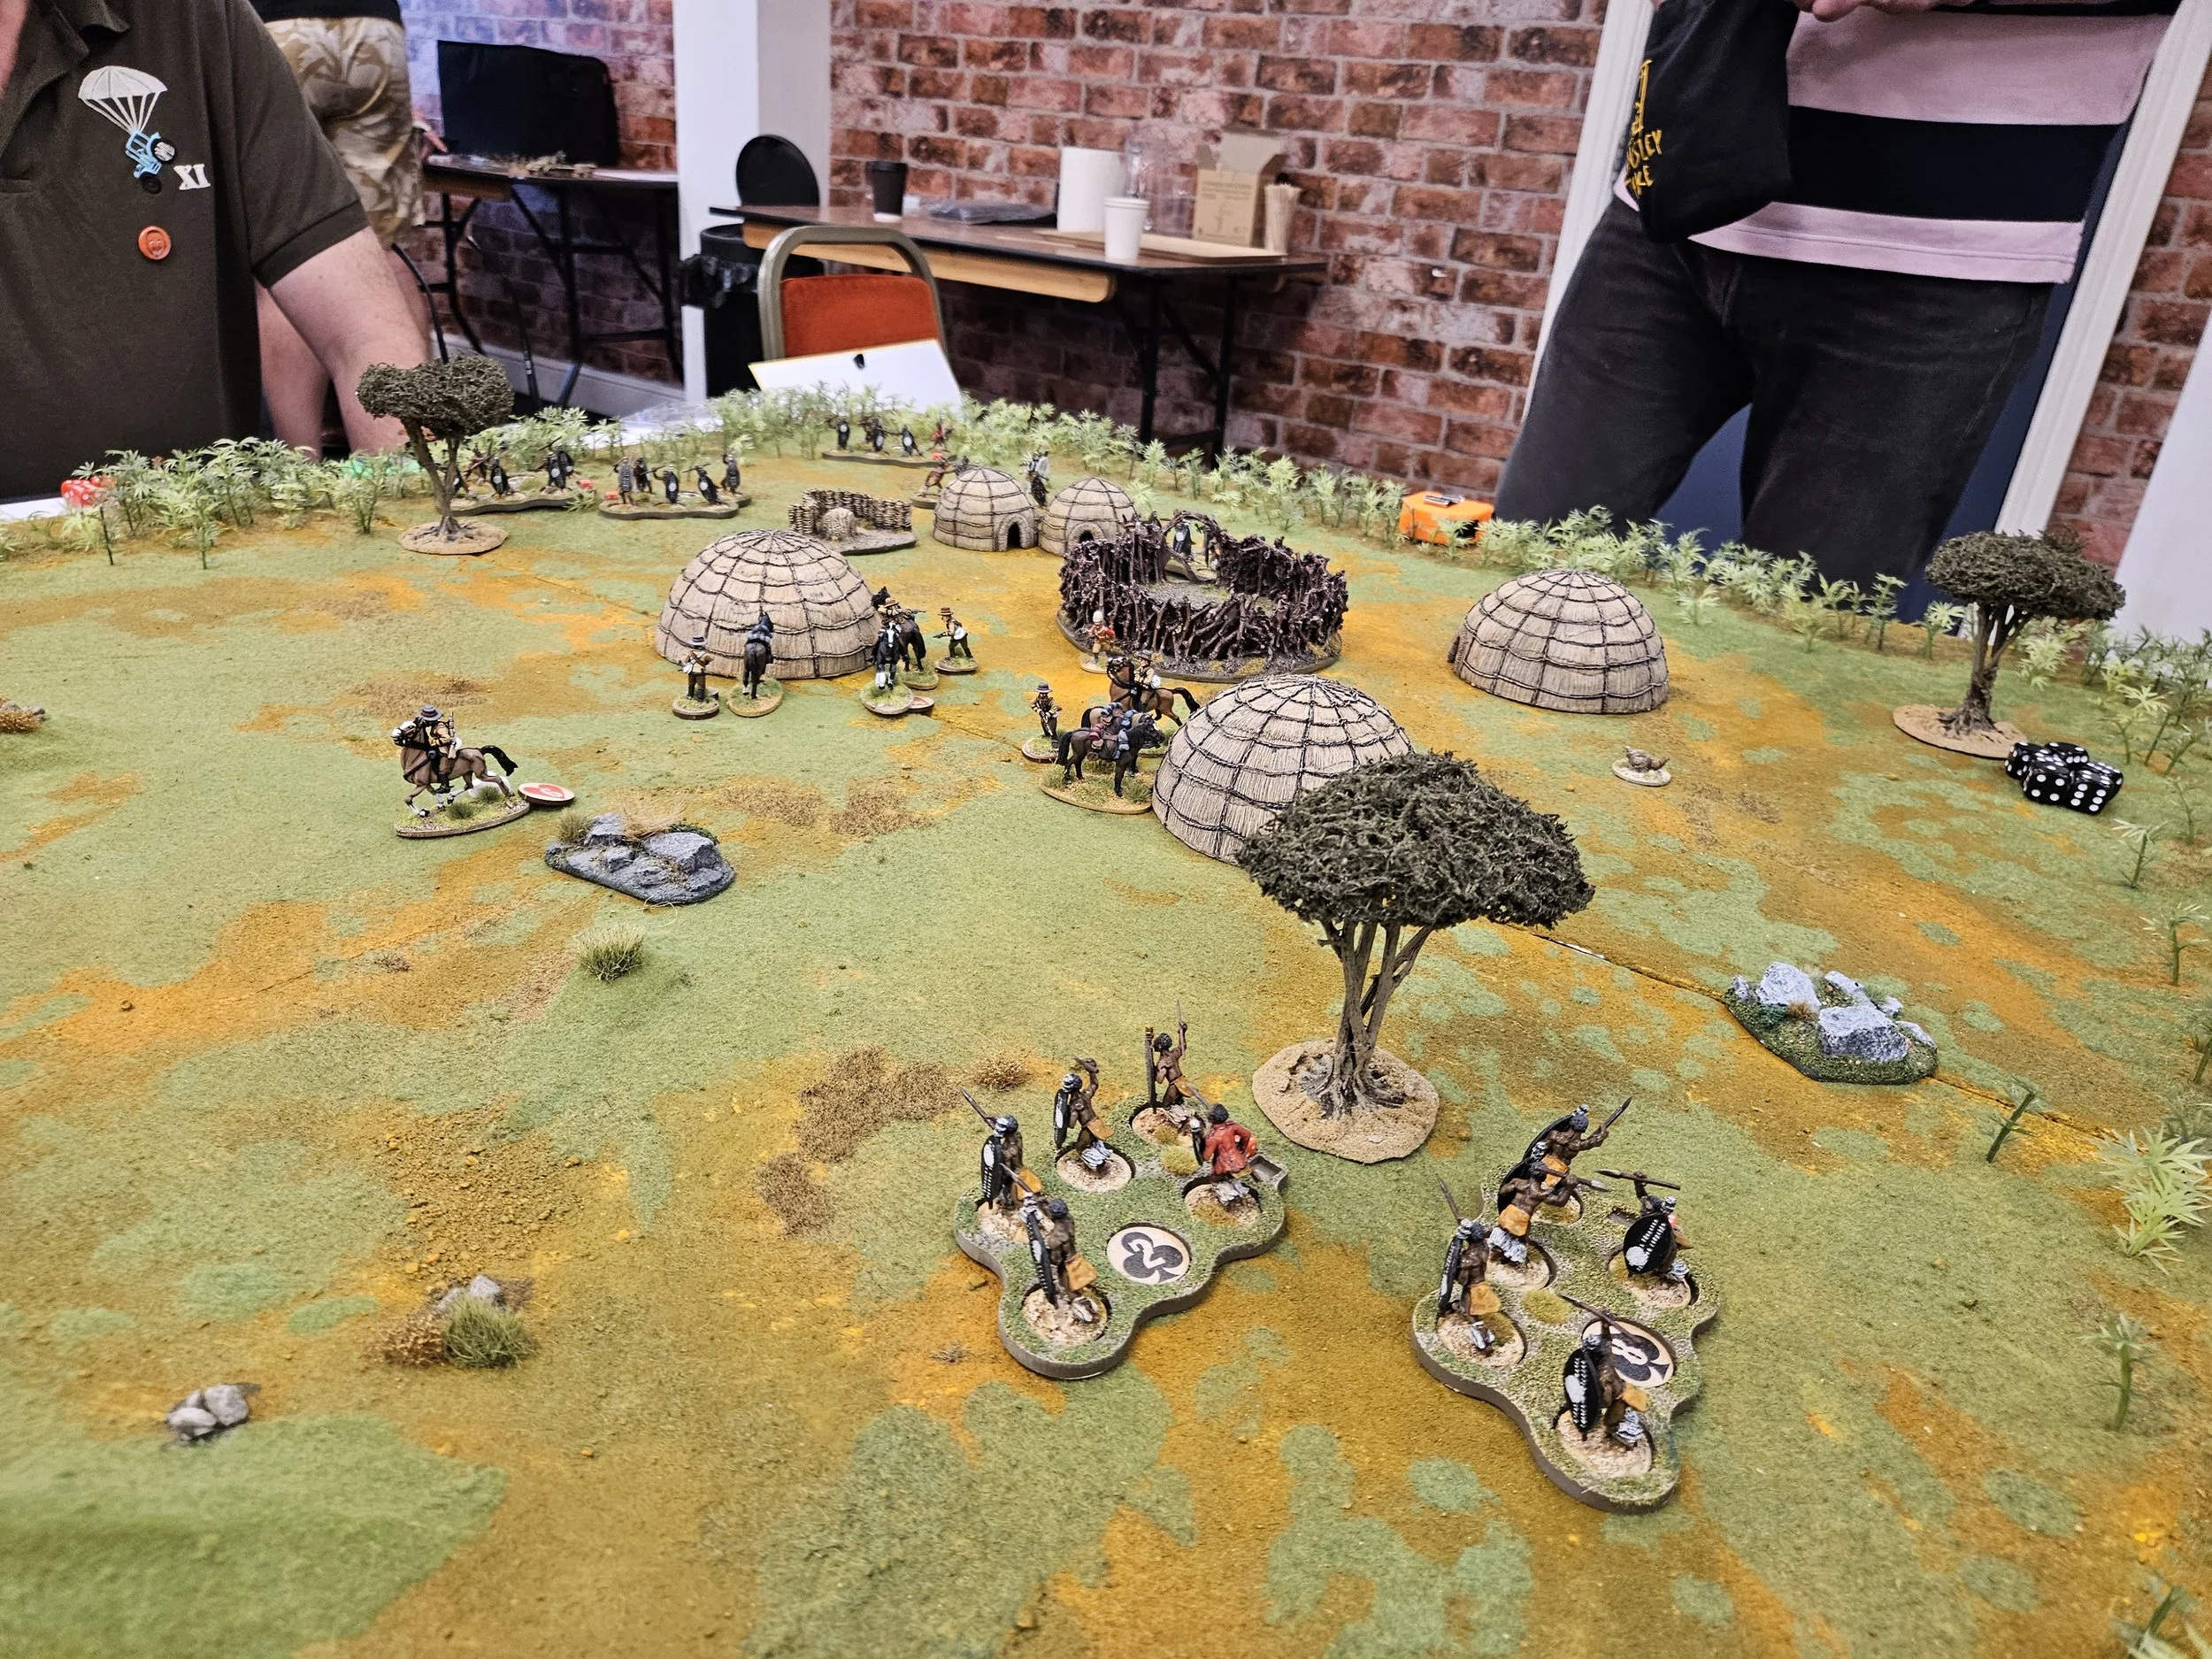
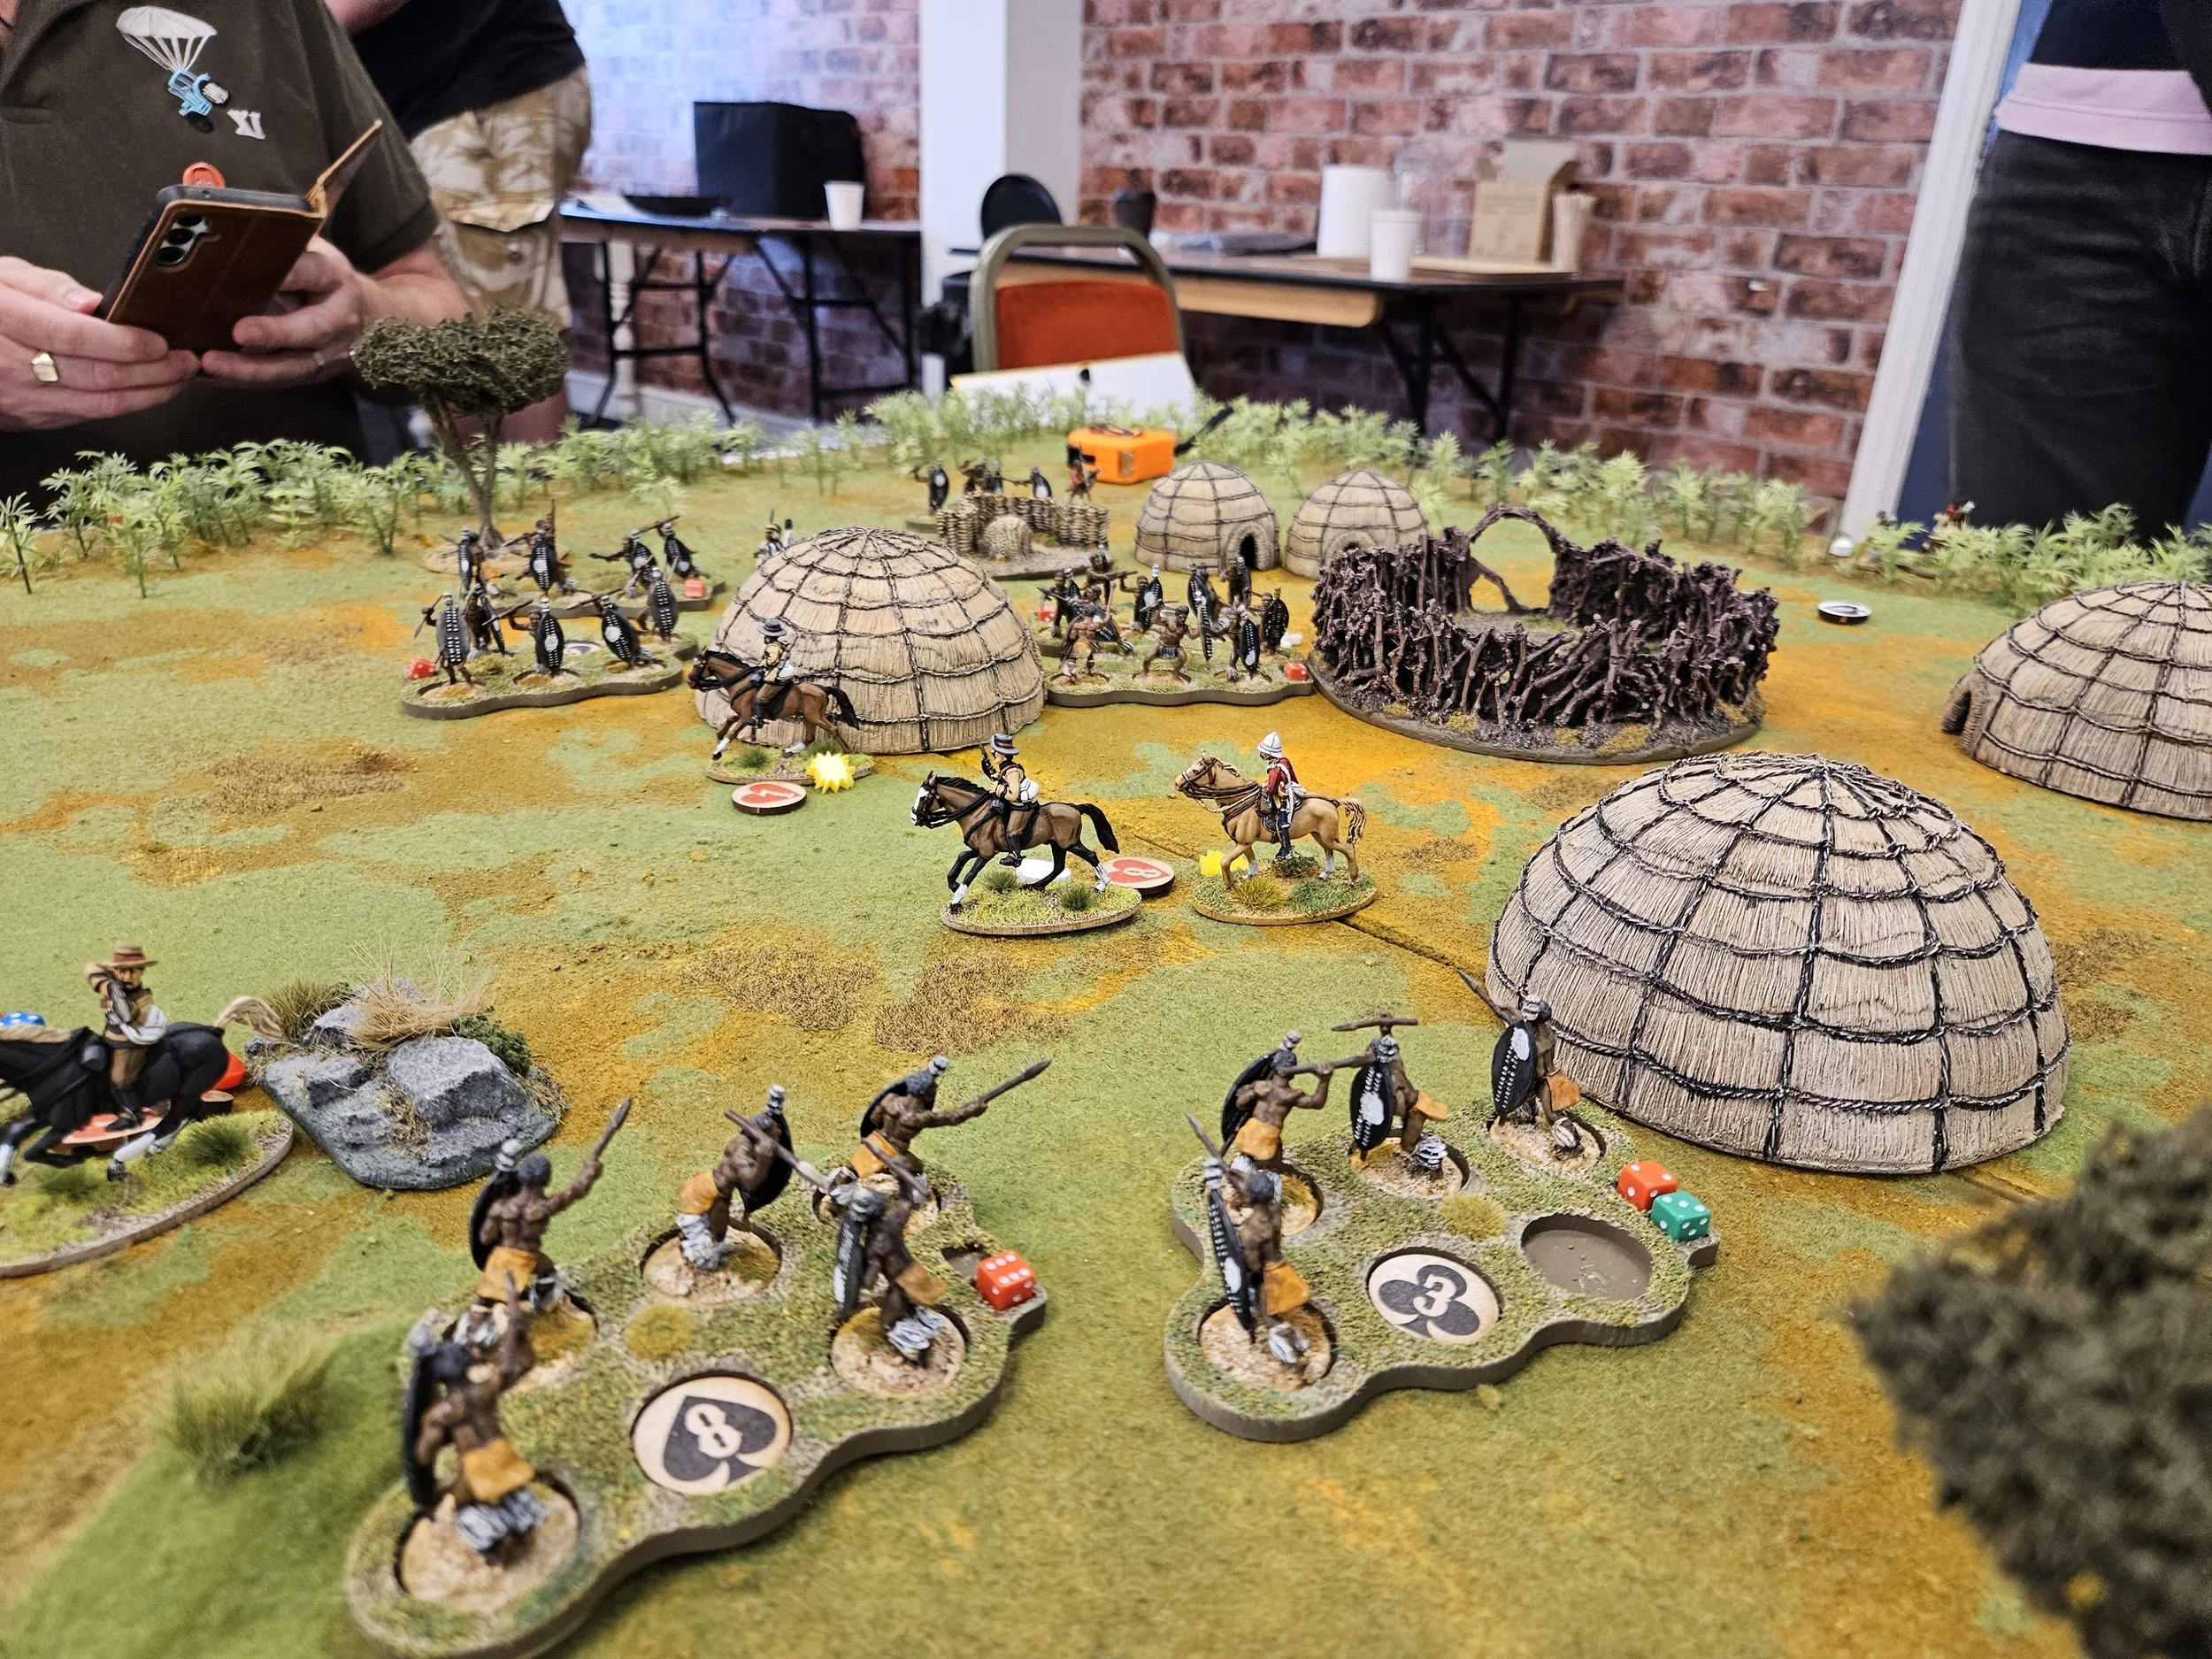
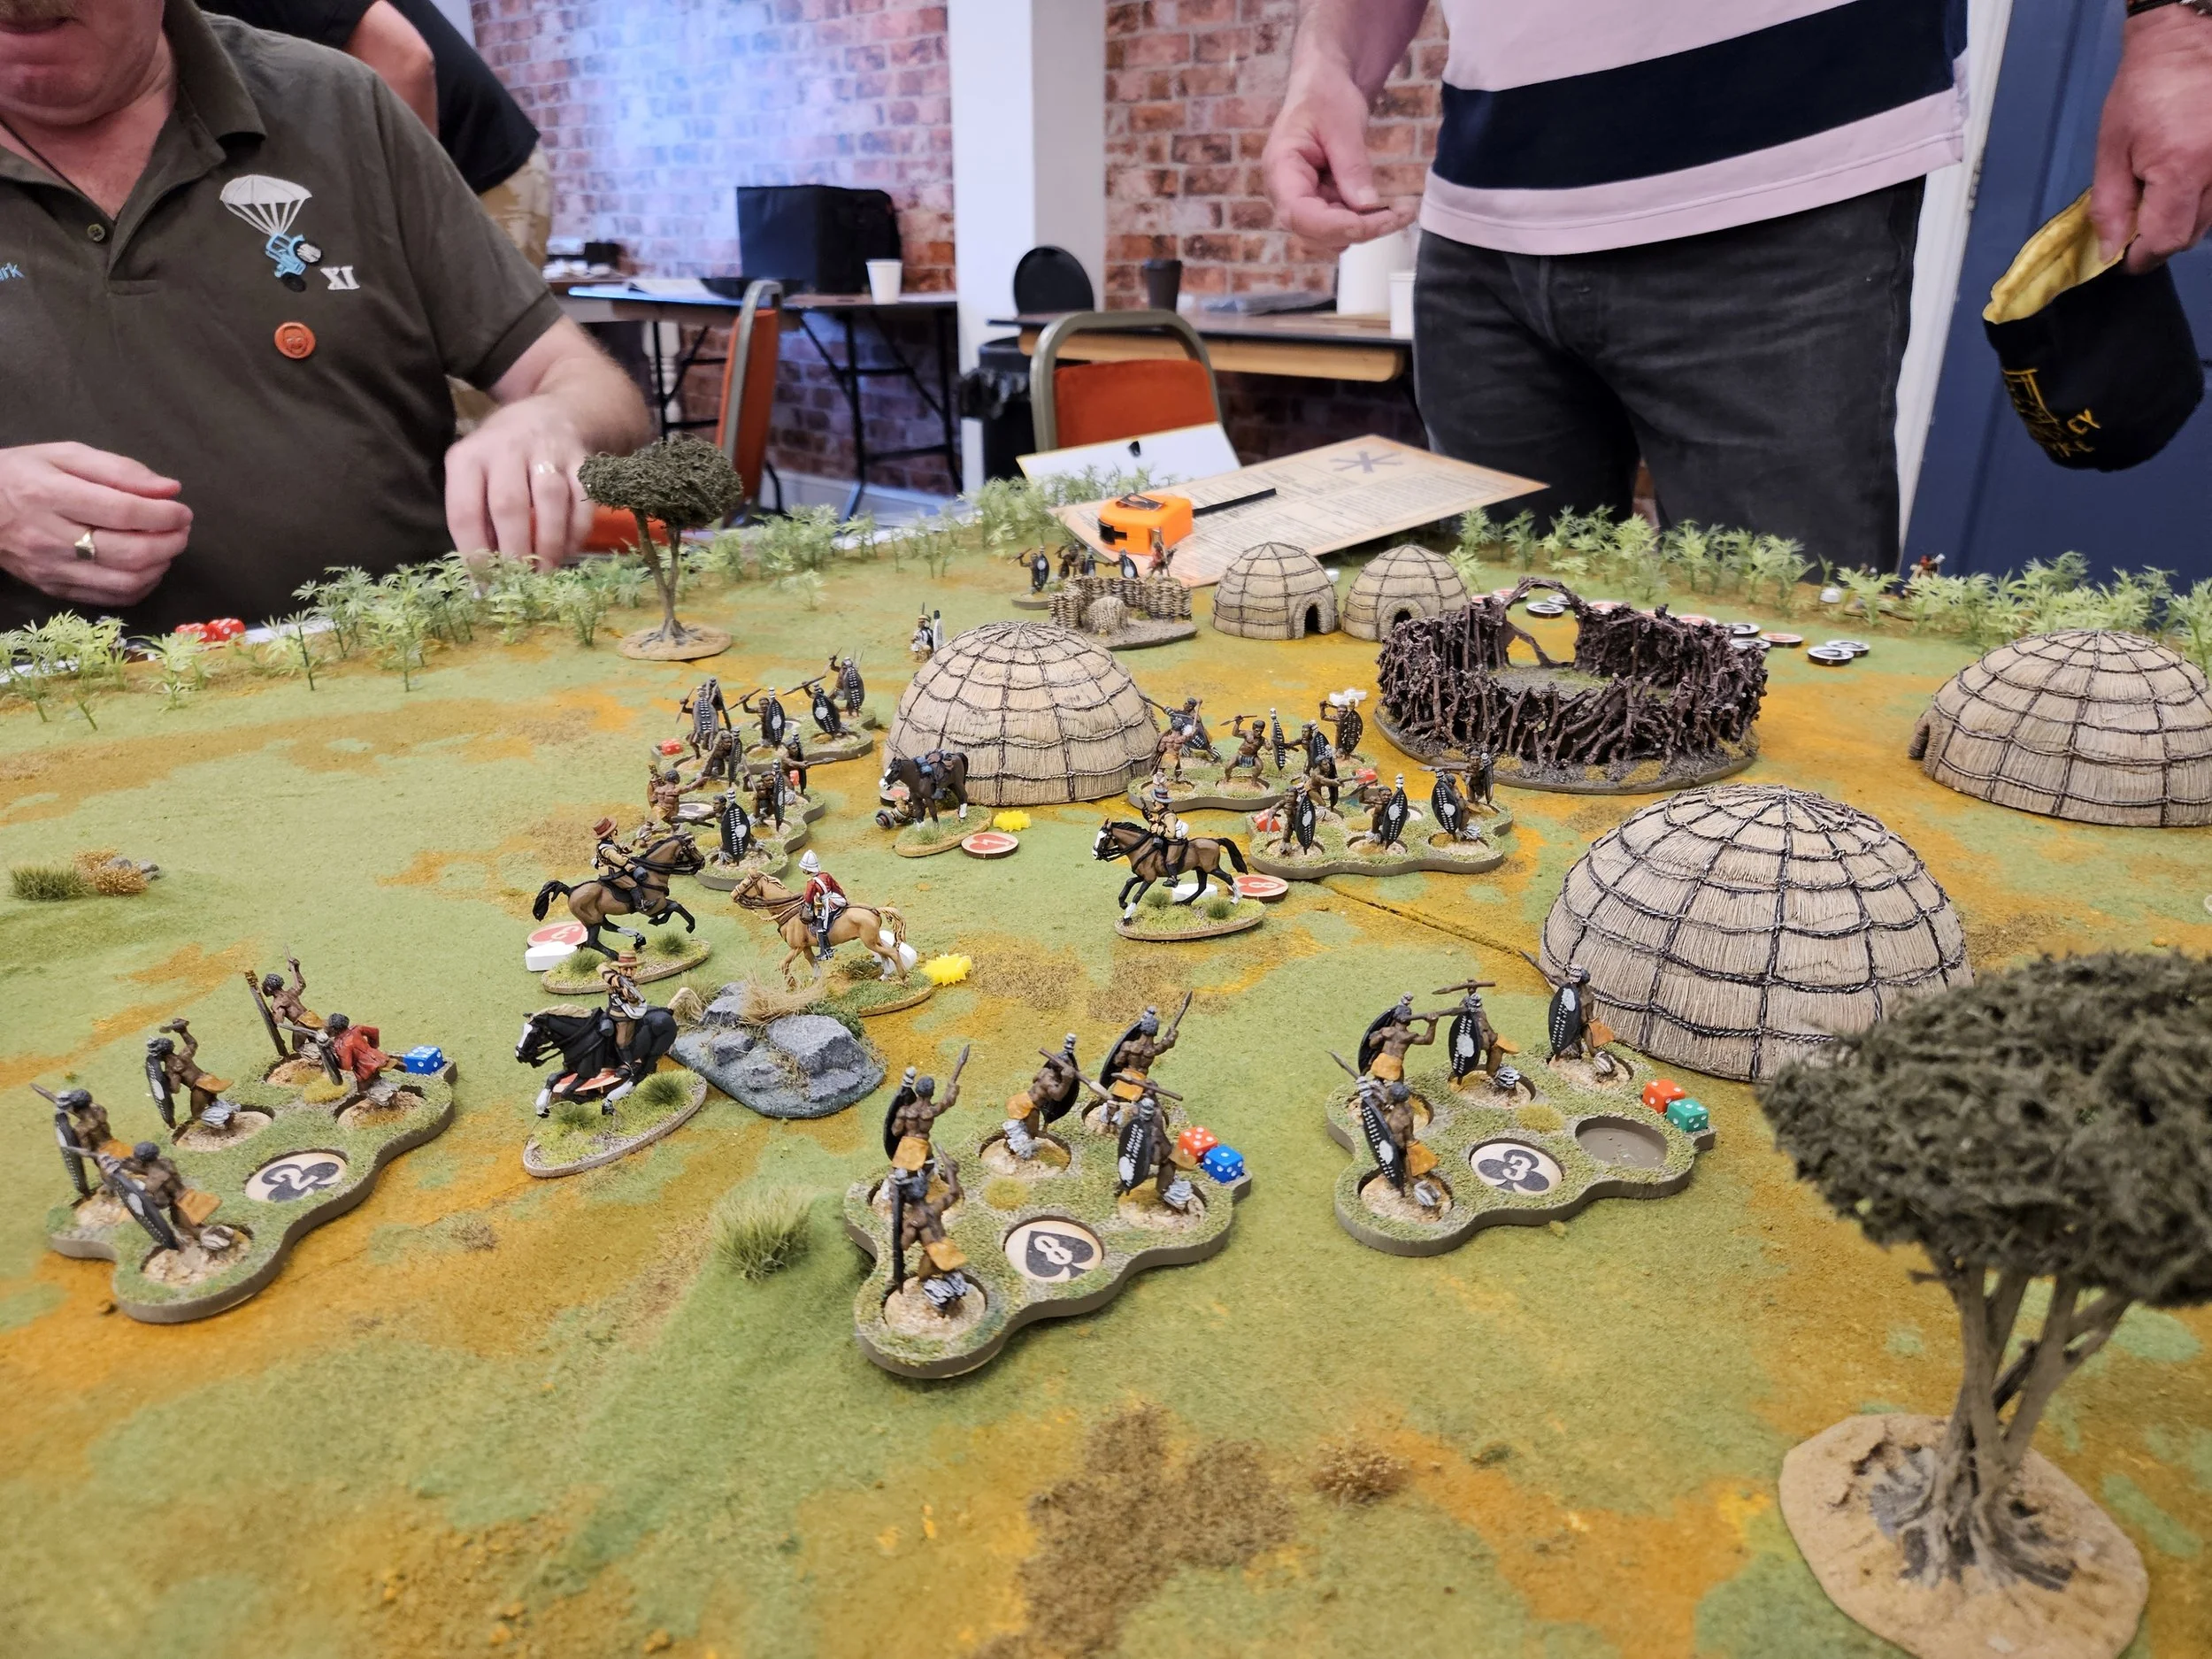
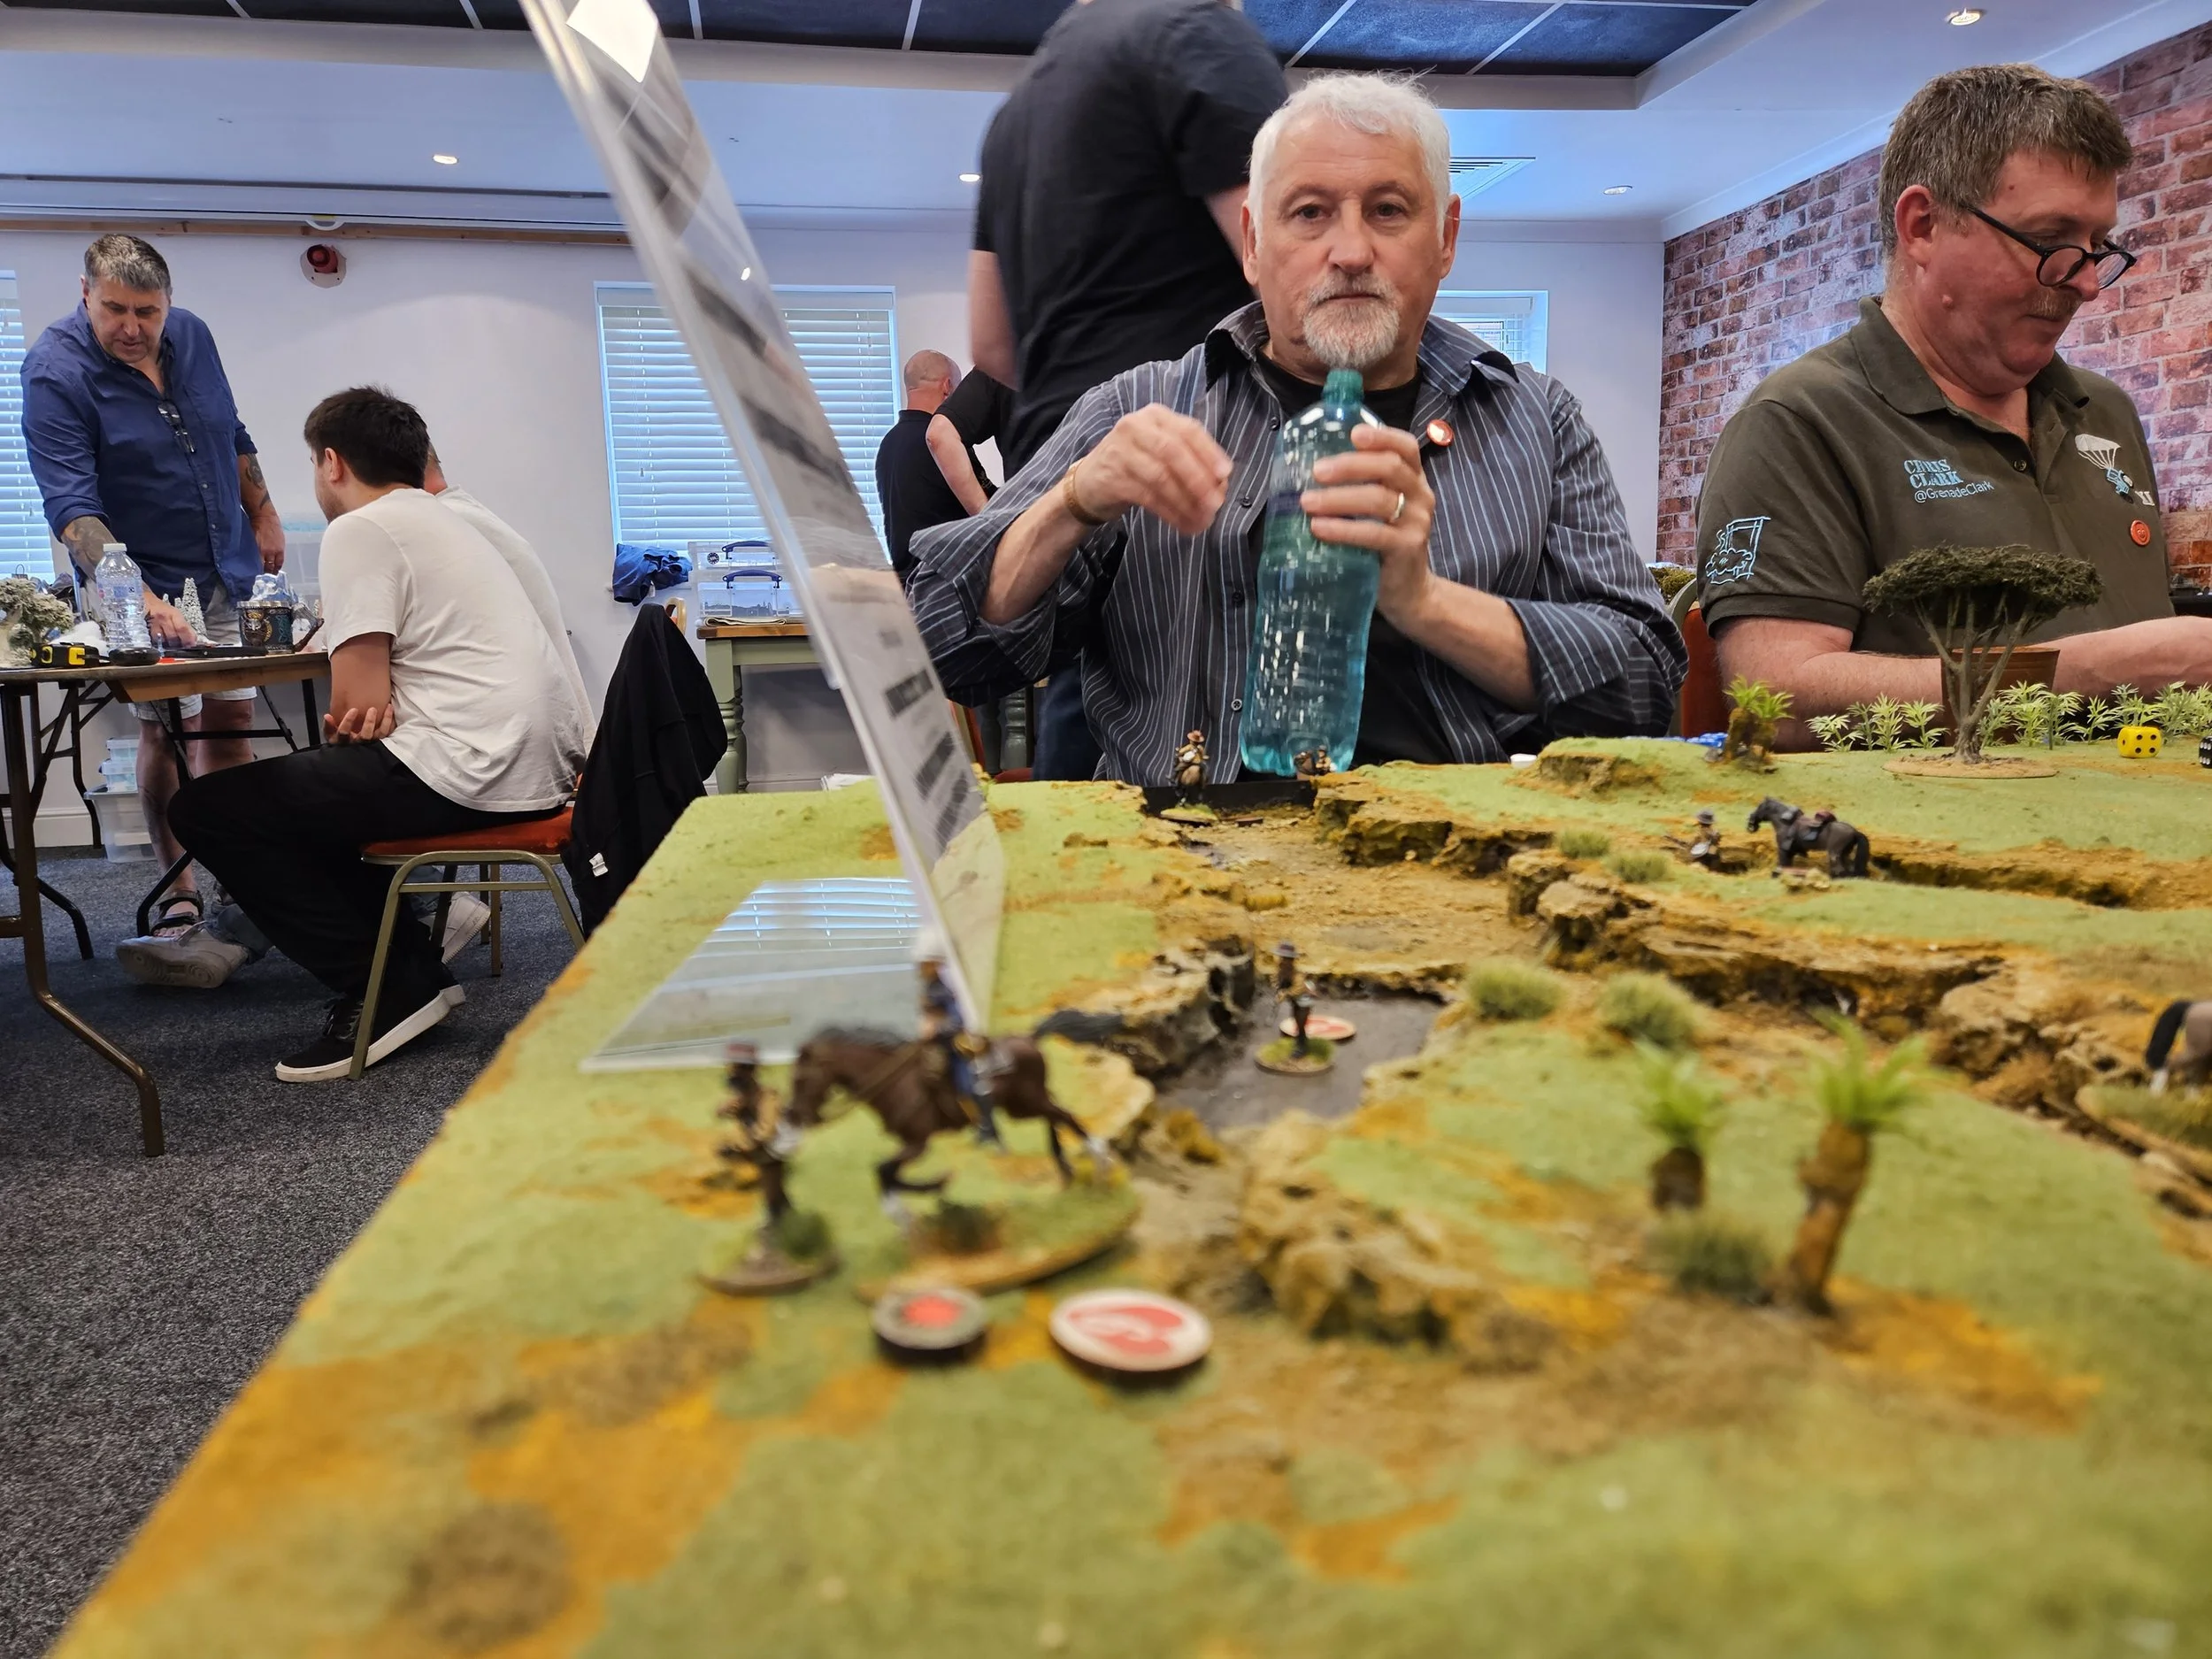
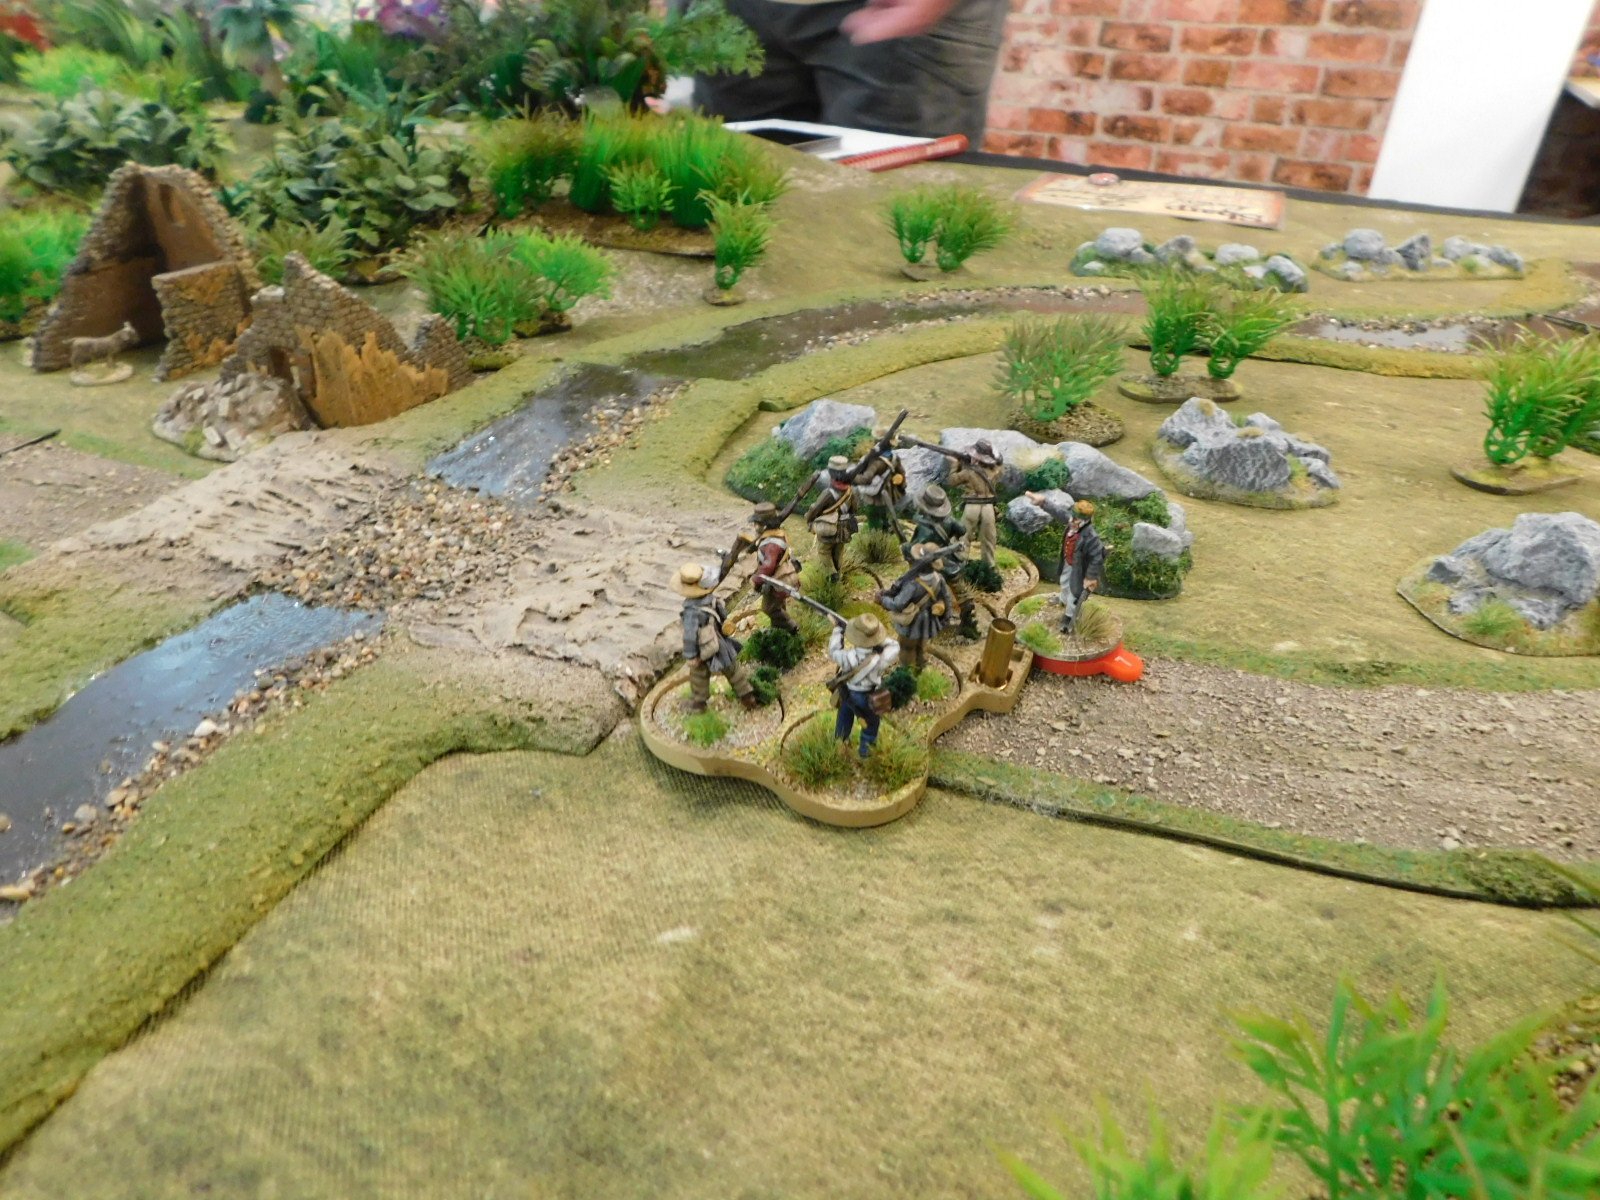
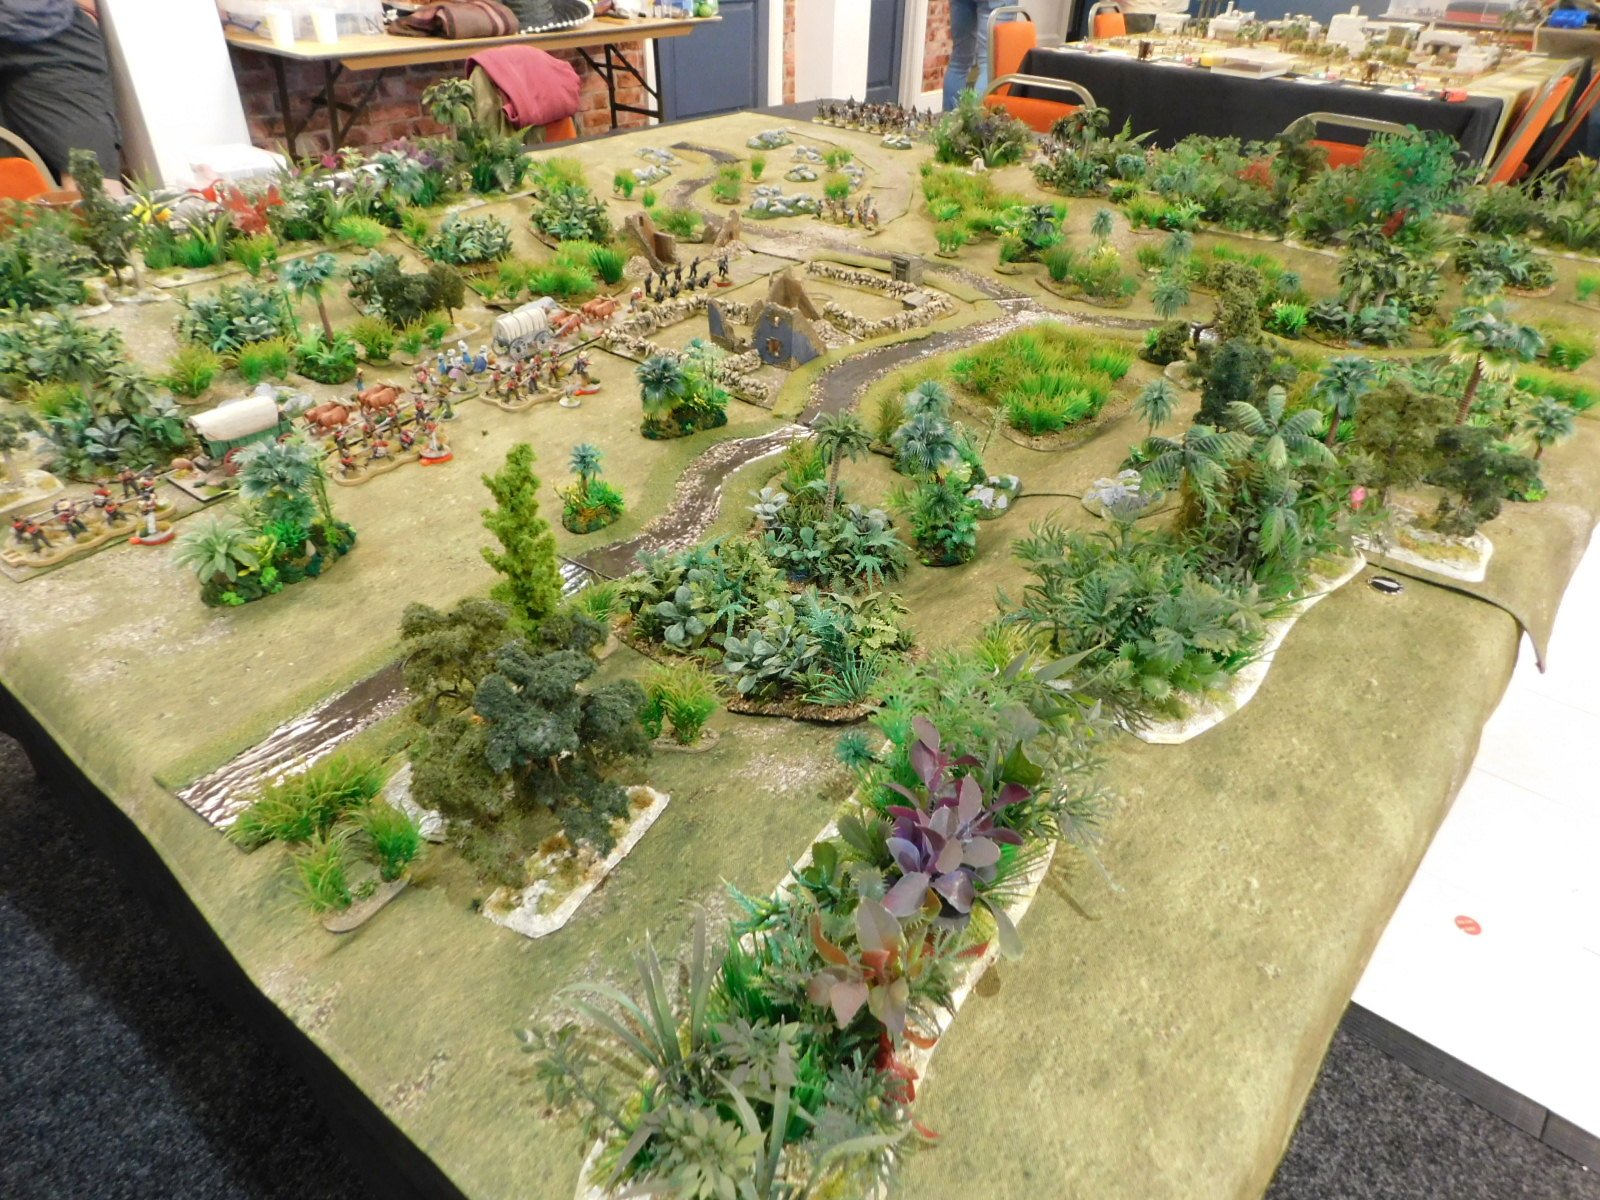
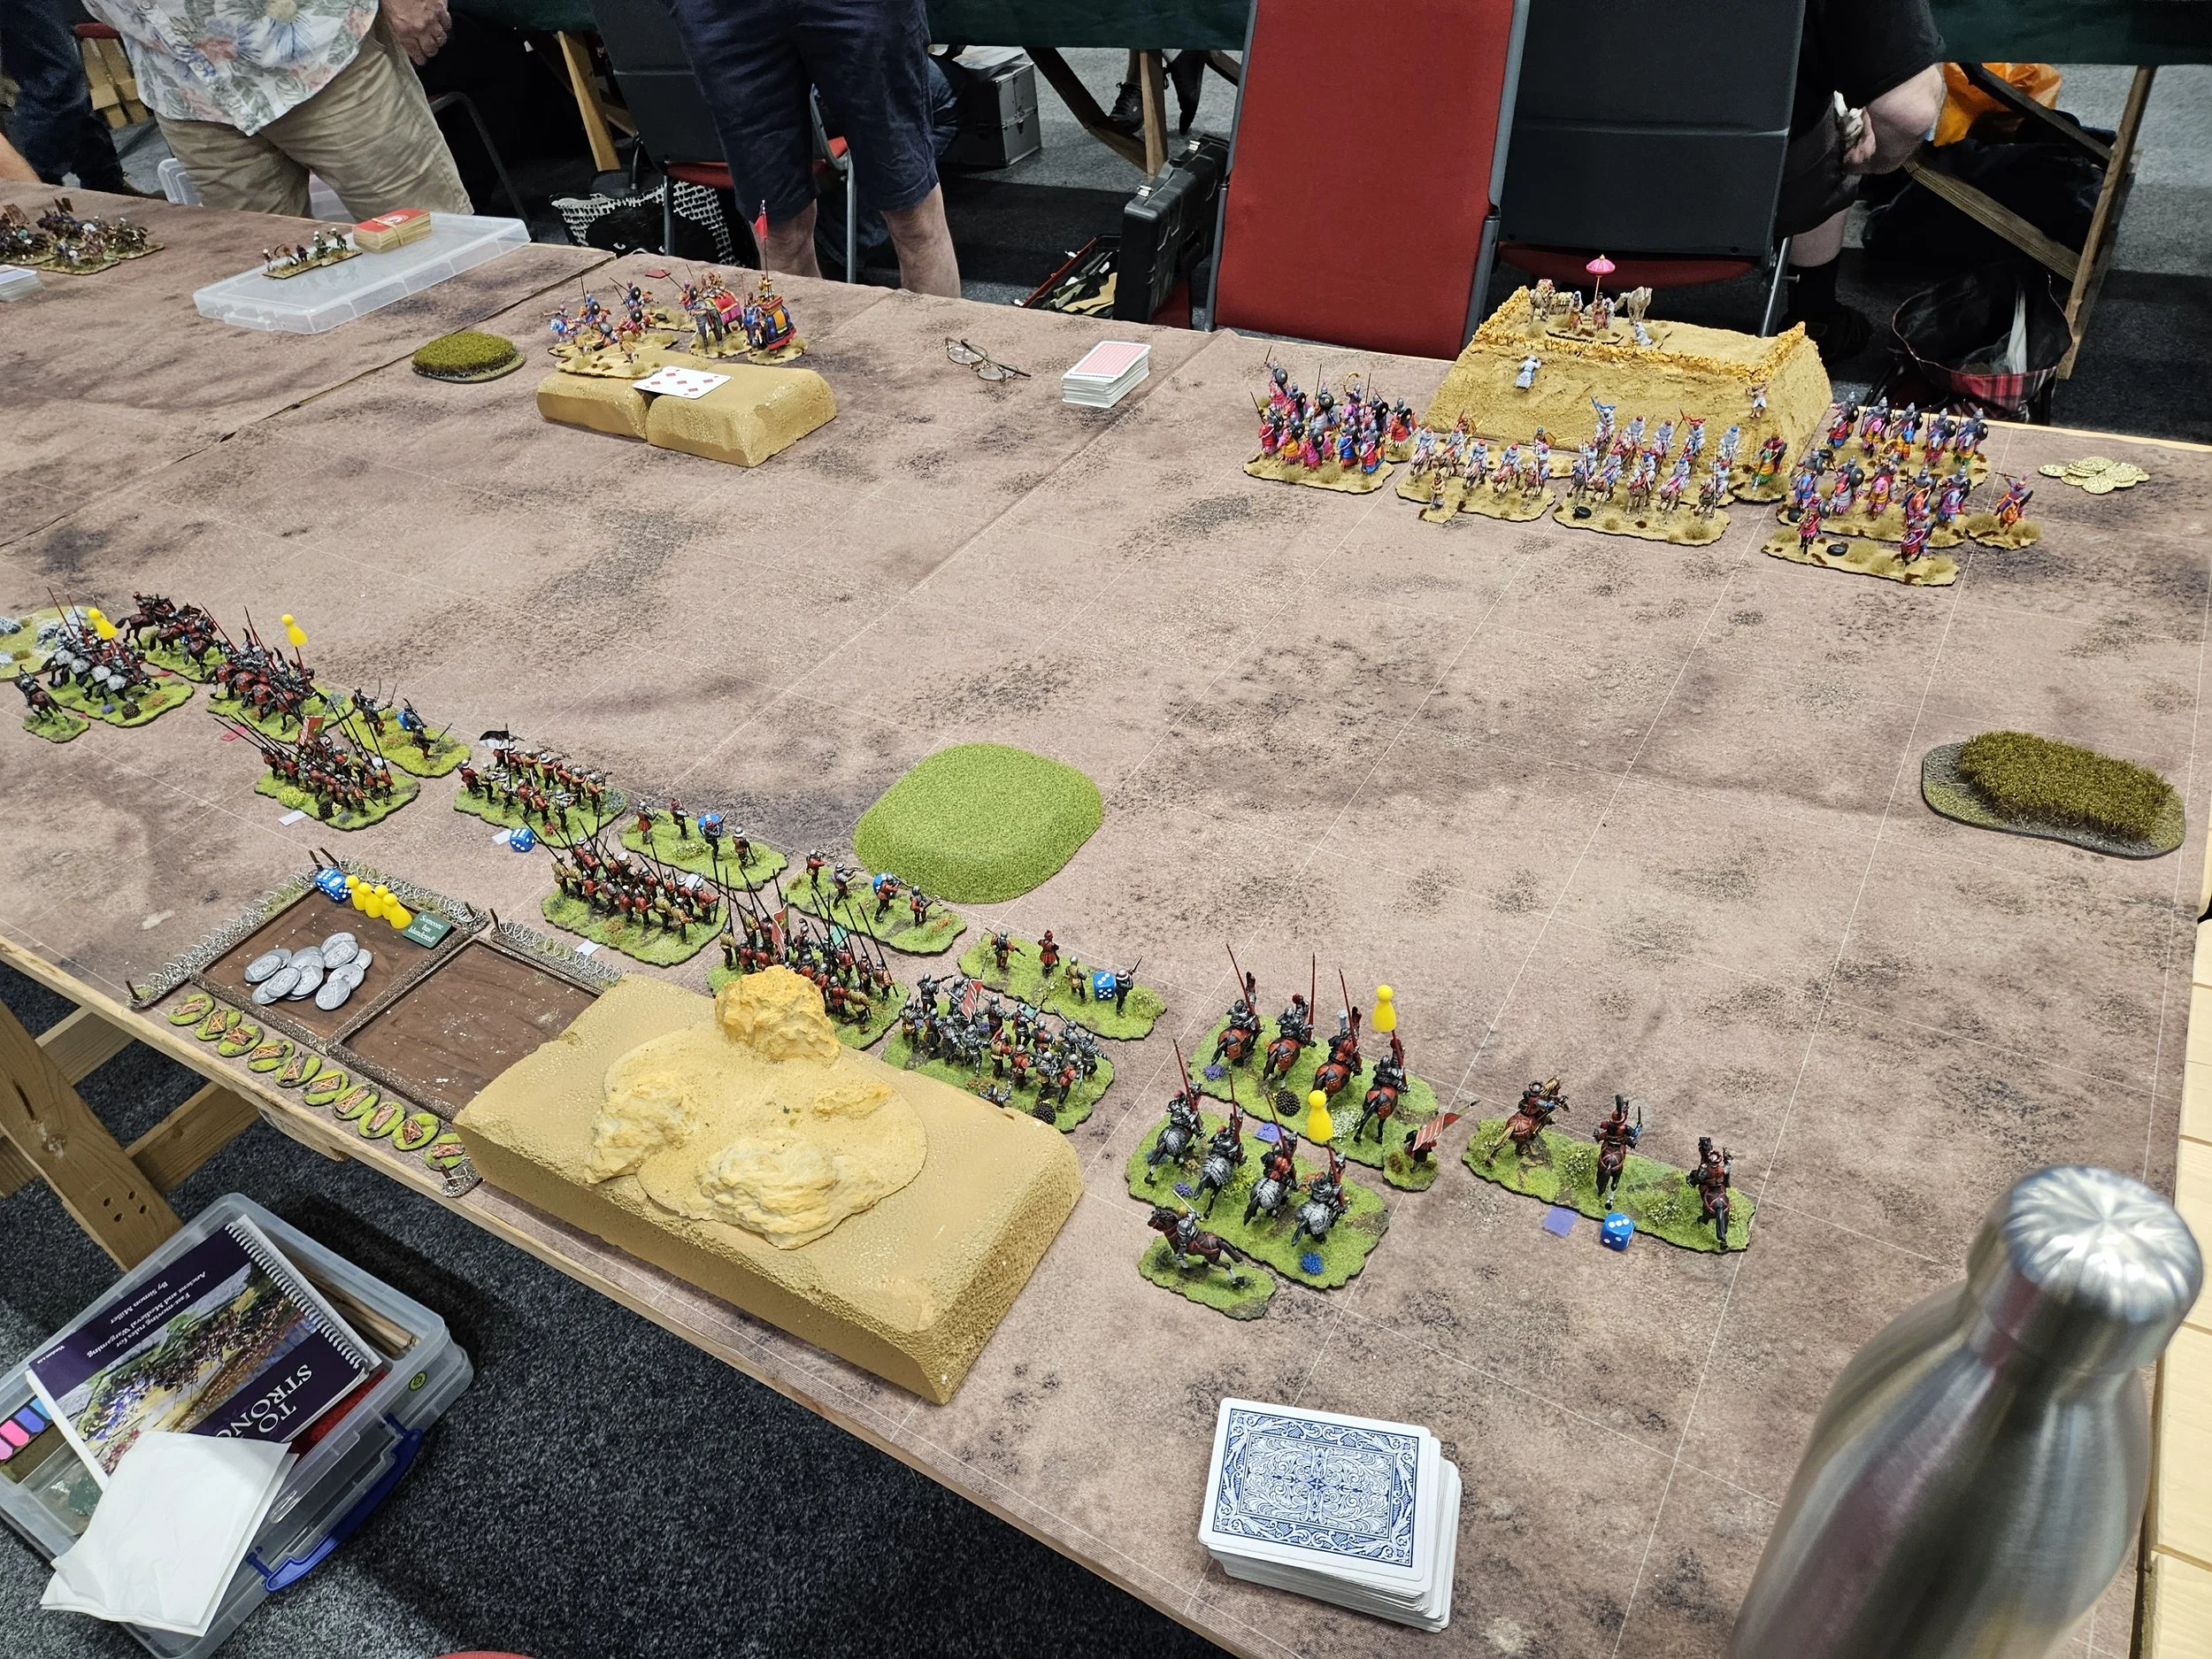
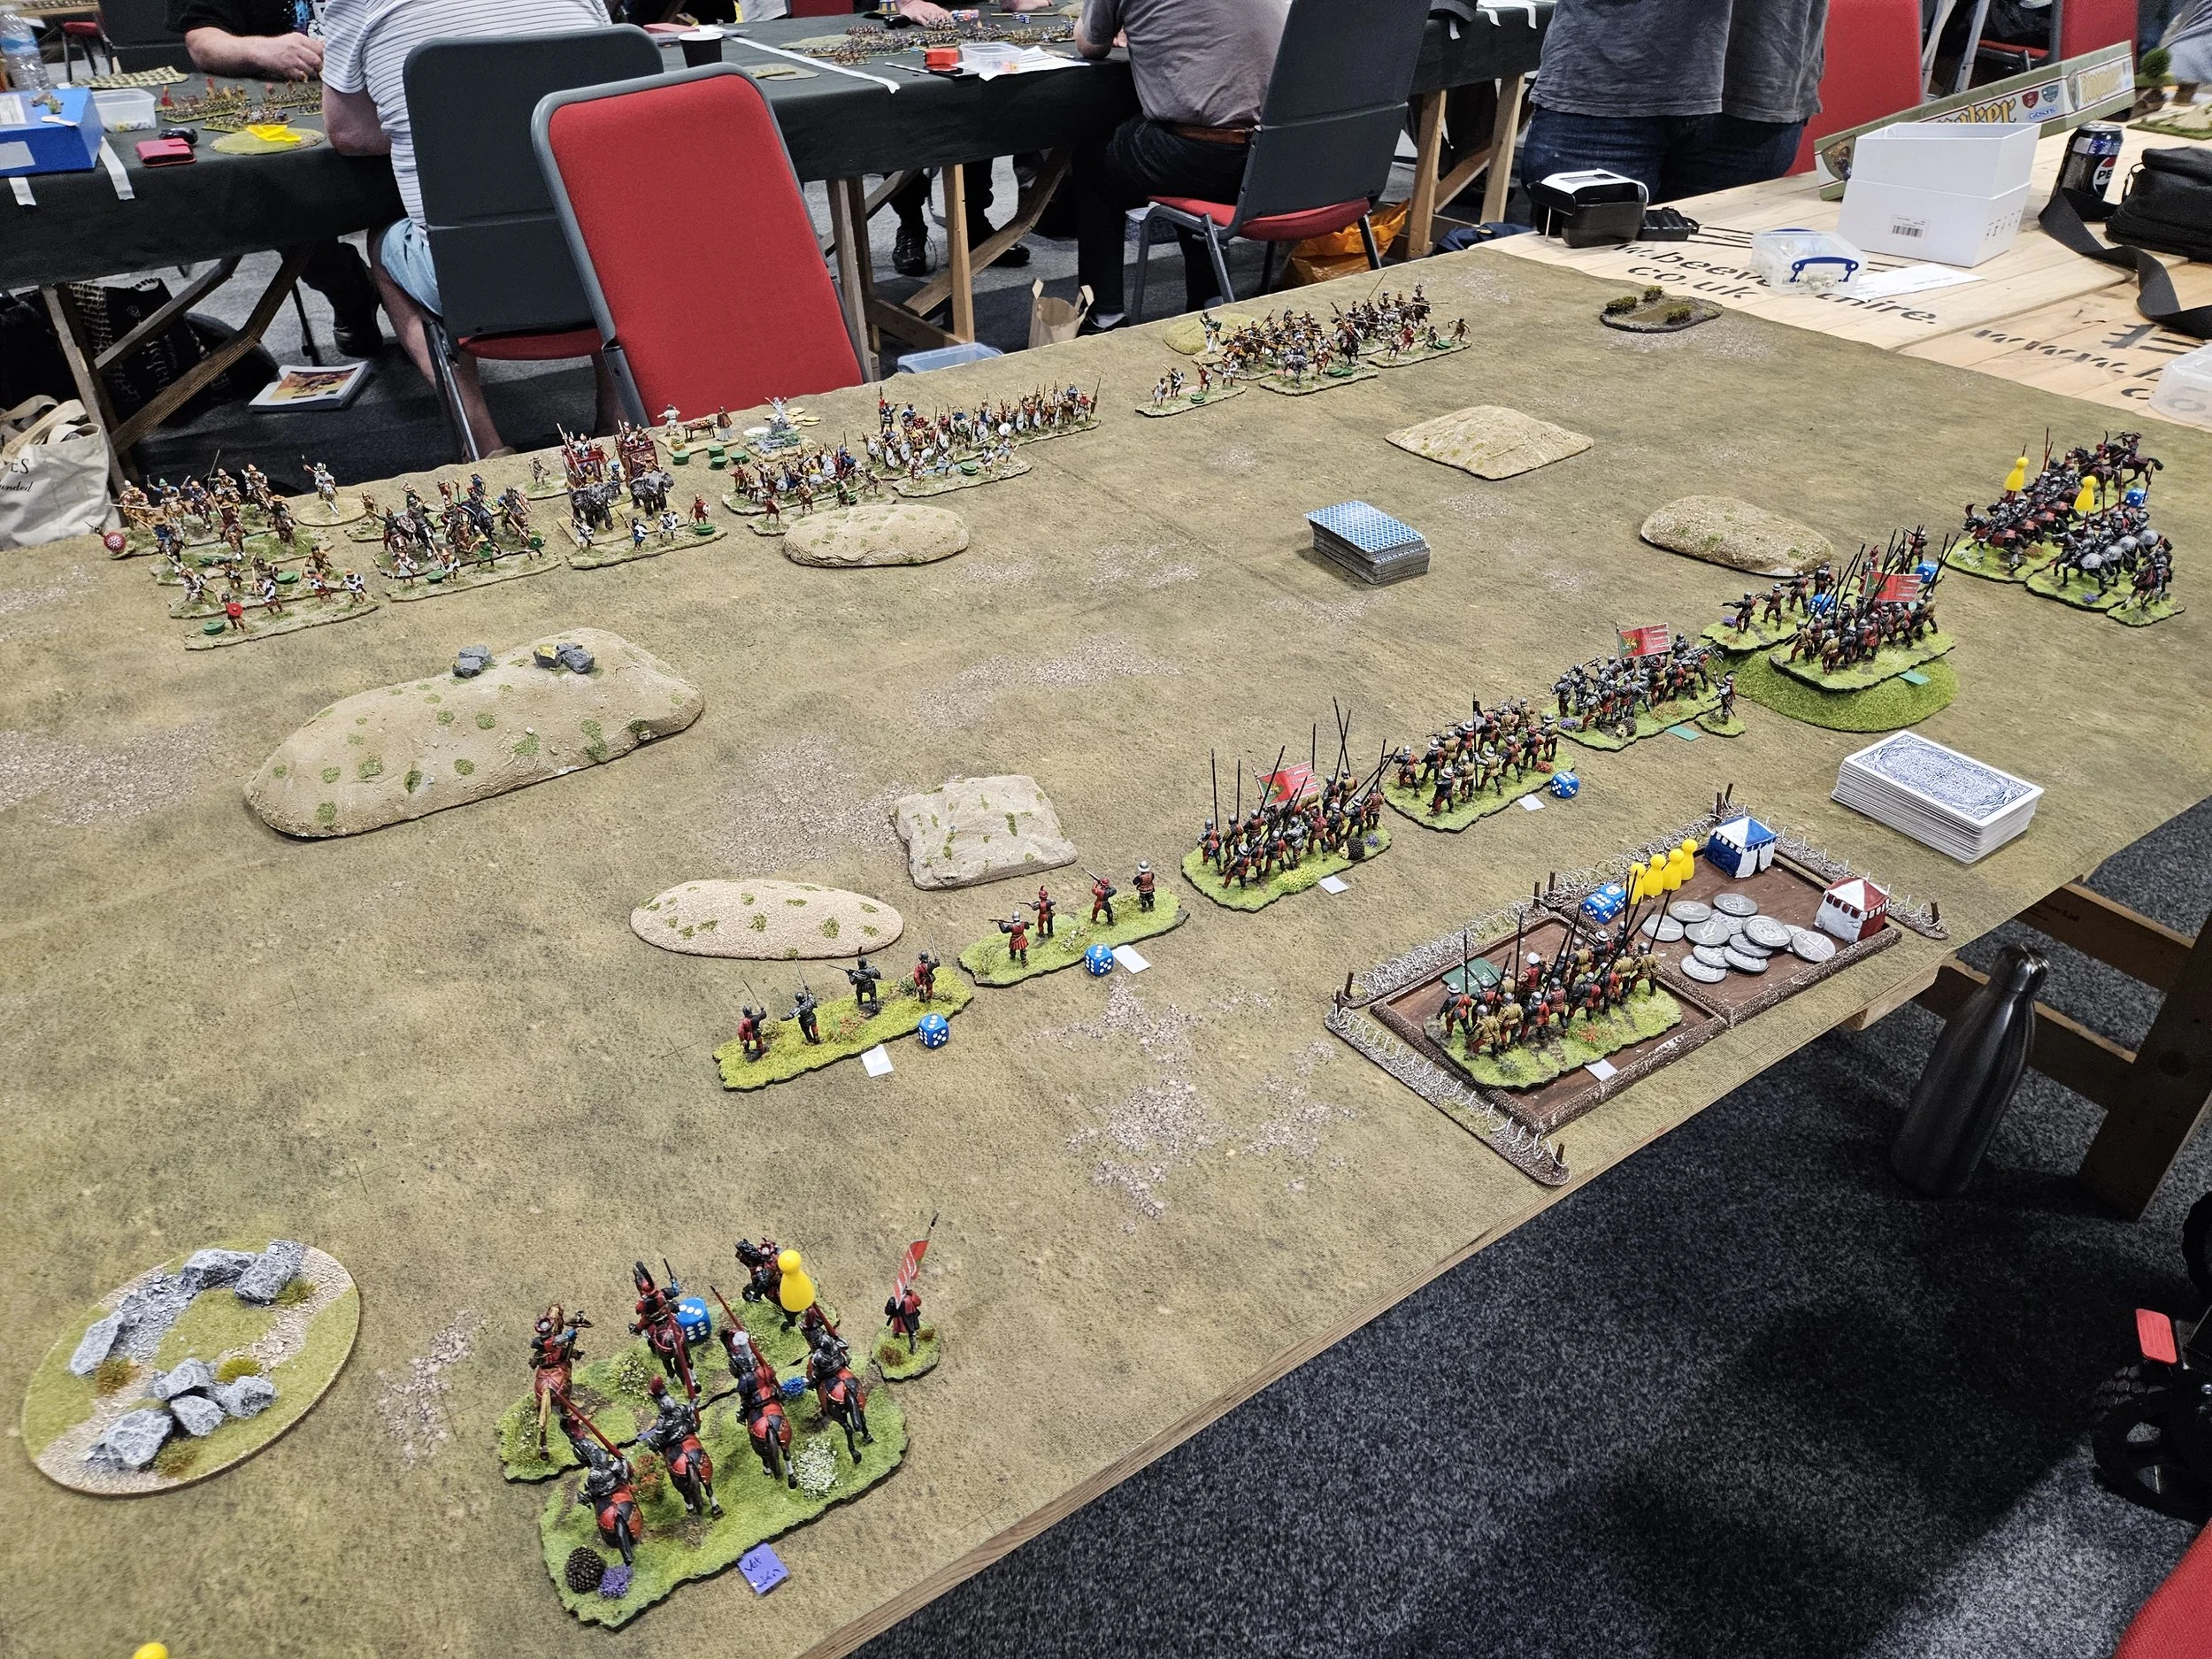
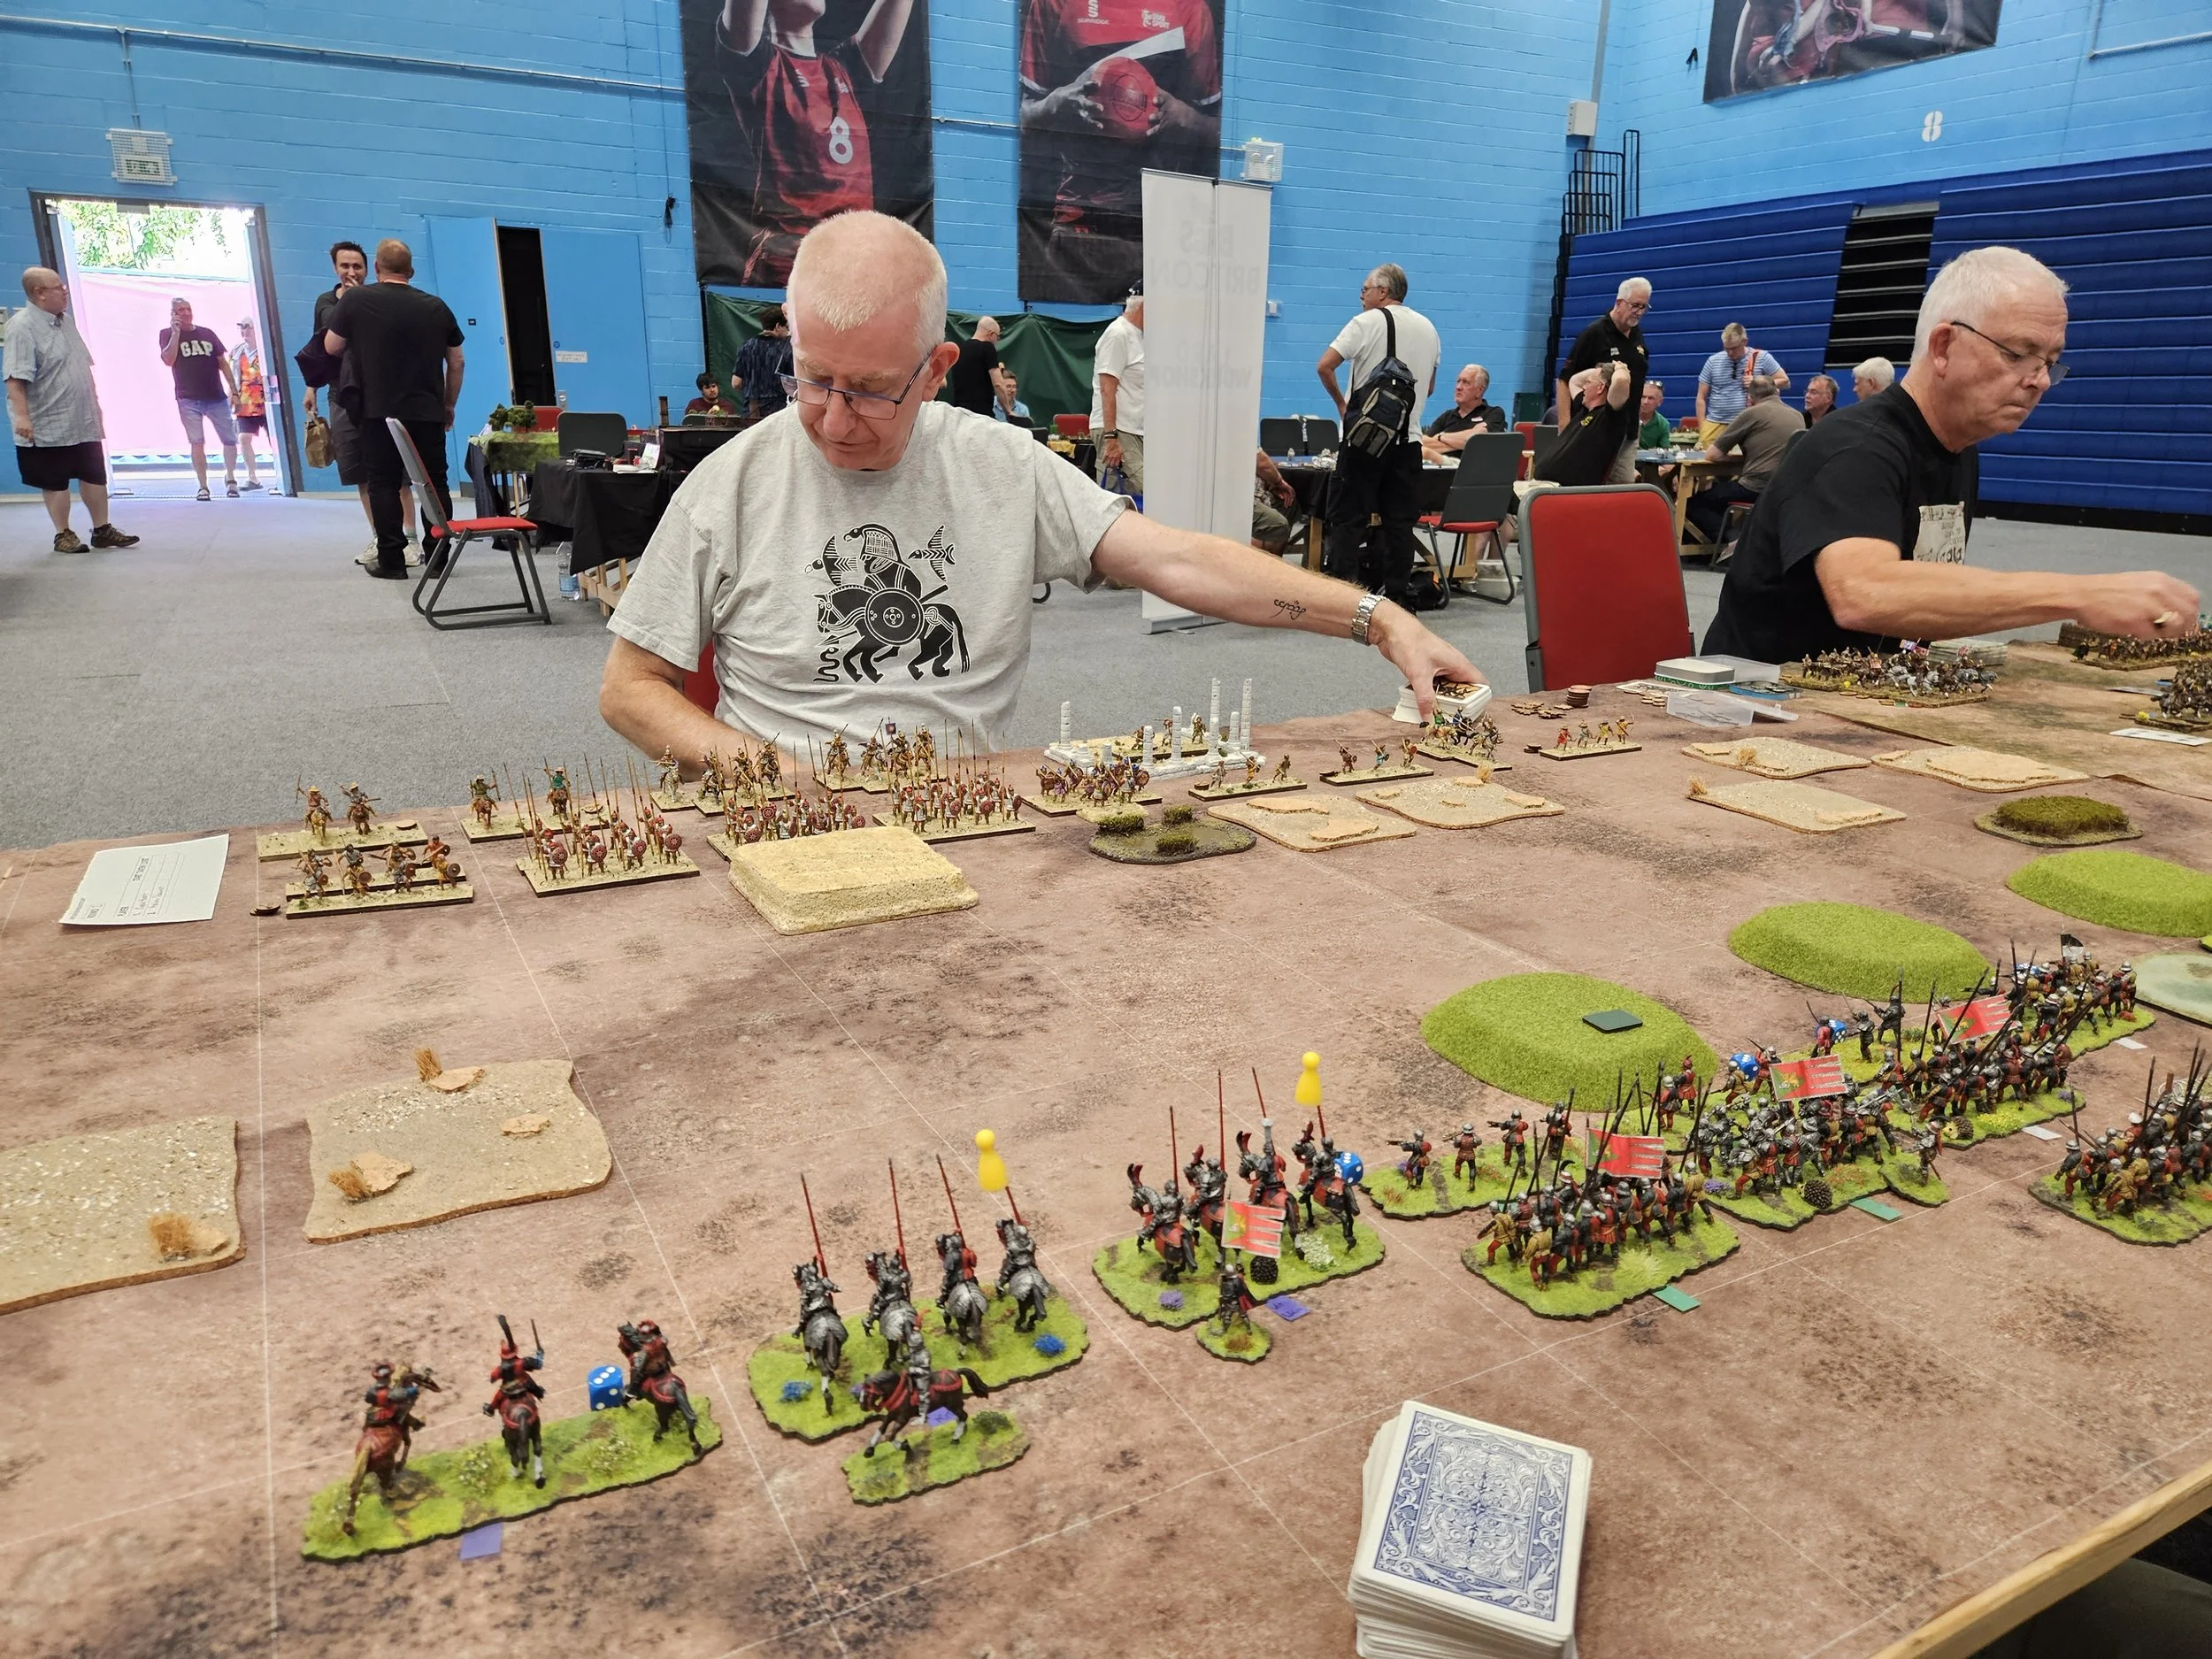
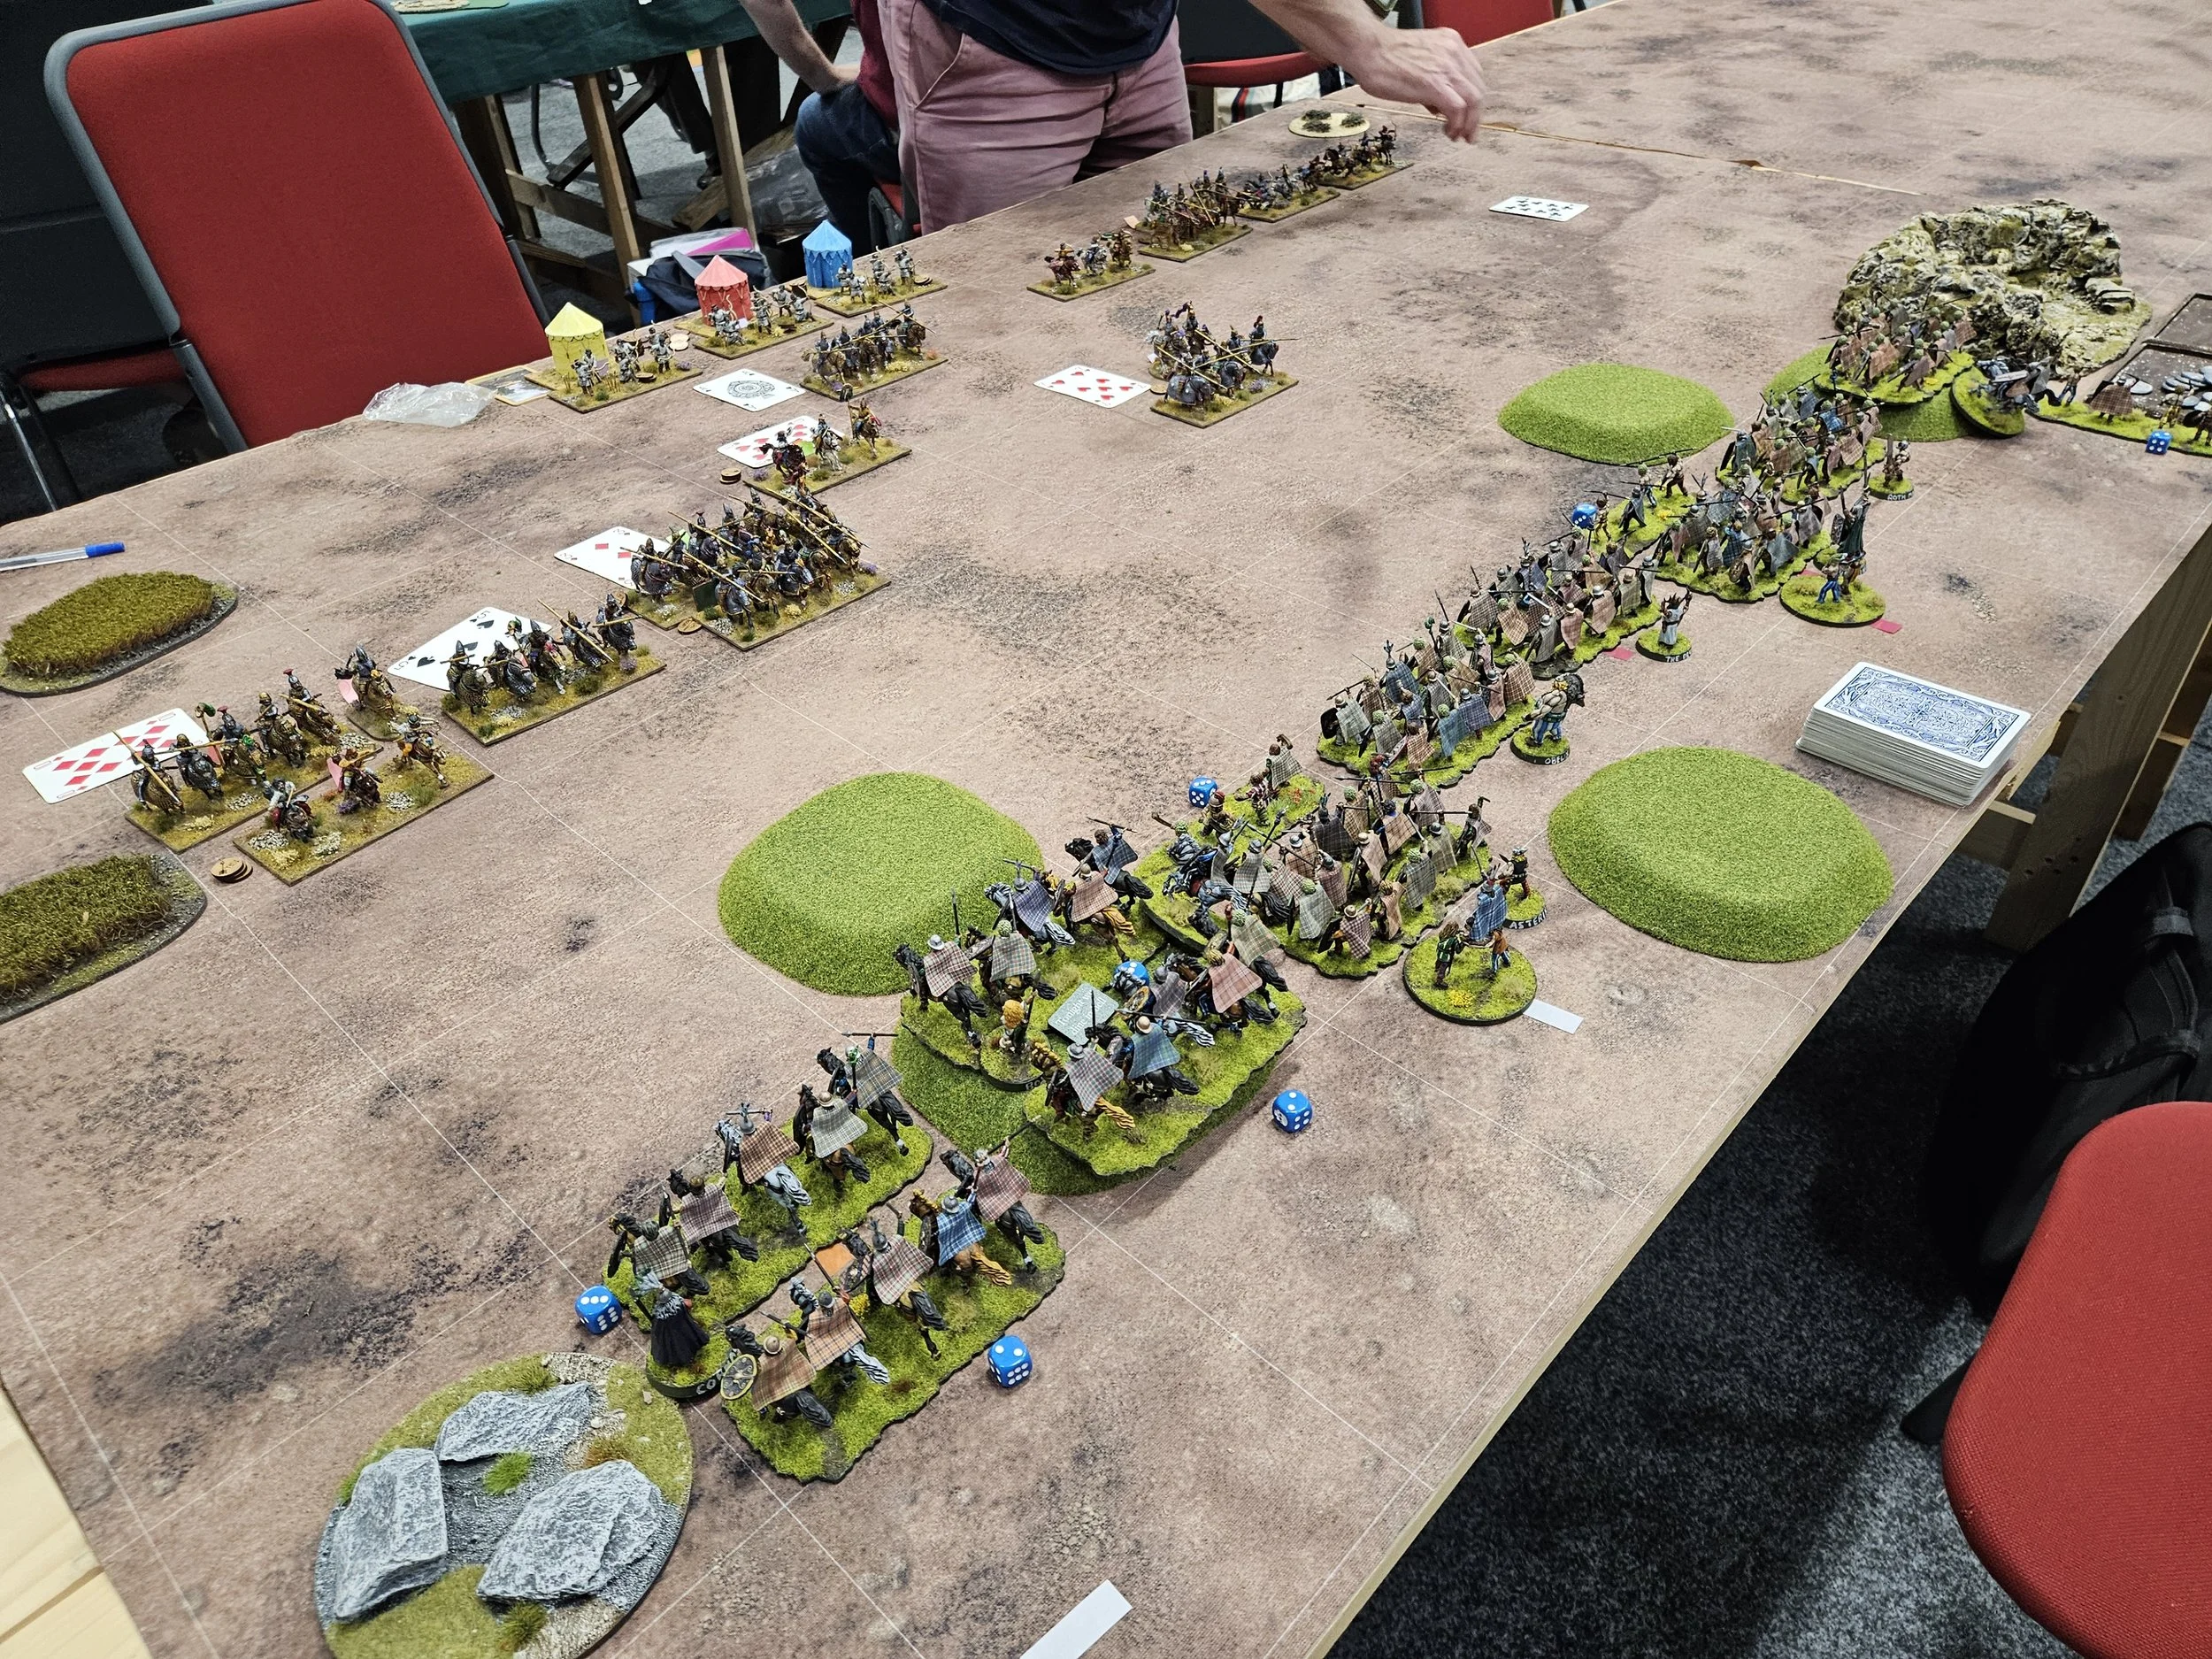
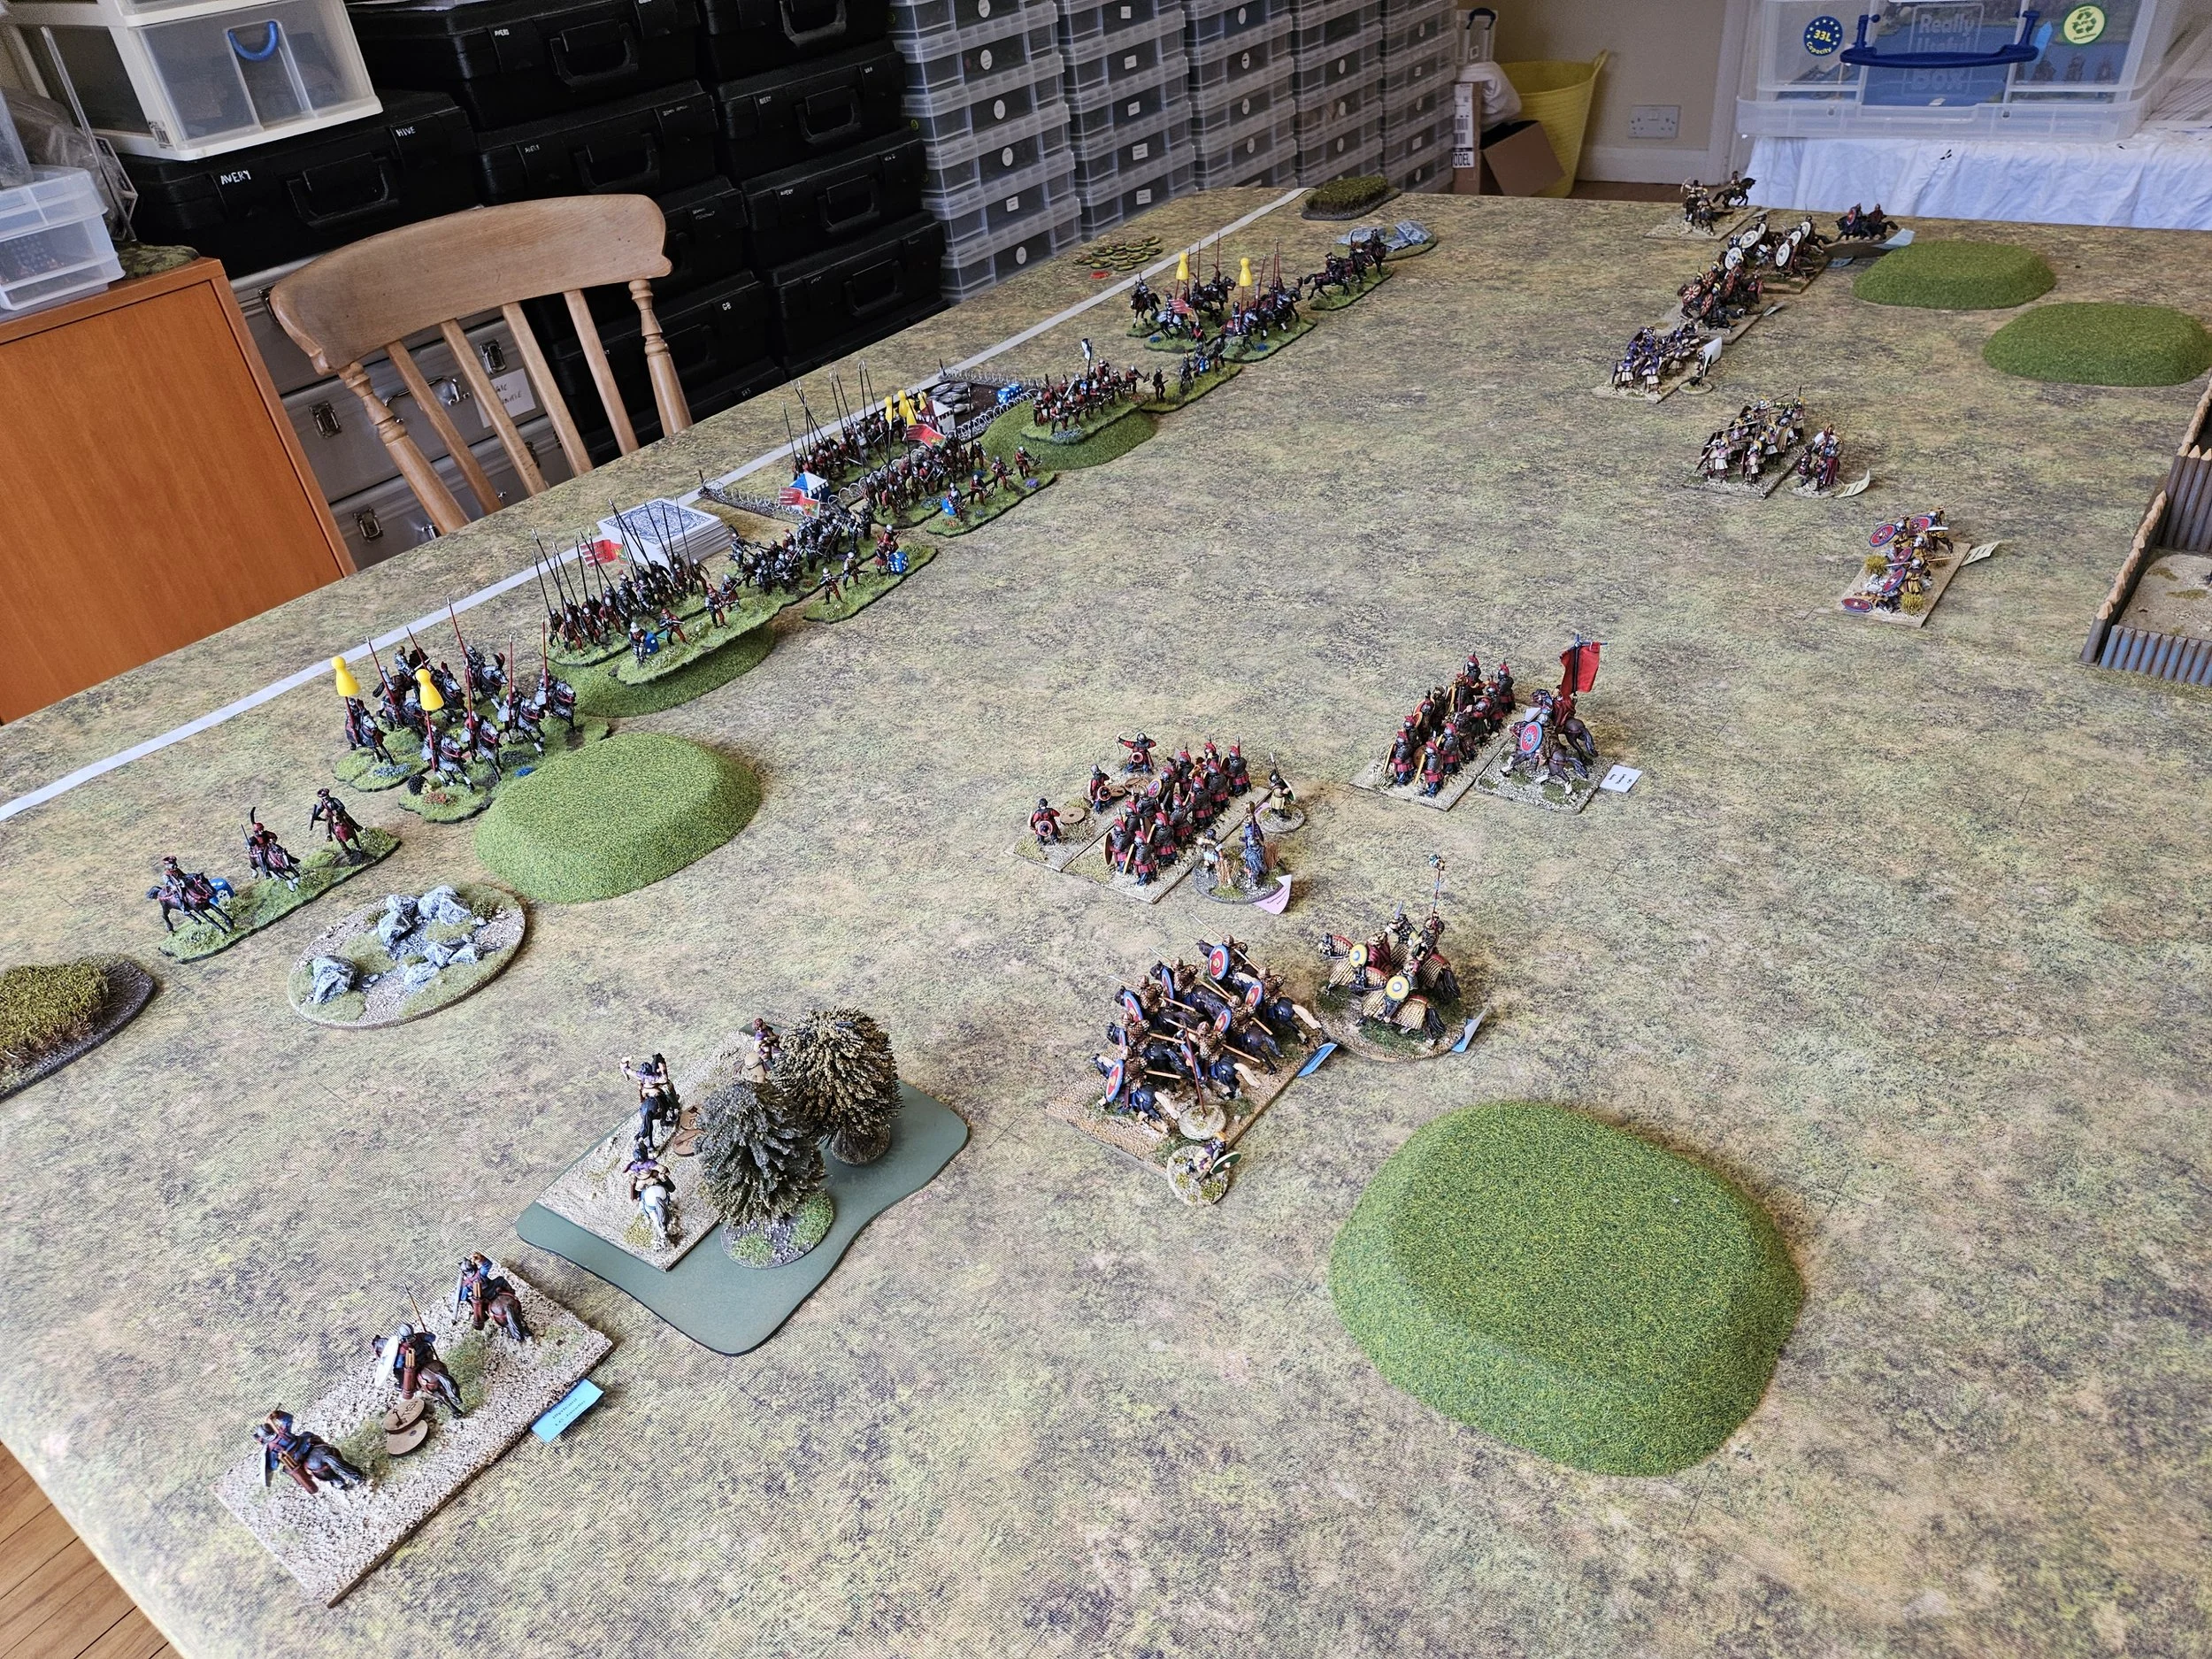
Trooper Rogers ran out of the corral towards his horse, Lieutenant Carey climbed over the corral’s wall. The pics below show how far we all had to go (the other side of the donga to the left) and the position as the first of the Zulus arrived.

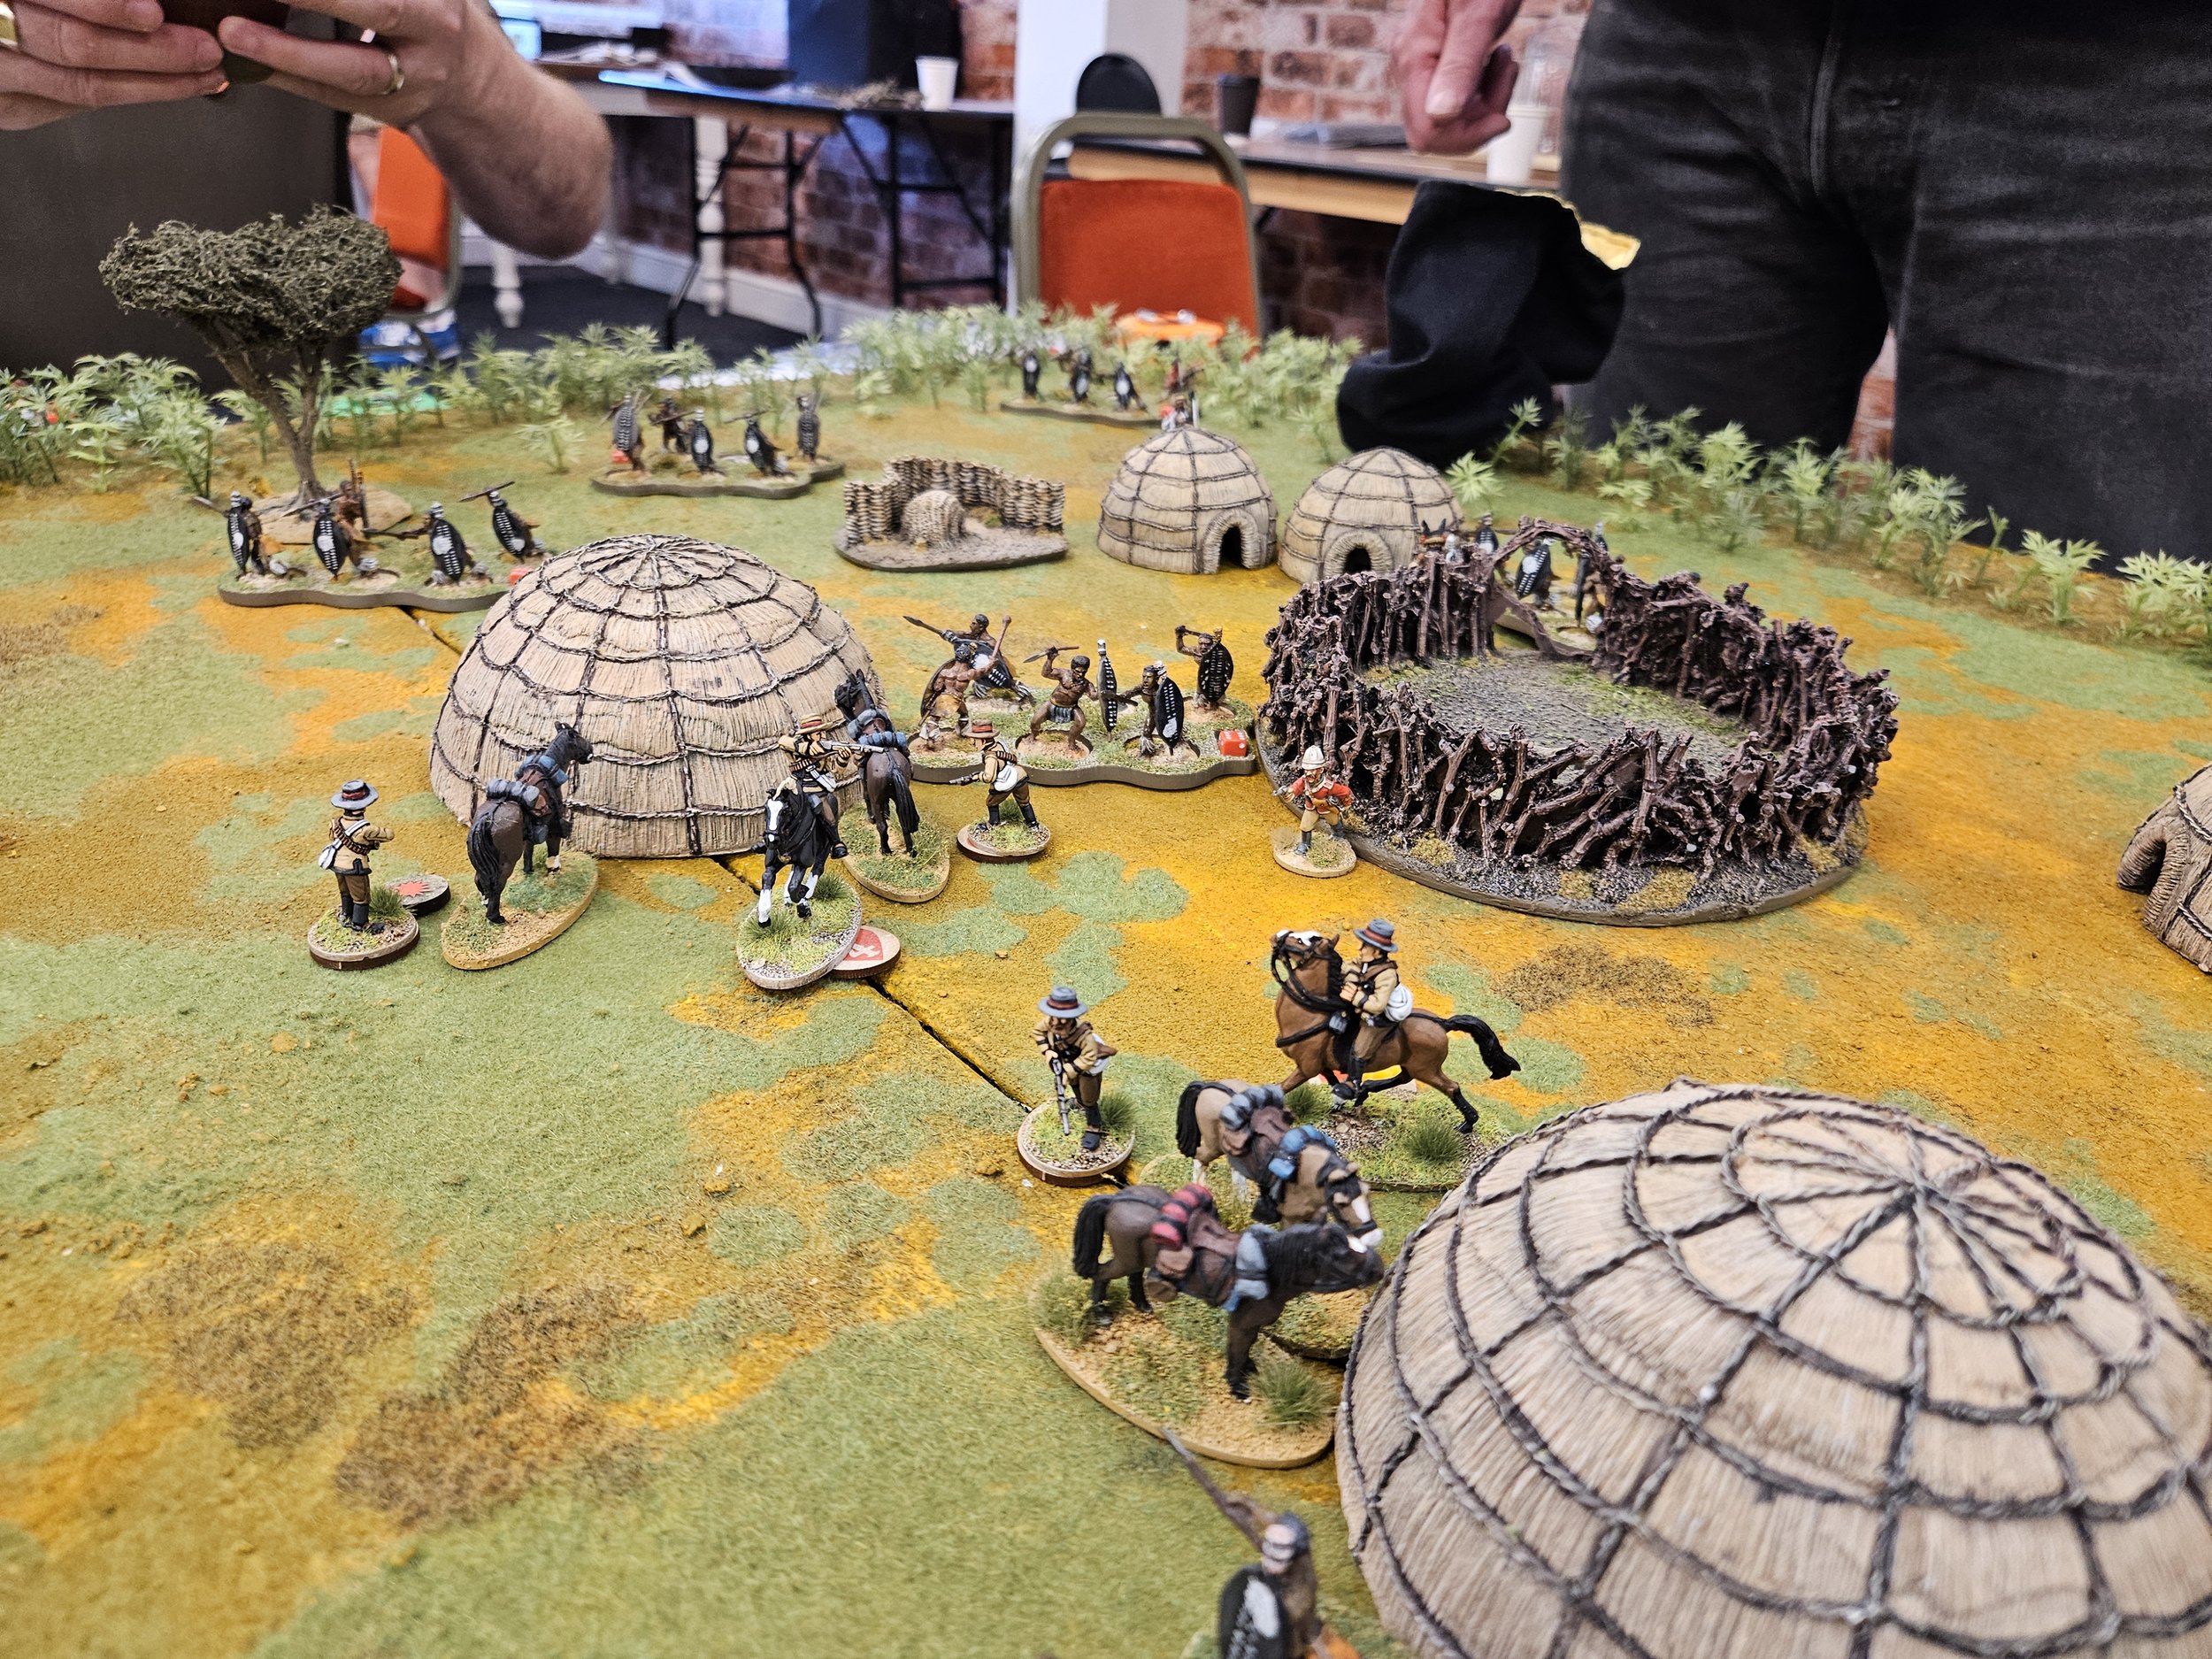
There was then a mad scramble for the horses, with about half the characters, including Trooper Rogers, managing to get on board and kick for the donga. Lieutenant Carey was last out of the bag again, and was almost overwhelmed by Zulus immediately. He was badly wounded by a thrown spear, but managed to shoot one of the Zulu indunas (chiefs) dead with his trusty army service revolver. Carey then managed to get onto a horse but, perhaps crucially, hadn’t managed to check or tighten the girth!

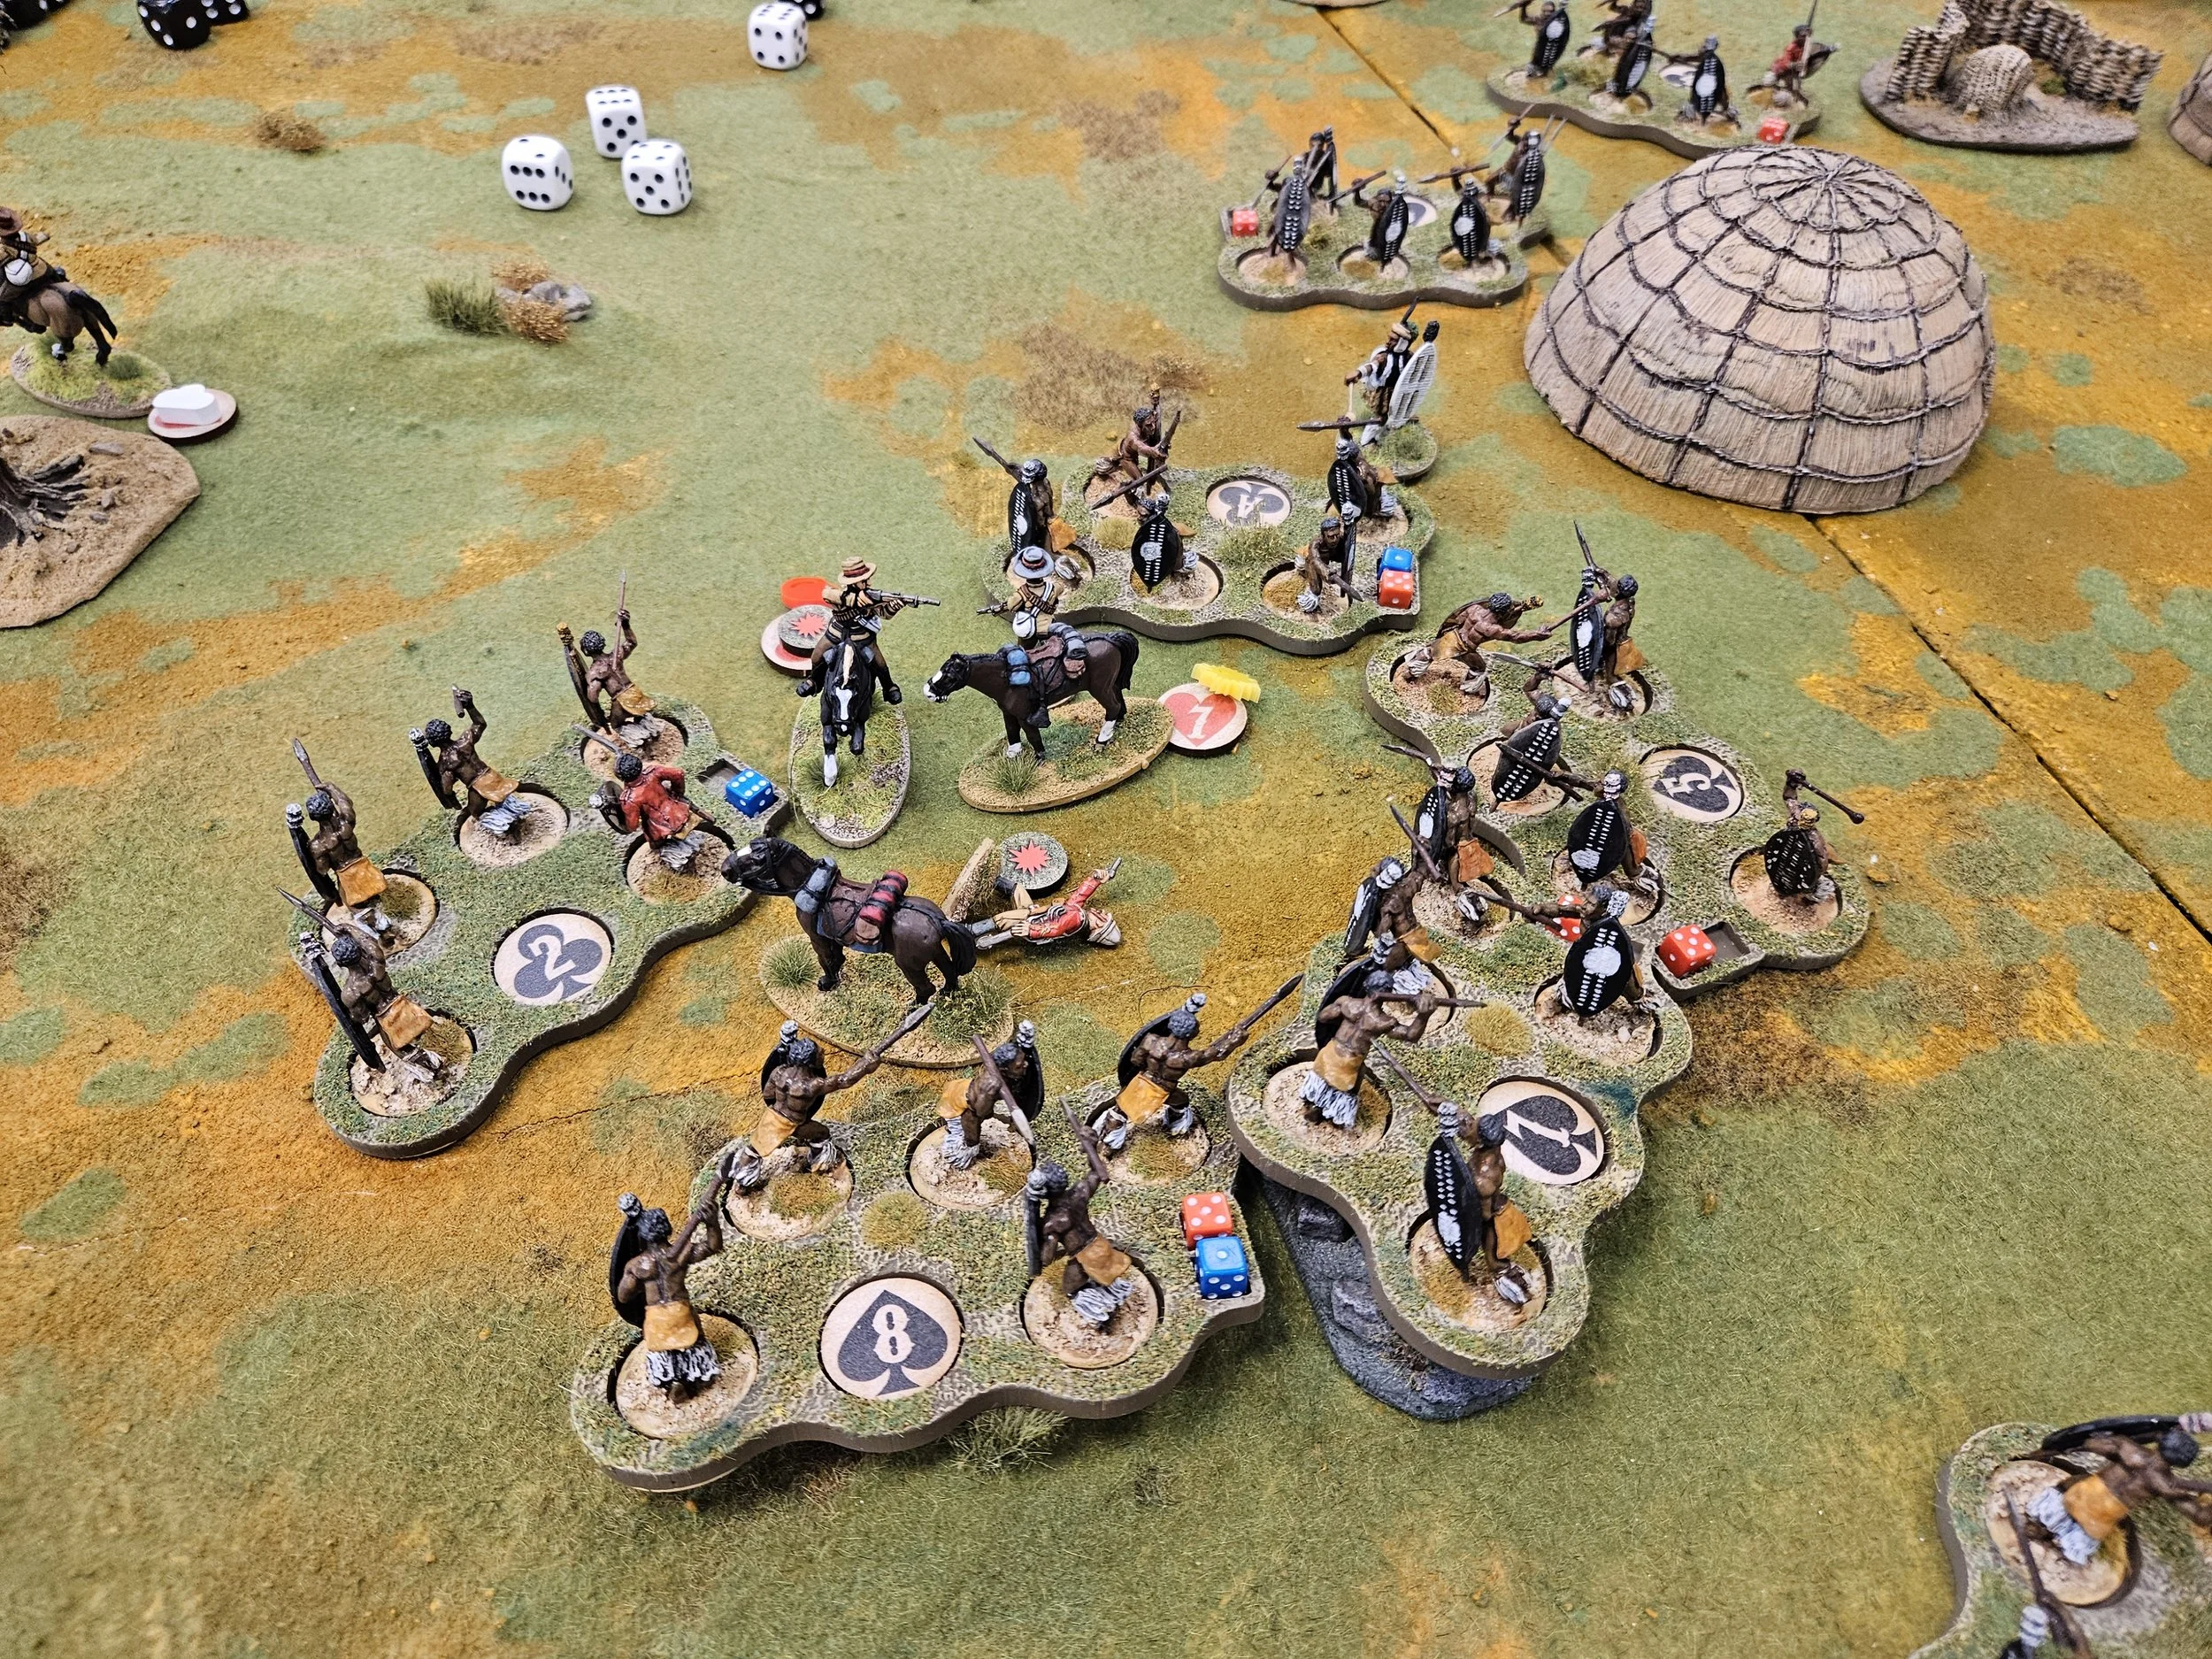
Carey was almost caught immediately, but managed to shoot another Zulu dead and urge his mount into a canter. Unfortunately, all this delay had given the Zulus time to close in, and Carey was wounded again and fell from his horse. The fall stunned him, and before he could rise, the enemy was upon him and he was killed!

But what of Trooper Rogers? Well he had managed to outpace the Zulus and had reached the donga safely. In front of him was the Prince Imperial, who was now on foot having lost his seat whilst trying to jump his mount down into the rought ground of the dry river bed.

Rogers dismounted and began to lead his horse through the donga. Unfortunately, the horse shied at a patch of water and bolted almost straight into the Prince Imperial, who promptly mounted Rogers’ horse and rode off!

Typical royalty!

The game ended with Rogers jogging after the Prince Imperial, hoping that the Zulus were too busy ritually disembowelling his erstwhile comrades to give chase!

A terrific game: full of action and excitement. The players managed to extricate five of our eight characters, including the Prince Imperial, which surely counts as a victory of some sort!

I was sorely disappointed that Carey hadn’t survived: I thought it was all over almost as soon as the game began, but had begun to hope he might live after he had shot down the Zulu induna…but it was not to be. As for the Prince Imperial stealing Trooper Rogers’ horse…words fail me!

My thanks to Simon, the gamesmaster, and the other players: Chris, Dave and Ty. A great morning’s gaming.
Operation Market Larden

A few weeks ago I drove to Evesham for the twelth Operation Market Larden Lardy games day.

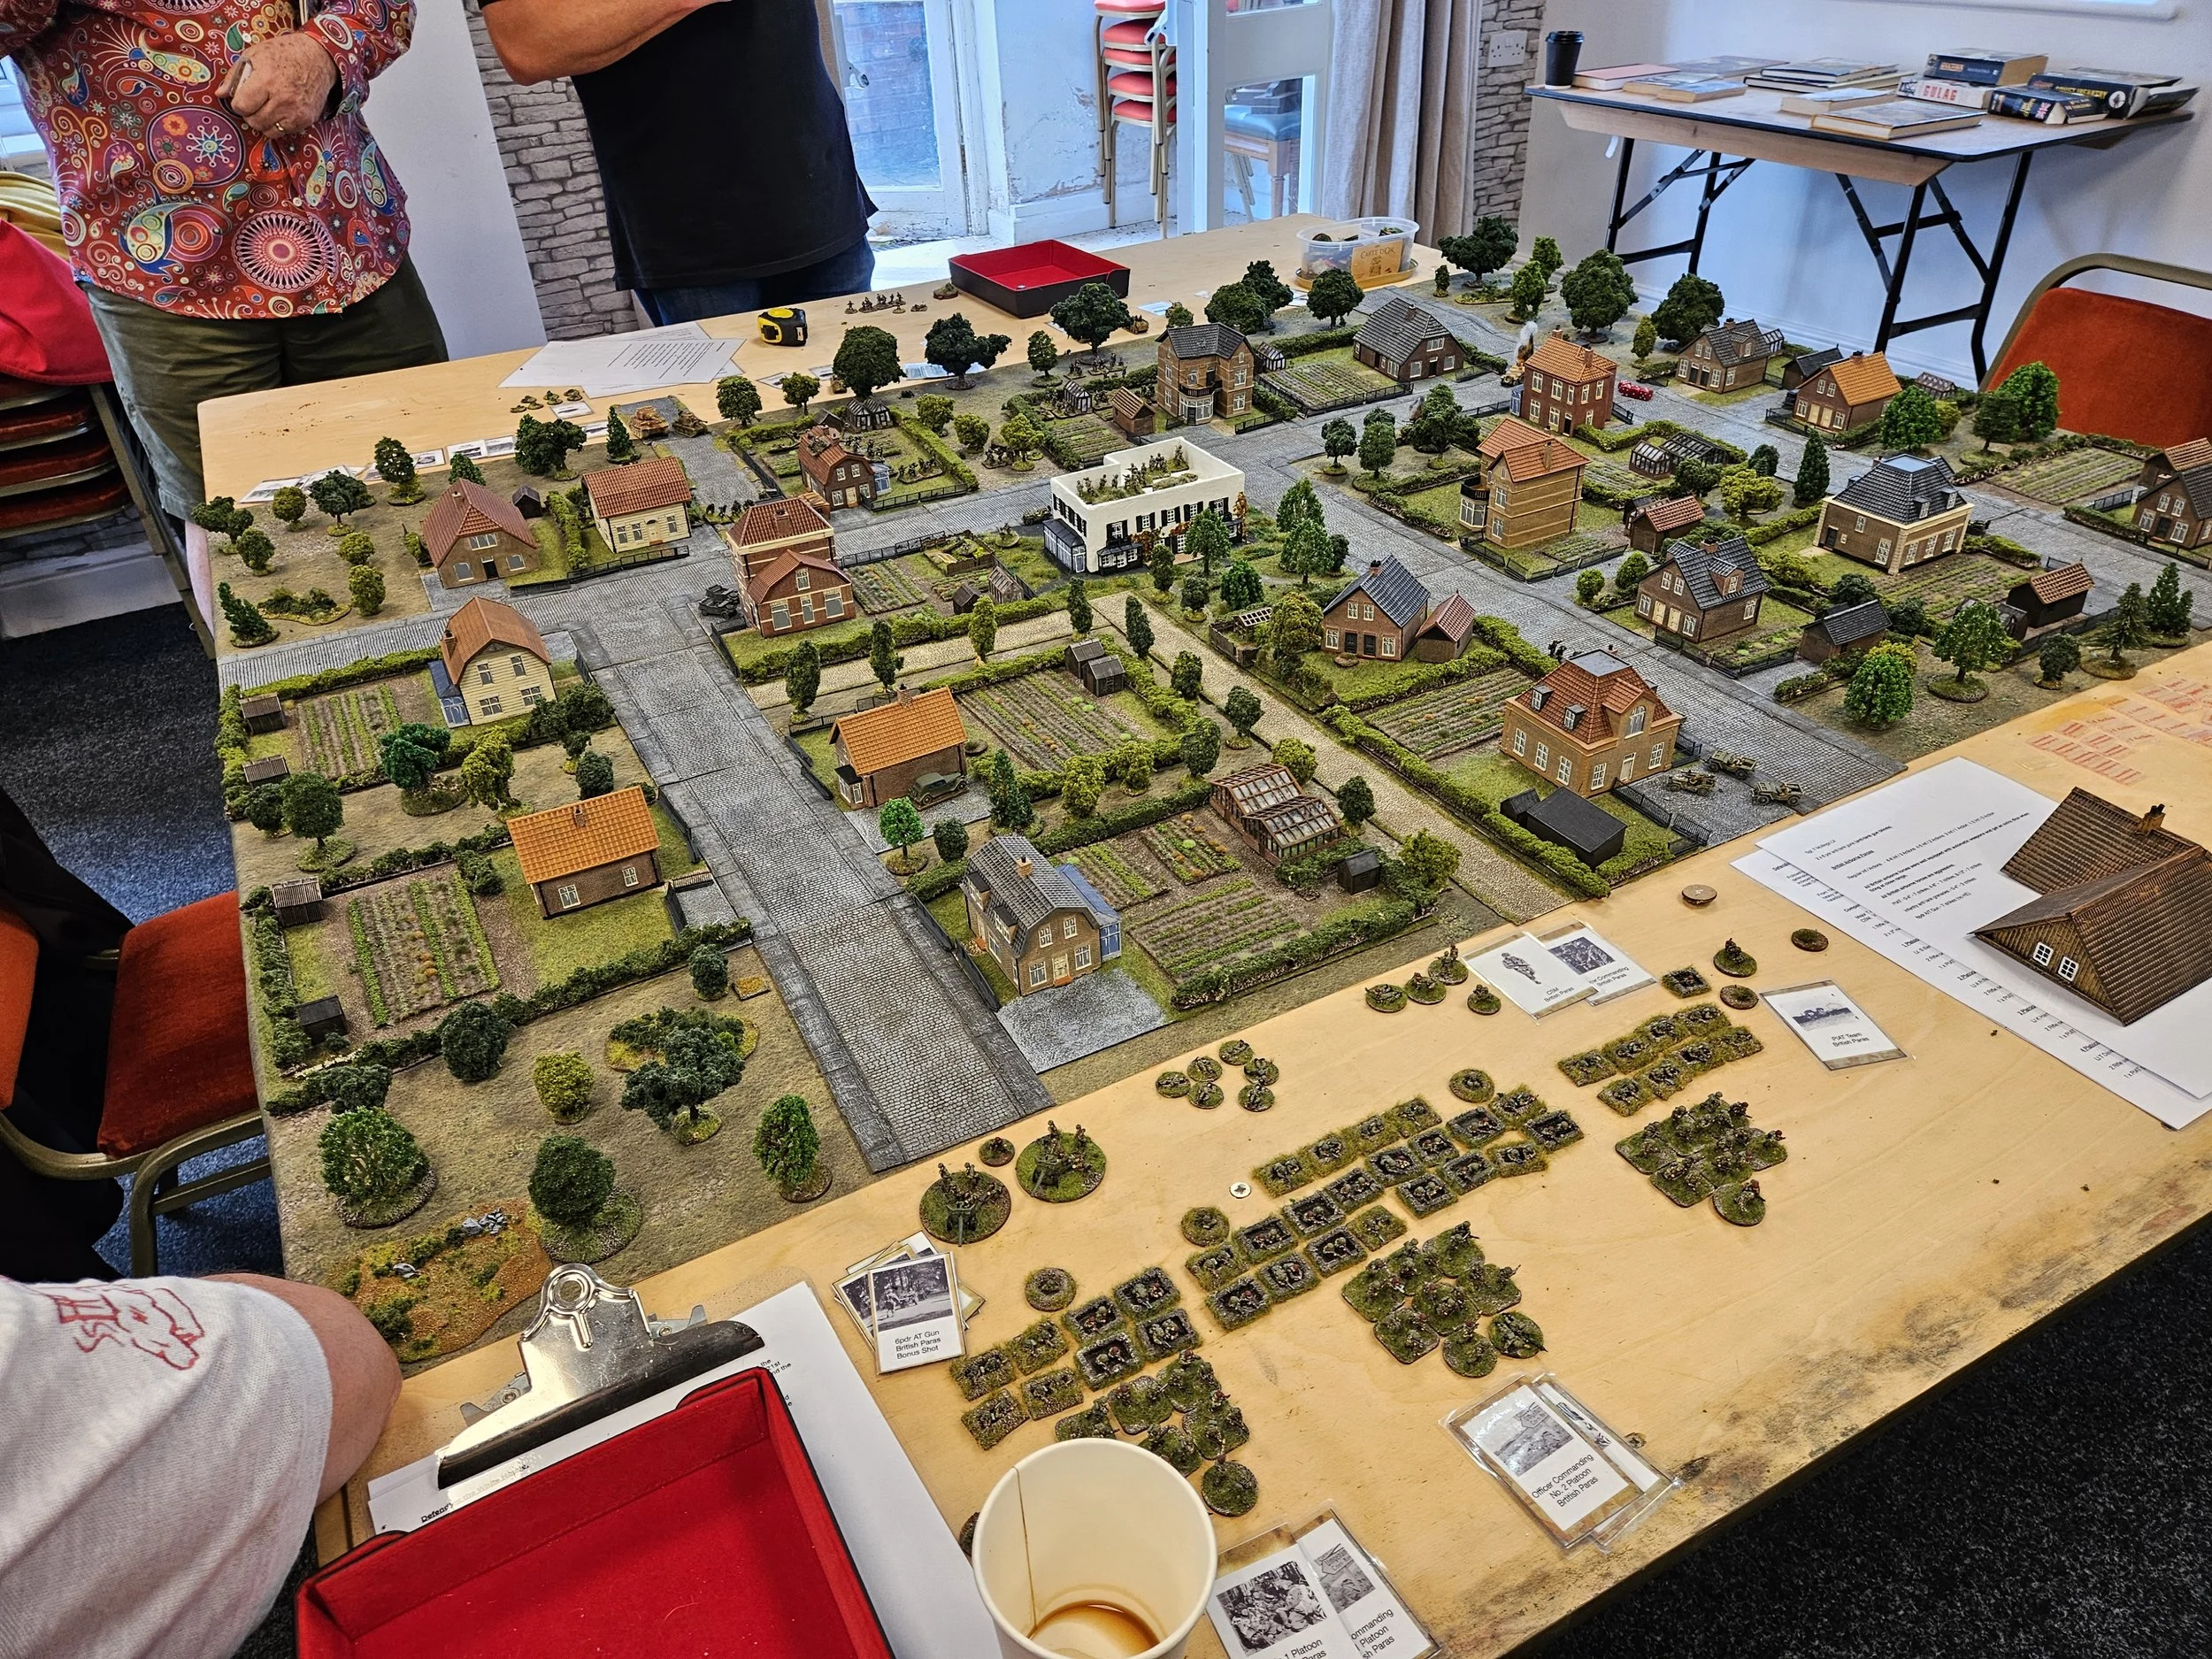
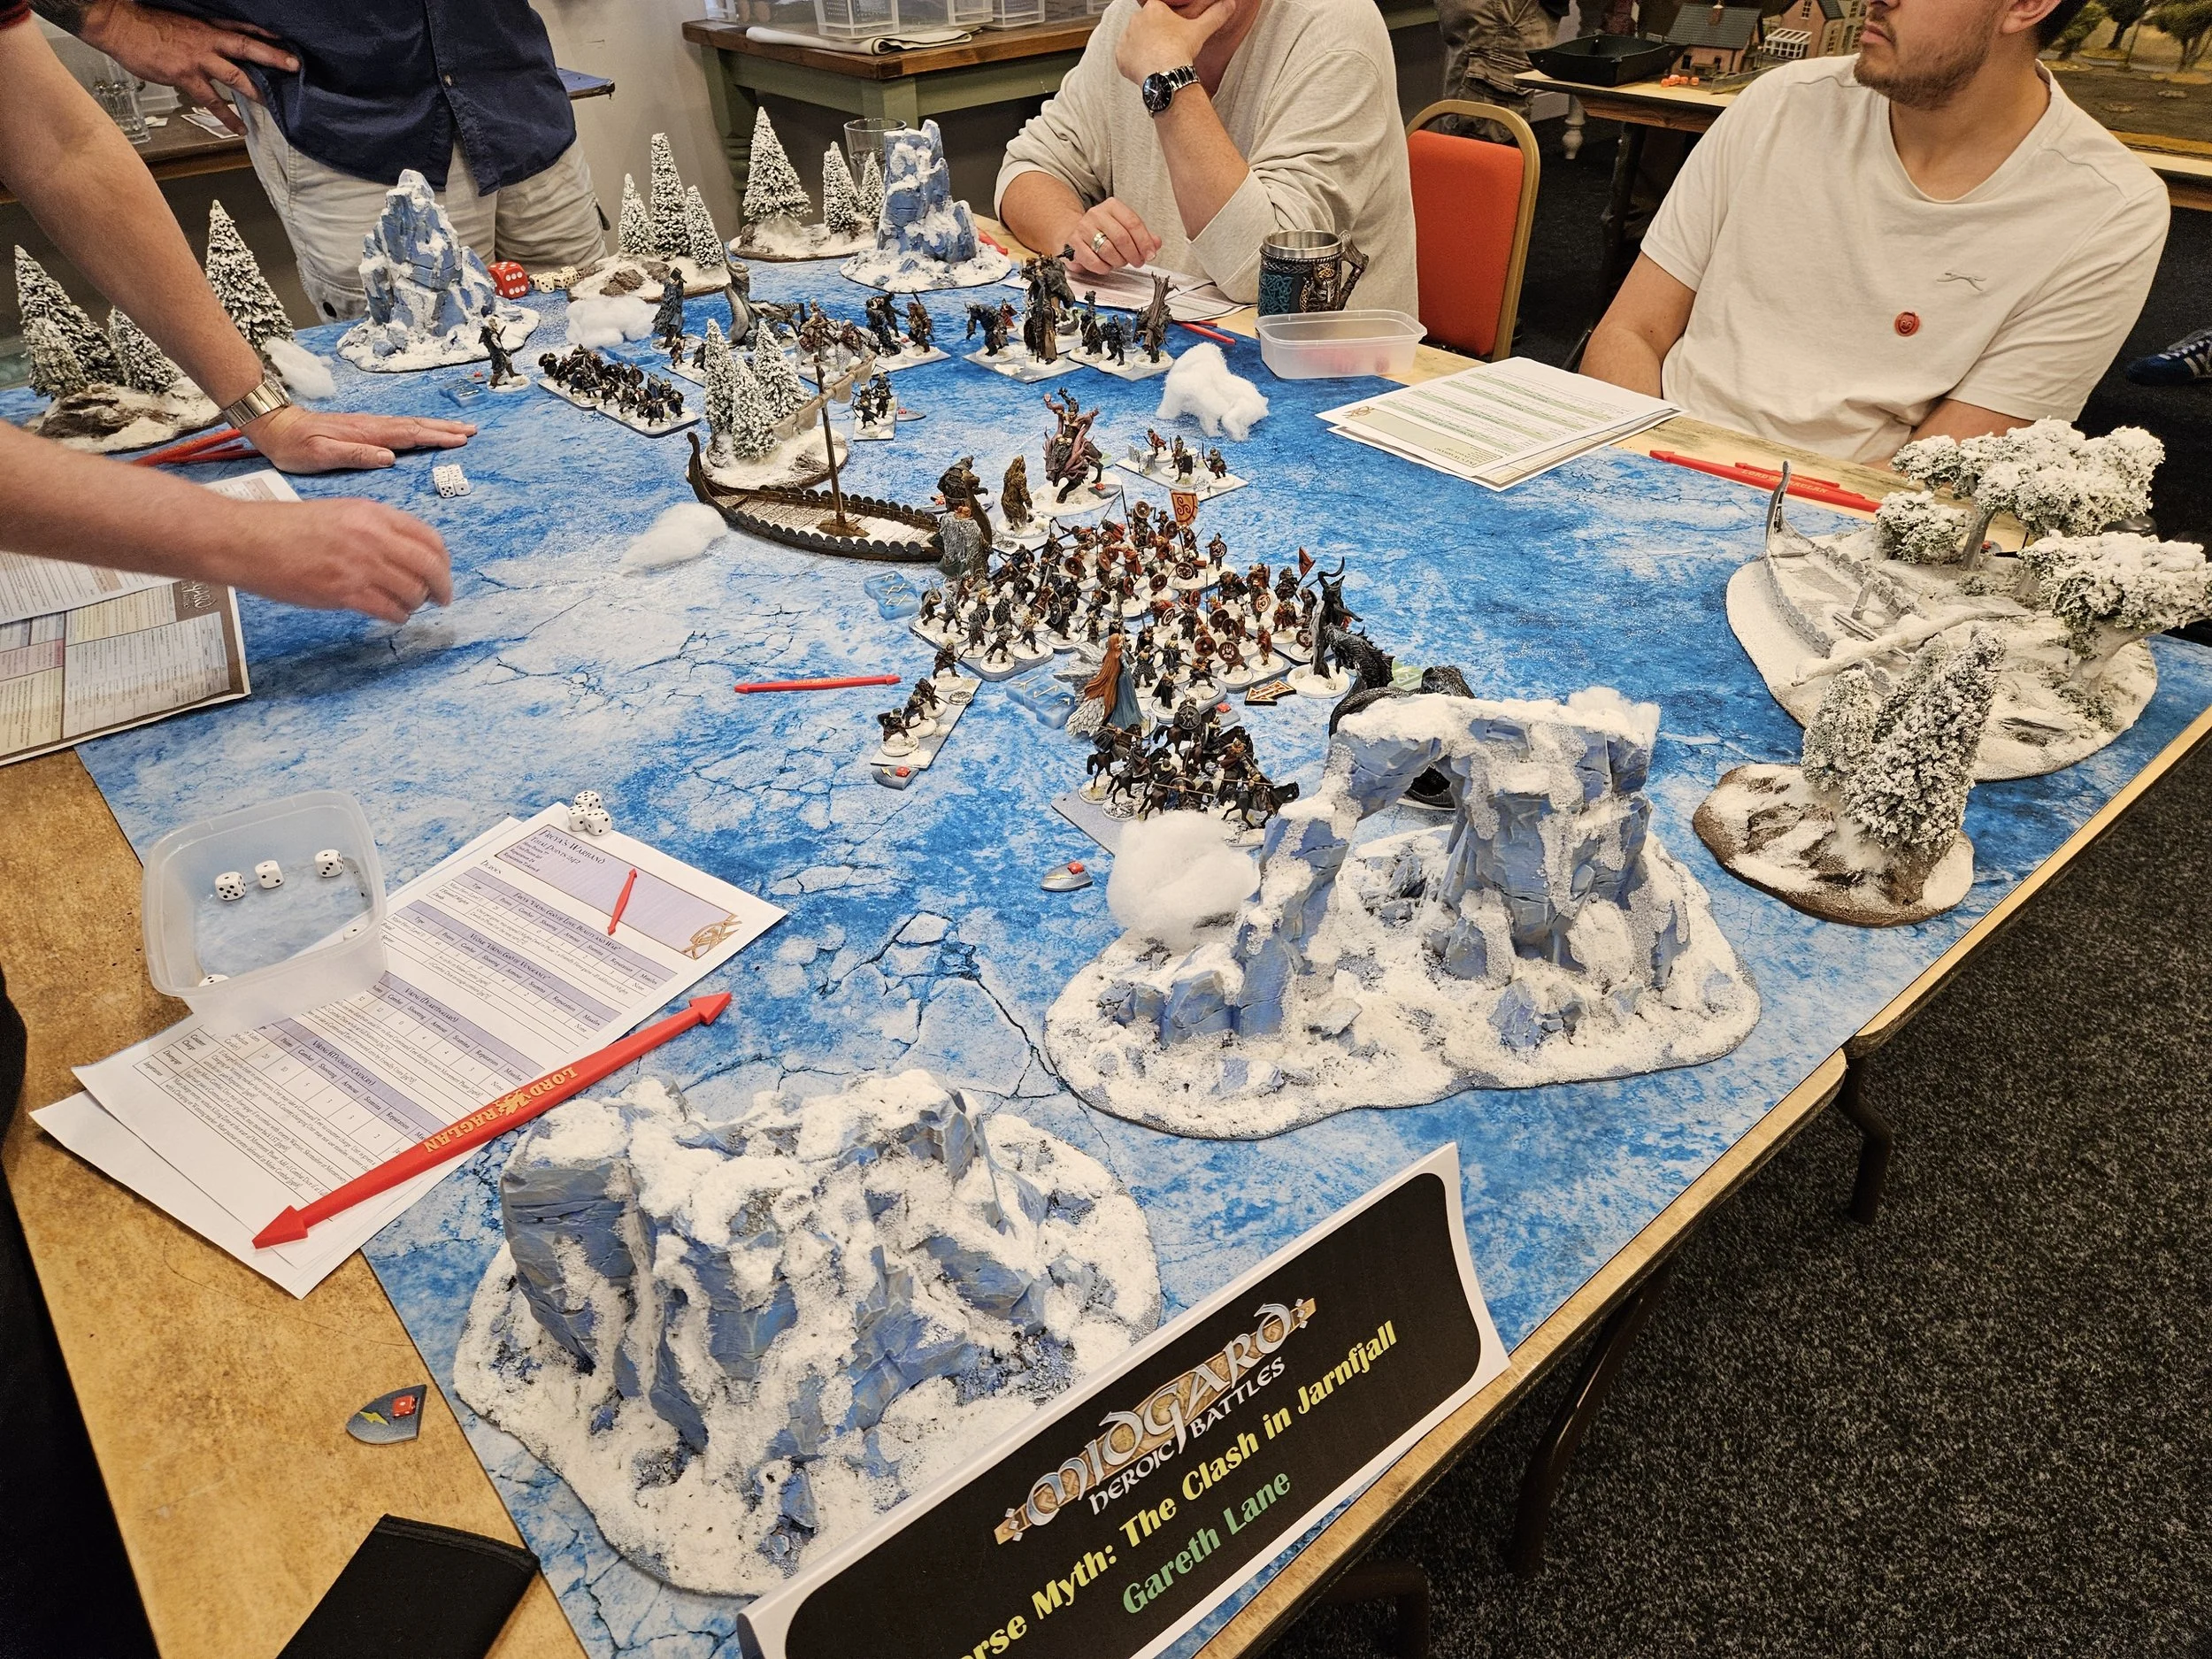
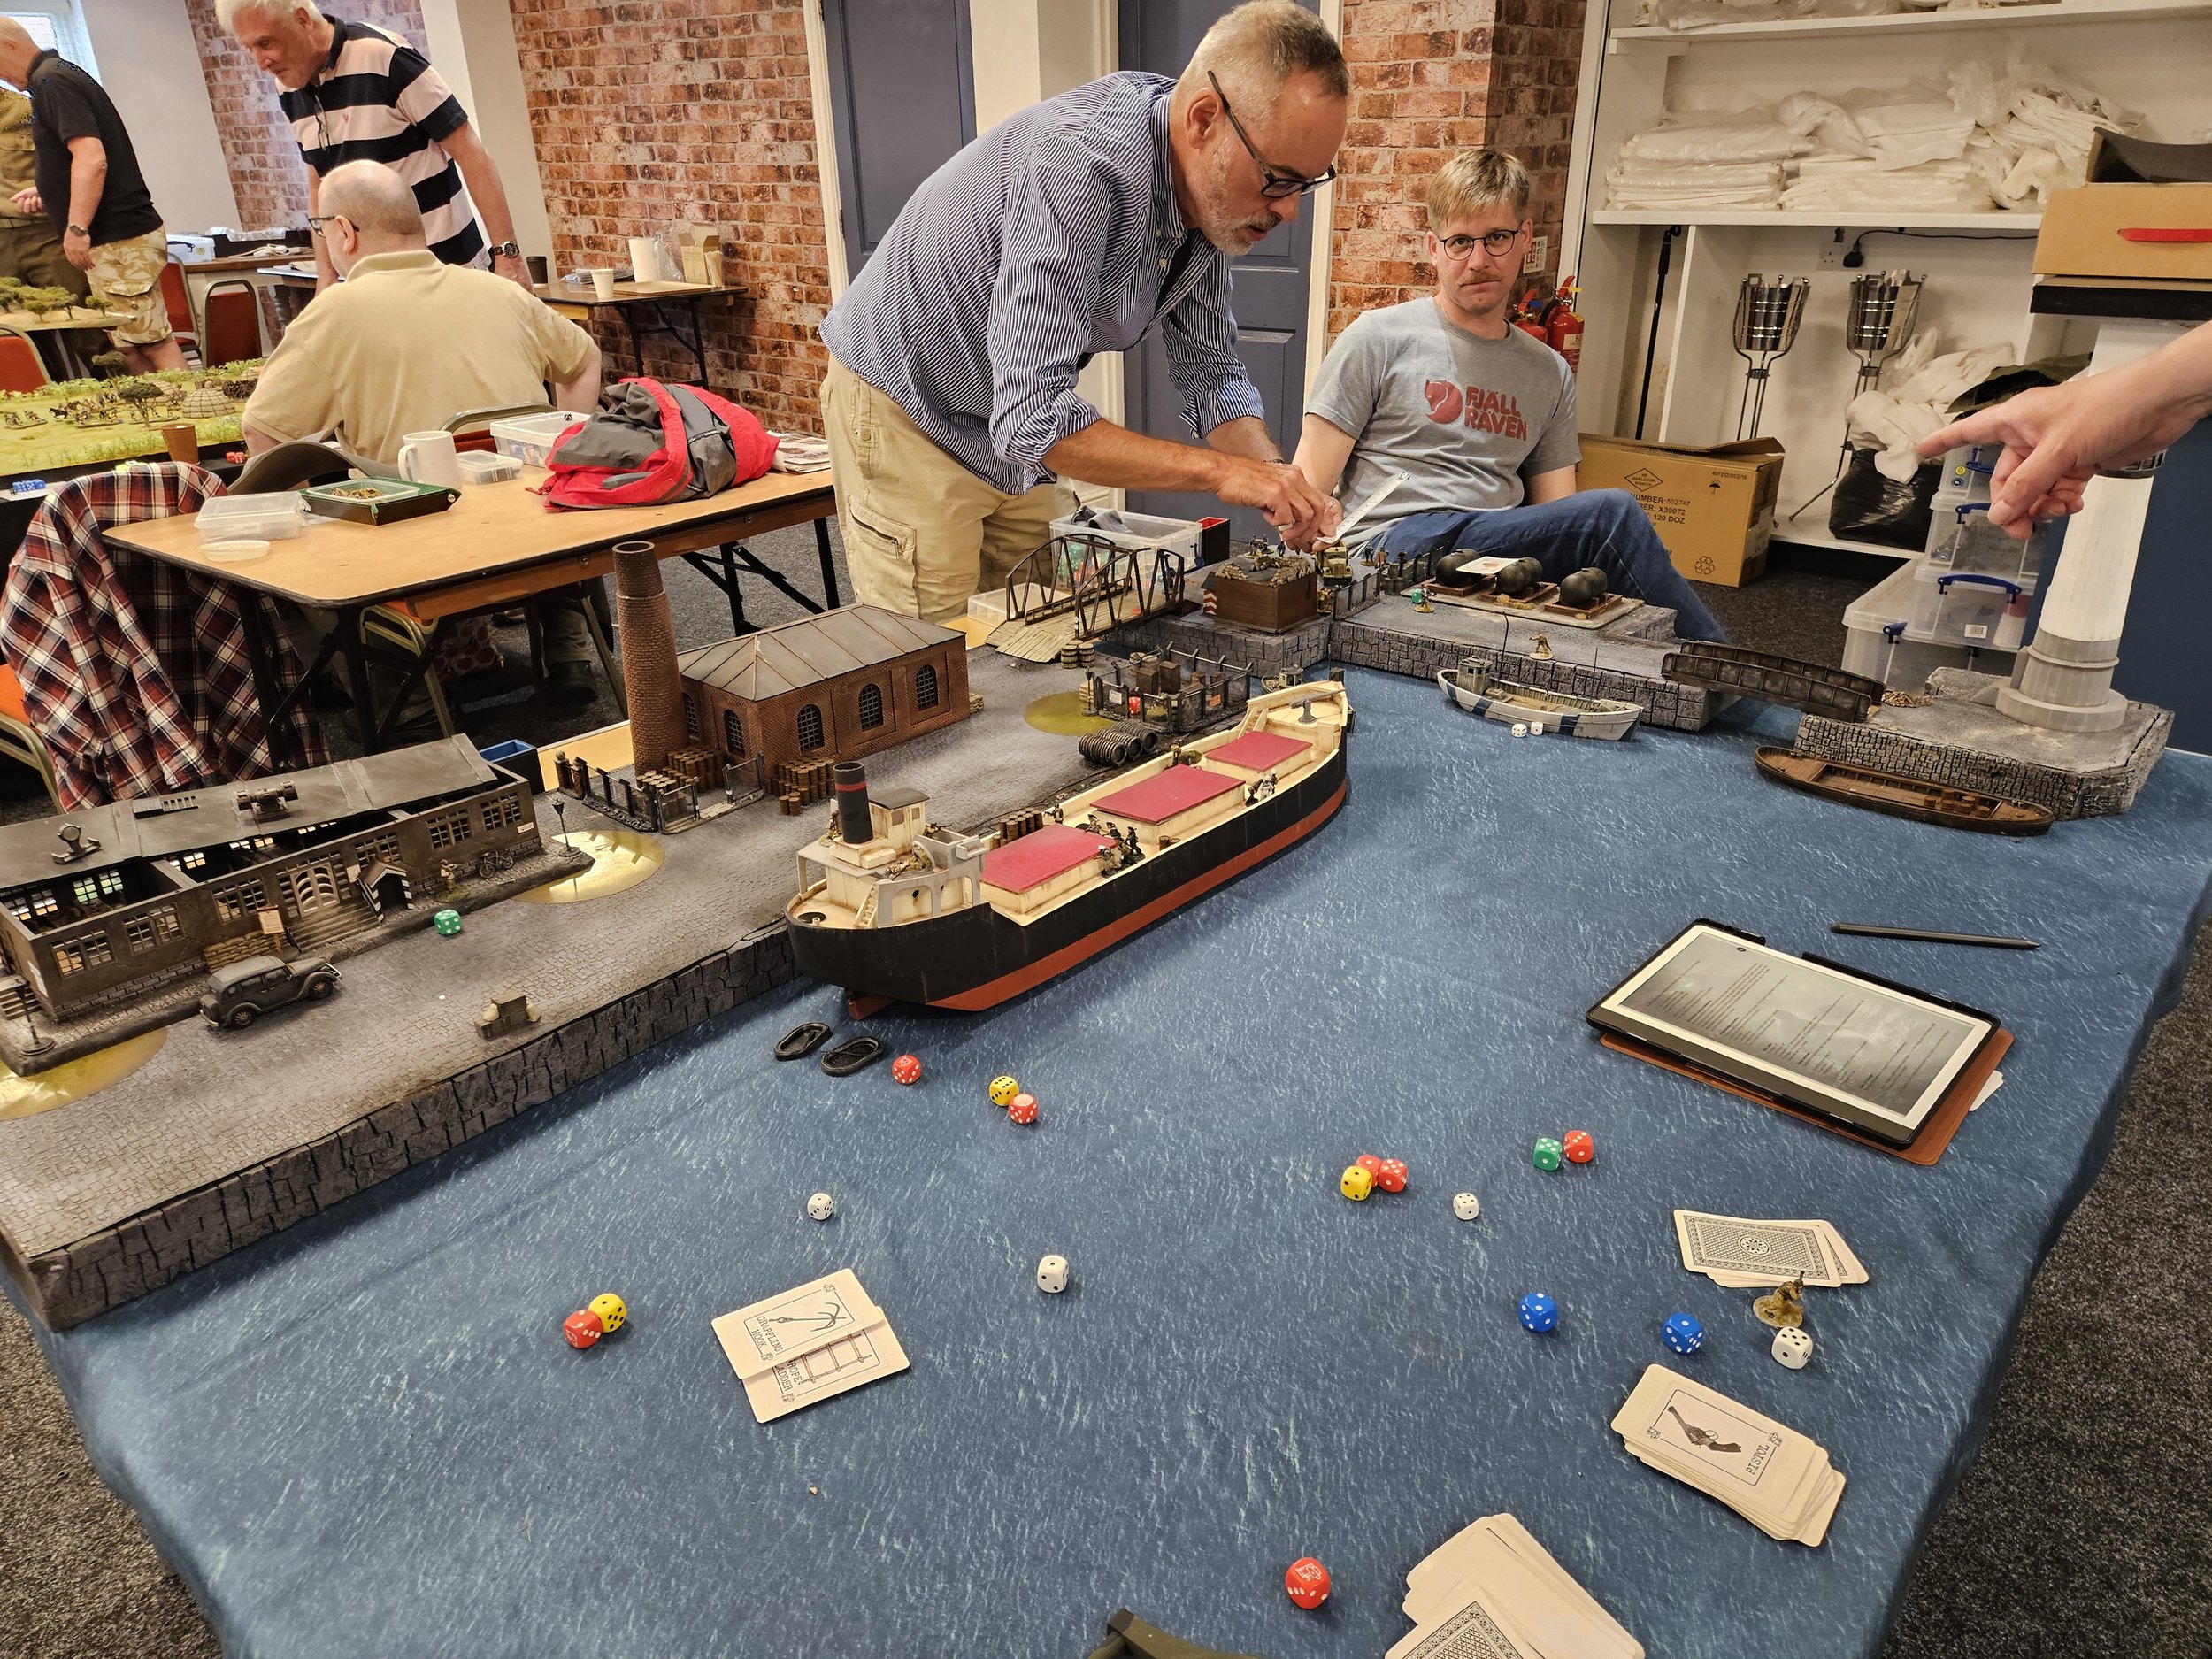
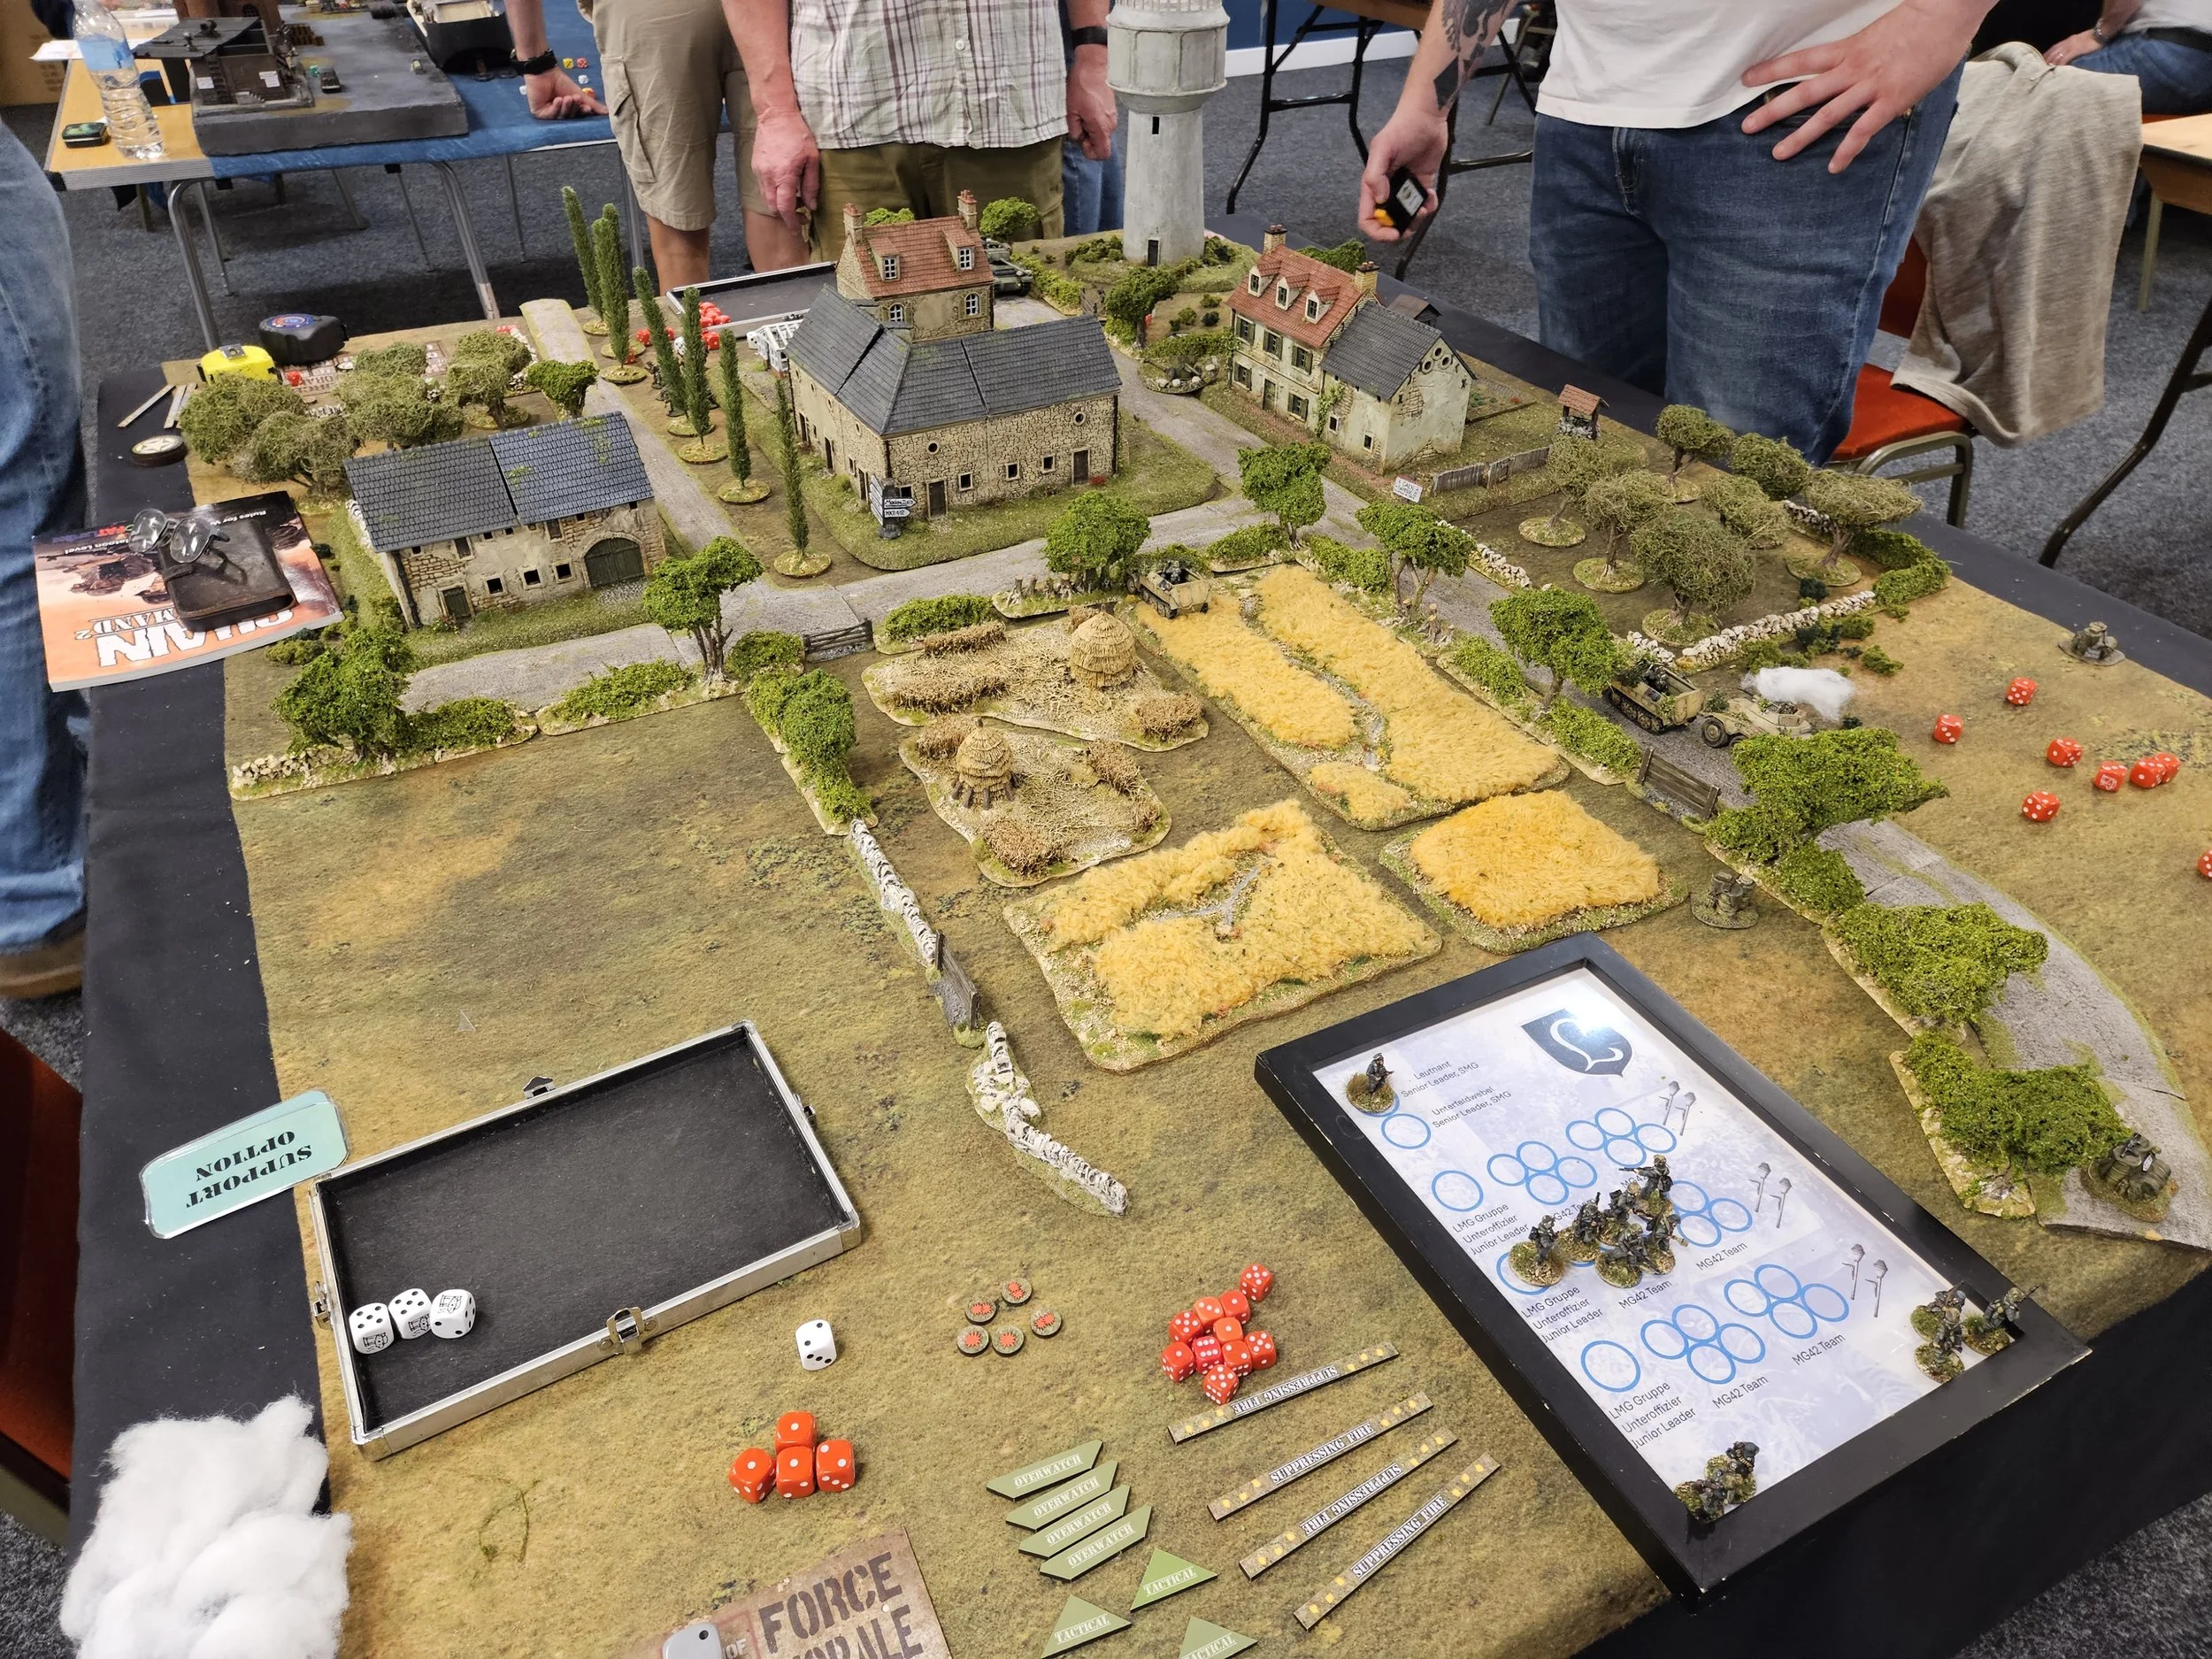
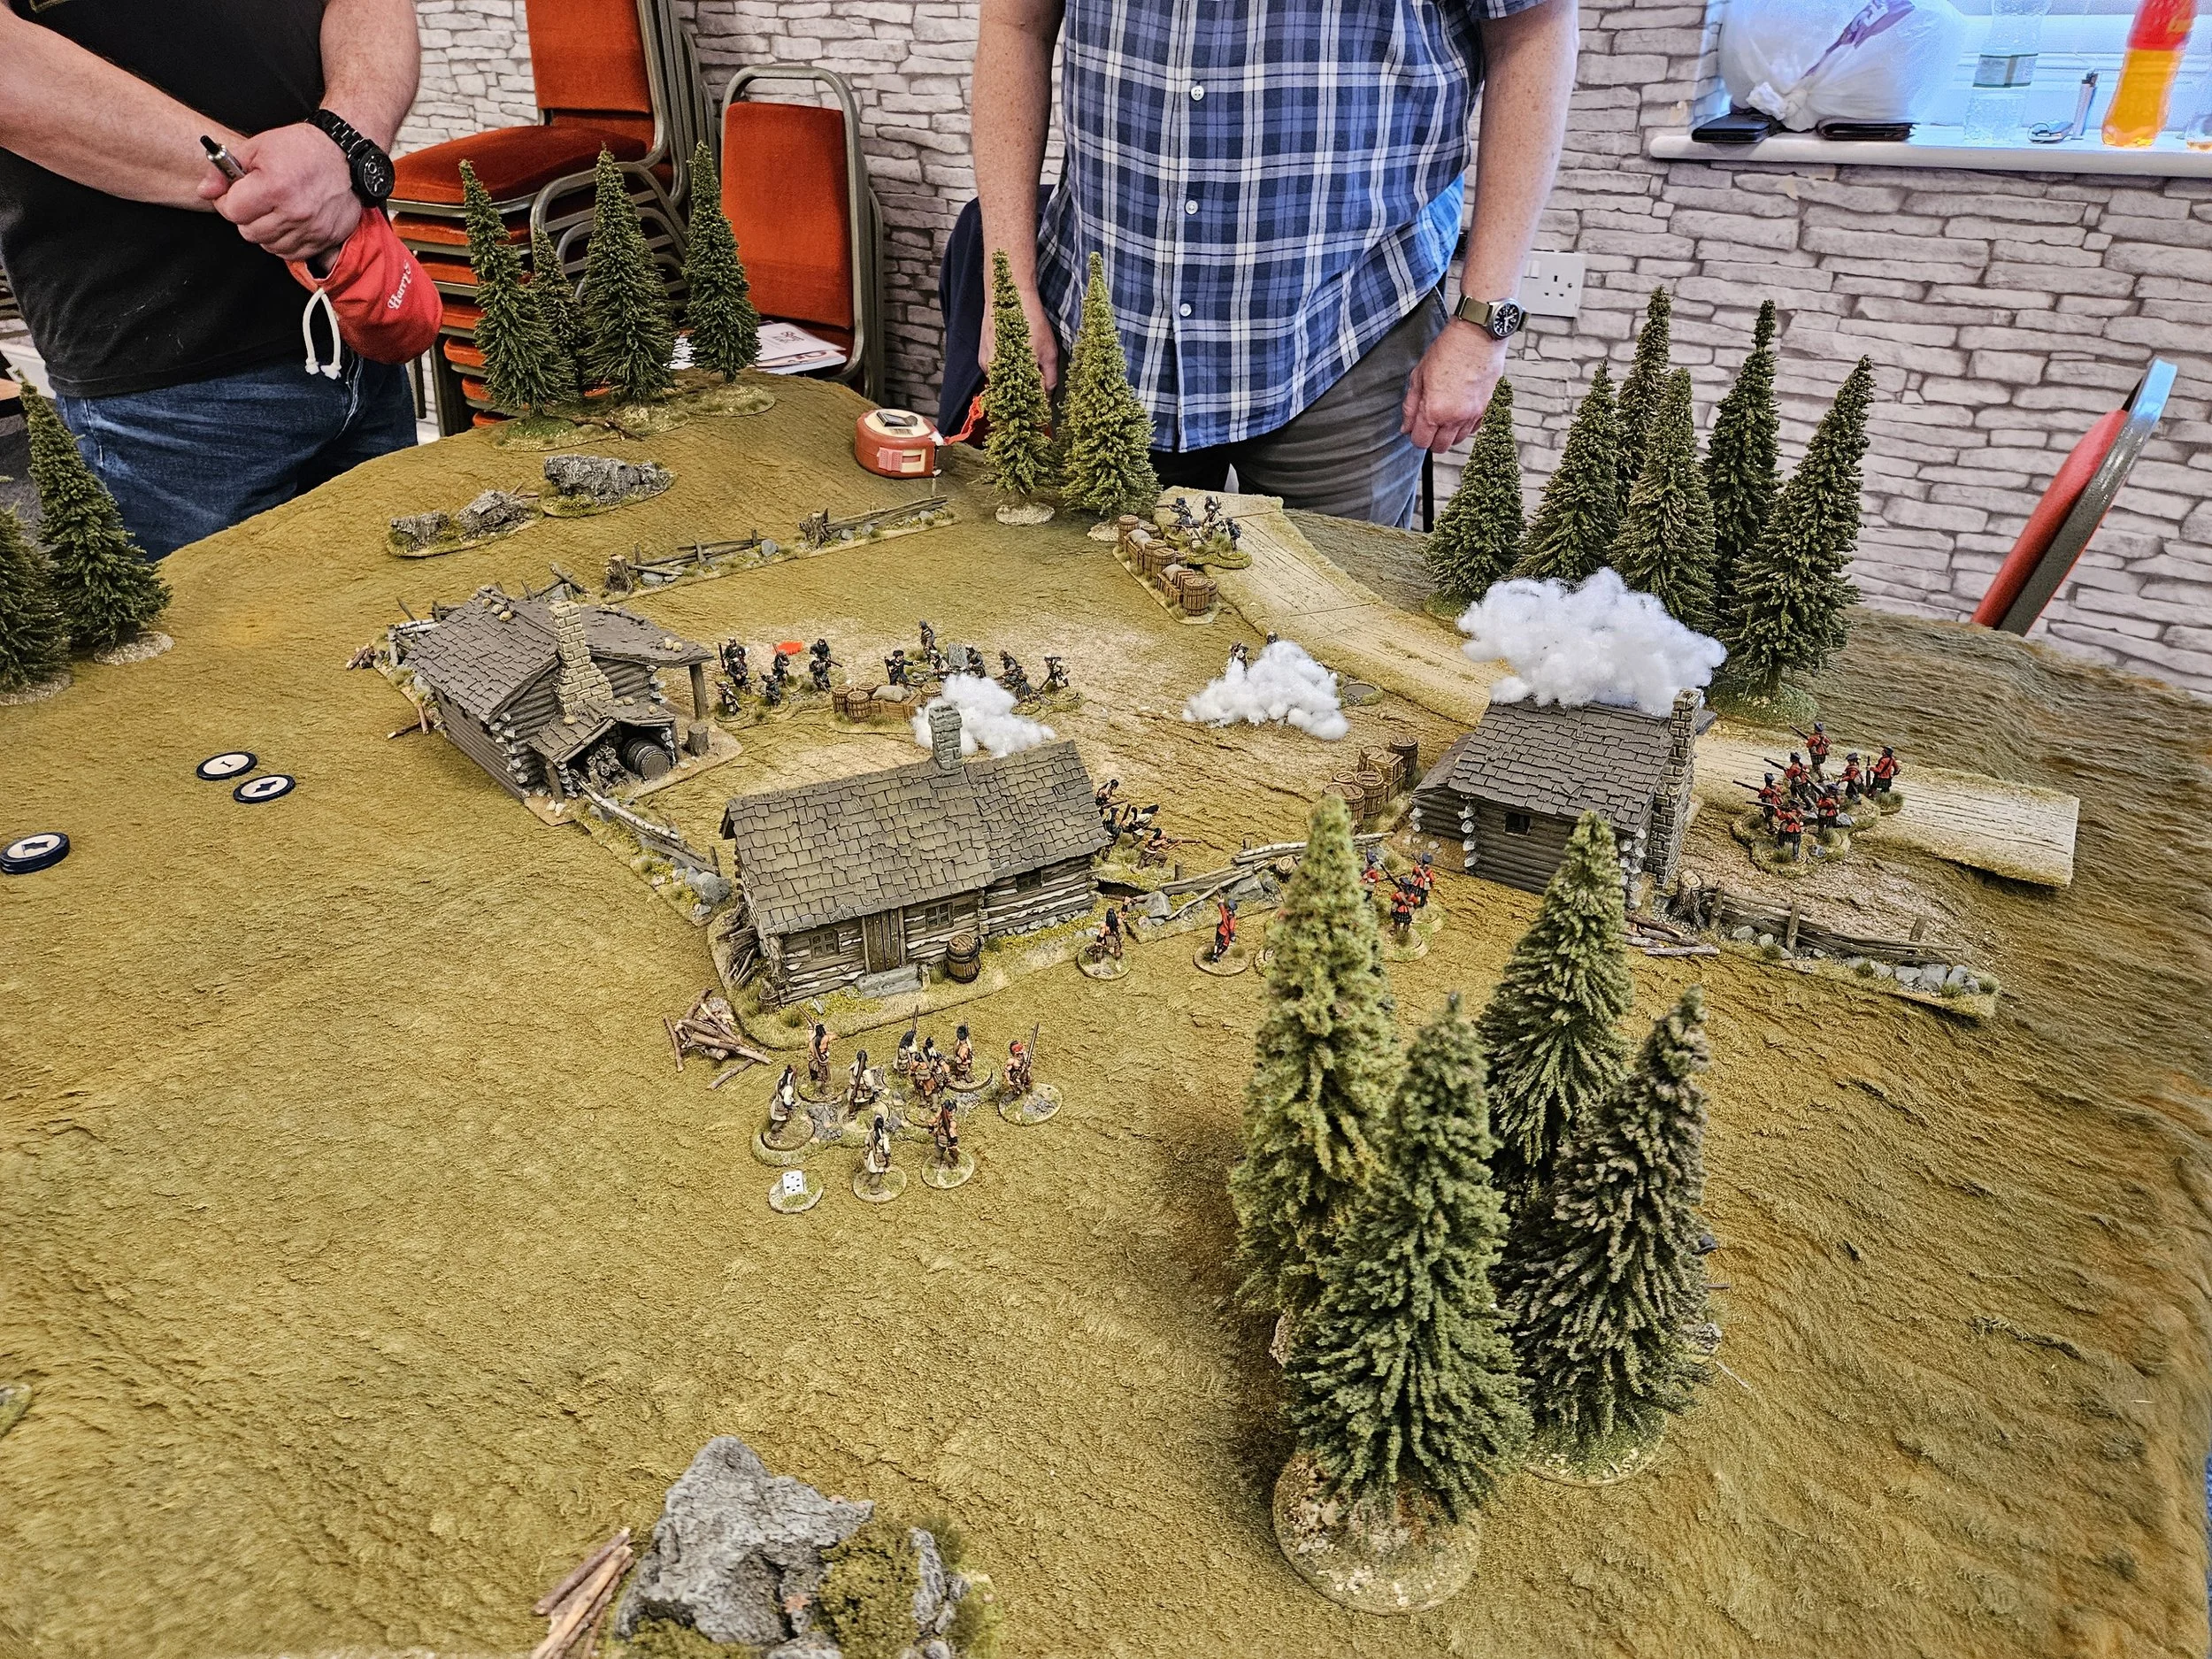
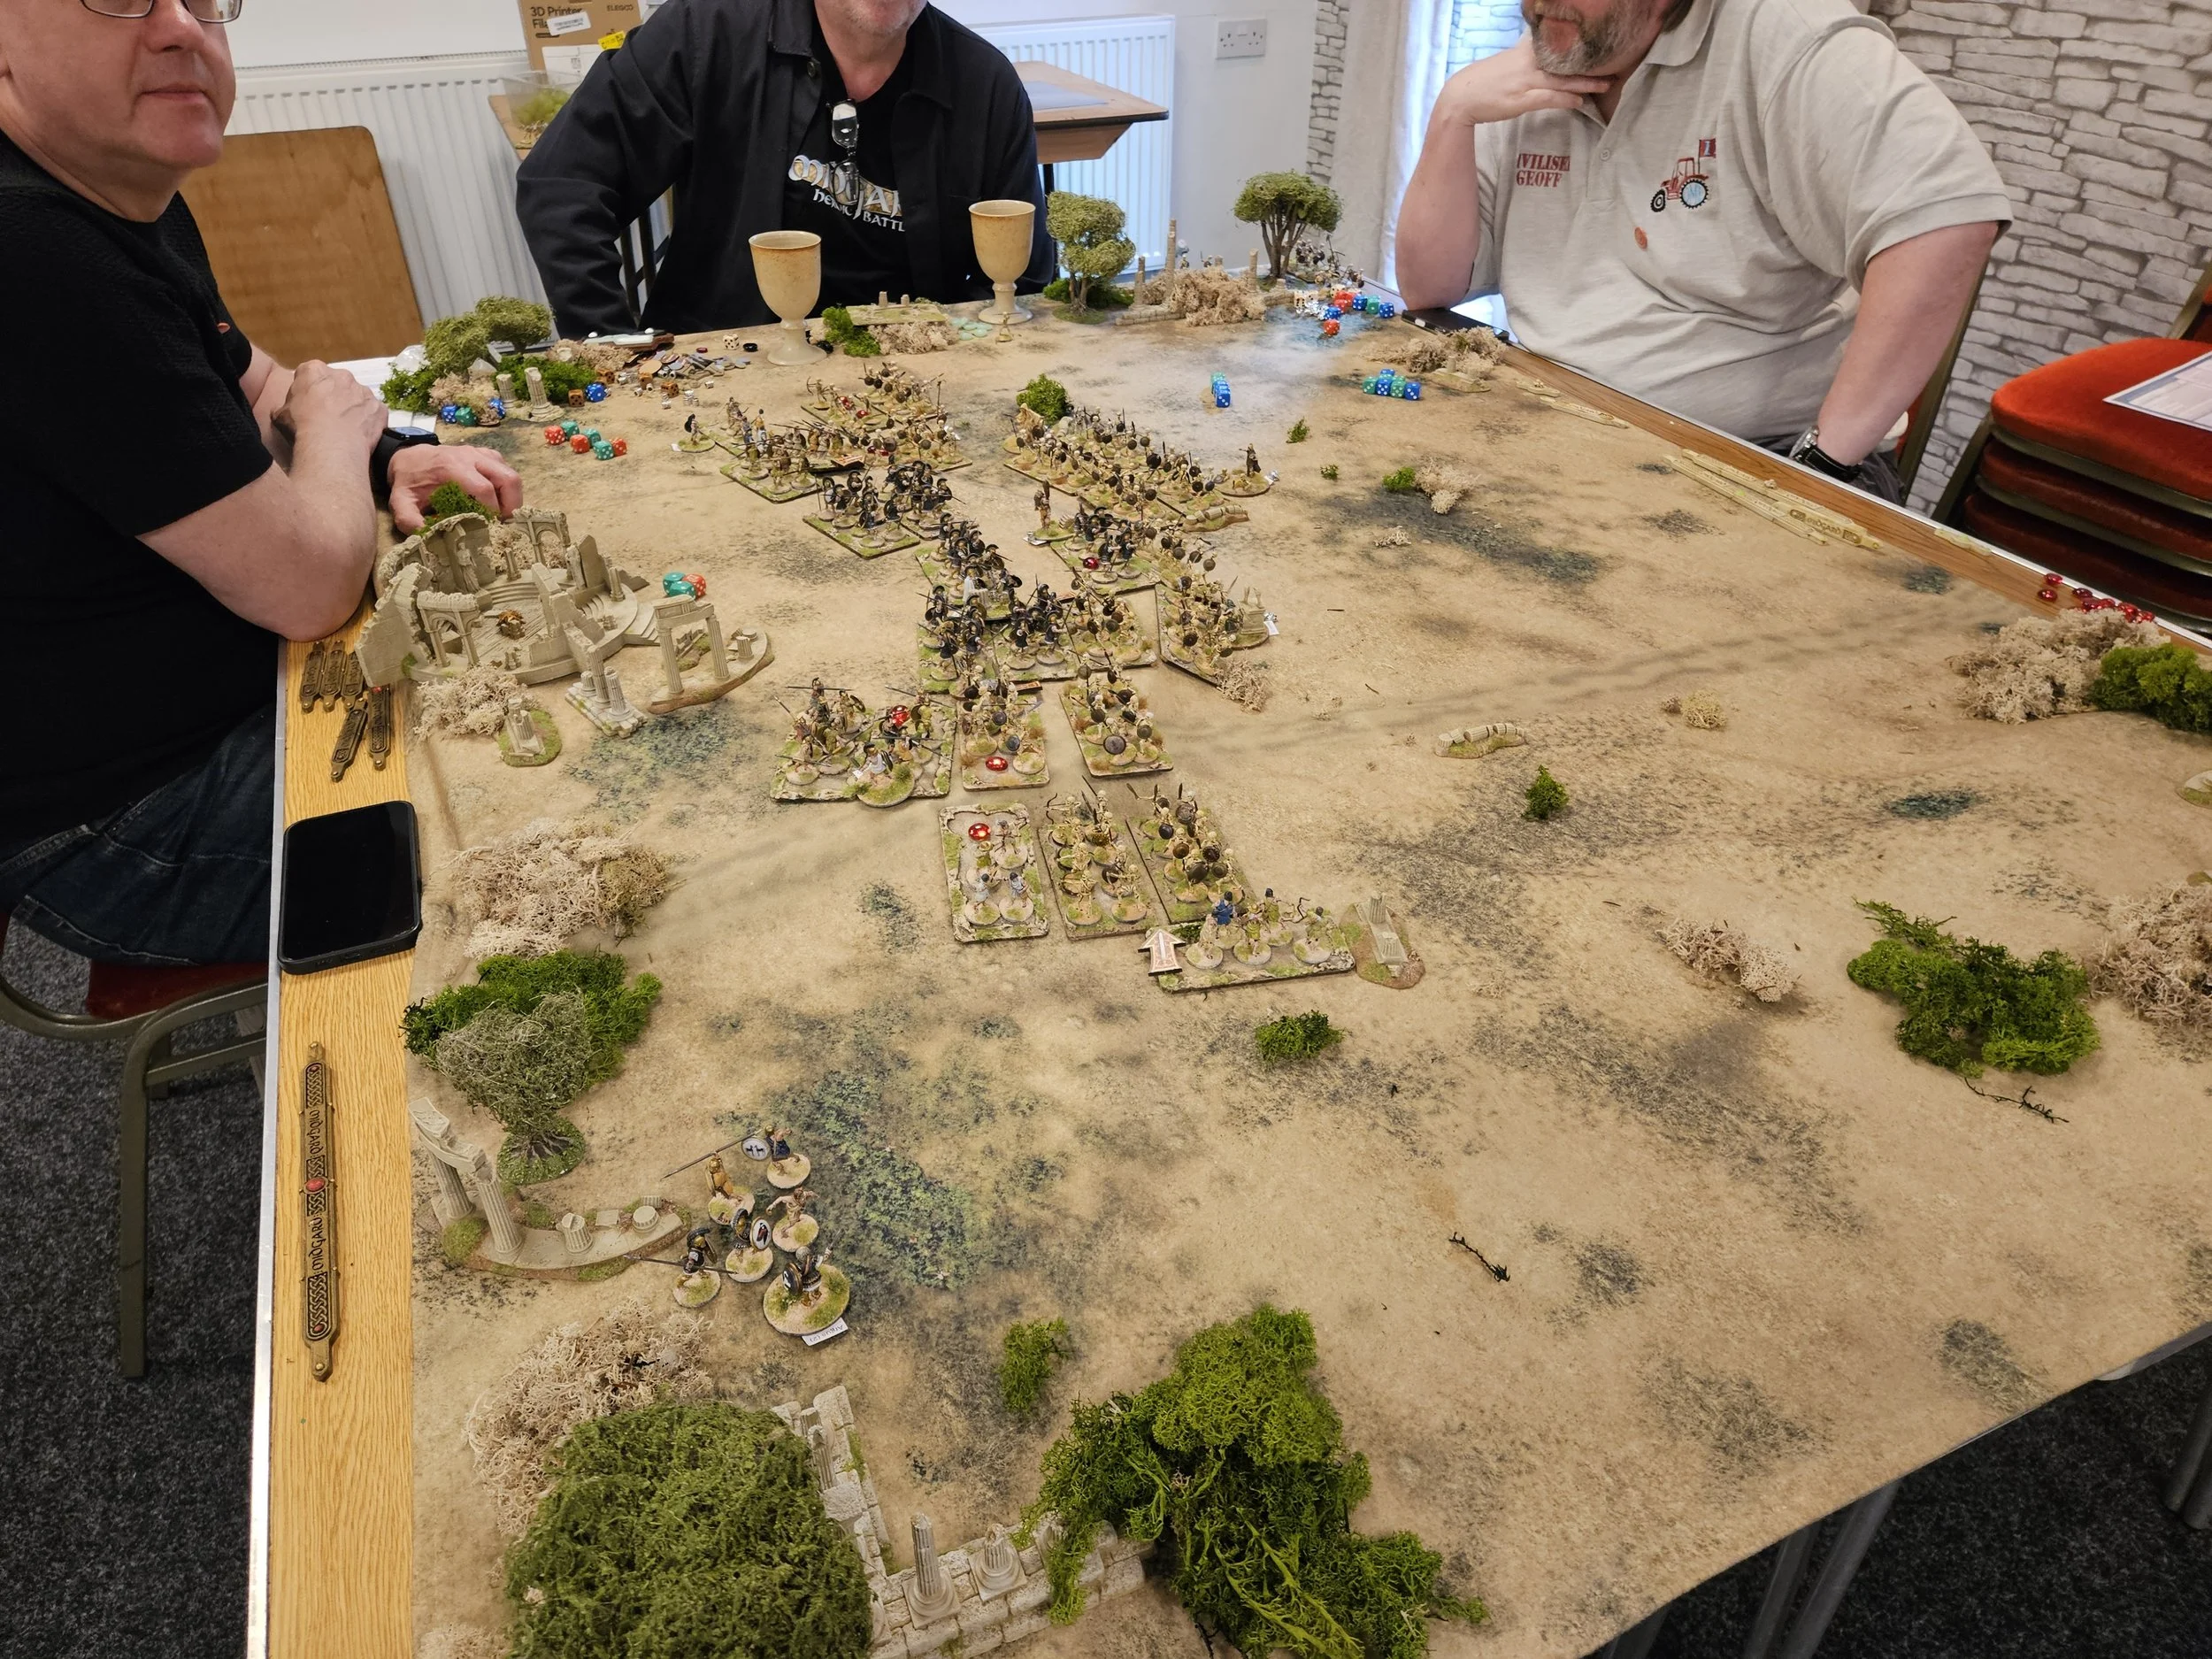
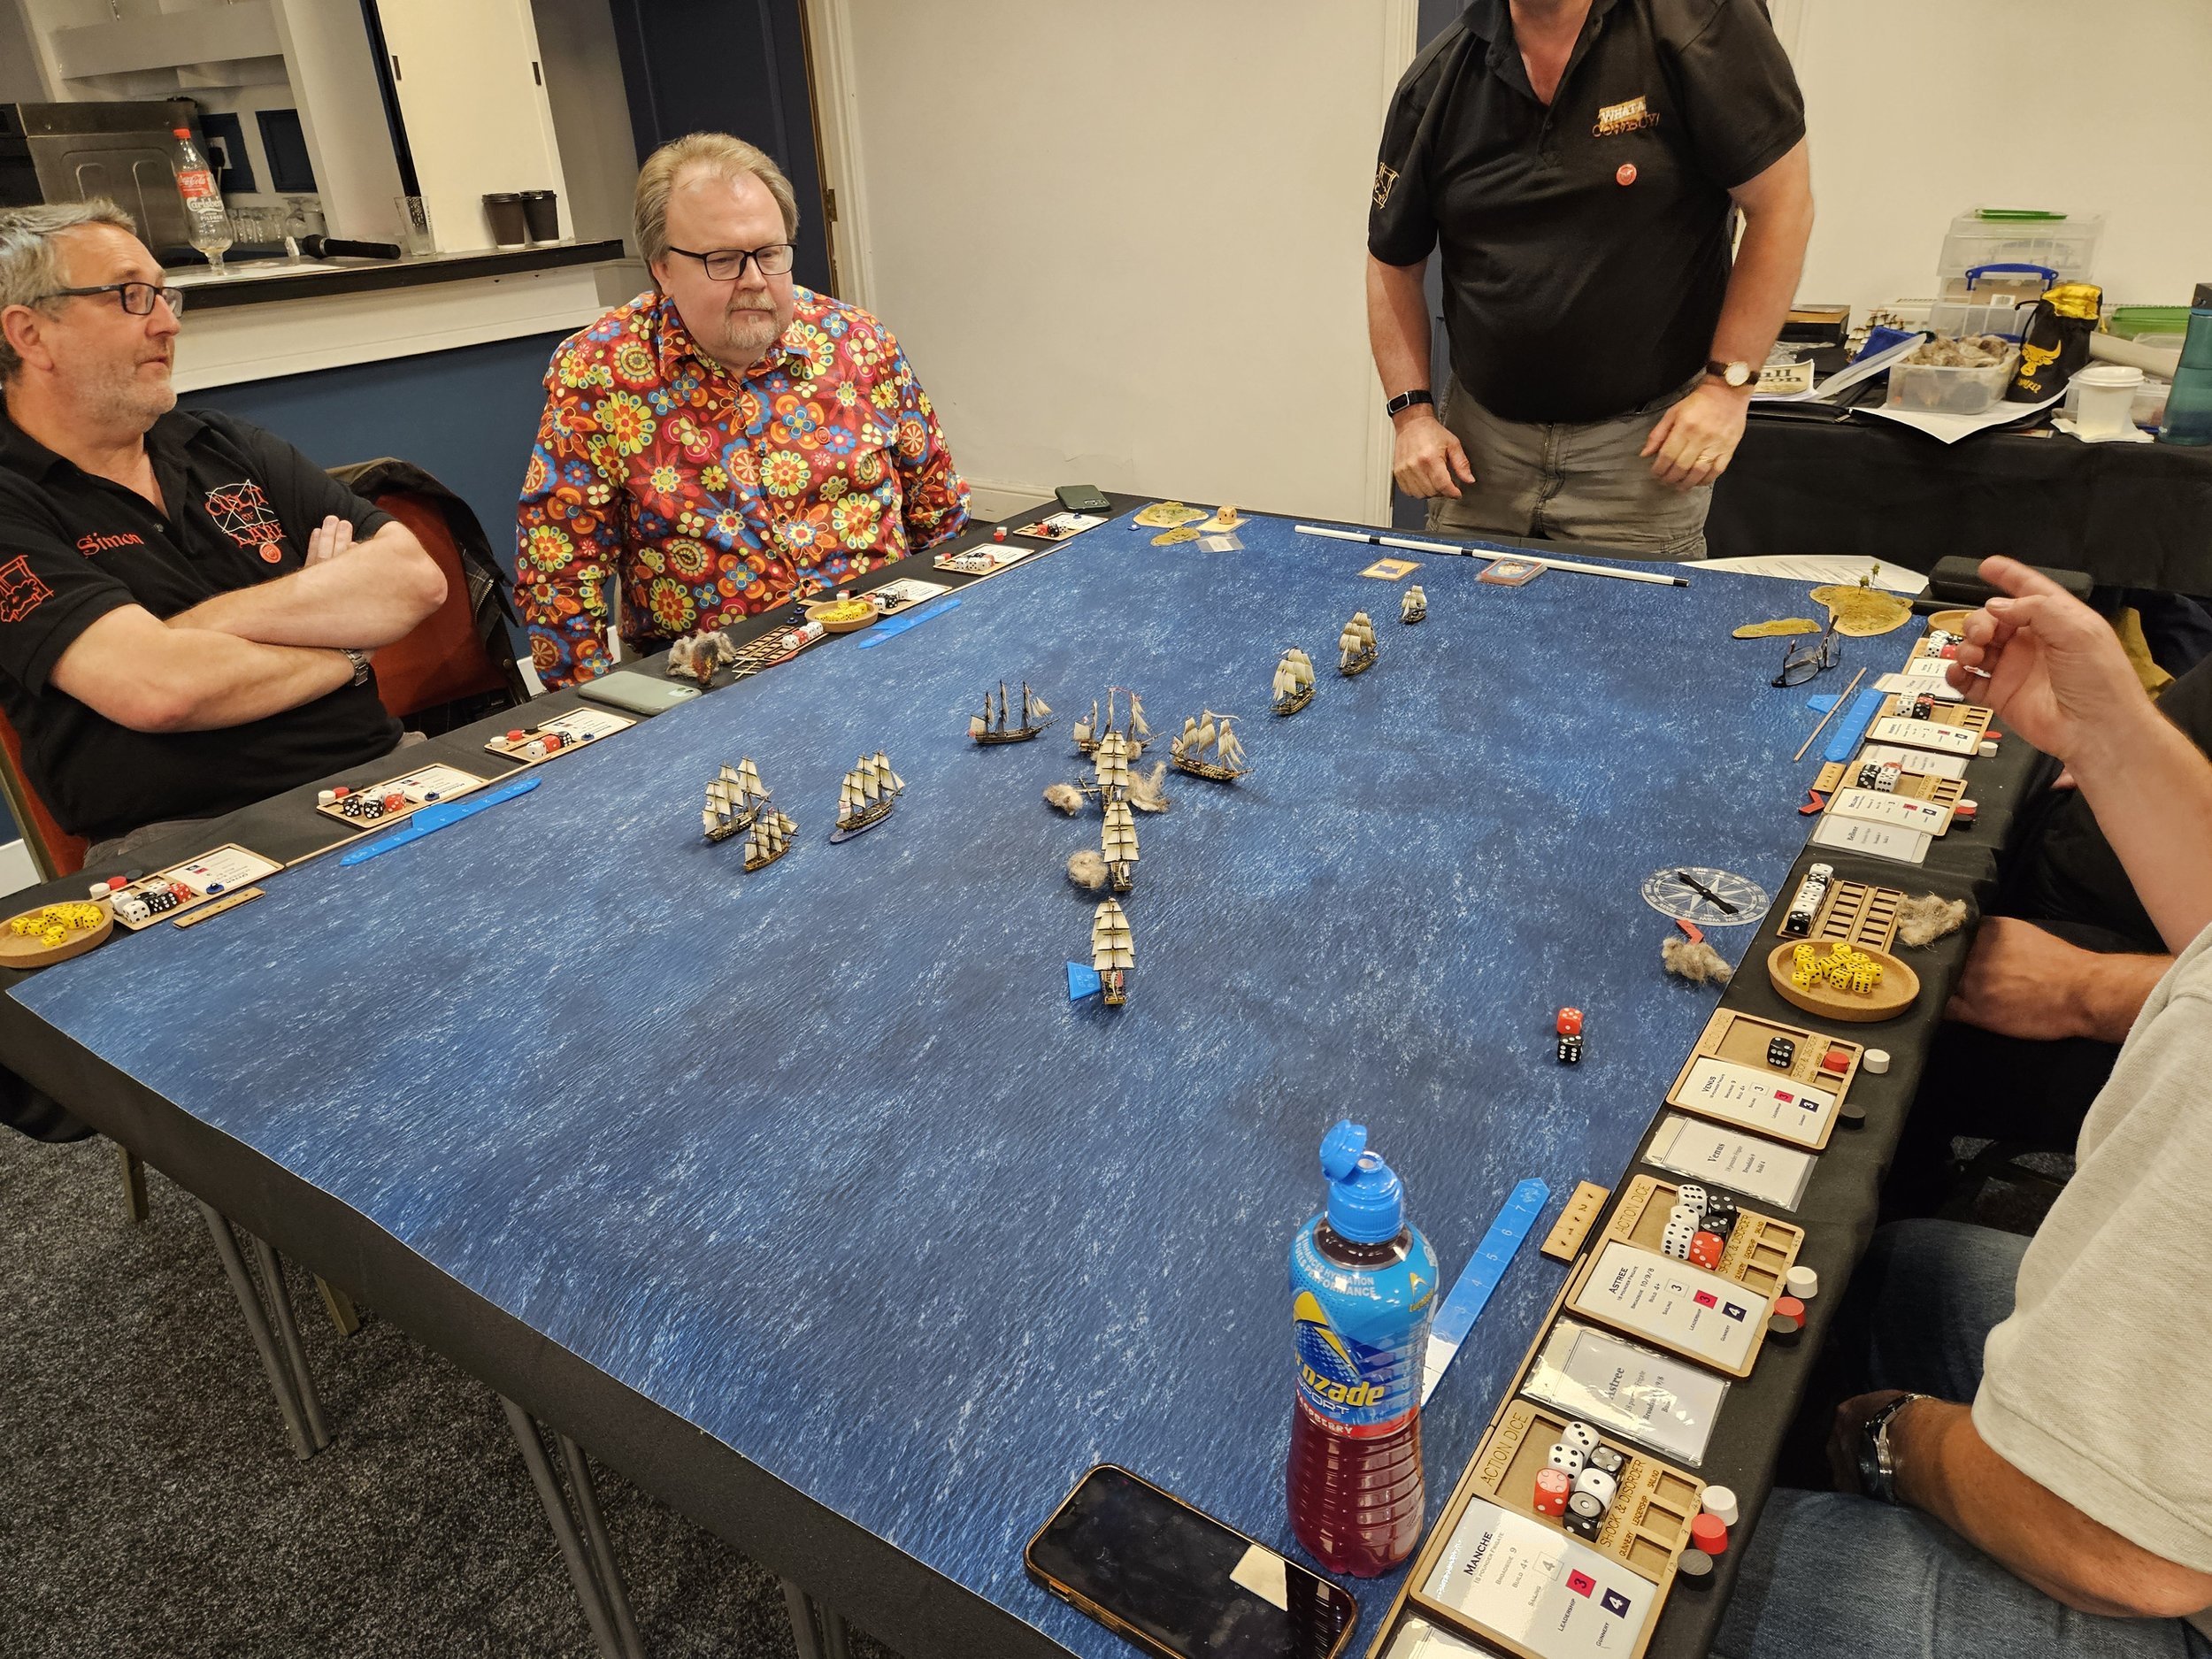
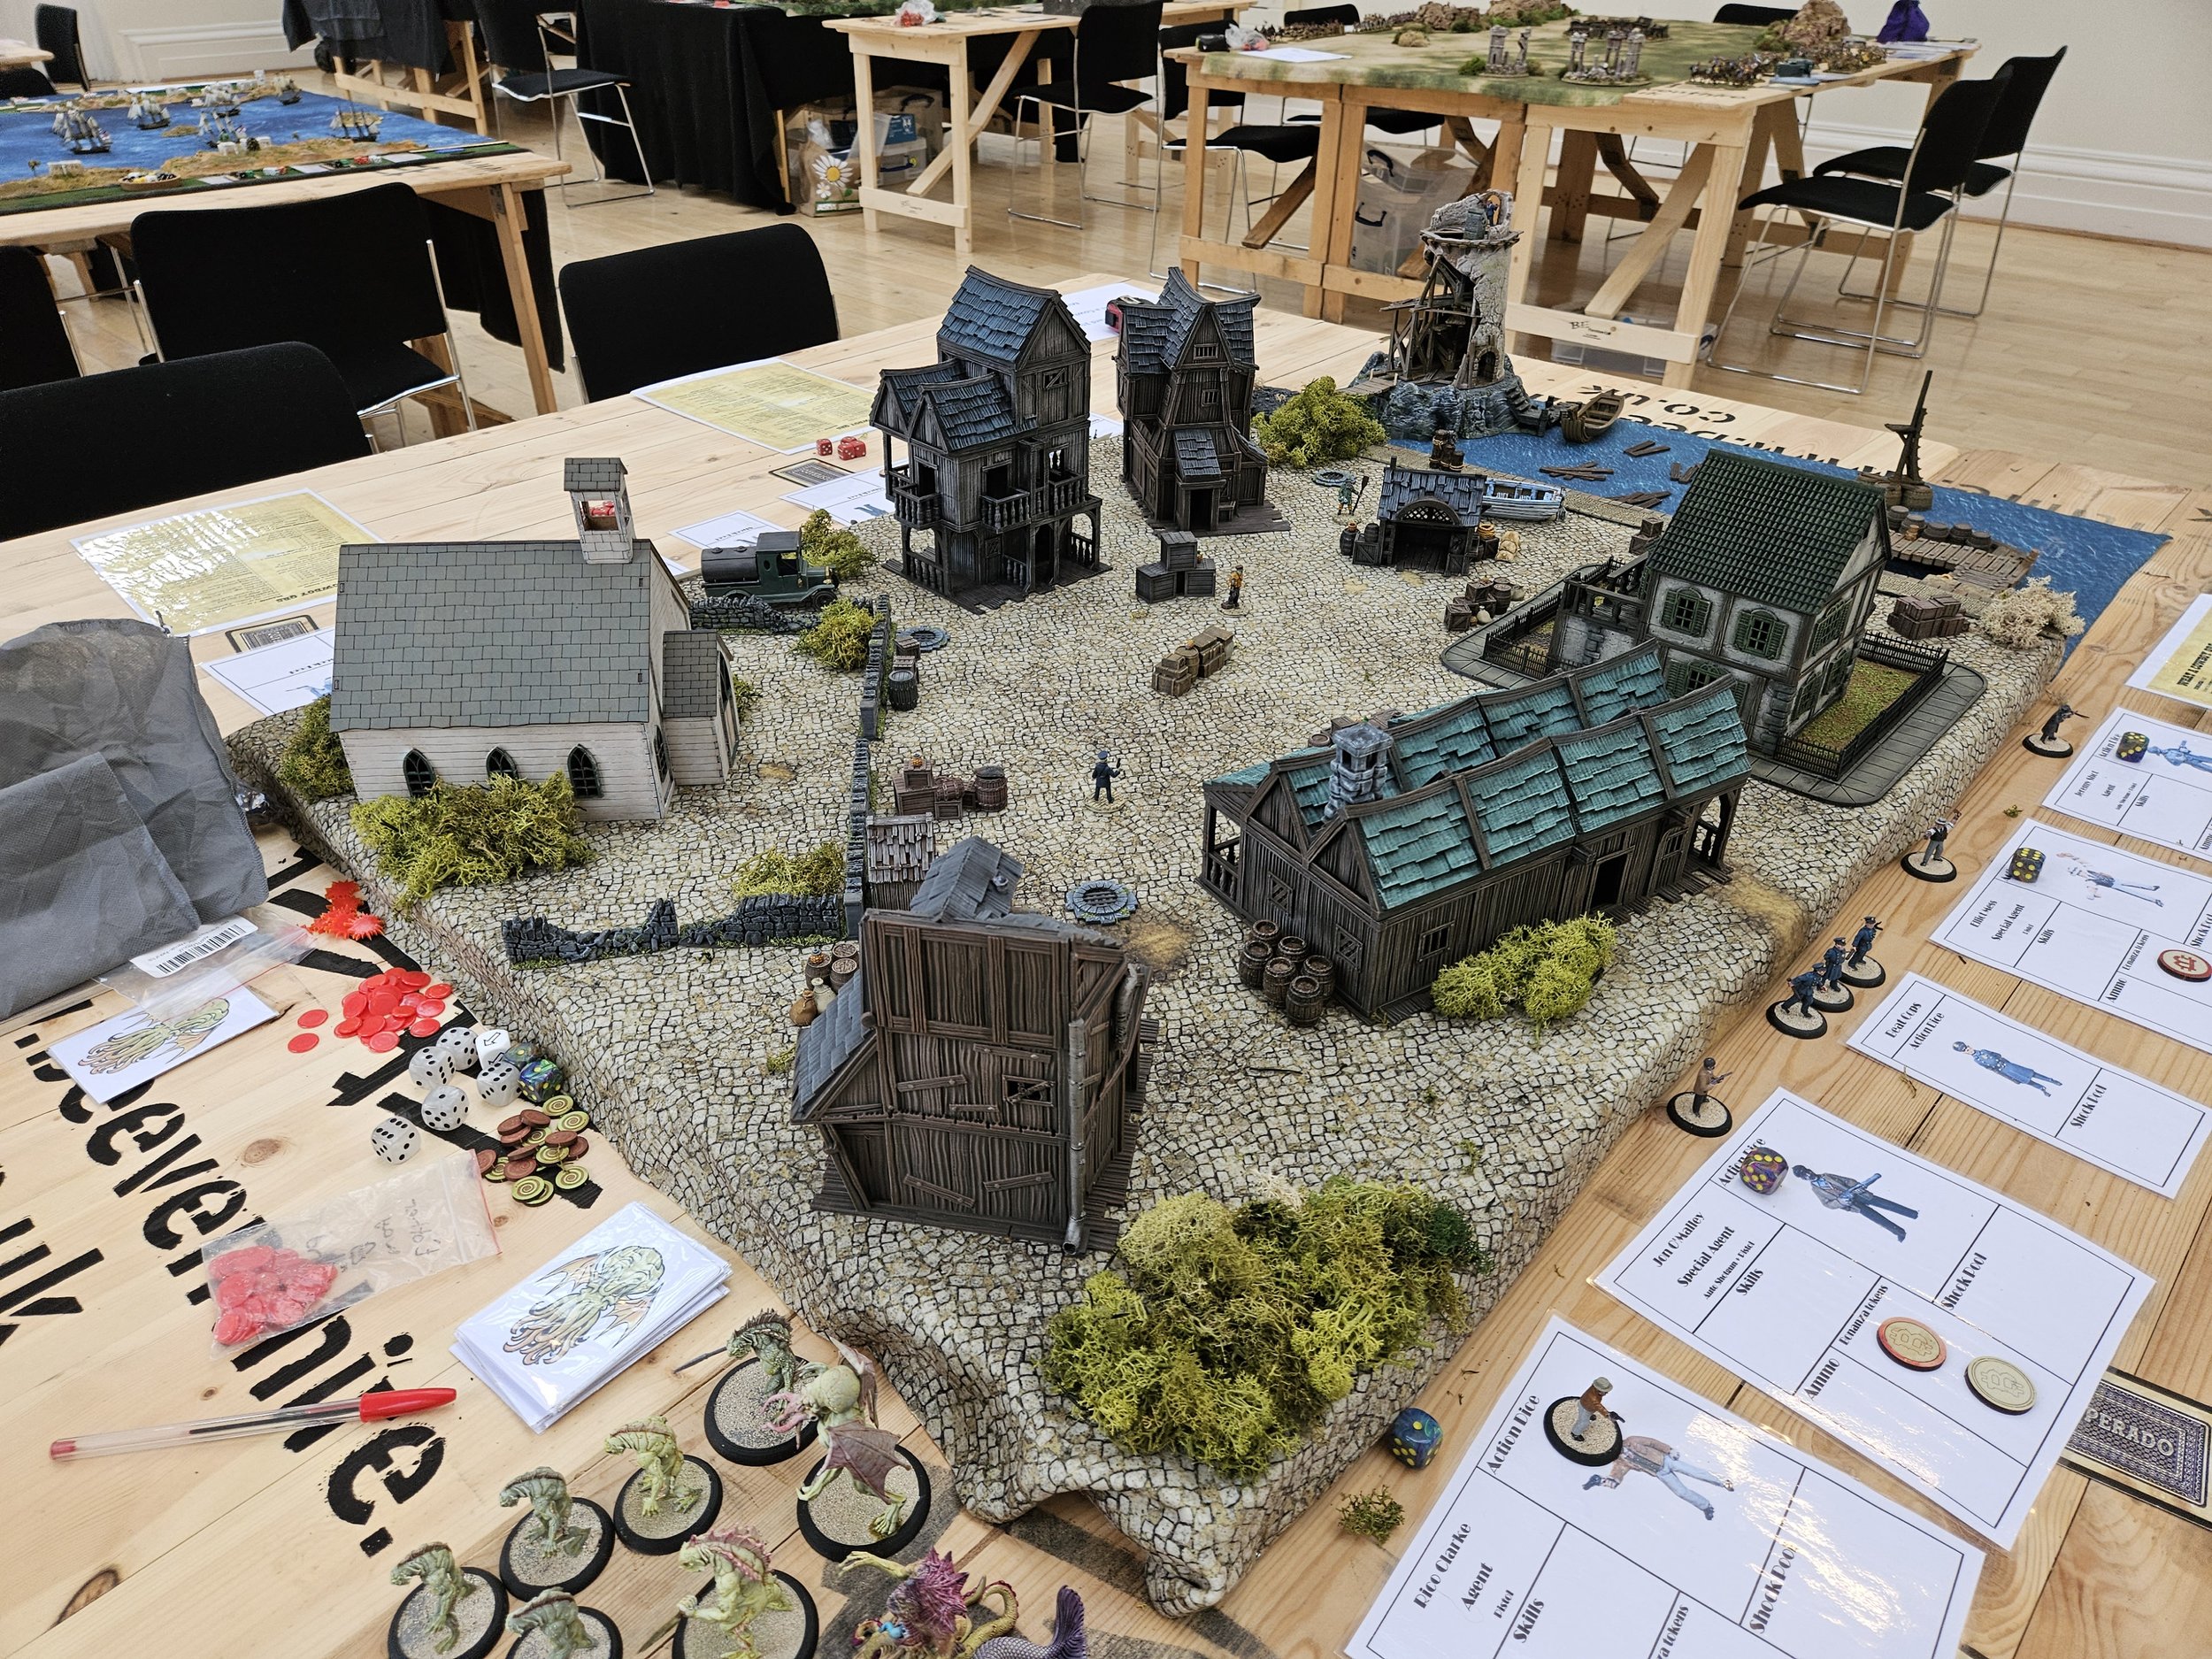
As always, the tables looked excellent with a great mix of custom terrain and miniatures. I played in two quality games—one in the morning and one in the afternoon, AAR to follow - and it was great to catch up with everyone, even if I couldn’t stay on for the traditional curry in the evening.

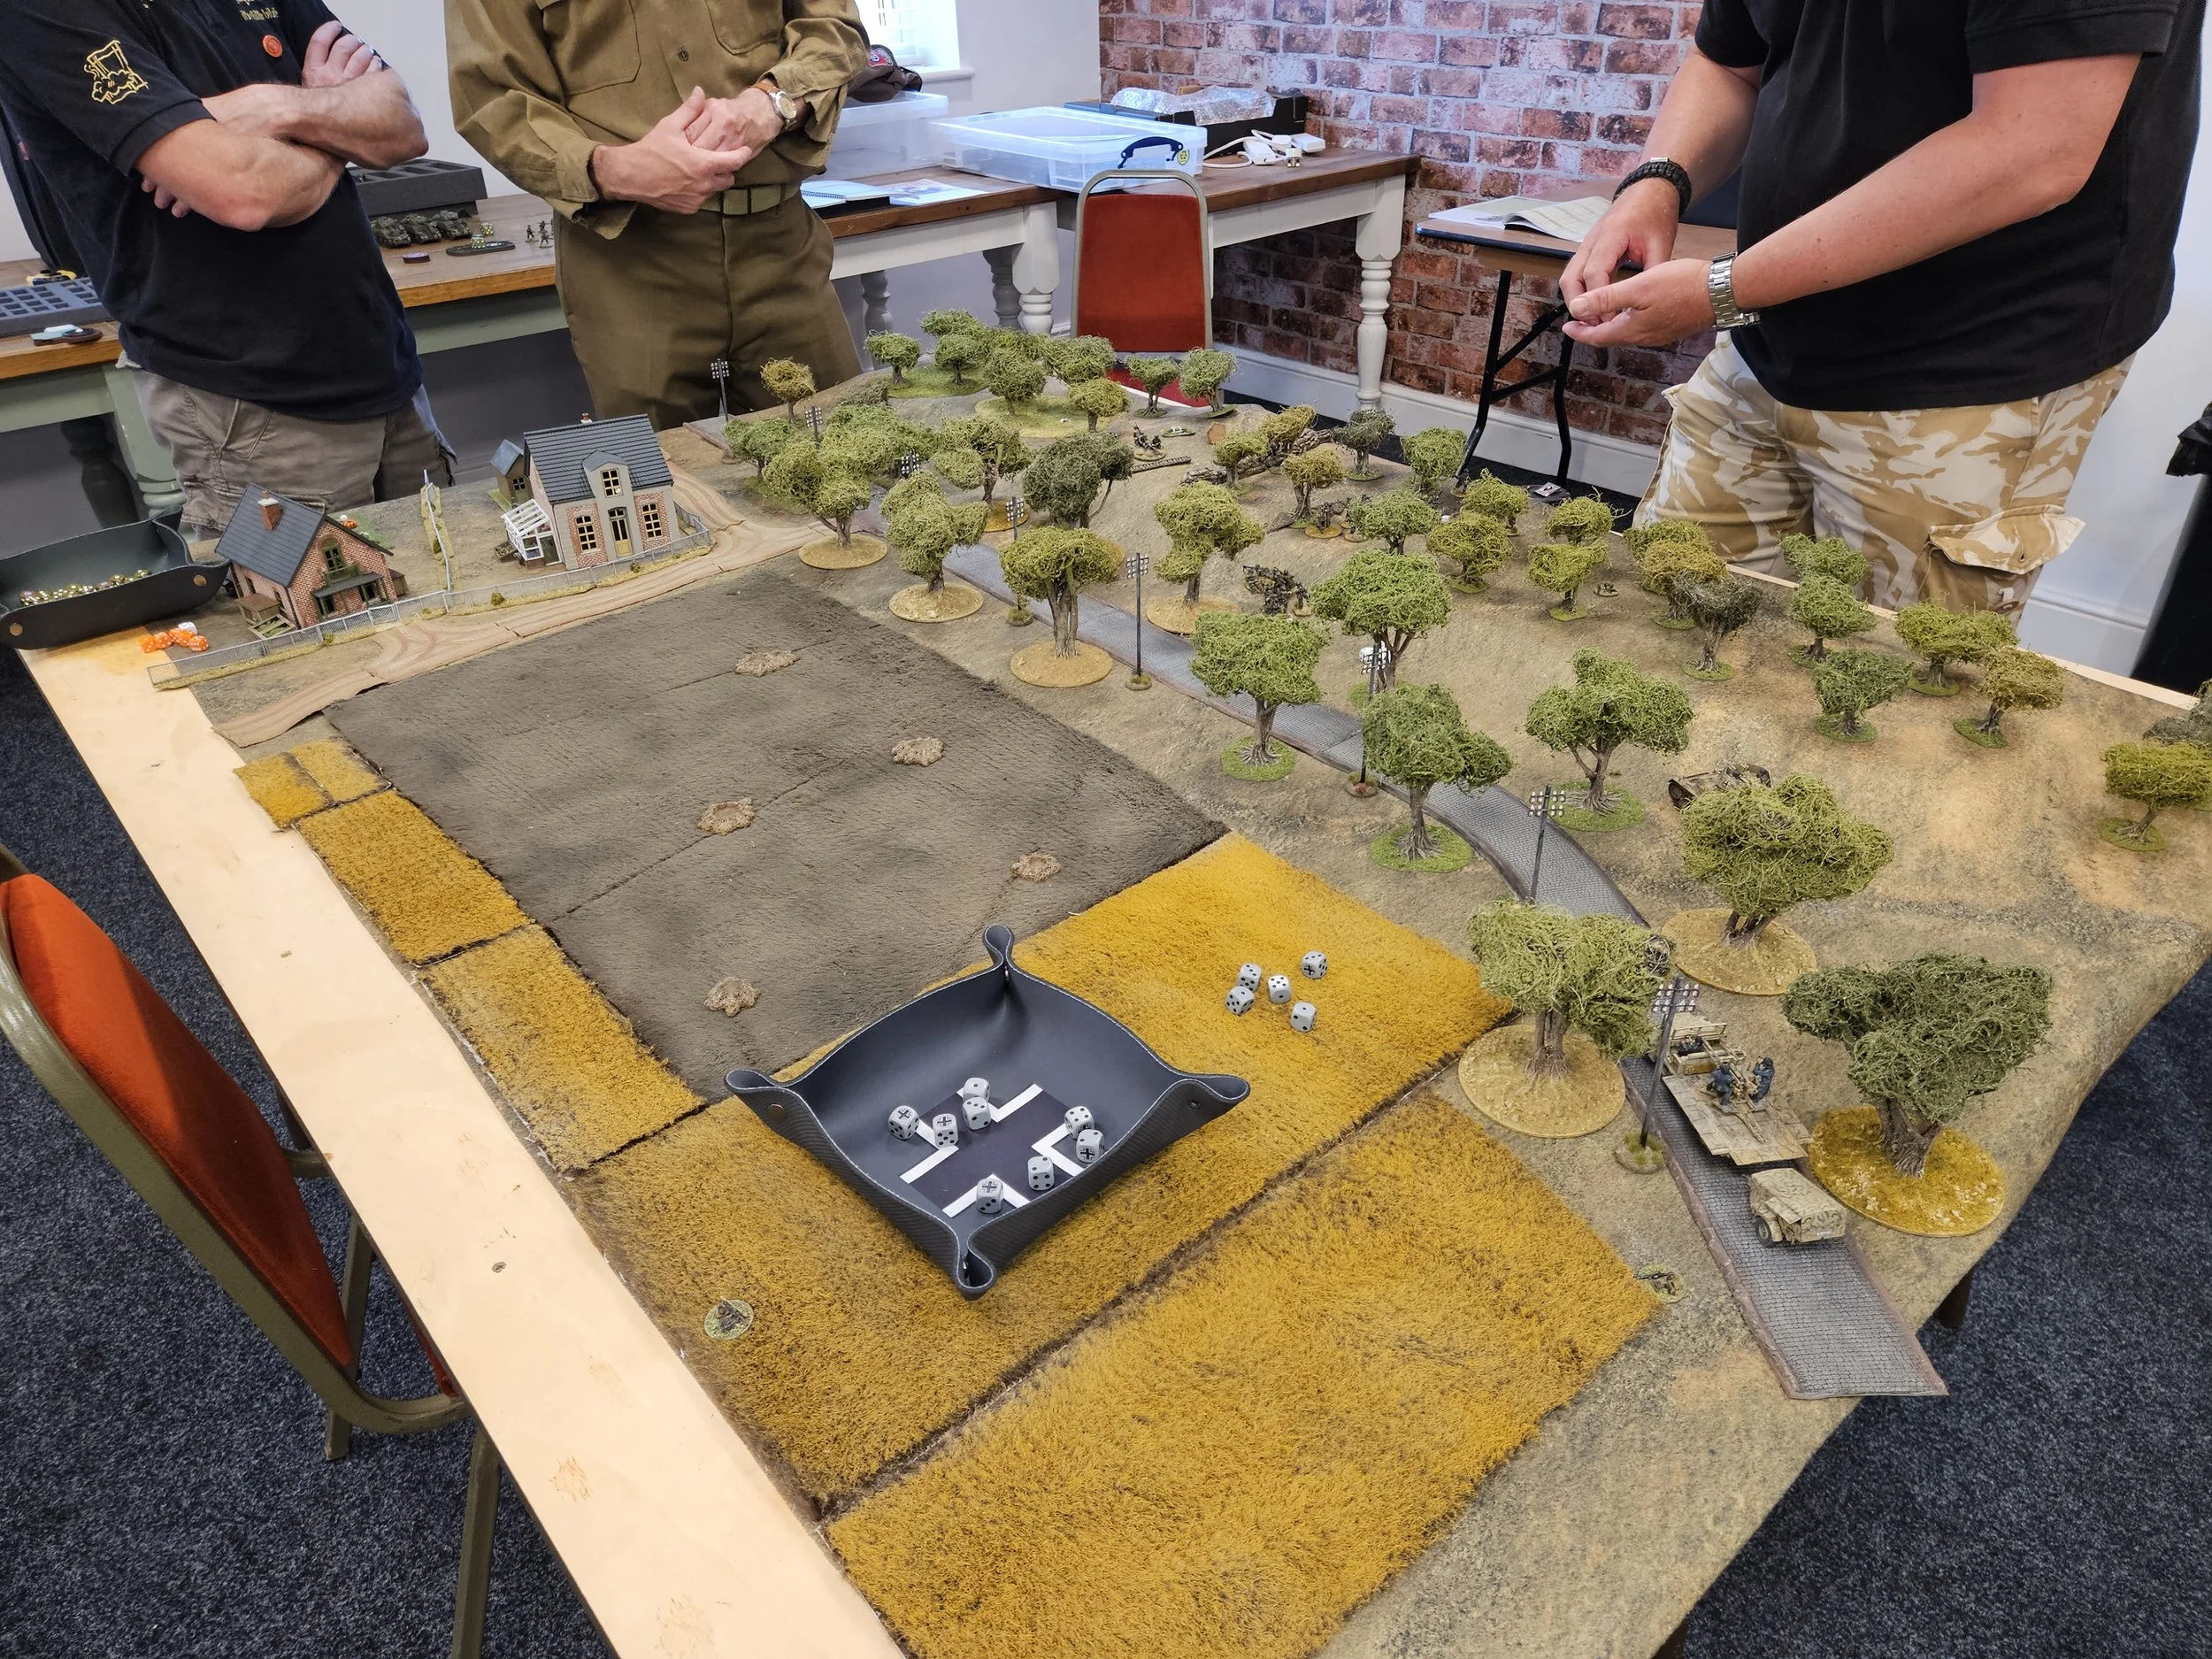
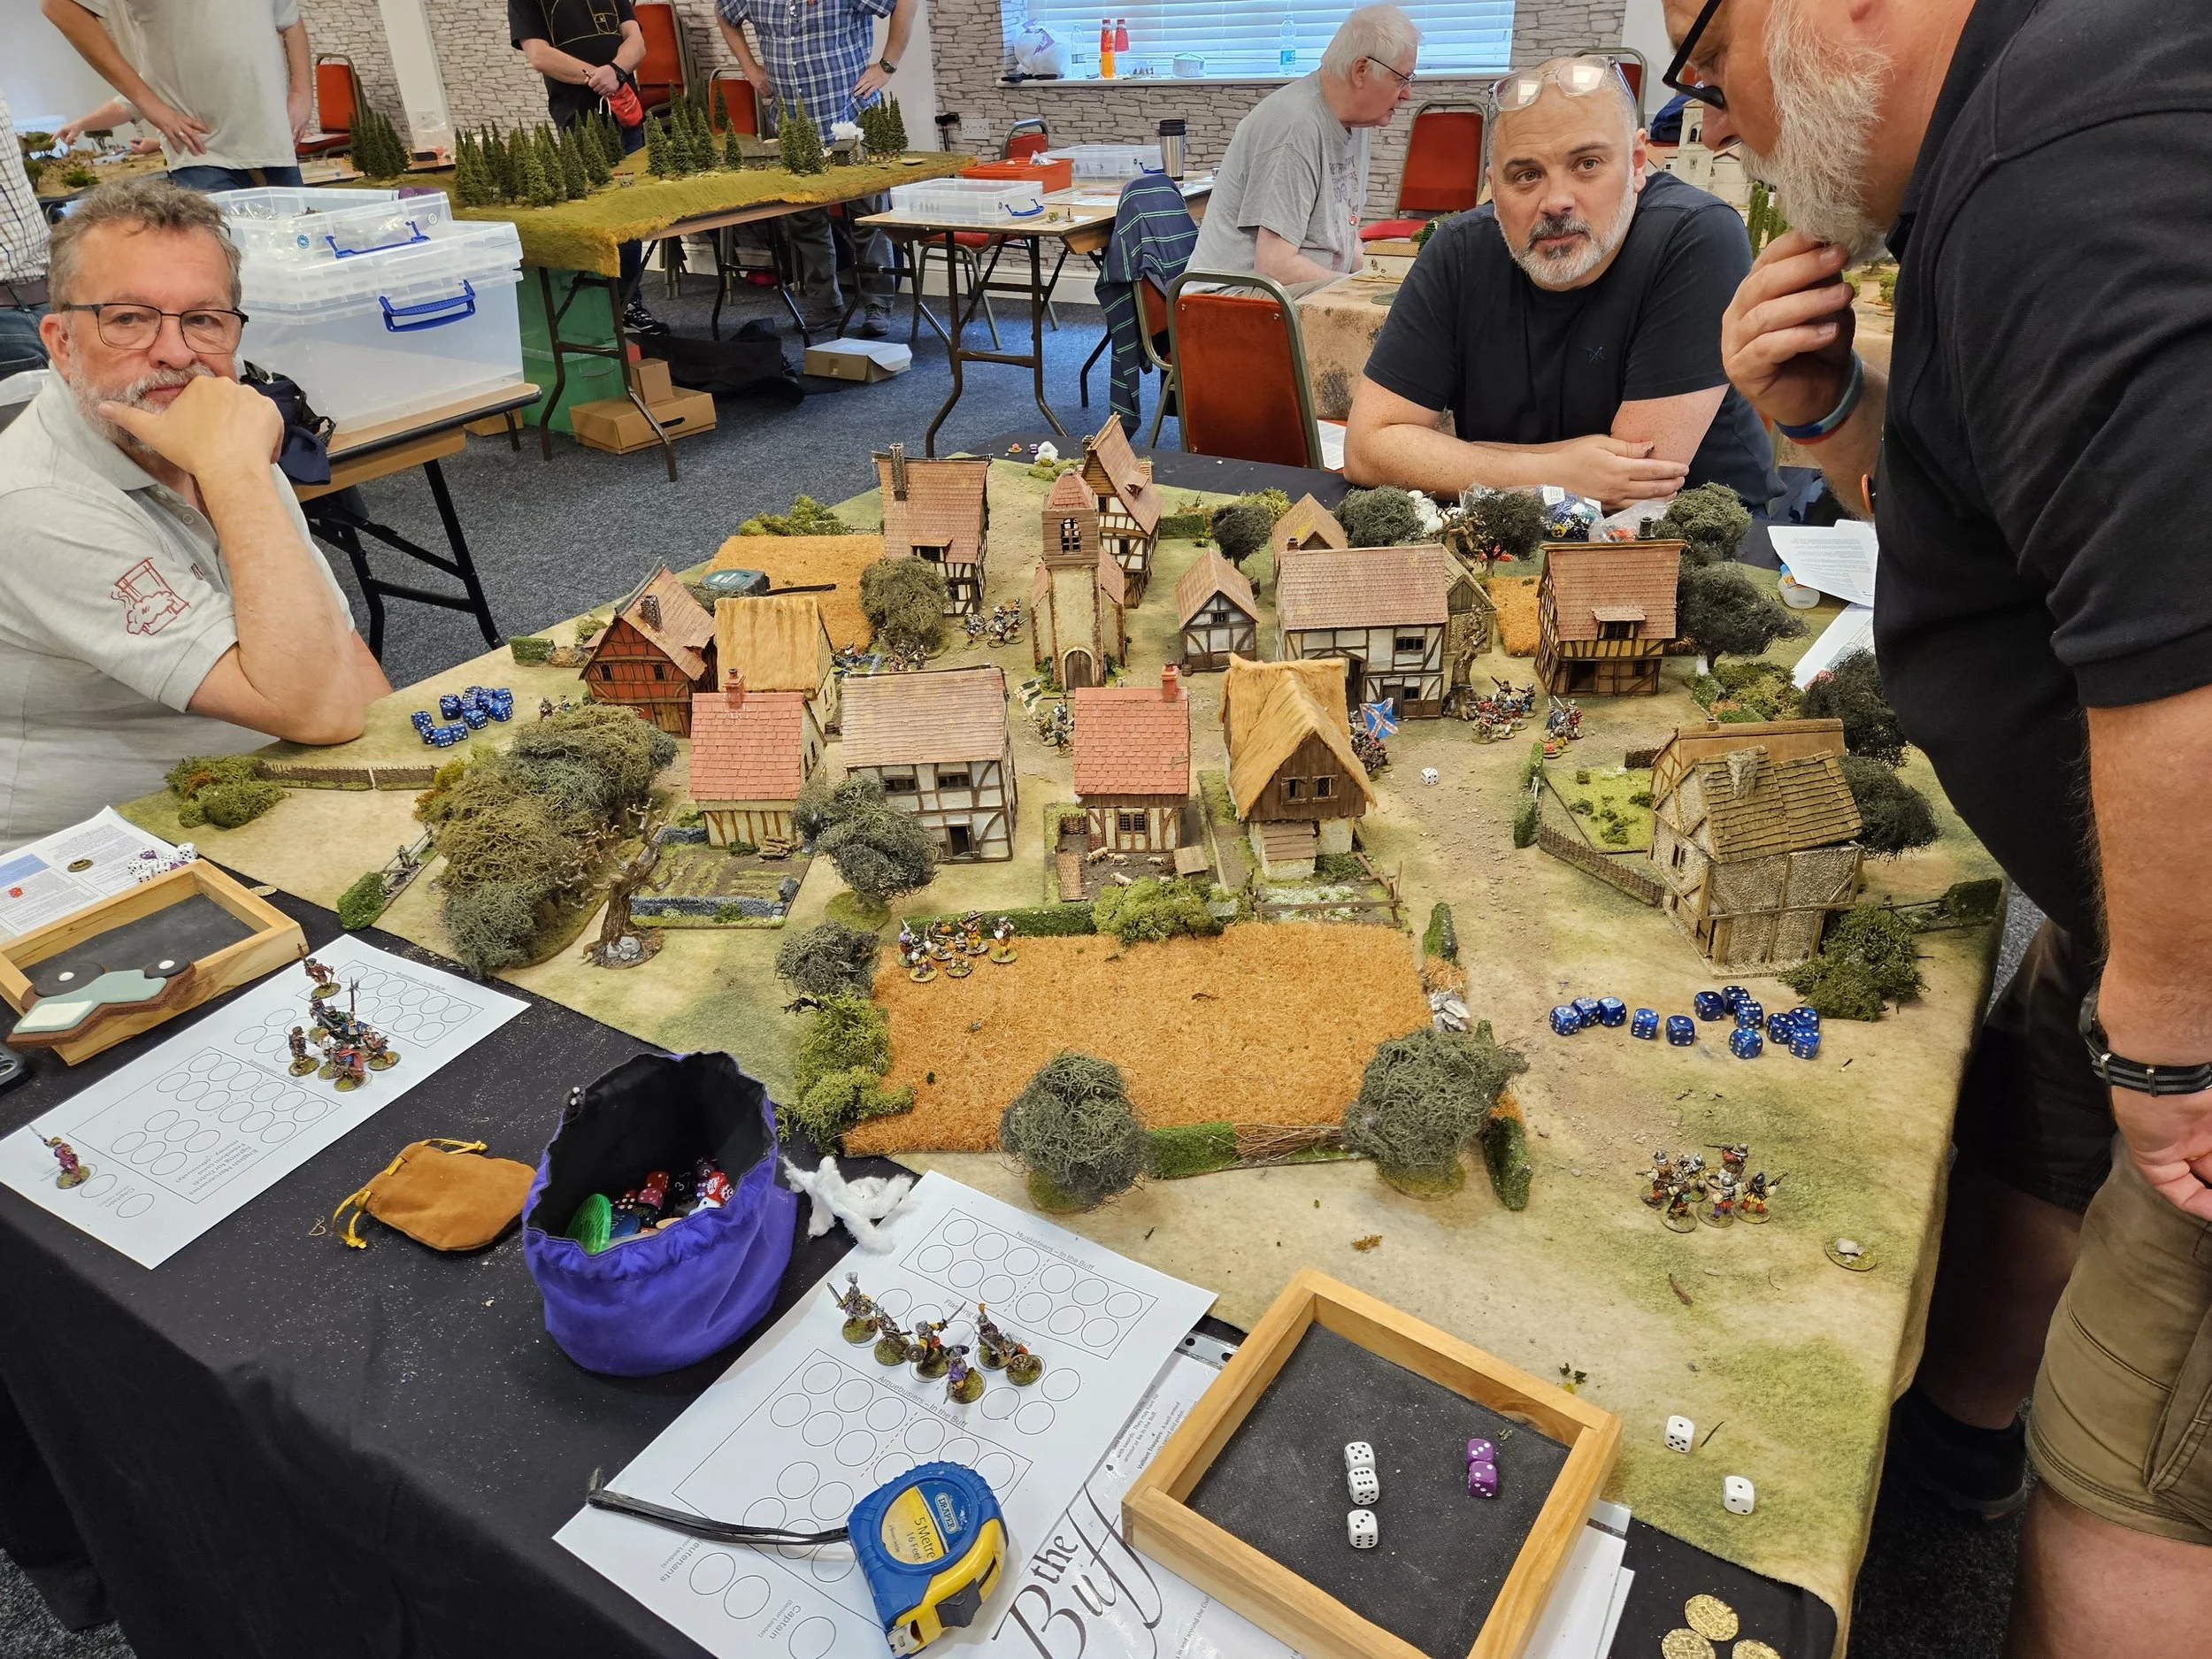
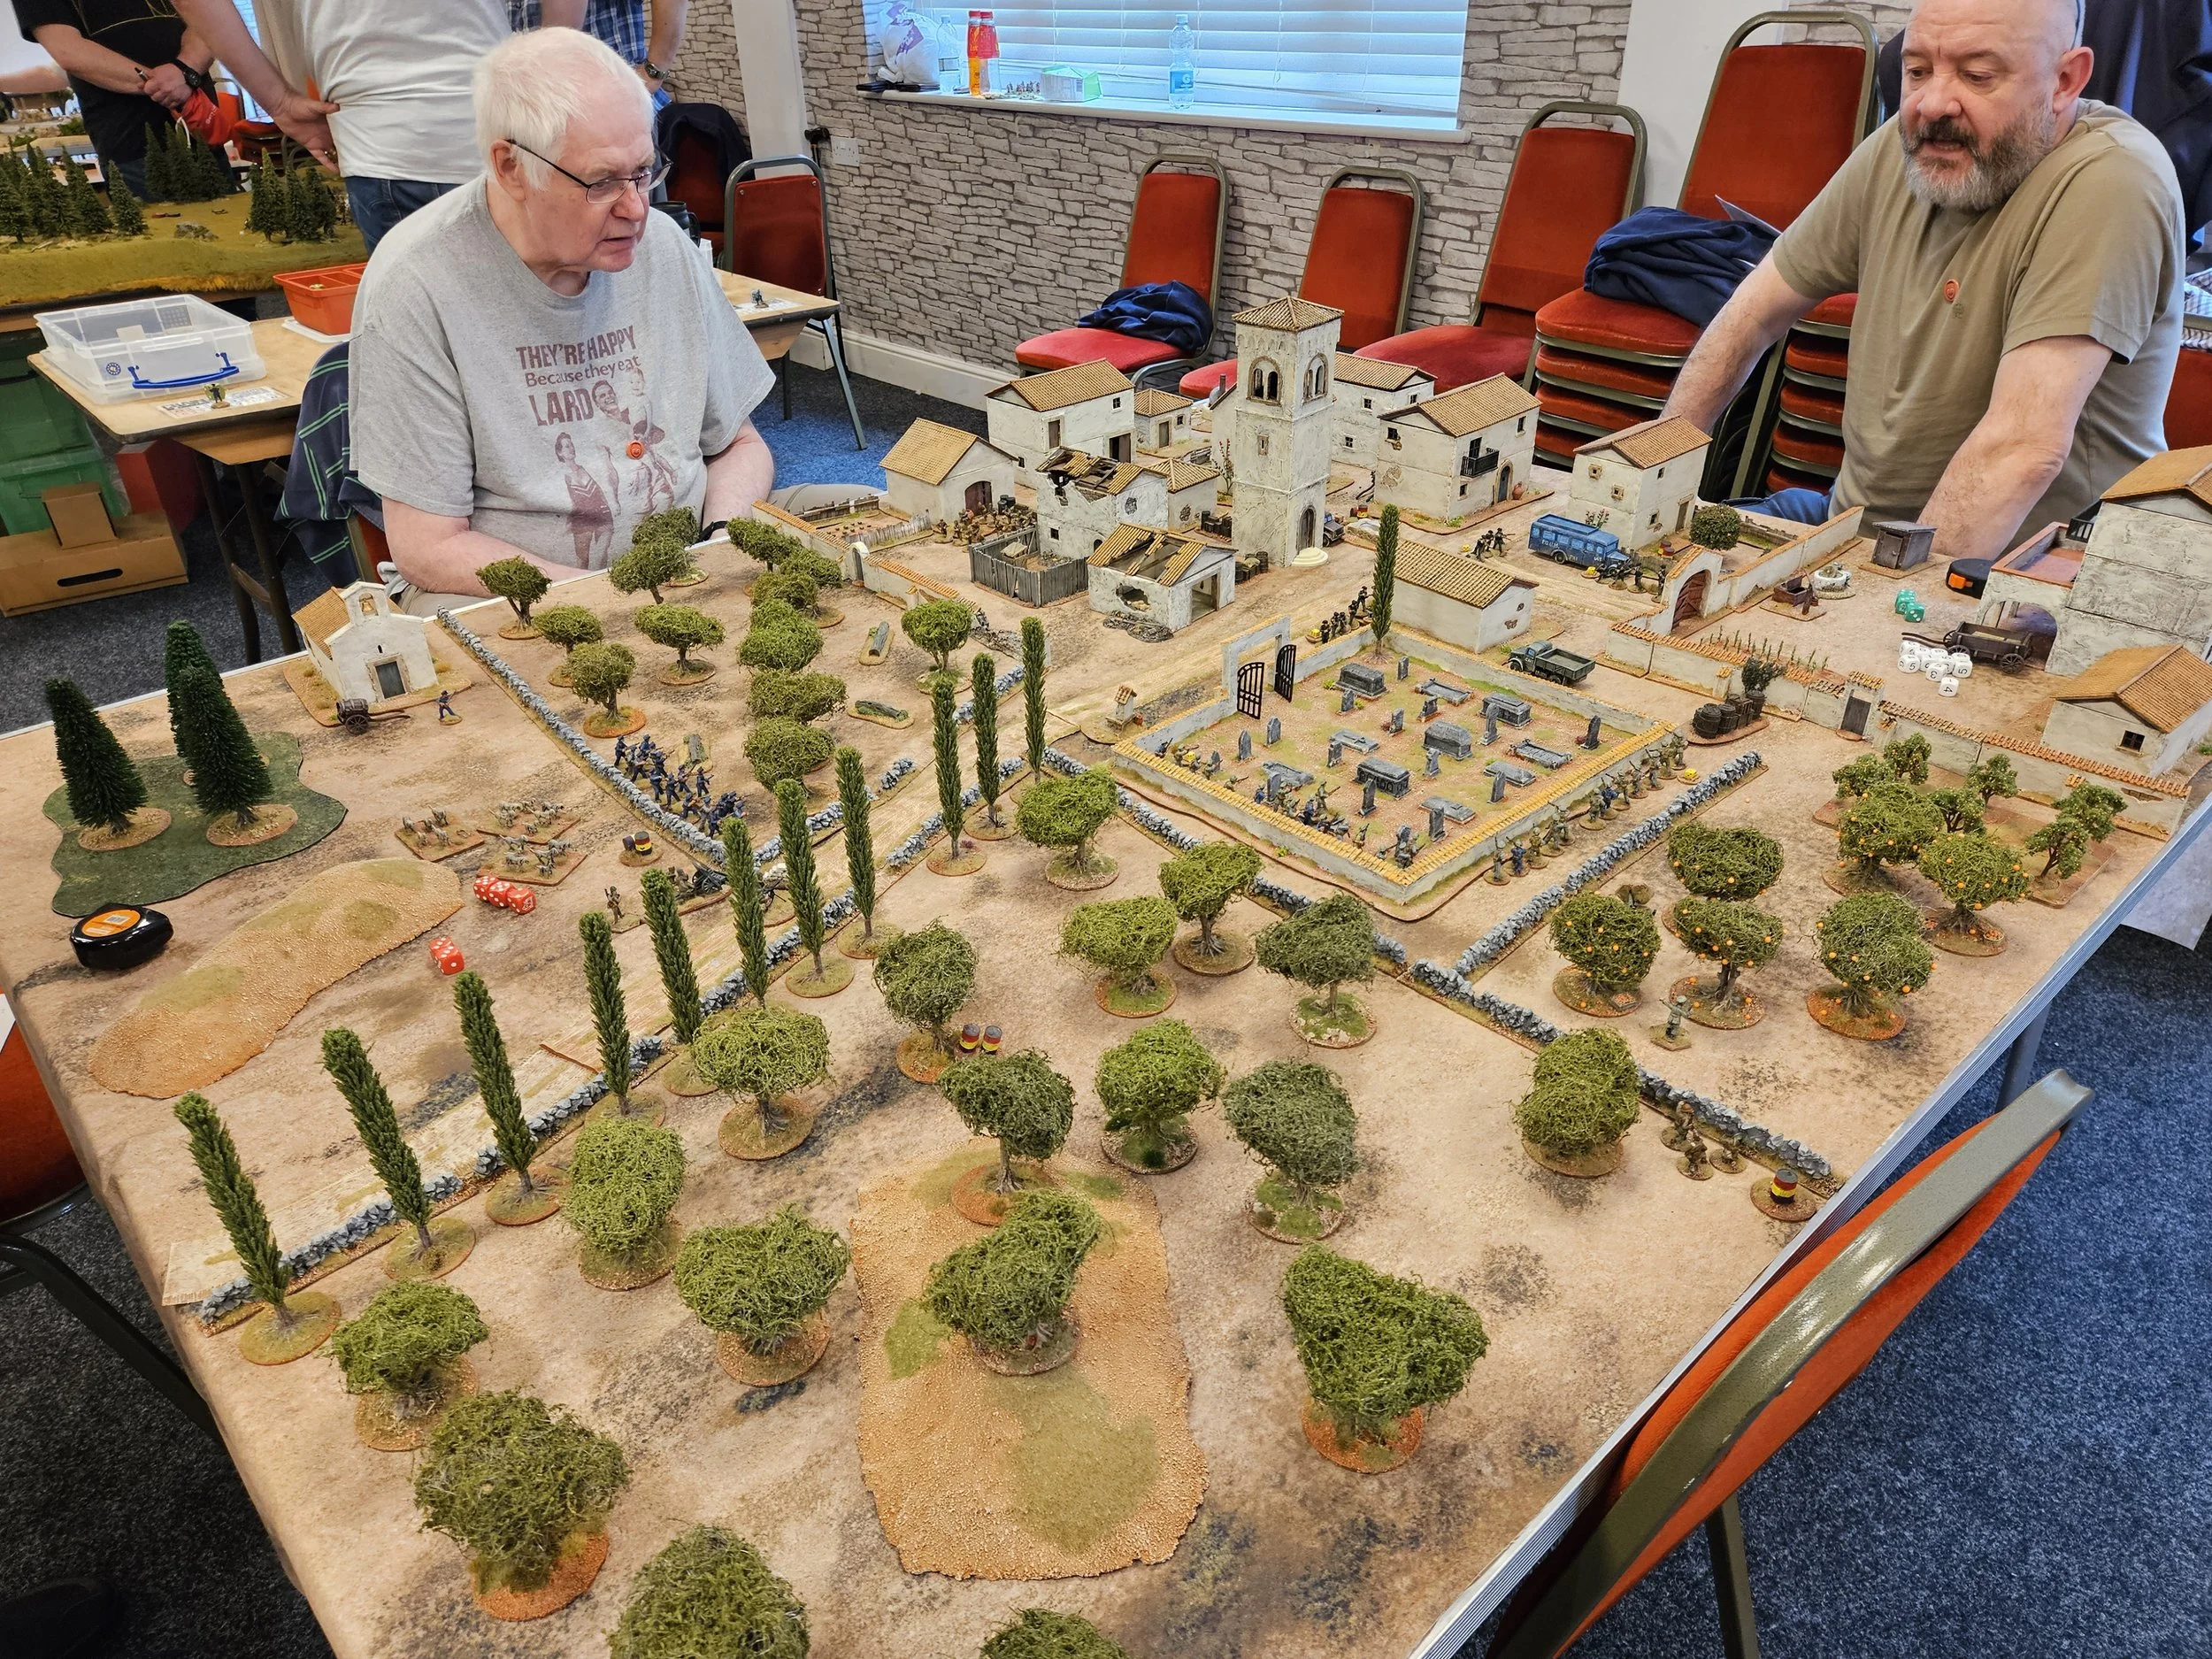
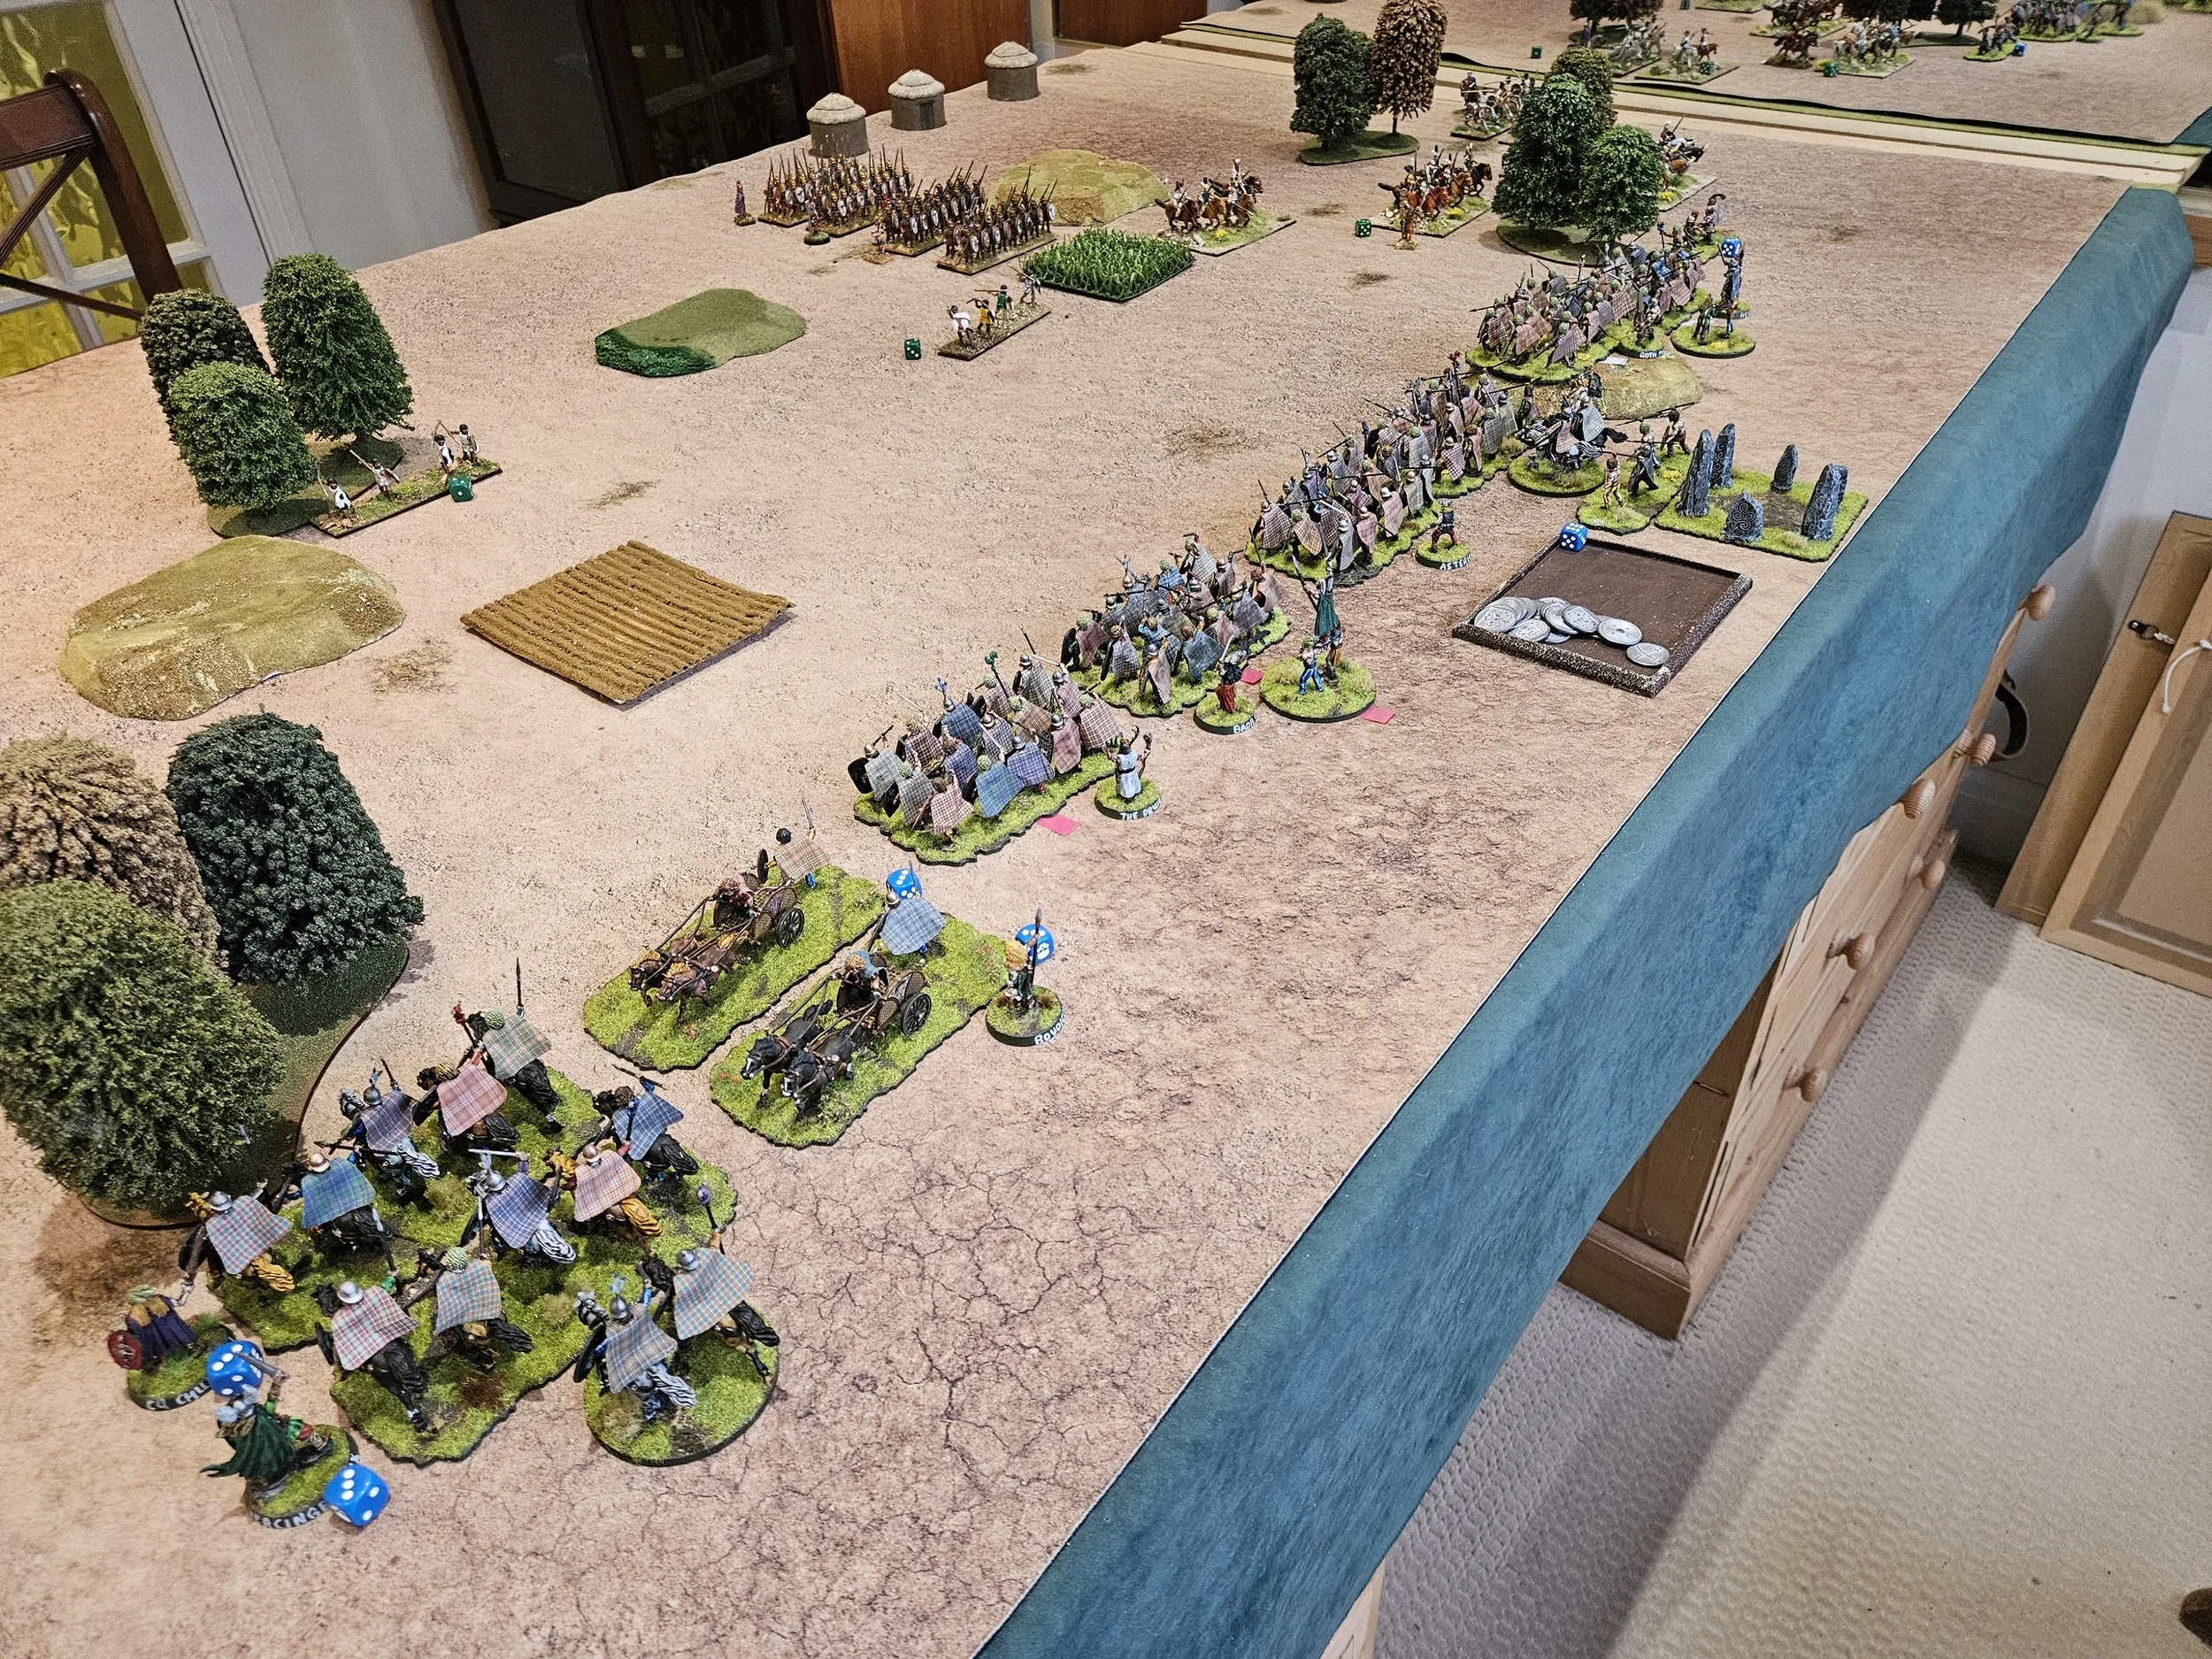
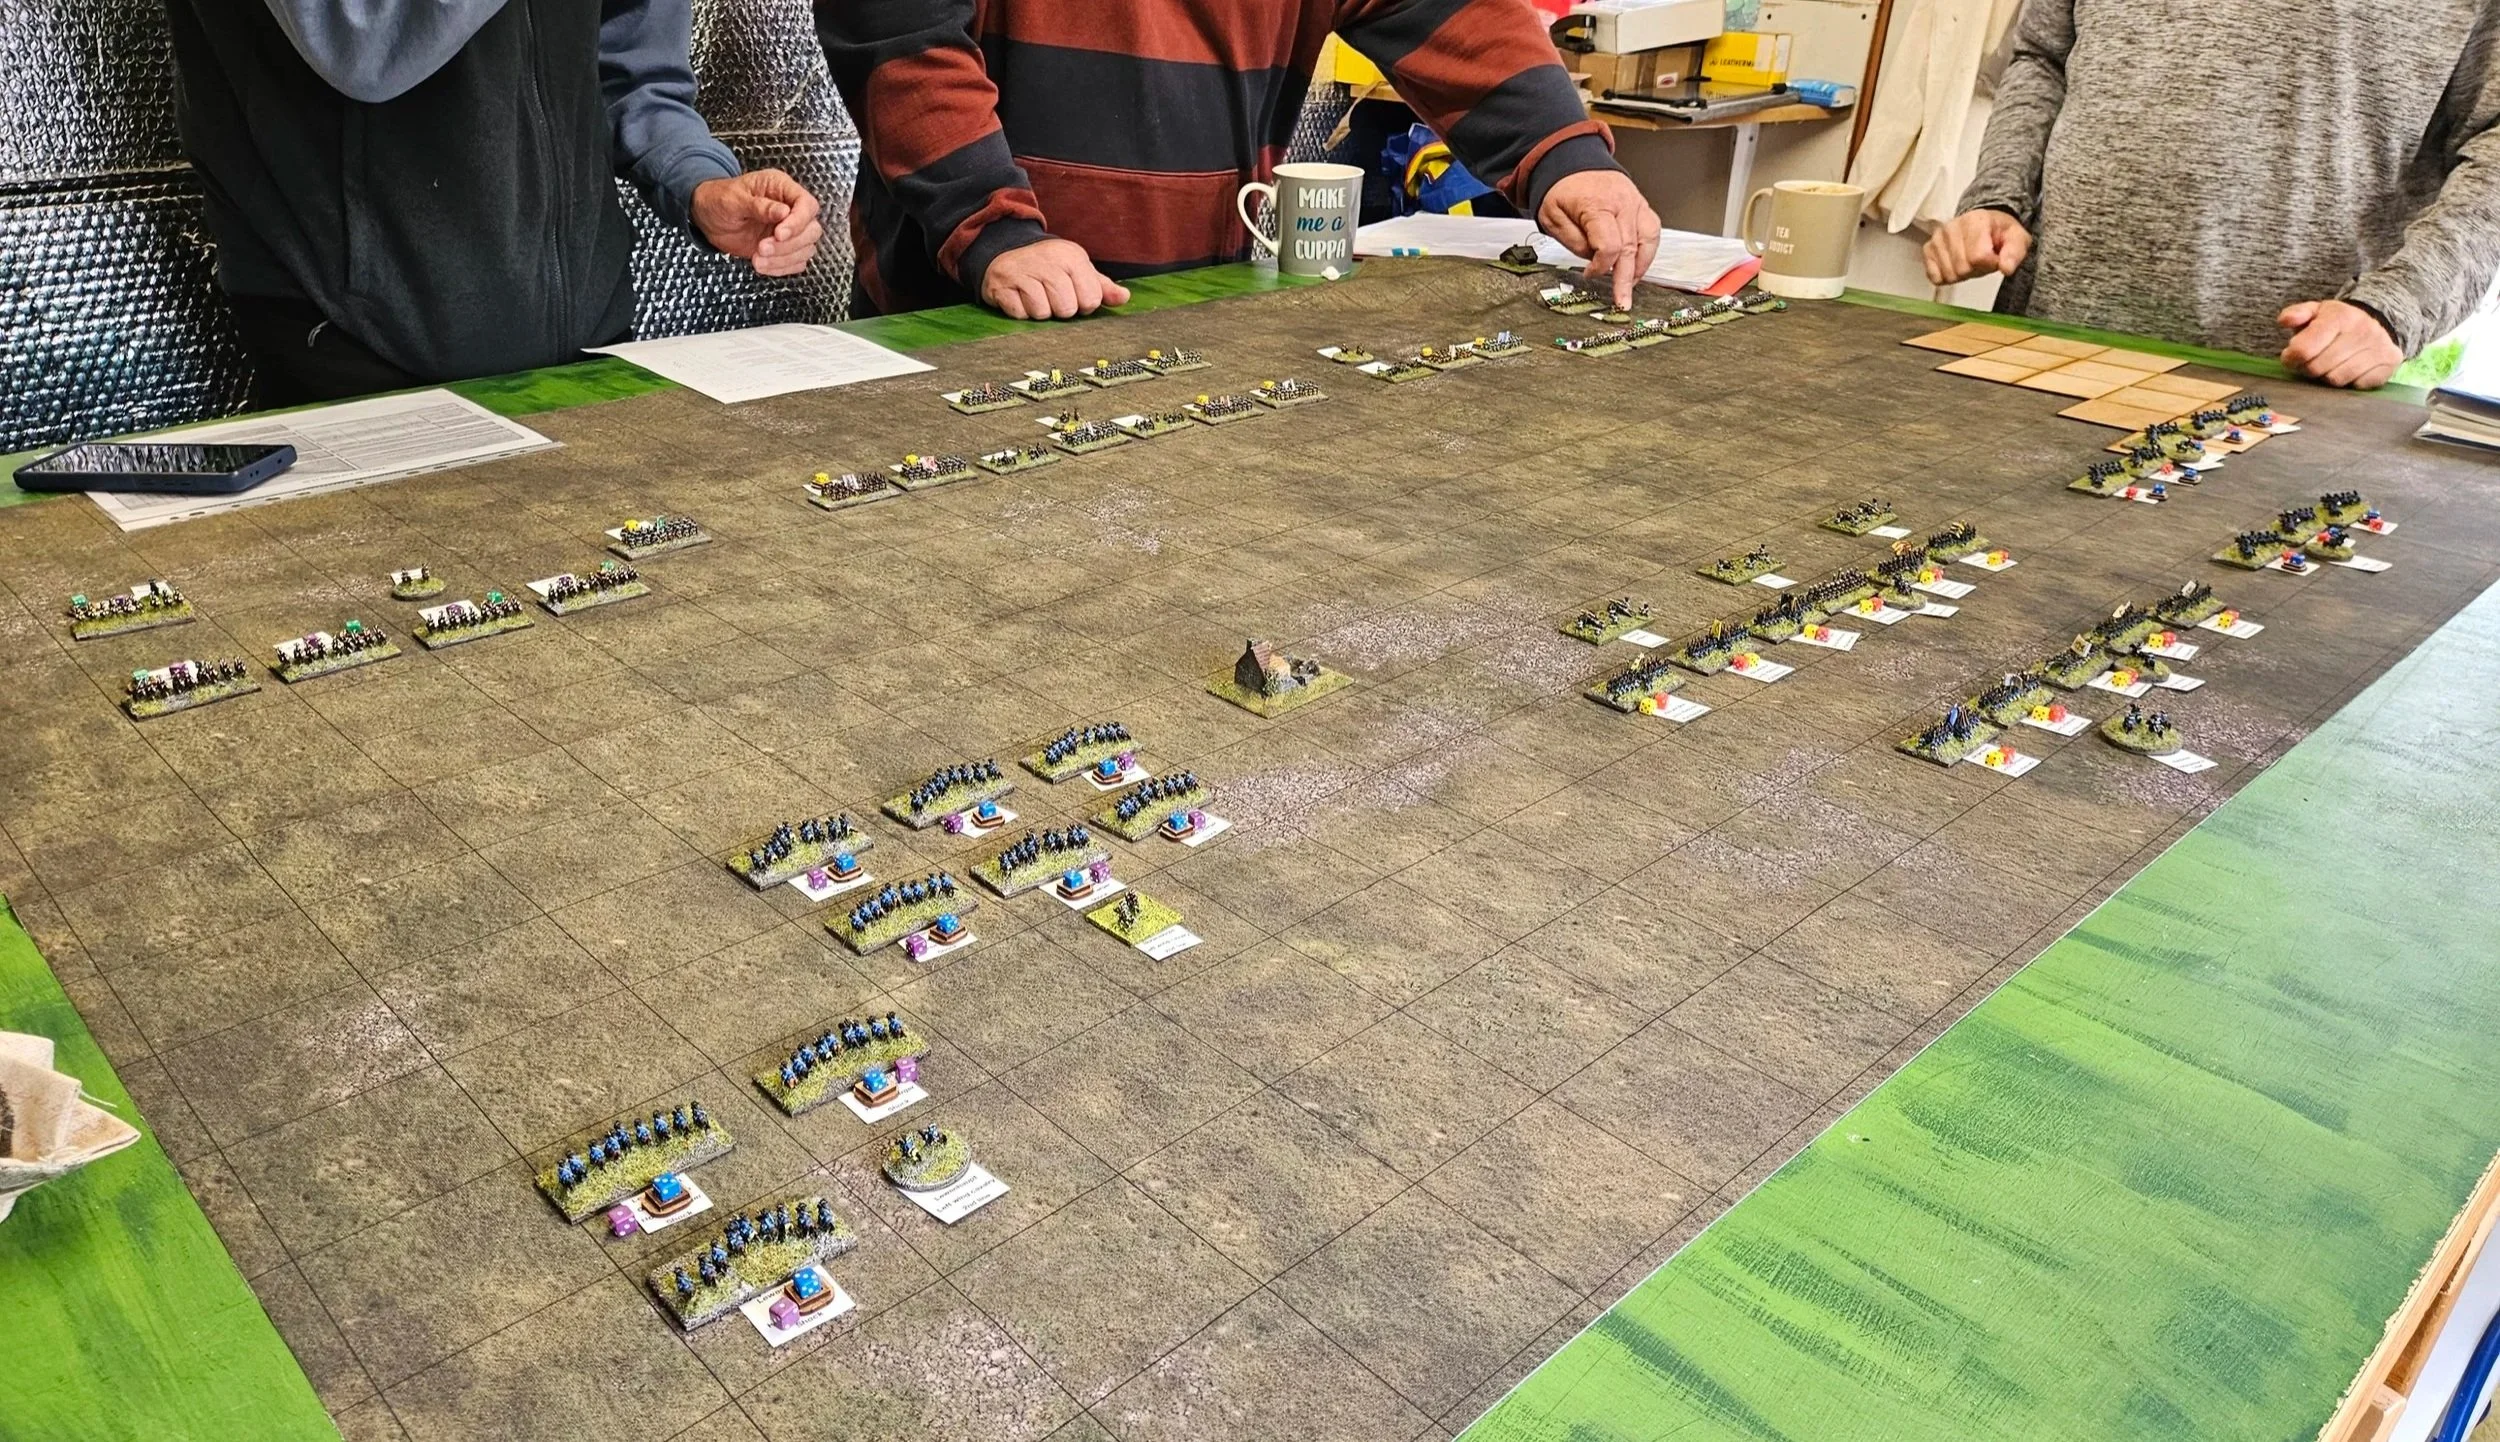
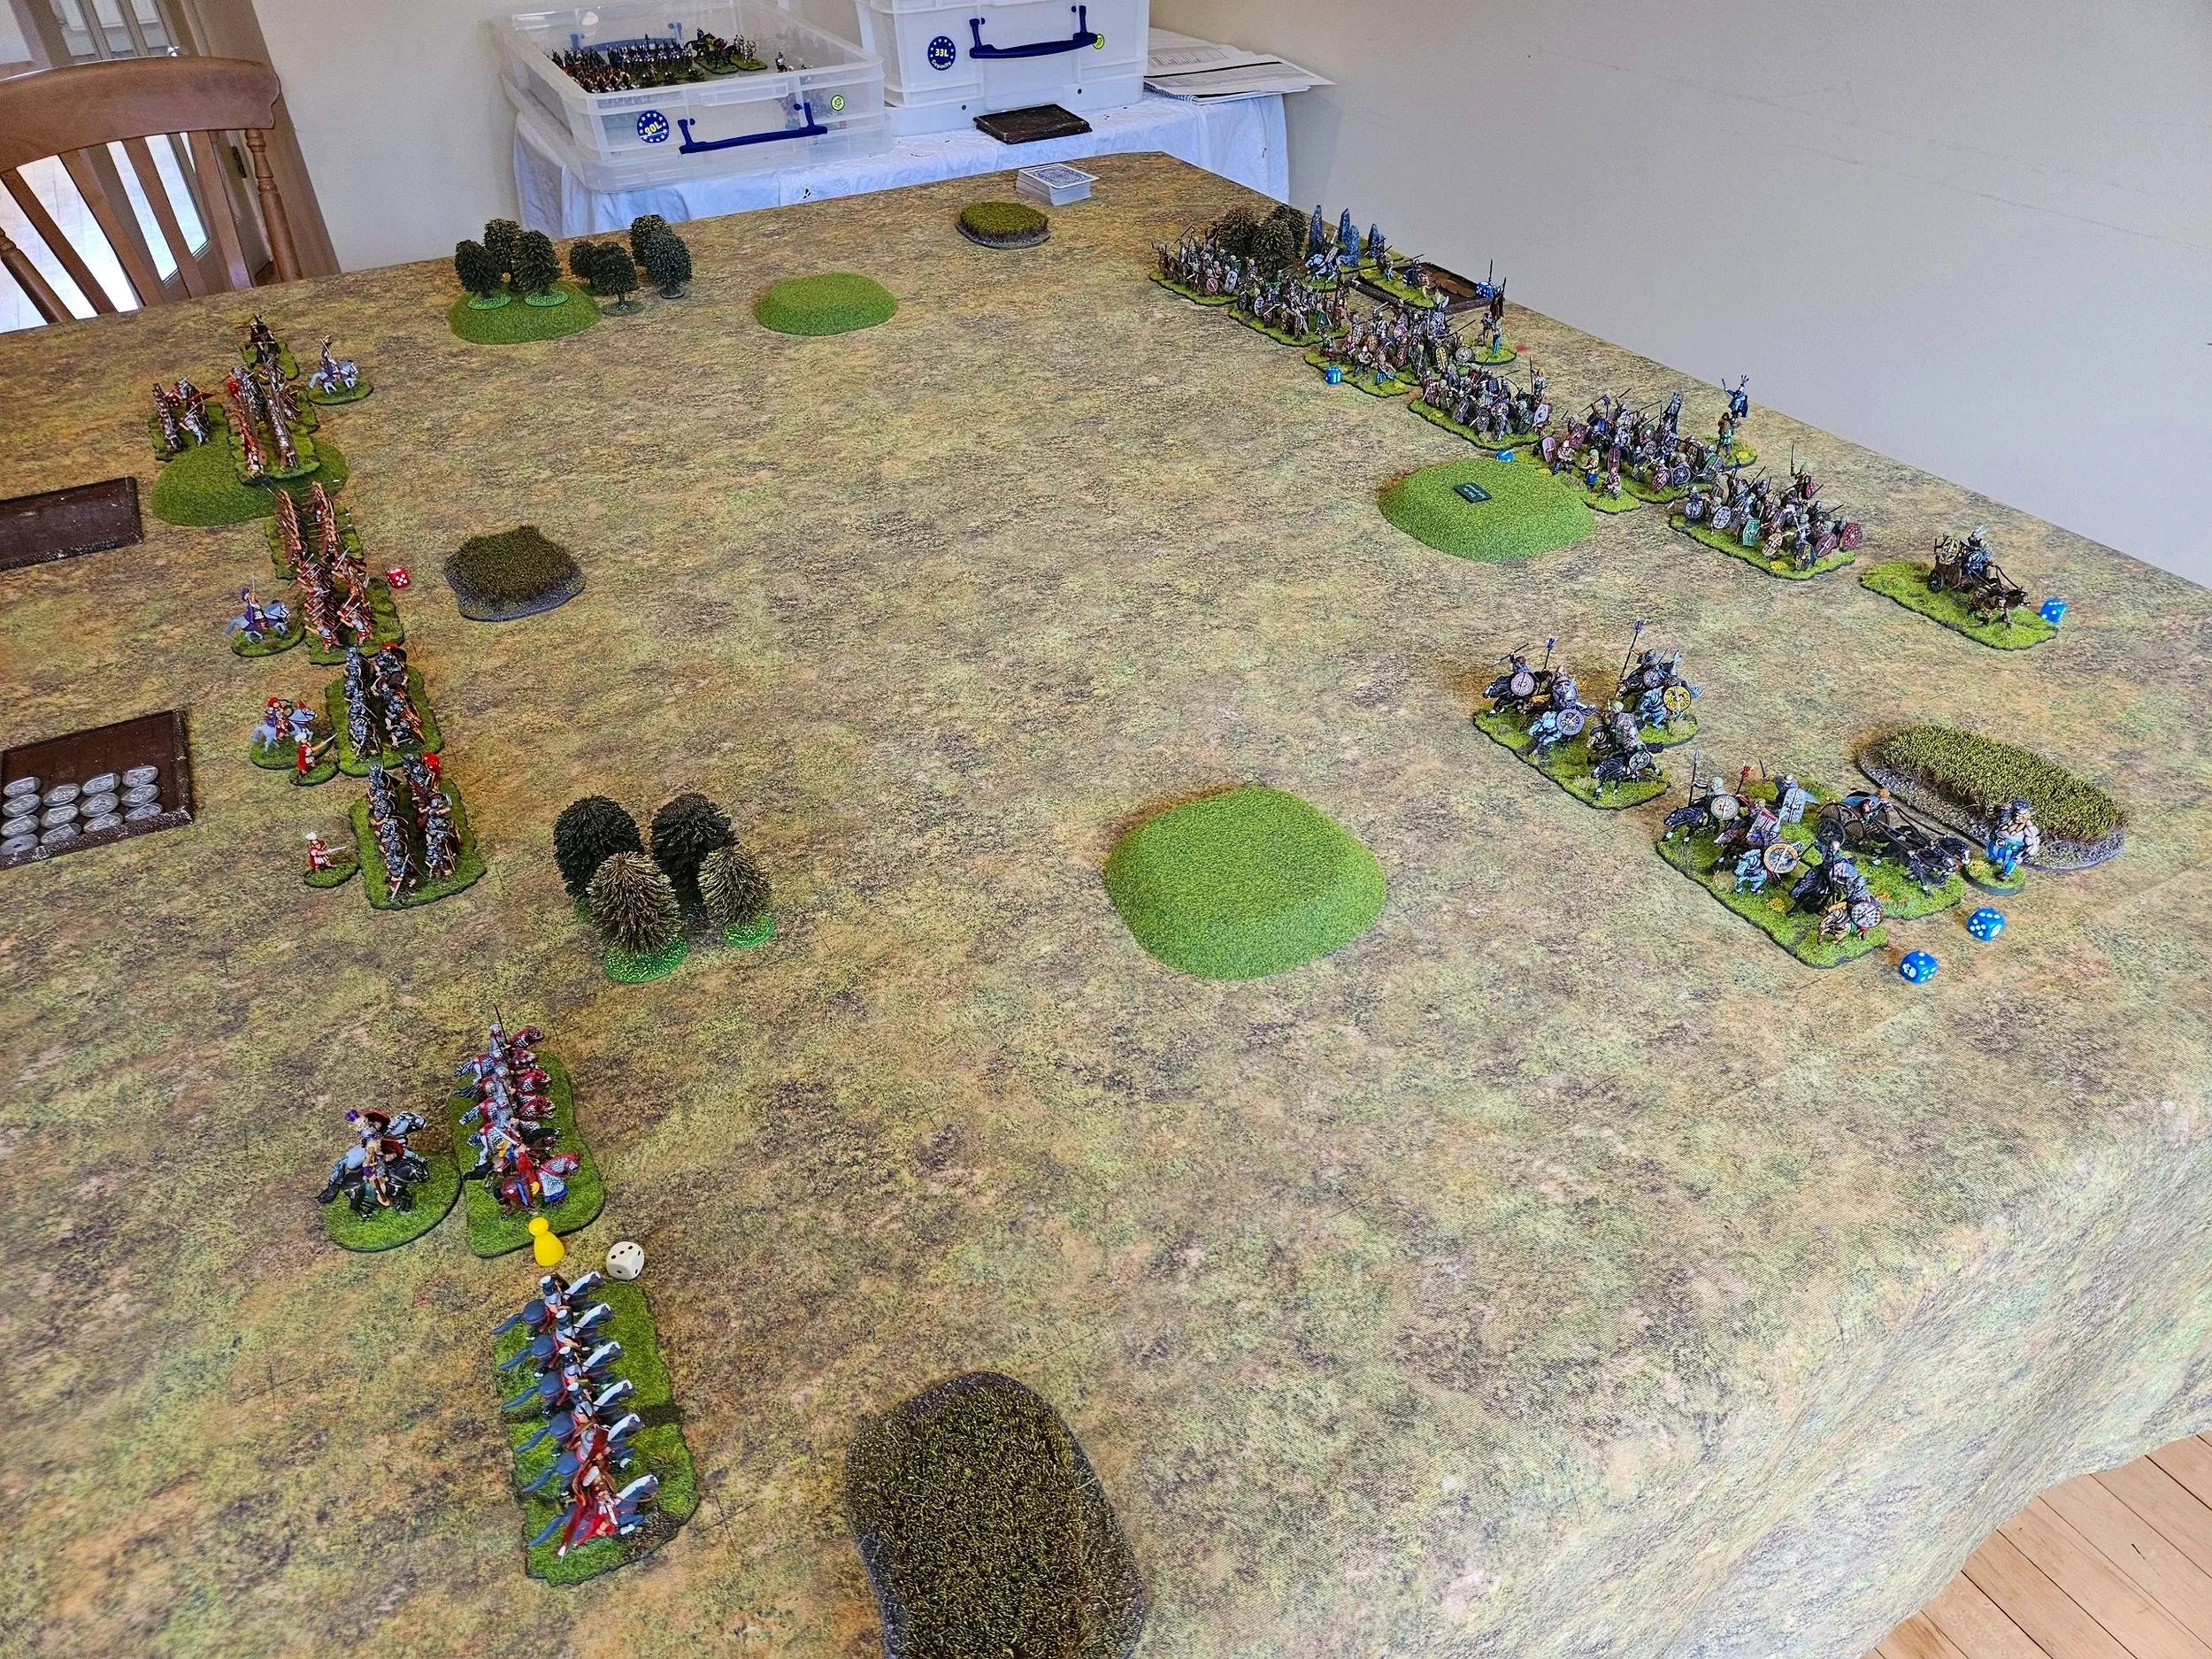
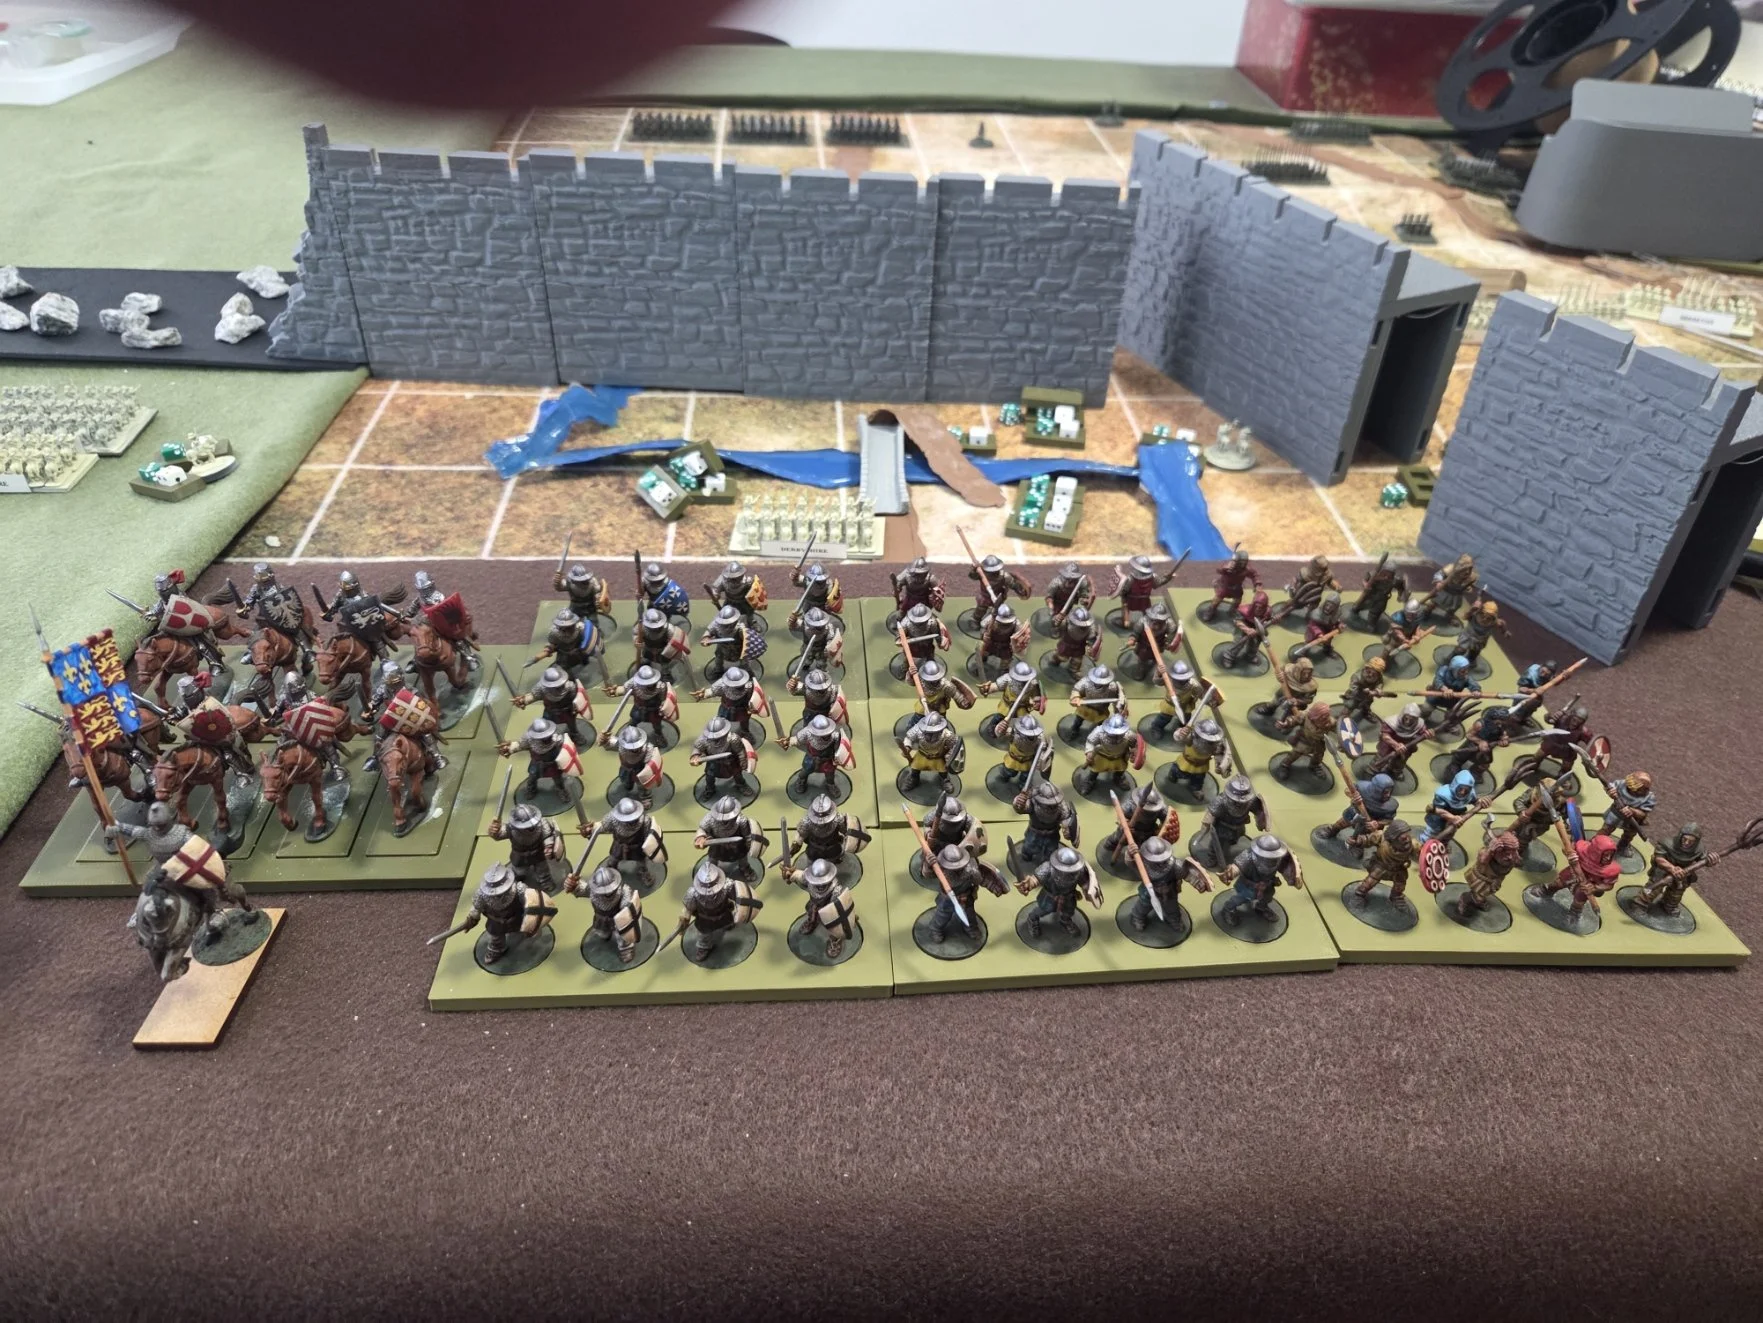
Here’s a round-up of most, if not all, the games on show:

As always, huge thanks to Ade for organising the event, and to all the gamesmasters and players, especially those unlucky enough to be saddled with me!

I’m already looking forward to OML13!

IABSM AAR: Storming the Starmerskaya at OML11

Fantastic game of I Ain’t Been Shot Mum at the afternoon session of this year’s Operation Market Larden Lardy Day.

The game, set during Operation Barbarossa in June 1941, involved me leading a Soviet force forward to clear the field of an advancing German recce force before securing the bridges over the river.

Click on the picture below to see all…

Sharp Practice AAR: Pizzeria

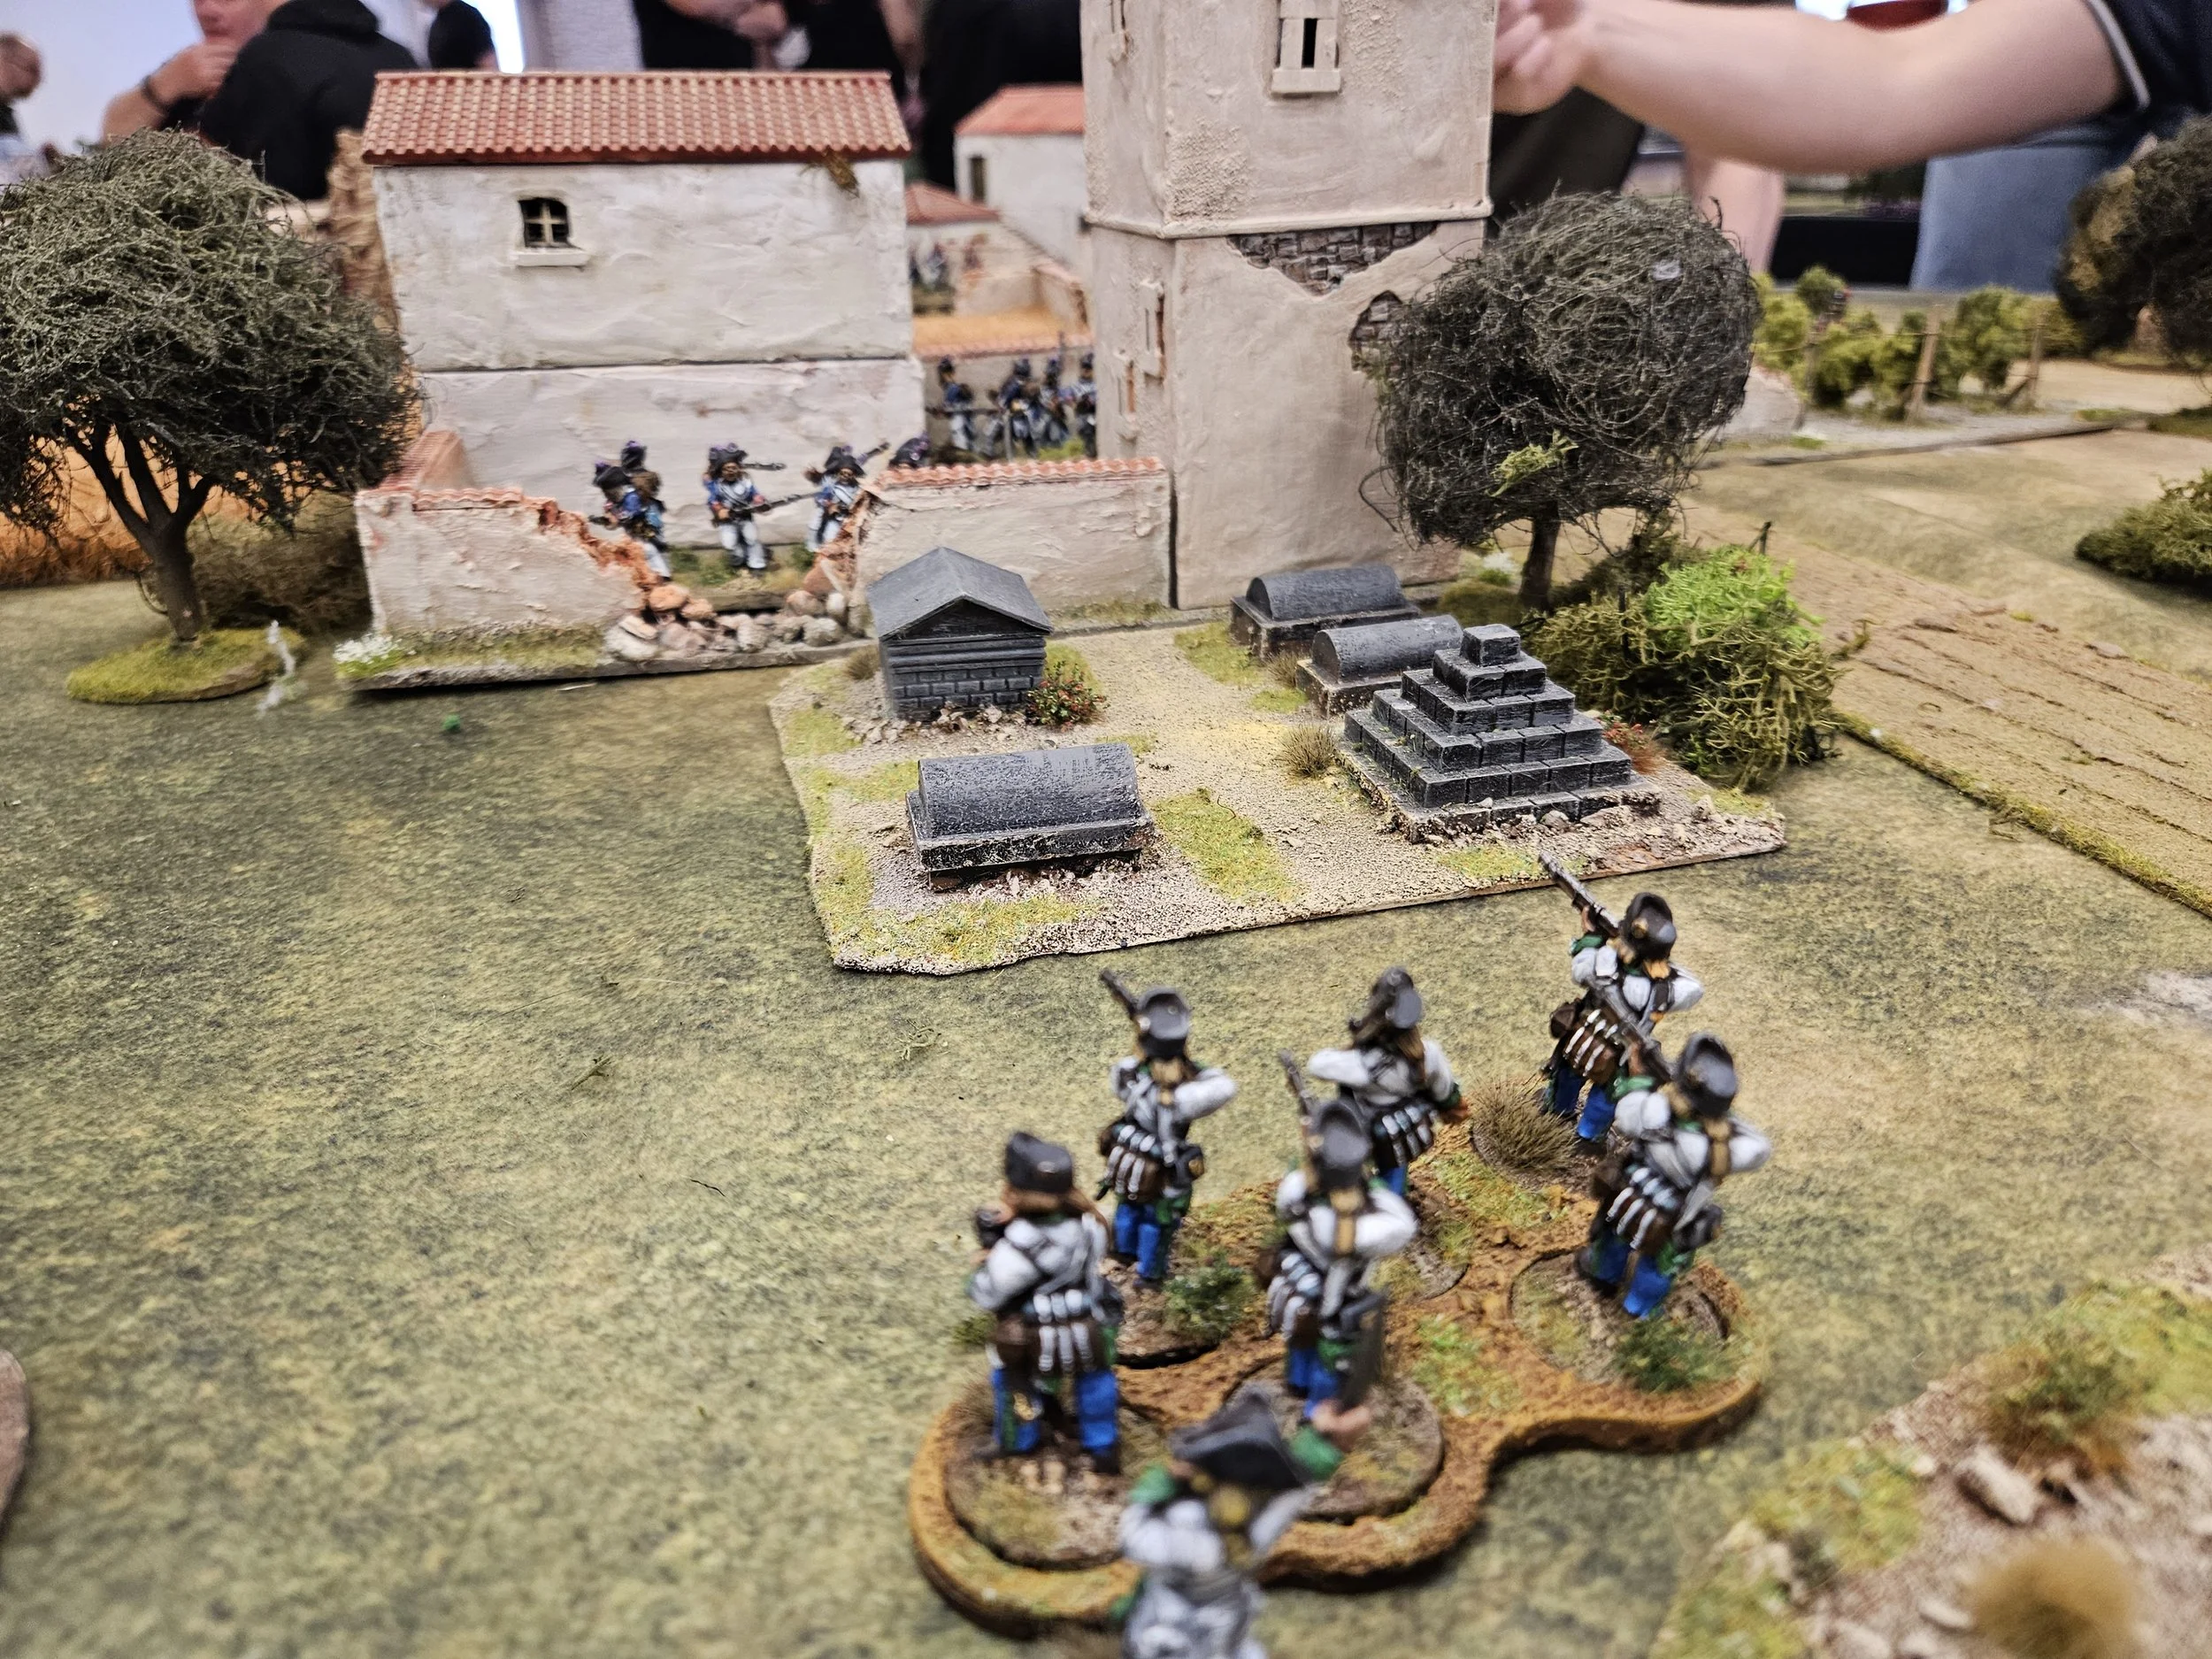
My first game at this year’s Operation Market Larden Lardy Day was a game of Sharp Practice set in northern Italy. Those naughty French revolutionaries were terrorising the area foraging for food and Iwould play as 2iC of an Austrian force sent to stop them.

The marauding French arrived and proved annoyingly fleet of food, making their way almost right through the town before us Austrians had much of a chance to stop them.

Finally, however, the Austrians got a decent run of cards and managed to get most of their force onto the table. The skirmishers and infantry in the centre are the troops under my command.

My skirmishers opened fire on the French behind the damaged wall, and did a satisfactory amount of casualties, but then strayed too close and got shot down in their turn, the survivors forced to retreat.

Meanwhile, my infantry had deployed into line and opened fire themselves, shooting down some French voltigeurs who then, being very drunk, charged us. The line opened fire again, and the French skirmishers ceased to exist!

We were a bit penned up in our corner of the battlefield, so needed to create some space for manouevre. My commander therefore sent the cavalry on the left forward with the aim of engaging the French Hussars who were making their way round onto our flank.

The initial charge successfully wiped out more French voltigeurs but failed to reach the Hussars who, in a cowardly fashion, refused to counter-charge but fled forward further round our flank.

The action then switched to the other side of the field, where more French cavalry, Dragoons this time, were makign their way around to our other flank.

The Grenzers deployed ready to repel the froggie horsemen, but in doing so unfortunately exposed their flank to some French Grenadiers, who punished them with a terrible series of musket volleys.

My main infantry line had been blazing away at the Grenadiers and had dropped a few of them, but those pesky French Hussars were still creeping around our left flank.

The arrival of the French Hussars combined with the shooting from the ruined church had forced my colleague’s infantry to retreat a bit in some confusion, and they were then charged and largely destroyed by said French cavalry, leaving my brave boys effectively surrounded!

With only my infantry unit left in a position to carry on the fight, and them now effectively surrounded, there was nothing for it but to gracefully surrender. The French had won the day!

A great game of Sharp Practice and one where we were just overwhelmed by the French. My thanks to the umpire and all the other players, one of whom at least will be grateful for the fact that I haven’t said it was all his fault that we lost by exposing the flank of our Grenzers!

Operation Market Lardon 11

A couple of weekends ago I made my annual pilgrimage to Evesham for Operation Market Larden 11: the eleventh incarnation of the longest running independent Lardy day and one that I have been to every one of.

Brilliantly organised by Ade as usual, the game saw some superb games being played from right the way across the Lardy spectrum.

Here are some shots of the games taken from various times throughout the day. I would highly recommend attendance at this or any future Lardy days if you can.

My thanks to Ade for organising, and to the umpires and my opponents on the day, My two battle reports will follow in due course.

IABSM AAR: Storming the Starmerskaya

This weekend coming up I’m off to Evesham for the annual Operation Market Larden event: a cornucopia of Lard now in its 12th year. I’ve been to every OML so far, and had a whale of time on every occasion.

This year I’m playing Sharp Practice in the morning and I Ain’t Been Shot Mum in the afternoon, so it was with great pleasure that I saw that Phil & Jenny Turner have been playtesting the game in preparation. Click on the picture below to see pictures of that playtest…can’t wait!


IABSM at OML10

My afternoon game at Operation Market Larden X was Phil & Jenny’s excellent Throw Them Back scenario for I Ain’t Been Shot Mum.

This involved a German counterattack on one of the Normandy beaches just after D-Day, with my instructions being, as one of the German players, to get a significant force “onto the sand”.

This turned out to be a cracking encounter with exciting action right from the start.

Click on the picture, below, to see all:

And thanks, as ever, to Adrian and team for organising such a great event overall.

Operation Market Larden X

It seems extraordinary, but the Operation Market Larden Lardy Day in Evesham has reached its 10th manifestation i.e. leaving aside COVID lockdowns, it’s now ten years old…and I’ve been to every one.

This year’s event was the usual cornucopia of excellently run Lardy games, all played in the very best of Lardy spirits. Unfortunately real life commitments kept me from both the Friday night pre’s and the Saturday night meal, but I very much enjoyed the day itself.

Before I talk about the games I participated in, here’s a quick table-by-table look at what was on offer. All the pics are taken from first thing in the morning, so are devoid of any action, but just look at the set-ups!

In the morning, I played in Sid’s excellent Blood on Fallen Snow scenario for When the Last Sword is Drawn or Banzai Bonkers for short!

I partnered with Gareth, and our task was to secure several treasures at a shrine nominally under protection.

In short, although we succeeded in our mission and slaughtered the enemy, we technically lost the game as our opposition gained more on or honour than we did: something my partner in crime was largely responsible for as every duel he was in consisted of his Dirty Tricks technique verses the honourable conduct of the enemy!

I was so caught up in the action that I neglected to take more than a couple of shots of the game. Here they are:

Superbly created and umpired by Sid, I cannot recommend When the Last Sword is Drawn enough!

I’ll cover my afternoon game in the next post…

The Lardzone at Britcon

Another good reason for going to Britcon was to see the Lardzone in action: a whole hall devoted to games from the TwoFatLardies.

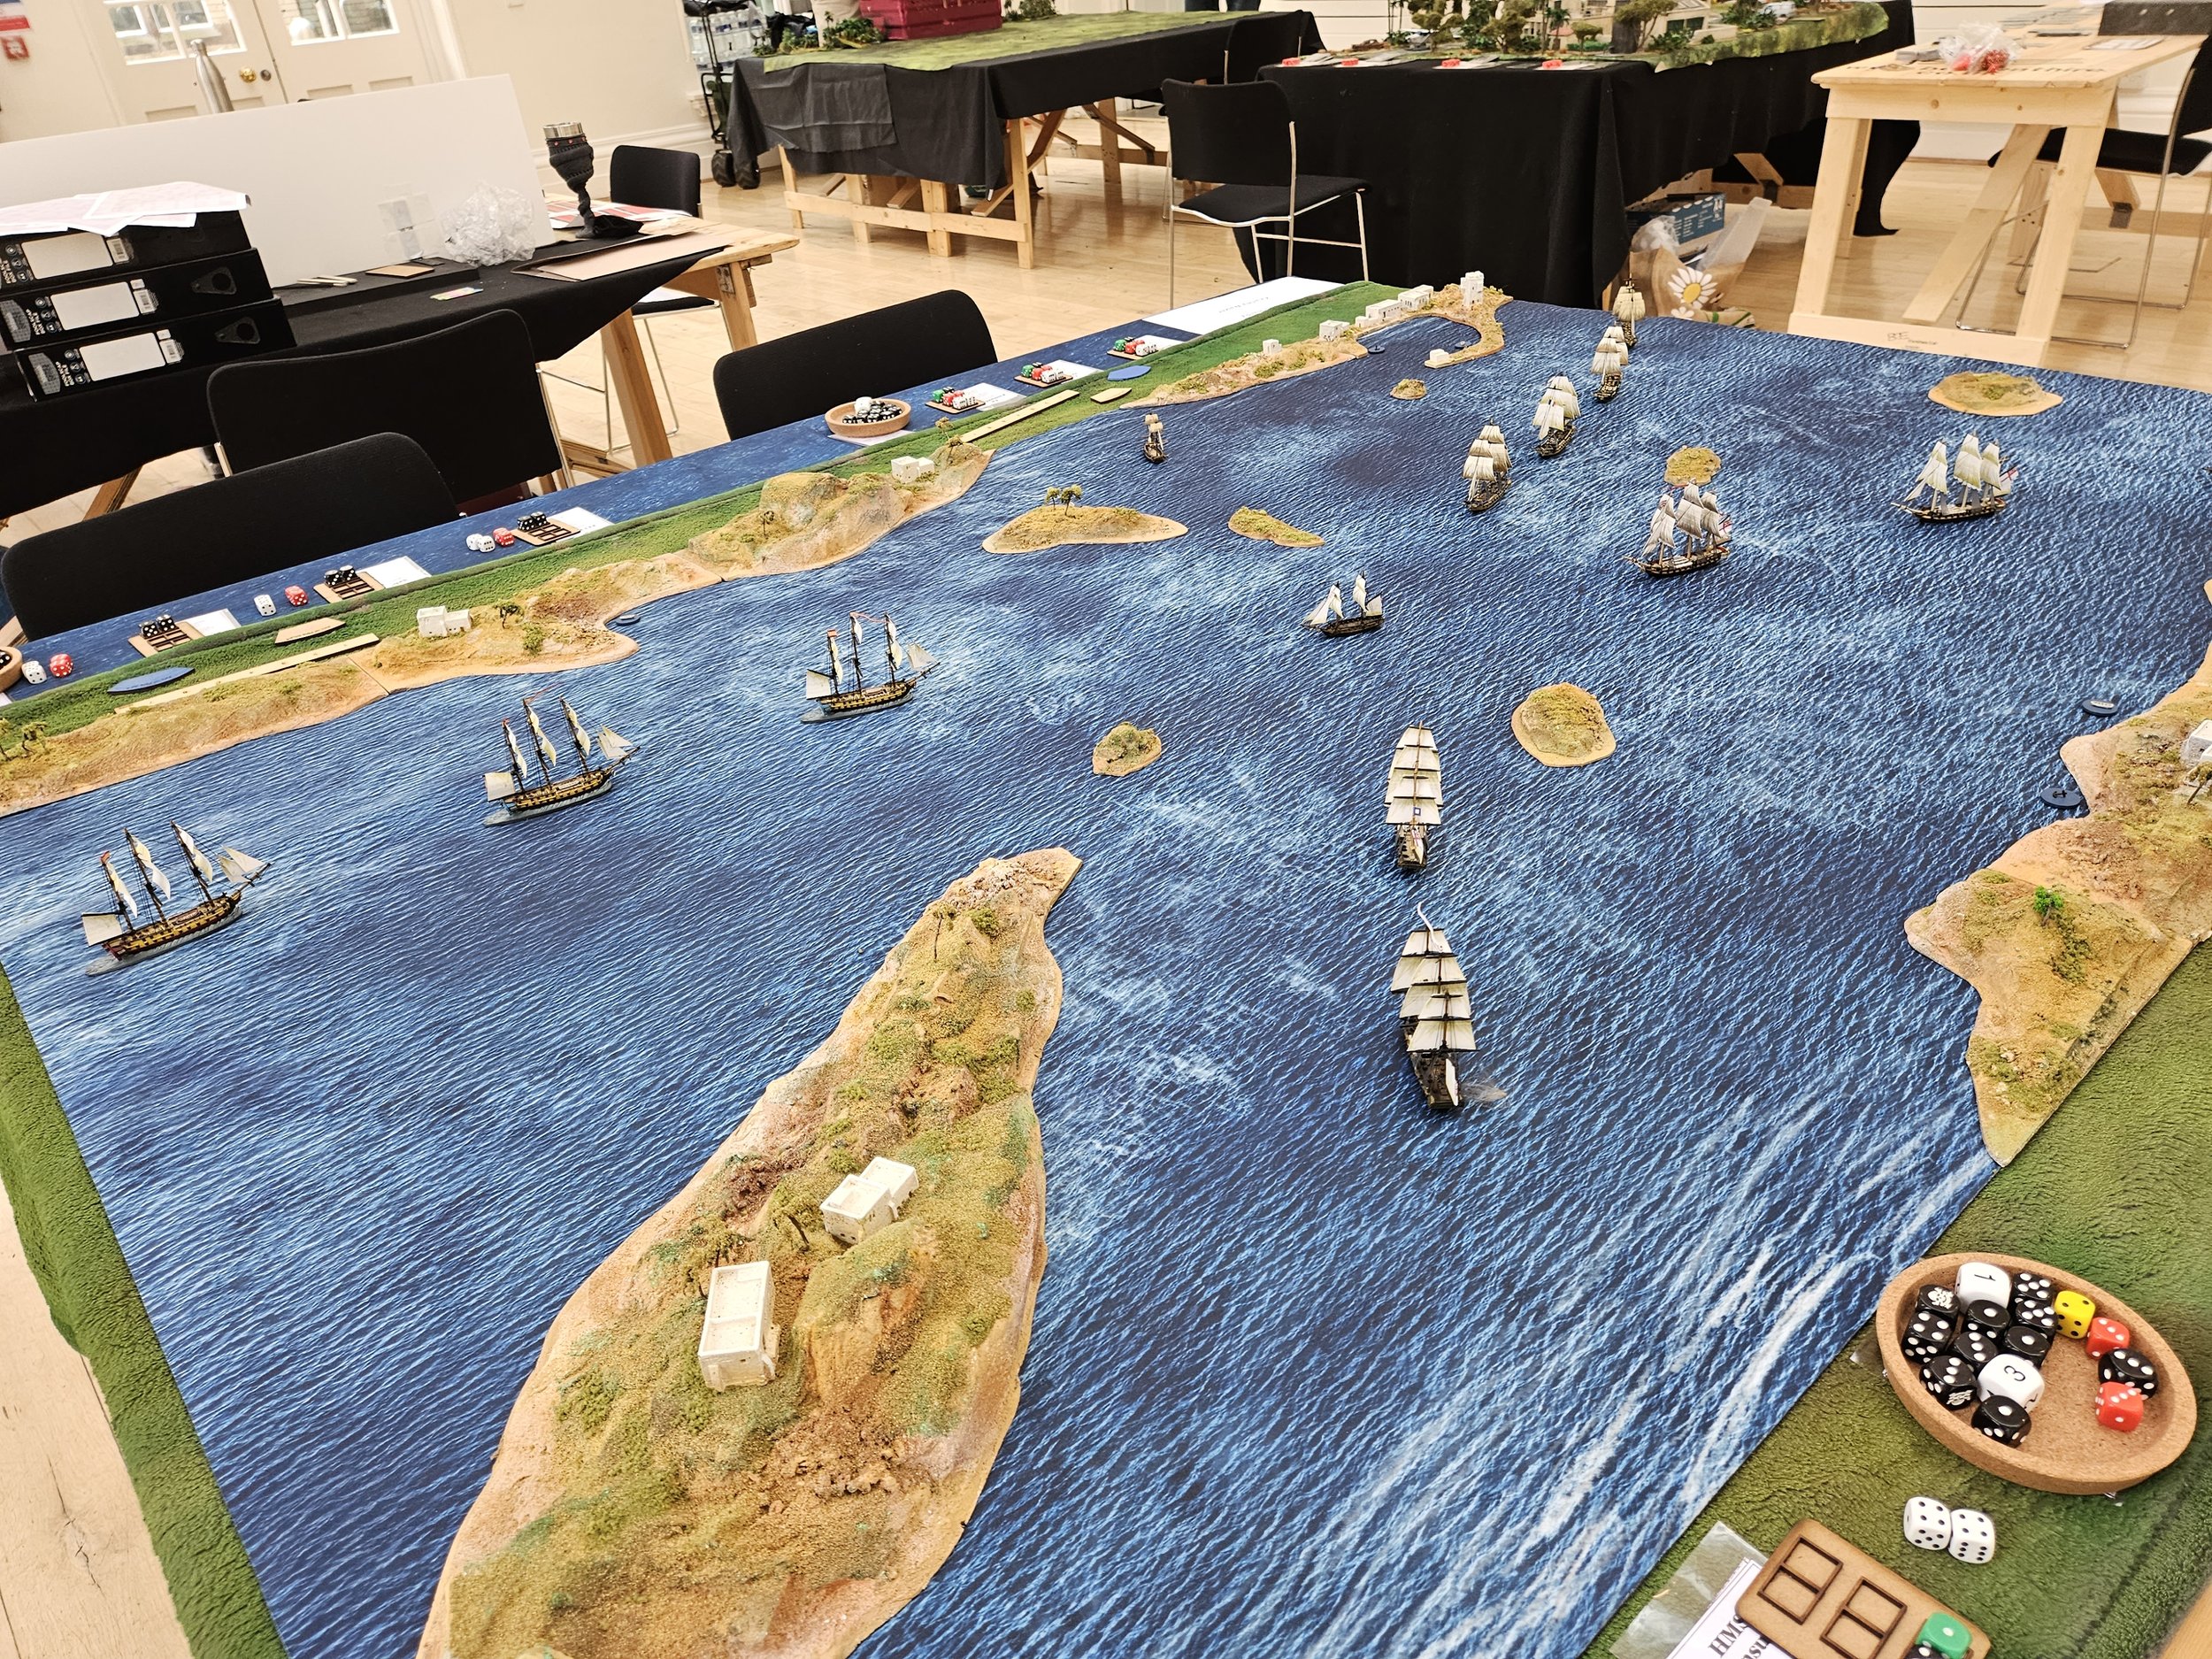
It was no disappointment. Below you will find a gallery of the tables set up for the day, demonstrating the incredible displays on show.

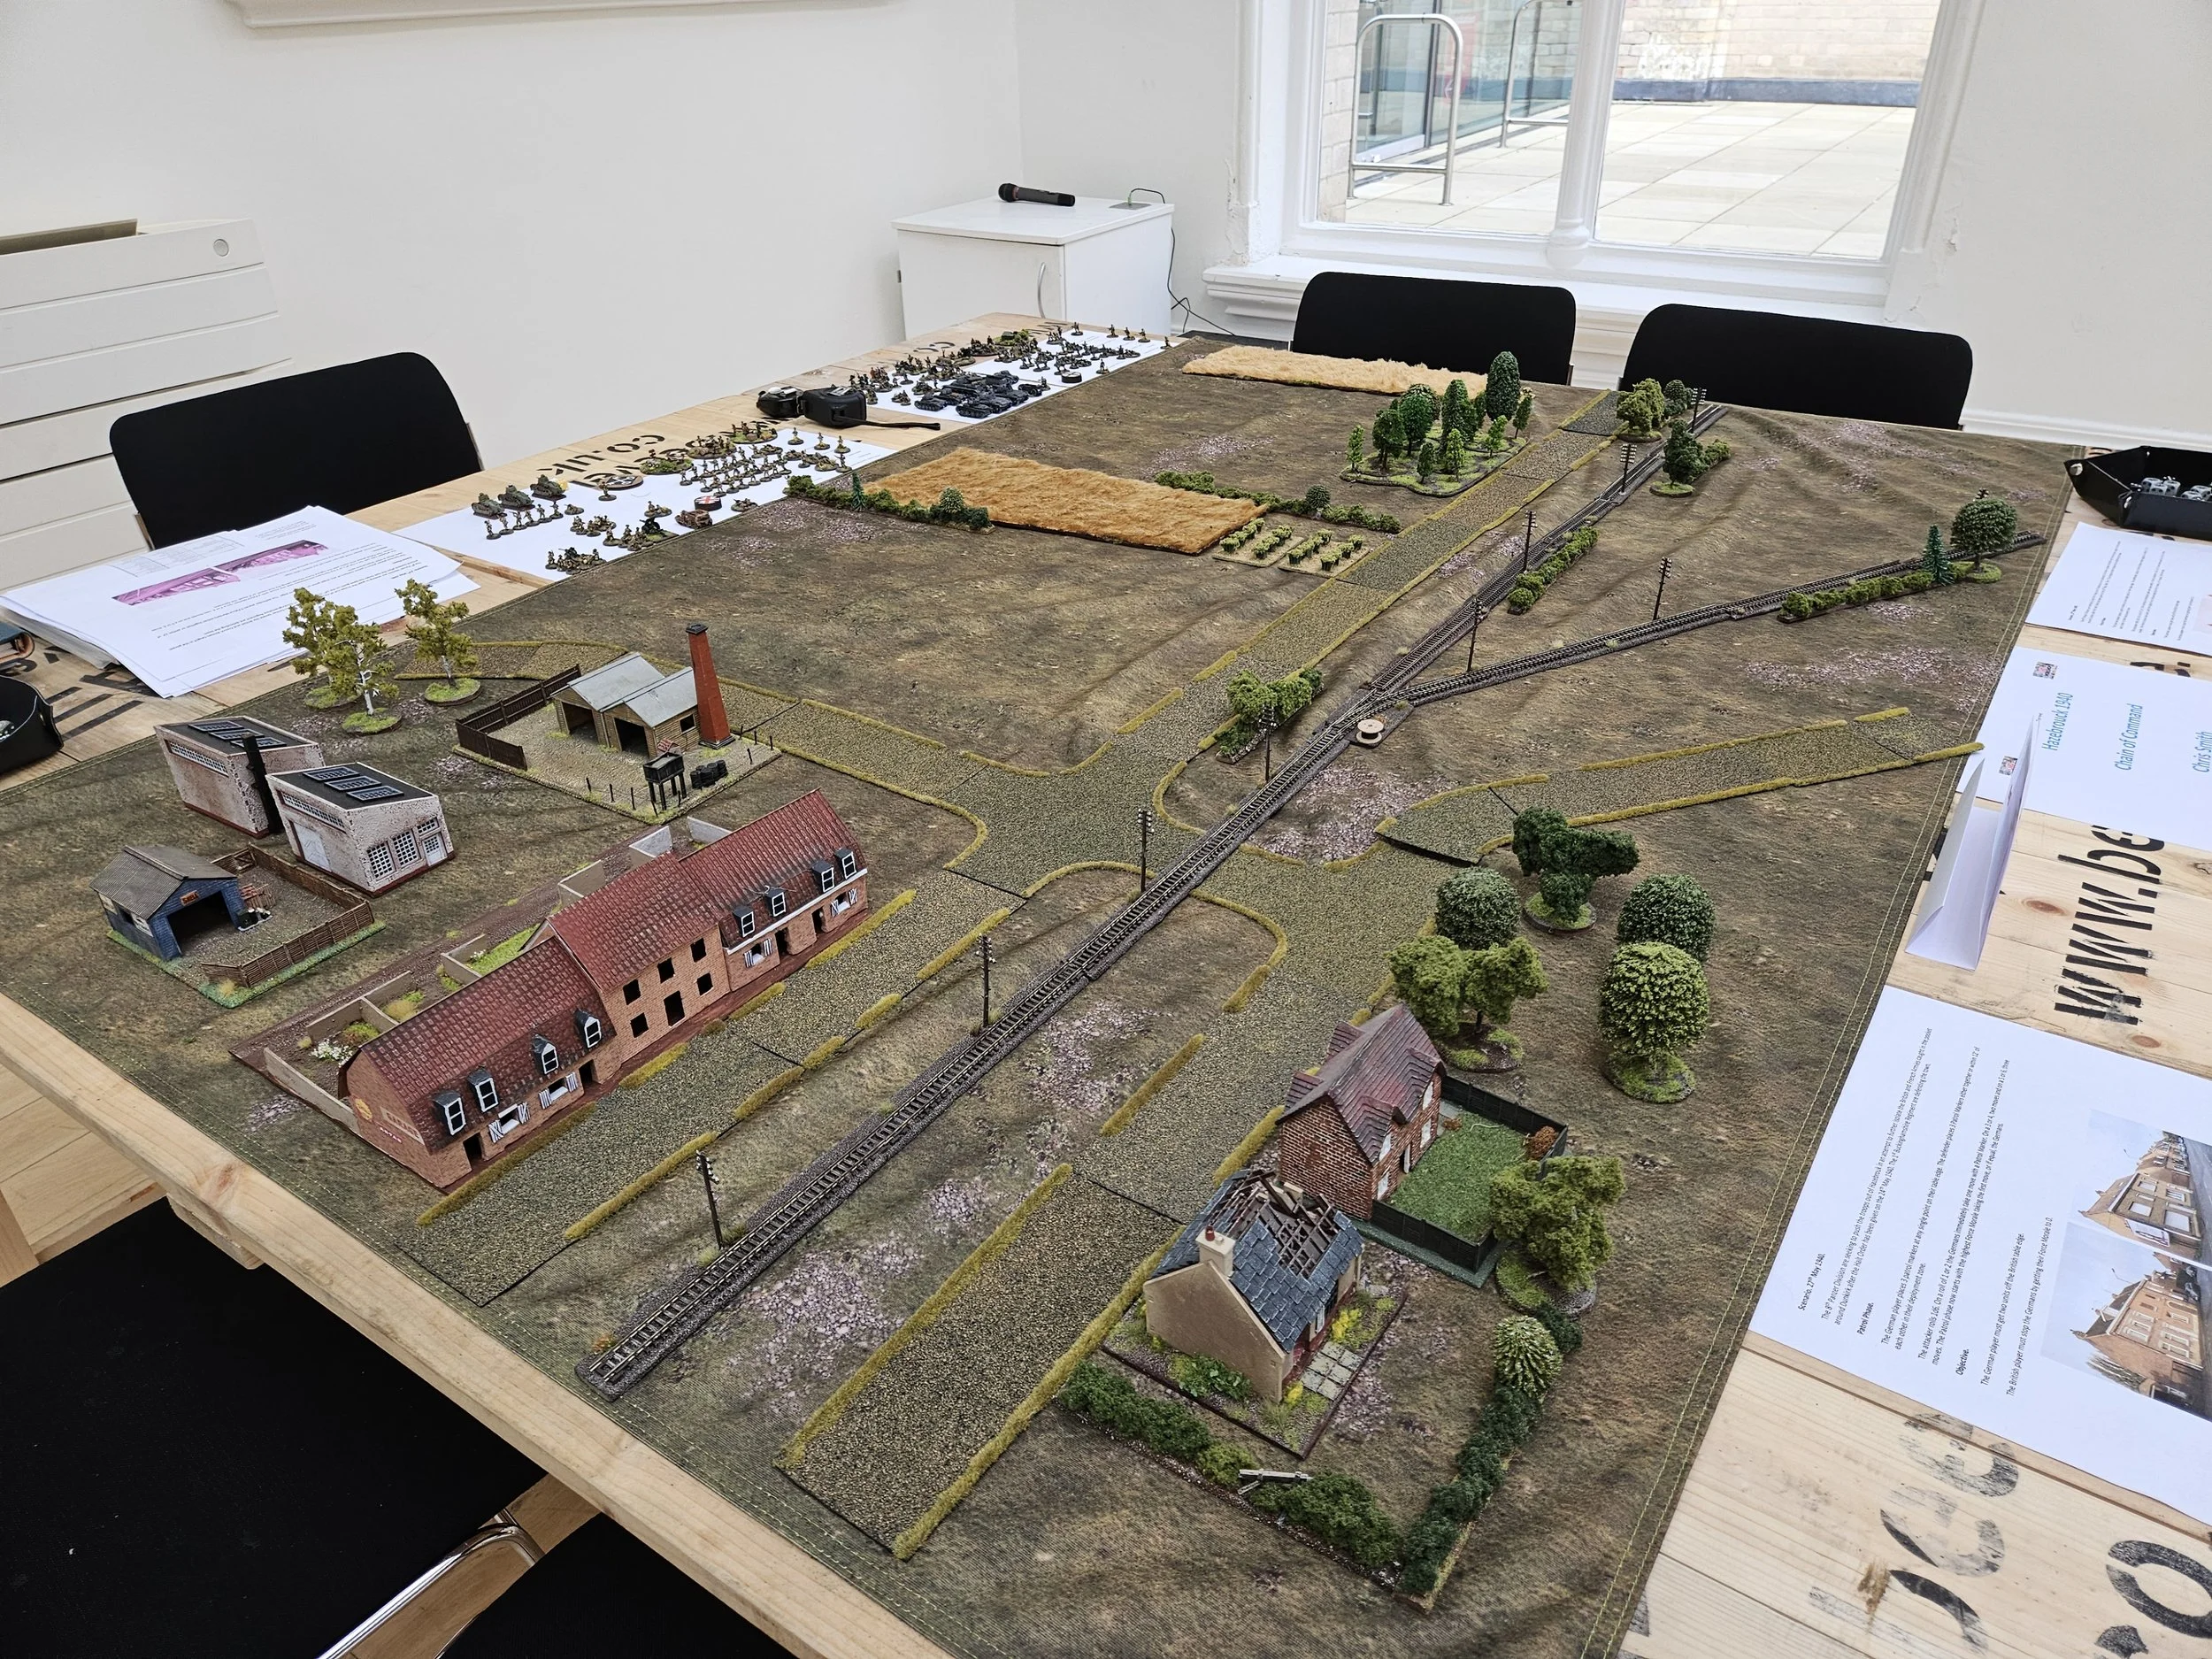
In fact, the only table I didn’t get a picture of was the late war Burma game of Chain of Command run by Rich himself: it was still being set up when I had the chance to visit. So I have borrowed one from the Battle Bunker HQ’s post about Britcon, along with the shot of the enormous Chain of Command table, also a Pacific game, and the Sharp Practice ACW clash.

SP AAR: OML9: Xhosa Raid!

My second game at Operation Market Larden 9 was a game of Sharp Practice set in South Africa in 1846.

To quote the briefing, “Xhosa raiding parties have brough terror to European settlers along the border with Cape Colony, destroying farmsteads, murdering their inhabitants and driving off livestock. The Governor has ordered both Regular and locally-raised auxiliary units up into the Waterkloof mountains to escort the civilians back to safety”.

I would play the commander of the auxiliary units tasked with rescuing the civilians.

The column I was helping to protect. My auxiliaries will enter the table from far to the right of what you can see here. The xhosa will come from where the camera is and off to the right as well.

This turned out to be a Ripping Yarn of a game, with waves of Xhosa initially trying to overwhelm the column and my troops with fire then, realising that we were winning the firefight, attempting to charge in and fight us at close quarters.

Most of the work, I admit, was done by my colleague controlling the Regulars, who established a firing line towards the rear of the column and a group of Riflemen in a ruined farmhouse and, quite frankly, shot the Xhosa to death.

For my part, apart from an initial hiccup with Corporal Nutter’s section of militia, who used my first move to retreat behind cover and then did not activate for the whole of the rest of the game, I managed to get some very useful Frontier Light Horse types into a position where they were protecting the road and could use their double-barrelled carbines to good effect, and then started rolling up the Xhosa’s left flank with the rest of my troops.

A charge from the Xhosa just about wiped out another of my units (horsemen who were, at that point, fighting dismounted) but that left the charging Xhosa vulnerable to a couple of volleys and a counter-charge that sent them scurrying from the table.

In the end, we defeated the Xhosa without taking too many casualties ourselves. Here’s a gallery of the action:

My thanks to everyone who was running/playing the game (it was great to use such beautifully painted figures on a cracking layout) and, of course, to Ade Deacon for organising the event as a whole. Can’t wait for OML10!

IABSM AAR: OML9: The Race to Brussels

One of the games I played in at this year’s Operation Market Larden was a superbly presented I Ain’t Been Shot Mum scenario put on by Phil and Jenny.

Iaon and I would lead tanks from the Welsh Guards supported by motorised infantry from the Grenadier Guards in a race across Belgium to be the first units into Brussels. Historically, the only opposition encountered was in the town of Halle, and that’s what the day’s affairs would recreate. Our mission was to get a “significant force” off either of the bridges at the other end of the table.

Unfortunately, things did not go entirely to plan mainly, I hasten to add, due to a spectacular cock-up in tactics on my part!

Click on the picture below to see how easy it is to snatch defeat from the jaws of victory!

Operation Market Larden #9

A couple of weekends ago, I made my annual pilgrimage to Evesham to take part in the Operation Market Larden (or as I sometimes write, “Lardon”!) Lardy Day

This proved to be a fantastic day’s gaming, with about a dozen tables on display, all of which could easily have taken a “Best of” award at any major wargames show.

Here’s a quick gallery, mostly taken from just before the day began: after that, I was too busy playing to take more and, without everyone standing around playing, you can actually see the tables!

My thanks to Ade Deacon for organising again: I was only sorry I couldn’t stay for drinks and curry but family matters called me away.

I’ll write up the two games I played in as separate posts, so keep your eyes peeled for them. I know Mike can’t wait for the IABSM one!

IABSM AAR: Race to Brussels

At Operation Market Larden 9 last Saturday, my morning game was a superb Race for Brussels game put on by Phil and Jenny.

The Dynamic Duo had playtested the game a few days before, and Steve Blease has written a lovely After Action Report that you can read by clicking on the picture below:

But how did you do at the game, I hear you ask?

Rest assured, I’ll be writing a full report concerning my execrable performance when I have time to do so but, put it this way, it was definitely an “interview without coffee” for my company commander when he limped back to base!

CDS AAR: Valley of Tears at Winter Wonderlard 2023

Yesterday saw the annual Winter Wonderlard Lardie Day in Bristol.

I couldn’t be there myself (real world interfering with gaming again!) but here’s the first of the AAR using TFL company-sized rules from the day, with Steve Blease and his “Valley of Tears” Golan Heights scenario using Charlie Don’t Surf .

There were two sessions: see pictures from both, and others taken on the day, by clicking on the picture, below:

CDS AAR: A Writtle Bit of Lard

Also on show at the Lardy Games Day A Writtle Bit of Lard was a great looking game of Charlie Don’t Surf put on by Nick Bellamy.

Here are some pics, also from Ian Roberts, but this time from the CDS Facebook Group:

And as Preparation Prevents Piss-Poor Performance, here are some shots of the playtest that Nick ran a few weeks before:

IABSM AAR: A Writtle Bit of Lard

I couldn’t make this year’s Lardy event in Writtle, A Writtle Bit of Lard, but, looking at the photographs up on various Facebook groups, I wish I had.

Legendary game runners Phil and Jenny put on a superb looking I Ain’t Been Shot Mum: here are a few photos from the day posted by Ian Roberts on the IABSM Facebook Group.

IABSM AAR: Capturing Rauray

Earlier this year, at the Lardy Games Day Operation Market Lardon, I played in a very enjoyable game of I Ain’t Been Shot Mum run by Phil and Jenny.

The game involved elements of 2. SS Panzer-Division Das Reich and 9. SS Panzer-Division Hohenstaufen attempting to recapture the town of Rauray in Normandy from the 1st Battalion Tyneside Scottish. Noddy and I played the British against some very skilful German opposition.

The game had actually been playtested several times, and here’s an AAR from one of those playtests from the excellent Bleaseworld blog.

Click on the picture, below, to see all:

IABSM AAR: Breaking the Panzers

My afternoon game at Operation Market Lardon 2022 was a game of I Ain’t Been Shot Mum run by the legendary Phil and Jenny.

I must confess that I got so into the game that I forgot to note the background properly, but from memory Scottish infantry supported by tanks from the Lancers, commanded by Noddy and I, would be defending a village in Normandy somewhere against an attack by a combined force of infantry and armour from the Waffen SS commanded by Andy and friend John.

A superb game of IABSM played on wonderful terrain. Click on the picture below to see all:

SP AAR: The Hundred Days

Here’s the first of my two battle reports from the TFL Games Day, Operation Market Lardon: a game of Sharp Practice set not only in the Hundred Days campaign but actually at Waterloo itself. As you’ll see below, Joe McGinn put on a great-looking game

John and I played the French, commanding a force ordered to stop an ammunition cart getting to the British Guards in Hougement. The Allies were played by Ally and Phil

The French were quite lucky in that our Voltigeur skirmishers got onto the table quite quickly and managed to almost immediately drive the British guards away from the cart. One set of skirmishers was then able to take possession of the cart and get ready to move it towards our baseline.

The Allies then brought on a large force of German infantry in column that headed straight for the cart and managed to recapture it, forcing our skirmishers to withdraw, but they withdrew just far enough to put the Germans under fire again, with concentrated.fire from the two Voltigeur units then driving the column back.

This meant that the French had time to bring on both their main infantry force (conscripts) and a decent sized support unit (line infantry). The former headed towards the cart and were able to finish the German column off, the latter formed a blocking force that quickly got into a fire fight with some Nassau infantry coming up from the direction of Hougemont itself.

The blocking force and Nassau were fairly evenly matched until one unit of French Voltigeurs was able to break away from harassing the German infantry (who had been broken by the arrival and volley fire of the French conscripts) and lend its fire to the battle. The Nassau infantry started taking heavy casualties and were forced to withdraw.

As the battle ended, the French had the ammo cart in their possession and well on the way to their baseline; the German column and British guards were on the run; and the Nassau skirmishers were starting to backpedal fast.

It was a glorious victory for the French: we did not lose a single point of Force Morale and had reduced the Allied force to just one Force Morale point. We had also lost just two Voltigeurs whereas dead Allied infantry lay strewn over the field.

Here’s the game in photos: