6th Game of To The Strongest

This game was a replay of the last i.e. a clash between two homogeneous Sengoku Samurai forces. You can see the sides in the post from December 12th.

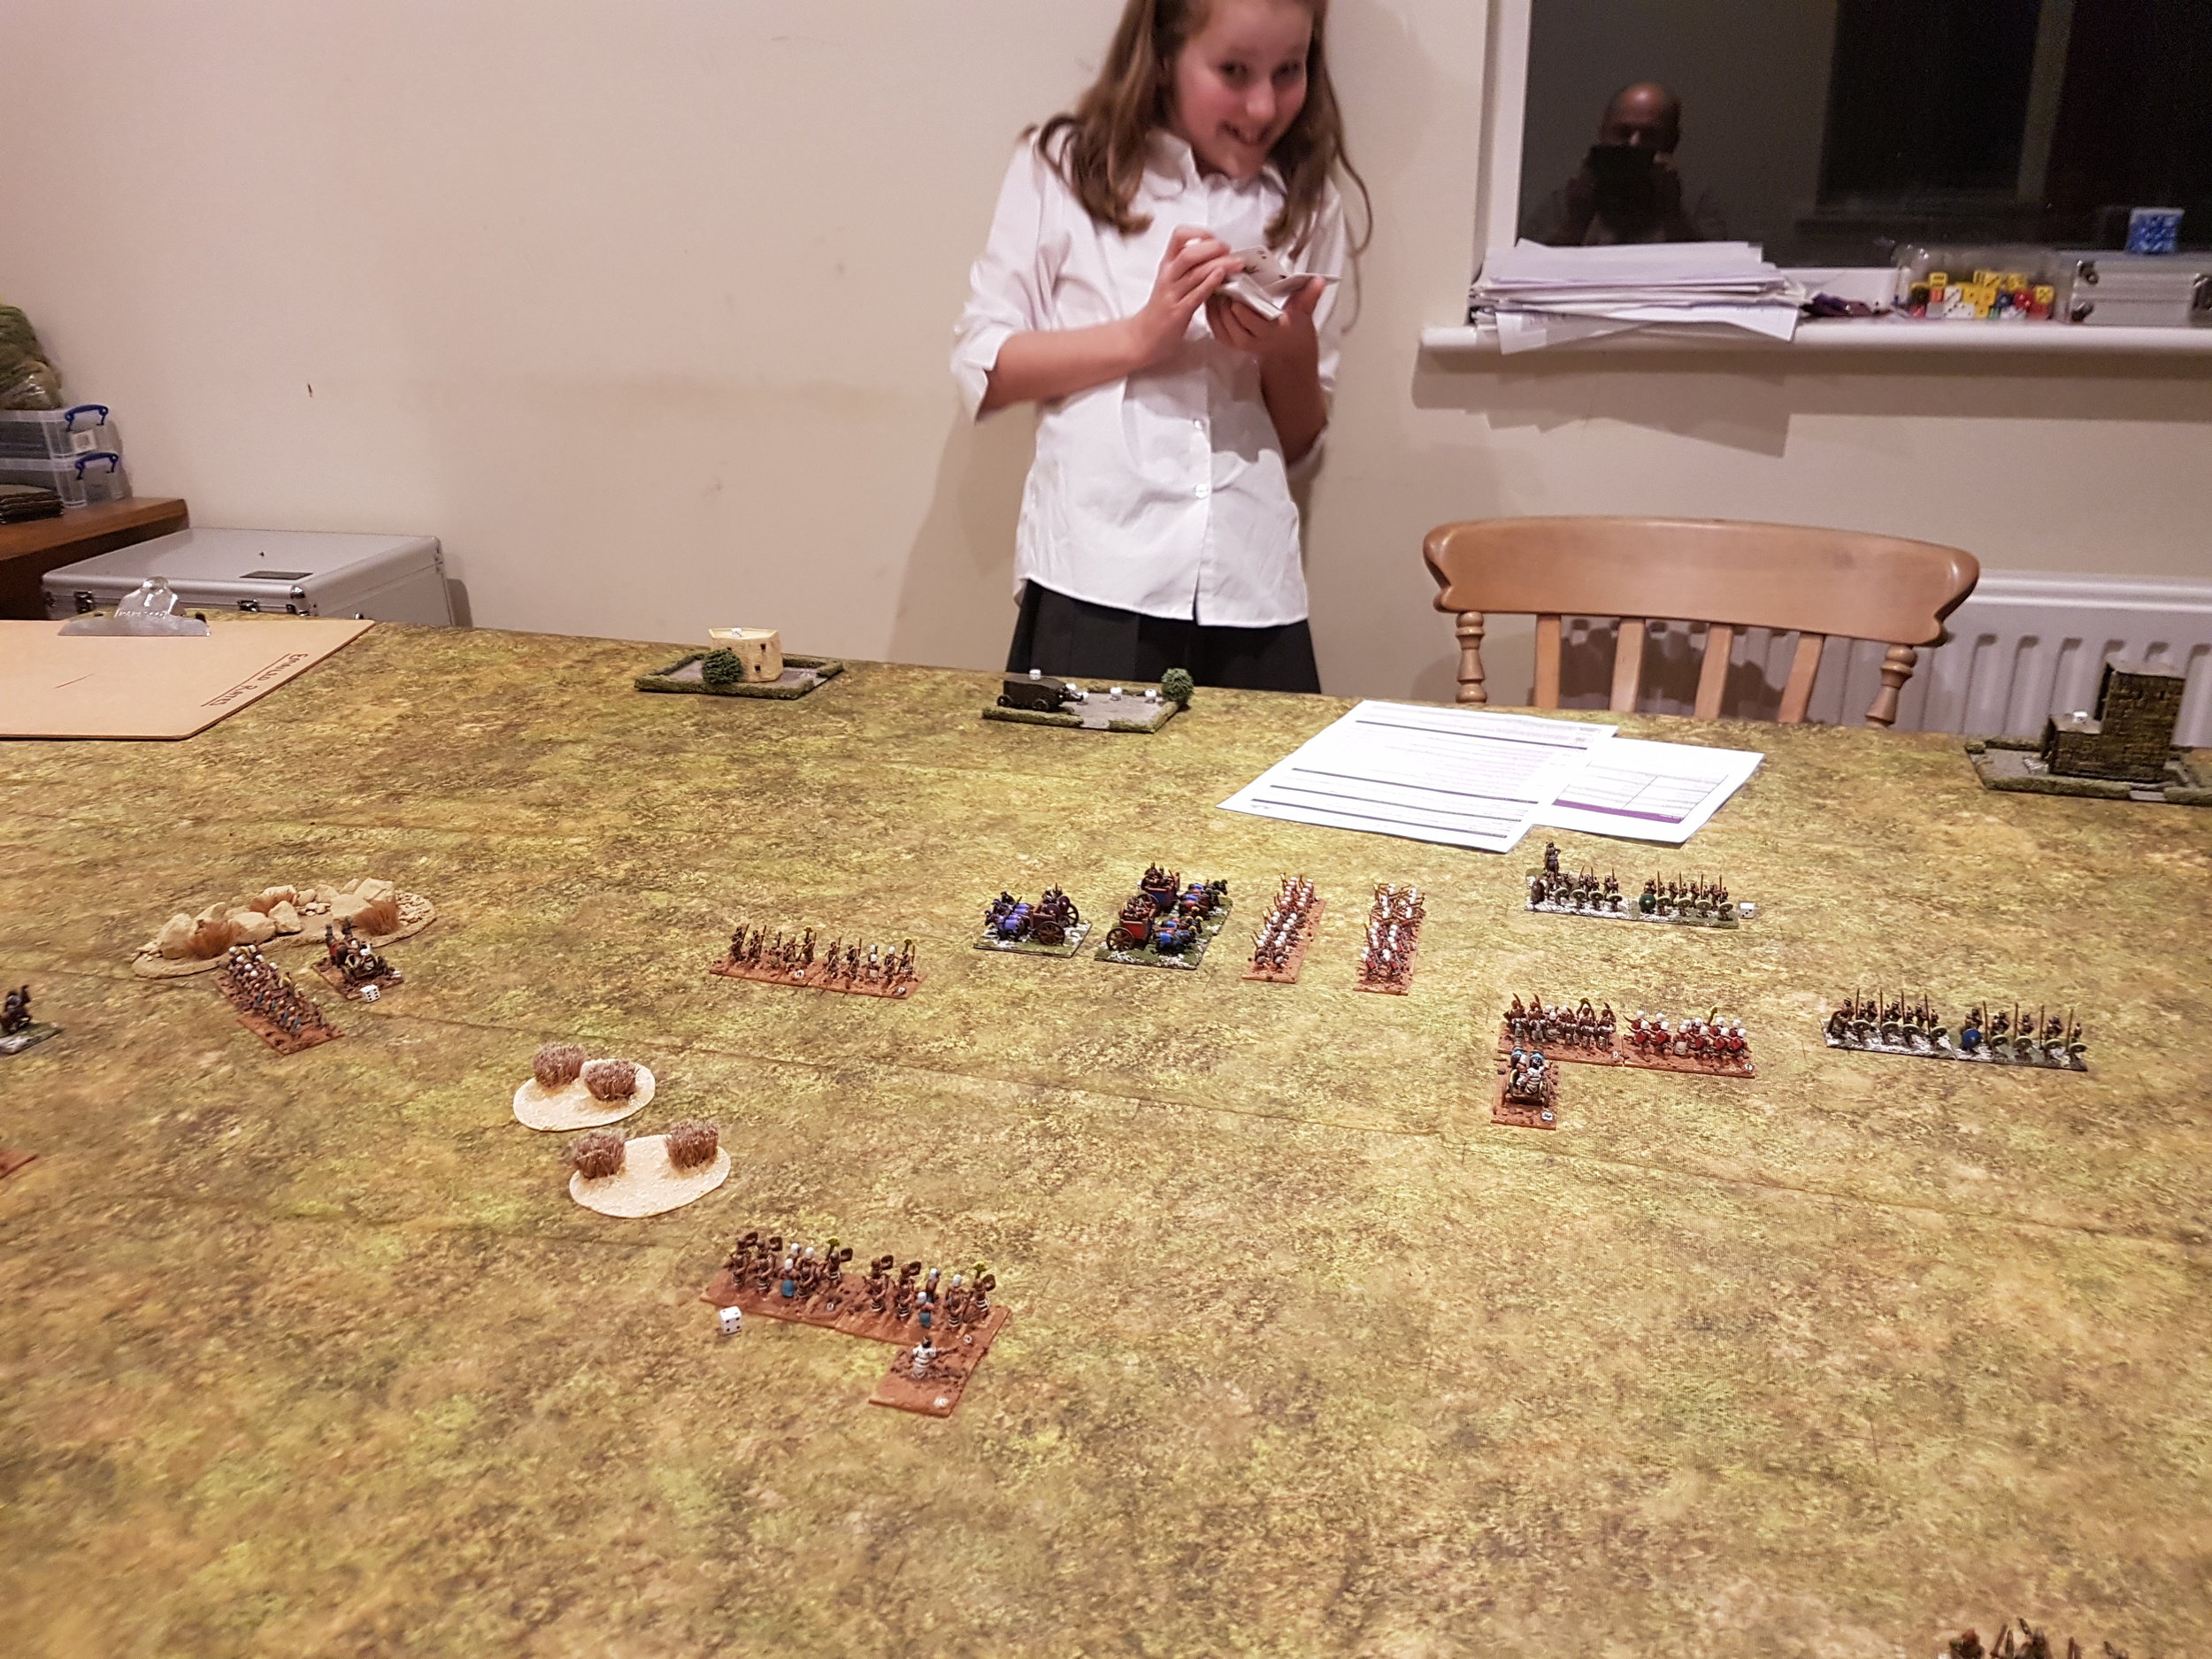
The Battle is about to begin

I deployed half my foot samurai on each of the left and right flanks, with my Ashigaru right-centre and my mounted cavalry left-centre. As before, my plan was to hold the centre and then loop around whichever flank opened up first.

Neil, as last game, deployed quite in depth. He placed his “mobs” on his left; his big Ashigaru command mixed in with his cavalry in the centre; and his main samurai command on his right.

This was a much closer game than last time. On the right, I pushed forward quickly with one Samurai command and an Ashigaru command, leaving the other Ashigaru command in reserve. Over the course of the battle, this wing would hit the enemy line several times , but not quite manage to gain a significant advantage. In fact, towards the end of the battle, I had to commit my reserves to prop up this section of my line or risk being pushed back.

My right wing advances

In the centre/left-centre, my cavalry moved forward and managed to get a positional advantage on the Ashigaru facing them. Again, however, no mater how much I tried, I couldn’t quite get in a blow hard enough to crack Neil’s line and, again, towards the end of the battle, my troops began to look a bit “thin”. Fortunately I had a spare unit of foot Samurai from the left that I could move right in order to cover my camps against enemy breakthrough, so the situation remained at least stable.

My left flank moves forward

On my left flank, I advanced strongly and, again, had mixed success. Although, as above, I couldn’t break through Neil’s line, my command of three foot samurai units managed to kill three of the four foot samurai units in front of them for the loss of only one of their own. This left me with two units, one of which I used to reinforce the centre, the other managing to manoeuvre around a rocky outcrop and get behind the enemy line.

At this point, both sides were down to around four to six Victory Coins, and each side had three to four units disordered i.e. about to break at a cost of two Victory Coins per unit: so it was definitely turning out to be a very close run thing.

As it happened, in the endgame, the cards fell my way. My unit of foot samurai that had managed to get around the end of Neil’s line had a series of activations that allowed them to take one of his camps, and one of my reserve Ashigaru Teppo units, firing for the first time, blew a unit of disordered mounted samurai away. With that, Neil’s Victory Coins were all gone, and he was forced to retreat. The day was mine!

Analysis

Another cracking game of To The Strongest. Again, the maxims of trying to break your opponents line and making sure you have a reserve held true, with flank charges and taking camps being very successful routes to victory.

Back to painting the 15mm Ancients now: loving the Samurai armies, but they are very small!

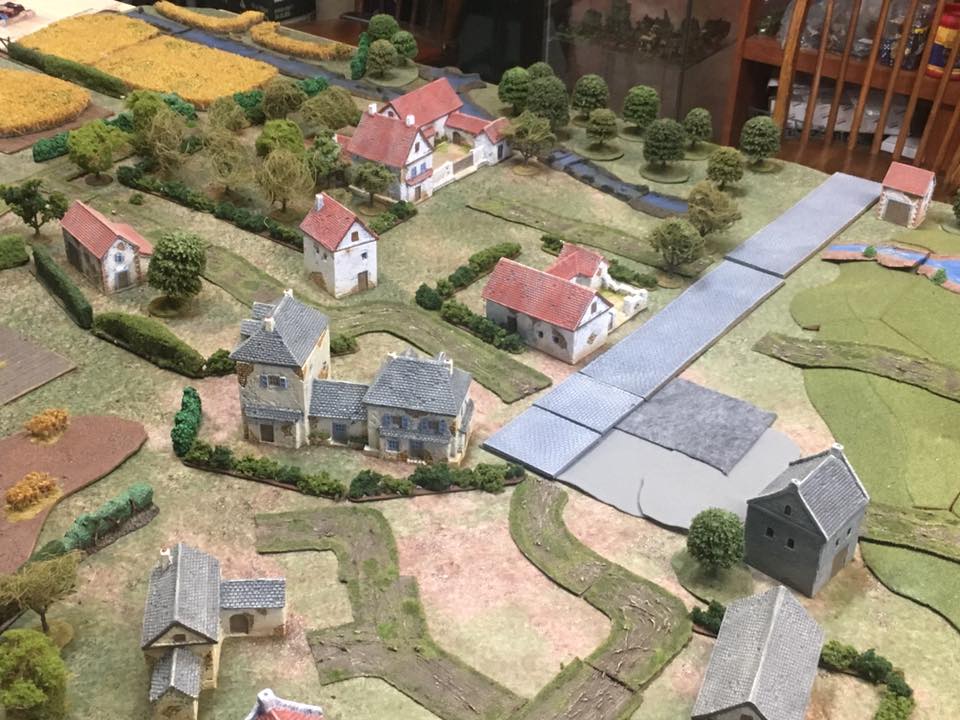
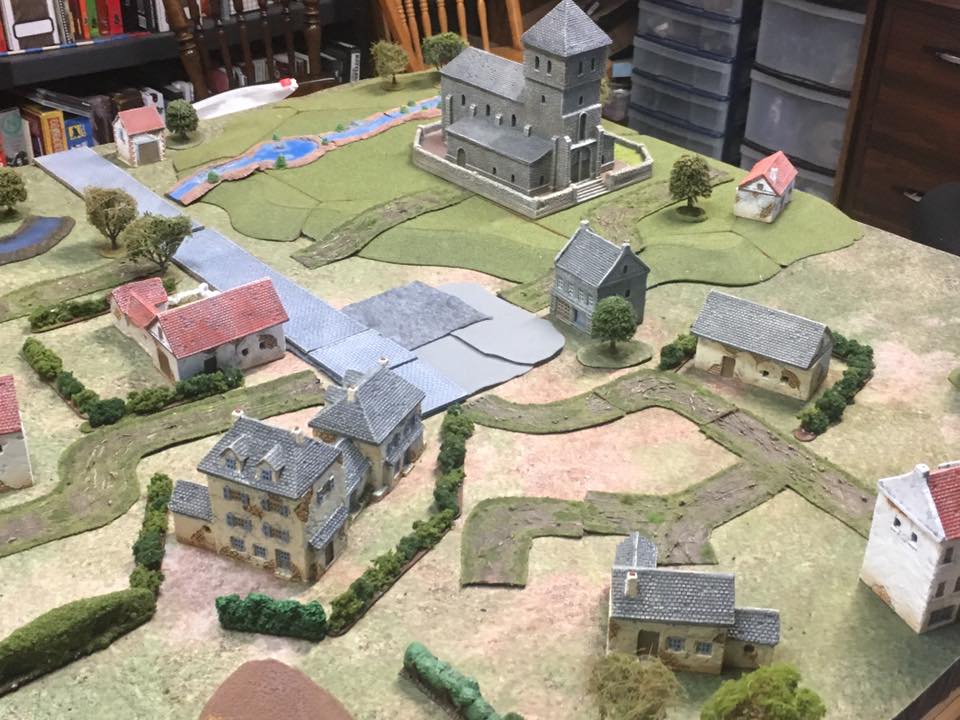
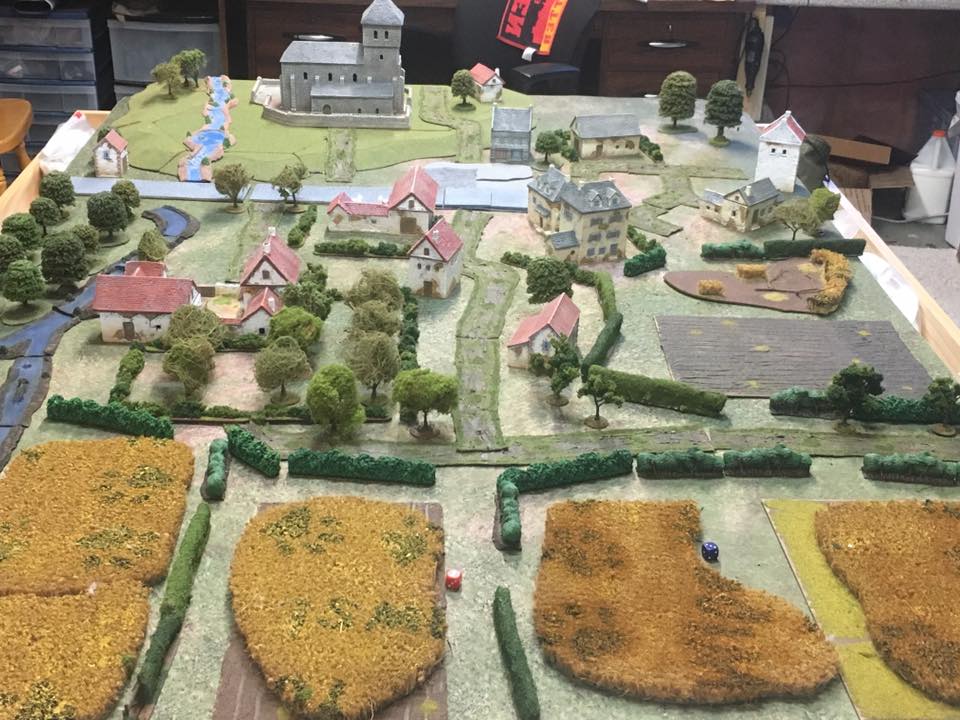
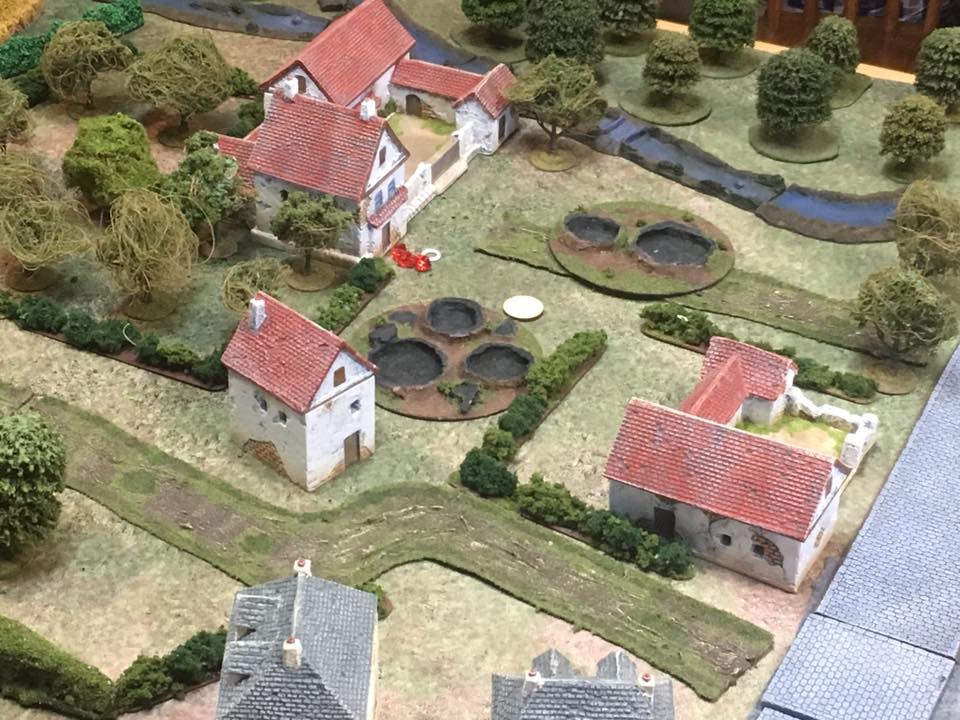
IABSM AAR: Blenneville or Bust! #3D: Saint Melotte

Bruce Romanick has been learning the IABSM ropes whilst playing some of the scenarios from the Blenneville or Bust! scenario pack.

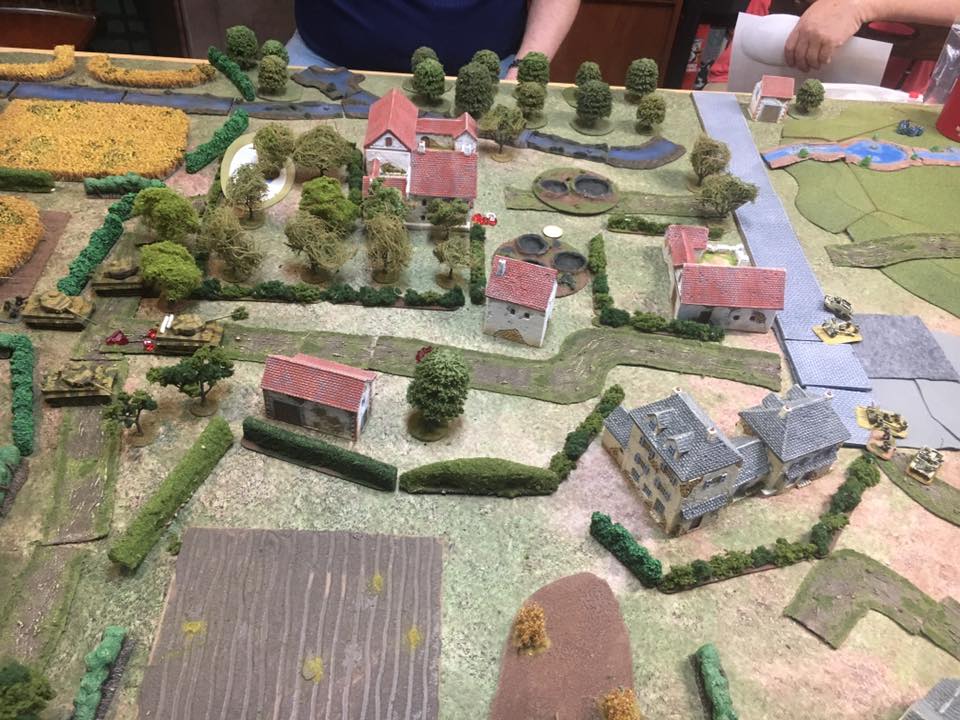
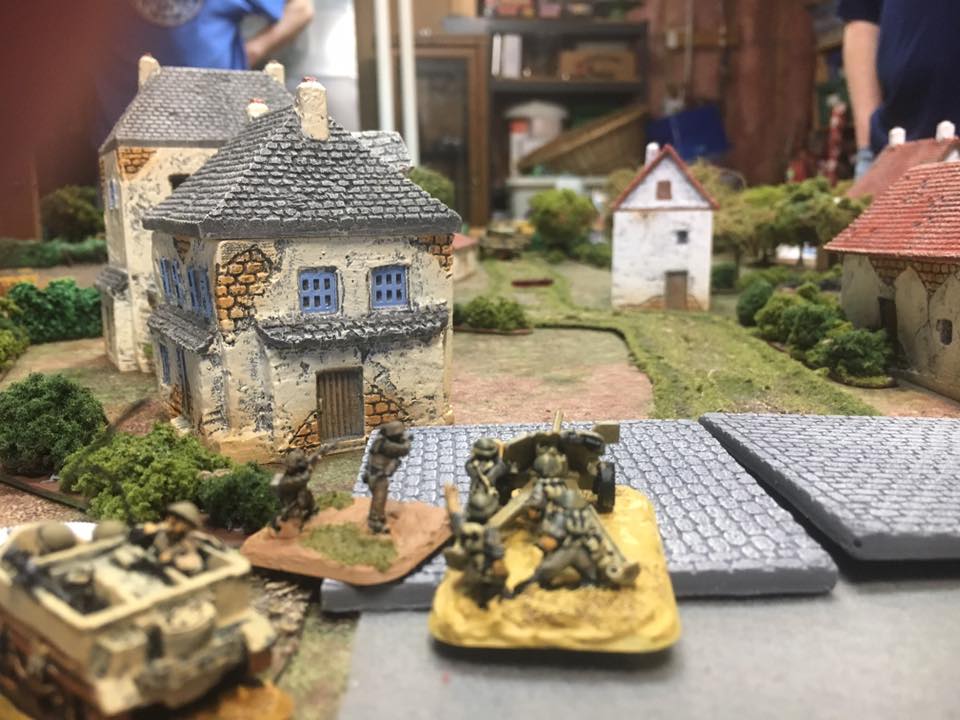
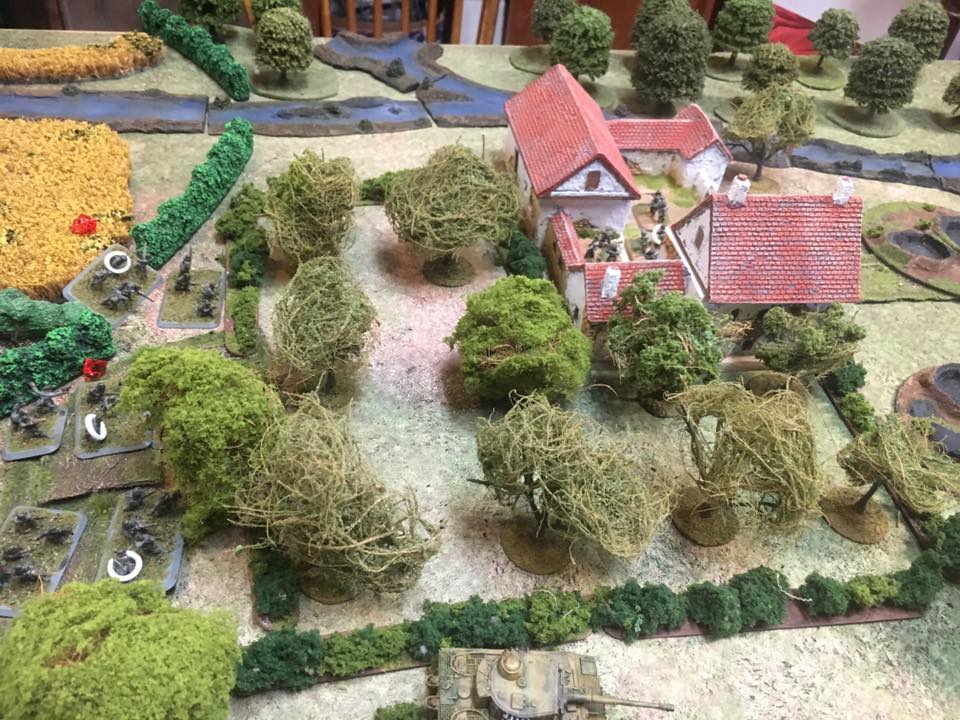
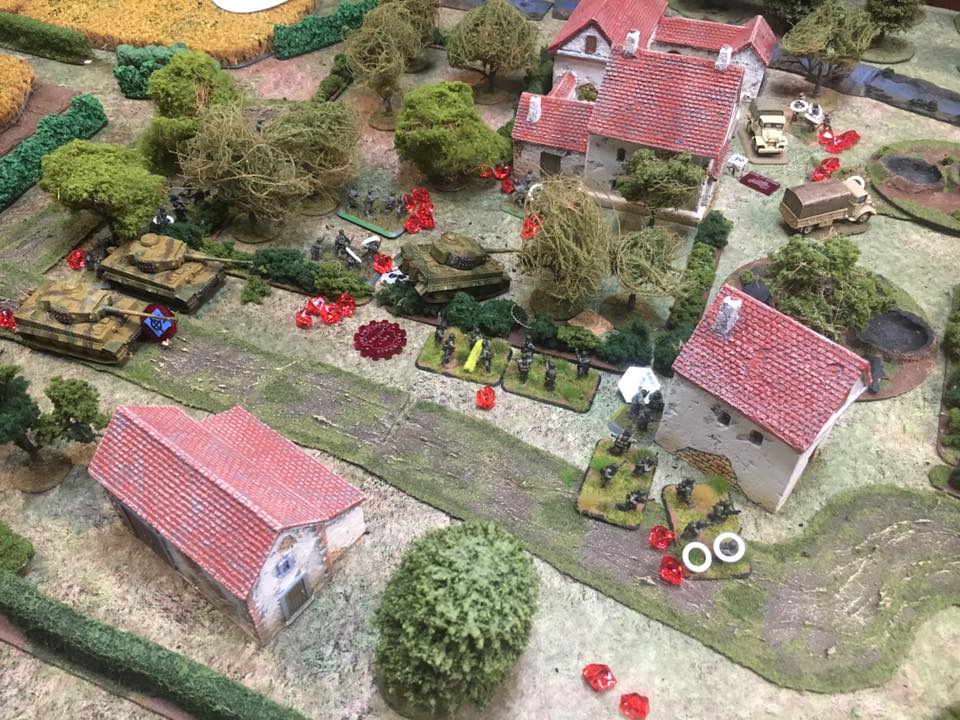
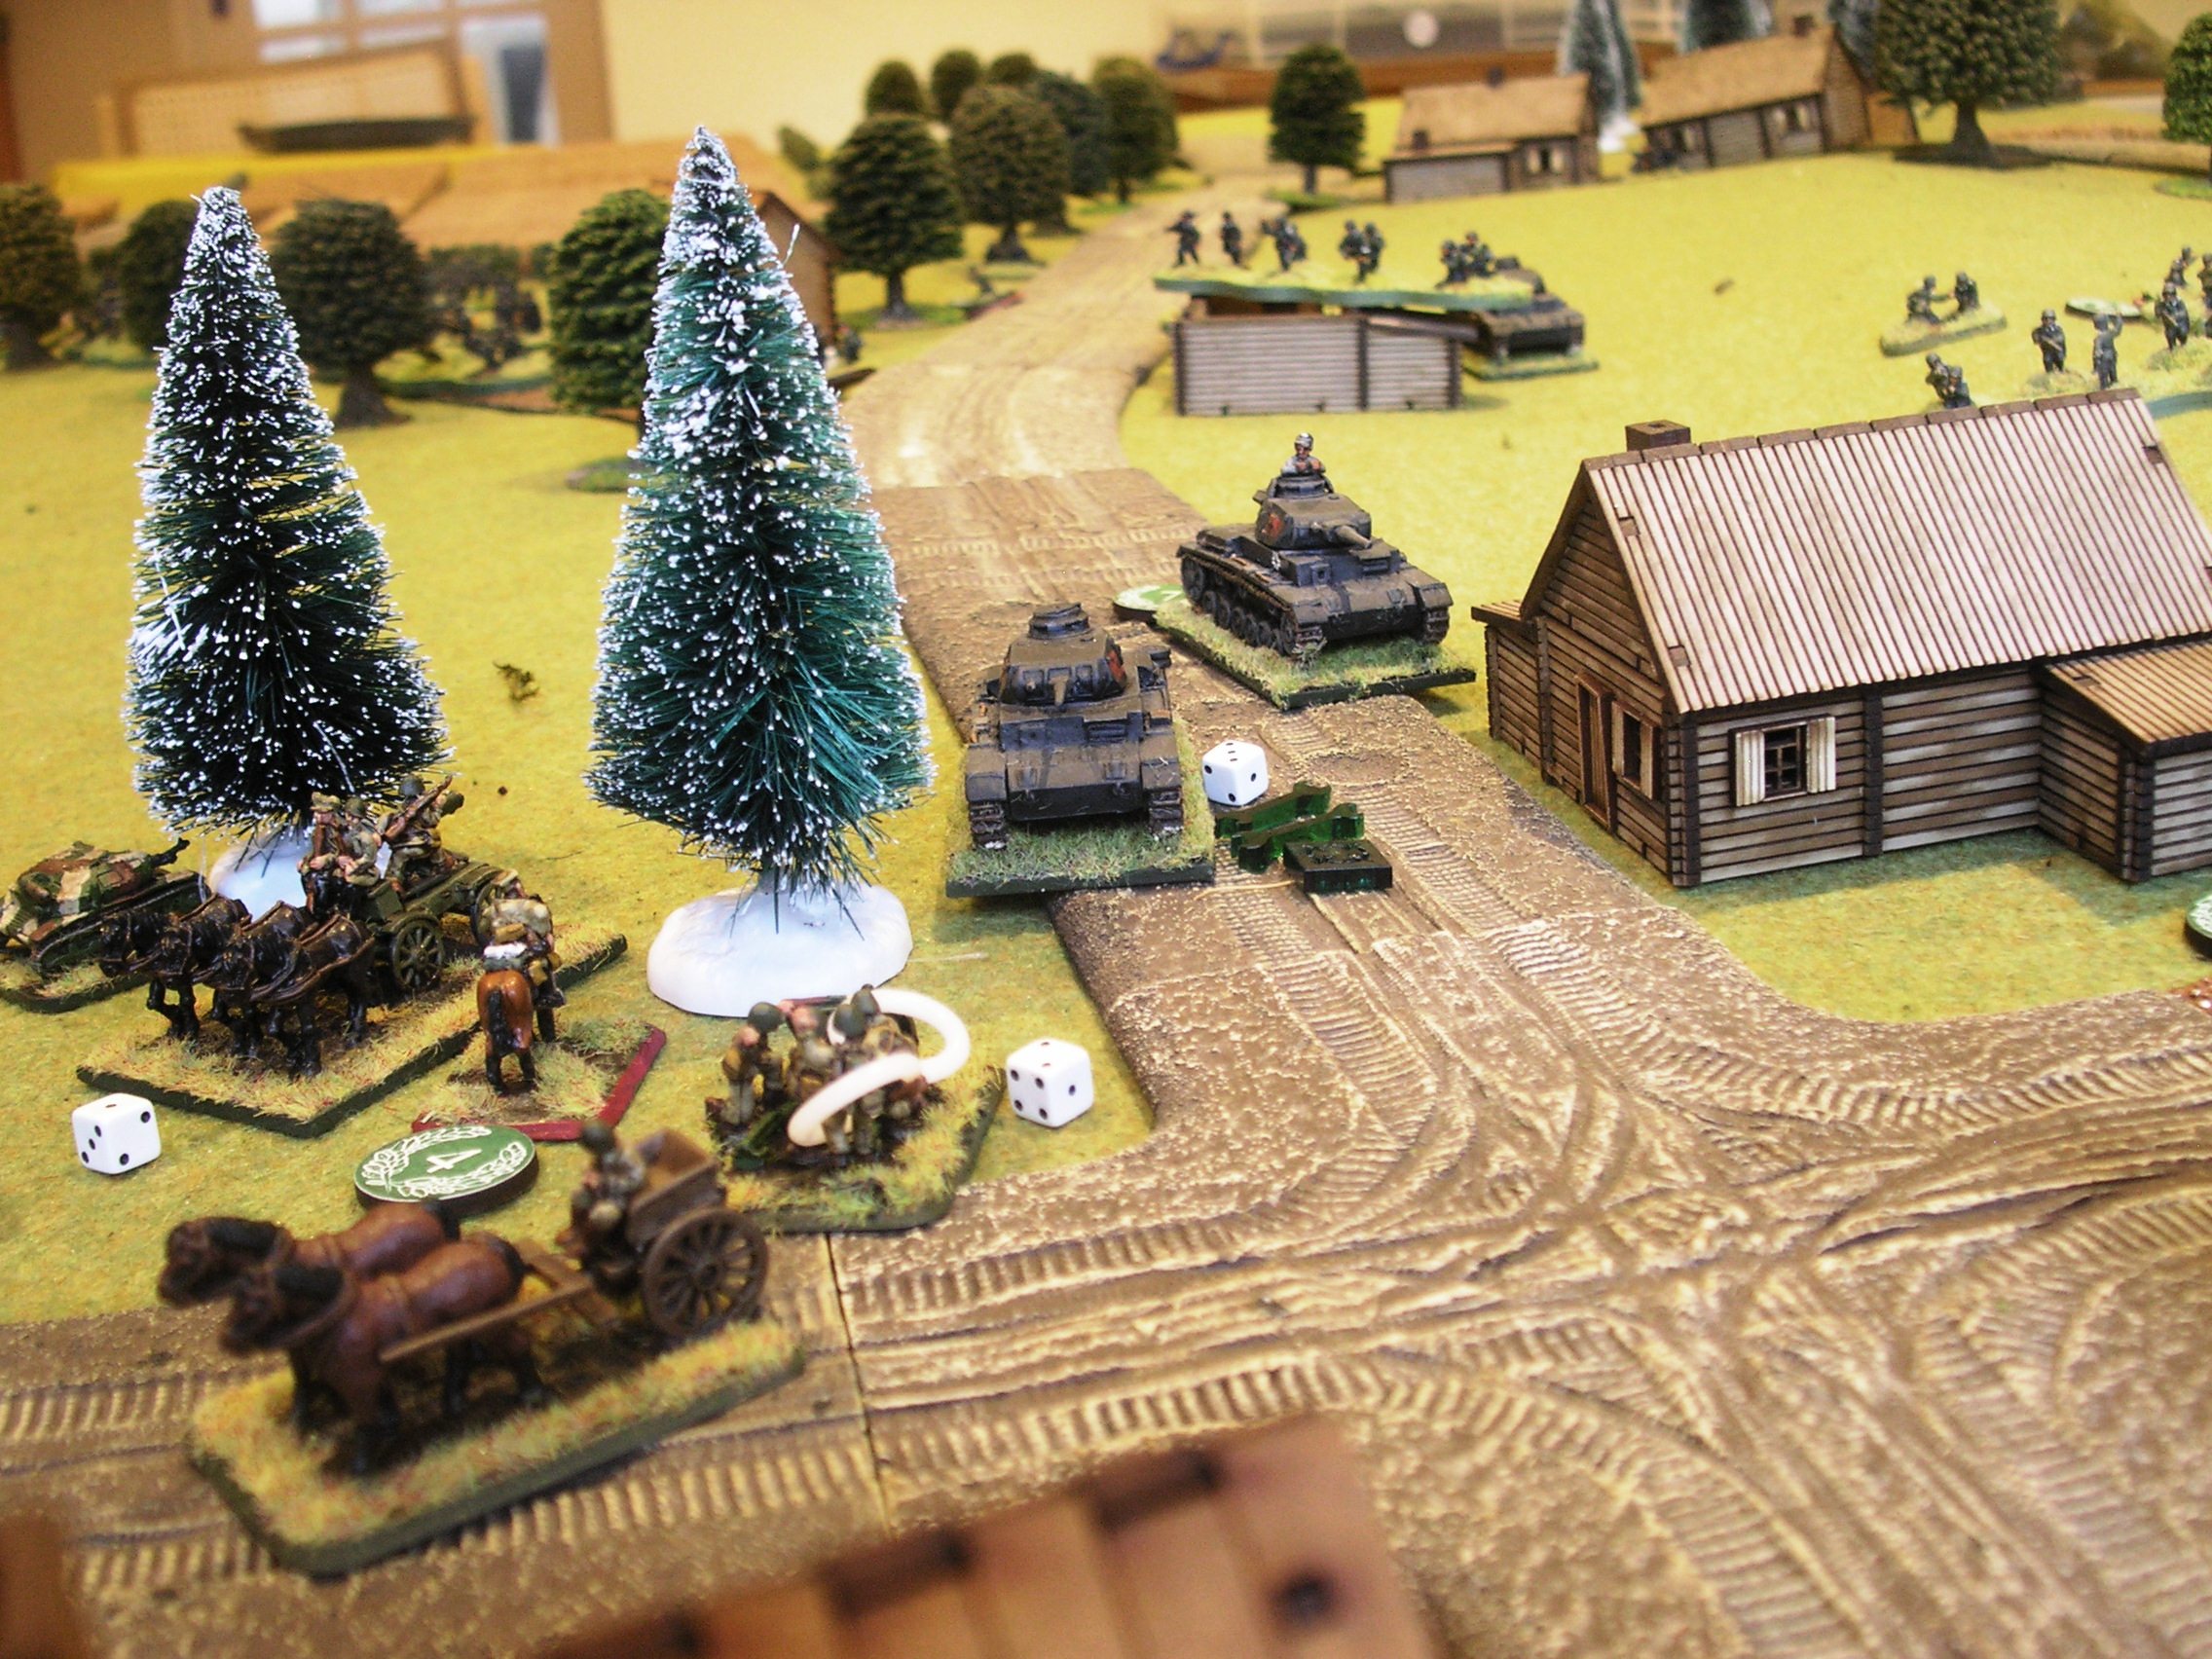
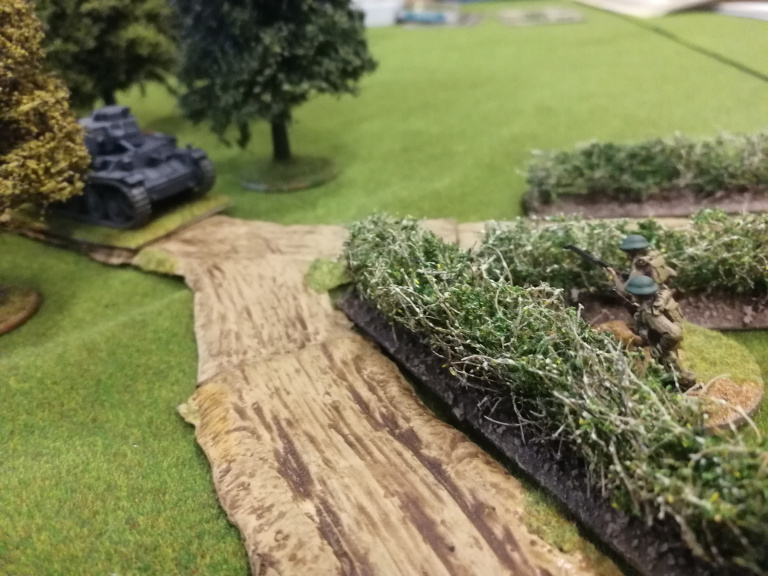
He’s posted a few photos of his latest game, scenario #3D Saint Melotte (where the British are defending a small French village against German armoured attack) on the IABSM Facebook page, which (and I hope he doesn’t mind) I reproduce here.

Apparently the plucky Brits managed to hold off the Germans…

5th Game of To The Strongest

Wargaming buddy Neil told me that he had a couple of large 10mm Samurai armies in his attic somewhere. They were based for Warmaster Ancients but, with a bit of jiggery-pokery, translated nicely into two Sengoku Samurai armies for To The Strongest.

The sides, largely homogeneous, were as follows:

The Soft-top Box Samurai

  • Senior General

    • 3 x Mounted Samurai

  • General 1

    • 3 x Foot Samurai

  • General 2

    • 3 x Foot Samurai

  • General 3

    • 2 x Ashigaru Spearmen

    • 2 x Ashigaru Teppo

  • General 4

    • 2 x Ashigaru Spearmen

    • 2 x Ashigaru Teppo

The Hard-top Box Samurai

  • Senior General

    • 4 x Mounted Samurai

  • General 1

    • 6 x Foot Samurai

  • General 2

    • 1 x Foot Samurai

    • 3 x Mobs

  • General 3

    • 4 x Ashigaru Spearmen

    • 3 x Ashigaru Teppo

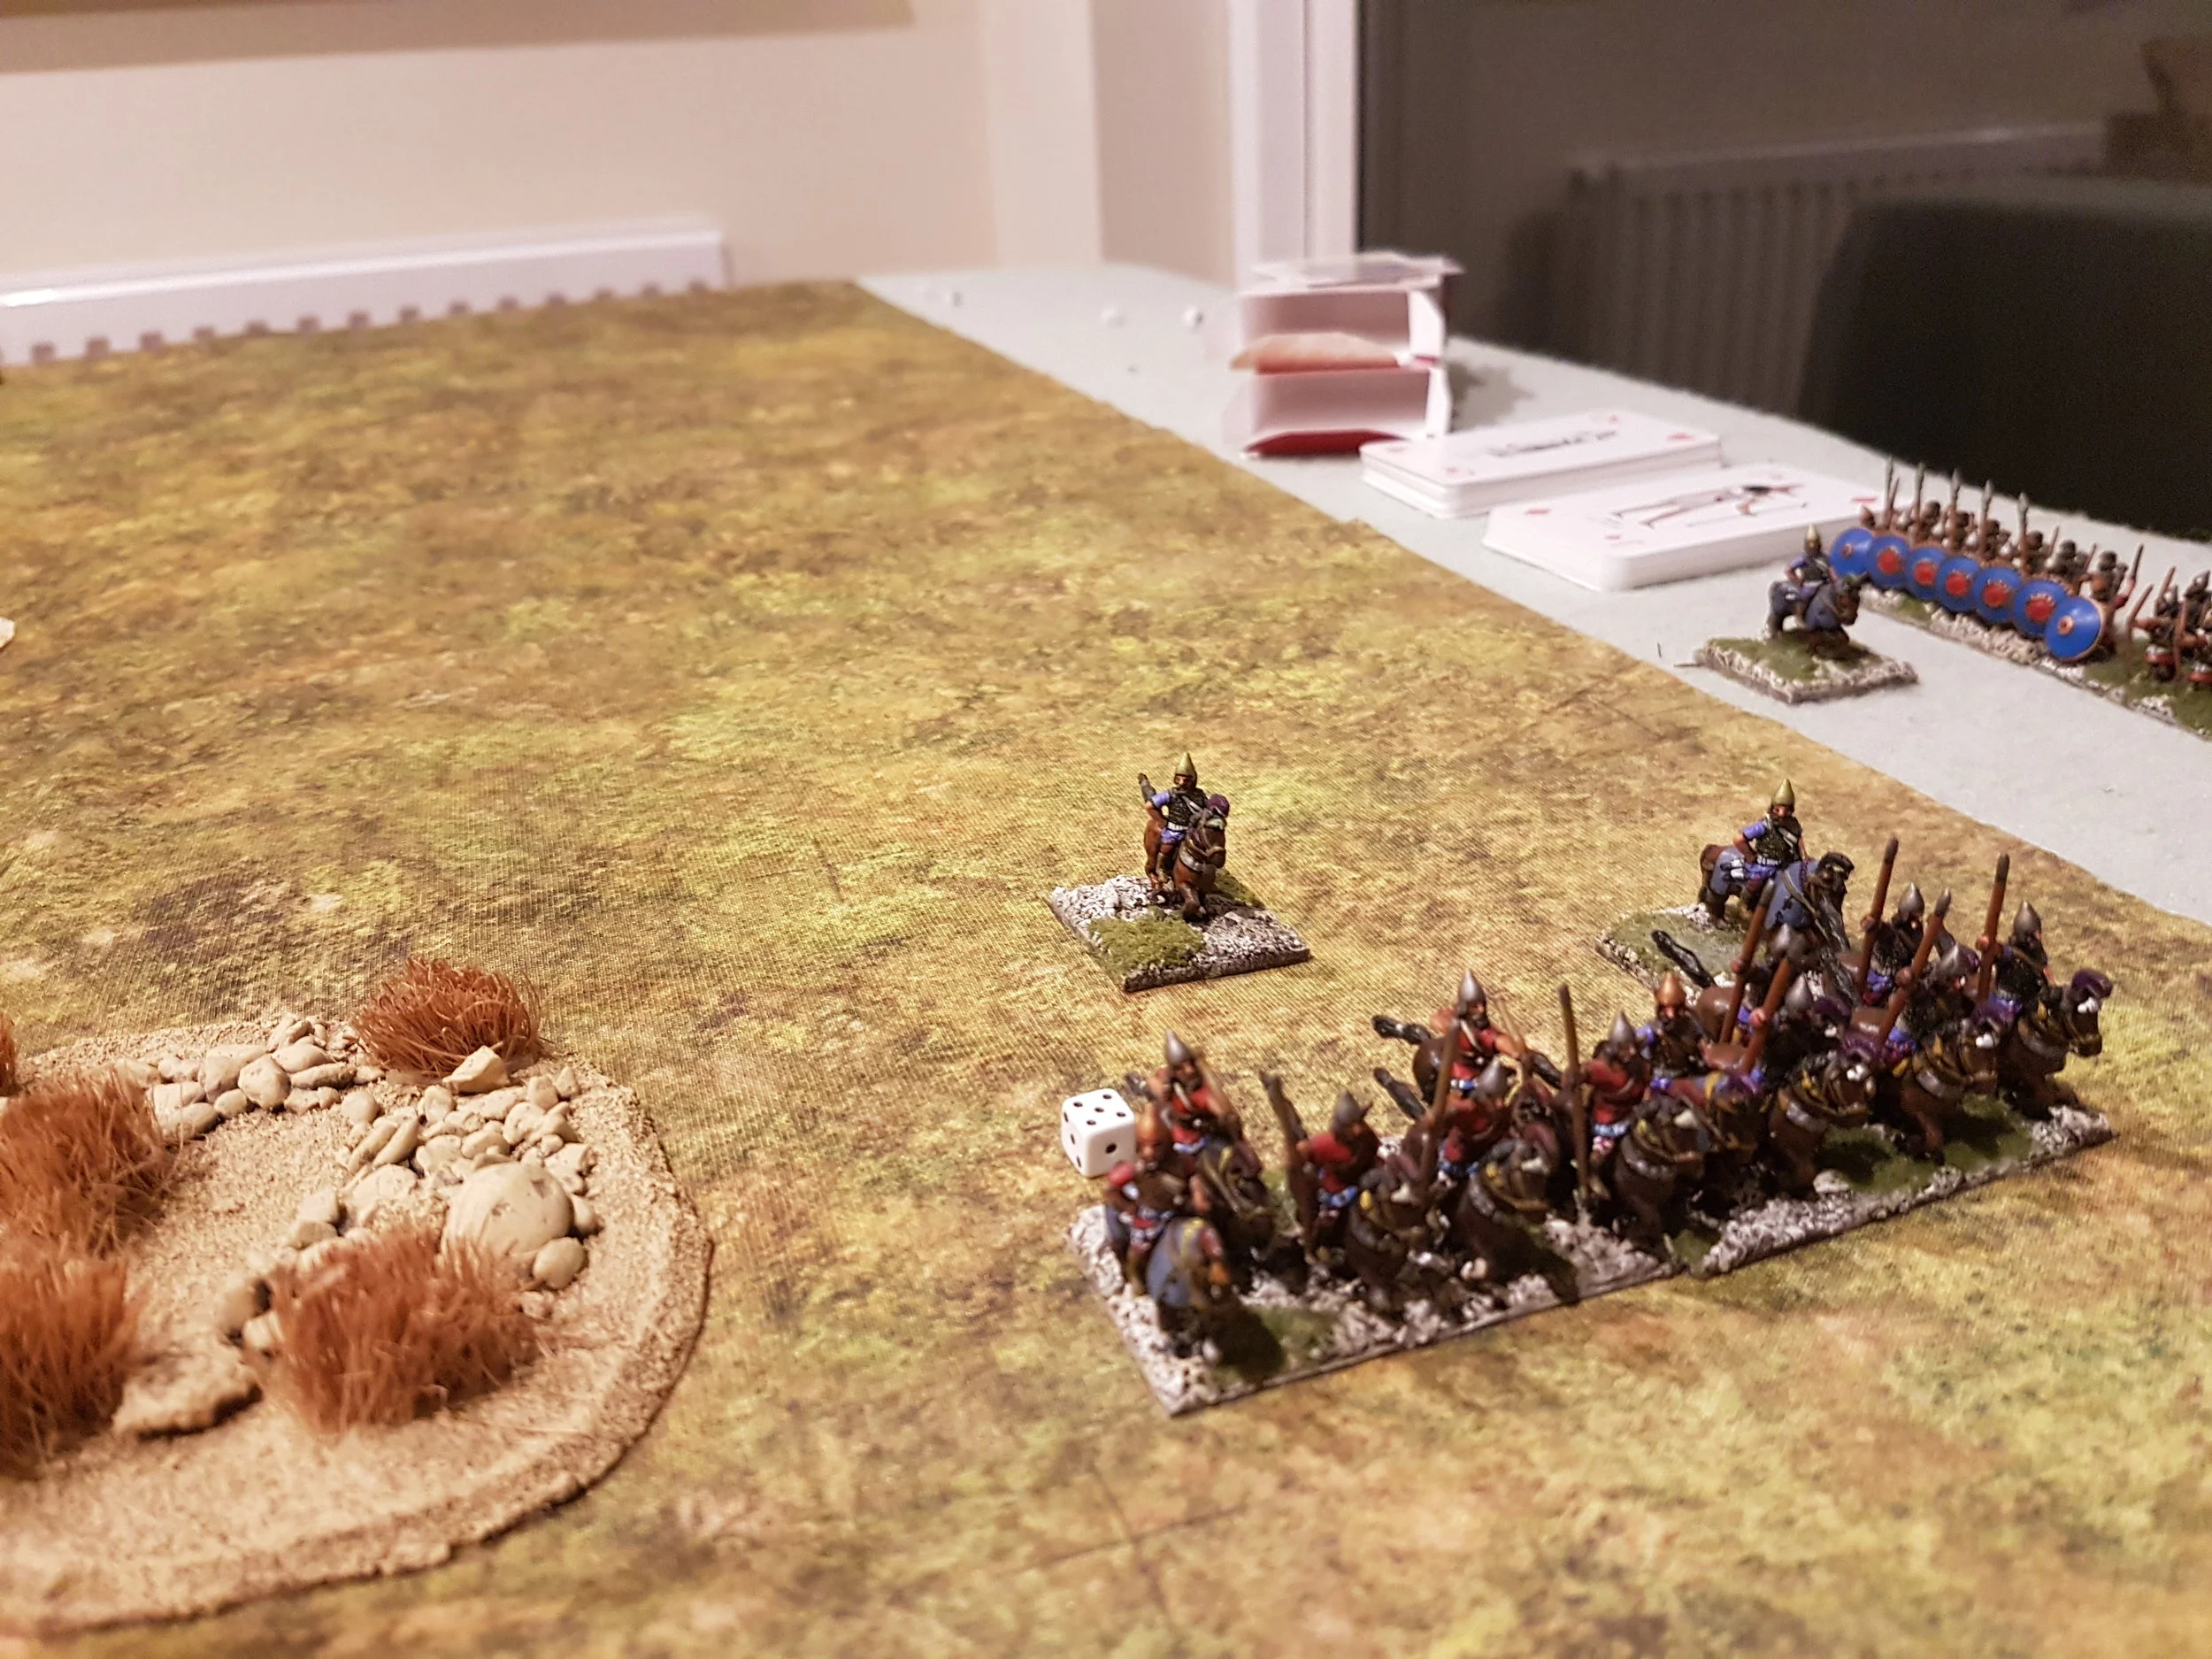
Mounted Samurai from the Soft-top Box Clan (the red markers are Heroes)

The Game

Neil and I each deployed one command at a time. I was playing the Soft-top Box Clan (i.e. the figures from the box with the soft top!) and deployed my mounted Samurai on my right, opposite Neil’s mounted Samurai; one of my Ashigaru commands in the middle, opposite Neil’s large Ashigaru command; and both units of Foot Samurai on the left, opposite Neil’s mob unit and unit of Foot Samurai. I kept one Ashigaru command in reserve behind my centre.

My plan was to hold the right and centre whilst my superior numbers on the left beat his right, and then swept on into the rest of his line from the flank.

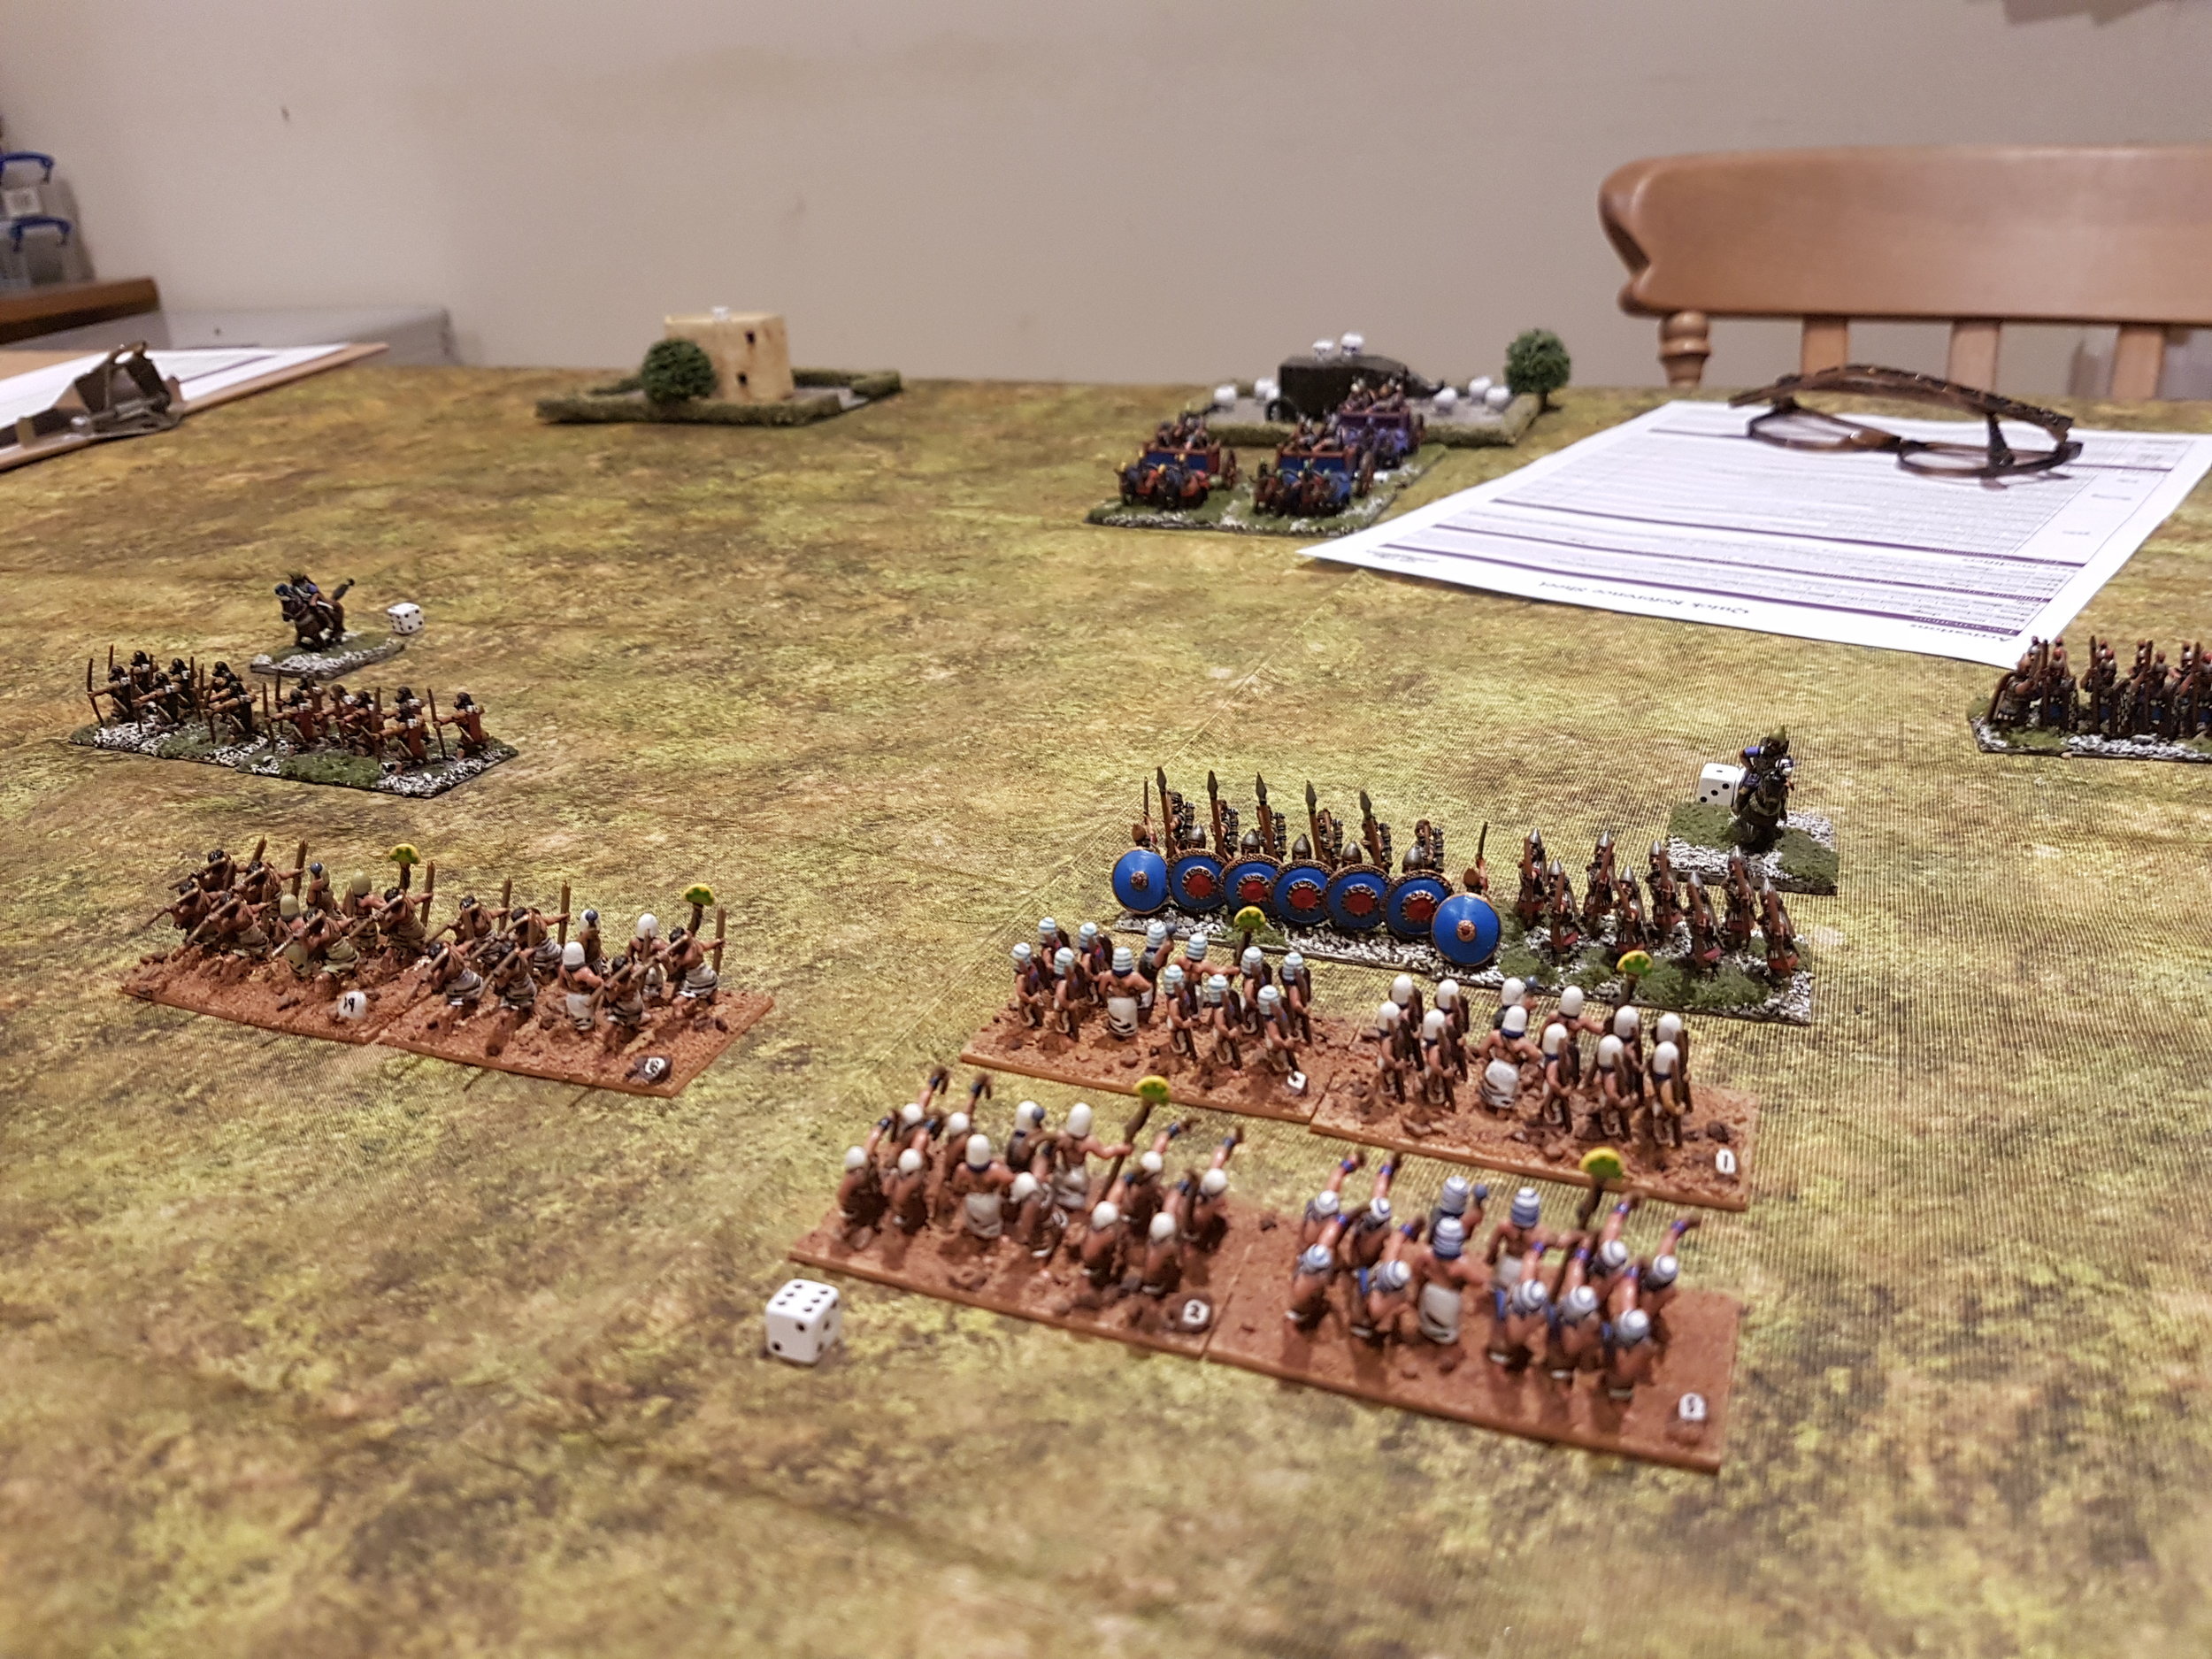
The centre of my line (the teppo are behind pavises)

The left of my line

The key difference between our two set-ups were that, without a reserve, Neil’s line was stacked two deep in places. This would have a significant effect on the forthcoming action, as where he had a numerical advantage, he would have difficulty bringing these superior numbers to bear.

The action began on my right, where my three units of Mounted Samurai faced off against his four units of the same. I took advantage of some rocky terrain and tried to lure him into attacking me, but Neil was too canny to fall into that trap. I therefore bit the bullet and charged forward: his double-stacking meaning that I could fight two-vs-two rather than four-vs-three.

The action on the right unfolds

My initial charge met with mixed success. One unit of his cavalry were destroyed, but one of mine became disordered and was forced to retreat and rally. I renewed my attack, this time supported by a unit of Ashigaru spearmen and, eventually and largely due to the cards very much falling my way, his cavalry crumbled and were removed from the field. This would then leave the way clear for the CinC’s Mounted Samurai to get past his line and capture Neil’s left hand camp.

Meanwhile, on my left, I had pushed my Foot Samurai forward, intending to being superior numbers to bear on that end of Neil’s line. Unfortunately, the Yellow command got a bit tangled in the terrain, and I ended up with one unit destroyed, leaving two more units facing four units of his Foot samurai. This would usually spell disaster, but some how these two units refused to be beaten. Despite being disordered again and again, the brave Yellow Samurai rallied each time and, at the end of the game, were still very much in the battle.

This left me with four Ashigaru units facing Neil’s six Ashigaru units in the centre. Again, however, Neil’s stacked line meant that we each had four units in play and, again, the cards fell in my favour, and I quickly destroyed two of his units. I was then able to bring in my reserve force of four more Ashigaru units, guns fully loaded, and win the resultant eight-vs-four combat. Neil should have been able to support his Ashigaru with his command of peasant Mobs, but the fact that by this time my cavalry had broken through and was threatening his camps meant that he had had to withdraw them in order to defend his baseline.

Ashigaru action in the centre

Once Neil had started haemorrhaging victory coins, it was hard to stop, and eventually he ran out and was forced to retreat. Somehow I had managed to inflict a pretty hefty defeat on him: I had lost only four coins by the end of the game, Neil had lost twenty!

Post-Game Analysis

Although we both agreed that the cards had very much fallen my way, we also agreed that Neil had perhaps stacked his units too deeply to begin with: my rapid advances never giving him the chance to properly deploy. Significantly, I had run into difficulty on my left, where I had also stacked units deep, so it seems as if that is something to avoid.

Although I did seem to win by a lot, it never seemed to me as if I were winning, except right at the end. A good game, made interesting by the homogeneous forces involved.

IABSM AAR: Lille

Time for another game of I Ain’t Been Shot, Mum! with John and Dave…but what to play? Dave has requested an early war encounter, so a quick look back through my library of scenarios and I settle on one of Richard Clarke’s games: Lille.

The premise is simple: Rommel’s Germans are advancing rapidly on Lille, aiming for the village of Lomme, whose capture will seal off the escape route of all English and French forces in the area. The Allies have realised what the Germans are up to, and have dispatched a small force to hold Lomme for as long as possible. The scene is set for an epic clash!

Click on the picture below to see all:

IABSM AAR: An Affair at Gazala

The regular TooFatLardies specials are a fantastic source of scenarios for all the TFL products, including that hardy perennial, I Ain’t Been Shot, Mum!

With John coming round for a game, I needed a quick bit of inspiration (sometimes you need a change from playing your own scenarios all the time) so quickly flicked through Derek’s excellent index to the Specials’ content, available for free in the files section of the TFL Yahoo Group. It had been a long time since the Italians had graced the tabletop, so I decided to play the An Affair at Gazala scenario written by fellow Lardy Klaus-Dieter Fritsch from the Christmas 2017 special.

The scenario takes place in June 1942 during the Gazala battles, but is entirely fictitious apart from the general setting.

The British are occupying a position atop a ridge. On the ridge are three hills and a few ruined buildings. Each hill represents an Italian objective: their aim being to either take at least two of the objectives or force the Brits to retreat through breaking their Force Morale (a rule “borrowed” from Chain of Command).

The situation is complicated by the conditions. The whole table is considered rough terrain, with wheeled vehicles limited to the track running up the centre. Even tracked vehicles have a chance of bogging down if traversing the rough ground, and both sides had a Vehicle Breakdown card in their deck. On top of that, the remains of a khamsin sandstorm were still around: visibility was limited to 36”, all fire at Effective and Long range was reduced, and the dust kicked up by moving vehicles a factor as well. In other words, just another day up in the Blue!

A lot of Italians!

The Italians

John would play the Italians. His choice, I hasten to add!

At his disposal, he had a three-platoon company of infantry consisting of a total of fourteen truck-mounted infantry squads and three AT rifle teams. These were supported by two platoons of tanks, with each platoon consisting of three M14/41 tanks, one Semovente 75/18 assault gun, and one L6/40 light tank. The Italians also had no particular shortage of Big Men or radios.

The British (or rather Scots!)

The Scots Guards holding the hills consisted of a three-platoon company of top class, stubborn, aggressive infantry (I shall refrain from commenting any further - the mother-in-law is from the Granite City - but there was no way the Italians were having our hills!) with plenty of Big Men, light mortars and anti-tank rifles.

Supporting them was a single Vickers MMG and a single 2pdr anti-tank gun (I think I was supposed to have two of these, but settled for one gun with a Bonus Fire card) plus an attached tank platoon of two M3 Grants, two A15 Crusaders and an M3 Stuart “Honey”. We’ll dispense with this last: the Honey spent just about the entire game Bogged Down, never getting to fire a shot and barely even catching sight of the enemy!

I decided to keep my armour in reserve, positioning them on the track, out of sight just behind the ridge.

It’s quiet…too quiet!

The Game Begins

As the sun rose over the British position, Italian Blinds began snaking their way onto the battlefield along the narrow track. Despite their elevated position, the khamsin prevented the Scots from spotting anything until the Italian column had passed a rocky outcrop near the track.

The Italian Armour Leads the Way

The lead Blind proved to be a platoon of tanks, so I deployed my single anti-tank gun (in a sangar) and opened fire. I also summoned my armour up onto the ridge: if the Italian tanks headed for the infantry platoon holding the hill on the right of my line, I wanted to have more than one 2lb and a Boys AT Rifle to face them!

Preparing for the Advance of the Italian Armour

The combined fire of the Grants, Crusaders and anti-tank gun proved effective: with the crews of the two lead Italian M14/41 tanks quickly bailing out as a fusillade of shells knocked holes in their vehicles.

Unfortunately, the abandoned vehicles then provided a neat shield for the other three Italian tanks, who would spend the next portion of the game shelling the Scots infantry in front of them with, fortunately, little effect.

The two tanks at the back are bailed!

“Keep your heids down, lads!”

Stymied on that axis of attack, the Italians now switched their entire effort to their right flank, advancing two platoons of infantry, their HQ platoon, and their other platoon of armour towards the left of the Scottish position as fast as they could go.

With so many units going forward together, there was a bit of confusion as the advance began, but the Italians soon sorted themselves out and began to threaten the Scottish line.

The Italian infantry advance by rushes, protected by a screen of tanks and the Khamsin

Although fire from the Scottish infantry proved ineffective due to the effects of the khamsin, the British tanks again enjoyed an initial success: knocking out the three Italian AT Rifle teams and taking a few chunks out of the advancing infantry.

All was looking good: with the Italian Force Morale reduced down to [4] in exchange for only a few casualties. Then, suddenly, the British tanks lost their mojo. All their shots at the advancing Italian tanks missed or bounced off armour, and return fire caused the crews of both Grants to bail: running for home chased by the jeers of their Scottish comrades!

I looked at my Force Morale: the loss of the tanks and a Big Man had dropped me down to [5], enough that if the Italians, despite their precarious hold on their own morale, managed to knock out a couple more tanks or infantry squads, then I was Gone (with a capital G), the Scots being ordered to retreat.

Correction: it was a Grant and a Crusader that bailed, not the two Grants

All now depended on who managed to land the first decent blow. Incredibly (in my opinion) it was the Italians who took the initiative: their tanks storming forward to burst through the British line and threaten to shoot everything up from behind!

Two Italian tanks burst through the line. Note the Bogged Down Honey!

A close up of the same situation

Both of the Italian tanks now turned their fire onto the Crusader: one shooting it from the flank, one from behind.

Not good!

Much to my surprise, the Crusader survived this onslaught, its gunner returning fire, but with no effect, and the first of the Italian infantry was now getting ominously close to the Scottish sangars.

Things were desperate, but the crew of the Crusader kept their nerve, reversing up onto the hill to keep their front armour towards the Italian tanks. The gunner calmly targeted one of the Italian tanks…BOOM!

At this point, the Italian Force Morale hit [0] and I had won!

Aftermath

Well that was a bit close!

If the Italian tanks had managed to dispatch the Crusader that they had got the drop on (more than possible given the situation) they would have been in the perfect position to start taking out my infantry from behind, with their own infantry poised to attack simultaneously from the front. A narrow escape for the Scots: who had just not been able to do enough damage to the khamsin-covered Italian advance.

An amazing game that all came down to the last few minutes of the action. Thanks, Klaus-Dieter, for a great scenario.

Robert Avery

Two More Games of 'To The Strongest'

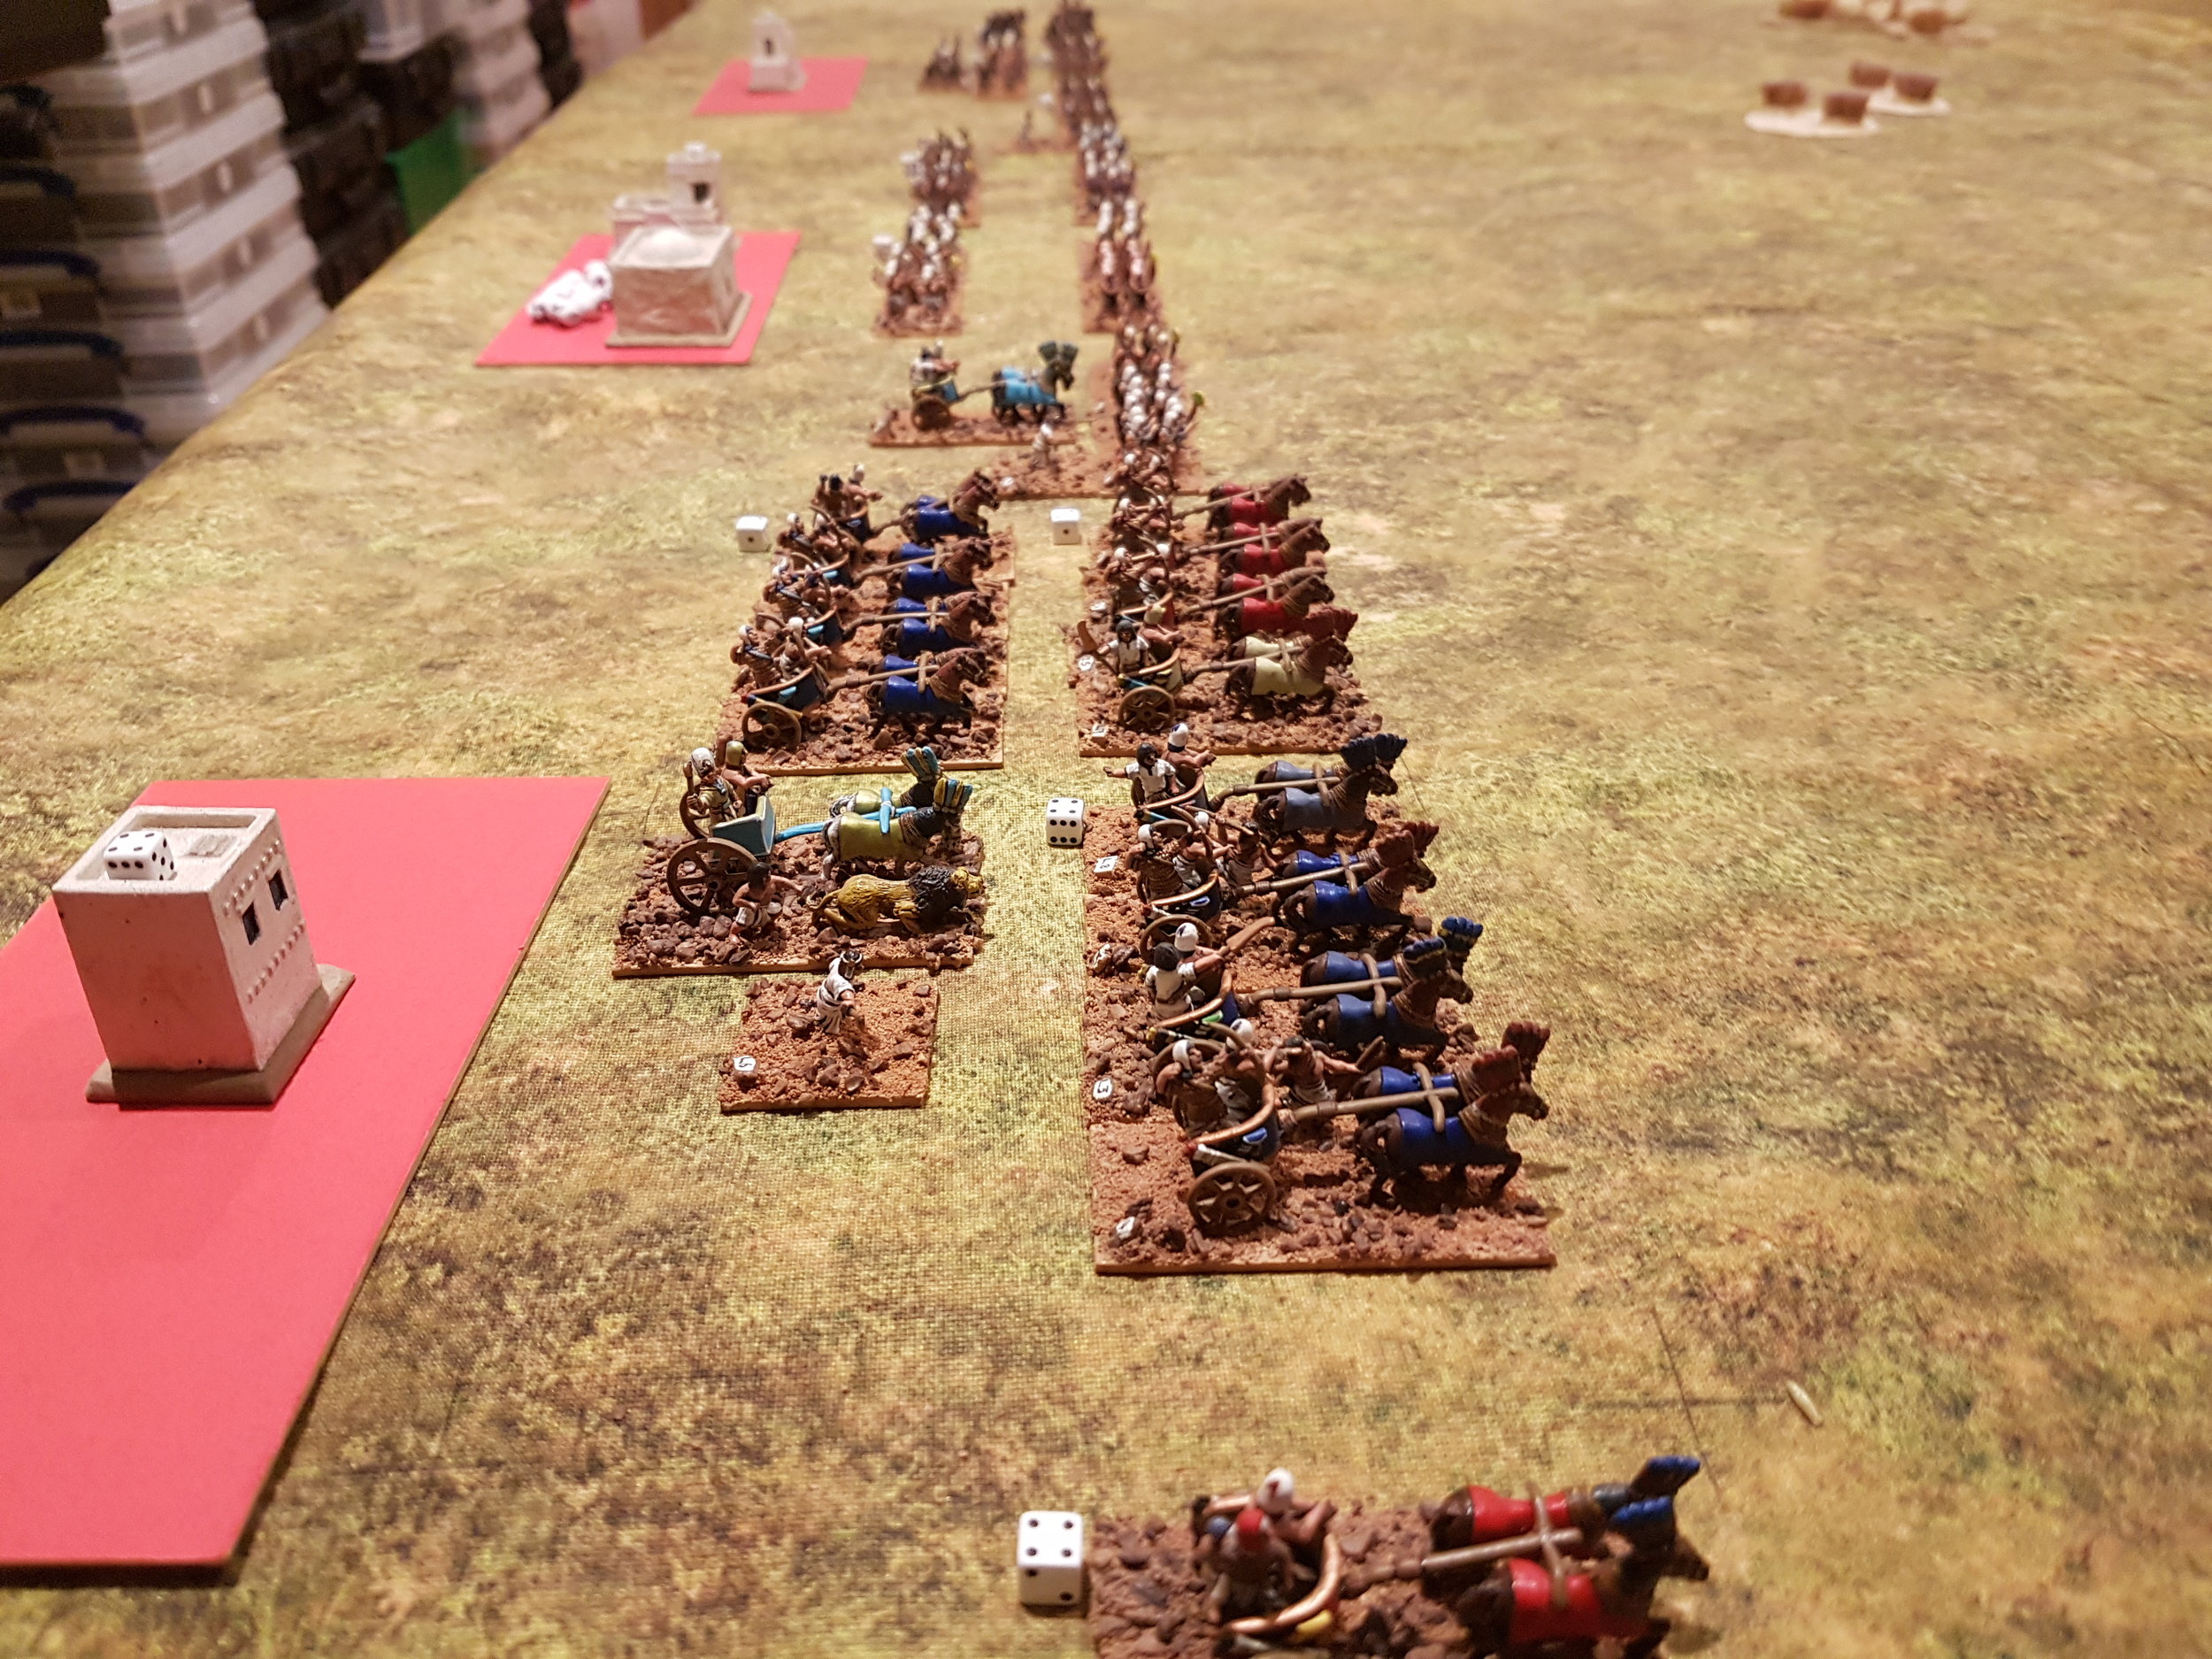
Regular wargame buddy Neil came round earlier this week for another game of TTS. We’re still limited to using just the Egyptians and Assyrians (until I get a move on painting more Hoplites!) so went into battle again with just about the same forces as last time.

That meant that I had the Egyptians: a large command of light chariots, an Egyptian infantry command, and a command of raw Canaanite ally infantry.

Neil played the Assyrians again: fielding a command of heavy cavalry, a command of heavier chariots, a command of decent infantry, and a command of light infantry.

The Egyptian infantry in their new camps

Ancient Greeks masquerading as Canaanites!

Game One

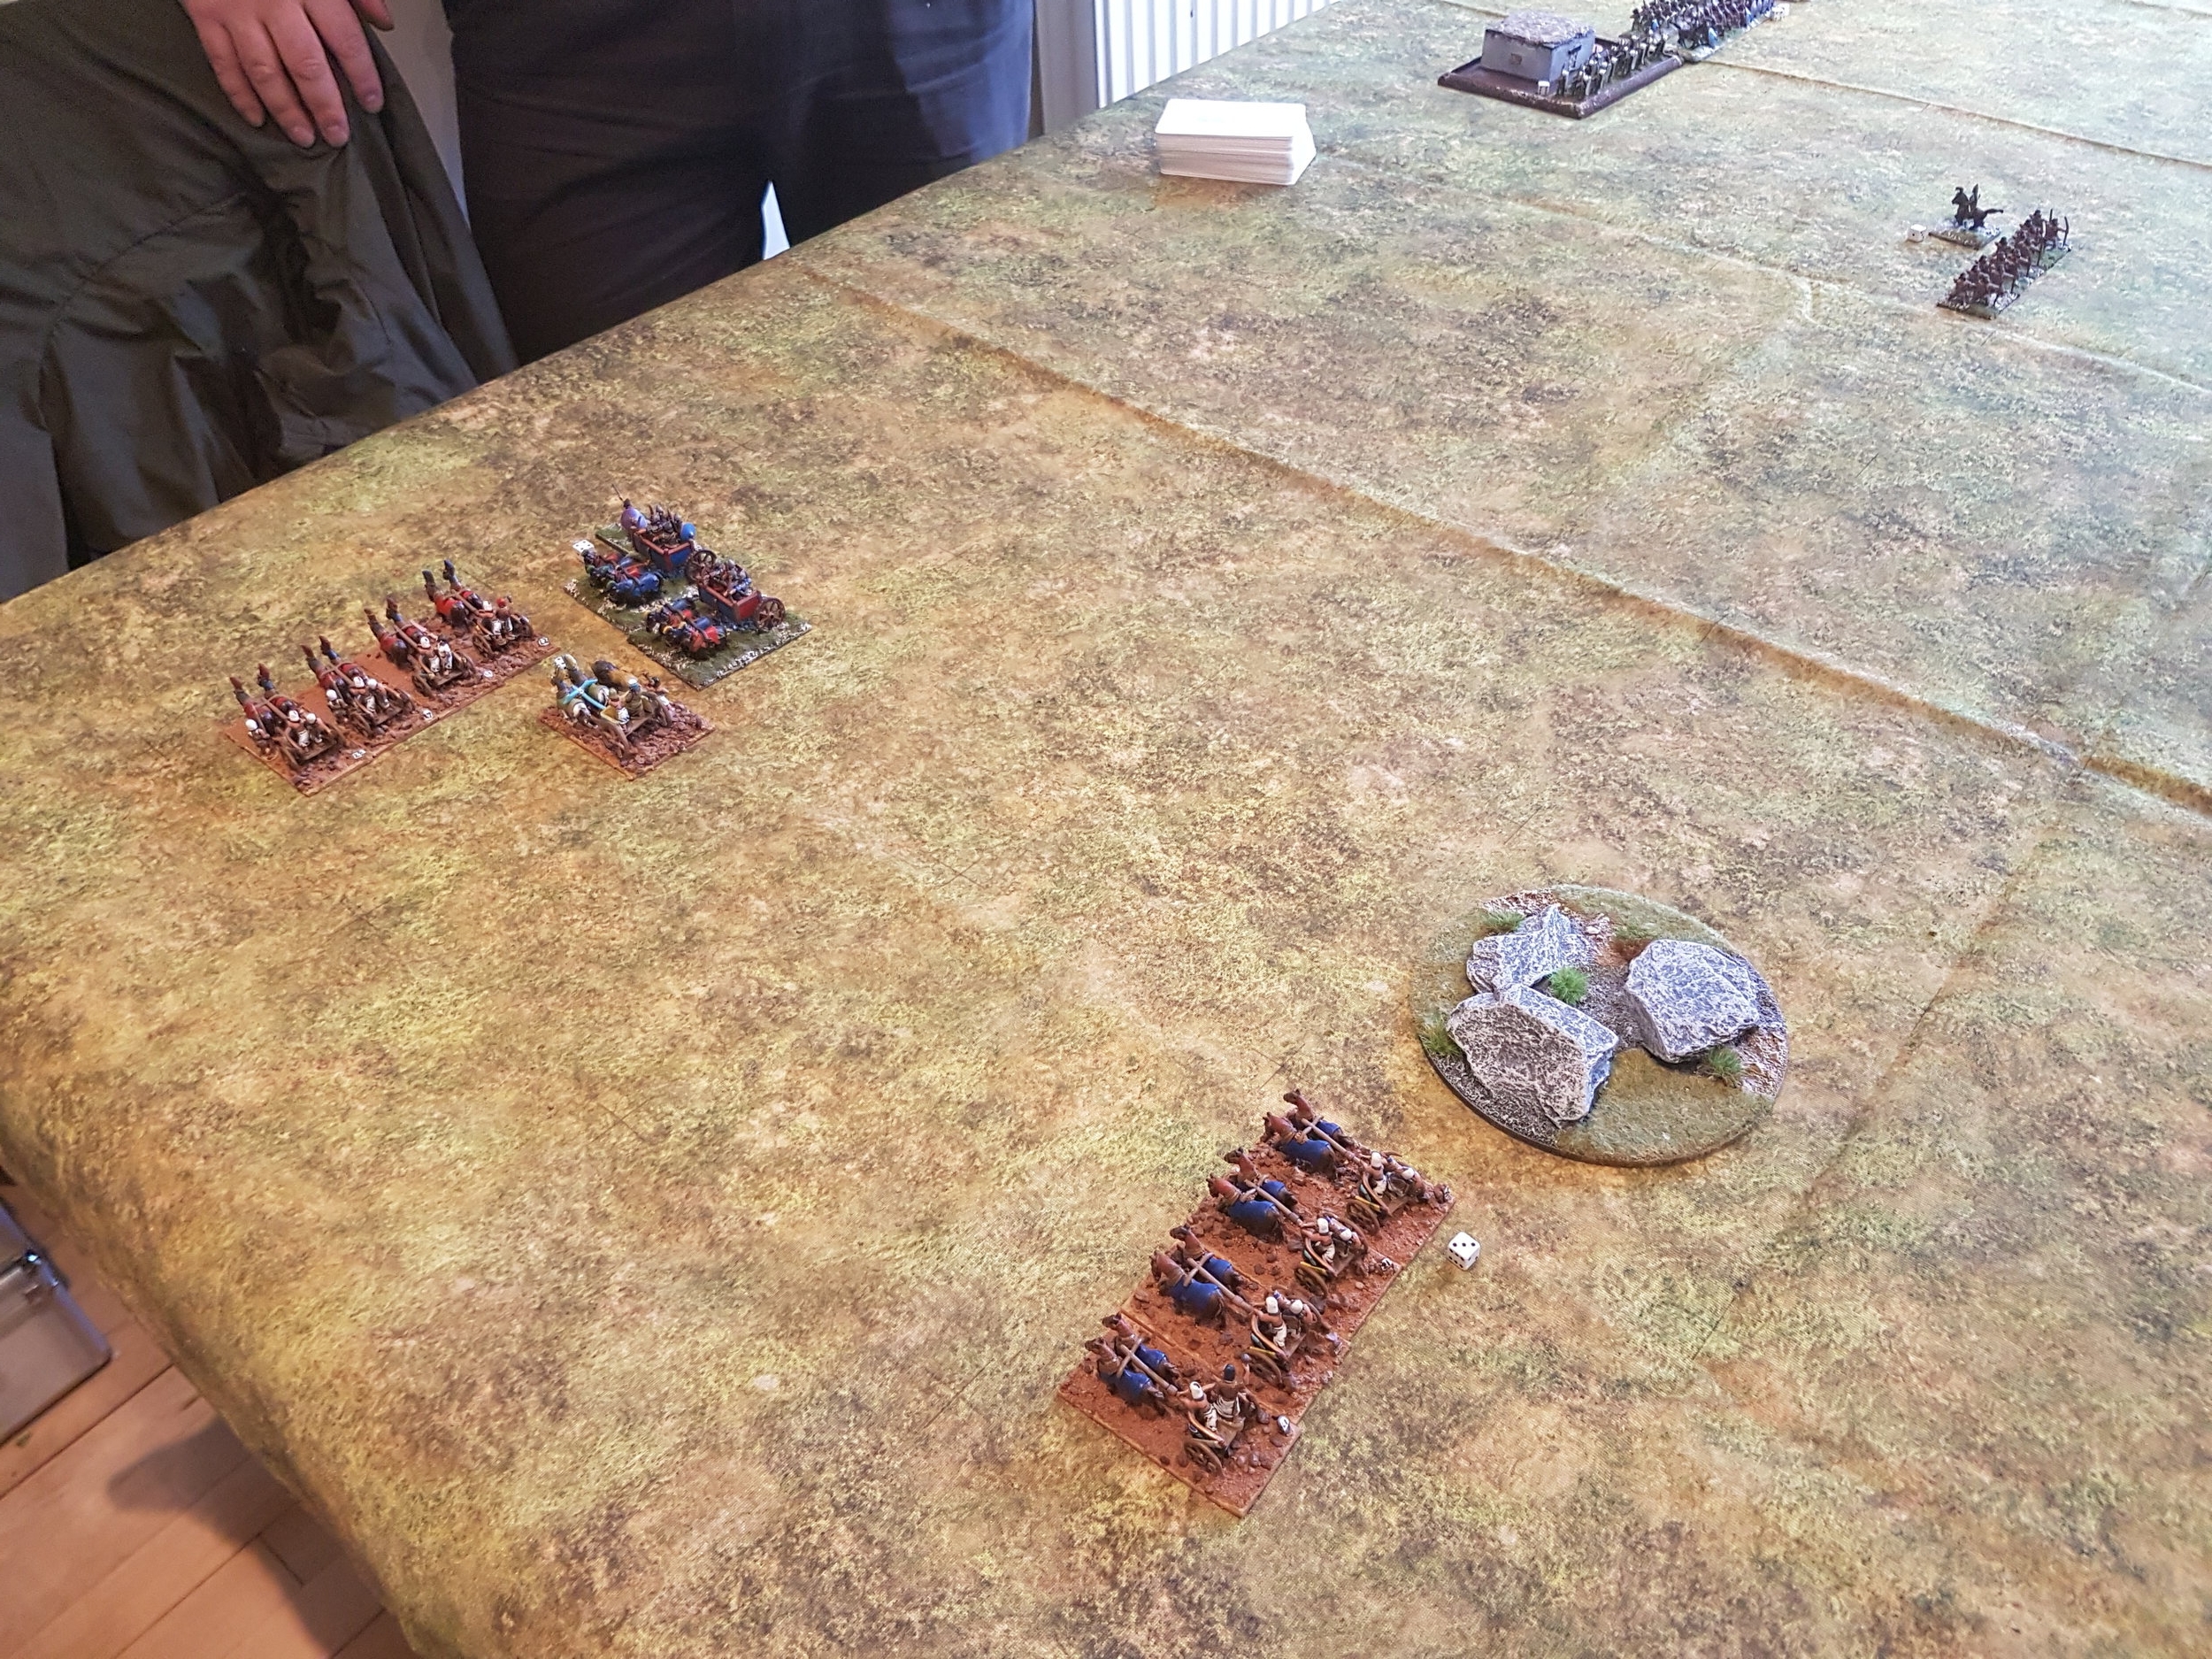
Our first game was a bit abortive. I advanced the Egyptians infantry forward strongly in the centre, with the light troops of the Canaanites and chariots sweeping round on each wing. Neil kept his infantry back, but advanced his heavy chariots and cavalry forward intending to screen his chariots’ advance with his cavalry.

The Egyptian centre advances

Unfortunately there were a couple of rocky outcrops on the edge of the centre area of the battlefield, and his chariots and cavalry ran up against them, and got all jammed up together.

At this point, Neil realised that heavy cavalry weren’t really the sort of troops to use as a screen - you need light cavalry for that - and with his chariots and cavalry isolated from his main line and hopelessly entangled, and with my troops moving in to take advantage, conceded the game and ordered a general retreat.

Game Two

We reset the table. As I had an army full of light troops, Neil was setting up first all the time, with me able to position my commands to take best advantage of his deployment. This time, he again placed his infantry in the centre, but split his chariots and cavalry: placing one on either wing. In response, I faced his cavalry with the Canaanites, his chariots with mine, hoping to win the infantry battle in the centre whilst stalemating his best troops on the wings.

Now on my fourth game, I was starting to learn how to use my light chariots. In my first couple of games, I had used them individually as fast-moving infantry types, but in this game I went for his heavy chariots with two units to each of his. This allowed me to occupy them to the front ans shoot/charge them from the flank, especially as there was plenty of room on my left wing.

This worked for one unit of his heavies, and failed for the other…and failed in such a way that his chariots dispersed one of my chariot units, broke through the other and took a camp! All this, however, took time, and things were happening elsewhere on the field.

Right!

Wrong!

The Canaanites, meanwhile, had the bit between their teeth and were heading for the Assyrian cavalry at a rate of knots. There were five Canaanite units versus three enemy units, and my plan was just to keep them occupied…even if it meant they were occupied in massacring my somewhat hapless allies! Incredibly, the Canaanites, whilst not exactly winning the resultant clash, certainly didn’t lose: so at least I had achieved my objective of forcing a stalemate on that wing.

So it was all down to the centre.

Here I had six units of infantry versus his four and, for once, everything went as planned. The bowmen shot their arrows from behind the line of spearmen and disordered his front line, the spearmen and axemen charged in to finish the job. Half his infantry force evaporated, with the other half badly threatened.

Meanwhile, I had got my left wing back under control, and was threatening to overwhelm the heavy chariots that had captured my camp (the others had already been nobbled by my chariots) and take it back.

It was all over for the Assyrians!

Postscript

Another couple of great games of TTS. We shall definitely be playing again: Neil has a couple of samurai armies in 12mm that will be facing each other in a week’s time or so.

Meanwhile he is spending his time working out how the Assyrians can counter the threat of the hordes of Egyptian light chariots. Answers on a postcard to…

The Ancient Egyptian Panzer Division


Second Game of To The Strongest

Now that I’d built the Assyrians up to a decent level, it was time to get them onto the tabletop again. As the Beardless King was unavailable (school!), I persuaded long time wargaming buddy Neil to give the rules a try for game two of my To The Strongest journey.

The Forces Involved

I would play the New Kingdom Egyptians again. My troops consisted of three commands:

Pharoah

  • Two units of guard two-horse light chariots

  • Two units of regular two-horse light chariots

  • One unit of bowmen to guard the Camp

The Blue General

  • Two units of shieldwall spearmen

  • Two units of bowmen archers

  • One unit each of marines, axemen, spearmen and Nubian bowmen (this last guarding a Camp)

The Canaanite Ally General

  • Two units of raw spearmen

  • Four units of raw lights with javelins (one guarding a camp)

Pharoah and his army (well, most of it: there are more chariots out of shot to Pharoah’s right)

Neil would command the following Assyrian troops:

The King

  • Two units of regular four-horse heavy chariots

The Cavalry General

  • One unit of guard cavalry

  • Two units of regular cavalry

The Infantry General

  • One unit of veteran infantry

  • One unit of regular infantry

  • Two units of raw infantry

  • A camp

The General of Light Troops

  • One unit of Assyrian light bowmen

  • Two units of raw Javelinmen

  • A camp

The Game

As I had loads of light troops, King Neil (“Kneel before King Neil!”) deployed first. He placed his lights on his right, his infantry in the centre, the heavy chariots just to the left of centre, and his cavalry out on the left.

This allowed me to choose where to deploy my troops. I decided to follow the same tactics as last time: placing my infantry in the centre flanked by the Canaanites on the left and my chariots on my right. The plan was for the chariots to keep his cavalry busy with missile fire and evasion, hold and perhaps chew up some of his infantry units in the centre, whilst the Canaanites used their superior numbers to overwhelm his light troops and then took all his camps.

Unfortunately, things did not go entirely to plan!

On my right, the chariots steamed forward and began pelting the Assyrian cavalry with arrows, evading them when they charged in reply. So far so good, but my chariots rapidly began to run out of room, as the Assyrians followed up every charge with another one.

This became a particular problem when King Neil threw in his heavy chariots as well: one unit of which drove some chariots right back towards one of my camps, much to the amusement of the Egyptian archers therein: everybody likes to see the nobles get nobbled!

Meanwhile, in the centre, my Egyptian infantry had advanced into bow range and then into contact. Unfortunately, they failed to make much headway, and the centre soon developed into a stalemate, with each side able to disorder the other, but not quite manage to break and force any to rout.

Particularly annoying were my axemen (veteran troops with two-handed cutting weapons). I had high hopes for them, but their first advance saw their attack repelled, and the enemy counter-attack disorder them. Methinks the royal crocodiles won’t be going hungry tonight!

The axemen are out of shot, but are about to hit the Assyrian blue unit top right.

So it was all up to the Canaanites.

They were raw troops, but there were a lot of them: in fact they outnumbered the troops in front of them two-to-one.

Unfortunately (I seem to be using that word a lot in this report!) their numbers actually told against them. I tried to cram them into the space in between the left flank of the Egyptian infantry and a patch of rough ground, and got completely jammed up. It took several turns to get everything sorted, and to drive back the infantry in front of me, opening up a way through to the Assyrian camps.

Canaanites (anachronistically dressed as Spartan Hoplites to scare the opposition) finally force the gap, although the High King’s chariot has to mount the curb to get by

All well and good, but all this delay had allowed the Assyrians to disperse my chariots and get their heavy chariots back into the fray. They say a picture is worth a thousand words, so have a look at the below…

Yes: that is a unit of Assyrian four-horse heavy chariots crashing into the flank of my main battle line!

Suffice to say that a general rolling up of my line occurred, and I began haemorrhaging victory coins right, left and centre. To add insult to injury, the other unit of heavy chariots looted one of my camps, and that, as they say, was that!

Aftermath

Another great game of TTS. The activation system is quite fun, but brutal if the cards start to go against you.

The battle was won in a satisfyingly traditional way: Neil’s mounted troops drove off my mounted troops, and then returned to hit the flank of my main battle line as they attempted to push forward over his.

It could all have already been over if the Canaanites had got their skates on, but I mishandled them badly and they didn’t!

The Egyptians are now officially sacked, and I’m now busy painting Hoplites to bring my early Greeks up to scratch for TTS!

Robert Avery

IABSM AAR: Stopping the Gap

Another excellent battle report from Carojon of the Devon Wargames Group.

This game was a small fictitious battle from a free scenario designed by Richard Clarke using IABSM. The scenario recreates what must have been one of many similar struggles going on in the closing days of the Normandy campaign in late summer of 1944 as the allies fought hard to close what became known to history as the 'Falaise Pocket'.

Click on the picture below to see all:

First Game of To The Strongest

Whilst I was up in Edinburgh playing IABSM the other week, I also had the opportunity to watch a game of To The Strongest, a set of quick-play Ancients rules based on drawing playing cards as opposed to rolling dice, and using grid-based movement rather than tape measures. Well it all looked quite fun, and a useful way of getting some of my Ancients figures out onto the table for the first time in years.

I’d rather have been playing my own Vis Bellica rules, obviously, but the fashion these days is for quick-play, so if I want to get some games in with the group I usually play with, it was TTS all the way!

A quick trip to the BigRedBat’s shop (you can click on the pic of the front cover to go there) and I purchased a copy of the rules and a suitably grid-ed mat. Army lists are free to download, along with a rather handy army calculator that does all the hard work of picking your force for you. Everything arrived quickly and correctly, so all in all a jolly good start to the TTS experience.

All my 15mm figures are based as elements for Vis Bellica, but I soon realised that combining two VB bases would give me a suitable TTS unit with a frontage of 12cms, perfect for the 15cm grid mat I had bought, and allowing me to show a unit as disordered merely by putting the two VB bases at angles to each other. VB bases with a narrower frontage (elephants and light chariot units) could be fielded as four VB narrow bases.

Formed and disordered units for TTS, along with a dice to mark ammo. Note grid intersection just to the right of the ordered spearmen.

What this would also mean, of course, is that I effectively needed double the size of a normal VB army for a TTS force…so double the number of figures!

Luckily, I went big when I bought my VB armies, so was able to field a force of New Kingdom Egyptians and Assyrians without the need to do anything except remove a bit of dust from the figures.

I did however realise that my hoplite and Macedonian armies were going to be short a pikeblock or four: TTS phalanxes are double depth, so I’d need to field them as four VB bases, and even I didn’t have a four-times-normal sized Greek or Macedonian force. The same was true for Celtic warbands, so my Ancient Brits might also be short of a few warrior units. Ah well, if I like the rules I’ll just have to buy some more figures…

Ed.’s Wife’s Note: Any excuse! He bought them already, before he even tried TTS out.

The Cast

TTS is advertised as a game ideal for novice gamers, so bearing that in mind my opponent for my first game was my ten-year old daughter. As it was game one, and she has never really wargamed before, I set up all the figures before we started:

The Egyptian (Pharoah Dad)

Command 1:

  • Attached Senior Heroic Mounted General

  • Two veteran light chariot units

  • Two light chariot units

  • Hero

  • Camp

Command 2:

  • Attached Heroic Mounted General

  • Two spearman units

  • Two archers units

  • One axeman unit

  • One Marines unit

  • Hero

  • Camp

Command 3:

  • Attached Heroic Mounted General

  • Two units of bowmen

  • Two units of skirmishers

  • Hero

  • Camp

The Assyrians (the Beardless King)

Command 1:

  • Attached Senior Heroic Mounted General

  • One unit of veteran 4-horse heavy chariots

Command 2:

  • Attached Heroic Mounted General

  • One veteran cavalry unit

  • One cavalry unit

  • Hero

  • Camp

Command 3:

  • Attached Heroic Mounted General

  • Four shieldwall units, one veteran and two raw

  • Hero

  • Camp

Command 4:

  • Attached Heroic Mounted General

  • One unit of bowmen

  • Two units of javelinmen

  • Hero

  • Camp

Each side therefore ended up with 12 victory coins. Each time you lose an asset, you lose one or more coins. Lose all your coins and you lose the battle.

The Game

The game began with a strong Egyptian advance across their entire front. Activation of units seemed very simple and easy to understand, and choosing which units to try and activate first and pulling the cards did indeed prove quite fun.

The Assyrians also moved forward strongly, with their cavalry heading straight for the Egyptian chariots seemingly unphased by the superior number of pyramid builders.

I then realised that I had a slight problem. My light chariots, being of the light troops variety, couldn’t charge the Assyrians head on: I could only shoot them and evade their charges whilst trying to get around their flanks and rear. Unfortunately, the Assyrian cavalry were just as fast as my chariots, and one unit of veteran chariots was soon no more than a pile of kindling and dog food, with the mildly exerted Assyrian Guard cavalry sailing forward looking for their next victims.

The chess game between the two units of Assyrian cavalry and three remaining Egyptian chariot units would take up most of the rest of the game, as I tried frantically to stop his cavalry running over my light troops whilst looking for a way through to his flanks, rear and camps. The Beardless King was, however, equally determined: forming an inexorable line of cavalry that just kept of coming.

Meanwhile, in the centre, the two lines of infantry had come together: first the arrows flew in either direction, then the units got stuck into each other. The Assyrians had the advantage of having combined units of spear and bow-armed infantry, but I had stacked my spearmen and bow units two to a hex (i.e. a unit of archers behind a unit of bowmen) with some success.

Unfortunately, just as I was about to firmly win in the centre, the Assyrians committed their reserve into the combat (at my suggestion, I hasten to add!) slamming a single unit of veteran four-horse heavy chariots into my exposed flank.

But it was actually on my left flank that I lost the battle!

There, each sides’ light units had clashed, with victory going to the Assyrians. I had already committed my reserve to prop up the chariots, and one pesky unit of Assyrian javelinmen broke through my light troops and managed to sack not one, but two of my camps!

The enormous cost in Victory Coins of losing two camps was too much for my Egyptians, and they fled the field.

A somewhat embarrassing defeat!

Post-Match Analysis

Well that was actually a jolly fun game. We got loads of the mechanics slightly wrong, but know what to do right next time.

The figures looked good on the table, and I am pleased that Simon Miller, the author of TTS, shares my belief in the importance of holding your line of battle strong whilst seeking to punch through or outflank that of your opponent, exactly as VB does. This wasn’t a question of a fight between a series of individual units, but two armies clashing, with victory going to the army that held its overall shape for longest.

I shall definitely have more games of To The Strongest, and am now very tempted by the English Civil War version: For King and Parliament. I’d better get those extra hoplites and pikemen painted up first though!

Here are a few more pics of what turned out to be an excellent game:

Q13 AAR: Stalemate in the Crop Fields

Time for another game of Q13, so time to get the space Dwarves back onto the tabletop to battle another of my so-far-untested forces: the Tah-Sig.

This would be an encounter battle fought across a battlefield consisting of crop fields separated by a series of access roads and narrow strips of open ground. The storyline was that this time it was the Dwarves who were the aggressors: outnumbering the Tah-Sig by a fair amount and needing to get as many units as possible off the table on the Tah-Sig side.

Click on the picture below to see what happened:

IABSM AAR: The Second Battle of Tomaszow Lubelski

The last week of September 1939 saw a combined “Northern Front” Polish army join the attack towards Tomaszow Lubelski. Due to bad communications between the different Polish divisions, the result was a series of largely uncoordinated attacks by Polish unis arriving from the north-east, launched in the direction of the city only to be shattered wave-by-wave by the German defenders.

This scenario would represent one such attack: with Polish and German forces brawling for control of the centre of the table. Four objectives would be placed there, with each side entering the table and attempting to take and hold them. The game would end after ten appearances of the Turn Card, at which point victory would go to the side that held the most objectives. If, however, one side managed to hold at any point three of the four objectives, then the game would end immediately, with that side wining the battle.

Click on the picture below to see the extraordinary events that followed…

Arab Israeli AAR: Rumi El Bakhara

I hadn’t gamed with old friend Neil for at least 18 months, so it was a pleasure to get a date into the diary and push some lead around the table again.

We decided to have a battle set in the 1967 Six Day War between an Israeli and an Egyptian (UAR) force. The game would be a fictional encounter battle using the TooFatLardies Charlie Don’t Surf Vietnam rules adapted for the theatre and available elsewhere on this site.

Click on the picture below to see all:

IABSM North of the Border

A quick trip to Edinburgh to visit daughter #1 at university gave me the chance to catch up with old friend Mr Hodge down at the South East Scotland Wargames Club.

Derek put on a game if IABSM set in France in May 1940, using his excellent 10mm figures.

That's not me with Derek btw but my opponent!

I played the French: commanding seven H-39 tanks (good armour, but armed with a pop gun), two 25mm anti tank guns (good panzer killers!) and a platoon of infantry.

Facing me were five Panzer 38(t) tanks (excellent at this time of the war), two Panzer IVs, a platoon of motorcyclists, and some other infantry that never arrived or got off their Blinds.

I deployed my tanks along the treeline and waited for Rommel's boys to attack. This they did, their motorcyclists appearing first: dumping their metal steeds as soon as I hit them with some HE, and then rushing forward towards a nearby field.

Meanwhile his P-38(t) tanks had appeared and advanced towards my line over open ground. My tanks engaged, and a firefight broke out: his five Panzers versus five of my tanks and, soon, my two anti tank guns.

His tanks were considerably better than mine, but stationary and out in the open. Mine were carefully concealed in the edge of the wood, and some lucky dice rolling meant that soon three of his were abandoned for the loss of two of mine.

When one of his Panzer IVs also succumbed to anti tank gun fire, the Germans decided that they'd had enough and retreated. Victory to the French!

All in all it was a good, if quick, game. My tanks performed much better than I was expecting (one of them proved almost indestructible despite being hit many times) and the tactics chosen by the Germans suited my deployment perfectly.

My thanks to Derek and the rest of SESWC for their hospitality, and I'm already looking forward to the next time I'm up.

IABSM AAR: Push Towards Lowicz

As part of a counter-attack that had already thrown the Germans back some twenty kilometres, the Polish 16th and 26th Infantry Divisions crossed the Bzura river near Lowicz on the morning of 14th September 1939, and the Polish 4th Infantry Division reached the road linking Lowicz and Glowno.

At this point, however, the retreating Germans were reinforced by the 4th Panzer Division, which had been withdrawn from the fighting in the outskirts of Warsaw, and launched a counter-attack of their own against the advancing Poles. This battle would recreate the encounter battle that followed.

A cracking game of IABSM in which a bold coup de main won the day. Click on the pic below to see all:

Nice Comment on TMP

Not sure if anyone saw this, but here’s a nice comment on my last AAR (see below: The Narew Crossing) taken from The Miniatures Page’s forum:

I don't mean to tell anyone else how they should or should not play their wargames …

But this AAR is a great example of how I LIKE my wargames to go!

Hardly matters what the figure scale is, or what the ruleset is. Maybe it matters a little, but not a lot.

What matters are the interests and spirit of the gamers … the game master more, and the rest of the gamers a little less but still to an important extent.

From the AAR:

The game was a screening mission. Provided the bridge remained in Polish hands (i.e. no German troops were in base-to-base contact with the bridge) each time the Turn Card appeared, Polish engineers would roll a D6. Once the total rolled hit 25, any Polish Big Man could order the bridge blown.

Kudos for a thoughtful construction of a scenario, with scenario-specific rules related to victory conditions.

Long range exchange of fire continued on for a couple of turns, until … the Germans, realised that (they) had no hope of winning the game at this distance, and would need to get up close and fight … through to the bridge the hard way!

These kinds of comments, which appear several times in the AAR, show how the AAR writer's (also game master's) thinking runs. The scenario was constructed, with some success it seems, to create tactical problems that the gamers would have to solve. More kudos!

That left the last remaining Panzer (a Panzer III) free to drive forward onto the bridge itself, scattering the Polish engineers still setting their charges. Although we did have a quick debate as to whether the Panzer counted as "troops", I conceded that it probably did (Bevan: "well you tell me: you wrote the scenario!")…

When I read this, it cemented my opinion -- these are guys I'd enjoy gaming with! Lots of competitive spirit in the play of the game, but no rules-lawyering or victory-conditions-maneuvering to gain an advantage.

Again, not meaning to tell anyone else how they should play, but for me, I find little interest in a parking lot of tanks and a bucket of dice, or in haggling over whether a single strand of barbed wire is an obstacle to AT cannons ("where in the rules does it say that barbed wire is a linear obstacle to infantry movement, but not to heavy weapons fire?").

What I do find interesting … fascinating … obsessively engaging … is just about everything we see in this AAR.

Nicely done.

-Mark
(aka: Mk 1)

Nice to be appreciated!

IABSM AAR: The Narew Crossing

It was back to Poland for our latest game of I Ain’t Been Shot, Mum and an extraordinarily exciting encounter that went right down to the wire.

On September 7th 1939, reconnaissance units from one of the Panzer Divisions of General Nikolaus von Falkenhorst’s XXI Army Corps captured Wizna after Polish mounted reconnaissance squads abandoned the village after a short fight and retreated to the southern bank of the Narew. When German tanks tried to cross the bridge, it was blown up by Polish engineers. This game would recreate the German attempt to force the Narew Crossing.

Click on the pic below to see all:

Q13 AAR: Dwarves vs Xar

As my recent painting has been almost wholly focused on clearing all the sci-fi dwarves from my lead mountain, I thought it was only right and proper to get them onto the table again for my next game of Quadrant 13. It would also be a good opportunity to give the Xar (six-legged “critters” from GZG) their first outing.

Click on the pic below to see the report:

IABSM AAR: Grudziadz

Our last game of IABSM was set in the Tuchole Forest in Poland, right at the beginning of the war. Today’s battle would directly follow on from that encounter, and represent the stalwart Polish defense of Grudziadz. Both scenarios were taken from The September War, Part One, one of the TooFatLardies scenario packs that I have written for I Ain’t Been Shot, Mum!

Grudziadz was a strategically important town as it housed an officer academy, a cavalry school and the several army staffs directing Polish forces in the Polish Corridor region. It was, however, only lightly defended, with its garrison made up of infantry and border protection corps (KOP) along with supporting artillery. The German attack was launched from East Prussia by 21st Corps, mainly infantry and the reserve 10th Panzer regiment (mainly Panzer I and II).

Click on the pic below to see what happened.