TTS AAR: Akkadian Empire versus Sassanid Persians
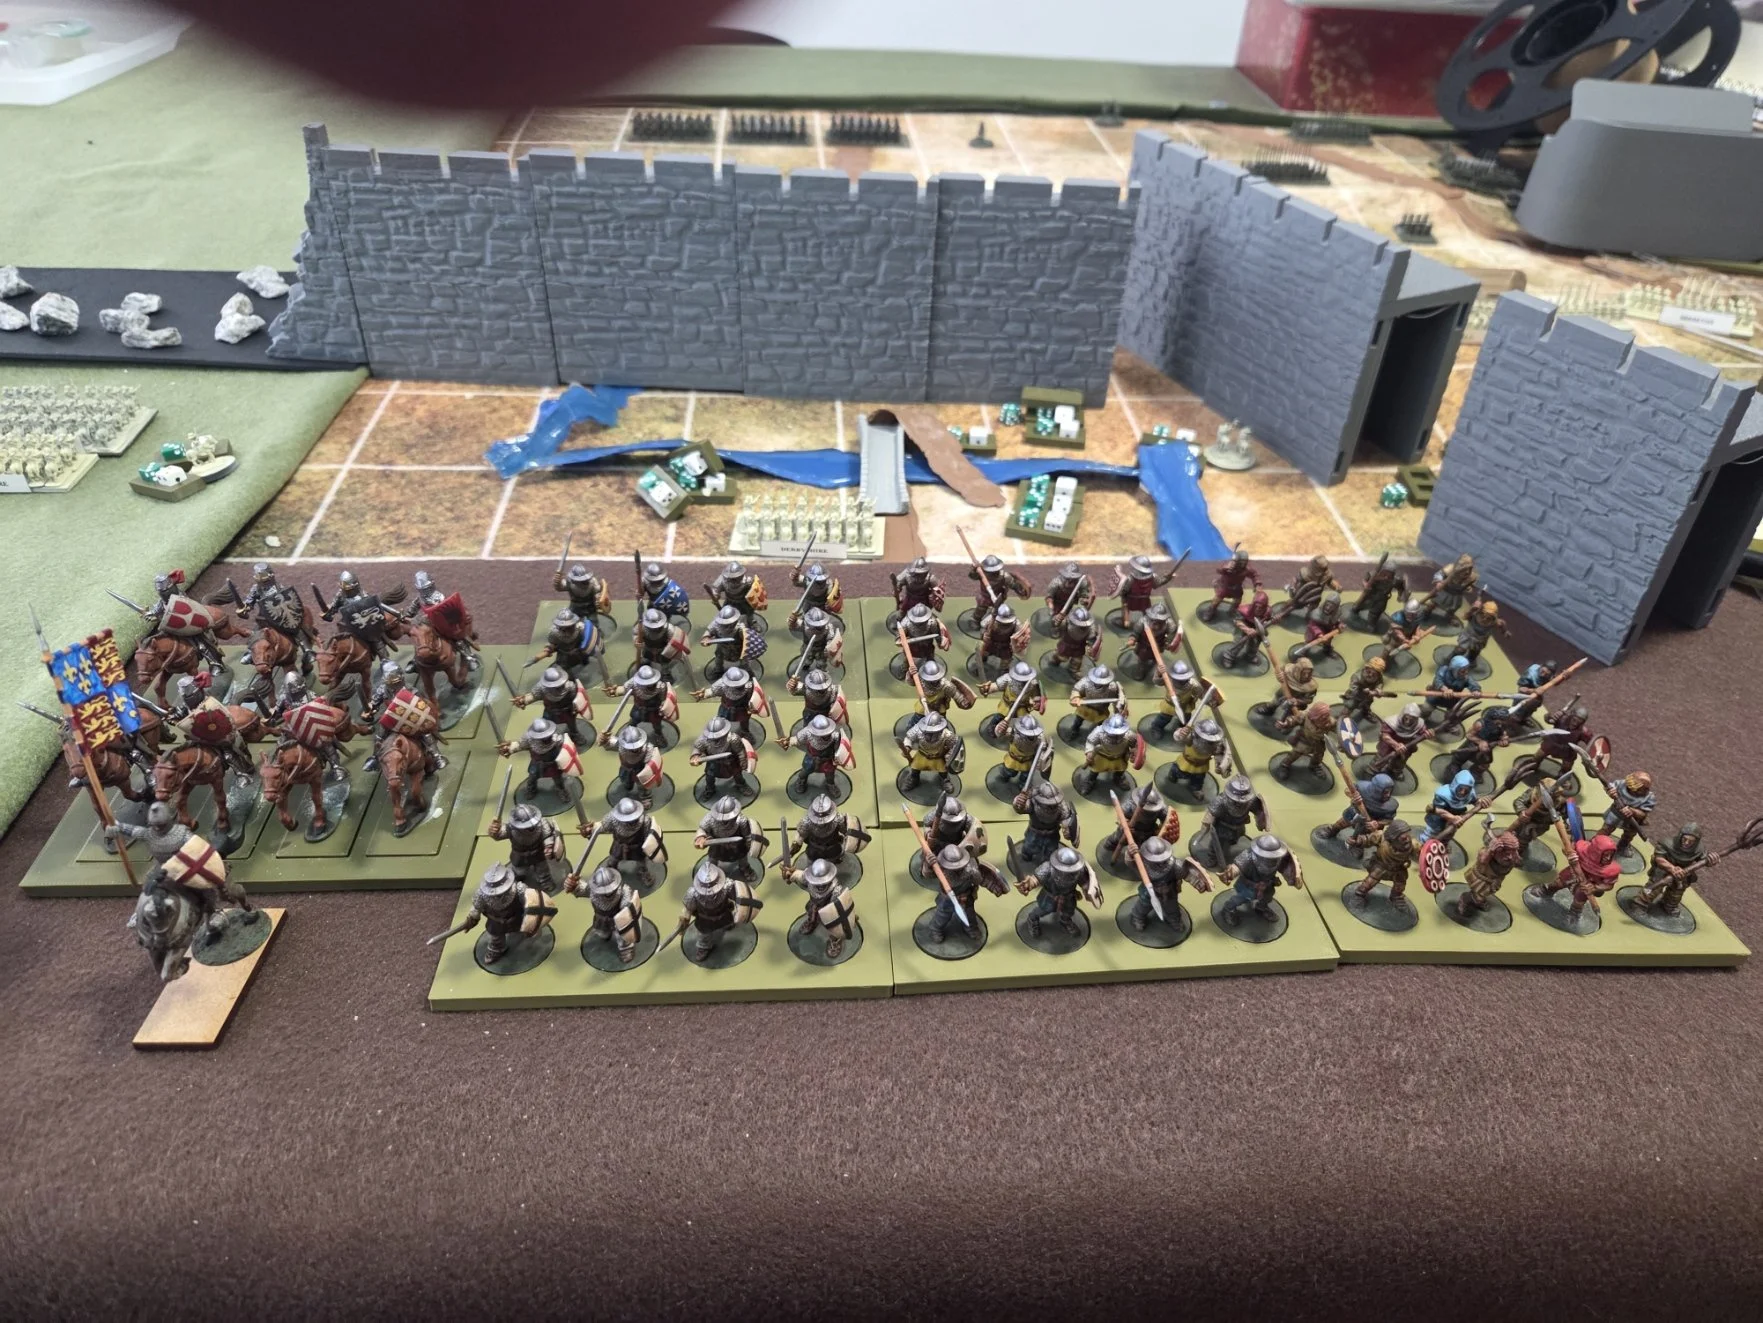
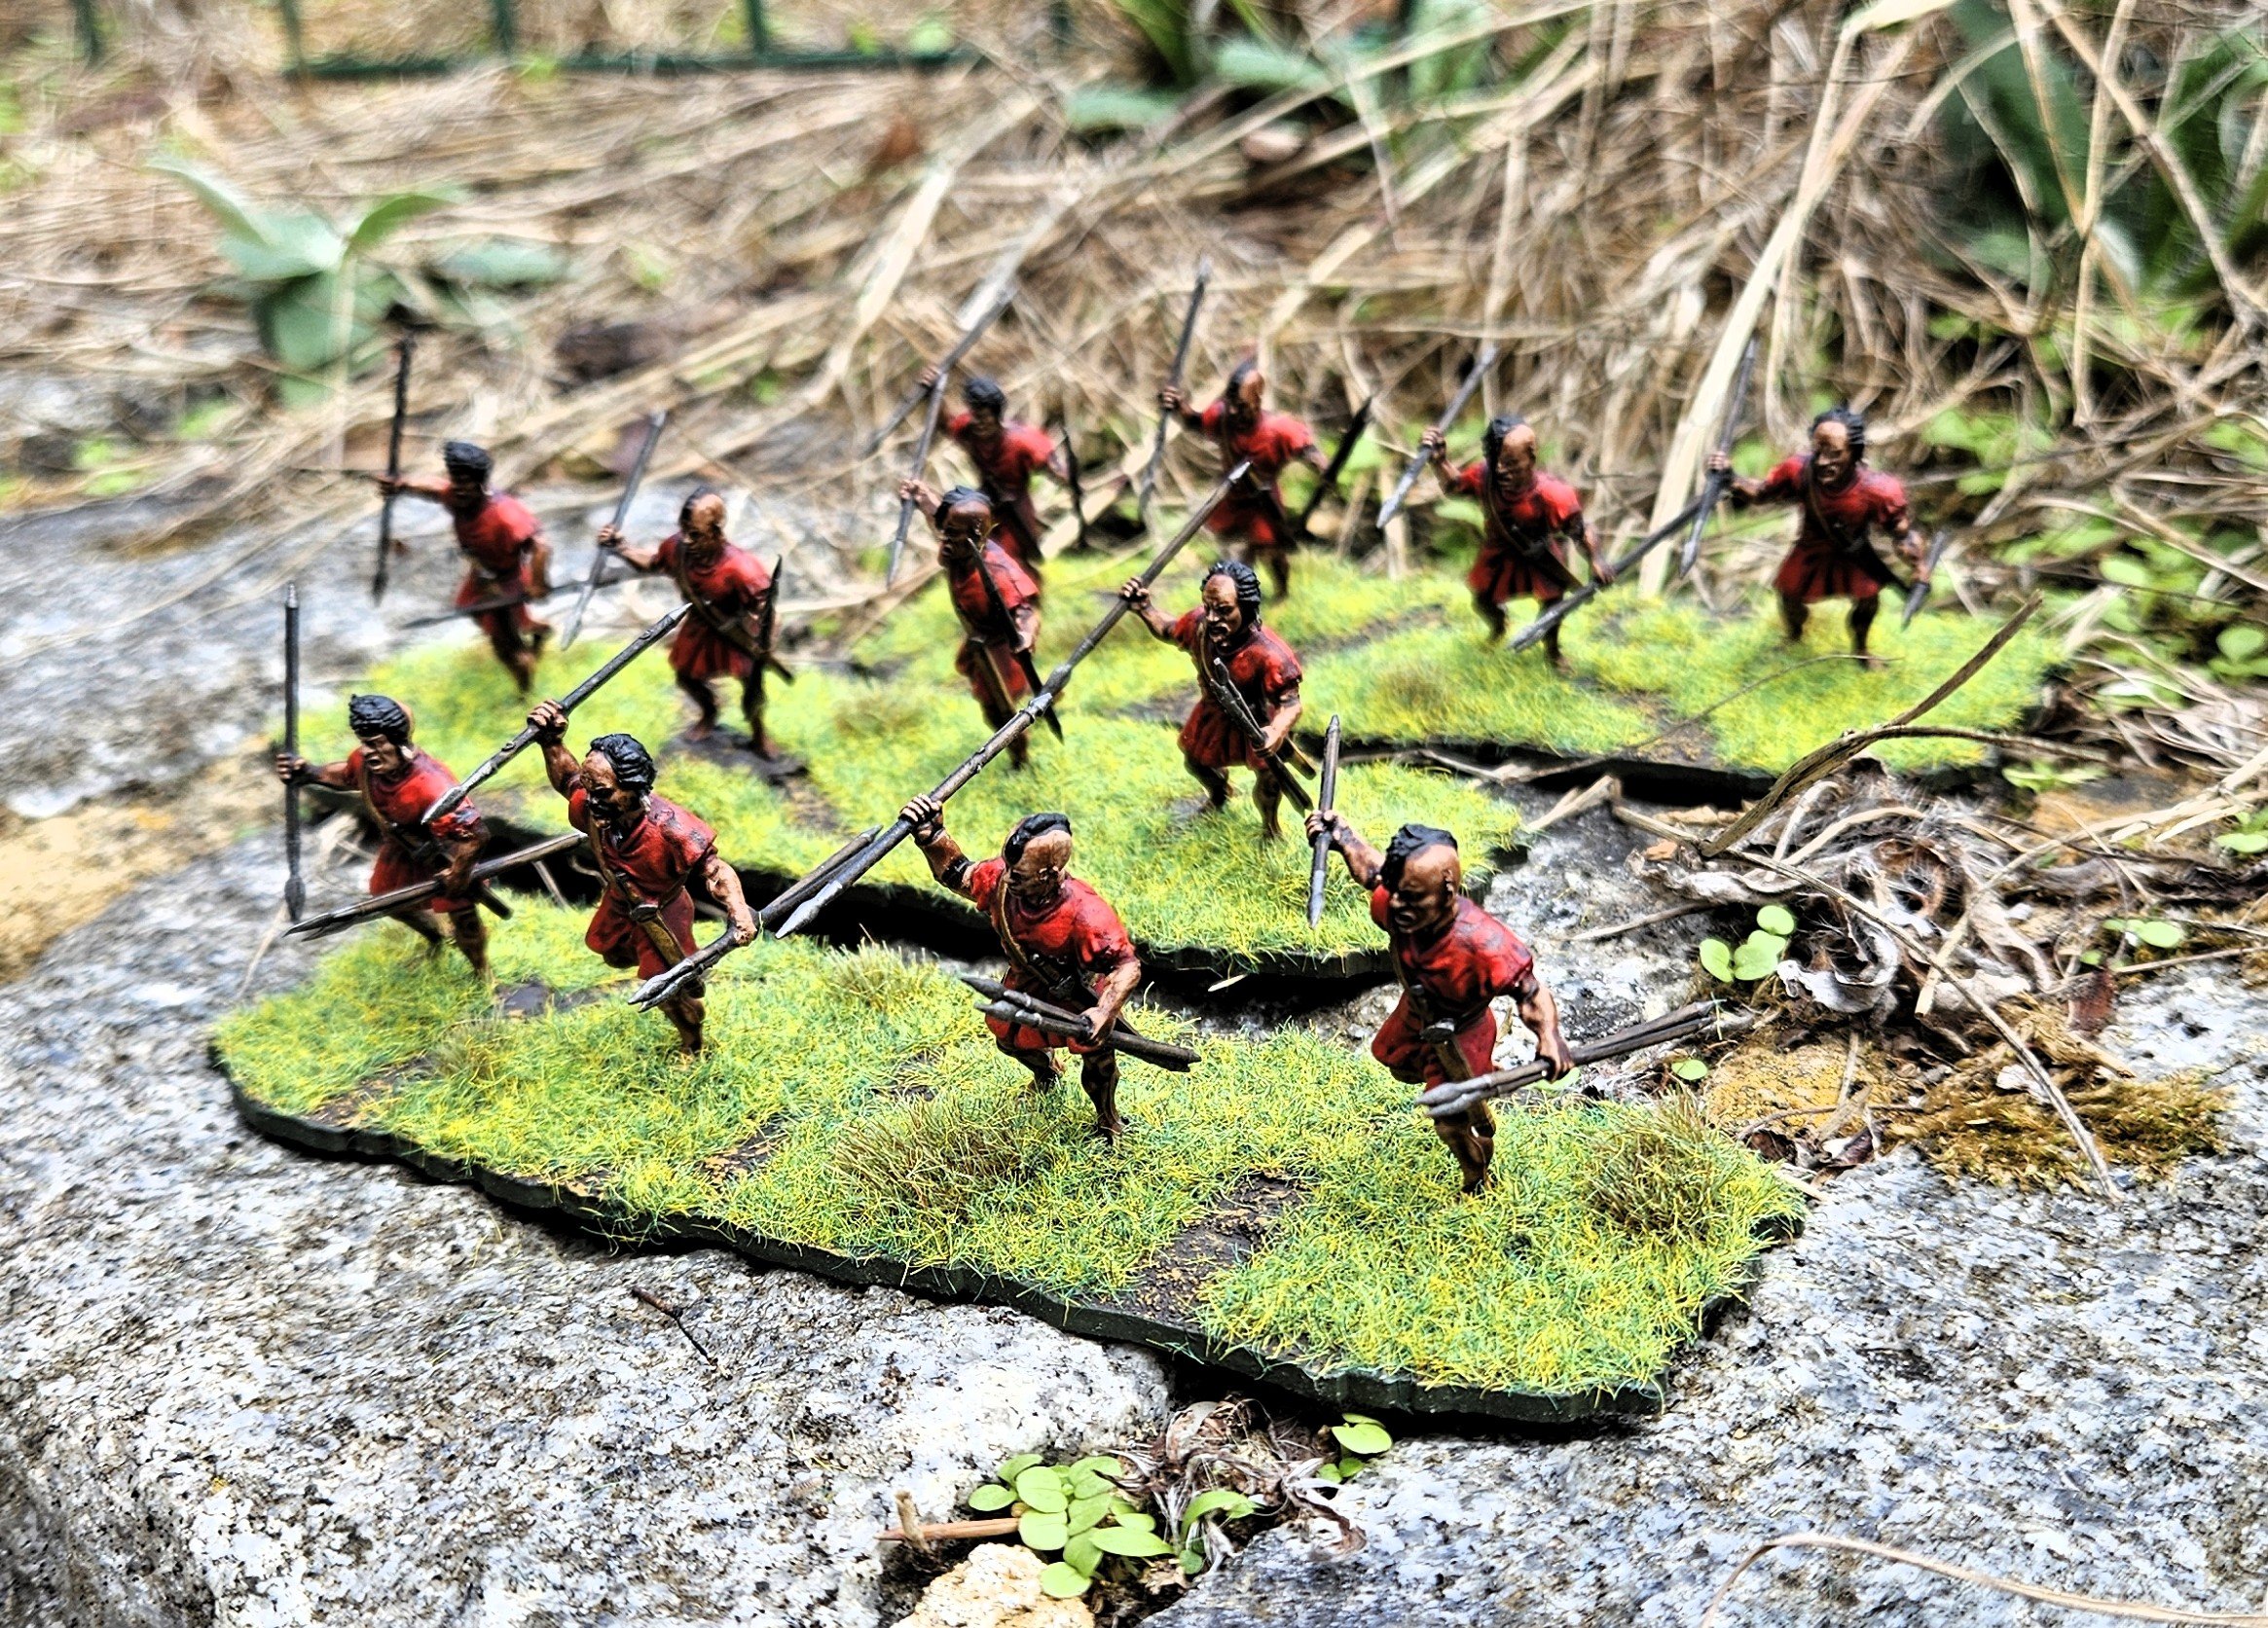
/I wanted to give Si’s Sassanids a run at an infantry-based army, so broke out the Akkadians: two units of Royal Guard, six units of spearmen with pavises and a command of veteran battle-cars.
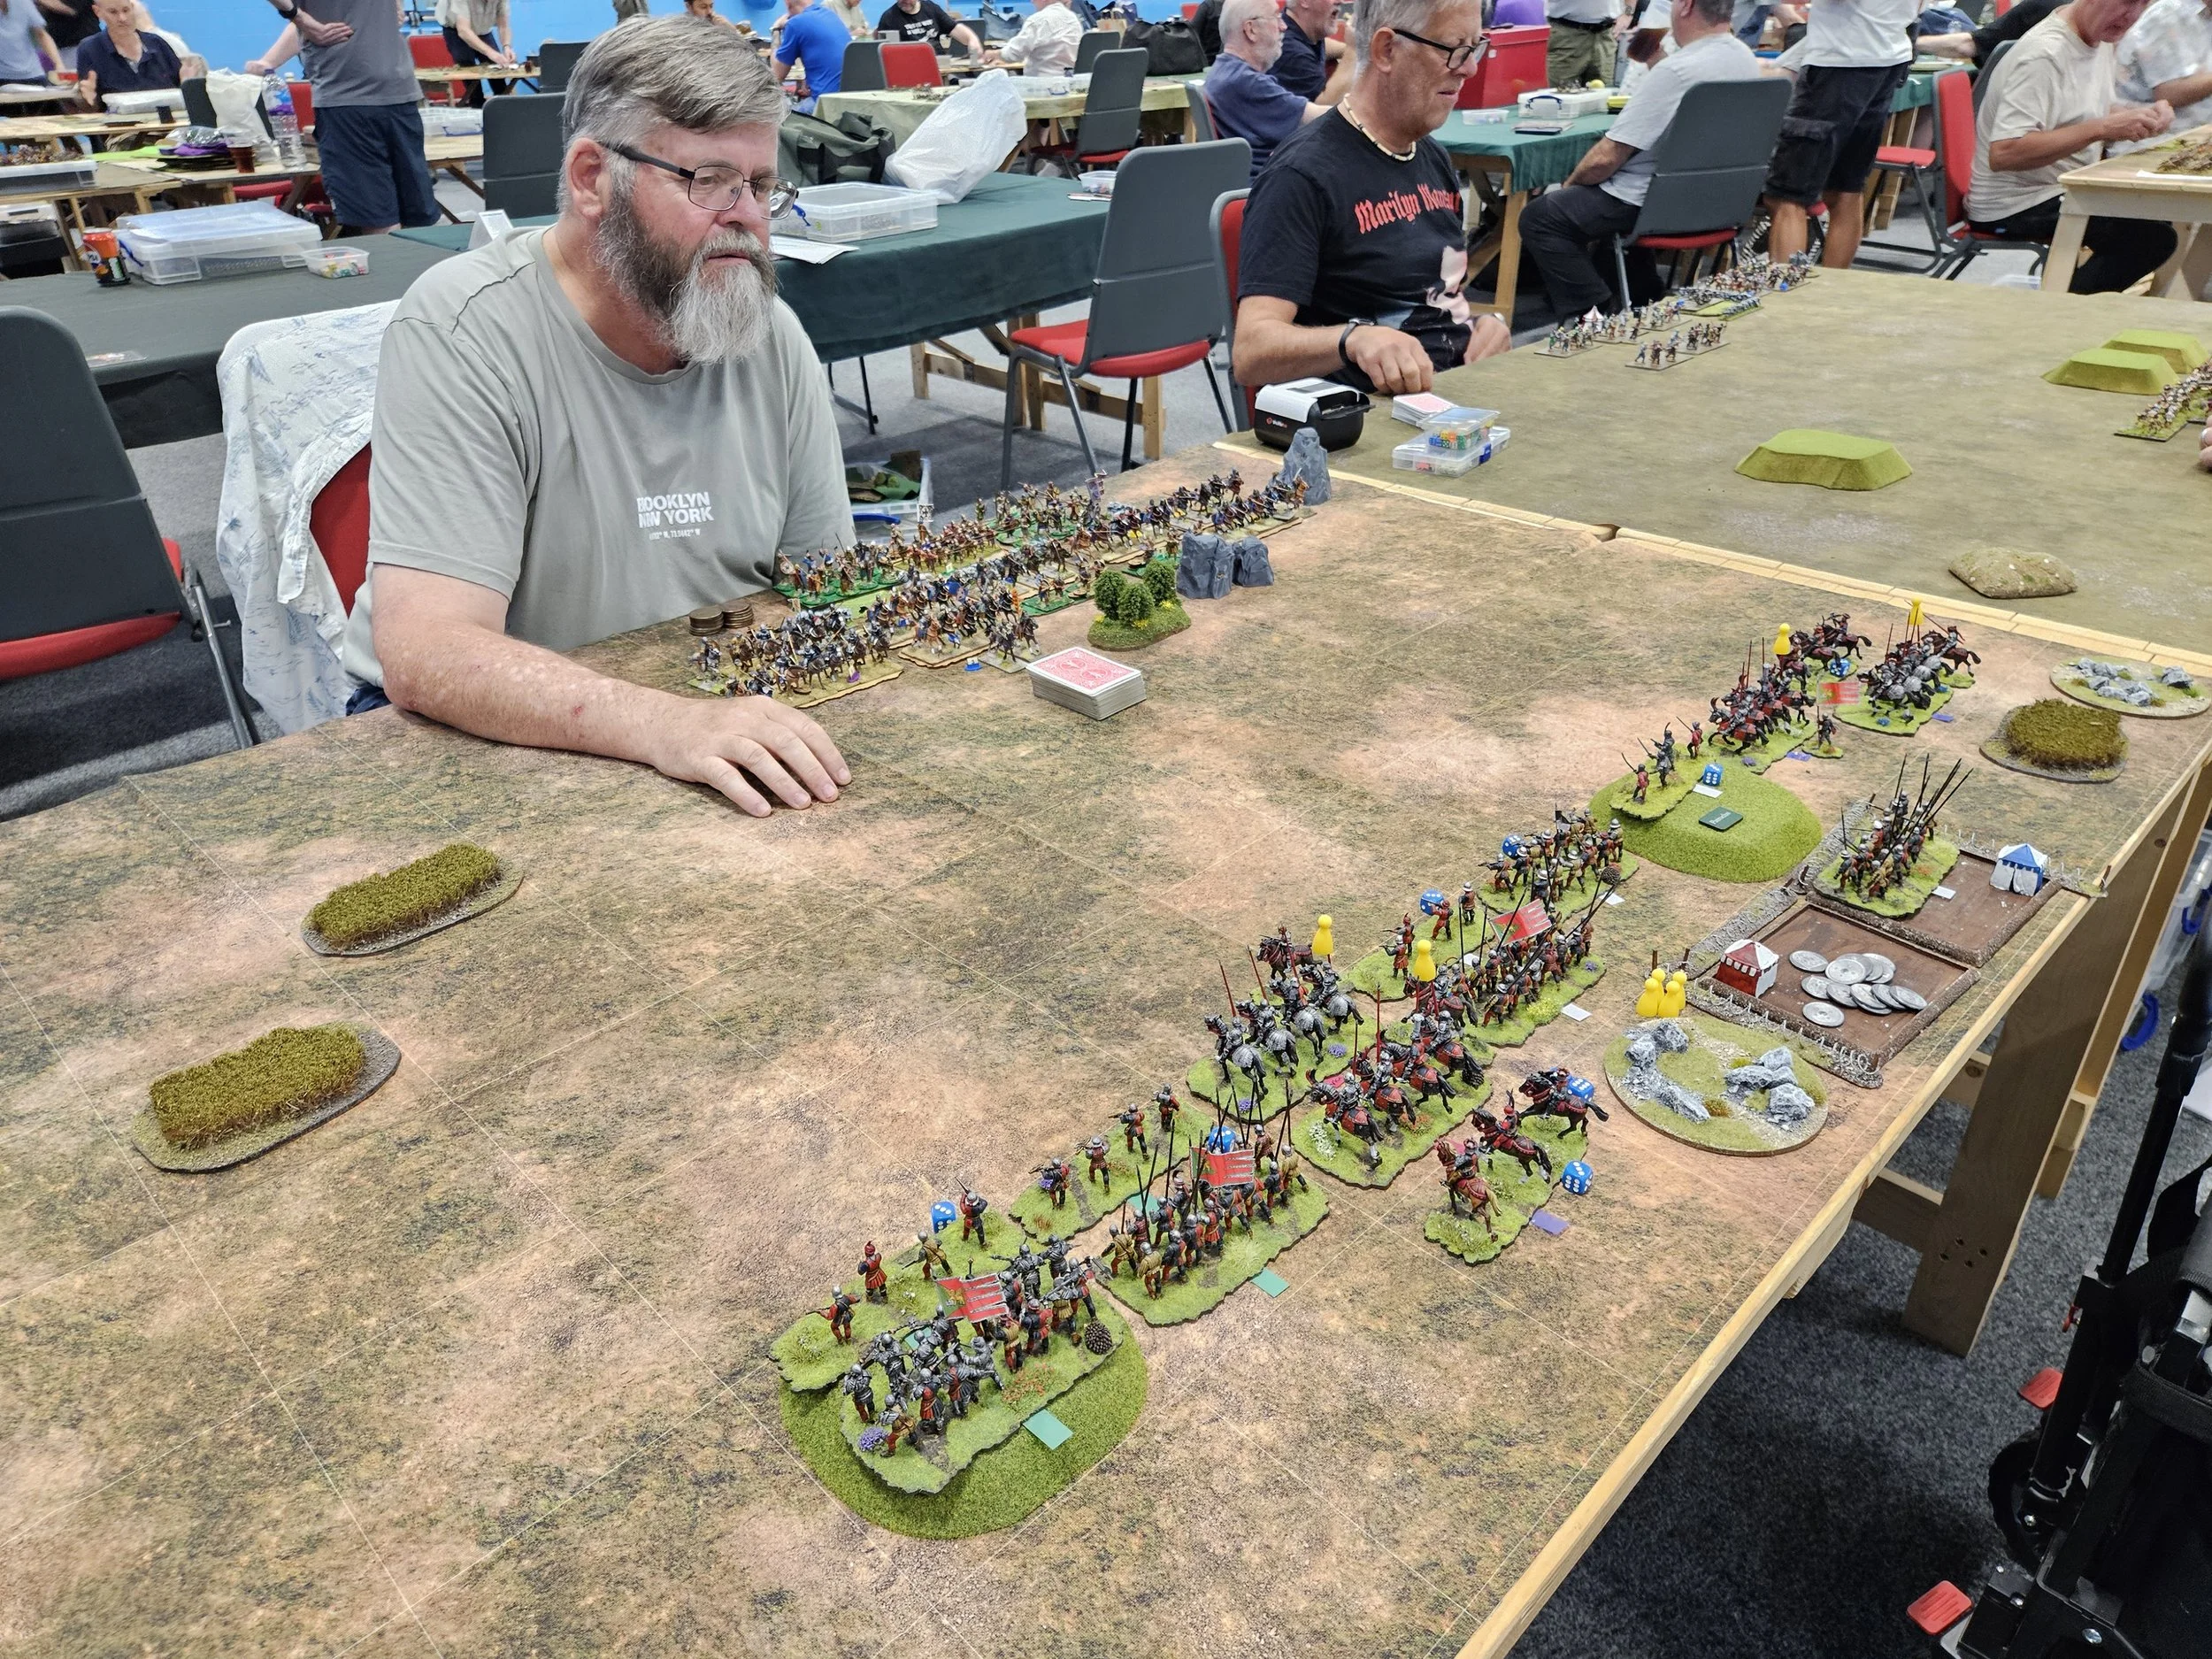
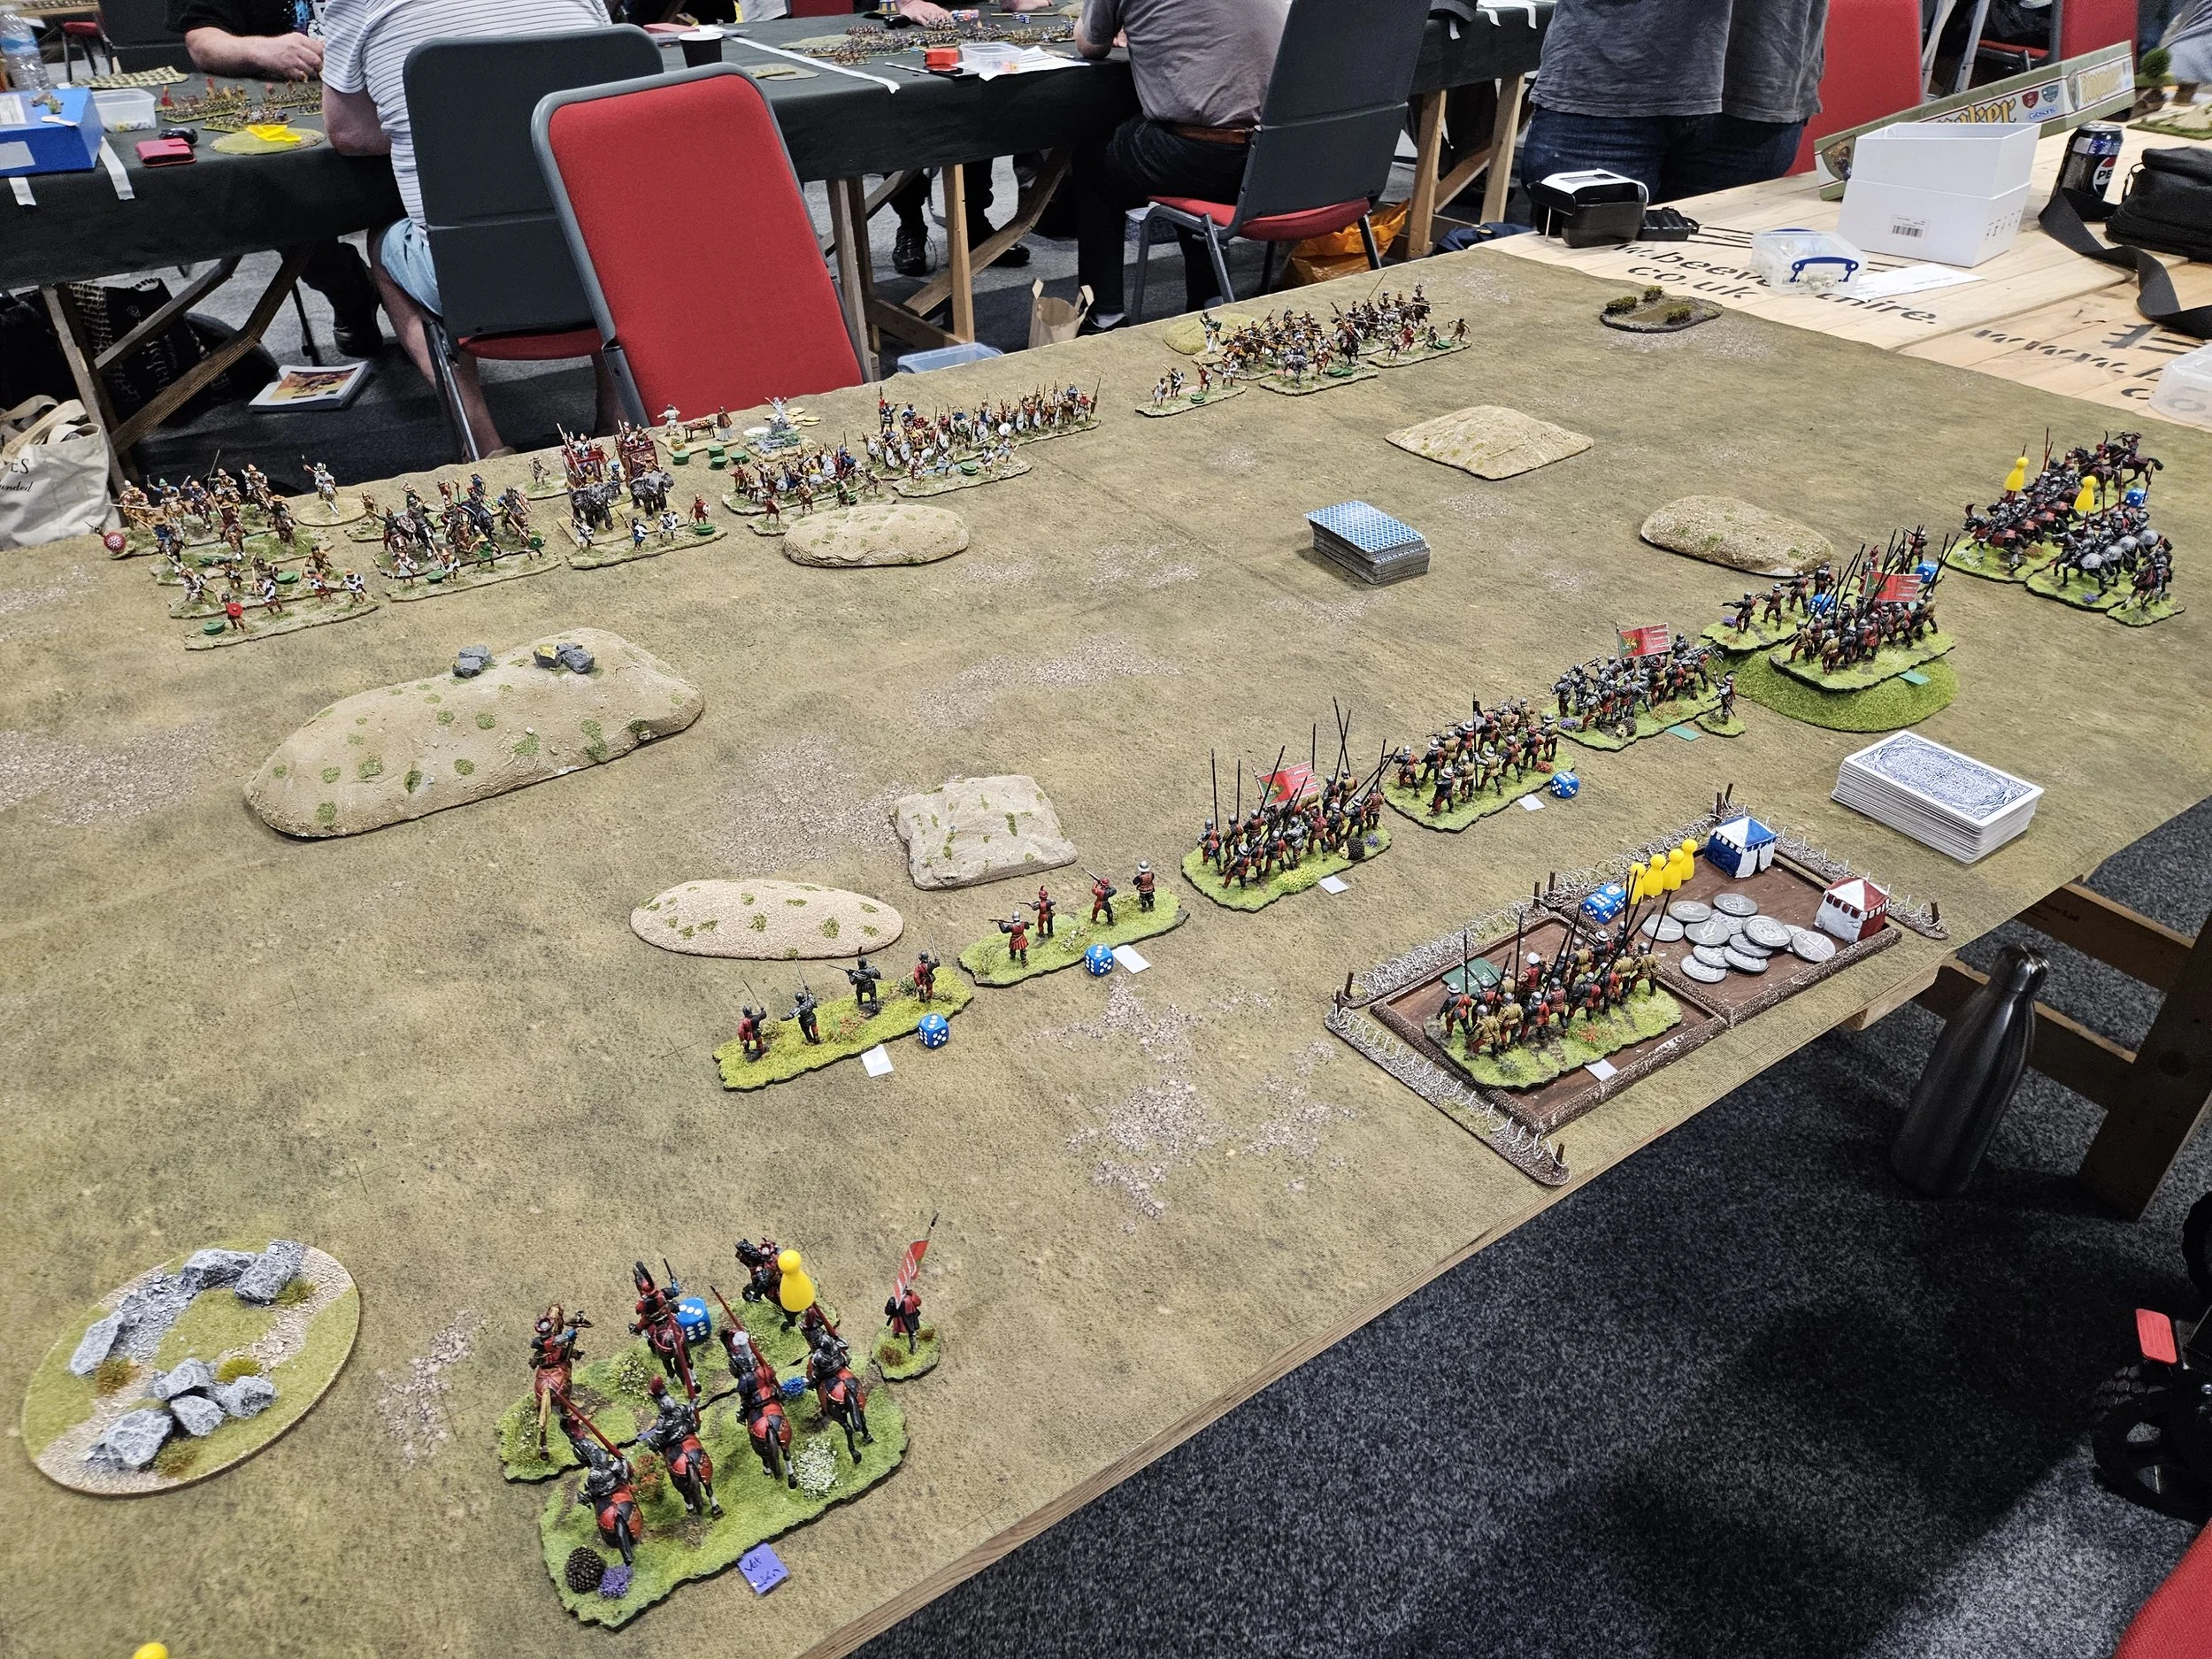
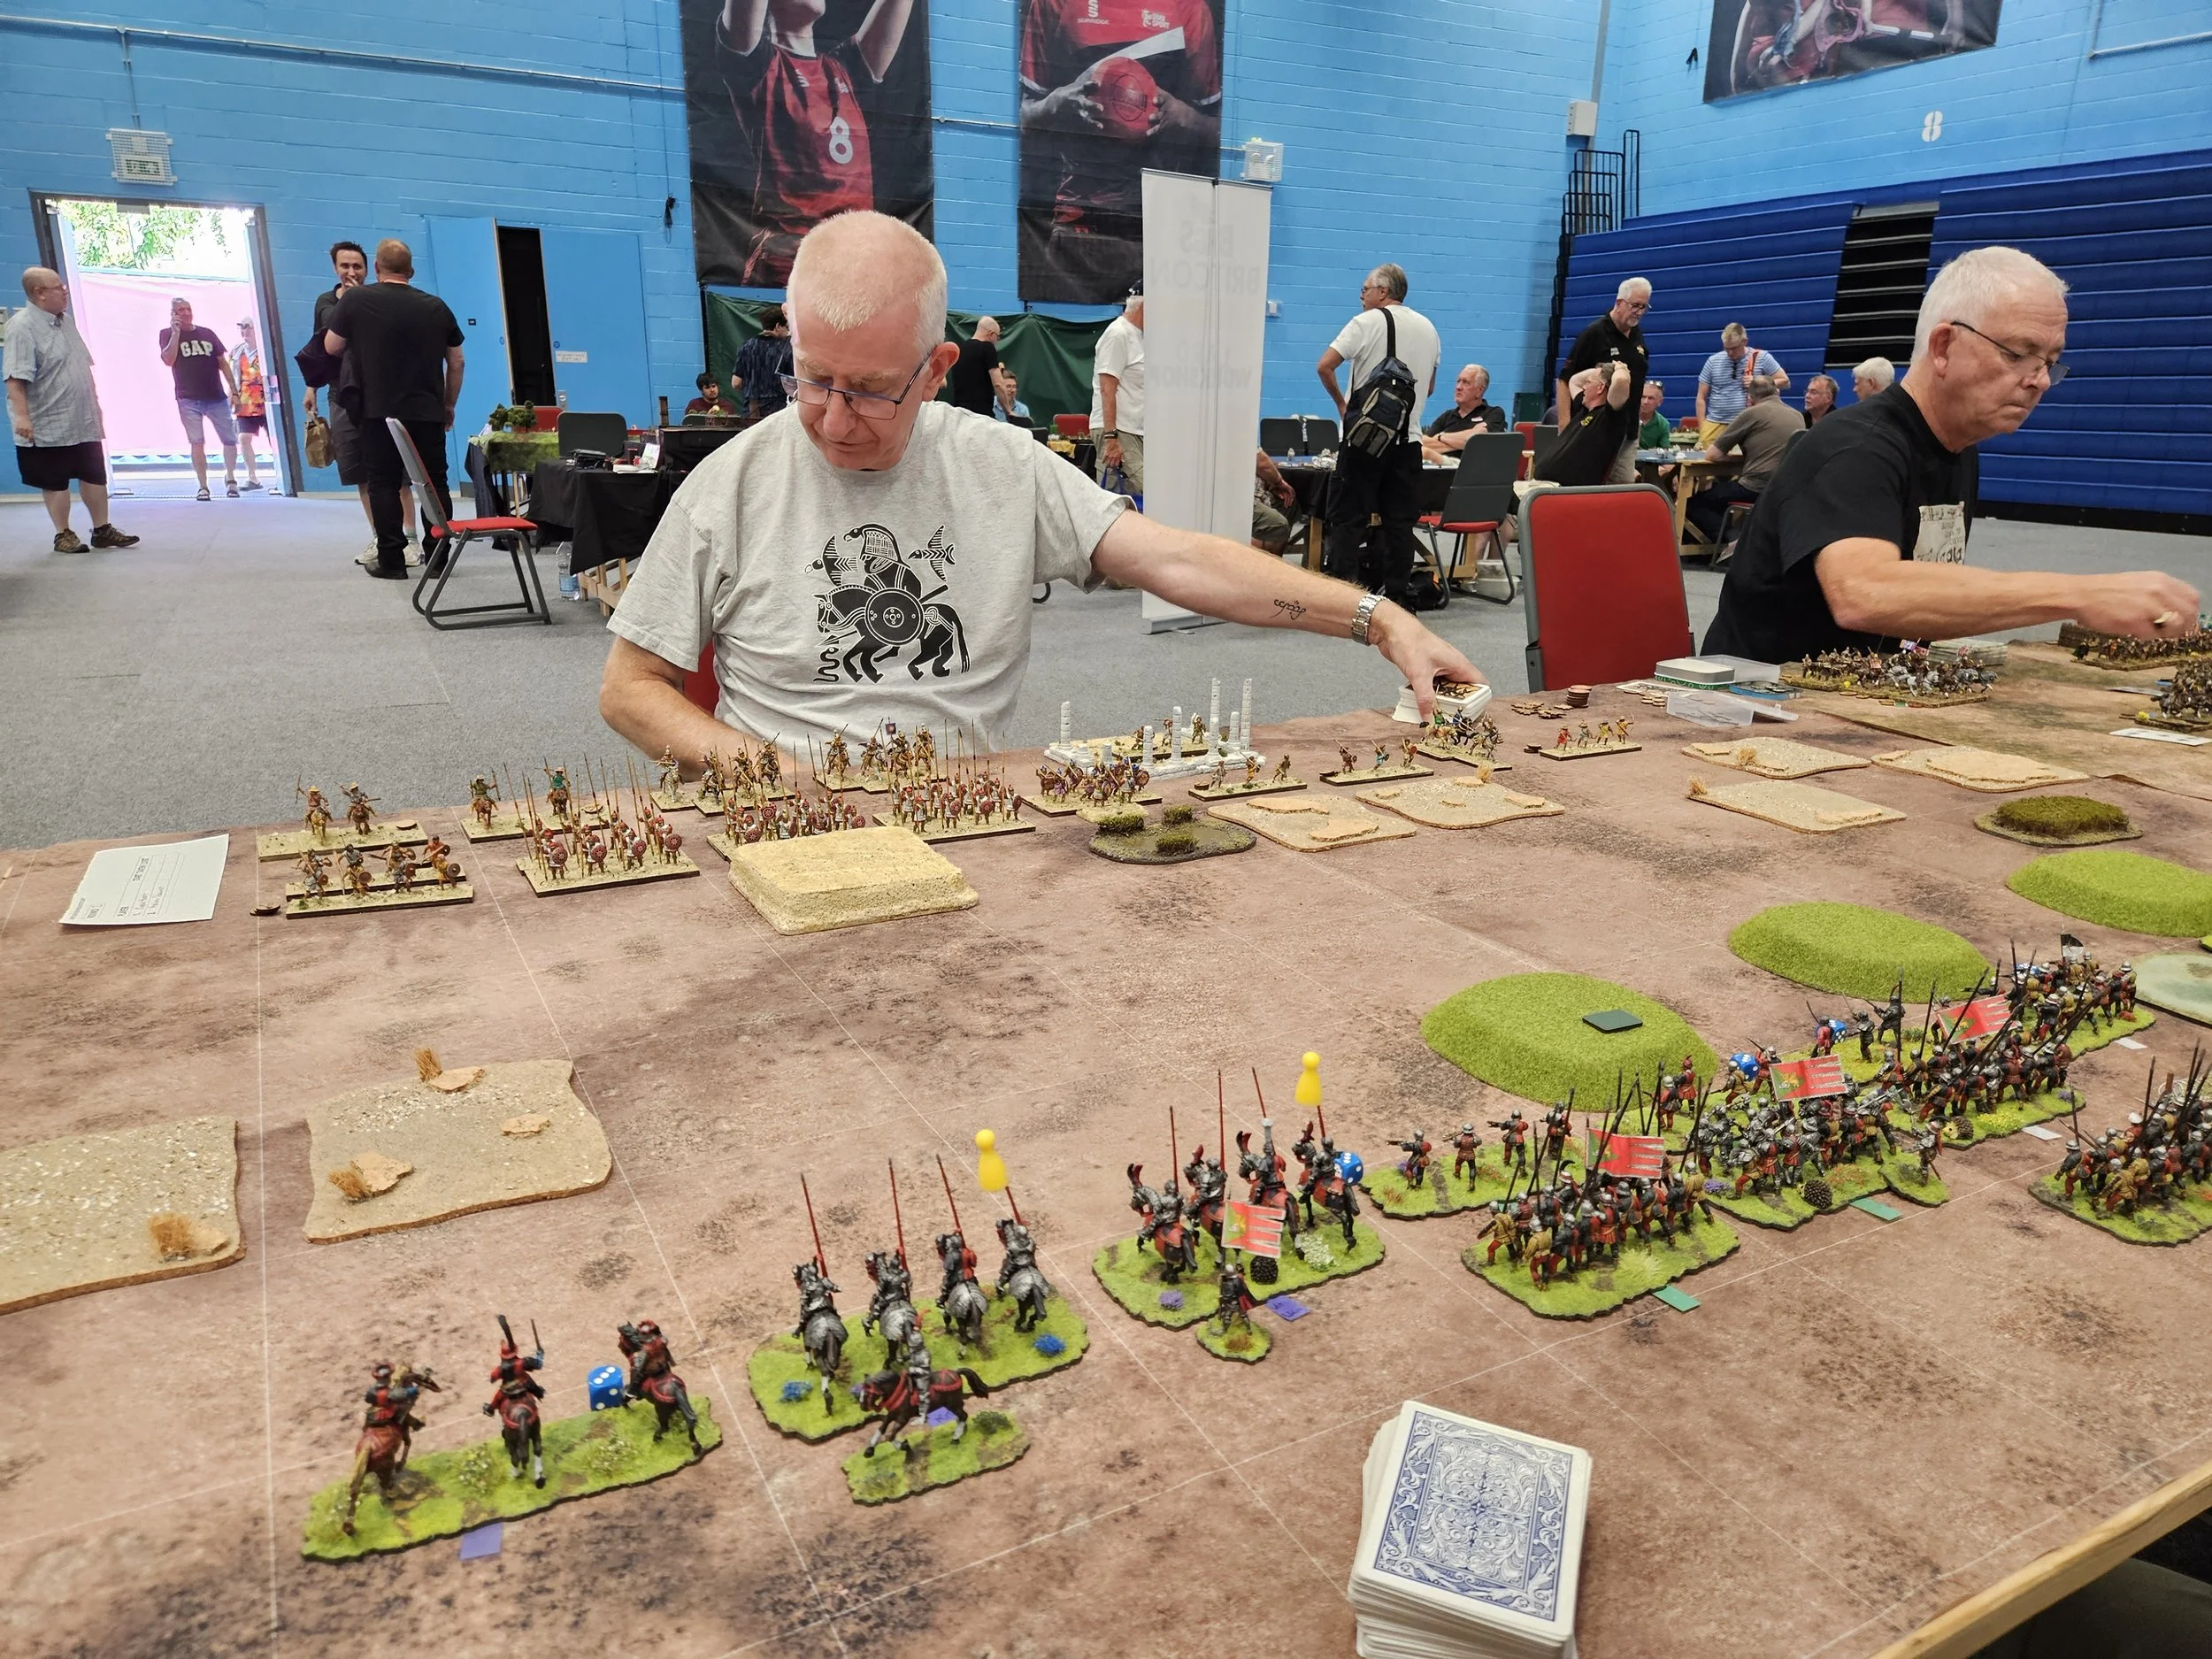
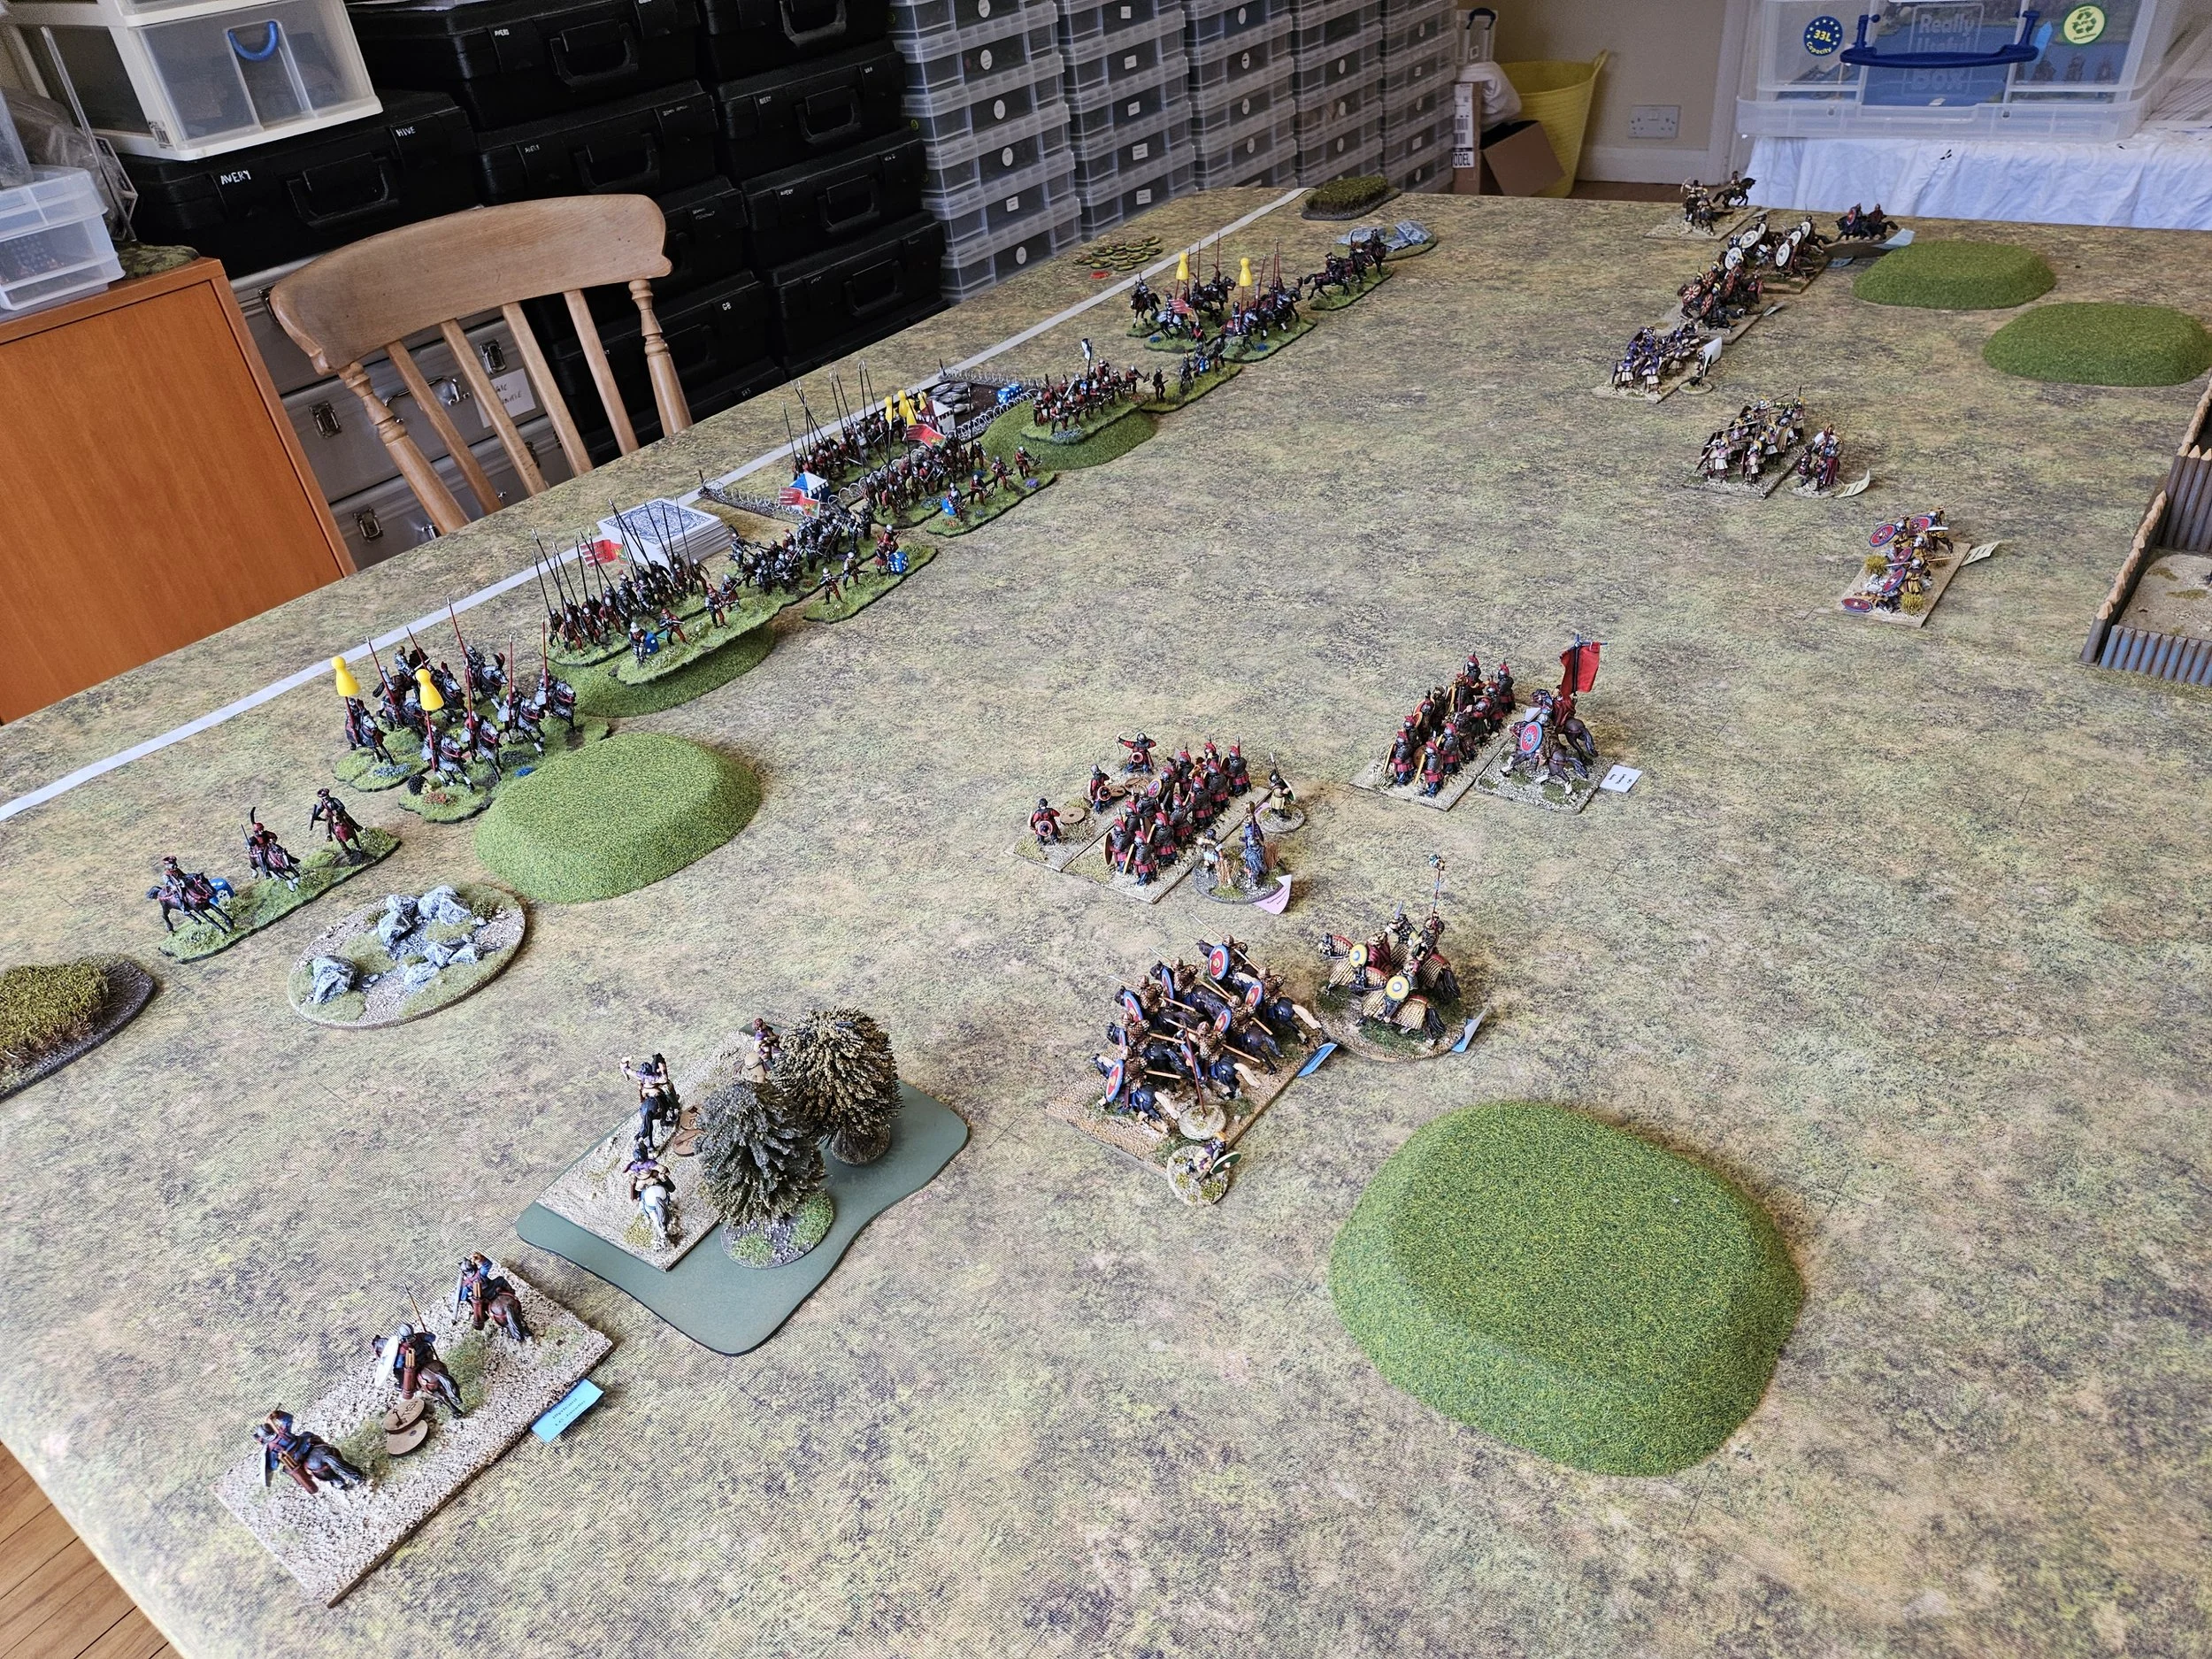
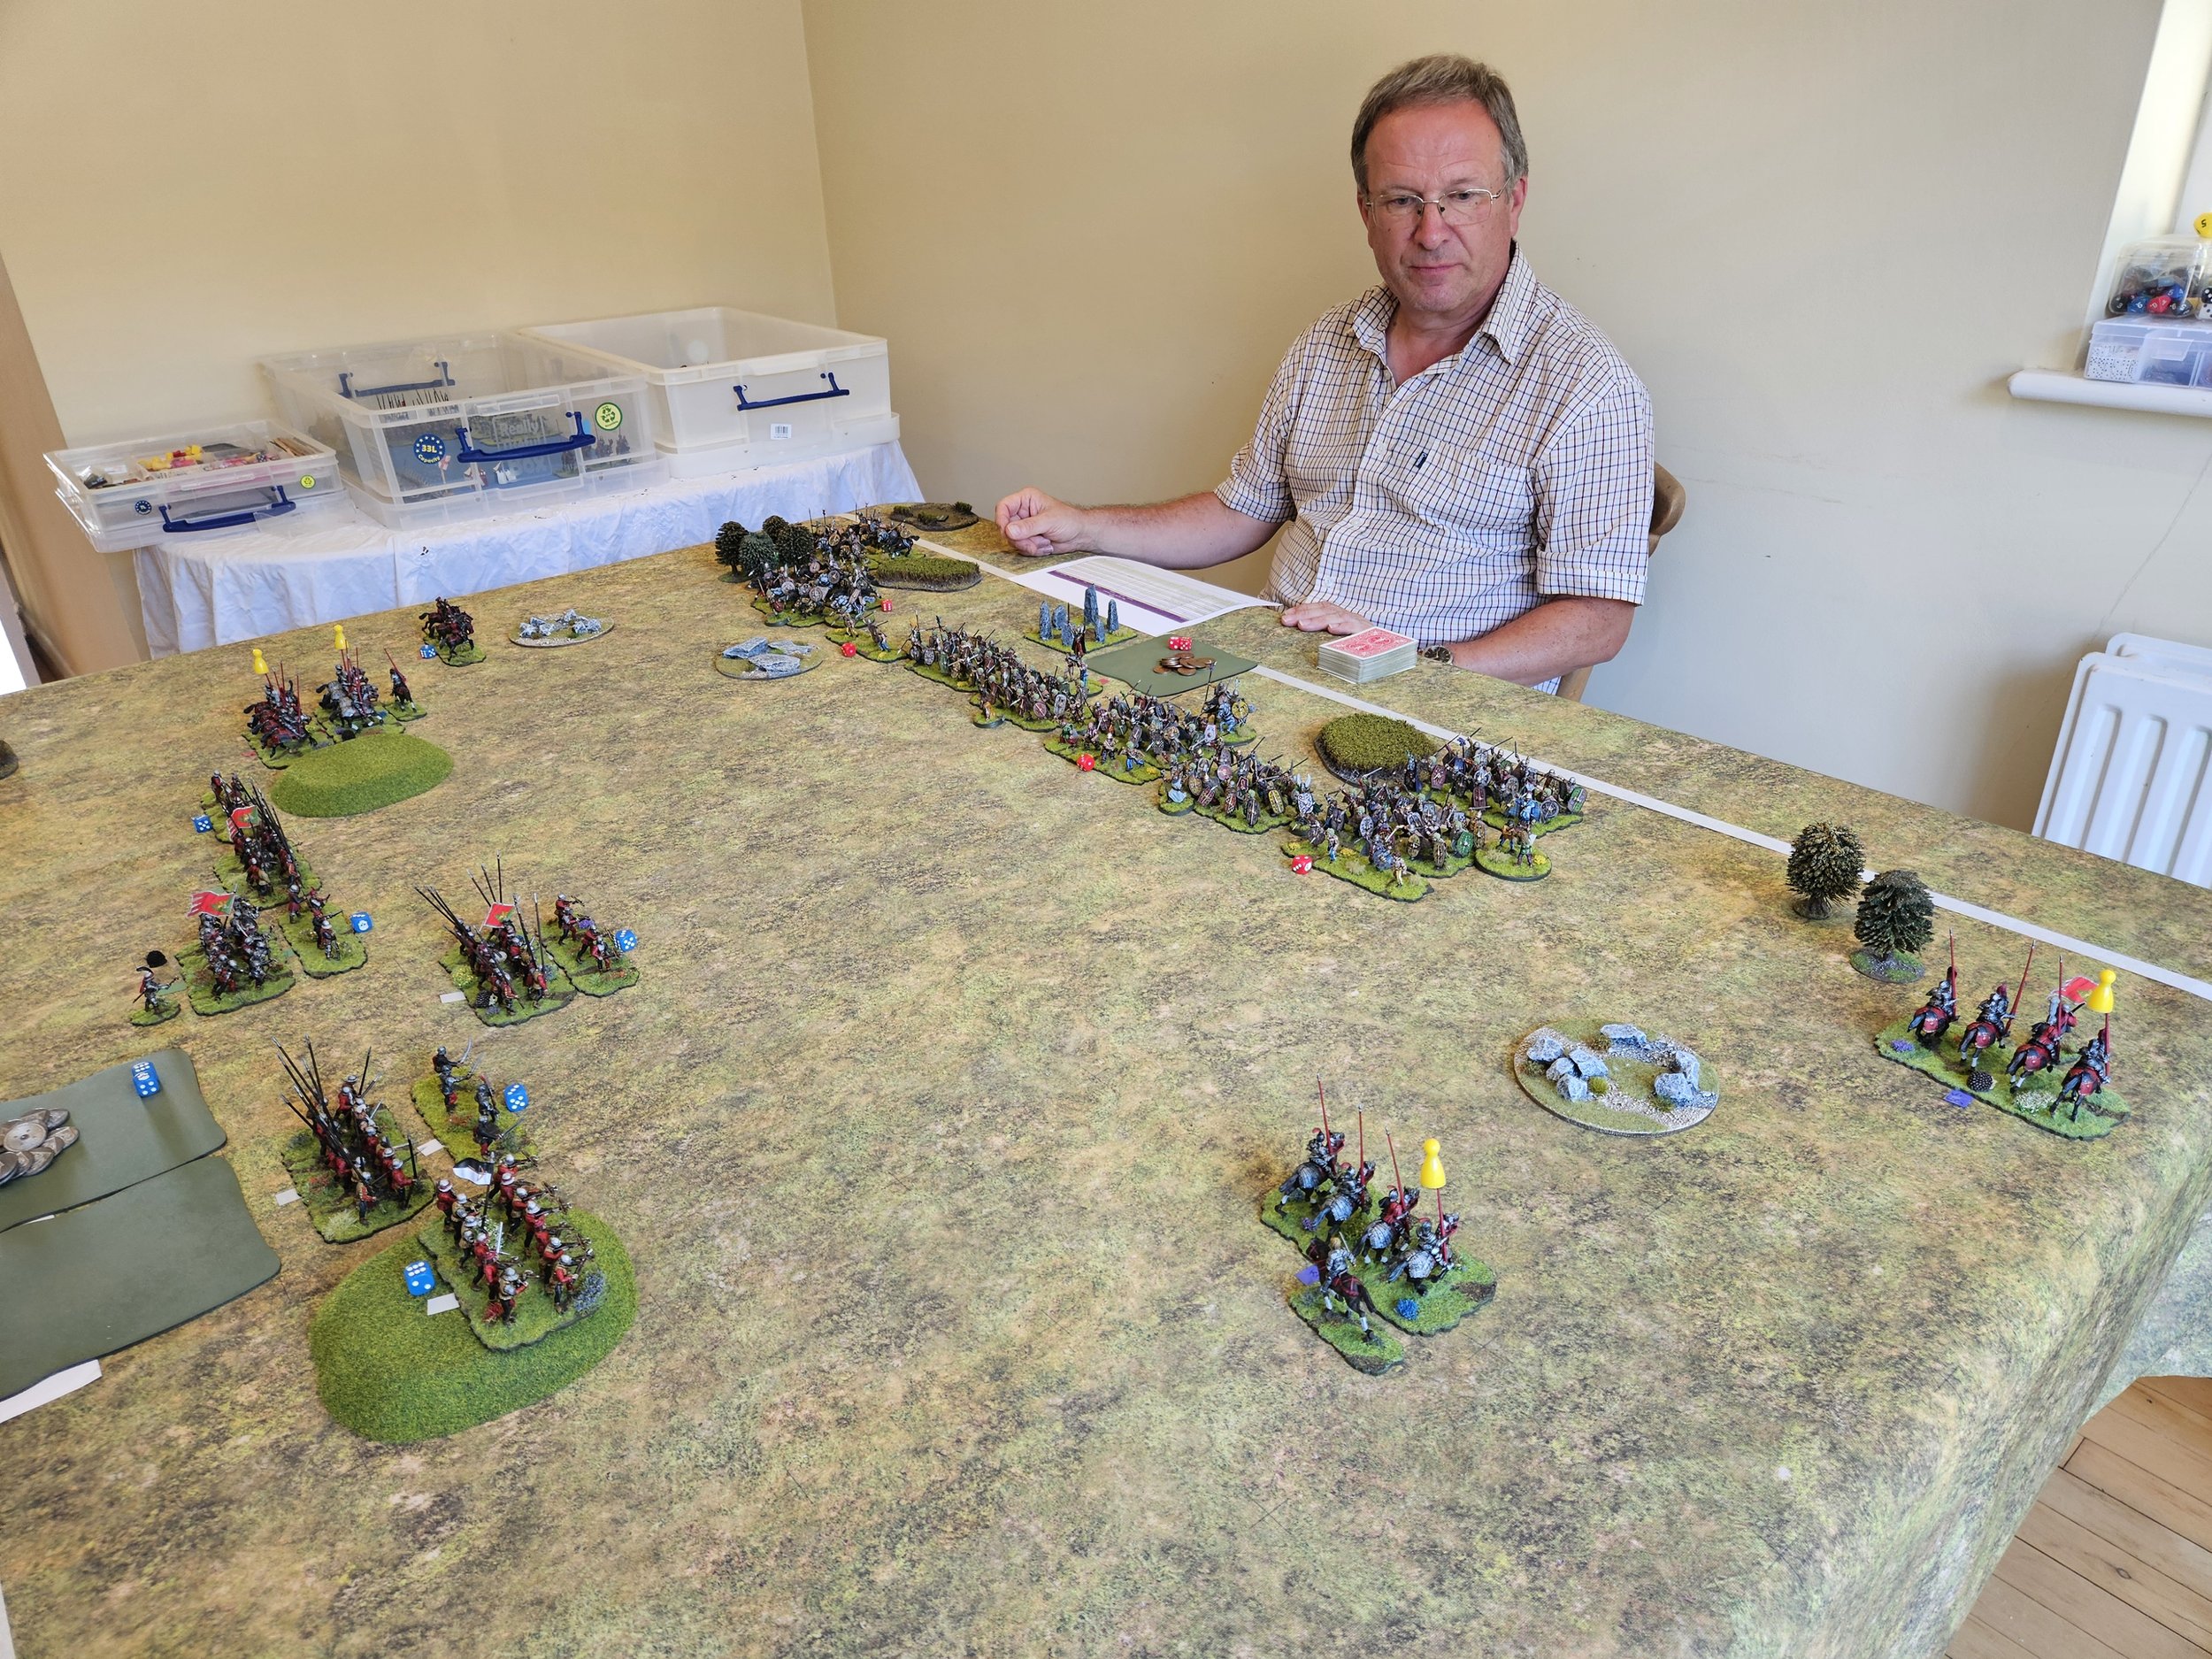
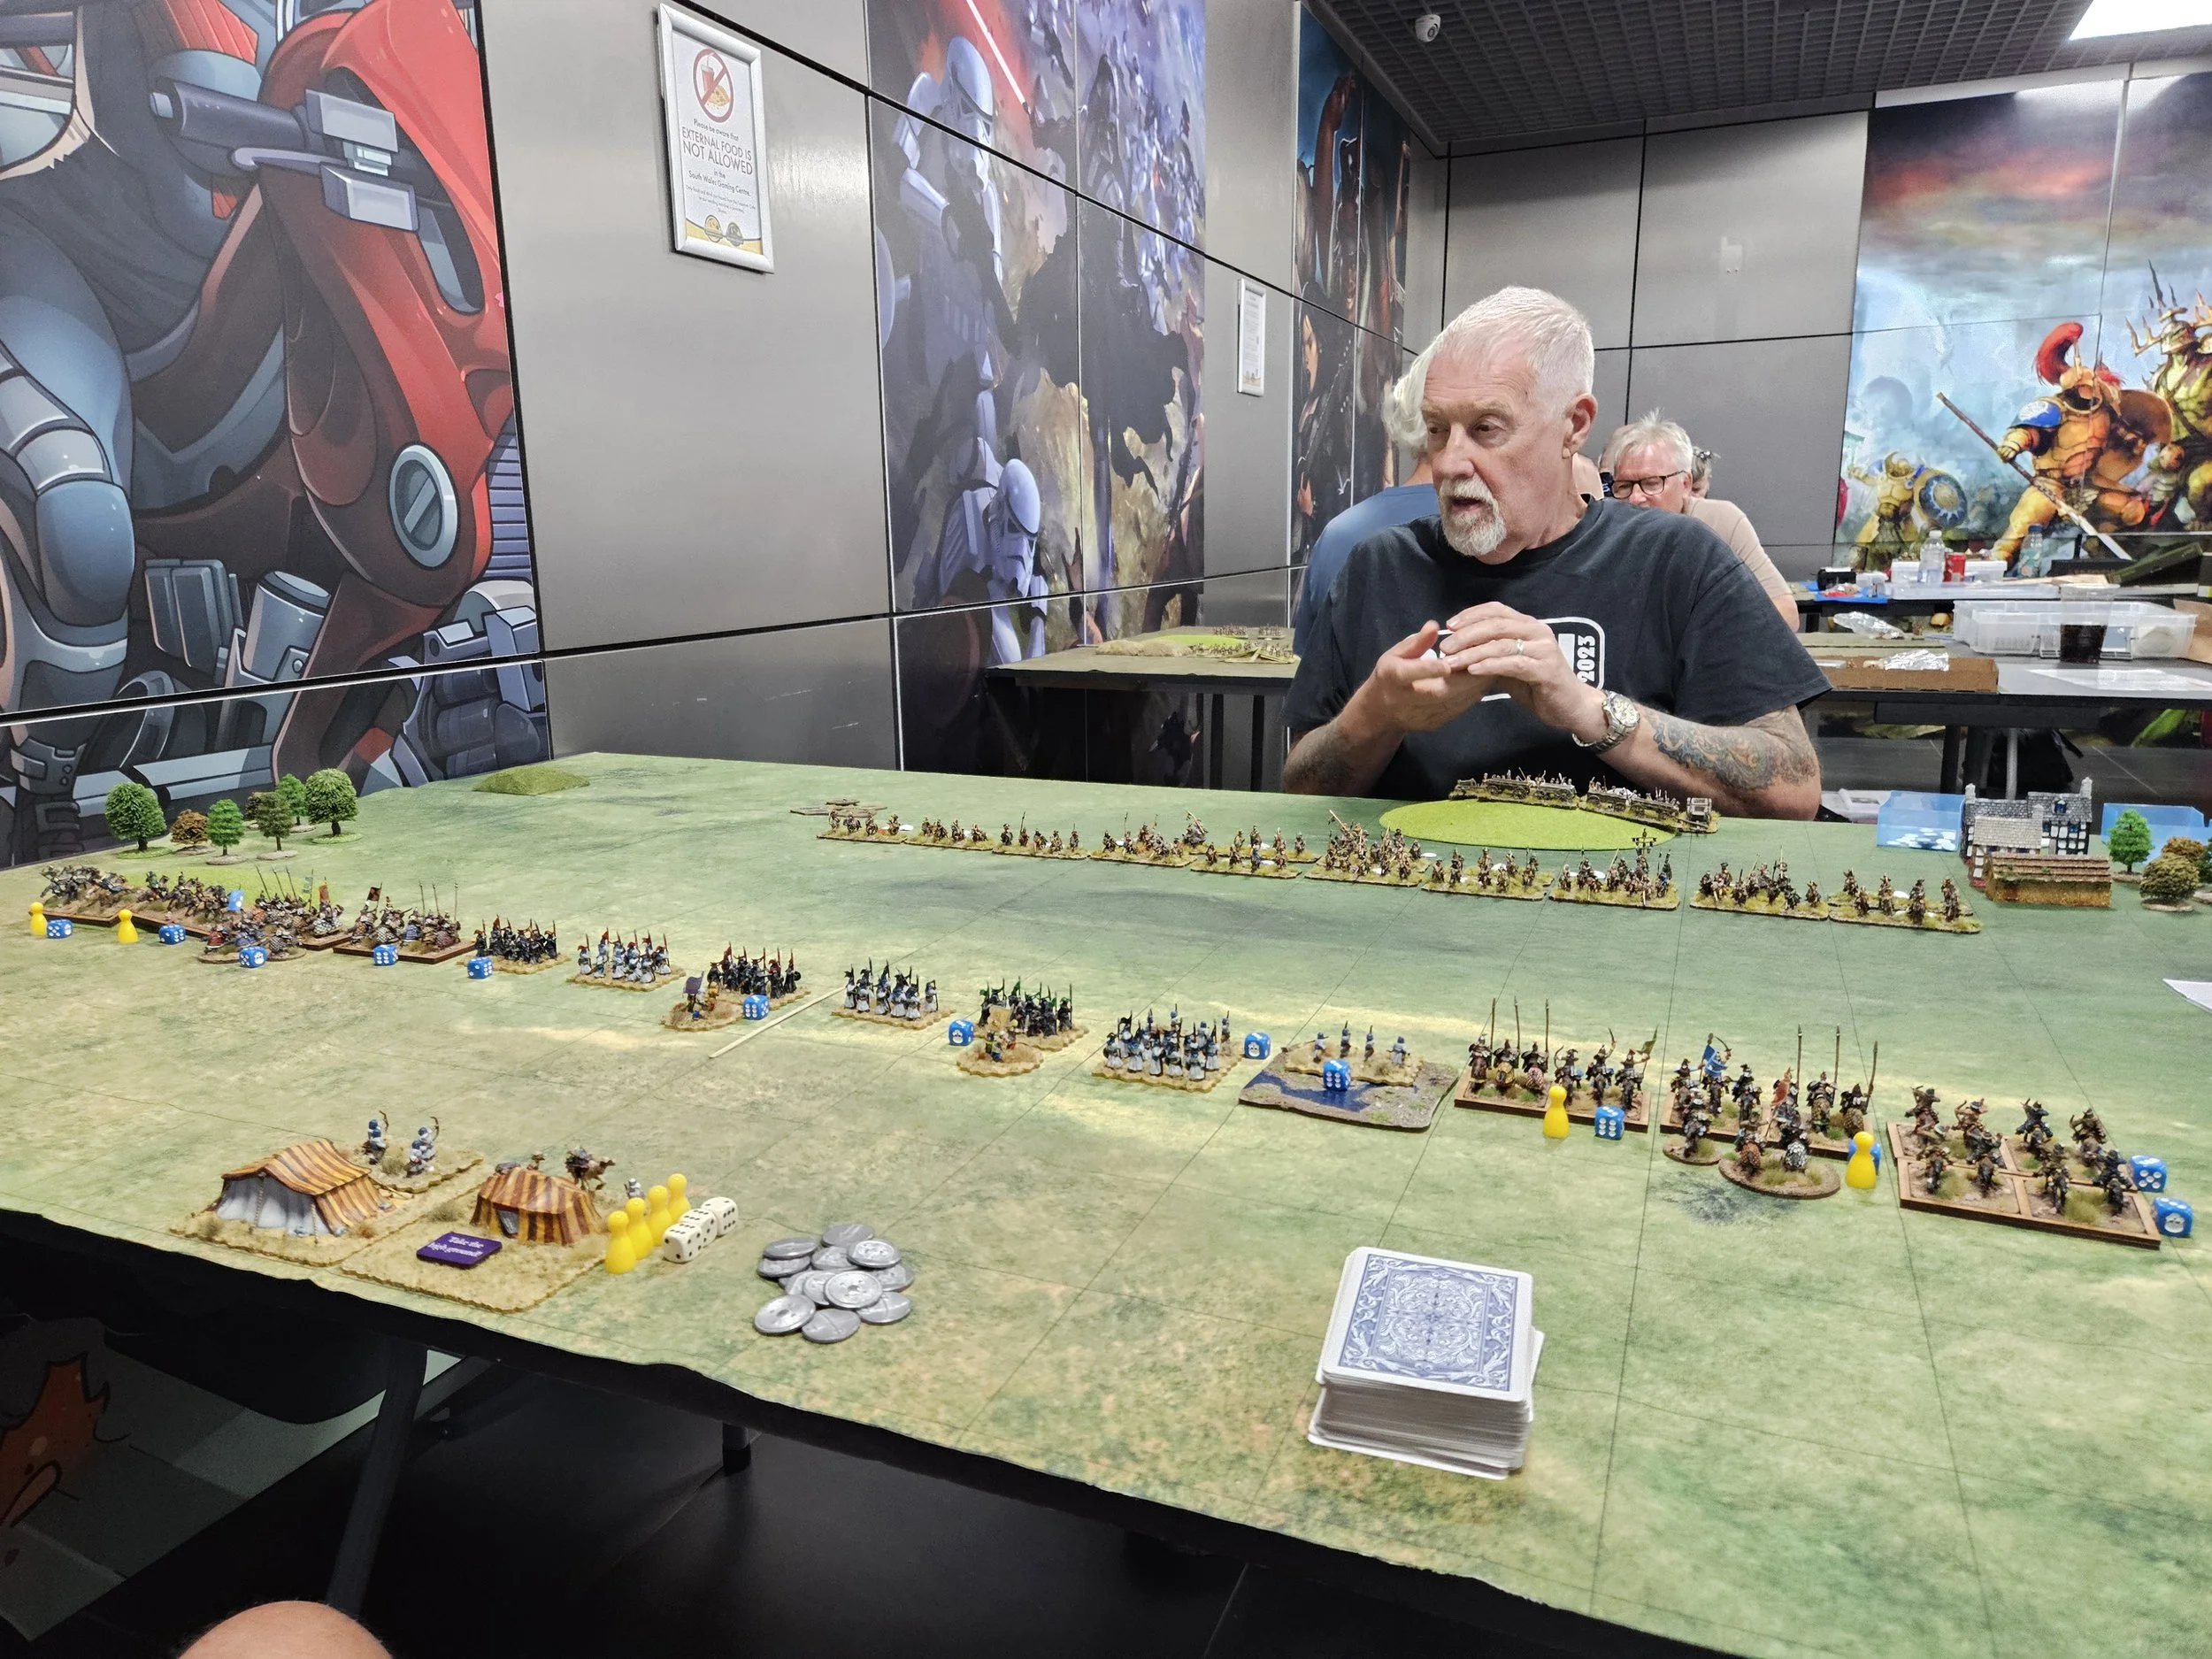
Somewhat unsurprisingly, the Akkadians lost the scouting, so deployed in a long line in the centre of the battlefield, the only outliers being the battle-carts, who were massed on my right flank and used the Take the High Ground strategy to push further towards the Persians.
My plan was simple: hold the left flank against an expected Sassanid outflanking manouevre; advance the centre in order to temp the Persians into charging my spearmen whilst soaking up their bowfire with my pavises; slam the battle-carts forward to crush and then turn the enemy left flank.
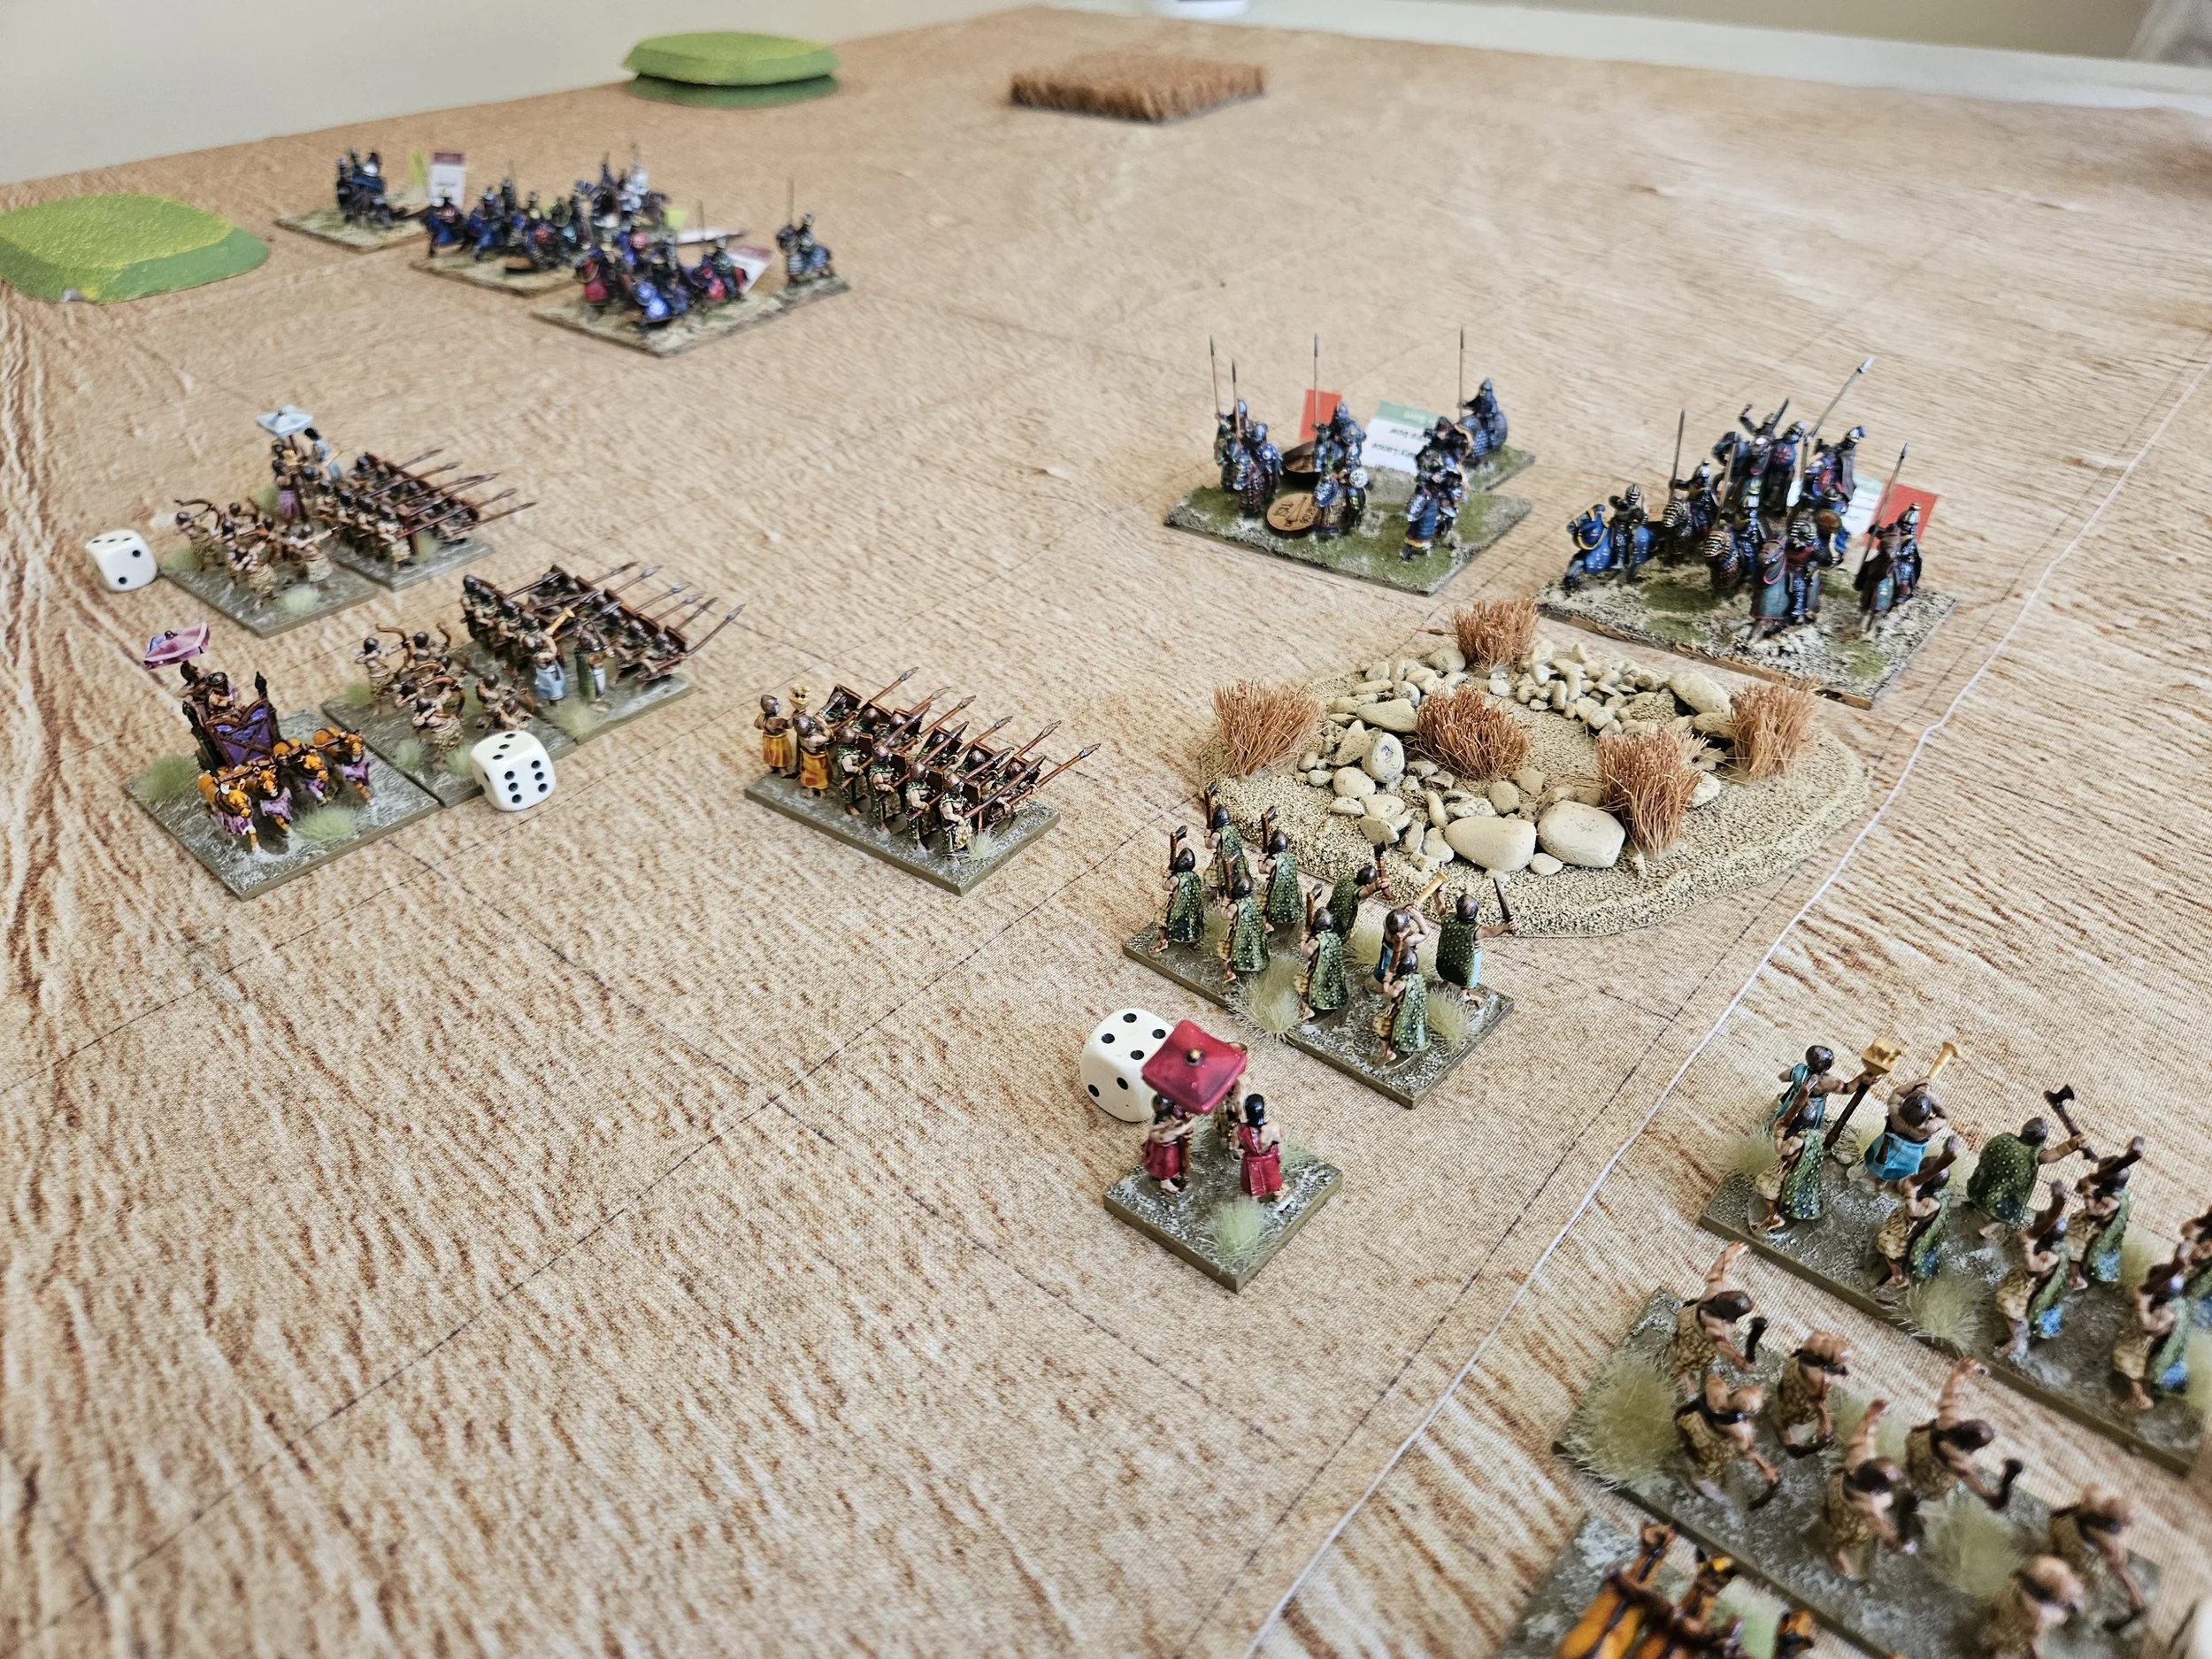
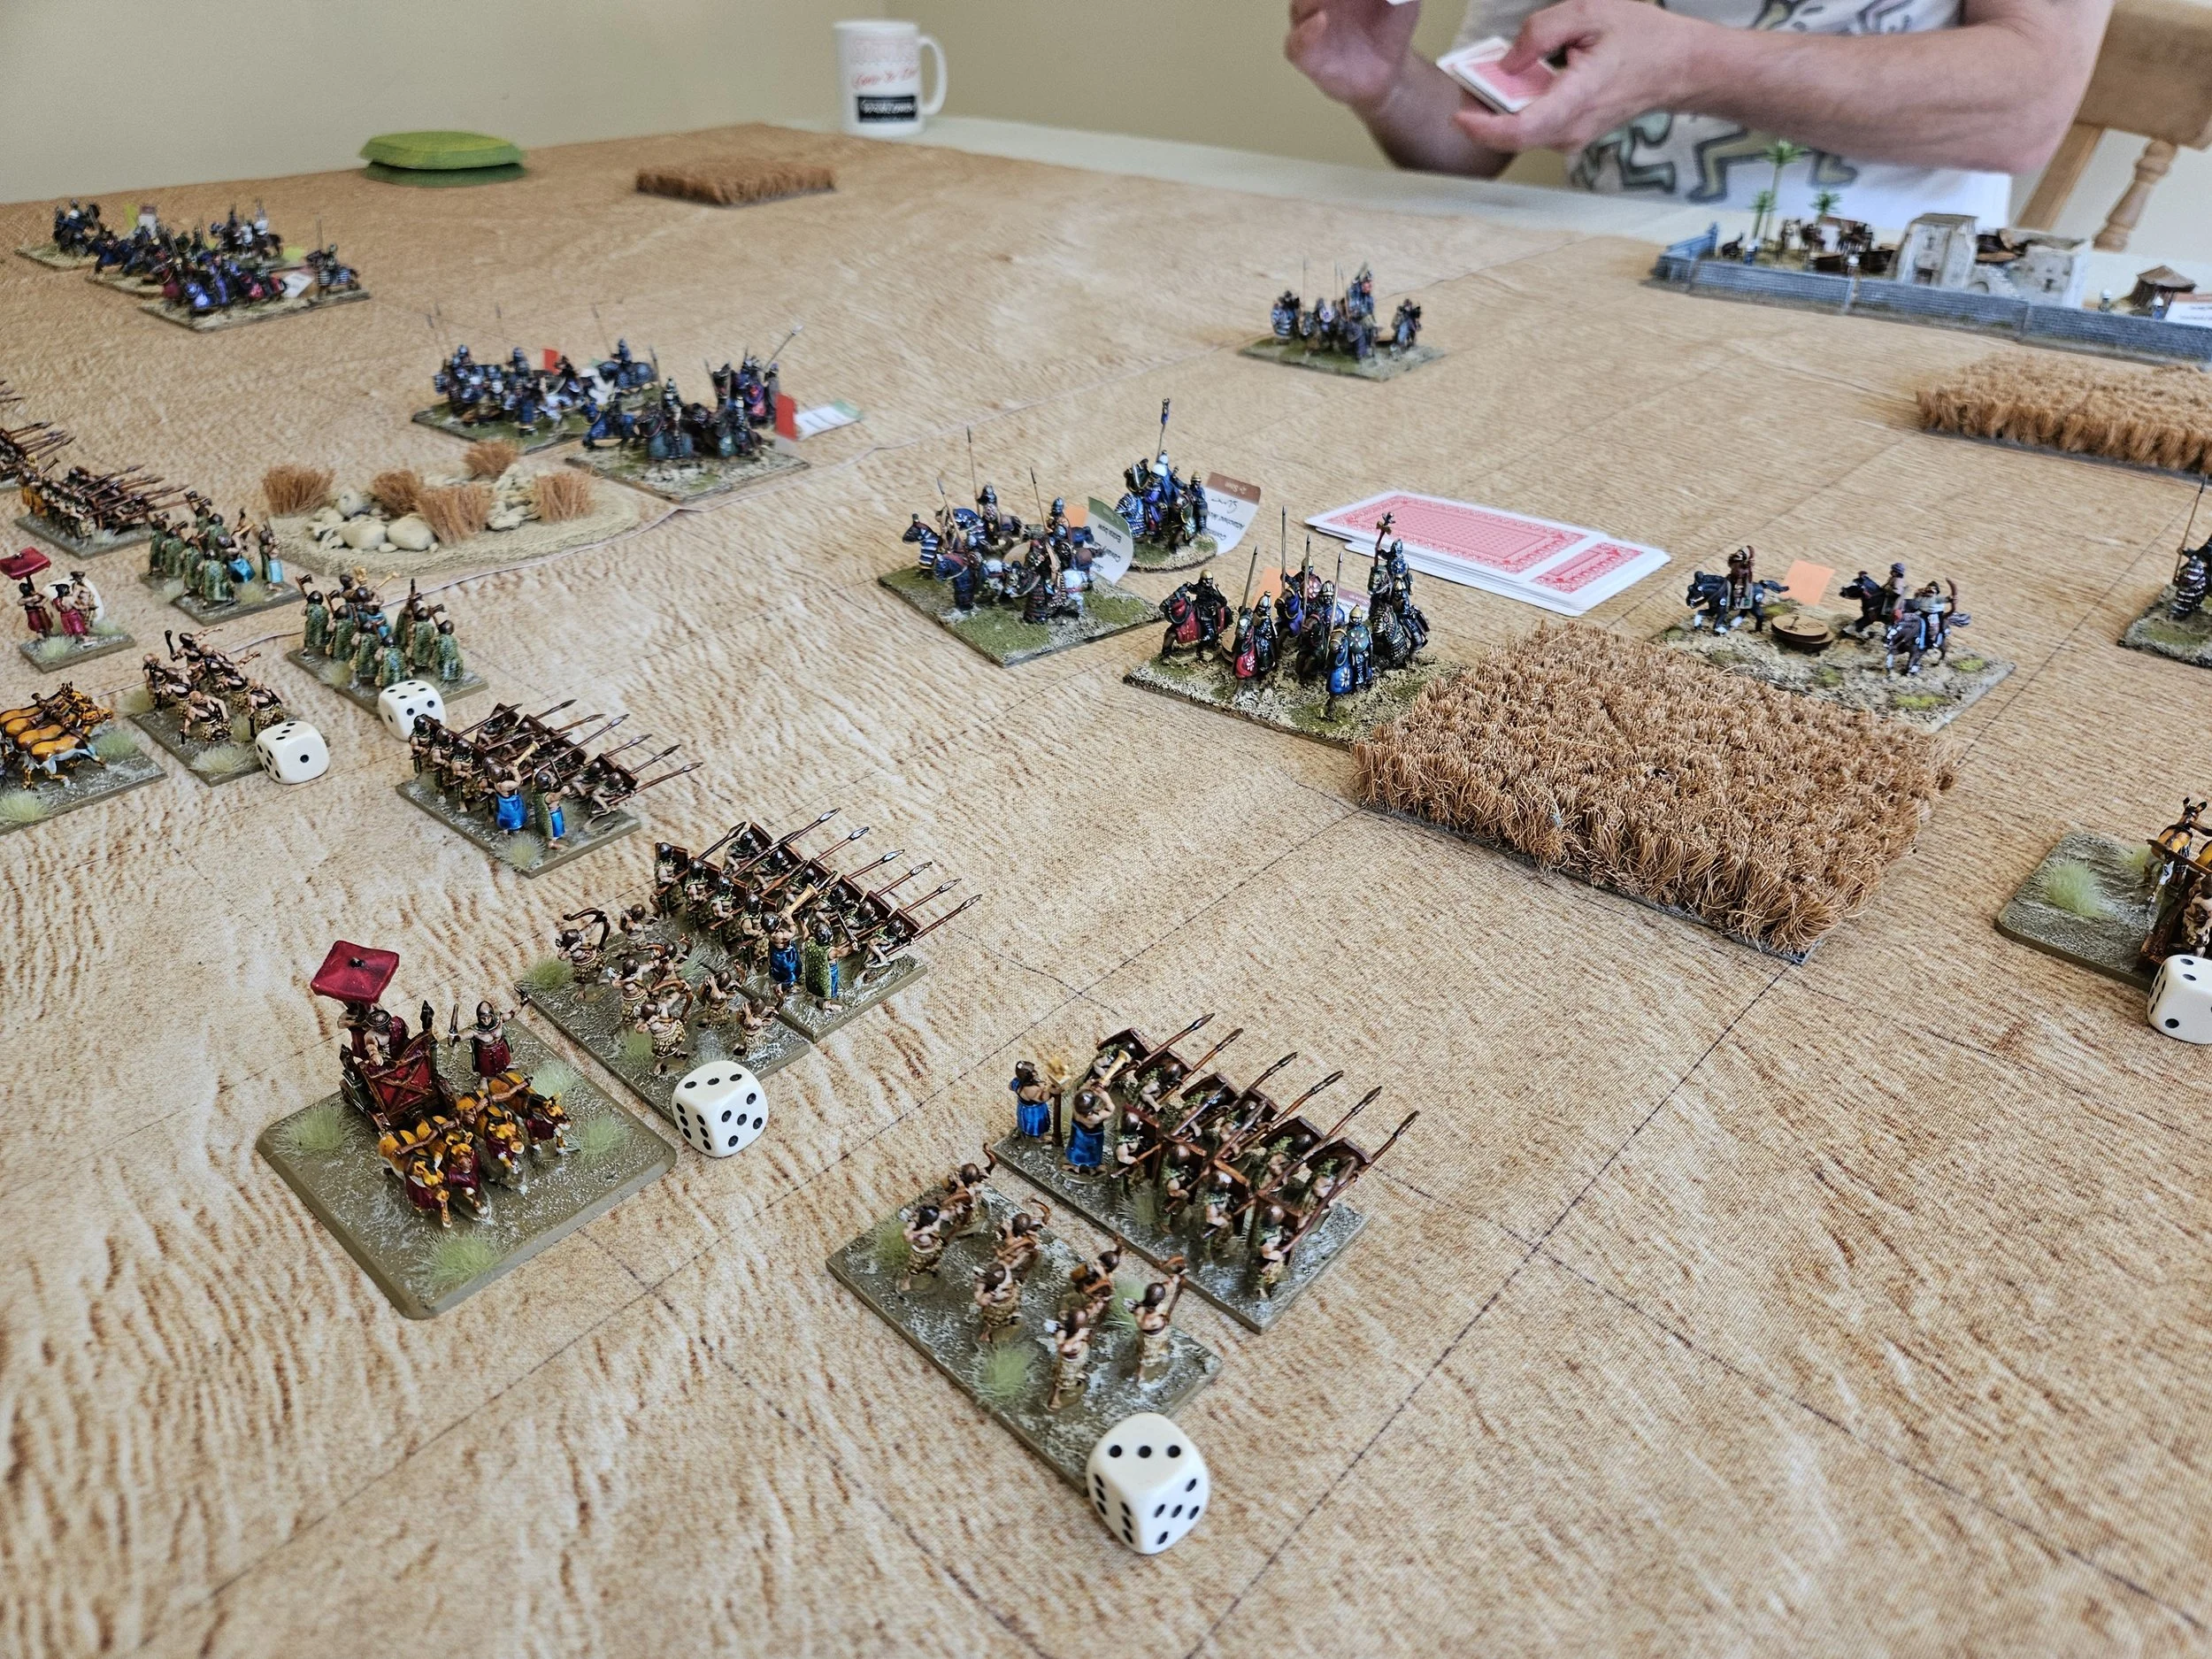
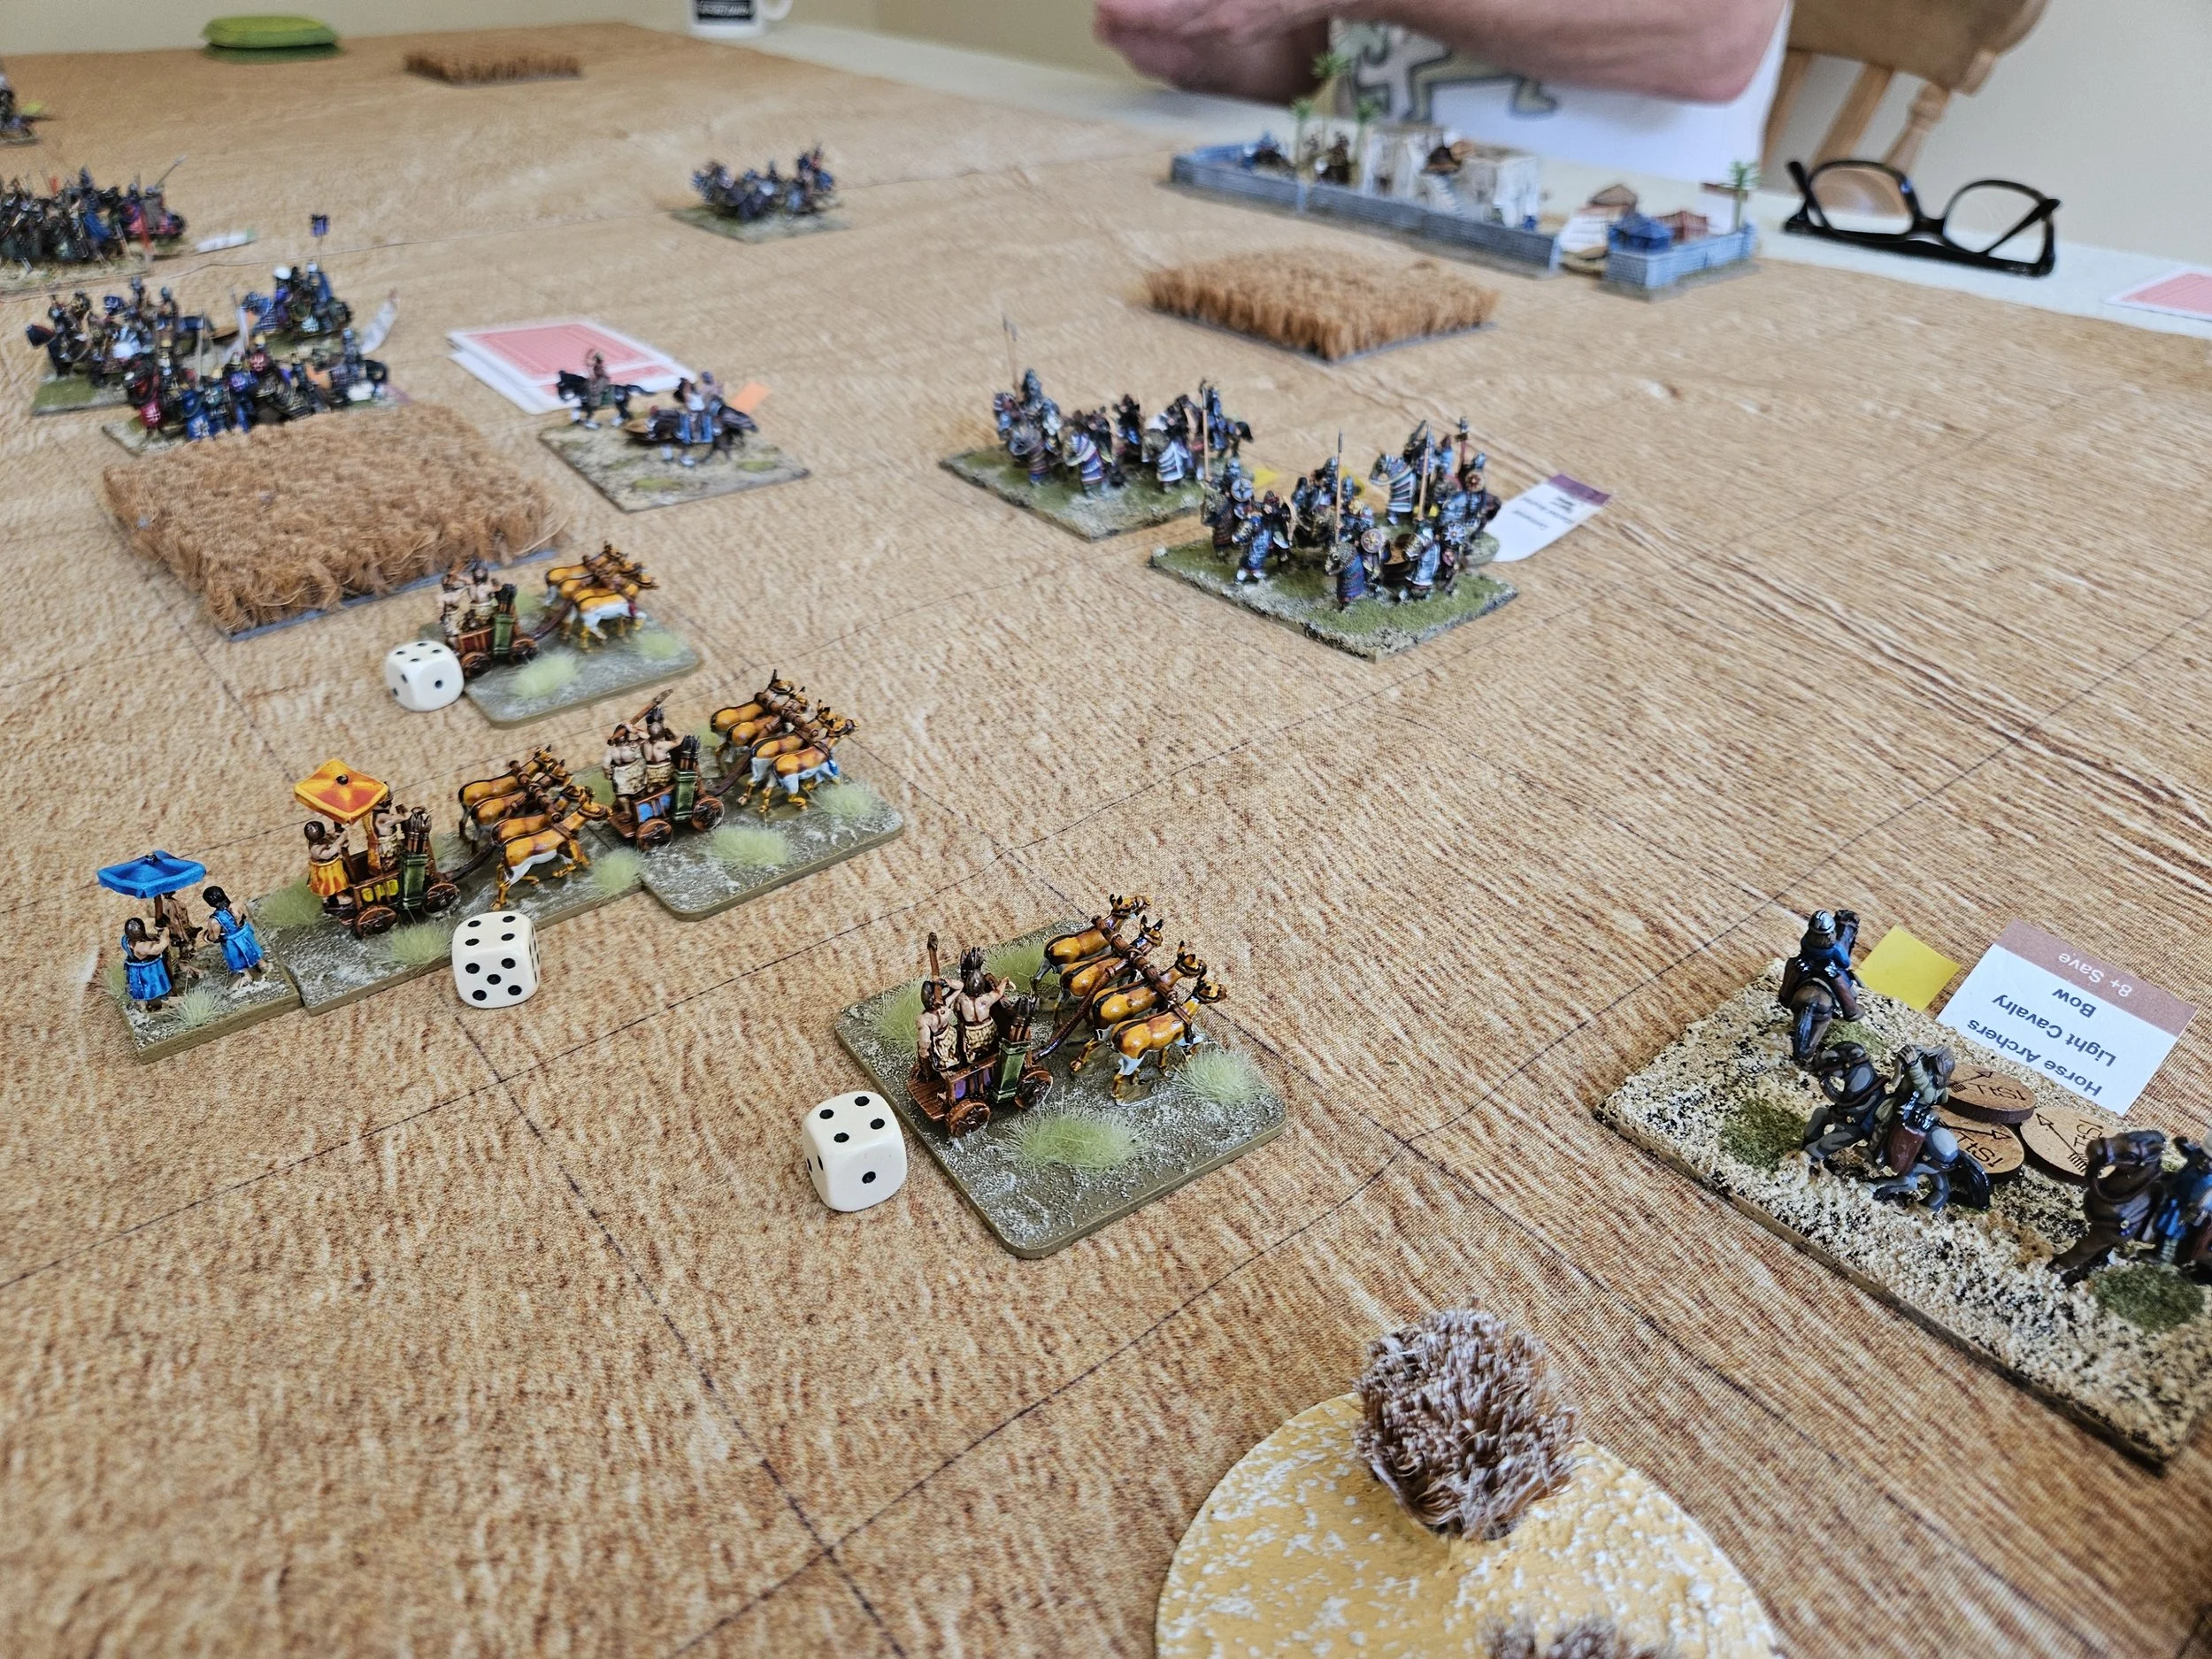
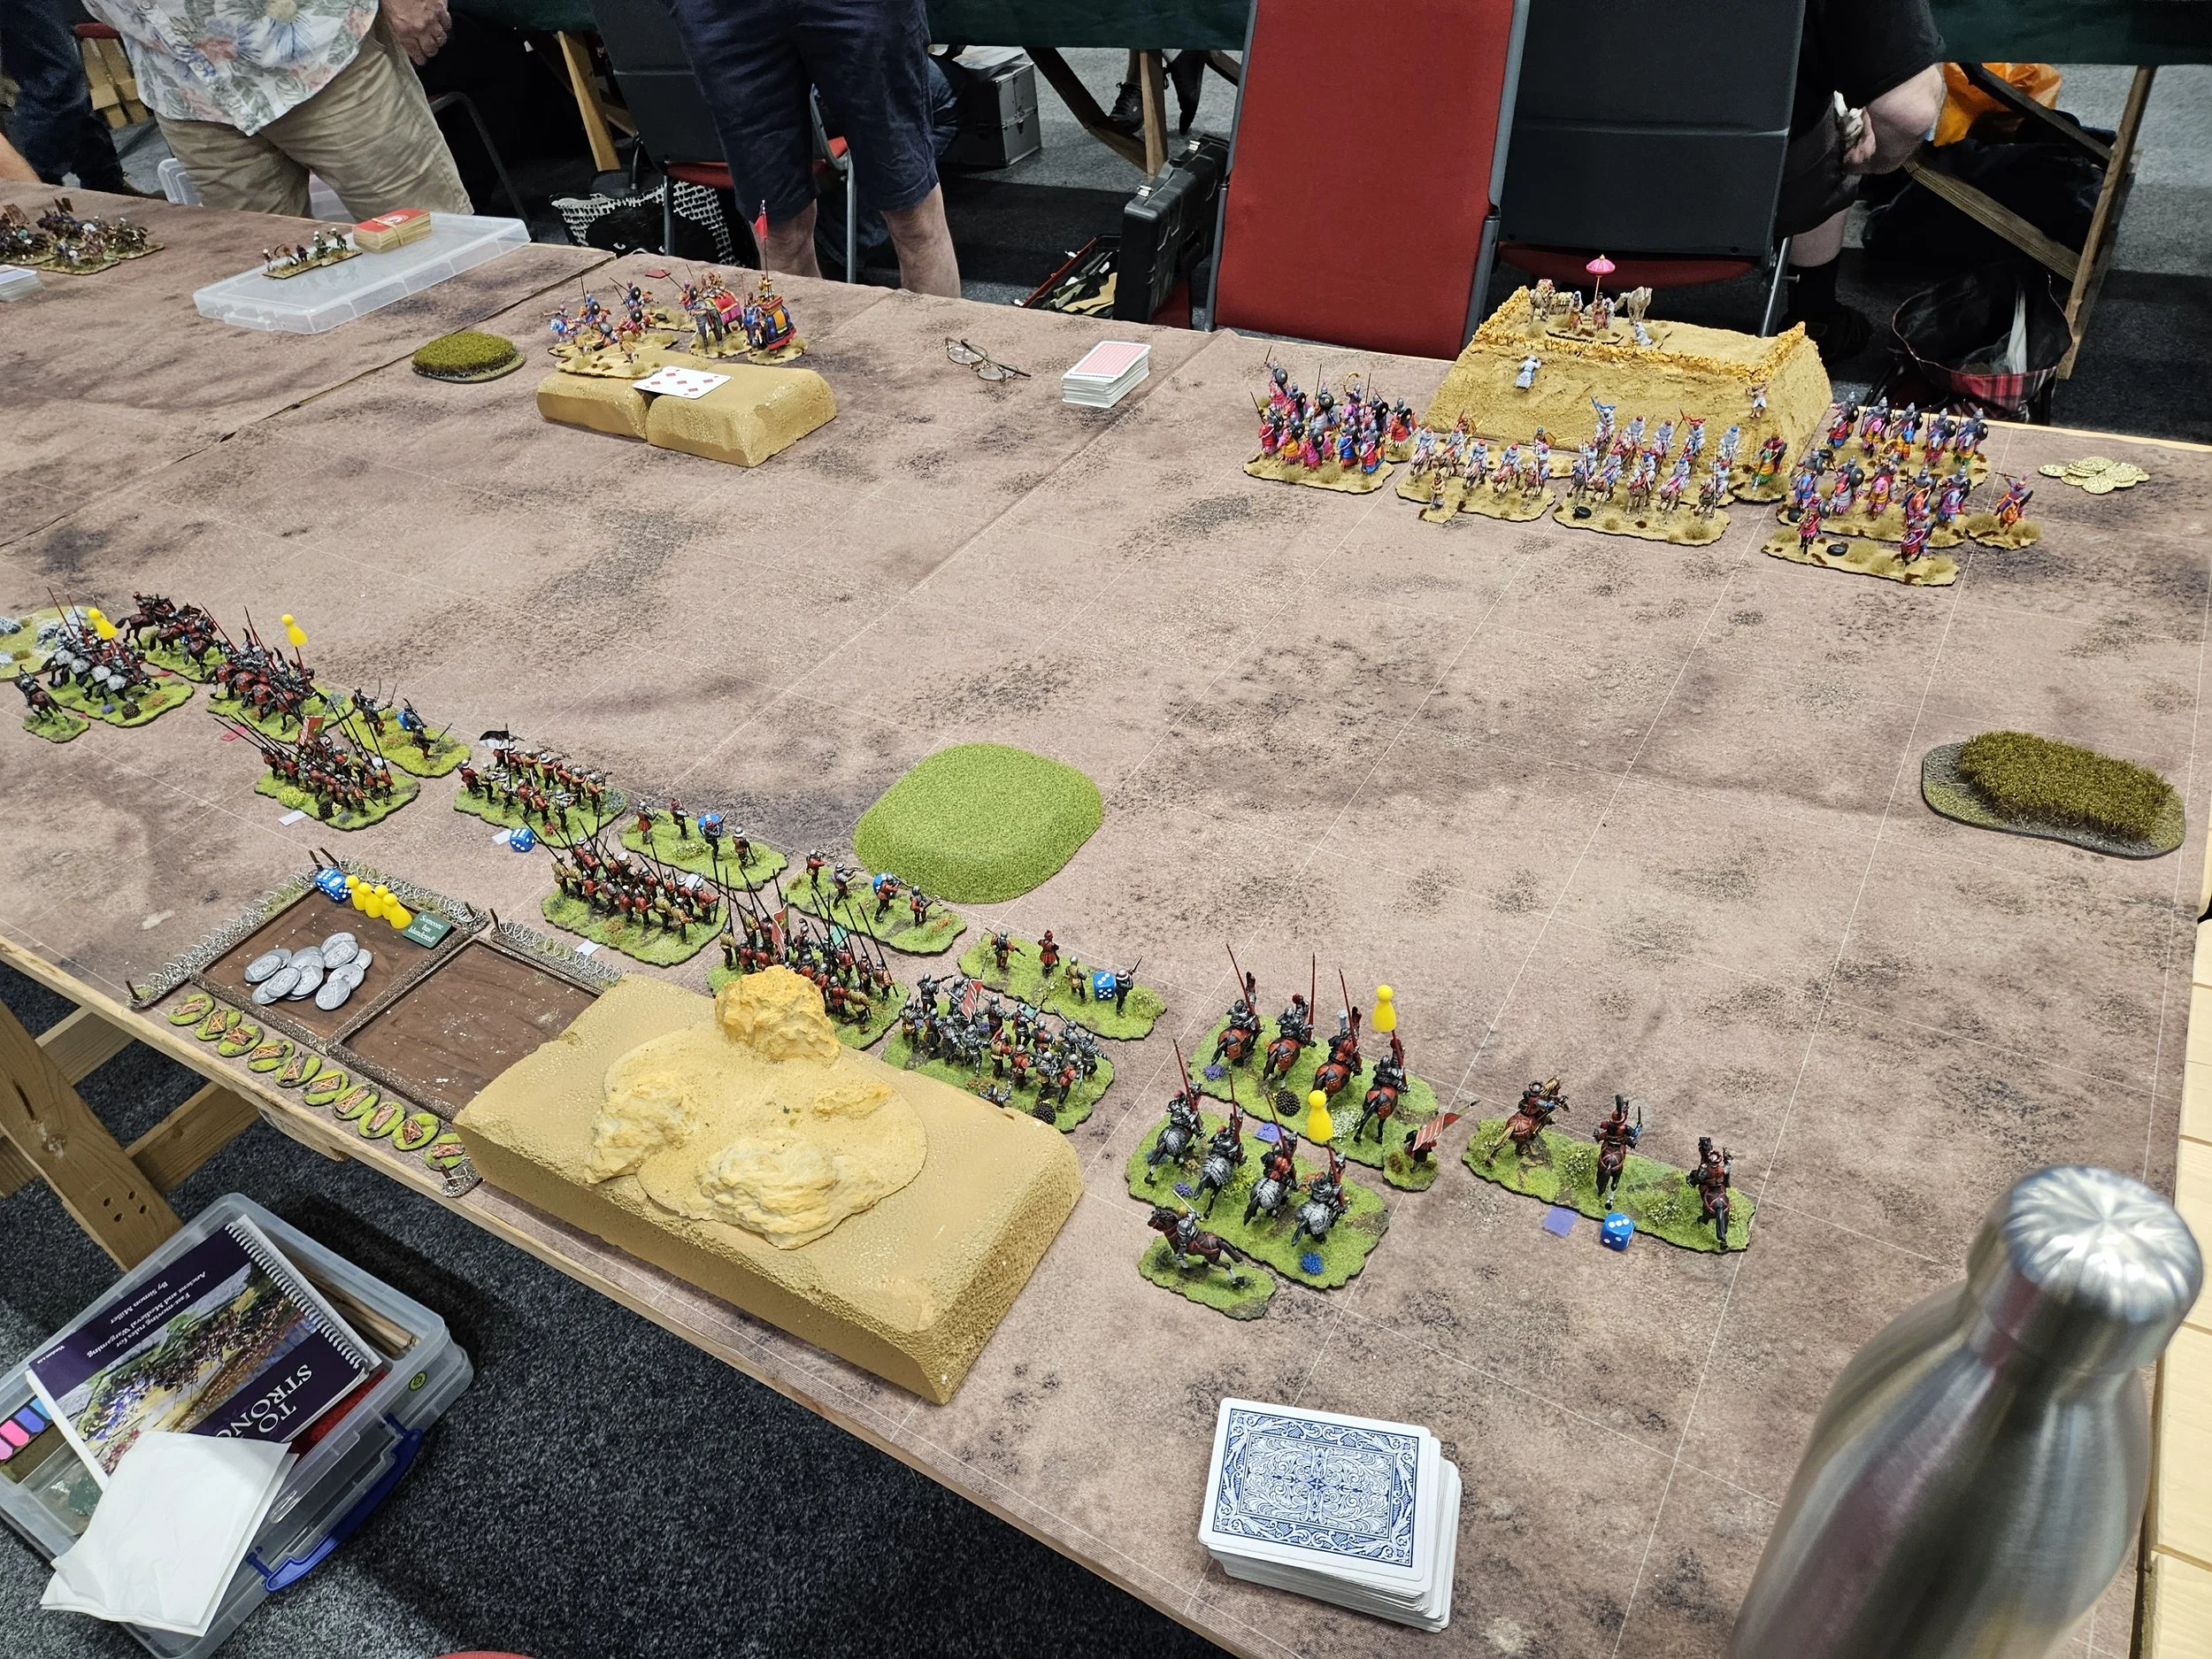
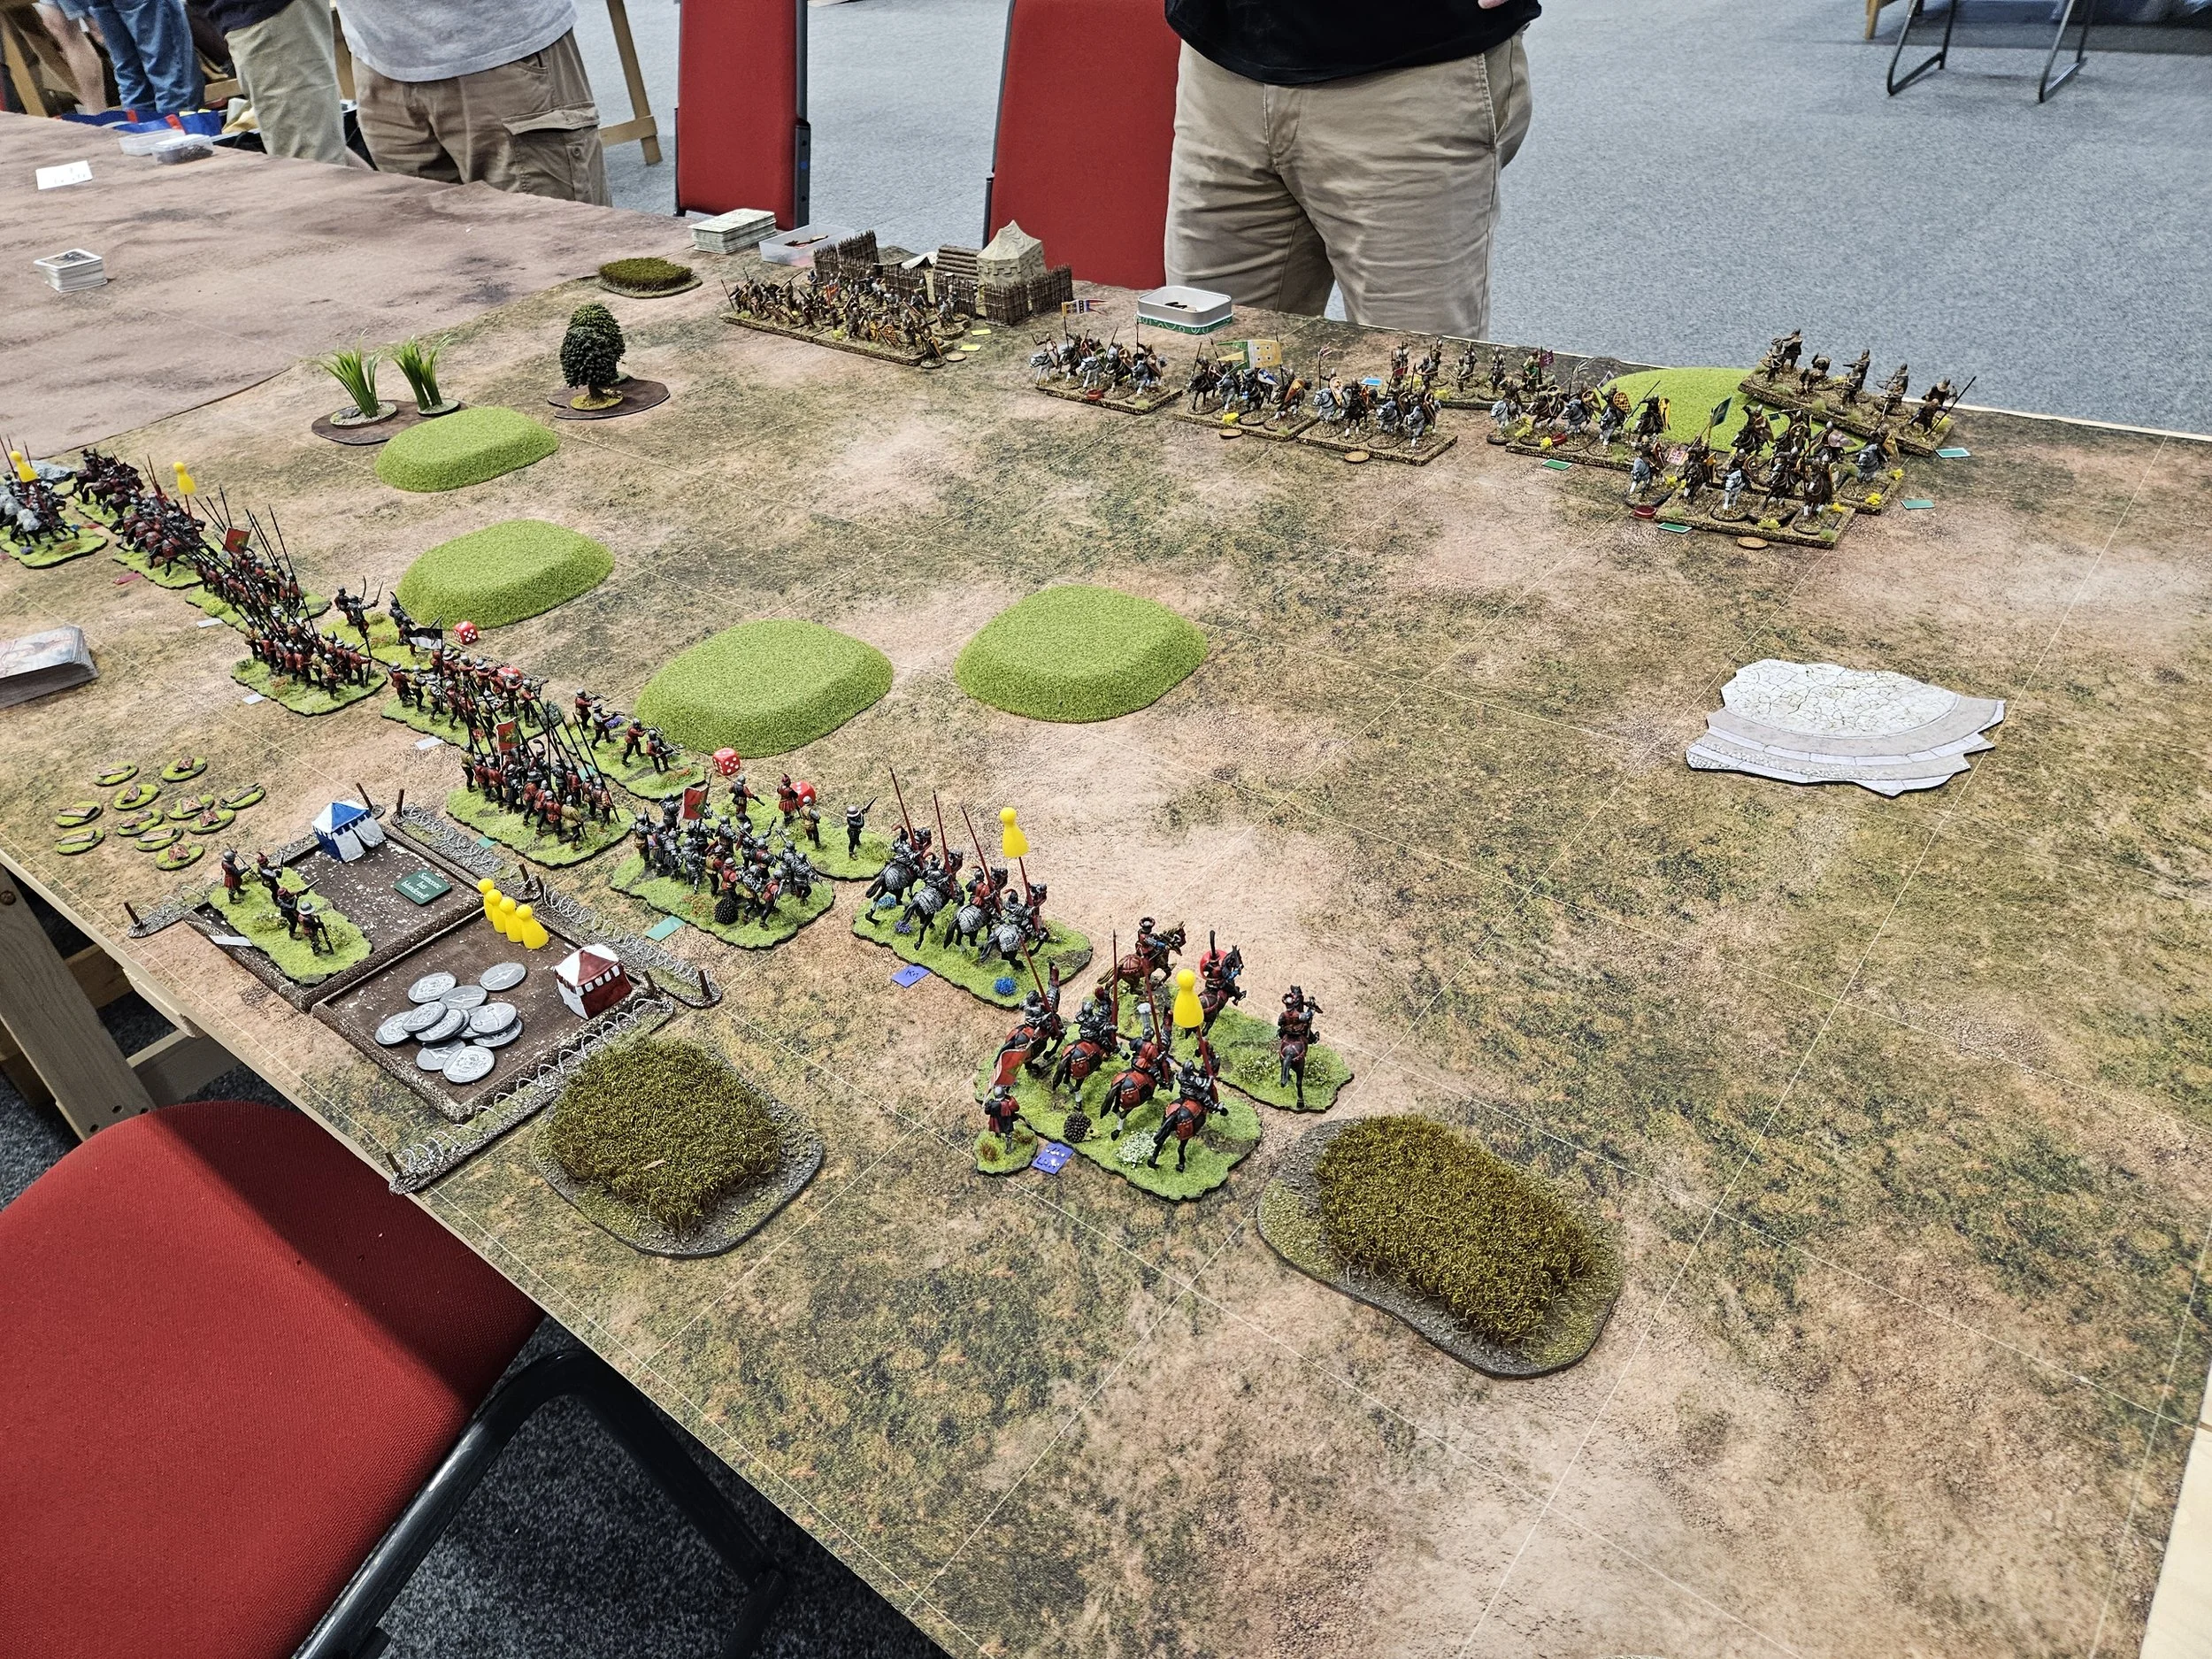
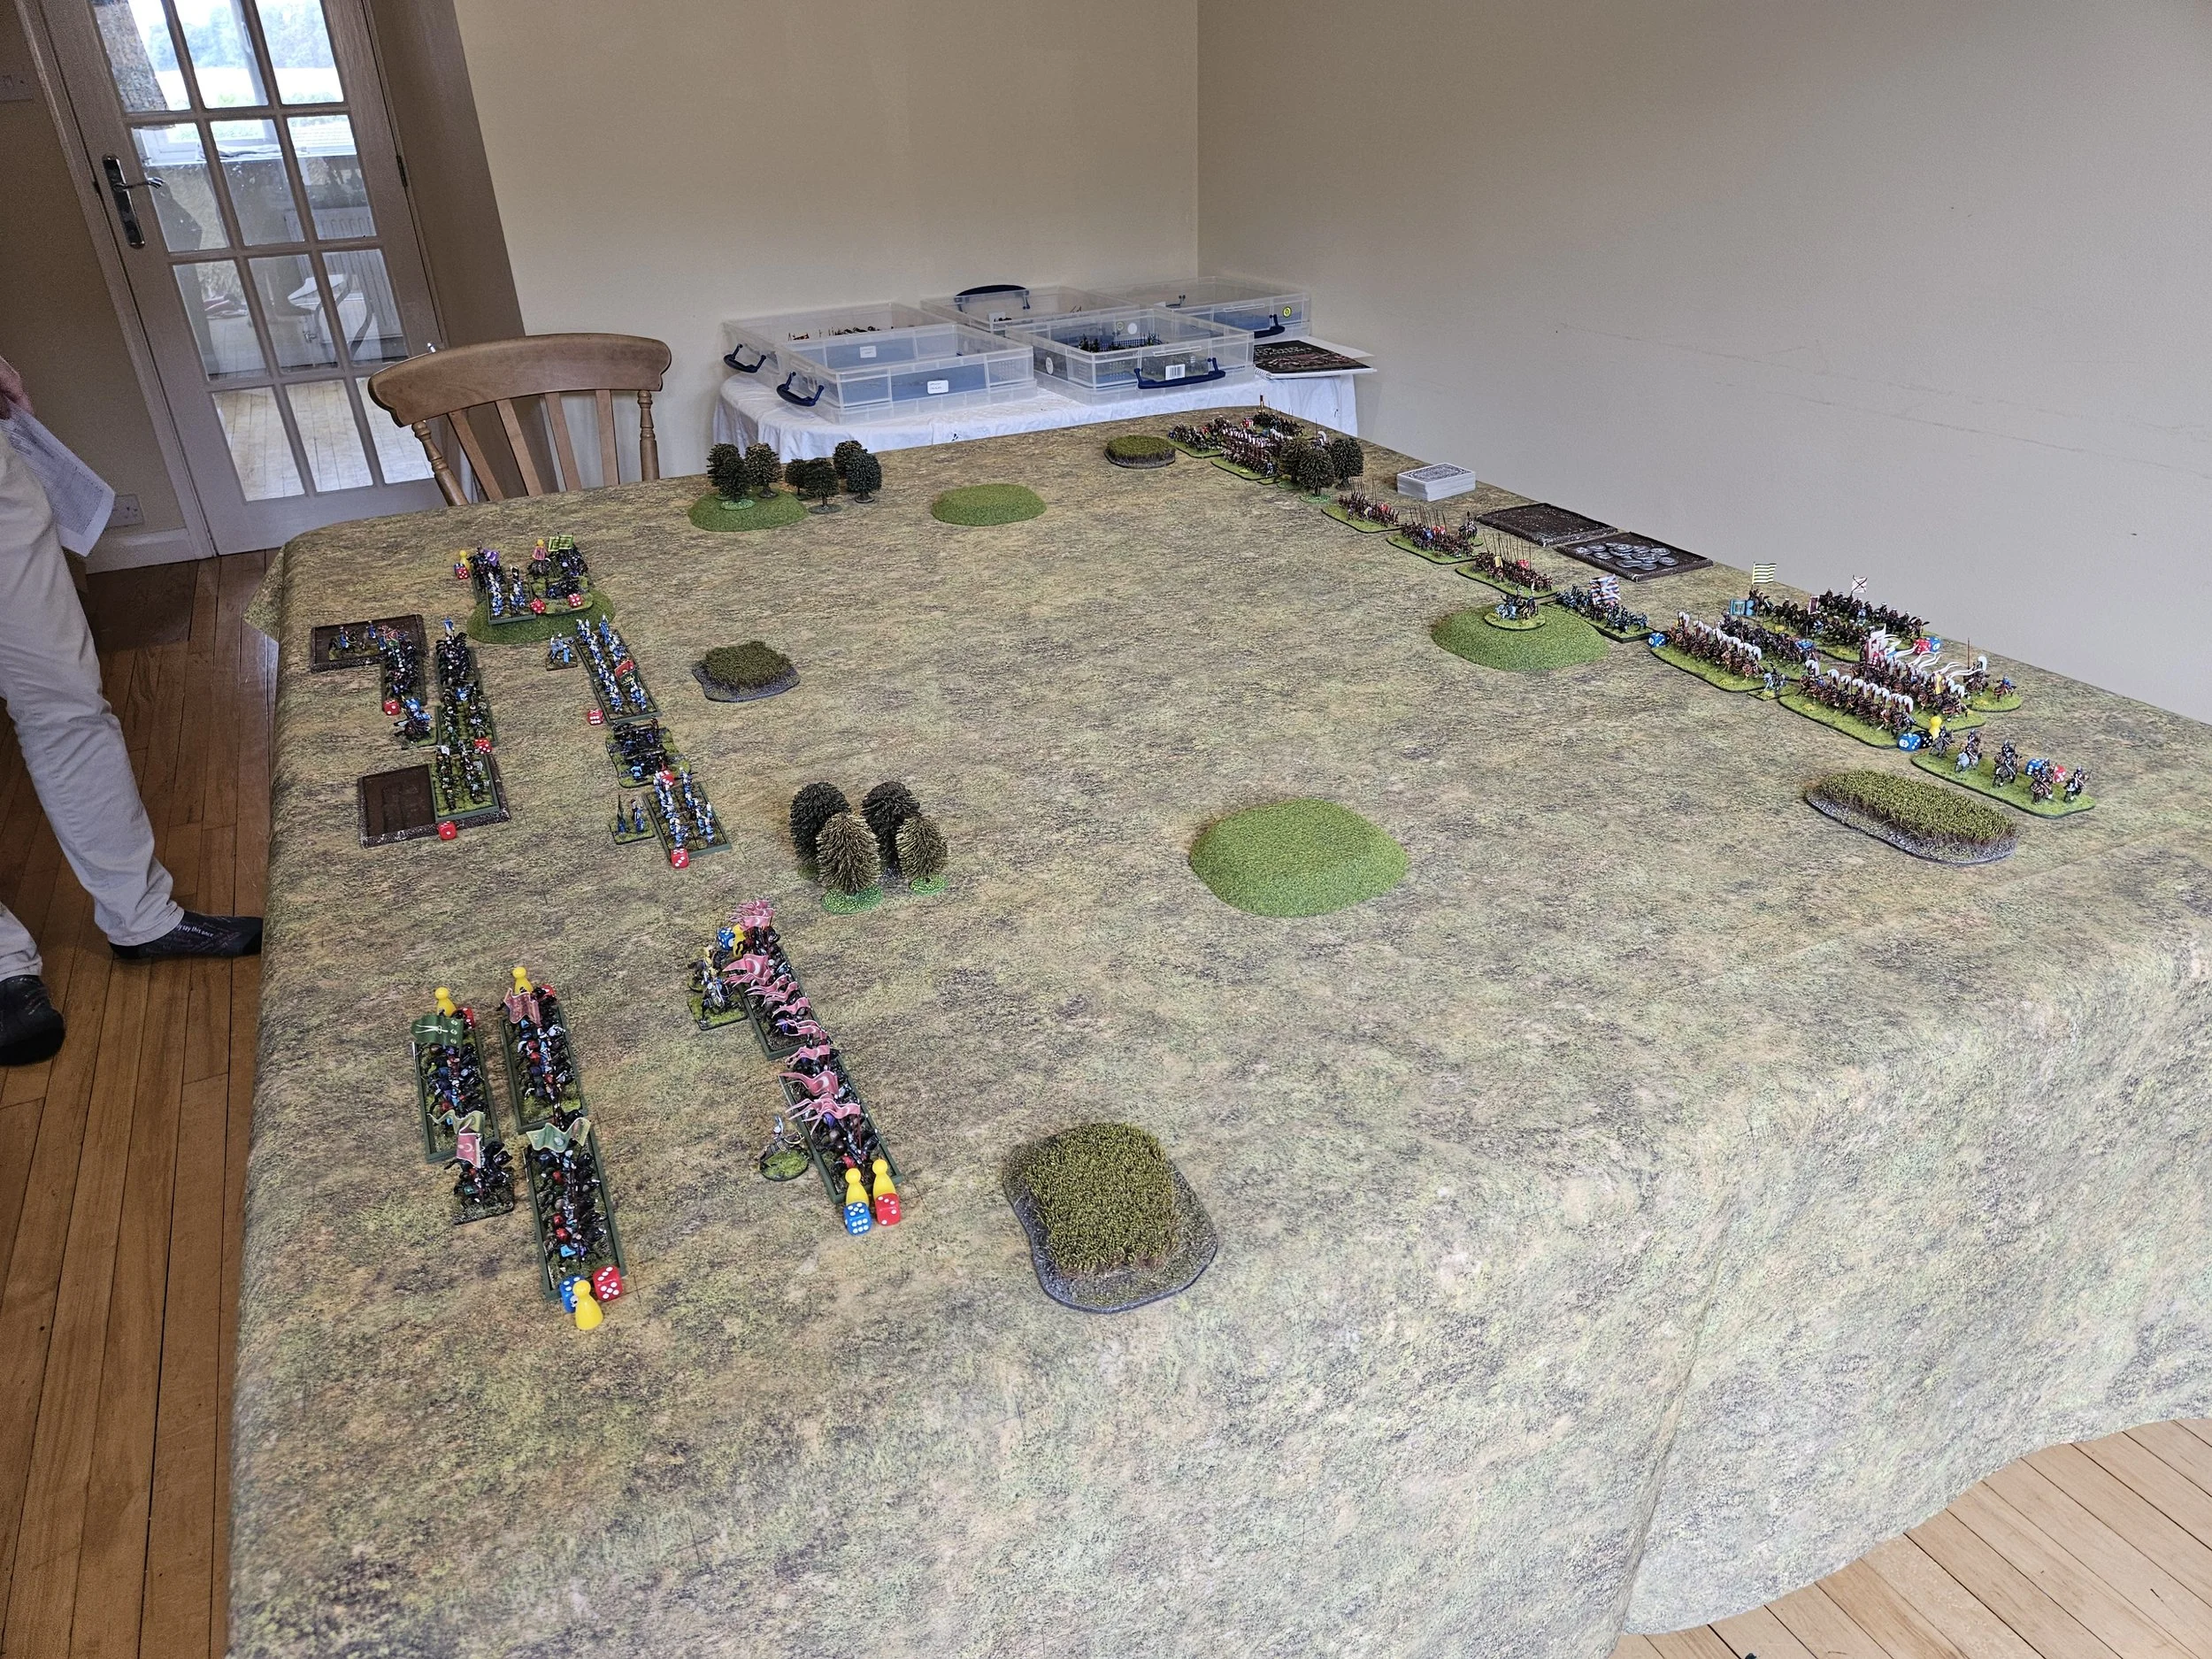
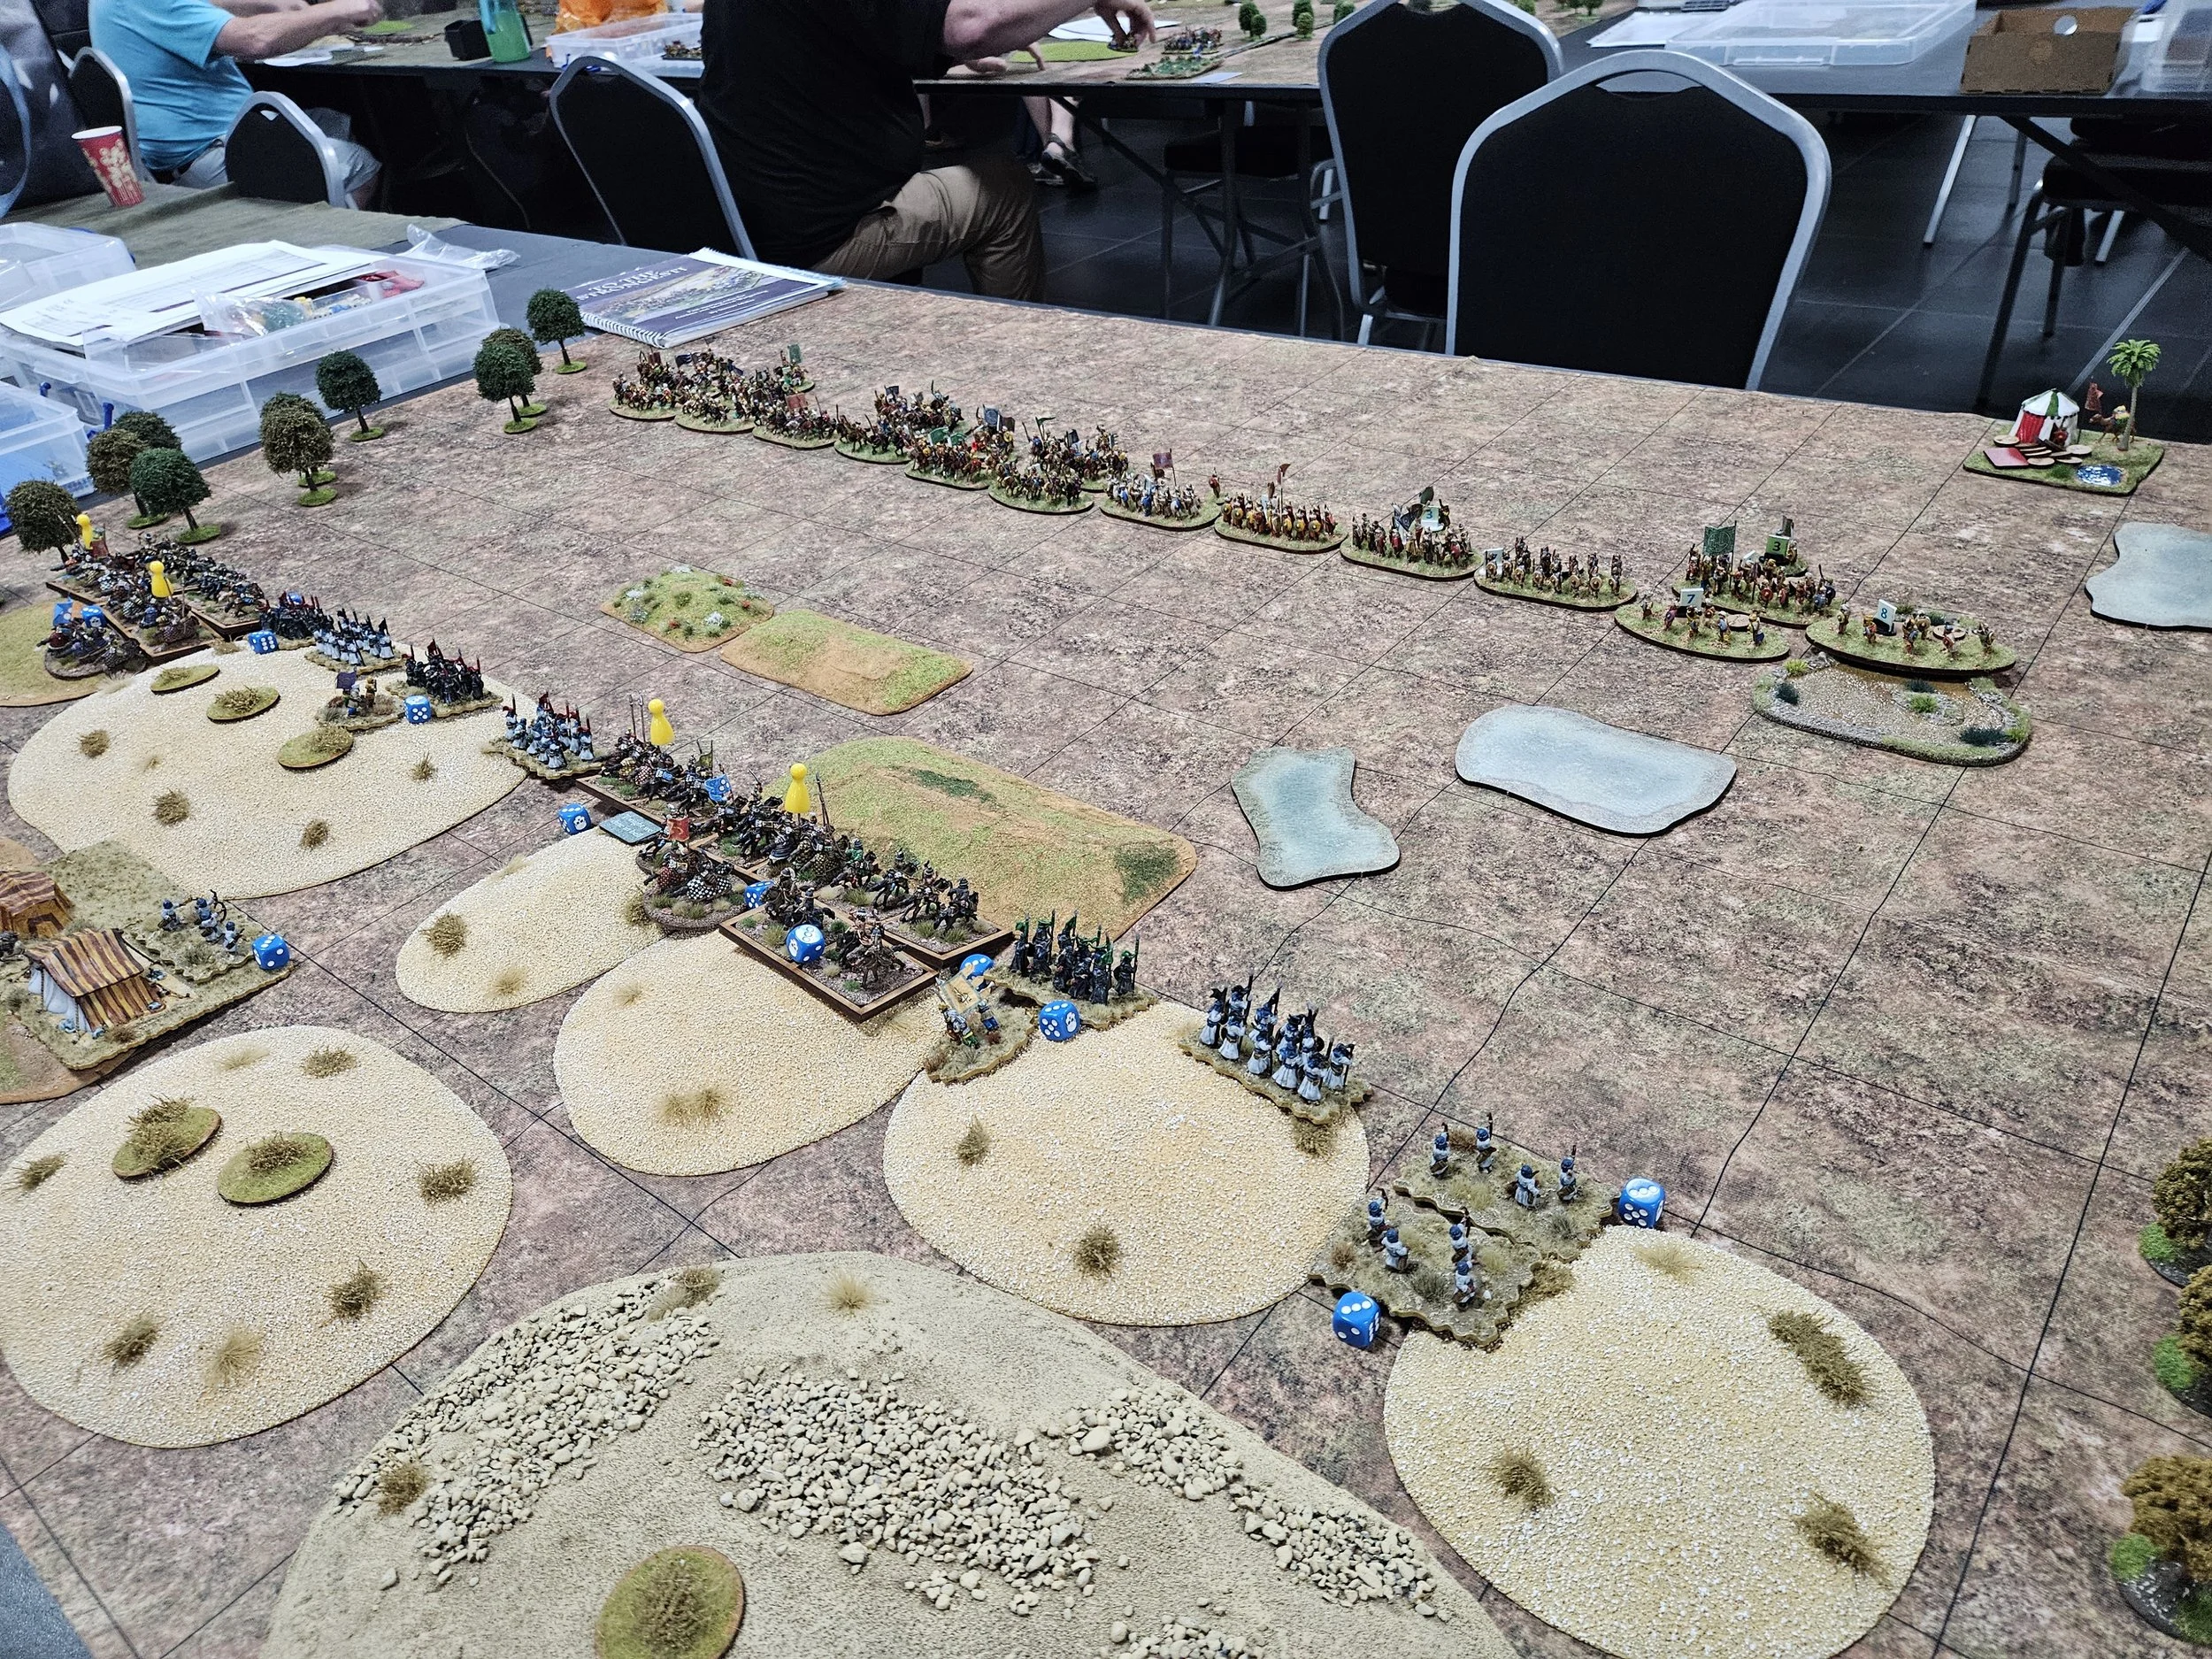
As anticipated, the Persians swept past my left flank and then turned and curled back into the centre. All that stood between them and the rear of my main battle line was a single unit of Spearmen, who quickly formed Orbis (marked on the tabletop by the hedgehog that it ressembles) and would hold out against a storm of arrows and the occasional charge for the rest of the game.
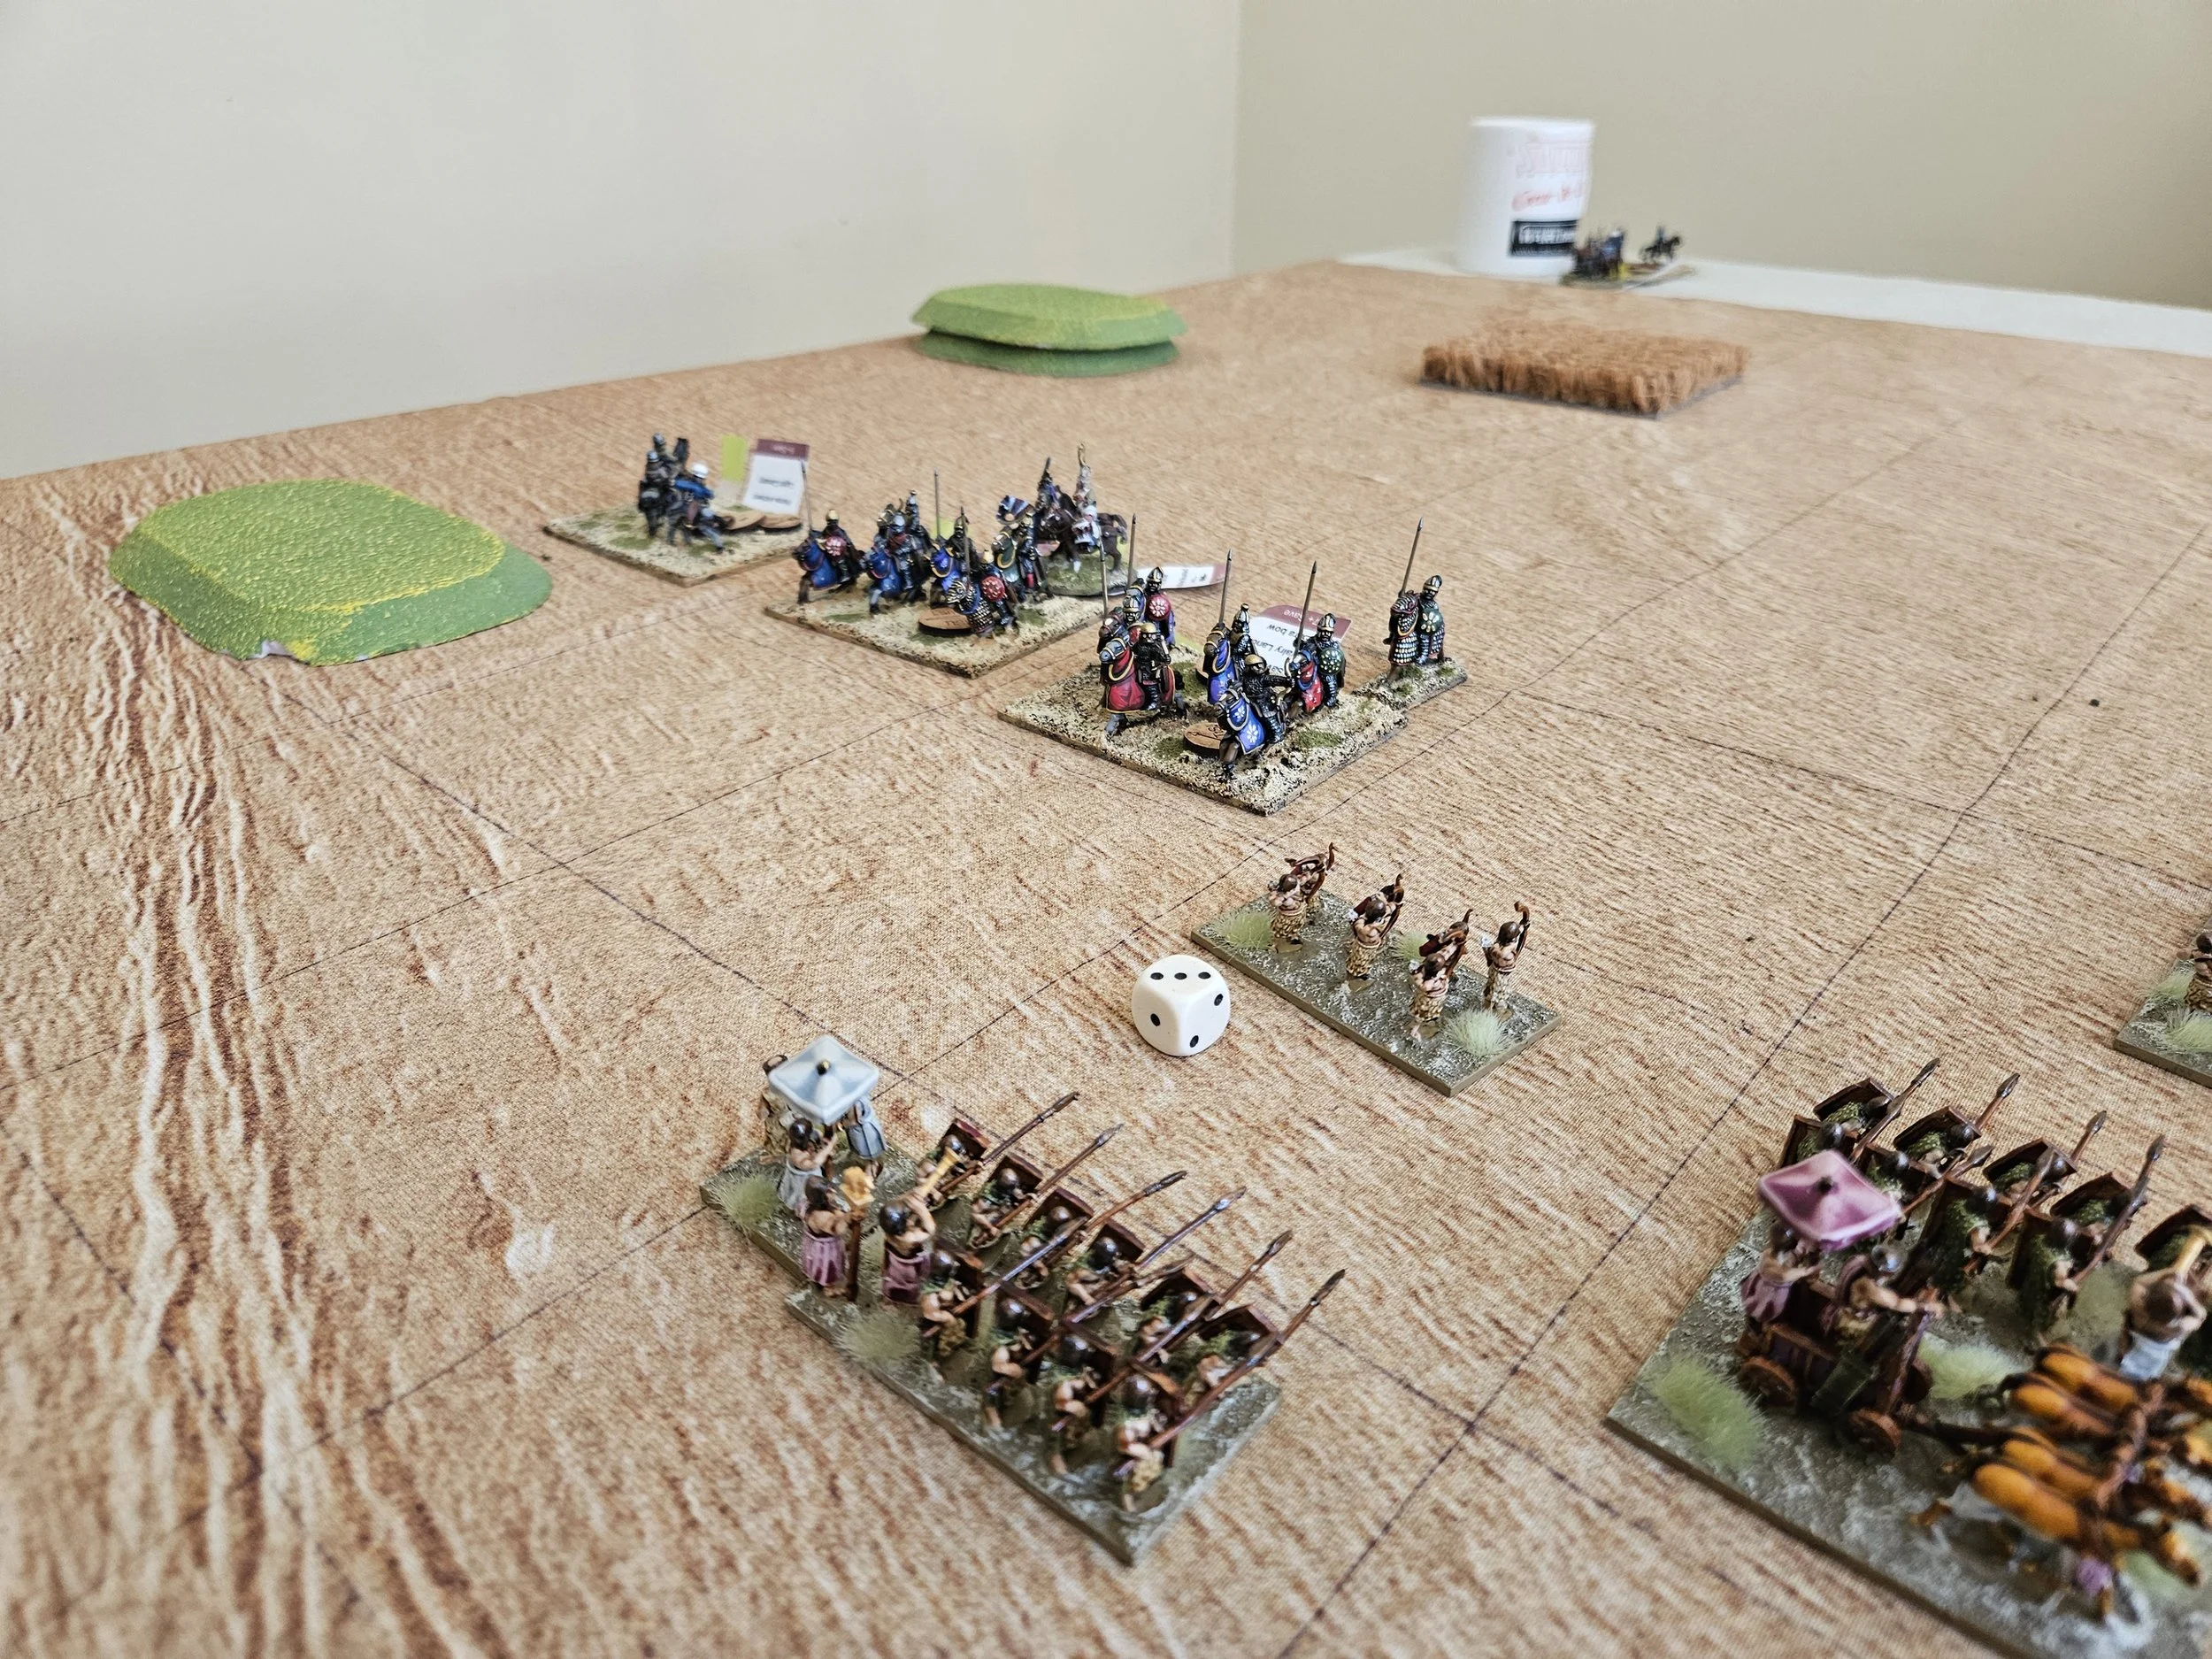
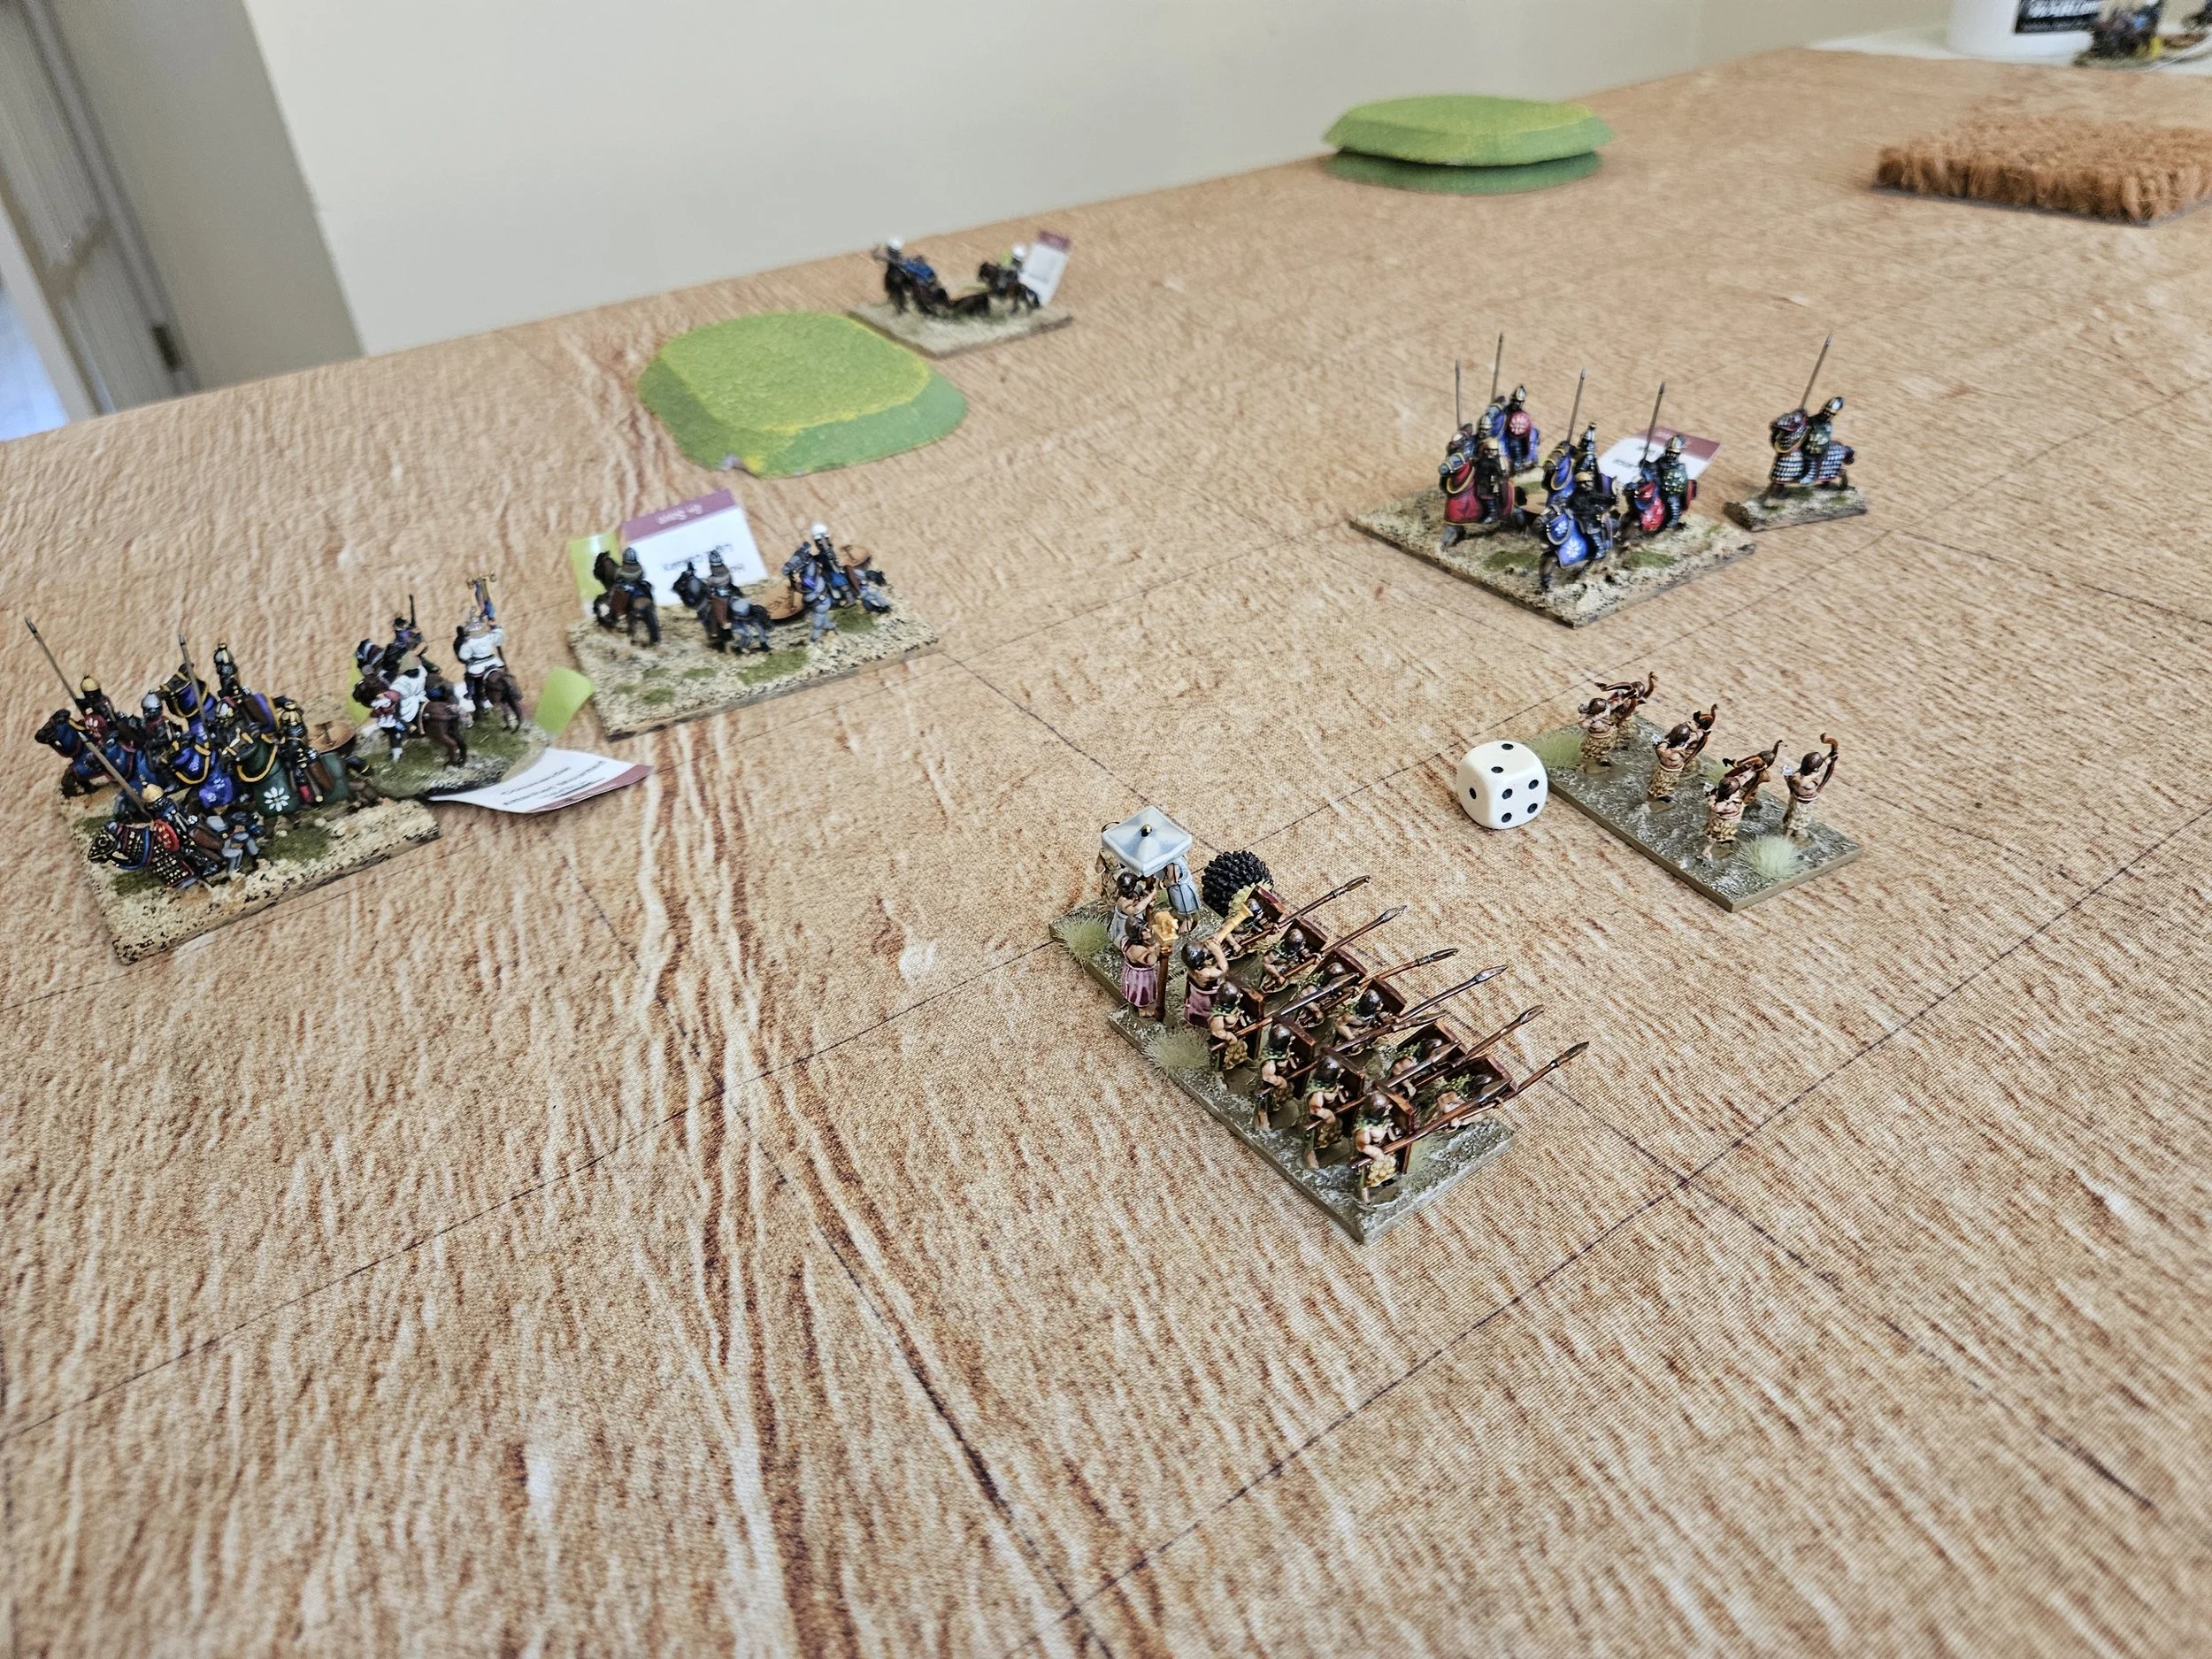
Meanwhile, on the right flank, the battle-cars were involved in a bitter war of attrition with the Persian cavalry facing them. In the end, two of three battle-carts would survive the melee and turn in towards the Sassanid centre.
As that was happening. the Royal Guard stepped forward in the centre of the field and proceeded to demonstrate how unwise it is to rely on chocolate-box soldiers as they (a) couldn’t hit the proverbial barn door with their bows and (b) weren’t sure which way up to hold their spears. On top of that, the officer of the infantry command on their right was quickly shot down by Persian arrows and things started looking a bit grim!
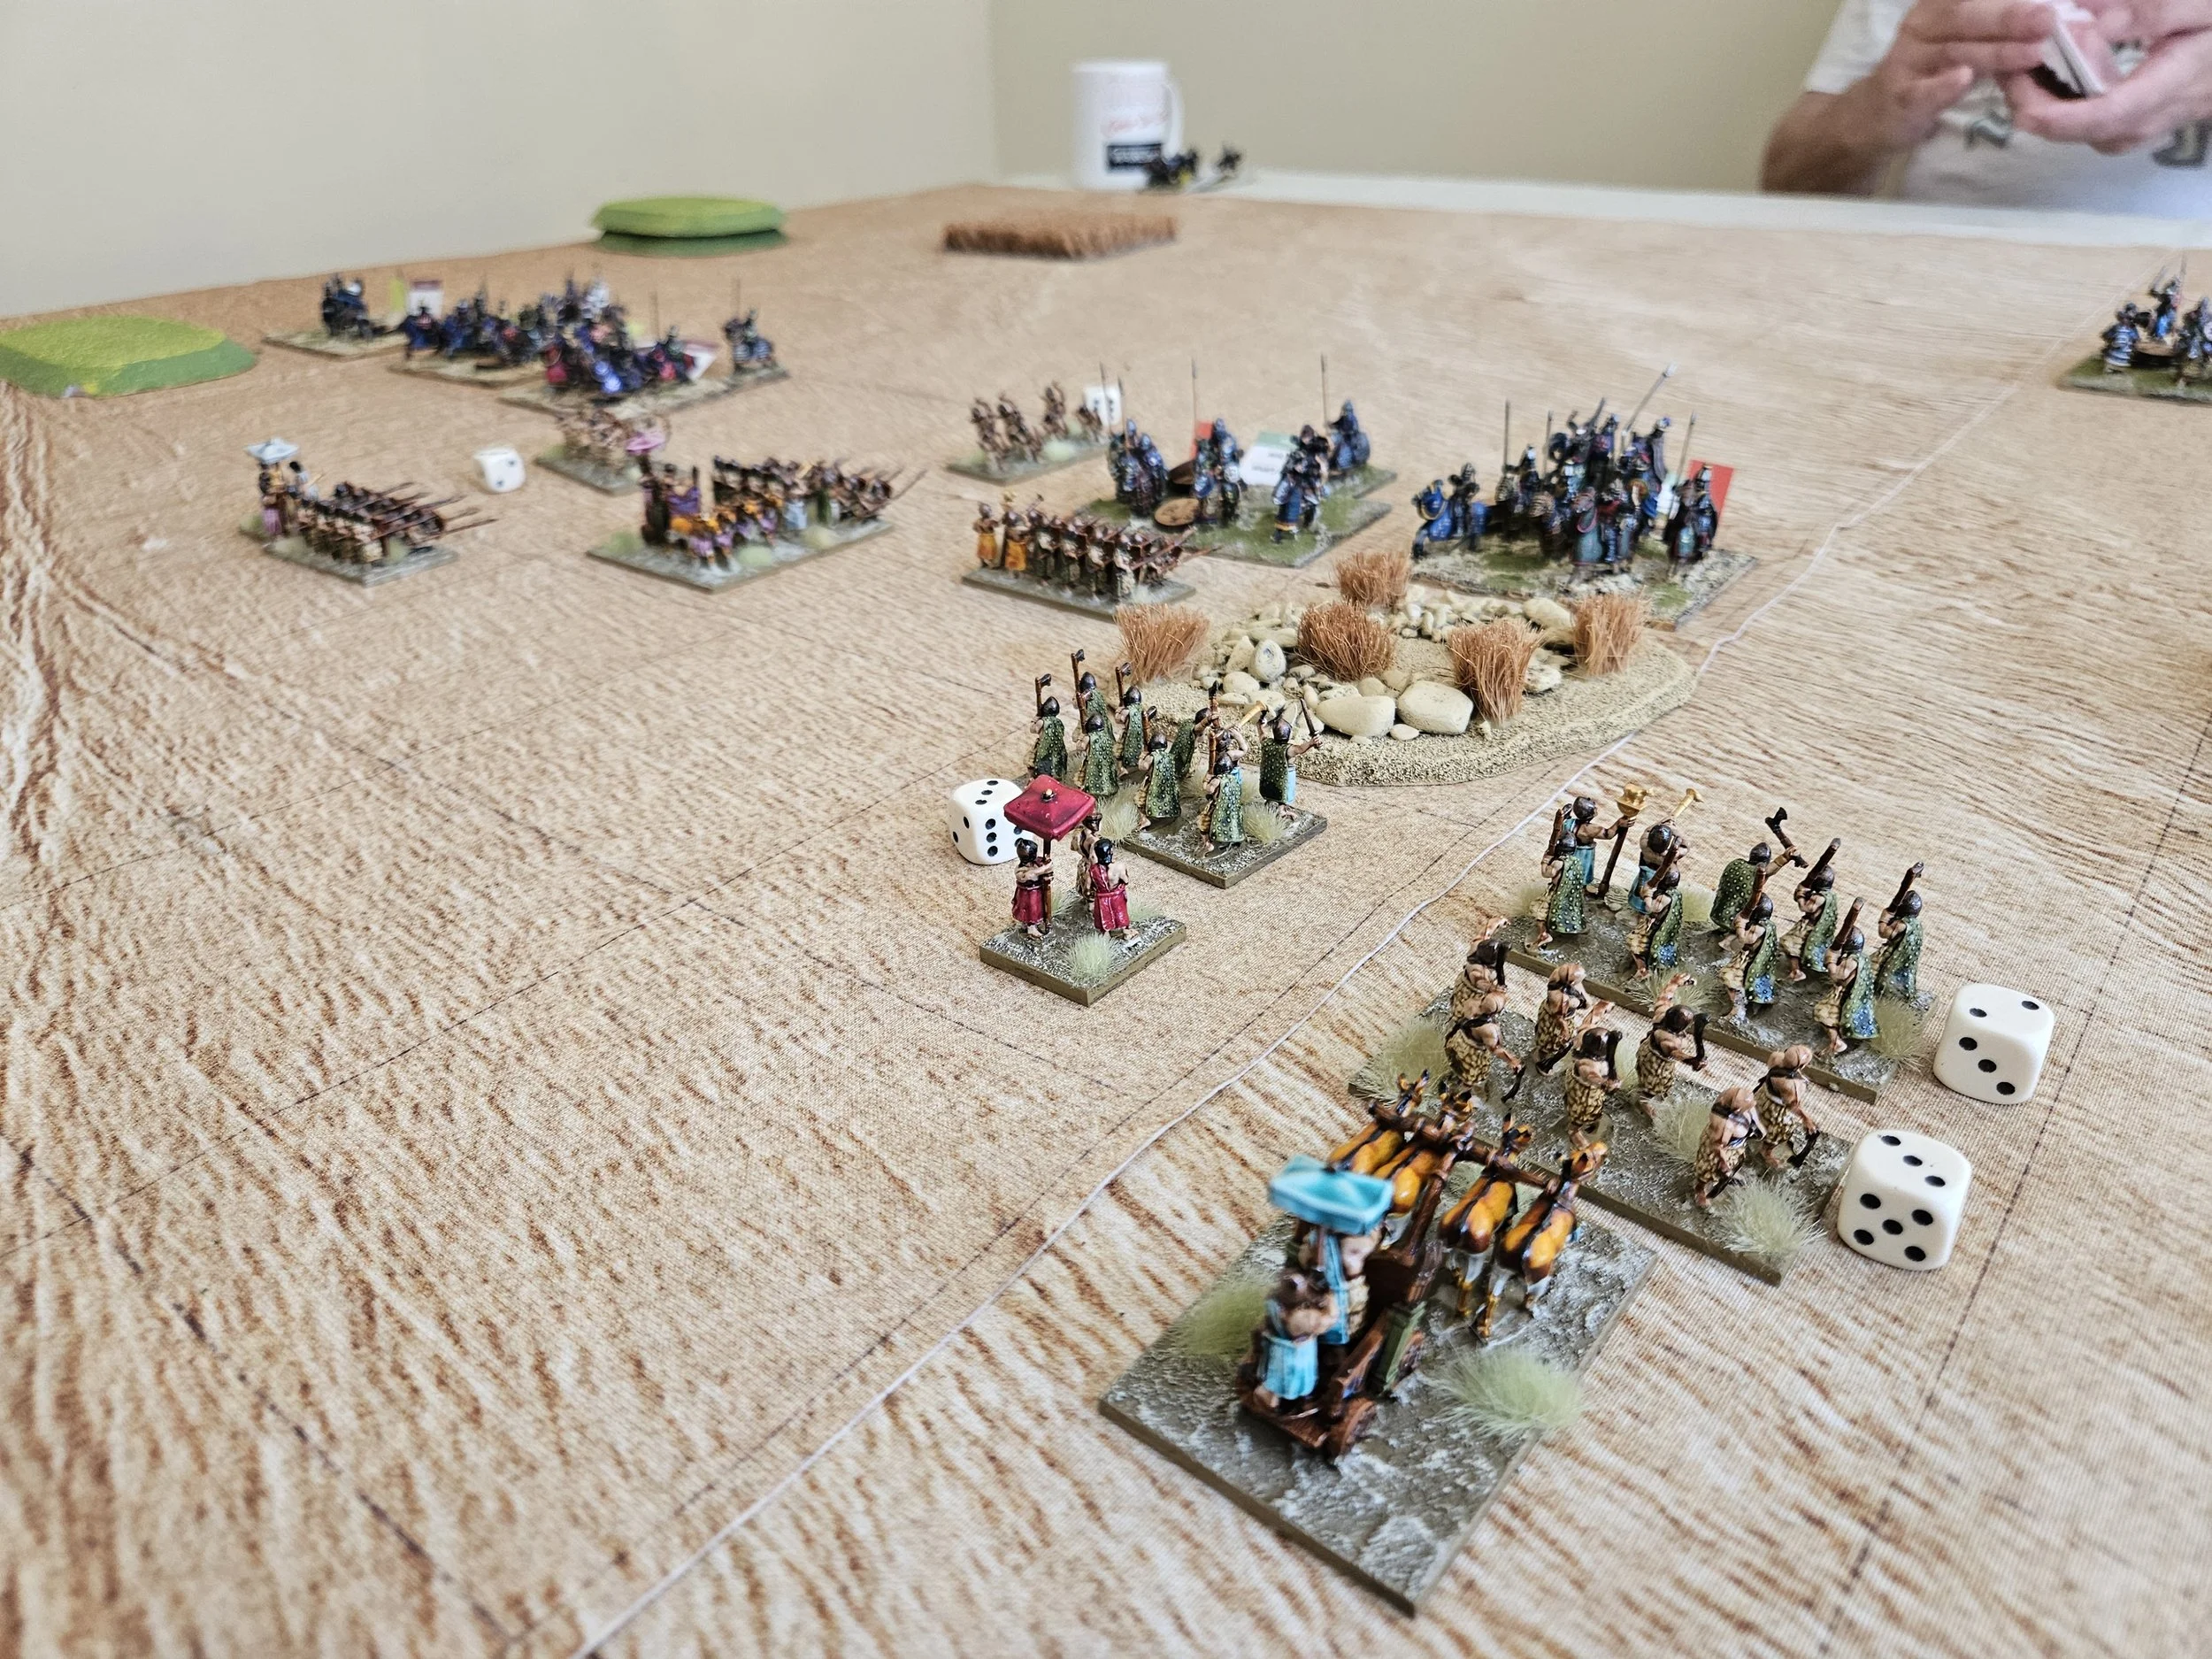
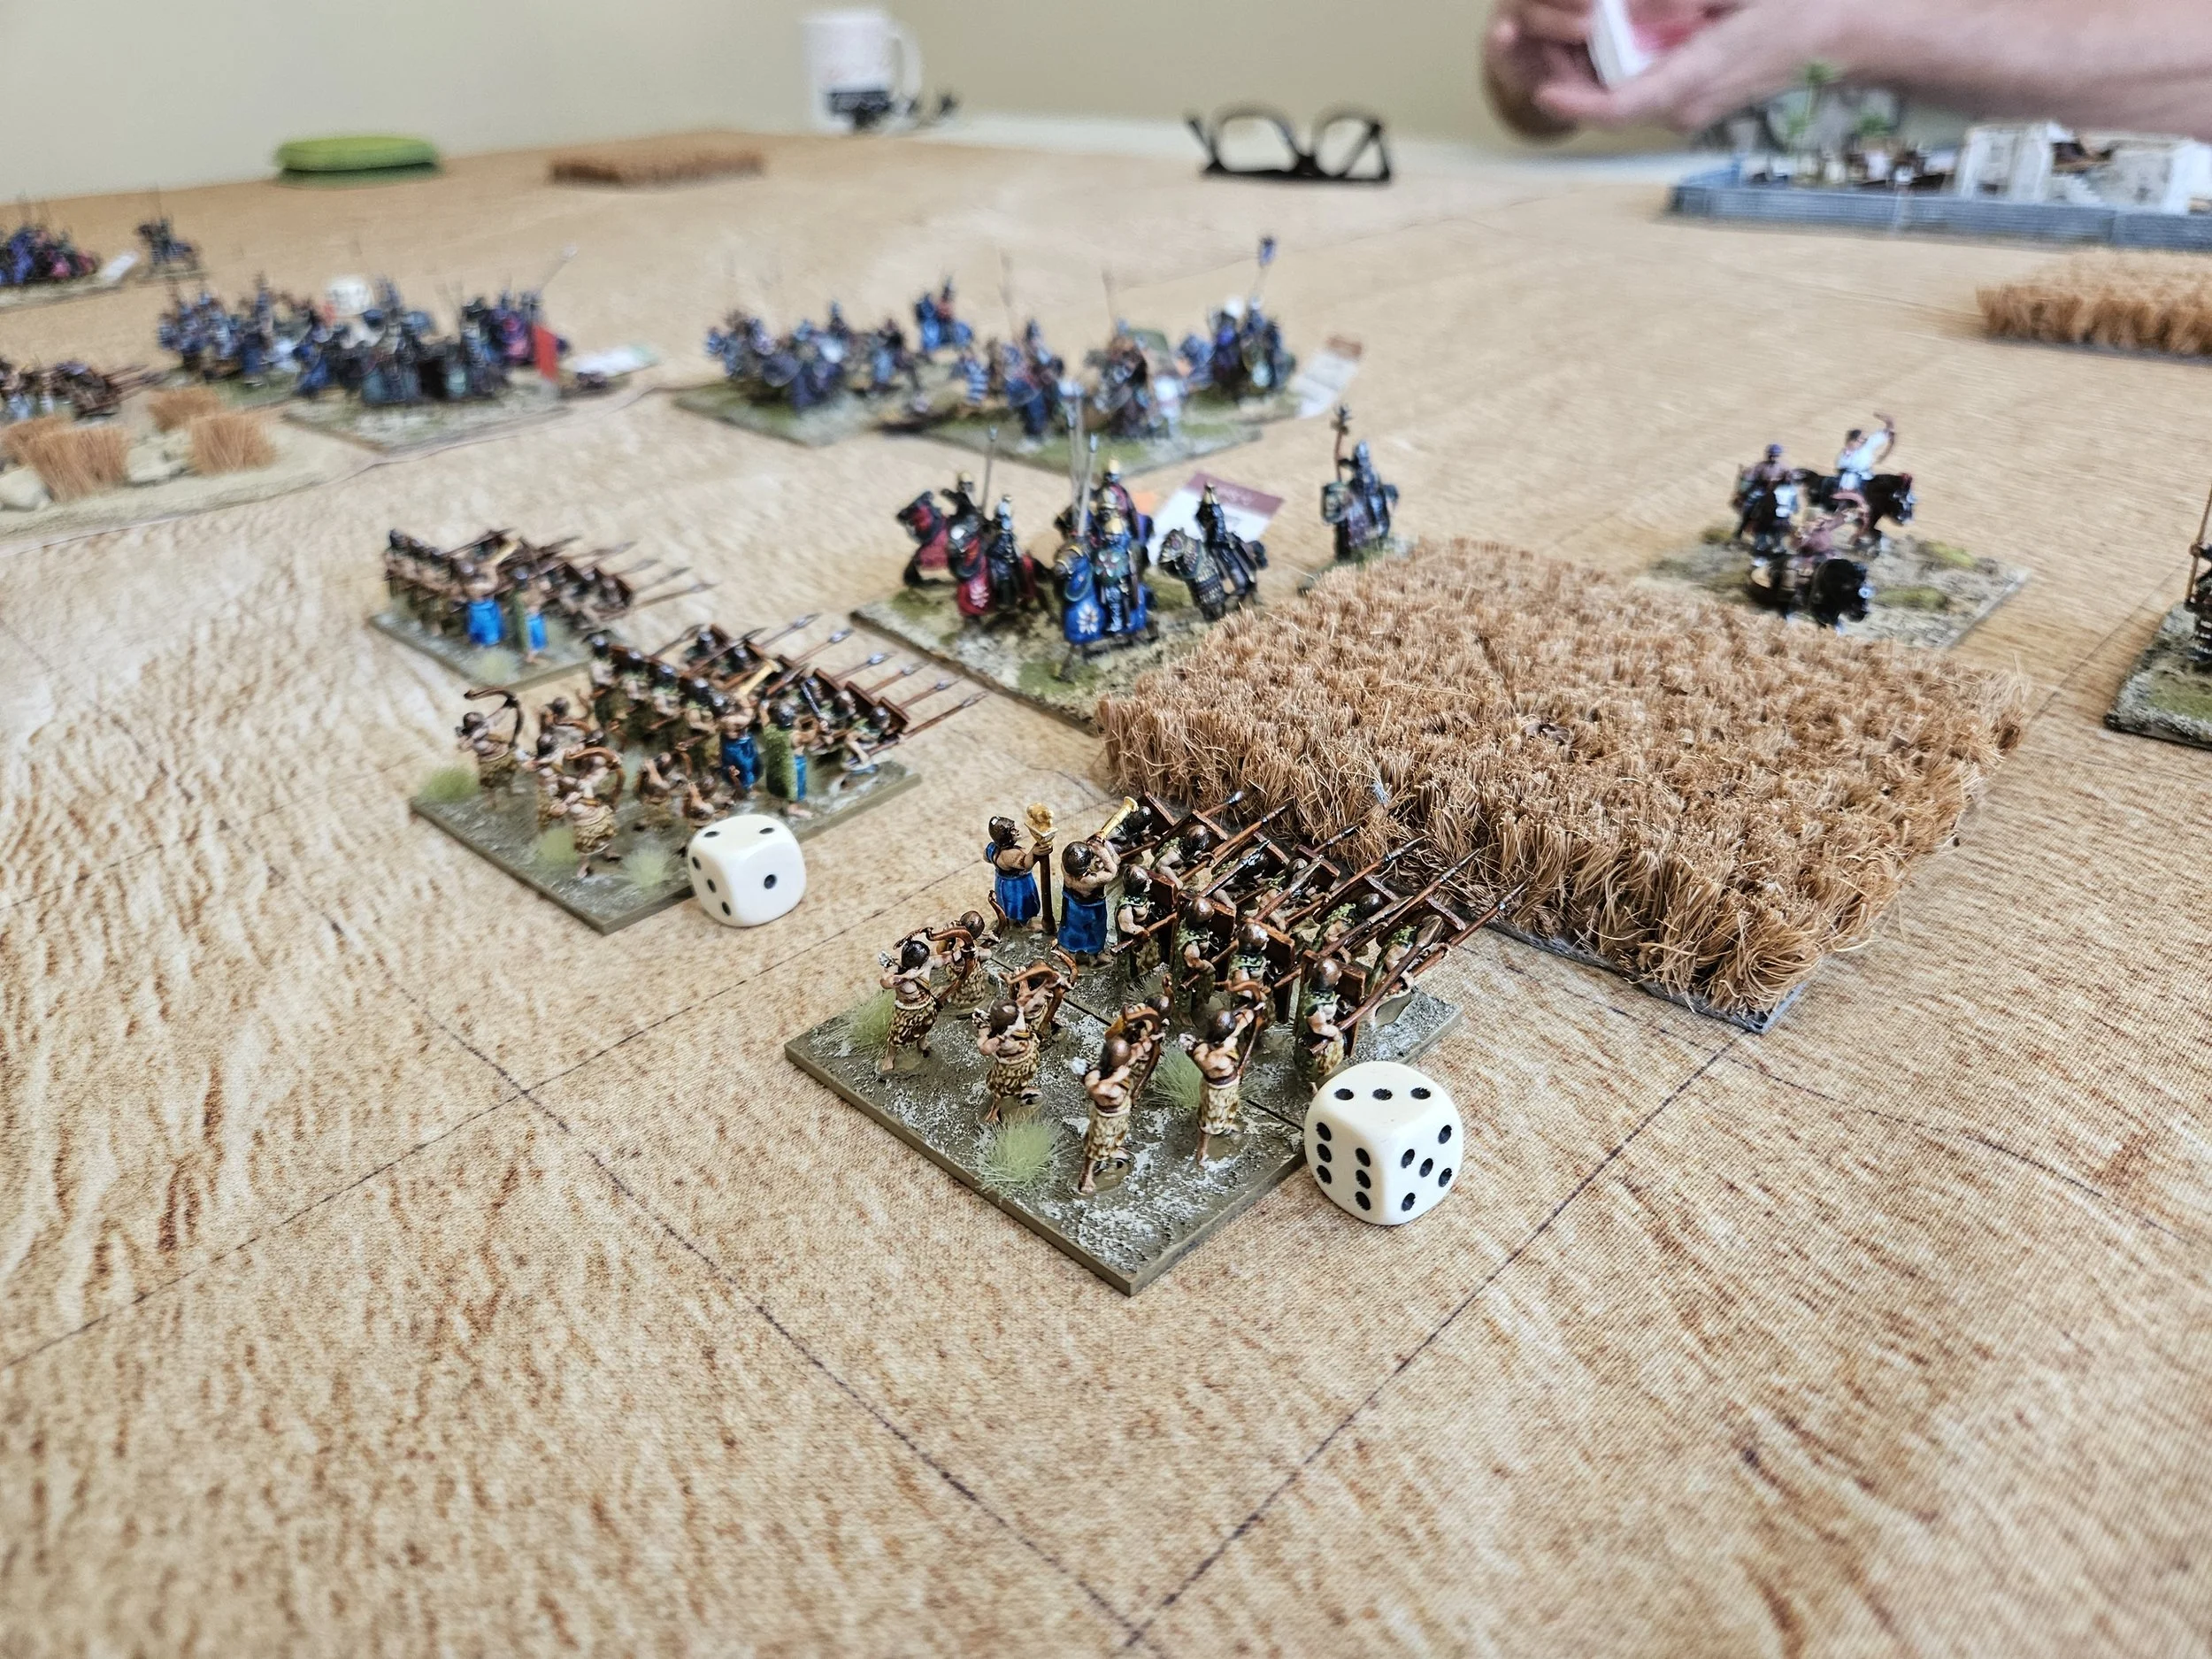
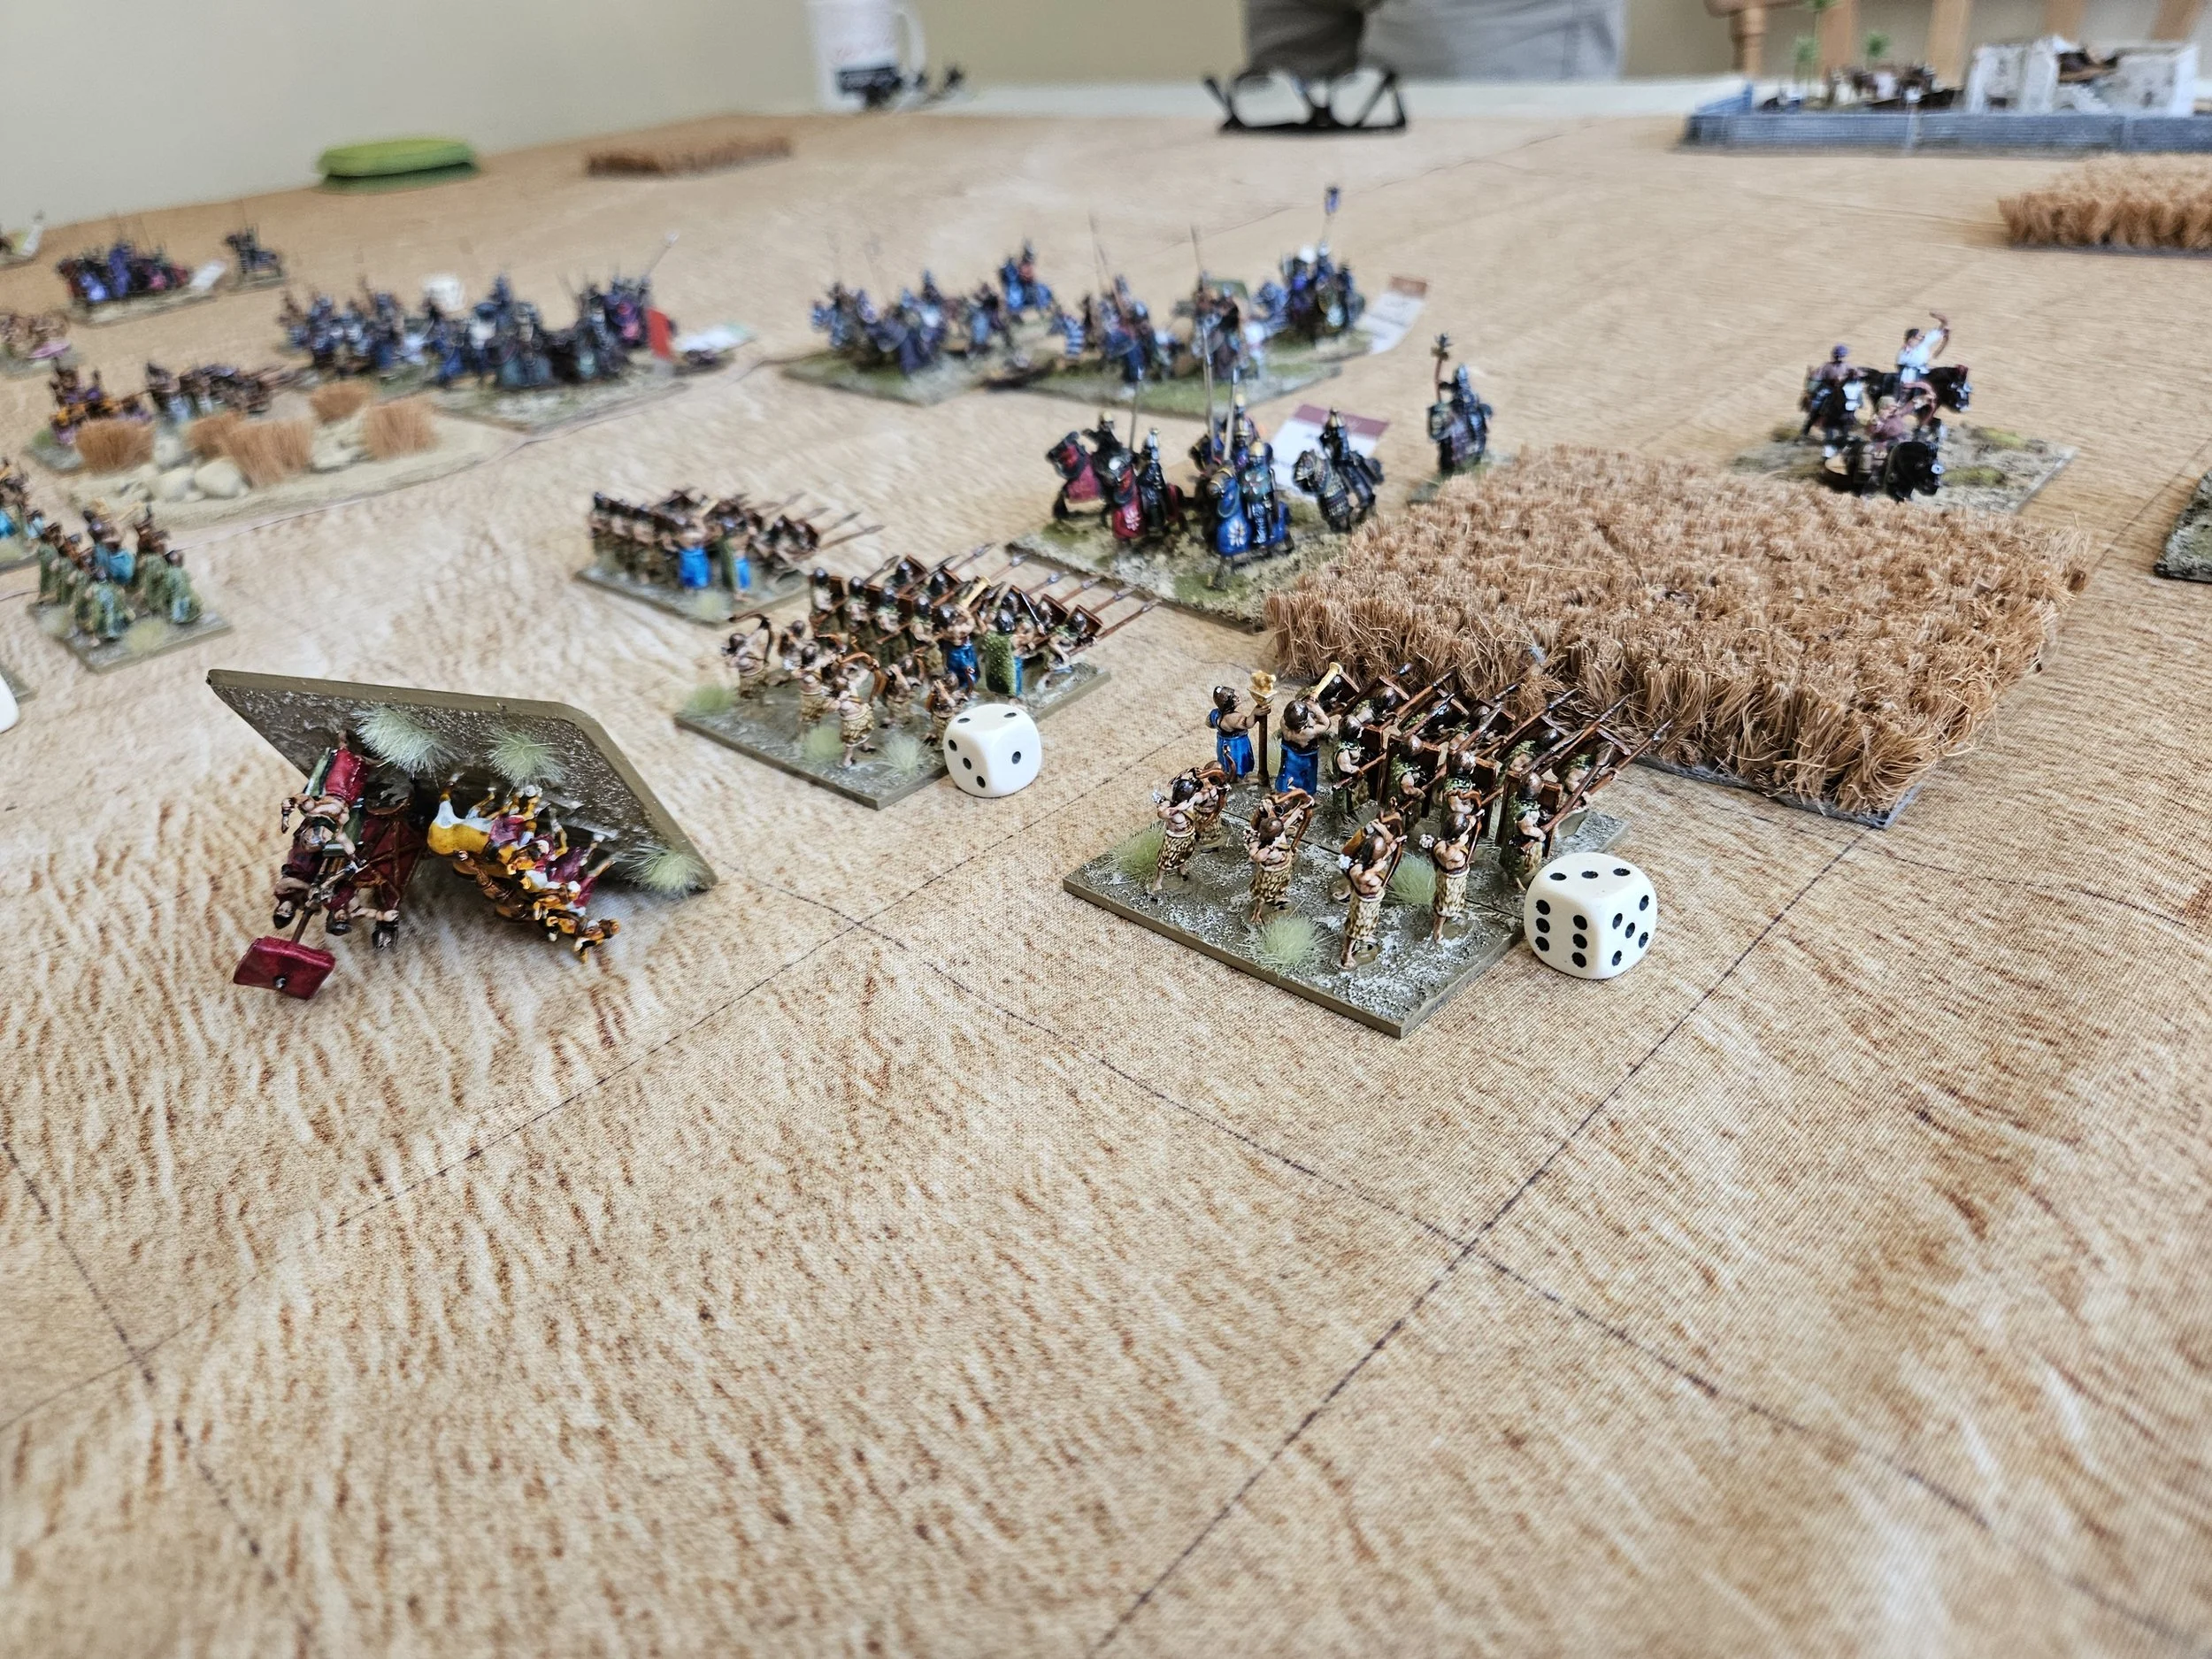
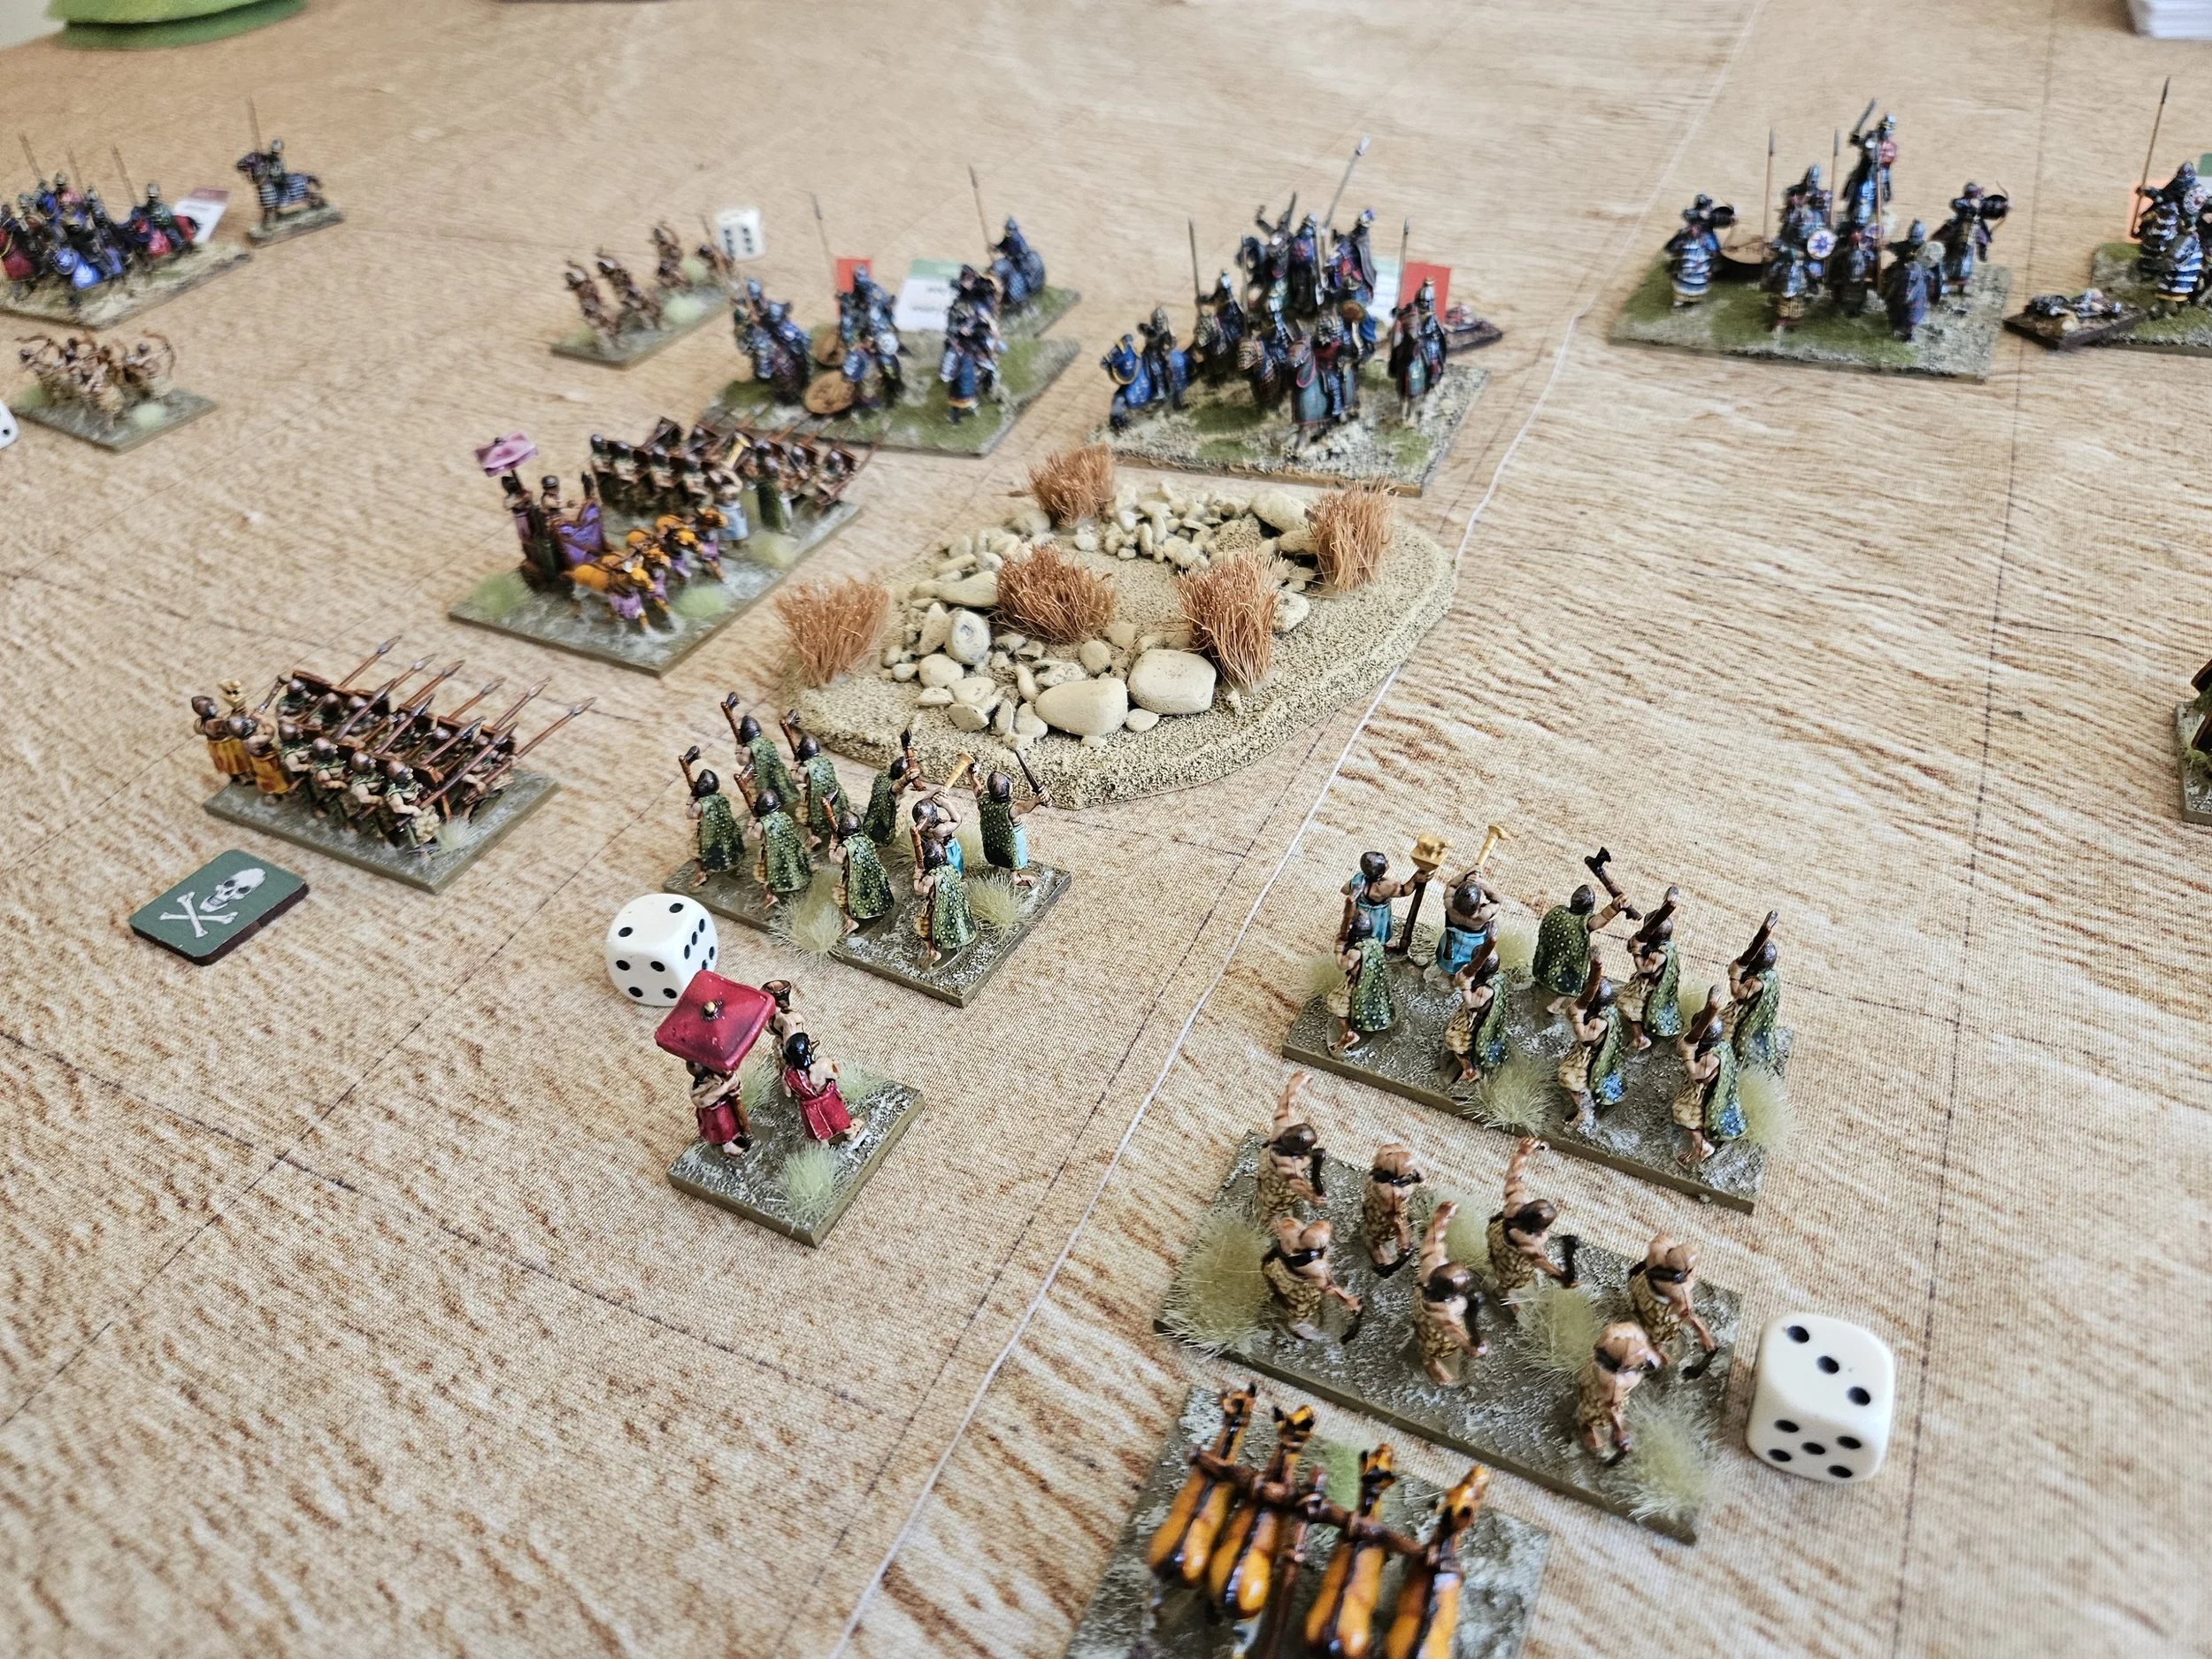
Back to the right where the battle-carts had finally swung in to take the Persians in the flank, but unfortunately their lack of manouevrability meant that they just couldn’t get into contact as they needed to.
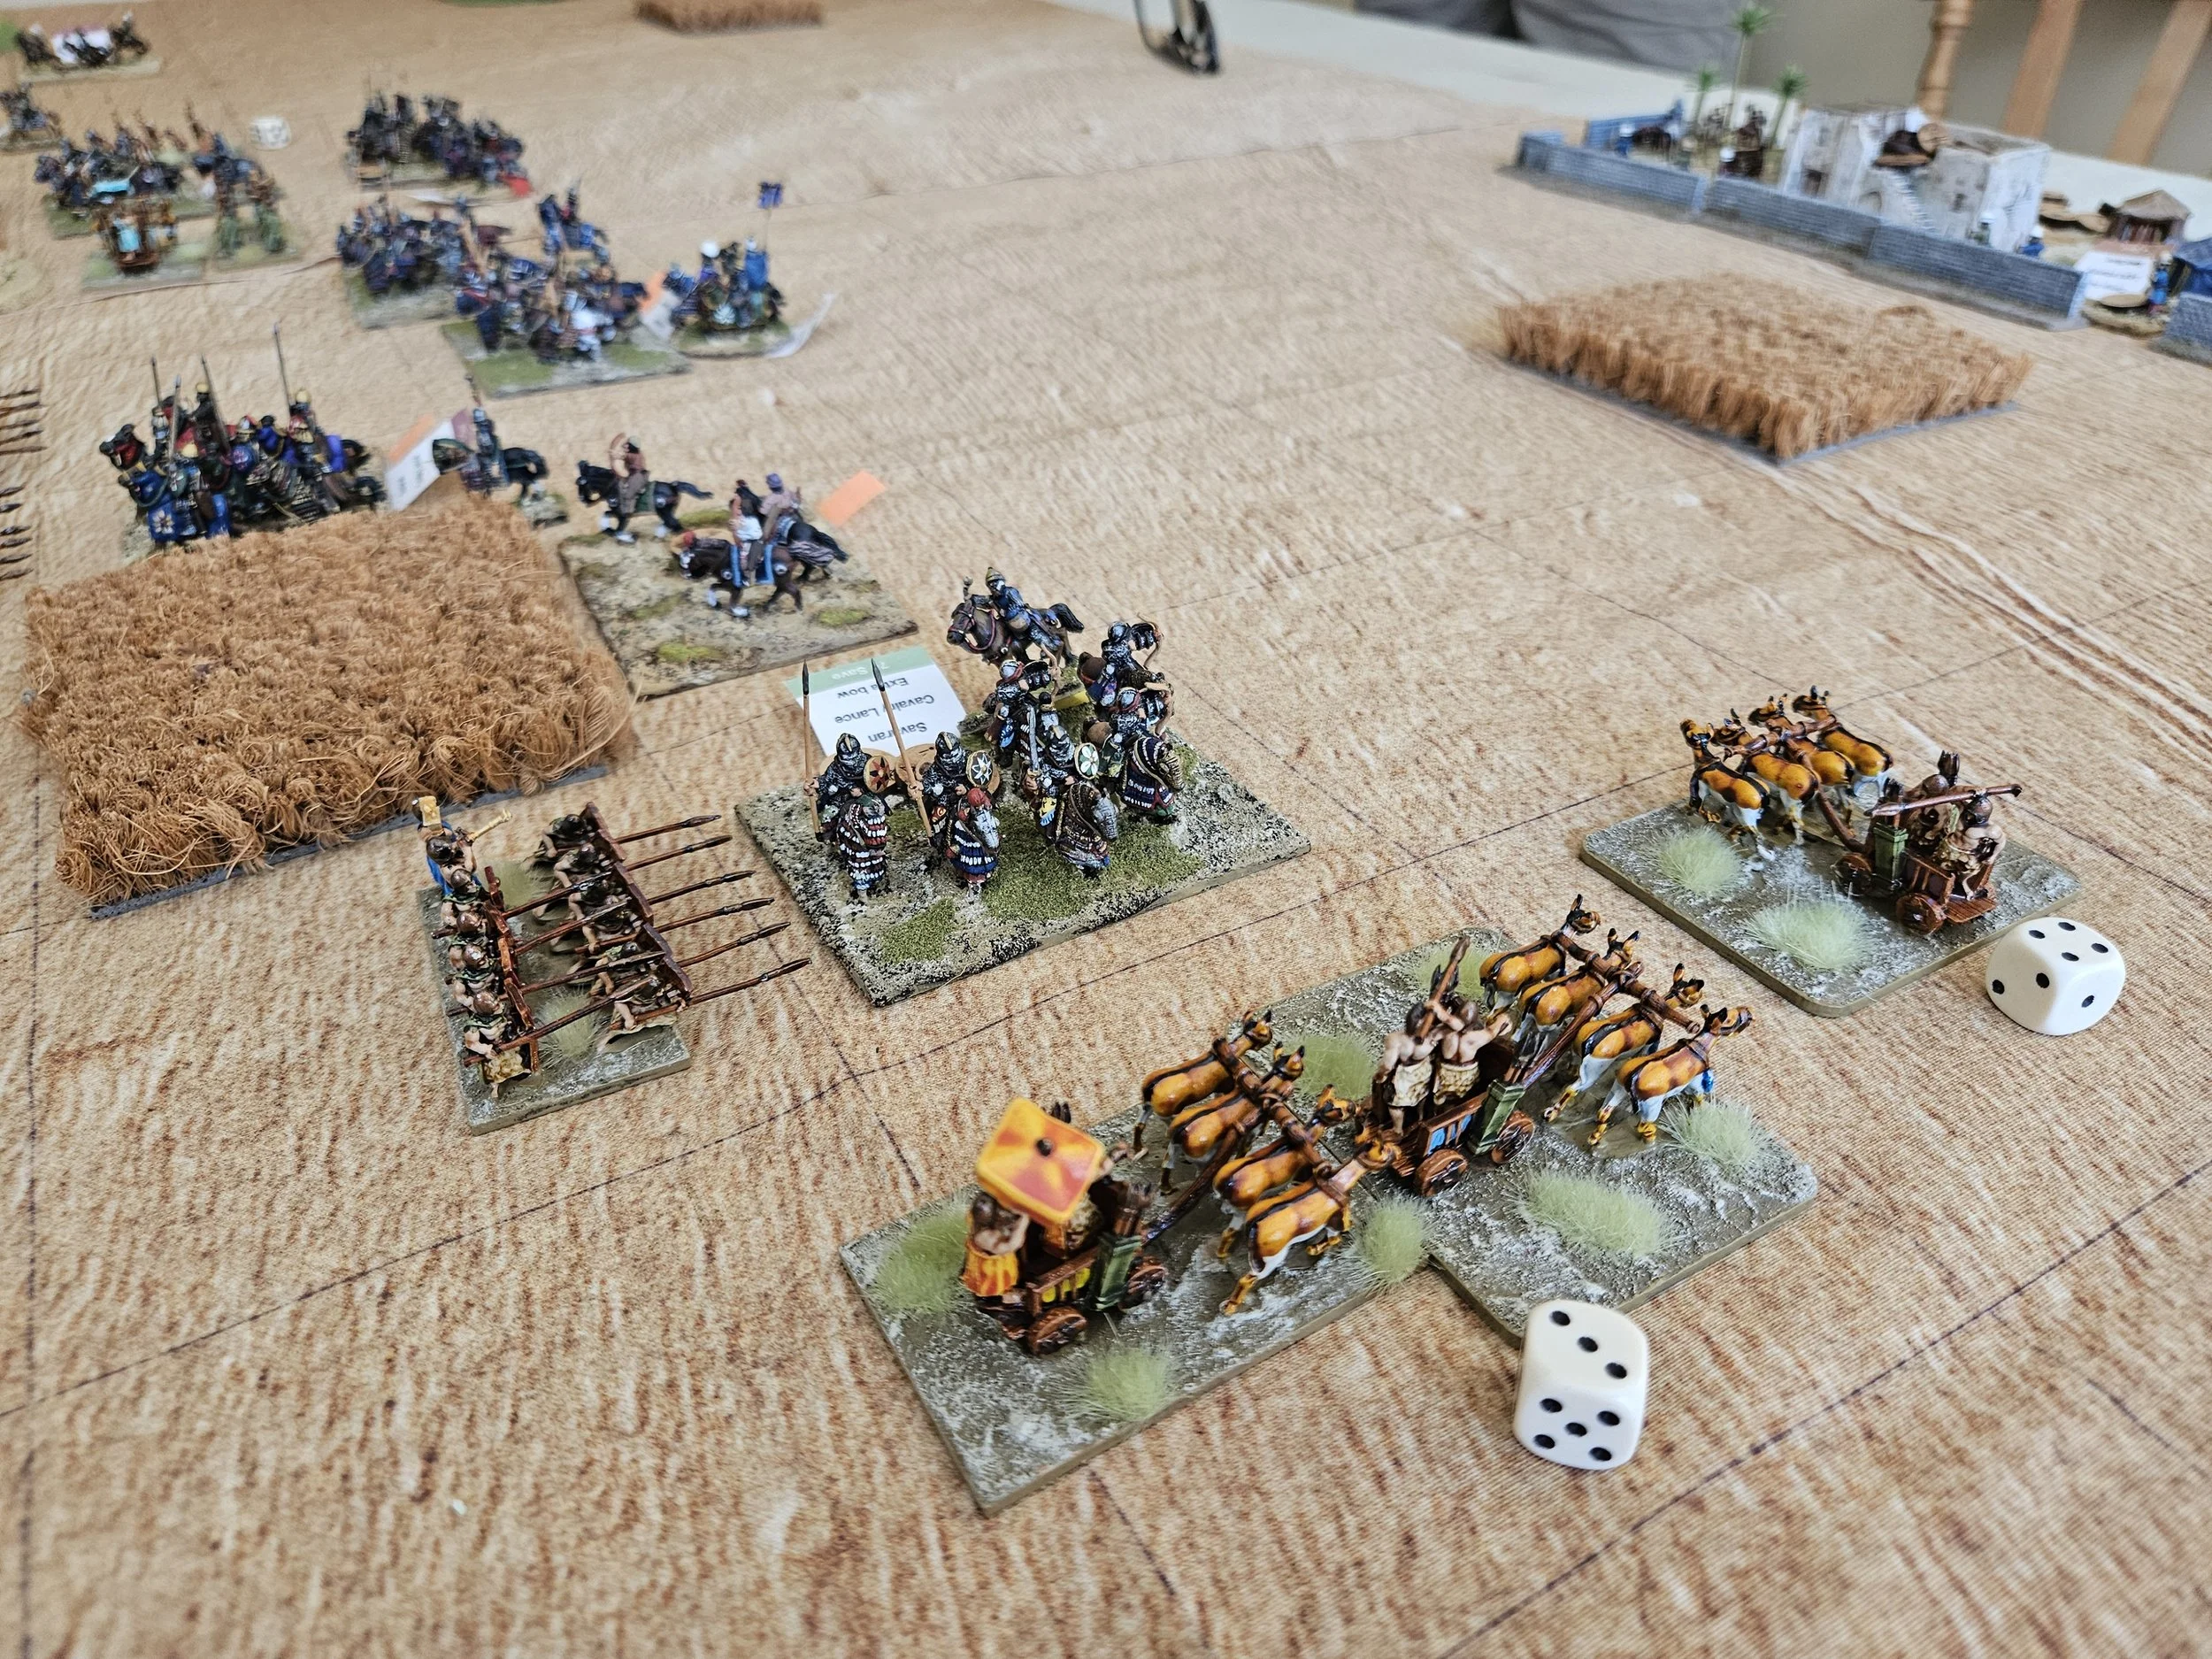
The Akkadians then had a brief moment of success when a unit of Elamite light archers charged and killed a squadron of Persian heavy cavalry by charging it from the flank, pulling two 10’s to do so.
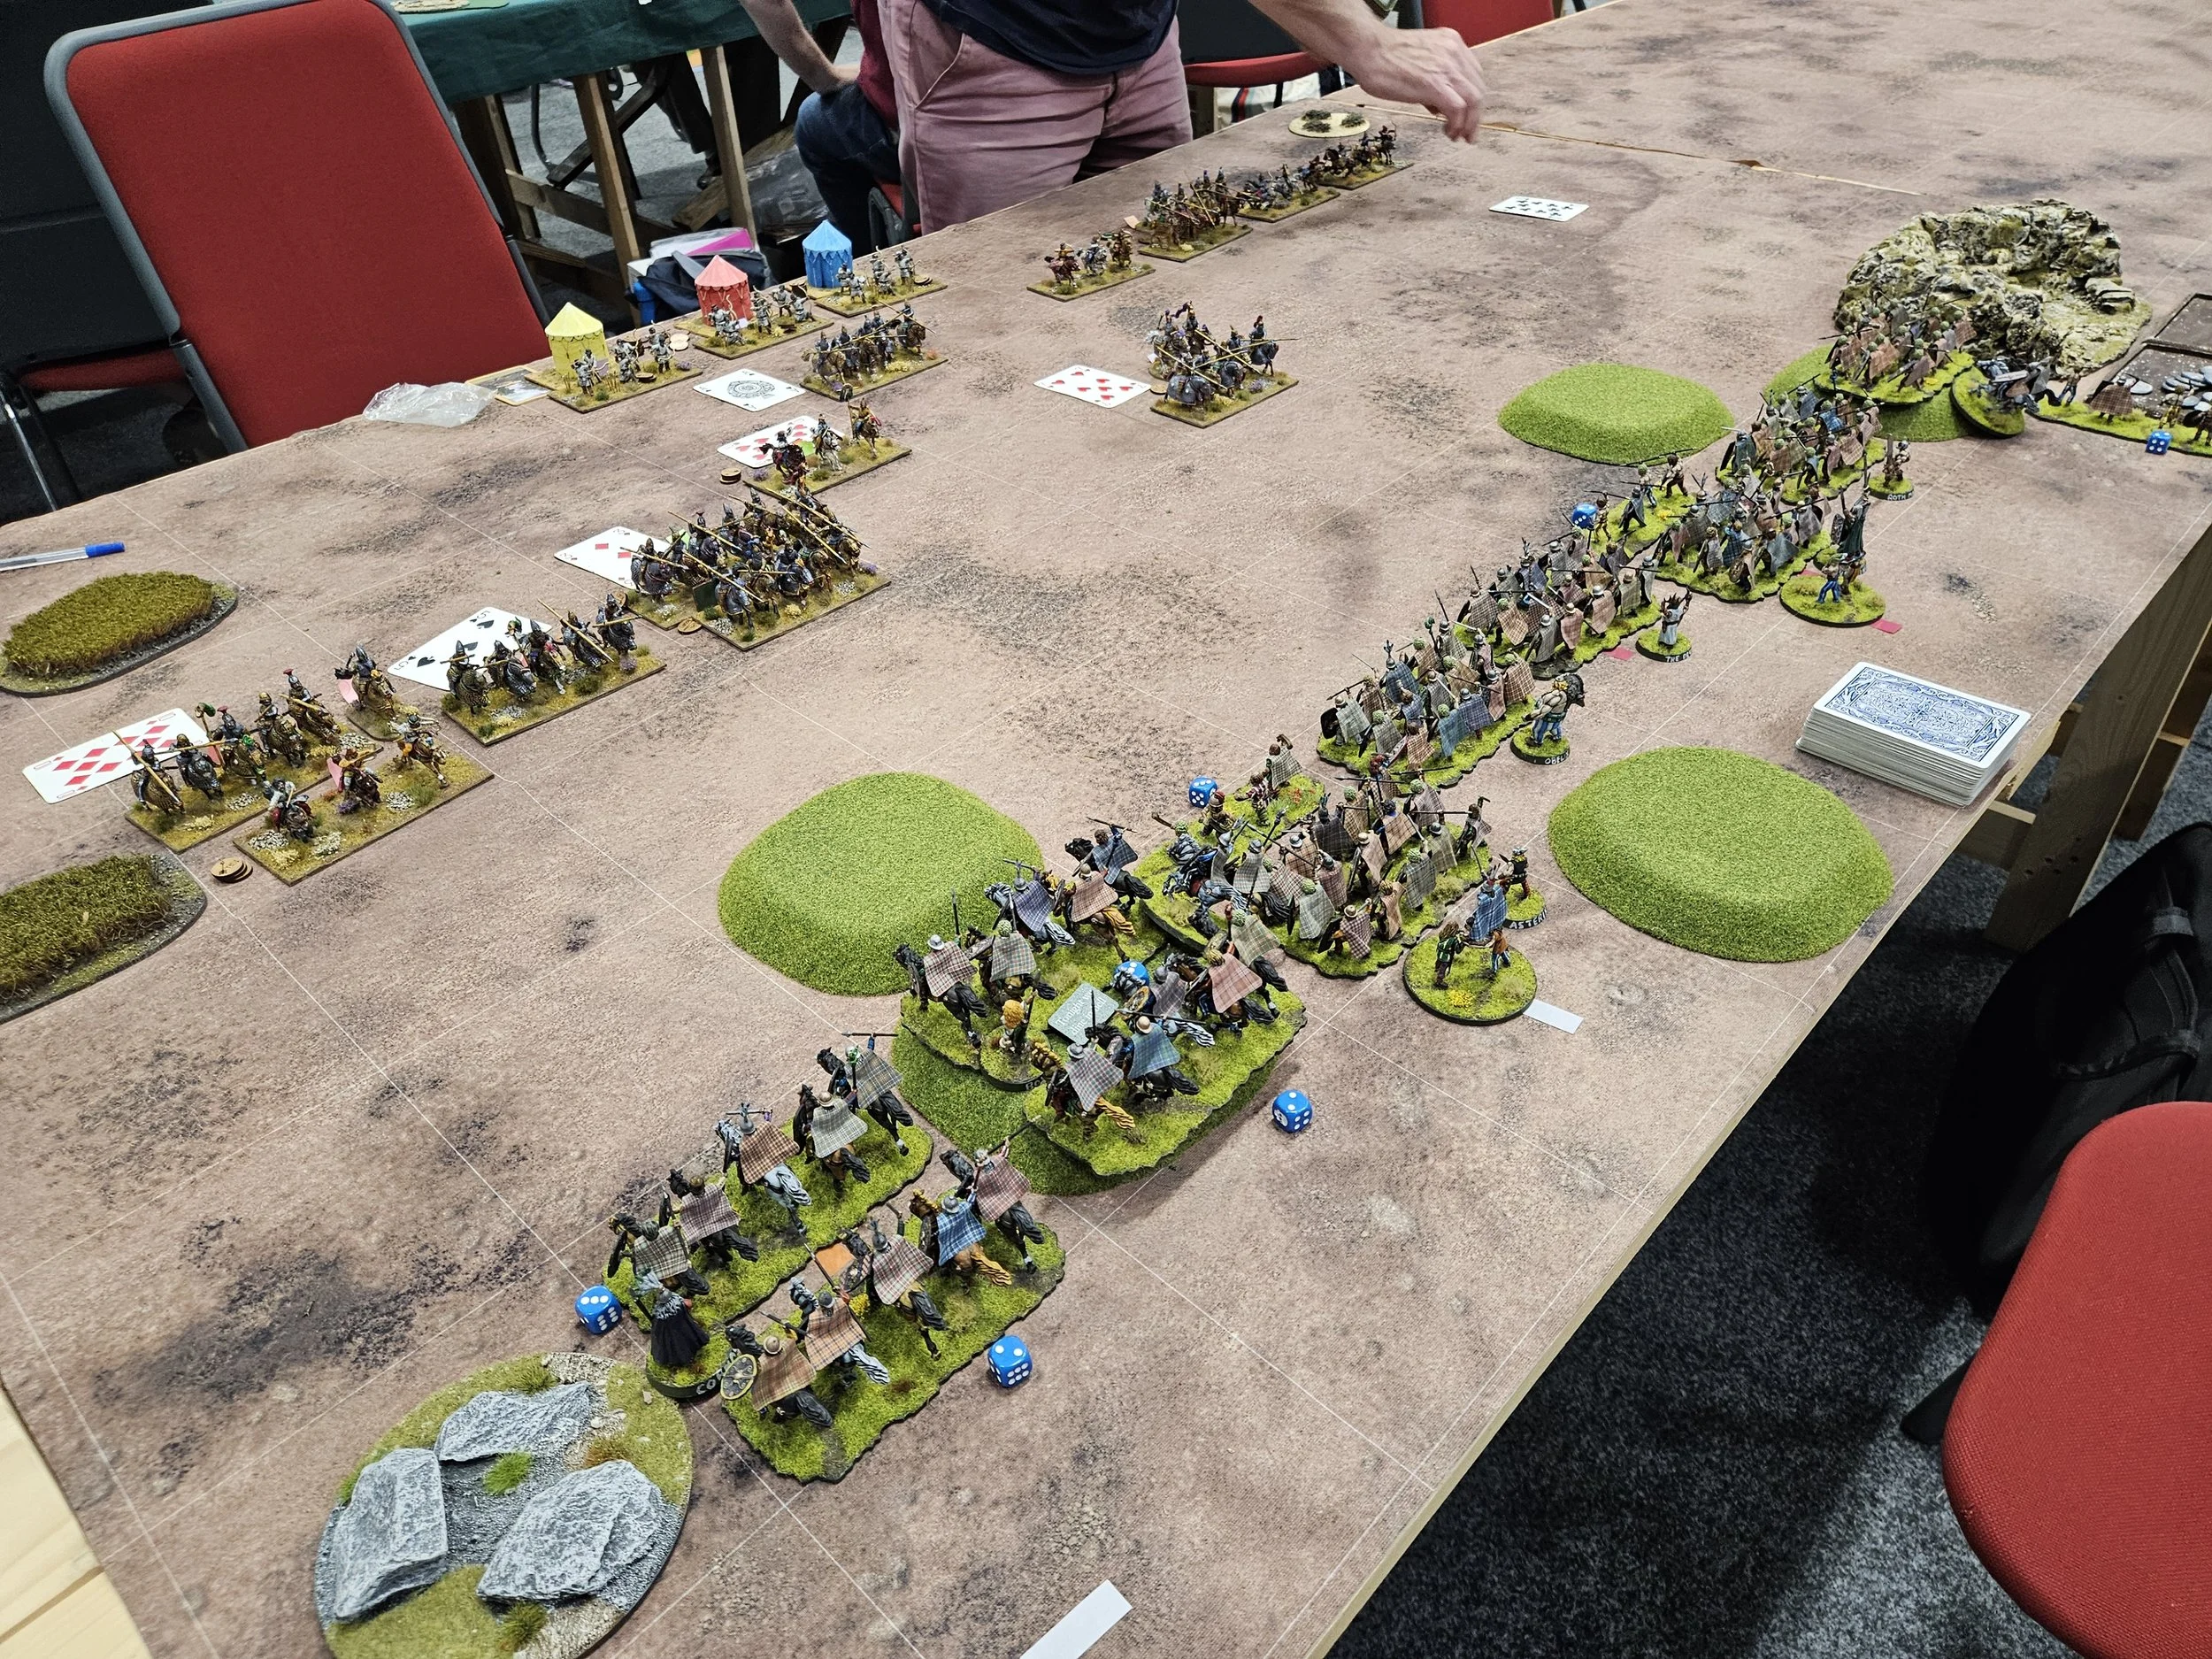
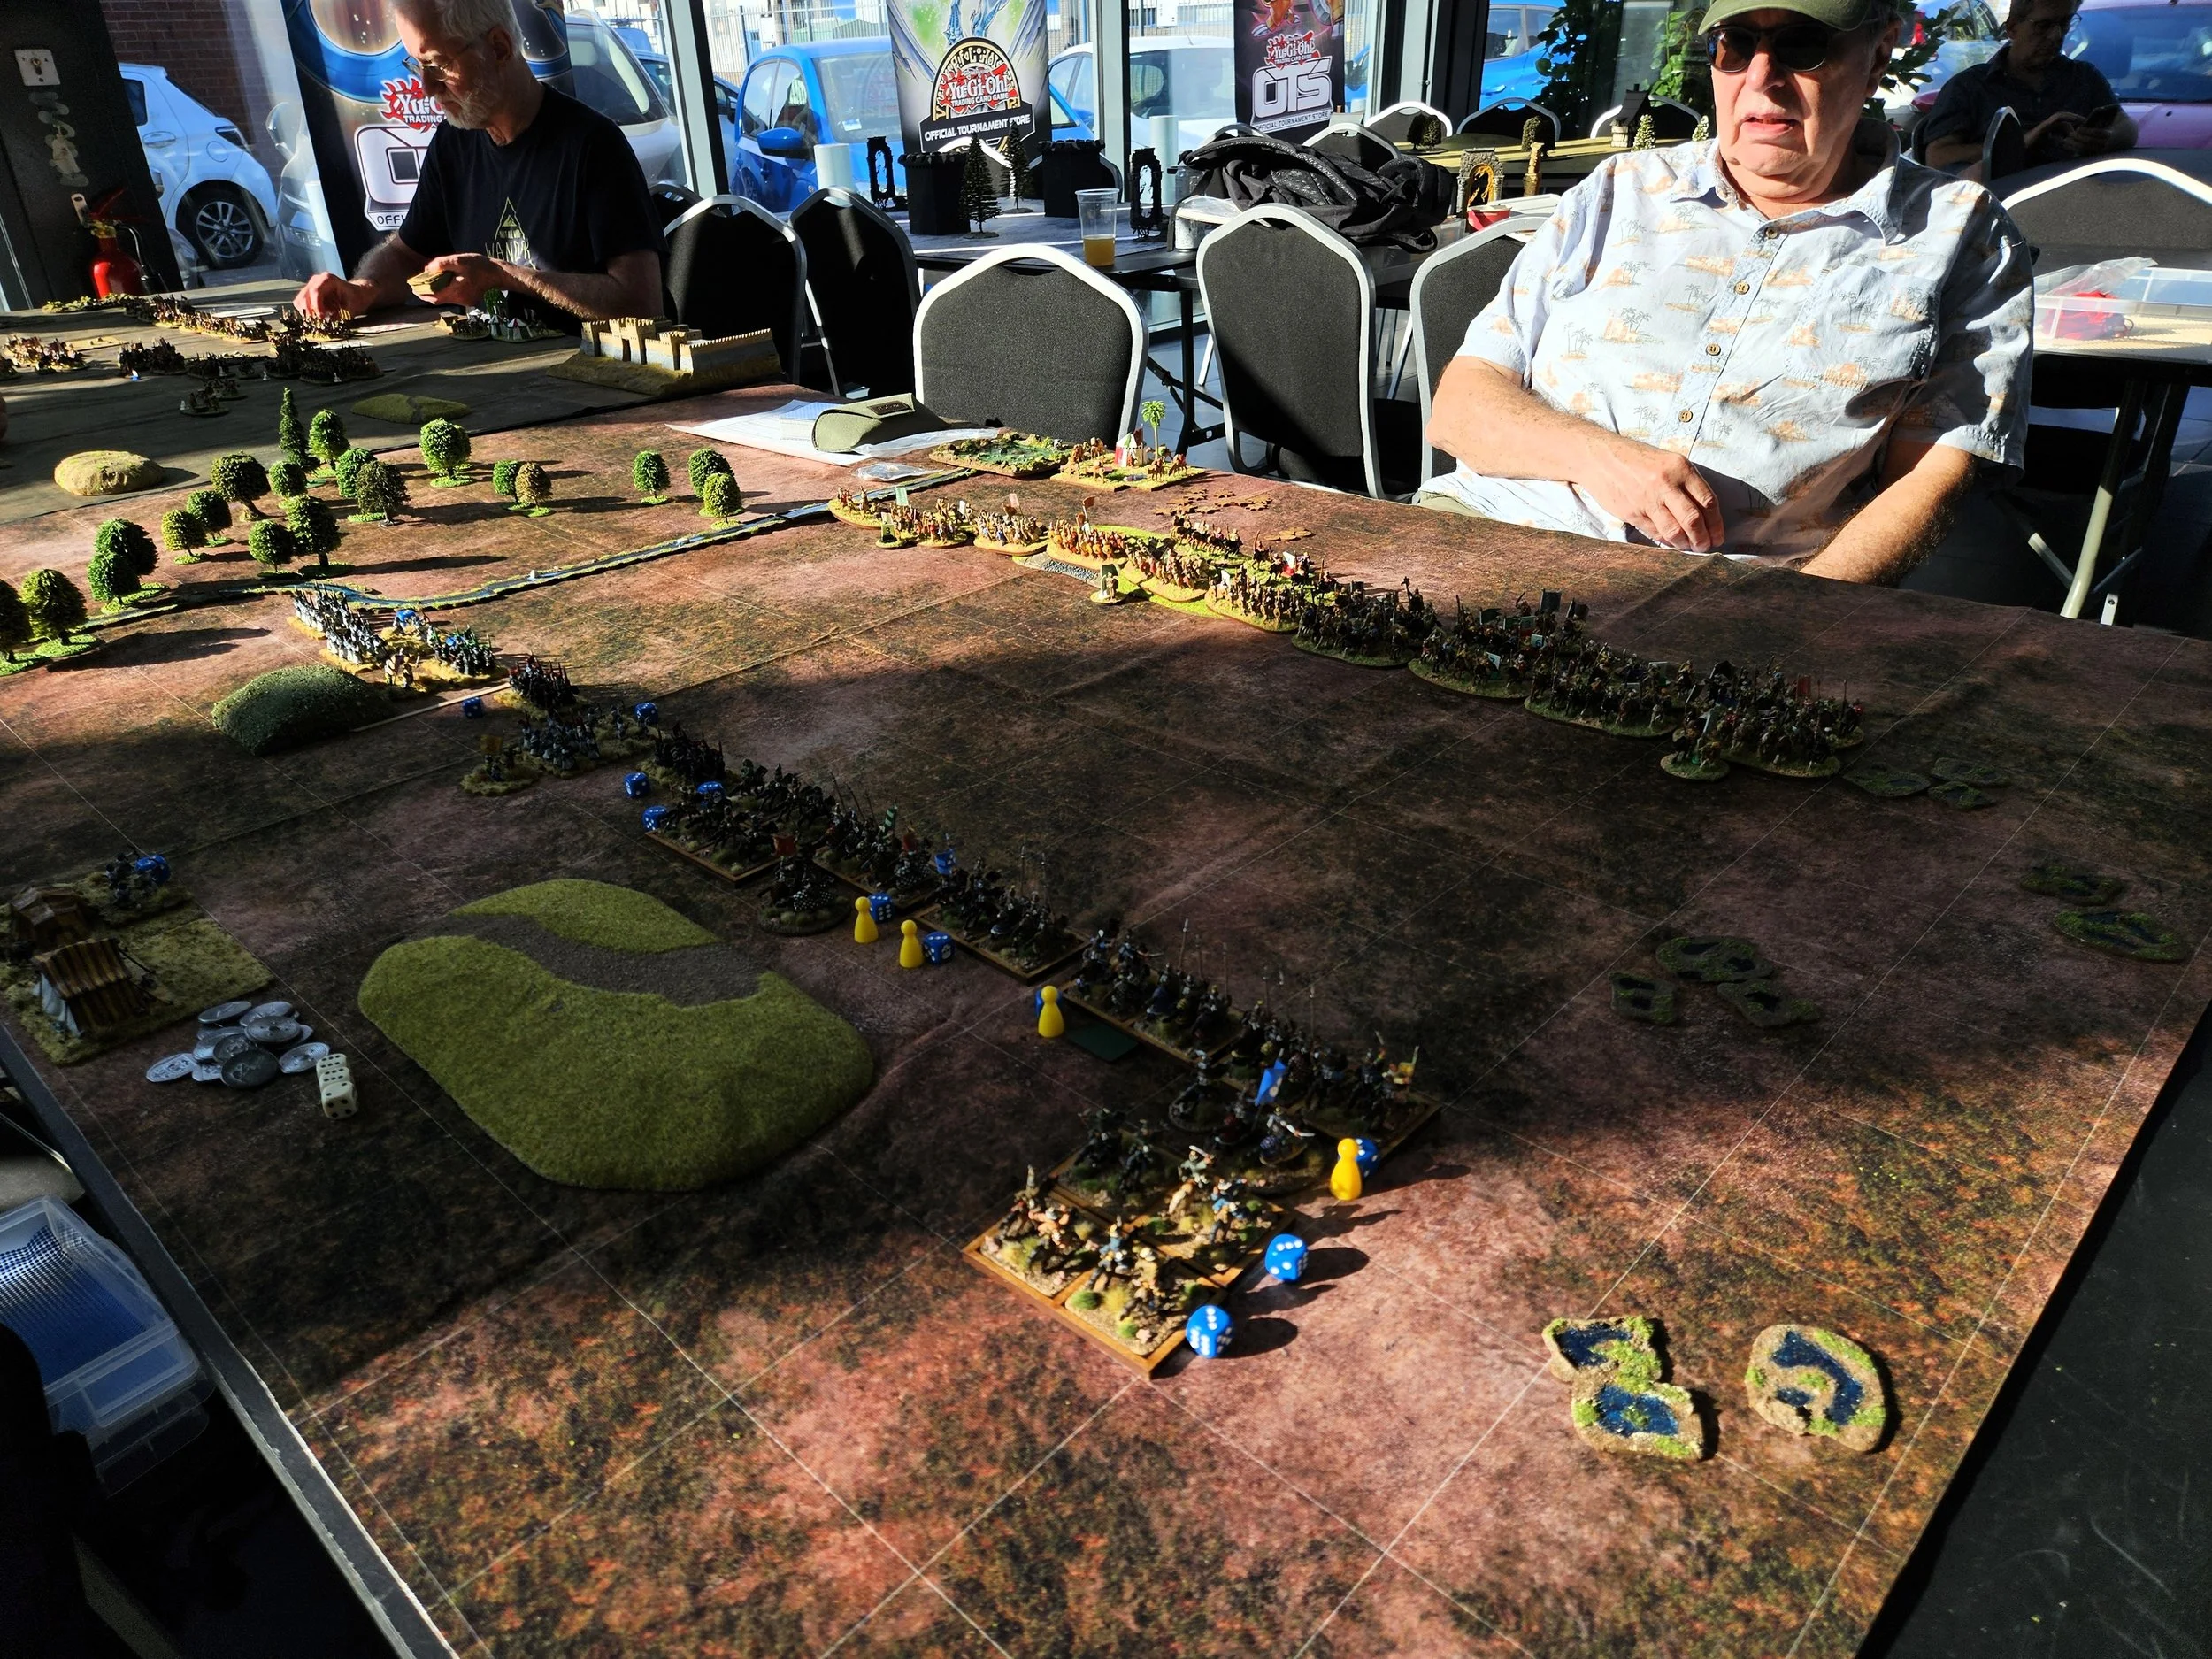
This was then countered by the loss of the Royal Guard’s officer - shot down by Persian bowfire - and I found myself, without quite knowing how, down to my last few coins. Looking at it with hindsight, I had lost two officers (four coins), one of the battle-carts (two coins), one infantry unit (also to bowfire, two coins), and a couple of coins to either losing lights or rallying. No matter, I thought, the Persians are only slightly better off: if I can last the rest of this turn then I can use the battle-carts’ flanking position to finish them off.
Unfortunately, this was not to be!
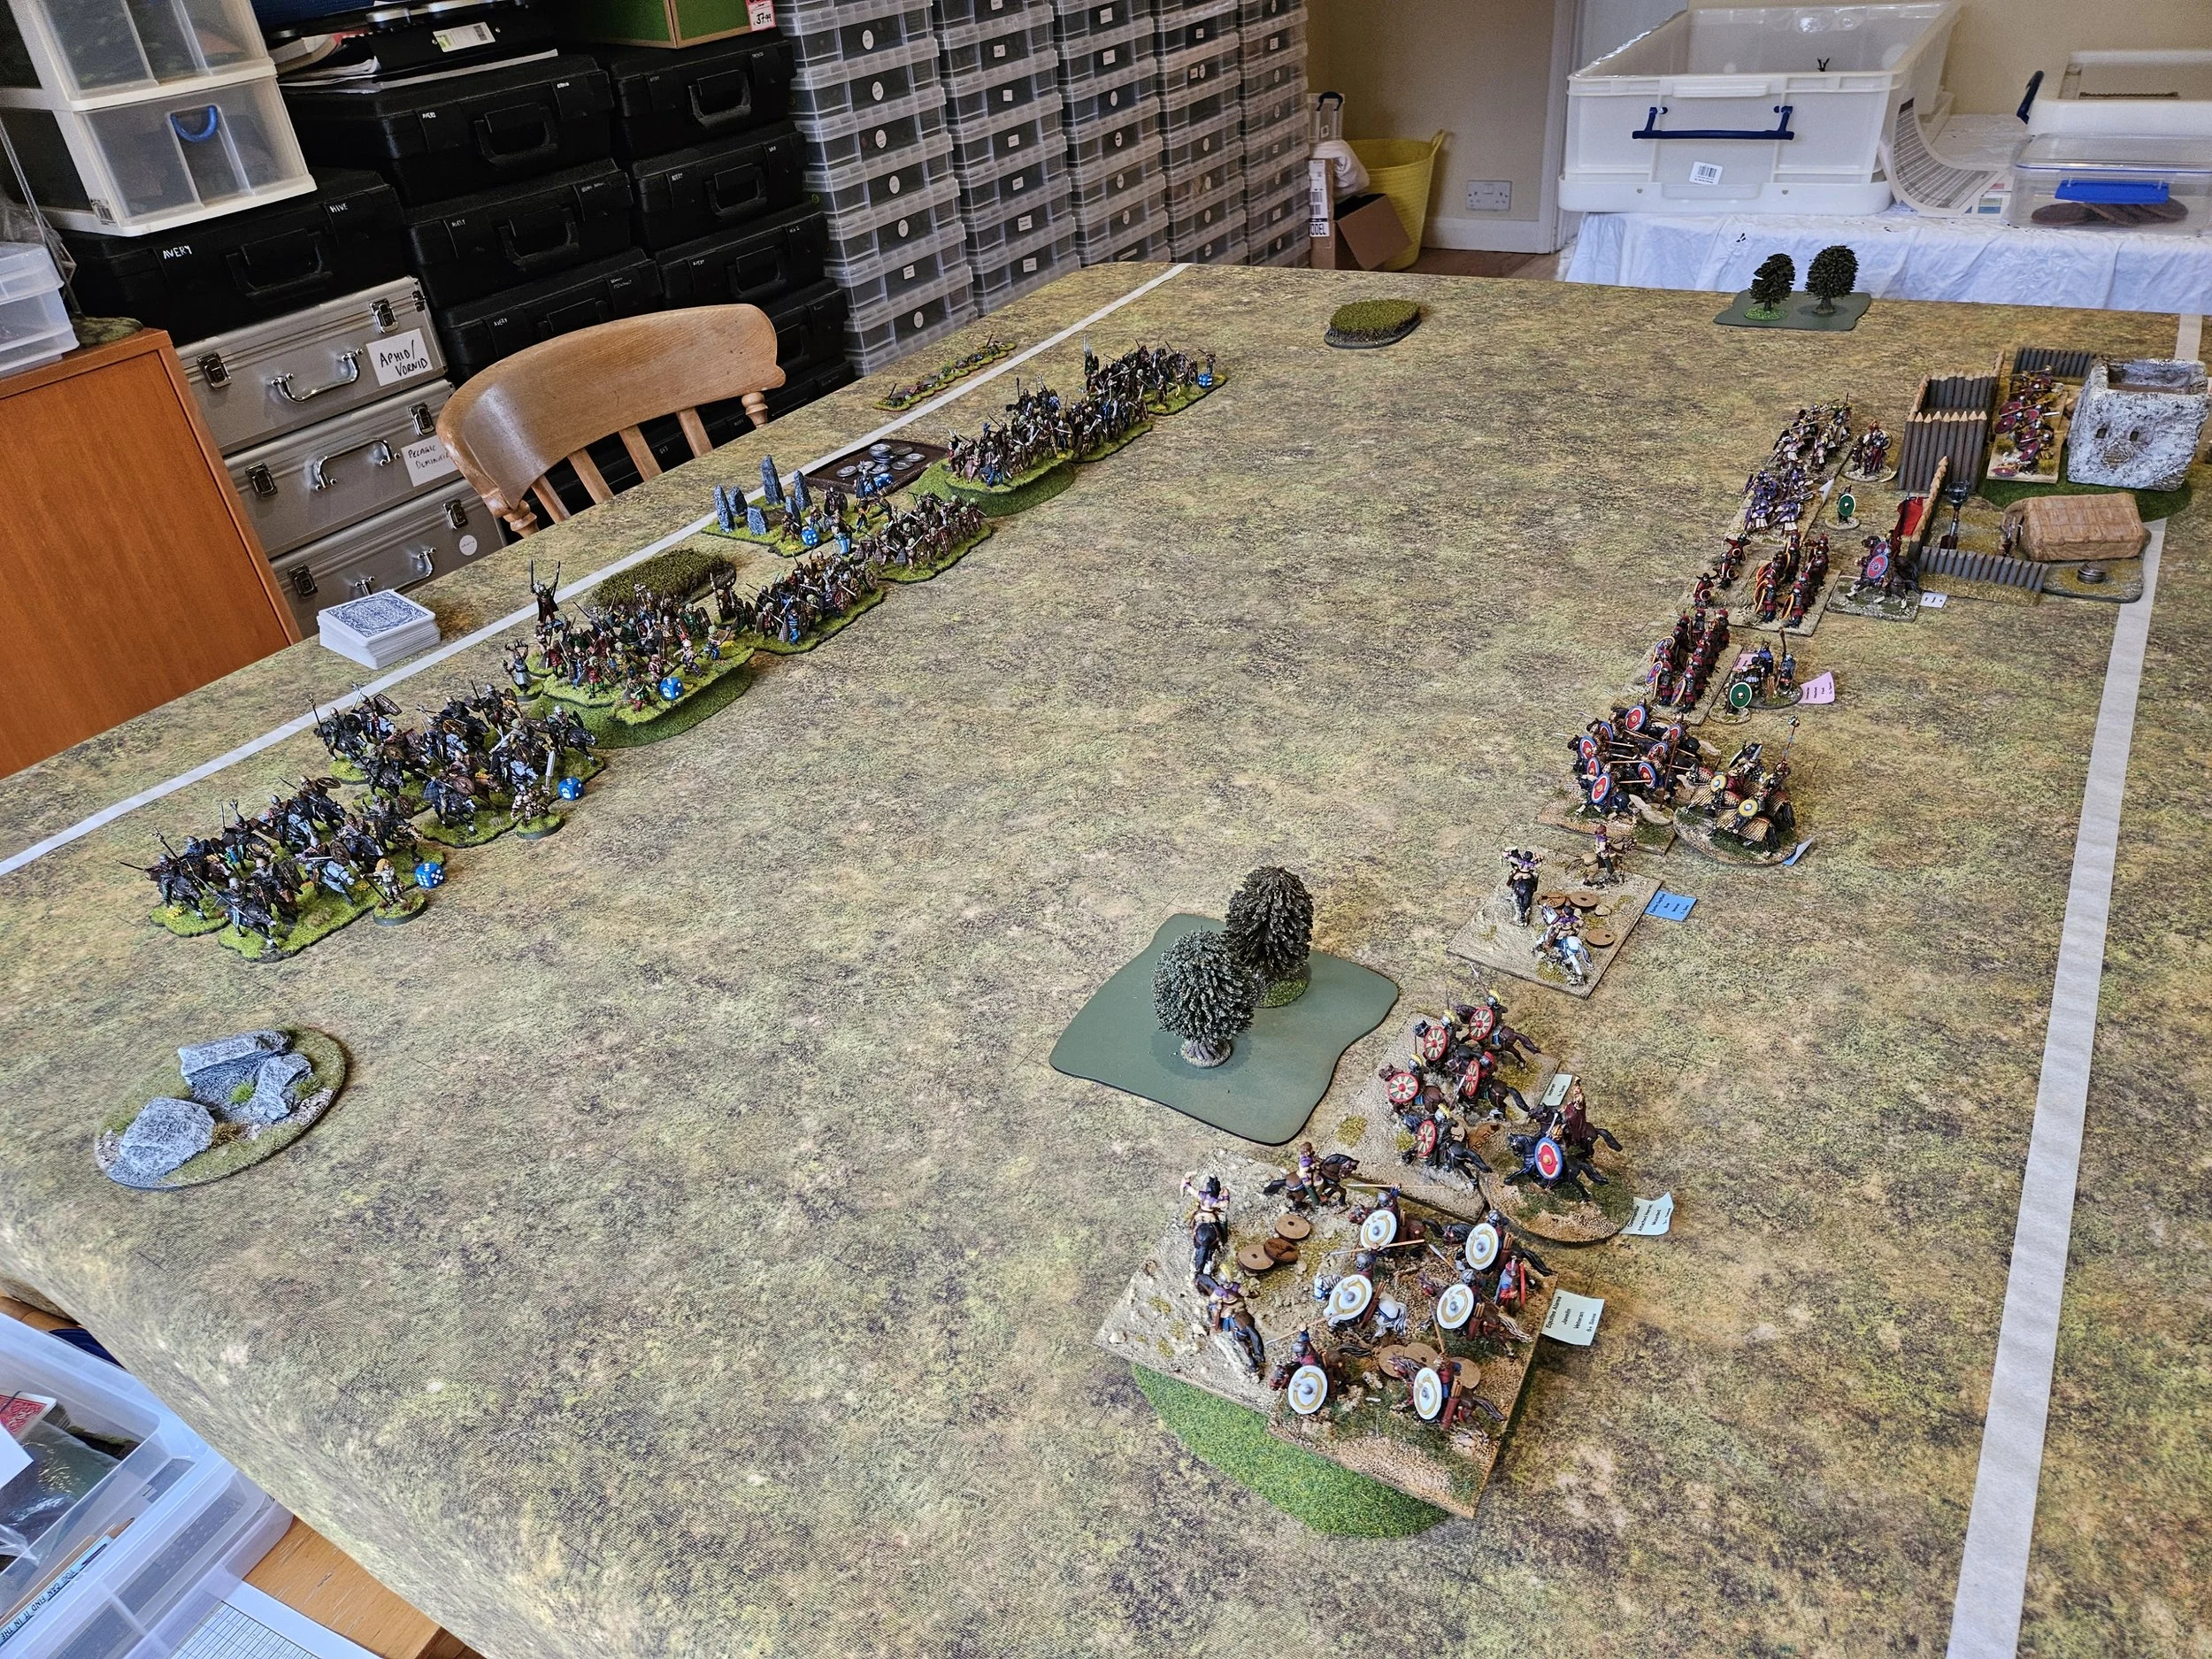
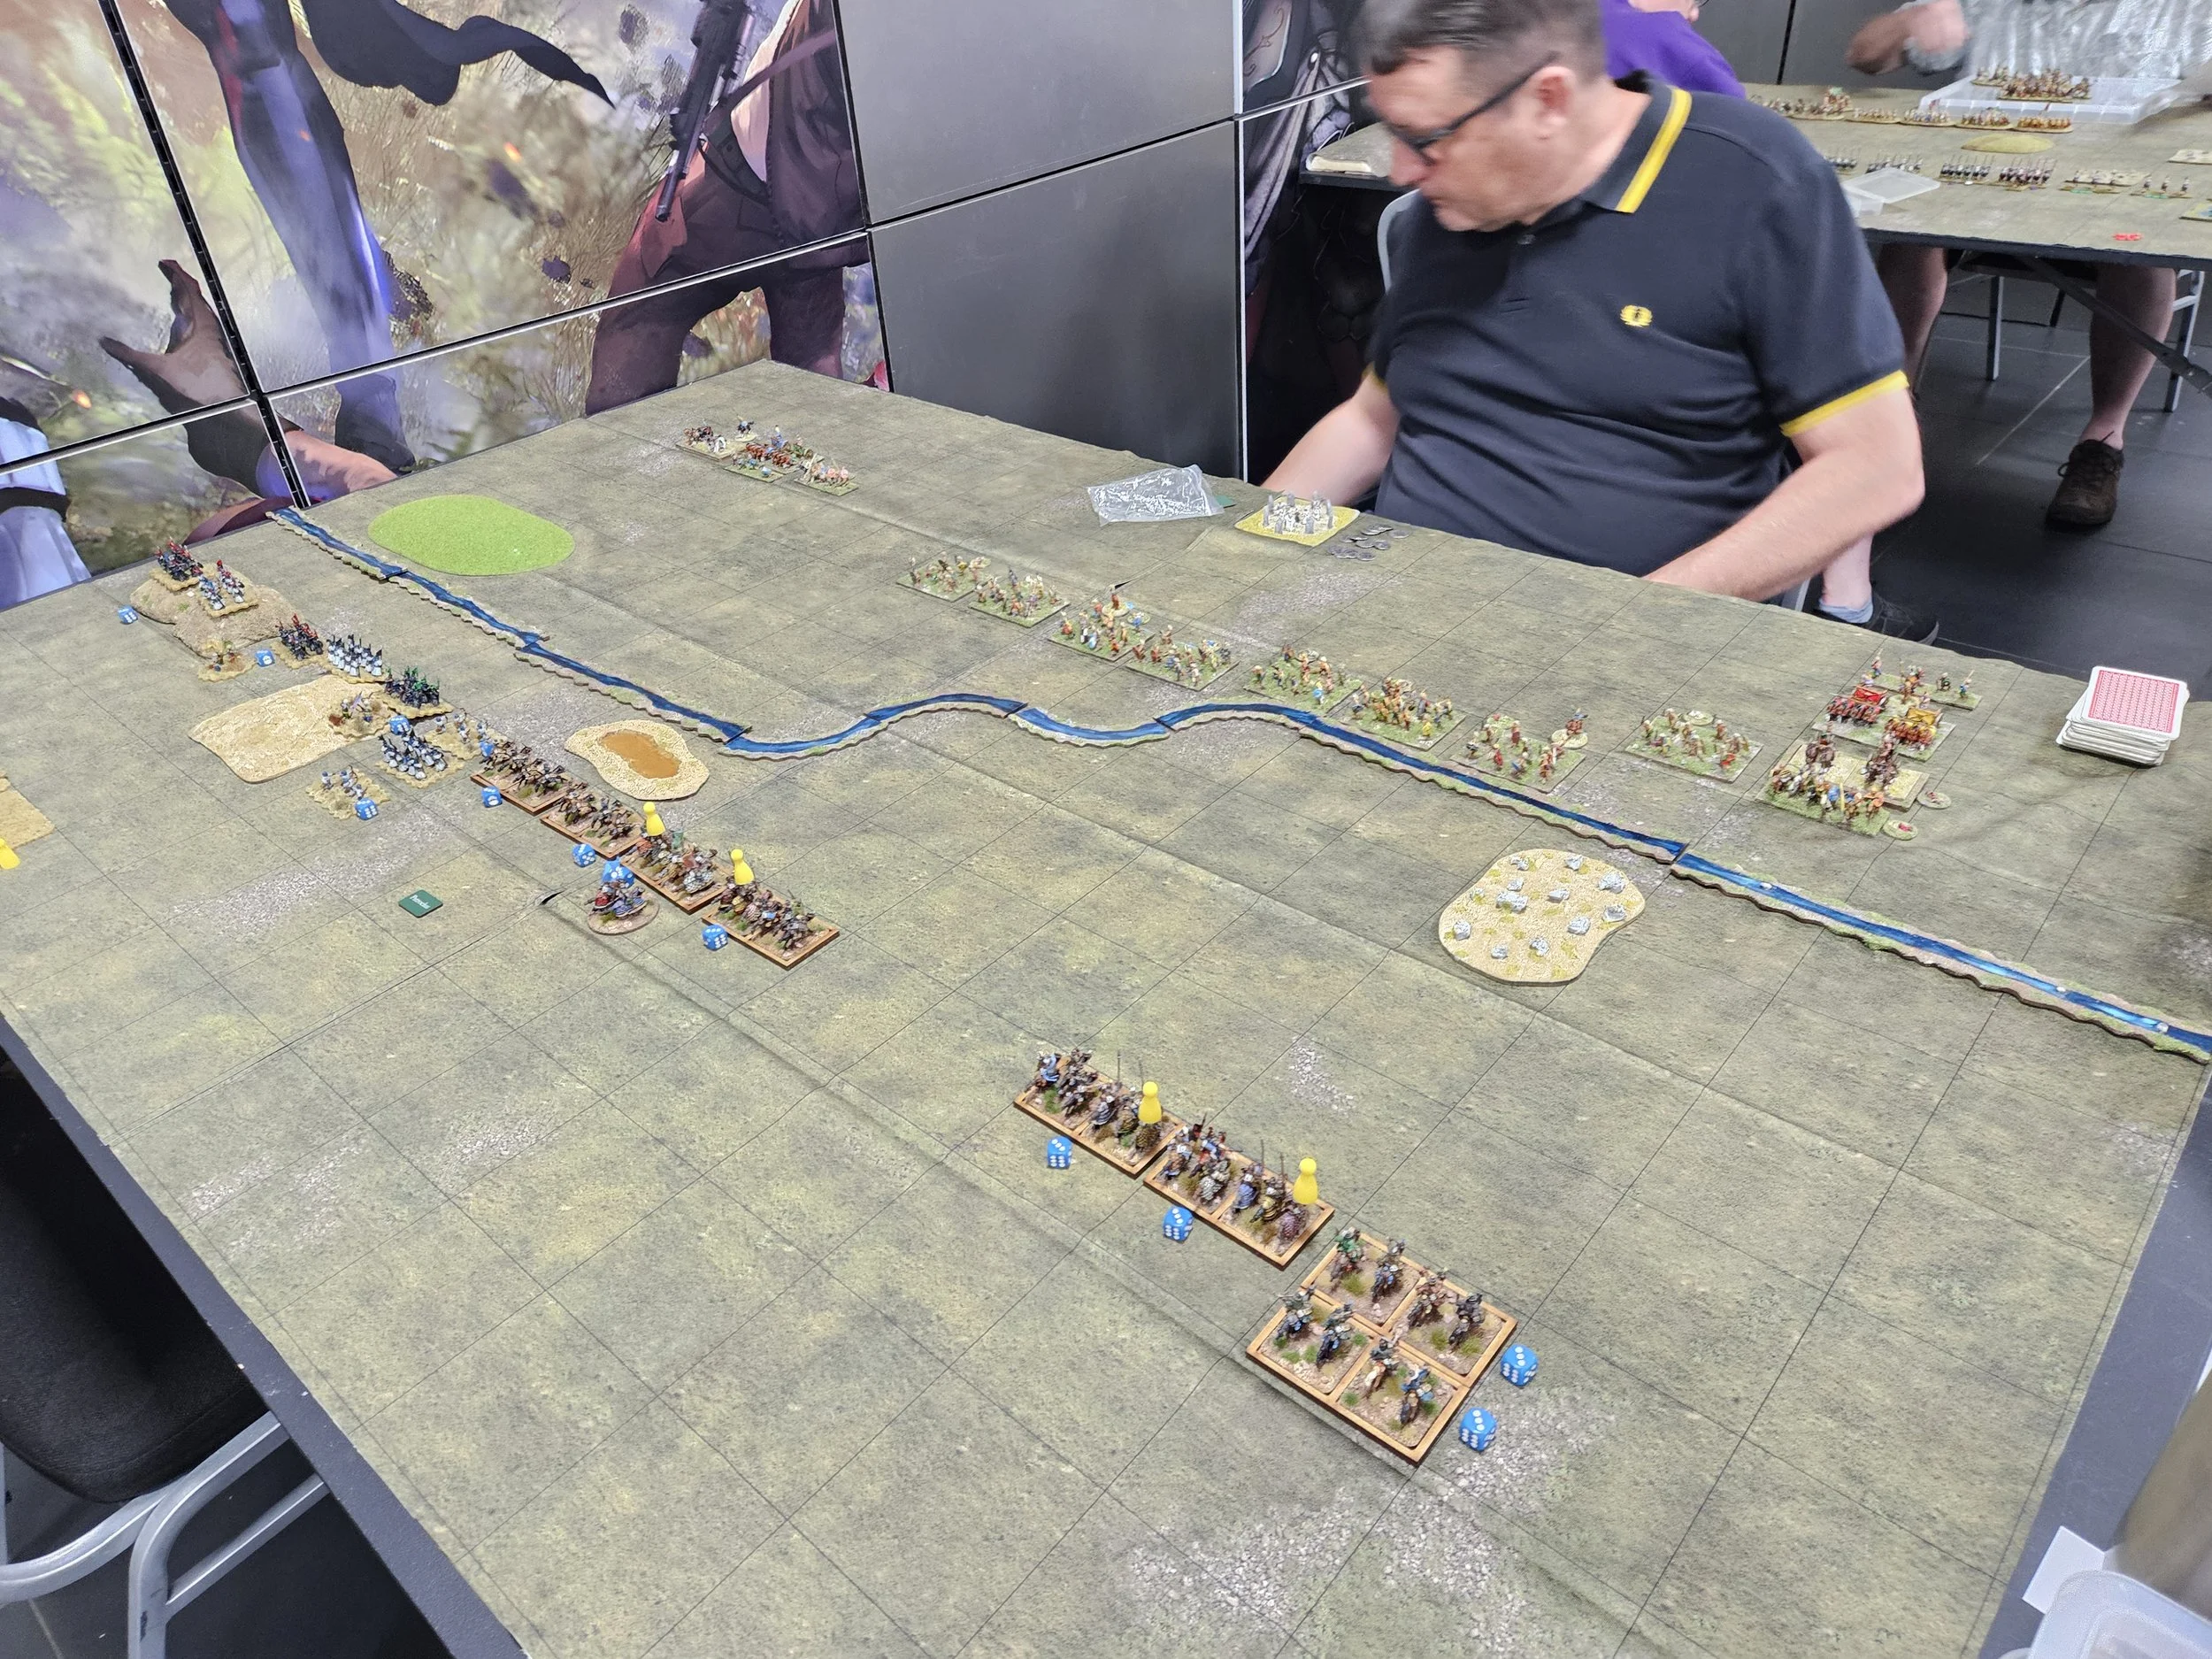
Realising that their position was as fragile as mine, the Persians threw everything into one final attack. A Sassanid cavalry unit charged the Akkadian Royal Guard who had just lost their officer (the unit with the face down playing card behind it in the photo above) and ran right over them despite the Guard’s veteran status. This loss caused the light archers in the square behind them to flee the table and I was suddenly down three coins and the game!
So a narrow loss for the Akkadians, mainly down to the poor performance of the Royal Guard and less so to the unmanouevrability of the battle-carts. One of those games that are so close that all the “if only’s” haunt you…well, at least until the next battle!