IABSM AAR: Lardiarz or BoB: Near Vcheva

Captain Cliche and friends have played another game based on one of the scenarios from the late war Bashnya or Bust! scenario pack.

This time, they have adapted scenario #5D (or scenario #5N): Near Vcheva. This is an encounter battle as two armoured forces meet to contest a vital junction.

Click on the pick below to see all:

IABSM AAR: Happy Christmas!

This weekend just gone, John, Dave, Bevan and I re-fought the Battle of the Bulge scenario that we played a couple of years ago. You can read the AAR for that game here (opens in a new window).

I played the Germans in that one, but played the Allies today. A cracking game that was action, action, action from the moment battle was joined.

Click on the picture below to see all:

IABSM AAR: Bashnya or Bust! #01: Near Osen

It’s always great when someone sends me an AAR for inclusion on the site, especially when they also say nice things about one of my scenario packs.

Here’s an example of what I mean: Captain Cliche (you can read his excellent blog here) and his wargaming friends have begun playing through the Bashnya or Bust! scenario pack (more details here, opens in a new window), starting with the first encounter: Near Osen.

Click on the picture below to see all, including some great 6mm figures:

IABSM AAR: Pacific Island Invasion

A nice little after action report from Desmondo Darkin, orginally posted on the I Ain’t Been Shot, Mum Facebook page.

Not only do we get the first part of an AAR (the rest being lost in the mists of time!) but also some hints and tips on how to run an island invasion of your own.

Click on the picture below to read more…

IABSM AAR: Walking in a Winter Wonderland

Quite appropriately for whether we have been having recently, Tim Whitworth and the Like A Stone Wall wargames group raided the 2005 Summer Special for a scenario with which to play their latest game of I Ain’t Been Shot, Mum!

Not much commentary, but some lovely pictures of their terrain and models. Click on the pic below to see all:

IABSM AAR: The Pimple

Here’s a few pictures from a recent game of I Ain’t Been Shot, Mum played by Dan Albrecht and his chums at the Vermont Gamers Group.

The scenario was #21: The Pimple from the Operation Compass scenario book (written by Yours Truly). Dan says:

“True to form the Italians took it on the chin. With Brits in hull-down position and Italians with only two Actions, no Big Men to remove Shock, after 10 turns most all M13/40s were knocked out or their main gun was damaged or immobilized. Still, good way to learn the rules, practice shifting artillery fire with FOs and besides…no American football on the TV this past Sunday!”

IABSM AAR: "The Luckiest Panzerjaeger"

A few pictures from a James Manto solo game which he posted on the IABSM Facebook Group recently.

As James says:

Some pics from my solo game last weekend including a close up of what I'm calling "the world's luckiest PanzerJaeger I " which survived a duel with the KV-2.

Personally, I’m also loving the aircraft.

IABSM AAR: South of Cherbourg

Here’s a quick AAR taken from the I Ain’t Been Shot, Mum Facebook group, posted by the Chevalier de la Terre. The scenario used is the South of Cherbourg scenario from IABSM v3 rulebook; and has resulted in a beautiful looking game.

Click on the picture below to see all:

I’ve also added an even quicker AAR from fellow Lardy Julian Whippy, also from the I Ain’t Been Shot, Mum Facebook group. You can see the rest of Mr Whippy’s pics by clicking on the picture below.

IABSM AAR: Sint Jooth, Day 2

Another great battle report from Tim Whitworth and the ‘Like a Stone Wall ‘ Wargames Group, this time put together from several Facebook posts mostly from the I Ain’t Been Shot, Mum! FB group.

This game is a continuation of their fight for the village of Sint Jooth in Holland in 1945. The British pulled out their war weary infantry on the night of 20th of January and re-grouped for an attack the next day (you can read the AAR covering the previous day’s action here).

Click on the picture below to see if the British had more luck on Day 2:

A Few IABSM AARs

The I Ain’t Been Shot, Mum! Facebook Group is a great source of information and inspiration. It’s also a place where people post a lot of short and snappy After Action Reports slightly different from the larger write-ups you find on people’s blogs.

Now not everyone wants to be a member of Facebook, which I can perfectly well understand, so below you’ll find links to a few recently-FB-posted AARs that I’ve copied across to Vis Lardica.

I’ve got specific permission to do so from most of the authors, but for those few that I haven’t, I hope that they don’t mind: VL is a not-for-profit website (it’s the old joke: “How do you make a £1 million from wargaming? Start with £3 million!”) designed only to spread the Lard.

Belle Maison

Action in Tunisia

AAR: First Game of the Year

And so to the first battle of 2019: a game of I Ain’t Been Shot, Mum! against Dave using one of the scenarios from the TooFatLardies Summer Special 2016. For those unaware of the Specials, and now the Lard Magazine, these are a wonderful source of scenarios, information and inspiration for all Lard games.

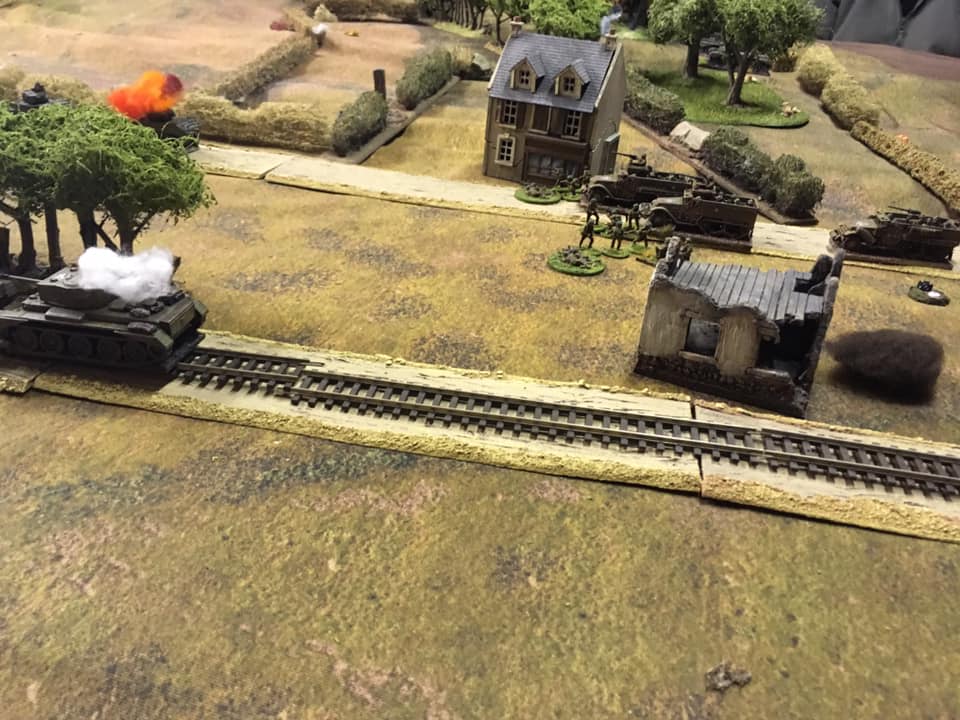
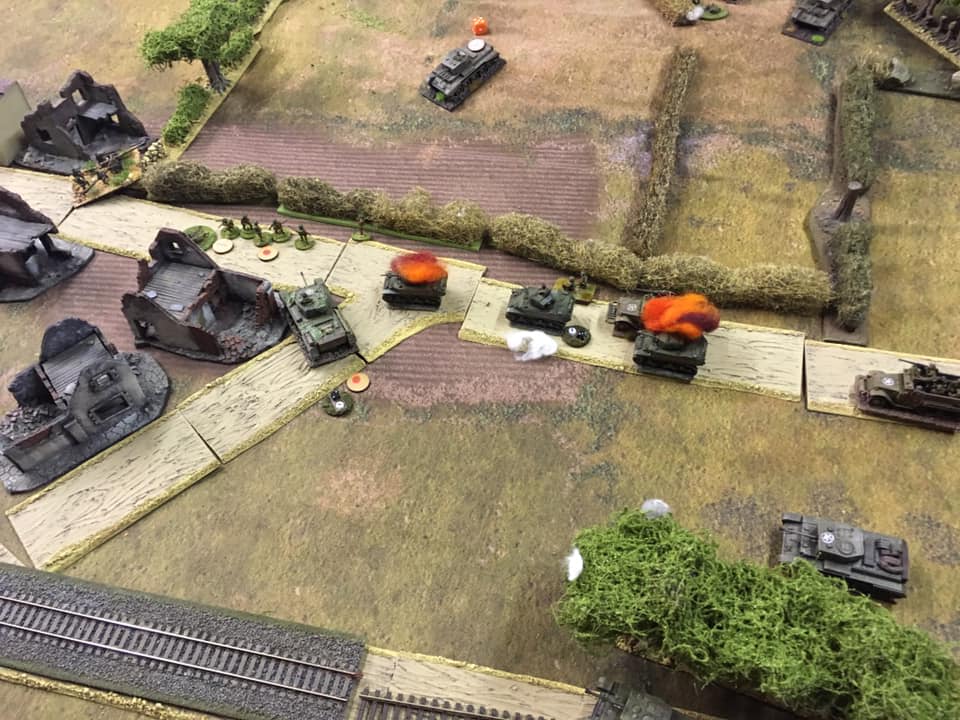
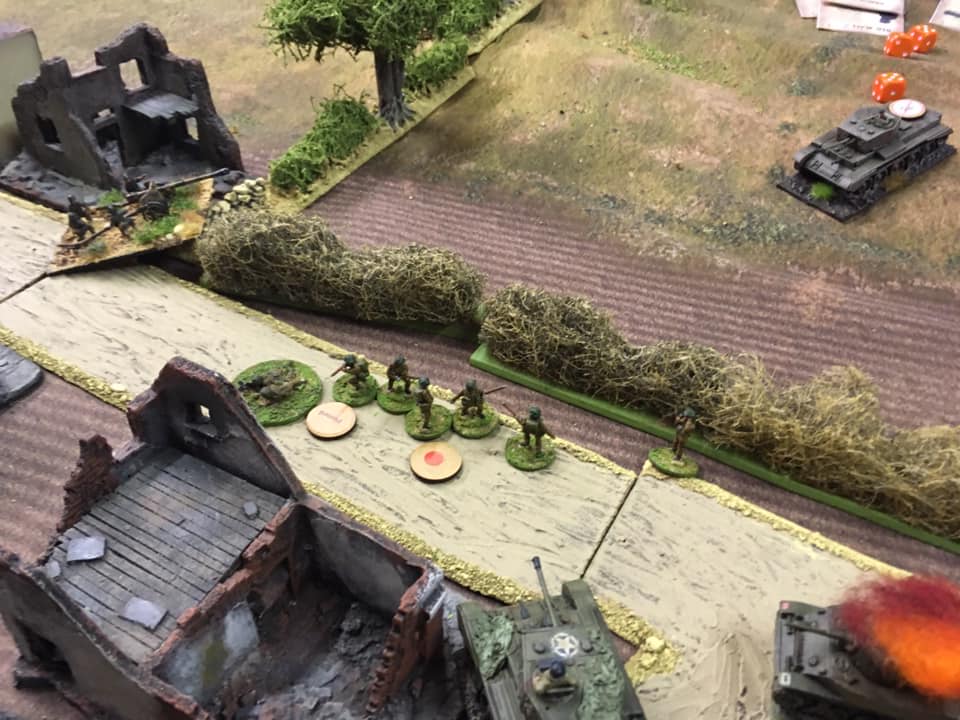
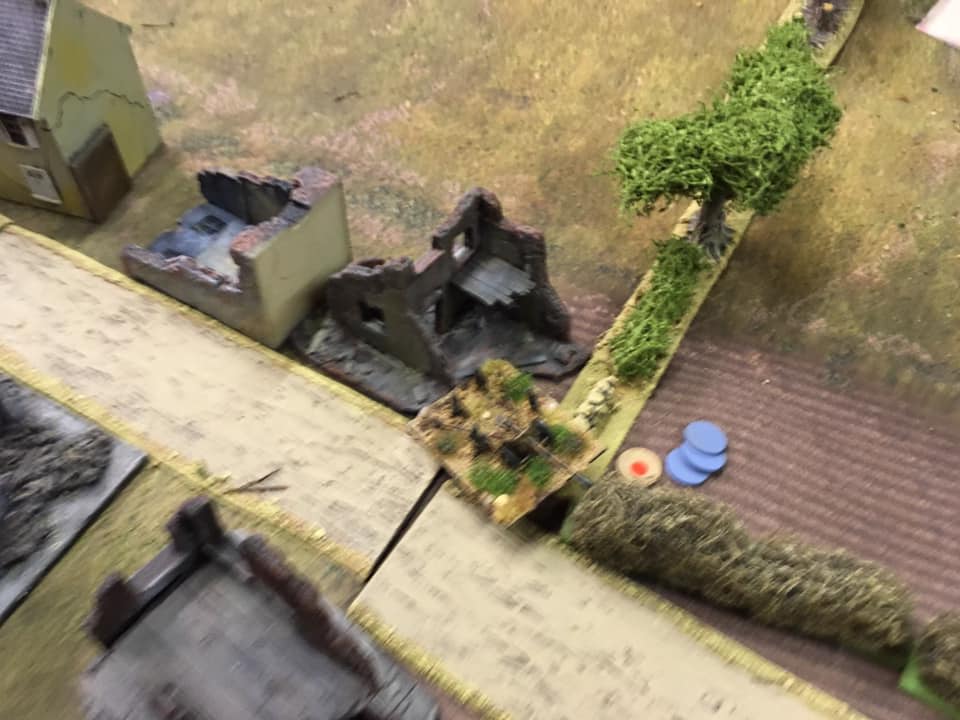
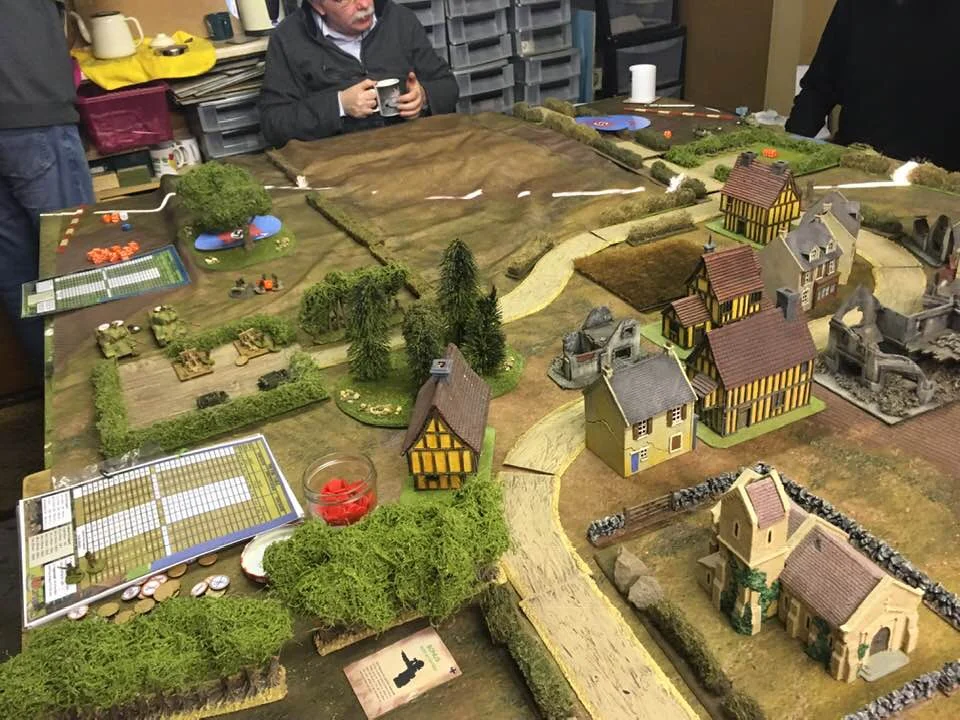
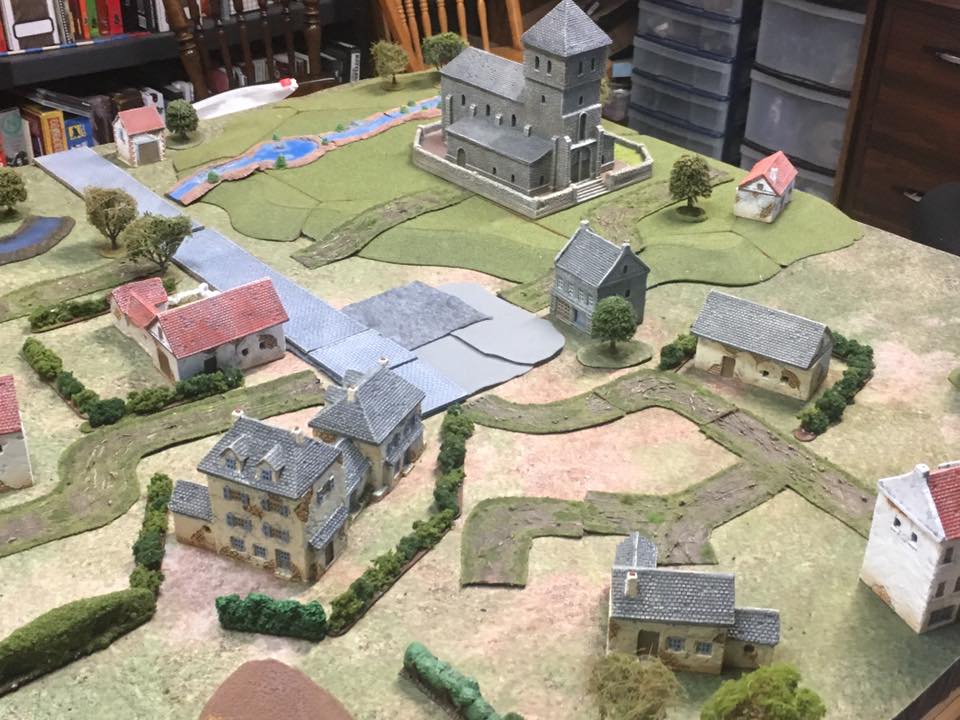
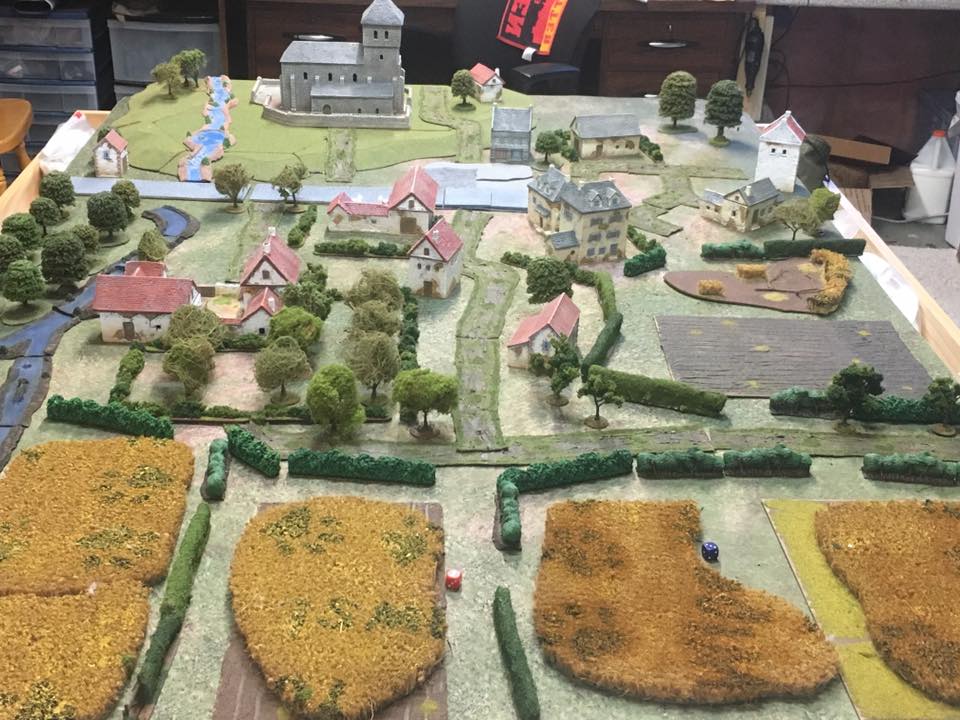
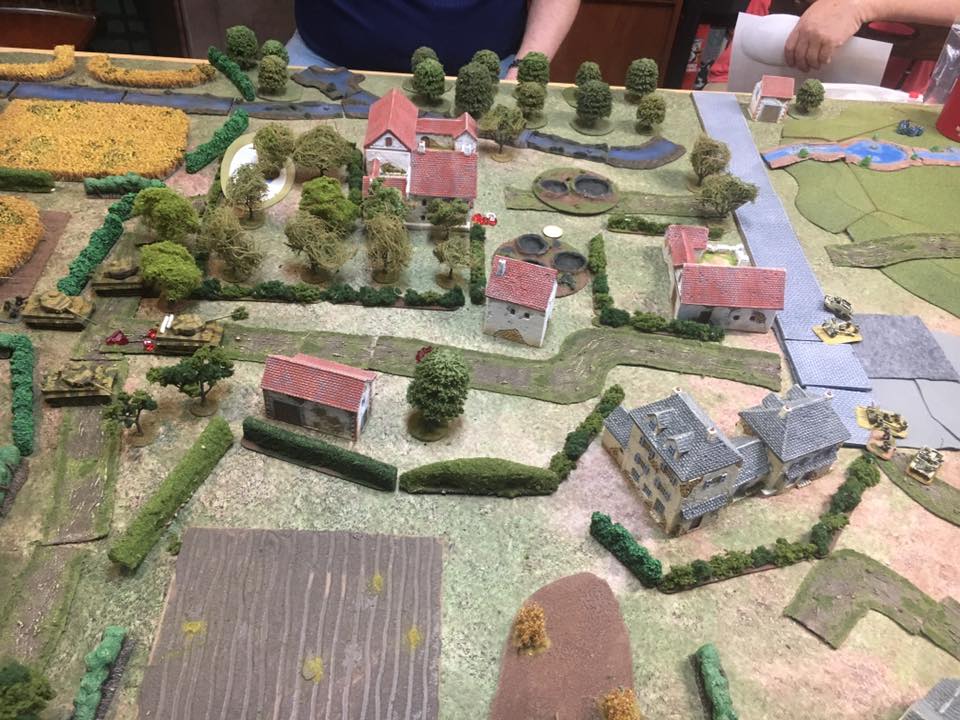
The scenario, by Richard Morrill, was called George of the Jungle, and was set in Burma, 1945. A Company, 9th Borders, part of 63 Brigade of 17th Indian Division, was tasked with clearing a small village near Meiktila of Japanese. The reason for the scenario’s title is that this action includes the participation of George McDonald Fraser, author of the Flashman novels, and is mentioned in his autobiography Quartered Safe Out Here. I would play the Japanese, and Dave would play the British.

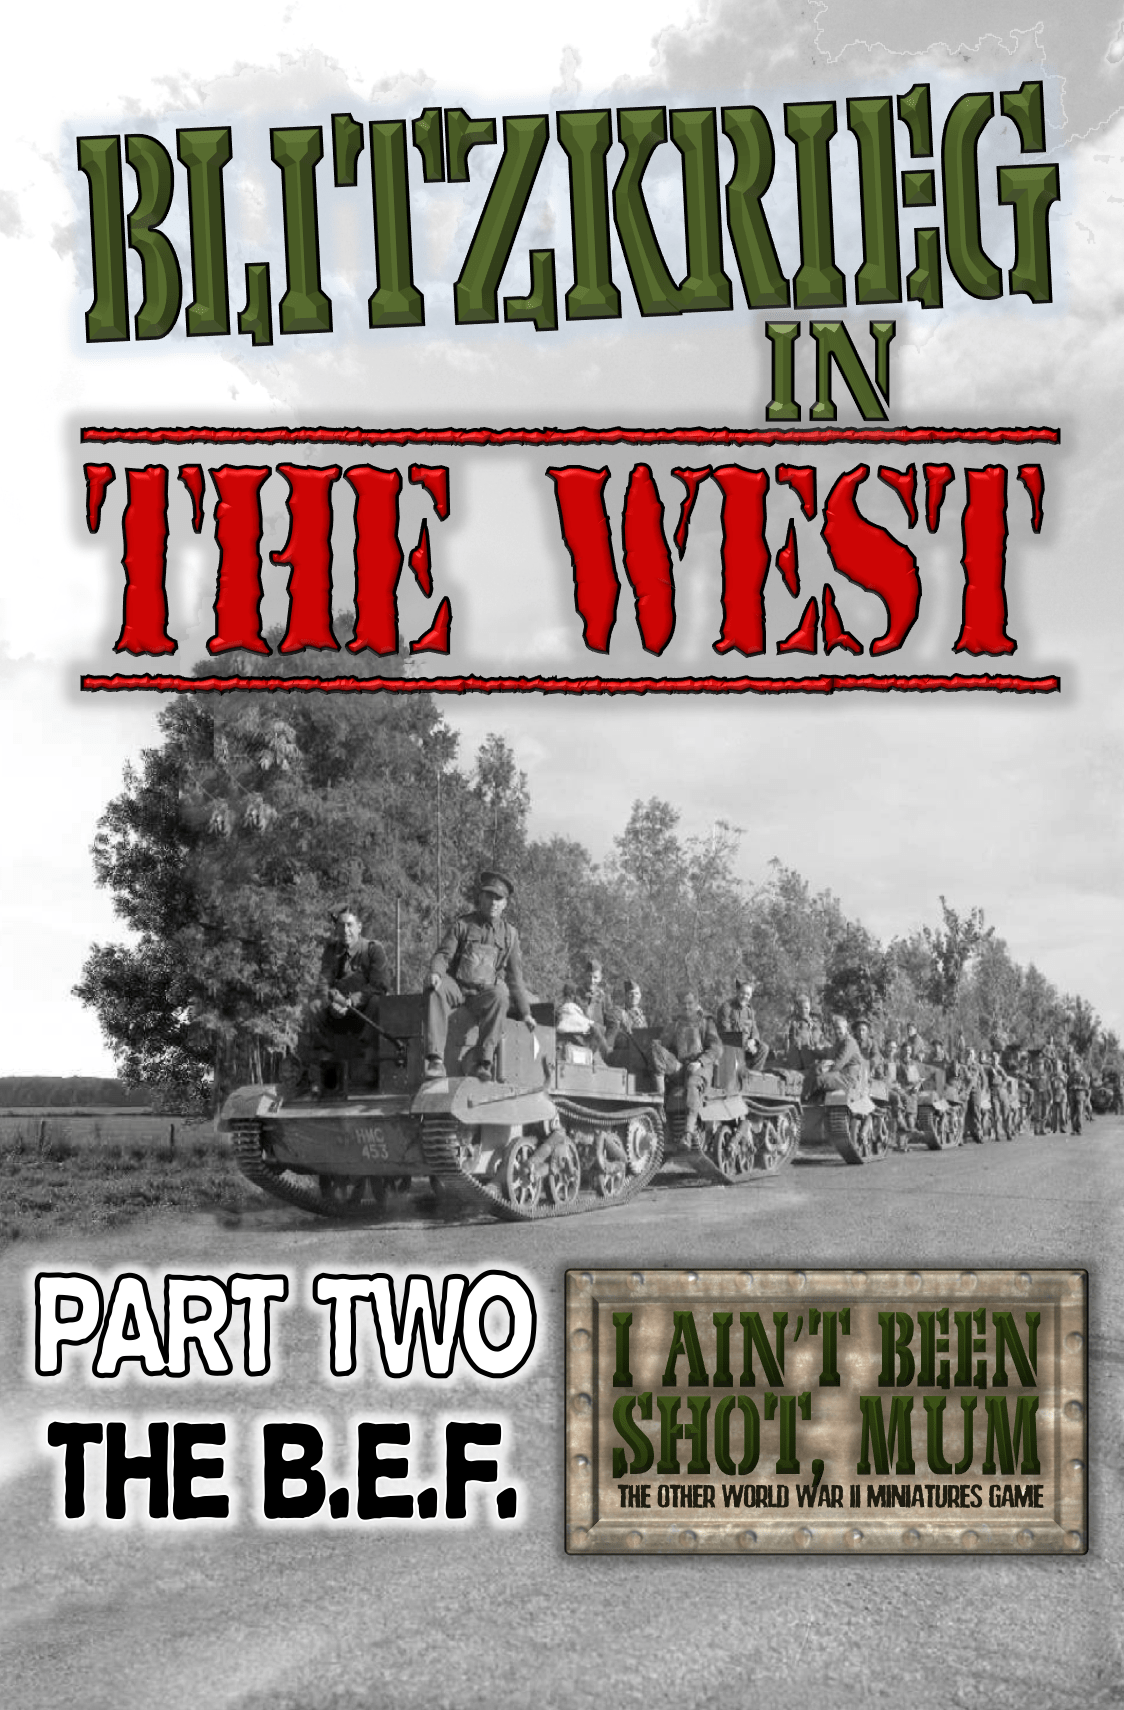
Click on the picture below to see what happened:

IABSM B.E.F. Photographed

Continuing my re-photographing of my collections, next up is the BEF: the British Expeditionary Force of 1940.

The album portrays a Regular Infantry Company plus its battalion, brigade and divisional support; plus the various options available for supporting armour.

This was actually the very first WW2 army that I painted up, and although the infantry have withstood the test of time (and many appearances on the battlefield), the armour could do with a complete refresh. In my defence, however, when I started this collection many years ago, there weren’t the range of cheap, plastic tanks available that there are now. Were I starting again, I’d be going for a complete company of each type of tank available from Zvezda!

Click on the pic below to see all:

The OB for the collection is taken from the second of my Blitzkrieg in the West theatre books for I Ain’t been Shot, Mum!


IABSM AAR: Blenneville or Bust #4G: Belle Maison

Bruce Romanick posted another IABSM AAR on the IABSM Facebook page.

Following on from their last game using the Blenneville or Bust! scenario pack (scenario #3D: Saint Melotte) this time the SAGE group played scenario #4G: Belle Maison, where both the Germans and the Americans are aiming to the occupy the same village in the valley.

According to Bruce’s post, which I hope he doesn’t mind that I reproduce here, the Yanks managed to push the German out of the village, with an opportune air strike taking out a Panther. A minor US win after 3+ hours.

IABSM AAR: Cymru Am Byth #13: Swanning Up To Brussels

Tim Whitworth and the lads from the Like A Stone Wall wargames group played another game of I Ain’t Been Shot, Mum the other day, this time using the Cymru Am Byth scenario pack.

The scenario pack covers the operations of the Welsh Guards during WW2, and includes sixteen unique scenarios and a mini-campaign.

The LASW chaps played scenario #13: Swanning Up To Brussels: a German heroic rearguard action versus 1st and 2nd Battalion elements of the Welsh Guards Group that took place on 2nd September 1944.

Tim’s general comment was: “I'll just say the British found it hard going. In these rules the tactics that you employ certainly matter!”

IABSM AAR: Normandy Breakout

A few pictures from the Like a Stone Wall wargaming group playing a Normandy 1944 break out game. The British are defending against a German counter attack. 

Note the use of the Lardage measurement sticks. The LASW chaps have swapped from using inches to Lards, with one Lard being equivalent to 1½ inches.  This allows them to play on their rather swanky 12 foot long table!

First go at Blood Red Skies

Blood Red Skies is the WW2 aerial combat game from Warlord Games. It’s played with 1/200th scale miniatures on a mat showing the ground beneath…and quite a fun game it is too.

A 109 climbs towards a flight of Spitfires

The first big question, of course, is how do you represent the three dimensions of air combat using models and flight stands? Are the flight stands extendable? And, if so, how high do they go: 40,000 feet?

Well, BRS abstracts all question of height into “advantage”. A ‘plane is either Advantaged (i.e. has managed to get to a height at which is can dive down onto its target), Neutral, or Disadvantaged (i.e. the pilot has let the enemy get above him). The different states are shown by how the model is tilted: up for Advantaged, flat for neutral, down for Disadvantaged. You can only shoot another ‘plane that is at a worse advantage than you so, quite rightly, half the battle is getting into an advantaged position on your enemy.

The top 109 is at a Disadvantage

The other half of the equation is positioning: and how you can move depends partly on your ‘plane (some come with cards that you can play e.g. the Spitfires I was using came with a Tight Turn card, meaning I could turn at any point in my turn rather than just at the end); partly on your skill level and dice rolls (pilots can attempt to outmanoeuvre their opponents); and partly on what you choose to do during your turn: you can “burn off” one level of advantage by doing an extra manouevre.

This makes the game a bit like a game of chess: you have to think ahead at least one move and make sure you don’t leave your aircraft where it is vulnerable to what the enemy pilots will do when its their turn.

There are also rules for Aces, clouds, home field advantage, radar advantage etc. Games are pretty quick: about an hour for a decent-sized dogfight.

Dogfight!

You win the game mainly by driving off the opposition by putting holes into their aircraft, although would just like to point out that I did shoot down two Jerry crates for no loss during my successful defense of Blighty!

As I said above, all in all it’s quite a fun game: although you will need to shell out around £40 for a starter set (giving you two six-plane forces, the stands, the cards, the counters, the dice etc) and then the same amount again if you want a nice mat to play on (4’ by 4’ will do for dogfighting).

It’s not a game that I’ll invest in - aerial combat not being my thing - but it is something I’d be happy to play if on offer.

IABSM AAR: Blenneville or Bust! #3D: Saint Melotte

Bruce Romanick has been learning the IABSM ropes whilst playing some of the scenarios from the Blenneville or Bust! scenario pack.

He’s posted a few photos of his latest game, scenario #3D Saint Melotte (where the British are defending a small French village against German armoured attack) on the IABSM Facebook page, which (and I hope he doesn’t mind) I reproduce here.

Apparently the plucky Brits managed to hold off the Germans…