FK&P AAR: Cossacks versus Ottomans
/Rob and I fancied a game of For King & Parliament - Eastern Front variant. I wanted to get my newly-painted Azabs onto the table, so Rob would play the Ottomans, and I took the Zaporogian Cossacks as (a) they hadn’t been on the tabletop for some time and (b) they would be a historical match-up for the Turks.
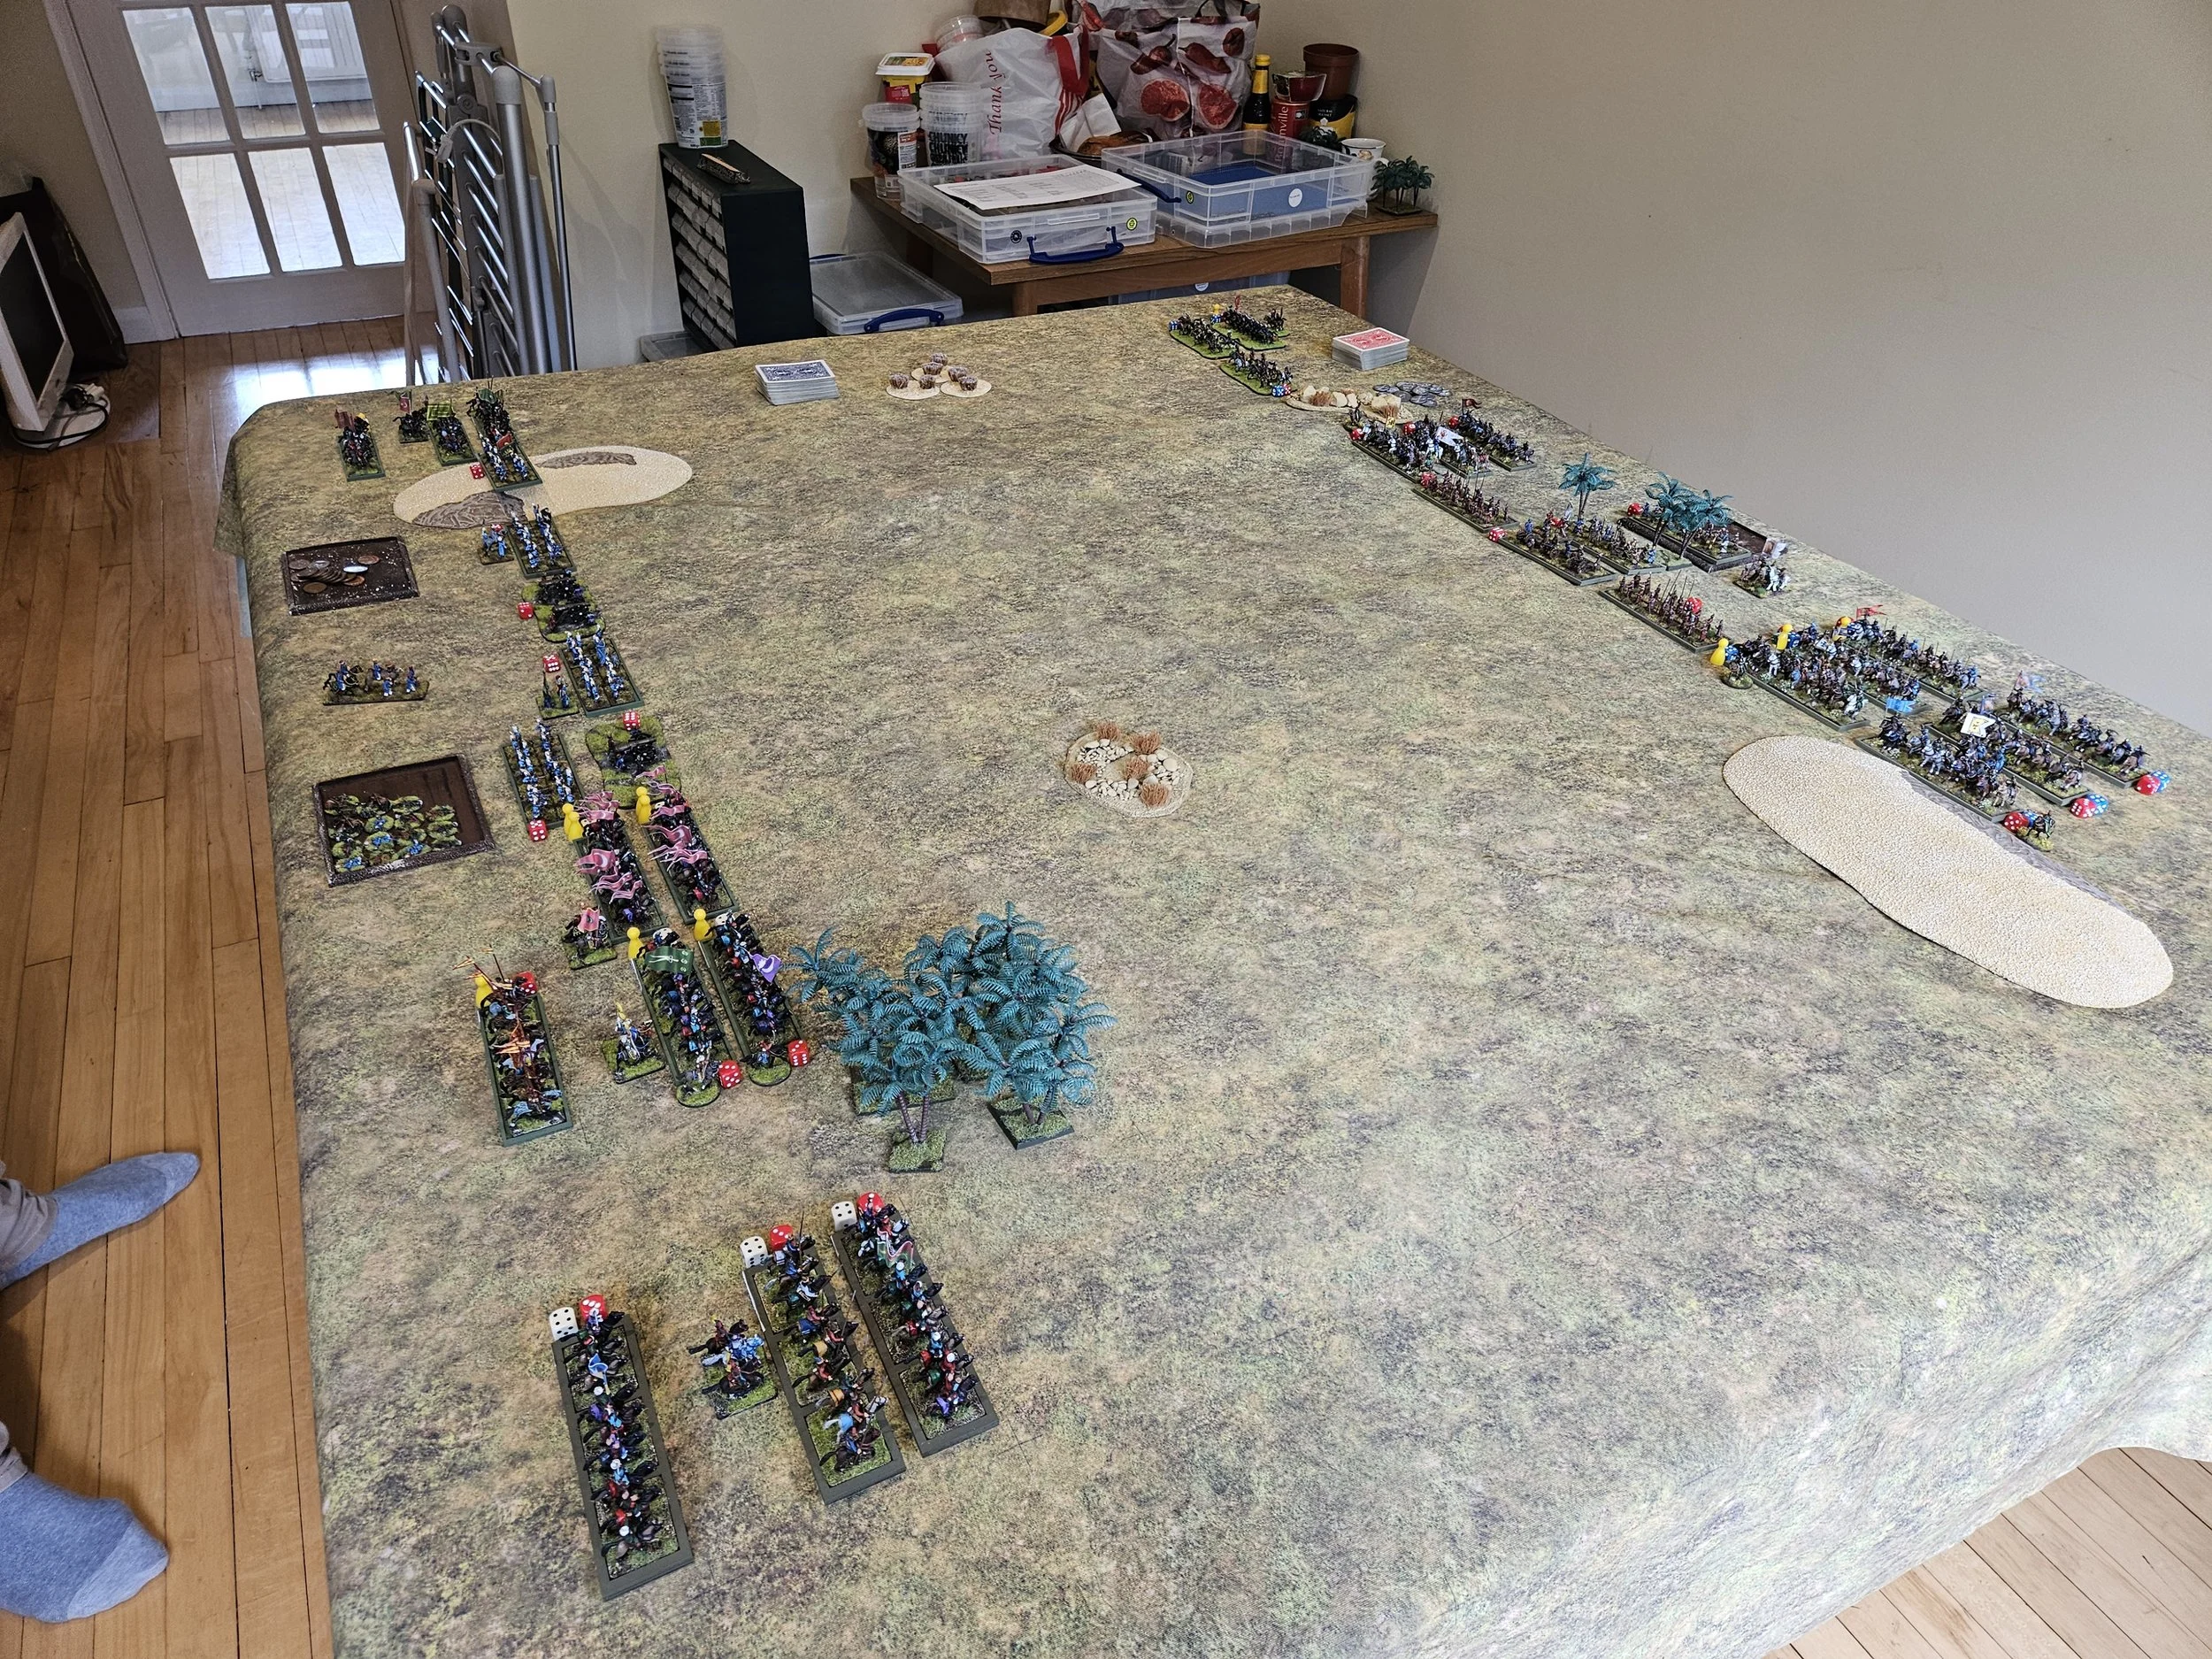
This could also be an interesting game as, rather than being cavalry versus cavalry like many of our recent games, this would be cavalry versus war wagons! It would also be fairly epic, as we were playing at 160 points per side: a large game even for FK&P.


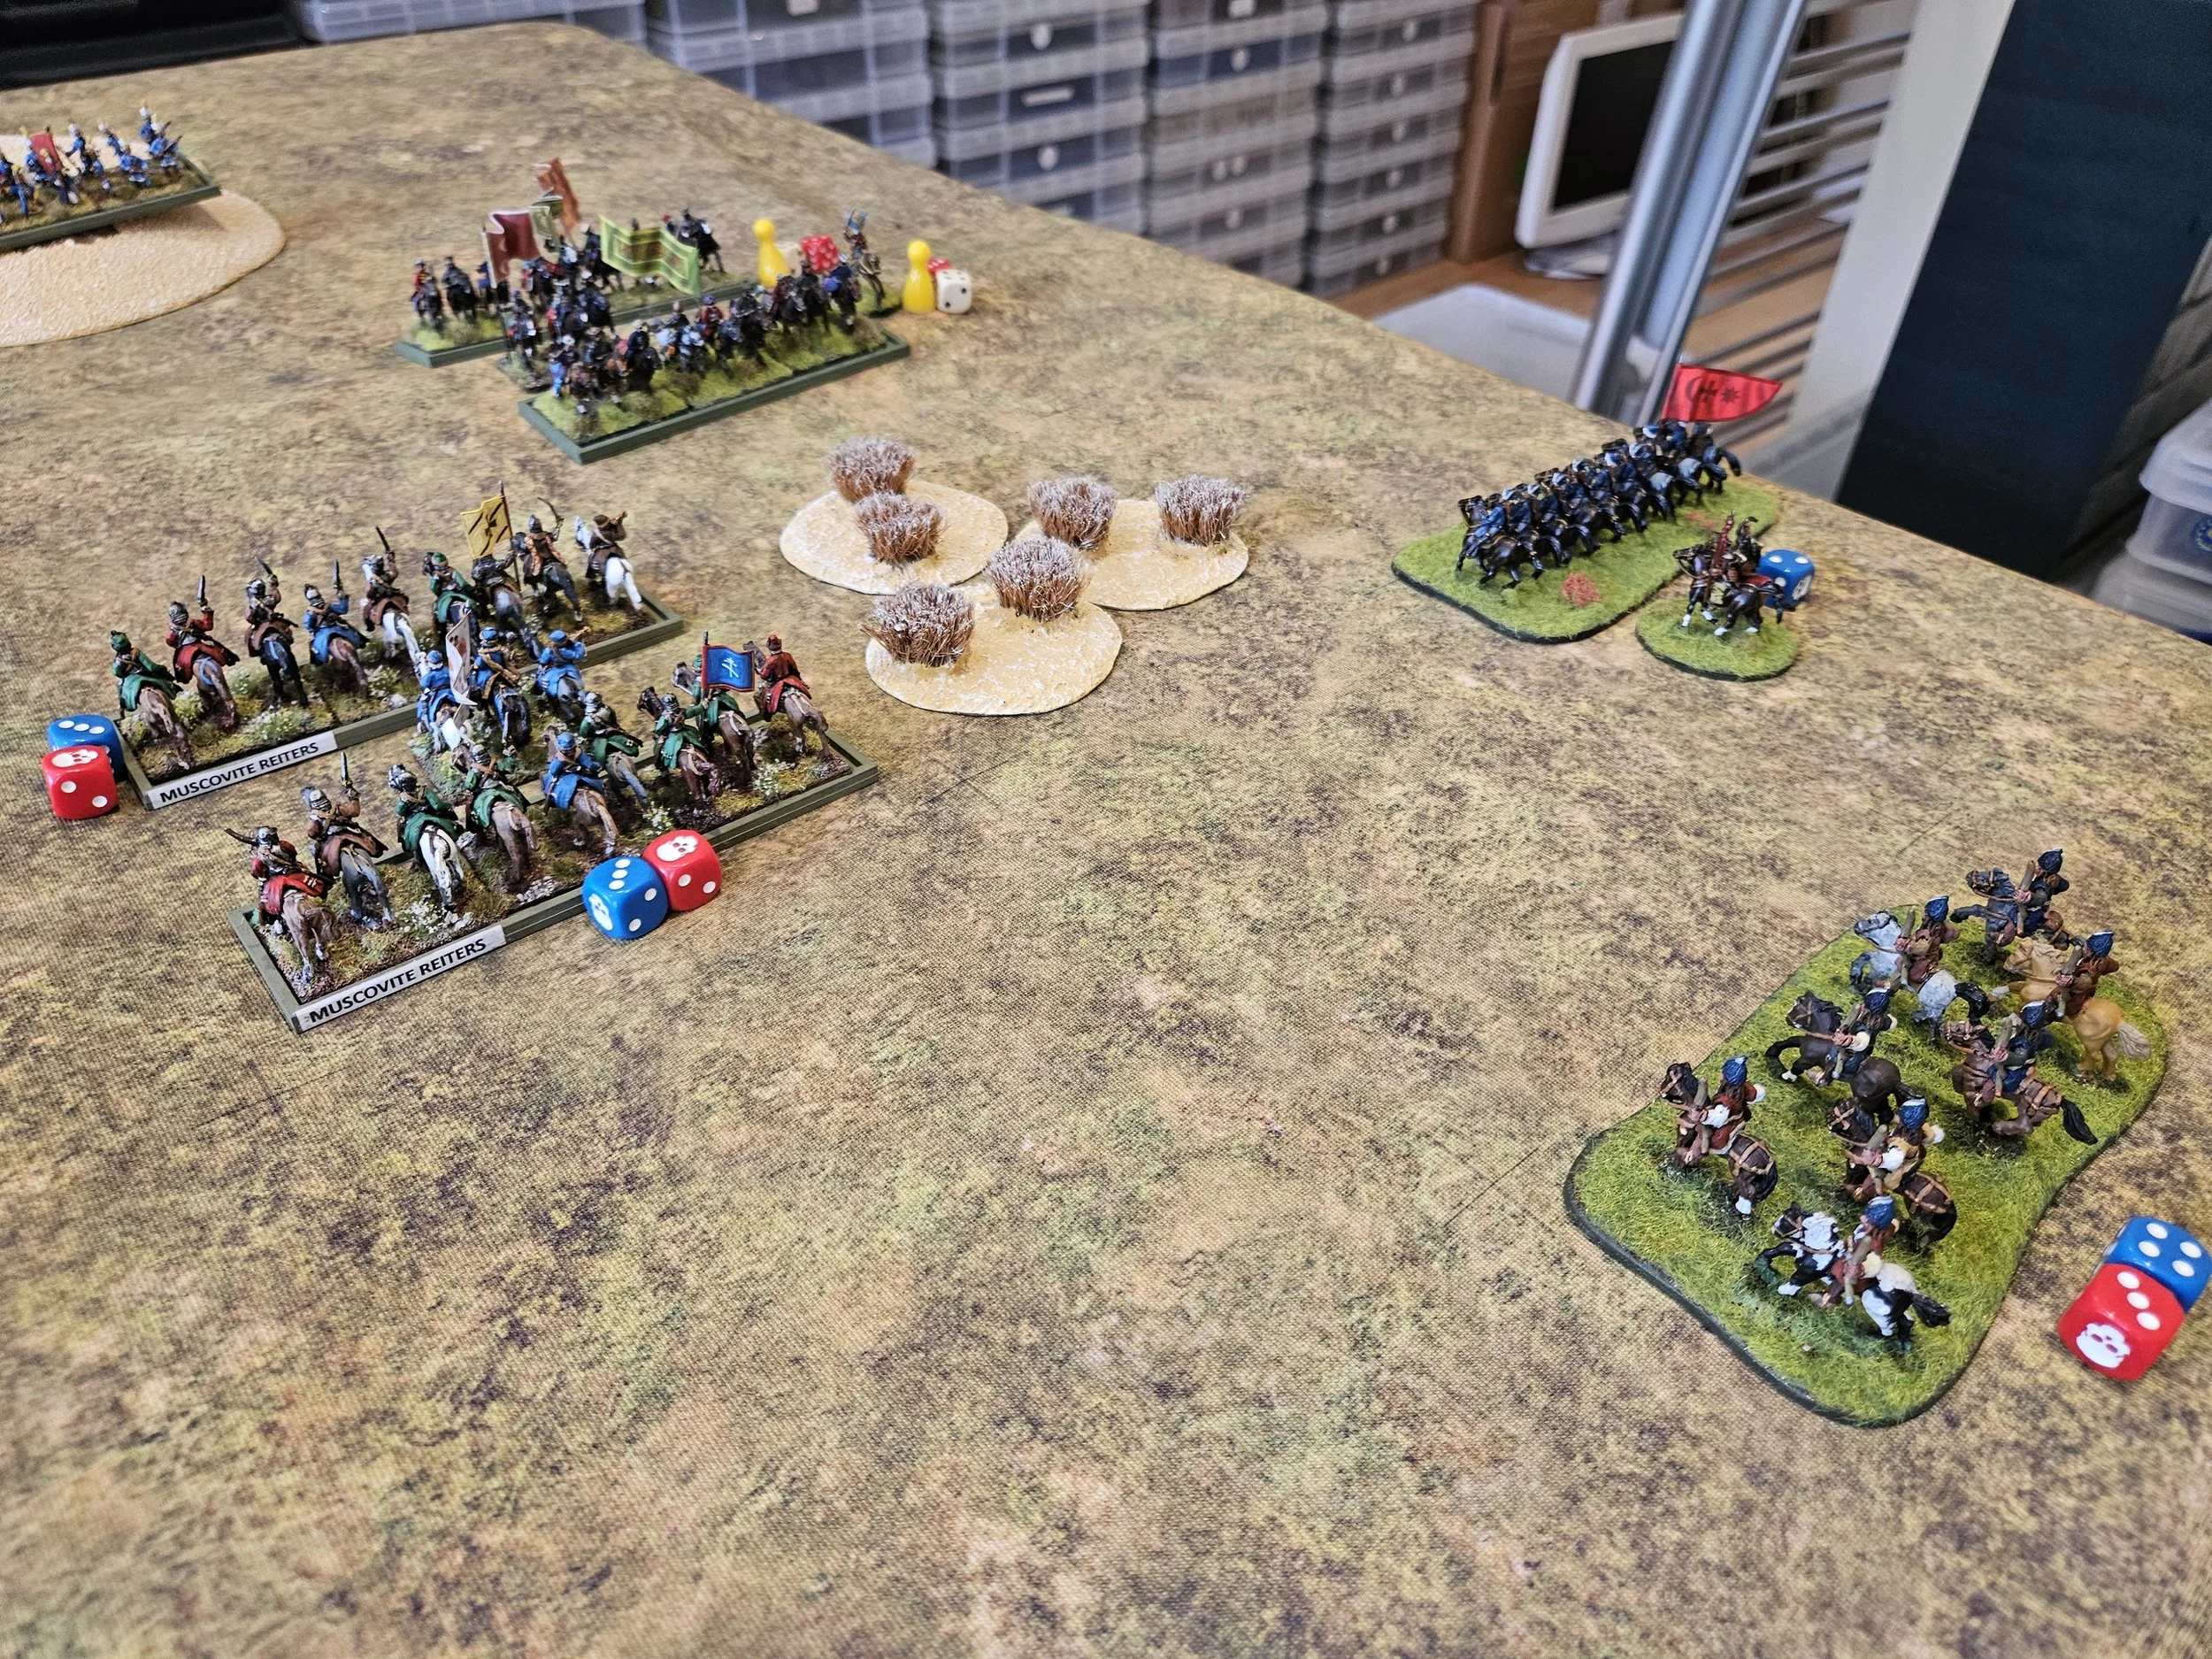
The Ottomans had committed the majority of their cavalry to the left flank, facing the rather motley Cossack horse and their Tatar allies. I wasn’t going to win this clash, so my horsemen sallied forward aiming to do as much damage as they could before dying gloriously!
One unit of Tatar lancers, four bow-armed lights, and two units of raw Cossack horse versus the pride of the ottoman empire!
Now if you’re going to go, you might as well go in style, so one unit of Cossack horse charged the Ottoman guns that had, perhaps unwisely, strayed too close to the front line.
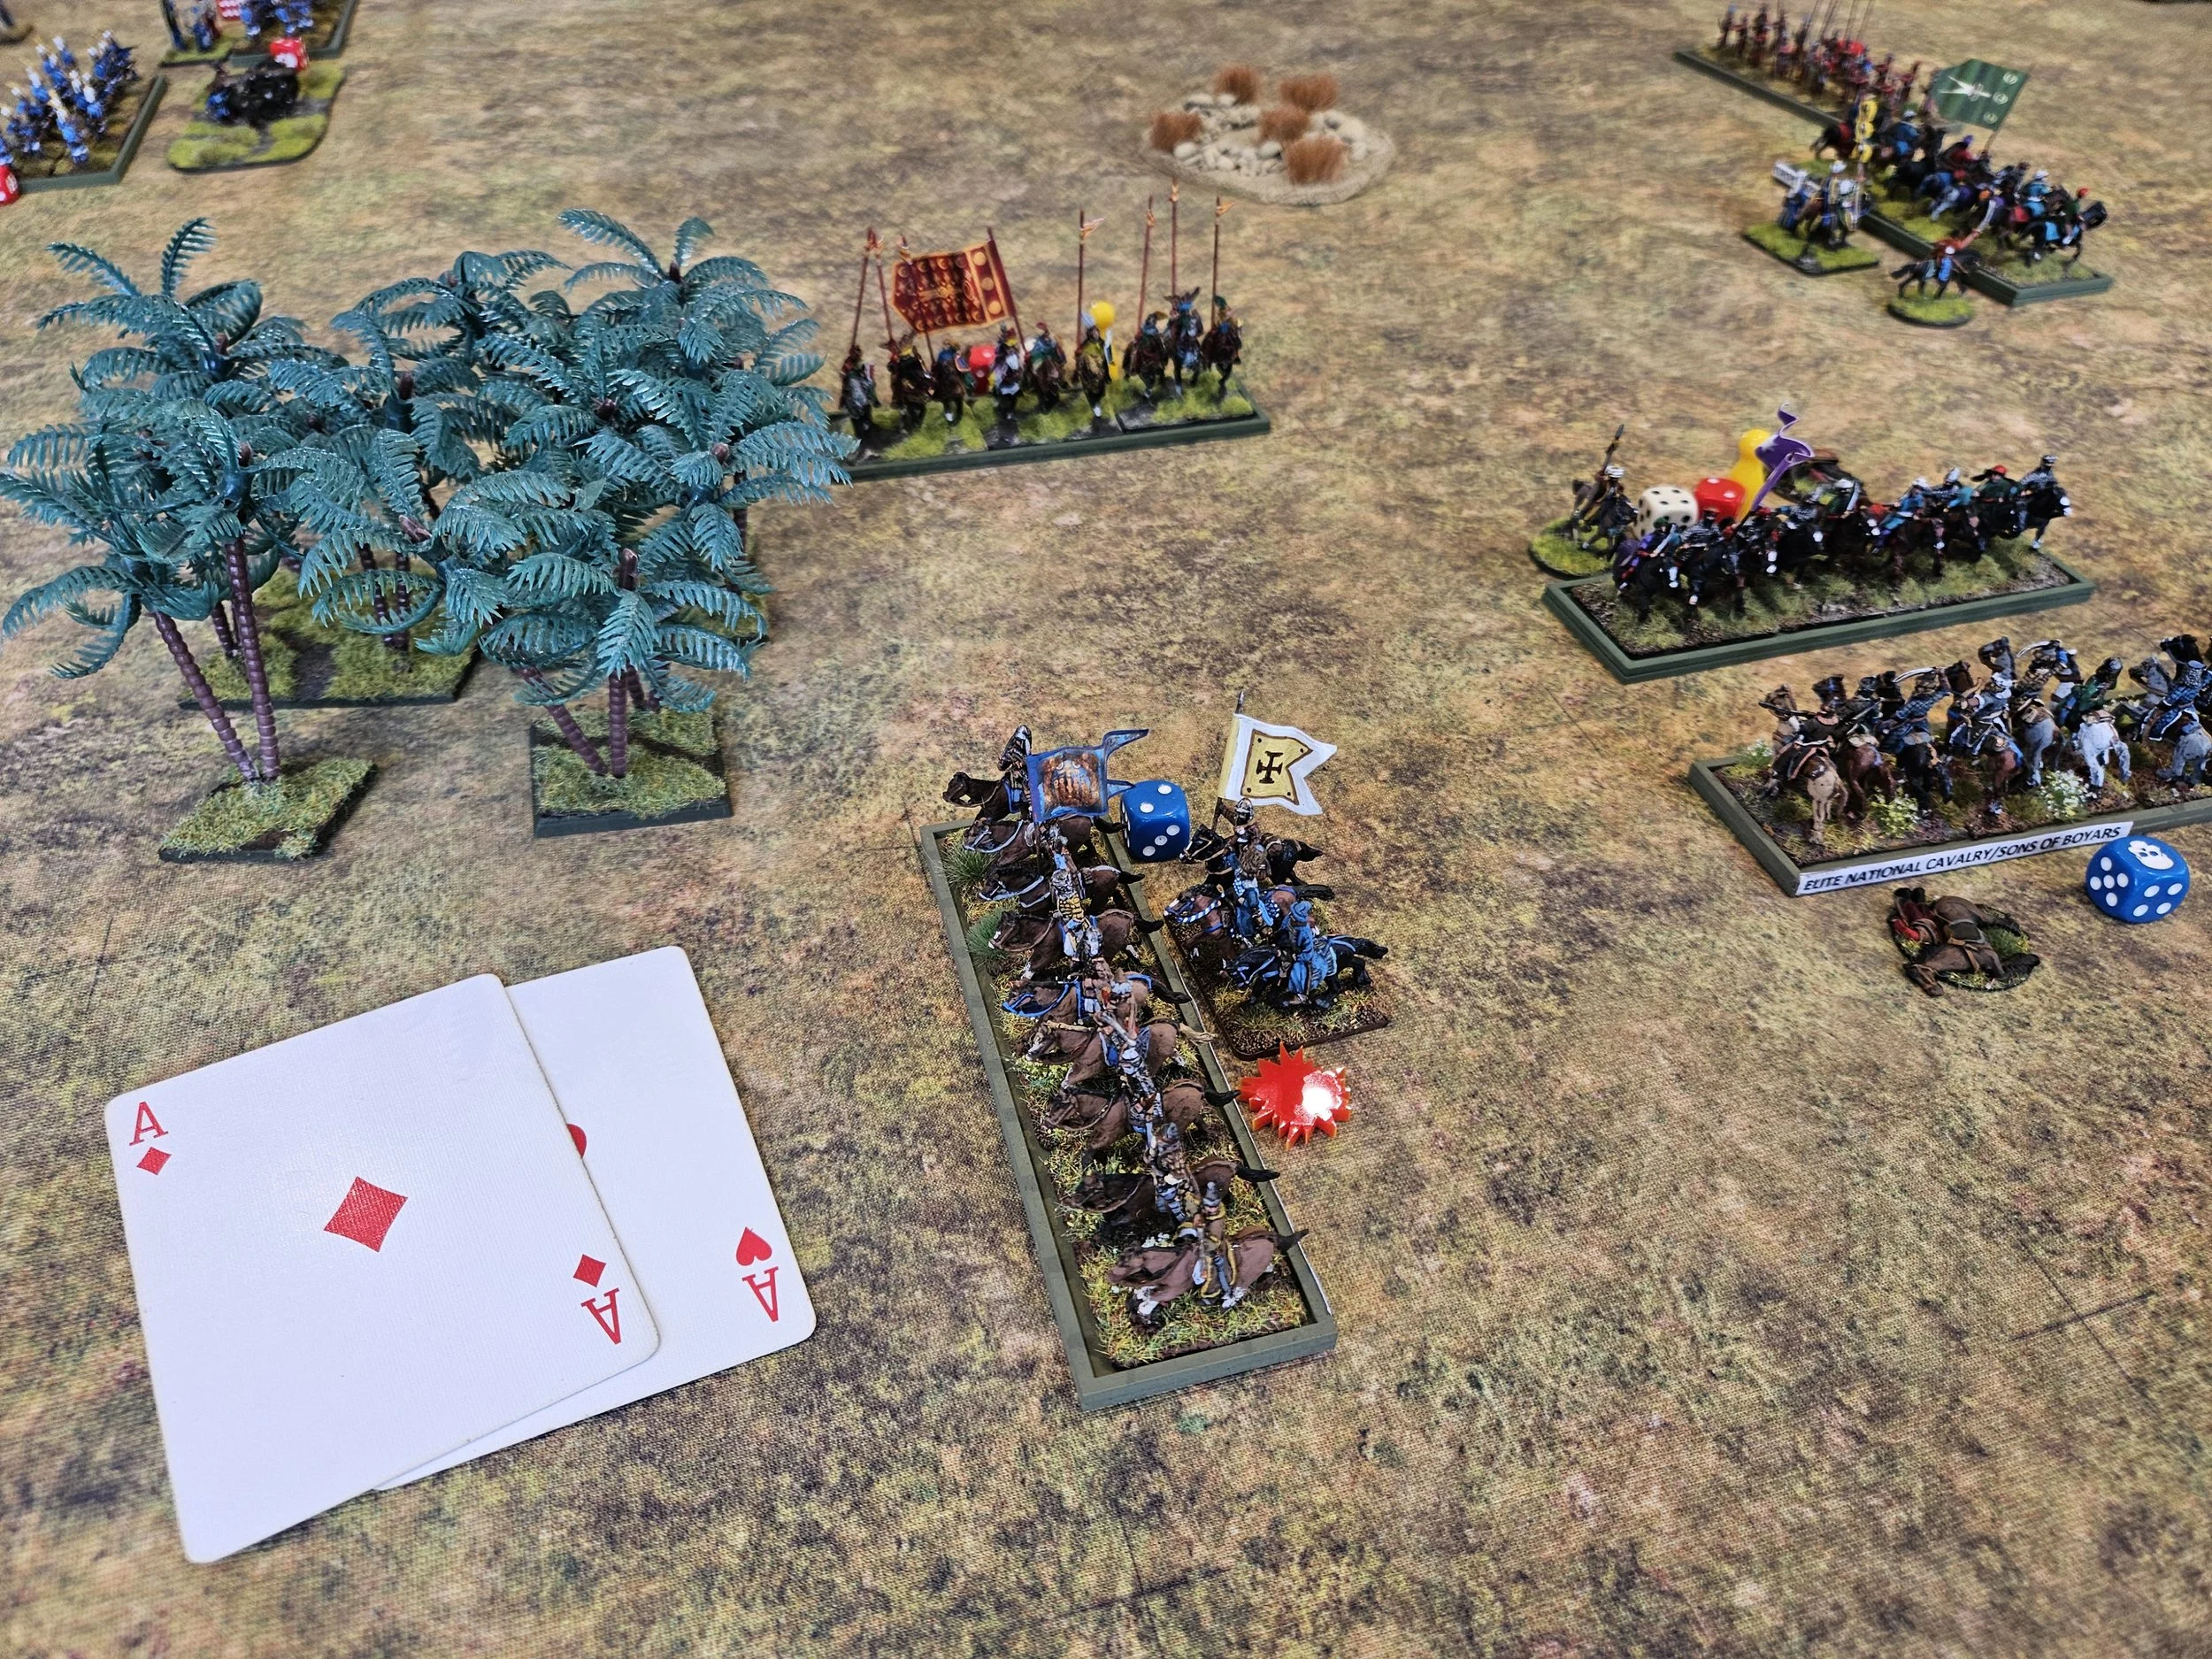
Much to my surprise, the Cossacks ran right over the unfortunate Turkish artillerymen and announced their intention to charge the Janisseries behind them…before realising how stupid that would be and skidding to an abrupt, Ace-inspired halt!
This did leave the Cossacks a little exposed, but the Sultan’s elite Sipahi’s of the Guard were so stunned by the action that they just stood there watching as their motley opponents charged by!
Meanwhile, the other Sipahis had been clearing the Tatar light cavalry from the table, the unfortunate horse-archers’ attempts to evade failing dismally.
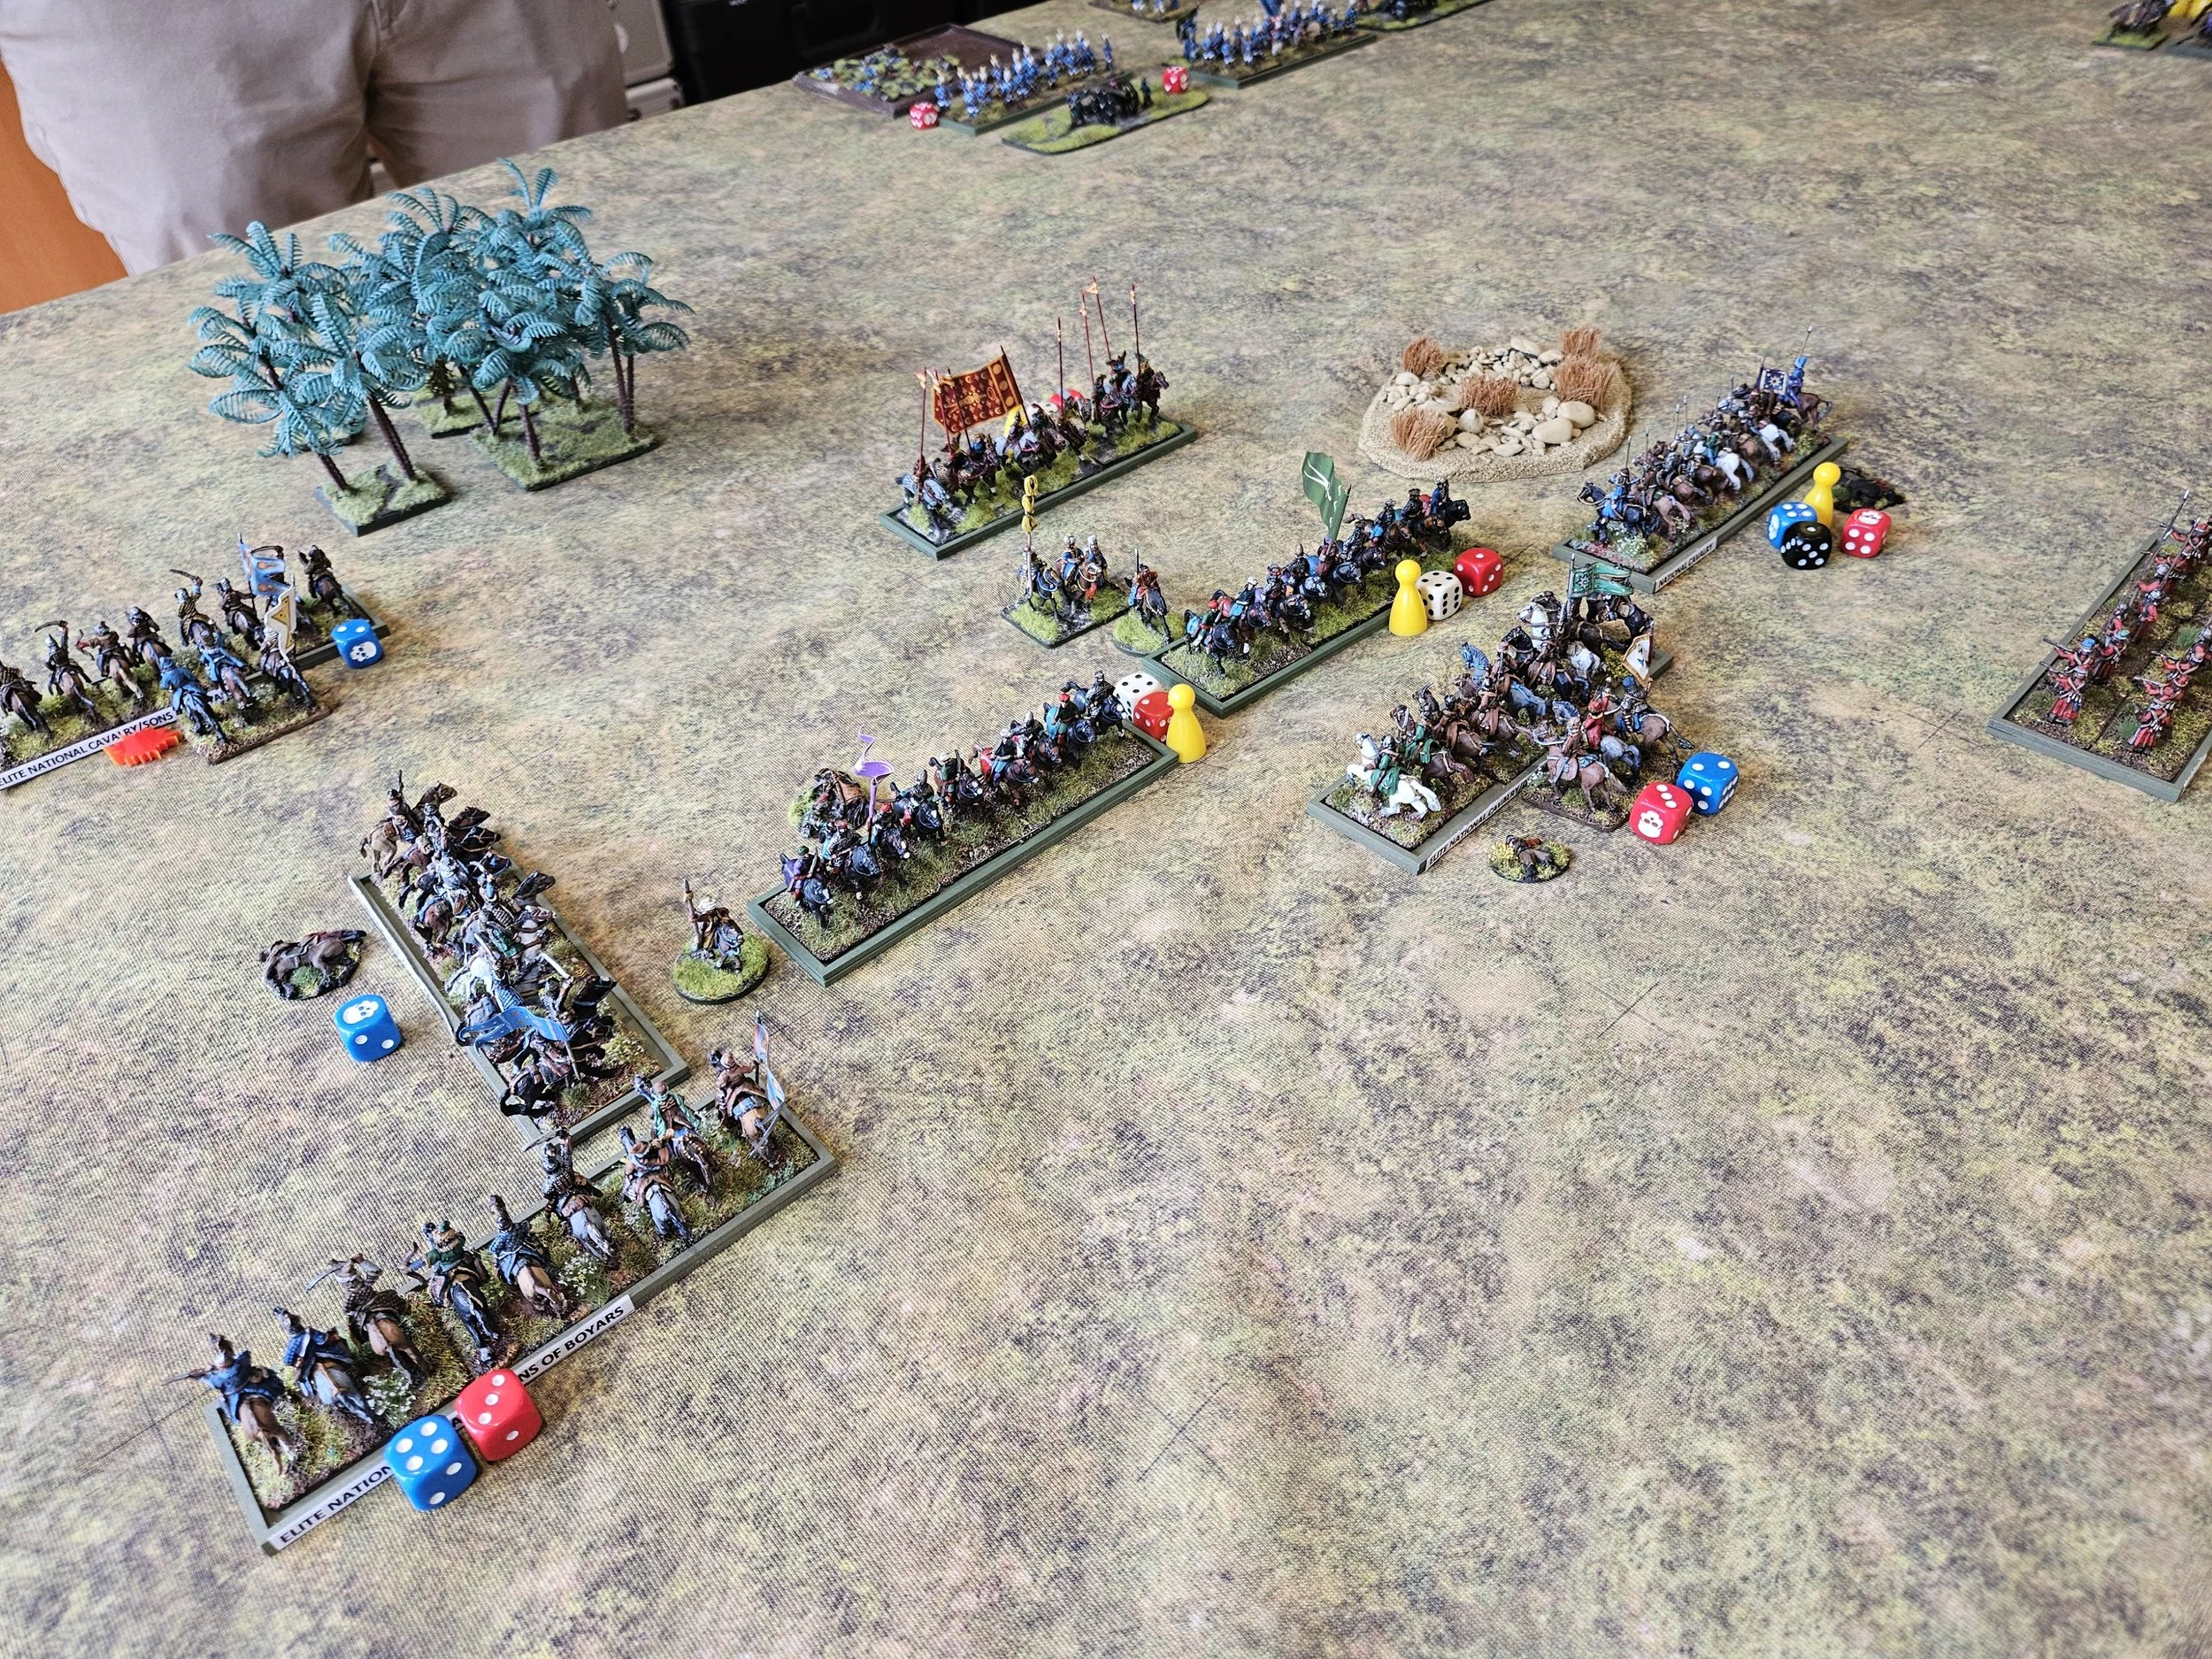
The Tatars weren’t done yet, however: forward went their single unit of noble lancers and, although disordered by the process, they smashed one of the remaining Turkish Sipahi units from the table.
Even better, after pursuing the survivors for a bit, the Tatar nobles then spotted the Ottoman camp, pulled themselves together and, executing a smart right turn, went on to do what Tatars do best and sacked the camp, stopping only to gather in the spoils!


Back to the Cossack horsemen…who’s blood was obviously up!
Those of you who know the history of my Cossack army will know that I bought the box-set in ignorance thinking Taras Bulba like waves of elite light horse riding down all in front of them, only to be somewhat surprised that the army was almost all foot, and foot in wagons no less, with the only cavalry available being little and raw!
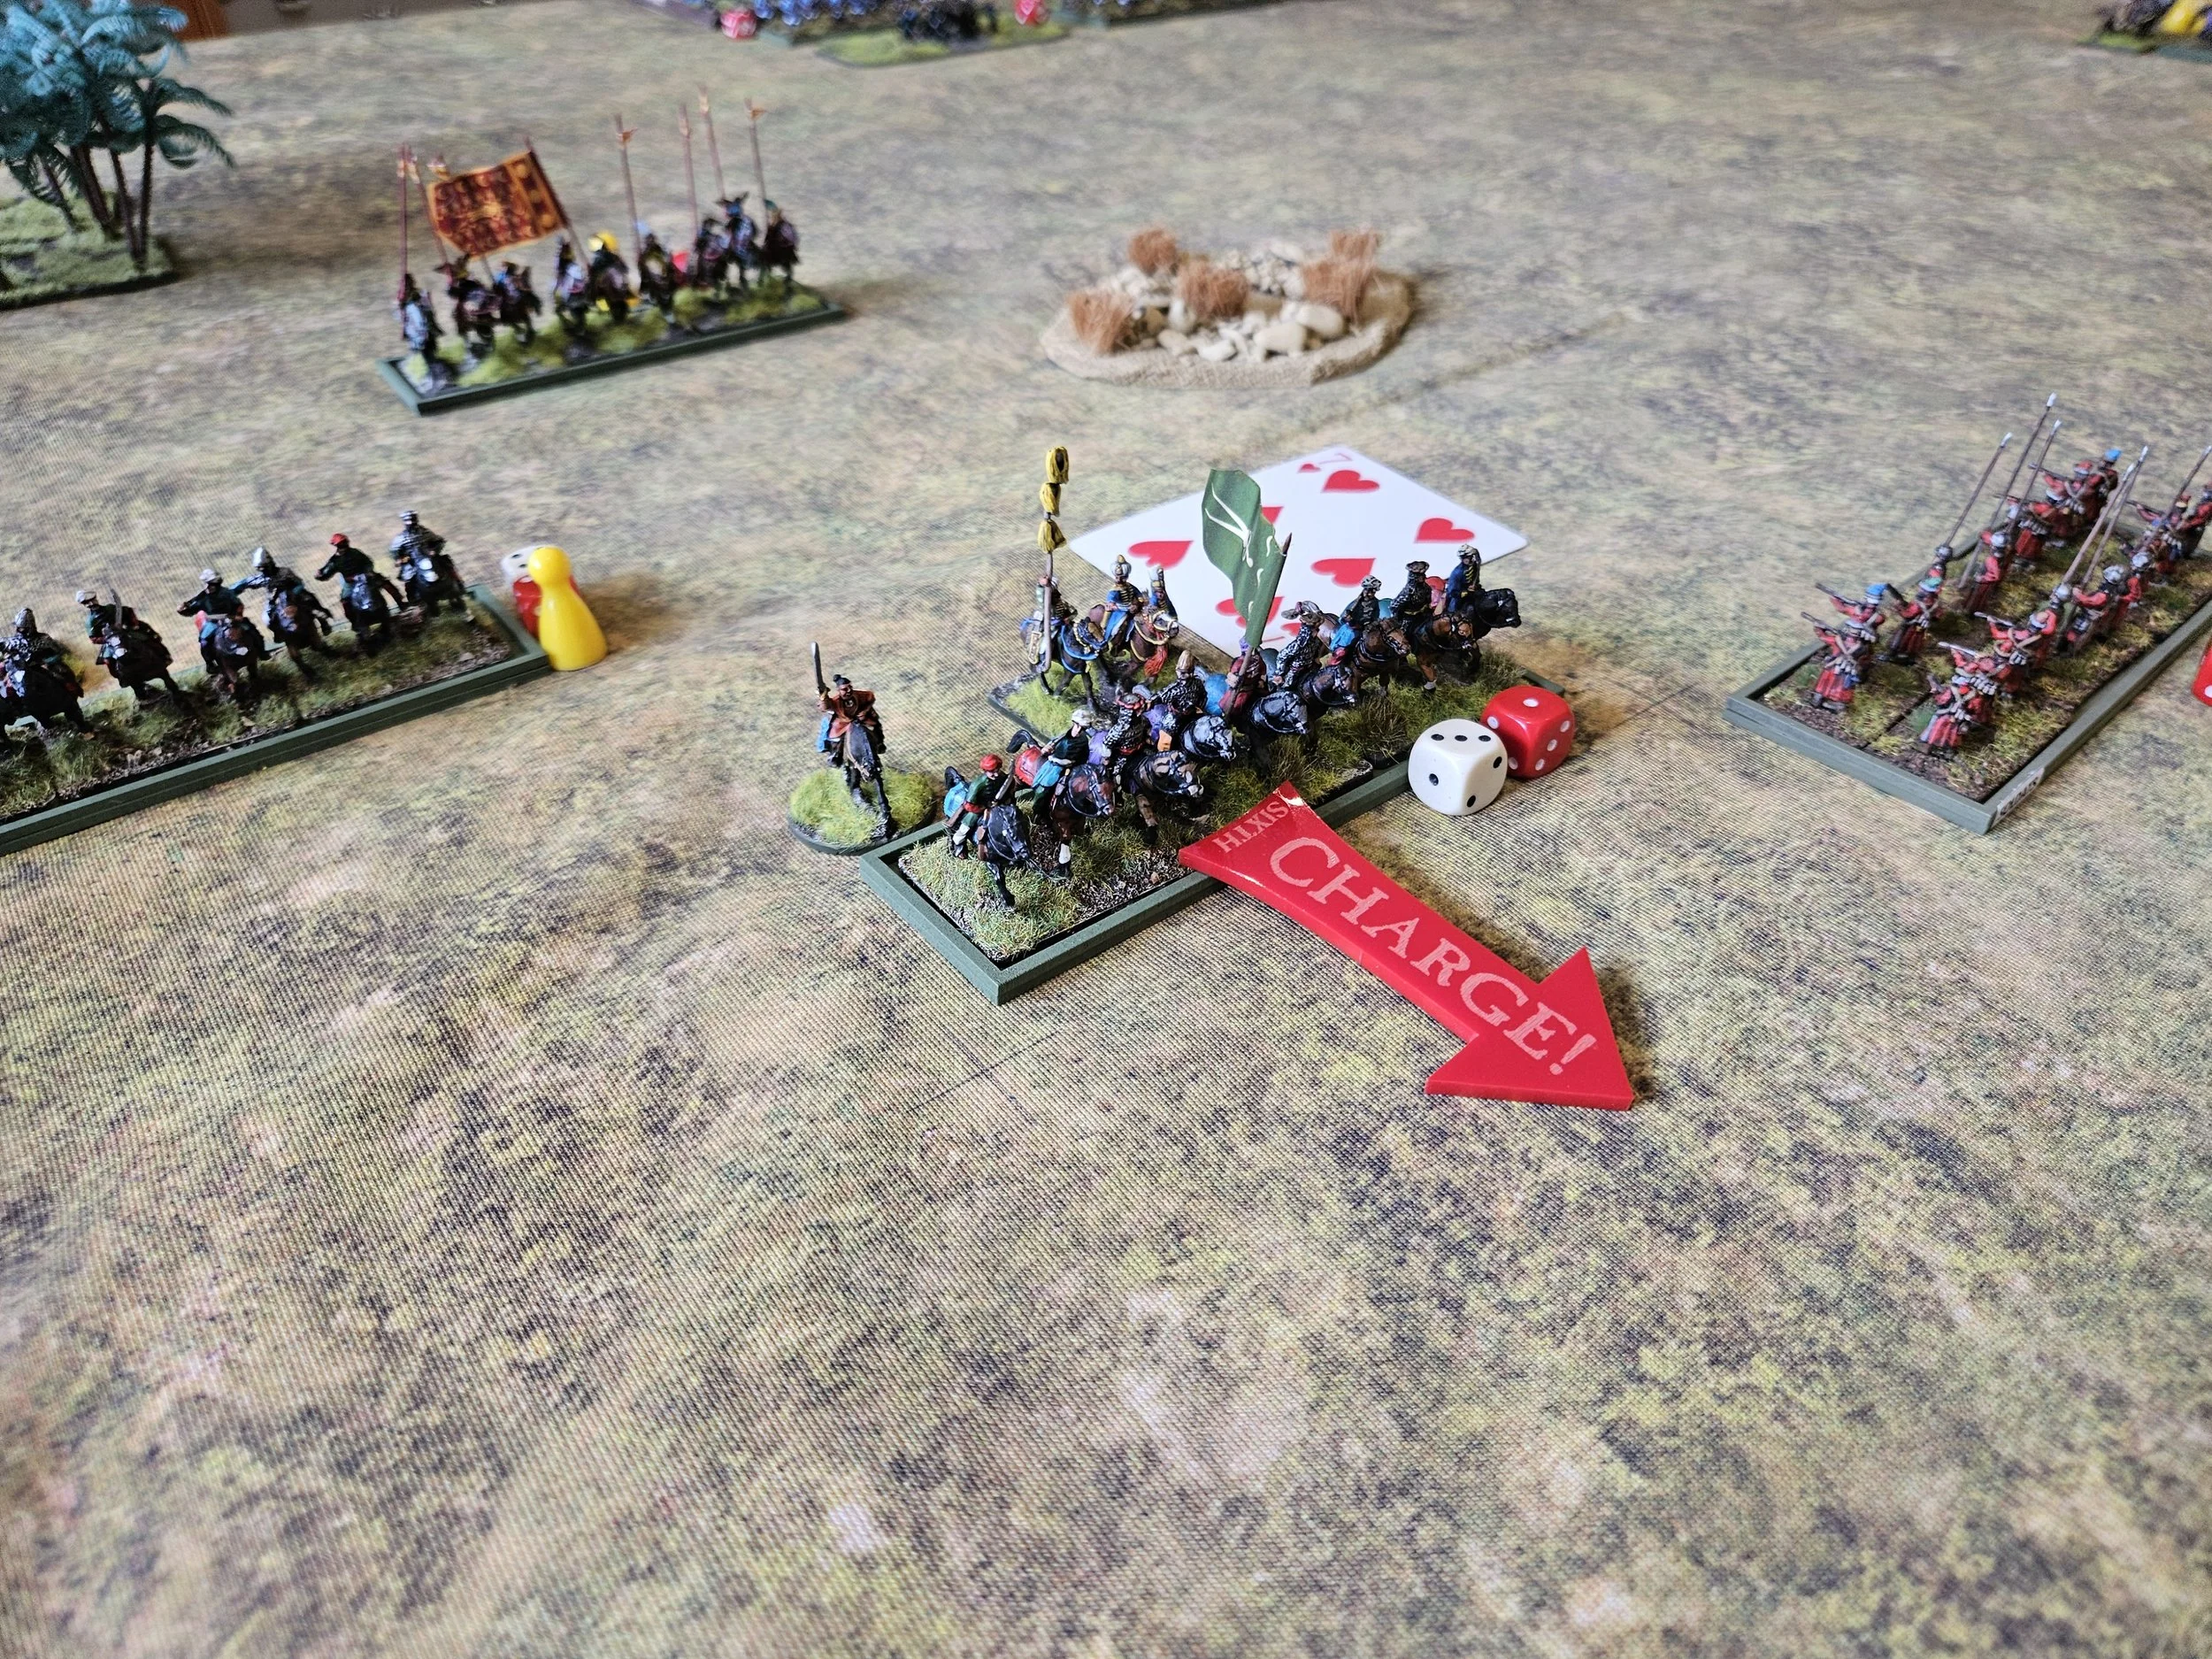
Well, no-one had told the Cossack horse that they were little and raw. The so-far-unengaged unit leapt forward and ran over a unit of Janisseries, only to be followed by the other unit, still disordered from running over the guns, then crashing into the Janisseries that they had pulled up to avoid, and sending them flying from the field too, despite the disadvantage of their disorder!
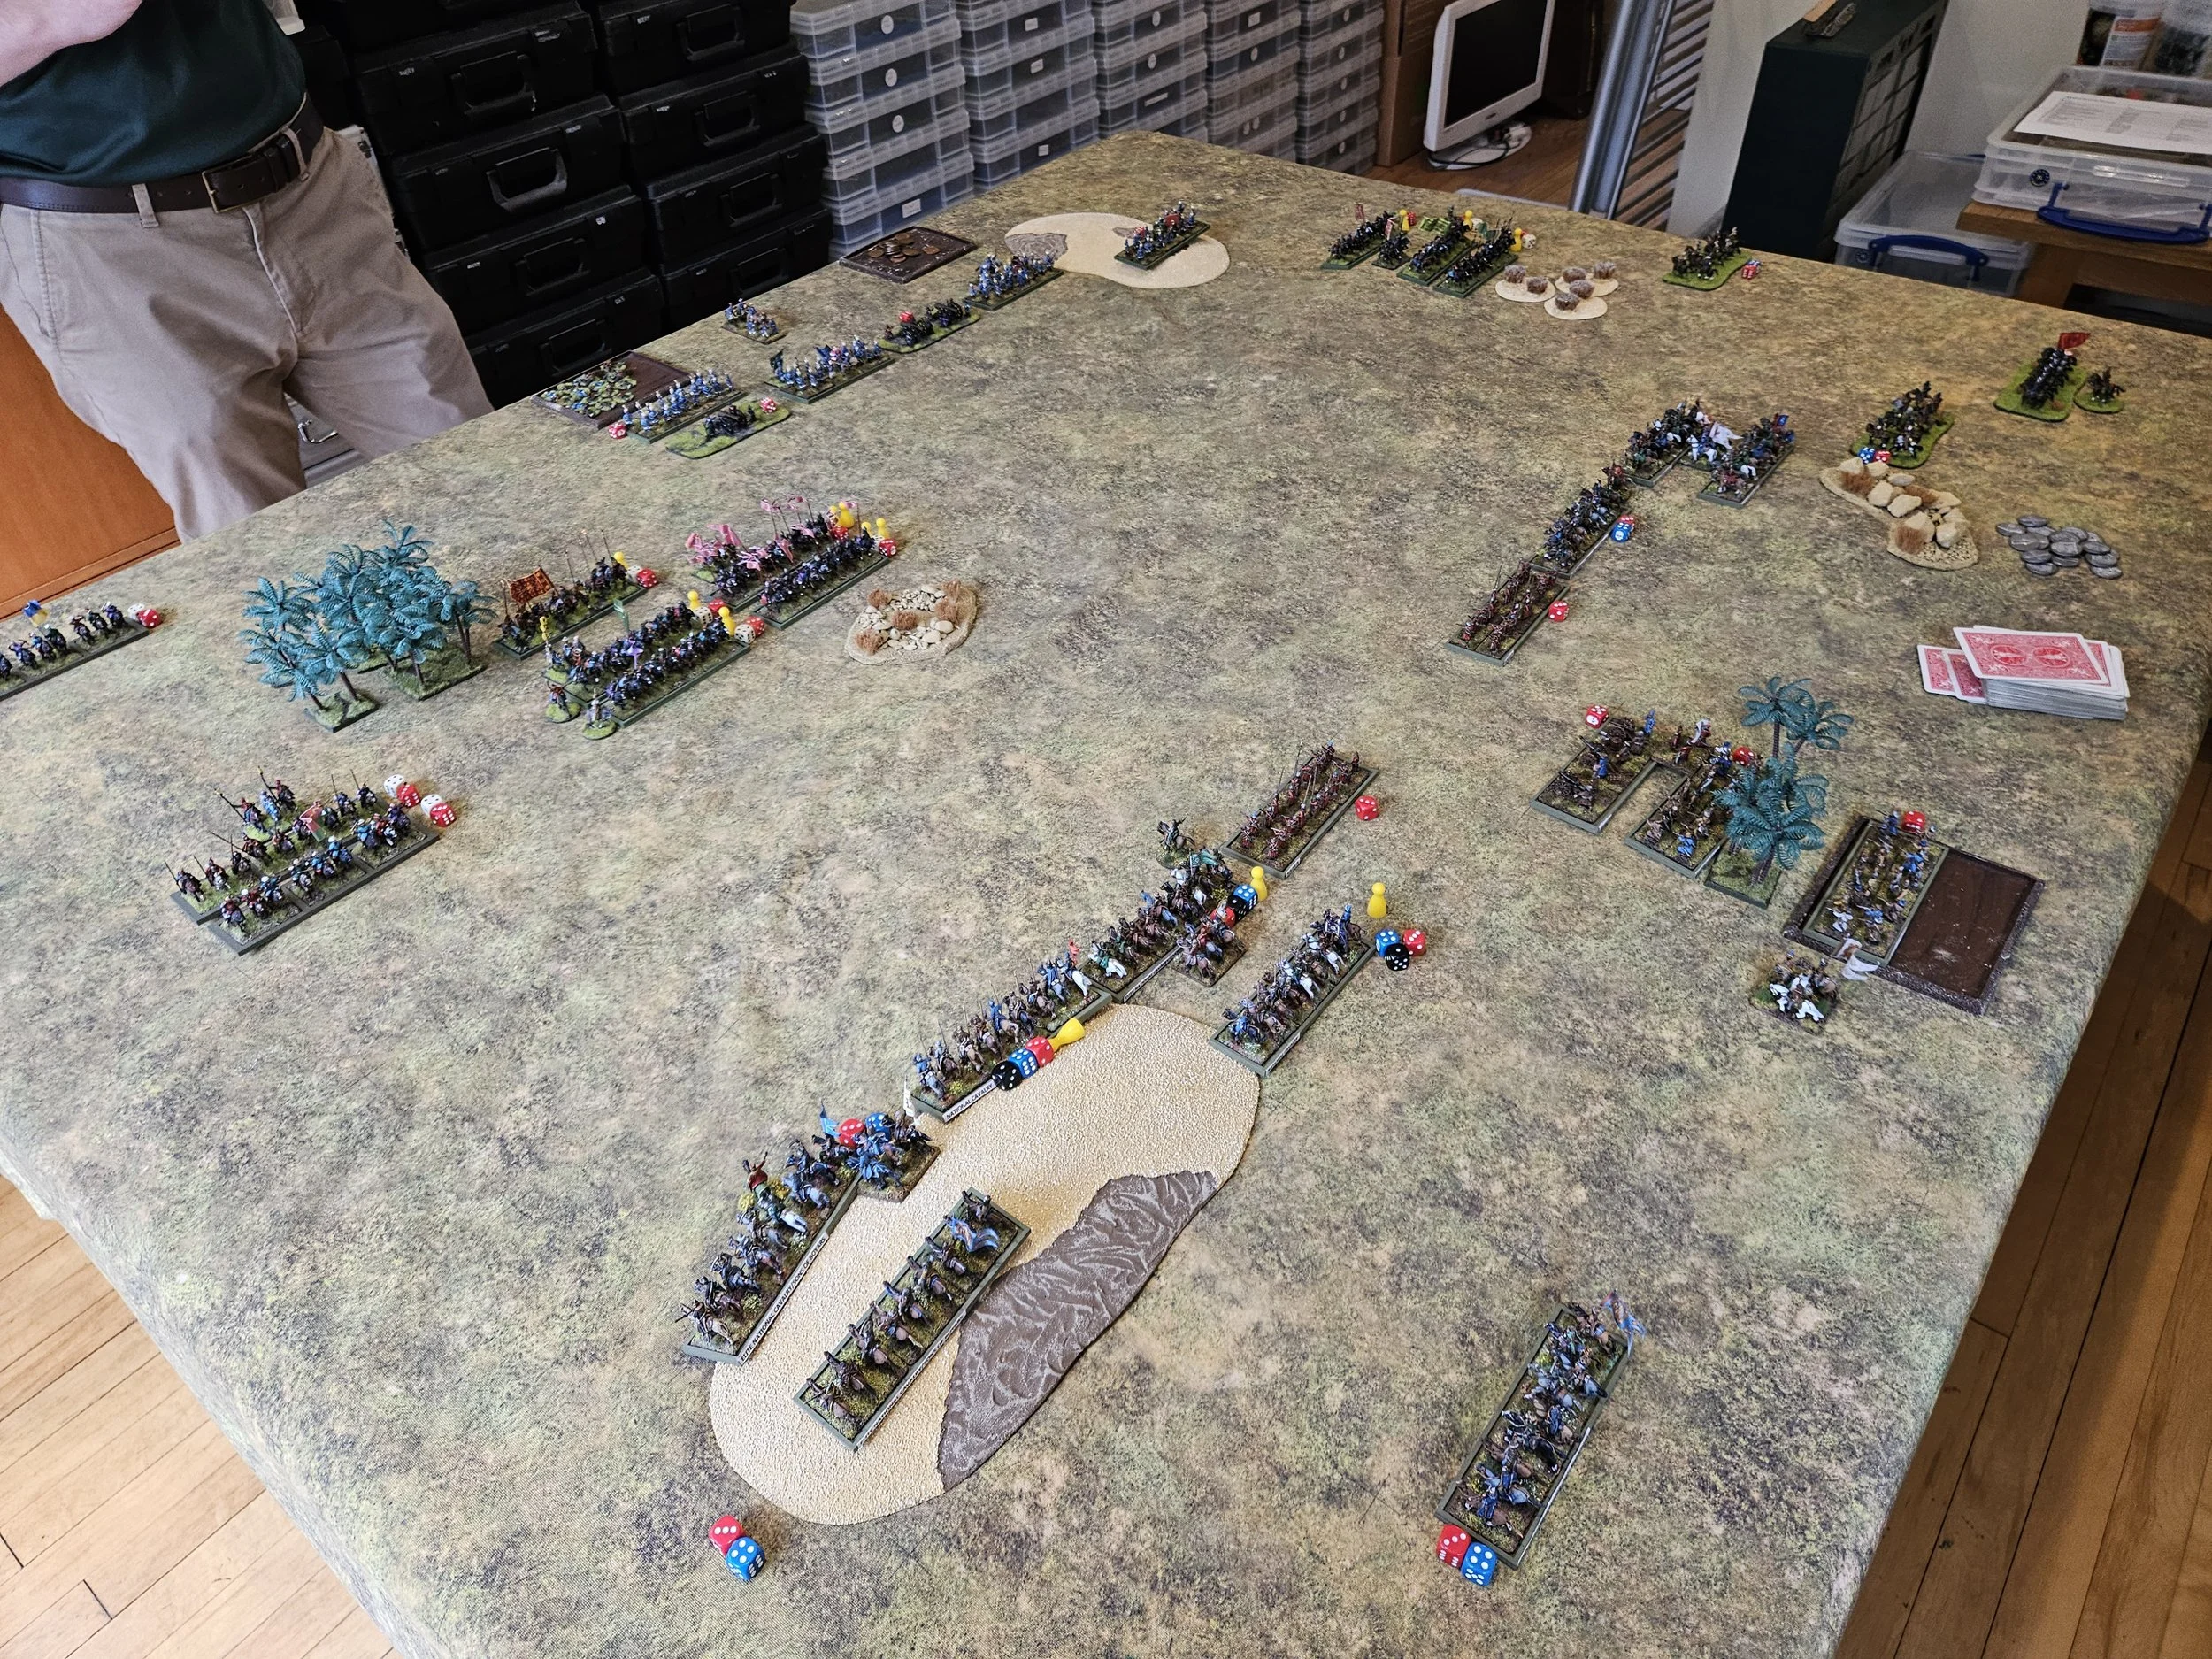
Meanwhile, the Cossack tabor (war wagons) had been slowly advancing forward in the centre of the field, looking for the right spot to stop and form an impenetrable wall of wood from behind which to fight the advancing Ottomans…except that the Ottomans weren’t advancing!
Although a couple of their cavalry units had bashed through the Tatar light horse and were ready to turn inwards and attack the Cossack left flank, the rest of their cavalry and half the Janisseries had either been destroyed or were worrying about the Cossack horse who had got through behind them.
The tabor were therefore bunched together firing sideways at the enemy cavalry that had beaten the Tatar lights, with some Cossack moloitsy (literally “lads”) moving to protect the rear left flank.


And what of the Azabs, the reason for the Ottoman presence?
They had been kept back on the Ottoman left along with a couple of units of light horse. They finally got moving forward as the Turks became a bit desperate, having been hemorrhaging coins for most of the battle so far.
The Cossack right, however, was ready for them: three units of infantry (admittedly two more Raw “lads” units) would be enough to hold them up at least until the battle was won elsewhere.
The end of the battle came not with a “huzzah” but with a bit of a damp squib.
The tabor opened up of whatever they could see, and one of the casualties caused was a Turkish officer, which was enough to remove the final Ottoman victory coin. Defeated, the invaders slunk off the field back to Istanbul, leaving the victorious Cossacks to both celebrate and to wonder what the Cossack horsemen had been drinking!
It had been a cracking battle from the Cossack point of view: some very good cards meaning that their raw Cossack horse had rather surprisingly swept all before them rather than acting merely as speedbumps as anticipated.
Add in the Tatar noble cavalry doing what they were supposed to, and some lucky sniping from the tabor, and everything had gone rather extraordinarily well!
I just hope I haven’t used up all my good luck: I’ve got Britcon next weekend!