TFL Painting Challenge: Start of the Final Stretch
/How can it be December already? It seems only yesterday that this year’s TooFatLardies Painting Challenge began! But December it is, so we enter the final stretch of this year’s affair.
Today we have entries from:
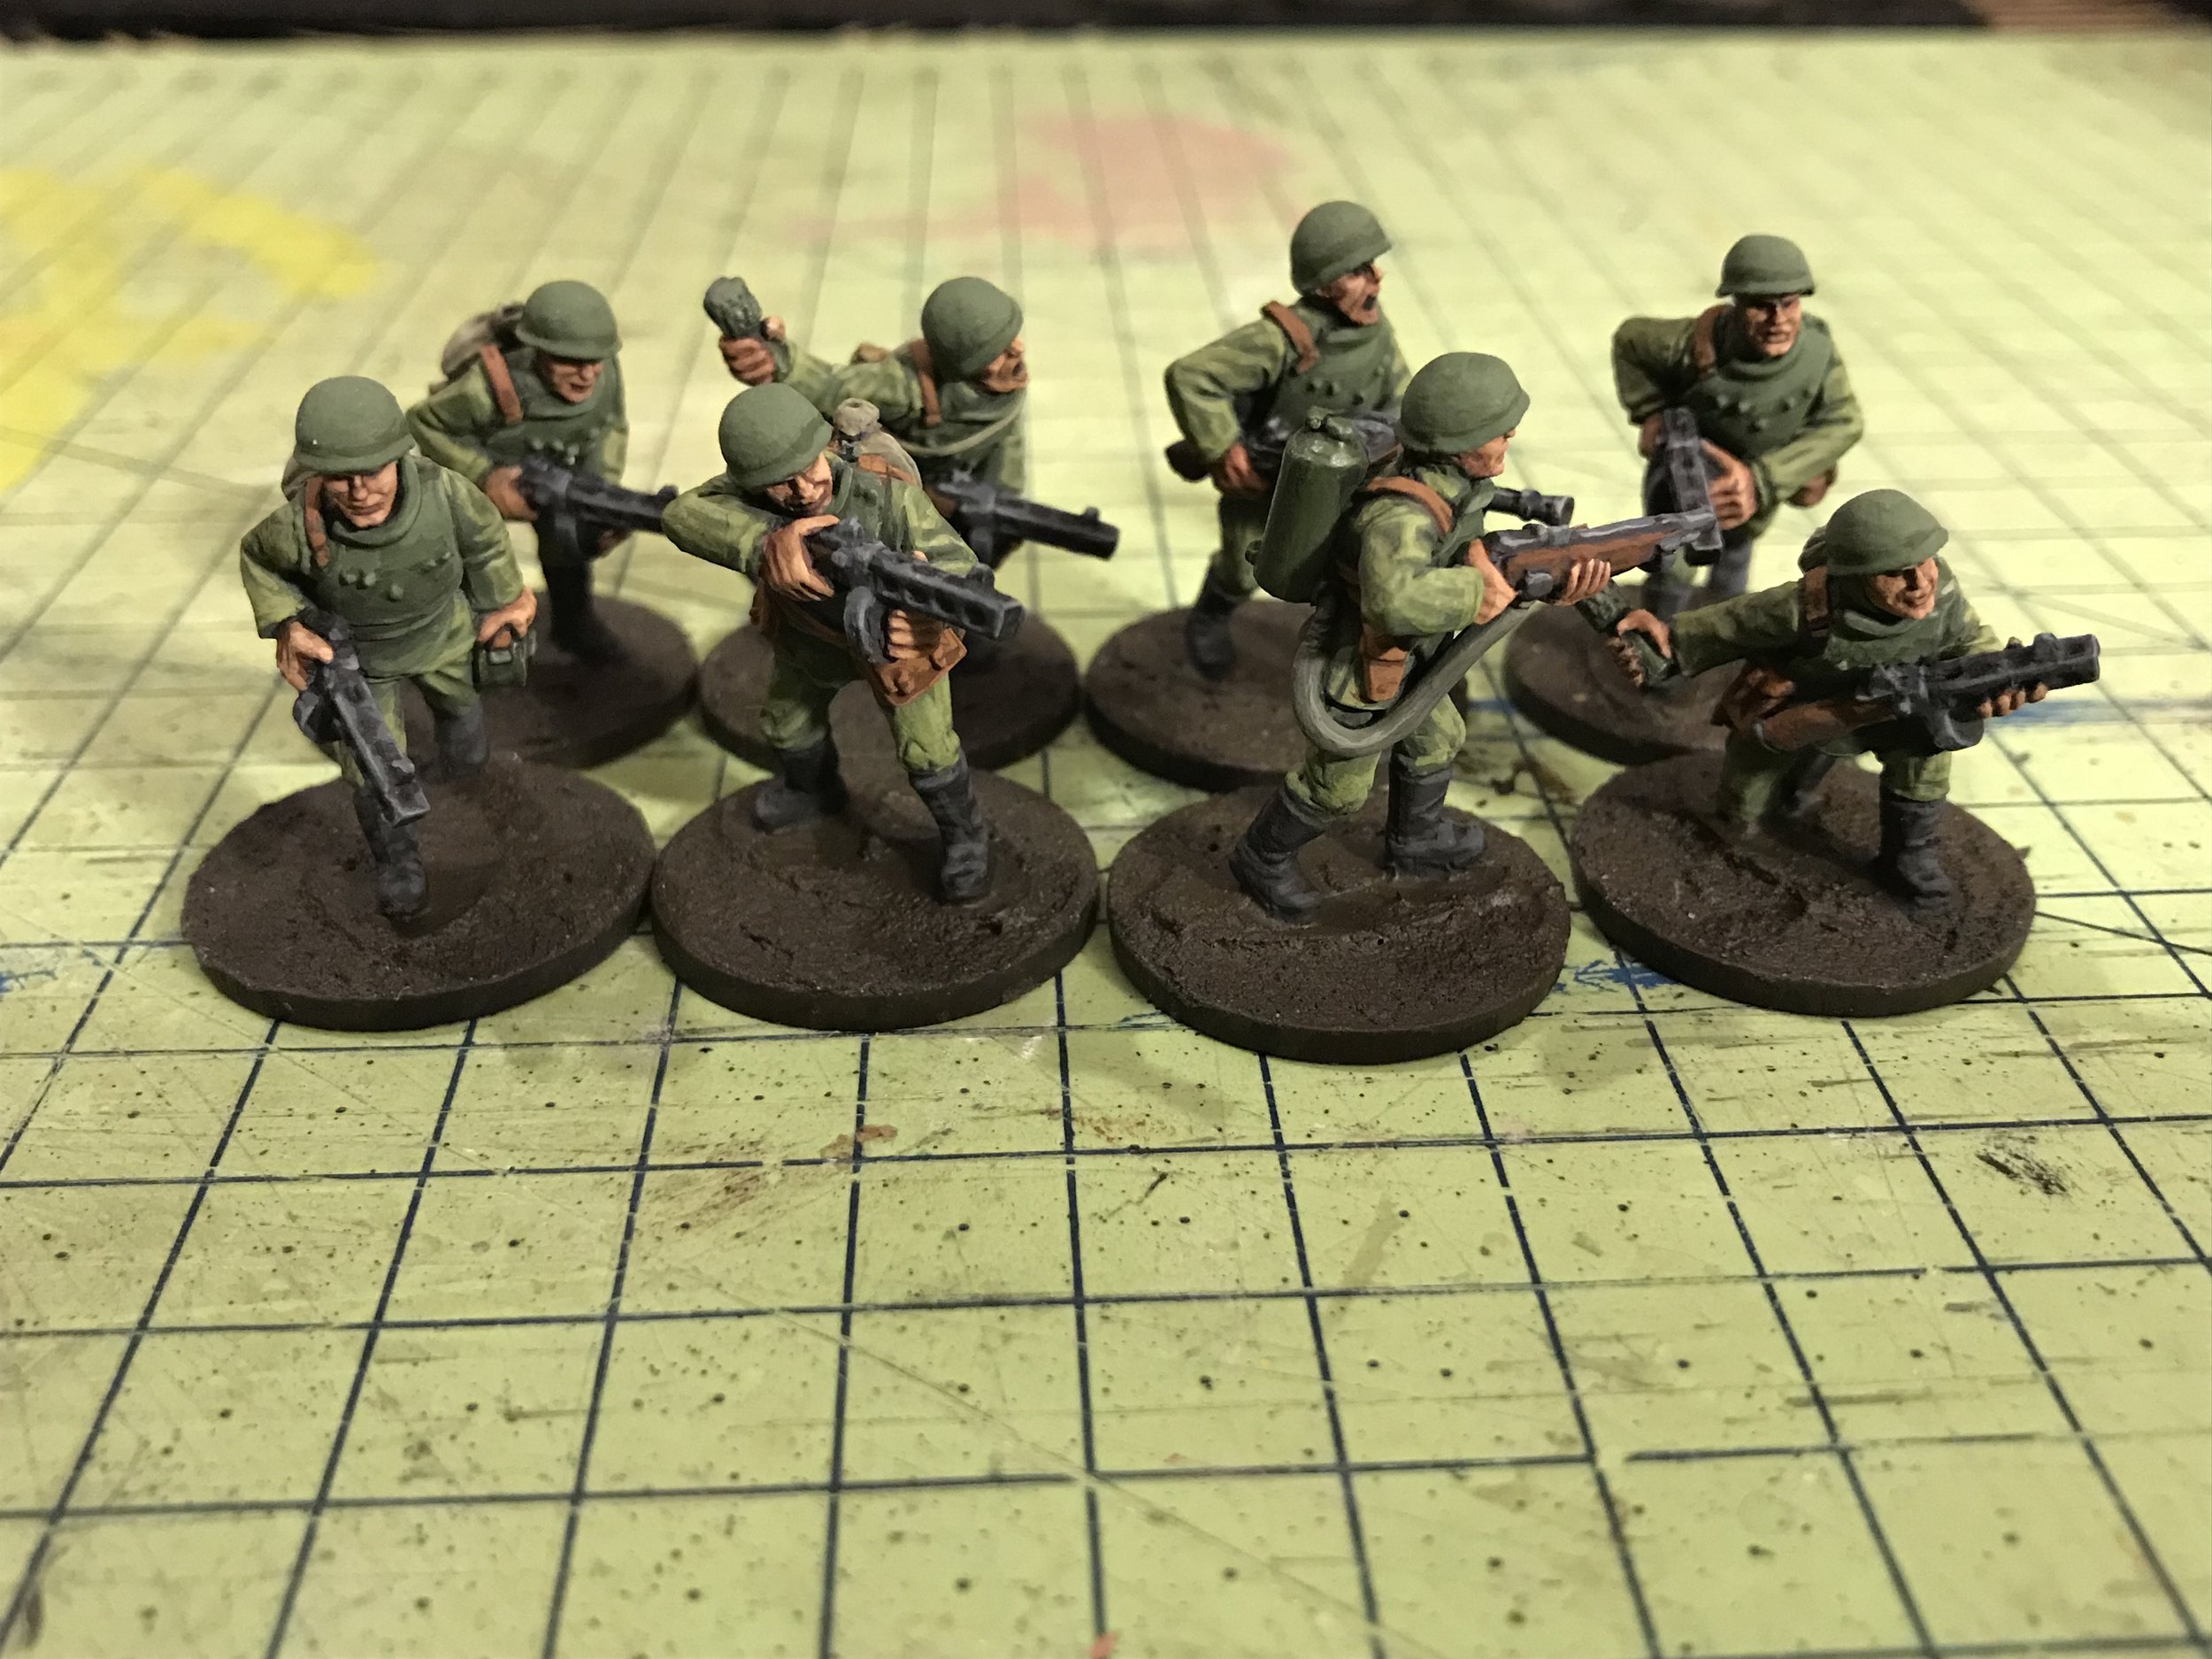
Andy Duffell has gone modern
Mr Plowman has fallen victim to Mr C.
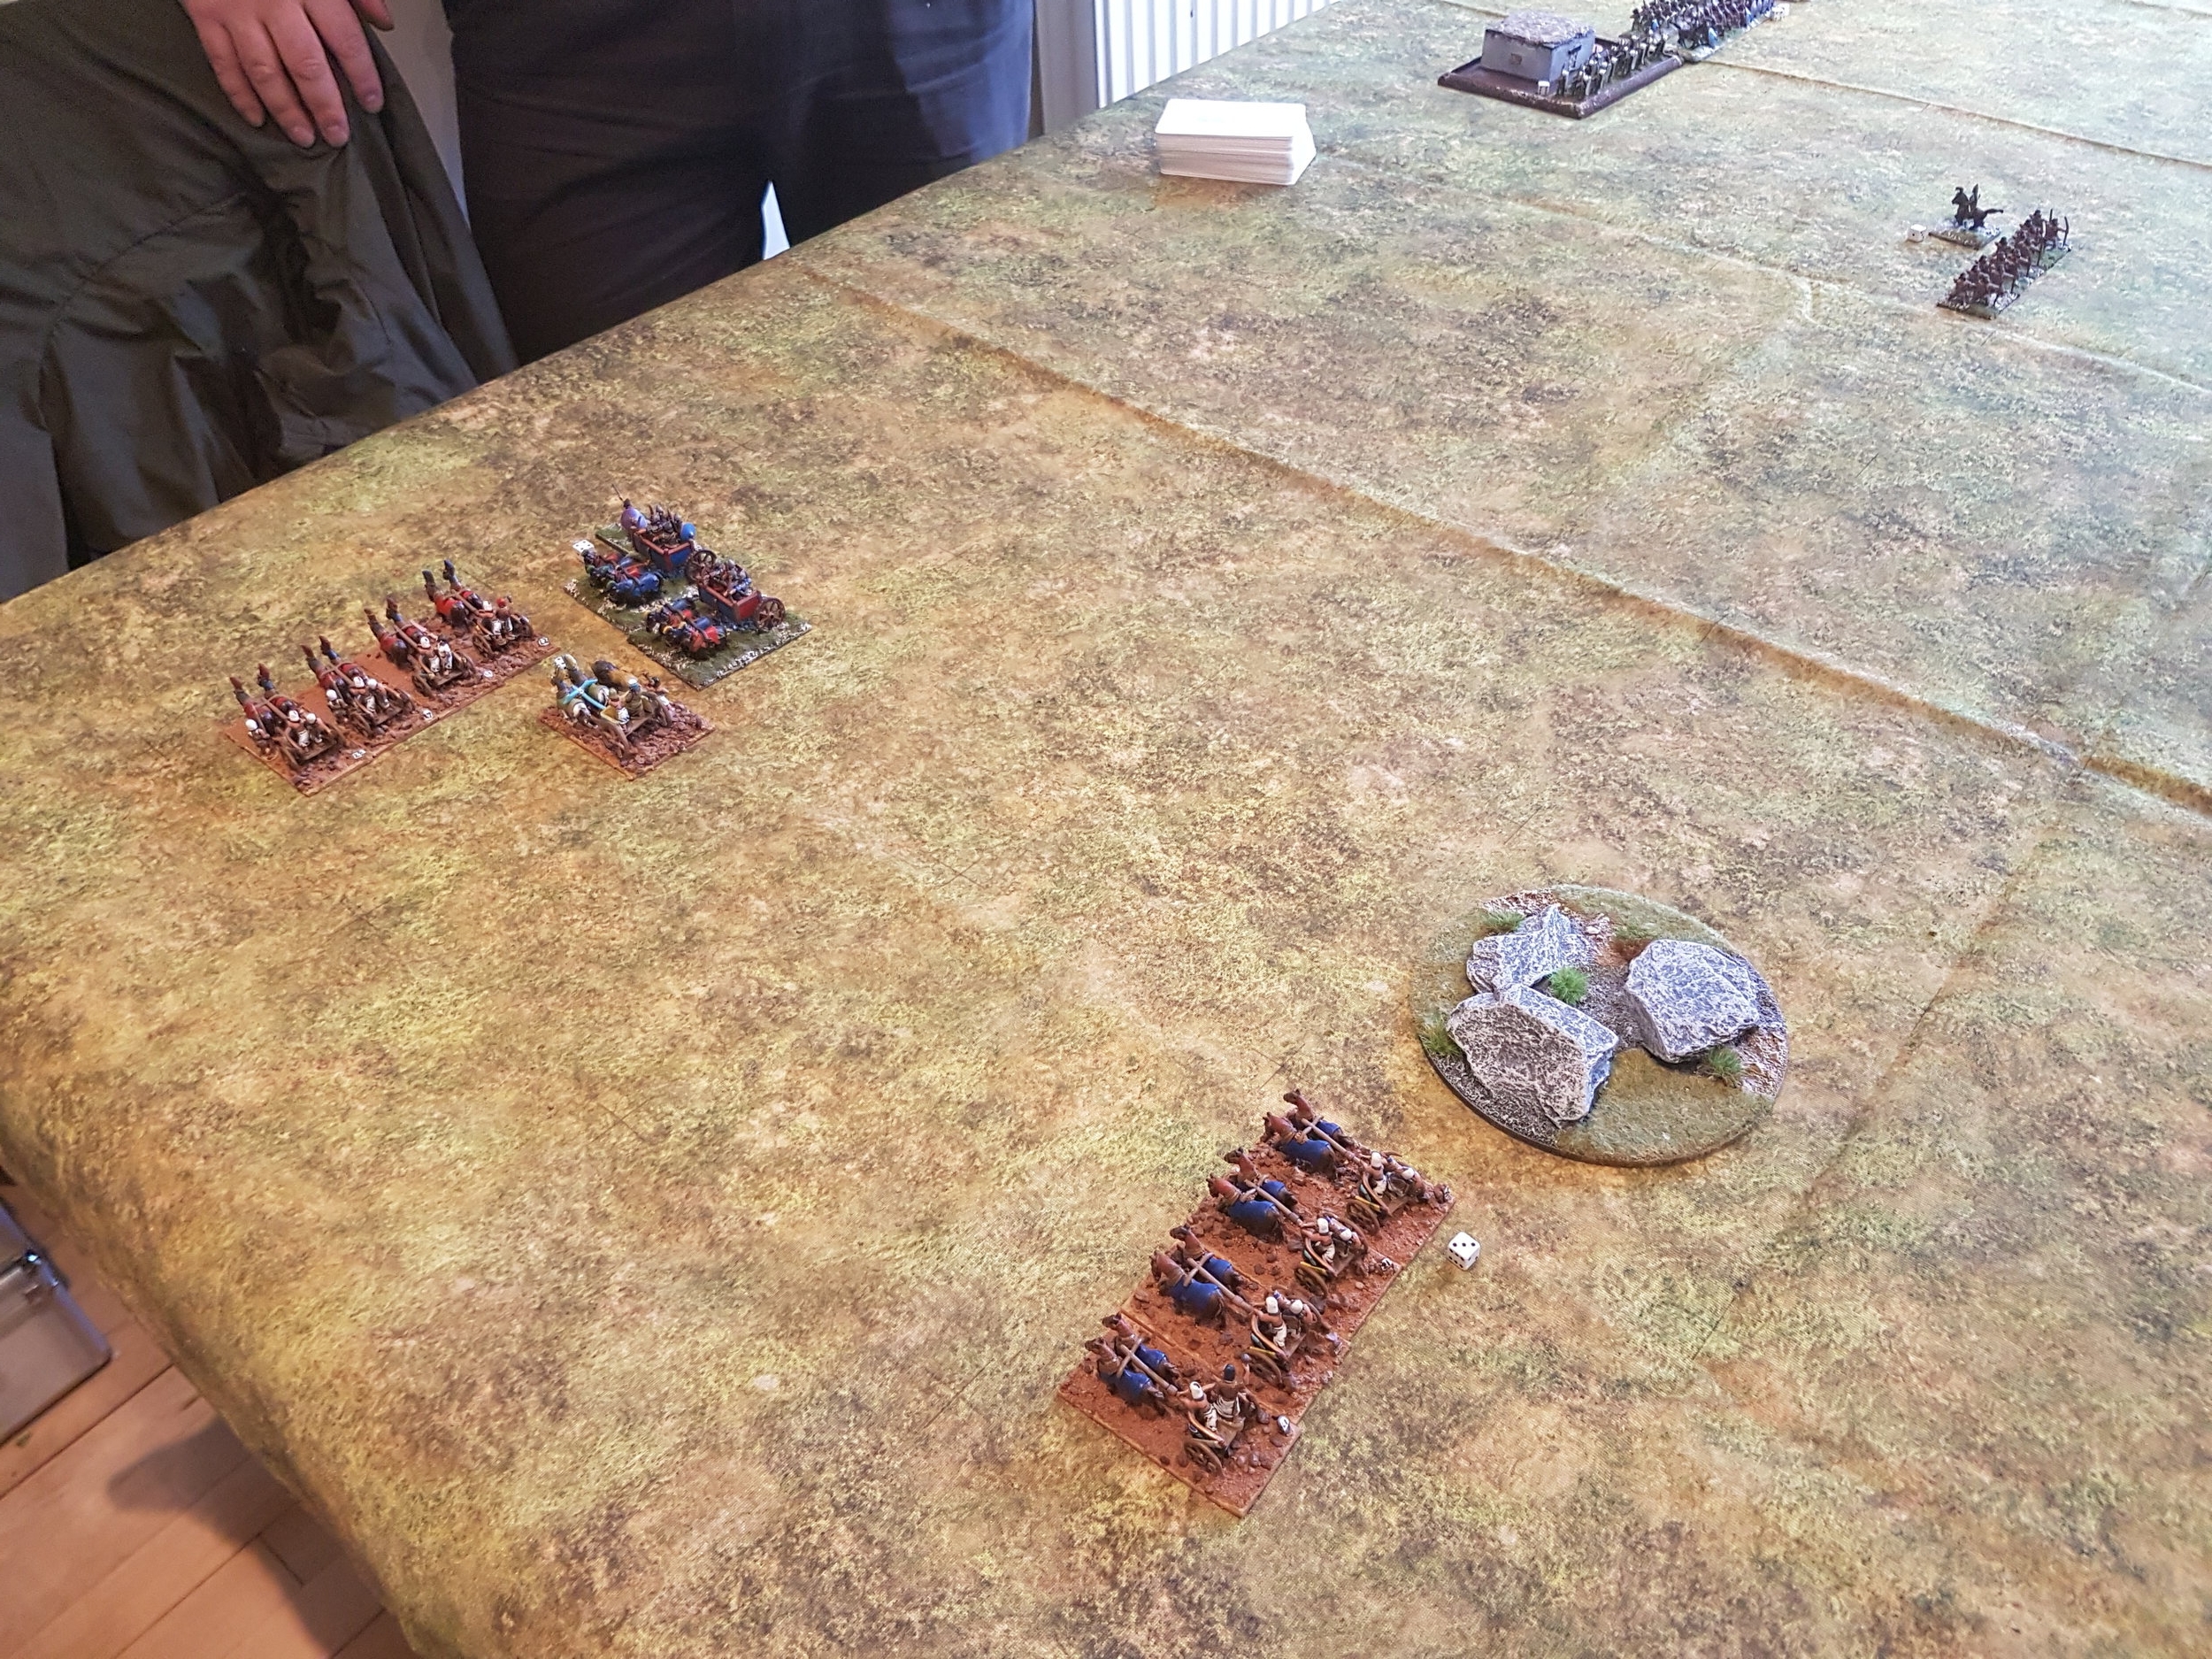
More 7YW battalions from Andrew Helliwell
It’s “Aaar, me hearties” from Joe McGinn
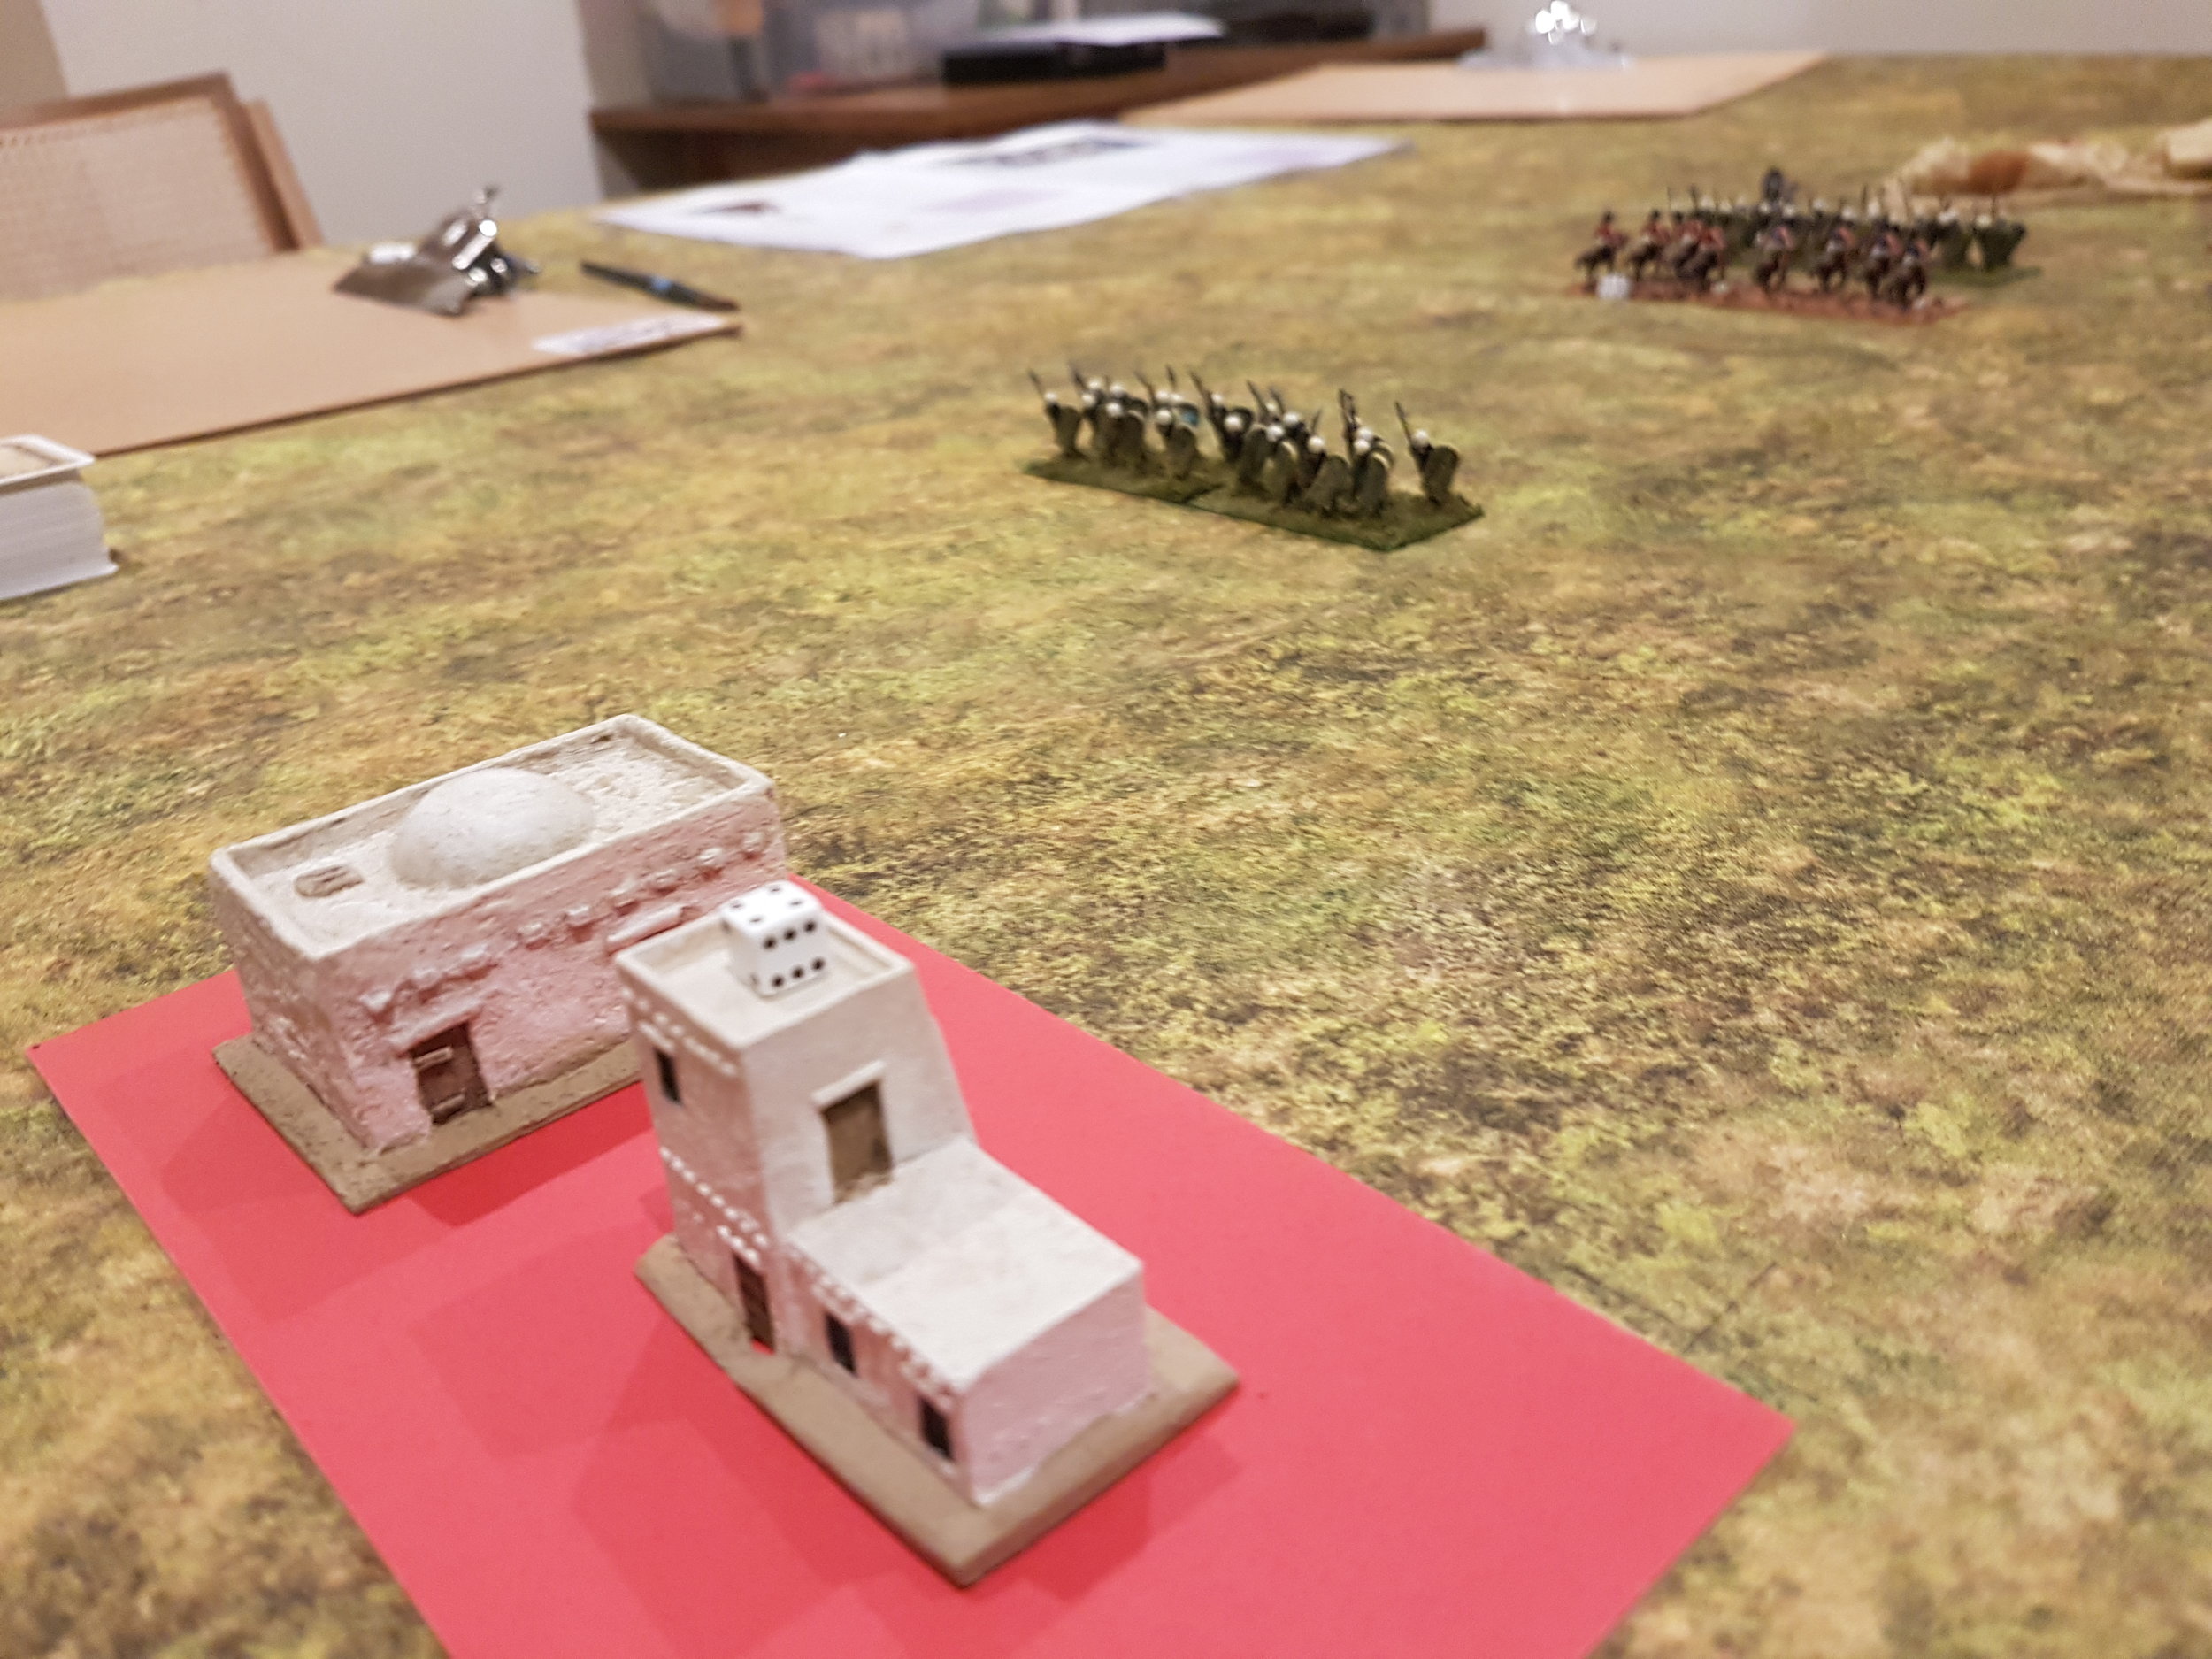
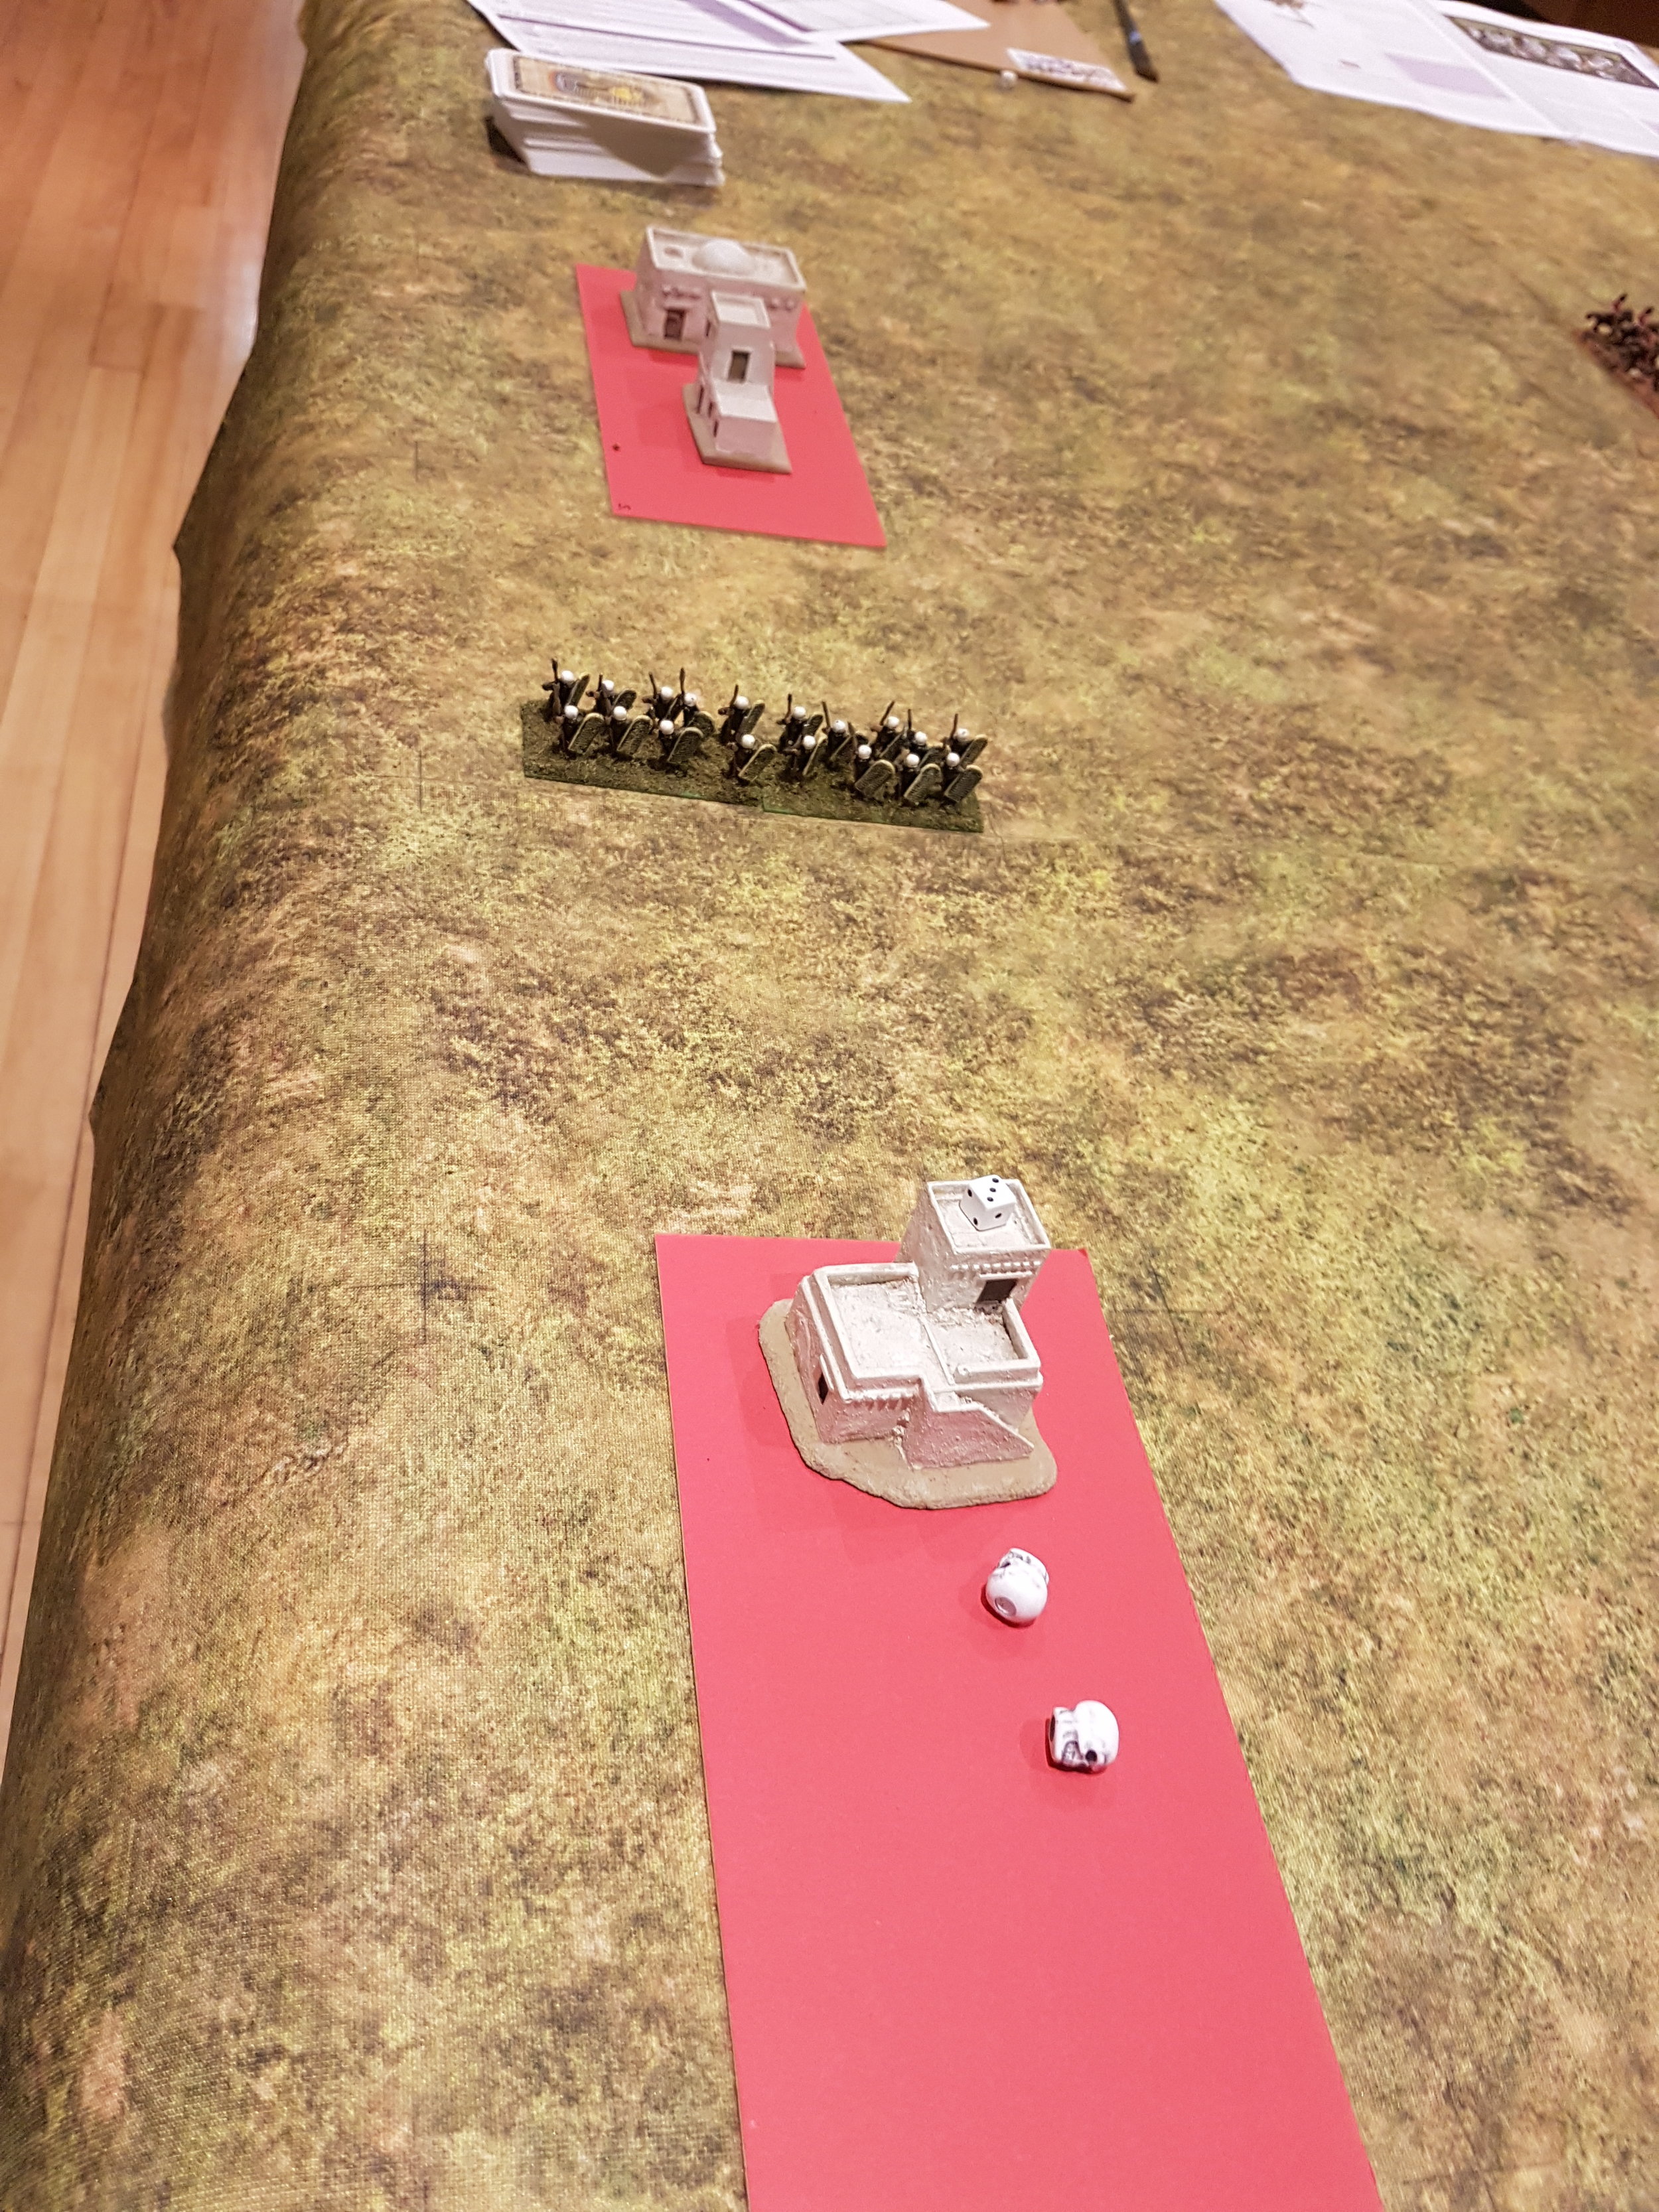
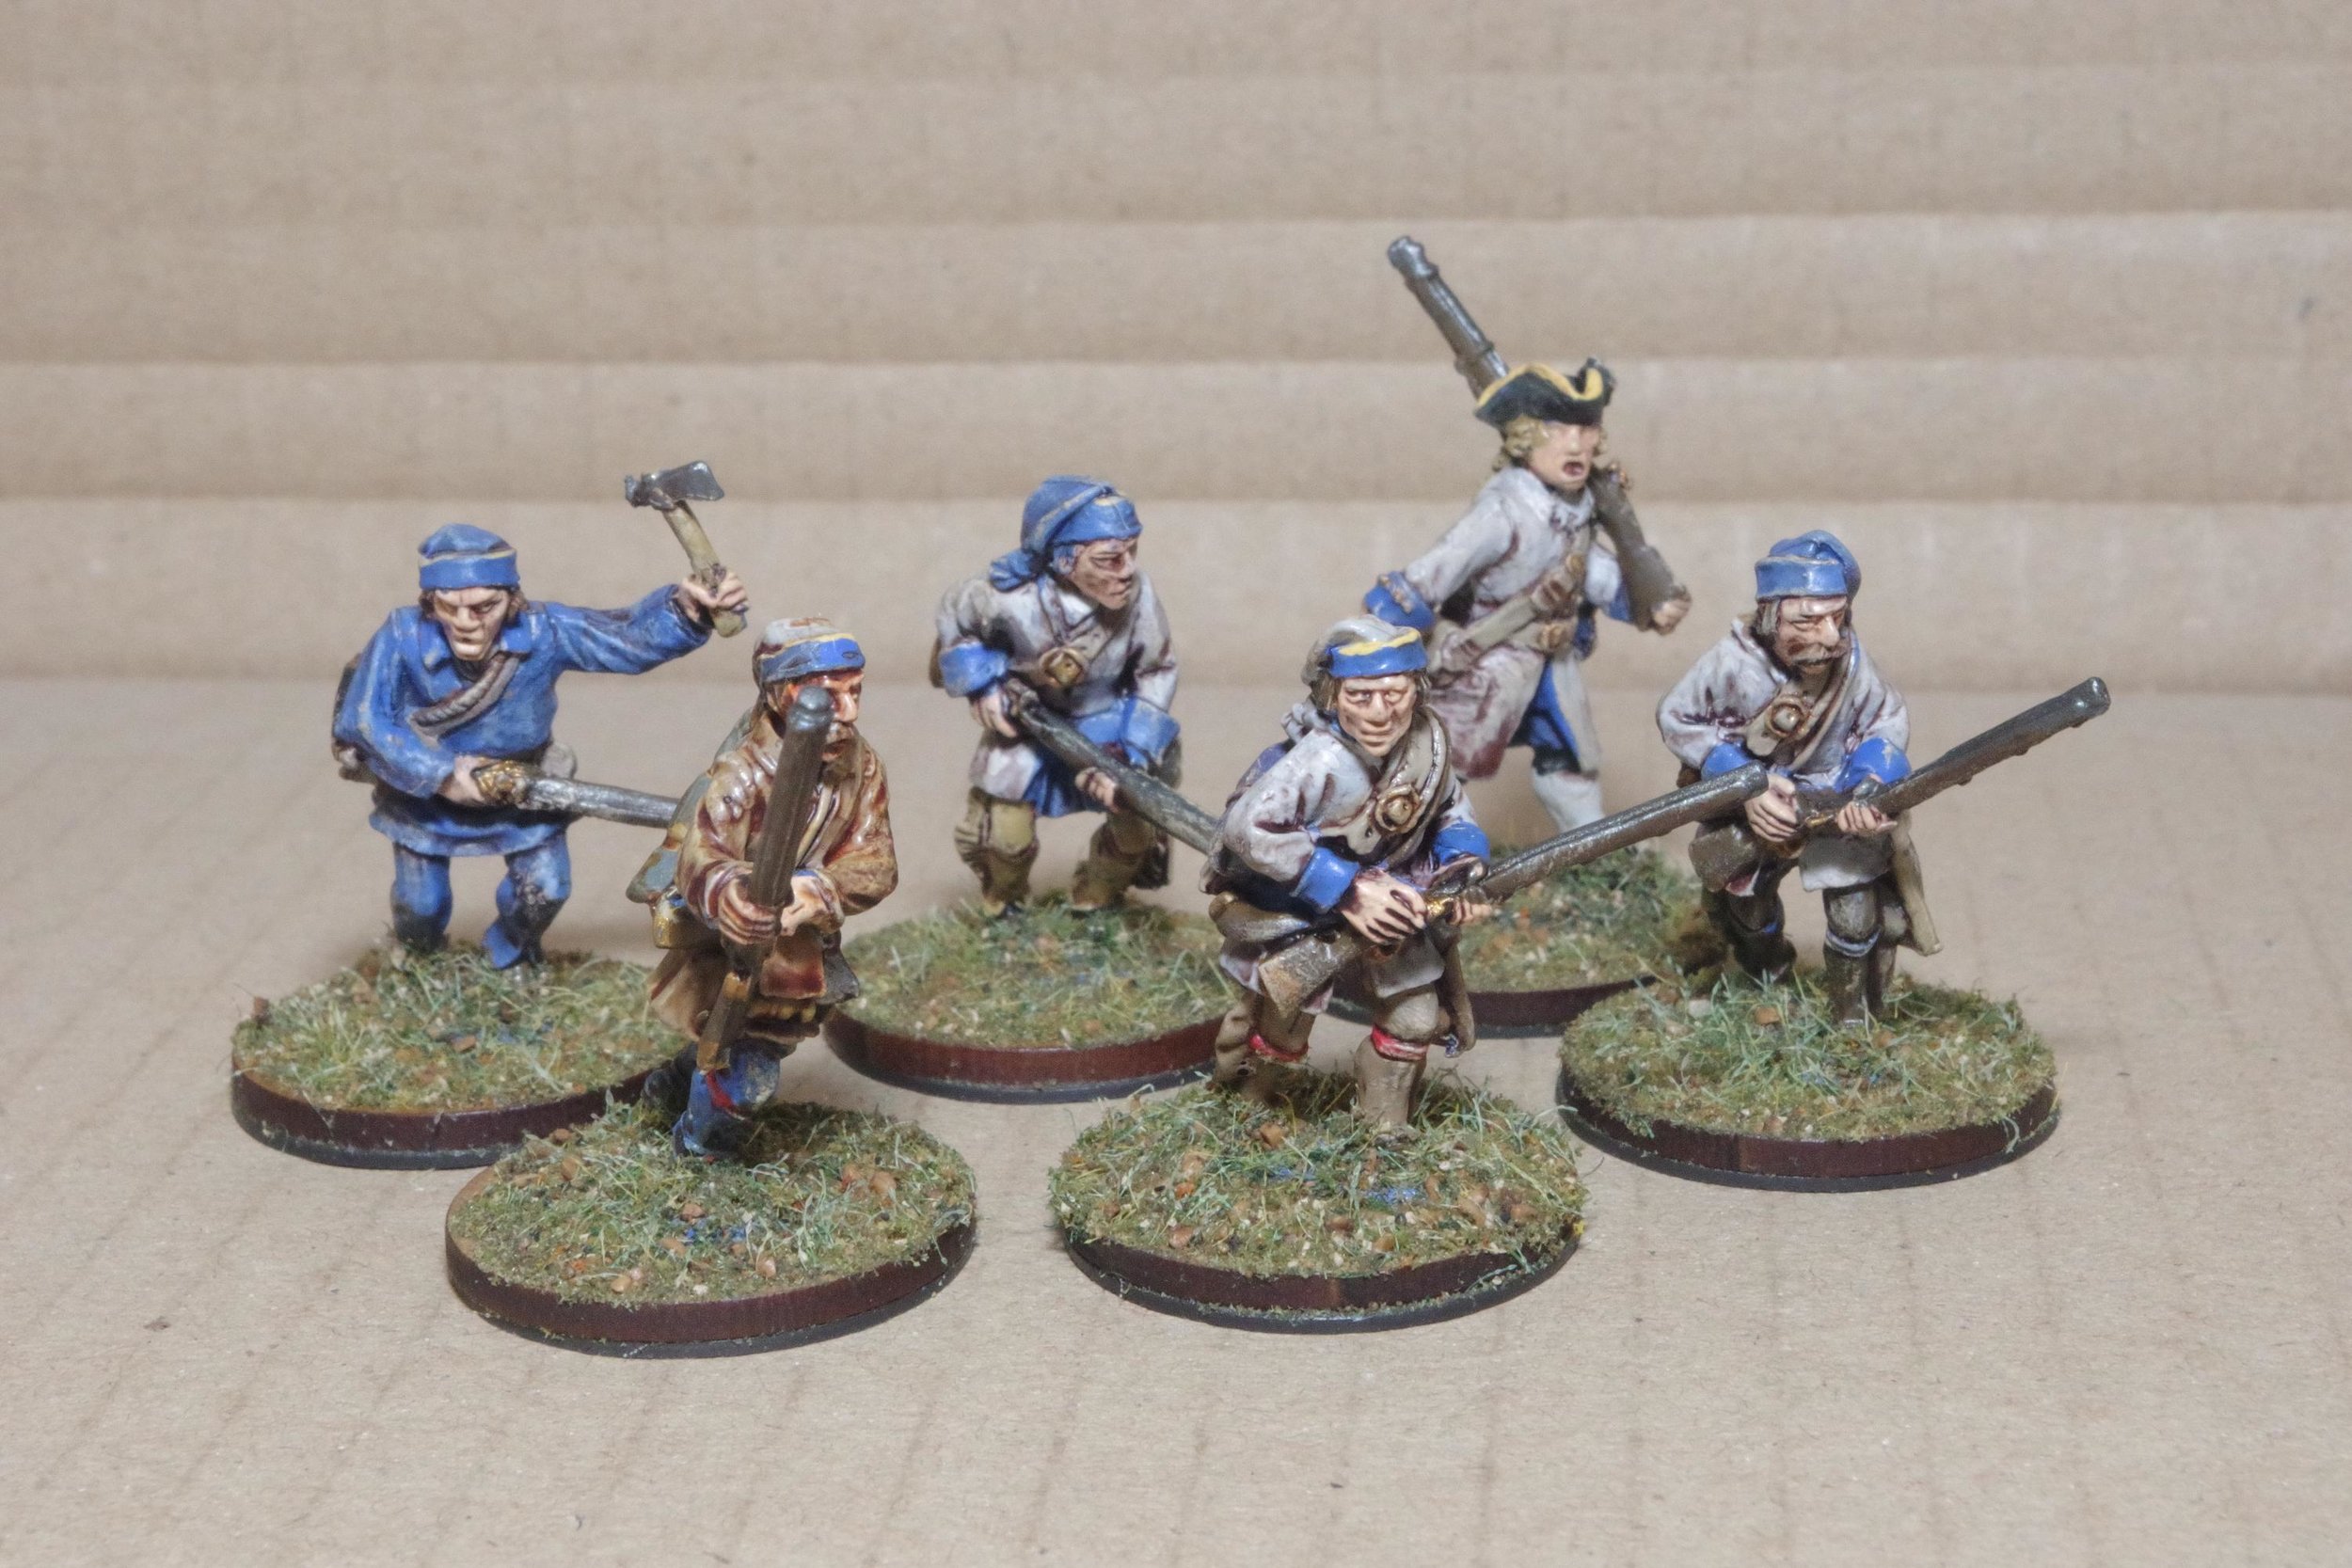
The French and Indian wars bug has bitten Carole
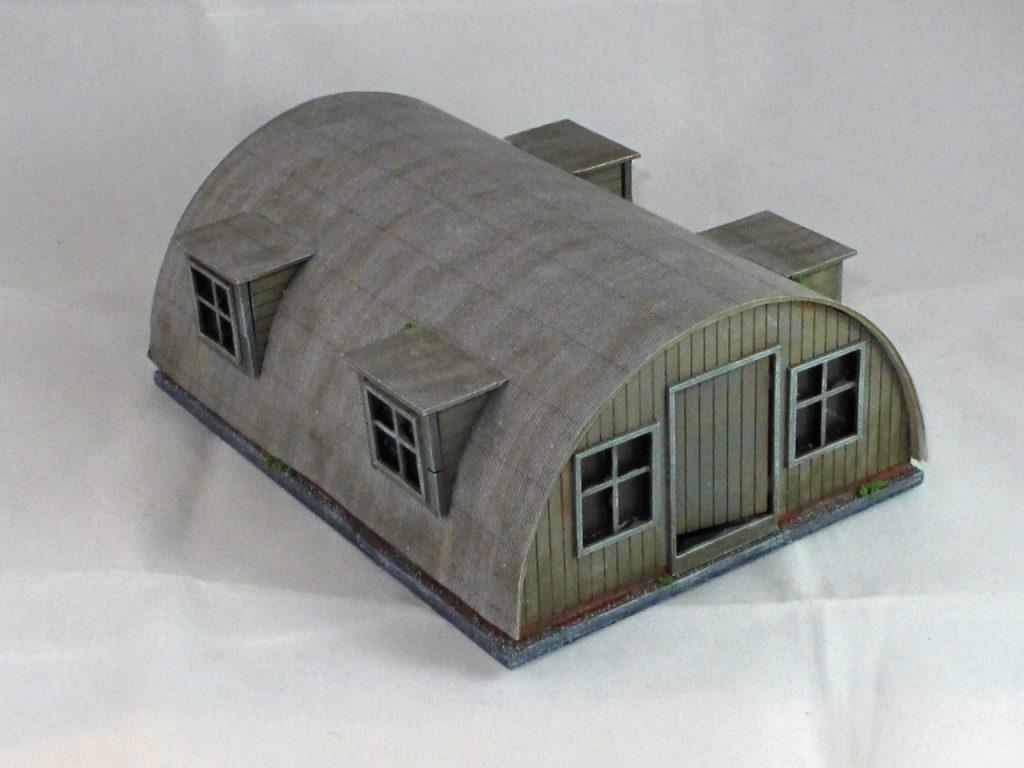
Steve Burt has been rooting around in his unpainted draw
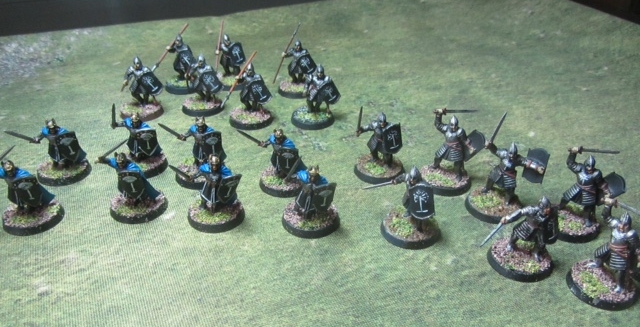
And last, but by no means least, Mervyn is still stuck in Middle Earth
As usual, clicking on the name of the person above will take you straight to their gallery (opens in a new window).
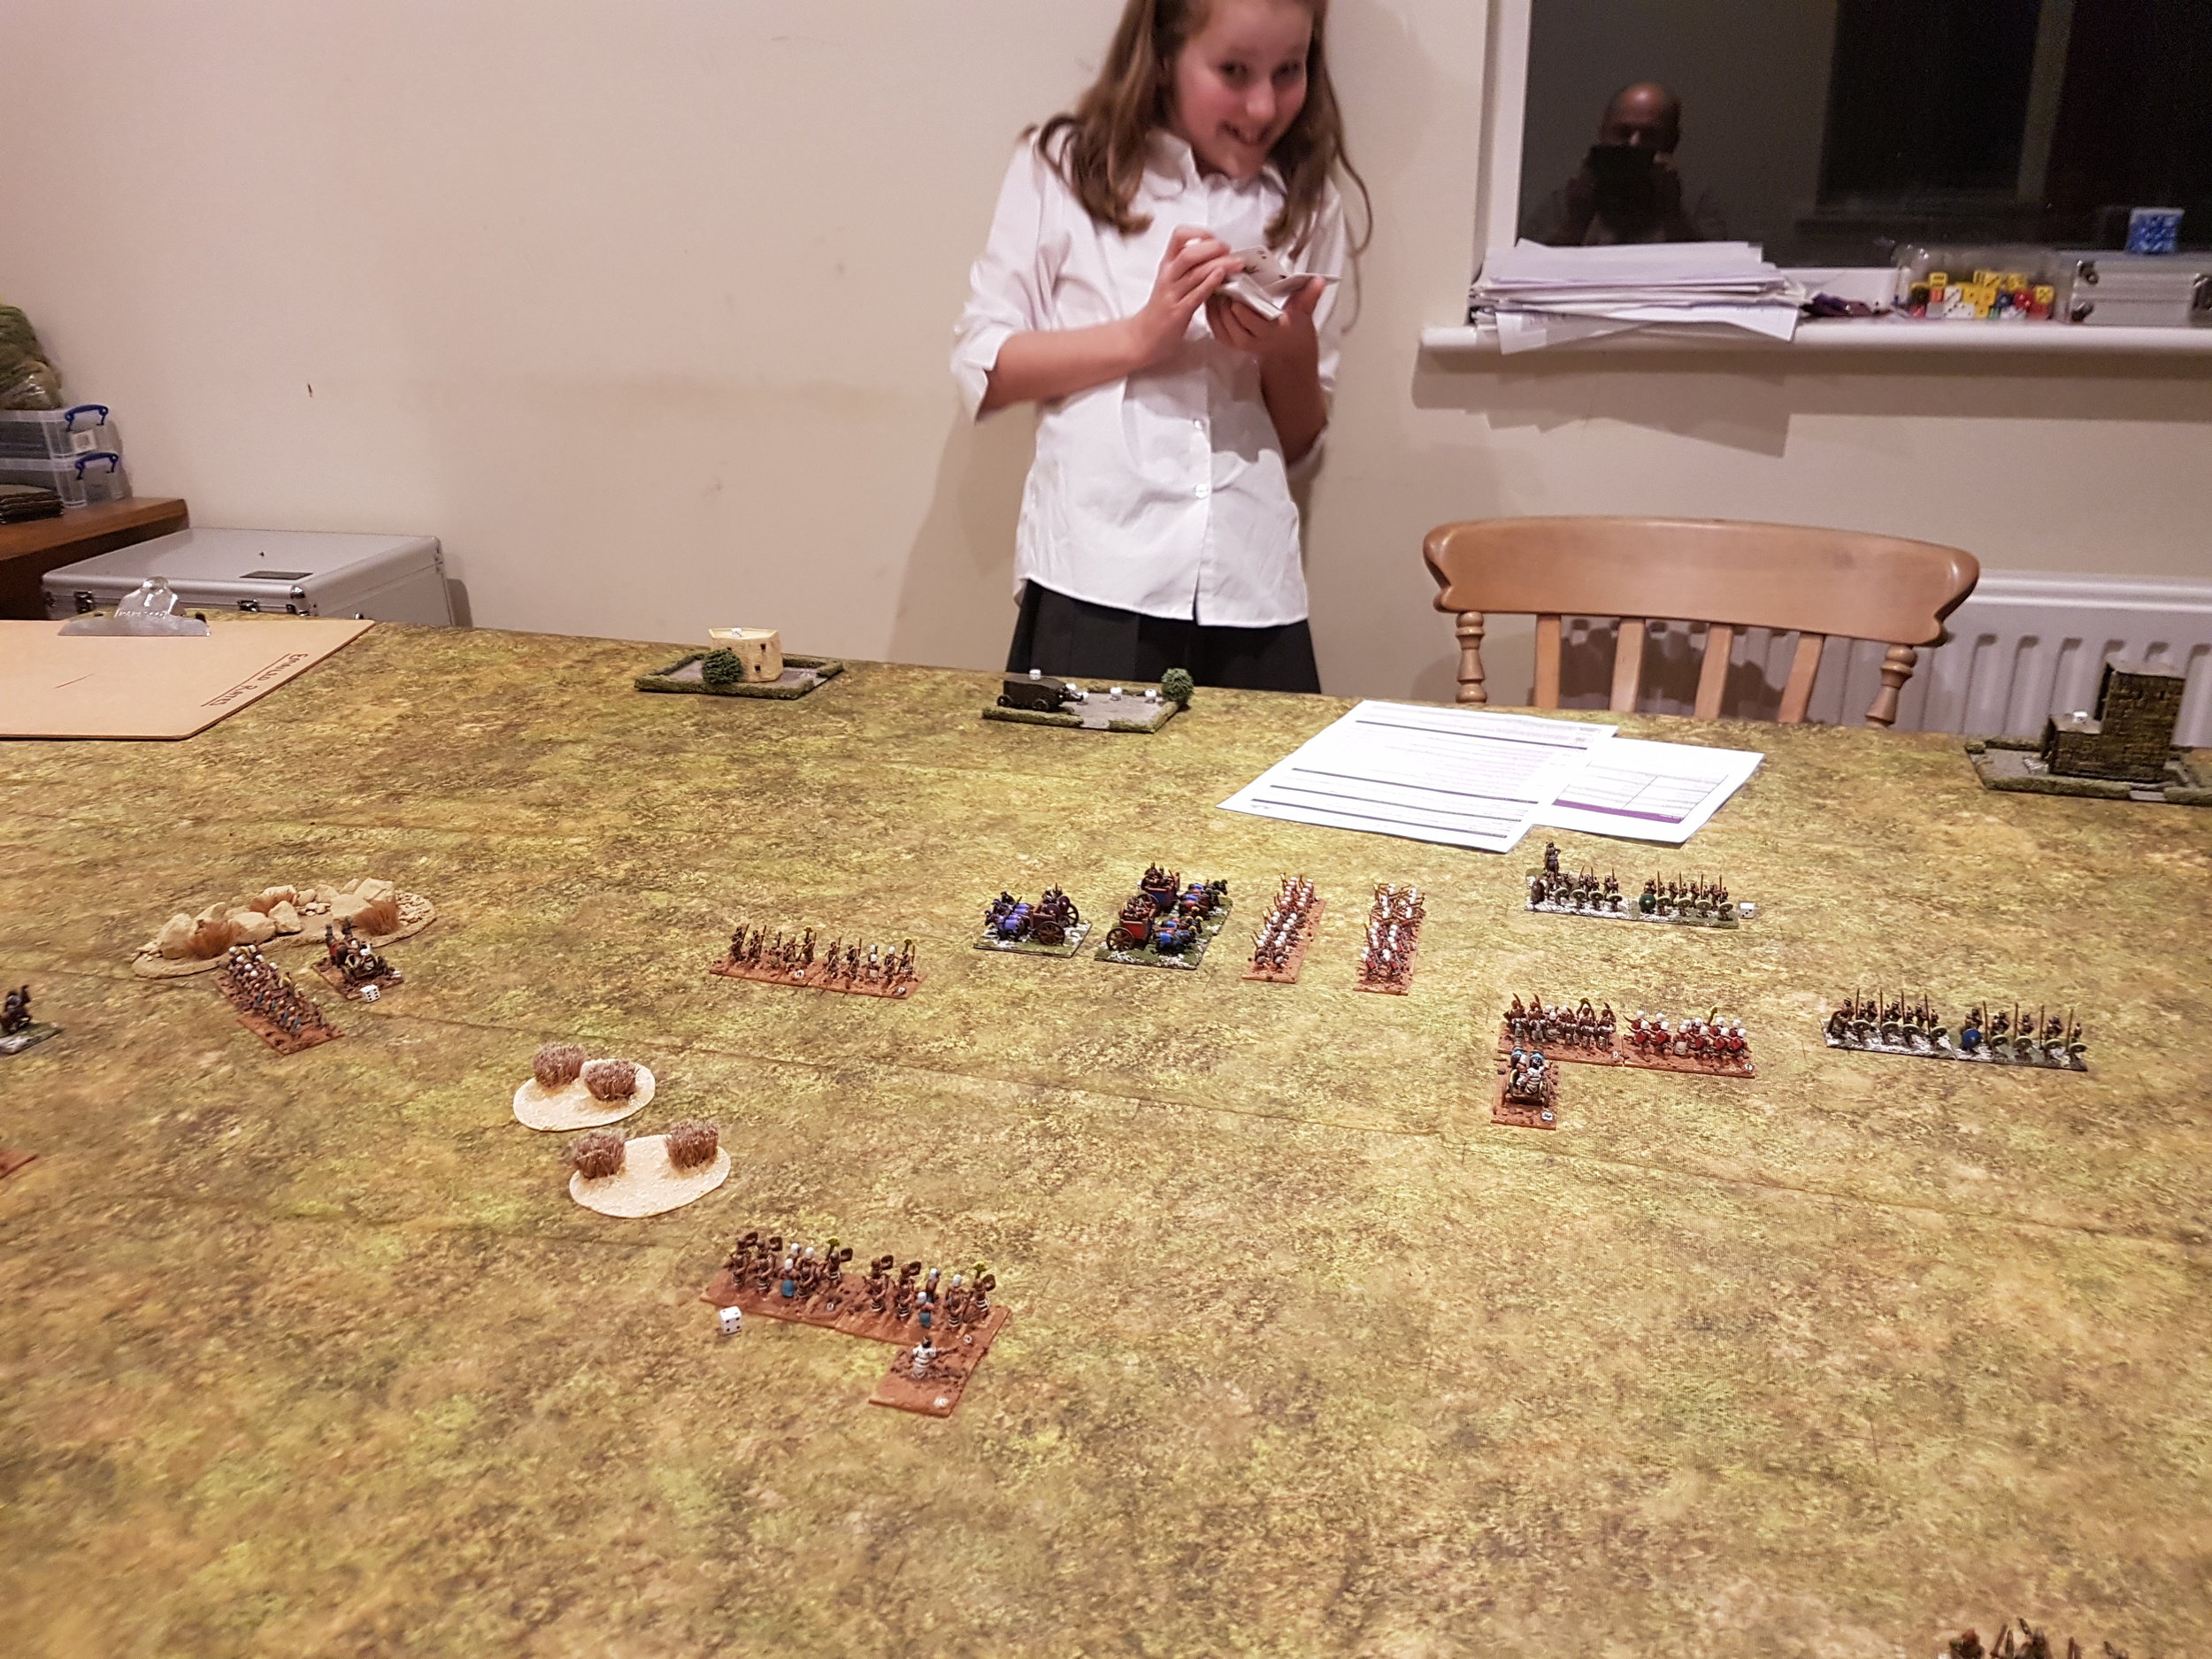
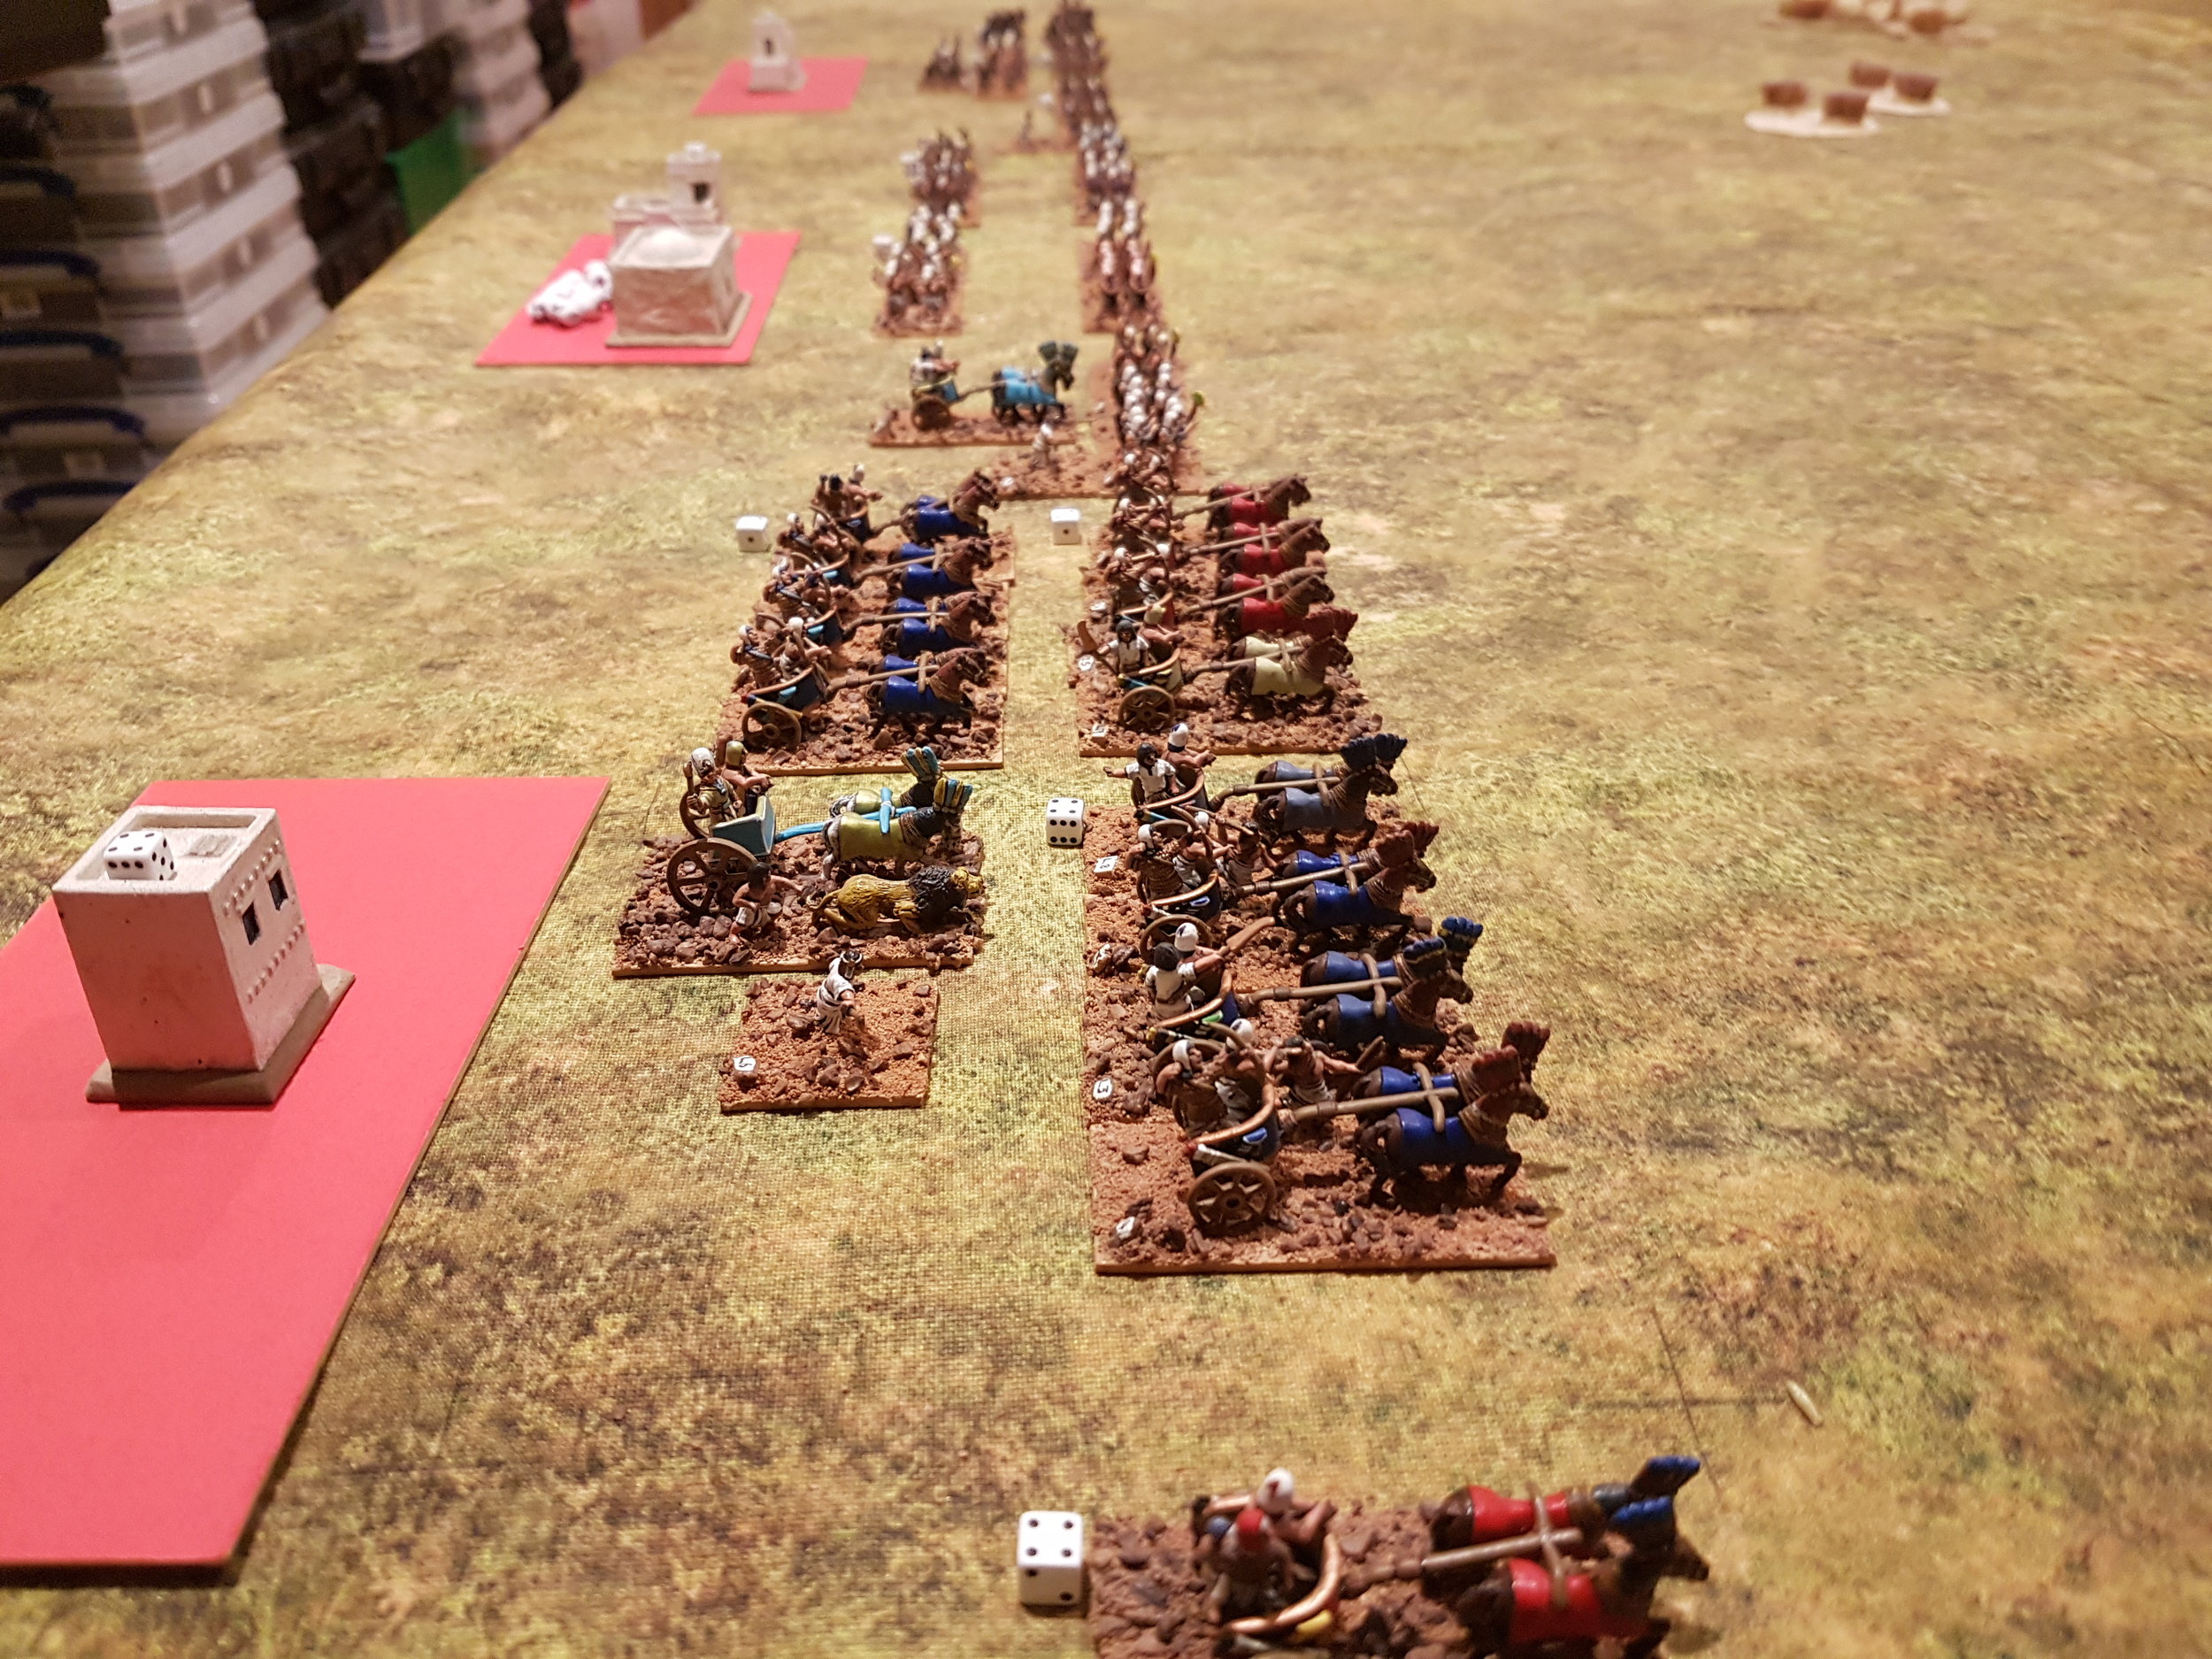
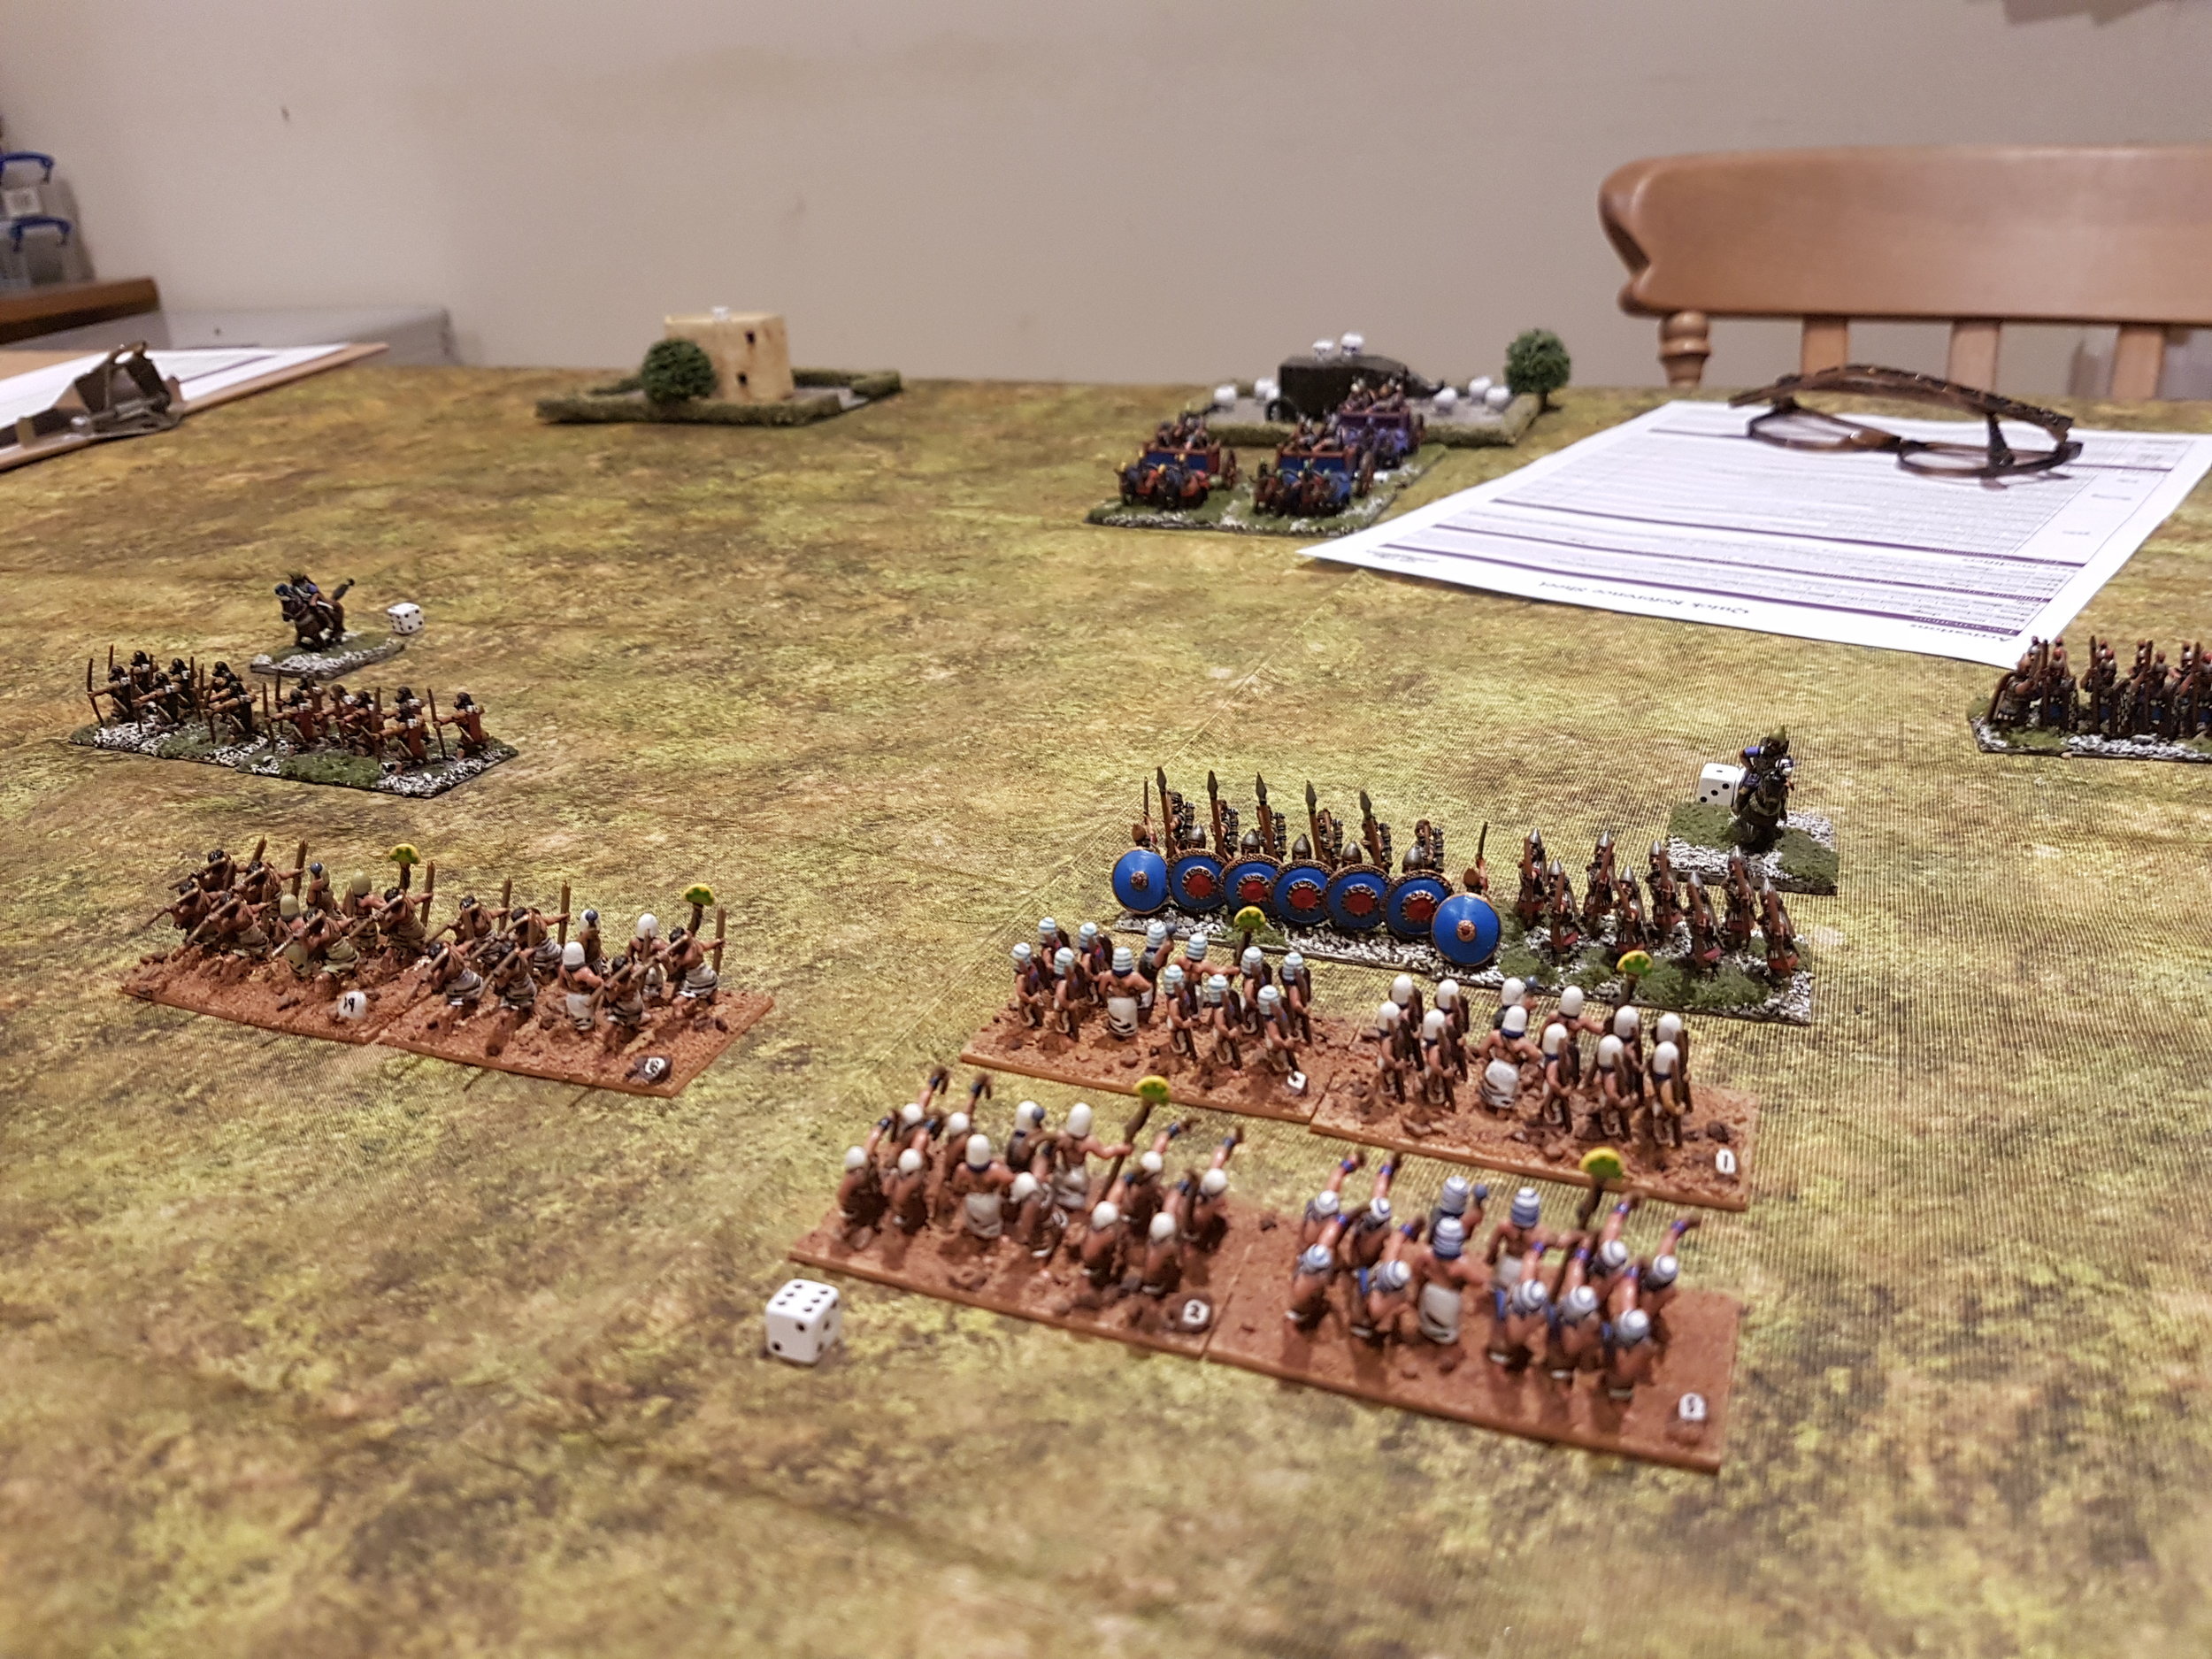
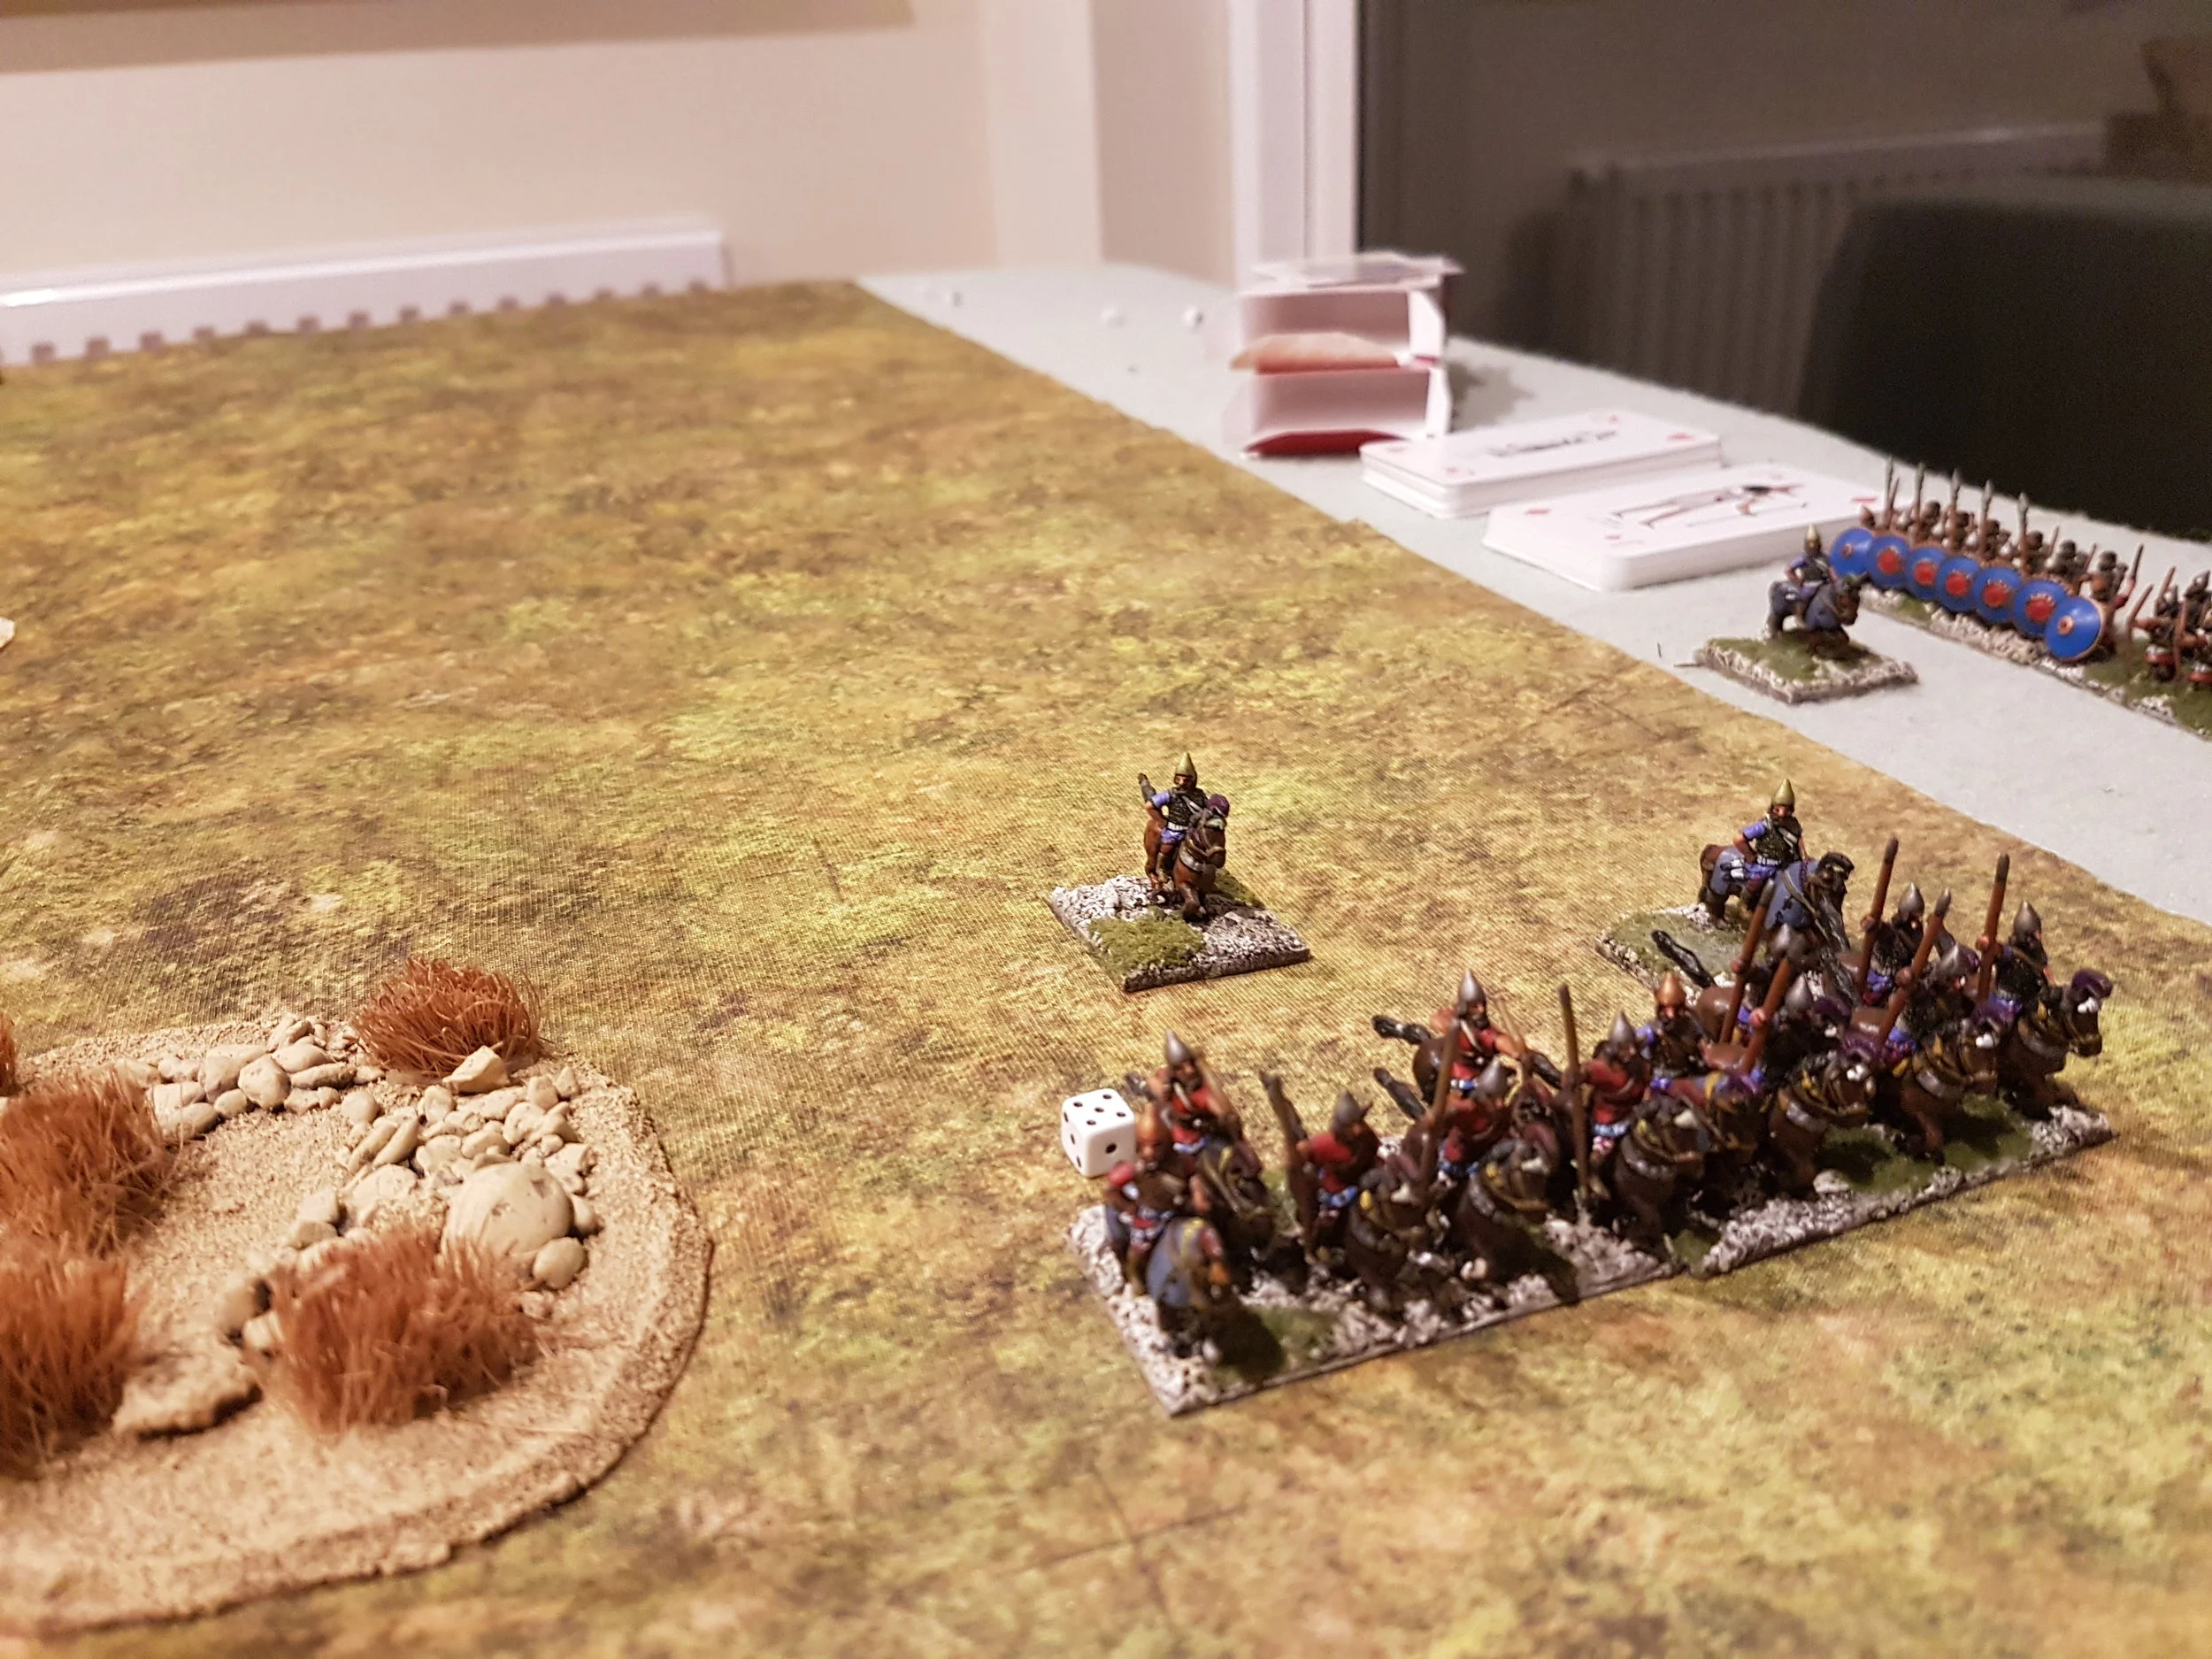
Here are today’s pictures:

There’s still plenty of time to join the thirty-three Lardies who are active in this year’s challenge, particularly if you signed up but haven’t had a chance to submit anything yet.
Get your entries in now!