Cossacks Resurrected
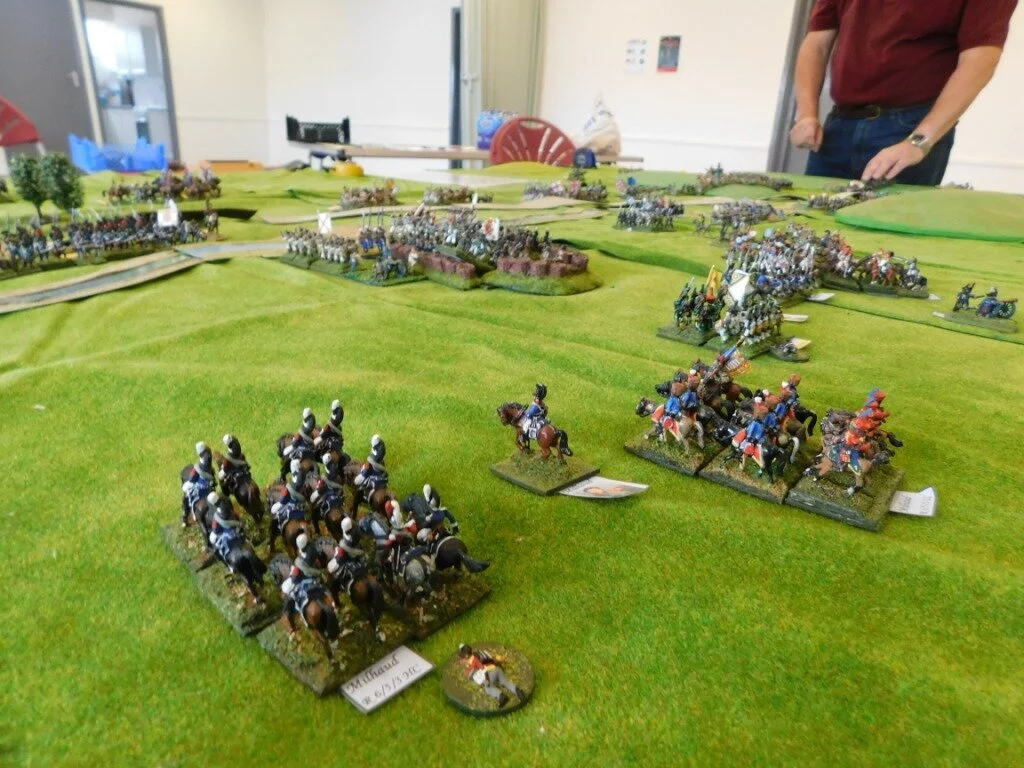
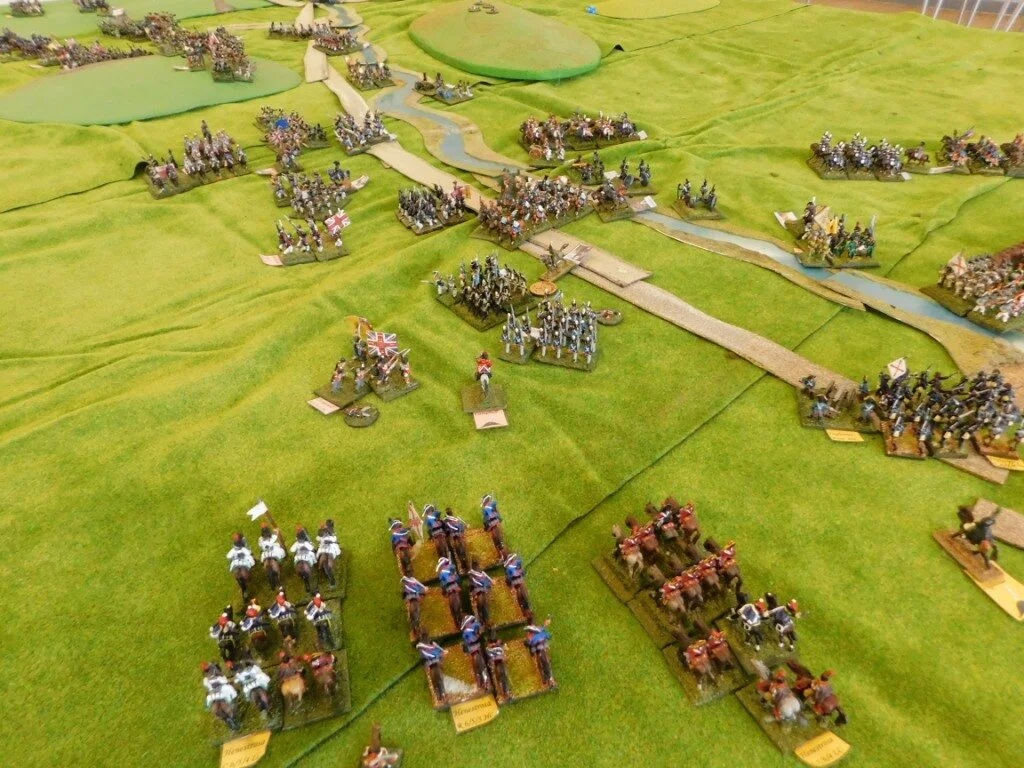
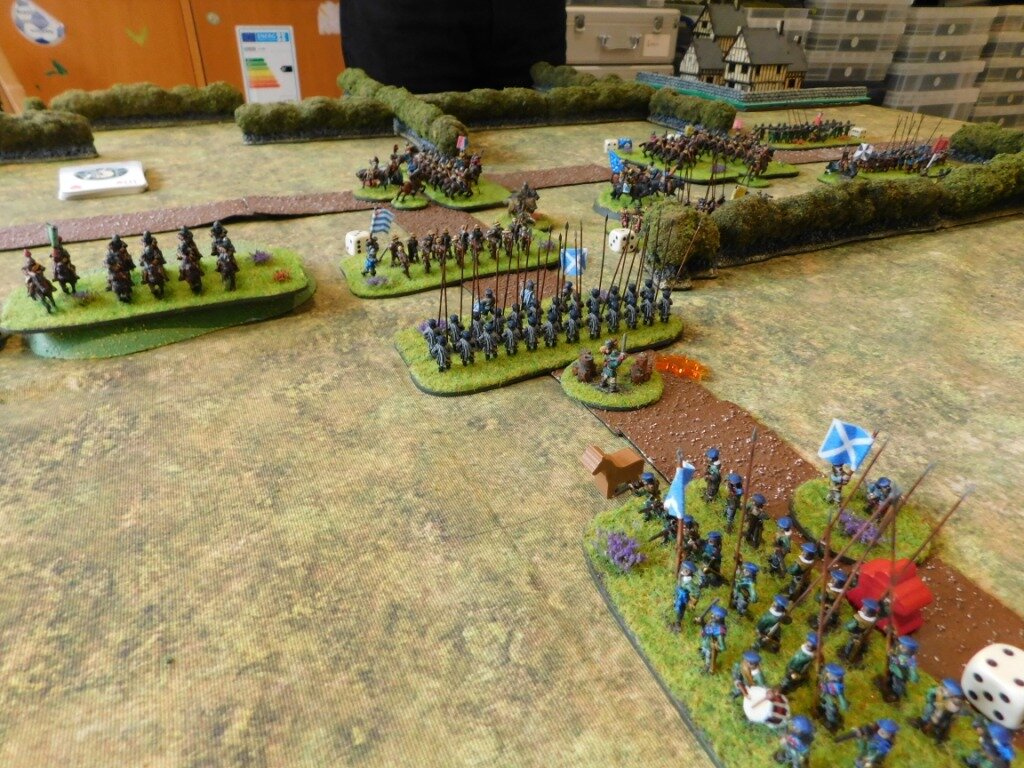
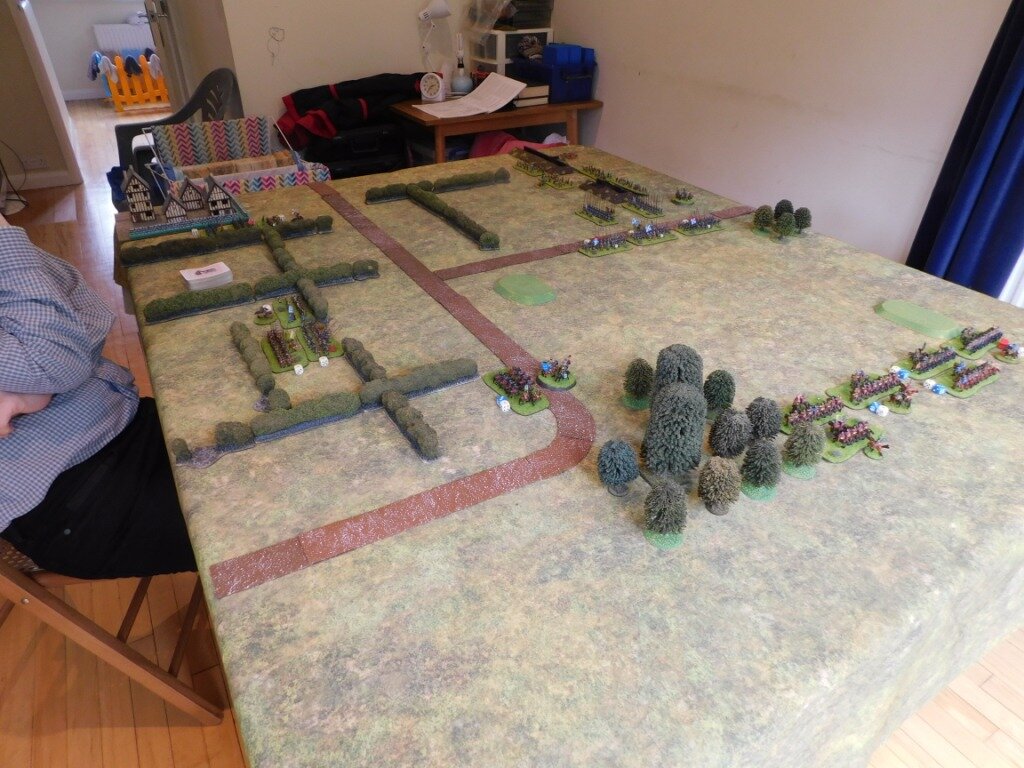
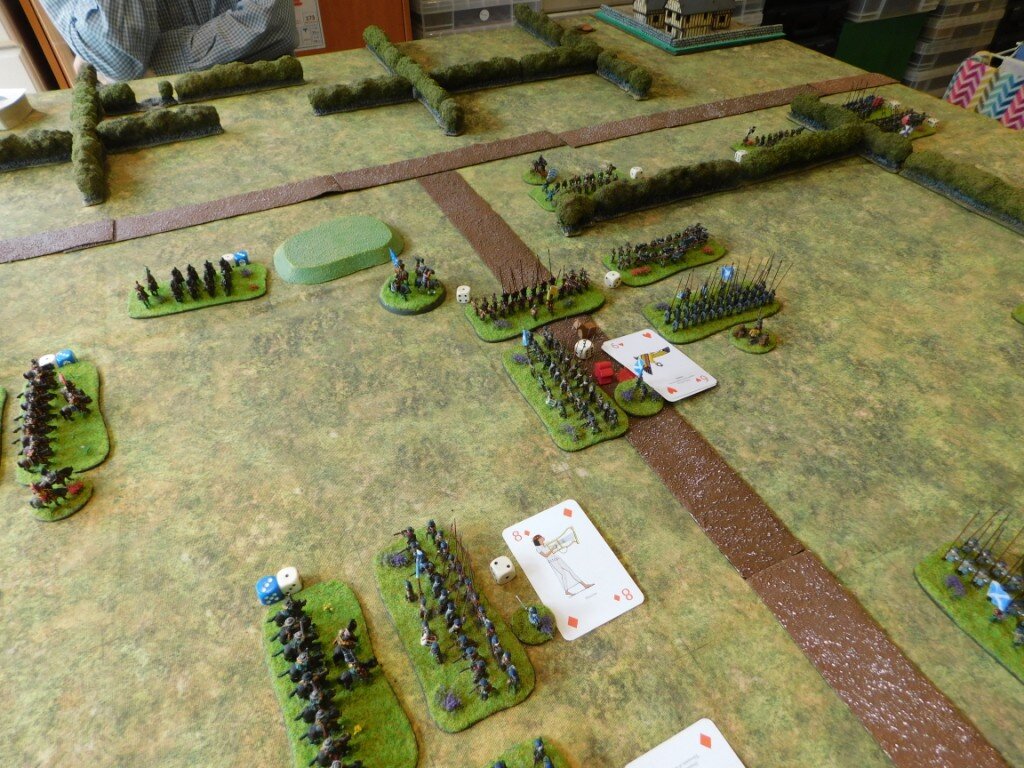
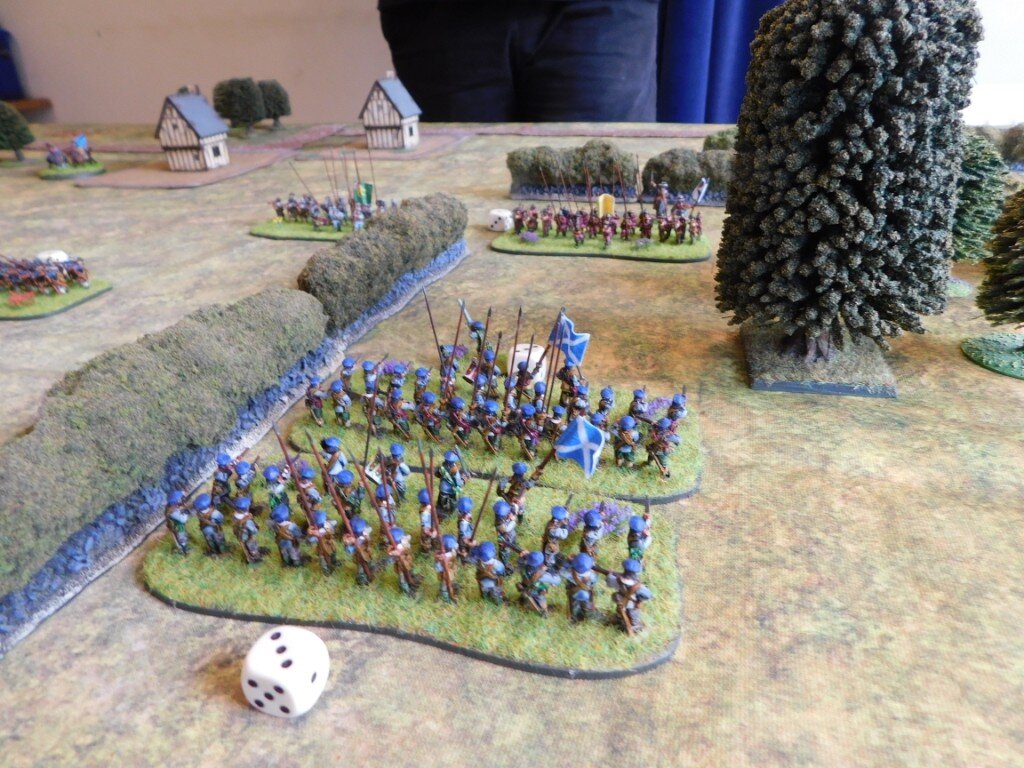
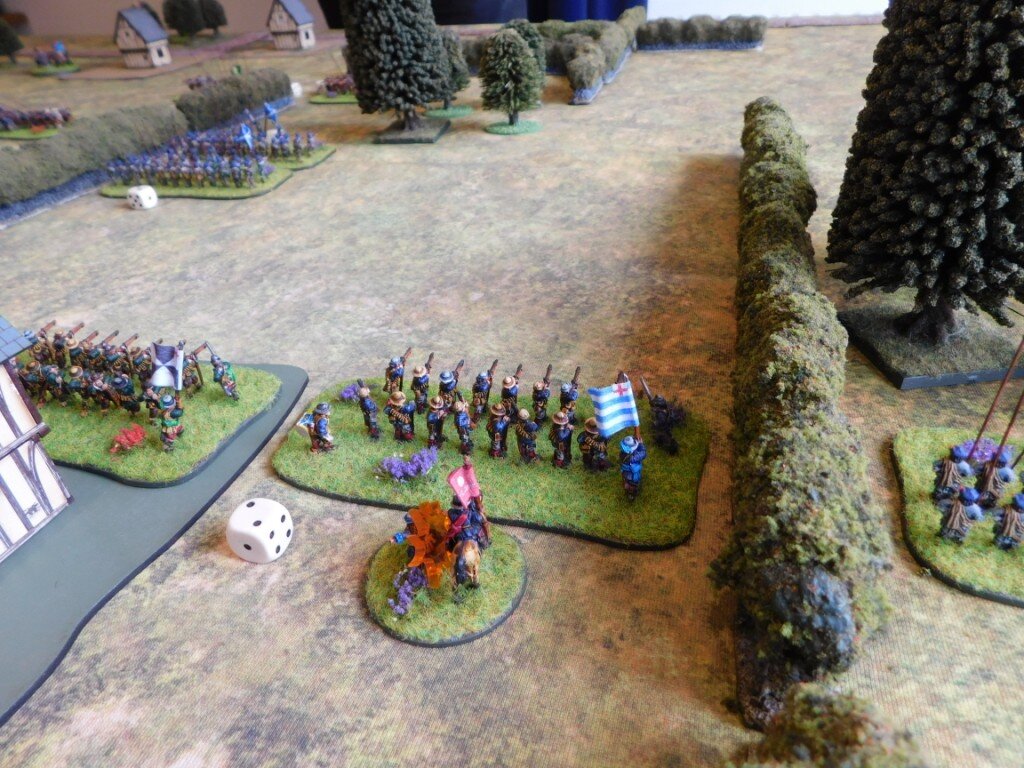
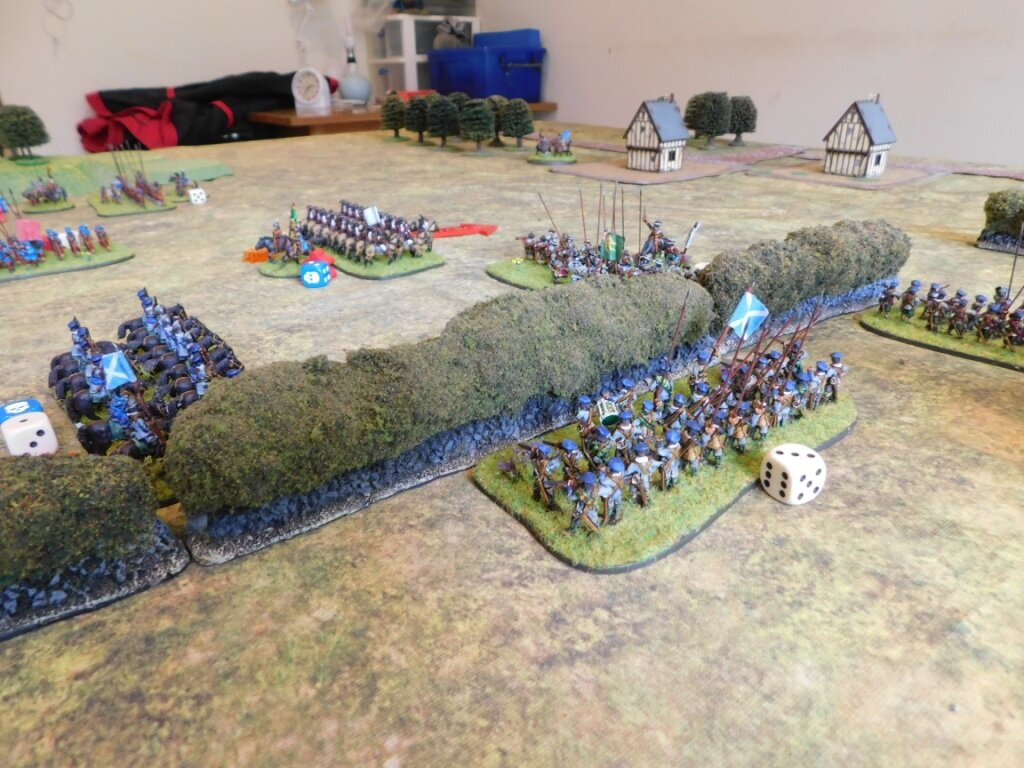
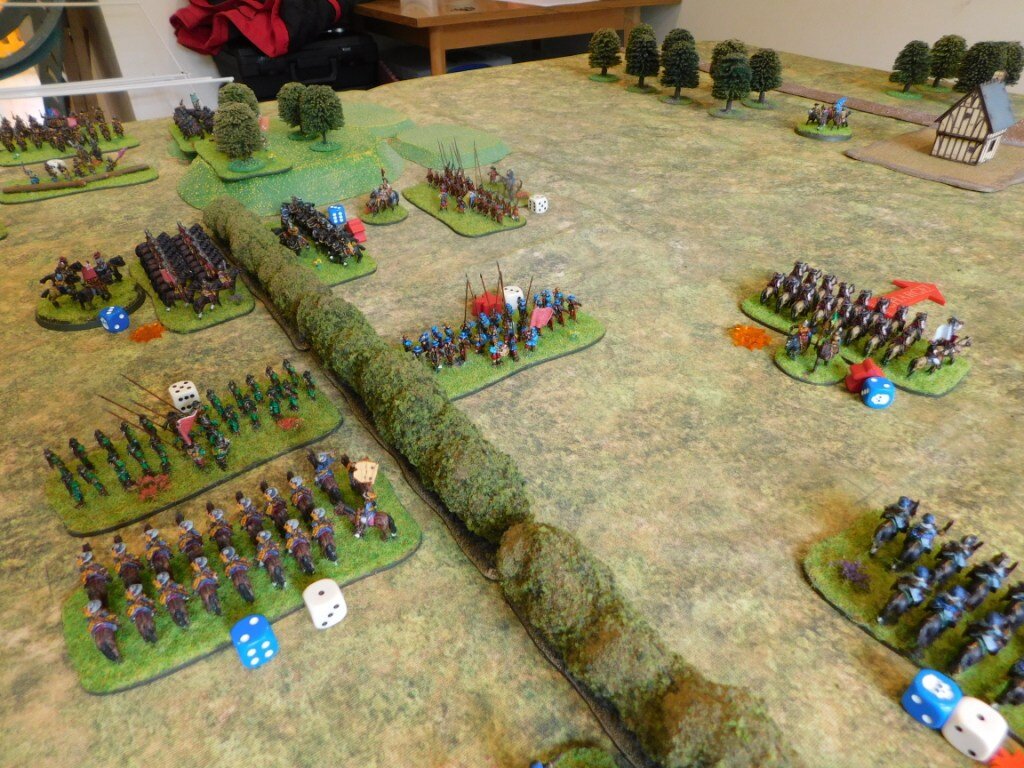
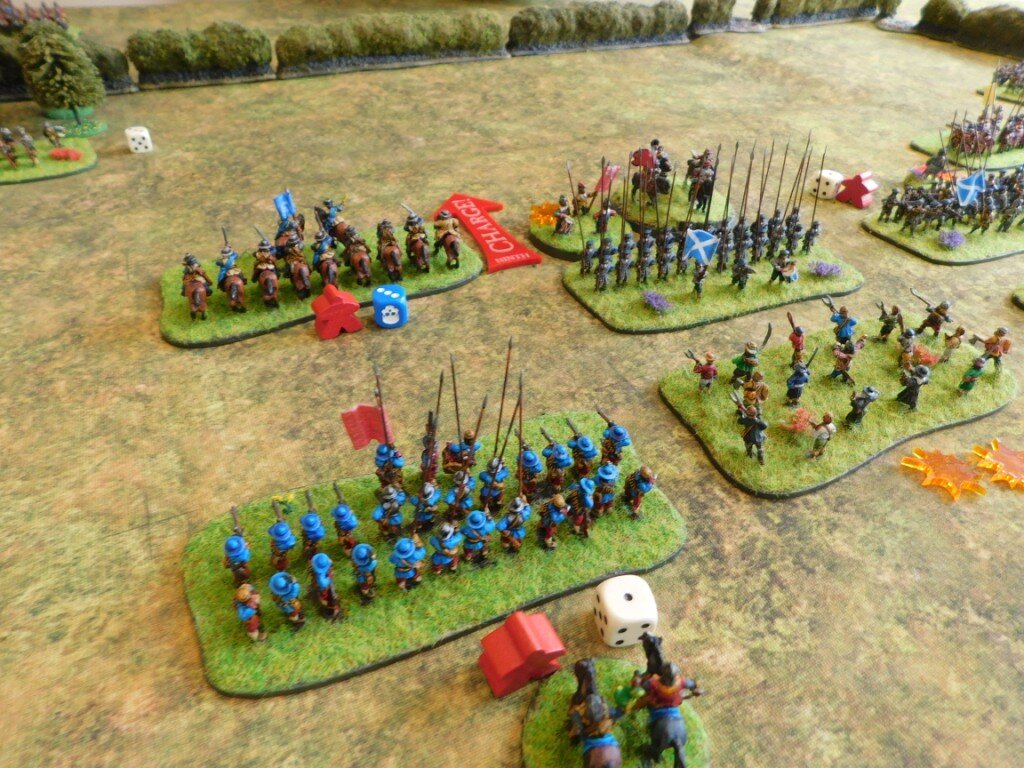
Regular visitors will know that one of my favourite games at the moment is the ECW expansion to The Strongest called For King & Parliament. I’ve built up quite a collection of pike and shot figures as a result, and have been looking around for more ways to use them.

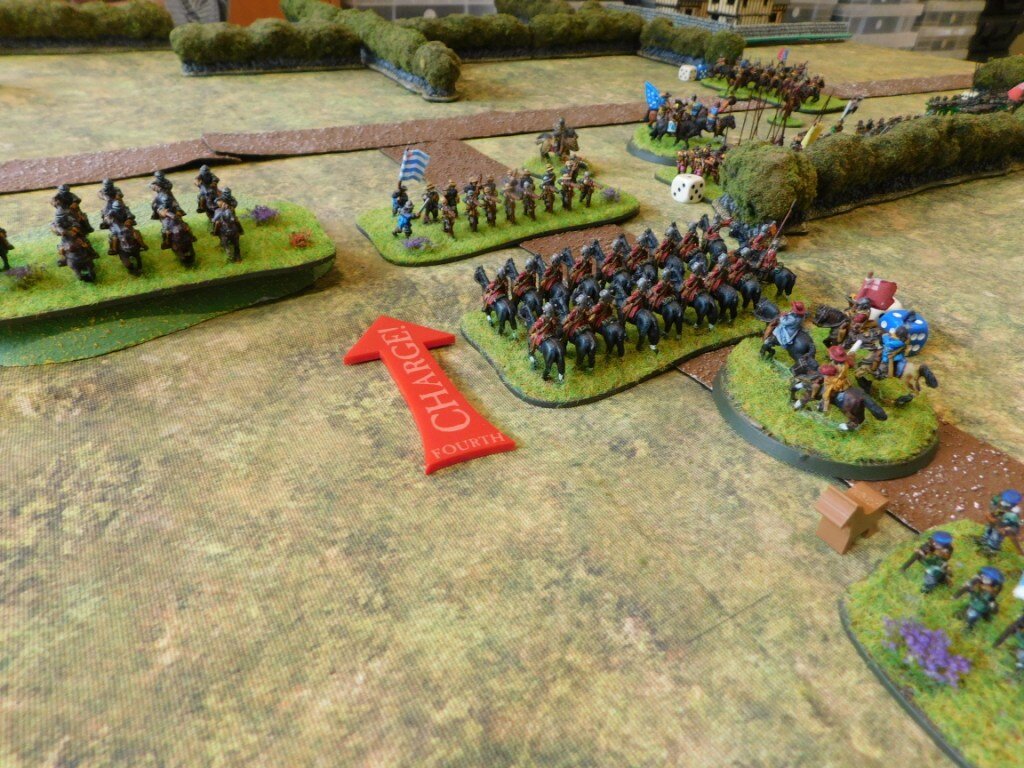
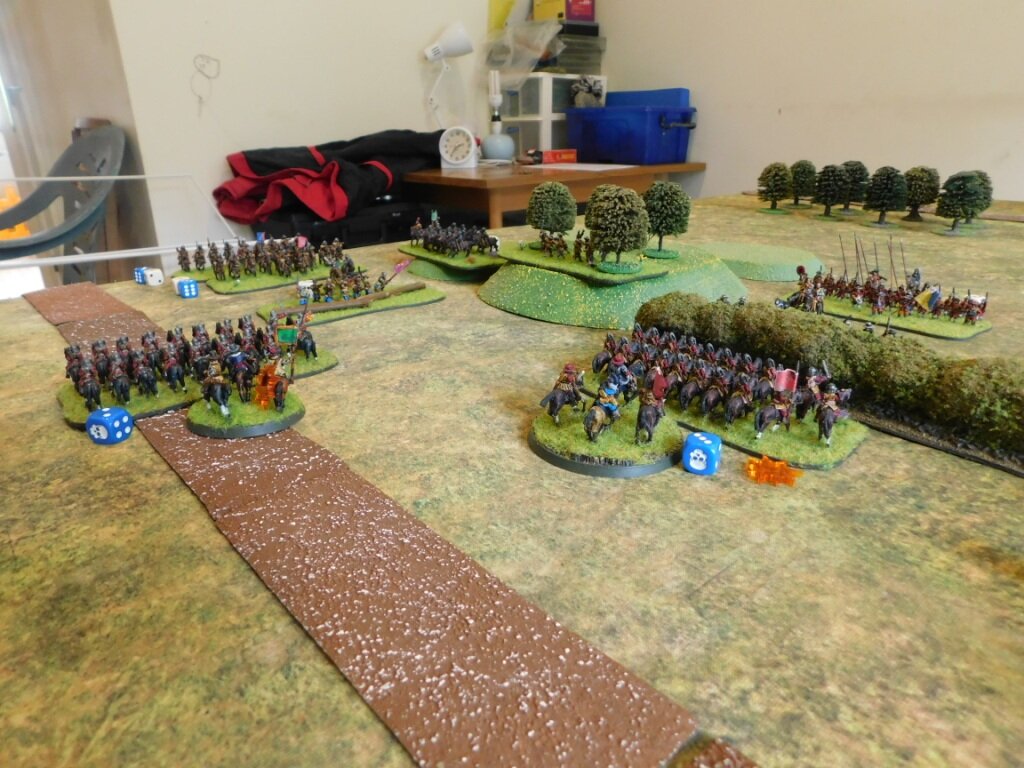
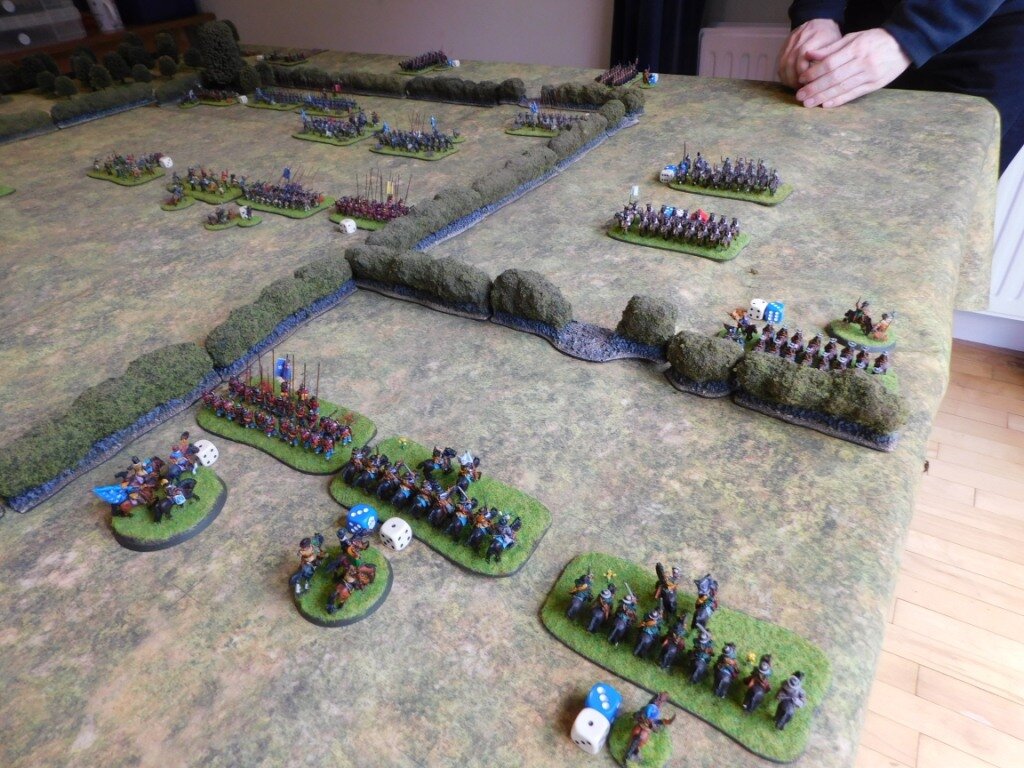
Friend and regular opponent Bevan suggested we could look at Eastern Europe and the conflicts between Poland, the Cossacks and Tartars etc. He also mentioned that he had some winged hussars already on the painting table.

Two things immediately sprung to mind.

First, I want winged hussars too! I mean, you can’t get more iconically cool than a few squadrons of winged hussars. Very cheeky to baggsy them before me!

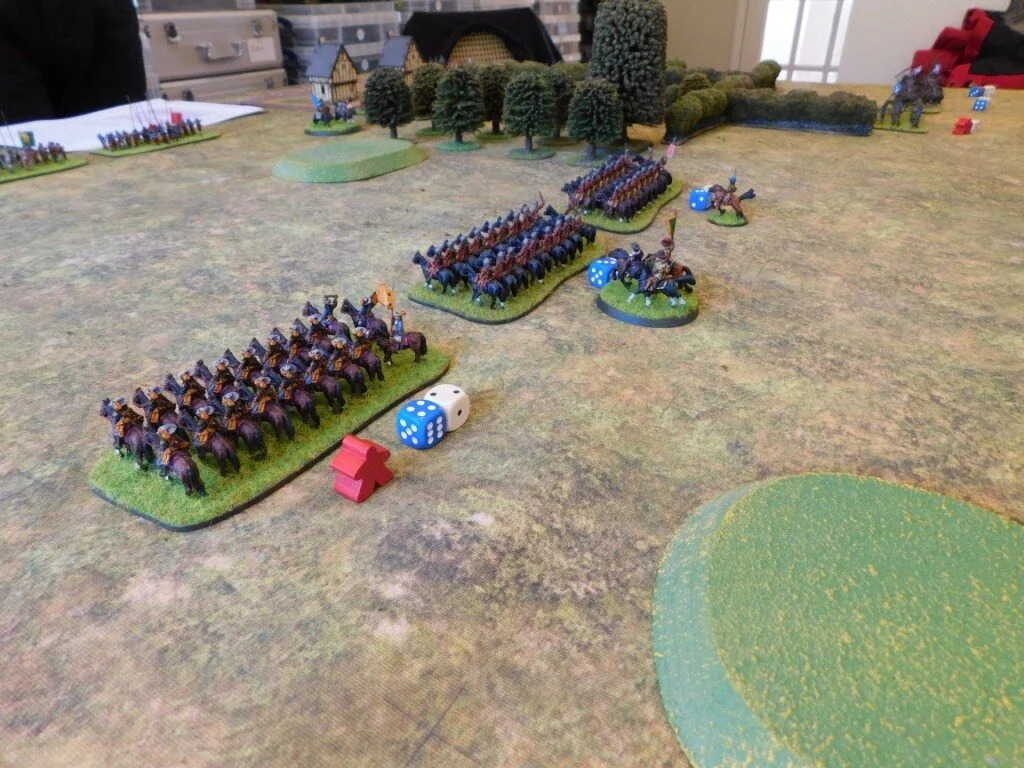
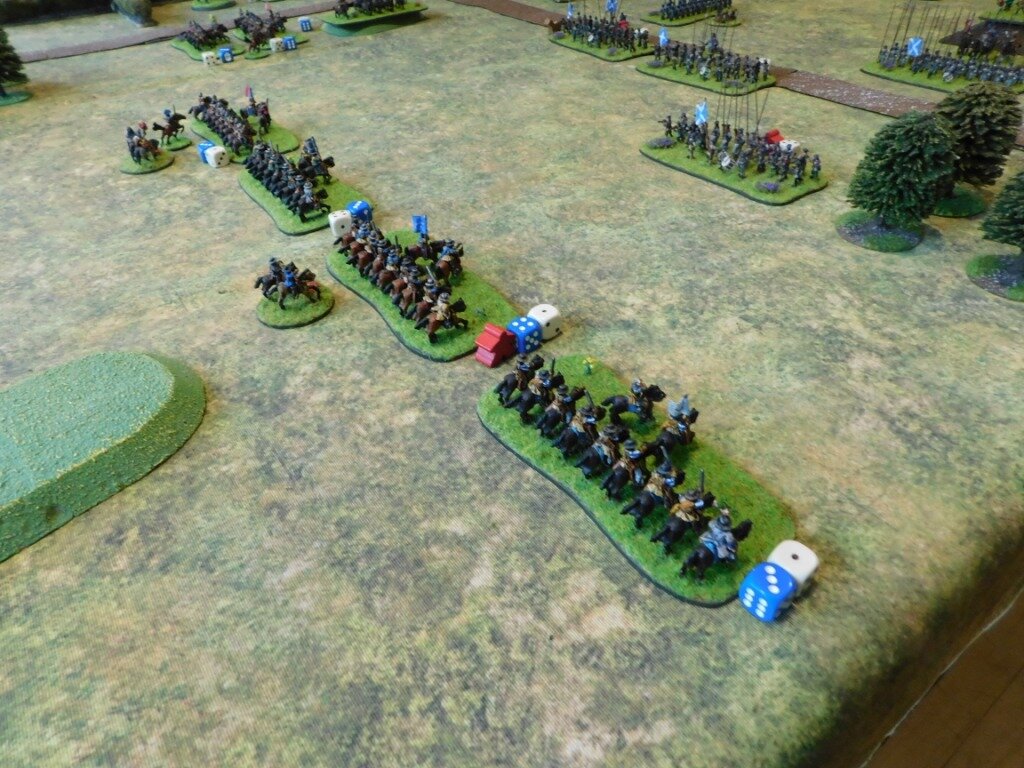
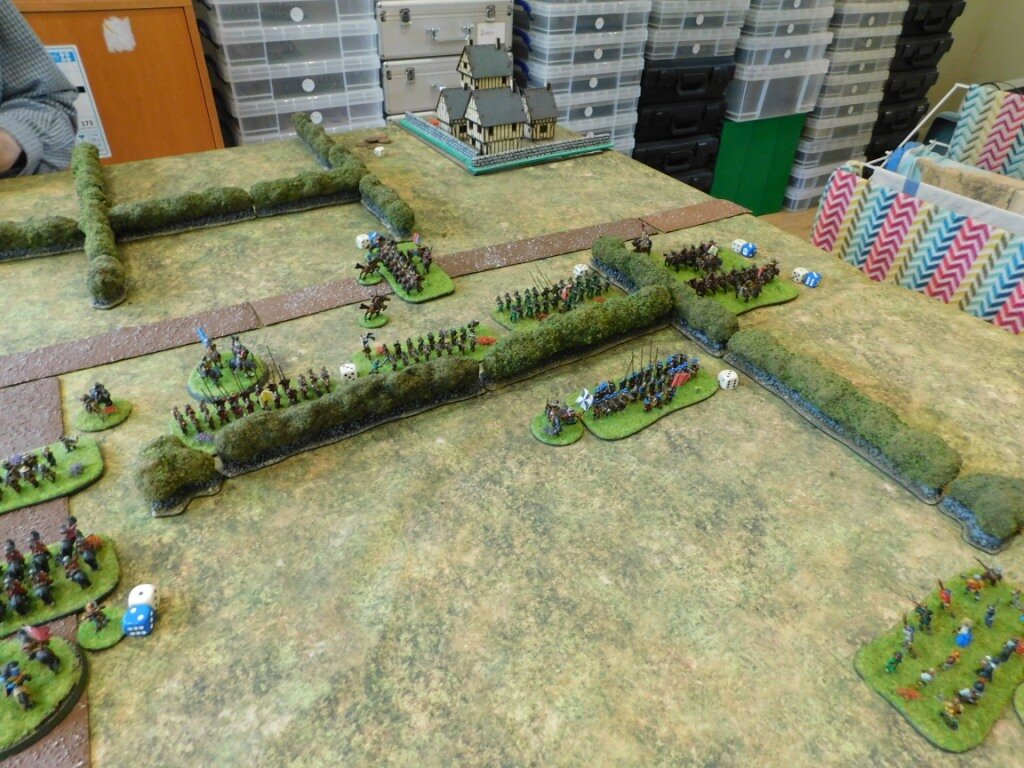
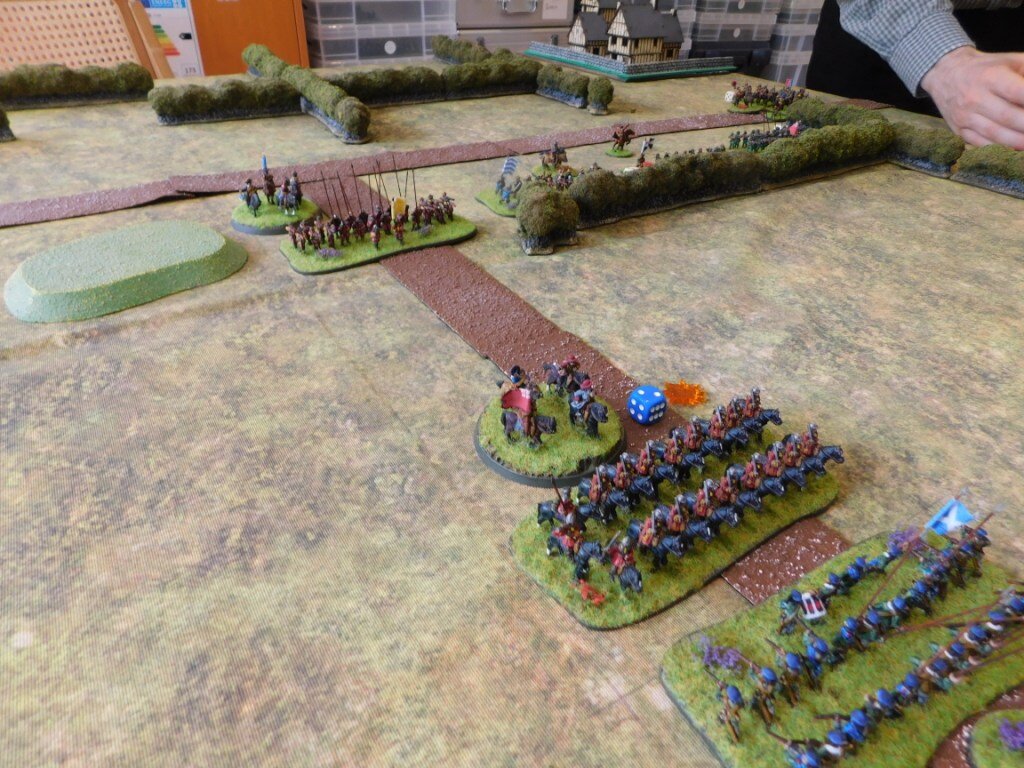
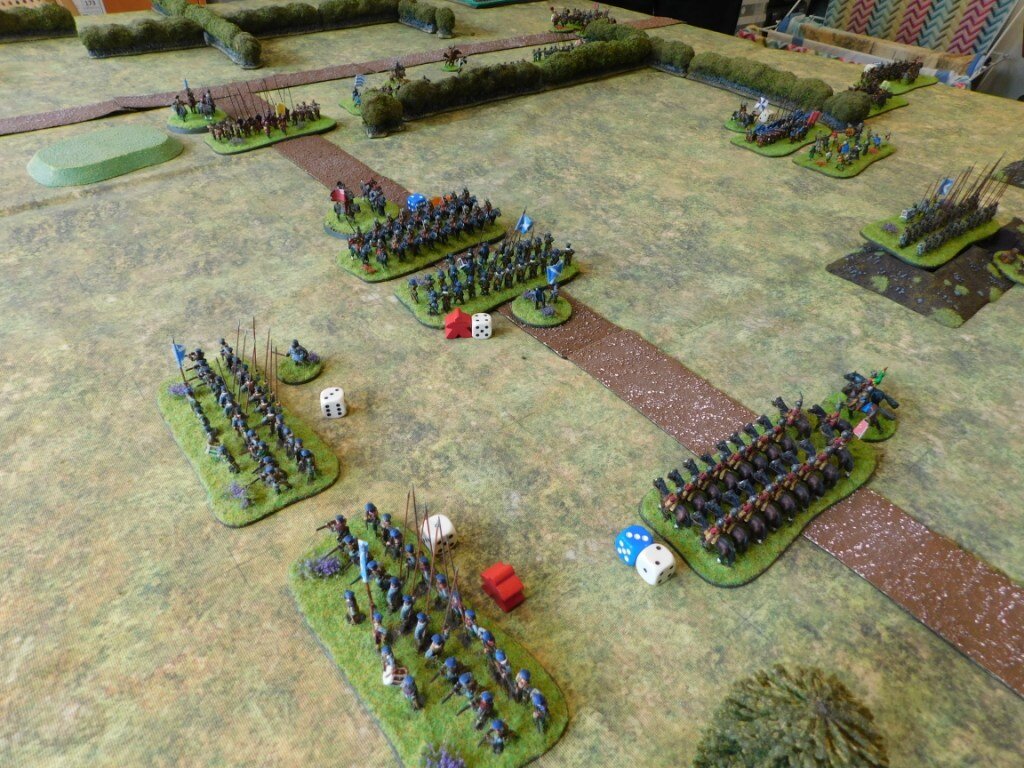
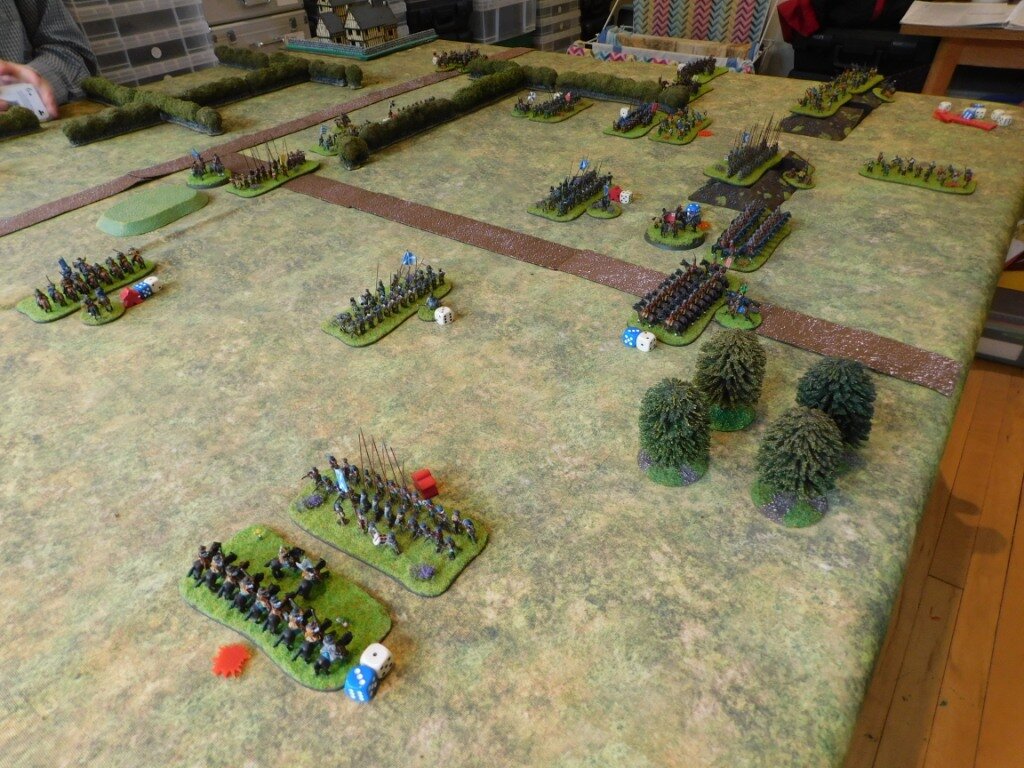
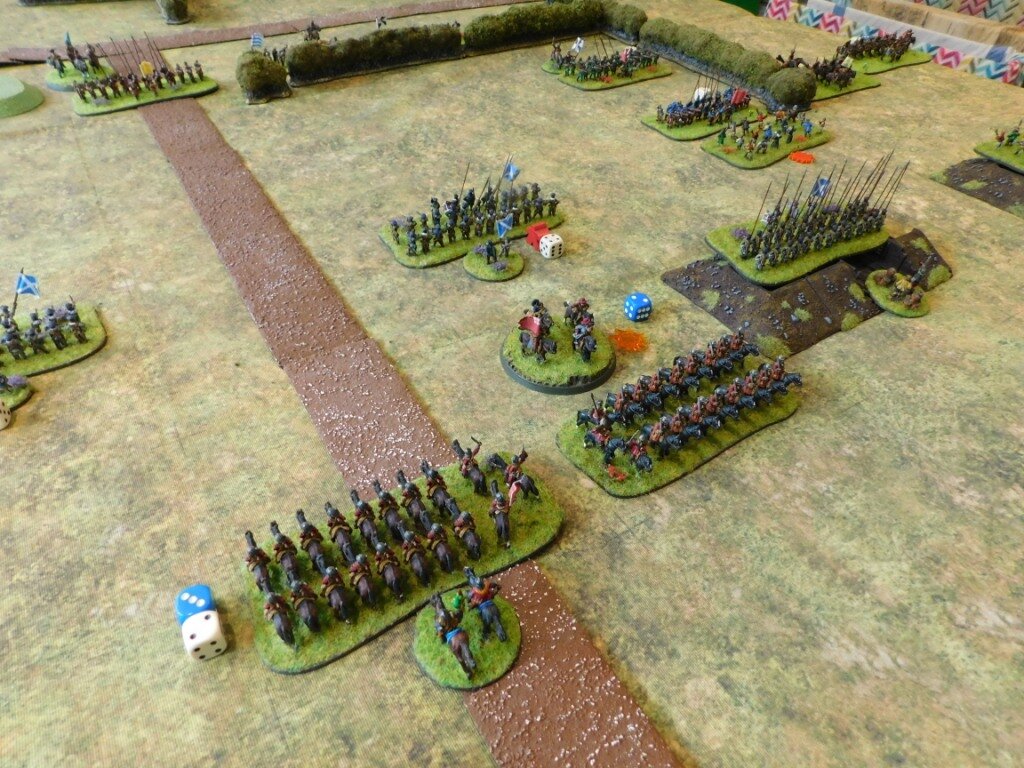
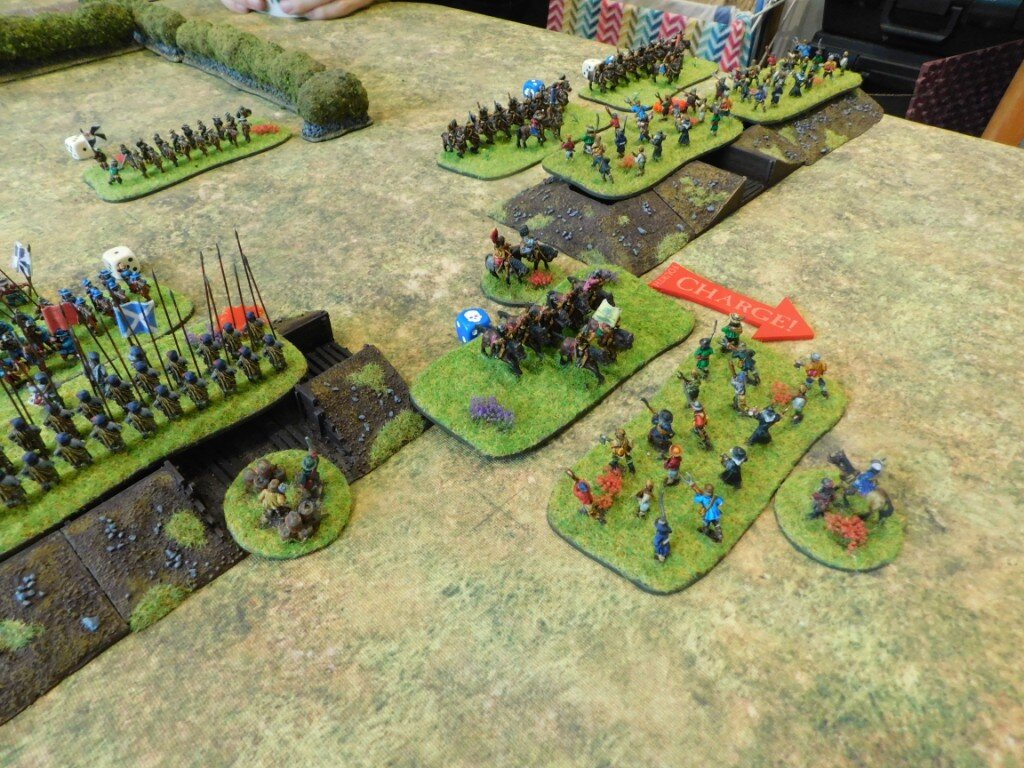
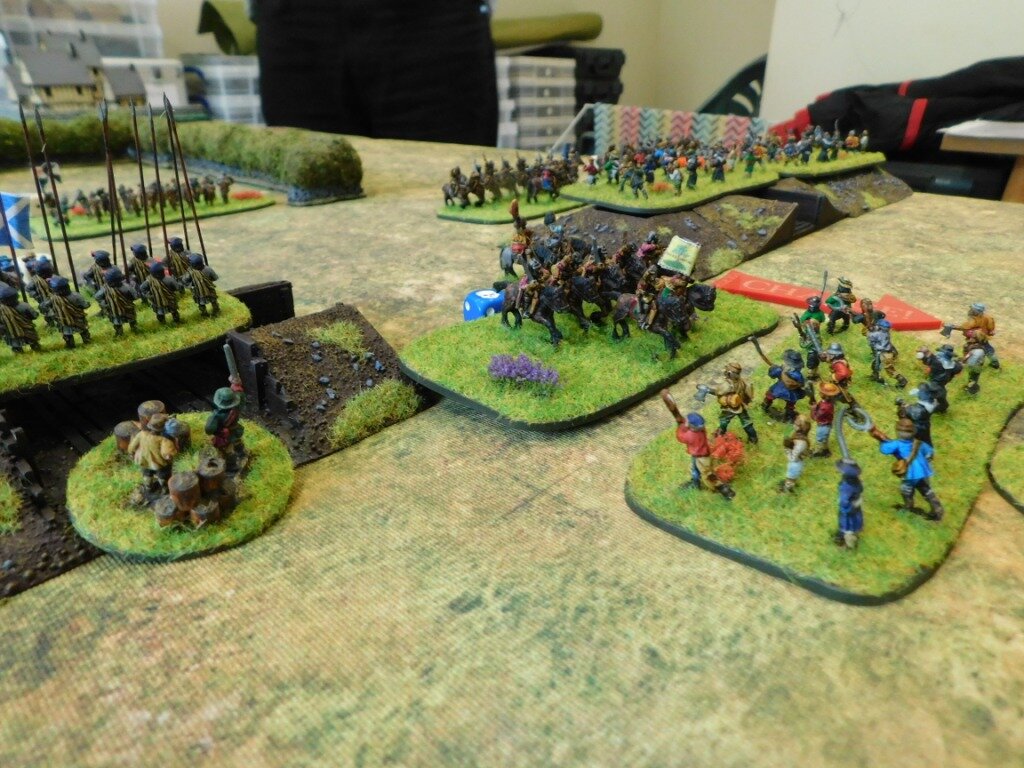
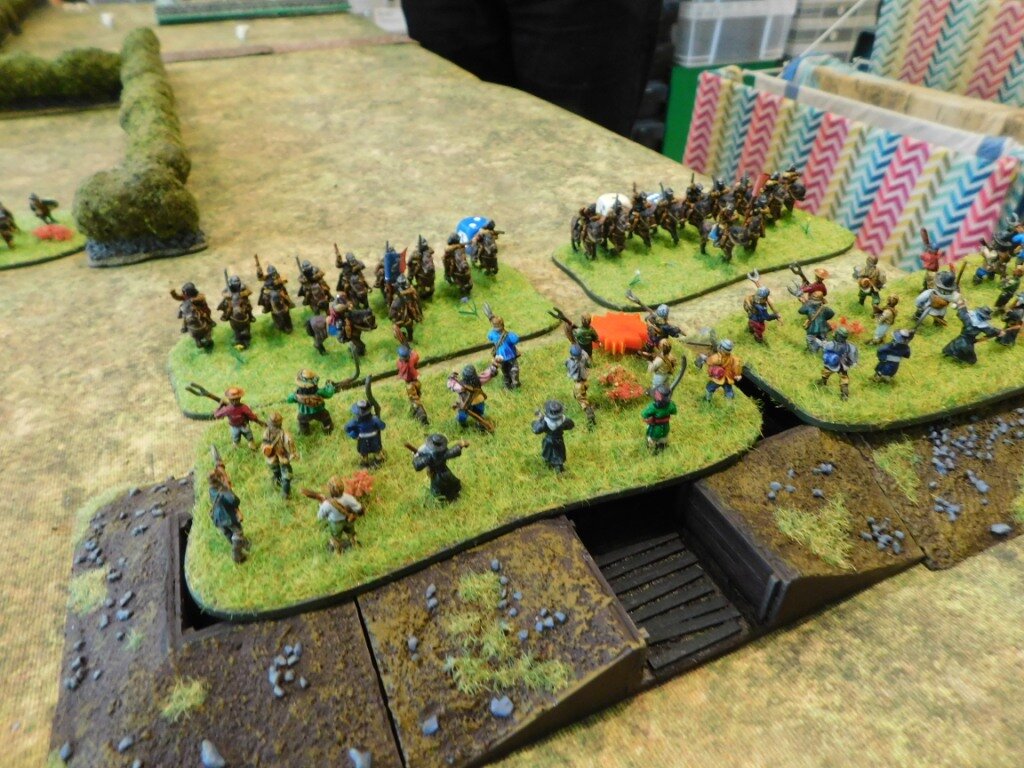
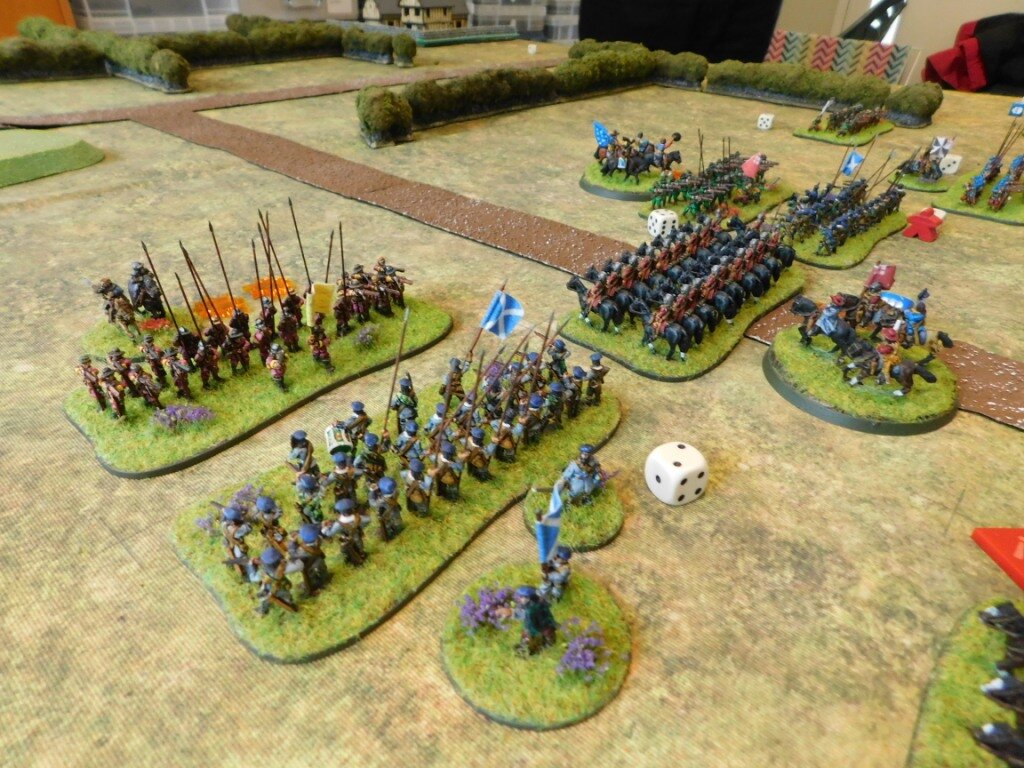
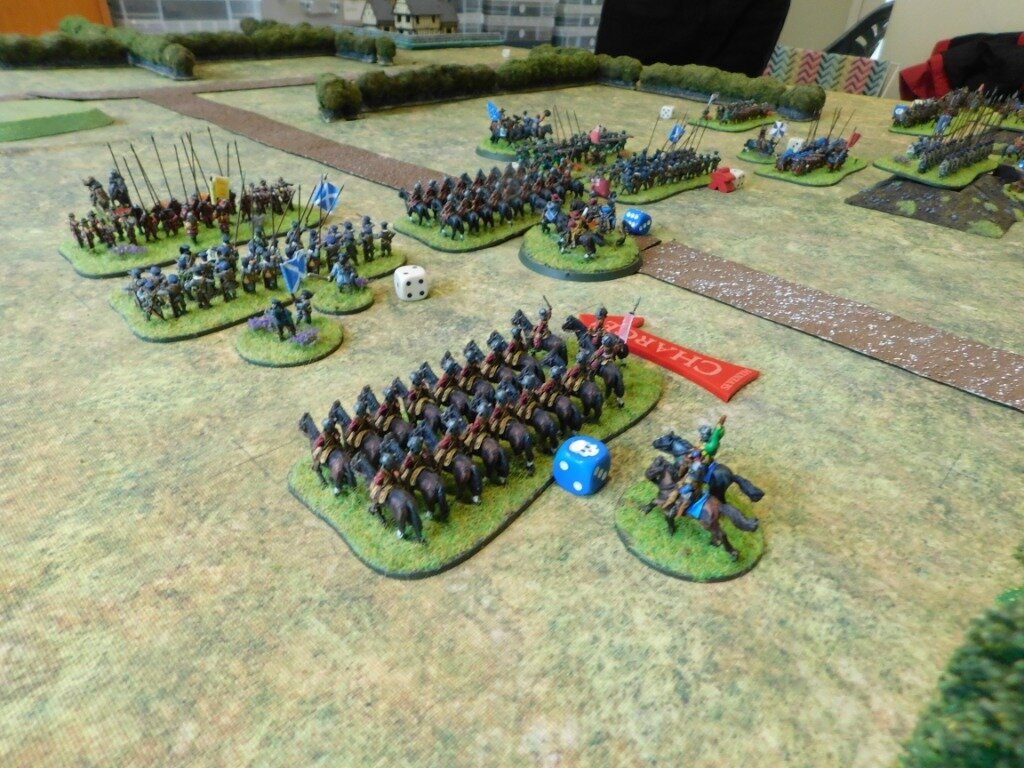
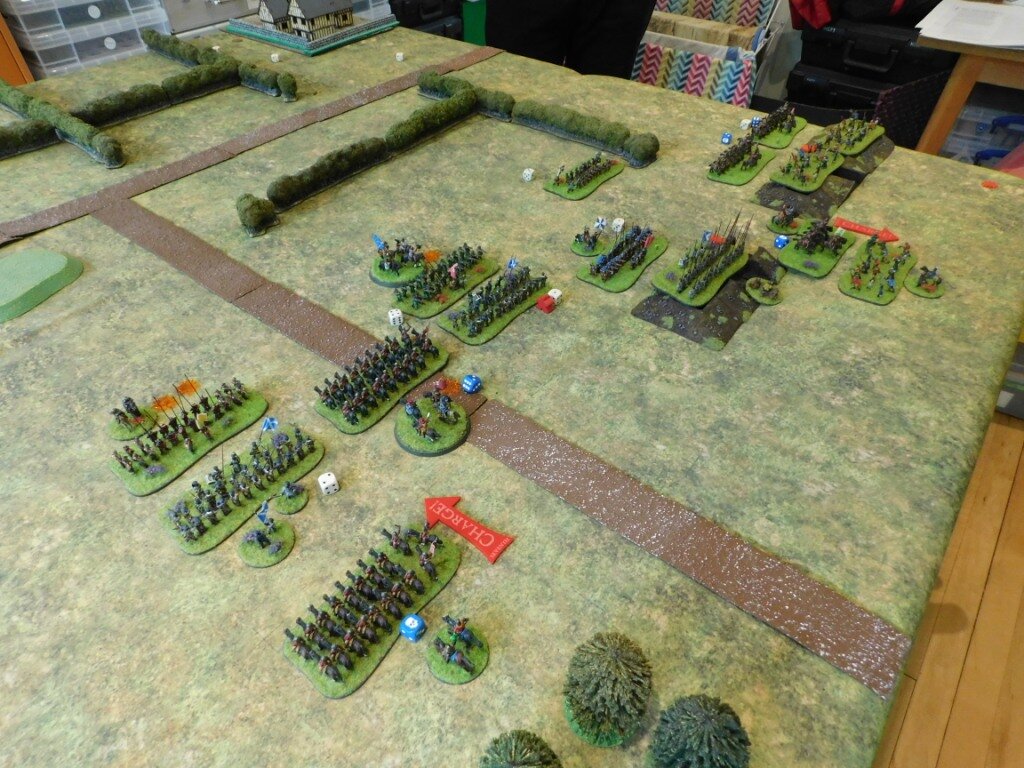
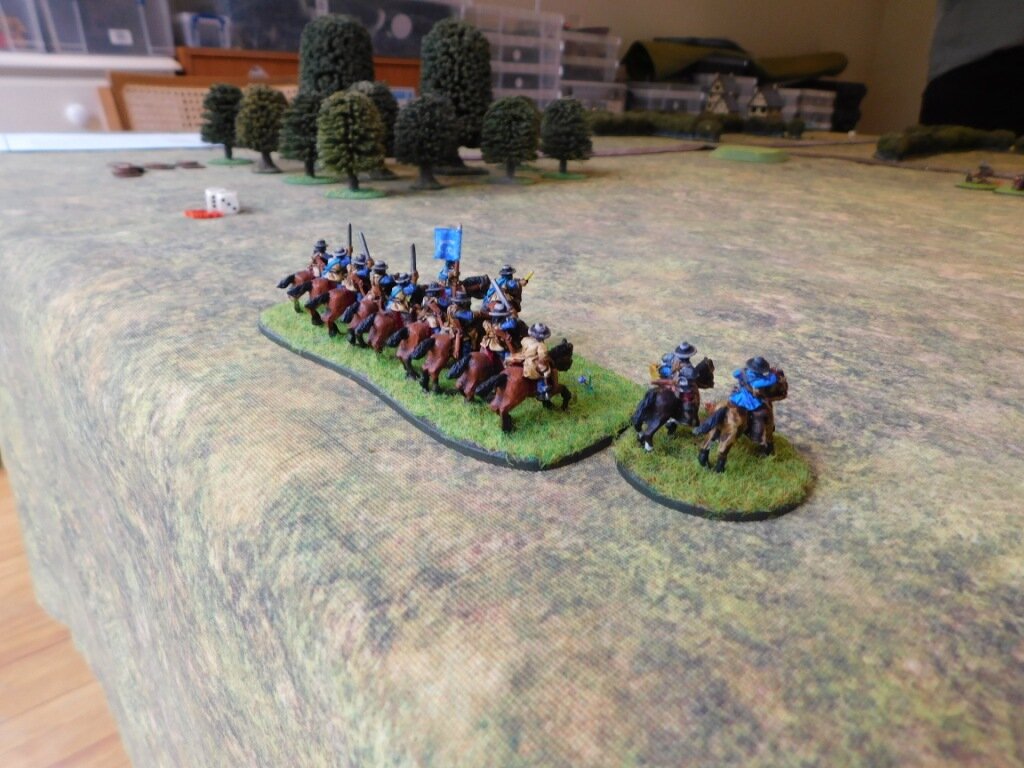
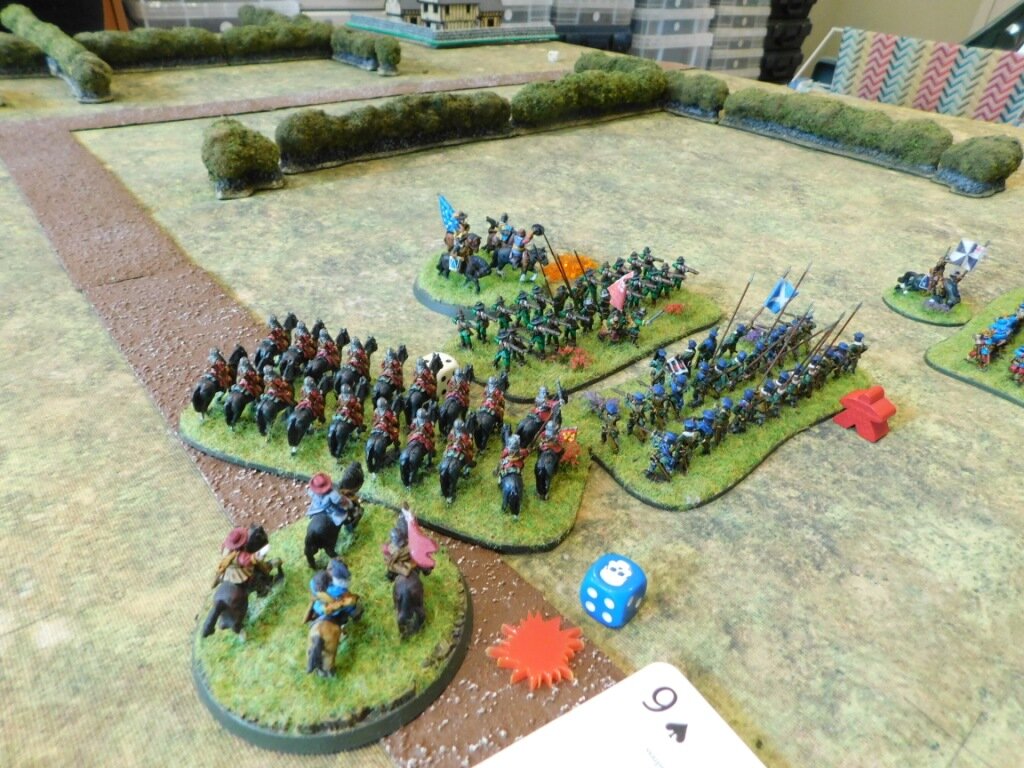
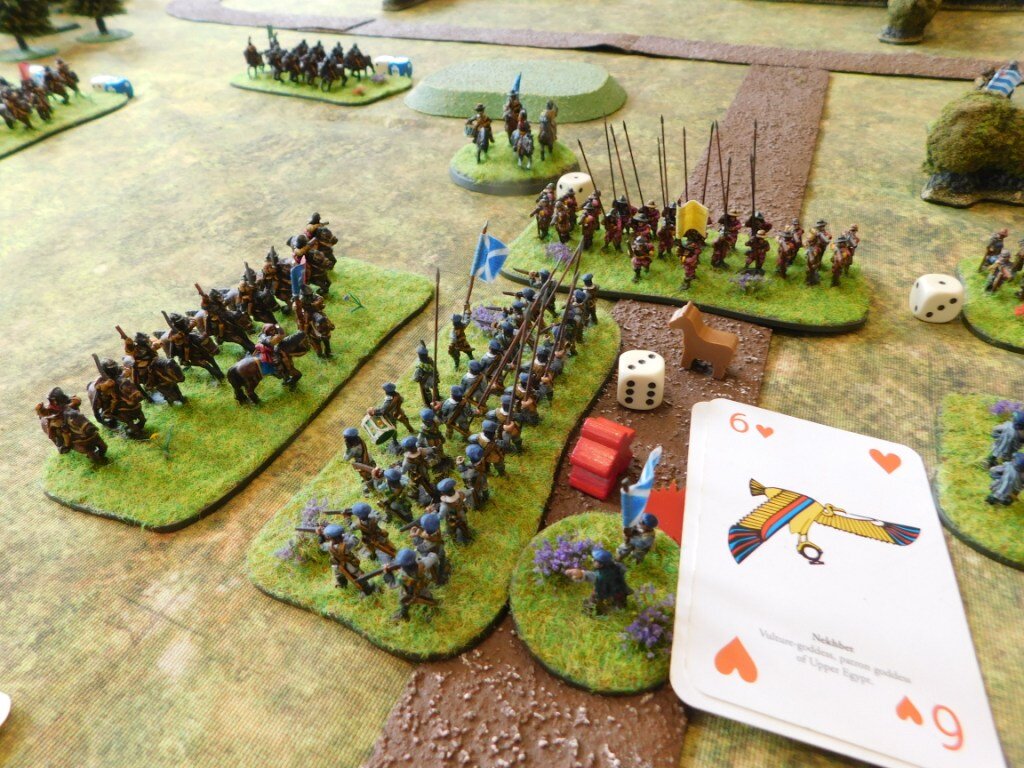
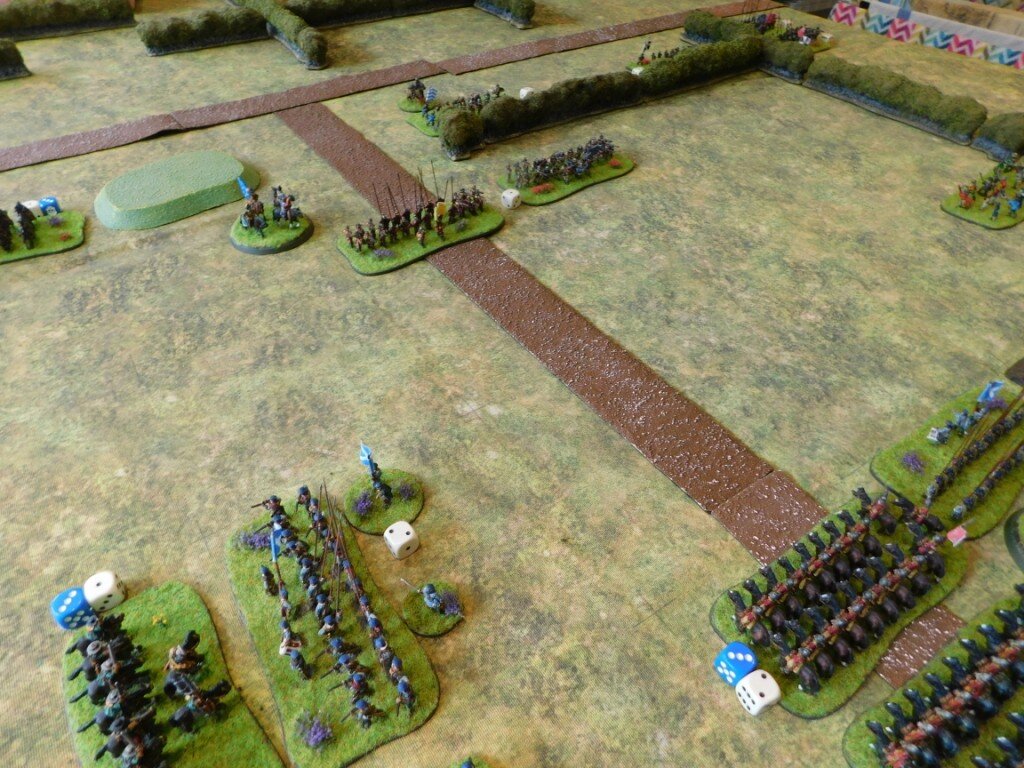
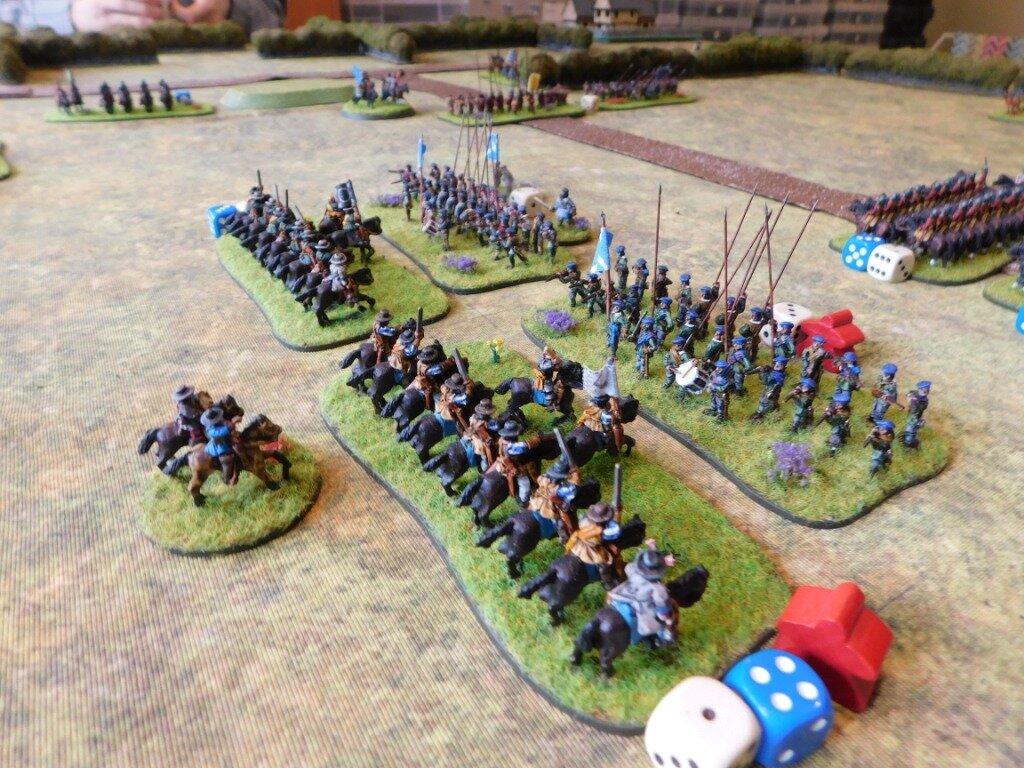
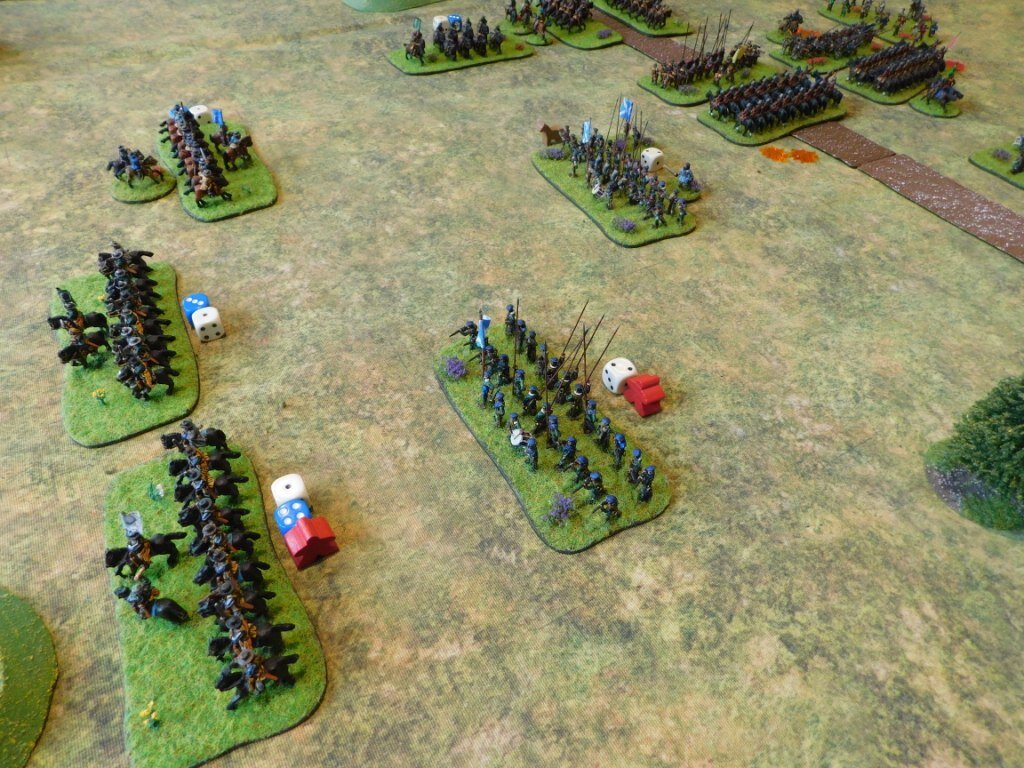
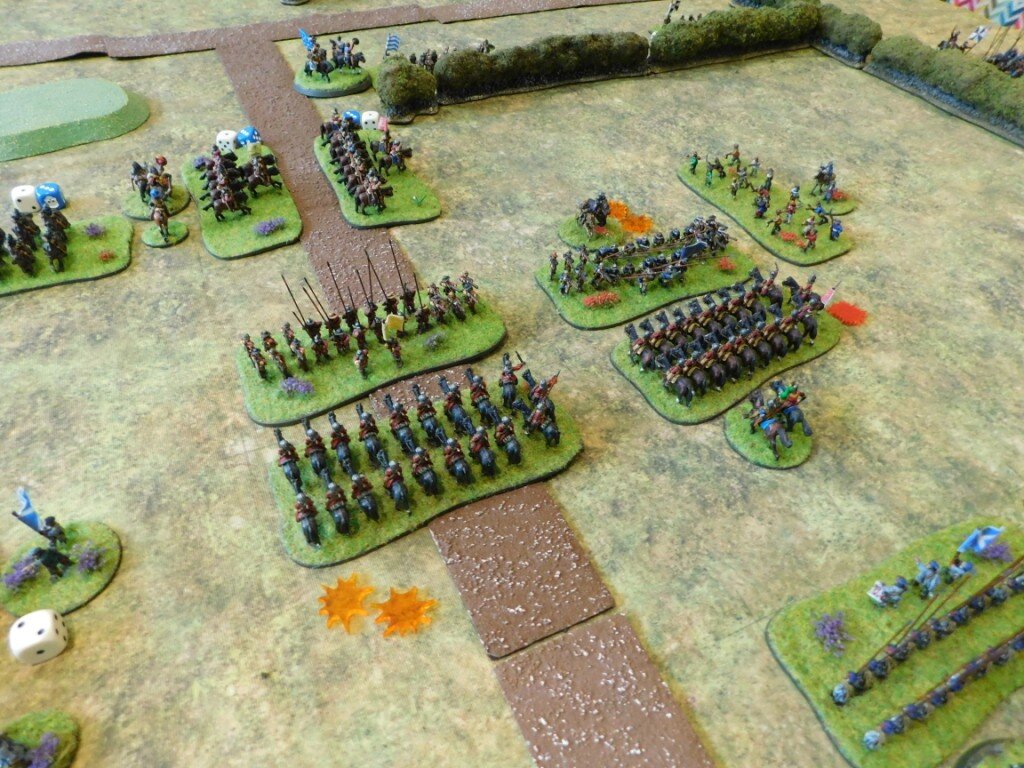
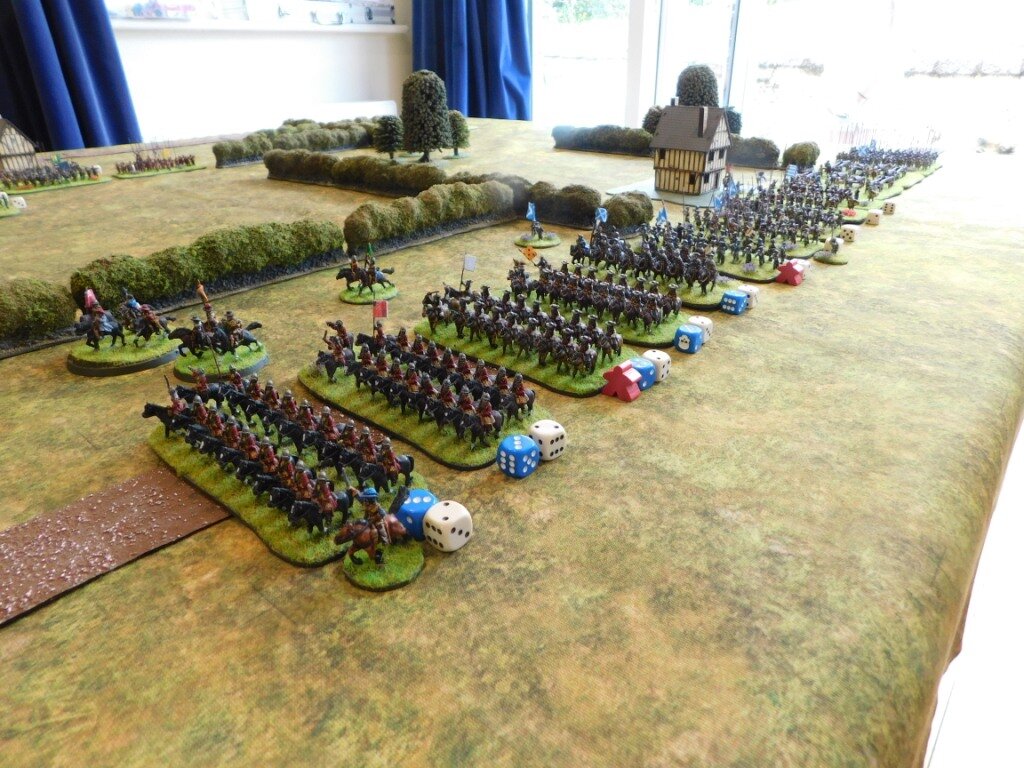
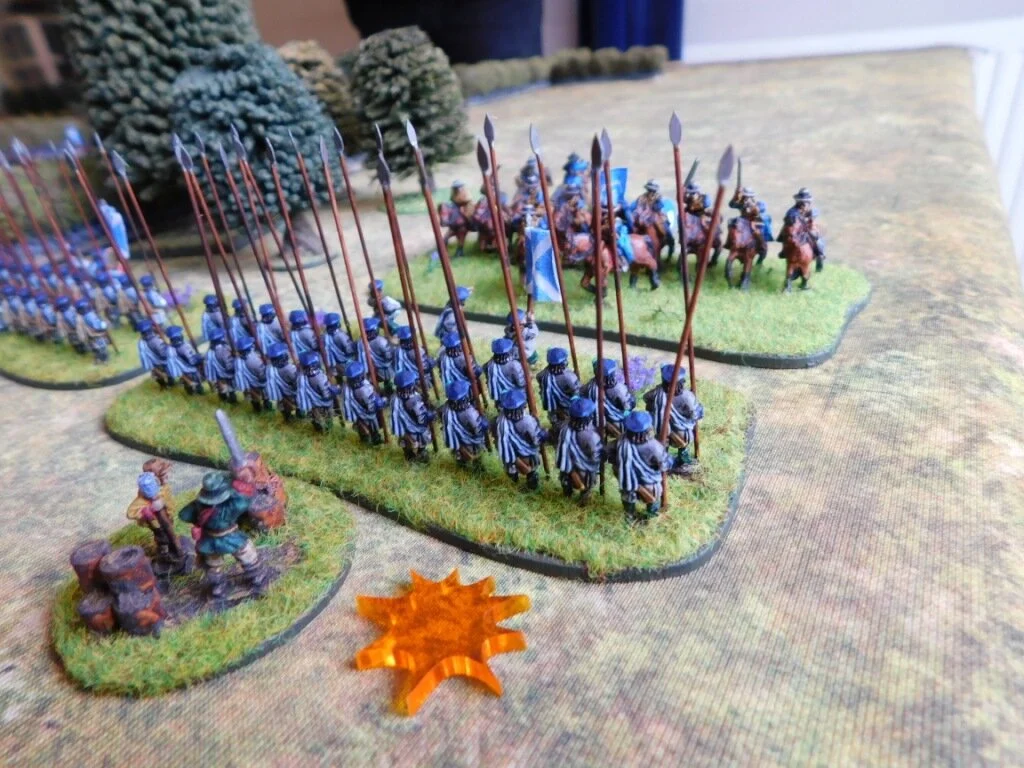
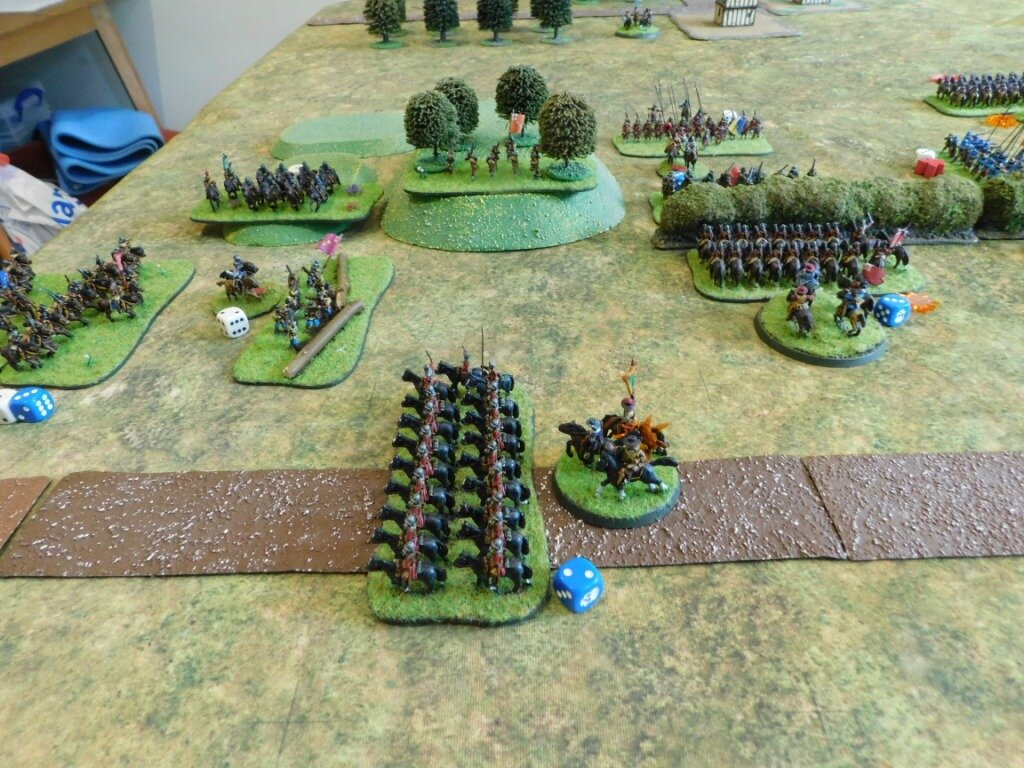
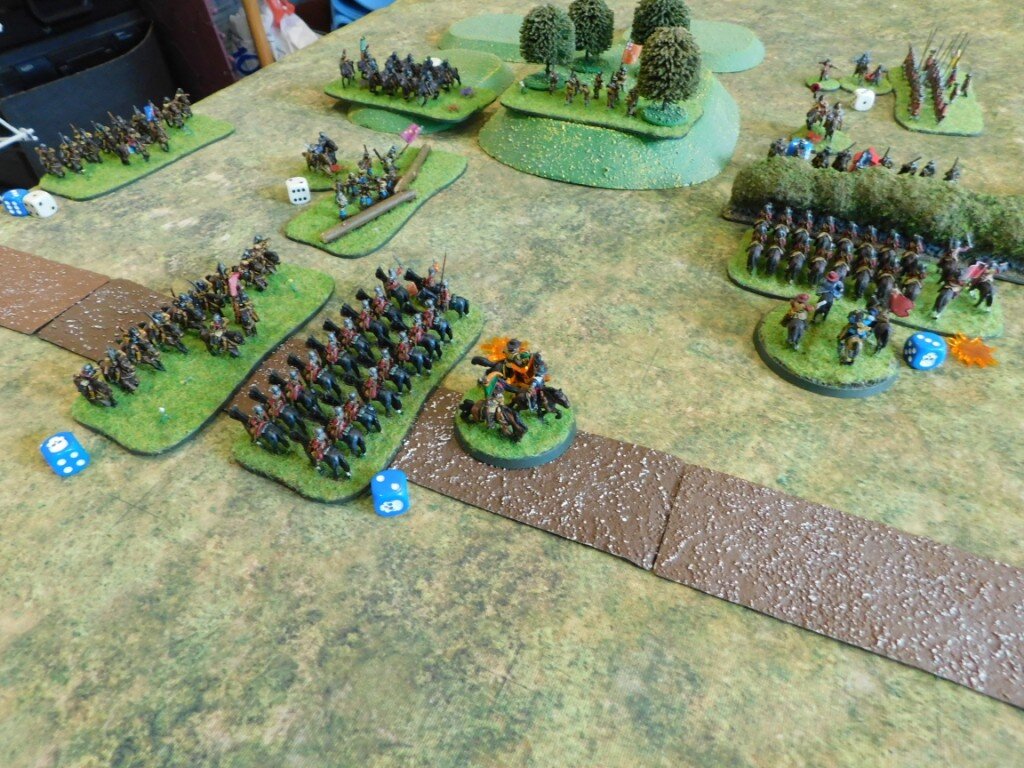
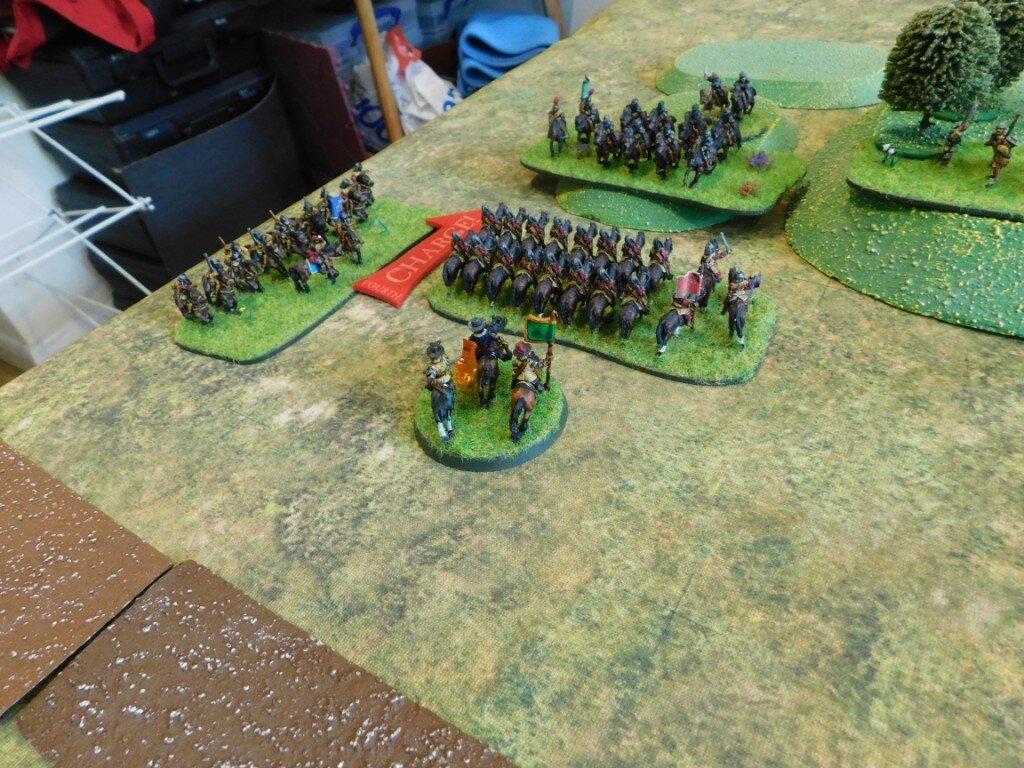
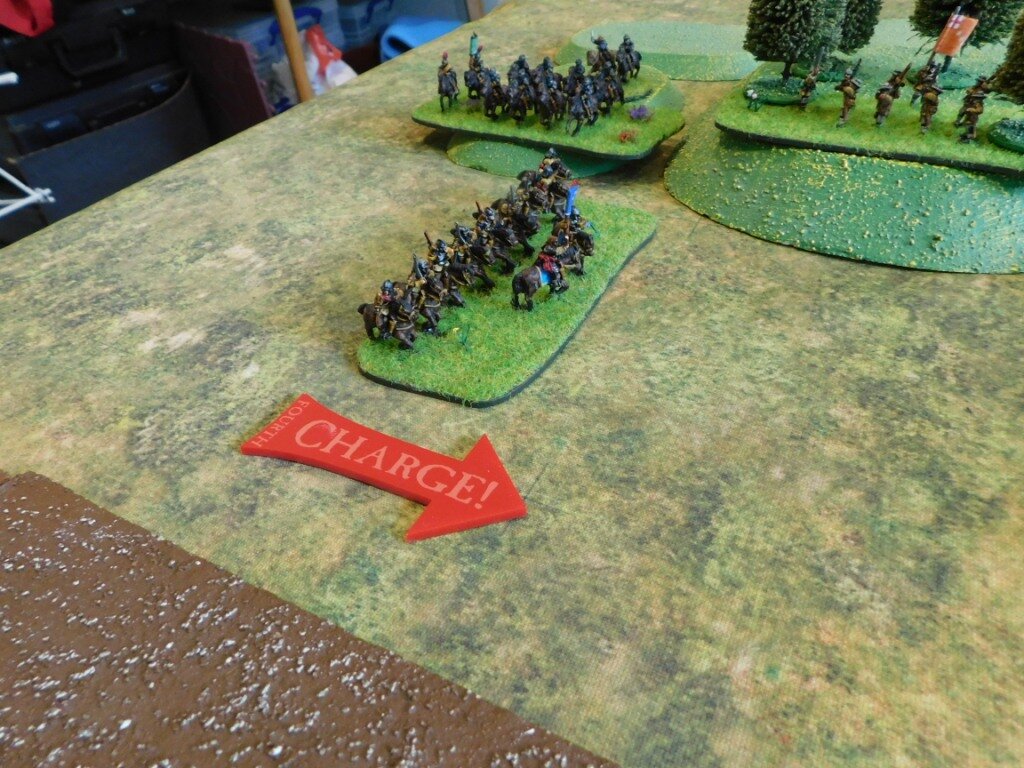
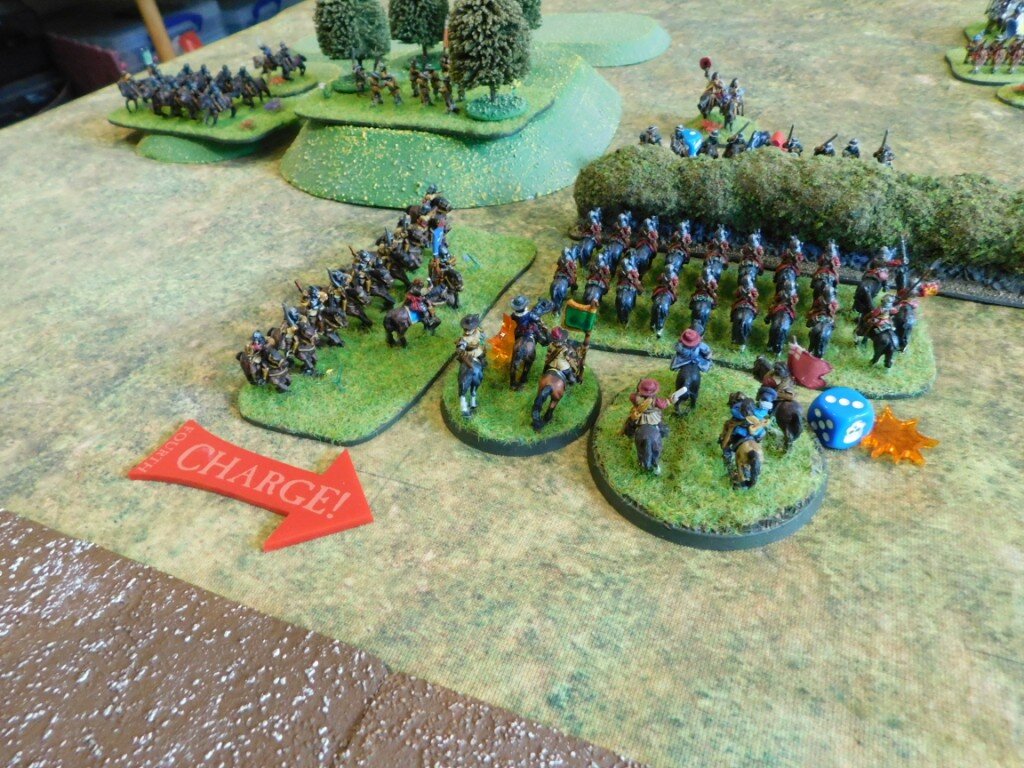
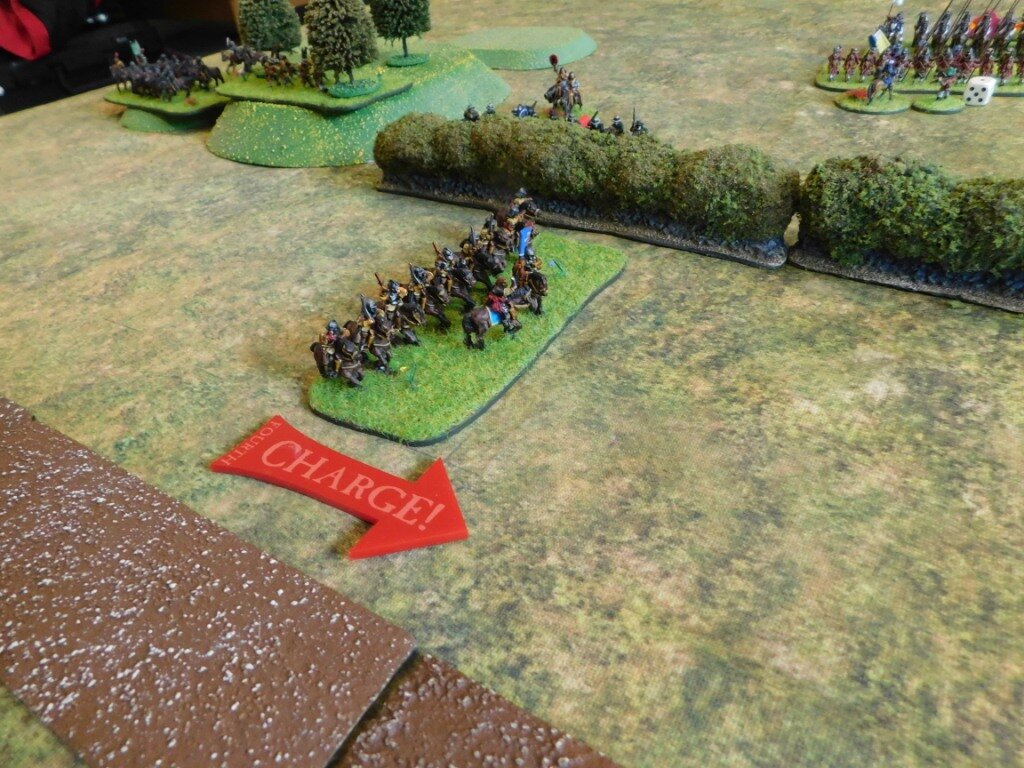
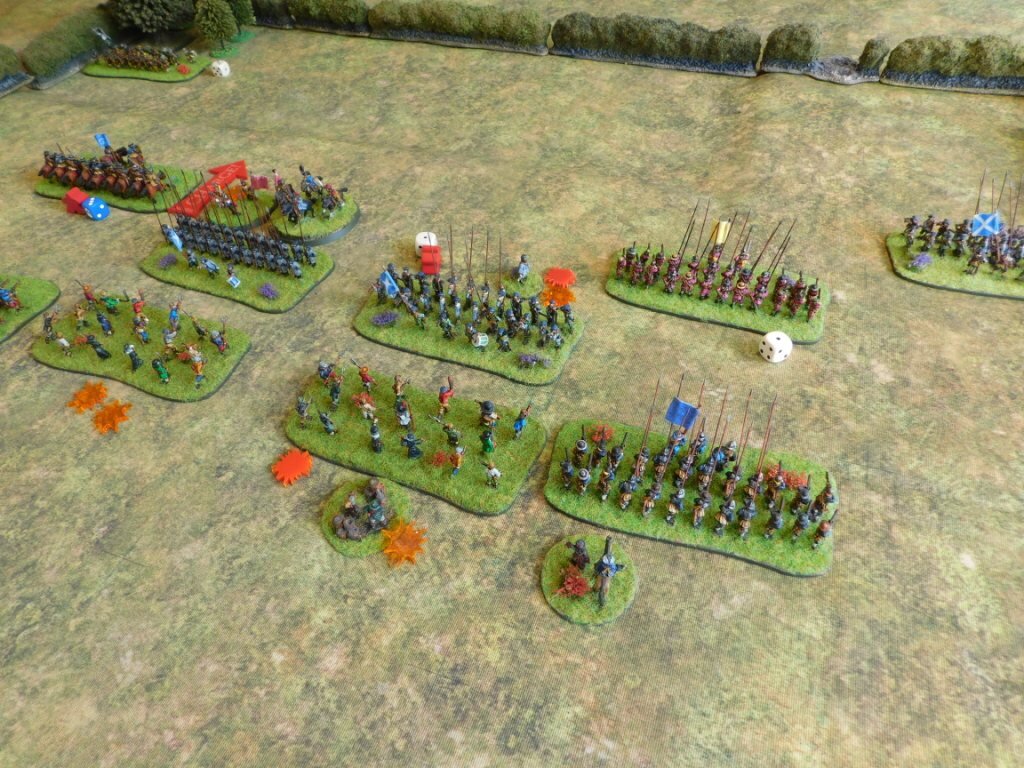
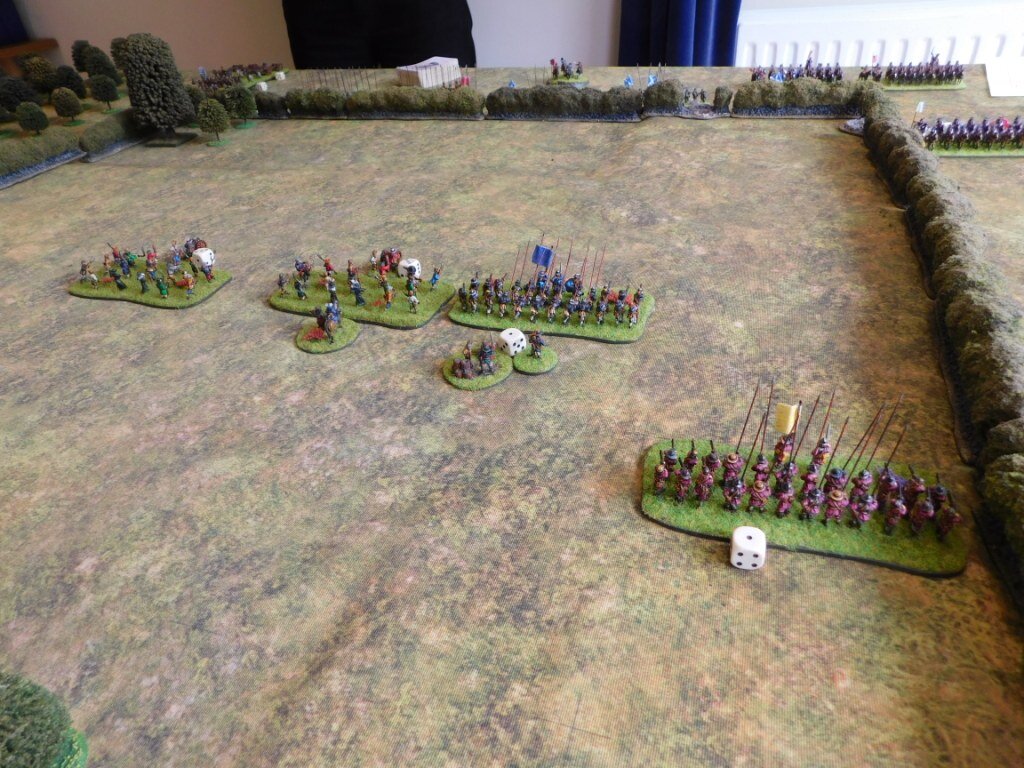
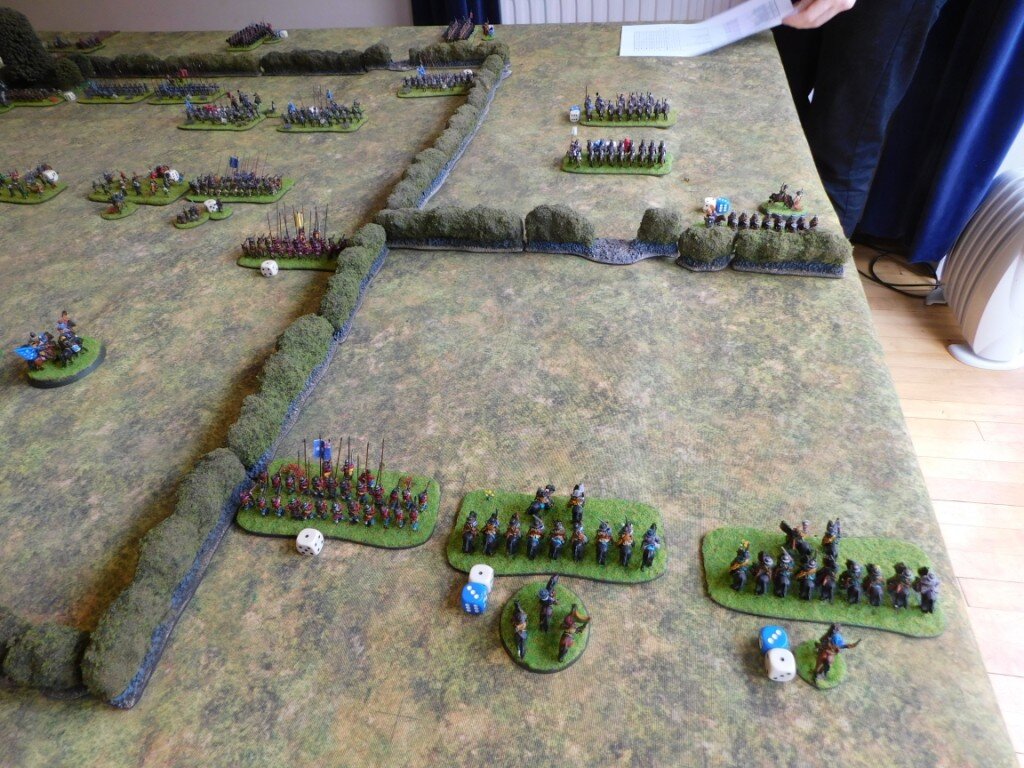
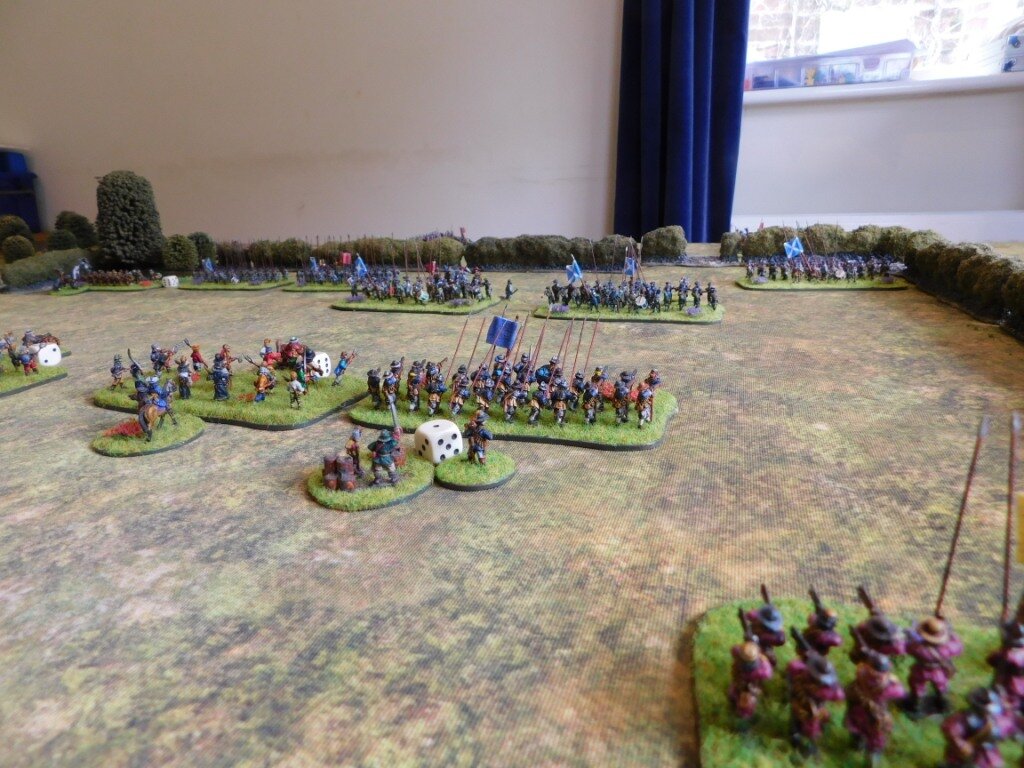
Secondly, did you mention Cossacks? As I have some of them as part of my Crimean Russian army. The only problem is that they are based in singles and pairs: a bit of a pain for an element game like FK&P.

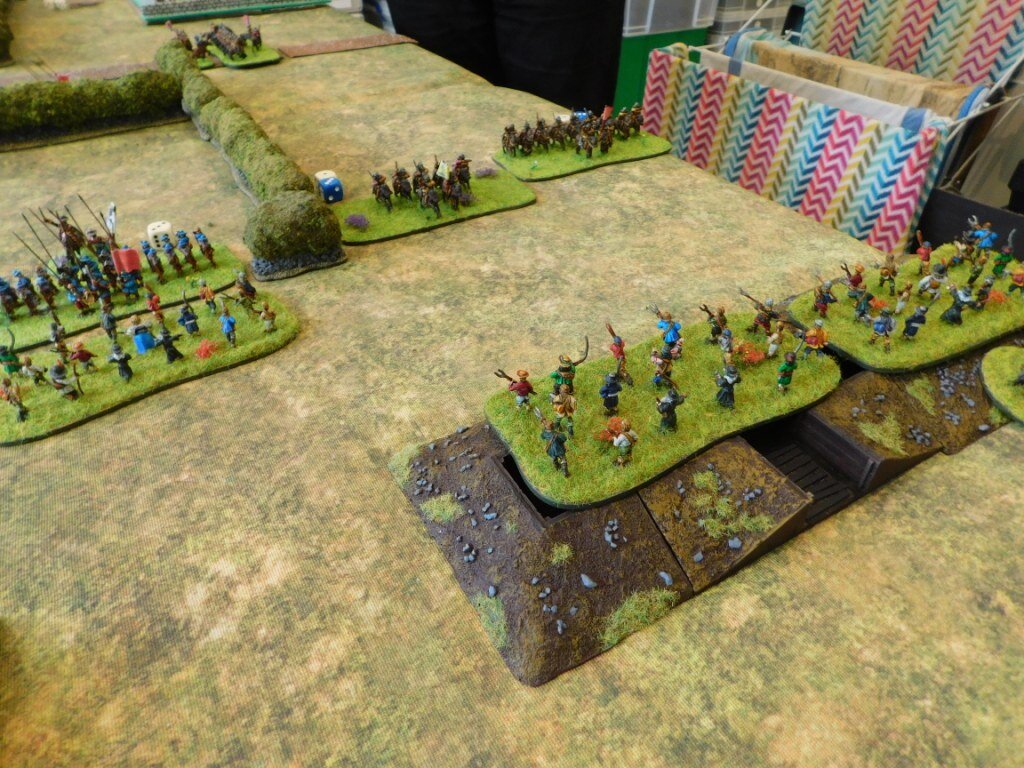
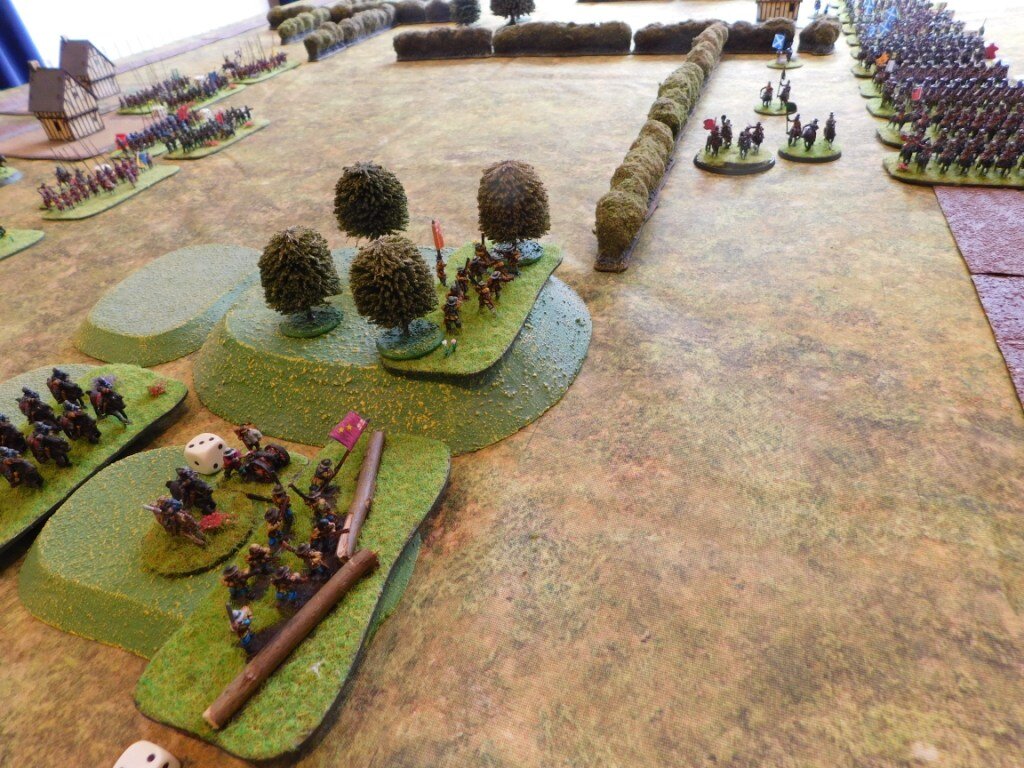
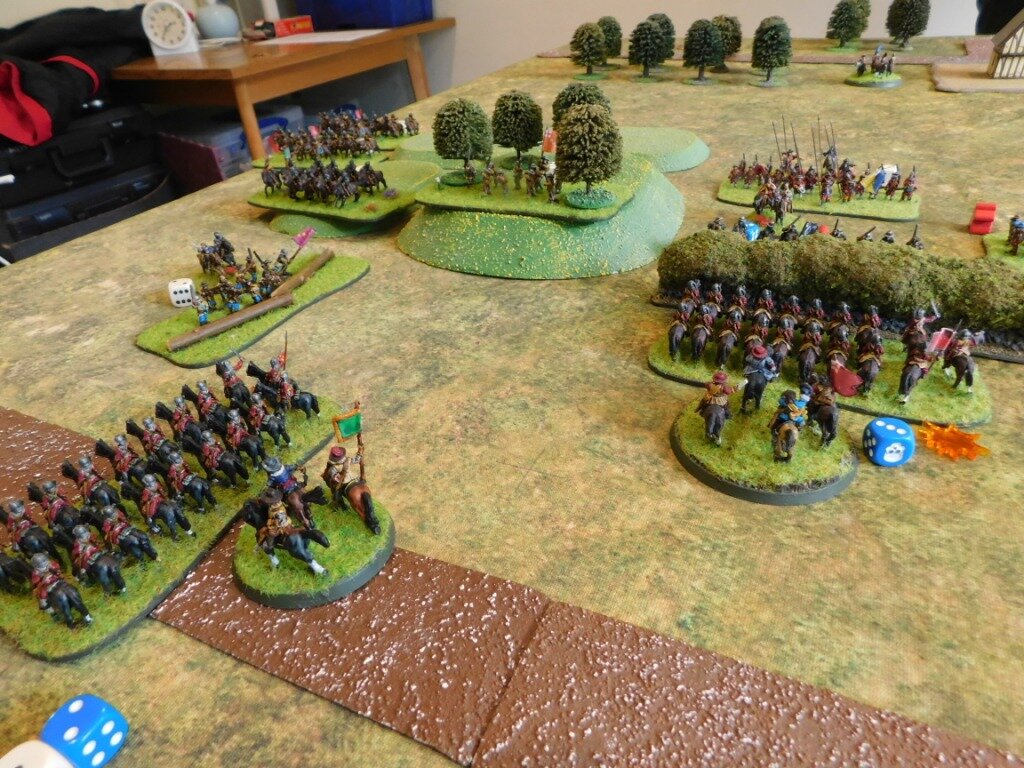
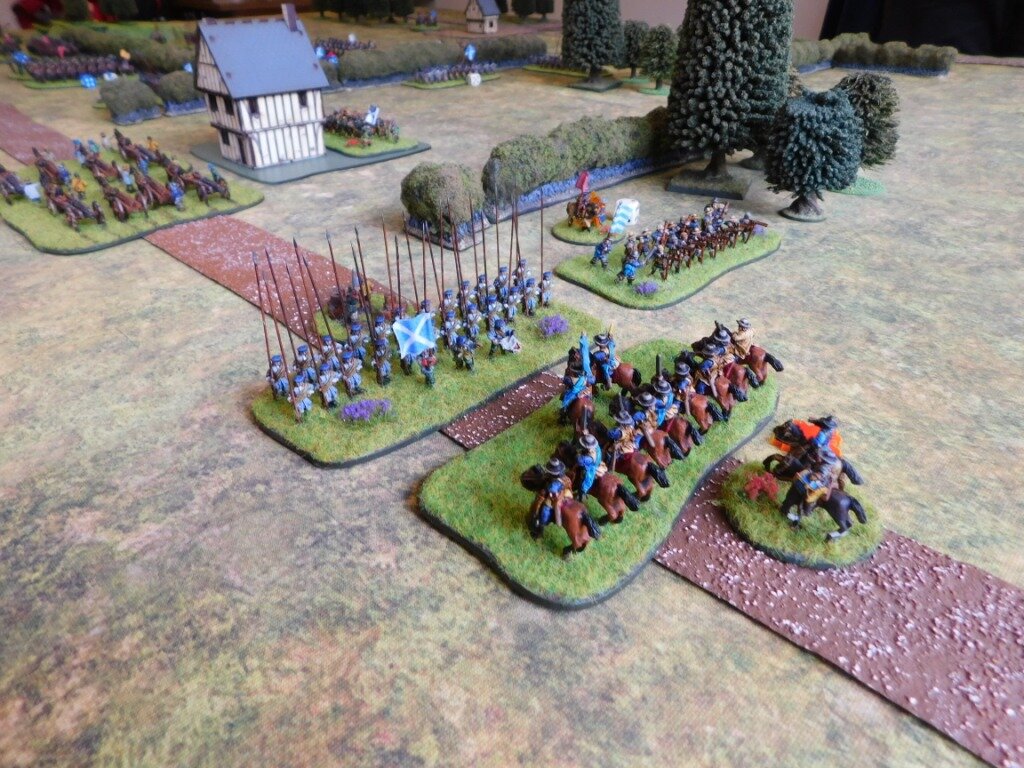
Well, you say problem, I say opportunity! A quick call to those nice people at Warbases and a couple of days later some custom movement trays arrived (Warbases are highly recommended btw: always my basing and movement tray supplier of choice). A quick bit of painting and flocking later, a re-base of the Cossacks with some matching flock, and I now have an FK&P brigade’s worth ready to hit the tabletop.

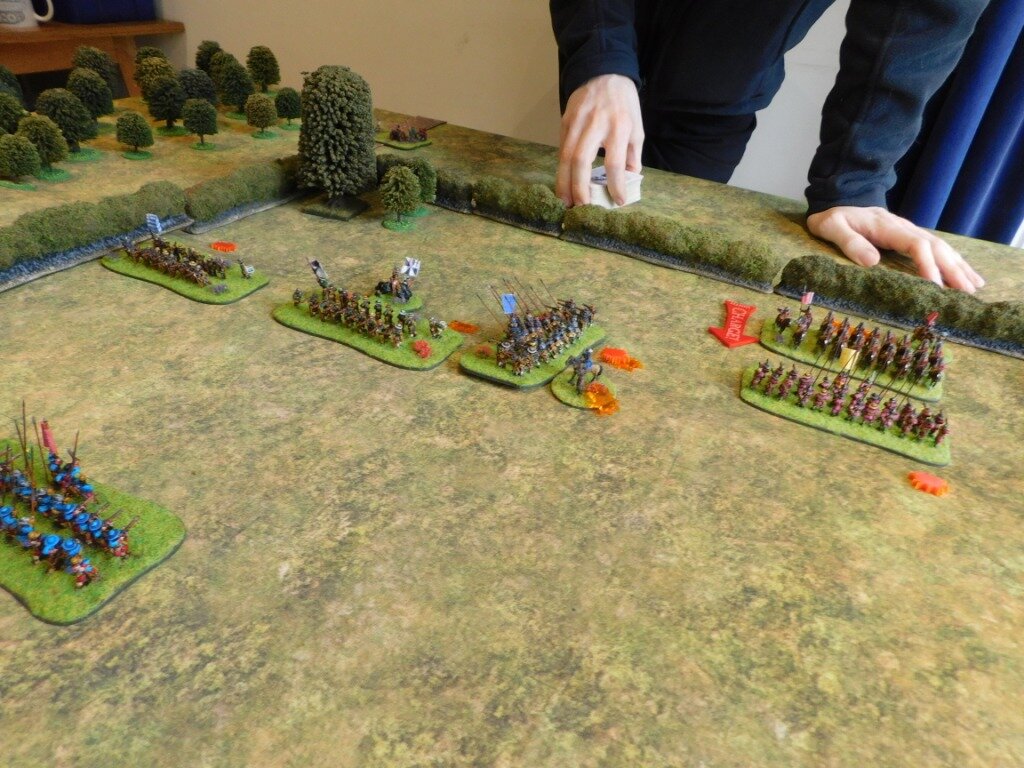
I was a little concerned that each unit is only seven figures strong, but they look fine compared to my ECW Swedish horse…and I can always double up the units so that rather than four 7’s I have two 14’s.

So that’s the Cossack horse sorted, now onto the foot…

A Bit of Sci Fi

A bit of a sci-fi theme to today’s post.

First up is a little painting: filling in the gaps in my Space Dwarf force:

The rather large motocycles are from Boon Town Metals, but are painted to go with my Grudd force. That takes their “mounted” element up to two 10-dwarf squads: a decent size for a recon element.

The standard bearers are from Onslaught Miniatures. My Grudd have a platoon of two squads of “light infantry” (when have dwarves ever been light!) i.e. without squad light support weapons. Those squads are eight strong, and these two will make them 10-strong and also look like a LSW base if I want to field them as such.

Next is a bit of news about the re-emergence of Clockwork Goblin’s 15mm weird world war two range Konflict ‘47.

This was an excellent range of walkers, alternative sci-fi tank turrets and infantry for the Germans, Russians, US and British armies.

Unfortunately, the range died a bit of a death, but has now been resurrected and is available one more at the Clockwork Goblin shop.

Here’s two examples of what’s available, taken from my collection:

Coyote Light Walkers

Grizzly Medium Walkers

Let’s hope they get the whole range back out asap.

More AB Napoleonics

I completed my first battalion of early period French infantry in April this year, but have then spent the last four months trying to decide whether they are too big to match my existing collection of 15mm figures and scenery.

A recent 15mm re-fight of Talavera re-awakened my interest in the period, and I loudly assured everyone there that I had now made up my mind: the AB figures are too big and I would get ride of the battalion I’d painted, and the two unpainted ones as well, and swap to true 15’s.

I then went looking for a range of true 15’s to take their place.

I couldn’t find one.

Or, to be more accurate, I couldn’t find one that I liked as much as the AB figures!

So I changed my mind again, and am back on the 18’s!

Here’s the next battalion of Frenchies done…although I really must get better at painting the rosettes on the bicornes!

And just to make sure I won’t flip-flop again, the next battalion (the 3ieme!) is already undercoated and part-painted and I’ve just ordered another three battalions as well.

FK&P AAR: Plumleigh Common

Time to playtest the next installment in the follow up to the Marlowe to Maidenhythe scenario pack for For King & Parliament. This pack is provisionally entitled The Siege of Norchester and features actions surrounding, funnily enough, a fictional Parliamentarian siege of the Royalist held city of Norchester.

To cut a long story short, Plumleigh Common is a fight that occurs when the Royalists attempt to disrupt the Roundheads as they are digging trenches around the city. The Roundheads are, however, ready for the attack and so what was to have been a raid turns into head-to-head fight.

Here are two views of the battlefield. The walled area containing the church prominent in the left hand picture is Norchester itself, held by some Royalist infantry and artillery who cannot cross the city walls only shoot from them. The trenches represent the Parliamentarian lines, and are held by Roundhead infantry who are protecting a siege gun that could actually reach Norchester.

The battlefield thus divides into three sections: the area between the walls/ramparts; the open area next to it, and the area of enclosures on the far side. In this first game, I would play the Roundheads.

On My Right Flank

The battle opened on my right flank, opposite an area of dense terrain formed of enclosures. Here I had committed my troops raised from the Borders area…

In The Centre

In the centre, however, things were a bit more even:

The Climax

As you can see from the picture above, left, the fight for the centre had been carnage, with both sides losing many units. Victory Medals were now in short supply for both sides, but I had three relatively fresh units to bring over from my right which would swing the battle in my favour.

Unfortunately, this left my opponent with a temporary three to two advantage in the centre and a run of rather bad luck meant that I lost both units there in quick succession:

This wiped out my last few Victory Medals meaning that I lost the battle as my game-winning right flank force decided that the sight of the last two of my units in the centre going down fighting meant that it was far too dangerous to intervene despite outnumbering the opposition whilst in a tactically superior position!

Aaargh!

But a great game nonetheless, and the Plumleigh Common scenario is definitely passed as ready!

TFL Painting Challenge: Last August Update

Is it really the end of August already? Where has the year gone? It was my birthday recently as well: 55 years old…how did that happen?

But enough of the negative vibes, man, time for some positives: it’s another Painting Challenge update…and there are some really nice pieces of work on show this time. Check out the individual galleries, but here’s a taster:

Markers for FK&P

Just finishing off (as much as any wargames project can be declared “finished”) my ECW collection now with a few attached shot markers for my chosen ruleset For King & Parliament.

These are used to indicate when a horse or artillery unit has a body of musketeers attached to them to give them a bit more bite. They are the sort of thing you could use a counter for (as they disappear after one volley!) but look better represented by actual figures.

Figures are Peter Pig painted with GW Contrast Paint mounted on Warbases bases.

Age of Eagles AAR: Talavera

I played in a big Age of Eagles Napoleonics game this weekend just gone: a re-fight of Talavera. Most amusingly, given that I’d rarely played the rules or, indeed, any Napoleonics before, I was given the role of Wellesley i.e. in command of the allied British and Spanish team lined up against the evil French.

I’d like to be able to say that I emulated the soon-to-be Duke of Wellington and won a noble victory but, alas, the day did not go our way at all!

The Allies are lined up along a tributary of the river Tagus, Brits on the left, Spanish on the right, with the French coming at them across the stream.

The French planned to demonstrate towards the centre of the Allied line whilst attacking around the Allied left. If that didn’t work, the centre would turn into the main attack.

As the French came forward on our left, effortlessly brushing a single Spanish brigade aside, I moved some of our reserves (Mackenzie’s infantry Division) to counter the threat. With their advance there countered, the French changed their axis of attack and came forward strongly in the centre and on their left.

The Spanish held a fortified farm on our right, and the troops there performed brilliantly: their artillery slowing down the French advance and then a battalion of conscript infantry lurking just outside the farm holding off a charge by French heavy cavalry.

Unfortunately, the British in the centre performed less well. Firstly, closing up from extended line to line left several gaps in the British line. The French spotted this, massed their artillery and blew a British battalion away to widen one of the gaps into something they could move through…and move through the gap they did: French cavalry and infantry bursting through to totally disrupt the British line.

I had, as mentioned, already committed my infantry reserves elsewhere, and my heavy cavalry just didn’t get across the table fast enough to properly intervene.

As the British line began to crumble, the Spanish remembered they had an important appointment elsewhere (Cuesta was under orders to preserve the army) and the day was firmly to the French.

A great game, and all kudos to Mark and Bevan as the French commanders who, respectively, pinned and then dissected the Allies: great tactics. Thanks also to Dave for setting up and running the game; and to my unfortunate co-commander, John.

One last thing to mention, John had one Spanish battalion that despite initially recoiling from a combat then stubbornly refused to be broken no matter what the garlic-eaters threw at them. It seems like it was the Spanish that shone all day.

Here’s a gallery of the game (excuse the rather curly roads!):

Marlowe to Maidenhythe: A Nice Review

Got to the game on Saturday and someone asked me if I’d seen the nice review of Marlowe to Maidenhythe ECW scenario pack for For King & Parliament that has just appeared on the Iron Mitten blog.

Well I hadn’t…but I have now, and they are right: it is very nice.

Here’s a link to the specific blog post: http://iron-mitten.blogspot.com/2021/08/marlowe-to-maidenhythe-review.html

I recommend that you all read it and immediately go out and buy a copy!

Yet Another Shot Heavy ECW Battalia

Here’s the last (for the moment!) of my shot-heavy battalia for my English Civil war collection.

With these, I can now field brigades of standard battalia, pike-only battalia, pike-heavy battalia and, of course, shot-heavy battalia.

The figures are from Peter Pig, painted with GW Contrast paints (the trousers are some kind of ork skin tone!), and mounted as a single battalia element on a large vehicle base from Warbases.

TFL Painting Challenge: Another August Update

Not much else going on at the moment wargaming-wise (although I have a big game this weekend) so I thought I’d update the Painting Challenge after only a week rather than the usual two.

Plenty to see even after only seven days, so do make sure you visit people’s individual galleries, but here’s a taster:

FK&P AAR: Stour Road again

With the first battle only taking 90 minutes or so, we had time to re-play Stour Road.

Bevan offered to swap sides but, despite the fact that I had lost the first game quite heavily, I was sure that I now had the key to victory!

So, once again the Roundheads are digging ramparts around Royalist-held Norchester when the Cavaliers launch an attack to disrupt their work…

Another great game of For King & Parliament and, unusually, a win for me!

It’s now off to Plumleigh Common, where the Royalists will try a lightning raid on the Parliamentarian lines again, but this time the Roundheads are ready for them…

TFL Painting Challenge: 1st August Update

The sun is finally shining, August actually now looks like August, and it’s time for another update to the TFL Painting Challenge.

Do please visit the individual galleries (you can do so from the NavBar, above) but here’s a taster to get you reaching for the paintbrushes yourselves:

FK&P AAR: Stour Road

As the Parliamentarians begin to surround Royalist-held Norchester with a ring of trenches, the Cavaliers send out Sir Edmund Dexter and his cavalry to disrupt their work…

At this point I forgot to take any more picture as the action reached its climax.

Somewhat unexpectedly, the Puritan Horse gave way, leaving the flanks of my infantry battalia facing the Royalist horse utterly exposed. These were overwhelmed one by one, and the chaps digging the trenches who had come to help (counting as Rabble) were shot down by the rest of the Royalist infantry.

A major defeat for the Parliamentarians!

Another Shot-Heavy Battalia

Here’s the second of my planned three English Civil War shot-heavy battalia: painted in a rather fetching shade of yellow!

The main body are from Peter Pig, the command figures from Hallmark via Magister Militum. The figures are mostly painted with GW Contrast paints and based on a Warbases large vehicle base. The flag is from Maverick.

TFL Painting Challenge: Final July Update

What is happening with the weather at the moment? One moment it’s sunshine so hot that you can’t go out, the next it’s raining hard enough to drown an elephant!

Whatever it is, it’s excellent weather for painting minis, and that’s what many of you have been doing. Some lovely entries into the Challenge this week, so make sure you visit all the individual galleries to check them out.

In the meantime, here’s a selection to whet the whistle:

FK&P AAR: Cadmore Hill

Anoher play-test battle: this time a Parliamentarian column escorting siege guns is almost ambushed by a Royalist force, but the trap is sprung a little too soon…

IABSM AAR: Somewhere in Flanders

Another superb looking game of I Ain’t Been Shot Mum! from Alan Curtis and friends.

Lead units of 7th Panzer supported by elements of Tottenkopf Division bump into a BEF company with attached anti-tank guns deployed to contest a river crossing somewhere in Flanders.

An amazing set-up that is well worth a browse. Click on the picture below to see all:

FK&P AAR: Munces Wood Again

As it hadn’t taken Bevan very long to beat me in the last game we played, we swapped sides and gave battle again.

In the last play-through, Bevan had withdrawn his Clubmen and given up the centre of the table. I decided to do the opposite and support them, moving my infantry forward to form a line half way towards the enemy edge.

On the left flank, my Swedish horse moved forward cautiously: I was waiting to see what the enemy Dutch horse (that you can see moving across the table towards me from left to right in the left hand picture, above) would do before committing them.

On the right flank I used two squadrons of horse and a battalia of foot (Shaw’s Horse Brigade supported by the Westferry foot) to hold off a brigade of enemy horse. Points-wise, a stalemate here would be in my favour.

A general melee broke out in the centre of the field. Incredibly, given my luck in recent games, I quickly gained an advantage, with a squadron of horse and a battalia of foot (the ones in dark pink: the Wickborough foot) breaking through the enemy troops in front of them!

Then I made a mistake.: a stupid schoolboy error that would haunt me for the rest of the game!

Bevan had sent a unit of commanded shot (a smallish group of musketeers) forward through the wood (Munces Wood, in fact) towards my cautiously-advancing squadrons of Swedish horse. I failed to resist the temptation and charged the blighters as they came up to the edge of the trees.

Yes, that’s right: I charged musket-armed infantry in woods with close formation horsemen!

My foolish horsemen (the Cranston horse) were soon eliminated, leaving that flank open for the Musketeers to threaten my victorious infantry in the centre and for Bevan’s “spare” squadron of Dutch horse (the Stand-Fast-On-High Puritan horse) to advance up that flank as well…and adjusting to counter those threats prevented my infantry in delivering what should have been the coup de grace!

With some brilliant tactical play, Bevan then used the breathing space I had given him to regroup his centre. I still had the advantage, but now would need to break him again.

My pursuing cavalry (the ones that had broken through the line earlier: the Staplehurst horse IIRC) went off the table and then came back on to hit a squadron of enemy horse. I should have broken them, but didn’t, leaving them free to rejoin Bevan’s troops in the centre of the field (what we had started calling “the arena” due to the way the hedges were laid out) and again forcing me to deploy to face them.

Meanwhile, a melee had finally broken out on the right flank as Bevan could see that he had no choice but to try and win there before his centre finally collapsed. This didn’t work for him, however, and I was soon able to punch through on that flank.

The battle was now all but mine. I just need to destroy one more unit of Bevan’s and the rest of his men would lose heart and flee the field. Okay, so it was true that I would lose the game if I lost one of my foot battalia or two squadrons of horse, but all my remaining units were still pretty robust versus Bevan’s shaky-looking troops!

Bevan, however, had one final card to play.

If you remember, my folly of attacking infantry in a wood with horse meant that I had had to defend my left flank against a squadron of Dutch horse. I had succeeded in keeping them from getting over the hedge, using a battalia of infantry to do so. Now Bevan would have one last go at breaking through here. Failure would allow me to deliver the final blow that I needed to win the day.

His horse were double-disordered, my foot were disordered…so he had to get over the hedge to get me and then do two hits with me saving neither.

You guessed it: the cards fell his way and, with a roar of triumph, the Performe-Thy-Vows Horse swept over the foliage and dashed my pike-and-shot battalia from the field!

And that, as they say, was that!

Aftermath

Well that will teach me not to charge infantry in a wood!

All my hard work in the initial stages in the centre destroyed by a need to watch my left flank: a flank that I had effectively exposed myself. Much kudos to Bevan for staying cool and conducting an excellent fighting reorganisation of his collapsing centre, and then for taking full advantage of my mistake and holding his nerve until the end.

Another great game of For King & Parliament that came down to the last moment!

Here’s a complete gallery of the game.