

TTS AAR: Aghlabids versus Italo-Normans - The Return Match
/With the Italo-Normans victorious in our first game, there was still plenty of time for the Aghlabids to have a go at evening up the score before I had to collect Mother from her event and start the four-hour return leg of my trip to Huddersfield.
Deployment was similar to the last game, but the Italo-Normans put even more of their cavalry facing my left flank.
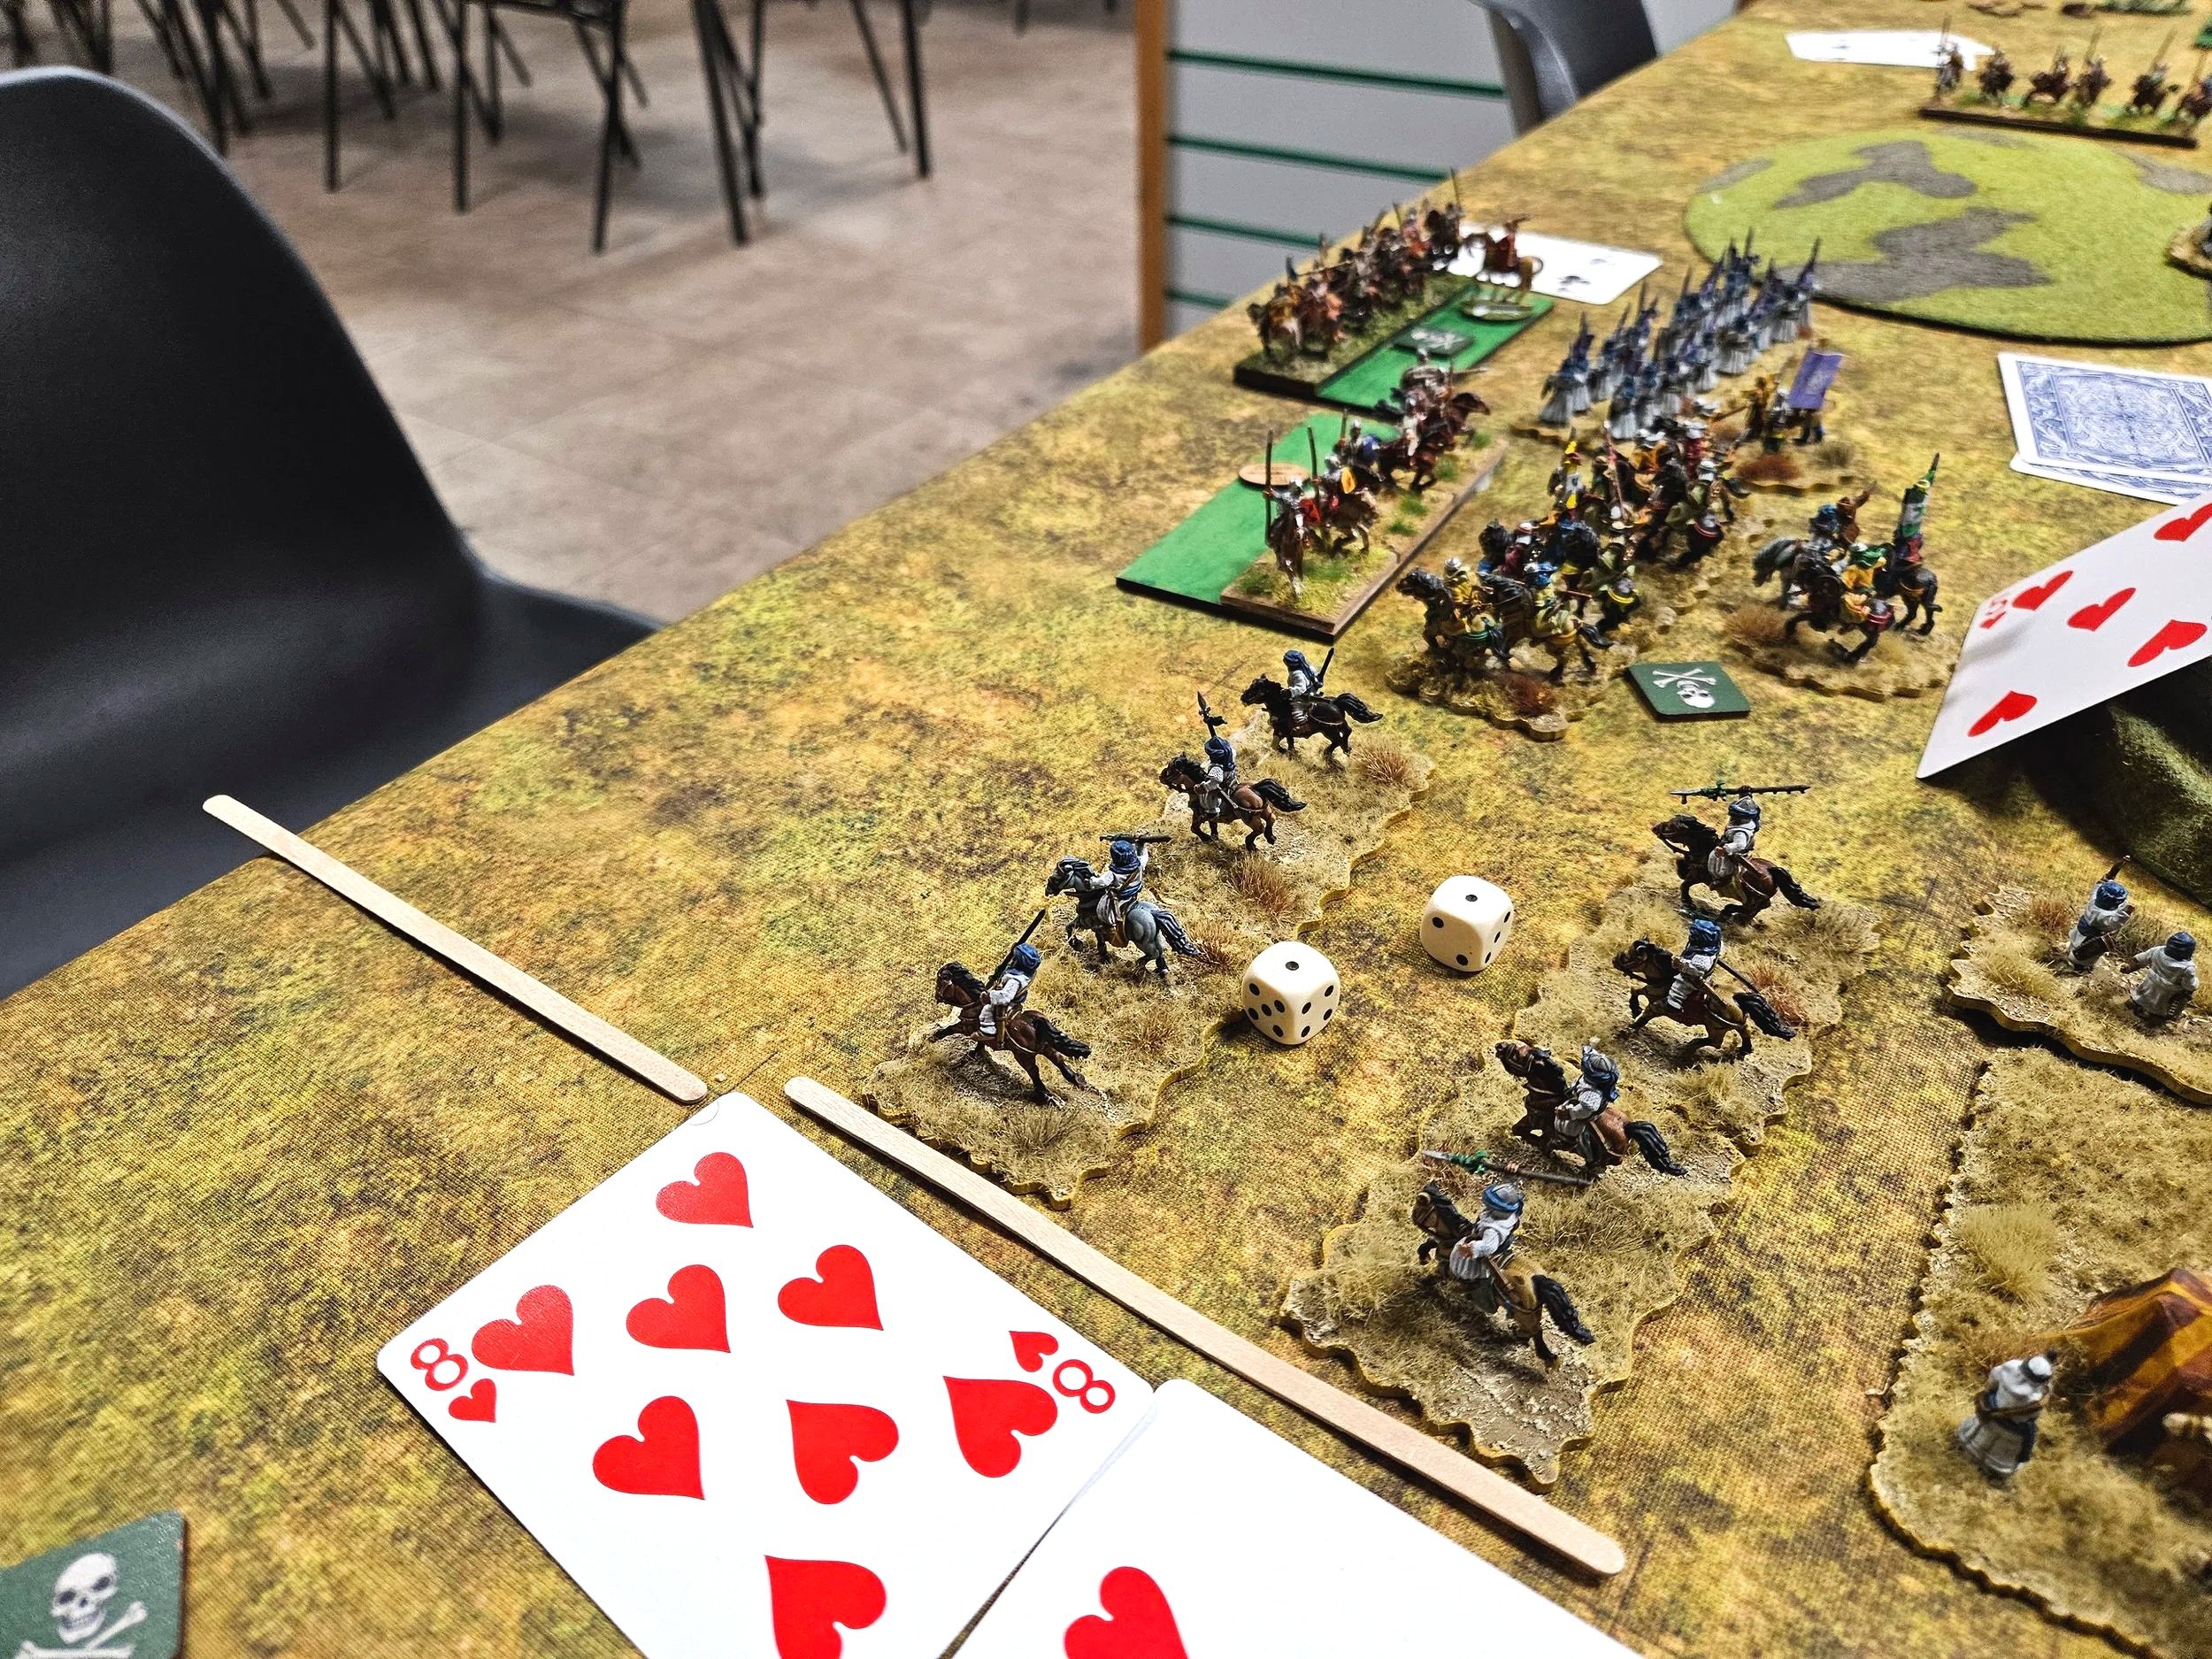
The Italo-Normans moved first, and almost immediately I was in big trouble again as the enemy heavy cavalry shot down towards my flank and forced my light horse back into the camp.
Fortunately, my heavy cavalry were able to partially recover the position, but it was all looking rather cramped in that corner!
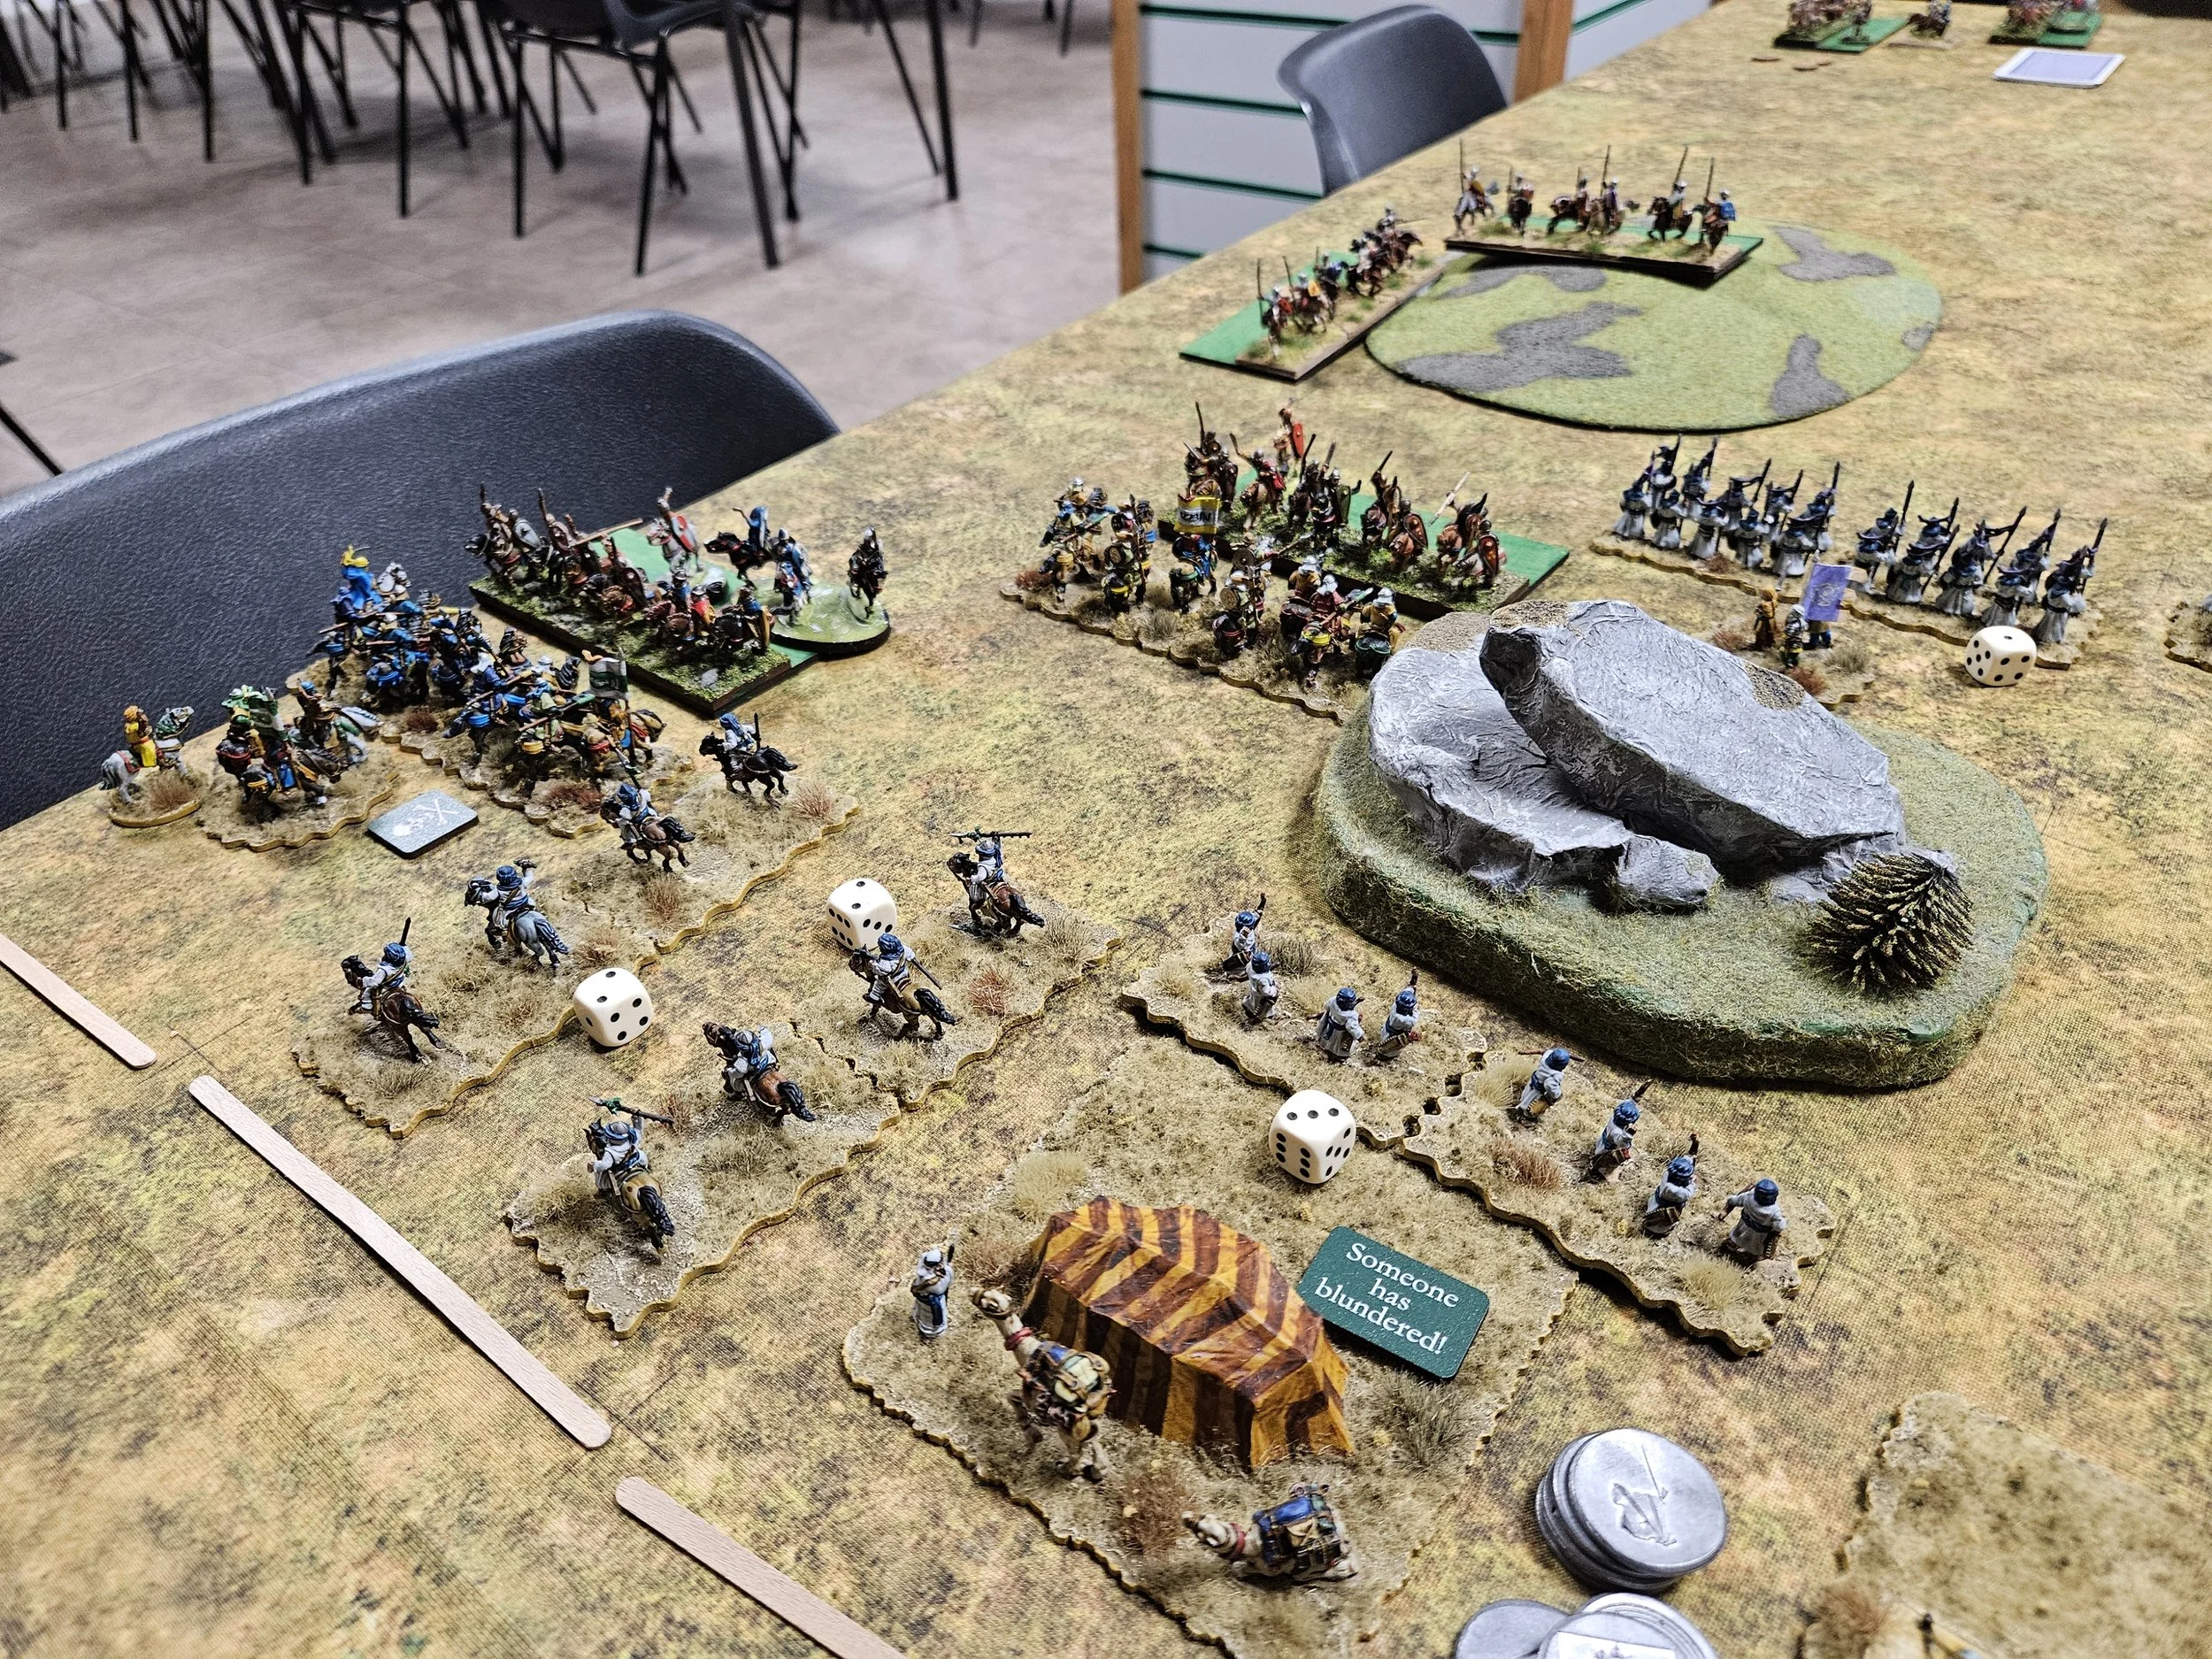
Sticking with the action here in the corner, things got worse again when the Italo-Norman horse broke the rear unit of Arab lancers and, further up the table, managed to get a two-to-one advantage on my other cavalry unit. The situation was only partially rescued by deploying my reserve infantry (purple flag, behind the rock) to support my beleaguered troops.
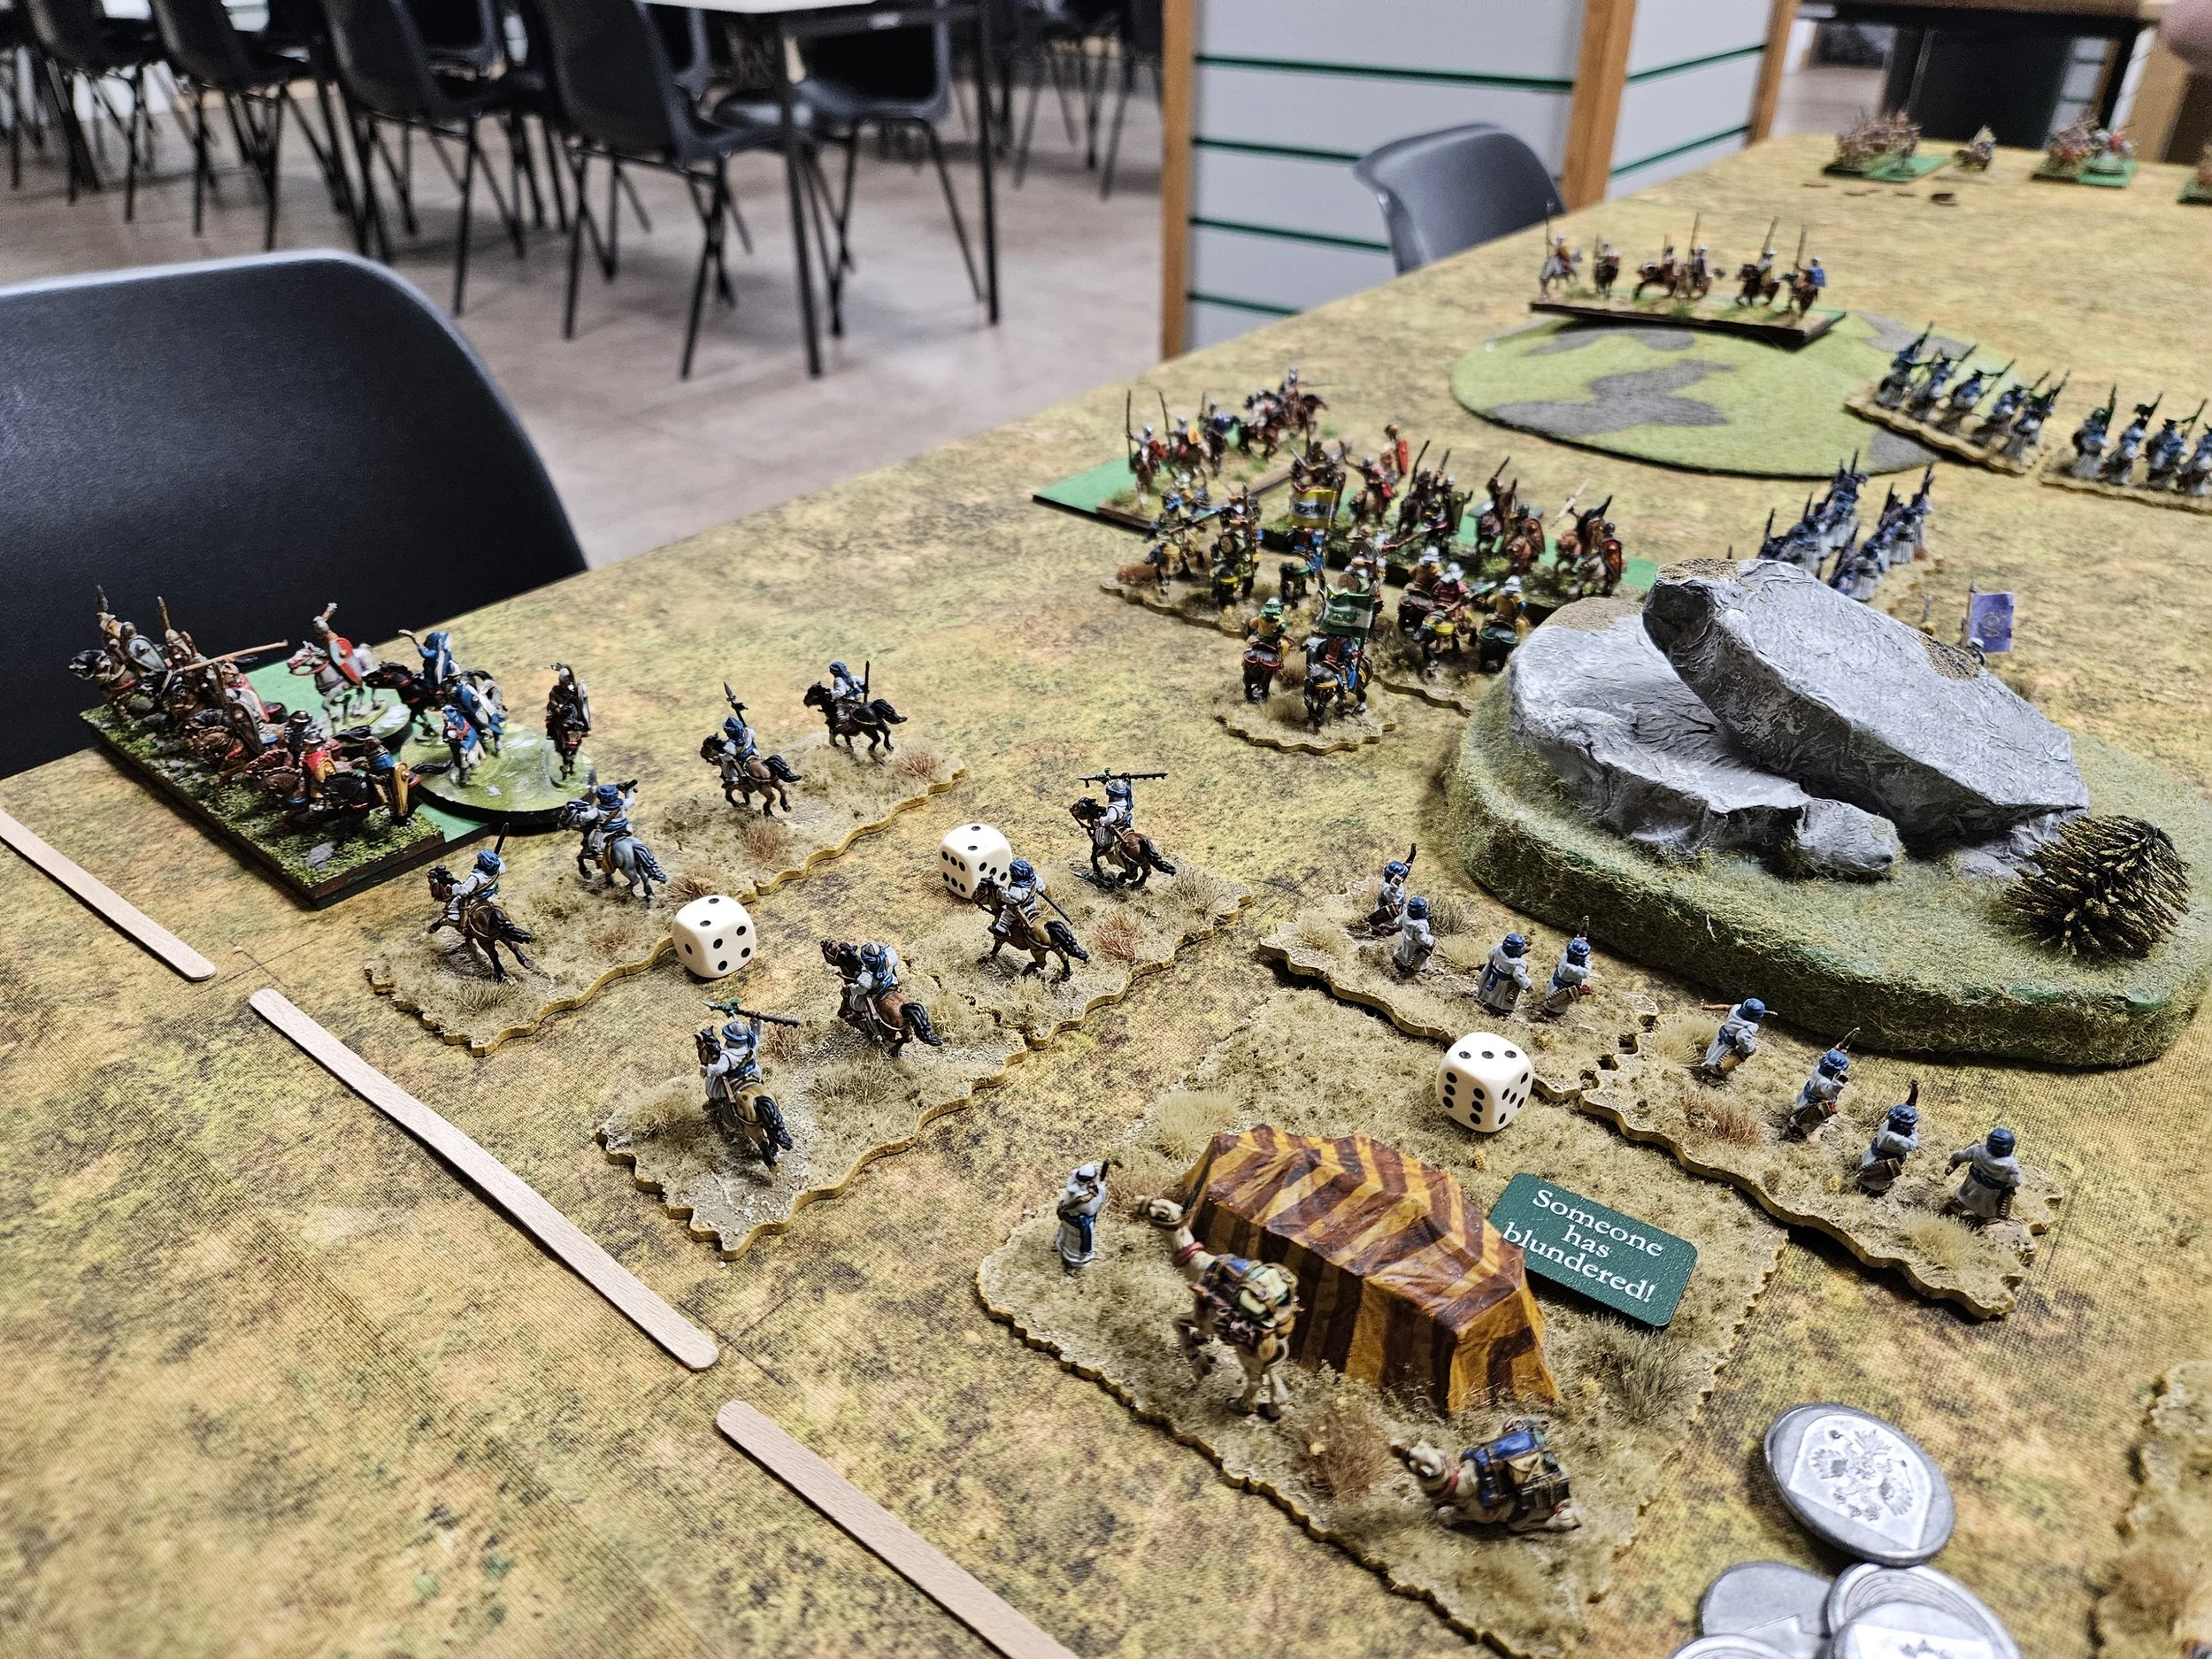
My light horse, in prime position to charge the corner unit’s flank managed to fail to do any damage whatsoever, and I watched with huge misgivings as Geoff pulled a card to turn his cavalry to face my lights. Fortunately, luck was with me, and I was able to use Someone has Blundered to force the enemy heavies into facing the wrong direction.
My lights then remembered which end of the javelin goes in the enemy, and sent the Italo-Normans flying from the table with a hail of javelin-fire (they can’t evade that!) including, again, killing the enemy general.
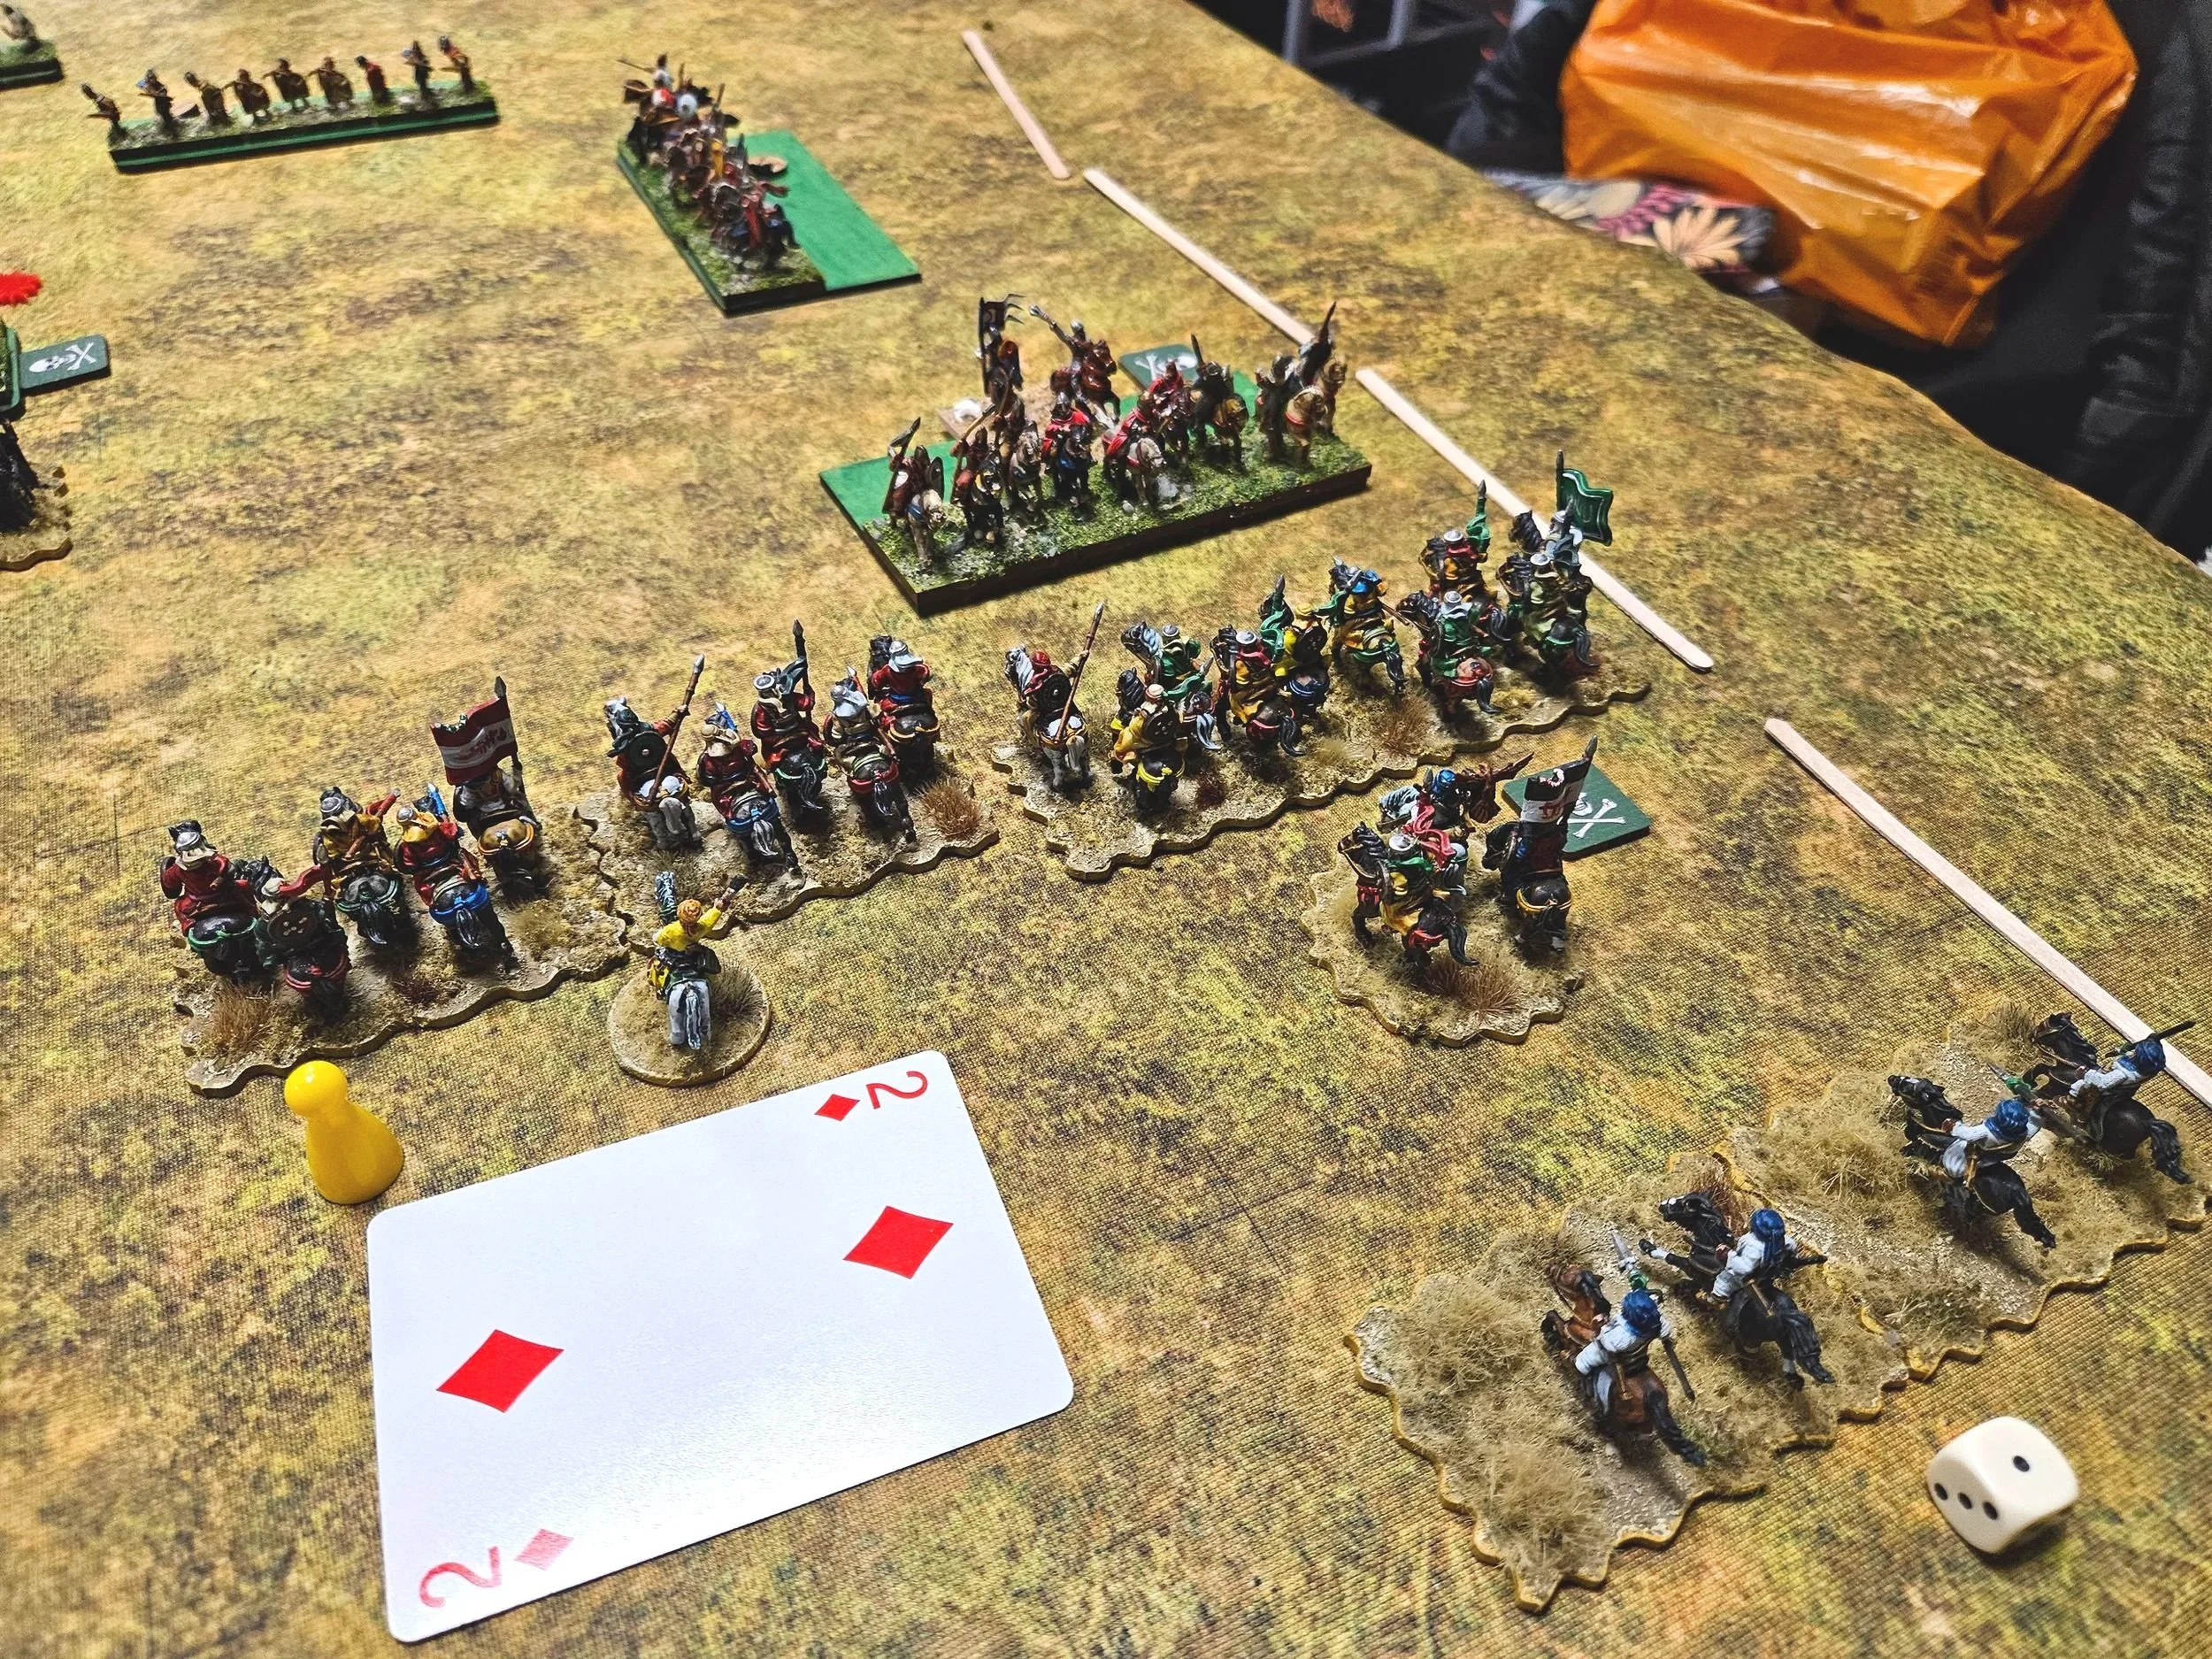
Elsewhere on the table, my infantry had formed two lines, hoping to shoot the deep enemy spearman units to pieces before contact was made. There was also some action on the far right, where more of my Arab lancers had squared off against more Italo-Norman heavy cavalry.
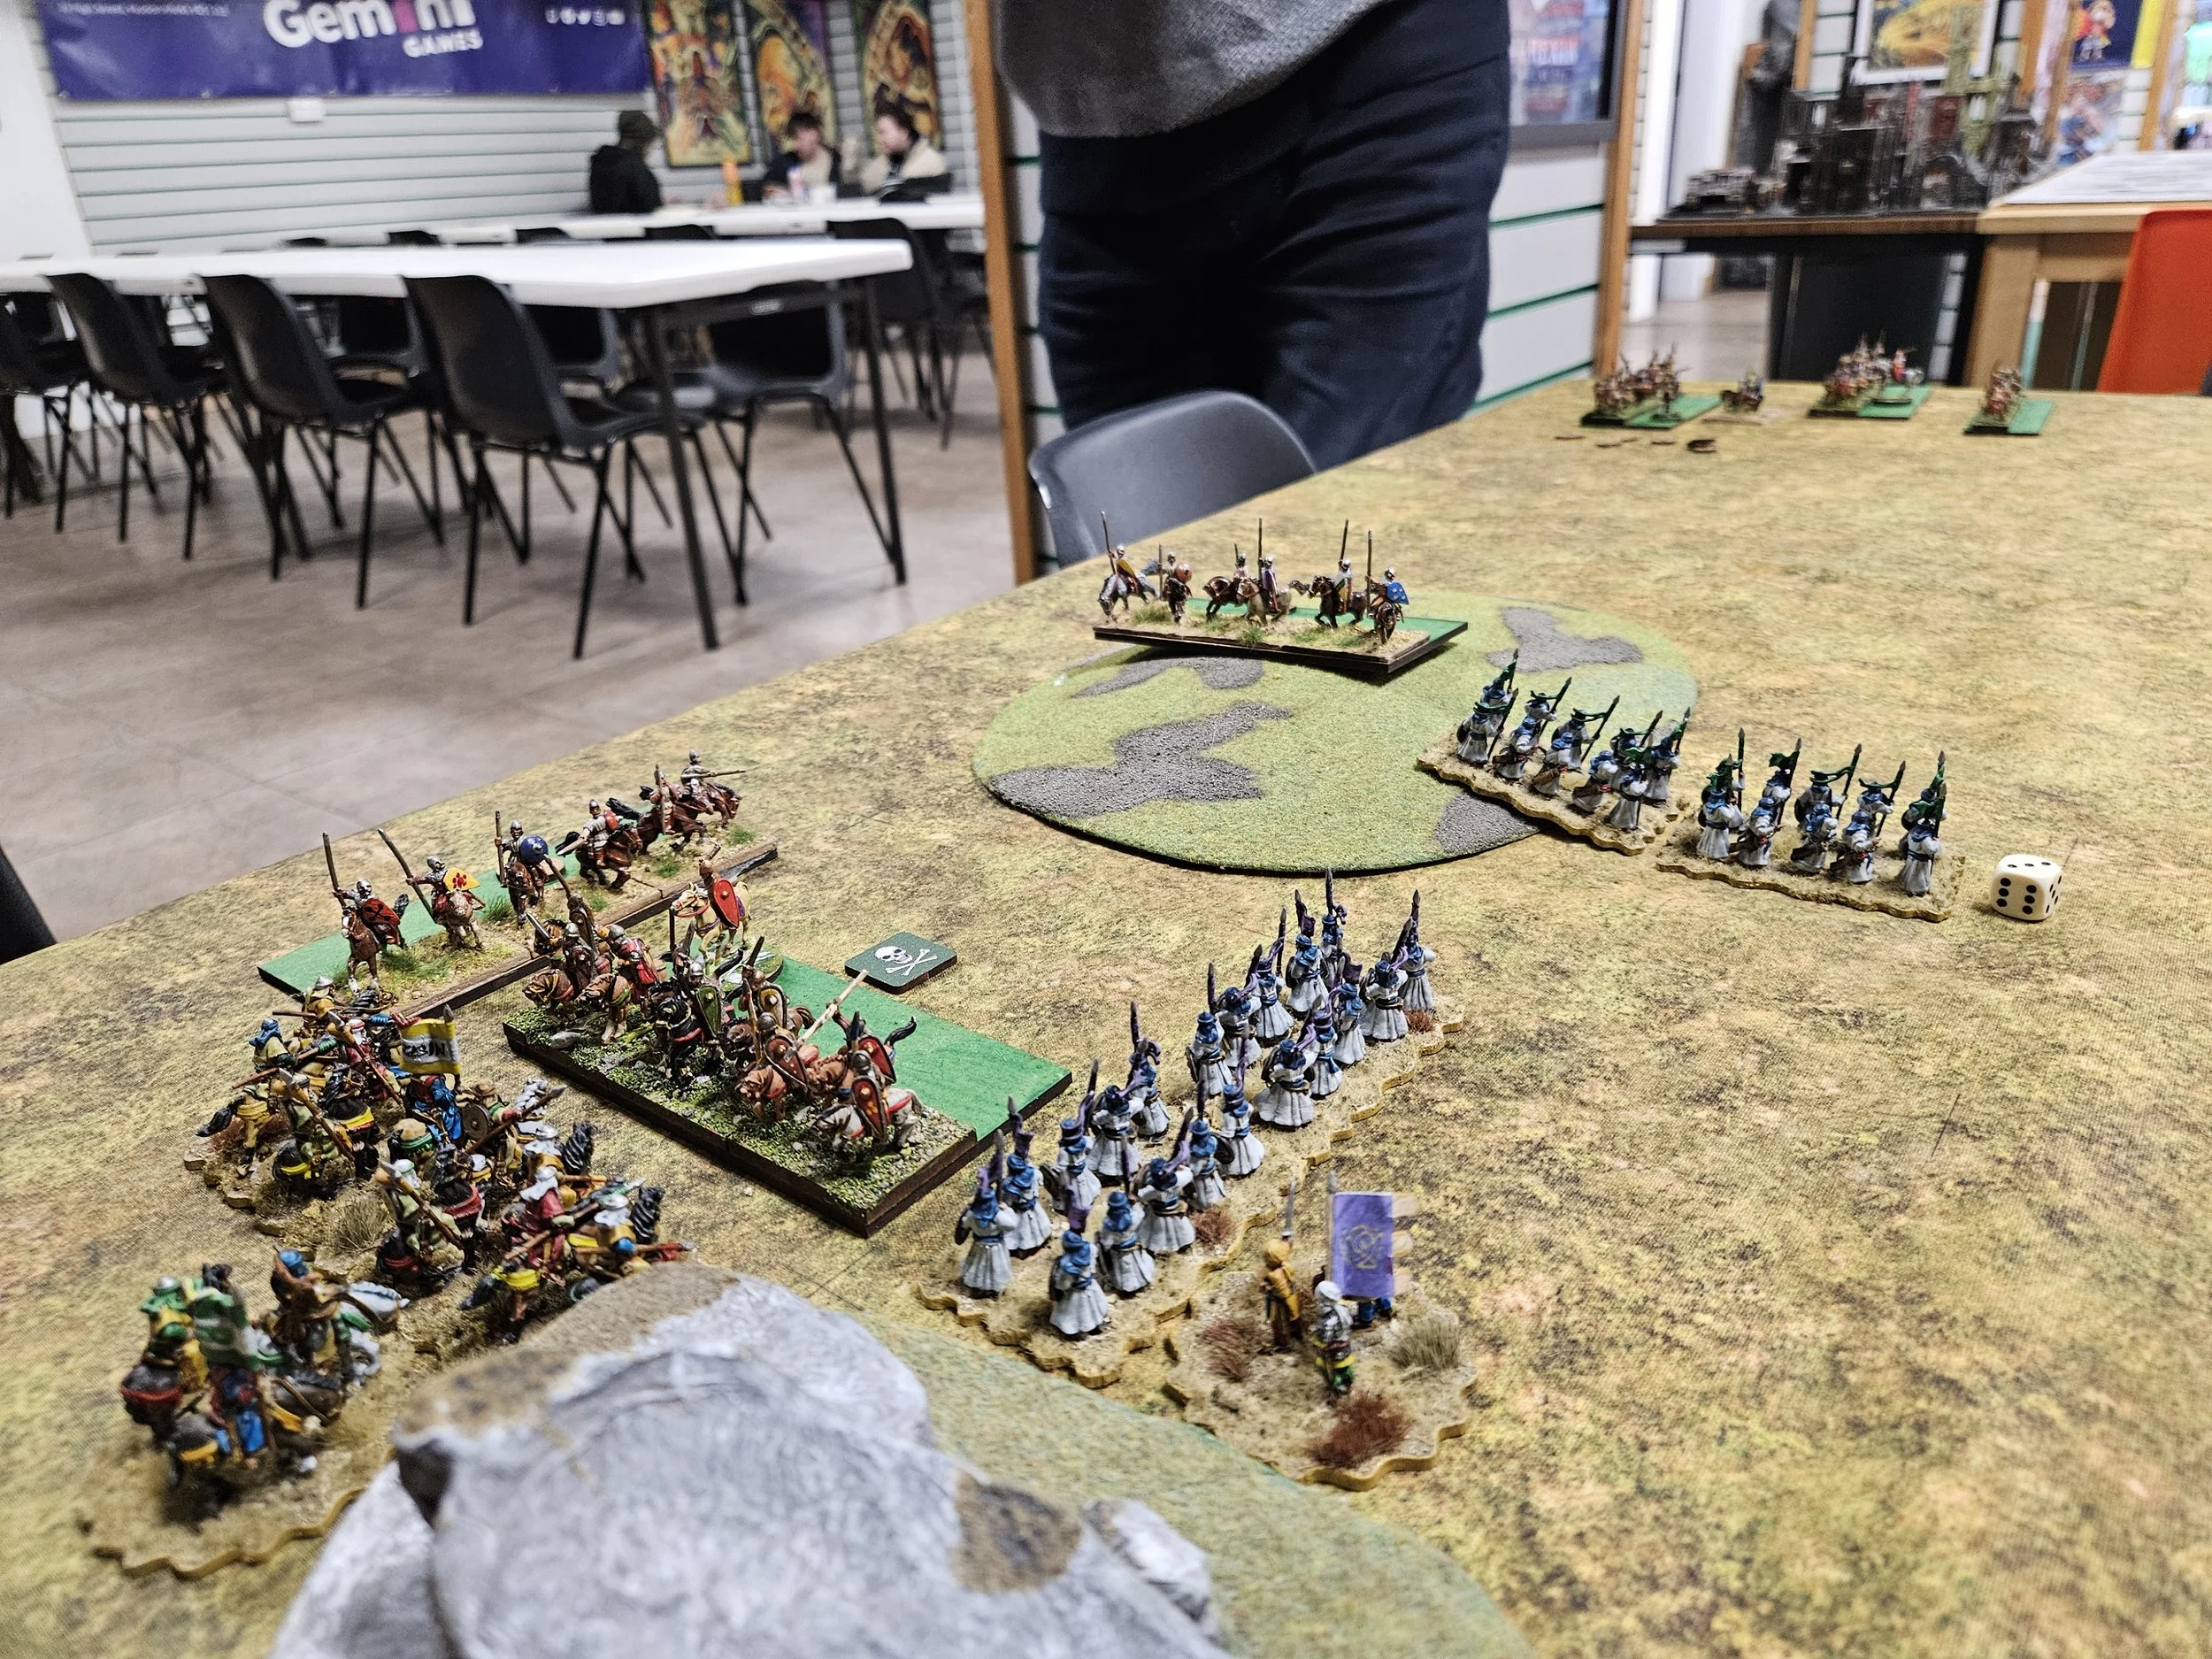
Geoff also had a unit off-table carrying out a flank march. He now drew a card to get it onto the table and succeeded. I checked the diagram in the rulebook and confidently told him that he could bring it on anywhere in the central sector of my right flank.
This was wrong: it could come on anywhere on the right hand table edge…and my only pitiful excuse is that a quick glance at the diagram does seem to have just the central sector highlighted…but if you look properly, it’s the central sector and the single strip along the right hand edge of the tabletop. Mea culpa and all that, and we’ll count the Arabs as having lost again as a heavy cavalry unit in my right rear could have been very unpleasant indeed.
As it happens, I did get it wrong, and his cavalry entered the table just behind the melee that was already going on (it’s the unit with the Nine of Spades next to it).
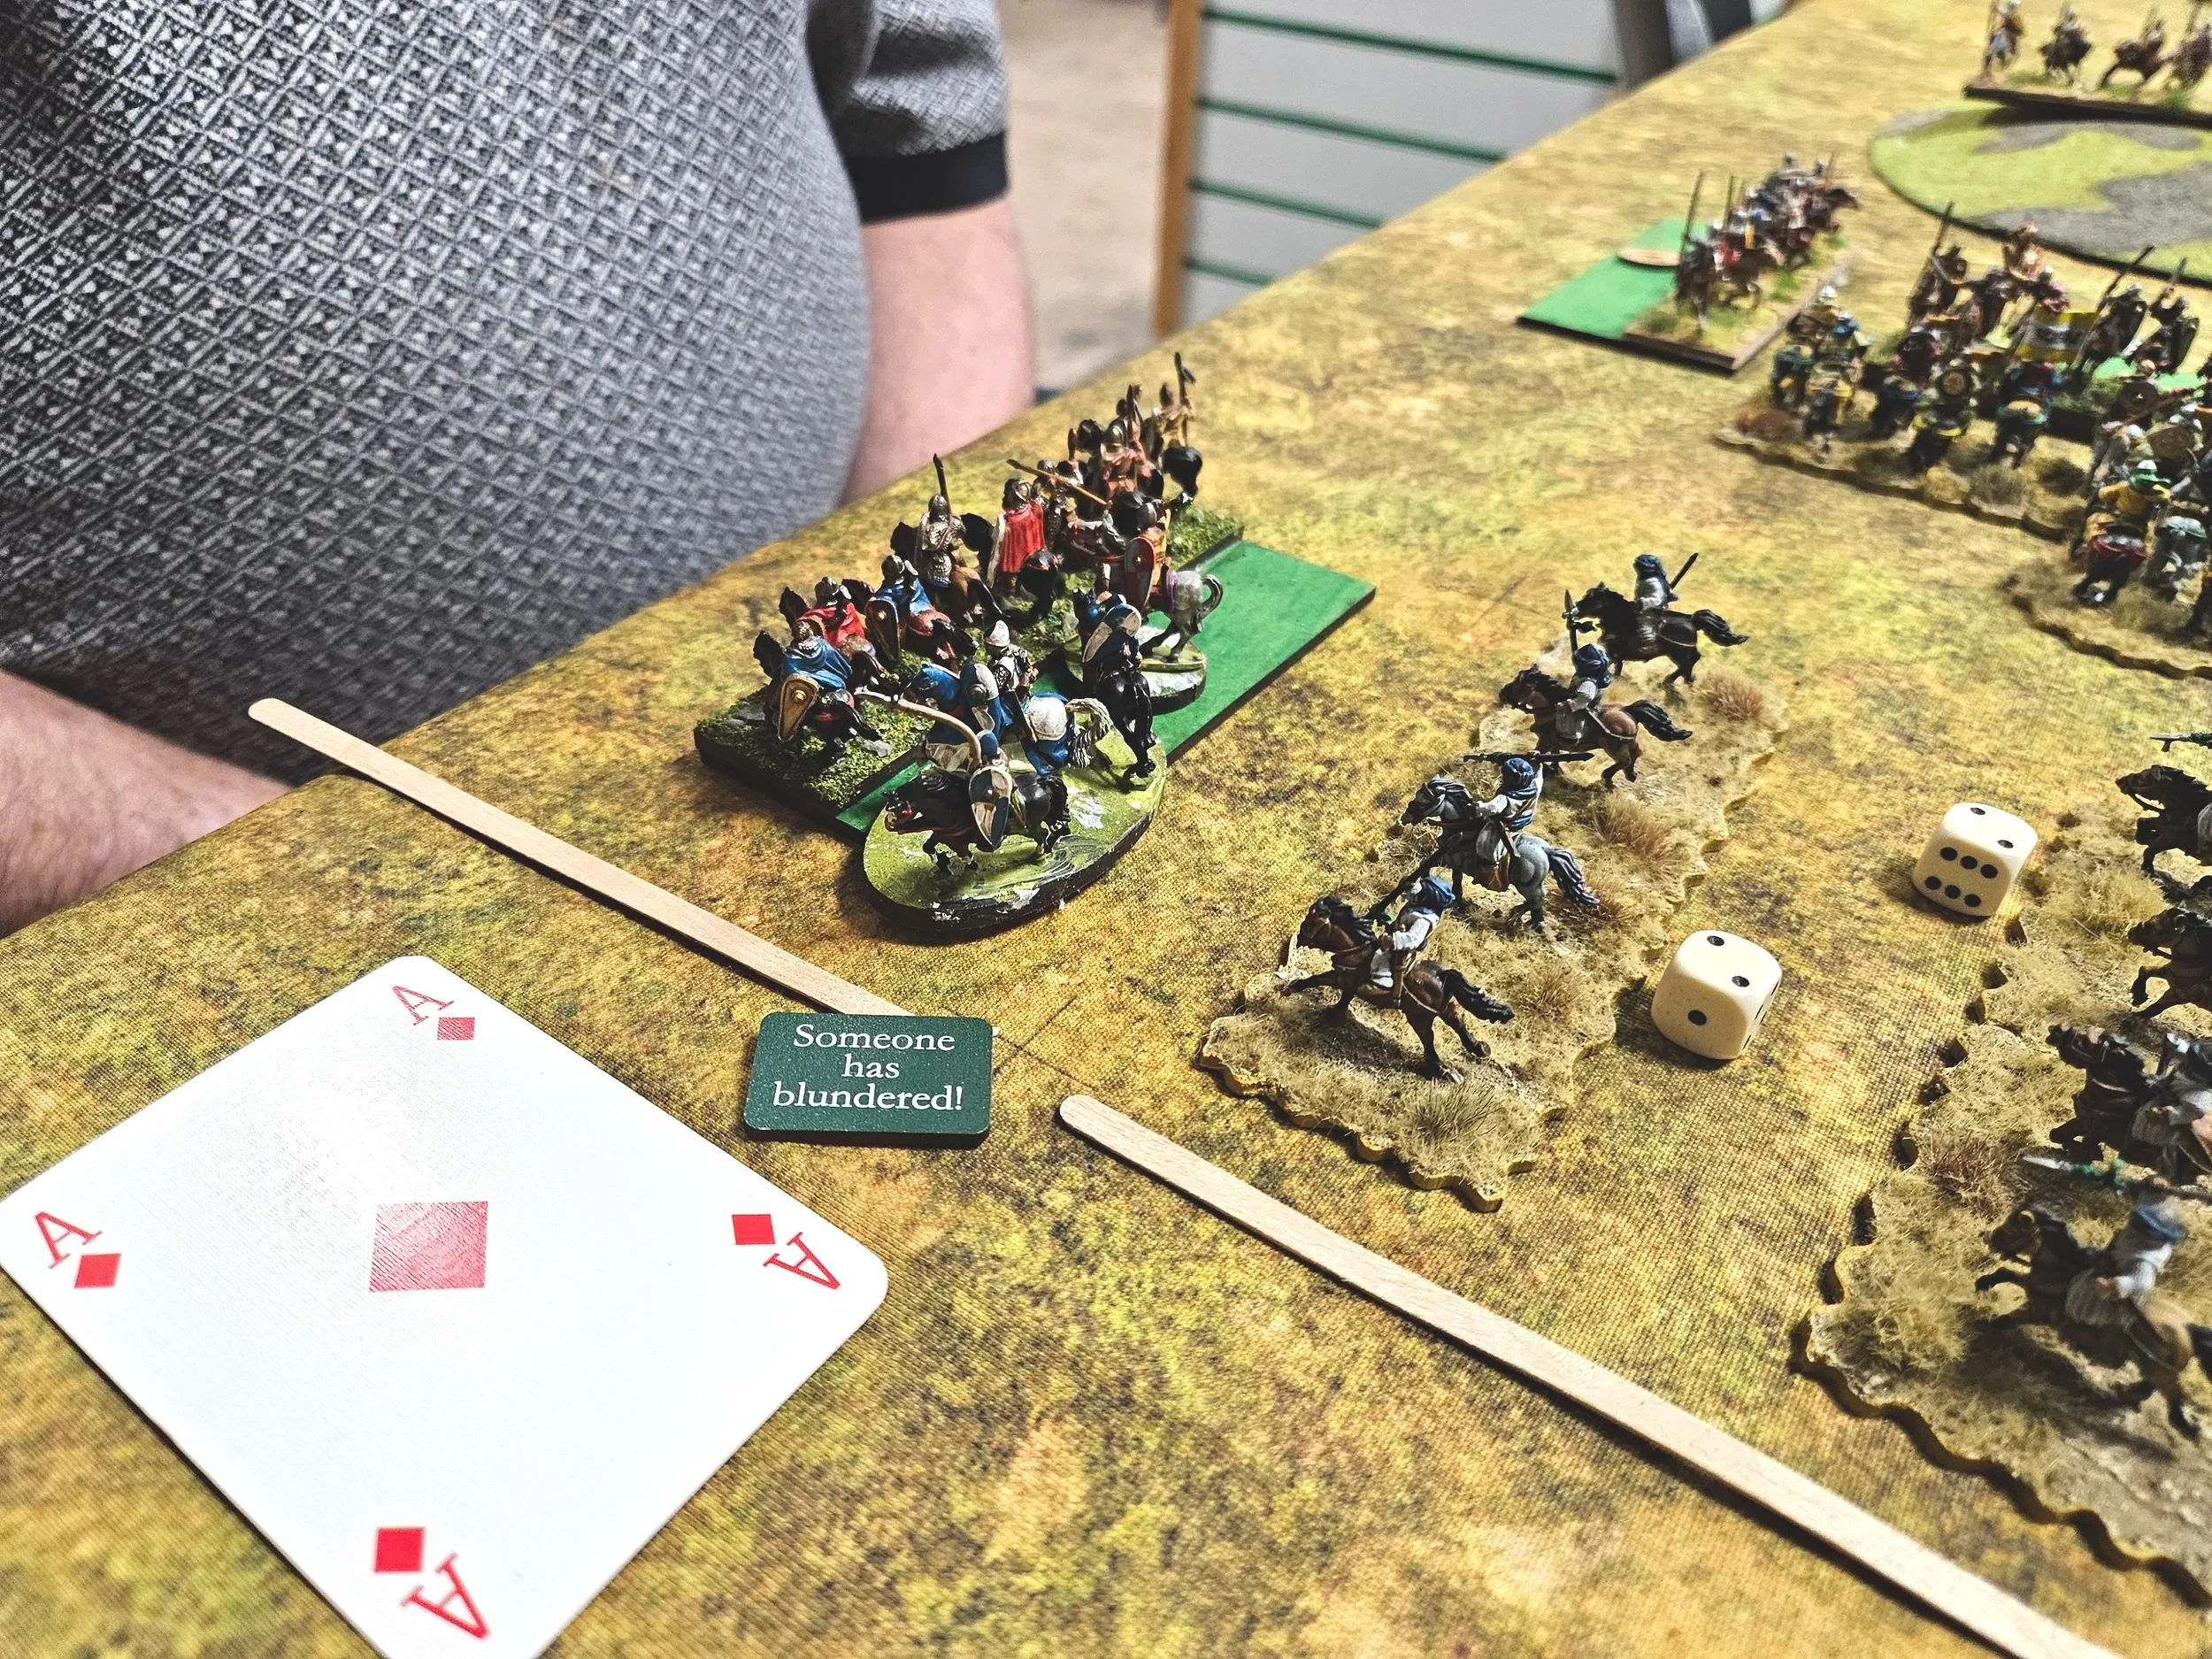
This, of course, left the newly-arrived Italo-Norman horse in a prime position to be charged by my black-flag lancers, provided my lancers could get through the other Italo-Norman cavalry (the disordered unit)…needing only a 3+ to get their charge in.
Well, I had two turns to try and make the charge, and failed both times: the cards obviously aware that I had made a mistake with the table-entering position!
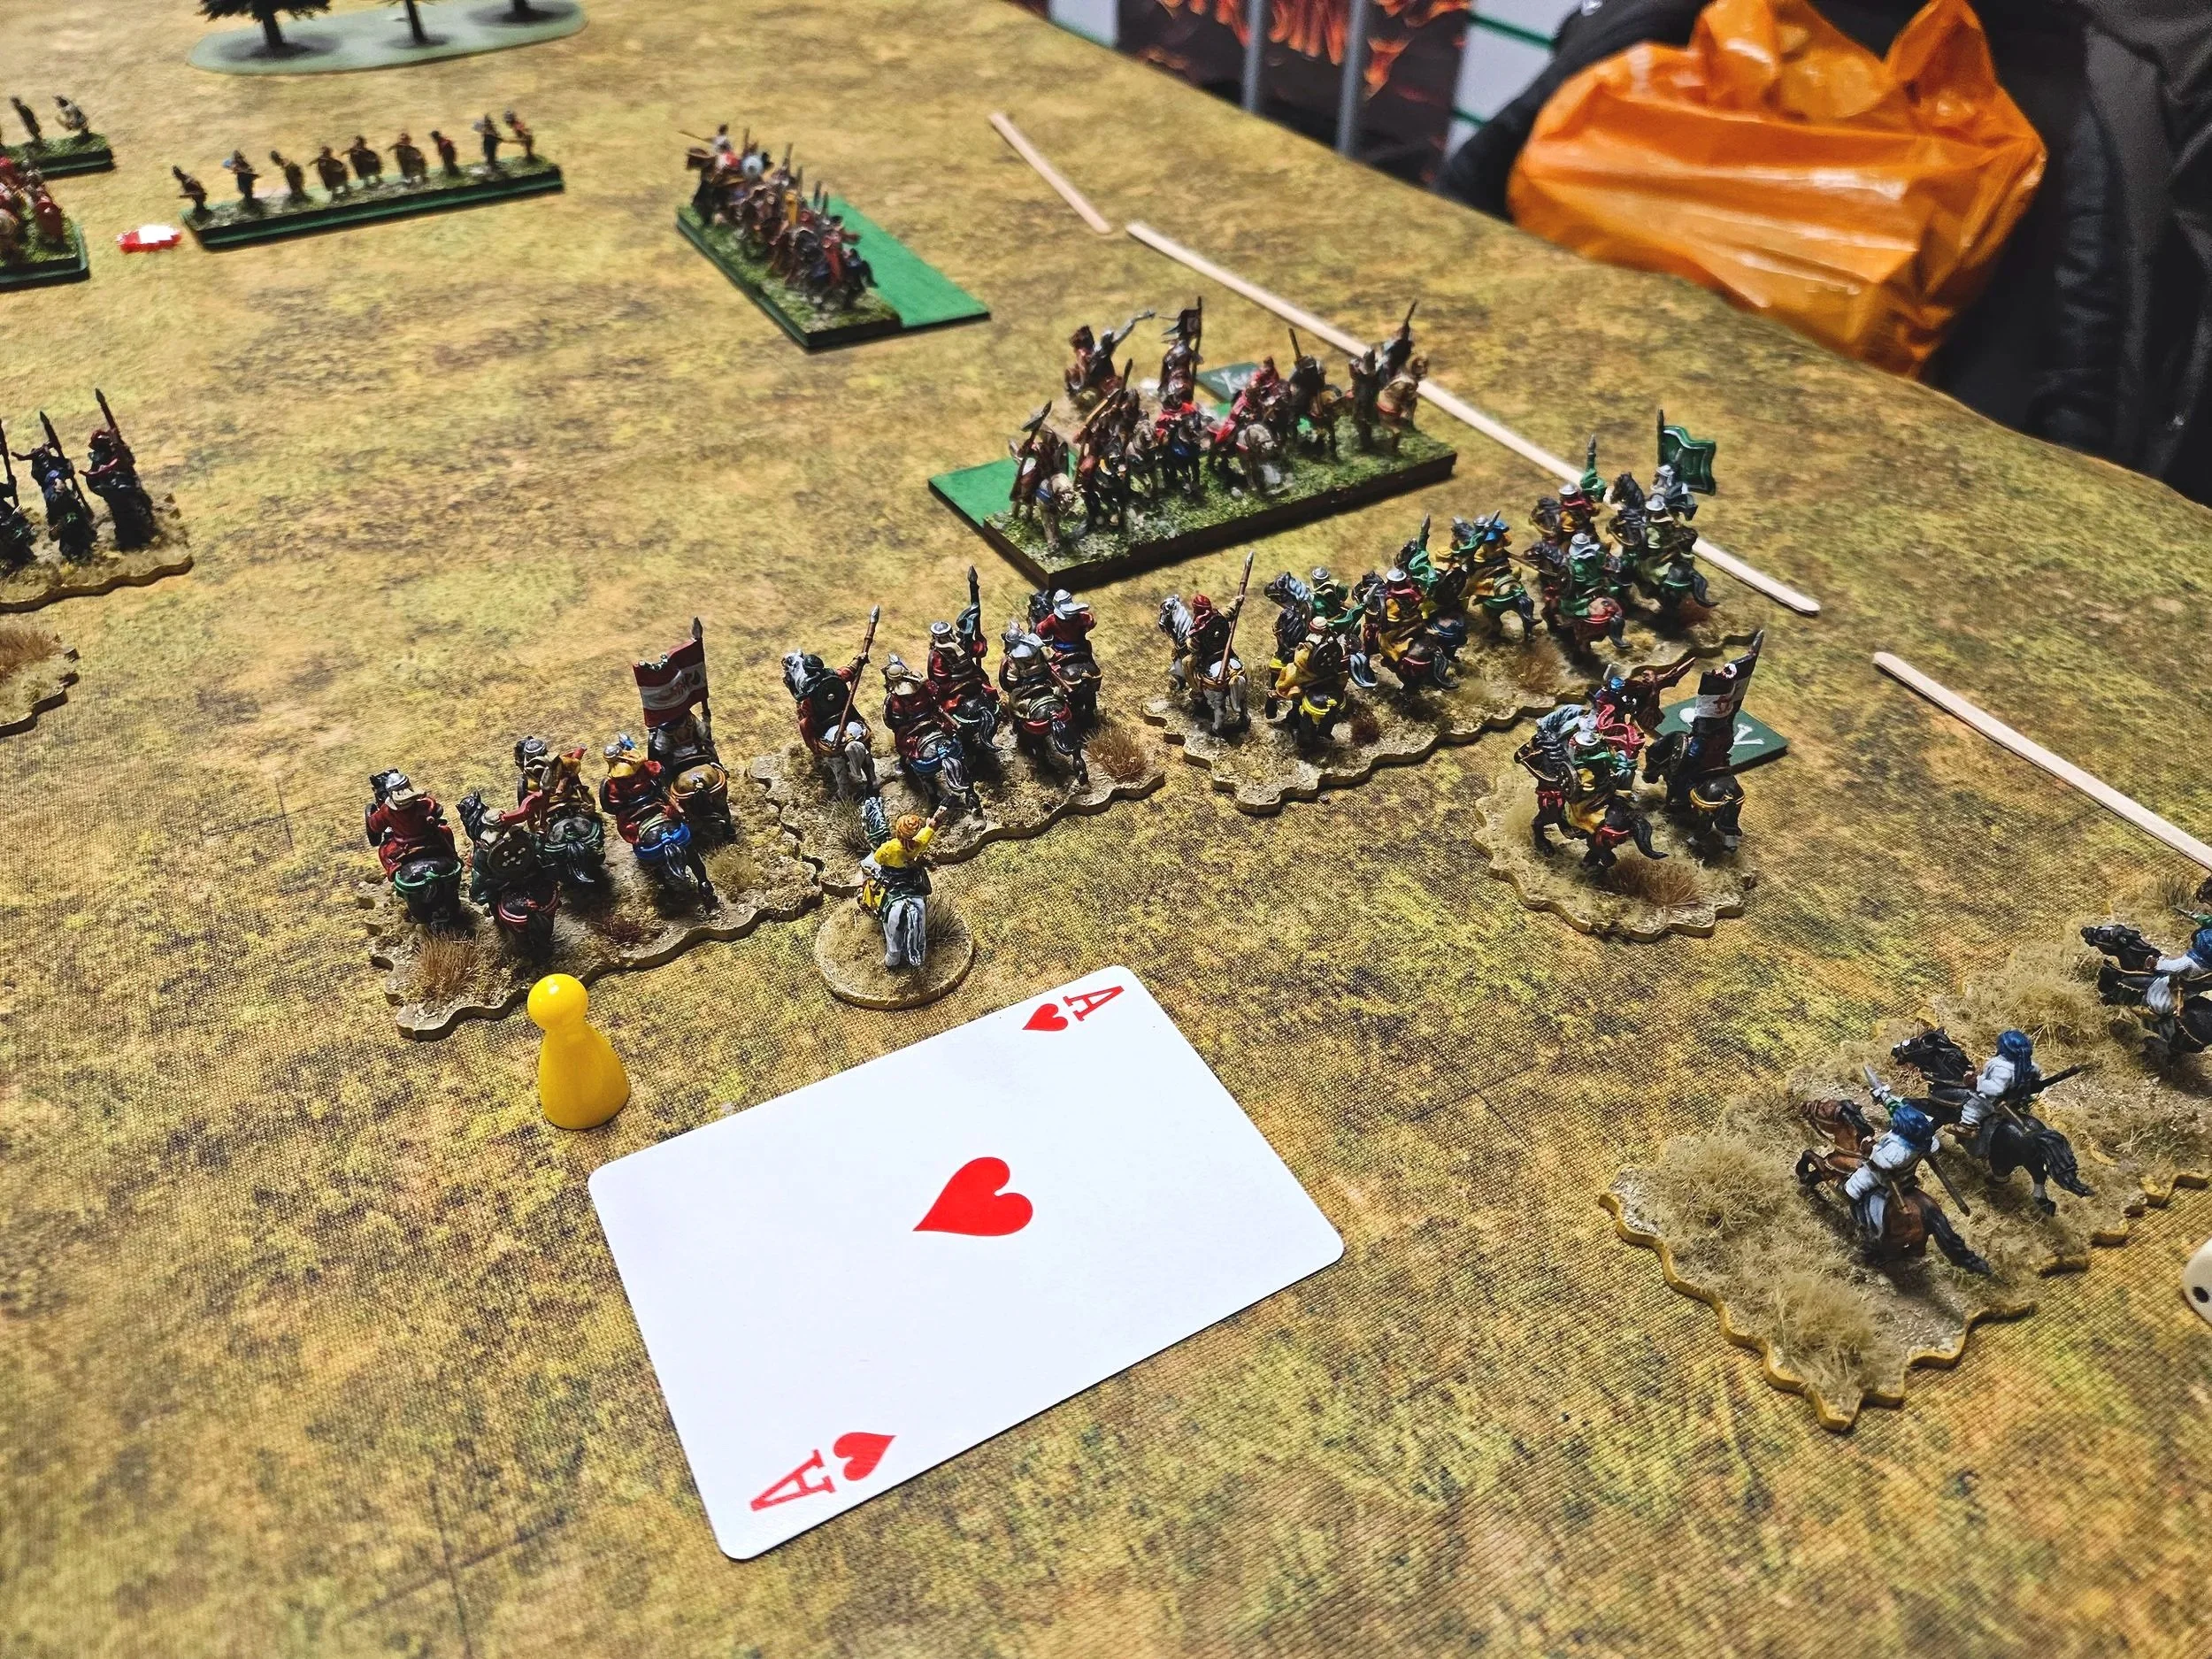
Which meant that it was on the other side of the table that the battle would be decided, as the two infantry lines had still not made contact.
In the end, the Italo-Normans lost their last couple of coins when their last remaining cavalry on the left was overwhelmed by numbers: the use of my reserve infantry meaning that I had three units versus one. Hit in the rear after evading, that was that!
So another closely fought battle, with the Arabs coming away with a victory overturned on a you-got-the-rules-wrong technicality. I also think Geoff captured more medals over the two battles combined than I did.
My thanks to Geoff for being such a great opponent, and to Gemini Games for their hospitality. I look forward to hitting Huddersfield again some time in the future.


