Site Update

The reloading of the site's contents continues apace!

I have now finished re-loading all the IABSM After Action Reports as far as the one-off battle reports up to the end of 1942. That's all the scenario booklet AARs done, and about a third of the one-off games done.

Some people ask me why I bother to try and record every game of AAR about which a battle report has been written.

Well, there are a number of different reasons. Obviously the reports can be source of inspiration: encouraging you when the 'can't be bothered to game or paint' blues have got to you.

On top of that many of the reports are just such good reads: being so well written that they deserve to be published to a wider audience - and here I commend you to Mr Clarke's body of work.

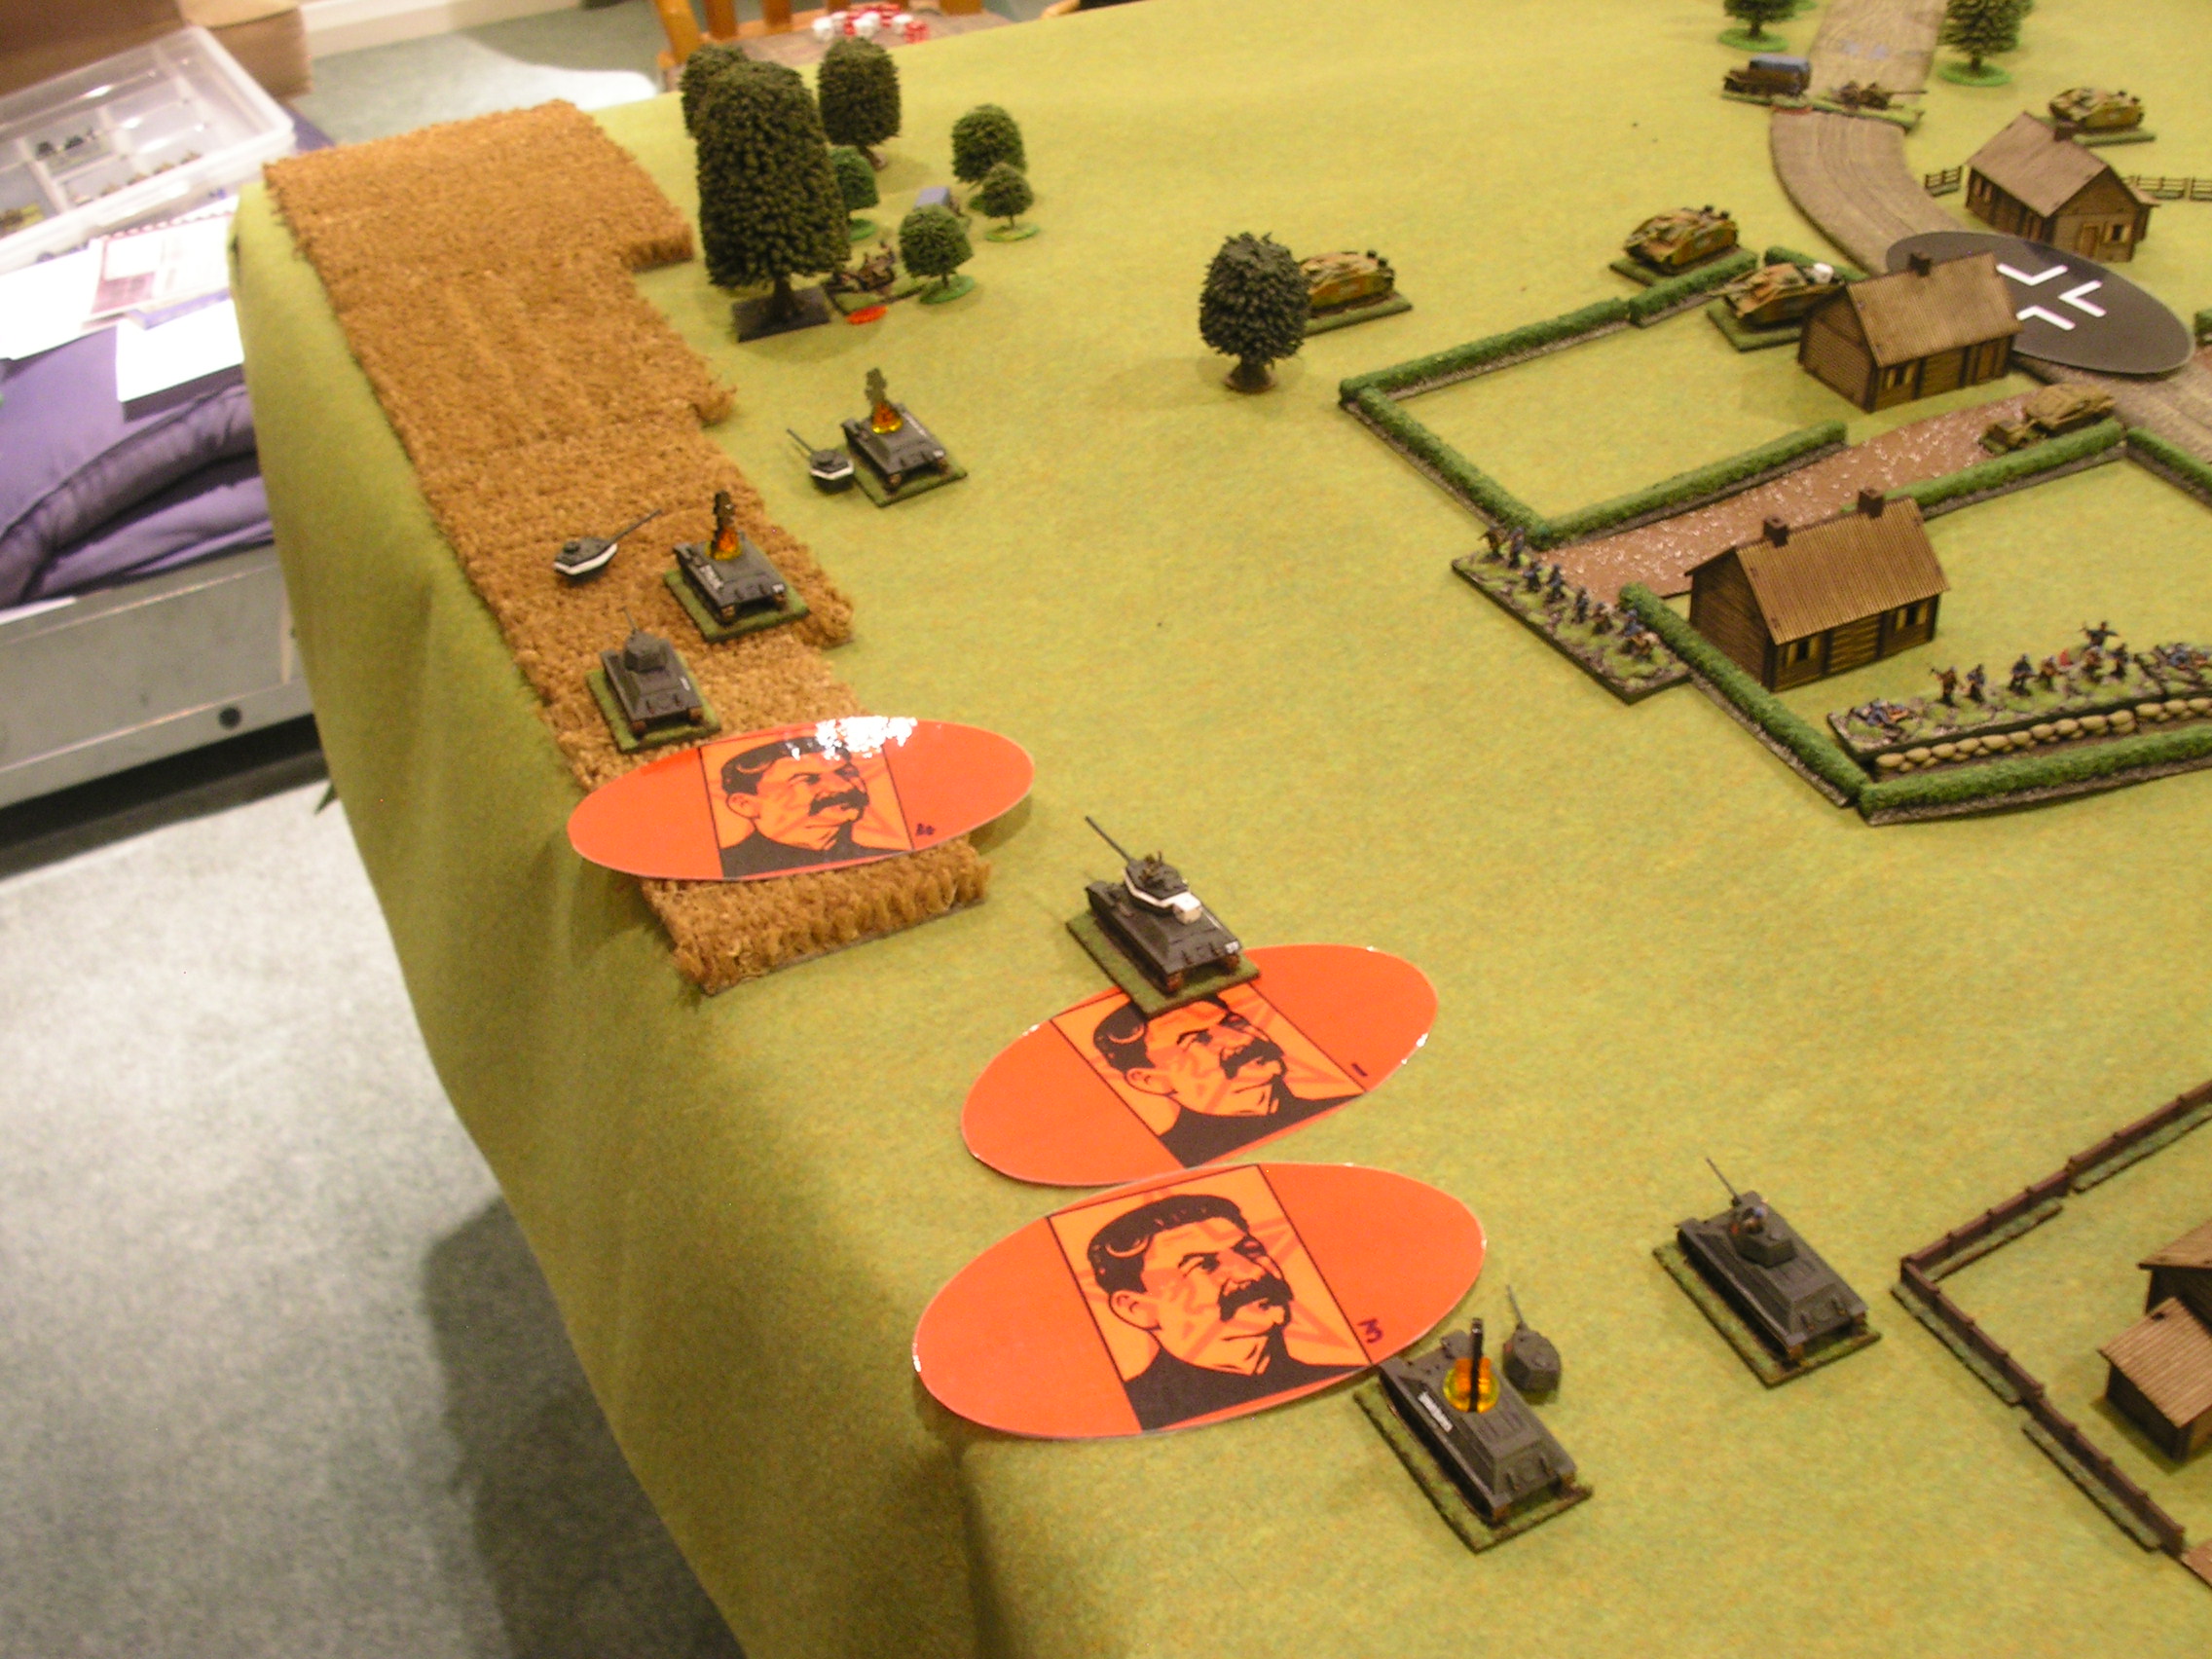
Many reports also have vast numbers of really good photos attached to them: certainly enough to get your hands itching for a paintbrush again...and I know from personal experience that my terrain collection has grown in sophistication just so that my photos look more like those of the masters.

On top of a bit of inspiration, quite a few of the one-off game reports (especially Kev's) give complete game briefings: enabling you to play the scenario out yourself. Ideal if you're stuck for a game to play and (obviously) have played every scenario in my many scenario booklets!

Note also that some of these reports are now only available here on the Vis Lardica site. There are those that have been written specifically for the site, but there are quite a few others that have been lifted (usually with permission!) from sites or blogs that, for any number of reasons, no longer exist. Vis Lardica has become the IABSM archive, and I would like to see that archive as complete as possible.

So, in summary, read and enjoy the huge body of IABSM (and CDs and Q13) AARs that appear here. Even better: submit your own for inclusion. E-mail me at admin@vislardica.com. I'll do all the work: all I need to know is how I get hold of the text and any photos. All standards of work are included!

R

Playtesting the new Napoleonic Rules at Lard HQ

I went over to Lard HQ last night to try out the new TFL divisional level Napoleonic rules that are currently in playtesting.

Although the game shares the same activation dice system as Chain of Command, everything else is new. The basic infantry unit is the battalion: three to seven bases of four figures each, with each figure representing about 120 men. Horse are organised in a similar fashion, with guns being either grouped into batteries or, a nice touch this, integral to the battalion they support.

As you would expect from any new Lardy product, although it has a familiar feel to it, it is a genuinely different game, not just a re-hash of one system to another period or scale.

In last night's game, Mr Clarke and myself played the early French (I forget the exact date), versus Alan playing the dastardly Austrians, no doubt seeking to strangle our infant republic before we had a chance to assume our rightful position as masters of all Europe. Our task was to wrest control of a ford and a bridge held by a smaller but still substantial enemy force. Here is the set up:

The French are to the left, the Austrians to the right. Mr Clarke's big battalions will cross the bridge and hit the Austrians in the built up area (the big house with four windows). I would hold the left flank in case the Austrians counter-crossed the ford. There were a lot of Austrians in front of me:

As the game started, Rich duly advanced his men over the bridge and headed for the built-up area.

His plan was to line up his multiple battalions and hit the town all at once, but unfortunately one of his units took an excess of heavy artillery fire on the flank, and then routed back across the bridge. This caused a massive traffic jam on the bridge and severely unnerved the rest of his troops, meaning that rather than hitting the town all at once, his battalions were fed in piecemeal.

An initial assault was repulsed, then he fought off an enemy cavalry charge as the enemy sought to take advantage of the resultant confusion, then his next assault was successful...but the time taken for all this had given the Austrians time to reinforce the town and slowly Rich's men started to be pushed back out again.

Meanwhile, on the left flank, the Austrians had decided to counter attack:

I had turned to meet them, and then let a couple of battalions cross the ford before marching forward to take it myself: neatly splitting his force in two.

At that point, unfortunately, the game had to end as we were out of time. The Austrians were declared the winners, as Rich's attack was about to fail utterly and things had not yet got properly started on my flank. All agreed that it was a close run thing: with Rich being literally at match point a couple of times before Alan's Austrians, holding on doggedly, managed to turn things around.

It was a great game and a really positive try-out for the rules. Everything seemed to work just fine, and I found that I could quickly pick up the basic mechanics without difficulty. I would love to try this out using 15s rather than 28s and, perhaps more importantly, I think the game would work brilliantly for the whole of the 19th century...well, through to the end of the Franco-Prussian War at any rate.

My thanks to the Lardies for their hospitality. I'm off to look at Napoleonic figures in 15mm now!

AAR: Diot

Played a great game of I Ain't Been Shot, Mum! today using scenario #4H from the Blenneville or Bust! scenario pack. 

Exciting action as the Germans attempt to outflank the Allied advance via the strategically vital town of Diot, only to run into a company of Scottish infantry determined not to let them past!

Click on the picture to read the whole AAR:

And for those whose appetites are whetted by the above, I've reloaded the IABSM AARs down to the last one from the Fall of the Lion Gate Malaya and Singapore scenario pack - I'm doing all the scenario pack AARs first before moving on to individual games and the Games Day reports. Check them out!

AAR: Ploschad

Last week Neil and I played the climatic battle in our Bashnya or Bust! campaign: with the Soviets trying to get past the German defenders of Ploschad.

A cracking game, even if my camera was playing up a bit.

Click on the picture below to read the whole AAR...

I've also found the time to re-load the first eight or so IABSM AARs from the Blenneville or Bust! scenario pack too, so check them out!

AAR: Near Devyat

Craig Ambler gives us the next installment in his solo-play Bashnya or Bust! campaign. This time it's action near Devyat, featuring a German raid to spike some Soviet guns.

Click on the picture to read more...

And for those who like a bit of Vietnam action, I've finished loading all the Charlie Don't Surf! After Action Reports. Use the navbar in the header to go there now (well, after you've read Craig's AAR, of course).

AAR: A Canadian VC

Originally posted 4th August 2014

A real first on today's update: an AAR in German!

Those of you who don't speak German need not worry: the report, or spielberichte, is in two parts. First up are some words which Google and I have translated for you and, secondly, there's a great cartoon strip version which is in German...but you can always look at the pictures!


AAR: WTHHYBB x 3 from NYC

Originally posted 19th July 2014

I found a new source of IABSM After Action Reports today: a blog by a member of the Metropolitan Wargamers of Park Slope, Brooklyn, New York City, aptly named Brooklyn Wargaming.

Kimber has recently discovered IABSM, and has written a review here

He has also posted a couple of short After Action Reports from the Where The Hell Have You Been, Boys?scenario pack.

#1:  Find the Guns

#2: Holding the Pointe

#4: South of Vierville