TTS Remotely: Marian Romans versus Gauls
/Having now played in three remote games, I decided that I should try and run my own: seems only fair that I should host once in a while! I recruited a willing volunteer (thank you Bevan!) and set about, er, setting up.

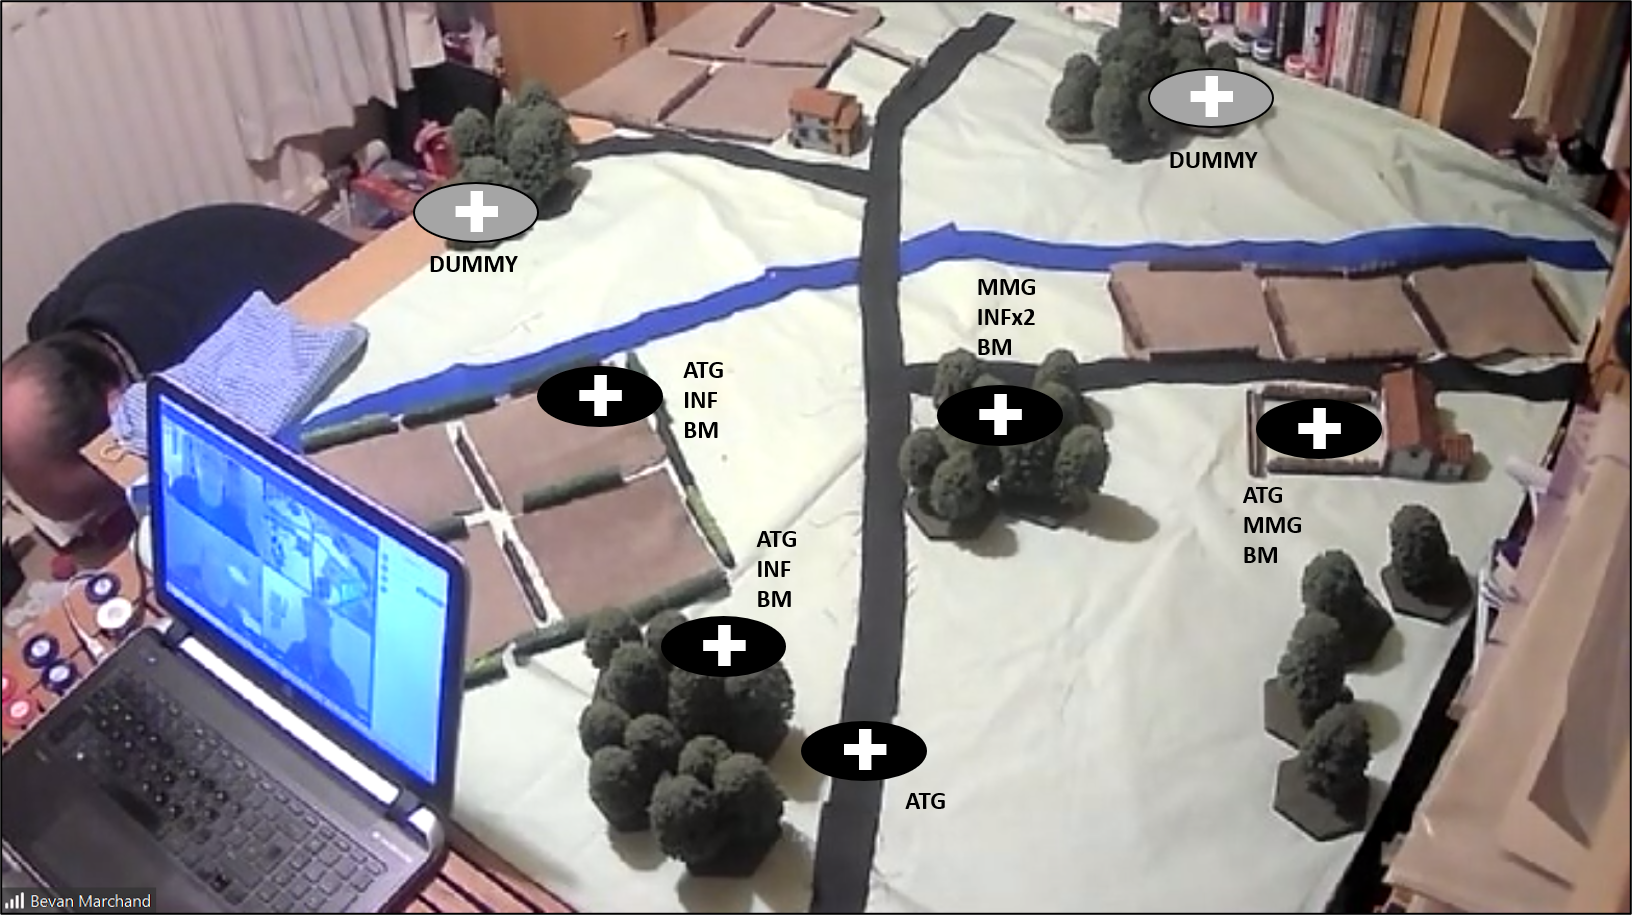
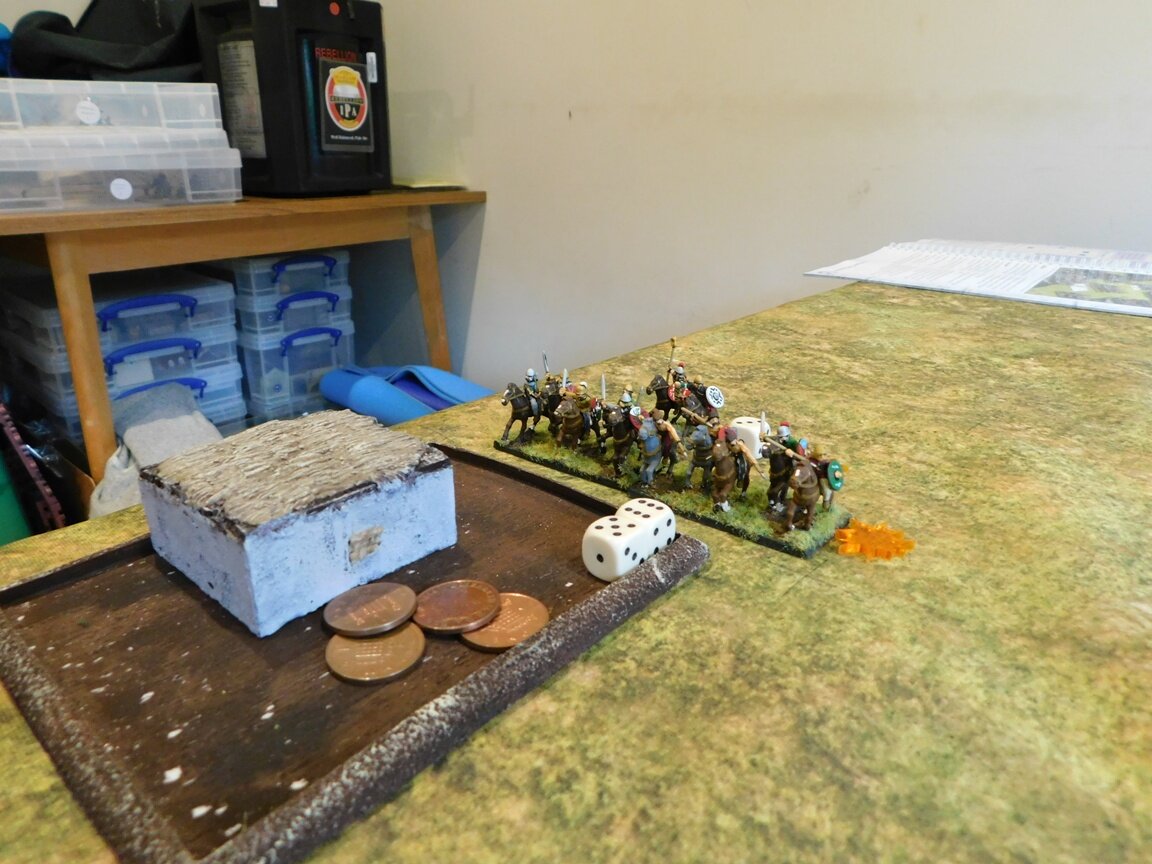
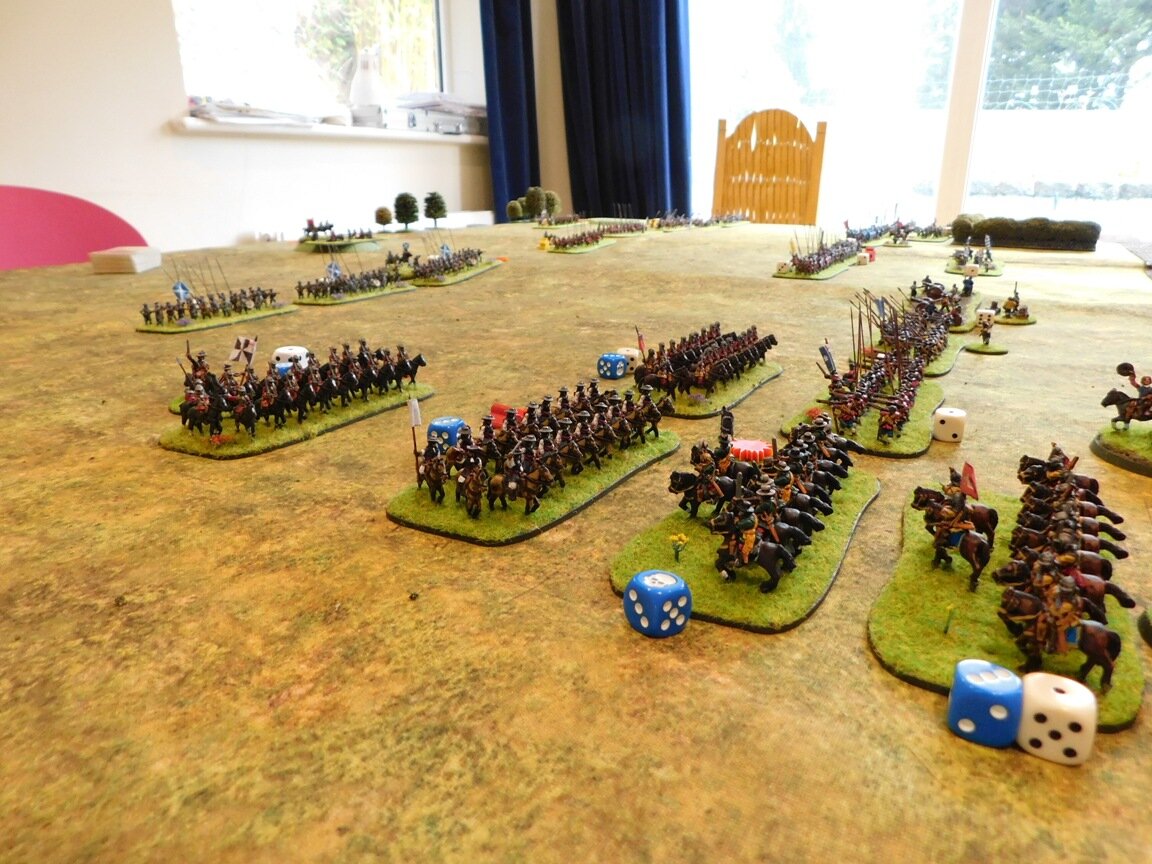
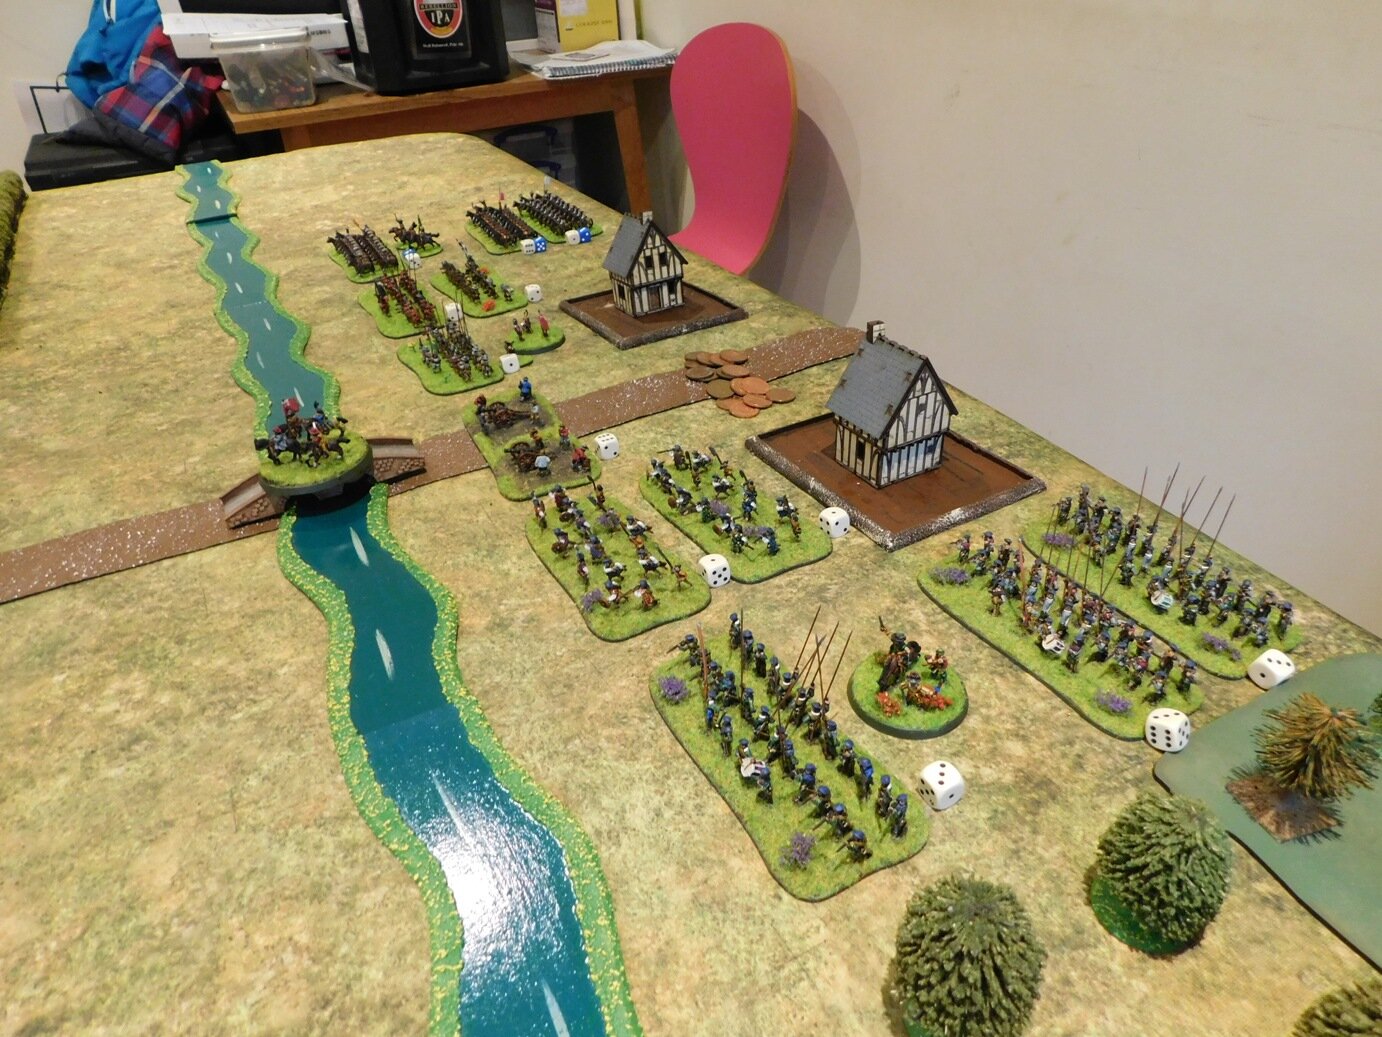
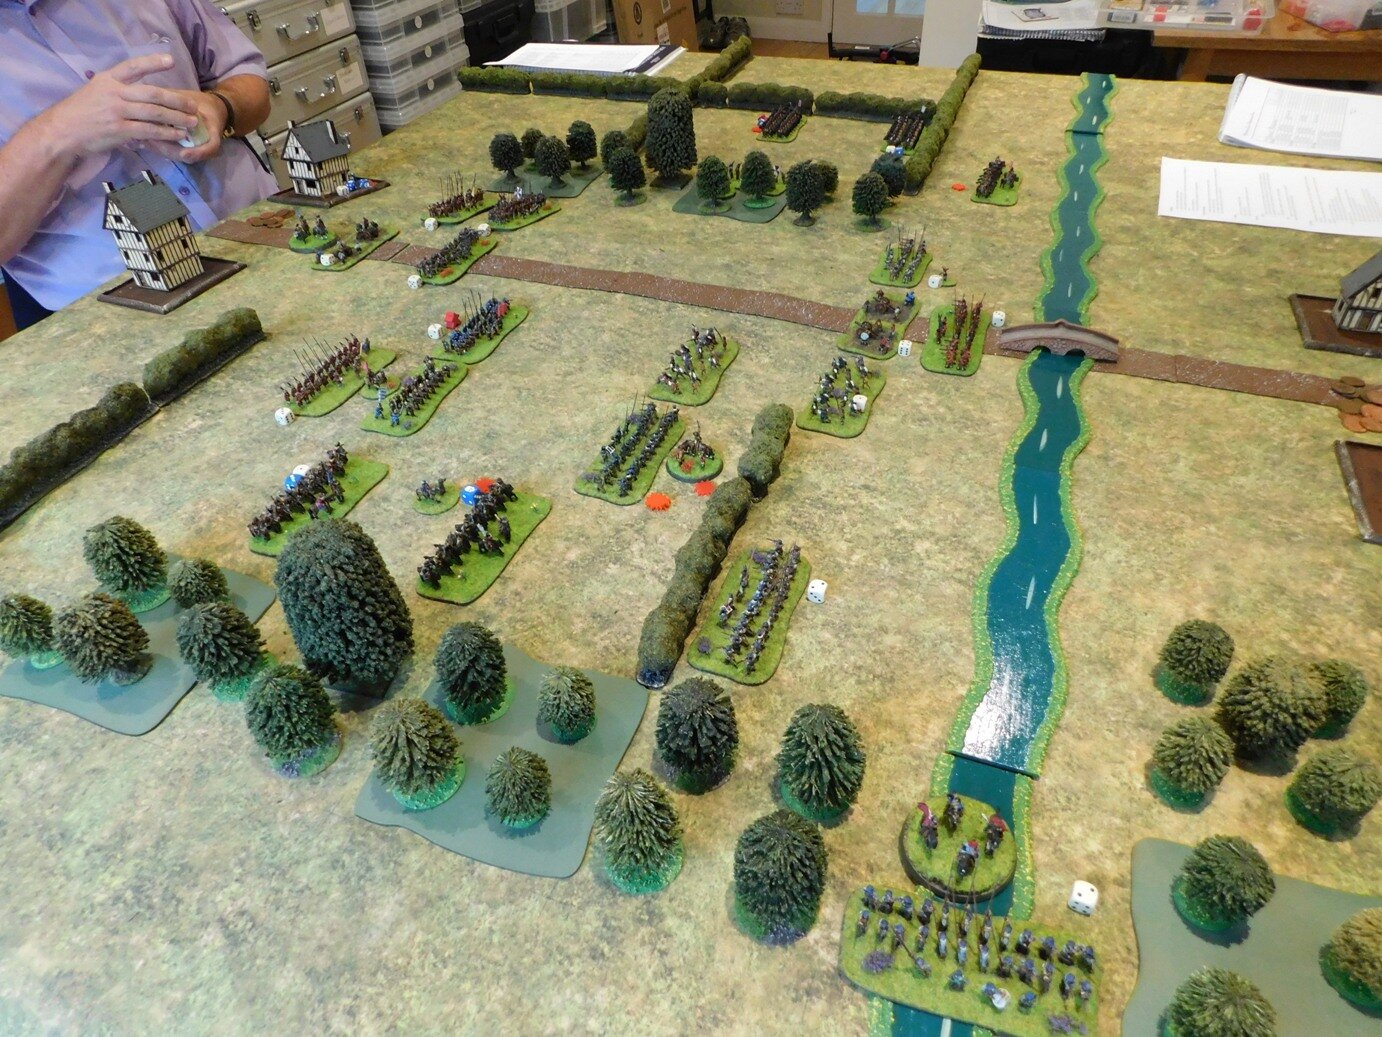
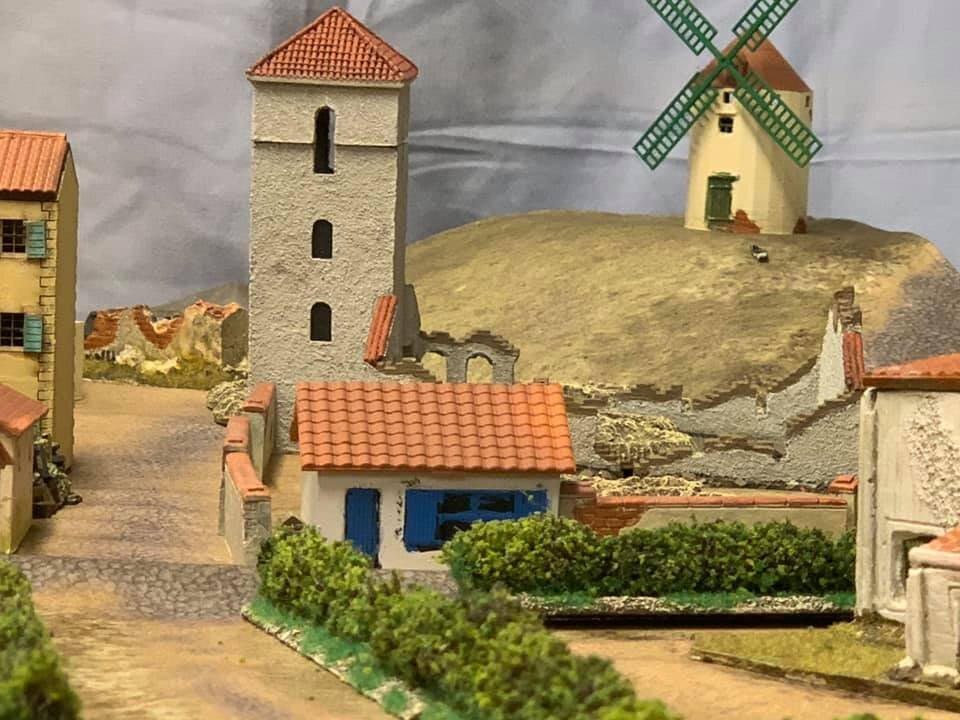
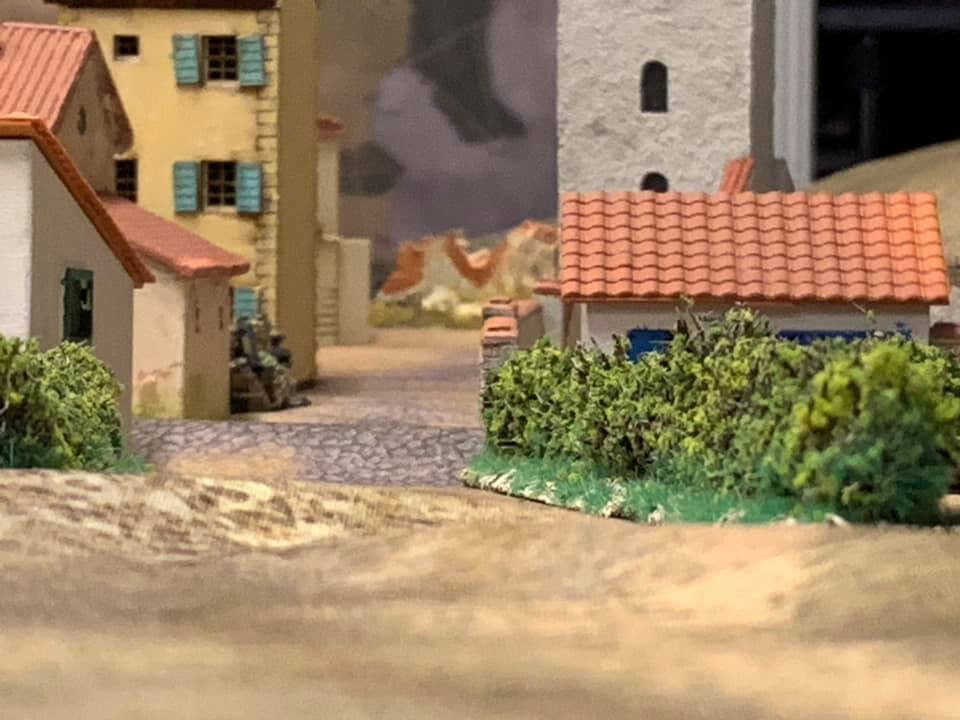
With the wargames room turned into a yoga studio until fitness clubs are open again, I had to set my tables up upstairs: plenty of room, but not as much light as usual. On the plus side, however, the wardrobe-like cupboard doors provided a useful place for the overall table camera to sit. This would give a bird’s-eye view of the battlefield whilst close up images were provided via a mobile ‘phone.
Connectivity was via Zoom. The laptop that you can see in the picture hosted the meeting, with the mobile ‘phone calling in as another participant. The overall camera gave a pretty rubbish picture, but it did at least allow Bevan to see everything that was happening, but his moves were mainly made based on the mobile ‘phone “roving camera” which I hovered over the table wherever the action was.

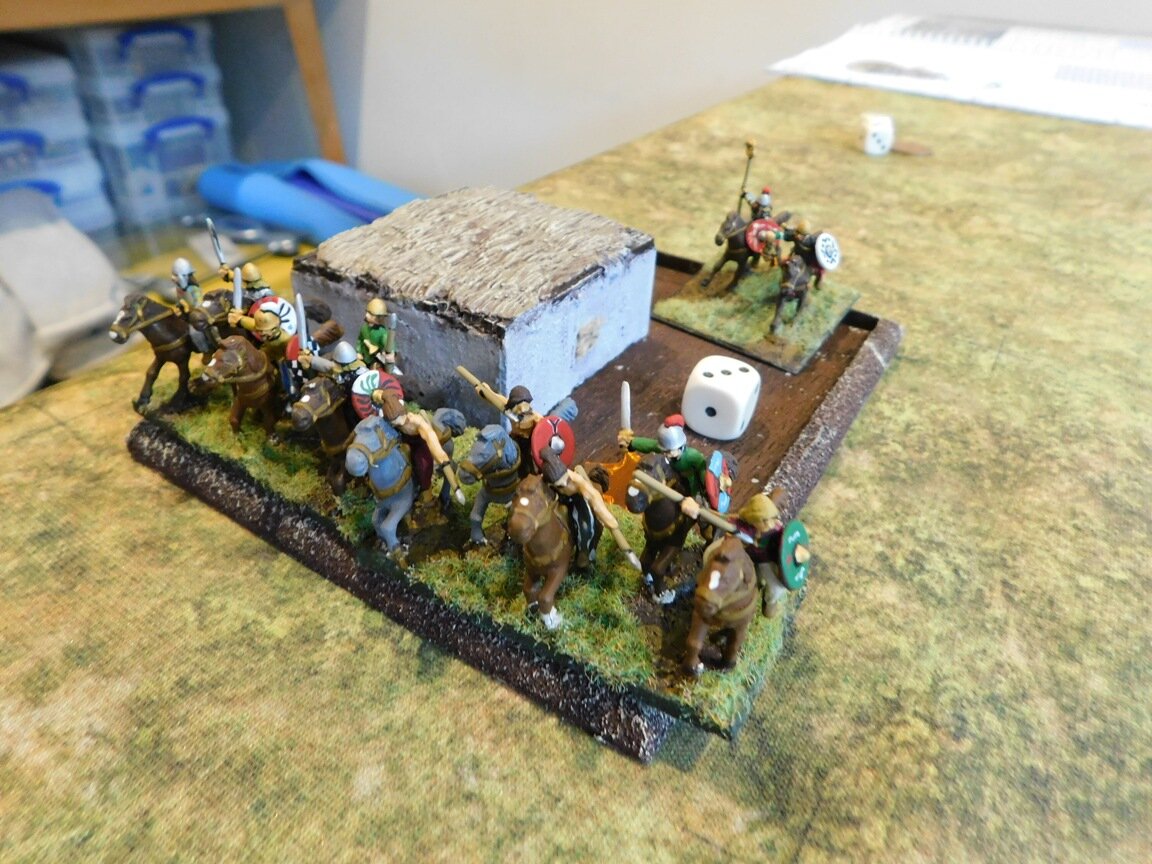
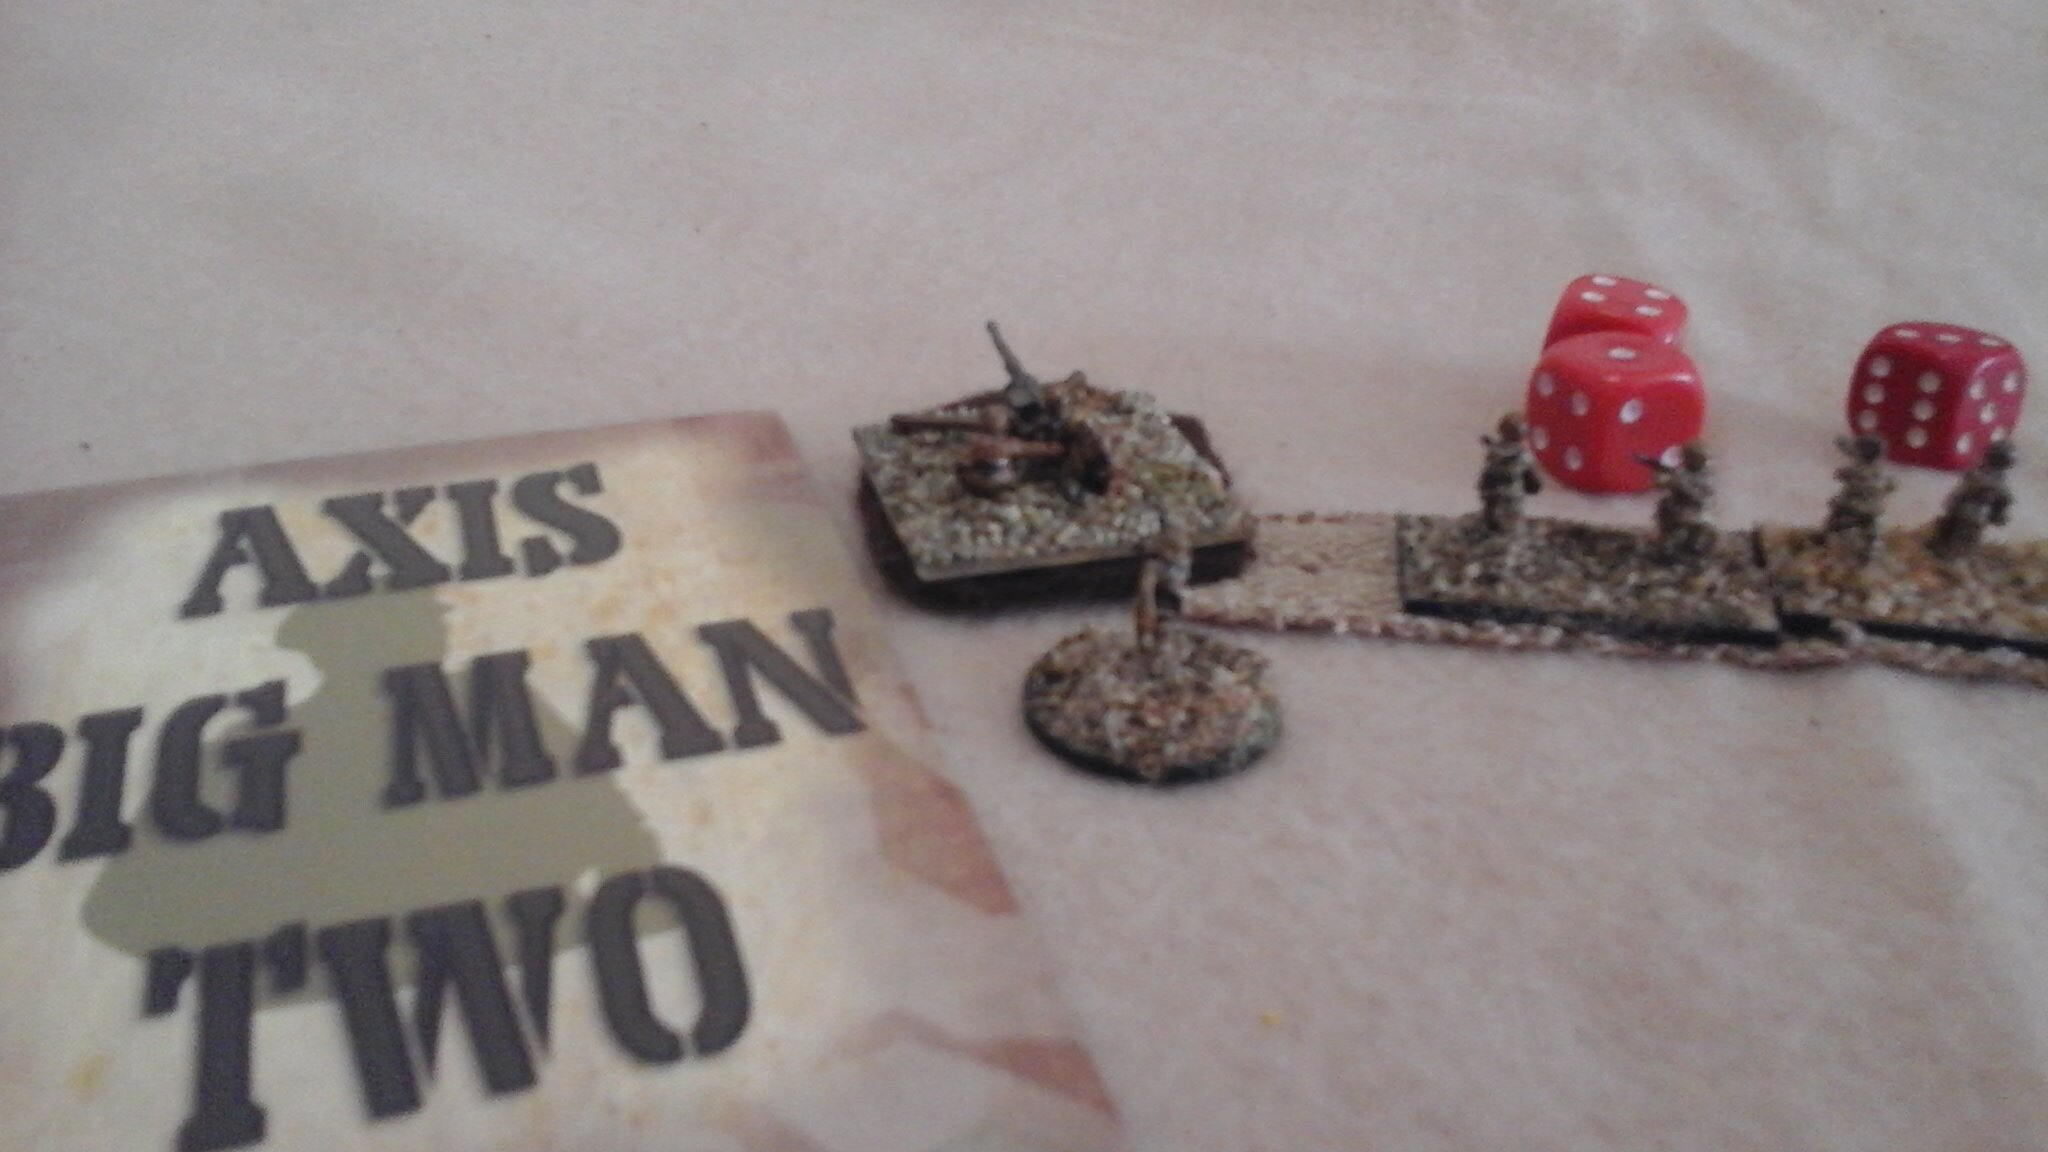
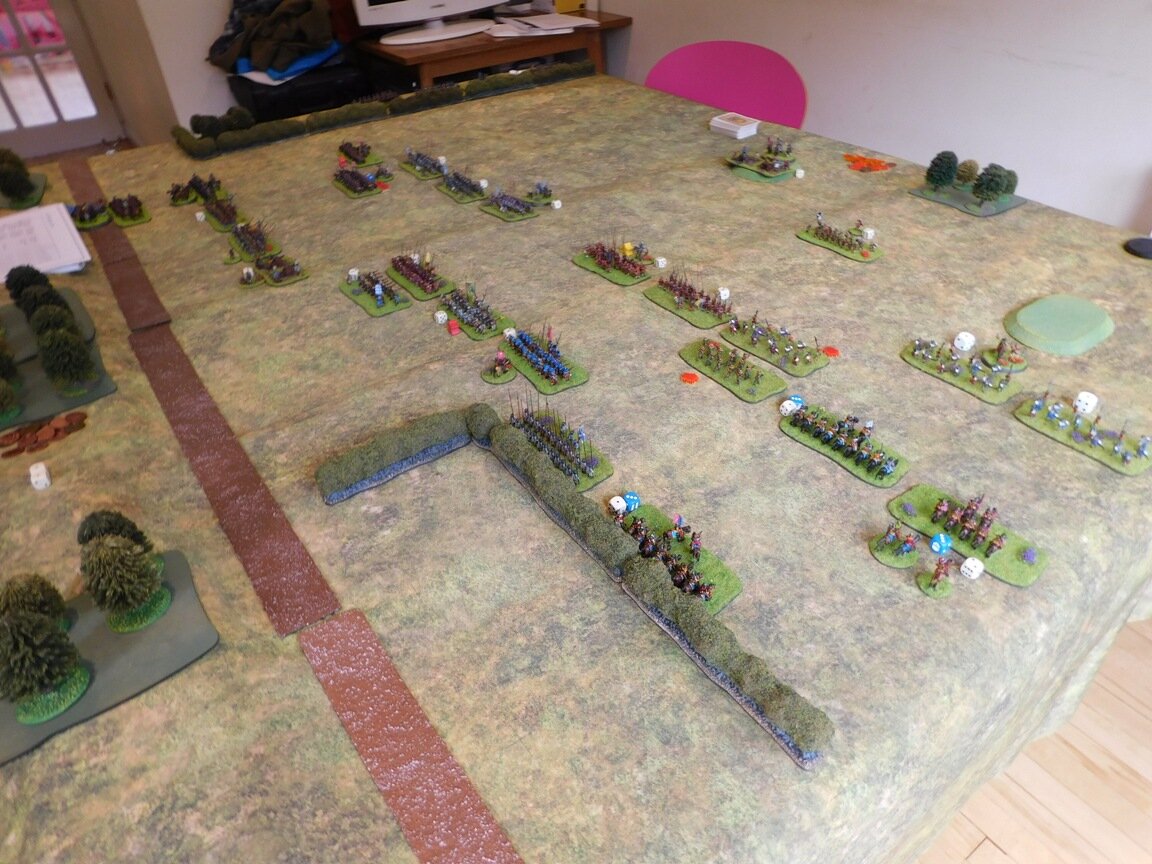
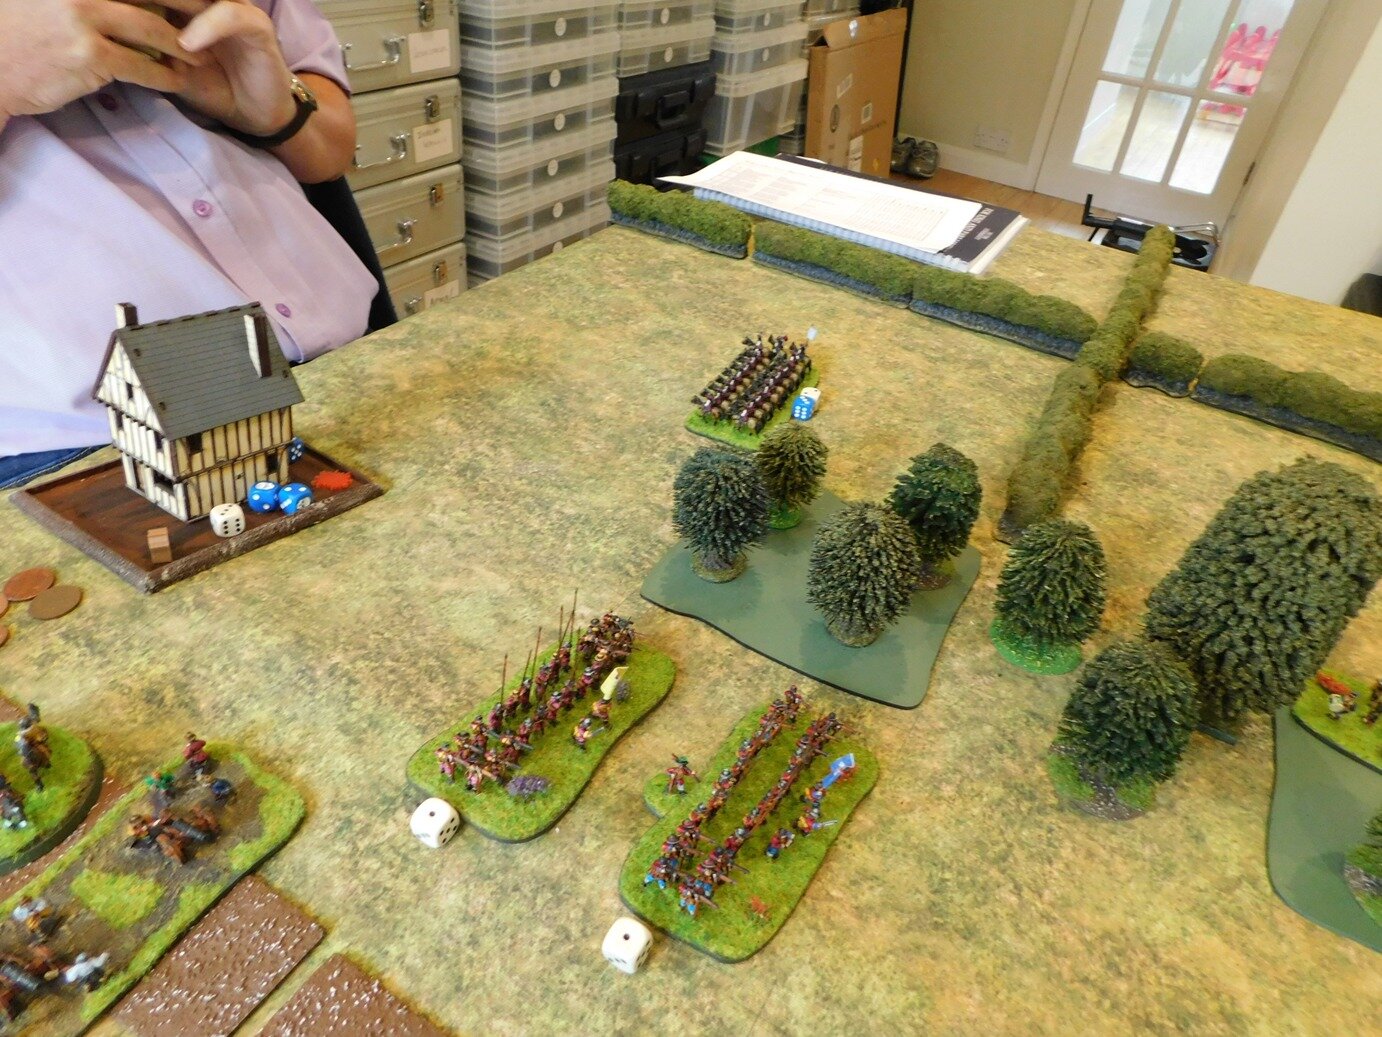
Testing the Set Up: this is what the remote player would see
I had decided on To The Strongest as the grid-based system would mean no measuring and would be easier for Bevan to judge what to do. It would be a suitably un-anachronistic clash between my Marian Romans and Bevan’s Gauls.
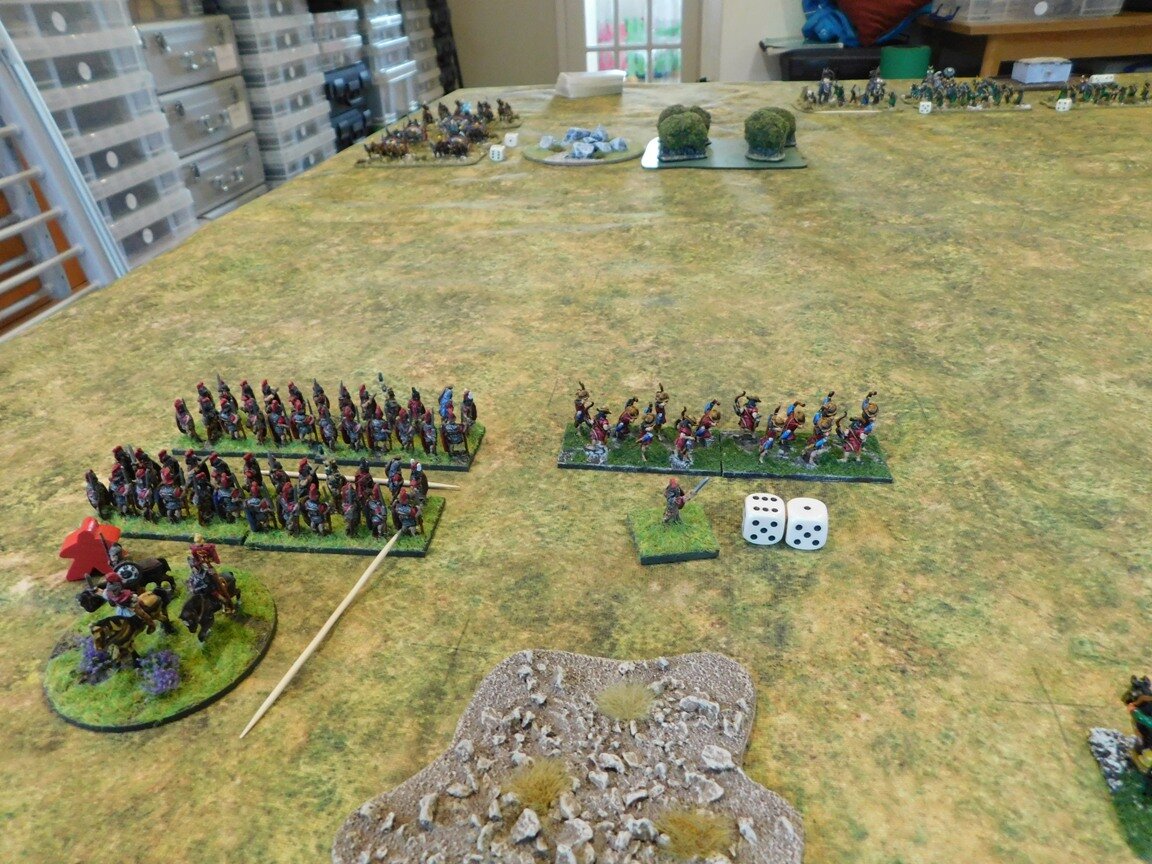
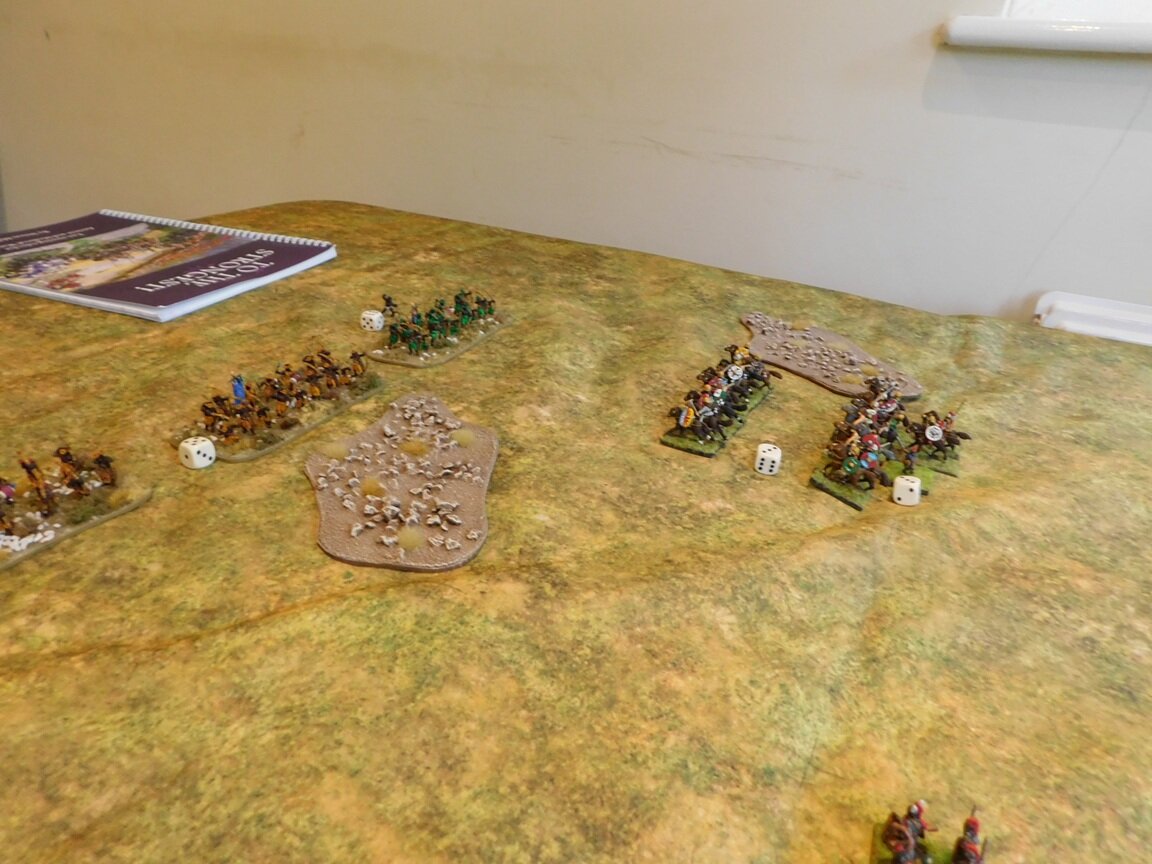
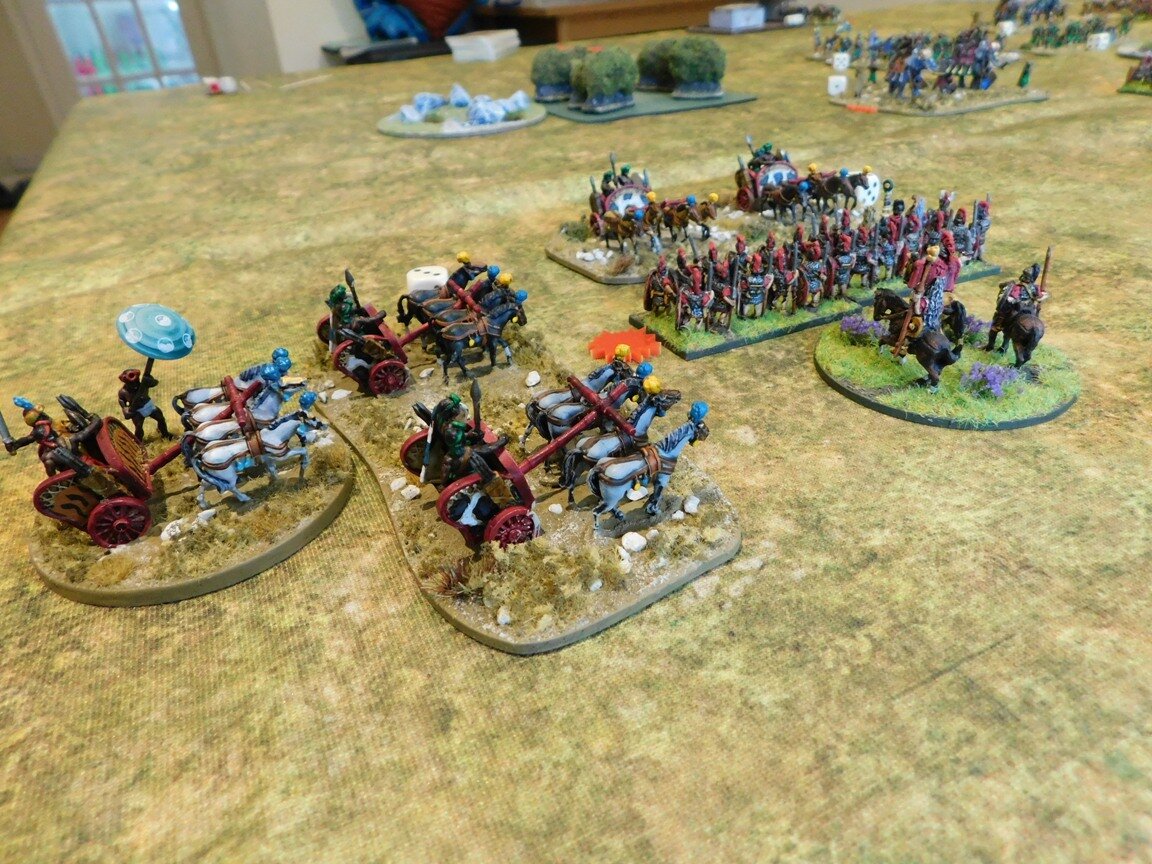
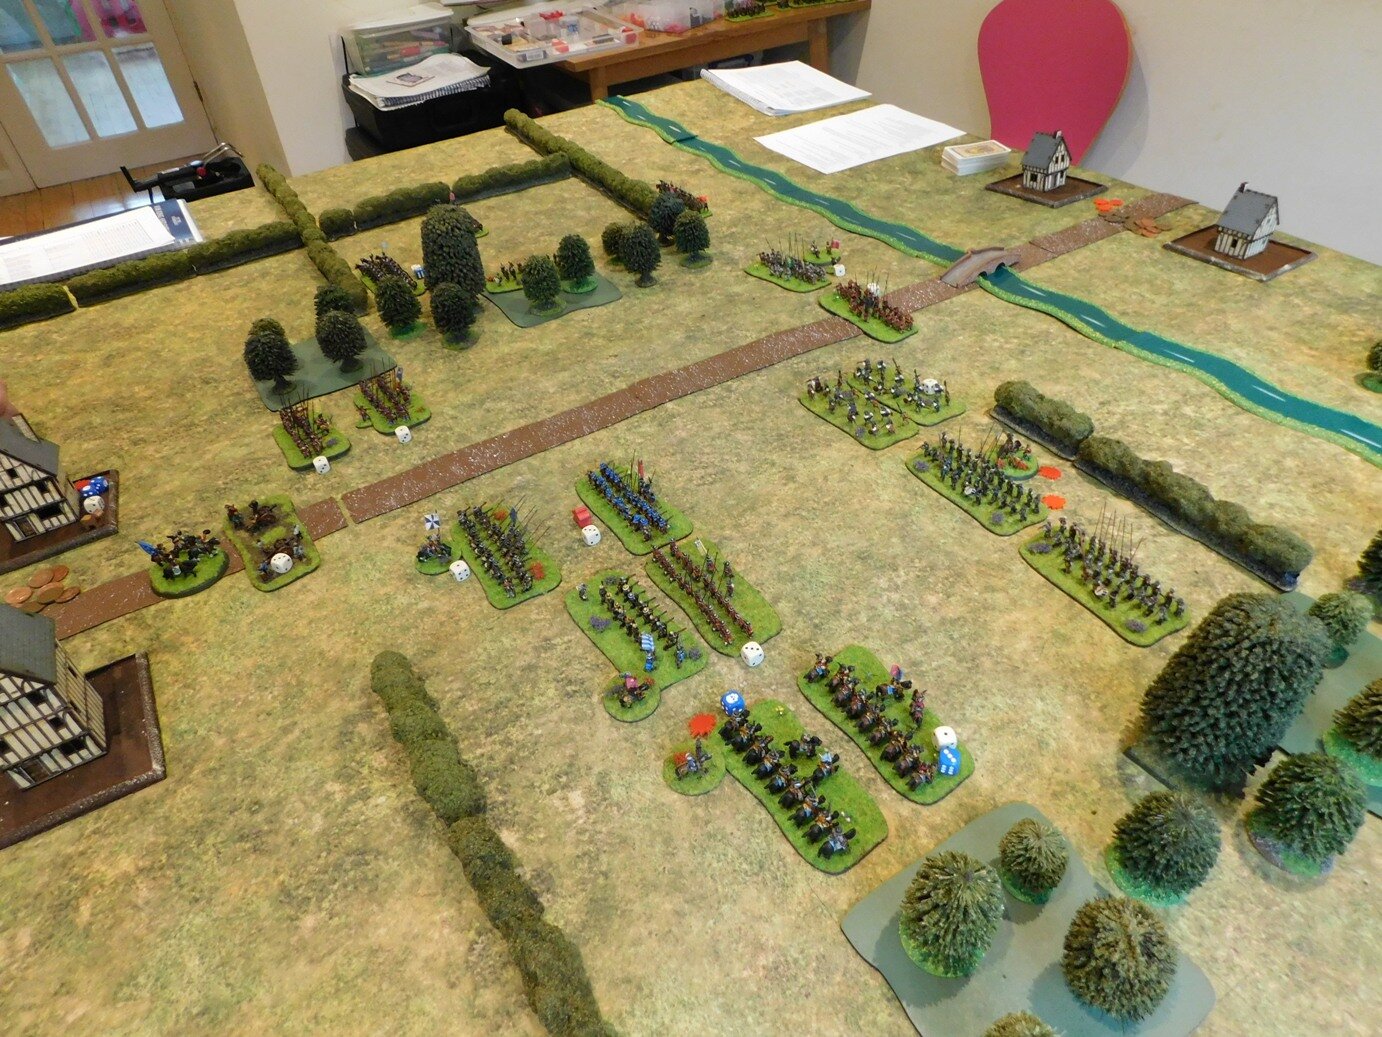
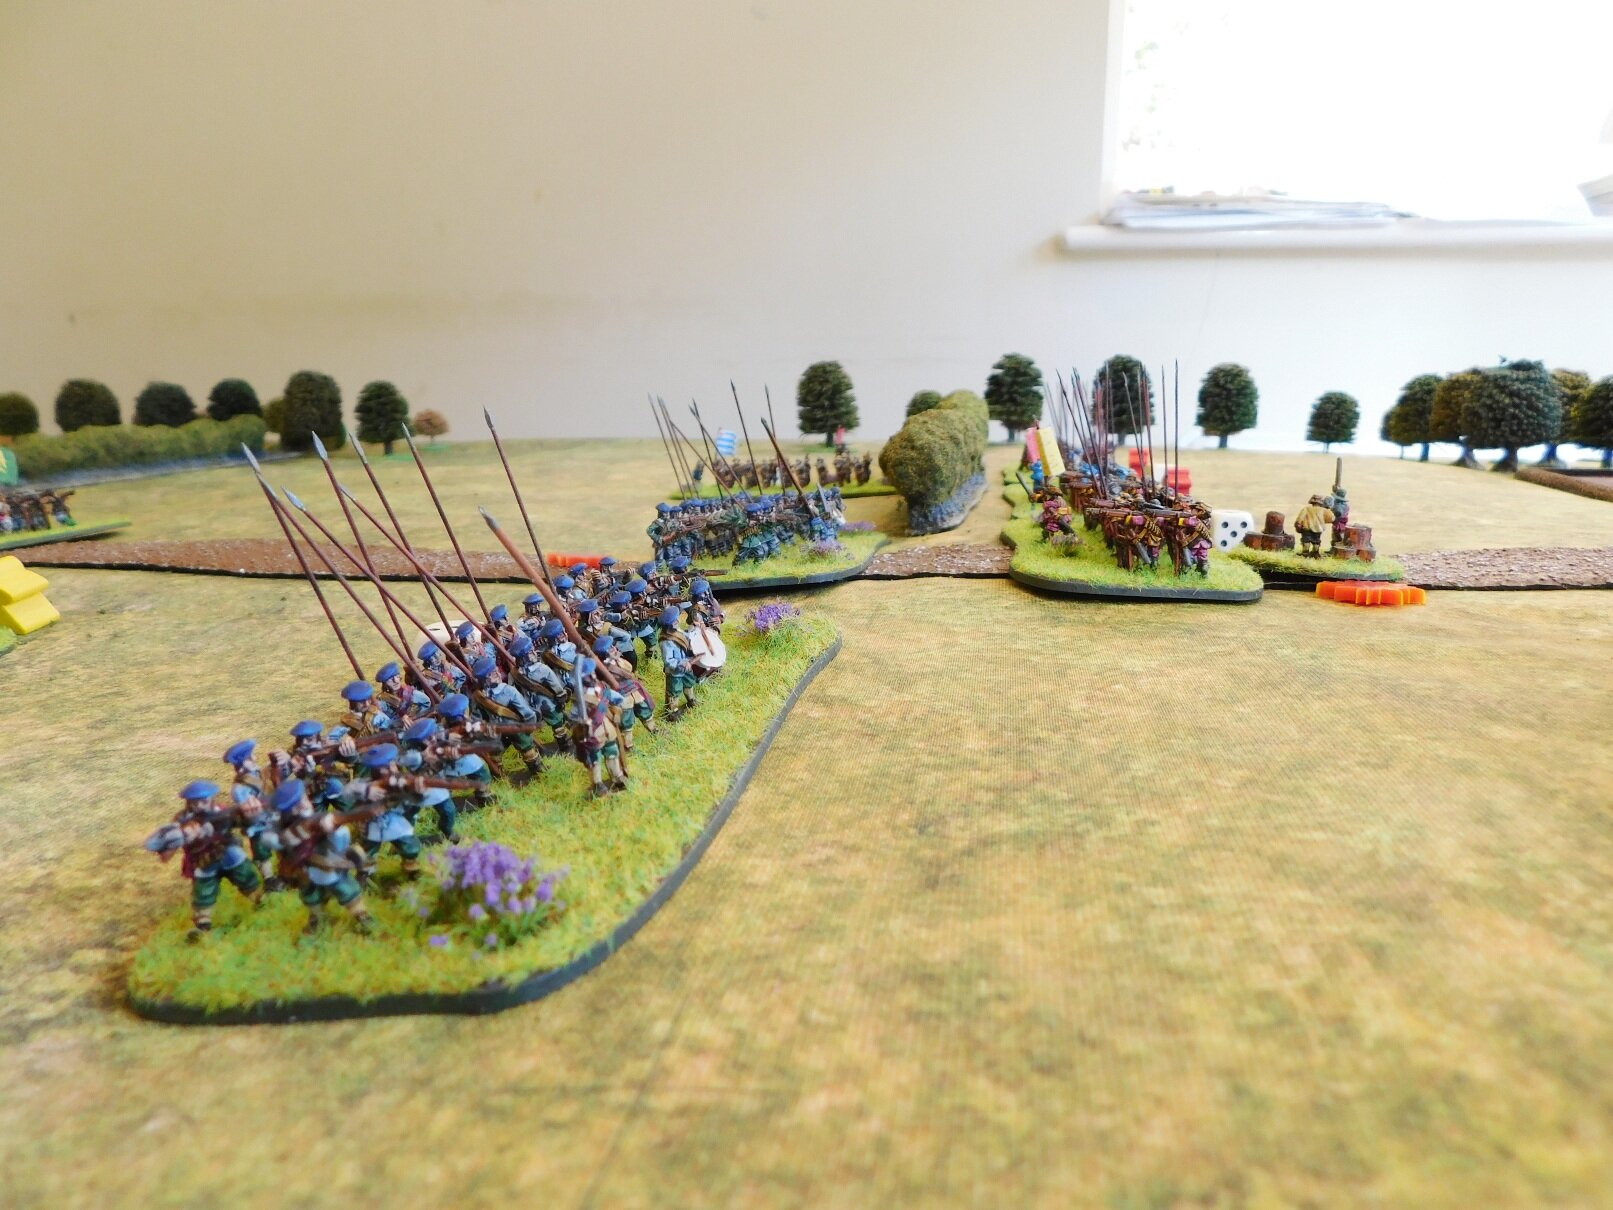
In order to help Bevan keep track of his troops, I had bought a whole load of little stands to carry numbered tags. Although not really visible on the overall camera, they worked very well in close up, and allowed me to call out unit numbers rather than long explanations involving “this unit that’s near this thing” etc.

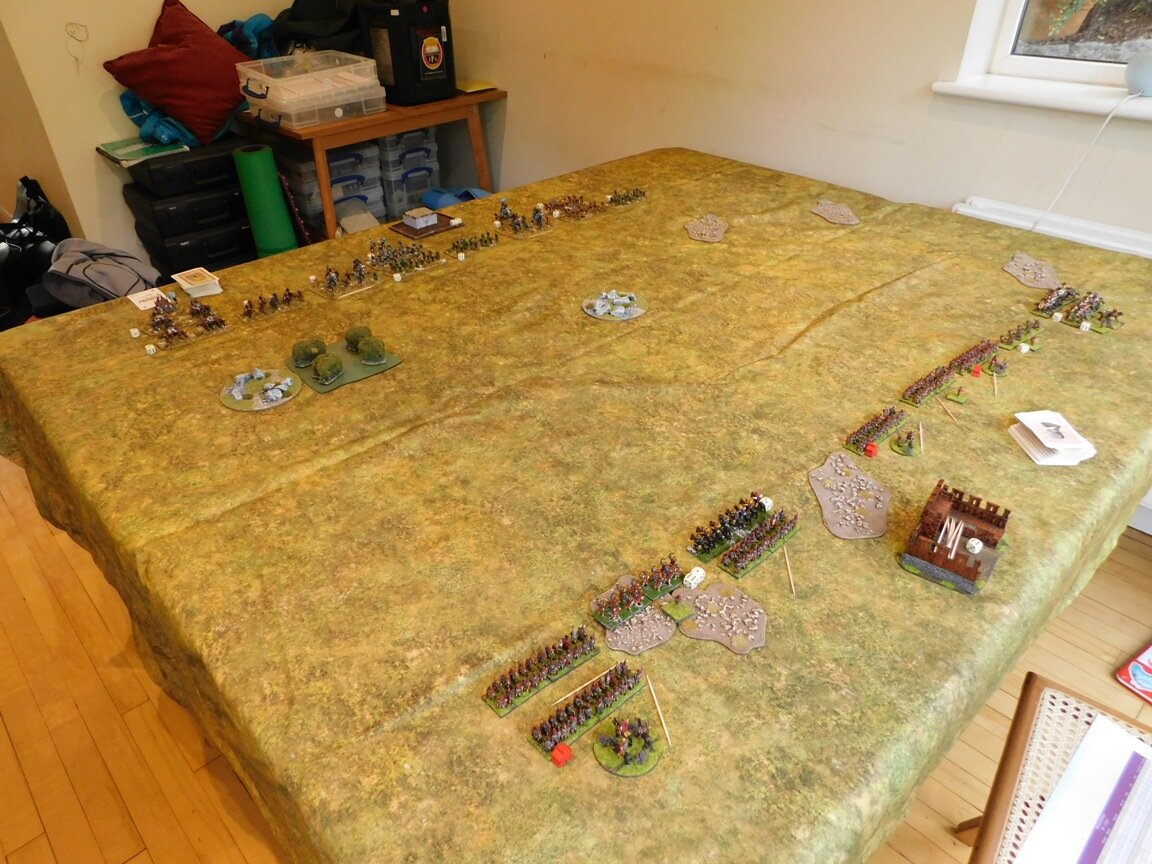
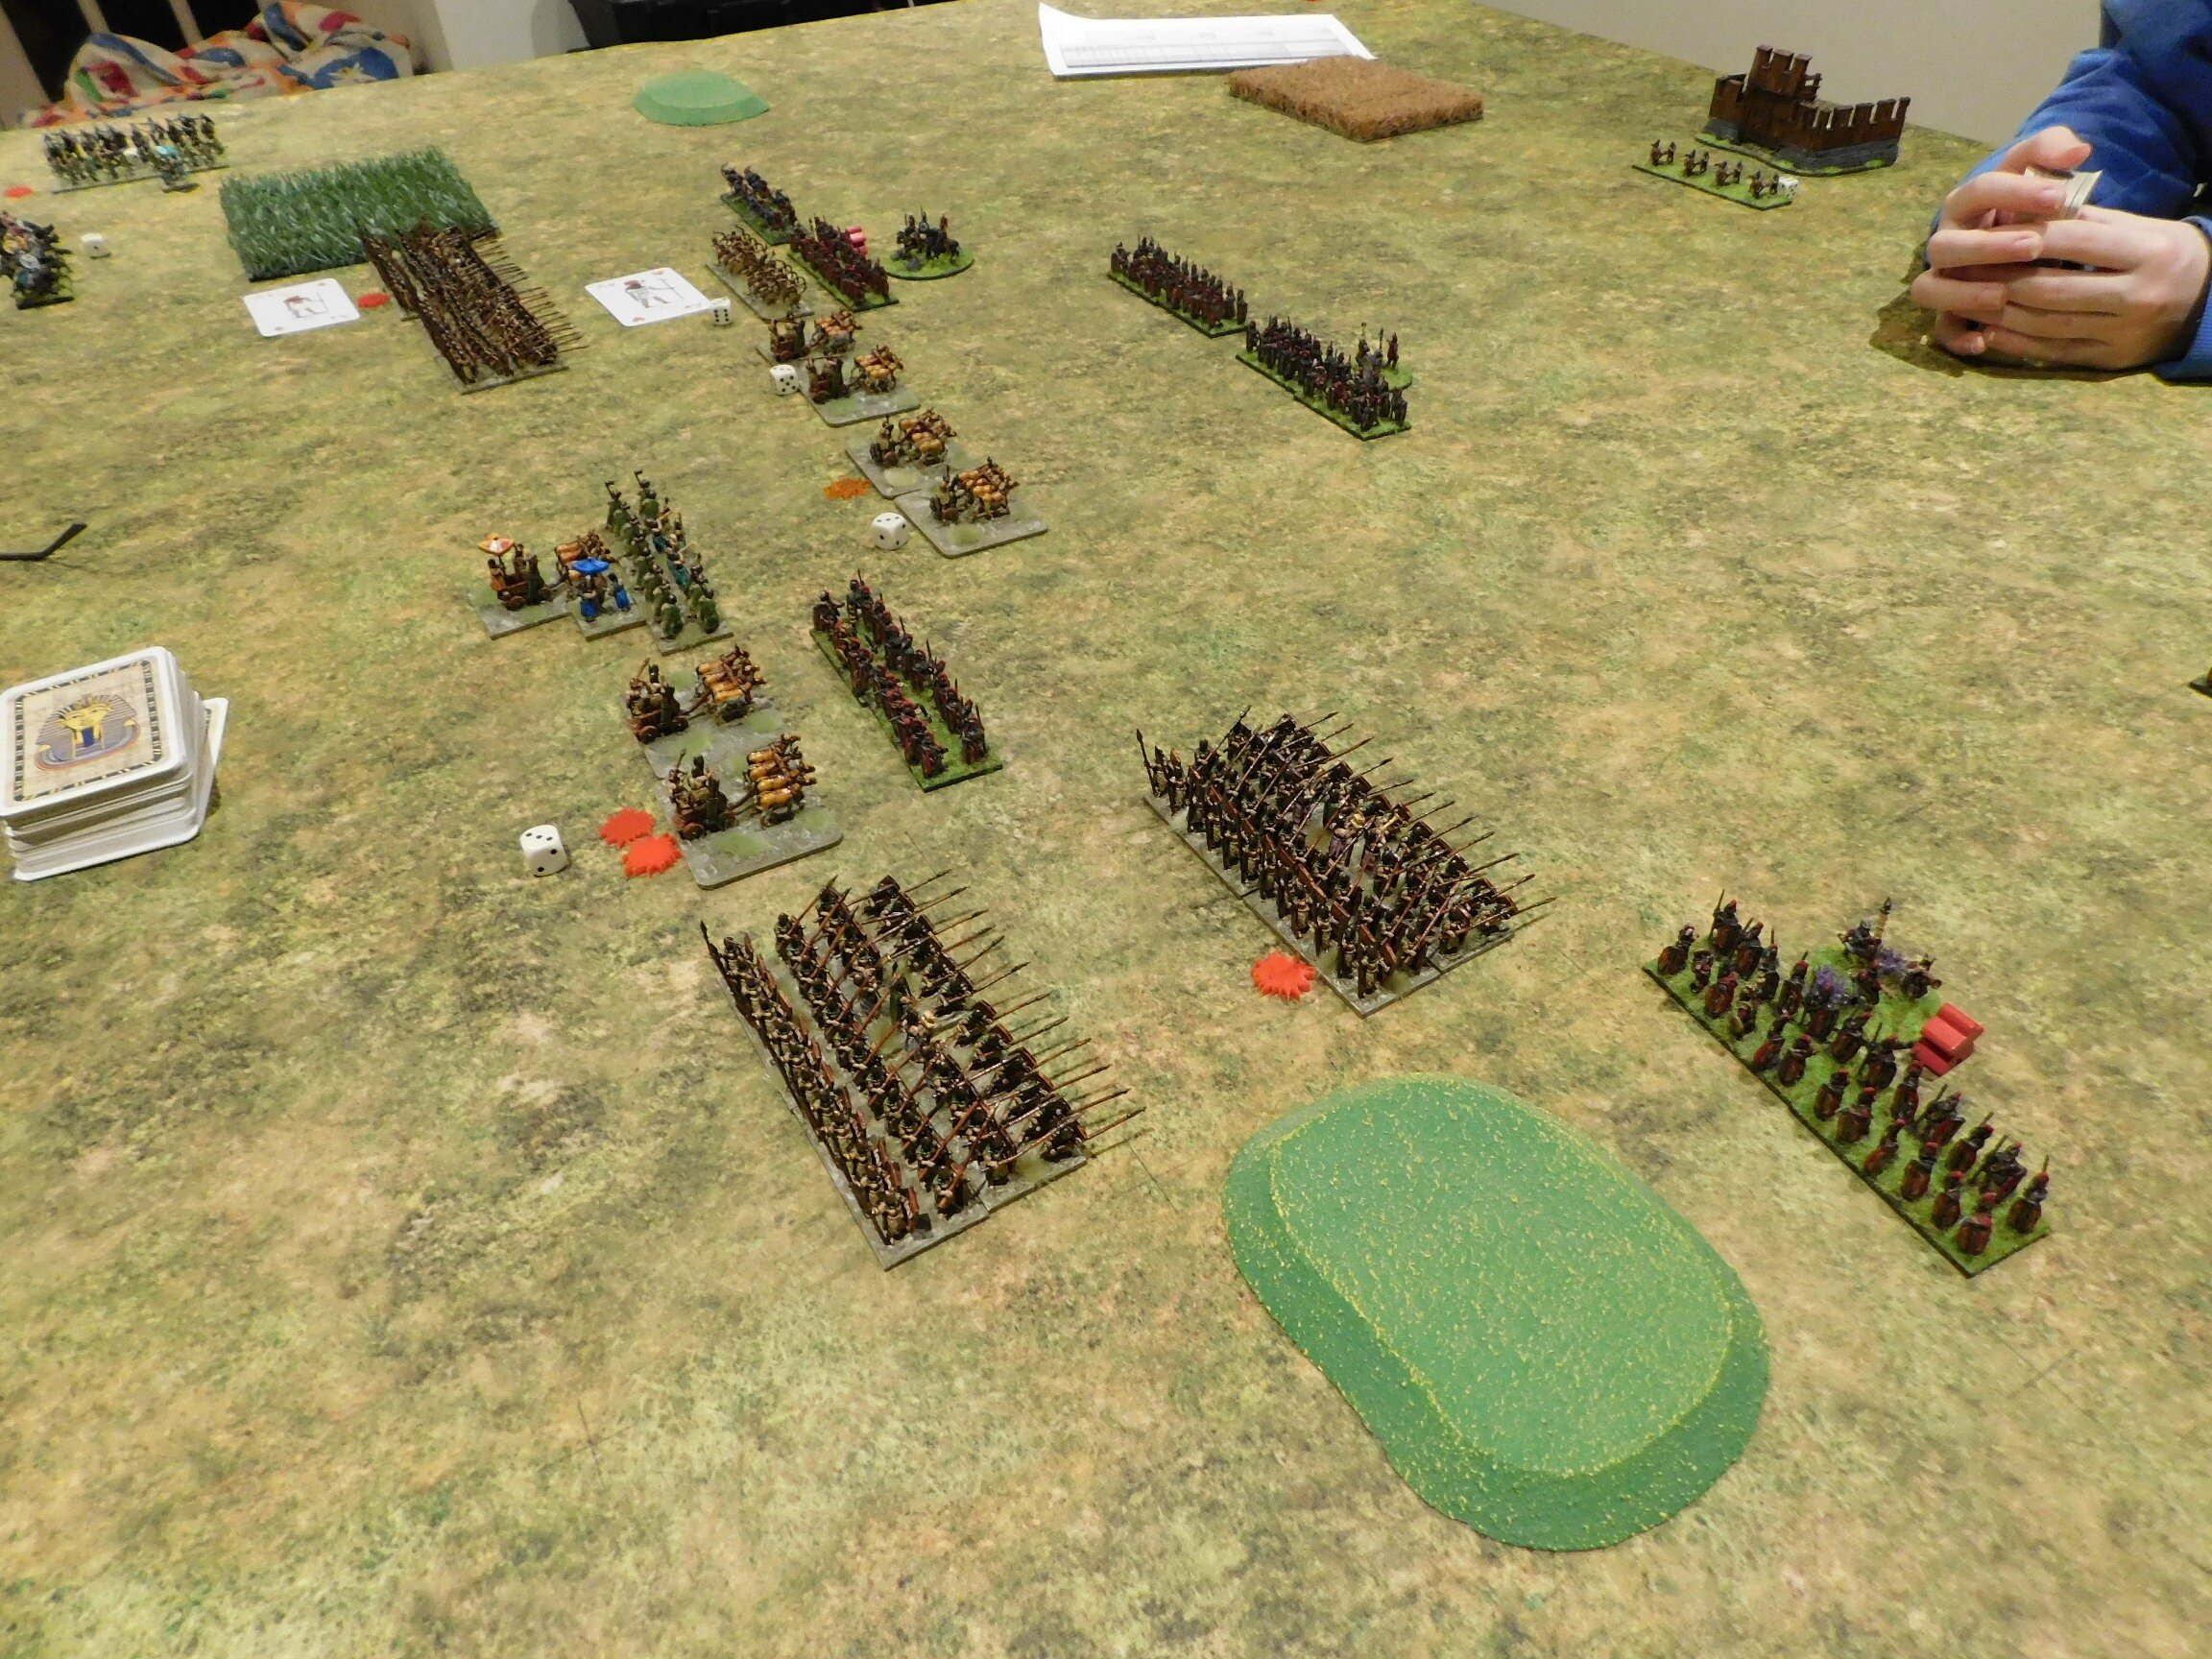
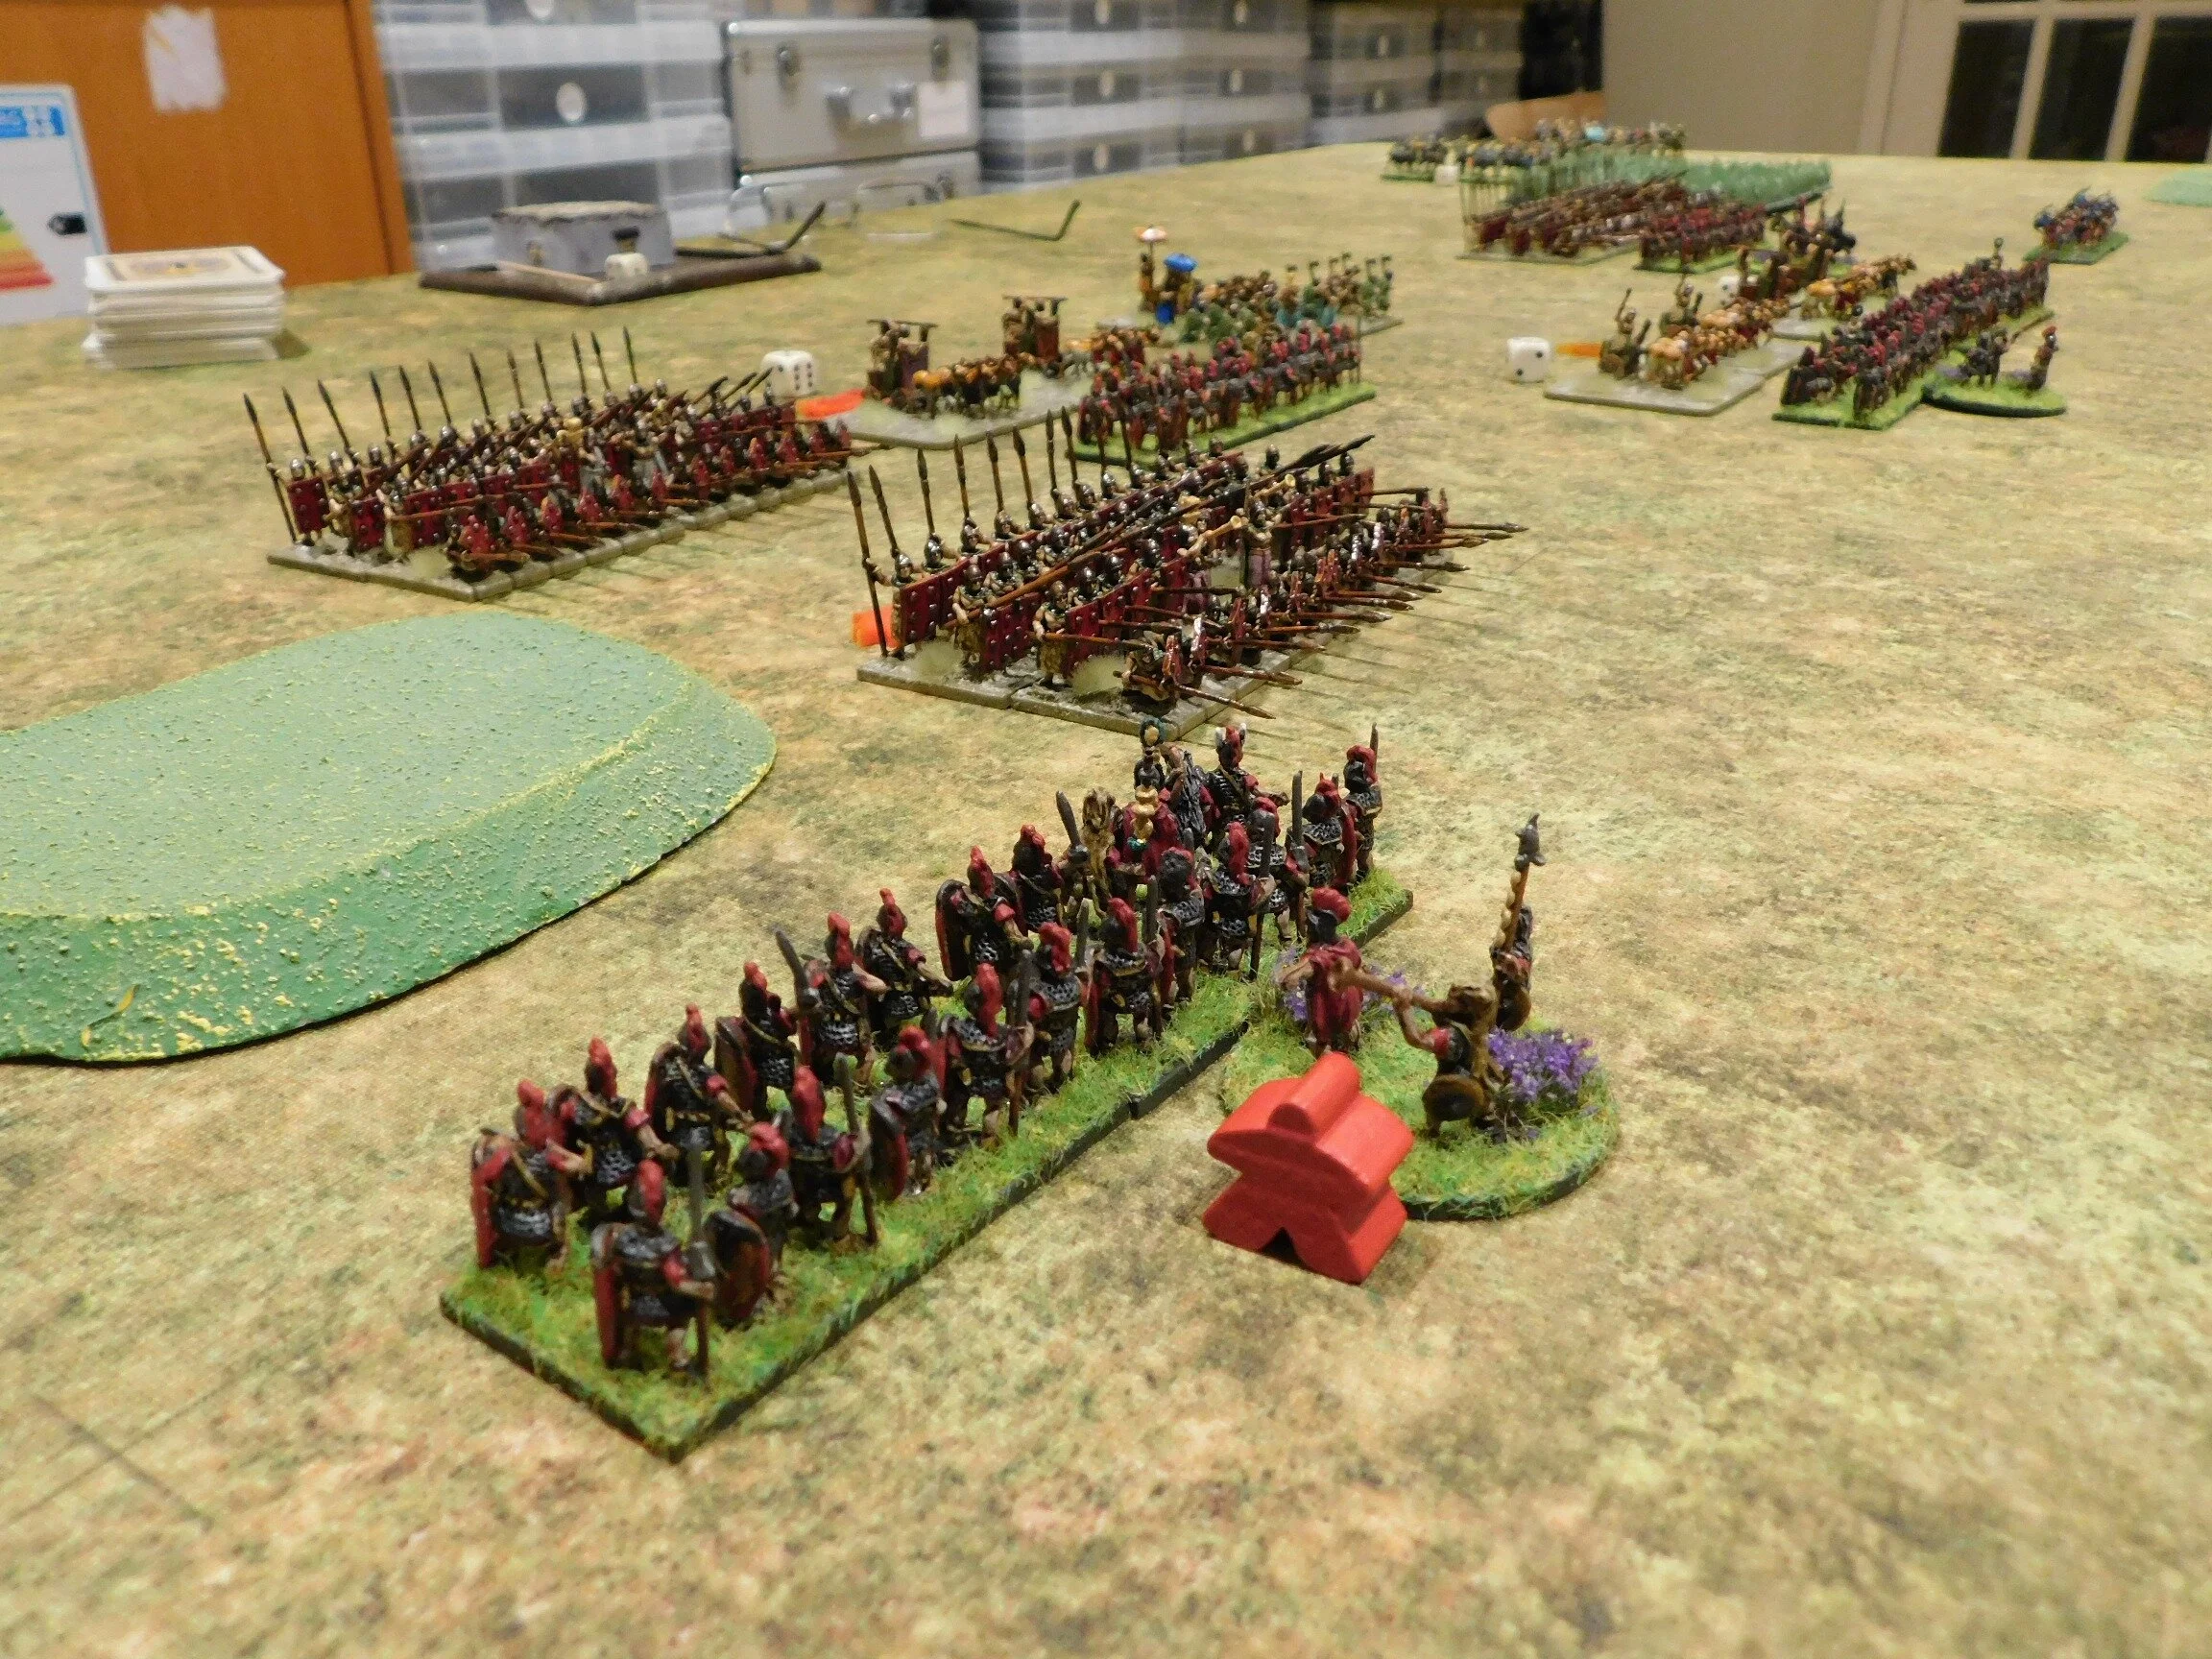
The Sides
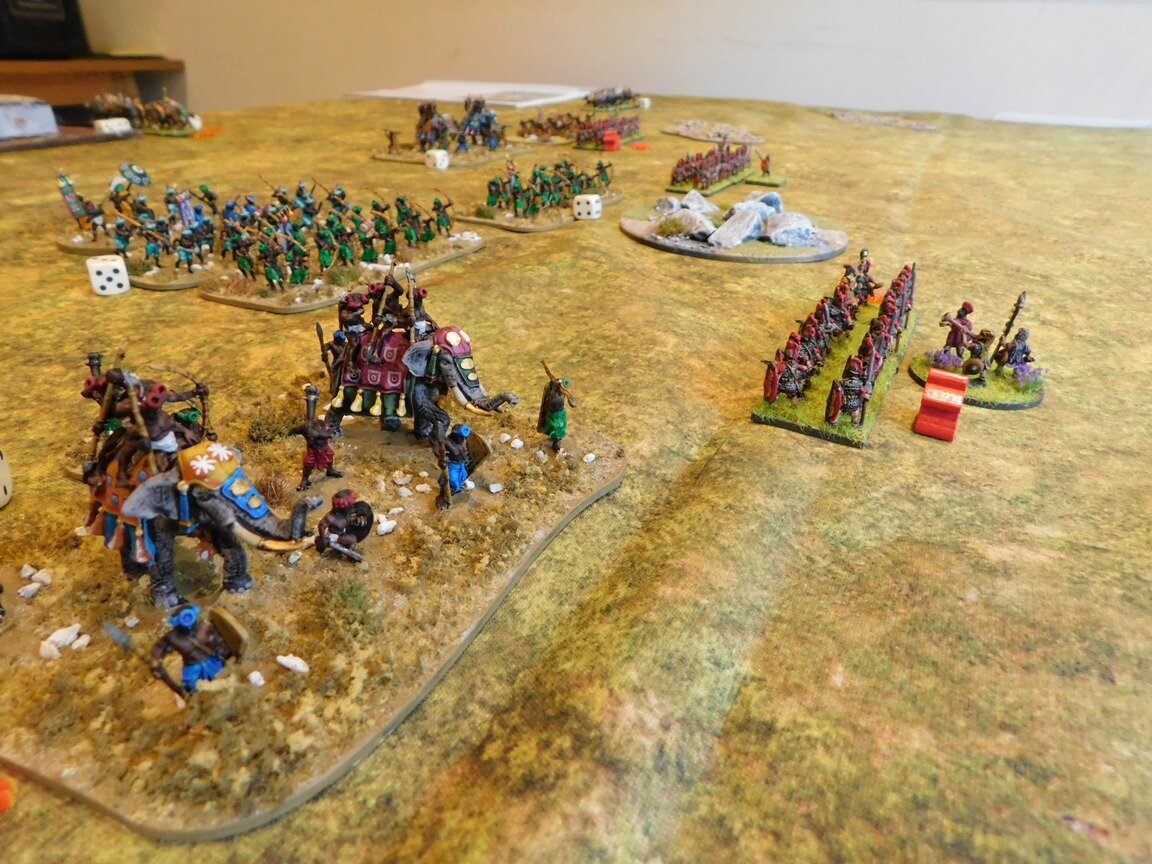
The Marian Romans consisted of four commands. The Proconsul commanded two legionary units (one veteran) and a unit of light archers. His first Legate also commanded two legionary units (one veteran) but with a unit of ballistae artillery. His second Legate once again commanded two legionary units (one veteran) but with a unit of eastern horse archers. Finally, he had an alae of two units of veteran auxiliary cavalry allegedly from Macedonia. I usually use Gauls as the auxiliary cavalry, but they were on the other side of the table so that I had to use some Persian-looking types instead.

Note the markers allowing Bevan to see which units were which
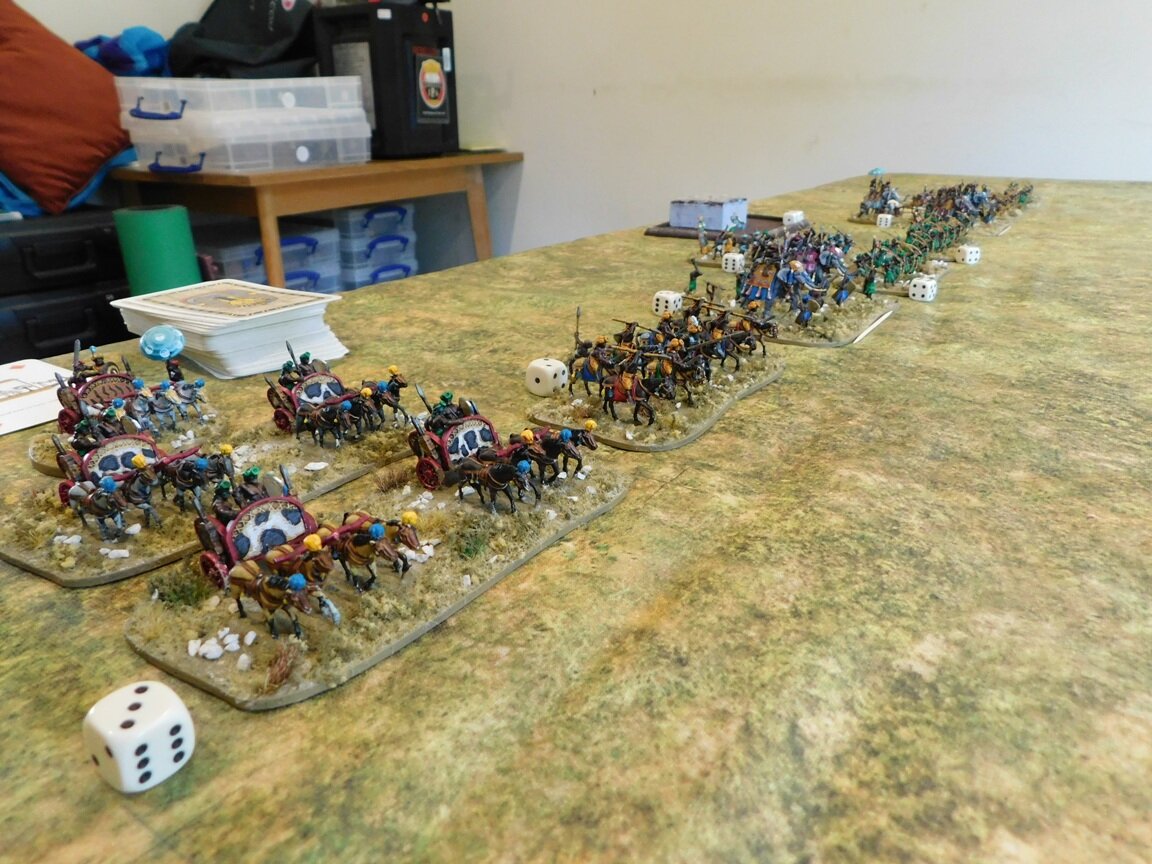
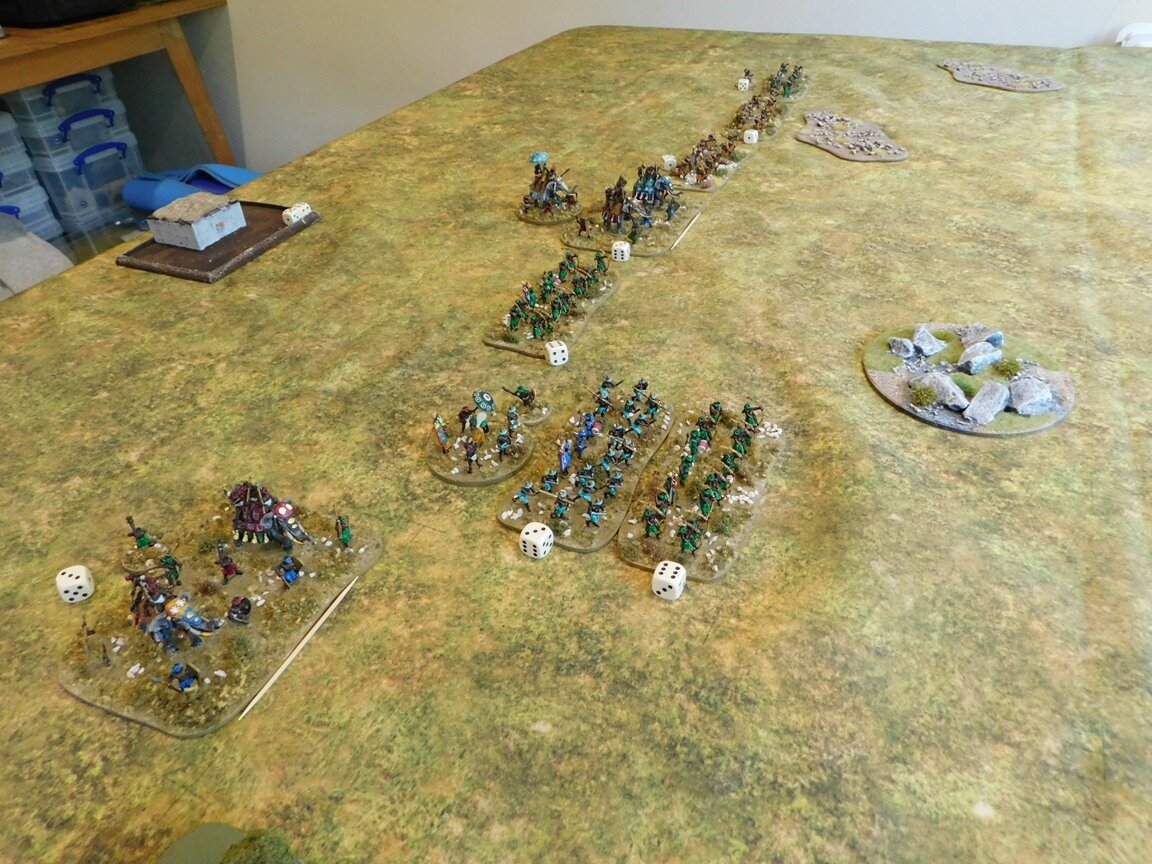
Bevan’s Galling Gauls also had four commands. Two commands consisted of three deep warrior-warbands bristling with heroes; one command consisted of three cavalry units; and the final command was two units of iouantoues (youths) light infantry with javelins and another unit of cavalry.
There did seem to be an awful lot of Gauls!
The Battle
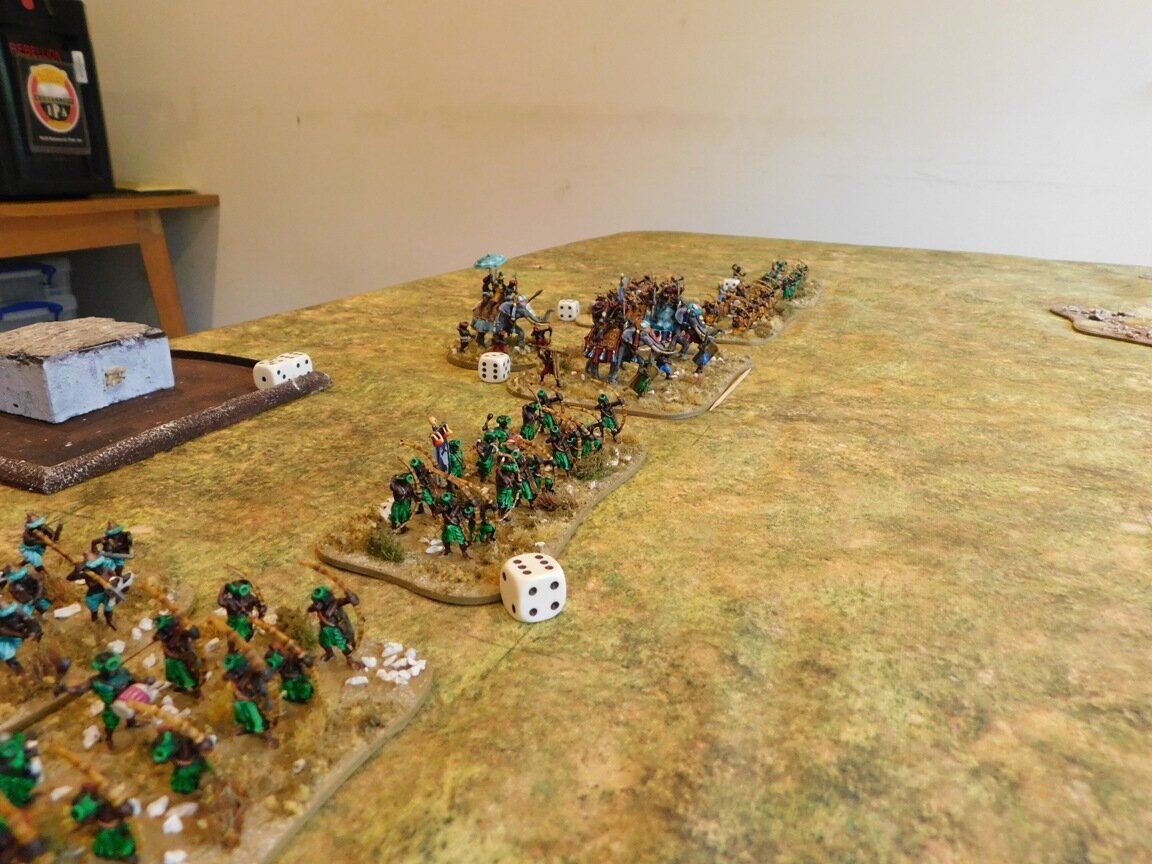
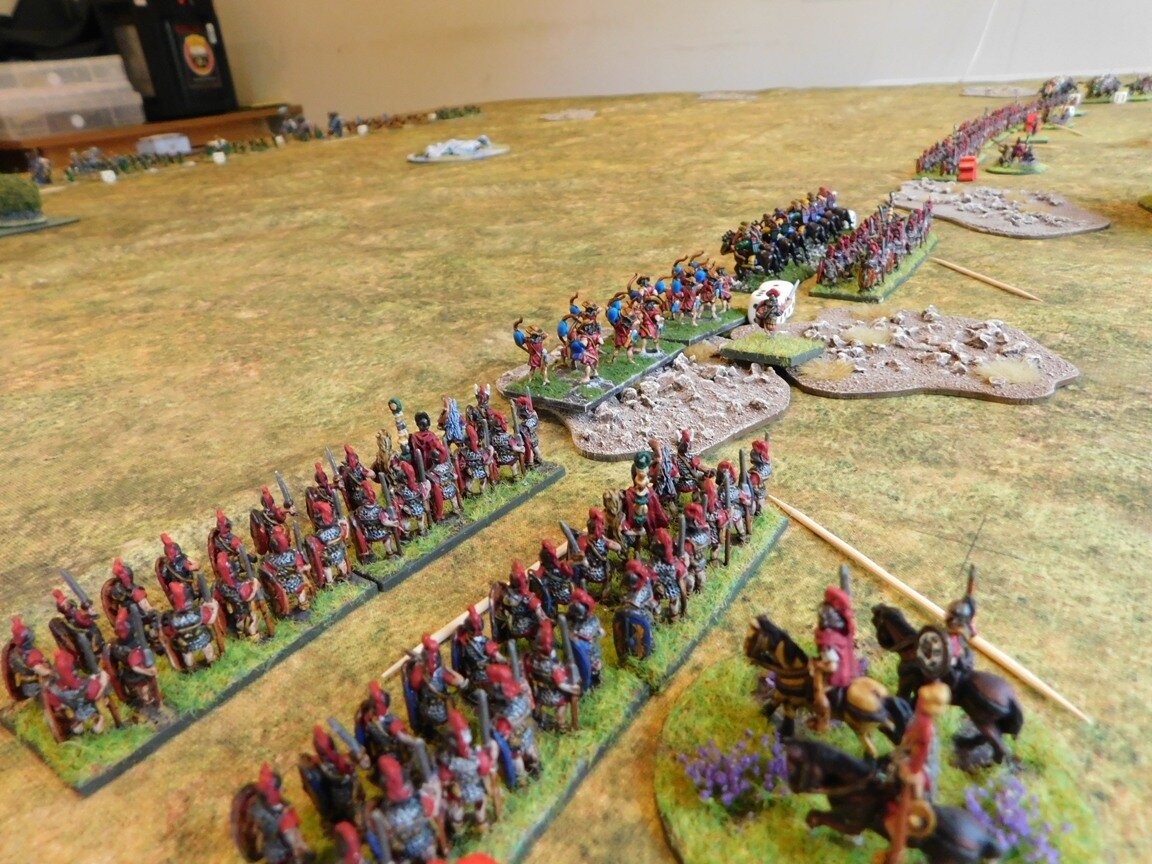
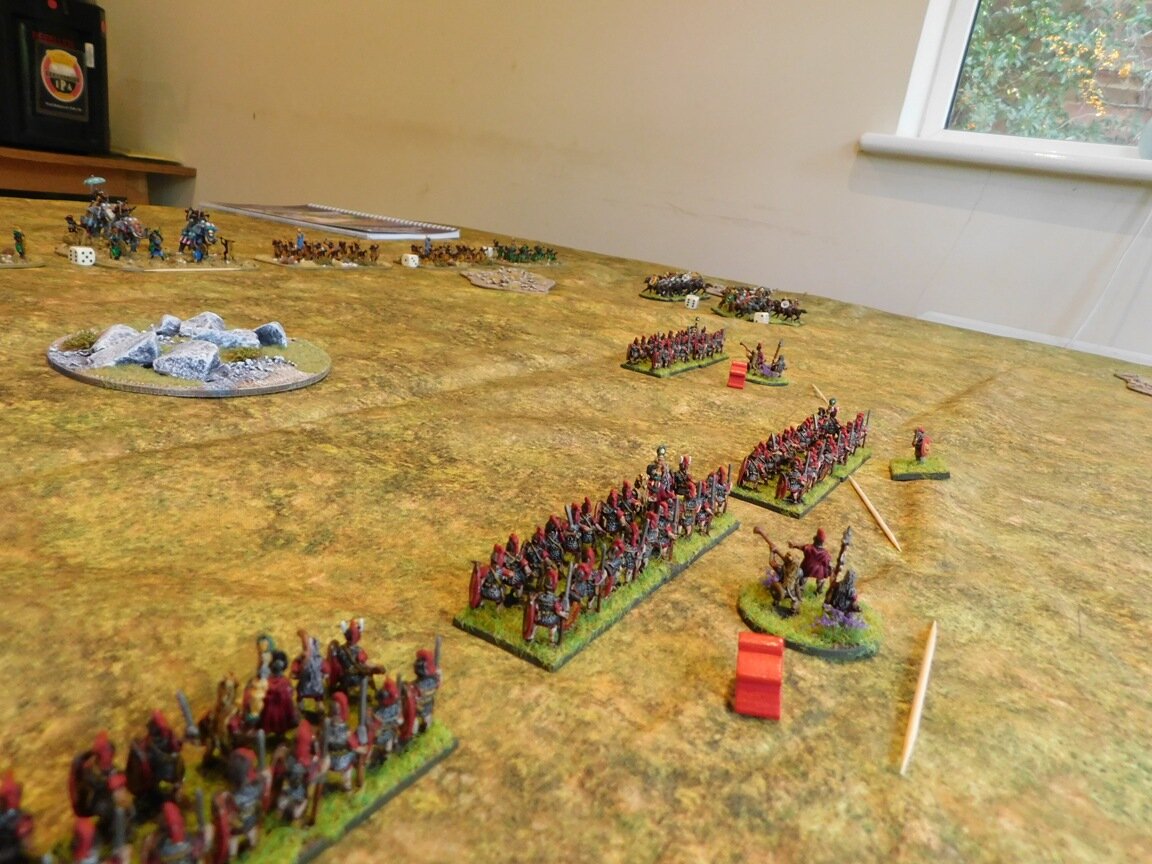
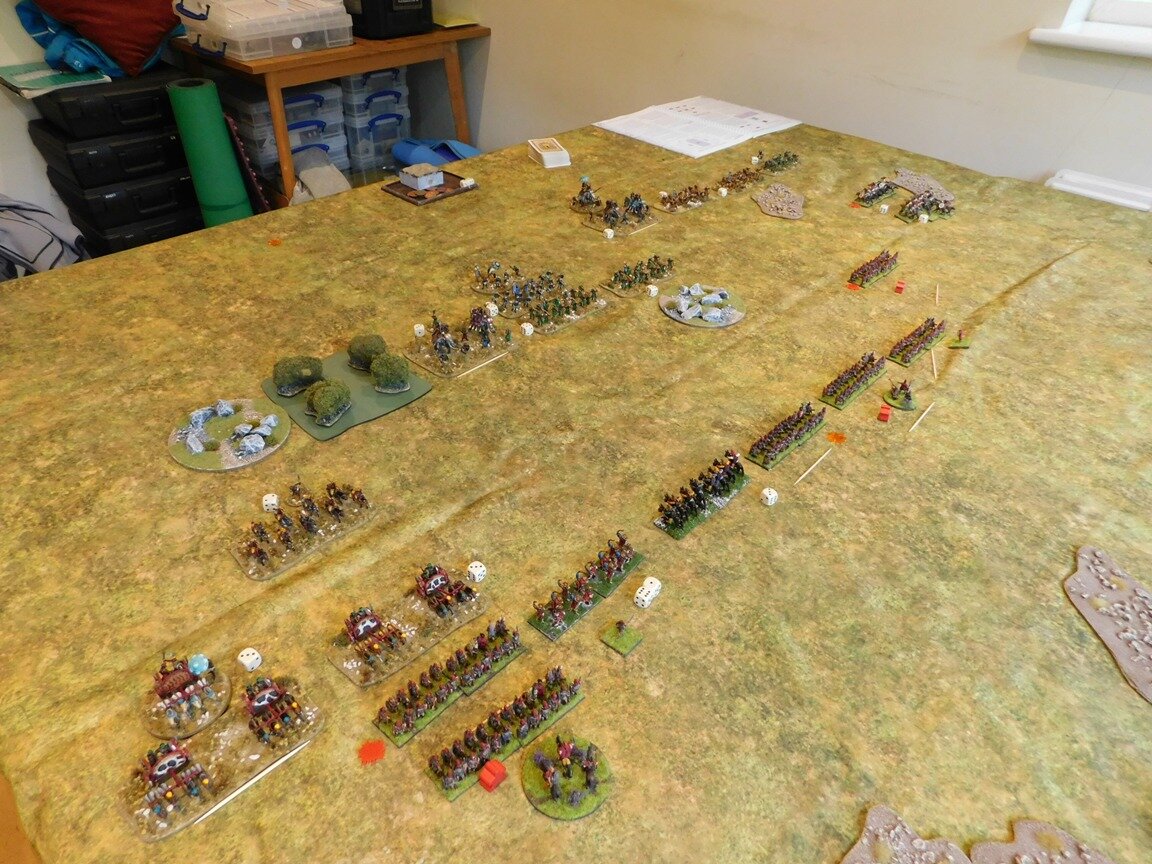
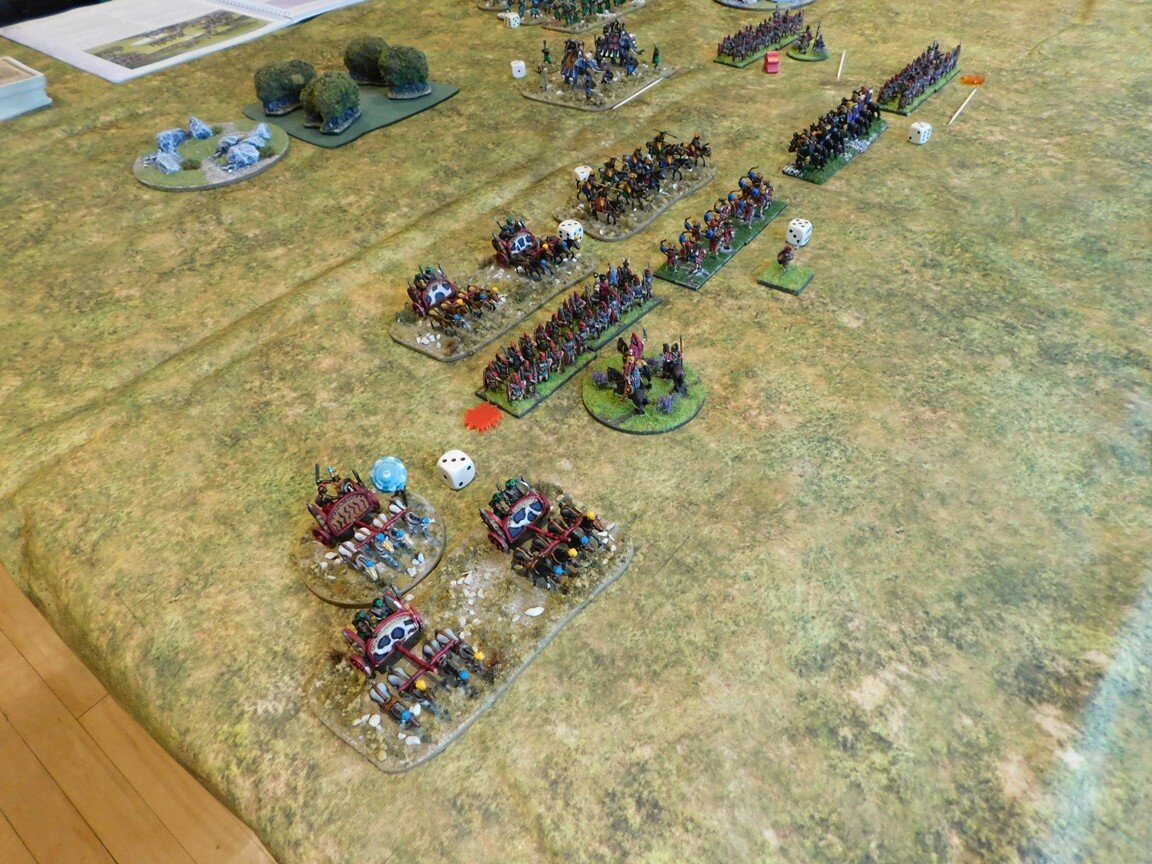
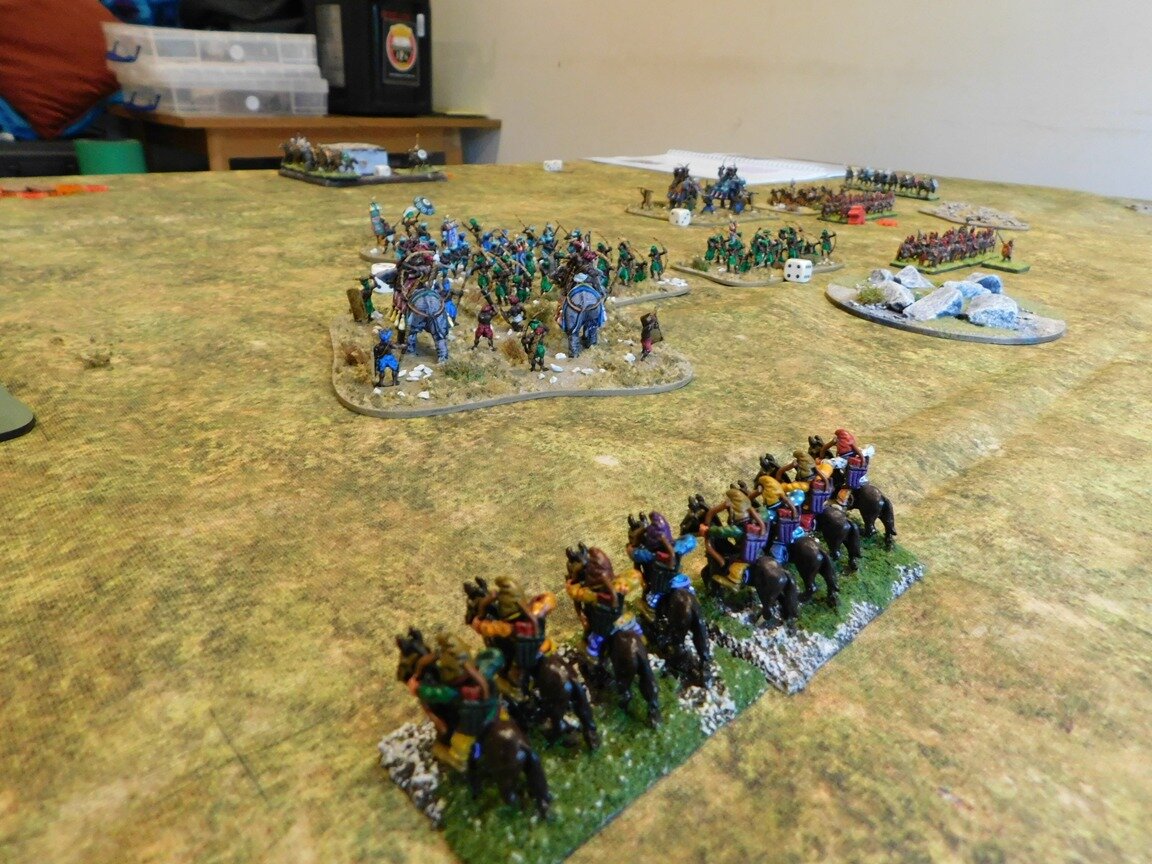
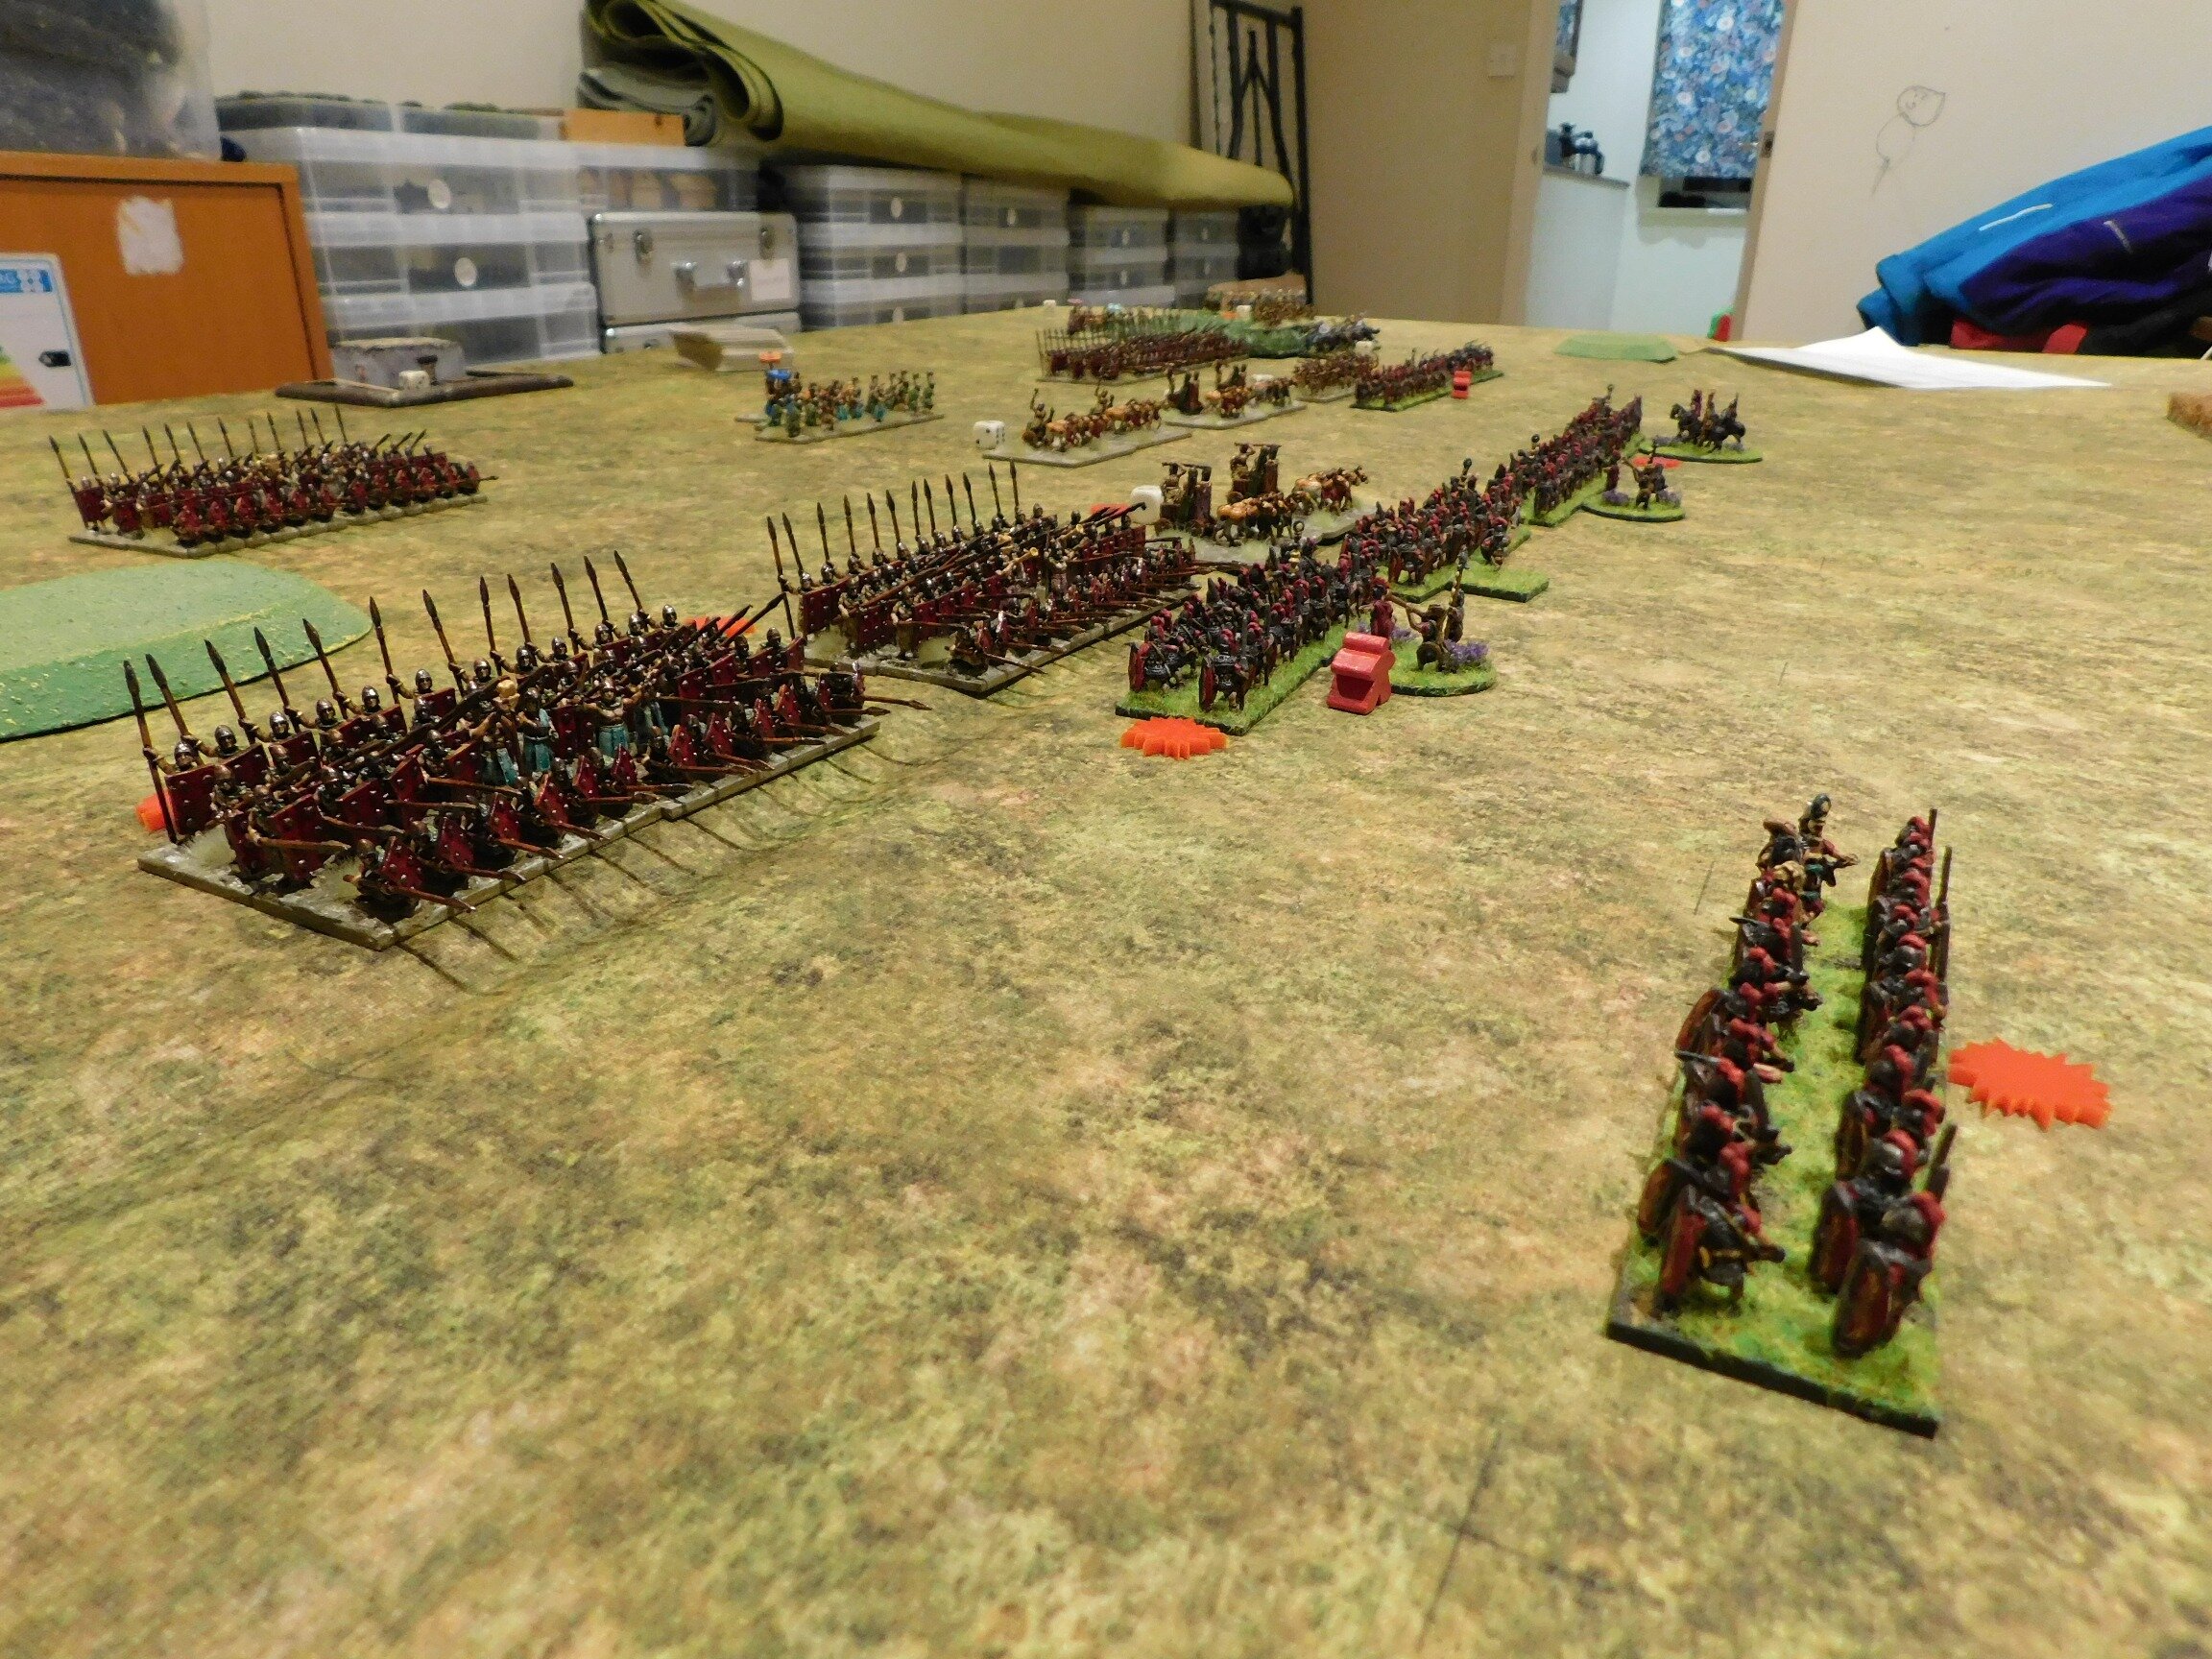
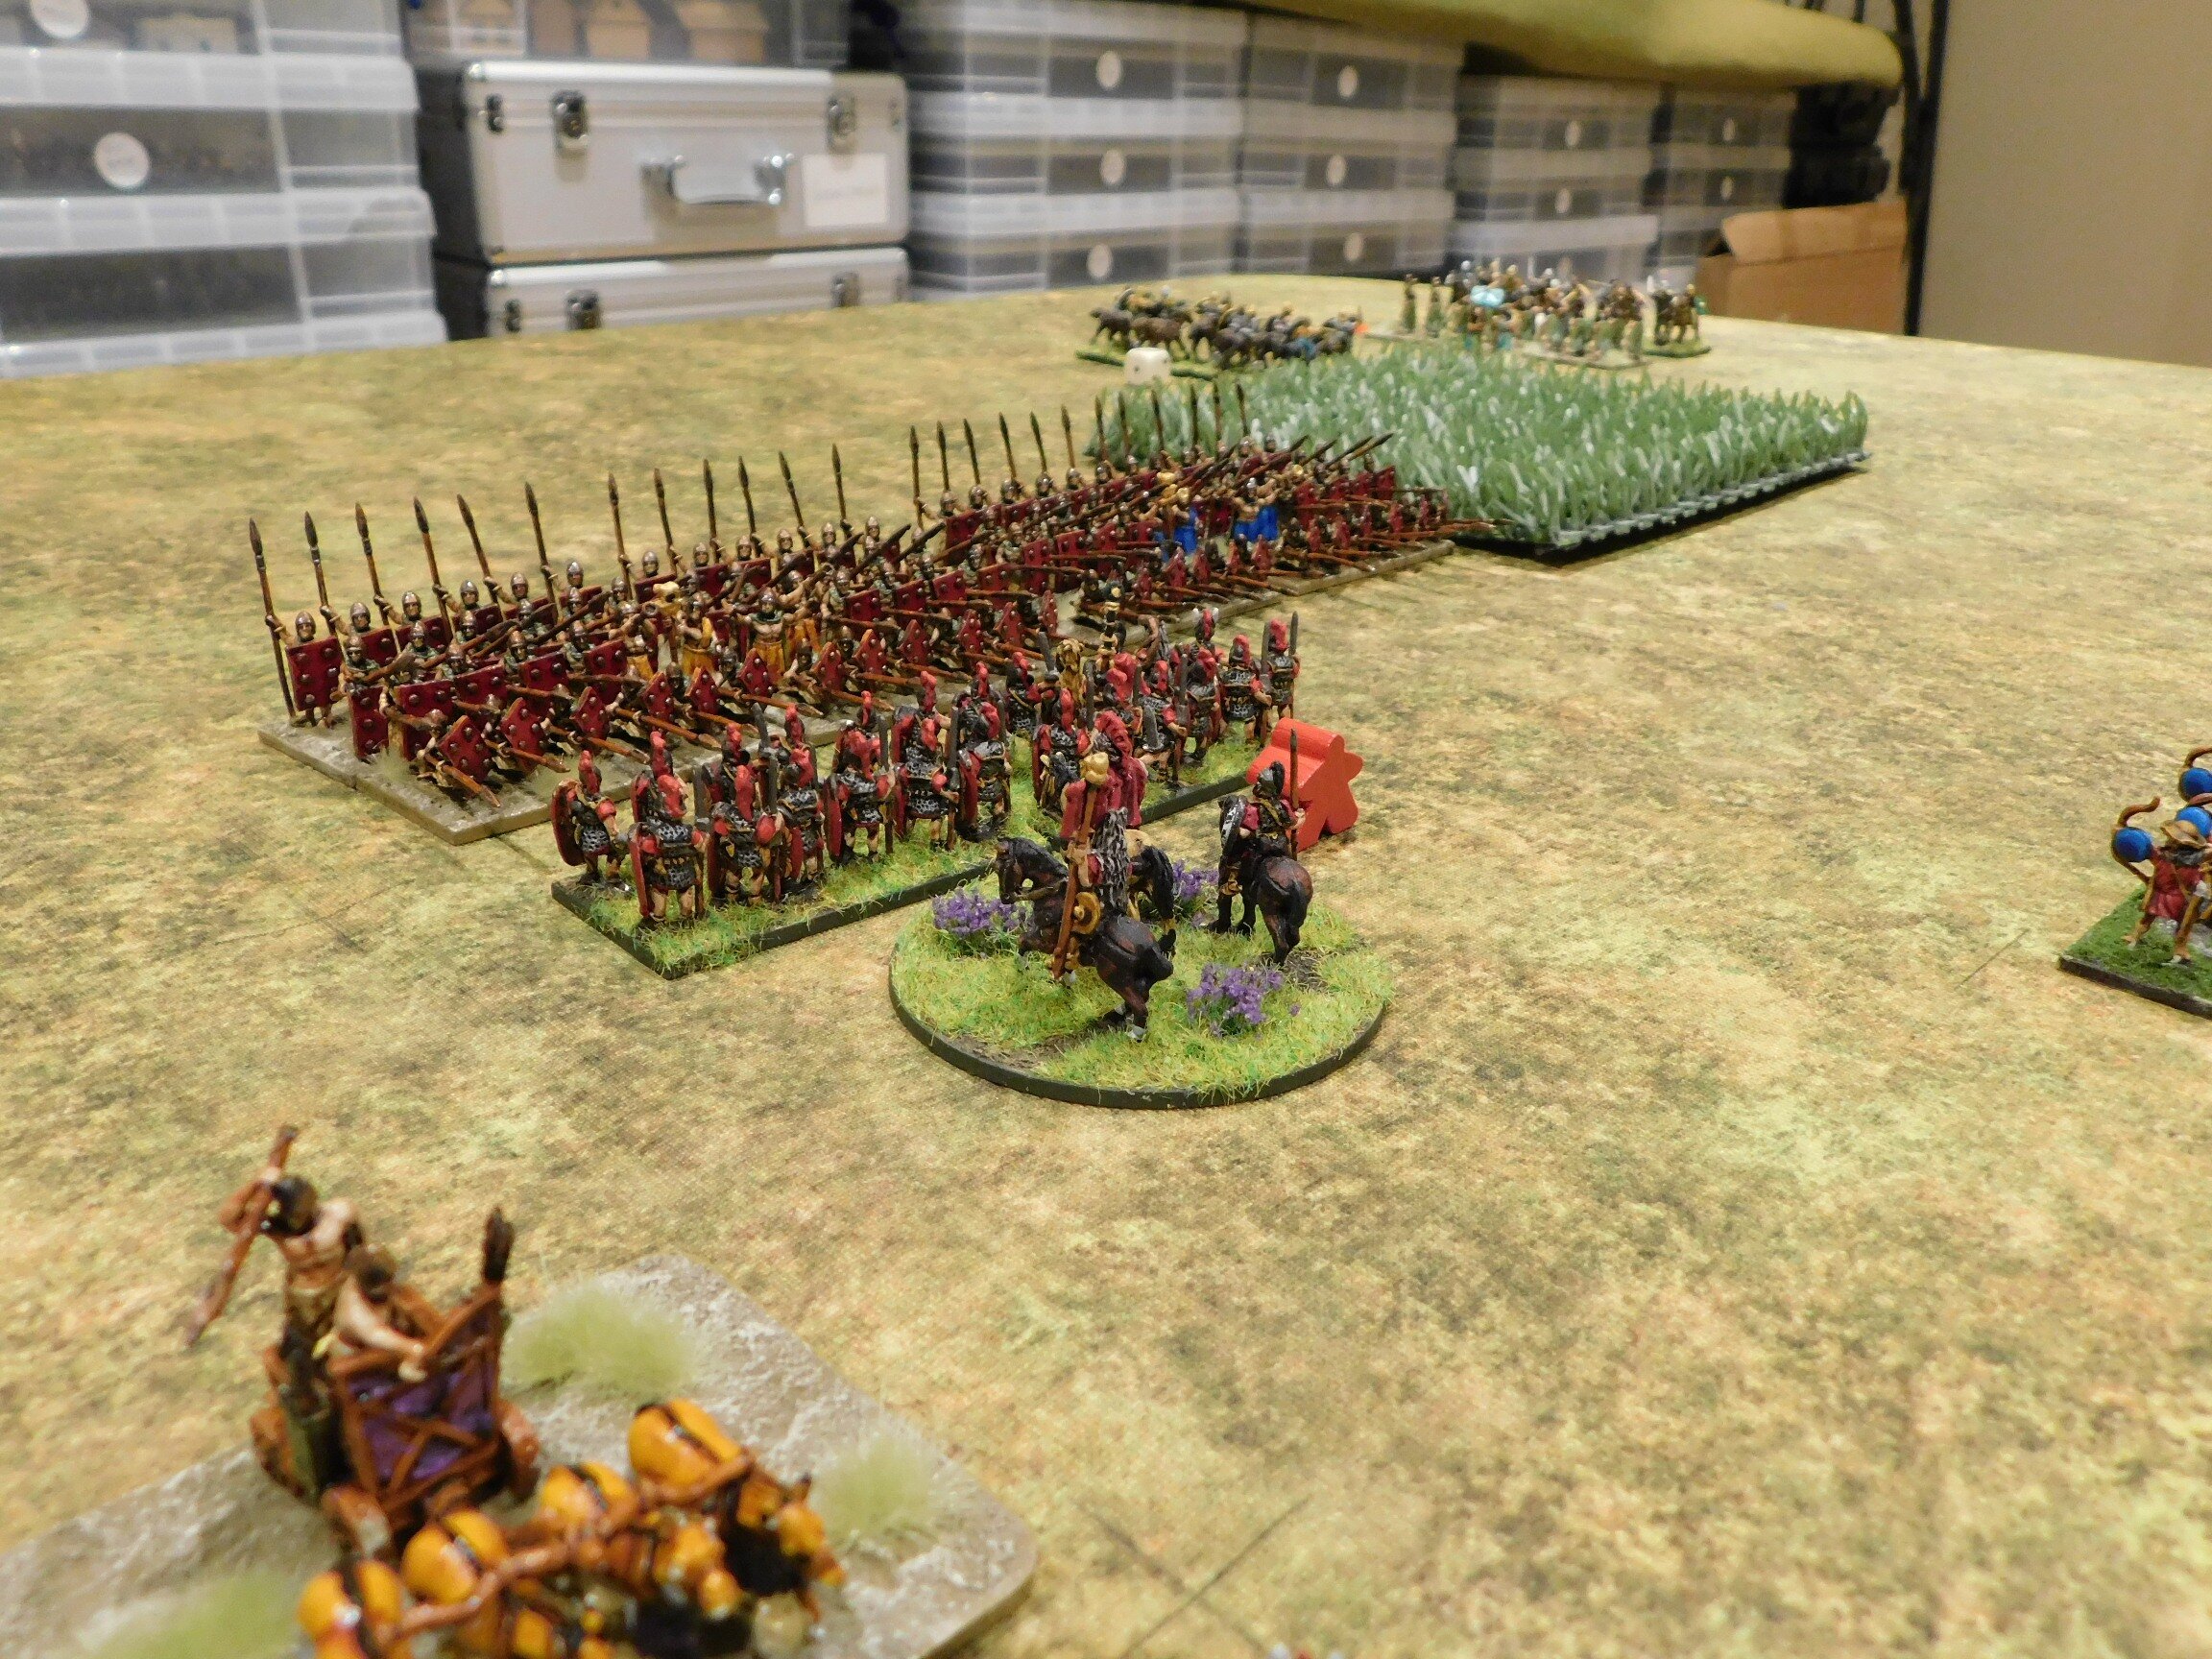
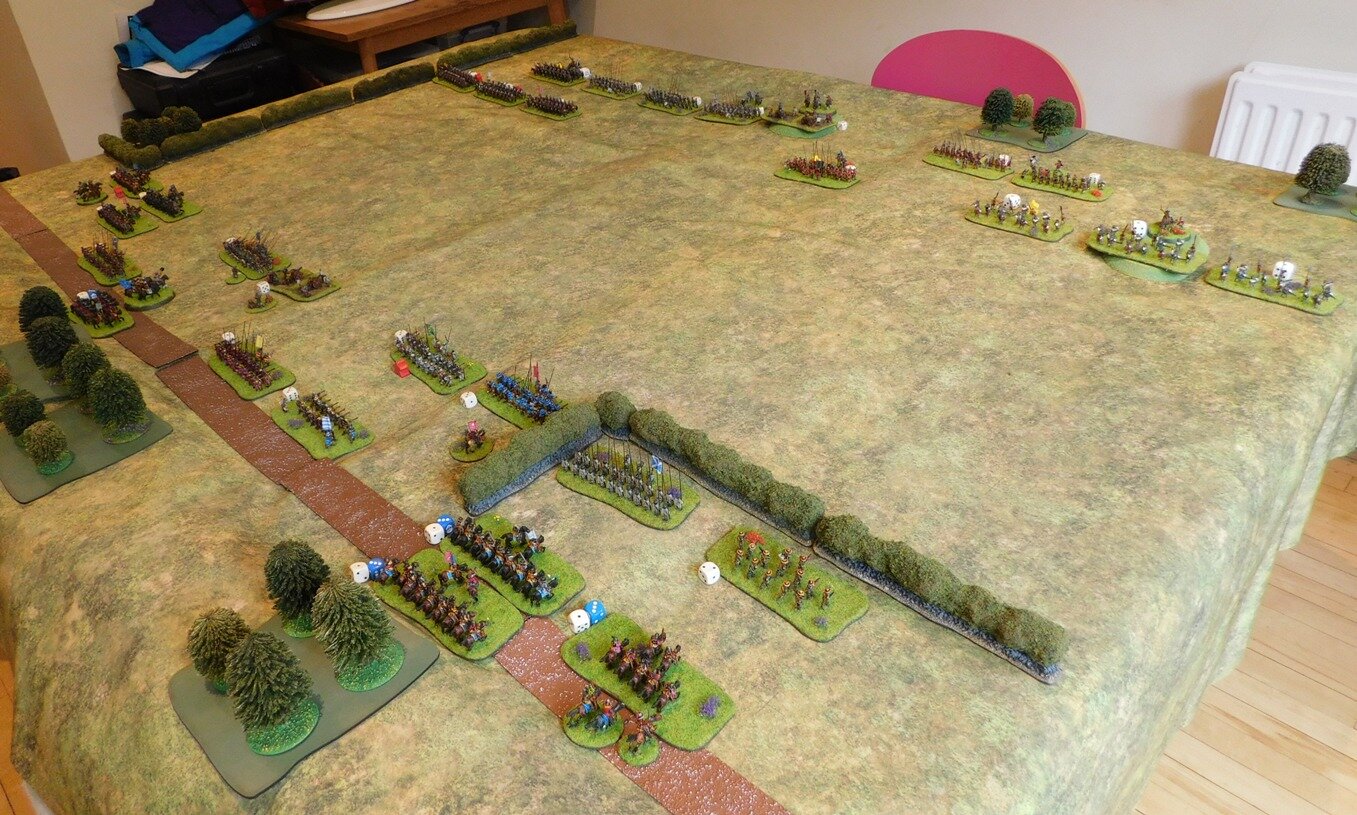
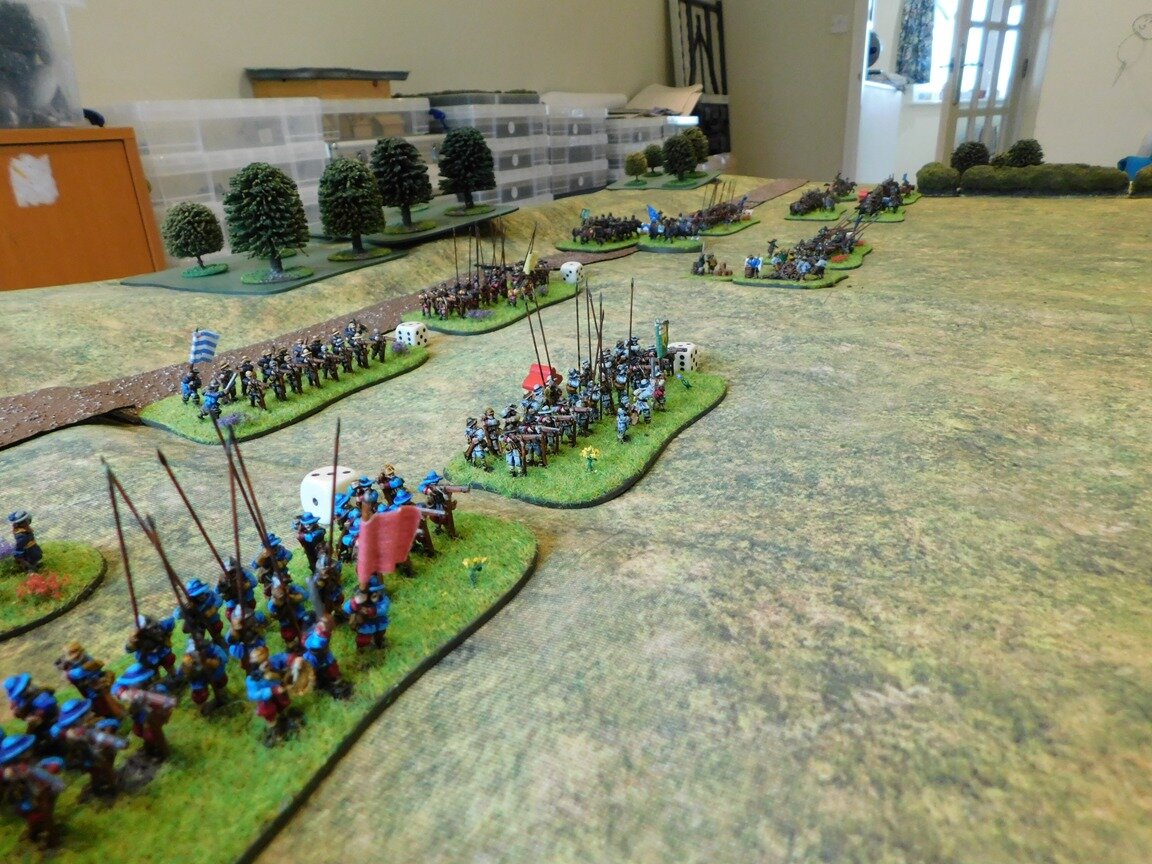
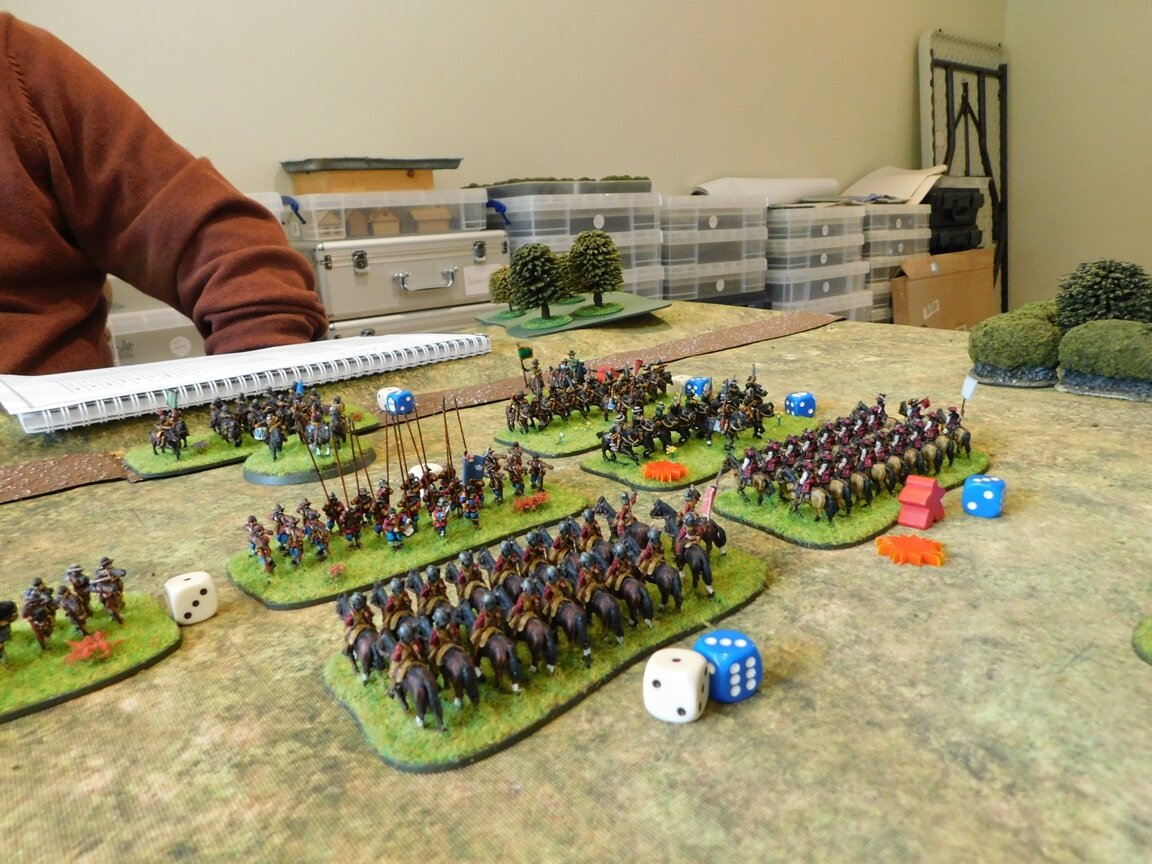
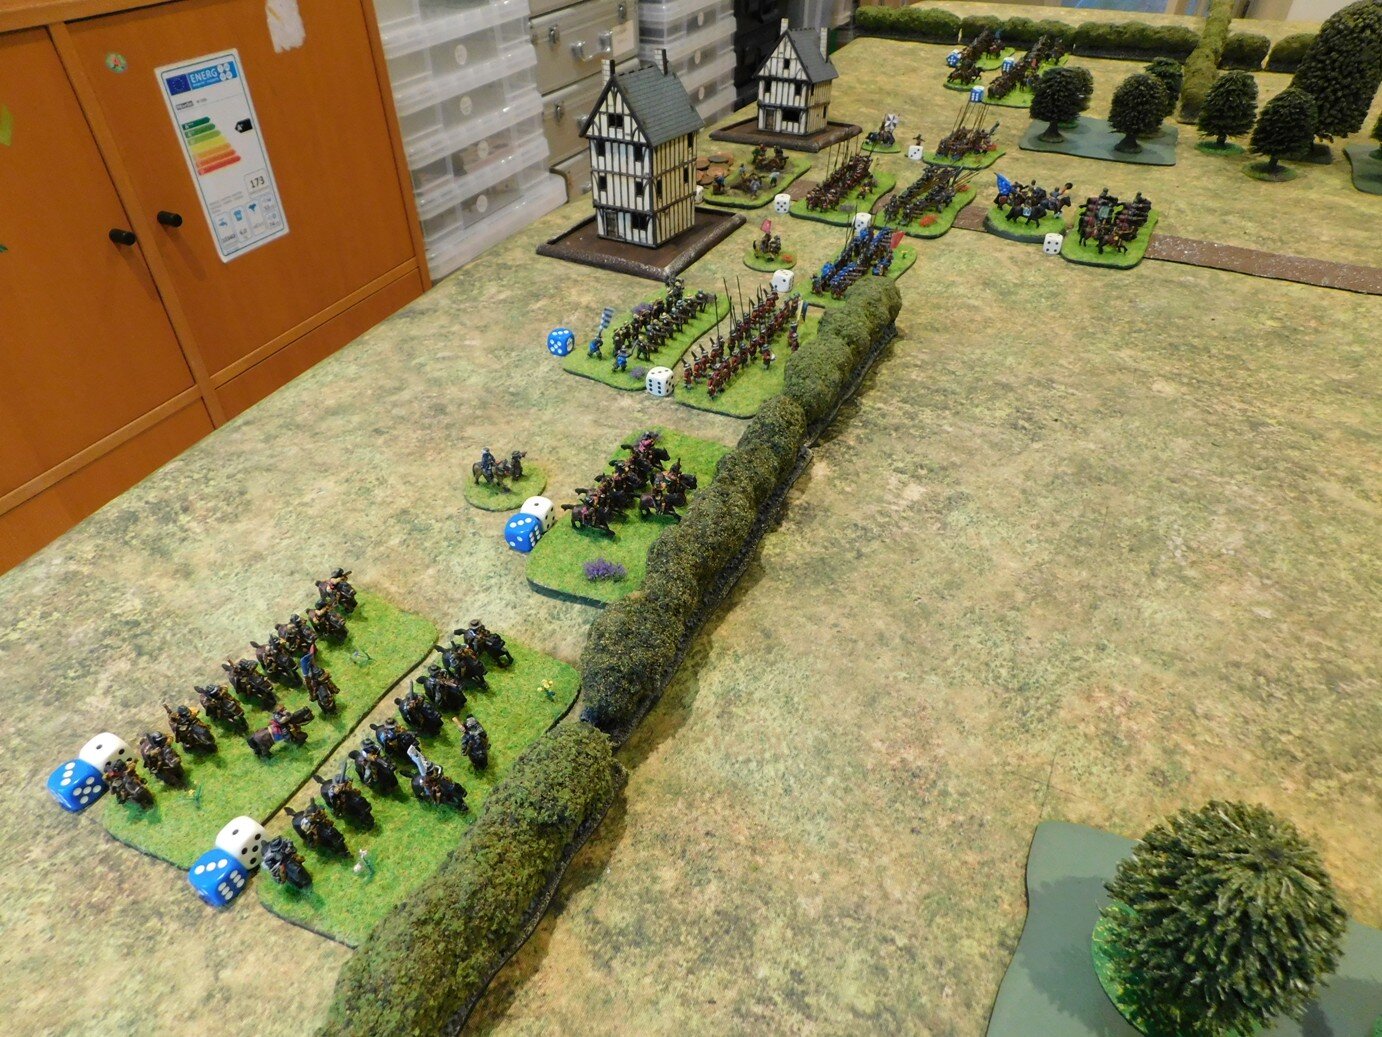
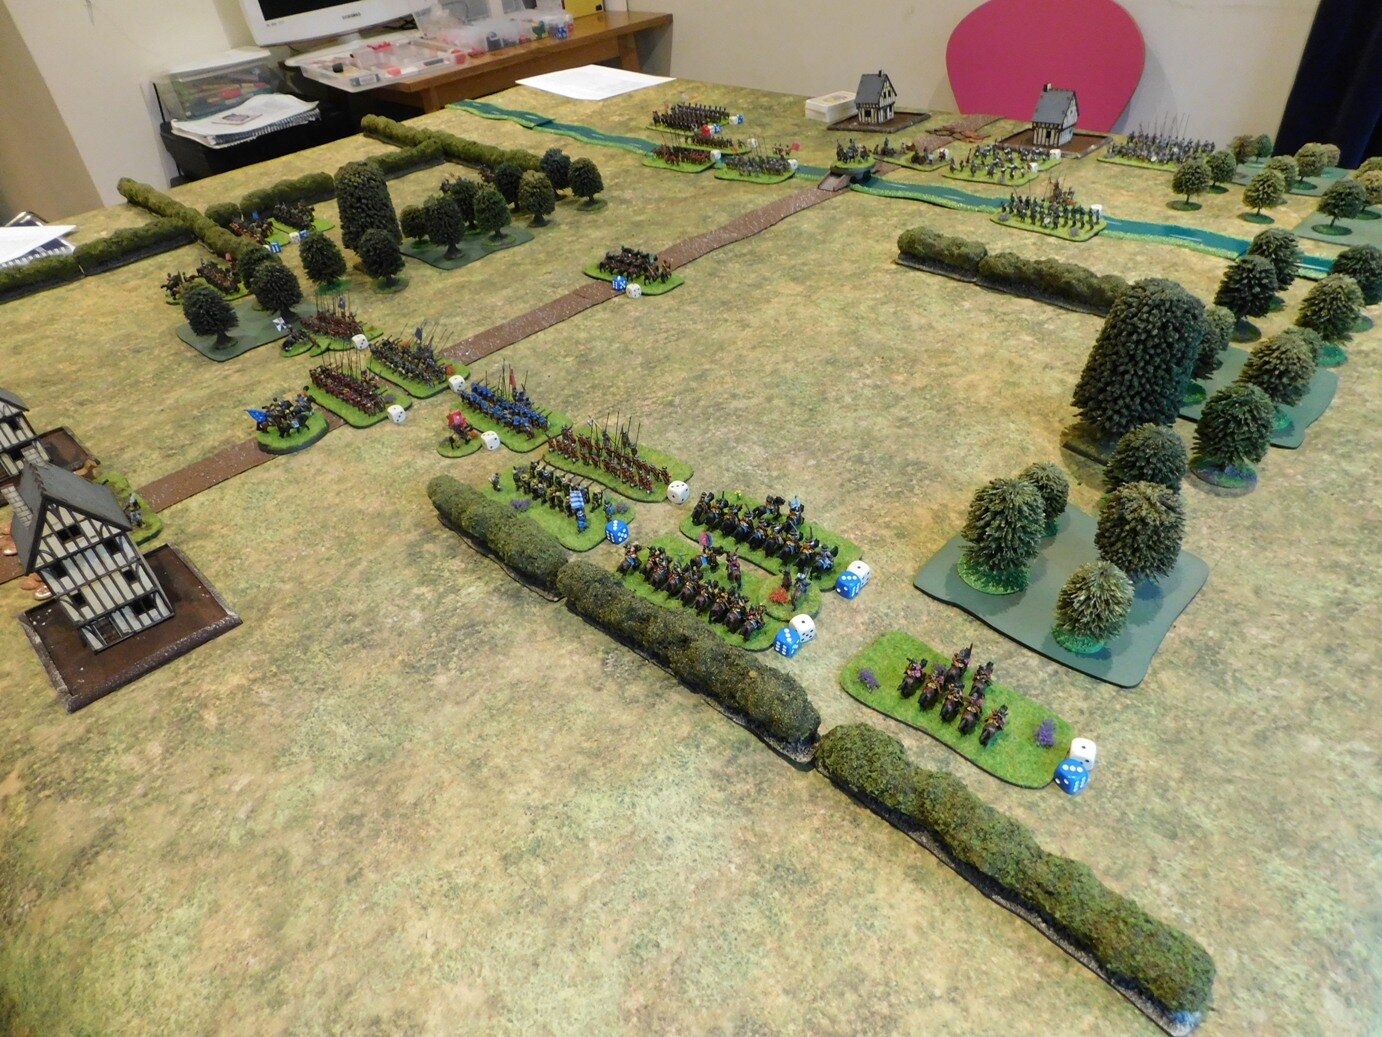
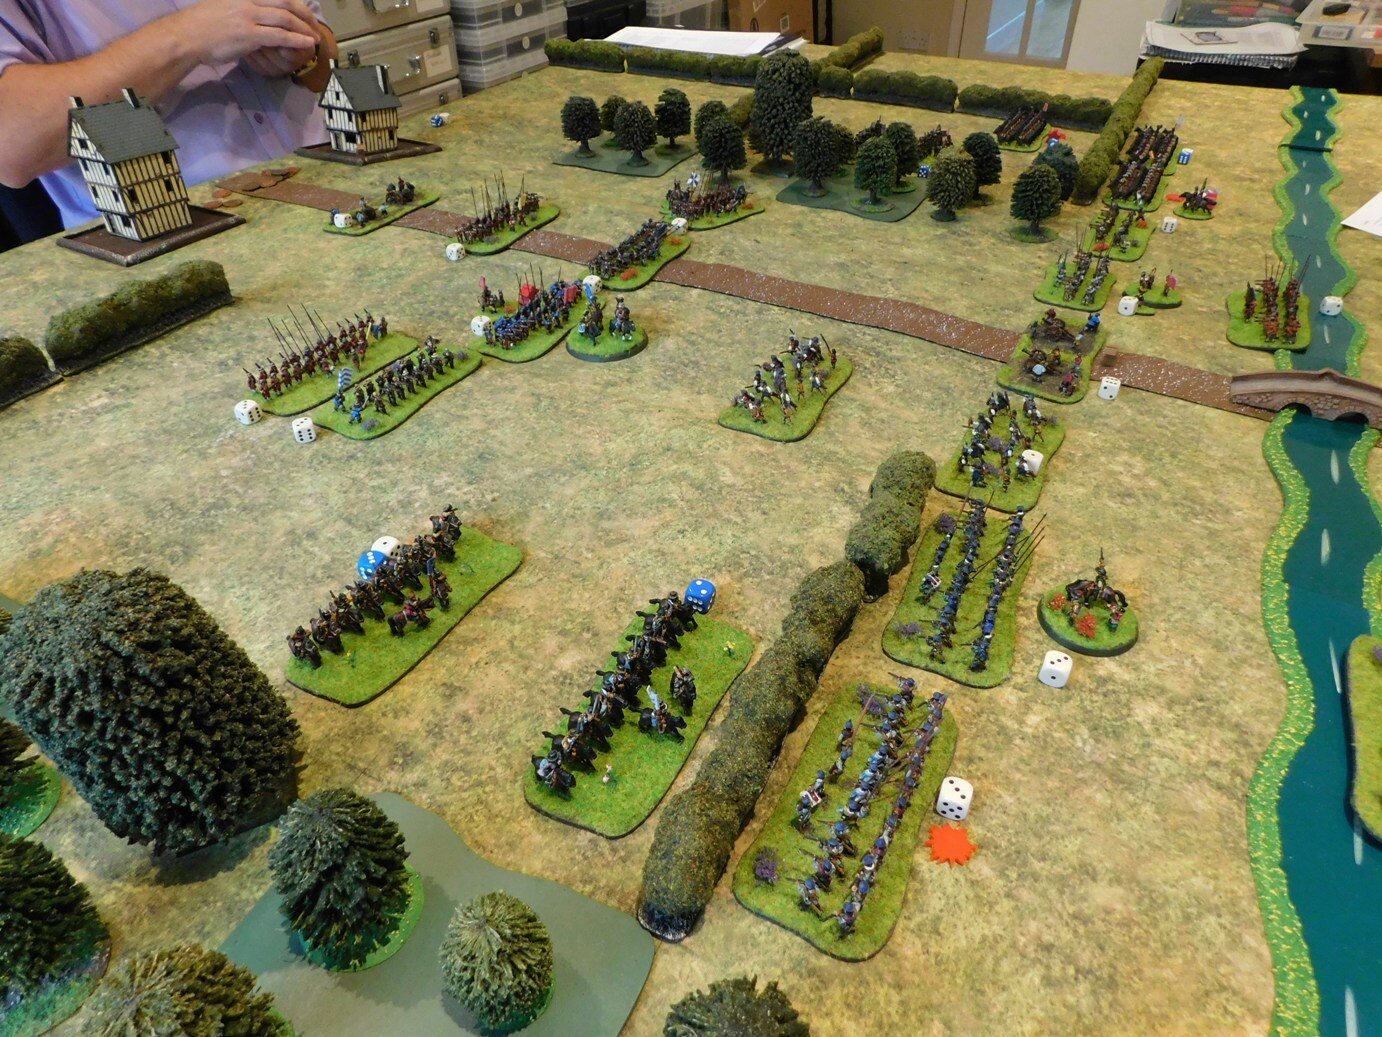
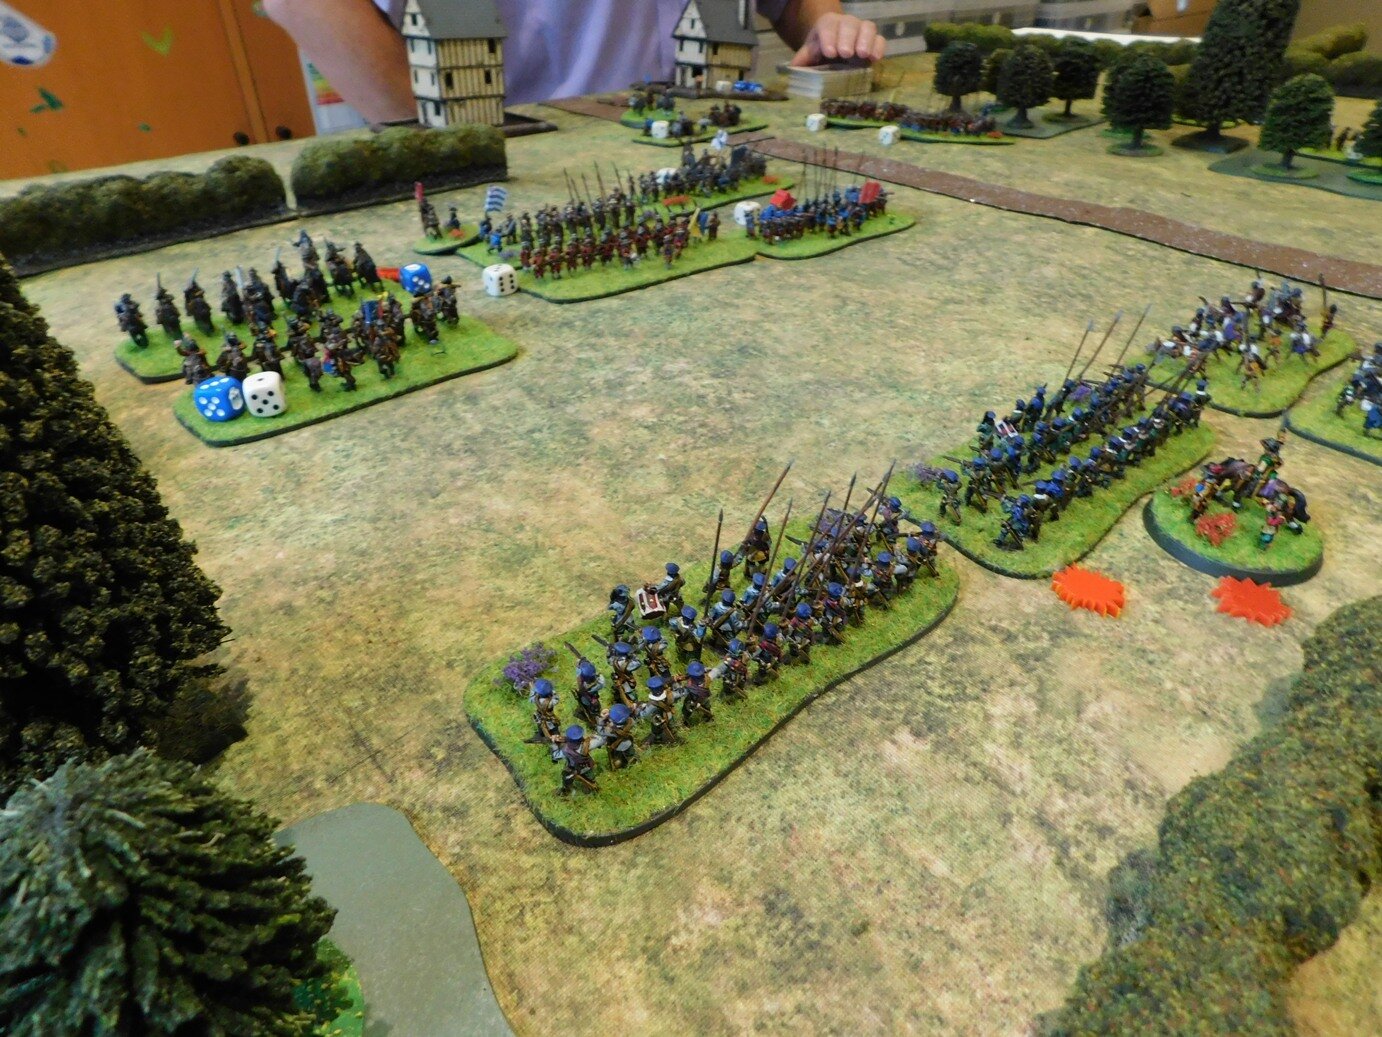
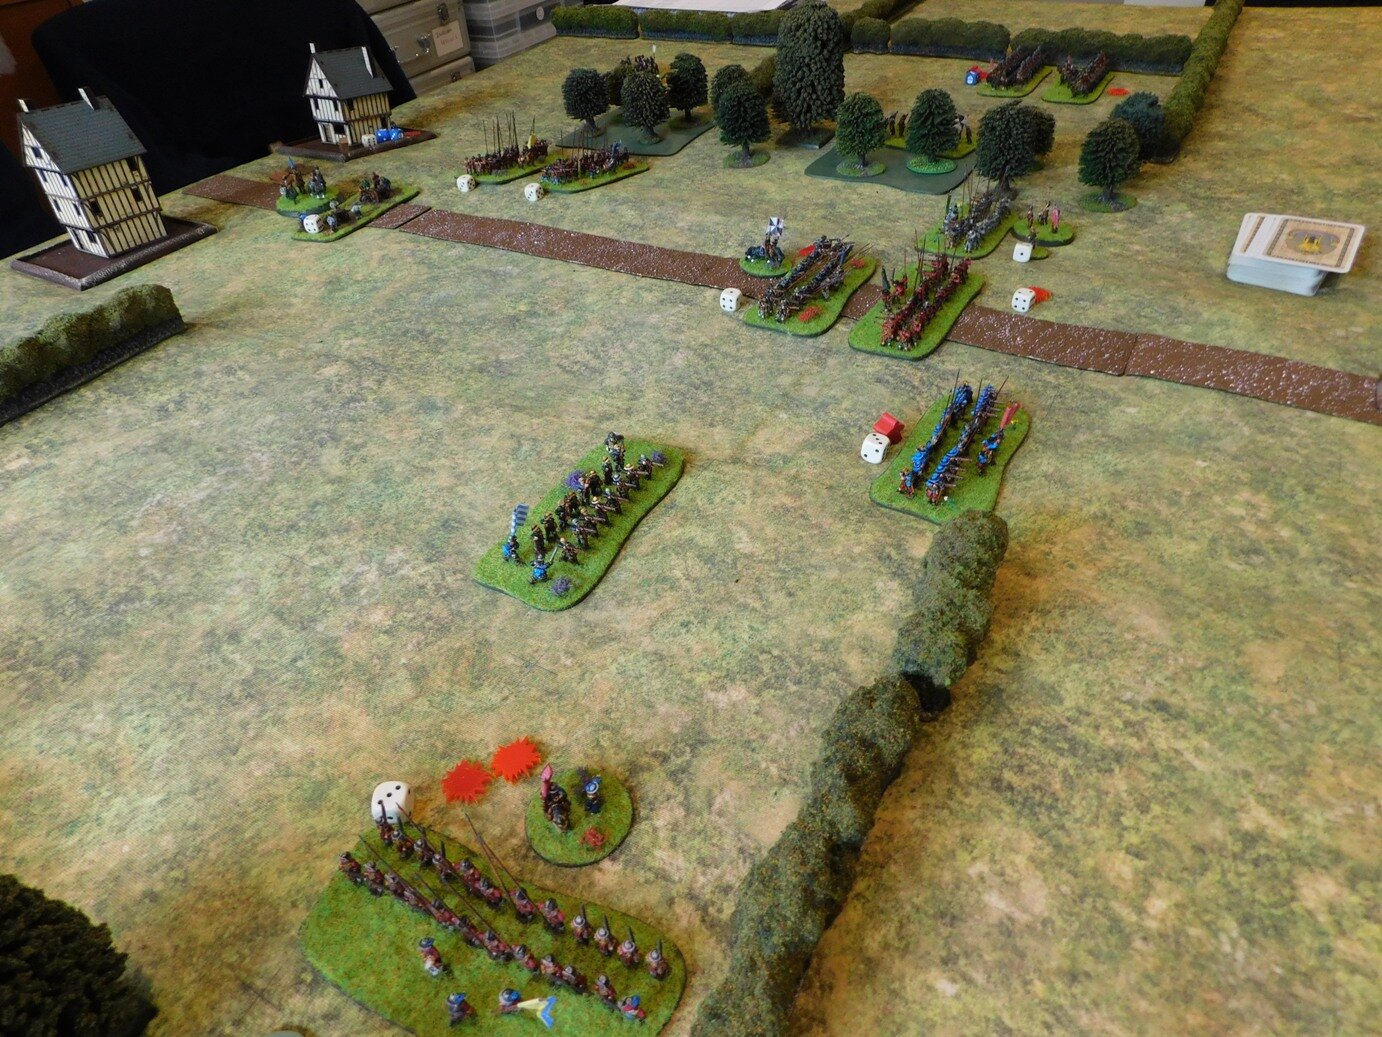
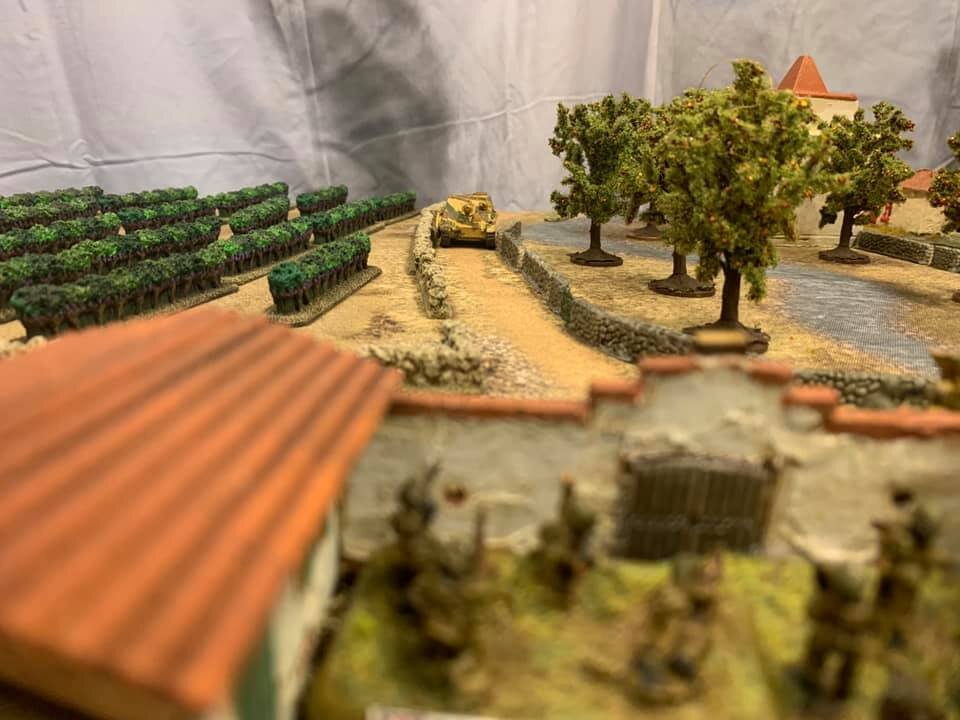
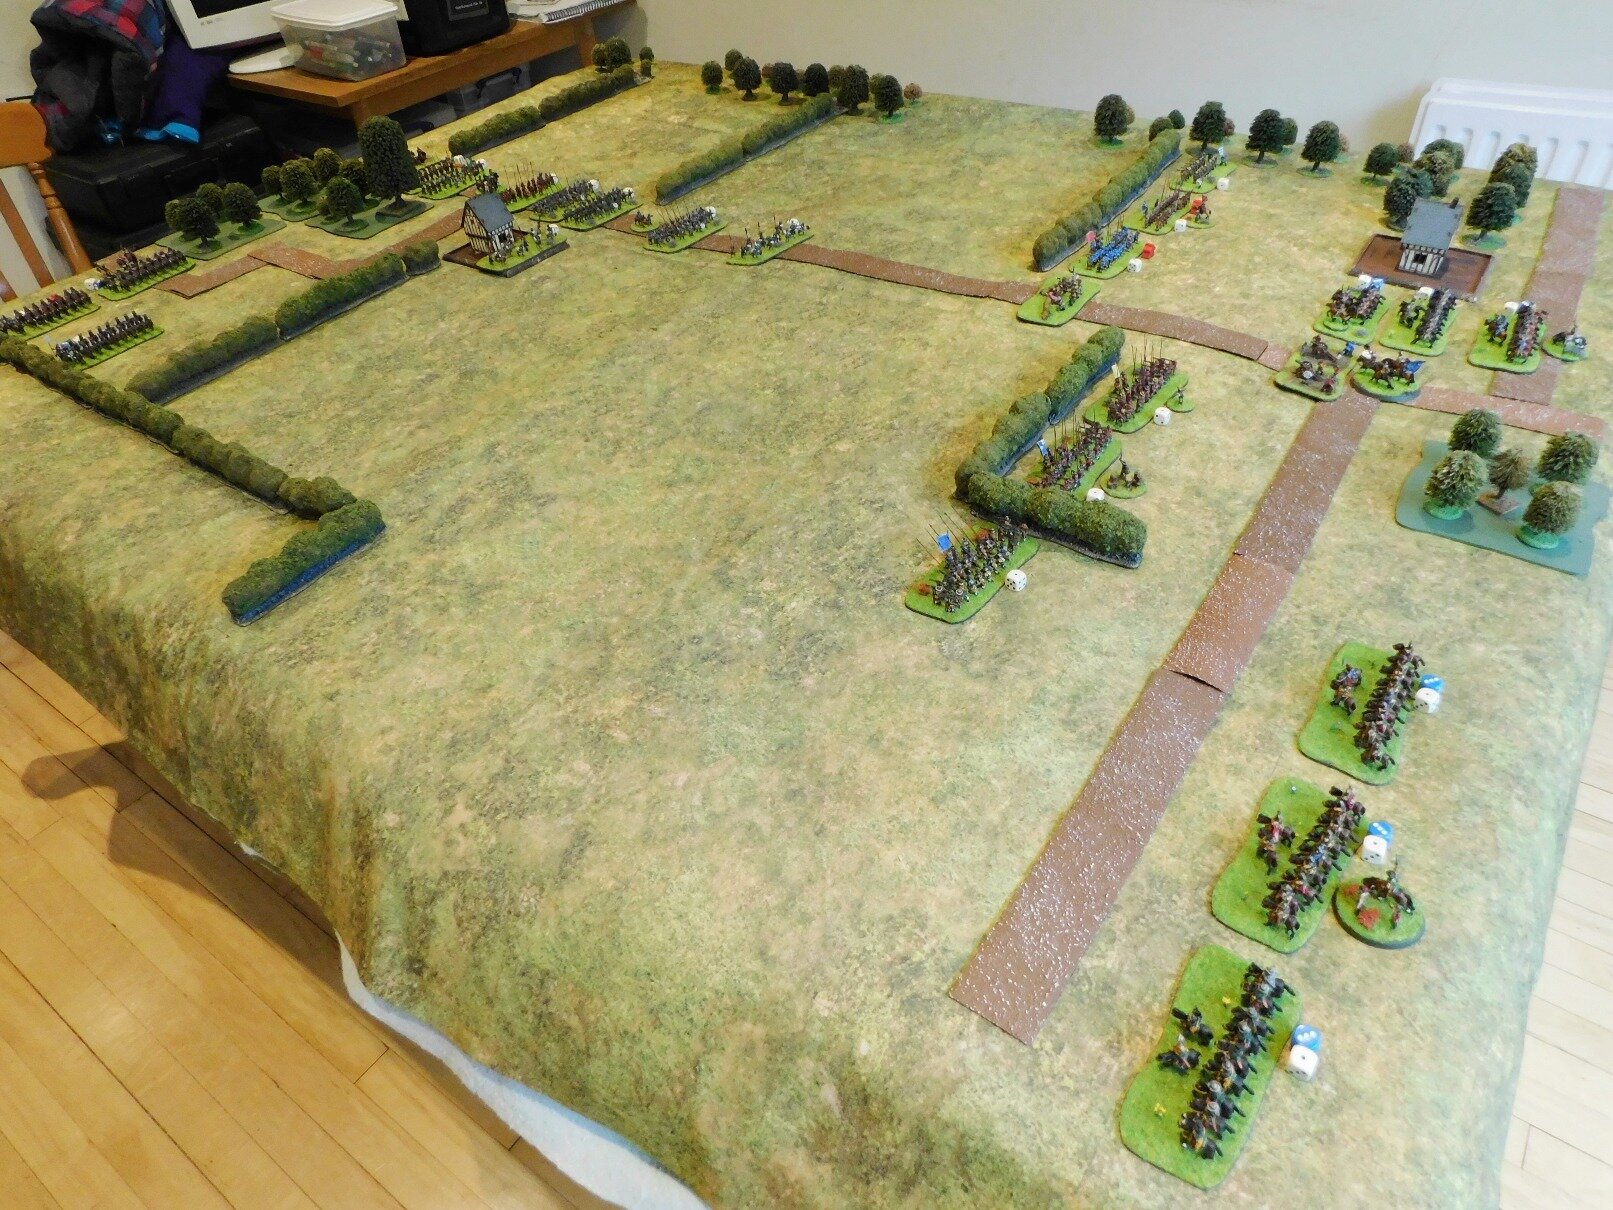
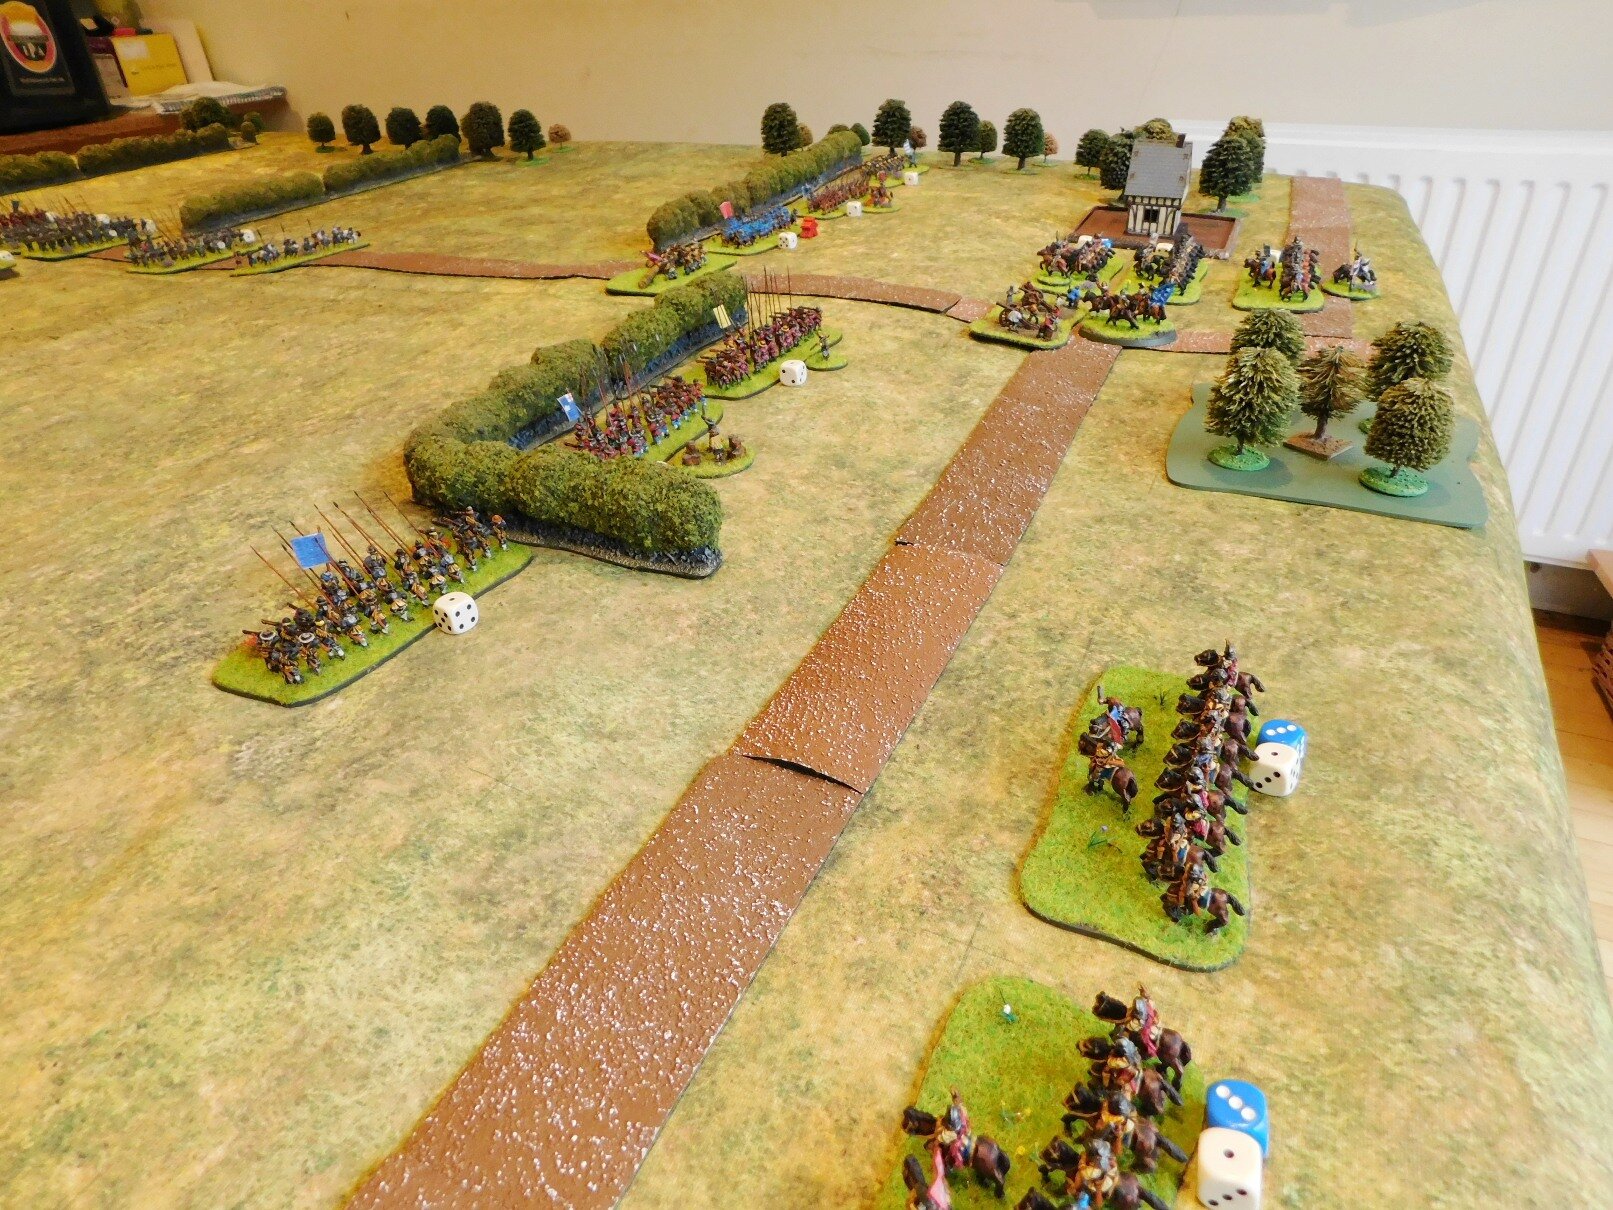
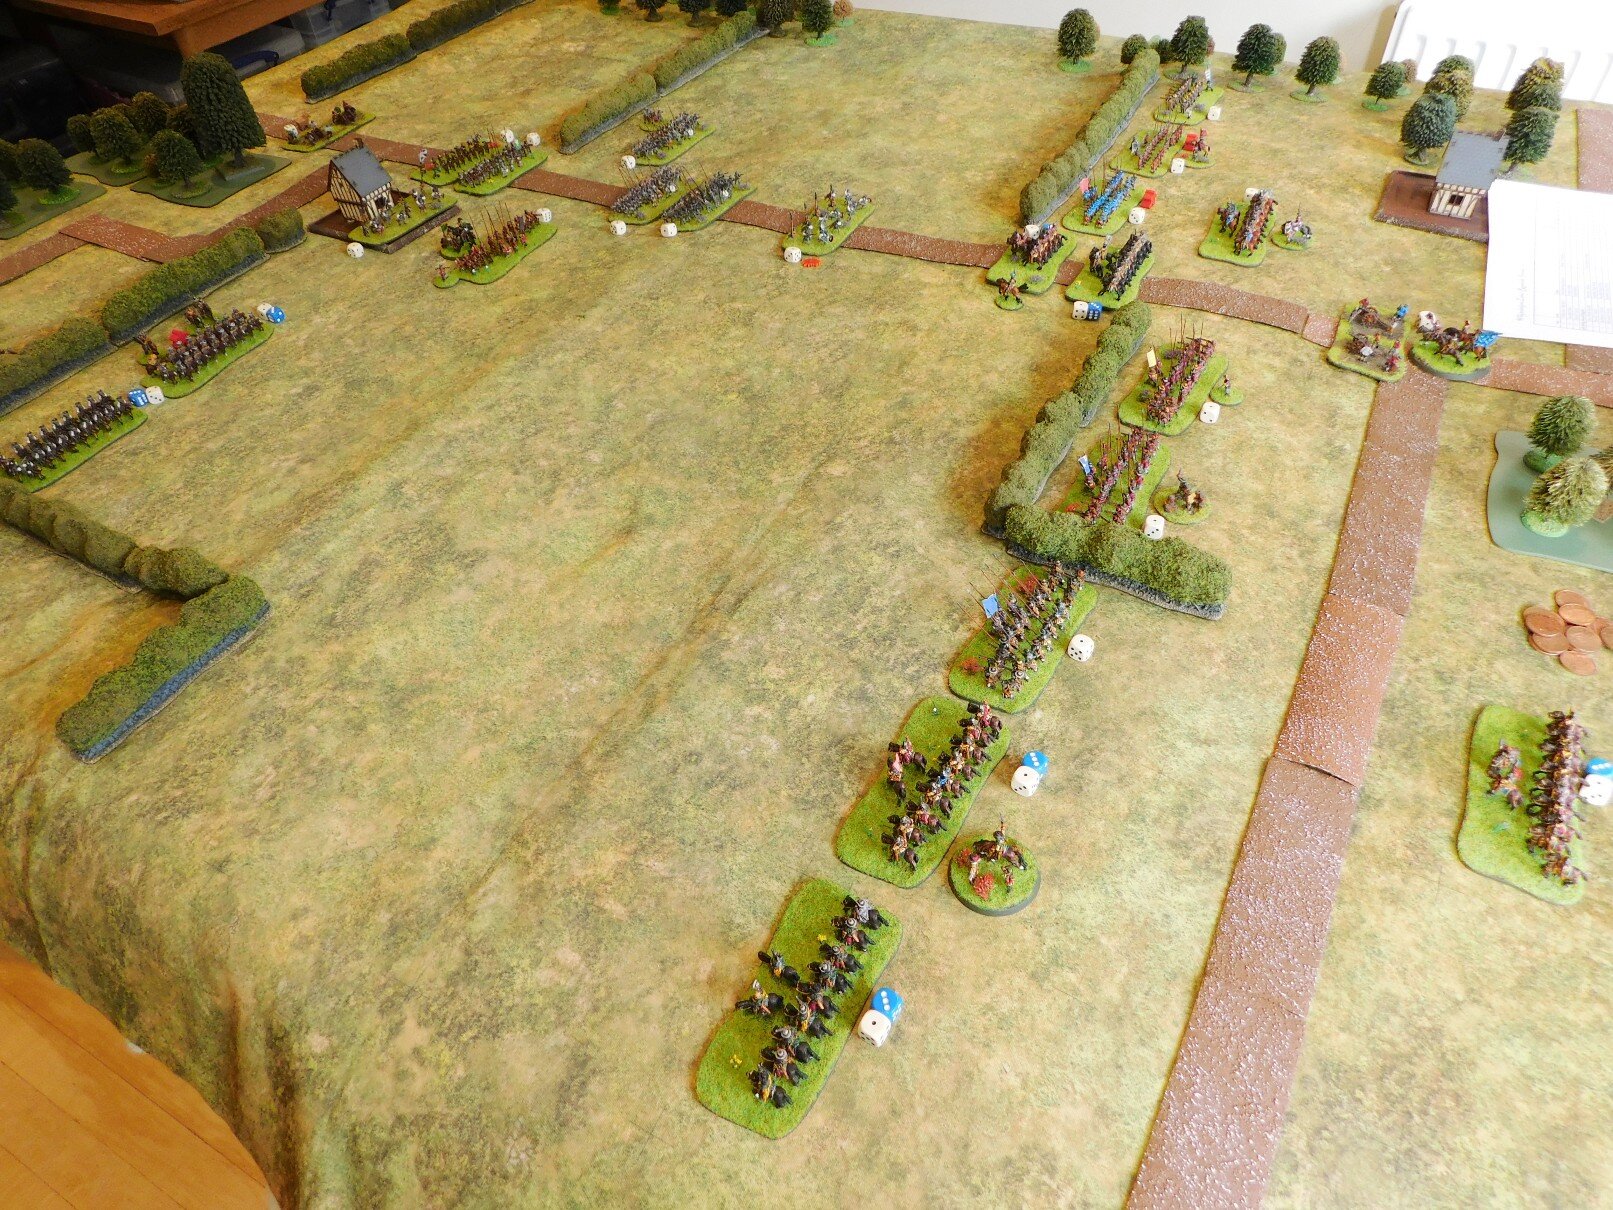
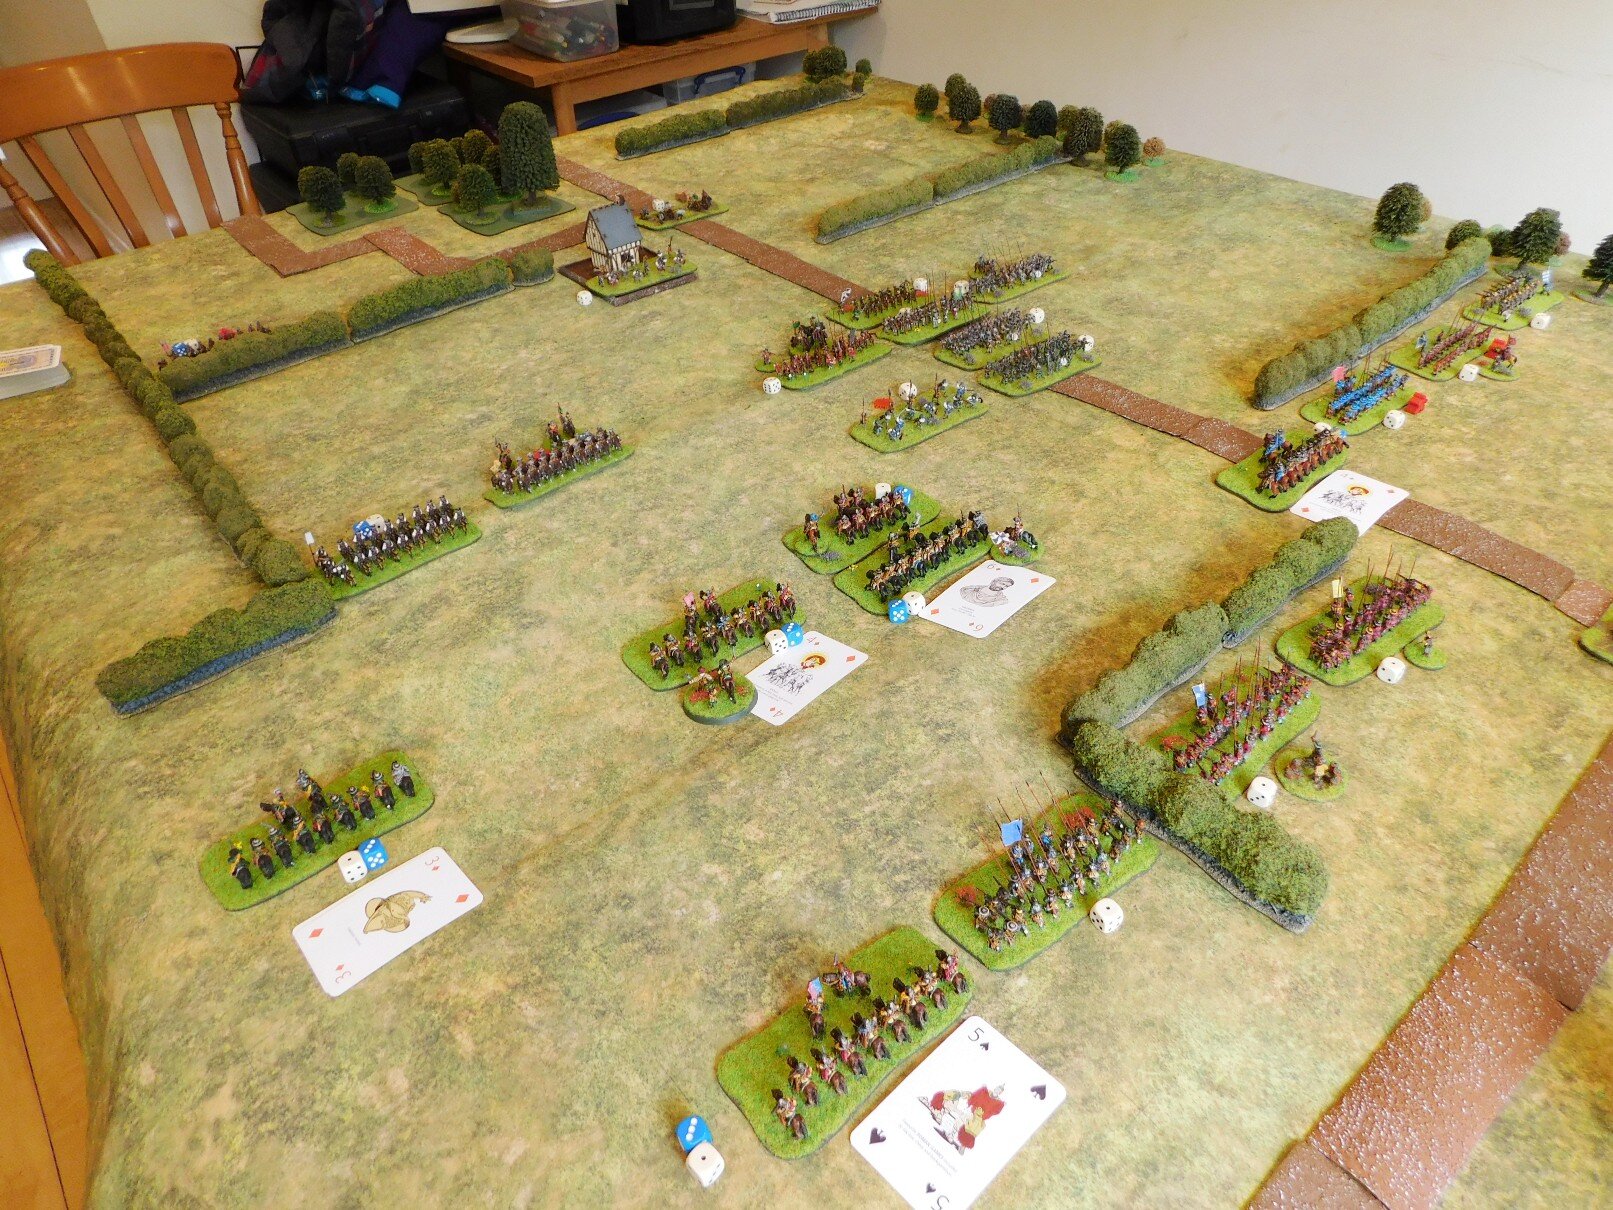
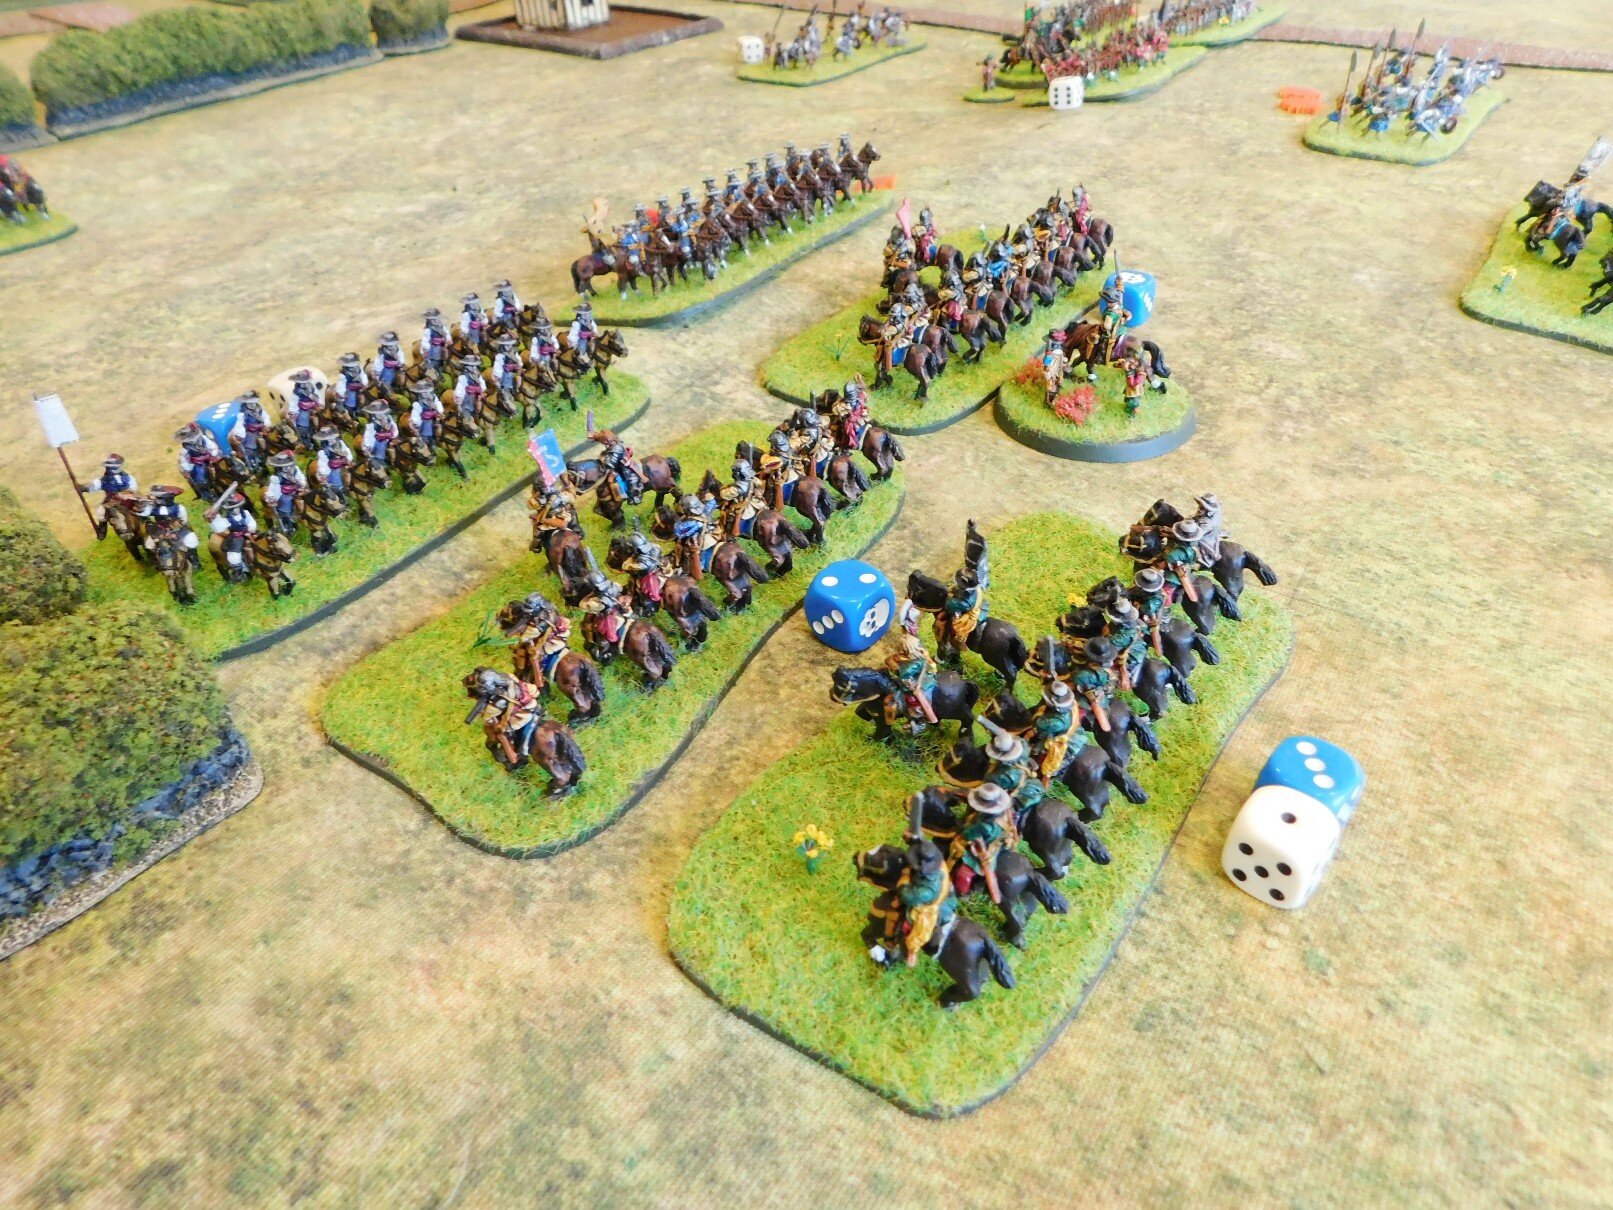
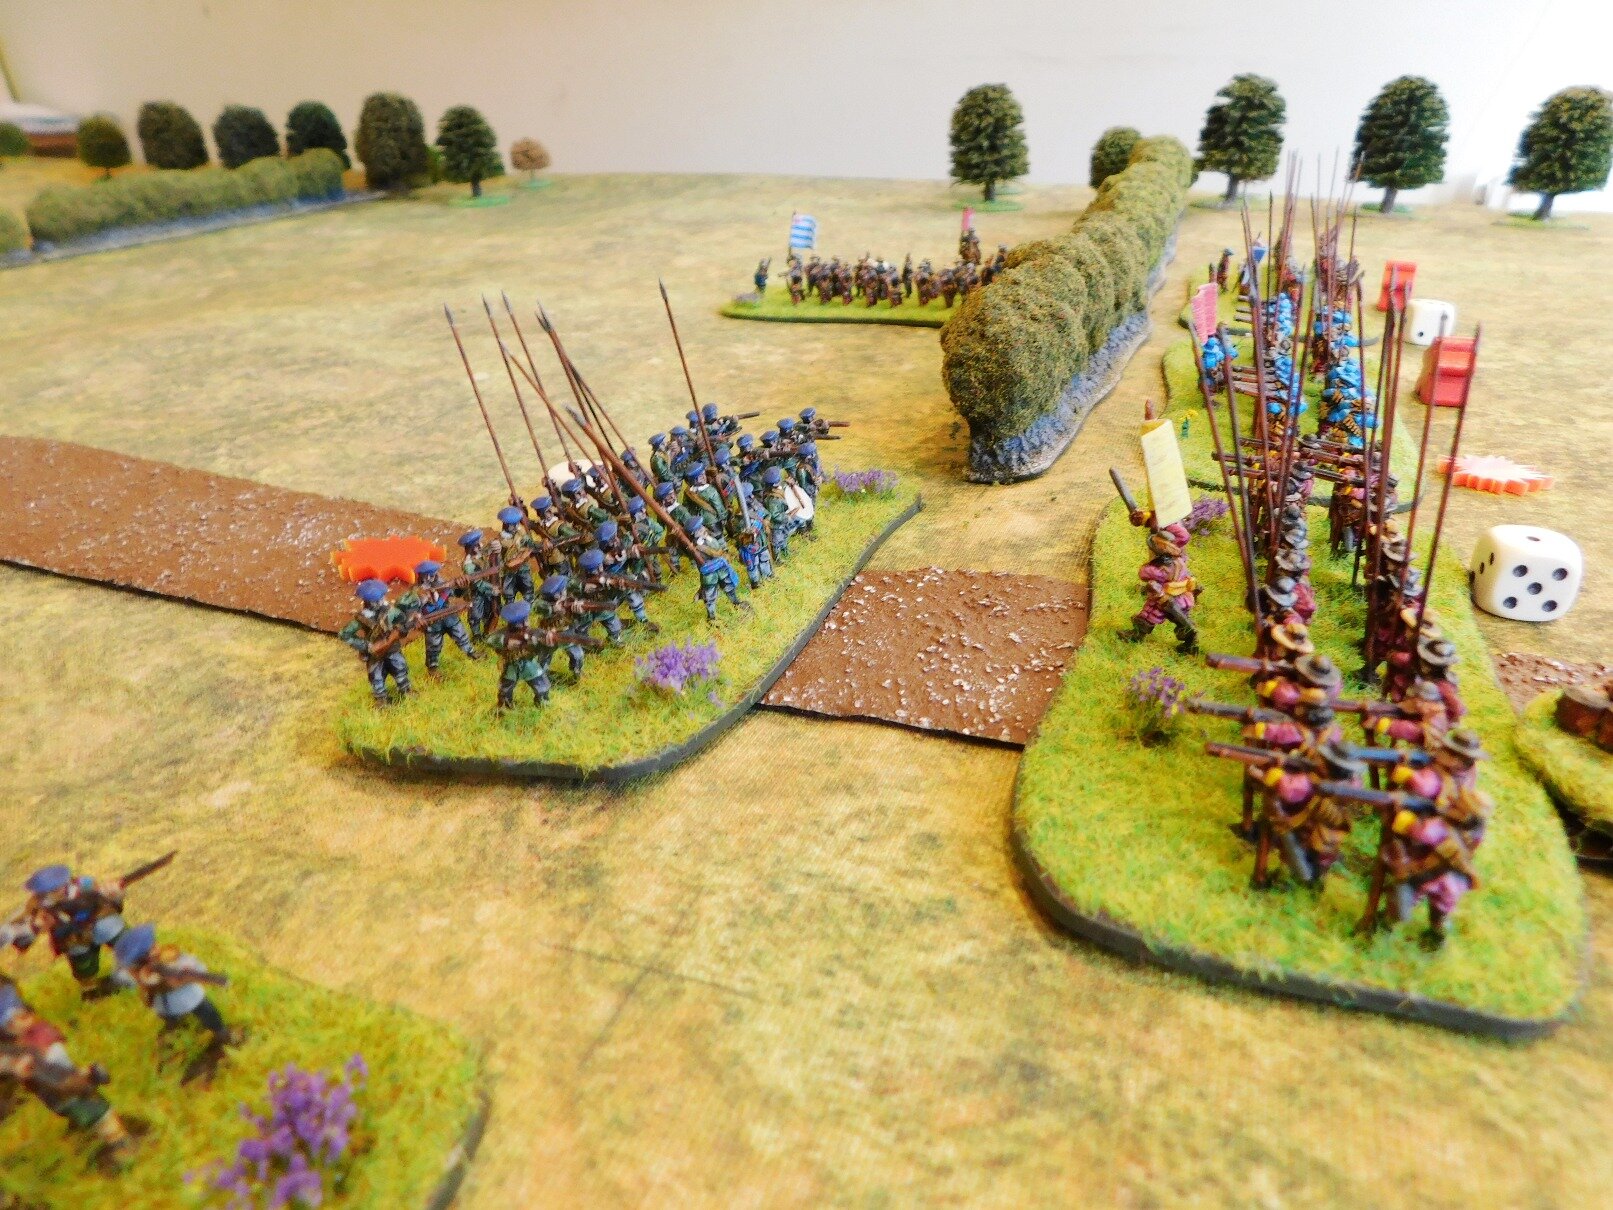
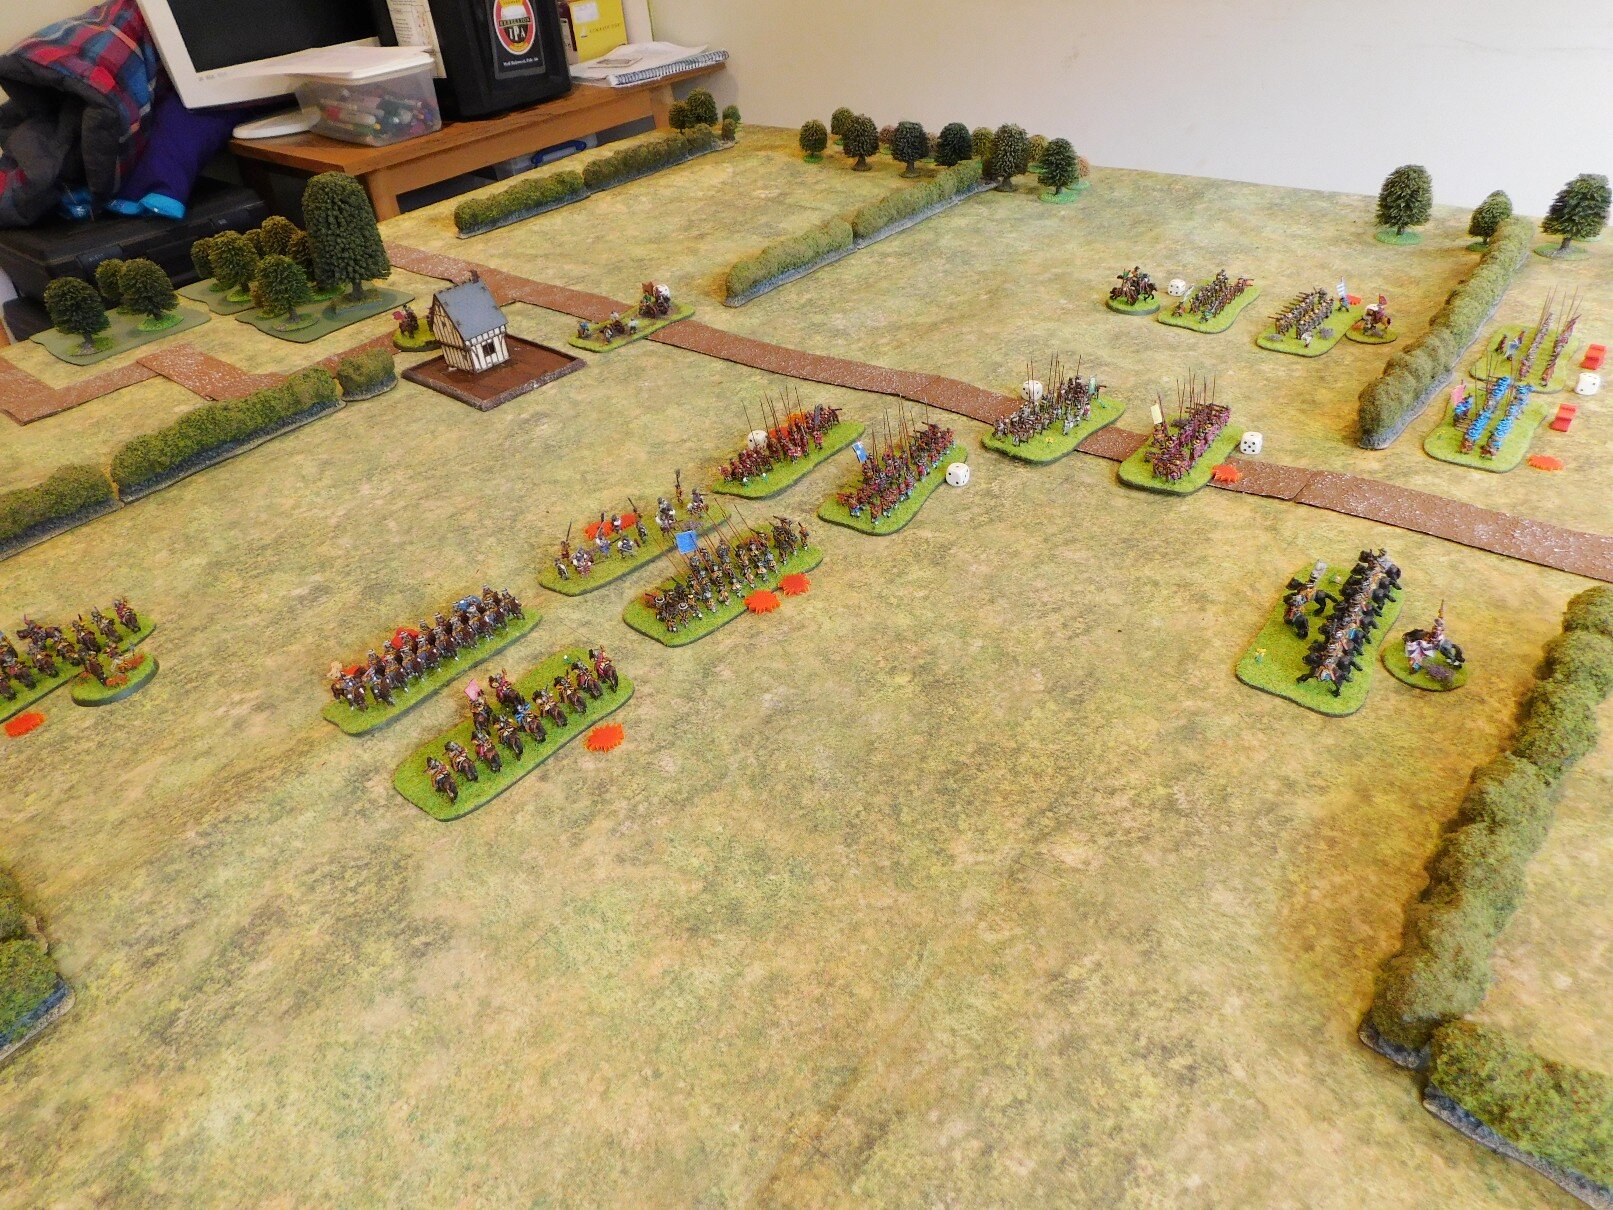
The battle opened with the entire Gallic line thundering forward, with the Romans advancing more cautiously towards them.

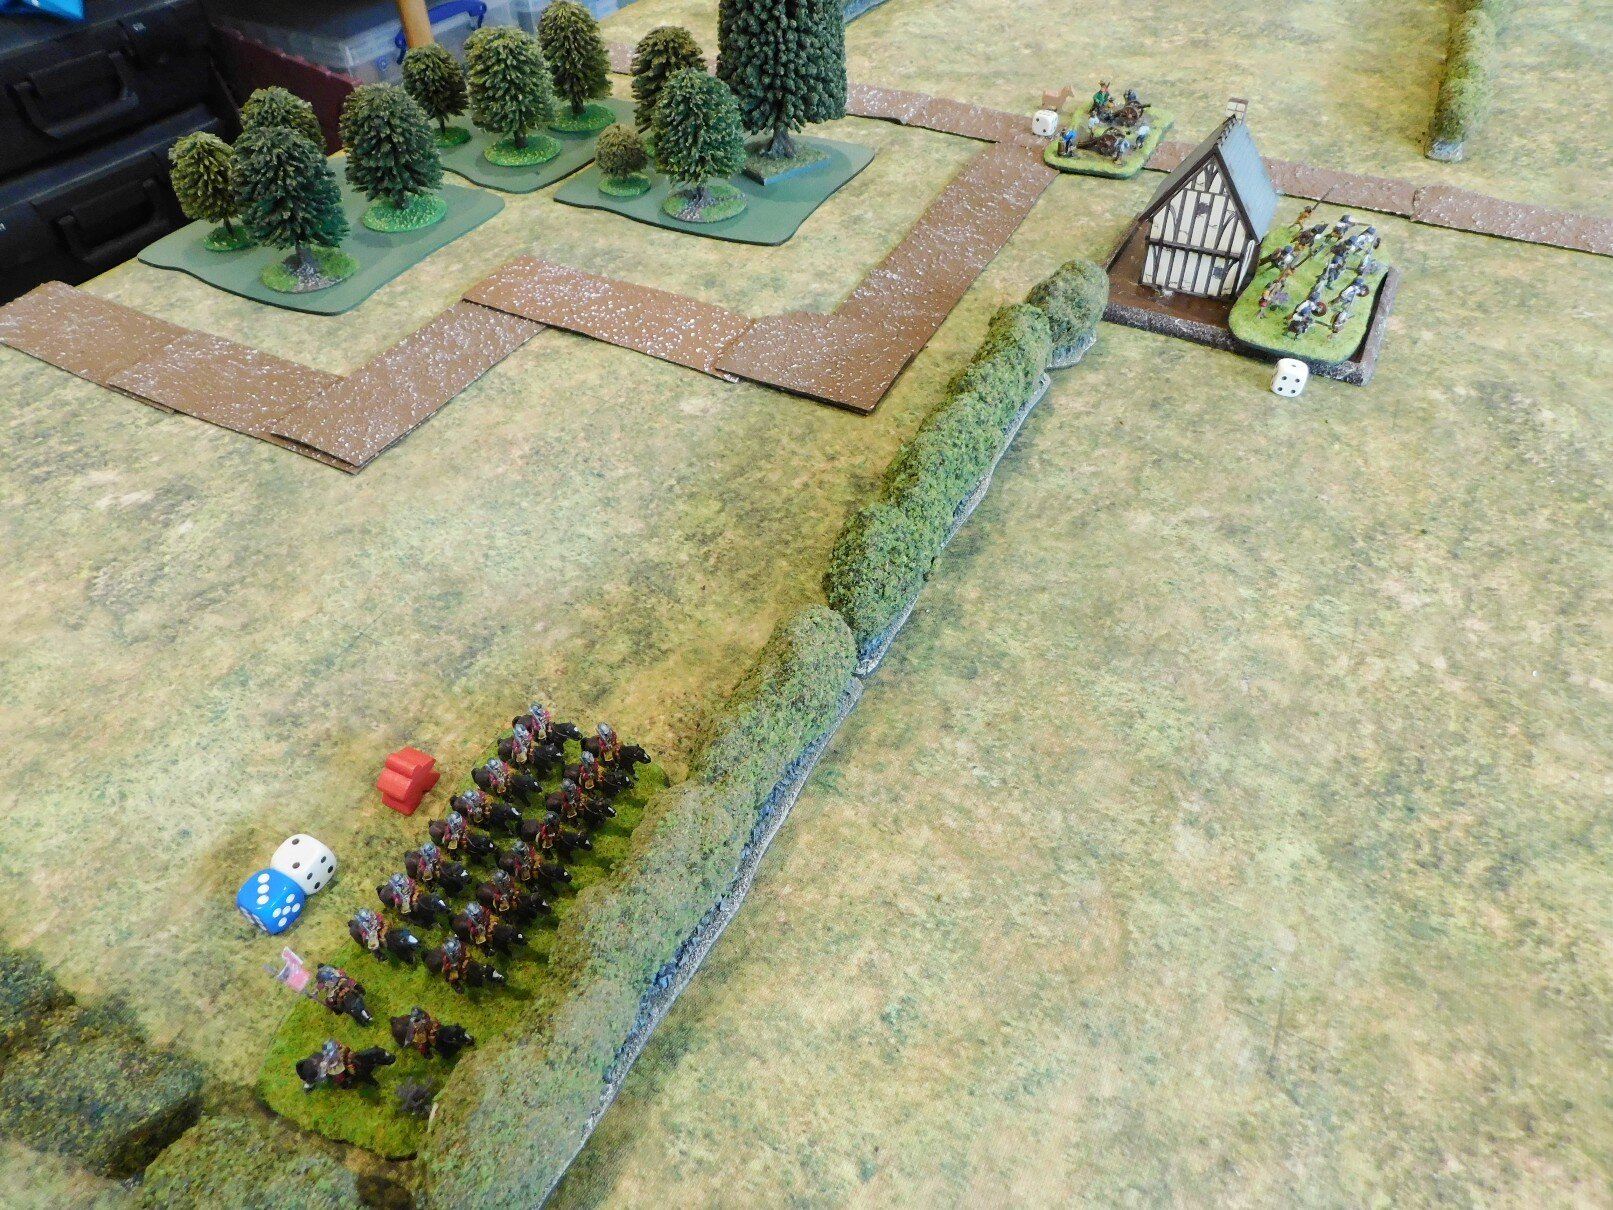
The Gauls had their warbands on the left and centre, their light unit just to the left of the trees in the middle of the battlefield, and their cavalry on the far right.
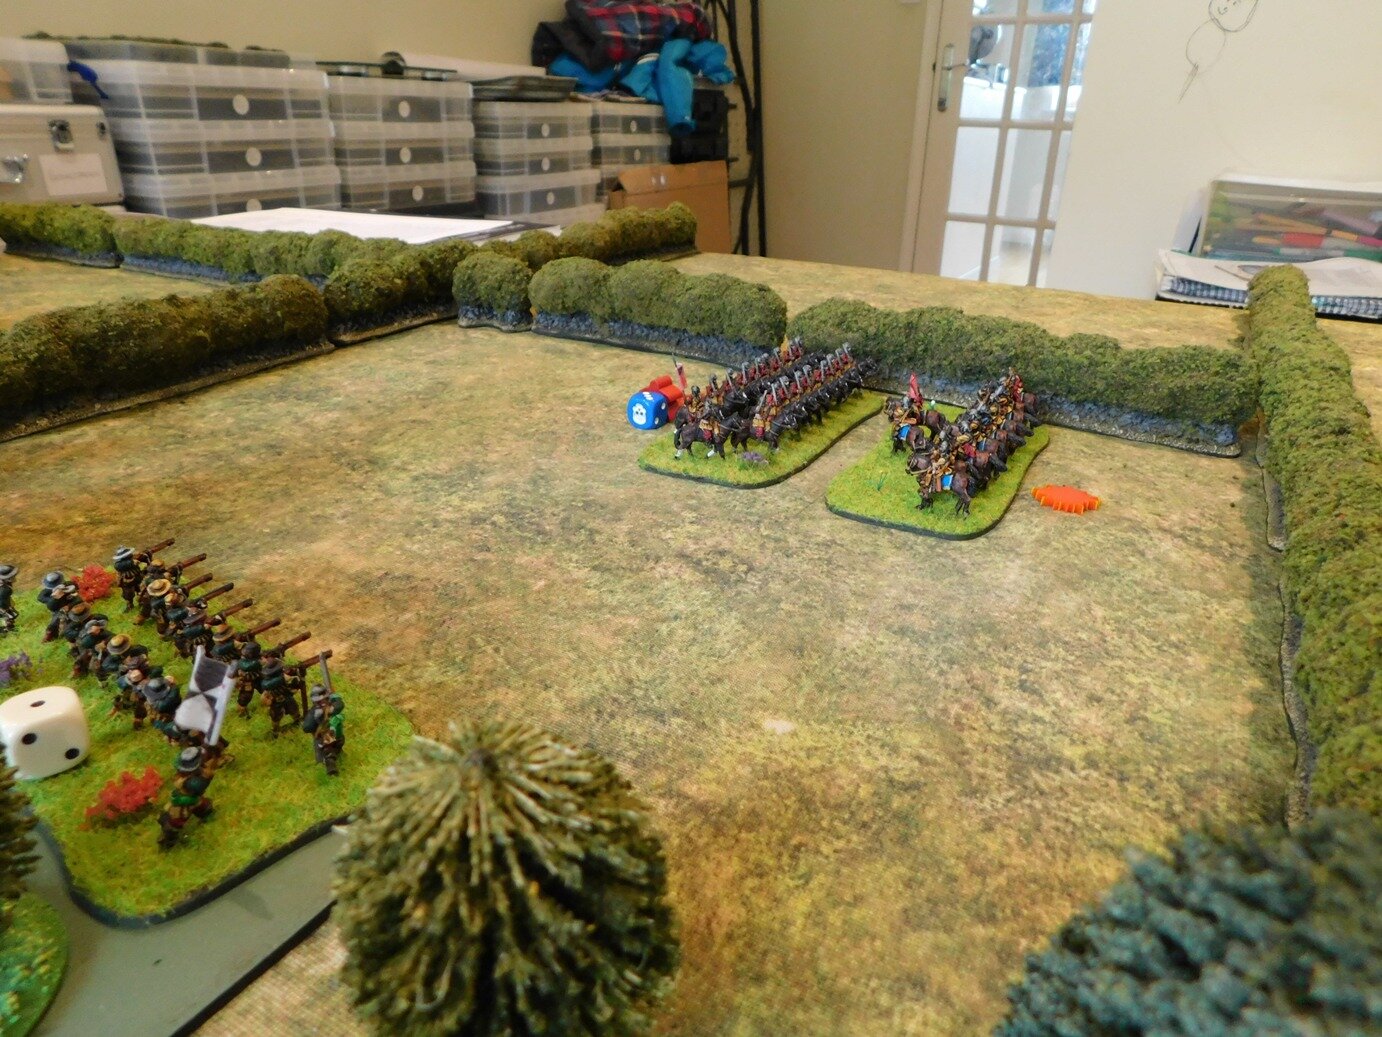
The Romans had their Macedonian cavalry on the left, then a long line of legionary units with their associated light troops in front of them, except for the ballistae that were opposite the camp.

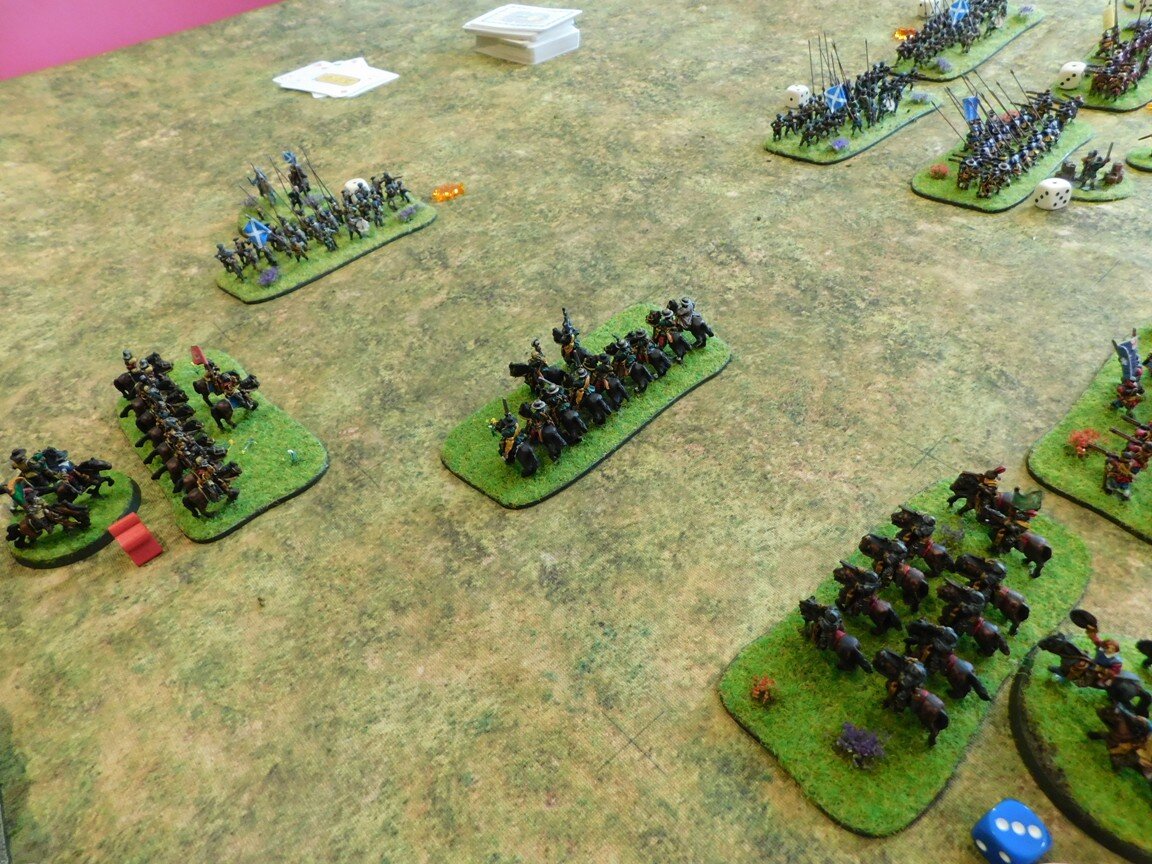
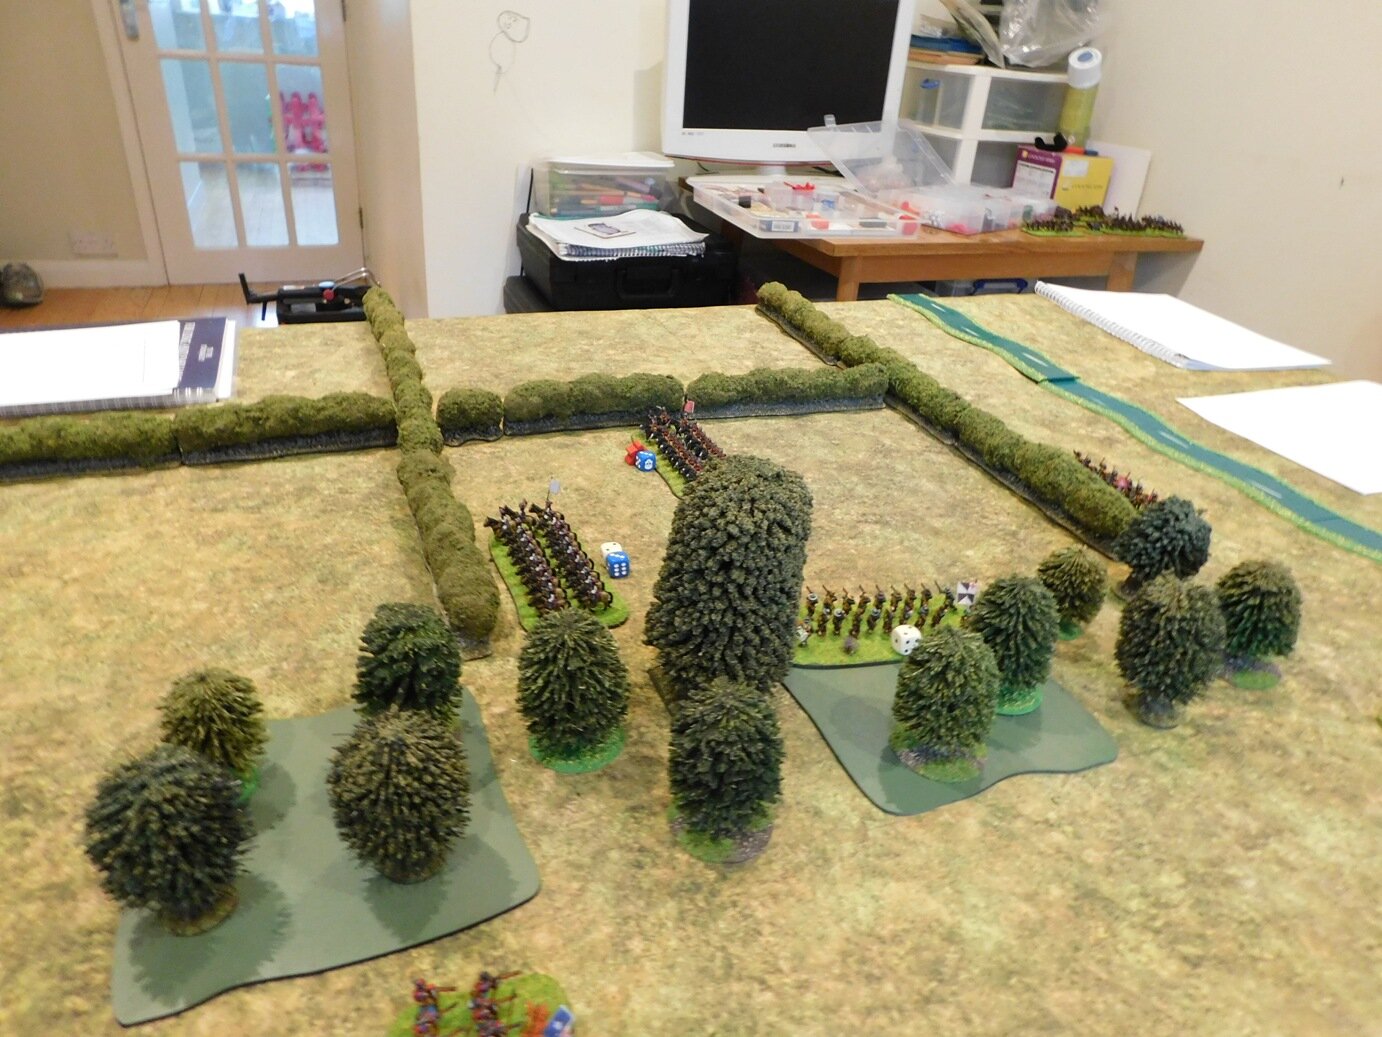
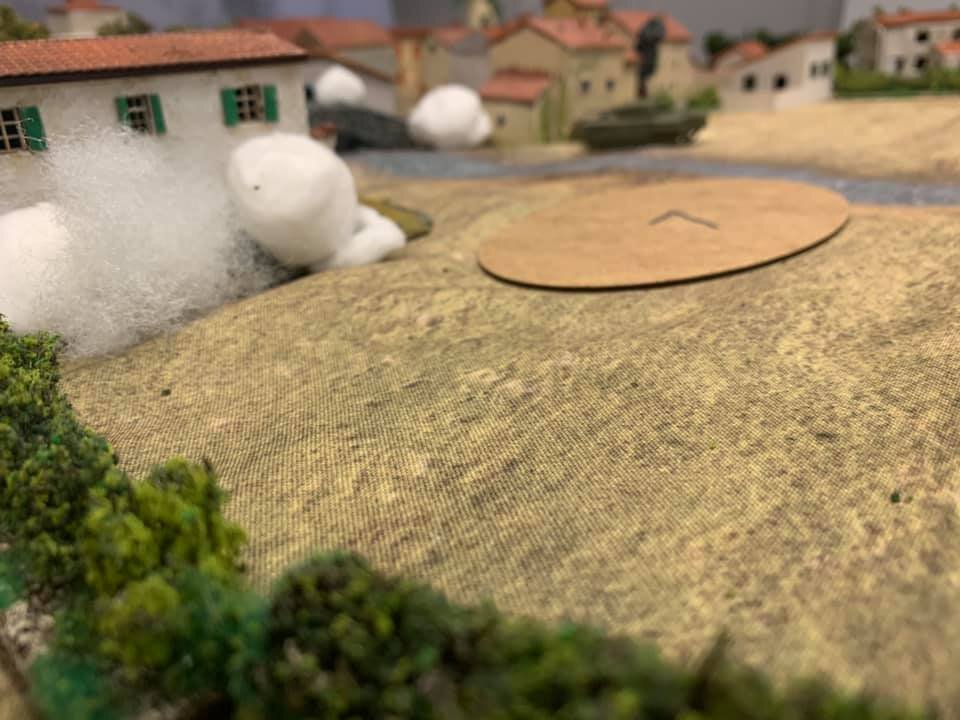
The Gauls come thundering forward
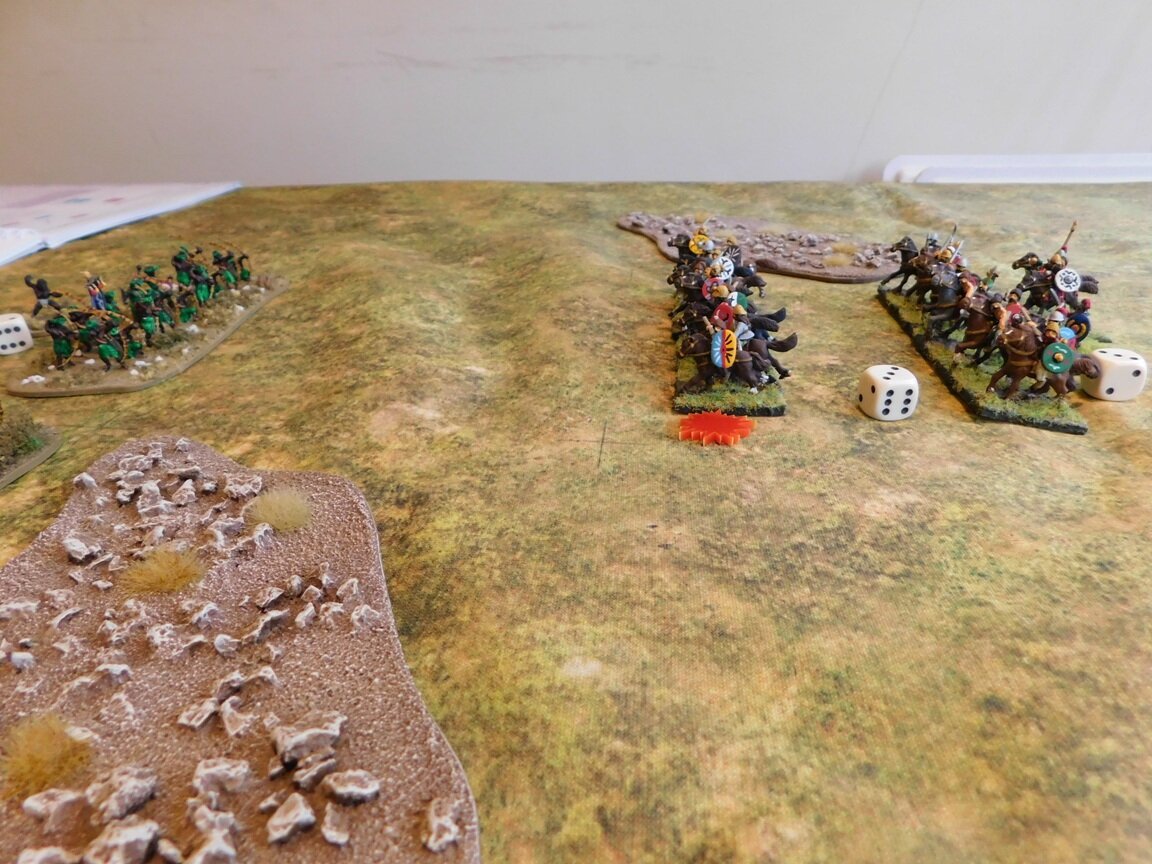
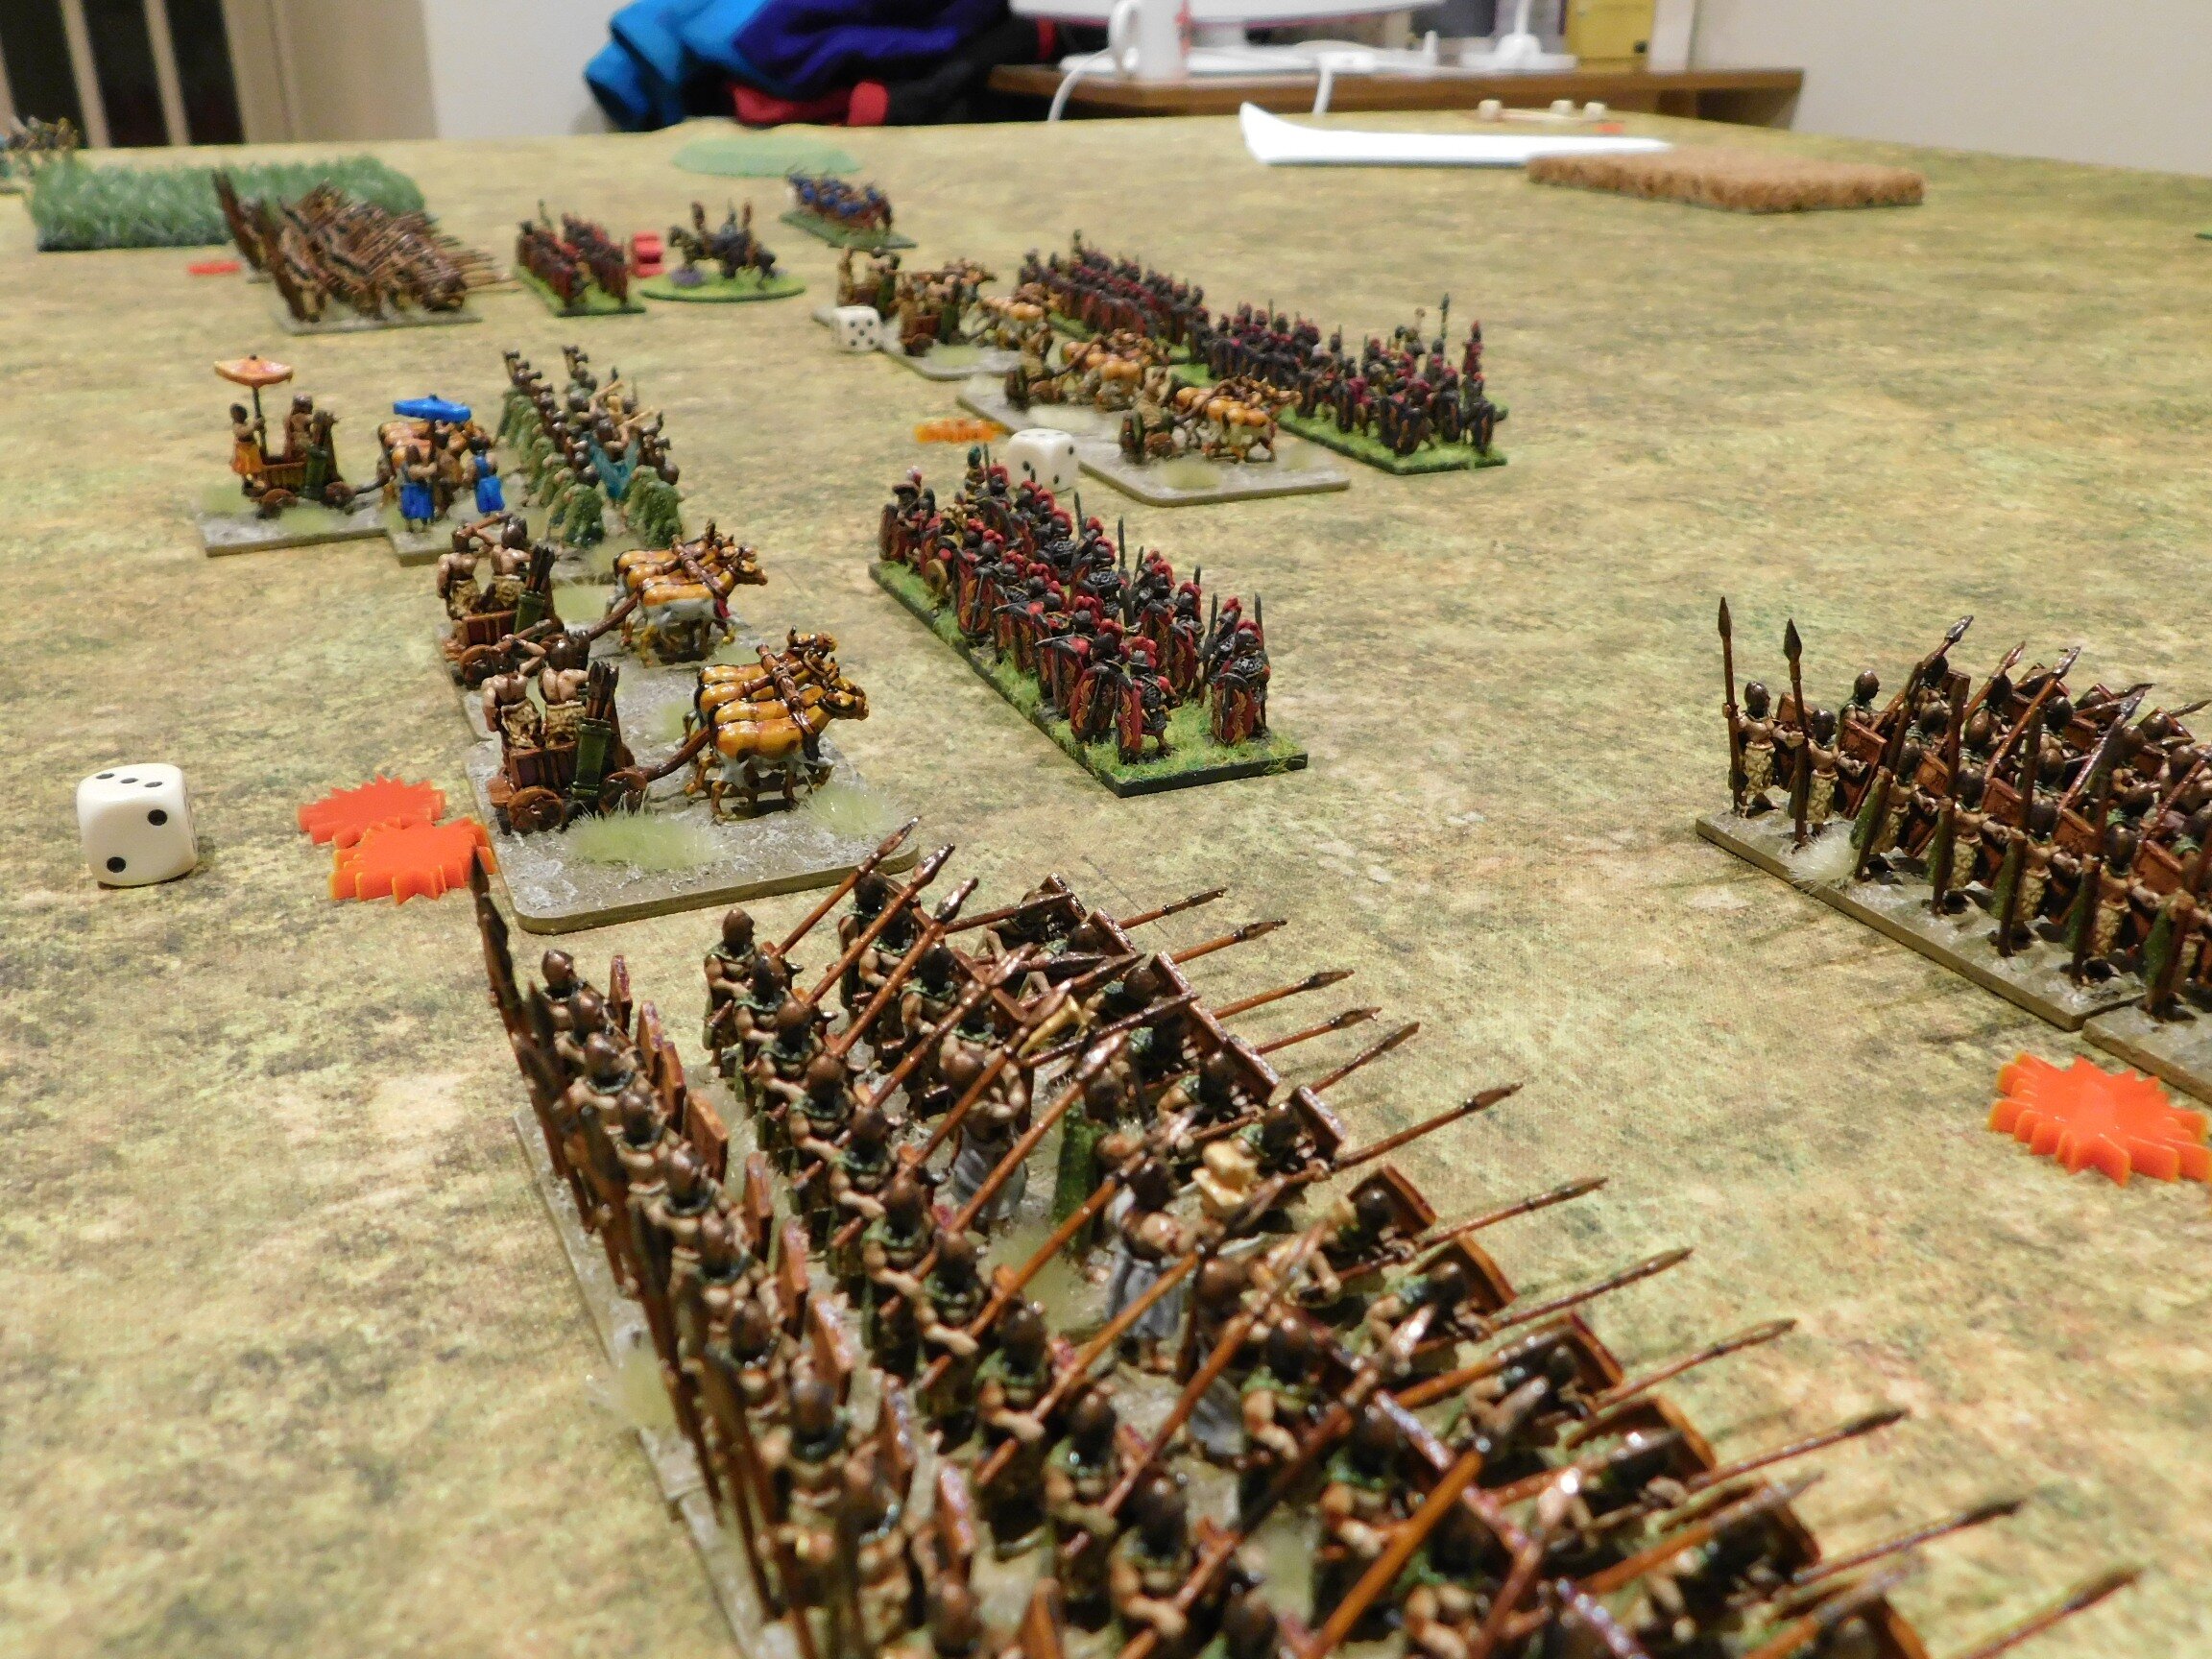
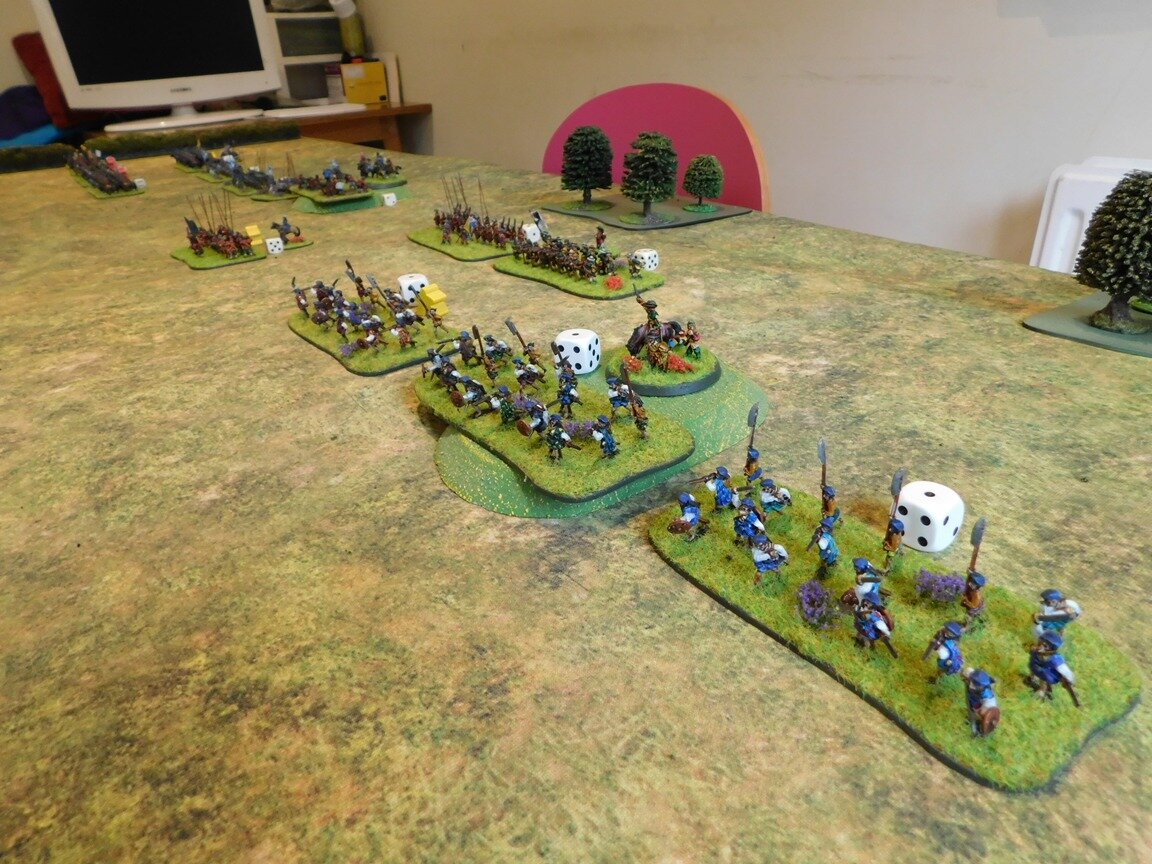
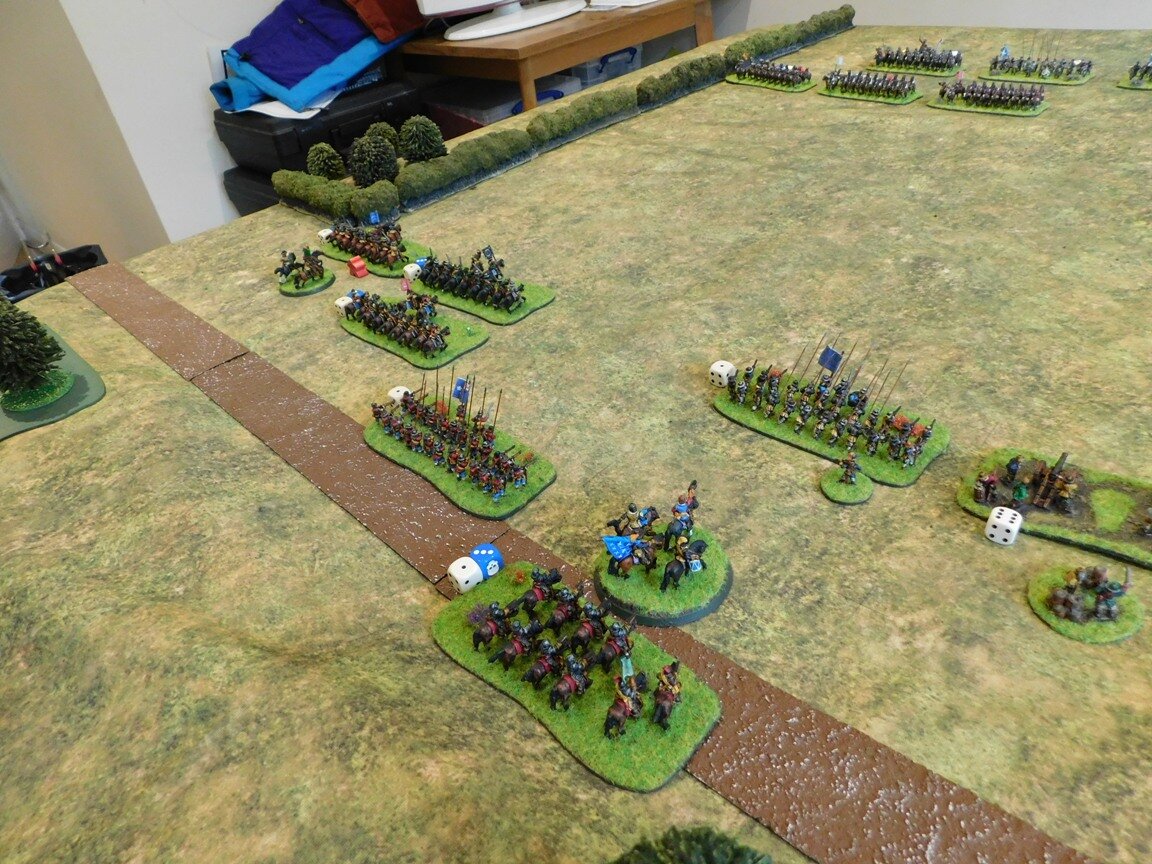
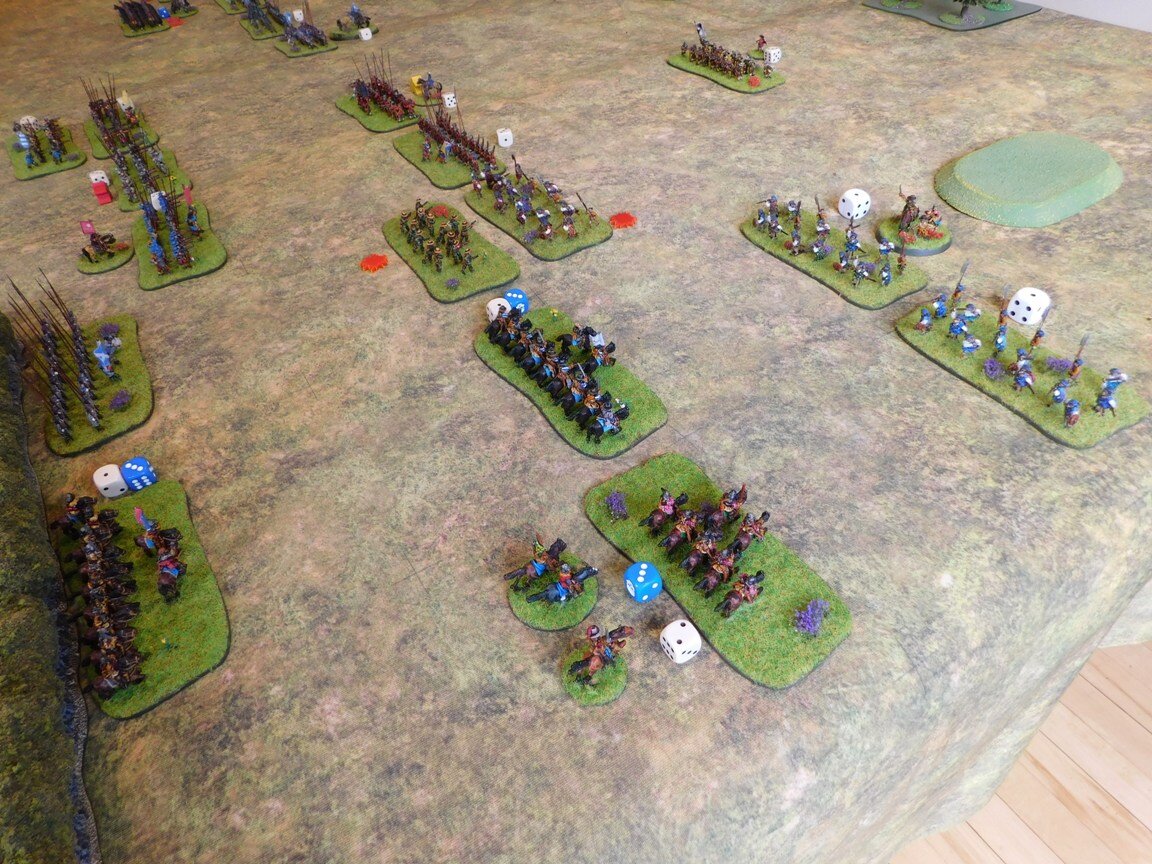
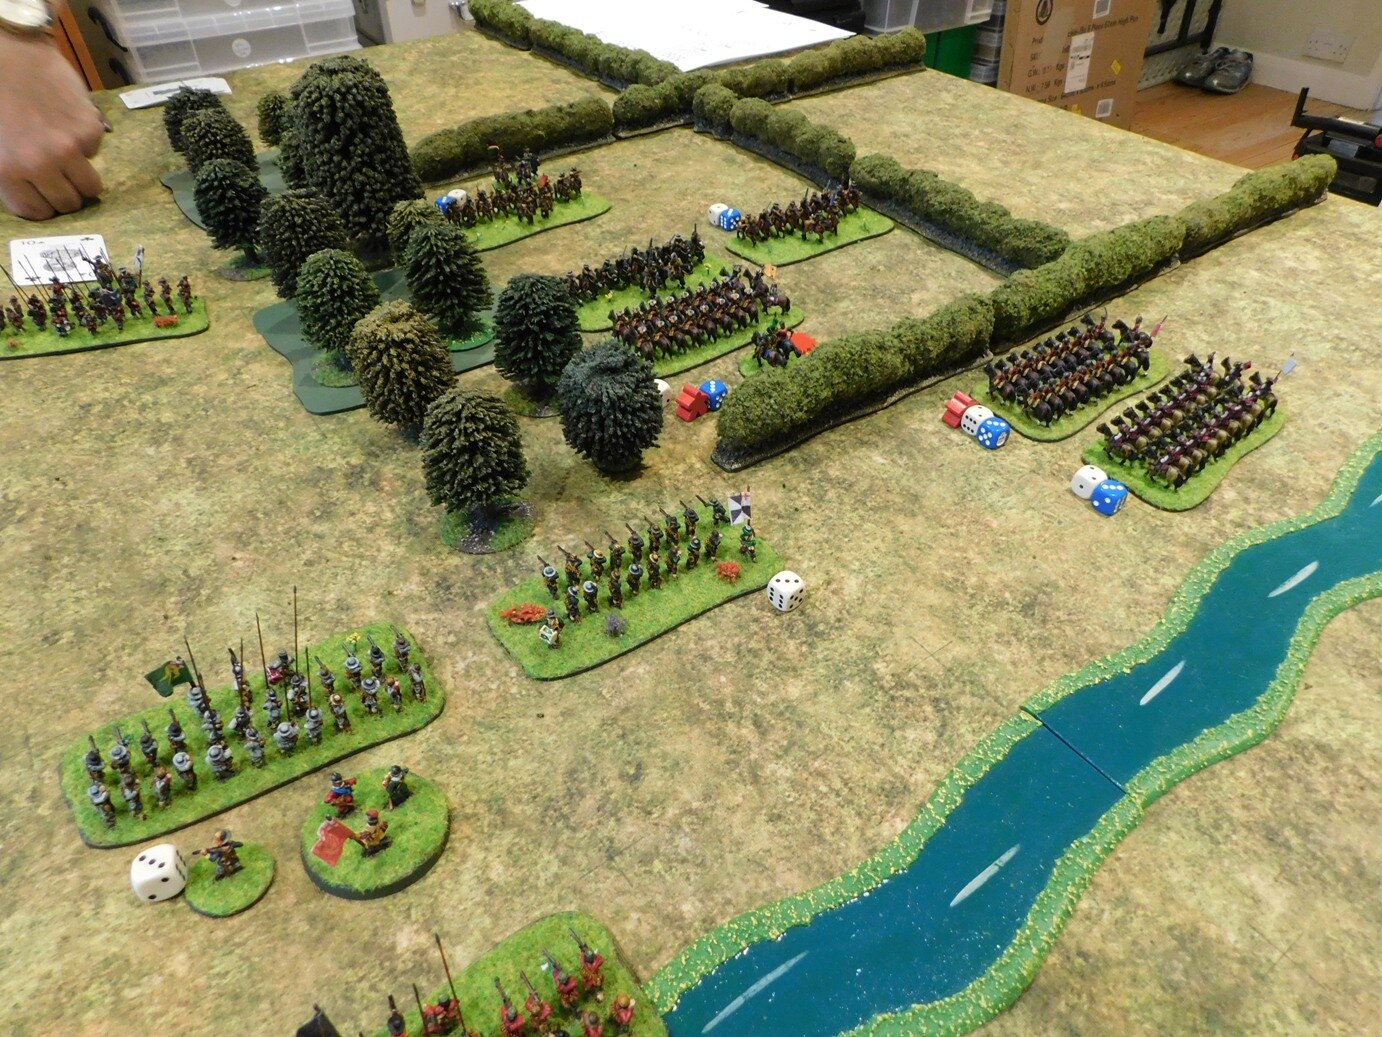
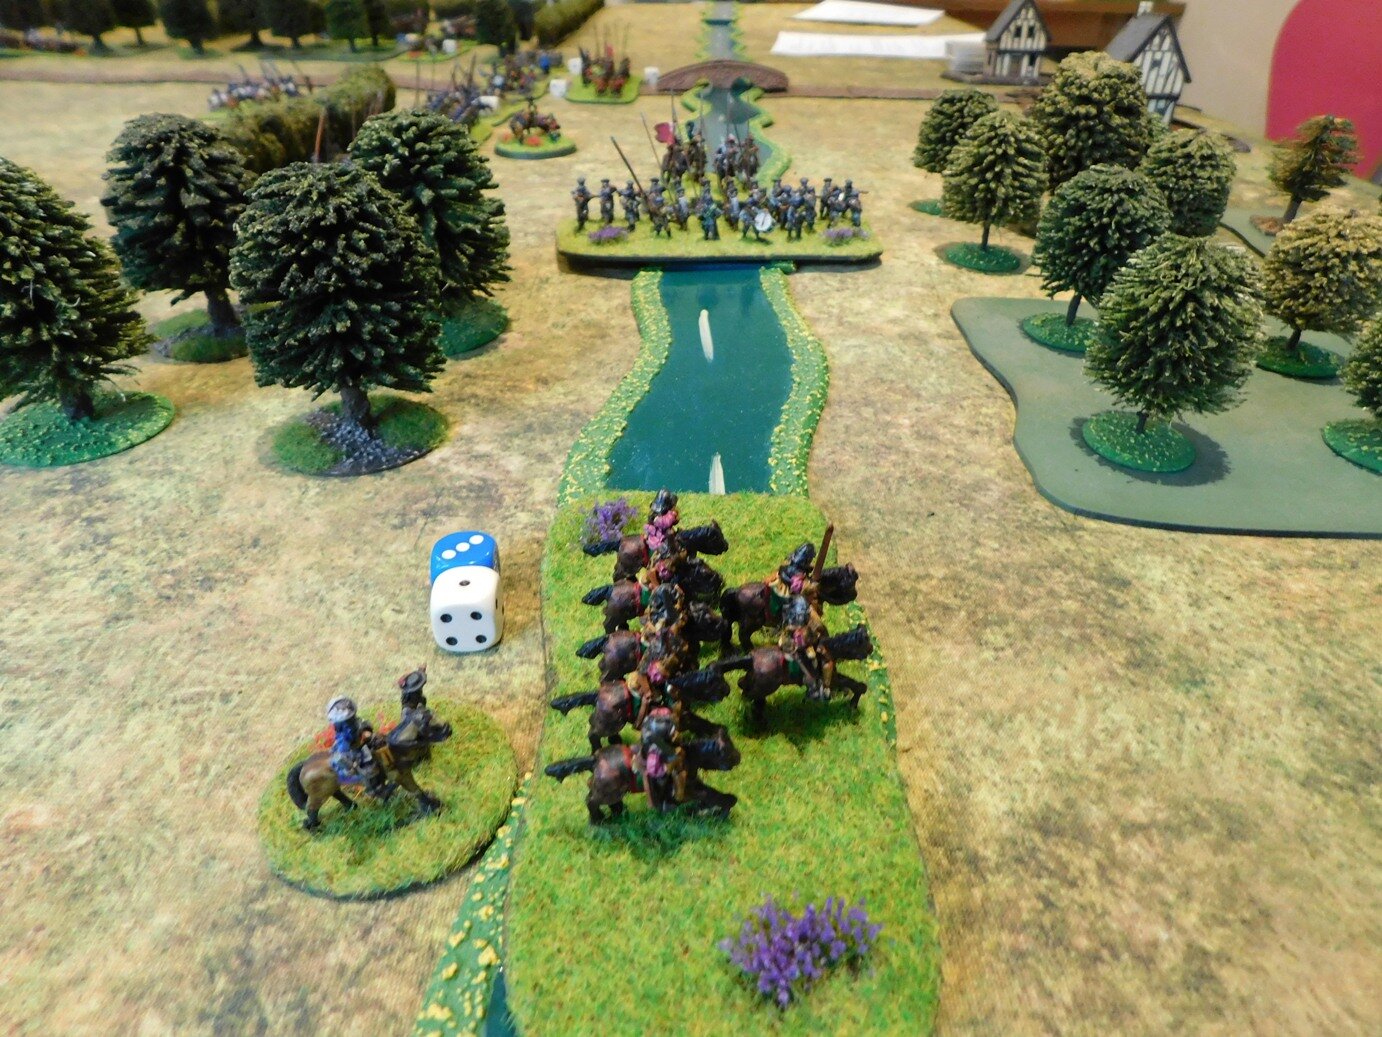
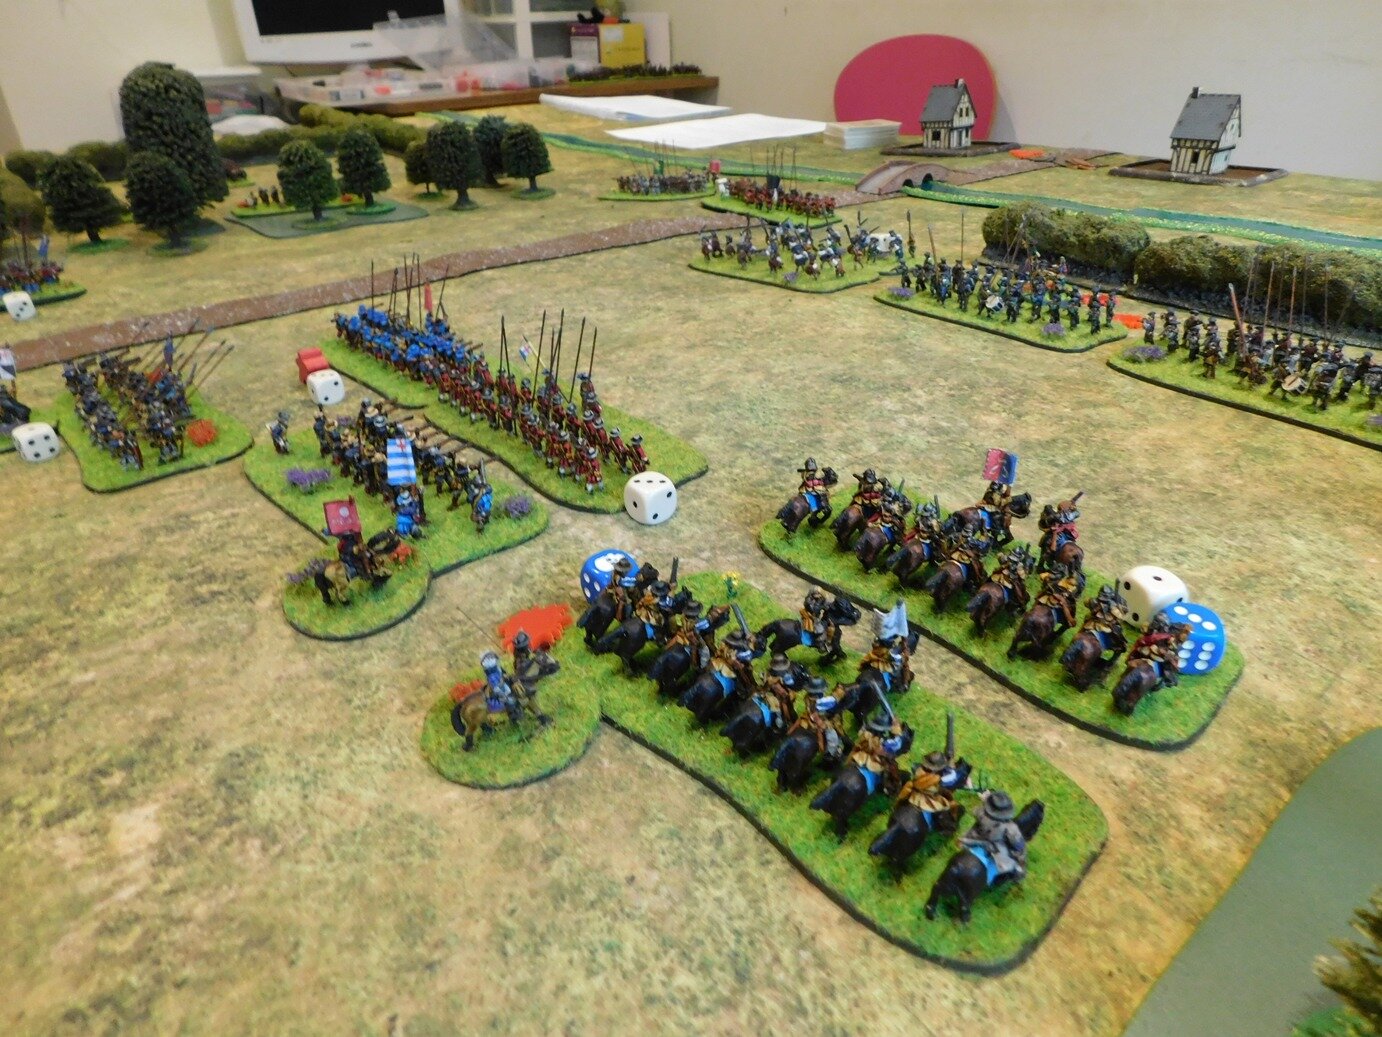
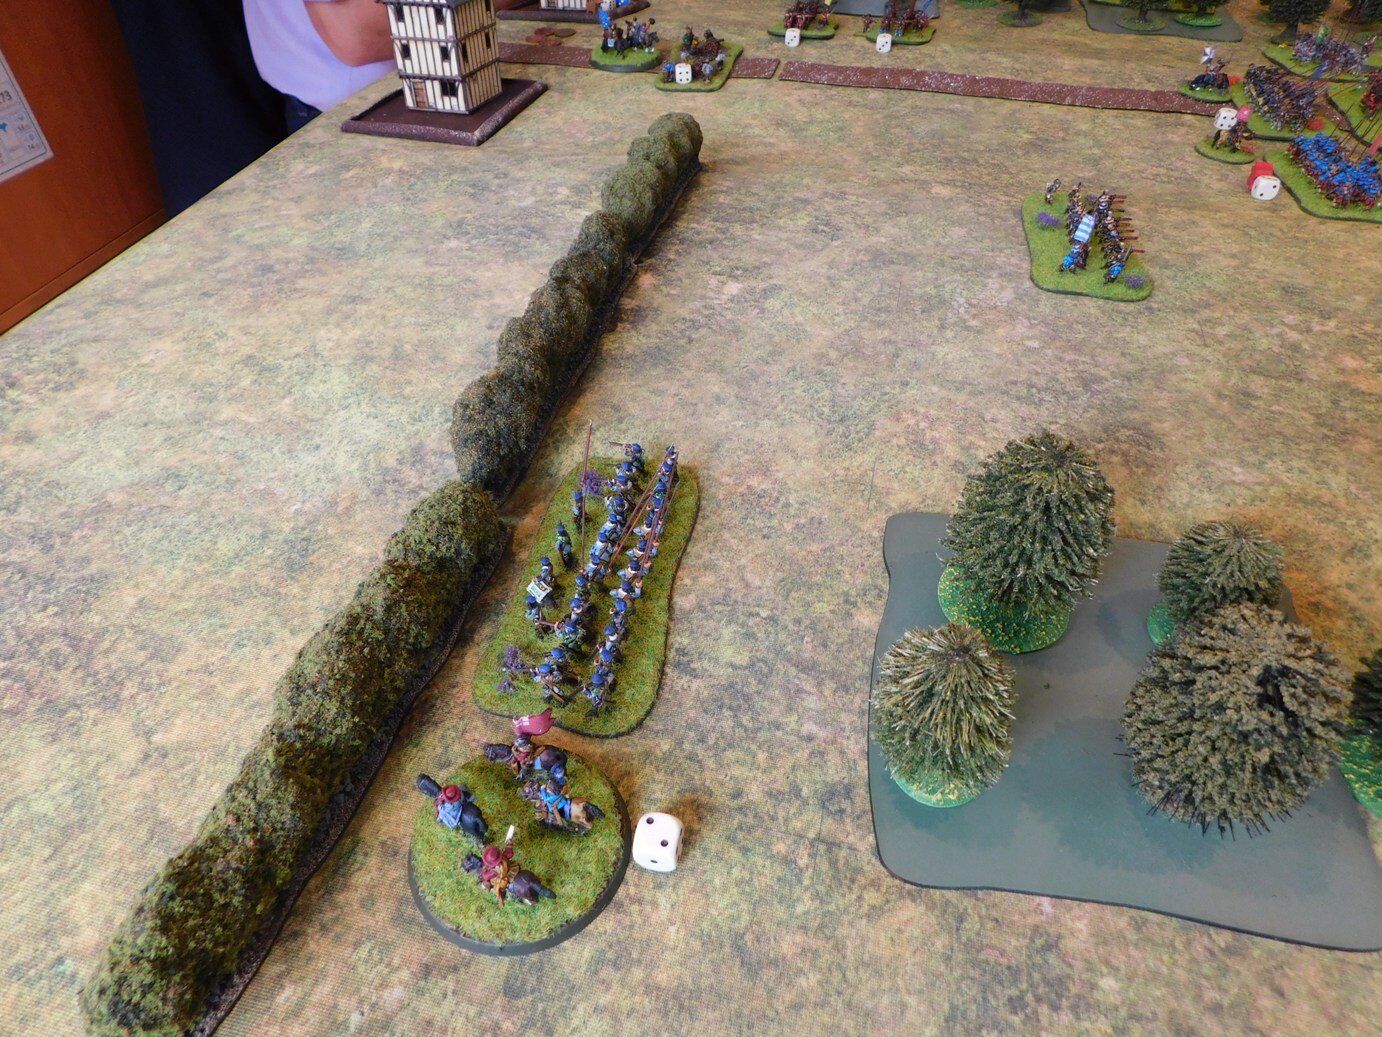
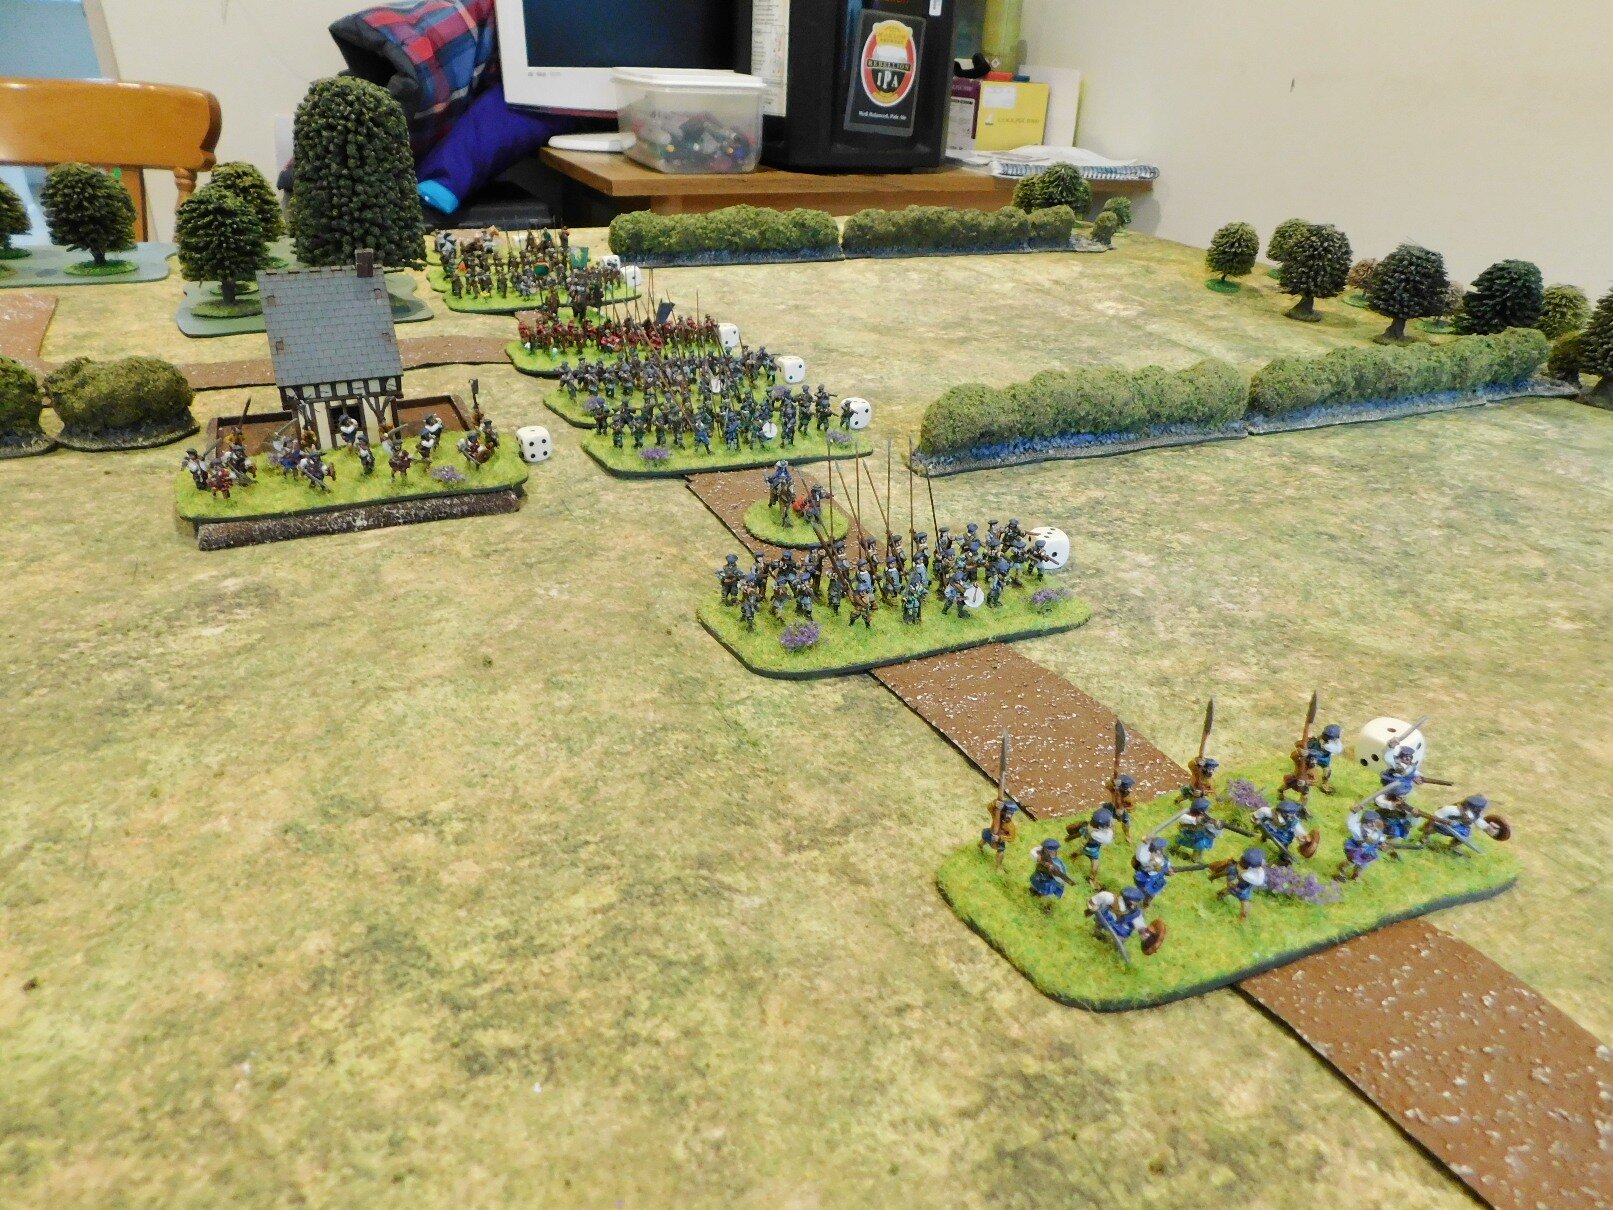
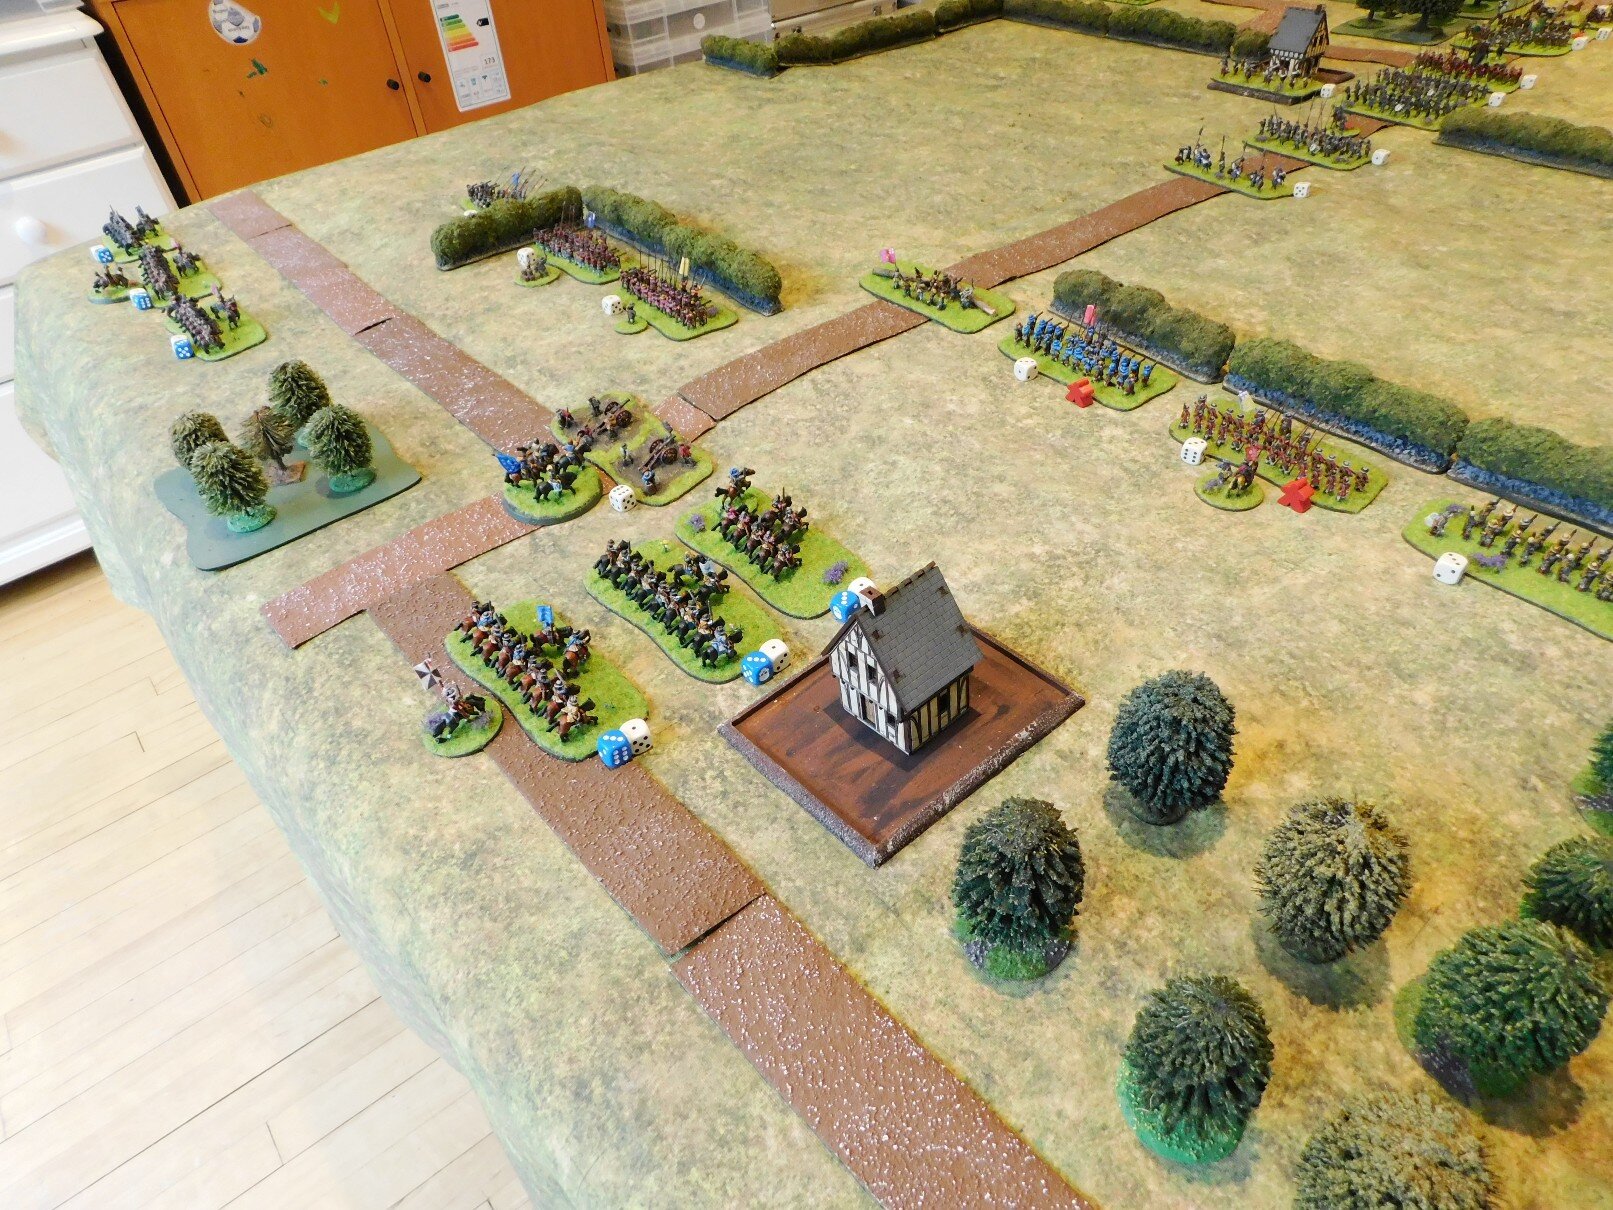
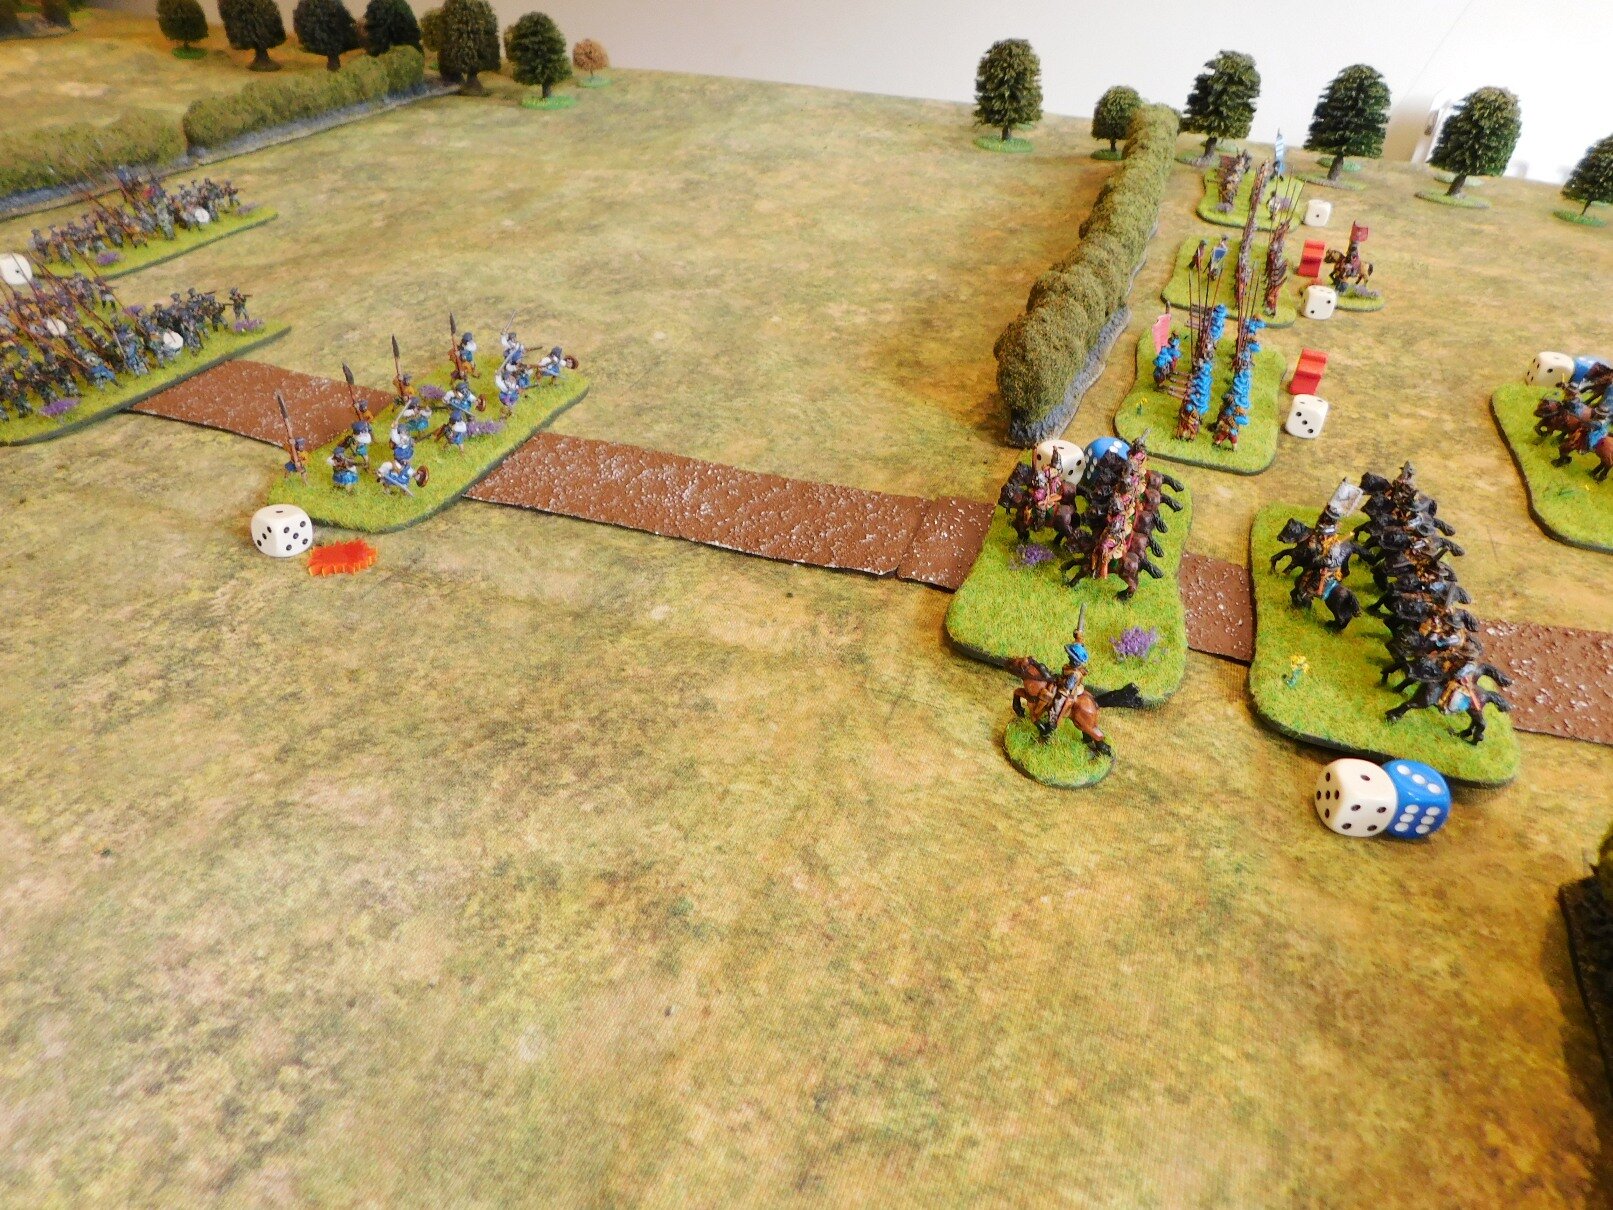
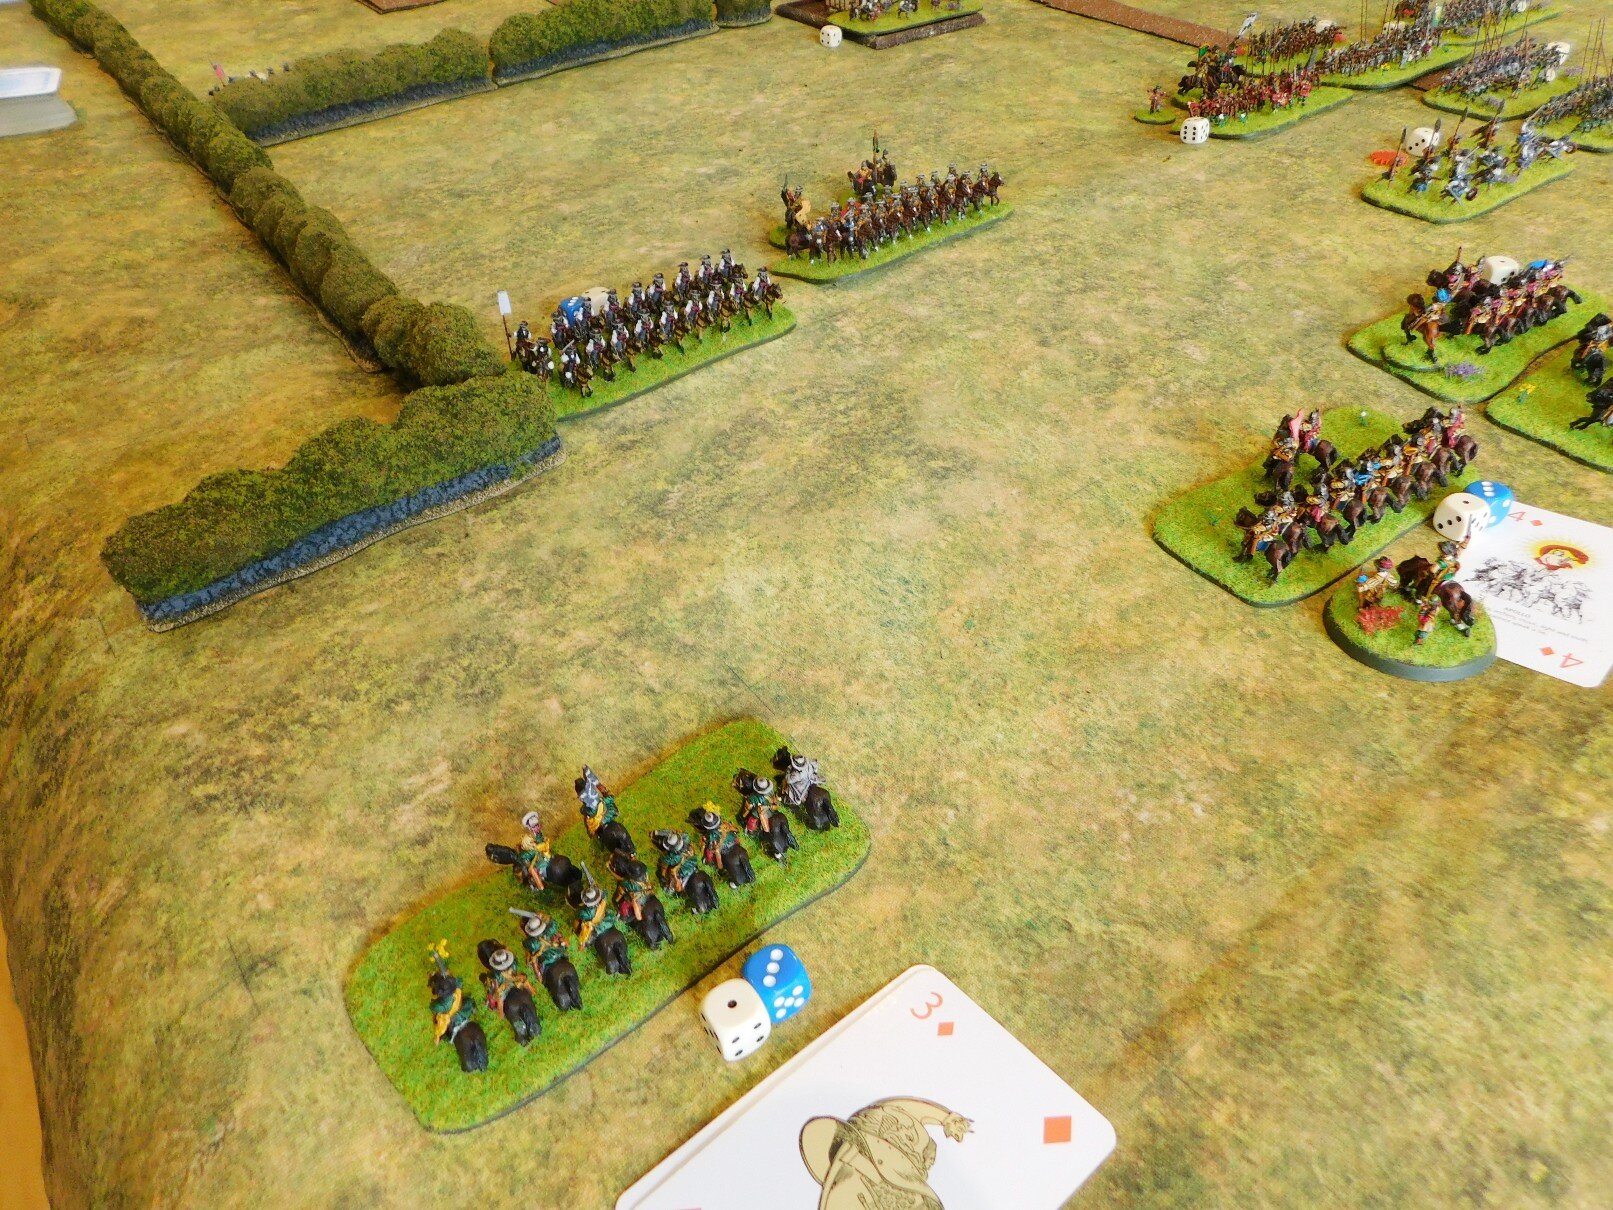
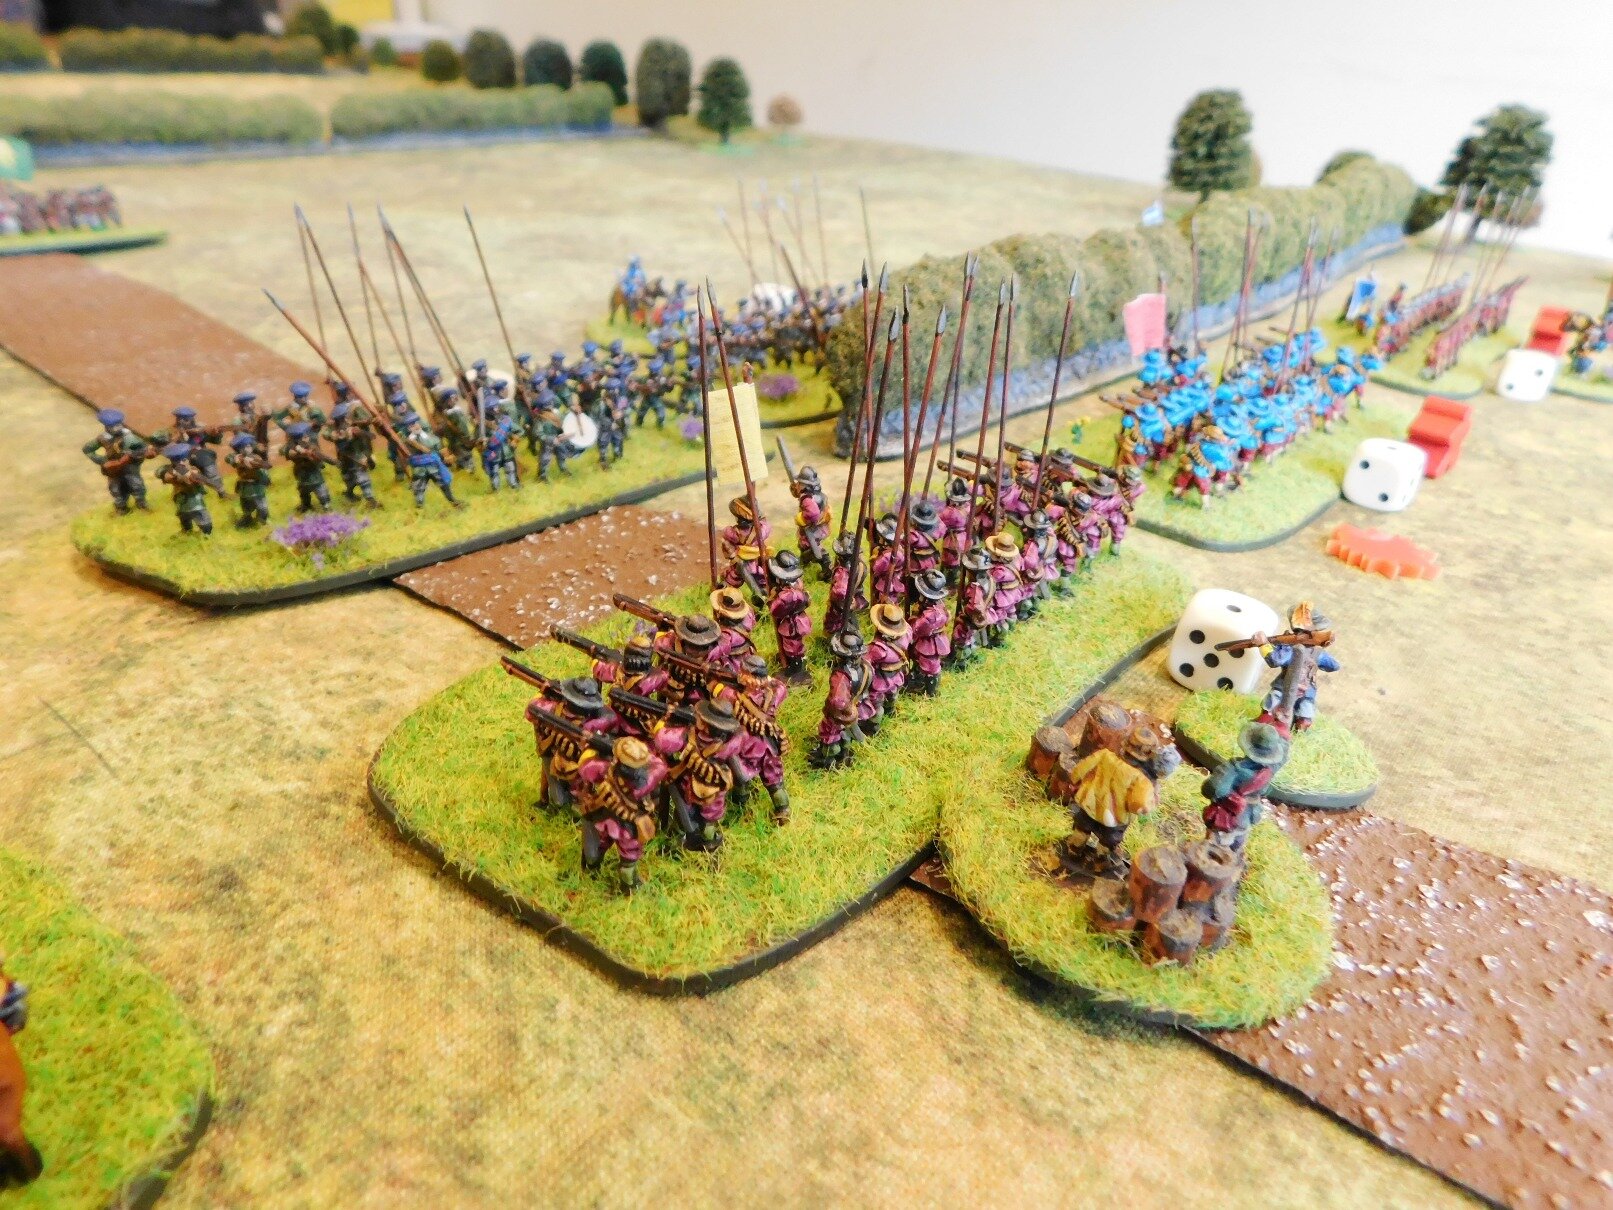
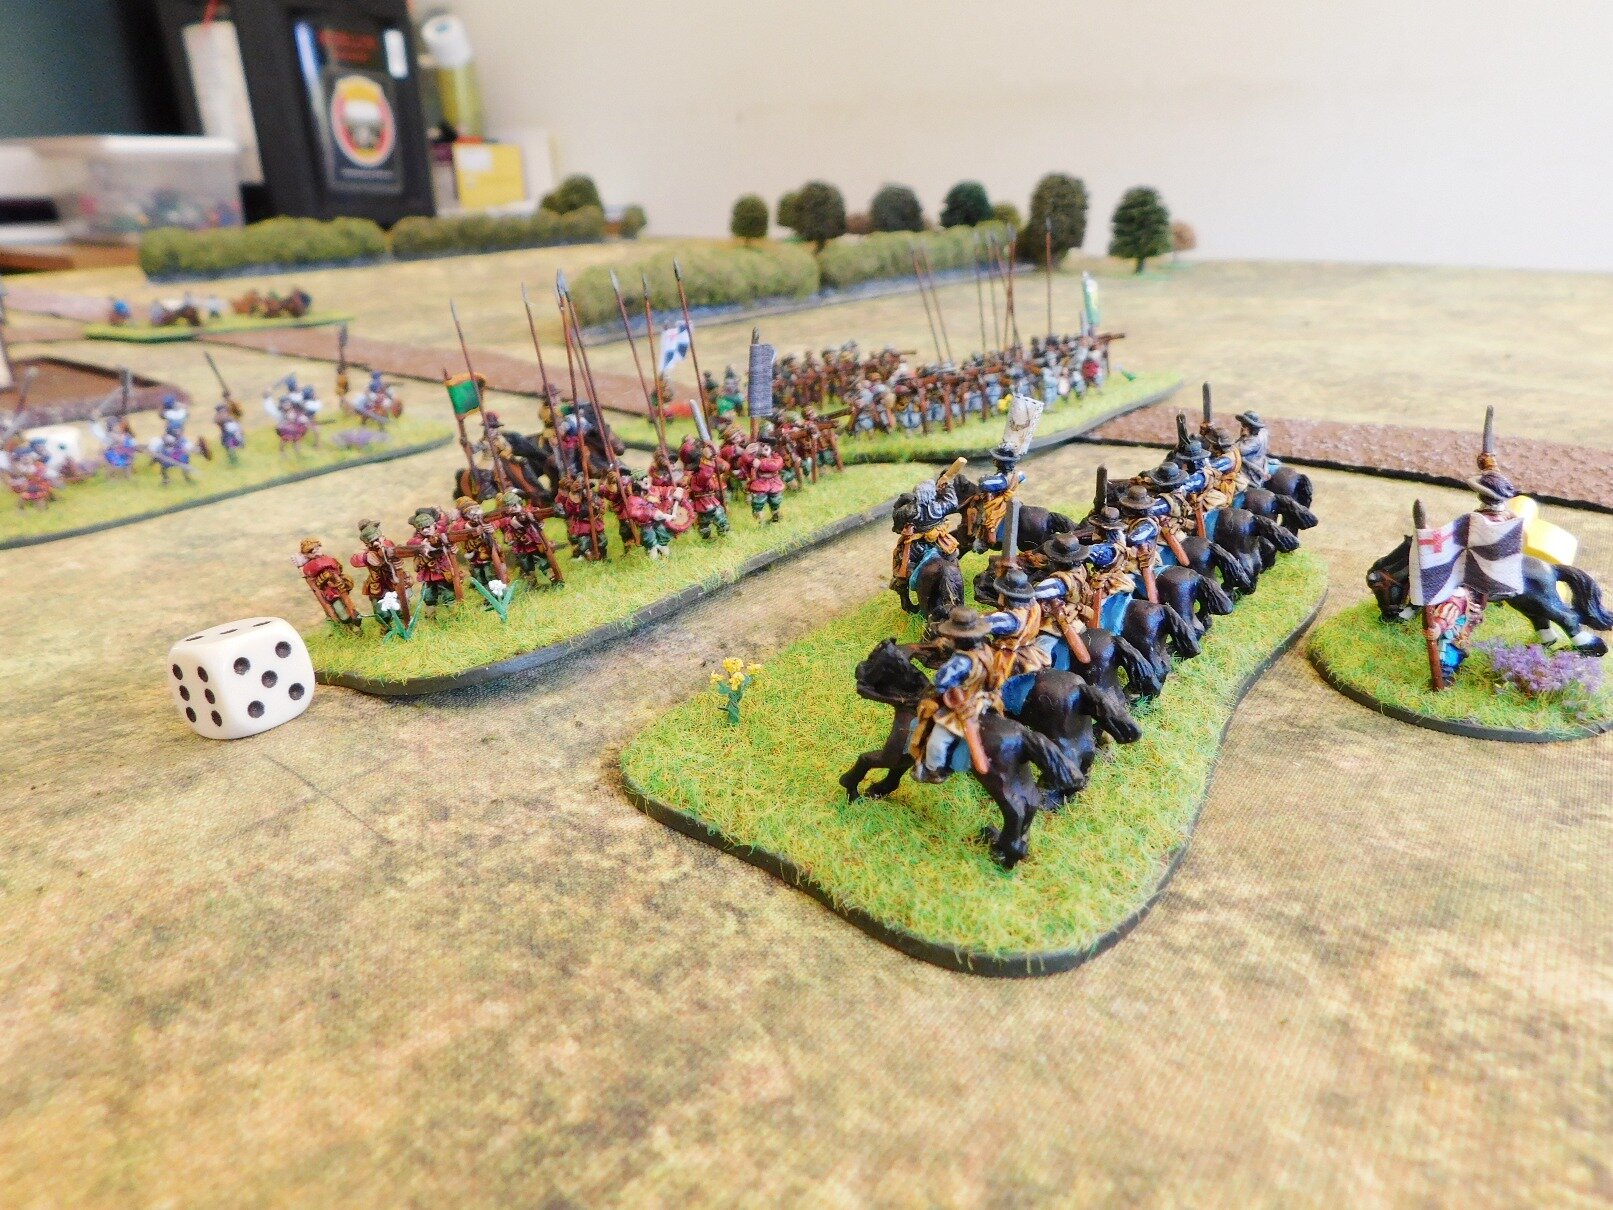
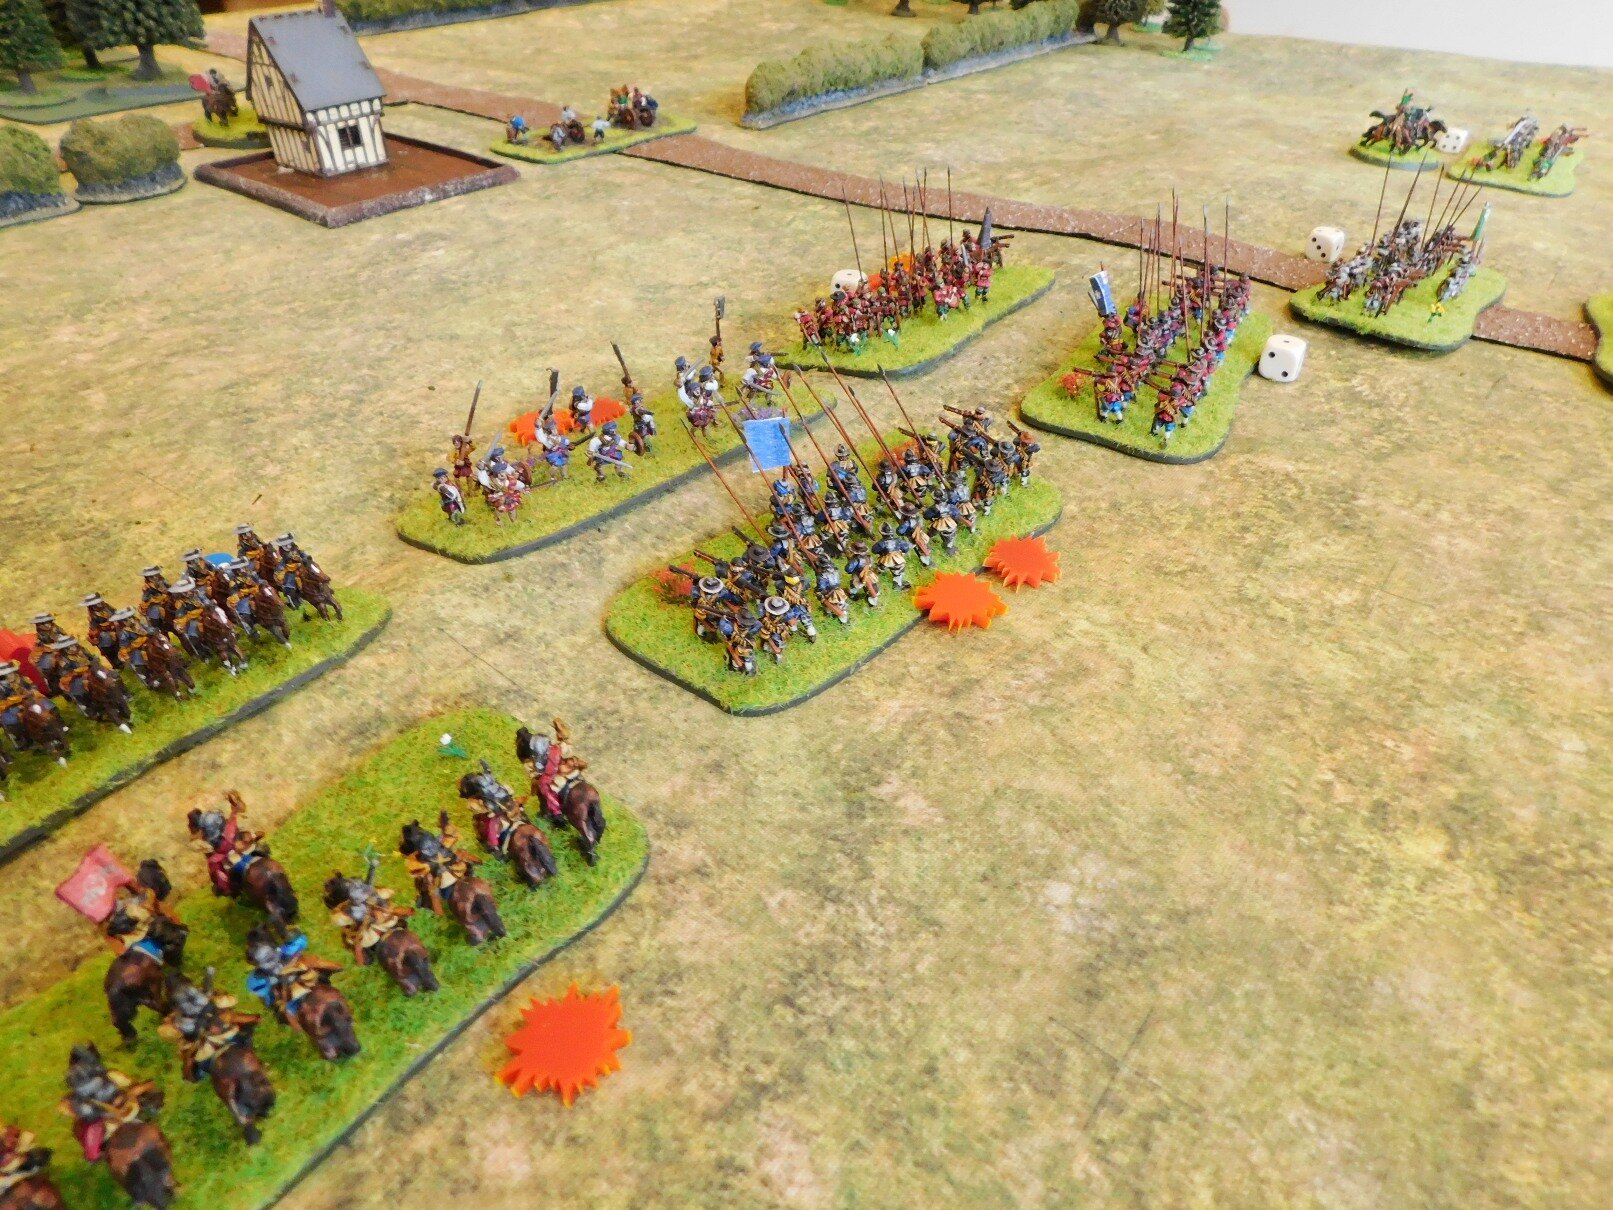
First action was on the Roman left, where the two cavalry forces clashed. The trees meant that the Gauls couldn’t use their superior numbers, and my horse was veteran, so I was hoping for some success here.
Regrettably, the Macedonians were obviously not enjoying the rather damper climes of Gaul, and were either pushed back in disorder or just disordered. Not a very good start!
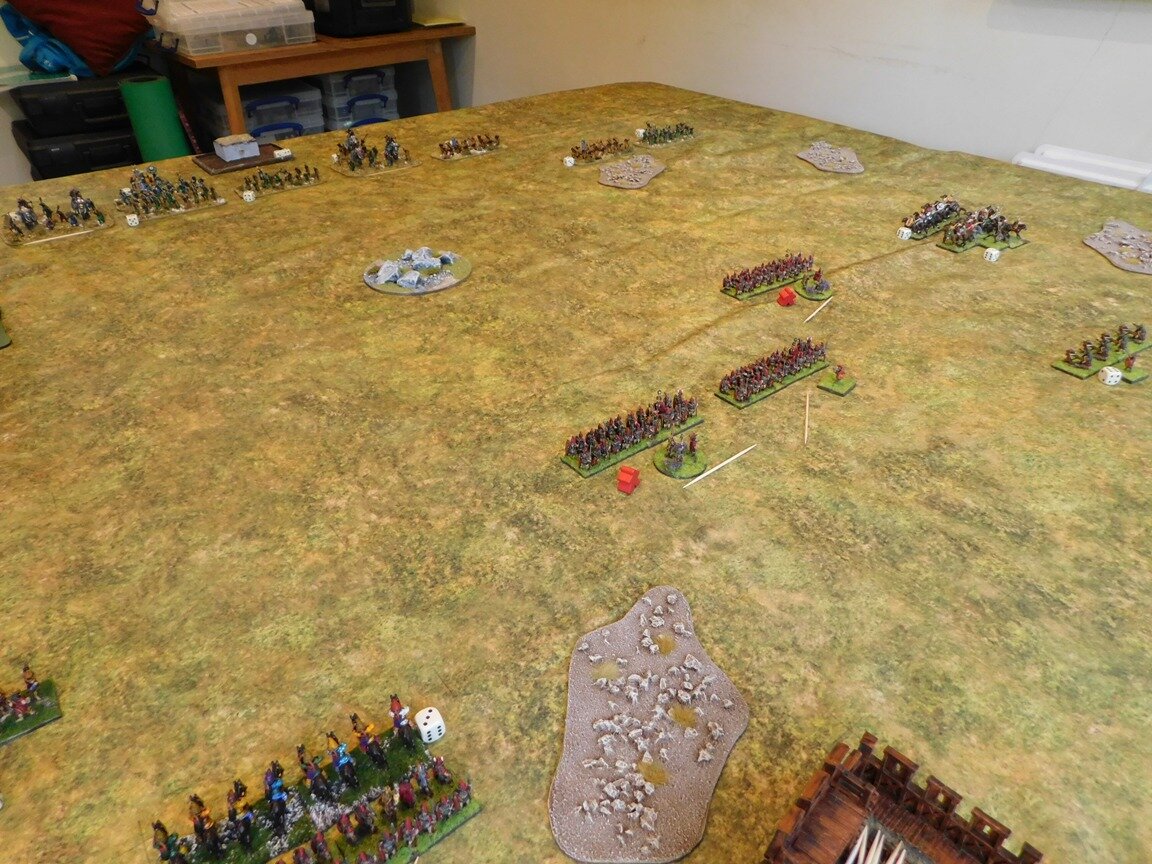
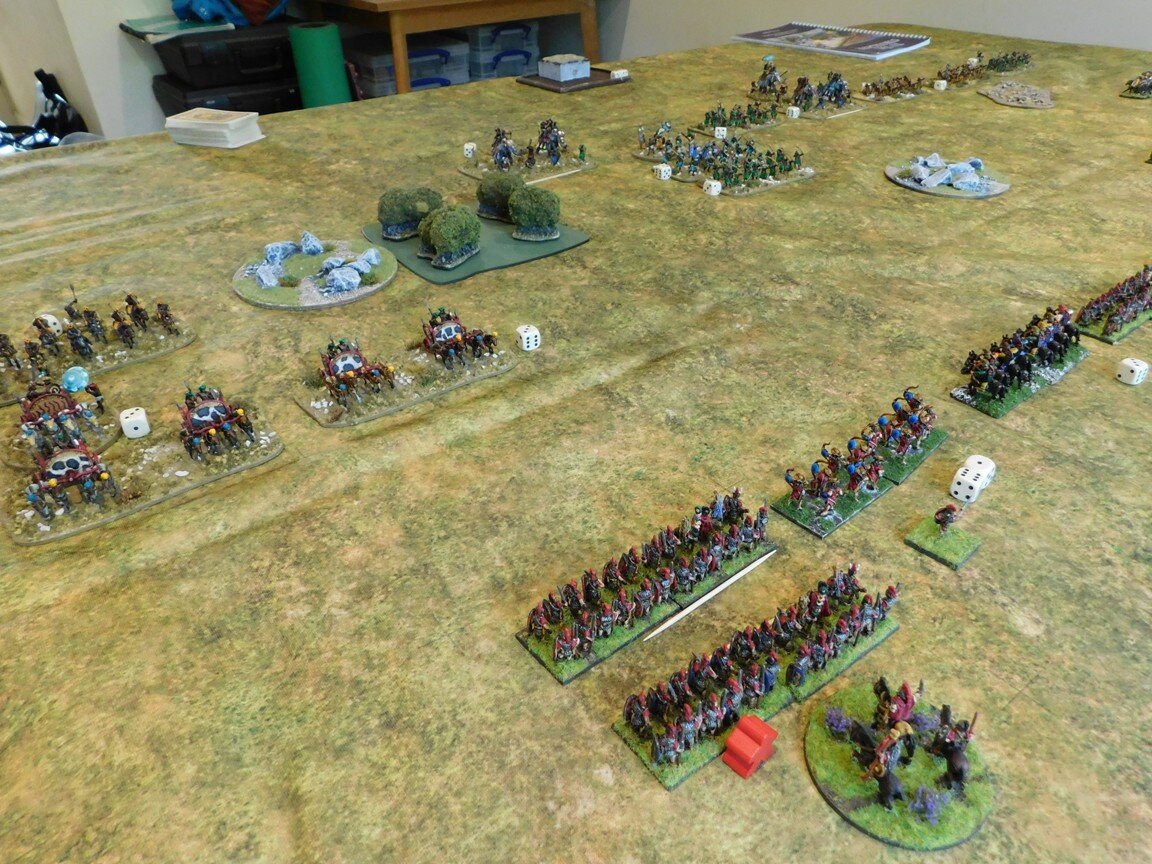
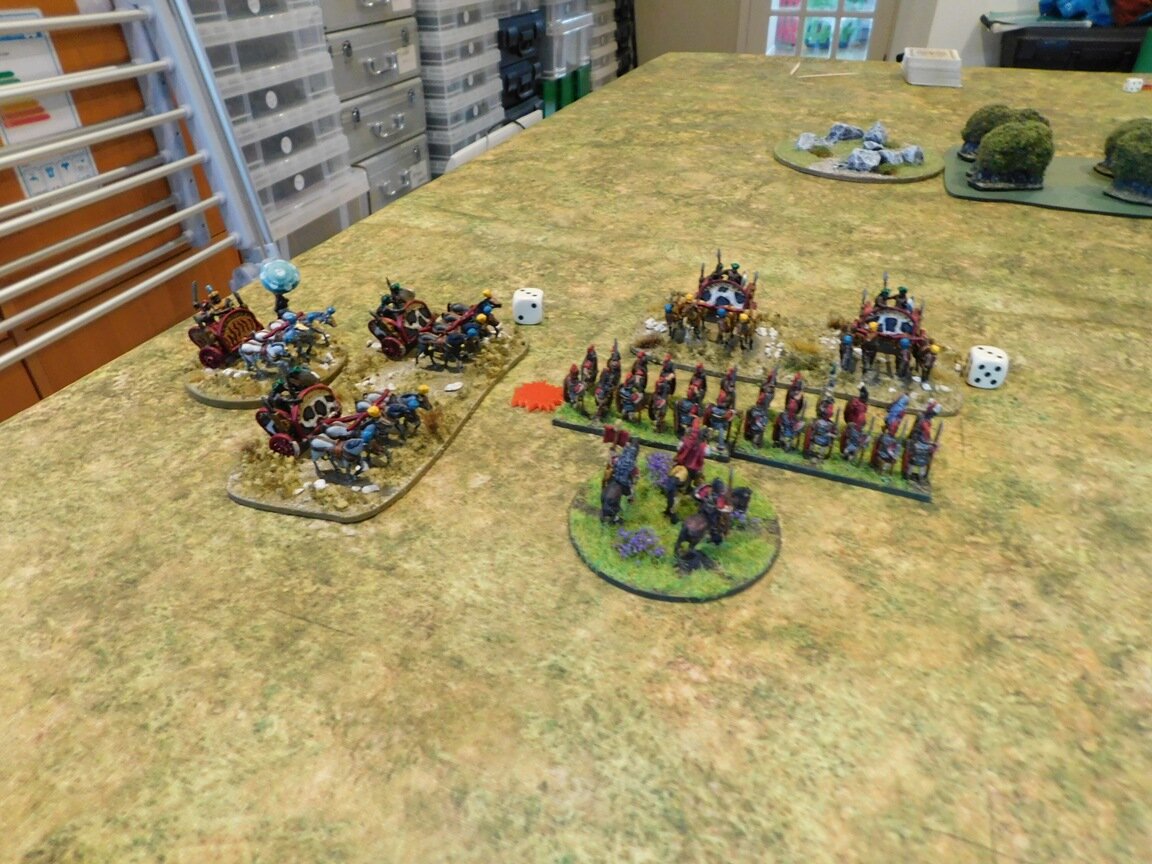
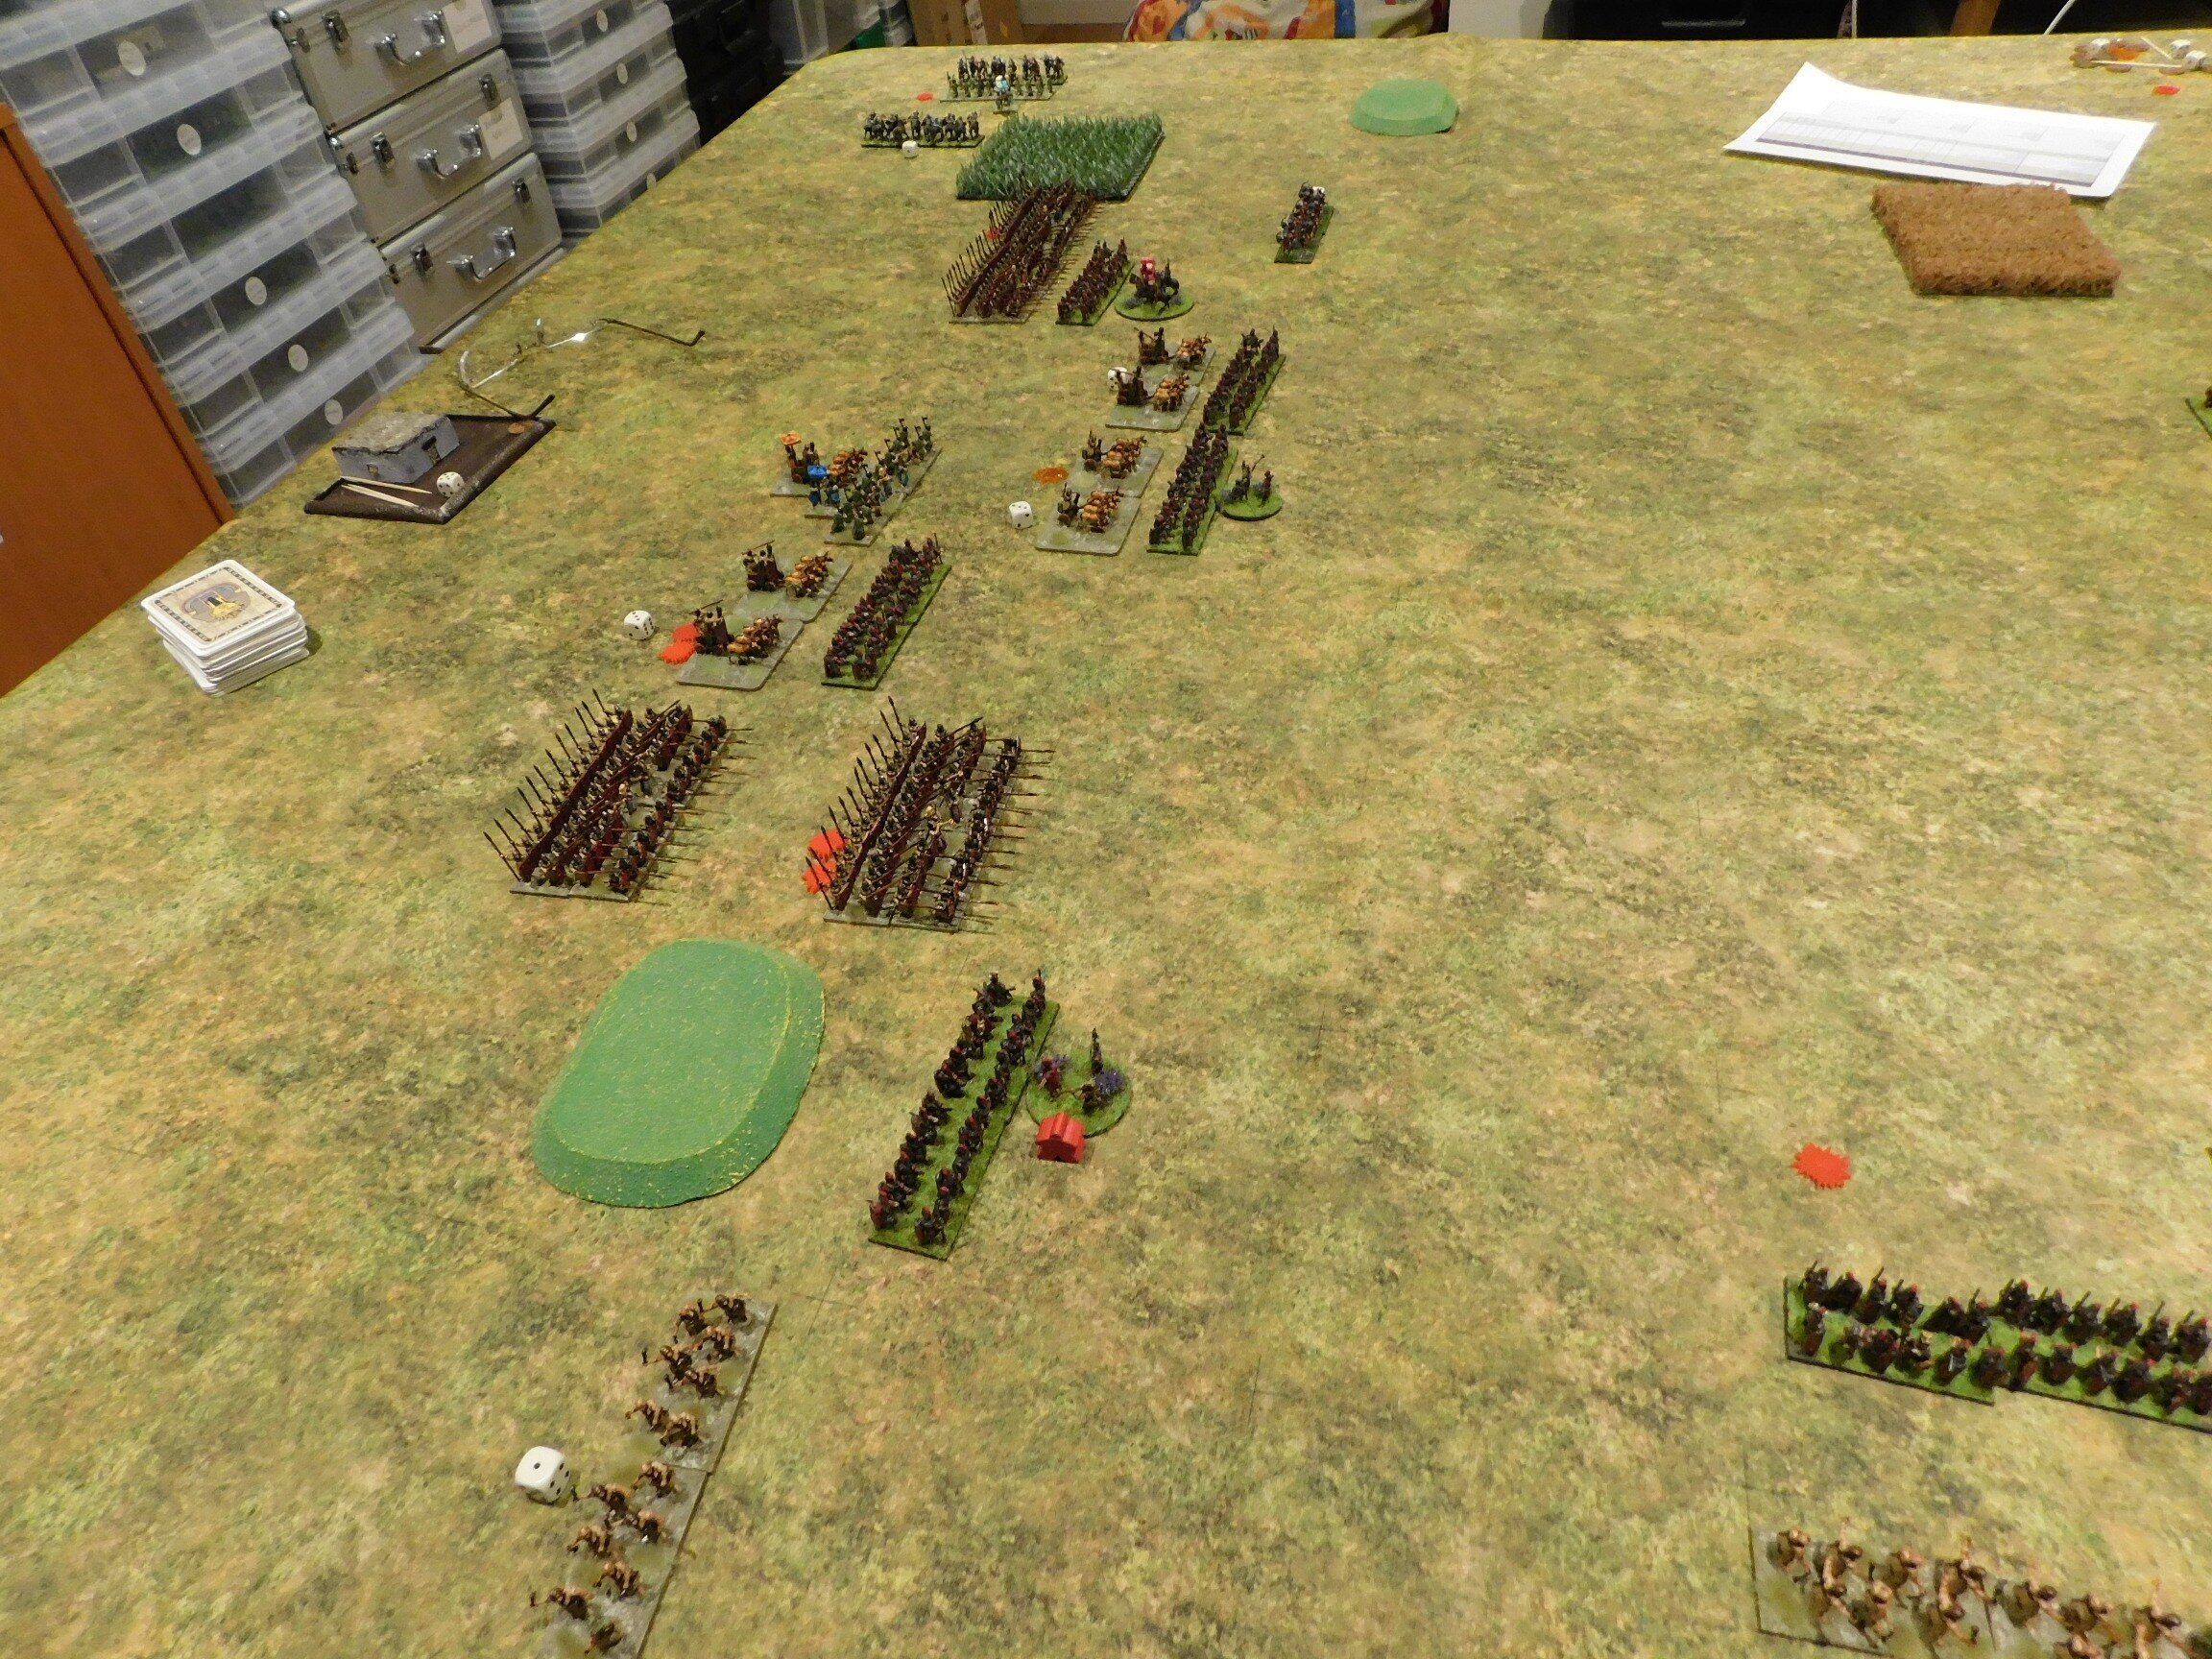
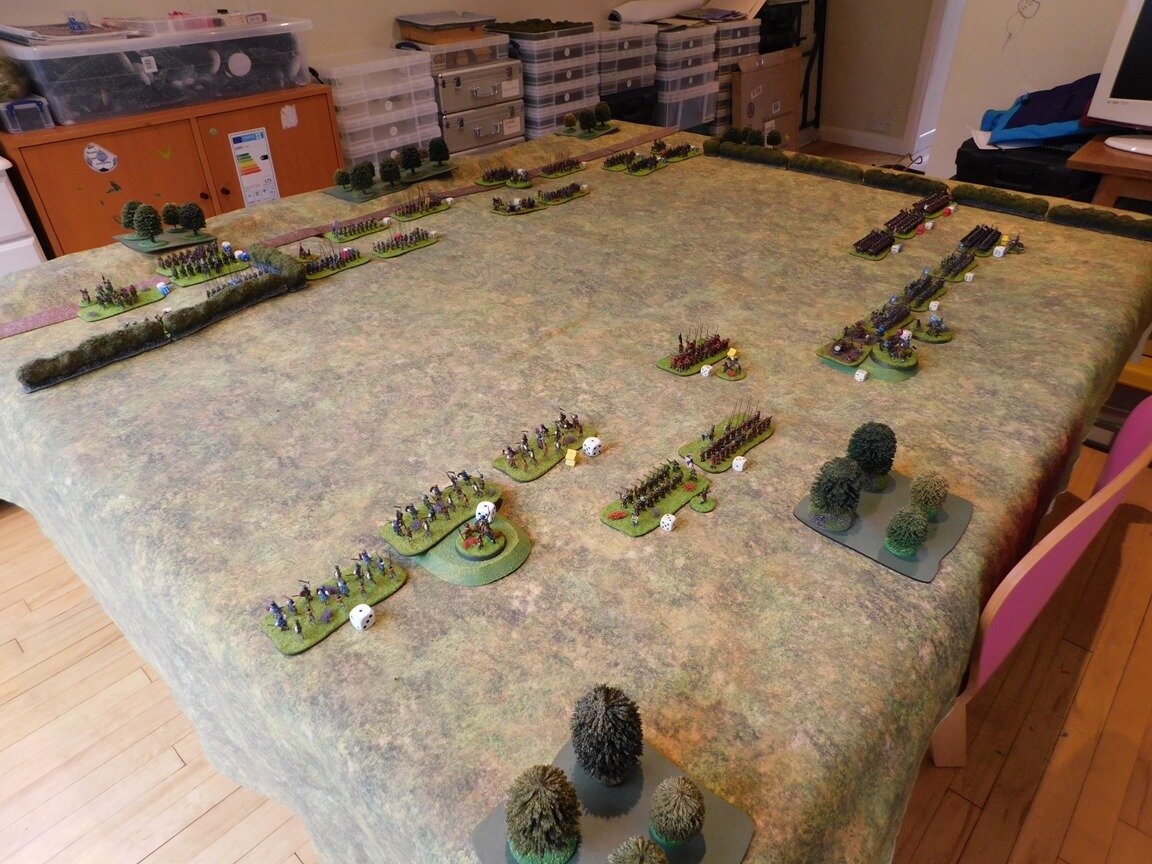
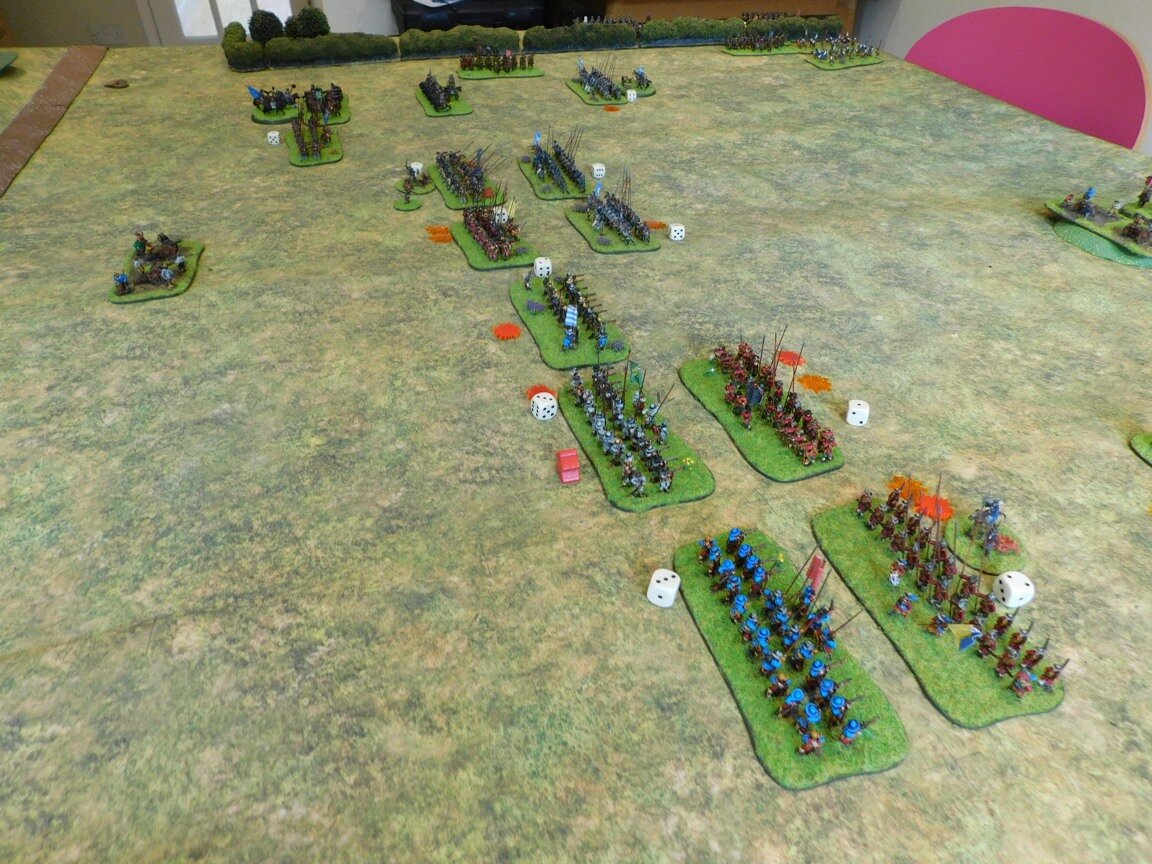
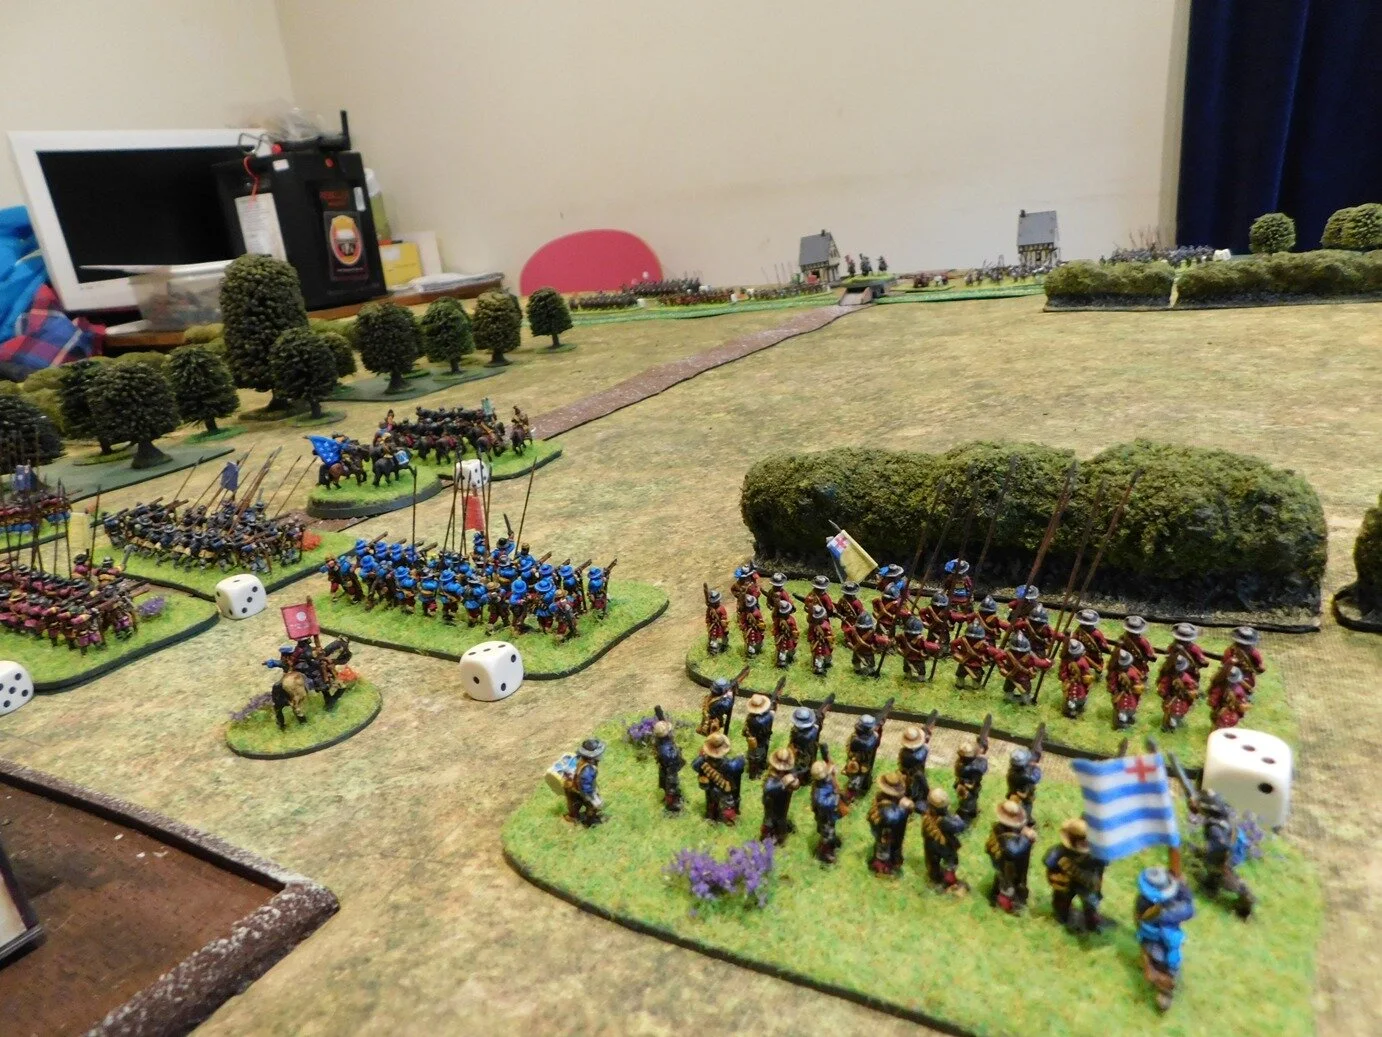
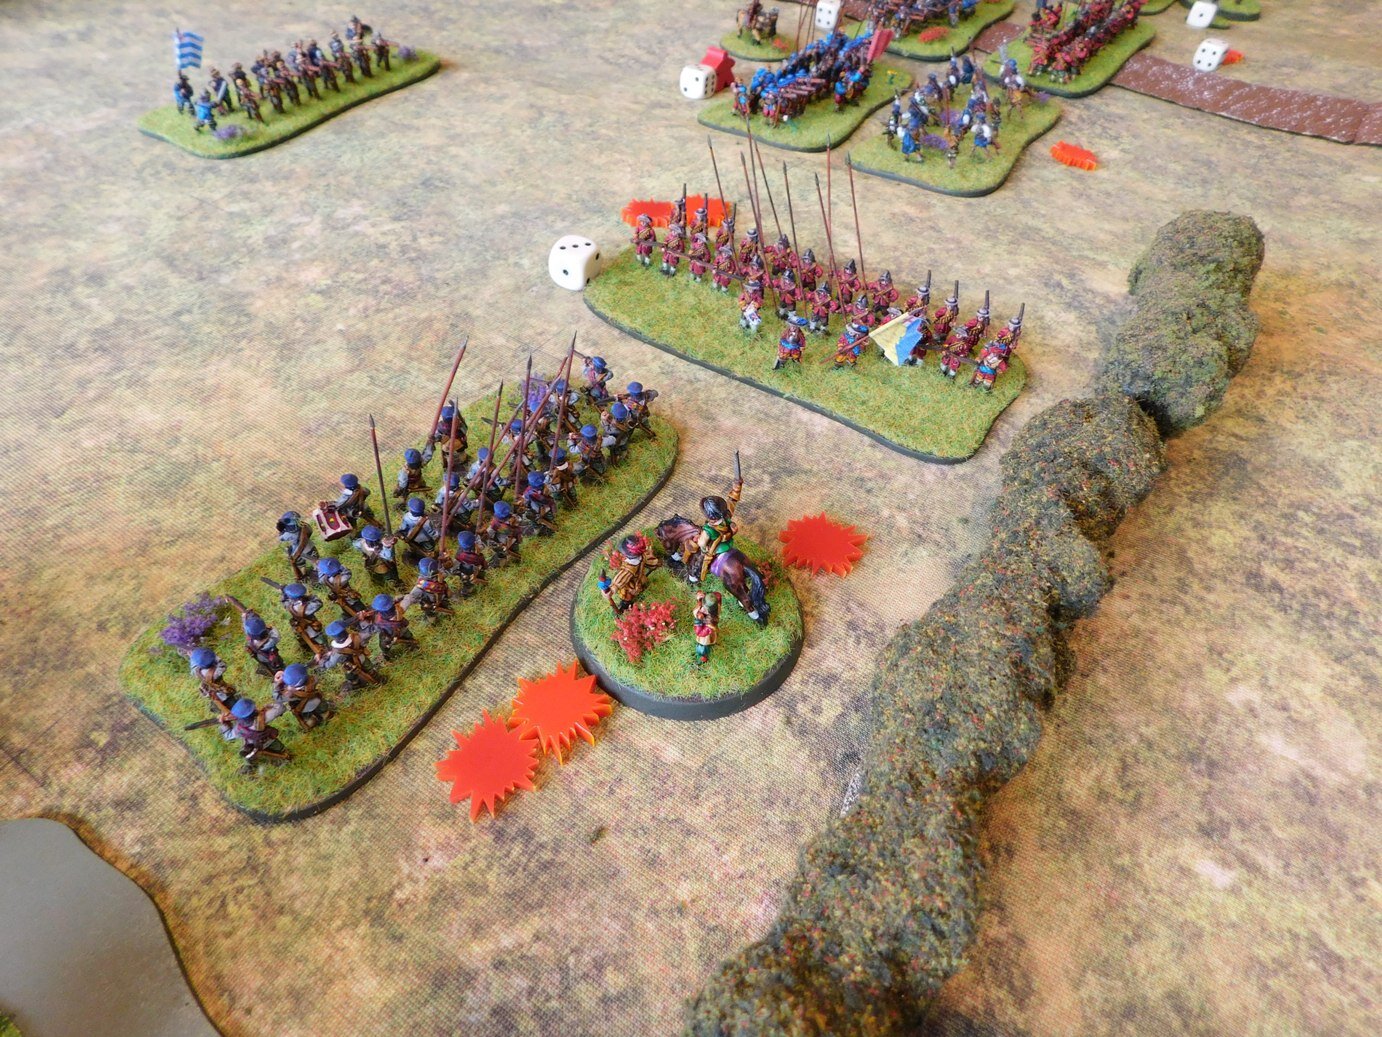
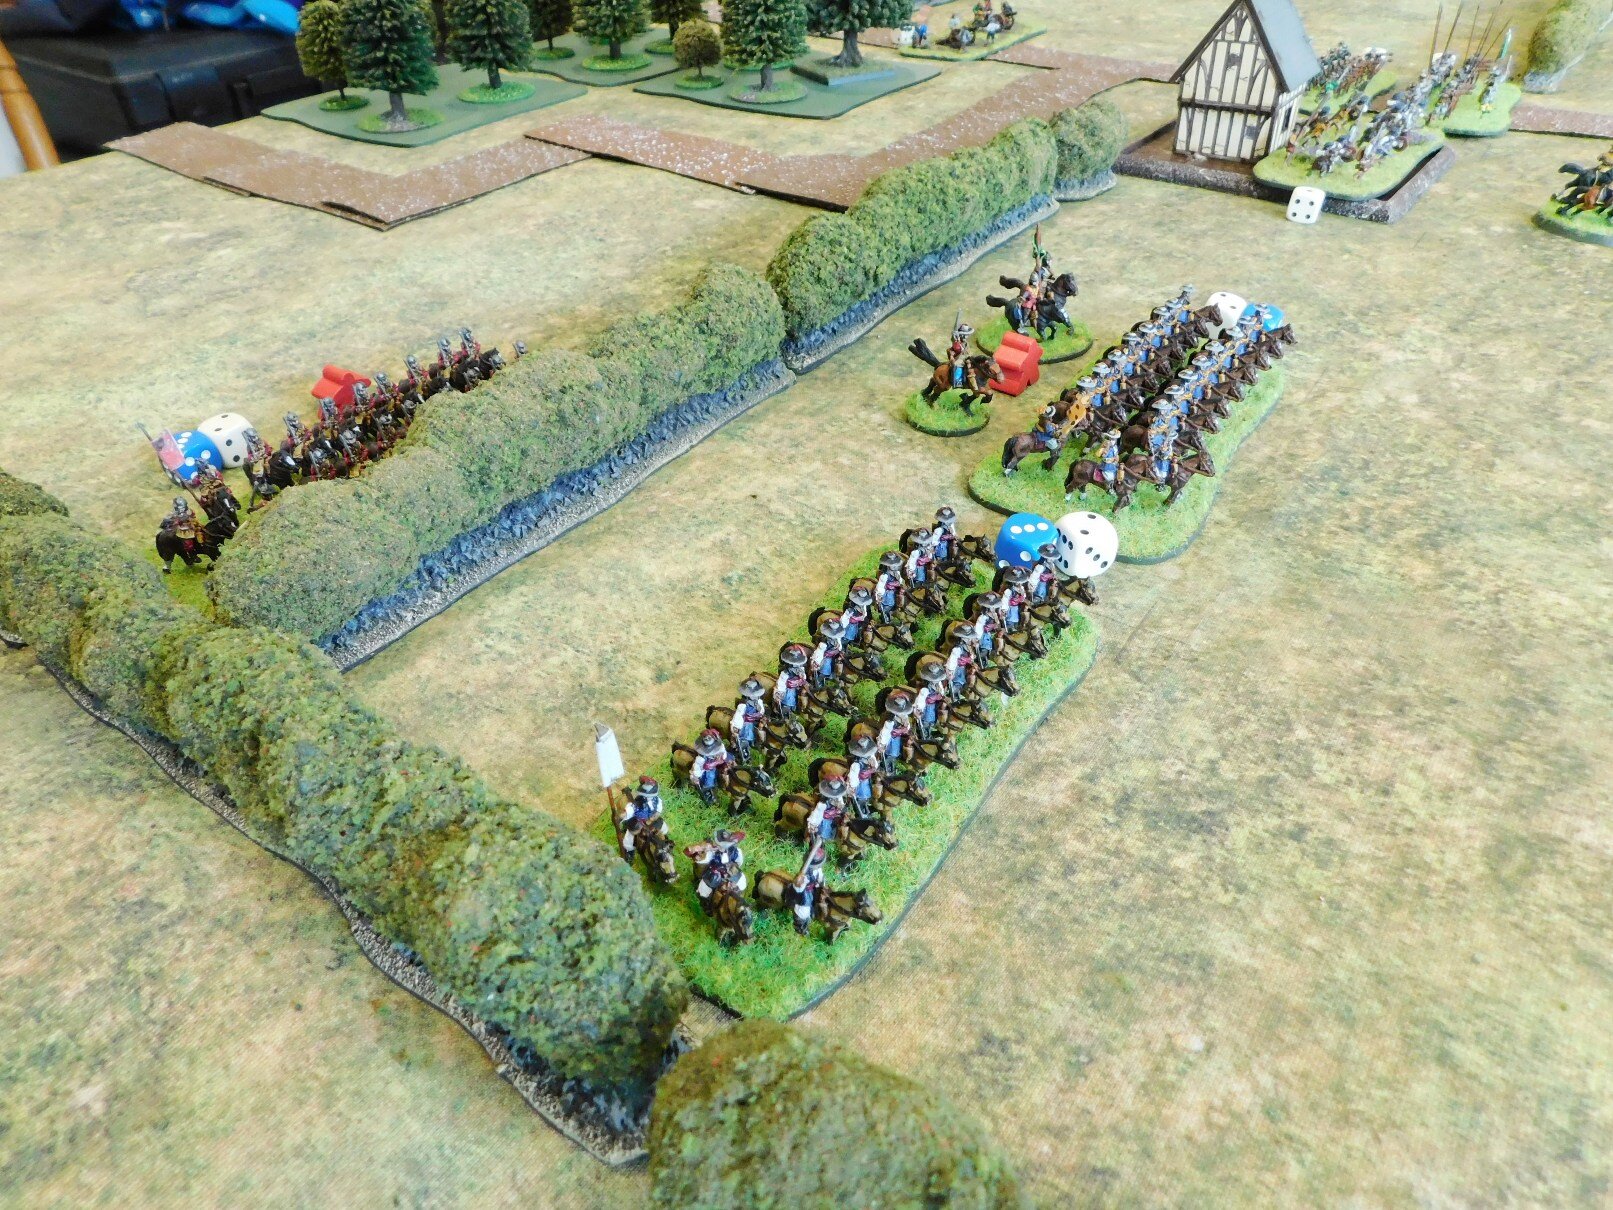
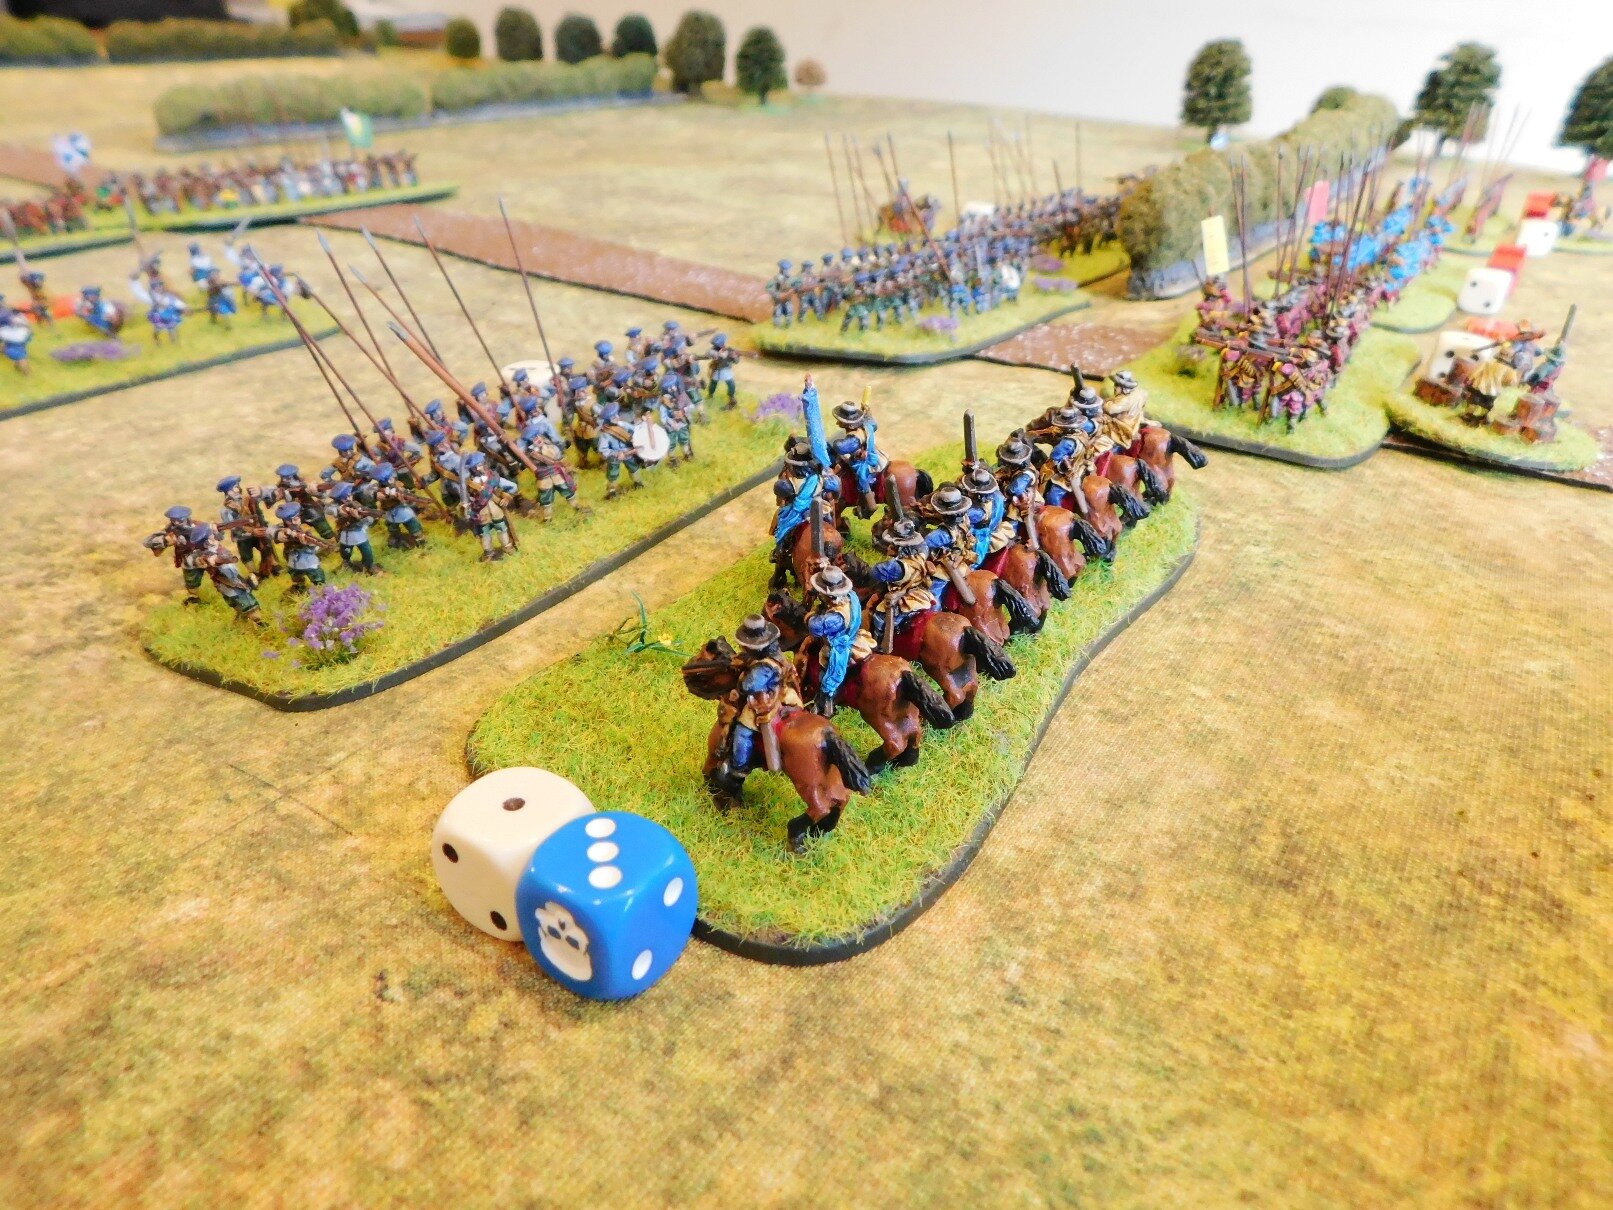
Meanwhile, the two battle line drew together.
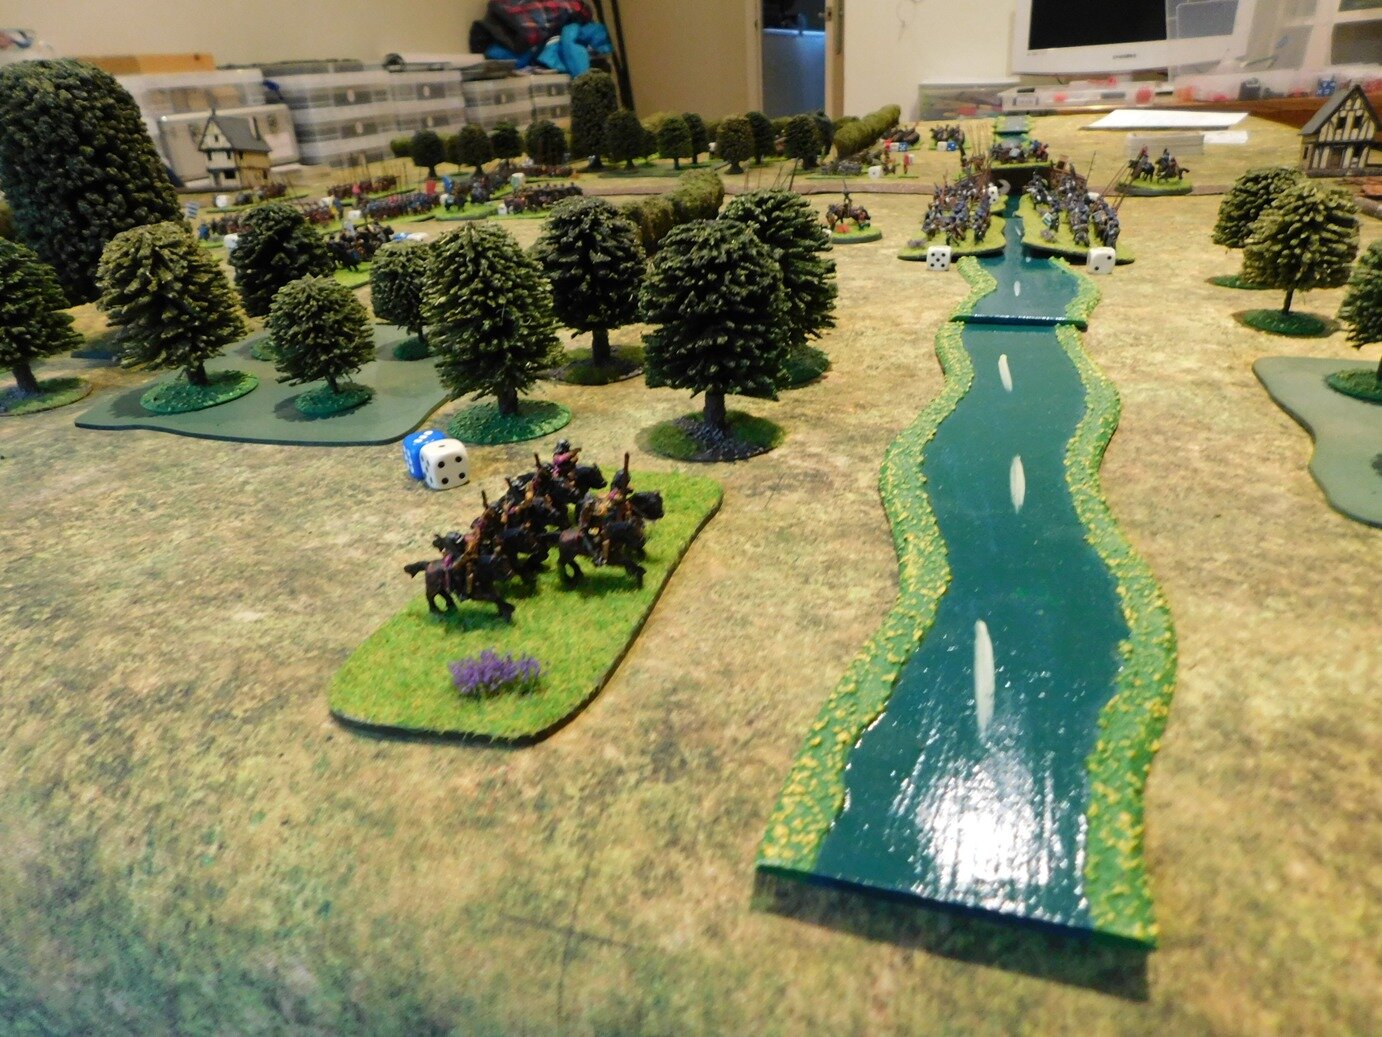
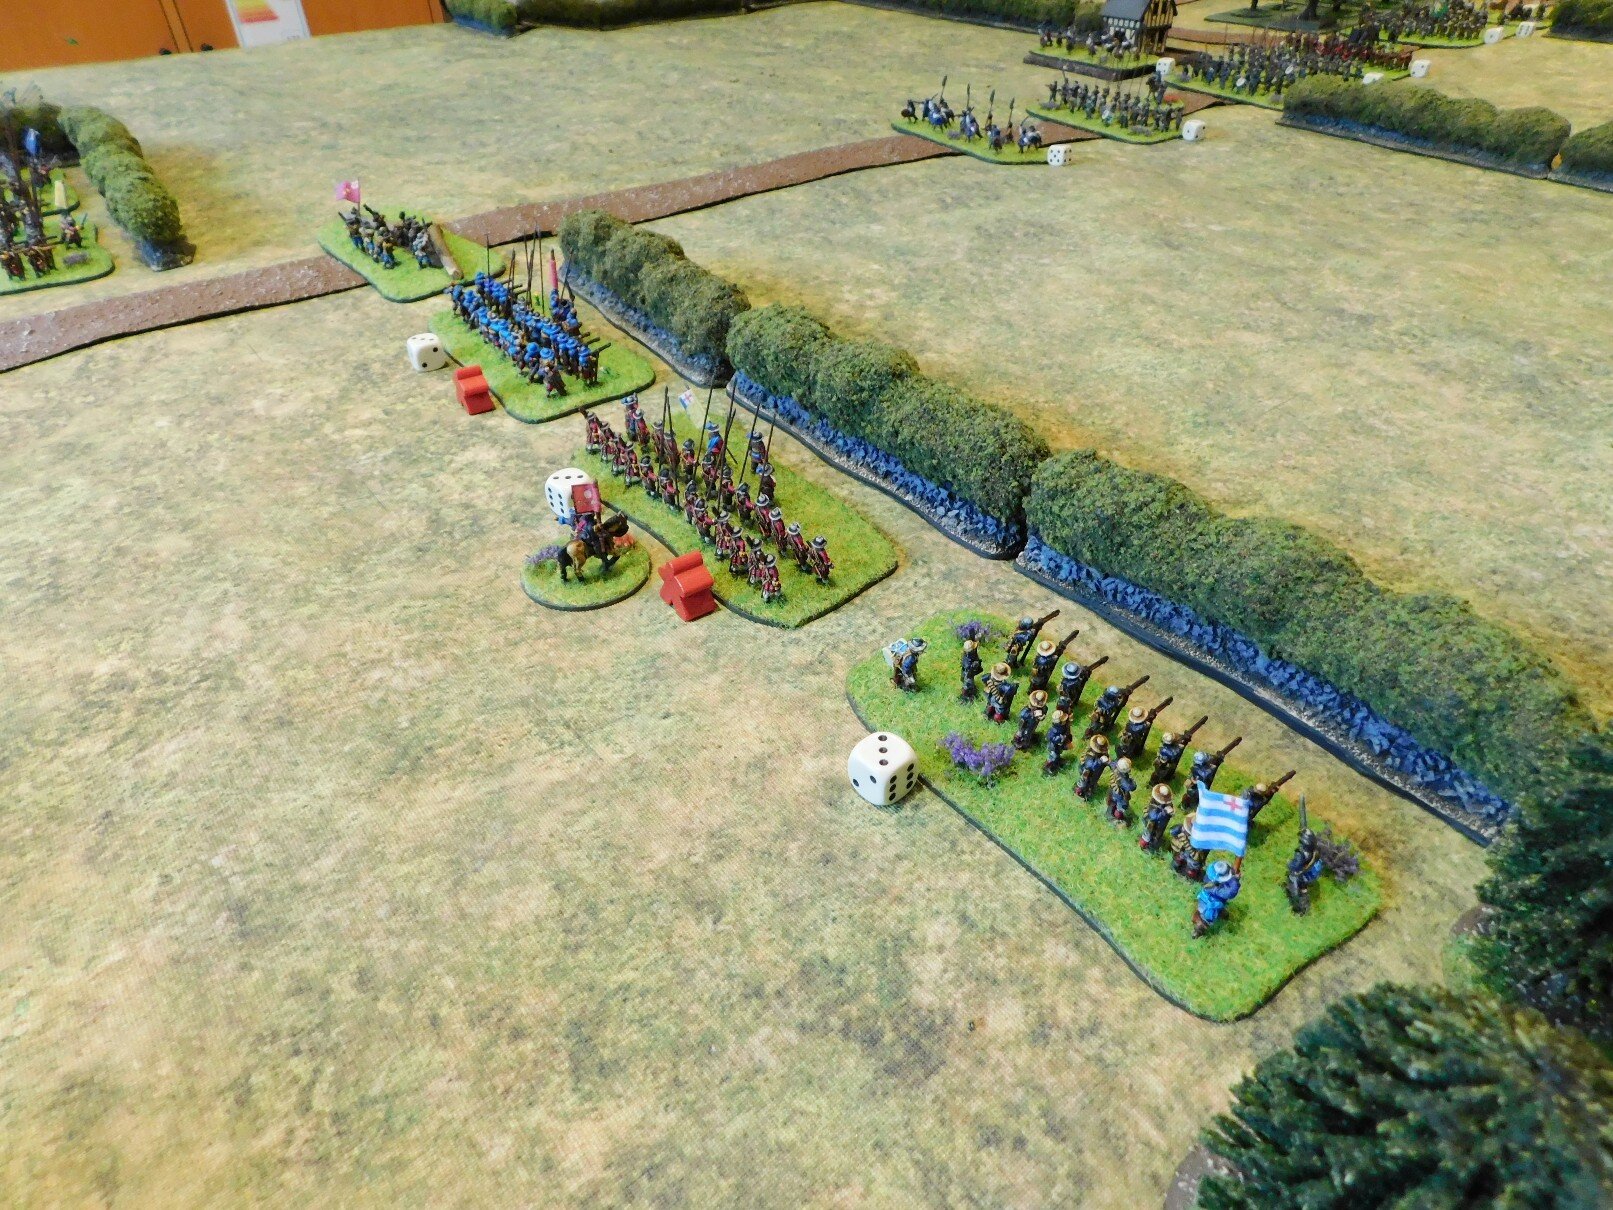
I quickly lost my light bowmen and horse archers to rampaging hairies, which meant that I would be one unit down in the main clash. On reflection, I should have sent my light bowmen into the trees on the right to threaten the left flank of the Gallic line, but unfortunately I didn’t think of that at the time!
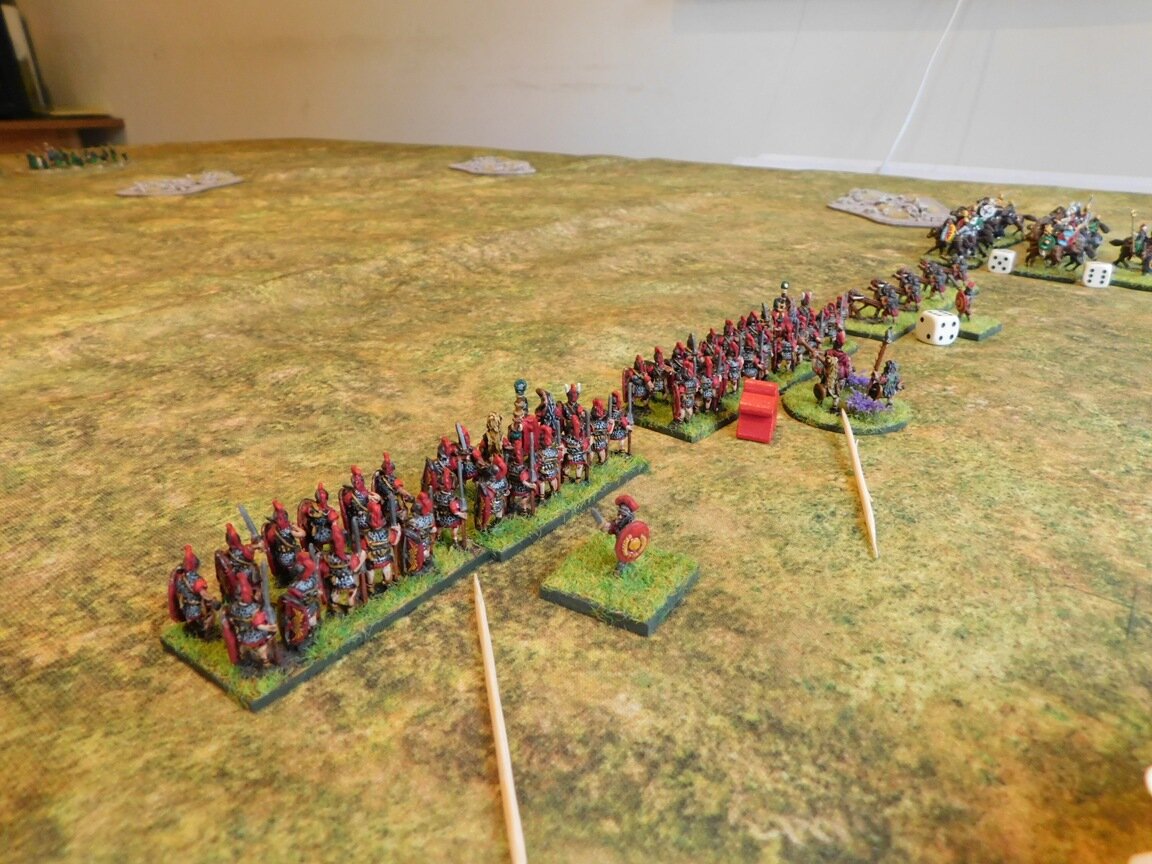
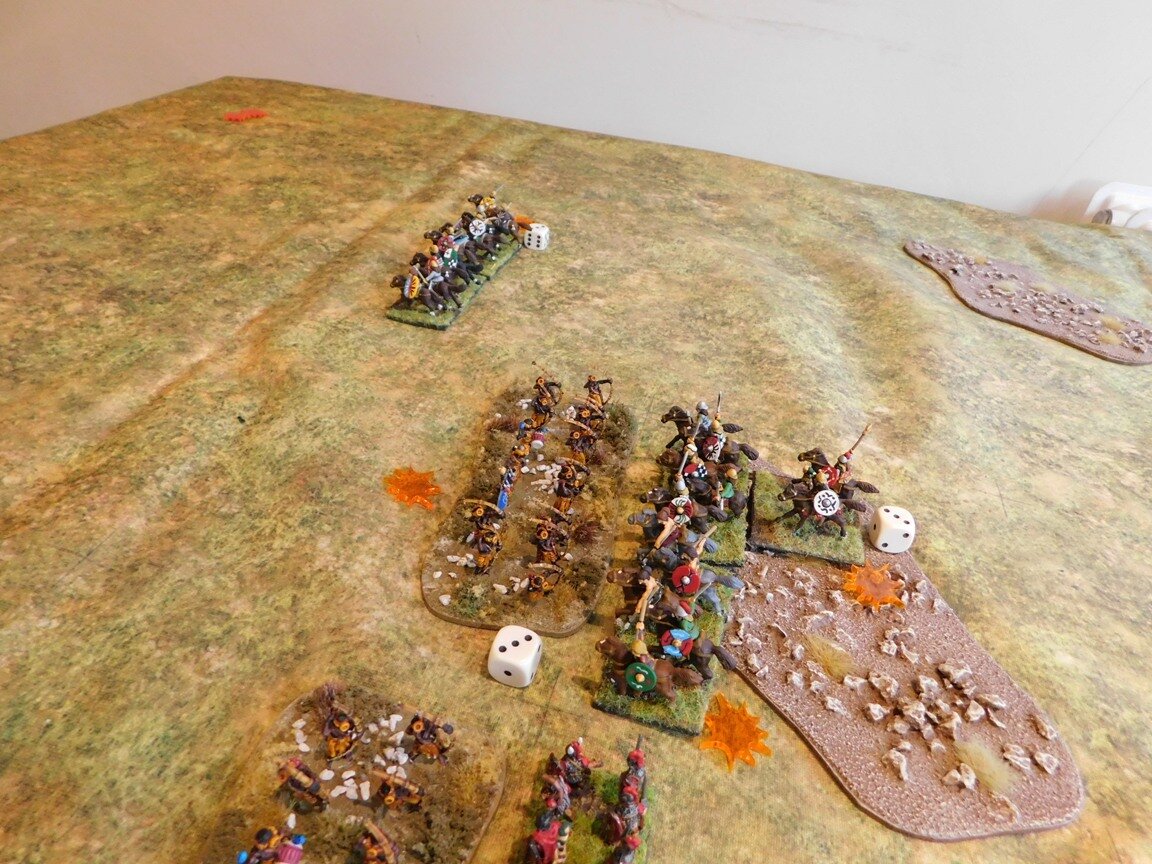
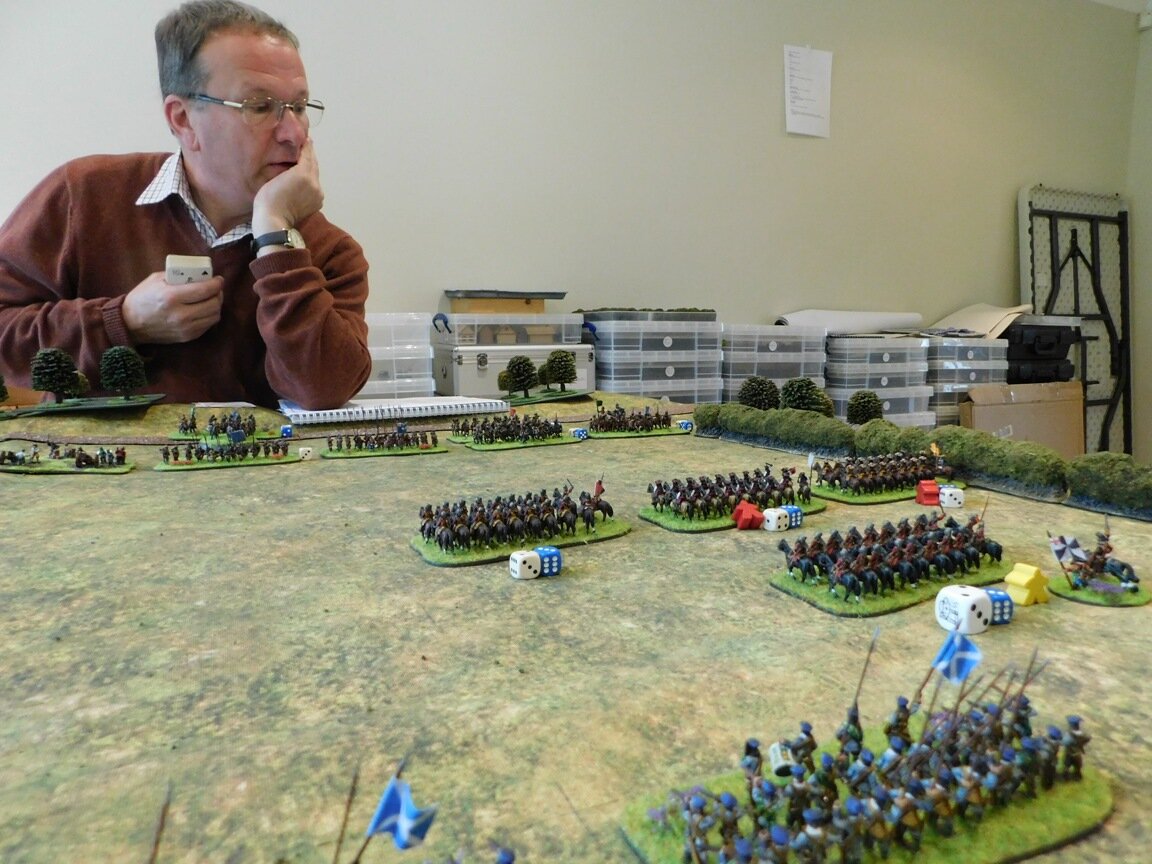
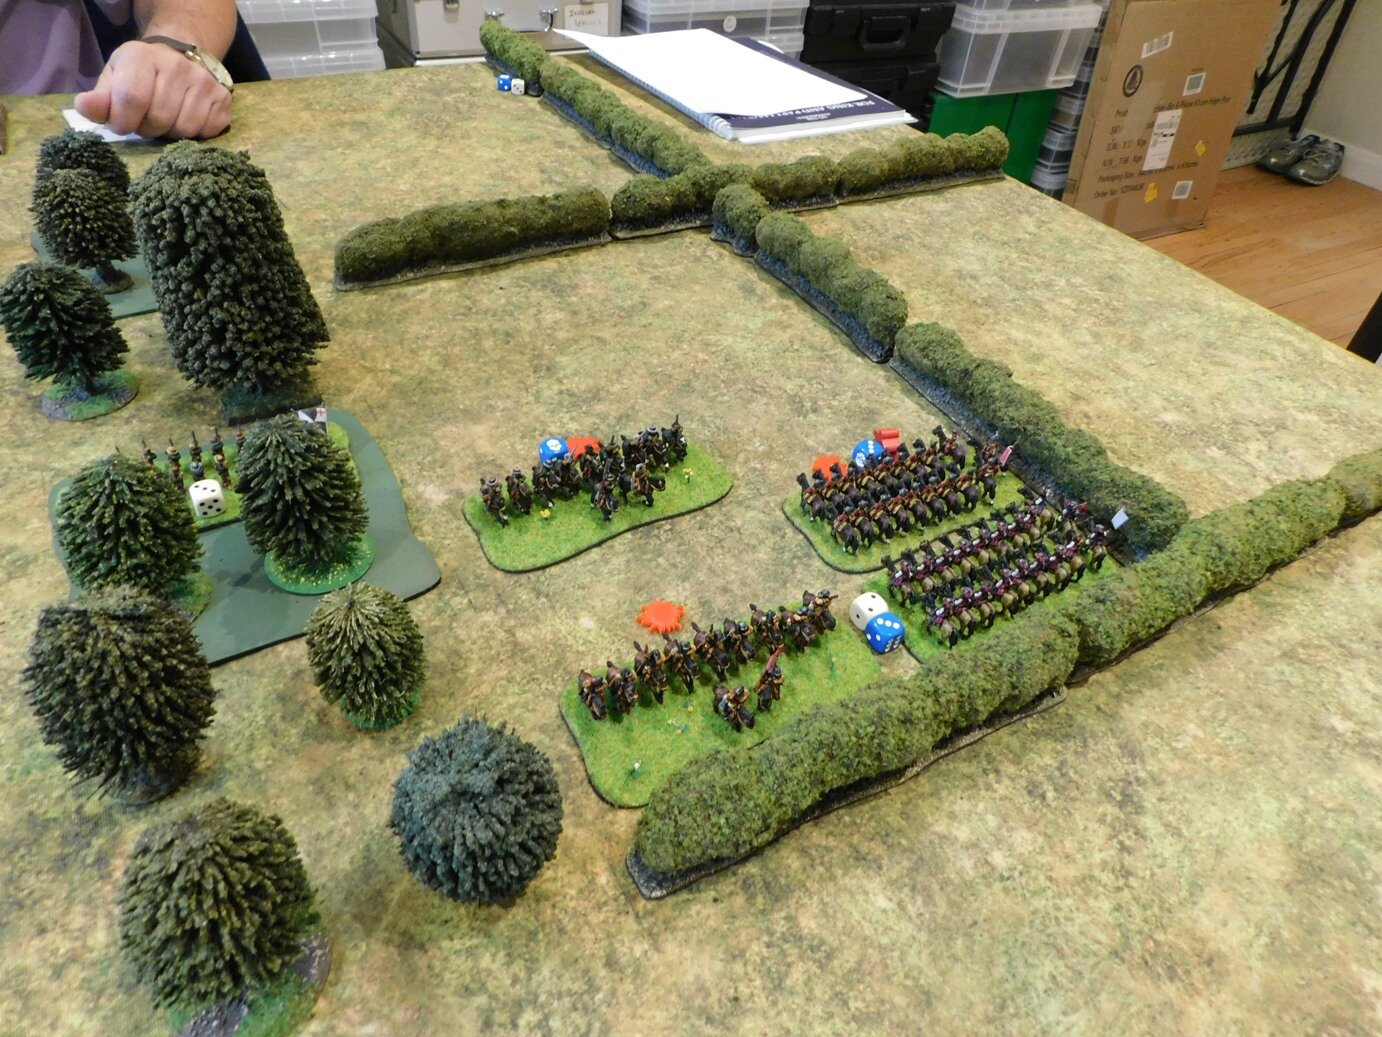
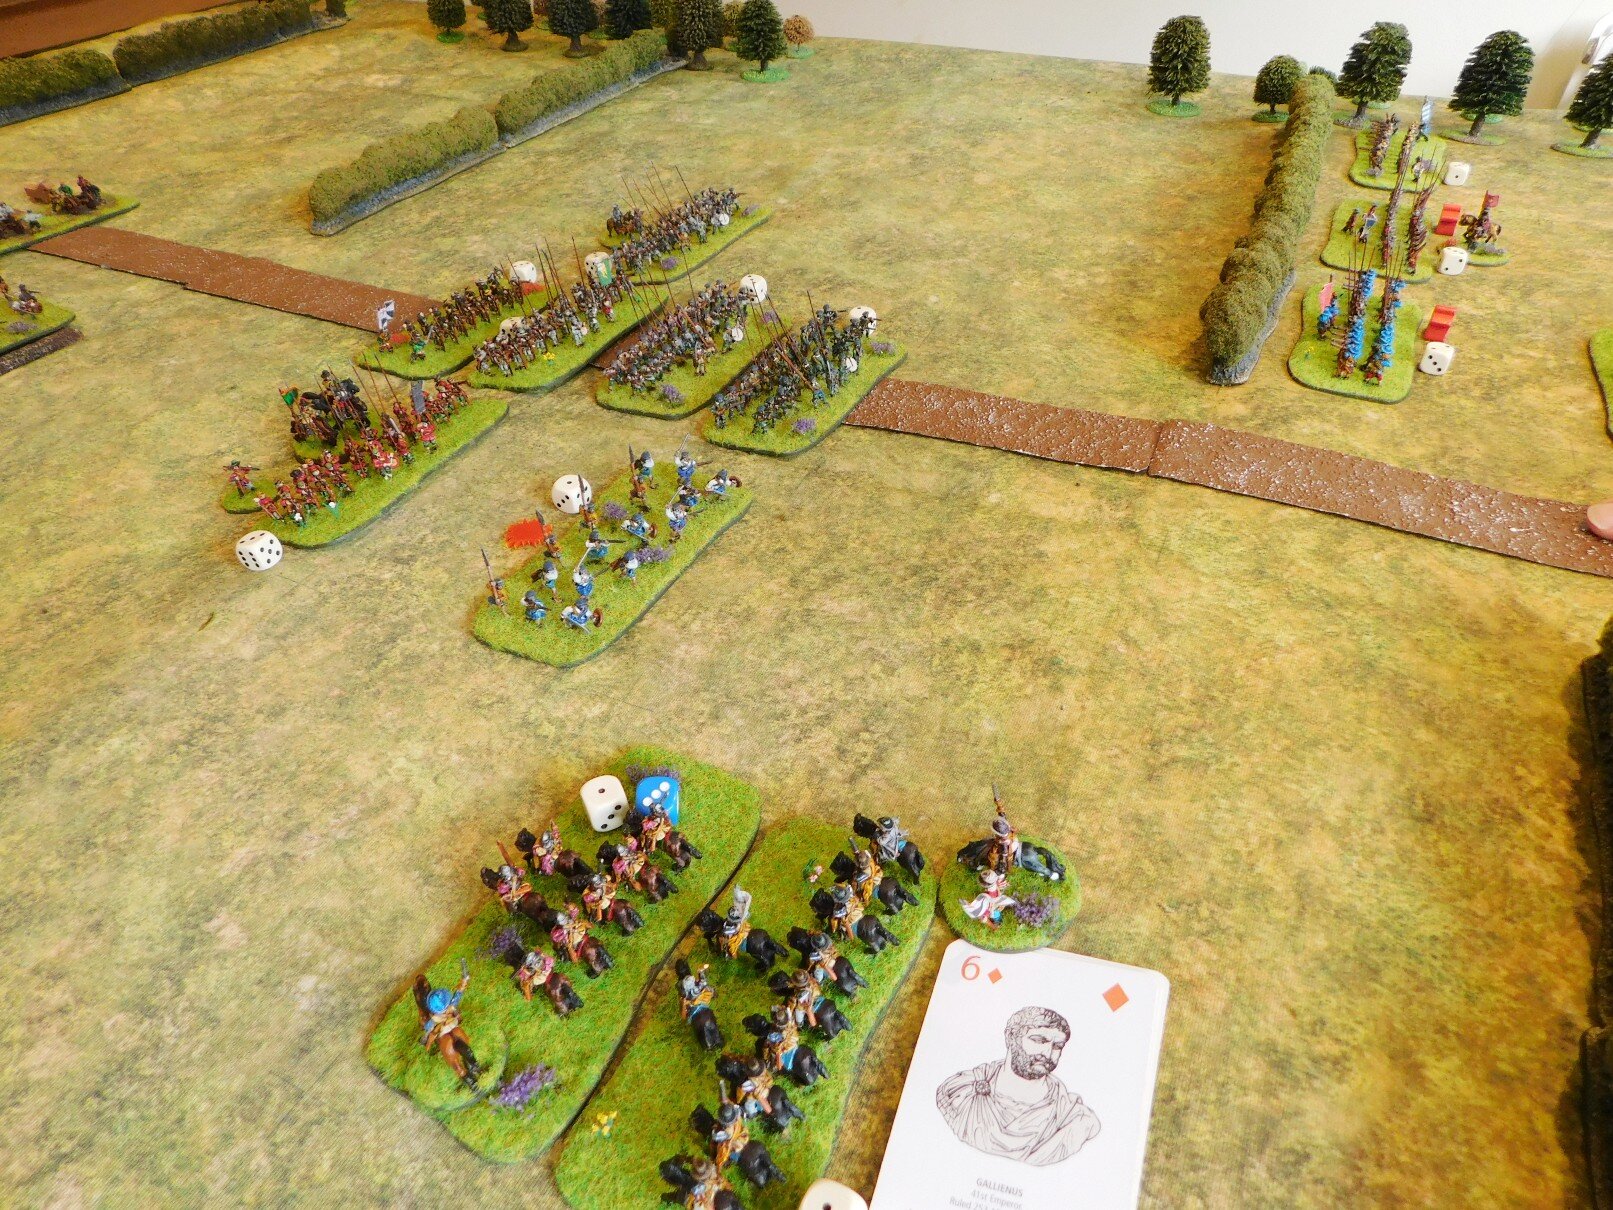
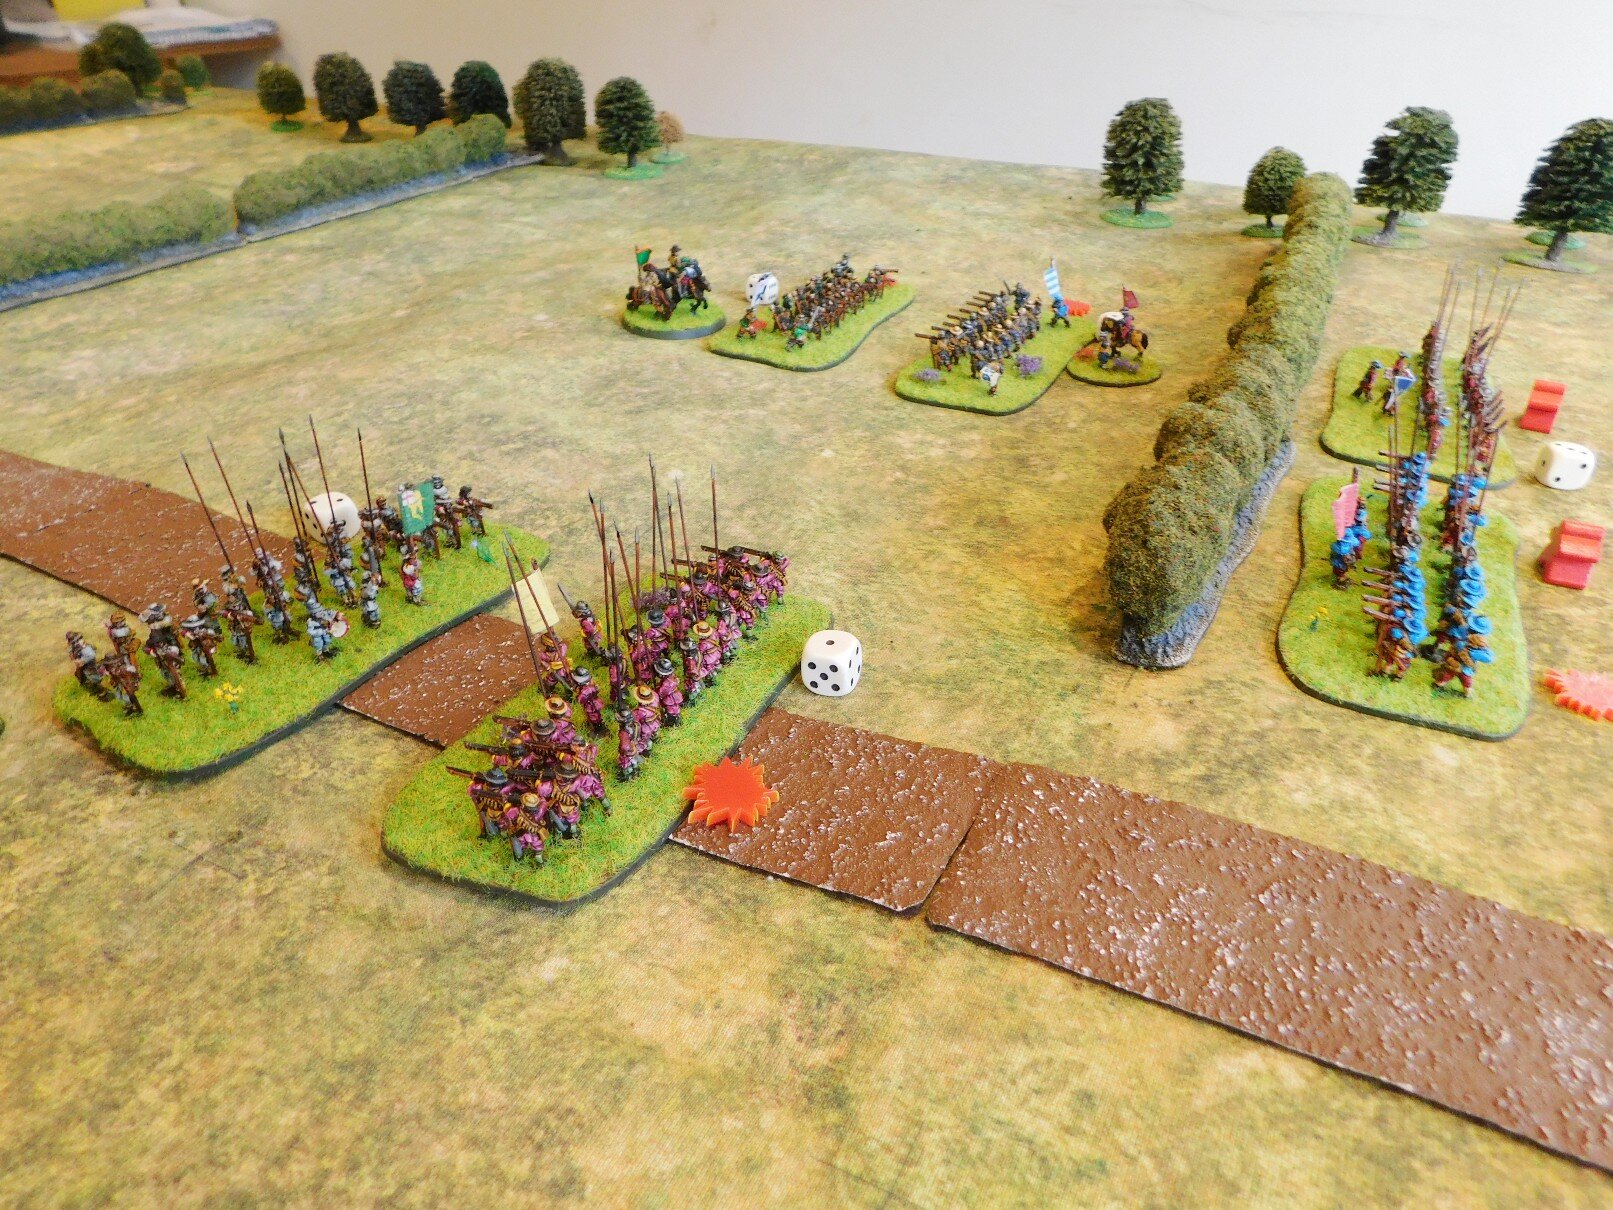
Once the two lines clashed, it was actually all over pretty fast!
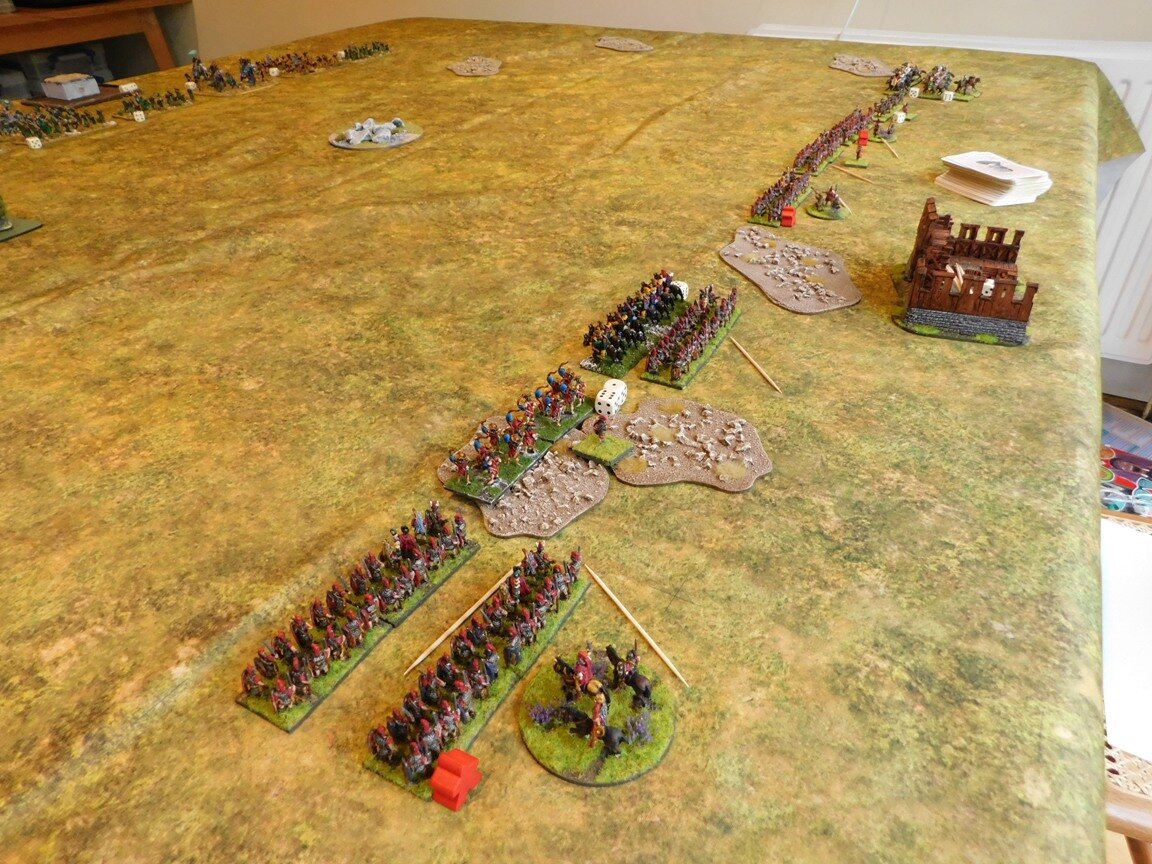
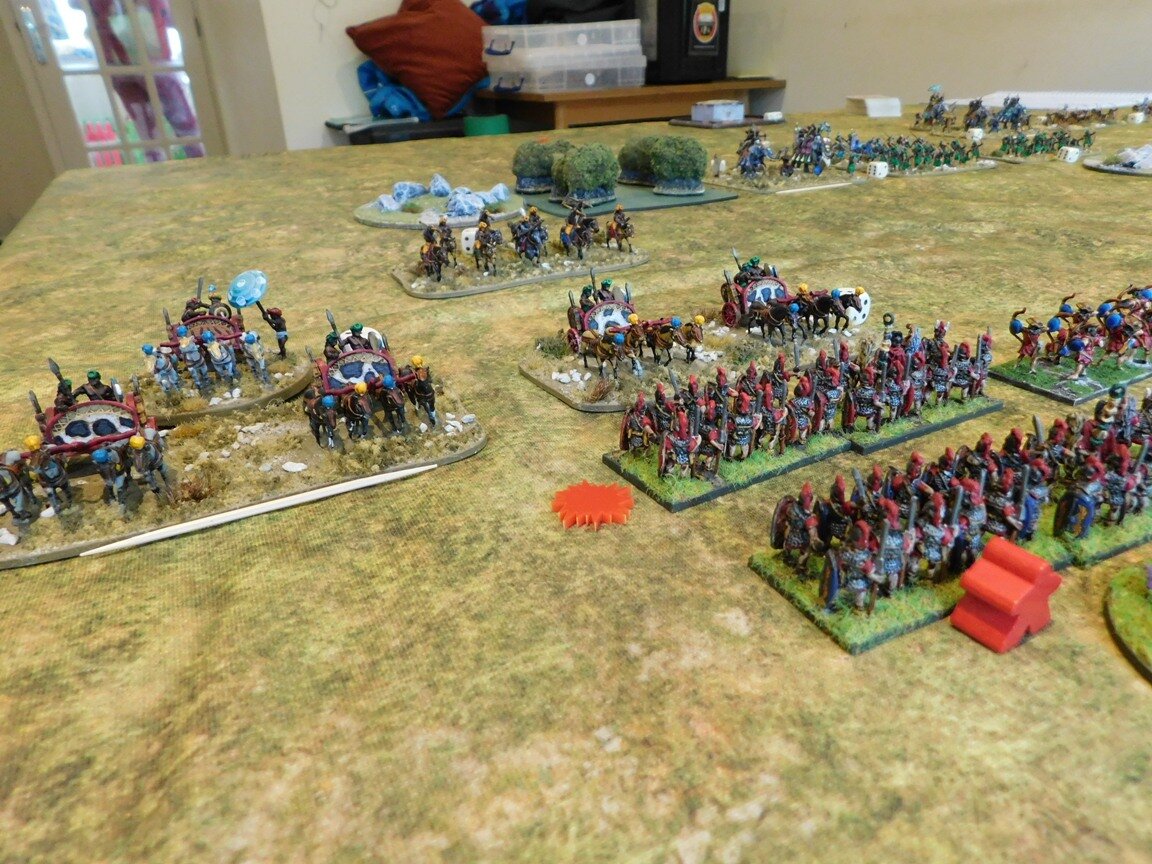
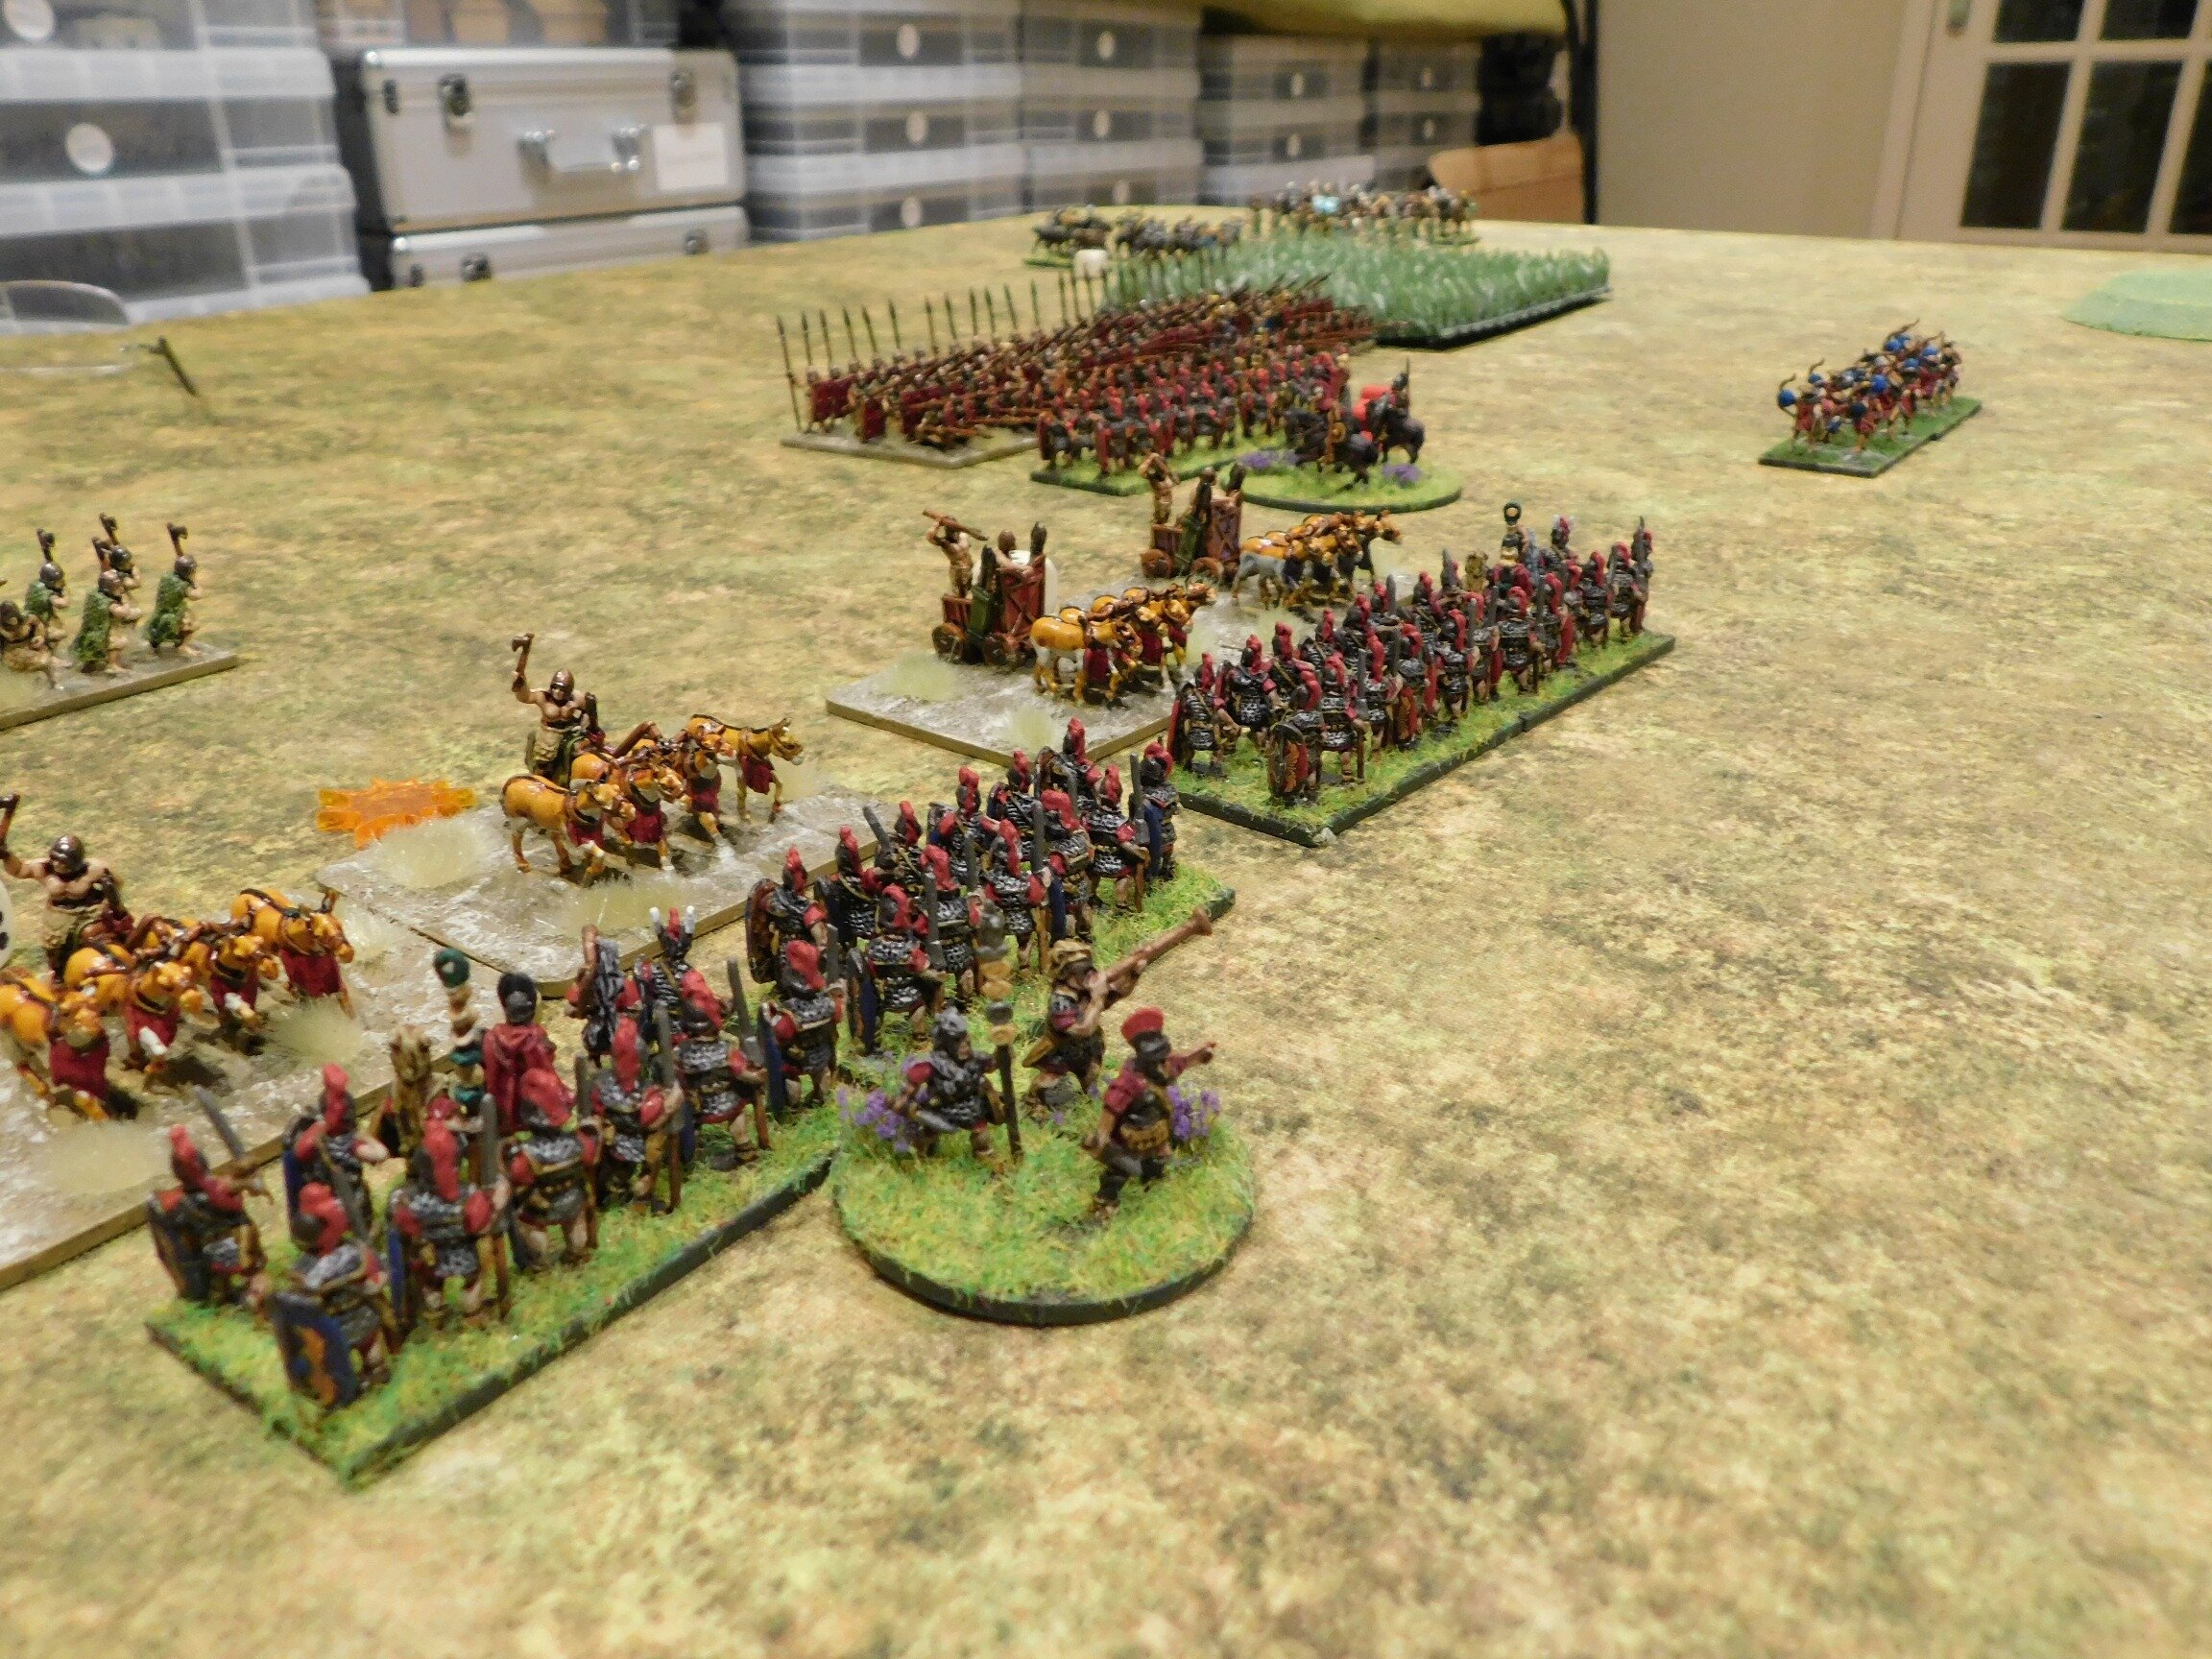
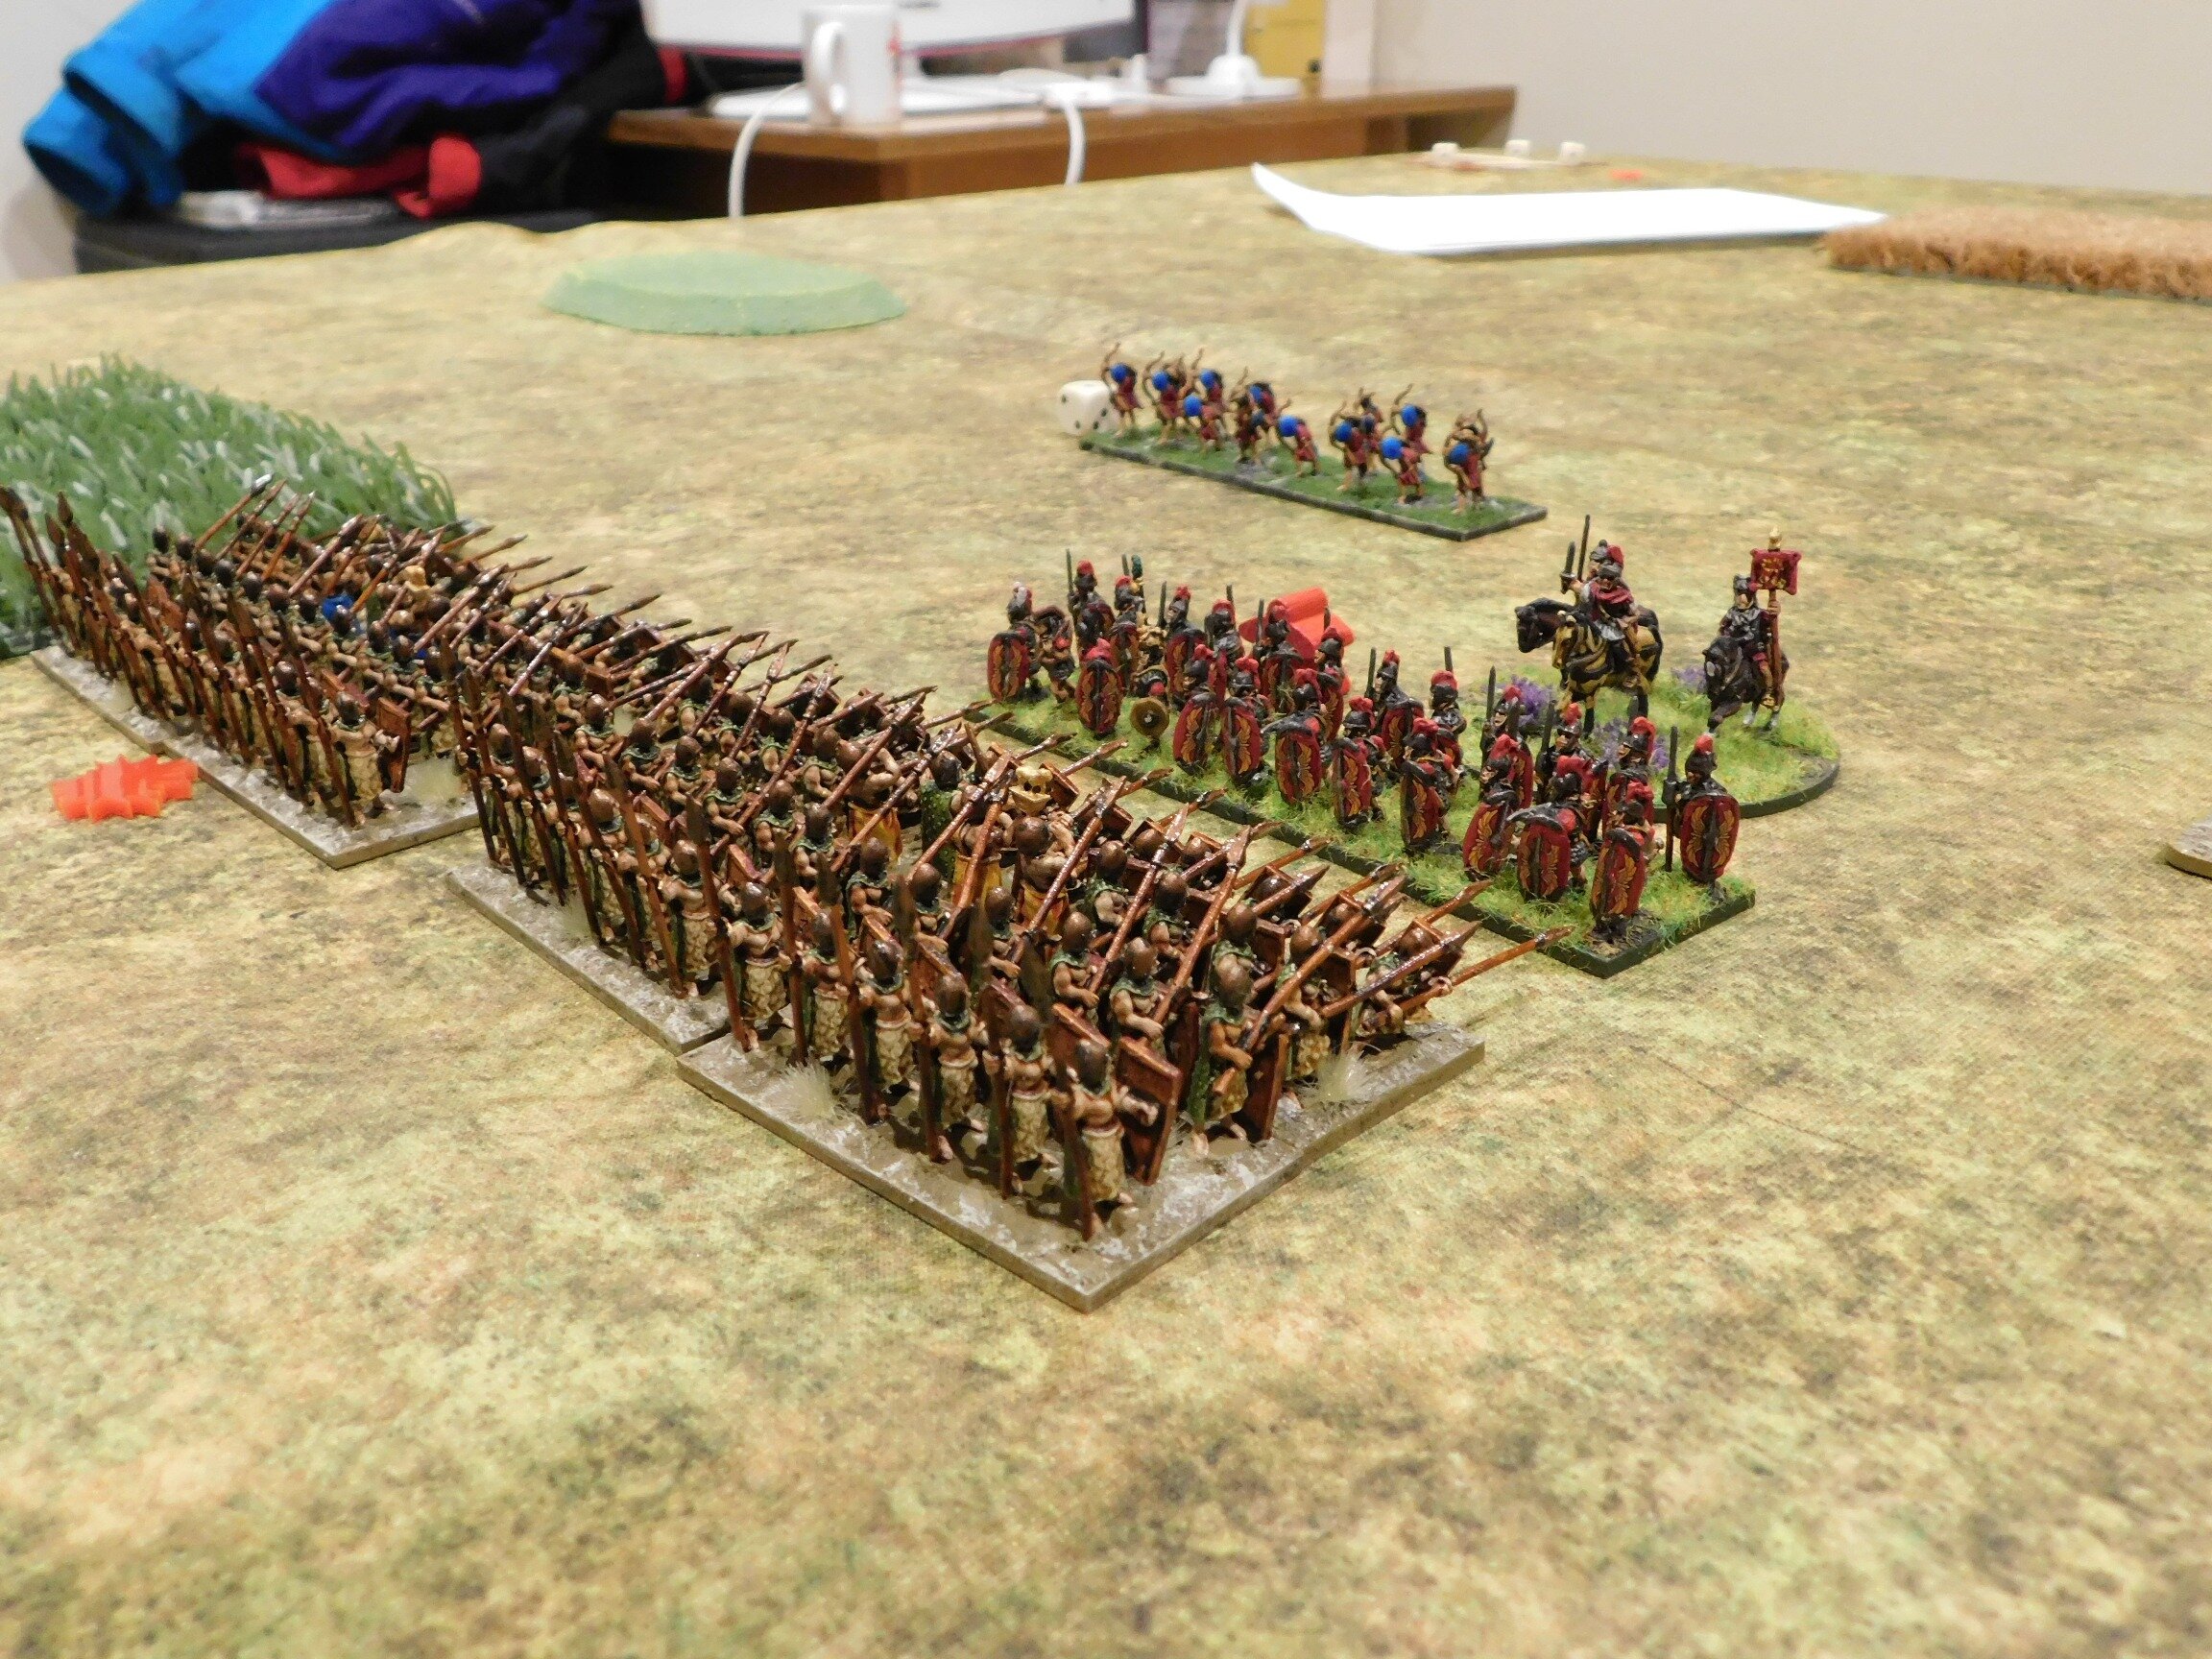
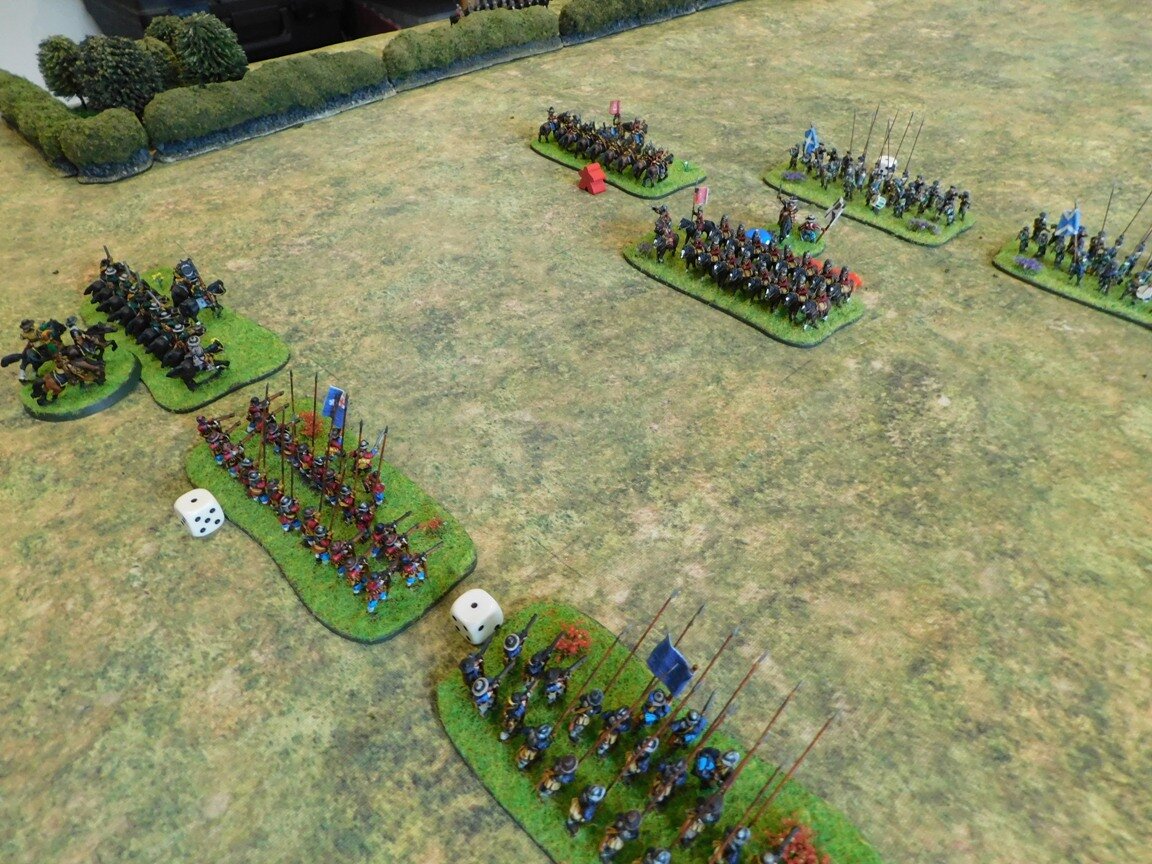
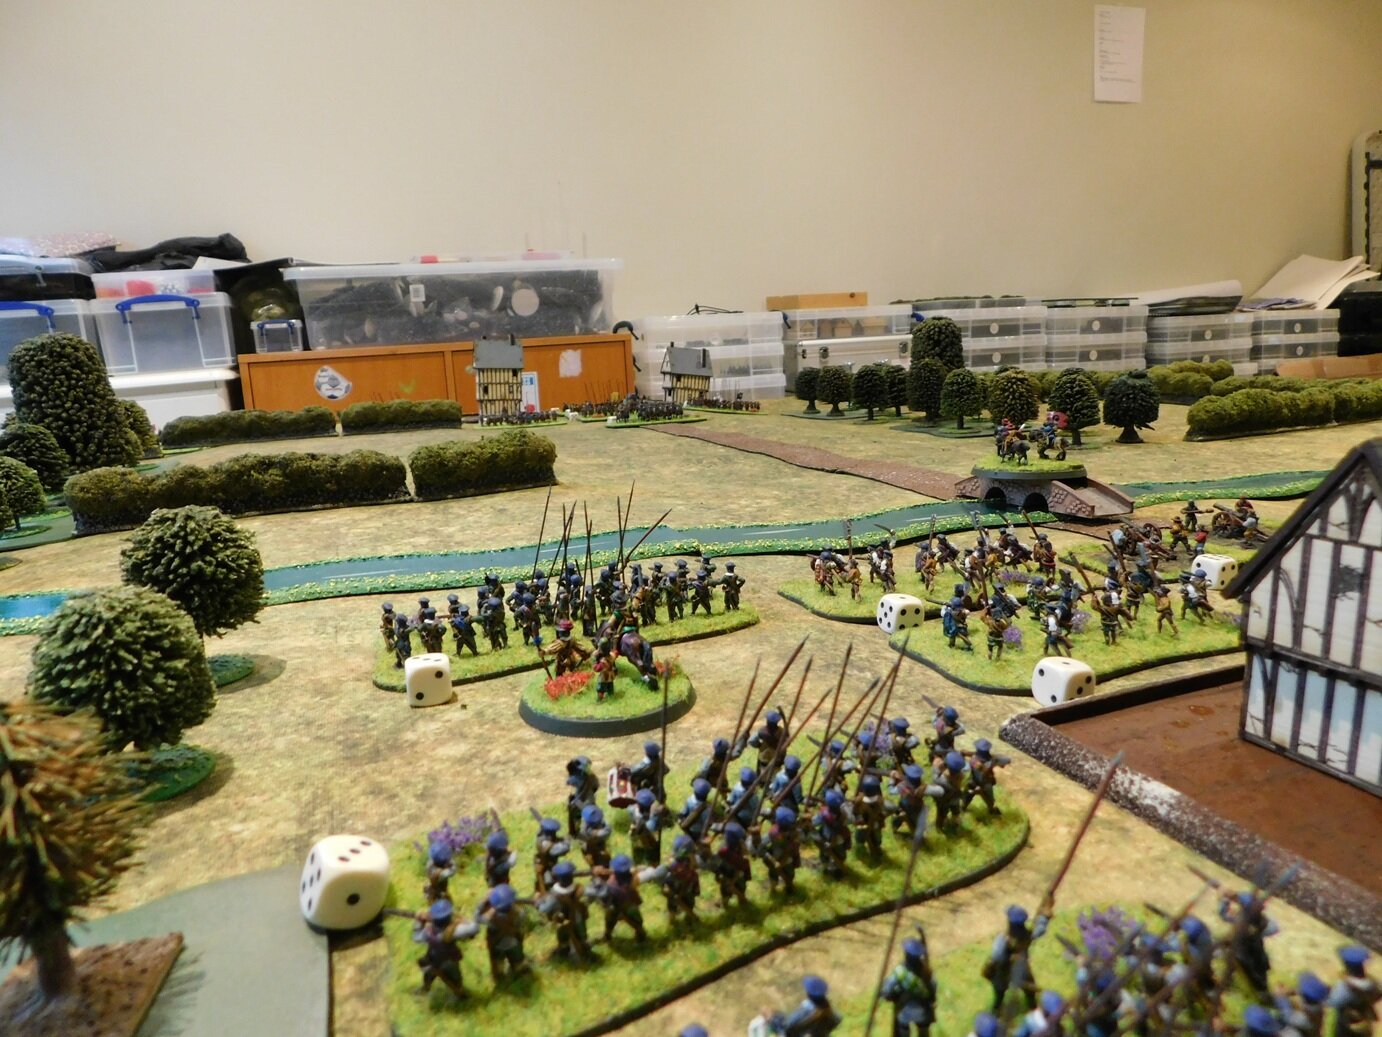
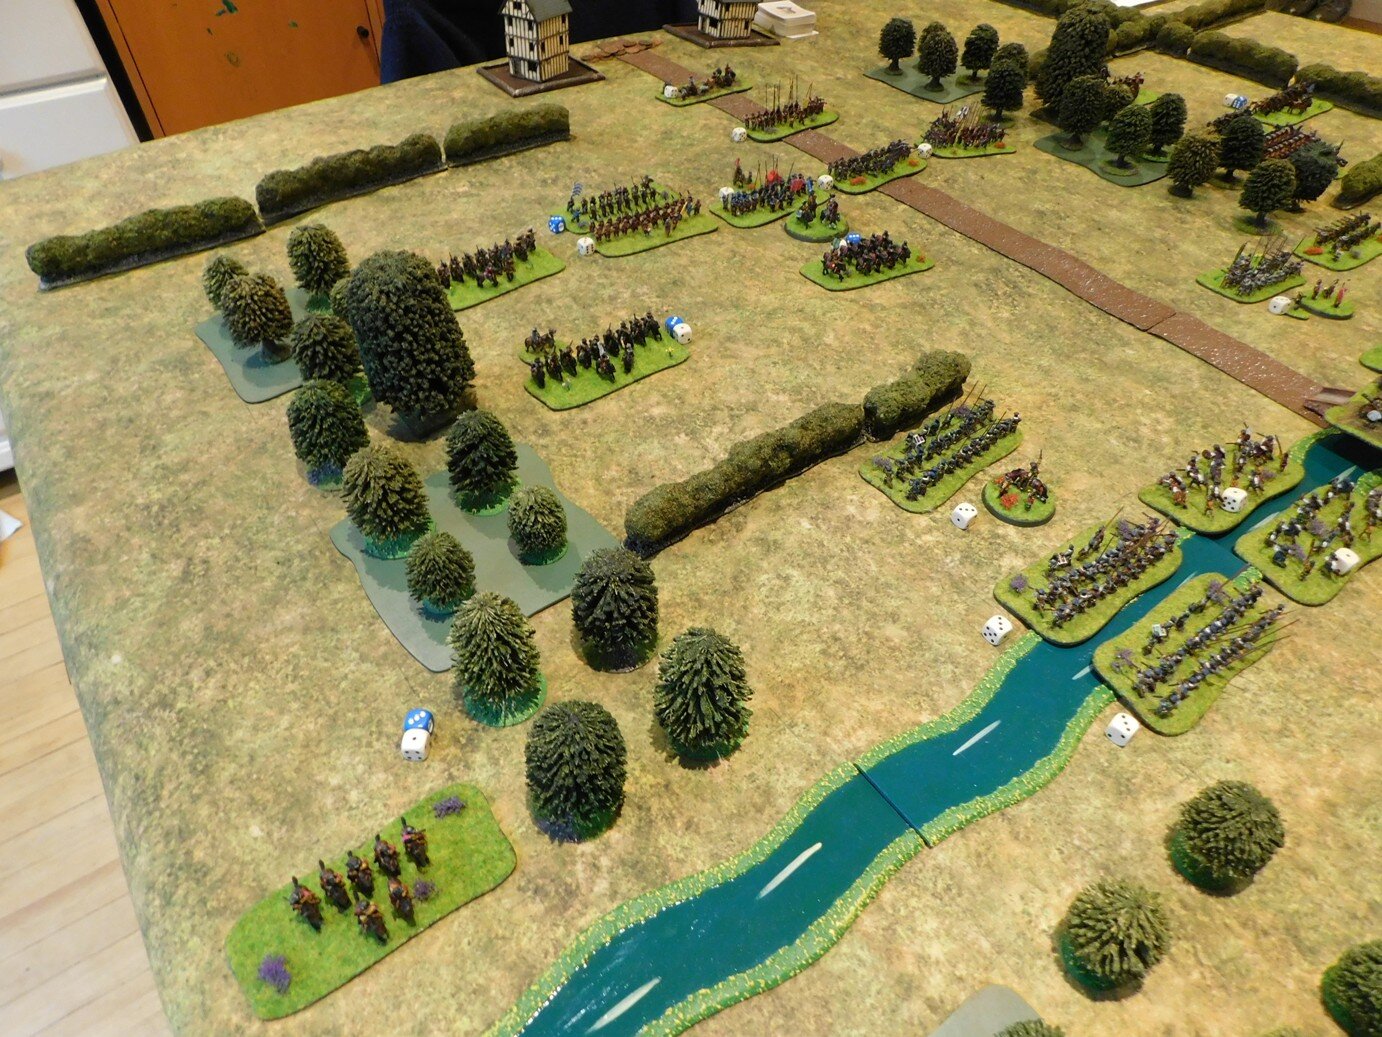
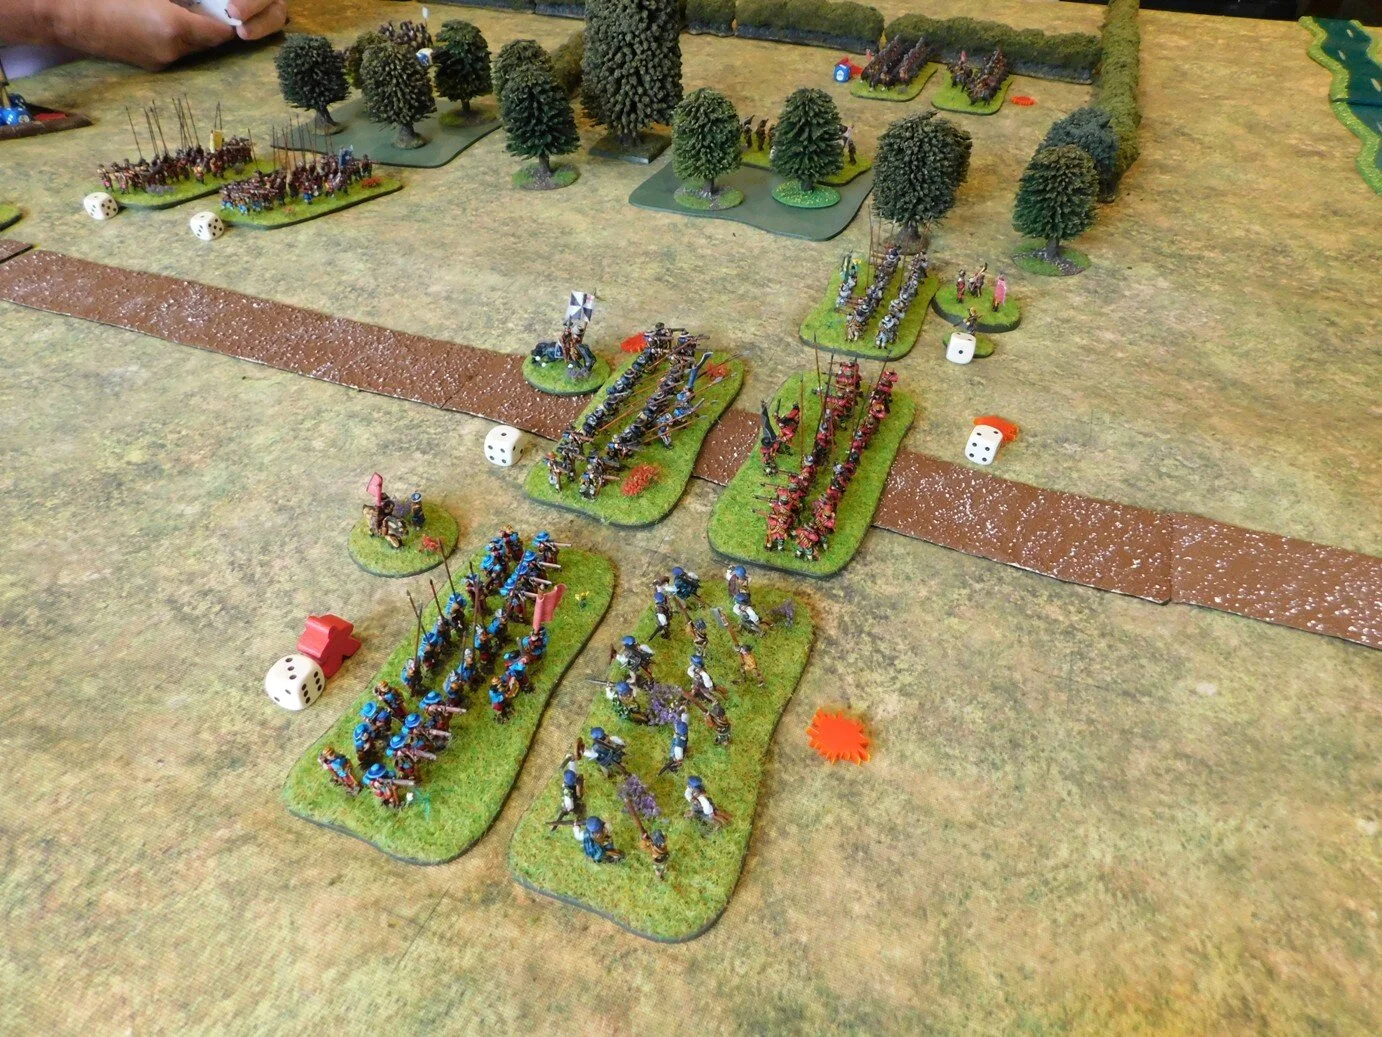
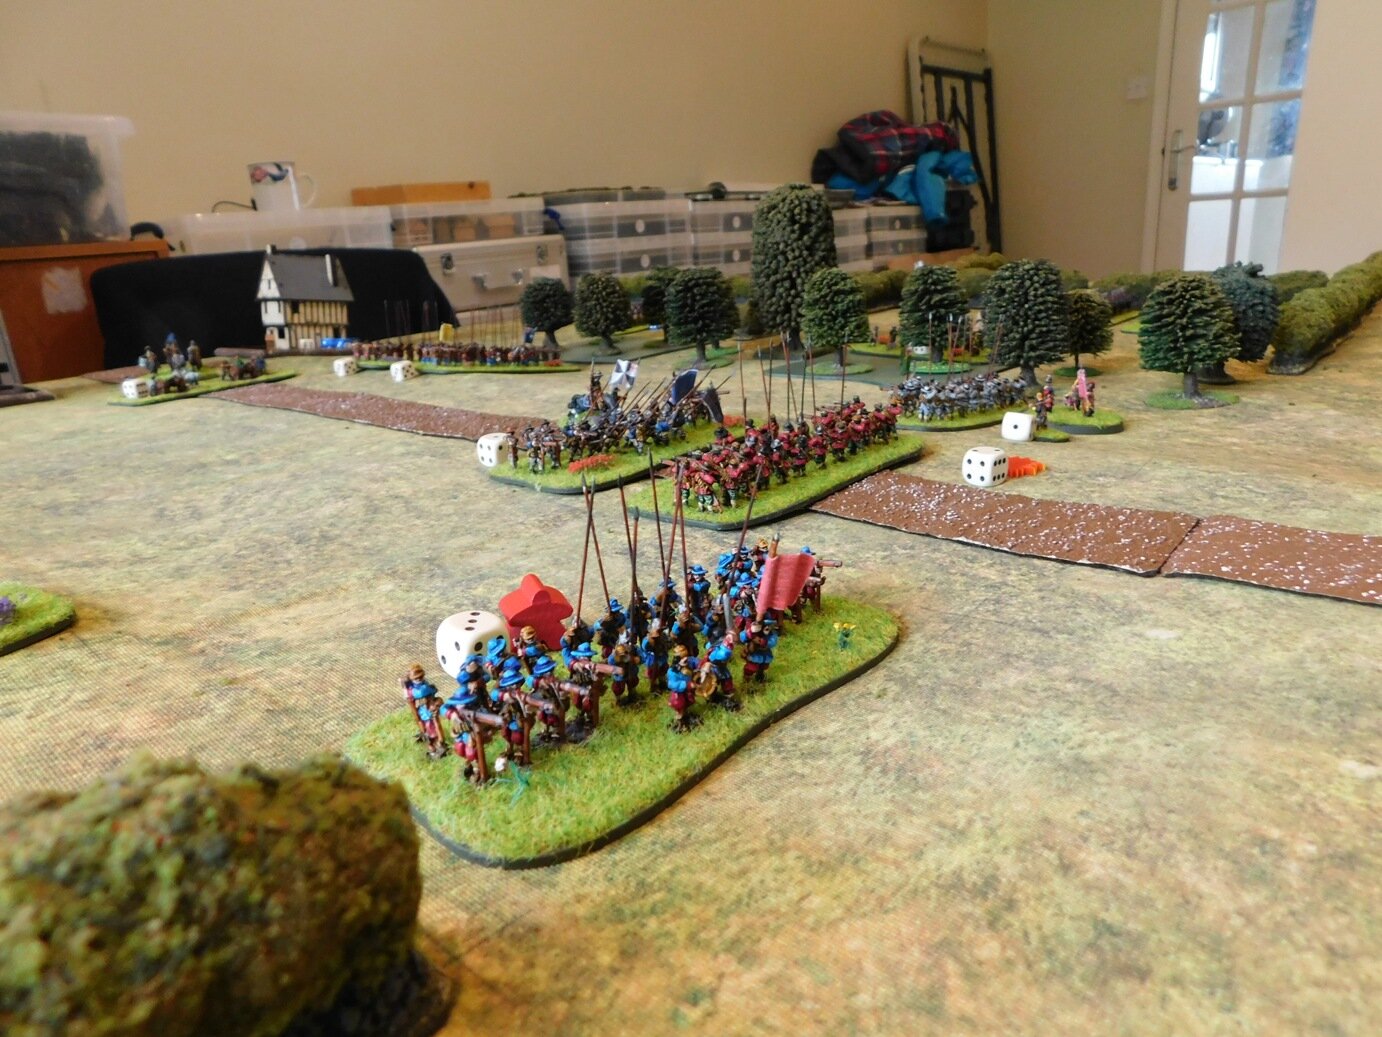
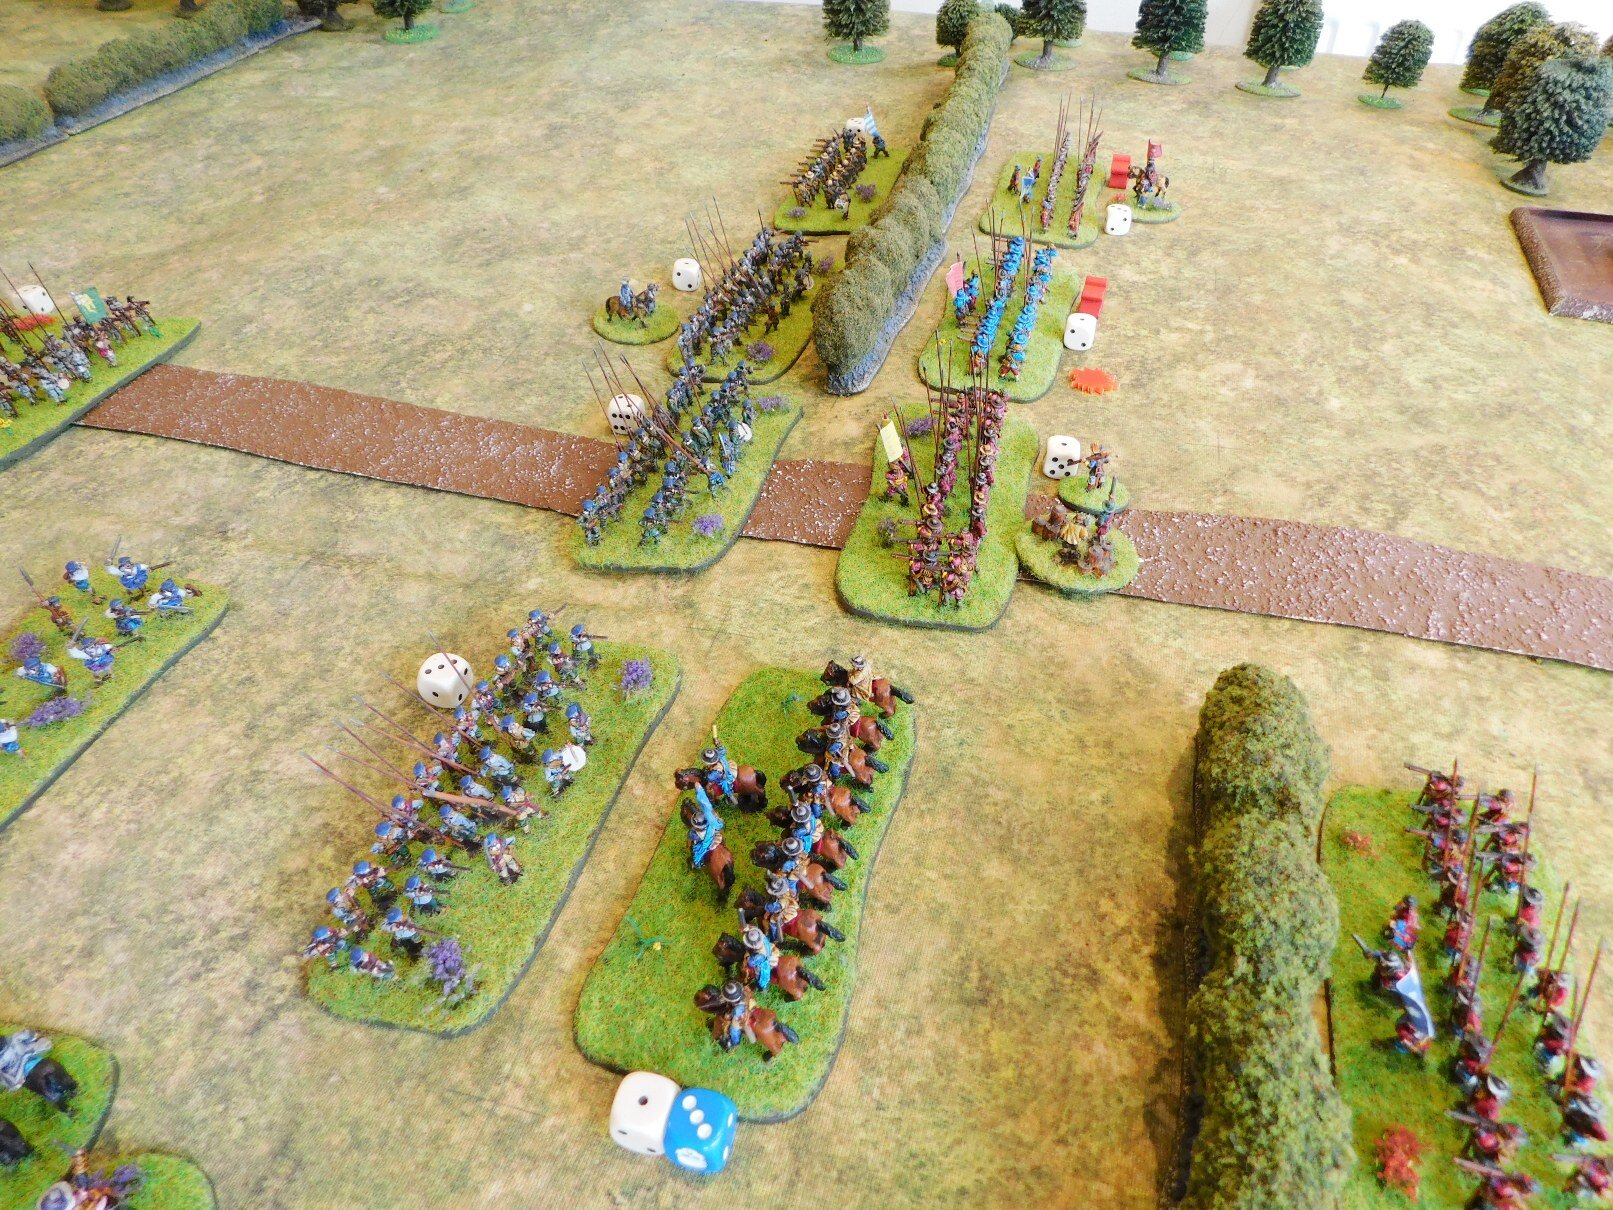
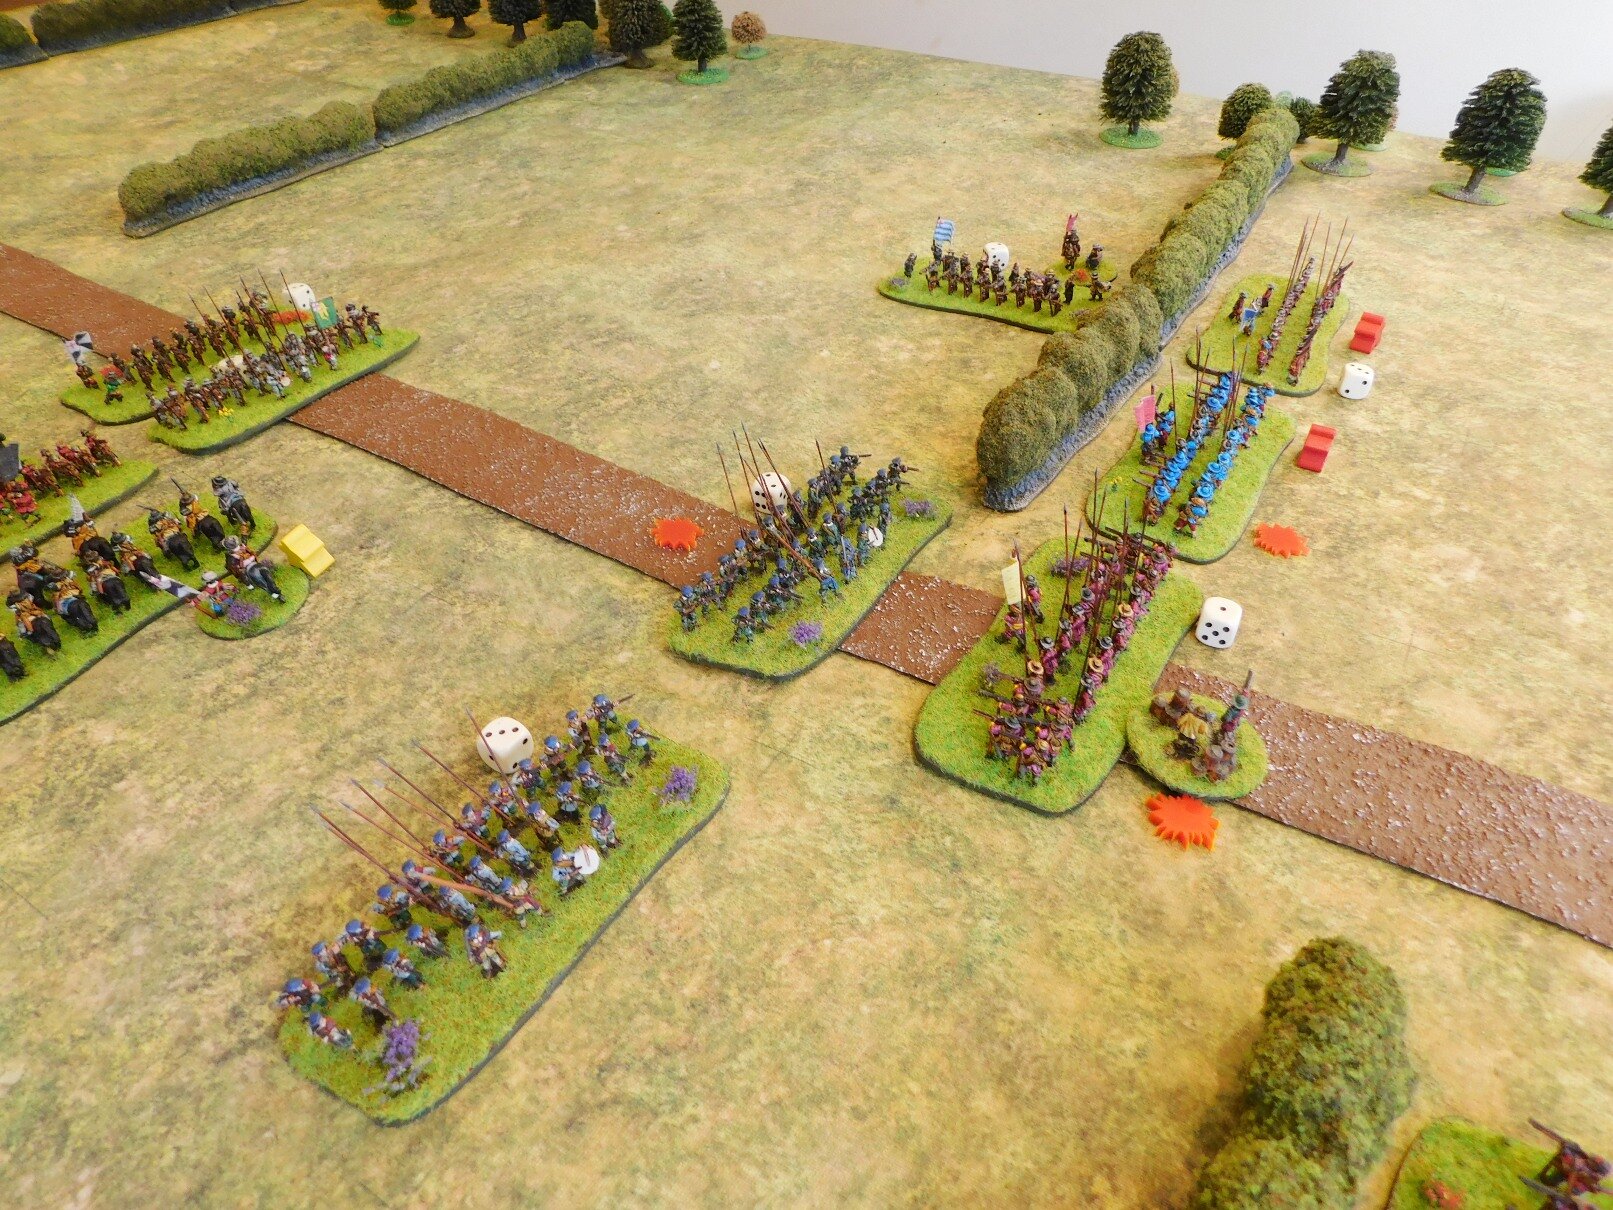
Although I held my own on either of the side combats you can see above, the warband in the centre moved forward towards the artillerymen (who were having a very bad day). I snapped one unit of legionaries backwards and left to plug the gap, which was quite impressive and shows the Romans’ manouevrability, but poor cards lost me a Legate and the nearest legionary unit.
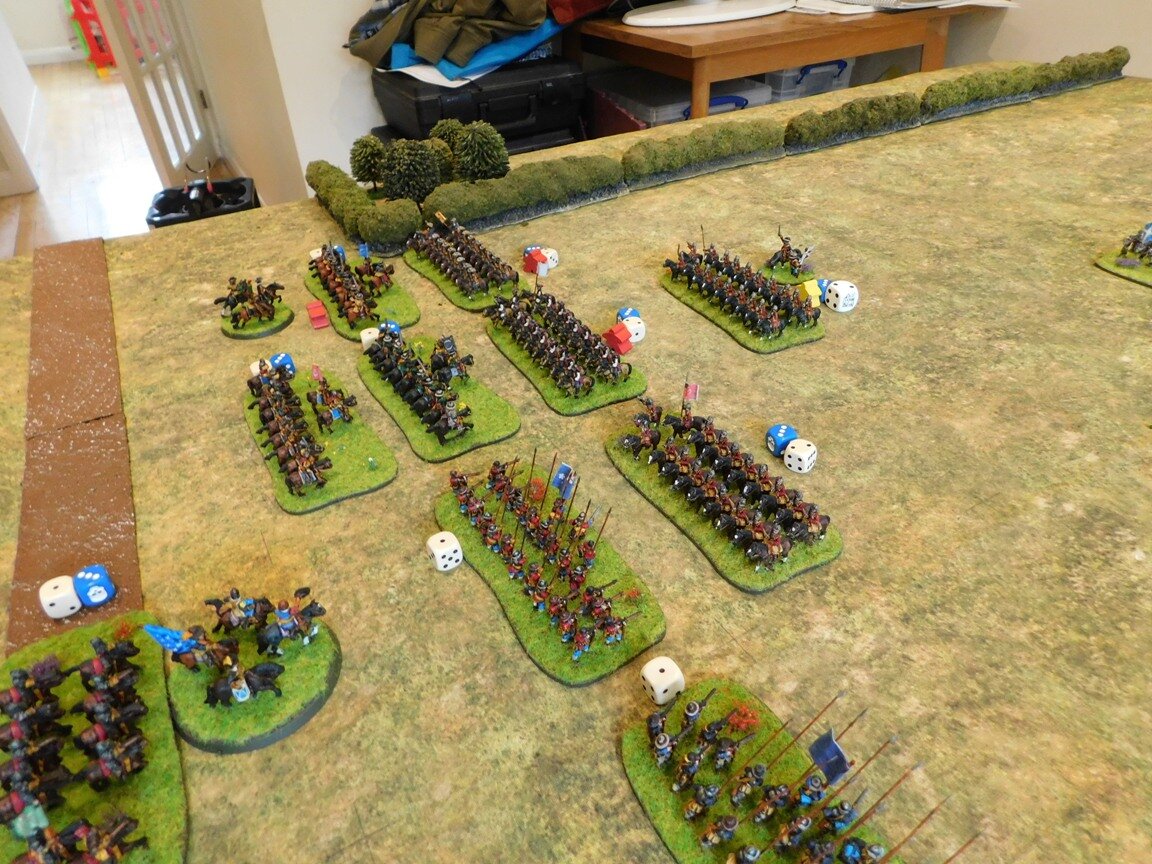
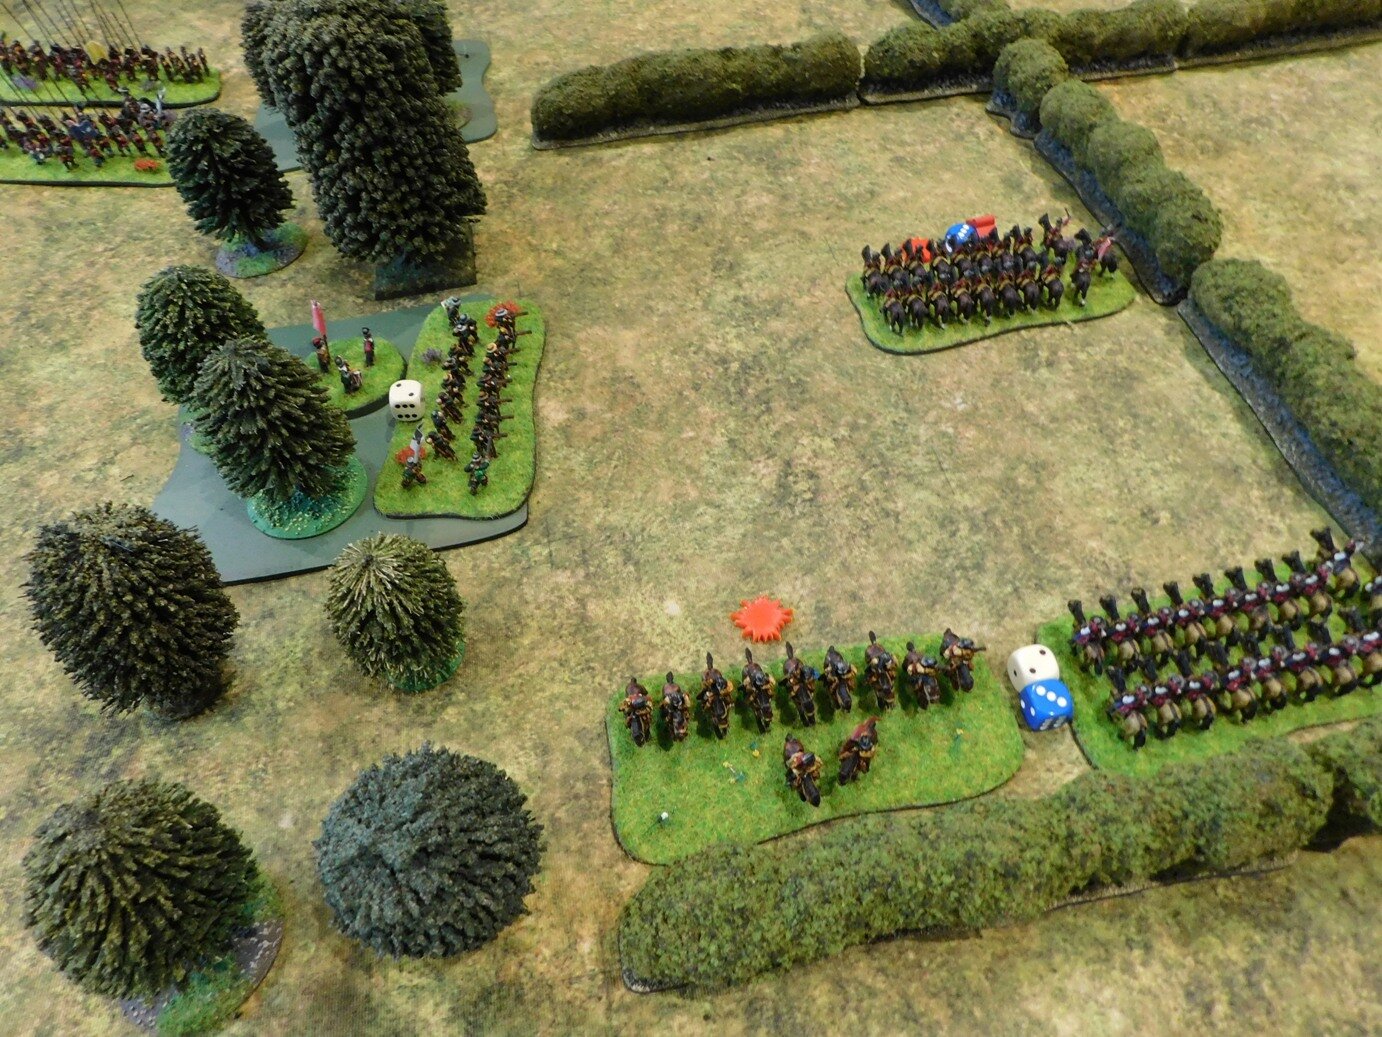
Meanwhile, my left flank was crumbling. My usually impressive veteran horse were being very unimpressive, and the legionaries were getting surrounded. A foolish decision to help the cavalry didn’t help, and I lost the last of my coins to a charge from the rear!
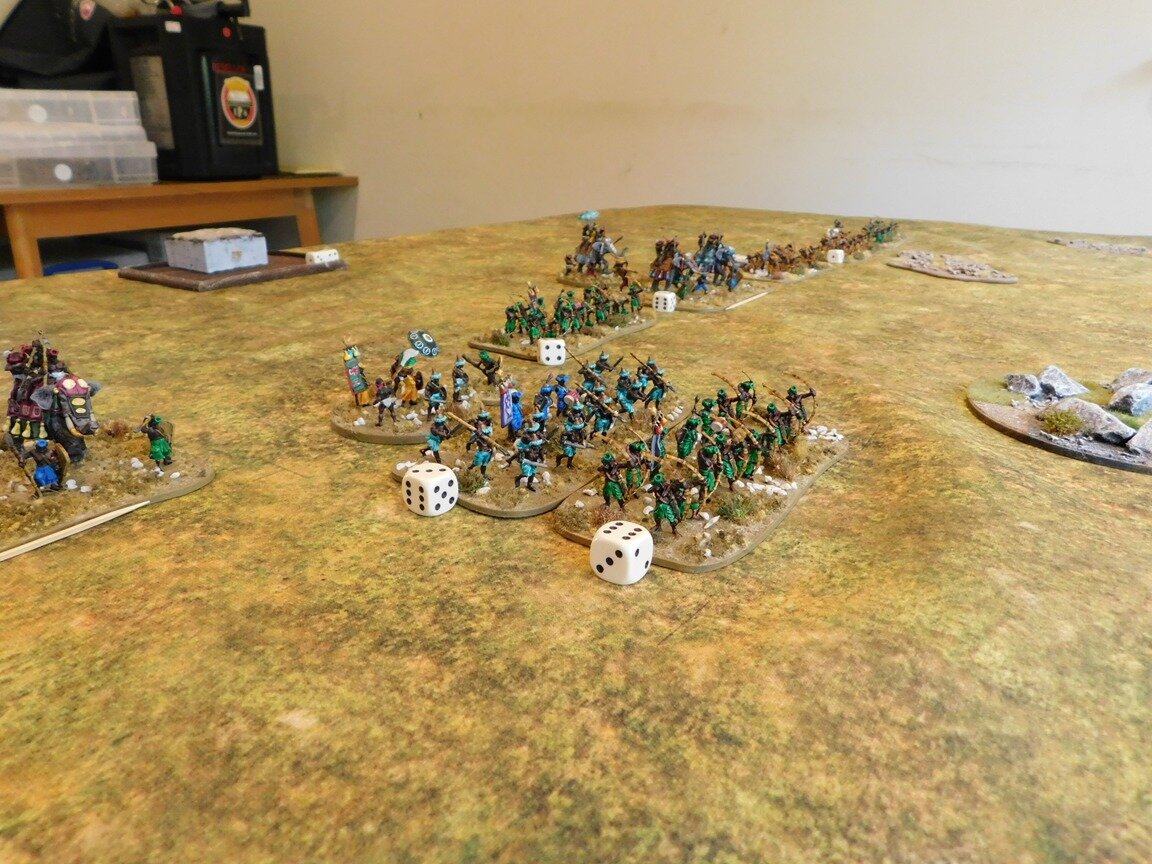
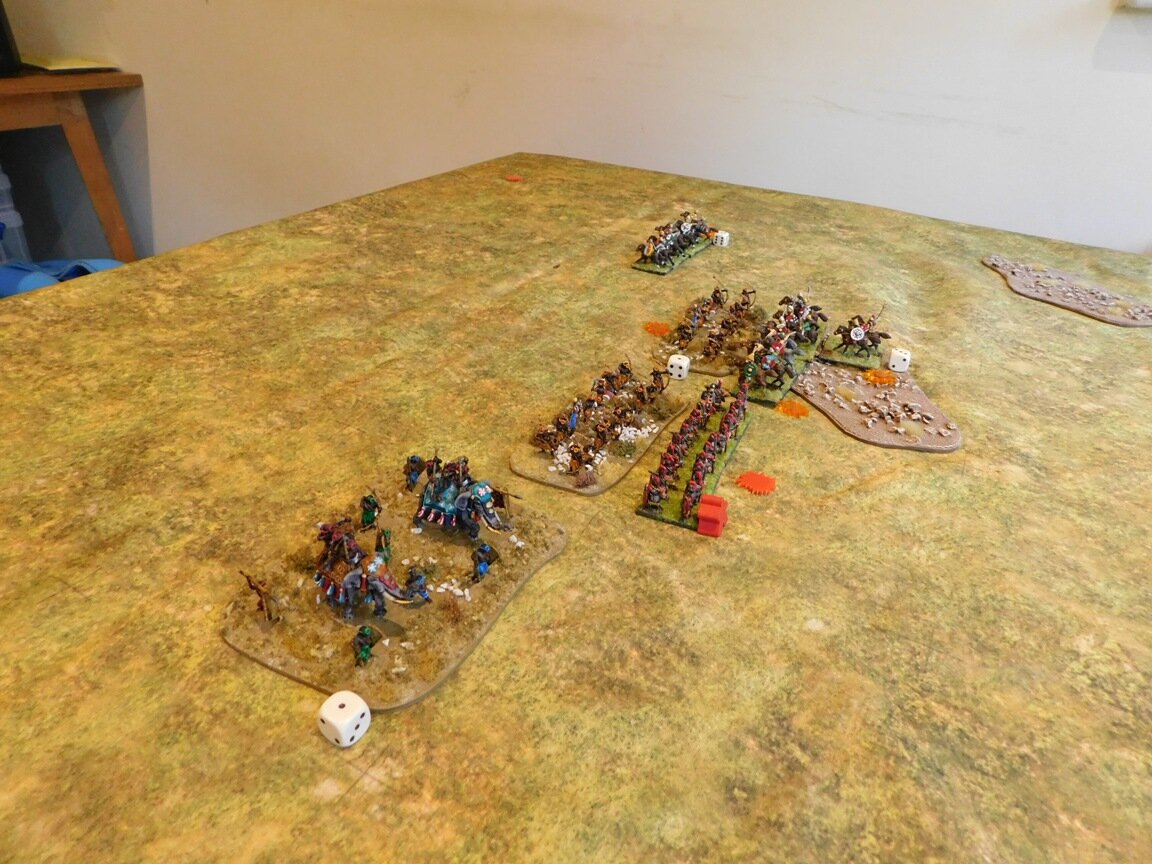
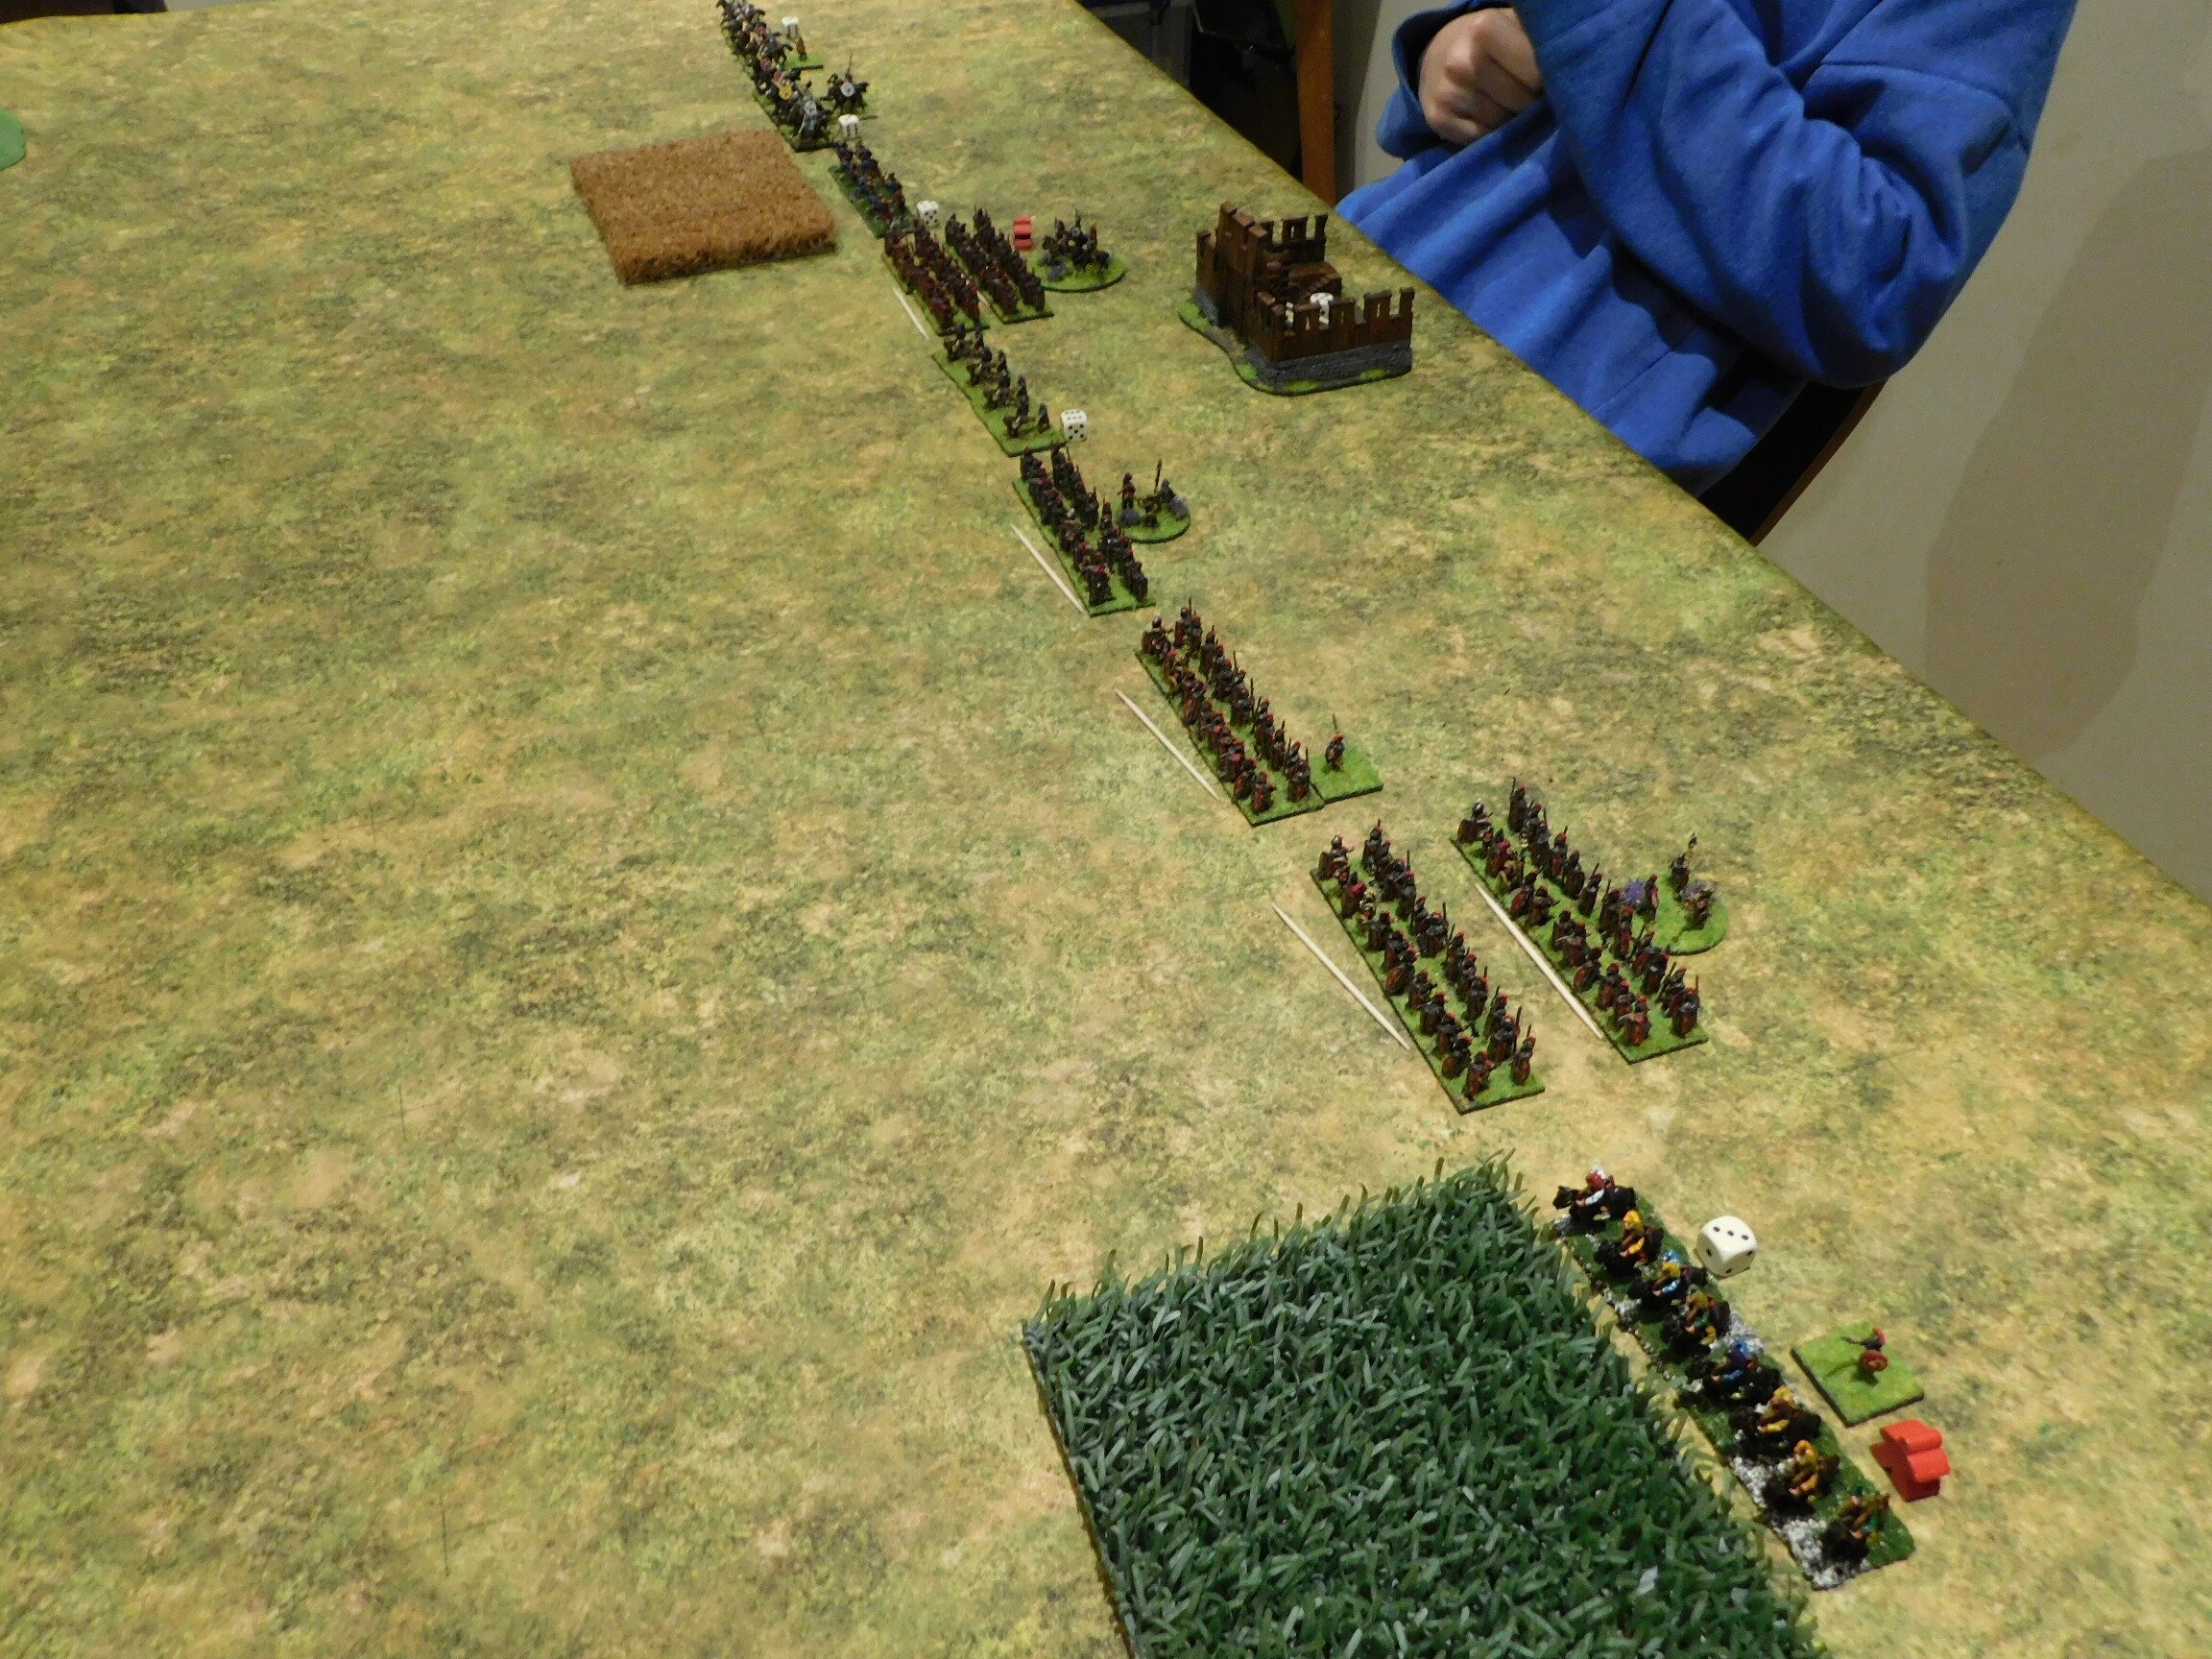
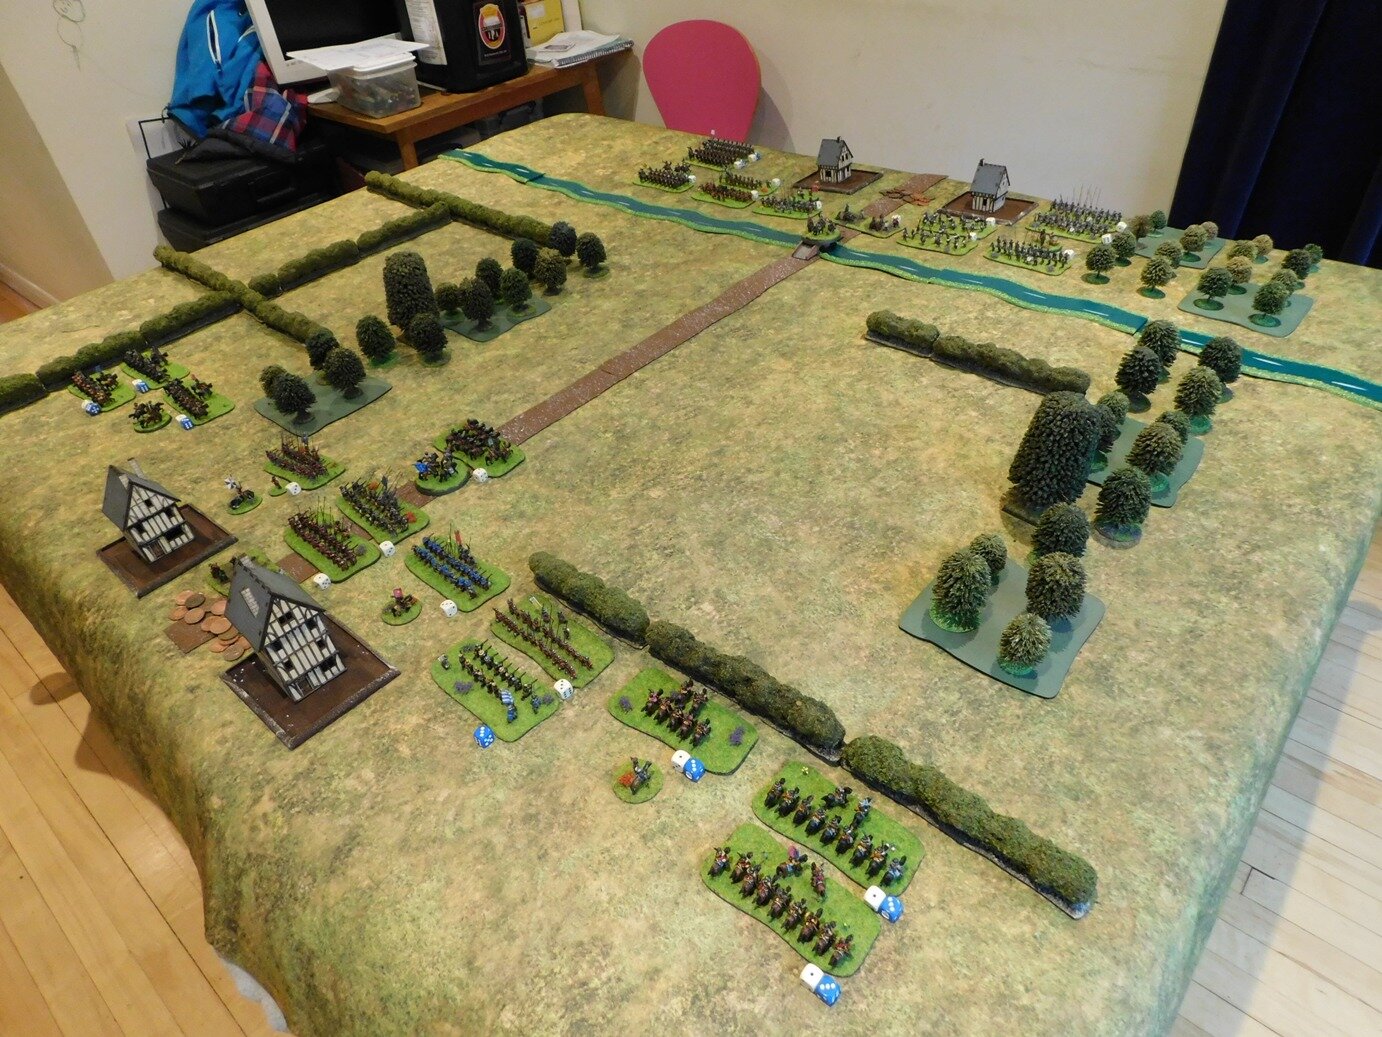
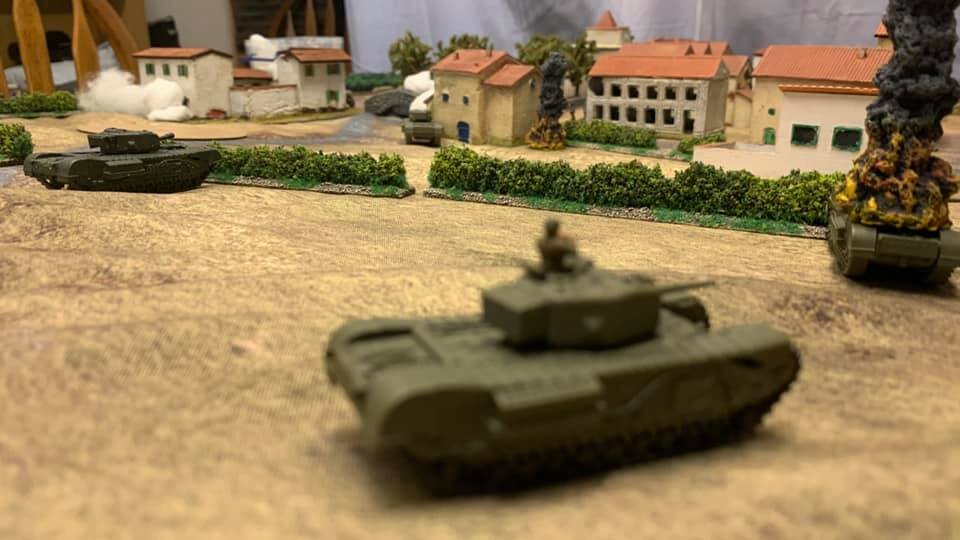
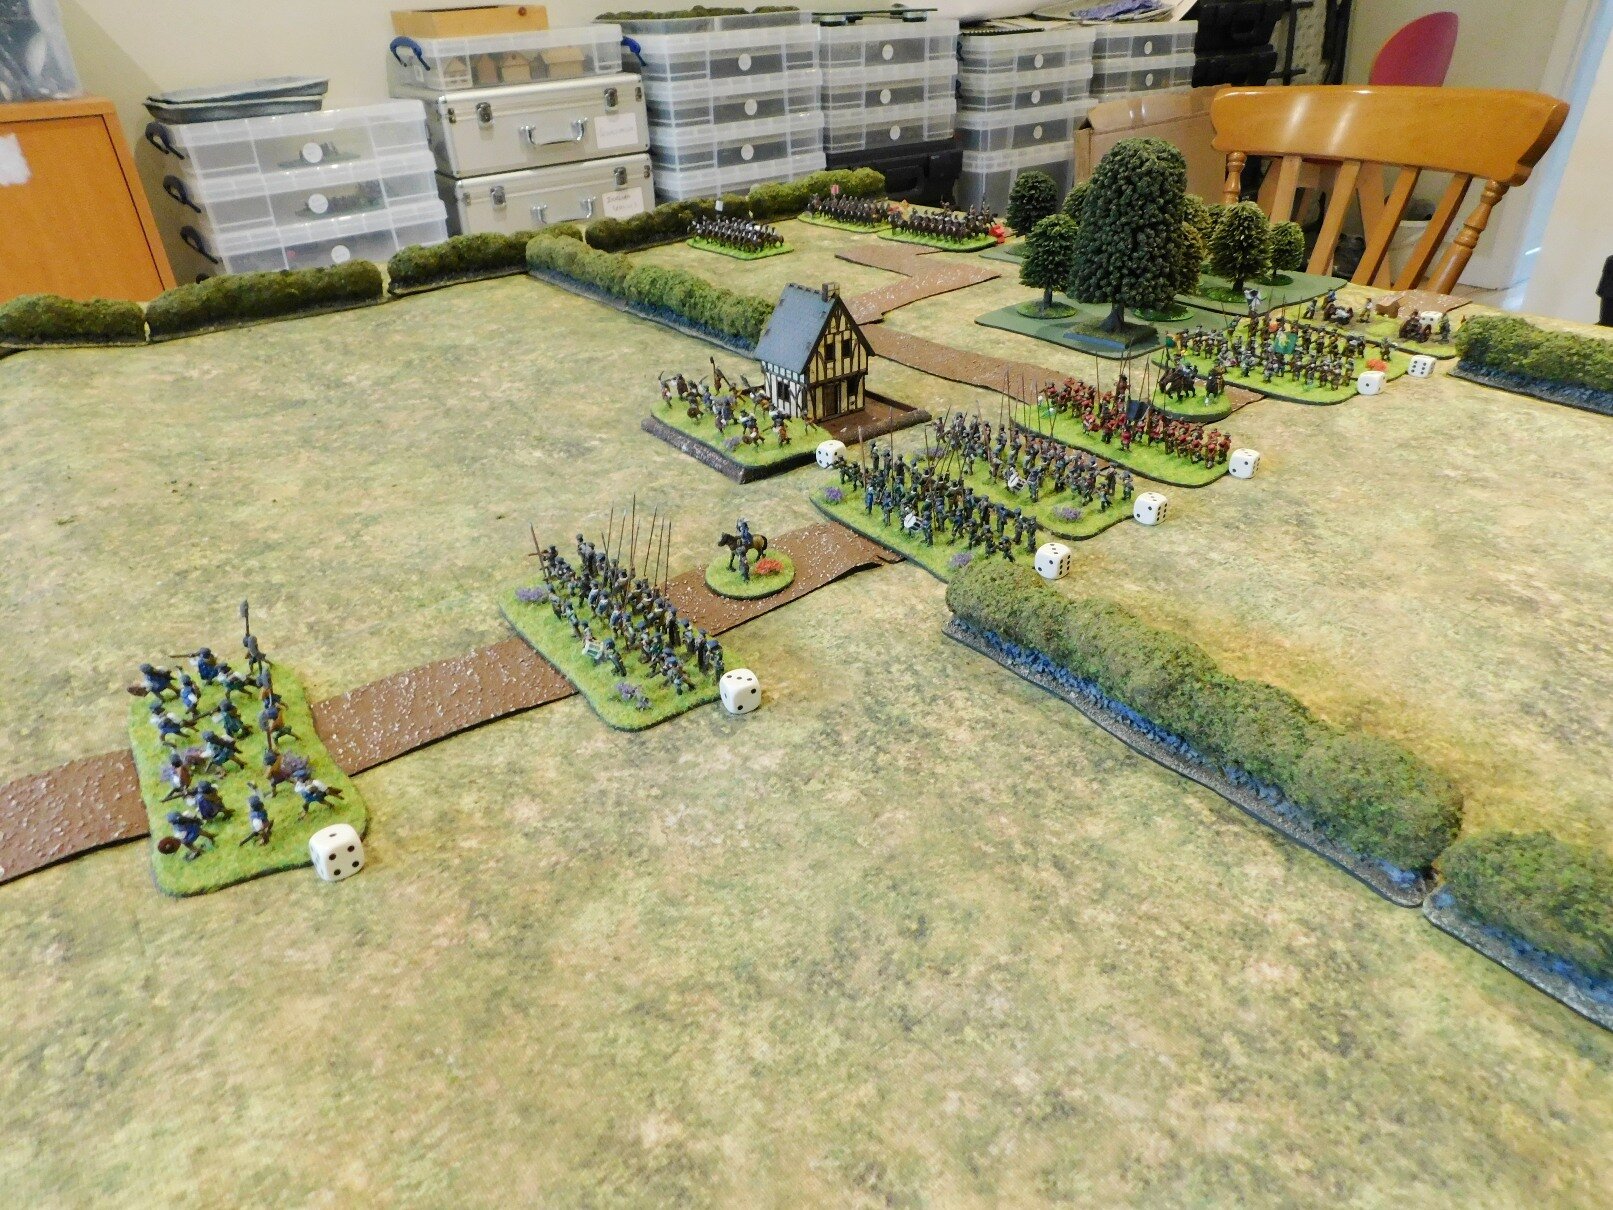
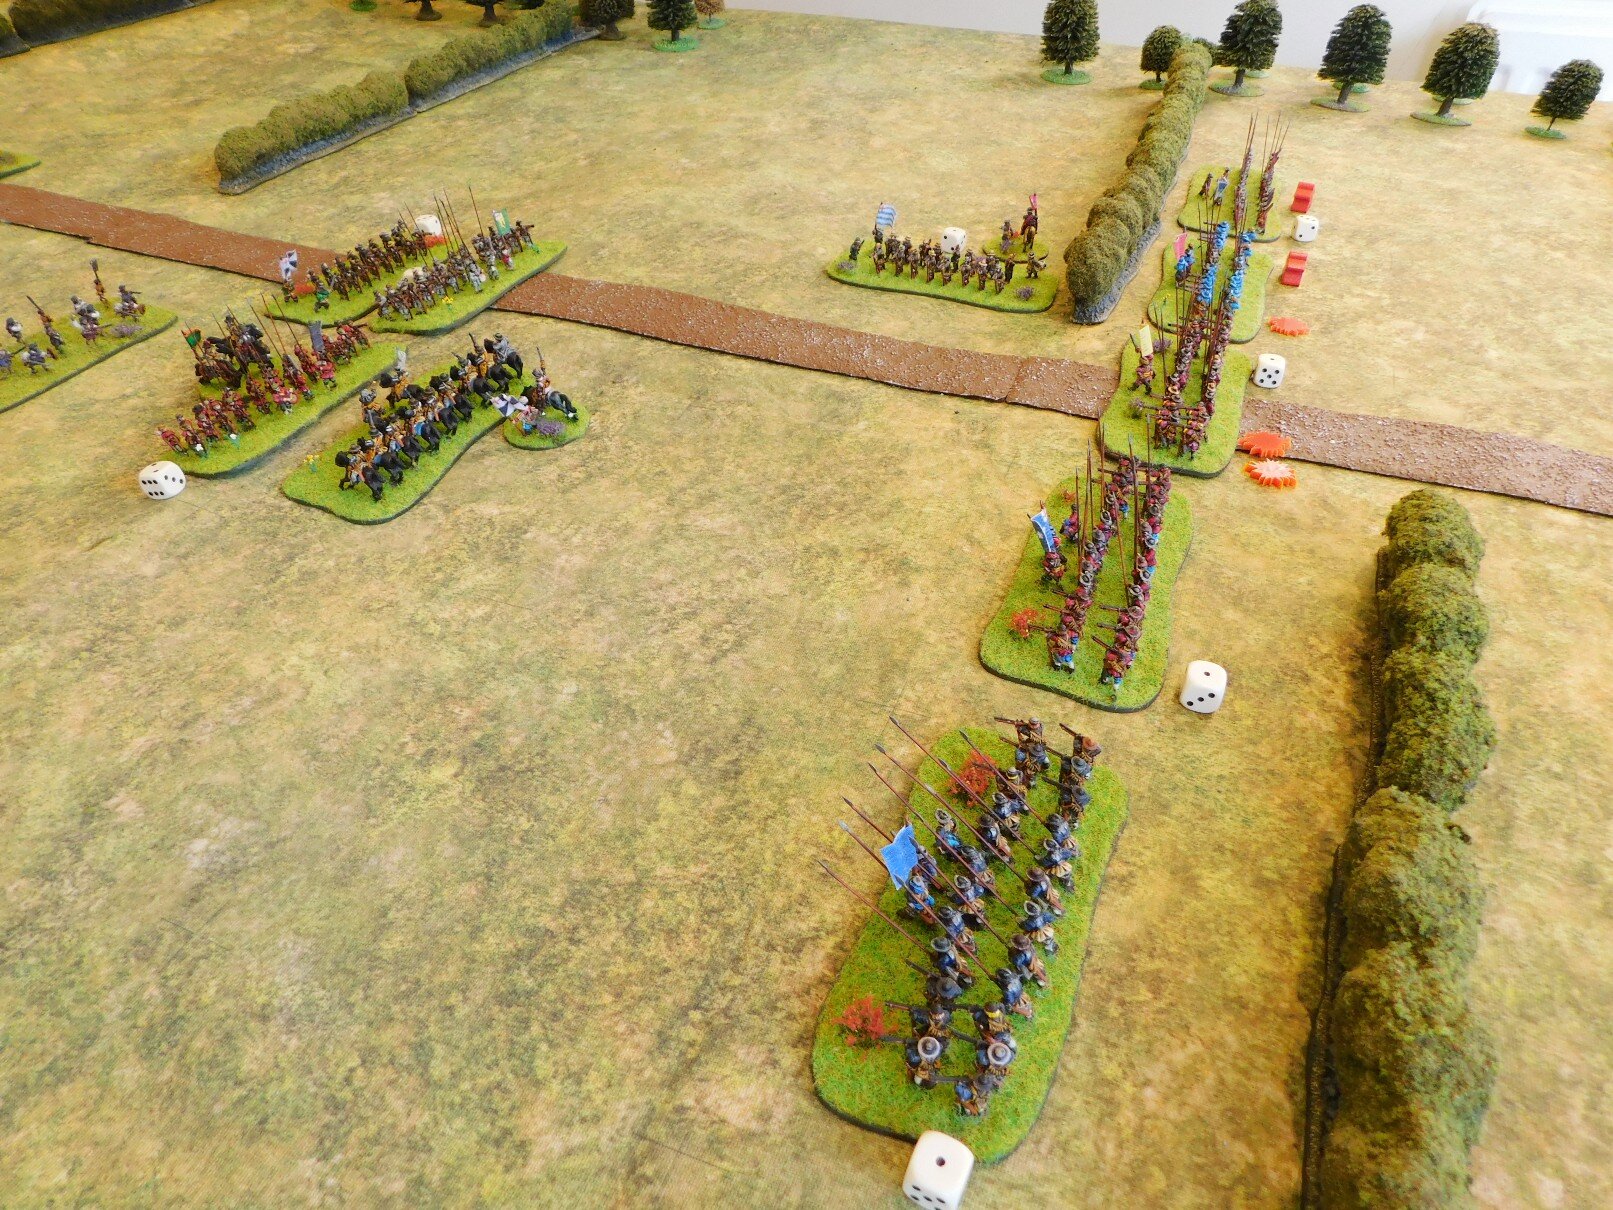
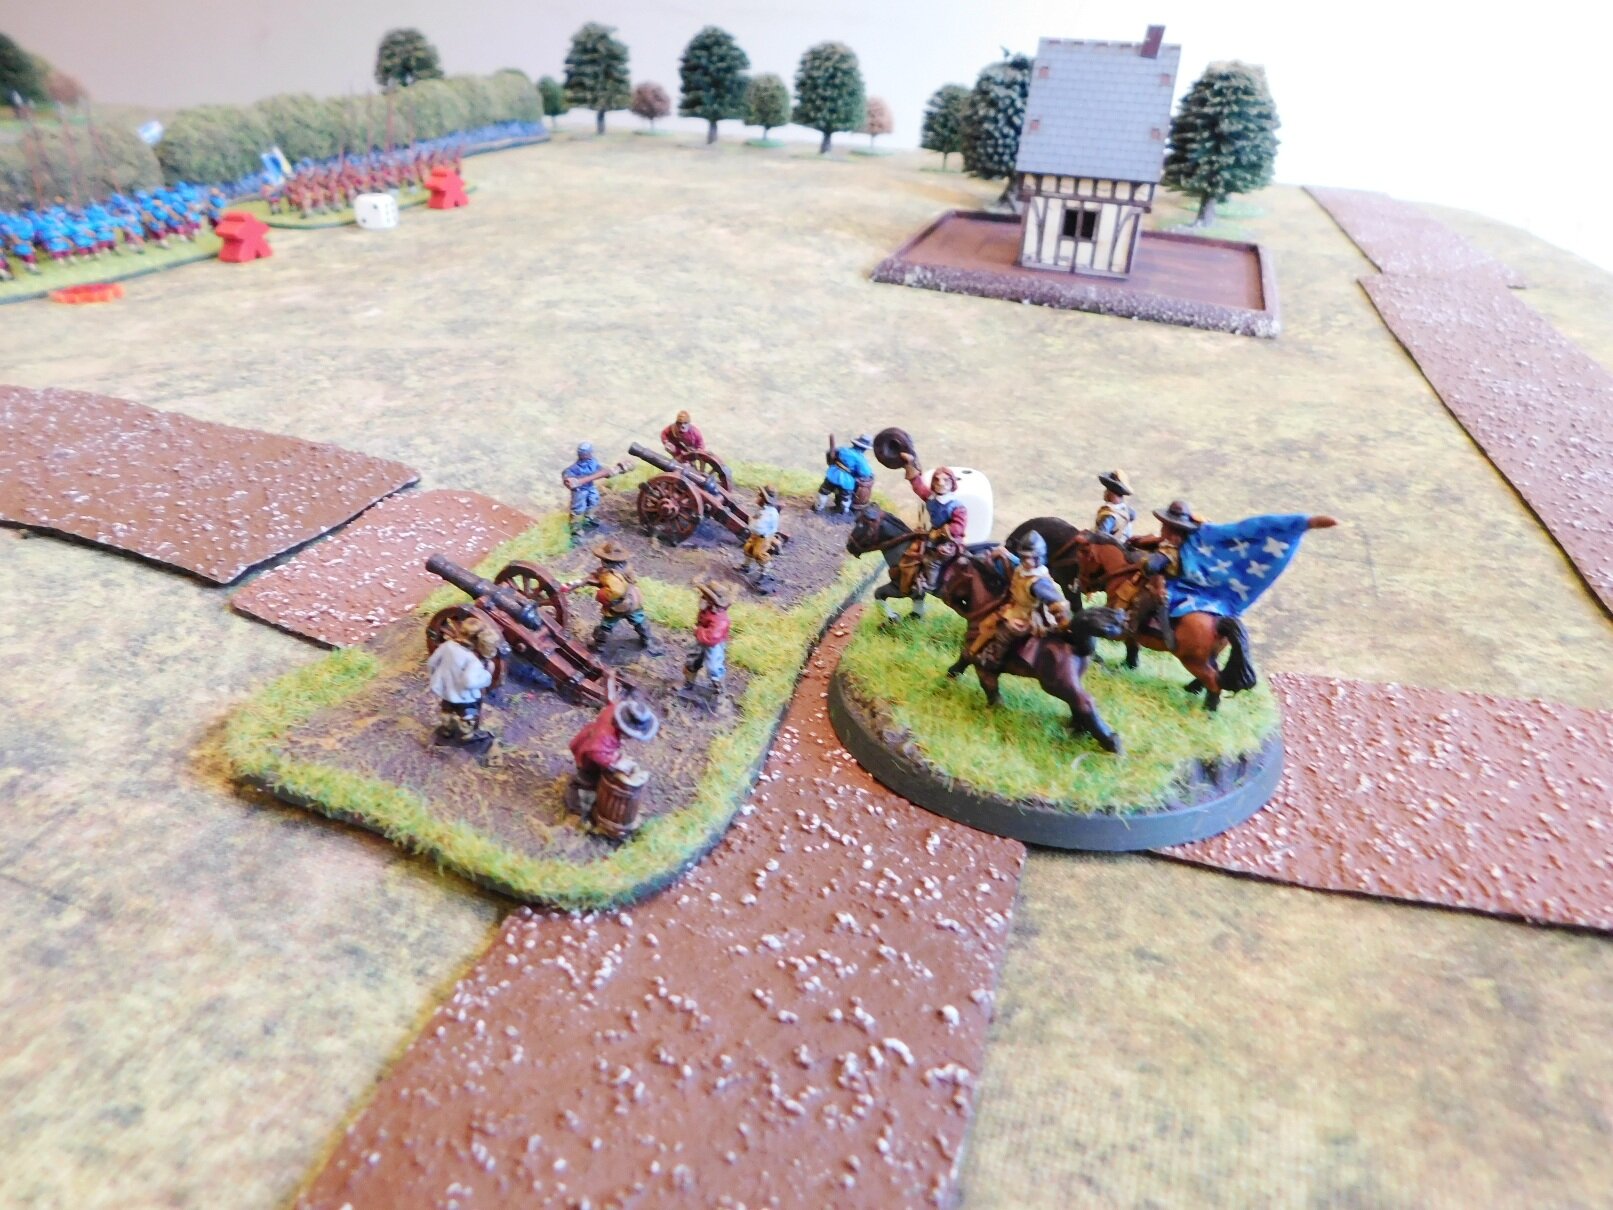
Below is the position at the end of the battle. My left flank is just about gone: the legionaries having tried to help the cavalry out with, er, fatal results. My centre is holding, but Gauls have punched through and are about to engage the artillery hand-to-hand and then take my camp. My right could go either way.
Aftermath
All in all, a fairly conclusive drubbing for the Romans, but lessons learnt and I’m sure they will do better next time!
On the plus side, however, the “remote gaming” side of things worked nicely, and it is something I will run again…and I got to push some lead around a table for a change!
Robert Avery