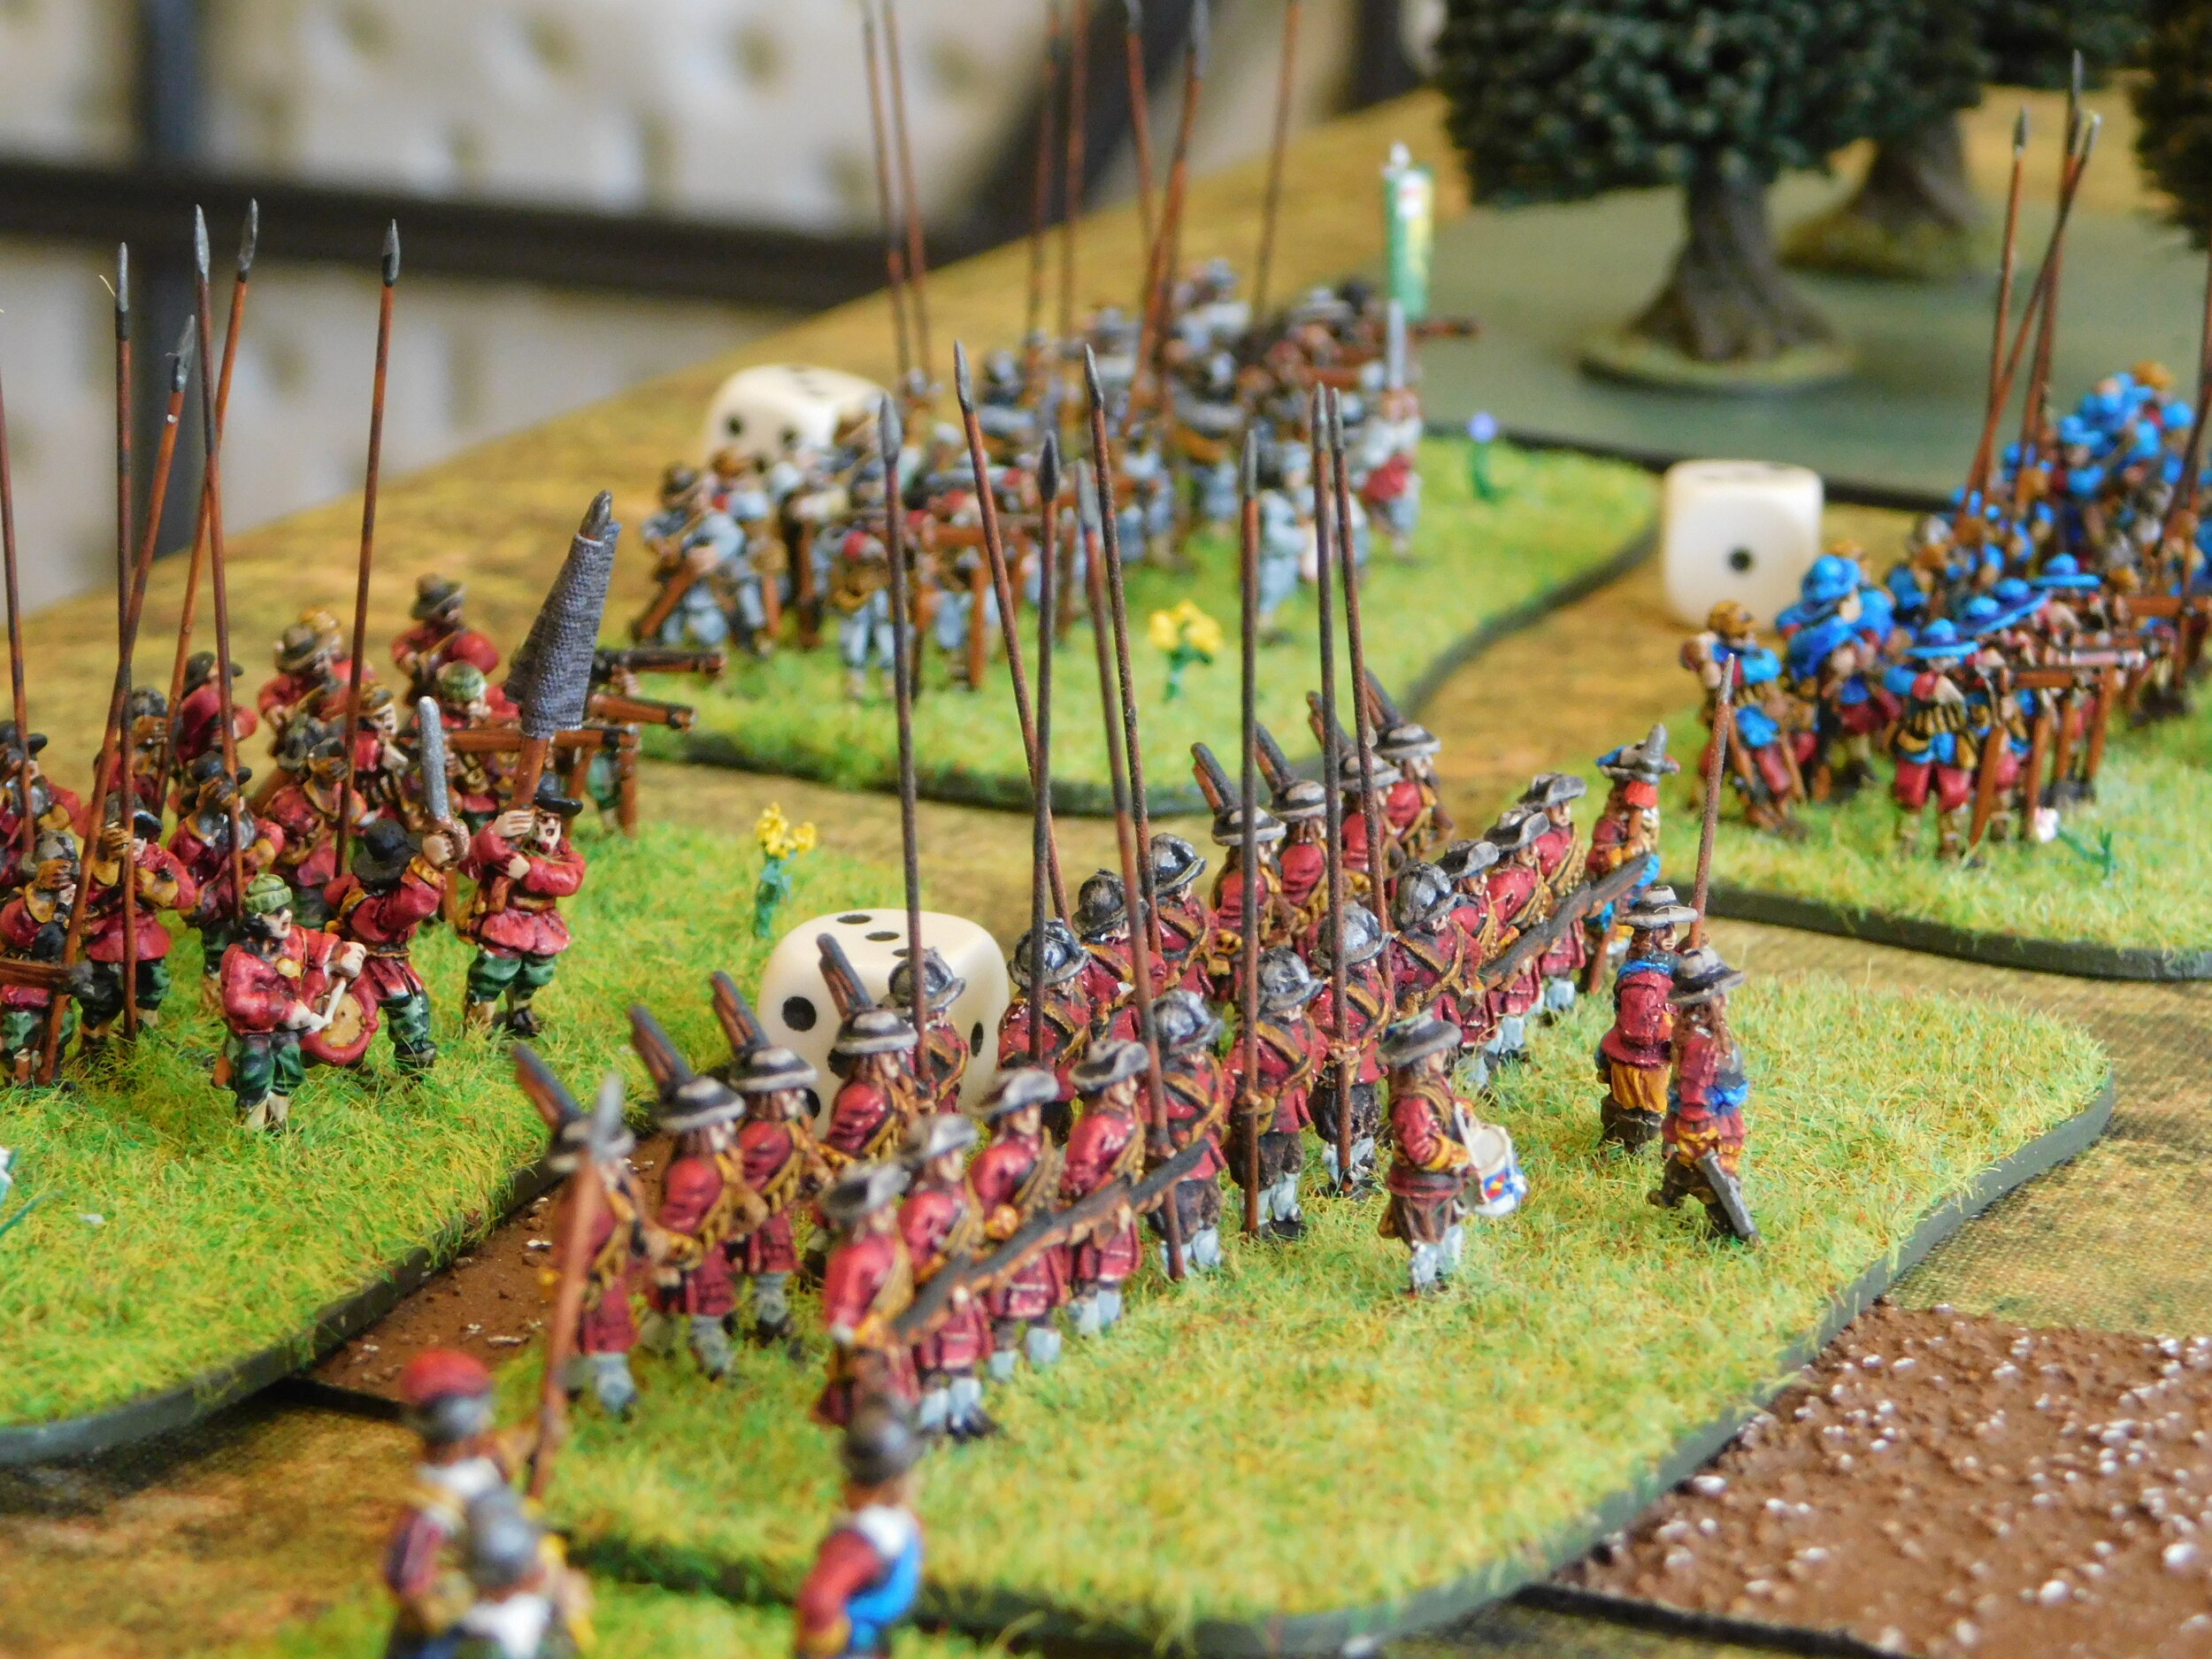
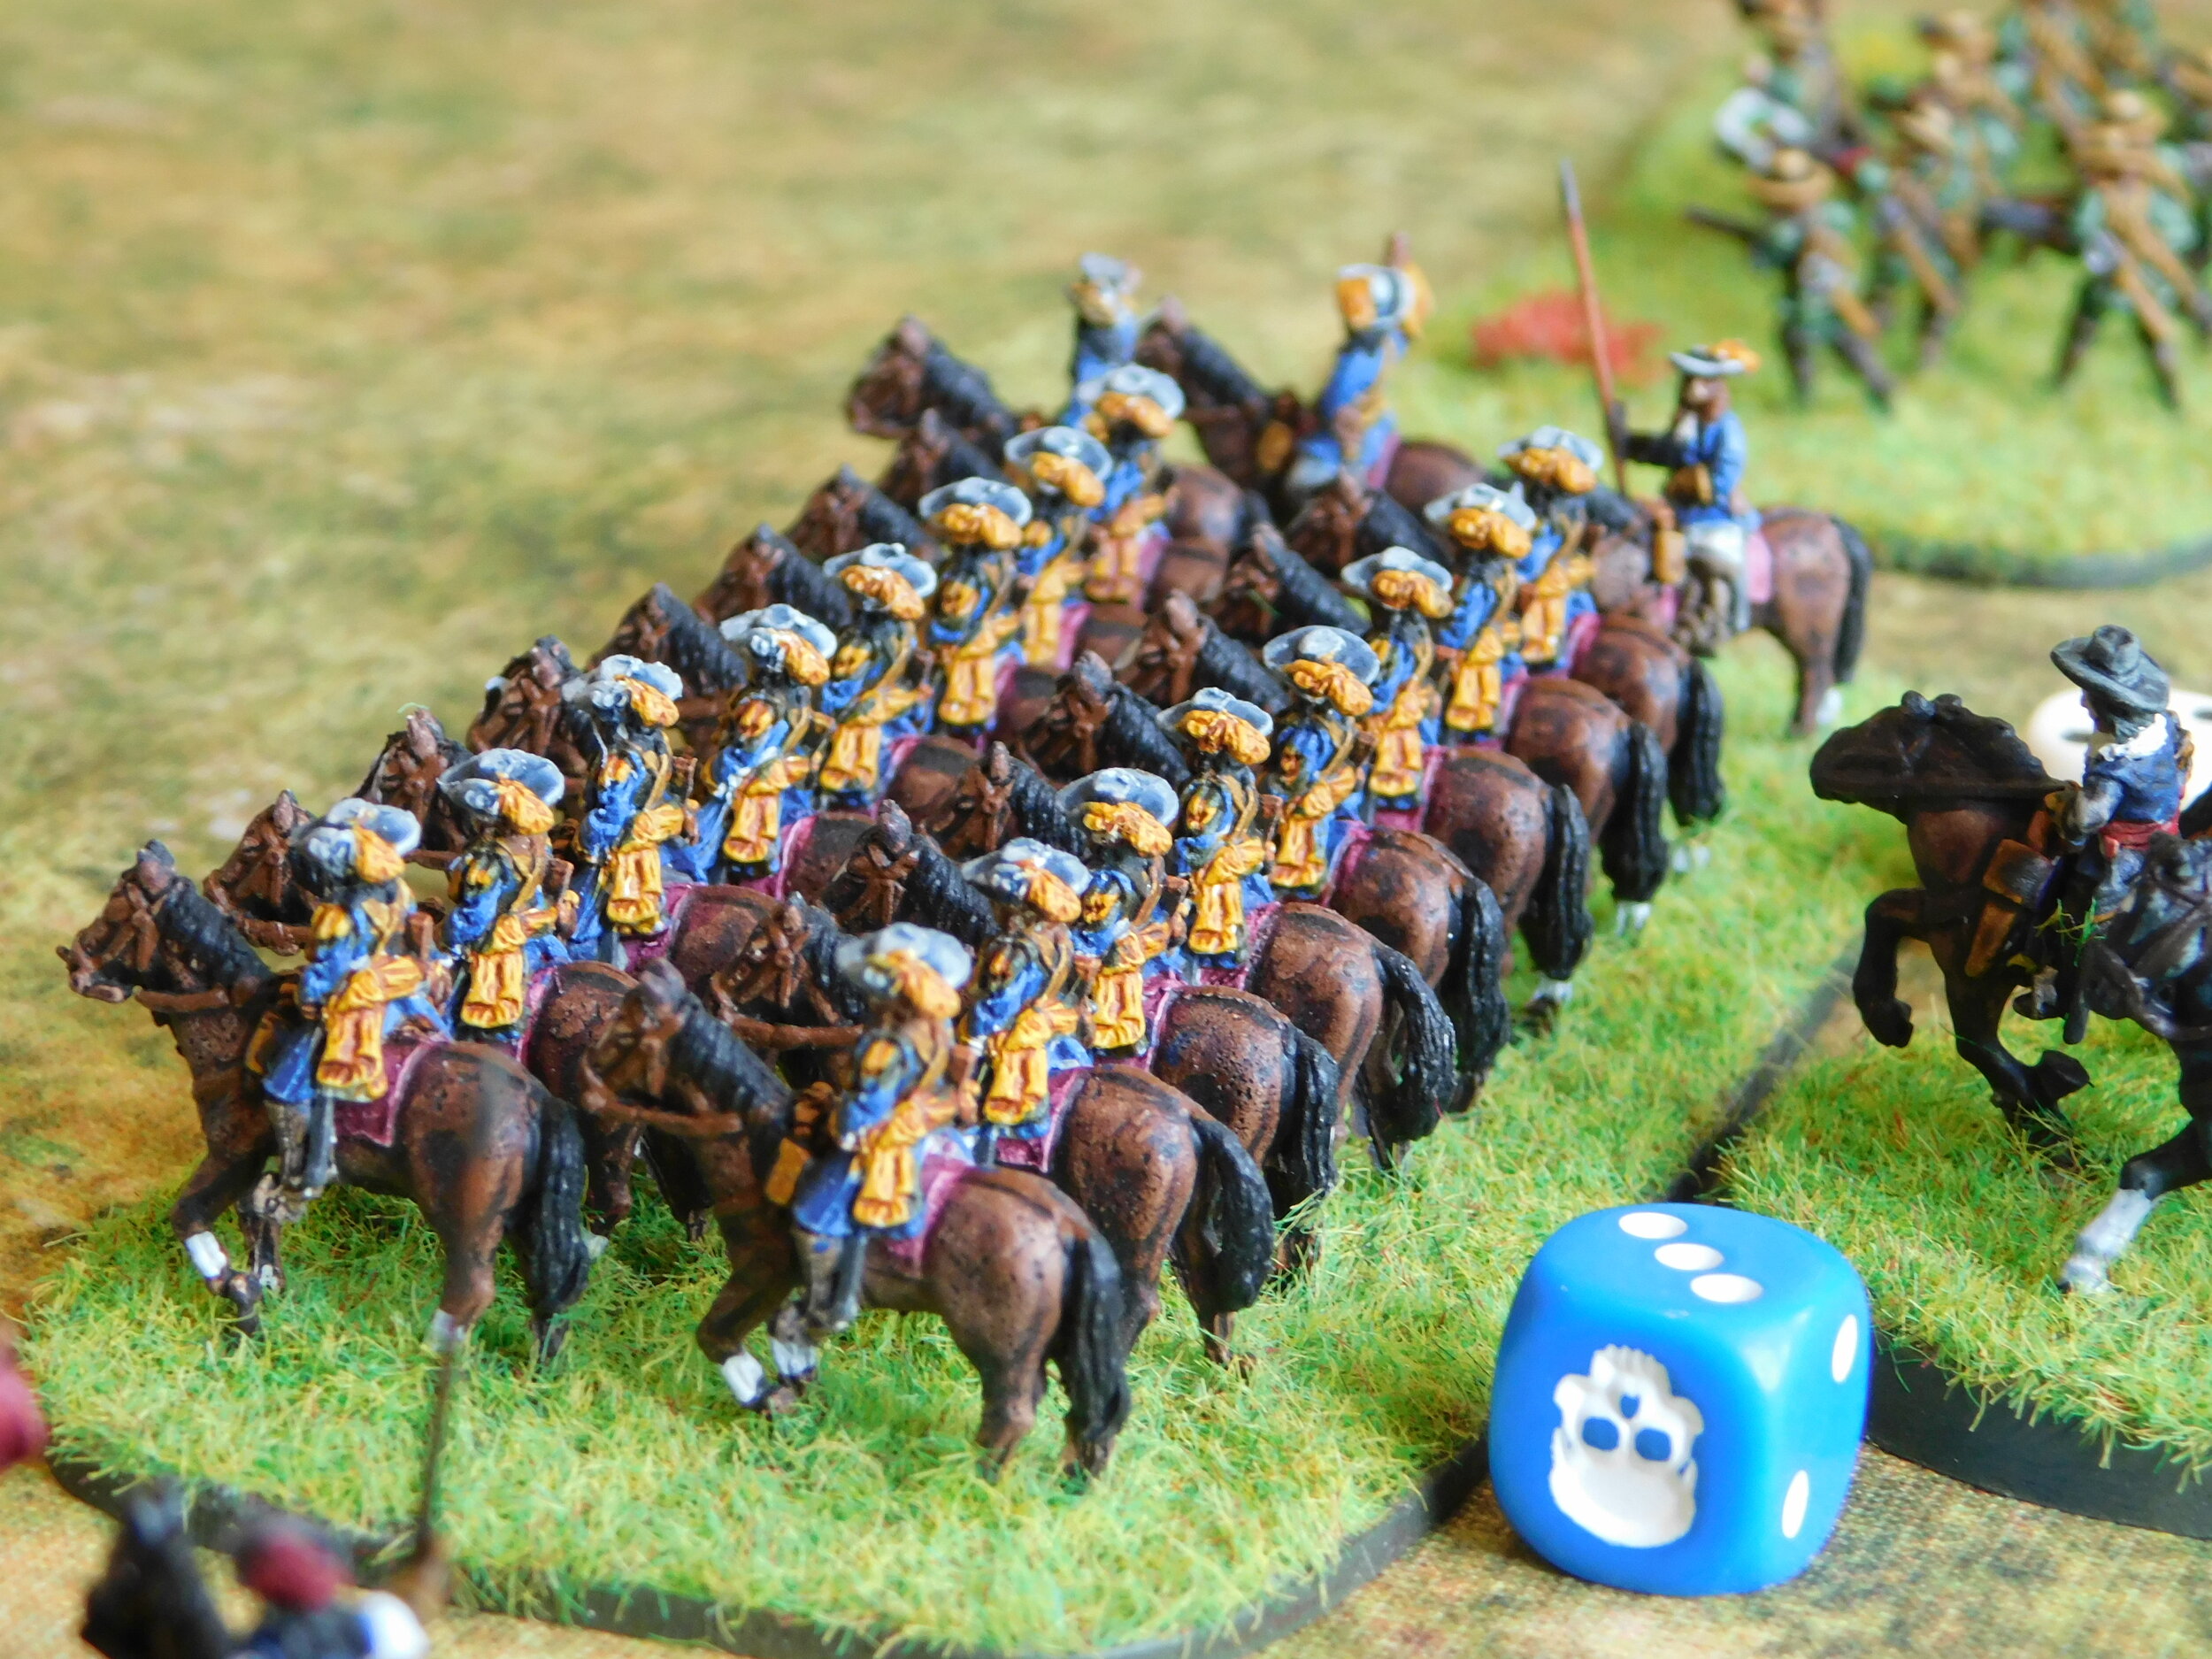
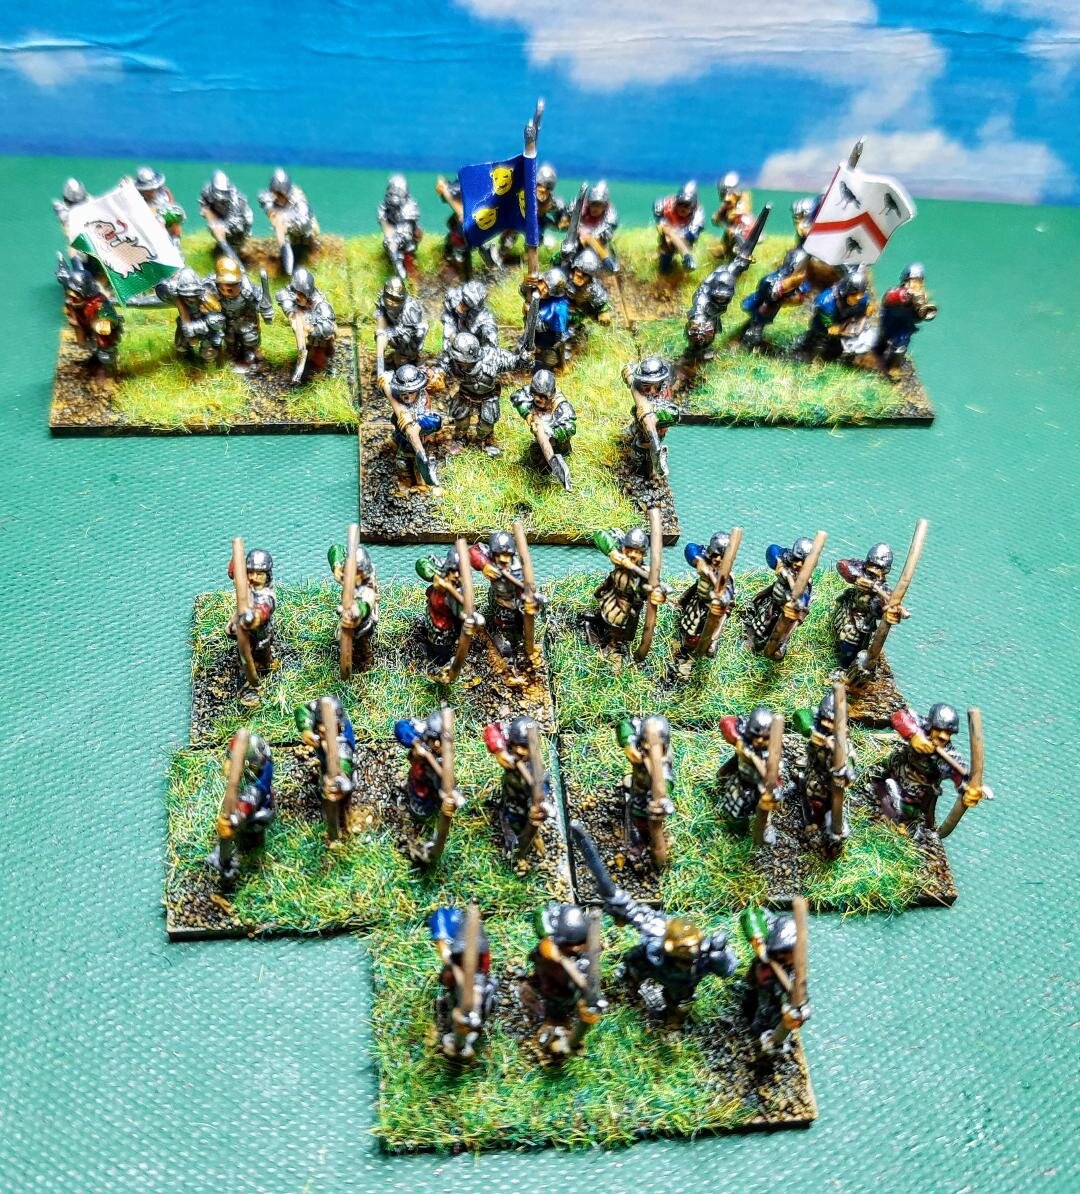
More ECW Dutch Horse

Having painted up three units of Republican Romans, I needed a break from things Latin, so dipped into one of the more recent outcrops from the lead mountain: another unit of Dutch horse for my English Civil War collection.

These are more from the excellent 15mm Hallmark range, available from Magister Militum. They are painted with GW Contrast Paints, with the flag from Maverick. The base is a large vehicle base from Warbases.

Infamy, Infamy! Advanced Order Now Available

Although my main interests are the company-sized games from the TooFatLardies, I like to play and support everything Lard…so here’s the news on their latest release:

Infamy, Infamy!

Great News and much excitement on Lard Island as we are able to announce that Infamy, Infamy! will be released in just two weeks time on Monday the 29th of June. That’s great news for everyone who has been following the development of these groundbreaking large skirmish rules, but especially so for our customers in the United States where the prompt release means that we will. just beat the new considerable rise in postal charges to the USA for all advanced order.

So, what is available?

Infamy, Infamy! has four component options, as follows:

The main rules:

Infamy, Infamy! is a game that will, ultimately, be divided into three parts. This is the first rule book which covers Rome’s conflicts with the western barbarian between 60 BC and AD 100. Covered in the rules are lists for Late Republican forces that can be used for Caesar and his campaigns in Gaul and Britannia and against the German tribes raiding across the Rhine.

The Early Imperial Roman lists are perfect for the conquest of Britannia under Claudius and the continuing campaigns through to Agricola’s conquest of the North and beyond. The British lists cover the period from Caesar’s invasions through to Mons Graupius, including lists for Boudicca’s revolt. Gallic lists cover the classic period of conquest of the Gallic Wars with the Belgea and Aquitani represented and make every effort to reflect the more advanced culture of the Gauls. The Germans, on the other hand, are the ultimate Barbarians, with lists for the tribes of the Rhineland and those of the dark forests of Germania Magna and for the Batavian Revolt.

The Infamy Cards:

The Infamy Cards are actually two card decks in one. Firstly the Game Deck which is used t determine the run of play in each turn. It includes Leader Cards to indicate which of your forces main characters is activated and also the Signa Cards which determine what reservoir of command is available. Then we have the Infamy Deck. These are the cards that control the political machinations of the period. How will your cause be affected by treachery or by unexpected friends? The Infamy Deck adds much of the period character that makes Infamy, Infamy! feel like an account from the ancient histories.

The Poker Chips:

Some (heretical?) players prefer poker chips to Cards, so we have produced a set of MDF poker chips that replace the Game Deck. These are provided in two ‘sprues’ for easy painting. Spray one set red and the other blue and you’re ready to go, or take a bit more time and turn these into a piece of art in their own right. Either way they come shrink wrapped. Please note, these DO NOT replace the Infamy Deck.

Tokens.jpg

Infamy Token Set:

The perfect token set to accompany the rules. This provides tokens to show when your Romans are in close order, when they have shields braced or when they are defending against missiles or in Testudo. It shows when the Barbarians are in shieldwall and tracks ammunition usage for those troops who don’t have an unlimited supply. Essentially, it’s the complete kit for tracking what your troops are doing.

For Advanced Order we are offering three bundles. These are as follows:

The ‘They’ve Got it ALL Infamy’ Bundle! This is the Rule Book, free PDF of the rules, Infamy Cards, Poker Chips and Token Set. This is available for £42.00

The ‘The Big Infamy’ Bundle. This is the Rule Book, free PDF of the rules, Infamy Cards and Token Set. This set is available for £38.50

The ‘The Basic Infamy’ Bundle. This is the Rule Book, free PDF of the rules and Infamy Cards. This set is available for £34.00

PLEASE BE AWARE. The PDF will be emailed to you on the day the rules are released.

Why can’t you buy the rule book on its own or additional token sets? The rule book on its own is not the complete game. You do need the minimum of the Infamy Cards to play, so whilst we will be selling the rules separately after the 1st of July, we are focusing at this stage on the advanced order bundles. The processing of thousands of orders is a laborious one that is much simplified if we keep it to the key bundles that are available. What’s more, these bundles offer superb value for money and are prices that we cannot maintain after the release day.

As for additional token sets and Poker Chips, we honestly don’t think you need them. The number of tokens in the set is pretty much double what we used in ANY game at playtest stage, and we played plenty of them. Again with Poker Chips. We never used anywhere near all of the Chips in the set. So the bundles have been designed to provide all that we think is required.

Breaking the Line

But these great deals aren’t all. We will be entering everyone who places an order for the Advanced Order Bundles into a raffle for a high quality print of the original cover artwork, a superb oil painting entitled “Breaking the Line AD 73” by internationally renowned military artist Chris Collingwood. It represents a battle as Pettilius Cerialis campaigned in northern Britain against the Brigantes, Parisi or Carveti and was spotted by one of our playtesters who instantly said that it summed up the game completely. We agreed and talks with Chris secured us the image for the rule cover. Valued at over £100, this print is one of a series of TEN commissioned by the artist and signed by him. A truly superb prize to be won. But that’s not all. We will be announcing some more great prizes in the run up to to launch, so keep an eye on Facebook and Twitter as well as here for announcements.

Two Games of TTS...

…which almost never happened?

Why? I hear you ask. What could keep the man from his beloved wargaming?

An intruder, that’s what: an alien beast that has taken up residence in my wargaming room.

When I agreed that the family could get a dog, I made it clear that I wanted a good-sized, rough ‘n’ ready working dog. As you can see, I got exactly what I wanted. She’s a pedigree too, and one who delights in the name Irma Daydream Belle-ever, or Bella for short.

But back to wargaming…and with the space where my tables go filled with all sorts of doggy paraphernalia, I had to de-camp to the sitting room and go To The Strongest rather than my intended I Ain’t Been Shot, Mum.

With everything having to be shipped into the room as opposed to being immediately available , I decided to try my reconstructed 100YW English army: mounted knights, dismounted knights, longbows and billmen. K. would take the Sarmatians: neatly proxied by the Sassanid Persians.

For the first game, I made the classic “new army” mistake and forgot to consider how the army acted historically. As I’d rather foolishly put my cannon into the same brigade as the mounted knights, I placed them in the centre of the table, with battles consisting of a mix of dismounted knights, longbows and billmen on the flanks.

The Sarmatians took the initiative, swept forward, and basically defeated each battle as three separate encounters. Yes, I had plenty of missile-armed troops, but I just couldn’t get the concentration of fire I needed to halt the enemy heavy cavalry, who then swept in and lance-d my troops to death.

A foolish deployment!

I had learnt my lesson for game two, and set up in the traditional “Agincourt” fashion: archers in the middle, with the two battles next to each other for mutual support, with the melee troops on the flanks, and my mounted knights grouped on one side for a decisive flank attack.

This worked much better. As the Sarmatians advanced somewhat unevenly, I was able to target each unit in turn, hammering them with bow and cannon fire. By the time they had reached my line, they were already down three units, and natural attrition in melee, even on a one-for-one basis, gave me the victory, especially as the cannon had neatly taken the head off one of his generals!

A couple of good games (despite the change of location!) and a valuable lesson re-learnt: go historical with your tactics!

IABSM AAR: The Defence of Wulkow

Another brilliant 6mm I Ain’t Been Shot, Mum battle report from Mark Luther, this time featuring action in 1945.

On the 16th of April 1945 the Soviet army unleashed its last offensive against the German Reich. The bridgeheads over the Oder River split asunder and spewed forth red infantry and armor which forged forward to take Berlin. Although by this late stage in the war the German army was on its knees, it had a strong defensive position on the Seelow heights and gave a good account of itself, selling each meter of the Reich dearly.

Click on the picture below to see all:

TFL Painting Challenge: First Update in June

And don’t I wish I hadn’t left it so long: vast numbers of entries coming in!

Excellent work, everybody: some really good lock down painting going on. Make sure you check out everyone’s galleries, but here’s one entry from everyone who submitted this time round:

IABSM AAR: Slaughter at Izdeshkovo!

Back to sanity after all this pike and shot malarkey with a quick game of I Ain’t Been Shot, Mum.

I’d decided to play through the Vyazma or Bust! early war eastern front campaign with K., Daughter #1’s boyfriend: trapped with us for the duration, but now an avid wargamer. I was looking forward to this game, especially as K. had been happy to let me have the Soviets.

Unfortunately, it was to be one of those games where the dice gods had utterly deserted me: even K., nascent gamer that he is, commented on the fact that I couldn’t roll a five or six to save my life: he even mentioned it later when I rolled double six whilst playing Monopoly (I won that one at least, bankrupting K. in the process!).

Click on the picture below to see my humiliation!

ECW Artillery Bases

Managed to find time to paint up a couple of ECW artillery bases for For King & Parliament. Guns and figures are all 15mm from Peter Pig and, as usual, they’re painted with GW Contrast Paints.

These have come out quite nicely, and will form the centrepiece of the next scenario in my fictional North Wessex campaign.

FK&P AAR: The Attack on Marlowe Again

Having written the scenario and got the table all set up, it seemed a shame not to play the Attack on Marlowe battle again, but this time swapping sides.

A full background to the game can be found in my original battle report (where I played the attacking Royalists), so here’s a summary and photographic report of the second run through (where I played the defending Parliamentarians).

This was a very different affair to our last game, as we both had a better idea of how things worked.

It was a grinding clash which, once my horse had returned from their pursuit off table, really came down to a whoever loses the next unit loses the game situation.

As it happened, that was me!

A great game, and I’m really looking forward to writing and playing the next scenario in the series.

Third Batch of Marian Romans

Taking Mr Bloggs’ advice, I decided to crack on and paint the third of the minimum five legionary units I need for my Marian Roman army.

As he said, that way when I come back to them I will have already painted over half the legion, so the task won’t seem too great.

A bit of excess flock to remove, but these are effectively cohorts five and six, or should I say V and VI. For the record, these are Baueda figures ordered in the UK through Magister Militum, and painted mainly with GW Contrast paints.

I’m now going to give myself a break and paint some ECW artillery!

TFL Painting Challenge: A Week's Worth of Entries

And what a week it seems to have been. Don’t know if it’s because it is half-term or what, but some of you have been very productive indeed.

Visit people’s galleries to see everything, but here’s a selection of this week’s entries:

FK&P AAR: The Attack on Marlowe

Now that I had enough figures to field two decent sized English Civil War armies, it was time to get them onto the tabletop.

As I didn’t have enough of the right sort of figures for any of the published scenarios, I settled down to write my own and, just in case long-term inspiration struck, came up with the background for a potential campaign.

The Background

It’s the fictional county of North Wessex sometime in the middle of 1644. Two landowners, previously great friends, have found themselves on opposite sides in the war. Passionate discussions over dinners have turned into bitter arguments have turned into armed dispute!

On the Royalist side is Sir John Boulters, whose series of mills around the town of Maidenhythe provide a ready source of troops. With a commission from the King to restore order in the area, Boulters’ force is balanced and well-equipped.

kavan’s foot

On the Parliamentarian side, Sir Christopher Grey has a less balanced force more suited to defence than attack: he is short on horse, but does have plenty of foot . Sir Christopher’s troops are…well, old-fashioned is a phrase that suits: what horse he has fights in the Dutch style rather than the more progressive Swedish formations, and his infantry are pike-heavy. He has, however, received reinforcements from London: a brigade of commanded shot.

The Battlefield

Key to control over North Wessex is control of the bridges over the Thames: one at Maidenhythe, and one at Marlowe. Boulters already holds Maidenhythe, and has determined to force his former friend to operate north of the river only by taking Marlowe as well.

Approaching from the east, his scouts report that the Parliamentarians are drawn up just in front of the outskirts of Marlowe, obviously determined to do battle.

The battlefield from the Parliamentarian side

The Royalists

As has already been mentioned, Boulters’ Royalists are a balanced force drawn up in three brigades.

the royalists

Stafferton’s Right wing Horse Brigade (Boulters and his lifeguard in the background)

Sir William Ray’s central foot brigade

Colonel Derek Derrick’s left wing horse brigade

The Parliamentarians

Drawn up with defence initially in mind, the Parliamentarian forces under Sir Christopher Grey await them.

dutch horse and dismounted dragoons on the left wing

the foreigners from london in the centre

pike heavy battalia on the right wing

More Shots of the Troops, Now With Markers Down

The Battle Begins

As the sun rose over Marlowe, the two sides prepared to do battle:

view from the right flank

The Royalists opened proceedings by advancing all three of their brigades. Assuming that the Parliamentarians would stay fairly static in their defence, their plan was to control the centre as each wing swept around the enemy flank.

They were therefore somewhat surprised when a Parliamentarian Forlorn Hope left its blocking position on the road and charged towards where Sir Boulters sat surveying the field behind his cuirassier lifeguard. Boulters had obviously forgotten Nicholas Seymour’s daughter, but it seems that Nicholas Seymour had not!

Faced with such paltry opposition, Sir John ordered his lifeguard to charge. Well, it was either that or face an ignominious withdrawal before the action had even begun!

It was no contest: the cuirassiers literally rode over the Parliamentarian Forlorn Hope, leaving Seymour coughing his lifeblood into the muddy ground.

seymour’s demise

Unfortunately, a charge like that cannot easily be stopped, and Boulters and his cuirassiers completely lost control: charging forward right up to the battalia of enemy commanded shot sheltering behind a hedgerow.

this looks like a good way to lose your commanding general!

Meanwhile, the Parliamentarian Dutch horse and Dragoons moved forward and a general melee broke out. Much to my surprise, the Dragoons initially repulsed the untried Nicholson’s Horse attack, sending their charge back disordered.

Nicholson’s Horse were, however, made of stern stuff, and with their commander shouting what can only be described as vile imprecations they closed with the Dragoons again, this time sending them flying from the field.

General Melee

General Melee

In the other part of the melee, however, the 1st Grey’s Cavalerie swept Stafferton’s horse from the field, then set off in pursuit of the broken survivors.

This, however, led them vulnerable to a flank charge from the Royalist Braywicke horse, a small Swedish-style unit raised and led by Simon Braywicke, a landowner on the western edge of Maidenhythe.

our flank charge must surely win the day!

Unfortunately, the charge had no effect on the Parliamentarian horse: they ignored Braywicke and his men and disappeared off east after the remains of Stafferton’s men.

Ed.’s Note: I think we did that bit wrong. The Cavalerie should have stopped their pursuit and turned to fight the Royalists.

This reverse left Braywicke a bit surprised, but his surprise only lasted long enough for his men to be hit by the 2nd Grey’s Cavalerie squadron: hit and smashed from the field!

perhaps not!

Meanwhile…

Meanwhile, on the other side of the field, the Parliamentarian foot had formed a line, and were nervously watching Royalist cavalry start to threaten their flank.

This they countered by sending one of the Kavan’s foot battalia forward to meet the nearest enemy cavalry squadron, and turning another to face the threat on their flank.

At the same time, the Londoner commanded shot units in a surprising display of martial fervor, left the shelter of their hedgerows and moved forward to bring the enemy under fire.

martial fervor from the londoners!

Although the Royalist cuirassiers chose to fall back, the 1st Maidenhythe Foot Battalia lowered their pikes and sent the foreigners scurrying back to (presumably) the slums that they had come from.

This coincided with the two last remaining horse units on that flank - Nicholson’s Horse for the Royalists and 2nd Grey’s Cavalerie for the Parliamentarians - coming together with a mighty smash: both squadrons becoming disordered. They clashed again, and although Colonel Stafferton was lightly wounded, the Royalists eventually won the encounter.

Perhaps due to the impetuosity of the Londoners, this flank had been decided firmly in favour of the Royalists. They had lost only two squadrons of cavalry, but had done for five enemy units: two Forlorn Hope, one Dutch Horse and one Commanded Shot.

Back to the Other Flank

Back on the other side of the field, the 1st Battalia of Kavan’s Foot were still holding off the Derrick’s Horse, and had managed to inflict a light wound on Colonel Derrick himself.

Pike Heavy Foot versus Swedish Horse

In the centre, however, the Royalist foot was pushing forward, and had made the start of the enclosures in front of the town.

The way into marlowe is now clear!

This enabled one Battalia to bring the Parliamentarian foot under fire, meaning that the Roundhead’s days were probably numbered.

the Mill Workers Coming to Colonel Derrick’s assistance

Meanwhile, the 3rd Battalia of Kavan’s Foot had been solidly repulsing charge after charge from the Woodhurst Horse. Although at one stage they were double-disordered, they actually managed to rally back to good order, and were obviously going to be very hard to shift.

Endgame

Looking at the battlefield, however, it was obvious that the Royalists had won the day. All that remained of the Parliamentarians were two battalia of Kavan’s foot on the right flank, and one of the Londoner commanded shot units in the centre. There was a squadron of Dutch horse floating somewhere off-table, but there was no sign of it returning just yet.

the situation at the end of the battle

The game had probably been decided by the impetuosity of the Parliamentarians. Time and time again their troops left the comparative safety of the hedgerows and charged into close range or contact with the Royalists.

As this was only the second time I’d played the rules, I’m not sure I got everything right, but it seemed to give a very good game anyway.

Next we shall swap sides and play this game the other way around, and after that I shall be designing an encounter where both sides get a consignment of artillery.

Excellent fun, and another good lockdown battle!

Robert Avery

IABSM AAR: Lille Revisited

Still on lockdown, but it’s bank holiday Monday so it must be time for another game of I Ain’t Been Shot Mum against K, Daughter #1’s boyfriend, trapped with us for the duration, but rapidly becoming a regular wargamer with, now, eight games under his belt.

The premise for today’s game is simple: it’s France 1940, and Rommel’s Germans are advancing rapidly on Lille, aiming for the village of Lomme, whose capture will seal off the escape route of all English and French forces in the area. The Allies have realised what the Germans are up to, and have dispatched a small force to hold Lomme for as long as possible. The scene is set for an epic clash!

Click on the picture below to see what happened:

Second Batch of Marian Romans

Here’s the second batch of Marian Romans, painted more quickly now that I’m more familiar with the figures.

These definitely took less time to paint, and even the shields weren’t quite so challenging…although now that they are photographed I can see loads of little bits that need touching up.

So that’s two of the five units needed to field the first legion. The real question is whether I can stand to paint another lot so quickly, or whether to take a break and paint something else!

IABNM AAR: OML3 Afternoon Game

I’ve finished another unit of Marian Romans (pictures after they are varnished) so am just wondering what to paint next.

Choices are to do another unit of Dutch horse for my ECW collection, start on the third unit of Marian Romans, search the lead mountain for inspiration, or start something new.

I know I have to resist starting something new (!) so opened the cupboard where I put everything that I want to paint but not just now…and there, at the front, was the new kit just bought from Battlefront during their lockdown sales from their Team Yankee range.

Tempting, but I really shouldn’t, so in the meantime I thought I’d give us all a bit of inspiration by resurrecting another battle report from Nick’s Maxim to Milan website charting the now moribund development of I Ain’t Been Nuked Mum: a version of IABSM for cold war Europe.

This was the afternoon game from the third Operation Market Larden Lardy Day in Evesham. Click on the pic below to see all:

Meanwhile I’m back doing what I should be doing: more Marian Romans!

TFL Painting Challenge: Another Lockdown Update

Another veritable cornucopia of entries to the Challenge, and some big scores being accumulated.

Check out the individual galleries, but here’s sample from each of this week’s contributors:

Keep them coming!

First of the Marian Romans

More lockdown painting, and the first of the 15mm Marian Romans for To The Strongest roll off the production line.

I decided to go for the Baueda range, available in the UK from Magister Militum. It’s a comprehensive range from a manufacturer that I haven’t used before, so a nice change from Battlefront, Museum etc.

The reason I went for the Marian Romans as opposed to the Early Imperial army that I’ve always promised myself, was the fact that all I have to paint up is the core legionary units: the rest of the army I can field from my existing Gallic/Celtic force. Also means that I have some elements of an Early Imperial army already painted!

command.JPG

First up was the senior general command stand: the Legate, his standard bearer and a bodyguard type. I’m very happy how these came out, although it did take a lot of re-touching to get them there!

Next up was the first unit of legionaries, representing (in my head at any rate) two of the ten cohorts required for a full legion i.e. a full legion will work out as five TTS units.

I’m also pretty happy with the way these turned out, although using a mat varnish has made all the metalwork very dull. The mail coat and pila are GW Leadbelcher, the helmets and shield bosses are Tamiya Bronze. They do certainly look “hardened” as a result: none of this namby-pampy polished metal you see in all the illustrations!

Moving on to the shields, these I completed using shield transfers from Little Big Man Studios. The transfers are custom designed to fit the Baueda figures and, as a result look very good indeed. Be warned, however, that the transfers have to be hand cut out to the shape of each shield half: the central boss preventing one transfer per shield. That means that each unit requires the application of 46 hand-cut-out transfers: time-consuming to say the least!

As the first unit completed, this was very much an experimental painting process. I was going to make these two bases cohorts one and two, but judging by the improvements I’ve made at the start of the next batch, they will probably become cohorts nine and ten! I must just remember to mark up which pair of bases belong together as I go along…

IABSM AAR: Minsk-Mazowiecki

Another lockdown game of I Ain’t Been Shot, Mum against Daughter #1’s boyfriend, K, trapped with us for the duration.

This time we would be returning to Poland in 1939, using scenario #37 from the second September War scenario pack: Minsk-Mazowiecki. The action takes place on 13th September as Polish cavalry under General Wladyslaw Anders attempt to break through elements of the German 3rd Army as they march on Modlin.

Click on the picture below to see all:

IABSM AAR: Lockdown Game

Here’s a quick series of pictures from Rick Staple taken from the IABSM Facebook page.

It’s lockdown: so a quick joint/solo game of IABSM:

Here there be Dragoons!

More for my ECW armies: a unit of Dragoons.

In For King & Parliament, my chosen ruleset for the period, Dragoons are small unit compared to a standard infantry battalia: effectively a cavalry unit dismounted less a few chaps to hold the horses. I’ve already decided a Forlorn Hope as being eight figures strong, so given your standard battalia is 24 figures strong, the Dragoons are somewhere in the middle at 12 figures strong.

I’m not actually going to paint up mounted versions or horse-holders because, as I understand it, there was only one encounter where Dragoons fought mounted, so best to avoid ahistorical fielding by not having any on horseback. That’s my excuse anyway!

These are 15mm Peter Pig figures painted (quickly) with GW Contrast Paints. Note the chap next to the purple flower in the picture above. He’s a good example of something you have to watch out for with Contrast Paints: missing a bit! Because the paints flow like a wash, it’s often easy to forget to use a proper brush (i.e. not a wash brush) and work the paint into the relief (the creases) in a figure. If you just dab the paint on like a wash, sometimes it will run away from where you’ve dabbed it a few seconds after you’ve done the dabbing, which if you’re painting multiple figures on a lolly-stick can mean that you miss what’s happened because you’ve moved on to the next figure. I shall have to re-open the box and fix him!

Incidentally, I had started thinking that I’ll never finish this English Civil War project, but then I realised that the reason it was taking me so long to complete, the reason why I had painted so many figures compared to other armies, was that I was painting enough of the same sort of figure (as the sides are relatively homogeneous) for to field both sides in a game…so painting two armies or one double-sized army. Doh!

Finally, today, regular visitors will know that I’ve set myself a task of interspersing my new project painting with clearing some of my rather sizable lead mountain. Here’s what I did - to do my duty! - just before painting the Dragoons:

It’s one of those objective markers the size of a Battlefront large base. Don’t know why I had it, or what I’ll use it for, but that (tiny) corner of the lead mountain is now flattened!