

TTS AAR: Anglo-Normans vs Fanatical Berber
/It was now my turn to play the Anglo-Normans versus the Fanatical Berbers.
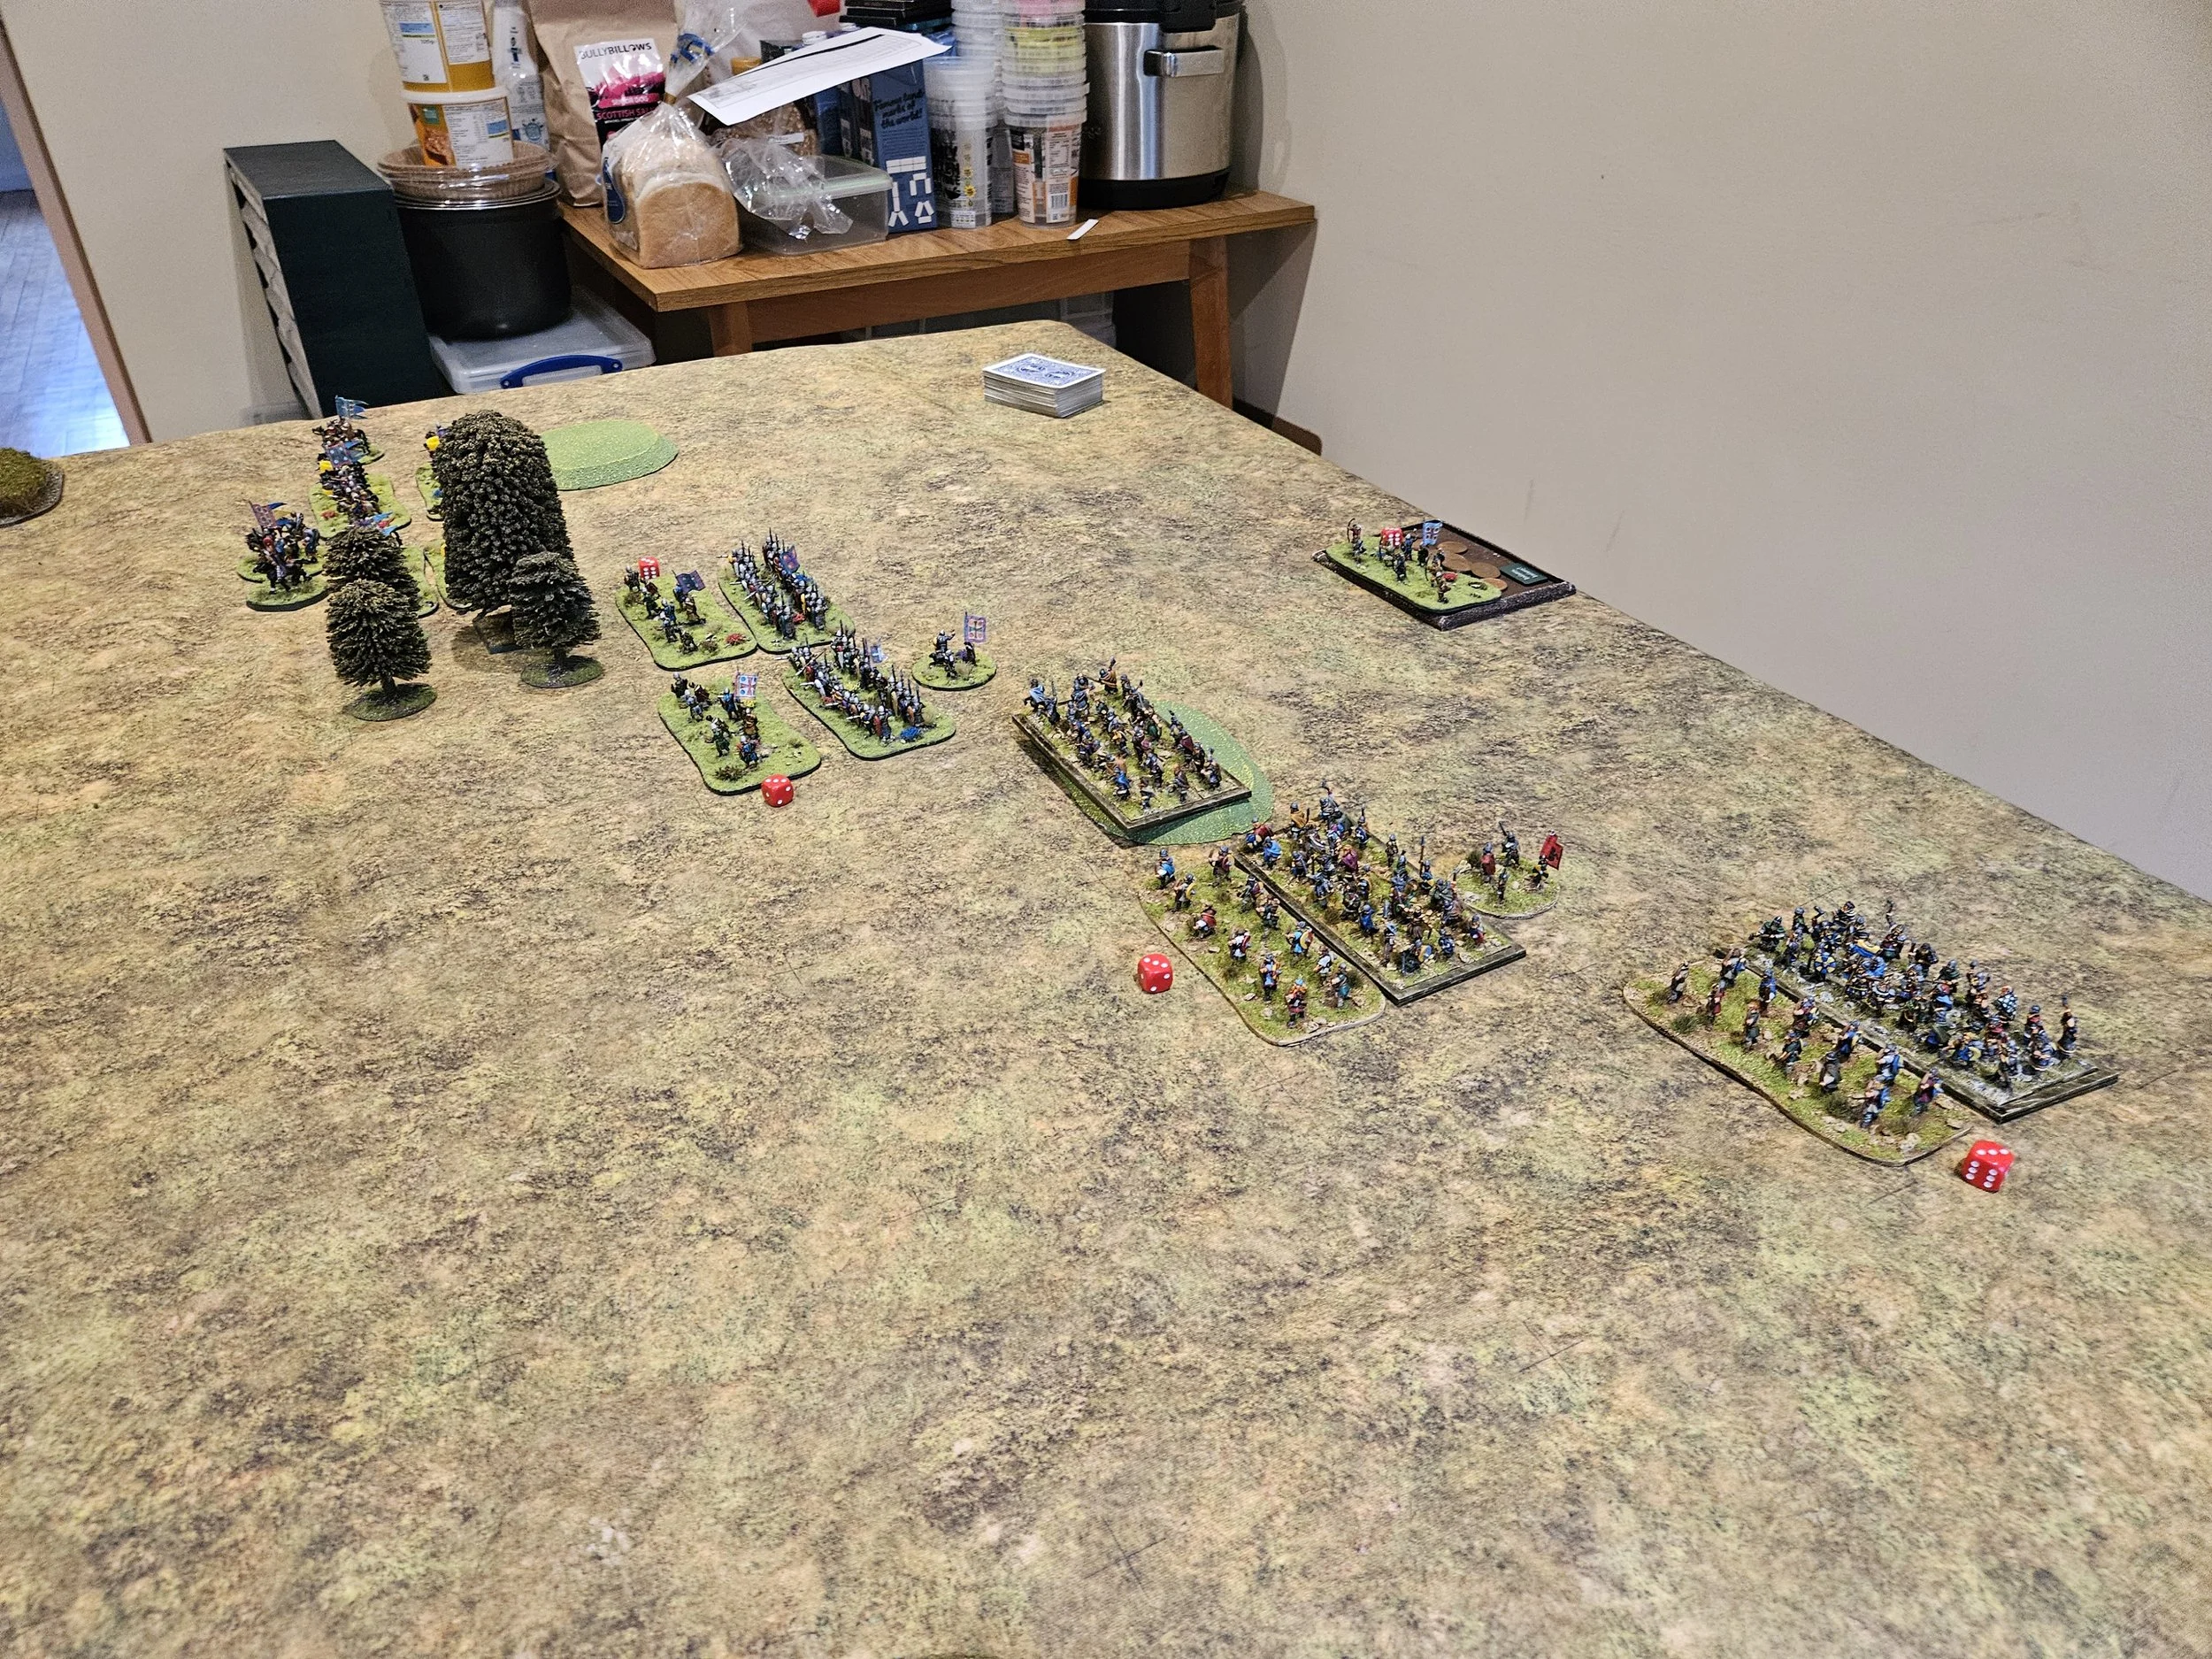
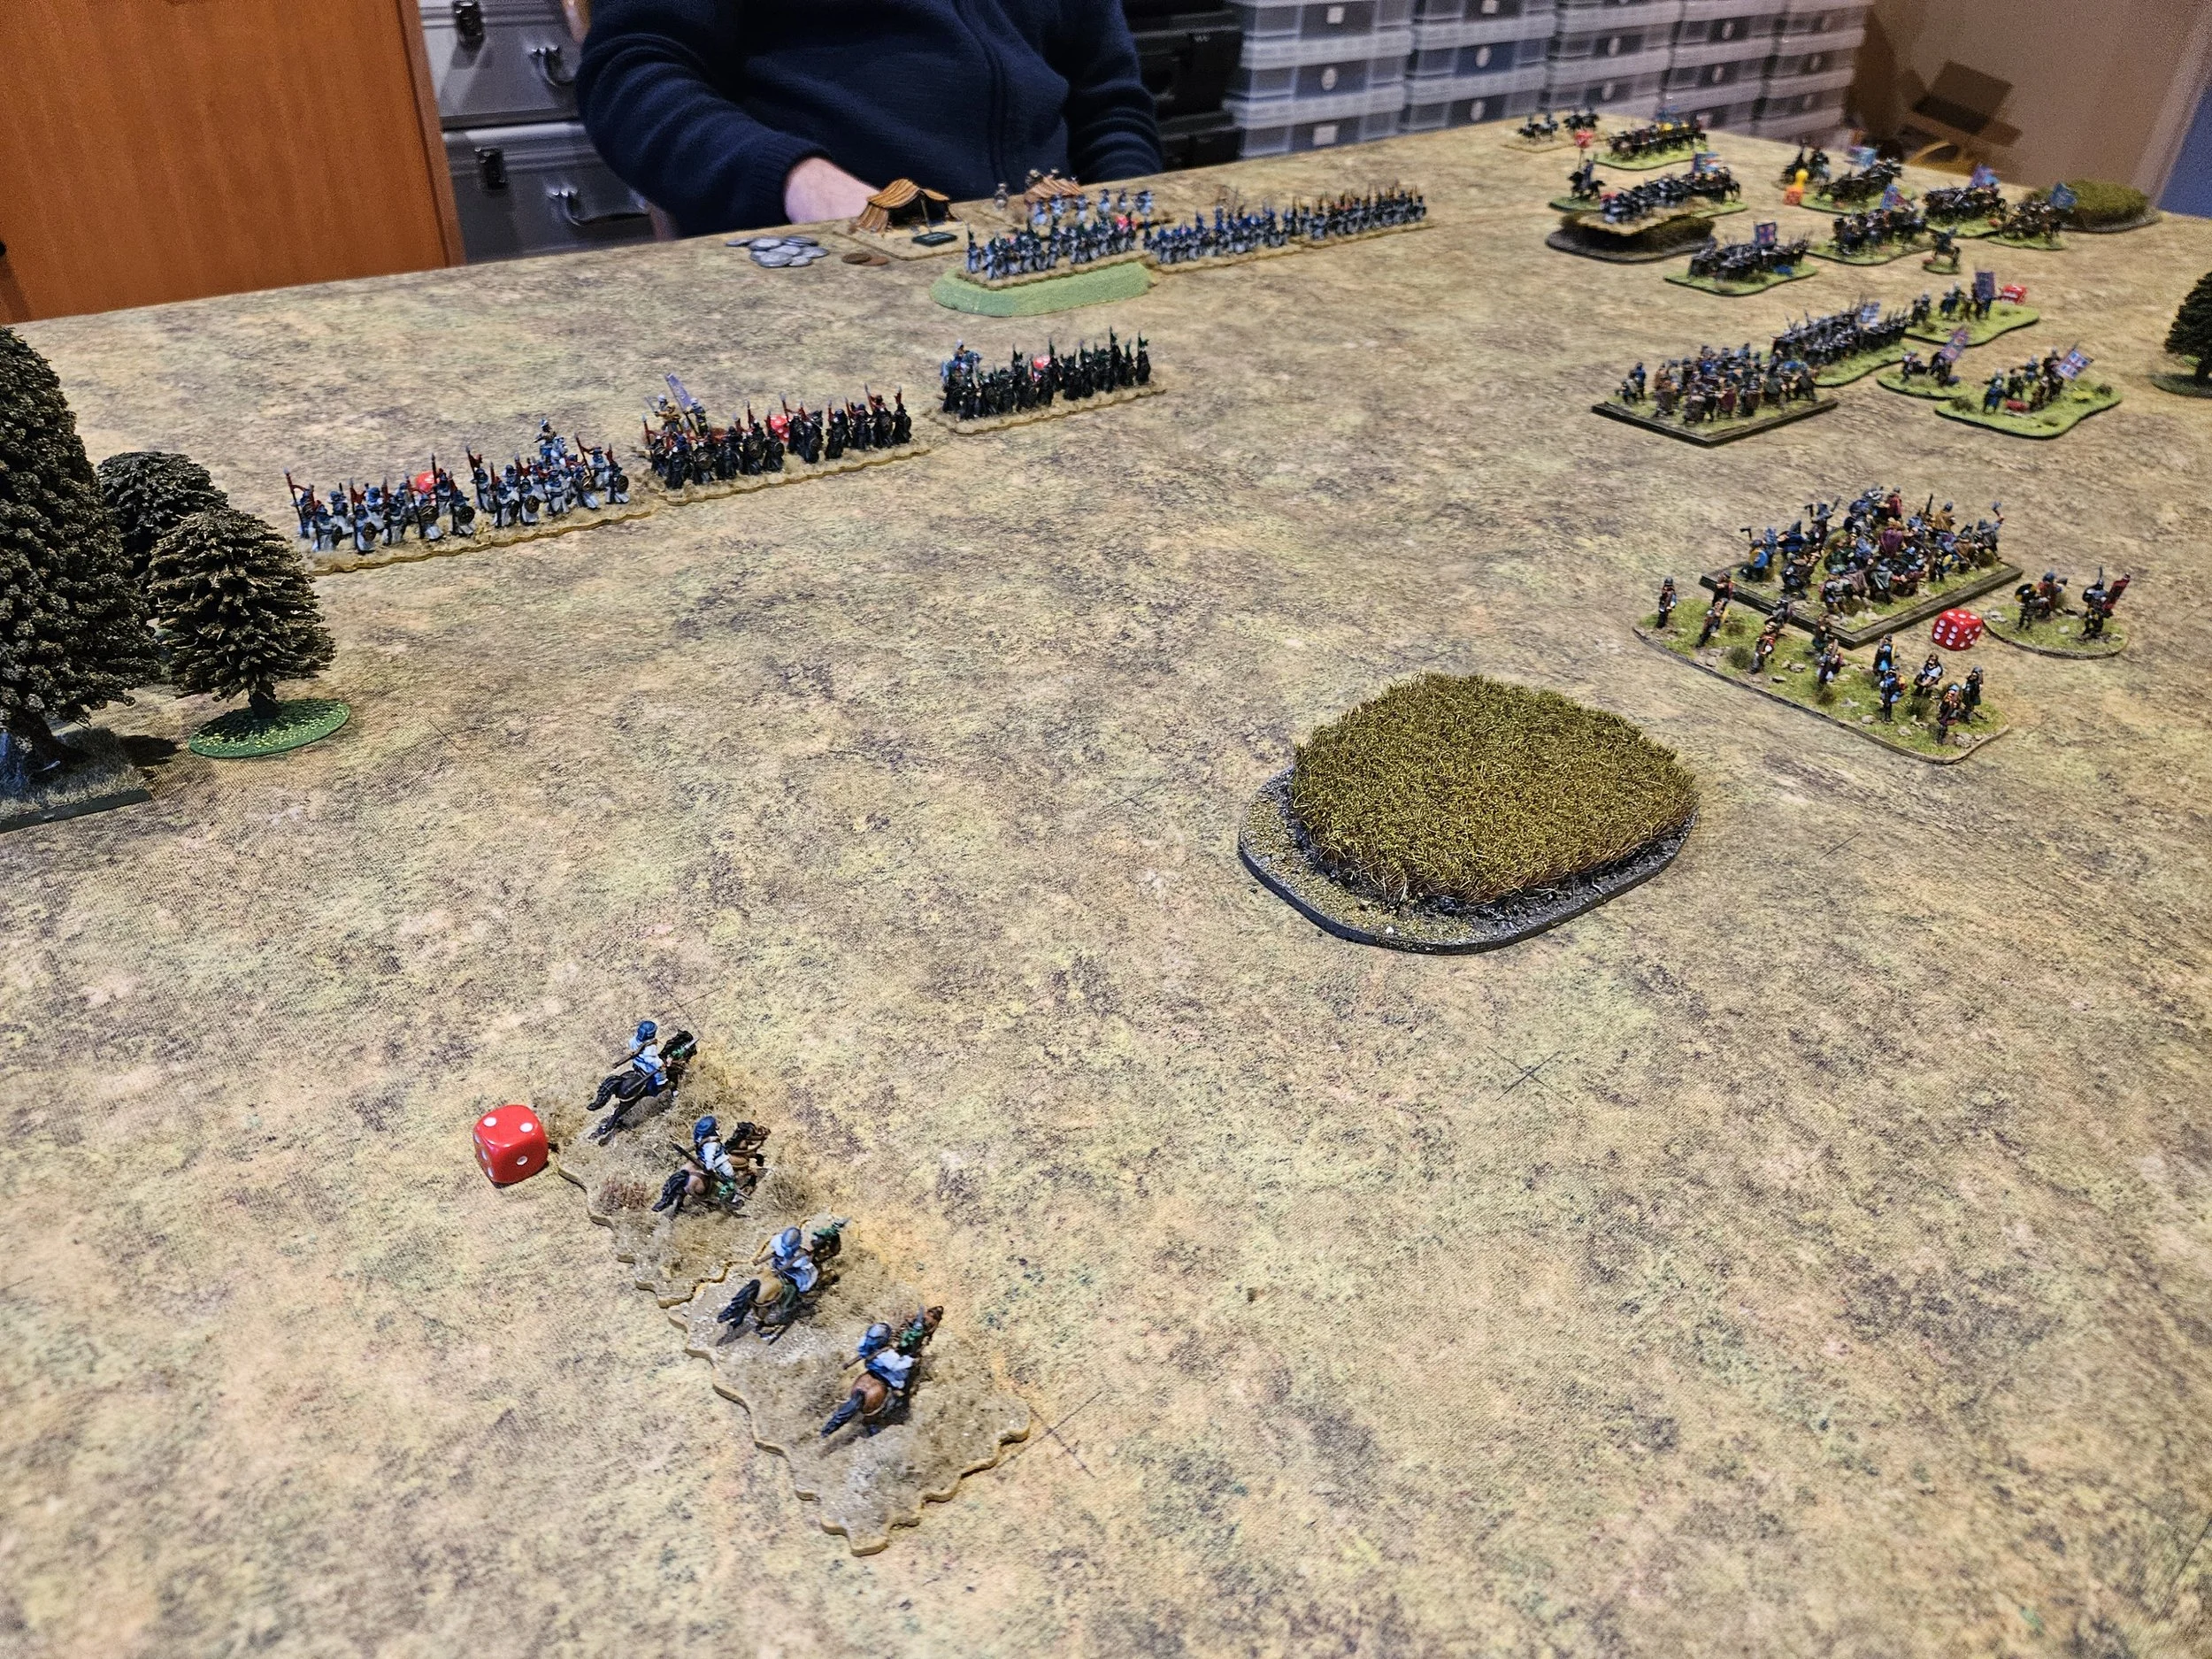
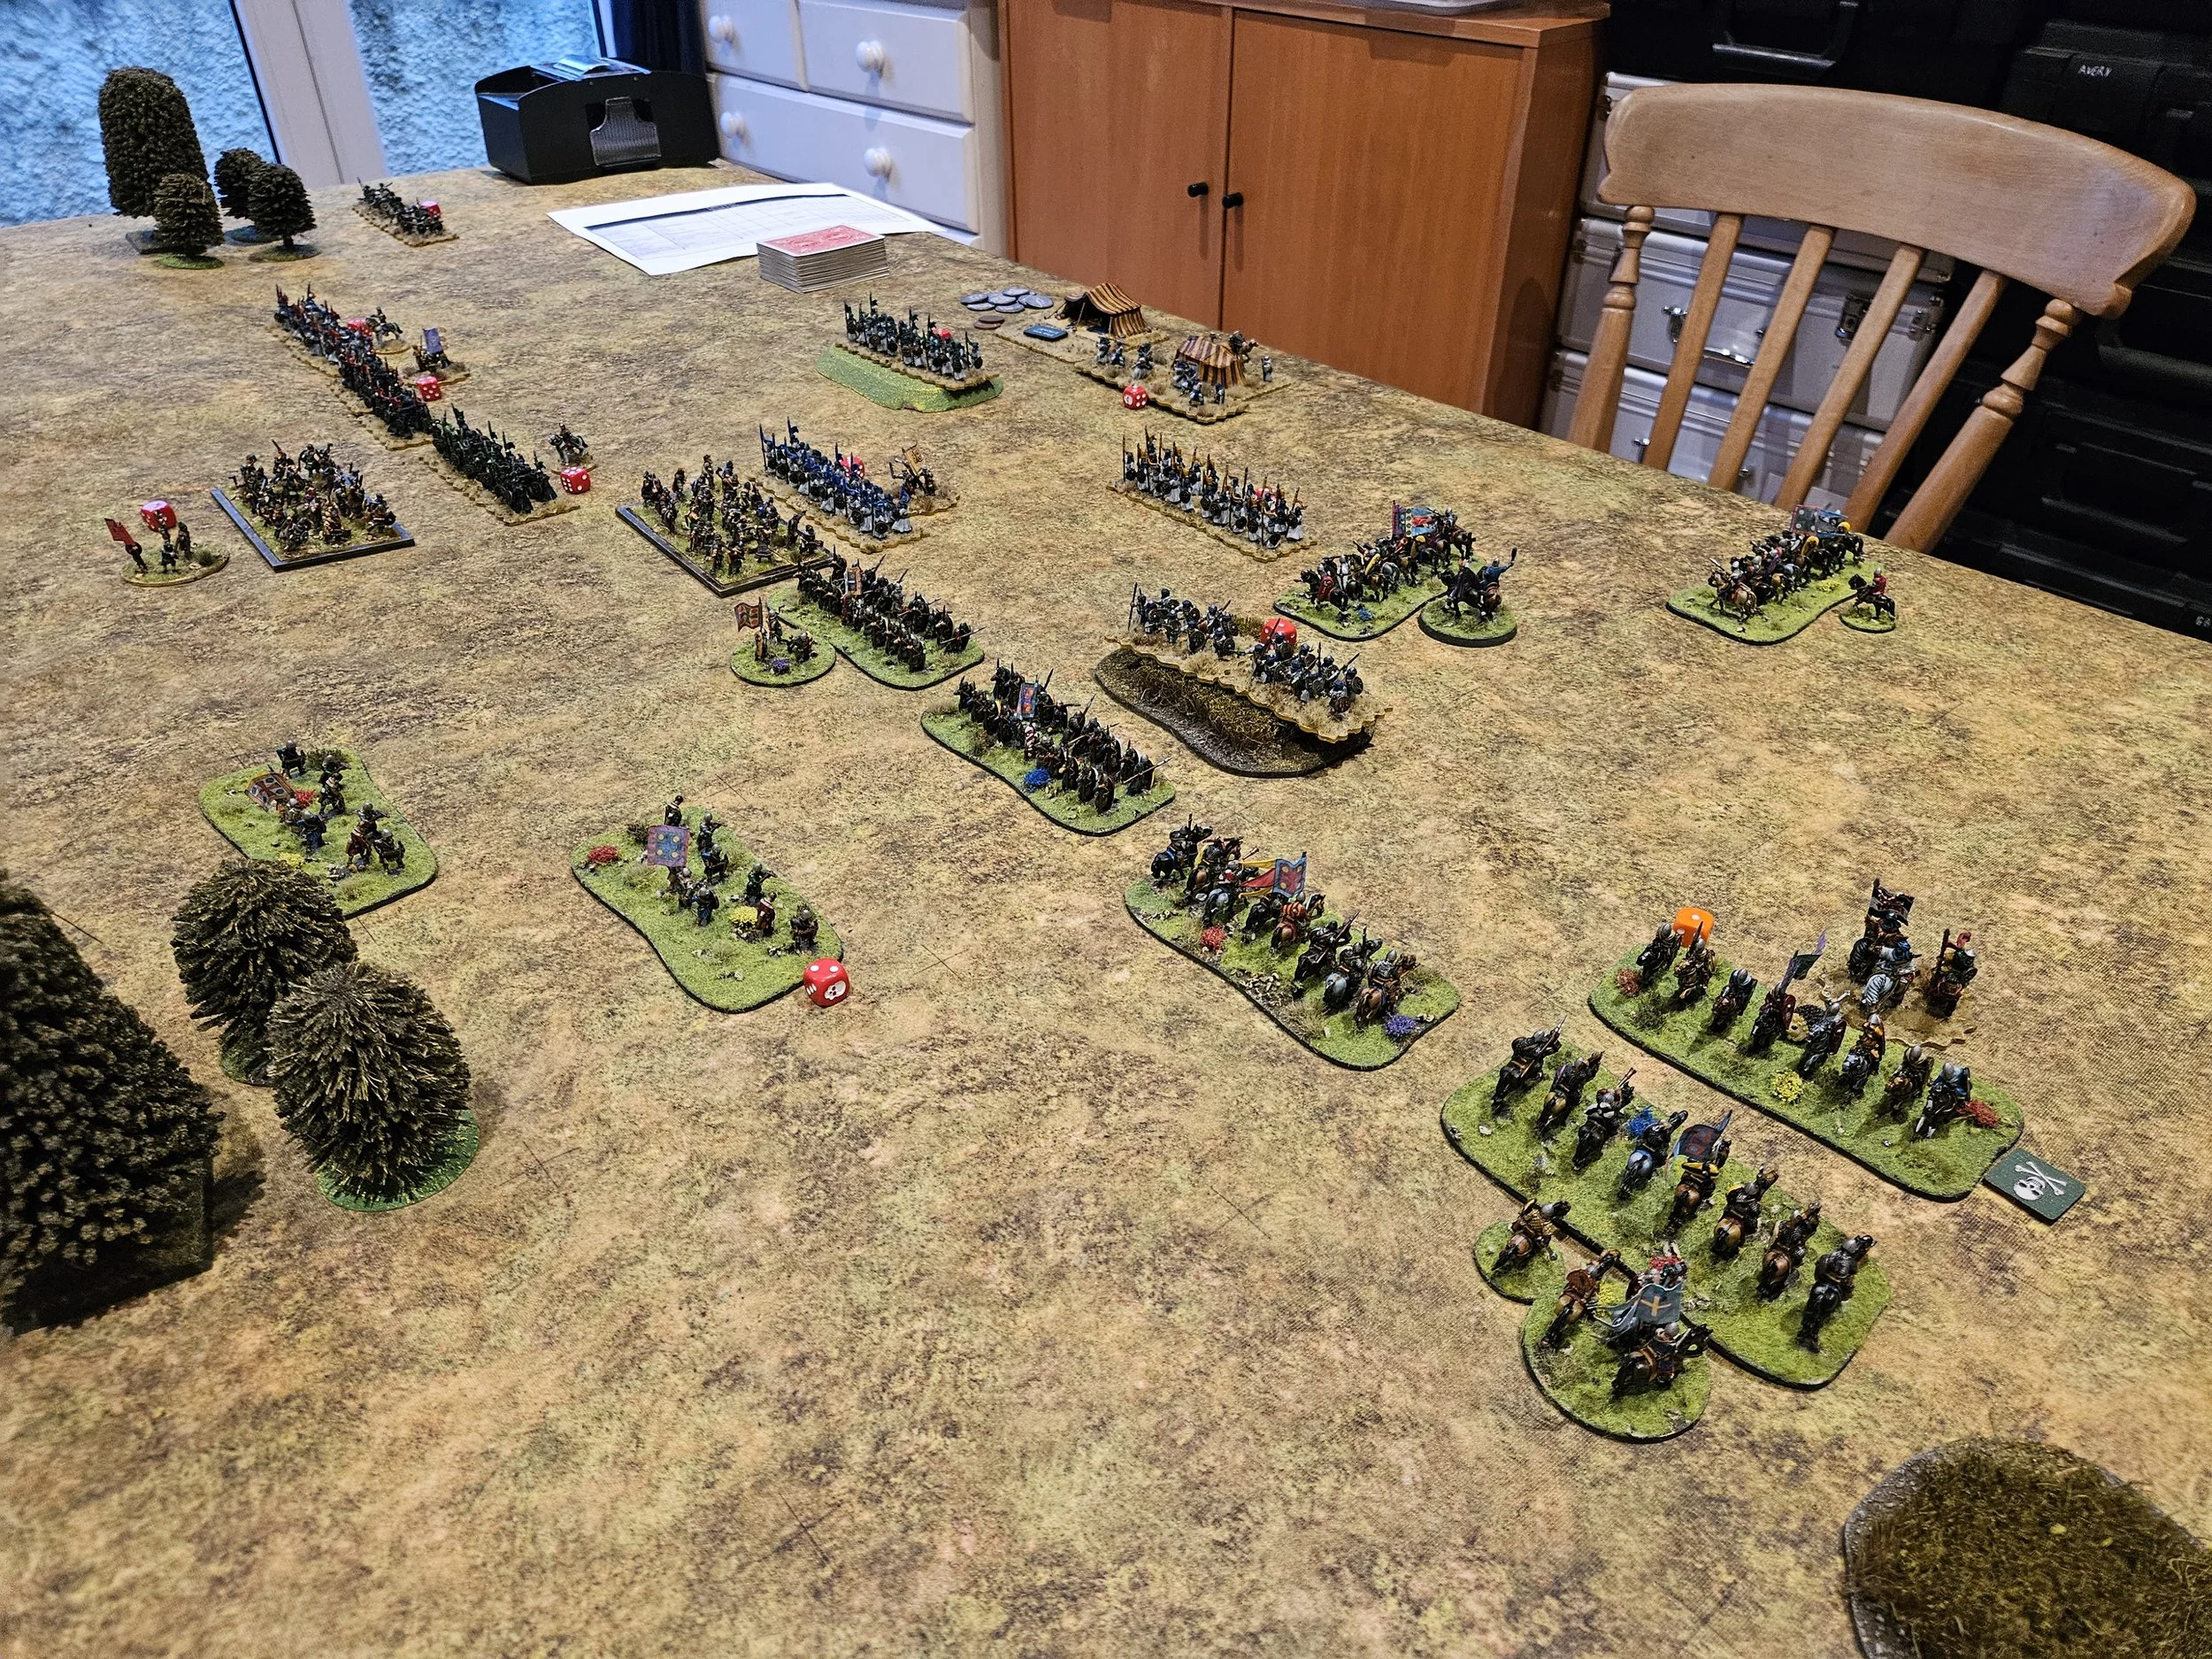
My plan was simple: load all my veteran Knights onto the right flank, opposite his heavier cavalry unit, and utterly refuse my left flank. The Knights would then go in and crush all opposition before swinging in behind the enemy line in time to win the day before I was overwhelmed from the left. Simples!
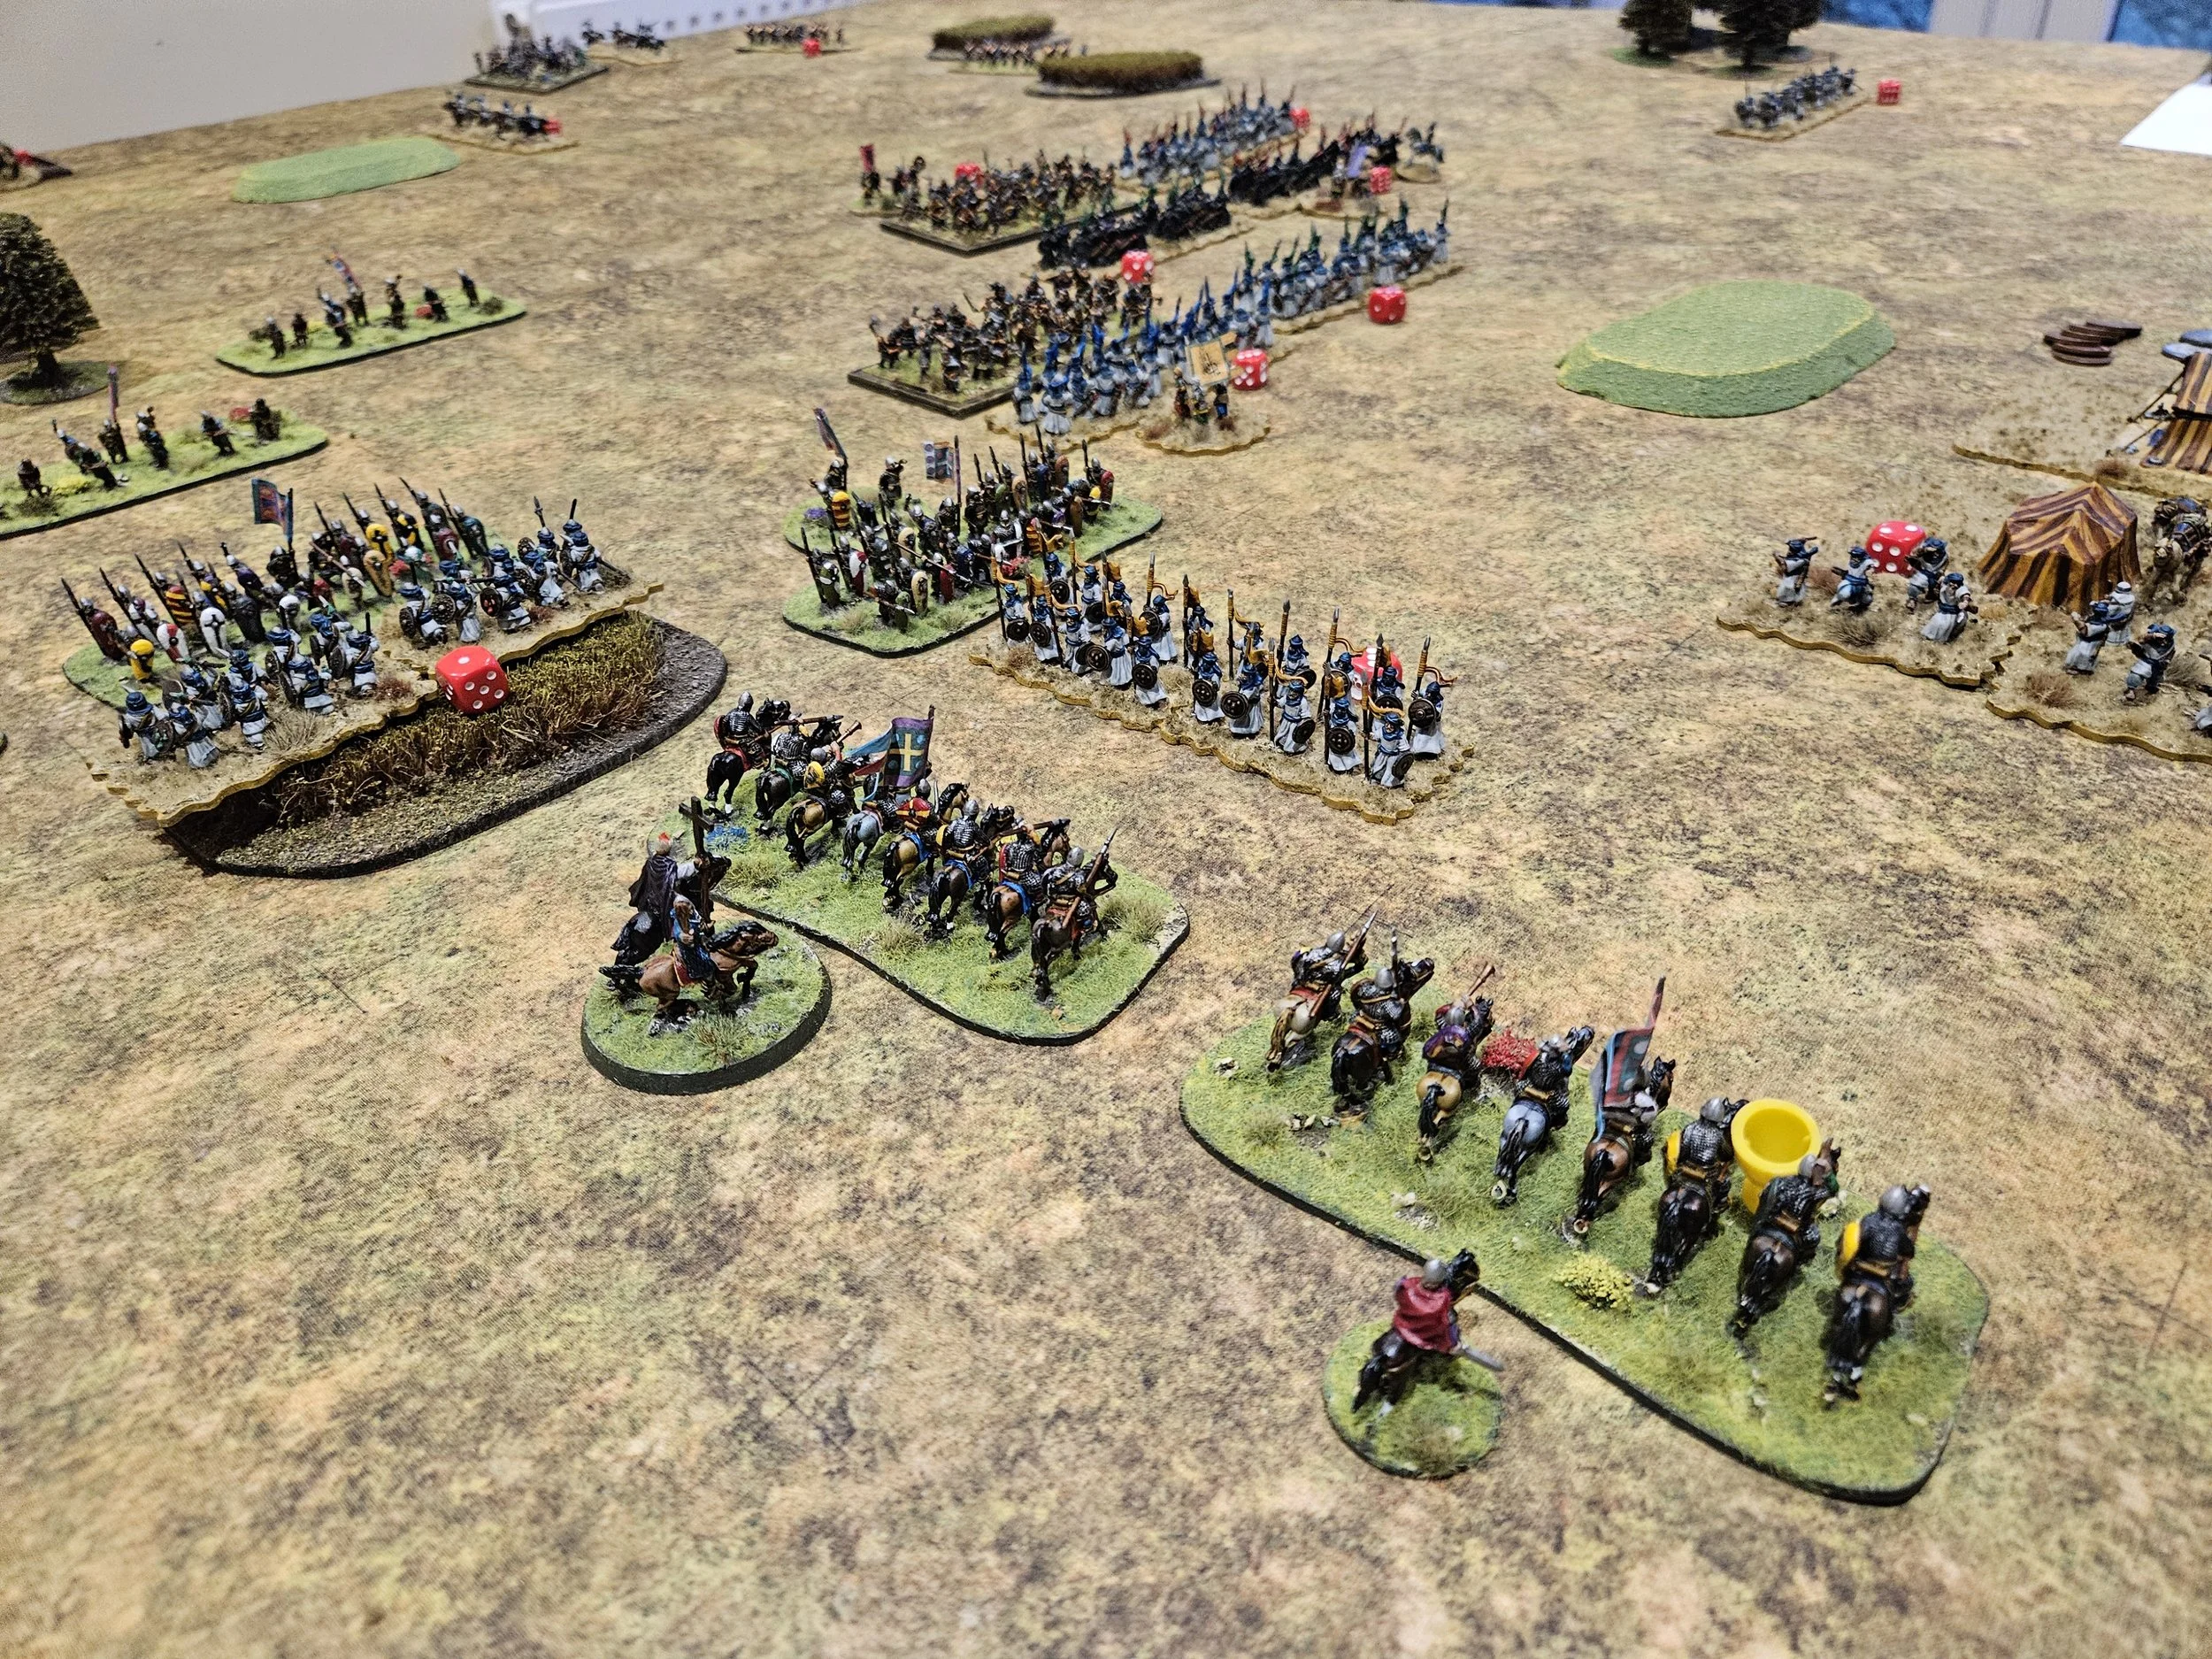
As the game began, my Knights thundered forward, with their Spearmen following, with the Anglo-Saxons hanging back as much as possible.
The right hand unit of Knights forced some Berber light horse back, but the left hand command was temprarily halted as the opposing Jund cavalry proved tougher than expected.
Meanwhile, the Berbers had sent more light cavalry forward on the left at the gallop. This developed into a standoff between a single unit of Fyrd supported bt light archers and two units of enemy light cavalry.
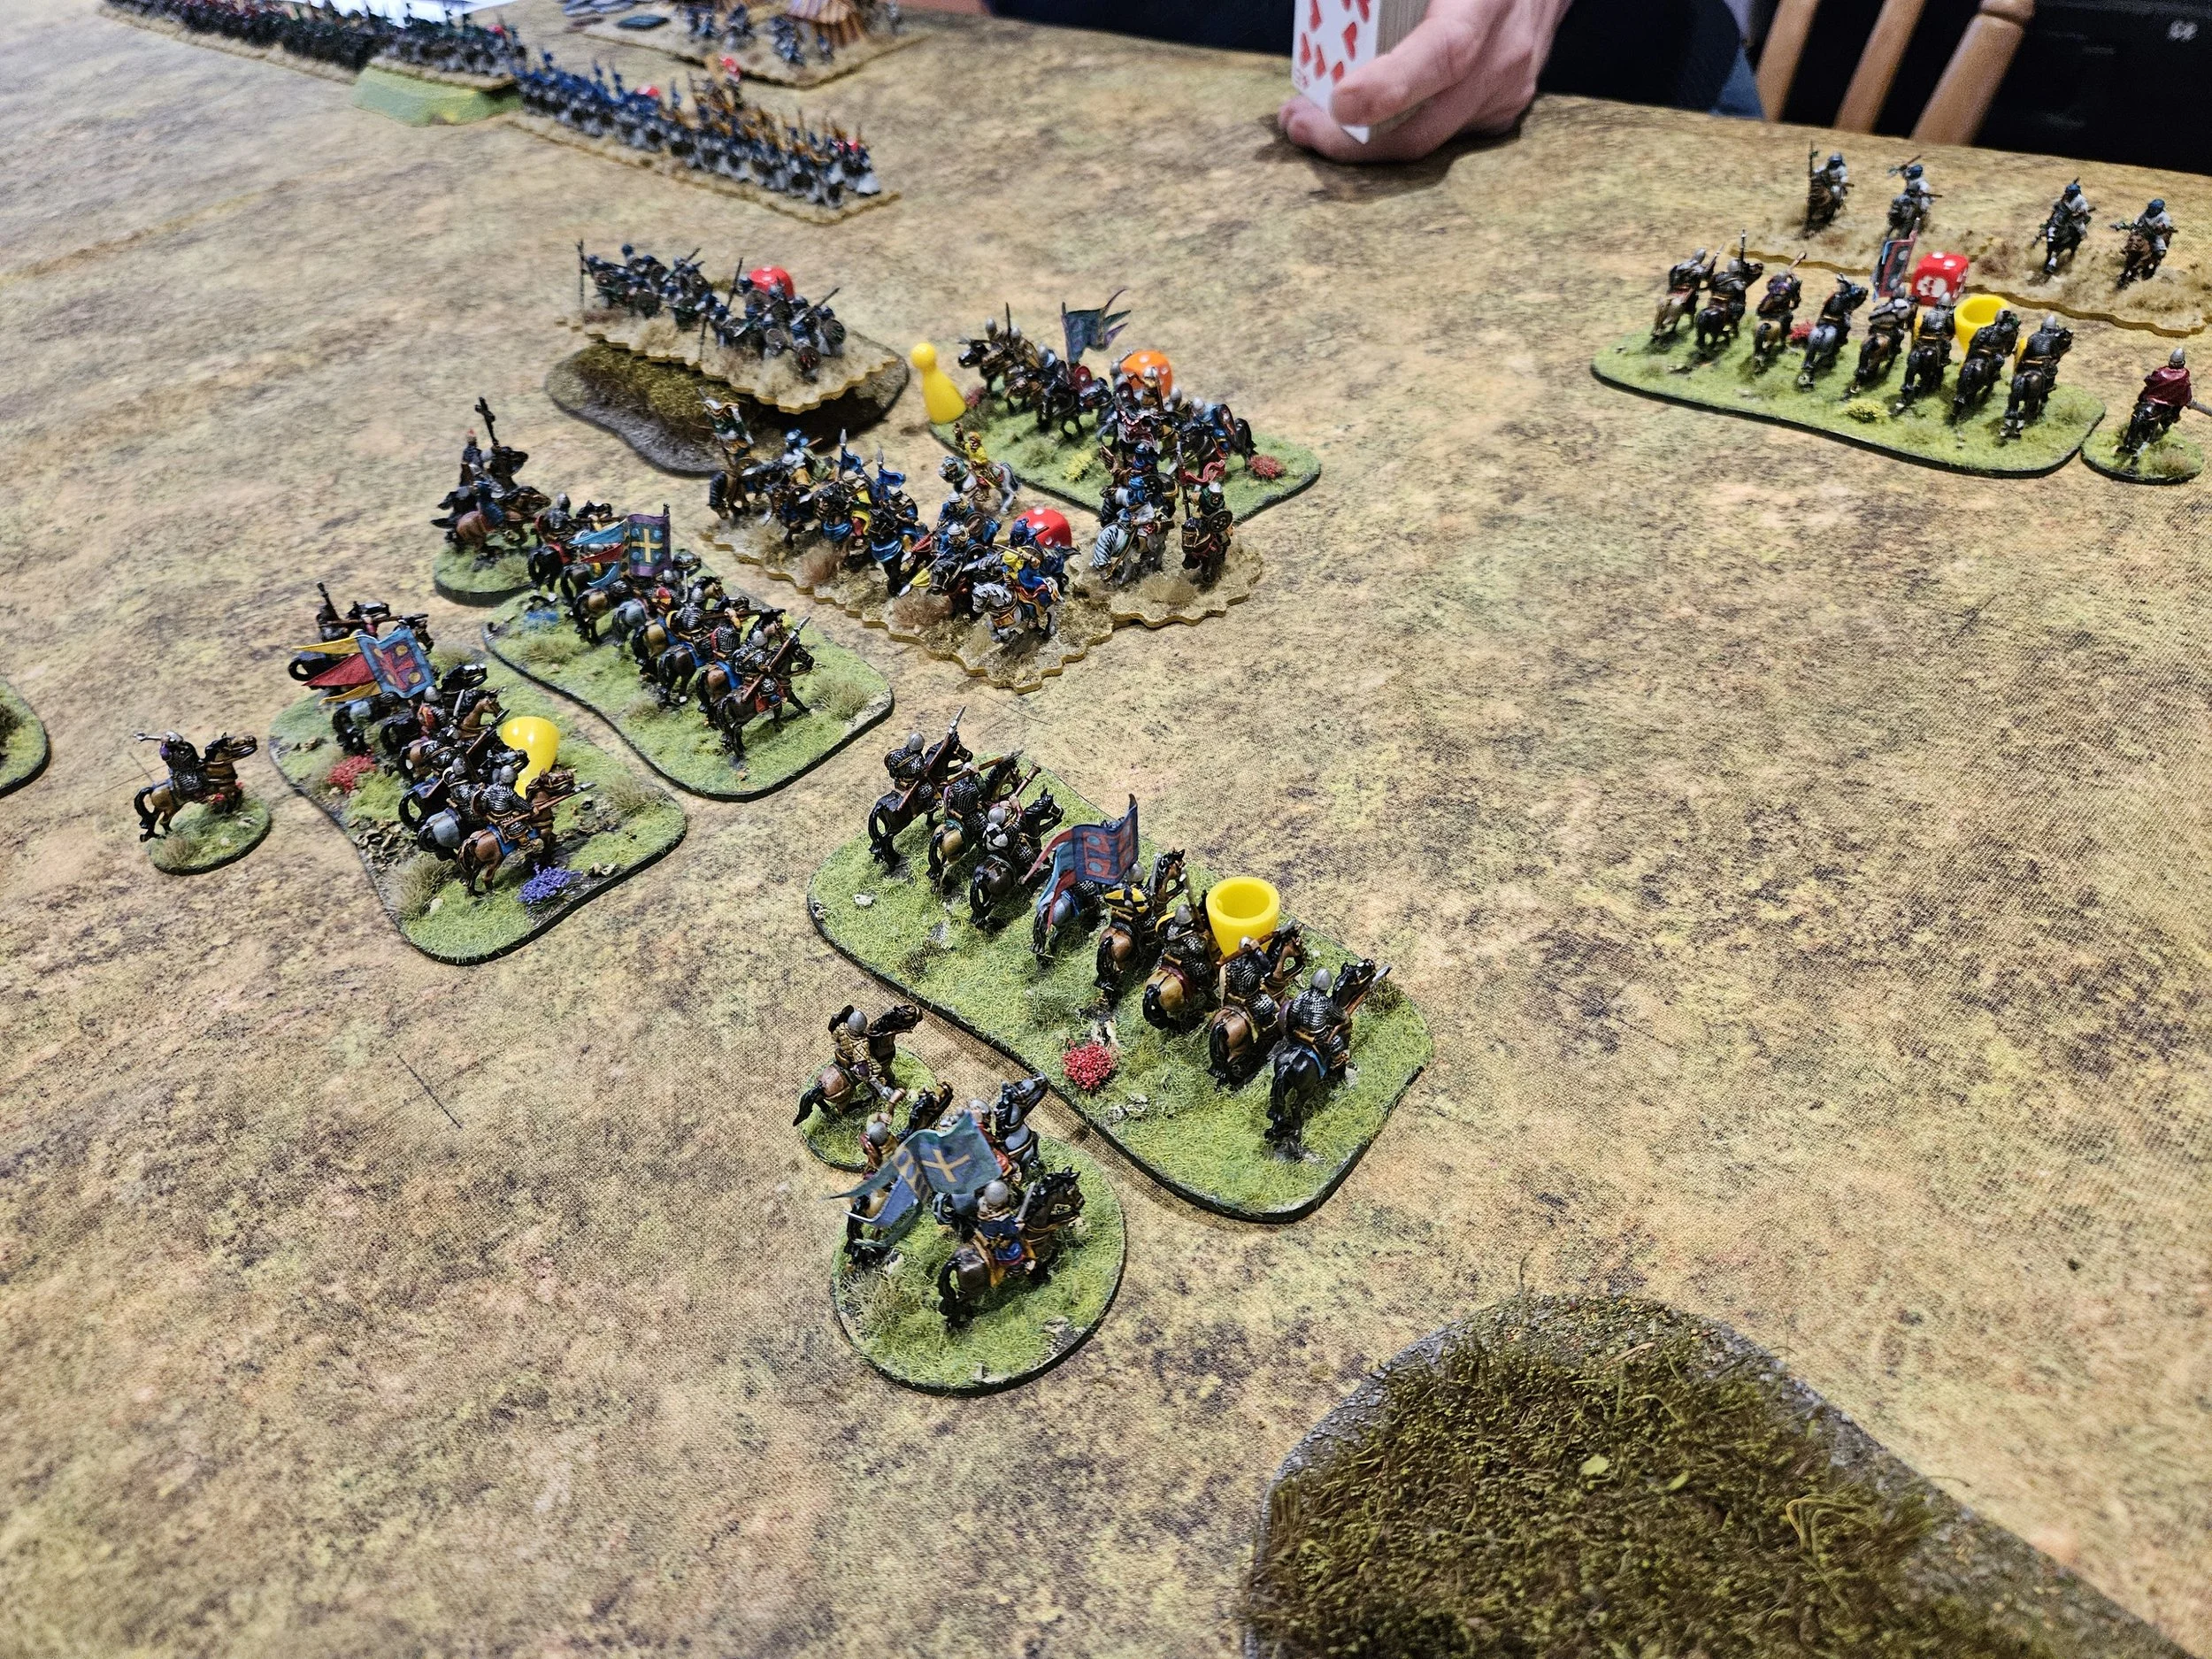
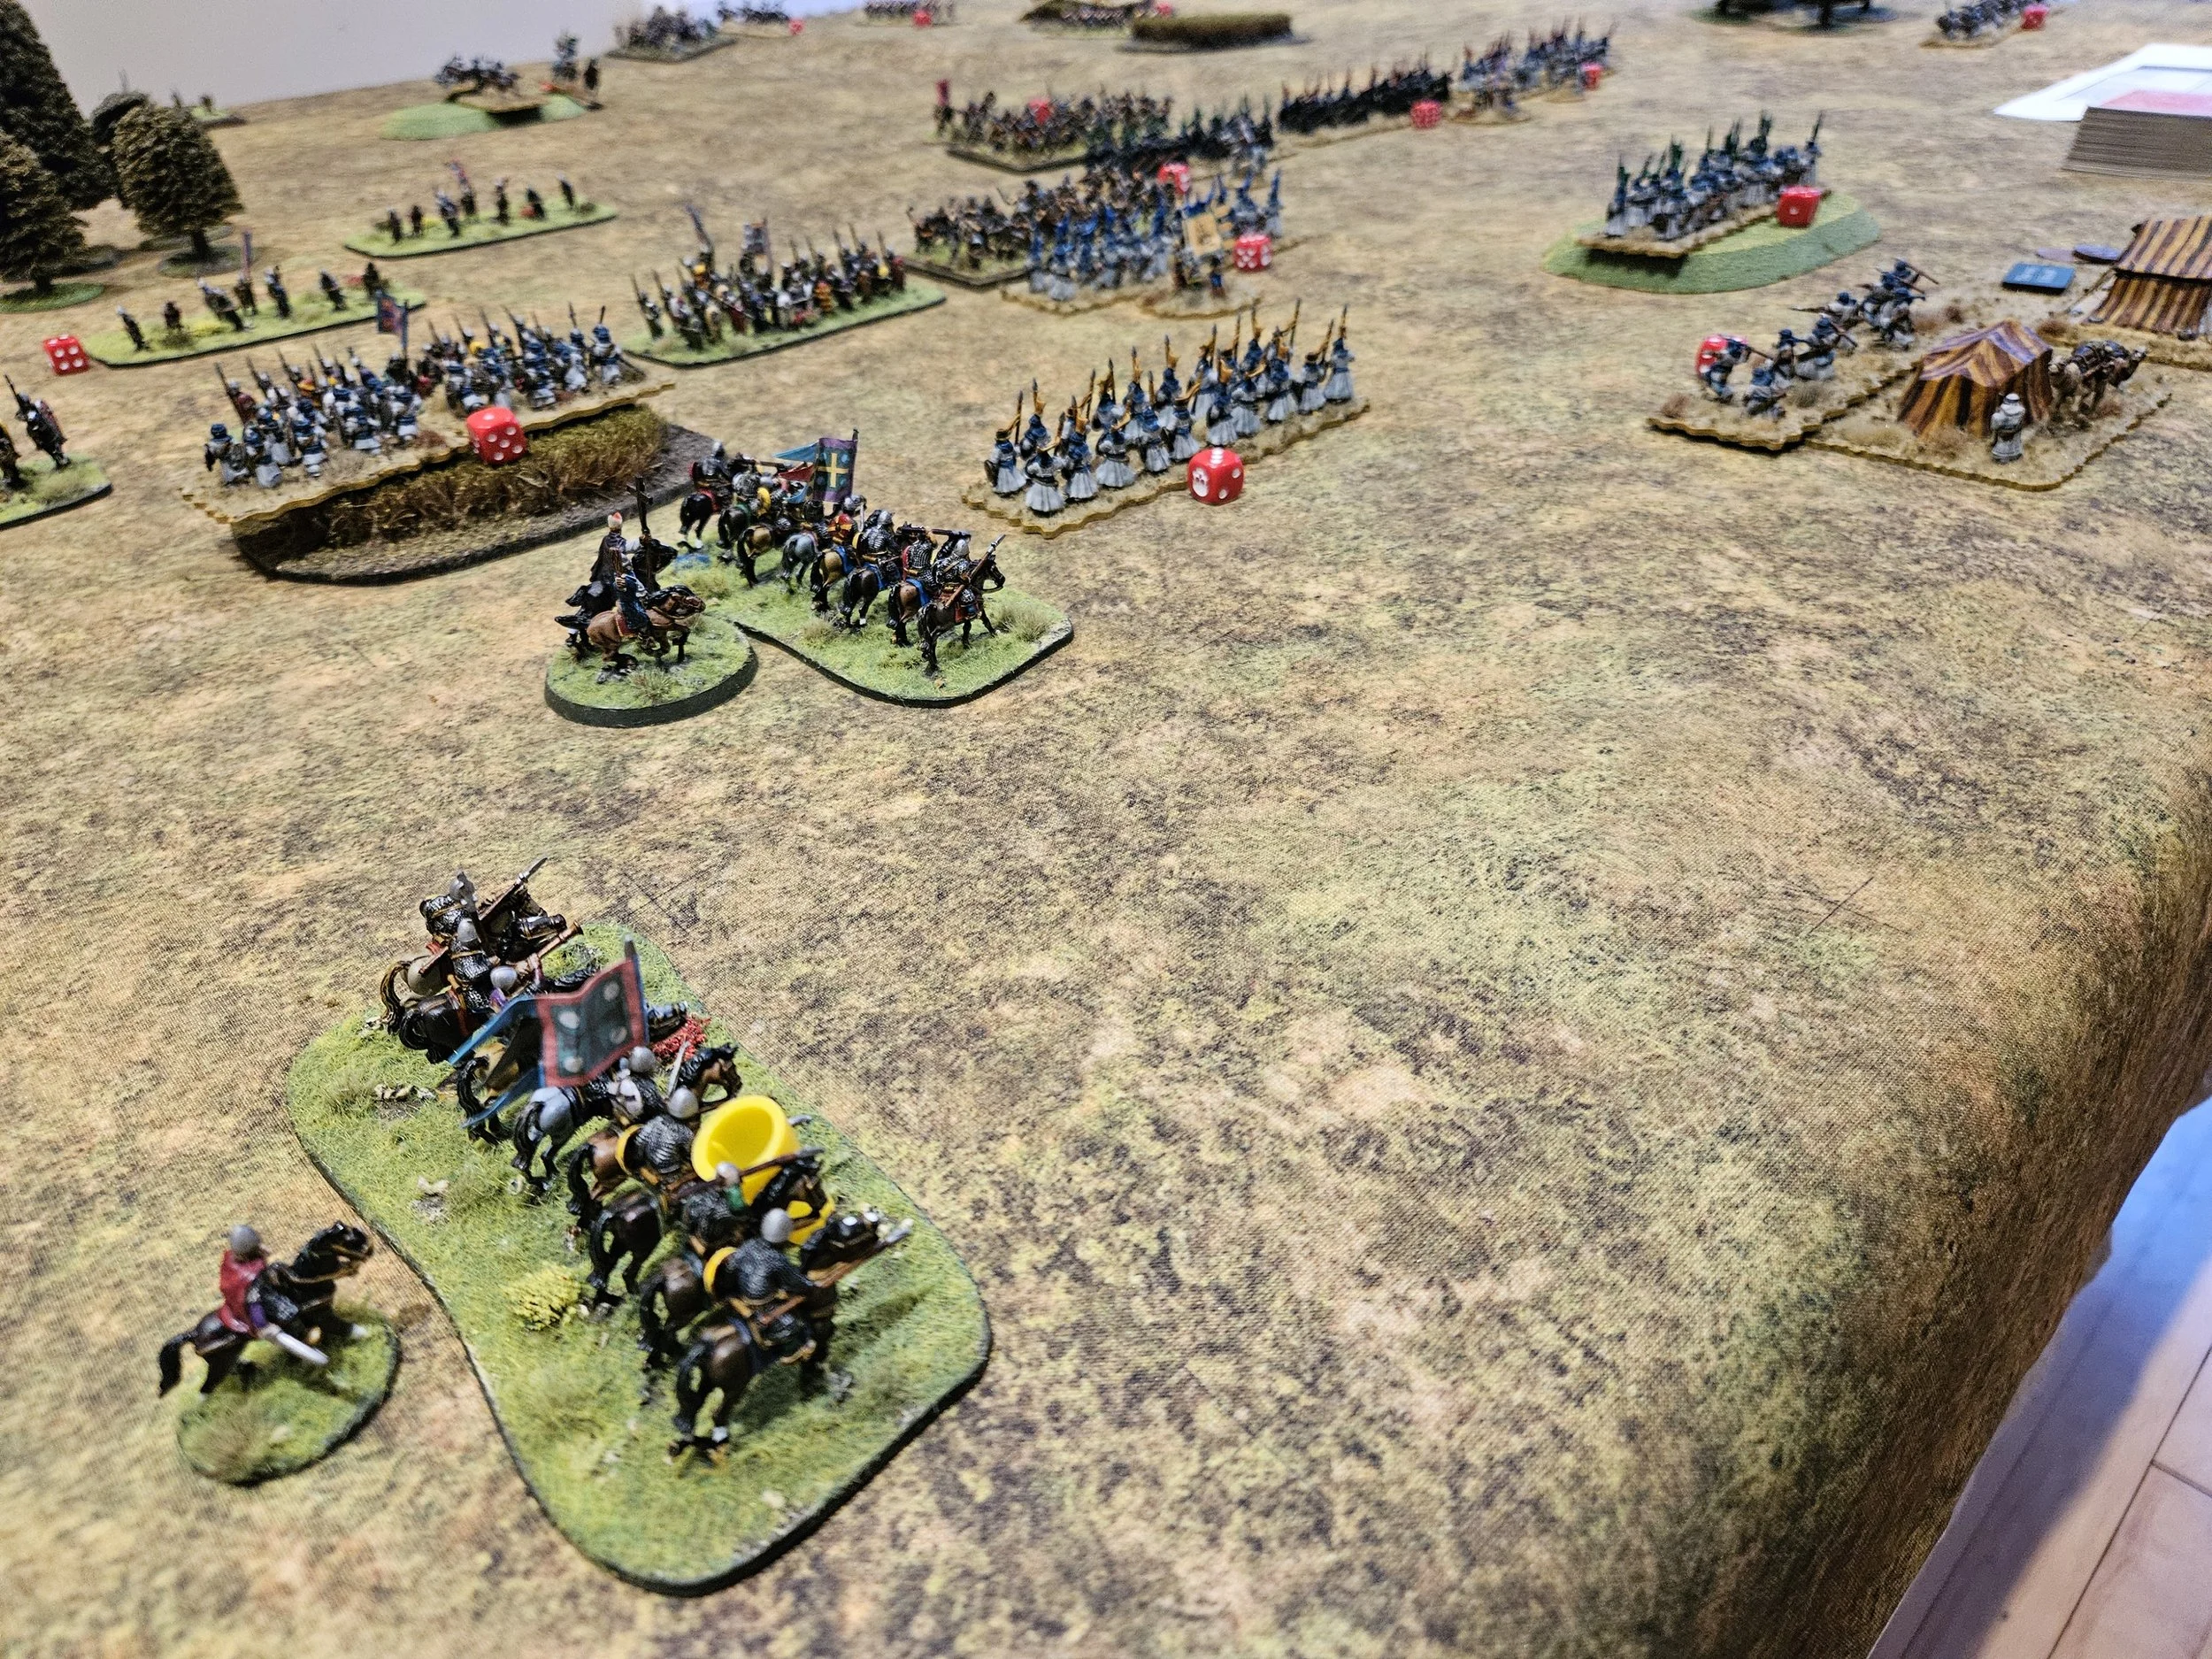
More Berber light cavalry ignored the Fyrd and headed into the centre, threatening the flanks of my advancing line (left hand photo below) but the good news was that the left hand Knights had finally managed to disperse the Knights in front of them, leaving them clear to turn towards the enemy centre (right hand photo below).
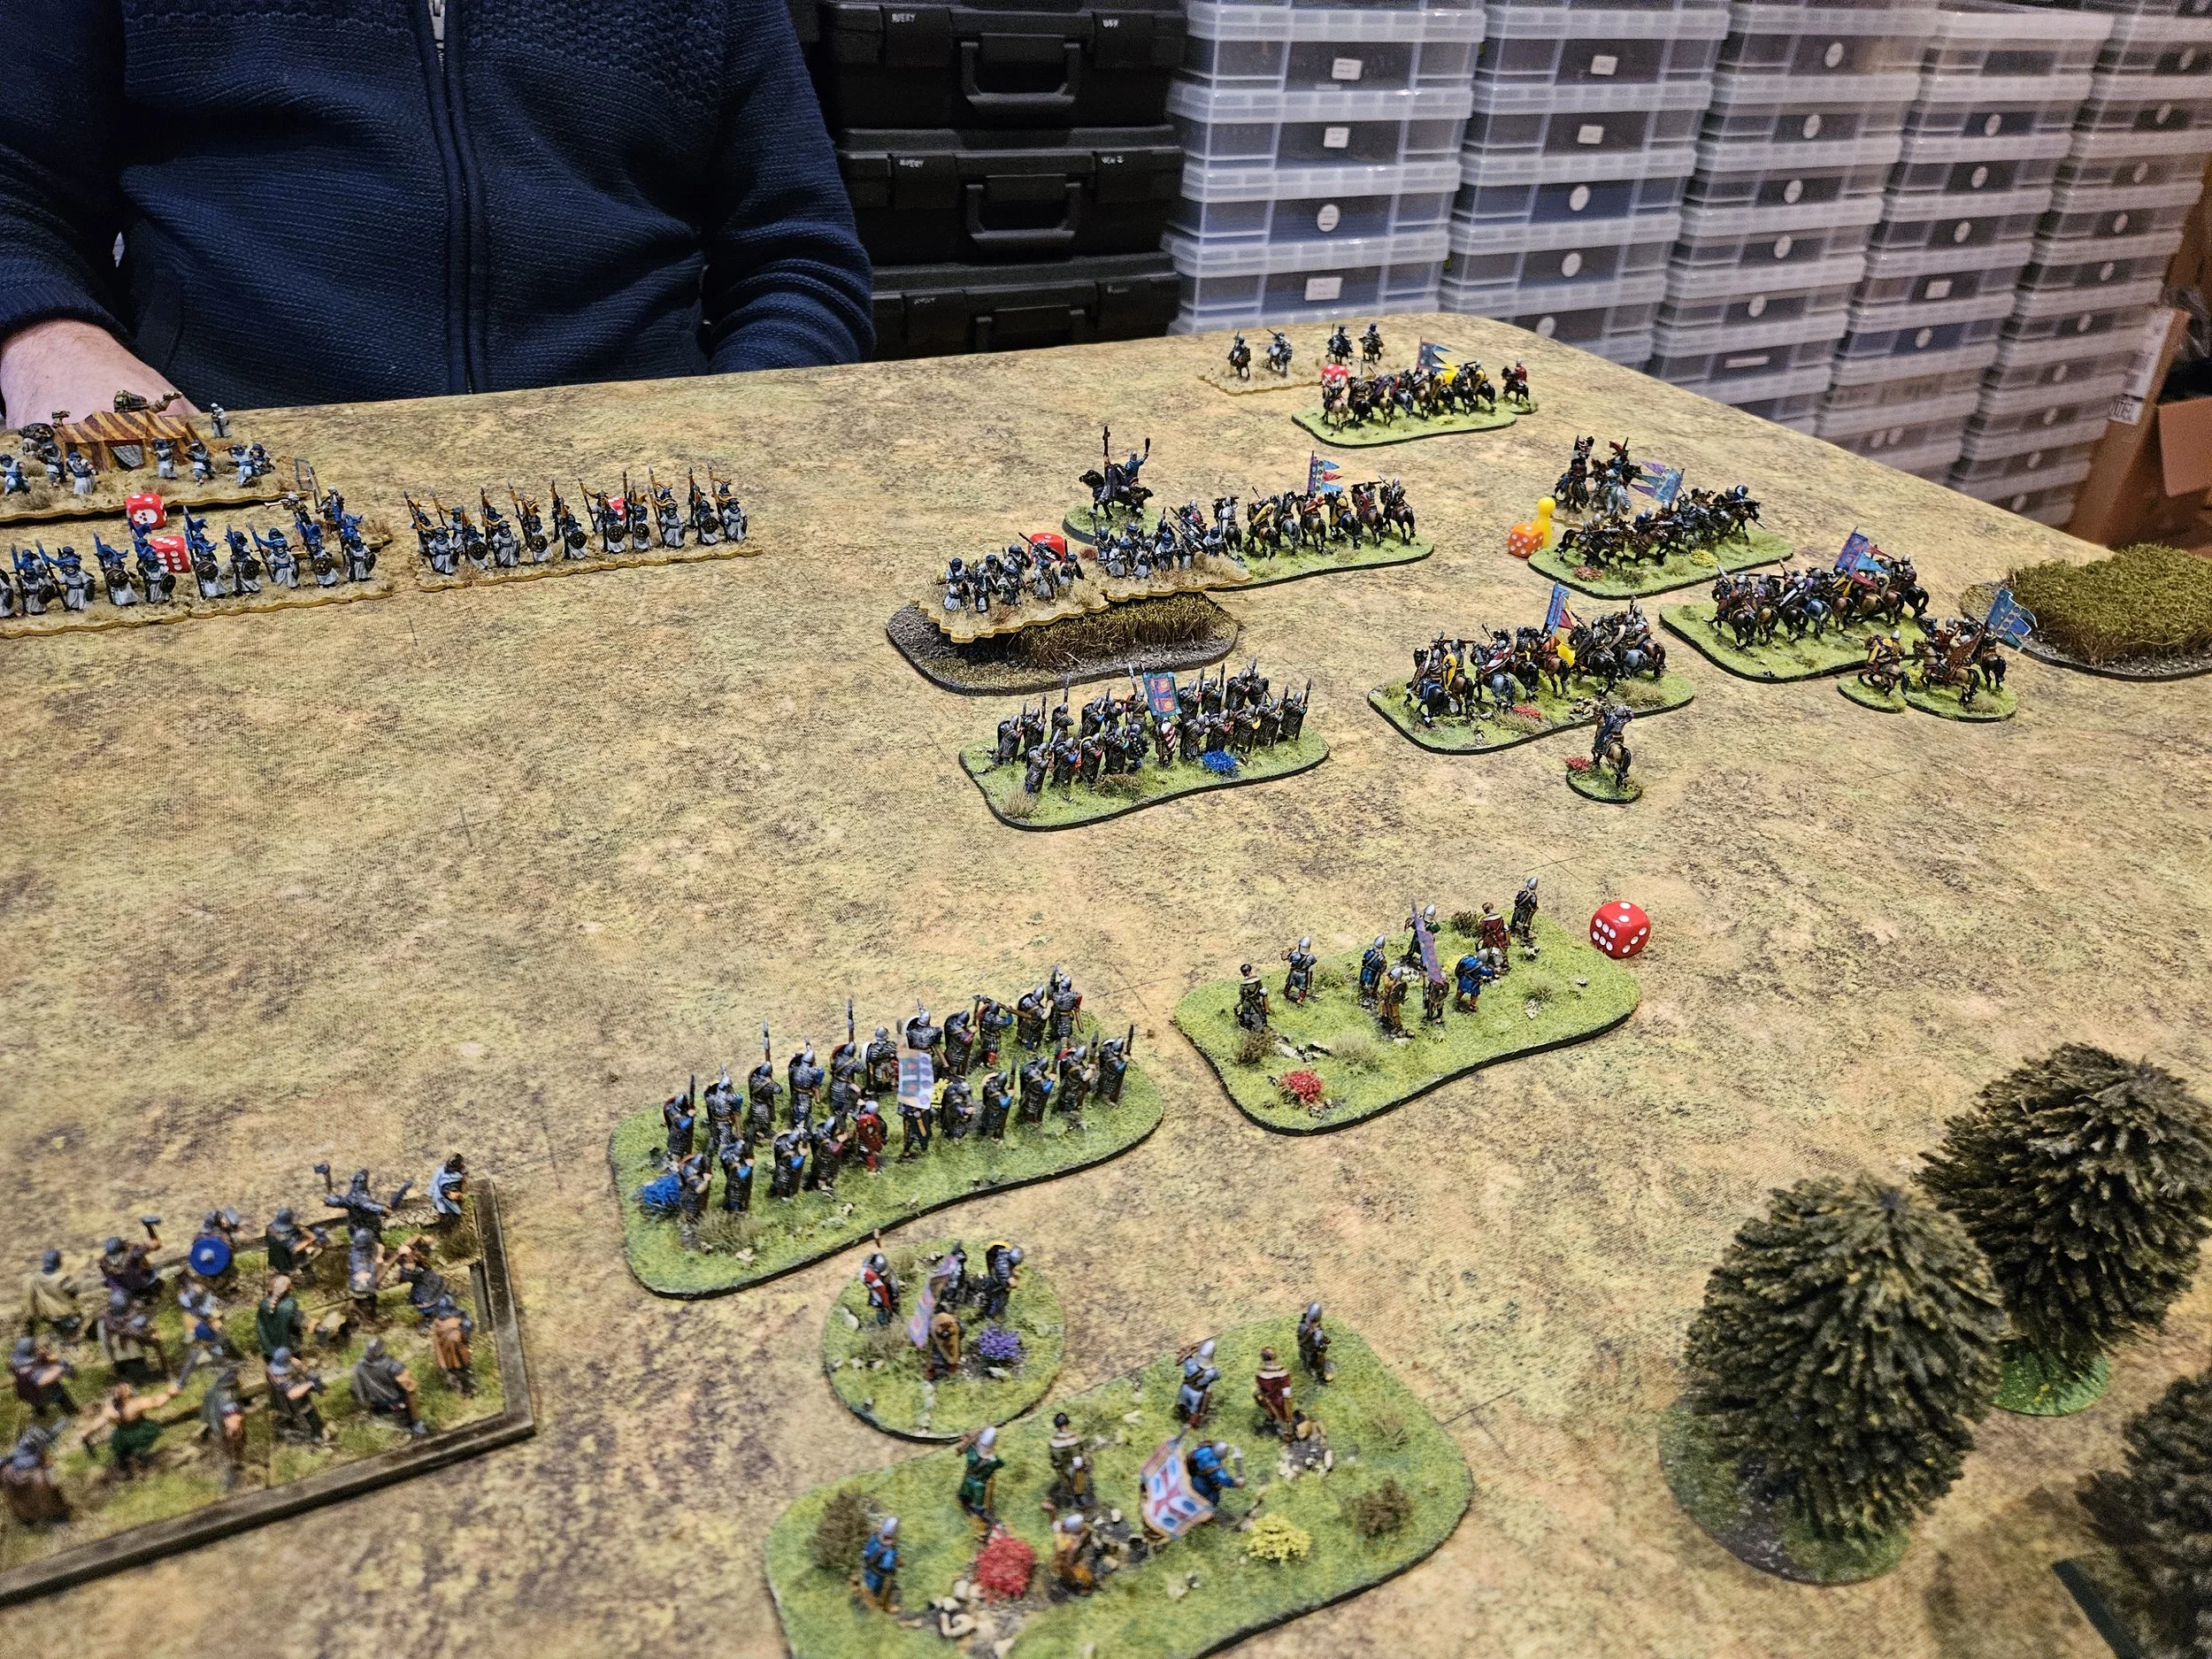
The Berber light cavalry were too mobile to be pinned by the Fyrd/lights for long: one unit sneaking through the gap on the Anglo-Norman left.
This pesky unit then made its way down to the flank of the Anglo-Norman camp and (with a bit of help from the cards) charged in, dispersing the defenders and costing me three coins. What had looked a promising situation was now back in the balance!
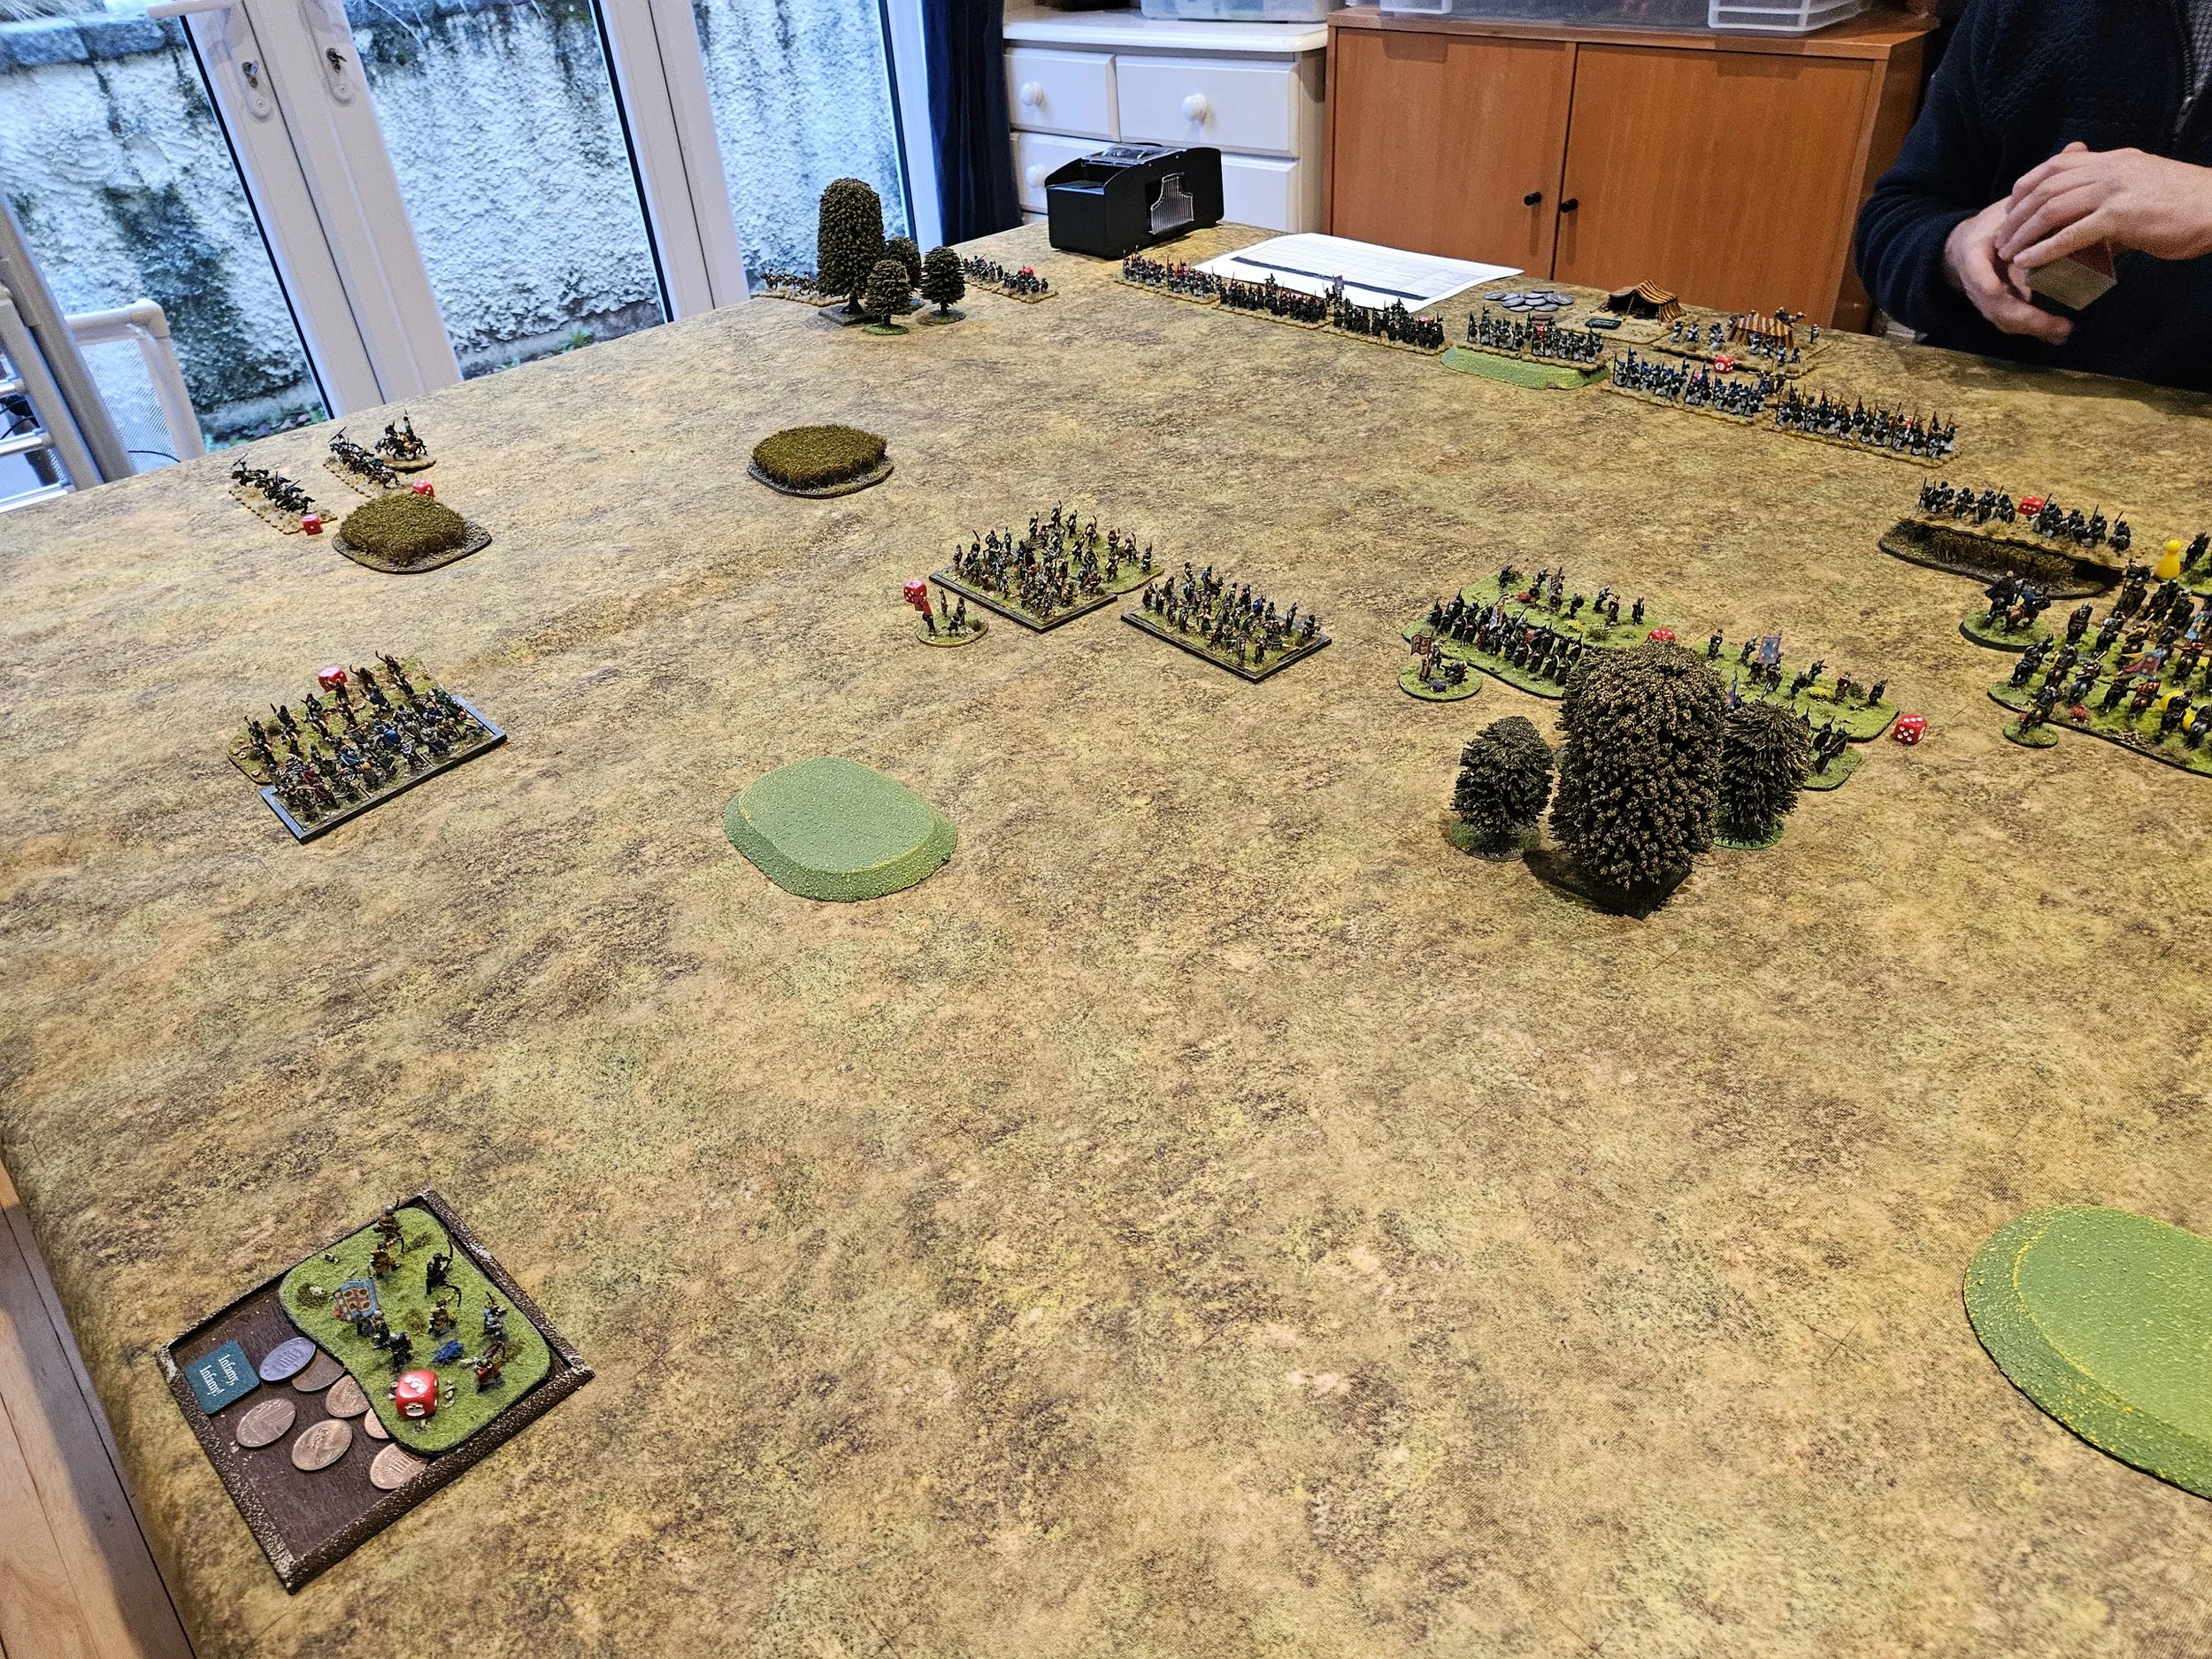
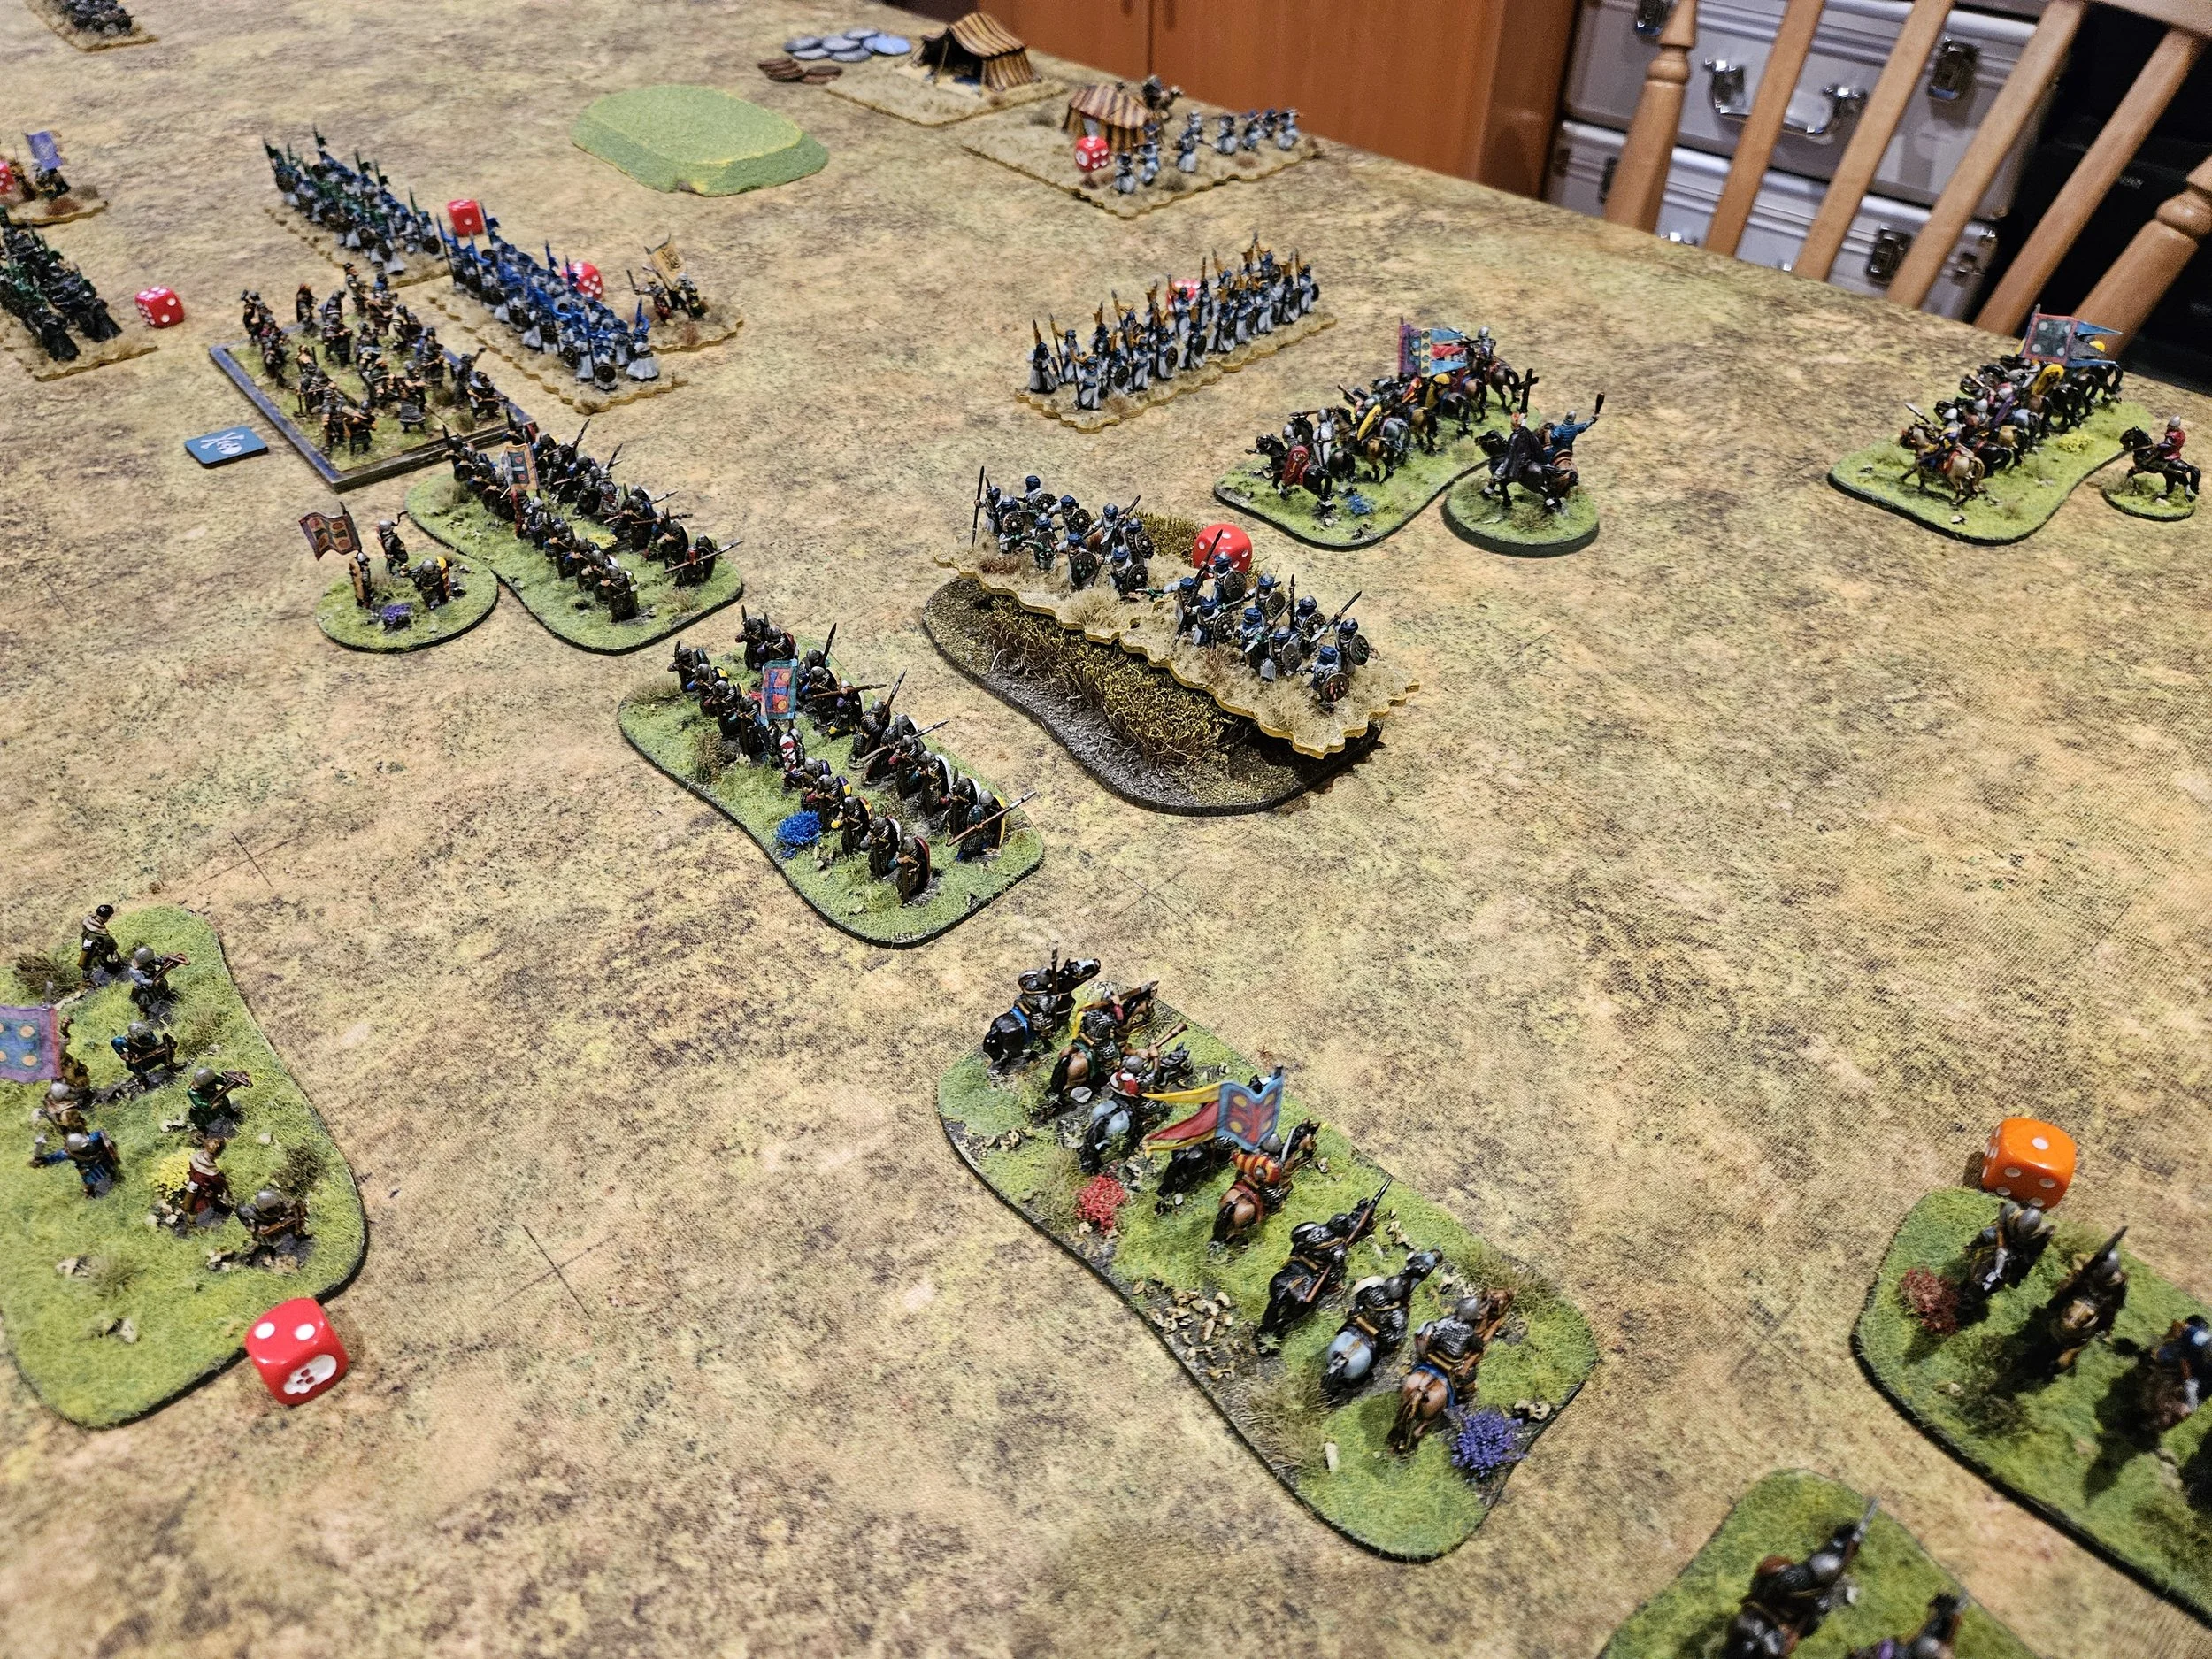
Worse, the Berber infantry that had been so far excluded from the action out on their left flank had by now managed to move sideways and began to engage the rest of the now-outnumbered Fyrd (left hand picture below).
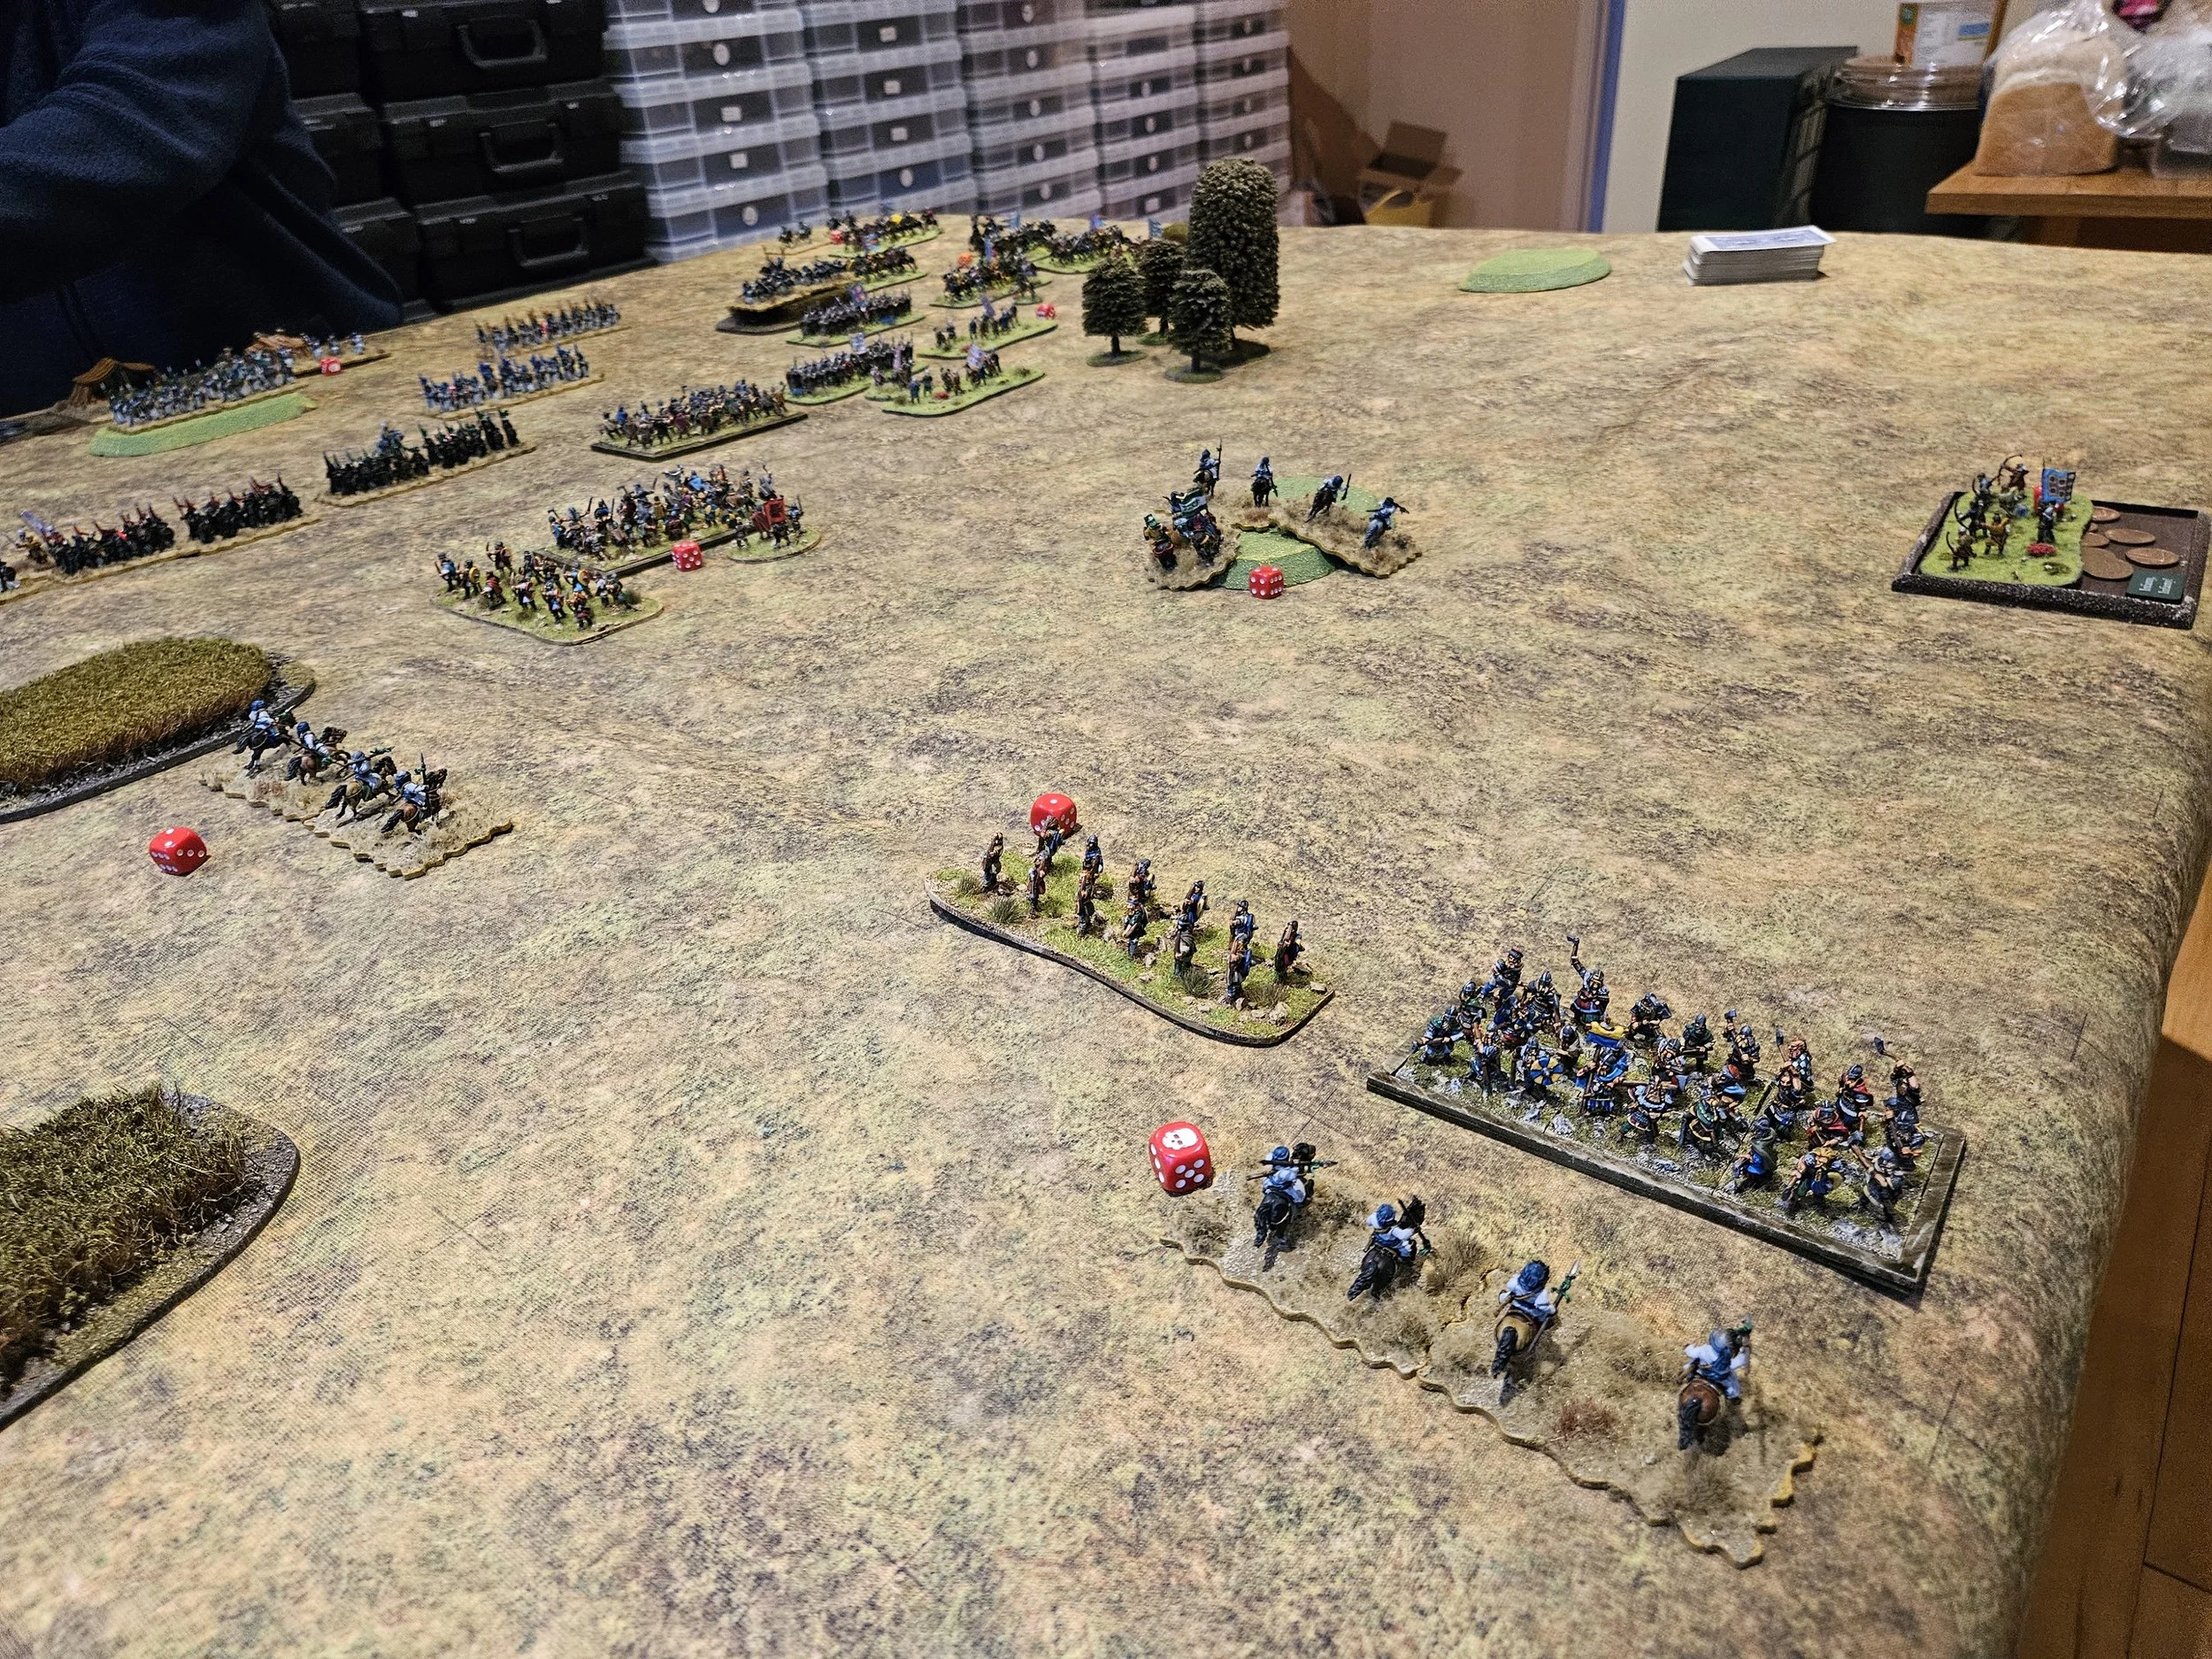
The Norman Knights needed to win the battle soon, or the left would be overwhelmed by sheer weight of numbers. Fortunately, they were now in a position to turn sideways onto the left flank of the Berbers, and quickly advanced forward to charge position whilst the Norman infantry pinned the oppositino from the front (right hand picture below).
Things quickly became a bit critical on the left: even the Fyrd suffer when faced with over two-to-one odds.
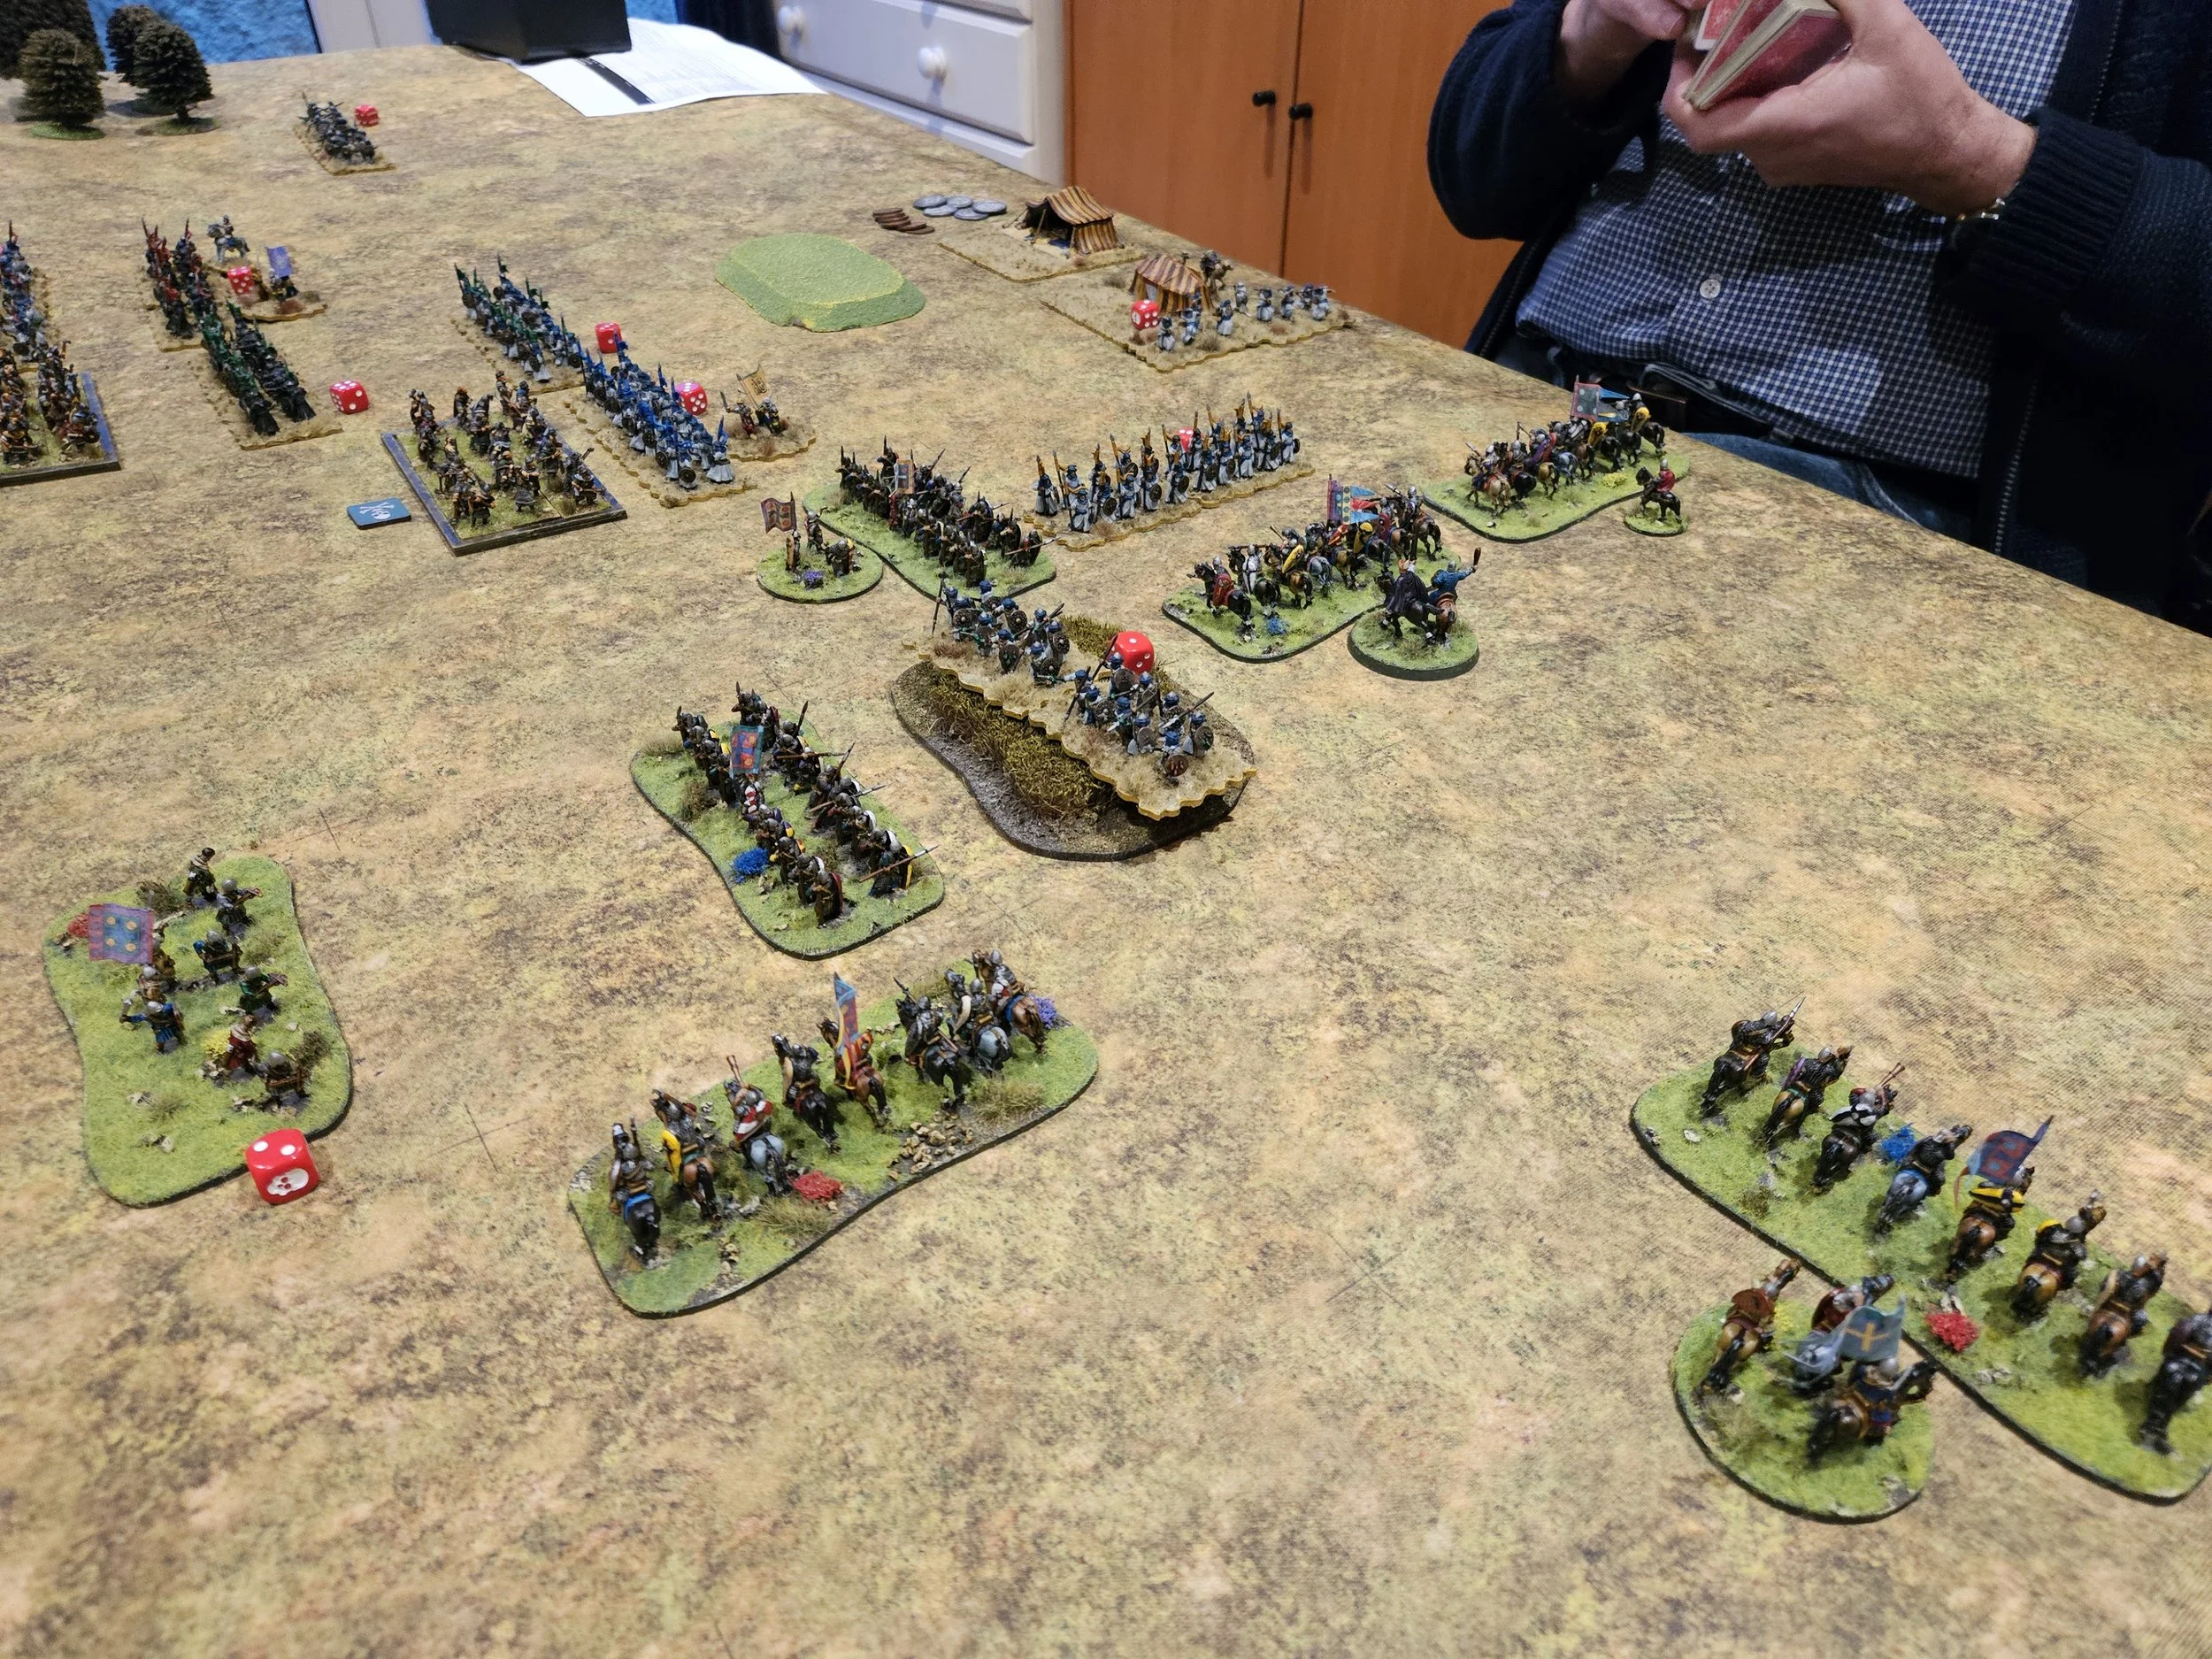
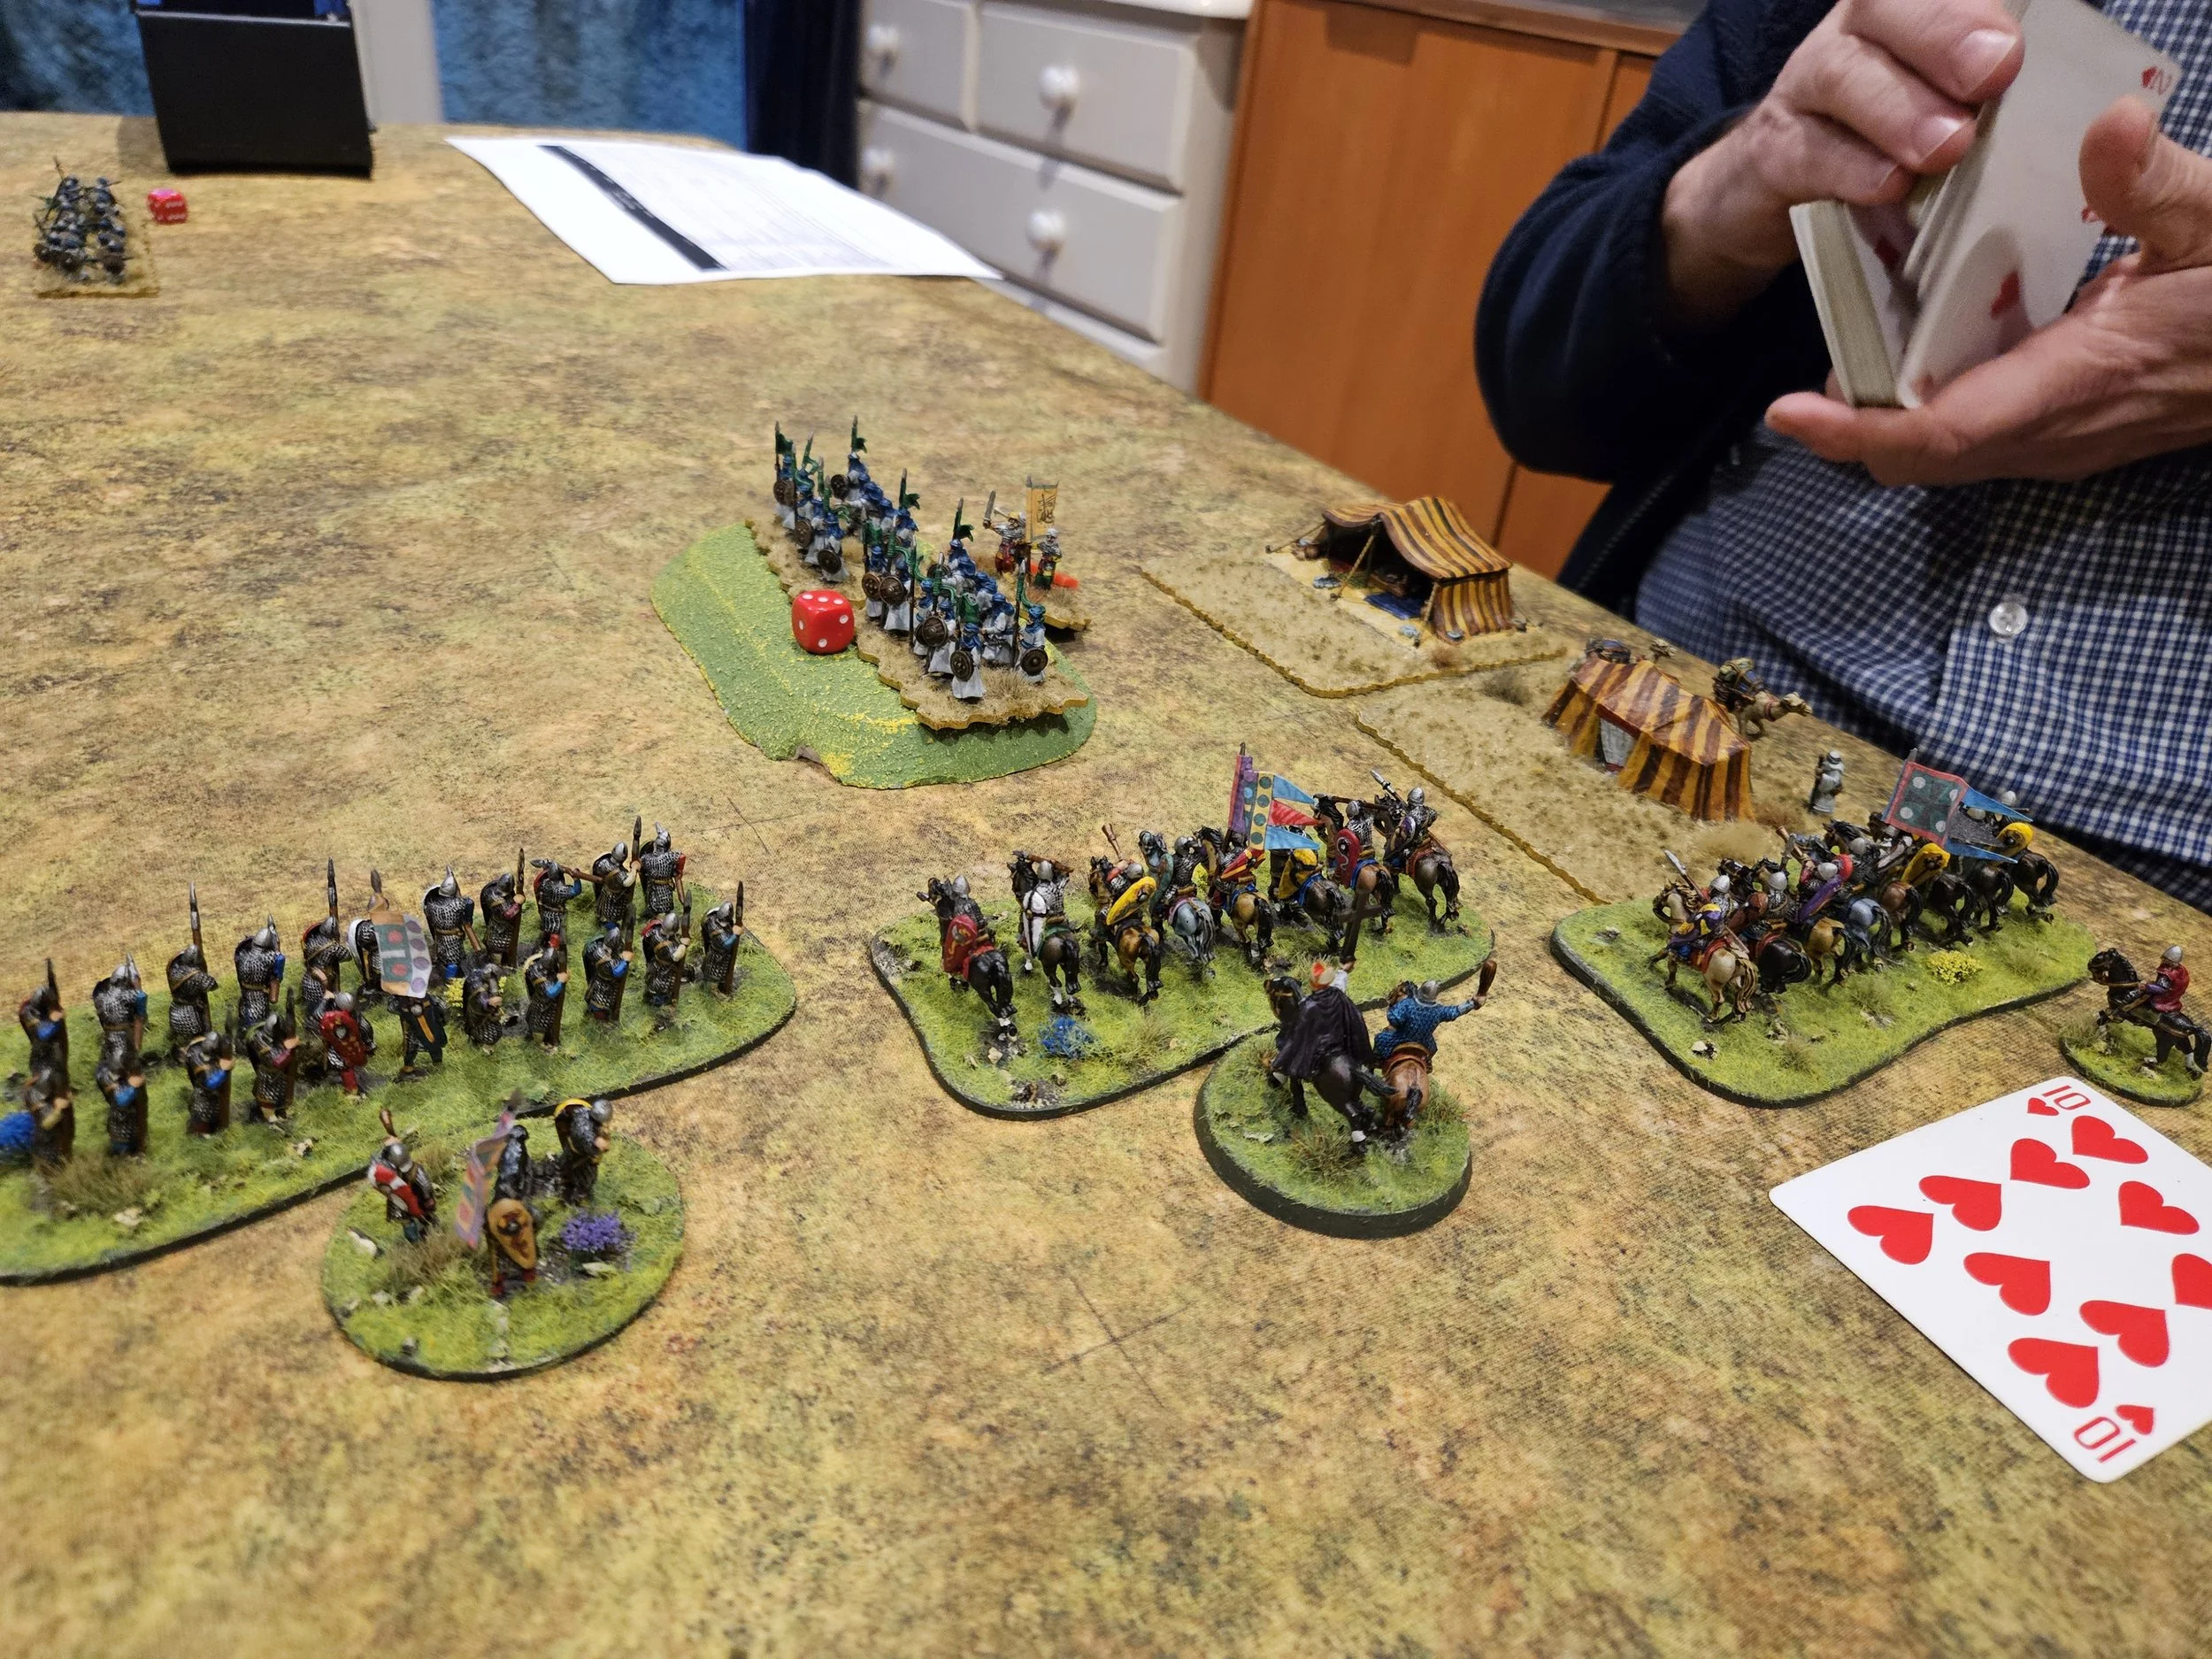
Fortunately the Normans on the right were now in the perfect position to hammer the rest of the Berber infantry.
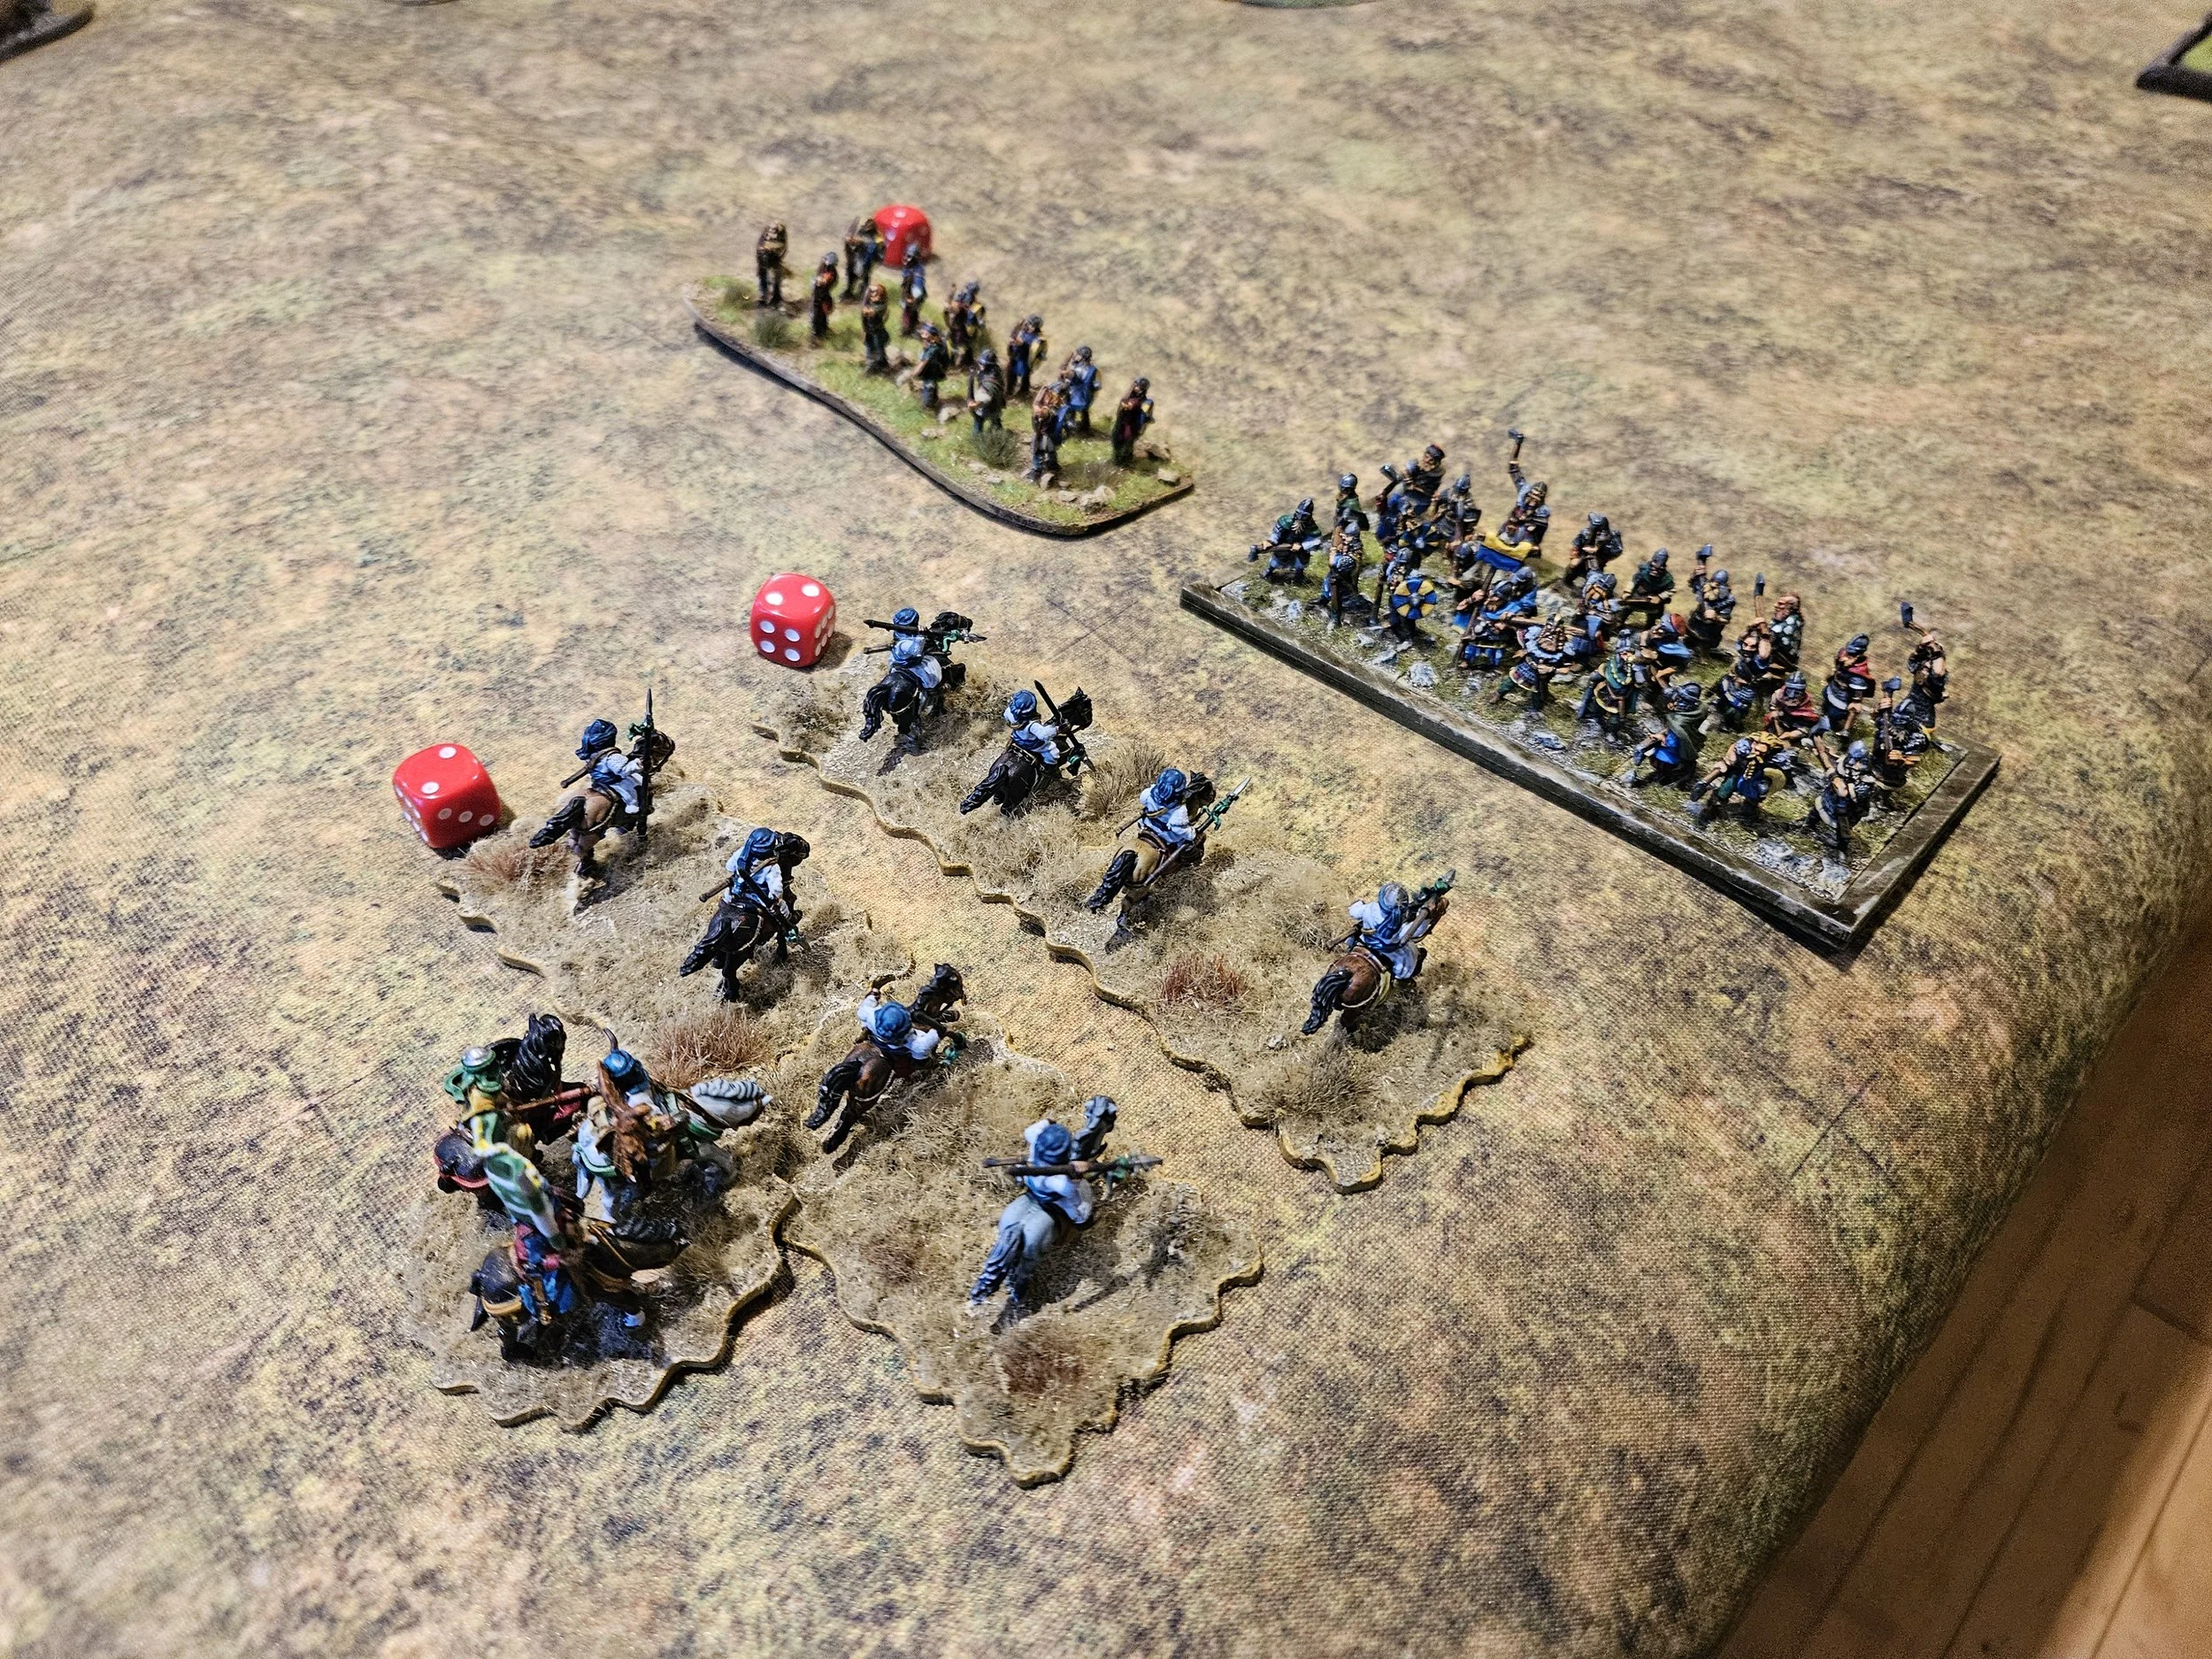
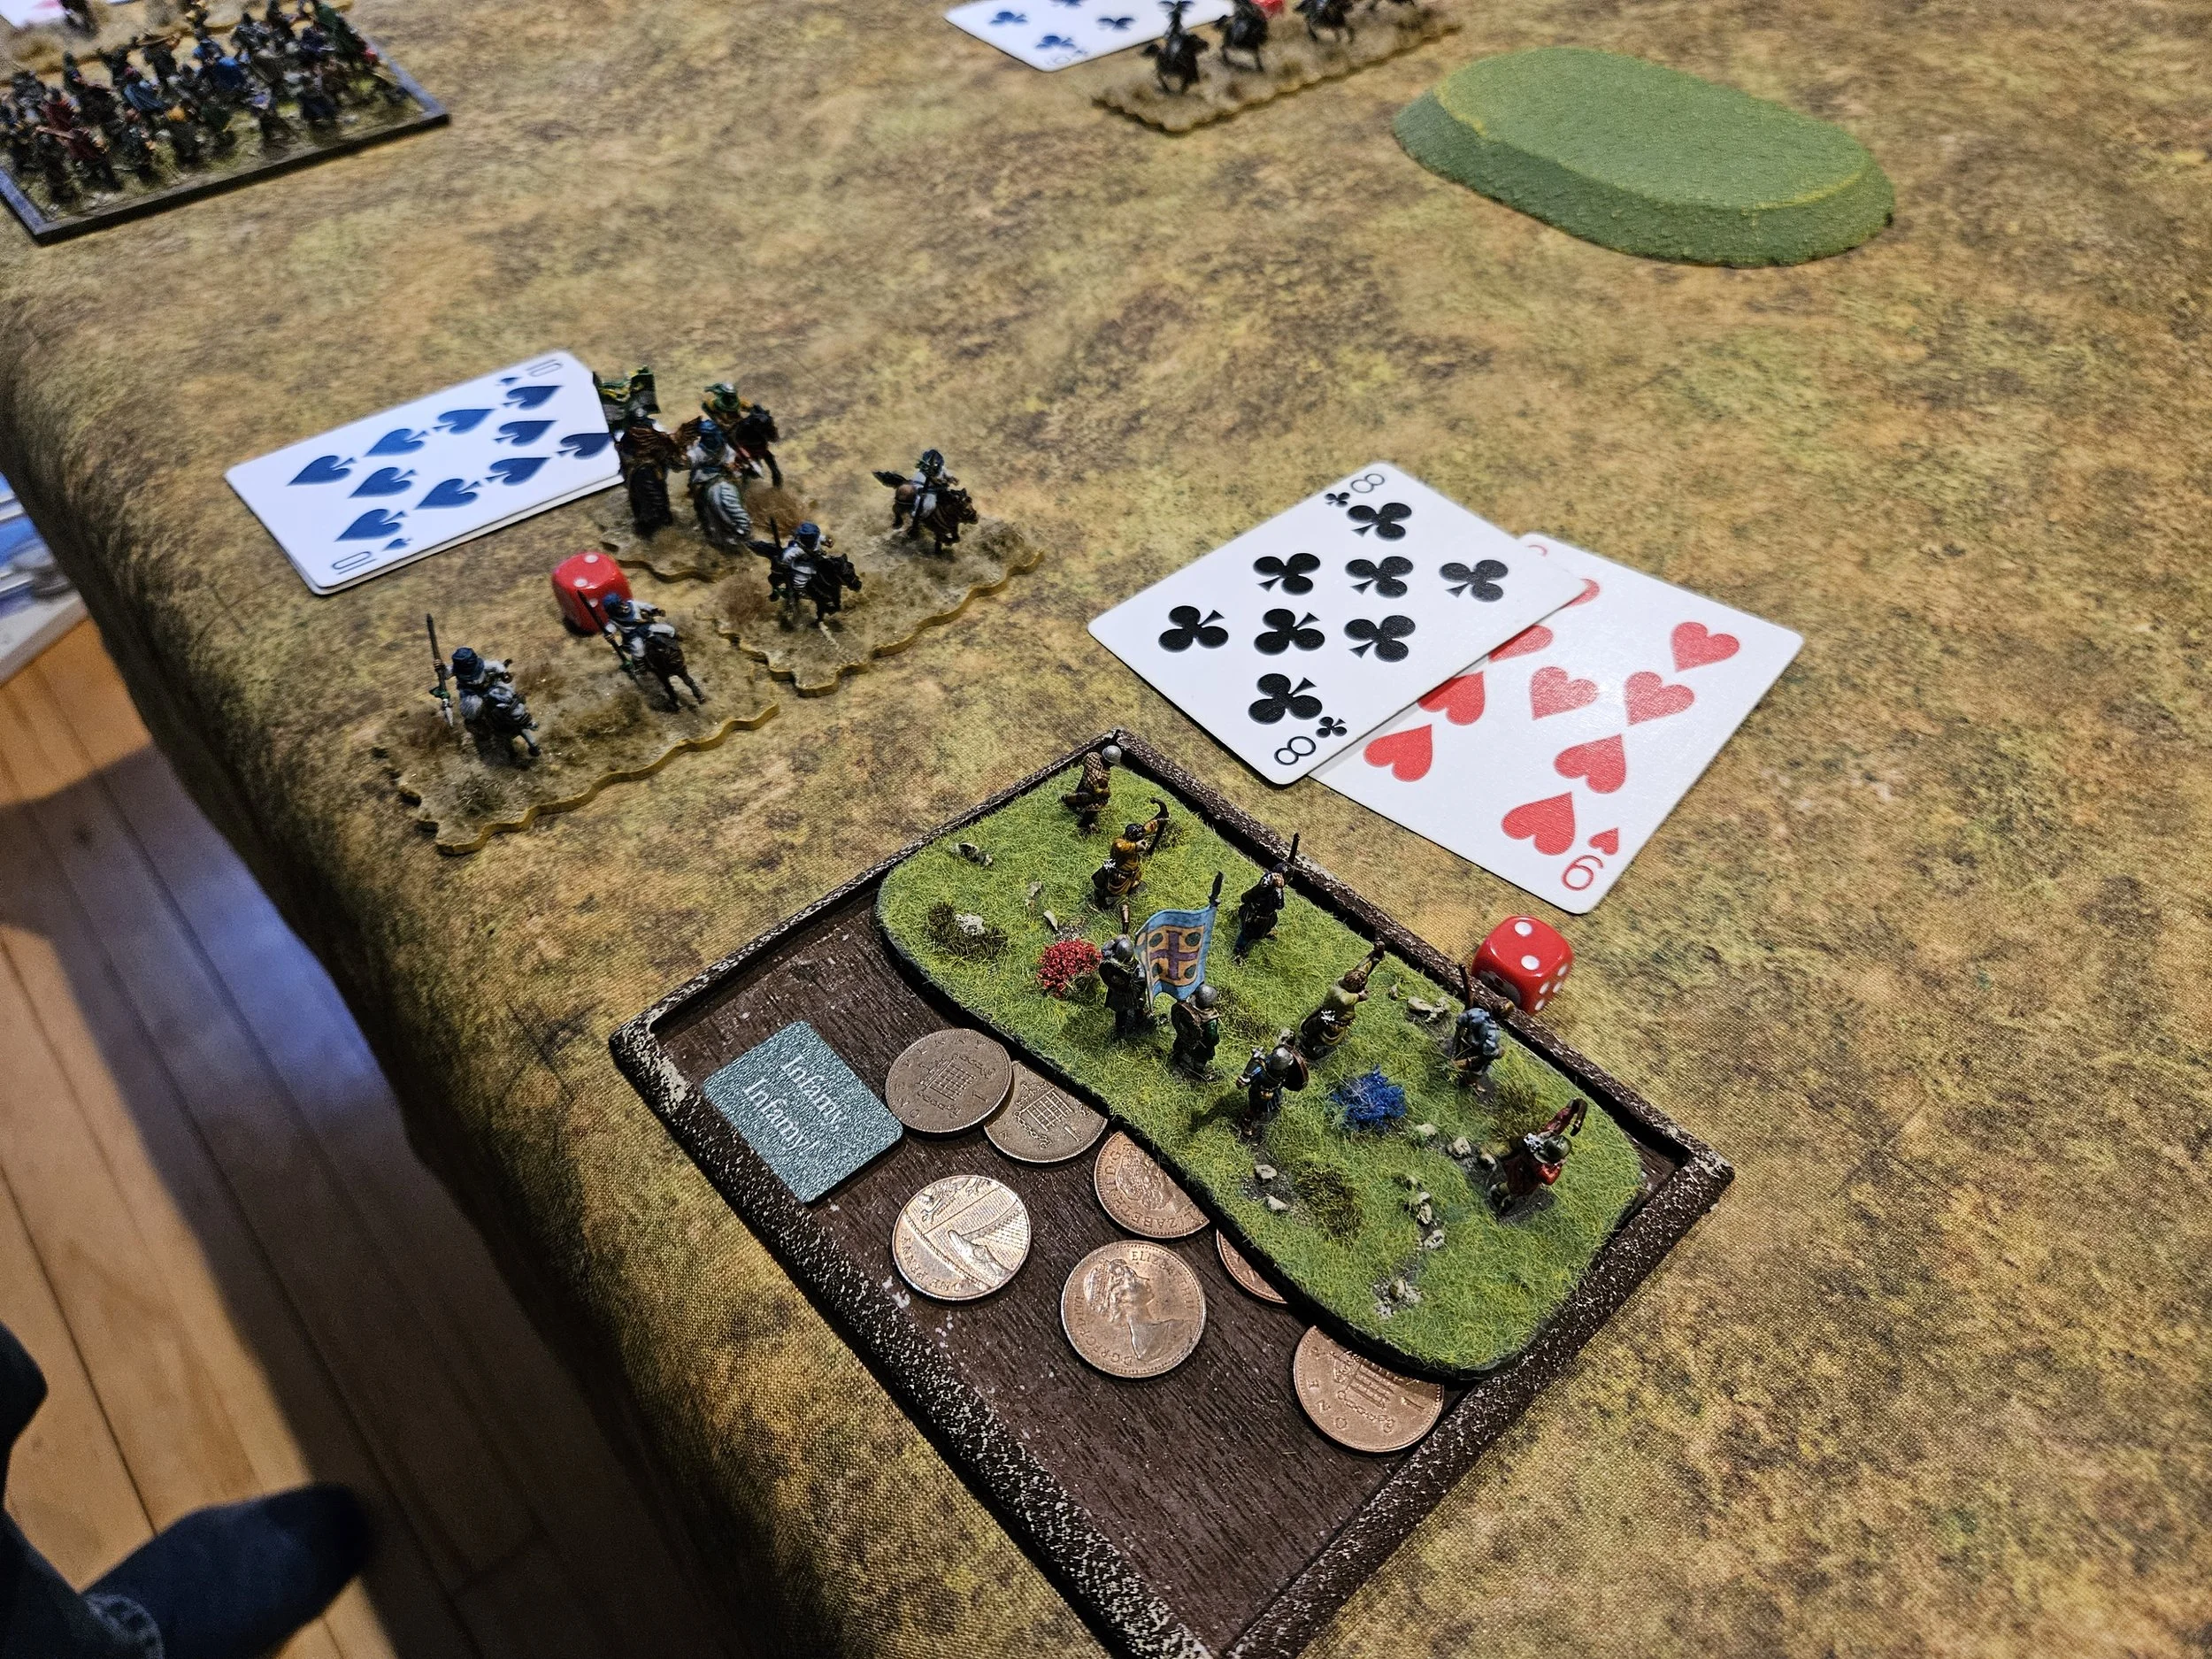
Although the Berbers turned to face the Knights coming in from the flank - and even Knights don’t like charging formed Spearmen - this allowed the Norman Sergeants to attack their flank, disorder them and make them vulnerable to a charge from the front: the perfect combined arms attack (the top two photos below).
The Knights thundered forward and smashed the disordered Berber Spearmen from the field. So horrible was the carnage that the Berber lights guarding their camp routed from sheer fright!
This obviously left the berber camp unguarded, allowing the other unit of Knights to calmly take possession, taking John’s last three victory medals!
A great game in which my cunning plan to weight the right and refuse the left worked…but only just!
If my final attacks coming in from the right hadn’t succeeded when they did, then I was in real danger of losing the game due to losses on my left, including the fall of my camp. I was very glad of the resilience of the Fyrd even if a lot of Saxons perished whilst the Normans won the battle!


