TTS AAR: Sicilio- Normans: The Return Match
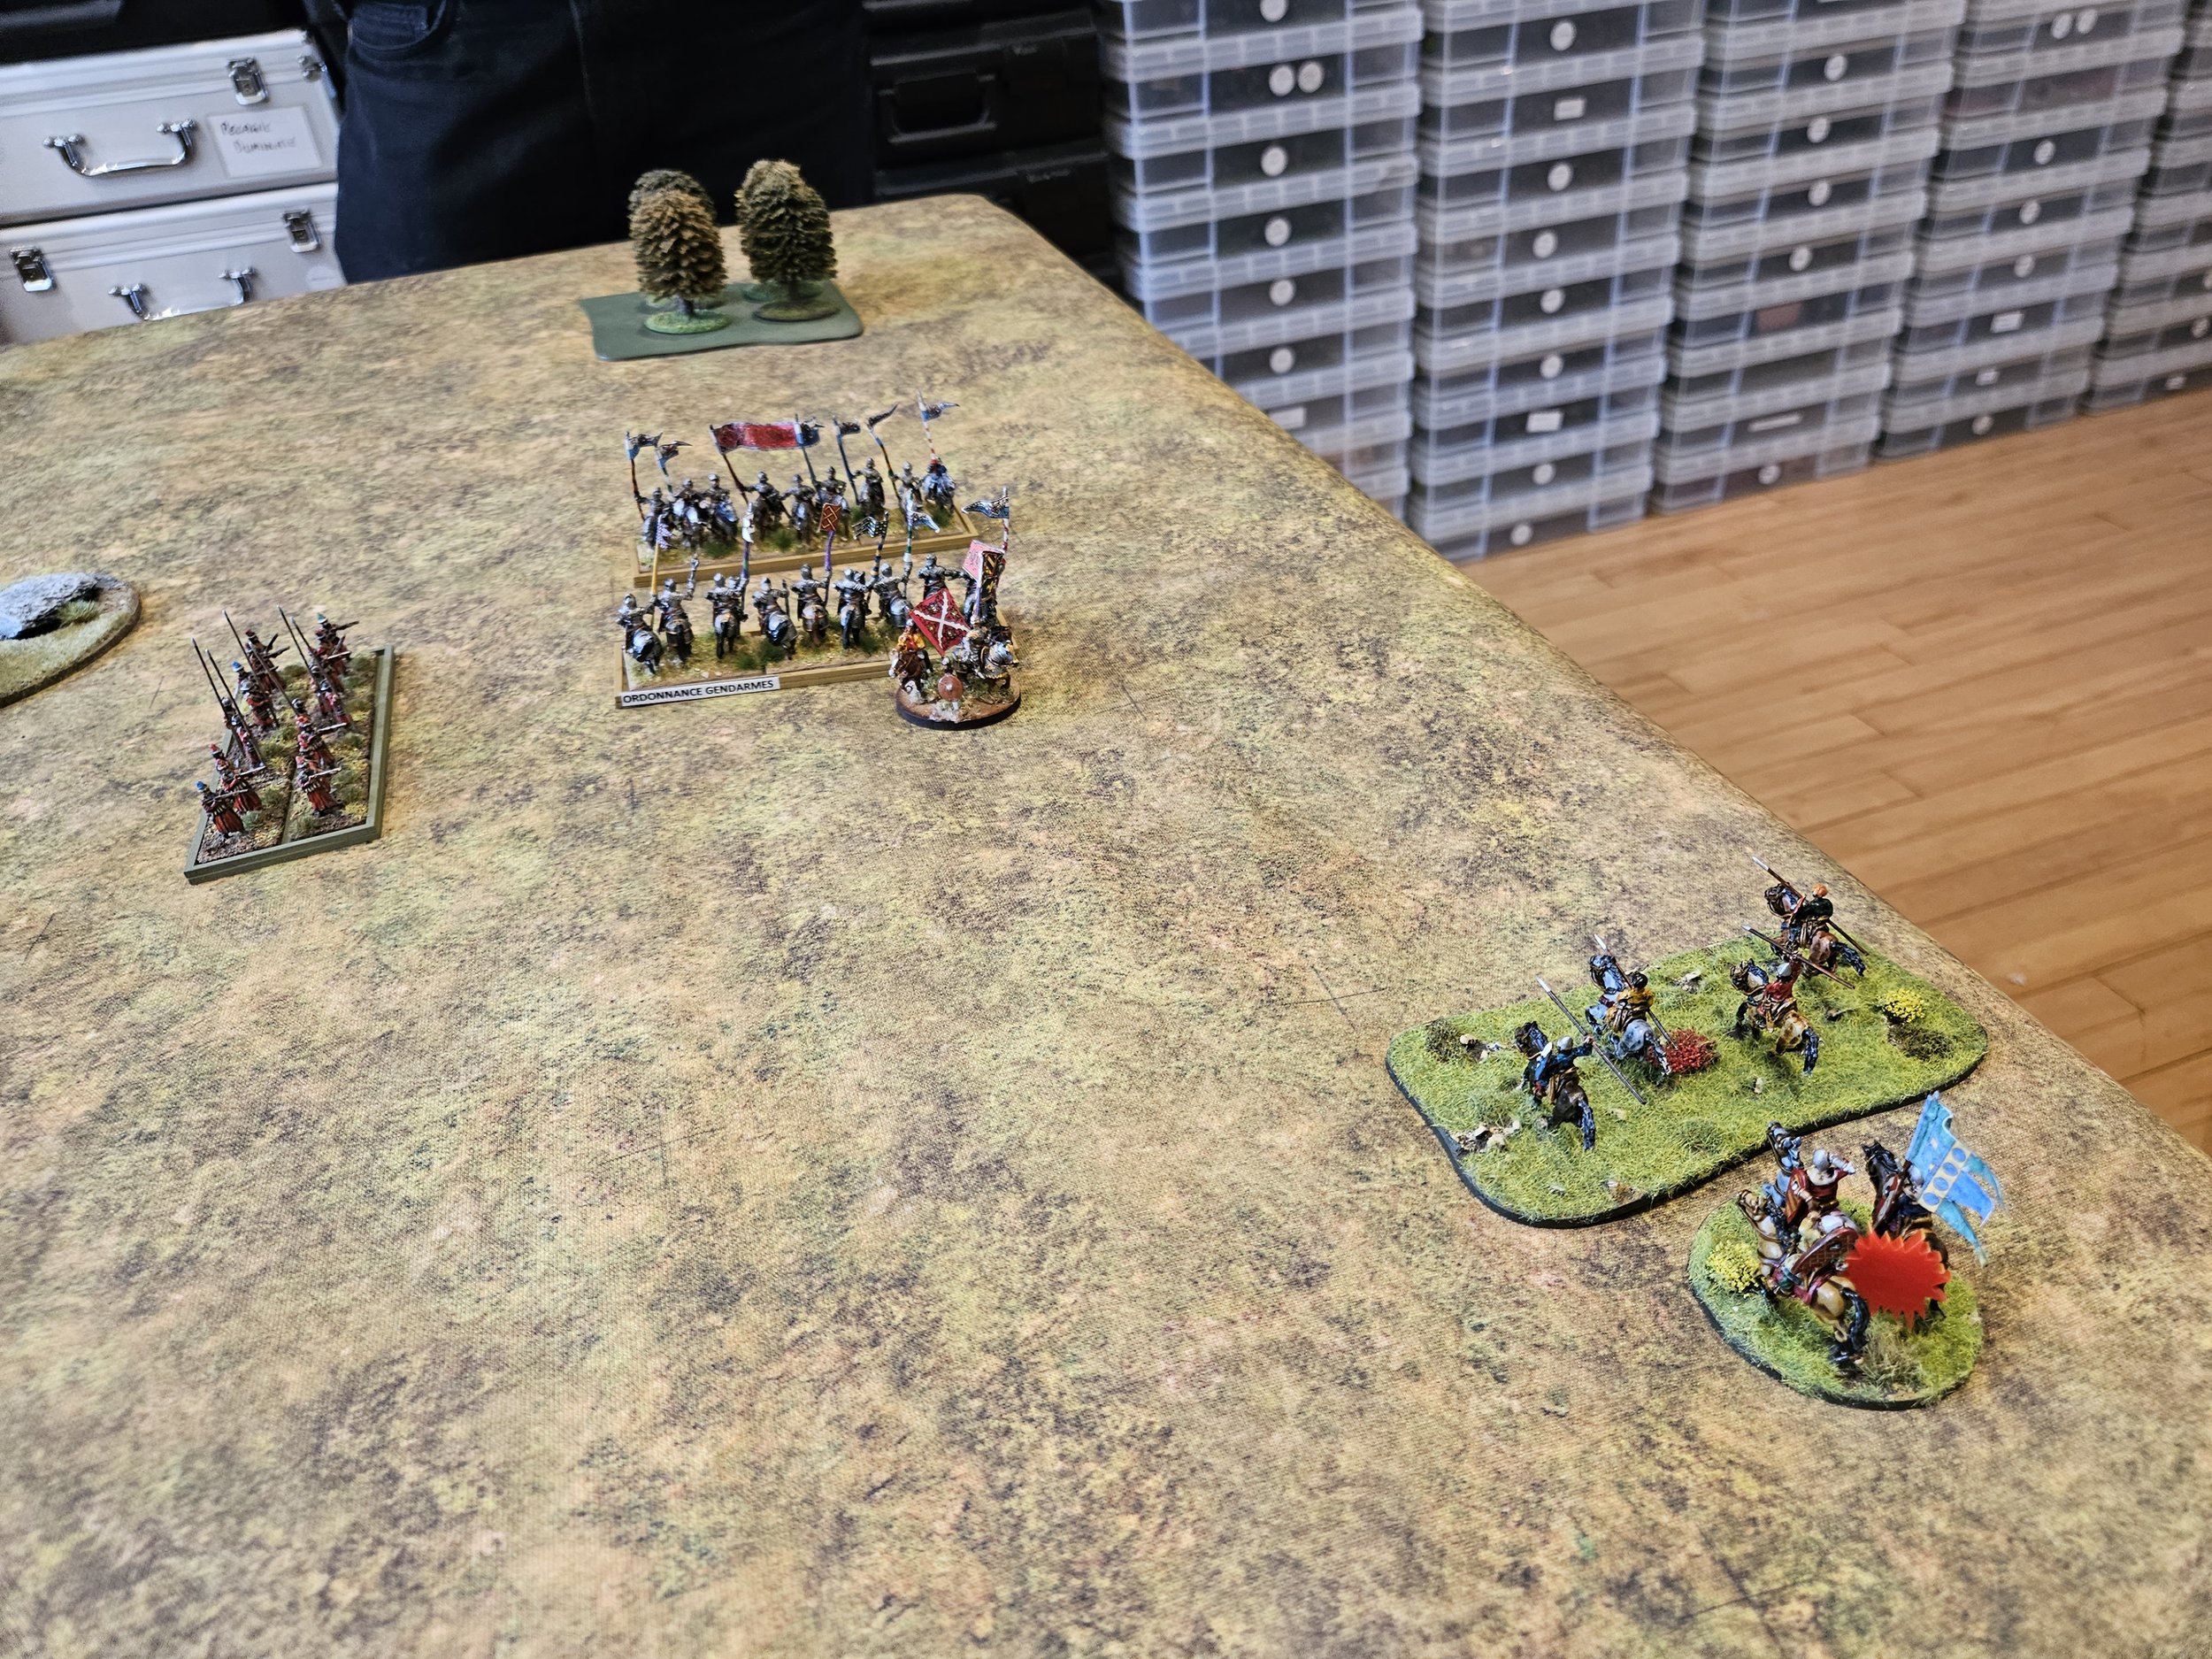
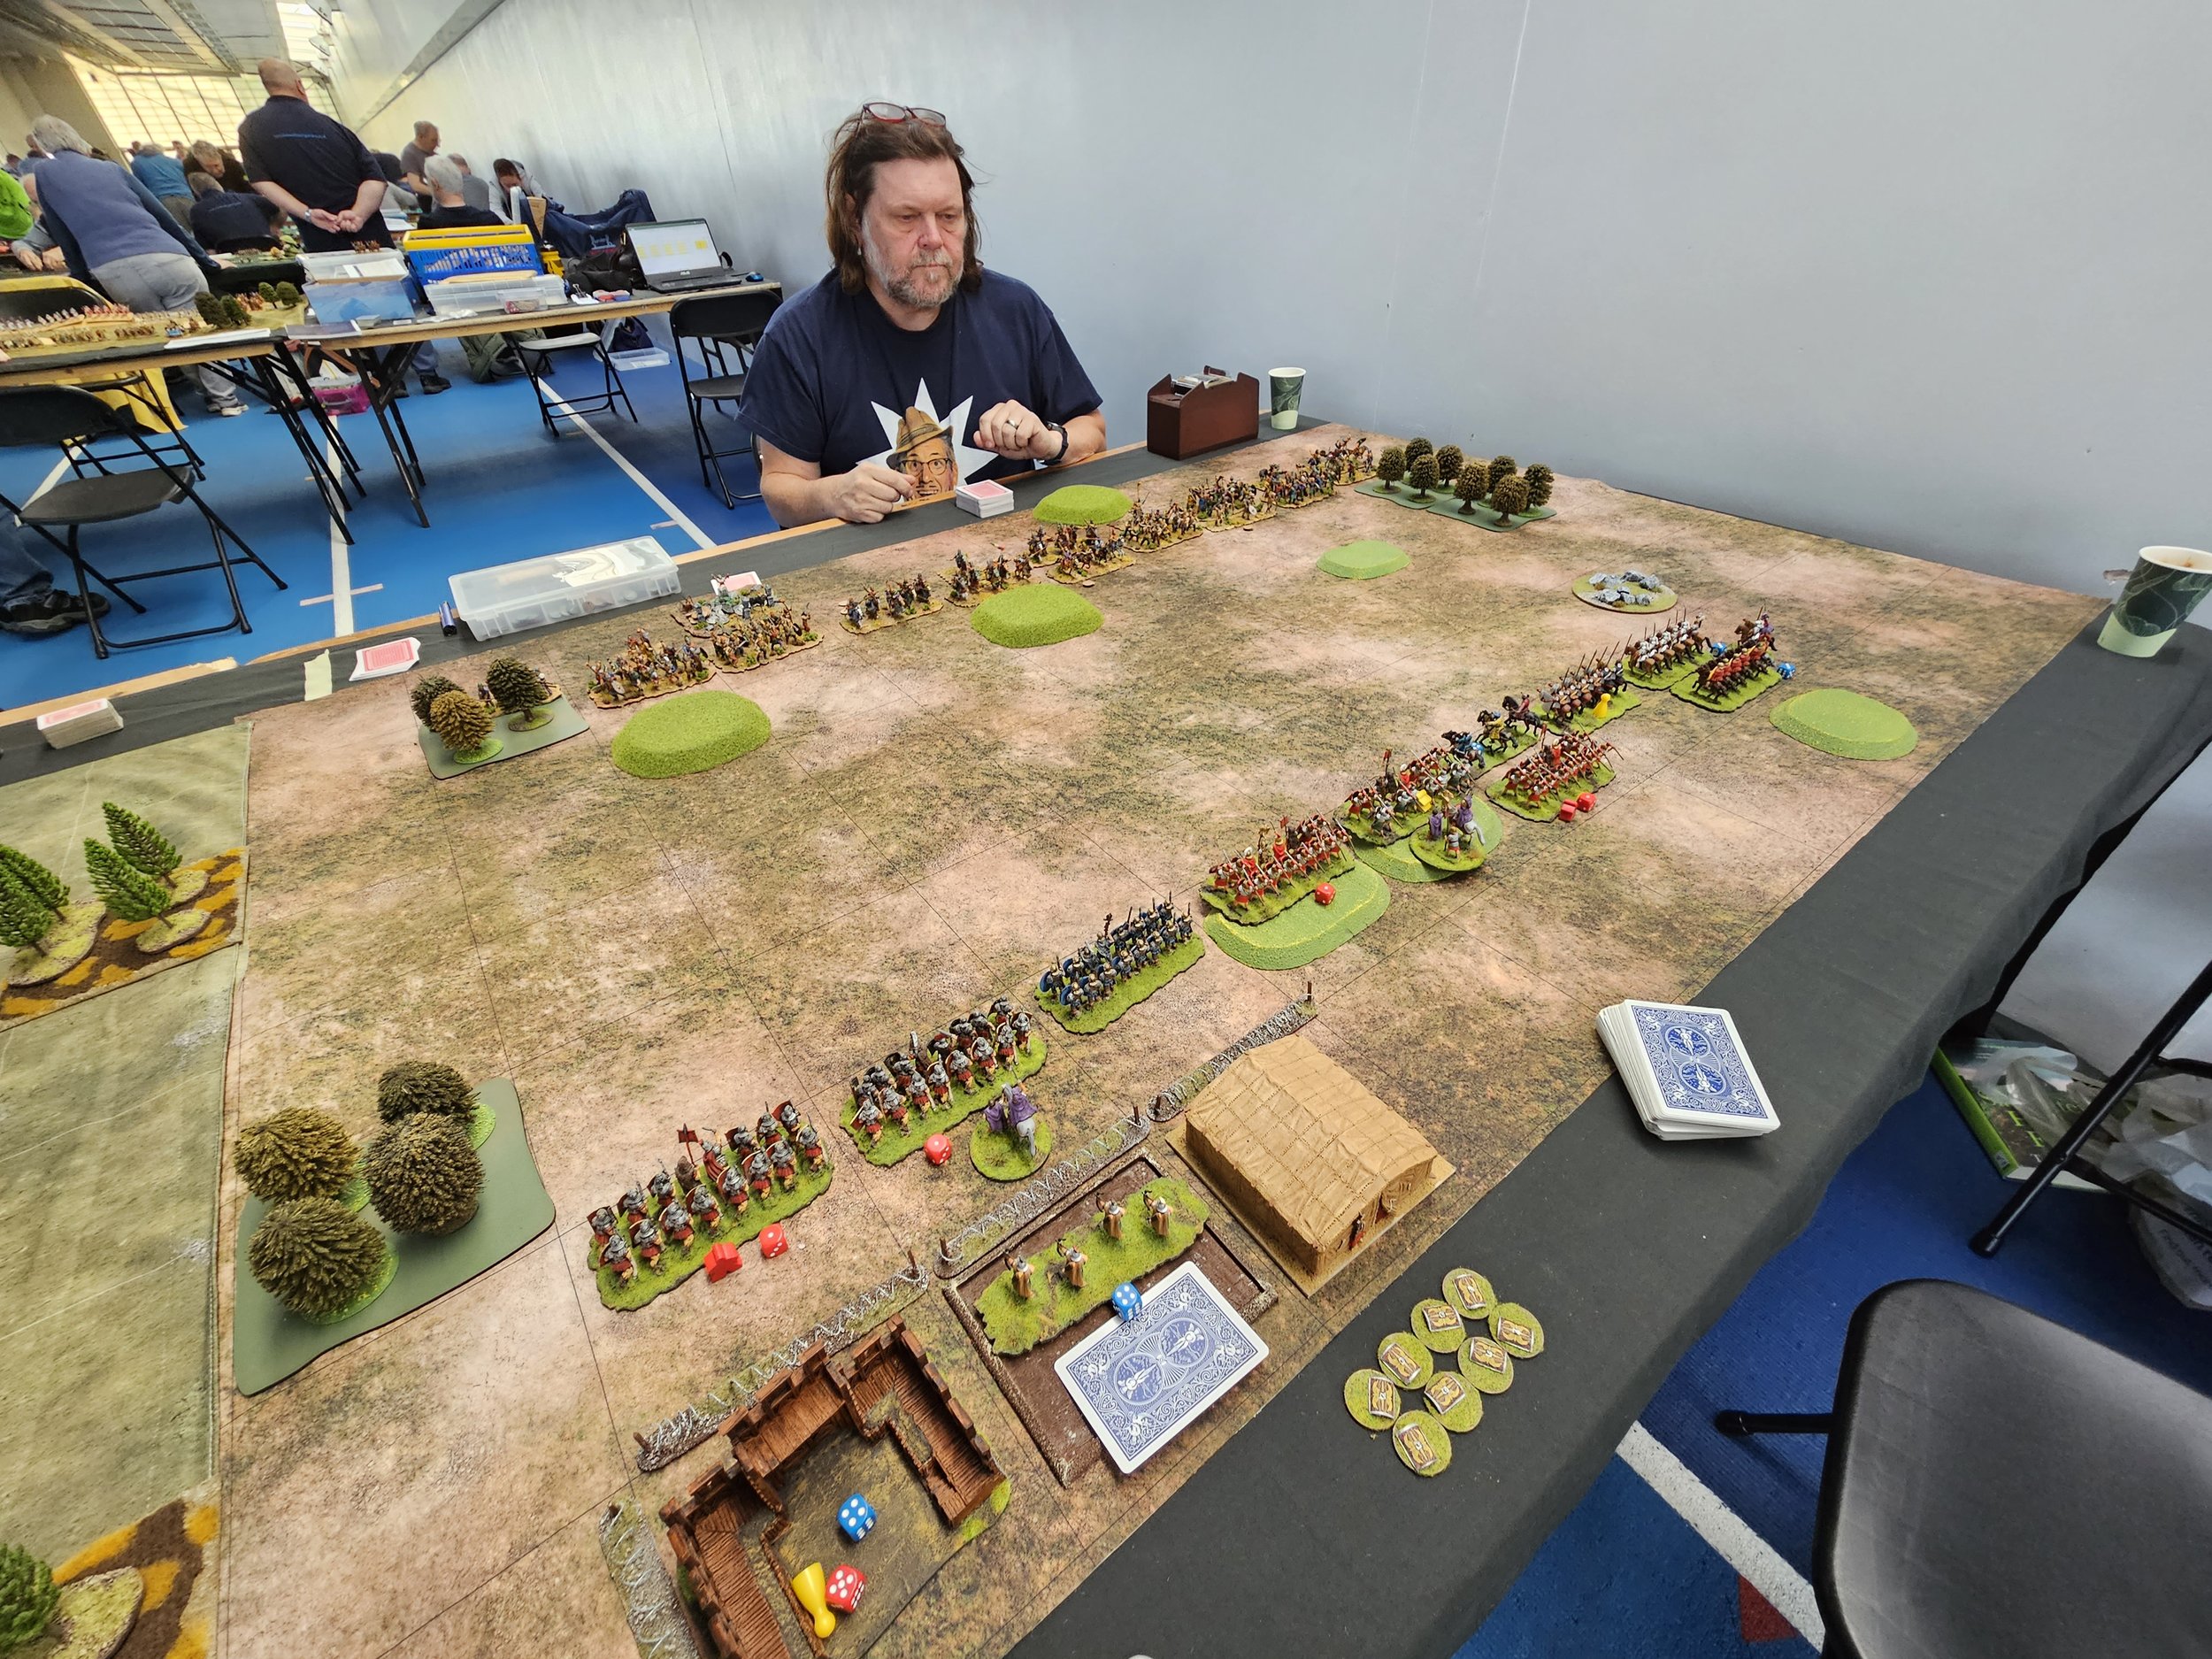
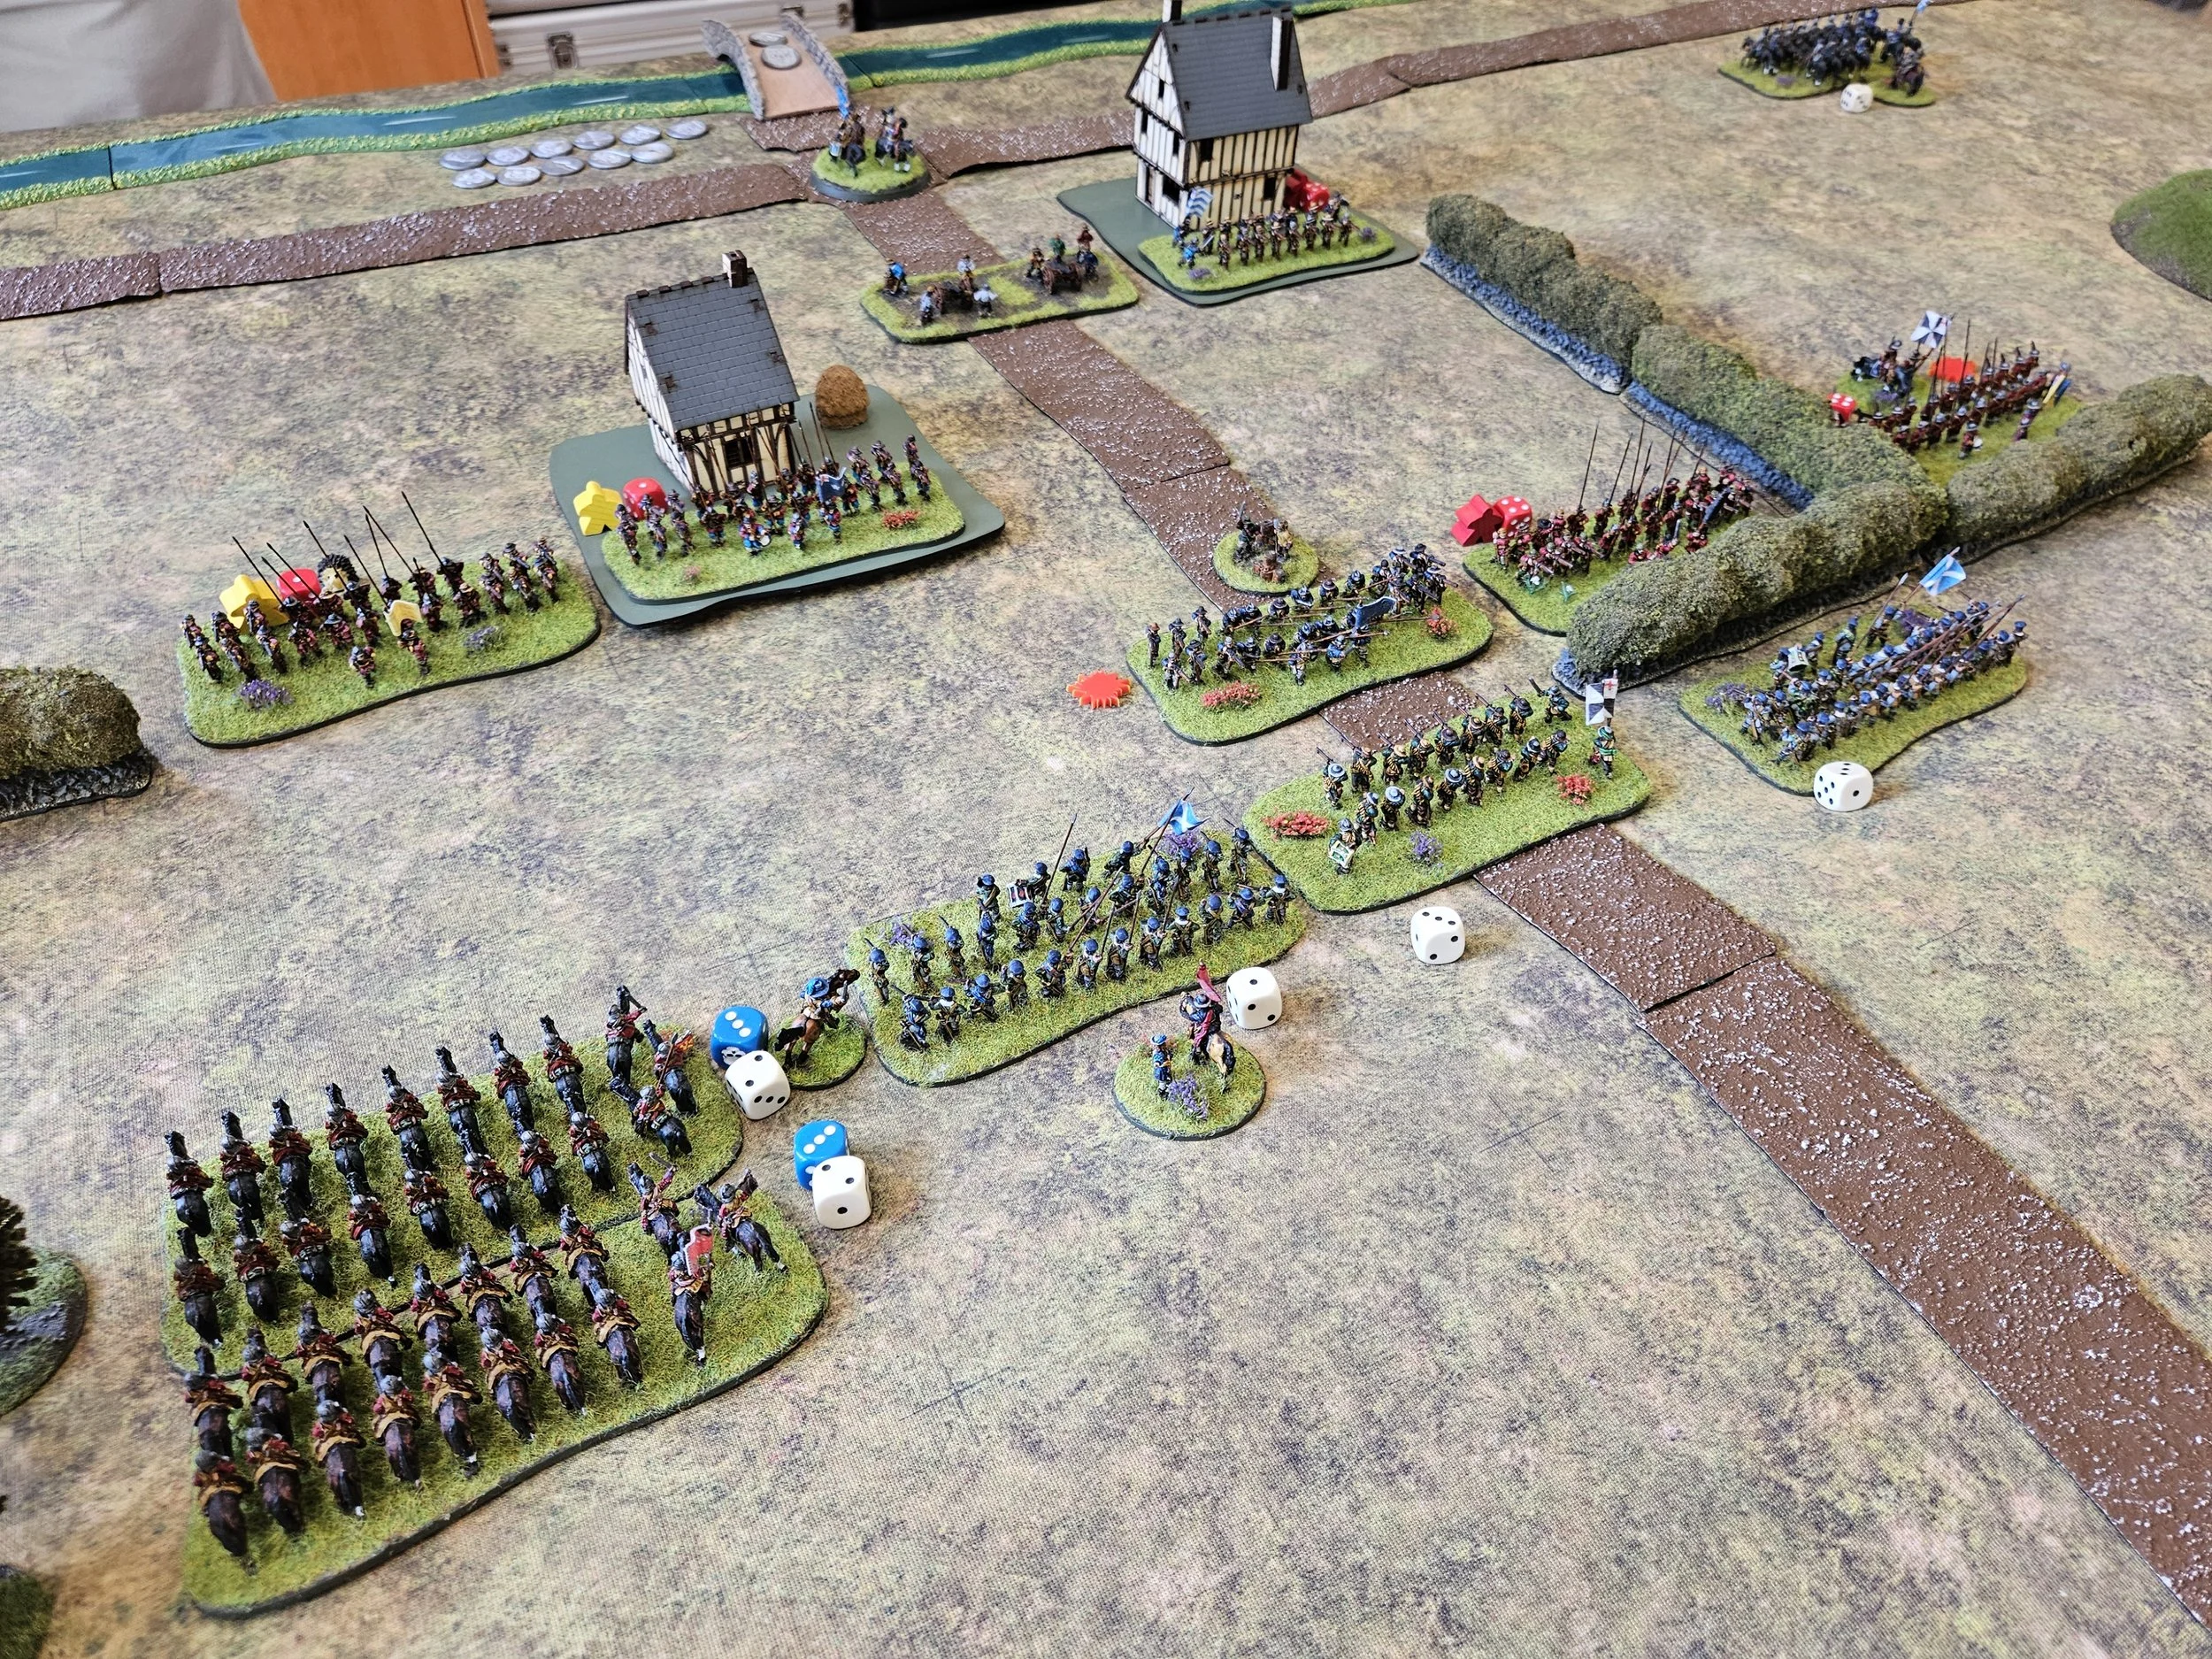
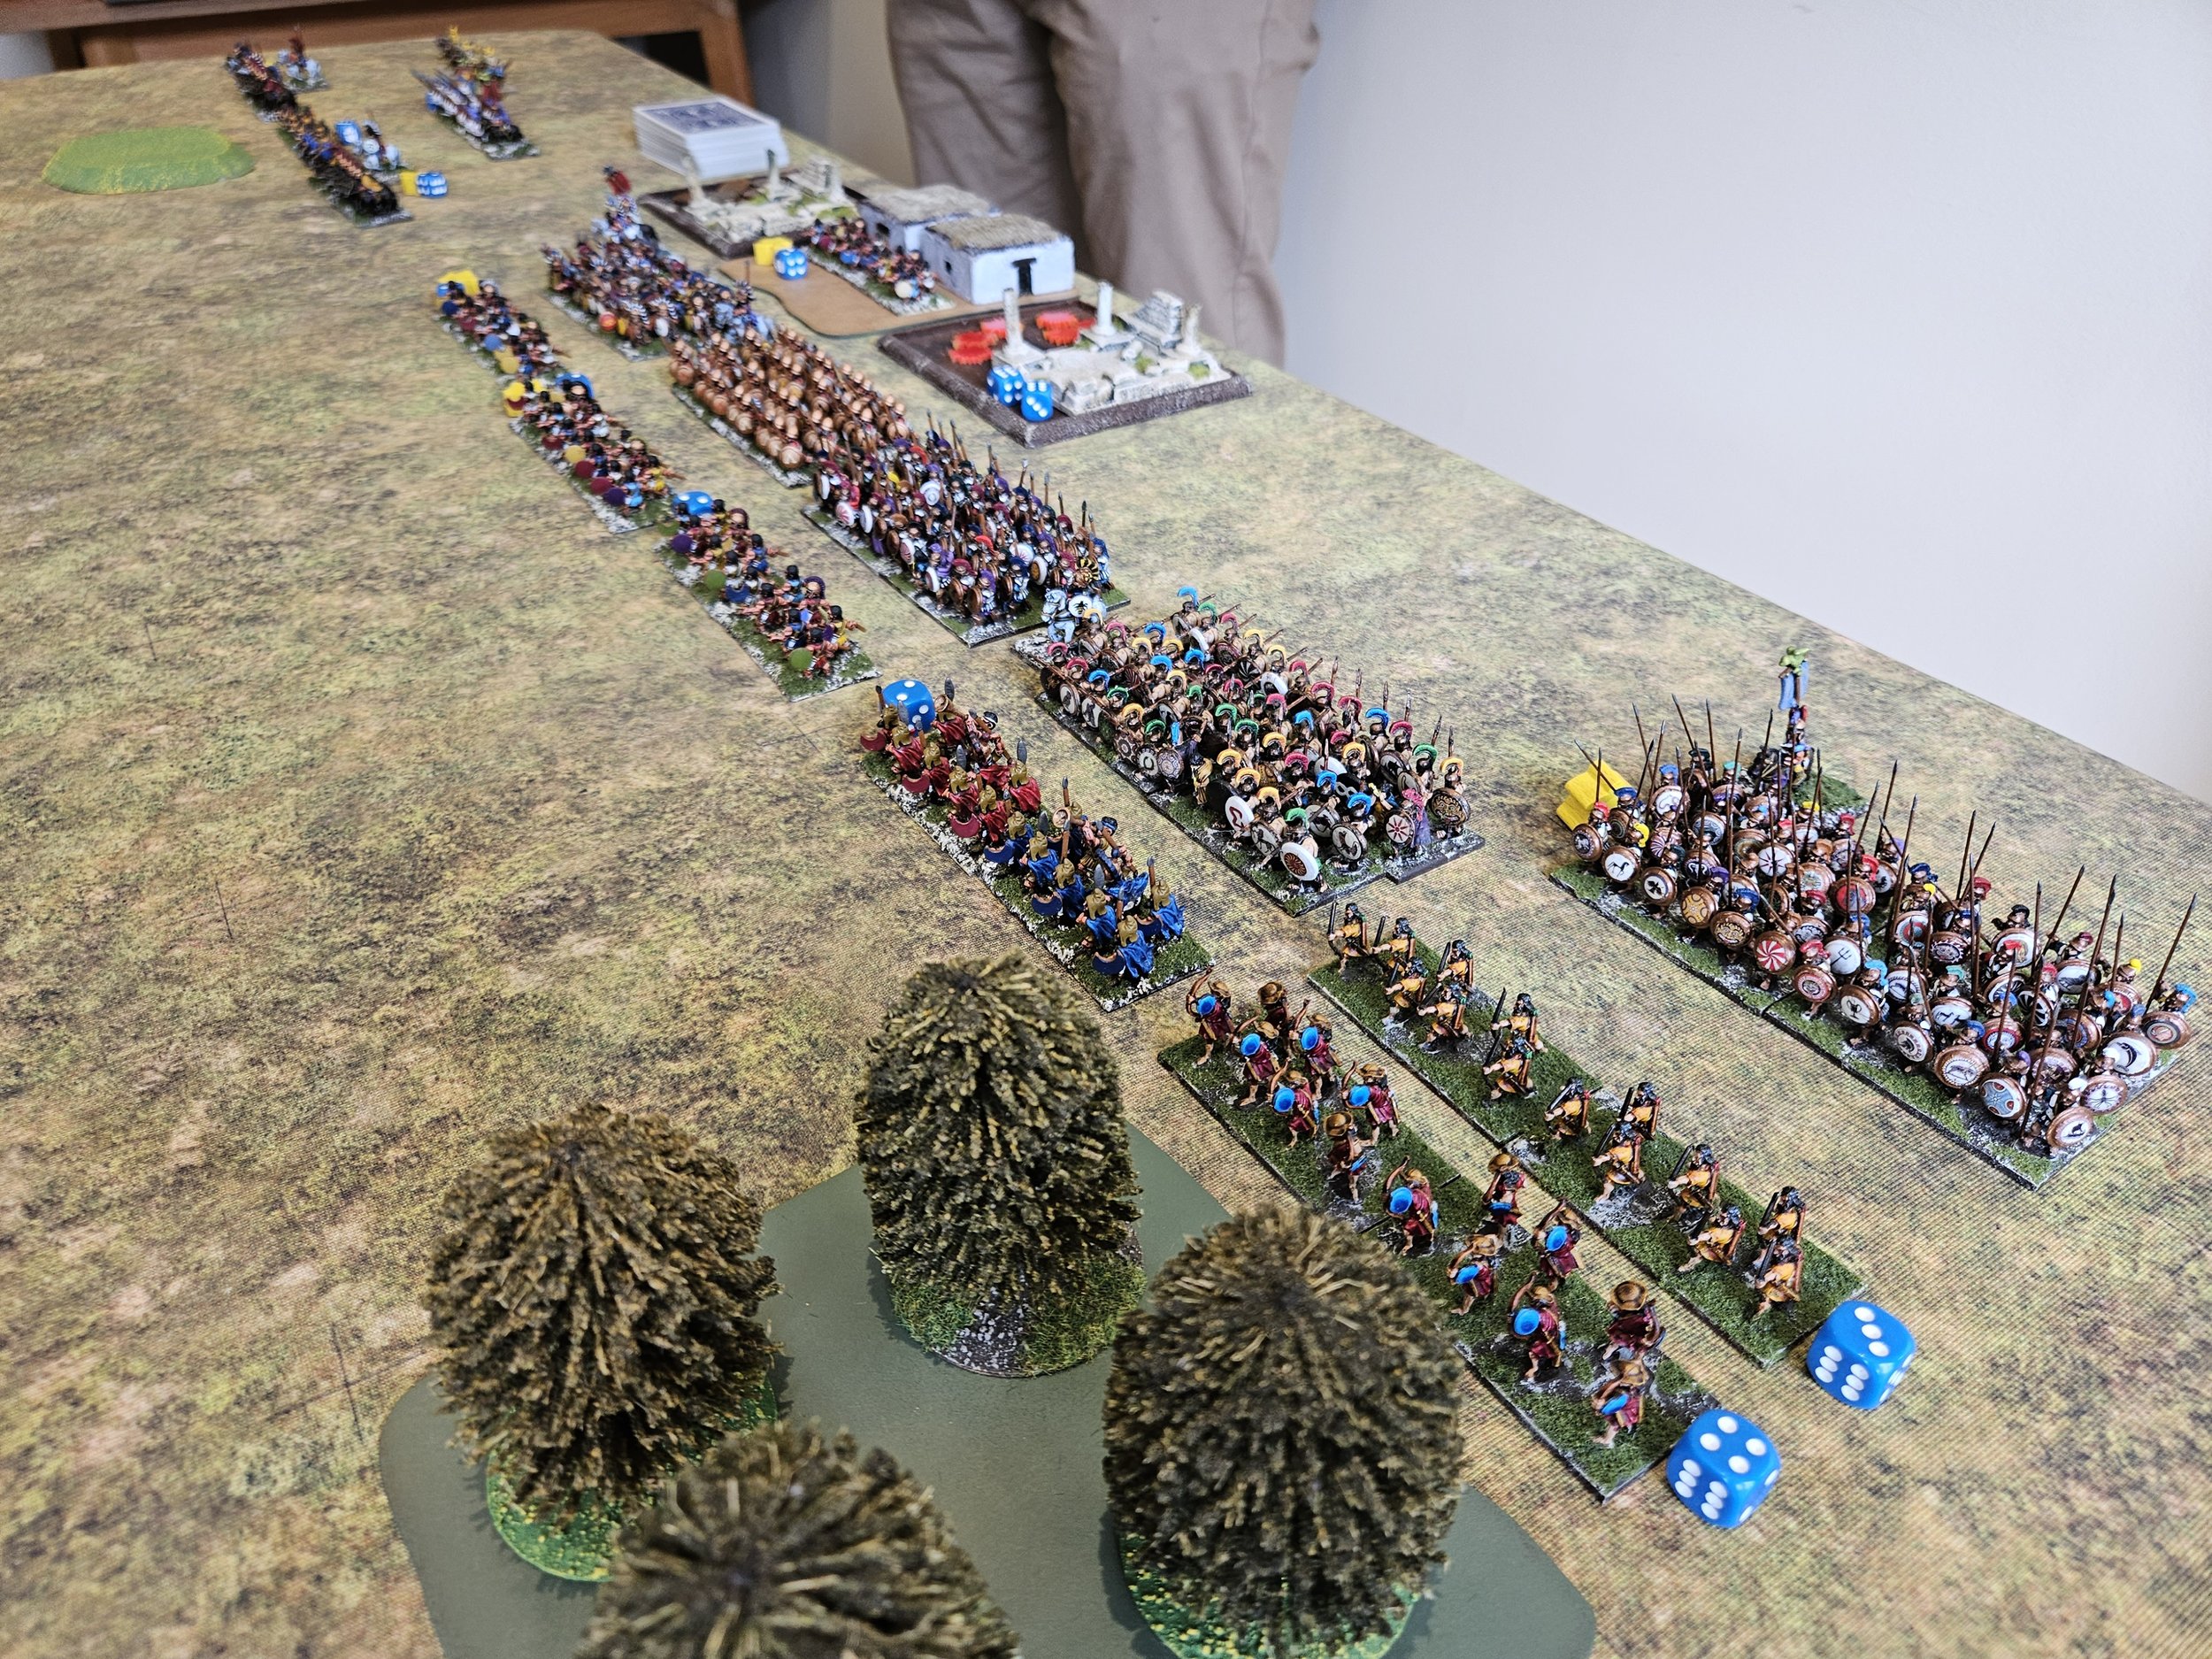
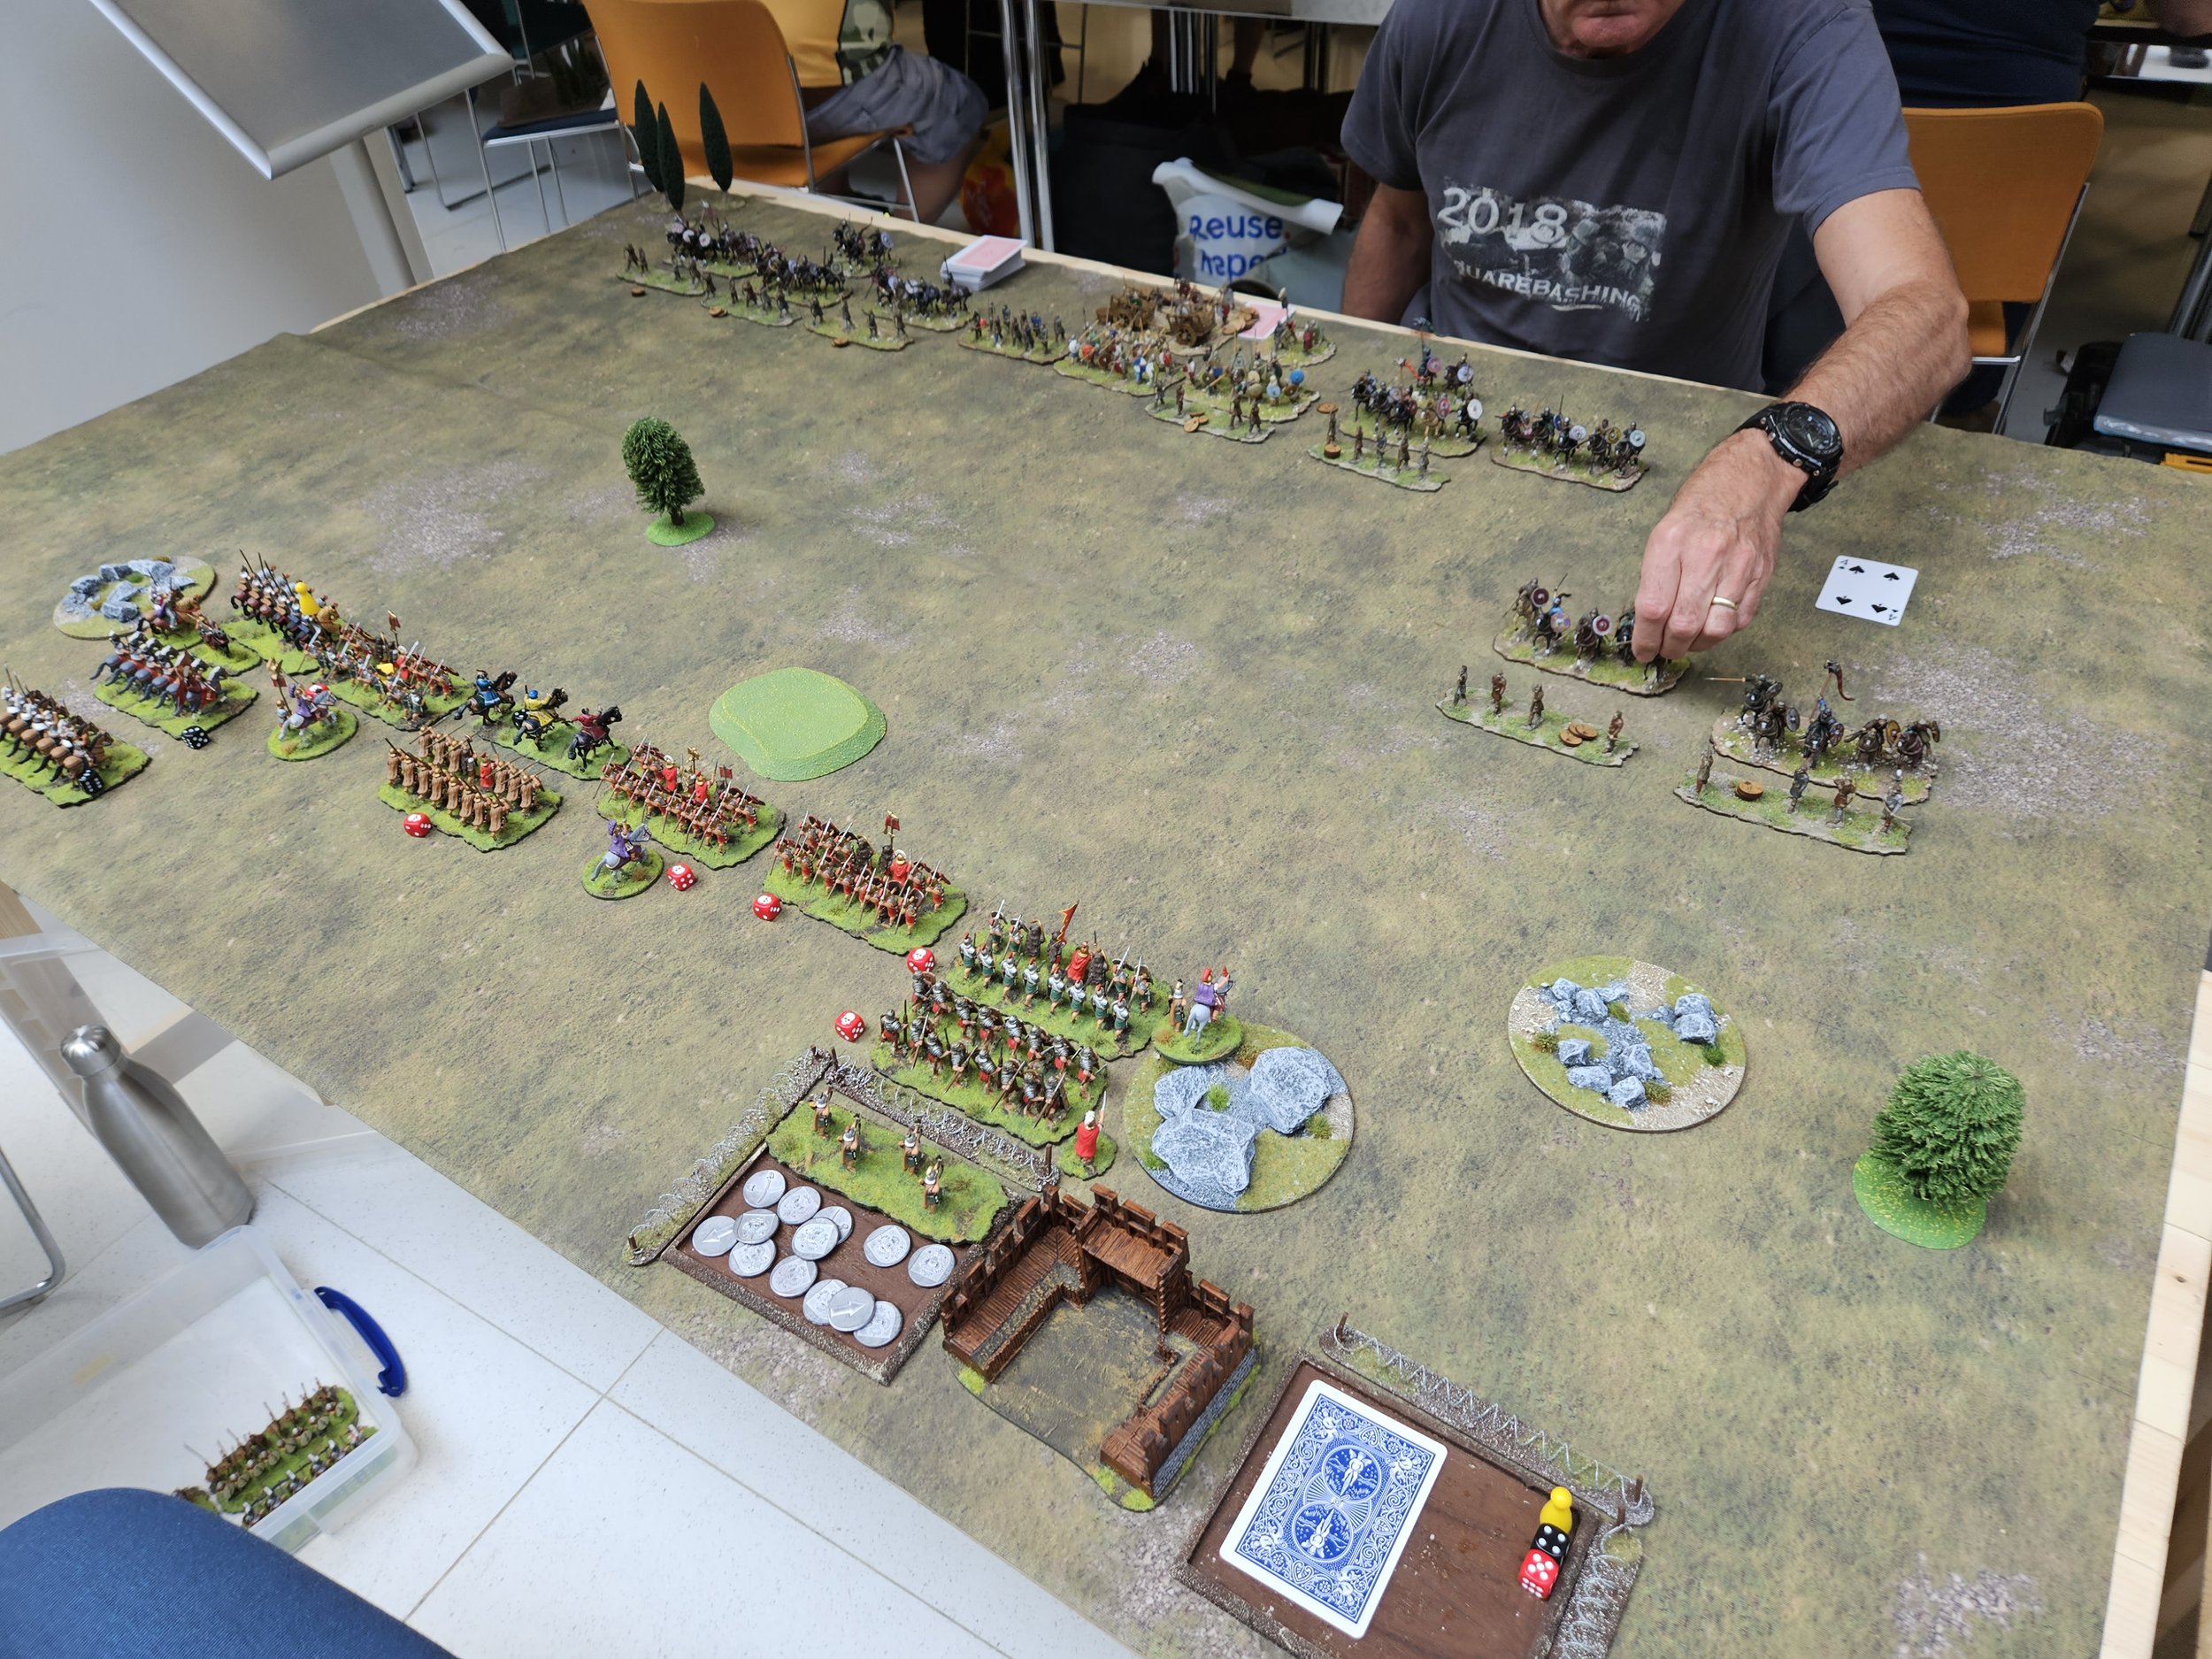
With plenty of time remaining and the table and figures all set up, Bevan and I decided to swap sides and play again: I would take the Papal Italians (proxied by a Burgundian Ordnance army) and Bevan would play the Sicilio-Normans.

Now if I thought my luck was bad in the last game, in this game it really fell off a cliff!

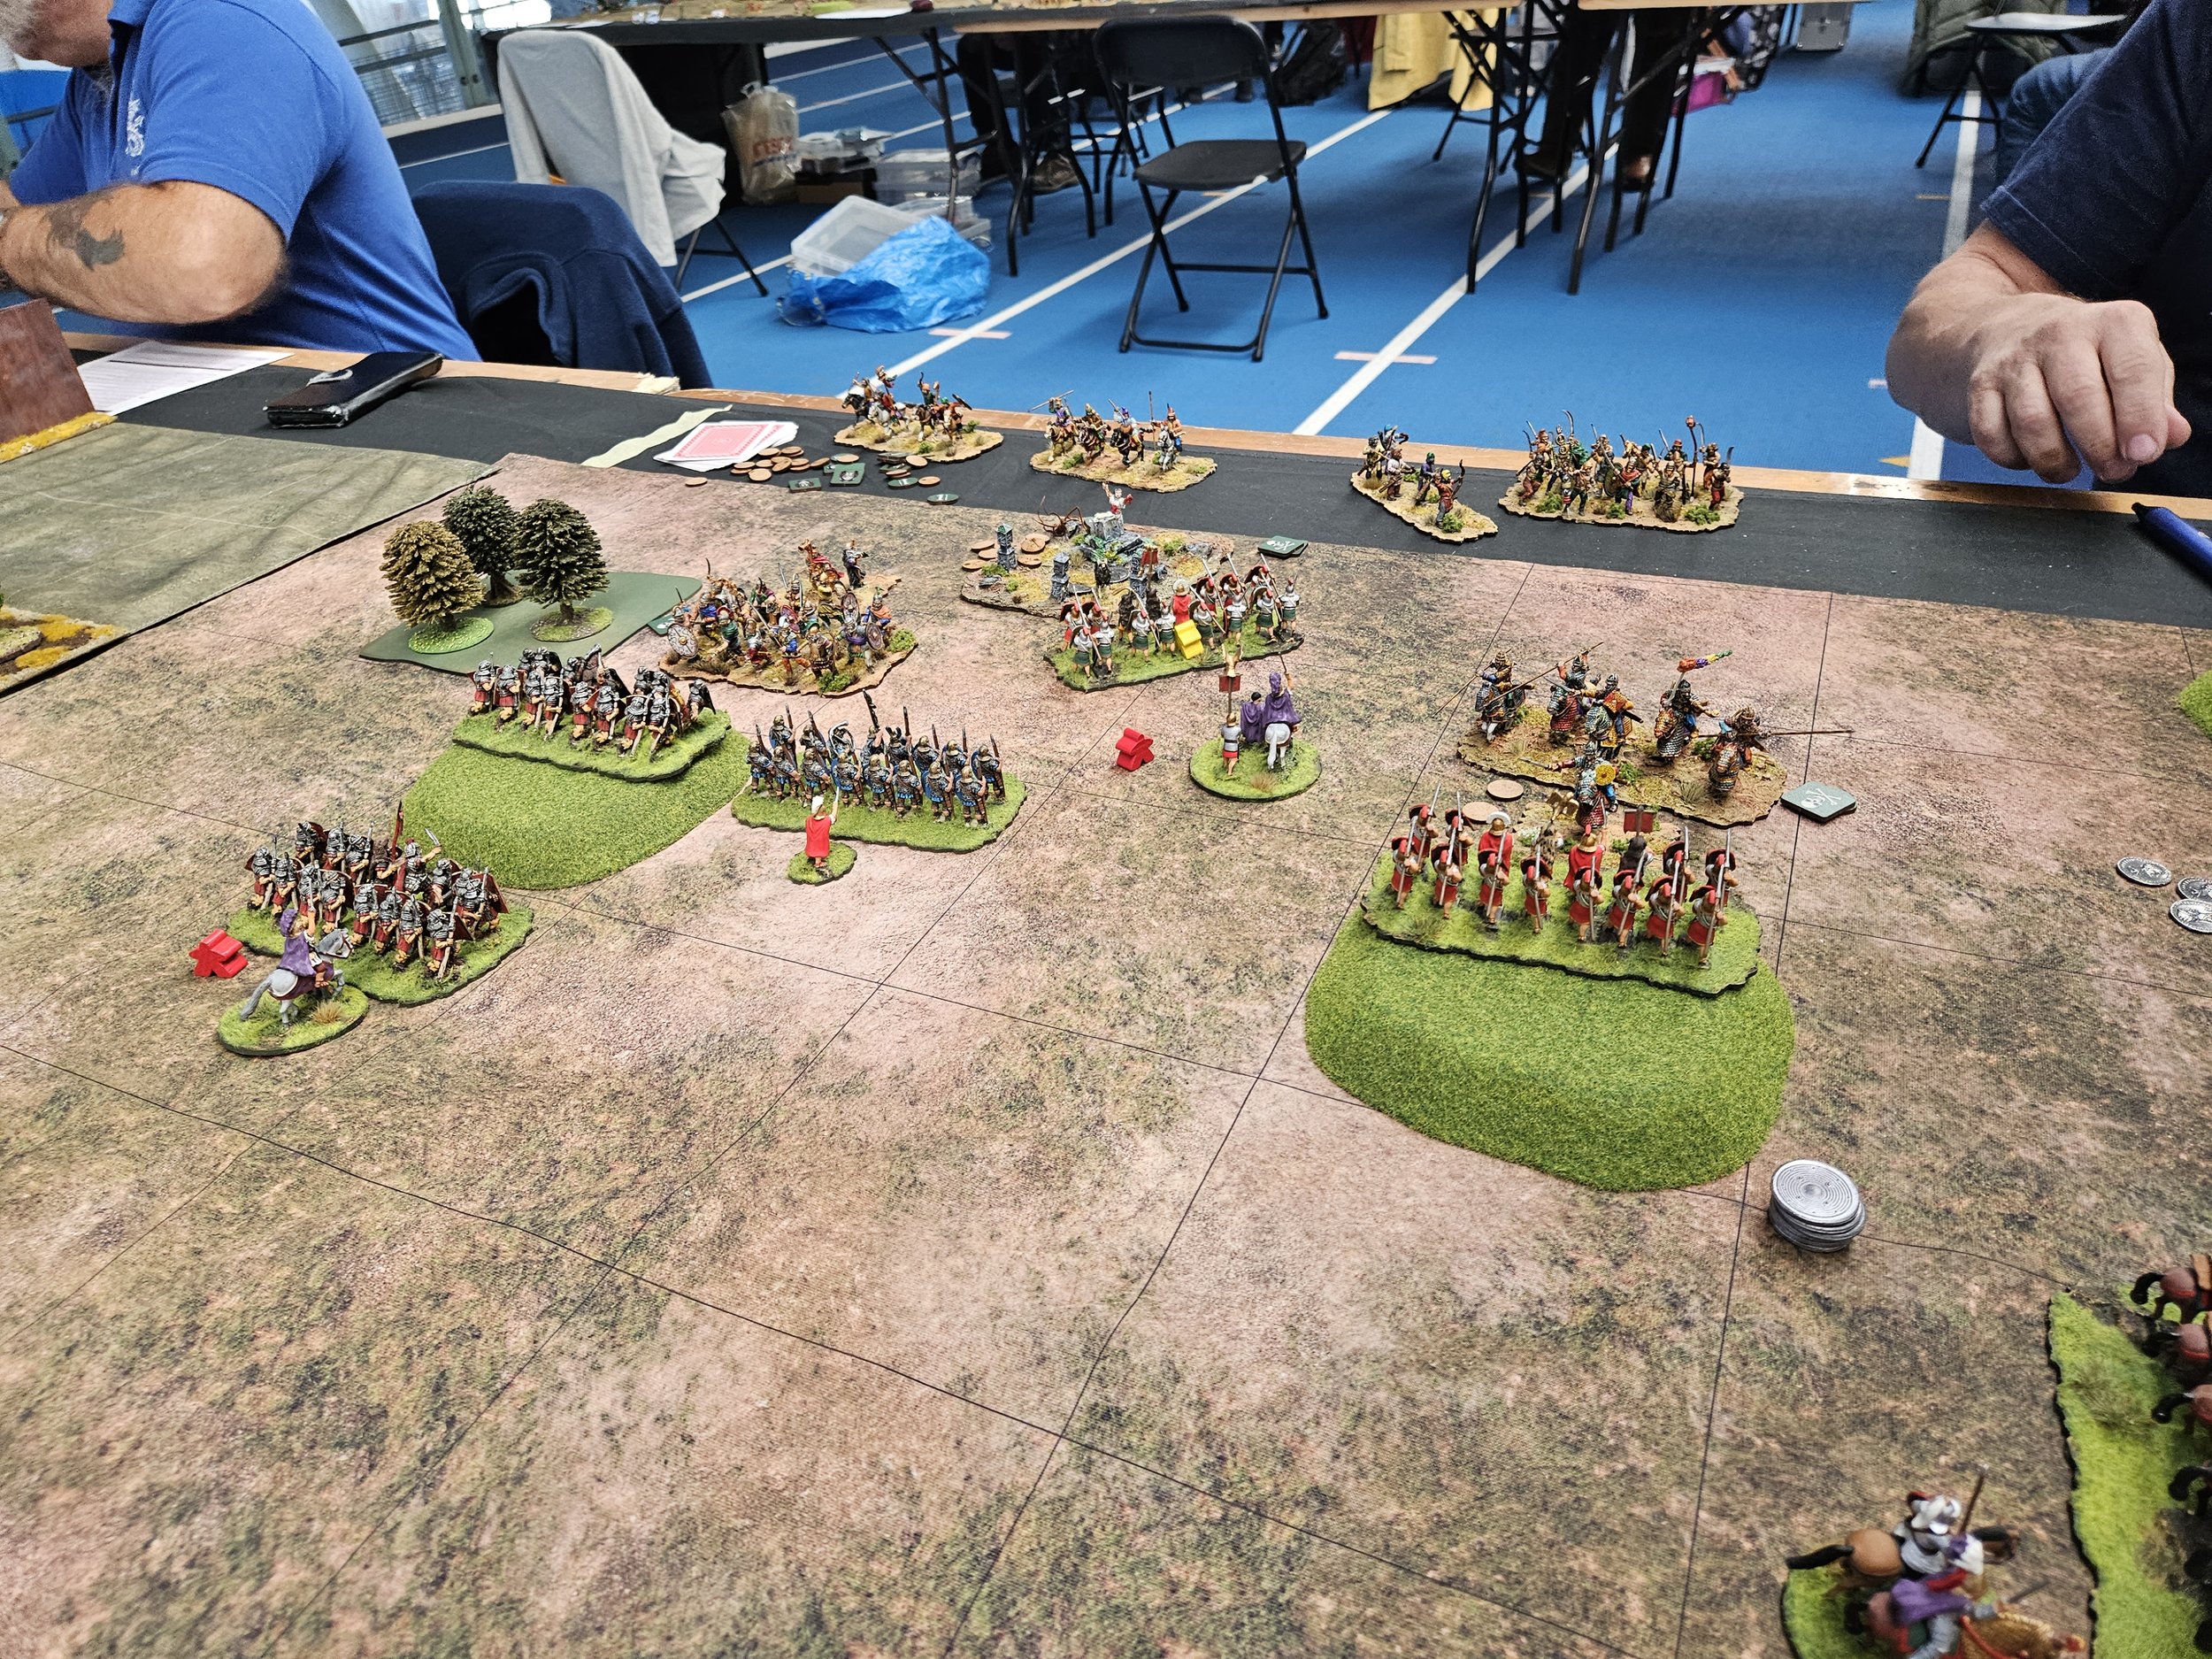
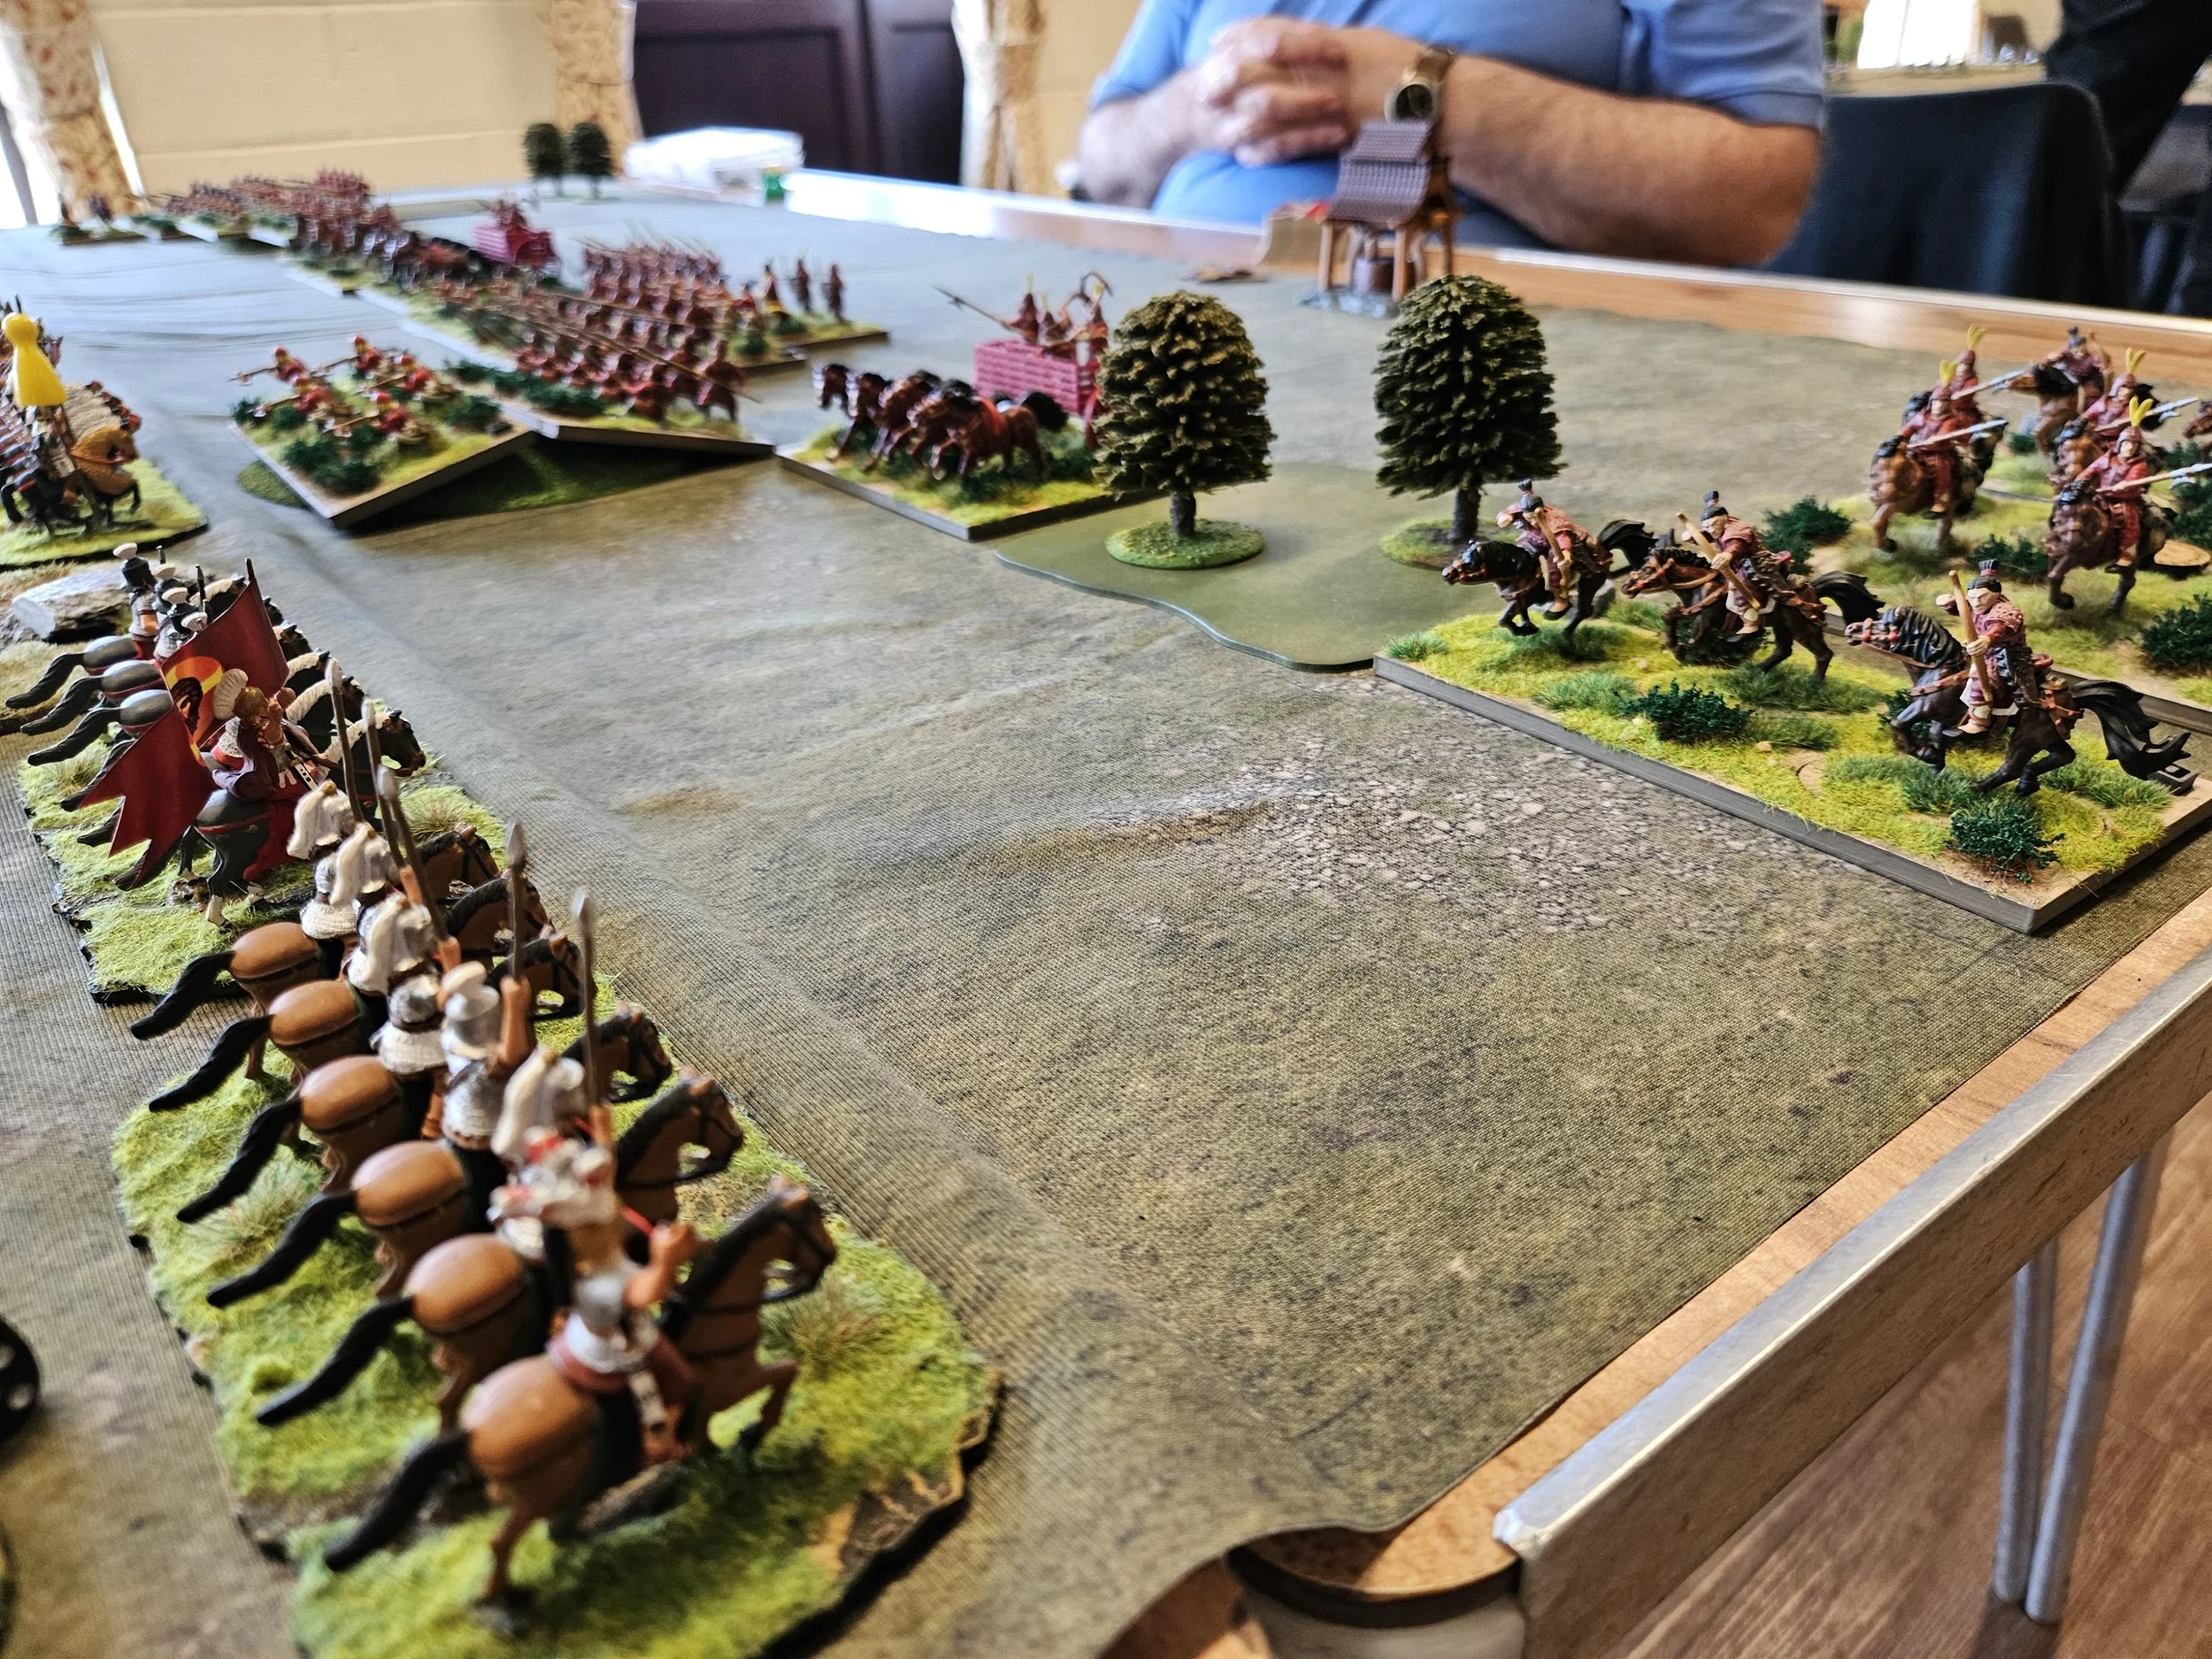
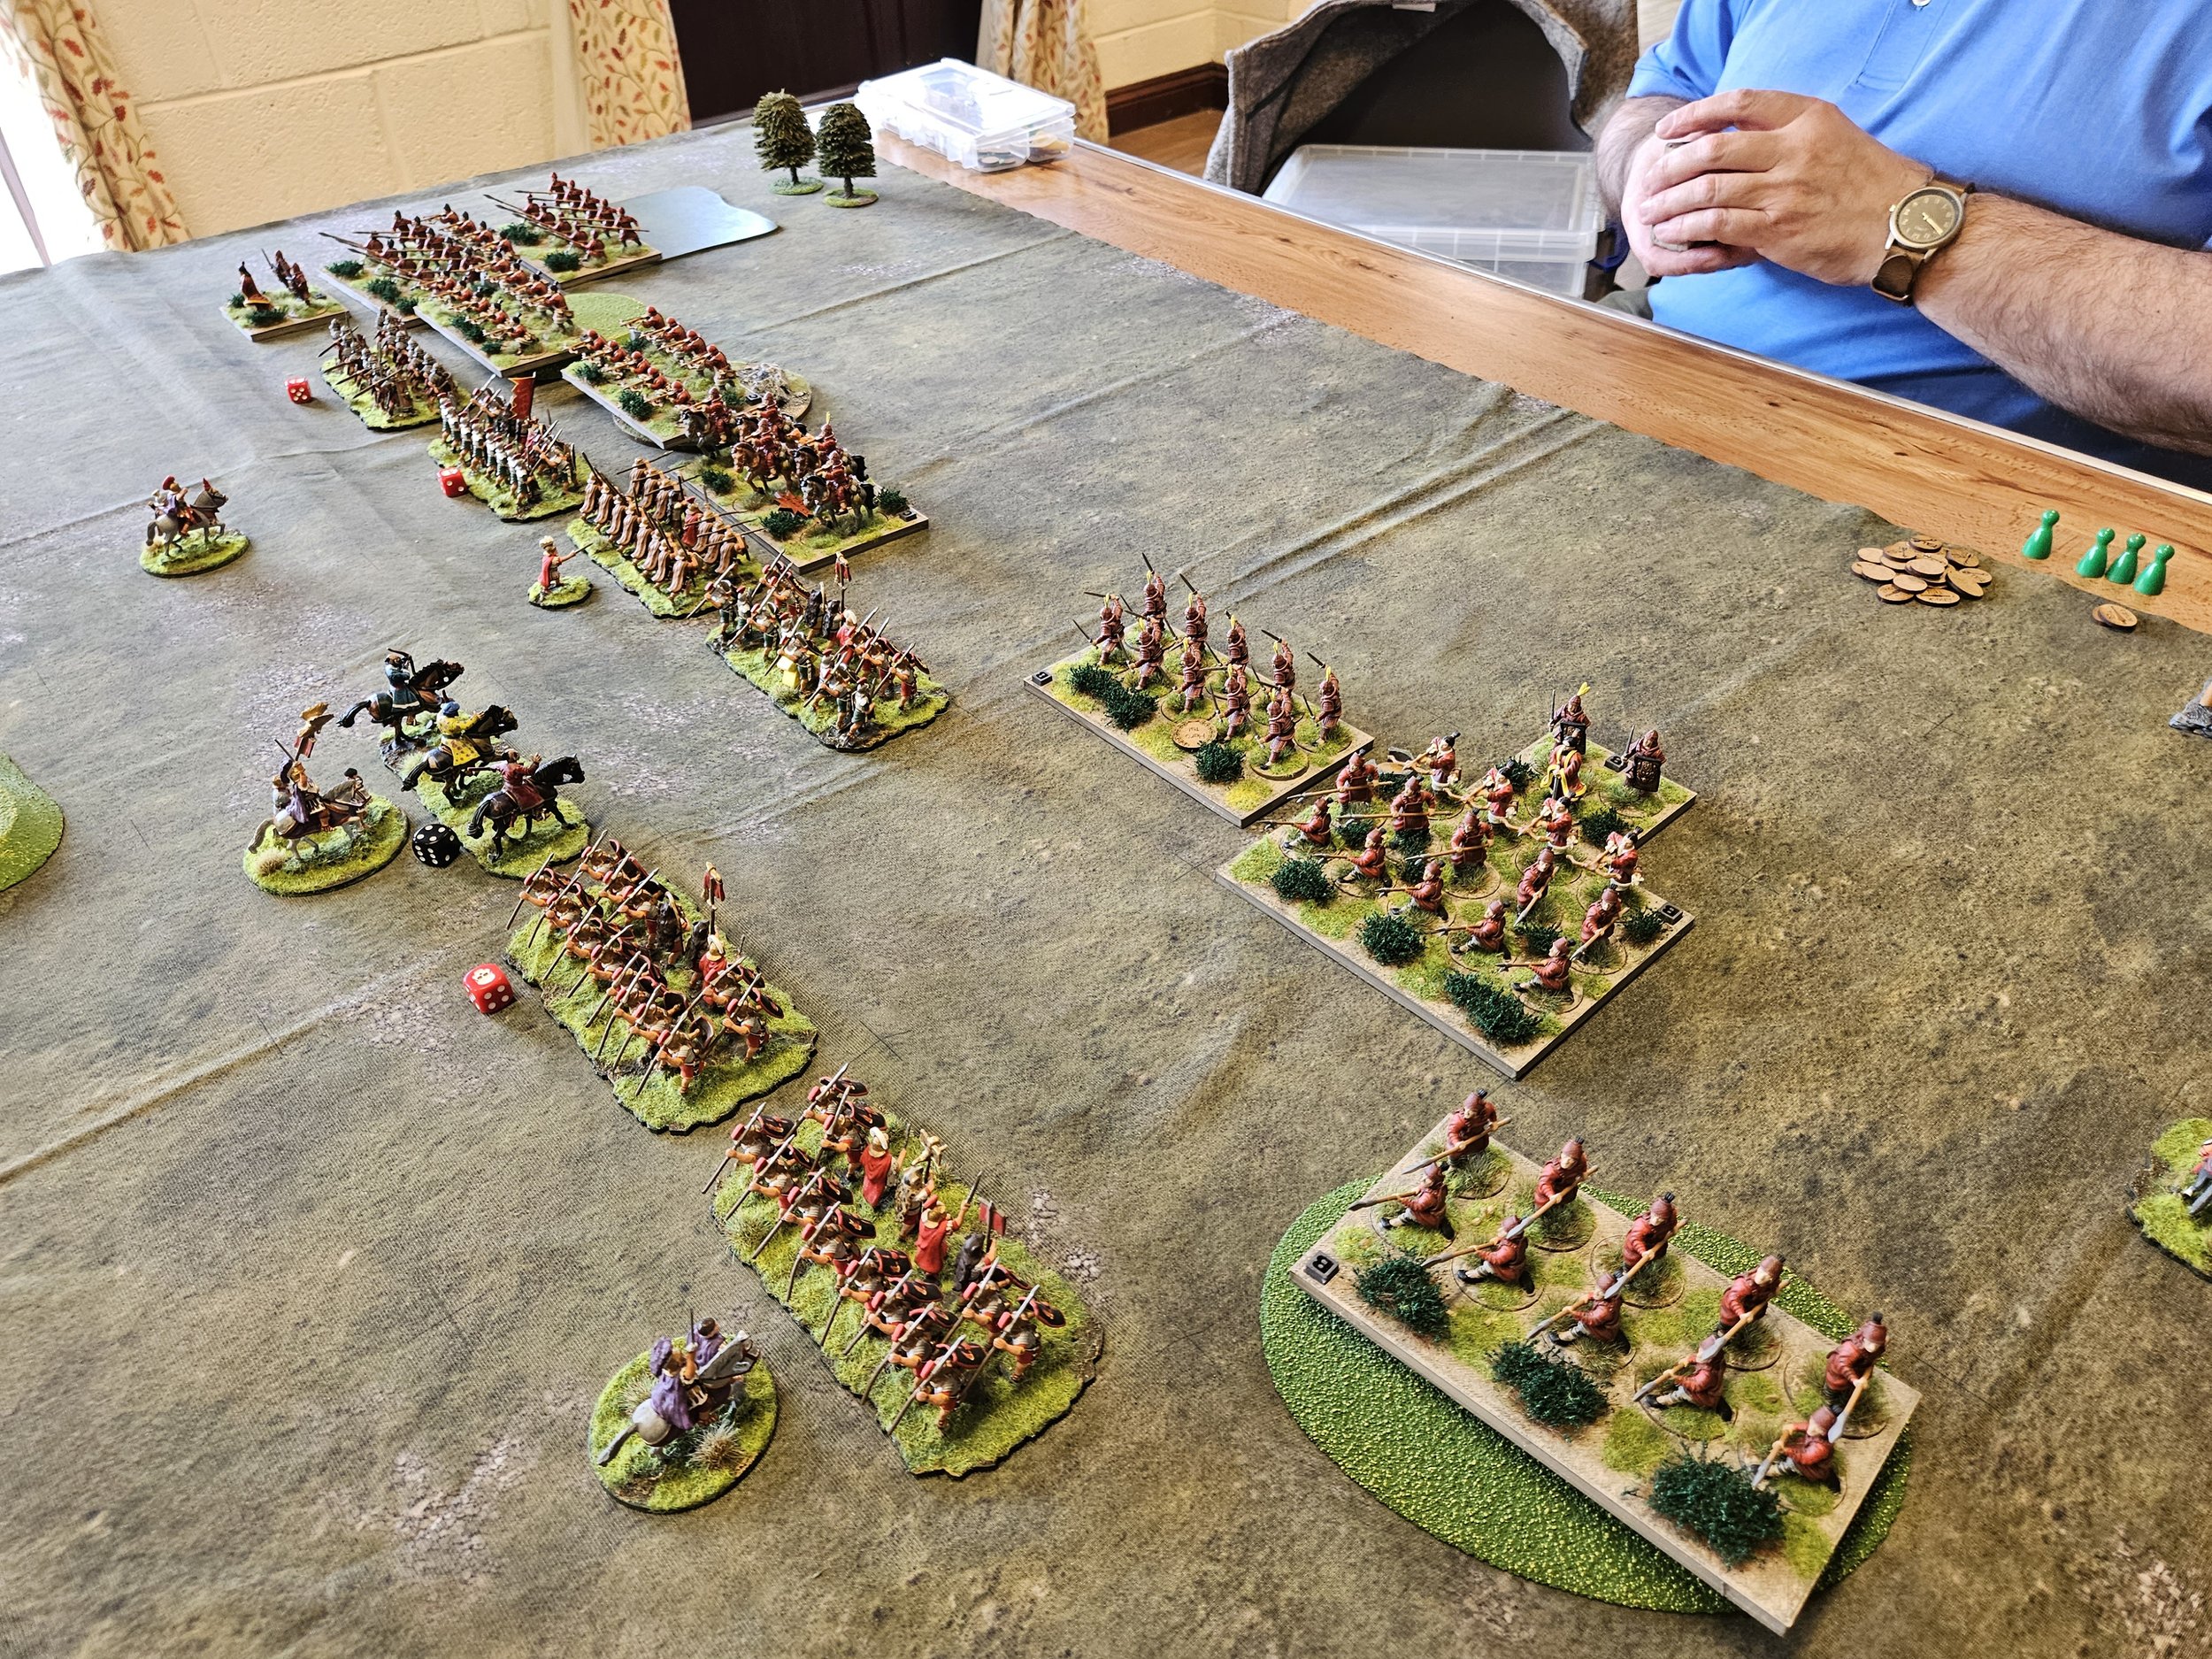
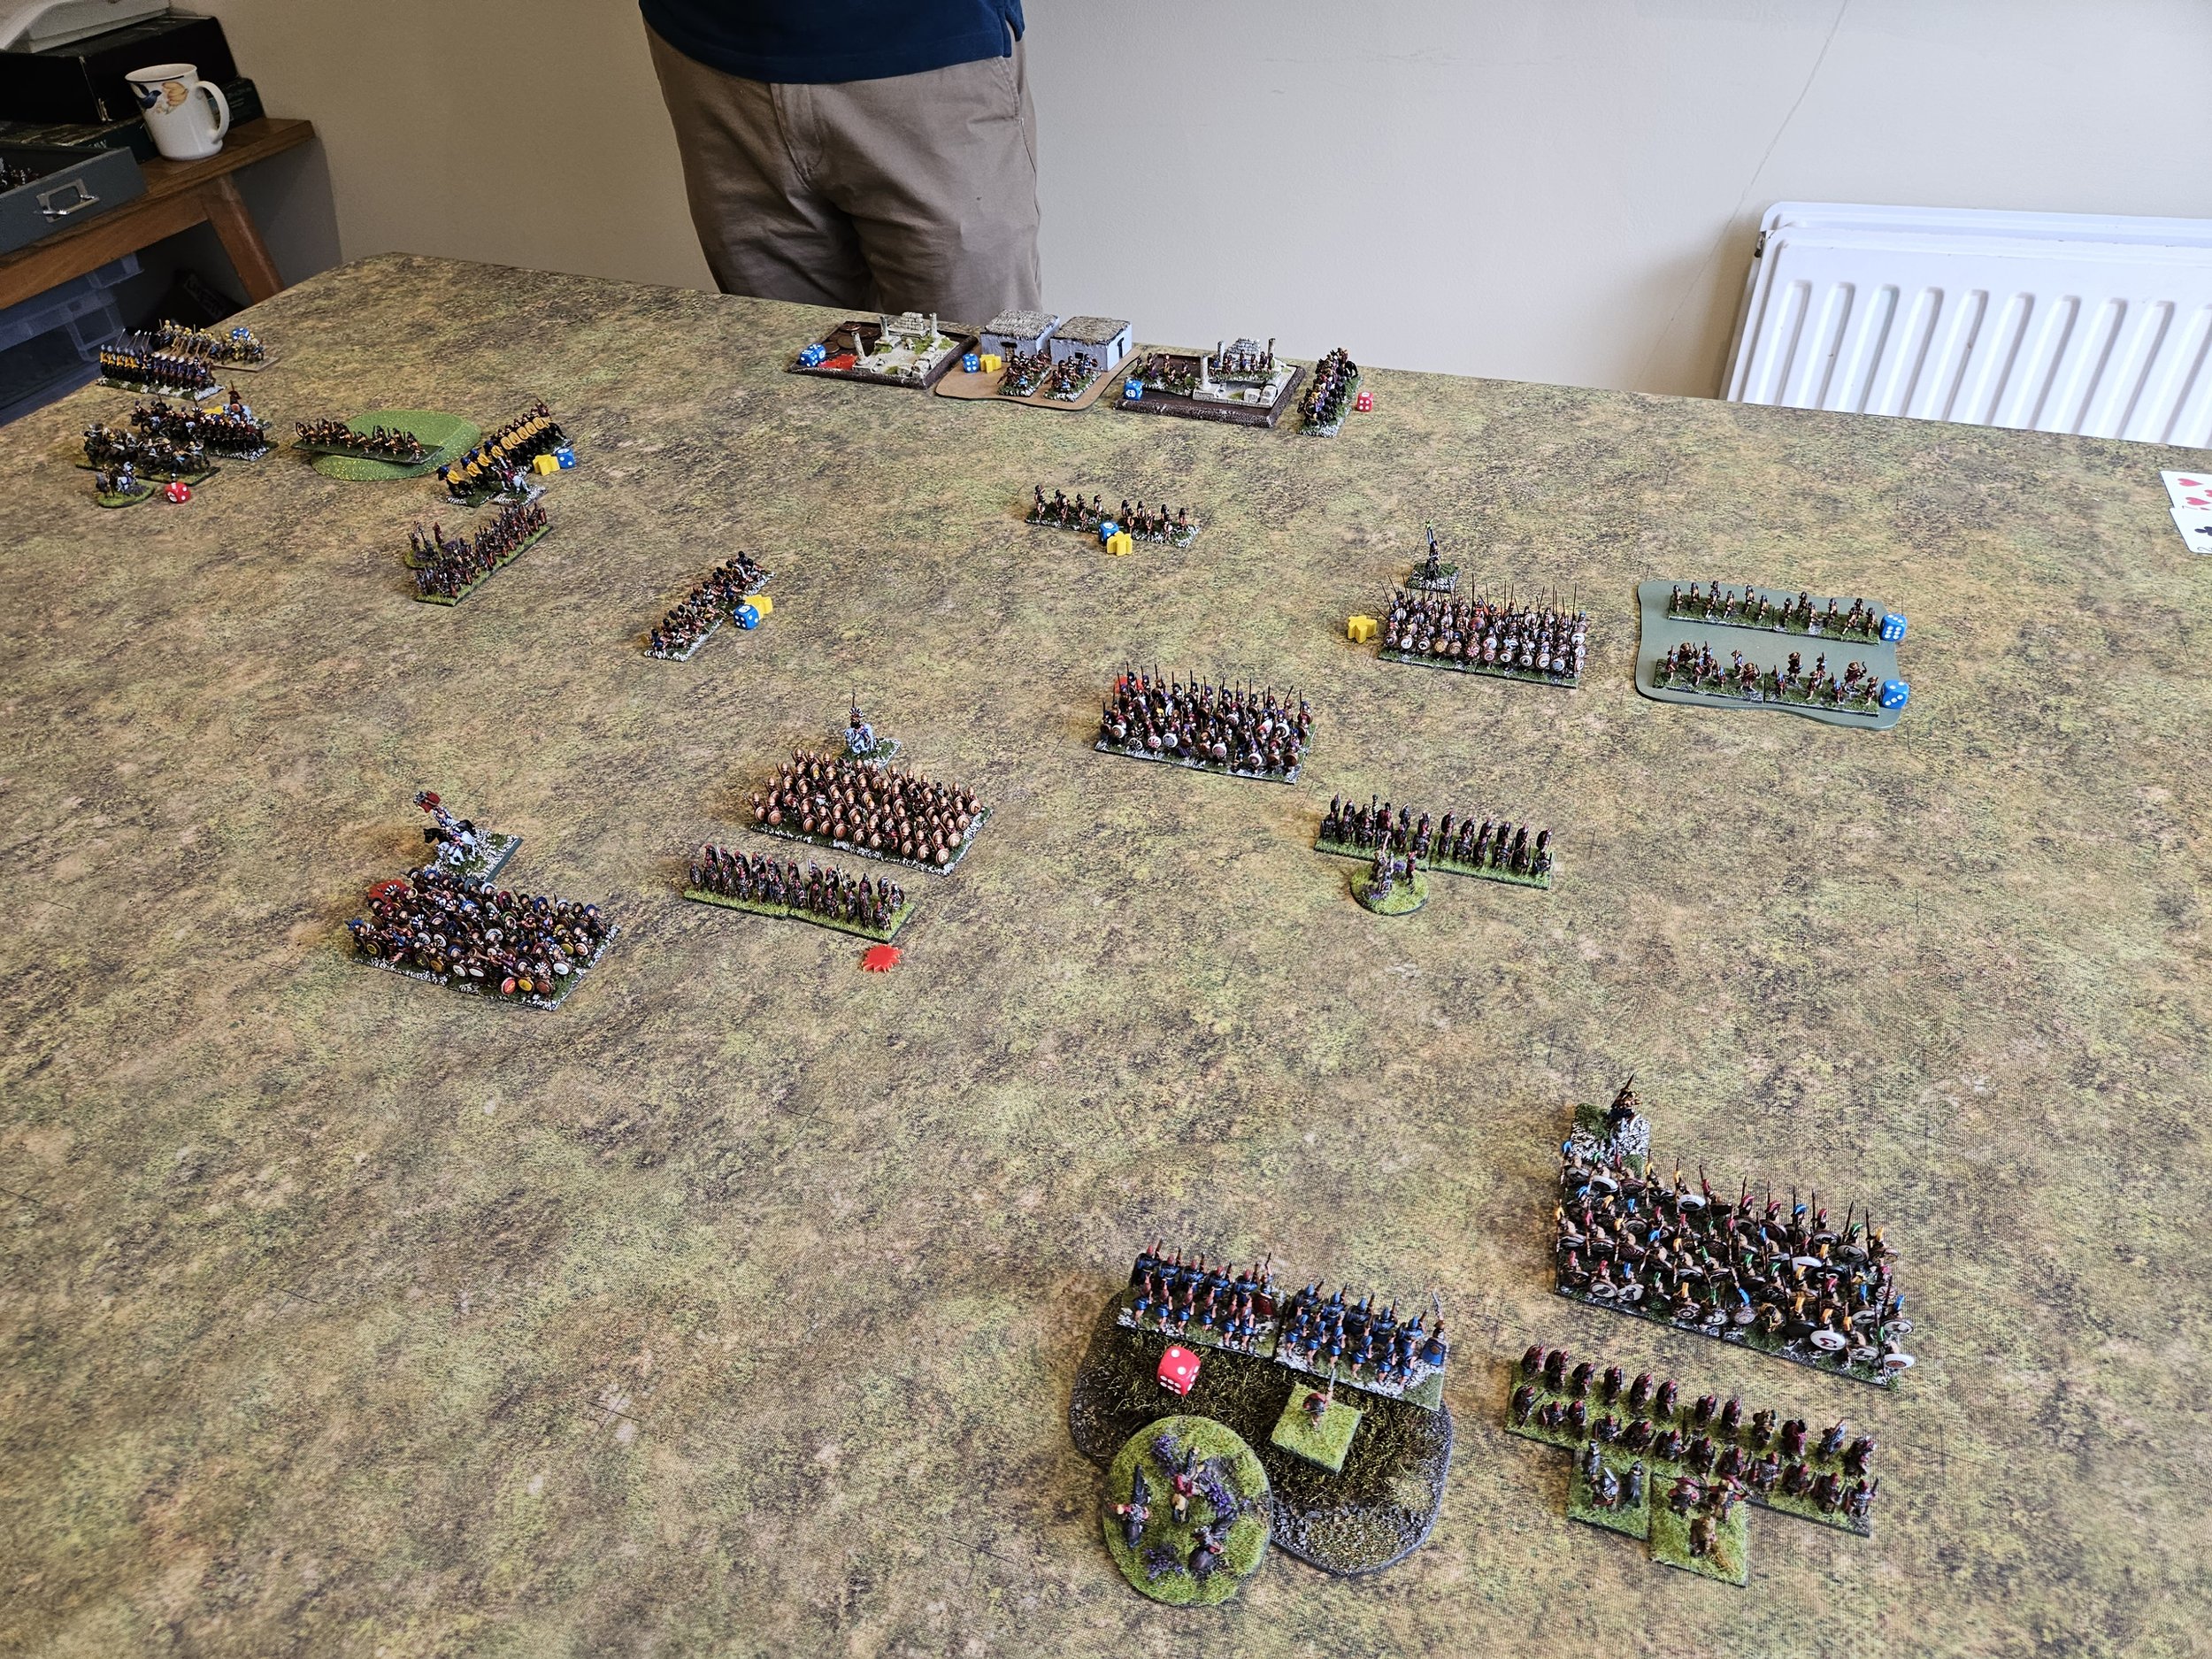
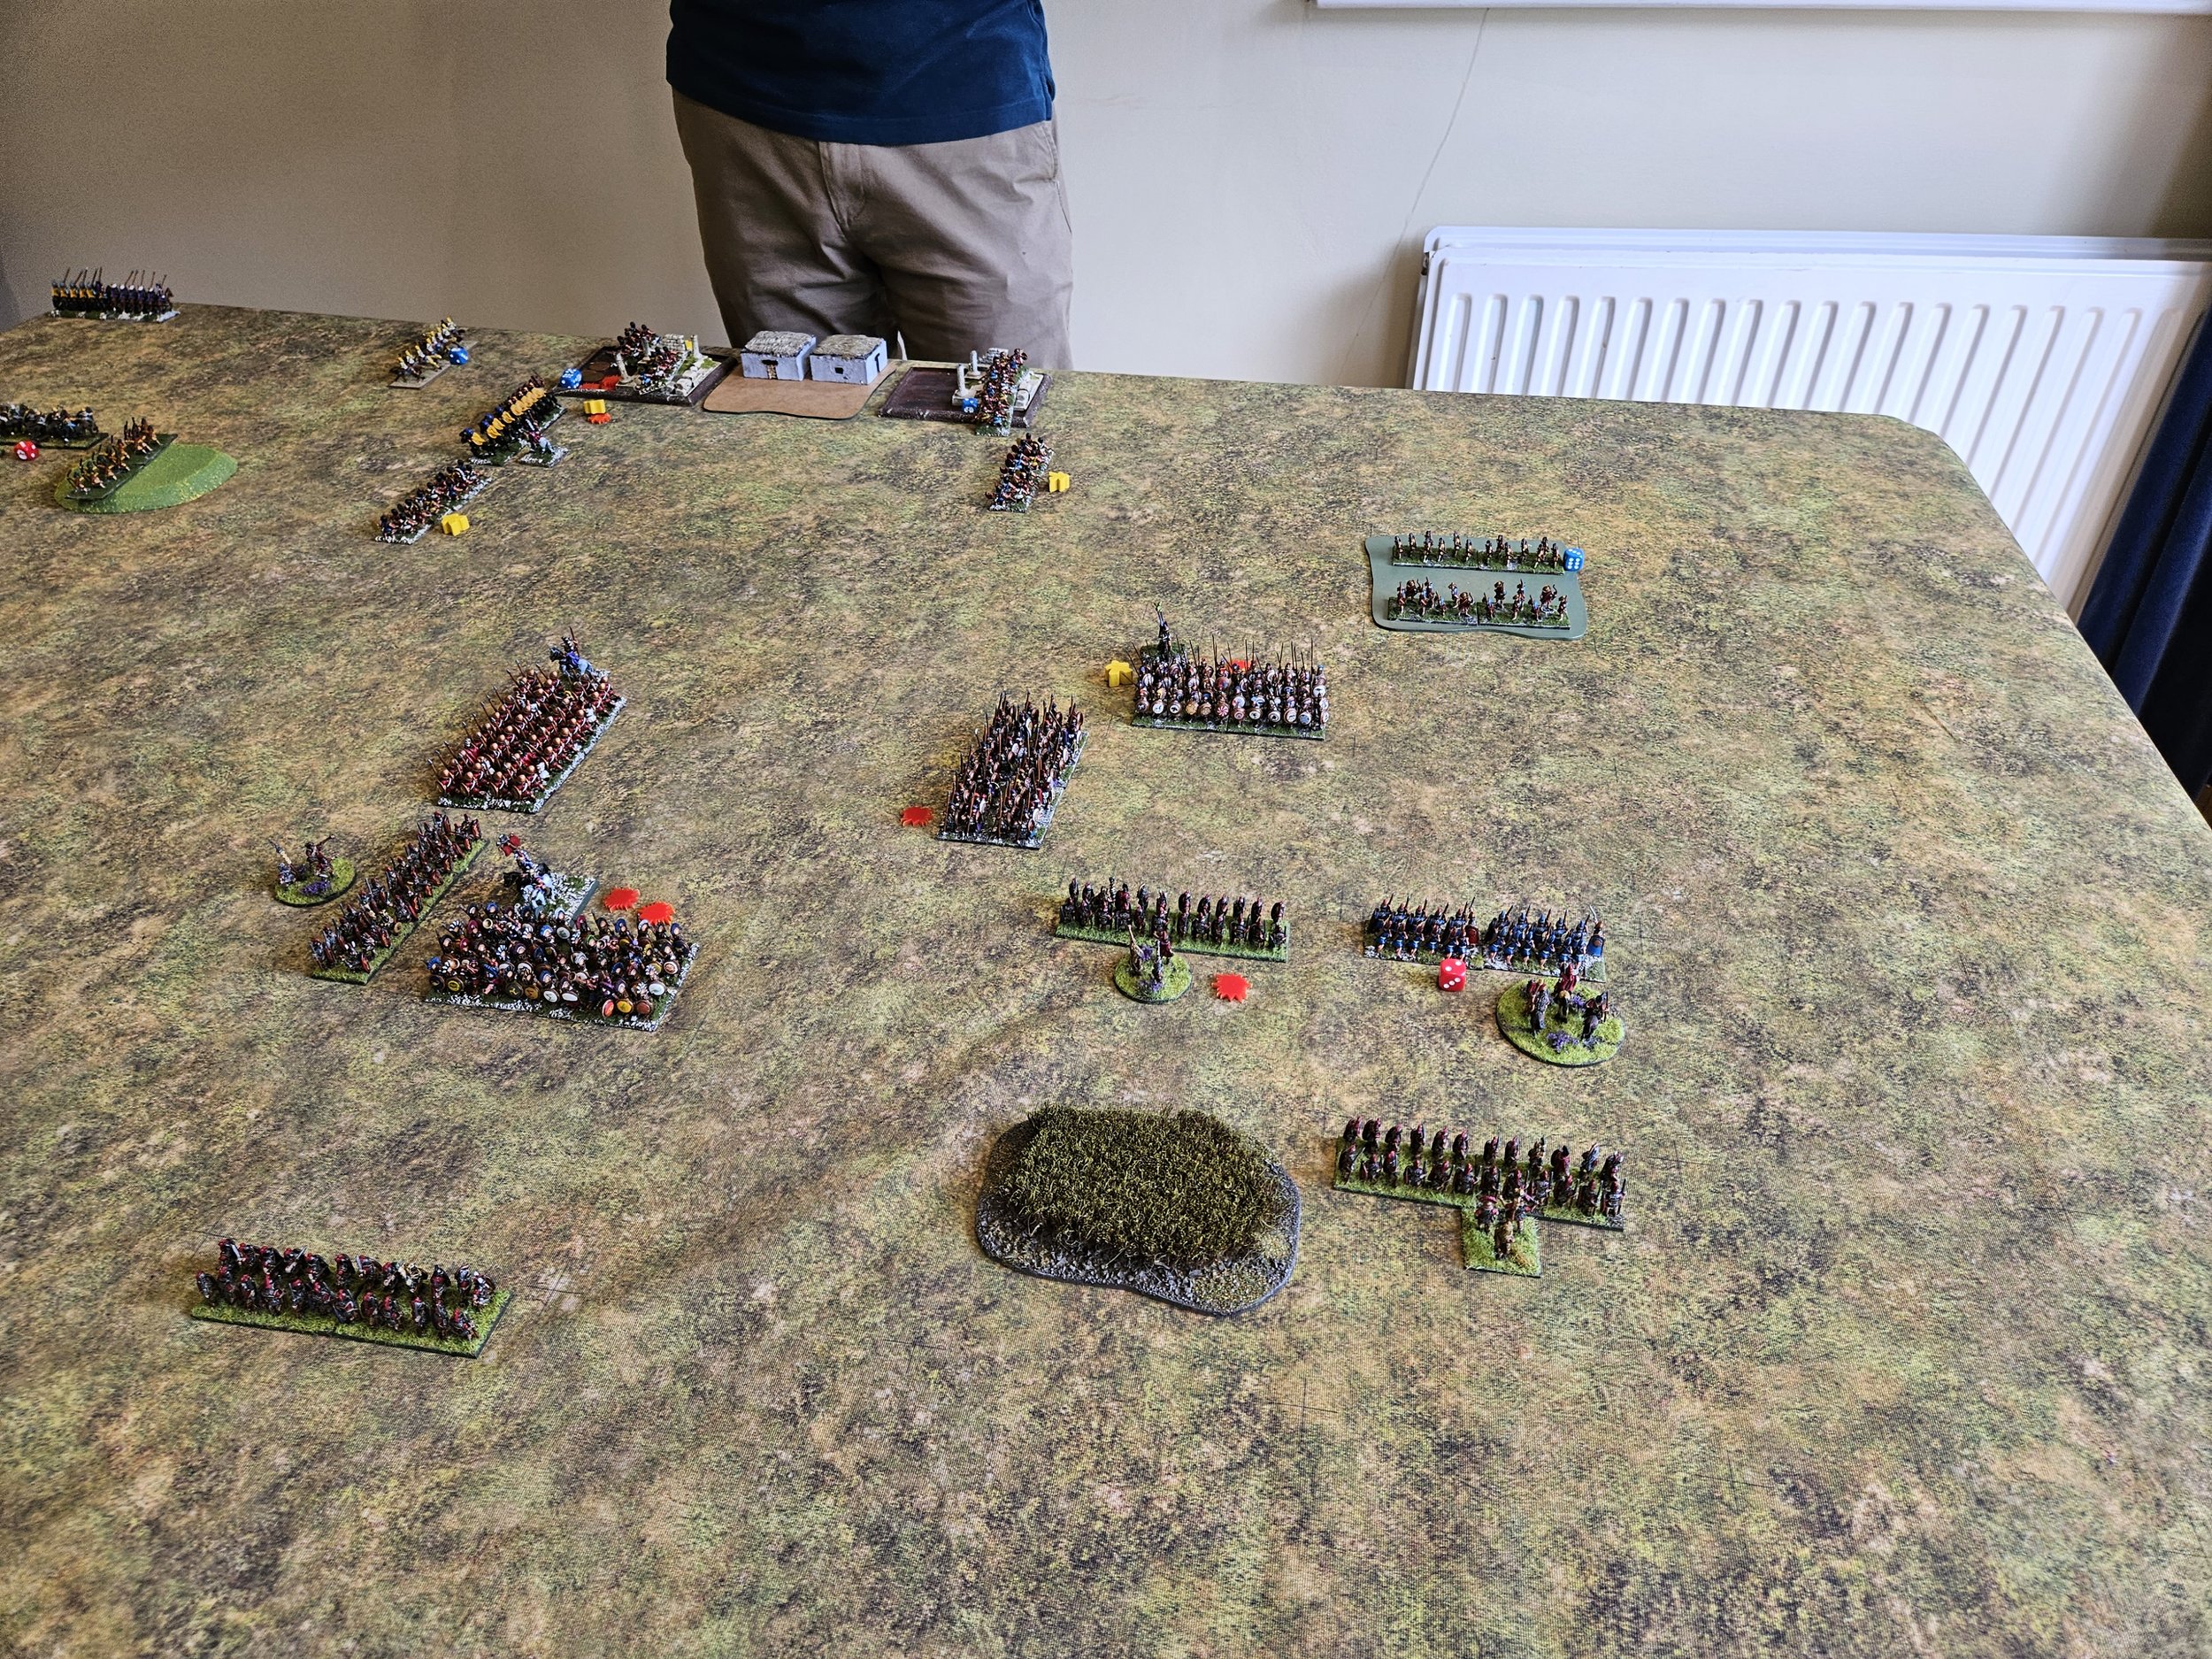
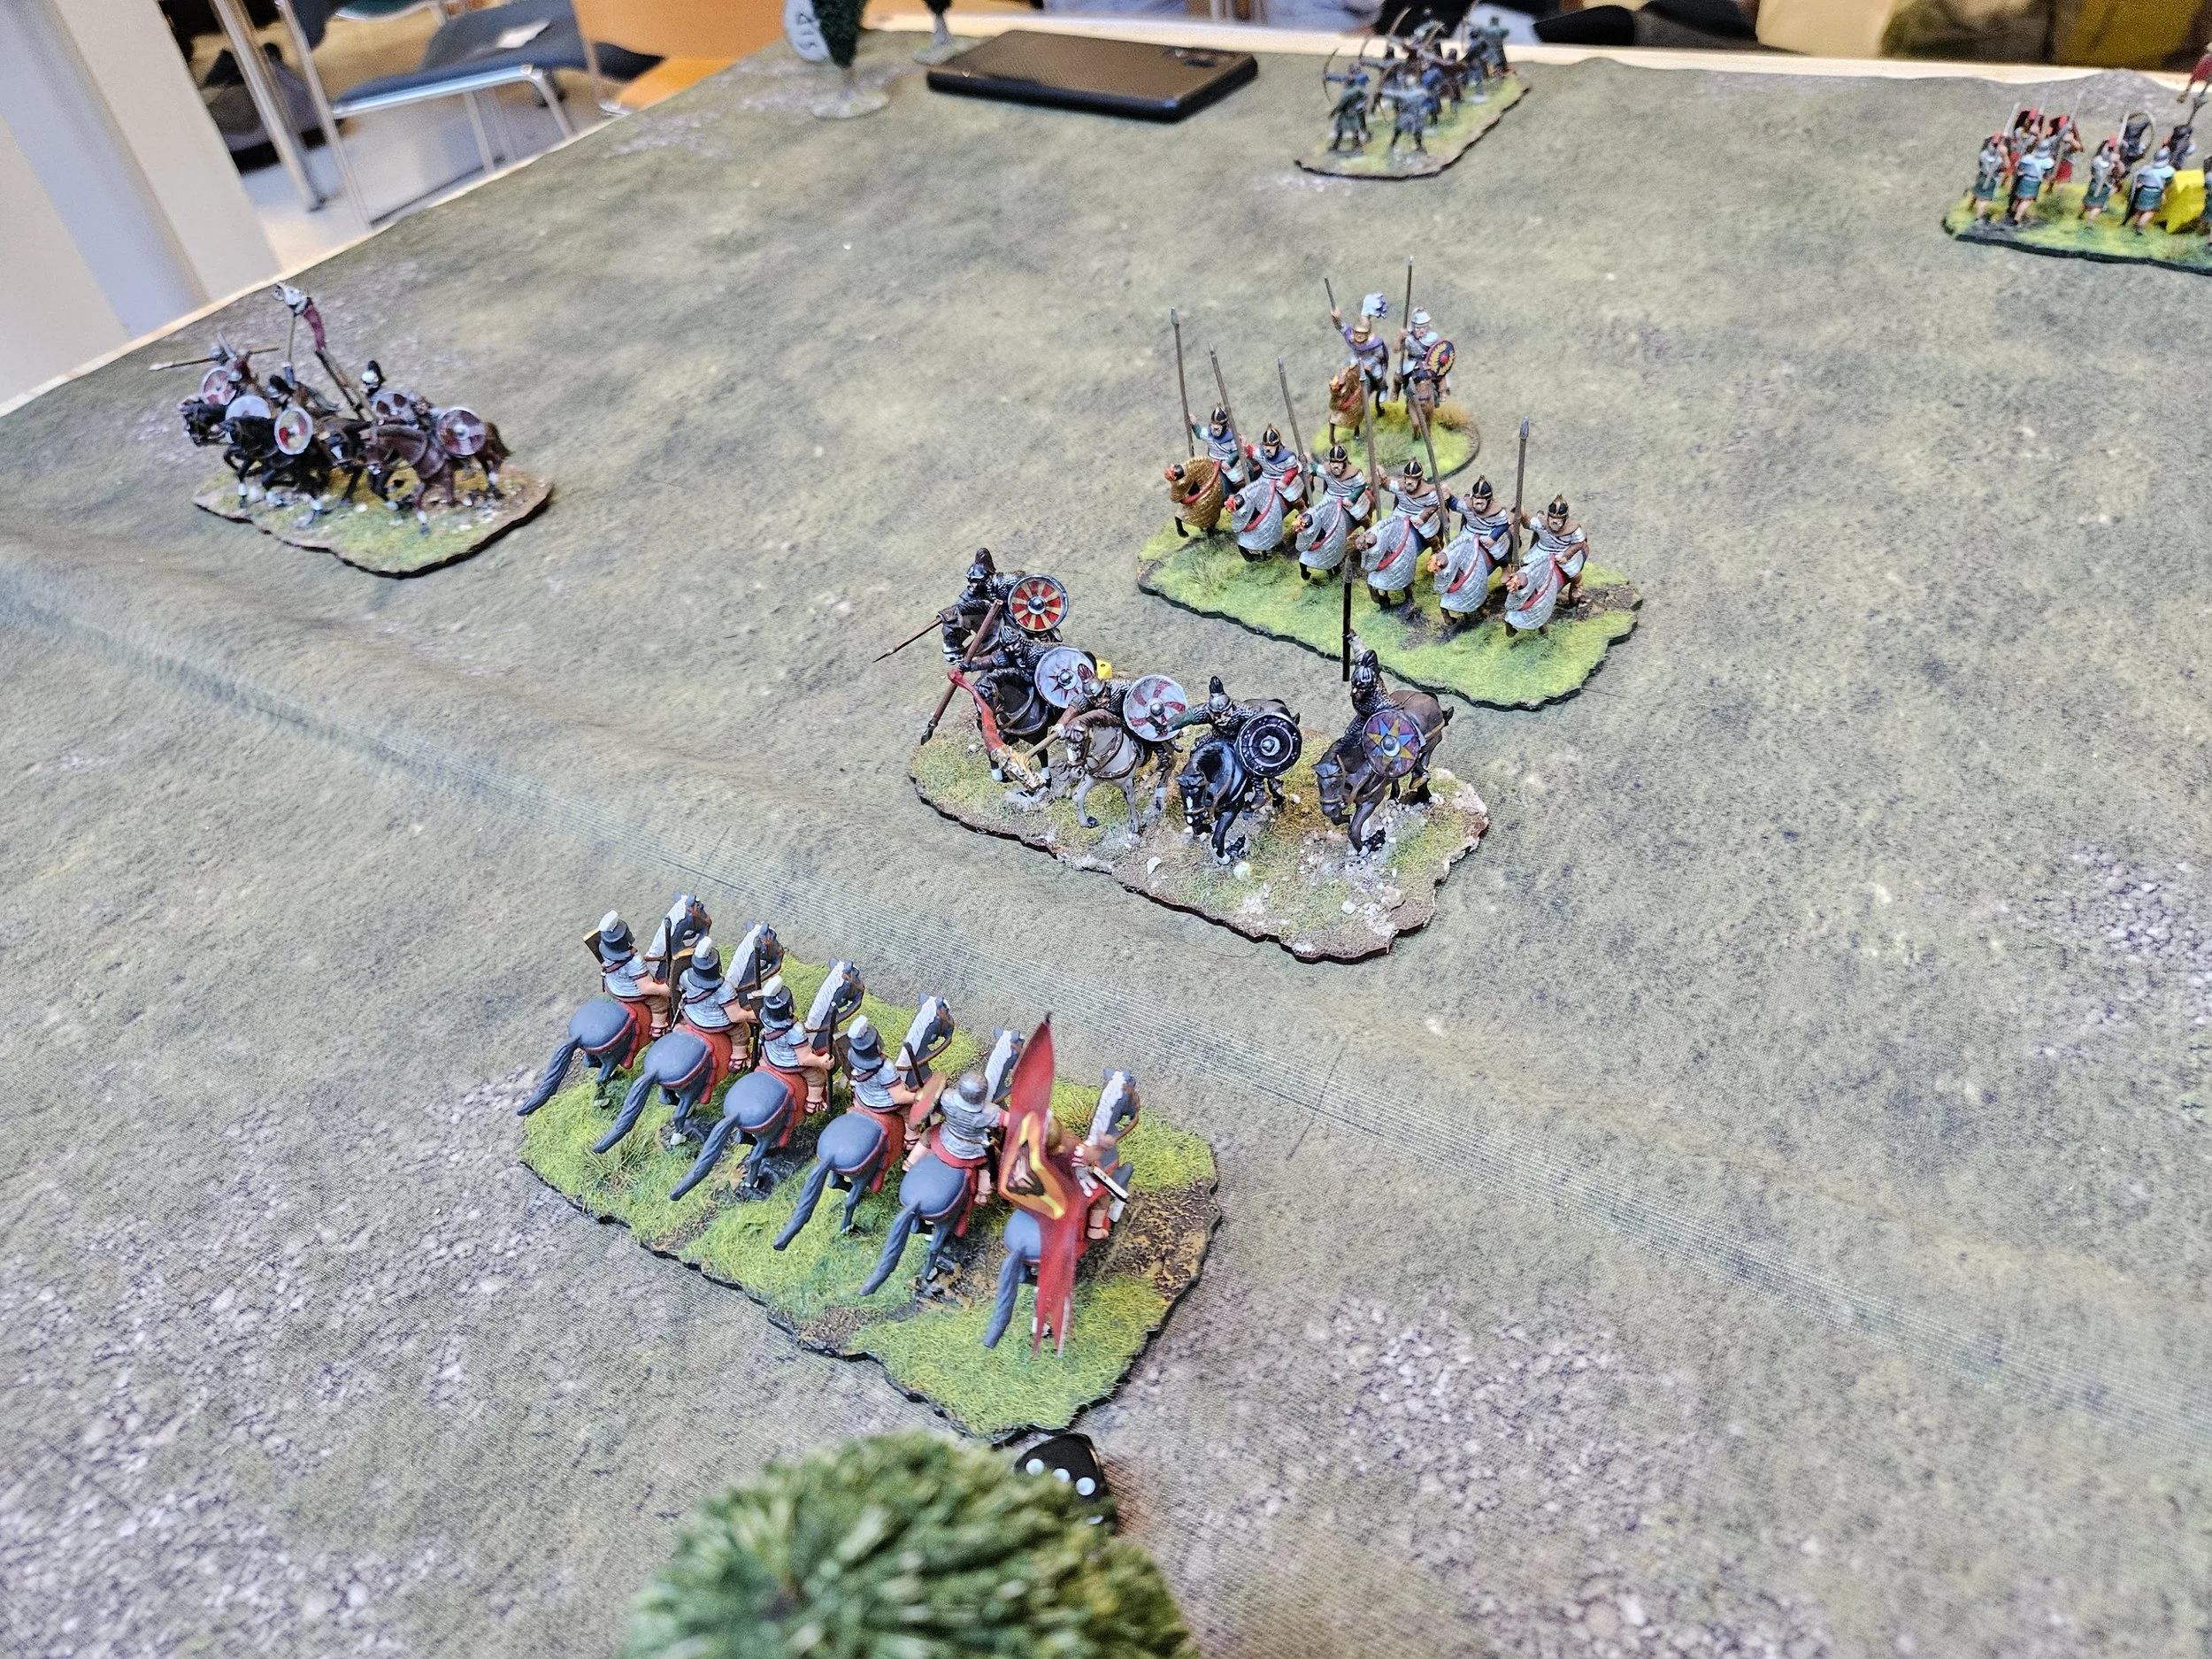
On the right flank I lost a unit of Knights to some scummy Sicilian light cavalry, leaving a huge hole in my line that enemy Knights immediately exploited. I did manage to get a breakthrough of my own going, but it took longer than it should and the battle ended elsewhere before I could take full advantage.

On the left, I got into the perfect position to do some damage, but the cards weren’t with me, and my glorious flank charges fizzled out unsuccessful!

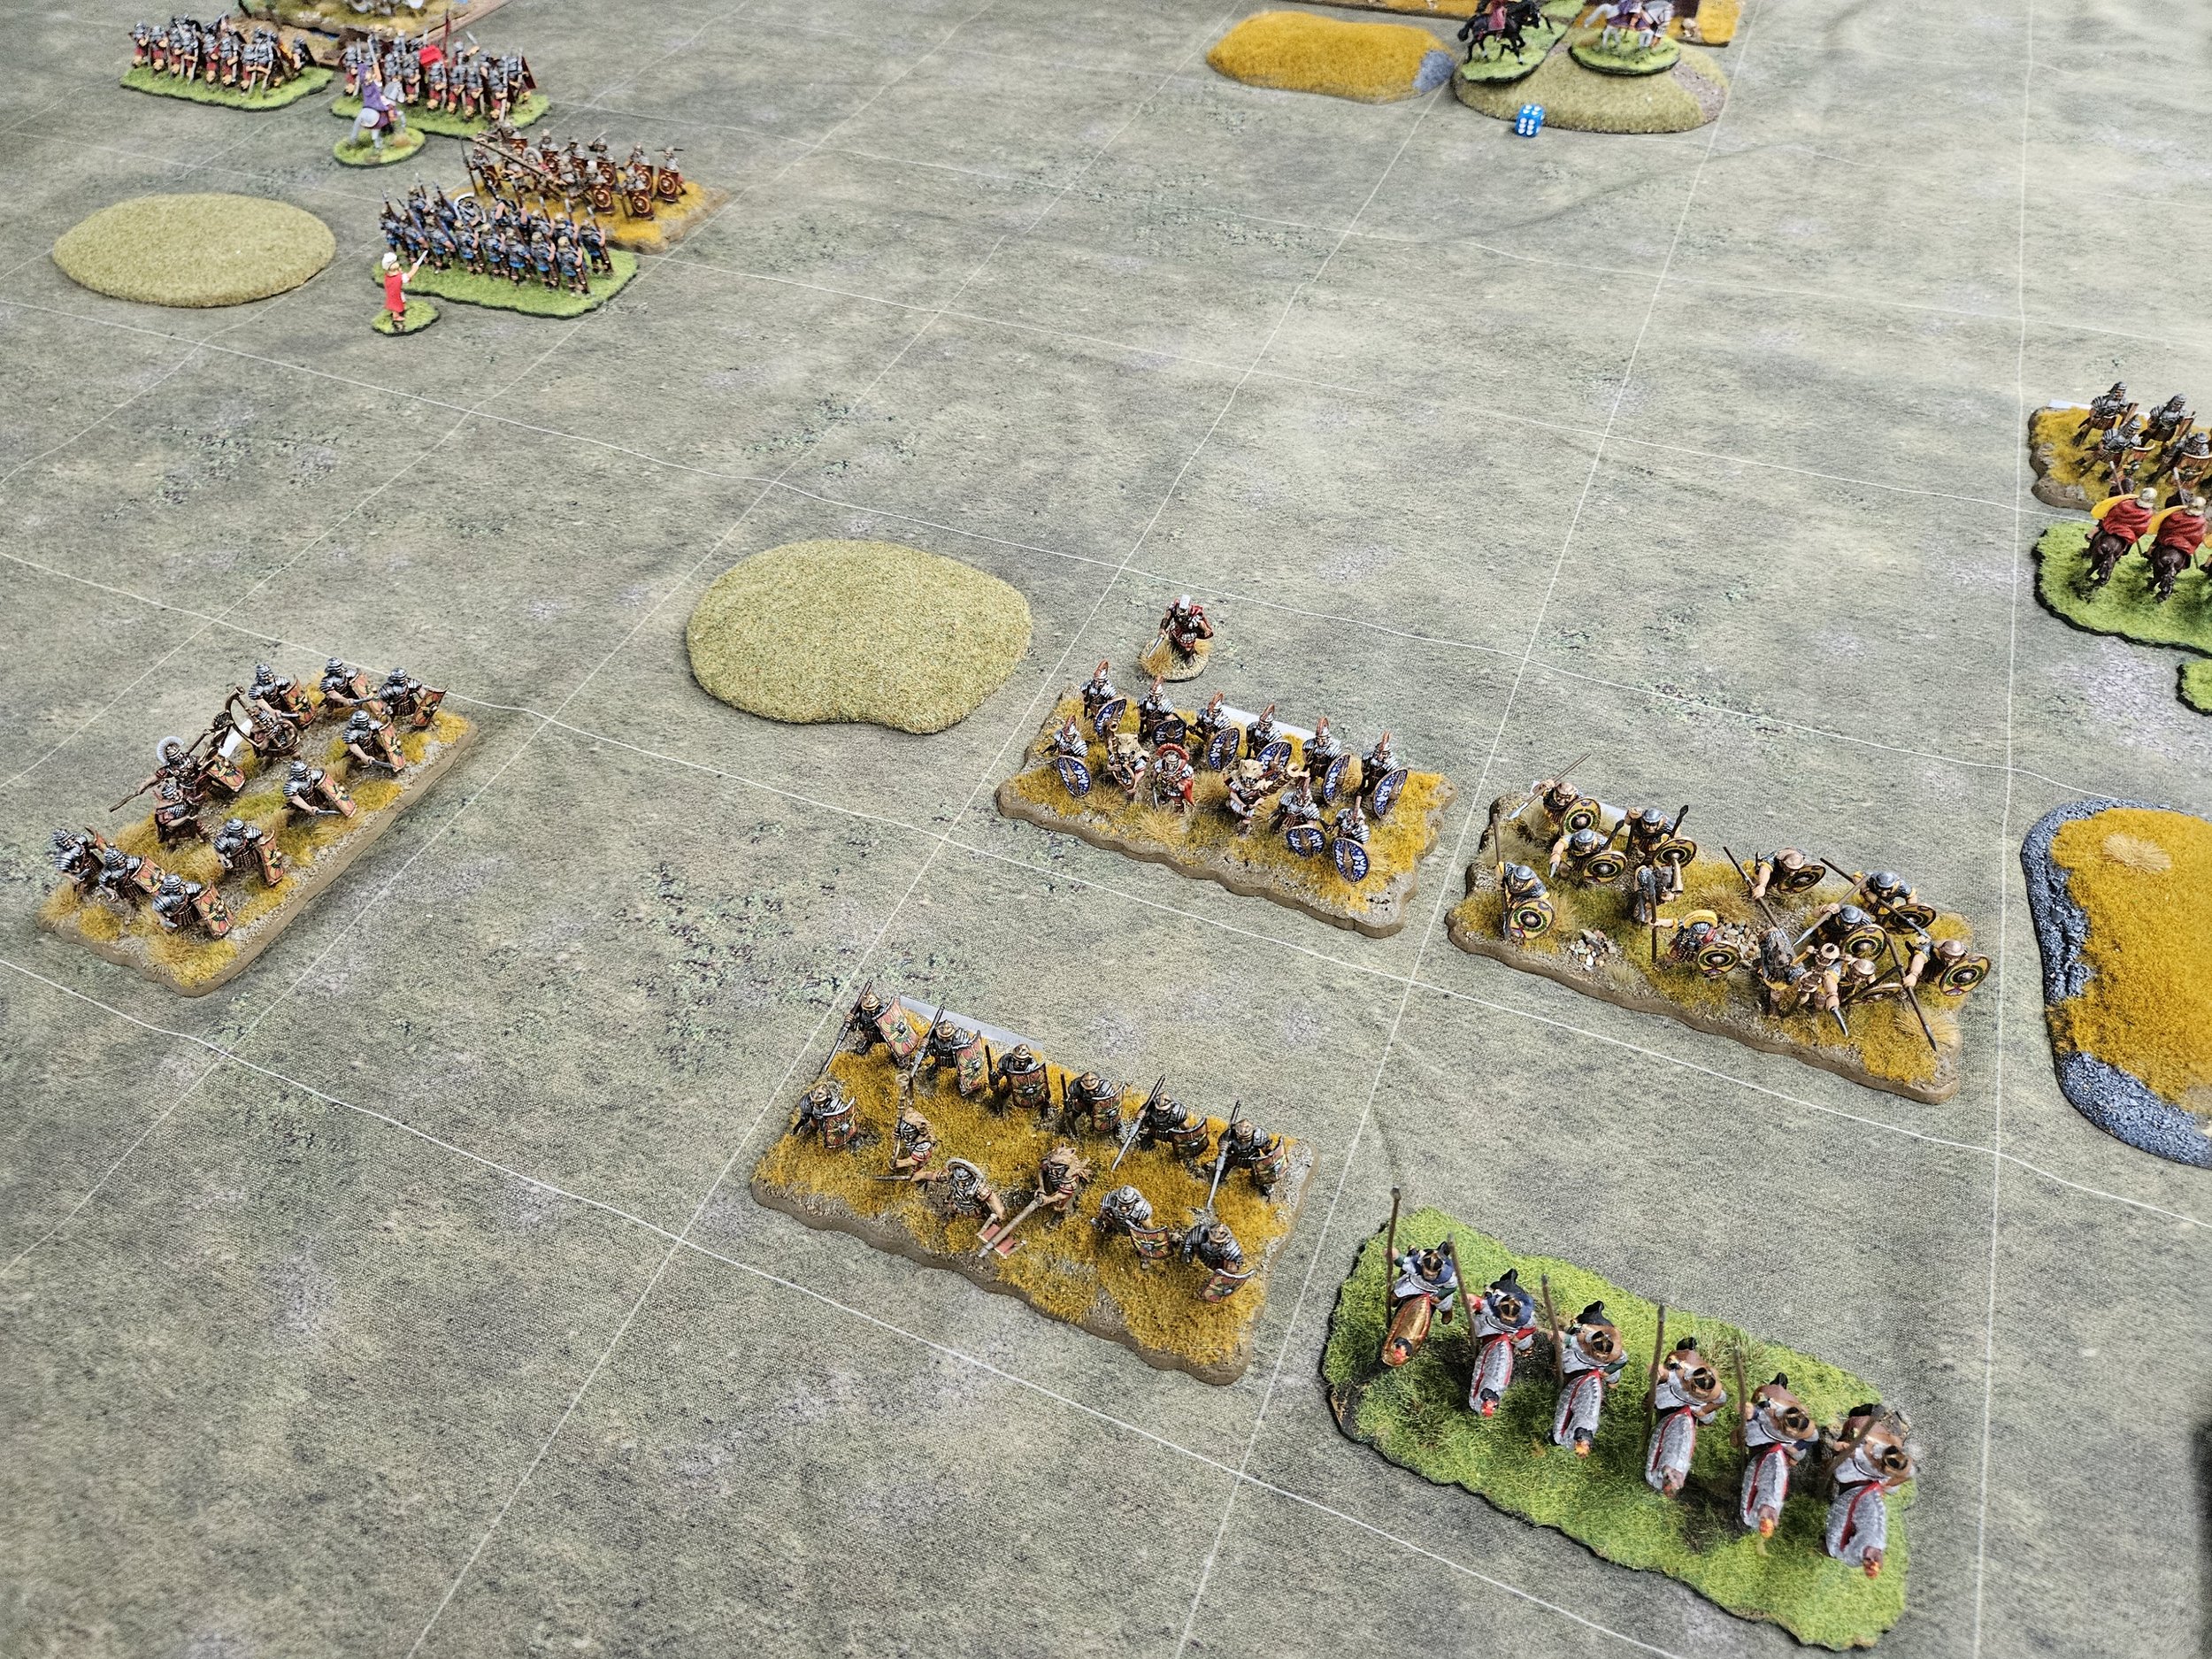
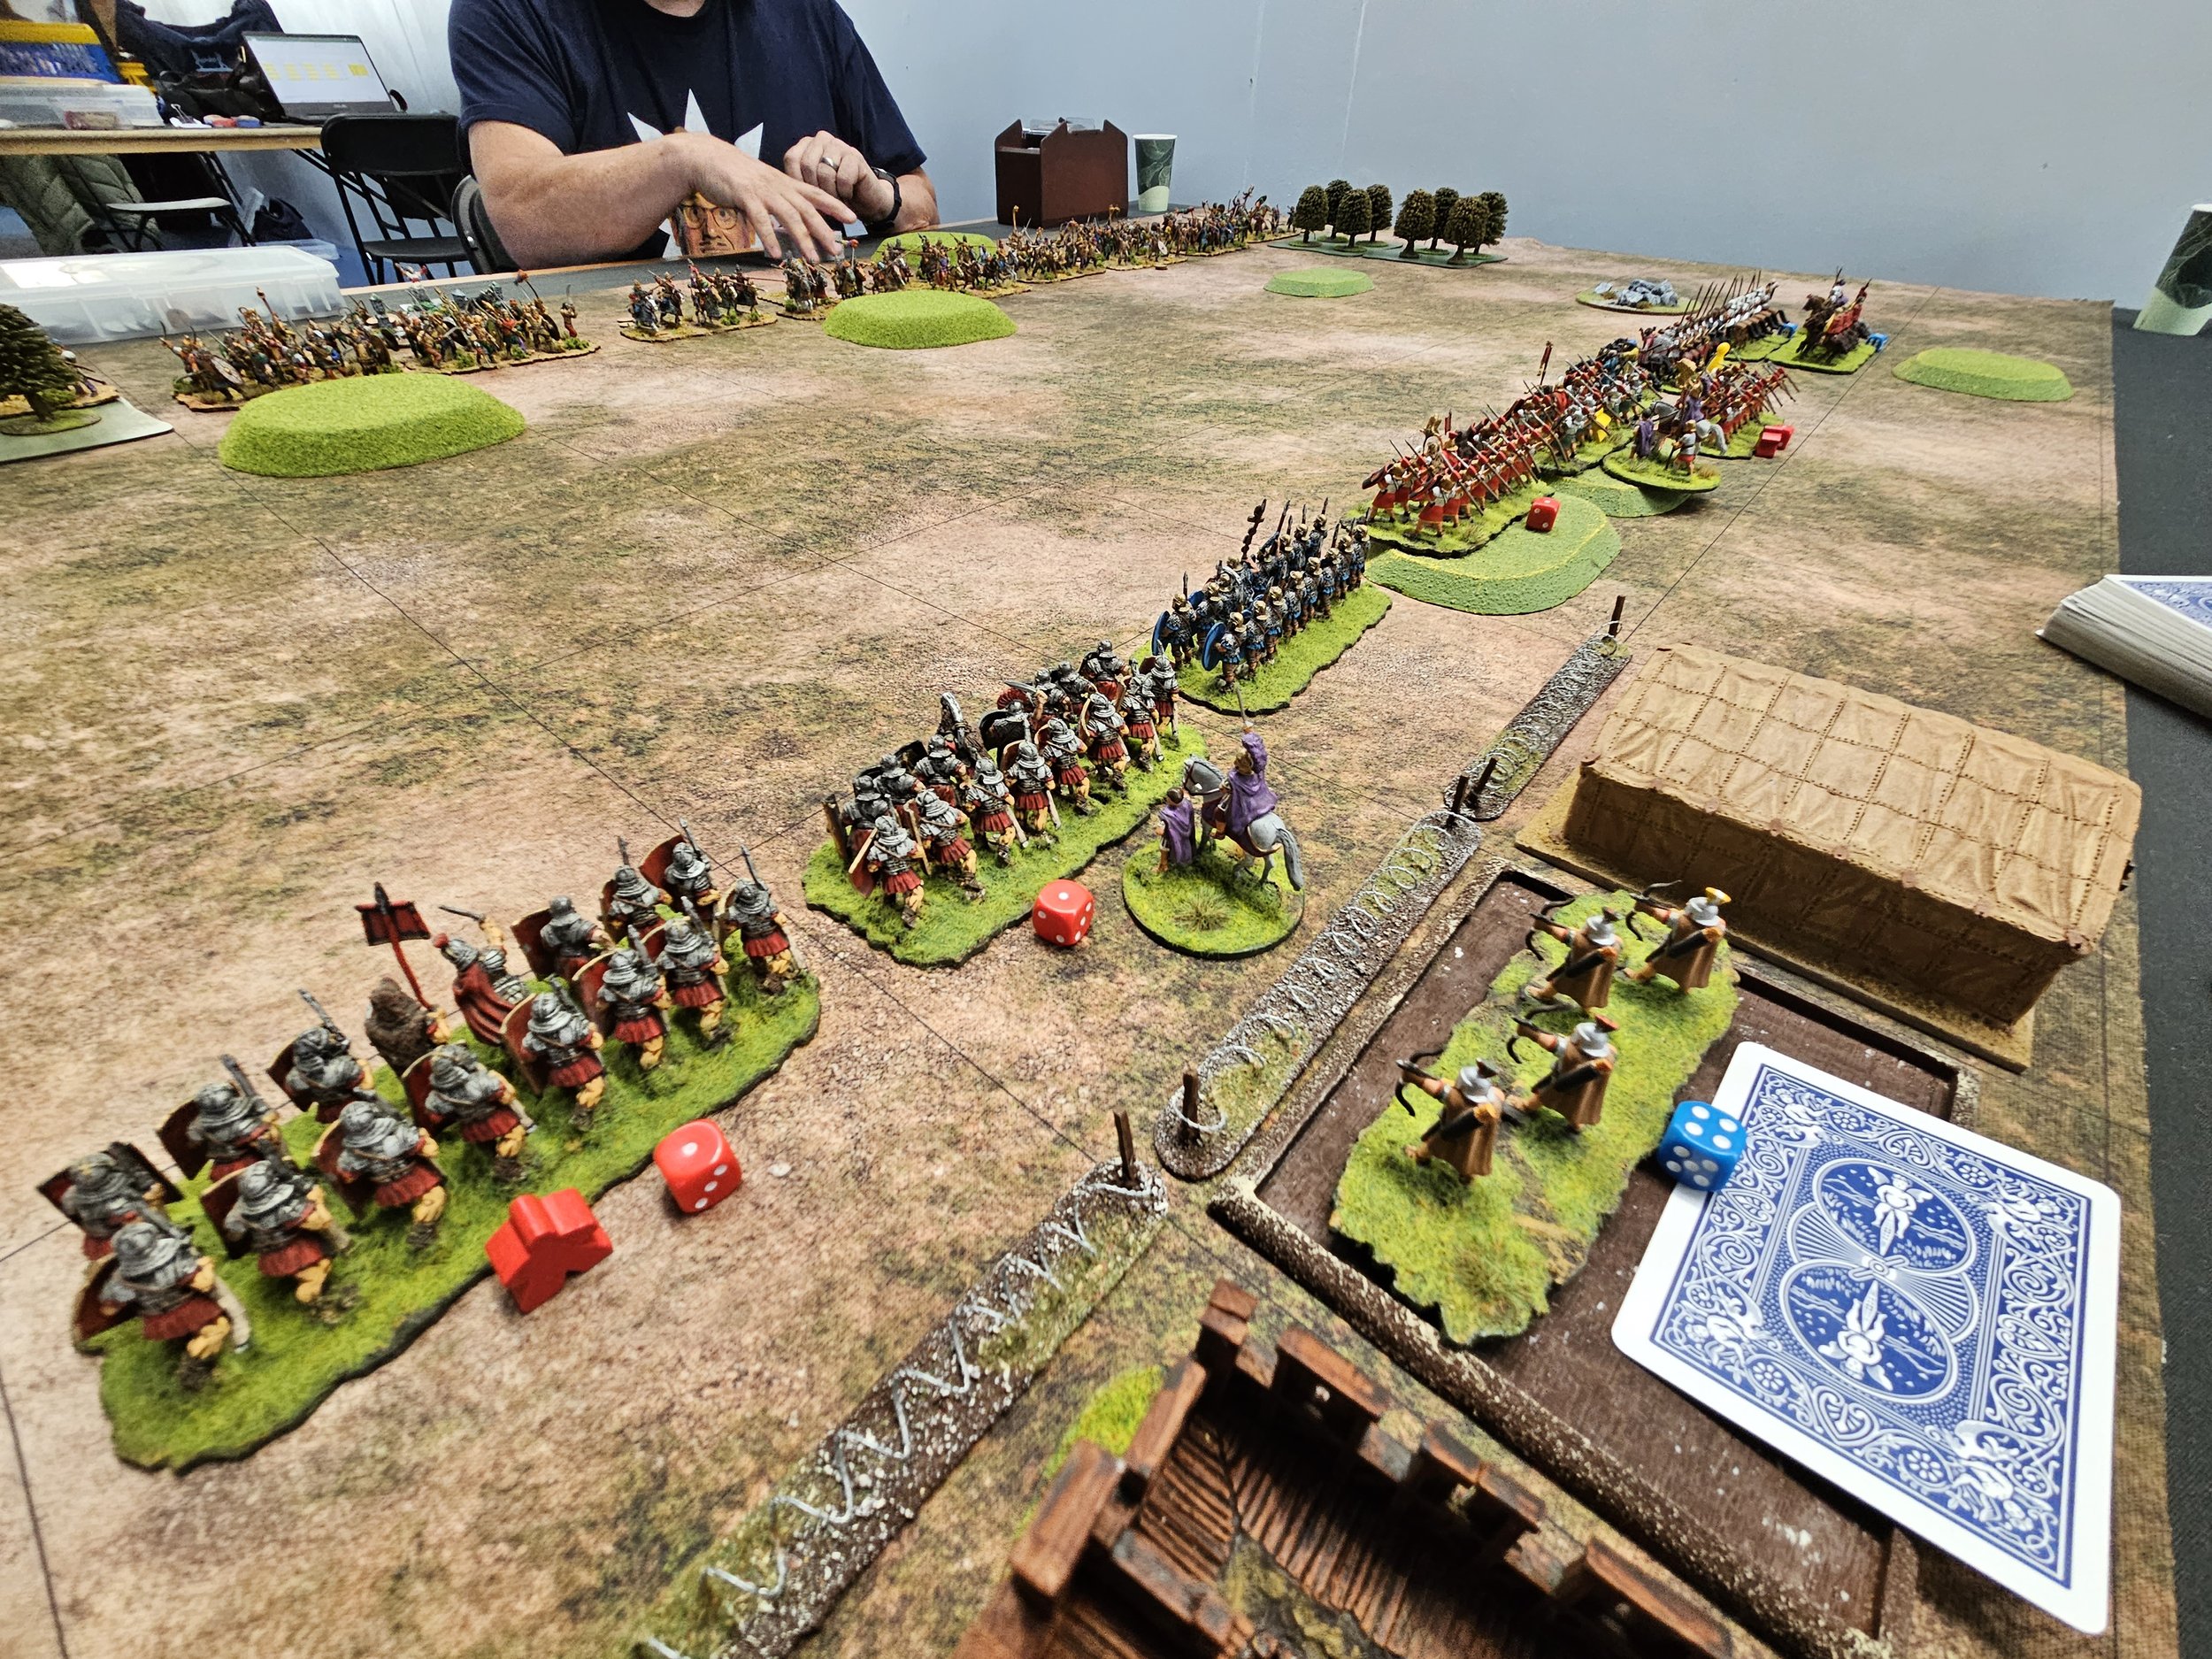
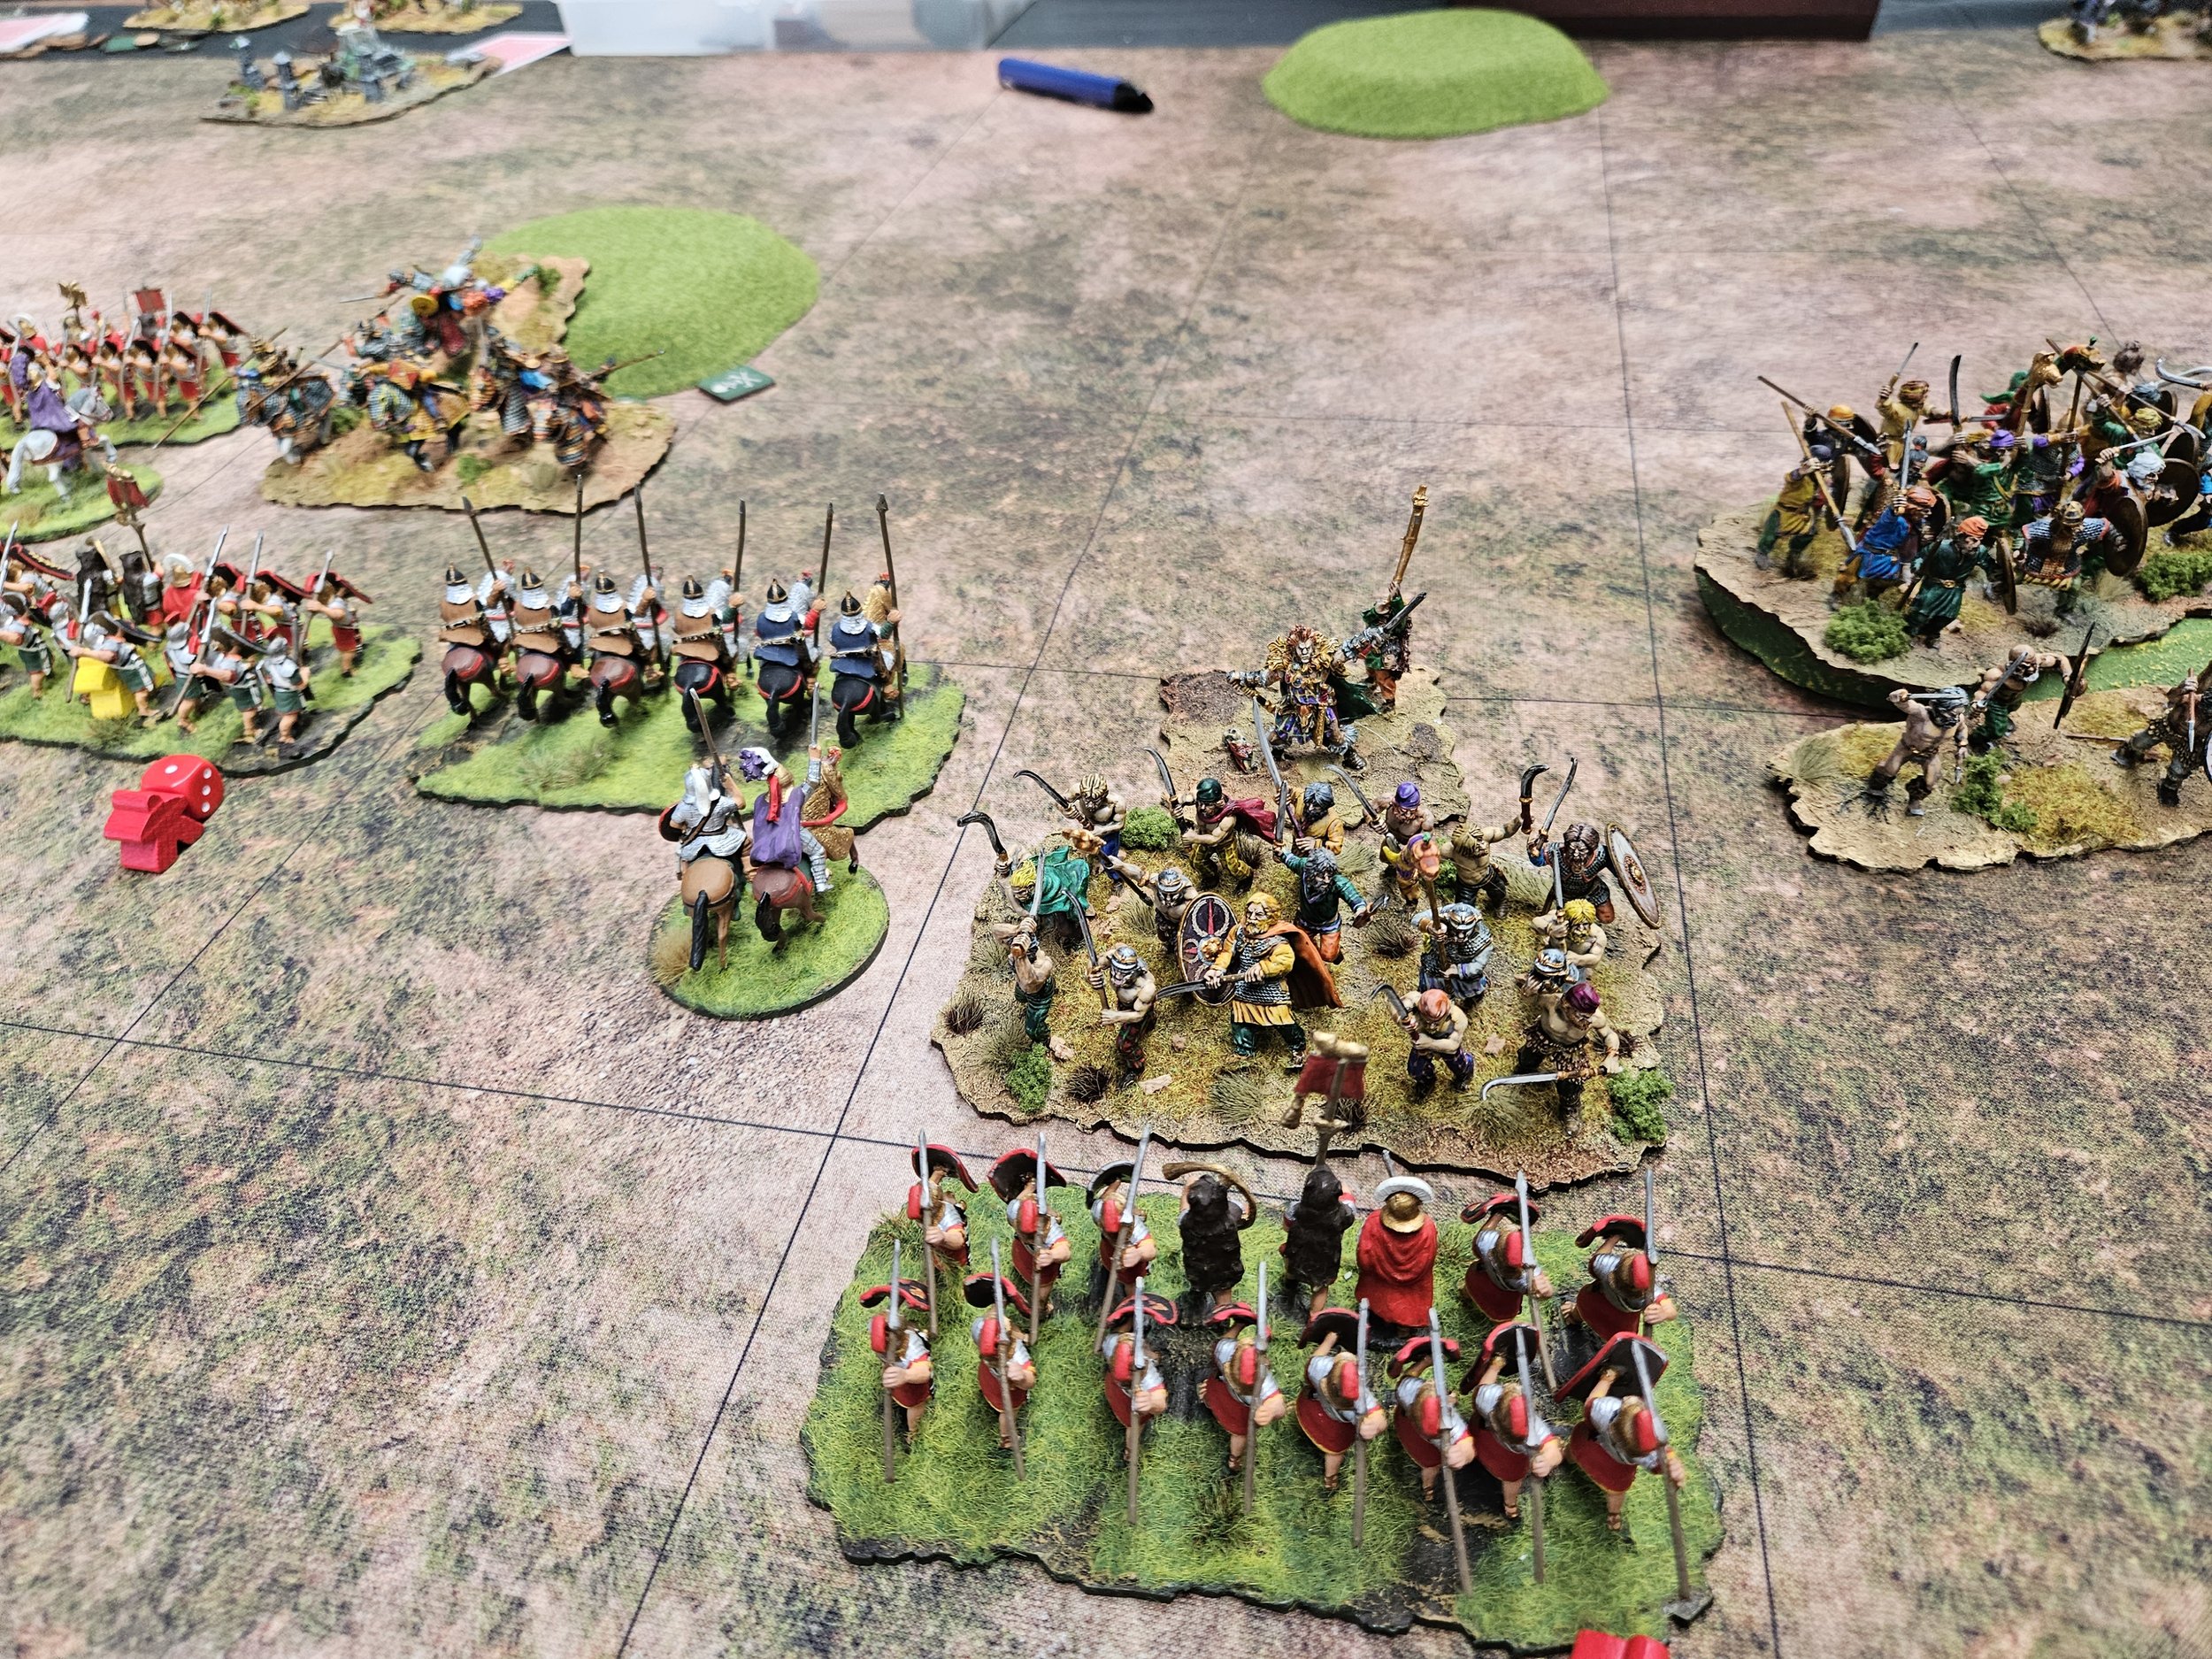
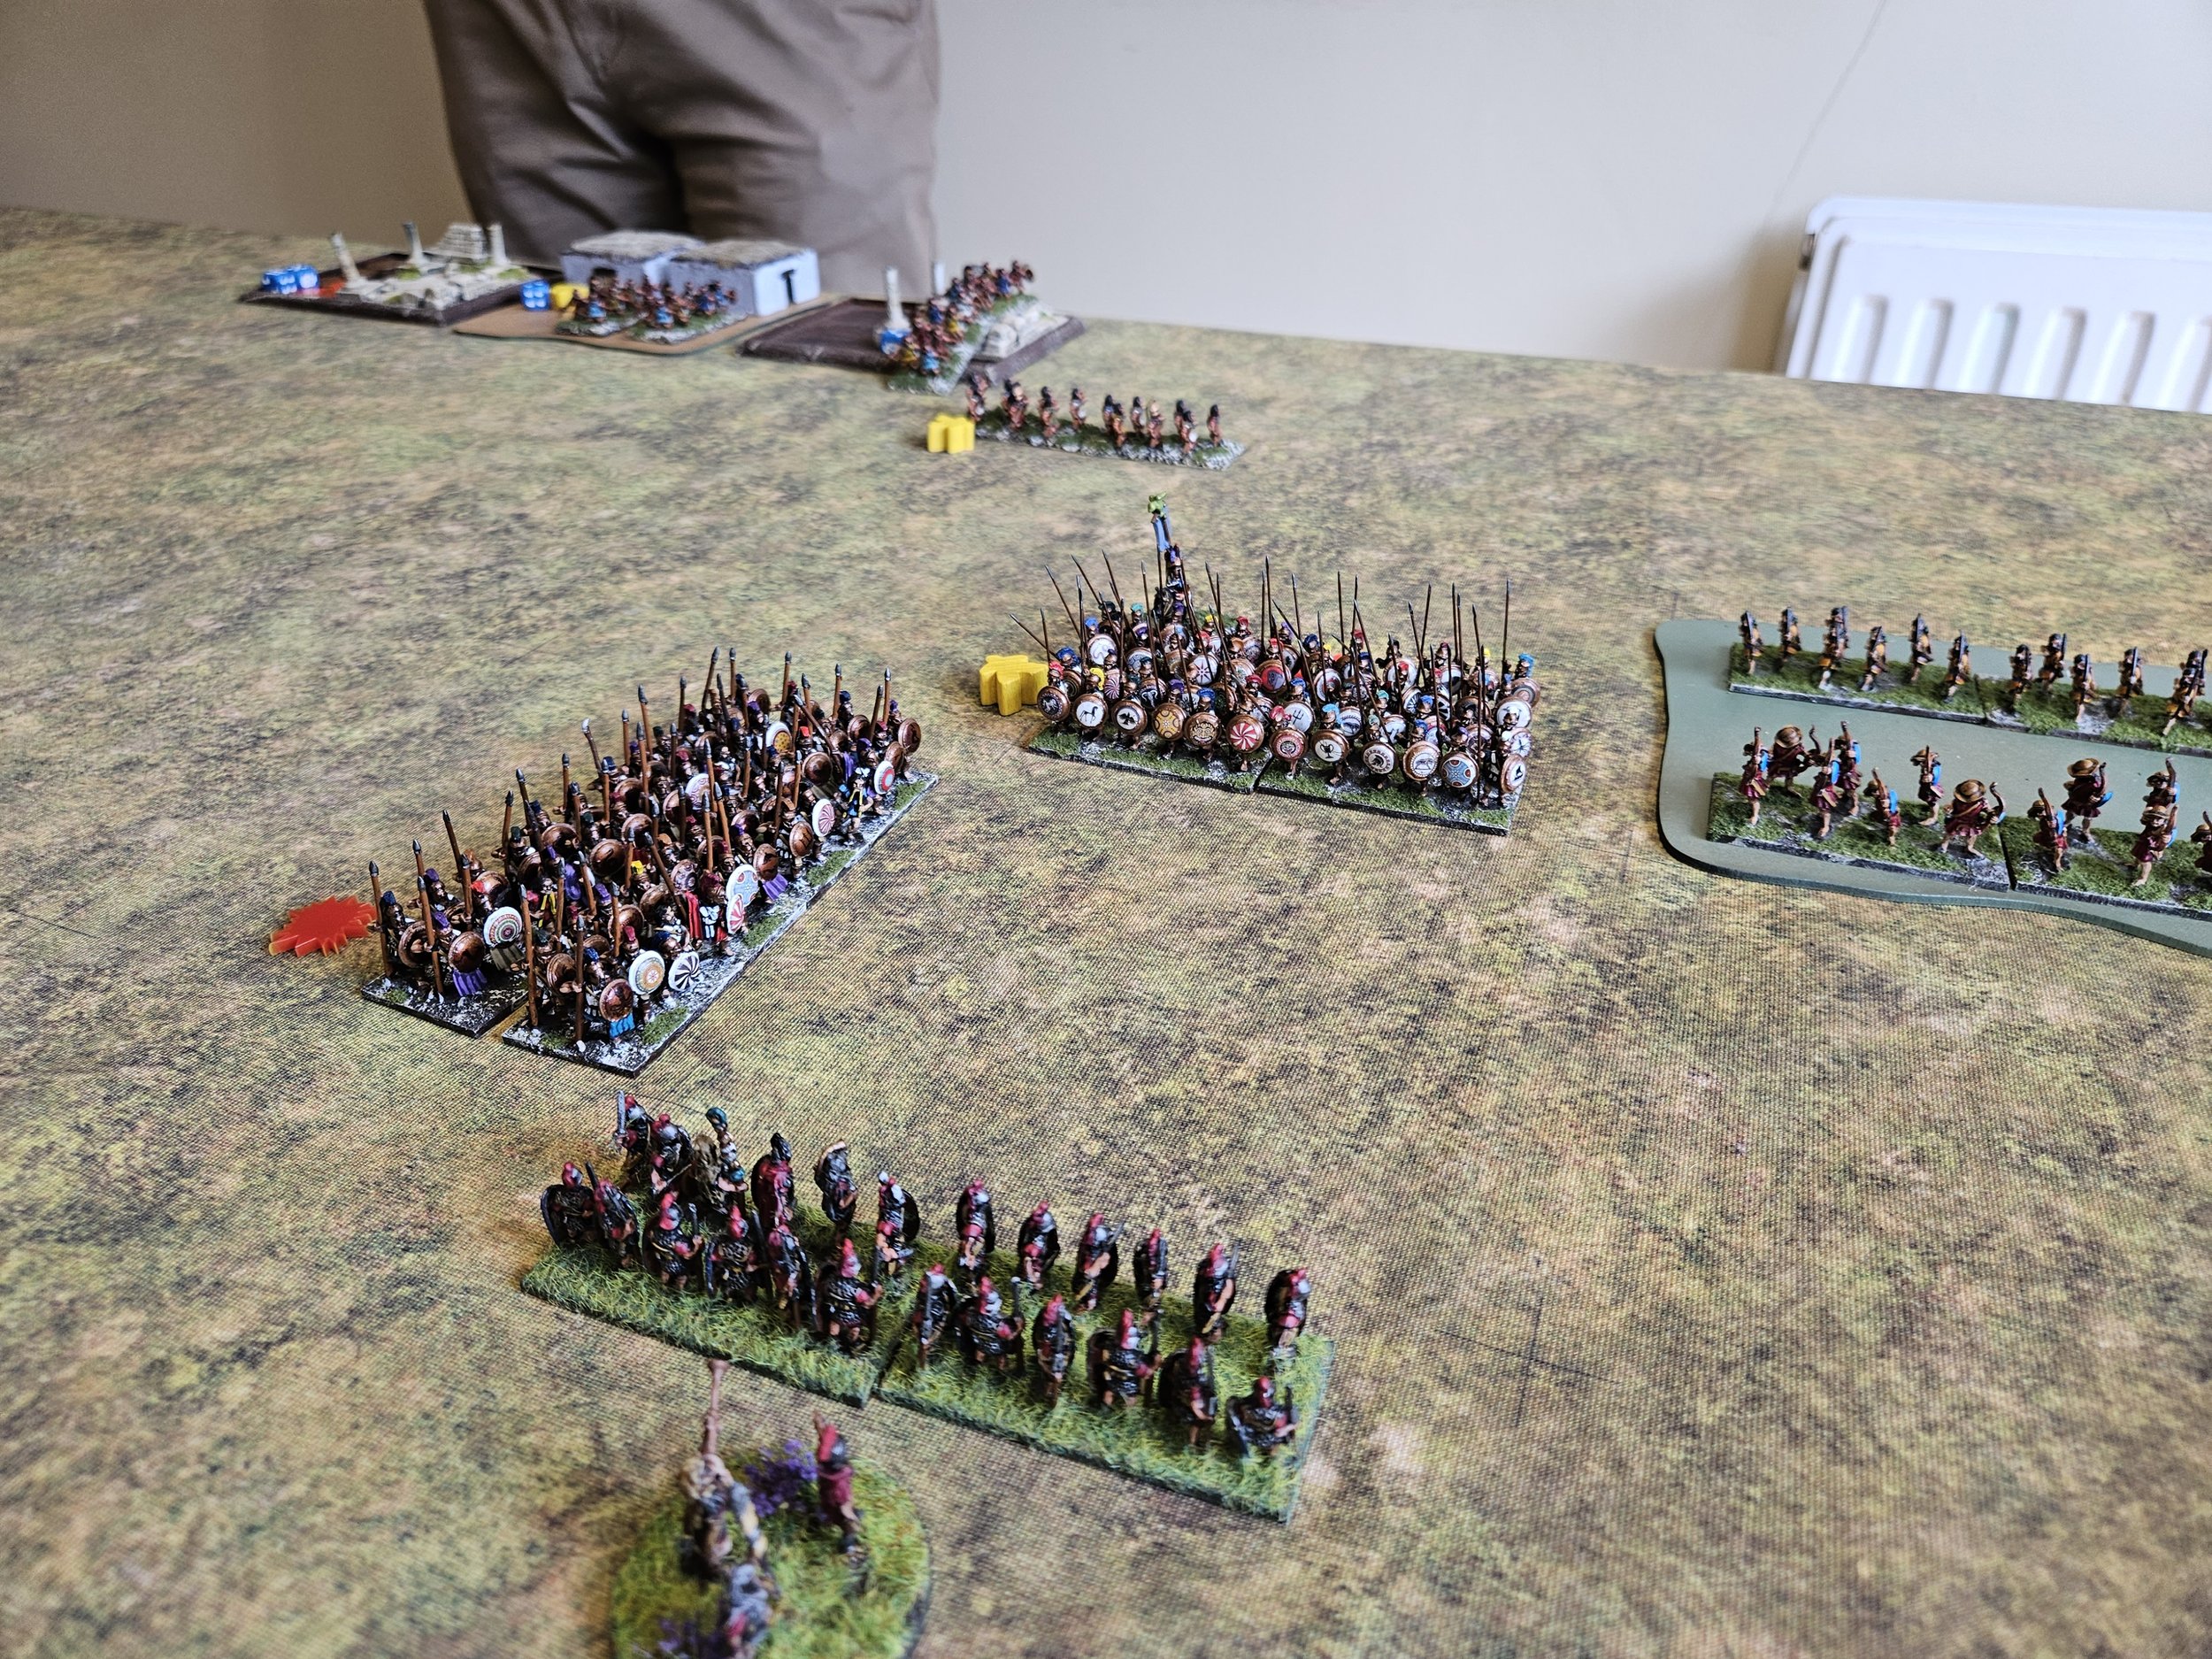
Meanwhile, the Sicilio-Norman infantry ground forward in the centre and, with what I had lost already and the fall of my camp to the enemy Knights that had broken through, I was soon out of victory medals.

A frustrating game: as Bevan said afterwards, I didn’t do anything tactically wrong…it’s just the cards didn’t fall my way. To misquote the great Les Dawson: I had all the cards I needed, just in the wrong order!

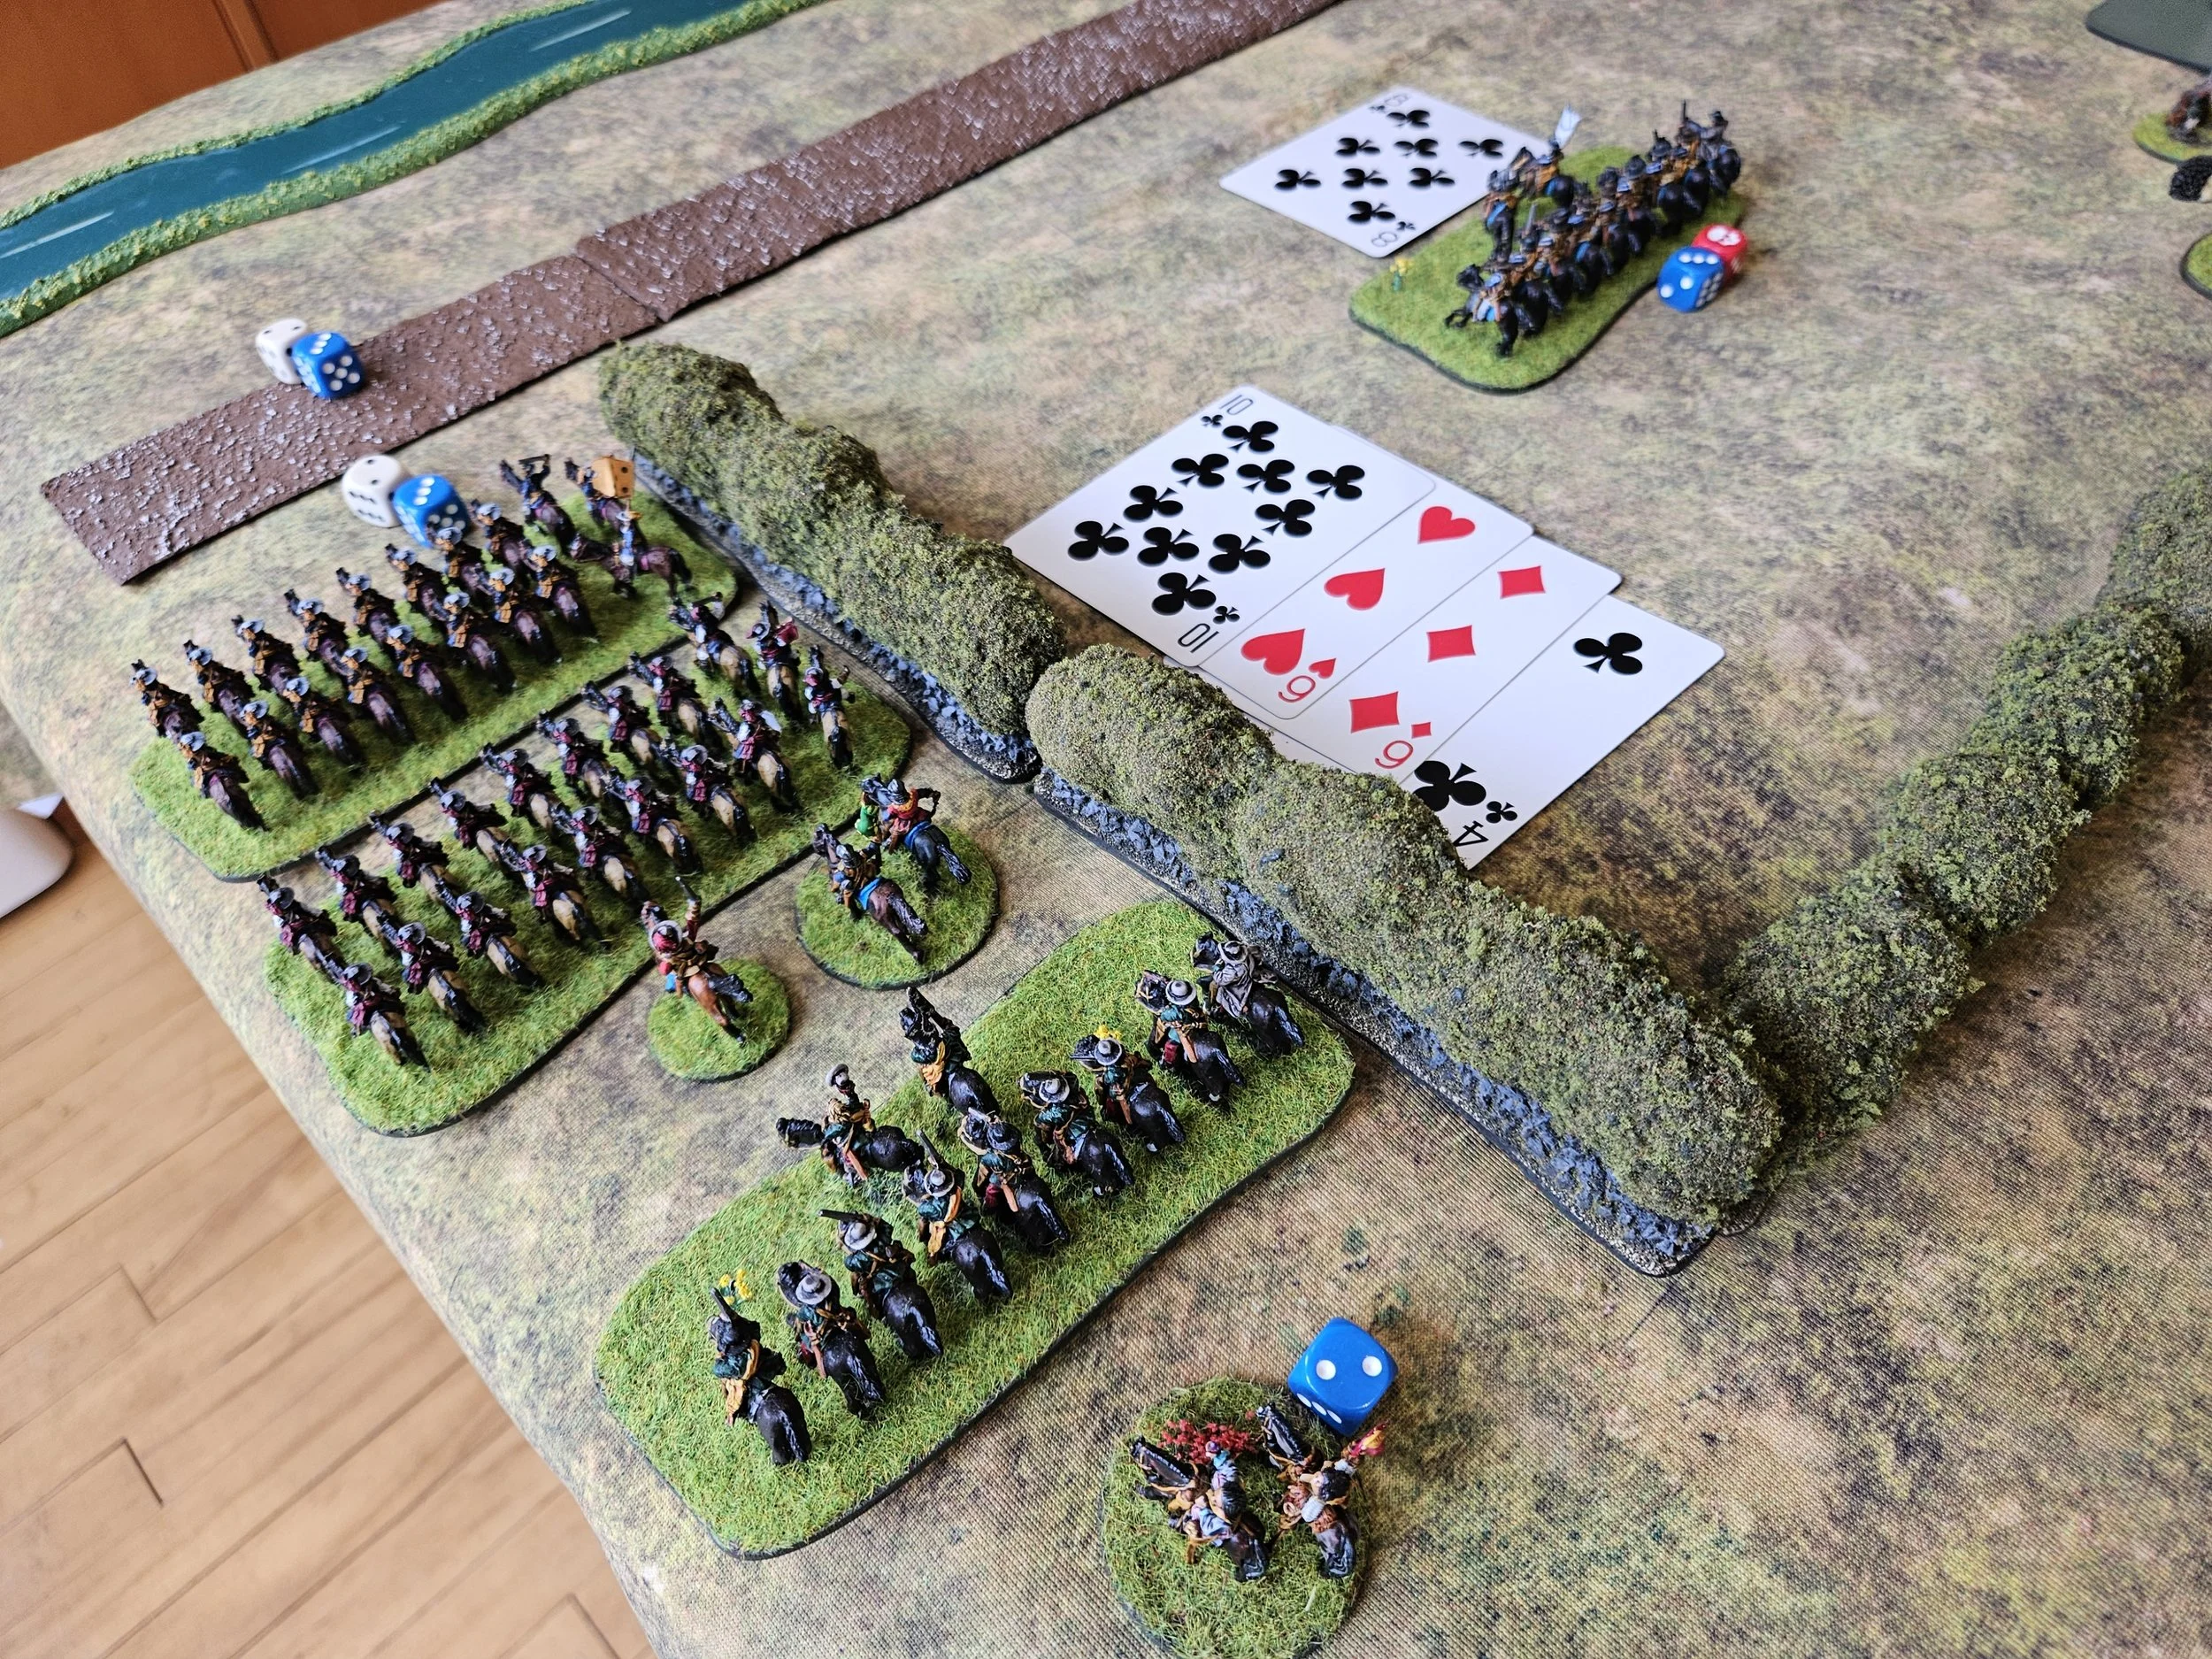
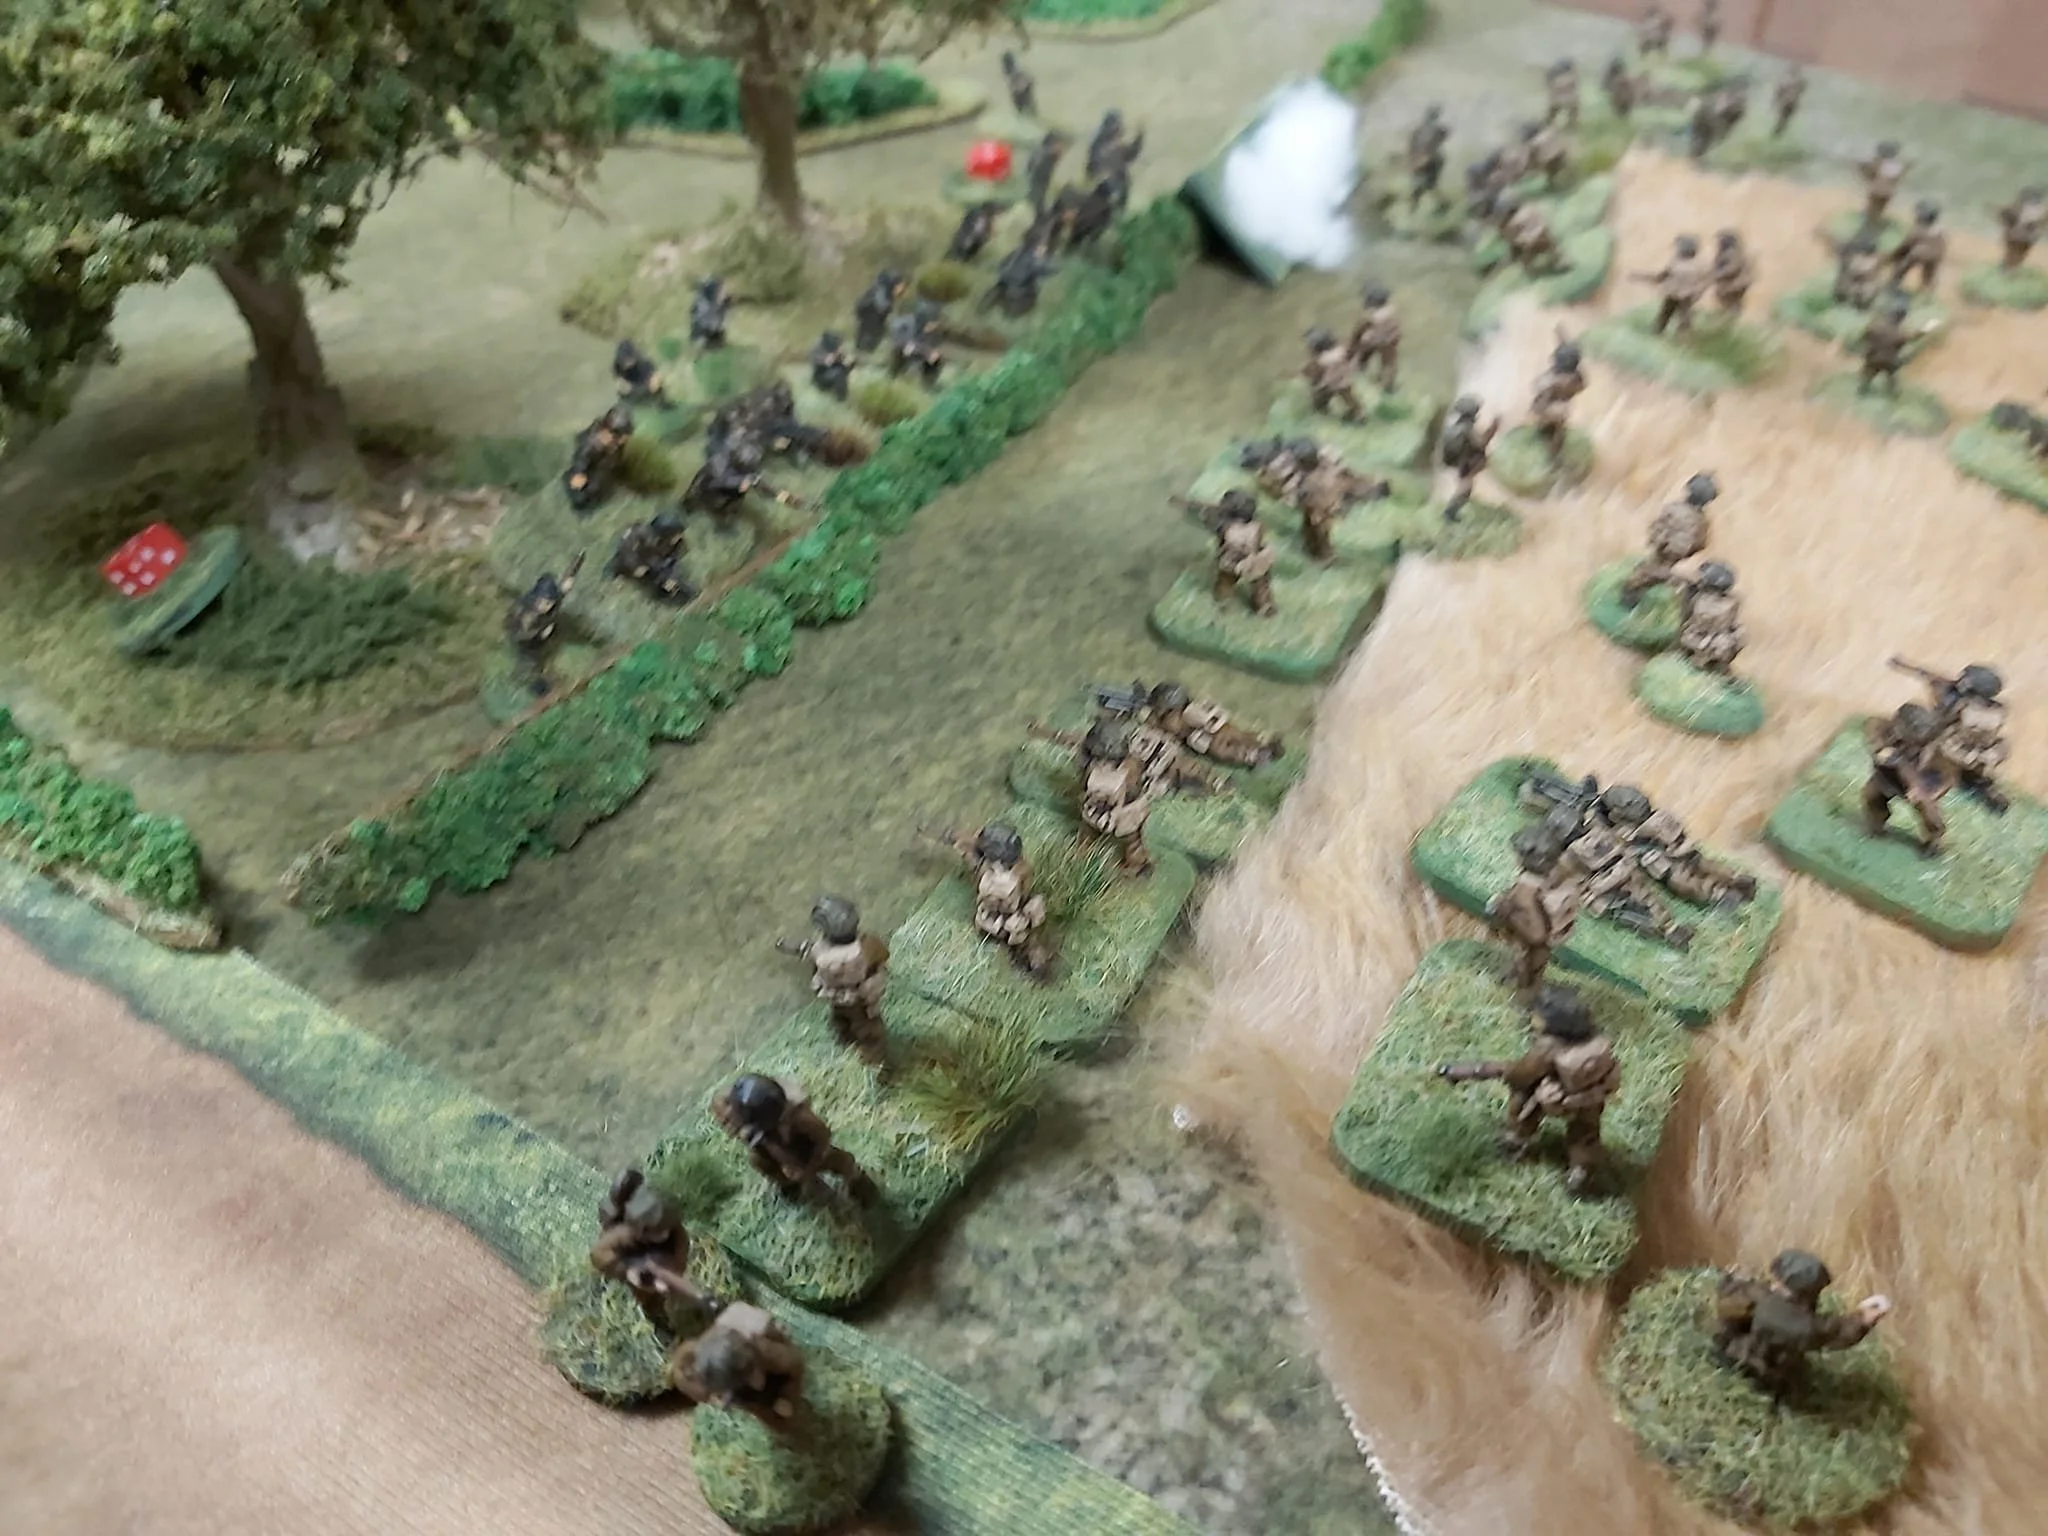
No matter, these things happen. At least I could get my revenge in quickly, as we were due a couple of games of For King & Parliament, Eastern Front Variant in 24 hours time, with my Transylvanians facing the Muscovites. But more on that later…

TTS AAR: Sicilio-Normans take to the field

Now that I had painted up the Italo-Norman militia, it was time to get them into action. I wanted them to face a contemporaneous army, so friend Bevan would field my Burgundian Ordnance collection masquerading as Papal Italians!

Okay, so things weren’t entirely apt, as I was actually fielding Sicilio-Normans instead of pure Italo-Normans, but as the country of Italy wasn’t actually formed until 1870, I decided that stretching things slightly too far south wouldn’t matter too much.

As you can sort of see in the picture, above, both sides had concentrated their cavalry on one flank (my right, Bevan’s left) so the stage was set for a fairly mighty clash early on in the game…and that’s exactly what happened.

Meanwhile, the each side’s infantry contingent slogged forward towards the enemy, with an unusual run of cards meaning that my troops advanced forward in echelon.

Unfortunately for me, the Pope had obviously secured some divine intervention to support his forces, as my unusual run of cards continued with me drawing appalling cards for the cavalry combat, with what should have been a fight in my favour (four heavy units vs three heavy units, two light units vs one light unit) ending up with my cavalry just about wiped out (one light unit remaining) whilst leaving two of his heavy cavalry units still very much in action.

Meanwhile, the infantry lines had, in a ragged way, closed and gone to melee. Things looked a bit better for me here, and I had started to get back into the game a bit.

Even better, going completely against convention, my newly-painted unit of Italo-Norman militia had burst through the enemy line and had got to within striking distance of the enemy camp…and as Bevan only had four Victory Medals left at this stage, if I could just hold on for another turn, there was a fair chance I could nab the camp, pick up another Medal from somewhere else on the field, and win the game.

Unfortunately, the consequences of losing the cavalry battle on my right wing then came back to haunt me with a vengeance, as the two enemy units of Knights arrived back into the action: flank charging some poor Sicilio-Norman spearmen with devastating effect.

Already Disordered, the Sicilians crumbled and fled, and the game was Bevan’s!

A cracking encounter that, despite my earlier bad luck, got down to the wire, with both sides being in a position where the next casualty would have lost them the game. Sportingly, Bevan did agree that I had had universally bad luck throughout the game, but you have to play the cards you’re dealt so no complaints!

TTS AAR: British Open Game 4: Early Imperial Romans vs Chin Chinese

My final game at this year’s British Open To The Strongest tournament, held at SELWG, was against Dene’s Chin Chinese.

Nasty opponents: massed crossbow fire hammering in from distance and then dagger-axemen, spearmen and heavy chariots to fight in melee!

To be absolutely honest, I don’t remember a huge amount about what actually happened during the game! I know that it began with my troops advancing steadily towards the enemy, undergoing the expected hail of crossbow bolts. On the right, I used a unit of Legionaries to hold some cavalry and lights in place. On the left, my equites alares/cohortales effectively cancelled out the rest of his cavalry. In the centre, the two lines clashed with both sides losing some units. Honours even so far.

Things continued to be neck and neck until we both both down to one victory medal: it was going to be sudden death for the next person to lose a unit. I was, however, in a better position tactically, with my troops in a slightly better state than Dene’s. If I could survive his turn, I should be able to win in mine.

Unfortunately, Fortuna deserted me: Dene drew three 10’s in five cards (well, three chits marked ‘10’ in five chits as he was using TTS chits not cards) and KO’d a Legionary unit, meaning that I lost the game 12-13! Talk about close!

So what did that mean for the tournament as a whole?

Tim and his Galatians that I had beaten in Game 3, Dene and his Chin Chinese and I and the Early Imperial Romans all had three wins and one loss…which meant that points wise Tim won the tournament on 613 points, I came second on 596 points, with Dene in third place on 520 points. I was pipped at the post again!

Whatever the result, it had been a great tournament, with four very enjoyable games against very gentlemanly opponents.

As I have said before, I highly recommend taking part in those tournaments that you can manage if only to meet other people from the TTS community.

Finally today, here are some more shots of the final game:

IABSM AAR: Storming the Citadel IV

Will Depusoy and friends have been playing through the PSC Storming the Citadel campaign set during the battle of Kursk , 1943, and posted this After Action Report on the IABSM Facebook group.

Here, the Soviet 67th Guards tries to hold the village of Butovo against German Grossdeutschland divison.

Click on the picture below to see all:

TTS AAR: British Open Game 3: Early Imperial Romans versus Galatians

My third game at this year British Open at SELWG was against Tim and his Galatians.

Galatians are a unique army: like Gauls or Ancient Britons, but nearly all deep fanatical warrior units with loads of heroes. It was going to be tough to chew my way through them!

Neither Tim nor I were in the mood for any shilly-shallying around or tactics or anything like that: both battle lines headed for the other determined to get stuck in as soon as possible:

Annoyingly, one of Tim’s units burst through the Auxilia and made it into an undefended part of my camp.

Honours were even on my right: whilst most of my cavalry were forced to retreat, the Contariorum smashed an enemy unit off the table, and threatened to wreak havoc in the Galatian rear (ooh-er, madam!) despite the threat of scythed chariots.

On my left, I was cautious about his cavalry swinging wide around the wood and coming in from the flank. I therefore held back a unit of Legionaries against that threat: something that I was very glad I had done when suddenly a couple of chariot units appeared from off-table on that side - good use of the stratagem card that I thus neutralised by accident!

So, as ever, it was up to the main body of Legionaries to do the job…and they did. Pushing forward relentlessly, the Praetorians and other veteran units smashed three enemy units from the field, giving me a pretty narrow 13-9 victory.

So not much finesse, but a win. A warning to those intending to fight Galatians: those warrior units are tough! Three hits to kill them, they rally easily, and ignore wounds until they are dead. A battle I was glad to get through!

TTS AAR: British Open Game 2: Early Imperial versus Middle Imperial Romans

My second game at the SELWG competition was a bit of a time-displaced civil war: my Early Imperial Romans versus Colin’s Middle Imperial Romans.

This meant that I would be facing a foe as manoeuvrable as my troops, and able to play the retreat-rally-re-engage game as well as I could. Colin was also fielding three camps, although his were behind a much bigger wall than mine!

Romans versus Romans

As I had the initiative, I advanced forward rapidly: my troops were slightly better quality than his and so the sooner I got into contact the better.

I also noticed that as the enemy came forward to meet me, they moved the Auxilia that had been protecting the right flank of their camp into a position where they could support their front line, leaving a gap that I thought my light cavalry might just be able to exploit…so over to my left I sent them.

The initial clash was a little bit in Colin’s favour: although I routed one of his cavalry units, one of my legionary units fled the field, and a risky move by my Auxilia didn’t pay off as their flank charge didn’t go in.

On the plus side, however, my equites sagitarrii (horse archers) had managed to get right the way around the end of the enemy line and captured one of Colin’s three camps. You can see them somewhat precariously balanced on the battlements in the picture below!

The situation in the centre and on the left continued on - my cavalry dispersing his and preparing to turn and hit the left-rear of his line; his infantry properly bursting through my centre - but those horse archers of mine were merrily ransacking the next enemy camp:

Those of you familiar with the system and of a mathematical frame of mind will have worked out that with two of his cavalry units defeated and two camps taken, I only needed that final camp to fall in order to win the game.

The enemy did get back to re-claim one part their camp, but it was to no avail: by that time I had managed to kill two more of his infantry units, including the Auxilia lurking in the marsh shown in the picture below.

In all, a victory for me 12:6.

TTS AAR: British Open Game One: Early Imperial Romans vs Dacians

Last Saturday it was off to the Lee Valley Athletics Centre for the To The Strongest British Open, part of the BHGS Teams event at SELWG.

My first opponent was Andy and his Dacians. It’s fast becoming a tradition for me to face Andy first at a competition: we’ve faced off first in three of the four tournaments I’ve played in this year.

I had lost the Scouting phase, so had to deploy first. I set up my legionaries in a long line starting from the left, with the equites (cavalry) on my right.

As the game began, the Dacians rapidly shot forward and, almost immediately, the two battle lines crashed into each other

To summarise the rest of the game, I badly lost the right flank, with my equites alares and cohortales crumbling under the onslaught, but in the centre and on the left the legionaries had the bit between their teeth and steadily pushed the enemy back.

I had to reinforce the right with a unit of legionaries borrowed from the centre, but this gave me time to decisively win on the left and in the centre, with the coup de grace being the Praetorians taking the Dacian camp.

A hard fought game (the Dacians warbands are tough!) that ended in a 12-6 victory in my favour.

Here are some shots of the rest of the game:

IABSM AAR: Soviet Steamroller Wins!

Here are some shots of a game of IABSM that Chris Lane posted on the IABSM Facebook Group.

As Chris says: The sprog and I had a good game last night of the Russians trying to take a village. Suffice to say I lost as the sprog’s T-34s steamrollered the left flank.

FK&P AAR: Tounton Bridge

Friend Rob came over for a game of For King & Parliament yesterday and we ended up playing through the first scenario from the Siege of Norchester campaign pack.

For this battle, the Royalists need to keep possession of a bridge near the hamlet of Tounton, with the Parliamentarians obviously needing to wrest it from them.

Tounton Bridge is to the left

The Royalists, under Sir Edmund Dexter, were in four brigades. There was a small brigade of Swedish Horse on each wing; and two brigades of foot in the centre, one of which had not seen battle before. Out front was Rankin’s Forlorn Hope, at back were Miller’s Guns.

Facing them were the Roundheads under General Thomas Dread-Naught. Core to his force was a large brigade of Puritan Horse under Colonel Kill-Sin Rhapsody: you can see God’s light shining on them as they enter the field in the picture above! The rest of his men were trawled from the border regions: a brigade of foot, one of horse mounted on steeds really only fit for the knacker’s yard, and a small brigade of tartan-clad men from further north. A rag-tag force maybe, but plenty powerful too.

The action opened with a general Parliamentarian advance against the largely static Royalists.

In the centre, the Royalist Forlorn Hope was dealt with fairly easily, but on the Roundhead right wing, one squadron of Royalist horse dispersed the Border Lancers without difficulty. This left them facing a wood full of Highlanders, but their blood was up and they charged in regardless of the terrain. The Highlanders, supported by some Mounted Pistoliers resisted the charge and that left a stalemate around the wood that lasted for the rest of the game!

Behind this action, however, another unit of Pistoliers had flank charged and dealt with the other squadron of Royalist horse, leaving the Scots to head north towards the rear of the rest of the Cavalier lines and the bridge, albeit on blown horses.

Meanwhile, on the other side of the field. Colonel Rhapsody was leading his Puritan Horse to disaster. Two of his squadrons tried an outflanking manoeuvre on the far left wing, but the Cavalier horse near them proved too fleet of foot: one unit neatly hopping the hedge, turning to face, and then charging furiously into the Puritan’s rear. Two squadrons of God-fearing cavalry got to meet their Lord sooner than they expected!

Onto the centre, where the Parliamentarians had moved forward and thrown their line into a general engagement. The Royalists moved to meet them, then retreated, then moved forward again, musket fire and the shouts of charging pikemen drowning out the cries of the wounded, and this indecision allowed the Roundheads to open a gap in the Cavalier line.

Ideally they would have had cavalry ready to exploit the hole, but the rest of the Puritan Horse was stuck on the left so it was up to some commanded shot to move forward and begin to outflank the Royalist line.

Meanwhile the Roundhead Borders/Scots horse that had broken through on their right had slowly (blown horses puffing and panting their way forward) managed to get around the rear of the Royalist position. Trotting past some enemy Commanded Shot who were happy to keep hiding in Tounton (the unit just wouldn’t activate despite the fact that the Roundheads were a sitting duck!) the Scots, much to their surprise found that they had taken the bridge. Surely the battle was now decided?

It was not, however, as simple as that. Yes, the Royalists were reduced to one coin, and the Parliamentarians technically had the bridge, but the Roundheads had lost an awful lot of cavalry and were also down to one coin. It was sudden death time!

Earlier in the game: the roundheads advance to contact

The Roundheads were pretty convinced that they could destroy the Royalist unit on the right - it was already disordered and surrounded on three sides - they just had to survive the next turn in order to do so. This was when the Royalist Commanded Shot that had been skulking in Tounton finally got their act together, moved out of the houses they had been sheltering in to a position from which they could fire onto the flank of the Scots horse, who had moved off the bridge to cut down the Royalist gunners from behind.

The double-shotted volley rang out and the Scots horse disintegrated! This was too much for the rest of the Roundheads, and rather than push forward to victory, they began to retreat. Moving back onto the bridge, the Royalists had won the day!

Enemy horse? What enemy horse?

The bridge taken.

Enemy horse? What enemy horse? All we can see is two lone scotsmen officer-types!

Totting up the points, the Royalists had won a narrow victory 16:14: snatching victory from the jaws of defeat! It had been a cracking game, with the advantage swinging backwards and forwards throughout. On to Munce’s Wood for the second game in the campaign!

Untried Royalists (the yellow meeple) await the Parliamentarian onslaught!

TTS AAR: Chalgrove World's: Game Four

My final battle was a “civil war” clash against another Early Imperial Roman army commanded by Sid B.

Our armies were, however, subtly different. Mine, mainly due to a shortage of figures, was relatively small and elite whereas Sid’s was larger and had more Auxilia versus Legionaries. As it happened, four of the sixteen armies on the day were Roman (three Early Imperials and one Middle Imperials) which was apparently quite unusual as the recent trend has been for lance-armed cavalry armies to dominate the lists.

Unfortunately I don’t have a very detailed account of the game as such was the tension in this climactic game that I forgot to take any pictures, or at least forgot to take any pictures until what the end result was going to be had become clear.

I do remember that our two lines advanced towards each other, with Sid’s men slightly ahead of mine as a poor run of cards for movement had meant my left wing had hung behind.

The lines then clashed, with disastrous results for my troops. As Sid said at the time: Rob’s Romans had all the right cards, just not in the right order! Worse, my lights had again failed to hold the camps properly (that’s twice in a row after a long run of success) and I was soon down to my last few coins. To be fair to Sid, however, he played a superb game: not making any mistakes and taking full advantage of every situation.

Fortunately the Praetorians saved me from a complete whitewash: charging up a hill in the final turn of the game to wipe out the enemy I Cohort and capturing their eagle…but this was too little, too late and I lost 7-13.

As the World’s is run on a Swiss Chess style system (the players with the highest cumulative scores fight each other each round, albeit with adjustments to avoid playing the same person twice) this unfortunately bounced me down to 4th place in the tournament overall.

A good result with two outright wins, one winning draw and one outright loss, but slightly frustrating as the ultimate prize had seemed to be within my grasp. As it was, Sid won the tournament, so really well done to him: couldn’t have happened to a nicer chap!

So in all a great day’s play. I would highly recommend entering all the To The Strongest tournaments that you can: all my four games were very convivial affairs with not an argument to be seen. Next year, 2024, the World’s are moving back to their original February date: that now being set for 24th February 2024, with a venue around the Chalgrove area (near Oxford). So put it in your calendar now and start getting your army ready: my Romans await you!

TTS AAR: Chalgrove World's: Game Three

Those following recent posts will know that I went into game three with two outright victories under my cingulum militare.

That was great, but what was not so great is that the World Championships work on a modified Swiss Chess system, which means that after each round the two people with the top two scores fight each other, the people in third and fourth place fight each other etc. There are tweaks such as the fact that you don’t fight anyone who you’ve fought before, but the salient point here is that the better you do, the stronger opposition you face.

My third opponent was therefore one of the big beasts of the tournament scene: Peter R, fielding his Timurids. Peter has won many, many tournaments and would, in anyone’s books, be considered as the first seed if we were playing at Wimbledon. Gulp! My only consolation was the fact that I had actually beaten his Timurids before, in one of our semi-regular friendly games, although not with the Romans.

As mentioned in my previous post, this battle had an even more extraordinary start than the last one, where I went 8-0 up after only pulling about five cards…

I had set up my three camps in the bottom left hand corner of the field, guarded by the usual unit of light infantry. I had a couple of legionary units nearby for added security, but they are obviously usually needed elsewhere on the field. The lights (veteran auxilia sagittarrii) are, however, usually sufficient.

Not today.

In his first action of the game, Peter swept two units of light cavalry towards my camps, and with an extraordinary run of cards, killed the auxilia sagittarrii and took all three of my camps, meaning I was 0-10 down (losing 13 loses me the game) without having drawn more than one card - an Ace!

Disaster after one card!

Things were looking so appalling for me that Peter, with extraordinary generosity, even offered (twice) to re-start the game, but I turned down the offers: rules are rules and, if I was going to go down, I was going to go down fighting!

First things first: take back the camps…and take back the camps before losing another three coins (the equivalent of 1.5 units/generals).

As the Timurids only had two units of light cavalry there, it was actually fairly easy to do. One legionary unit marched backwards into one camp, one withdrew from the centre of the field and marched into another. That left one unit of enemy lights sandwiched between the two, and then destroyed next turn. Meanwhile, another unit of legionaries had chased the other enemy light cavalry unit off the table, and then halted to guard it’s probable re-entry point. You don’t want an enemy light cavalry unit unattended in your rear!

This was better, but had tied up three legionary units meaning that I only had two and the cavalry left to beat the vast majority of the Timurids in front of me.

Now those of you who watched England’s first match in this year’s Rugby World Cup, against Argentina, will have seen how losing a man to a red card early on it the game inspired the English team to play better than they have done for eighteen months and pull the game out of the bag, and so it was here with the Romans.

The cavalry finally proved their worth, killing an enemy general and some of the enemy horse, and the two remaining infantry cohorts proved positively unstoppable, also disposing of a couple of enemy units despite being heavily outnumbered. Suddenly the score was back to 10-3 in my favour, with several Timurid units disordered as well.

Now Peter proved what a canny player he is: with one eye on the clock, he retreated away from me as fast as he could meaning that as time was called, I had achieved what the system would call a winning draw at the aforementioned 10-3 rather than the 12-3 outright victory that should and would have followed had we continued.

An extraordinary game pulled back from the brink!

Yes, it was a pity I couldn’t get the decisive victory I wanted, but a winning draw after the start I’d had was nothing to complain about…and I would have had the victory had we continued.

On reflection (and we all know that Captain Hindsight has 20:20 vision) the Timurid success in my camps happened too soon for Peter to exploit. A turn later and the legionaries who rescued the camp would have been further from it and less able to do so, and the rest of his army would have been close enough to mine to expect to be able to kill the single unit needed to polish me off even if it cost him multiple units to do so.

Losing a general, a unit of veteran horse, and some more light horse to my first cavalry charge didn’t help either, and from then on I had his main force on the back foot on the right wing.

In the centre, he didn’t get the cards he needed to close with my infantry quickly enough to hit me when it counted and, anyway, when he did, it was veteran legionaries (presumably somewhat annoyed about having their personal possessions trampled by enemy lights!) waiting to cut them down.

A great game that neither Peter nor I will forget!

TTS AAR: Chalgrove World's: Game Two

My second game of To The Strongest at the 2023 World Championship promised to be a lot more testing than the first. I was up against John L’s Medieval Russians: an all cavalry army.

There’s nothing the legions hate more than fighting an all cavalry army. The enemy lights stay out of range and harass you with missile fire or nip at your flanks and rear. The enemy heavies, who often have bows of their own, wait out of gladius-reach until you’re tired or overextended and then slam into you with lances. Not nice at all!

The game began with the Russians advancing rapidly towards my line. This put their cavalry on the right just within charge range of my cavalry. I duly sent in the Equites Alares and, somewhat luckily, immediately knocked one of his heavy cavalry units off the table. The subsequent morale checks led to two of his light units also fleeing the field, and opened up a huge hole in his line.

The Equites Contarium thundered through this hole and, led by the Roman cavalry commander, sacked the Russian camp. I had played about five cards and was immediately eight coins up!

The game then became a desperate attempt on my part to secure the other three coins I needed to finish him off whilst John tried everything he could to rescue the situation.

In the end I ended up losing three units and a general (I told you these cavalry armies are hard for the Romans to beat) before I could finally squish a deep unit of German Knights between advancing legionaries and the Equites Contarium coming back from the camp for an 11-8 victory.

As you can see, John’s army is beautifully painted, and it was a real pleasure to face off against it.

And if you think that five cards for eight coins was an extraordinary start to a game, wait until you read what happened in game three…!

TTS AAR: Chalgrove World's: Game One

Yesterday it was off to Chalgrove for the 2023 To The Strongest World Championships. As always, I had my trusty Early Imperial Romans with me, and was fully ready to put the Latin mincing machine to work!

My first game was against Michael G’s Western Han Chinese. A beautiful 3D printed army with a couple of nasty looking heavy chariots, a load of crossbow-armed units and some vicious dagger-axemen as well.

As it happens, everything went my way. Michael’s heavy chariots were having an off day and left the field almost on first combat, and from then it was just a matter of my legionaries wading their way forward against a positive storm of crossbow bolts to get in amongst it with the Chinese infantry.

Here I did have a little luck: Michael and I reckoned that he had fired at least twenty crossbow volleys at my advancing men and scored only two disorders which I quickly rallied. As the Roman mincing machine swung into action, my cavalry punched through the gap where his heavy chariots had been and, after that, it was just a matter of time before the game was mine. A 12-0 victory to give me a good start to the day’s proceedings.

Although the Romans did win outright victory, it would only have taken a little more luck with the crossbows for Michael to put me into serious trouble. I’ve always wanted a Chinese army for my collection and, looking at Michael’s, even more so now!

IABSM AAR: South of Cherbourg

Here’s a quick AAR from Alex Sotheran featuring one of the v3 rulebook scenarios: click on the picture to see all:

Alex ran another game recently: introducing four new players to I Ain’t Been Shot Mum. In this game, the British were held up on the left flank, but smashed through on the right to cut off the Germans retreat and capture the crossroads:

TTS AAR: Early Imperial Romans versus Hoplite Greeks

Clearing out my computer’s memory, I came across these pictures from a game played earlier this year: a practice session for the autumn tournament season that pitched my Early Imperial Roman’s against friend Other Rob’s Hoplite Greeks.

As it was a few weeks ago, I don’t have a blow-by-blow account of the game for you, but I do remember that the large Greek phalanxes caused a few problems for the Romans, and it was only their ability to manoeuvre and to rally that got them the win.

Here’s a gallery of the action: hopefully the pictures will tell the story!

It’s all coming back to me now!

My plan was to have the Roman cavalry overwhelm the lesser quality Greek horse on my left then curl back into the centre to take the Greeks in the flank.

That didn’t happen: as per usual the Roman horse proved incapable of beating the moth-eaten rabble in front of them, so that flank remained effectively neutralised throughout the battle.

That meant that the Legions had to do the work and won the day by ganging up on the individual phalanxes and taking them from two sides at once. Oh, and the Equites Sagittarrii light horse took the enemy camp as well, which helped!

IABSM AAR: Club Night Game

Here’s a quick AAR from Alex Sotheran taken from the IABSM Facebook Group.

As Alex says: “IABSM at the club tonight. Despite one British platoon commander not attending the 'O' Group they managed to push on to the German held crossroads and using a combination of smoke and manoeuvre threw them out at the point of a bayonet!”

Britcon Day Two: Game Five & Results

My final battle at Britcon was against Peter’s Ostrogoth army: another almost-all cavalry force that was bound to lap around my flanks!

Outscouted, my set up was defensive, but I managed to place enough terrain to protect the flanks of my camp, then put the cavalry on the left hoping to hold up his elite nobles for long enough for the Legions to quash any other resistance with a Space Invaders like march forward in a straight line.

The game really turned my way very early on when a couple of extremely unlucky cards meant that Peter and the Ostrogoths lost an elite unit and their senior general in the first proper cavalry clash on the left.

After that, it was a matter of pining his troops back against things they couldn’t evade through and heading for his camp with everything I had: a workmanlike victory 17:4,

So, on to the results. I had four victories and one defeat under my belt, but one of the victories was the 7:5 Carthaginian affair so in reality three victories, one draw and one defeat.

In the end, when everything was totted up, I came third, an improvement of one place on Ewelme. The full scores were:

Congratulations to Adrian on a well deserved victory, and huge thanks to Sid for organising it all.

I would recommend giving the Britcon tournament a go at least once: it’s great fun even if it is quite a test of endurance: it certainly knocked me out for the next few days!

I’d also recommend a trip to 4550 Miles to Delhi the Indian restaurant we (and, coincidentally the Lardies) all ended up in on the Saturday night: great food and atmosphere.

CDS Arab-Israeli AAR: Chariots of Fire

Steve Blease and fellow Lardy Phil got together to push some 6mm tanks around the table using the Arab-Israeli 6DW variation of Charlie Don't Surf. 

Steve devised a basic scenario loosely based around the Battle of Dothan Valley on the West Bank at the start of the June/Six Day War of 1967. Click on the picture below to see all..