

FK&P AAR: Tounton Bridge
/Friend Rob came over for a game of For King & Parliament yesterday and we ended up playing through the first scenario from the Siege of Norchester campaign pack.
For this battle, the Royalists need to keep possession of a bridge near the hamlet of Tounton, with the Parliamentarians obviously needing to wrest it from them.
Tounton Bridge is to the left
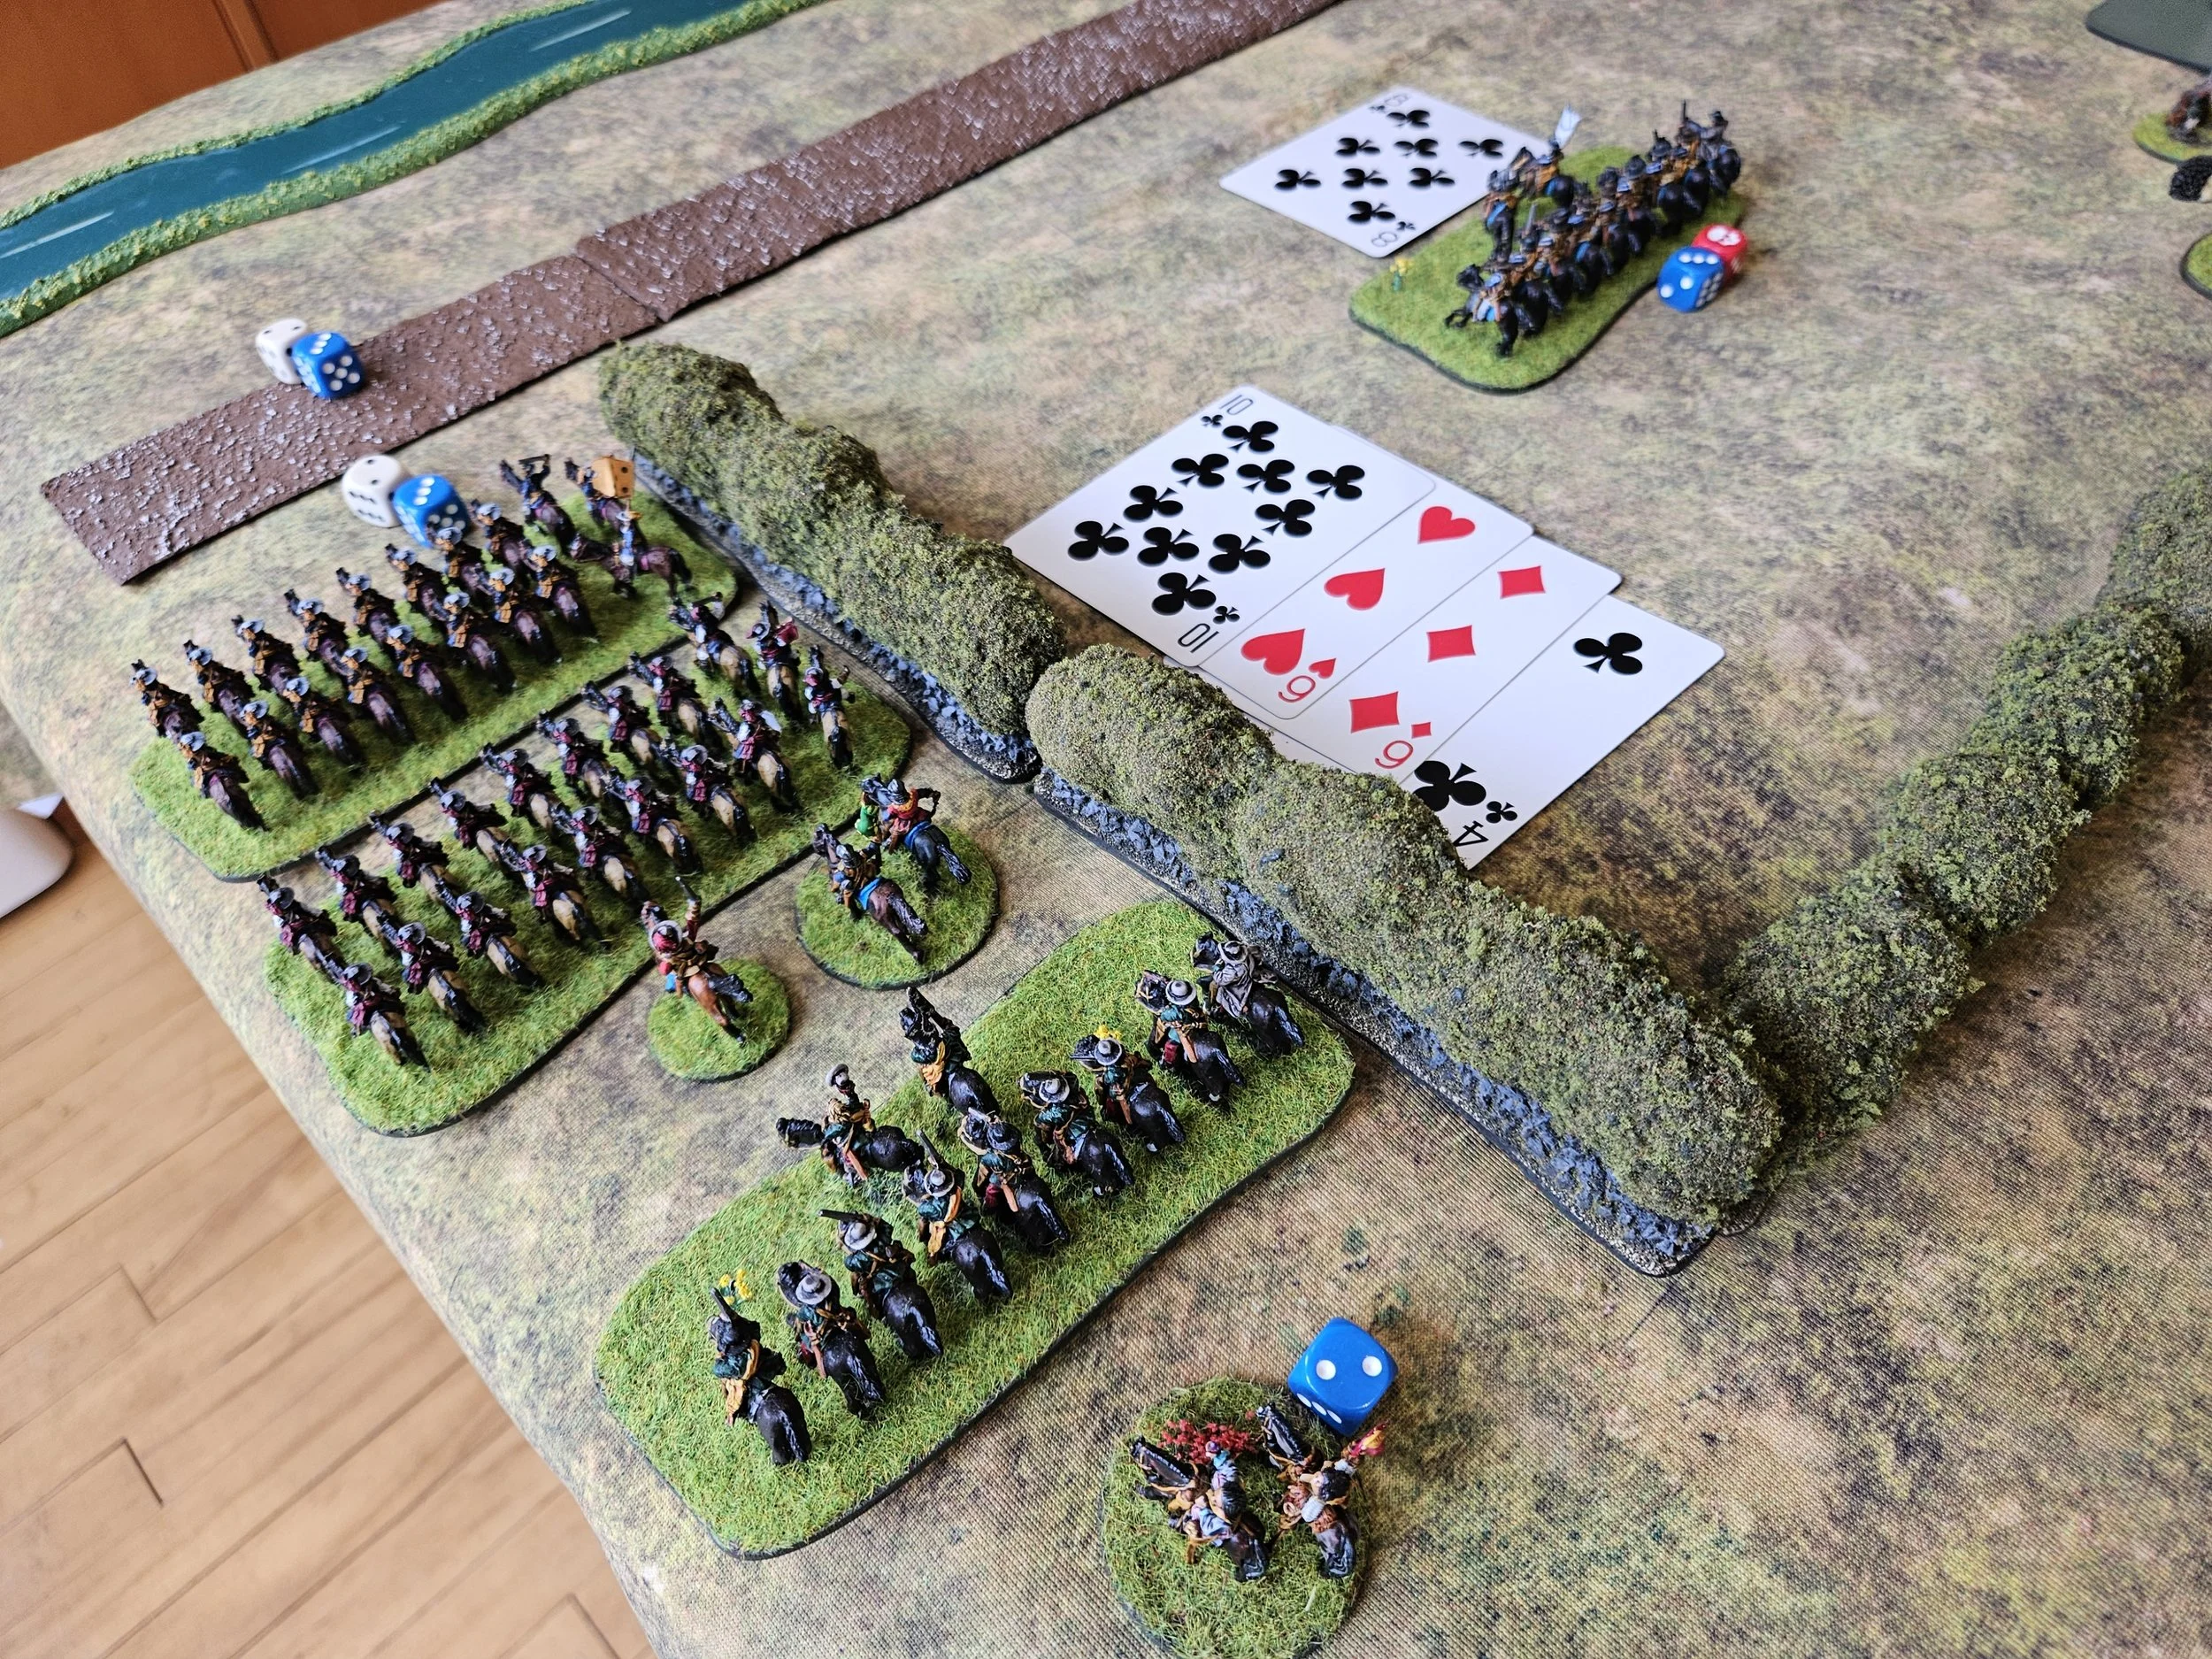
The Royalists, under Sir Edmund Dexter, were in four brigades. There was a small brigade of Swedish Horse on each wing; and two brigades of foot in the centre, one of which had not seen battle before. Out front was Rankin’s Forlorn Hope, at back were Miller’s Guns.
Facing them were the Roundheads under General Thomas Dread-Naught. Core to his force was a large brigade of Puritan Horse under Colonel Kill-Sin Rhapsody: you can see God’s light shining on them as they enter the field in the picture above! The rest of his men were trawled from the border regions: a brigade of foot, one of horse mounted on steeds really only fit for the knacker’s yard, and a small brigade of tartan-clad men from further north. A rag-tag force maybe, but plenty powerful too.
The action opened with a general Parliamentarian advance against the largely static Royalists.
In the centre, the Royalist Forlorn Hope was dealt with fairly easily, but on the Roundhead right wing, one squadron of Royalist horse dispersed the Border Lancers without difficulty. This left them facing a wood full of Highlanders, but their blood was up and they charged in regardless of the terrain. The Highlanders, supported by some Mounted Pistoliers resisted the charge and that left a stalemate around the wood that lasted for the rest of the game!
Behind this action, however, another unit of Pistoliers had flank charged and dealt with the other squadron of Royalist horse, leaving the Scots to head north towards the rear of the rest of the Cavalier lines and the bridge, albeit on blown horses.


Meanwhile, on the other side of the field. Colonel Rhapsody was leading his Puritan Horse to disaster. Two of his squadrons tried an outflanking manoeuvre on the far left wing, but the Cavalier horse near them proved too fleet of foot: one unit neatly hopping the hedge, turning to face, and then charging furiously into the Puritan’s rear. Two squadrons of God-fearing cavalry got to meet their Lord sooner than they expected!

Onto the centre, where the Parliamentarians had moved forward and thrown their line into a general engagement. The Royalists moved to meet them, then retreated, then moved forward again, musket fire and the shouts of charging pikemen drowning out the cries of the wounded, and this indecision allowed the Roundheads to open a gap in the Cavalier line.
Ideally they would have had cavalry ready to exploit the hole, but the rest of the Puritan Horse was stuck on the left so it was up to some commanded shot to move forward and begin to outflank the Royalist line.
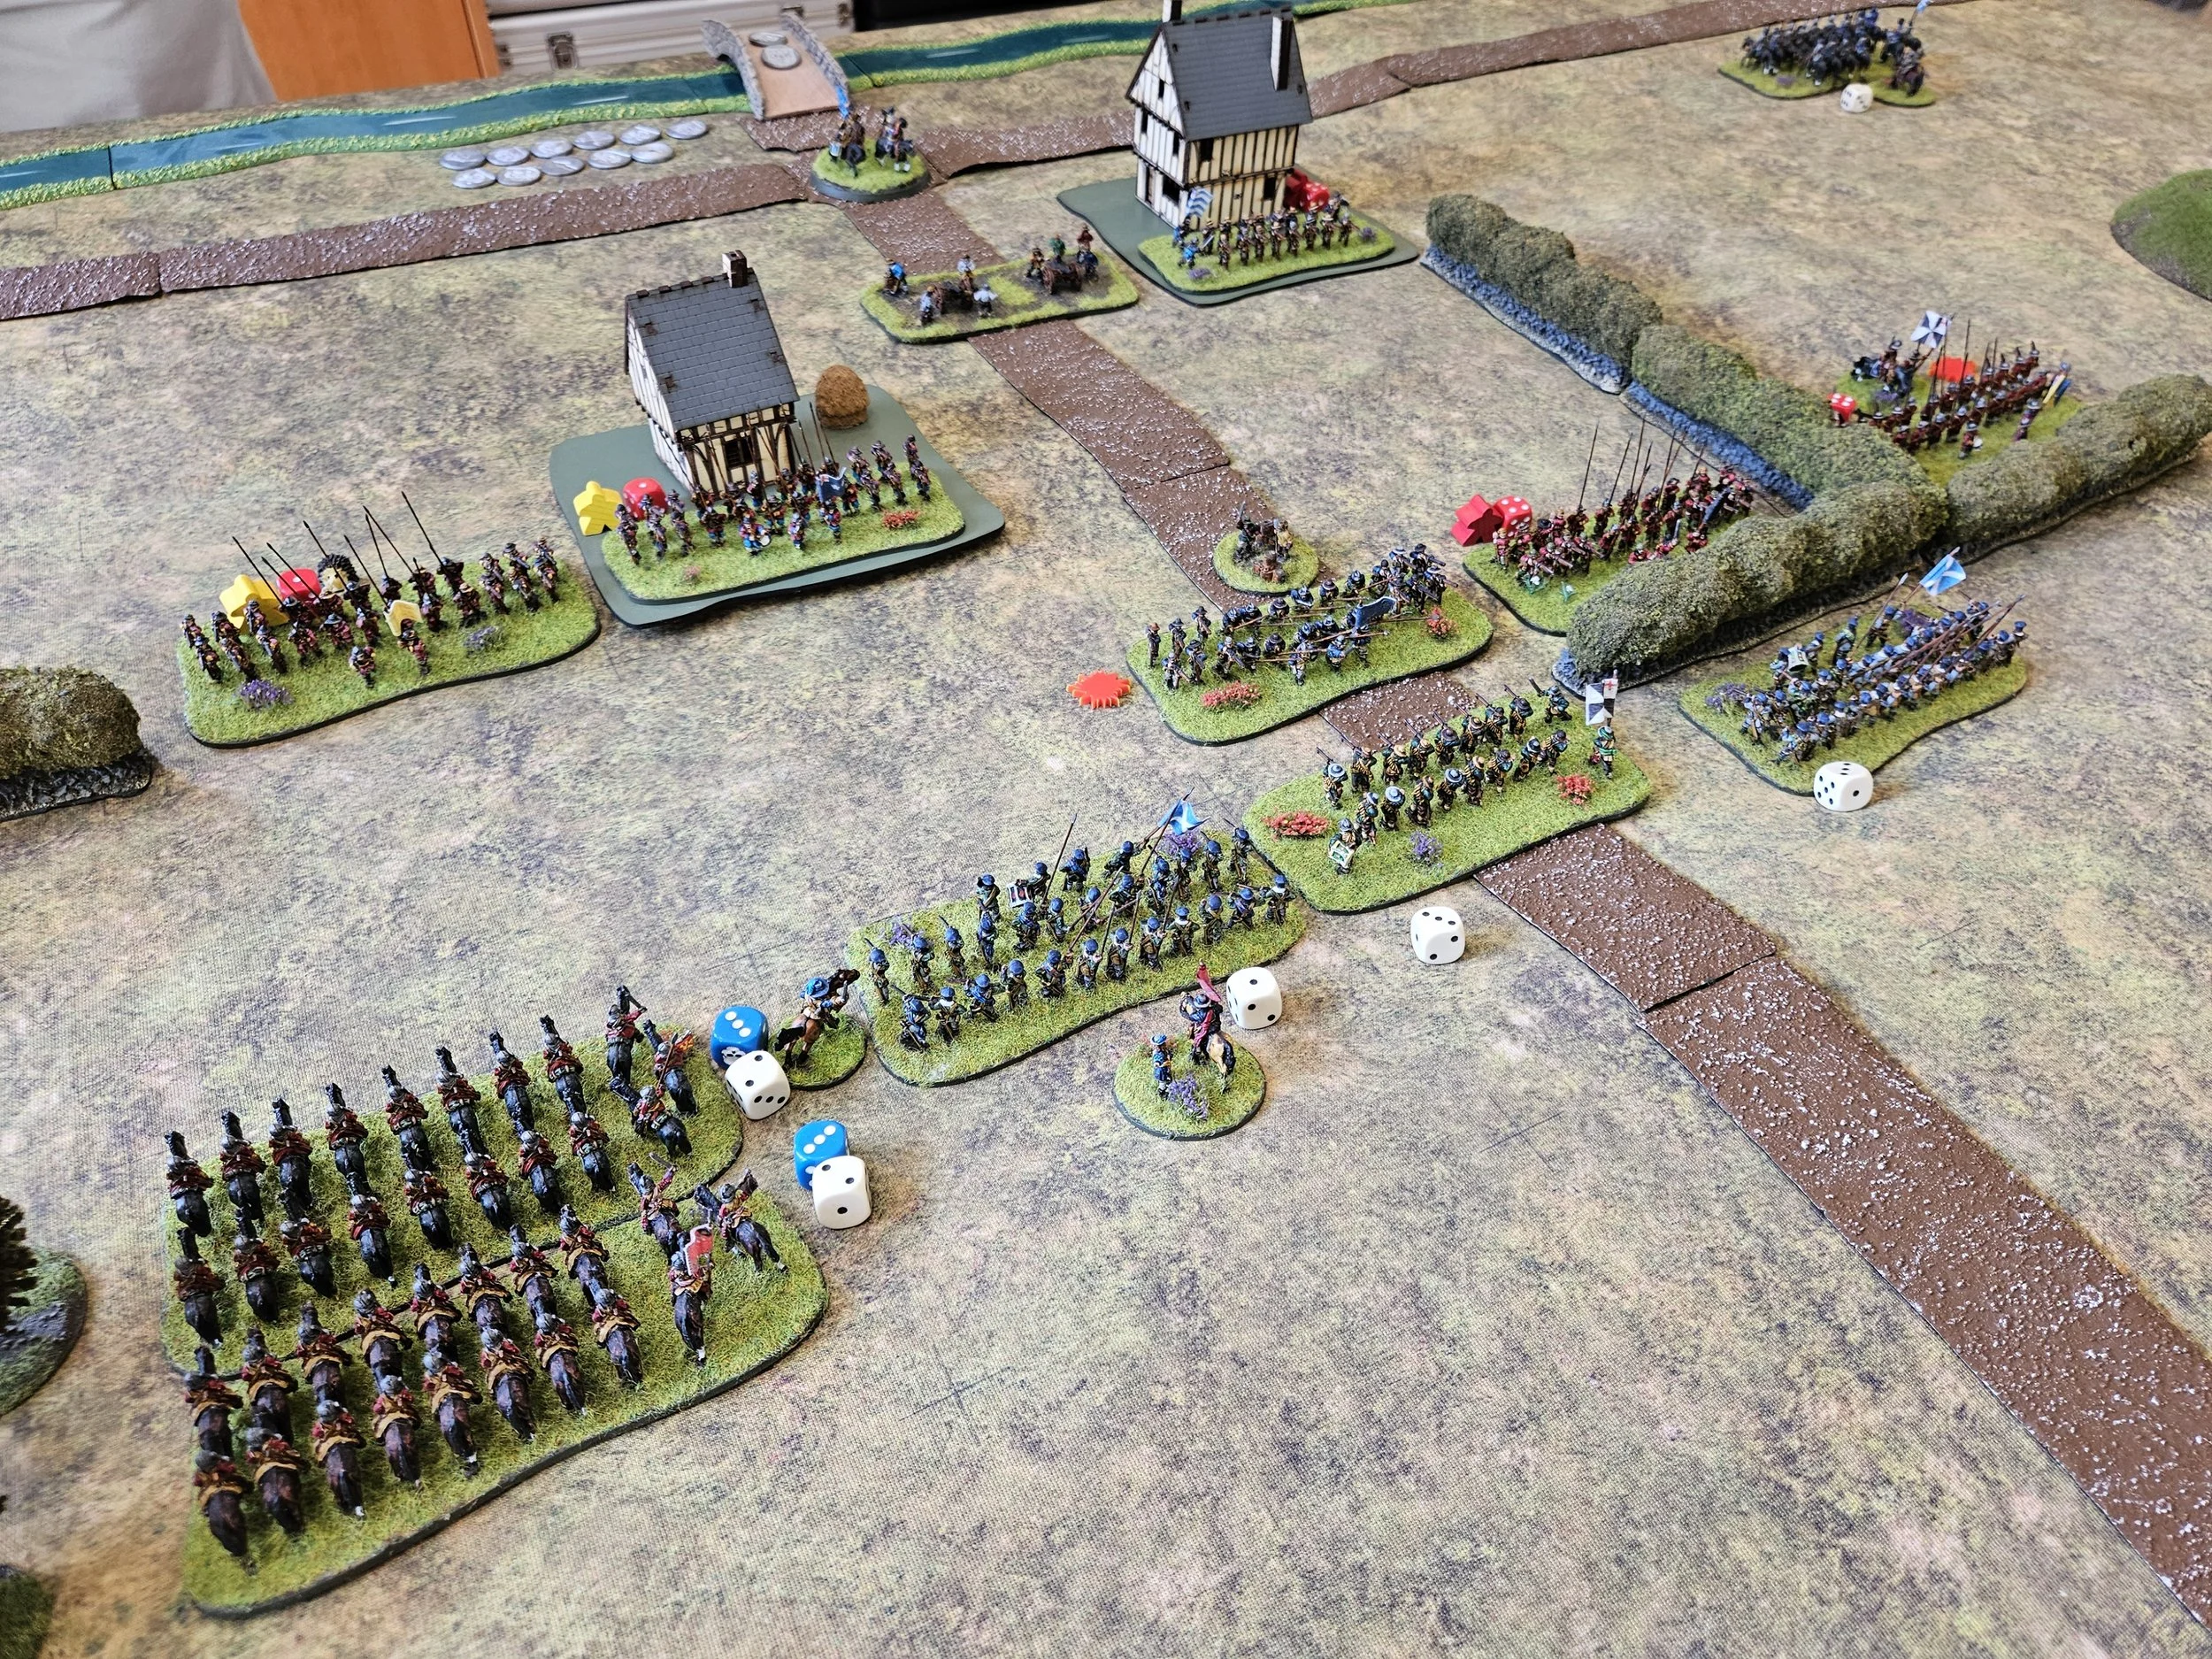


Meanwhile the Roundhead Borders/Scots horse that had broken through on their right had slowly (blown horses puffing and panting their way forward) managed to get around the rear of the Royalist position. Trotting past some enemy Commanded Shot who were happy to keep hiding in Tounton (the unit just wouldn’t activate despite the fact that the Roundheads were a sitting duck!) the Scots, much to their surprise found that they had taken the bridge. Surely the battle was now decided?
It was not, however, as simple as that. Yes, the Royalists were reduced to one coin, and the Parliamentarians technically had the bridge, but the Roundheads had lost an awful lot of cavalry and were also down to one coin. It was sudden death time!
Earlier in the game: the roundheads advance to contact
The Roundheads were pretty convinced that they could destroy the Royalist unit on the right - it was already disordered and surrounded on three sides - they just had to survive the next turn in order to do so. This was when the Royalist Commanded Shot that had been skulking in Tounton finally got their act together, moved out of the houses they had been sheltering in to a position from which they could fire onto the flank of the Scots horse, who had moved off the bridge to cut down the Royalist gunners from behind.
The double-shotted volley rang out and the Scots horse disintegrated! This was too much for the rest of the Roundheads, and rather than push forward to victory, they began to retreat. Moving back onto the bridge, the Royalists had won the day!
Enemy horse? What enemy horse?
The bridge taken.
Enemy horse? What enemy horse? All we can see is two lone scotsmen officer-types!
Totting up the points, the Royalists had won a narrow victory 16:14: snatching victory from the jaws of defeat! It had been a cracking game, with the advantage swinging backwards and forwards throughout. On to Munce’s Wood for the second game in the campaign!
Untried Royalists (the yellow meeple) await the Parliamentarian onslaught!


