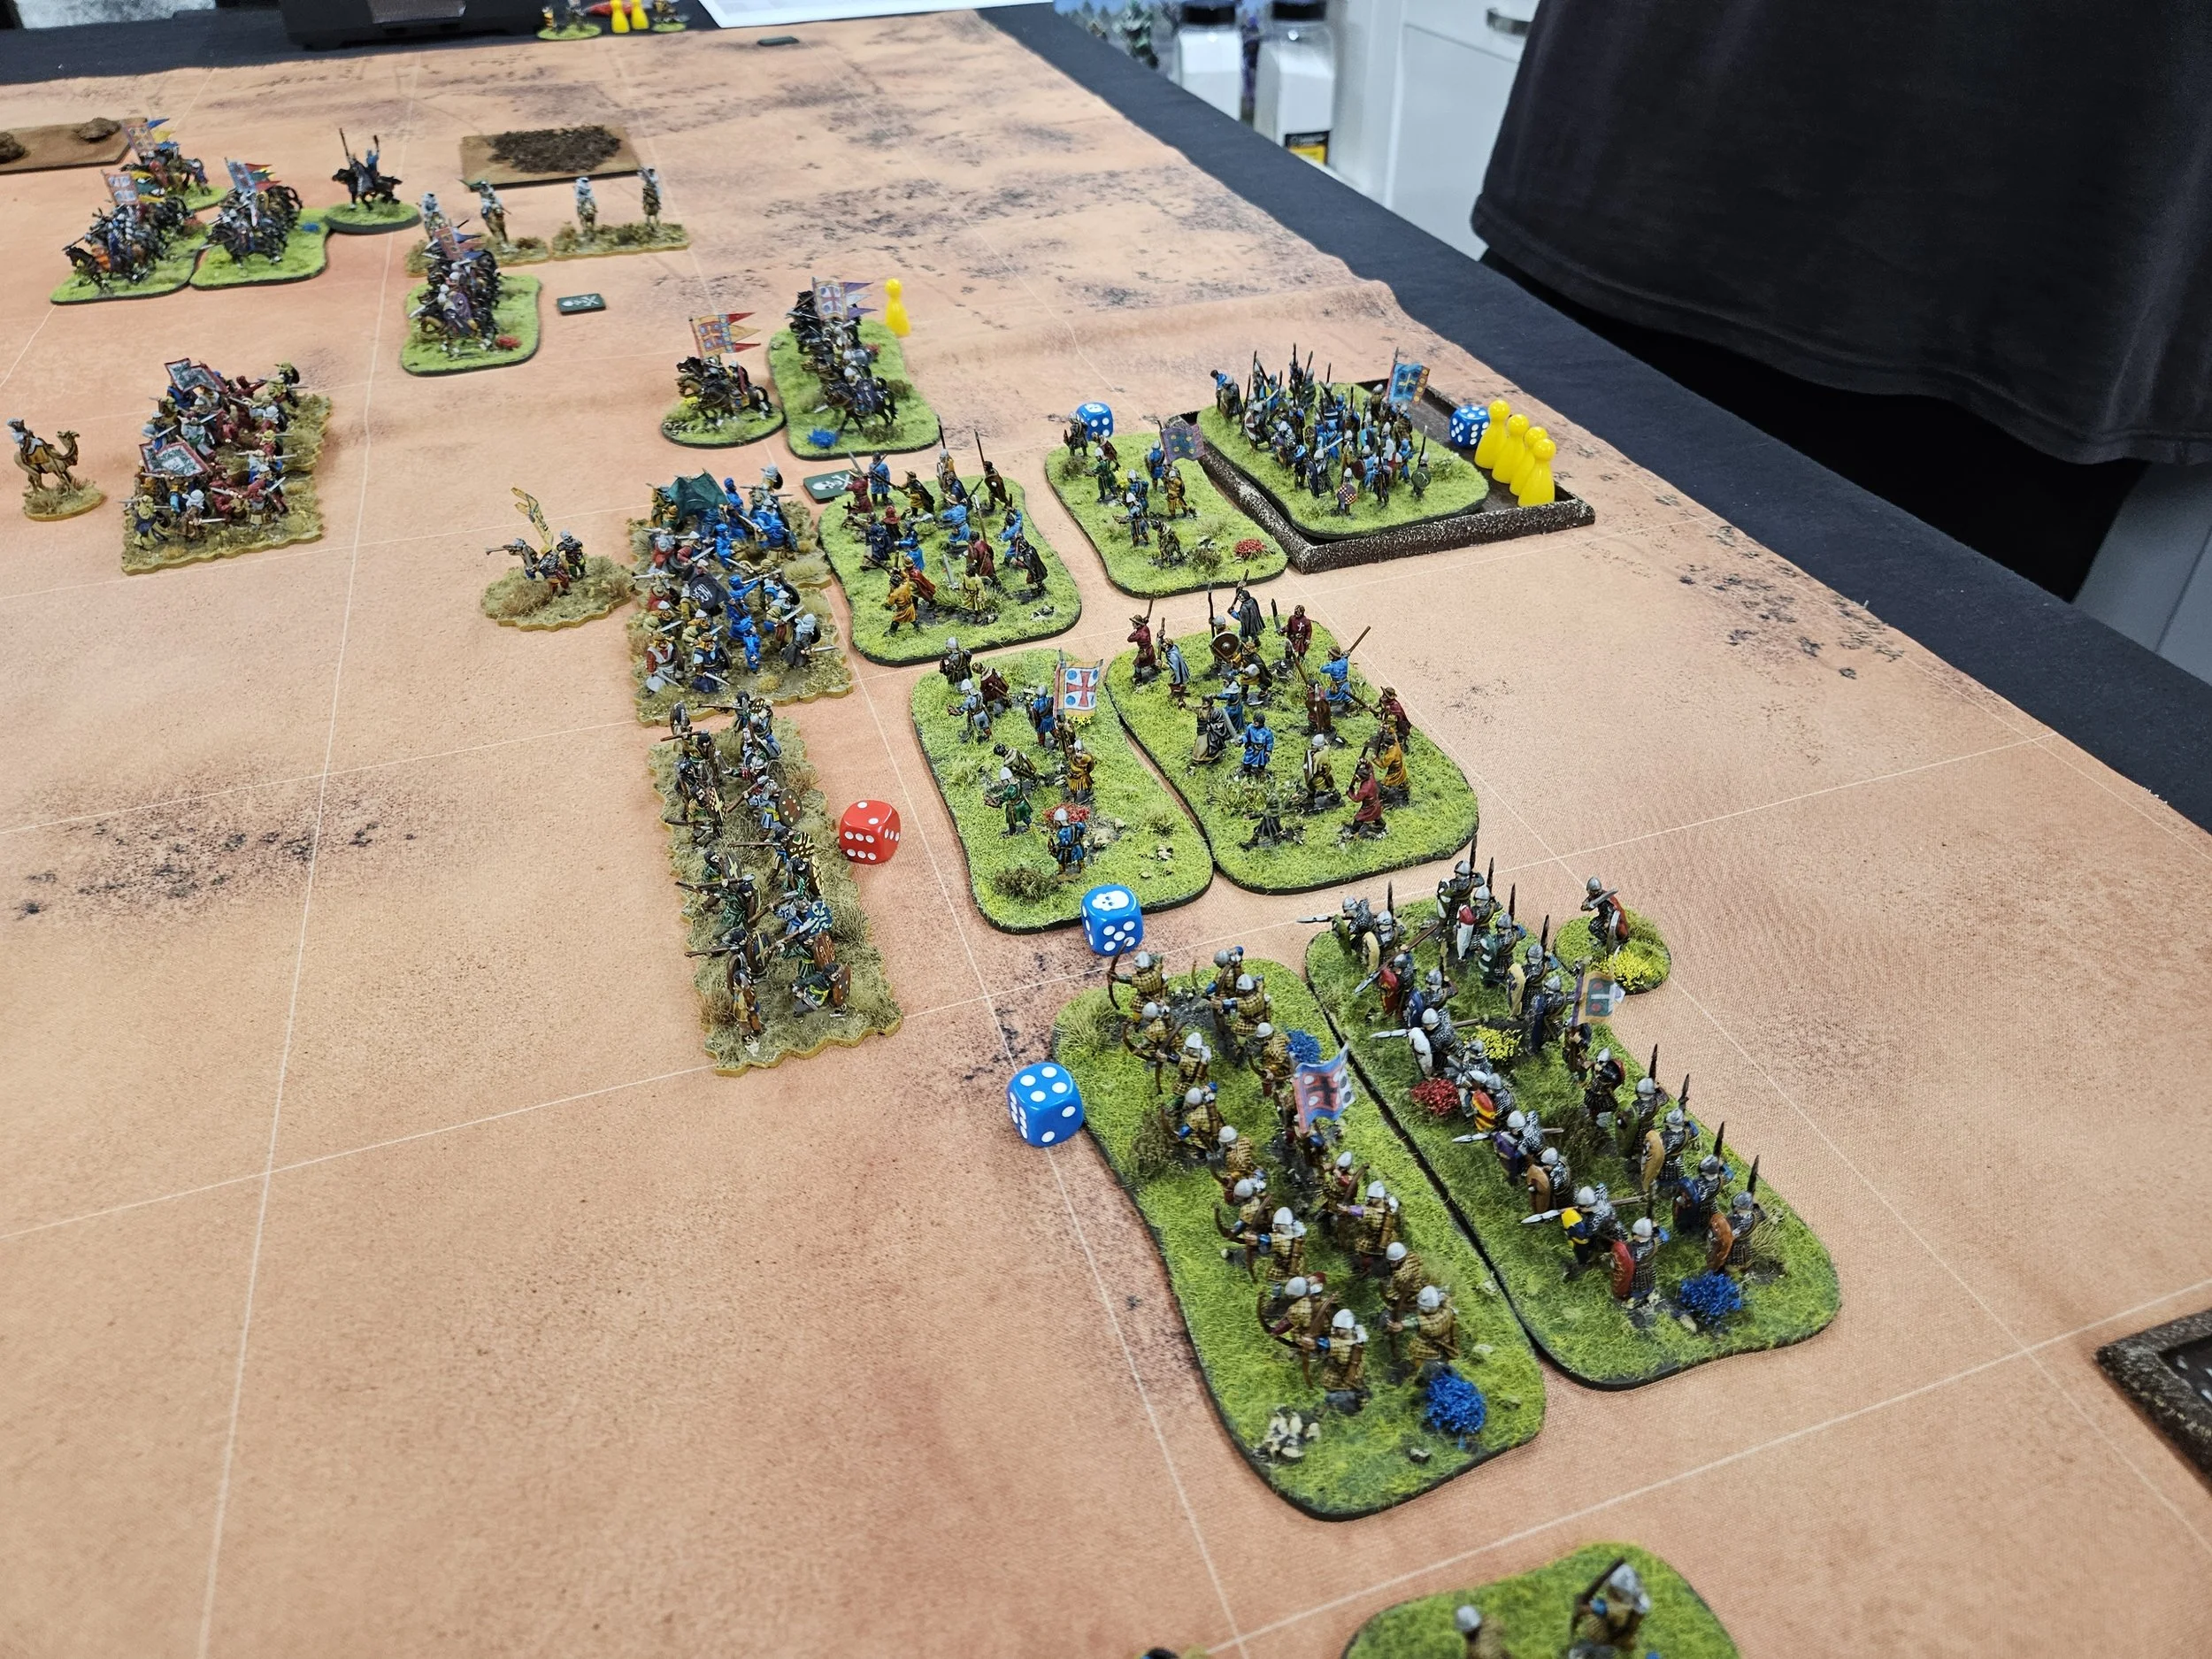
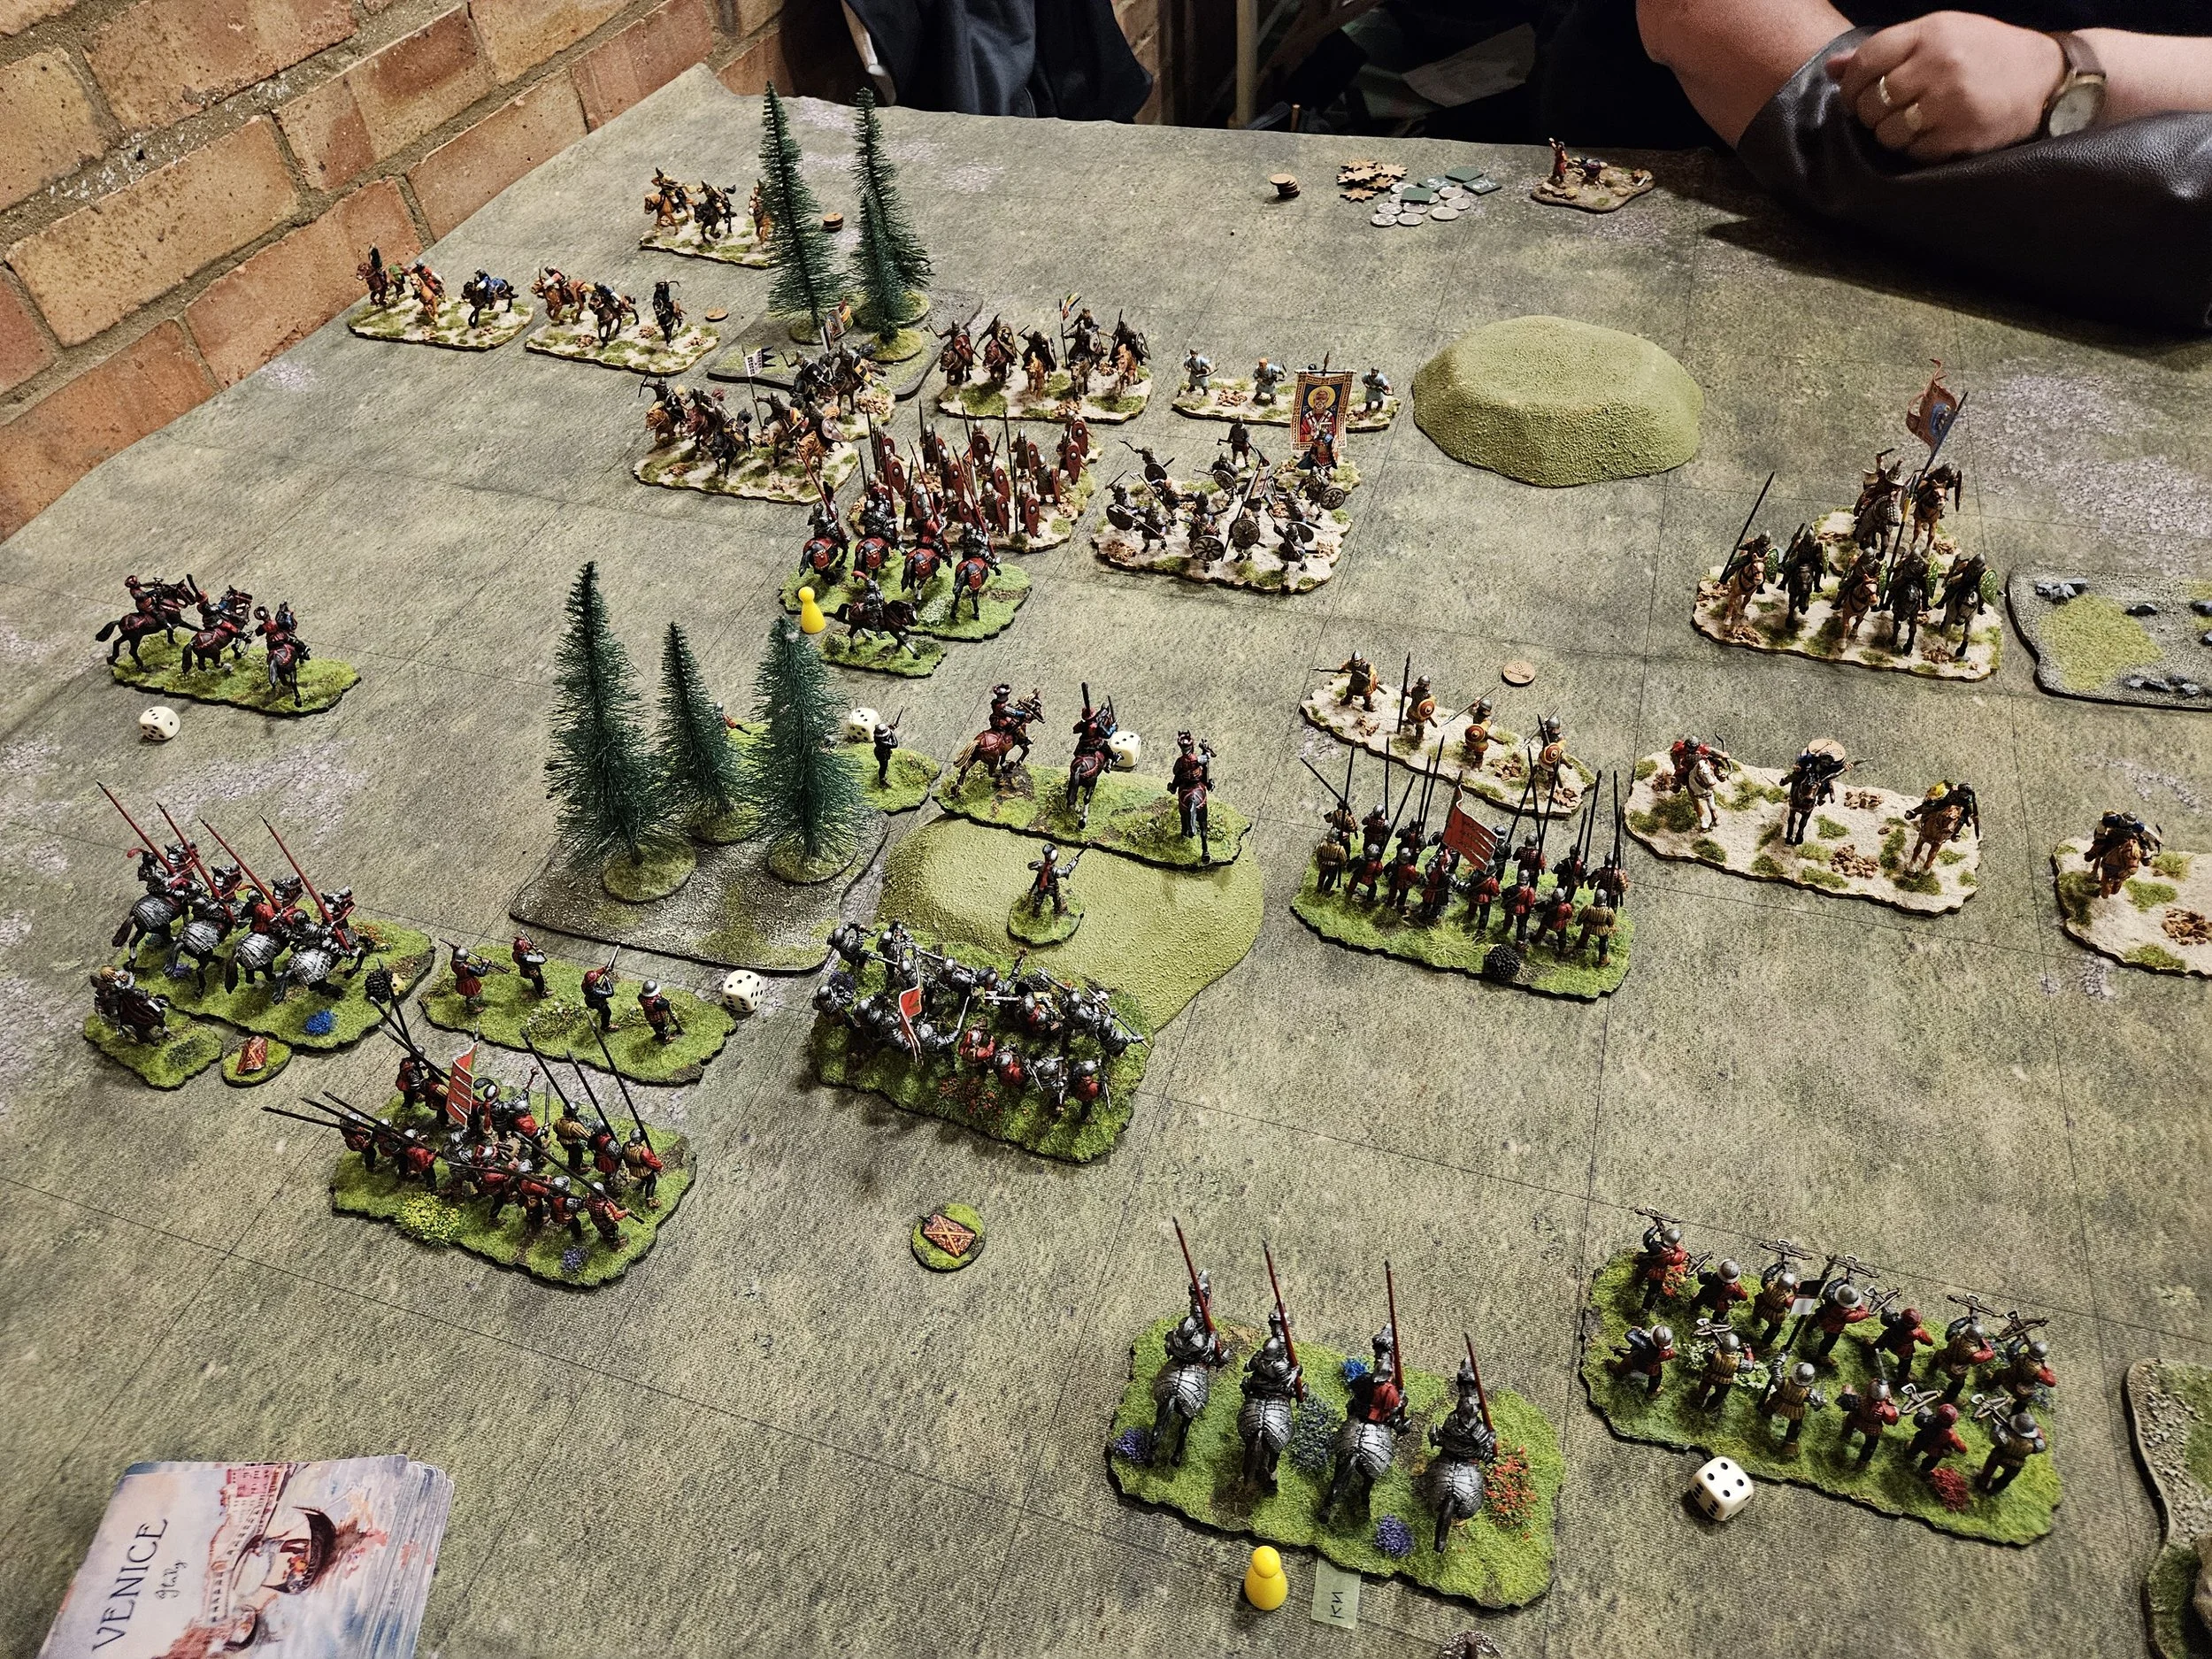
You’ll also see, in the picture above, how Peter has managed to concentrate his forces on my right flank despite me knowing that that was what he was going to do and making every effort to stop him doing so! If you count them up, you’ll see I have two units of Knights, one militia Spear and a Light Cavalry versus four units of Cataphracts, some veteran, and five units of horse archers.
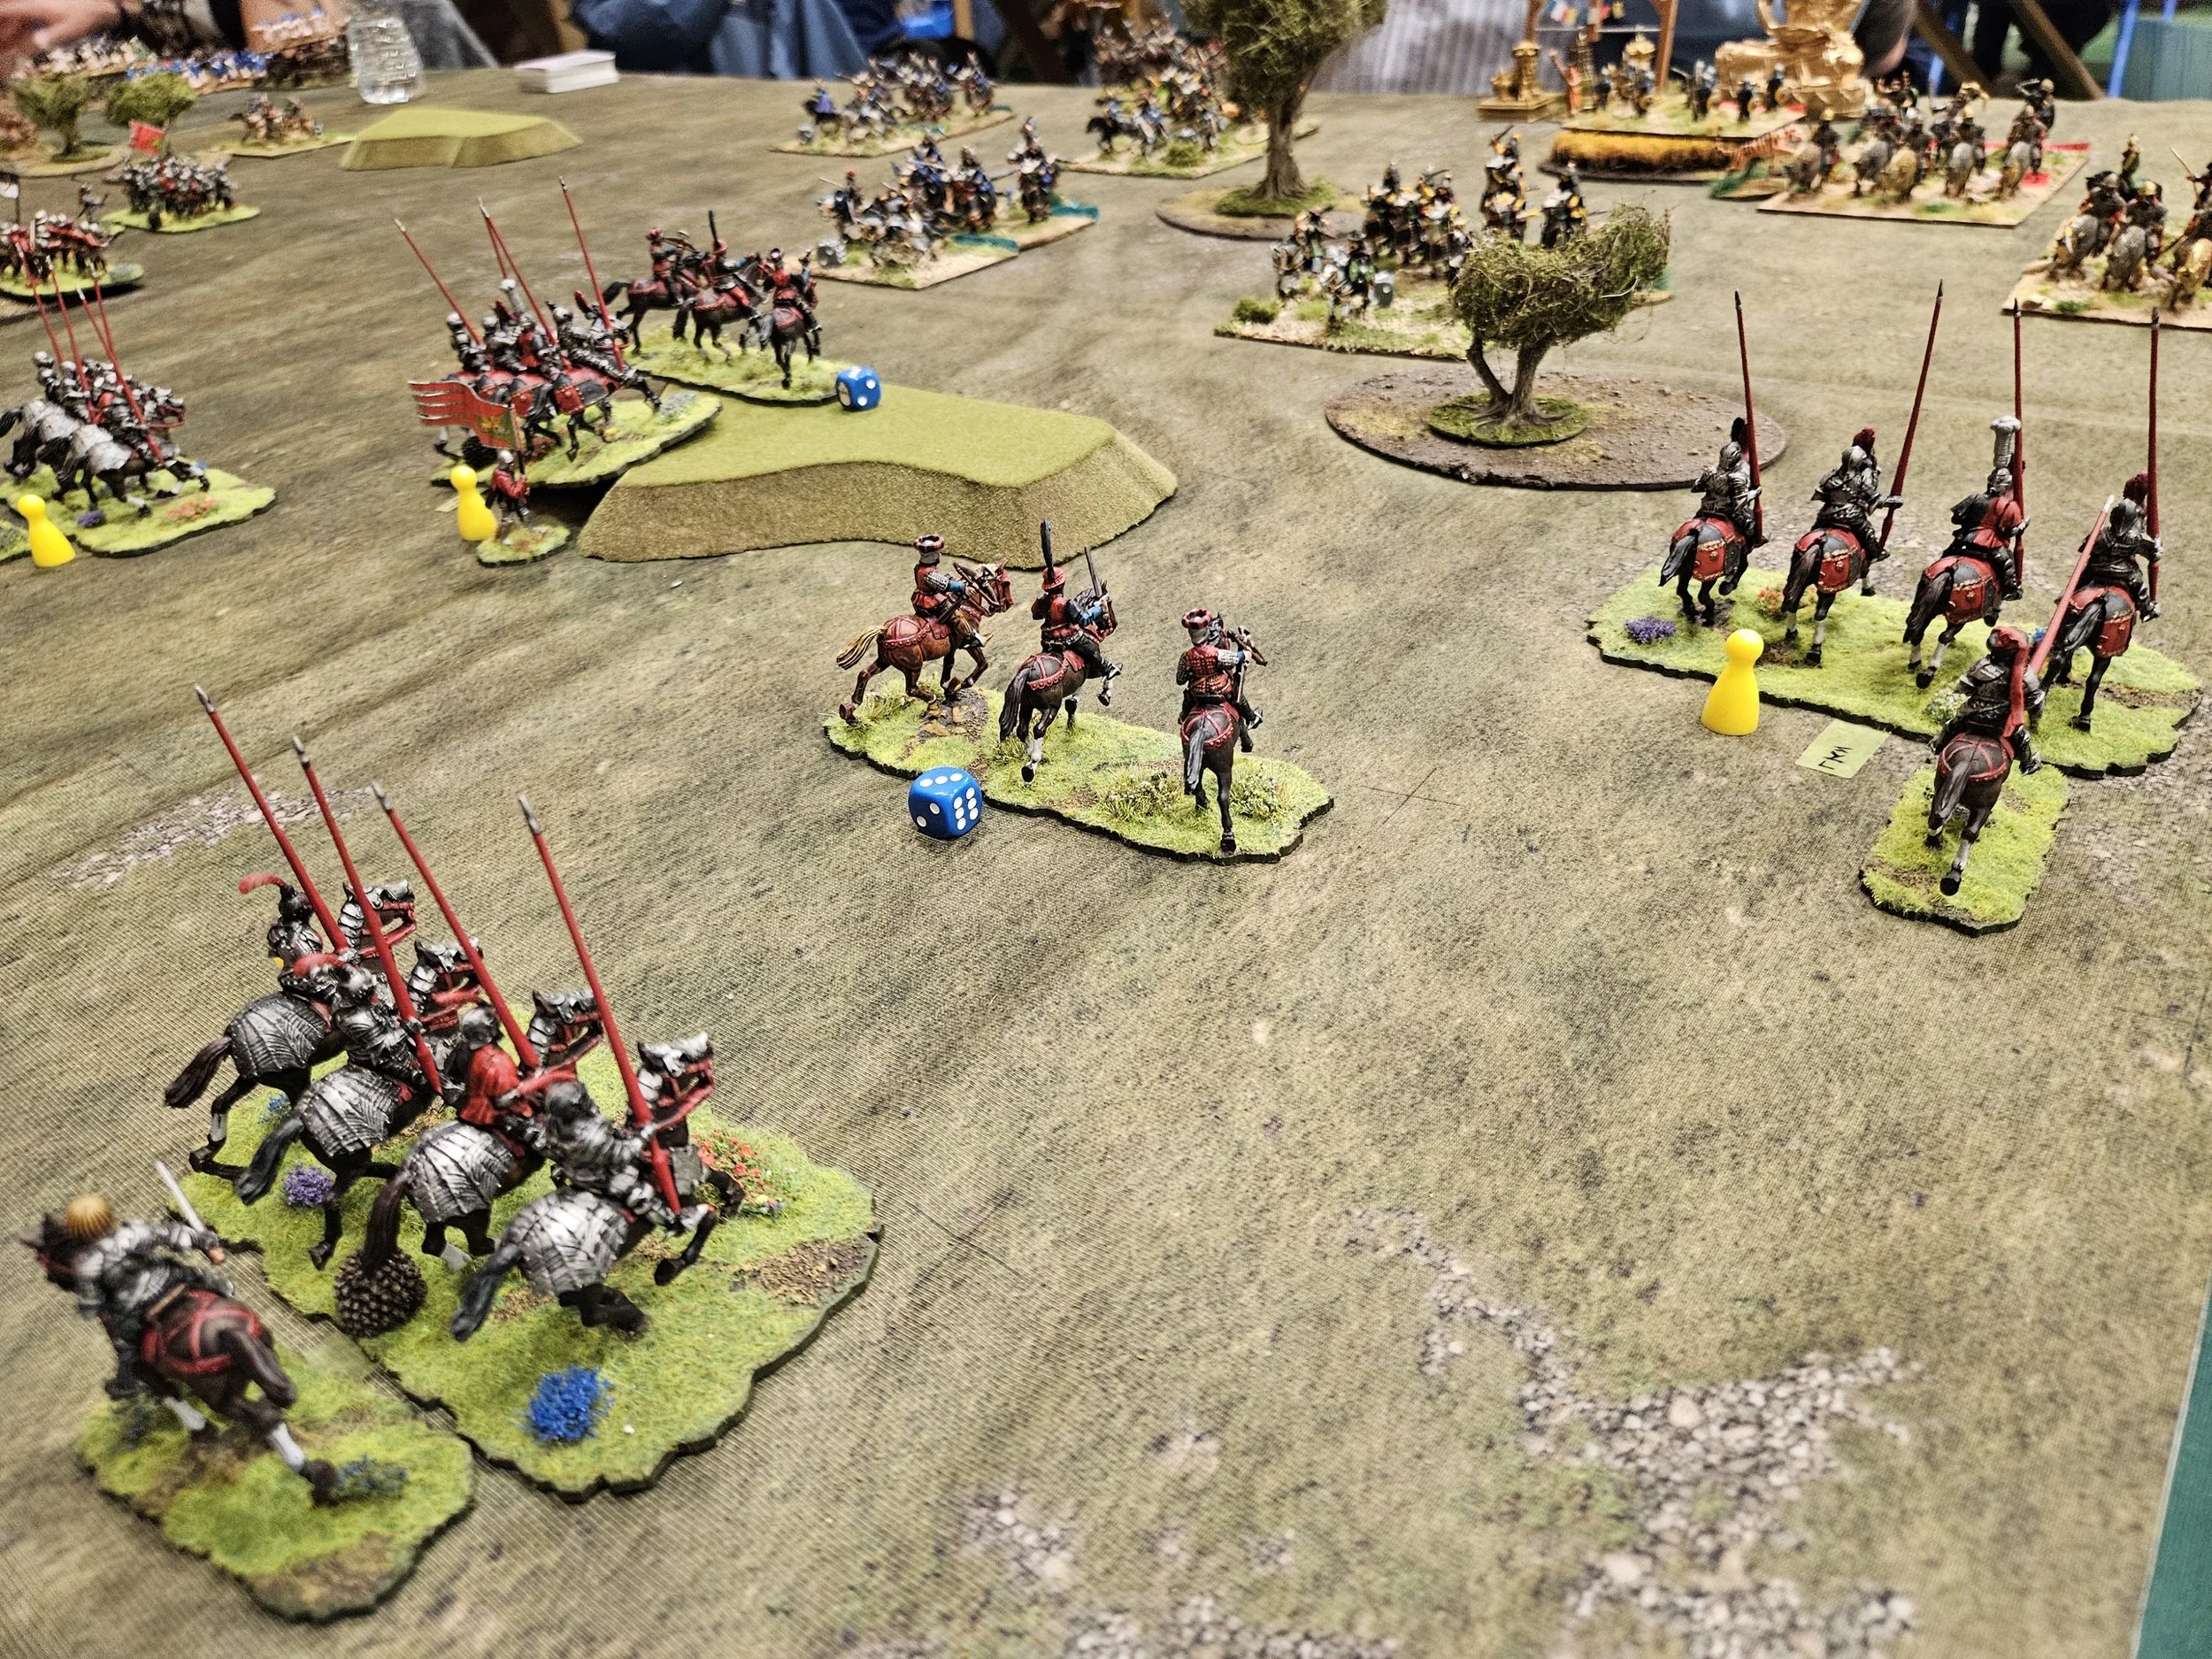
And this is also actually where I lost the battle. On my next turn the Later Knights on the far right charged their disordered opponents and not only failed to sweep them from the board (potentially also taking out some of the light cavalry following through morale checks) but were actually dashed from the tabletop themselves! Extraordinary: but there’s not much you can do against luck like that!
This effectively let Peter through on that flank…but more of that in a moment.
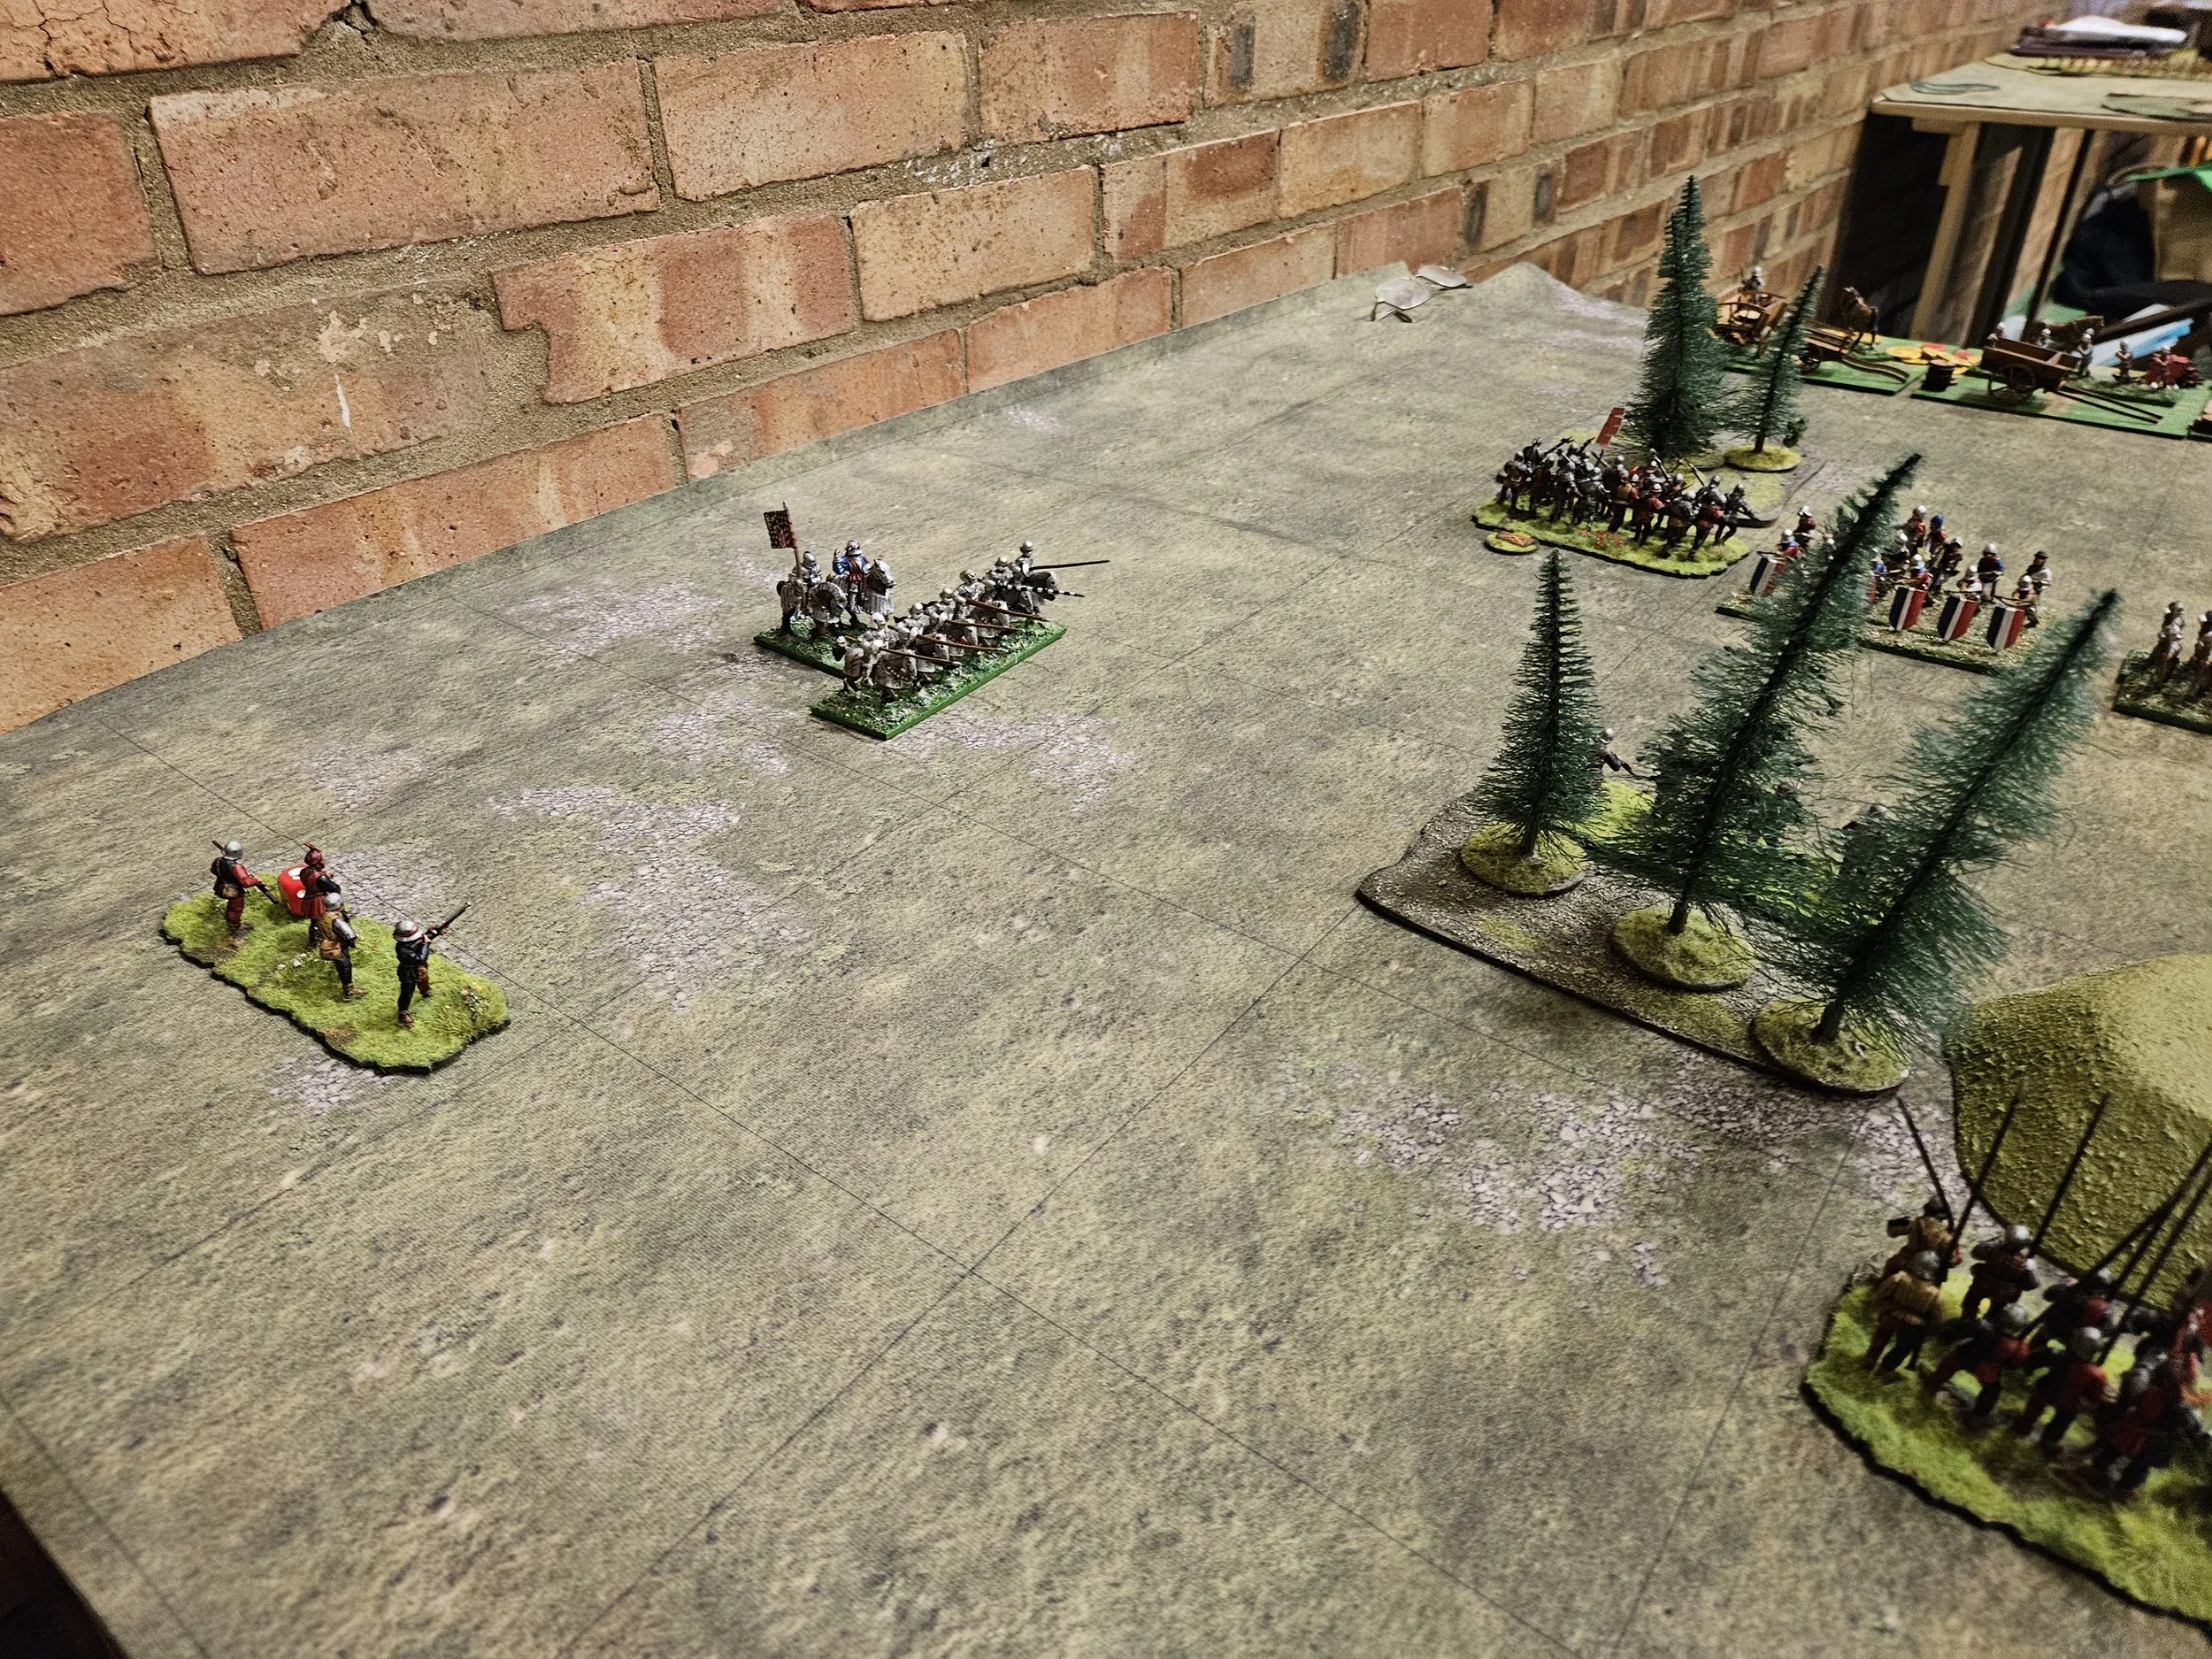
Meanwhile, on the other side of the table, I had not only countered his annoying light cavalry but was actually driving the Tibetans backwards: the cunning use of Cry Havoc! caltrops giving me an initial advantage that I was quick to exploit.