

TTS AAR: The Arab Conquest Begins
/Having finally painted and based enough 15mm Arab Conquest figures to make an army, it was time to get them onto the tabletop for the first time. Neil, my opponent, played an Early Crusader force which, whilst not exactly contemporary, was closer than many recent match-ups!
The Arabs were almost all resin prints of the Red Copper range augmented by a few metal figures from Essex and Blue Moon to fill in the gaps. The Early Crusaders were actually Normans from the excellent Museum Miniatures Z range.


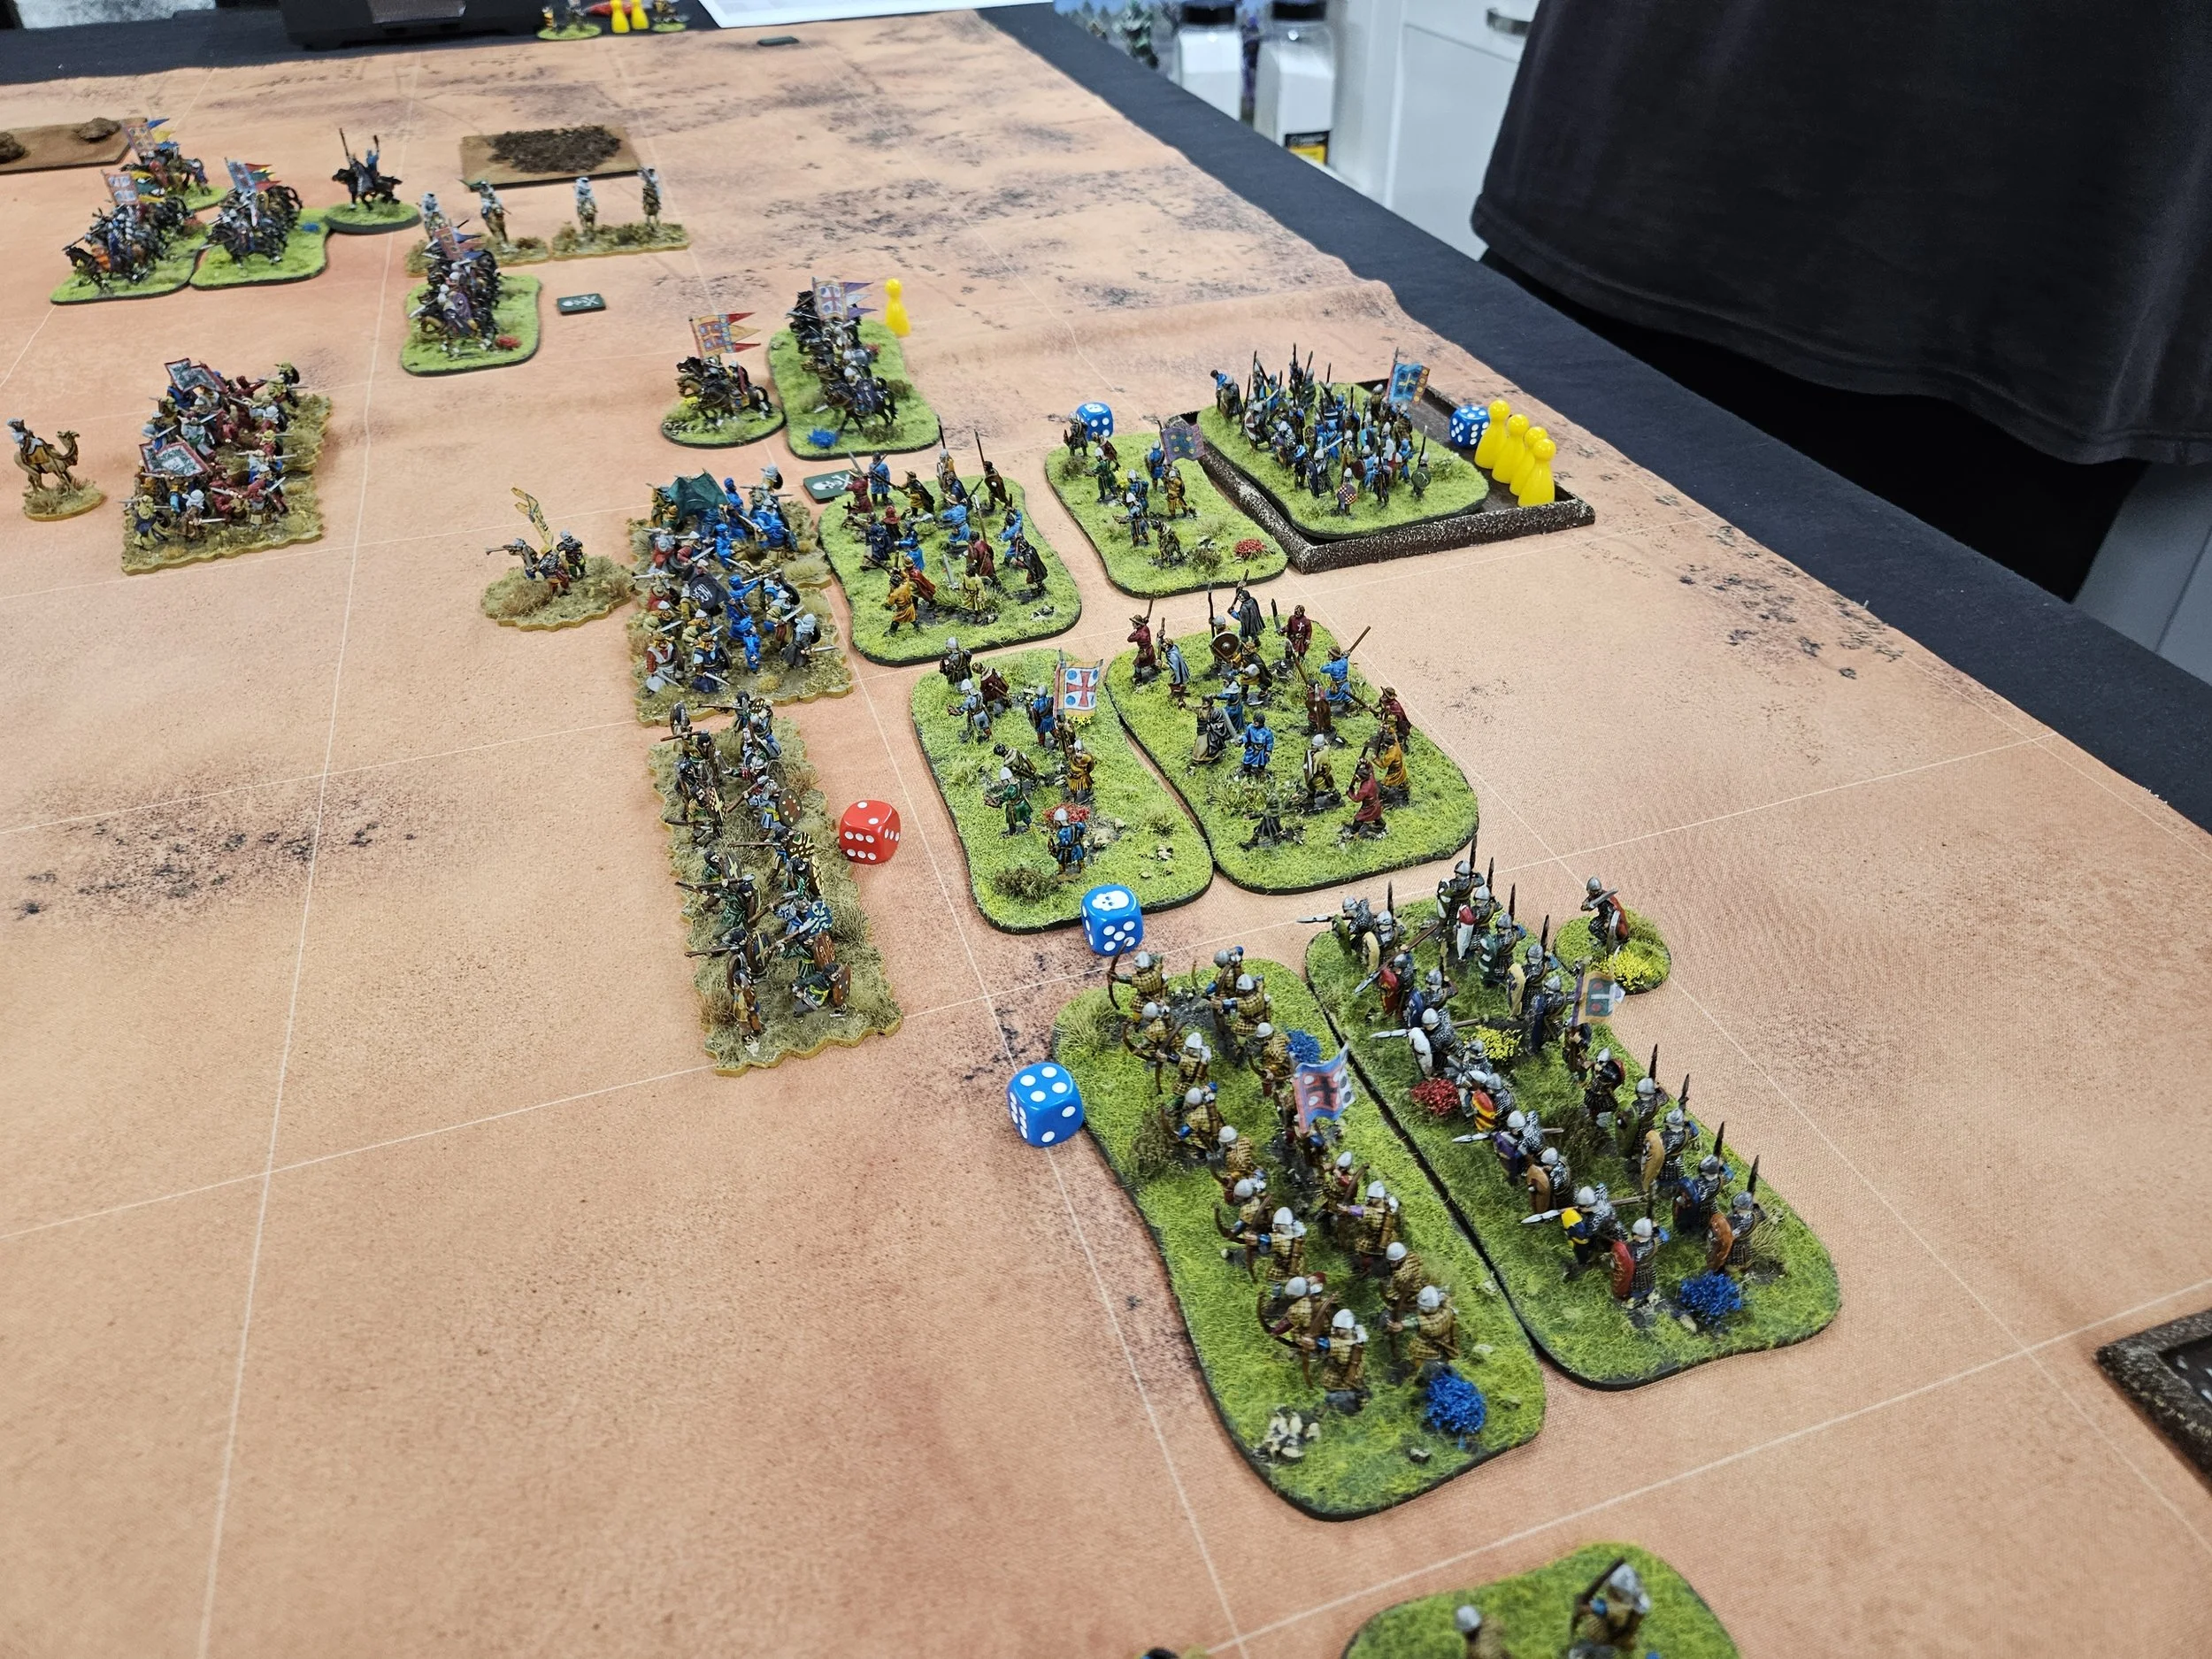
The game opened with the Arabs charging forward as fast as possible in order to take full advantage of their mounted infantry bonus to try and avoid too much archery and crossbow fire from the Crusaders before getting stuck in to melee.
Superior numbers also gave me an overlap on both sides, especially as the Crusaders had deployed stacked quite deep, and I wanted to see if I could get my cavalry on the right and camelry on the left round and into the Crusader flanks: something achieved very successfully.


On the right flank, my cavalry were now in a perfect position to turn and roll up the Crusader line.
This, however, proved more difficult to do than expected due to a combination of clever defensive work from the Crusaders, taking advantage of the patch of rough terrain and their camp to anchor their formation, and some bad luck with the cards.


Eventually, however, that pesky unit of Crusader infantry in the rough ground gave way under sustained pressure from front and flank, and the roll up began.


This was good news indeed…but things were not going so well on the left flank.
Although I’d got the camelry around and into the Crusader rear, they had failed to deliver on their potential, with my Jund cavalry also not performing well against the Norman knights and being forced to retreat in disorder.


This left his cavalry free to do to me what I had been trying to do to Neil i.e. head back into the centre of the field and roll up my line, now generally engaged there.


Both the Arabs and Crusaders had now managed to roll up one of their opponent’s flanks, making the situation critical for both sides: one more unit lost would mean defeat.
Unfortunately for the Arabs, Neil had the advantage in both troops and positioning, meaning that unless I could pull something out of the hat, I would end up snatching defeat from the jaws of victory: I just had too many units on the verge of breaking to survive another Crusader turn, with the double-disordered warband about to be charged by a fresh unit of veteran Norman knights being the prime candidate to go first!
All I had left to try was to send my disordered Jund cavalry on the left, accompanied by an already-wounded general, into a desperate charge against an equally disordered unit of Crusader cavalry accompanied by their True Cross army standard.

This was a tad risky, as the Knights had a better save than I did, but I would attack first and, quite frankly, this was my only hope of victory! A ‘10’ was pulled for my activation card, so I was only going to get one go at this, and I reached for my attack card: a ‘9’, which was a hit despite my disorder.
Neil’s save card was pulled and, much to my surprise, the disordered Jund cavalry swept the Normans from field: a glorious victory that, as the True Cross fell, led to the rest of the Crusdaer army retreating just as it looked as though they would win the game!
A glorious victory for the Arabs: snatching victory from the jaws of defeat rather than the other way around!


