

FK&P AAR: Bisham Abbey
/Time for another go at For King & Parliament, and the fifth scenario in my North Wessex campaign: Bisham Abbey.
After the last clash at Burchett’s Green, both sides have withdrawn to regroup and reform.
With “Little John” Boulters remaining in command whilst his father still recovers from wounds received at Widbrooke Common, the Royalists are bolstered by the return of the troops from Maidenhythe, hitherto sequestered by the King in Oxford. The Roundheads also receive reinforcements in the shape of a brigade of mercenary Scots troops under Colonel Macintosh MacLeod, and Sir Christopher (overall commander) is finally persuaded to lead from the back rather than the front!
The Royalists are ready to move first: marching north towards Marlowe. The Parliamentarians are ready for them, however, blocking their path just north of Bisham Abbey, a monastery-turned-manor-house that sits on the banks of the Thames.
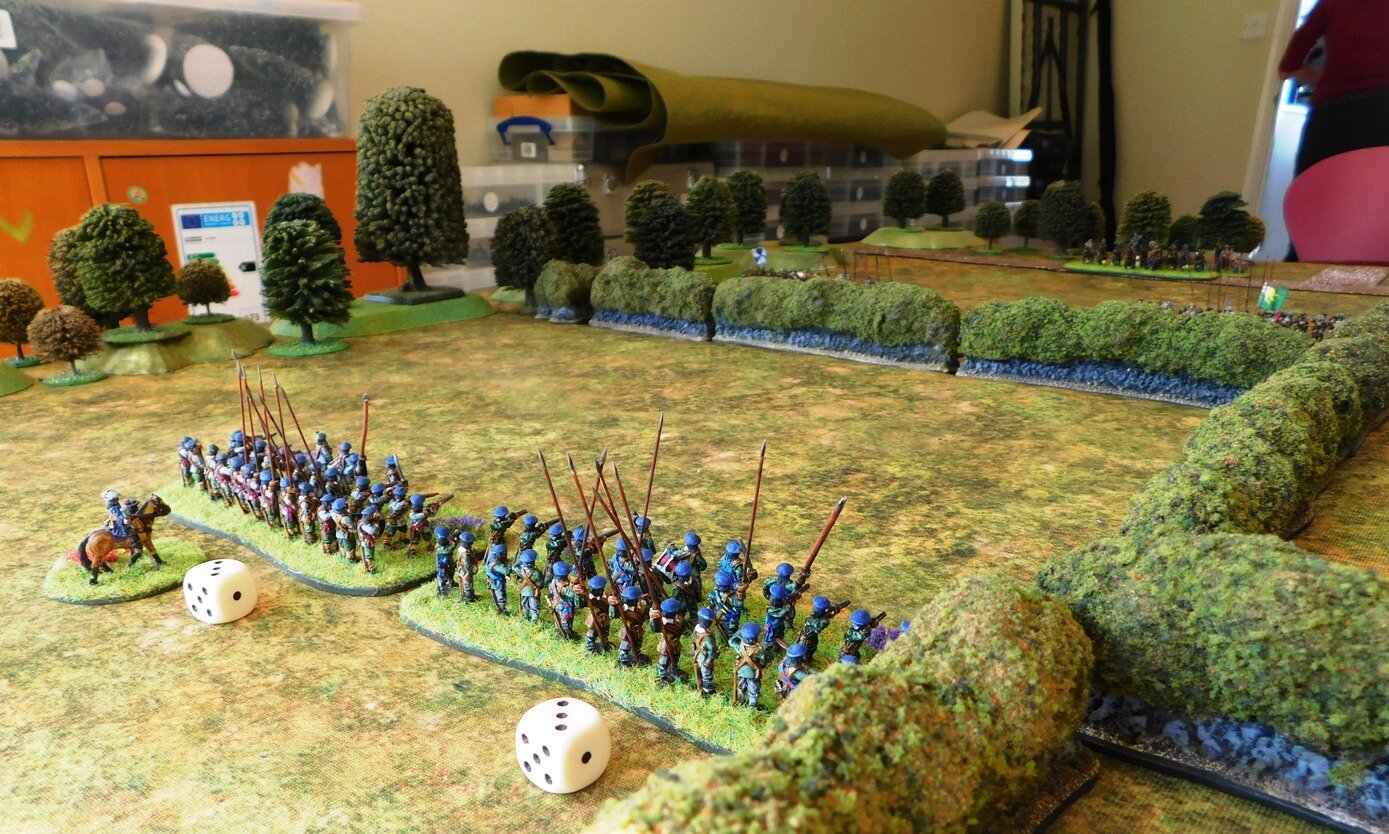
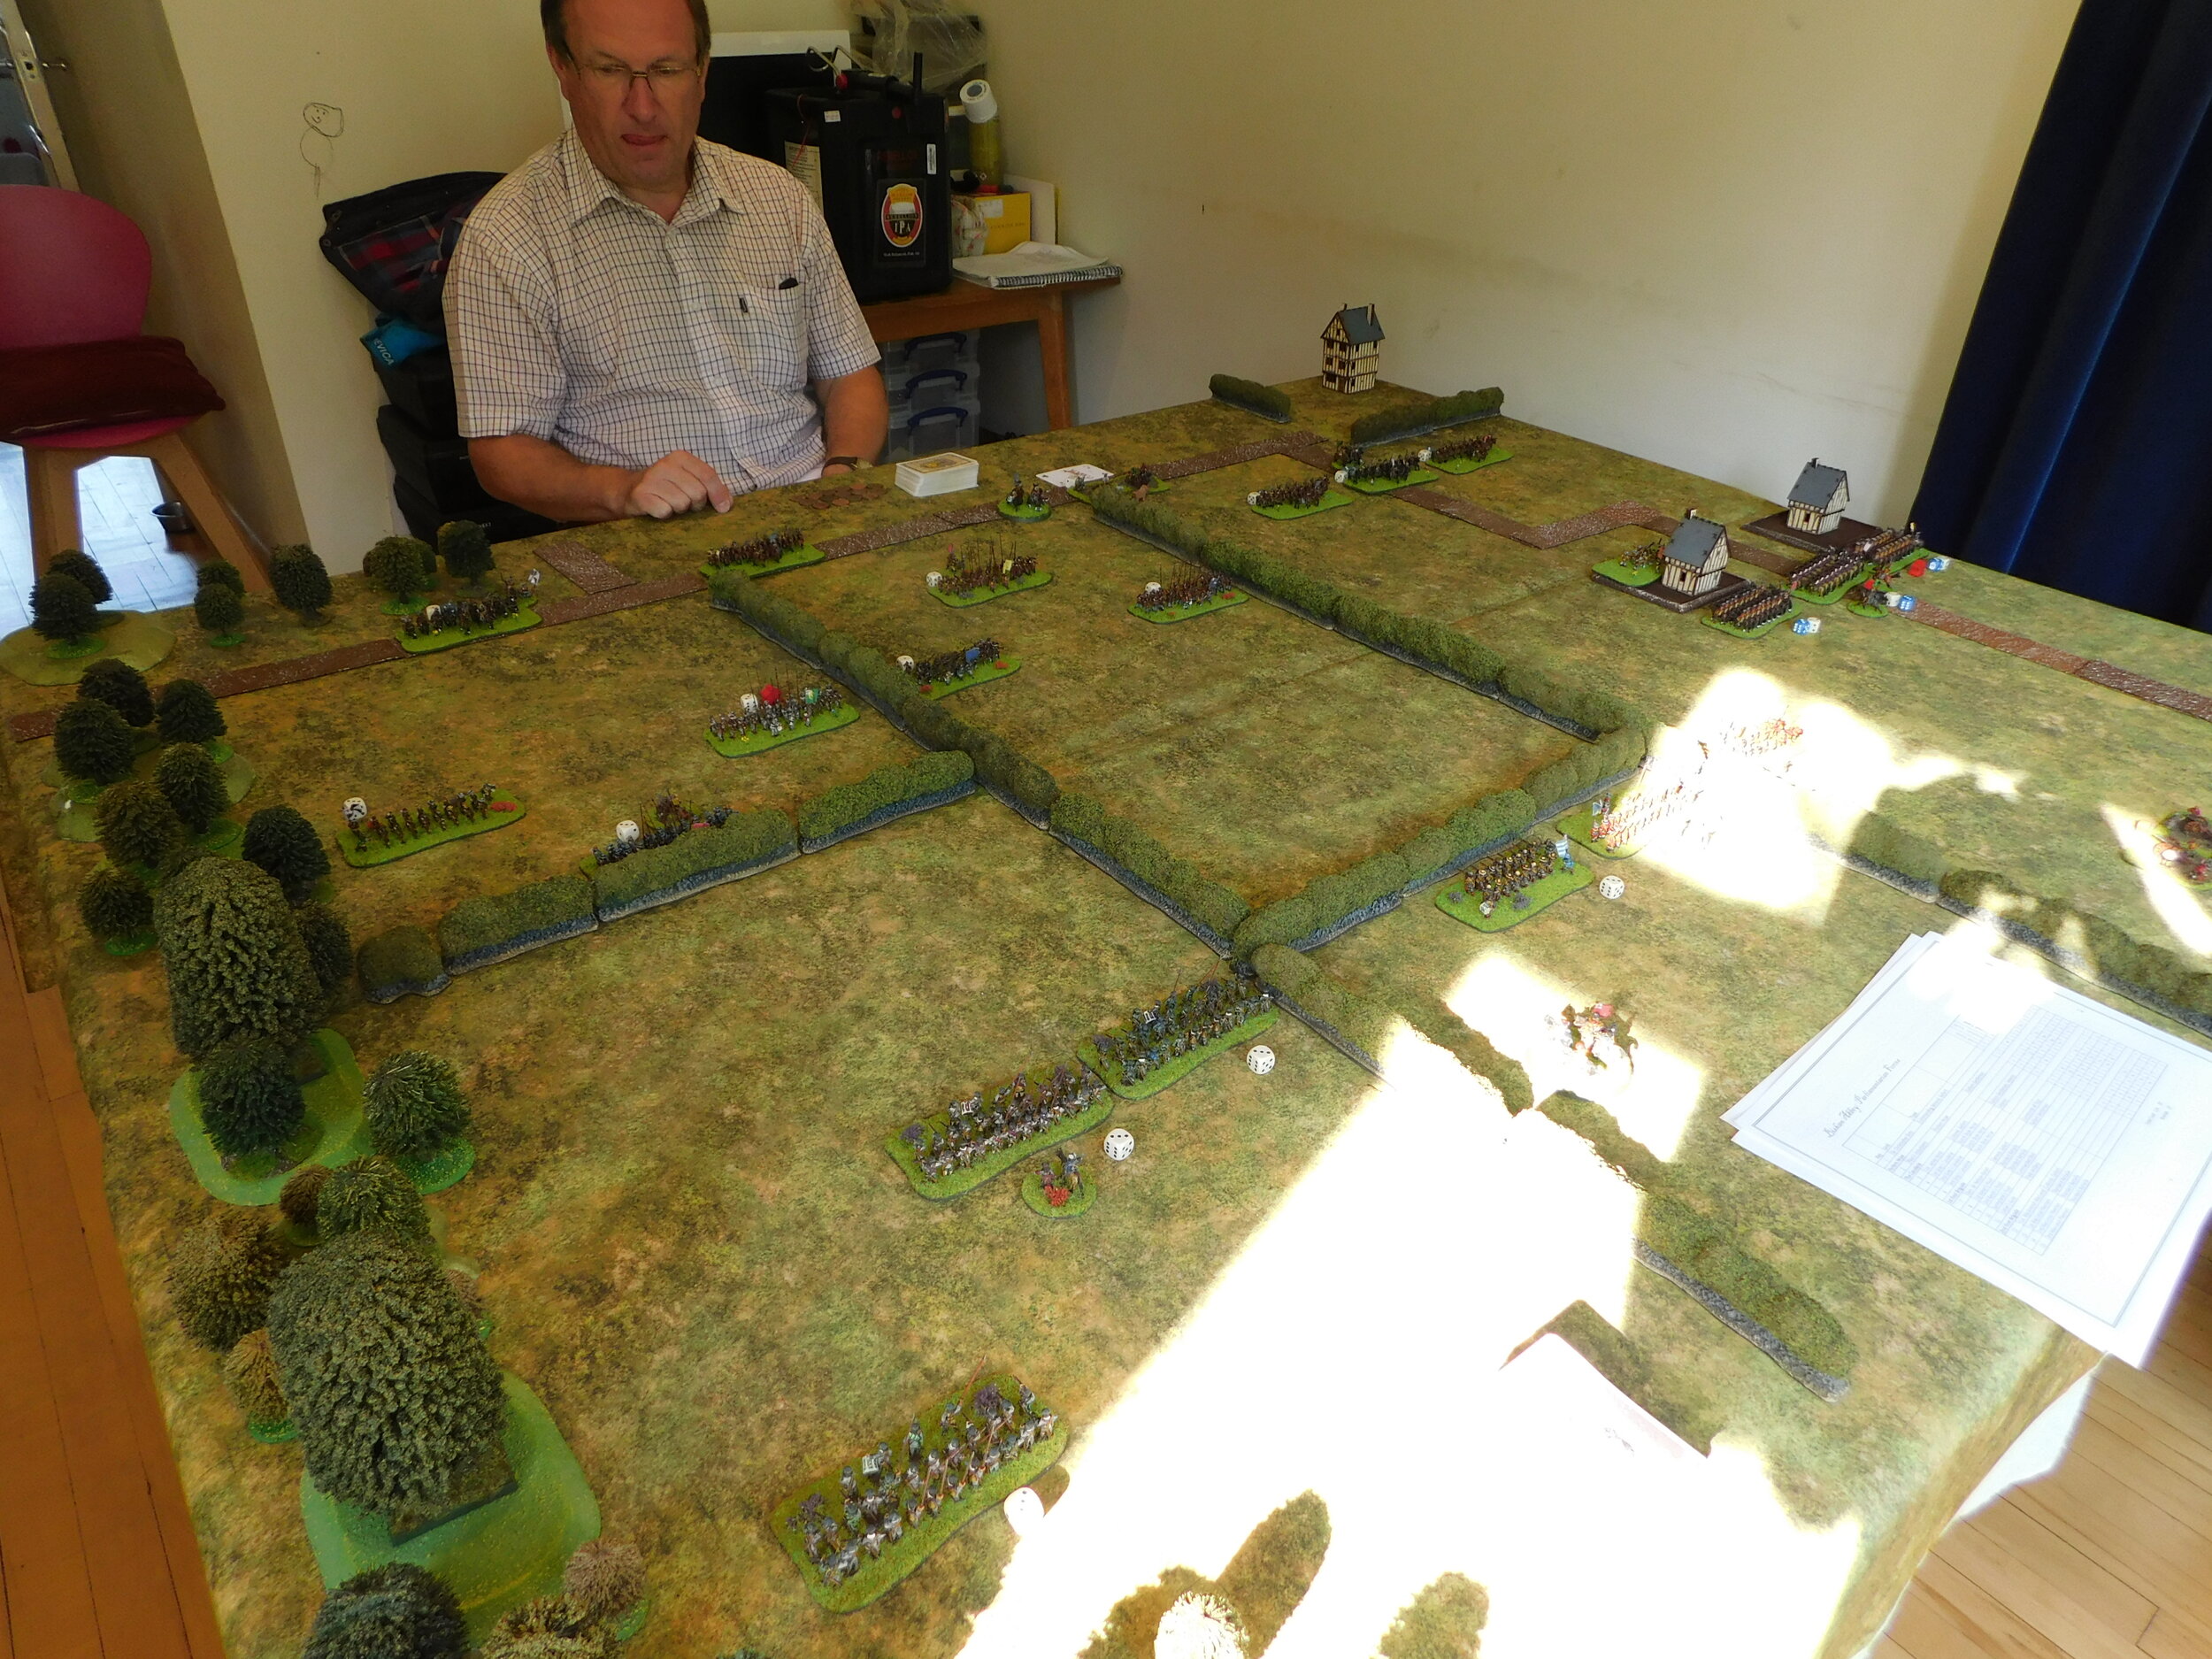
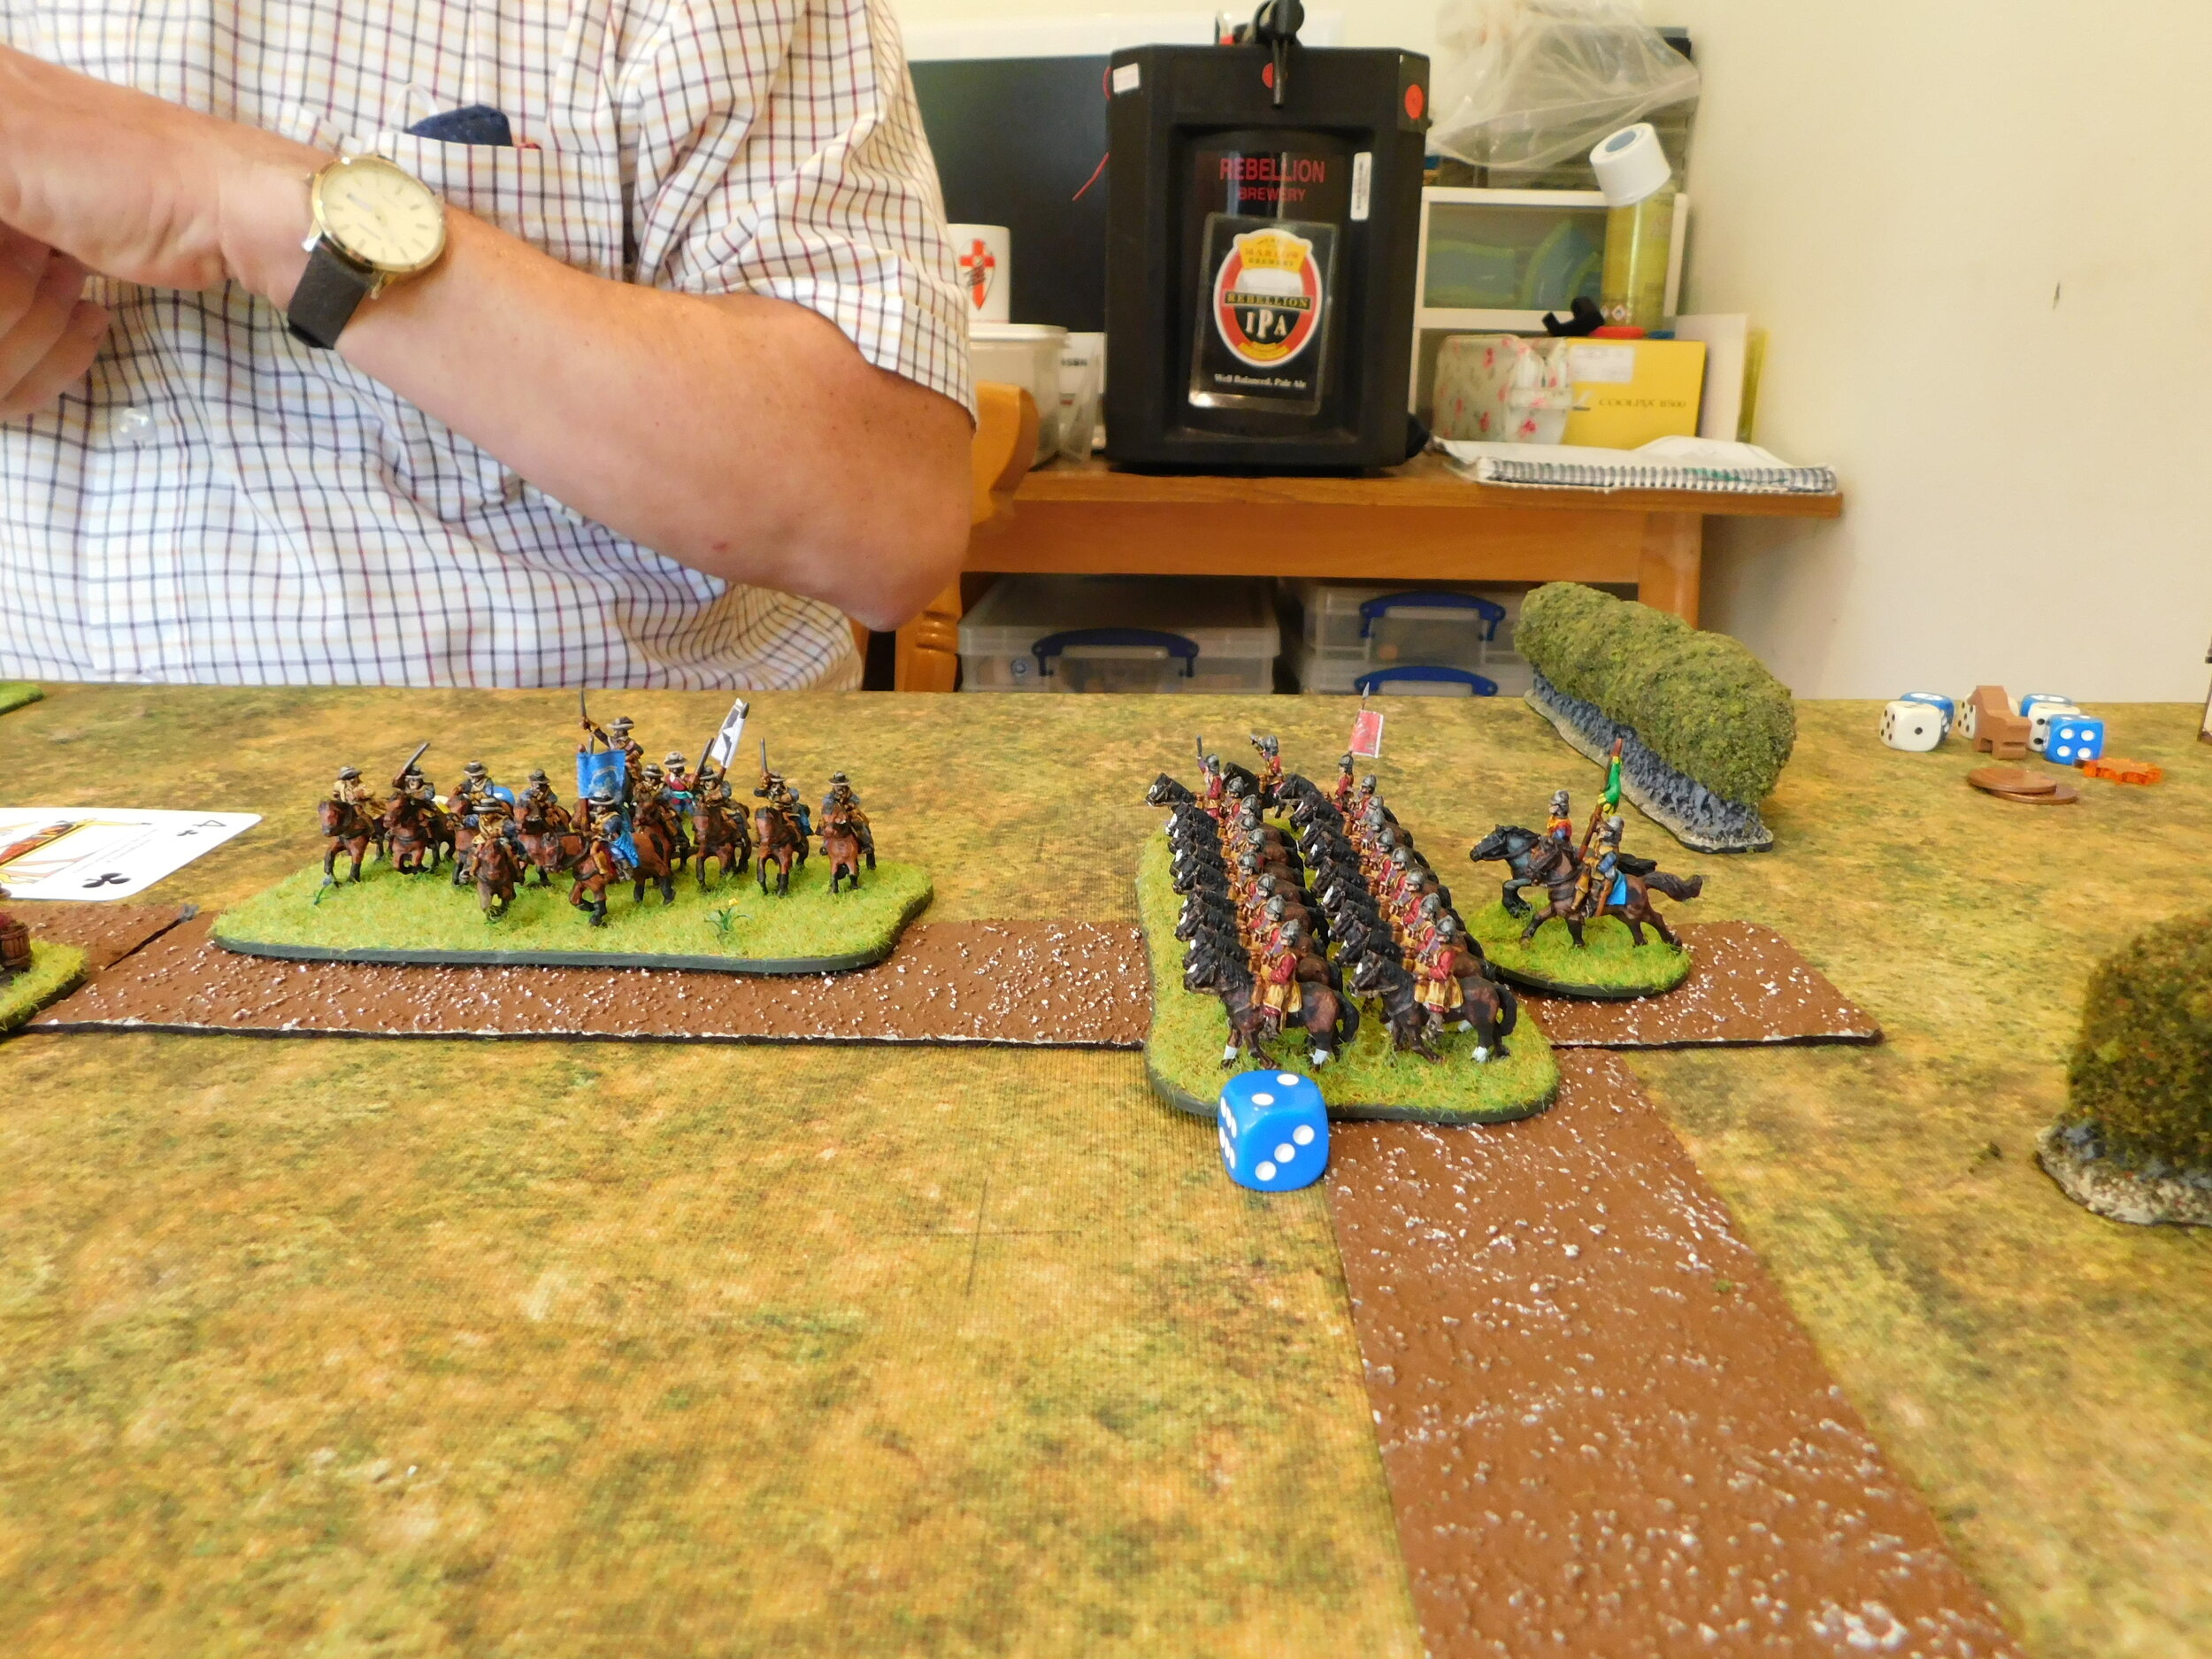
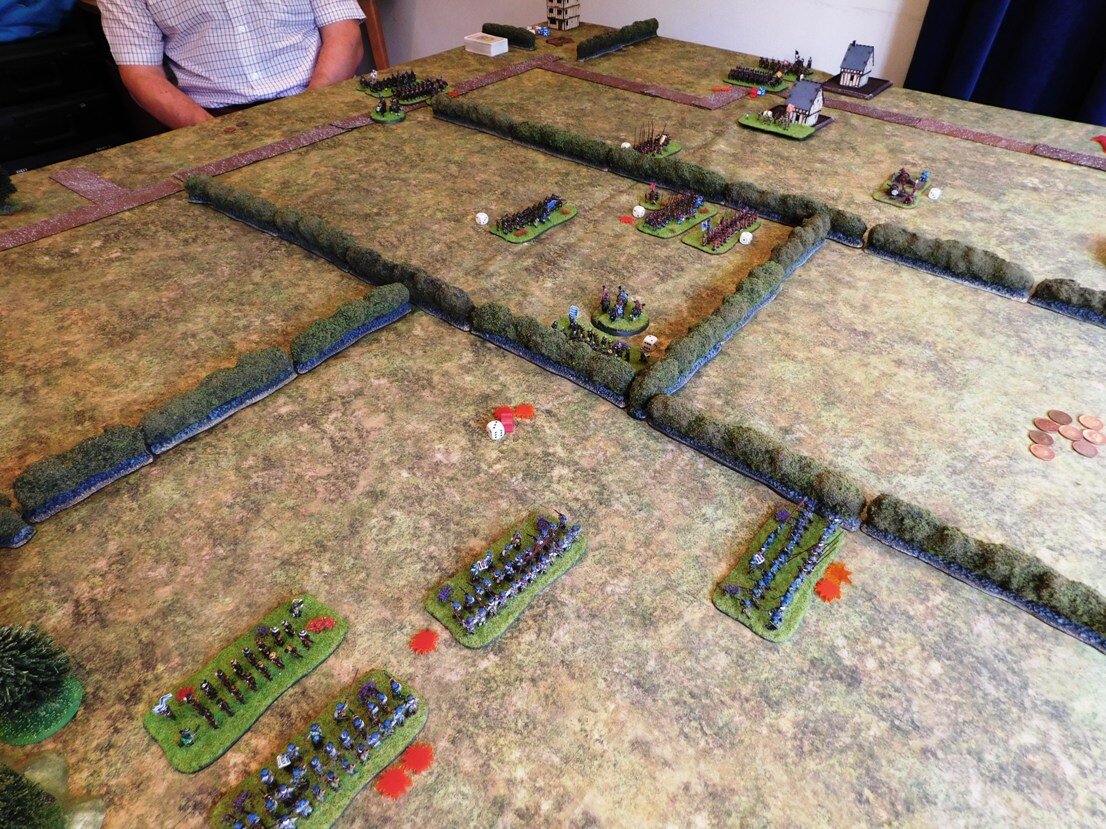
The table from the Parliamentarian side
The Sides
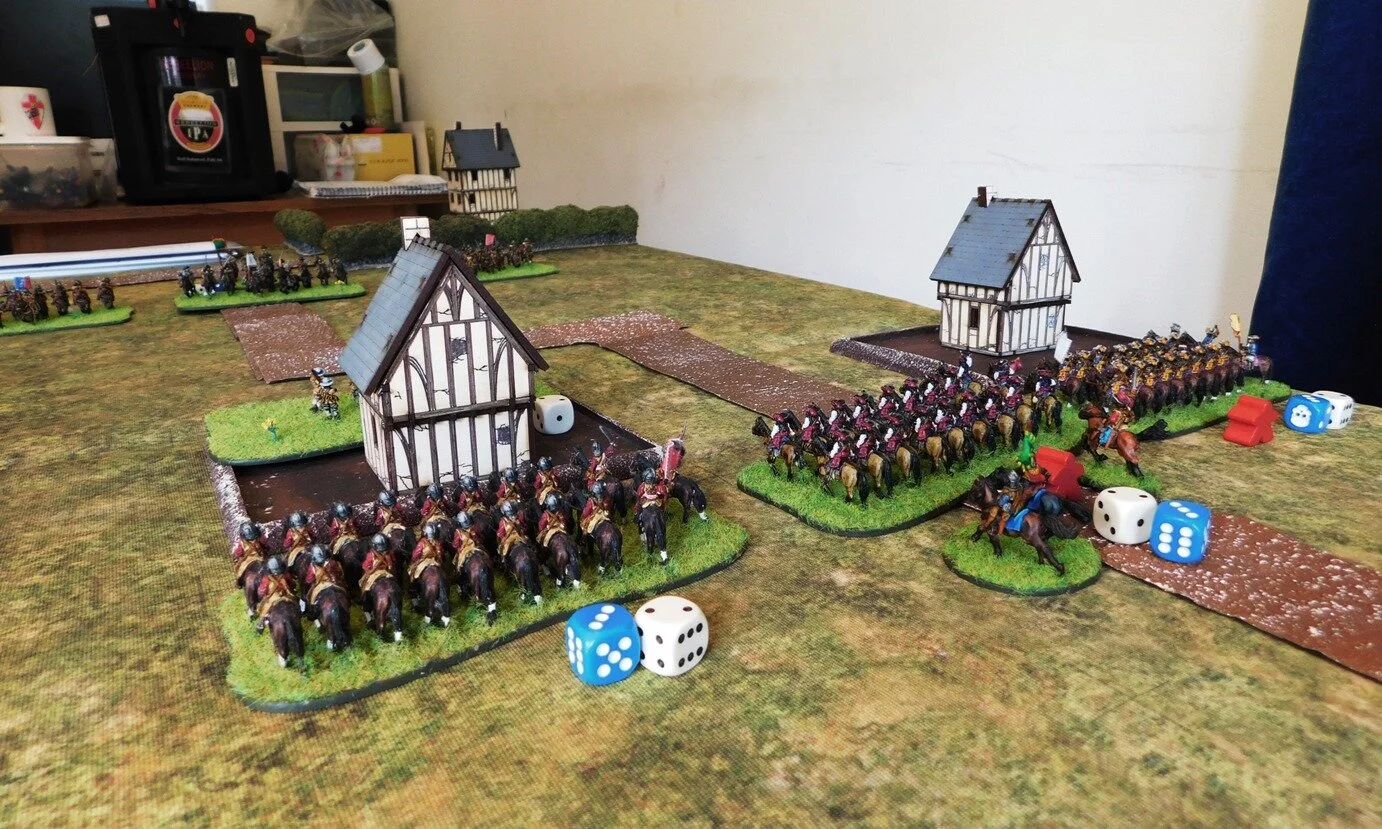
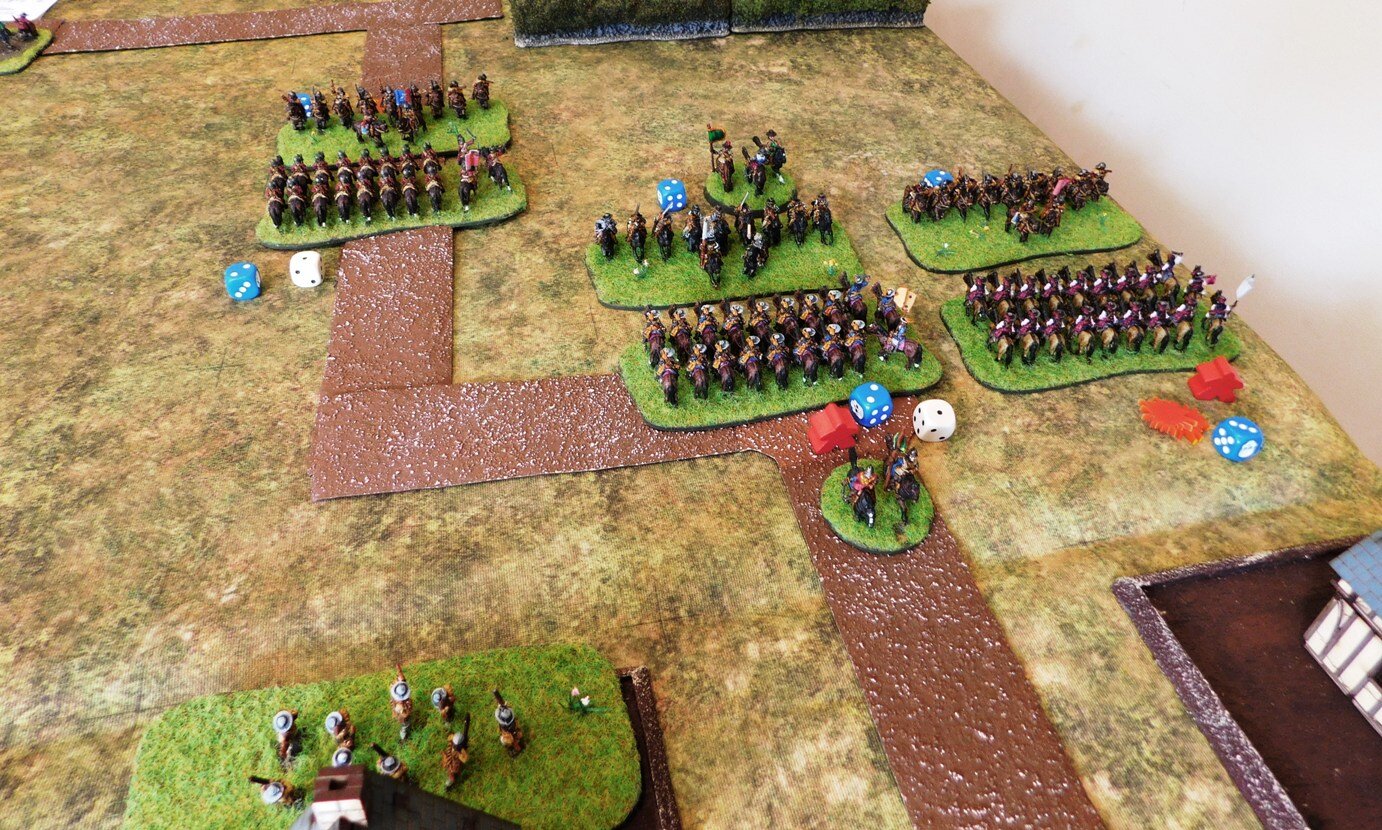
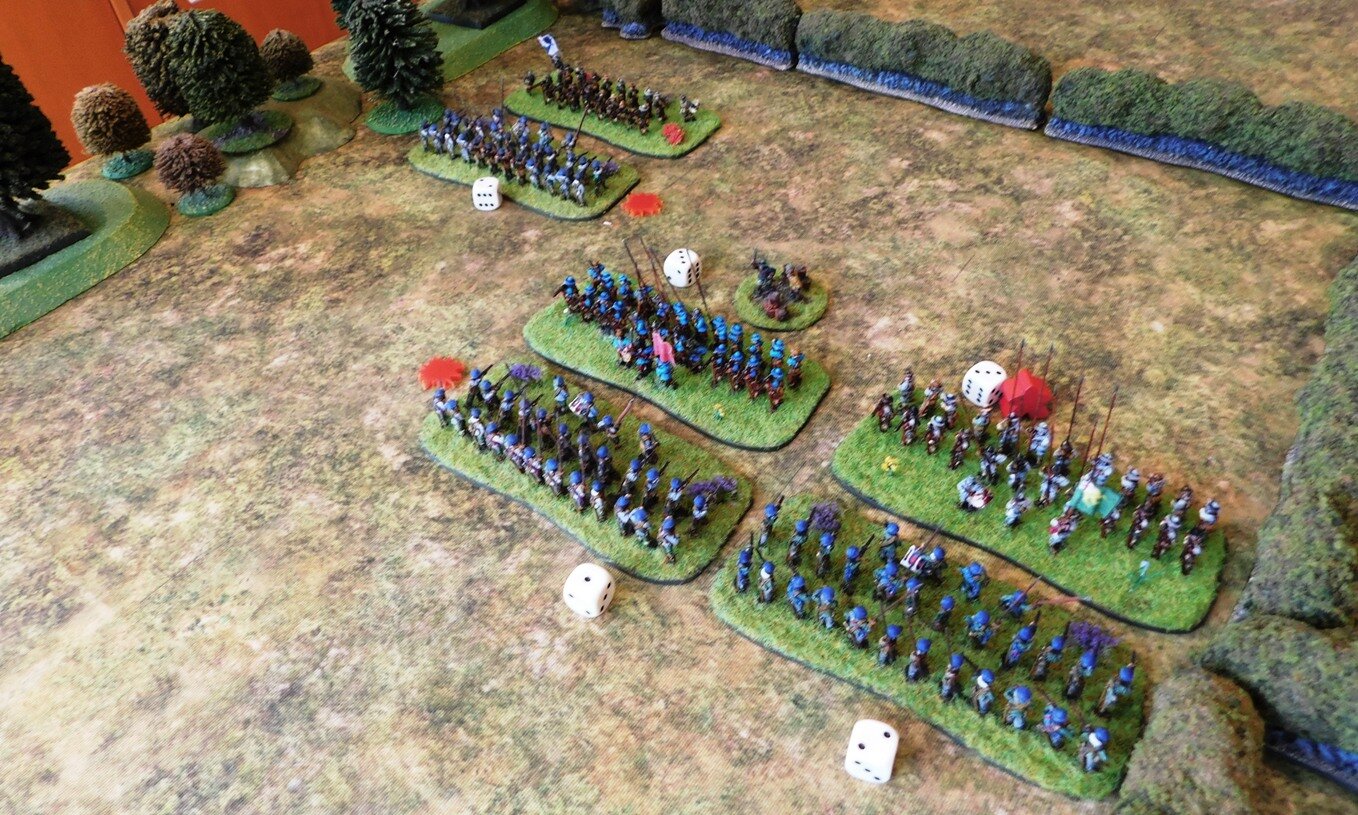
The Royalist army, ably commanded by my friend John, consisted of four brigades. On the right was Col. Stafferton’s brigade of horse (two units of Swedish horse); to their left was Col. Spencer’s brigade of foot (the Cookham Militia, three battalia); to their left was Col. Sir William Ray’s brigade of foot (two standard battalia - the Maidenhythe Foot - and the Oxford Musketeers, a commanded shot battalia); and finally, on the far left, was Gen. Derrick’s brigade of horse (three units of Swedish horse).

The Royalist commander ponders his plans
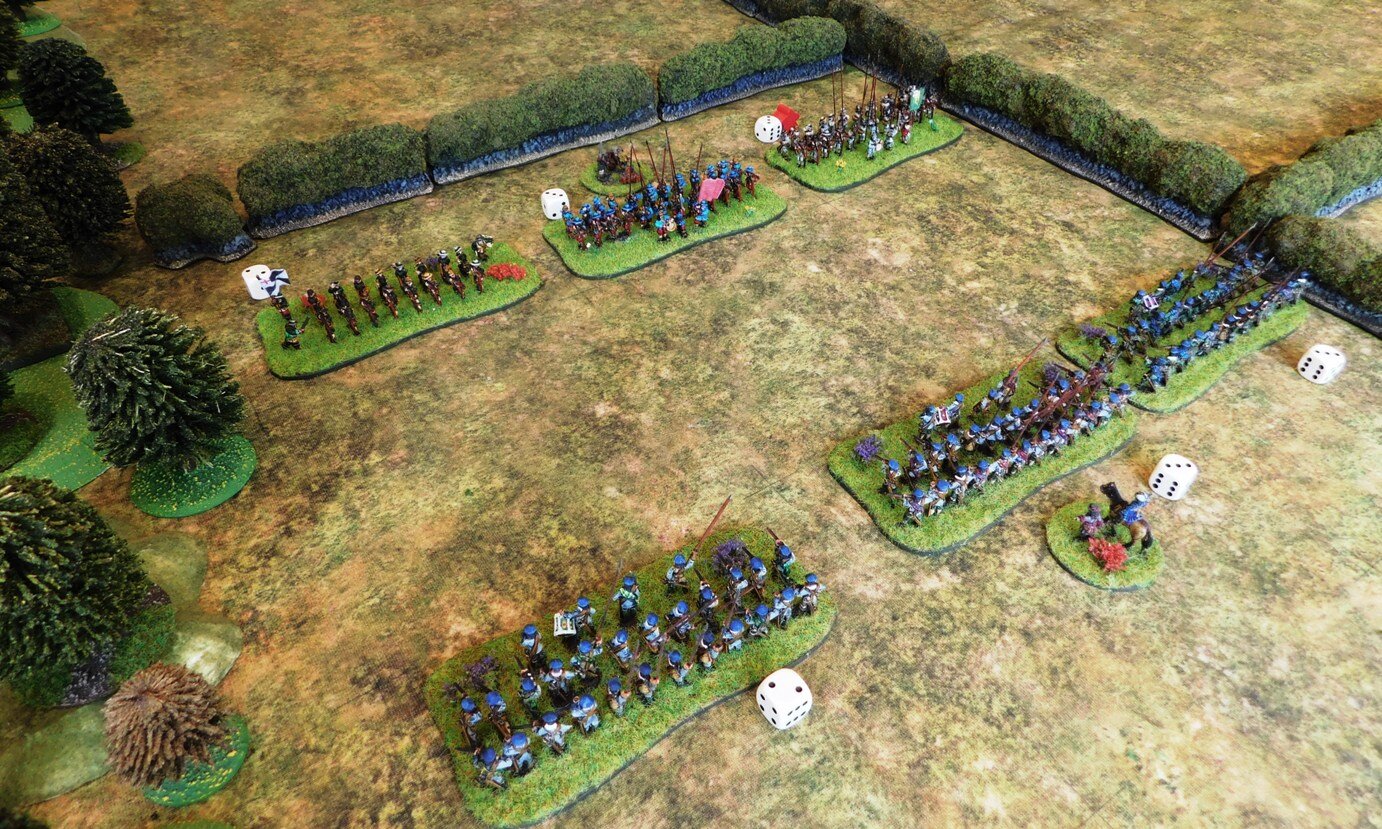
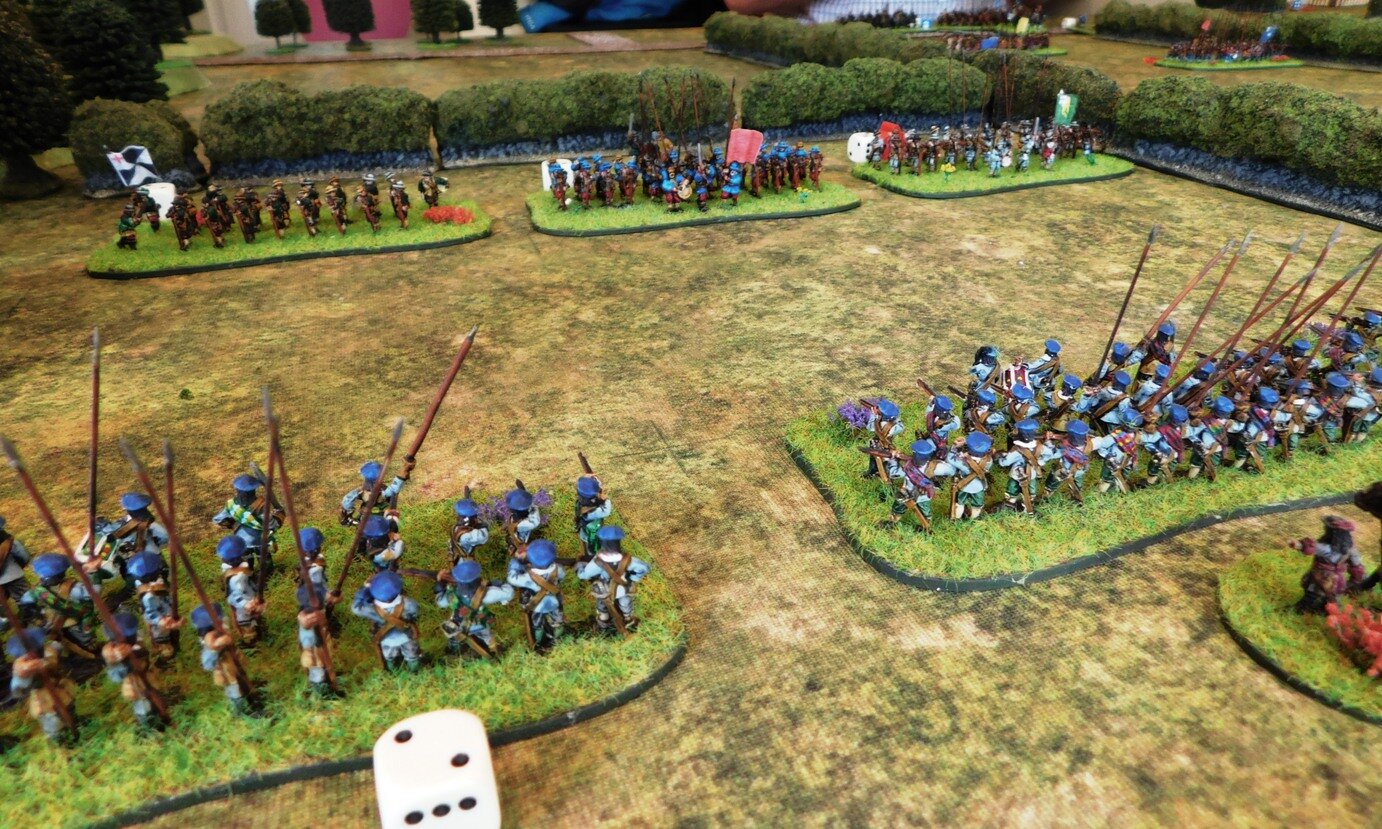
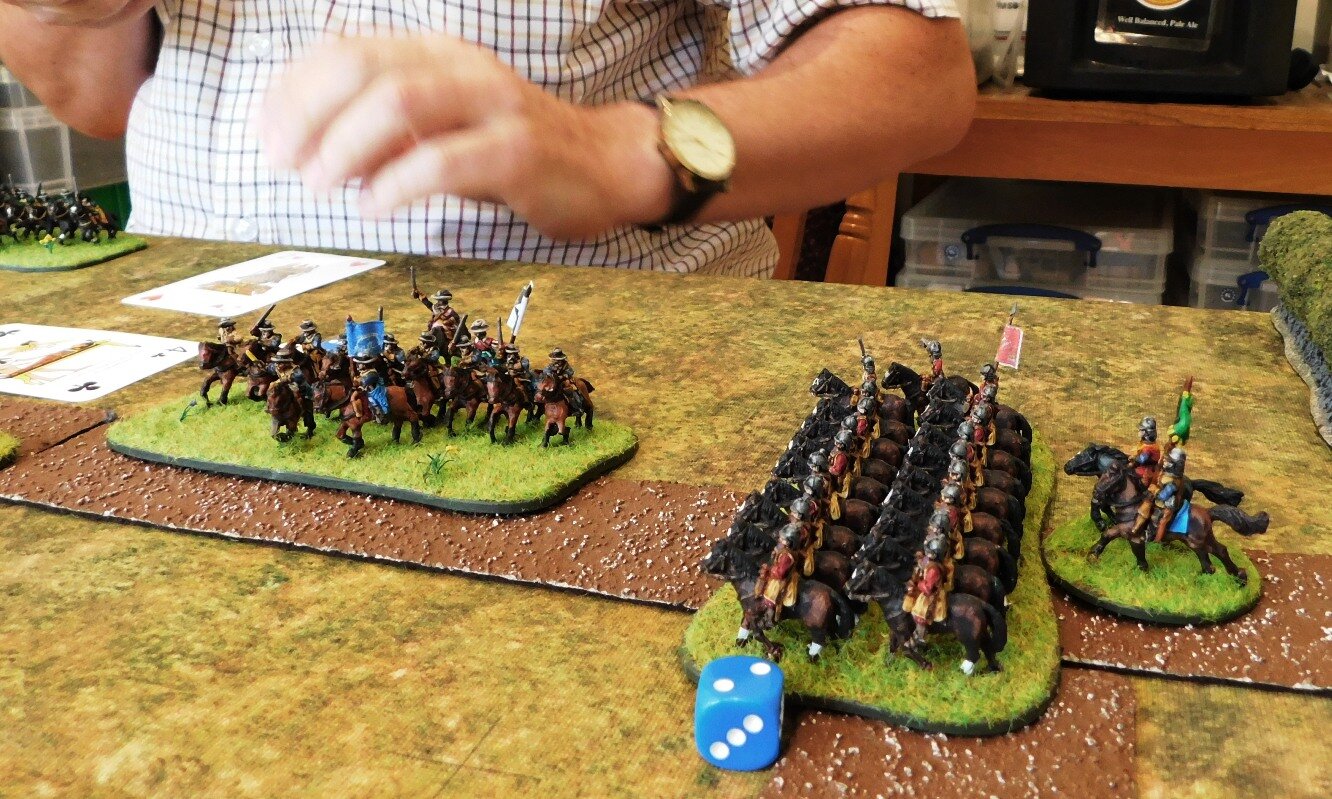
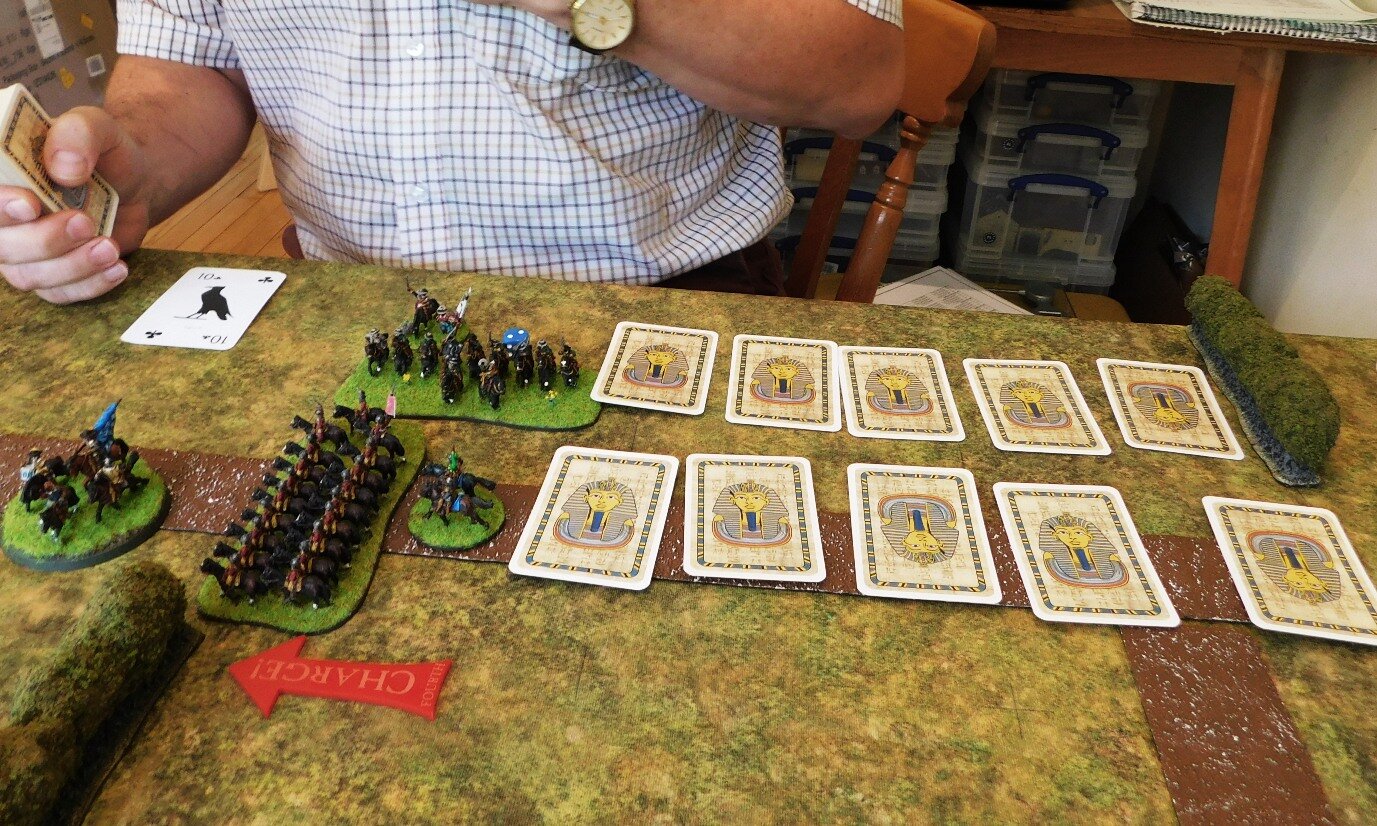
The Parliamentarians, with Yours Truly in command, consisted of only three brigades. The Cavalerie, on the right, were led by Col. Hurst, and consisted of three squadrons of Dutch horse. Next to them, in the centre, were Gen. Nelson’s three battalia of infantry supported by the guns of Littler’s Battery. Finally, on the left, were the three battalia of mercenary pike under Col. MacLeod. A Forlorn Hope was positioned in the small hamlet of Bisham, mid-way between the battle lines.
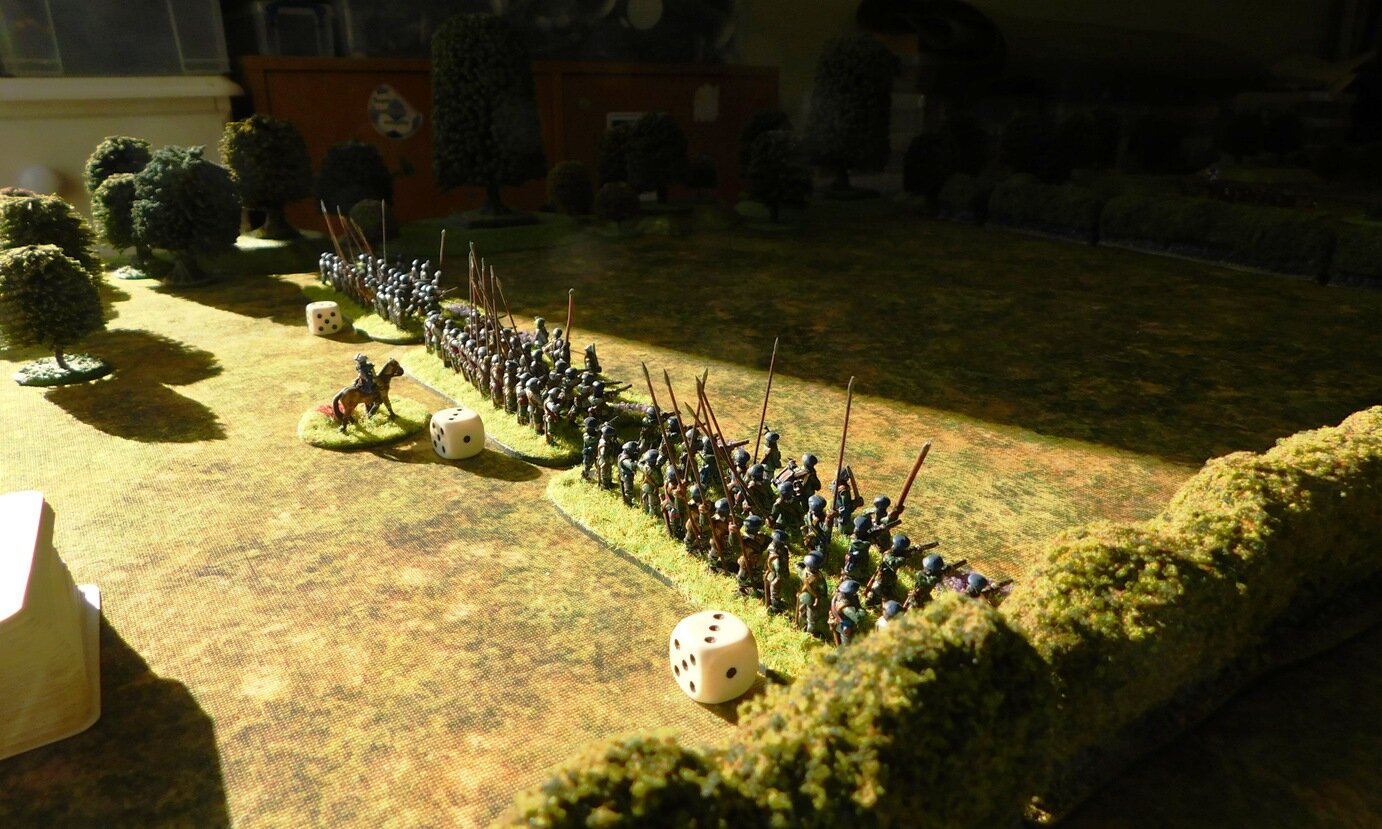
MacLeod’s Scots in the dawn light. Well, we started at 9am, which is pretty dawn-like for a Sunday!
The Best Laid Plans…
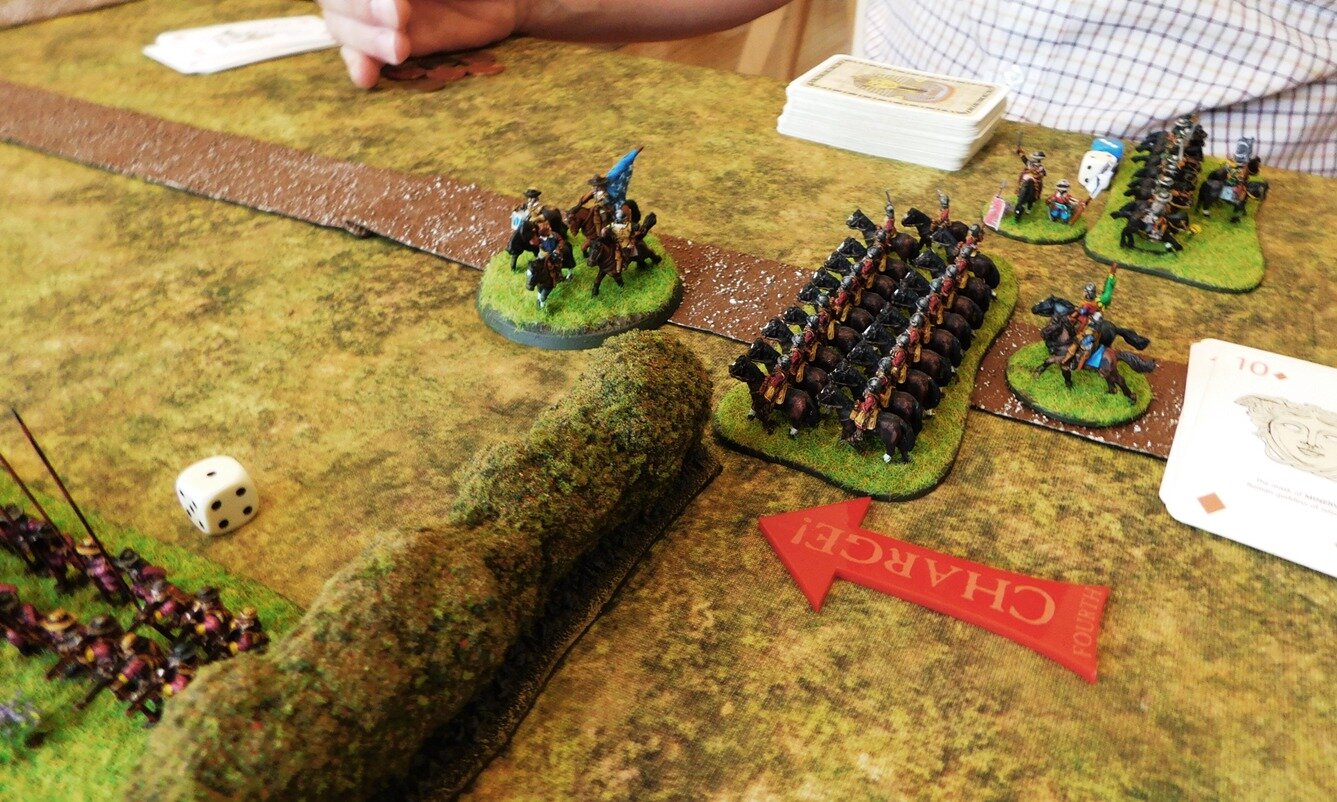
My plan was to pivot on the mercenary Scots, sending my horse forward as quickly as possible to smash through his lighter Swedish-types and then curl around the rear of the Royalist army. I would give up the distant hedge on the left, but take the nearer hedge in the centre.
As this was only John’s second game of FK&P, his plan was to advance generally across his entire front and see what happened when the enemy was encountered!
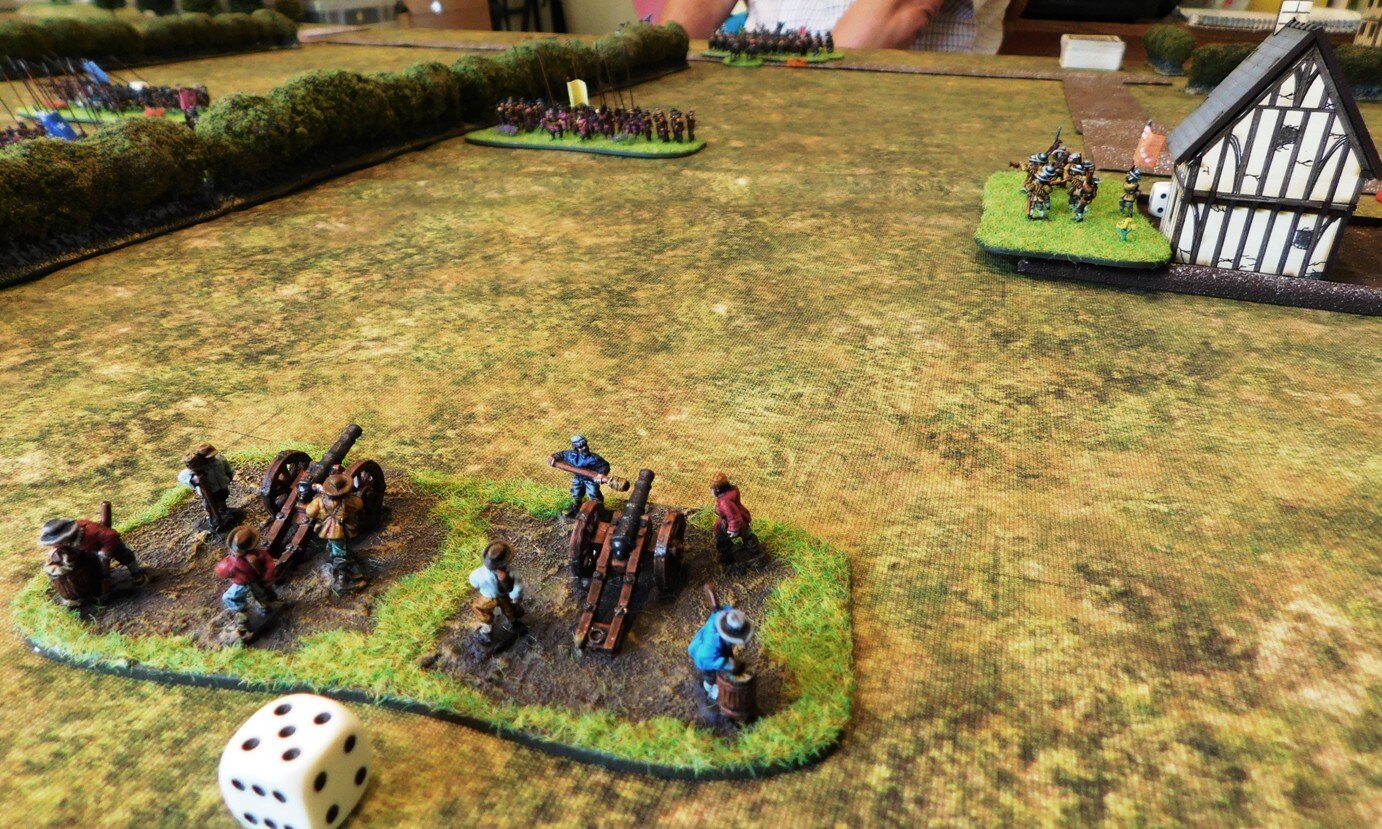
The Game


The End
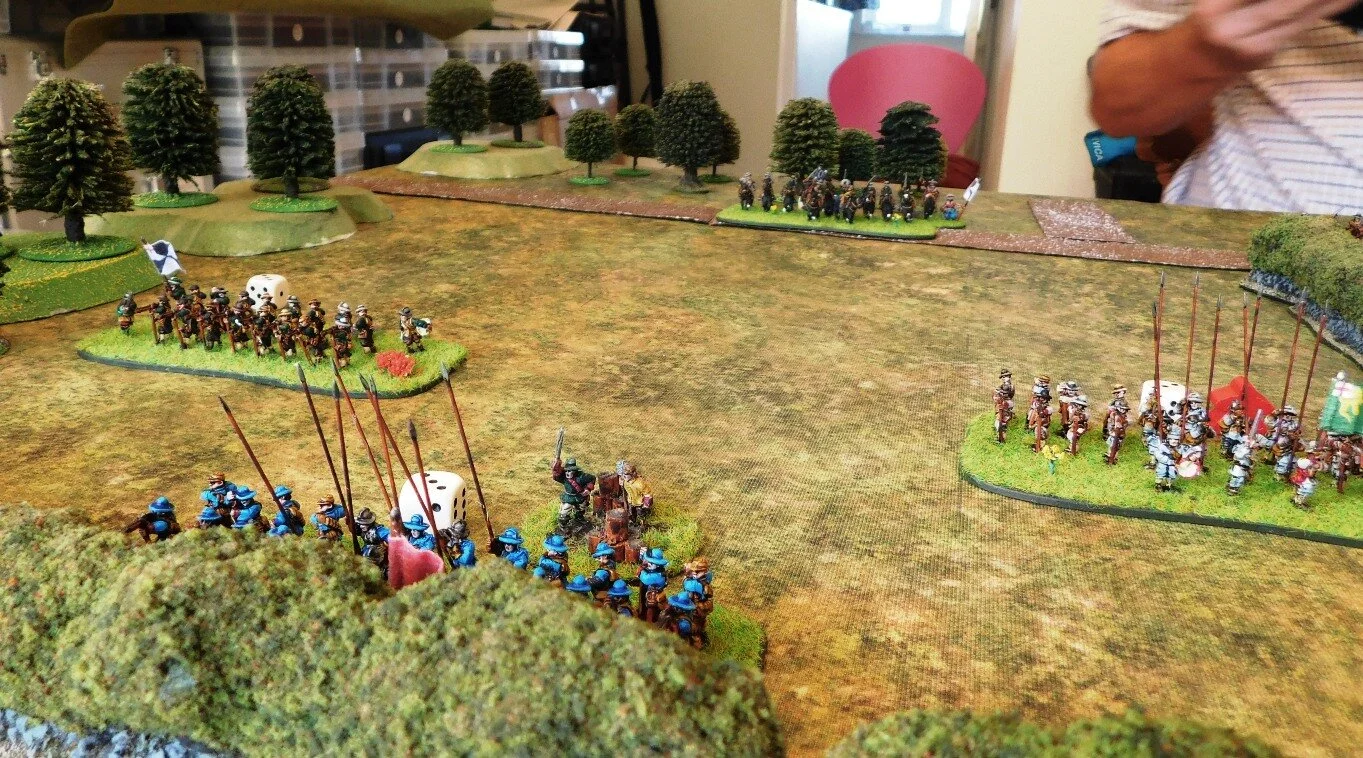
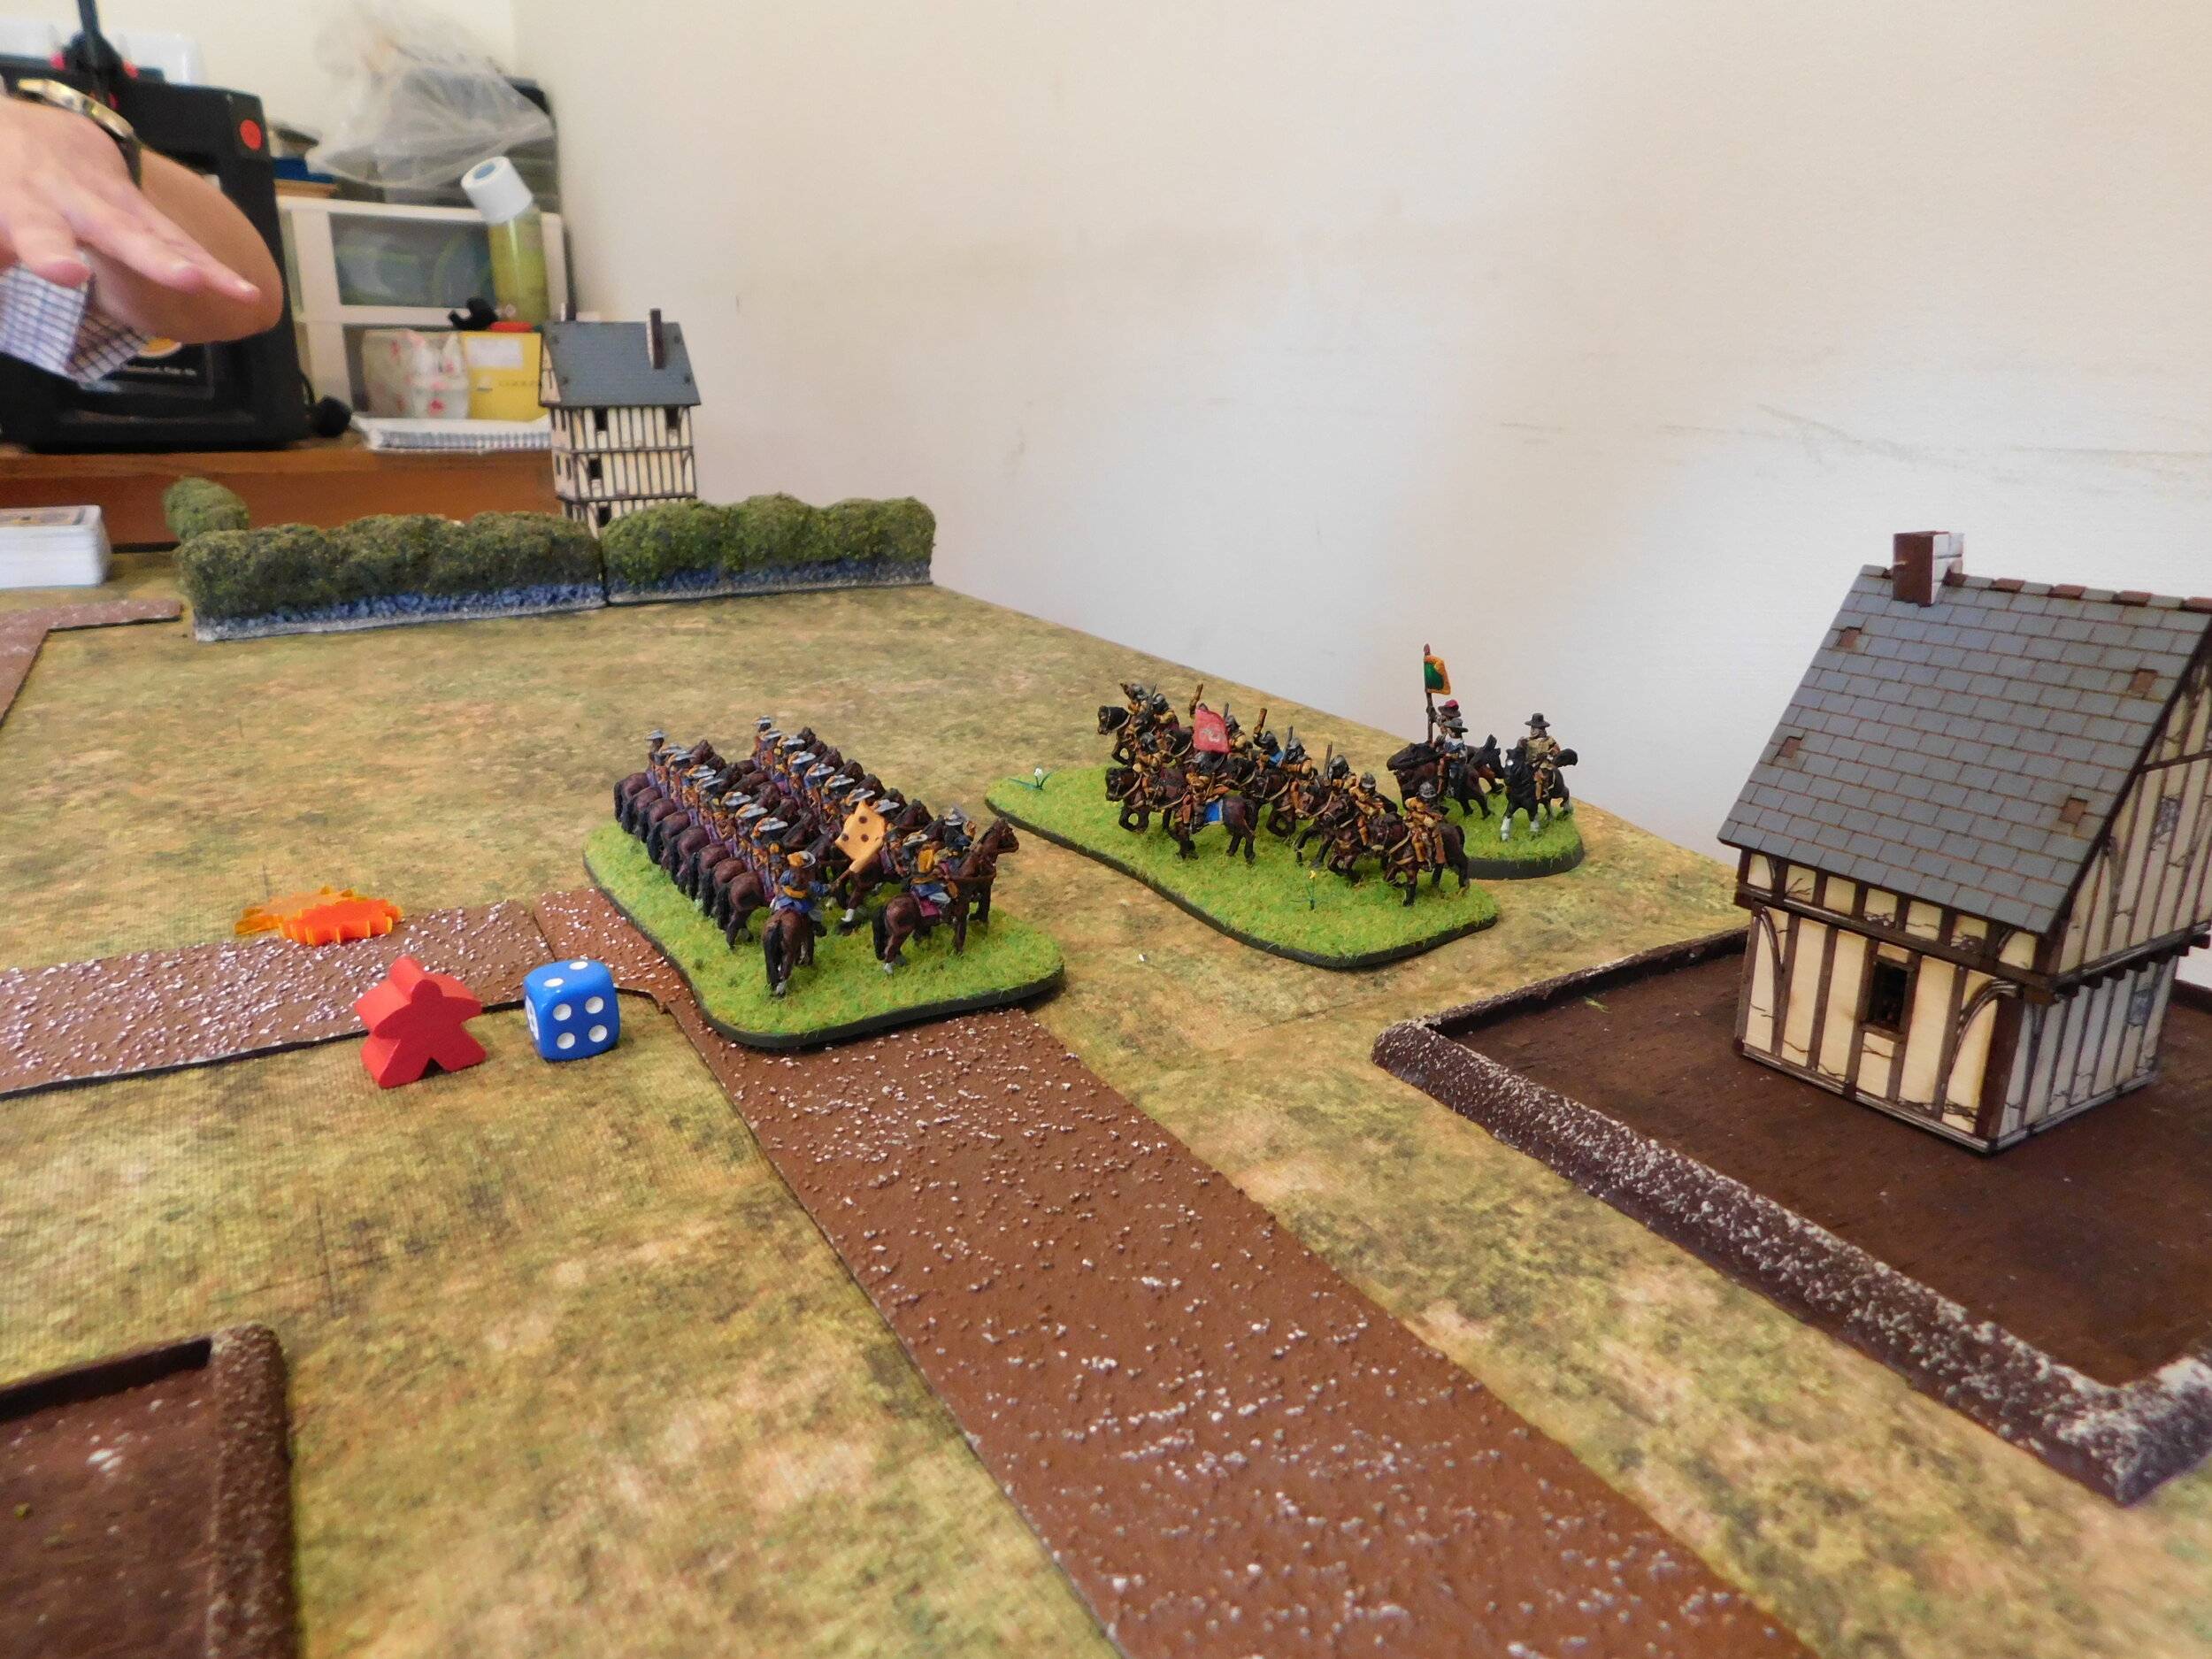
The Parliamentarian coup de grace was administered by Sunnybank’s commanded shot and the Scottish mercenaries. Between them they utterly destroyed the Royalist 2nd Foot Brigade (the Maidenhythe Foot and Oxford Musketeers) which, added to the coins lost when the Royalist horse and artillery evaporated under the tender ministrations of Grey’s Cavalerie, finally emptied the King’s coffers!
In the end, my plan had worked, albeit with several road bumps on the way. I lost three of my command stands, and would have been gradually overwhelmed if it hadn’t been for the extraordinary fight shown by the 3rd Grey’s Cavalerie (the only non-veteran unit in the brigade, obviously). They turned the tide of the battle, with the Scots then digging in their heels and refusing to be broken.
All in all, another great game of FK&P!


