

FK&P AAR: Ottomans versus Habsburgs
/I wanted to get my Ottomans onto the table again, and who better for them to fight than a largely-proxied Habsburg army to represent an encounter from the Habsburg-Ottoman War of 1663-4 (aka the fourth Austro-Turkish War).
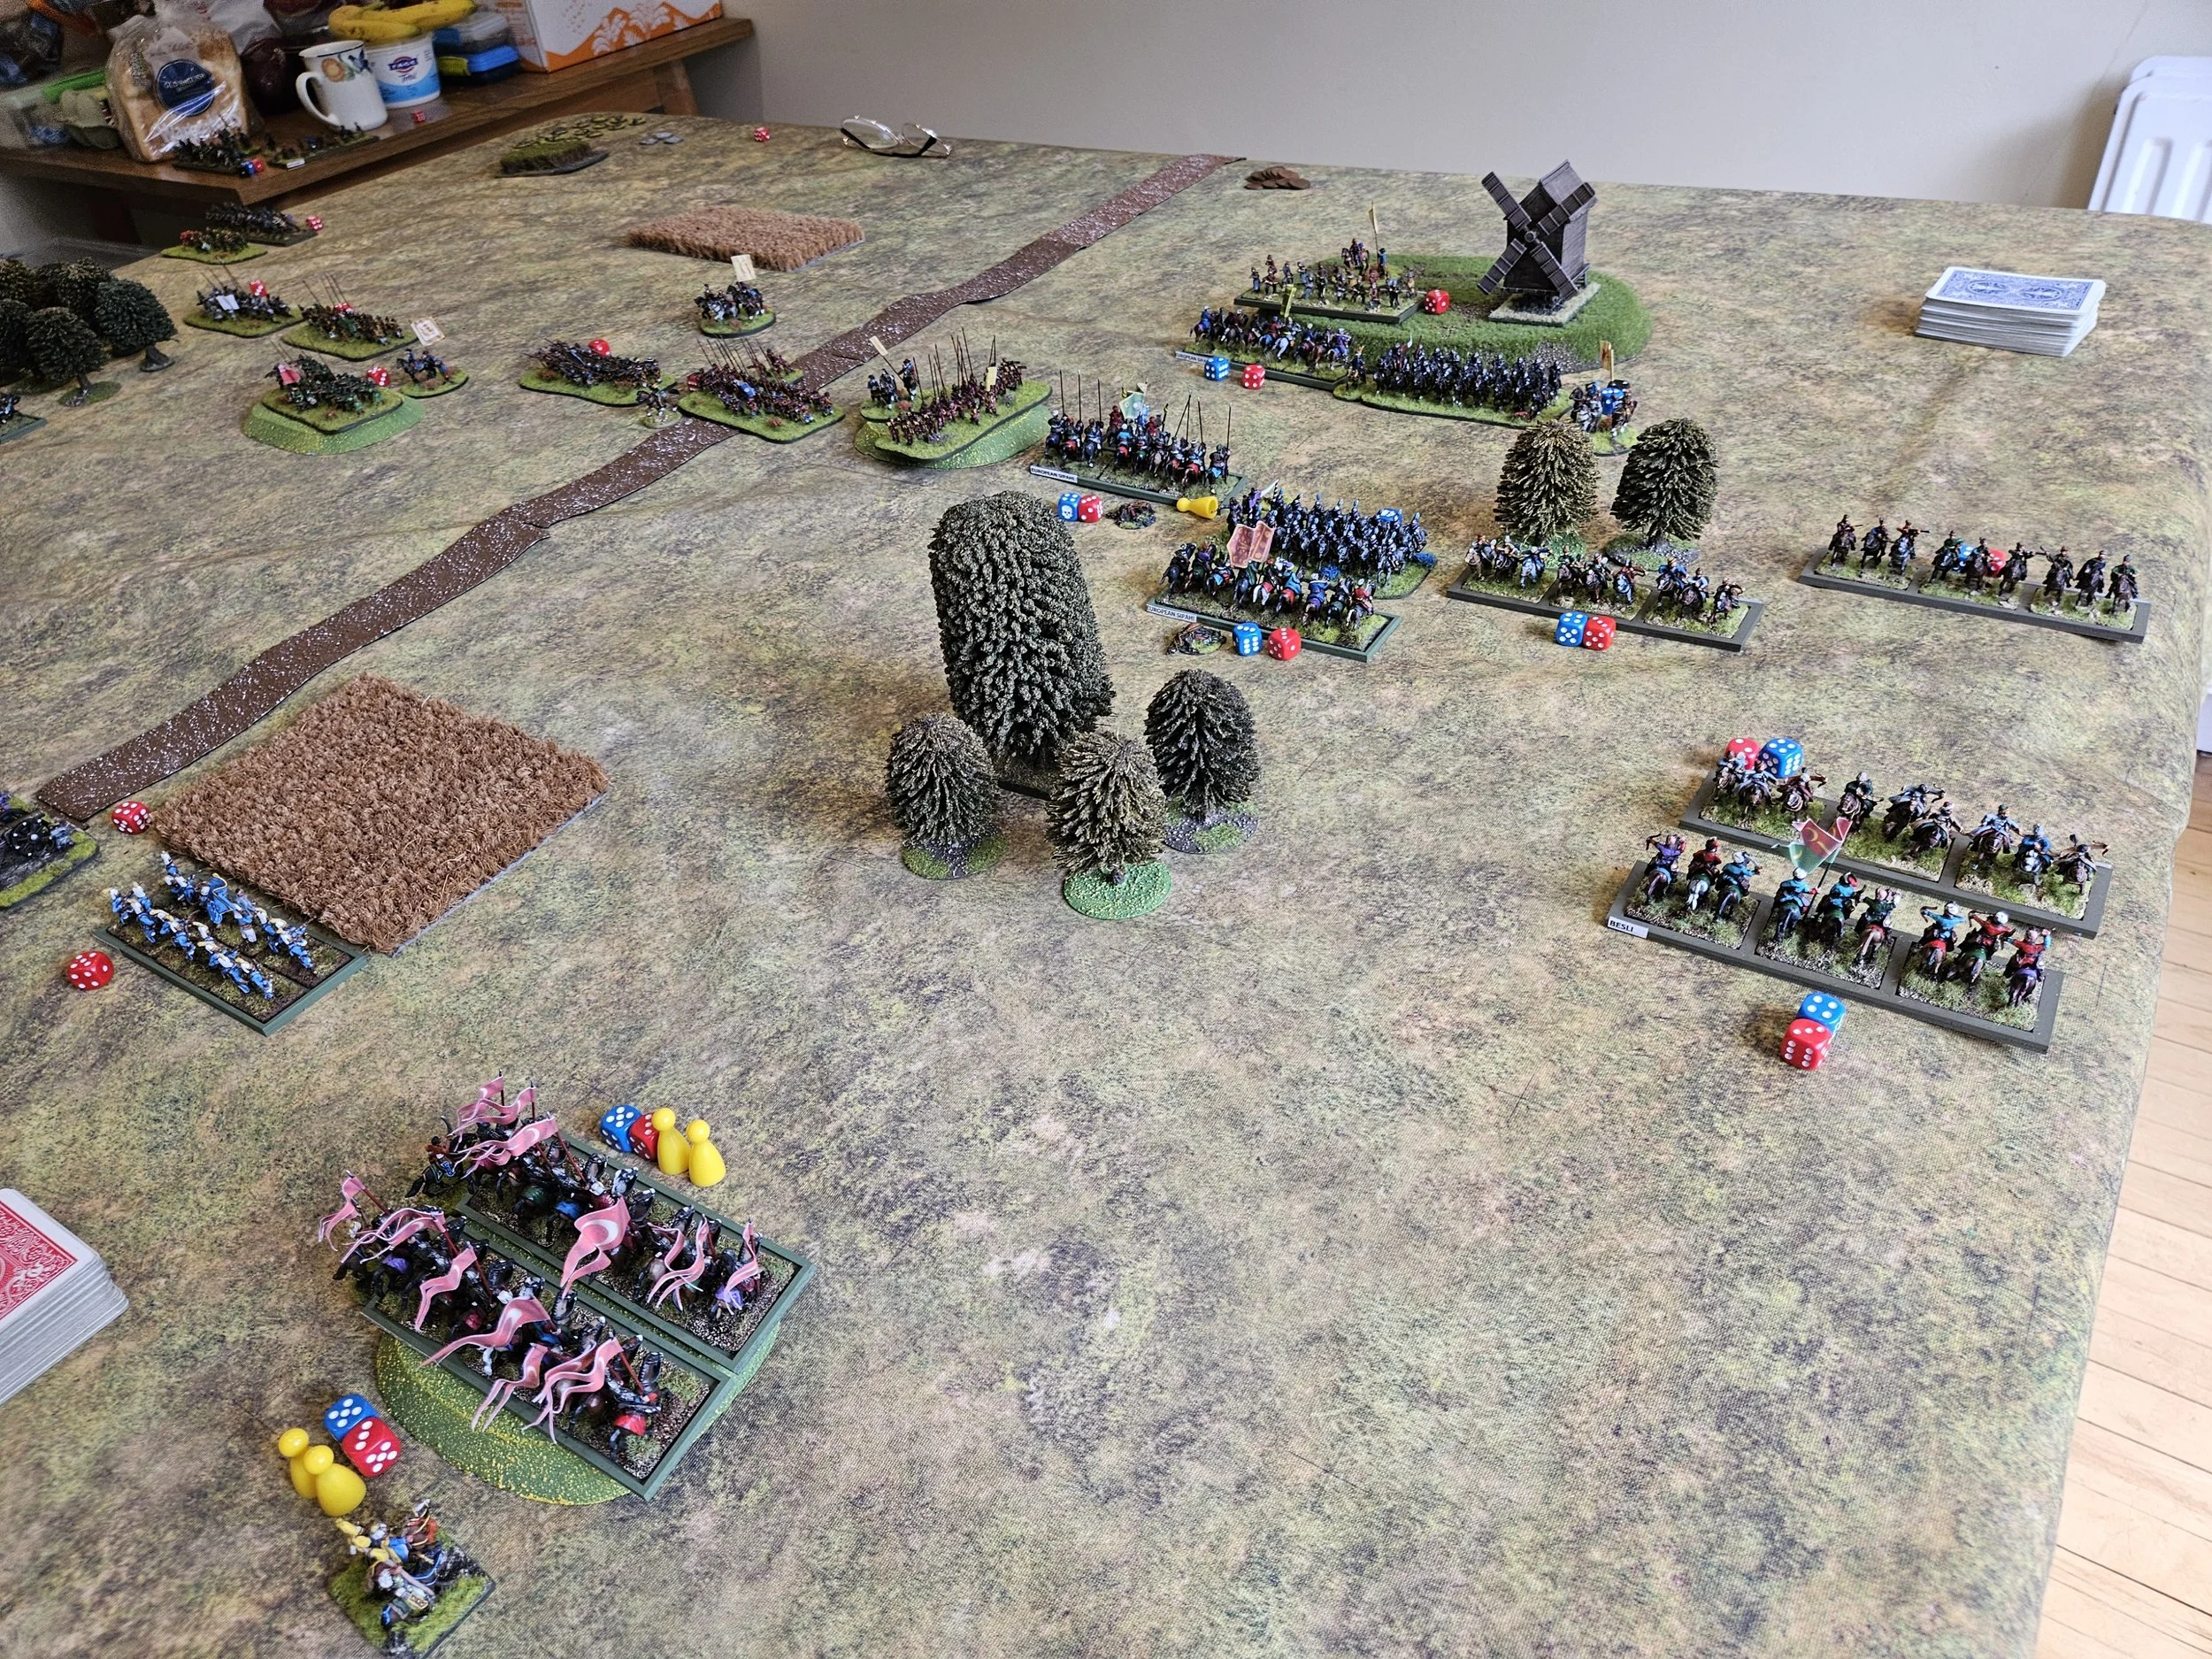
I would play the Ottomans and, as you’ll see from the picture above, deployed with my household cavalry on the right, facing the Habsburg cavalry; the Janissery foot in the centre; and three more units of horse (including the fanatical Deli) on the left. My plan was to win the game with my cavalry, as I didn’t fancy facing the Habsburg pikemen with my Janisseries.
Accordingly, I sent my horse forward on both wings but, on the right, held back my elites ready to exploit any success.
A massive cavalry melee broke out as my Sipahis charged into the Habsburg cuirassiers, with neither side particularly getting an advantage.
The Habsburgs then committed their infantry, trying to shoot my horsemen down from the flank.


This was, of course, the moment I had been waiting for: sending my elite Sipahis of the Guard crashing into the flank of the Habsburg infantry as it turned to bring fire.
In a glorious charge, the elite horsemen punched a hole right through the Habsburg line, sending their infantry fleeing from the field.
Note the fact that I have also now brought up the Janisseries: with the enemy pikemen distracted (to say the least) now was the time to pour their disciplined fire into the Habsburg infantry.
This was too much for the Habsburgs to bear, especially as the Deli and more Sipahi were now working their way around the other flank: their army retreated in as good an order as they could.
This relatively quick win left us time for another game.
This time, I set up in much the same way as before but, noticing that the Habsburgs had what looked like a very weak left wing, determined that that would be the point of my attack: the plan being to smash through there and then loop around into the rear of the main Habsburg line.
To conceal my intentions, I initially hung back on the right, and advnaced strongly in the centre, seeking to pin the Habsburgs in place whilst my plan unfolded.
With the cards being helpful for a change, my plan worked to perfection, with the Sipahis breaking through the enemy Croat light horsemen, opening the way for the rest of my cavalry to pour through the gap.


Seeing their position turned, the Habsburgs again chose to retreat from the field: aiming to fight another day rather than stand and potentially be slaughtered.
A couple of great games of For King & Parliament - Eastern Front, with the Habsburgs left wondering just how they could beat the marauding Ottoman horse!


