

FK&P AAR: Munce's Wood
/Friend Rob and I are playing through the Siege of Norchester scenario pack. After narrowly losing the first game, Tounton Bridge, my Parliamentarians would face the Royalists at Munce’s Wood.
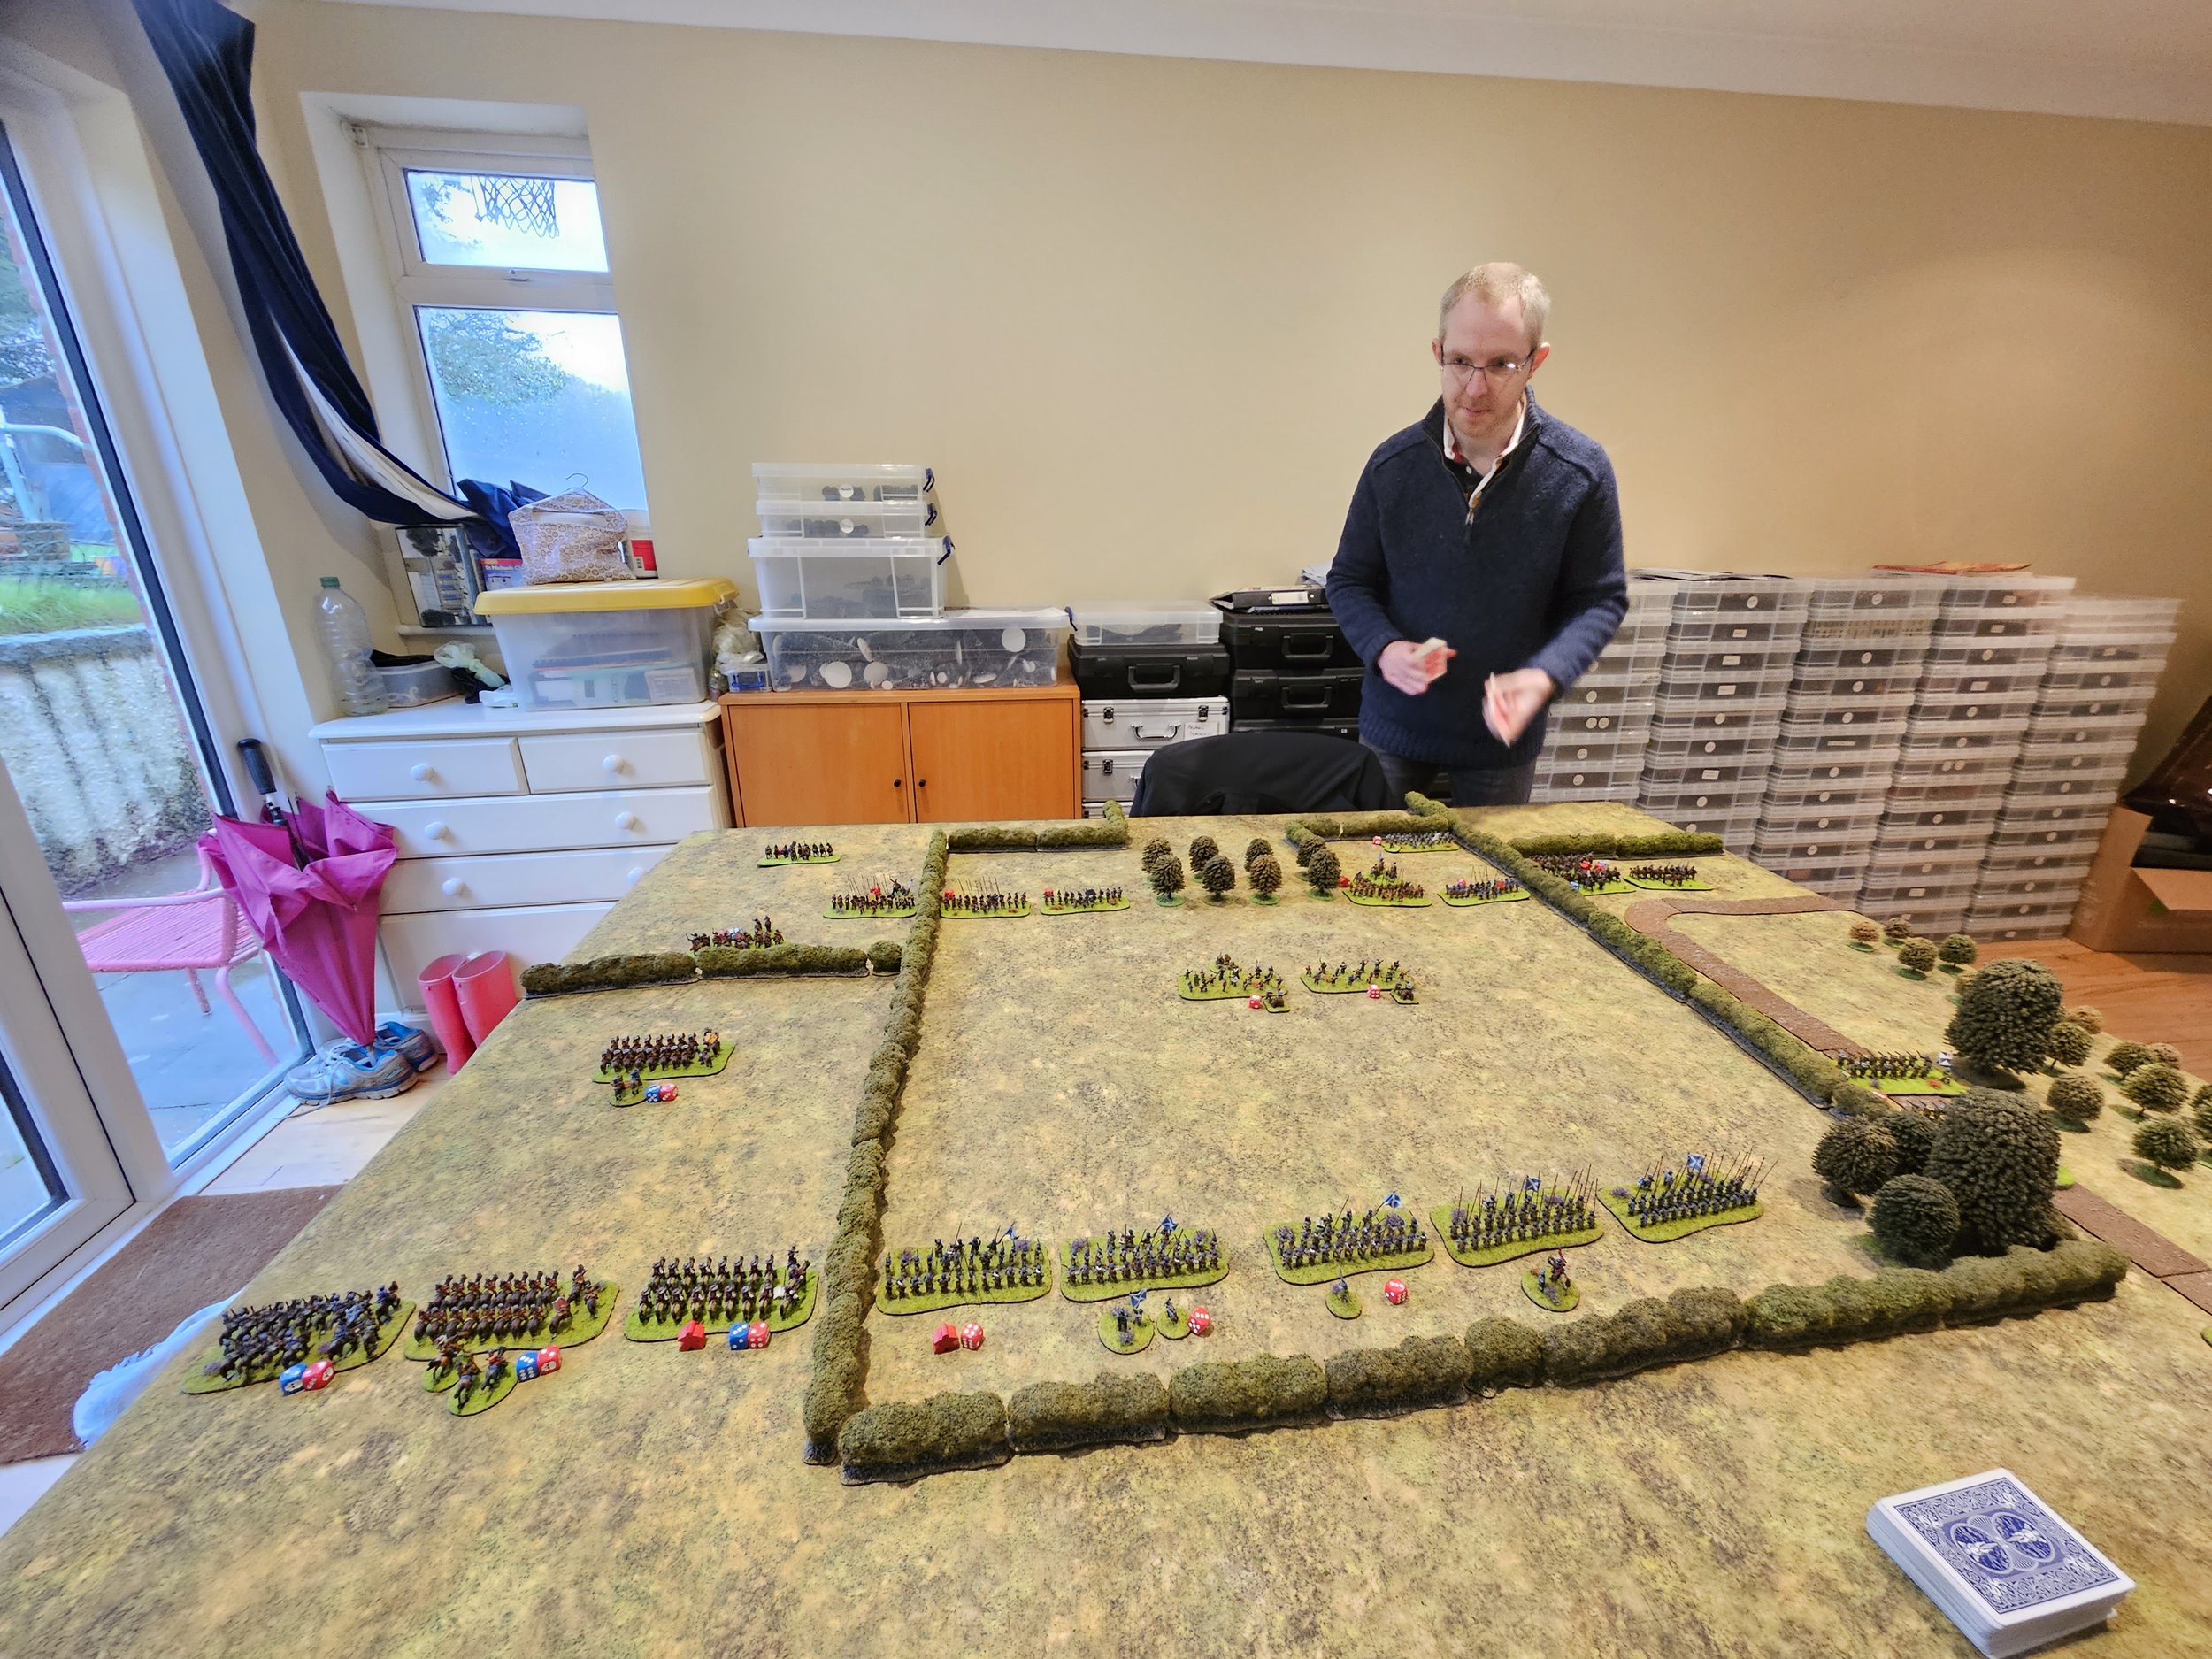
A pack of Royalist-sympathising Clubmen have been caught by a much larger Roundhead force. Fortunately for the Clubmen, there’s also a Cavalier army in the vicinity. The scene is set for a clash at Munce’s Wood.
Royalists on the left, Parliamentarians on the right (Clubmen in the middle!)


With the opposition a bit fragmented, and with superior quality cavalry on my left, my plan was to advance strongly on my left and centre, holding back my weaker right flank. Hopefully the Roundhead cavalry would quickly beat the fewer Cavaliers in front of them and then be able to surl around to take the enemy centre, by then presumably locked in place by my central advance, in the flank.
That was the plan, but unfortunately my cavalry just couldn’t beat their Royalist foes back. The enemy was defending a hedge line, and a particularly sticky unit of Swedish horse just plain refused to give way despite overwhelming pressure from my Dutch troopers.
Not only that, but my troops in the centre fought so badly that I was forced to pull some cavalry from the left to reinforce my centre. Things were not going well!


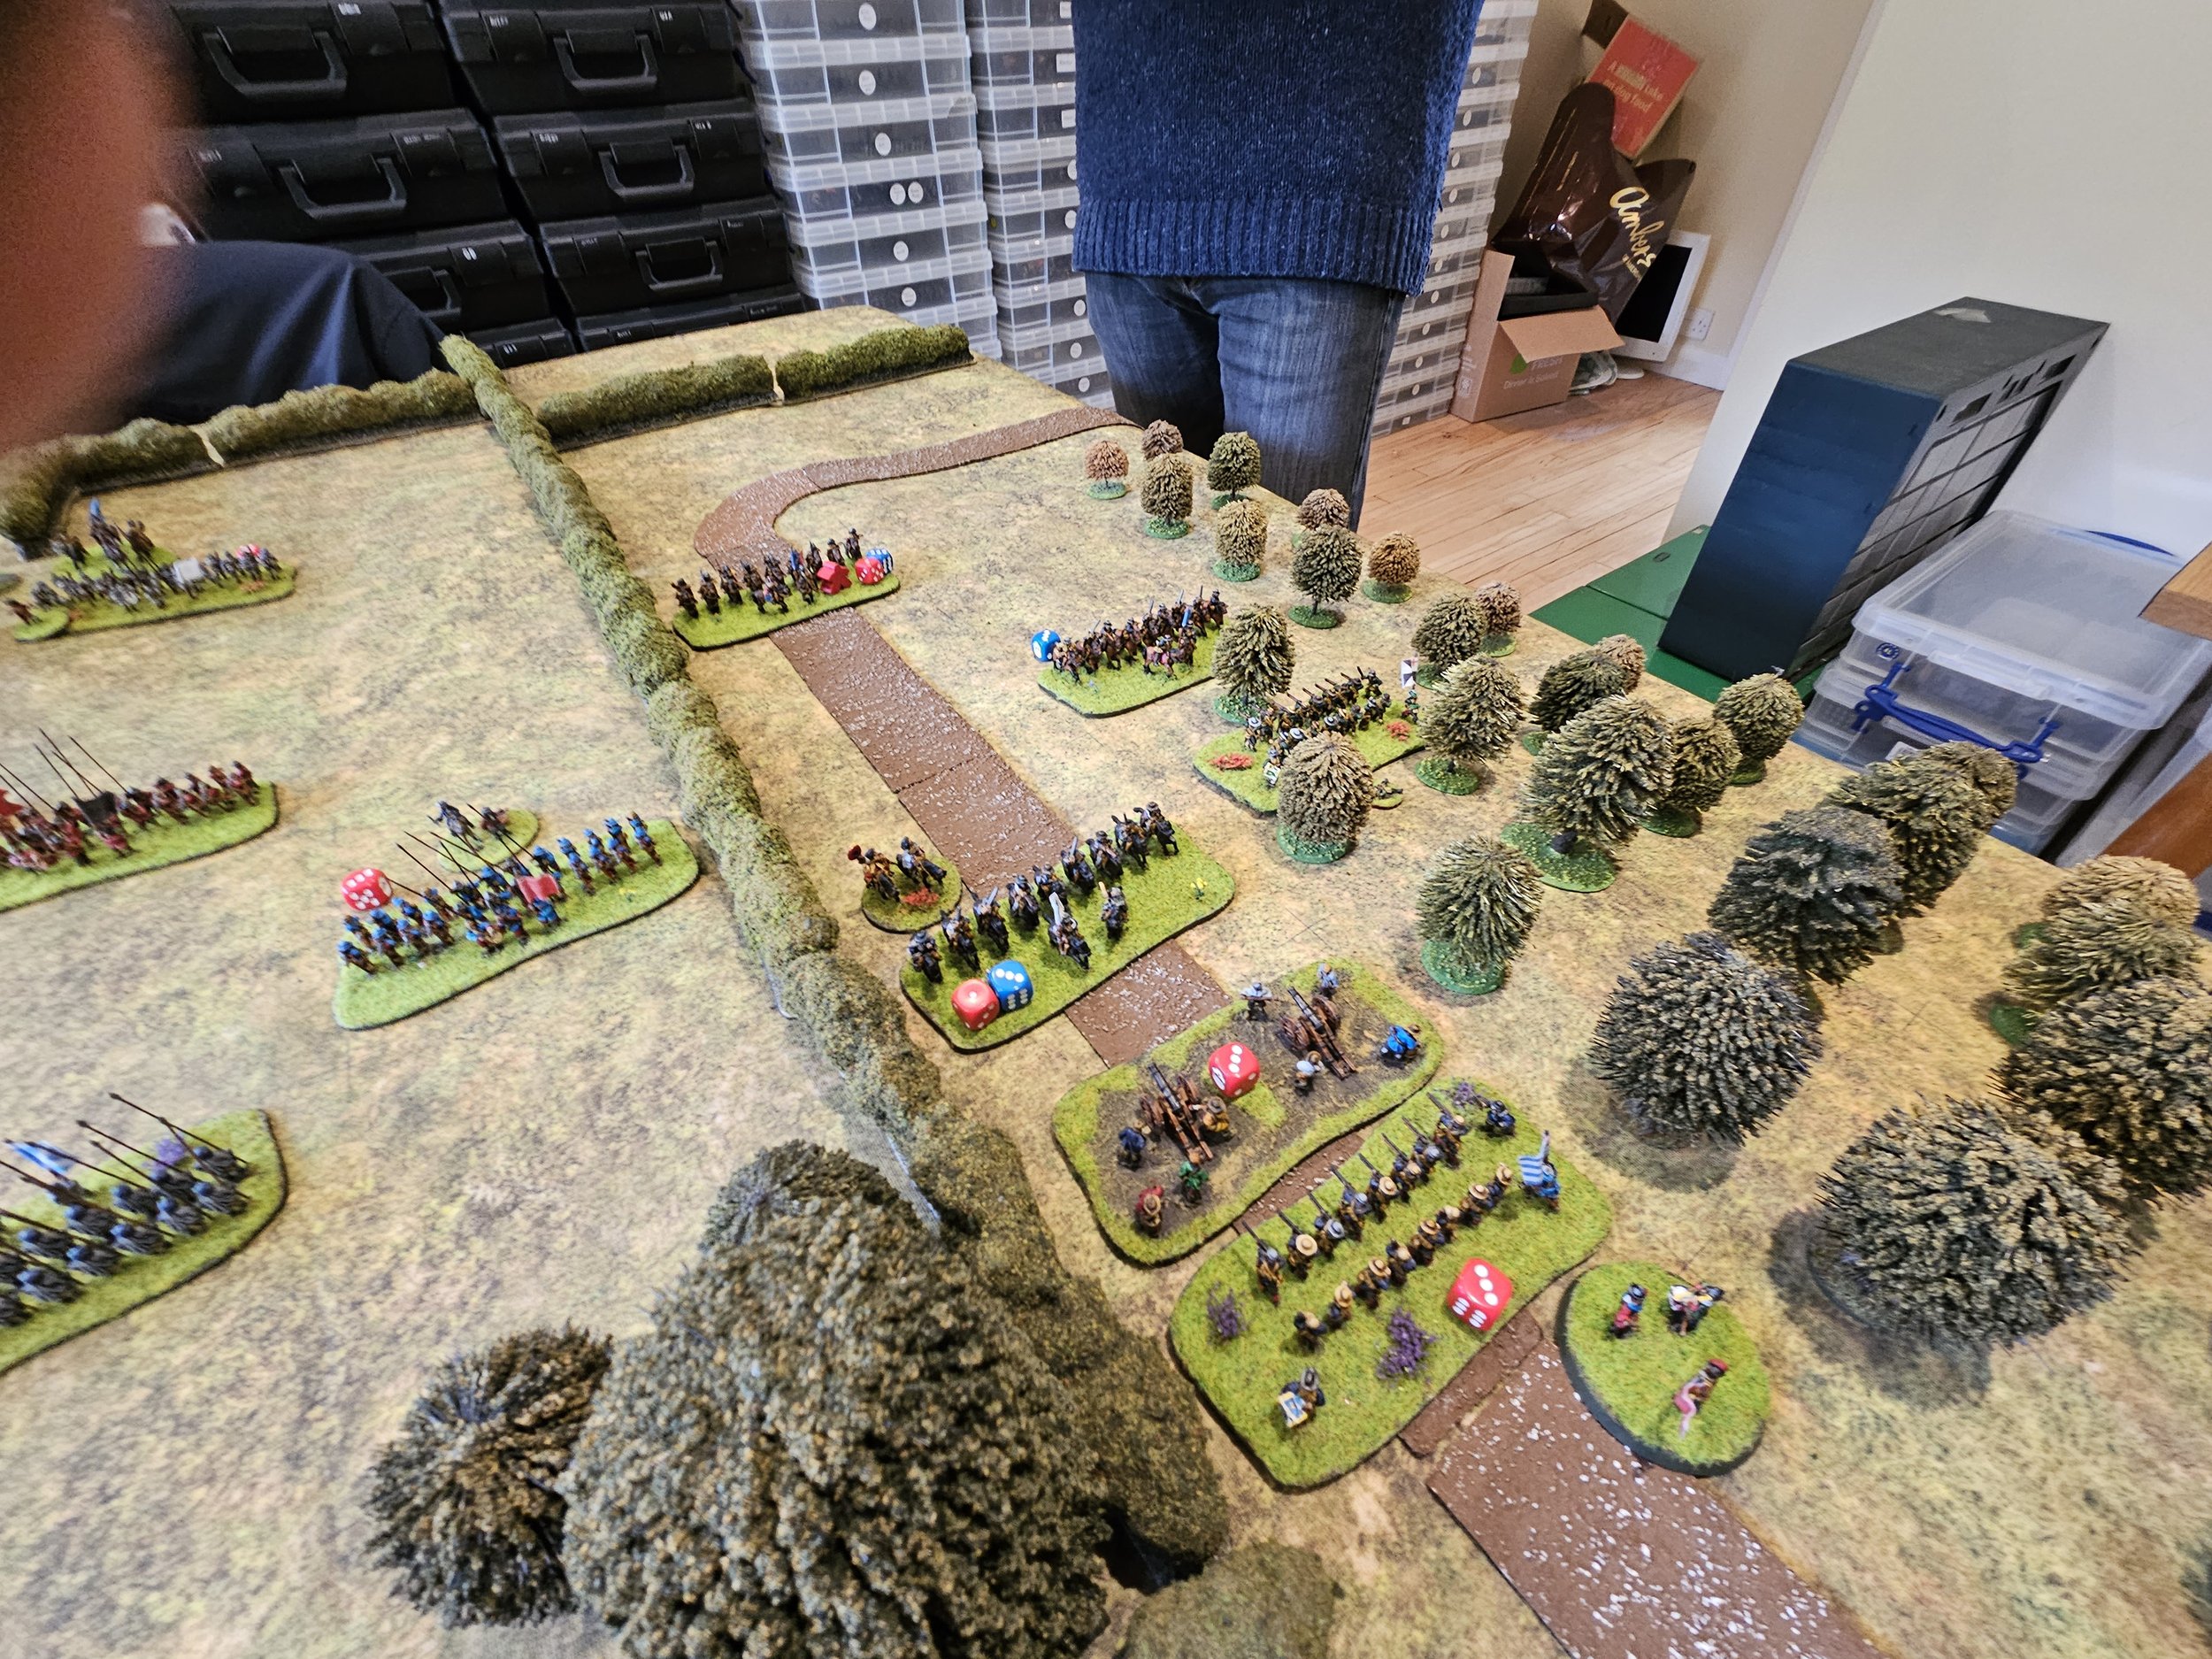
Meanwhile, much to my surprise, my commanded shot and artillery on the right flank were holding their own against the Royalist horse.
My three weak units held up Rob’s stronger three units for the whole of the battle and, although I would eventually lose all three, that sacrifice was worth it to keep his horse off my right flank.

On the left, my Dutch horse were still trying to get over the hedge, but just couldn’t do so in the face of continued opposition from the Royalists.
With that flank stalled as well, the game would be decided in the centre.
Things were beginning to thin out now as various units on both sides had broken and fled the field. In the end it came down to who could keep fighting for longer, and unfortunately it wasn’t my troops!
The final act was for one of my few surviving battalia of Border Foot to smash through the enmy opposite them, but then be hit from all sides by other Parliamentarians. As a final act of humiliation, it was actually a unit of Clubemn - the very people we were trying to surpress - that dealt the coup de grace, and my command generally collapsed and routed.


So a second defeat for the Parliamentarians in the campaign to take Norchester. Let’s hope I have more success at Cadmore Hill, the site of the third clash!


