

TTS AAR: Burgundian Ordnance vs Sassanid Persians - Take Two
/With the first game over so quickly, Neil and I had time for another…so we kept the sides the same and started again.
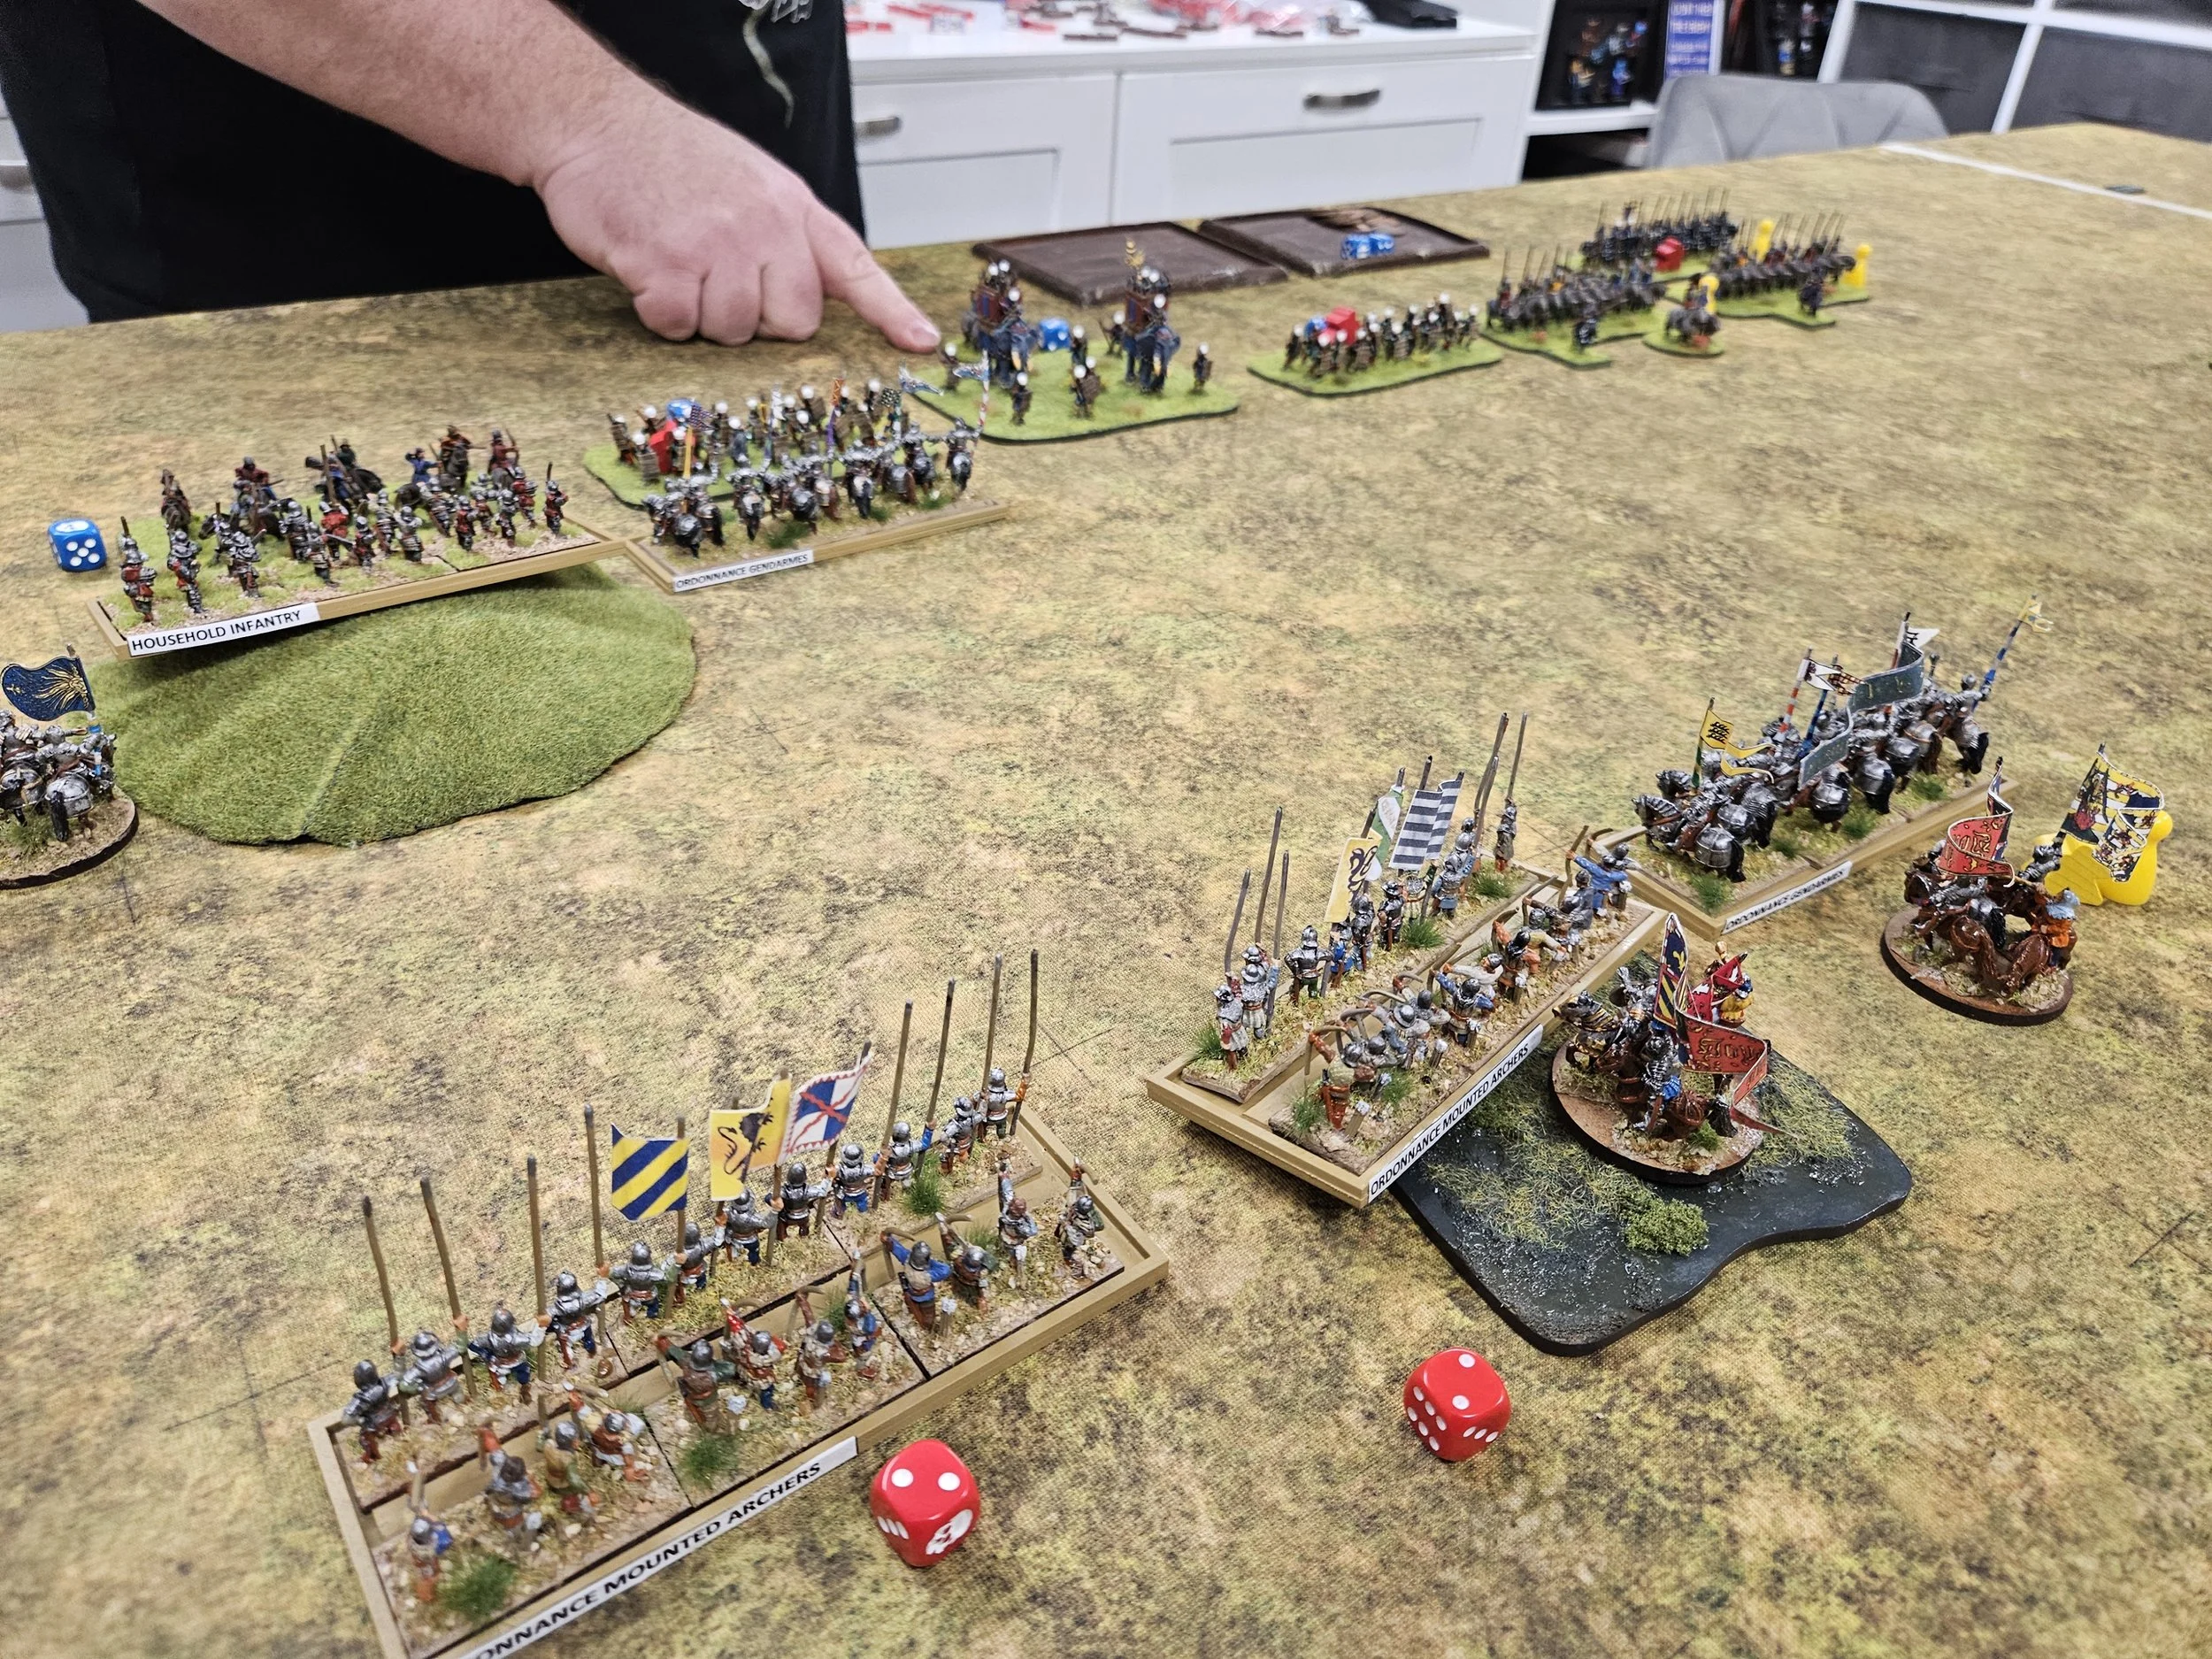
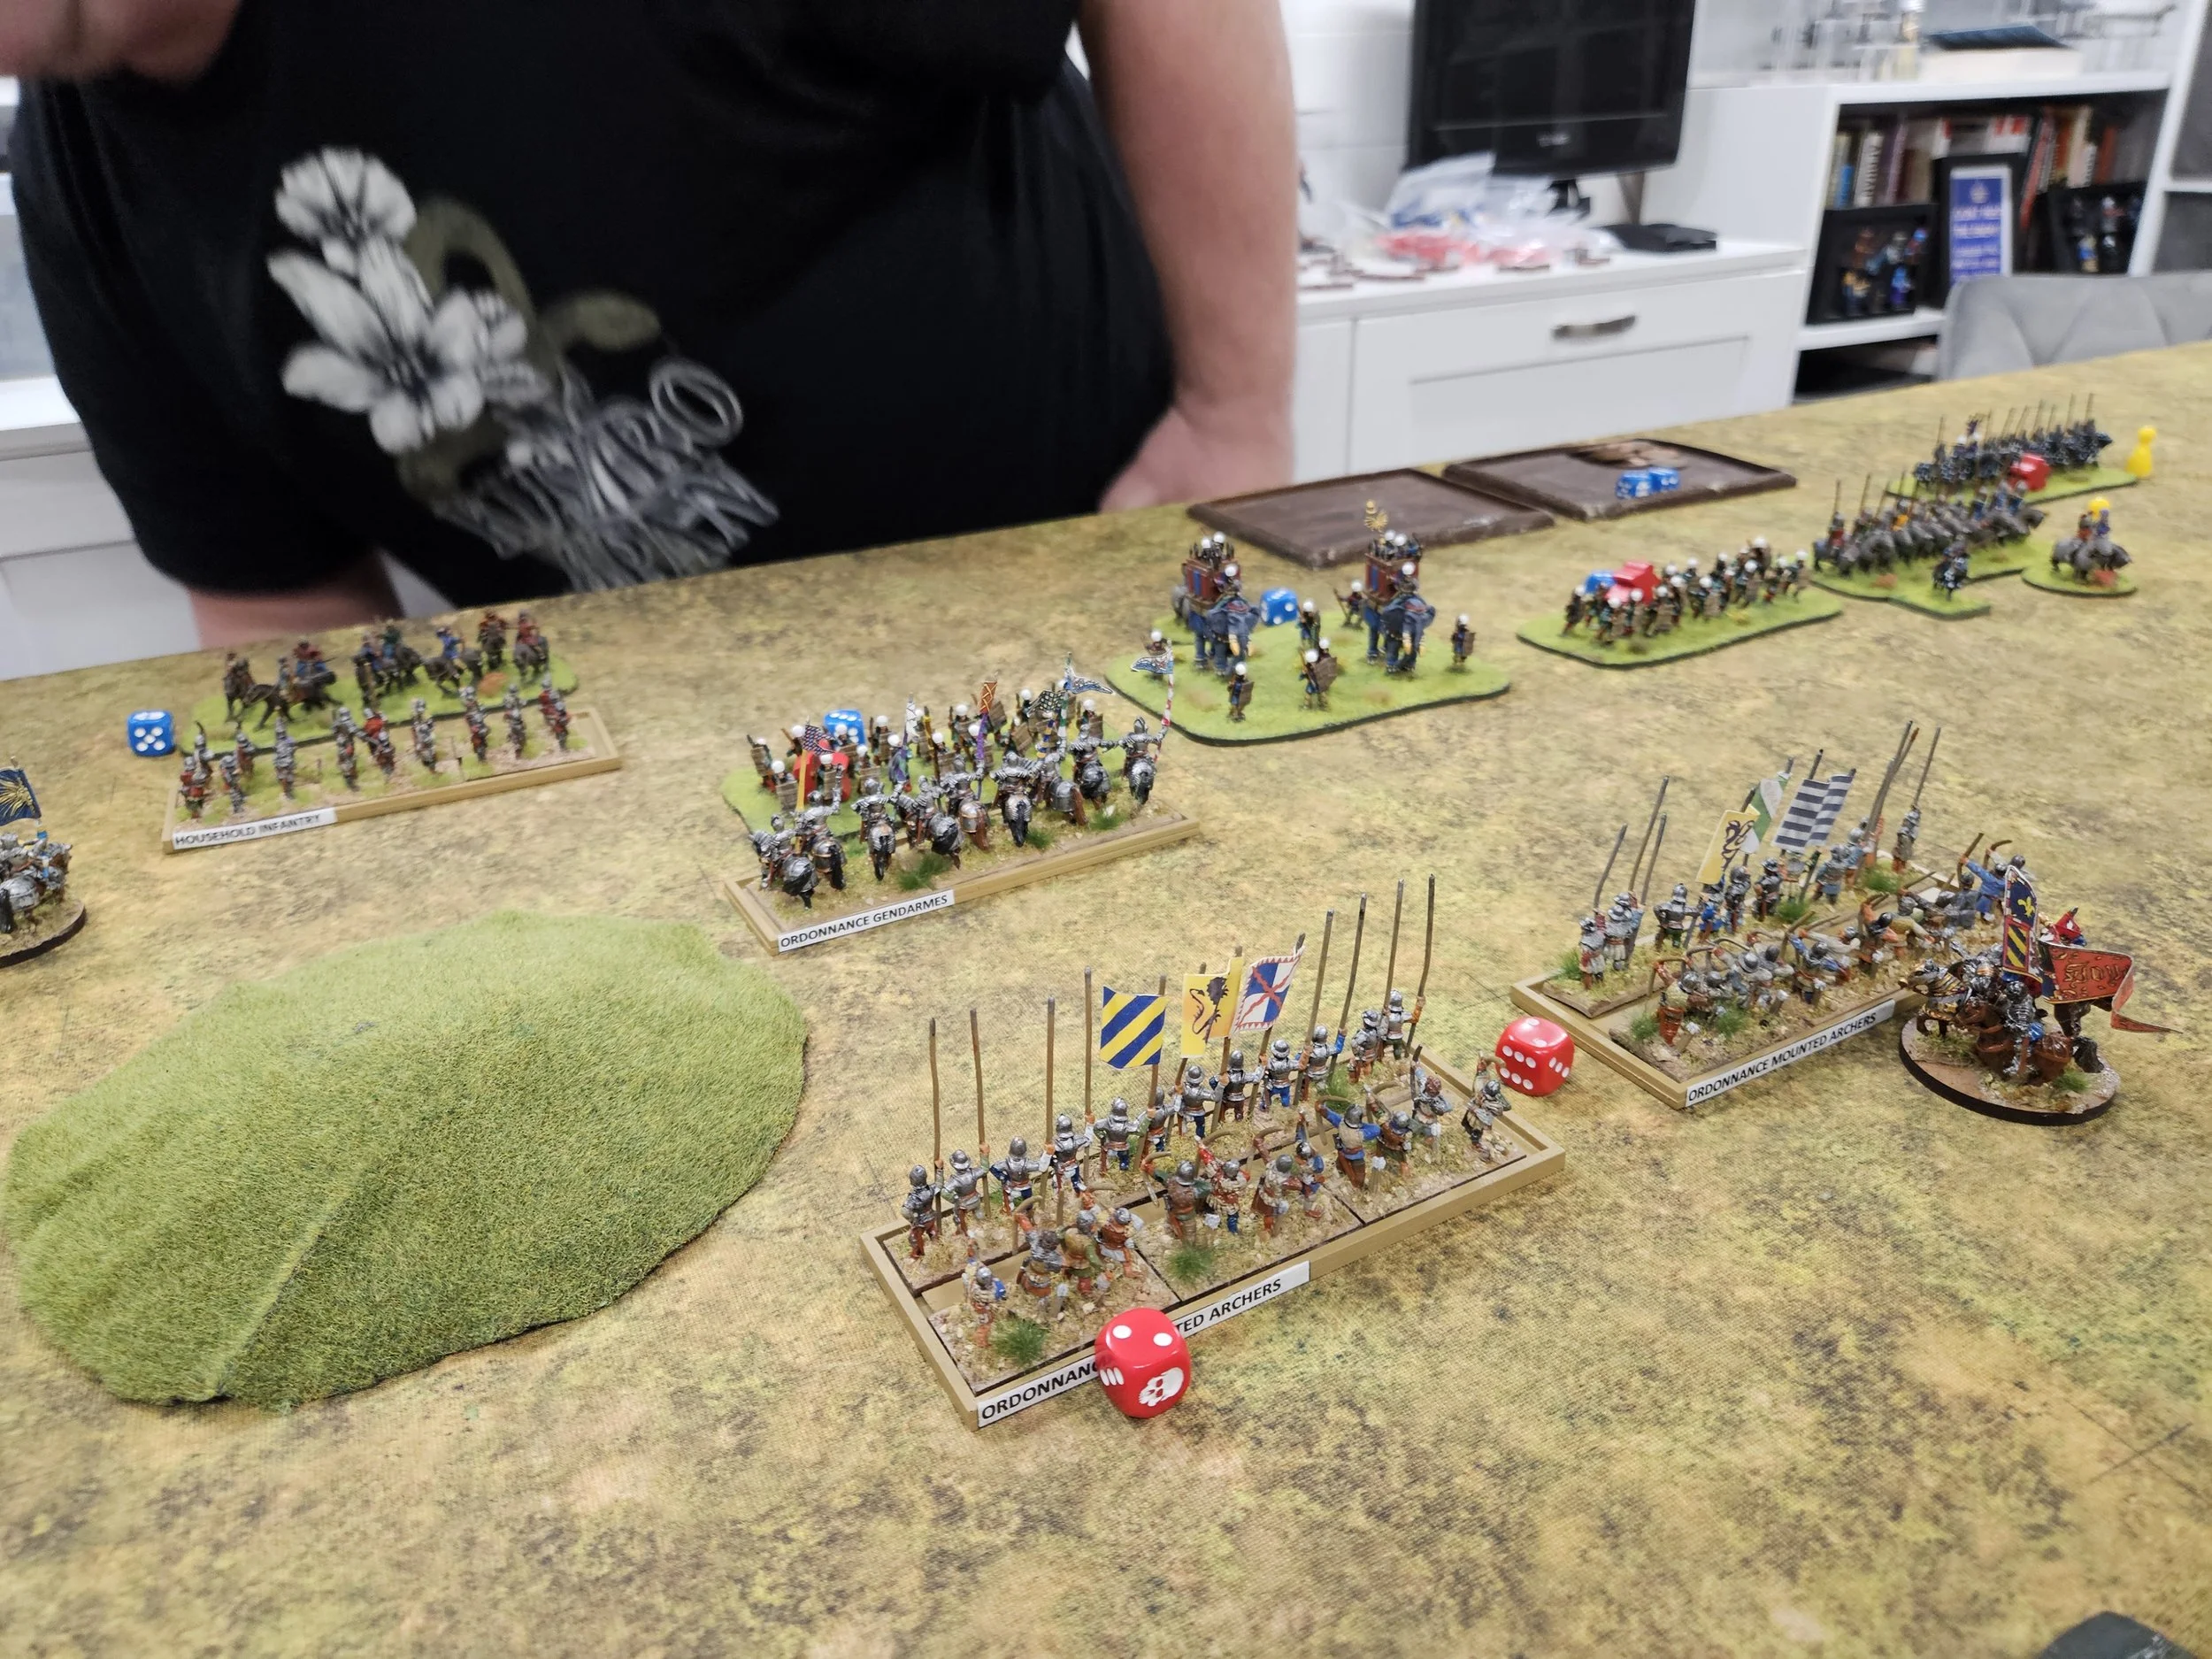
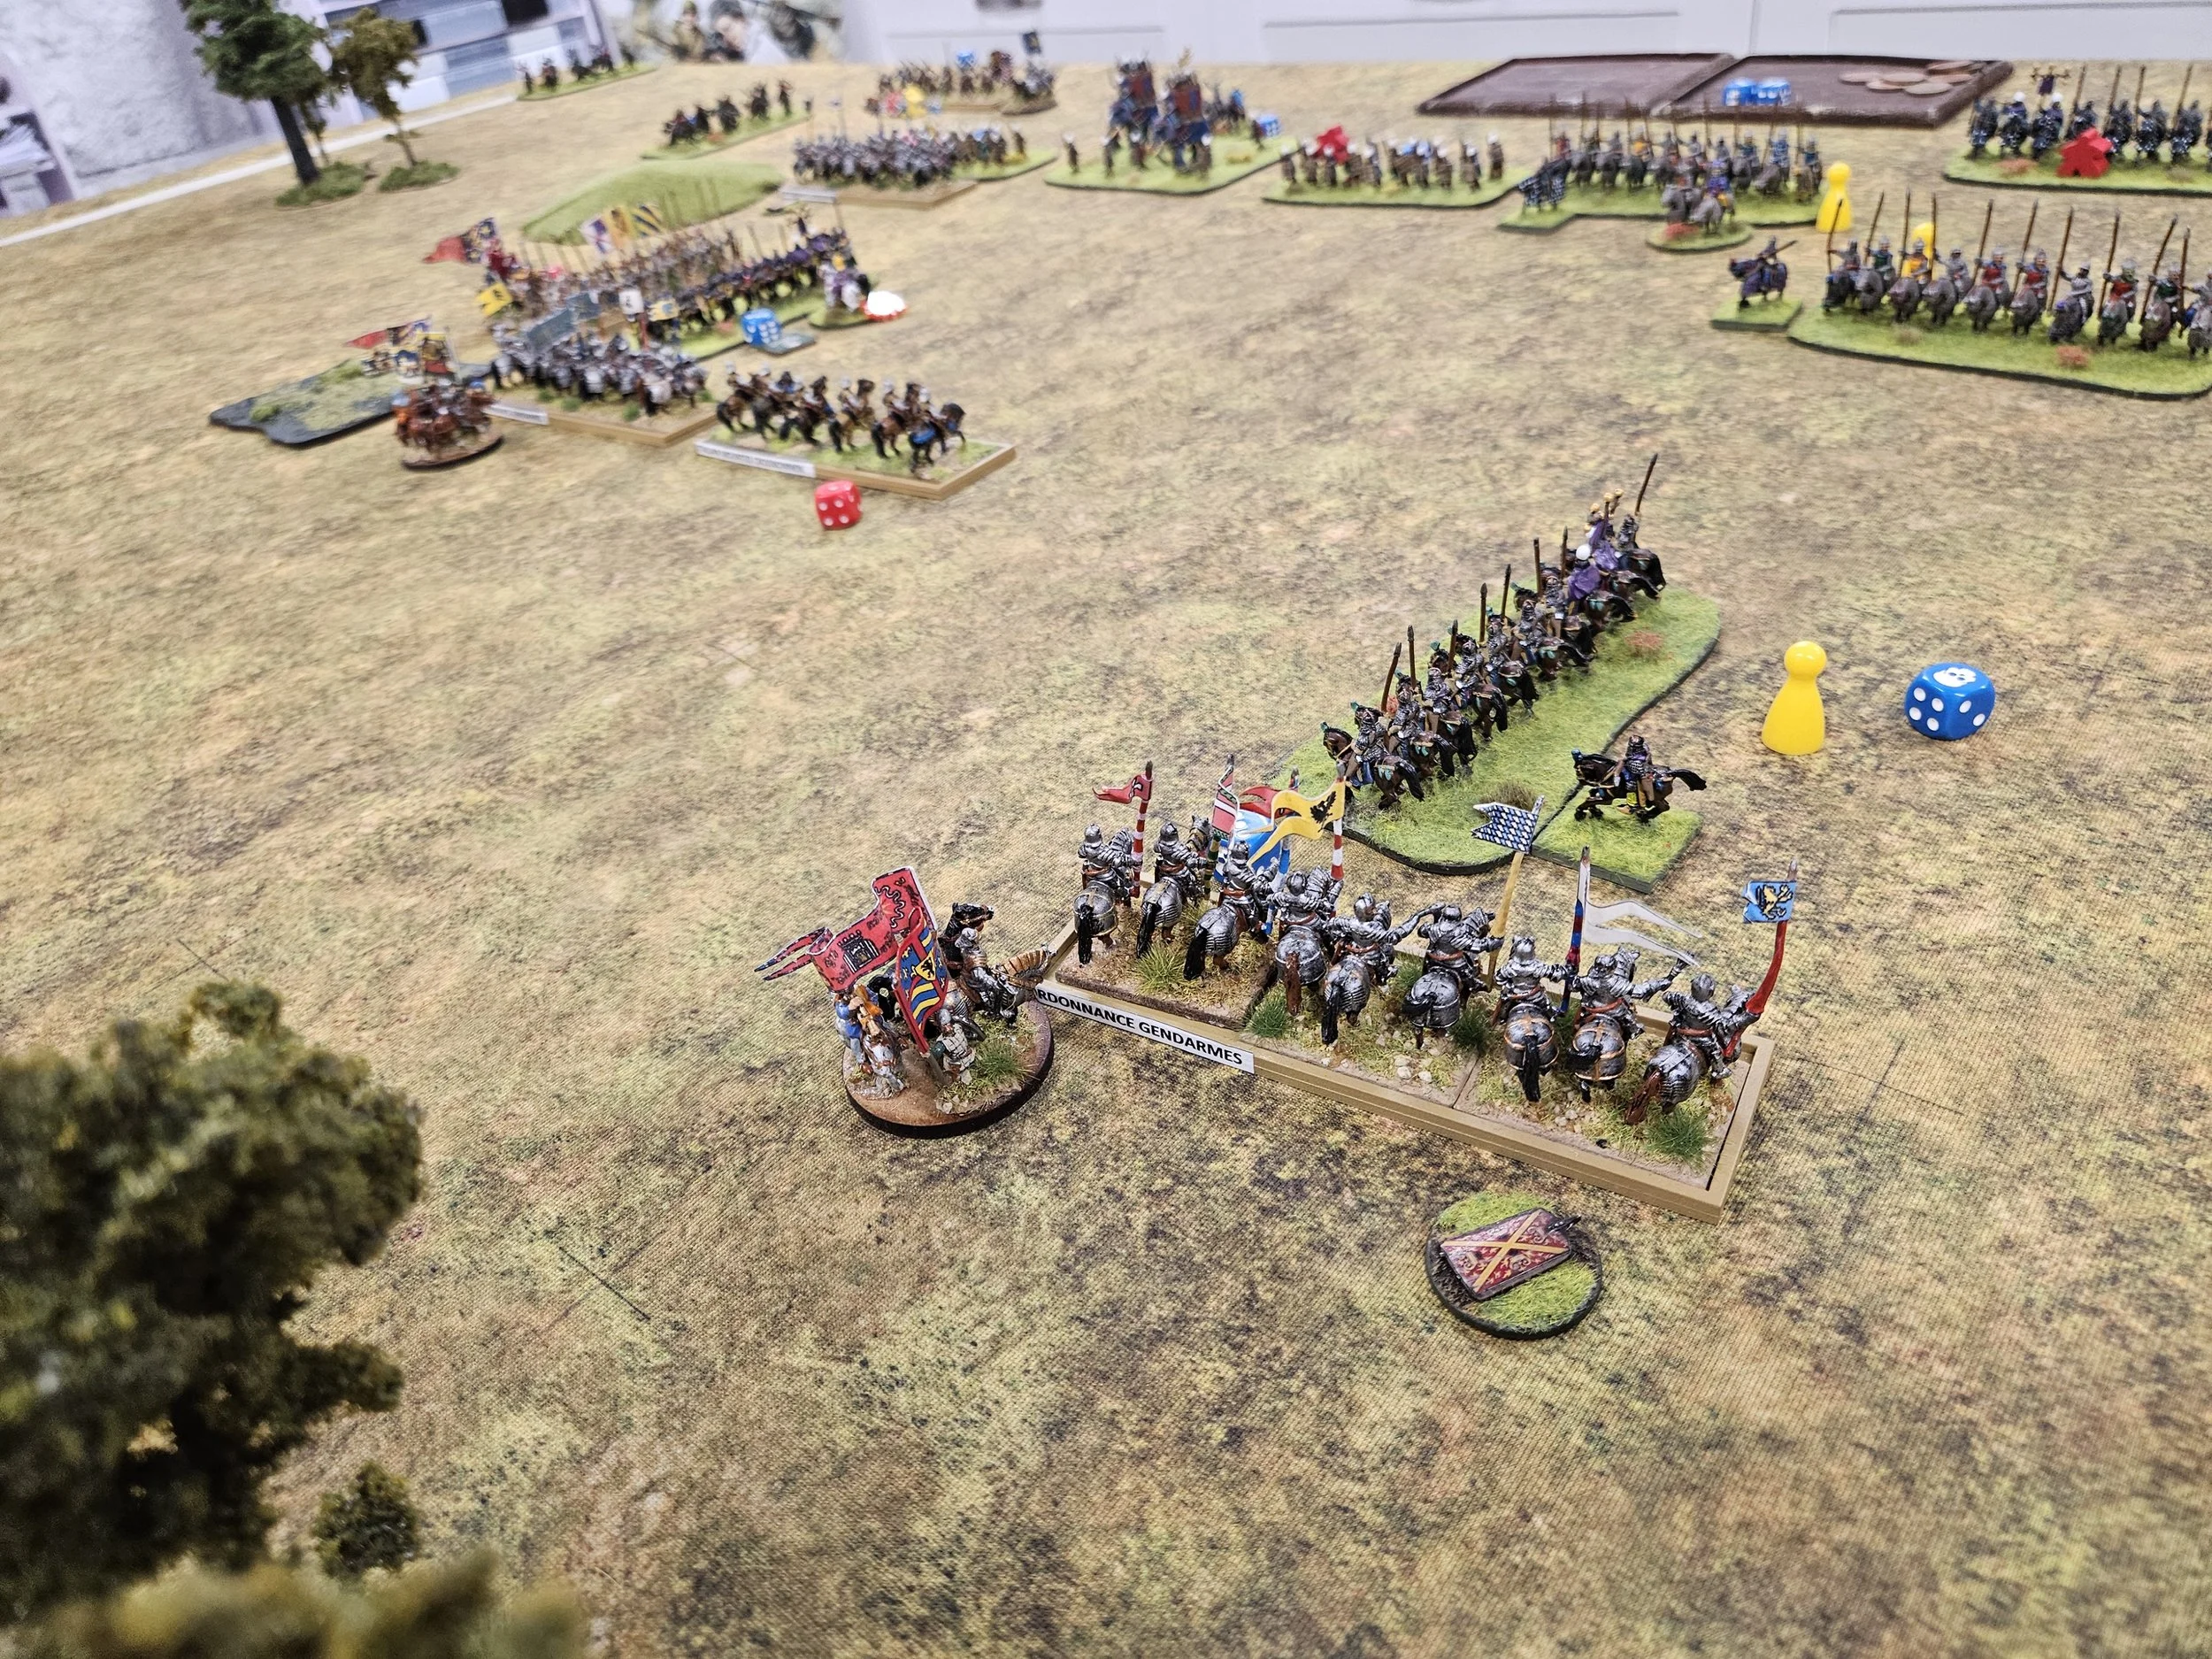
As you’ll see from the pictures below, I decided to weight all my forces onto one flank in an attempt to win there before turning to wipe out the enemy elsewhere.


The Sassanids, wise to the tactic, came forward as fast as they could, and prepared to counterattack from the other flank:
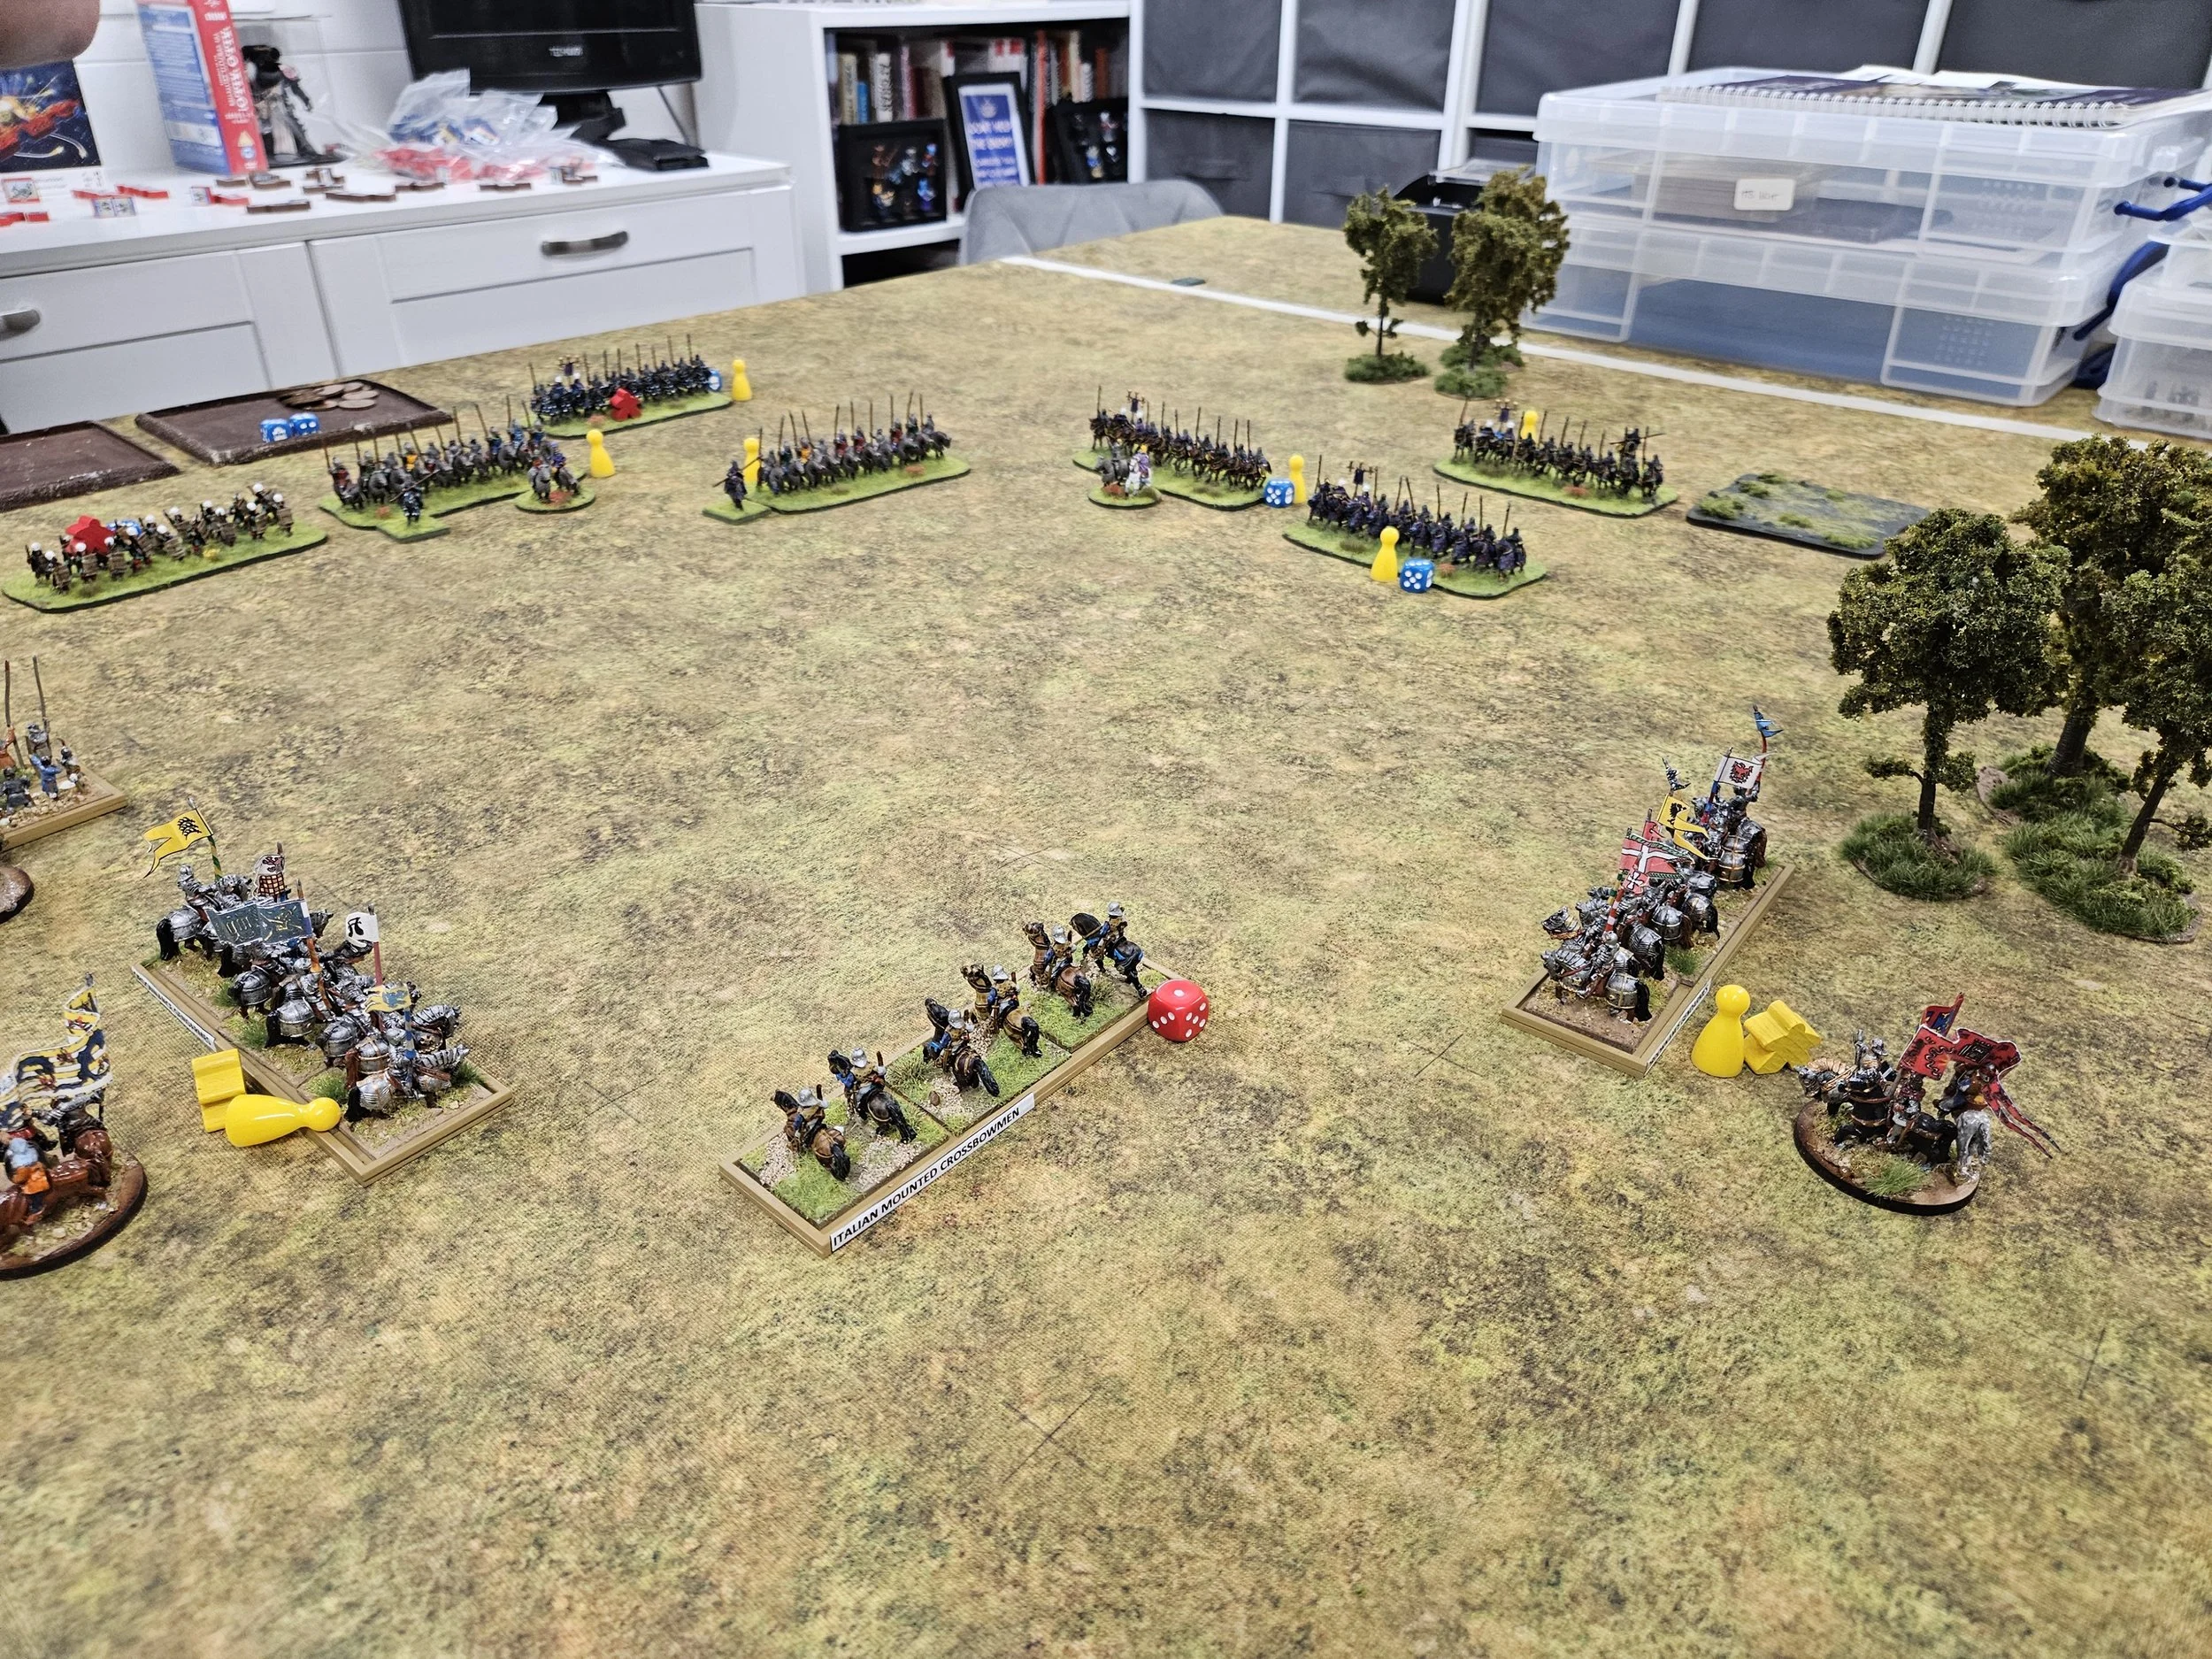
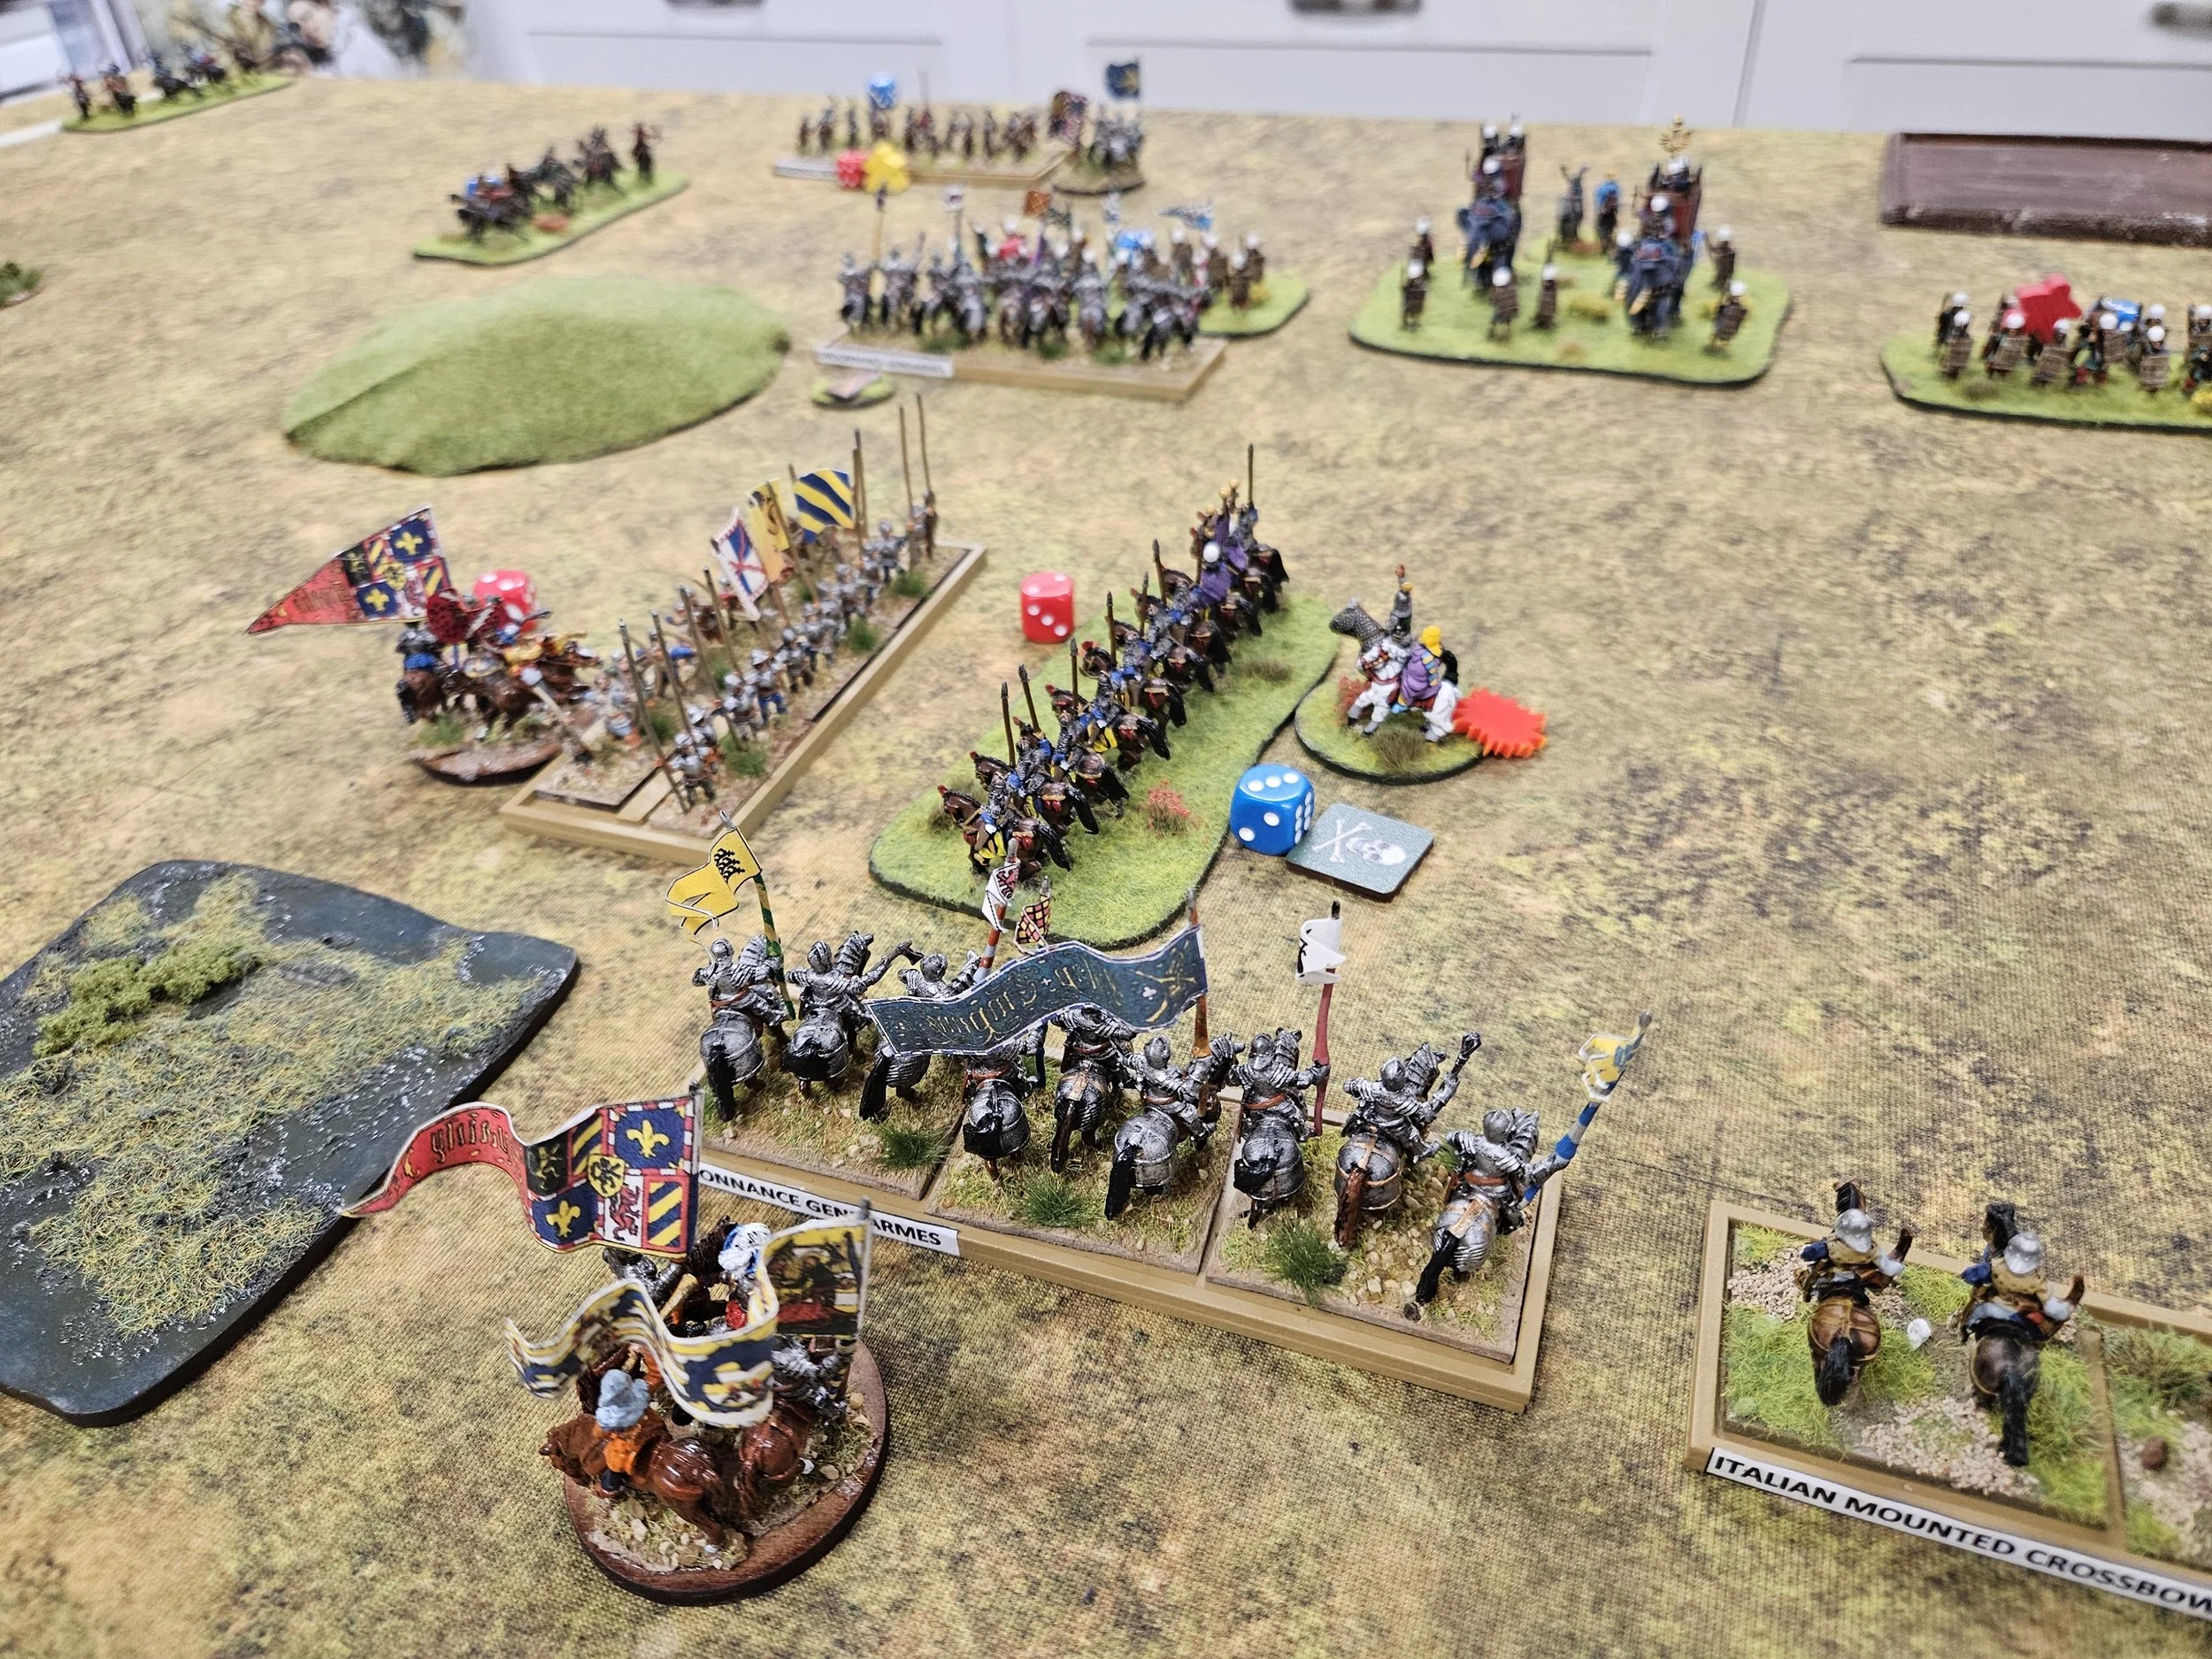
My troops duly charged in but, shock, horror, failed to do more than just push the Sassanid foot backwards.
Things just weren’t happening fast enough, especially as the Sassanid heavy cavalry was almost in a position to counterattack: good moves by Neil!

It was all over very quickly!
My stacked troops on the left still failed to inflict the death blow on the Sassanids in front of them, which meant that Neil was free to launch a massive counter-attack of his own.
Yes, the unit of Burgundian Knights guarding my right flank did dispose of some of the Sassanids, but not enough to make a difference.
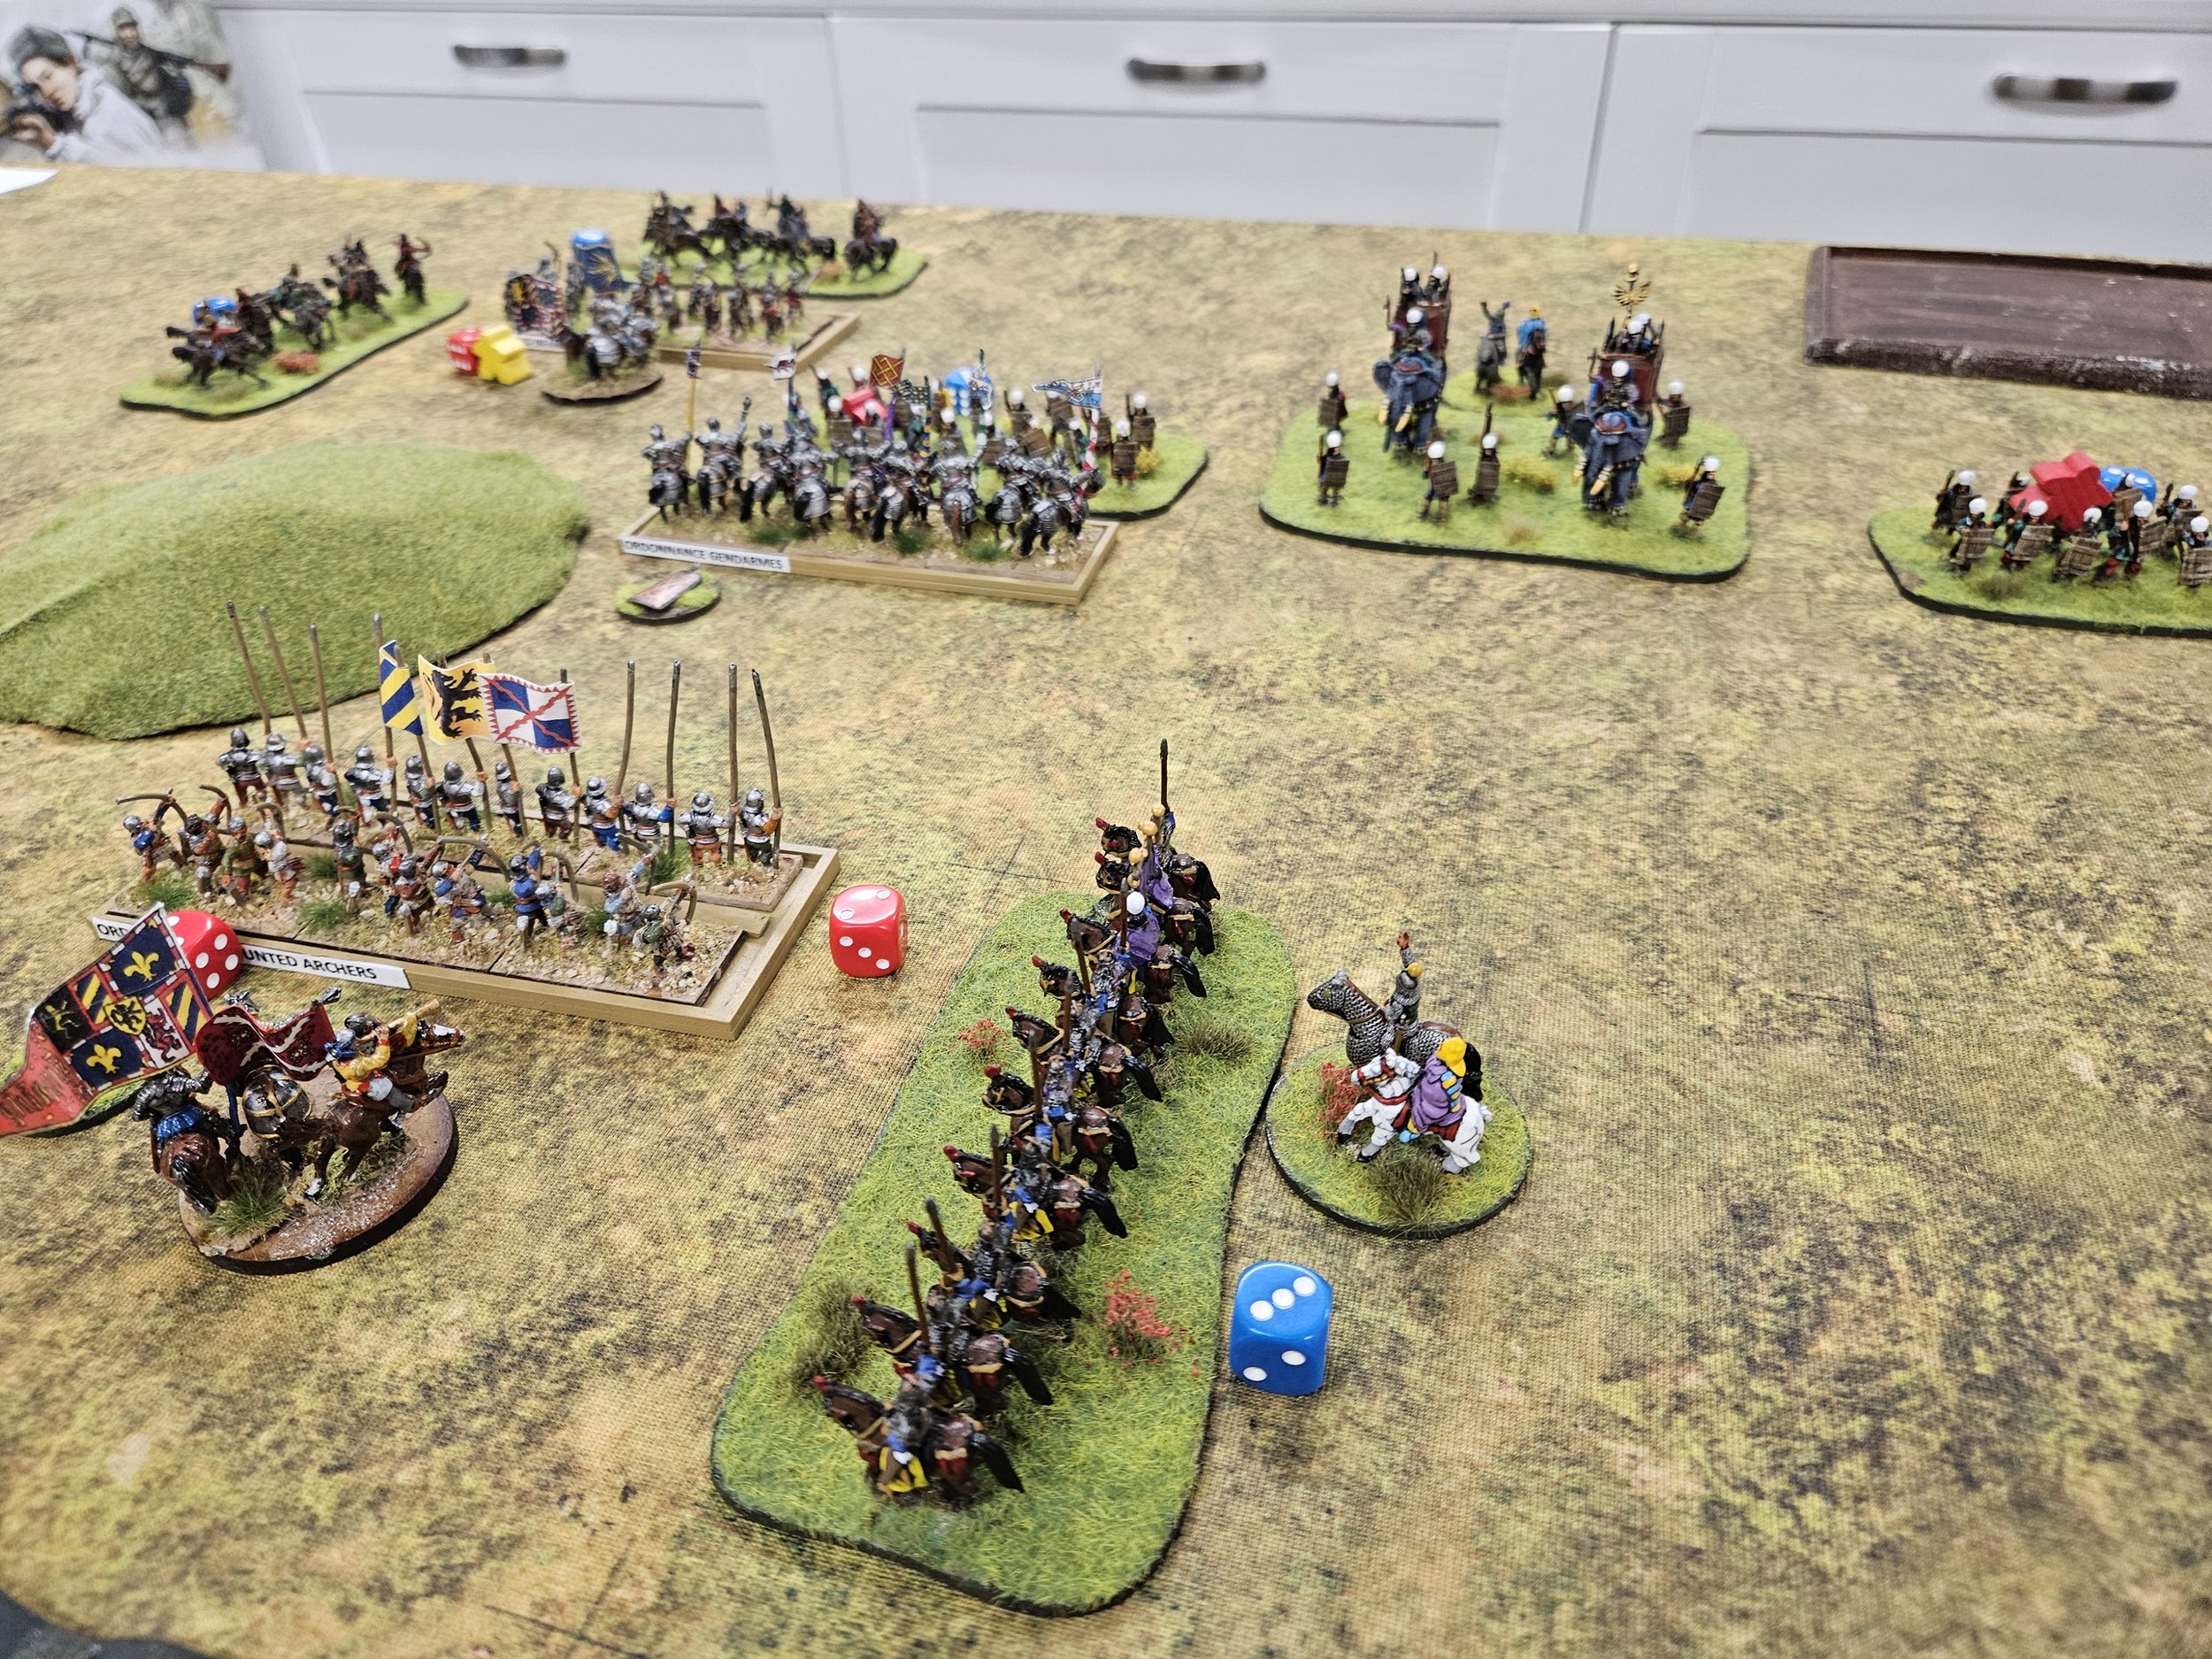
In the end, it was actually the troops on the Sassanid left, the one’s I was supposed to be overwhelming at the start of the game, who won the battle: taking full advantage of the ‘distraction’ posed by the Sassanid counterattack:
A disappointing loss for the Burgundians!
I worked out afterwards that the problem was that I didn’t commit enough to the main thrust on the left: I kept too much back defending my camp and in the centre protecting the thrust. That meant that Neil, keeping an excellently cool head, was able to absorb my main hit and then calmly counterattack with his overwhelming numbers of horse…but it was the troops that were hit by my main thrust that won the game even before those horse properly arrived!
A great game.


