IABSM AAR: Operation Compass #18: Siret el Chrieba

Tony Cane has been working his way through the Operation Compass scenario pack for I Ain't Been Shot, Mum. His last post featured the tank battle at Mechili, this one covers the Australian attack on the Italian aerodrome at Siret el Chrieba.

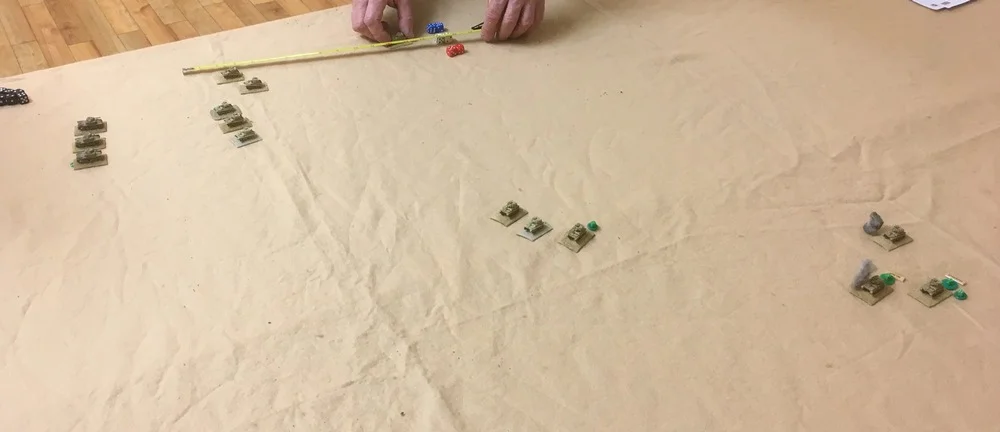
Here, the Australians are faced by a huge expanse of open ground (“flat as a table and devoid of cover” as the official history puts it) dotted with the occasional hanger or building. Their target is to take the hangar and buildings on the other side of the open ground.

Click on the picture below to see how they do...

Loving the aircraft hanger and the dust-covered Blinds!

A Company of Tanks: The Build

A few posts ago I mentioned that I had bought a whole company of Polish 7TP tanks, plus six extras for the dw version, from Battlefront via Element Games. It was now time to build the little blighters.

The jw single-turret versions are very easy to build: all you have to do is add a commander and hatch to the top of the turret, the gun to the front of the turret, the correct turret base plate to the main body of the tank, and then the tracks to either side. 

There is, however, one thing to watch out for. There is a spot on the left hand side of the hull, towards the front, where the resin is very thin and very weak. Fully six of the twenty-two models I constructed either came out of the packet with this bit chipped away, or broke there as I glued the left hand track on.

Here's a picture to show what I mean:

Now with the turret on, and after painting, these gaps probably won't be noticeable on the tabletop, but it's enough of a hole to make me think about reaching for the green stuff.  Six out of twenty-two tanks broken in this way (about half out of the packet like that, about half caused by me until I realised how careful you need to be) isn't a very good score from Battlefront.

In my earlier post, I did mention that building twenty-two of the same type of tank would be a good opportunity to check quality control. You've got the above weak resin spot, but were there any more problems?

Well unfortunately there were. Two of the twenty-two had genuine mis-casts or breakages, as shown in the pics below:

So if we count half the tanks with the weak spot gone (i.e. blame me for the other half) and add the two shown above, that's five out of twenty-two packs or 22% damaged items.

22% or about one in every five.

That's much worse than I was expecting.

So, Battlefront, and it gives me no pleasure at all to say this, you have an amazing range of great-looking kits but, given availability of the tank I want, I will always go for Zvezda and/or Plastic Soldier Company before you: not because I particularly like plastic tanks, but because your quality control is so rubbish. Simples.

Here's a final picture of the end of the build:

IABSM AAR: Wave Goodbye!

It's been far too long since we saw one of Mark Luther's amazing 6mm IABSM after action reports...but I'm pleased to be able to say that the drought is over.

Mark played one of my scenarios - Wave Goodbye - taken from the 2011 TFL Summer Special: a French armor counterattack is hitting the flank of a German panzer column in an area east of the Ardennes in May 1940.

Click on the pic below to see all:

IABSM AAR: Winter Wonderland

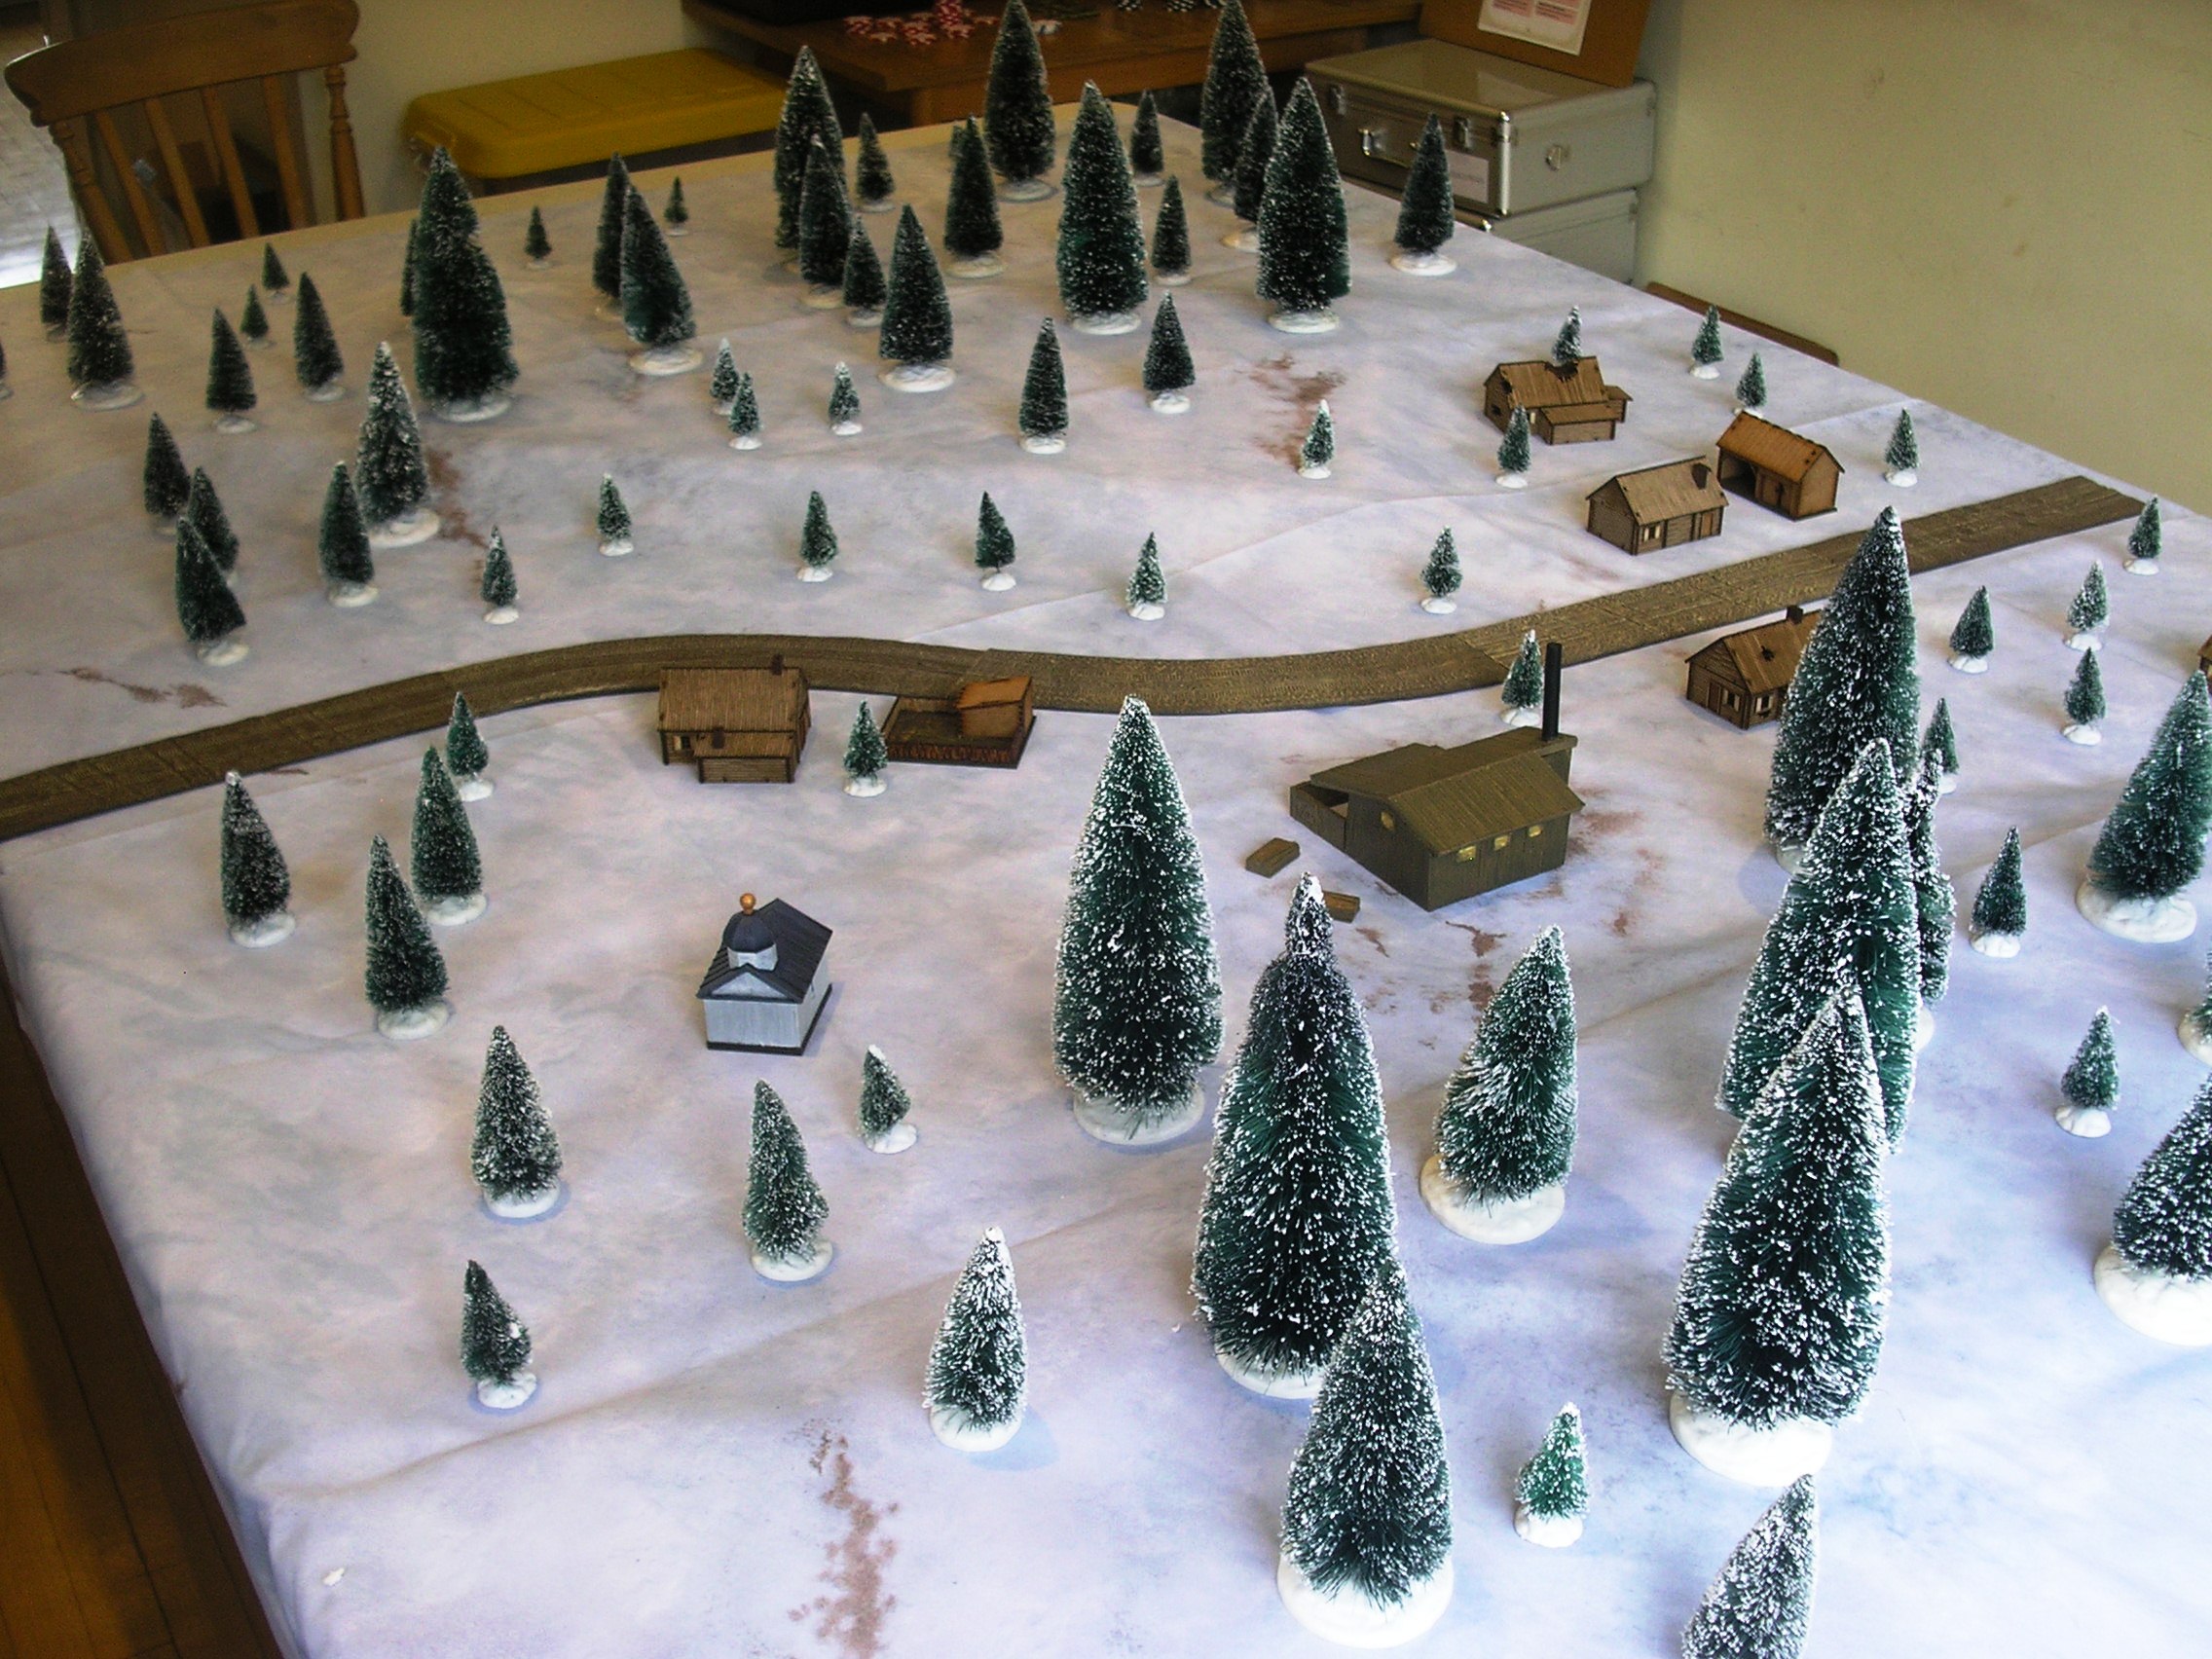
Those of you who live in the UK may be aware that the Wyevale Garden Centres always sell off their winter model Christmas trees in early January (see previous post here). This year, I’d taken full advantage of the sale and bought several packets worth, and then added a new snow mat from Tiny Wargames to put them on. Now all I needed was an excuse to get everything onto the tabletop, and a game this Saturday just gone gave me the opportunity to do so.

As I seemed to have bought lots of trees, it would need to be a big game. Out came the extra bit of table, giving me an 8’ by 5’ playing area, on went the new mat, and on went the new trees. The result: a winter wonderland of epic proportions.

This was to be a Soviet/German encounter battle set sometime in and around January 1944. As I found myself short of time in the preparation stages, I used the troop lists from one of the scenarios from the IABSM Bashnya or Bust scenario pack. A couple of the scenarios give listings of a re-inforced company for each side from which the players pick a number of platoons. As this was to be a big game, I used those lists but gave each side the entire list, not just a proportion of the list.

See how we got on by clicking on the picture, below...

Matilda I from Zvezda

Real life and all the work I have been doing on the IABSM early war handbooks has kept me away from the painting table recently, especially as what currently lurks there is the company of 15mm PSC late war Germans with all their camouflage and bits of kit...so, it was a relief to actually sit down and paint something else.

What did I paint, I hear you ask? A company of this? A company of that?

Regrettably not: I managed one 15mm tank!

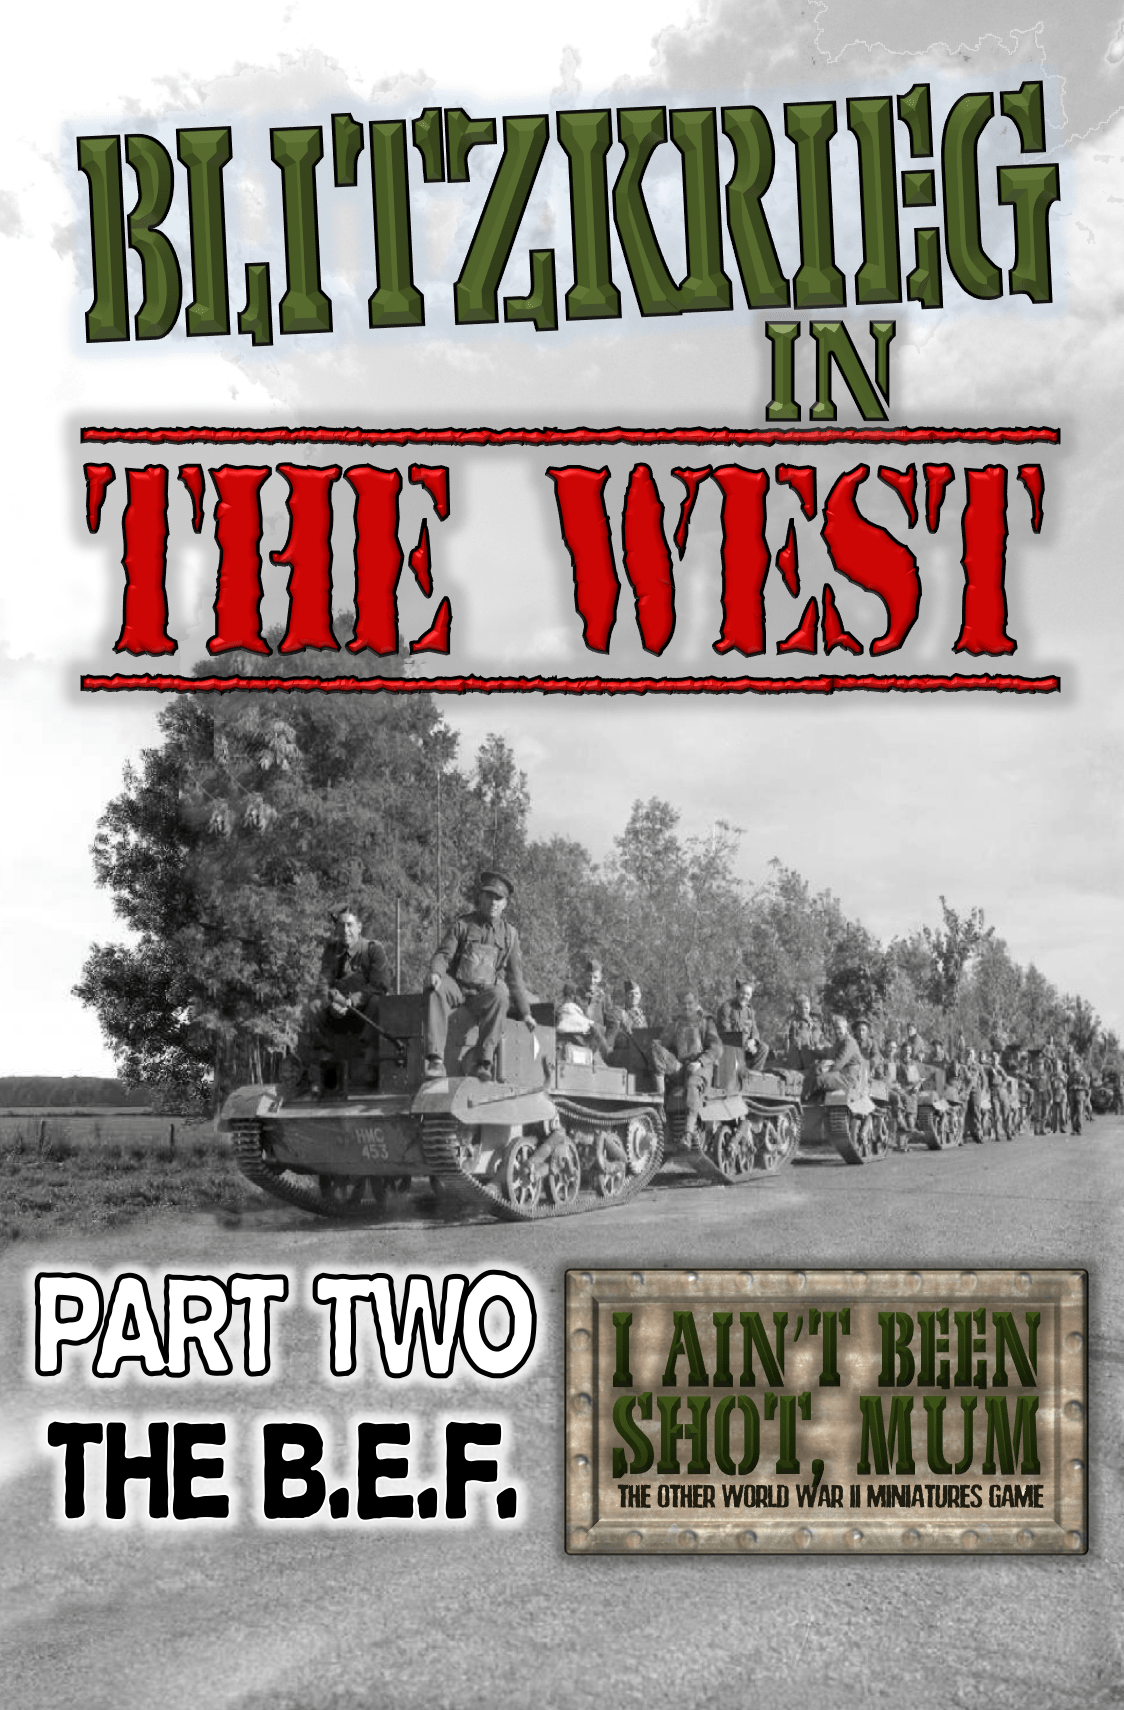
I was reading the IABSM BEF handbook and realised that I only had two Matilda I's painted and ready to go and, as all those of you who have kindly purchased the handbook will know, they came in troops of three tanks.

I did, however, have a Zvezda Matilda I in the lead mountain. Not sure why...but I think it might have been an impulse purchase using up the last few pennies at Warfare last year rather than anything considered. 

Anyway, I had one and I needed one, so built and painted it in a couple of hours.

The kit snaps together in about twenty seconds and, as you can see, paints up to be perfectly serviceable for the wargames table. I paid £1.95 for it, so very cost-effective for a tank that won't get used very often.

How does it compare to the Battlefront version?

Well, it's slightly smaller, particularly in the delicacy of the tracks, but not enough to make a difference at a distance of 3ft or so.

I am quite a fan of the Zvezda models. They are a great way of affordably fielding large numbers of tanks. Recommended.


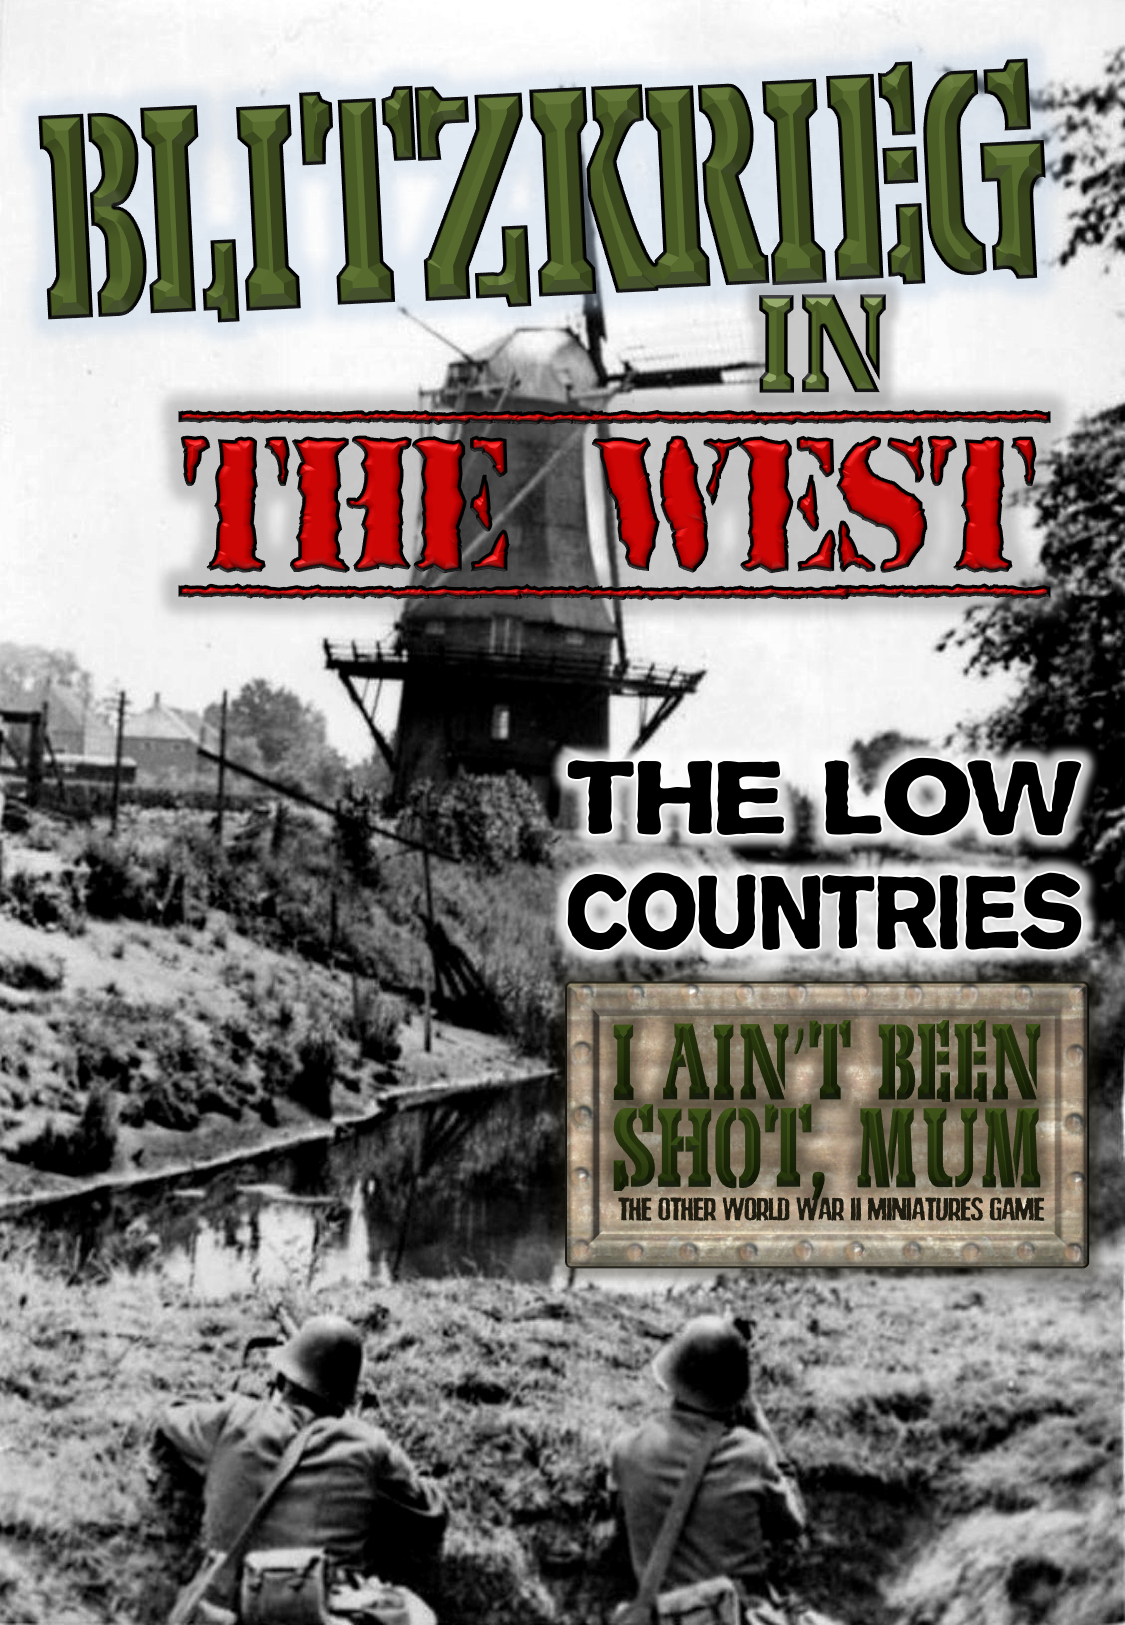
Blitzkrieg in the West: The Low Countries now available

I'm very pleased to announce that the third in the series of early war handbooks for I Ain't Been Shot, Mum, Blitzkrieg in the West: the Low Countries, is now available from the TFL website.

The handbook is 88 pages long (bigger than either the French or BEF books) and contains two separate sections: one on the Belgian army of 1940, and one on the Dutch army of 1940.

The Belgian section contains sixteen separate lists covering everything from the Active divisions through to the Cavalry and then on to the Chasseurs Ardennais and Border Guards. There's also a section on the forts and bunkers positioned along the Belgian border.

The Dutch section contains seventeen separate lists covering everything from the First Line divisions through to the Light and Peel divisions through to the three independent brigades, the cavalry and the various territorial commands. There's also a short section on the defence of the main airfields and another on the defence of Rotterdam.

Both the Belgian and Dutch sections contain a lot of background information, so the handbook should be very useful for players of other game systems as well.

And don't forget the other two handbooks that are already available:

As one review on the TFL website says about the BEF handbook: 

Picked this up this morning – I got the French one last month. Absolutely brilliant resource that I really look forward to using. Can’t wait for the German one. *****

Jonathan

IABSM AAR: North of Caen

I was browsing the 'net, as one does, and came across David Burden's excellent blog Converj

On there was an equally excellent account of his first game of IABSM: a solo game split across four or five posts and using the North of Caen scenario from the rulebook.

I hope he doesn't mind (as I haven't found a way of e-mailing him) but I've merged his posts into one AAR for you all to enjoy.

Click on the pic below to see all, and make sure you visit David's blog to see the other good stuff on there.

Coming Next Tuesday: Blitzkrieg in the West: The Low Countries

Just in case people were wondering why it's all still been a bit quiet on here lately, it's because I'm still working hard on the series of Blitzkrieg in the West theatre books for I Ain't Been Shot, Mum.

The French and BEF handbooks are already available from the TooFatLardies website, and I'm pleased to announce that the handbook covering the Low Countries - Belgium and the Netherlands - should be available to buy right after the Easter Bank Holiday weekend i.e. Tuesday next week, 3rd April.

The handbook is 88 pages long (bigger than either the French or BEF books) and contains two separate sections: one on the Belgian army of 1940, and one on the Dutch army of 1940.

The Belgian section contains 16 separate lists covering everything from the Active divisions through to the Cavalry and then on to the Chasseurs Ardennais and Border Guards. There's also a section on the forts and bunkers positioned along the Belgian border.


The Dutch section contains 17 separate lists covering everything from the First Line divisions through to the Light and Peel divisions through to the three independent brigades, the cavalry and the various territorial commands. There's also a short section on defending the airfields and another on the defence of Rotterdam.

Both the Belgian and Dutch sections contain a lot of background information, so the handbook should be useful for players of other game systems as well.

So don't buy that extra Easter egg: save your money for Tuesday morning and a trip to the Low Countries!

Late War German Infantry Squad

What with real life and working on the IABSM early war theatre handbooks (the Dutch and Belgian handbook is out at the end of the month:  almost broke me!) I have had no time for either painting or gaming so far this year.

So I'm quite pleased to be able to post that I've finally managed to finish the first of nine late war German infantry squads, shown here on a custom-made sabot base from Warbases:

The figures are Plastic Soldier Company in 15mm.

Just think: only another eight more squads to go. At this rate, the company will be finished sometime in 2019...not a very good showing for this year's painting challenge!

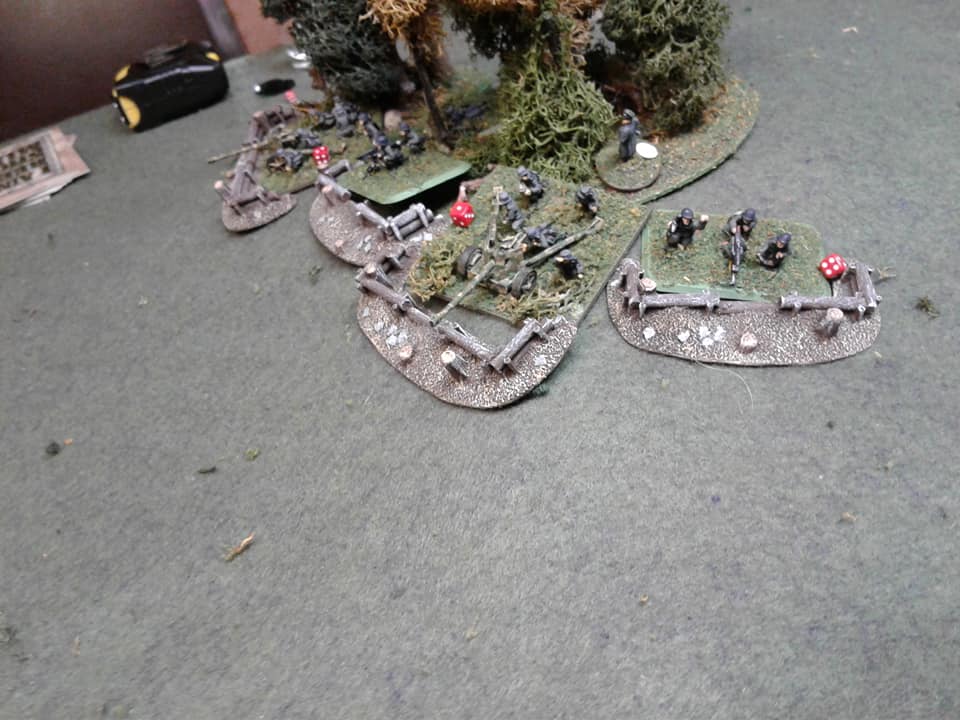
IABSM AAR: Over the Hill

Here's a great looking battle report from the Devon Wargames Group, playing the Over the Hill scenario produced as a free PDF download by Rich Clarke the author and co-partner of Too Fat Lardies during the early incarnation of the rule set and easily converted to the latest version of the rules.

The scenario along with others is available to download from the Lardies Yahoo Group, which is well worth joining if you are interested in the best WWII Company level rule sets available!

https://groups.yahoo.com/neo/groups/Toofatlardies/info

Click on the pic below to see all:

IABSM AAR: Lucky Shot!

One of the great things about the IABSM Facebook page is that it encourages people to post a few photos and comments about their games, even if they don't have the time to write up a full AAR.

Sometimes, however, all the various bits and pieces posted on FB about a particular game add up to what is effectively a full AAR: a group effort if you like!

Mike Whitaker, for example, posted a note about an incredibly lucky shot in a recent club game: an Elefant spotted despite cover, distance and the weather, and then dispatched by a single shell from a 17pdr, despite a considerable difference in Strike and Armour values.

The German player, Gary Martin, then replied:  giving an outline of what happened in the rest of the game. Put the two together, and Lord Salisbury's your uncle...

Click on the picture below to see how I've stitched the various posts and pictures together into an AAR.

IABSM AAR: Near the Niemirov Ferry

Here's a quick battle report from Ioannis Pavlidis, take from a recent post on the IABSM Facebook page.

It's 1941. A unit of Soviet soldiers has fallen back in disarray in the face of the overwhelming German assault. The German spearhead has now moved on, leaving a force behind to mop up the battered Soviets, who have fallen back to an abandoned barracks not far from the Niemirov Ferry crossing.

Click on the picture below to find out what happened.