IABSM AAR: Storming the Starmerskaya

This weekend coming up I’m off to Evesham for the annual Operation Market Larden event: a cornucopia of Lard now in its 12th year. I’ve been to every OML so far, and had a whale of time on every occasion.

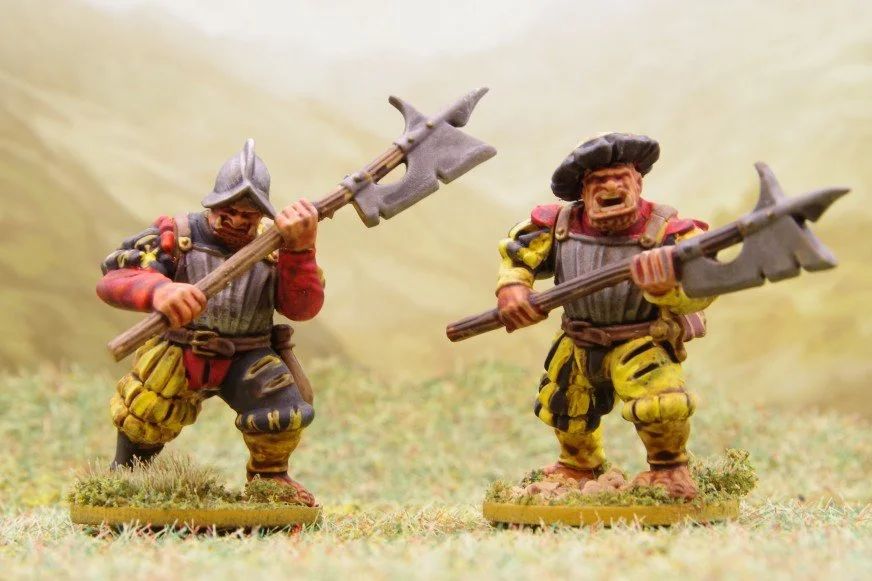
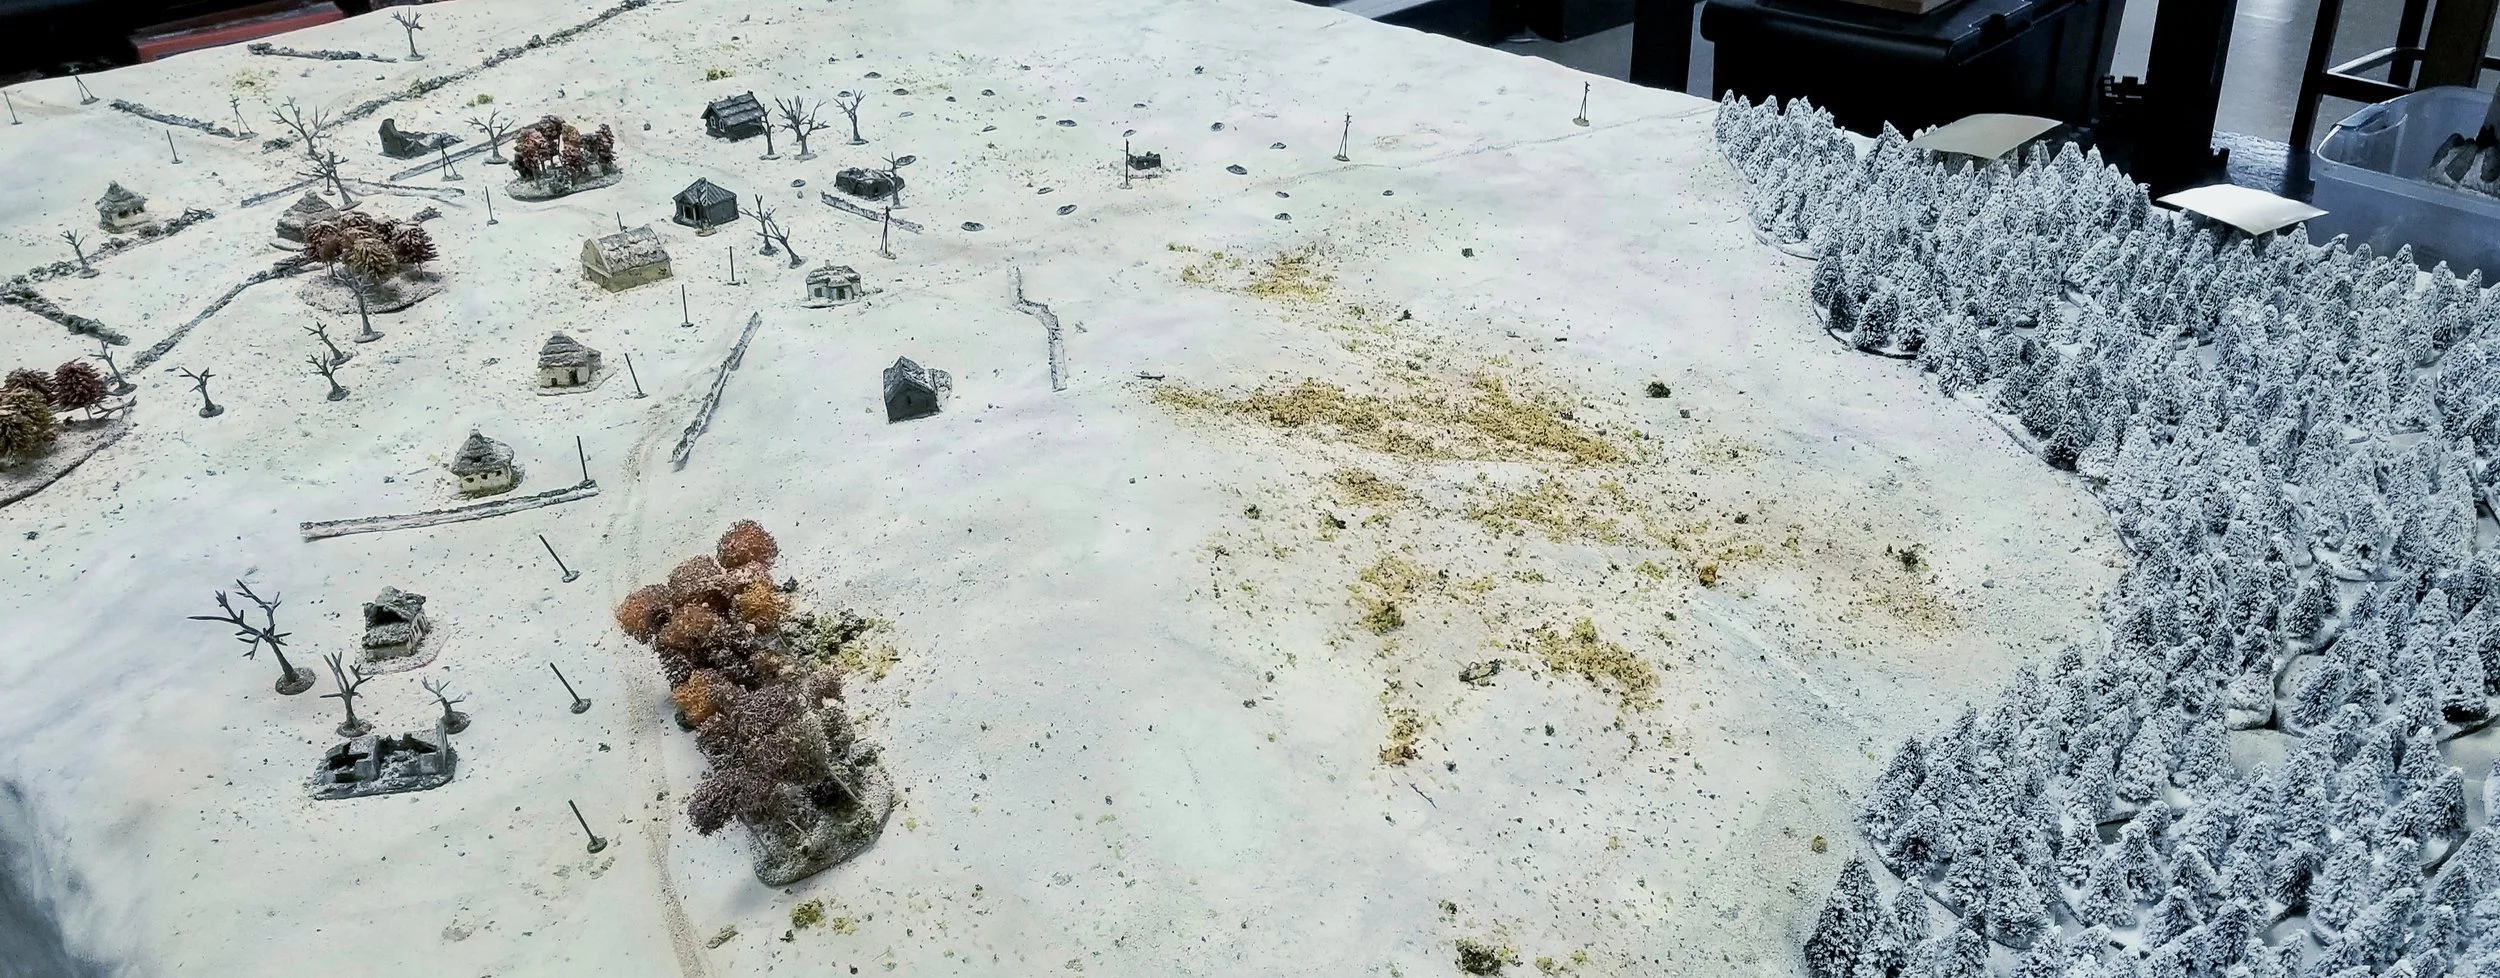
This year I’m playing Sharp Practice in the morning and I Ain’t Been Shot Mum in the afternoon, so it was with great pleasure that I saw that Phil & Jenny Turner have been playtesting the game in preparation. Click on the picture below to see pictures of that playtest…can’t wait!


TTS AAR: Ewelme 25 Game 3: Venice Abroad vs Late Romans

My third game at this year’s Ewelme tournament was against Si and his Late Romans, rapidly becoming my nemesis opponents! It’s a small-ish army but packed full of veteran legionaries and auxilia that do very well against my Venetians, and a nasty shock unit of veteran cataphracts.

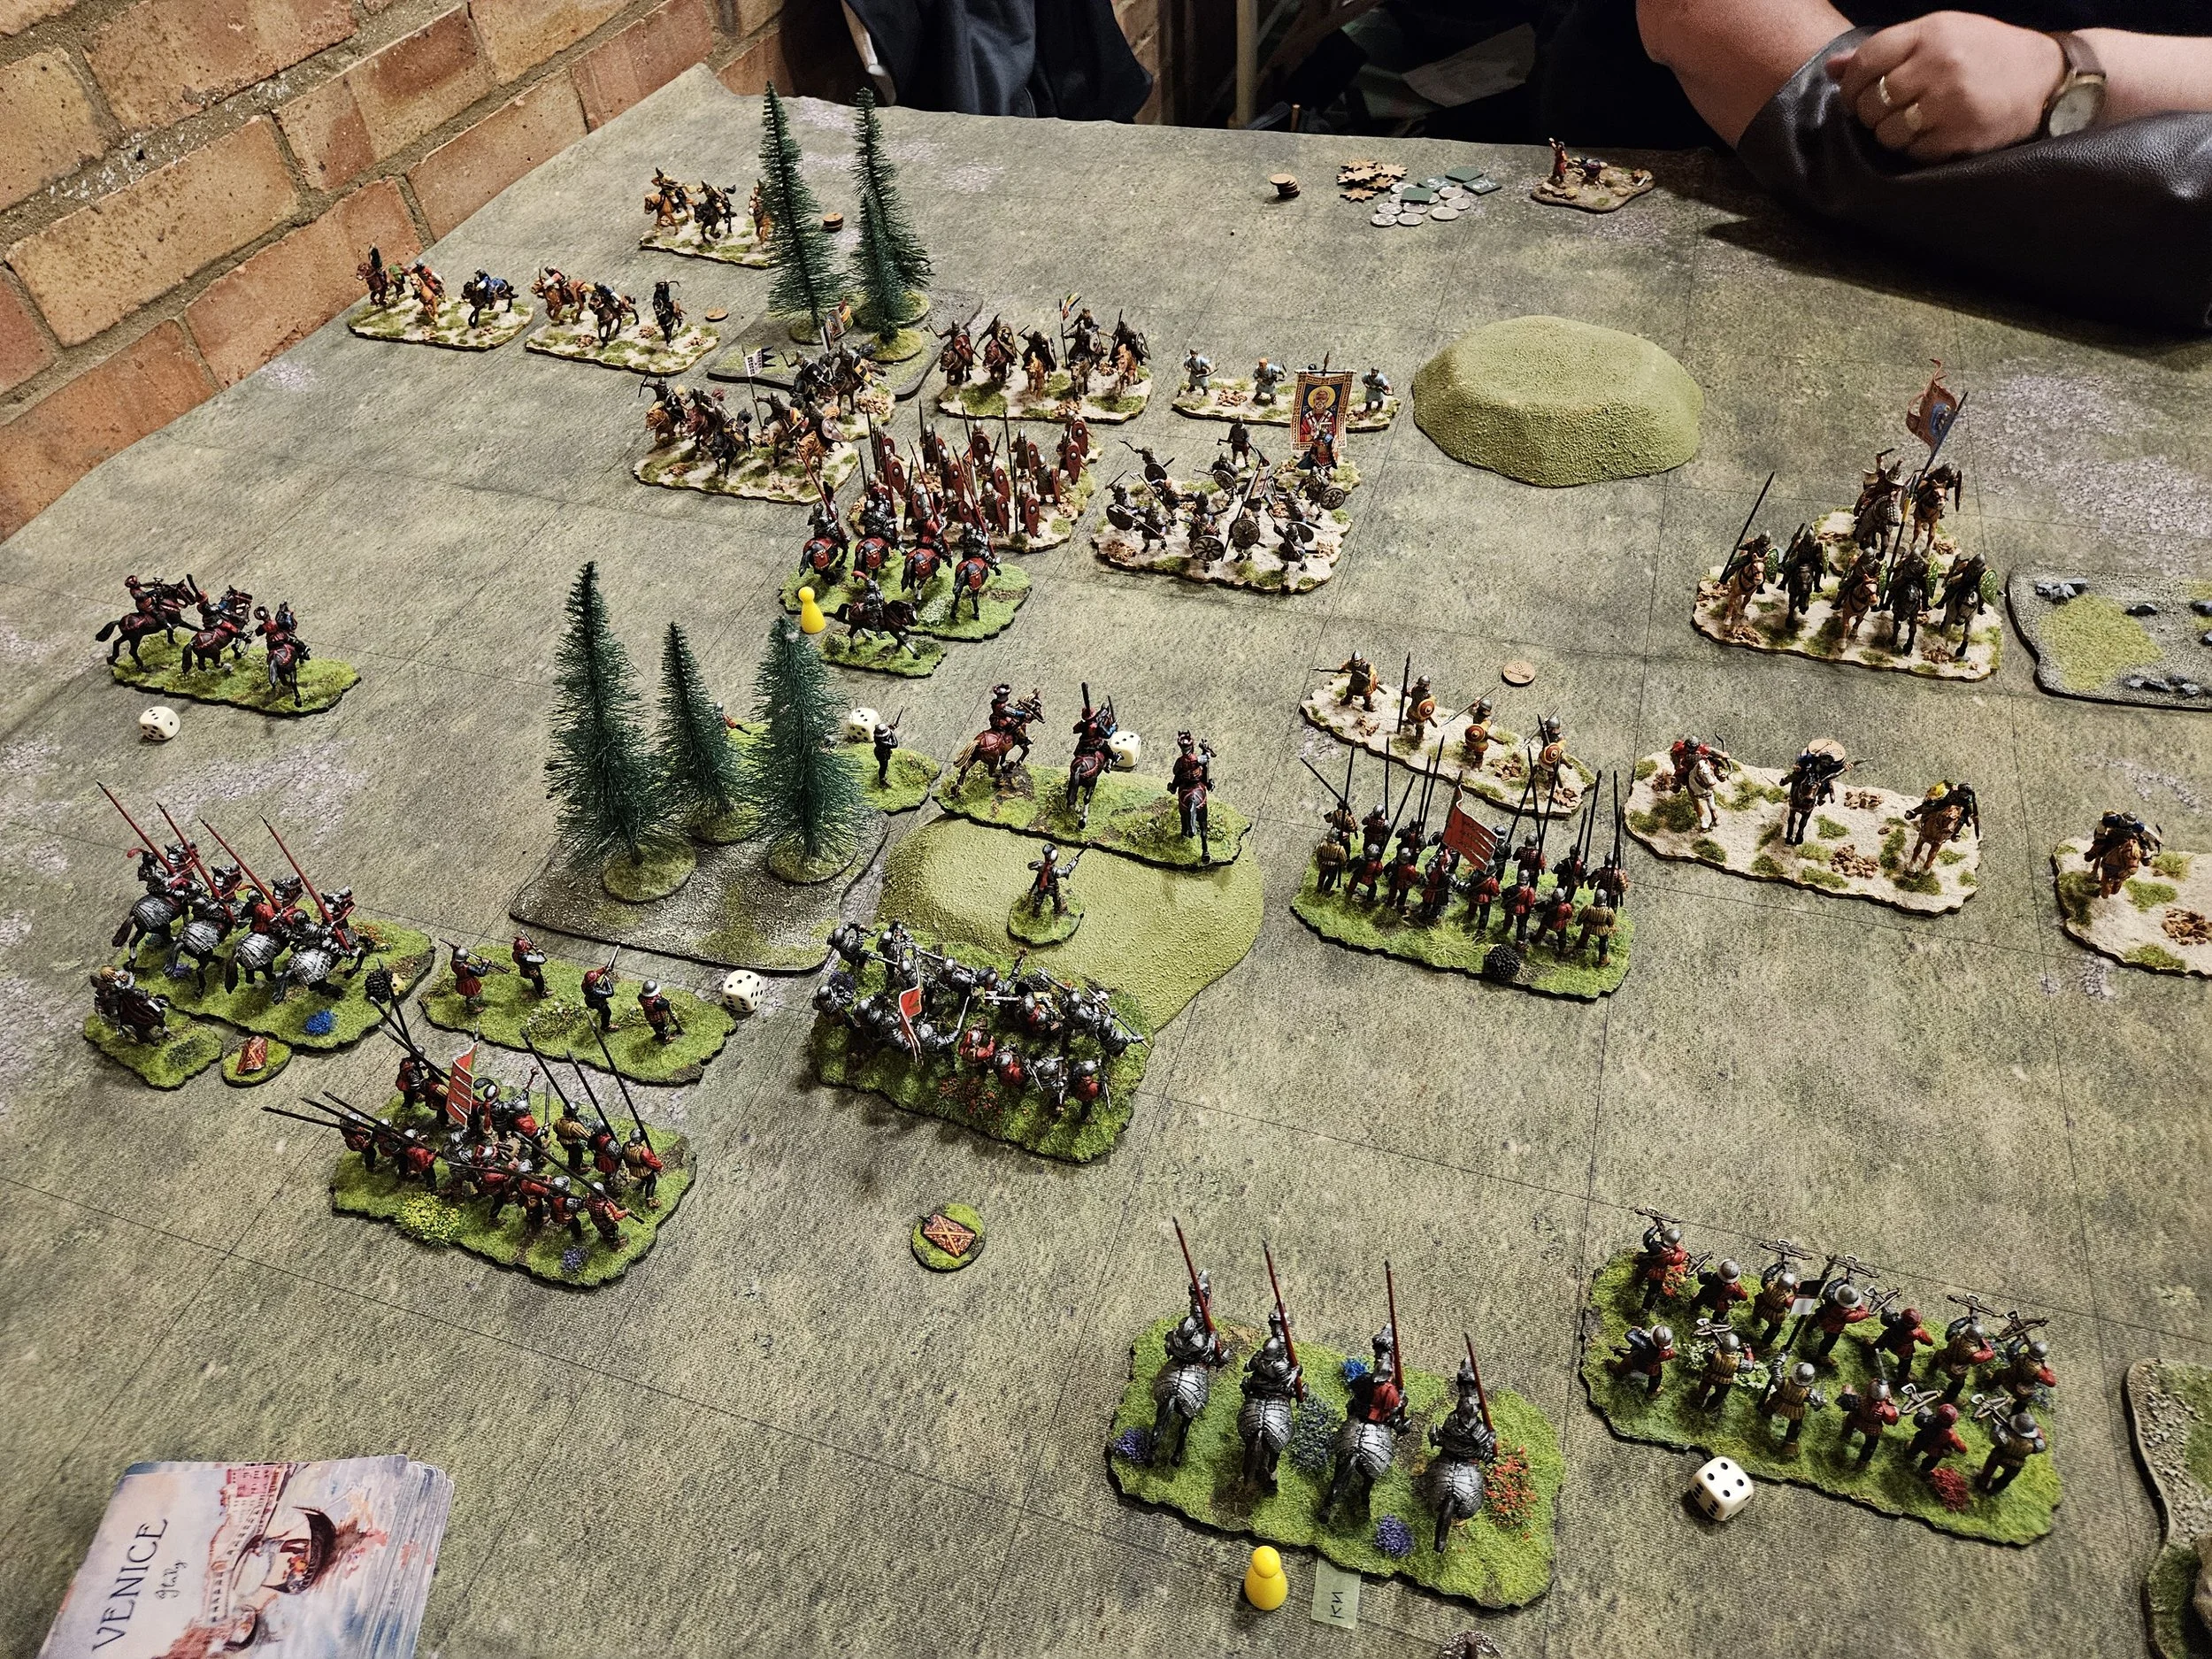
Both sides began the battle by advancing forward cautiously. On the left flank, I carelessly allowed the Romans to get an overlap, and would spend the rest of the game defending from a tactically outnumbered position there.

This meant that I needed to force the right as soon as possible, so I advanced my infantry and second command of knights forward as fast as possible.

Battle was generally joined on the right but to no clear outcome in the main line, although some of the Roman infantry on the far left did punch through and head for my baseline. No matter, I had some knights who could sort them out!

Much to my surprise, the infantry battle in the centre wasn’t a complete disaster, with the Venetian foot holding their own against the veteran Auxilia. Maybe I could win on the right before Si’s cavalry stuffed me on the left!

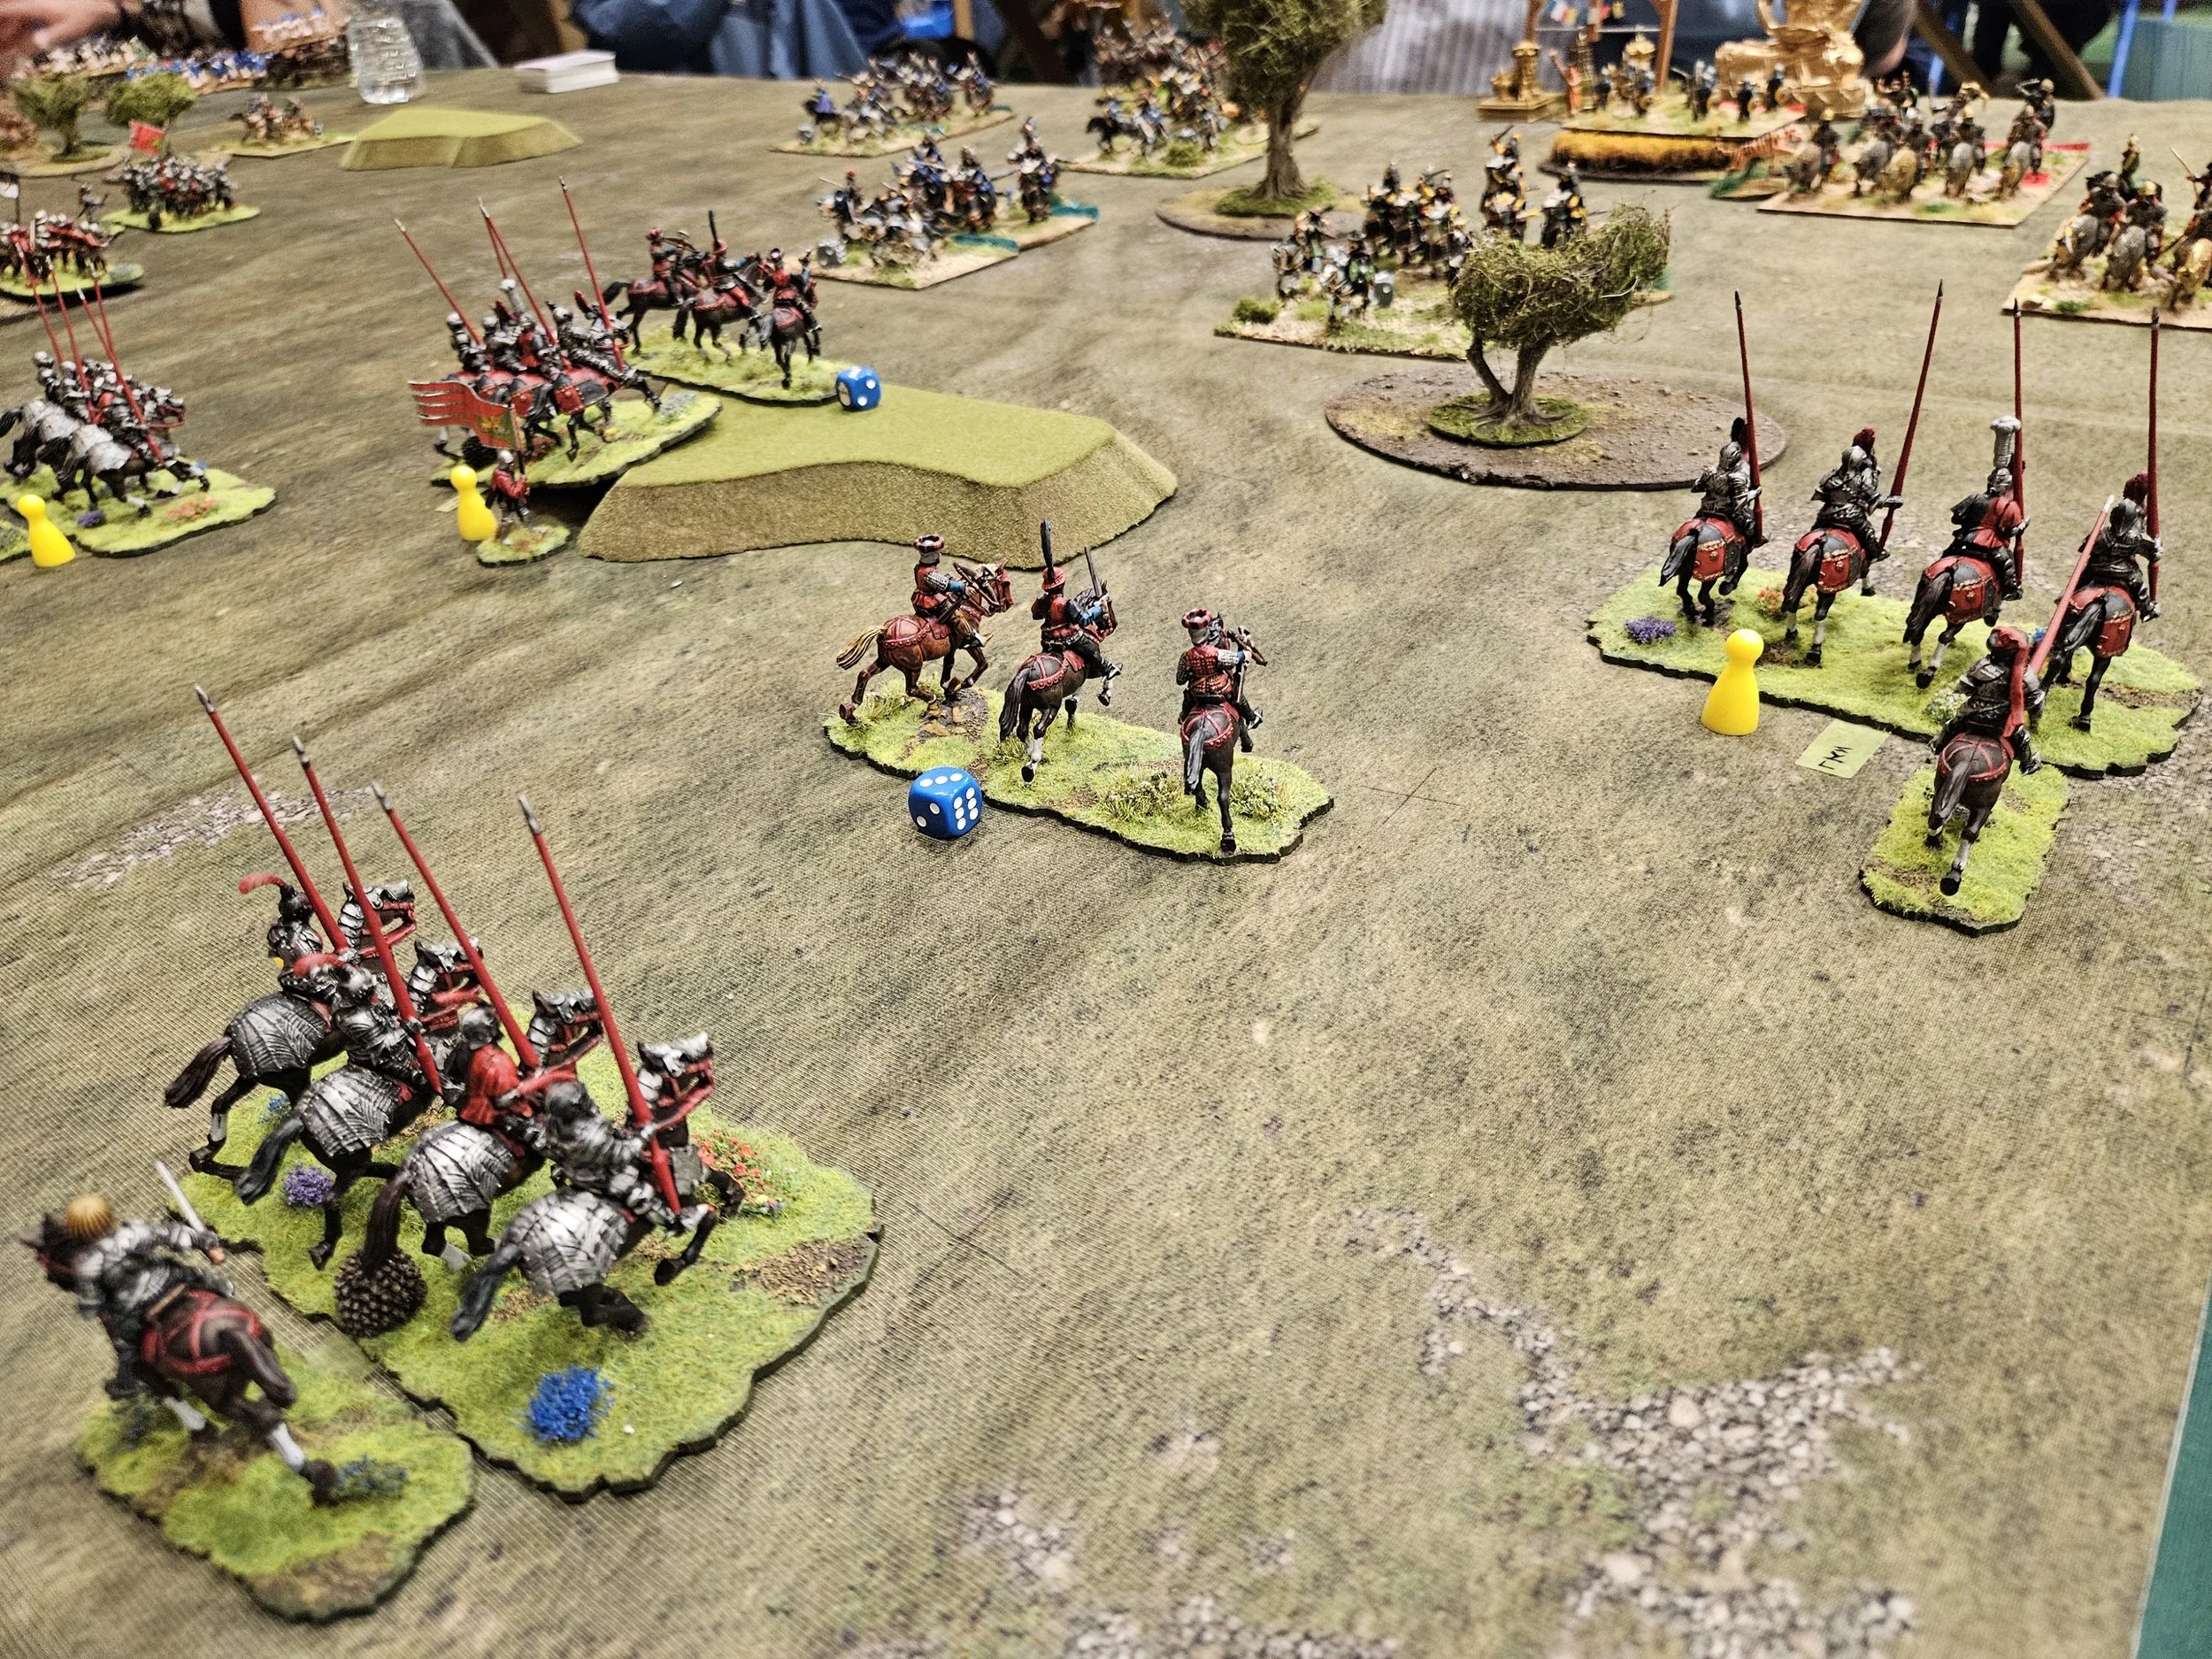
First up, I really needed to get rid of that pesky unit of Legionaries down in the left hand corner: a nice four coins just waiting to be collected by the Knights.

But they needed to get their skates on, as things were not going well on the left…

But in the end it was not to be.

I had two chances to win the game (as we were both now down to minimal coins): the Knights I’ve already mentioned and the Later Knights who had punched through at the other end of the field and were now in as position to threaten the enemy camp.

Unfortunately, the Knights just couldn’t get anywhere against the Legionaries, despite still having their lances for the first clash. Frontally charging undisordered veteran infantry is not a an easy clash to win!

And although the Later Knights took one of the enemy camps, Si managed to get some light infantry into the other camp meaning it was just an activation too far to take that one as well and get enough coins to win the game.

In the end, the game ended with a bit of a damp squib: with one of my Spear units falling foul of the javelins thrown by some Roman cavalry, and the game was lost before I could win it next turn.

Not a good result for the Venetians, but a great game of To The Strongest.

On the left, Si’s tactics gave him an immediate advantage but I managed to defend the position for longer than I expected to. On the right, the game could have gone to either side, mainly due to the unexpected efforts of the Venetian infantry, so it was just the way it goes that Si dealt the winning blow first.

Editor’s Note: Subsequent to the battle, Si has pointed out that although outside of competitions we have a fairly evenly matched success rate, I’ve never actually beaten him in a tournament. Thank you, mate, I’ll bear that in mind for next time!

Painting Challenge: End of May update

It’s a ovely sunny morning and all are asleep except me…which gives me time to do a bit of basing (they are drying) and to update the Painting Challenge.

First up is Carole, with a whole grimmace of ogres:

Next we have, as always, Mr Helliwell, with some more 28mm medievals: the result of a large Bring & Buy purchase!

Next we have four singleton picture entries, with the caption telling all…

So a short but sweet Challenge update this time. Keep them coming!

TTS AAR: Ewelme 25 Game 2: Venice Abroad vs Ikko-Ikki

My second game at this year’s Ewelme tournament was against Colin’s Ikkio-Ikki: a nasty bunch of Japanese samurai monks who all happened to be (a) fanatic and (b) carry big choppers i.e. hard to kill and lethal in combat!

As expected, as the battle began, the Ikko-Ikki eschewed any tactics and just headed straight for my battle line intending to use their naginatas to deadly effect.

My plan was to weight everything away from the left flank, aiming to defeat half their army with two-thirds of mine on the frest of the table, and then turn back to defeat the second half in due course. The knights would punch through their line on the far left and far right of my line whilst my over-matched infantry just held on until the knights could turn and hit the Ikko-Ikki in the rear.

On the left flank, the Later Knights did their jobs very nicely, but the helmet-heads didn’t: the usual cardboard Venetian armour coming into play.

This effectively left my left flank wide open apart from some nervous looking light infantry, meaning that I really needed to win on the right as soon as possible, or see my super-expensive camps fall to the religeous nutters costing me a lot of coins!

Meanwhile, in the centre, my infantry were hanging on for dear life: only really surviving because I had one extra unit that could help hold the left part of the line…but the Ikko-Ikki were remorseless in attack, and soon the centre began to look very shaky indeed.

It was all down to the knights on the right, helped by the victorious later knights on the left.

They had indeed punched through the enemy line, and were now looking at how best to finish the game before the left and centre finally gave way.

Everything now worked out rather nicely.

The later knights that had been successful on the left swept into the centre and smashed some of the Ikko-Ikki cavalry reserve that had been coming forward to plug the gap, from the field.

This allowed the knights of the right to position themselves perfectly to turn the tide of the battle my way: one unit headed for the flank of the Ikko-Ikki line that was threatening my infantry, the other spotted a chance to make a sudden thrust forward and take the enemy camp, not undefended but currently unoccupied!

Here’s an overview of the positions as we moved into the final phase of the game. You can see that my plan has worked: four of Colin’s units on the left (as you look at the picture) are facing one unit of Venetian light infantry, leaving the rest of my army free to attack the rear and flanks of the rest of his troops.

Note the lone Ikko-Ikki unit at my baseline on the right. They could have caused me some trouble, but Colin was unlucky with the cards, and they never really got a look in to the action after their initial success.

The end of the game the came quickly, as my knights on the right went to work.

The enemy camp was taken, and the flank of the Ikko-Ikki infantry line was charged, with even the intervention of the rest of the enemy cavalry having no effect on the later knights that had come over from the left.

So a 158-83 victory for the Venetians, but it had not been the easy battle the scoreline suggest. Those fanatical, naginata-wielding Ikko-Ikki are very tasty in combat, and had Colin managed to get the whole lot of them in against my troops, things would have been very different indeed!

TTS AAR: Ewelme 25 Game 1: Venice Abroad vs Konmenon Byzantines

One of the great things about competitions is that you can never tell who you’re going to be fighting next.

Somewhat ironic, then, that my first game at this year’s Ewelme tournament was an exact repeat of my final game at Roll Call 2025, the last event I’d attended: my Venice Abroad versus Nigel’s Konmenon Byzantines…although both sides had slightly different armies as the set points totals were different between the two competitions.

The terrain was unusually dense, with significant patches of impassable or rough ground on the flanks. This had the effect of channelling the battle into the central zone, although it looked as if the Byzantines were going to try and slip round the outside of the poor going on their right flank.

As the game began, both sides advanced forward strongly on one wing. Nigel sent his troops forward against my right, and I slammed forward on my left, hoping to take advantage of the fact that some of the Byzantines were the opposite side of the impassable terrain so had effectively ruled themselves out of the first part of the battle.

I was unfortunately immediately in a bit of tactical trouble as, on the left, my veteran later knights managed to lose their initial charge and ended up disordered and, on the right, the Varangian Guard ran over the other unit of later knights. The famous Venetian cardboard armour striking again!

On the right, the situation was partly stabilised when the (normal) knights there managed to destroy the Byzantine Skutatoi but, in the meantime, battle had been joined in the centre and my men weren’t doing very well at all!

At this point Nigel made possibly the critical decision of the game. If you look at the picture above, you’ll see that (top, right) the Varangians have turned towards my victorious knights rather than turning towards the flank of my beleagured battle line.

Nigel was (quite rightly) very worried about his Varangians getting some knights charging right up their collective backsides, but if he’d turned towards my line, got a hit that killed the already-disordered right hand infantry unit (and his men did have big choppers!) he could perhaps have cascaded that disorder down the line and effectively ended the game.

But he didn’t, and the game went on…

Back to the left flank, and my knights there (both types) had recovered the situation nicely and driven his troops there from the field, apart from the units that had been on the other side of the poor terrain which were now busy driving my light troops on the left back and off the board.

So that is the situation as we hit the final stage of the game: one more significant hit would give me the win and it was still my initiative, but if I didn’t get that hit and win the game this turn, my main line was going to break, losing me at least three units, and probably give Nigel the win.

My crossbowmen had been sitting on a hill throughout the entire game doing sterling service shooting down Nigel’s light cavalry. As mentioned above, some Byzantine horse had driven my light troops back down the far left hand side, although I had managed to disorder them and wound their general as they did so.

The crossbowmen had one shot left so raised their weapons and opened fire: a hit and, I must confess, I can’t remember if it was the Byzantine horse or general who died, but it was enough to give me the last few coins I needed for the win!

Well that had been the closest of close run things, giving me a win 186-33 points: a scoreline that doesn’t reflect the actual situation at all. As I said, if my main battle line had collapsed, and it was about to do so, Nigel could easily had snatched victory from the jaws of defeat!

A great game of To The Strongest: very exciting until the very last moment.

Enter the Caliphate Arabs

With my 15mm Arab Conquest army now complete, it was time to start looking at ways I could add units in order to run it into one of the later caliphate armies such as the Umayyads who invaded the Iberian peninsular.

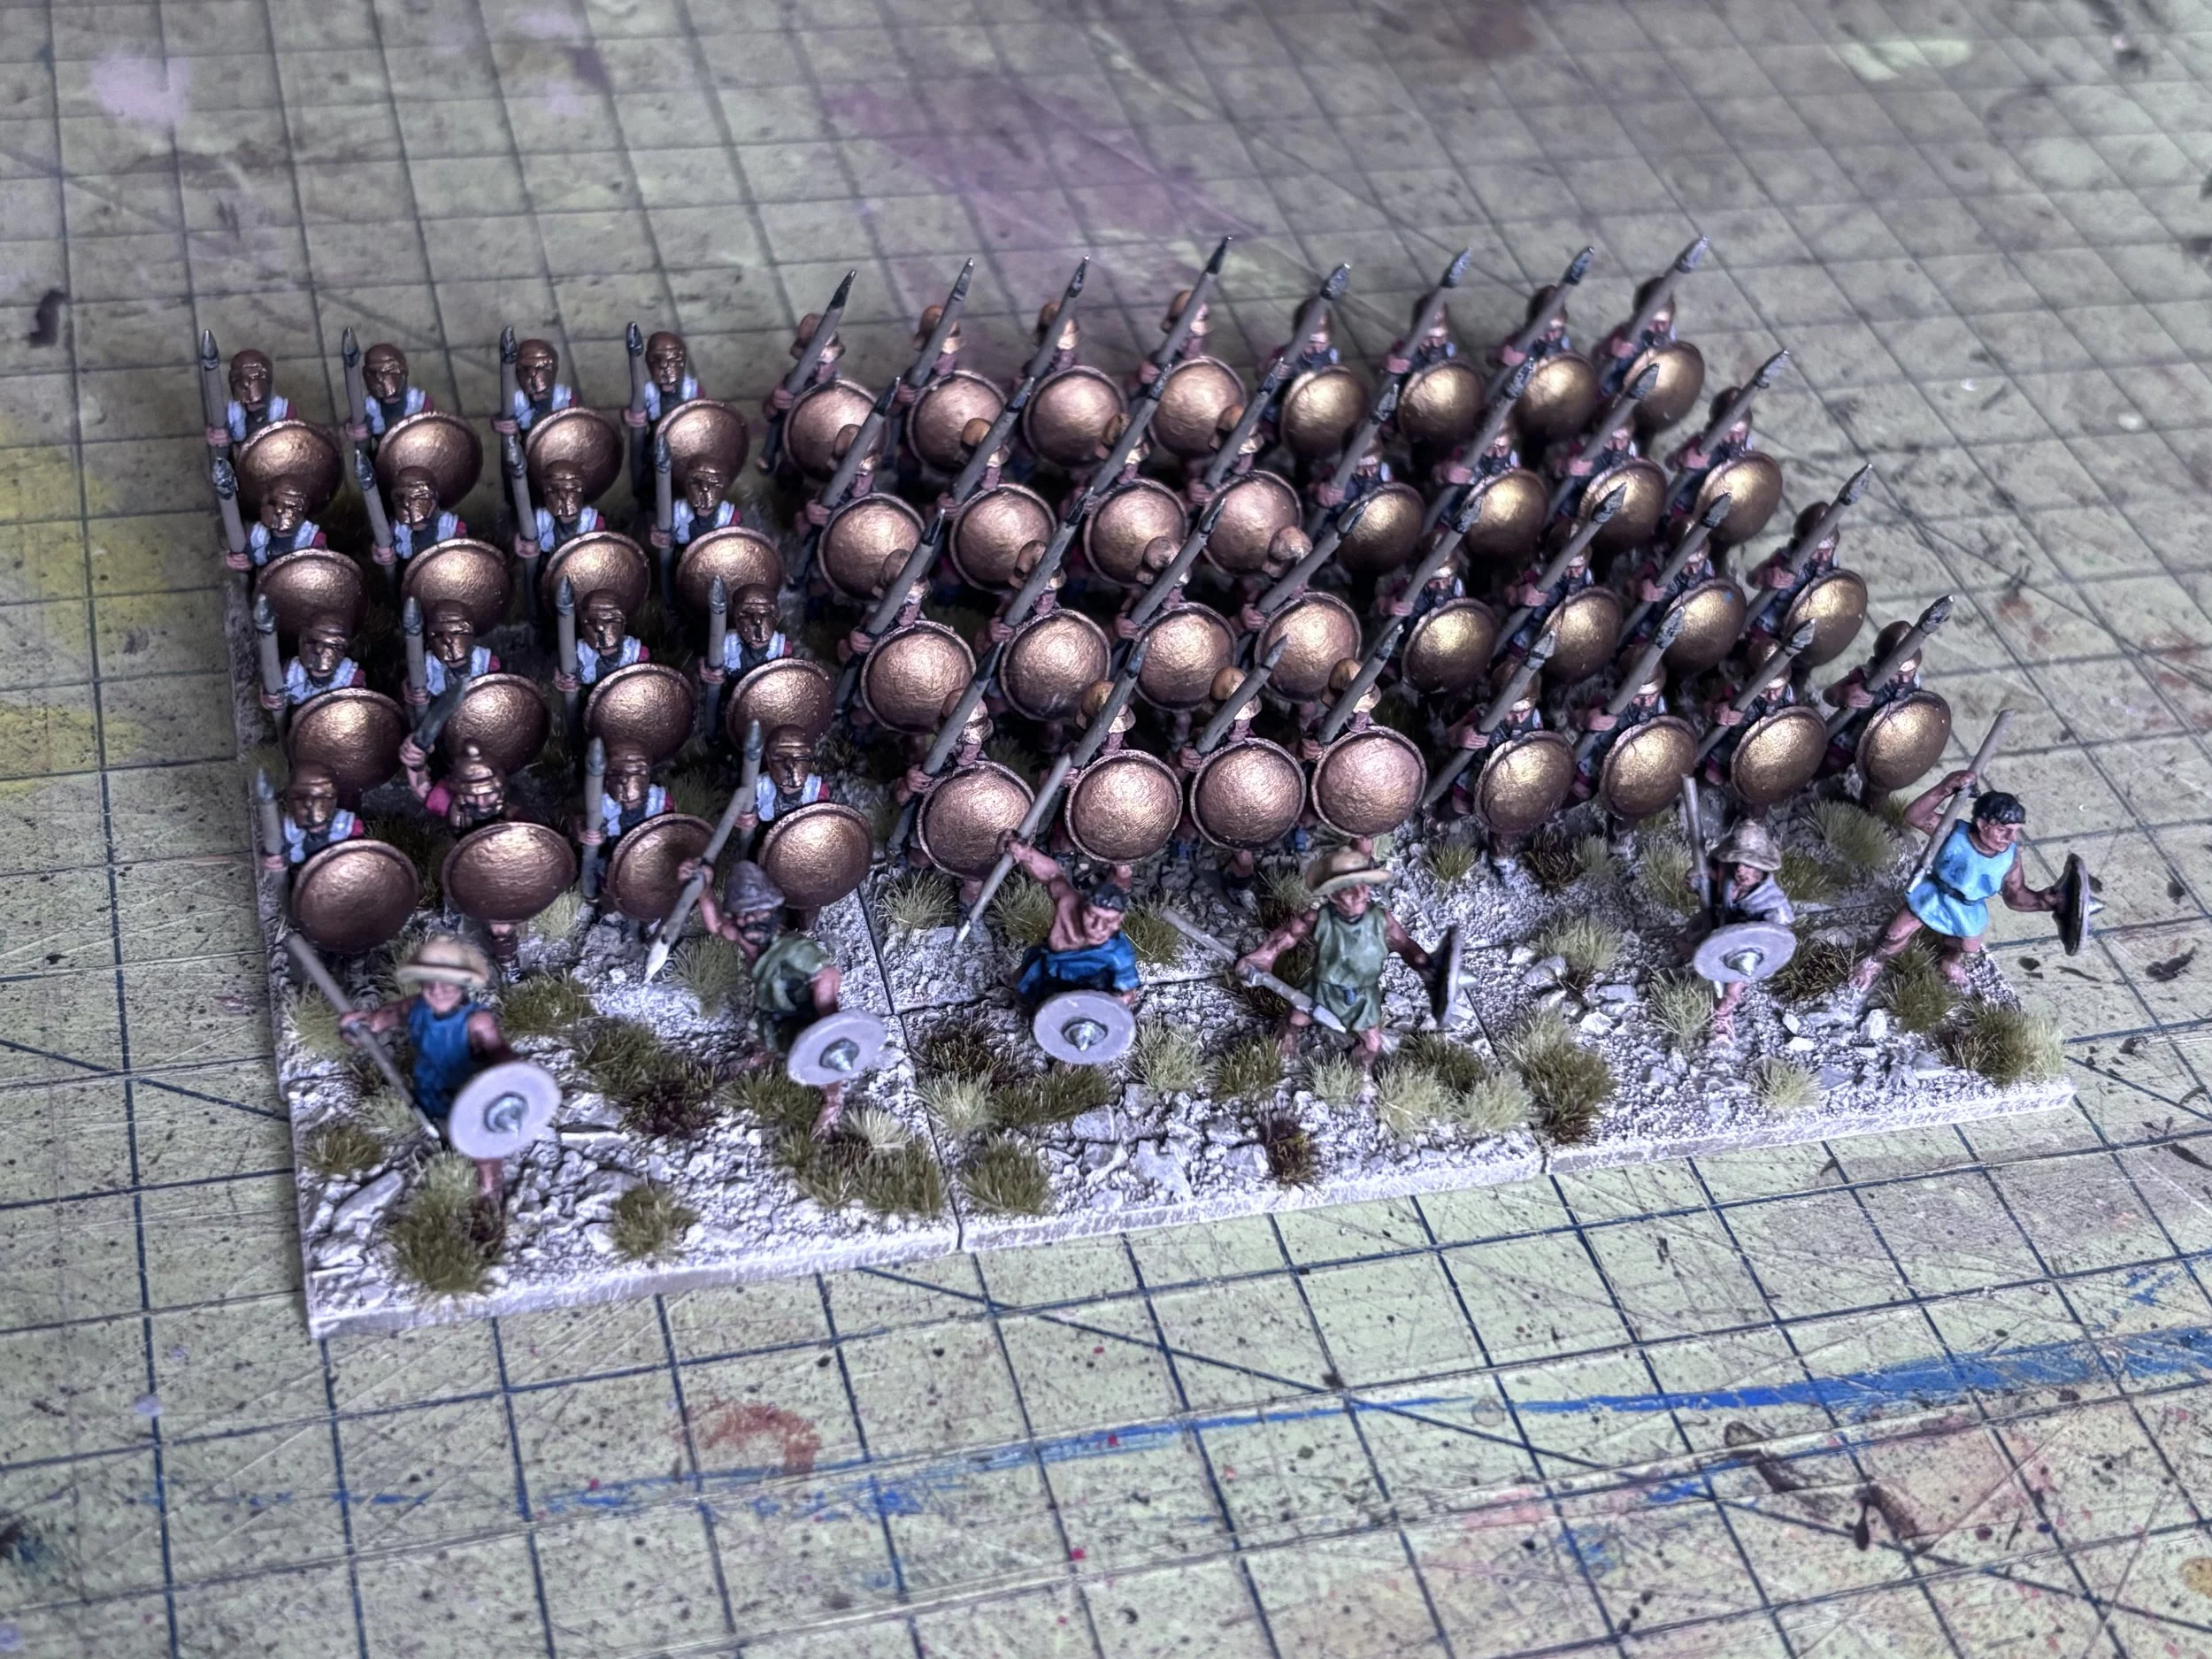
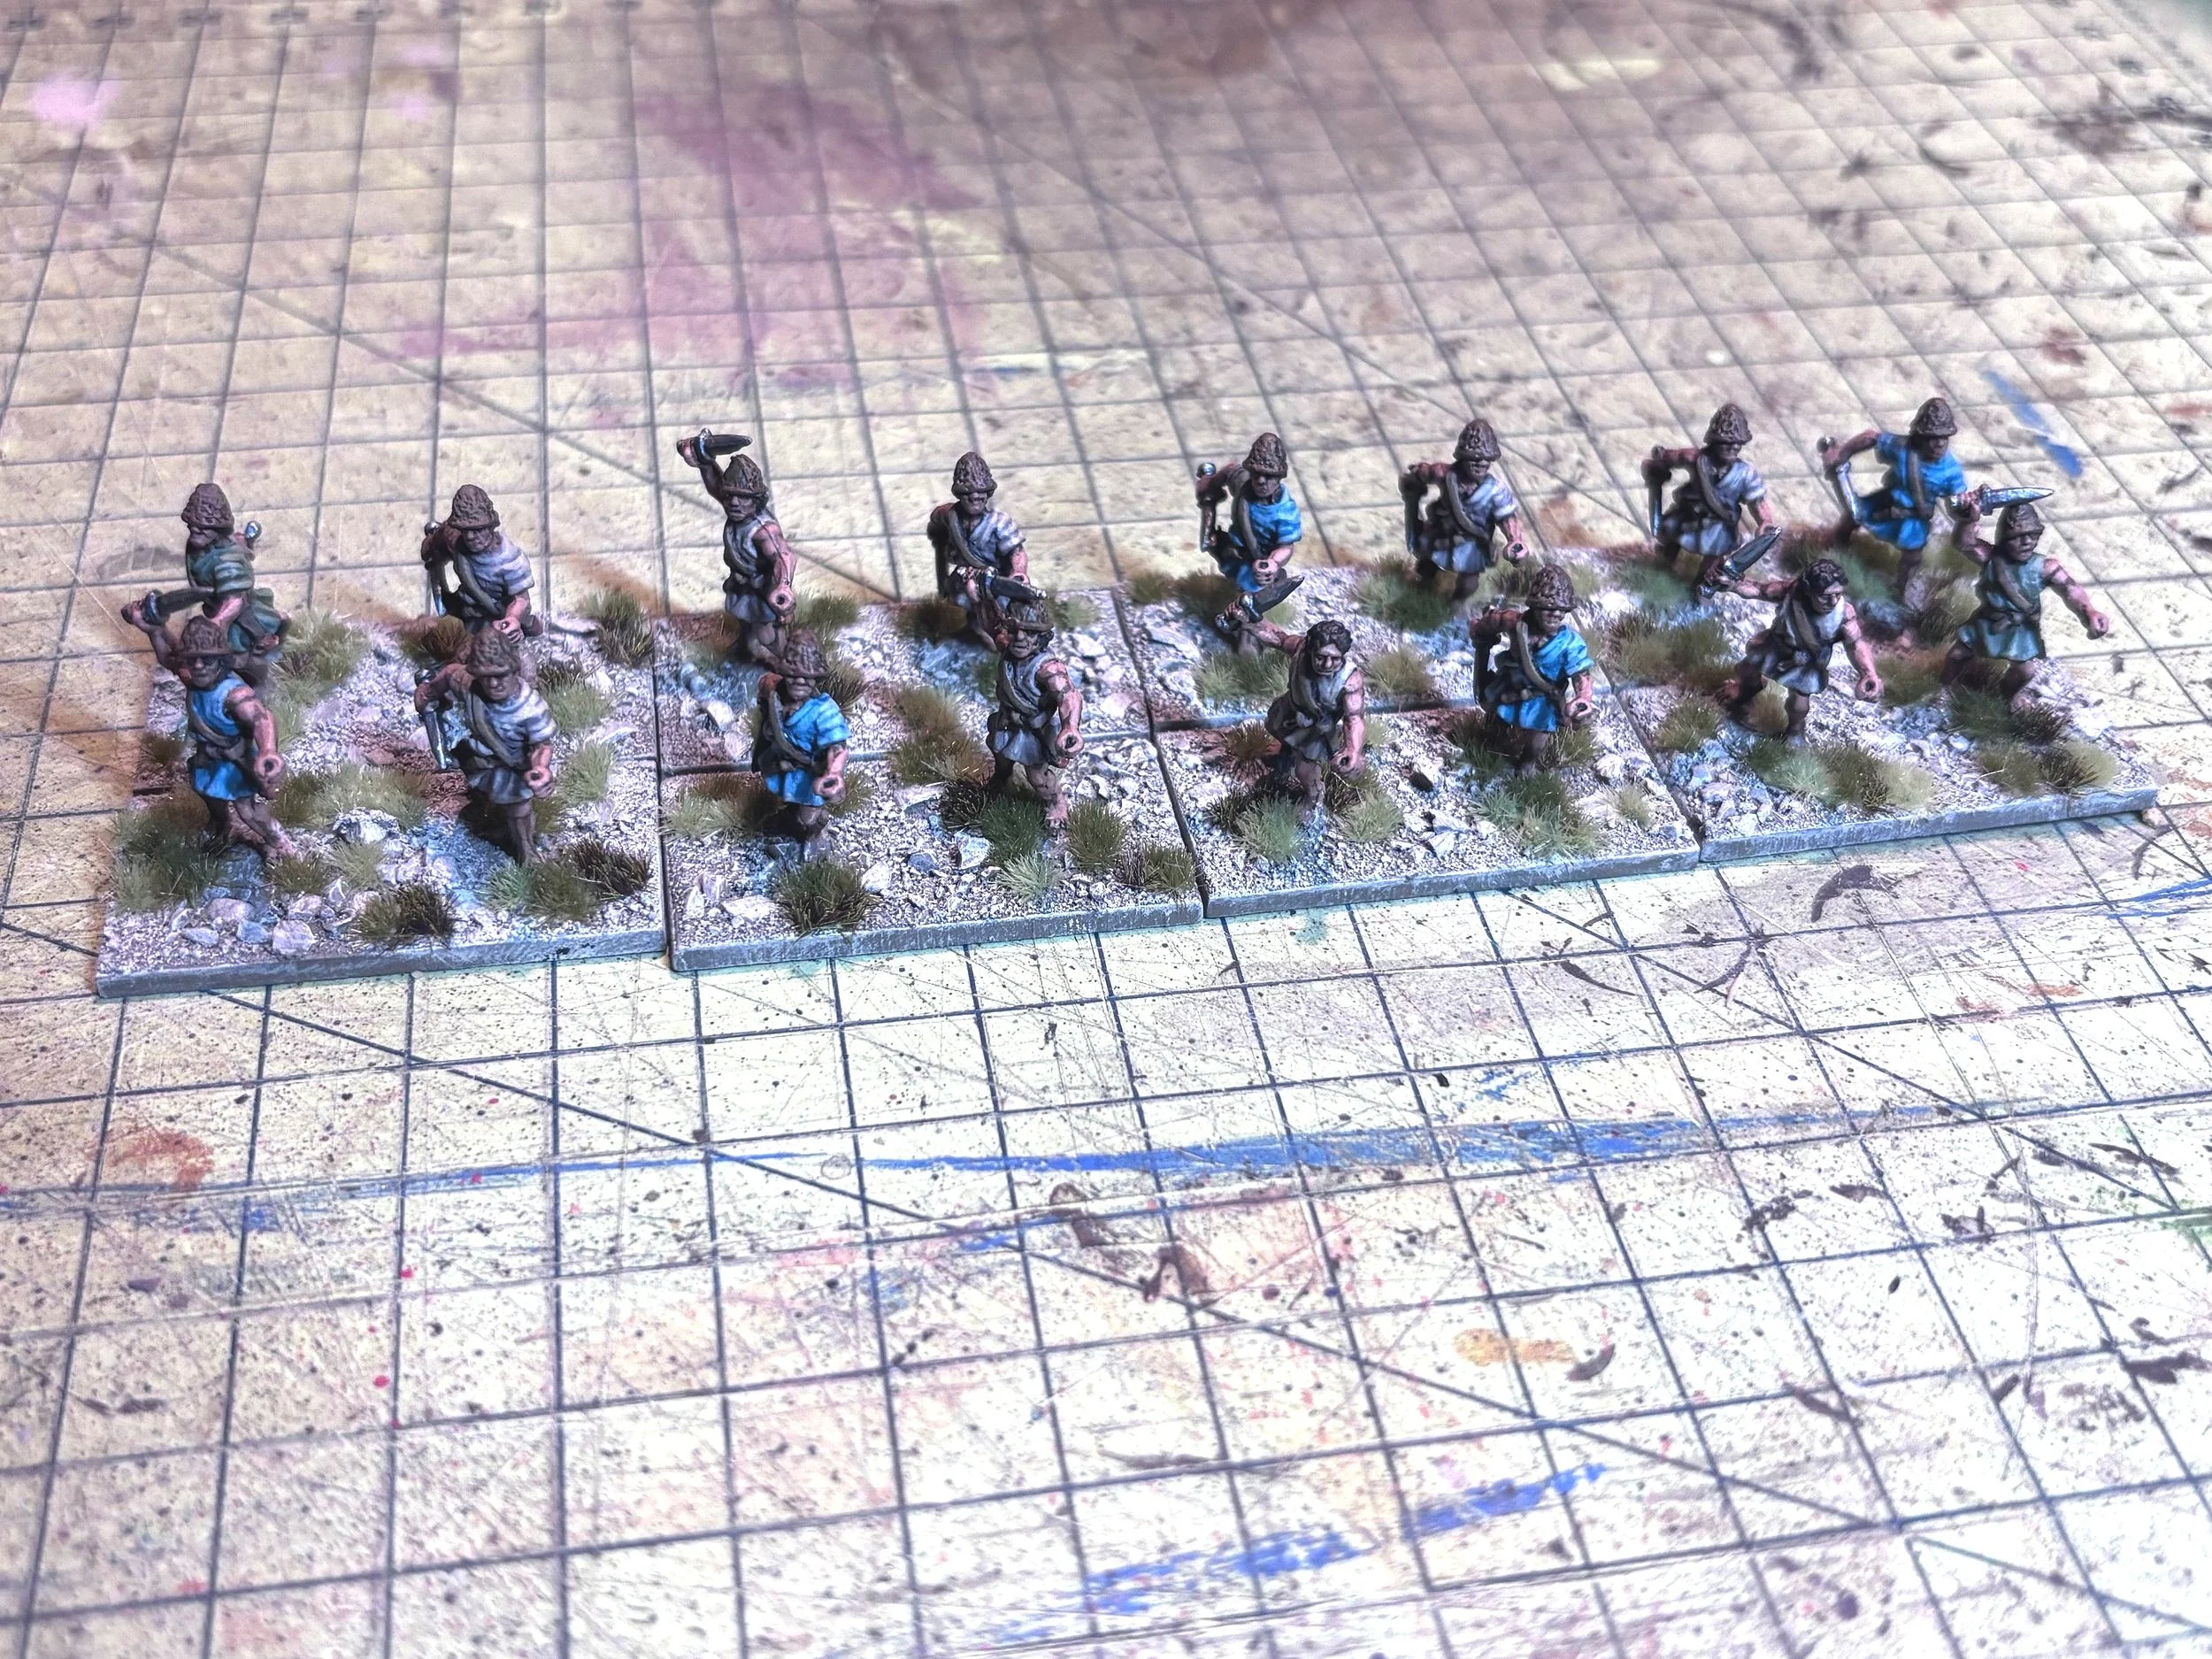
First up was to look at the infantry, who transitioned from largely Arabic warbands to units of Berber spearmen sometimes incorporating archers. Some of these could be veteran, so I decided to paint up a couple of units as “Black Guard”.

Painting an entirely black-clothed figure is always quite hard so, if it helps, here’s how I do it. Undercoat in Grey Seer then Contrast black over the entire figure except for the spear, shield and any flesh. Leave to dry. Lightly dry brush a medium grey. Very, very, very lightly dry brush a white. Paint the odd bit of clothing a dark blue or dark purple to add a bit of variety. Then finish the spear, shield and flesh as normal (the shields are painted Contrast Wyldwood then dry brushed in bronze then given an Agrax Earthshade wash).

These I followed with a couple of “standard” units, one of which contained archers and one of which didn’t:

All the infantry are Red Copper sculpts printed for me by Baueda.

Having seen a couple of fantastic-looking Arabic armies at the recent Ewelme competition, I’m a bit disappointed I haven’t got any big flags with the units, but I do like the way these have turned out…which is lucky, as I have another four units to complete!

TTS AAR: Arab Conquest on the Rampage

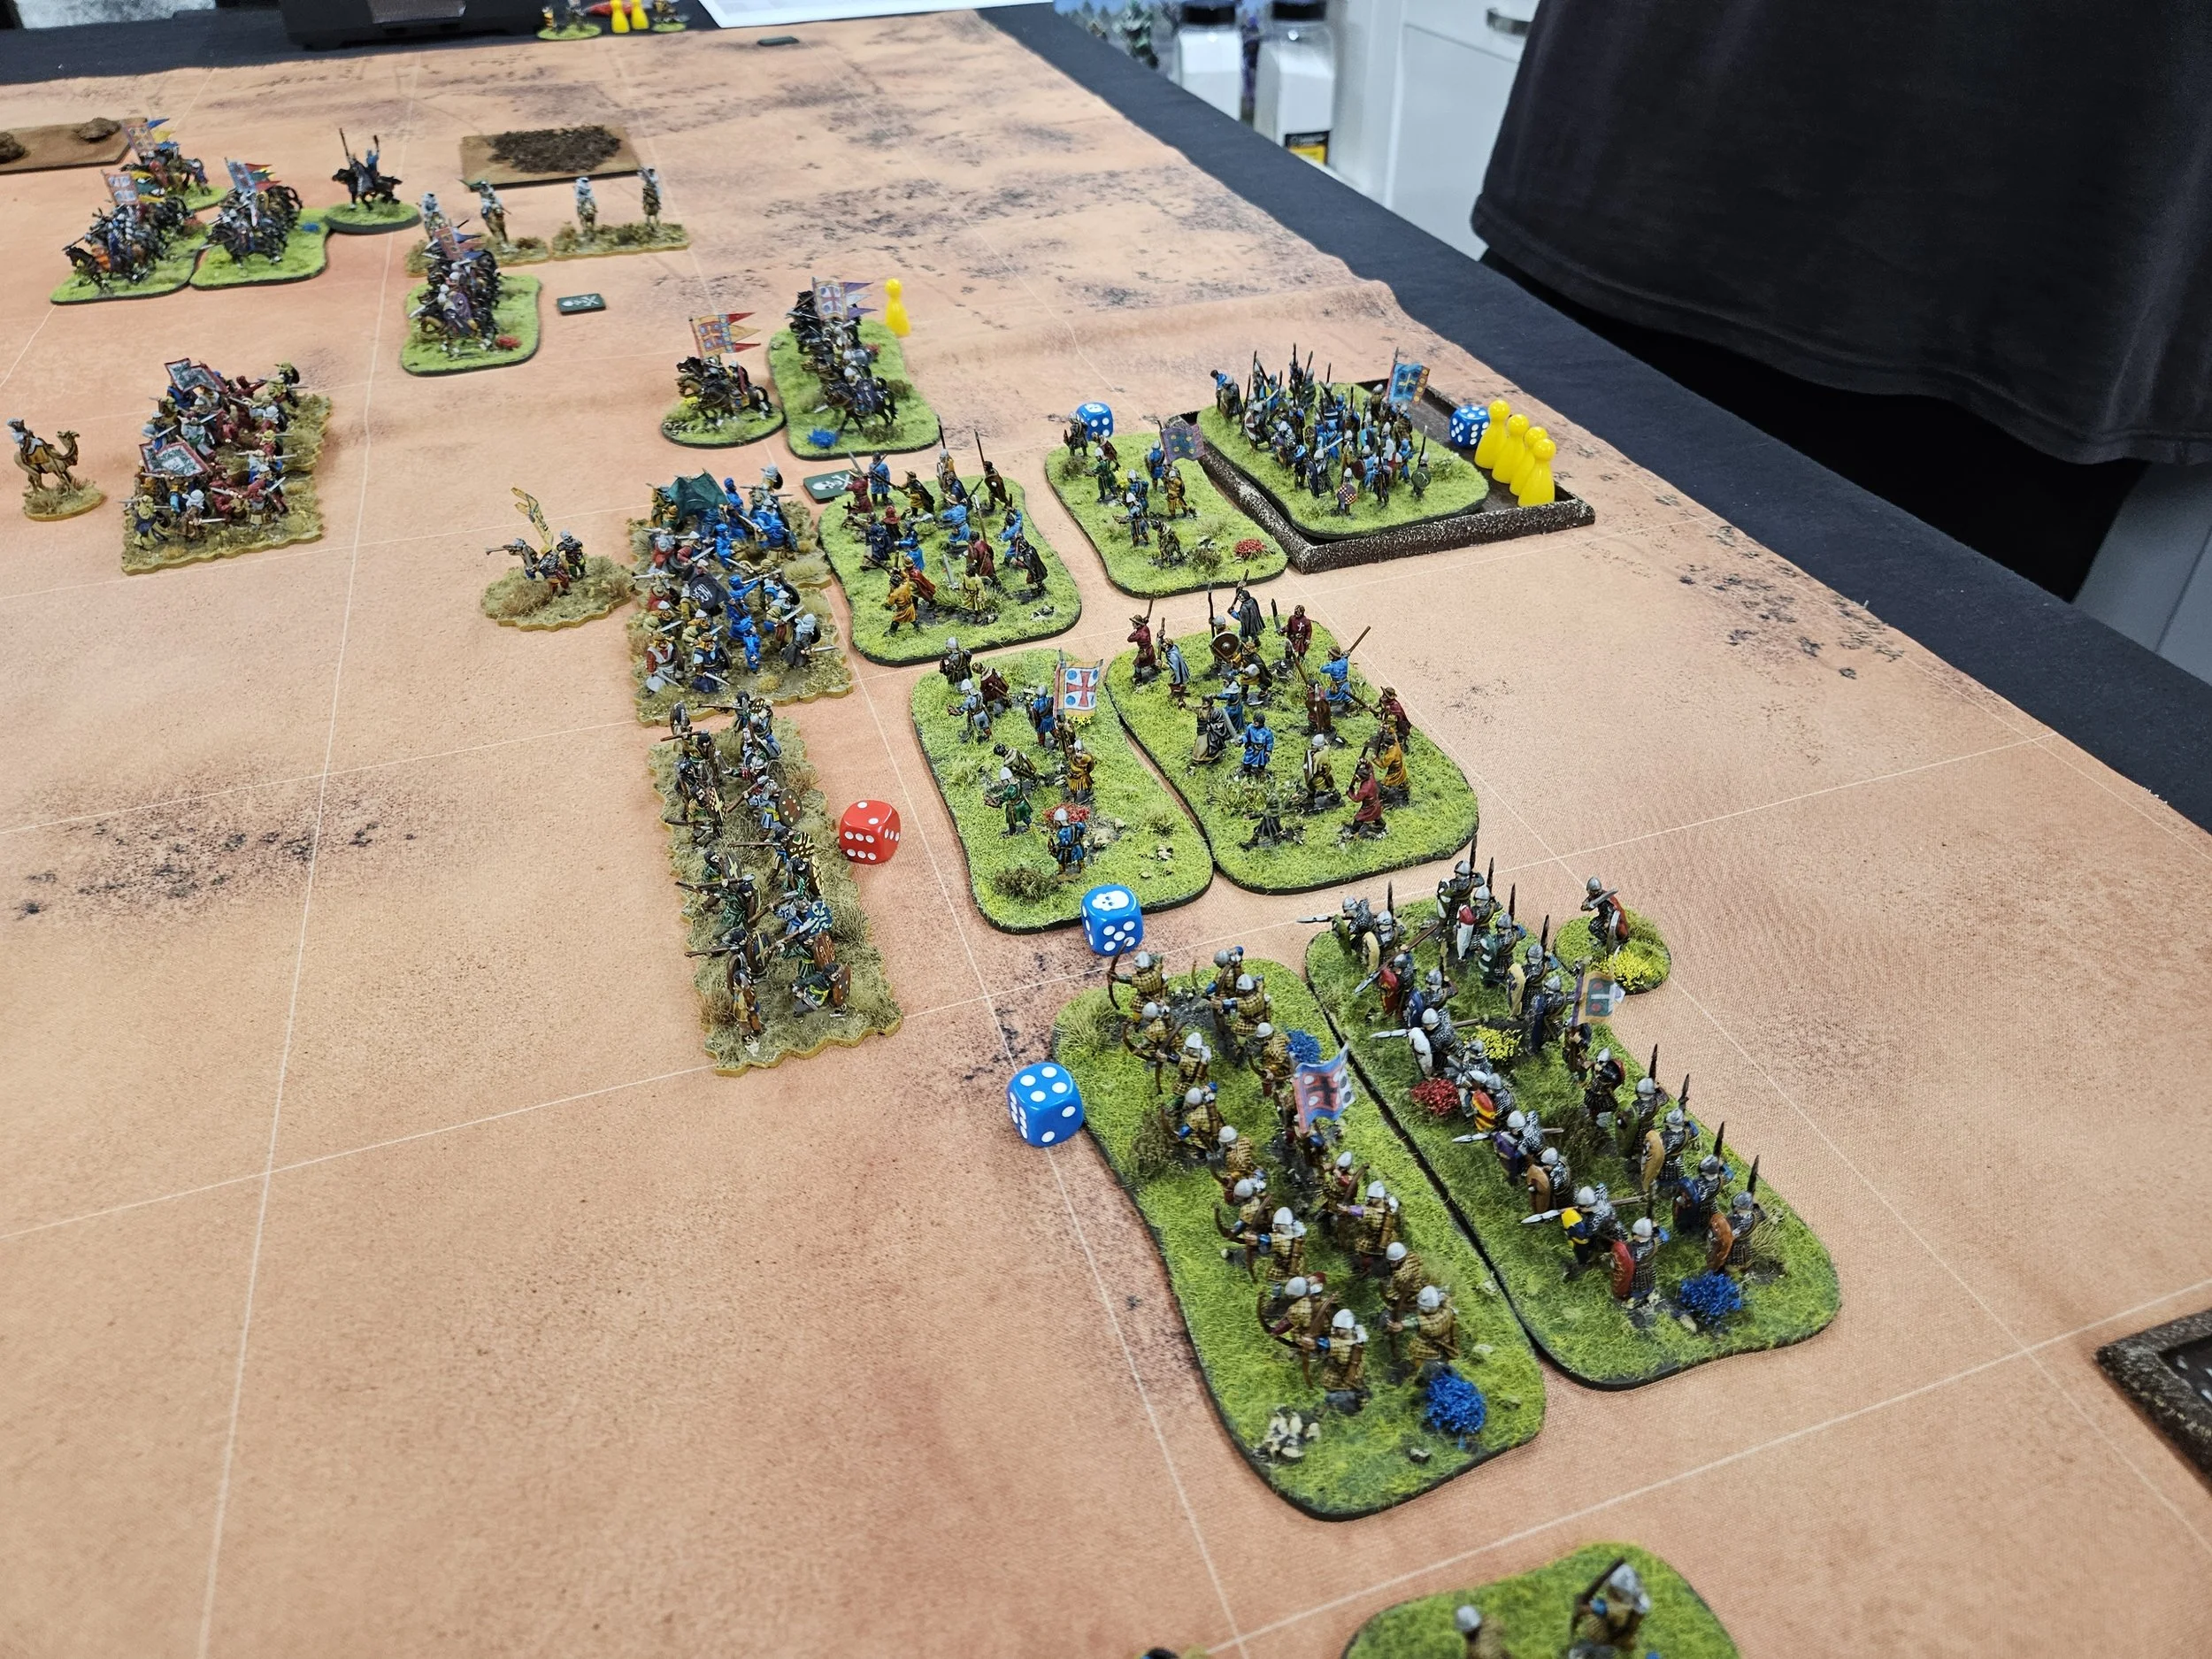
Neil and I had time for another go at the Arab Conquest versus Early Crusader. The picture below is from after my first turn, where I’ve taken full advantage of my mounted infantry to get as far forward as possible on my left flank, whilst refusing my right, leaving it covered by a couple of units of Jund cavalry.

With such a quick rush forward, battle was quickly joined, and before long I was well into the process of turning the Crusader right flank: the light camelry again proving their worth.

Everything was happening very quickly: my Arabs had also generally engaged across the centre:

On the right, however, the Crusader cavalry had come forward and was poised to cause me some problems.

Fortunately, a bit of clever manouevring largely countered the threat.

Meanwhile my troops on the left had largely won the combat there, and were starting to curl into the centre:

This was too much for the Crusaders to take, and they withdrew from the field of battle.

TFL Painting Challenge: Mid-May Update

Loads of entries coming in this year: we all seem to have got out painting mojo back!

I recommend visiting everyone’s individual galleries (the NavBar, above, has all the links) but here are some highlights of this entry’s batch.

First up is Mr Cooper, with his usual eclectic collection of 28mm fantasy figures:

Steve Burt is also living in a fantasy world, with his civilians for Traitor’s Gate:

Back to reality now with Andrew Helliwell’s entry. I haven’t shown the hills, but here are two 15mm Napoleonic battalions and a rebased unit of Seven Years War cavalry:

Mr Luther, king of the micro-tanks, has another large entry: an assortment of WW2 eastern front vehicles. I haven’t shown them all here, and you can see them all in action in his many battle reports in the IABSM AAR section of this website.

And to finish, here are some individual entries:

Let’s keep those entries coming in, folks!

TTS AAR: The Arab Conquest Begins

Having finally painted and based enough 15mm Arab Conquest figures to make an army, it was time to get them onto the tabletop for the first time. Neil, my opponent, played an Early Crusader force which, whilst not exactly contemporary, was closer than many recent match-ups!

The Arabs were almost all resin prints of the Red Copper range augmented by a few metal figures from Essex and Blue Moon to fill in the gaps. The Early Crusaders were actually Normans from the excellent Museum Miniatures Z range.

The game opened with the Arabs charging forward as fast as possible in order to take full advantage of their mounted infantry bonus to try and avoid too much archery and crossbow fire from the Crusaders before getting stuck in to melee.

Superior numbers also gave me an overlap on both sides, especially as the Crusaders had deployed stacked quite deep, and I wanted to see if I could get my cavalry on the right and camelry on the left round and into the Crusader flanks: something achieved very successfully.

On the right flank, my cavalry were now in a perfect position to turn and roll up the Crusader line.

This, however, proved more difficult to do than expected due to a combination of clever defensive work from the Crusaders, taking advantage of the patch of rough terrain and their camp to anchor their formation, and some bad luck with the cards.

Eventually, however, that pesky unit of Crusader infantry in the rough ground gave way under sustained pressure from front and flank, and the roll up began.

This was good news indeed…but things were not going so well on the left flank.

Although I’d got the camelry around and into the Crusader rear, they had failed to deliver on their potential, with my Jund cavalry also not performing well against the Norman knights and being forced to retreat in disorder.

This left his cavalry free to do to me what I had been trying to do to Neil i.e. head back into the centre of the field and roll up my line, now generally engaged there.

Both the Arabs and Crusaders had now managed to roll up one of their opponent’s flanks, making the situation critical for both sides: one more unit lost would mean defeat.

Unfortunately for the Arabs, Neil had the advantage in both troops and positioning, meaning that unless I could pull something out of the hat, I would end up snatching defeat from the jaws of victory: I just had too many units on the verge of breaking to survive another Crusader turn, with the double-disordered warband about to be charged by a fresh unit of veteran Norman knights being the prime candidate to go first!

All I had left to try was to send my disordered Jund cavalry on the left, accompanied by an already-wounded general, into a desperate charge against an equally disordered unit of Crusader cavalry accompanied by their True Cross army standard.

This was a tad risky, as the Knights had a better save than I did, but I would attack first and, quite frankly, this was my only hope of victory! A ‘10’ was pulled for my activation card, so I was only going to get one go at this, and I reached for my attack card: a ‘9’, which was a hit despite my disorder.

Neil’s save card was pulled and, much to my surprise, the disordered Jund cavalry swept the Normans from field: a glorious victory that, as the True Cross fell, led to the rest of the Crusdaer army retreating just as it looked as though they would win the game!

A glorious victory for the Arabs: snatching victory from the jaws of defeat rather than the other way around!

More Teeny-Tiny TTS

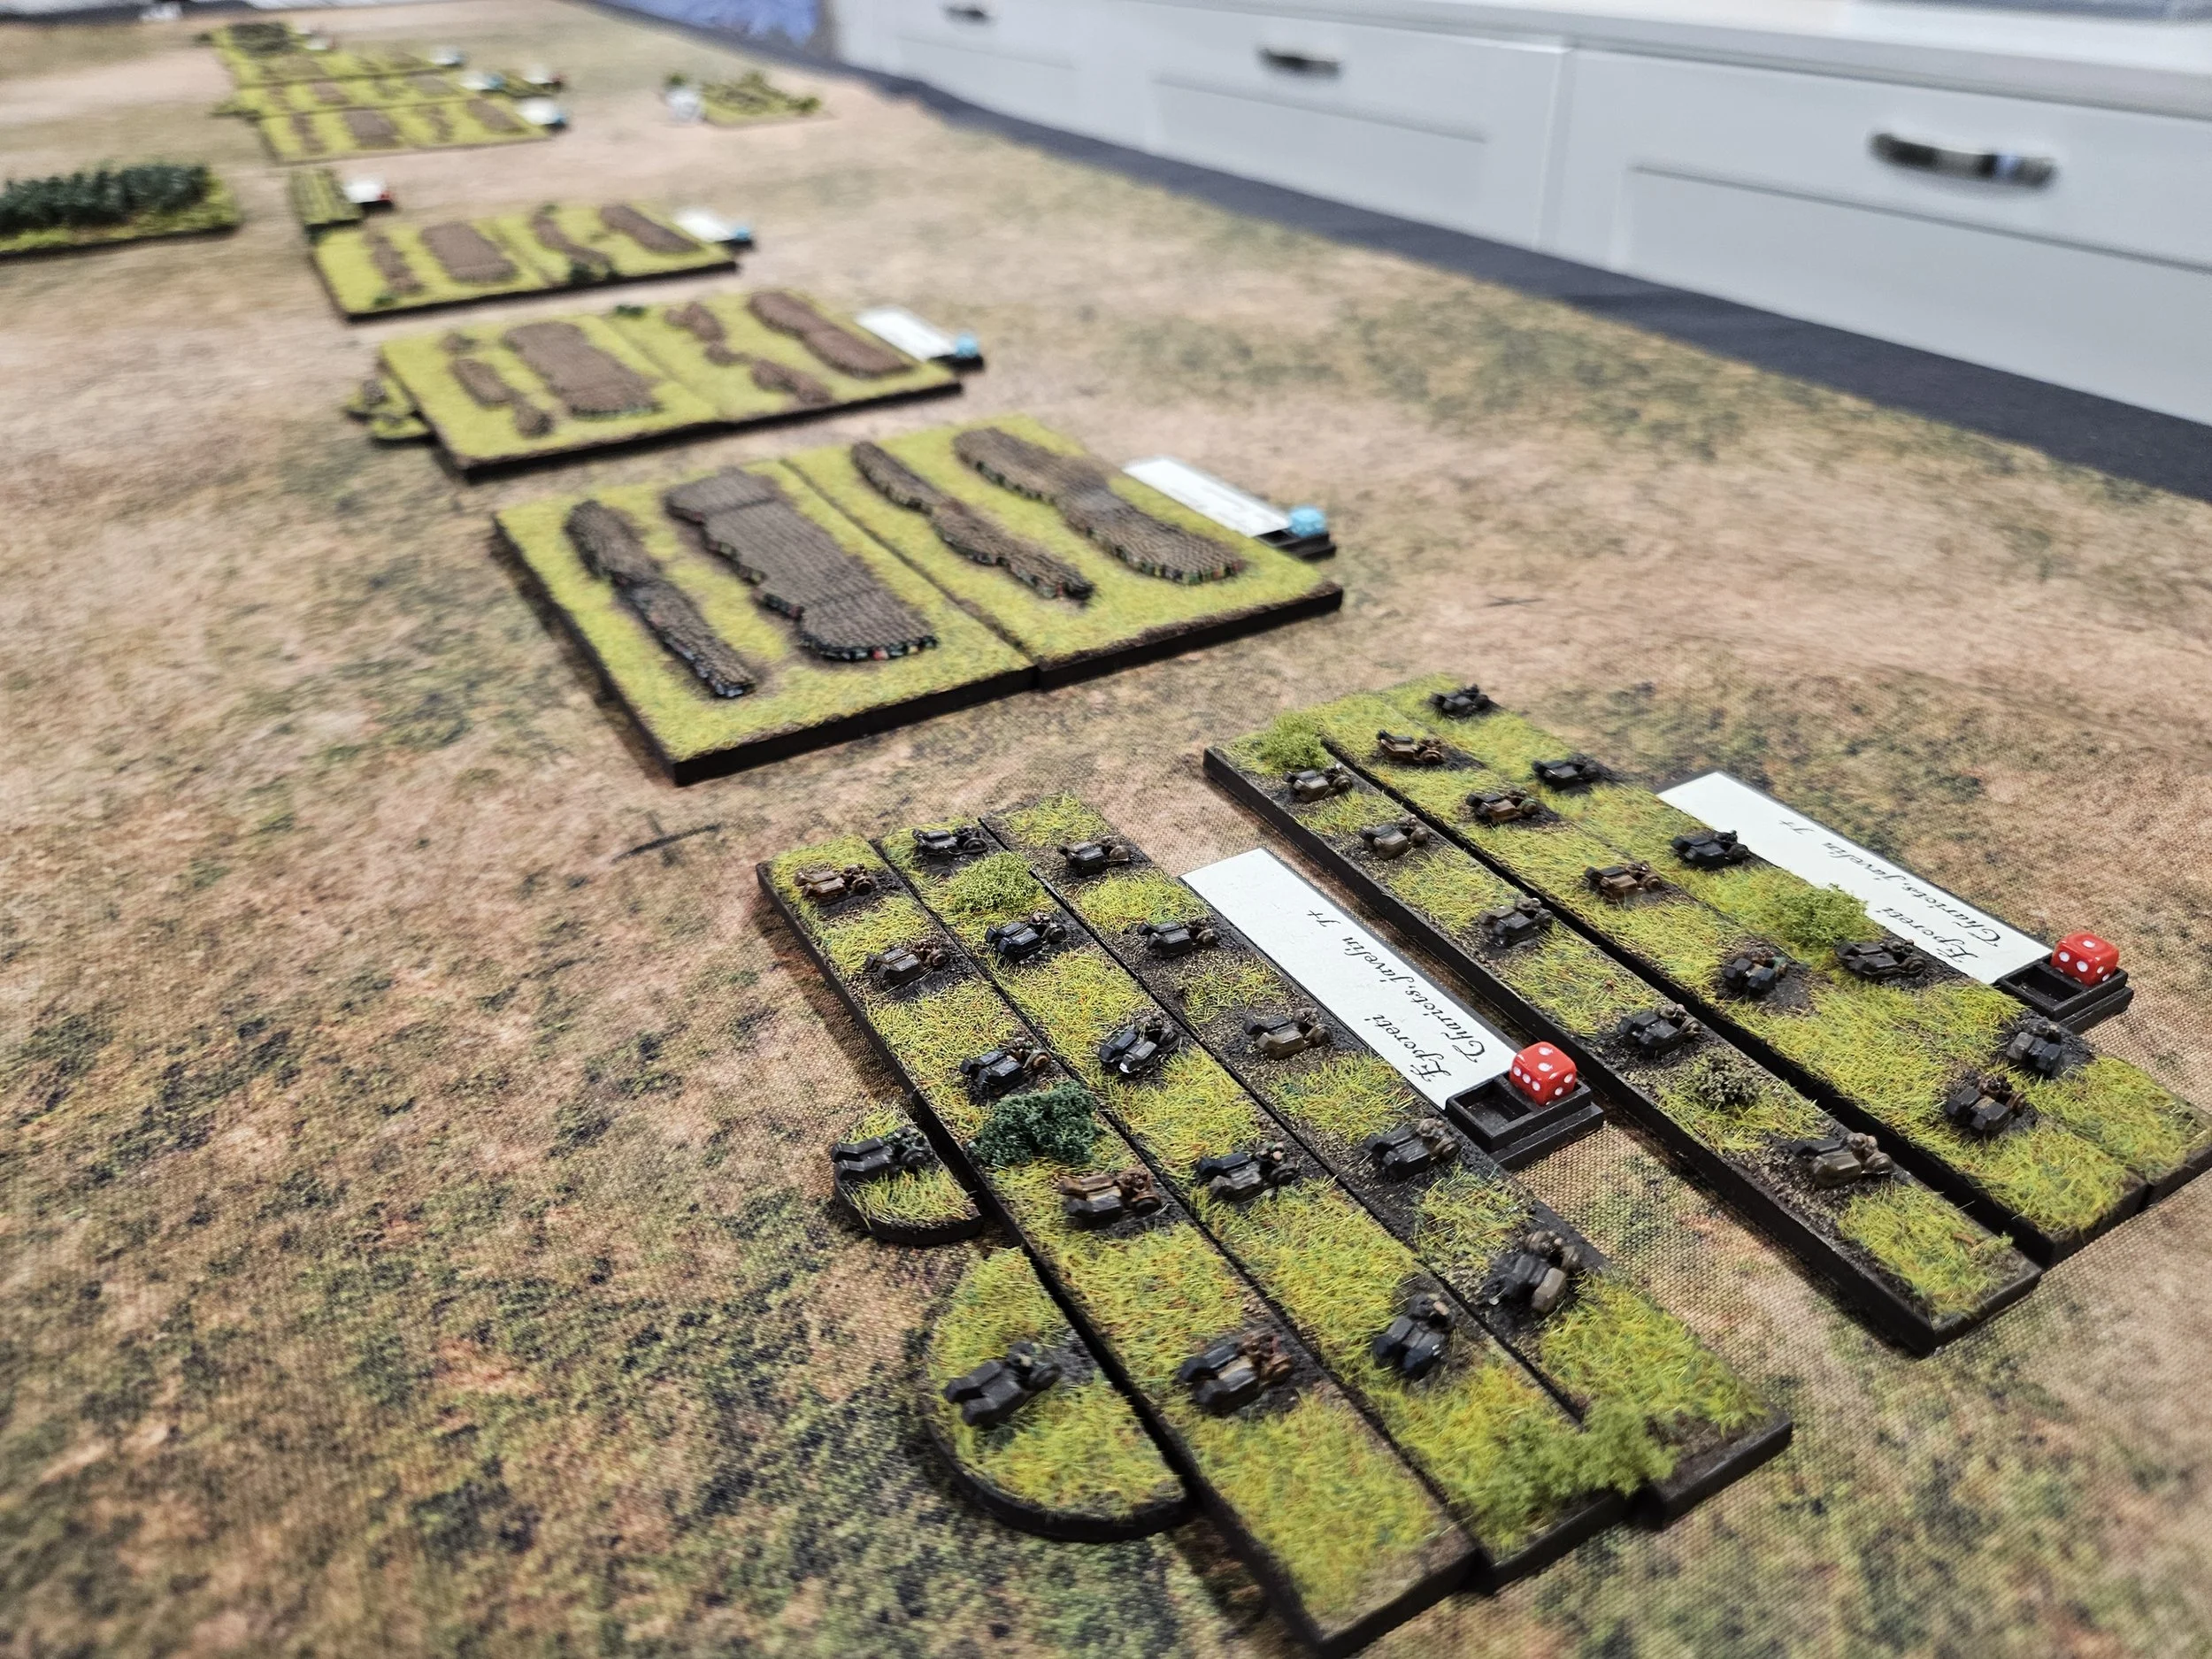
Neil had time for another game of To The Stongest using his 2mm figures. I’d play the Romans again, Neil would take the Ancient Brits.

Following my previous defeat, I thought I’d try something a bit different this time, and stacked most of my troops on the right intending to overwhelm him there before turning back to destroy the rest of his army.

As the game began, my plan unfolded successfully, and at least a third of his troops ended up effectively out of the game until they could get across the table and back into the action.

Unfortunately things began going wrong shortly after that!

Part of the plan was for my veteran heavy cavalry to punch their way through the British chariots facing them on the far right. This didn’t happen and, in fact, the chariots won the encounter and thus blocked my flanking manoeuvre from happening.

Worse, the veteran Legionaries, advancing forward quickly to engage the warbands facing them, failed to dent the Celts, even with a numerical advantage. There really was something wrong with my troops today!

This, of course, gave Neil the time to bring his “missing” men back across the table and into combat, leading to a most unpleasant situation featuring the Legions being potentially attacked from front and flank…

Although the Roman cavalry had by now managed to dispose of the chariots, the time it had taken them to do so left them trapped in the top right hand corner of the battlefield as the Celtic warbands and Legionary units went at it to their left.

The Legionaries were still fighting very badly indeed, and had been pushed back into a position where the British could start to apply their by-now-superior numbers.

In the end, the British did to the Romans what the Romans had been trying to do to them: the Celtic cavalry arrived from the far reaches of the other side of the table and curled round to threaten to take the Romans in the flank.

So two defeats in a row for the teeny-tiny Romans. Admittedly I’d tried the bold tactic of severely weighting one flank, but that had worked until my troops failed to take advantage of their tactical position just after the beginning of the battle.

Captain Hindsight has pointed out that perhaps I was expecting too much from the Legionaries to quickly defeat the warbands in front of them (I should have anticipated the need for a slow, grinding victory) but the Roman infantry didn’t really achieve anything all game: not one warband was destroyed!

The real culprits, of course, were the veteran Roman cavalry. A pathetic initial performance that they admittedly recovered from, but too late to be useful.

So the manoeuvre phase was a success, but the execution of the combat phase didn’t: something to build on for next time!

Arab Camps and Extras

Now that the infantry and cavalry for the Arabs are done, it was time to fill in all the extras you need to actually get the army onto the table: primarily camps, a vital component of your To The Strongest force.

In the past I have tended to just use a generic square base for my camps - requires no effort and is practical in terms of a place to store coins, spare ammo etc - but seeing all the beautiful camp dioramas at competitions has inspired me to try and create the same for my troops. I’m sure they will fight better with nicer camps!

First up was the camp that comes with the Red Copper Arabs, here printed for me by Baueda and, as with all the camps you’ll see today, mounted on a 10cm x 10cm base.

The inside of the tent is detailed right to the back wall: laid out as if for a banquest, with sofas, cushions, rugs, a low table etc.The roof comes separate, so you can paint the inside without any difficulty and then glue the top on afterwards.

This is a really nice piece that is actually very easy to paint as the roof and walls have subtle markings for where the stripes go. The inside is easy too: everything is clearly defined and not difficult to get a brush to. Highly recommended.

The second camp is also from Baueda, and consists of a large tent. No markings for where the stripes go, but as it’s a big piece it’s pretty easy to get a decent stripe effect anyway. The model comes complete with relief folds and creases, so the base colour Contrast paint works well to show them off.

The camels and handler are from the Red Copper Arab civilians set and, as you can see, paint up very nicely.

The large space in front of the tent, by the way, is space for a defending unit or for keeping coins, ammo markers etc. I wanted to make sure the camps were practical as well as good looking!

I do sometimes field three camps, so here is a third comprising of two round tents and a tree!

I can’t remember where the tents came from (I think Khurasan) but they are metal and really make the base heavy! The tree came with the Baueda tent, above, but worked better here.

The three figures and the ‘shop’ also came from Red Copper’s Arab Civilians pack, and are lovely figures full of character and animation. I think I could have made a better job of the tents (maybe trying vertical stripes) but they look okay done like this.

Here’s a look at all three camps together:

Finally for this post I also needed some foot commanders and mounted heroes (for the Jund cavalry). These I sourced from Blue Moon Manufacturing via Old Glory as the Red Copper range is limited in terms of command figures, and the 3D Breed Moorish commander is £4.50 for one foot and one mounted figure!

I must go back and take another look at the rest of the Blue Moon range, as these paint up beutifully. The Heroes are from their Arab Personality pack, and I particularly like the chap with the hawk on the left as you look at the picture. I am, however, not sure about the chap second from the right: I have painted what he has in his hand as a stick grenade, as that was what it looked like, but it’s probably a torch or a mace of something…although I think the stick grenade would be more useful!

So that’s the Arab Conquest force done: on to converting it into some of the more ‘organised’ Arab forces by substituting Spearmen for Warriors.

Teeny-Tiny To The Strongest

Friend Neil invited me over for a game of To The Strongest using his 2mm figures. This was a new experience for me as I’d never played with anything so small before (quiet in the cheap seats!).

I would play the Early Imperial Romans, with Neil taking the Ancient Britons.

My plan was to hold the centre with my legionaries and auxiliaries whilst my cavalry (doubtless superior to the chariots in front of them) on the right flank smashed through what was in front of them and curled around to take the warbands in the centre in the rear.

Unfotunately, my cavalry were having an off day, and made no progess at all against the “Ancient British Panzer Division” in front of them.

This meant that I had to send the legions in against the British centre, but even that didn’t go very well as the command on the right got decisively mullered!

This was all very disappointing, and made worse when some Celtic cavalry that, up to now, I had kept bottled up on the left managed to get clear and take the same battered command in the flank.

So a fairly decisive win for the Brits as I wrestled with adjusting to the different scale.

TFL Painting Challenge: End April Update

I know it’s May 1st, but I haven’t had time to update the Challenge until now: loads of excellent entries coming in!

Let’s do these strictly in the order in which I received them. First up, therefore, is Carole with some Bloody Miniatures ECW command types and a double-brace of Soviet tanks:

Next is Mr Plowman, who continues his 15mm Ancients adventure:

I do like a nice scythed chariot!

We couldn’t have an update without a large entry form Mr Helliwell. Here I’ve included only a few of his submissions: please do visit his gallery via the NavBar, above, to see them all.

Mr Luther is most definitely back with a vengeance. Building on the veritable forest of small trees he sent in last time are some tanks and graveyard pieces. Also more in his gallery.

Up next is Steve Burt with some lovely medieval guard types and, pictured below, a even lovelier marketplace. I like this a lot!

Stumpy has been re-basing like crazy: here are some very large orcs and some normal-sized Royal Marine light infantry for the Sudan:

Mervyn has gone ape, literally!

But enough of this monkeying around, let’s reach a grand finale for today with Sapper showcasing more Vikings and more Napoleonic French:

Well that was a big one!

I’ll update the Scorecard when I get the chance, but do take advantage of the bank holiday to do lots more painting!

Keep ‘em coming!

TTS AAR: Roll Call #4: Venice Abroad vs Komnenon Byzantines

My fourth and last game at this year’s Roll Call was against Nigel’s Byzantines: a powerful army who had carved up my Romans at the rceent World Championships!

My stratagem was Flank March so I decided to leave my right flank very light and send my best unit of veteran Later Knights (with army standard) off that way to see if I could temp Nigel’s cavalry forward to then be neatly taken in the flank or rear by my Knights.

This worked very nicely (although I messed up how it should have been played, so thanks to Tim, as referee, for ruling so adroitly and to Nigel for waving off my error) with one unit of enemy cavalry being smashed right off the table immediately after the Knights’ arrival.

On the other flank, both sides had advanced rapidly towards each other and an enormous, sprawling melee broke out. Fortunately for the Venetians, Nigel’s Varangian Guard and Skoutatoi were not having a particularly good day (they were the lads who had eviscerated my Romans!) and were contained by my troops, helped by the terrain. The Venetians also manged to knock quite a few Byzantine light units off the table: perhaps not tactically significant but still a trickle of Byzantine coins lost.

Meanwhile, back to the other flank, and my Knights had polished off all the Byzantine cavalry they could find to kill. They were having a good day: also killing the enemy general and taking the Byzantine Holy Icon standard.

I was now significantly ahead on coins, but under huge pressure back on the left. It was, in fact, fair to say that my troops there were about to collapse!

My camps were also under attack, but the militia Spearmen (led by the chef-and-chicken) were doing their best to defend them.

I needed to finish the game quickly, especially as we were also just about out of time, and suddenly saw an opportunity to do so.

I had a unit of Spearmen plus attached General on a hill about two thirds of the way up the board. They had been killing Byzantine lights and were now in a position to turn and attack the rear of the Skoutatoi who were meleeing with more of my Knights.

This I was about to do when I noticed that actually there was a clear path to the enemy camp in front of them. Okay, it was a few squares away, but I had a general with me, and taking the camp would give me the coins I needed to win.

For once the cards were with me, and the Spearmen marched straight into the camp to take Nigel’s last three coins and victory!

This was another game where the result (14-3 to me) didn’t actually reflect the situation. Although I had won the right, taking nine of Nigel’s coins from eliminating three cavalry units, their general and a standard, and only lost a smattering of units myself, I had about four units disordered and ready to break in Nigel’s next turn. I think I would still have won (time allowing) but it would have been a much closer result.

The overall scores were totted up and, much to my surprise, I found that I had come second! I was expecting somewhere 4th or 5th, so it must have been a weird combination of results elsewhere to let me snatch the runner up position: that’s the joy of the Swiss Chess system!

Thanks to Tim for organising the tournament, and to all my opponents for giving me such great games. Congrats to Peter for winning: those of you who have read the AAR of our game will know that I almost had him (score notwithstanding!), which would, presumably, mean that I would hve won overall. Something to work towards next time!

TTS AAR: Roll Call #3: Venice Abroad vs Tibetans

My third game at this year’s Roll Call was against Peter and his Tibetans. Peter has sliced and diced me before with this lot, so I was determined to do better this time round.

I had a fair idea of what tactics he was going to employ: one command of light cavalry would dart forward from the outset and attempt to get around one of my flanks. If that worked, then the cataphracts would follow. Failing that, he would use the superior mobility of his all-cavalry army to weight one side of the table, forcing me to fight his whole army with only part of mine.

That was all well and good - I knew what he would try to do - but the real question was whether I could do anything about it!

Things started well when, much to my surprise, I won the scouting. This meant that I could try to counter his intended plans through my deployment.

Note that I have lights on the left to counter his lights, my knights are all in front of his army, and most of my infantry is in the right place as well. Okay, I would have to shift my left flank infantry over to the right as soon as possible, but this was a better position from which to start the battle than I could have anticipated!

The action began on the right, where the heavy cavalry forces on either side advanced cautiously towards each other. I knew I needed to get “first charge” advantage here, so it was a question of tempting Peter into advancing forward and then not quite reaching my troops so I could then charge forward myself.

I didn’t quite manage to do this, but Peter’s first charge on the far right proved unfortunate for him as a unit of Cataphracts disordered themselves charging a unit of my Later Knights whilst my militia Spearmen on hill survived everything the Tibetans could throw at them.

You’ll also see, in the picture above, how Peter has managed to concentrate his forces on my right flank despite me knowing that that was what he was going to do and making every effort to stop him doing so! If you count them up, you’ll see I have two units of Knights, one militia Spear and a Light Cavalry versus four units of Cataphracts, some veteran, and five units of horse archers.

And this is also actually where I lost the battle. On my next turn the Later Knights on the far right charged their disordered opponents and not only failed to sweep them from the board (potentially also taking out some of the light cavalry following through morale checks) but were actually dashed from the tabletop themselves! Extraordinary: but there’s not much you can do against luck like that!

This effectively let Peter through on that flank…but more of that in a moment.

Meanwhile, on the other side of the table, I had not only countered his annoying light cavalry but was actually driving the Tibetans backwards: the cunning use of Cry Havoc! caltrops giving me an initial advantage that I was quick to exploit.

Unfortunately I just couldn’t pin the mobile mounted Tibetans down for long enough to actually kill them, so although we were about even on medals won, I just couldn’t finish off the units I was fighting.

We had now been playing for almost the whole of the allocated 90 minutes, the scores were about even, and we went into Peter’s last turn.

Firstly, he took full advantage of his success on the right and cleared my troops from that side of the table, including the equally-cunning use of his stratagem Someone has Blundered! to take control of my last remaining unit of Knights there and make them retreat backwards off the table. That was four medals gone immediately, and you can see that the militia Spearmen, already disordered and hit in the flank, are next!

You can, by the way, also see just on the other side of the hill, a unit of my Knights hitting some of his horse. This was originally a flank charge by my Knights into his cavalry that should, by rights, have at least disordered the Tibetans but, no, they survived and by this time had turned to face me. That would have been four coins my way as their general would have gone as well.

At this point we were on for a draw: probably a winning draw in Peter’s favour but still a draw.

Unfortunately all this excitement had caused me to leave the tiniest gap in my defences which, with the last cards of the game, Peter managed to exploit and get into one of my camps.

This took the last of my victory medals and cost me a full loss rather than a losing draw. If only I’d found the time to move those light crossbowmen to the right at some earleir stage!

So I came close, but still ended up being trounced 14-3, with eleven coins lost in the final moments of the game.

I took some consolation, however, in the fact that the result didn’t really reflect the game, and in the thought that I’d pretty much countered Peter’s standard strategies through my deployment and tactics and had been on an even keel with him right up to when my Knights failed to take advantage of a great position on my right. I’ll ‘ave him next time!

Arab Light Infantry and Command

I’m still working my way through all the peripheral troops required to field my Arab Conquest army.

First up are the light infantry archers, who I have painted as Berber types using Contrast Apothecary White highlighted with white acrylic, all over a Grey Seer undercoat. Sashes and turbans painted with Contrast Stormfiend Blue.

The models are 3D Breed Moorish archers printed by Geek Villain. I like their slightly squat, cartoonish look, reminiscent of some of the FoW ranges.

Painted the same way, but with the addition of a light blue wash on their trousers and cloaks, here are a couple of units of light infantry javelinmen.

These models are Red Copper sculpts printed for me by Baueda Italy i.e. before they were sold. They are beautiful sculpts with brilliant animation and detail. The best of their Arab Conquest range in my opinion.

An army needs its commanders, so here are two mounted commanders with some more ‘mounted infantry marker’ camel riders in the background.

The coammanders follow the paint scheme I’ve used for the rest of the Jund cavalry and Arab infantry i.e. a mix of bright colours specifically designed to contrast with the Berbers and Bedouin.

The figures are also Red Copper sculpts. Note the chaps holding the hawks on their wrists: really nice figures that Claudio at Baueda specially printed for me as a pack of five rather than as one of the models in a mixed pack of commanders.

The camel riders in the background are Forged in Battle.

Speaking of which, an Arab army sometimes needs some Daylami infantry: fierce tribesmen with javelins and big, multi-coloured shields. Neither 3D Breed, Red Copper nor anyone else I could find do them as a resin 3D print, so I had to go with a metal version from Forged in Battle.

After painting over 200 3D printed figures in a row, it was a bit of a shock to the system going from resin 3D sculpts to metal casts and not in a good way. Don’t get me wrong: the FoB figures are lovely, it’s just that the quality of characterisation and animation that are now being achieved with 3D prints is just incredible, and these just felt, well, bland in comparison.

I had checked what Daylami shields looked like, and they promised to be a real pain to do…so I cheated.

The front ranks have my attempts at Daylami shield patterns: hand painted in what I’d call a cell-like pattern. The back ranks use Celtic transfers from Little Big Man Studios over a variety of backgrounds. As the FoB Daylami shields are flat, and the LBS transfers have a hole in them for a shield hub, the shields have a bare patch in the centre sort of in the shape of a cross. This actually works quite well, as it makes the shields look unusual and different, something that is definitely the case with the Daylami. I know my shield patterns aren’t tip top, but they look okat at wargaming distance!

So just the foot commanders, heroes and camps to do now, and that will be my basic Arab Conquest army done. Then to start moving into the later “caliphate” versions: with Berber spearmen instead of Arab warriors as their main infantry contingent.