IABSM AAR: Pouppeville
/Superb After Action Report from Carojon featuring a game based on one of the scenarios in the All American scenario pack.
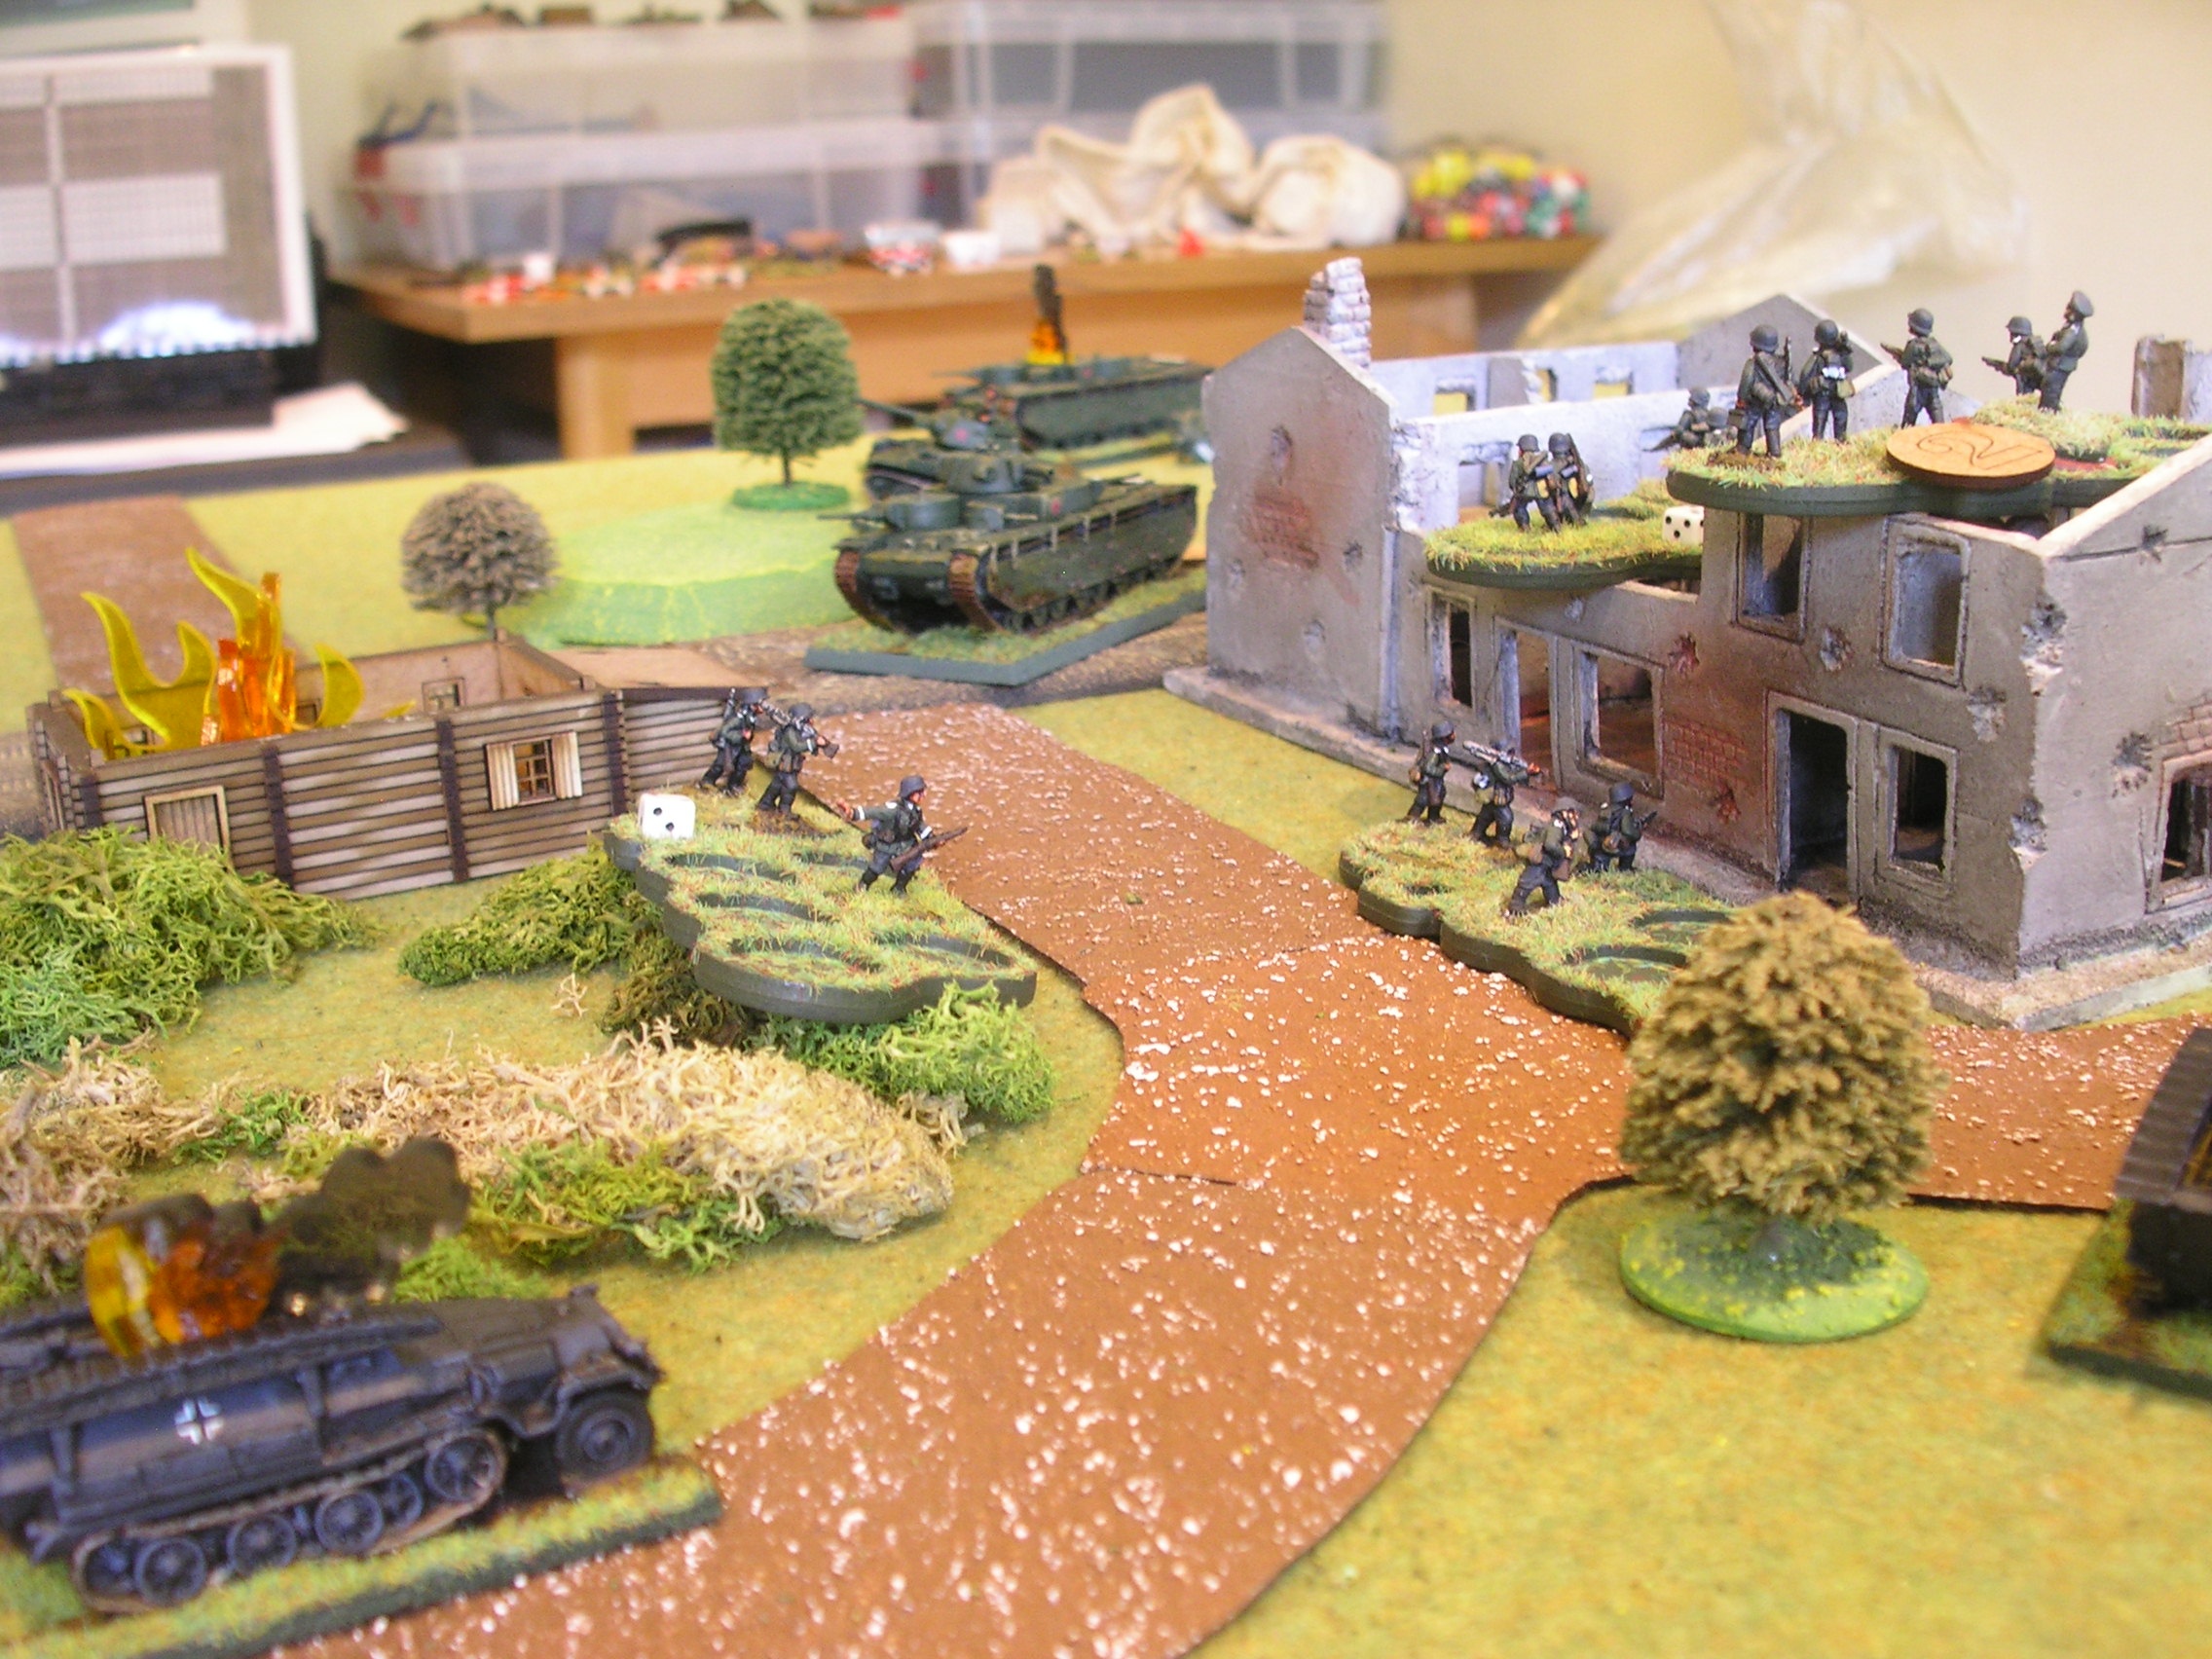
The tiny village of Pouppeville covered the end of one of the four designated exits from Utah beach on D-Day, so members of the US 82nd and 101st Airborne Divisions were dropped behind Utah beach to help in the clearing and securing of the area prior to the landing of the seaborne troops.
See how they do by clicking on the picture, below:
IABSM AAR: The Attack on Worker's Settlement #5 by Mark Luther
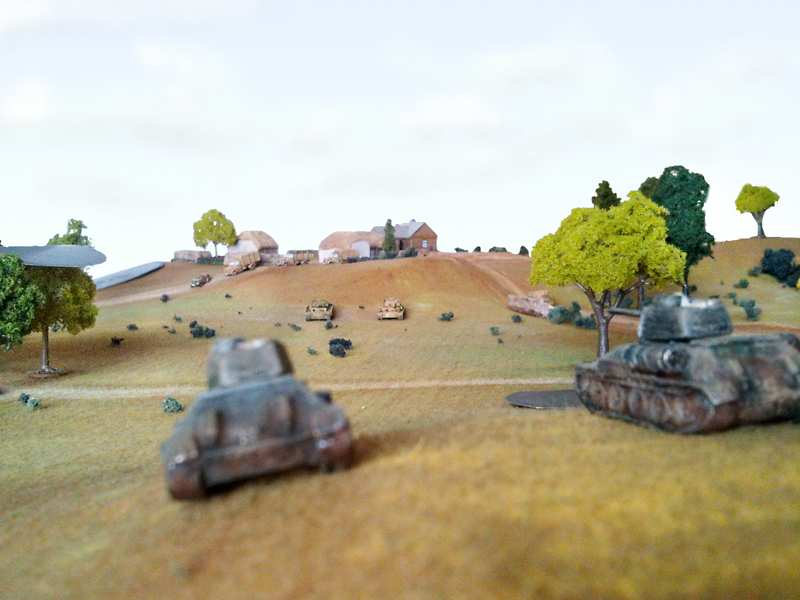
/Another quick trip to Mark Luther's Flickr archive provides us with today's AAR: an Eastern Front game set in...well, I've called it 1944 but on reflection it's probably more like 1943.
Whichever, it's a Soviet attack on German positions in 6mm, and well worth a look! Click on the picture below to see the gallery.
AAR: A Game of IABSM
/Hello All!
Well I'm back from San Francisco and feeling somewhat jet-lagged. Even flying business class, eleven hours there, three days of conference (including entertaining, which also included a great concert from the Killers and Foo Fighters: the former being particularly good) and then ten hours back is a lot to take.
The obligatory shot of the Golden Gate bridge
And one of the Bay Bridge at night
[RUGBY SPOILER ALERT]
I managed, however, to stay awake long enough today to watch Japan beat South Africa at rugby: an unbelievable result that came from an incredible performance from the Japanese team. To give you an idea of their guts, with one minute to go they were three points behind and were awarded a penalty on the Springboks' five yard line: three times they made the decision to go for the try rather than the safer kick-to-draw option.
Which nicely sets us up for today's IABSM battle report: a pick-up game from Charles Eckart which comes with no pictures but some great story-telling. Click here to see the AAR.
CDA AAR: A First Taste of Charlie Dont' Surf
/It's been ages since we had a Charlie Don't Surf AAR on the site, so I'm pleased to reproduce Marcus B's report from his blog Paper Flags and Pewter Bayonets.
Click on the picture below for the full report:
IABSM AAR: Pegasus Bridge & Benouville
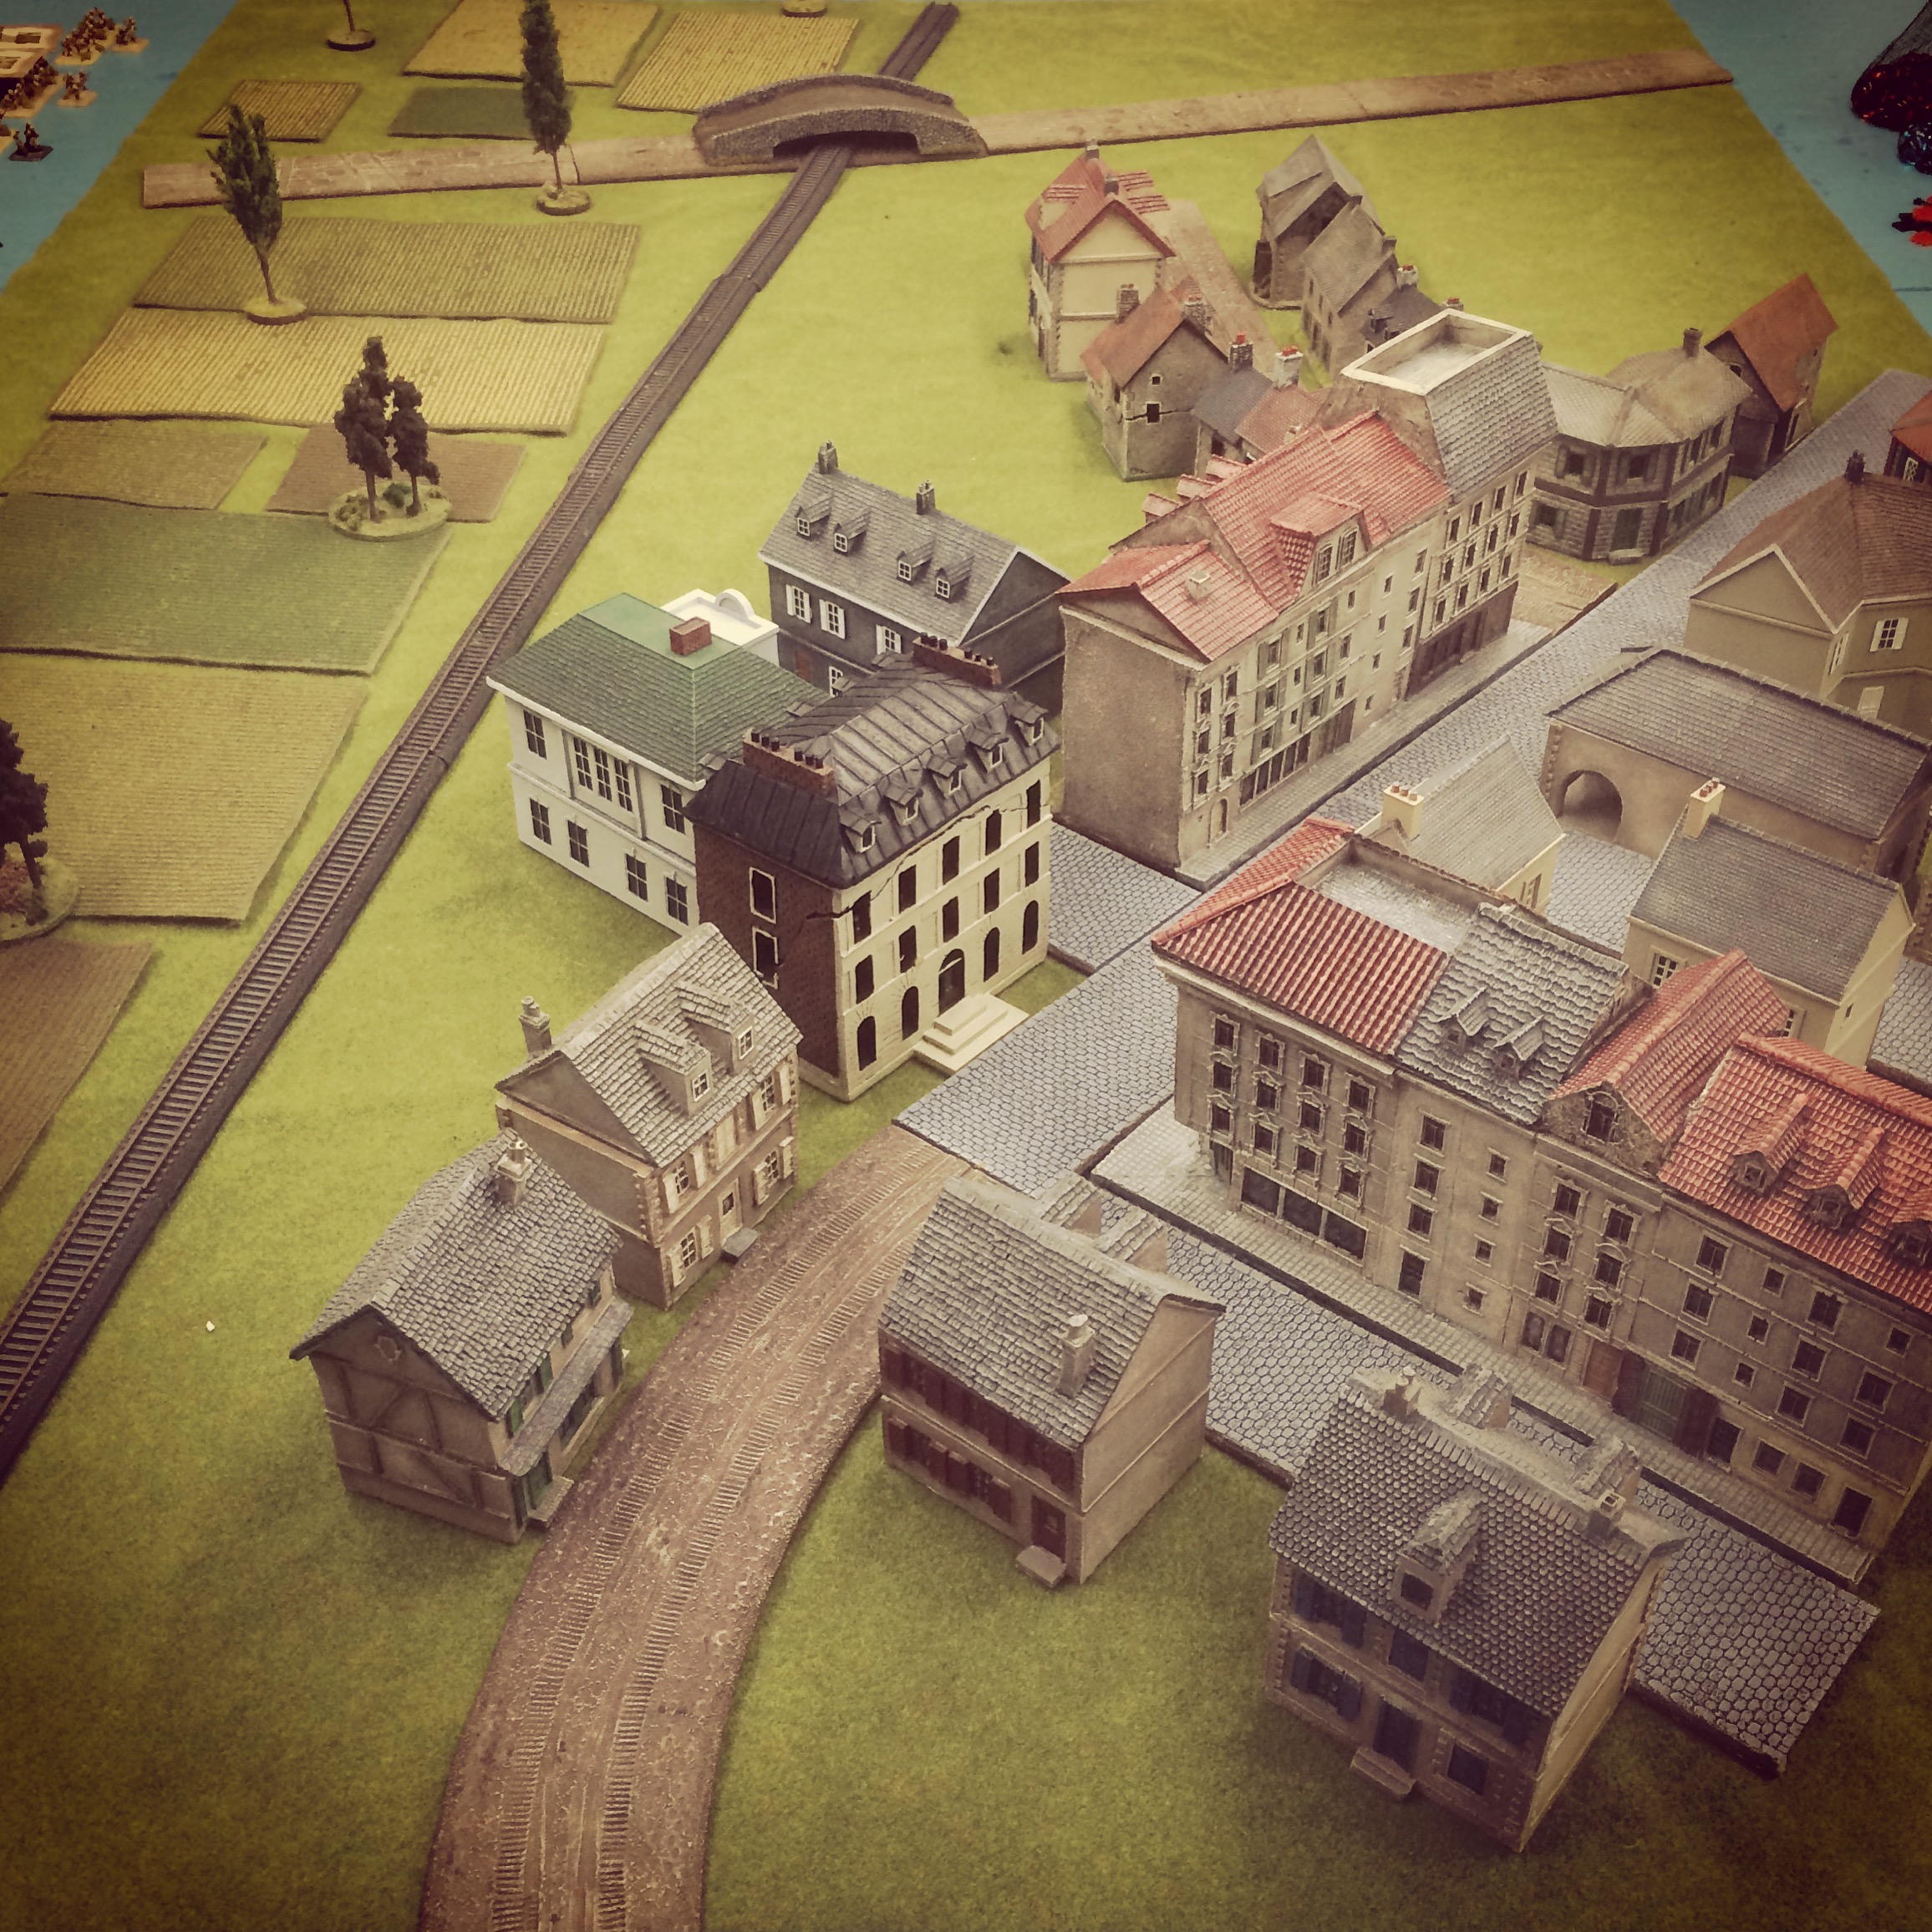
/Another fantastic AAR from Kimber at Brooklyn Wargaming, this time featuring his superb new Pegasus Bridge model amidst his usual cracking terrain.
Vis Bellica: Battle Reports Being Added
/I've finally got around to starting to add the five years or so's worth of Vis Bellica ancients period battle reports to the site.
As they vary in length from a few paragraphs to a major dissertation, rather than giving each report it's own page, I'm adding them in blocks defined by months. Might make it easier to read a whole lot of them at once as well.
Re-reading them all as I transfer them across has made me pine for the game a bit. I really must get on with the second edition...
Click the picture below to go to the VB After action reports page:
IABSM AAR: Gela 2 (Sicilian Weekend)
/Another great AAR from Brooklyn Wargaming, this time covering scenario #09: Gela 2 from the Sicilian Weekend scenario pack.
Click on the picture below to see the whole report:
IABSM AAR: The Bridge At Urk
/Yesterday's game was a continuation of the Vyazma or Bust! campaign I've been running for John and Dave.
Today's game involved a battle of constantly shifting advantage as each side alternatively received two waves of reinforcements.
Click on the photo below to find out whether the Soviets can hold the bridge at Urk!
IASM AAR: On The Road to Izdeshkovo
/James Mantos and the Mad Padre got together for one last game of IABSM before the Padre heads off to his new posting.
Click on the picture below to read their reports:
IABSM AAR: Tanks Forward!
/Having played a couple of 6mm Franco-Prussian War scenarios, it was back to IABSM for Saturday night's battle.
This game is from a scenario that appeared in the TFL Christmas Special 2006: one of the scenarios from Chris Stoesen's mini-campaign set in the Saar region of Germany in 1939 as the French invade.
Click on the picture below to see whether les gens braves can make a success of their attempt to clear a village of German troops. As the title suggests: Tanks Forward!
More Franco-Prussian War Action
/Keen to get his revenge for my win last time, Neil suggested a re-match, but with him playing the Prussians this time.
The situation was fairly similar: von Neil's troops holding a ridge that ran down the centre of the table, with my French aiming to knock them of it. I outnumbered him about 2:1, but Prussian reinforcements were expected, and would arrive at a time determined by a roll of the dice.
The Prussian Line
Looking at the Prussian line, I noticed that all their artillery was in the centre, and that the Prussian right wing was hanging. His left was hanging a little, being sort of anchored on a farmhouse, but it was his right that looked vulnerable.
I therefore set up in a long line parallel to the ridge, but with a column of four battalions of zouaves (nasty, fighting, little buggers) supported by a mitrailleuse and a battalion of chasseur sharpshooters as an attack column on my left flank. My aim was to advance forward, give the Prussian line an unanswerable volley due to the superior range of my Chassepots, and then slam in my attack column. Once I had a foothold on the ridge, the attack column would roll him up as my line kept hammering in the fire. Tres simple but hopefully tres effective!
My commanders were obviously having a good day, as on the first turn my entire army moved forward into rifle range. I took some artillery fire from the Prussian centre battery, but because of its positioning, my densely-packed attack column remained untouched.
On my next turn (the Prussians remaining stationary and relying on their guns) I let loose a volley with the entire line that proved satisfyingly effective, with many Prussian units taking significant casualties. More importantly, the Prussian right flank brigade was disordered, mainly due to some brilliant shooting by the Chasseurs. The mitrailleuse jammed, of course!
Note also that the Prussian left flank brigade was also disordered, leading me to think that there might be something I could do here as well...but more on that later.
the french centre and left (about-to-be-victorious zouaves in the background)
My four-battalion column of zouaves charged up the hill and hit the end of the Prussian line. The lead battalion had been disordered by the fire coming at them as they charged in, so failed to simply smash the Prussians from the ridge, and fierce hand-to-hand combat broke out. Weight of numbers quickly began to tell, however, and the first brigade of Prussian infantry evaporated.
Over to Neil and his next turn: the next brigade of Prussians along attempted to punish the zouaves with fire from their Dreyse needle guns, but someone had obviously blunted their needles as they had no effect at all, not a single casualty being caused.
This was obviously quite worrying for the Prussians, as they retreated both the brigade that formed the right of their line and their guns off the ridge and down into the valley below. The left of my line quickly consolidated their gains: that end of the ridge was in my hands!
Meanwhile, at the other end of the line, I had decided that the opportunity of a disordered Prussian brigade was too much to resist, and had thrown two brigades of infantry up the hill in an attempt to dislodge them as well. Proving that the 2:1 odds were right for scenario (my zouaves had been 4:1 and supported by chasseurs), les gens brave found it hard going, and a hard-slog pushing match developed.
Hitting the prussian left (note the cavalry in the background)
Weight of numbers, however, meant that my men gradually pushed the Prussians back but, just at the moment that his line began to break, Neil sent his regiment of divisional light cavalry into the flank of my assaulting units.
Very messy, and even sending in another battalion of infantry to hit the cavalry in its flank in turn didn't really help matters.
Numbers, however, still told in the end, and although I effectively lost a brigade of infantry doing it, the right hand side of the ridge was now also in my hands so, with the enemy centre retreating, I had achieved my aim.
At that point, however, the Prussian reinforcements began to arrive. Unfortunately, the clock wasn't just ticking for the French, it was ticking for Neil too, so we had to call the game before he could get his extra troops into action.
Saved by the bell, the French were victorious!
losers!


