Even More To The Strongest

More pictures from a recent day of To The Strongest gaming.

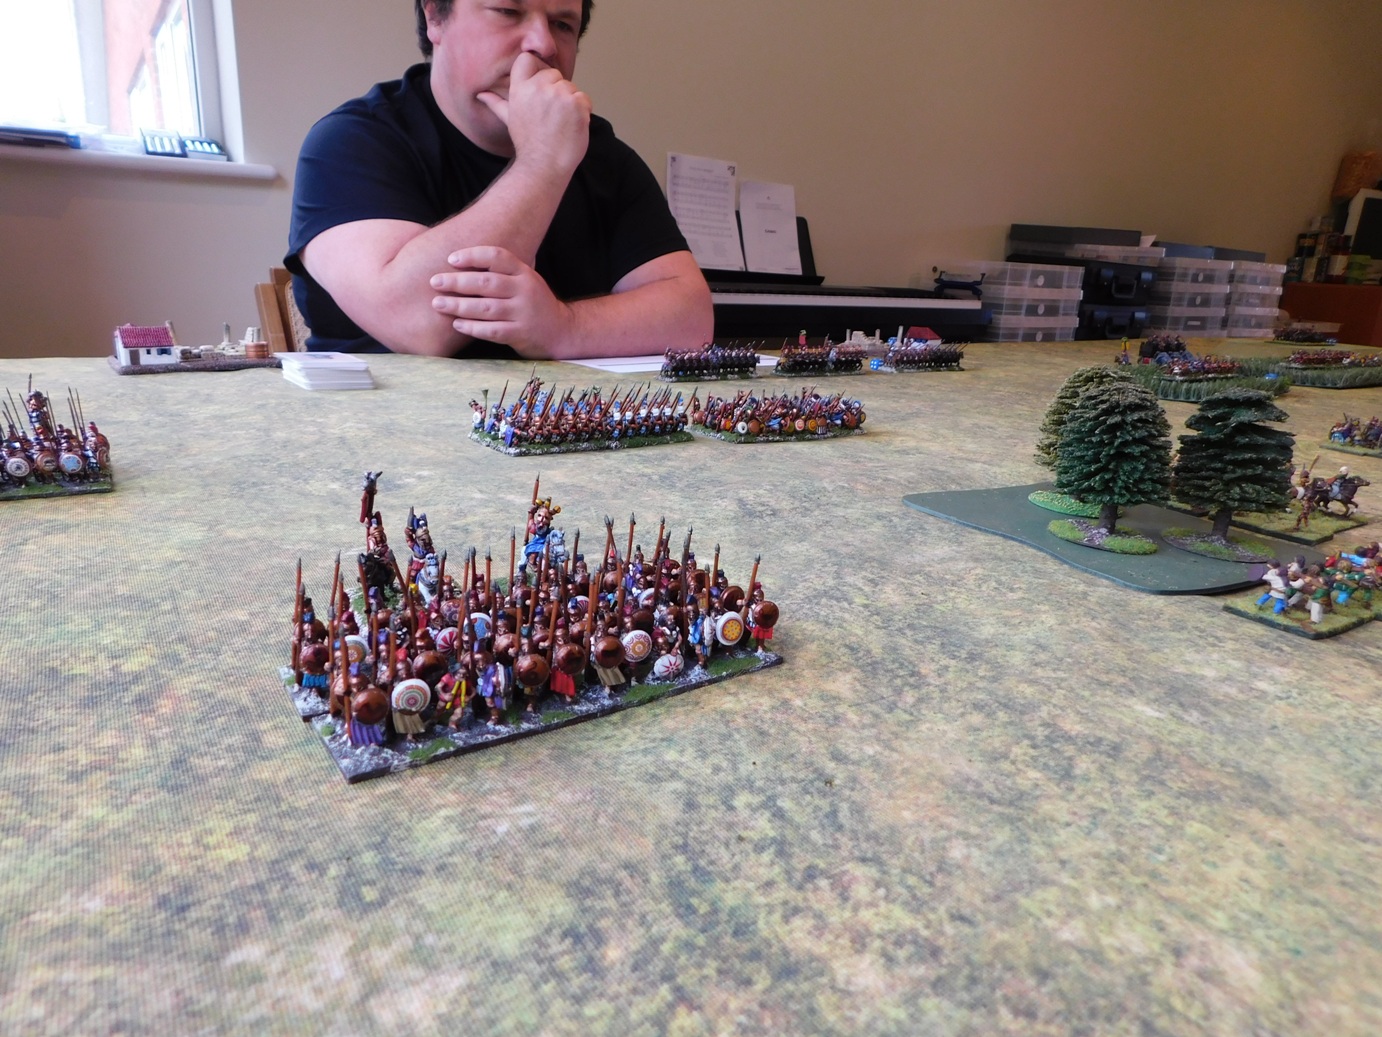
First game was a replay of the last: me and my Ancient Britons vs Neil and the Pyrrhics.

Unfortunately, this time he protected his flanks well, and kept his battle line very closely together. I tried the same tactics as before: warbands in the middle, outflank with the chariots, but this time just couldn’t get through.

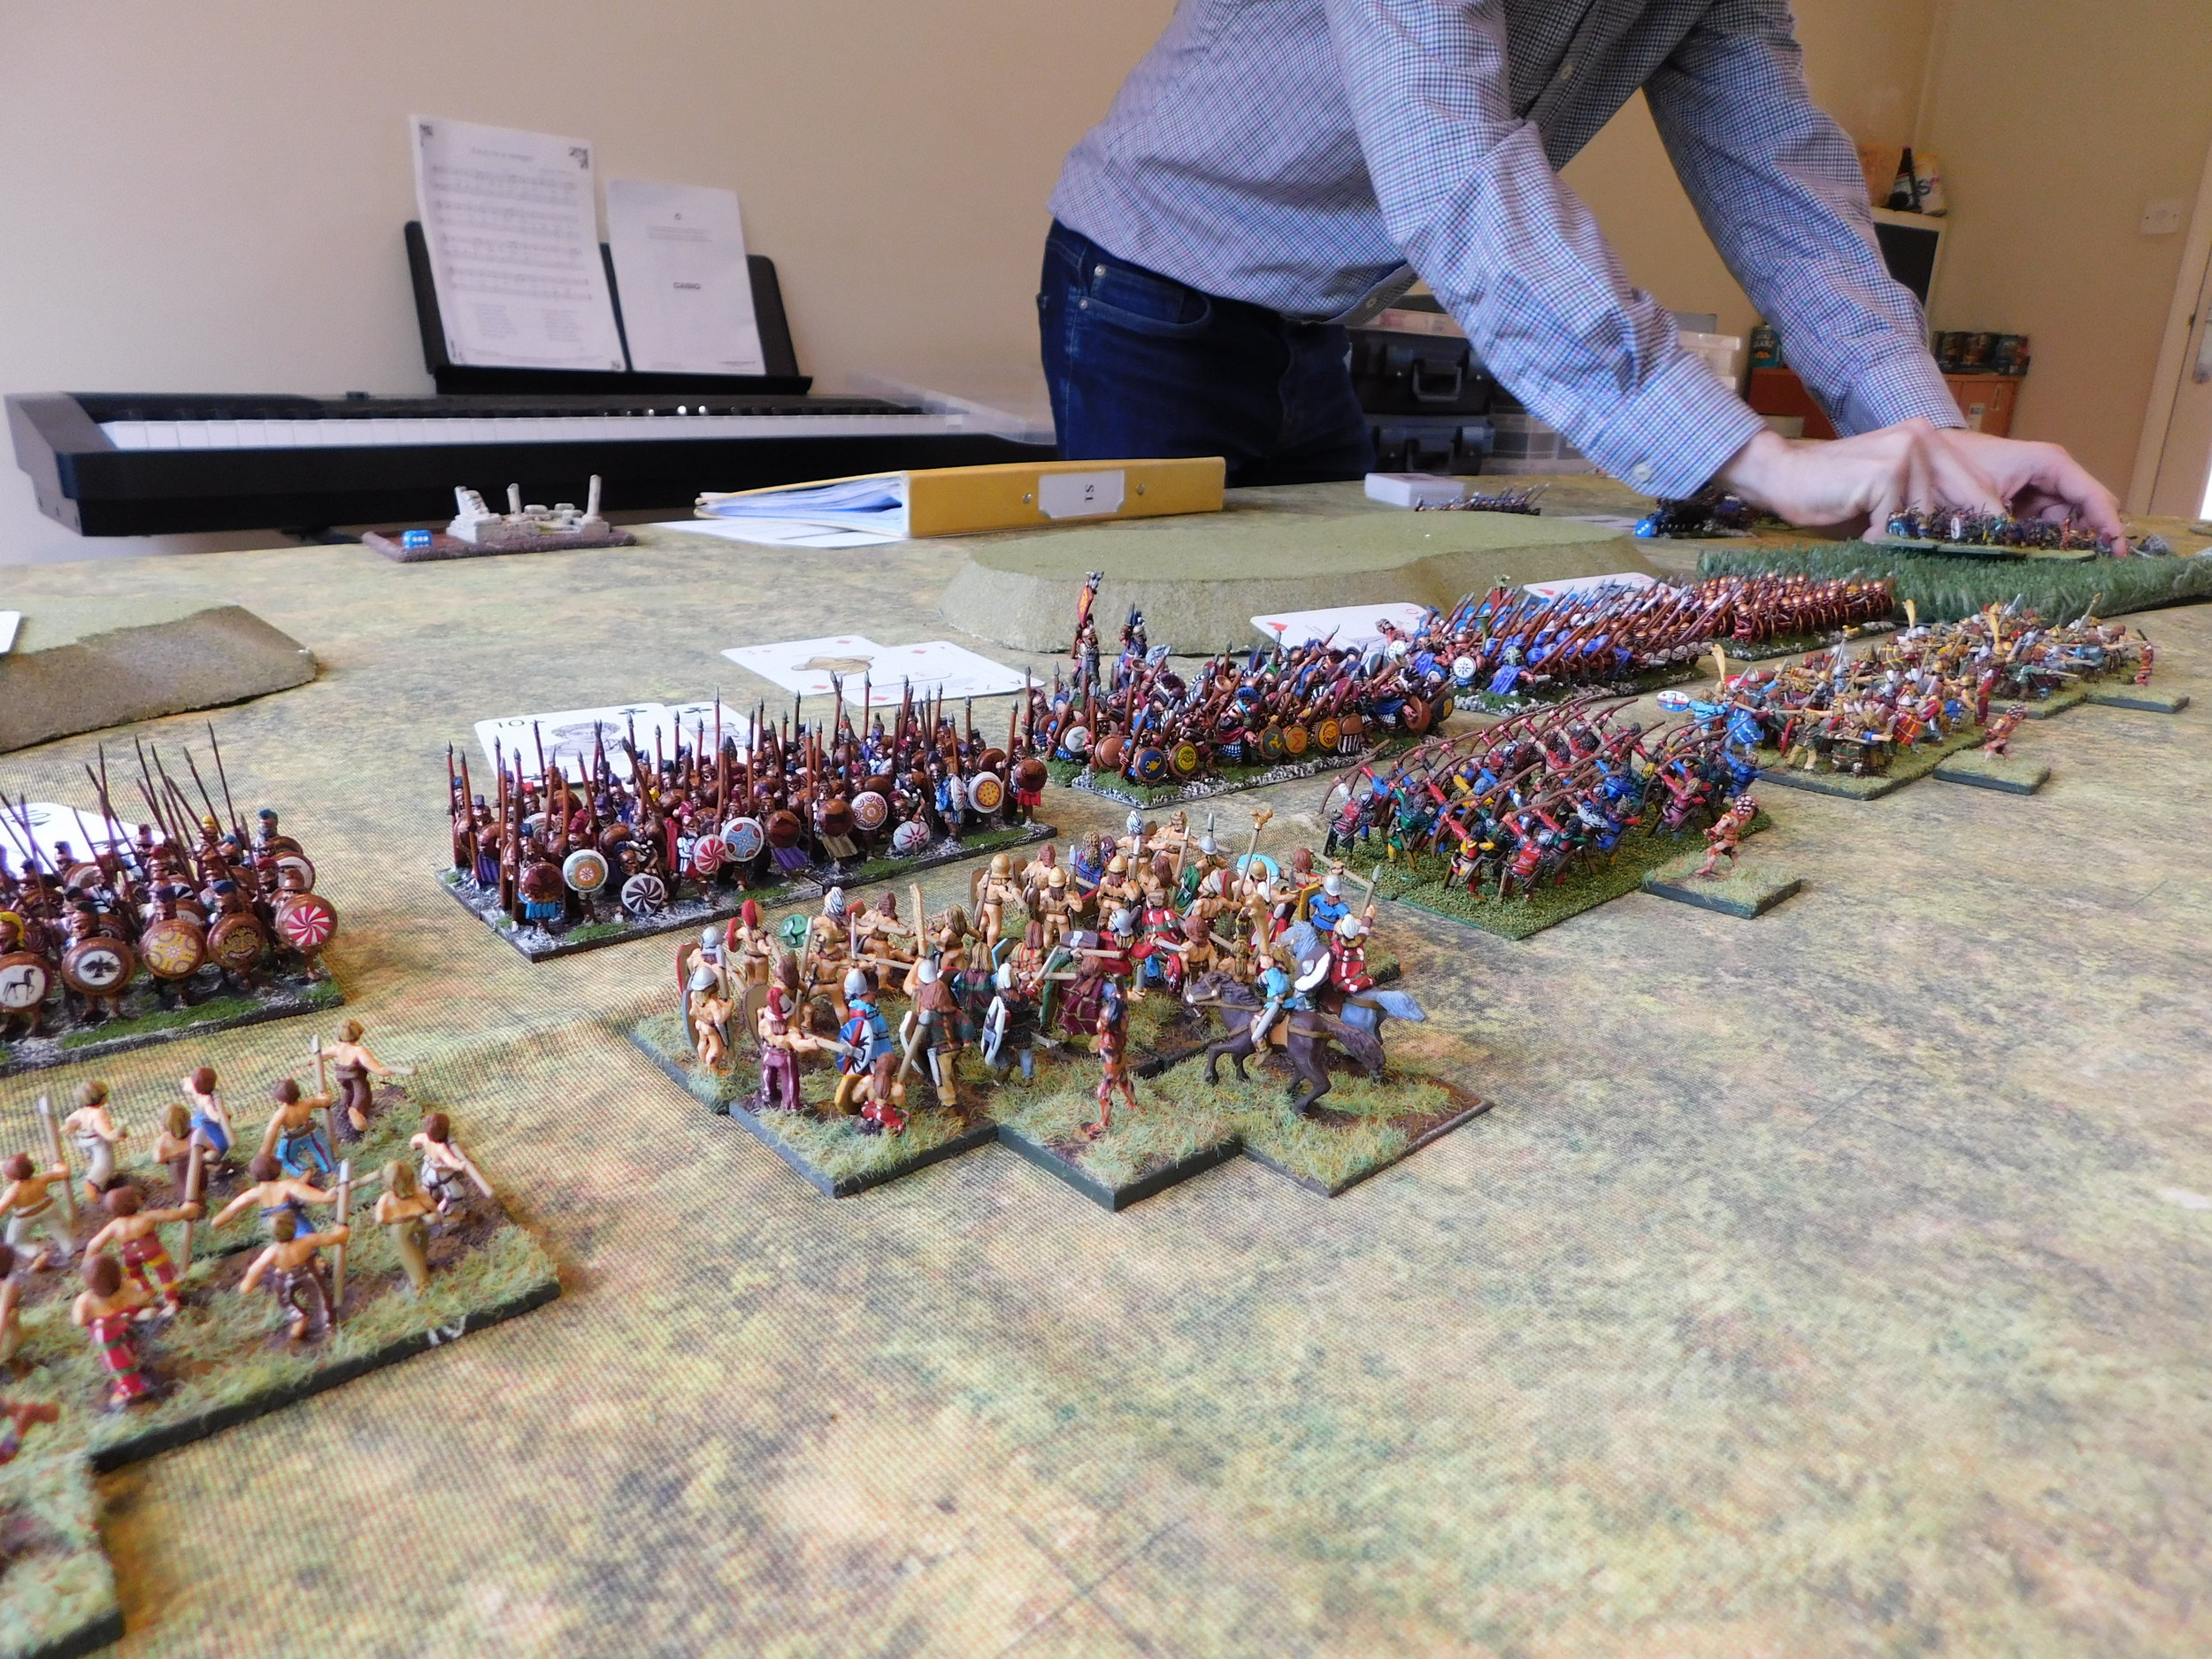
On my left flank, he advanced as quickly as possible and used his cavalry to drive my chariots back until they were forced off table. His cavalry were then free to take one of my camps and then turn back towards the rear of my line. meanwhile, the elephants and lights on his left flank were doing exactly the same thing: drive my lights back with charges that might not actually connect, but do force my lights to evade and evade until they are no longer relevant to the main action.

In the centre, my infantry were held by his Hoplites and pikemen until his cavalry appeared in my rear…and that, as they say, was that!

A loss to the Ancient Britons.

Robert Avery

More To The Strongest

Just to leaven the flow of I Ain’t Been Shot, Mum! battle reports that have been flowing through this site, here are some pictures of another day spent playing the Ancients ruleset To The Strongest.

One of the great things about the game is how fast it plays, so an afternoon’s gaming can often involve three games of TTS…and so it was the last time that friend Neil came around to play.

The action began with Neil playing a Pyrrhic army against my Ancient Britons. Not exactly contemporary or contemporaneous, but not spectacularly unbalanced either.

I placed my warbands in the middle of the field, and my massed chariots on either flank. Neil lined up his Hoplite and pikemen on his right flank, his cavalry in the middle, and his elephants and light infantry on his left wing.

Unfortunately for Neil, his Hoplites took too long to advance forward, which allowed me to engage and pin his centre whilst I sent a mass of chariots around behind his left flank. This led to me rapidly capturing his camps, and then threaten the rear of his main line: a victory to me.

Here are some more pictures of the game:

IABSM AAR: Return to St Aubin (again, again)

Another superb AAR from Desmondo Darkin based on his D-Day St. Aubin scenario.

This time, he and the South London Warlords are using a bigger piece of coast and a sandy beach instead of shingle. For rules, they used I Ain’t Been Shot, Mum! with Desmondo’s Chain of Command-modified activation system.

Click on the picture below to see all:

IABSM AAR: Winter Attack!

Fellow Lardy Desmondo Darkin and gang have played their first game using their new winter terrain.

They had just over three hours to play a German attack on a Soviet held village in 1944, and used I Ain’t Been Shot, Mum! with Desmondo’s Chain of Command-modified activation system.

Both sides had a core Infantry Company and each side then picked support options using a Support list which is basically the Chain of Command list but sized up to IABSM-sized games.

Click on the picture below to see loads of pictures of Desmondo’s superb terrain and some shots of the game itself:

IABSM AAR: Bashnya or Bust! #2A: Osen

Another great battle report from Captain Cliche this time featuring action from the second scenario from the Bashnya or Bust! scenario pack.

After a Soviet victory in the first battle of the campaign, this clash takes place around the small town of Osen. The Germans are holding out whilst their engineers set charges on the last remaining bridge , before withdrawing their remaining troops over the river and blowing the bridge to bits. They are outnumbered and face a swift Soviet attack that features plenty of T34s and SMG-armed tank-riders. The Russians need to drive through and capture the bridge.

Click on the picture below to see if the Soviets took the bridge.

TTS Battle Day Game 3

Onto the third battle of the three that took place as part of a TTS battle day with friend Bevan. Regular visitors will know that by this time I was down two-nil, so rather keen to finish the day with a victory! The sides would be Pyrrhic (played by Bevan) and Ancient British (played by me).

The Ancient Brits are a favourite of mine: in fact, they were the army I used to use when I played WRG 6th competitions in 28mm some thirty years ago…when your chariots were known as the Ancient British Panzer Division.

Under TTS, the Ancient British have an even greater proportion of their army as light chariots than under WRG 6th, so I decided to keep things very simple and employ that well known AncBrit tactic known as “the horns of the Highland Cow”!

This actually worked surprisingly well. My light troops on either flank overwhelmed his light troops through sheer weight of numbers and, most pleasingly, before his Hoplites could start trying to chew through my warbands.

As my chariots curled around onto his rear, the Pyrrhics realised that this was not going to be a Pyrrhic victory so much as a Pyrrhic disaster, and surrendered.

End of the day score: Bevan - 2, Me - 1 .

A great days gaming with what is a delightful little rule set!

TTS Battle Day Game 2

Game two of our To The Strongest battle day involved using Bevan’s collection of 28mm medievals: a clash between the Feudal French and the Feudal English.

The sides were fairly homogenous: each consisting of a core of Knights supported by some missile shooting peasants…longbows for the English, crossbows for the French. The English also had a couple of units of billmen.

We used the terrain rules as laid out in the book, which led to quite an unusual battlefield and both sides squatting opposite each other in one corner.

Bevan had warned me that TTS medieval was very little about tactics and more about just smashing into each other and trying to make sense of the resultant carnage, and he was proved quite right.

Initially, however, I did try something quite tactical: marching a unit of knights up the side of the forest on my left flank and attempting to curve round the end and hit some English infantry in the flank. This almost worked, but was stymied by the cards and some defensive advances by the rest of Bevan’s army which, if you want the technicalities, put my advancing knights into another unit’s Zone of Control (there’s a lot of ZOC-ing in TTS!) and therefore stopping them completing their mission.

After that failed, it was my turn to receive an English charge, one that punched through my line as the perfidious English aimed themselves at some mercenary crossbowmen rather than rising to the chivalric challenge posed by my knights. This lead to a general breakdown of everything into a smashing, crashing melee from which both sides emerged with just one or two victory coins left apiece.

It was then just a matter of who broke another unit first…with Bevan taking the honours as another unit of crossbowmen fell to an armoured steamroller.

A great, fun game that I look forwards to repeating next time we play.

Two-nil to Bevan, with one game to go.

IABSM AAR: St Aubin

A lovely and impressive set of photographs from Desmondo Darkin that first appeared on the I Ain’t Been Shot, Mum Facebook group.

Desmondo and friends play a slight variant of IABSM where dice rather than cards/chips are used to govern unit activation. Now whilst we don’t countenance such heresy here at VL, if it helps spread the Lard, then go, Desmondo, go!

Click on the picture below to see the action:

IABSM AAR: Kicking in the Door

Here’s an AAR from Alastair Birch first published onto the I Ain’t Been Shot, Mum Facebook page, so I hope he doesn’t mind me reproducing it here.

This is a cracking little encounter written by the big man himself, Richard Clarke, back in about 2005. I actually have a Word version of the scenario, designed for IABSM v2, although where I got it from I have no idea!

Adolf himself has told his troops that “the Soviet Union is a rotten structure, that we only need to kick in the door, and the whole thing will collapse before us”. Click on he picture below to see if that’s true!

IABSM AAR: Operation Sealion #04: Take the Heights

Another great Sealion AAR, but not this time from Karim and friends at the Stipsicz Hussars. No, this time it’s Tim Whitworth and his friends at the “Like a Stonewall” wargames group who are playing out the action.

Click on the pic below to see whether the Hyde Home Guard Platoon, under the watchful eye of their daring commander Major fforbes-Cole MC (retired) can defend Paddlesworth against the Fallschirmjaeger Hun.

IABSM AAR: Operation Sealion #03: Capture the Port

Another great AAR from Karim Van Overmeire and friends at the Stipsicz Hussars, again from the Operation Sealion scenario pack for I Ain’t Been Shot, Mum!

This battle report features Scenario #03: Capture the Port, in which elements of the London Irish Rifles defend the small sea side village of Seabrook against the German 21st Infantry Regiment. The Germans had to capture this position on their way to Folkestone: securing the port of Folkestone was necessary to allow German armour to be brought ashore.

Click on the picture below to see if Seabrook will fall under the Nazi jackboot!

Salute 2019

This Saturday it was off to Salute 2019 at the Excel centre in Docklands.

Salute is one of the cornerstone shows in the UK wargames calendar, and it’s easy to see why.

Firstly, the Excel centre is a great venue: easy access by car, parking right underneath (even if it is £20 for the day), huge amounts of space, and plentiful food and drink outlets. My only complaint would be that sometimes I find the lighting in the hall a bit dim, but that might just be my fading eyesight!

The queue to get in used to be an extreme annoyance - one could wait an hour - but for the last few years its been so under control that, for example, this year I arrived at Excel at 9.50, had a baguette and coffee for breakfast, and then walked straight in to the show without queuing at all. Amazing! The only question is why couldn’t they have organised it like this before!

The show itself was full of traders and demo games. There are loads of blogs carrying loads of reports on the show, so suffice to say that it took me all morning and some of the afternoon to get round everything.

The Lardies were running a stunning game of Chain of Command set in Malaya in 1942, a period near and dear to my heart (Fall of the Liongate and all that). I didn’t play, but enjoyed watching the action.

Also Larding away was Mike Whitaker with his Bloody Omaha game. Now I played this game a few years ago at one of the Evesham games days…and its a cracker. Mike had 486 figures on 144 bases on an 8x6 table on display and managed two complete play-throughs of the scenario. And people say my games are big!

Click on the picture below to see all the photos:

As per usual, I did spend a bit too much money, but it was all on absolute bargains, honest! I bought a bag of fifty brushes for £20, which should keep even an established ‘brushbane’ like me going for a bit; and then I also bought one of the “all you can see for £100” mdf sci-fi industrial set-ups from Troll Trader that I just cannot wait to get built and painted up.

The show was nicely crowded all through the day, except perhaps at lunchtime. I hear a lot of people saying that their mates didn’t go because they couldn’t be bothered, or it wasn’t their thing any more or something rubbish like that. All I can say is that they are wrong: Salute is still a cornerstone show and a must-visit for any wargamer in reach in the UK.

IABSM AAR: Battle at Parczew

It’s September 29th, 1939, and Independent Operational Group Polesie are marching south towards Koch. Attacked by Soviet cavalry and tanks, the Poles are at first beaten back, but then counter-attack and manage to re-take the village of Milanow. This they then prepare to hold in the face of further attacks from Russian infantry with tank support.

The above is a condensed version of the background given to scenario #31: The Battle at Parczew from the September War scenario pack. I would play the Poles, defending Milanow; with John and Dave commanding the advancing Soviets.

Click on the picture below to see all…

IABSM AAR: Operation Sealion #02: Rearguard at Pevensy

Karim van Overmeire and the Stipsicz Hussars are continuing to play through the Operation Sealion scenario pack, this time they fight scenario #02: Rearguard at Pevensy.

Will the British hold the bridges, or will the fearsome Hun get in amongst them? Click on the picture below to find out all…

IABSM AAR: Return to San Marco

Tim Whitworth and the Like a Stonewall Wargames Group had a second go at the “Attack on San Marco” scenario from the “Cymru Am Byth” scenario pack.

Rather than start a new AAR, I’ve added the words and pics to the bottom of their first attempt.

Click on the picture below to see all: