IABSM AAR: Rumble in the Jungle

Here a nice little after action report from Alex Sotheran, taken from both the IABSM Facebook group and Alex’s Storm of Steel blog.

The game was Alex’s first using I Ain’t Been Shot, Mum!, and involved a solo game set on the Malay peninsular at the time of the Japanese invasion in December 1941. Although knocked together by Alex himself, the scenario resembles #02: Ban Sadao from the Fall of the Lion Gate scenario pack.

Click on the picture below to see how Alex got on:

IABSM AAR: On the Northern Shoulder of Kursk, Fight 6: German Assault on the 1st May Collective Farm

Here’s the final episode from Just Jack’s incredible “On the Northern Shoulder of Kursk” series of battle reports.

Here the Germans launch a last-ditch attempt to take the 1st May Collective Farm is the face of the usual determined Soviet defence.

This is another truly epic report (146 photographs plus plenty of text) so well worth a look. Click on the picture below to see all:

Check out Just Jack’s blog by clicking here.

Three Games of To The Strongest

Off to friend Bevan’s house for an afternoon of To The Strongest. Playing at 130 points a side (the standard for the World Championships) you can easily get three games into one afternoon session.

My first game was commanding a longbow-heavy English HYW army against an impressively painted Viking army.

The Vikings rushed forward as fast as they could, eager to get into hand-to-hand with my massed archers. I was equally eager to stop them doing so, so with my Knights and Billmen protecting my left flank, I sat back in the centre and sent flight after flight of arrows into the advancing hordes.

This tactic worked quite nicely, so by the time his men actually got up to my battle line, many of his units had already taken one or two hits (three would remove them from the table). That’s when John discovered that my archers were all veterans with extra two-handed cutting weapons: just right for finishing off already-pin-cushioned Viking units! A victory for me.

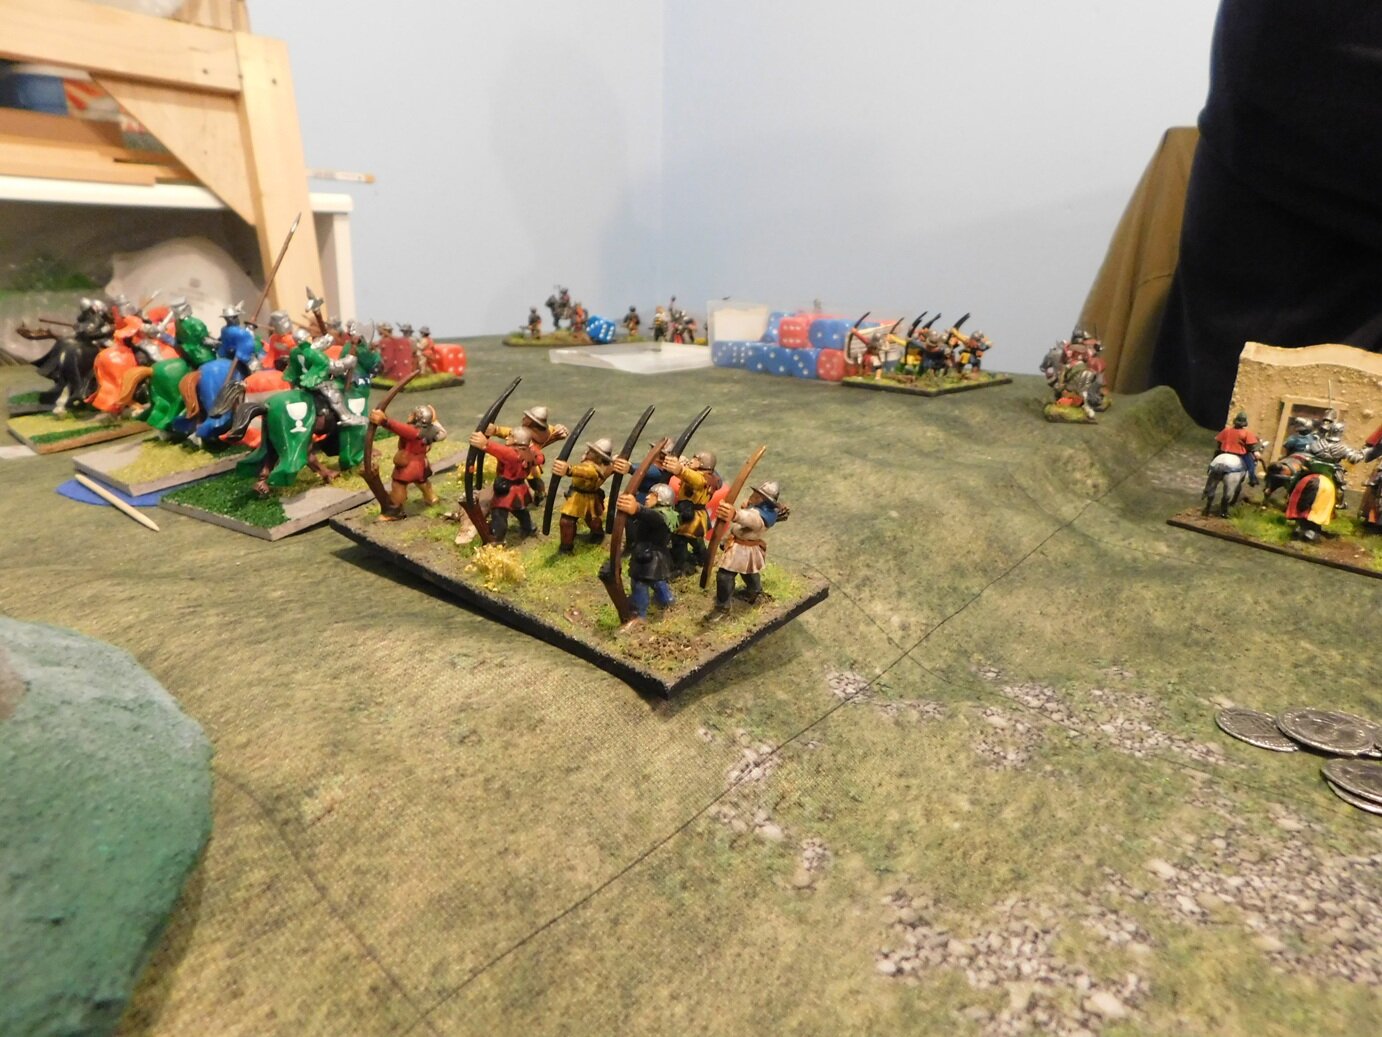
The next game promised to be very interesting: it was time for a bit of civil war as I used the same army as in game one but now faced another English HYW army.

Our forces were thus very similar, except for the fact that Steve, my opponent, had two longbow and one dismounted knight units in each of his foot brigades rather than the three longbow units that I had. Steve’s army make up was thus actually more historically accurate than mine, with the added difference that his longbowmen were all standard types, giving him a slightly bigger headcount.

I decided to adopt the same basic tactics as last time i.e. my archers would shoot from distance whilst the heavies protected my left flank. Steve adopted a similar deployment, so I thought it was all going to be about who had the best luck with the cards (TTS has playing card based game mechanics).

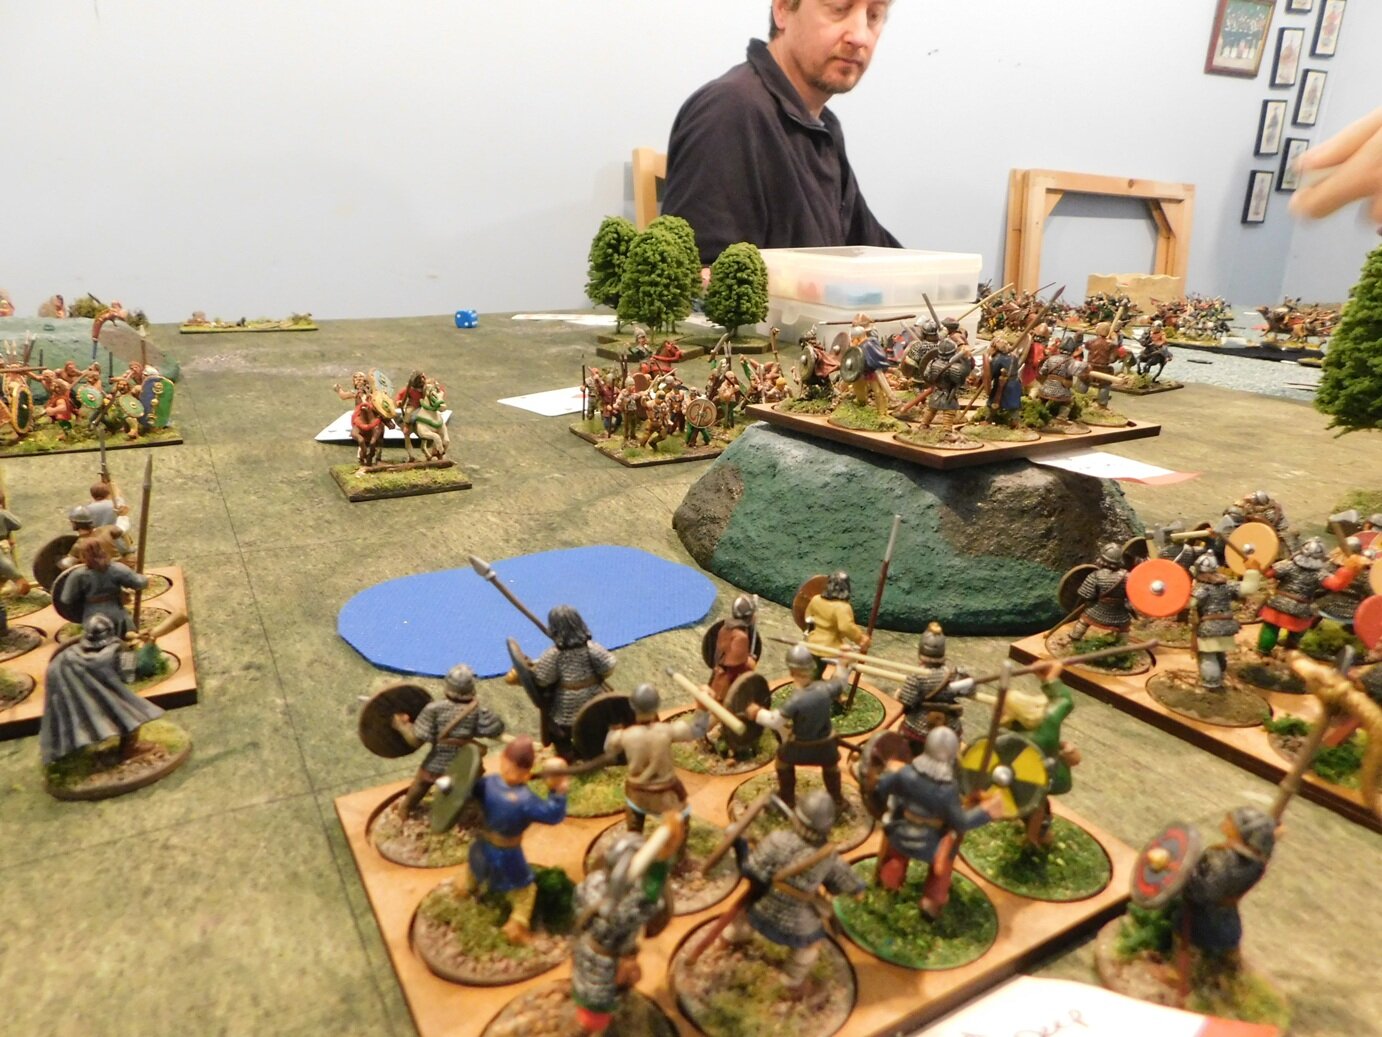
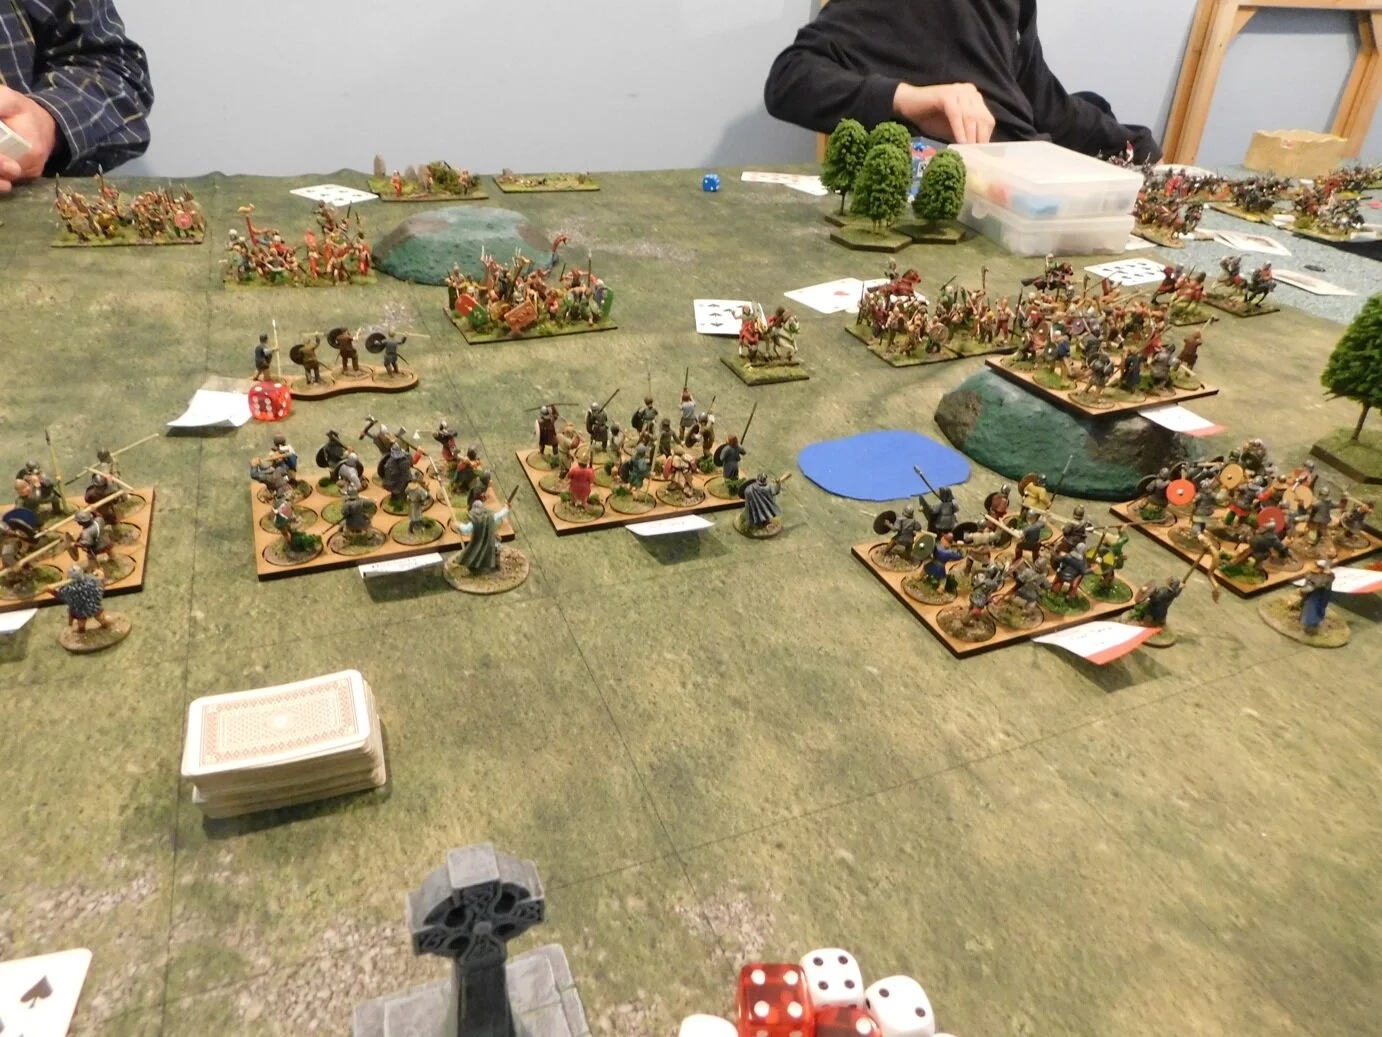
In the end, however, that’s not how it worked out. In the centre, Steve advanced his melee foot units towards my line, giving me the opportunity to target each one individually with my longbows. This generally resulted in them disappearing from the table, meaning that when the rest of our troops did clash, I only had to win a third of the combats to win the game (the heavies just faced each other, manoeuvring for some kind of positional advantage, throughout). A second victory.

I fancied a change for my final game, so volunteered to take the Vikings, this time facing Peter and his Ancient Britons. This, again, was two quite similar armies, with the only real difference between them being the British light chariots/horse.

And it was indeed the light chariots/horse that made a difference. I made a terrible mistake early on in the game by leaving my right flank floating. This allowed Peter to get a couple of units of light horse in on my flanks, disordering a couple of my Hyrd units. This allowed his warriors to hit them at a distinct advantage, my right flank crumpled, and my opponent neatly rolled me up on the right and in the centre! Another nice tactic that Peter used was to refuse his own right flank, meaning that any units I had there (one third of my army) spent the entire game chasing after contact with the any enemy units. The end result was a fairly catastrophic loss!

So all in all a great afternoon’s gaming. Thanks to Bevan, John, Steve and Peter.

IABSM AAR: Valle della Marie

Here’s another great I Ain’t Been Shot, Mum! after action report from the pen of Tim Whitworth and picked up from the IABSM Facebook Group.

This time, Tim and friends play one of the scenarios from the pen of Mike Whitaker that can be found in the various Lardy Specials. I can’t remember which one it is, so you’ll have to get them all to find out!

This encounter is set around the Gothic line in 1944. A British company attack supported by Sherman tanks and artillery against Germans dug in and determined to fight for the last inch of their territory. Click on the picture below to see all:

And why not compare the action here to Mike’s original report, which can be found by clicking here.

IABSM AAR: The Gap

Here’s a battle report from a game of I Ain’t Been Shot, Mum played last weekend against John and Dave.

Unusually for us, the scenario was late war, eastern front: with the Soviets rushing forwards to secure a gap in a ridge that the Germans were also seeking to block.

It was a very close run thing, with a fair degree of carnage on both sides. Click on the picture below to see all…

IABSM AAR: Operation Martlet Day 2 (2)

A largely photographic battle report created from a mash-up of posts from Desmondo Darkin and Iain Fuller on the IABSM Facebook Group. The game is adapted from the Chain of Command “Operation Martlet” pint-sized camapign book.

They are playing a version of I Ain’t Been Shot, Mum that uses dice, not cards, to control initiative: a mash-up, if you like, of CoC and IABSM. Seems to have given them a great game.

Click on the pic below to see all:

IABSM AAR: South of Cherbourg

It’s always nice when you hear about someone returning to I Ain’t Been Shot, Mum after a bit of a break and having a thoroughly good game…so here’s a quick AAR from Rob Goodfellow of the Tamworth Games Club.

Here Rob and friends play through the second sample scenario from the IABSM v3 rulebook: South of Cherbourg. Click on the picture below to see all.

Even better, Rob tells me that they are now thinking of playing through the Blenneville or Bust! scenario pack: so I’m sure we can expect plenty more AARs in the near future!

IABSM AAR: On the Northern Shoulder of Kursk, Fight 4: Karpunevka

Here is another stupendous After Action Report from Just Jack, taken (with permission) from his excellent BlackHawkHet blog.

I say “stupendous” because not only is it a really good read, but it’s huge as well: 144 photos, all individually captioned with an account of the action that’s shown. It’s so huge that it actually broke my attempt to get a post every day in November: I managed one every day right up to Monday 25th and then ran into this monster!

It also didn’t help that Squarespace was playing up: I had to type out about one caption in every five as the cut-and-paste just wasn’t working. Thanks for the bleeding finger tips, Squarespace!

Anyhow, enough of my moaning. It’s a great read: click on the picture below to do so…

IABSM AAR: Bloody Omaha Re-Visited

Those of you who have been on this year’s wargame show and Lardy Day circuit this year may well have seen Mike Whitaker’s excellent demonstration game Bloody Omaha. This is a fantastic set up representing The Big Red One’s assault of the eastern end of Omaha beach (Colleville-Sur-Mer).

Those of you who know Mike will know that he is a man of mighty generous spirit, as is proved here as he lays on the game for a couple of fellow Lardy’s who hadn’t had a chance to take part in any of the show sessions.

Click on the picture below to see a magnificent battle report taken from the Roll A One blog and Mike’s own blog Trouble At T’Mill.

IABSM AAR: 3RTR at Hames-Boucres

One of the reasons I love running this site (at great expense in terms of time and money BTW!) is the opportunity to post battle reports from games based on scenarios from the various scenario packs that I’ve written.

I like seeing whether the game worked or not (fortunately they generally do!), and how people have interpreted the situation, terrain, any special rules and the like. It’s also great to see the beautiful figures and scenery that people use as well.

It gives me great pleasure, therefore, to introduce the following AAR by Time Whitworth using the 3RTR at Hames-Boucres scenario from the Defence of Calais pack (the first I wrote). It’s a great scenario that I’ve played several times myself. Click on the pic below to see all:

IABSM AAR: Objective - The Crossroads

Another quick after action report from Burt Minarot’s excellent Spanish-language blog Las Partidas de Burt.

Here, British troops are trying to slow down a German force advancing towards a vital crossroads designated as the next jump-off point for the Allied advance.

Click on the picture below to see all:

IABSM AAR: Chasseur 3: La Ville

Friend Dave and company have been playing a mini I Ain’t Been Shot, Mum campaign, Chasseur, and invited me to take part in game three. The campaign is set during the invasion of France in May/June 1940, and I would play a column of German Panzers as it motors towards the Seine.

The AAR contains all you need to play the scenario for yourselves, so click on the pic below to see what happens:

IABSM AAR: On the Northern Shoulder of Kursk, Fight 3

Yet another stupendously huge IABSM AAR from Just Jack: the third in his series of fighting on the northern shoulder of Kursk.

This time, the Soviets are counter-attacking towards Kastenwold, and seem to be doing a good job of it too!

This is another huge AAR: 162 photos if I recall correctly. So click on the pic below to see all…

IABSM AAR: Operation Martlet, Day 2

Great little AAR by Desmondo Darkin, taken from the IABSM Facebook Group.

The scenario was based on Day 2 of Operation Martlet, 25th June. 1944: the British attack on the German line at St Nicholas Farm and the Grand Farm.

Desmondo and friends used the Oh What a Total Bummer dice-driven version of IABSM. Click on the pic below to see what happened: