TTS AAR: Classical Indians versus Caesarian Romans
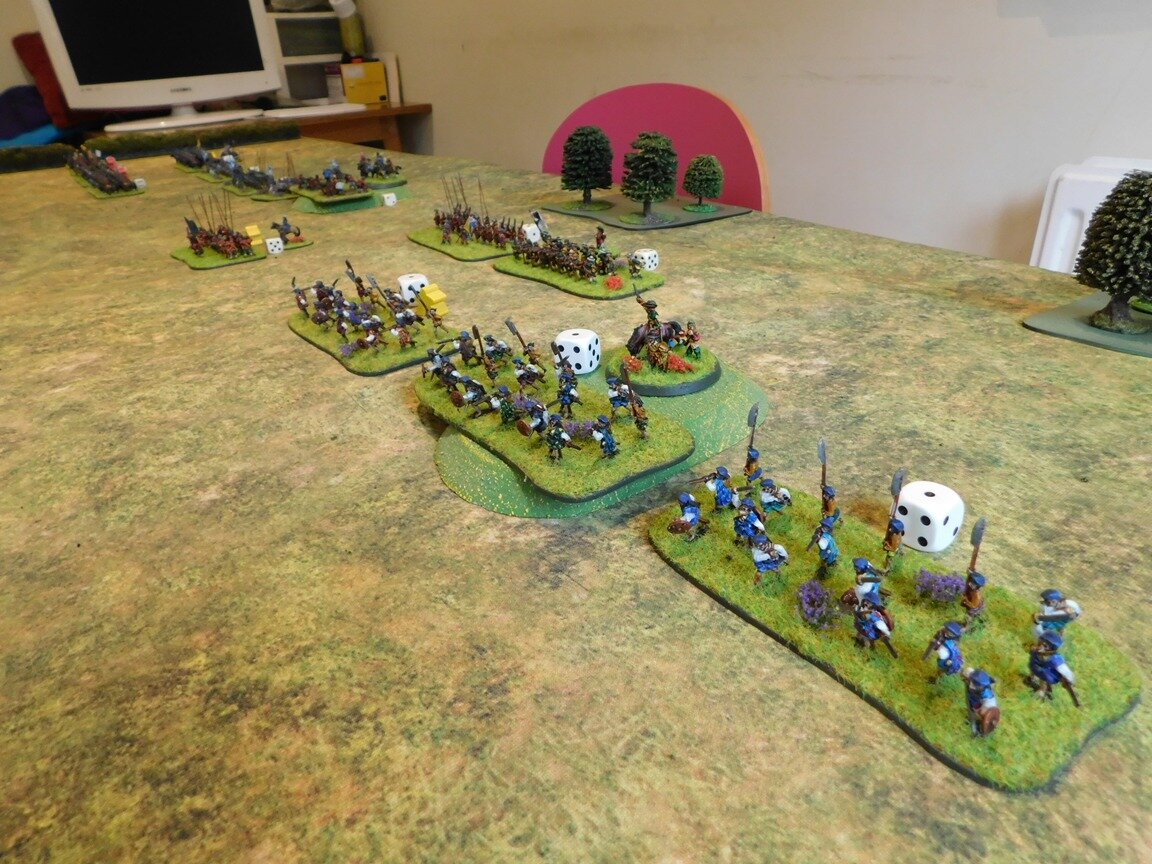
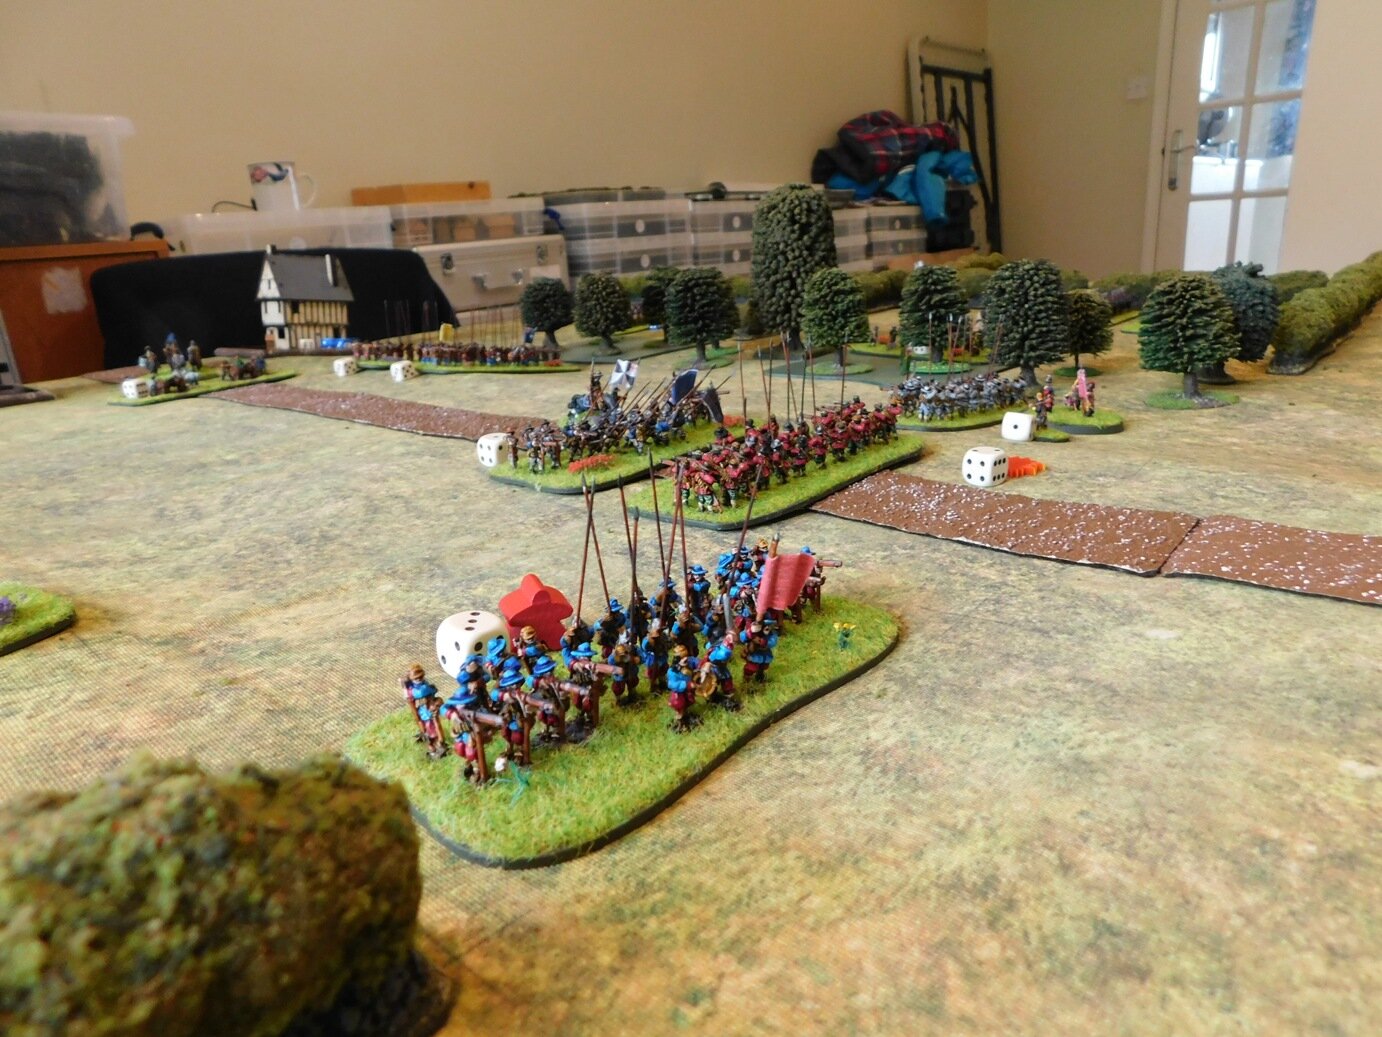
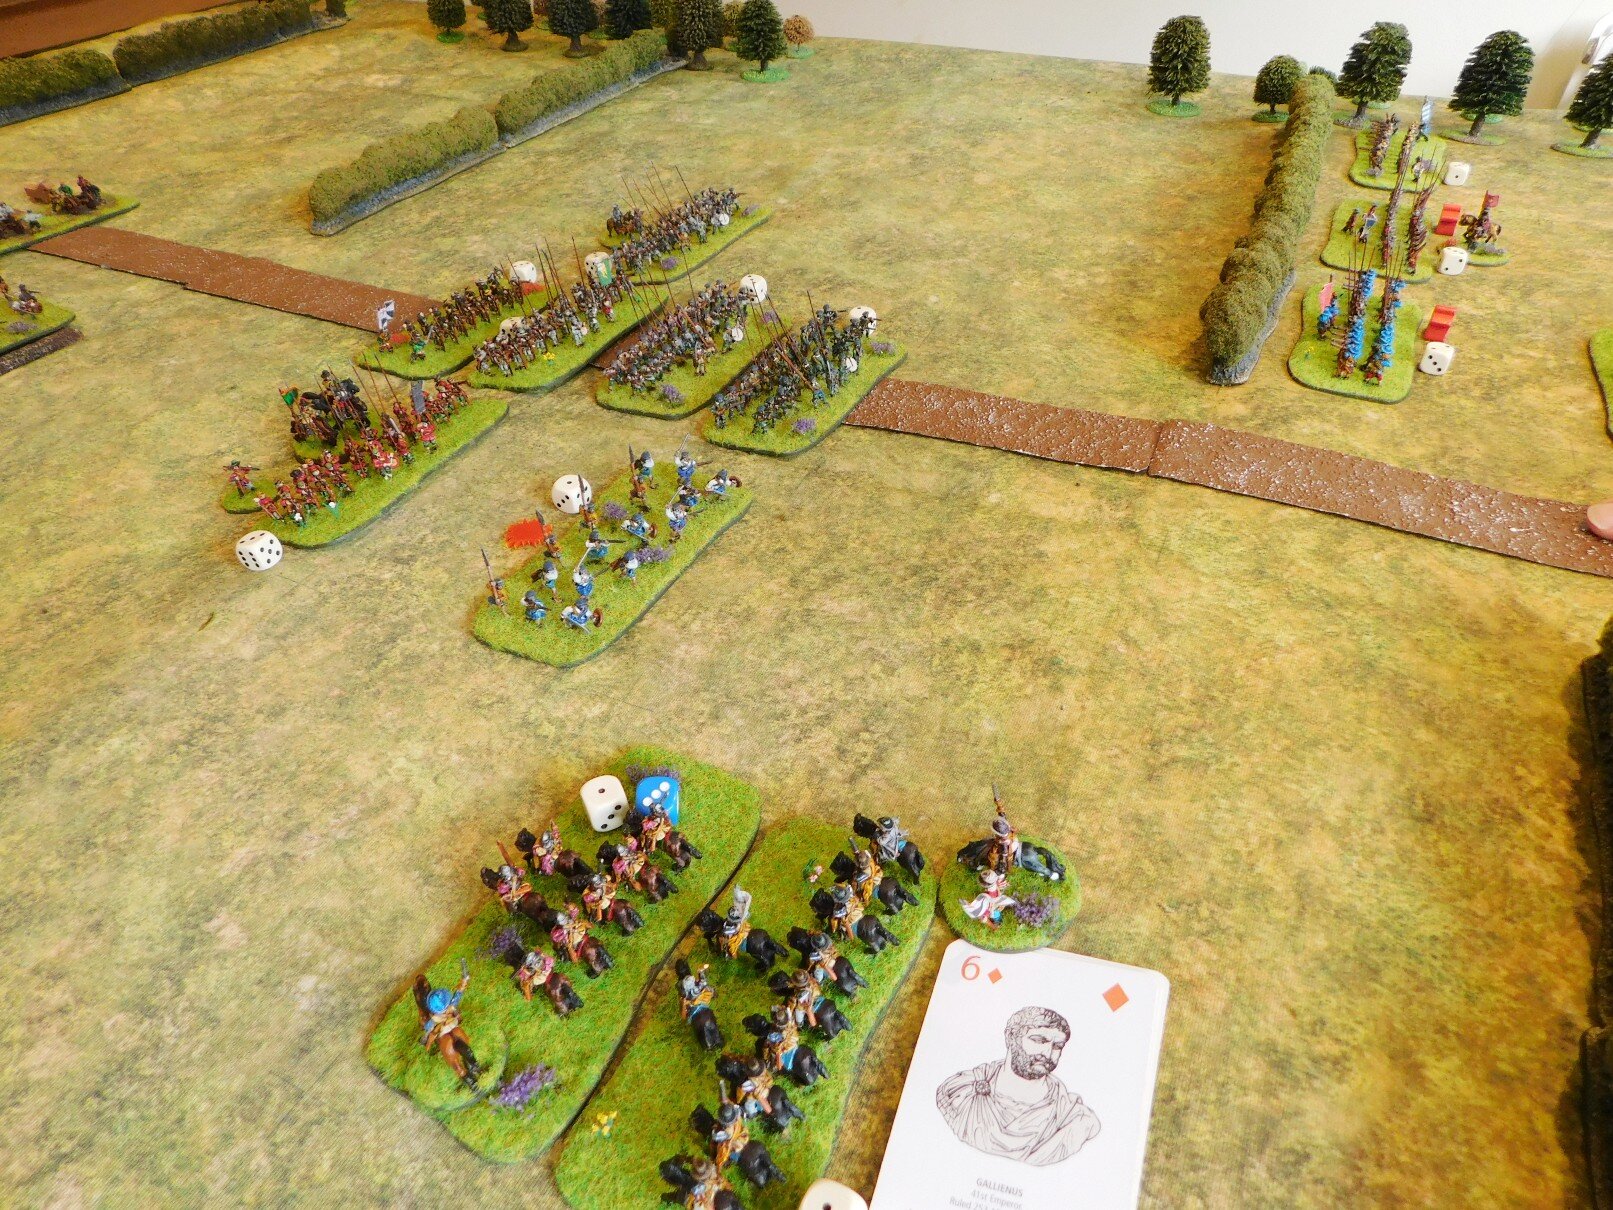
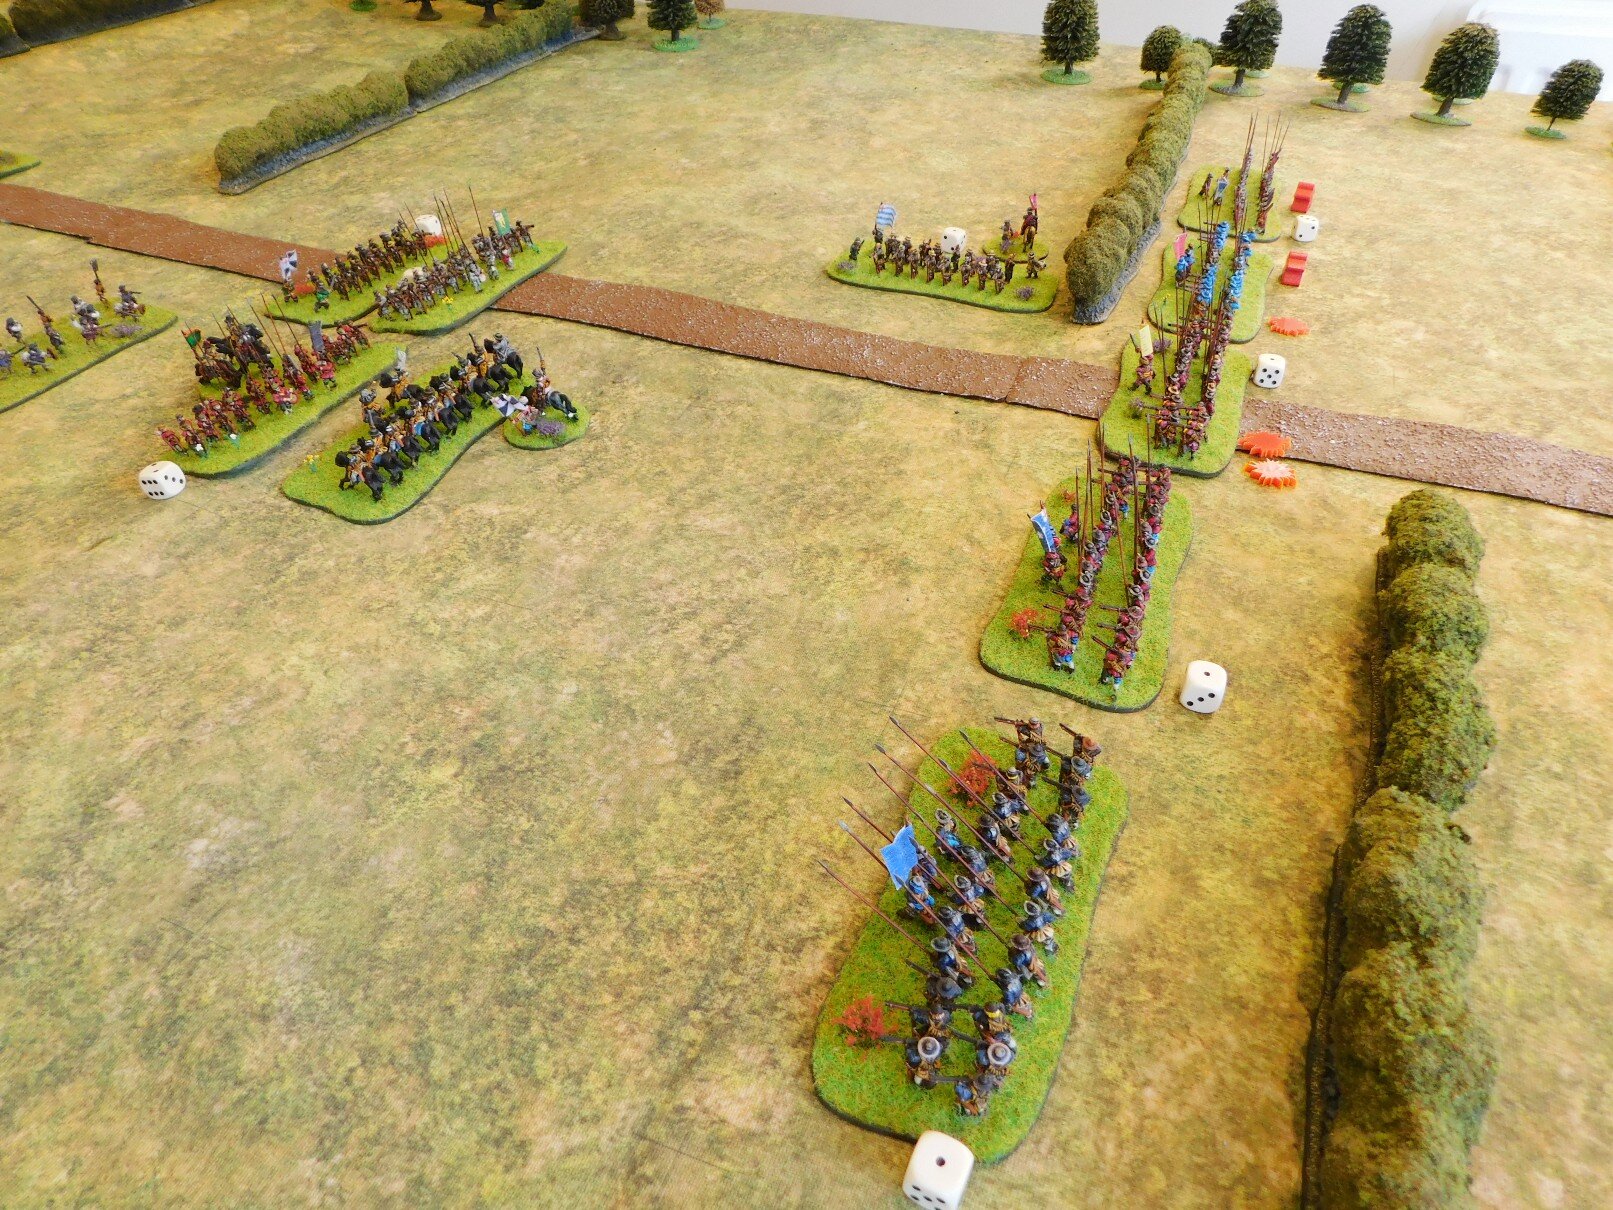
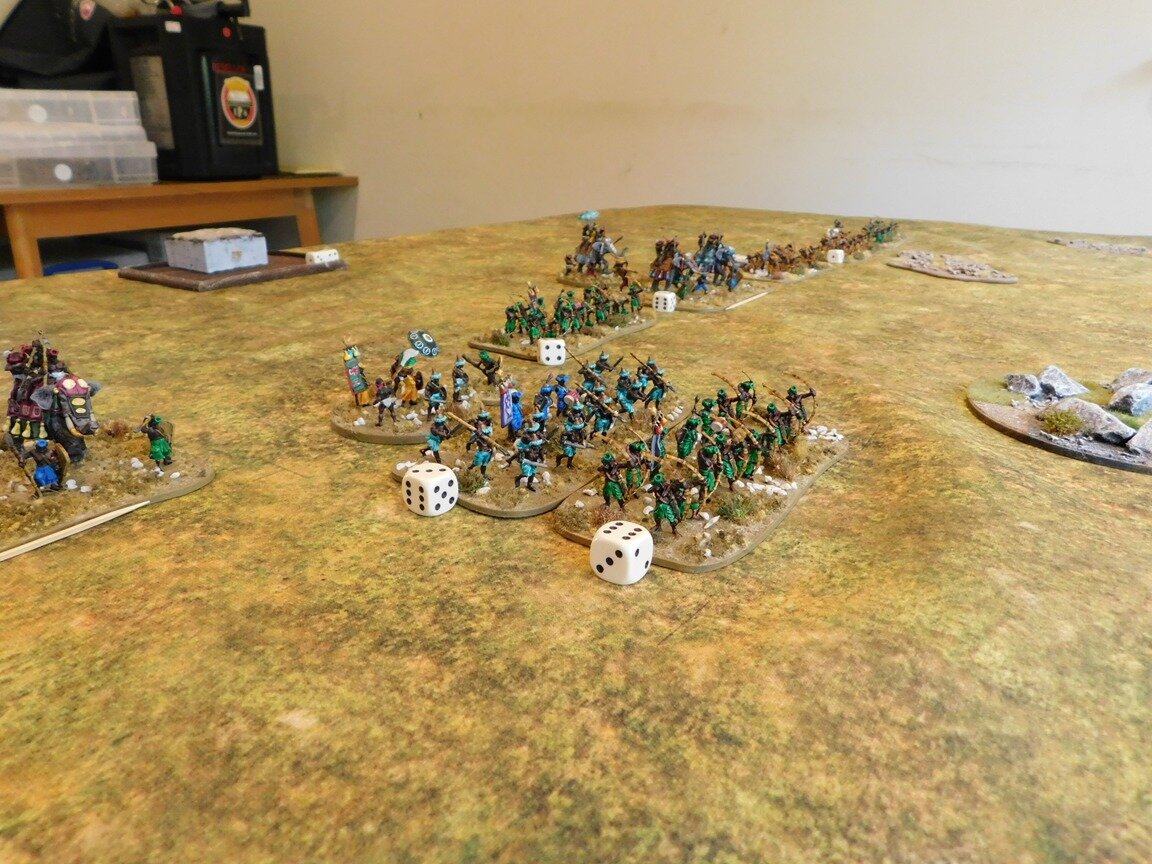
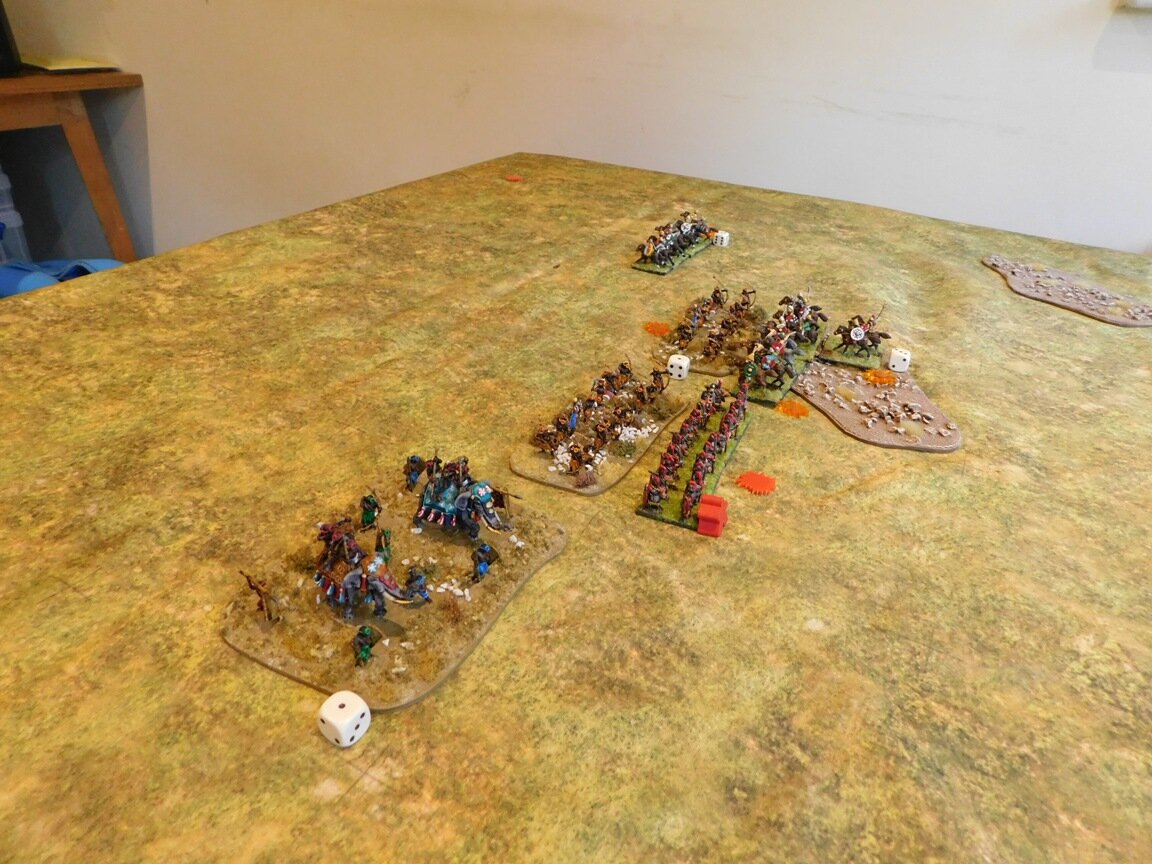
After six weeks of hard painting, helped by Lockdown 2 and the Christmas holidays, the Classical Indians are ready to hit the tabletop, and what better occasion to test them out than what is almost certain to be the final battle of the year.

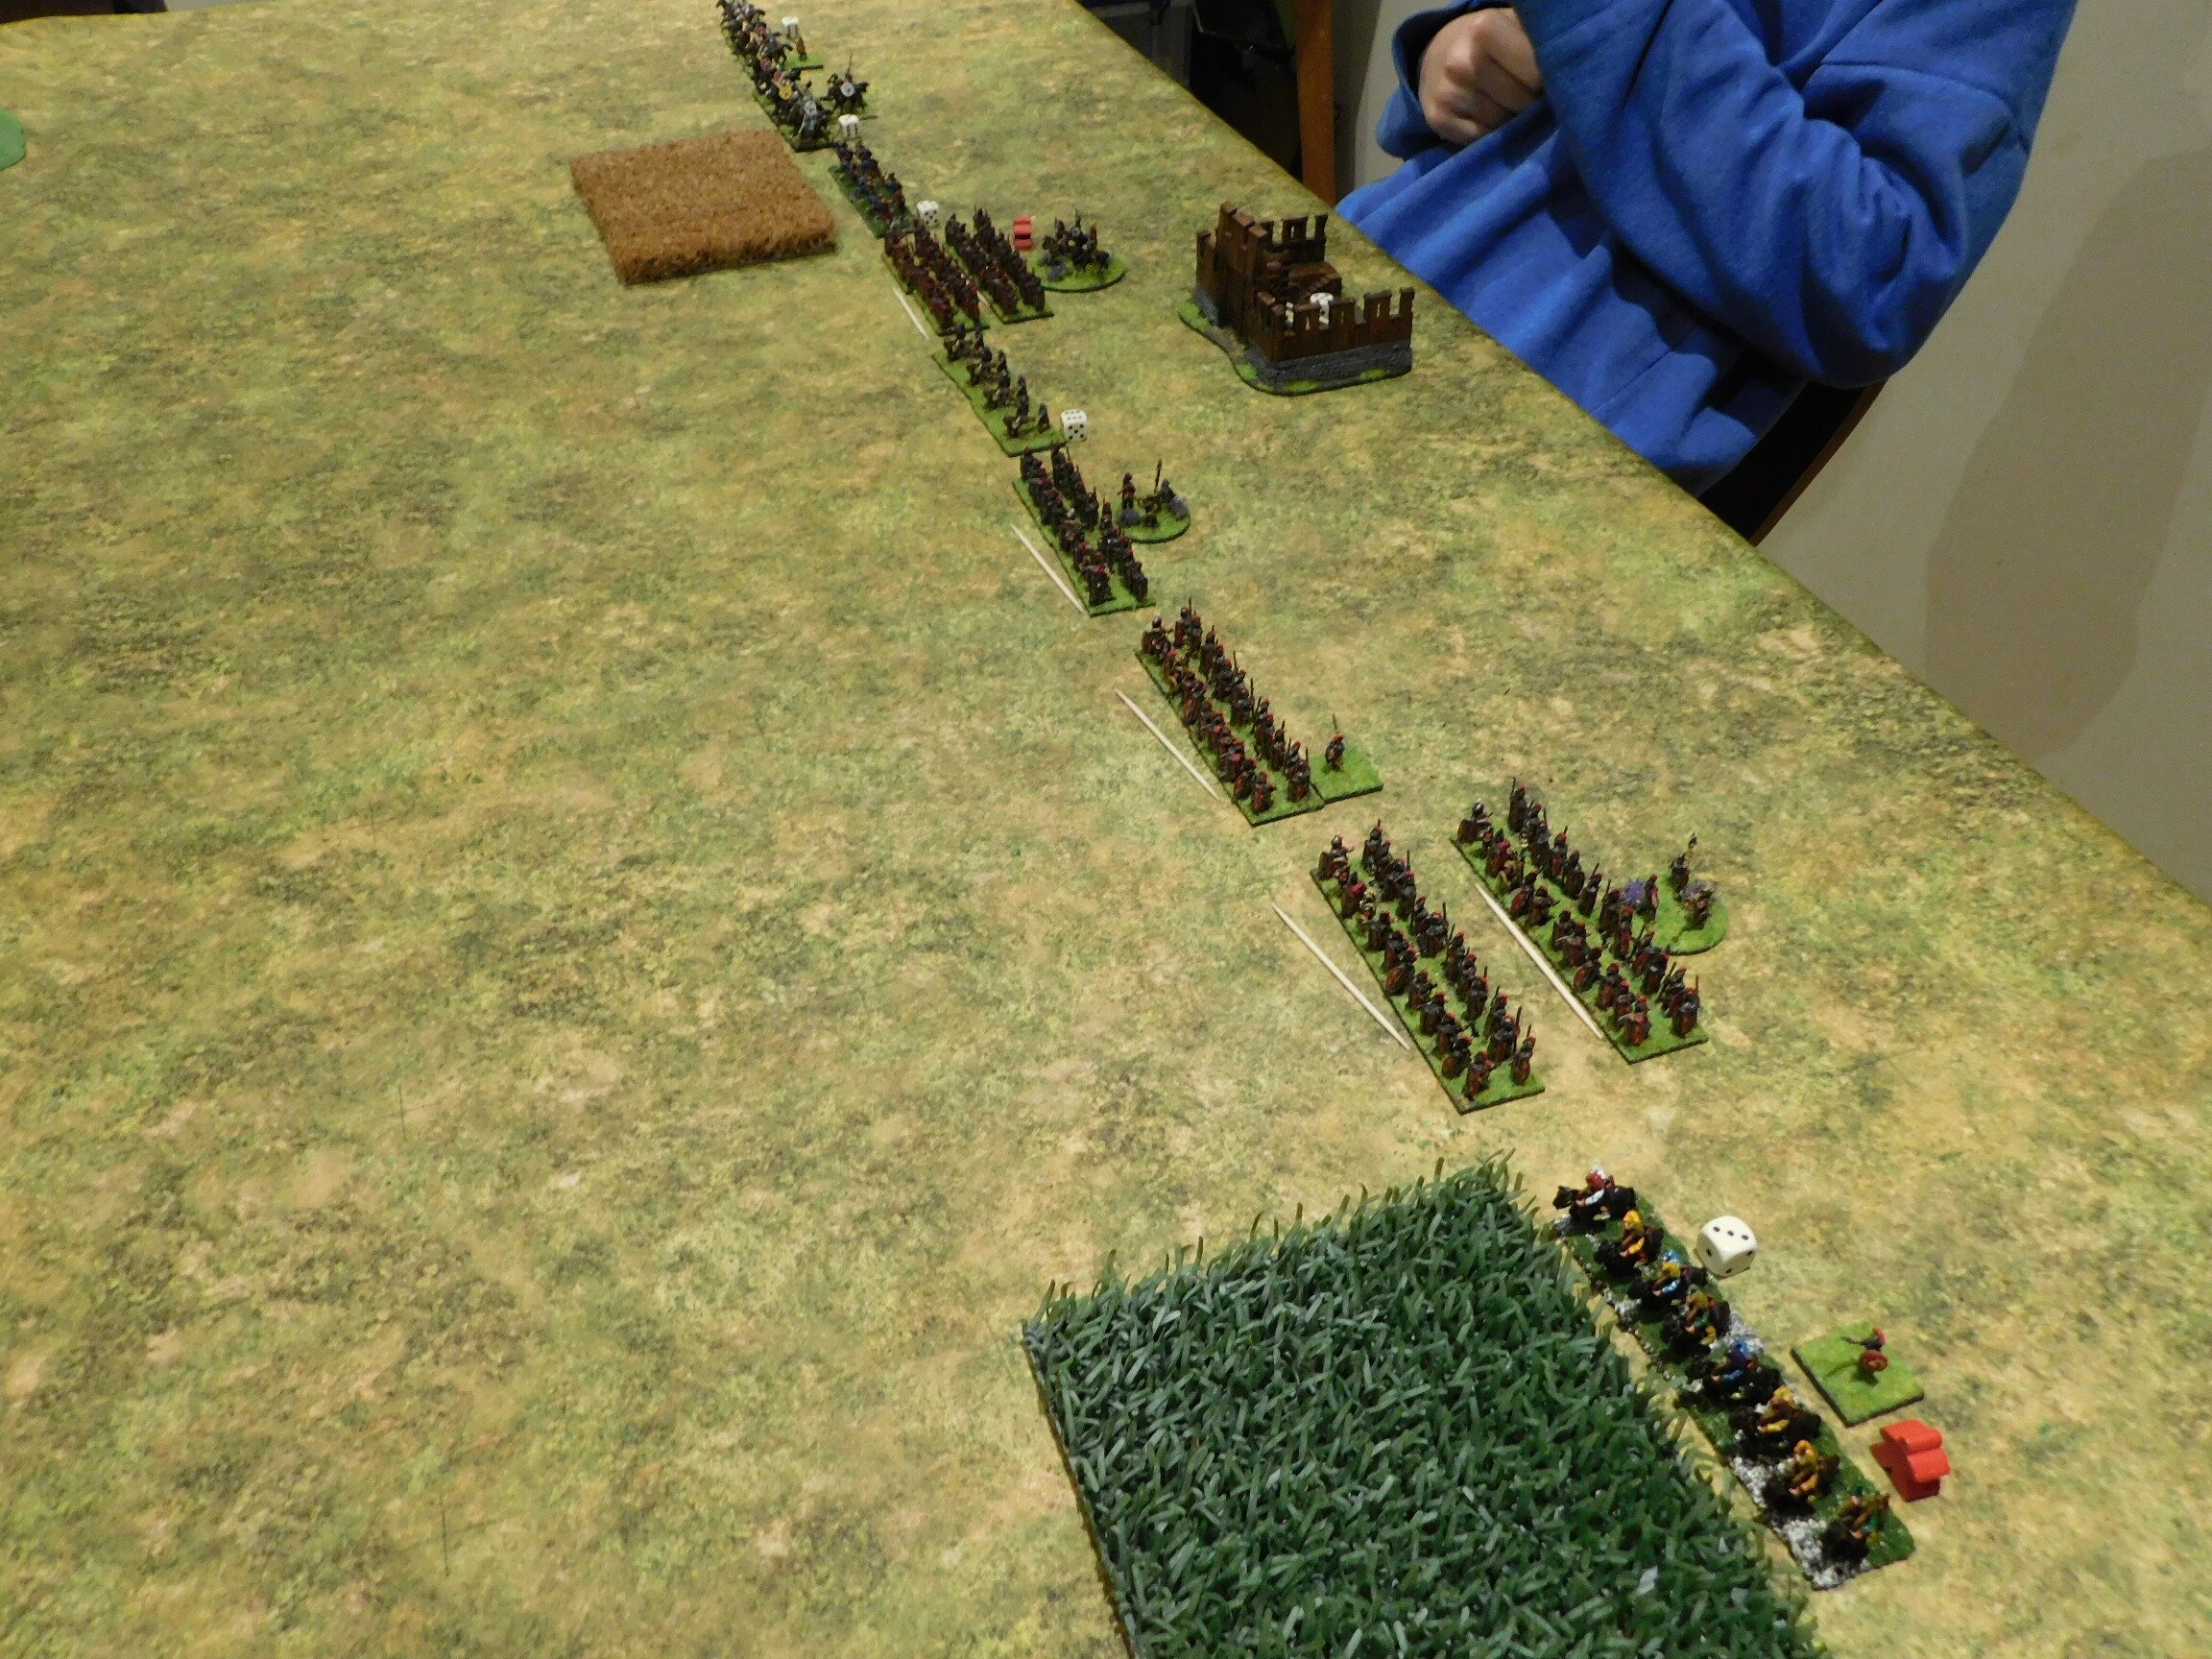
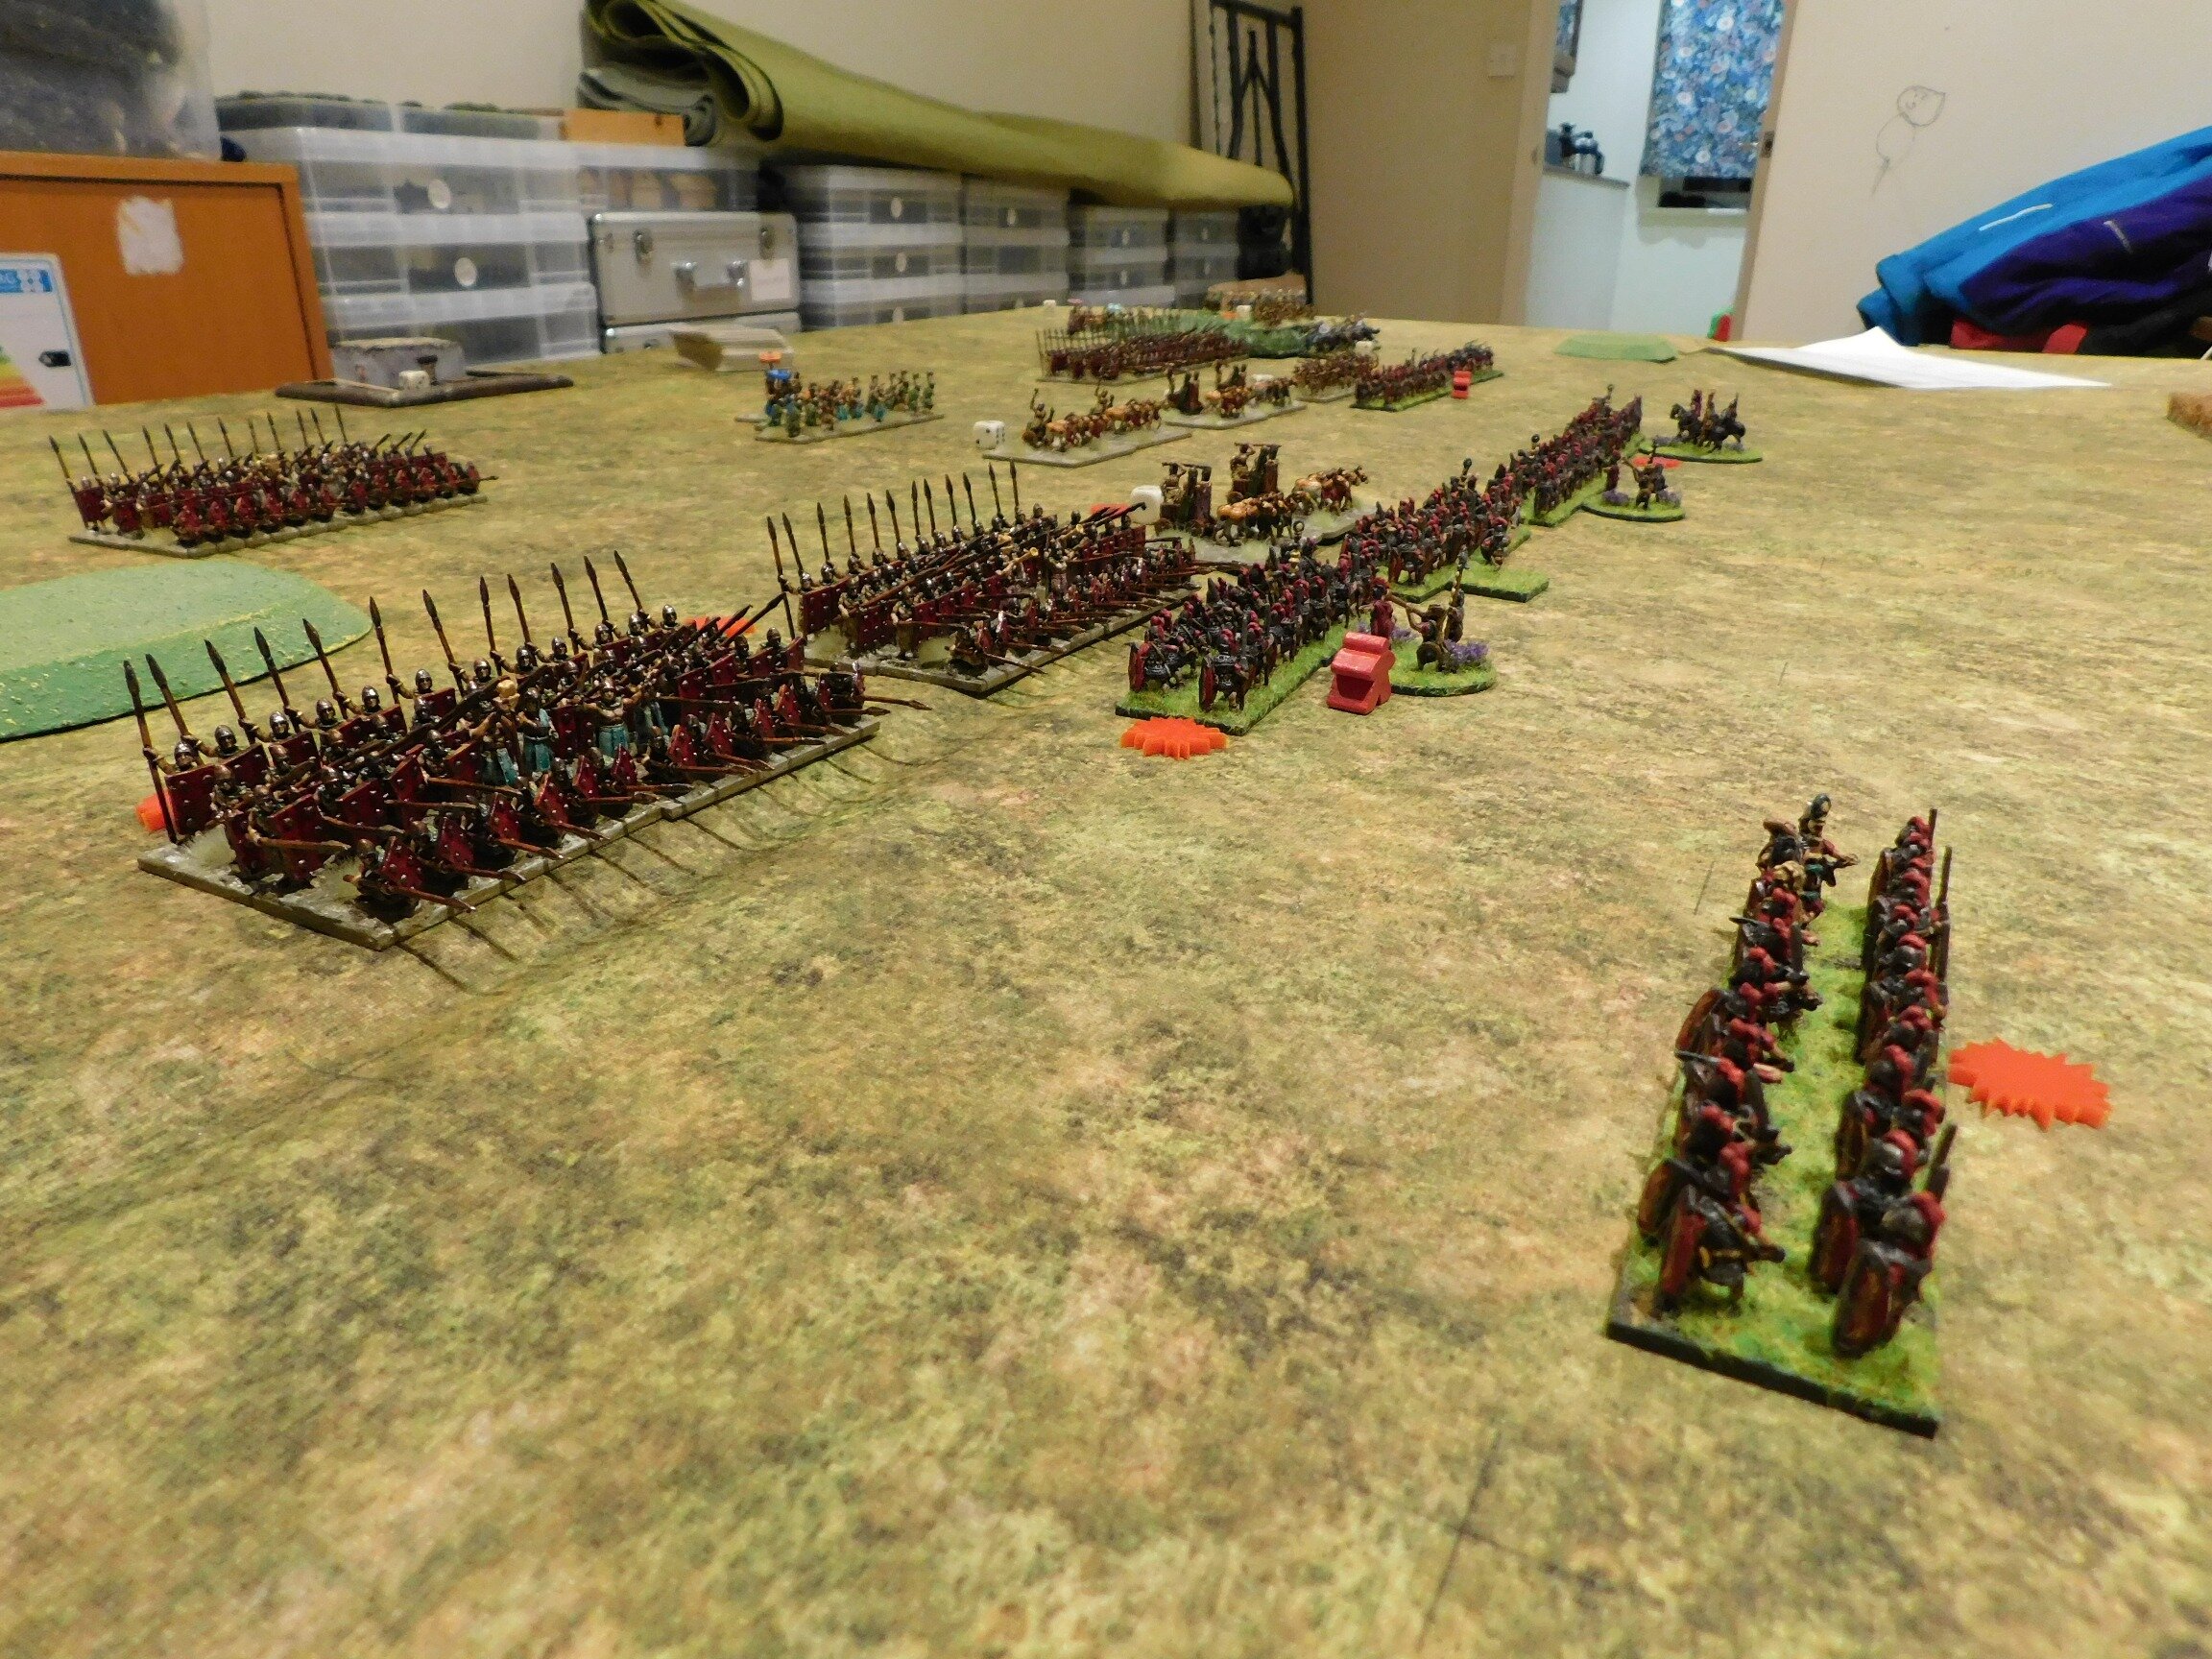
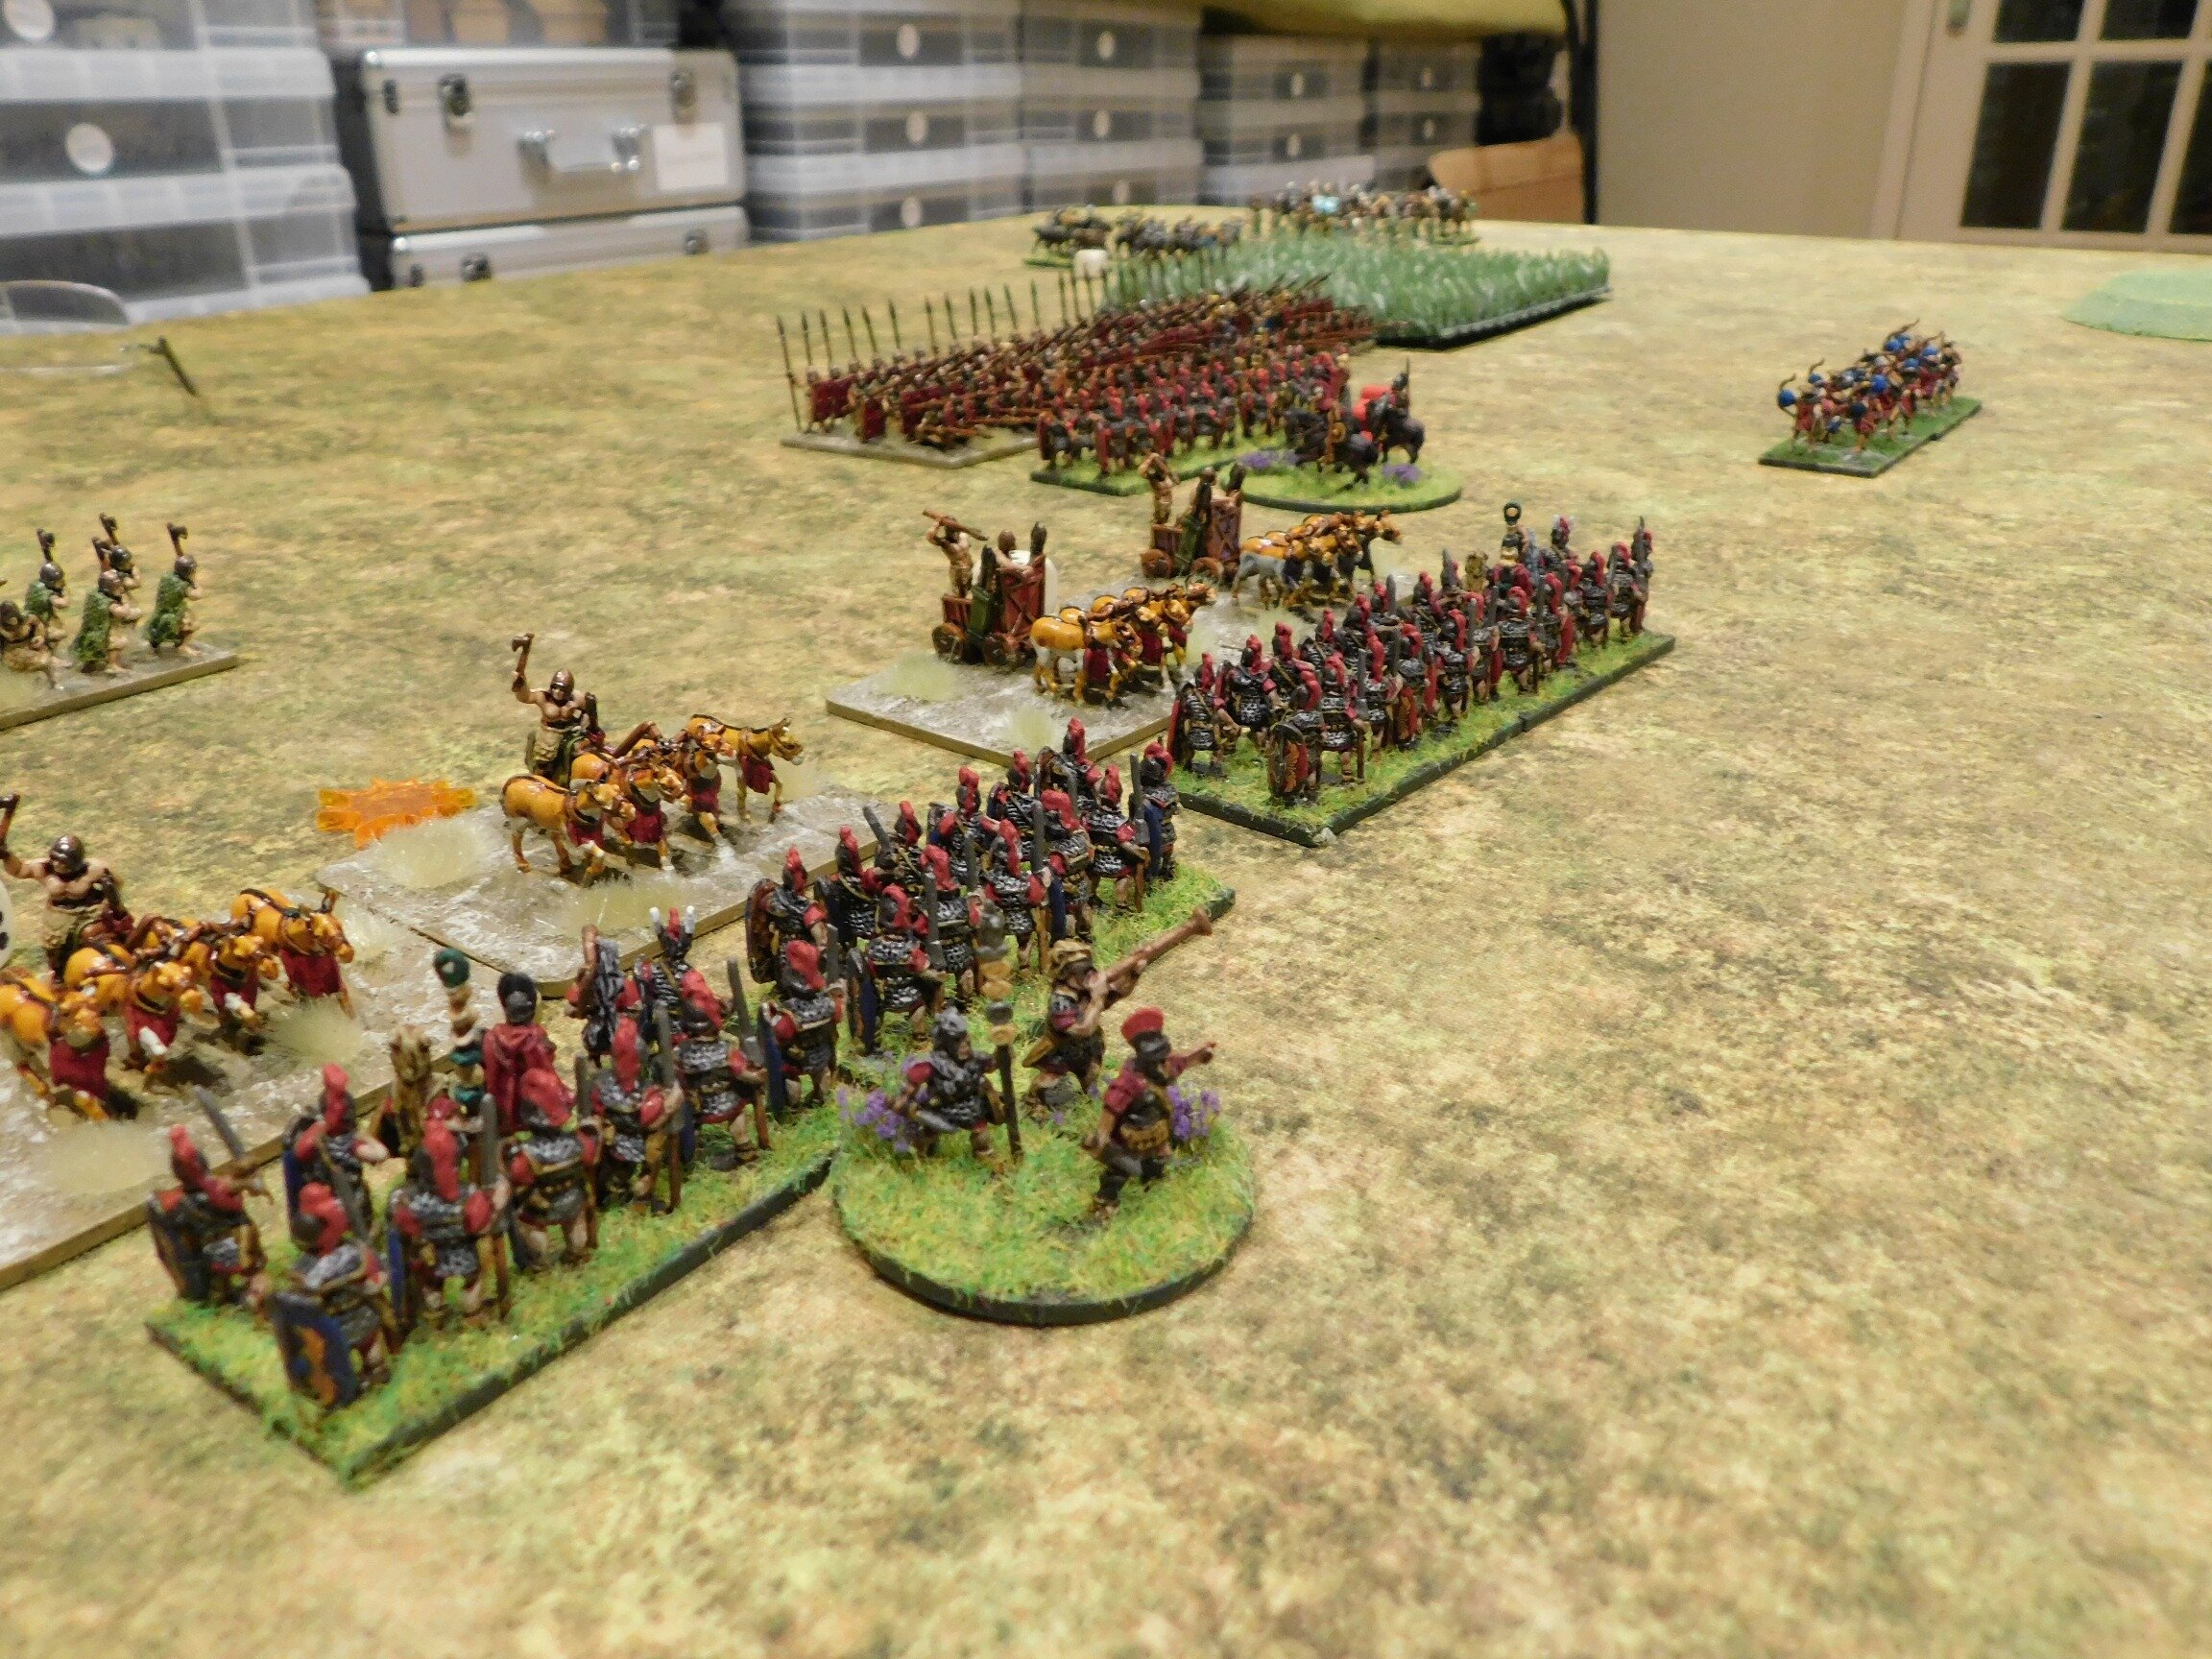
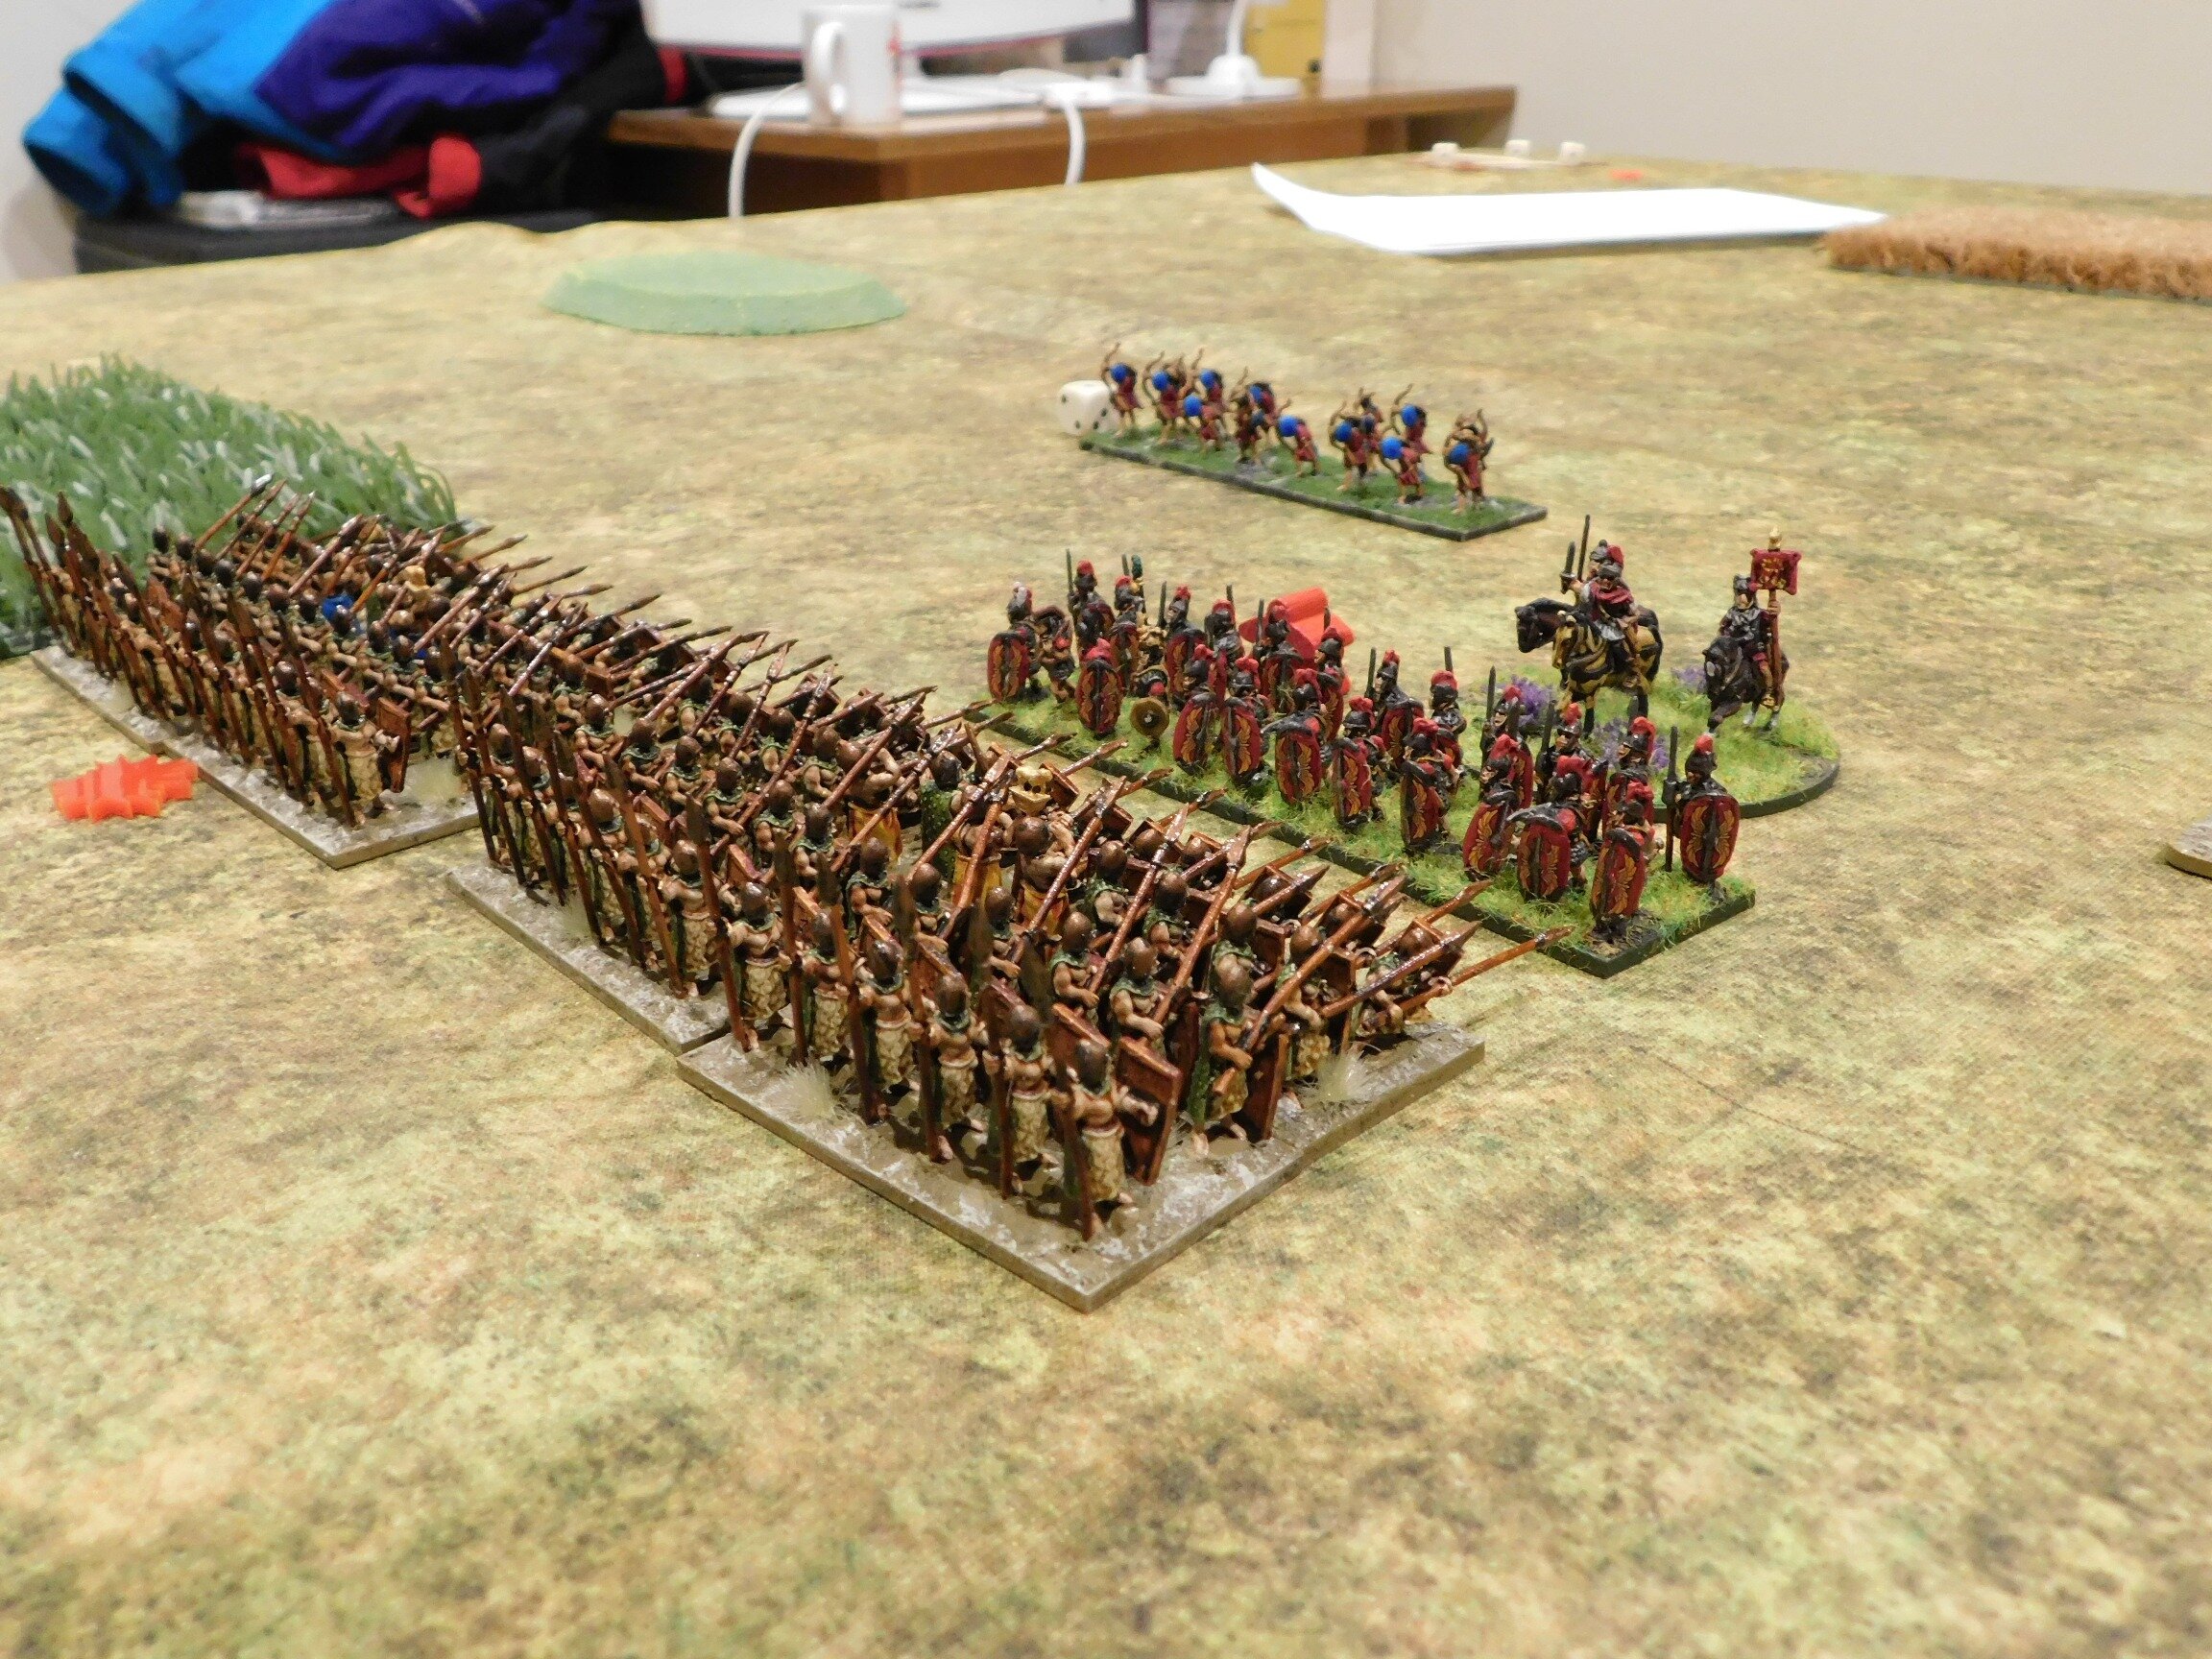
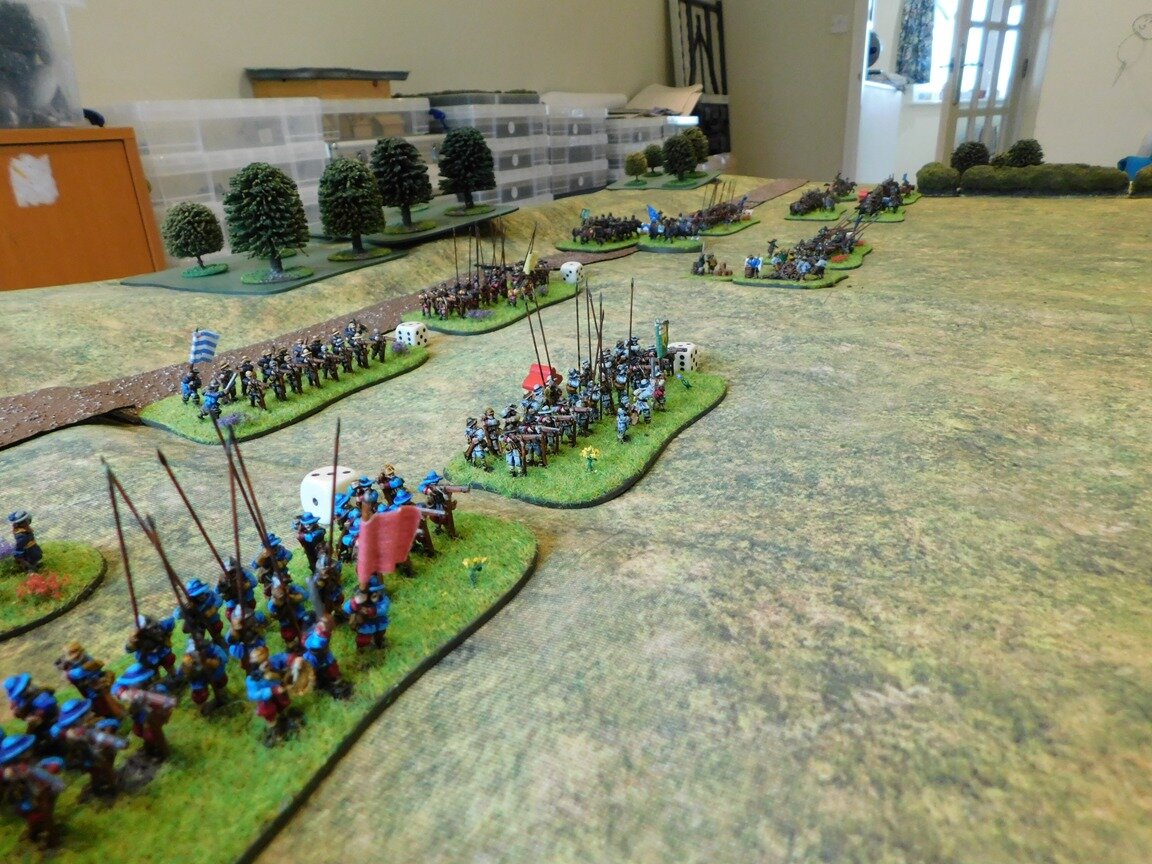
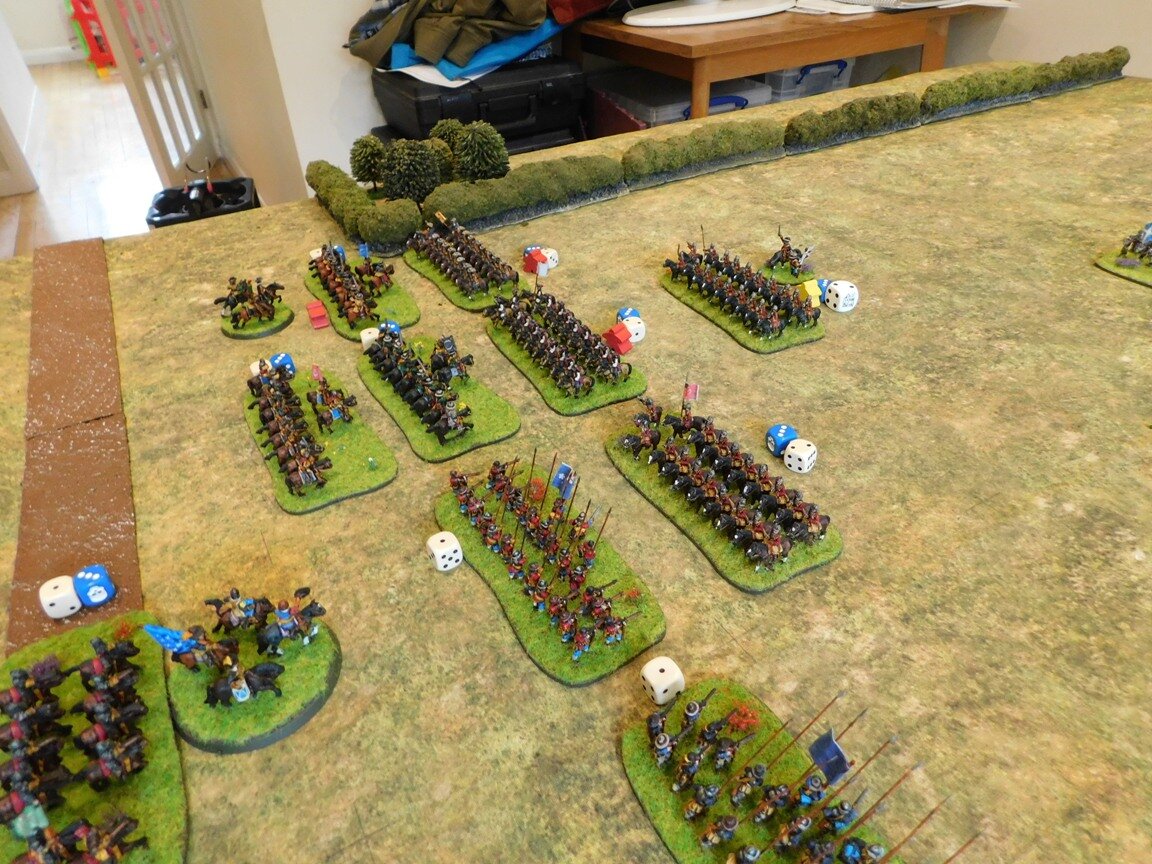
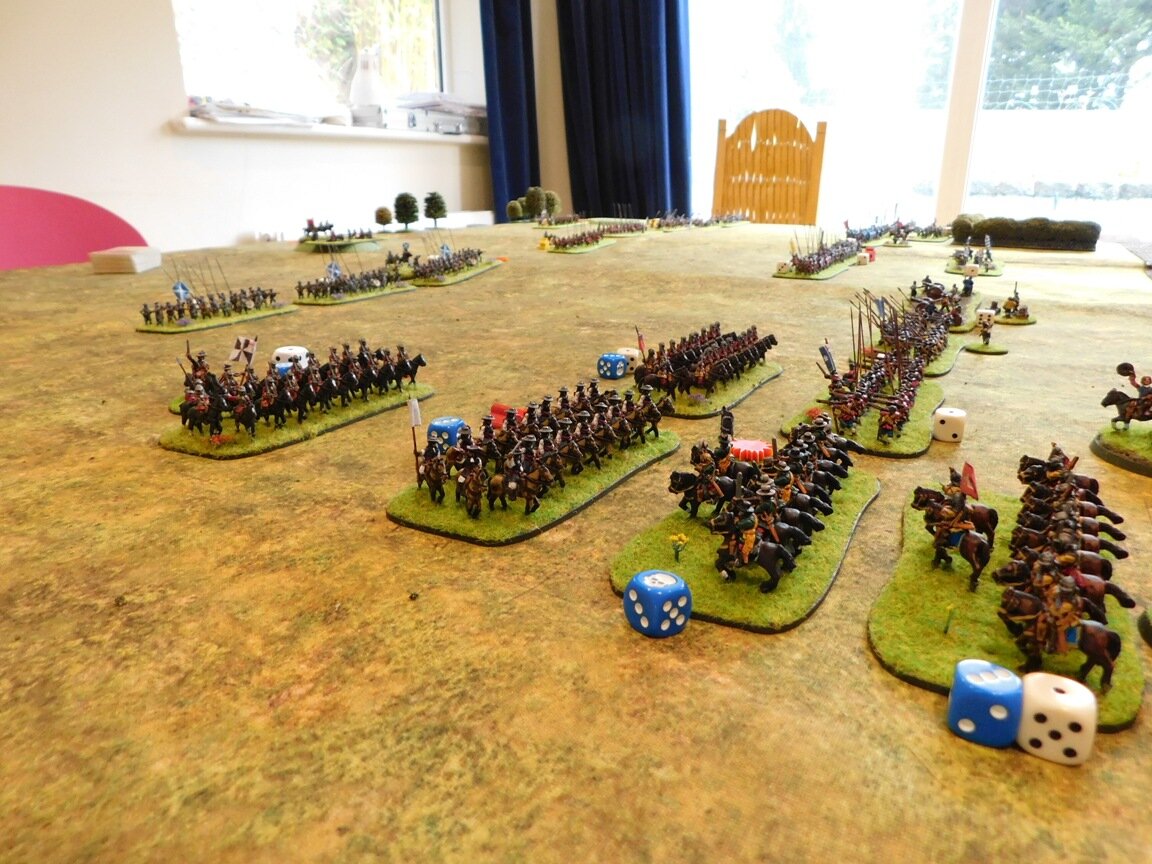
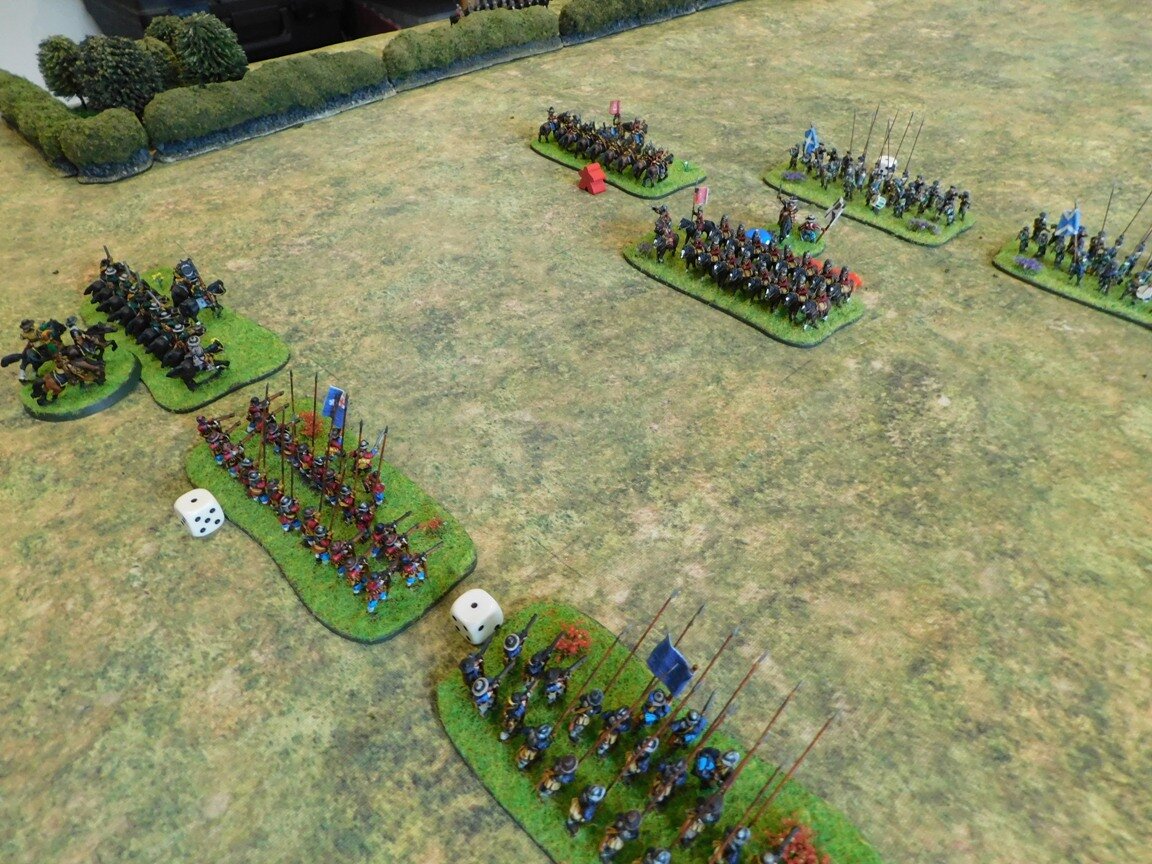
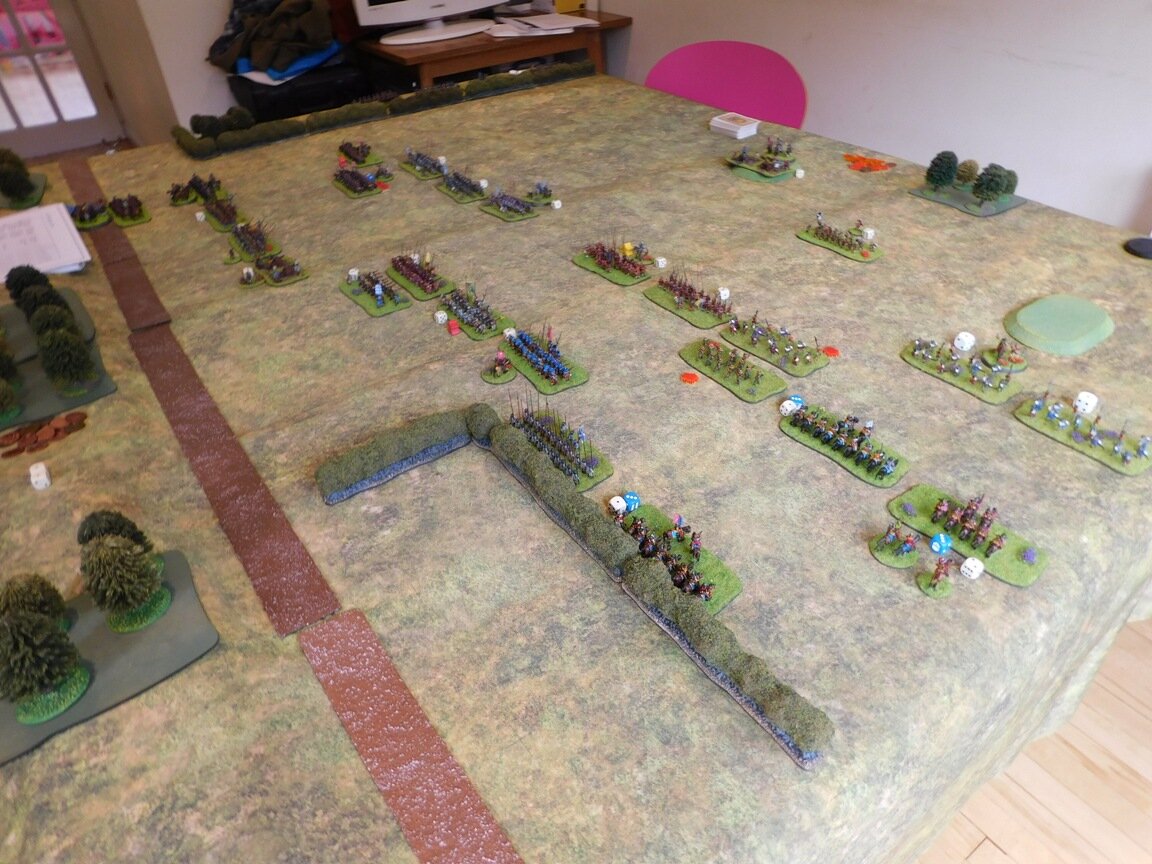
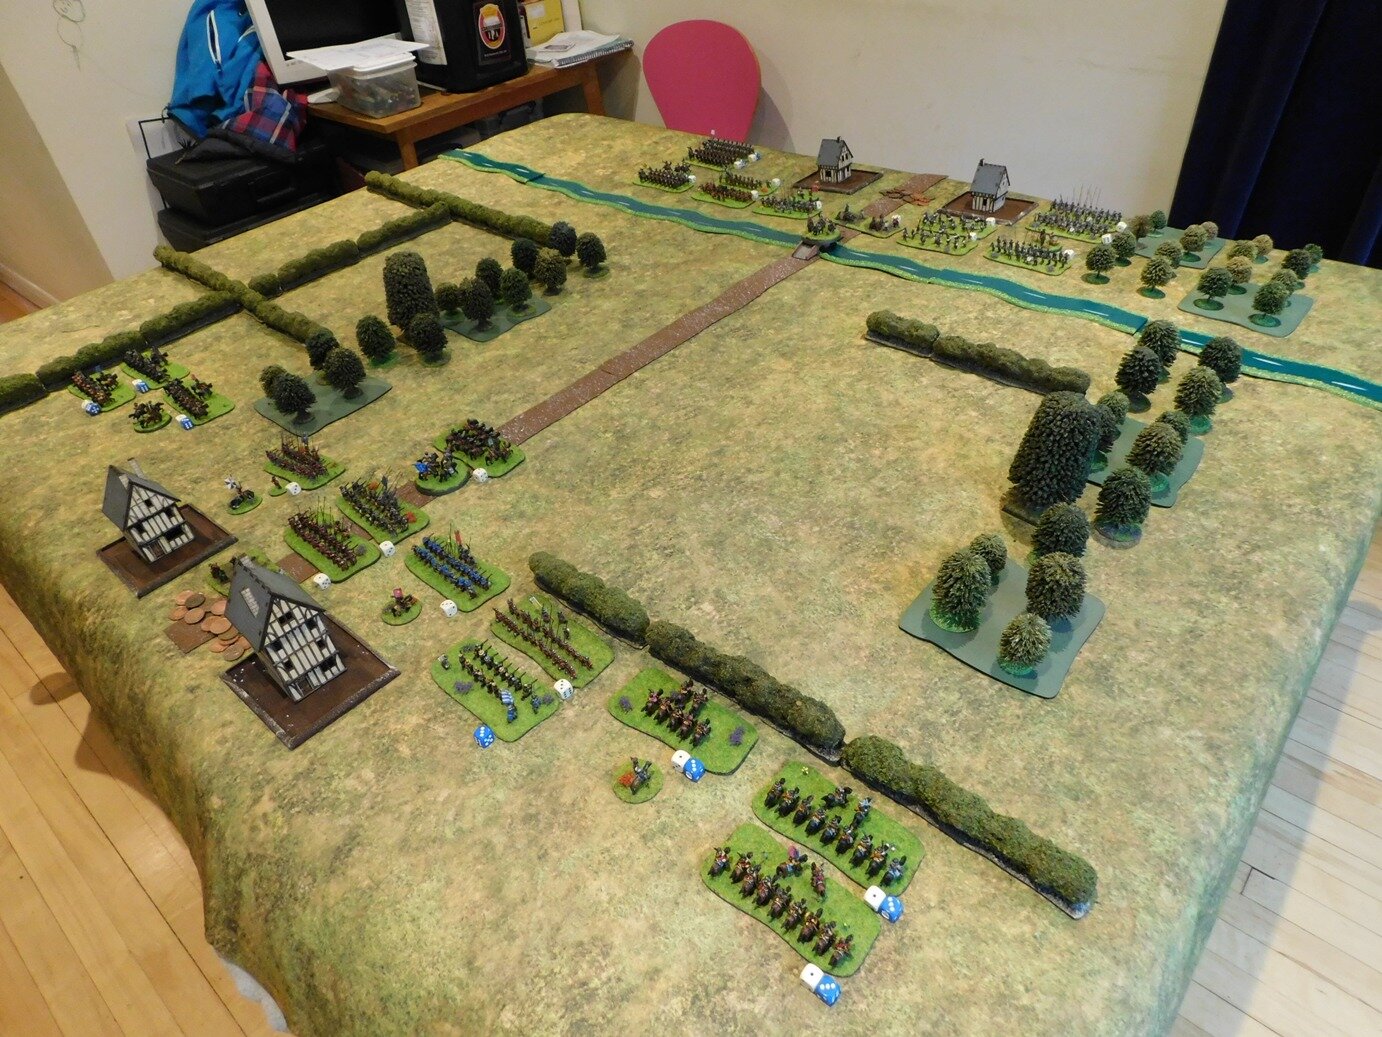
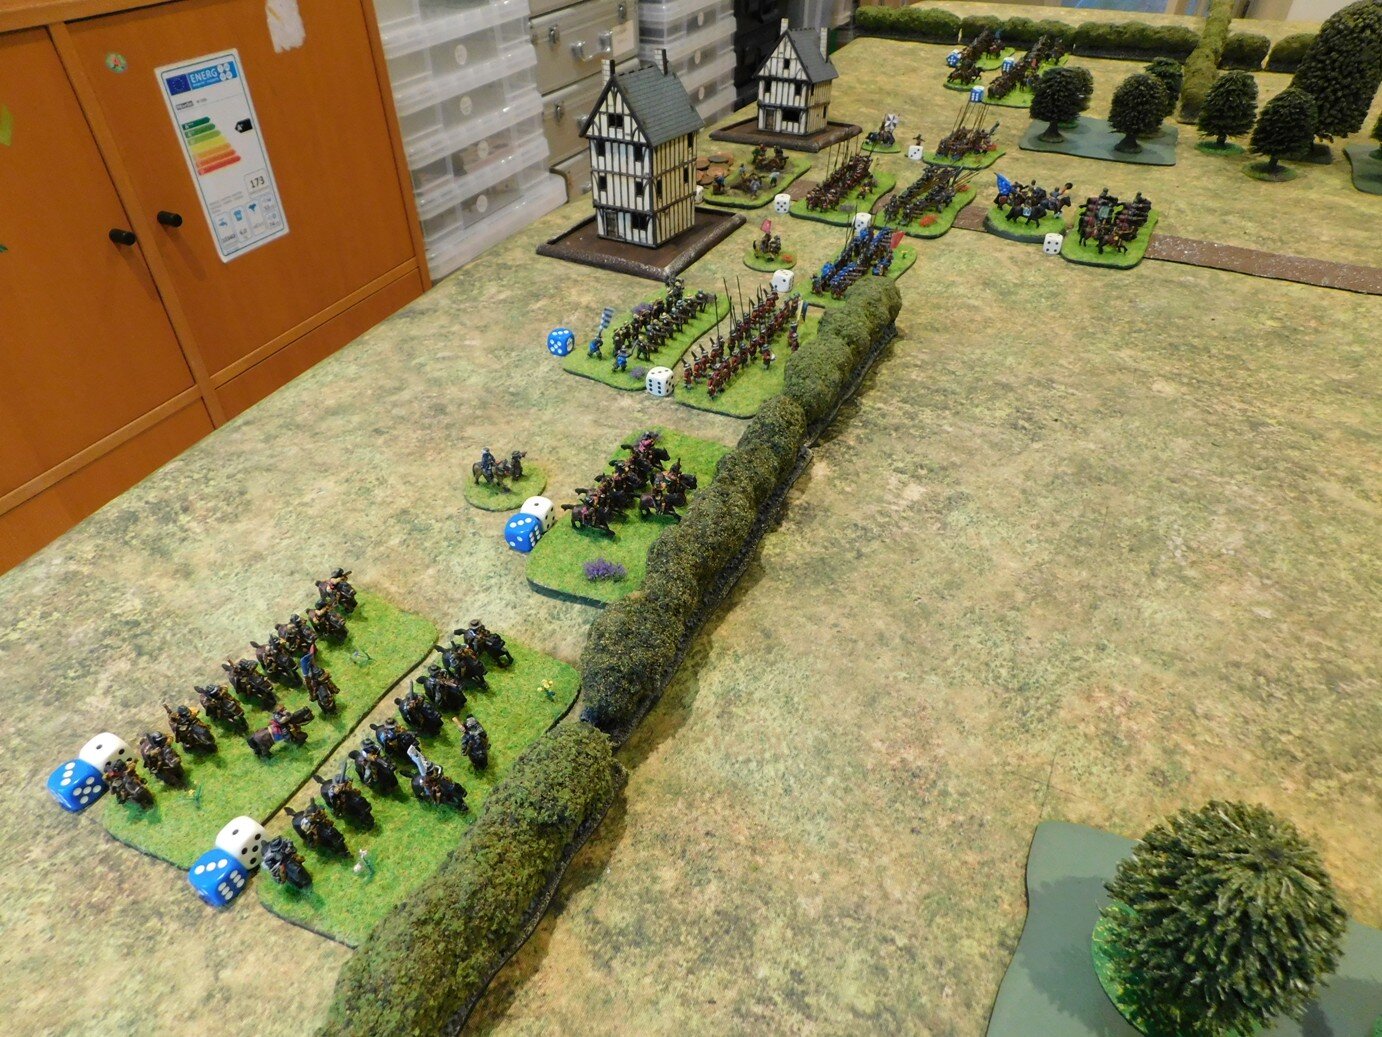
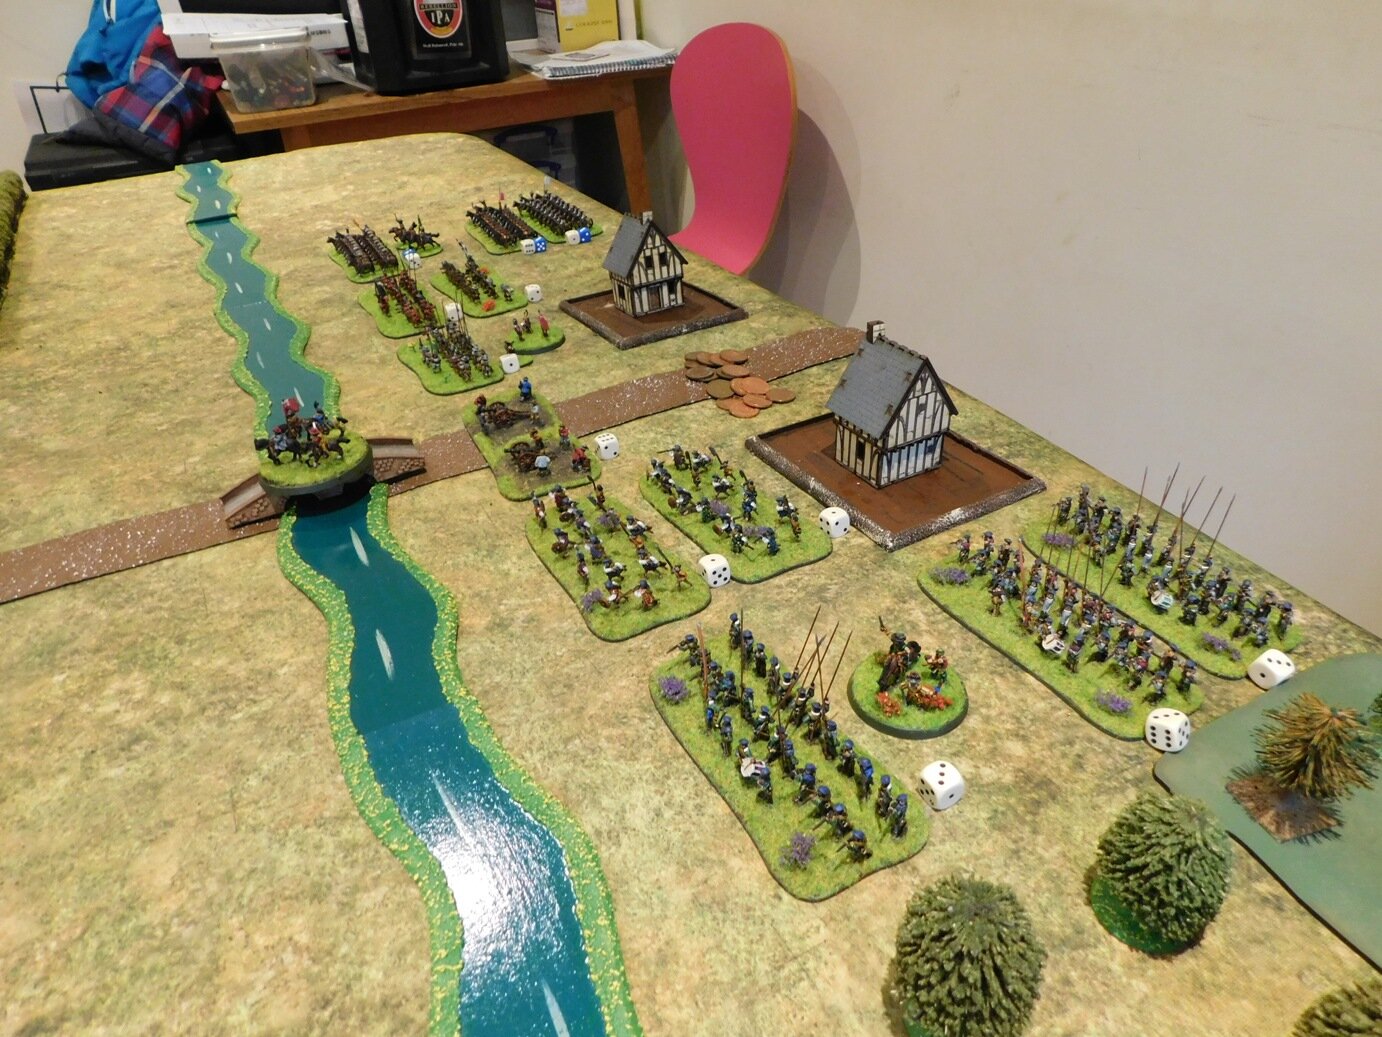
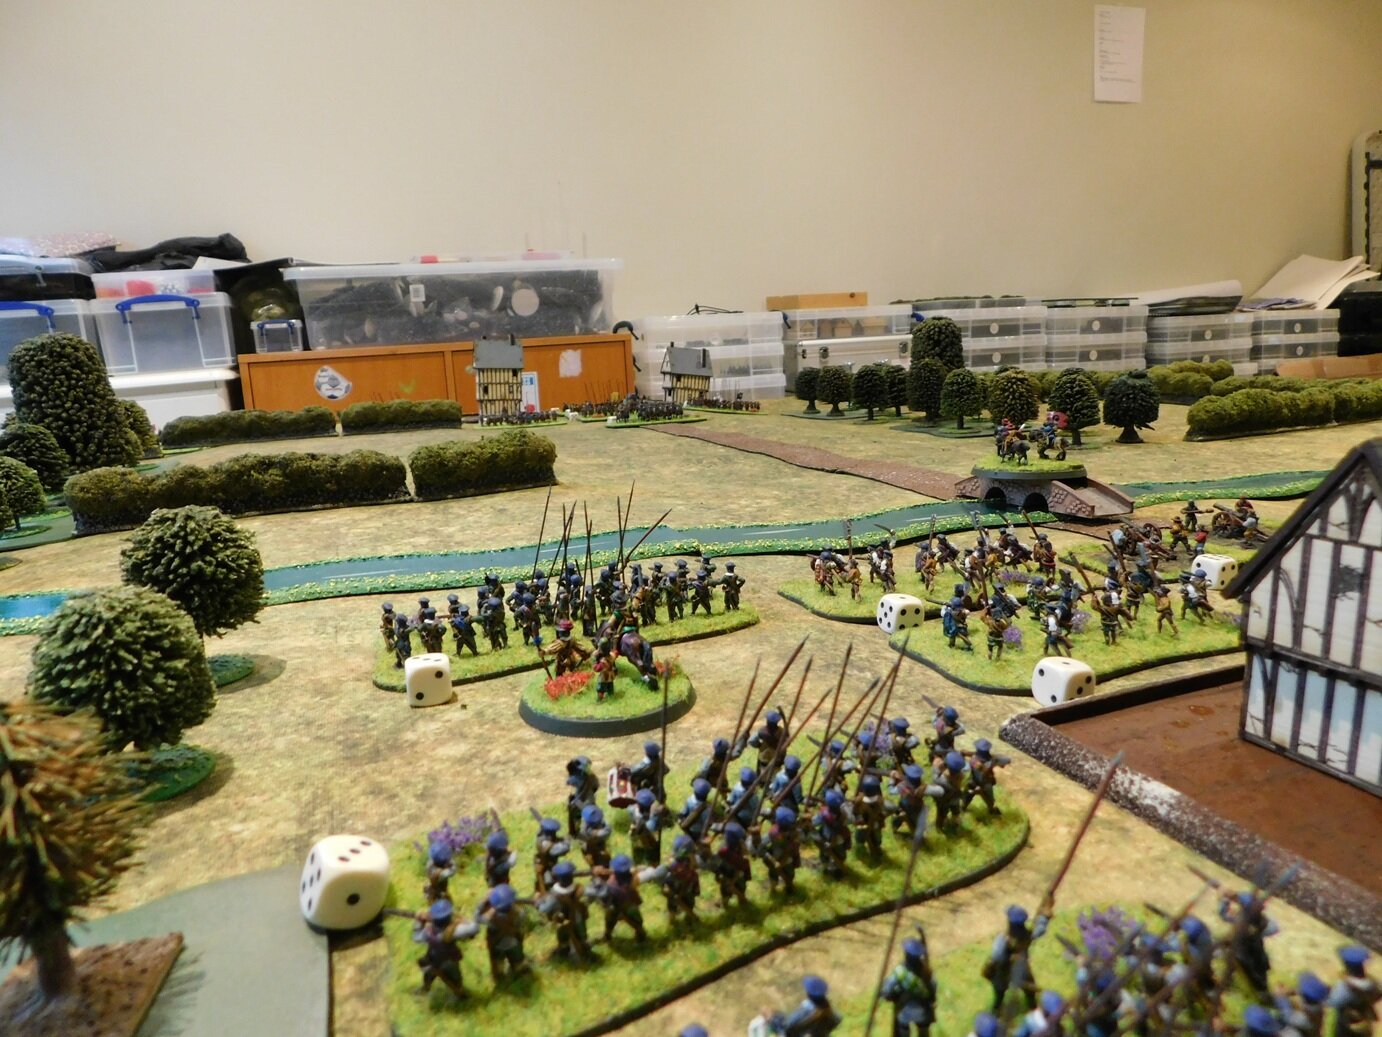
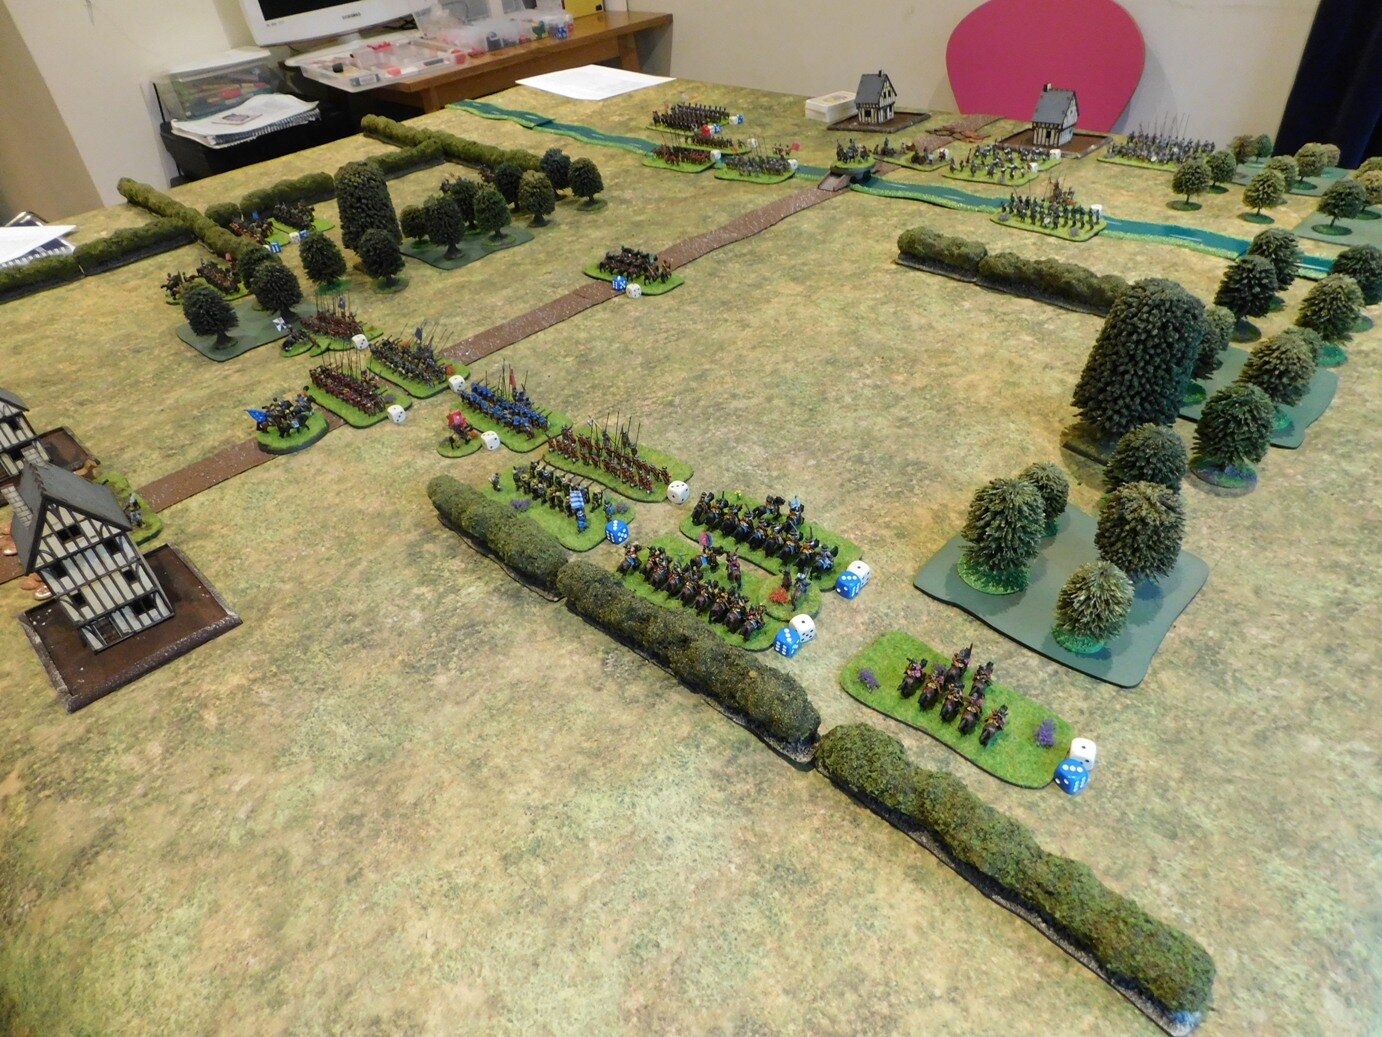
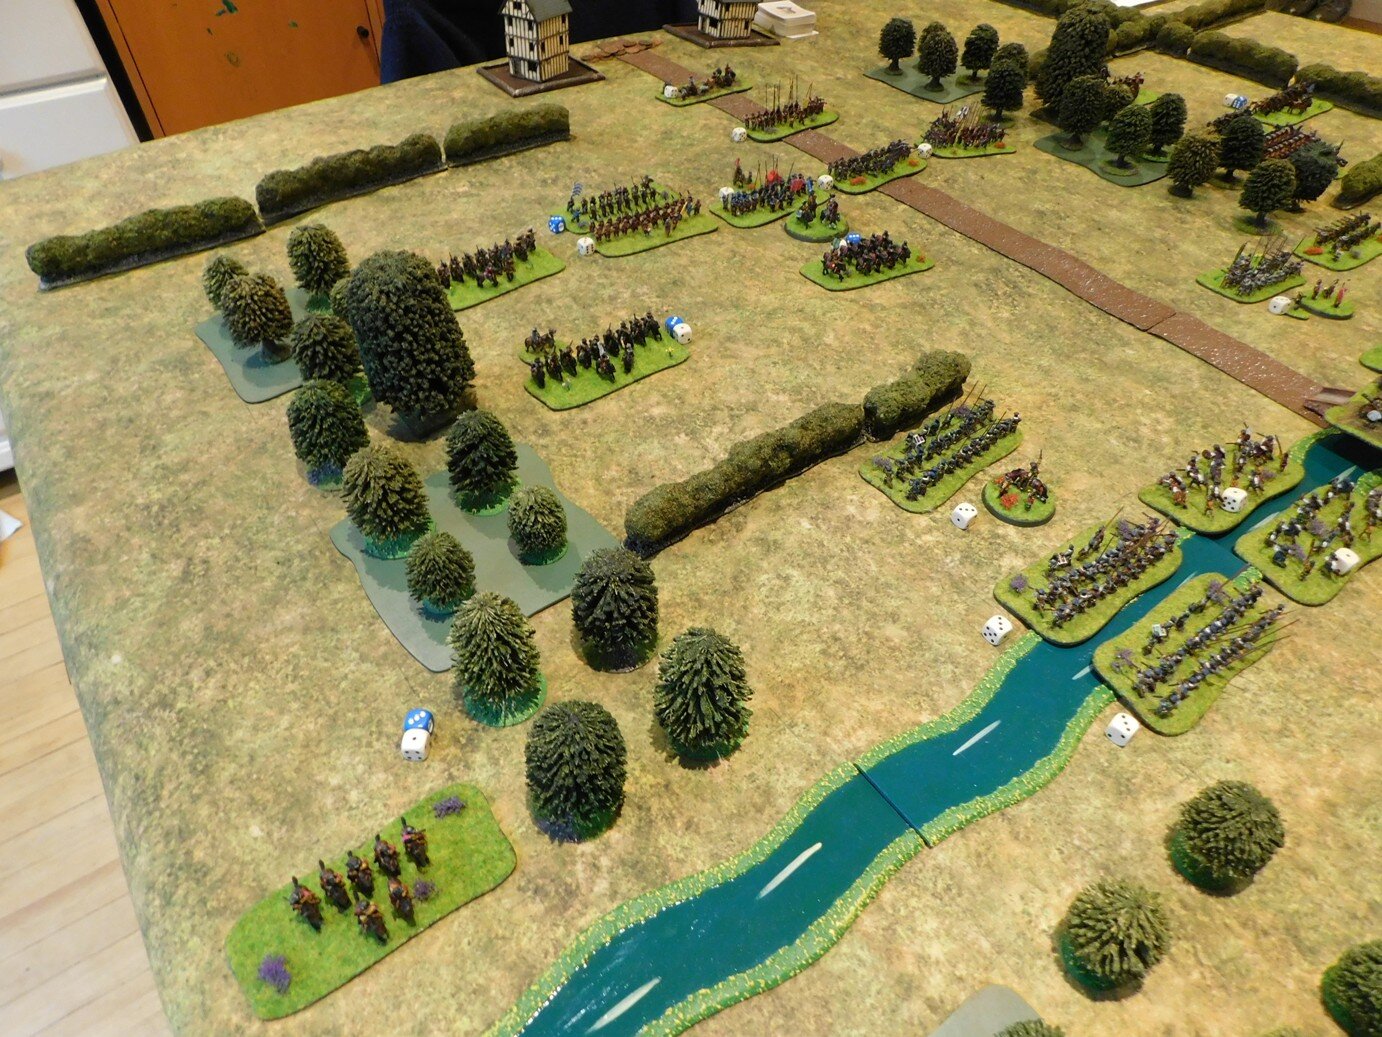
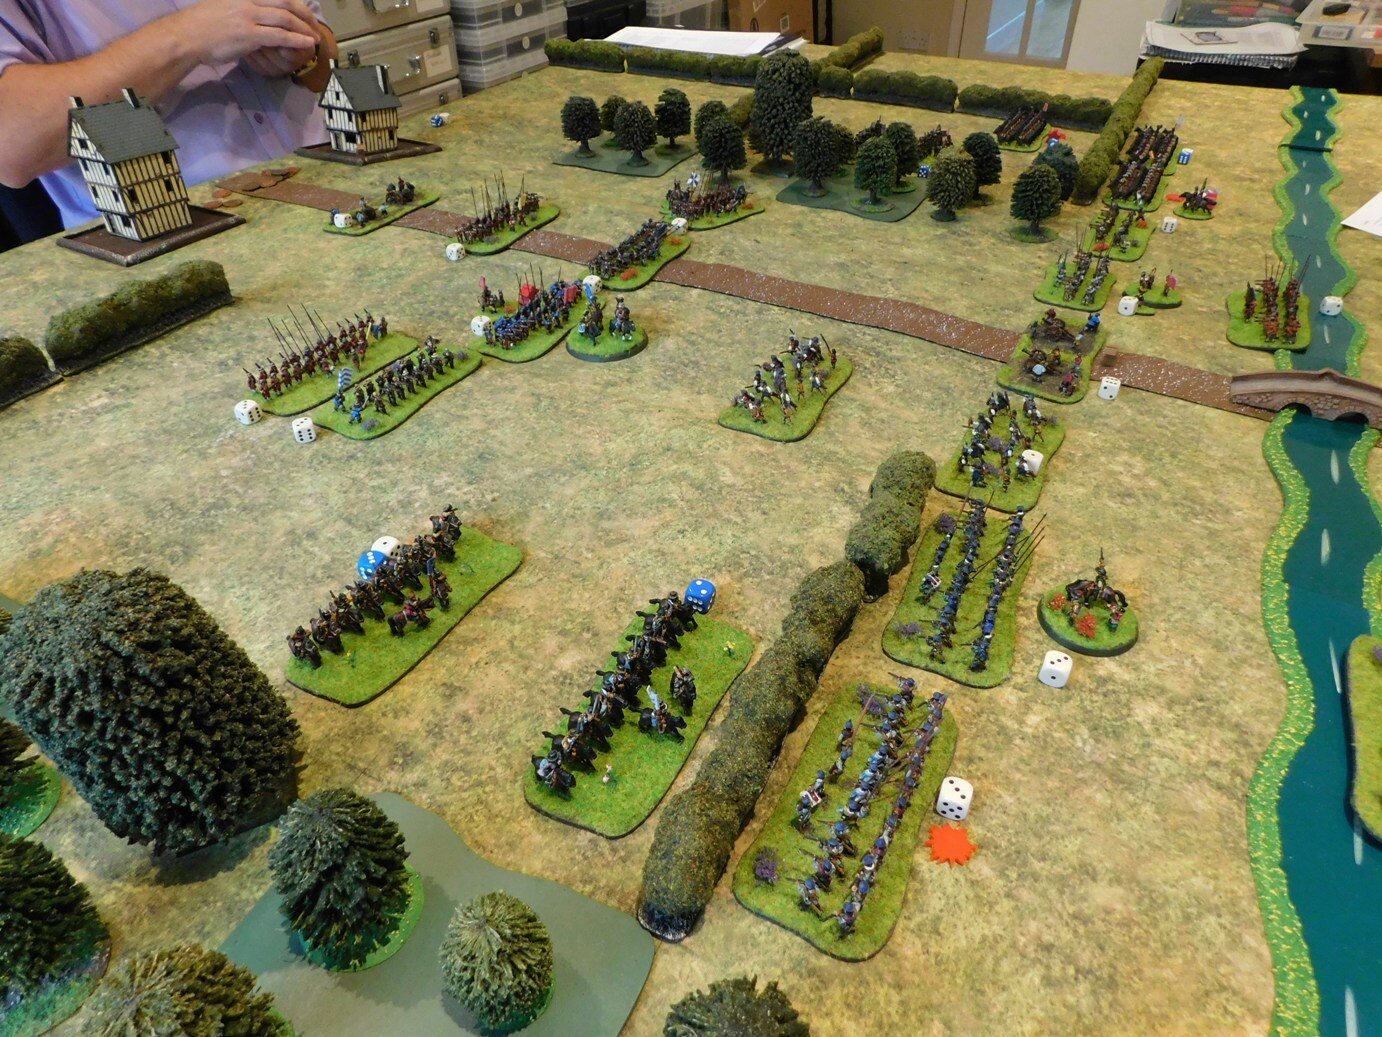
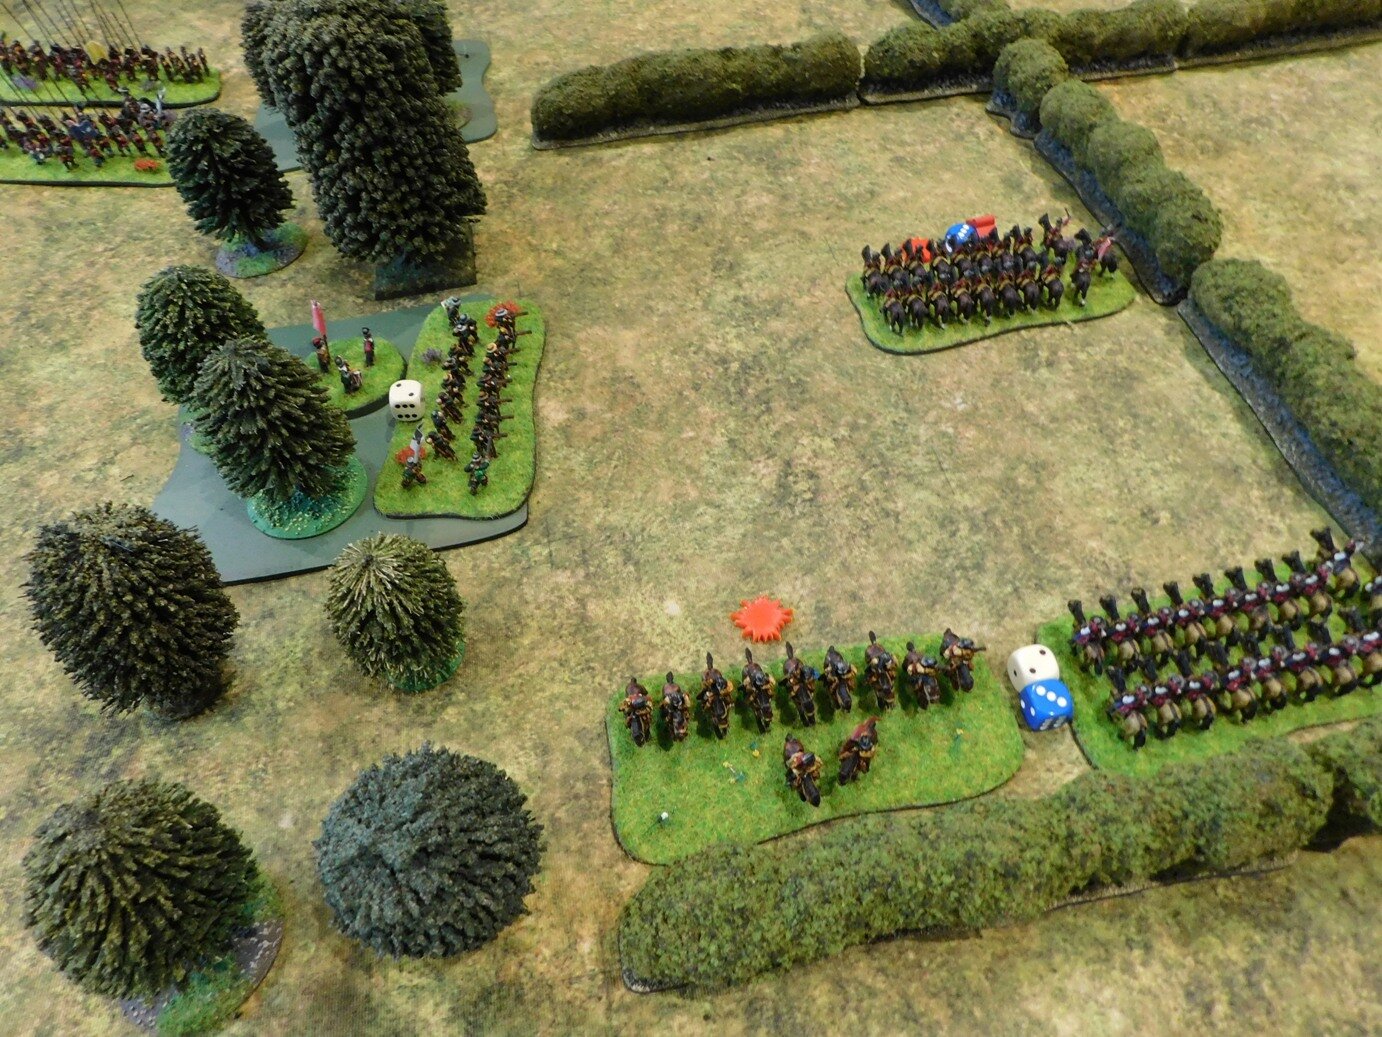
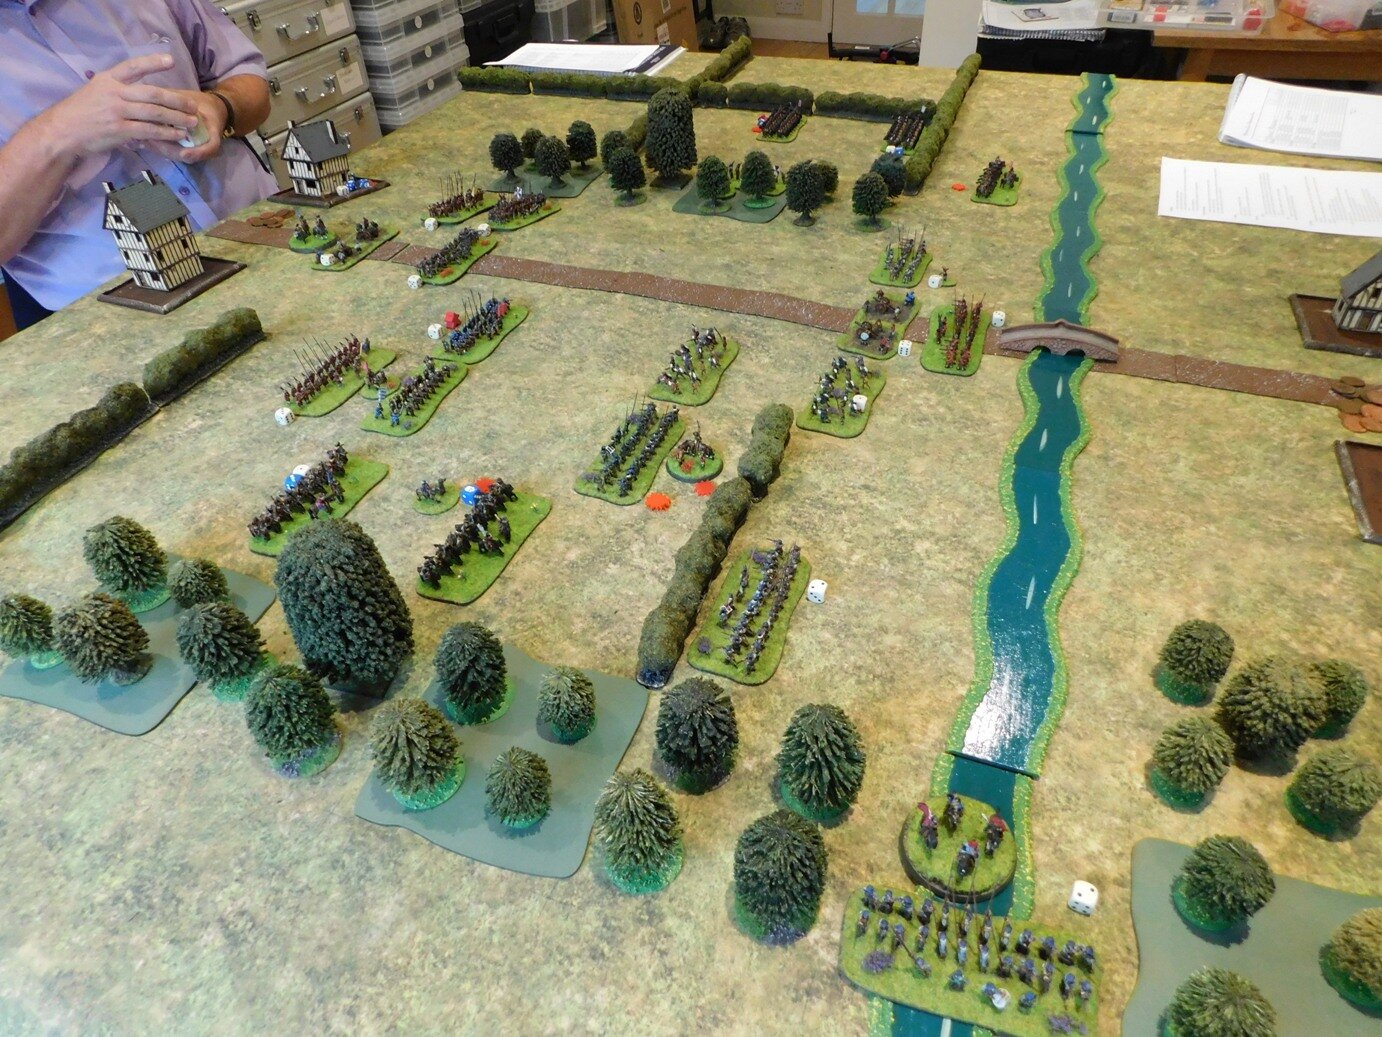
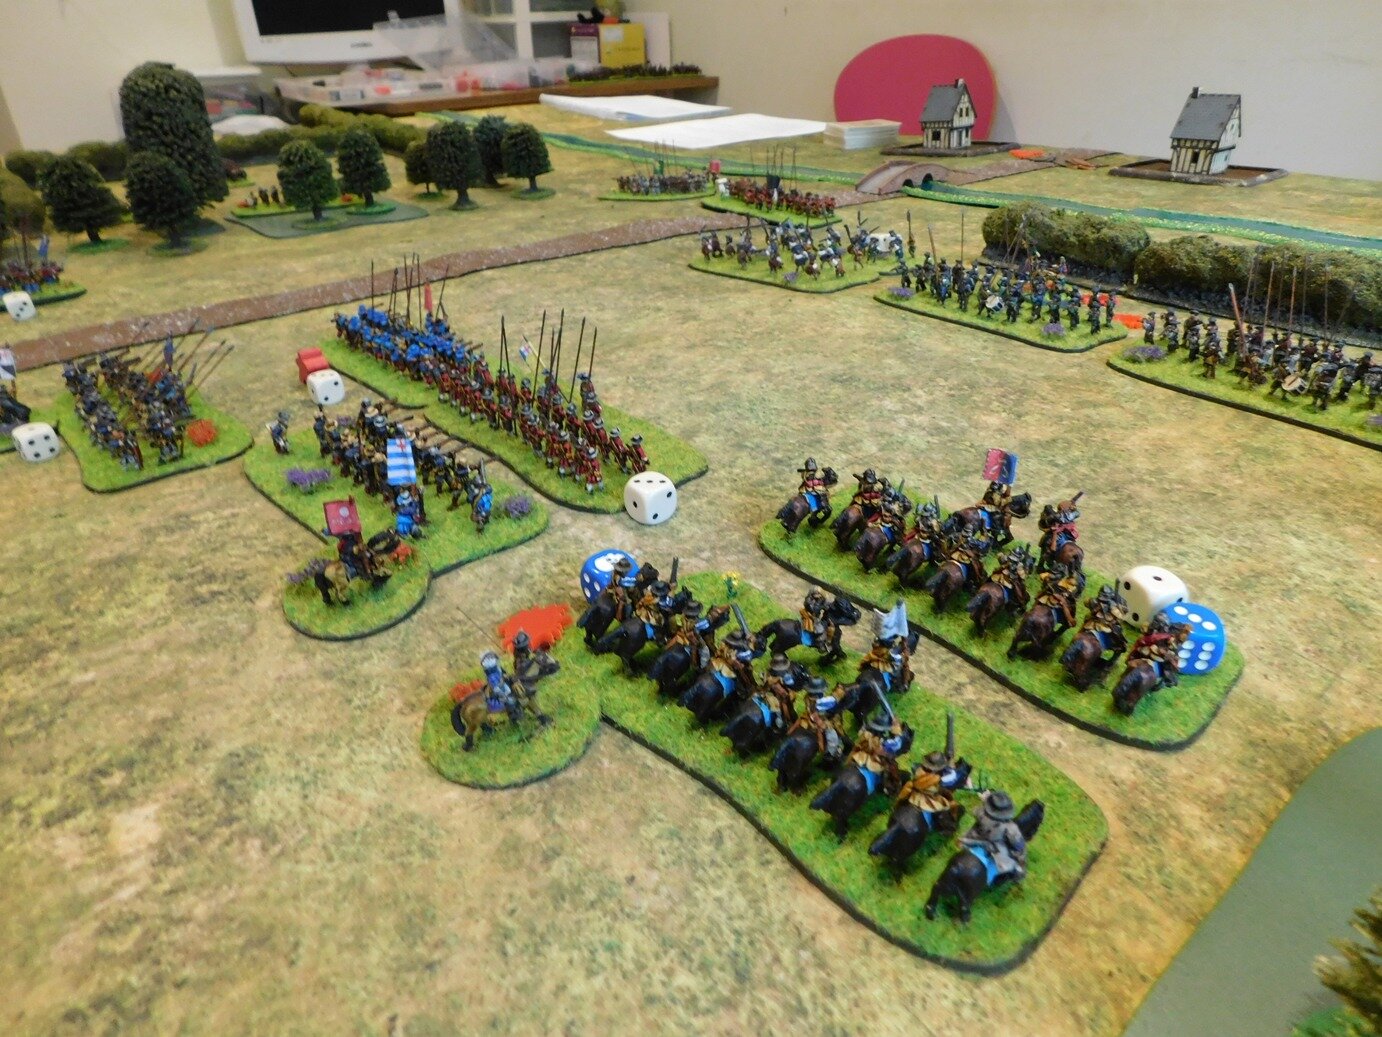
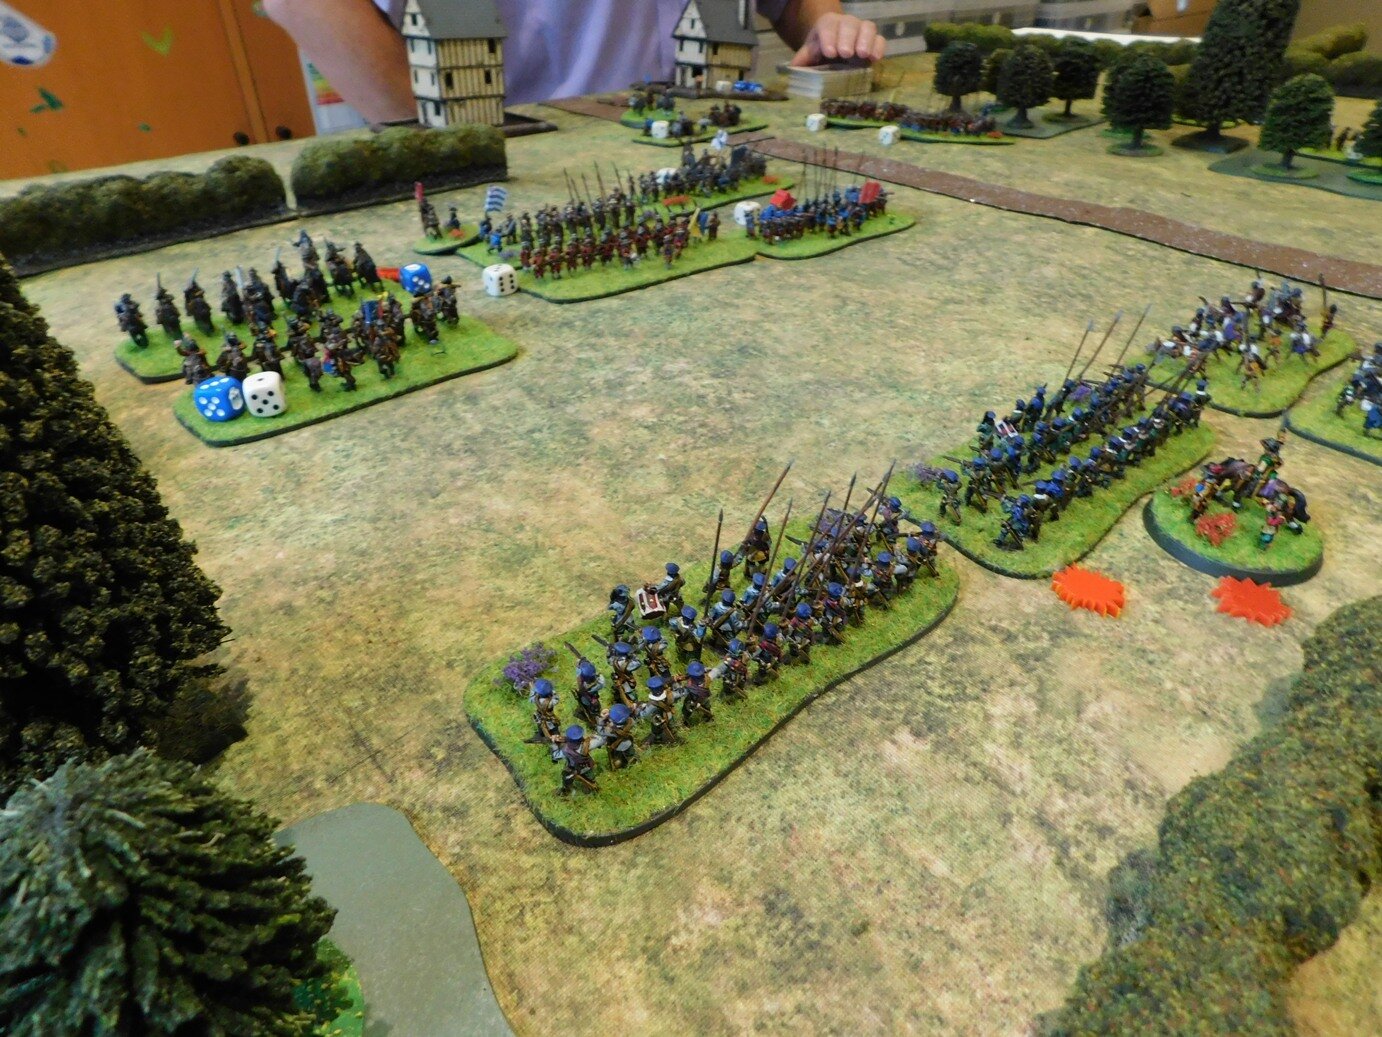
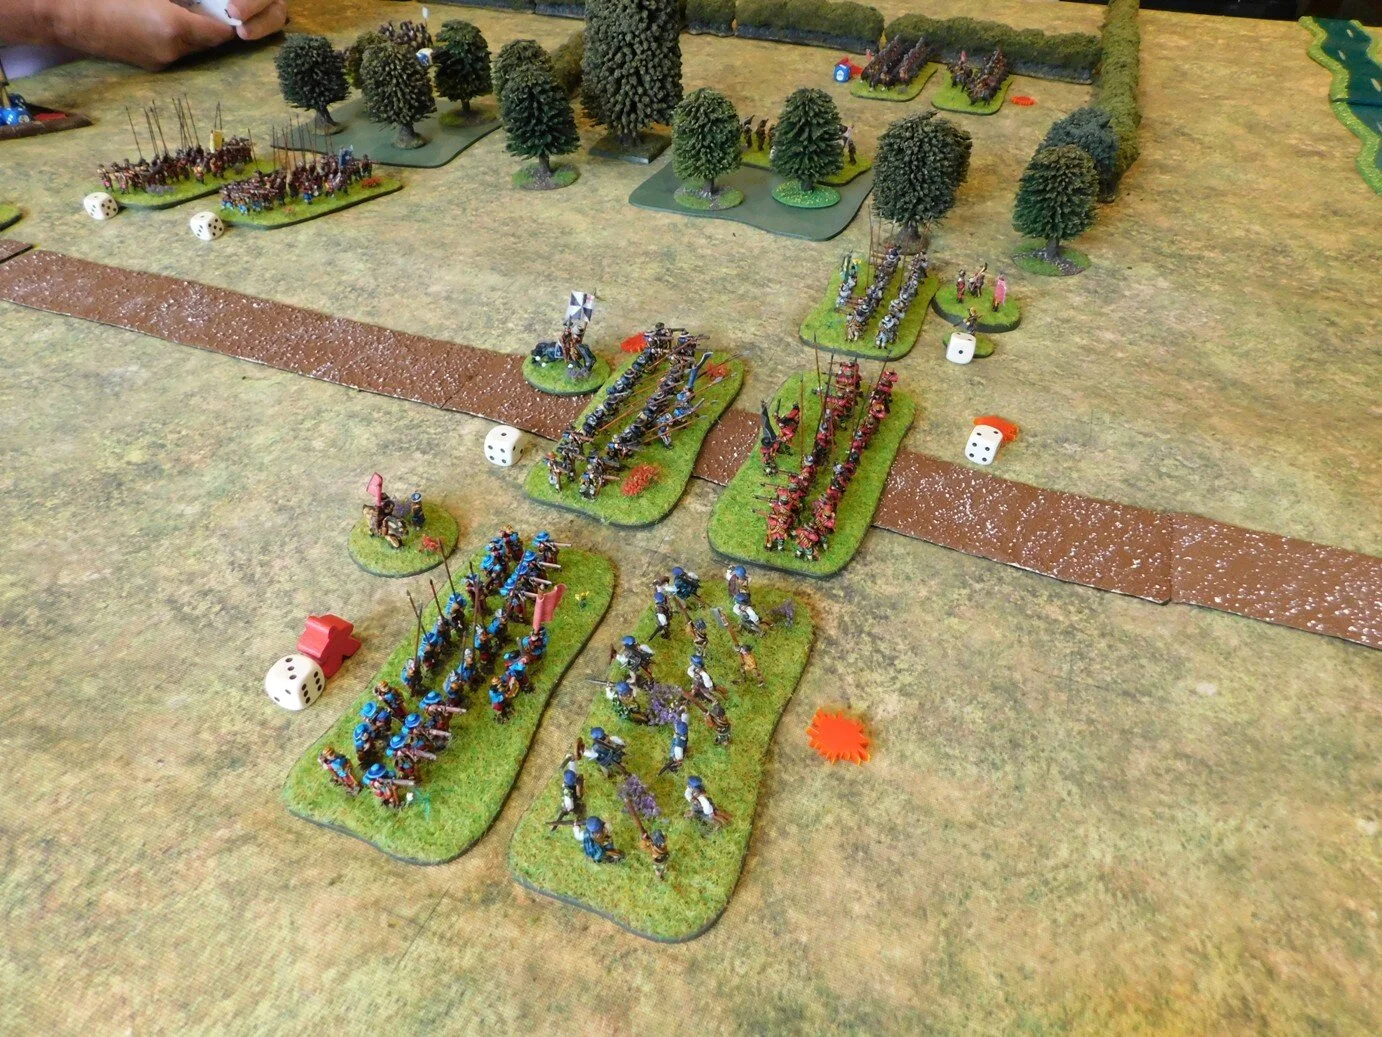
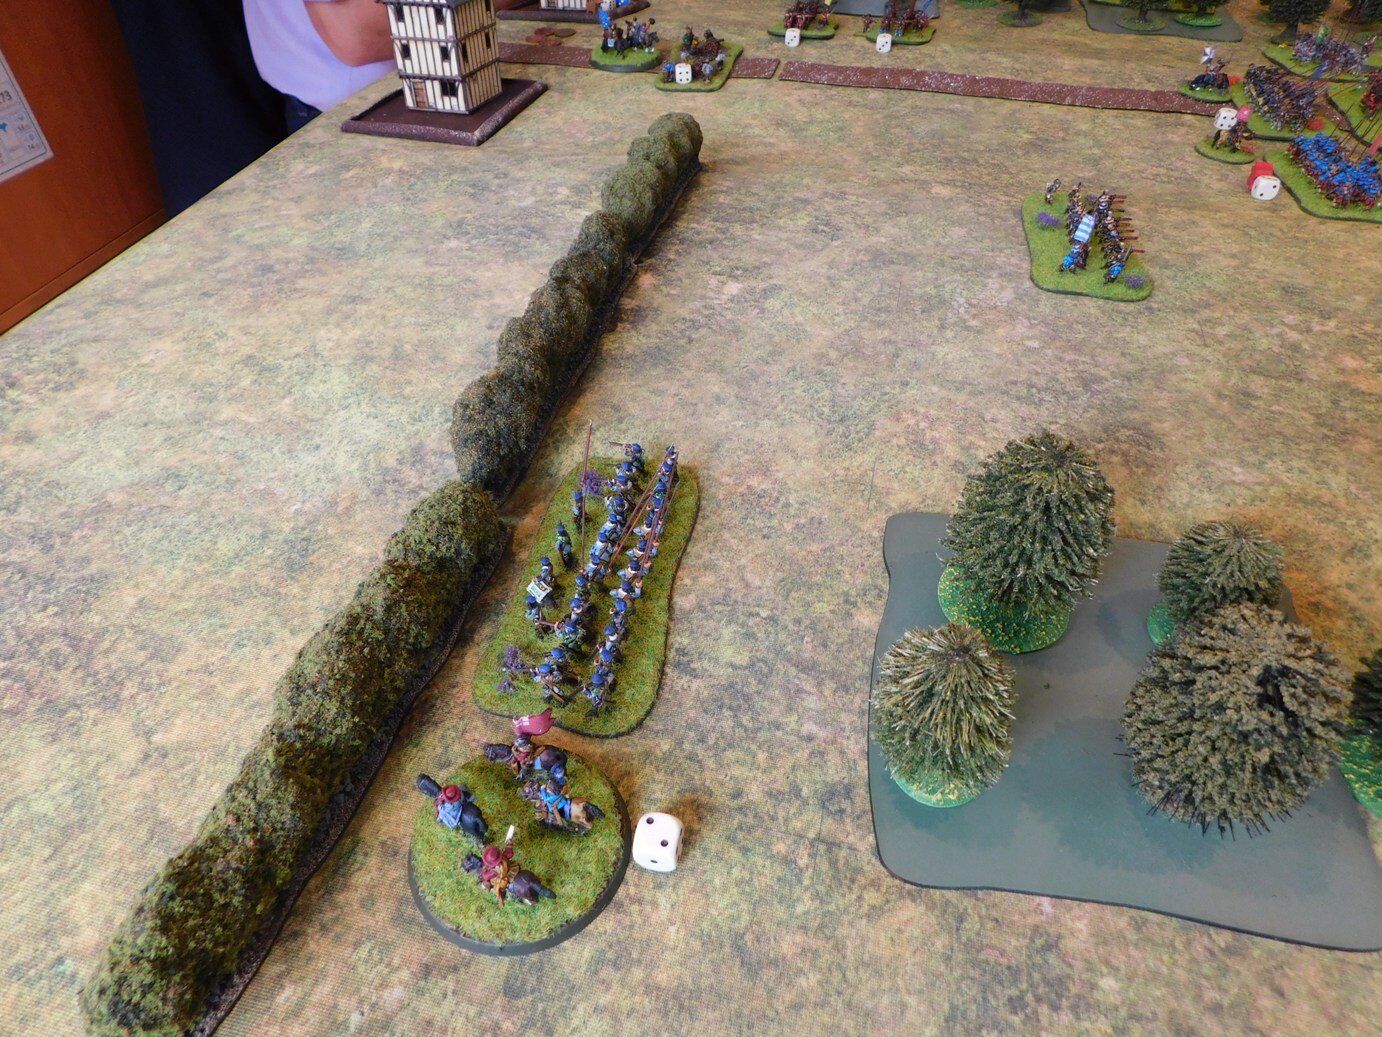
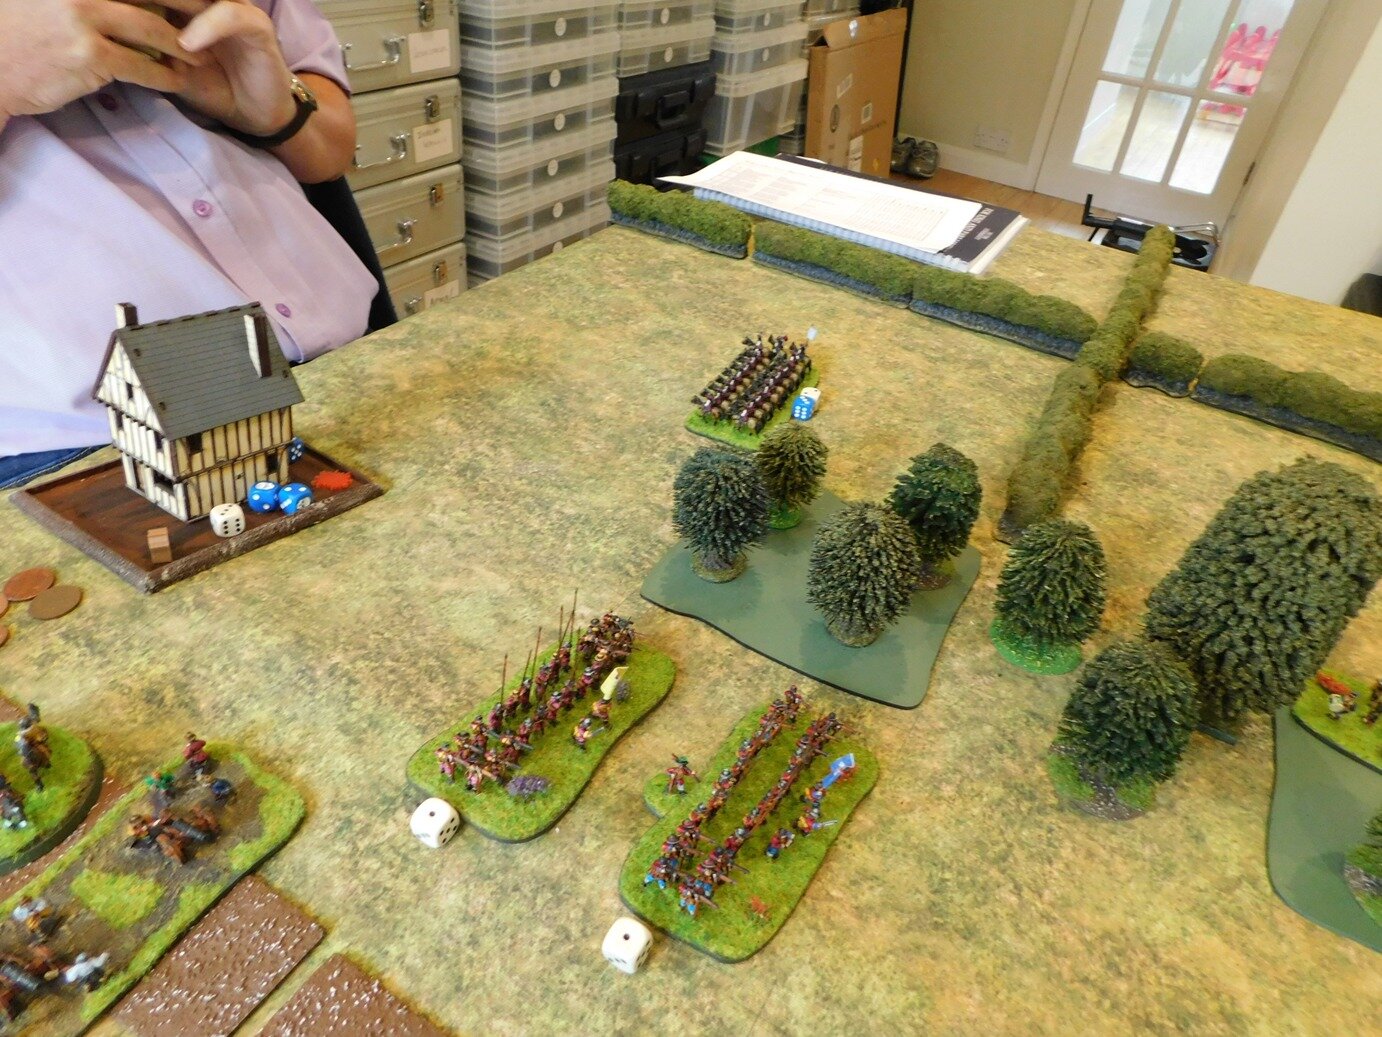
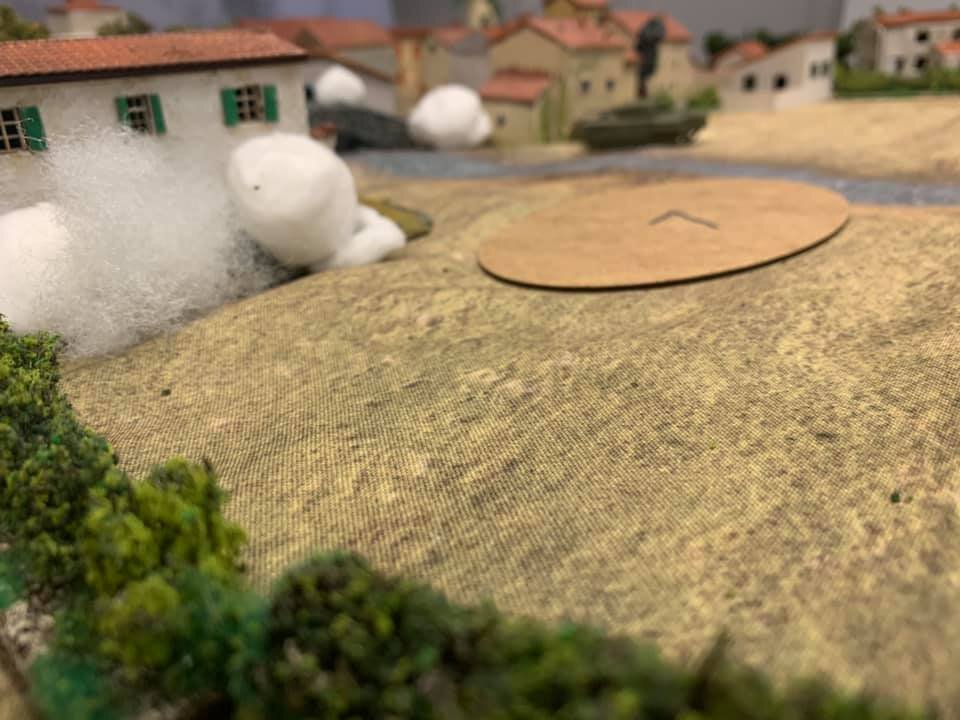
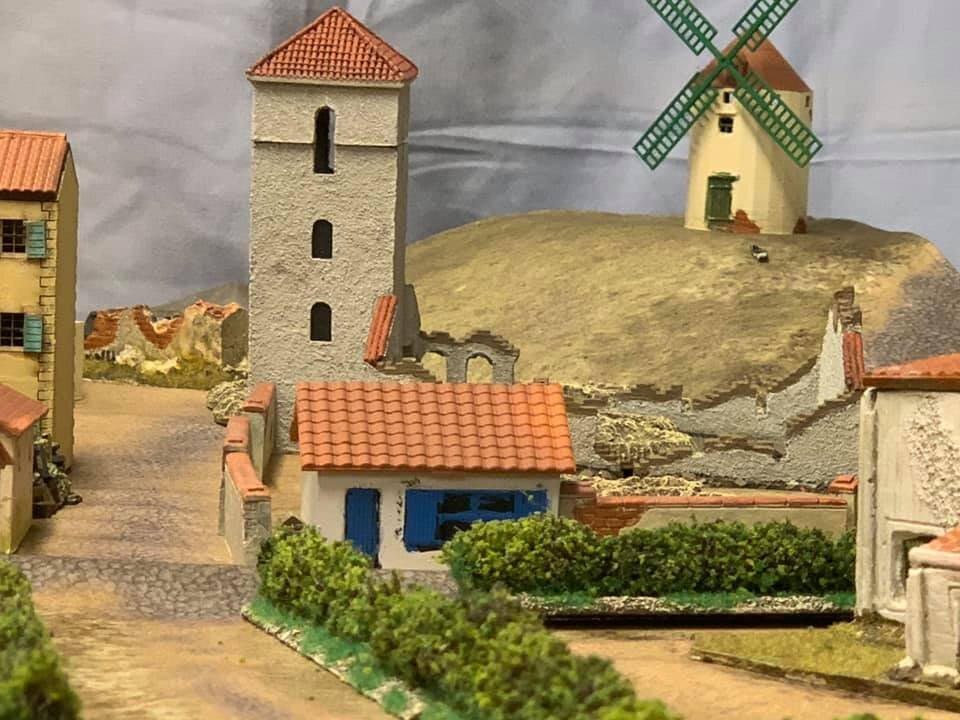
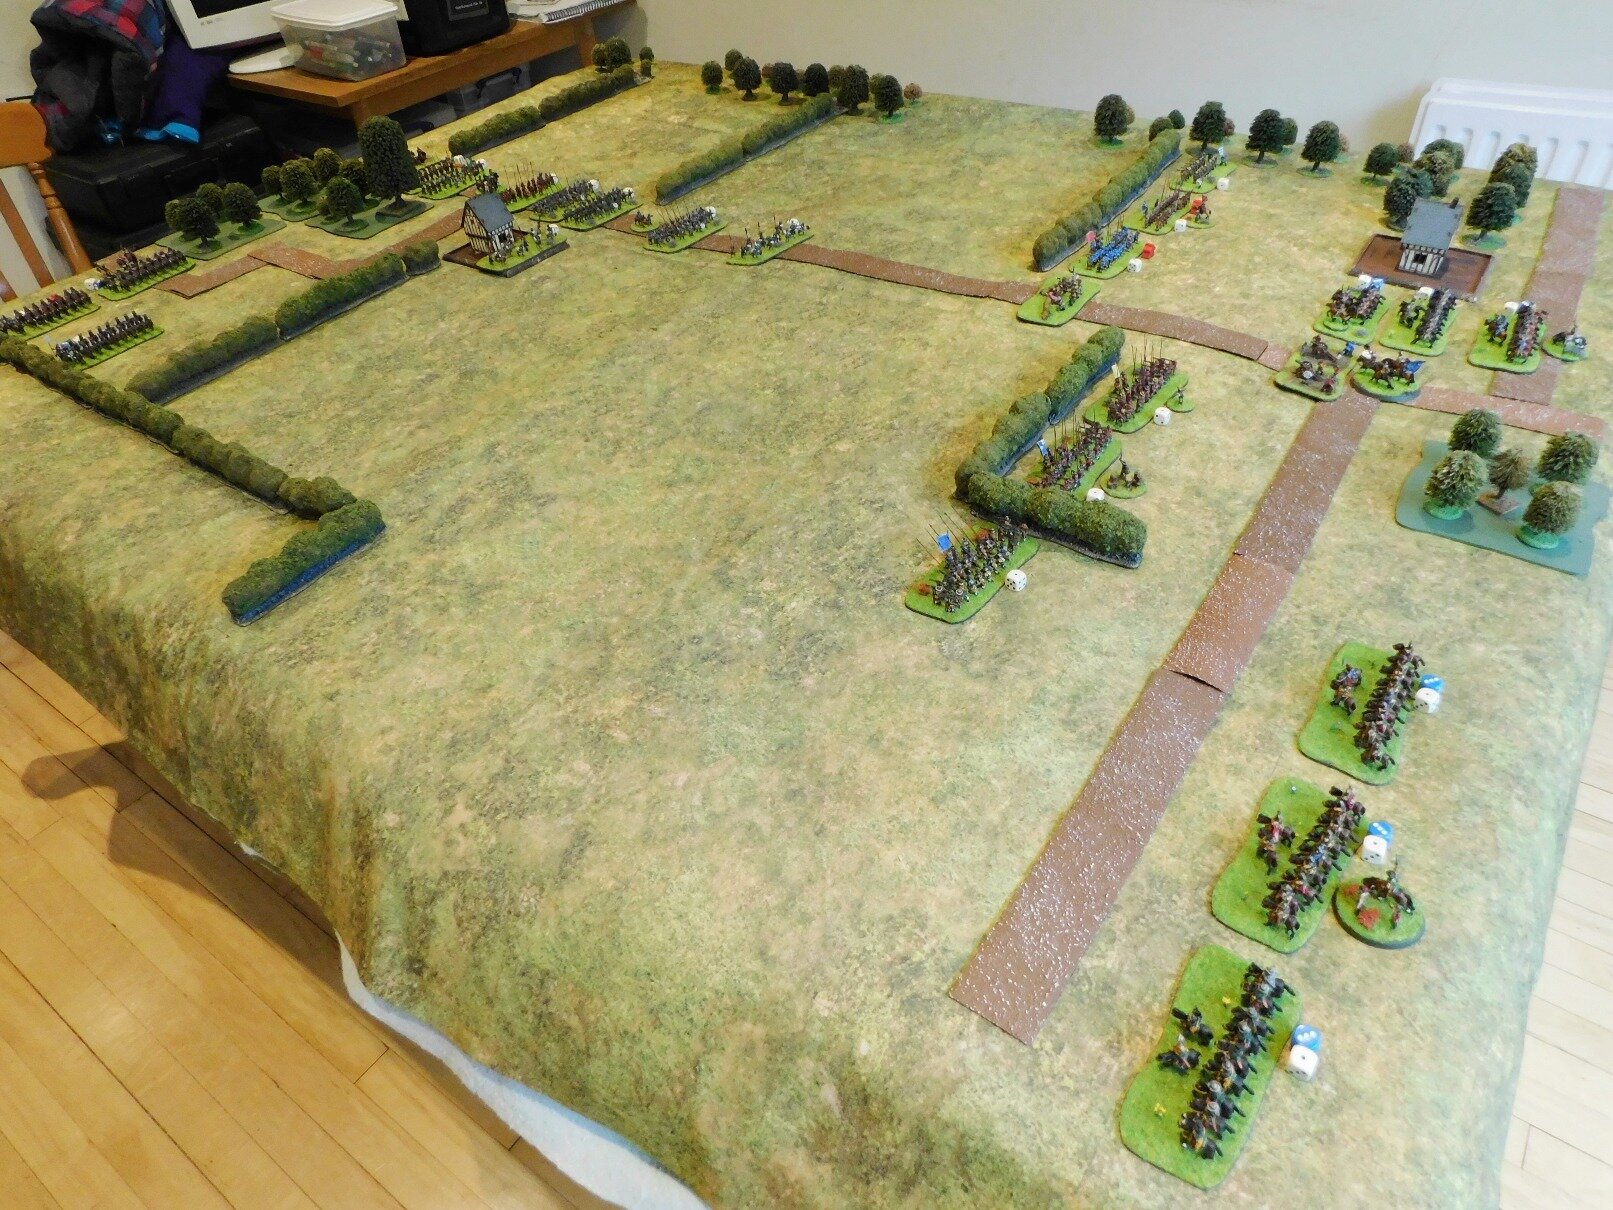
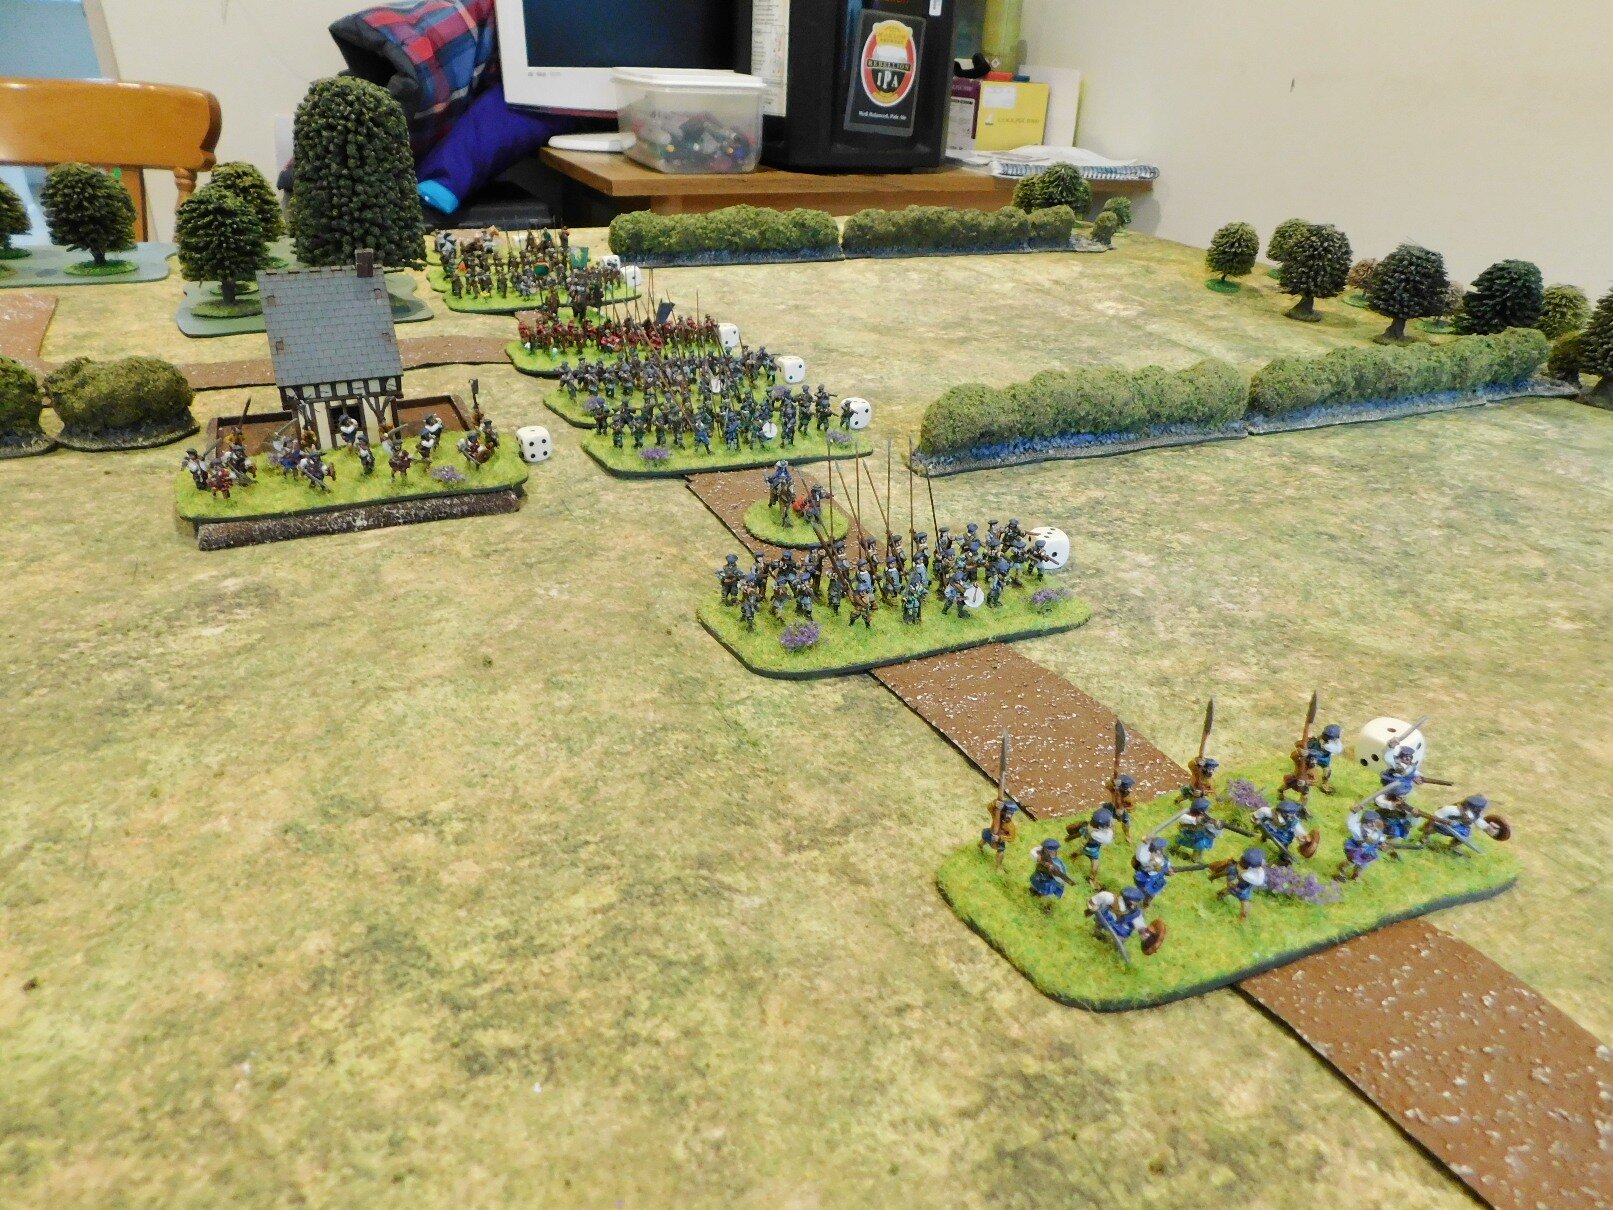
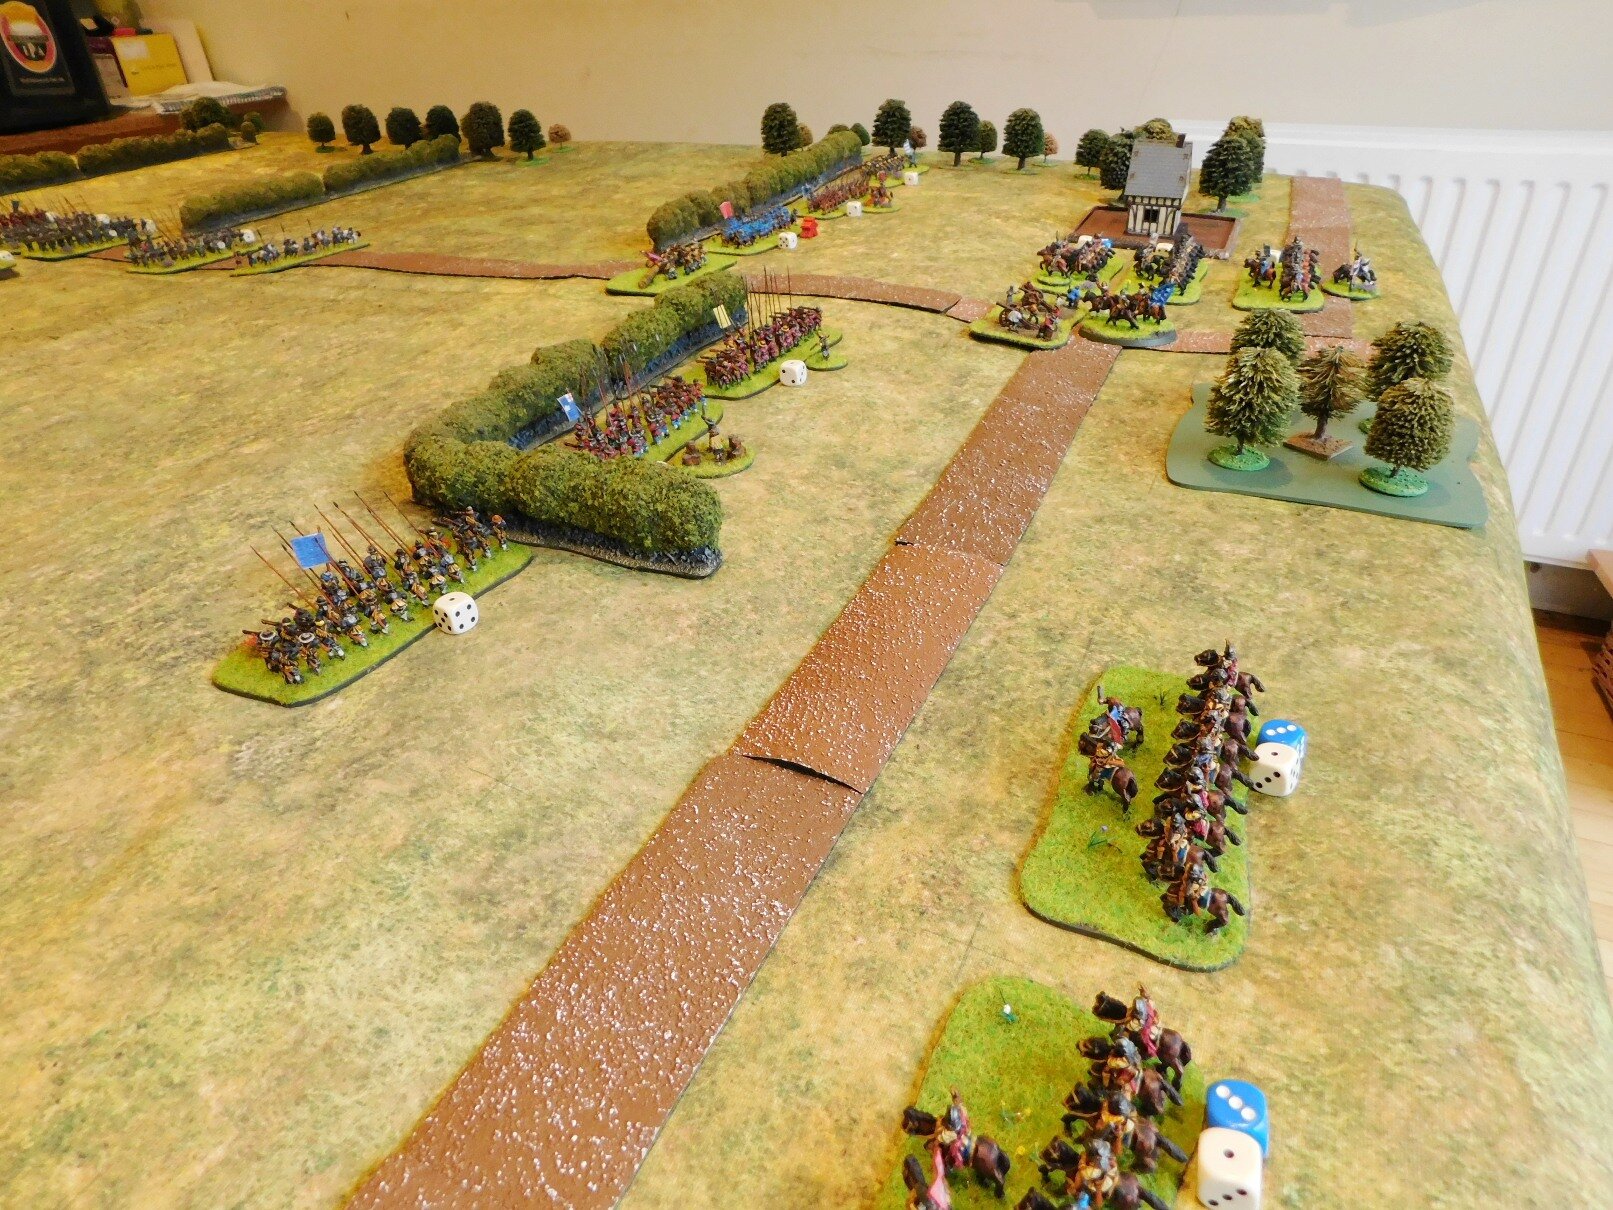
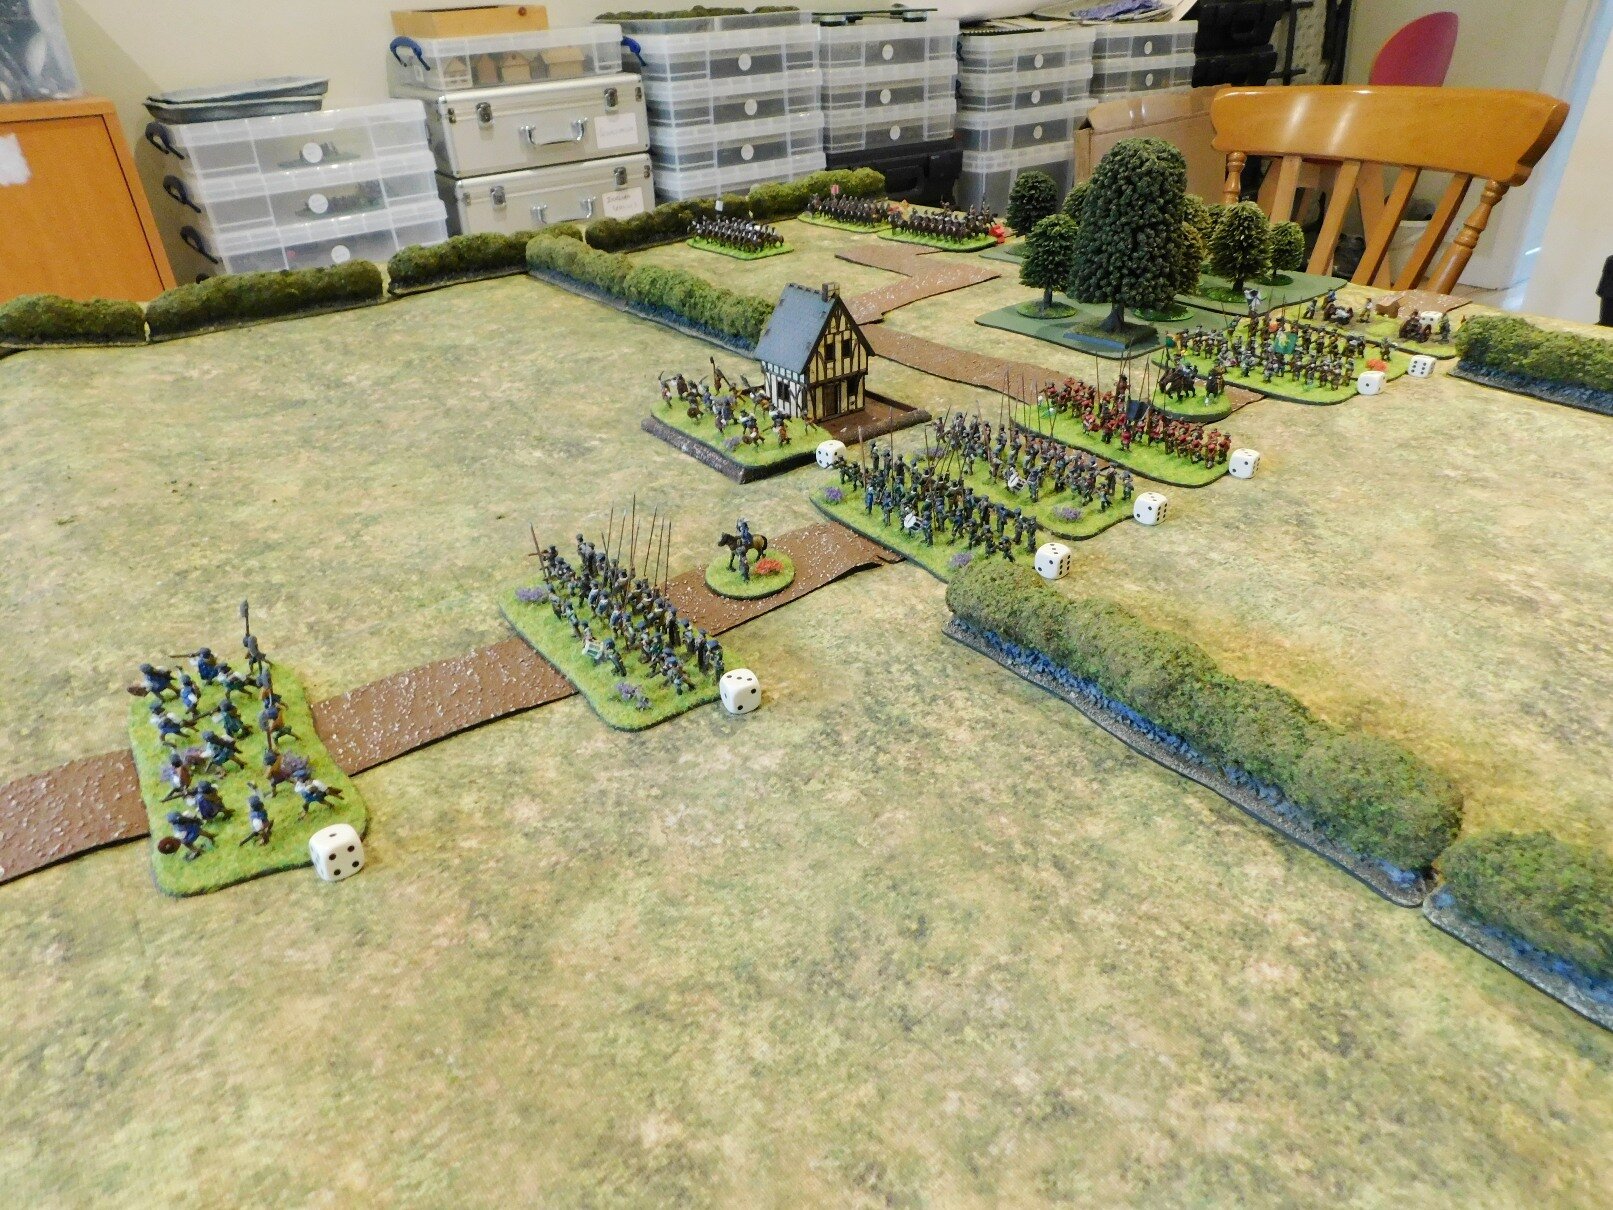
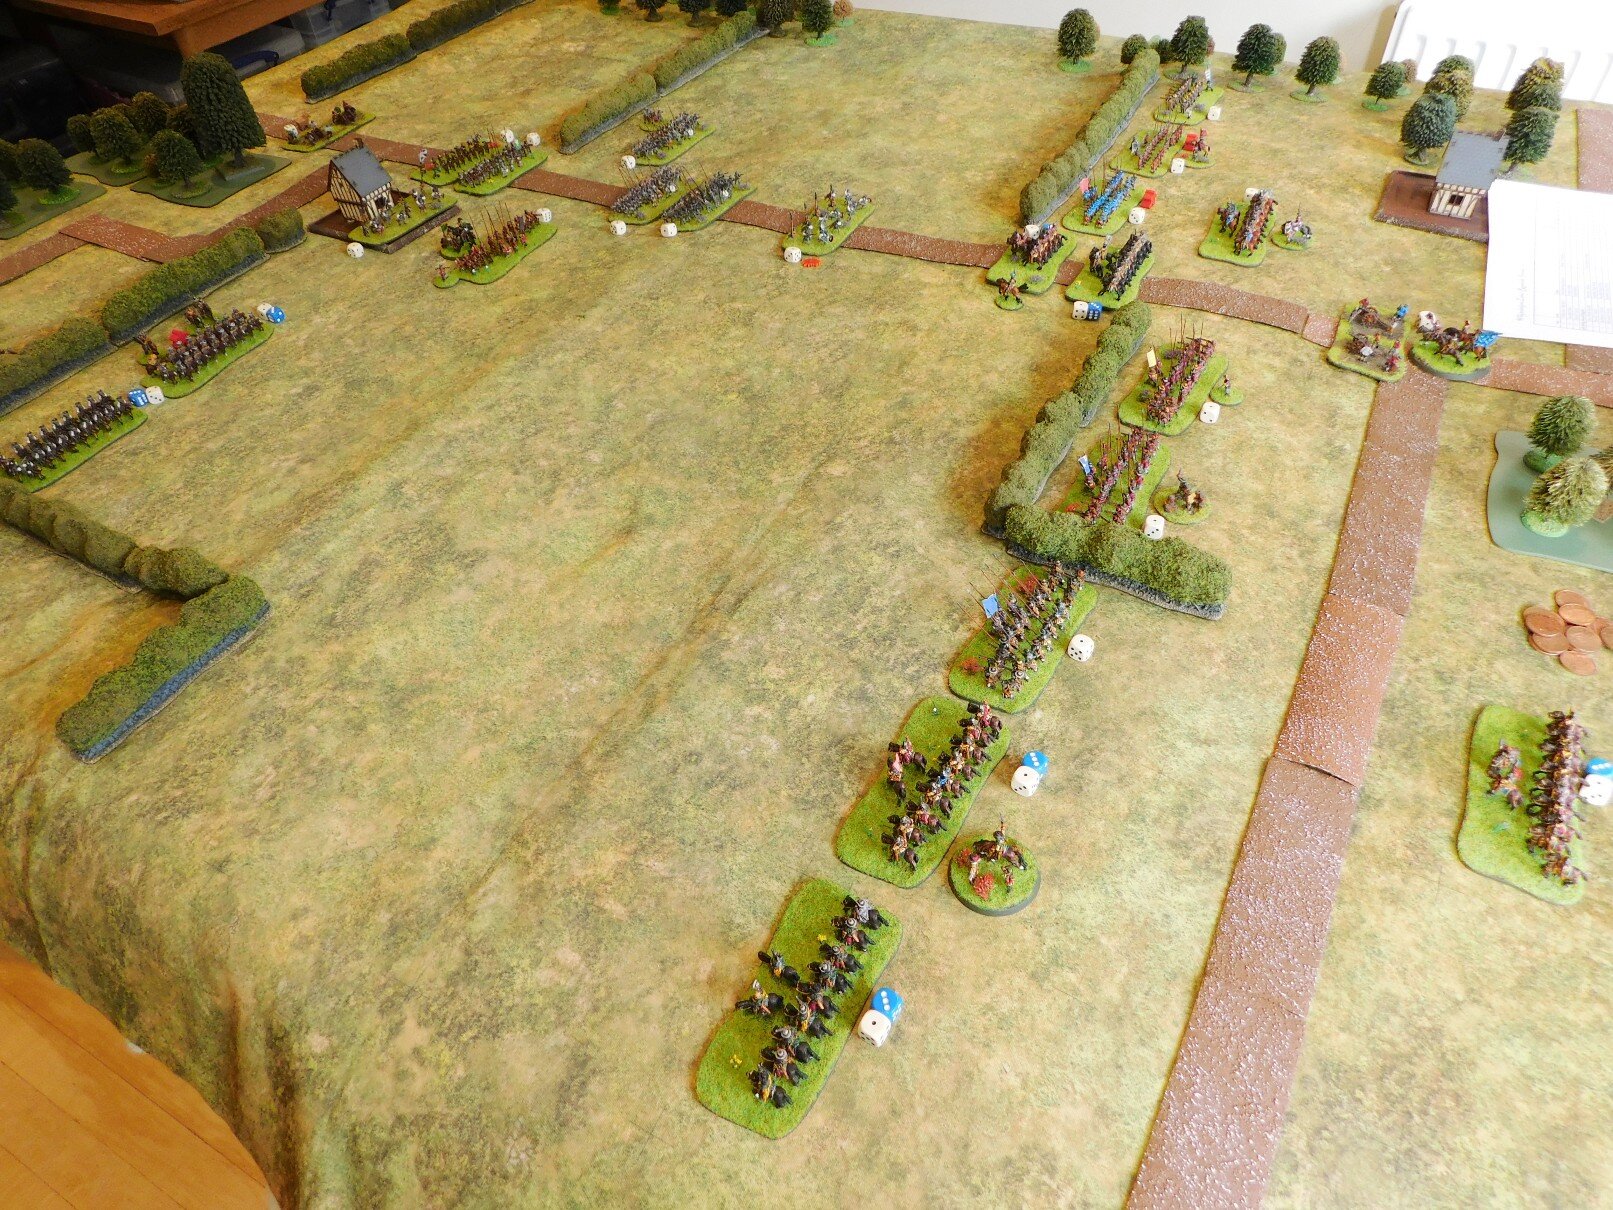
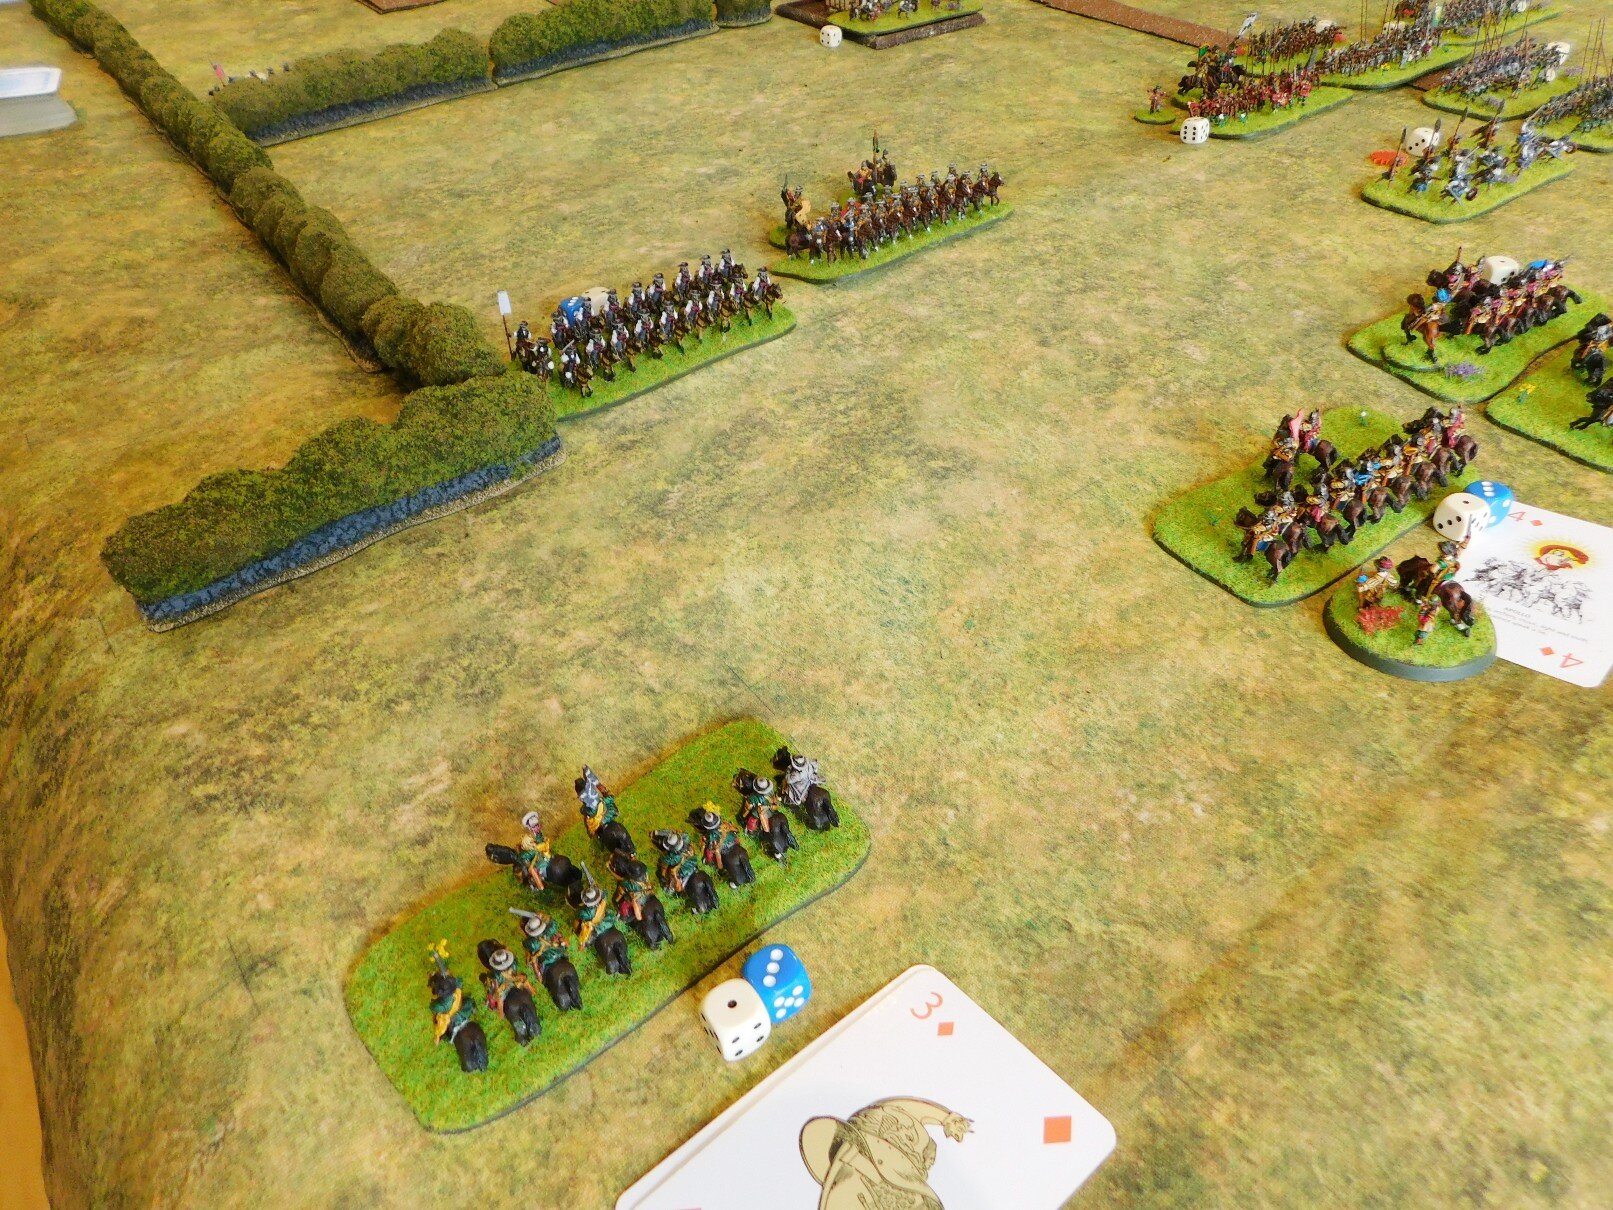
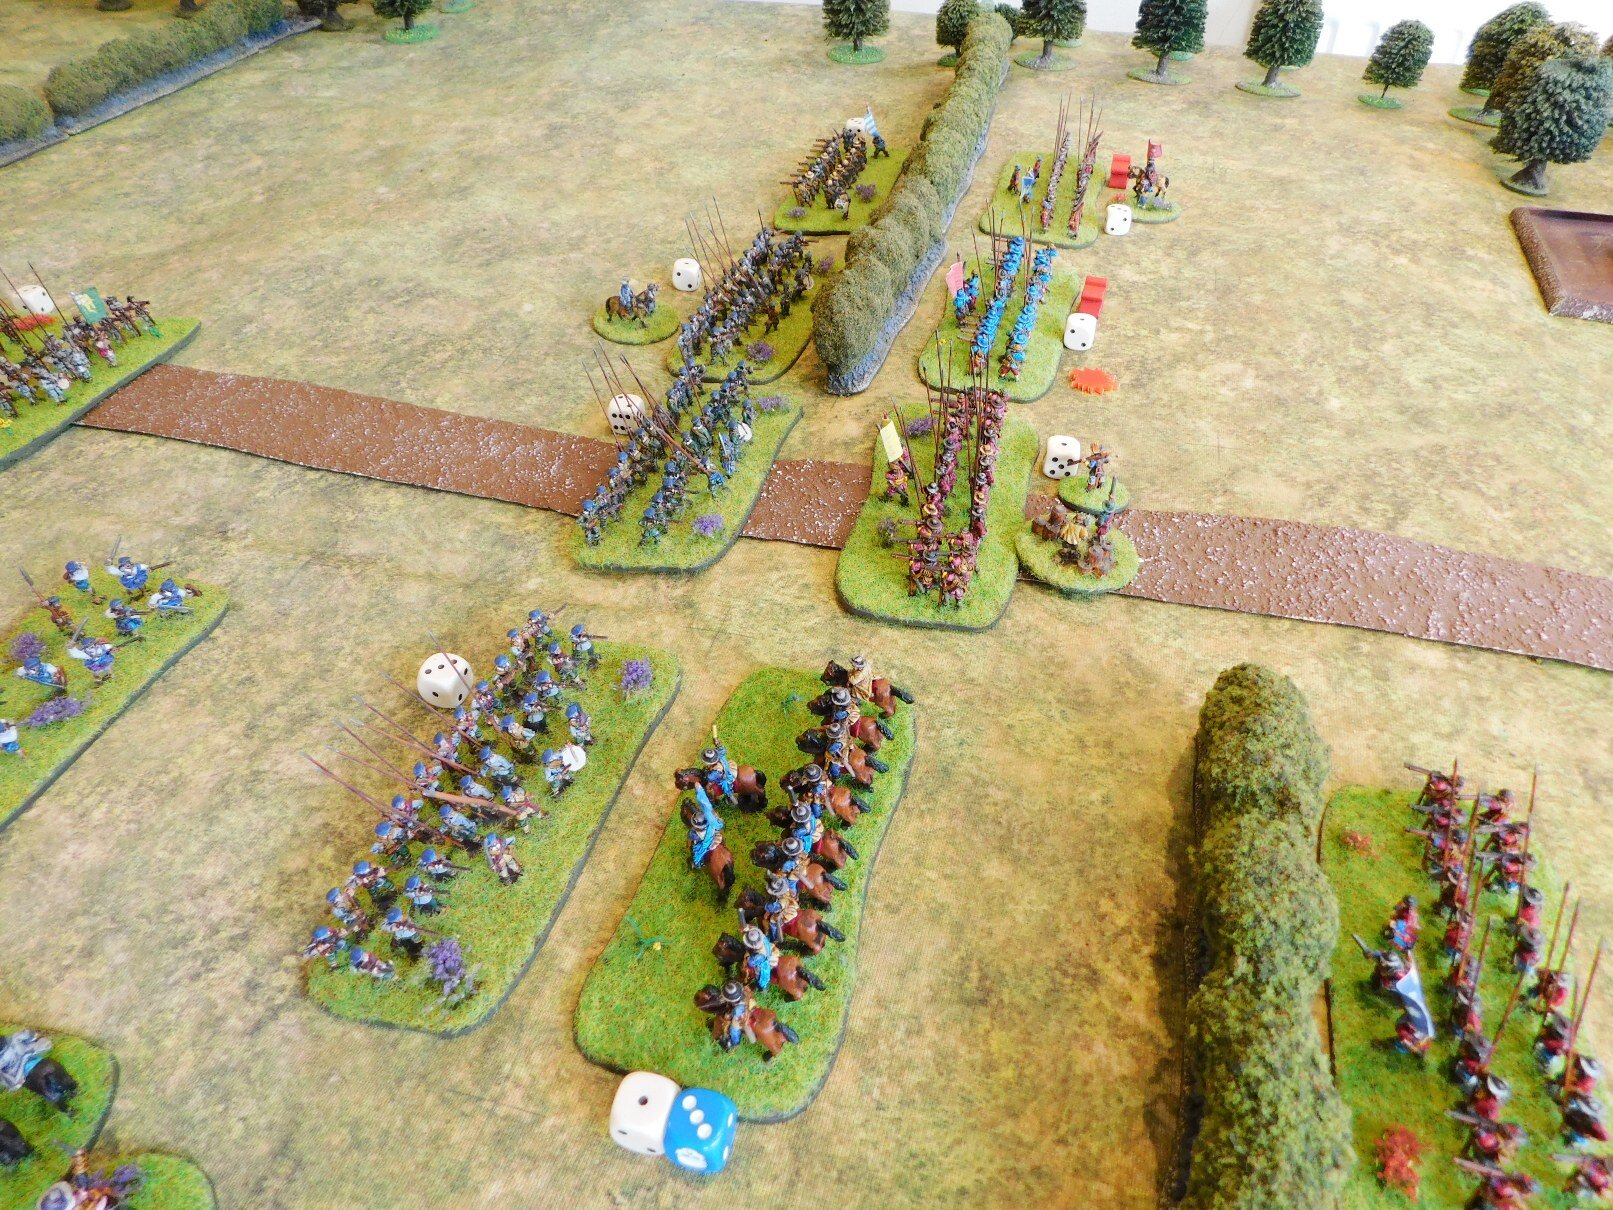
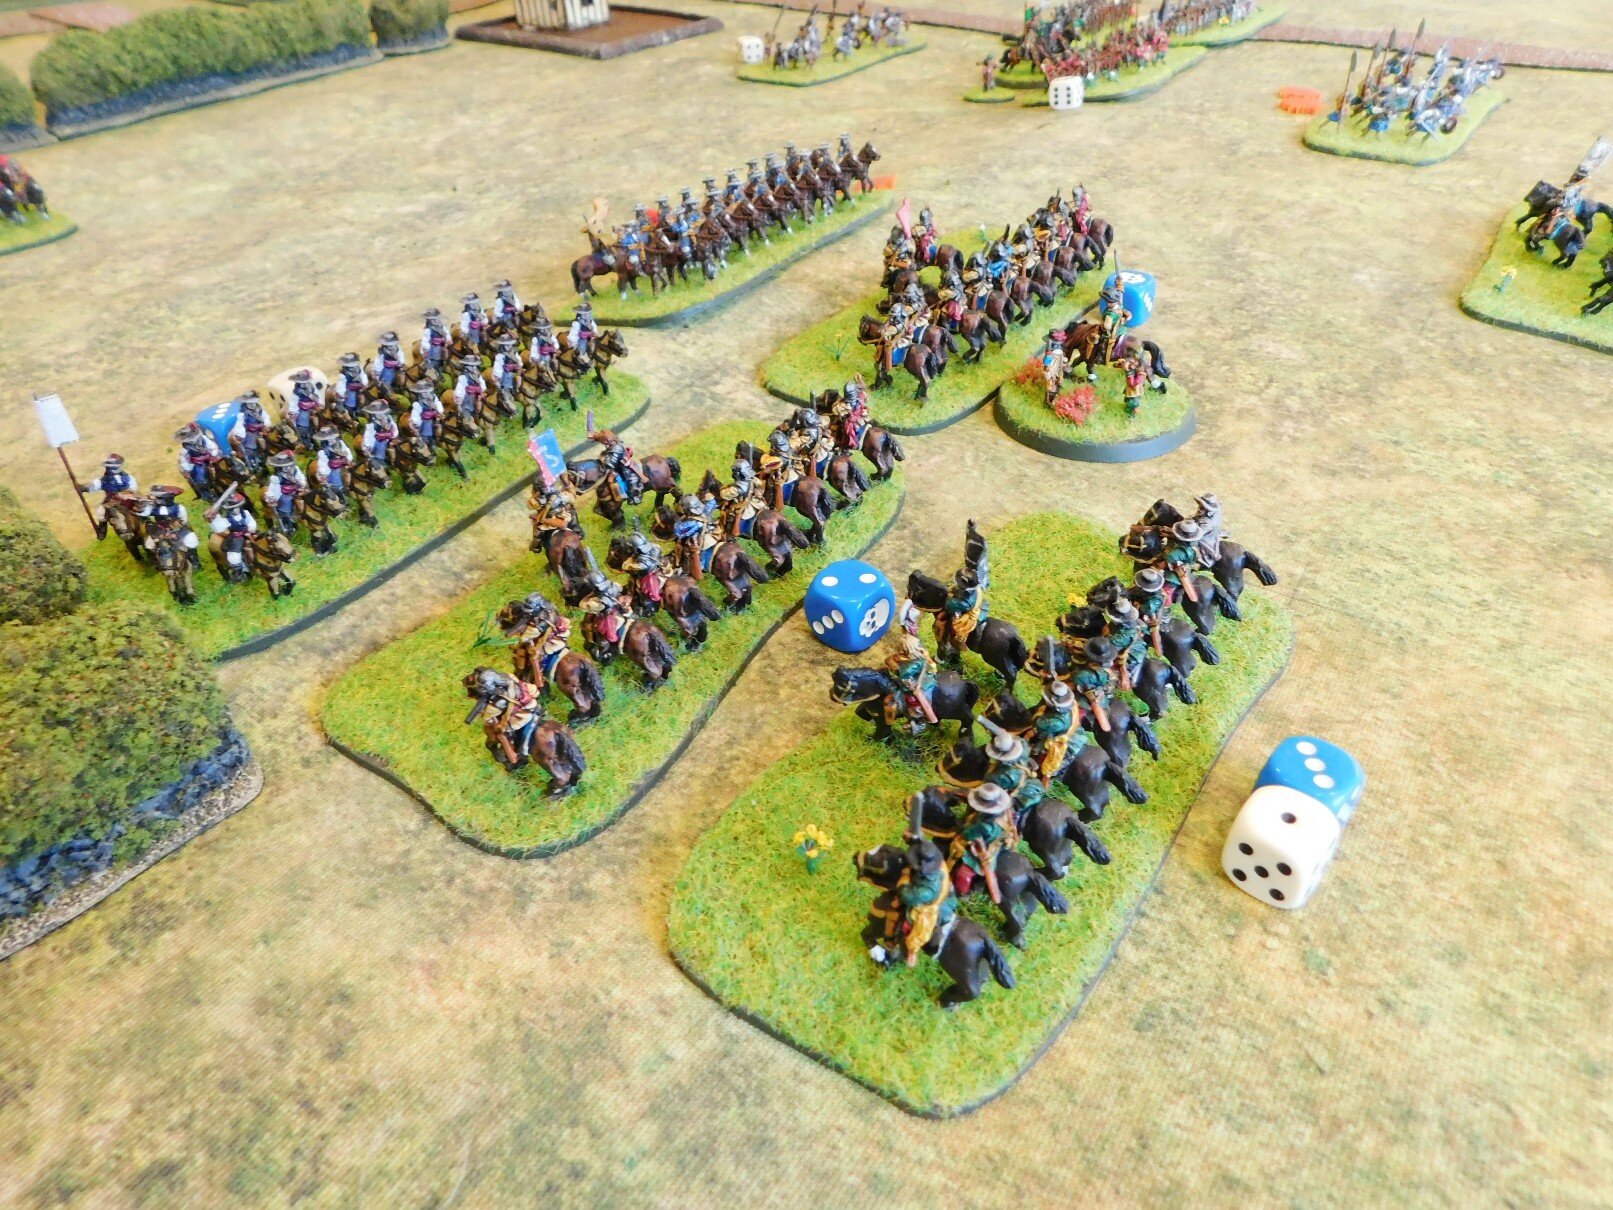
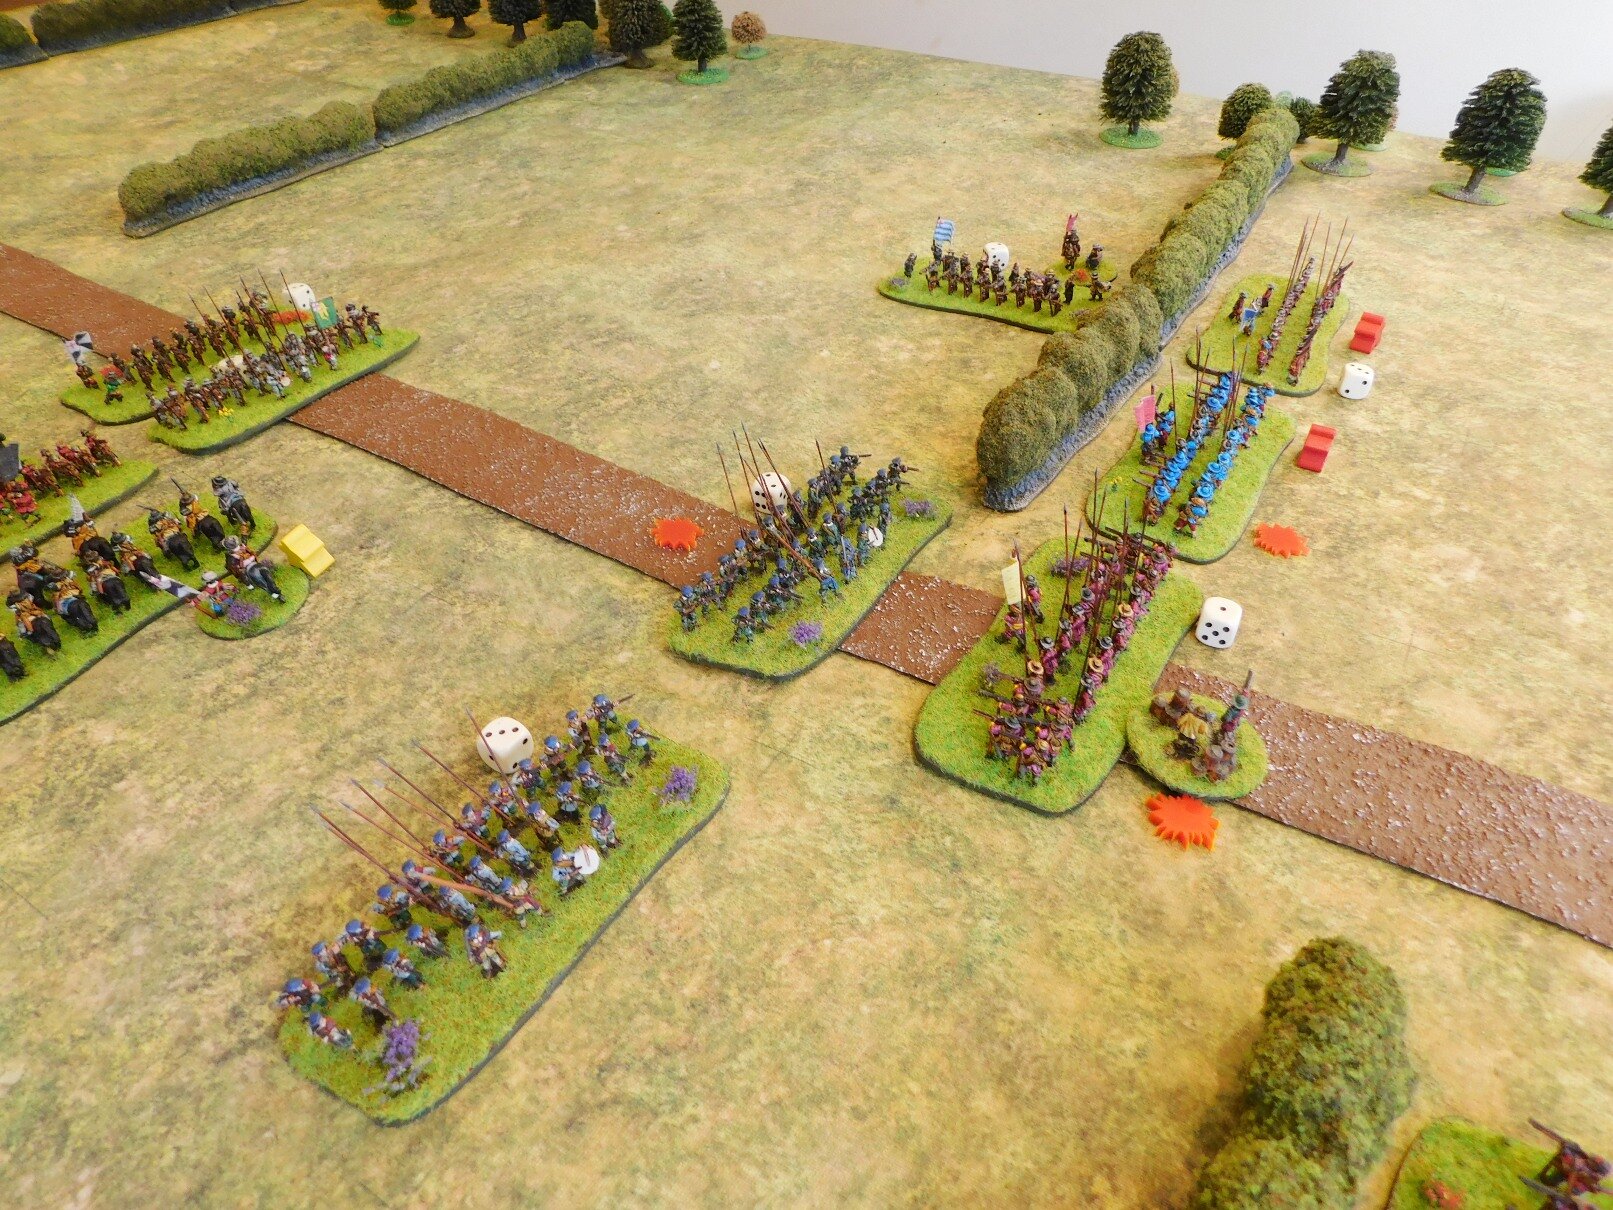
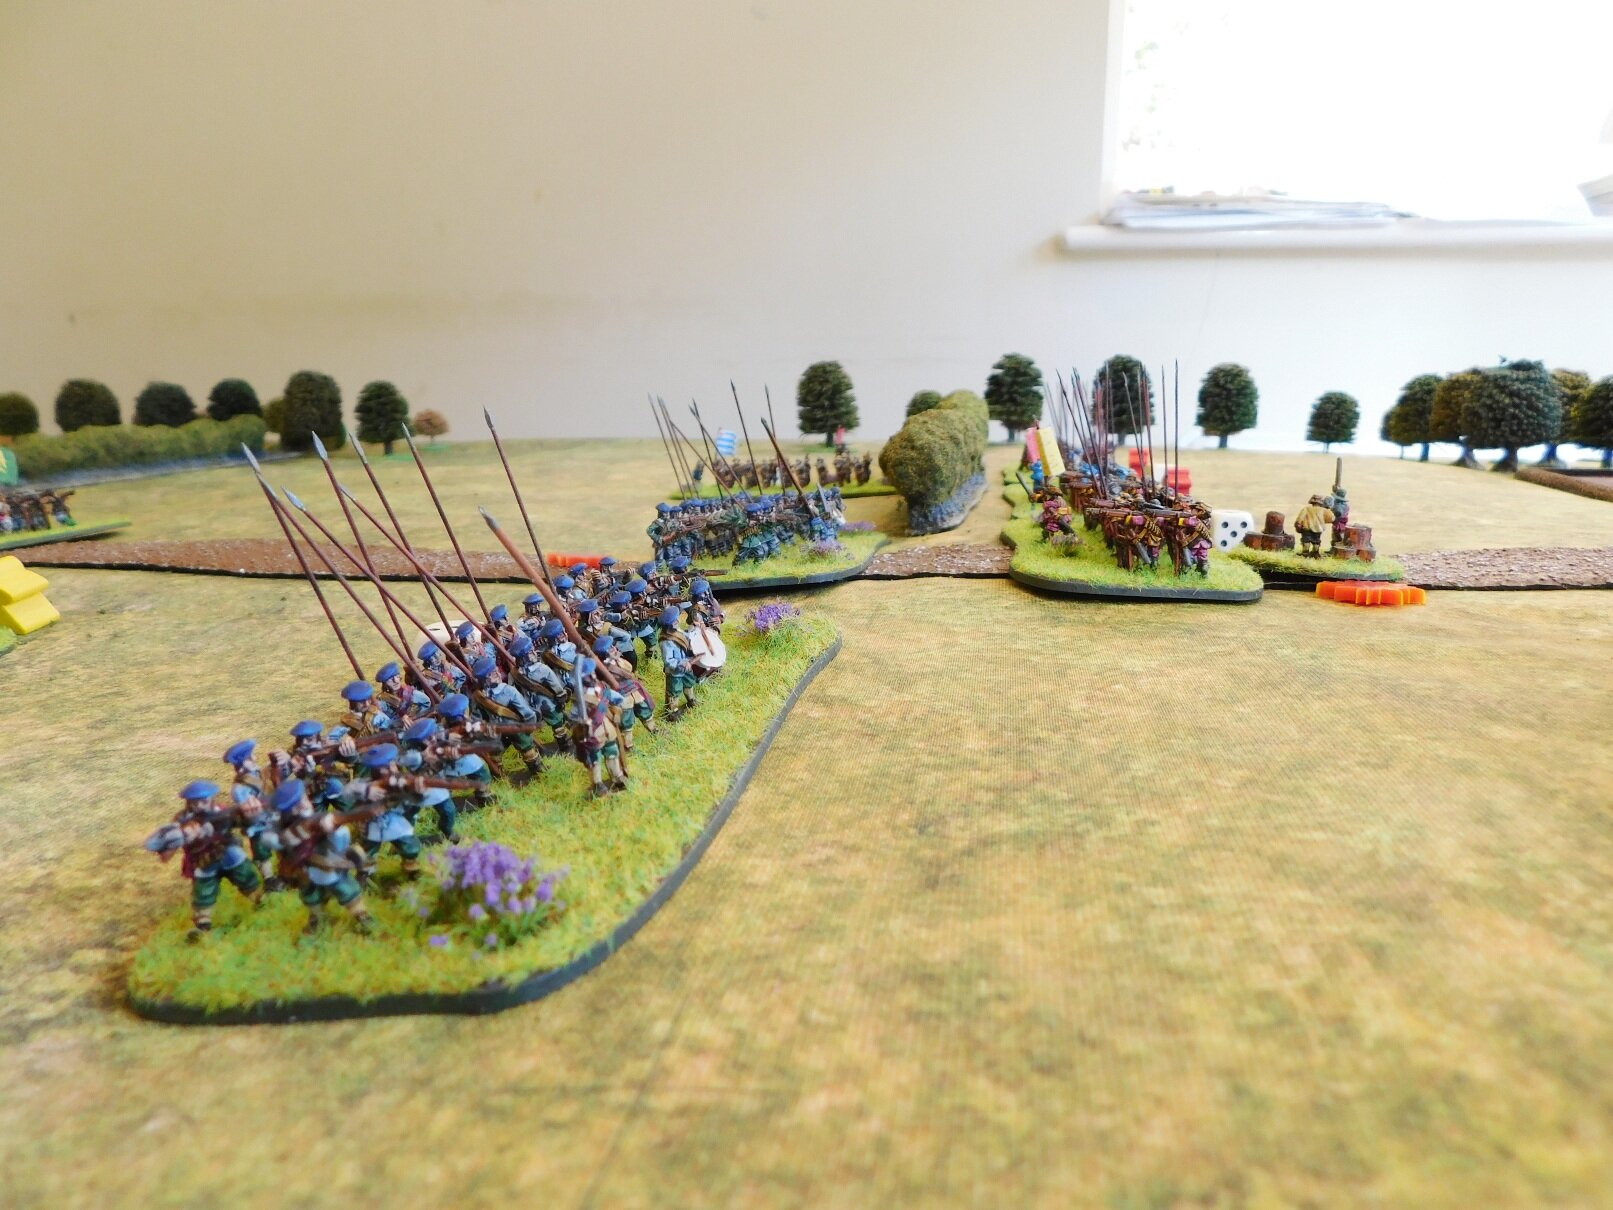
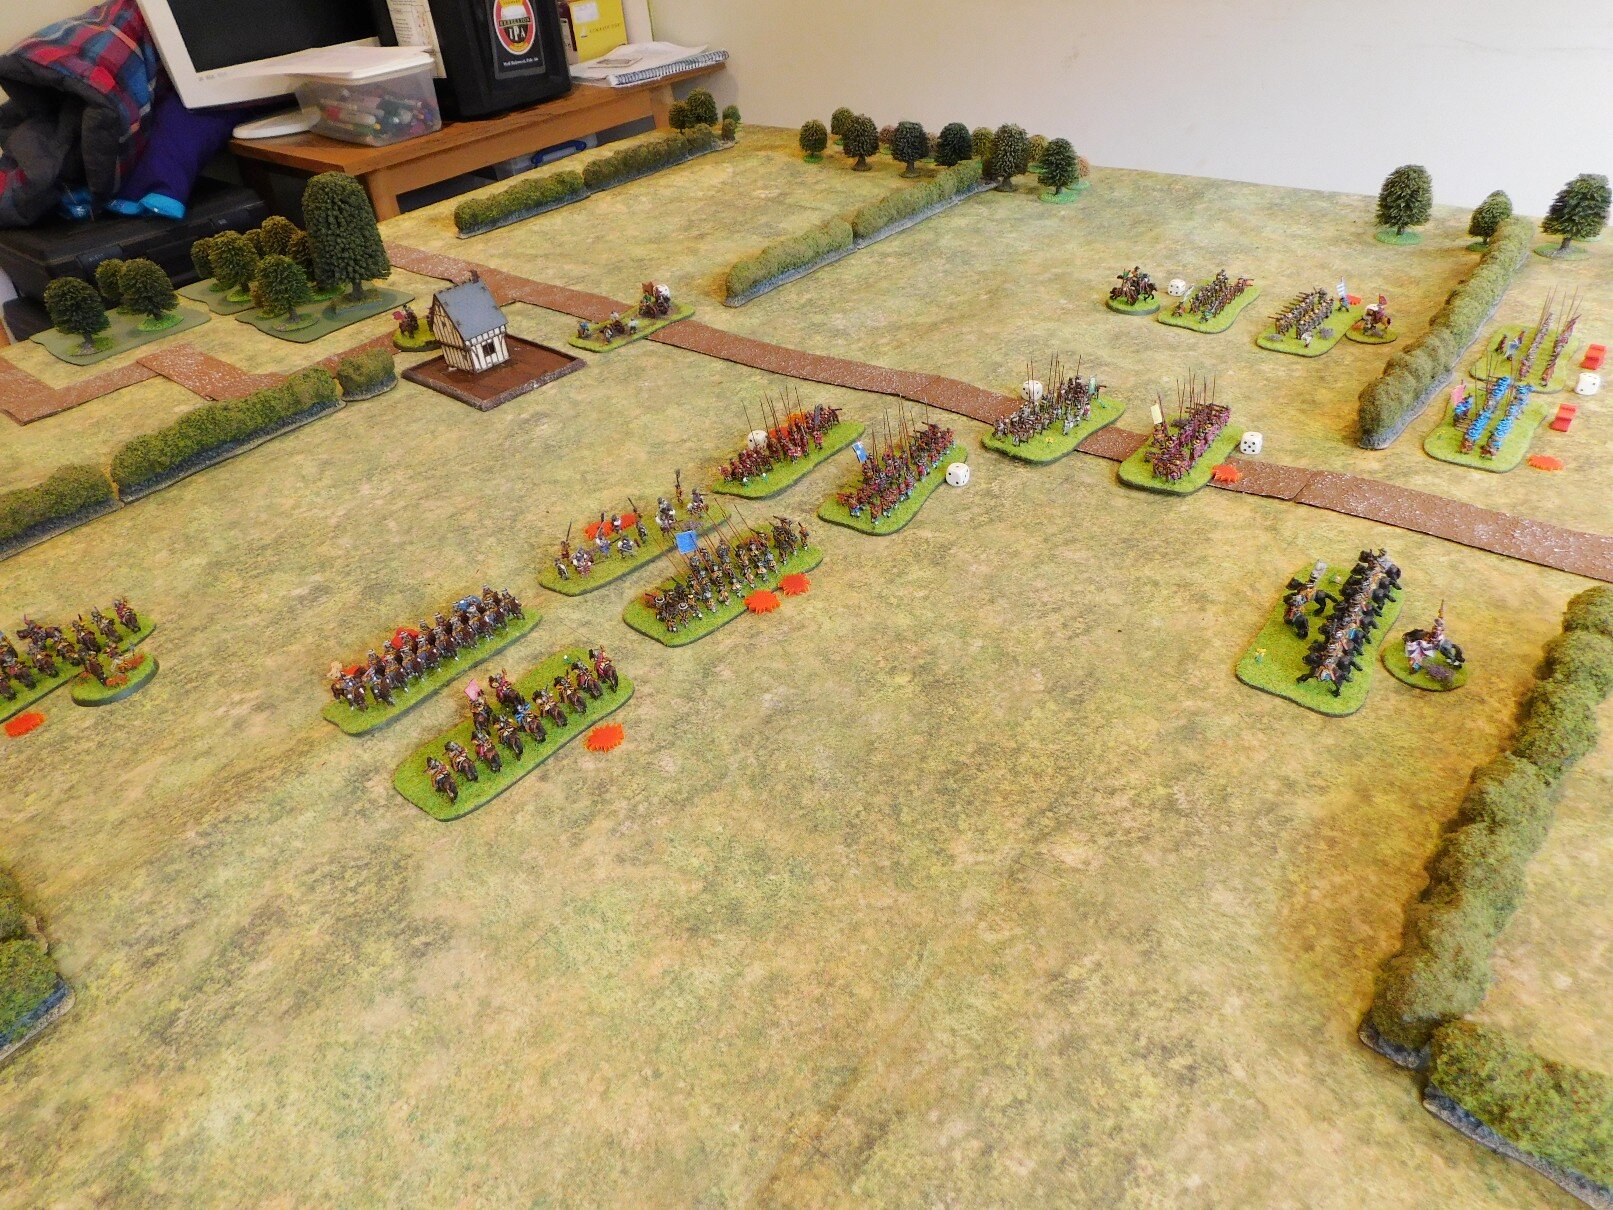
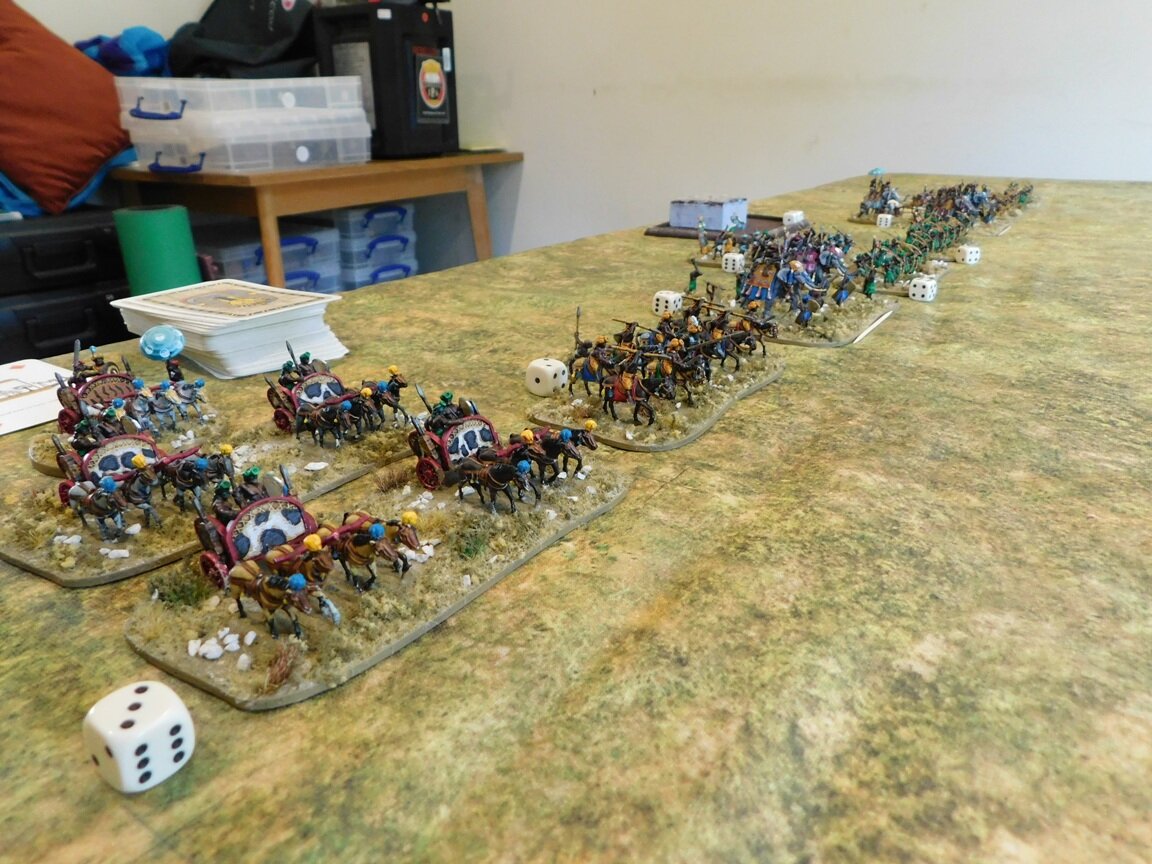
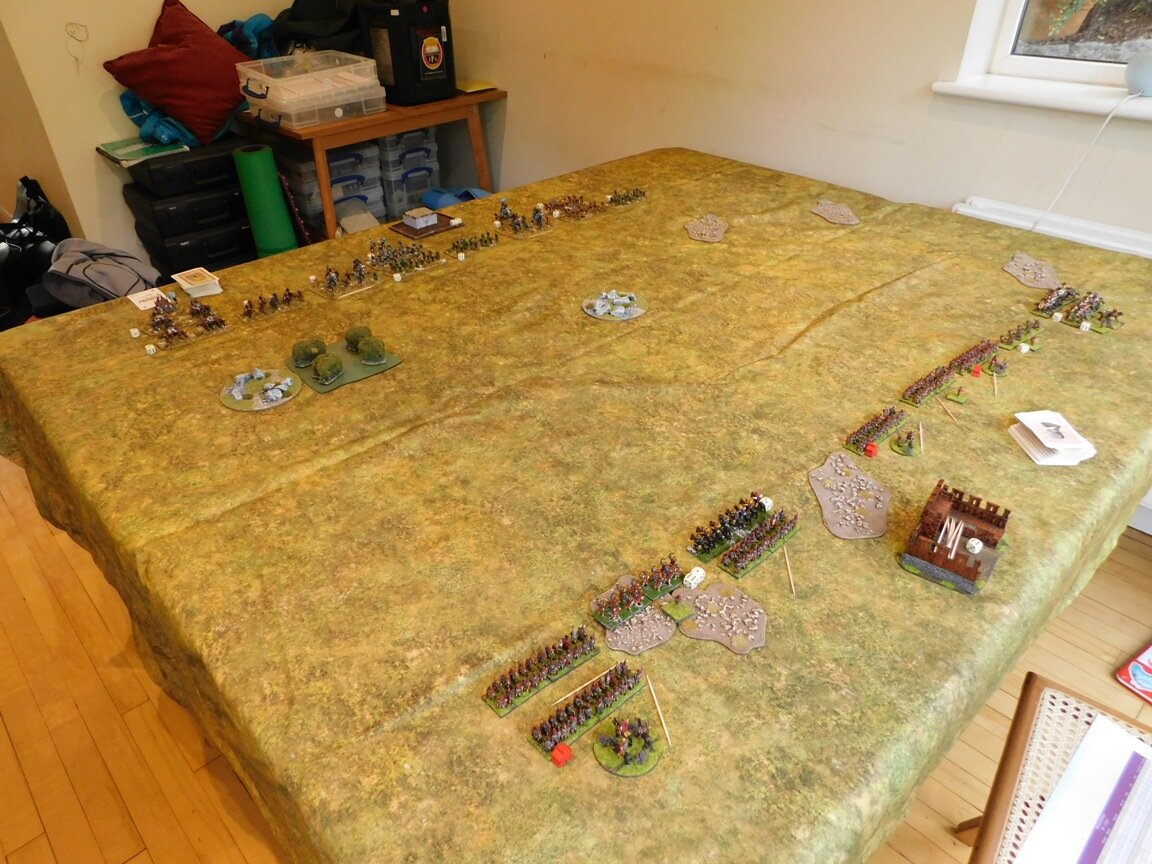
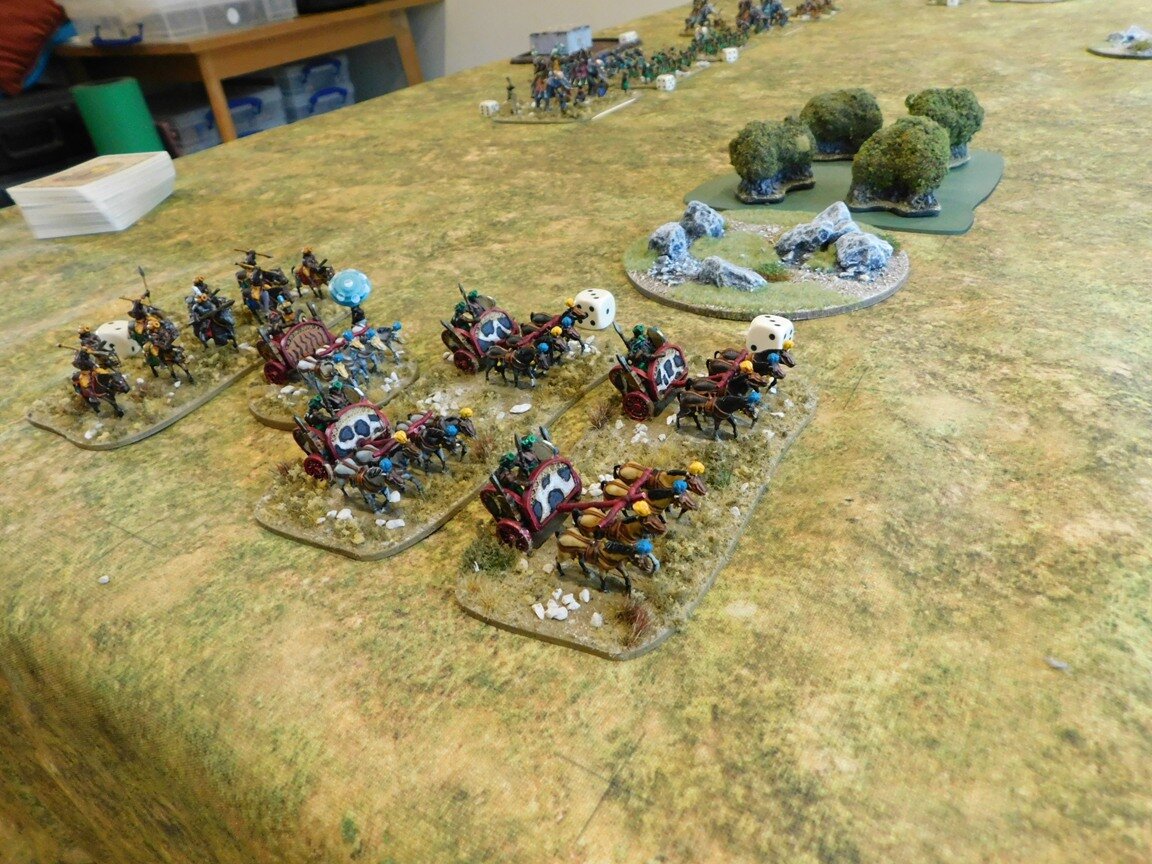
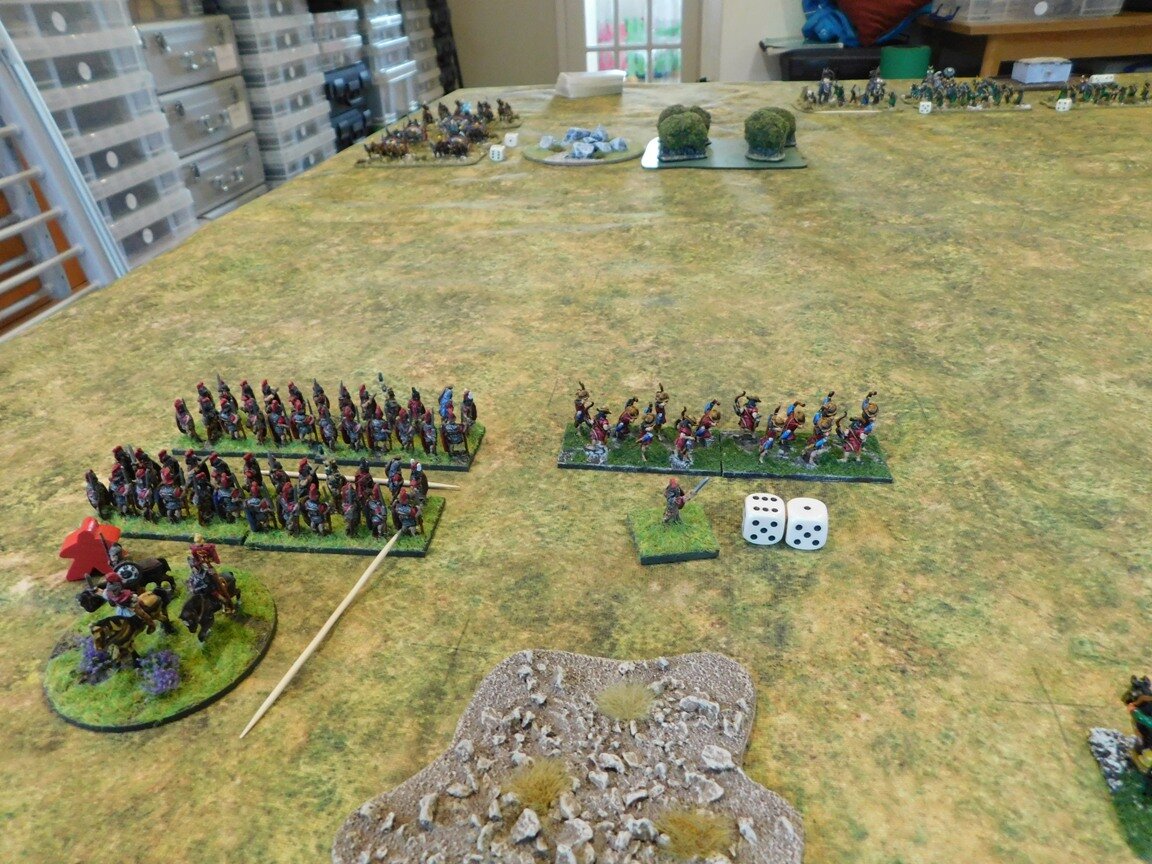
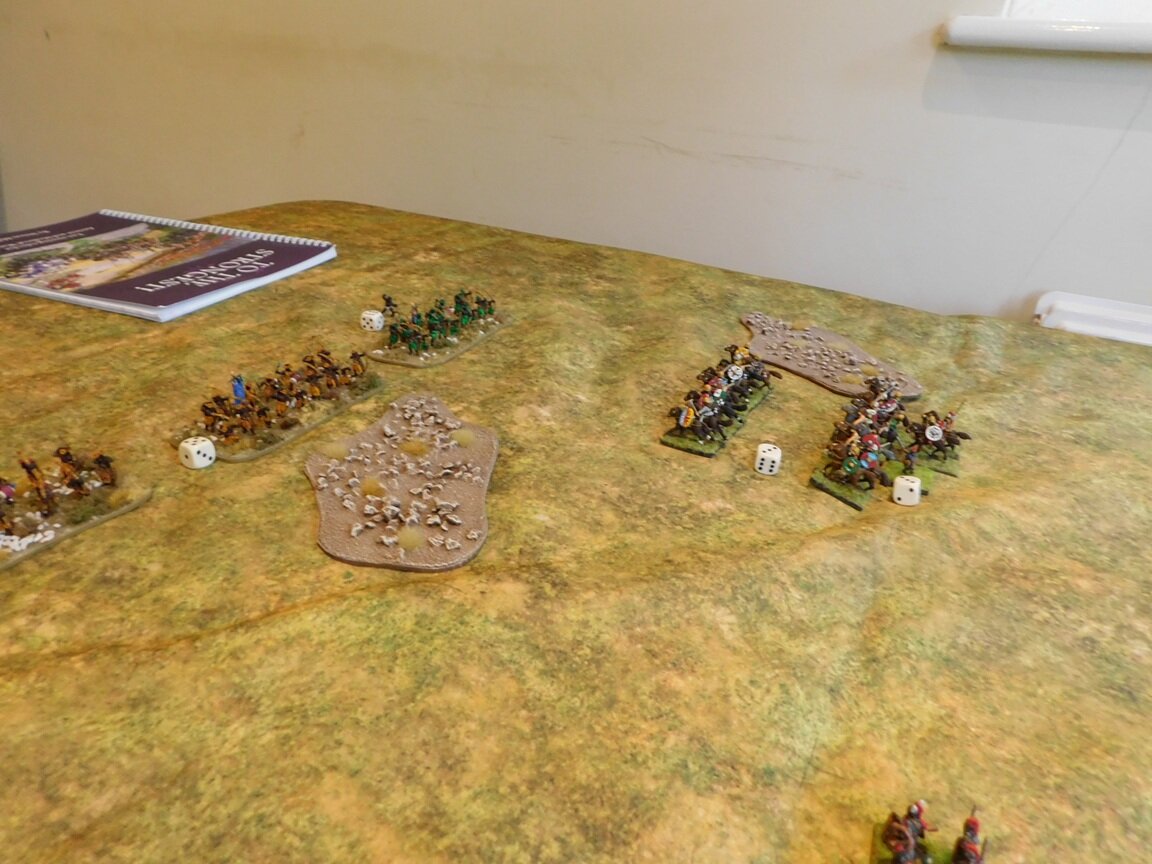
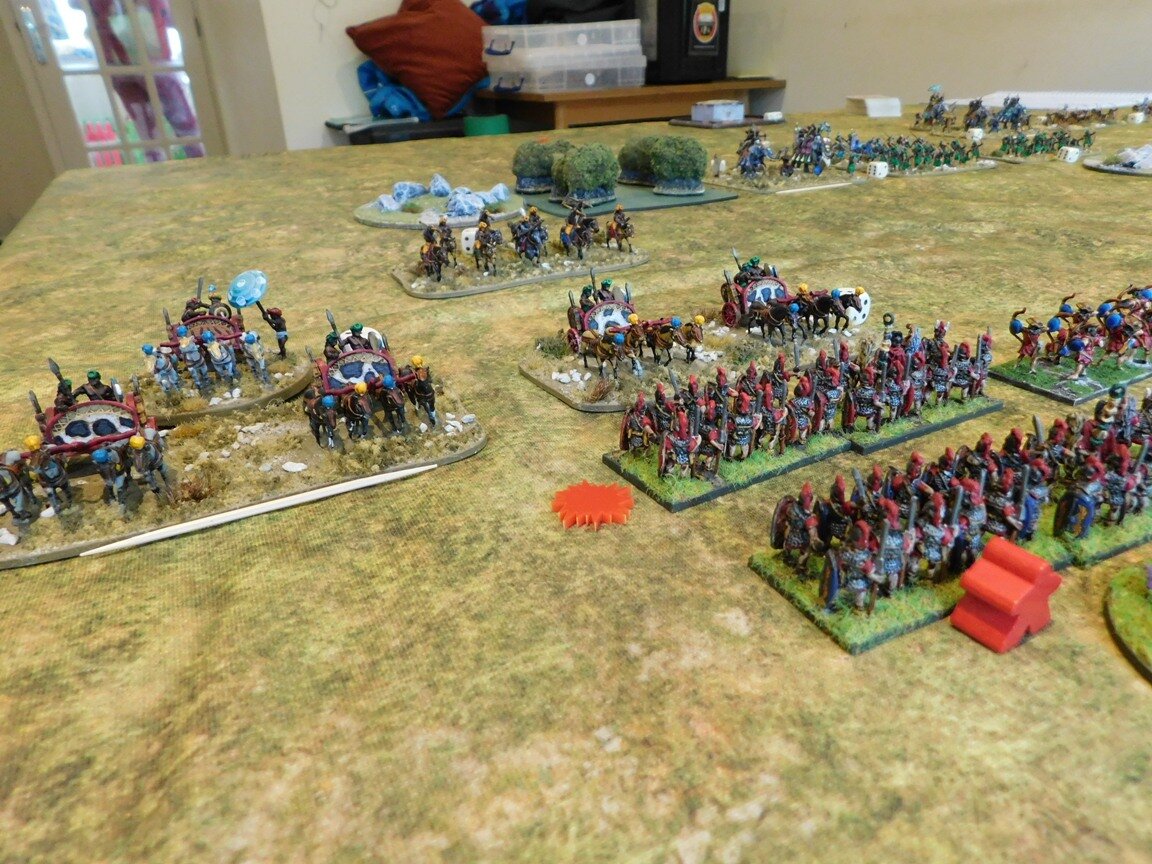
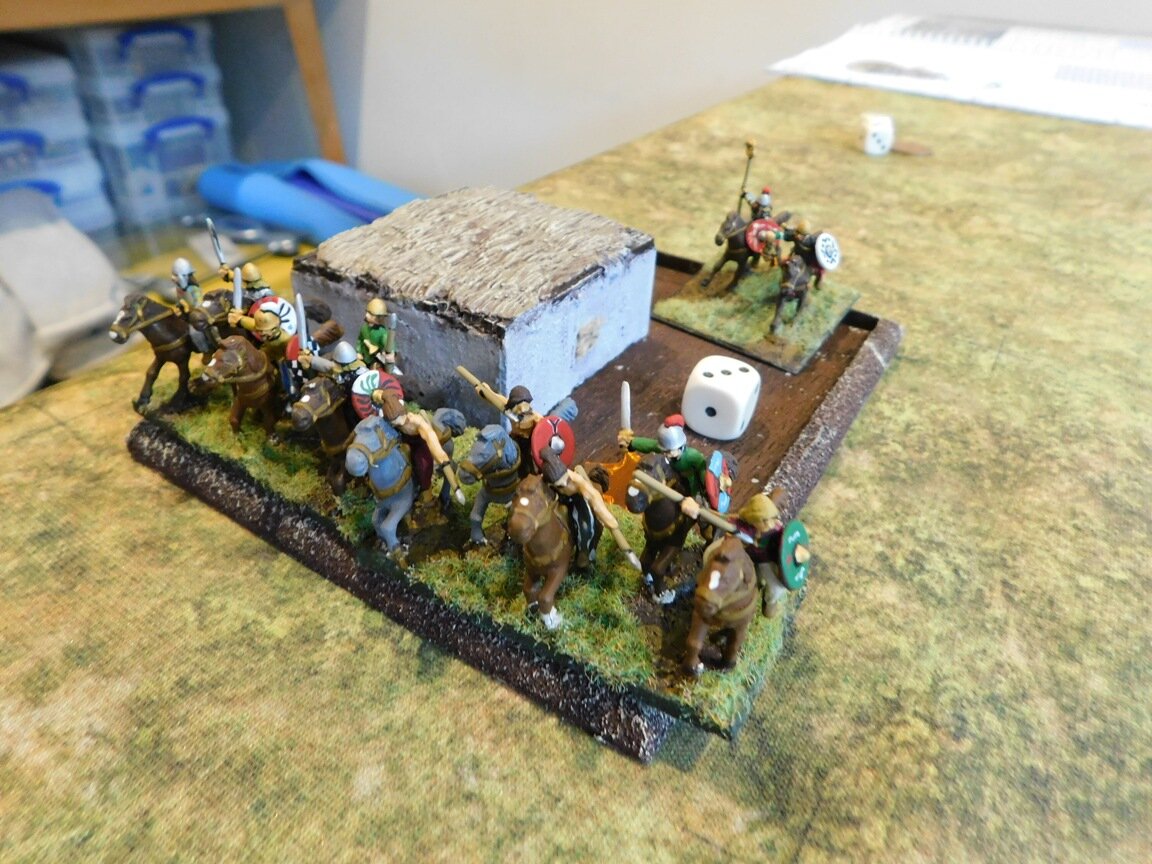
My usual wargaming opponents were again unavailable due to the lockdown (it’s about two degrees Centigrade, so a little cold to game outside) so I fell back on the ever-reliable Daughter #2. We decided to play a straight up, 130 points a side game of To The Strongest: I obviously wanted to play with my newly finished Indians, so she decided to fall back on her favourite Caesarian Romans, once again adopting the persona of the Beardless Proconsul.

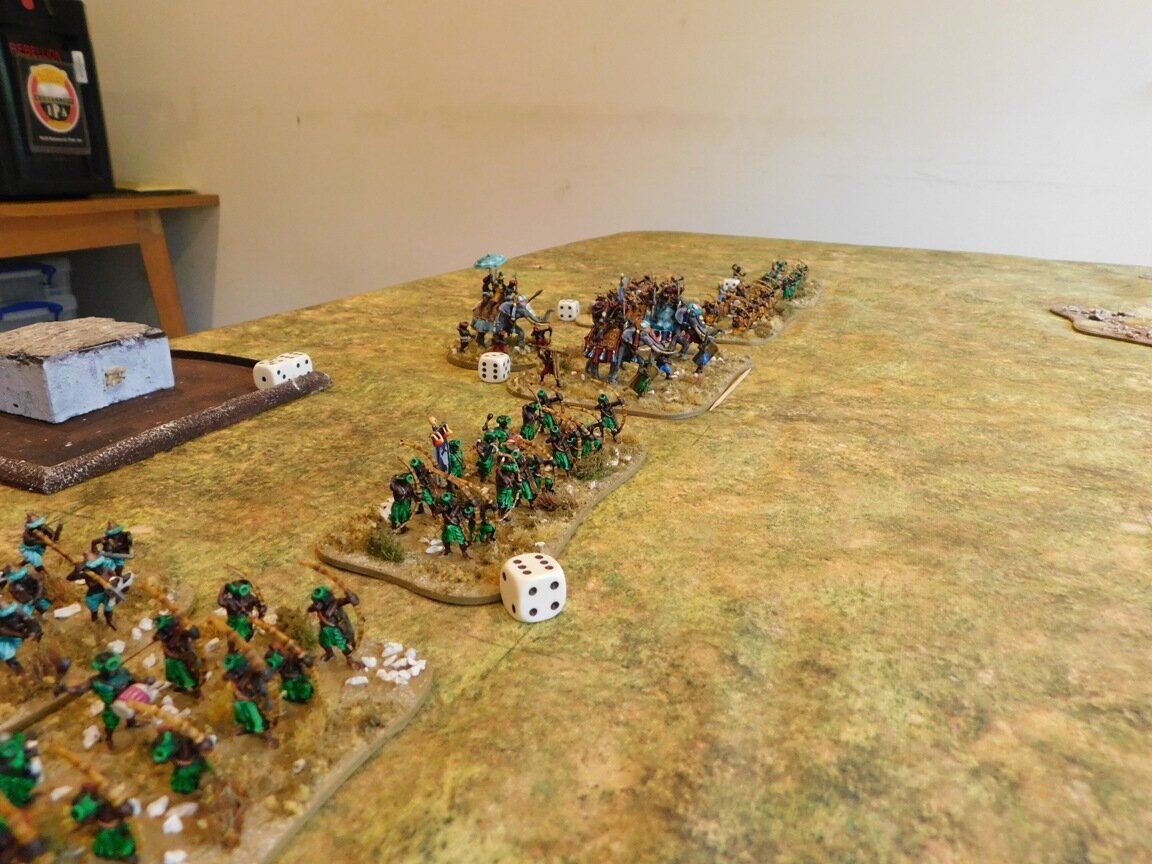
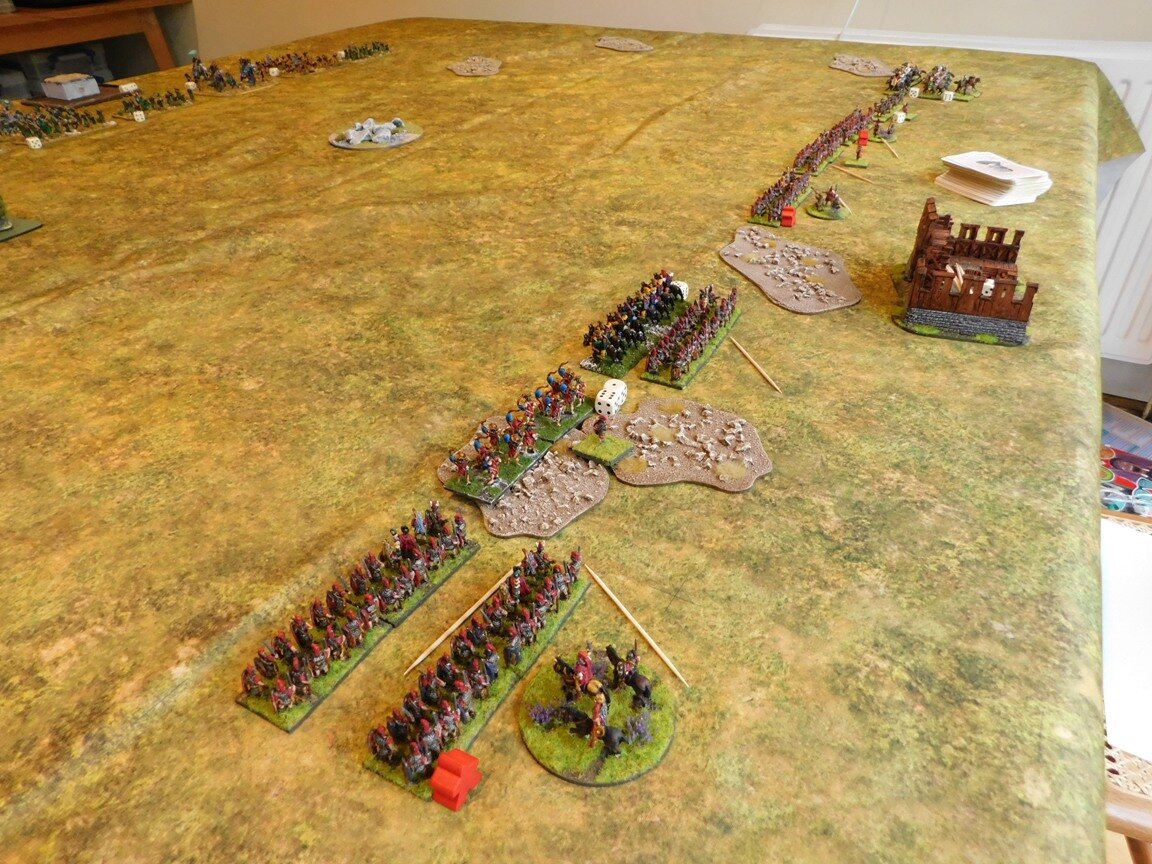
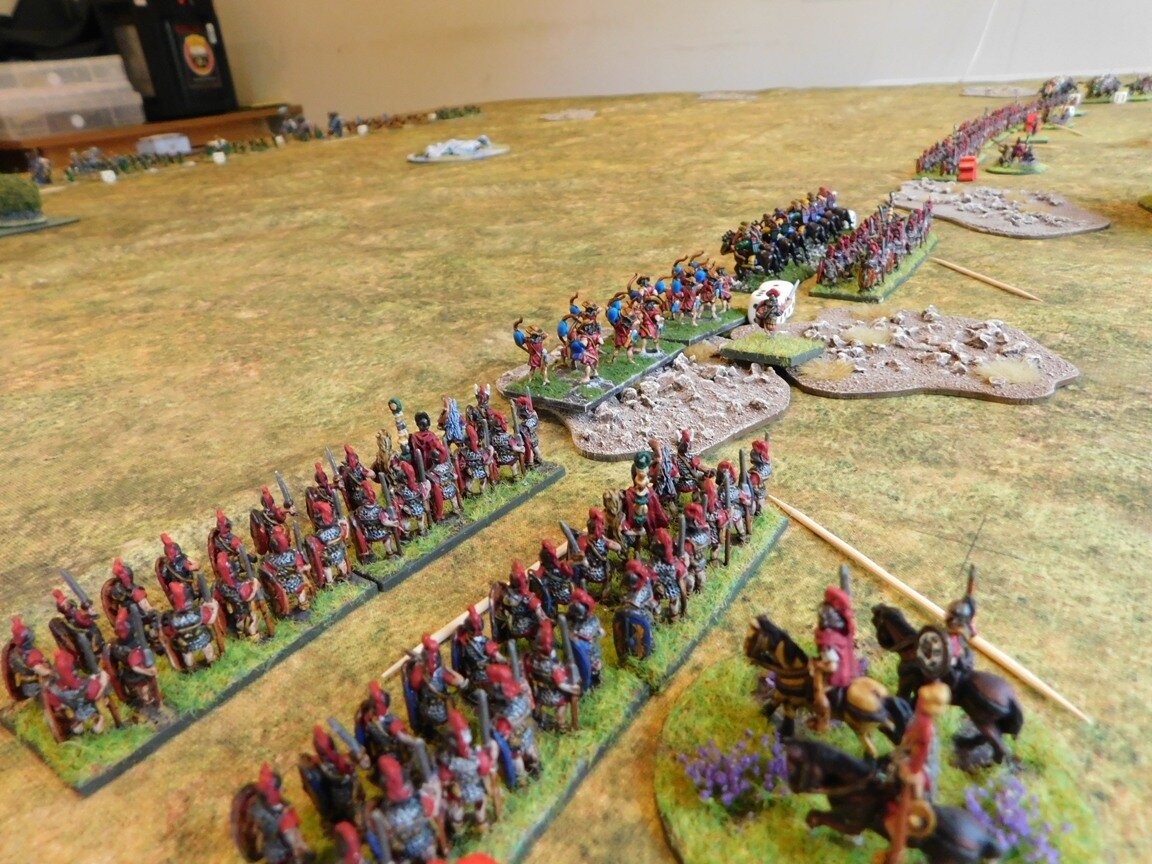
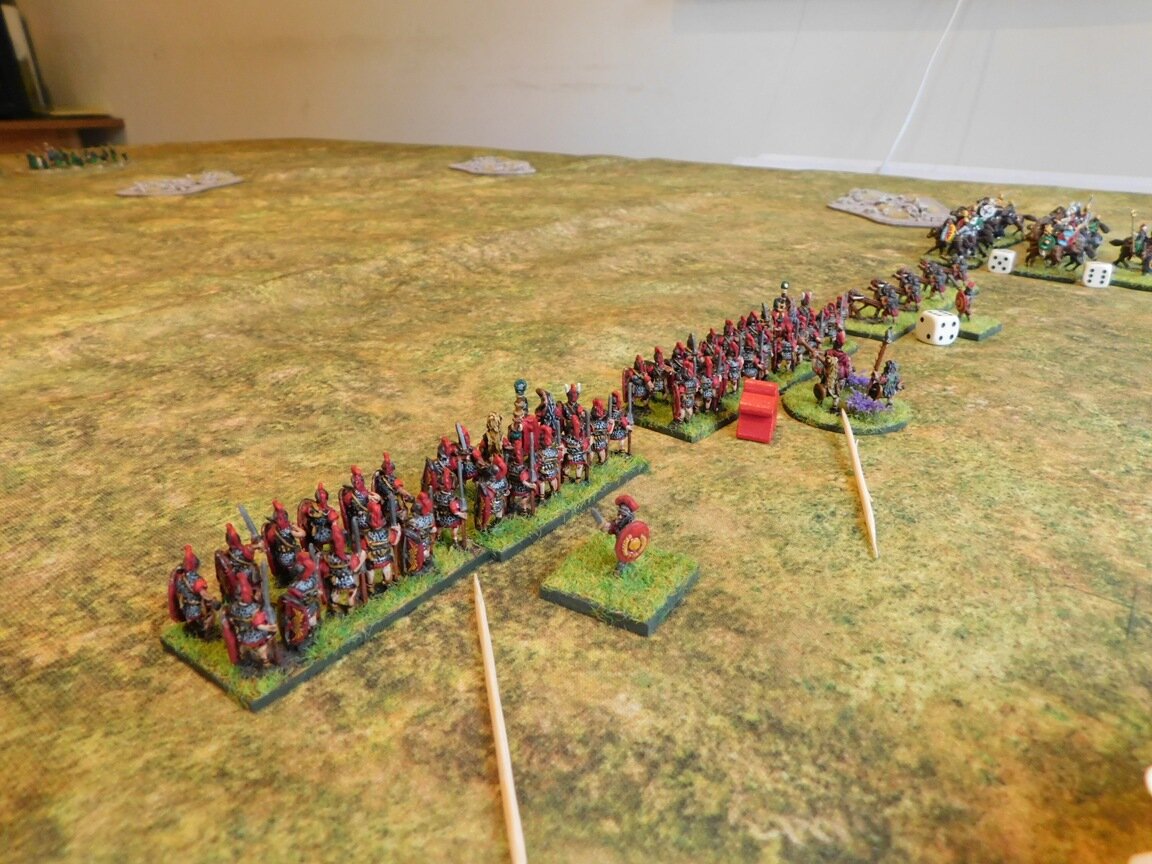
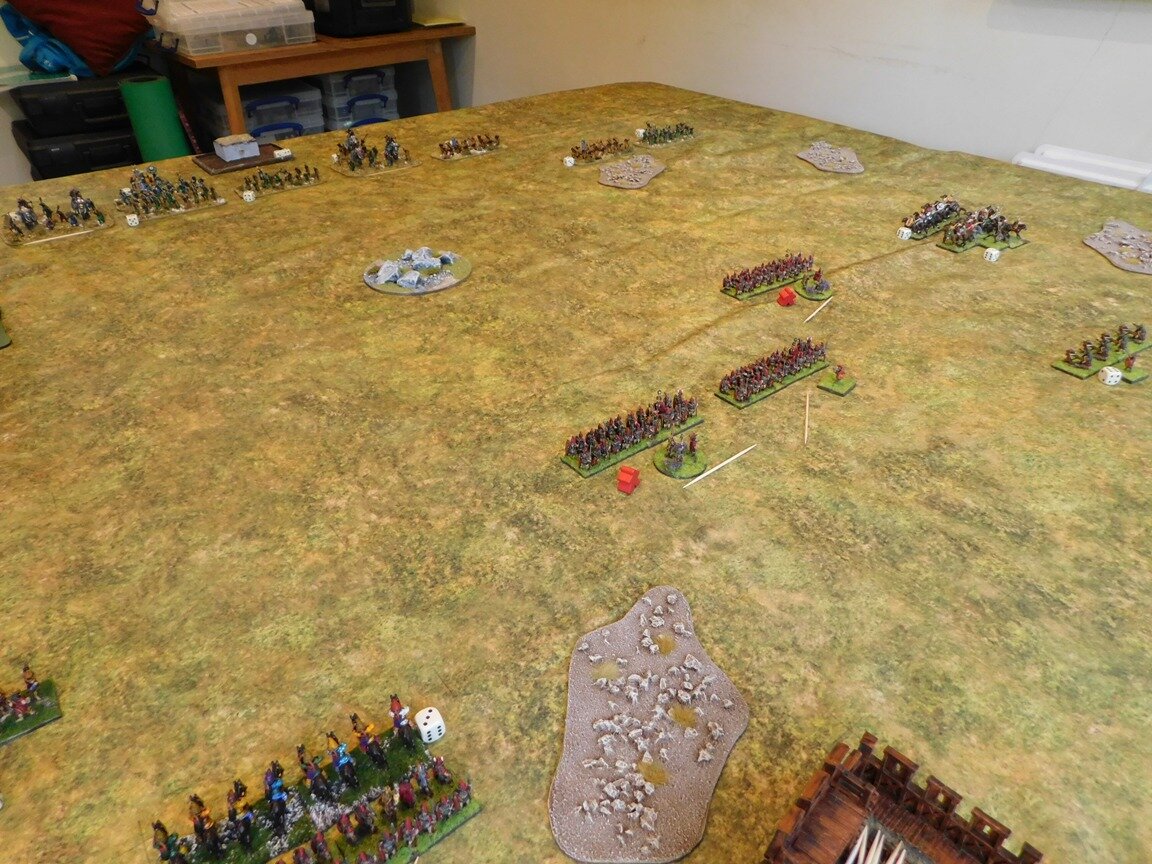
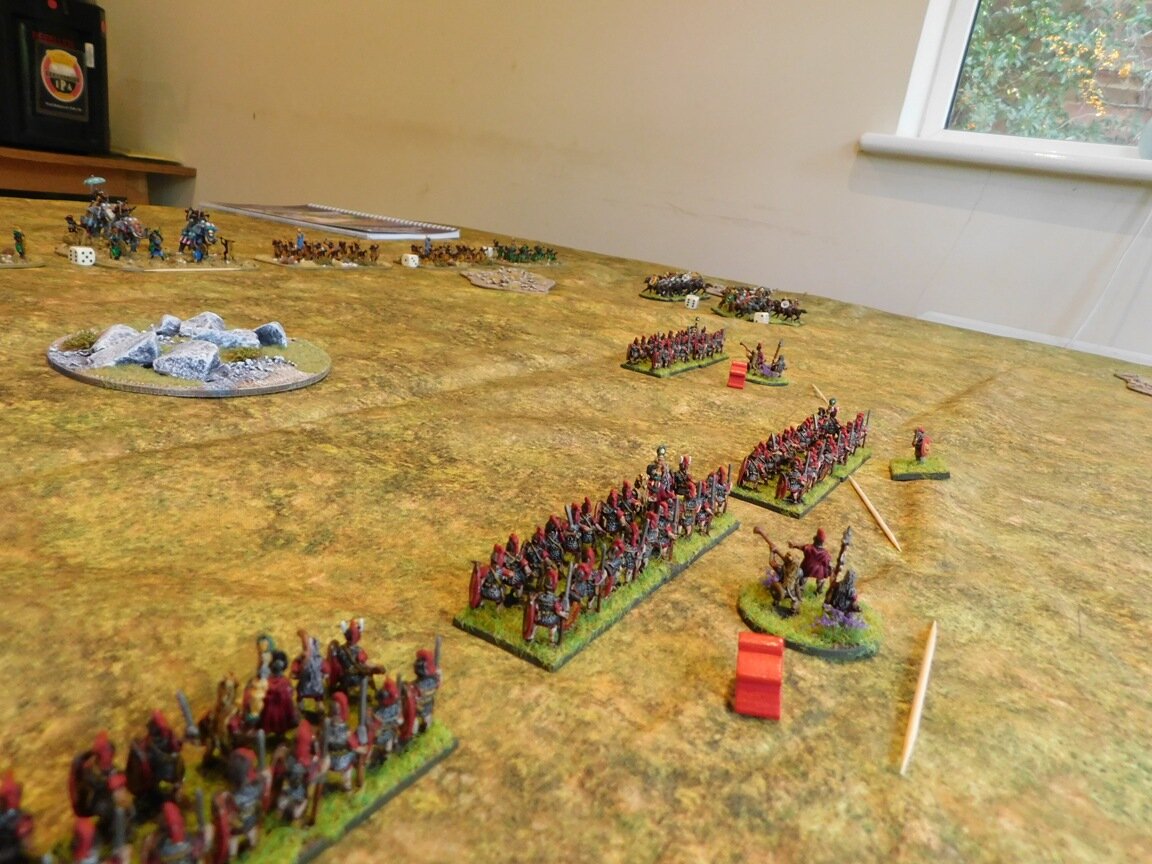
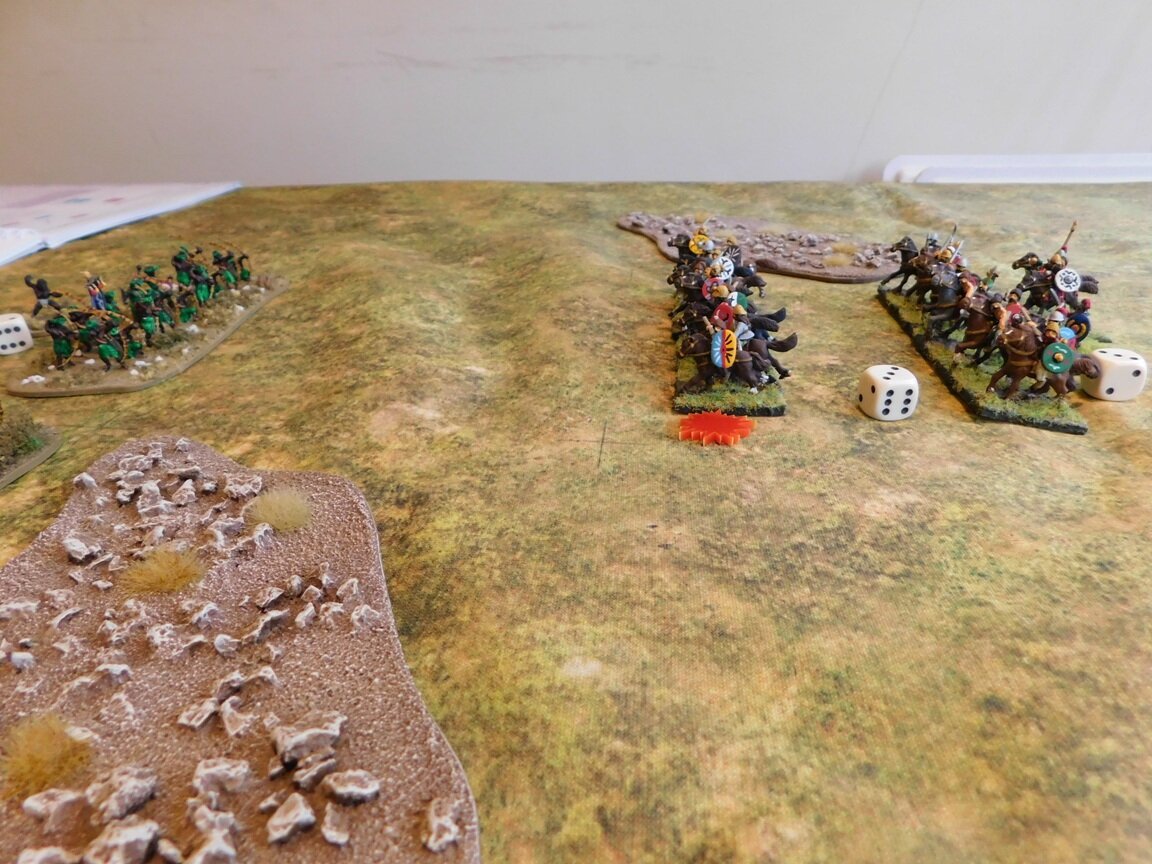
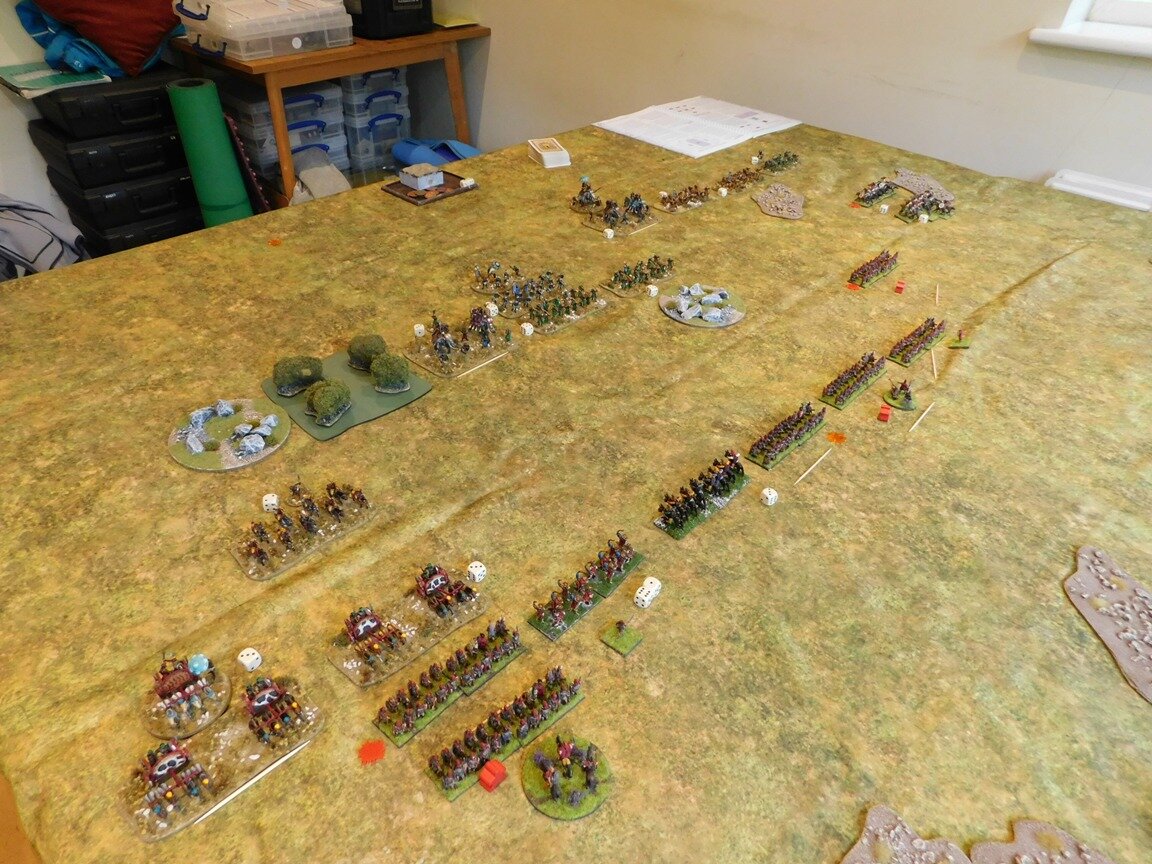
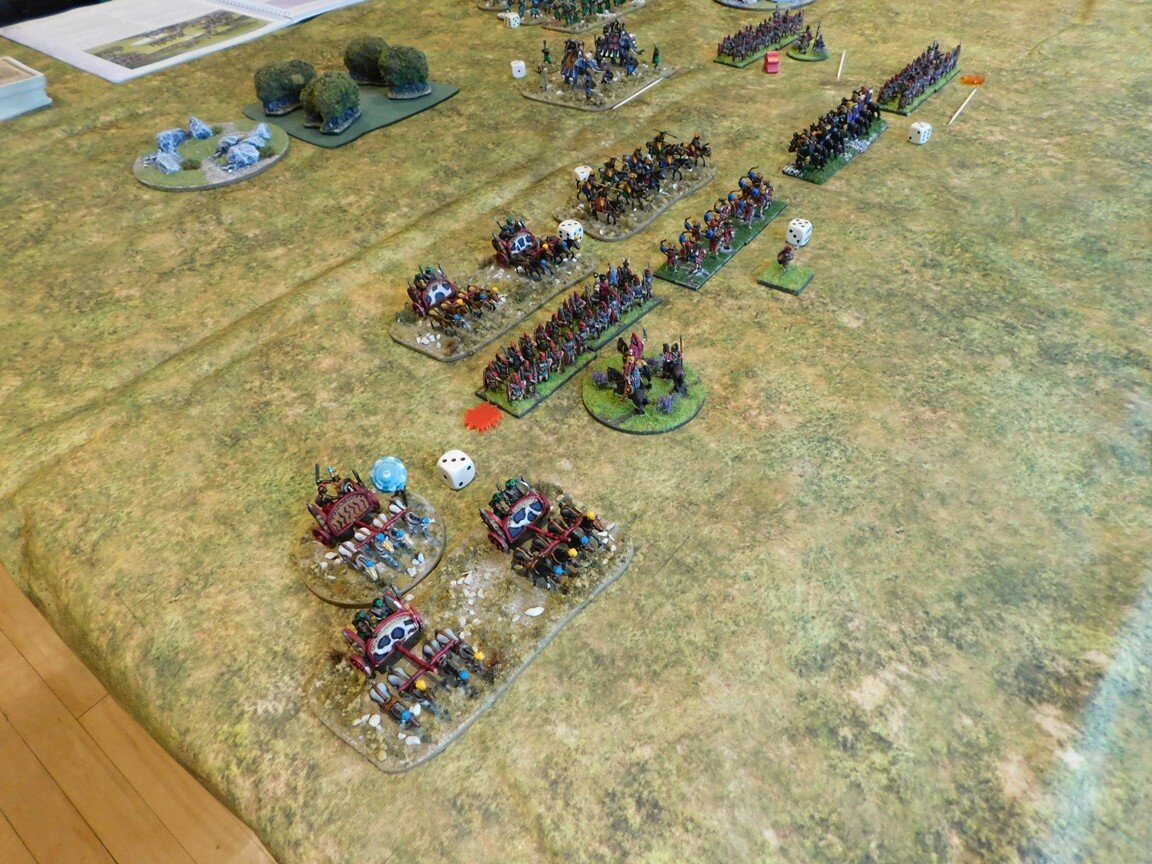
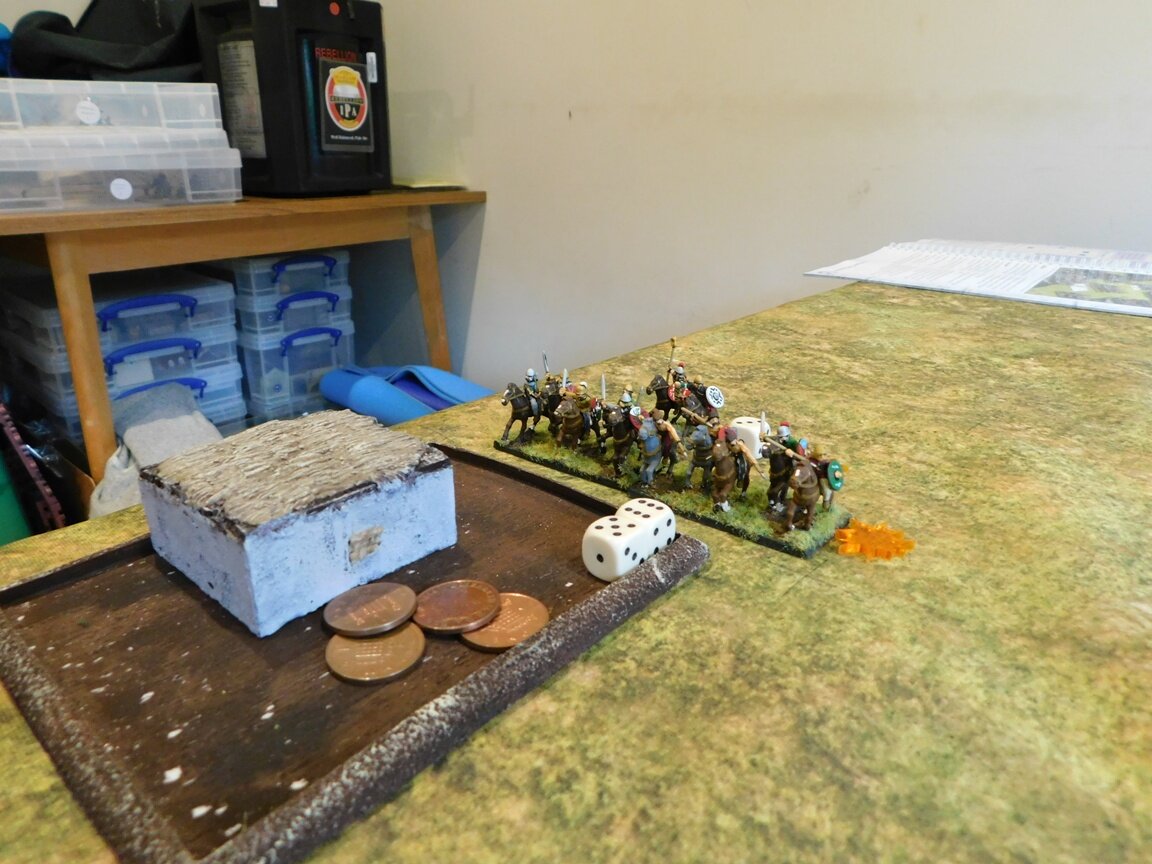
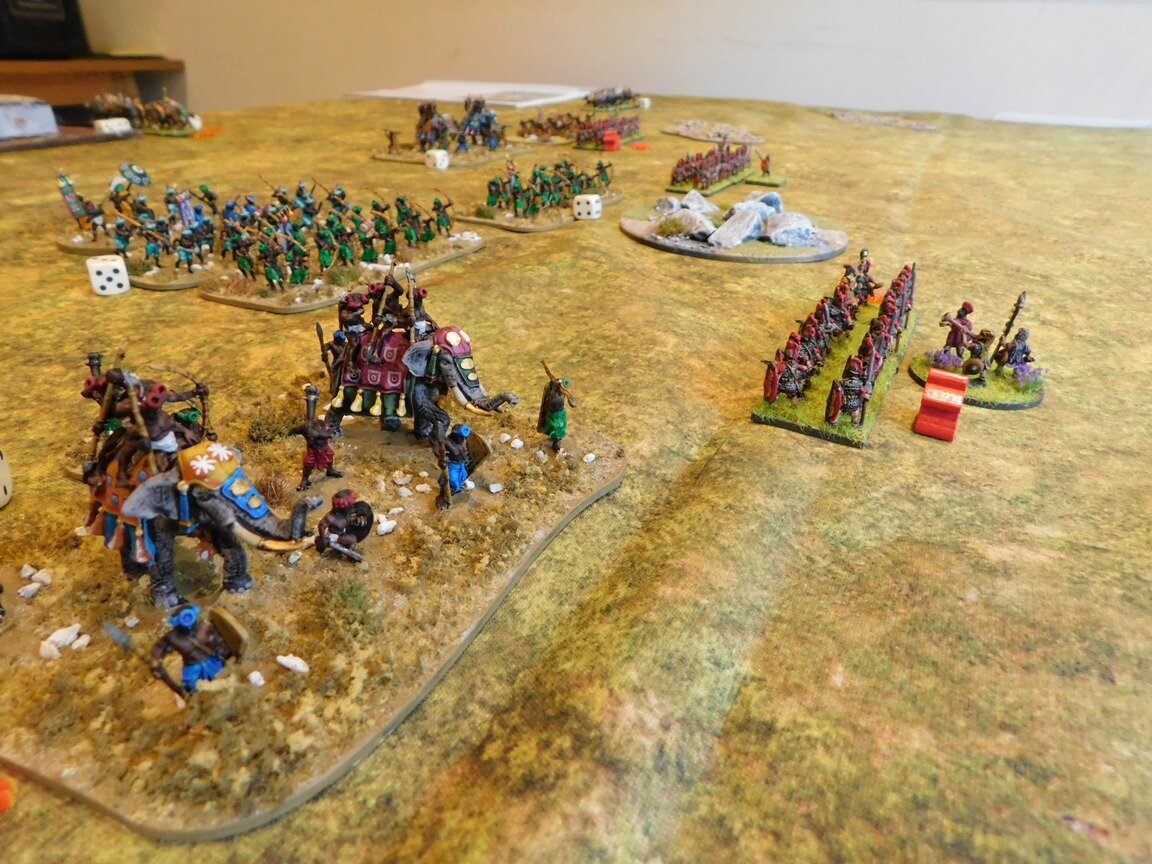
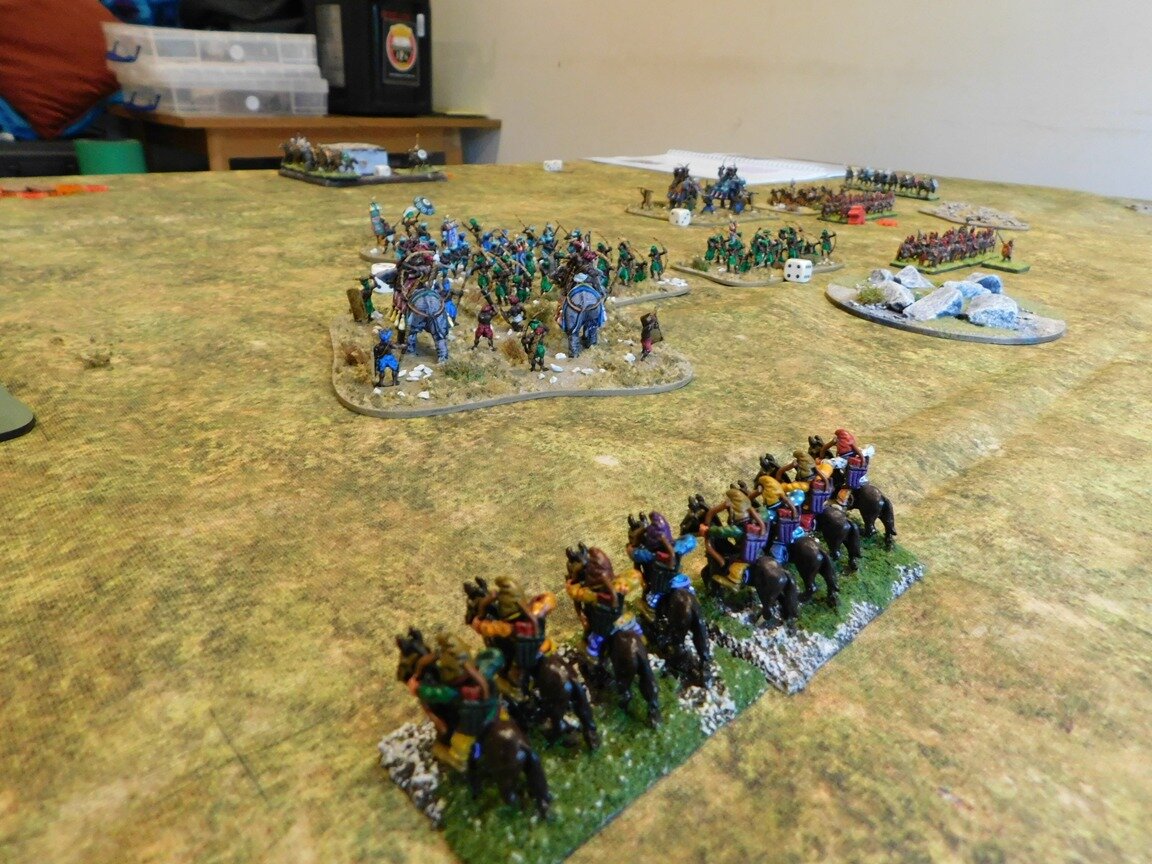
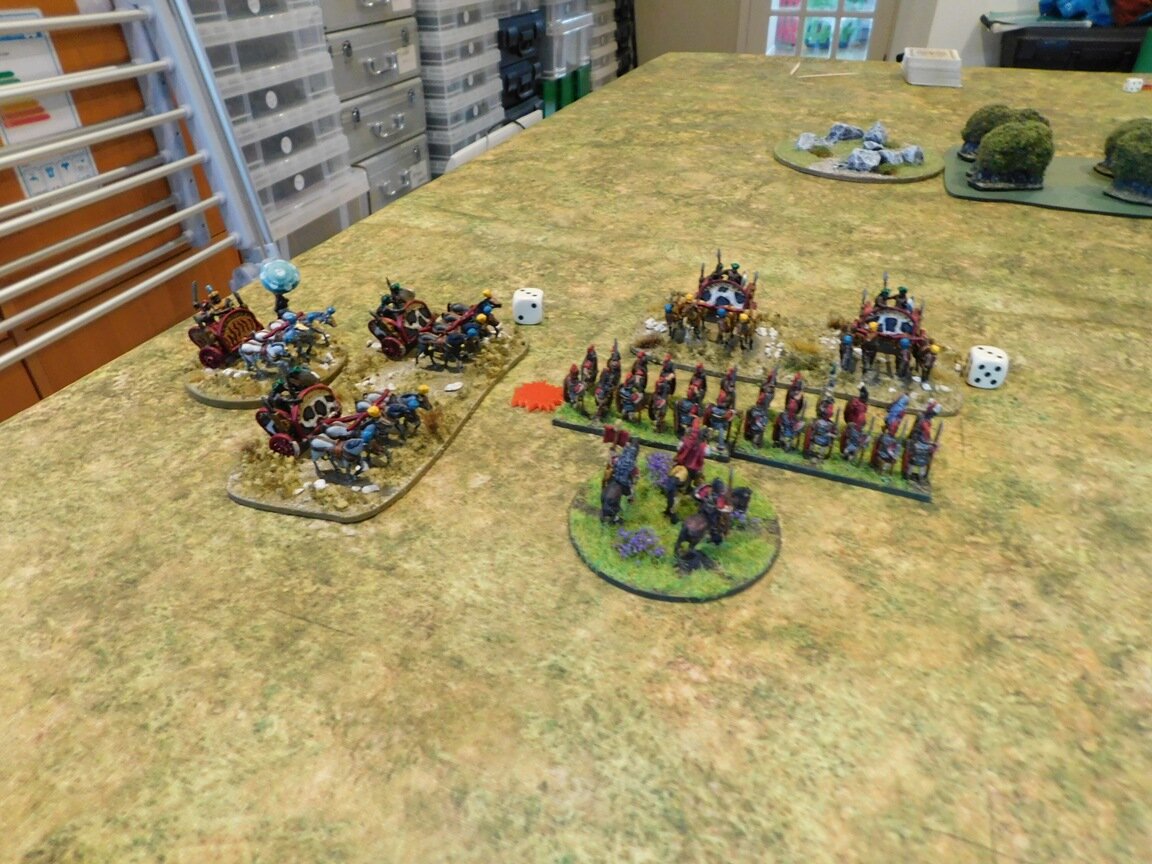
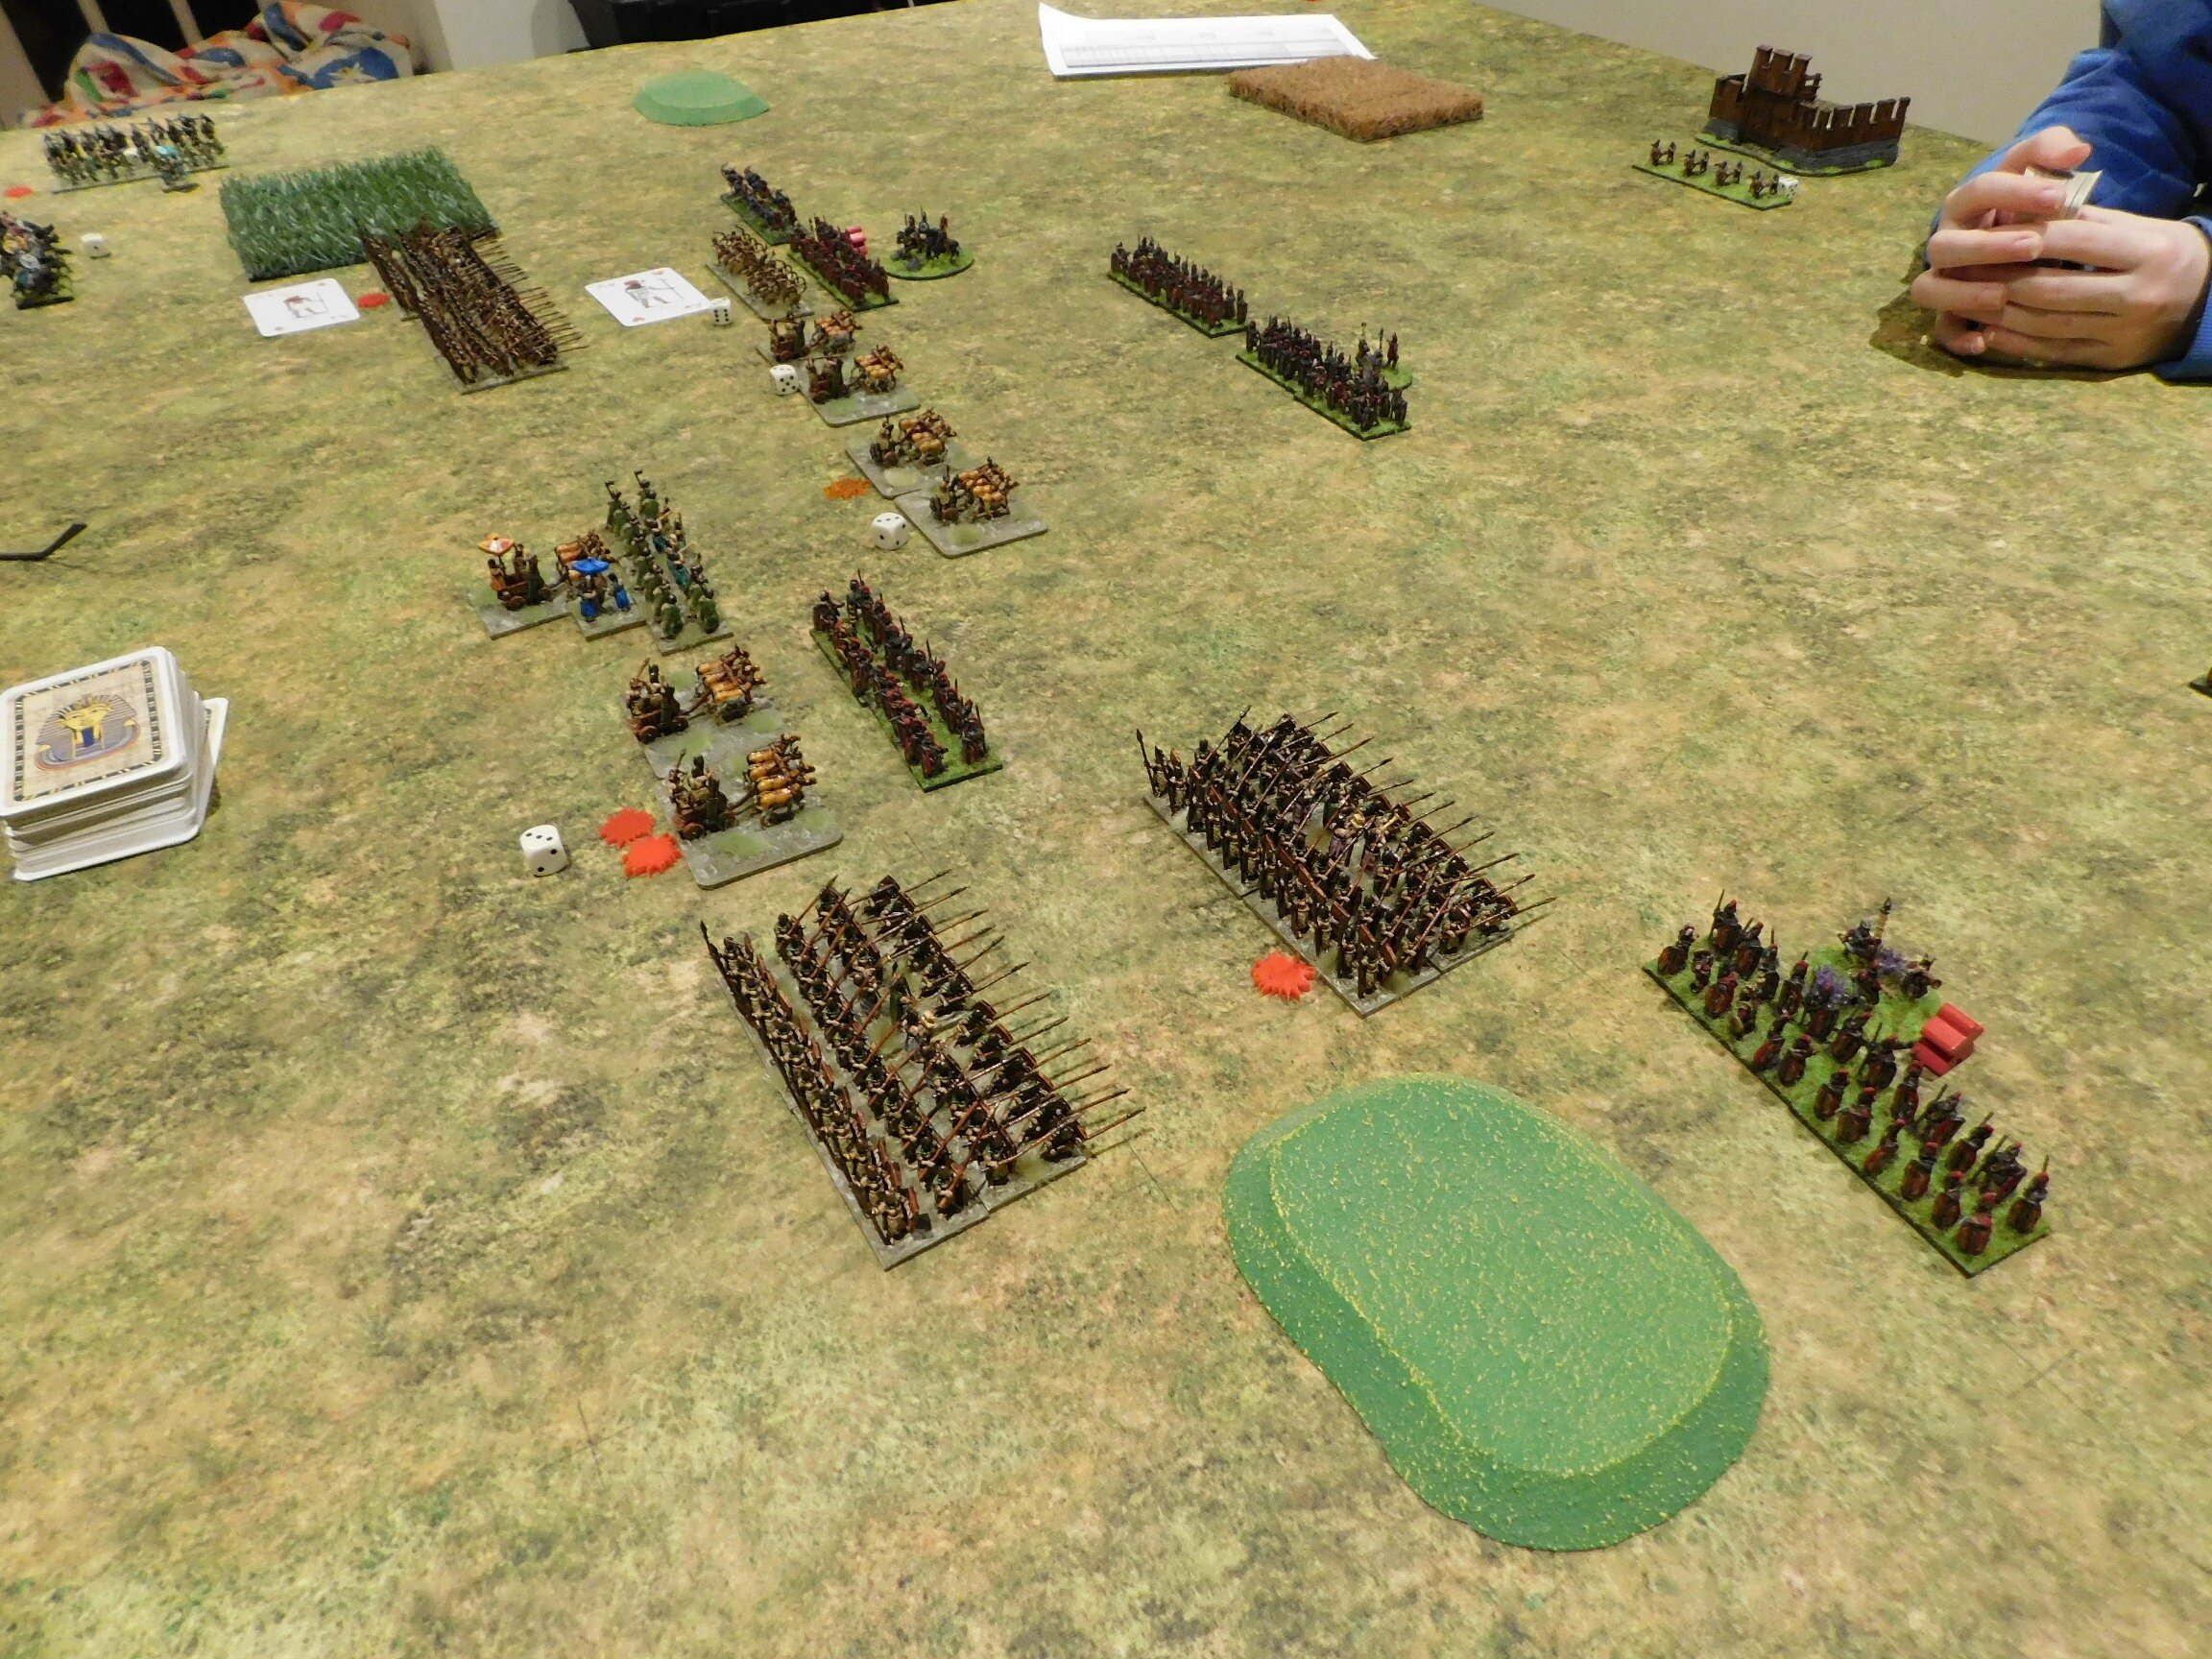
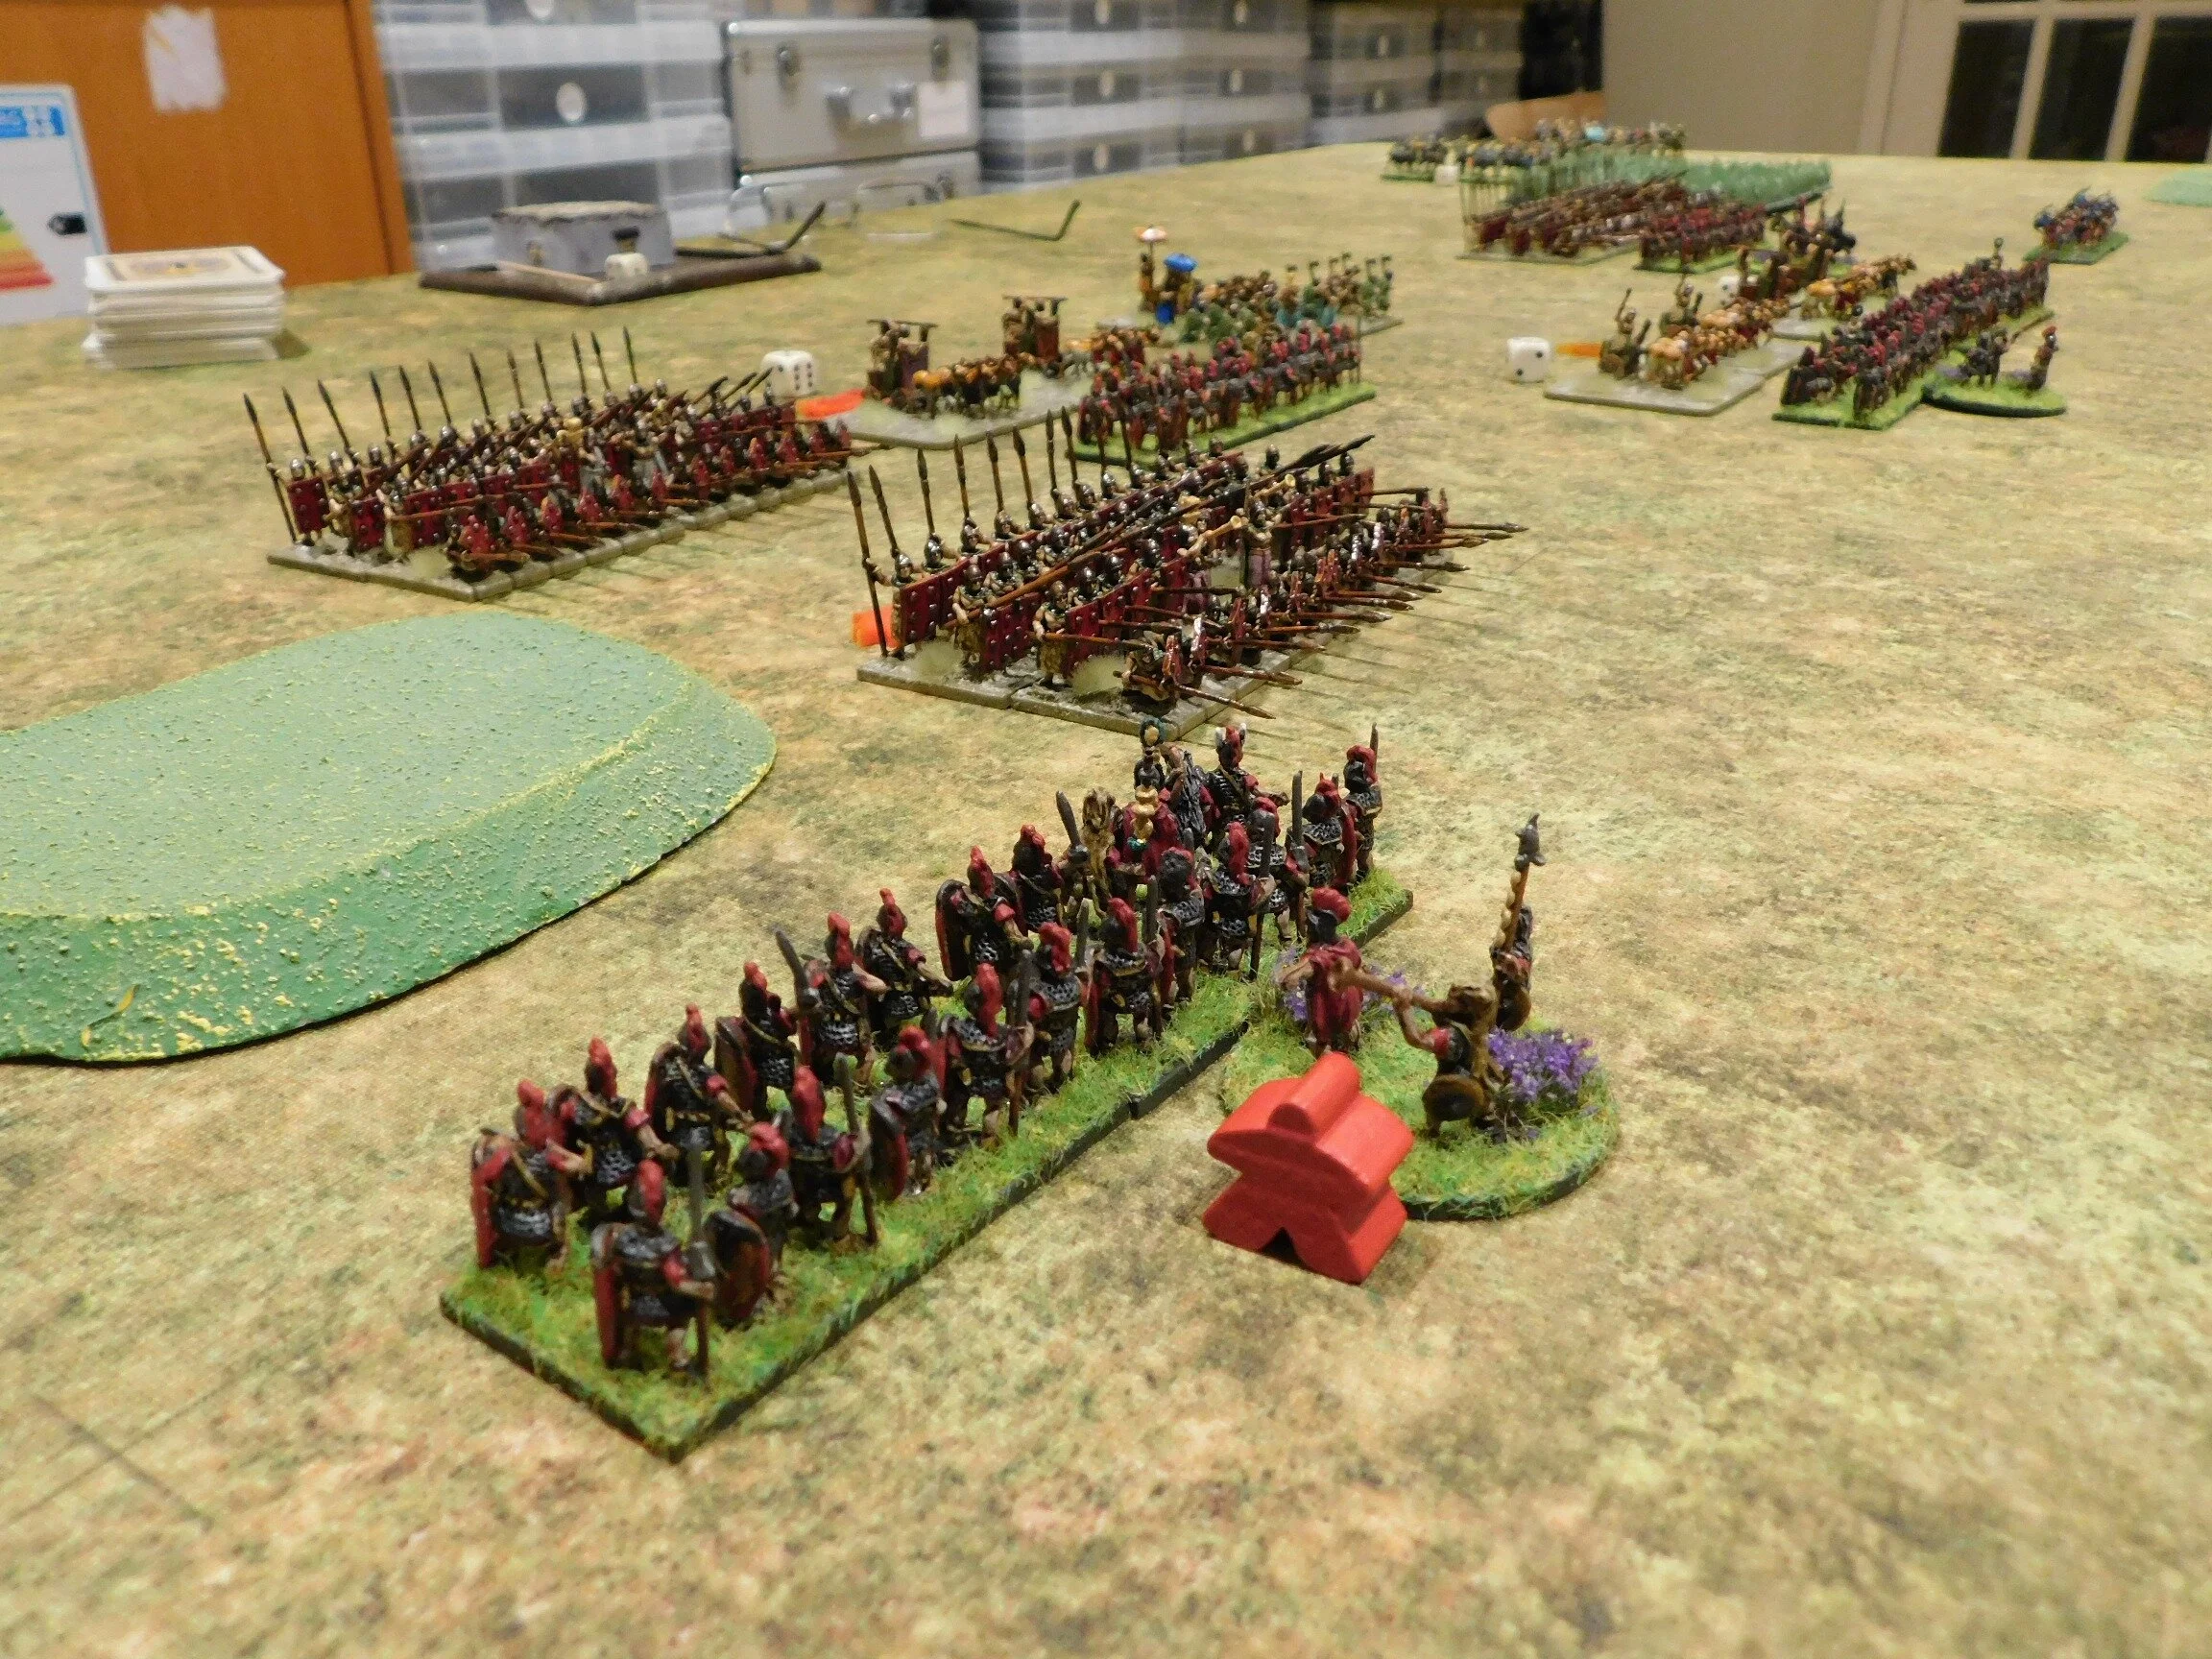
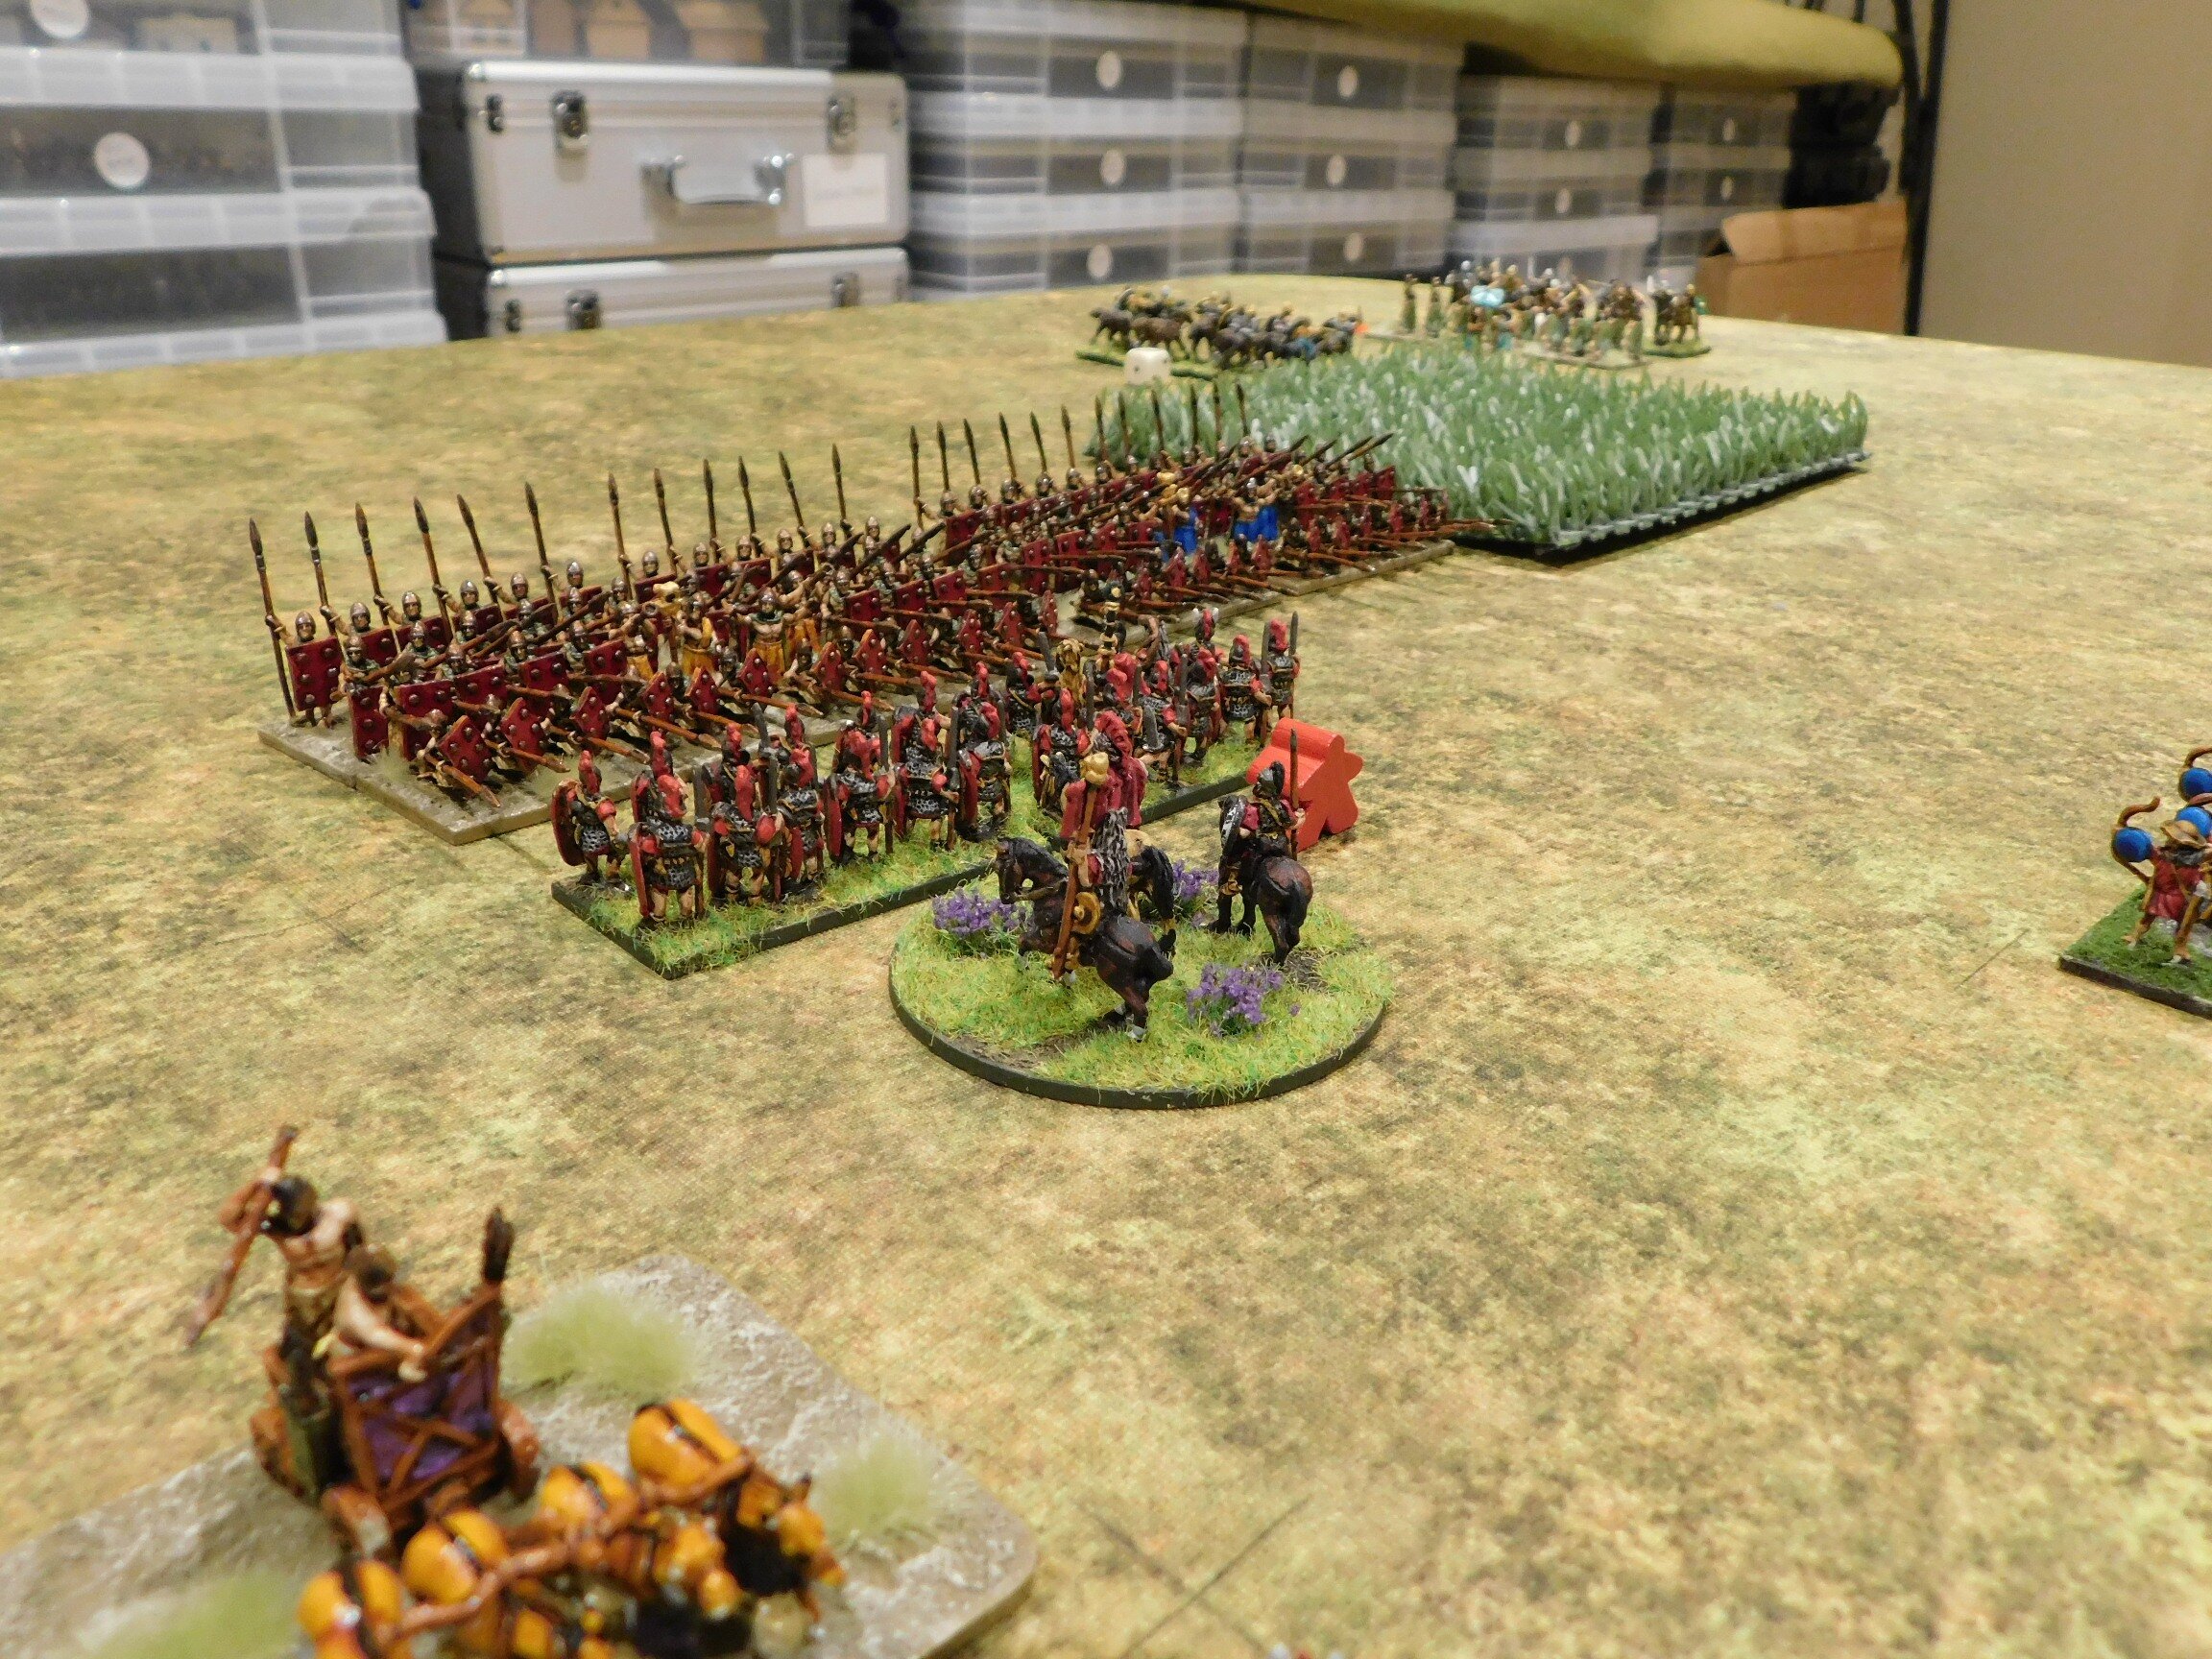
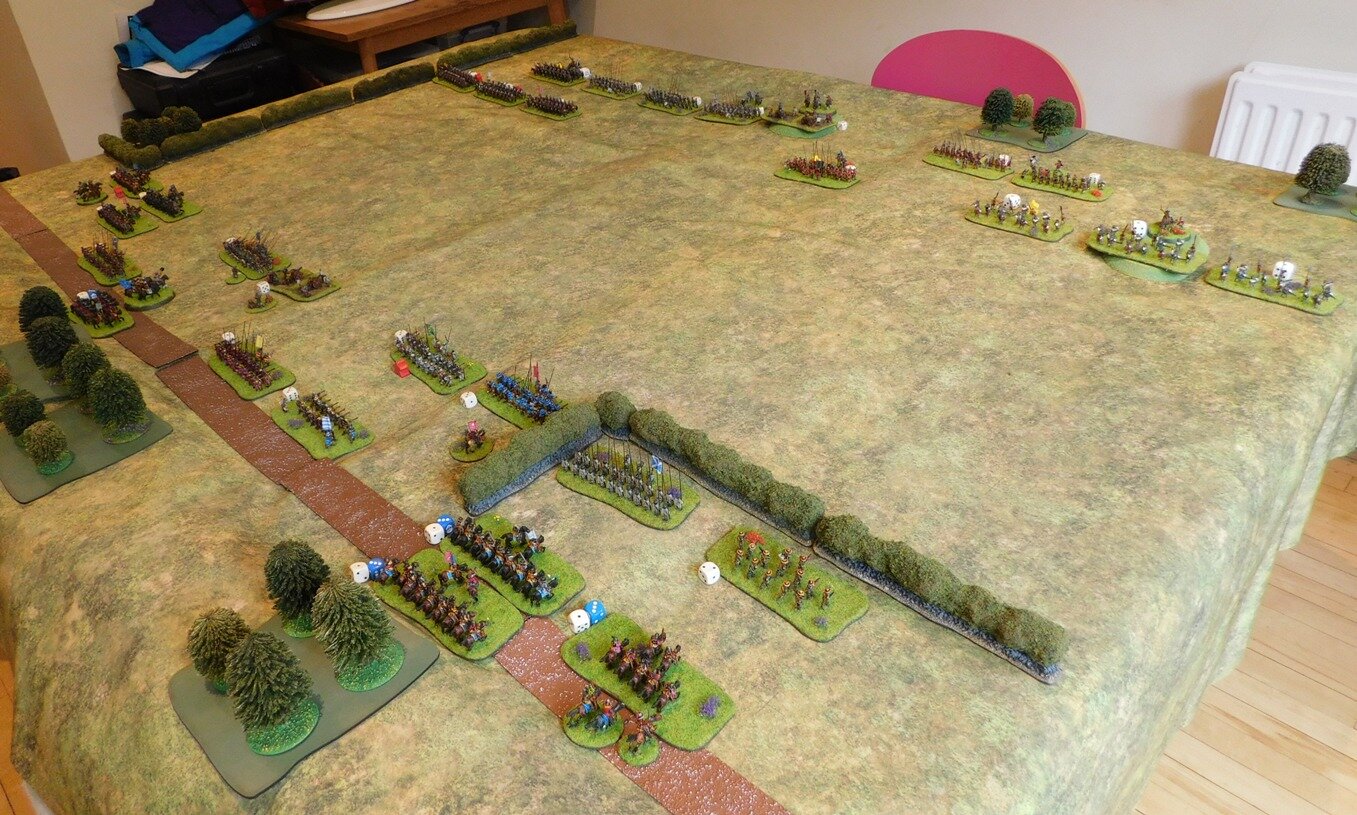
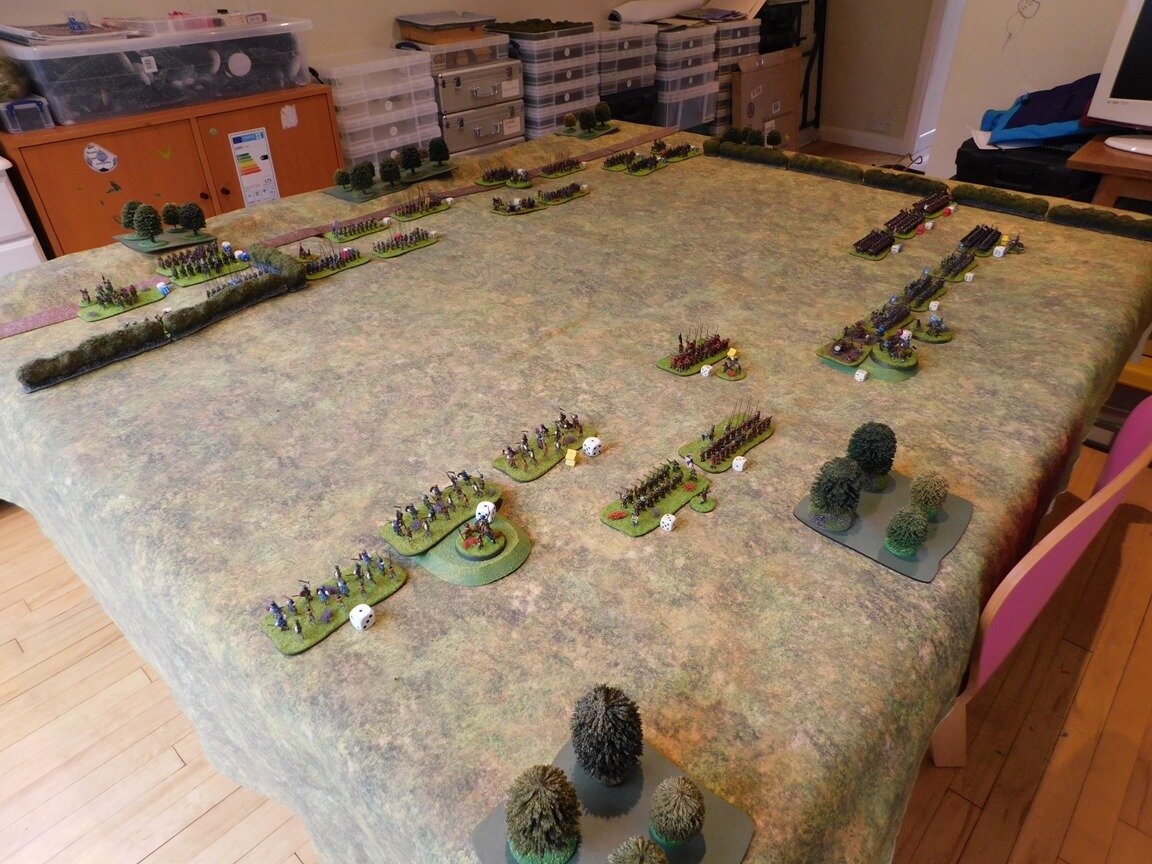
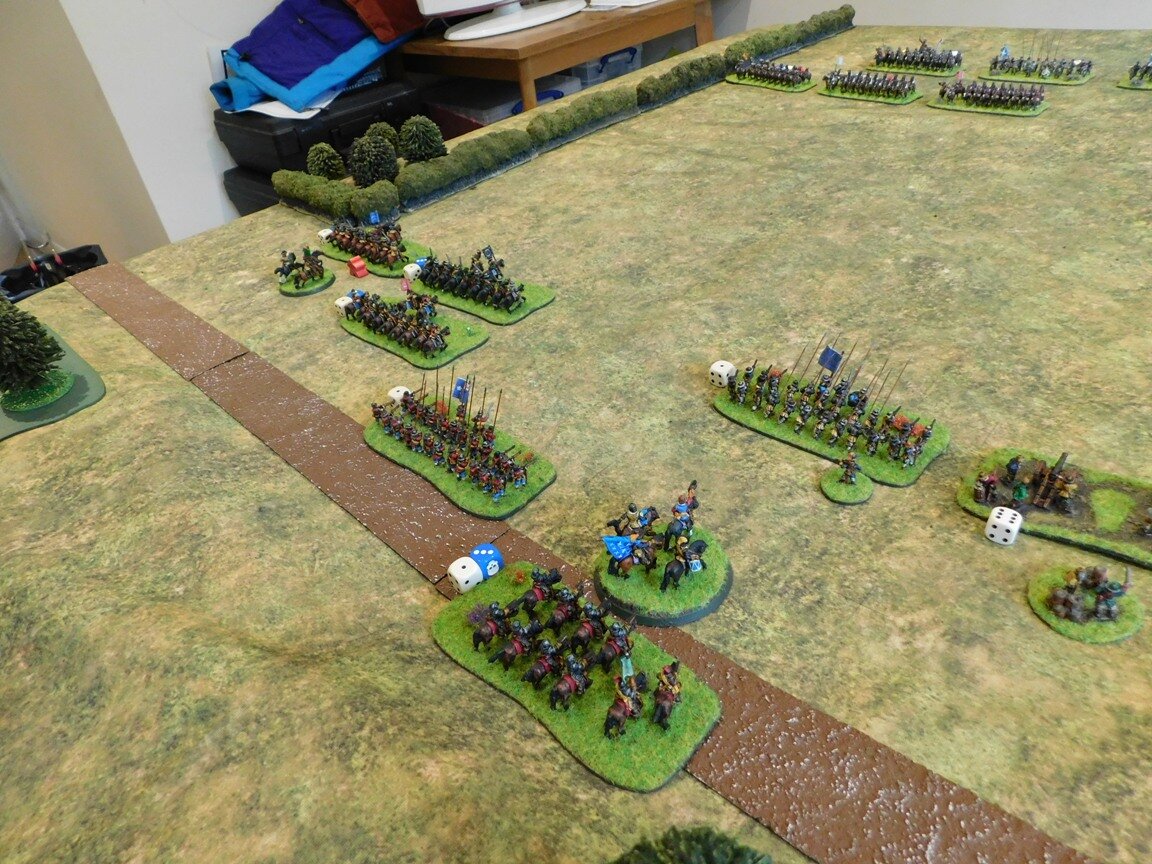
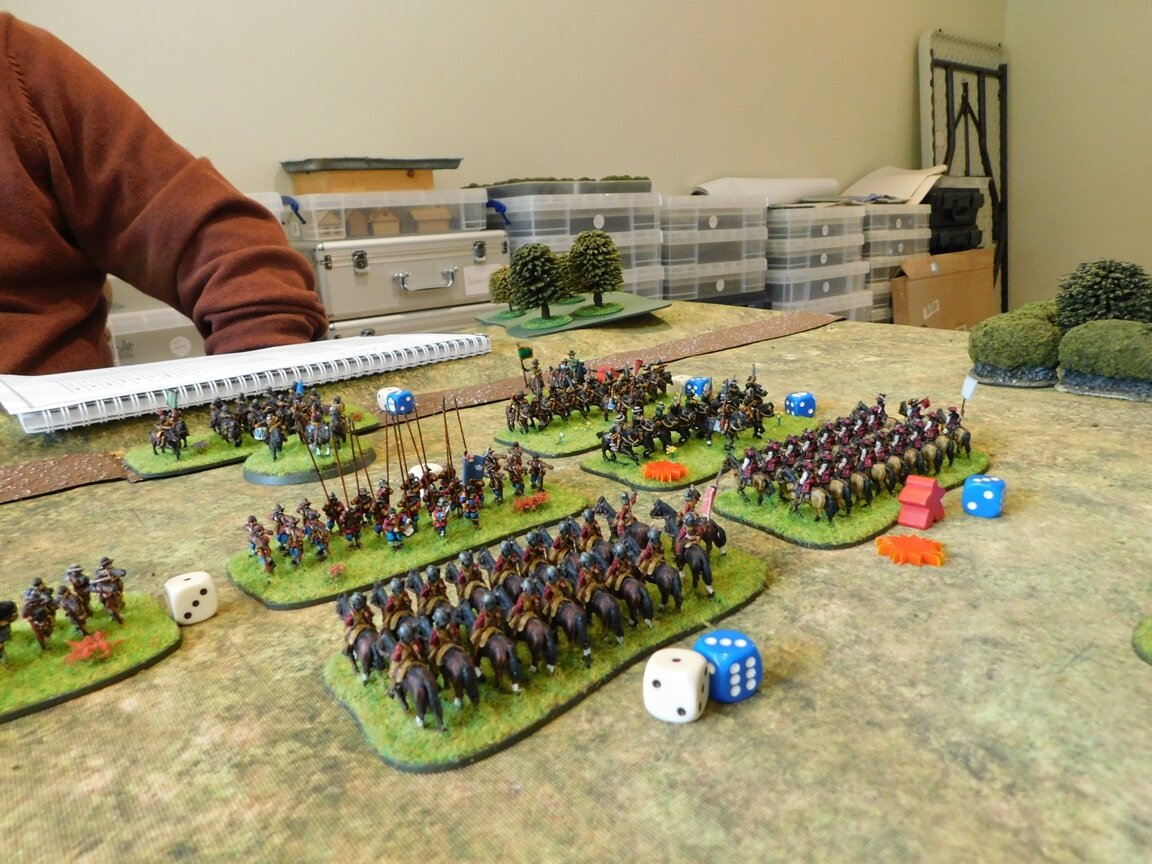
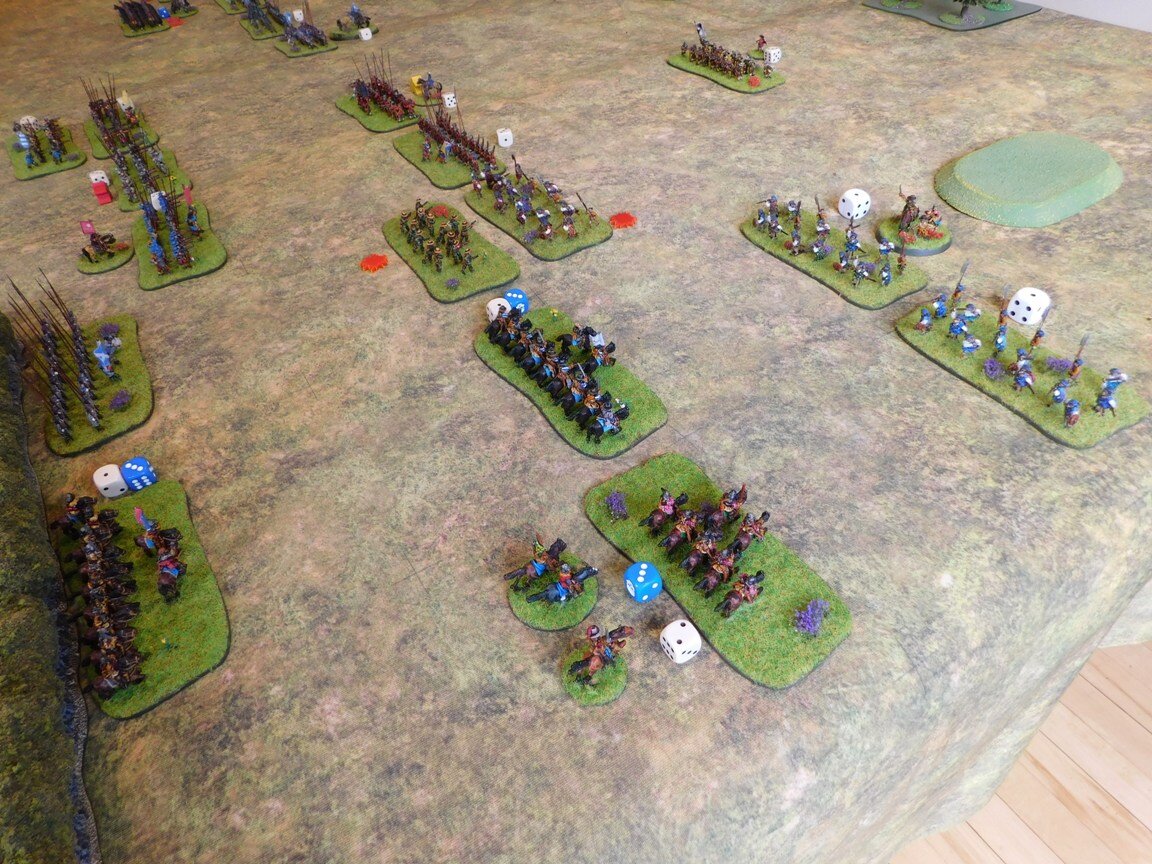
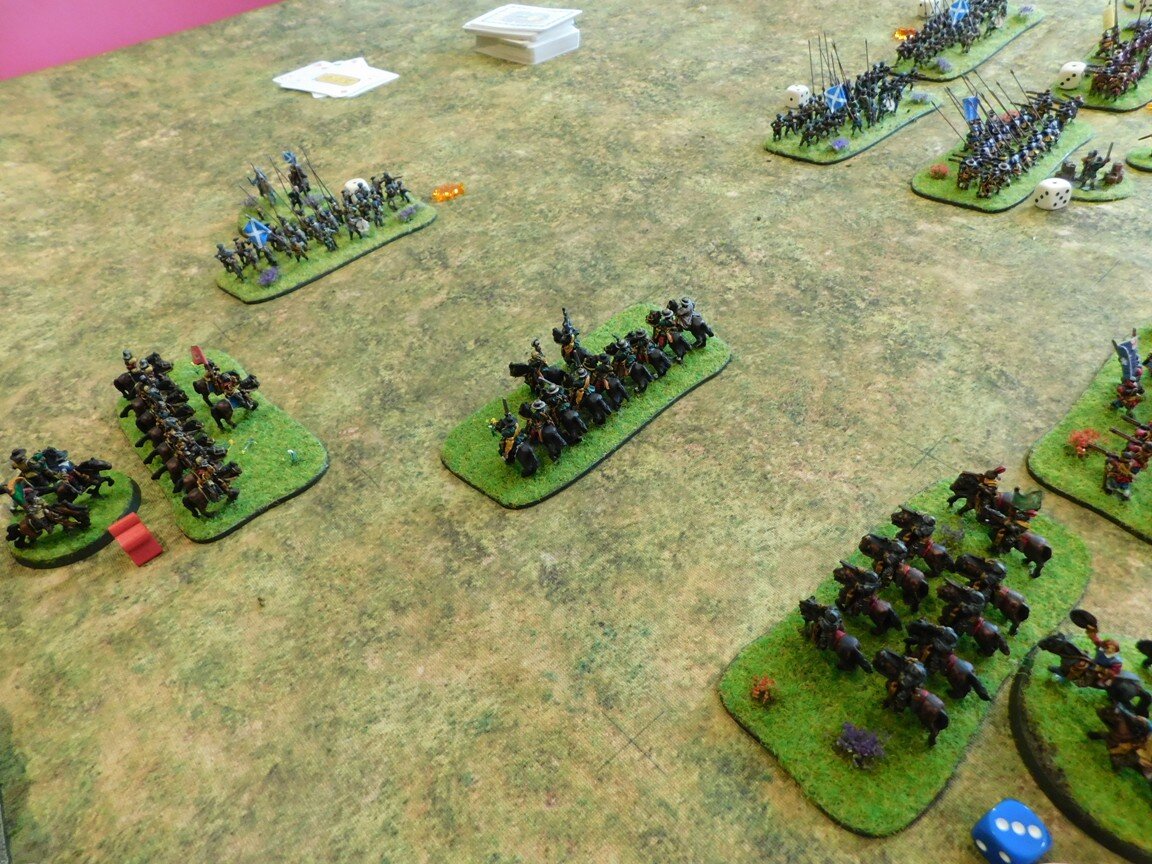
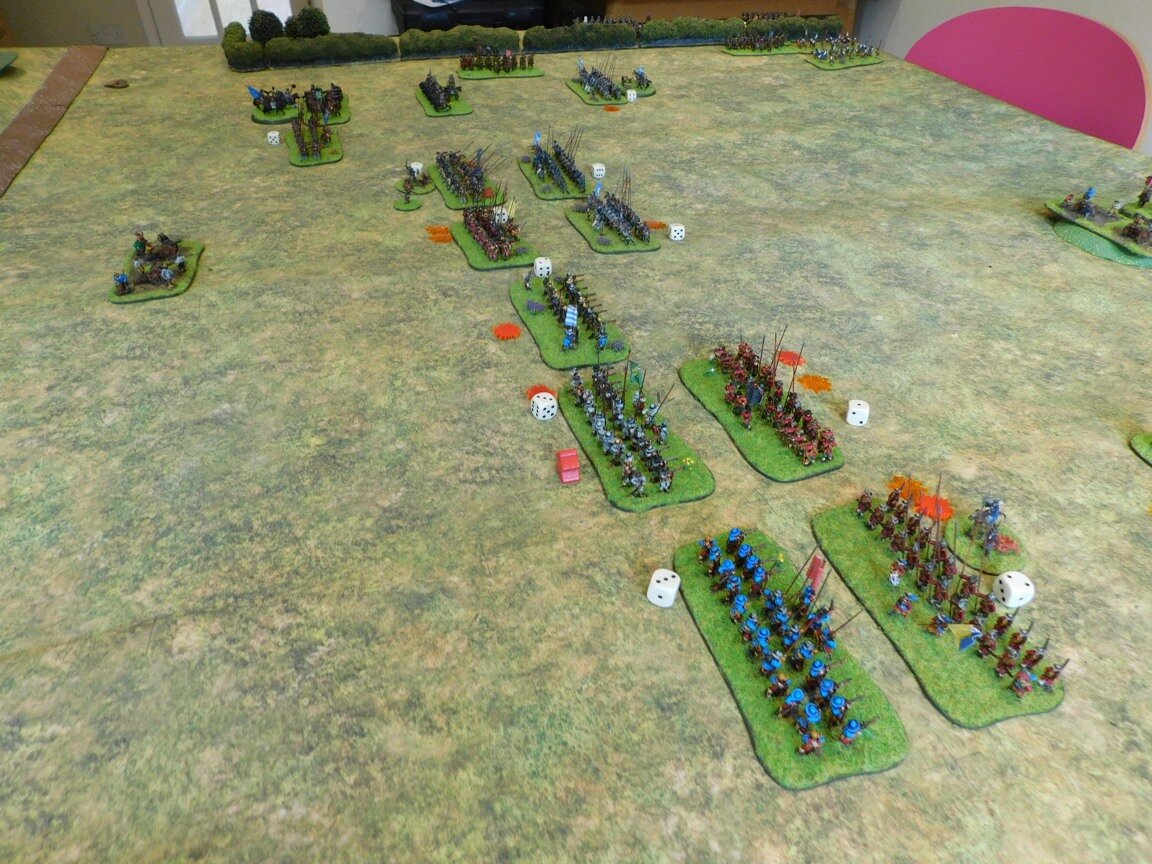
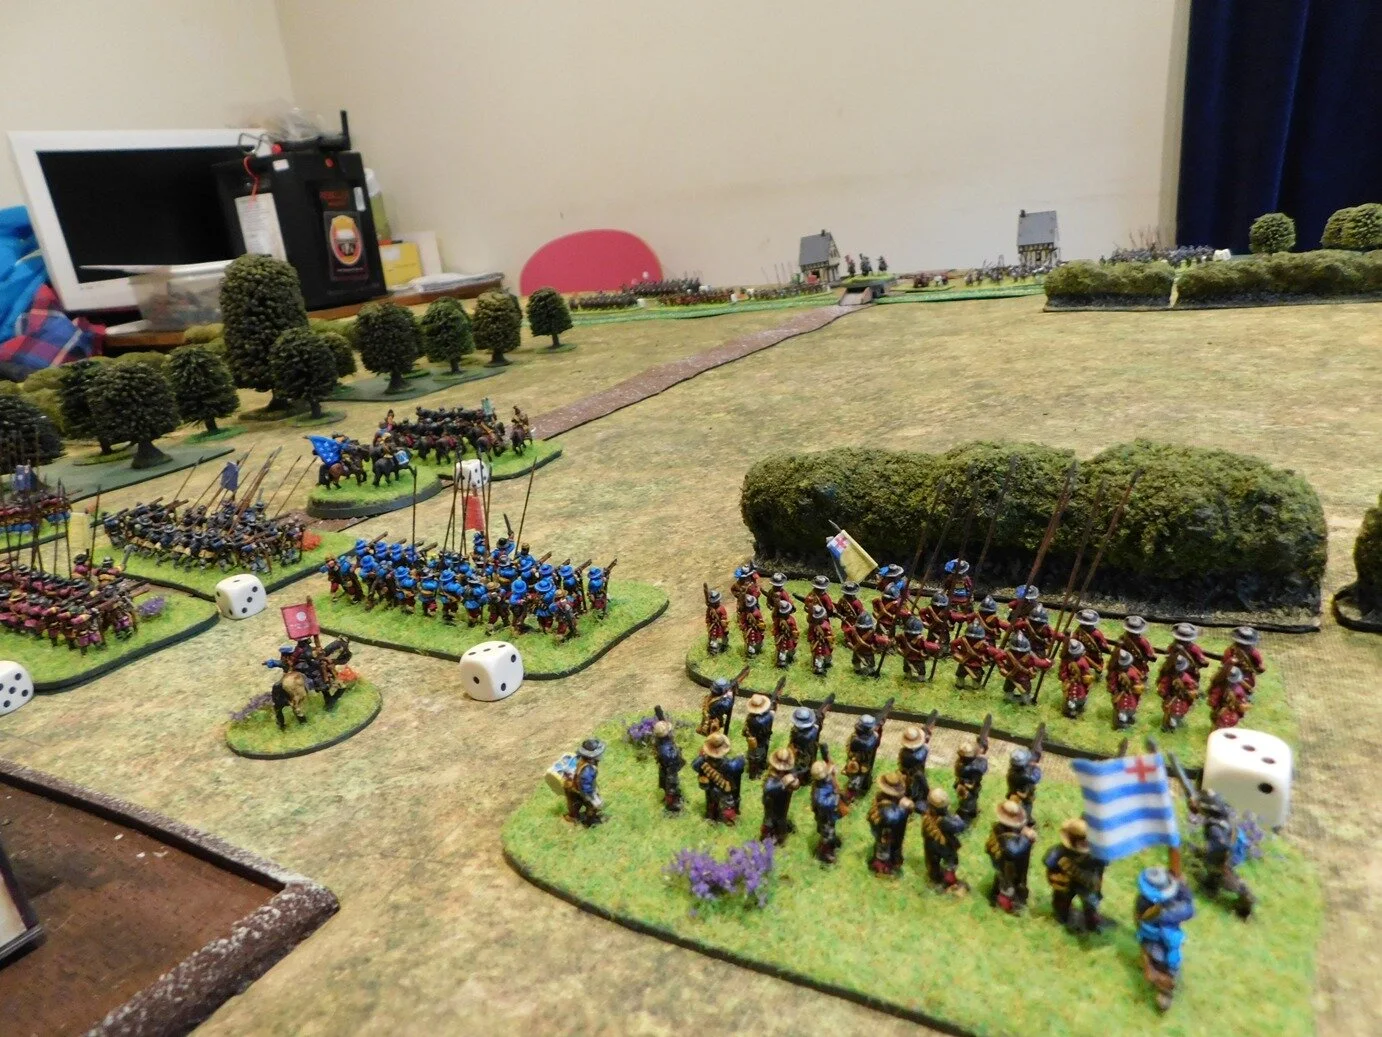
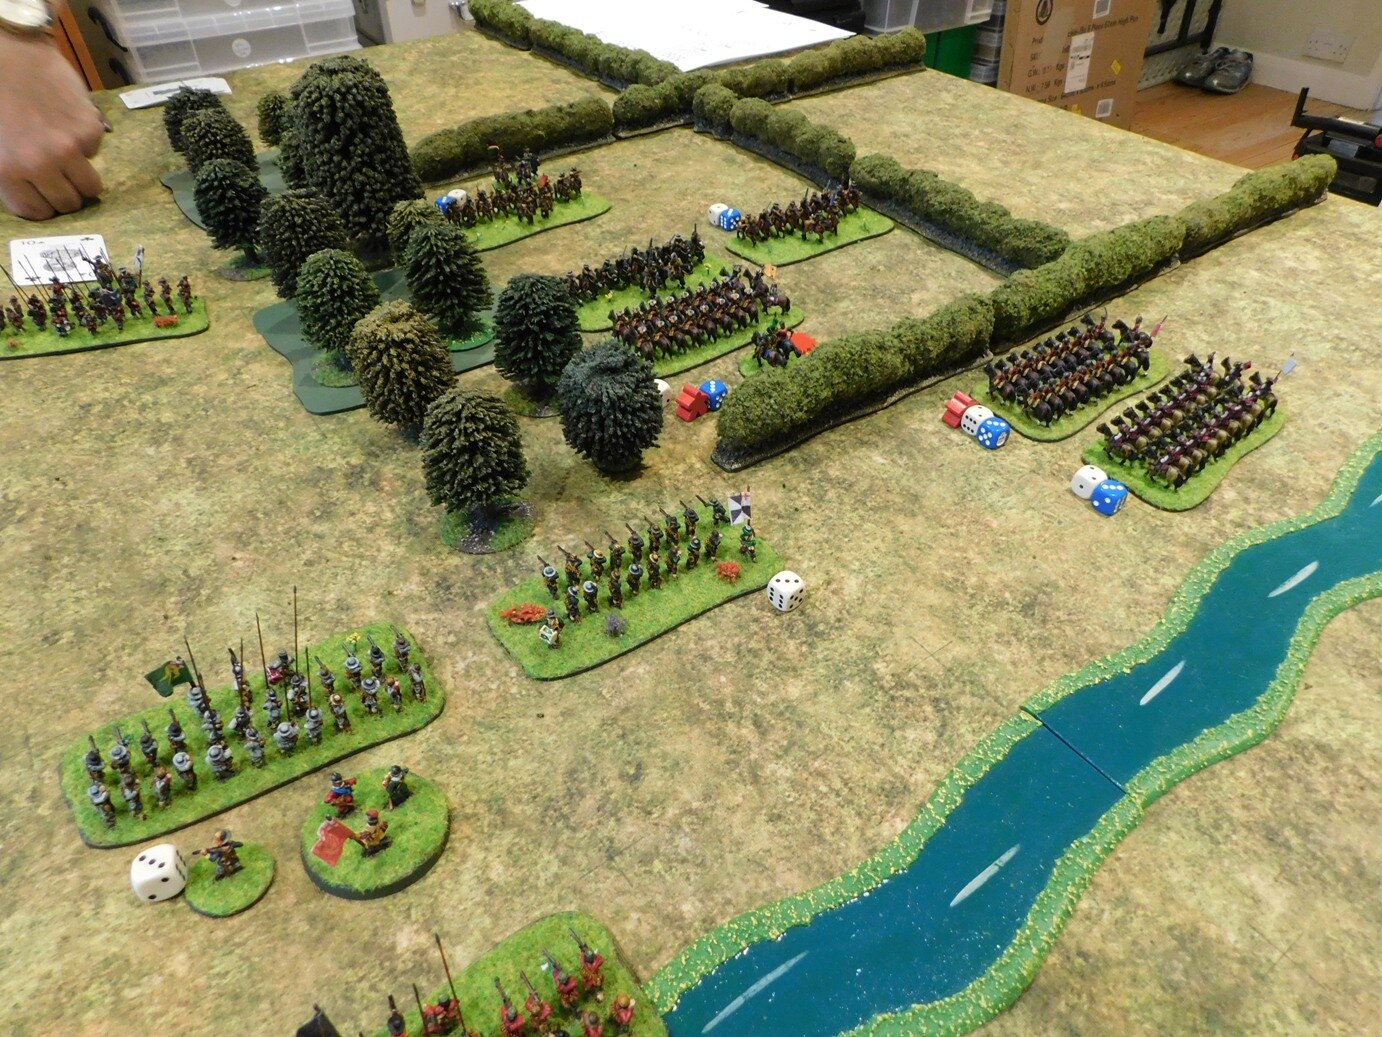
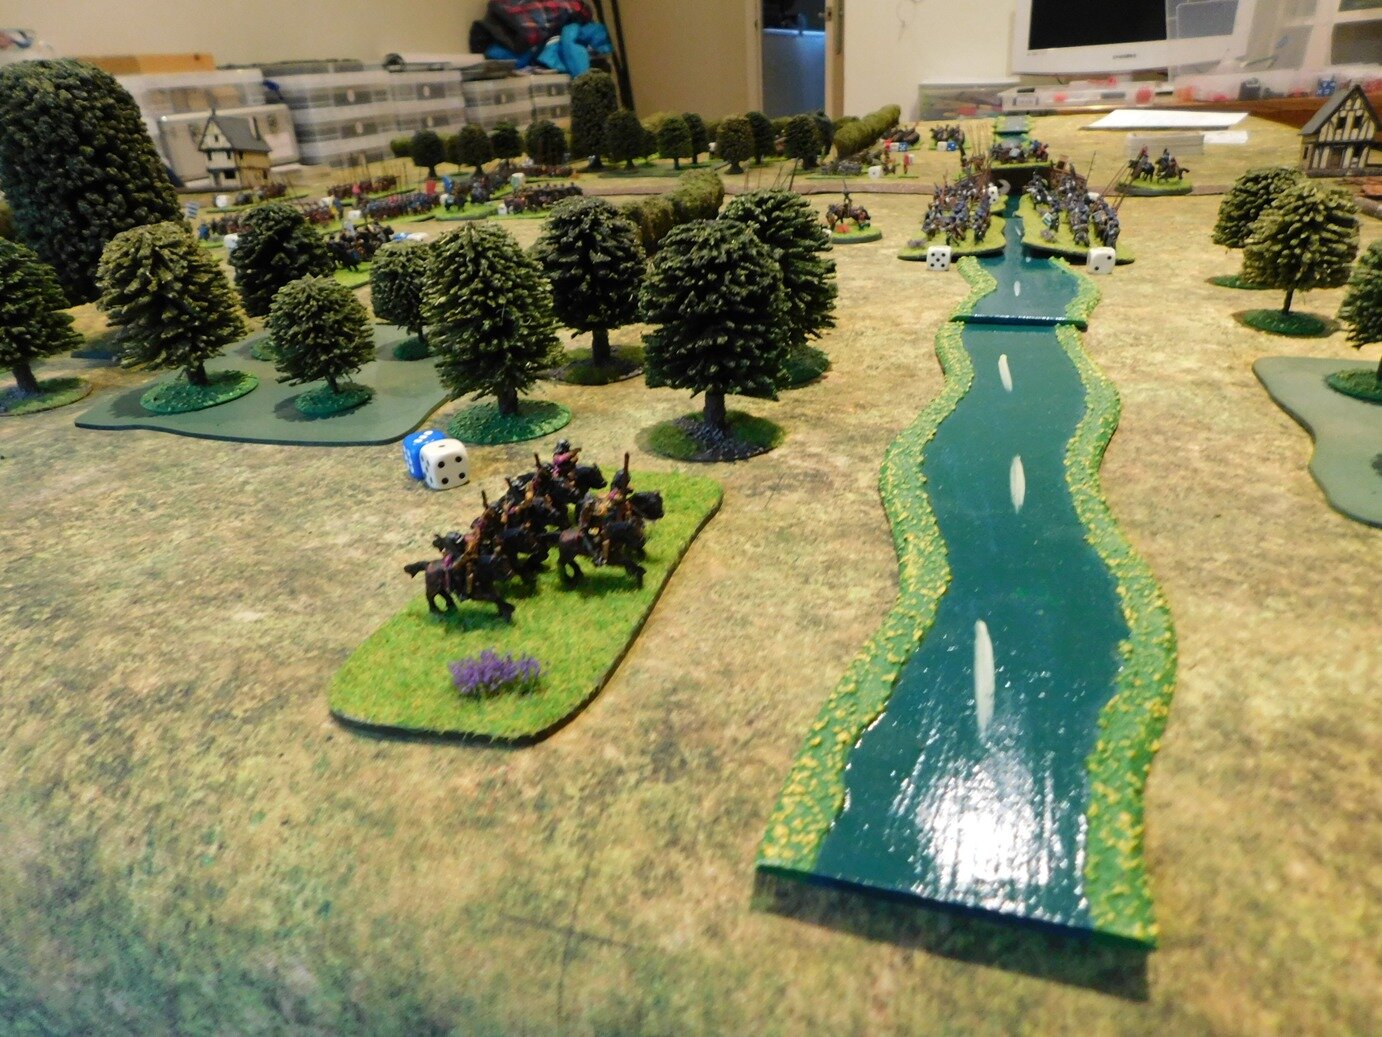
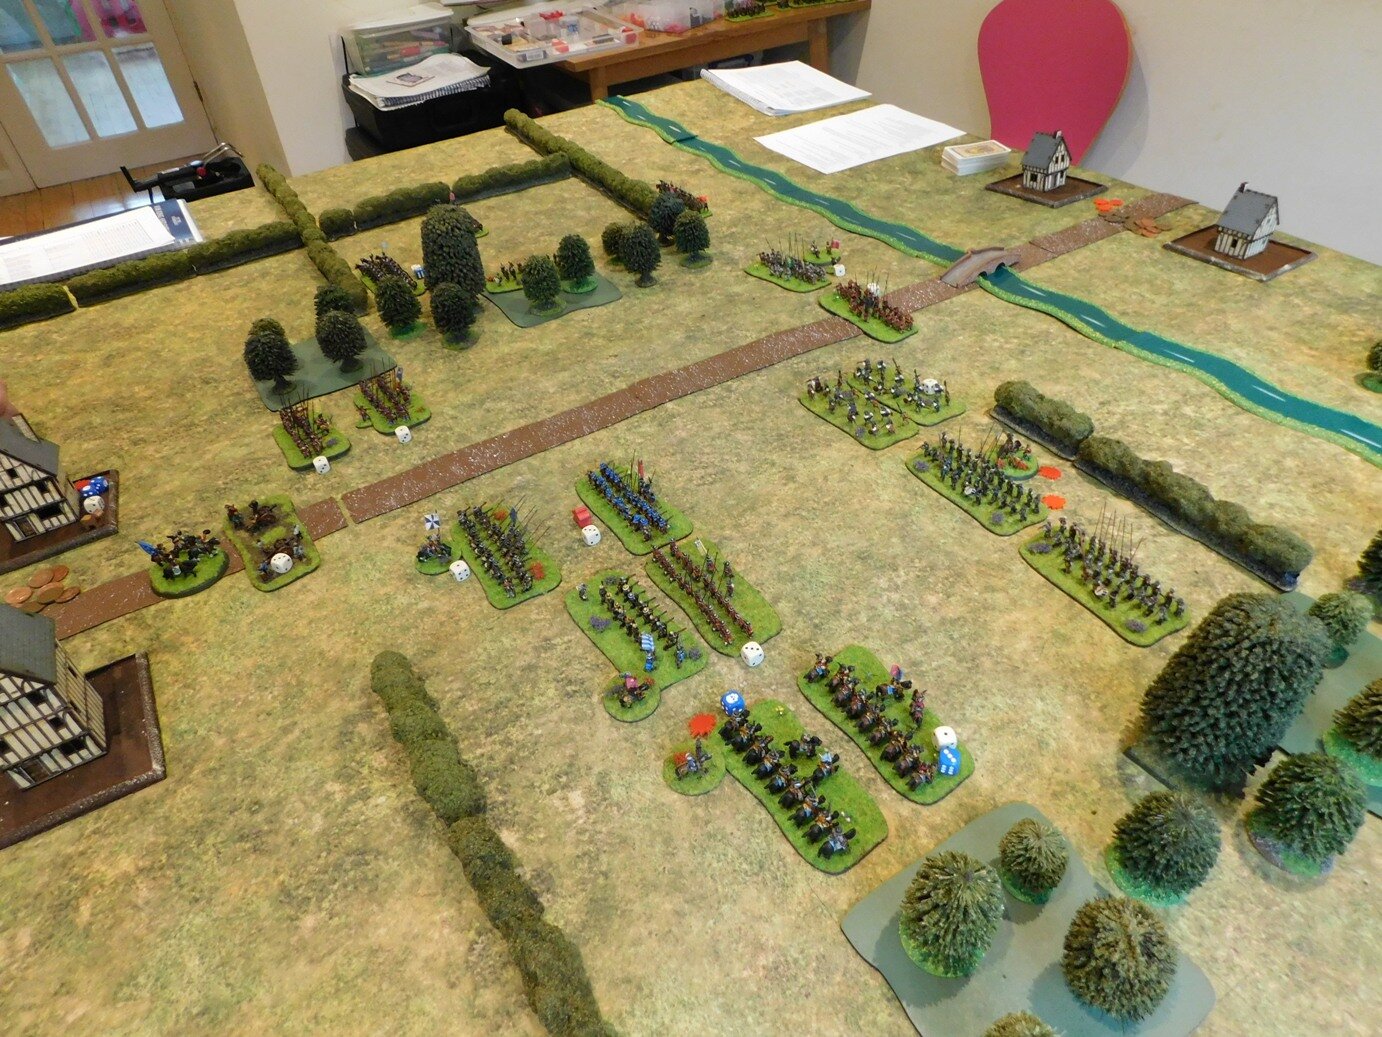
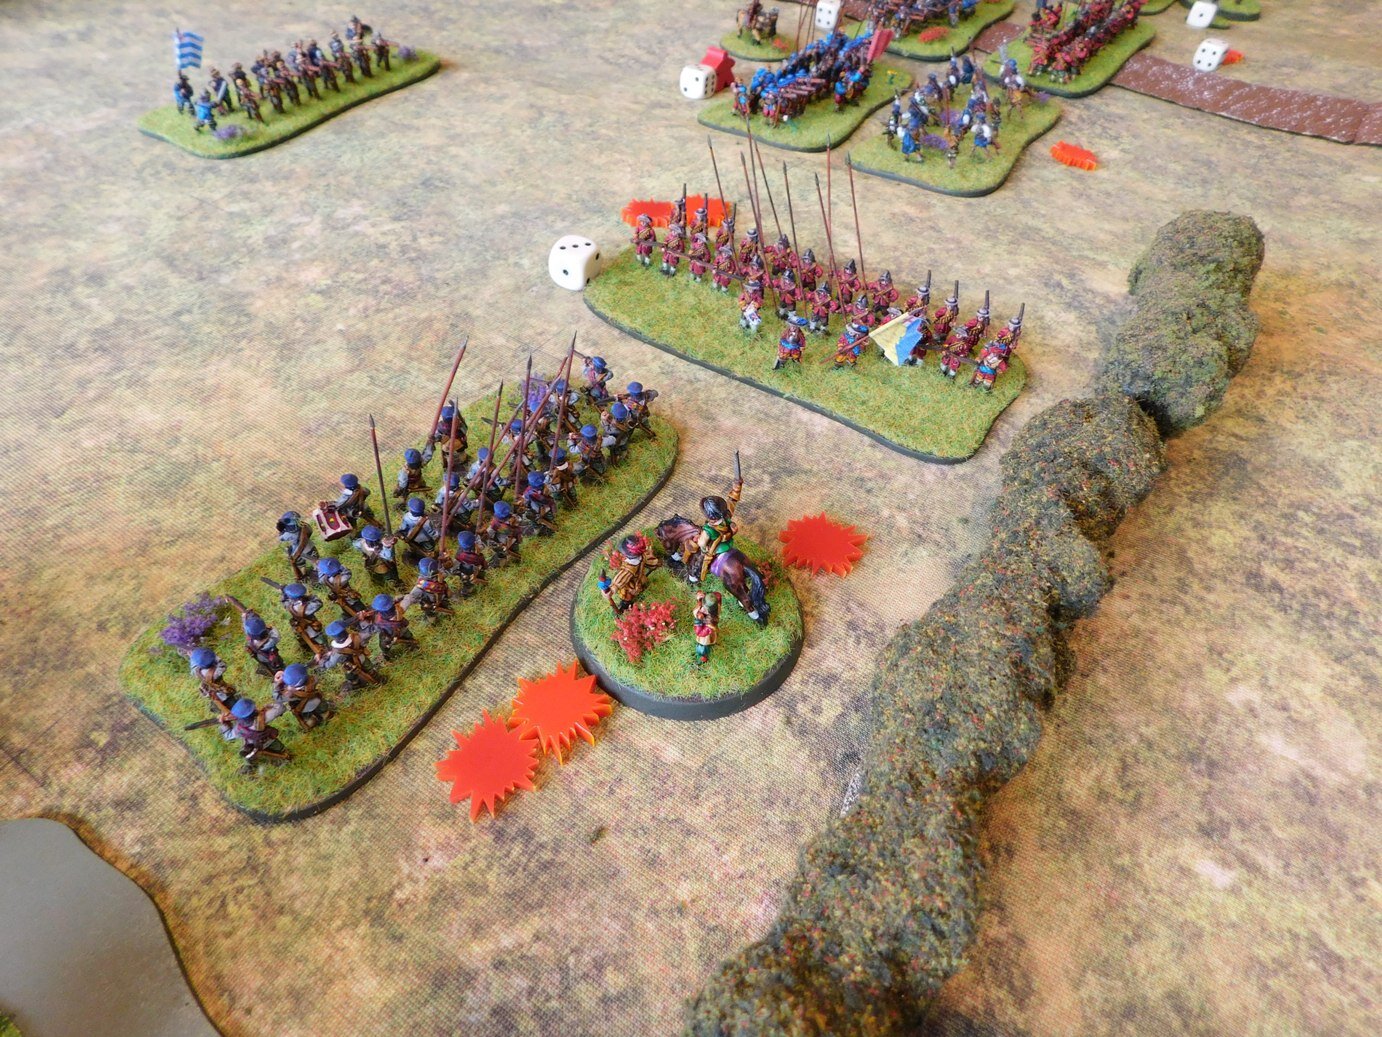
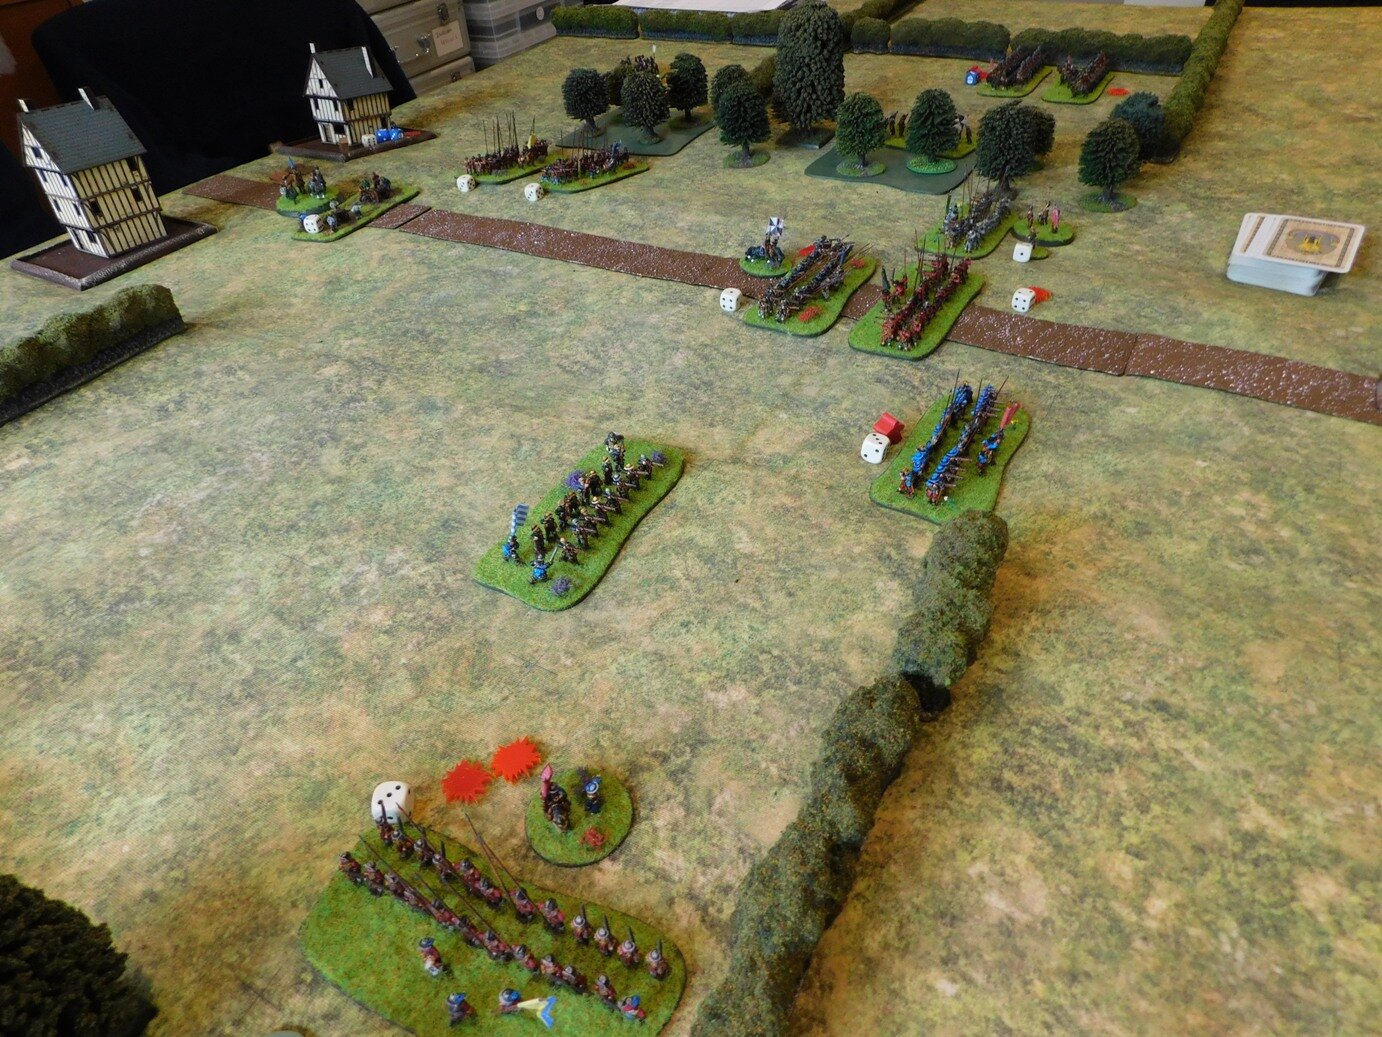
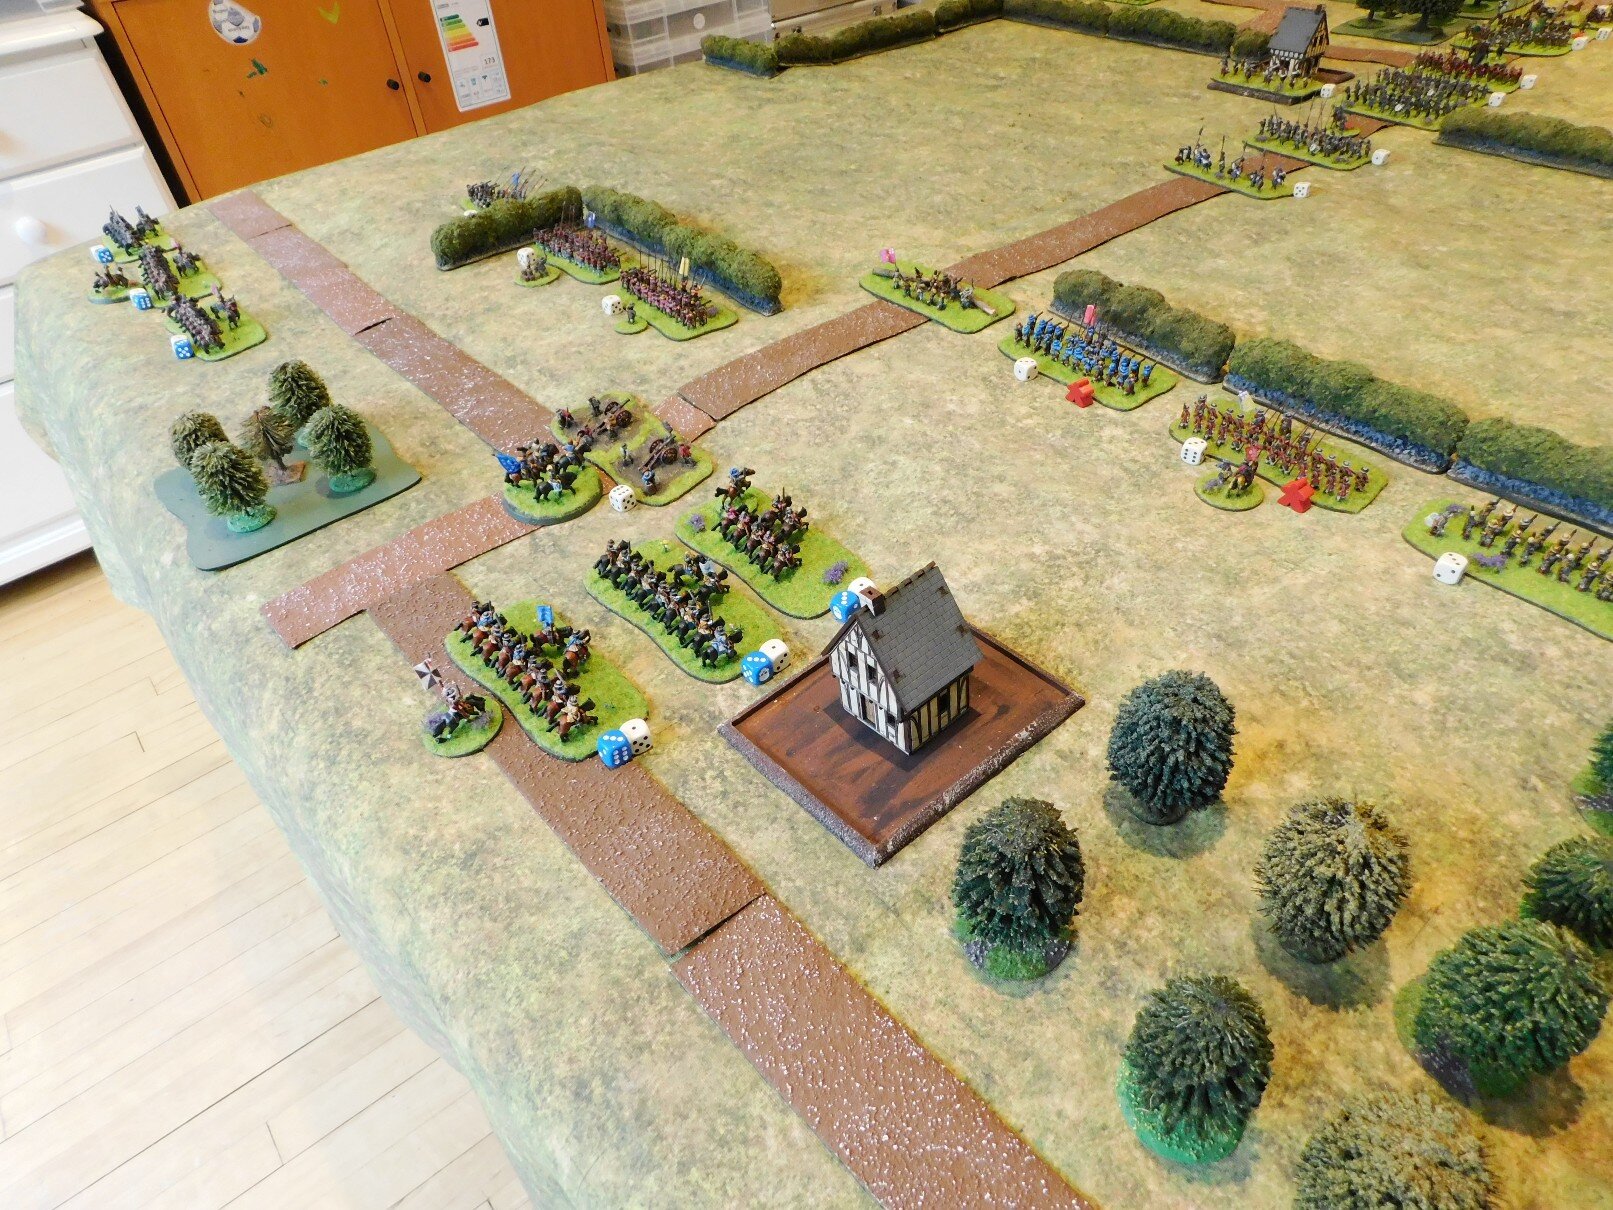
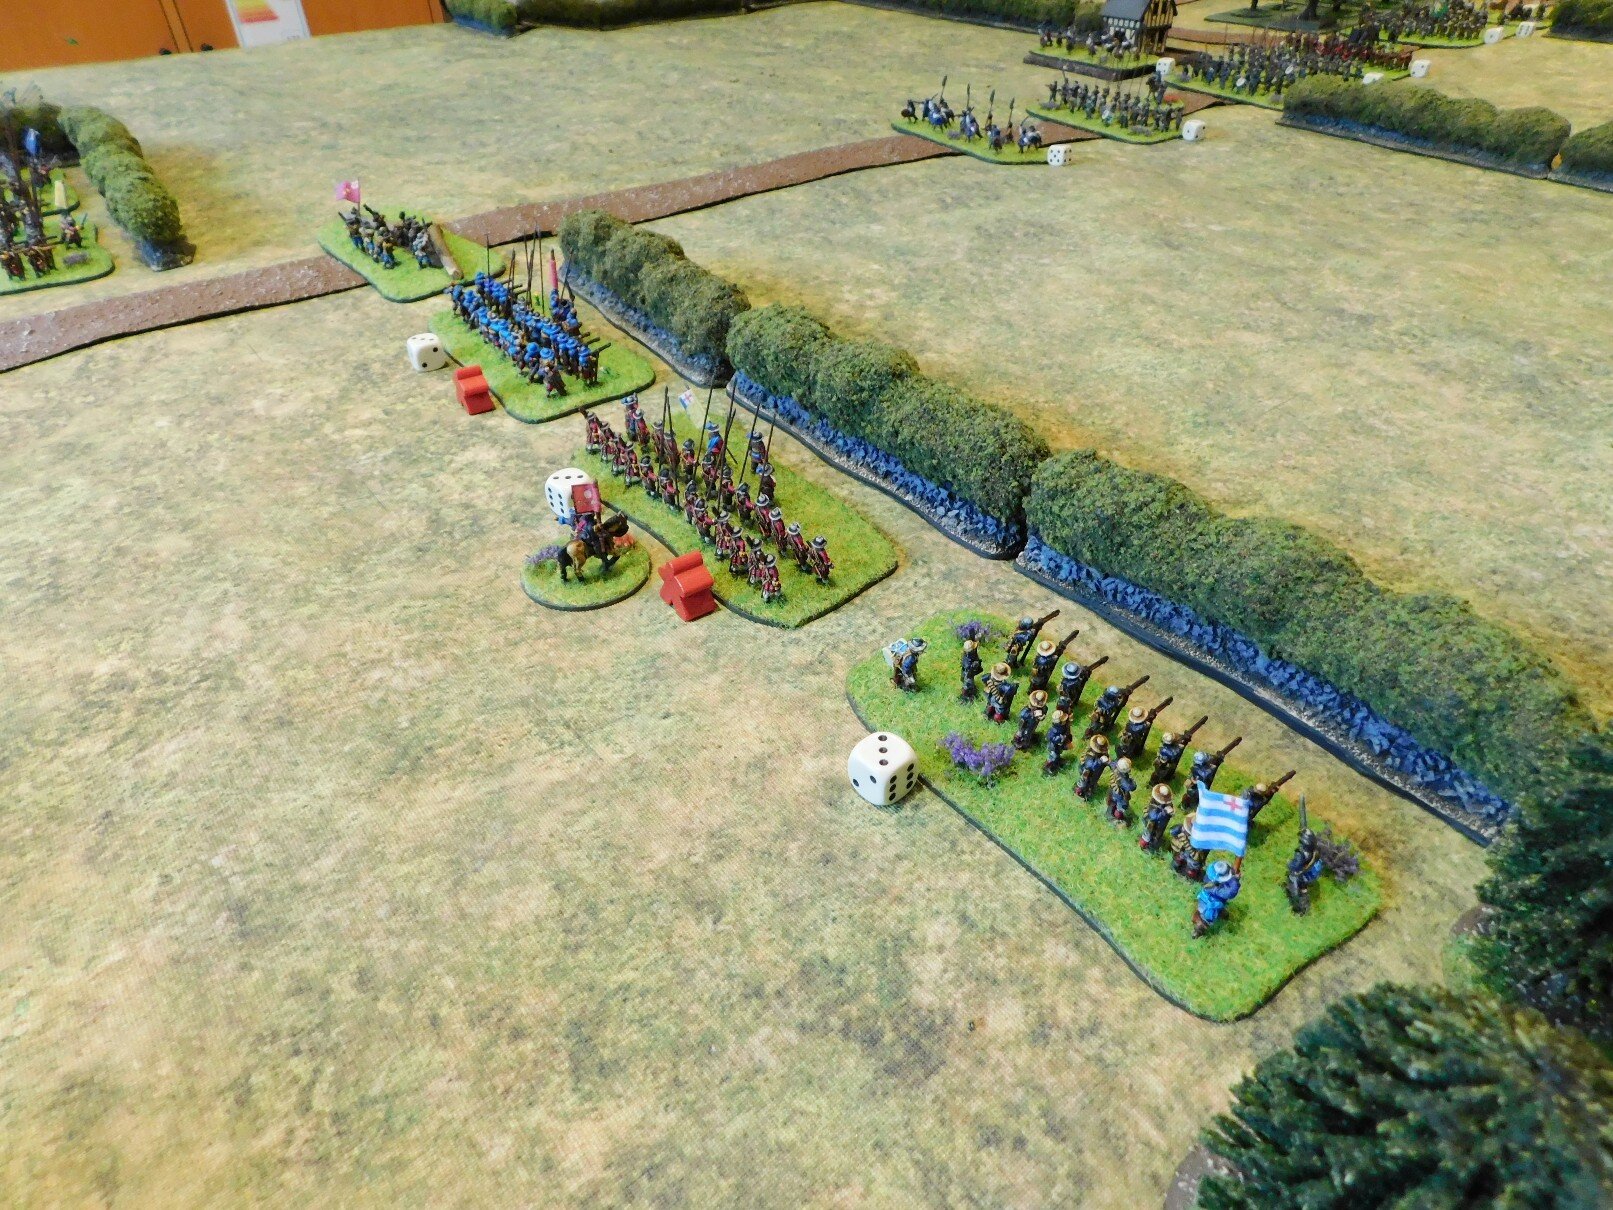
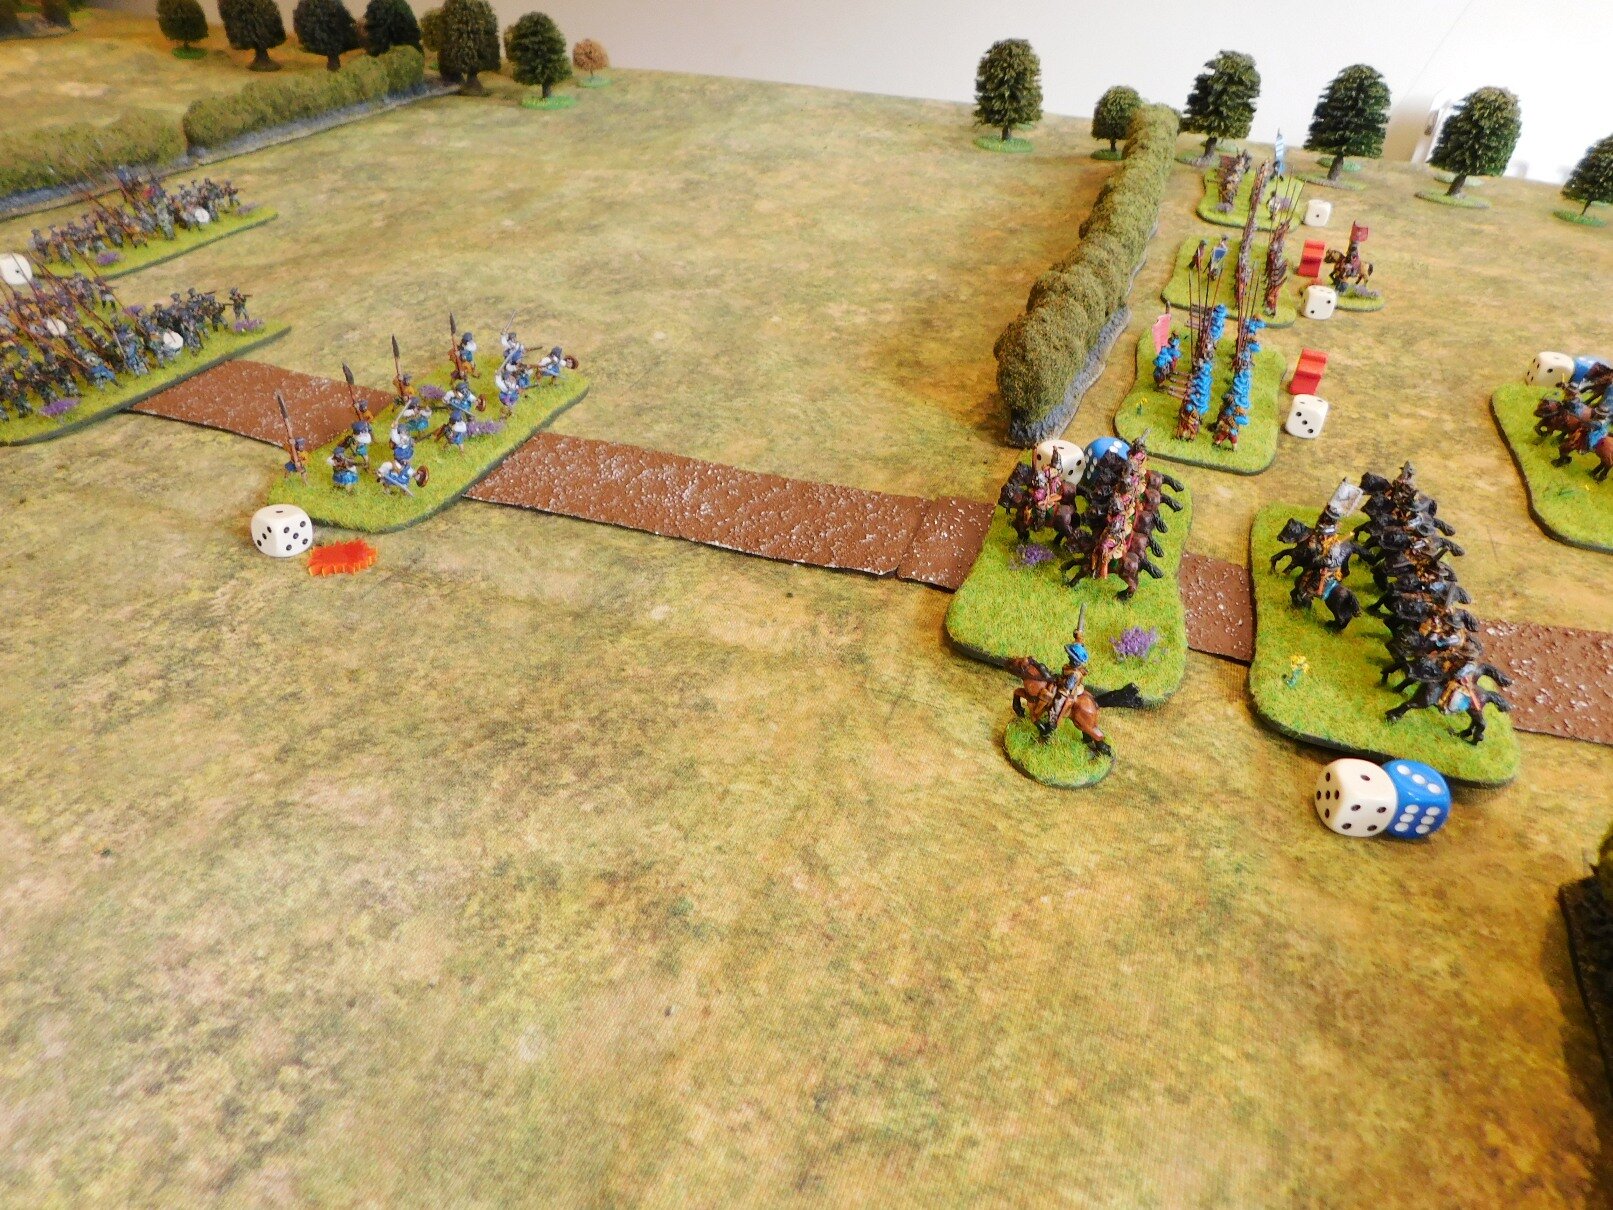
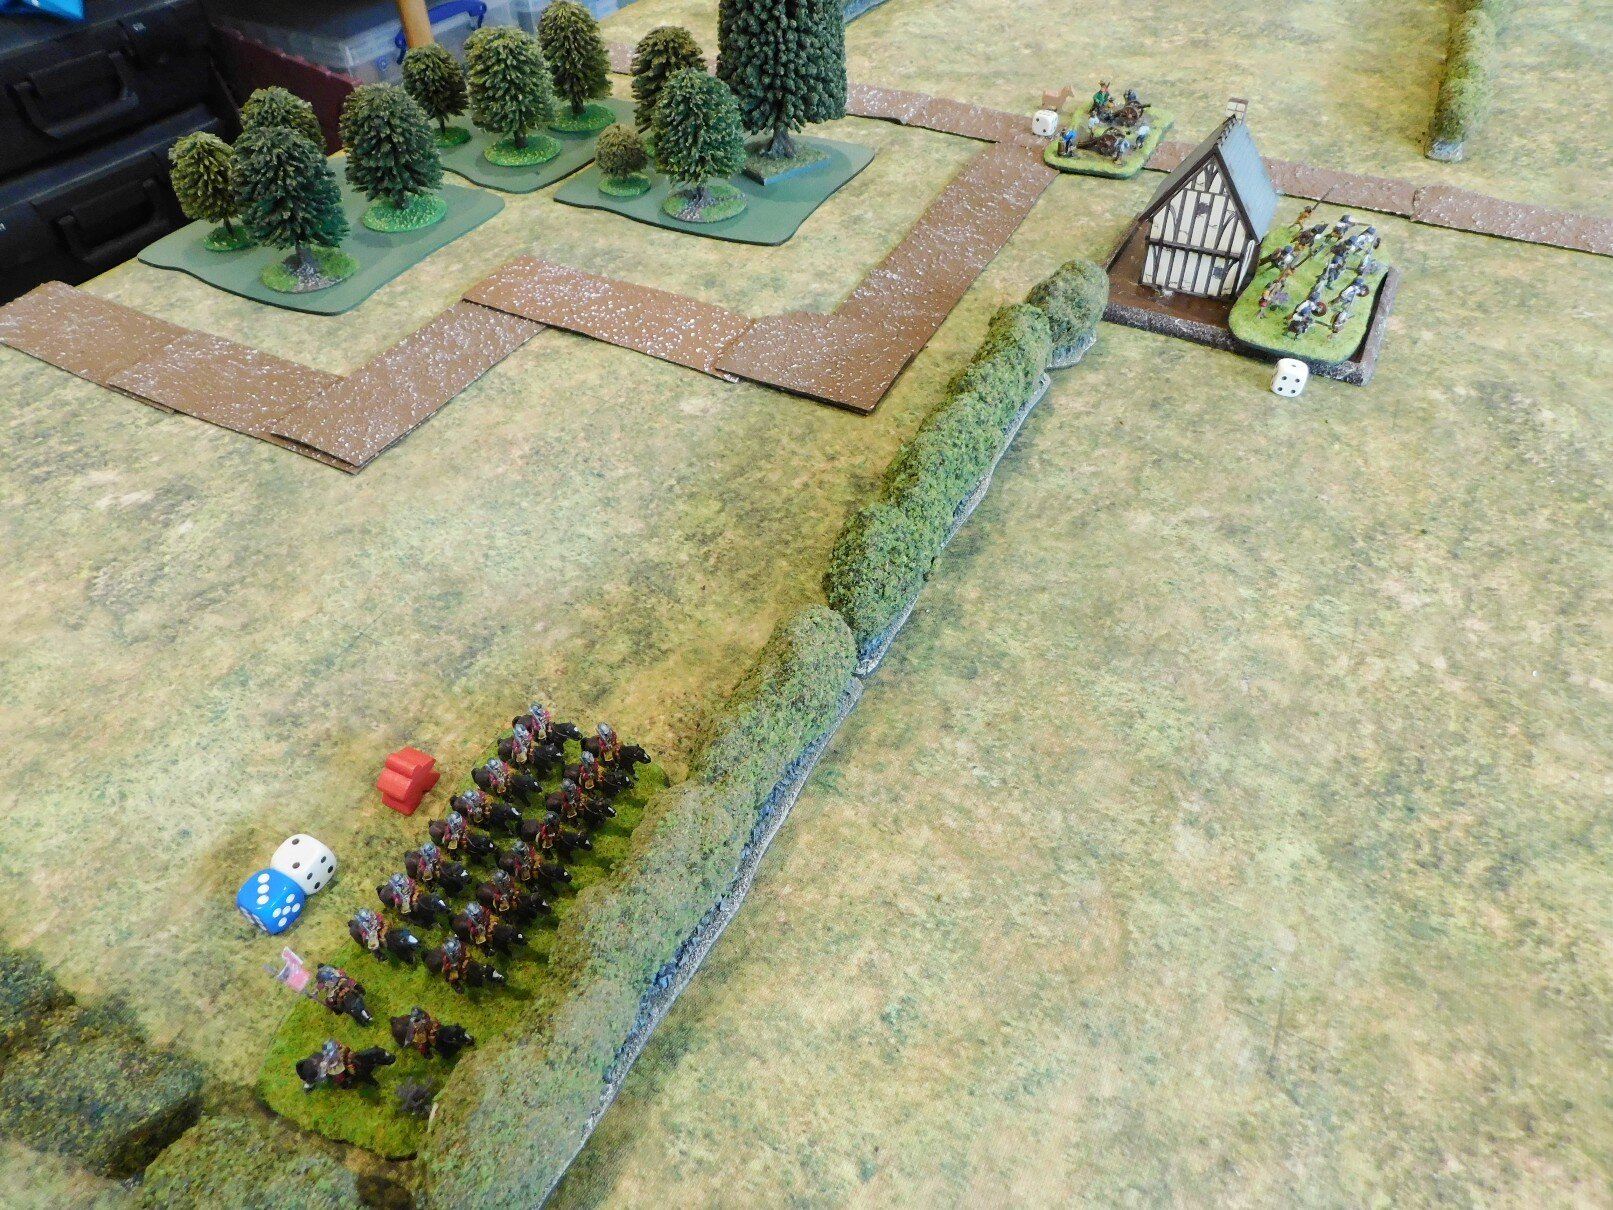
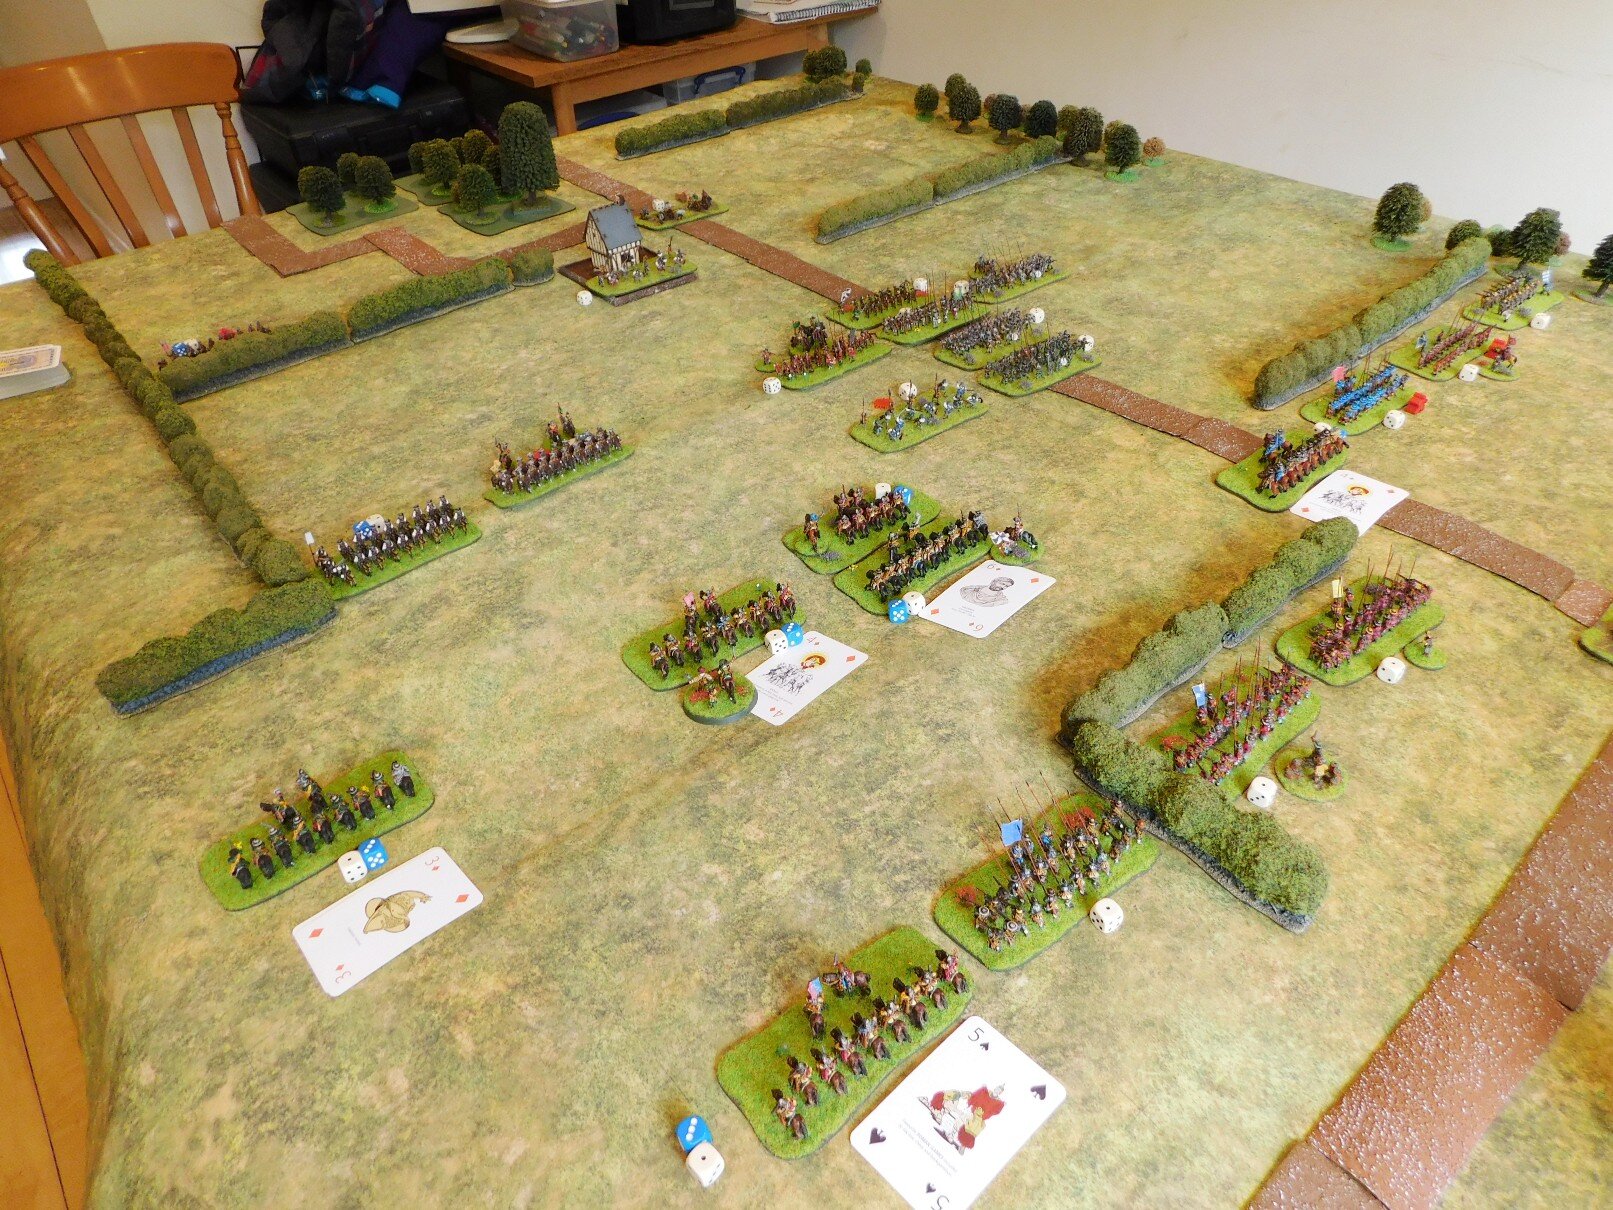
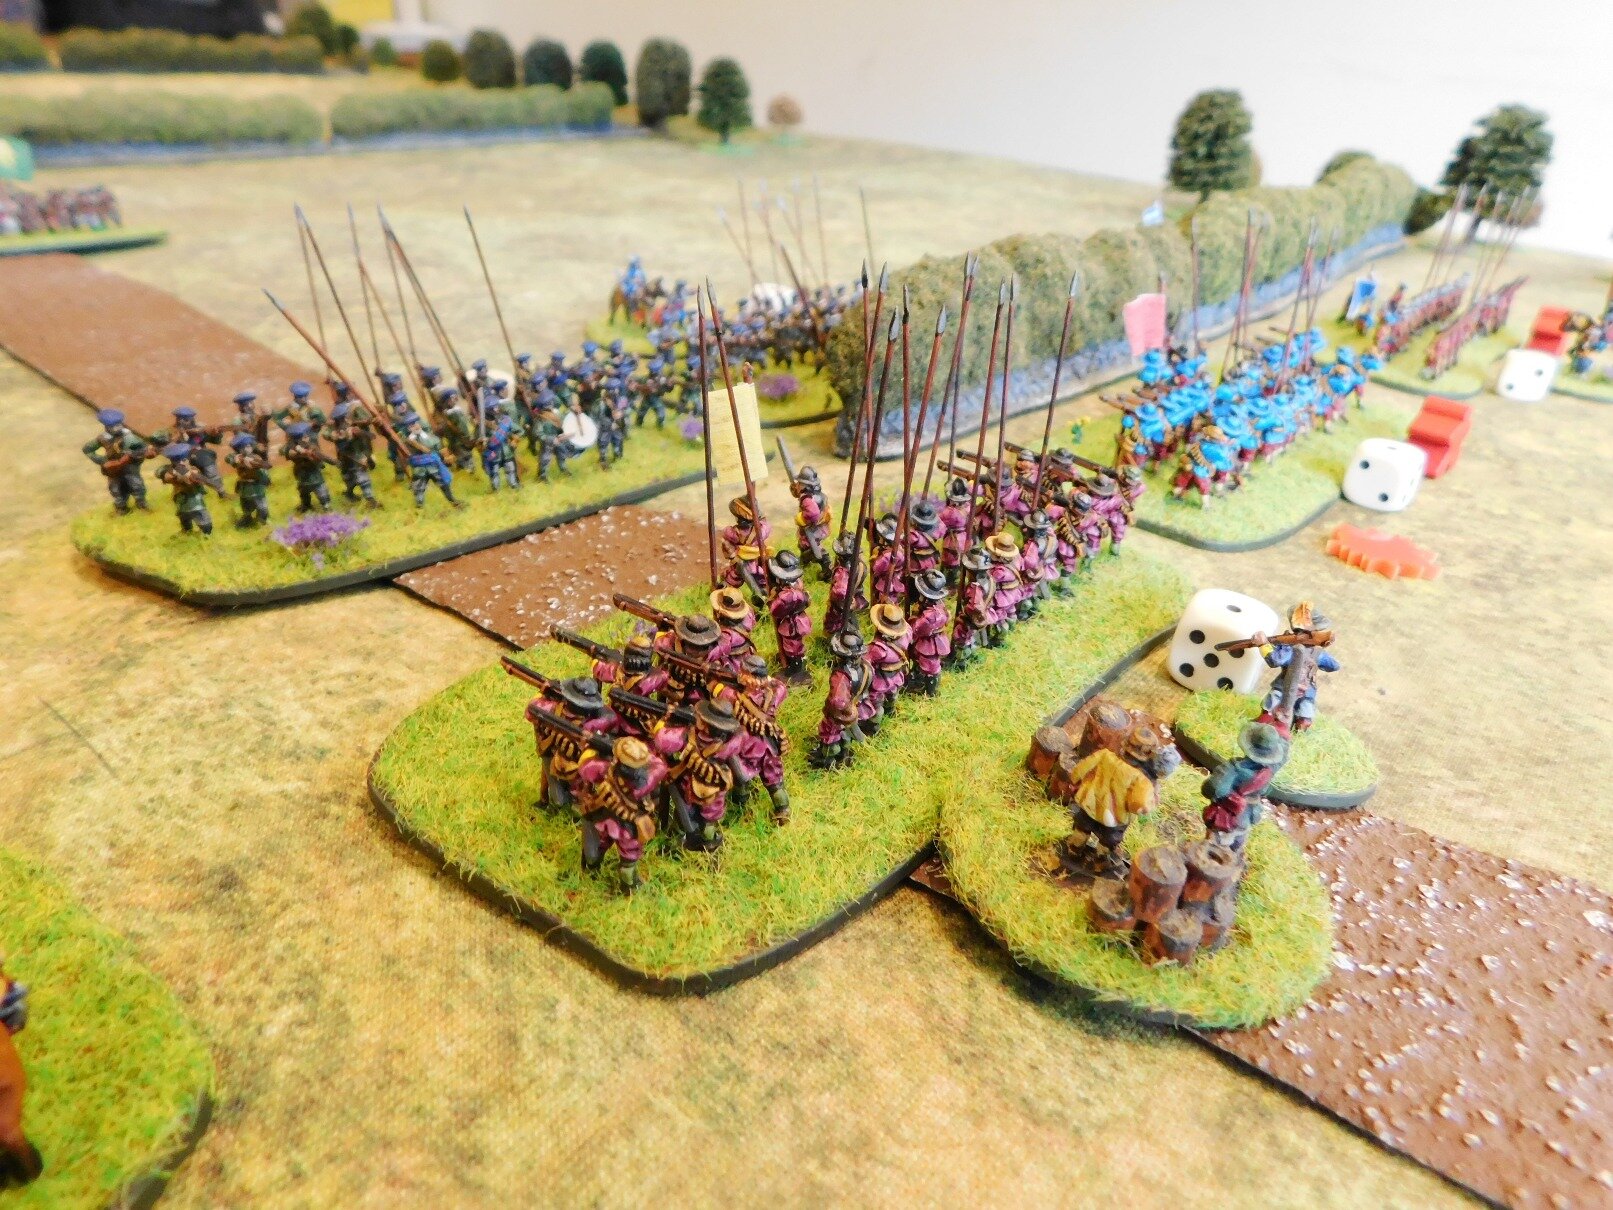
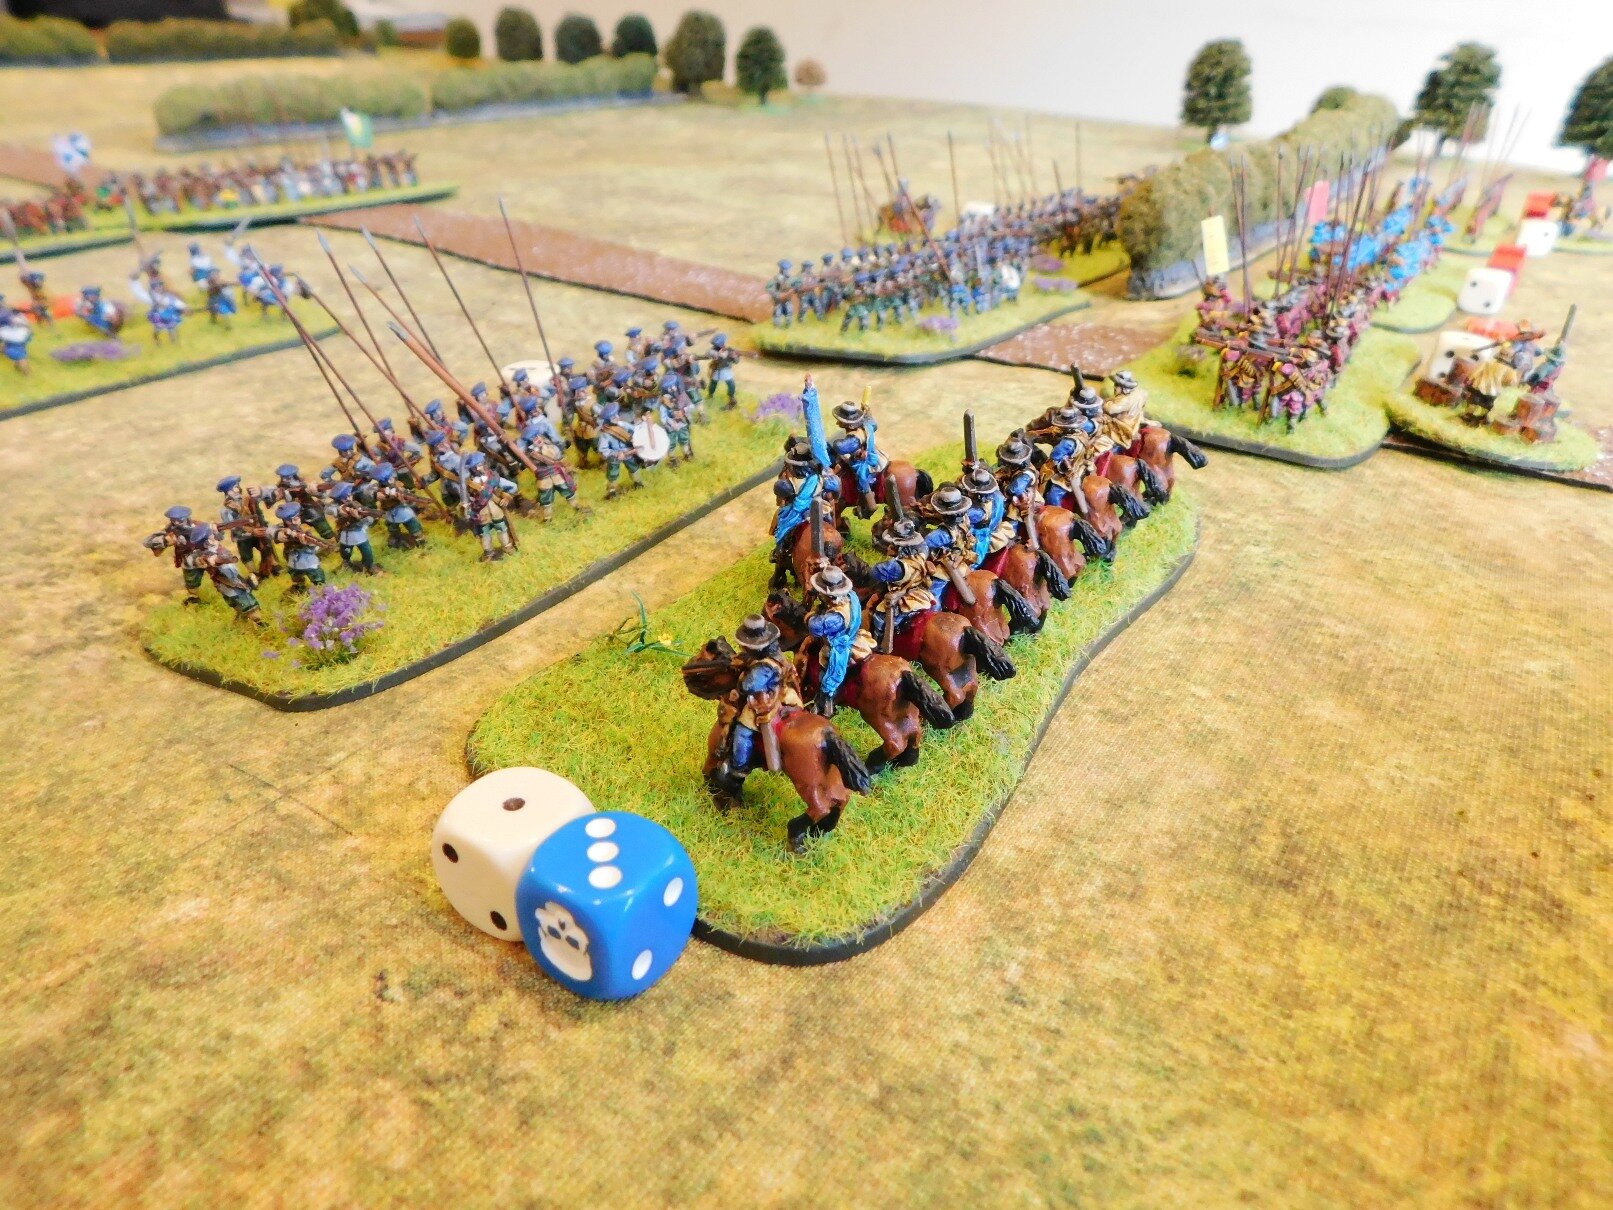
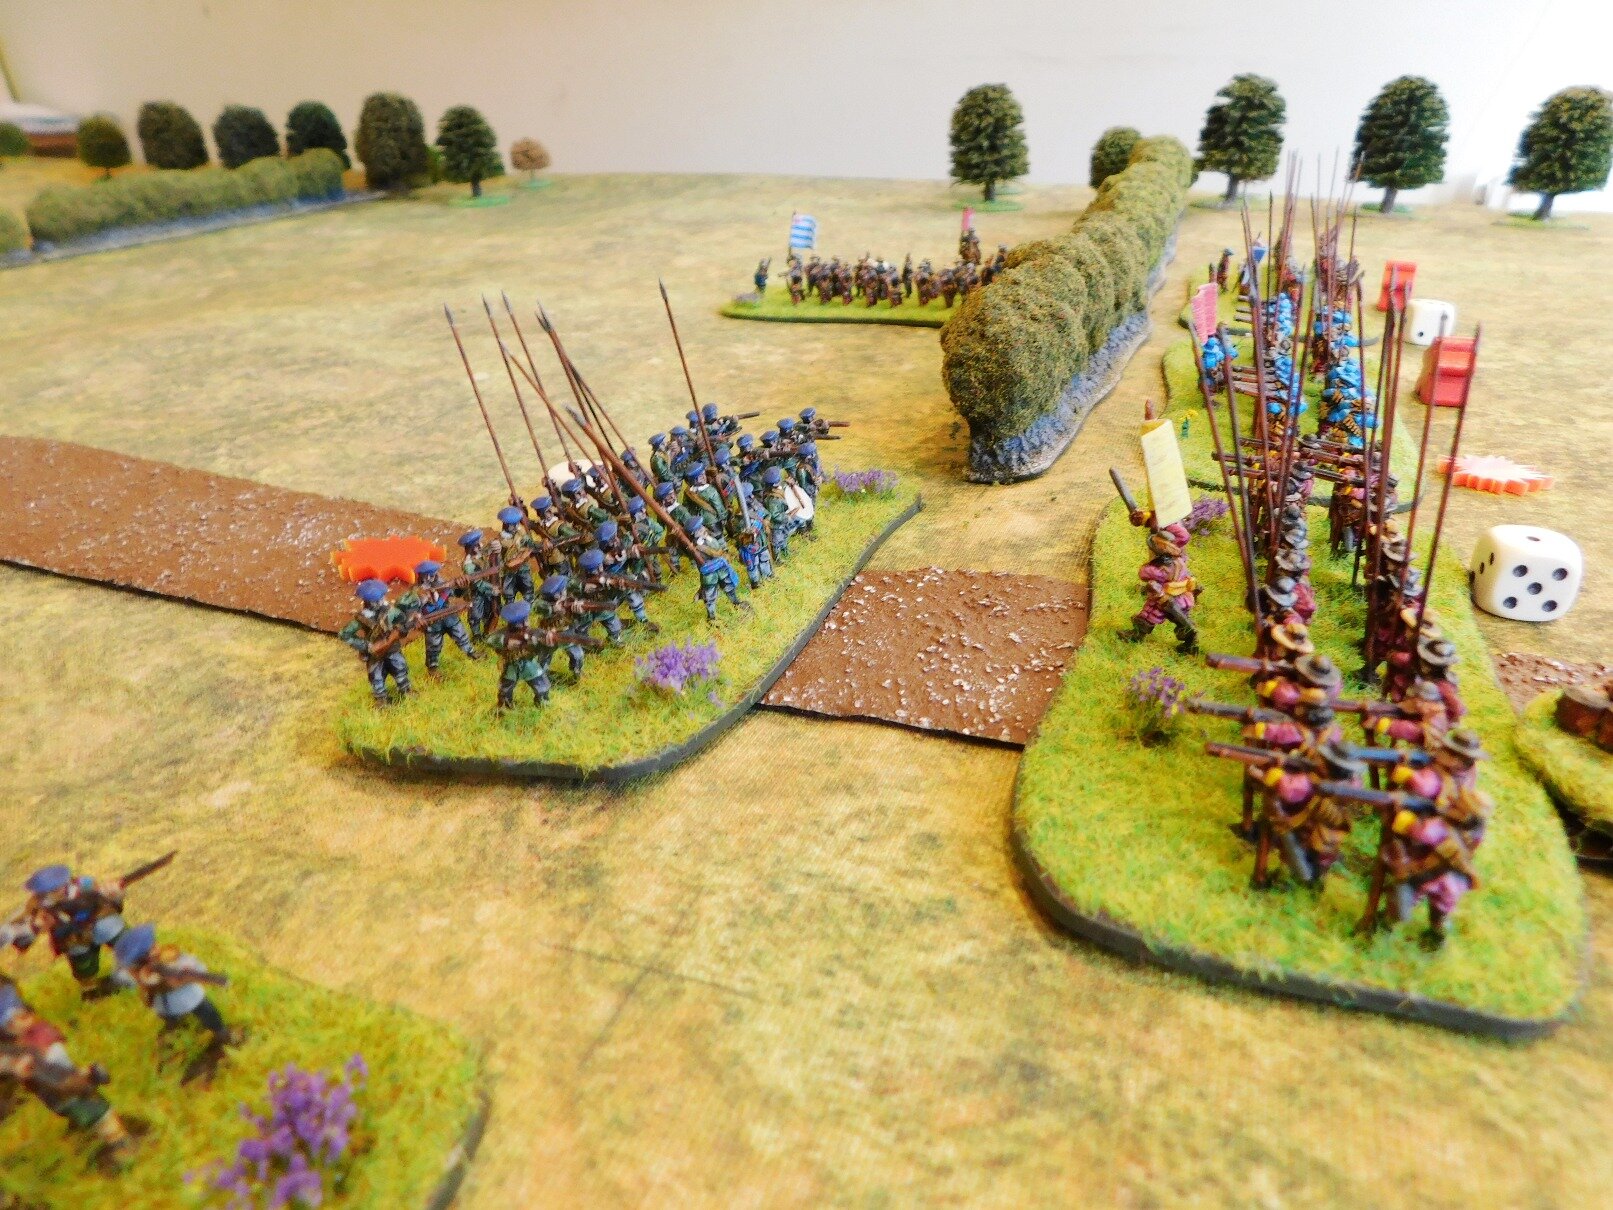
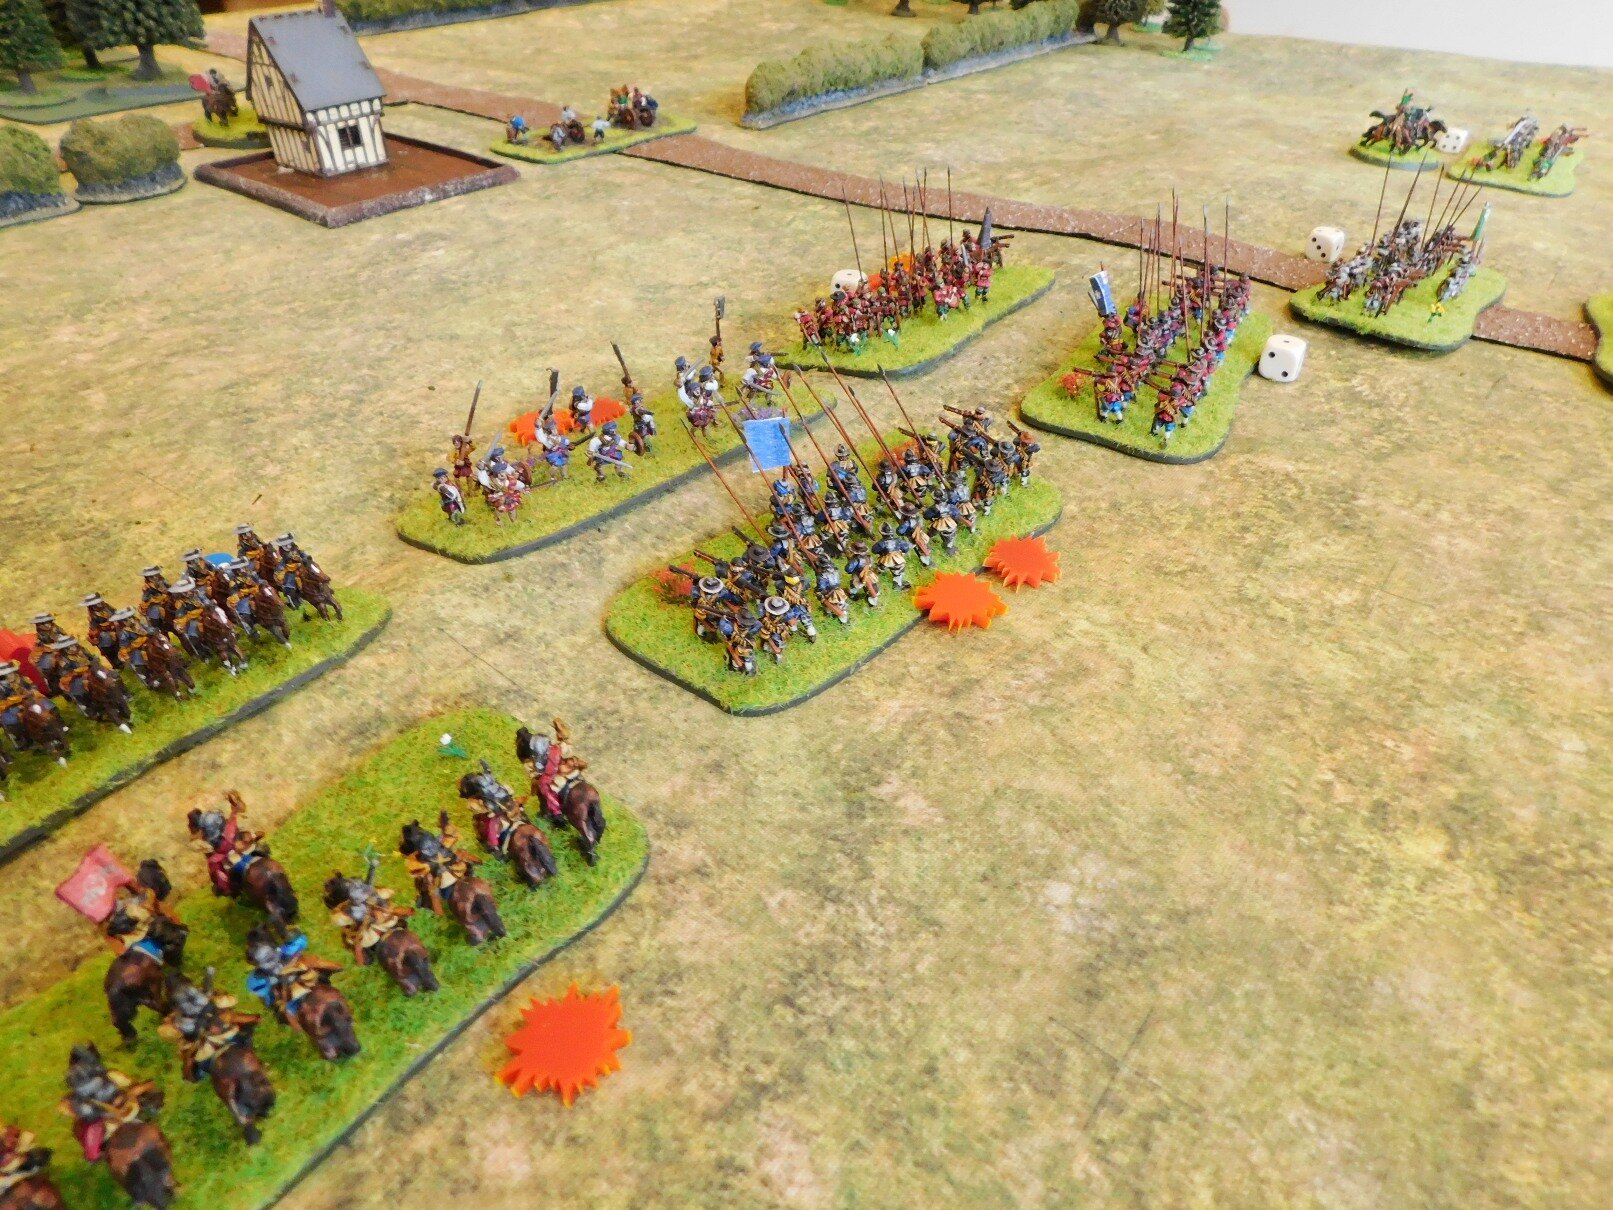
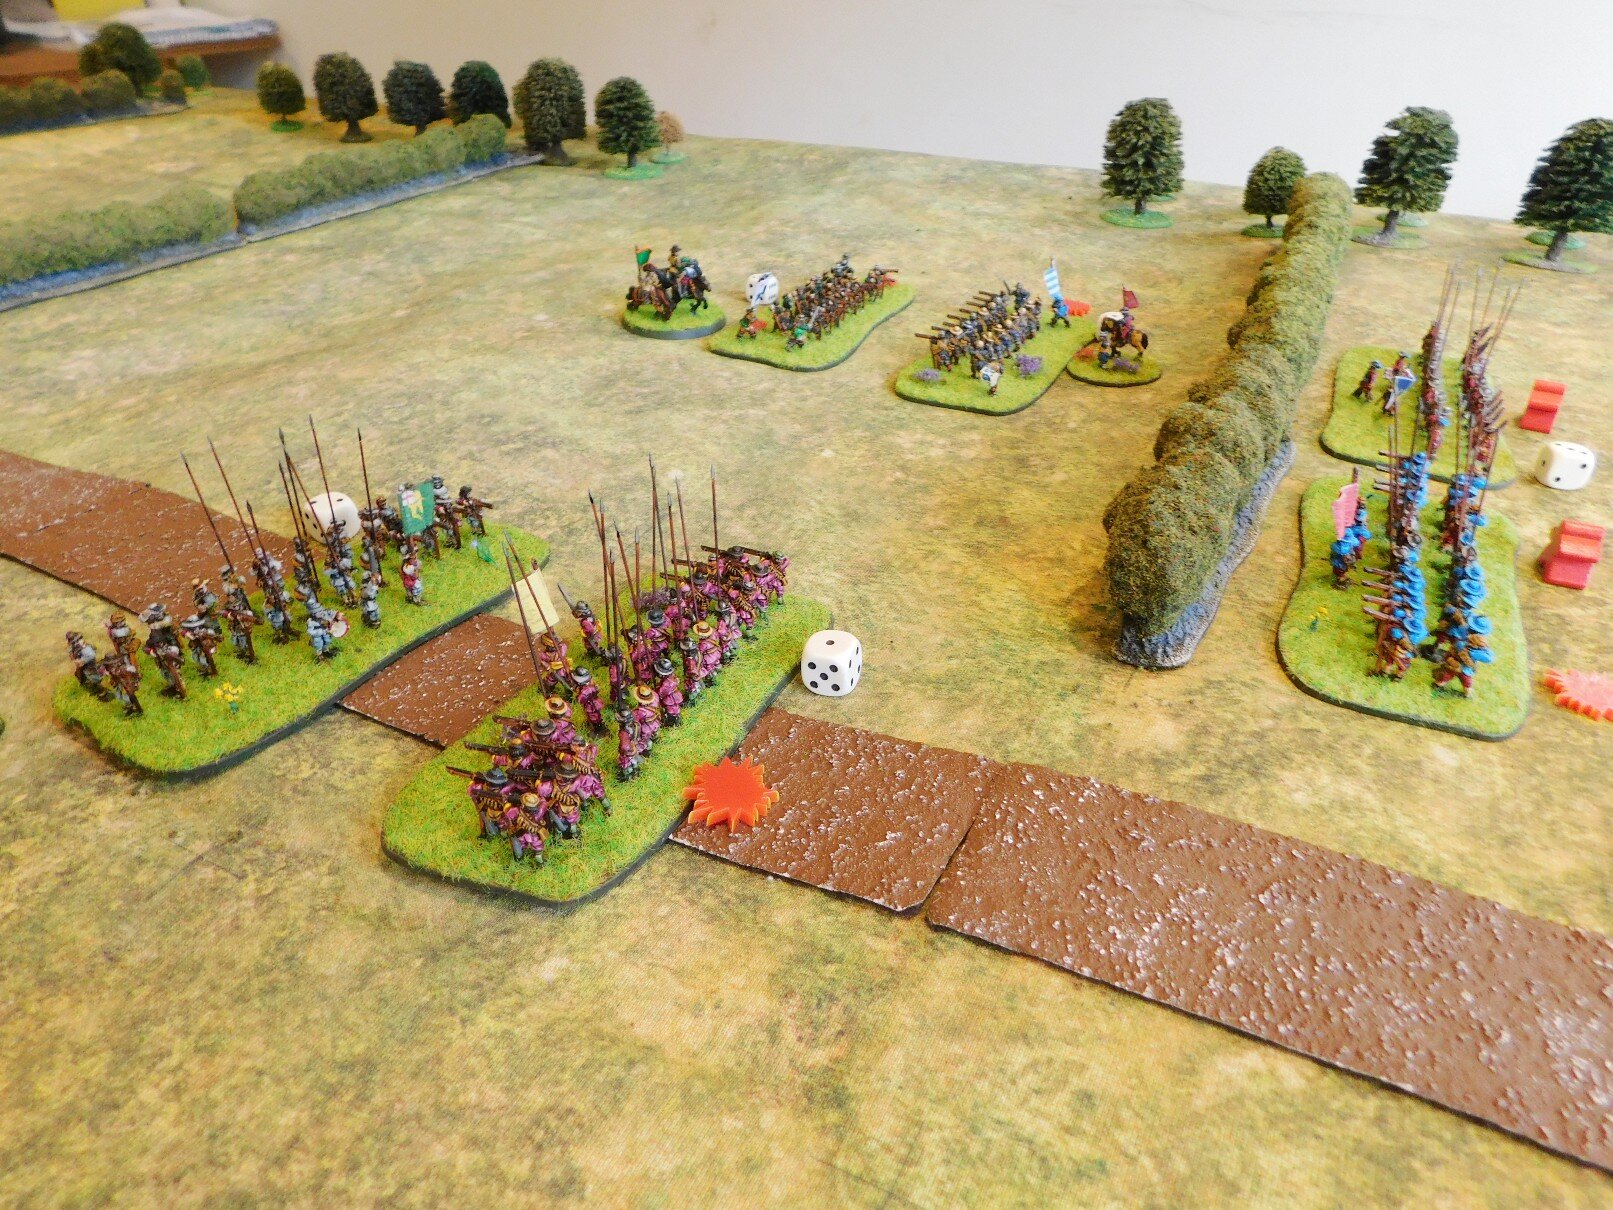
So a loss for their first outing, but actually not as bad a loss as I had thought. My massed longbow fire did cause the Romans real problems in the initial stages of the battle, and had that unit of legionaries on my right not held out against overwhelming odds, then I think the day would have been mine.

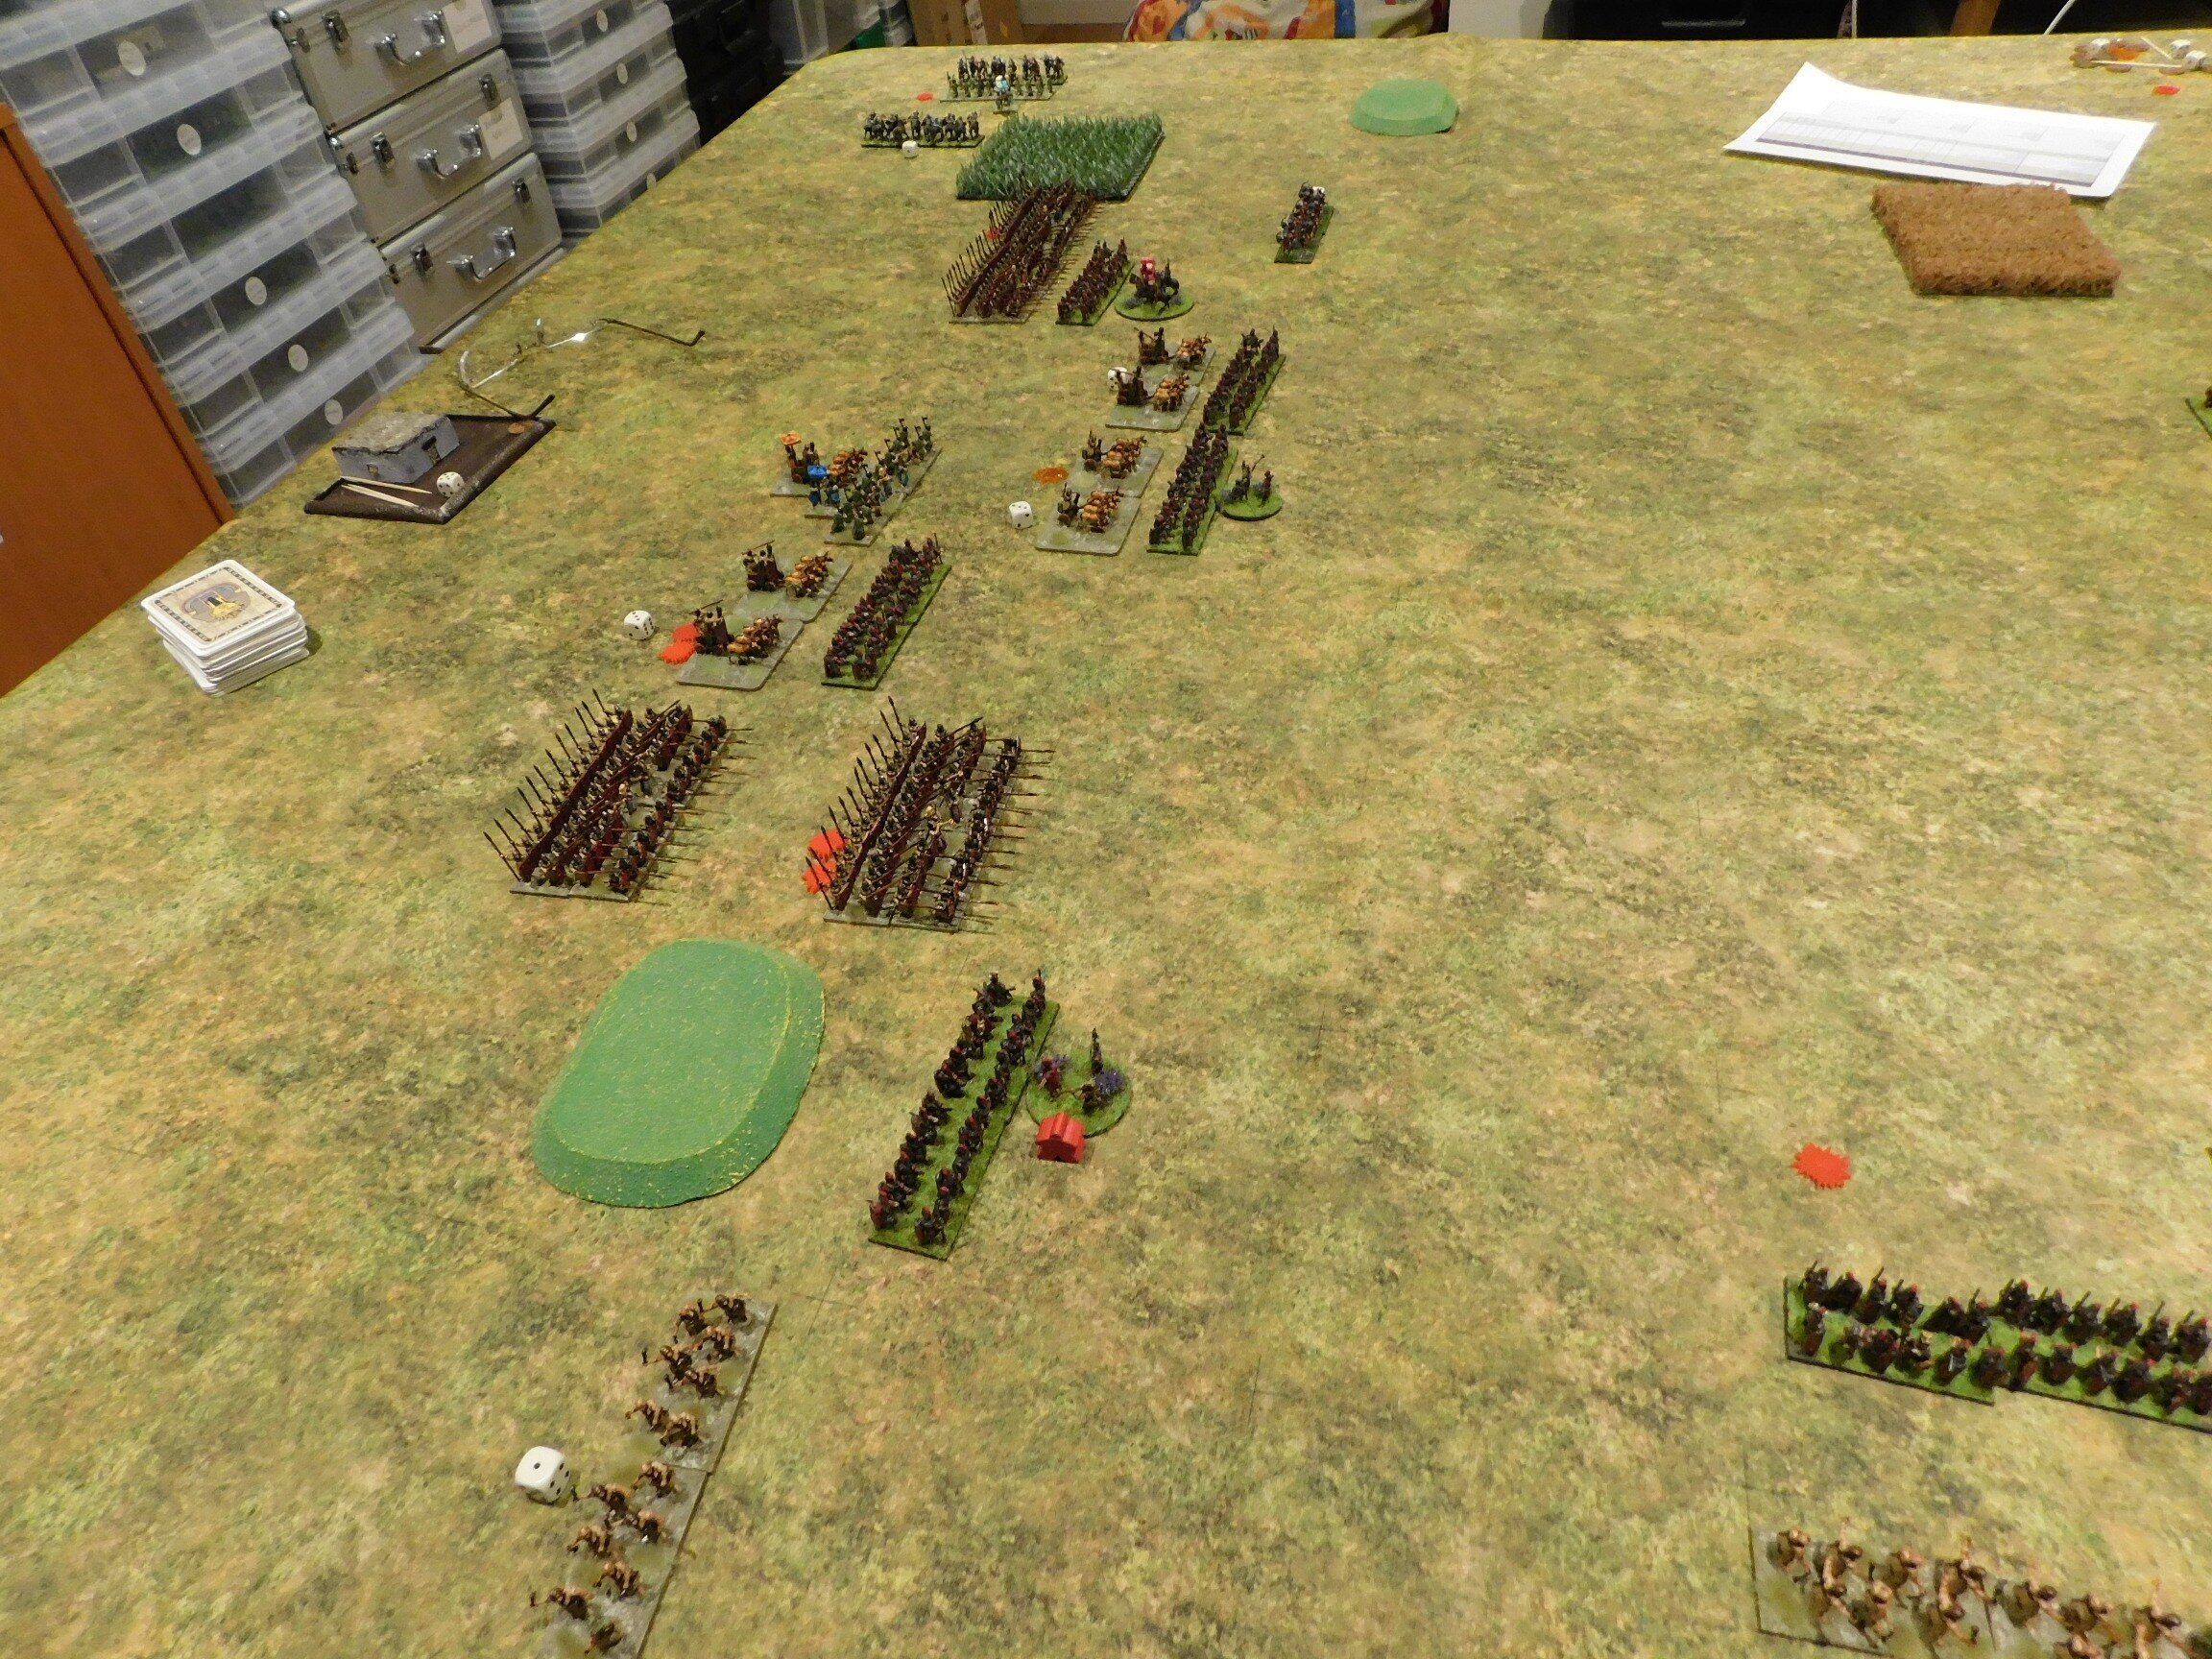
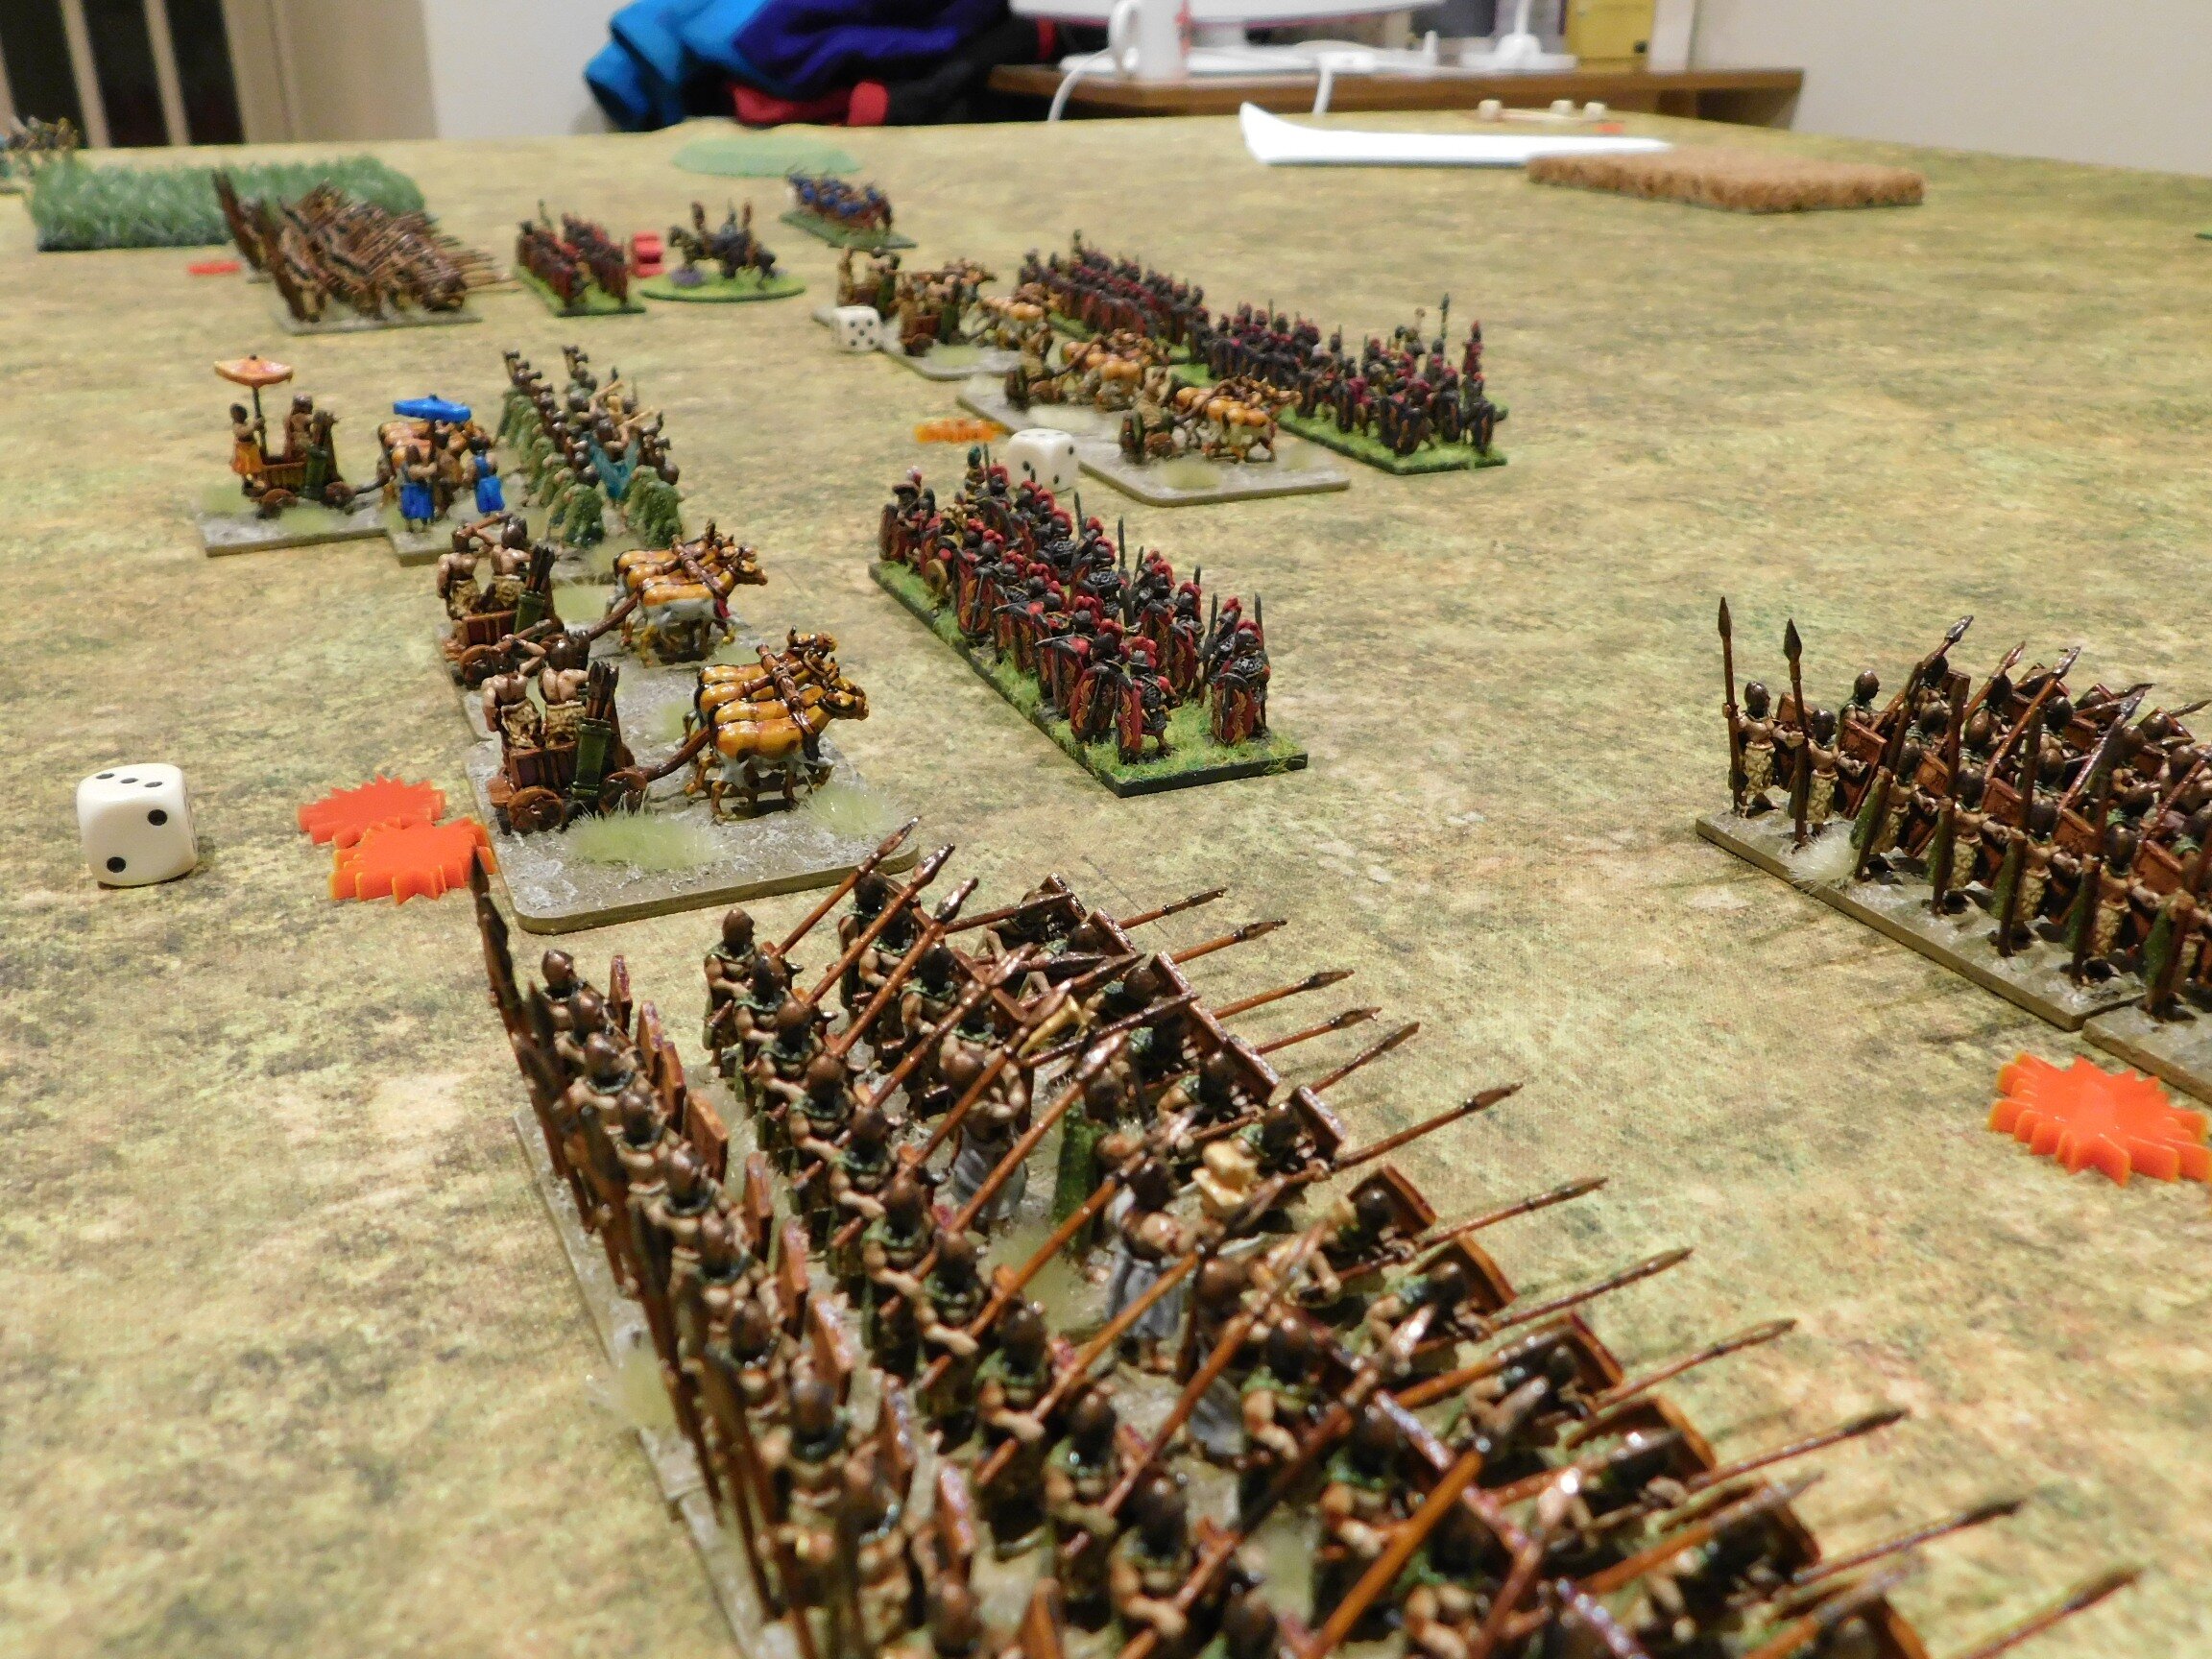
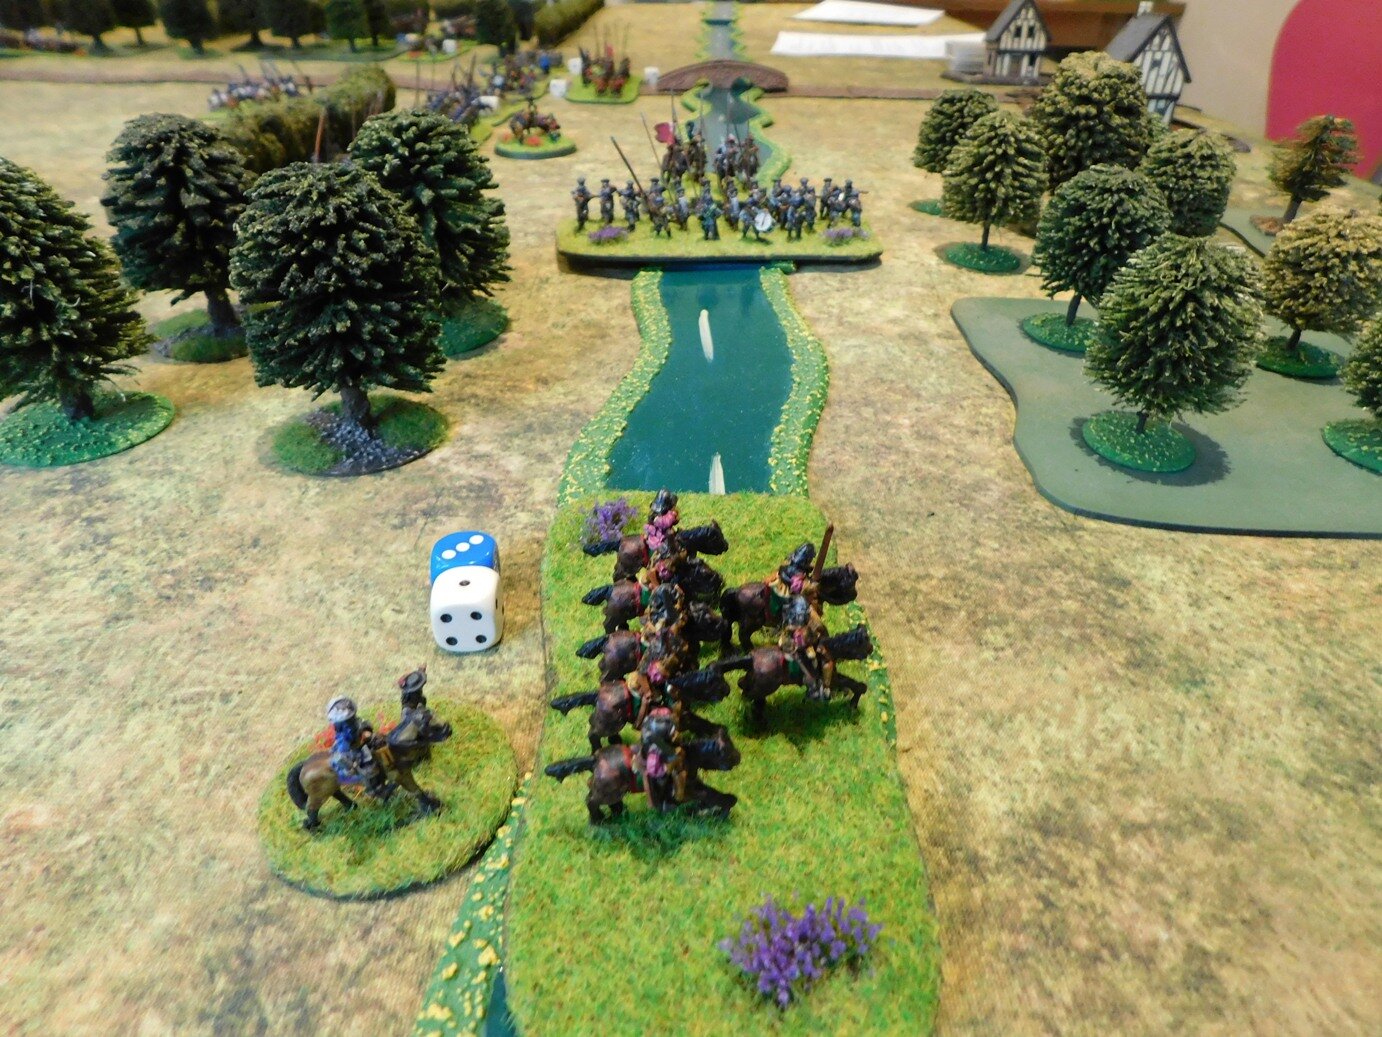
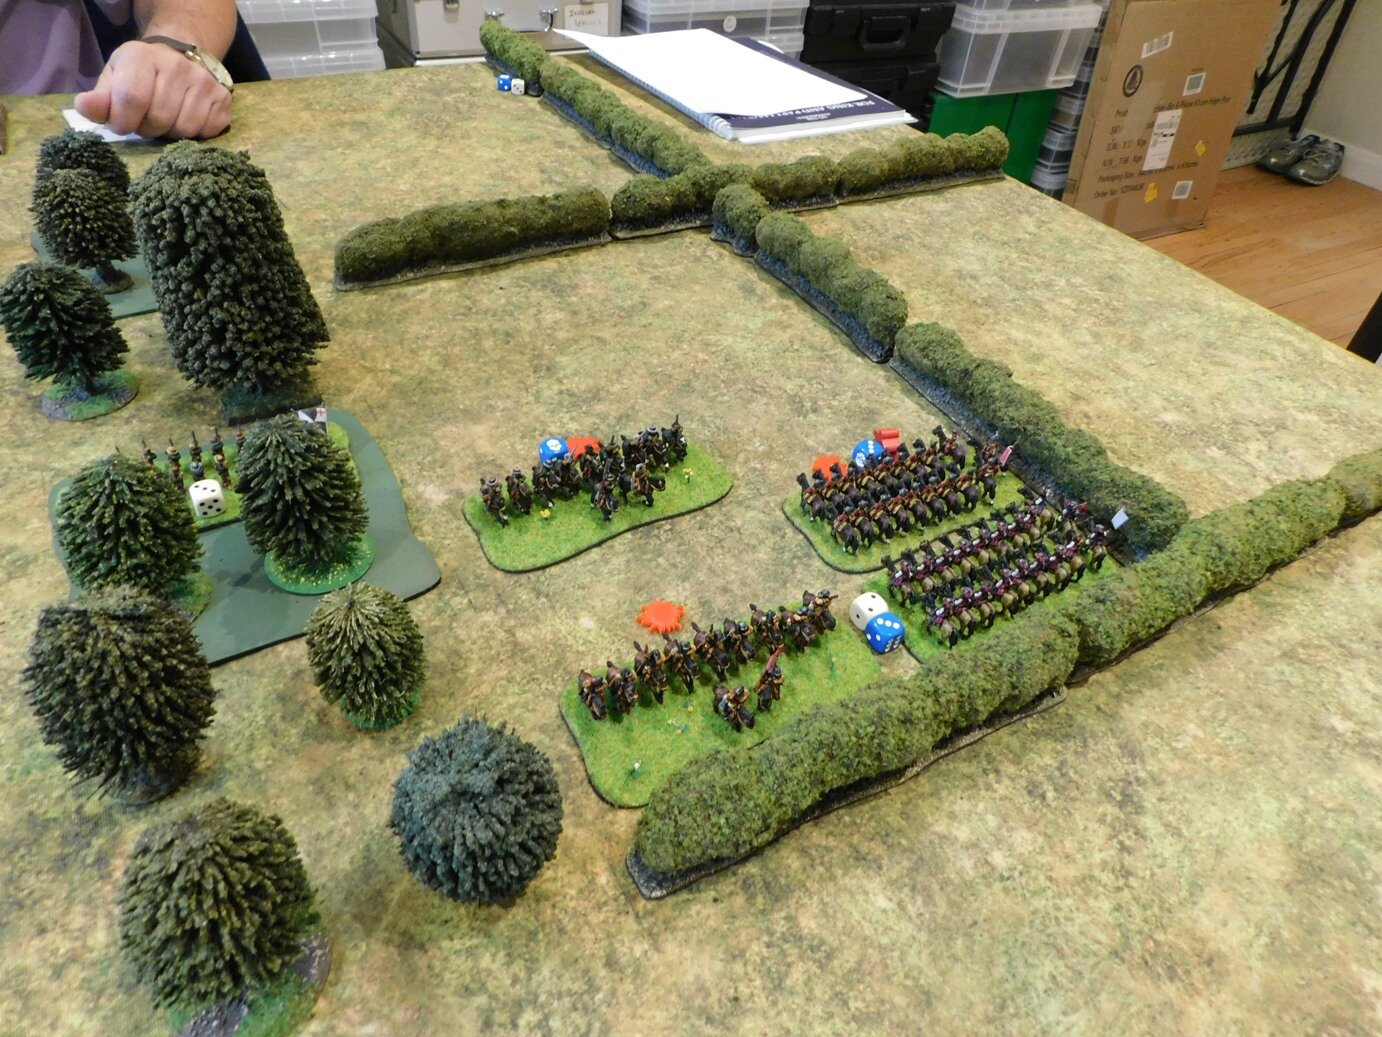
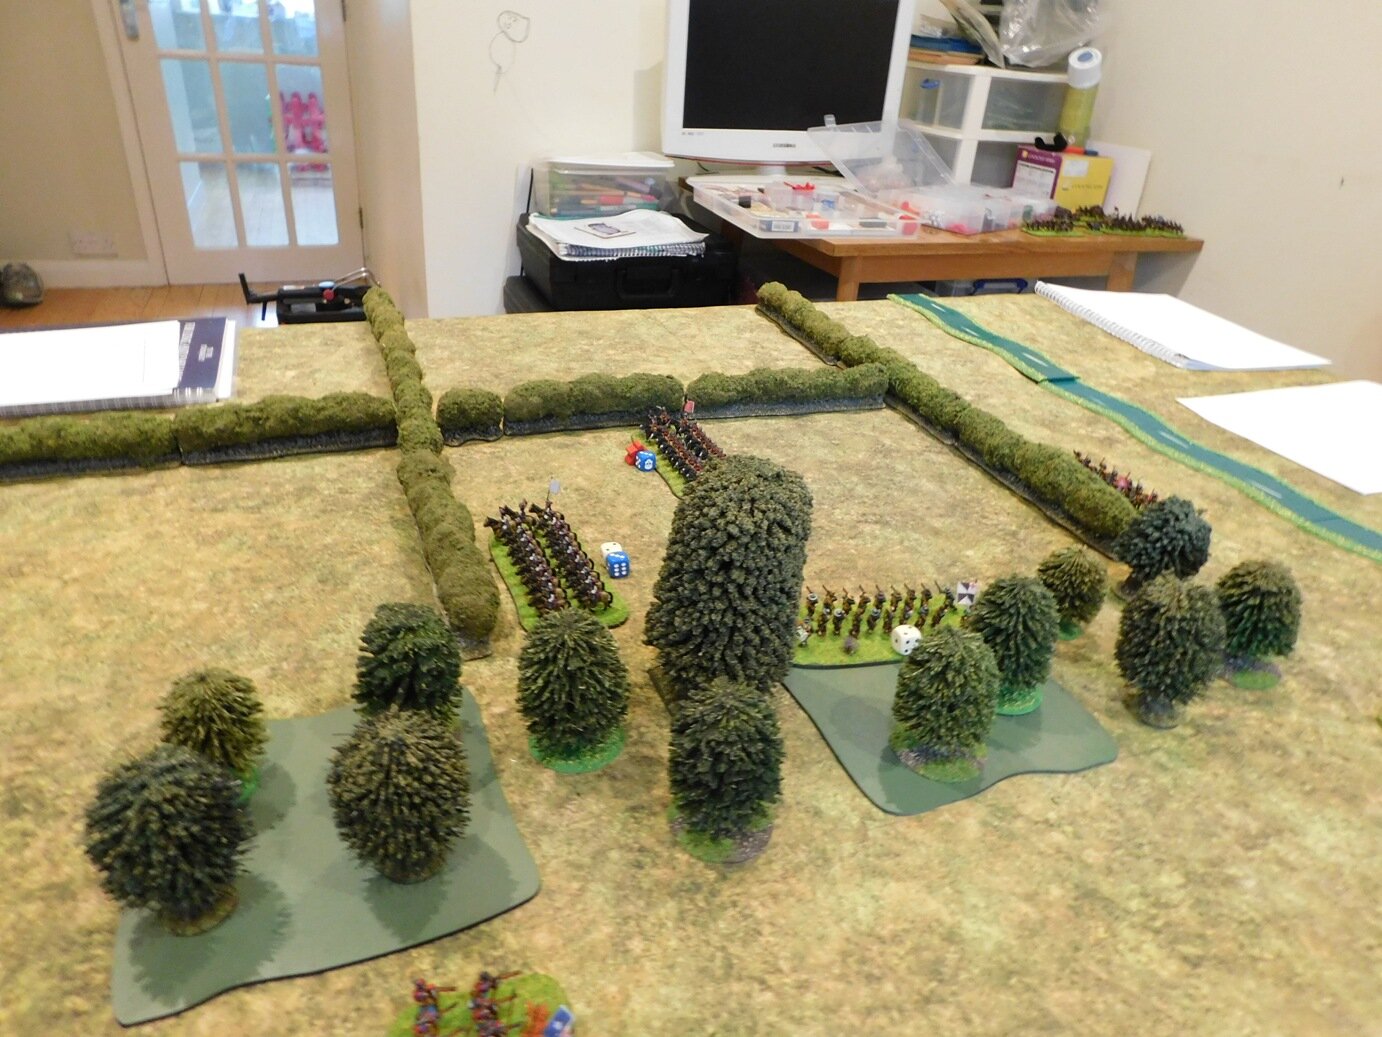
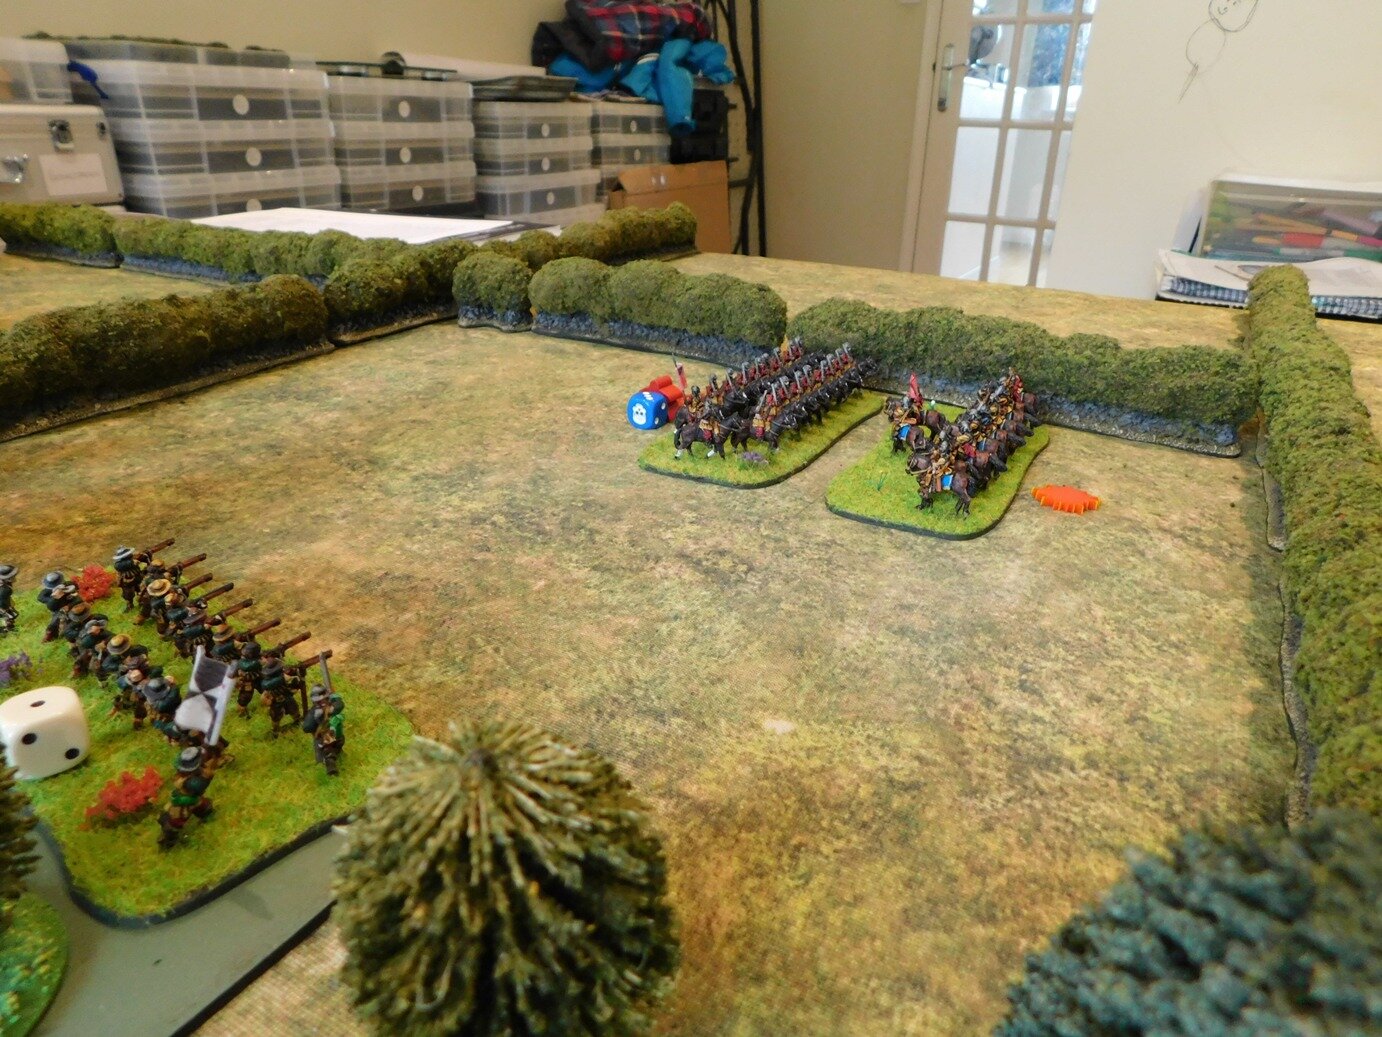
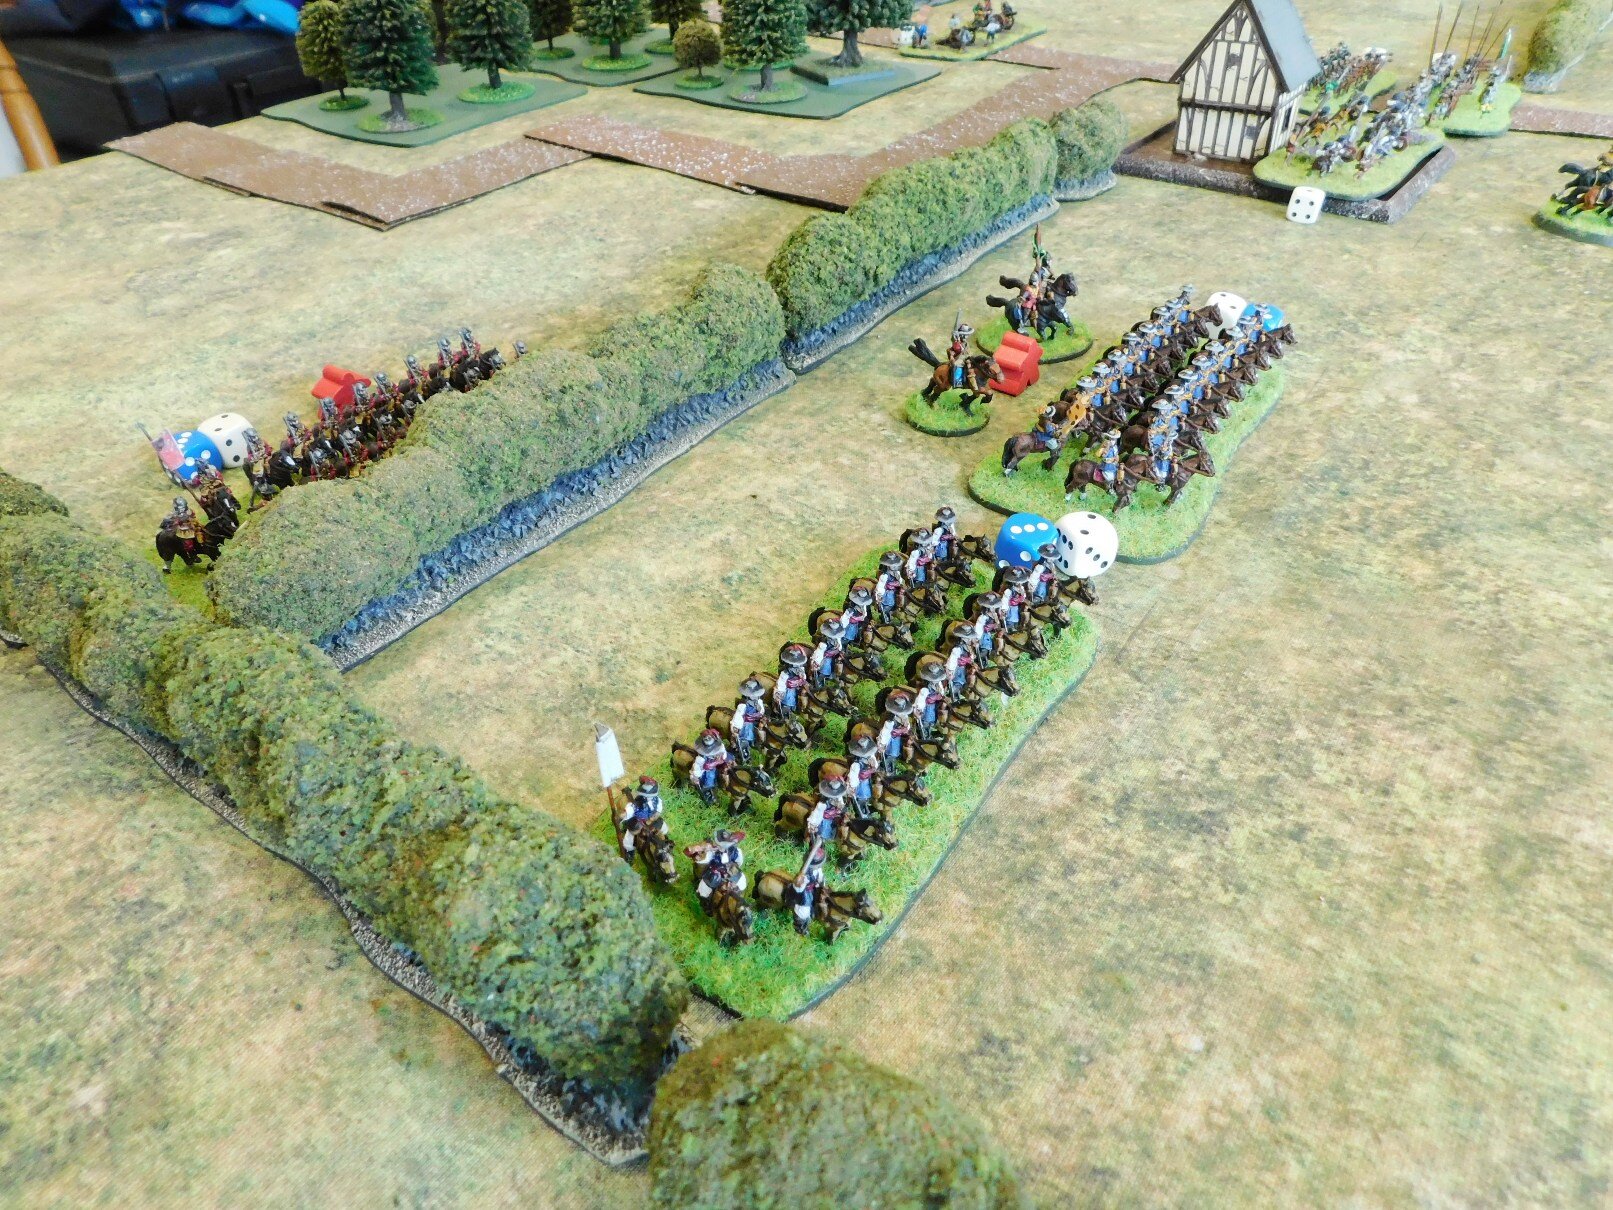
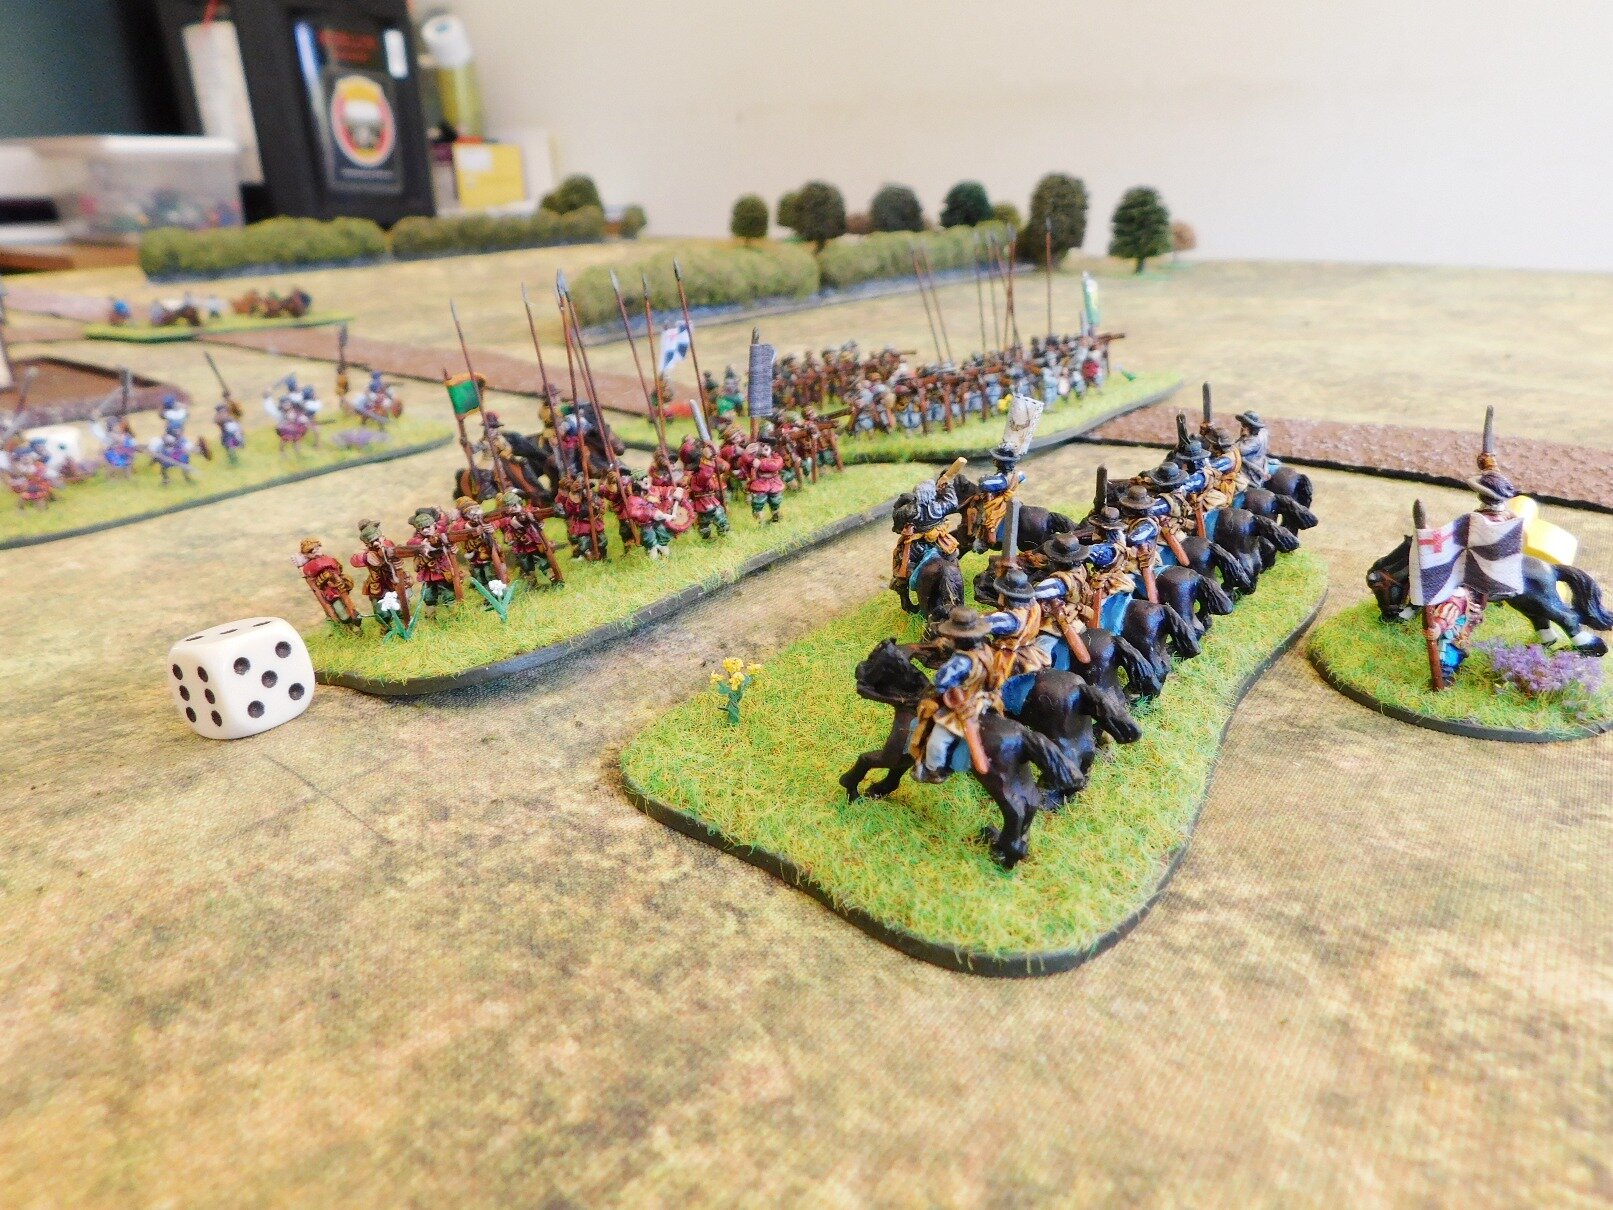
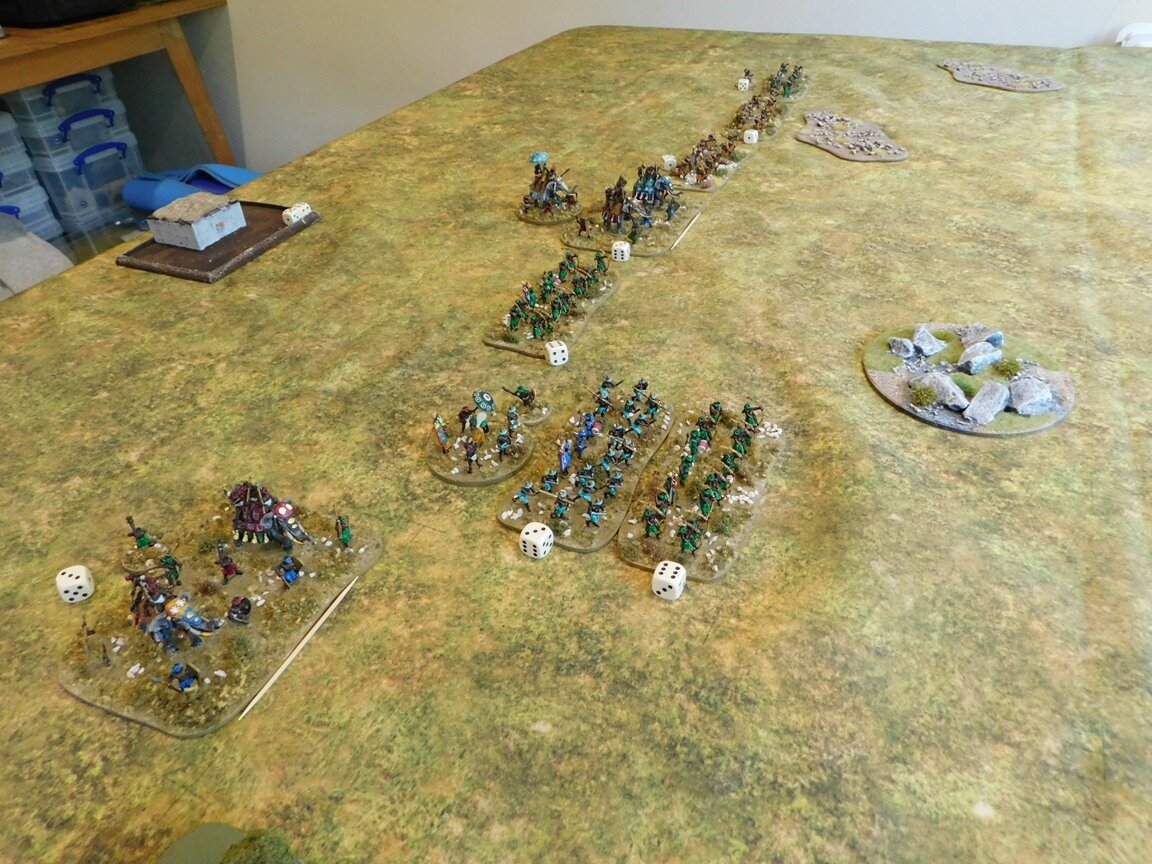
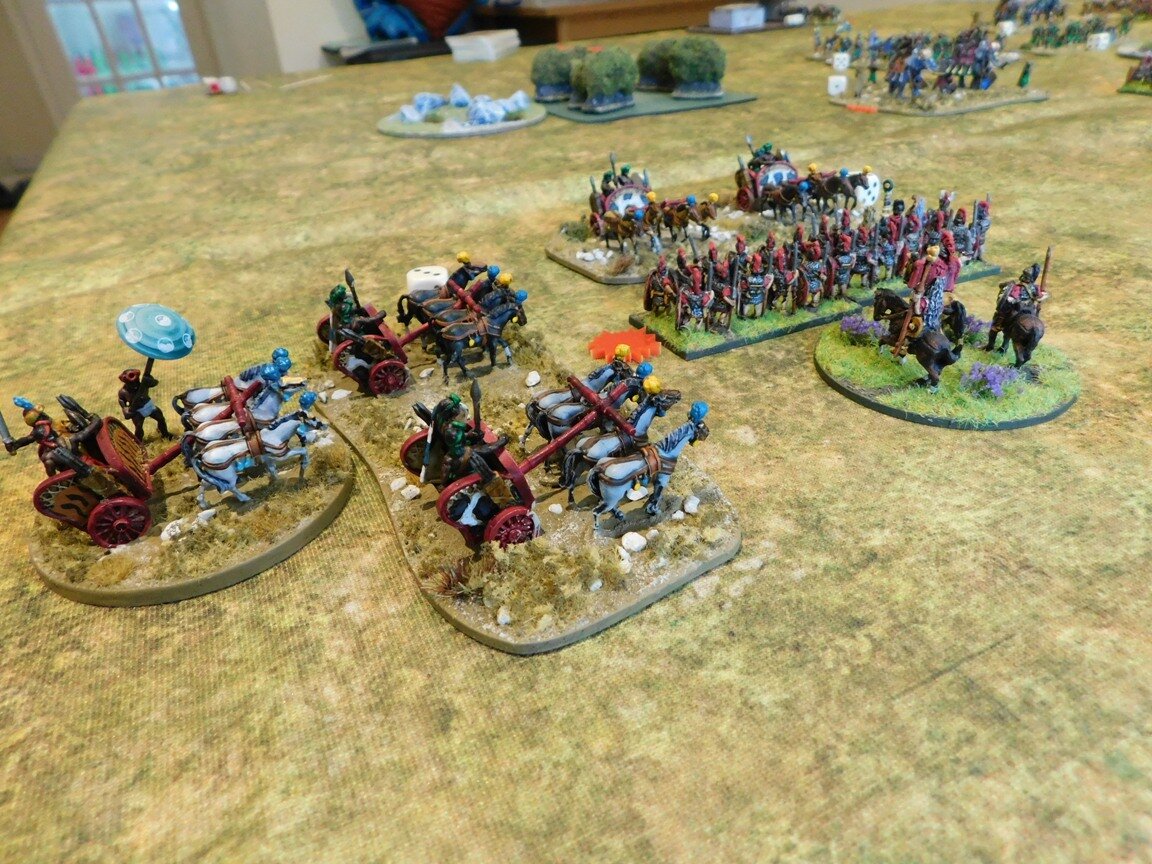
Lots of lessons learnt: the most important one being to put a unit of elephants on the wing where the chariots aren’t: an elephants versus Gauls match up might well have gone my way as the Gallic horses don’t like pachyderms and suffer big penalties in combat.

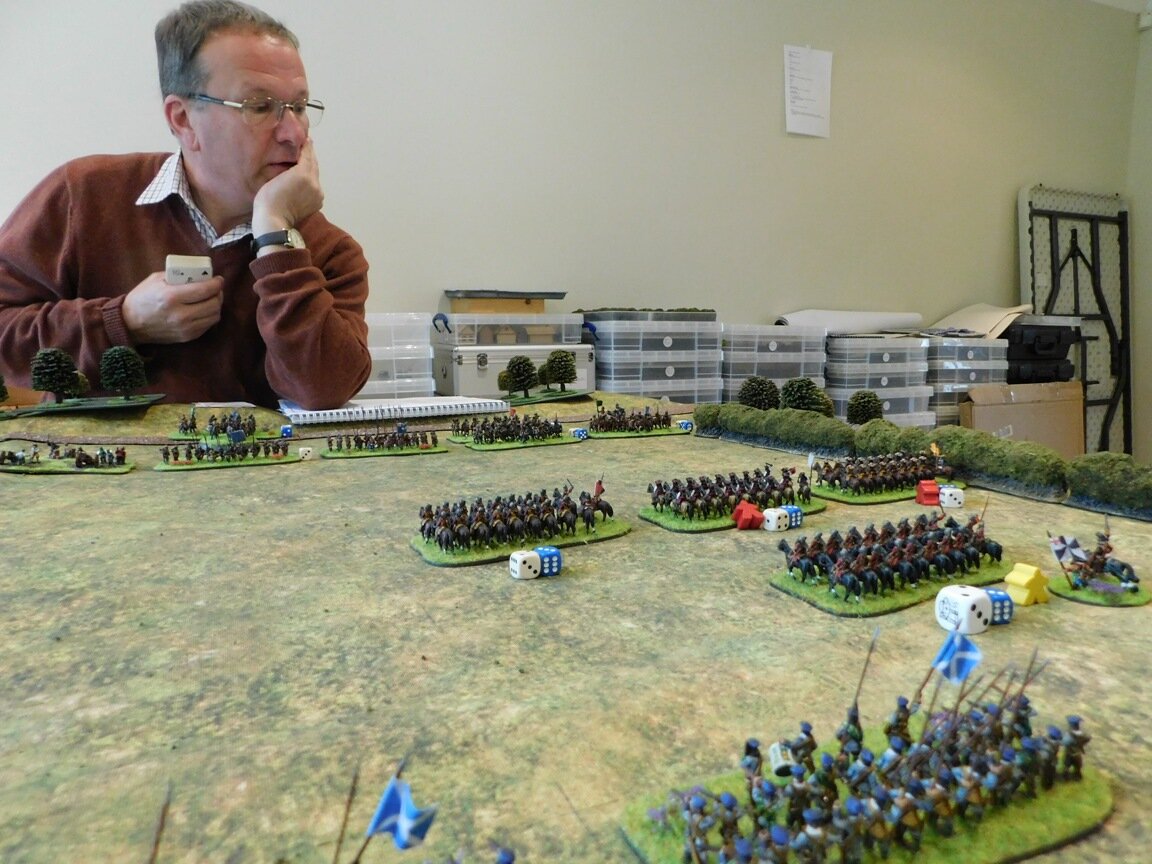
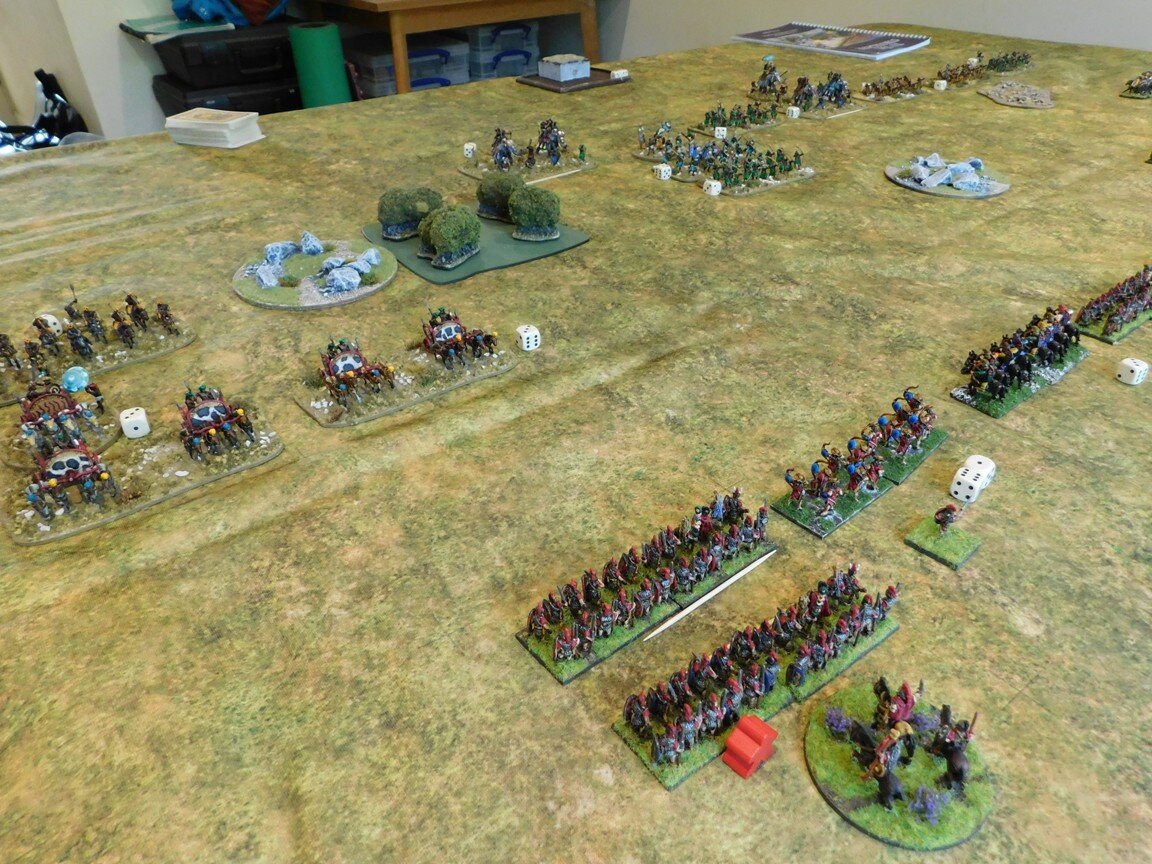
Anyway, another cracking game of TTS, and a fitting end to a great year’s gaming.


IABSM AAR: Barbarossa 1941 Solo

Here’s another excellent I Ain’t Been Shot Mum AAR and video AAR from Alex Sotheran, this time set in 1941 as Operation Barbarossa gets under way. The game is taken from Alex’s very readable Storm of Steel blog.

Unusually, it’s not the Germans that are facing off against the Soviets, but the Roumanians: some nice-looking infantry supported by R-2 tanks.

Click on the picture below to see all:

IABSM AAR: Kursk 1943 Solo

Here’s a great After Action Report from Alex Sotheran, taken from the IABSM Facebook Group and Alex’s equally excellent Storm of Steel blog.

It’s Kursk 1943, and Alex plays through a solo game with the Germans attacking a Soviet-held village. There are plenty of “big cats” out to play, and there’s even a link to the YouTube video of the game.

Click on the picture below to see all. Highly recommended.

IABSM AAR: Poland 1944

Over the last couple of weeks, Des Darkin has been playing out an excellent looking game of I Ain’t Been Shot Mum on the IABSM Facebook Group.

I say IABSM, but Des has actually been playing using his variant I Ain’t Been CoC’d Mum Yet, which uses dice rather than card activation. That variant is available in the Lard 2019 Magazine.

Click on the picture below to a full AAR, combining the four posts that Des made as he played through the game…

TTS AAR: Romans vs Sumerians

With lockdown back upon us and Daughter #1’s boyfriend back at University, my only potential opponent for a battle was Daughter #2. A little bit of gentle arm-twisting persuaded her to abandon the questionable delights of K-Pop YouTube videos and join me in the wargaming room for a game of To The Strongest.

I wanted to use two of my newest armies: the Sumerians and the Marian Romans. I politely gave her the choice, thinking she was bound to go for the Sumerians with their exciting four-onager chariots, axemen etc, but instead she chose the more space-invader like Romans. I felt a little disappointed here, as I’d wanted to play them, especially as I know hoe good they are. Competitive Dad? Well, you have to take your victories where you can!

Both sides deployed. The Sumerians looked their usual impressive selves: the blocks of citizen spearmen supported by light infantry; the aforementioned chariots; and three units of axemen or archers.

The Romans, under the so-called Beardless Pro-Consul, looked a little ragged by comparison, which just shows that appearances can be deceptive:

DSCN2045.JPG

The Game

Both sides opened the battle by advancing forward smartly.

In the centre, my heavy chariots headed straight for the oncoming Romans, hoping to hit them whilst they were deployed with gaps in their battle line. Apparently not all my chariot units were equally keen on getting stuck in, so there were holes in my line too, but I didn’t think this was a problem as I reckoned that being mounted meant that any stragglers would catch up fast.

On my right flank, some equites saggiarii tried to sneak past my flank, but were blocked and eventually destroyed by my lights:

On my left, however, two units of Gallic Cavalry had a bit more room to play with, getting past my flank, and causing me (along with some Cretan archers) huge problems for the rest of the battle.

Note the Gallic horse right out on the right of the picture. They have got past my flank and forced me to deploy my reserve to face them.

Back to the centre, and the two lines came together with a mighty crash. Unfortunately, the mighty crash mostly involved smashing chariots as, using their excellent manoeuvrability, the Roman legionaries snapped into an unbroken and pilum-toting line of heavy infantry. Who new Daughter #2 knew what she was doing!

I pulled back in an attempt to re-organise but, of course, this just gave the Romans a chance to reorganise themselves and to then slam forward once more, again using their quality and agility to always be in the right place at the right time with the right units. I tell you, if you can’t get round the flank of the Romans (which I had singularly failed to do) then you are in big trouble: the Roman mincing machine makes, er, mincemeat out of anything it faces!

Here’s a series of pictures showing what happened in the centre:

I did have a couple of light units pushing past the Roman left flank but all that happened was that one double cohort of legionaries swung neatly sideways to face them, and without the help of the other light unit (who had been previously occupied in finishing off the horse archers) I was not going to get anywhere anytime soon.

But it was on my left flank that I was most in trouble.

I had managed to get my reserve into play in order to head off one lot of Gauls from rolling me up but, just at the critical moment, luck deserted me, and two of my brigades drew consecutive Aces at the start of their activations.

This left me unable to get anything done, and the Gauls closed in, hitting my blocking force from both front and back:

And that, really, was that: my left collapsed, my centre crumpled and I haemorrhaged coins faster than you can say “bloody Romans”!

Aftermath

A great game of To The Strongest despite my somewhat embarrassing defeat! Showcased how good the Romans can be in a straight up fight where their flanks are safe.

IABSM AAR: Operation Compass #13: Bardia III

Here’s another I Ain’t Been Shot Mum battle report from the A Wargamer in Cyprus blog. It’s another adaptation of one of the scenarios from the Operation Compass scenario pack: a third scenario from the Australian assault on the Italian fortress of Bardia.

16th Australian Infantry Brigade are within the Italian perimeter and have made some progress against a fairly irresolute defence.  The Aussies have followed a wadi and discovered a second line of Italian defences ready for them.  Click on the picture below to see what happens next:

FK&P AAR: Cock Marsh

After the battle for Cookham Moor, the Parliamentarians have retreated in some disarray: falling back to a position where their rear and one flank is protected by the river Thames.

This protection, however, forms two sides of a potential cage, so the Royalists have hurried forward to do battle again, knowing that if the Roundheads break, there is nowhere, at least on two sides, for them to run.

Could this finally be the decisive battle that both sides have been seeking?

The Field of Battle

The action takes place on Cock Marsh: a bleak, wind-swept area of open ground between Winter Hill and the Thames. The lower slope of Winter Hill borders the south side of the battlefield. The north and part of the east side of the battlefield are bordered by the Thames i.e. impassable terrain. Any unit that is forced off-table into the Thames is lost.

The main part of the tabletop consists of moorland separated by hedgerows and the odd patch of trees. All hedgerows count as linear rough terrain. All wooded squares count as rough terrain. There are two Iron Age burial mounds on the Parliamentarian side of the field.

The Game

Postscript

I’d like to say that my (extremely heavy) defeat was all my fault, but that would be to underplay John’s skill at exploiting my errors.

I am now writing out one hundred times "Do not throw away your cavalry on a frontal charge against even or worse odds” whilst Sit Christopher and his surviving men drag themselves out of the water on the far side of the river!

A great game of For King & Parliament despite my defeat: 150 points a side played out in just over 90 minutes.

Robert Avery

IABSM AAR: Anzio 'Wildcat to Whale' #02: Carroceto

Here’s a great I Ain’t Been Shot, Mum AAR from Tim Whitworth and his friends at The War Room featuring the second scenario from the Anzio ‘Wildcat to Whale’ scenario pack.

At dawn on 25th January 1944, the Guards Brigade, headed by Number 1 Company of the Grenadiers and with Shermans from one squadron of 46th Royal Tank Regiment (crewed mainly by Welshmen from Liverpool) in support headed back towards Aprilia. Using the embankment of the disused railway line (the “Bowling Alley”) as their start point, they first had to take Carroceto.

Click on the picture below to see how they did…

FK&P AAR: Cookham Moor

After the encounter at Whyteladyes Lane, the Royalists retreated to the small hamlet of Cookham. The Parliamentarians, however, rather than withdrawing to regroup, have followed them.

Cookham, a pleasant place mostly home to farm labourers, is split by the Moor: an open piece of land crossed one way by a small stream, Strand Water, and the other way by Dean Lane, now more of a road.

Unwilling to surrender the Moor, “Little John” Boulters leads his men forwards to the eastern edge of the open ground only to see Sir Christopher and his men just arriving on the other side. The stage is set for another epic For King & Parliament clash!

And that’s where I ran out of coins!

Snatching Defeat…

Well that was a game that was really going my way when a sudden paralysis amongst my troops caused by the loss of my Colonel of Cavalerie and Sir Kavan’s defection (I can see no other explanation as to why Aces suddenly appeared all over his brigade!) meant that the Roylaists were given a chance to rally, catch their breath, and then move forward and concenrate their numbers with devastating effect.

It didn’t help that my CinC, Sir Christopher, led a sorely-needed Scots mercenary battalia on a complete Jeb Stuart-like perambulation up the wrong side of the left hand wood, effectively taking them out of the battle at the moment of decision. That was deffo my fault though!

A great game that saw John keeping his nerve as I scored early successes, pulling back and then seeing an opportunity and taking full advantage. Just to emphasise the point: at one stage of the game (after the early clashes) I was something like eight coins in front!

Time for the Parliamentarians to retreat and regroup!

Robert Avery

Pictures from Virtual Lard 3

What with COVID-19 putting paid to wargaming shows across the country, it’s good to see some remote events still taking place. One such that happened last weekend was Virtual Lard 3, and one game run there was an I Ain’t Been Shot, Mum scenario by Mike Whitaker.

The game was set in the Italian theatre. Here are some photos:

FK&P AAR: Whyteladyes Lane

Time for the next encounter in my North Wessex For King & Parliament English Civil War campaign.

After the battle just north of Bisham Abbey, Sir Christopher Grey has led his Parliamentarian army (reinforced with more Scots mercenaries) east in an attempt to loop around the Royalists whom, he believes, are regrouping before moving north on their existing axis of attack.

The Roundheads get as far as Cookham Dean before they realise that the Cavaliers have been tipped off and have managed to get a blocking force across the Parliamentarian line of advance.

Battle will once more be joined!

At this point the Parliamentarians finally ran out of coins and I was forced to admit defeat: a fairly crushing defeat!

Aftermath

It had been a great game, even if I had lost!

The truth was that I never really got the Parliamentary battle line properly sorted, which allowed the Royalists to defeat my brigades piecemeal. Annoying, as before the battle I’d specifically told John that I needed to avoid that happening!

Robert Avery

IABSM AAR: Hill 227.9 NW of Ponyri

Here’s another great 6mm I Ain’t Been Shot, Mum battle report from Mark Luther, fought remotely due to the C19 lockdown.

The encounter is based on the lopsided engagement in the area between Step' and Hill 227.9 on the morning of July 6, 1943 involving the 107th Tank Brigade and the StuG IIIs of StuG Abt. 245 and off-table Tigers of s.Pz. Abt .505.

Click on the picture below to see all:

IABSM AAR: Operation Compass: The Invasion of Egypt

Here’s another great battle report from the A Wargamer in Cyprus website featuring a game of I Ain’t Been Shot, Mum taken from the Operation Compass scenario pack.

It’s 14th September 1940, and the Italians have finally begun their invasion of Egypt. A huge column of Italians - motorcyclists in front, followed by infantry in trucks, followed by tanks - has streamed across the border in almost a parade ground formation. Five divisions-worth heading into Egypt.

In front of them is a mixed force of British troops - infantry, artillery and tanks - with orders to slow them down. Click on the picture below to see what happened:

IABNM Moderns AAR: Counter-Attack

Over the years, various people have adapted the TooFatLardies' company-level rules I Ain't Been Shot, Mum (WW2) and Charlie Don't Surf (Vietnam) for other, more modern periods.

One such adaptation, never officially published, was I Ain’t Been Nuked Mum. Here’s a battle report from 2015 taken from the now unfortunately moribund Maxim to Milan blog imagining action from the Cold War of the 1970’s.

The scenario is an attack-defence scenario based on a West German counter-attack after Soviet forces had been halted by NATO resistance.

Click on the pic below to see all.

IABSM AAR: Operation Compass: Fort Capuzzo

Blogger “A Wargamer in Cyprus” has been playing through the Operation Compass scenario pack. I haven’t been able to get hold of him to ask permission, so I hope he doesn’t mind, but here’s a quick report of his game using a slightly amended version of Scenario #01: The Road to Fort Capuzzo.

Hostilities have just been declared, and the 11th Hussars are on the rampage. Click on the picture below to see all: