
IABSM AAR: US Airborne on D-Day
/Another great AAR from Carole from her blog Hippolyta's Tiny Footsteps.
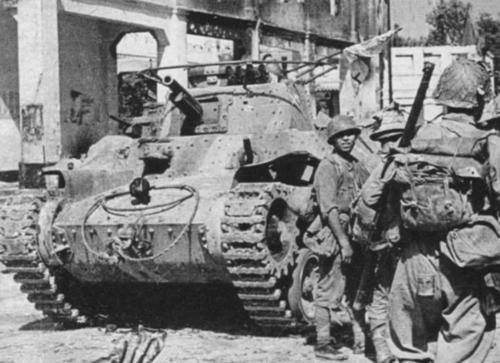
Click on the pic below to see how Capt. Eugene O’Neill of the US Airborne makes out as his men hit the ground on D-Day...

Another great AAR from Carole from her blog Hippolyta's Tiny Footsteps.
Click on the pic below to see how Capt. Eugene O’Neill of the US Airborne makes out as his men hit the ground on D-Day...


The latest 15mm offering from the Plastic Soldier Company is the SdKfz 231 box set.
I say '231', but the set allows you to build any five vehicles from:
Now I already have one SdKfz 231 8-rad (and a couple of 'obsolete' 6-rads) so what I was after was another two 231's and then three 232's to make up a six vehicle heavy armoured car platoon of the sort used in Poland in 1939.
Here's the five vehicles from the PSC box set:
Very nice models that are relatively easy to put together (see below for more).
One thing to note is that they are considerably shorter than a Battlefront SdKfz 231: about 0.5cm shorter, in fact. You don't really notice unless lined up next to each other and, anyway, my Battlefront 231 is a later model with the extra front and rear armour, so looks different anyway.
The assembly instructions come in the form of the usual picture-diagram guidelines. Below you will find a few extra hints that, let me assure you, will make your life a bit easier:
Part 3: Assemble Hub Top
I found that the turret knob didn't fit in the hole in the hull top, so I'd advise you to widen the hole a little bit before you glue it to the hull base. Just easier to do at this point than later.
I just stuck a knife in the hole and rotated it a few times!
Part 4: Assemble Lights etc
You can't really see this in the diagram, but the wider set of lights goes at the front i.e. in the plate with the pickaxe and axe on it. Makes a big difference, as it won't fit together if you get these the wrong way around!
Secondly, when you are clipping the plates from the sprue, make sure you clip or then carve the surface of the plate flush i.e. don't leave a little nubbin of plastic where you clipped it. The assembly at this point has zero tolerance for a not-properly-clipped plate. Zero!
Part 6: The Mudguards
The mudguards, the mudguards!
I am sure even the great Piers Brand now occasionally wakes from a fevered sleep shouting "the mudguards, the mudguards", as these are a complete pain to fit.

The basic problem is that the mudguard tabs fit onto an inclined surface, so if you try pressing them straight into place, the mudguard slips down the incline.
Okay, you think, I'll just glue them, then position them gently, then leave them to dry. Problem is, if you do that, then you generally get a loose mudguard: either at one or both ends or somewhere along the middle.
The trick is to turn the vehicle over. Where the star shape pipes are in between the wheel holders is the key to getting the mudguard to fit. That is a flat surface, albeit a small one, where you can hold the central bit of the mudguard in place for long enough for Superglue to bind.
So, put a little blob (little!) where the notch is at the end of each mudguard. Put a little blob of glue on each of the main tabs on the two main bodies of the mudguard. Put a blob of glue on the central bit, where you are about to apply pressure. Flip the vehicle, settle the mudguard in place, and hold the central bit in position, making sure the central tabs and ends of the mudguard are all lined up and flush too.
Now work out how to unglue your fingers from the assembly and you are done.
Note: leave the mudguards to fully dry before carrying on. If you don't, you'll only pop them off again when you are holding the vehicle in the later stages of assembly.
And yes, when you ignore me and they pop off...that is me saying "I told you so"!
Part 11: Aerial for the 232
Two things here. Firstly, the back aerial stand is the long legged one, not the short legged one. Small point, but worth making.
Secondly, if you are careful, you can build this so the turret still rotates.
Yes, you can!
I found that they key here is firstly to glue the tripod onto the turret. The diagram doesn't show this, but the side legs go just behind the widest part of the turret - literally just behind, I mean right just behind - and the front leg goes onto a little square etched into the centre of the top front of the turret.
Then glue the top of the back legs to the aerial. While the glue has some cohesion but is still drying, flip the radiator and glue the back legs to the front of the nubs on the rear hull. The diagram seems to have them on top of the nubs, but I couldn't get that to work, so fitted them just in front of them, resting on them in fact. Now just place the front hole on the aerial on top of the knob on top of the tripod, but don't glue it in place. You should then have a aerial that has solid back legs, but allows the turret to rotate.
I'm not sure how hardy this is going to prove to be, as the vehicles are yet to hit the tabletop, but they seem okay during the painting, basing, decal and varnish stages.
These are recommended. At effectively £20 for five vehicles, you can't go wrong, despite the sometimes annoying assembly.
I shall definitely be buying another box's worth to use as early Afrika Korps vehicles.
Played a great game of IABSM earlier this week, using the fifth scenario from my newly-published scenario pack for Poland 1939, The September War.
The game covers the German 5th Panzer Division's attack on the town of Pszczyna, held by the Polish 6th Infantry Division.
Click on the picture below to see whether the Invader's assault succeeded...

Yes, it's another big entry into the painting challenge, including two first submissions of the year.
So, in no particular order, we have:
Once again I have linked the names of the people above to their gallery, with the page opening in a new window so that you don't have to keep flicking backwards and forwards through things.
Today's pictures:
AWI American Regulars from Doug
Egg's Buccaneer
Steve Burt's Carthaginian Citizen Cavalry
Some of Thomas' troops for Indo-China
Keep 'em coming!
I played a very enjoyable game of Quadrant 13 today: exciting action as the Chuhuac and Ikwen find out what happens when you break a contract with the Dwarves!
Click on the picture below to see all:

Great After Action Report from Carole and her friends at Lincombe Barn Wargames Society involving an American attempt to push through the bocage in Normany, 1944.
Click on the picture, below, to see all:

Here's a couple of quick AAR from the archive's of Lardy Jon Yuengling, both from games run at Cold Wars in 2011.
They are also both games from Lebanon 1982 using a variant of the WW2 rules, I Ain't Been Shot, Mum.
Click on the names of the games to see the reports:

The latest unit to roll off my painting table is a platoon of 75mm wz.02/26 guns for my WW2 Polish collection.
When fielded as a two-gun platoon, these will represent an infantry company's division-level Infantry Gun Platoon; when fielded as a three-gun platoon, these will represent a cavalry squadron's brigade-level Horse Artillery Platoon.

The guns themselves were nicknamed "orthodox" by the Poles, as they were old re-chambered Russian guns left behind on Polish territory after WW1. Always good to be equipped with the latest kit!
As for the models, the guns are from Battlefront by special order. I think they are down as Finnish or something as Battlefront doesn't really acknowledge its Polish range at the moment: far too busy in the desert!
The crew are actually WW2 Soviet artillerymen with head-swaps using Peter Pig's excellent range of heads. I've used infantry helmets for most of the crew, with an officer type wearing a rogatywka.
The limbers are general purpose Battlefront limbers, again with the driver having a swapped head.
Finally, I've also now reorganised my Polish cavalry squadron gallery. Click here to see them all (will open in a new window).

Although this site is mostly dedicated to the TFL company-sized games (IABSM, CDS, Q13) I like to publicise what else is going on at Lard Island. It therefore gives me great pleasure to announce the publication of the latest pint-sized campaign for Chain of Command, the platoon-sized WW2 game.
Here's what the TFL website says about Storming the Citadel:
"This Pint Sized Campaign for Chain of Command is the first covering the attack of PanzerGrenadier Division Grossdeutschland at Kursk. The action here covers the build up to the attack, with actions in no-man’s-land as the Germans attempt to seize observation posts and clear minefields, followed by the first day of this epic battle as the Germans storm through the Soviet outpost line and the first line of defences.
"Six battlefields provide a campaign up to ten games long, by which point you’ll have a clear winner and be set up for the next campaign in the series which is already being prepared and follows Grossdeutschland into the second line of Russian defences and attempting to break into open ground beyond.
"This classic Pint Sized Campaign is designed to be run using the campaign rules in At the Sharp End and with Chain of Command rules. Can you breach the Russian defences and seize the initiative in the East, or will you defeat the fascist invaders and restore the safety of the motherland.
"Twenty-seven pages long, this Pint Sized campaign provides the background history to the campaign with situation maps. Uses period maps to show the location of the actions and then provides a complete campaign with forces for both sides, support options for players to select from and full victory conditions for all six battles and the campaign as a whole."
You can buy Storming the Citadel for the pint-sized cost of £3.80 by clicking here.
It seems as if last week's exhortations worked, as we have an update so large that I decided to do it today, Friday, as opposed to my usual Saturday post.
The update includes three returnees with their first entries of the year, including one who took the challenge in year's one and two then had a year off last year. Rumours of a trip "at Her Majesty's Pleasure" or of a secret mission to the former eastern bloc are, of course, utterly unfounded!
So, in no particular order, we have:
I have also, at Egg's suggestion, linked all the names in the list above to their galleries, with the galleries set to open in a new window. Let me know if that makes browsing the galleries significantly easier as, if it is, I'll keep doing it and, if it isn't, I won't bother next time!
Now just because I've put some links in doesn't mean we'll be losing the weekly photos in this post. Here are today's...

Japanese Princess from Mr Duffell
Sniper's mate from Kohn

20mm PSC Hanomags from John

Egg's Moderns Mixture
Quick Lebanon 1982 report from the archives of Jon Yuengling.
Click on the pic below to see what happens 'South of Sidon':

Joe Patchen sends us another of his excellent I Ain't Been Shot, Mum battle reports.
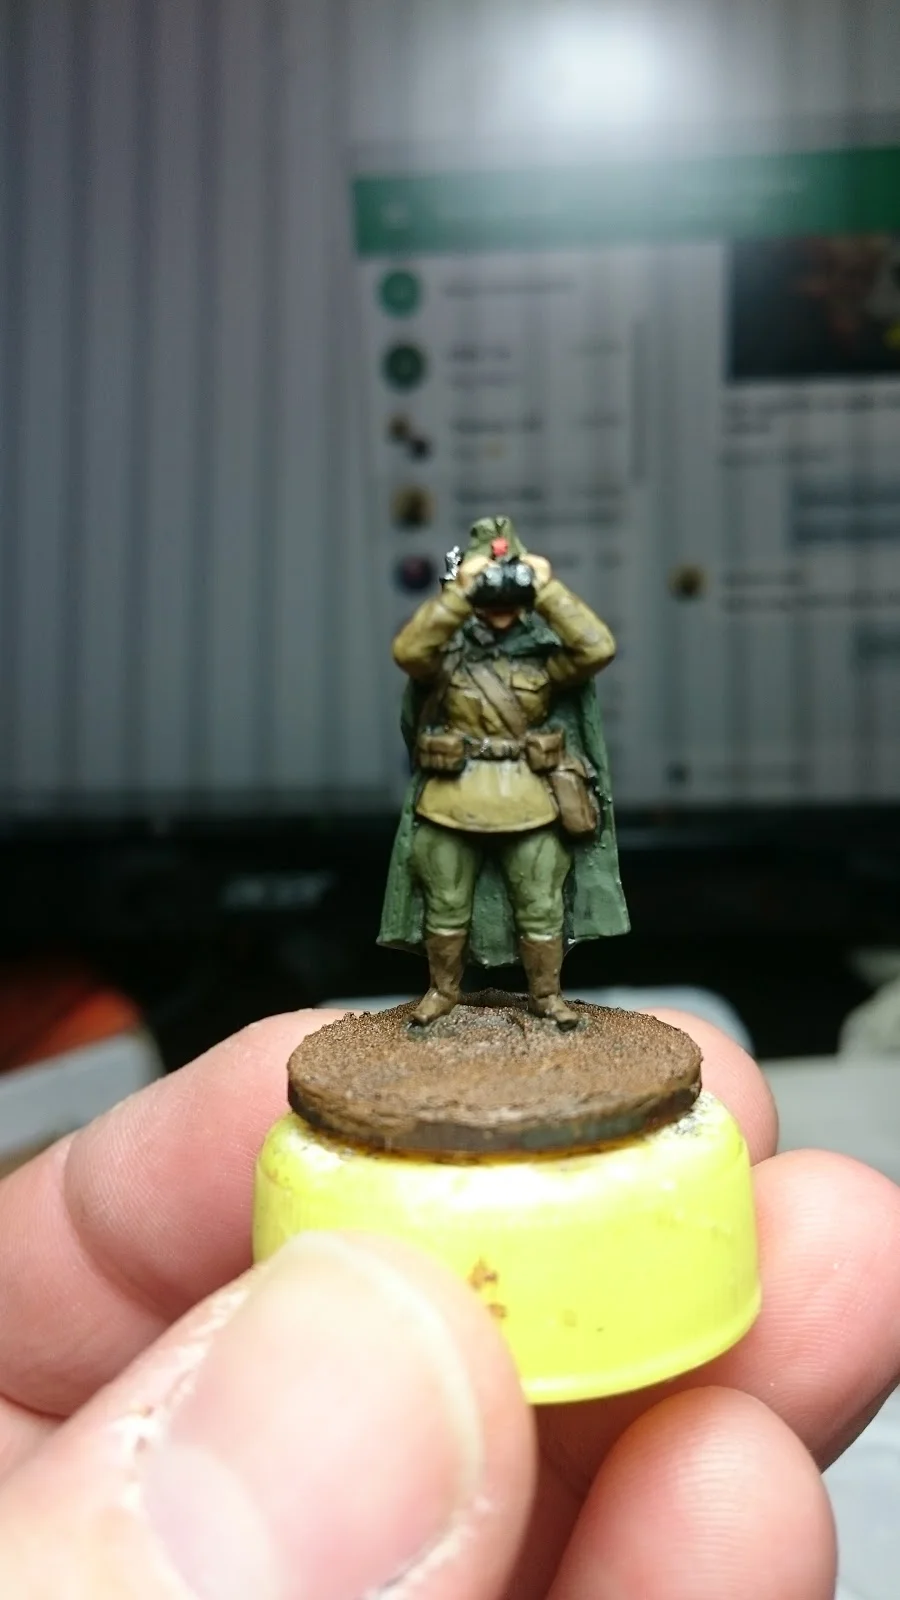
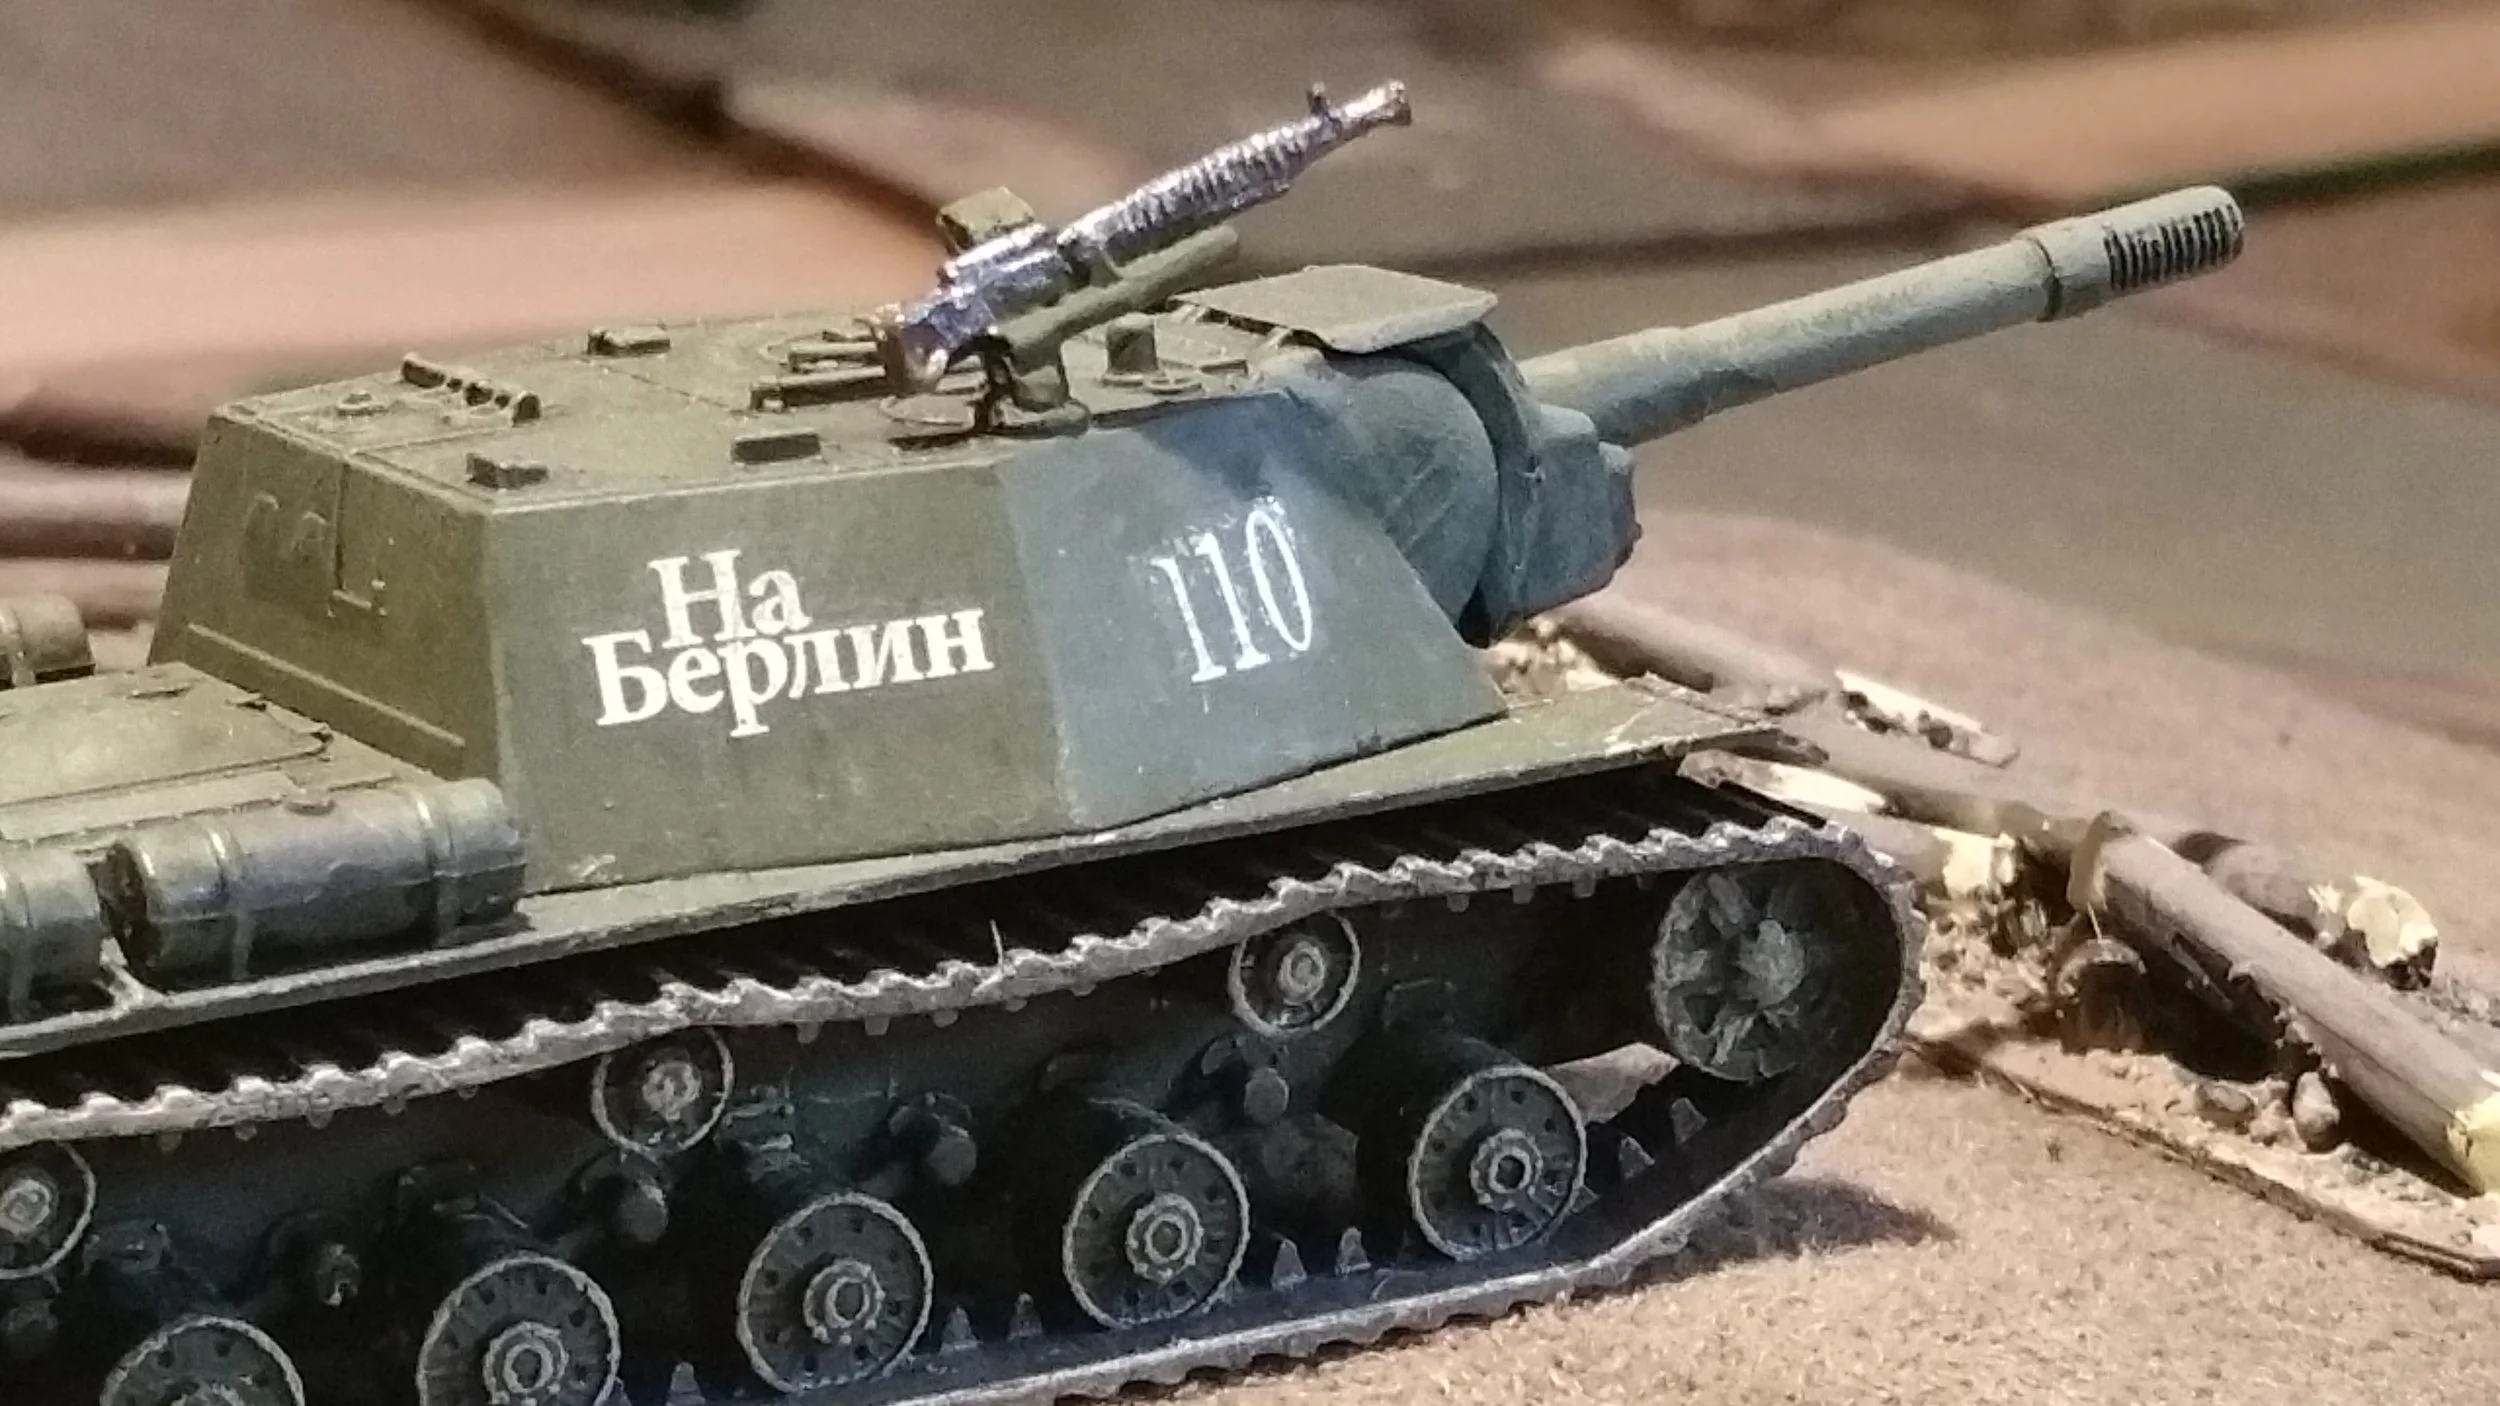
It is Fall, 1943. The Russians have had quite a summer, pushing the Germans back along a broad front after their failed Kursk offensive. The local situation is fluid.
A small infantry force of two Russian platoons holds a ford and bridge over a river with the aid of a couple of 76.2mm AT guns. Their job is to push across the other side and pave the way for a platoon of SP guns and two platoons of T-34/76s to push across and exit the far side of the board. The tanks are expected in the not too distant future.
Unbeknownst to the Russians, a strong German armoured reconnaissance force of armoured cars, panzergrenadiers, and a couple platoons of tanks are on their way to spoil the anticipated offensive. They're tasked to reach and blow the bridge if possible or at least jam up any attempted Russian crossing.
Click on the pic below to find out what happened next...
It’s off to Poland, 1939, again, as Bevan, Dave and I play another action from my scenario book for IABSM: The September War.
This time, the game was from scenario #03: Charge at Krojanty. Based on an episode from the larger fighting around the Tuchole Forest that took place over the first couple of days of September 1939, the action would involve a large force of Polish cavalry surprising a German infantry platoon that had paused for a rest. Each side would then gradually be reinforced, developing into quite a large encounter.
There are several object lessons here for would-be Polish and German commanders. Click on the picture, below, to read all...

As previously mentioned on this blog, some of the games from my new scenario book for IABSM, The September War, covering Poland 1939, require one or more objective markers. As also previously mentioned, my first thoughts were to use Army Group North's excellent Polish Eagle crest markers, shown to the right.
They look great but, of course, are artificial: as the name suggests, they are a 'token' rather than being something that belongs on the battlefield. I therefore thought I'd try some of Baueda's portfolio of objective markers, starting with two of what look like the easiest to paint: the fuel dump and the ammunition dump:
Well they do paint up very easily, and will certainly do the job. If you look on the Baueda website you will also see how a decent painter can turn them into mini works of art!
I must confess that I'm still not sure which I will use - the tokens or the objectives - but at least now I have the option.
PS Another AAR from The September War appears here tomorrow.

It's been a very quiet week for the painting challenge. After a couple of months of frenetic activity, only a very few entries this week.
Come on, the rest of you, get those brushes out and start painting!
Today's entries are:
So that's it: five entrants this week. Not good!
Soviet tanks from Mr Davenport
Ralph's Walker
Some AWI infantry from Mr Haines
British Paras from Carole
Soviets from Mr Helliwell
Here's a battle report from Mark Kinsey's blog, Daddy's Little Men. It's from a game of I Ain't Been Shot, Mum using a scenario, Highway to Hell, taken from the 2013 TFL Summer Special (still available on the TFL website).
Click on the picture, below, to see all:
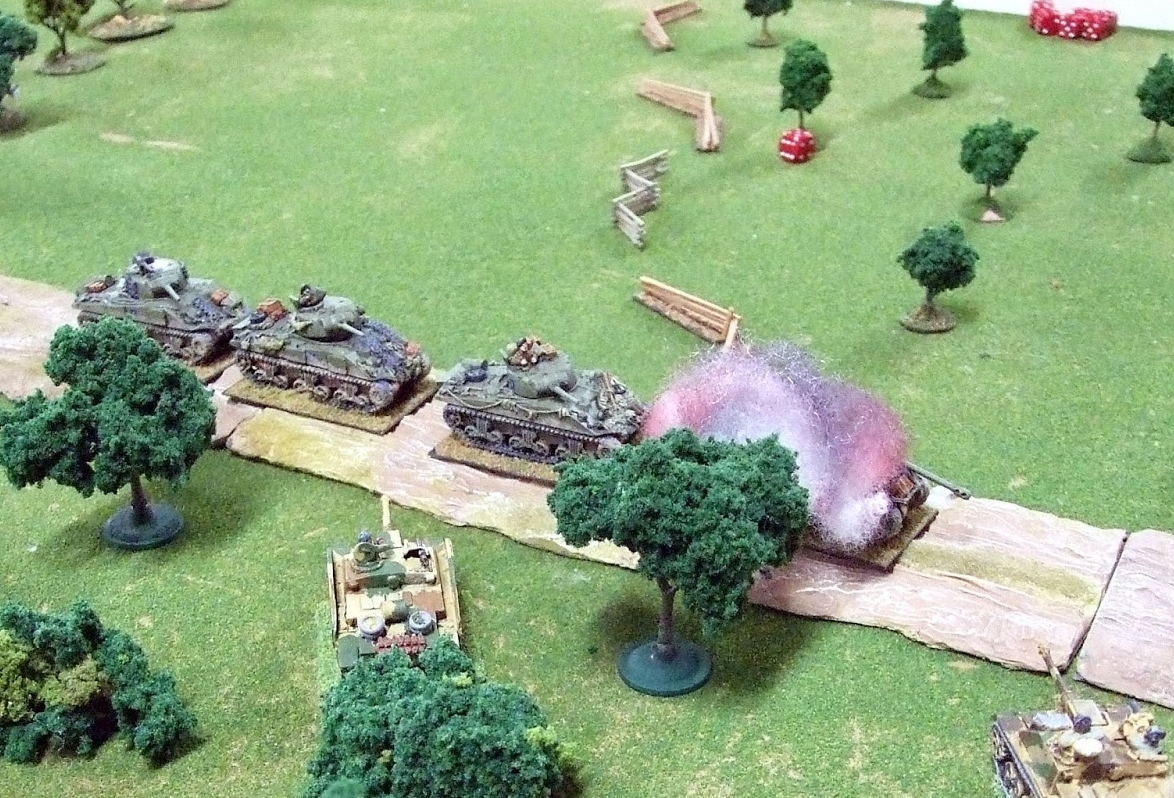
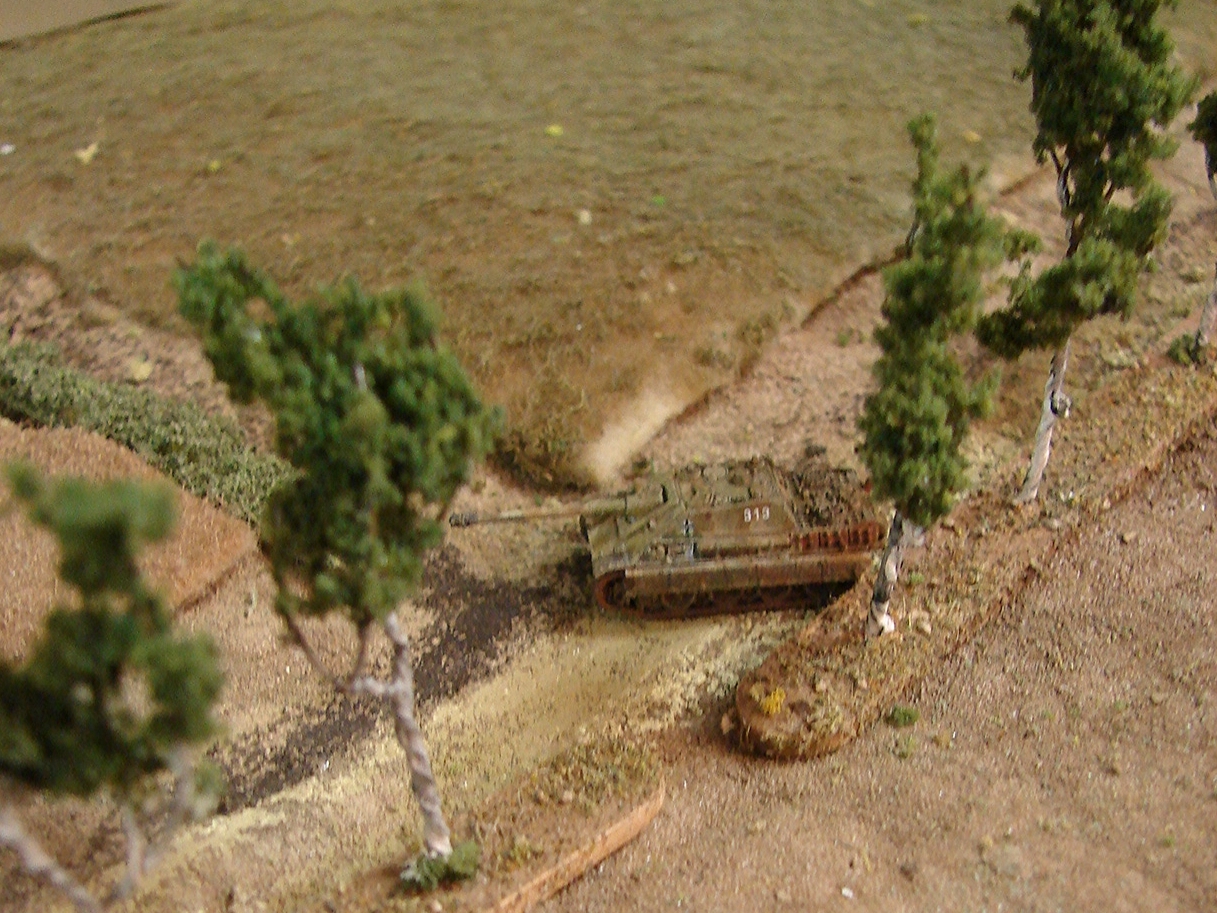
Another great IABSM AAR from Mark Luther's archive. This time, the action takes place in Belgium in 1944, near the Albert Canal.
German SP guns and some Luftwaffe infantry try and hold off the Durham Light Infantry supported by Shermans.
Click on the pic below to see all...
Those excellent gentlemen at The Stipsicz Hussars recently played a game of I Ain't Been Shot, Mum using scenario #20: Nee Soon from the Fall of the Liongate scenario pack.
Click on the pic below to see a few photos of the game:
After a week of Poland, it's back to the painting challenge for update number eleven. I am still sure that the challenge is far busier this year than it was last year!
So, in no particular order, we have:
Today's pictures are below. Just a few, as I have to nip to the post office to pick up a package: more miniatures!
Brian's hand-rigged Napoleonic ship
More cold war goodness from egg
confederate band from kev
papped!
To finish off Polish week on Vis Lardica, celebrating the publication of The September War, my new scenario pack for IABSM covering the German invasion of Poland in 1939, here's a picture of some painting I completed last weekend: a unit of five Polish TKS tankettes.
These are Battlefront models and, as you can see, I have built two of them with the 20mm cannon and three of them with the standard MMG.
Now these things are small: significantly smaller than an Italian tankette or a Bren gun carrier. Although I can see that it would be nice to have a bit of protection against smallarms fire, I think you'd have to be crazy to ride one of these into battle against panzers!
Whilst I was researching The September War, I came across the fact that every year there is a big military re-enactment in Poland celebrating one of the battles of the campaign. Here's a couple of pictures of a TKS tankette from two of the re-enactment days.
As I said: these things are small!
Vis Lardica is a website devoted to wargaming and military history, with a special emphasis on the company-sized rulesets produced by the TooFatLardies: I Ain't Been Shot Mum (WW2); Charlie Don't Surf (Vietnam); and Quadrant 13 (science fiction). There’s also a lot of content devoted to To The Strongest (Ancients/Medievals) and For King & Parliament (17th Century).

Welcome to Vis Lardica, a not-for-profit website mostly dedicated to the company-sized wargaming rules produced by the TooFatLardies, but encompassing my other gaming interests as well.


If you need to contact me, you can do so at:
vislardica@gmail.com
If you have enjoyed visiting this site, please add a link to it on your own wargaming blog: www.vislardica.com.

