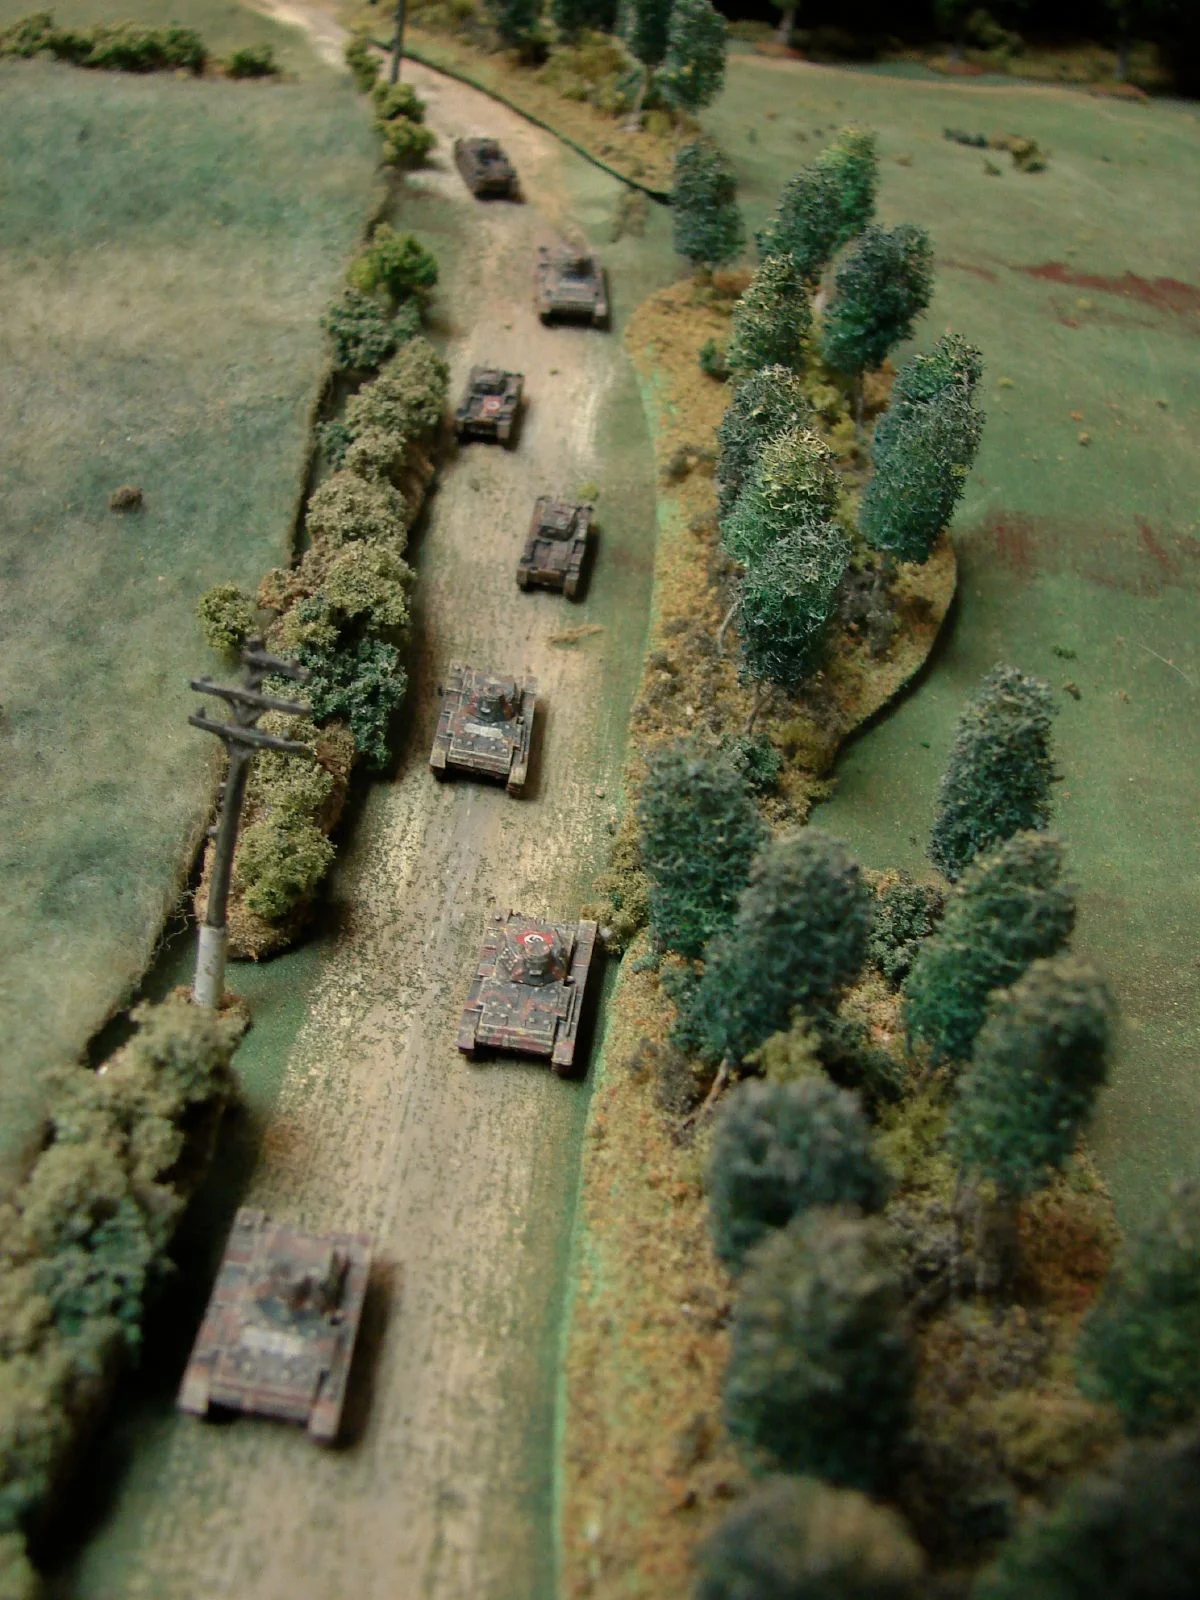
AAR: Franco-Prussian War
/It's been a long time since I've played any 19th Century (i.e. Waterloo to Mons) wargames, so it was most pleasing when Neil, my regular opponent, offered to bring round his new 6mm Franco-Prussian War collection and run a game using a modified version of the Black Powder rules.
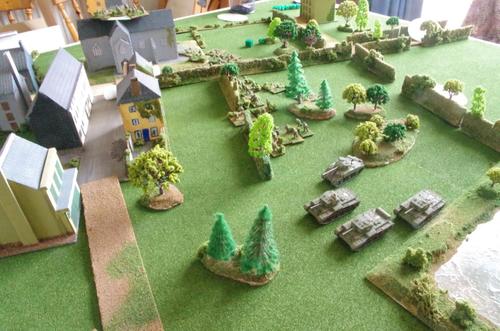
He duly arrived, laden with not many boxes (6mm, you see!) and set up what looked like a huge game on my 5ft by 6ft gaming table.
I would play the Prussians, versus the French, obviously, with the aim of smashing a French rearguard from their positions atop a ridge at the other end of the table from my start point. All directions are given from the point of view of the army being described.
prussians!
At my disposal, I had a Corps of Prussians consisting of:
- Corps Commander
- Corps Artillery (4 batteries)
- Corps Cavalry (2 regiments Cuirassiers, 2 regiments Dragoons)
- Left Flank Division
- Divisional Commander
- Divisional Light Cavalry (1 regiment)
- Divisional Artillery (4 batteries)
- 1st Brigade
- Brigade Commander
- Brigade Infantry (6 battalions)
- 2nd Brigade
- Brigade Commander
- Brigade Infantry (6 battalions)
- Right Flank Division
- Divisional Commander
- Divisional Light Cavalry (1 regiment)
- Divisional Artillery (4 batteries)
- 1st Brigade
- Brigade Commander
- Brigade Infantry (6 battalions)
- 2nd Brigade
- Brigade Commander
- Brigade Infantry (6 battalions)
I could also expect reinforcements at some stage.
Against me, lined up on the ridge line in front of me was a single division of French facing my left flank division.
I decided that I would strongly probe the French right flank and see what happened, so I set up my left hand division on the left and the right hand division in the centre, with the Corps cavalry protecting my right flank.
The left hand division began the game by advancing strongly, halting inside my artillery's range, but outside Chassepot range. The artillery opened fire with a round of counter-battery fire that had no effect.
Meanwhile, my right hand division and corps artillery (also deployed in the centre) had not moved: its orders having been mislaid or delayed or some such.
we are ready down to our last gaiter buttons!
The French, for their part, now revealed another division set up in line on the left hand side of the ridge. They therefore effectively had an unbroken line of infantry across the entire table's edge.
The artillery of the left hand division now switched targets to the enemy infantry on the ridge, and immediately forced one battalion to retreat in disorder. Excellent!
This left not only a hole in the French line, but led to the more central of two brigades facing my left retreating back behind the ridge in the face of the advance of the corps artillery in the centre.
This obviously left the other brigade isolated, so my left hand division moved forward and prepared to assault. A round of fire peppered my line, but I still had plenty of troops for the attack.
Unfortunately, the corps artillery were then told to move immediately to the right (a "blunder"), meaning that the French brigade that had moved back could now move forward again. In tactical terms, my left hand division could now punch up the hill and destroy one French brigade, but would then be destroyed in turn by the other.
This was not something I was prepared to accept, so my infantry fired one round with their Needle Guns, and then retreated back out of Chassepot range.
This doesn't seem in keeping with my orders, but the good news was that I had received reinforcements in the shape of another division of infantry behind my right flank.
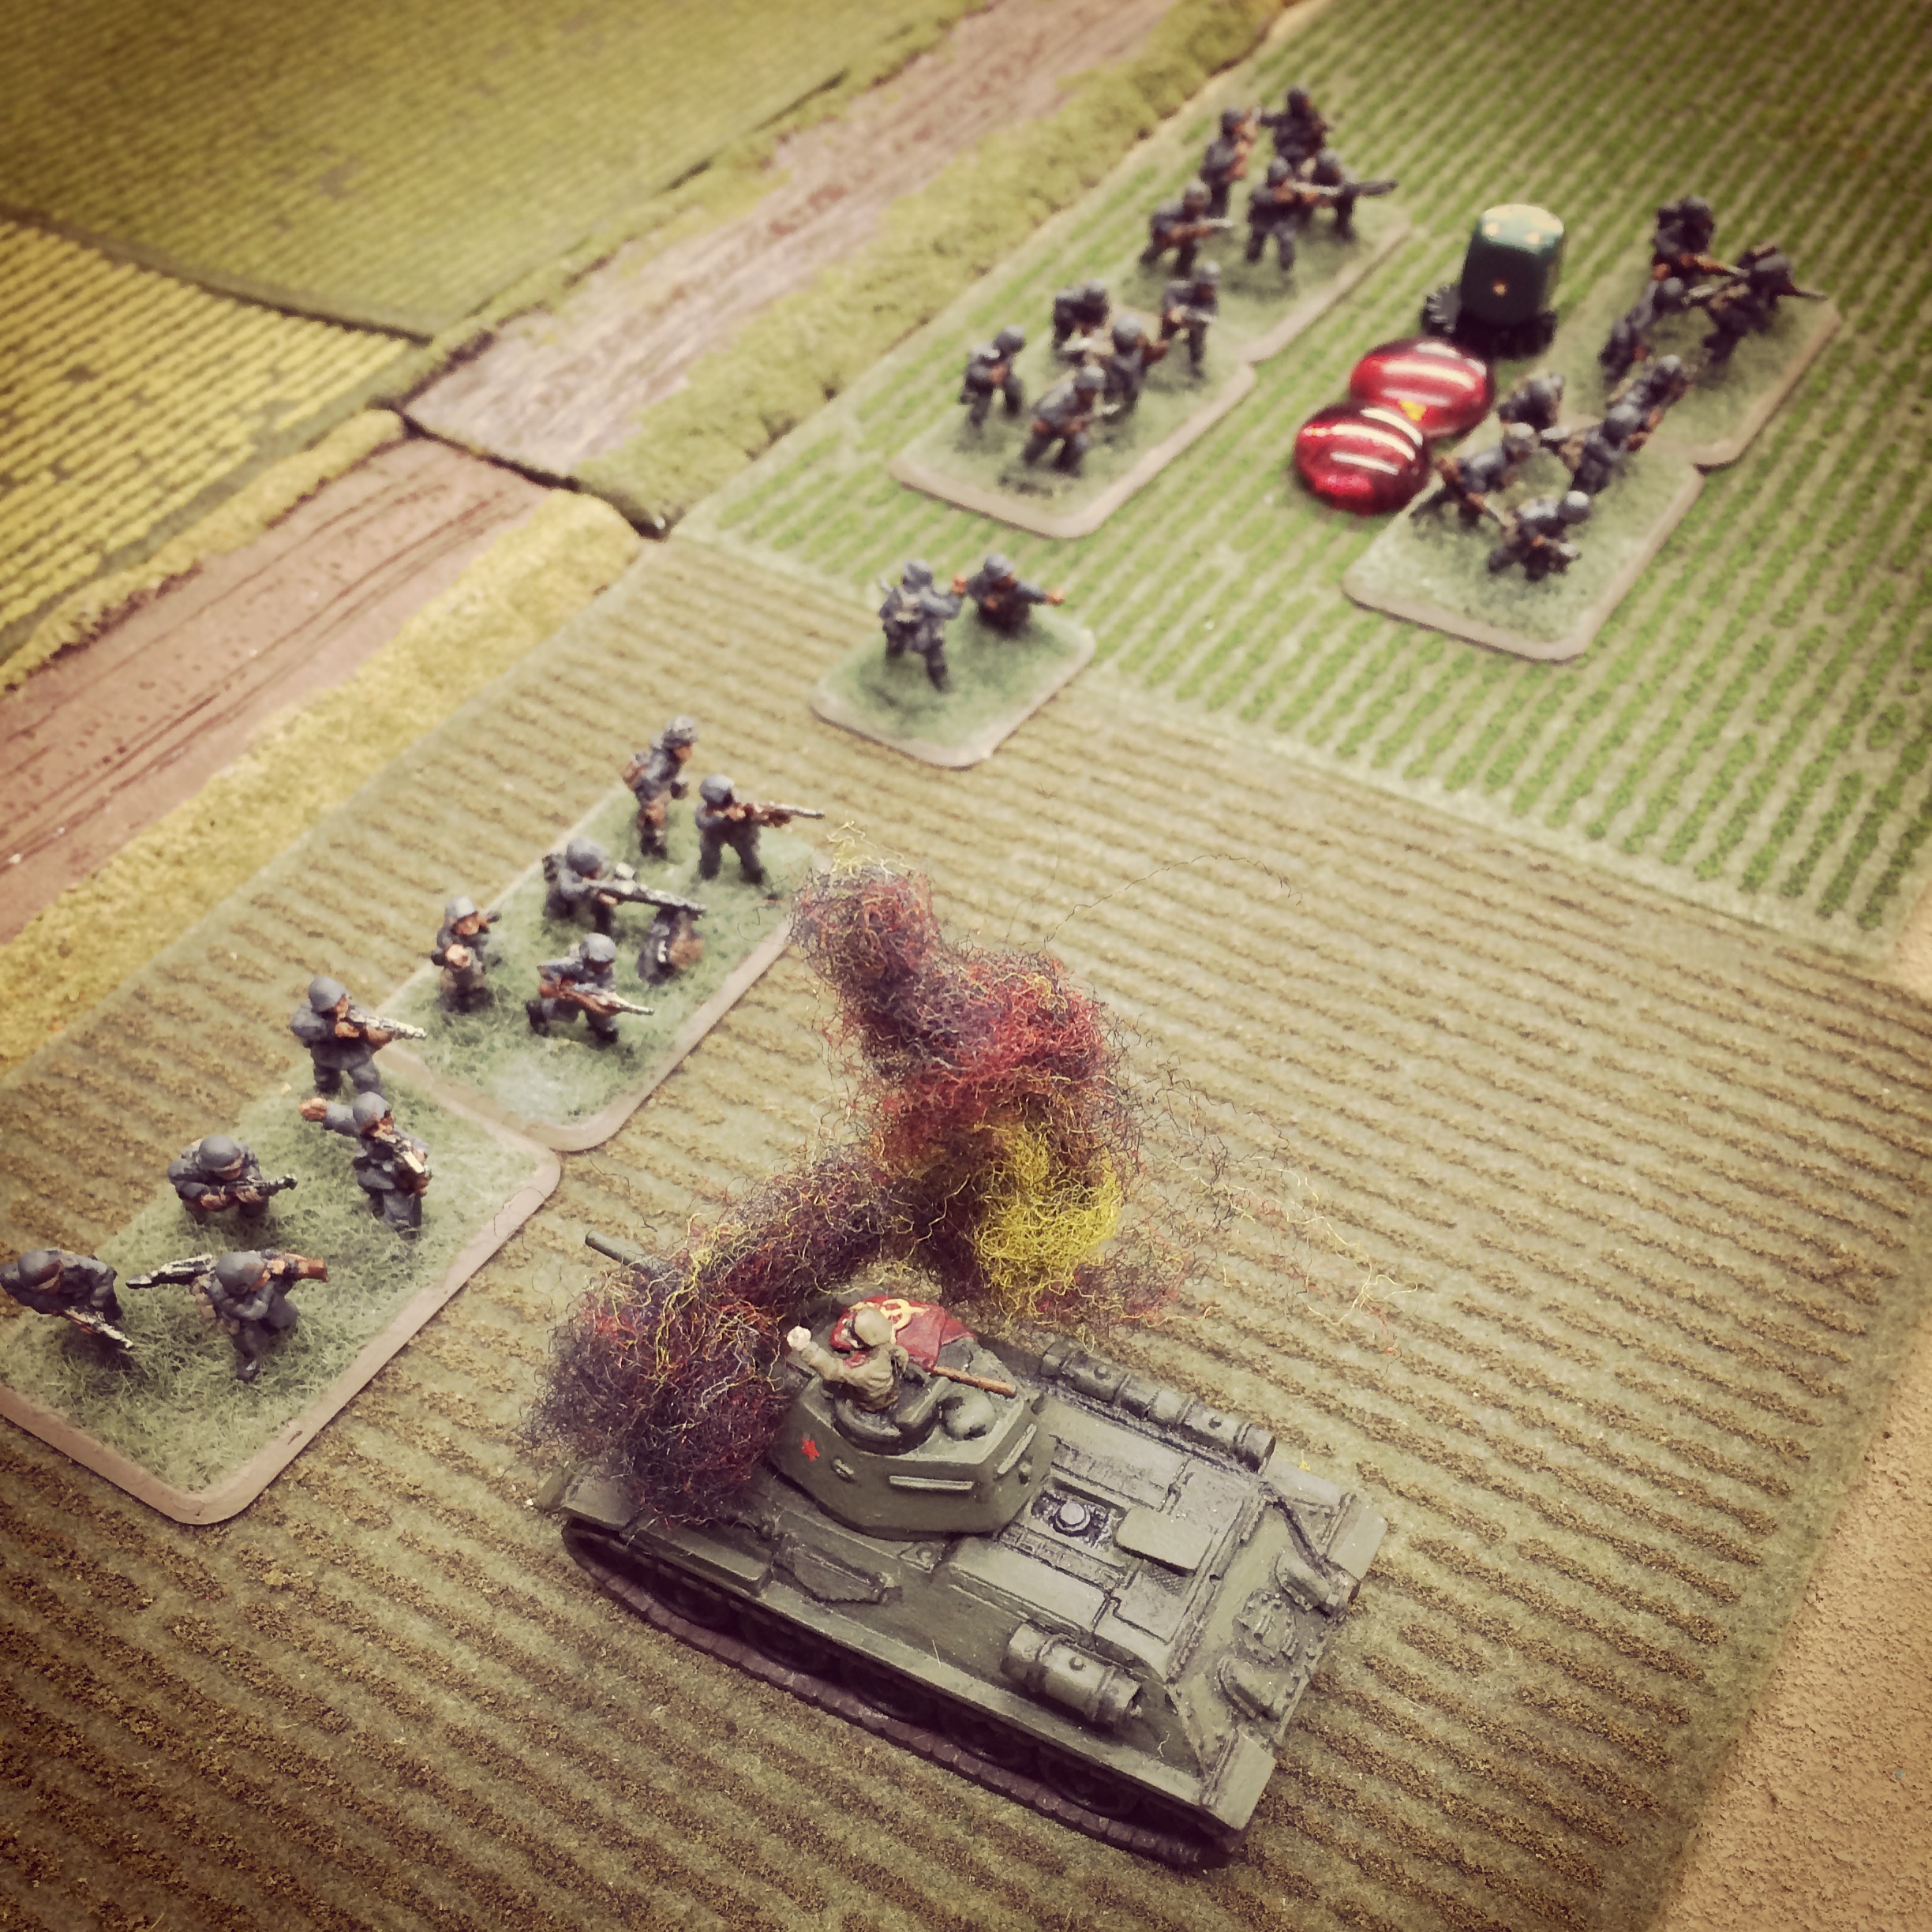
This division kept in column and punched up the right hand side of the battlefield, aiming to hit the left hand brigade of French infantry. Behind my reinforcements were the four regiments of Corps cavalry, Cuirrassiers to the front.
the prussians in position for their assault, about to receive fire from the french line
What had been the right hand division was now in the centre. One brigade of this division headed left and, together with the left hand division, kept the French on the left hand side of the battlefield from helping stop my right-hand assault. The other brigade headed straight up the hill in line and began a firefight with the right hand end of the French line on the left: I took casualties, but this meant that they couldn't intervene either.
keeping the centre of the french line occupied (note the corps cavalry charging in on the right)
My full divisional column smashed up the hill against a single French brigade that had already been softened up by artillery. At the same time, my Corps cavalry came out from behind the infantry and charged the centre of the French left-hand line, which had become disordered as a result of the fire of the right hand brigade of what was now the centre division.
prussians assault the ridge
misere de misere!
It was carnage!
Although the French Chasseur battalion in the house protecting the left hand end of their line resisted all attempts to dislodge them, the left hand brigade lost three battalions and its artillery were over run...and that was before the cavalry hit.
The Cuirassiers (big men on big horses!) were disordered by the fire from the two French battalions in front of them, but kept going nevertheless. They slammed into the equally disordered French infantry that, effectively, ceased to exist!
At this point we called time and declared a Prussian victory. The right hand side of the ridge was in my hands, and it would not take much for me to wheel left and start to roll up the rest of his line in conjunction with a general advance from my left hand and now-centre divisions. The French retreated: battered!
the french right
keeping the french right occupied
It had been a great game: and a game that looked really good as well. There's something very satisfying about huge numbers of 6mm infantry or cavalry blocks manoeuvring around the tabletop.
Not that I'm going to switch to 6mm, I hasten to add...but I'll certainly have a some more games like this!
My thanks to Neil for putting on a great game.