IABSM AAR: 1st Corps, 1st Game
/Those nice people at 1st Corps recently played their first game of I Ain’t Been Shot, Mum: and it looks like a colossal set up as well.
Click on the picture below to see a pictorial report:

Those nice people at 1st Corps recently played their first game of I Ain’t Been Shot, Mum: and it looks like a colossal set up as well.
Click on the picture below to see a pictorial report:

Carojon and his colleagues at the Devon Wargames Group recently resurrected the Over the Hill scenario for I Ain’t Been Shot, Mum! playing the game with, coincidentally, four players named Steve!
Click on the picture below to see how the battle of the Steves worked out…

Here is a quick I Ain’t Been Shot, Mum! AAR taken from Scenario #05 from the IABSM scenario book Where the Hell have you been, Boys? played by members of the Vermont Historical Gamers Group.
Click on the pic below to see all:
The other game of I AIn’t Been Shot, Mum at The Other Partisan was another amphibious assault: Tim Whitworth and the Like a Stone Wall Group’s magnificent Pelelie scenario, set in the Pacific with US Marines assaulting a Japanese-held beach.
This game was, in fact, so good that it won the Best Demonstration Game award for the show. Click on the picture below to see loads of excellent pictures of the game:

Here’s a full write-up of the superb Bloody Omaha game that Mike Whitaker and crew put on at The Other Partisan this weekend just gone. It’s taken from Mike’s excellent blog Trouble At T’Mill: well worth a visit.
Click on the picture below to see all:

John Cooper is preparing to play through “The September War” scenario pack with his beautifully painted 10mm figures.
Here’s a quick warm-up game that he played using the fourth game from the random scenario generator in the IABSM v3 rulebook: “A Hasty Defence”. Click on the pic below to see all:

Tim Whitworth and his colleagues from the Like A Stonewall Wargames Group have been preparing the game they are showcasing at The Other Partisan wargames show in a couple of week’s time.
It’s a scenario for I Ain’t Been Shot, Mum based on the US Marine assault on Peleliu Airfield in 1944. Click on the pic below to see all:

Another great battle report resurrected from the archives of the A Wargamer in Cyprus blog.
This time, the scenario is #11 from the Operation Compass scenario pack: the first of the three games focusing on the Australian attack on the Italian-held fortress of Bardia.
Click on the picture below to see all:

I do so like it when I stumble across a source of material for I Ain’t Been Shot, Mum or one of the other Lardy company-sized games: it does take the pressure off a little…as anyone who runs a blog knows, keeping it fresh and updated is a serious, long-term commitment!
Anyhow, latest discovery is the excellent A Wargamer in Cyprus blog, which contains a plethora of quality wargaming material. I haven’t been able to get hold of the blog’s owner to ask permission (I’m no Tango!), so I hope he doesn’t mind me reproducing some of its content here as part of efforts to support TFL and IABSM etc.
Here’s an AAR taken from the site featuring the German attack at Agheila that formed the first proper German vs Commonwealth encounter in the Western Desert. Just as an aside, I actually have a half-written scenario pack for Sonnenblaum which features this action…and am now feeling all inspired to dig it out and finish it.
Click on the pic below to see all:

Nice little battle report from Dan Albrecht and his friends at the Vermont Historical Gamers group in South Burlington Vermont.
Scenario is #20 from the Anzio: Wildcat to Whale scenario pack: part of the German counter-attack that was Operation Fischfang, Day Three.
Click on the pic below to see all:
I haven’t yet managed to get to a Deep Fried Lard yet, but good to see plenty of Lardy gaming taking place last weekend.
One of the games played was a CDS scenario taken from the Surf’s Up scenario pack.
Click on the pic below to see Alastair McBean’s AAR:

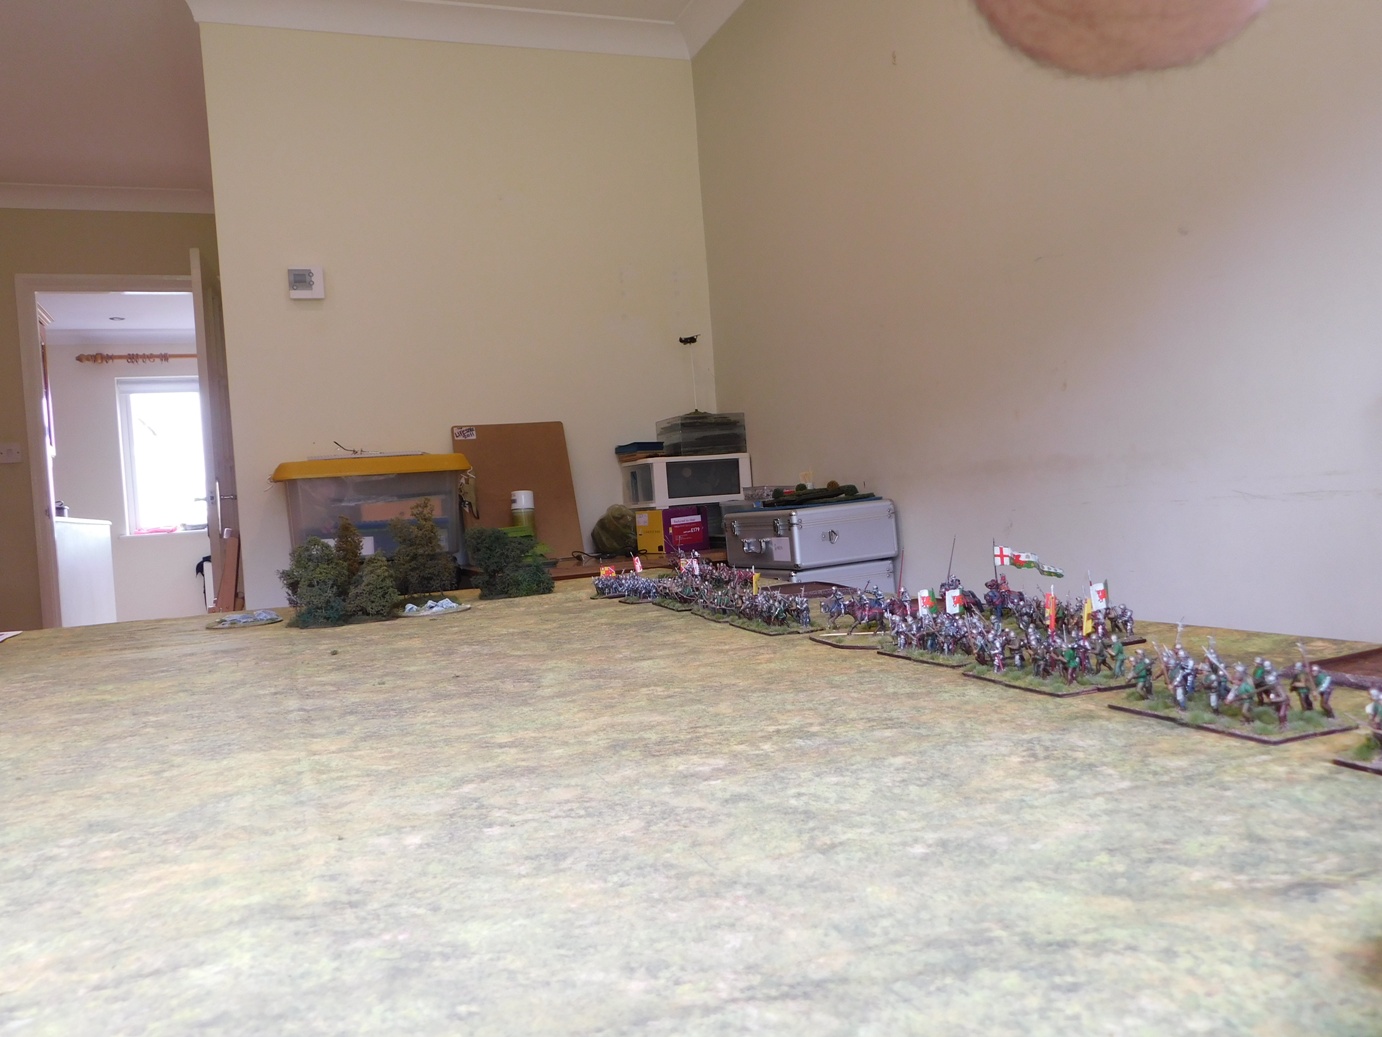
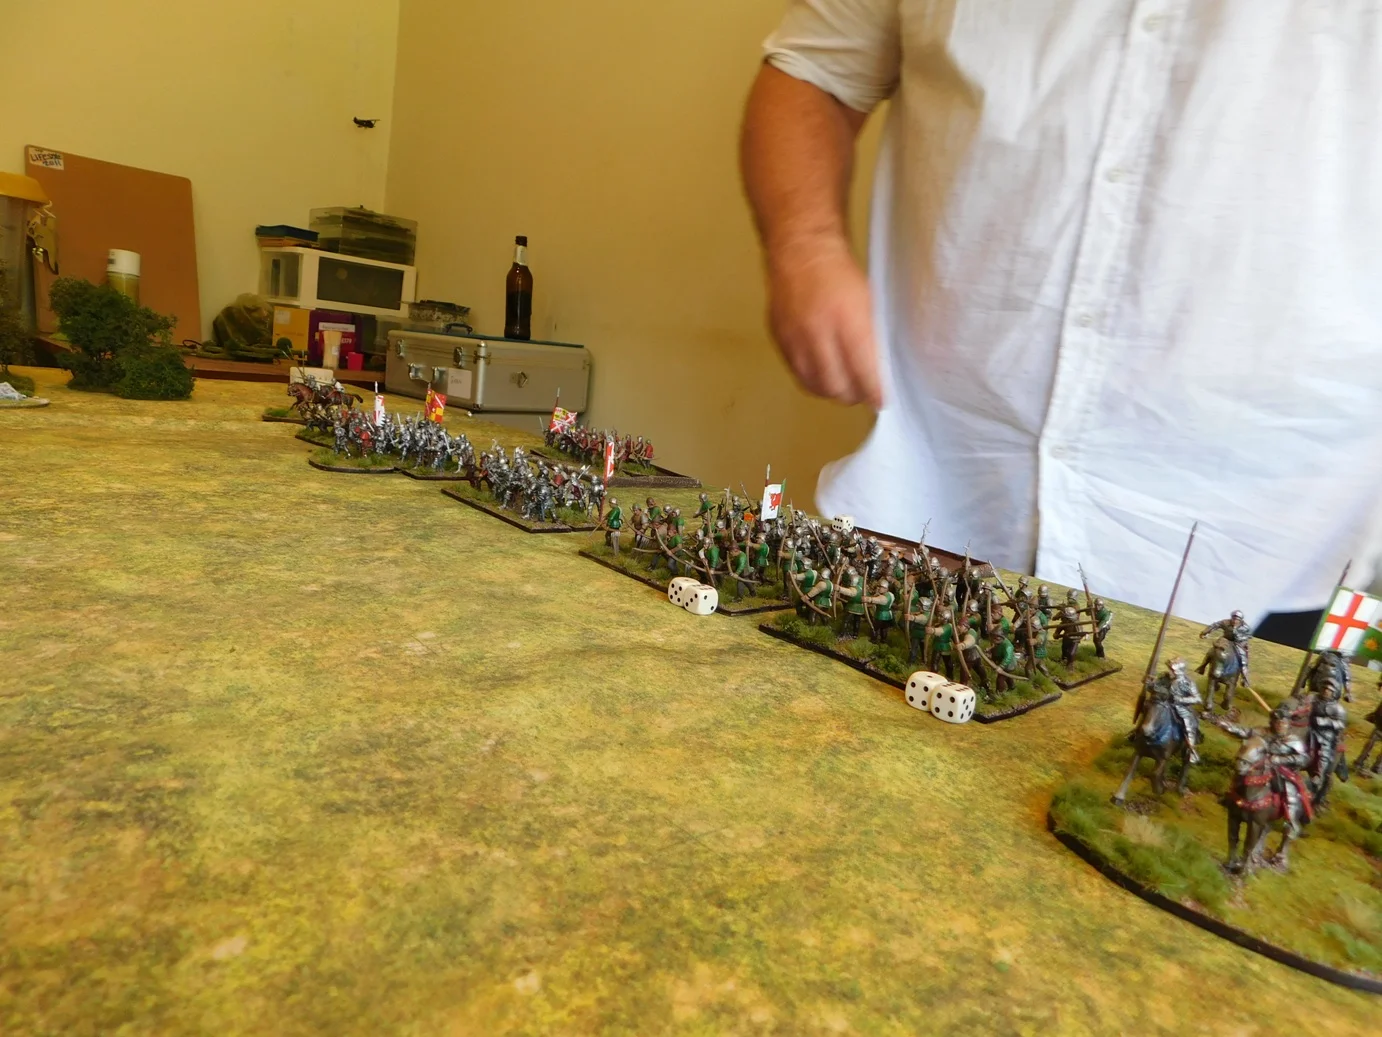
Time for another day of To The Strongest: with friend Neil bringing over his vast collection of 28mm Wars of the Roses figures for us to play with. These are all professionally painted Perry Miniatures plastics, including some hobelars specially put together for the occasion.
We managed three games in all.
The first, with me playing Yorkshire, was a nail-biting backwards-and-forwards kind of game where either side could have triumphed. As it happened, my mounted Later Knights, accompanied by Richard of York himself, suddenly managed to burst through the enemy battle line and find the way open to looting the Lancastrian camps. A hard fought victory.
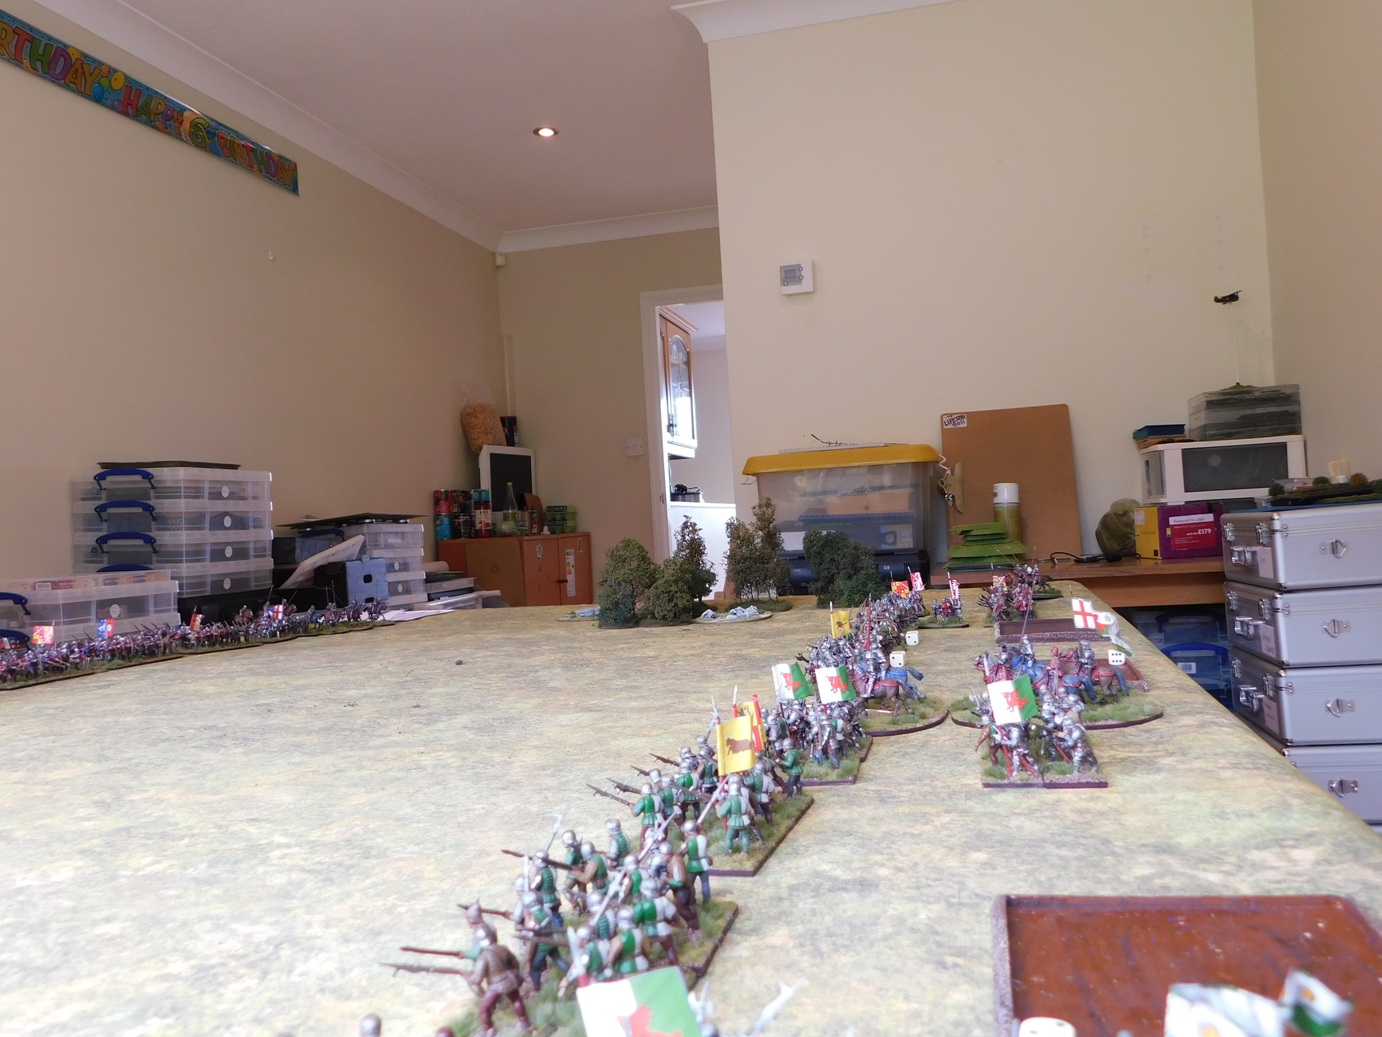
The second, with me now playing the noble house of Lancaster, was again looking close. The two main lines had clashed in the centre of the field, and the luck was swaying backwards and forwards, when each sides’ one unit of Later-Knights-plus-Royal-Personage charged into each other. Luck was obviously on my side, as Richard of York (my erstwhile self but now enemy commander!) was wounded and carried from the field. This gave me the edge and gradually the opposition crumbled. A narrow victory.
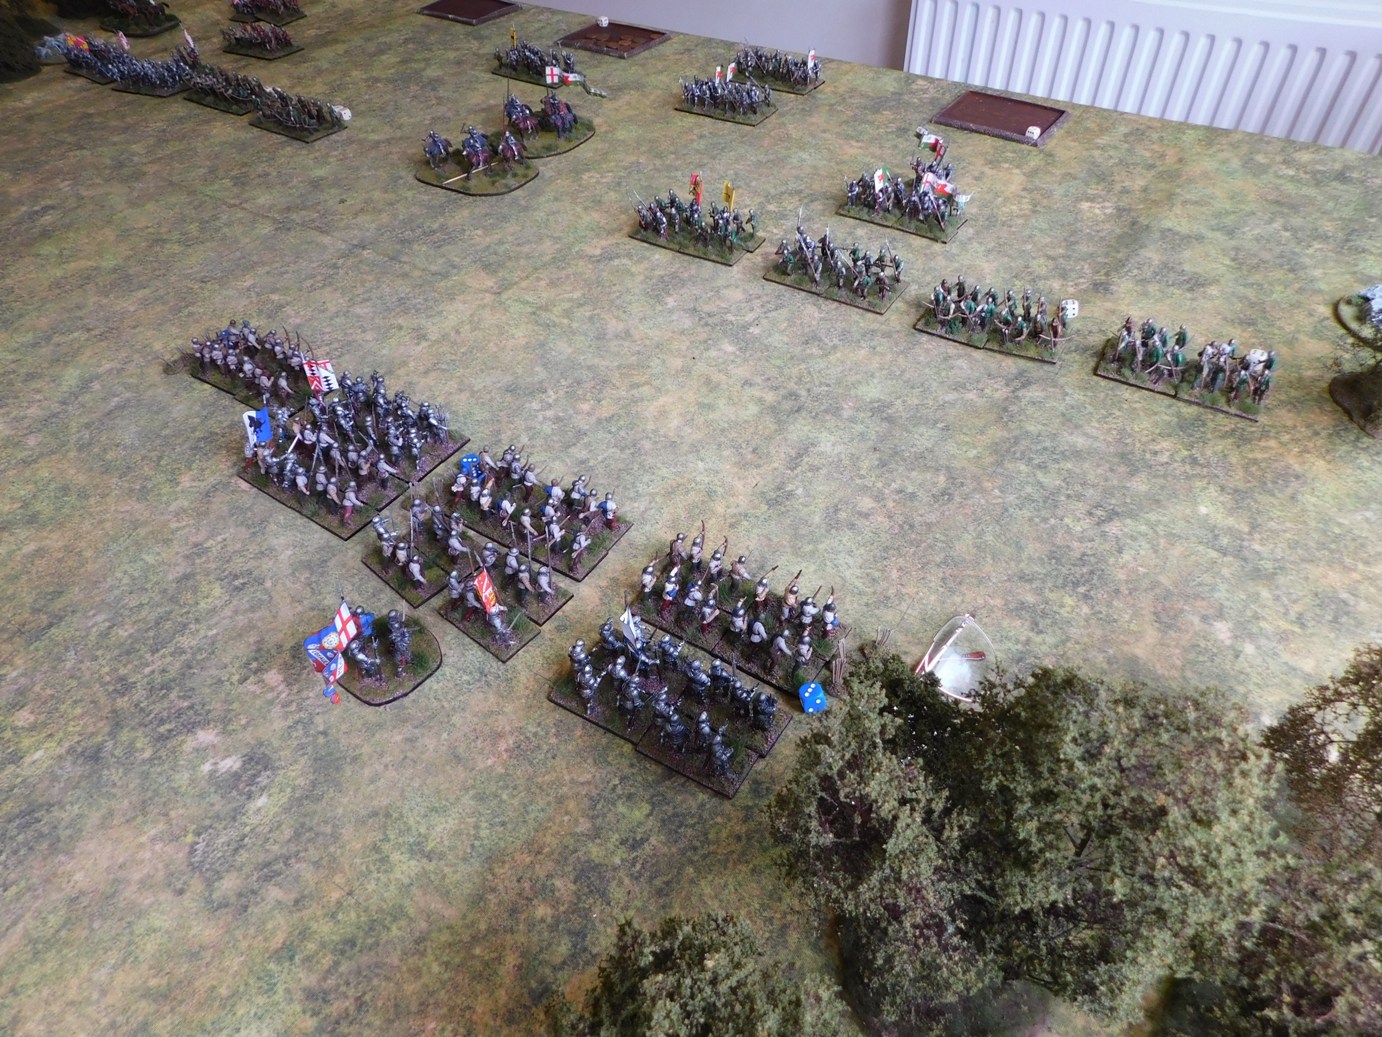
Onto the third game, with Neil making sure that I would play to win and not gift him a consolation victory…which just goes to show how little you can know about someone you have known for years! Play to win? I was playing to grind him into the mud! Anyhow, this was a very cagey game: very different to the previous clashes. Neil hung back, not really moving (annoyingly keeping his troops out of the range of my single cannon, the only one on the field) and waiting for me to make the play.
I edged forward, thinking that perhaps I could get a bit of advantage on the right hand side: maybe two archer units vs one, kill them, then try and curl around the edge of his now-slightly-decreased line. Neil read my intentions, however, and moved troops forward to counter. A clash began to develop, and one not in my favour. He moved more units in and my right flank was beginning to crumble, when both of us realised that he had now moved forward into cannon range. Bang went the gun and finished off a unit of Men At Arms, giving me the initiative. Neil sent forward his Household Knights and King to plug the gap and force me back onto the defensive…and then either bang went the gun again or in went my Household Knights (I can’t remember which) and off came the head of Richard of York again!
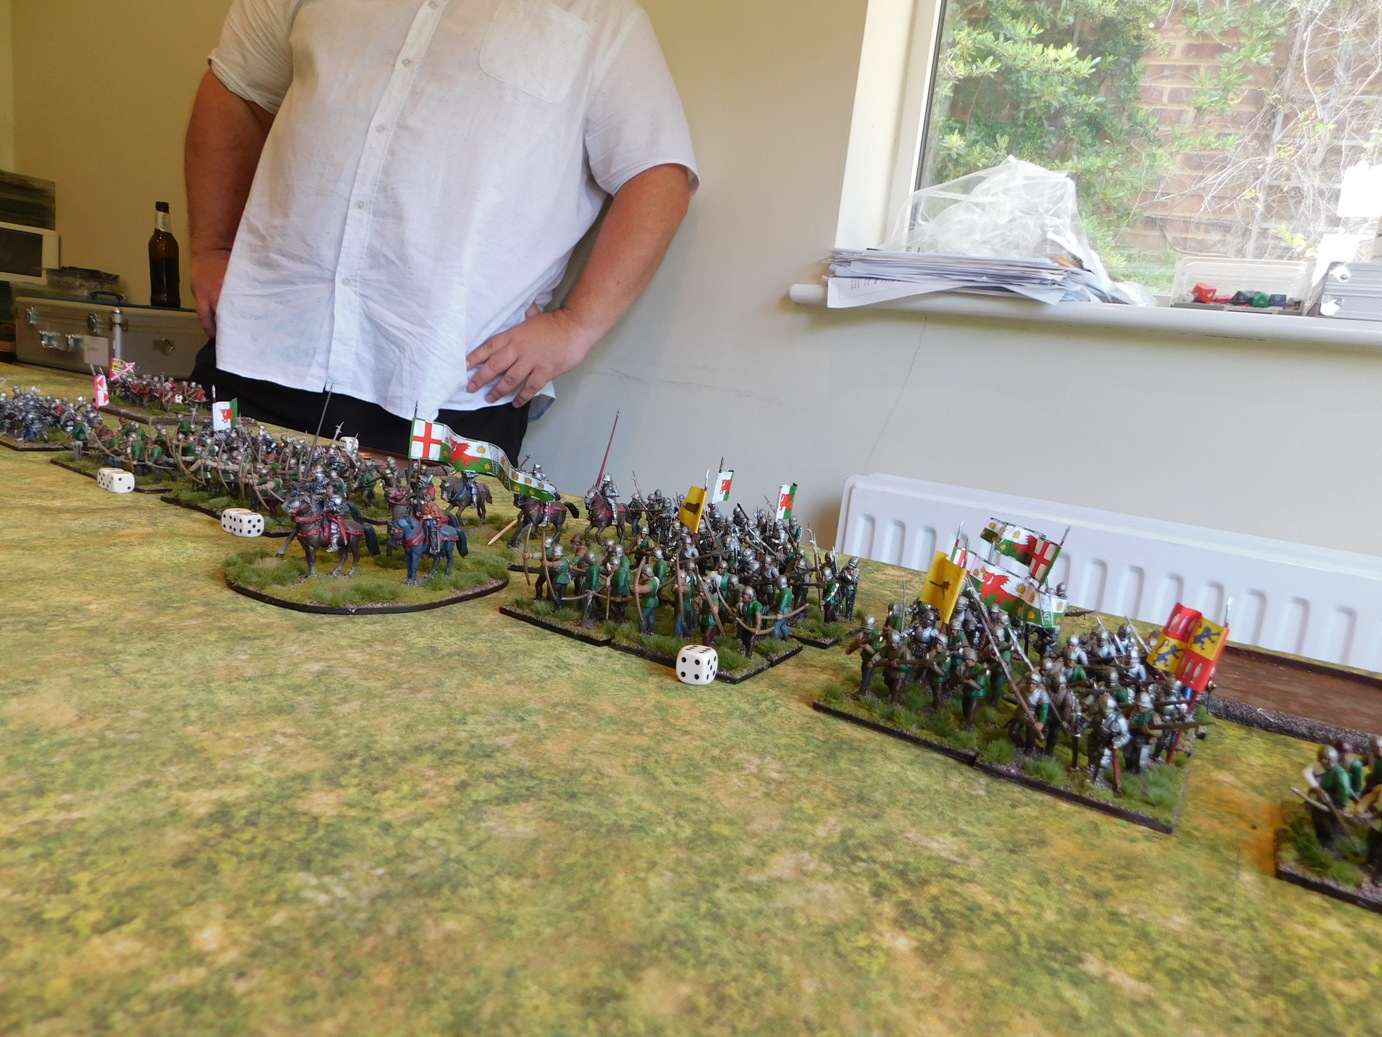
A horrible piece of luck for Neal which once again swung the game in my favour.: making it a three-victory whitewash to me.
A great day’s gaming, however, but an interesting demonstration of how a non-normal distribution game mechanic can swing a game in seconds. Oh, and Neil wants to know if anyone wants to buy two 28mm Wars of the Roses armies, one with the command figure slightly dented! Here are some pics:
Those of you who read my last Q13 AAR will know that I am currently playing “king of the ring” with my new sci-fi factory complex. Last game, the Felids defeated the Hauk, so now it was their turn to defend, with their opponents being the Aphids: frog-like beings from Zombiesmith.
My opponents were Dave and John, who were on a strict time limit which actually nicely suited the type of game we were playing: they would play the Aphid attackers, and would have almost exactly 2½ hours to reduce my position.
Click on the picture below to see how they did:

Another great AAR from Mike Whitaker as he plays his first serious game of Charlie Don’t Surf!
This was scenario #12 from the Surf’s Up scenario pack: Ambush!
Click on the pic below to see all…

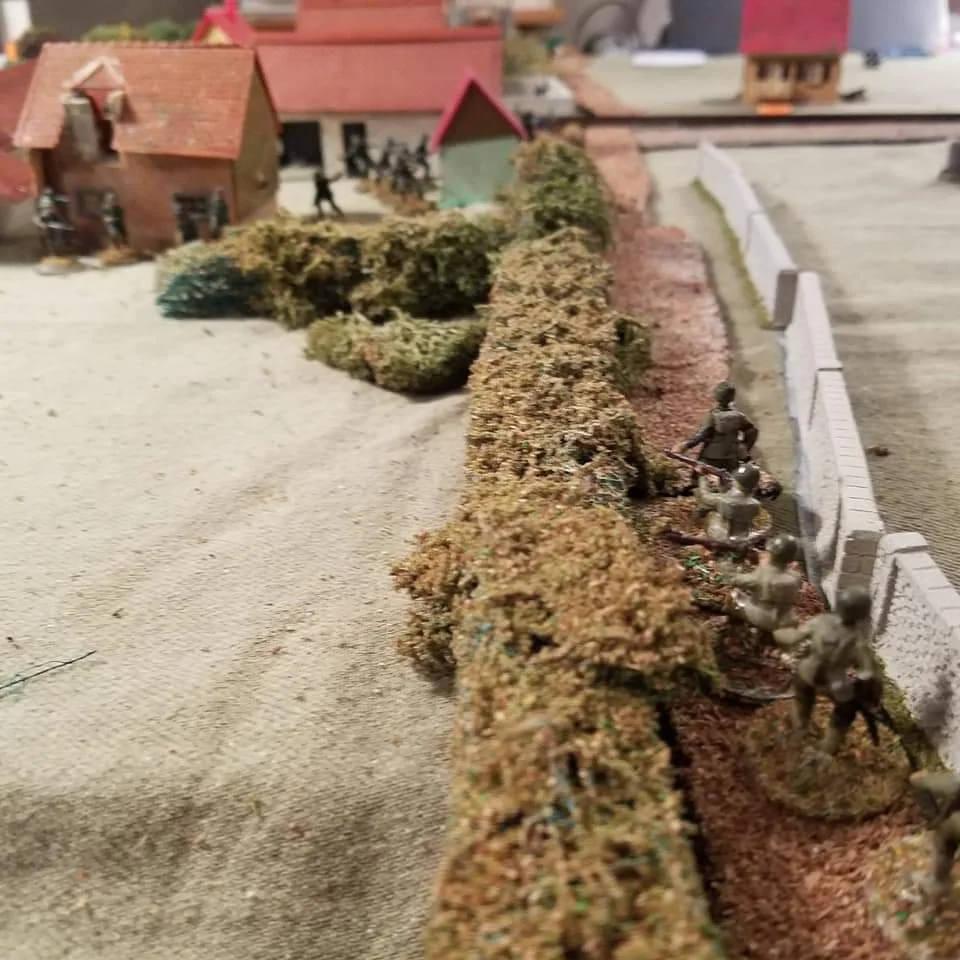
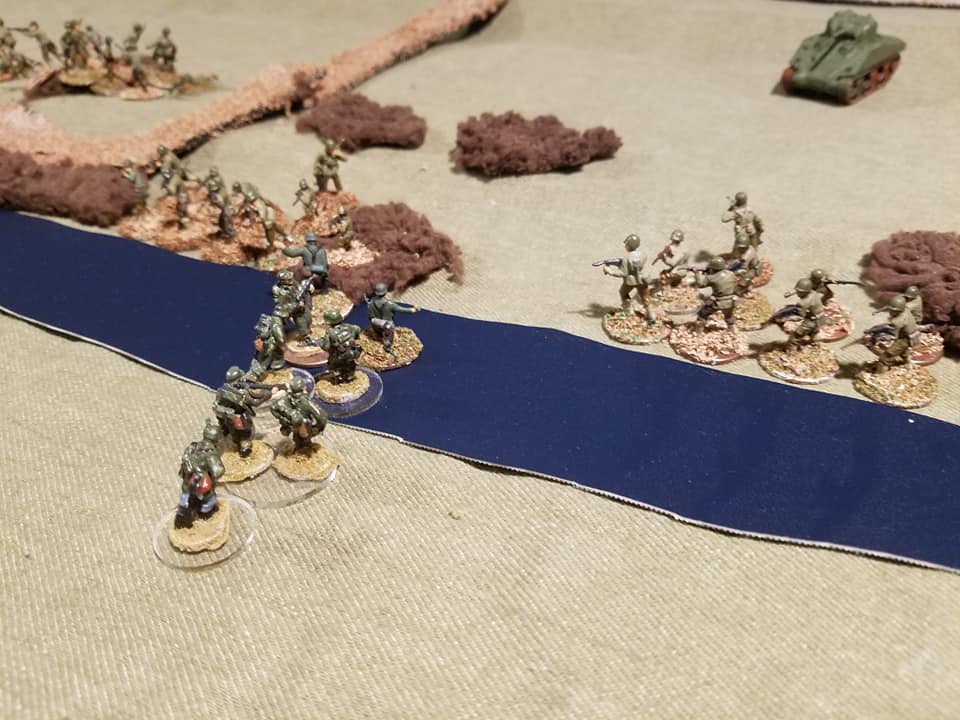
It’s been a few months since we’ve had one of these, but here’s another great WW2 After Action Report from Mark Luther.
Here’s his introduction:
I just got back from France and Normandy so I was in the mood for a D-Day game. I also wanted something basic and that would allow for both sides to do some manoeuvring, so a straight out assault on dug in stationery troops was out.
I came up with the move in from Asnelles by the B Company 2 Devons and the counterattack by the 916 Grenadier Regiment later in the day on June 6. The two German grenadier companies had two three-section Zugs. I rated them as poor troops. This company had two attached MMG teams. The German orders were to get off the north edge of the table. A pair of StuG IIIs would show later.
For the Brits, B Company of the 2 Devons had all three platoons, but I also rated them as poor troops for this game. Between being seasick and inexperienced they were not fully up to their game. A troop from the Sherwood Rangers were assigned as support but were running late. Their orders were to advance south and get off the table.They began on the north board edge.
Click on the picture below to see all…

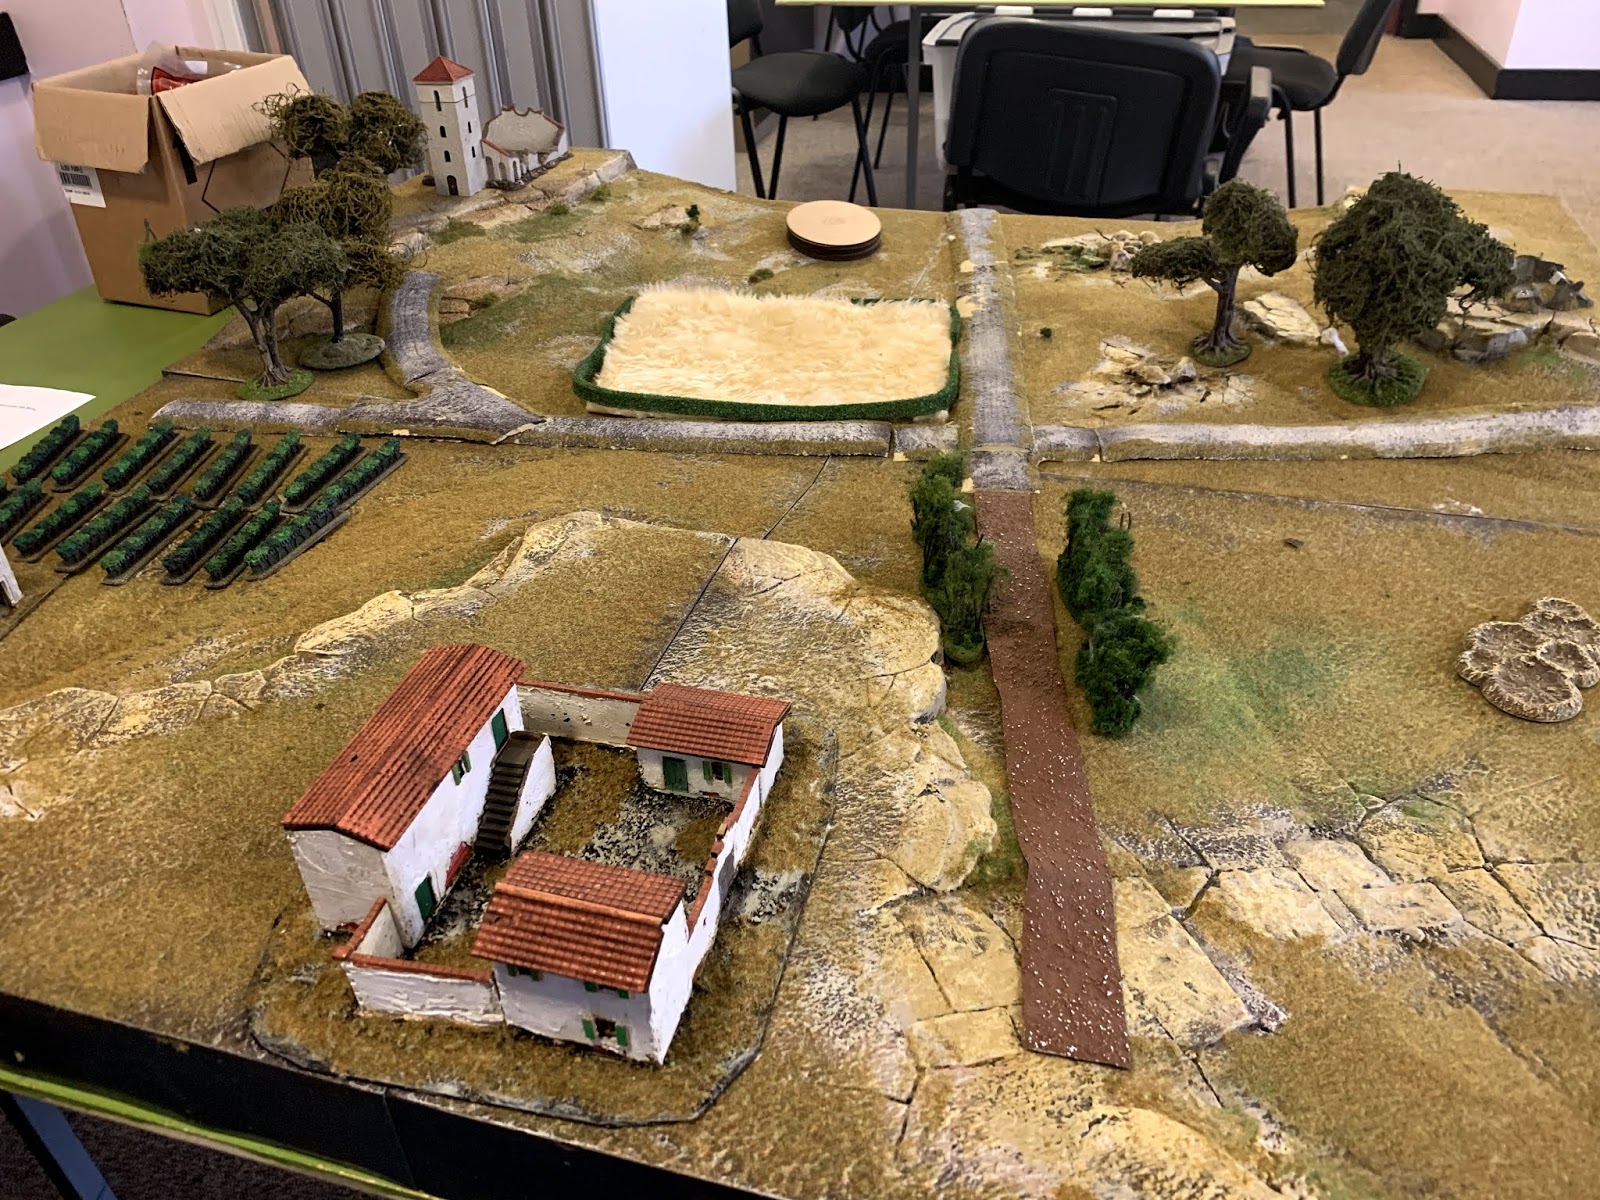
Another great AAR from Mike Whitaker, using a set of terrain boards with which, after Market Larden, I am very familiar!
Set in Italy '44 again. The British (Carl, Rod) are tasked with taking the farm of Santa Anna, a German (Colin) strongpoint. They have a troop of Churchill NA75s, a carrier section and two infantry platoon, as well as a Vickers. Ranged against them are two understrength German platoons, a couple of MG42s, a StuG, and their CO's new pride and joy, an SdKfz 251/10.
Click on the picture of the Villa, below, to see what happened:
You can see more great content on Mike’s blog: Trouble at T’Mill
Regular visitors will know that at this year’s Salute I purchased a bargain pack of mdf sci-fi terrain from TT Combat and have spent the last couple of months building it. It was now time to get some figures onto the table and actually use the damn thing!
The scenario was to be a simple attacker/defender game, with the Hauk (sci-fi birdmen from Khurasan) defending the industrial complex against an assault from the Felids (sci-fi lionmen, also from Khurasan). I would play the Hauk, friend Neal would play the Felids, and in order to make things interesting, there was a time limit for the Felids to take the complex.
Click on the picture below to see what happened:

Great battle report from Tim Whitworth and the Like A Stone Wall wargames group, this time featuring a recent game taken from the September War II scenario pack.
Here’s the background:
Soviet troops consisting of the 112th Infantry Regiment, some 13.000 soldiers supported by fifteen T-26 tanks and fifteen guns, arrived at the village of Szack on September 28th.
The Polish force near the village numbered 4.000 men of the Border Protection Corp, including General Wilhelm Orlik- Rückermann, and sixteen anti-tank guns.
Having taken the village, the Soviets then charged the Polish positions with infantry supported by the T-26 tanks. The Poles waited until the Soviets were right on top of them before opening fire with their antitank guns, destroying eight tanks.
The Polish troops now launched an all-out counterattack: covered by their artillery, the soldiers of the Border Protection Corps charged at their enemies with bayonets fixed. By the afternoon the village was back in Polish hands.
The game played last Friday takes up the story from that point on. Charged with the task of retaking the village, the Soviets again attacked in force. Click on the picture below to see all…

[I still can’t believe that, using Anton’s materials as a starting point, I wrote 60 scenarios for Poland 1939!]
My second game at this year’s Operation Market Larden (the Evesham Lardy day) was a rather exciting game of I Ain’t Been Shot, Mum. The scenario, written and umpired by Mike Whitaker, involved a clash between British and German reconnaissance forces somewhere in Italy in around 1943.
Click on the picture below to see all:

Tim Whitworth and friends recently played scenario #06 from the Operation Sealion scenario pack: The Raod Inland.
It is day S2 of the German invasion and the reconnaissance battalion of the Wehrmacht 26 Infantry Division is heading towards the sleepy village of Herstmonceaux. The reconnaissance unit is light in vehicles and most of the troops are mounted on bicycles ‘liberated’ from a sports shop in Pevensey.
So far British resistance has been patchy comprising of pockets of home guard and the occasional unit of regulars but the British are now frantically attempting to form a solid defensive line to the north of the landing beaches.
What will this day hold in store for Hauptmann Ralph Sturmer and his company? Click on the picture below to see all…

Vis Lardica is a website devoted to wargaming and military history, with a special emphasis on the company-sized rulesets produced by the TooFatLardies: I Ain't Been Shot Mum (WW2); Charlie Don't Surf (Vietnam); and Quadrant 13 (science fiction). There’s also a lot of content devoted to To The Strongest (Ancients/Medievals) and For King & Parliament (17th Century).

Welcome to Vis Lardica, a not-for-profit website mostly dedicated to the company-sized wargaming rules produced by the TooFatLardies, but encompassing my other gaming interests as well.


If you need to contact me, you can do so at:
vislardica@gmail.com
If you have enjoyed visiting this site, please add a link to it on your own wargaming blog: www.vislardica.com.